… or the fight goes on
<intro>
Ok, over 9000 is for amateurs. IT IS OVER 18000

</intro>
The fight goes on
As I’ve written previously in PART 1, this is the most time-consuming project and the longest that I’ve ever done.
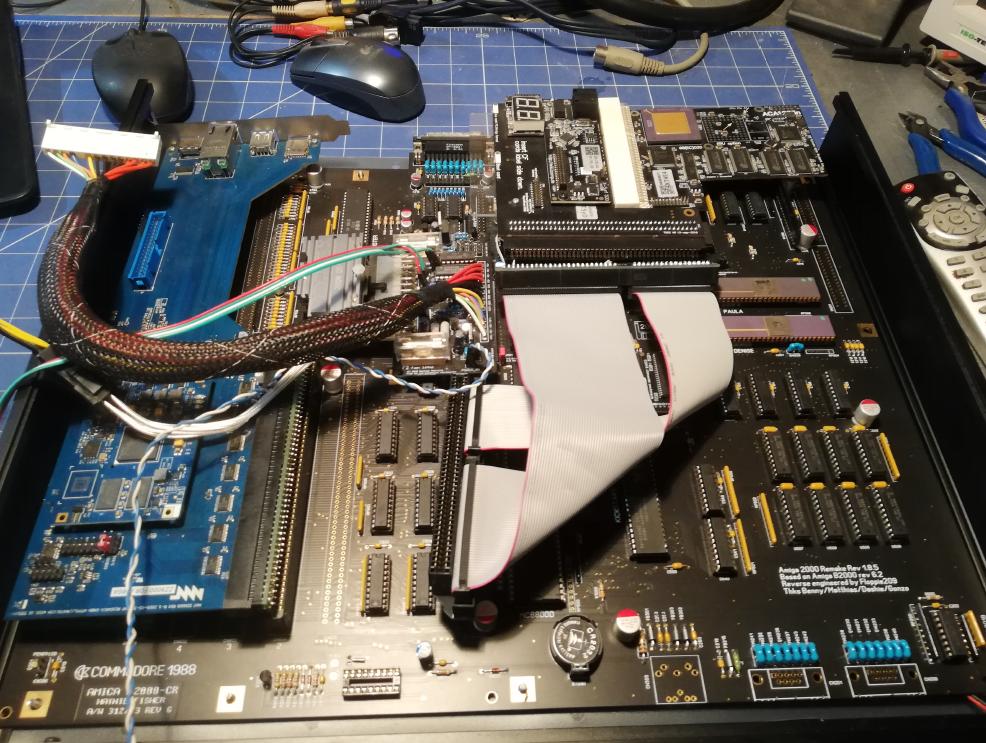
PART 1 was only the mere beginning of what was going to be made. This post is about the continuous journey which won’t reach an end in this particular post. There will be at least two or more posts about Tesseract as I have TONS of pics and went through TONS of tests and mods. This post shows a very loose idea of the part’s placement. This will be changed and twisted along the way so don’t treat it as a final solution.
I’ve decided that I won’t wrap everything into sub-topics, instead, I’ll try to describe every mod in chronological order, exactly as I’ve worked on it but with some comments along the way.
The plan
Out of tons of mods and add-ons shown in PART 1 ( and more that were sent to me in the meantime), MrTrinsic decided that we will test and pick up some of them. Below is the planned list of add-ons:
- HDPLEX PicoPSU
- A2000 PSU adapter
- ACA 500plus
- ACA 1233n
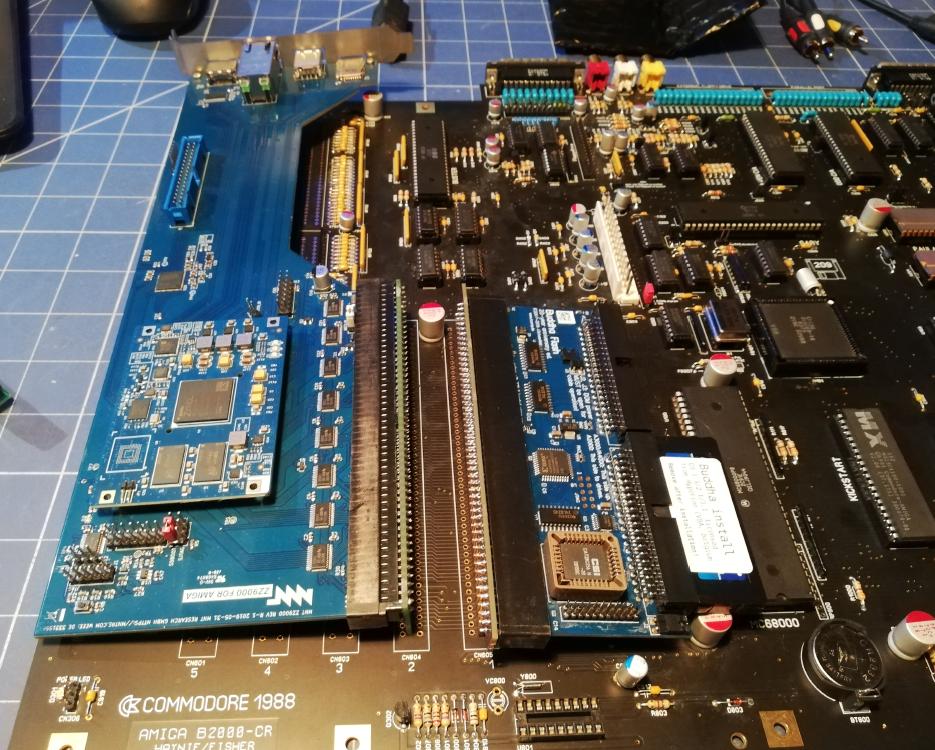
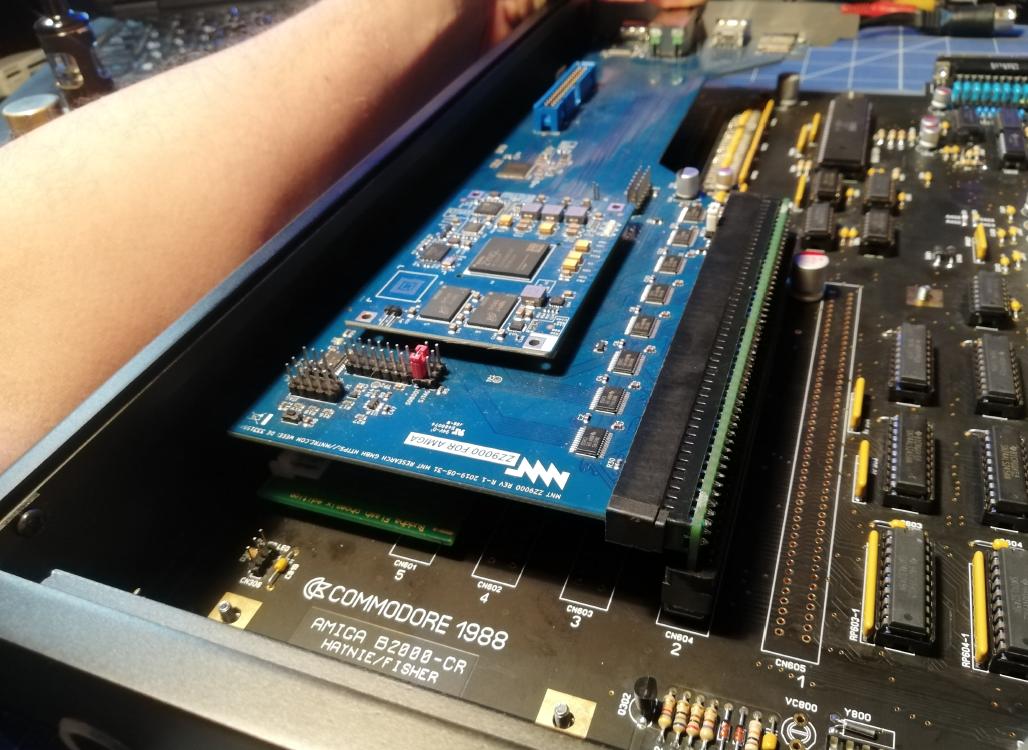
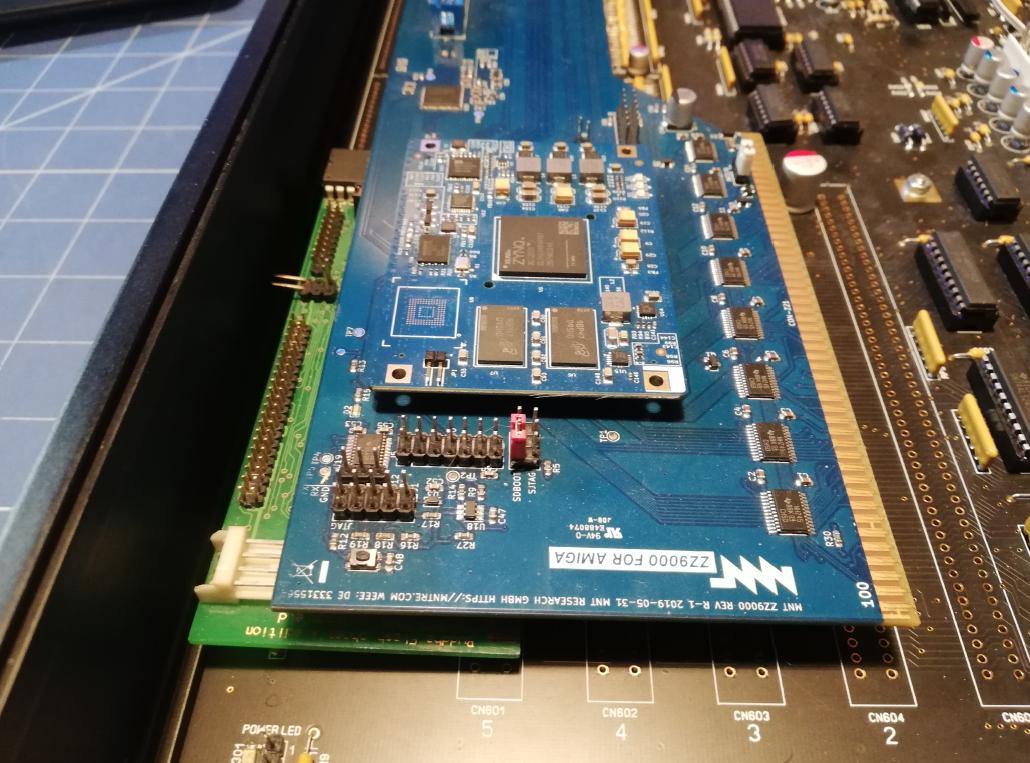
- ZZ9000
- Buddha flash IDE
- Melody MSX card
- Twister 1200
- BootSelector
- ROM switcher
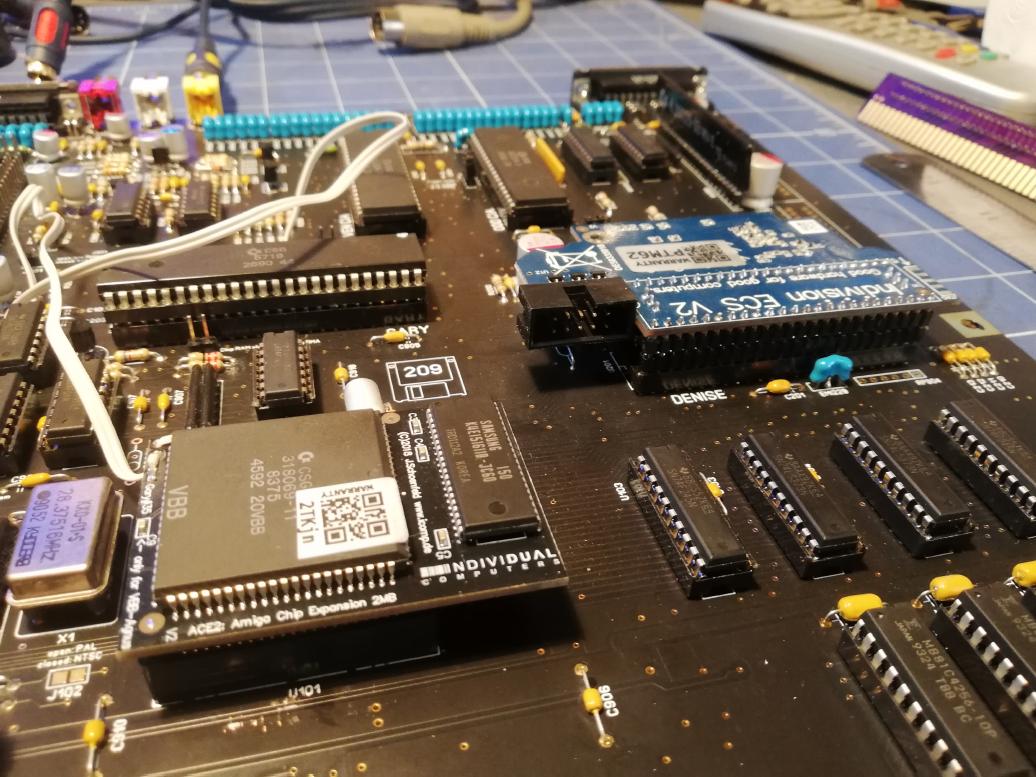
- Indivision ECS2
- ACE2 2MB RAM
- SUM A234 – USB KB mod
- The mouSTer – USB mouse adapter
- Mouse/Joystick auto switcher
- HxC rev C
- Hypercom
- RapidRoad USB
- Slim DVD ROM / writer
- Slim floppy drive
- … some more weird stuff not listed above
The above list is the target list after many tests, failures, and successes which will be covered in this and the following posts 😀
Also, I couldn’t find links to all mods so if you know where they can be bought, please send me those links so I can update the above description. Our community must support each other!
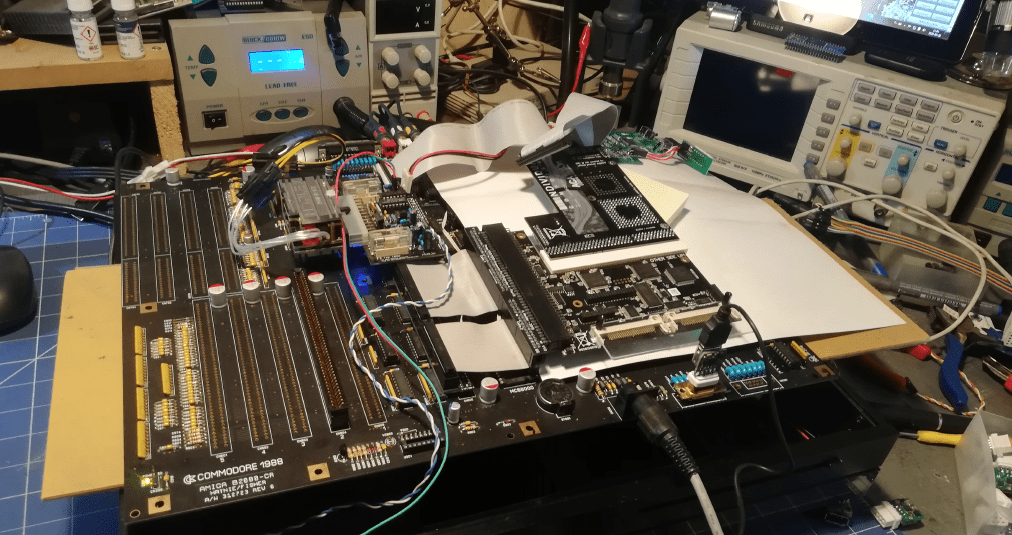
The hardware pr0n
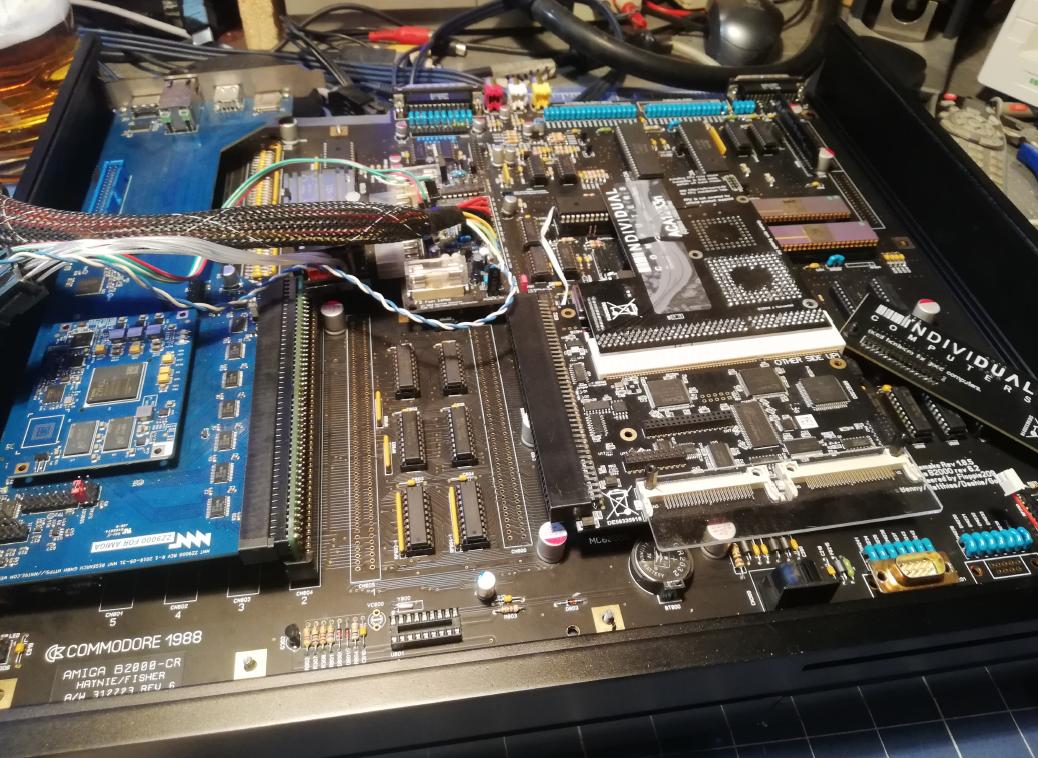
Below are some pics of my tests and measurements. There were several ideas and only one prevailed as you will see in this and future posts. However, it is IMO important to document and show the process.


Puzzle, puzzle, and one more time puzzle …
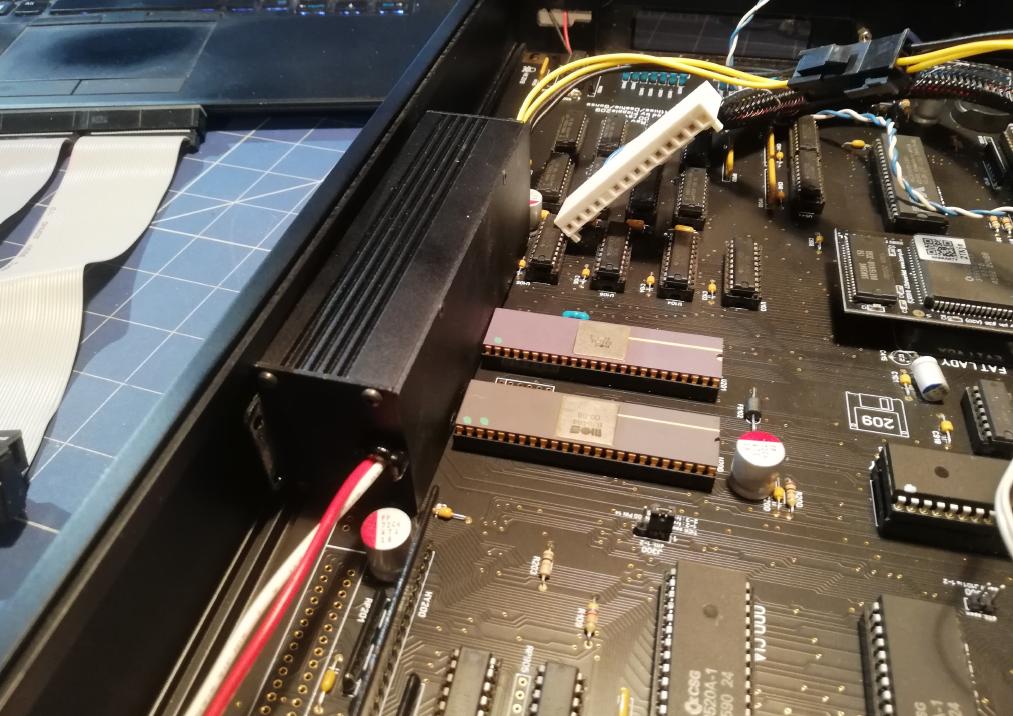
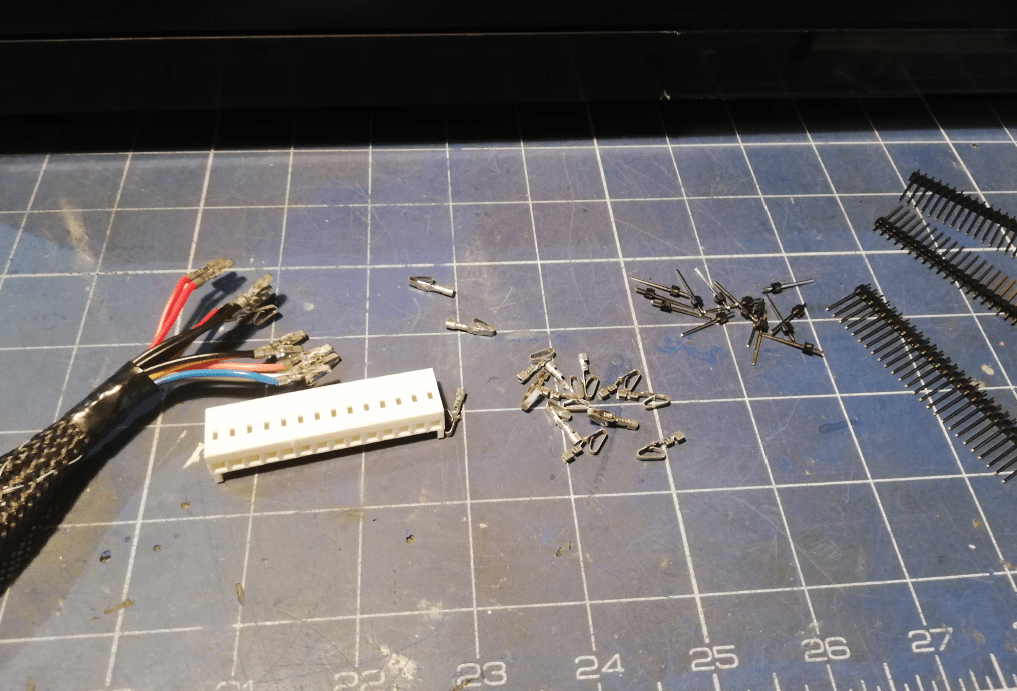
I had to figure out a way to install 200W HDPLEX PicoPSU. The HDPLEX is one thing but I’ve also wanted to install an A2000 PSU adapter that provides a lot of great features like over current/voltage protection, power-on switch, and outputs separate 5/12V sockets to power floppy drive, DVDROM, RapidRoad, and HxC.
It took me a while but after a bit of tinkering, I’ve finally figured that an adapter can be installed directly on the mobo. I just had to redesign the plug, design a standoff, 3D print it and put it all together. That will be shown later but for now some more pics of ideas and measurements 😀
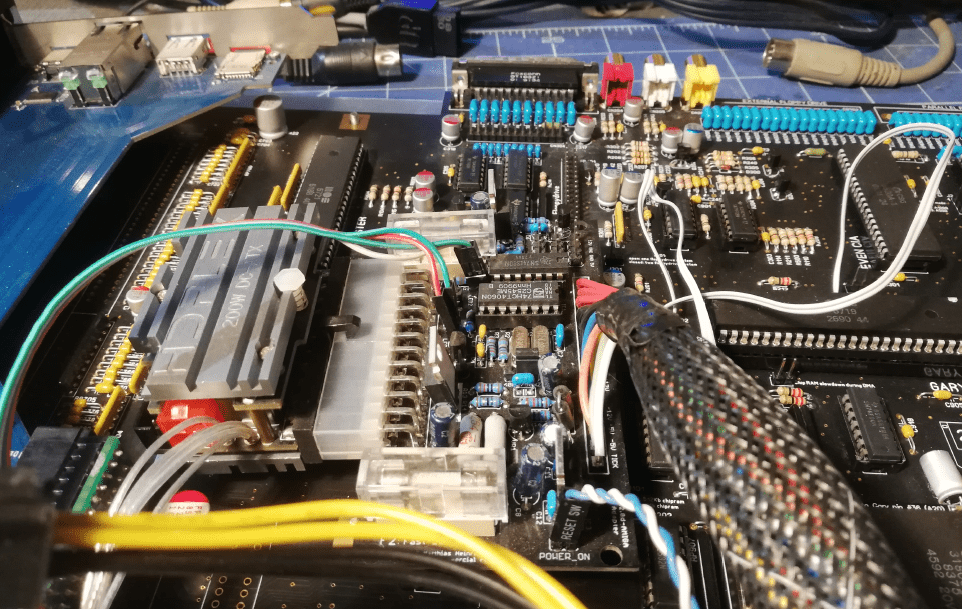
While working on the PSU, I’ve started to get a loose idea of where to place certain mods. One such idea was a FAN placement. I am not sure if it is going to be an Atari FAN but hey, a fan is a fan right? ;P
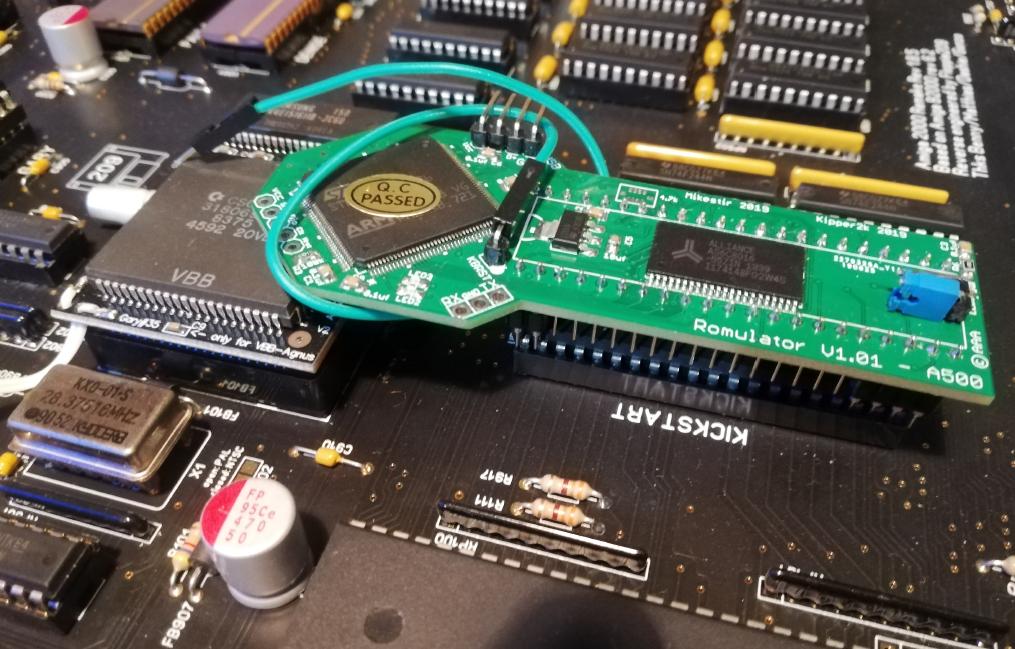
In the meantime, I’ve installed the ACE2 RAM mod and figured out that the Romulator mod definitely won’t fit in there as it collides with ACE2.
Sorry for jumping from mod to mod but unfortunately, this is how the whole building process works so please don’t expect it will be a step-by-step how-to, so back to more ACA, Buddha, and ZZ9000 puzzle.

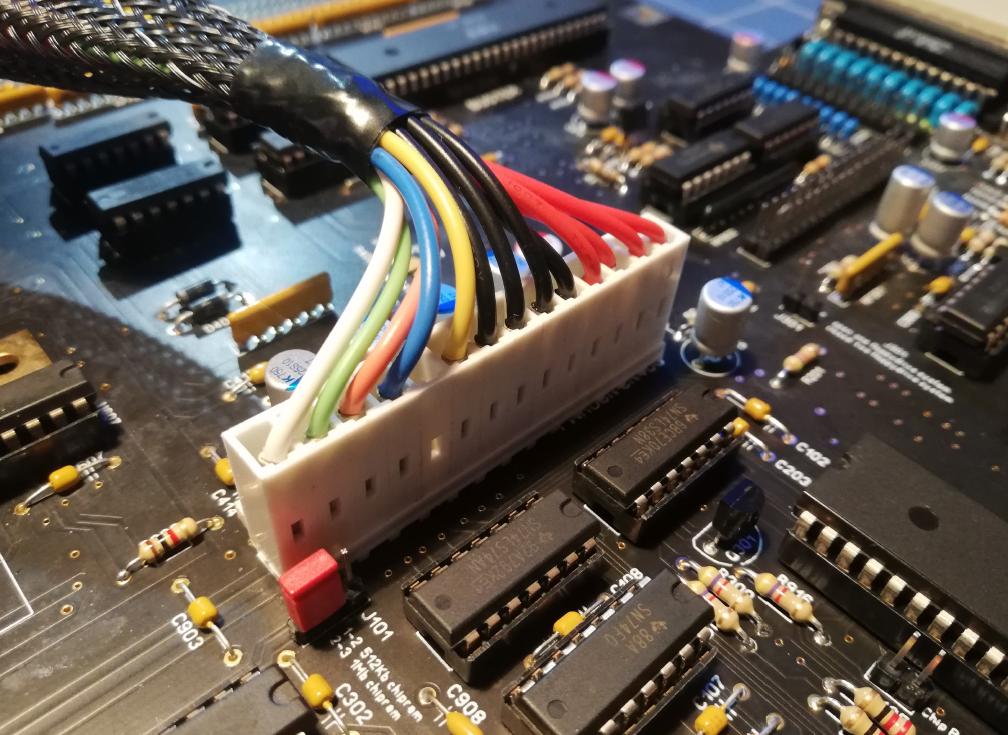
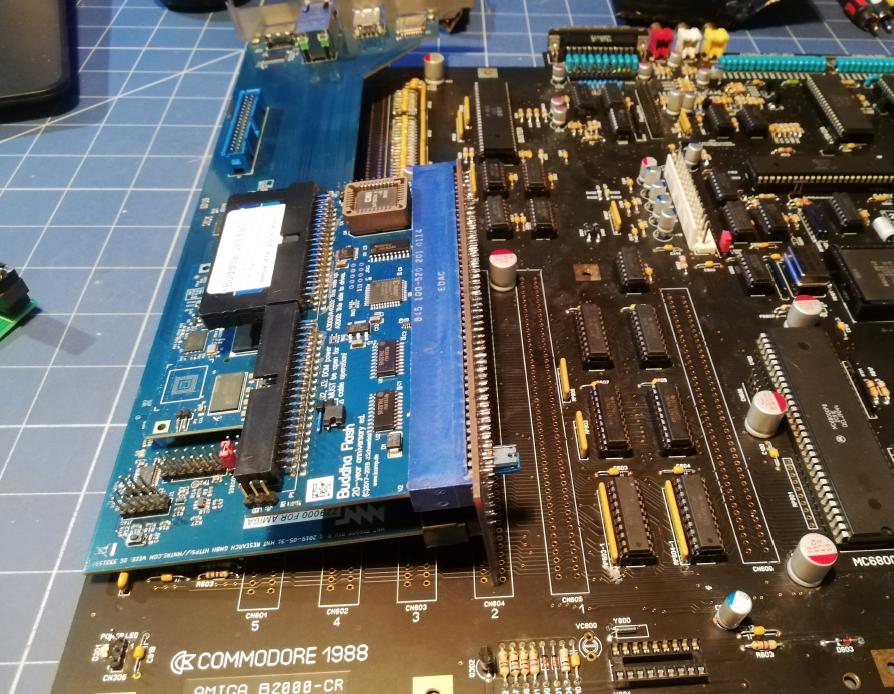
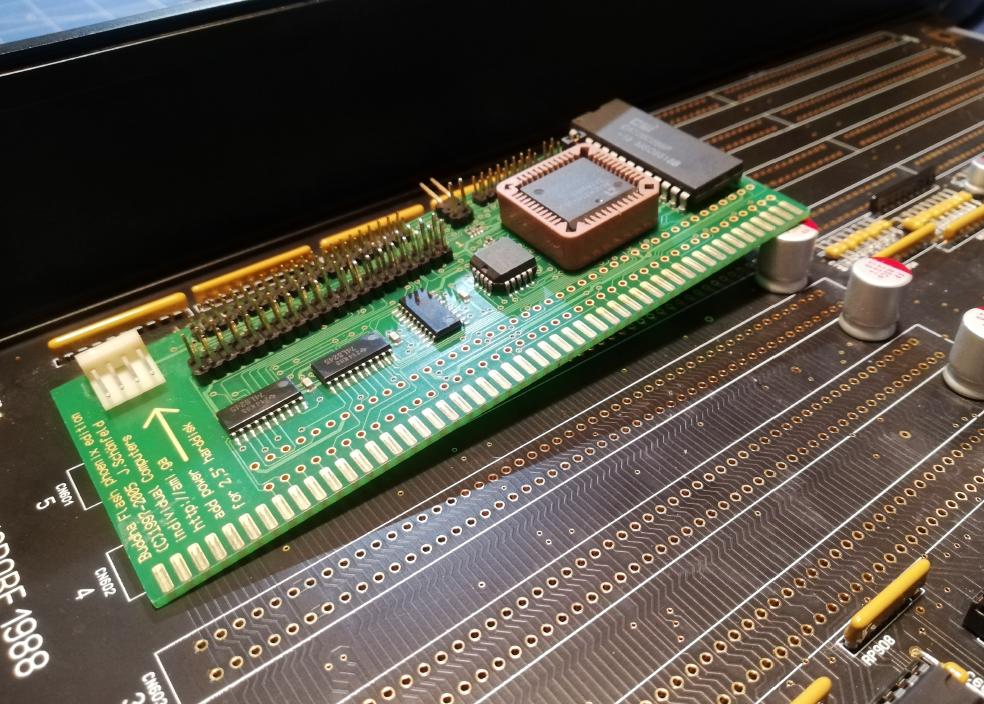
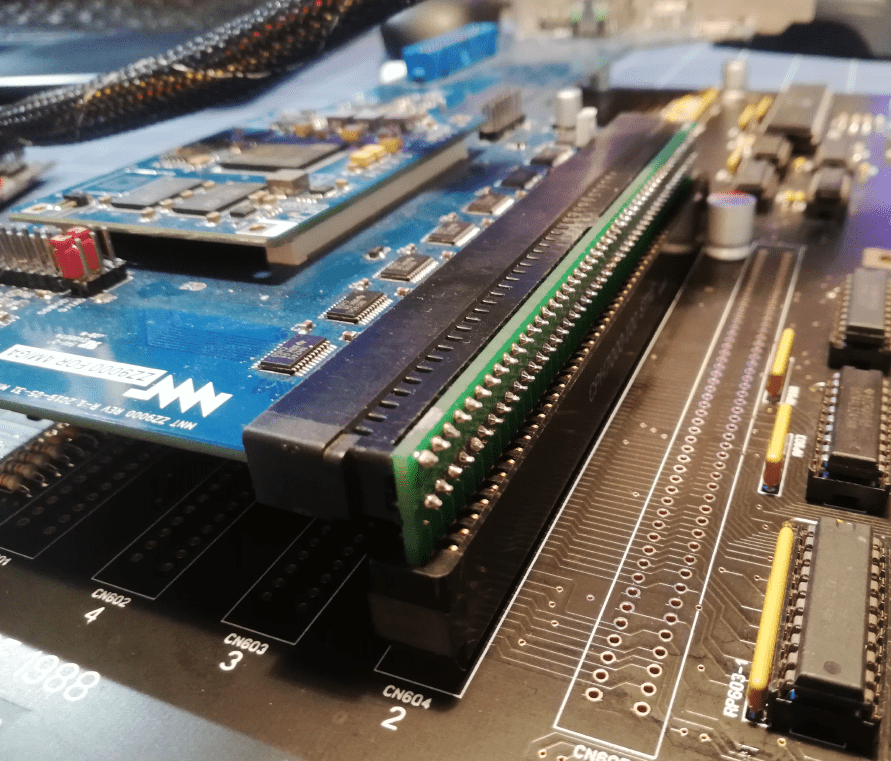
Buddha Flash – first attempt
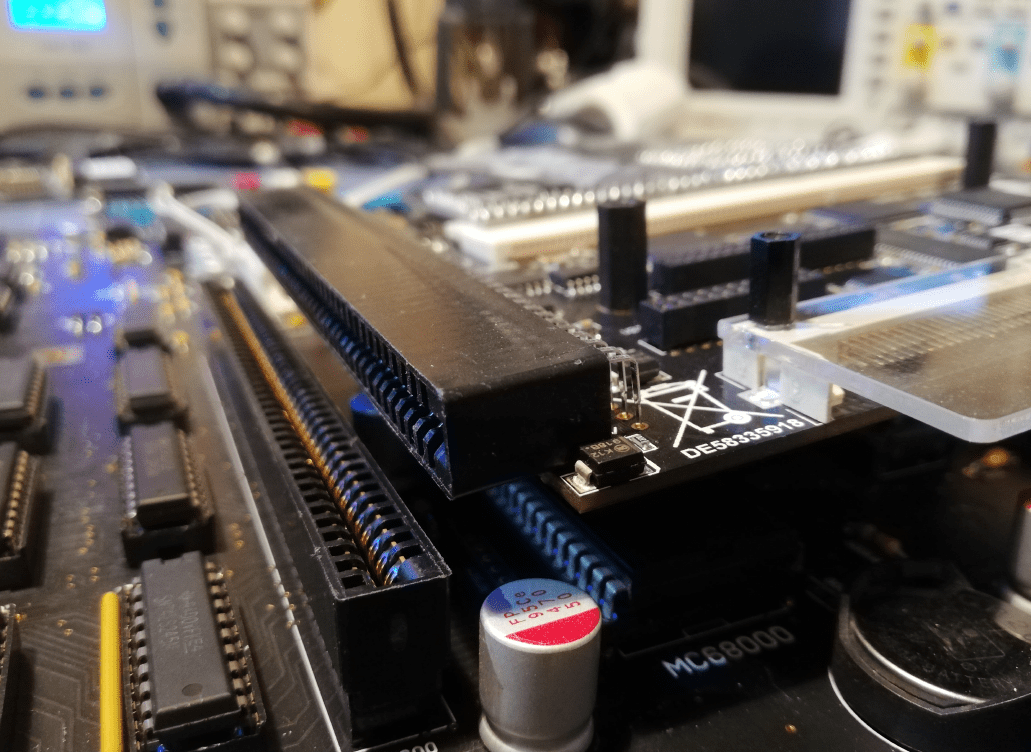
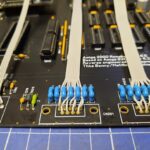
You might be surprised, but we’ve first tried to check if Buddha Flash for Phoenix motherboard works in this setup.
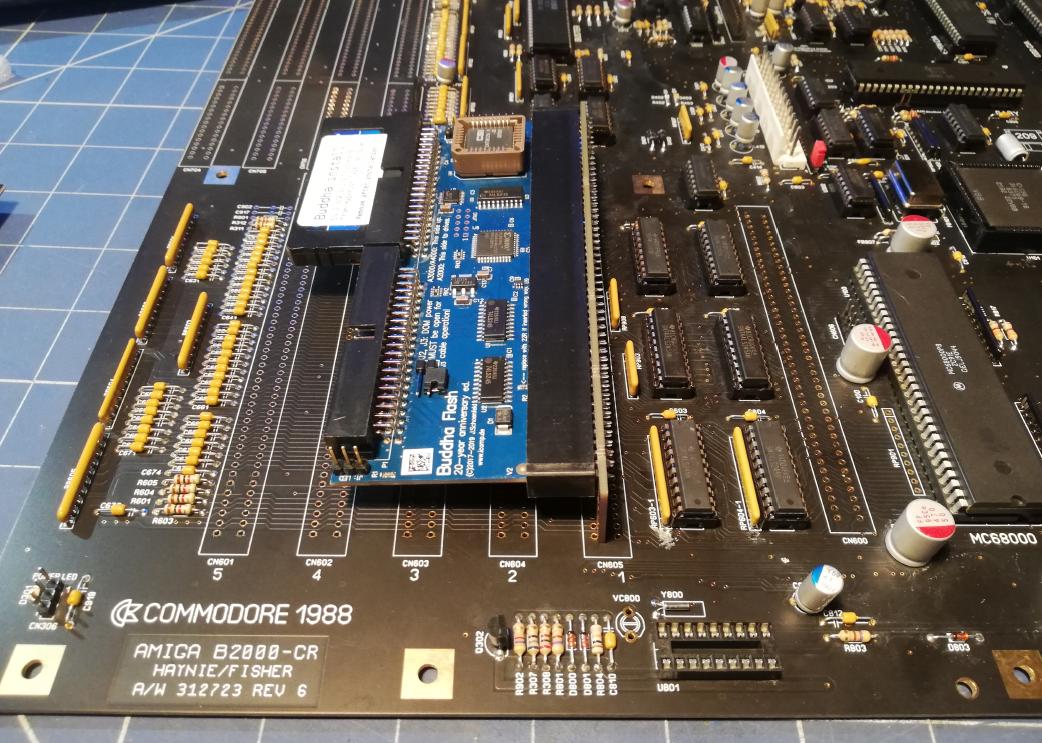
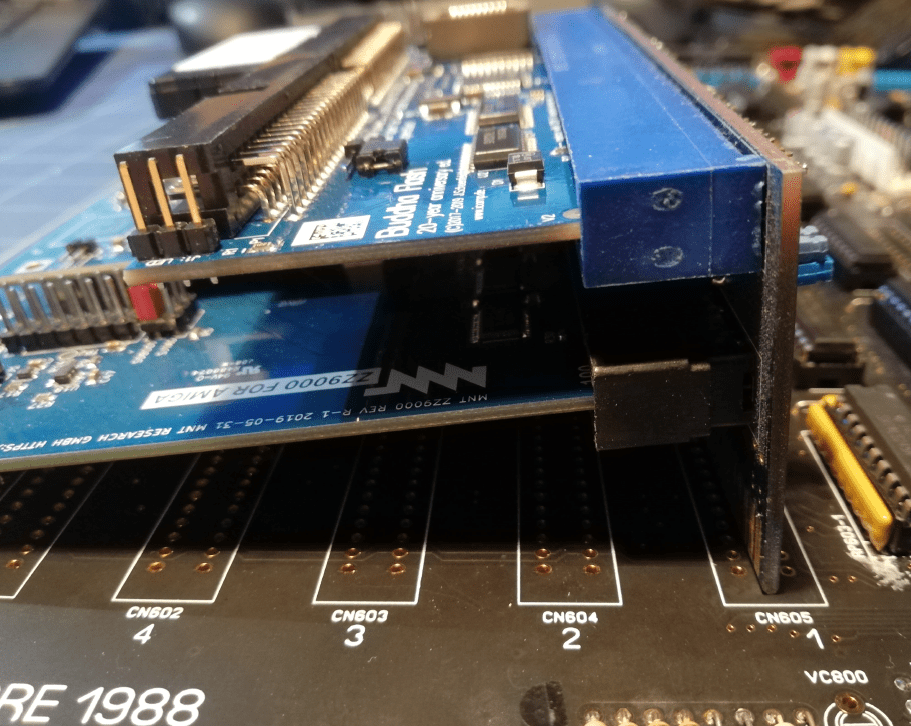
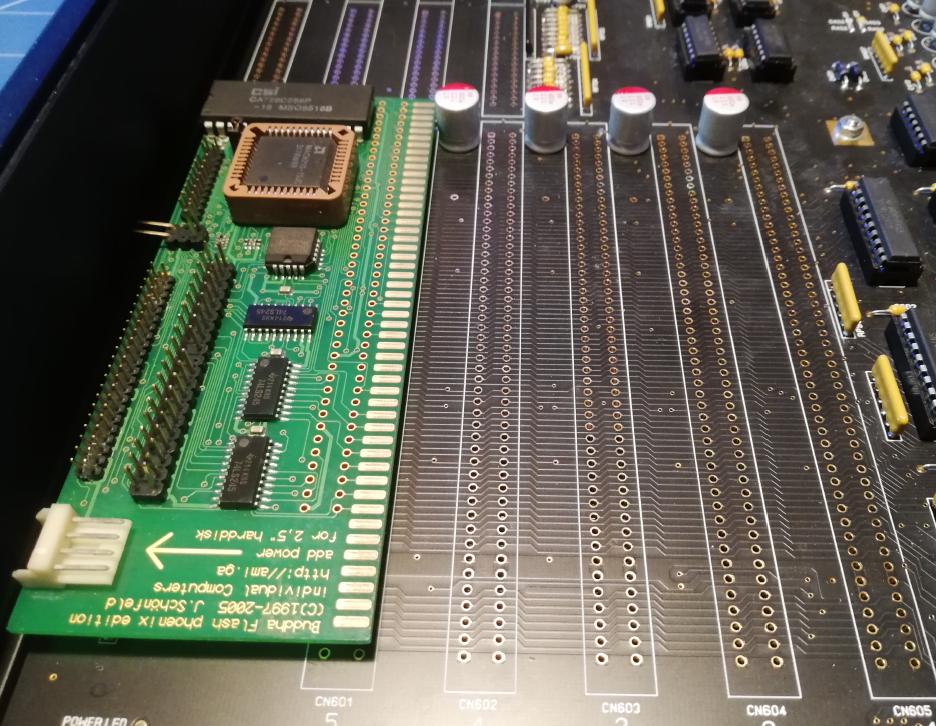
MrTrinsic came up with an idea to install this card using gold pins so it could stay parallel to the A2000 mobo.
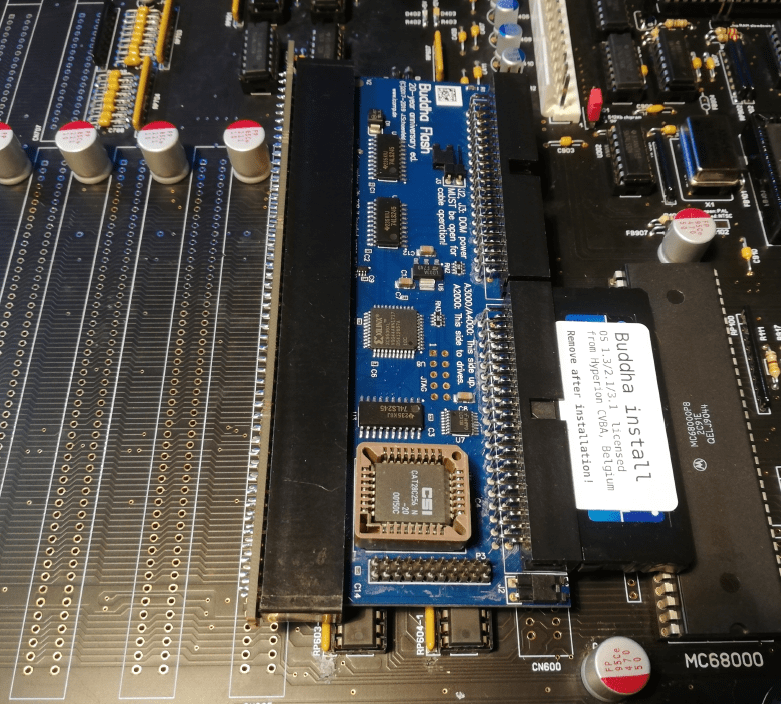
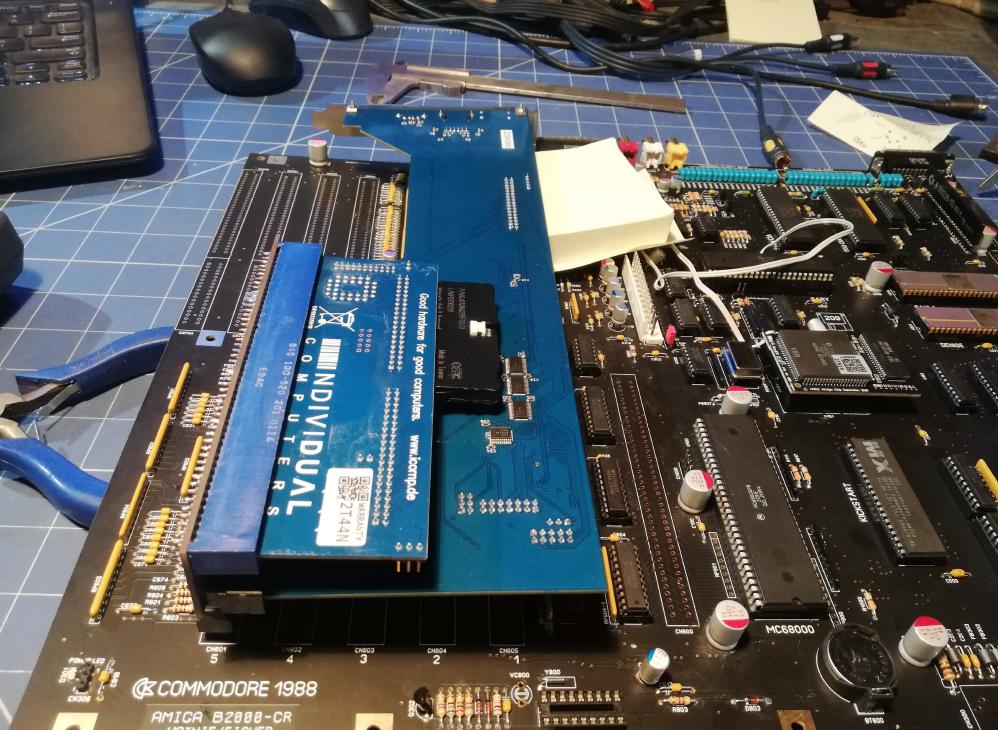
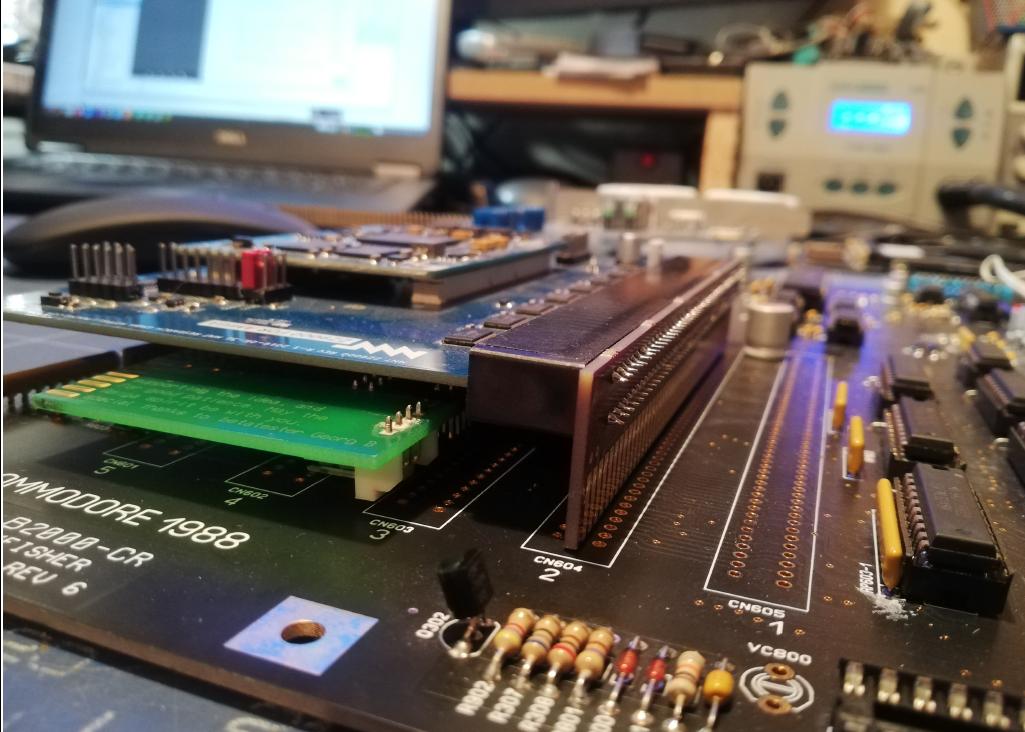
However, there was a problem with capacitors that had to be solved. We’ve decided that we will sacrifice one Buddha and cut out the last four pads of the card to get rid of the problem with a cap. The card was later soldered on using gold pins.

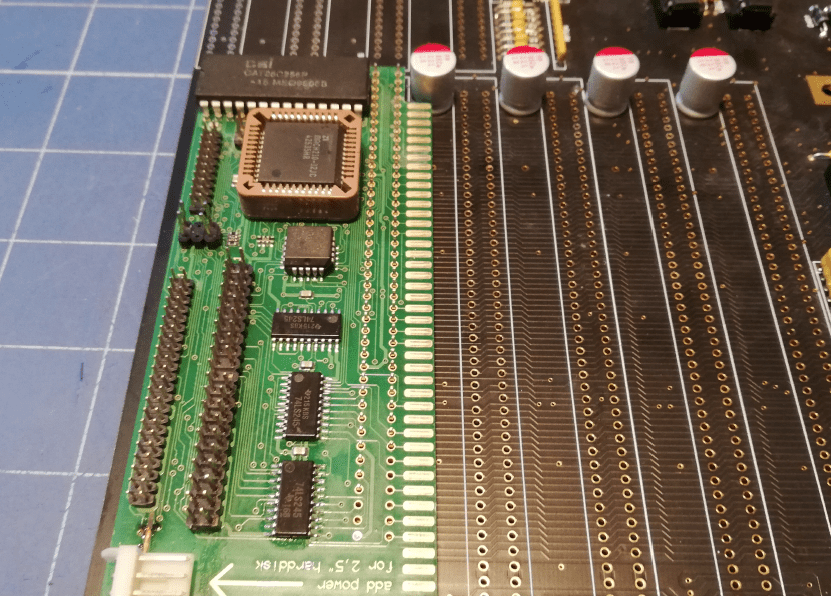

After some test runs, I’ve figured out that this particular Buddha card is not working as expected in this setup 🙁
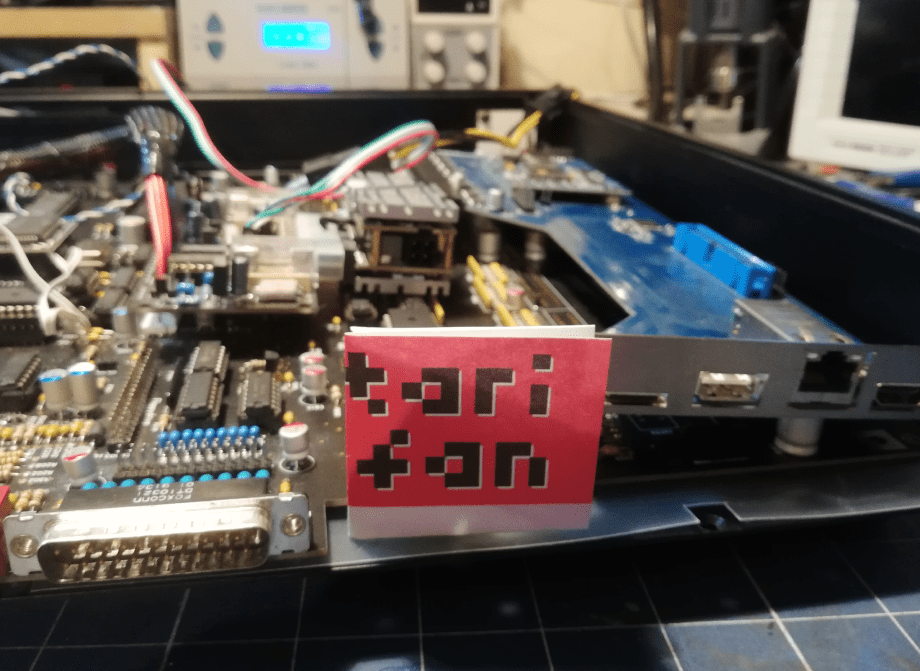
That was addressed later and will be covered in future posts. Until then, more puzzles, planning, and testing with a mobo are installed in the case.

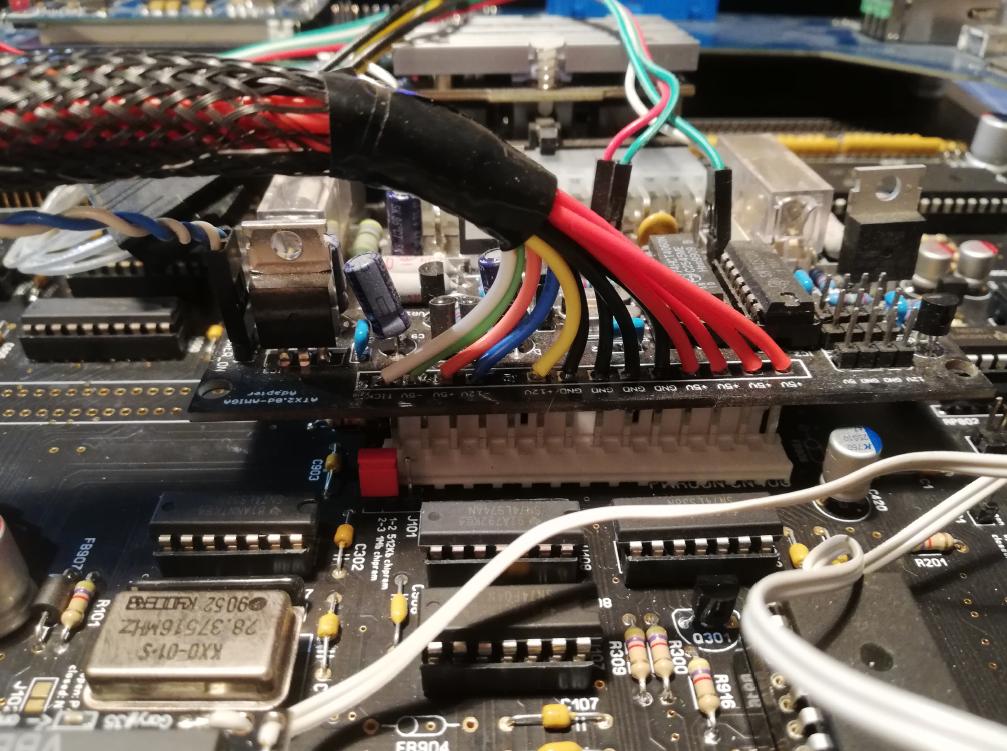
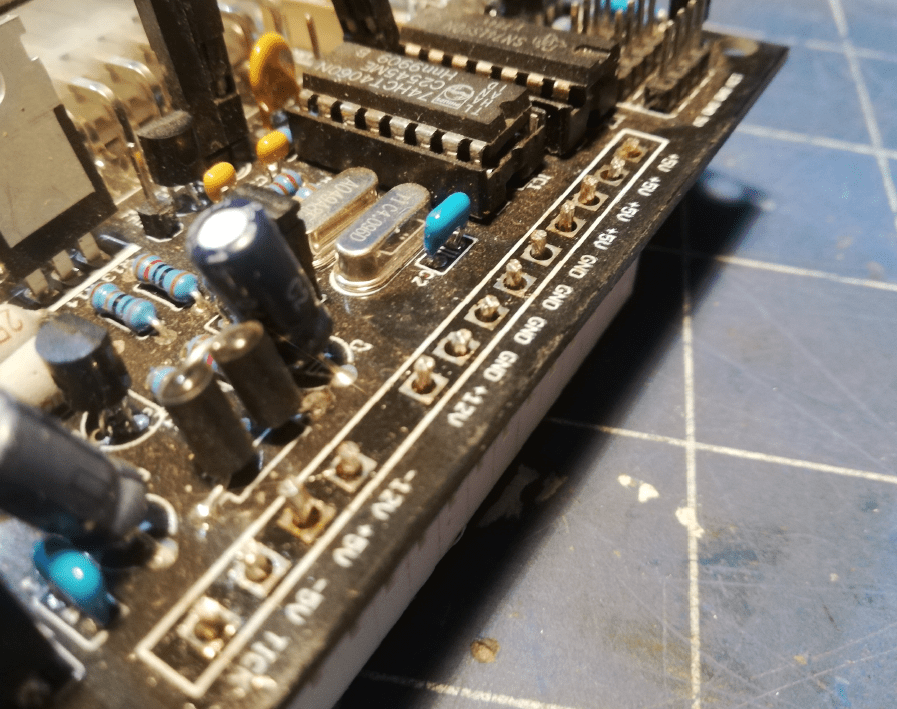
PSU adapter / HDPLEX
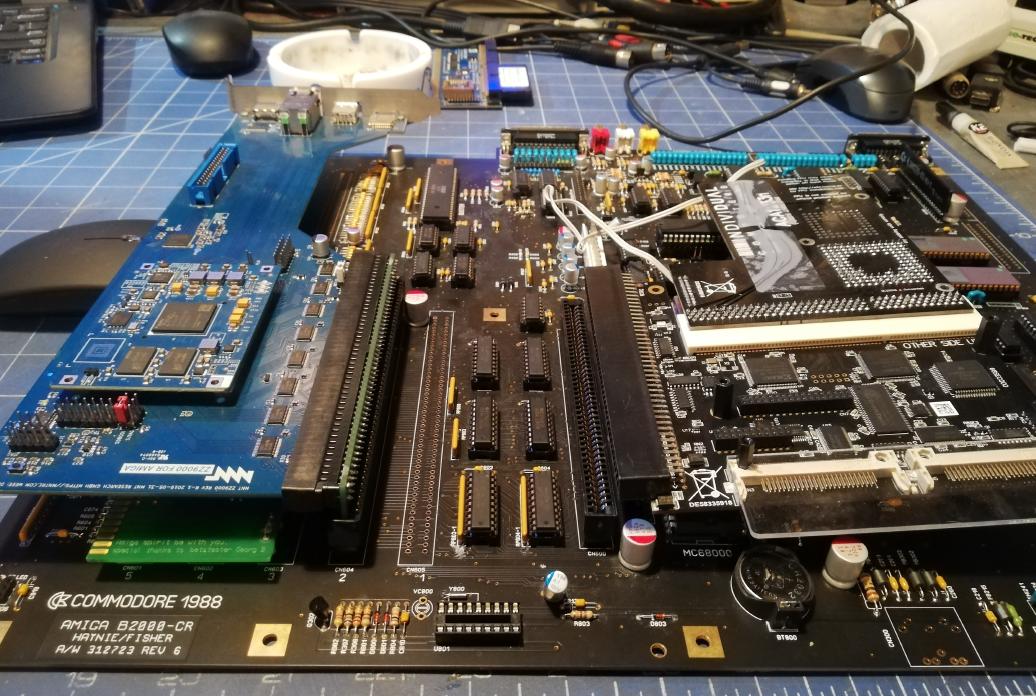
I had to start testing if A2000 works with all the mods. First, I had to sort out a PSU adapter and HDPLEX.
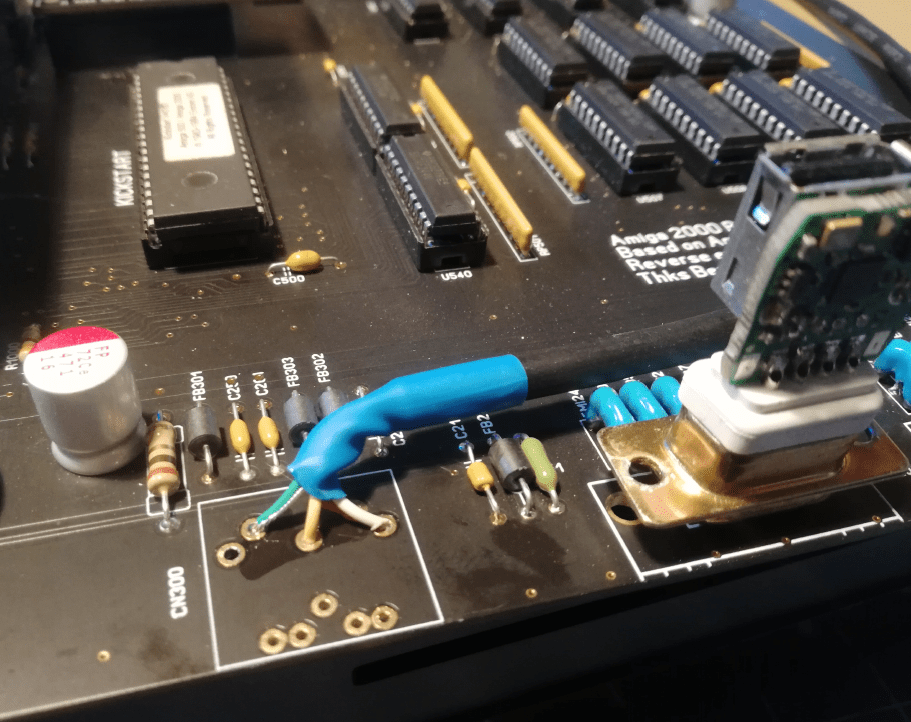
The adapter was wired for the A1000 Phoenix project so I had to work on it a bit.
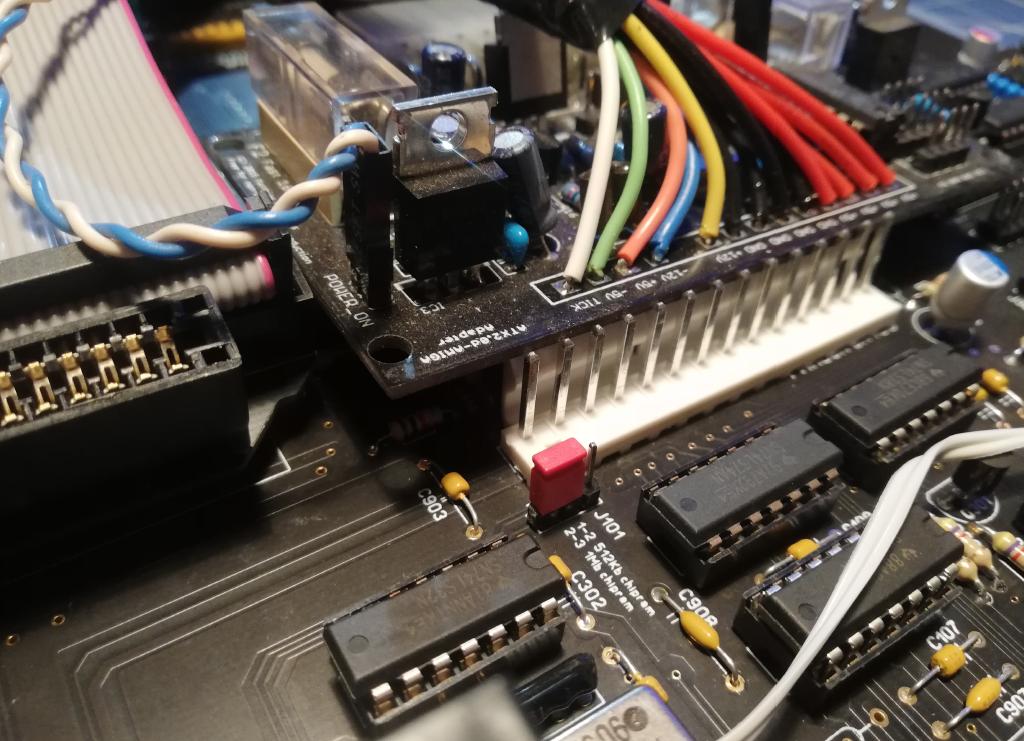
At first, I wanted to use gold pins, but later I figured that these might be too thin and cause voltage drops or heat up so I’ve replaced ’em with a thick, tinned copper wire.
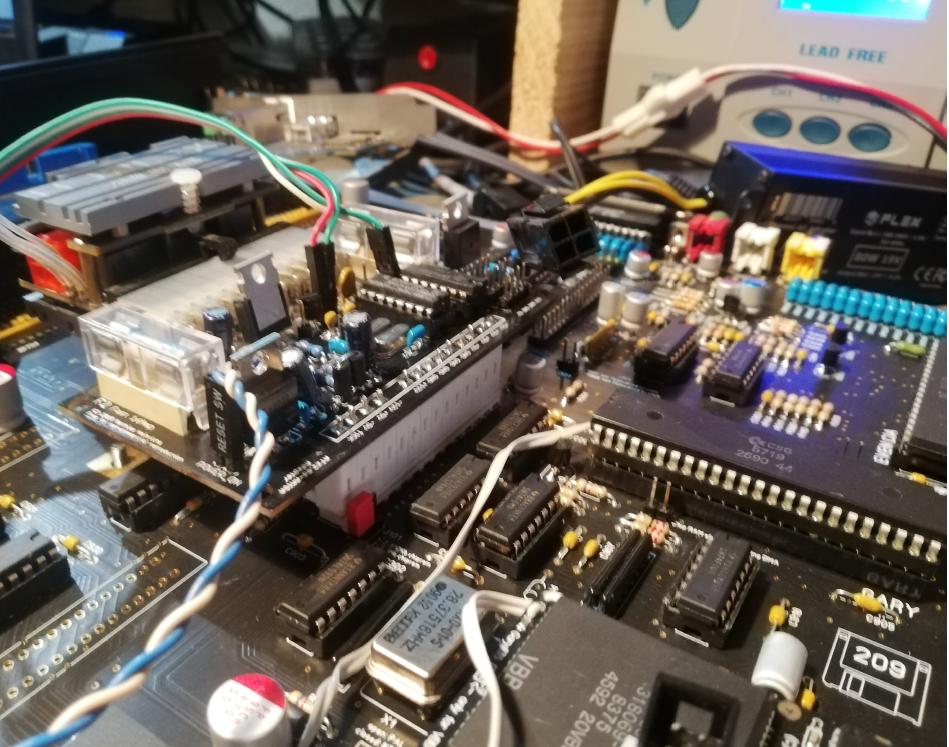
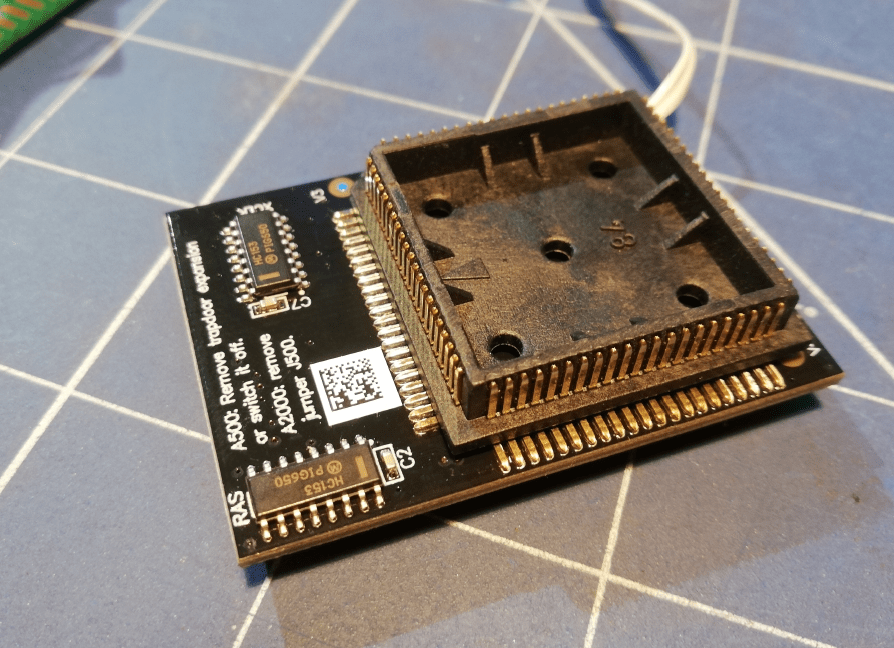
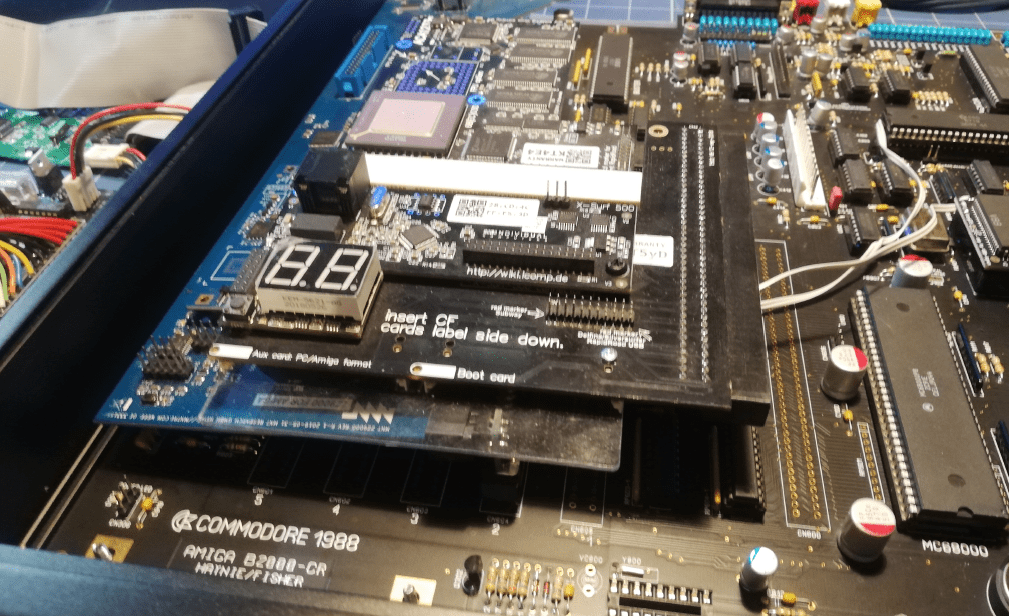
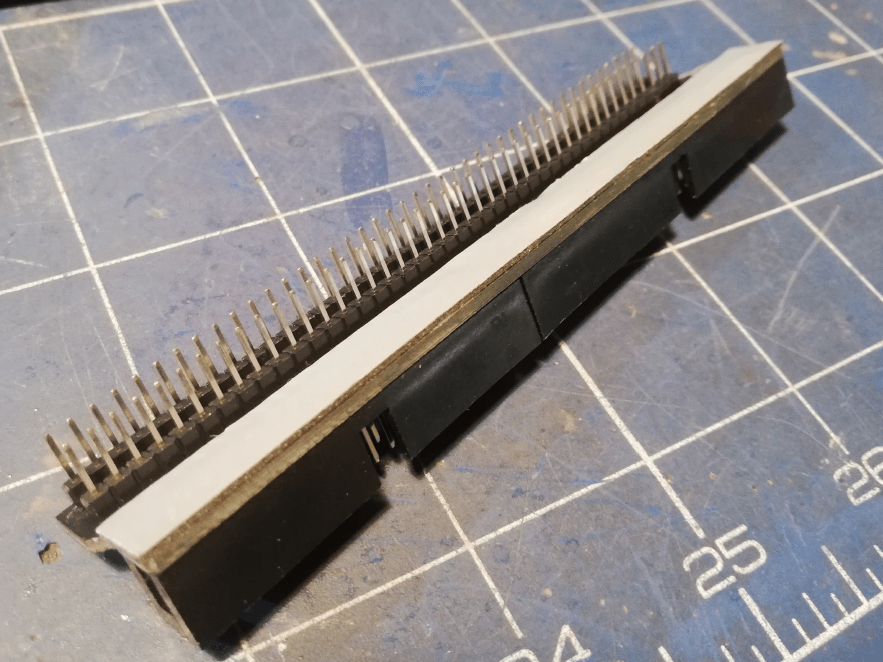
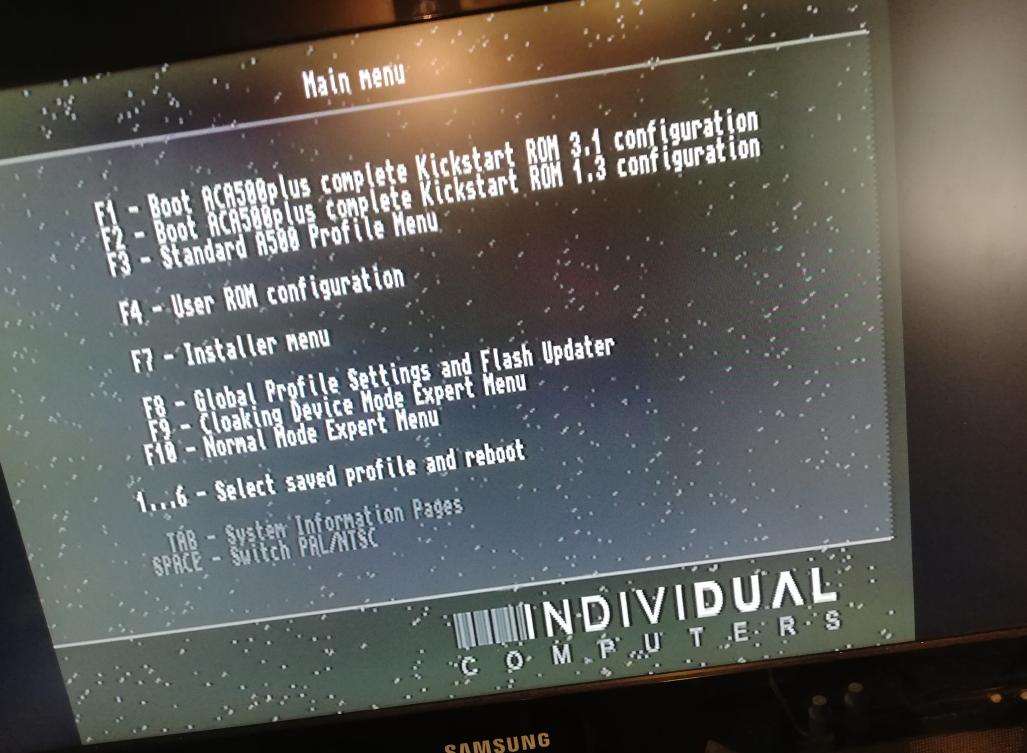
ACA500plus adapter
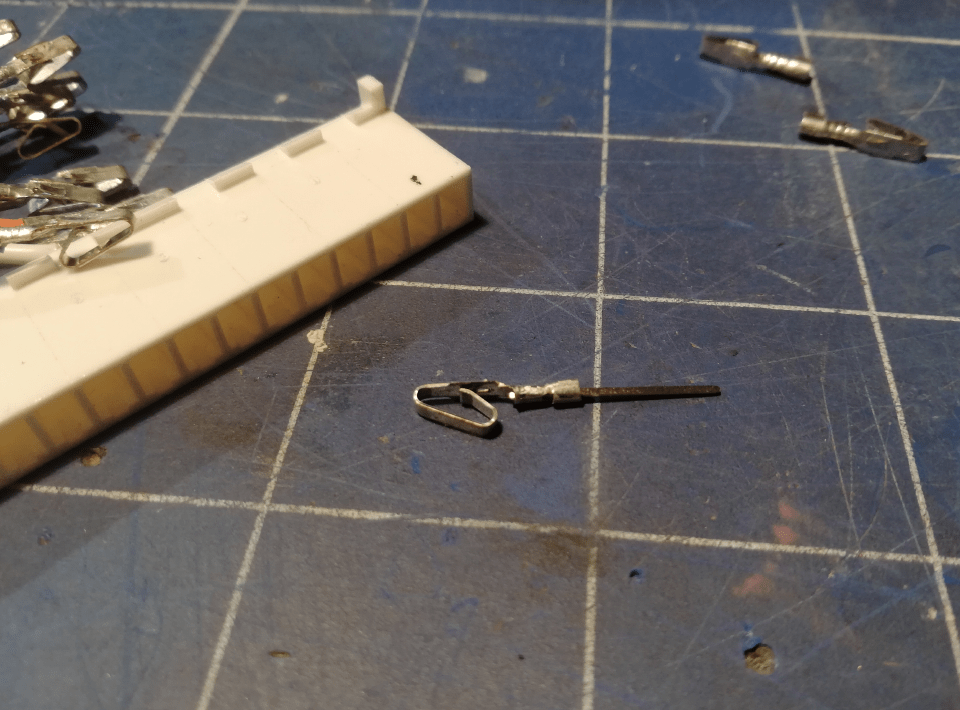
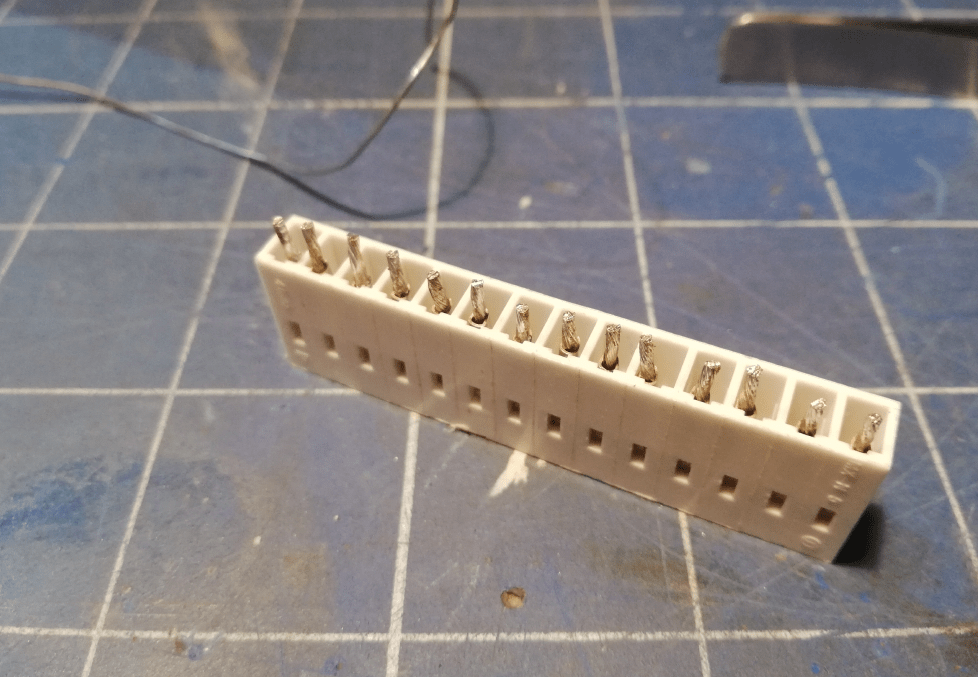
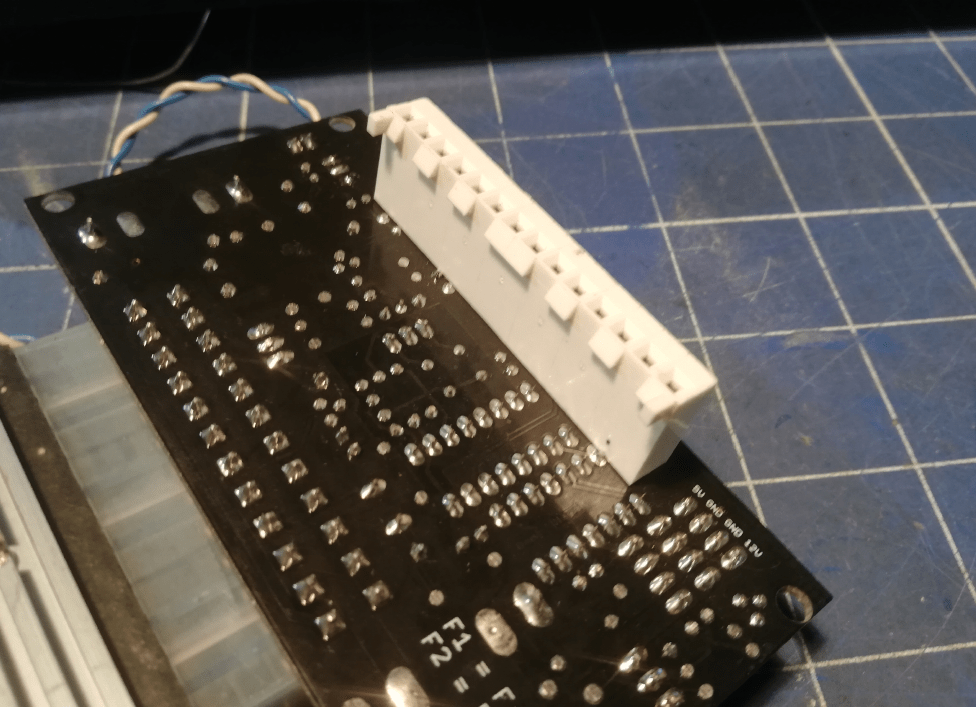
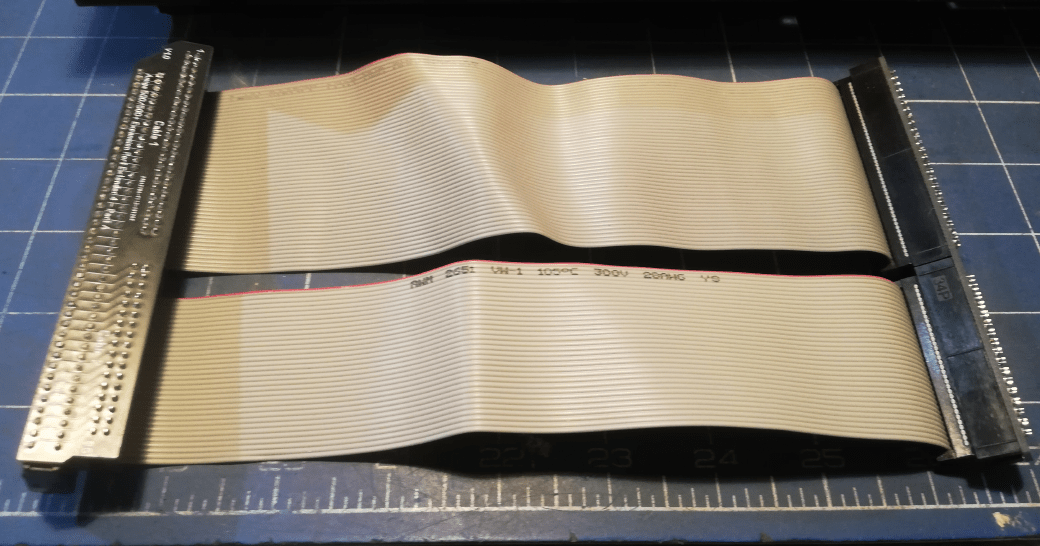
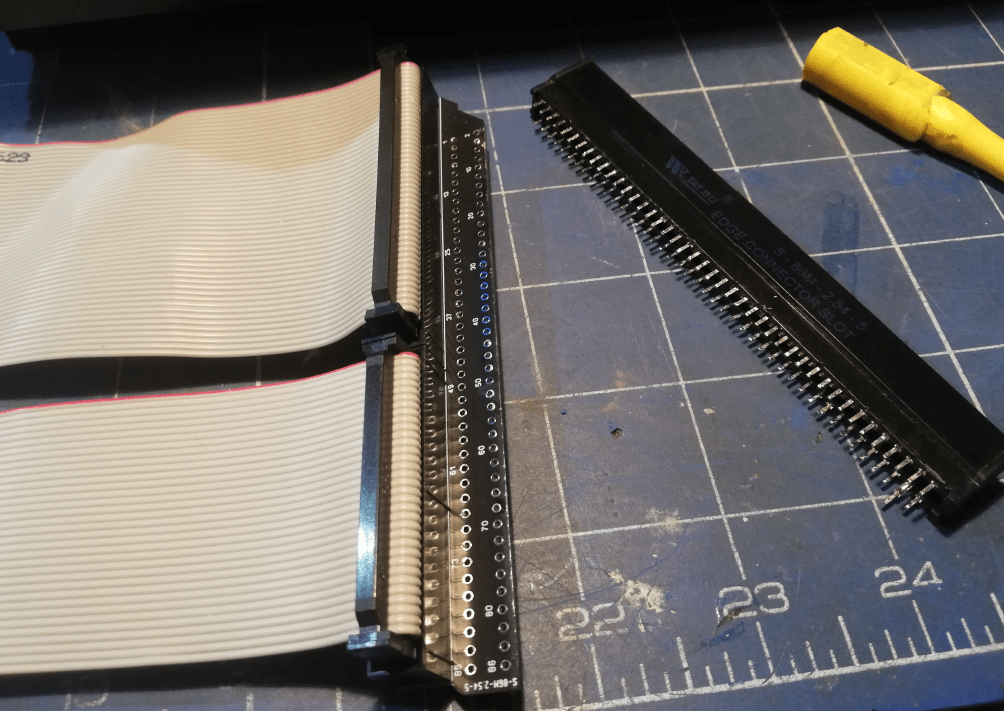
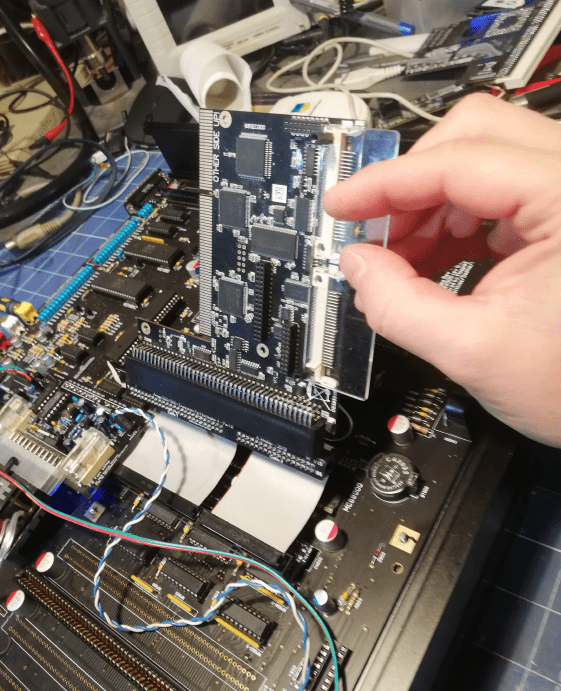
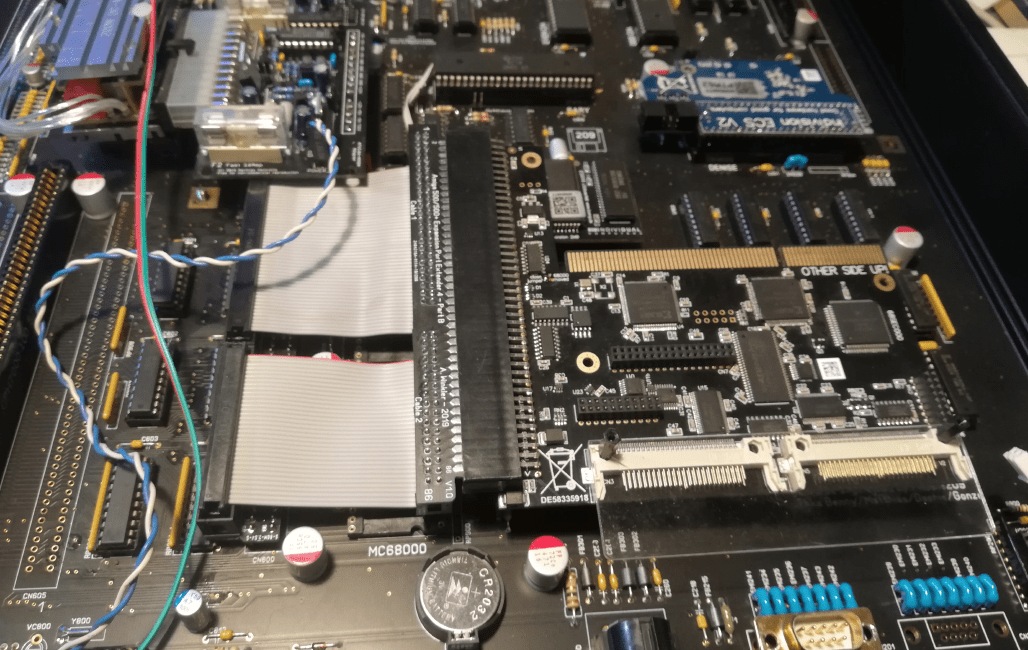
I’ve finally figured out where to place the ACA500plus card so I could start working on an adapter for it.
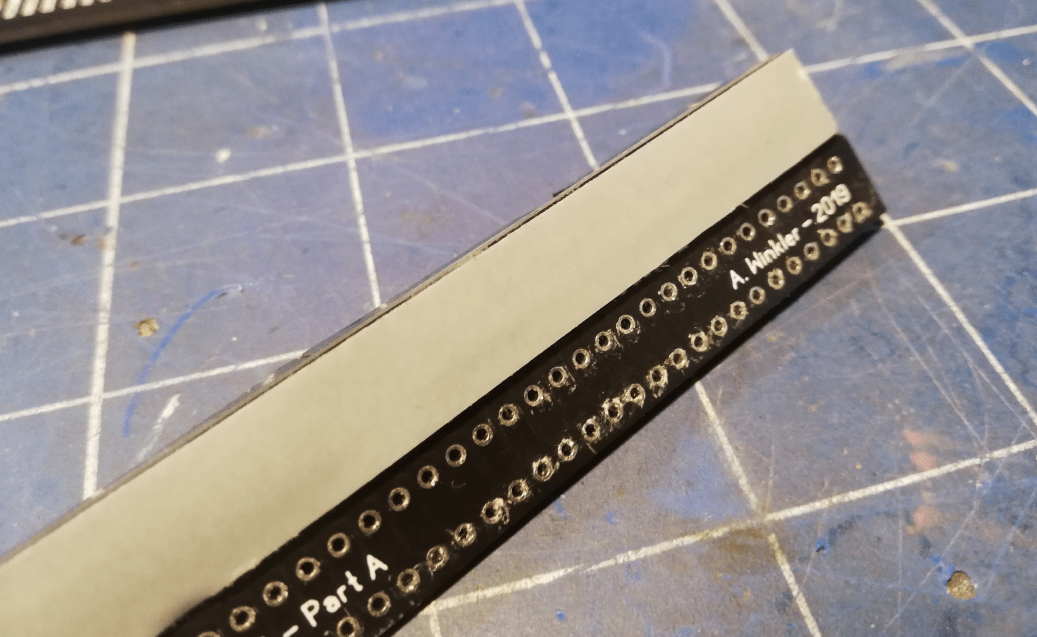
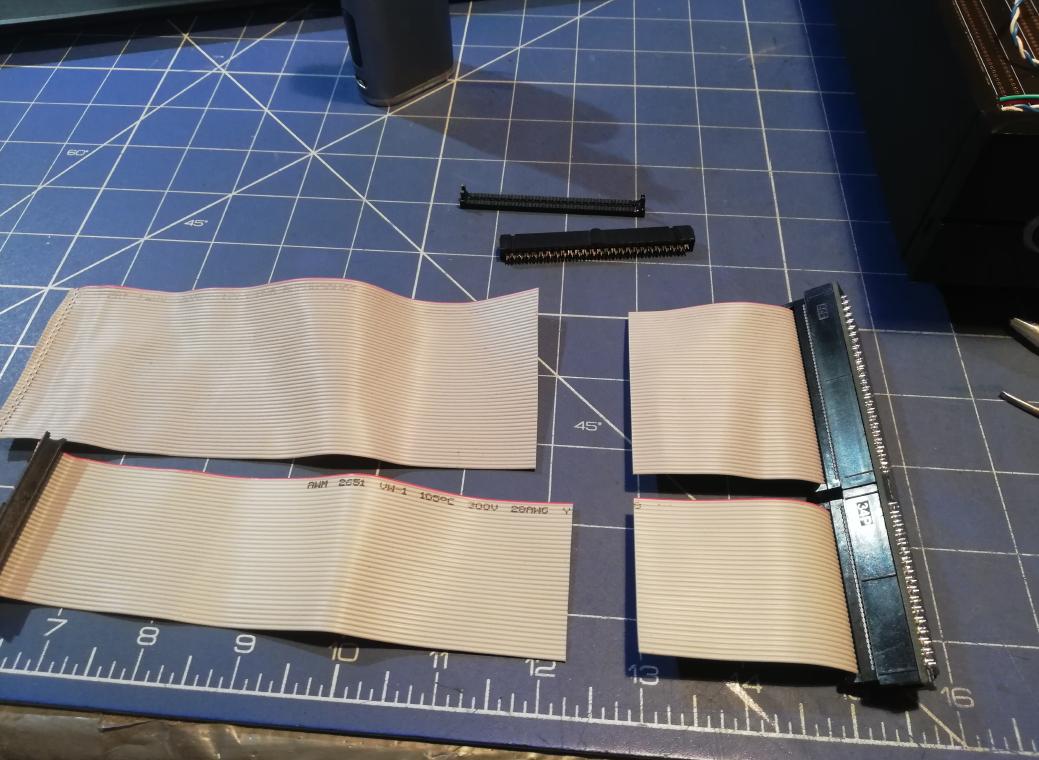
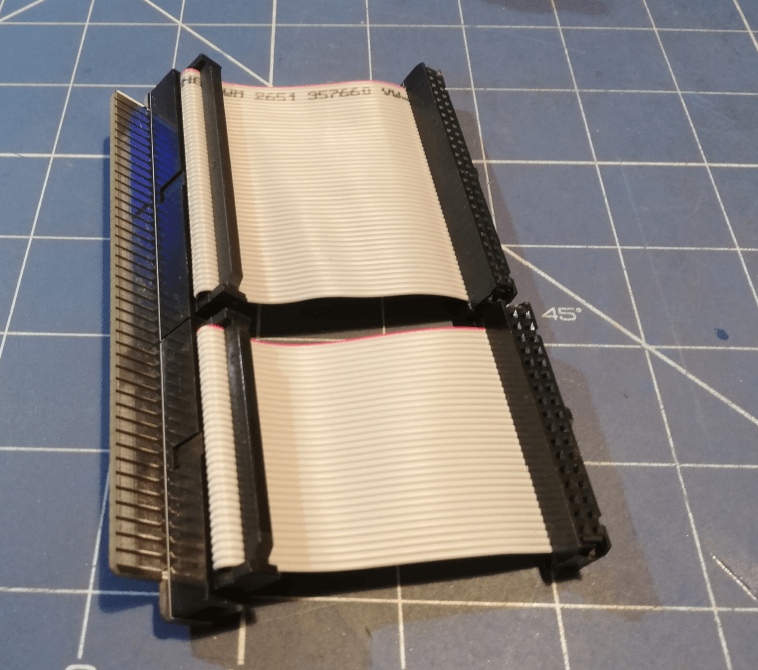
The original adapter was dedicated to A500 boards and had kinda long wires. To avoid instability, I shortened the ribbon wire as much as I could. I also had to remove the original socket from it and soldered the adapter to the mobo directly by using gold pins.
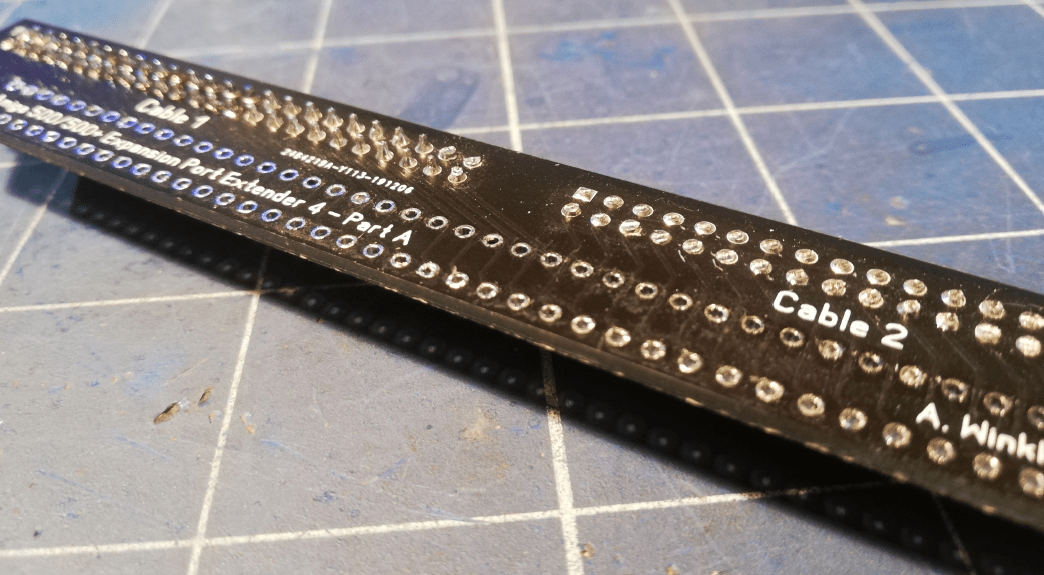
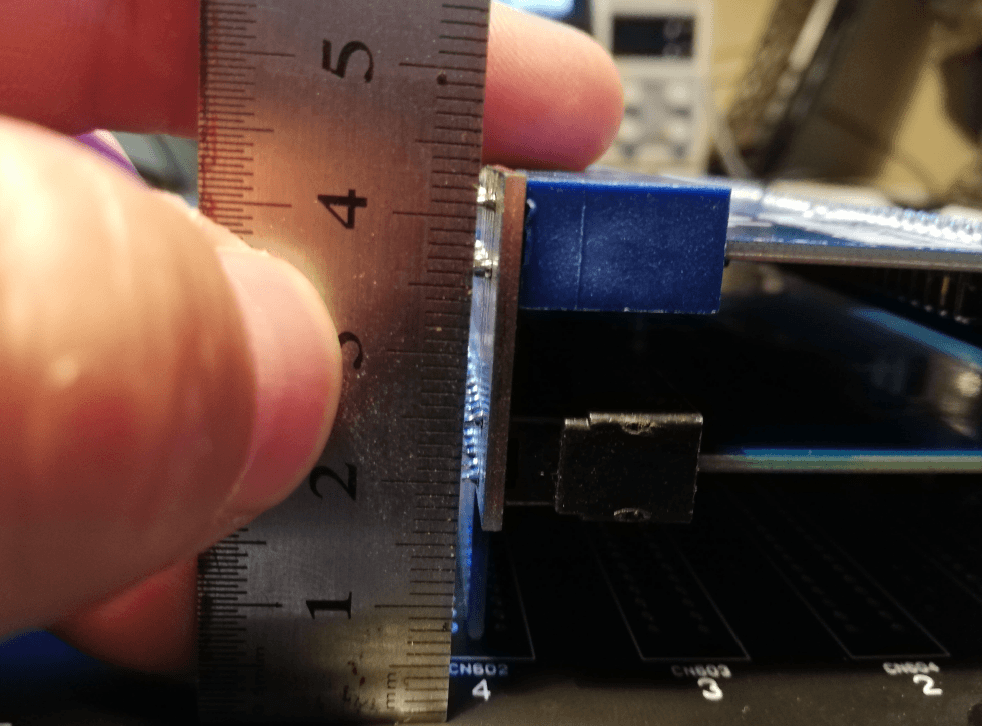
Excess solder had to be trimmed and sanded off because every millimeter counts in this project.

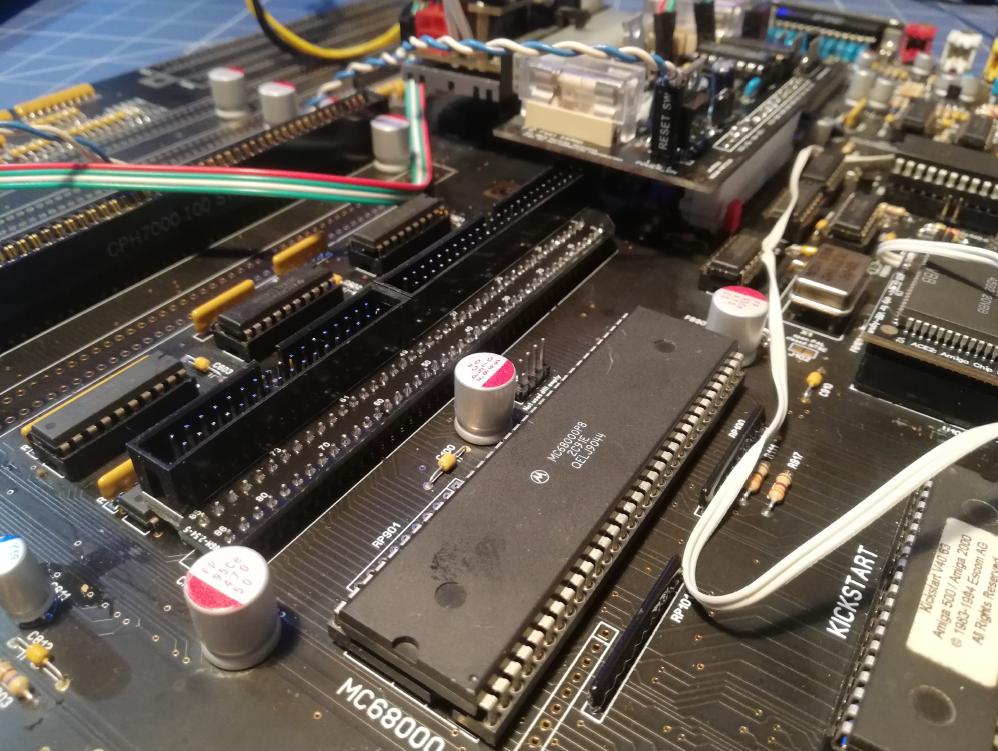
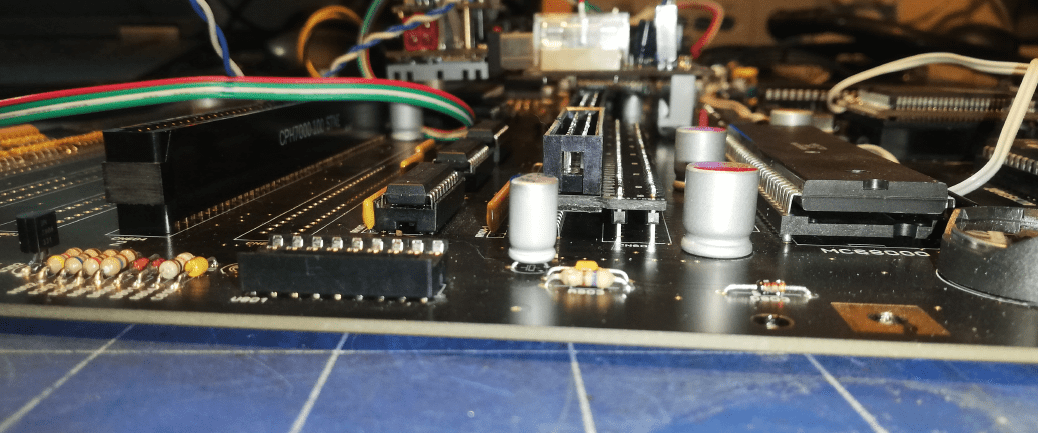
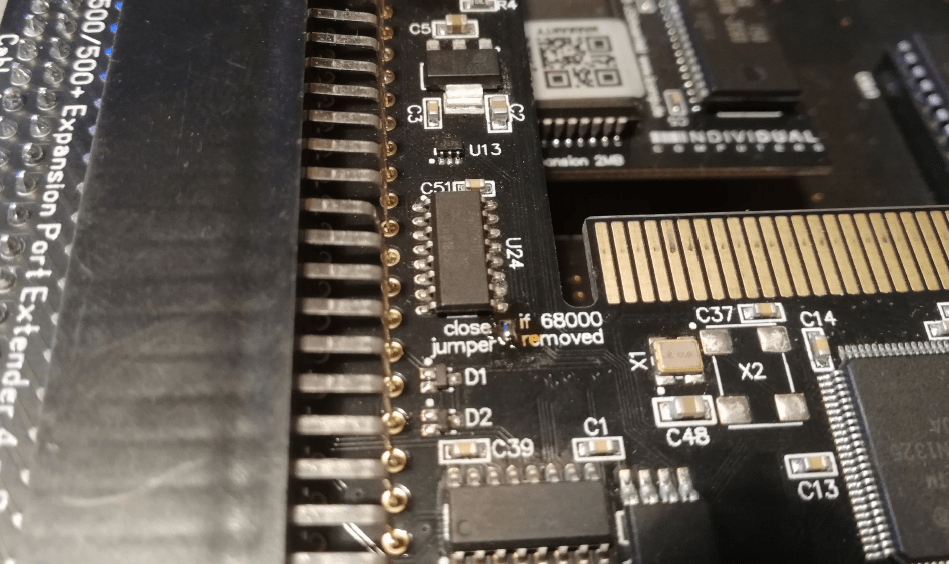
It is worth noting that ACA500plus will not work while the original M68k is installed. This bit took me a decent while to figure out… like a decent while … counted in days lol 😀
The remedy was to put a solder blob on an ACA card and remove the original CPU.
Tadaaaa! It works!!!oneone!111!eleven! (Video is B/W because it was connected through a MONO jack)
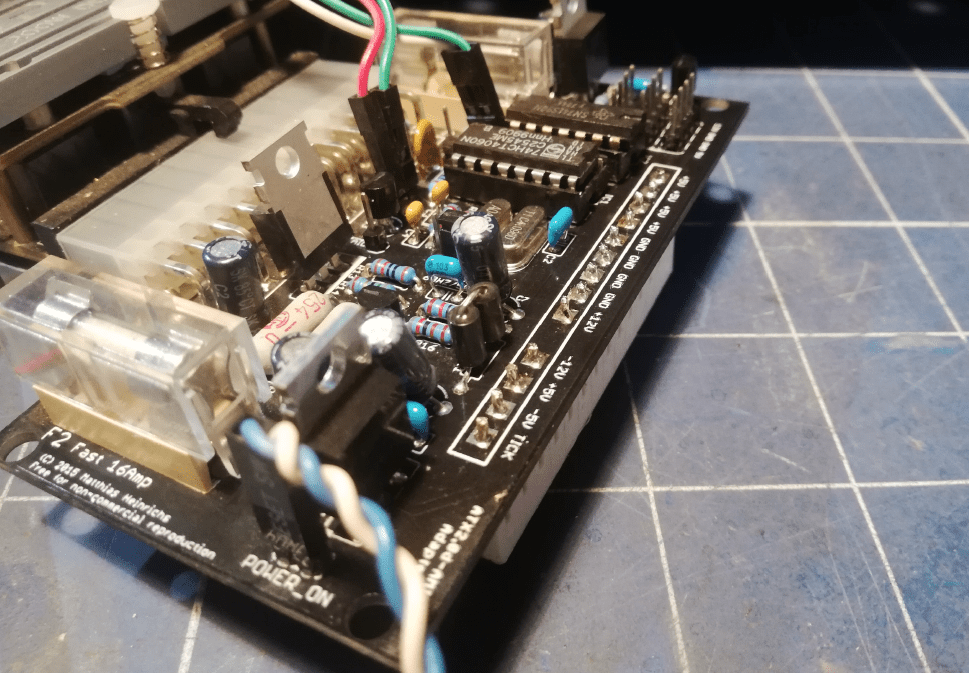
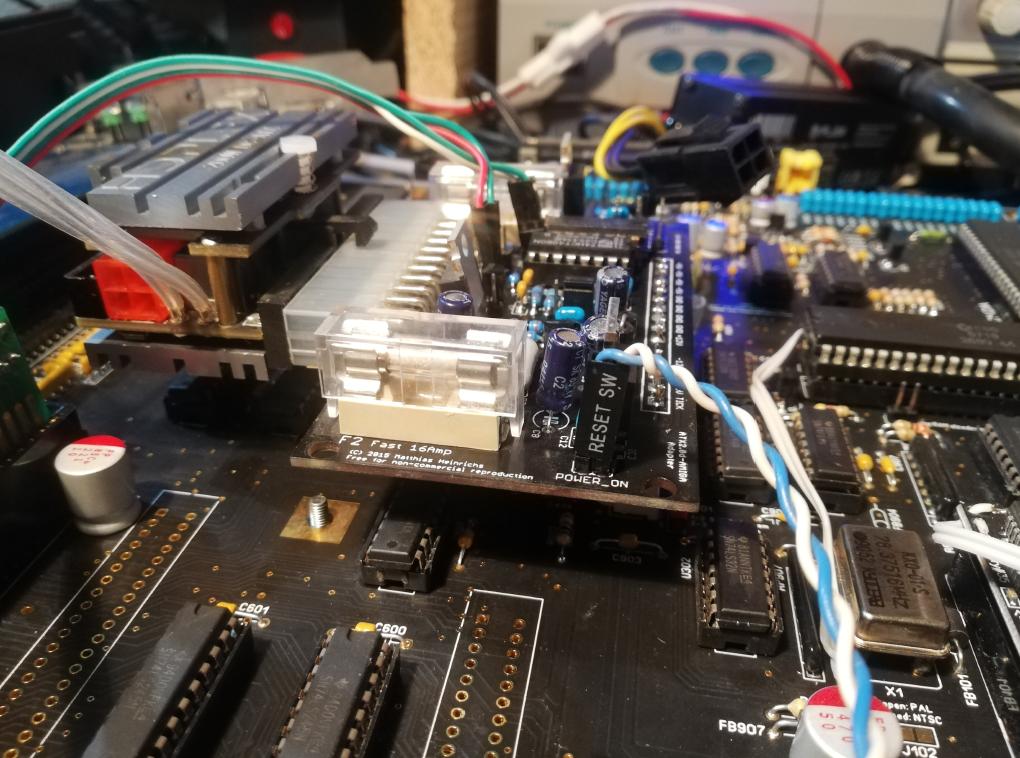
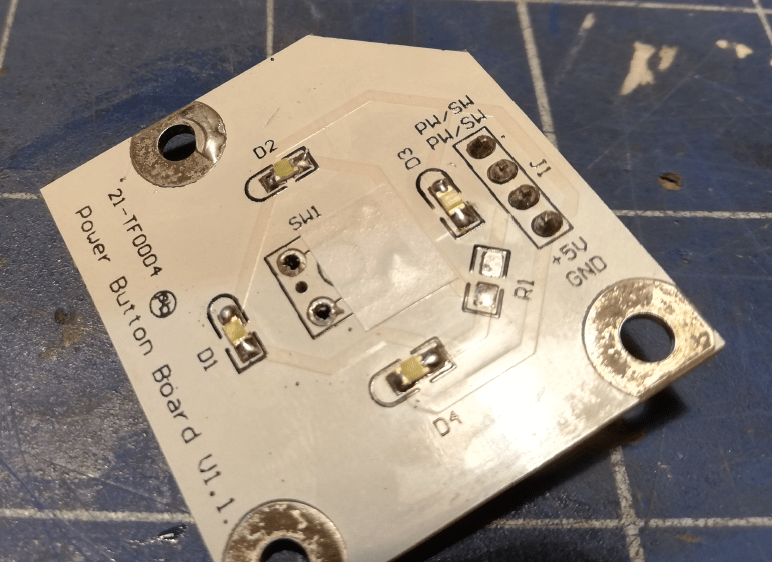
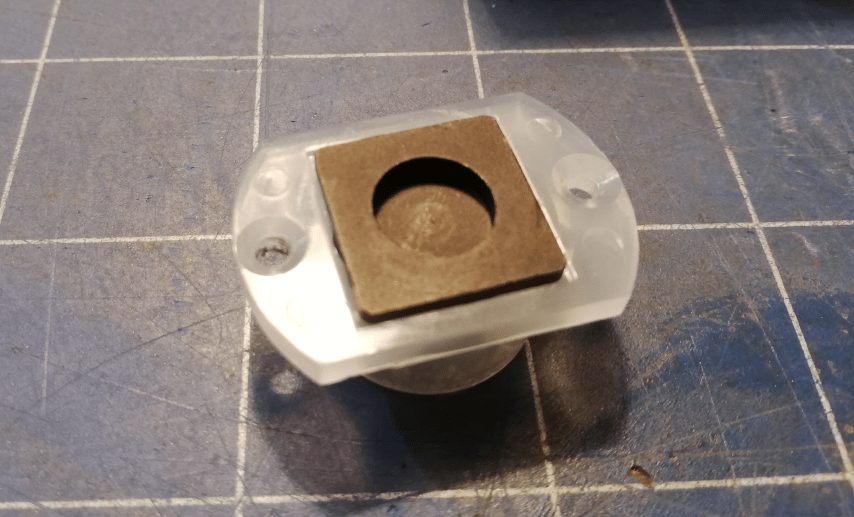
The power button
The original power button has a momentary TACT switch as it was made for a different type of PSU. In our case, we need a standard ON-OFF switch so I had to mod a PCB for it a bit. I also wanted it to mimic switches used in old-school retro audio amplifiers and it just had to have that special ‘click’ sound once pressed 😀
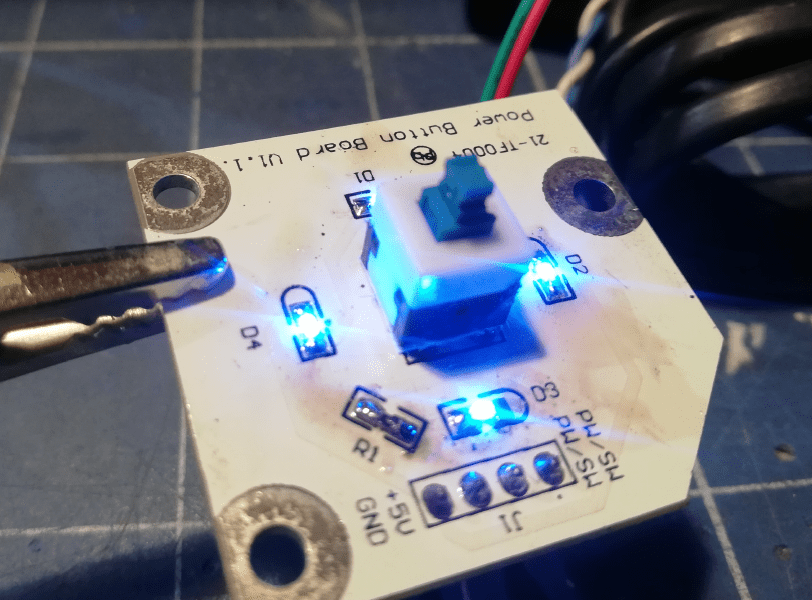
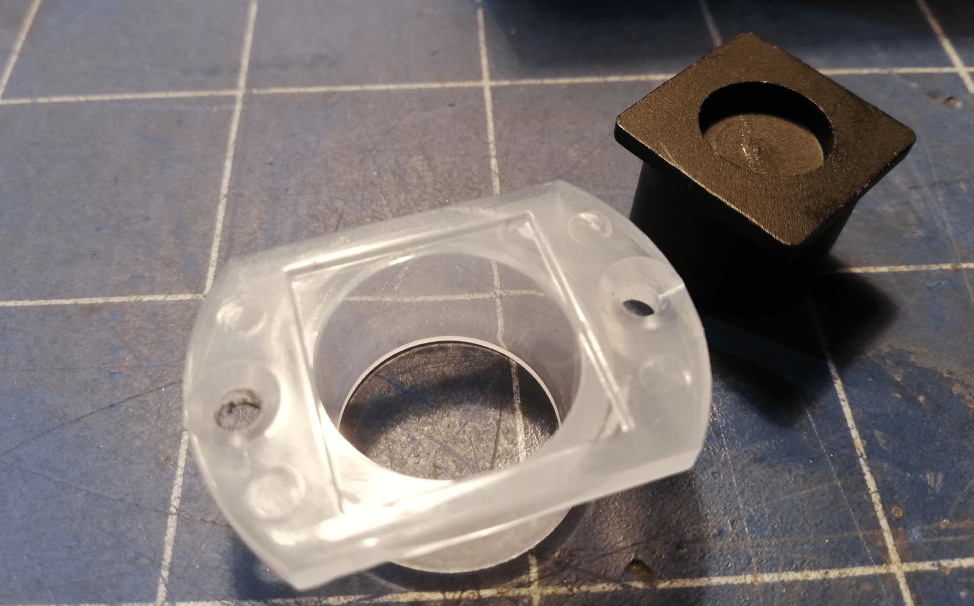
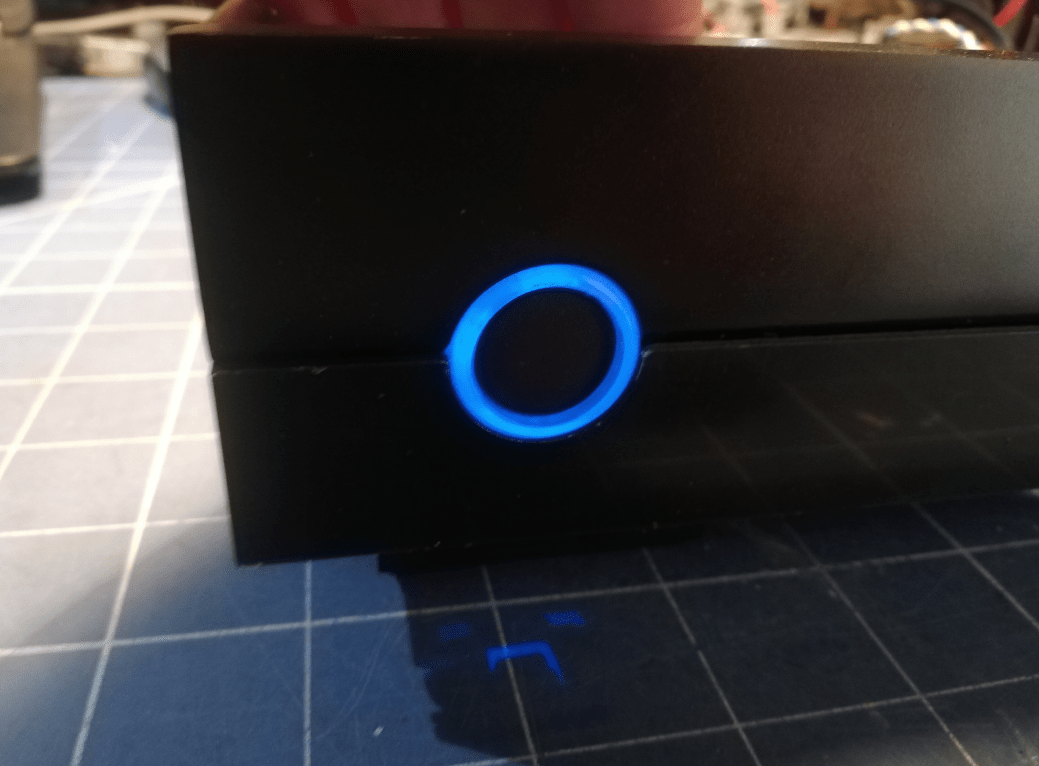
The switch that I used was a bit larger than the original so I had to rebuild everything. I’ve also replaced white SMD LEDs with blue ones to match the HxC LCD color 🙂

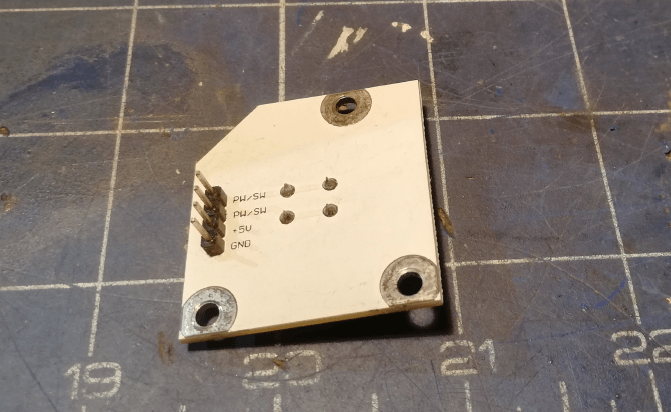
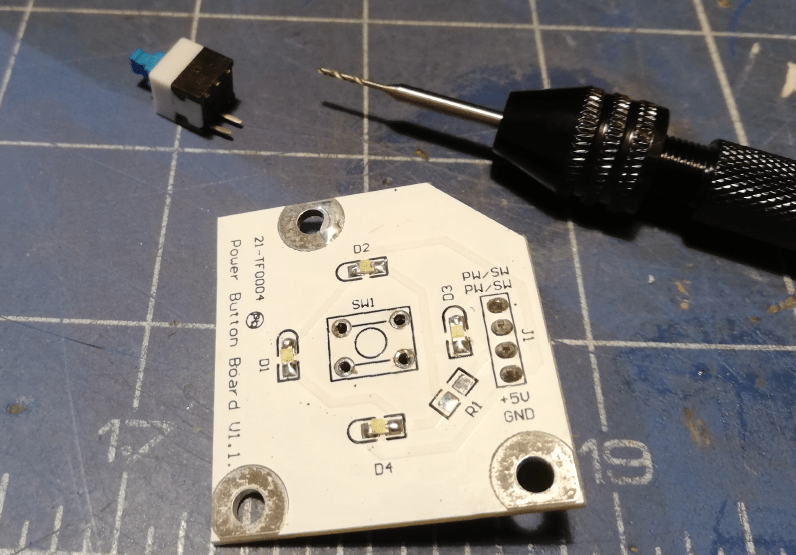
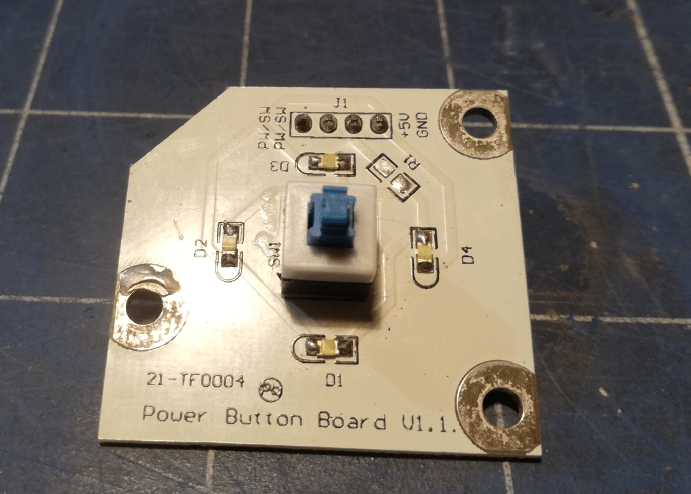
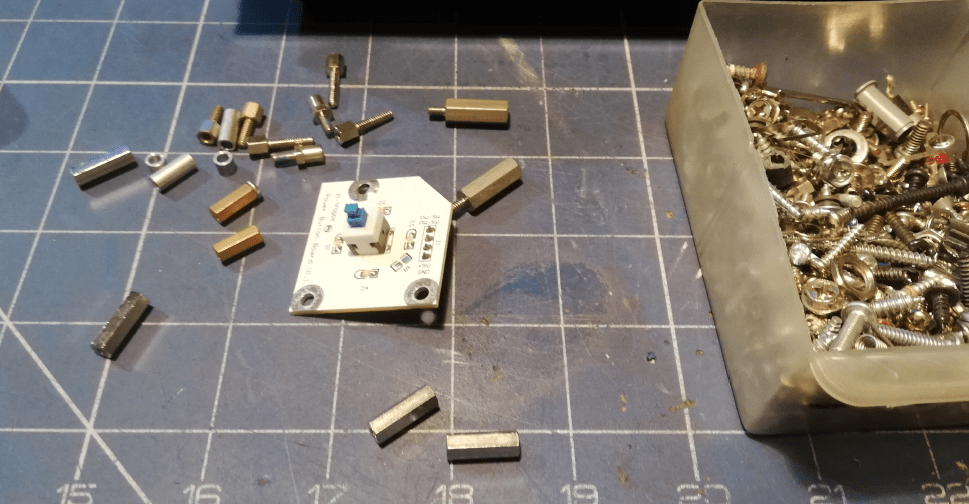
The switch worked fine but the button wasn’t designed to move more than 1 mm so I had to improvise and ended up creating special rails for it.
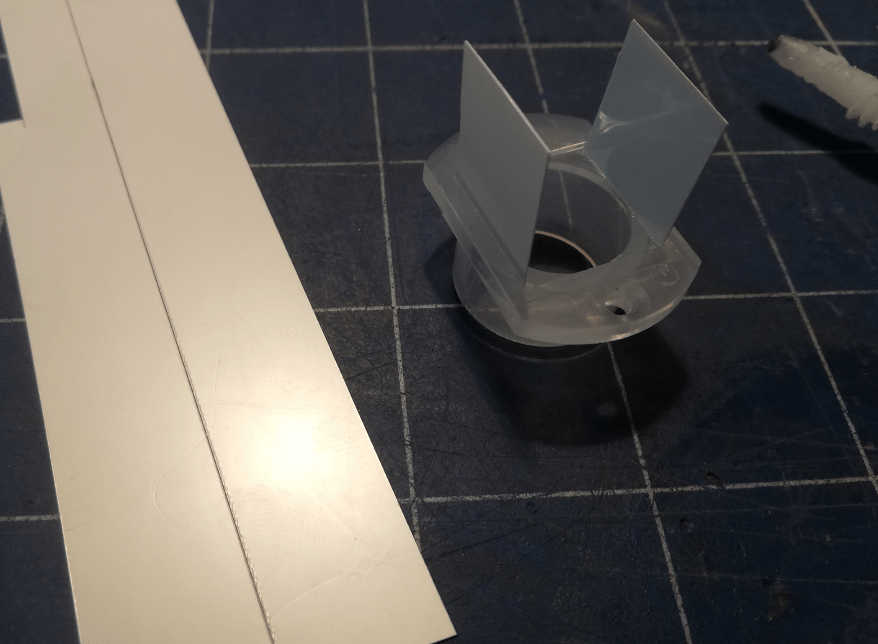
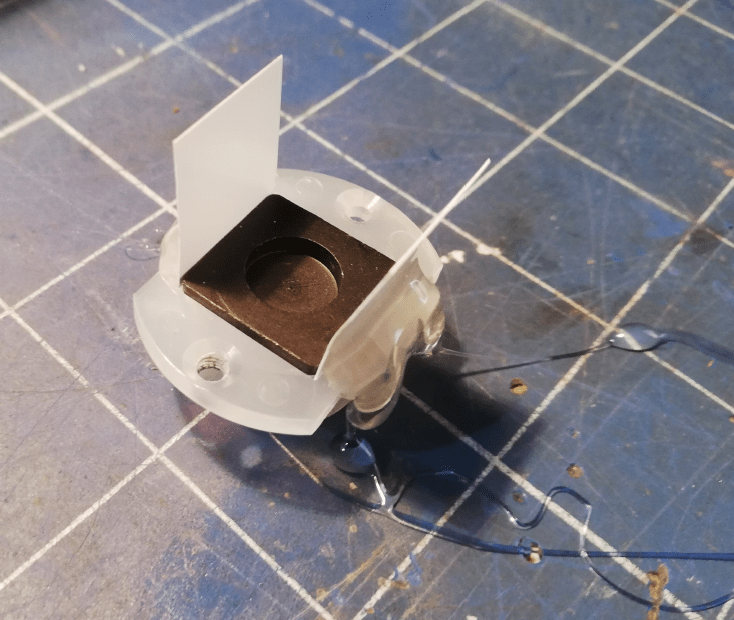
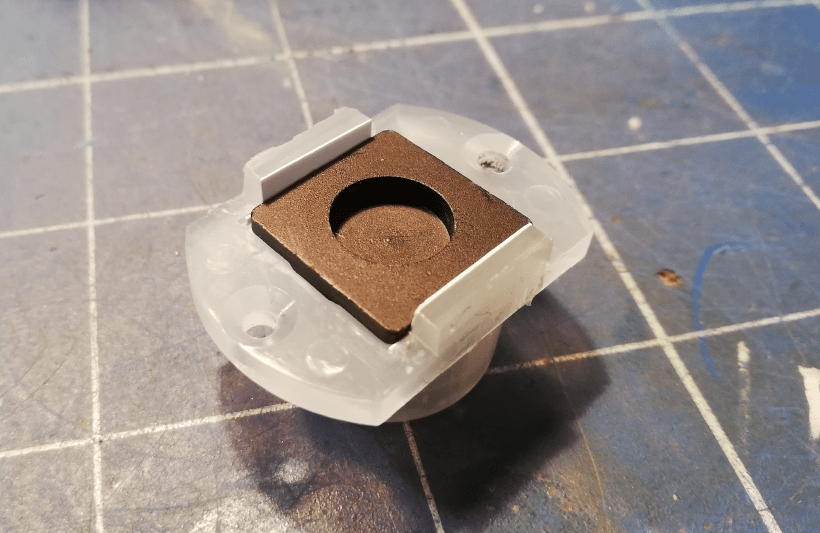
Now we’ve nailed it!
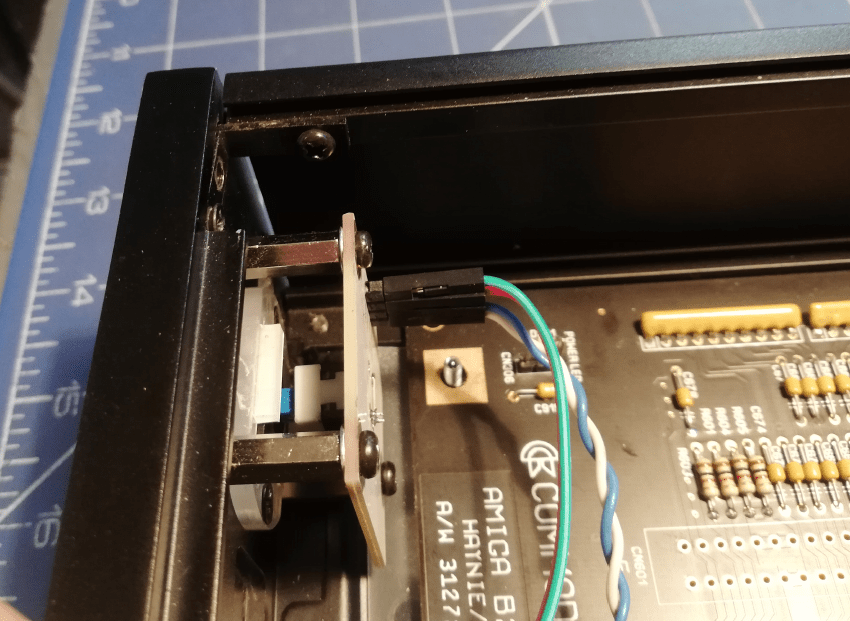

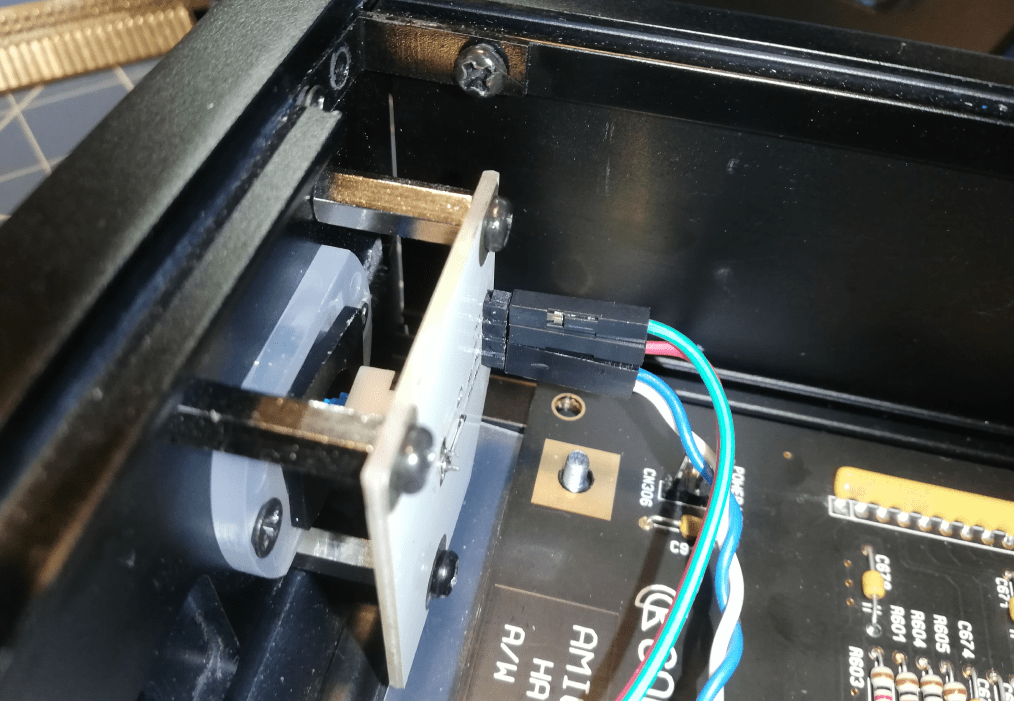
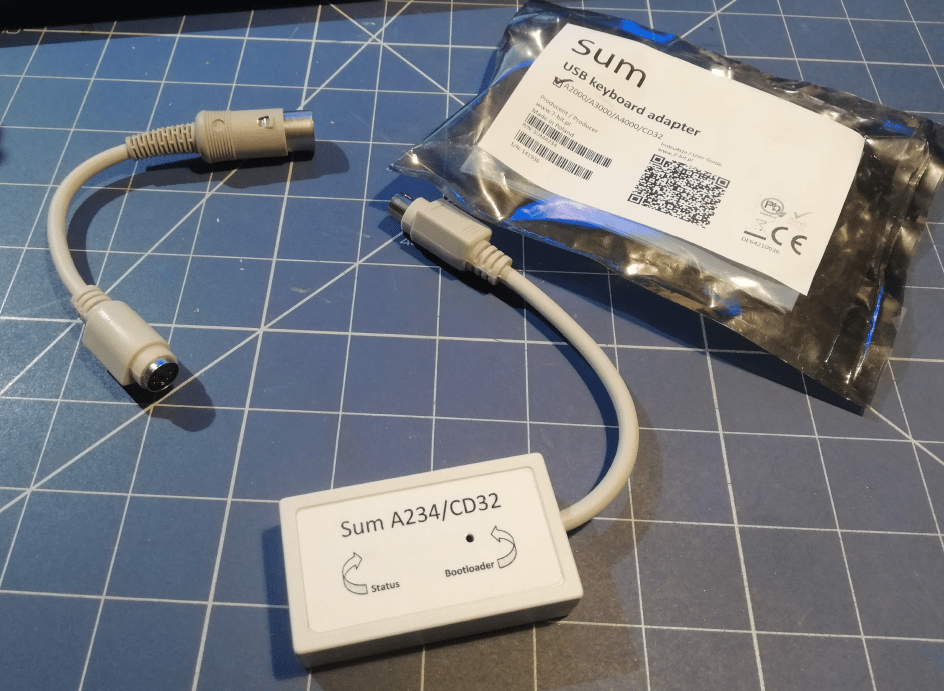
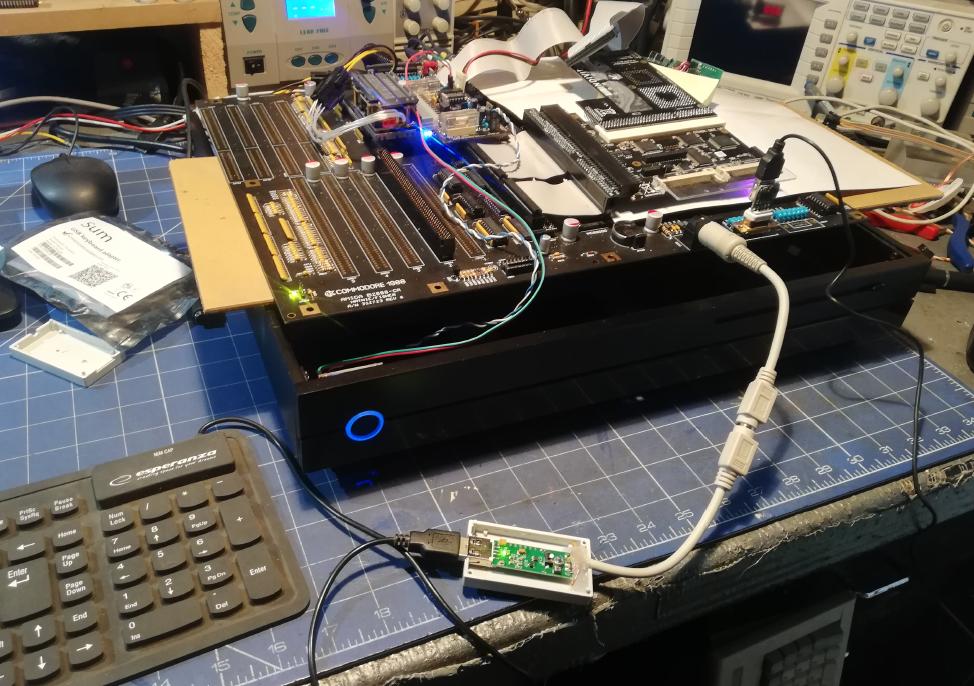
SUM A234 – USB Keyboard adapter
The next device on the list was a USB Keyboard adapter. It came in as an external device but I wanted to integrate it inside. This task is left for the very end as it will be exposed on the back panel of an Amiga and this, in turn, is one of the last steps in this project. However, I needed a way to check the Tesseract setup. That’s why I’ve connected it in an ad-hoc way 😉
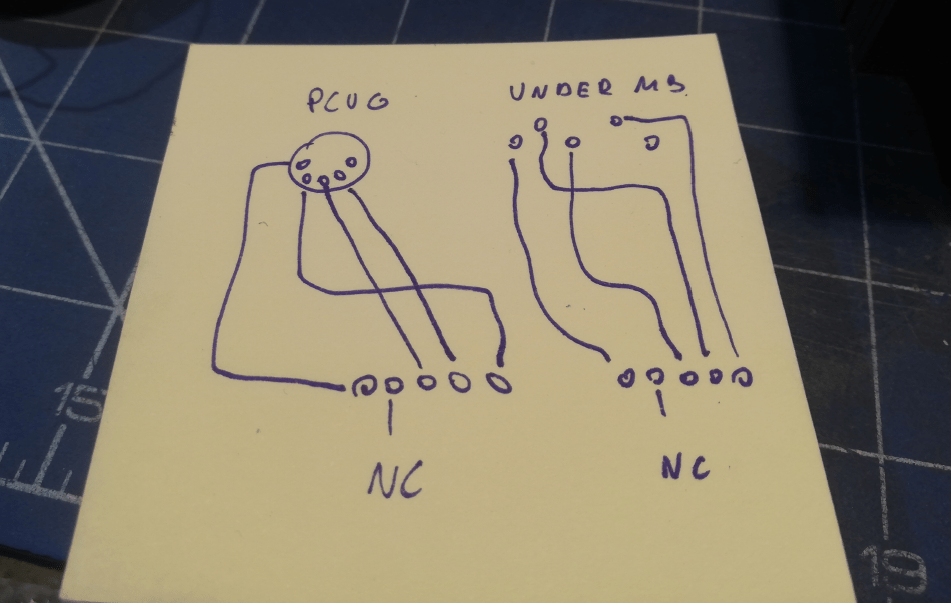
Some lame notes 😀
End of PART 2
Ok, so now we have a working system with major add-ons placed and with the ability to control and test it.
I still have 250+ pics(and that number is growing) so, no worries, you can expect more parts of this project in the future 🙂
Believe me, we’ve only scratched the surface so far 🙂
Outro
If you want to get the retro gear I am manufacturing or hardware modules, please visit shop -> https://retrohax.net/shop/
Please support my work by commenting here and on our Facebook or Twitter pages.
If you want to donate a dead computer then drop me an email. Extreme cases are welcome. – Nobody donates anything. so don’t bother. Looks like only Youtubers get all goodies LOLOL ;P <– THIS IS NO LONGER TRUE! Cheers to guys from Brasil – > YAY! I’ve finally unpacked it and hopefully will start working on this machine soon! Deixe o Brasil viver! ?

Incredible project and good to know this is done by the Michelangelo of the retro computing world 🙂 .
Most devices have some info on http://amiga.resource.cx
This project is as insane as some peoples A8 😛
LOL 😀
Every day I pray to the Beautiful Lady for the success of this project……….. 😀
Hahaha 😀
hahahaha 😛