…or chaos is awesome!
<Intro>
This is the third blog post of the series about building an Amiga 2000 from scratch and modding it to the max 🙂
I promise we still have at least two more to go …
Two previous posts can be found under the following links:
I was like …
</intro>
The chaos continues
In a previous post, I put a working mobo inside a case and tuned some parts so it fits nicely. I’ve also covered how I briefly connected some add-ons to simply run some tests on the machine.
From that point, everything was done chaotically and I was unable to sort it nicely and cut it into parts. Instead, I’ve figured that I will show how it all went in chronological order.
DVD drive metal bracket
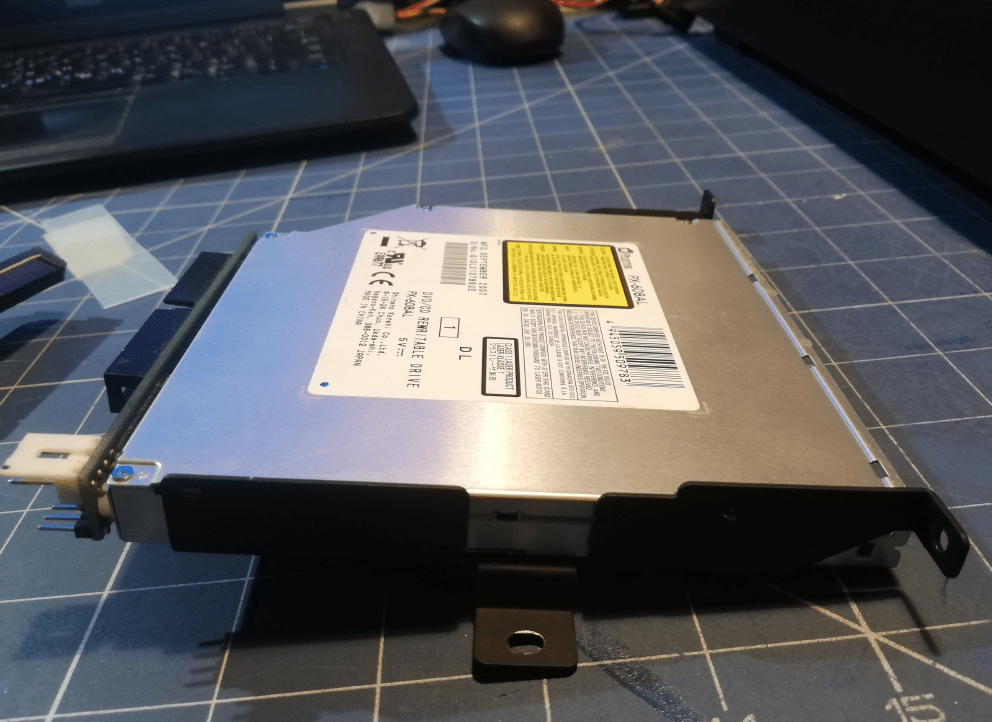
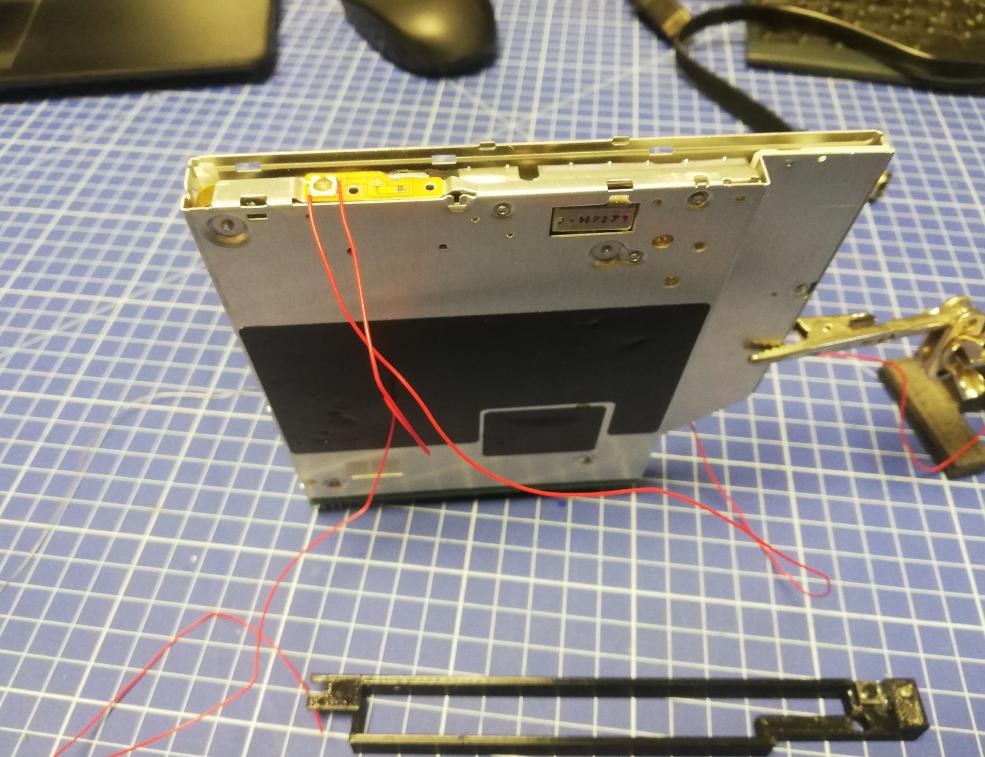
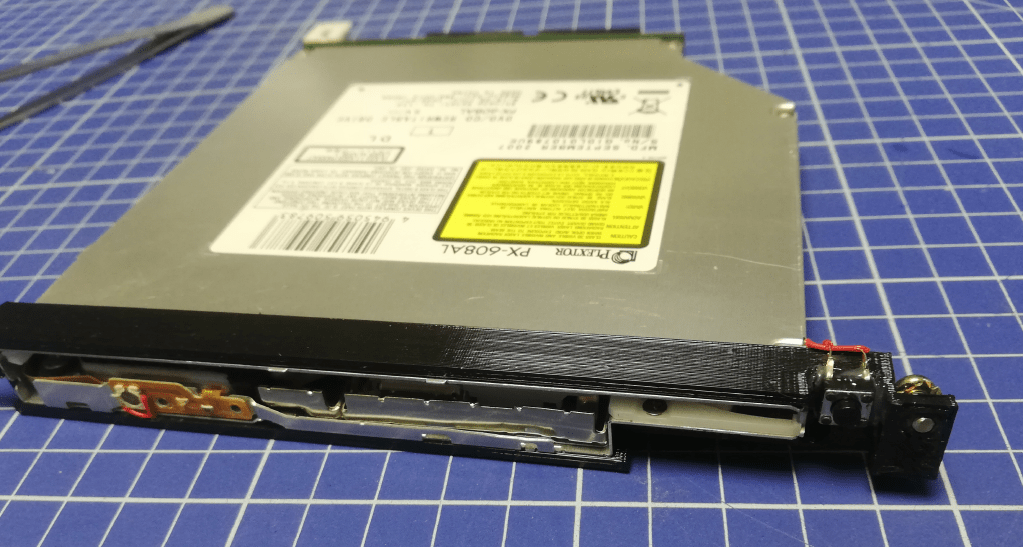
I’ve decided to start from the top and picked a Plextor DVD drive as I knew it has to be in a fixed position inside a case because of a disc slot and started planning the rest of the mods from top to down.
I’ve started modifying the original, metal chassis.
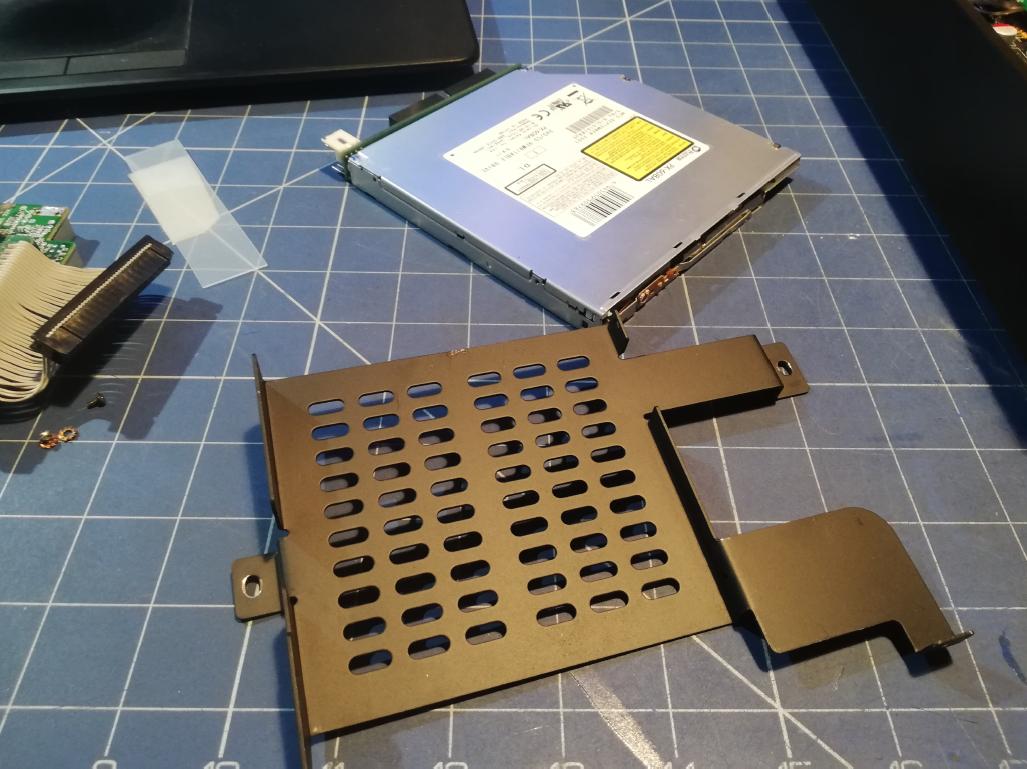
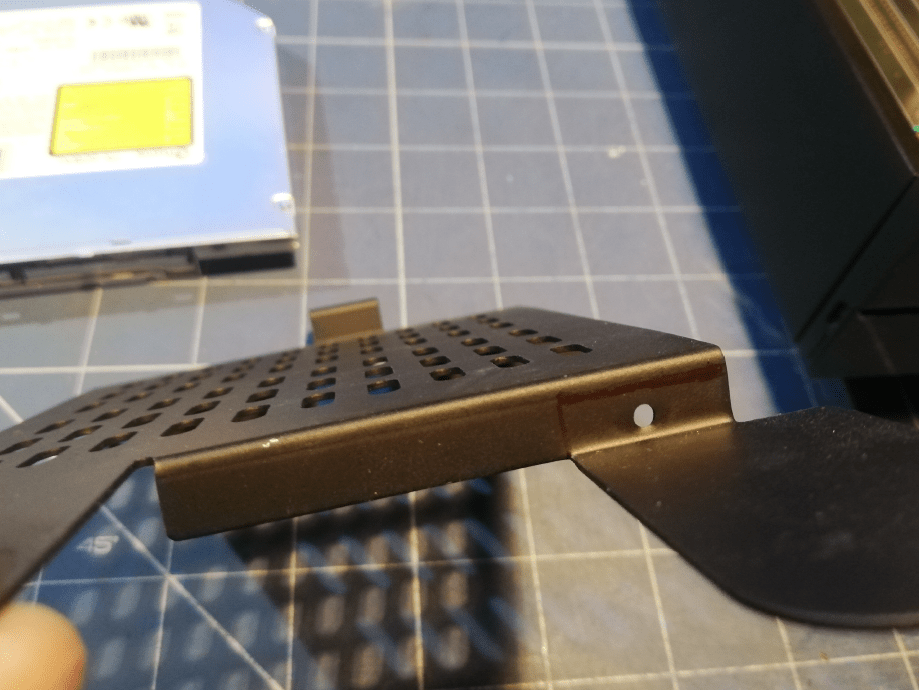
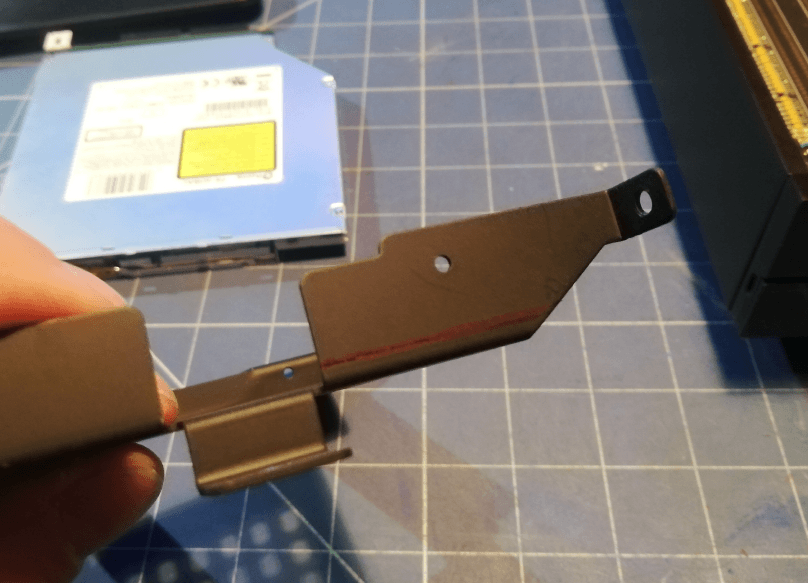
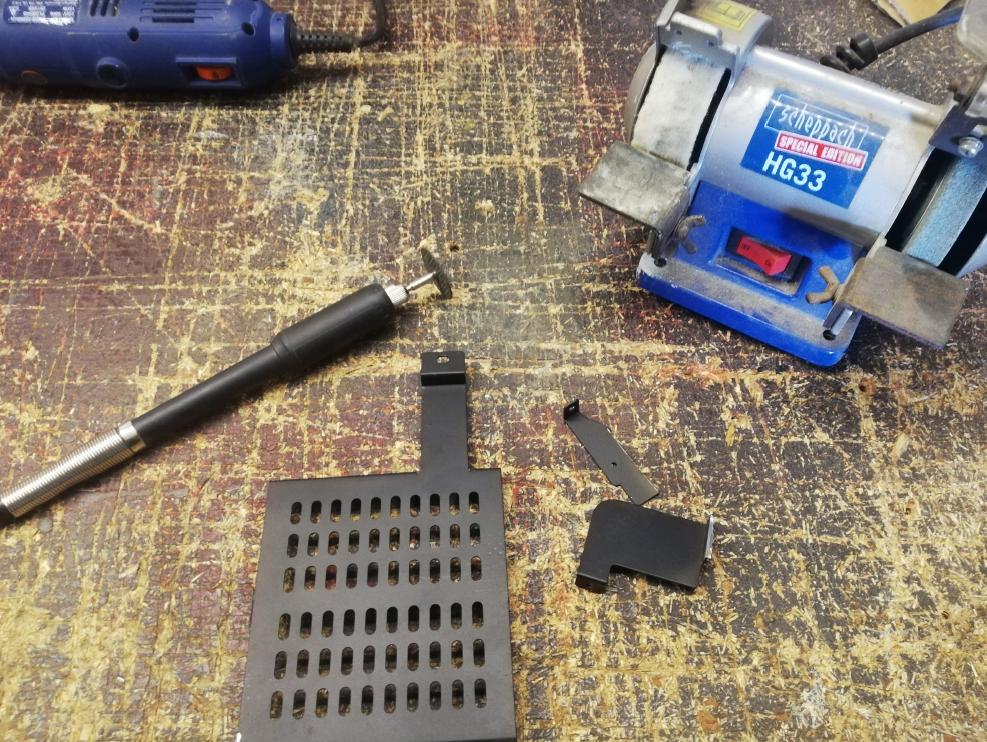
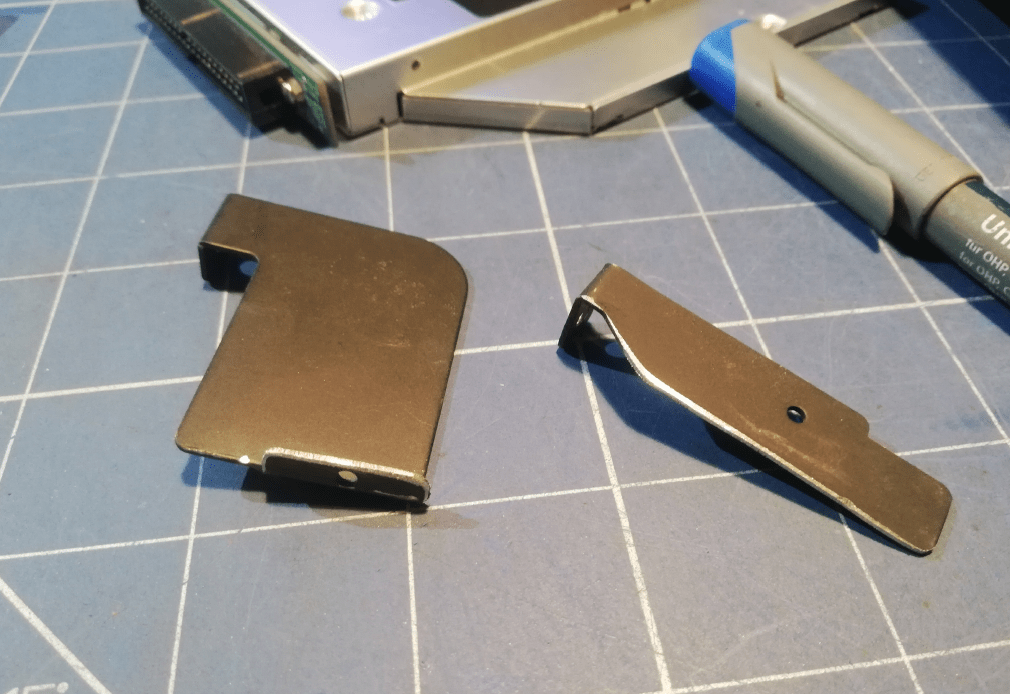
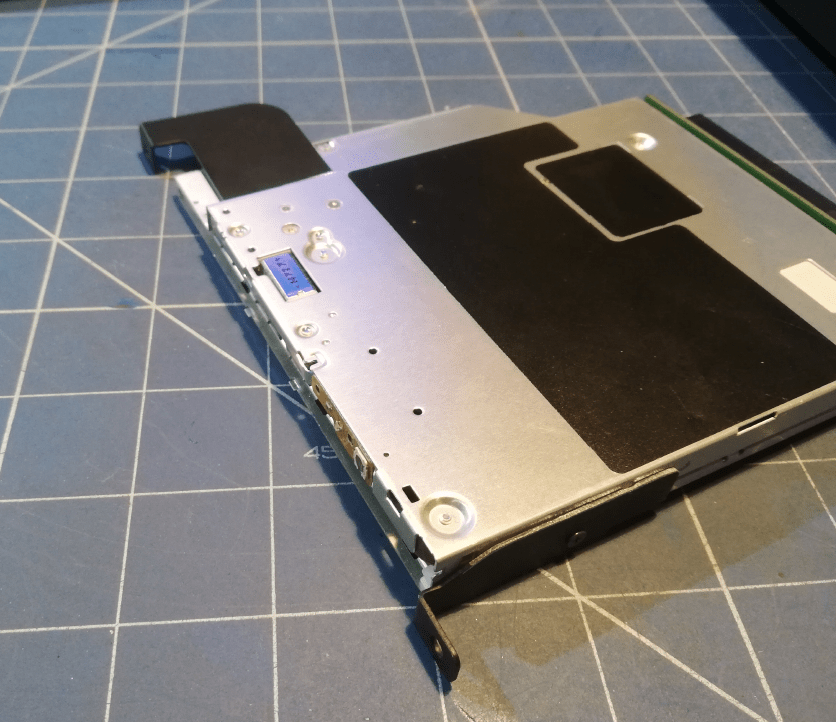
At this point, I was like .. hell yeah .. this thingy is…

Oh, how wrong I was …
The above work had to be discarded but more on this later,
No worries, it happened multiple times during this project as you will soon see 😀
ACA Cards brackets
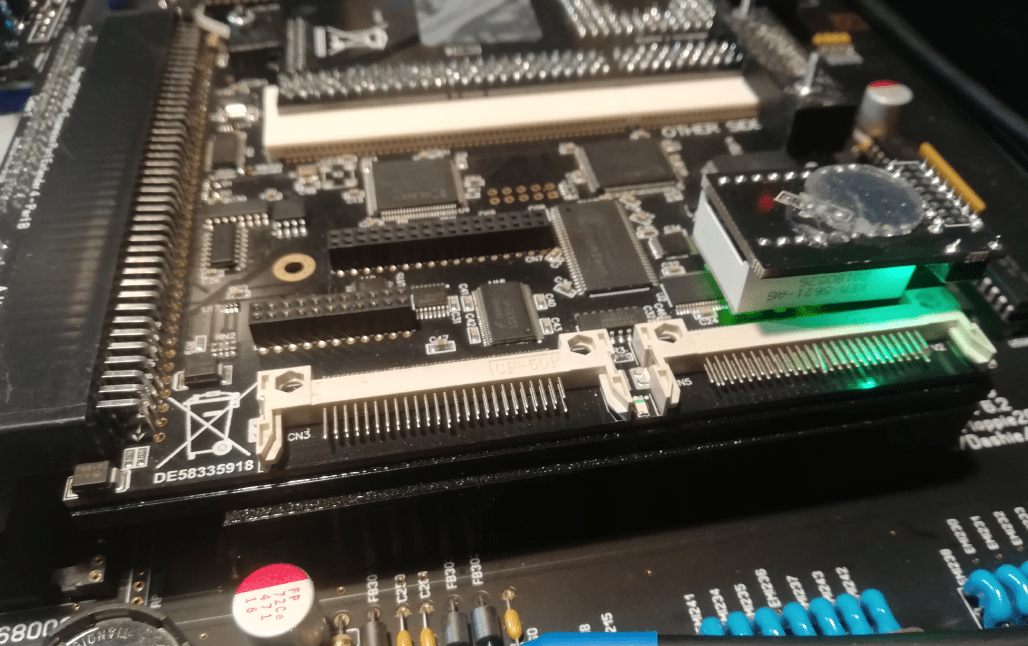
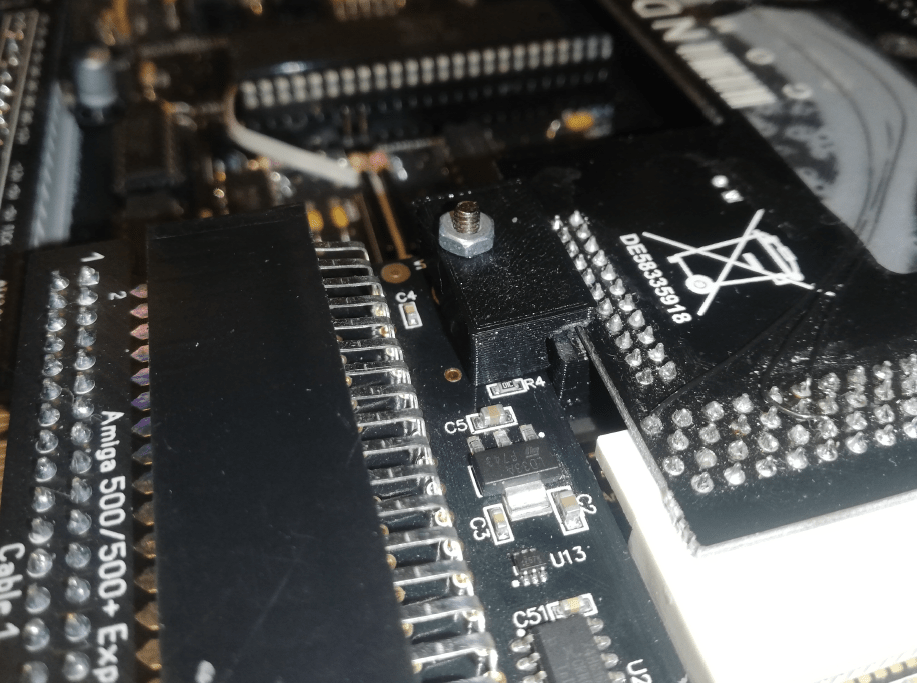
Once holders for a disc drive “were sorted”, I figured that I need to stabilize connectors of ACA500+ and ACA1233n by designing and 3D printing some brackets.
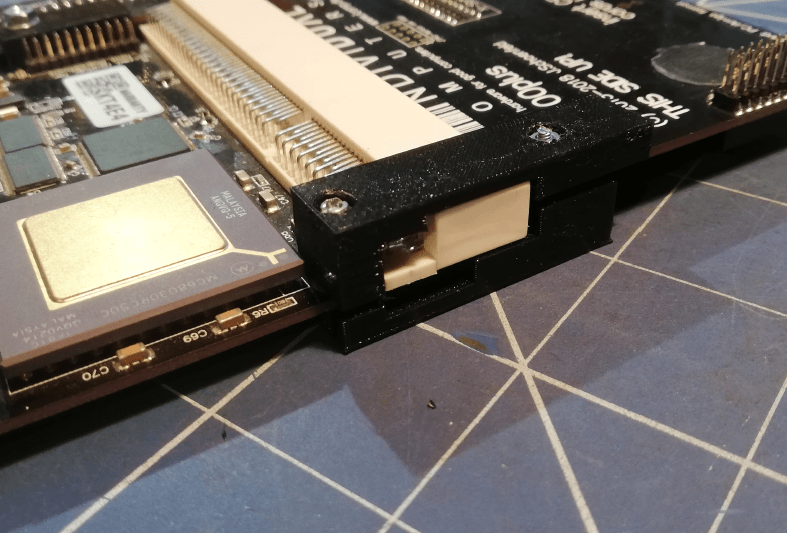
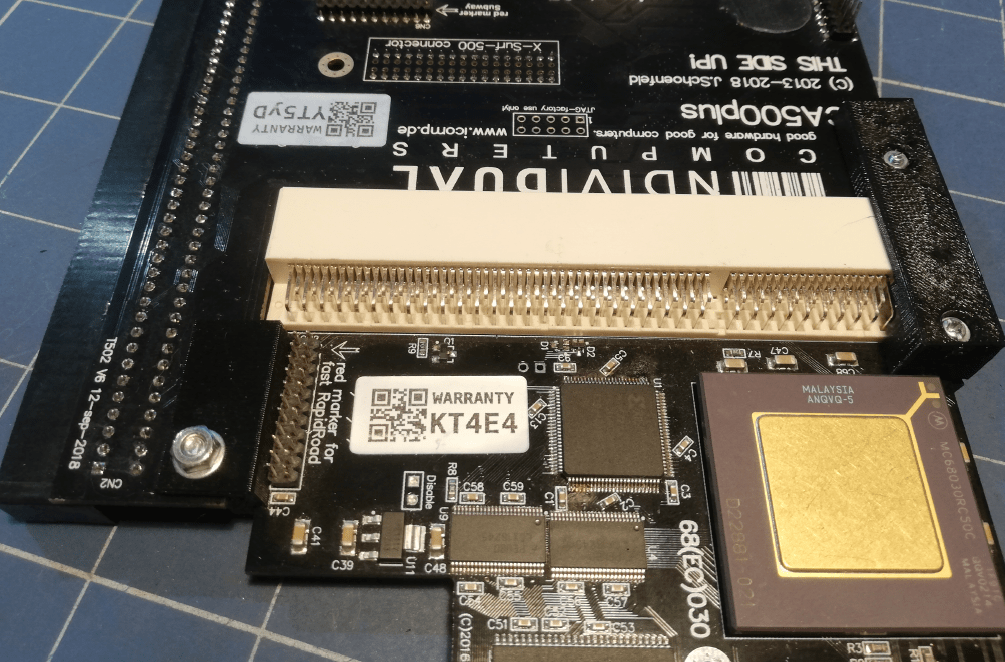
It turned out that after installing a brand new ACE2 CHIP RAM expansion by the iComp, I had to modify my design and 3D print it again.
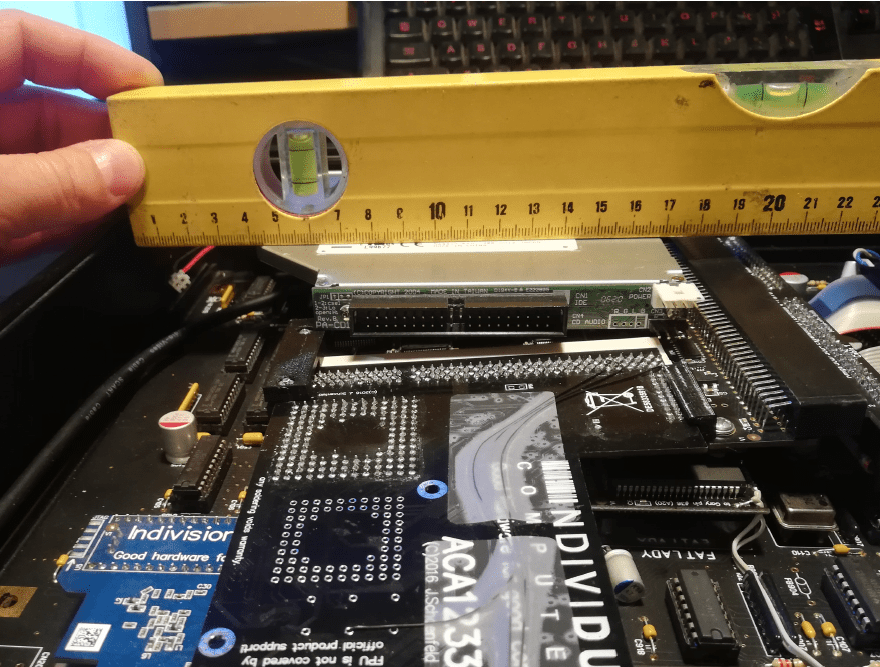
It is kinda hard to spot on pics but it is there 😉

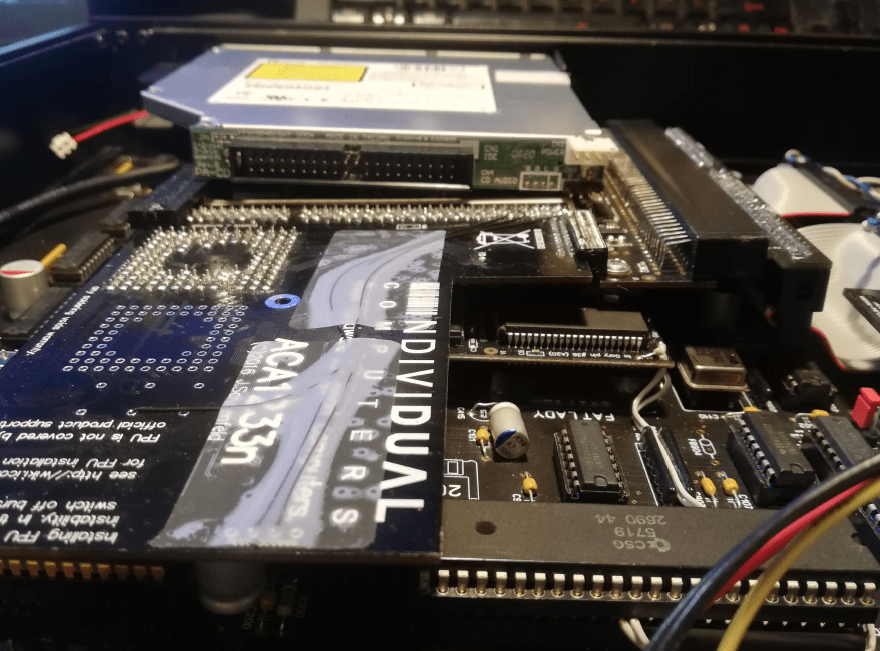
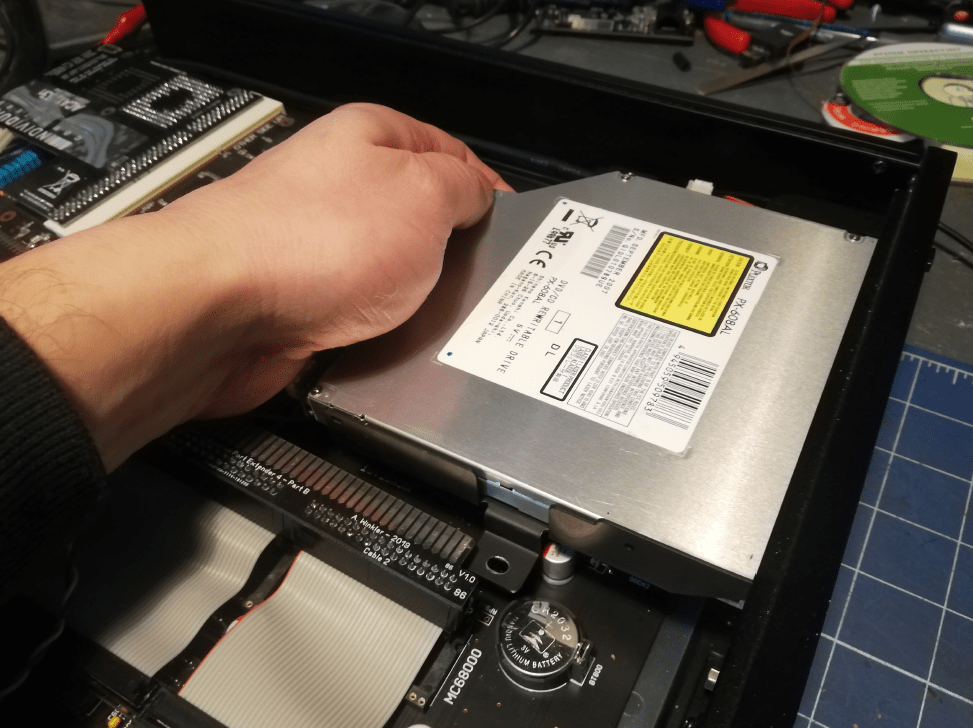
Anyway, fixing this small issue allowed me to measure and level the disc drive and sorta define its final location inside a case.
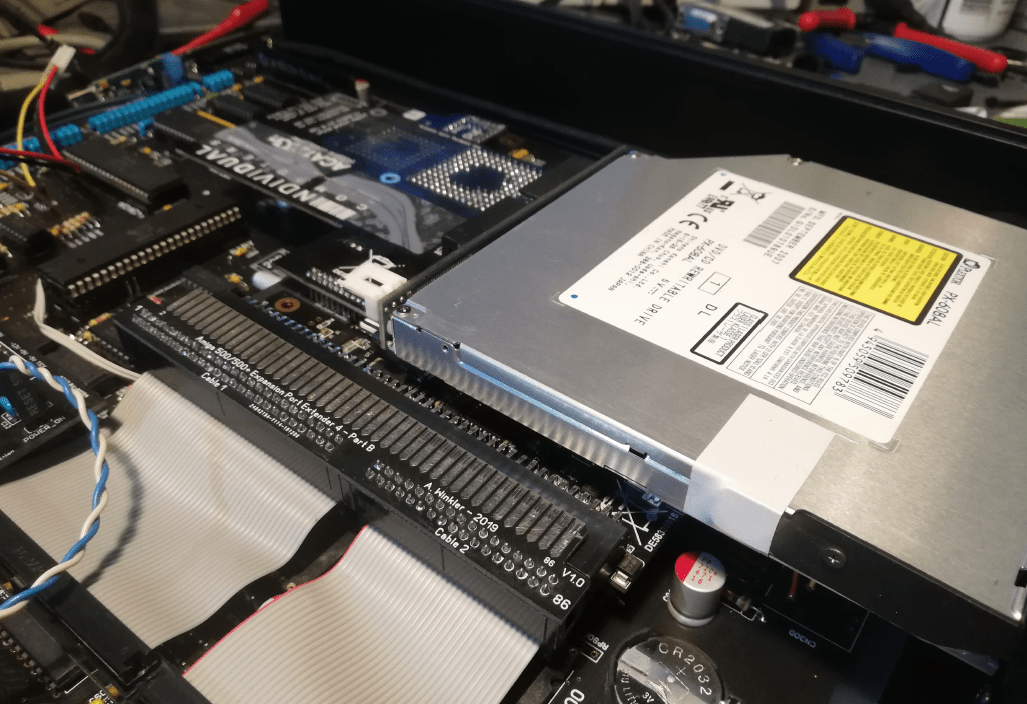
ZZ9000 brackets
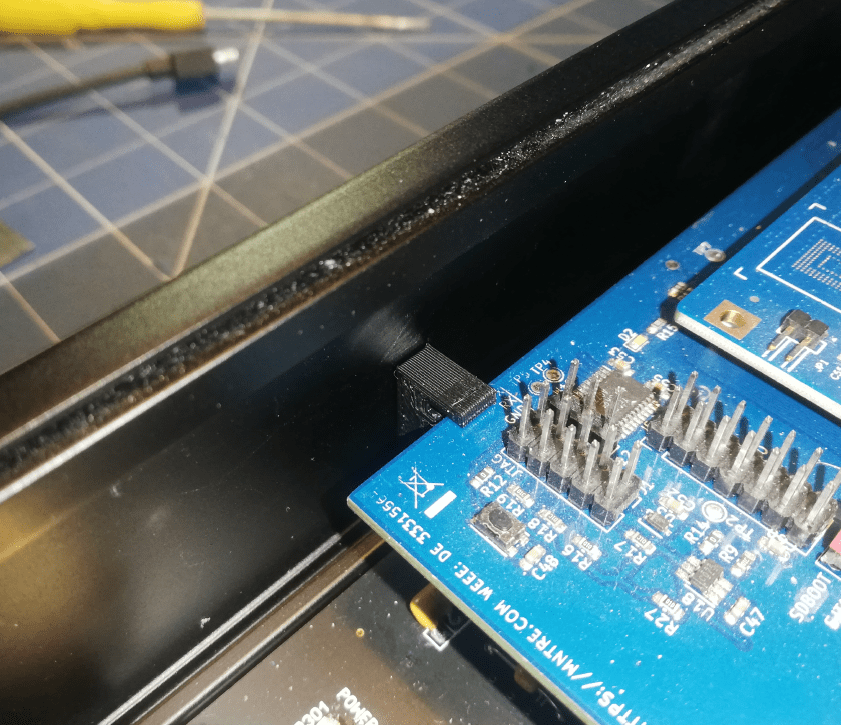
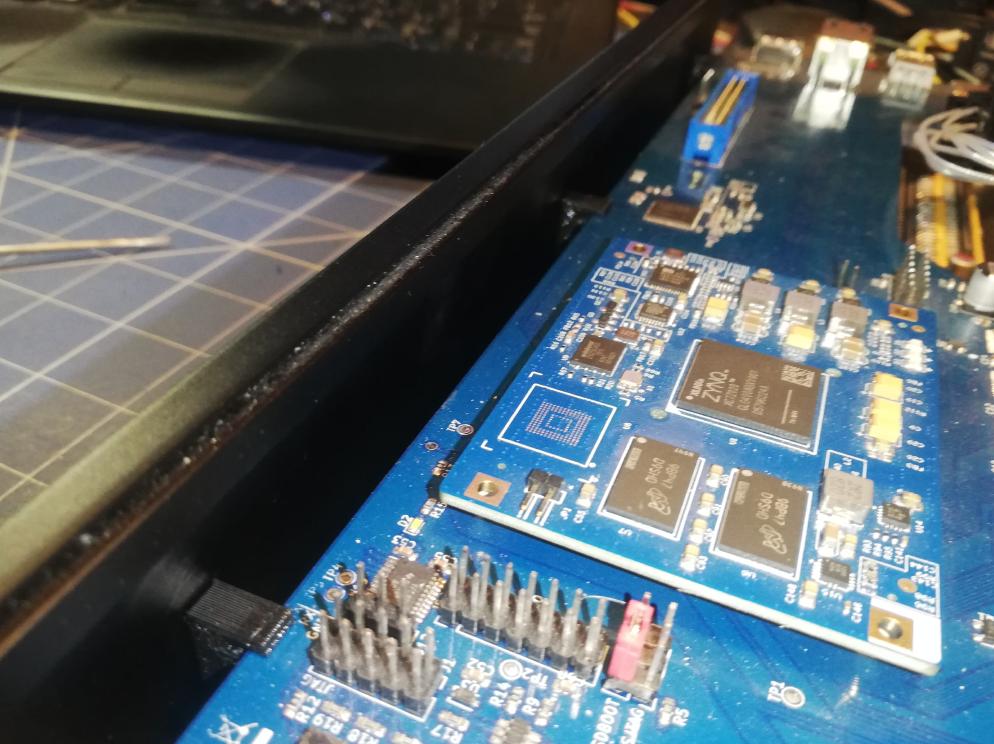
While the 3D printer was working on freshly redesigned parts I moved to ZZ9000 by MNTN and started figuring out a method to fix it inside because this card is long, heavy, and needs support.
… I already knew what to do 😀 (very rare situation in this project lol)
Sometime later …

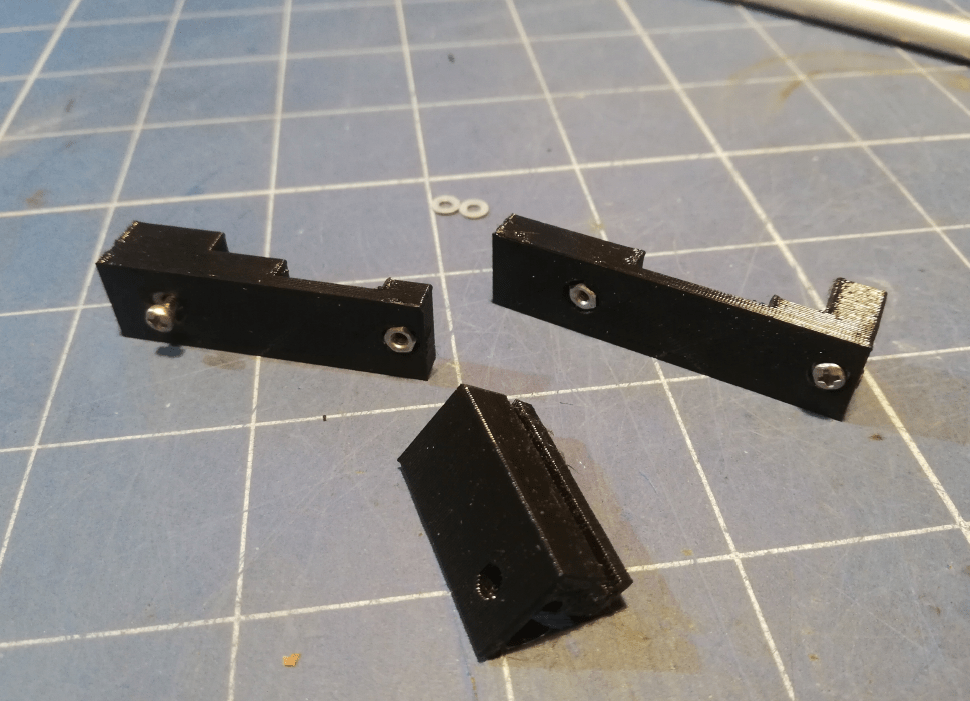
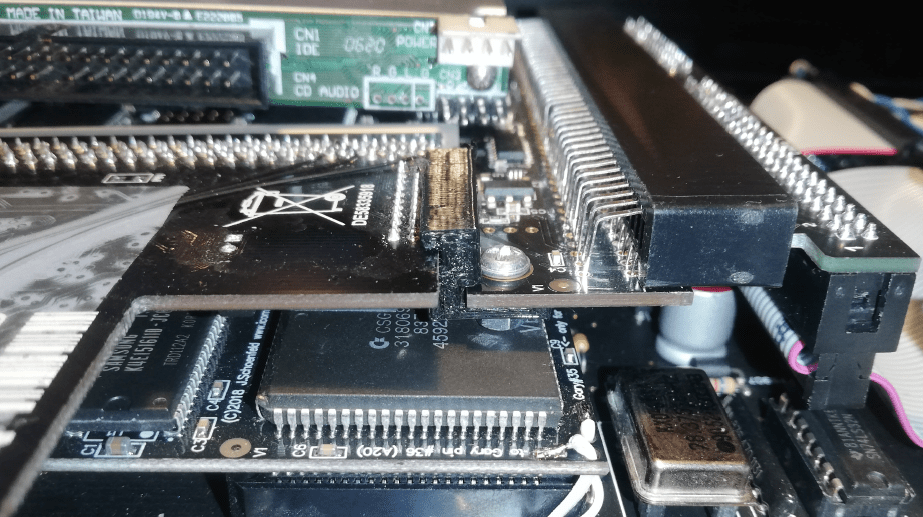
Back to ACA
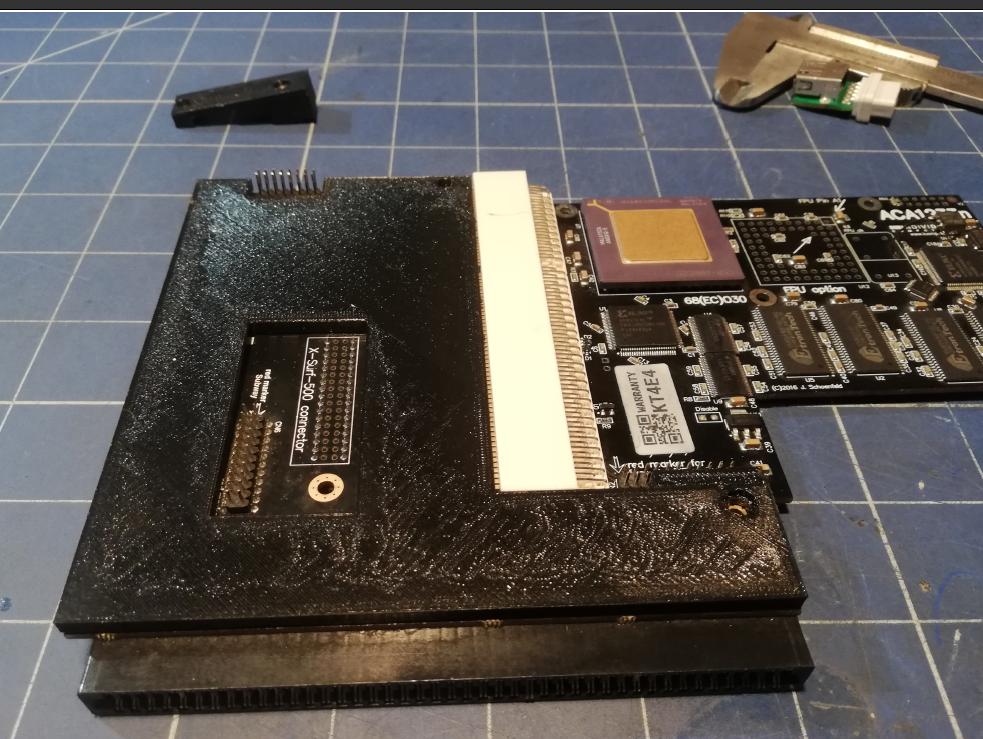
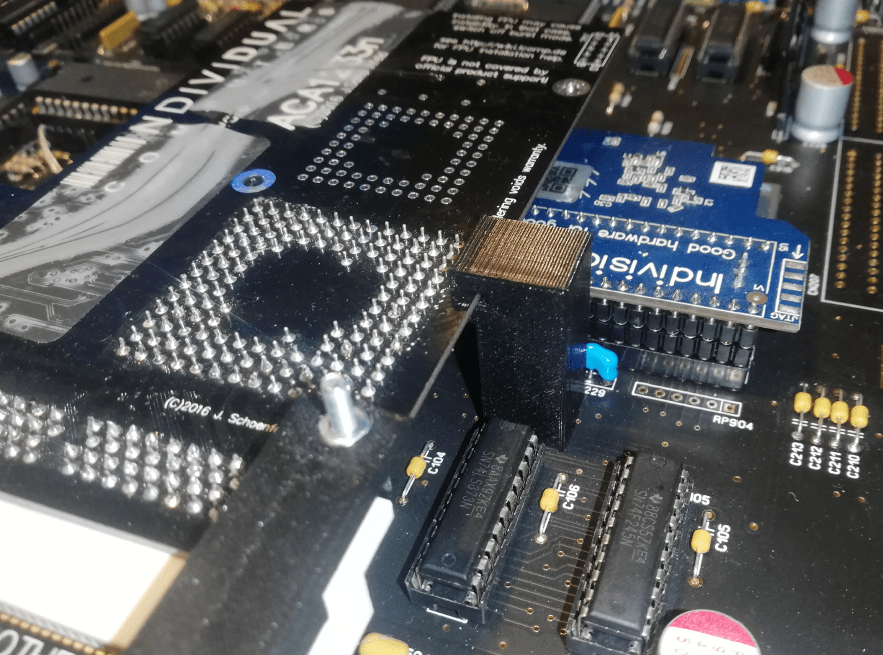
With ZZ9000 in place (my first success YAY! :), I’ve moved back to the ACA cards combo(ACA500+ and ACA1231n).
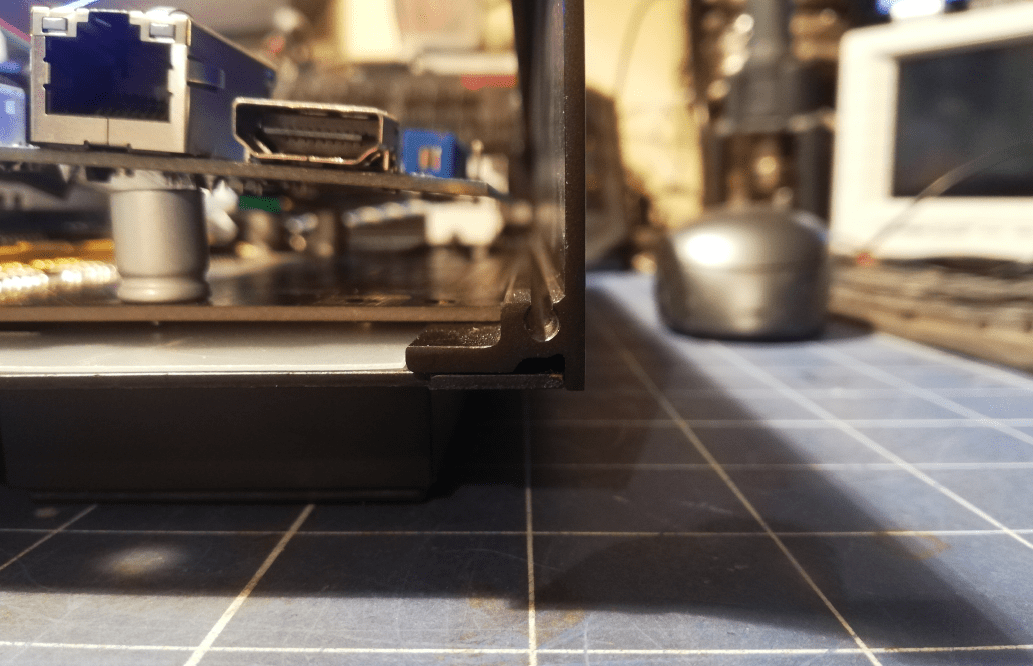
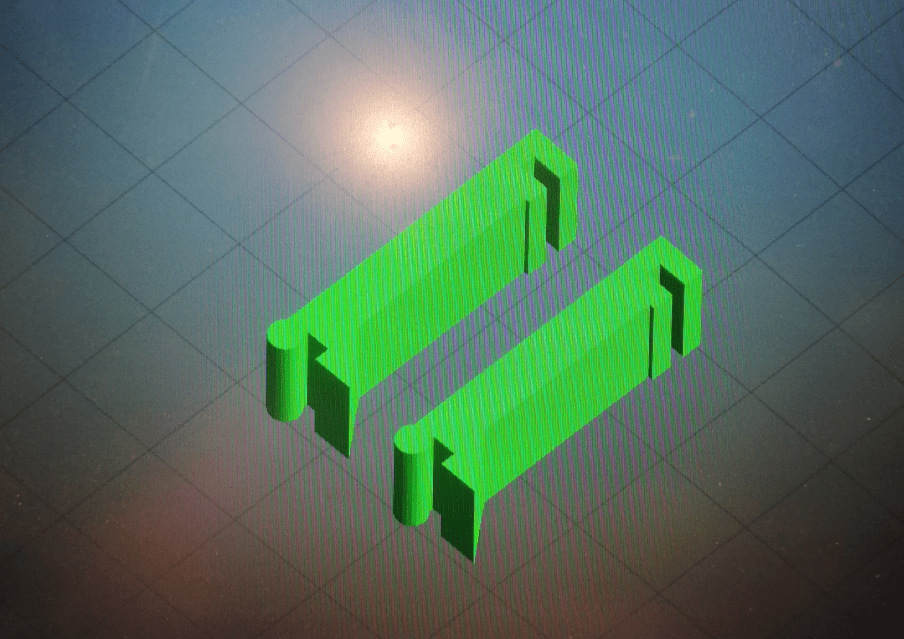
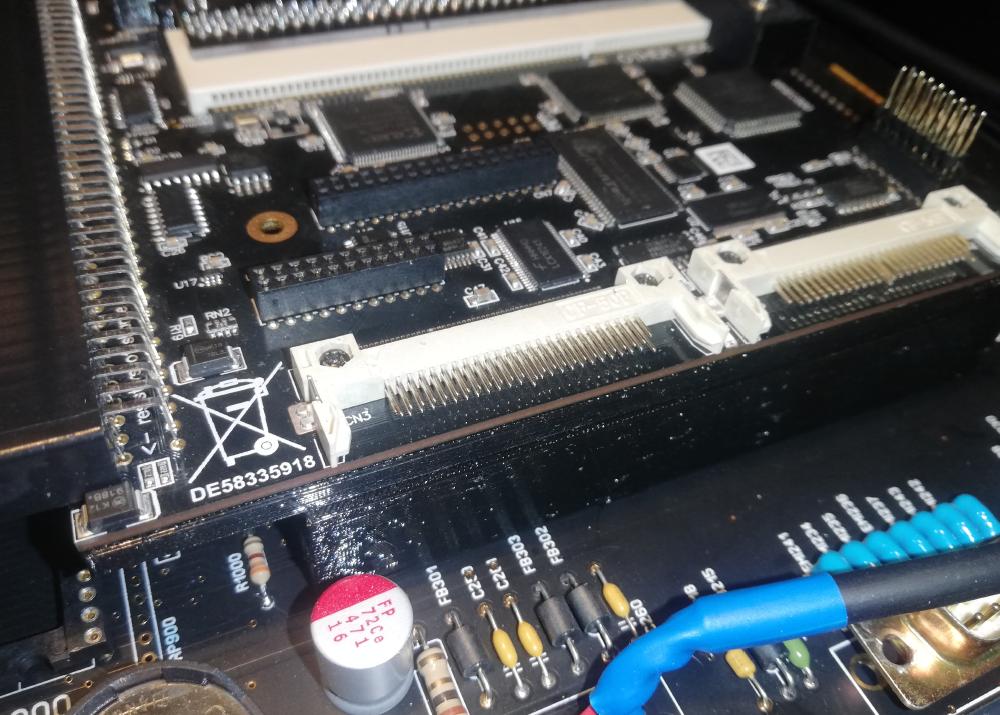
I’ve decided to make a kind of separator or bracket if you like. The quick designing session resulted in a 3D printout like the one below. No worries, at the moment I am writing this post it is already at the 8th or 9th revision lol.
Meanwhile, I’ve made a slightly skewed HDPLEX holder (fixed in later revisions too:)
Chaos incoming …
So far, it looks like it wasn’t chaotic enough so we need to shift gear to… extremely chaotic 😀
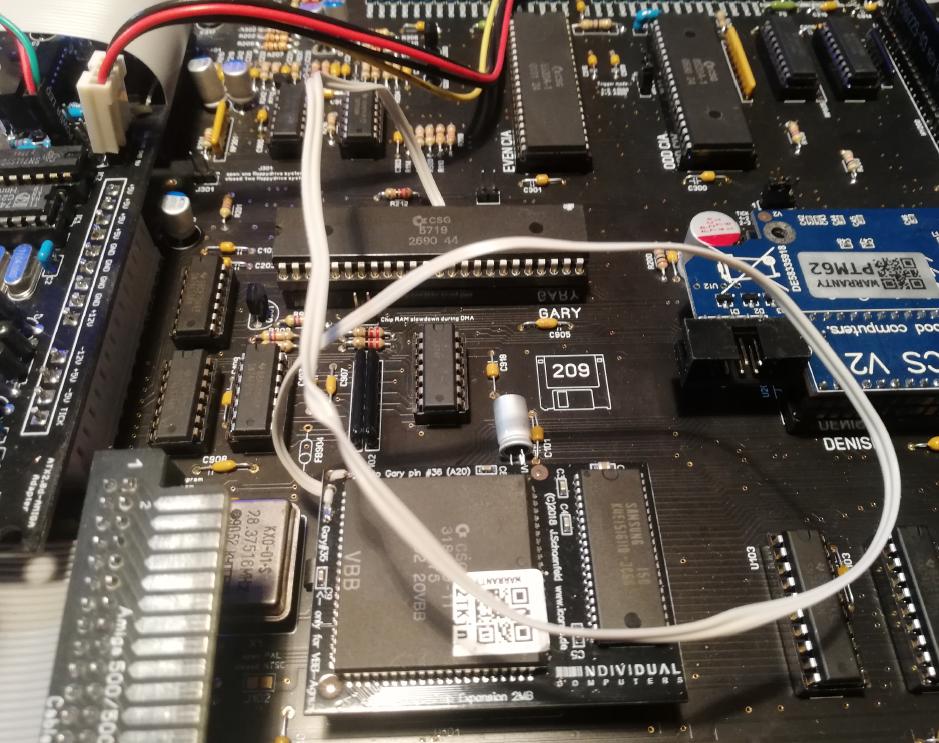
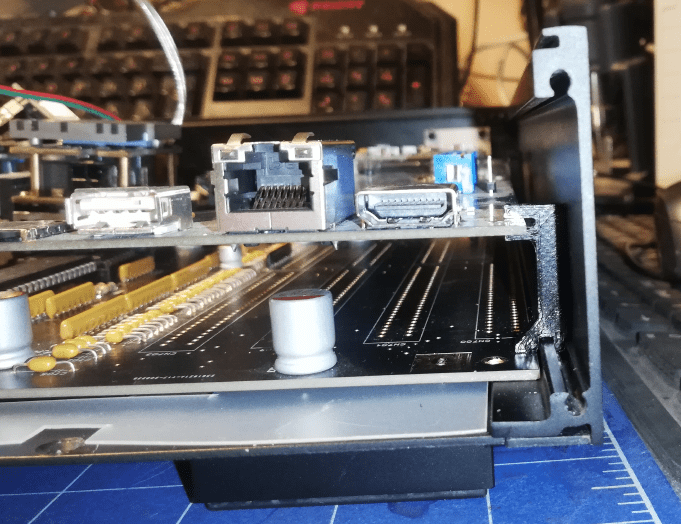
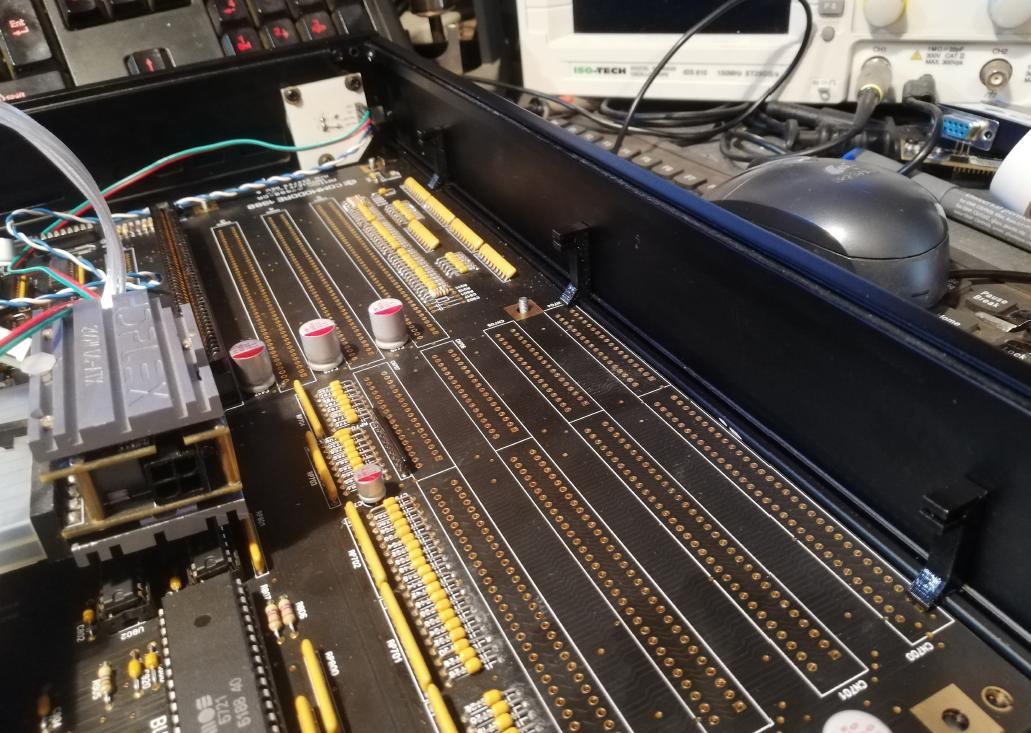
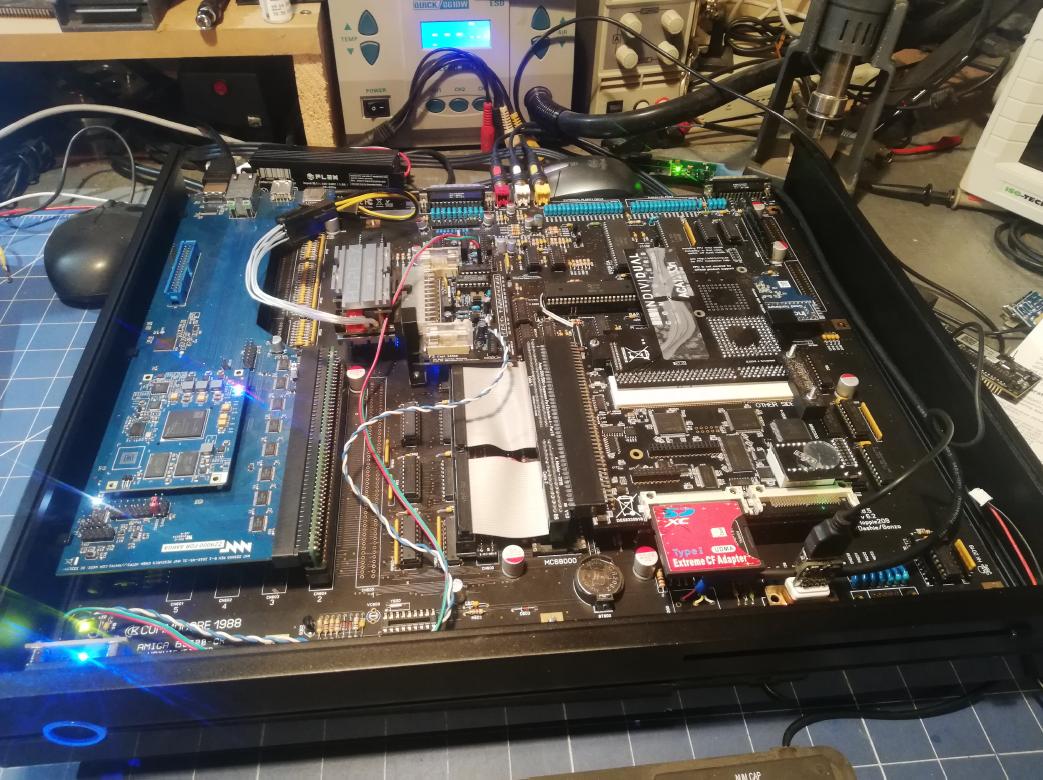
Let us start with a rather calm pic of a machine loosely assembled.
Temporarily mounted DB9 mouse socket with the mouSTer inserted in it.
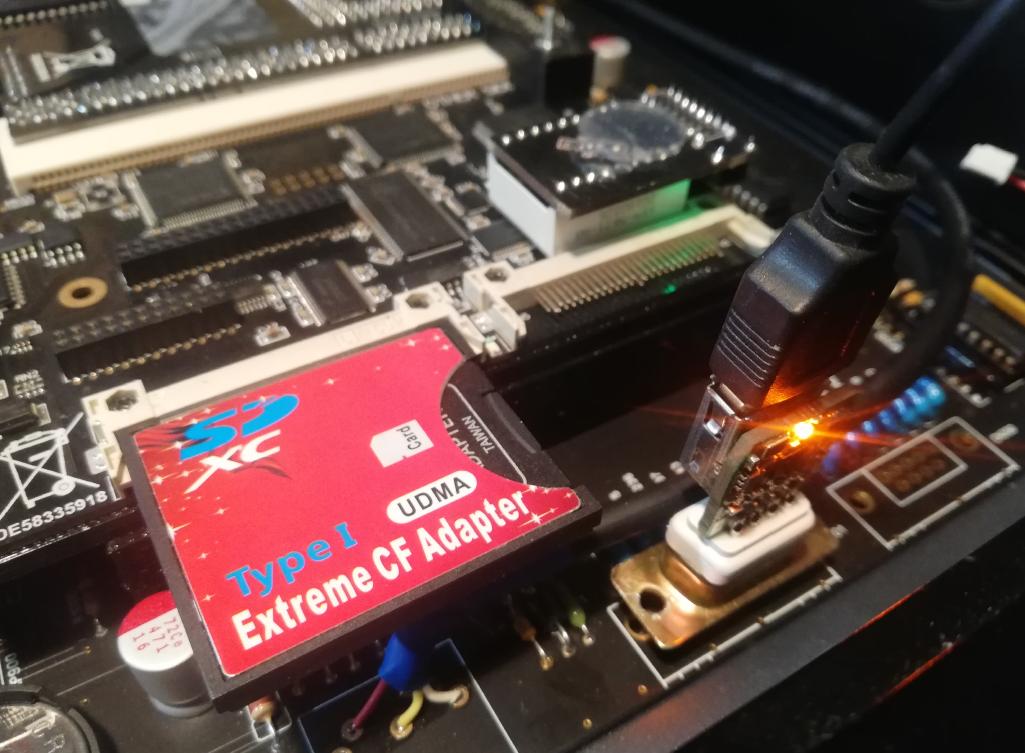
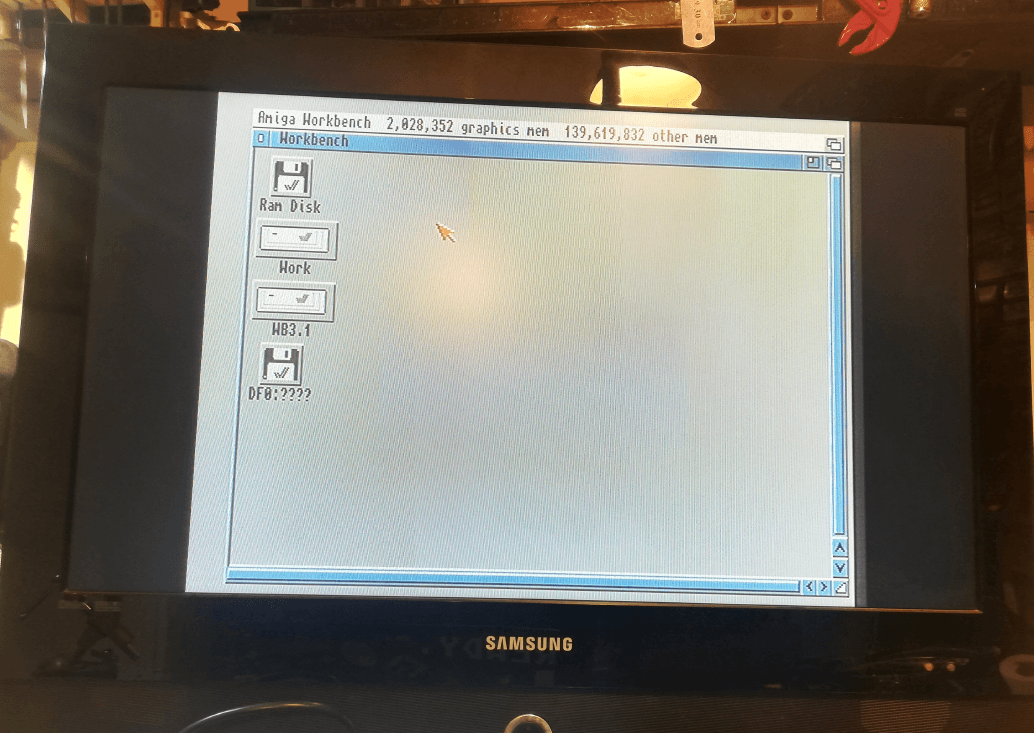
And it still boots 😀
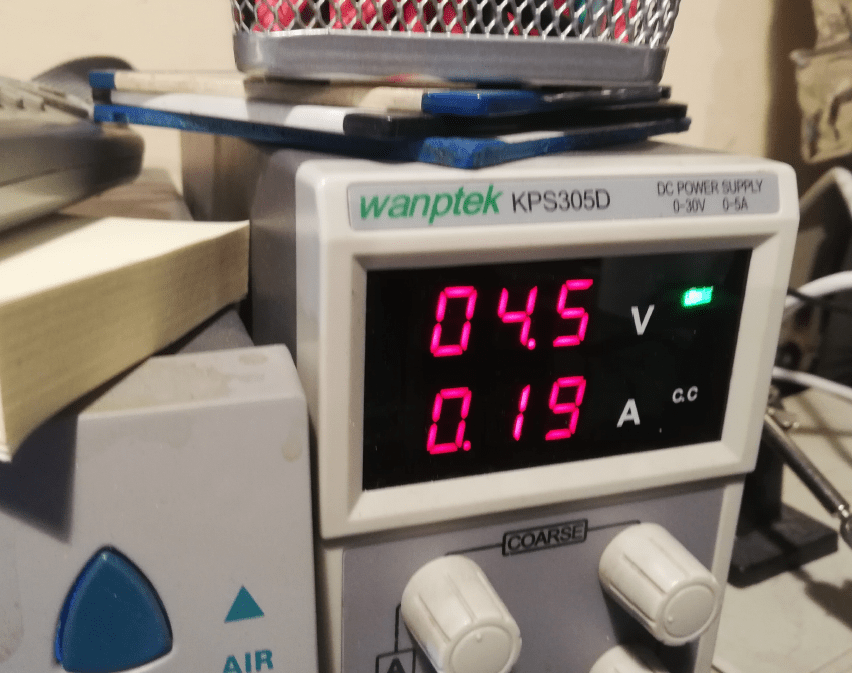
Mool logo tests
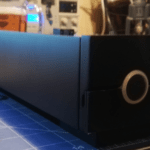
I’ve moved on to testing a front logo and noted down its power needs.
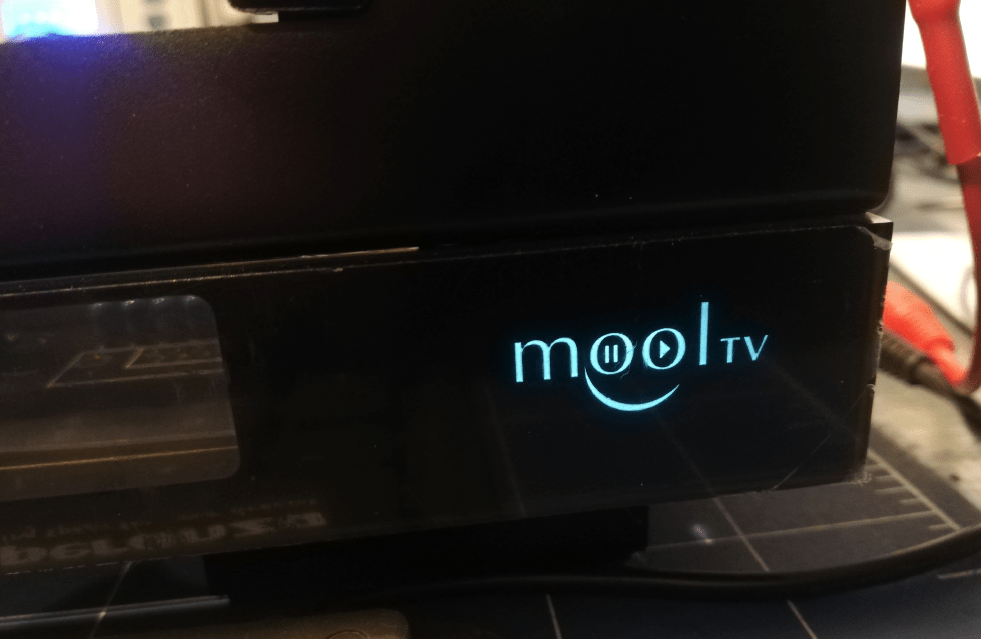
With a working and highlighted logo, I was finally able to show off the work done so far.
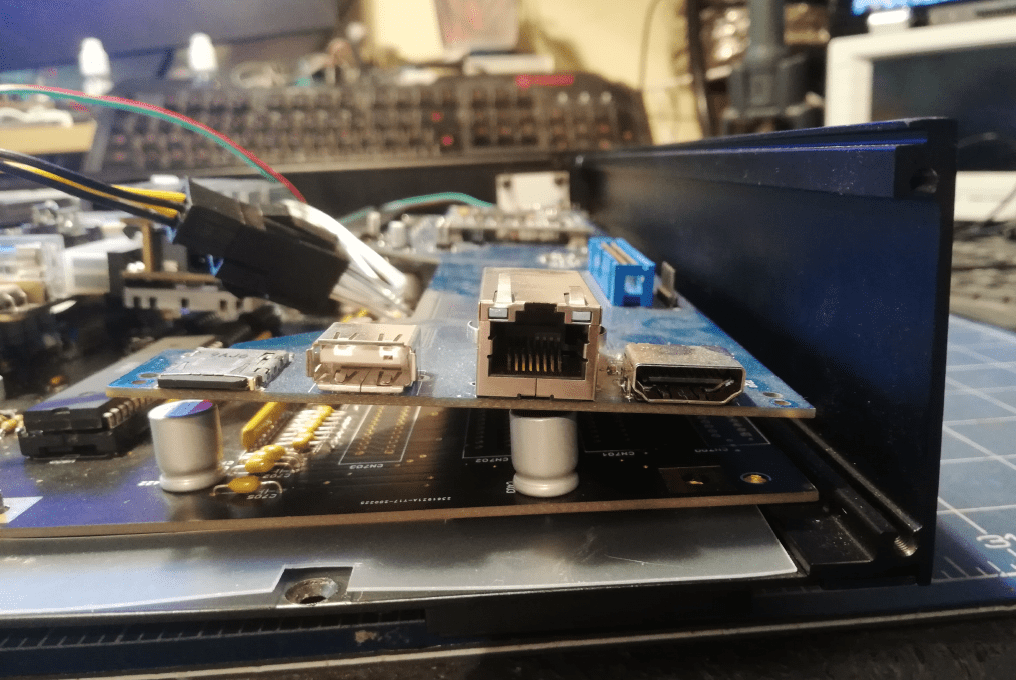
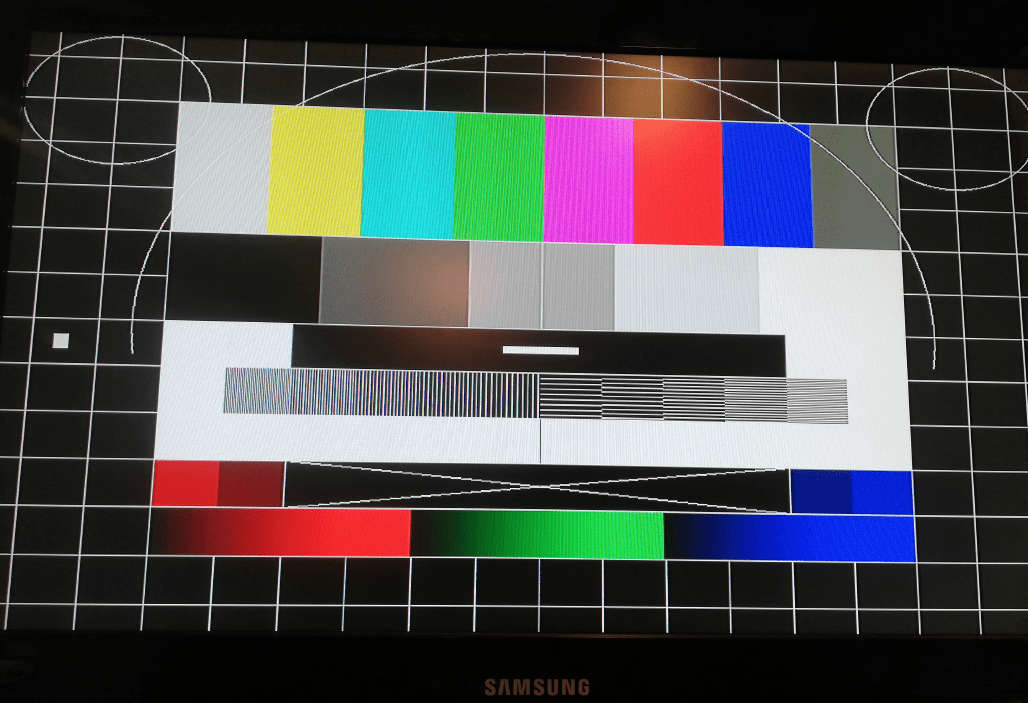
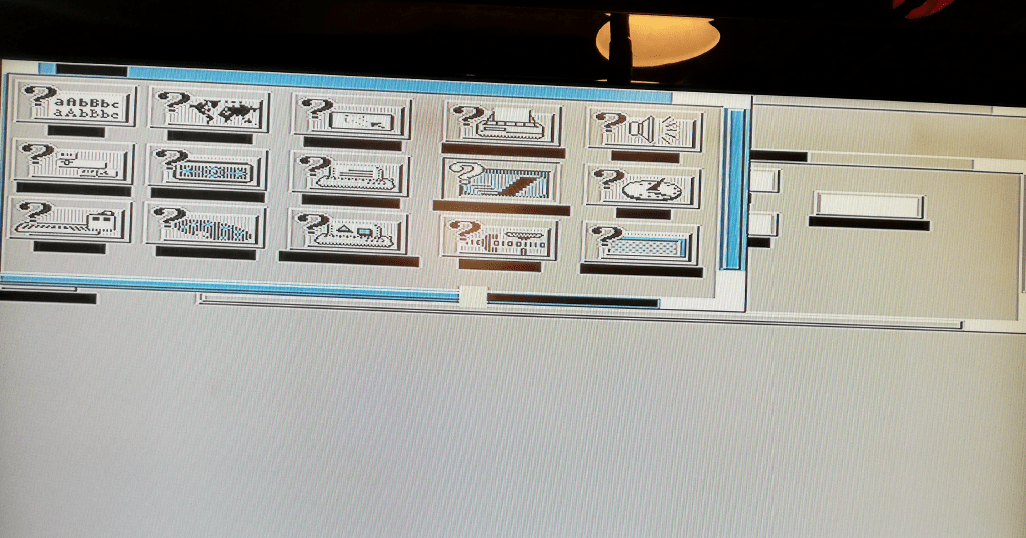
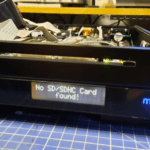
ZZ9000 tests
I’ve pushed on forward and started testing ZZ9000 and obviously, I’ve encountered issues.
The spoken card didn’t work correctly as you can see in the below pics. There were noticeable issues with artifacts being displayed and weirdly disappearing fonts.

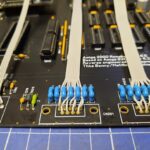
KickROM KITs
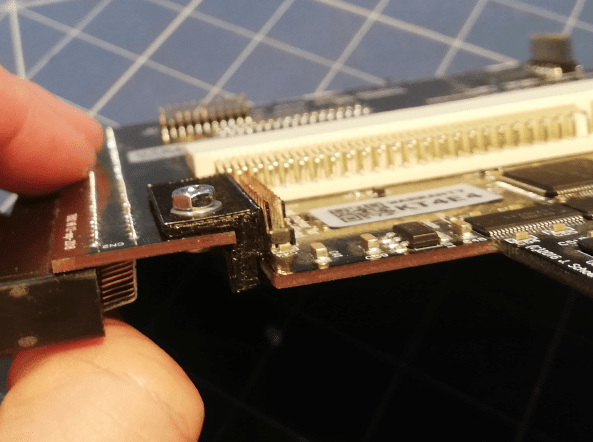
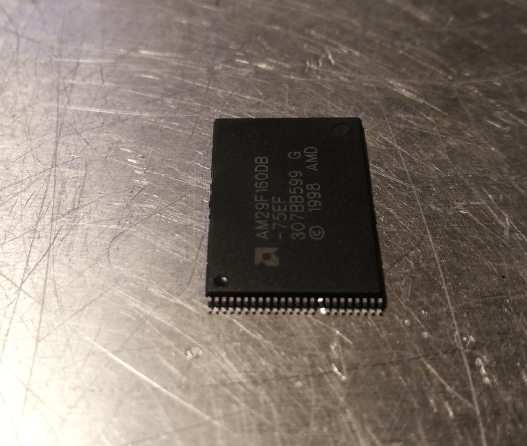
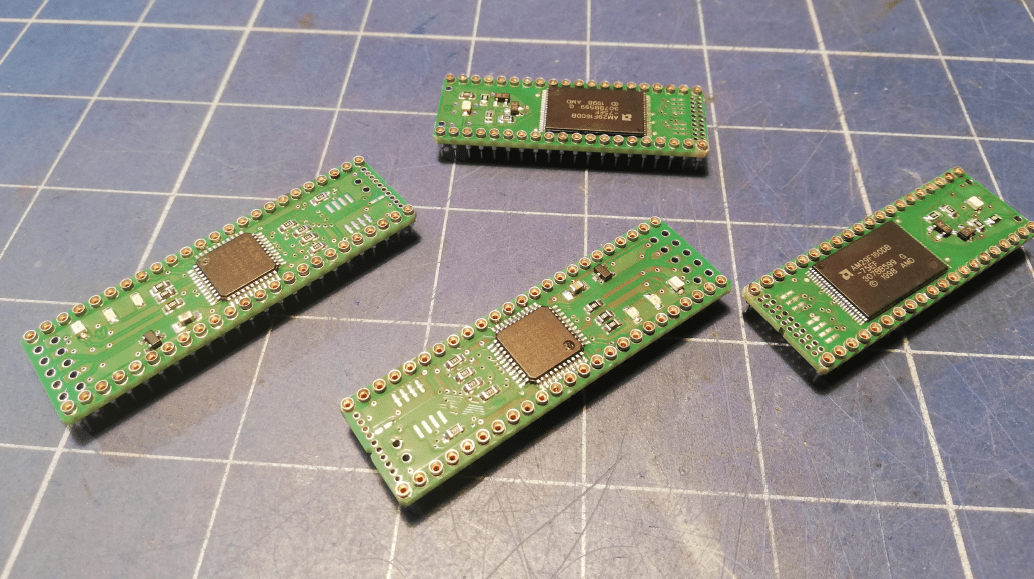
The next piece is a programmable KickROM KIT that MrTrinsic sent me the other day.
He’d sent two kits just in case something goes wrong. These KITs are rather easy to solder so I’ve started working on ’em and it went smoothly.
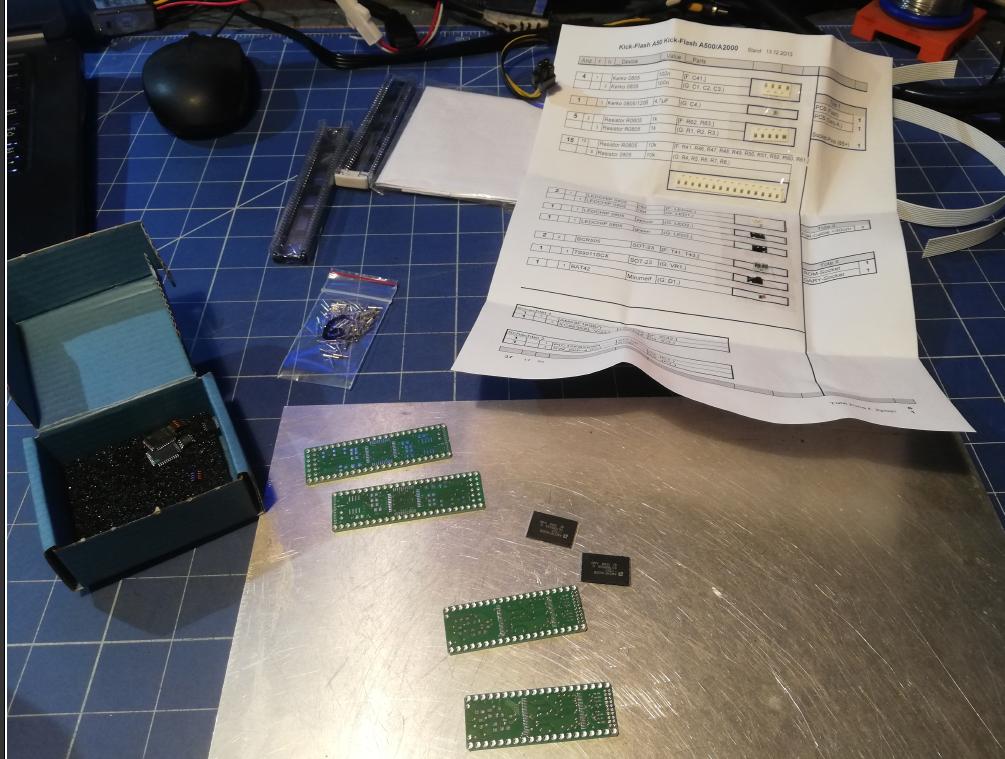
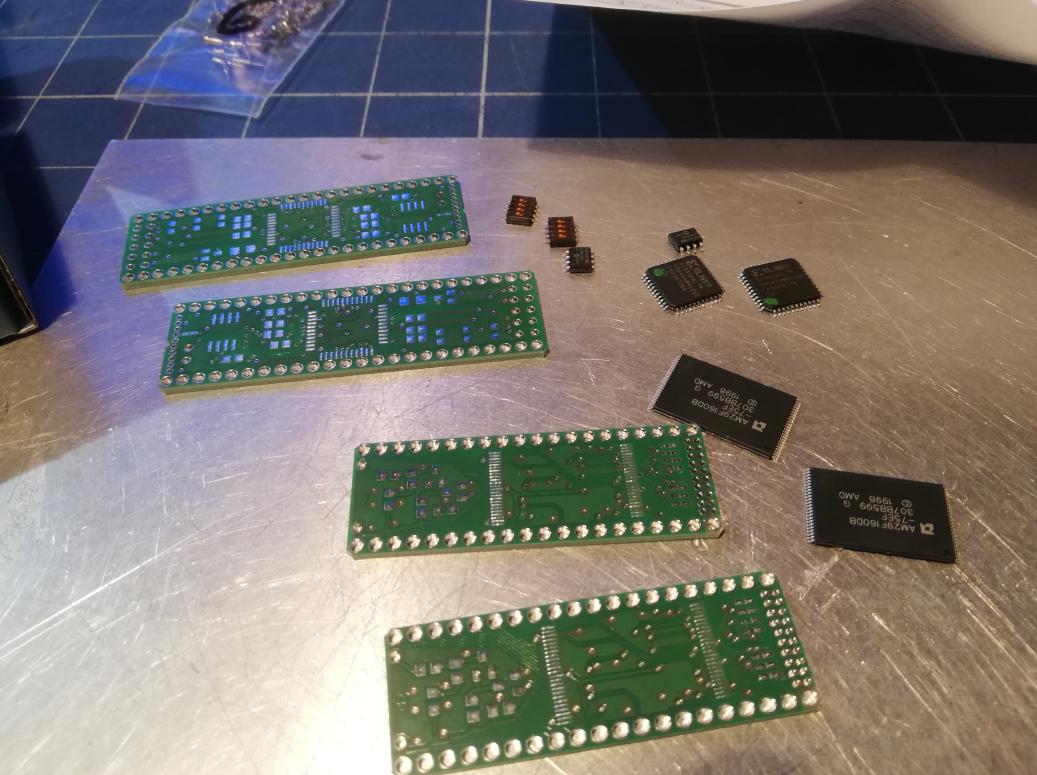
I had to straighten some pins first though.
Sometime later …
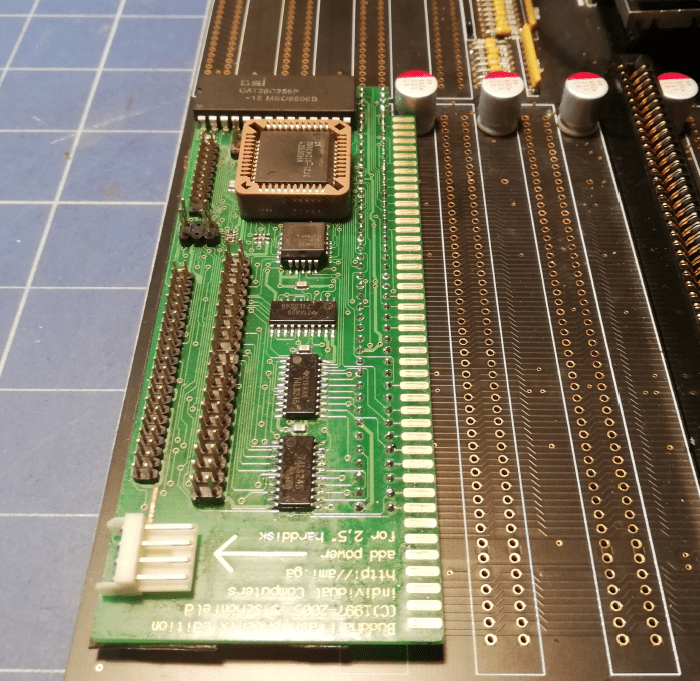
Buddha flash Phoenix – FAIL
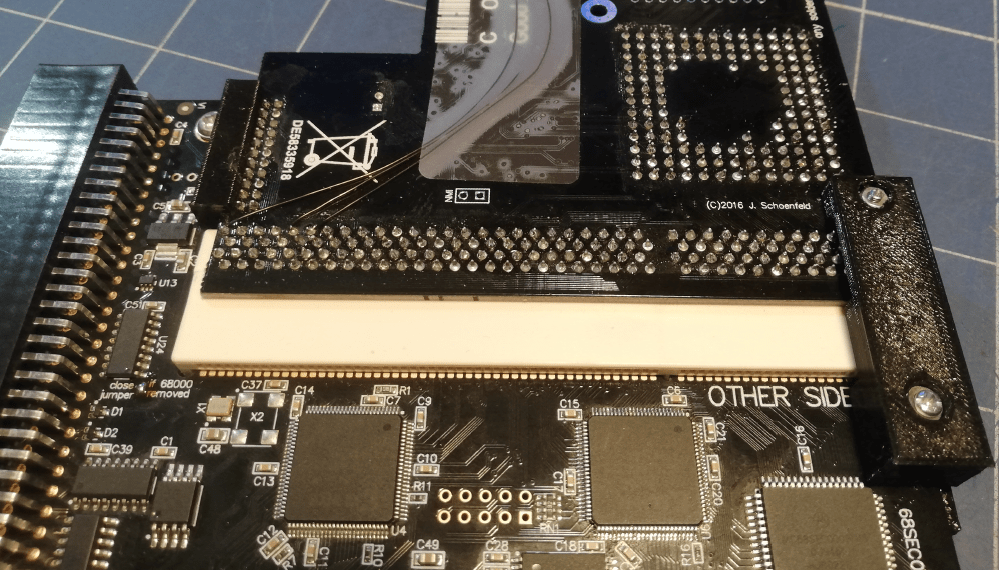
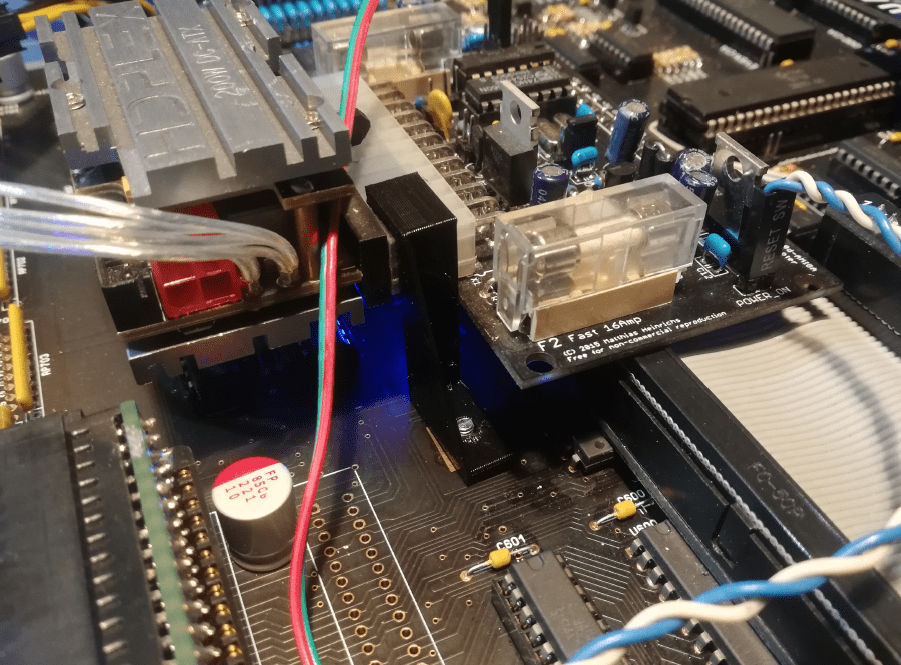
I’ve put assembled devices on the shelf to test them later and moved on to Buddha flash by iComp again.
At this point, I have to highlight that MrTrinsic sent me an A1k Phoenix version of Buddha flash which I was trying to run with the A1k Phoenix mobo that I’ve described the other day in THIS post. However, this resulted in some problems.
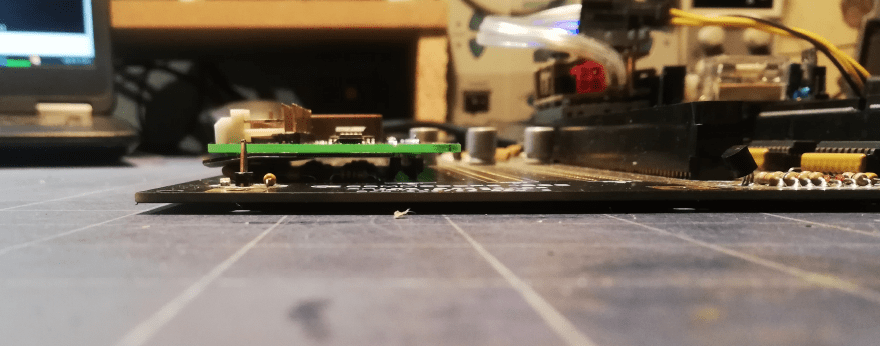
Anyway, to install it on a side and under ZZ9000, I had to improvise a bit.
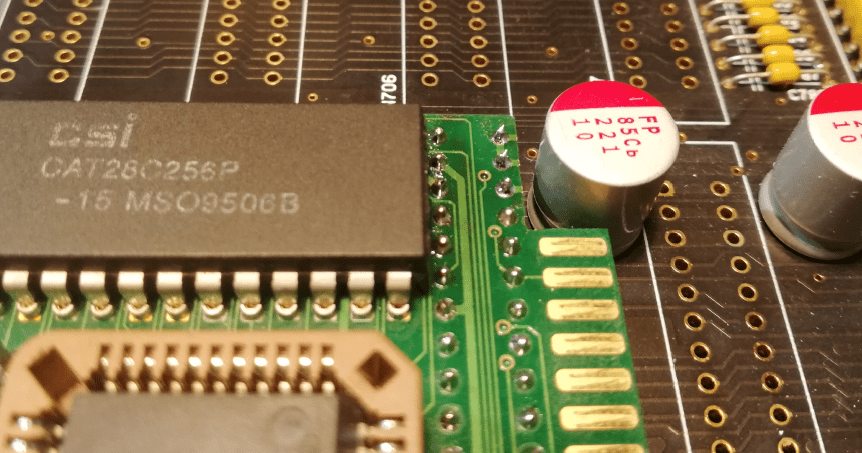
Because Buddha flash for Phoenix has vias next to an edge connector, we’ve thought that it nicely fit under the ZZ9000 … and it did fit nicely but didn’t work 🙁
I also had to cut a PCB a bit to avoid displacing a capacitor but as it turned out later, I had to move caps anyway.
Below are some pics of that failed job.
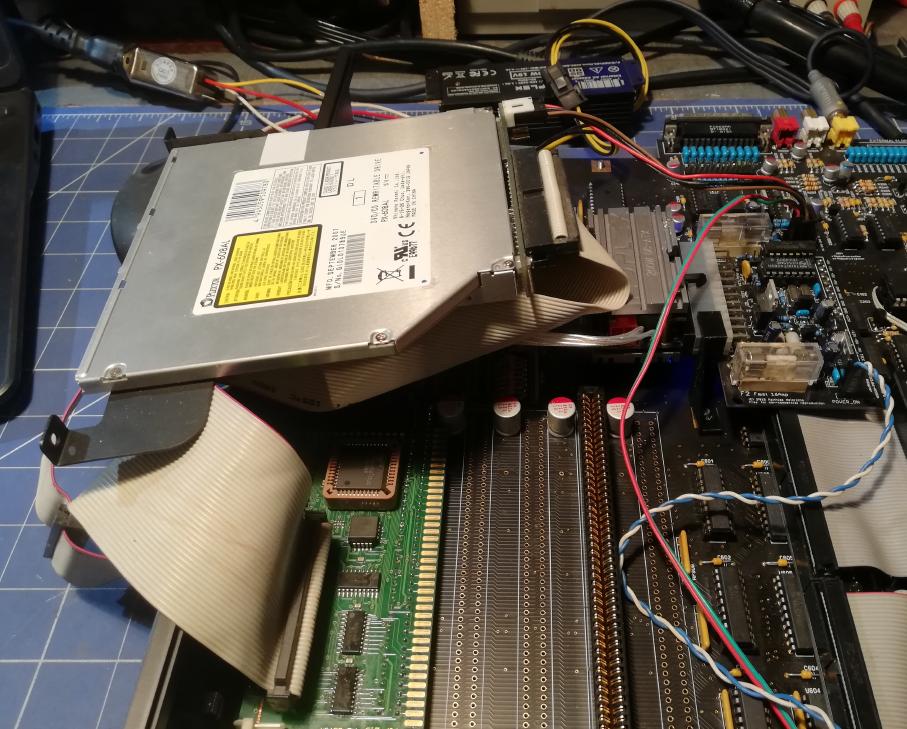
Because of a failed attempt to run a DVD drive through this card I had to wait for MrTrinsic’s fresh ideas.
DVD bracket
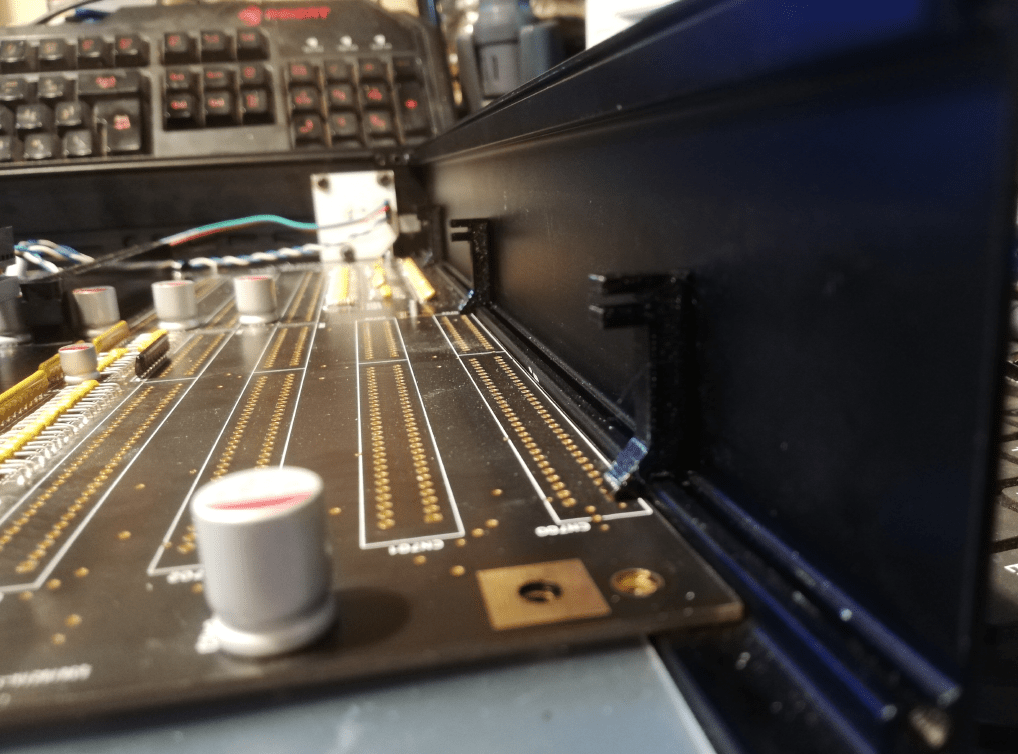
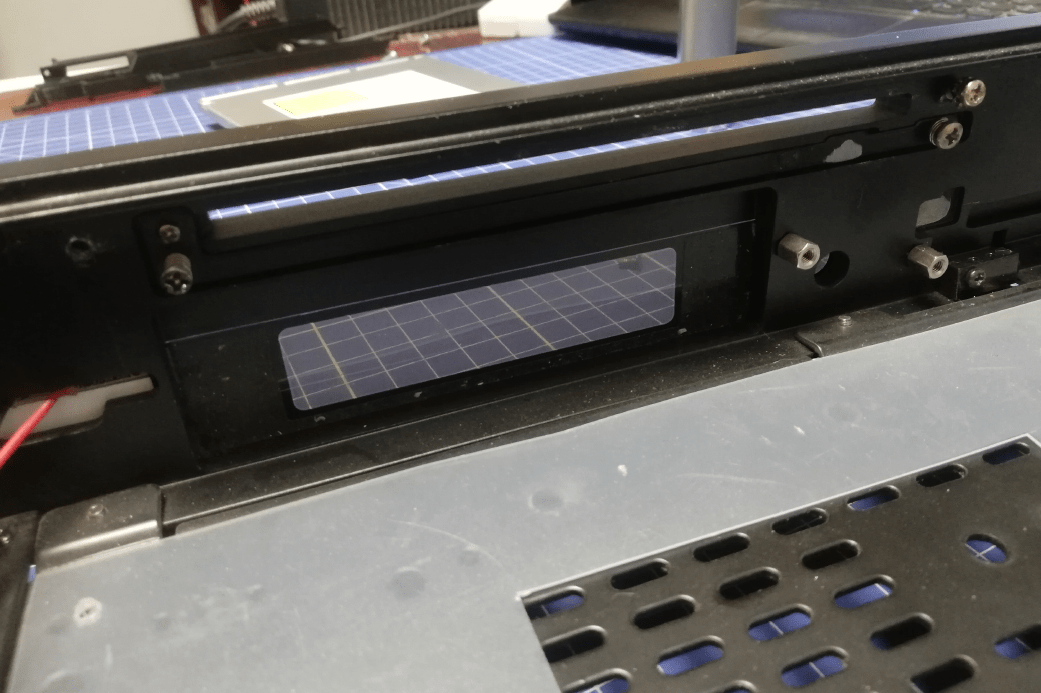
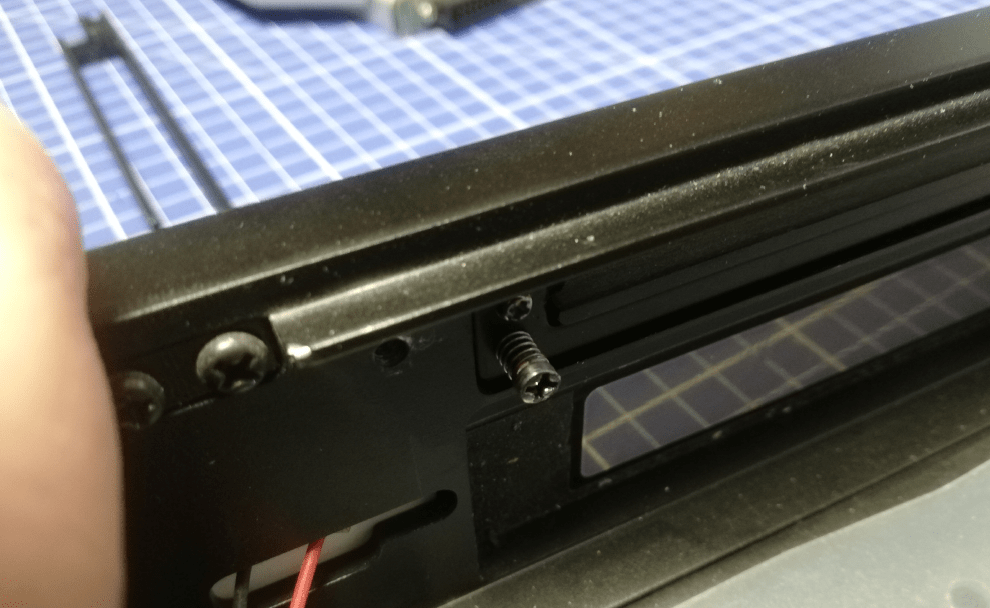
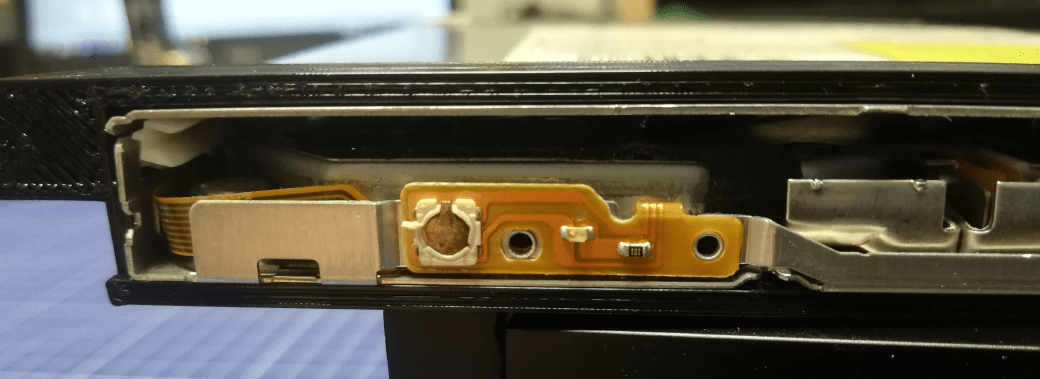
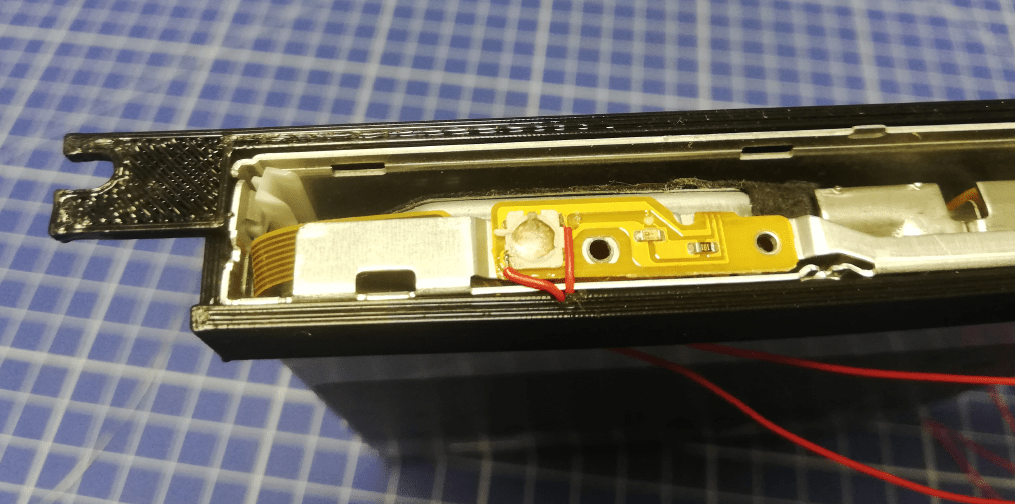
I didn’t want to waste time so I decided to completely redesign the way of mounting a DVD because at this point I realized that the eject button is on the other side … meh …
Below, is an inside view of a CD/DVD slot with that small metal blob that is supposed to press the eject button.
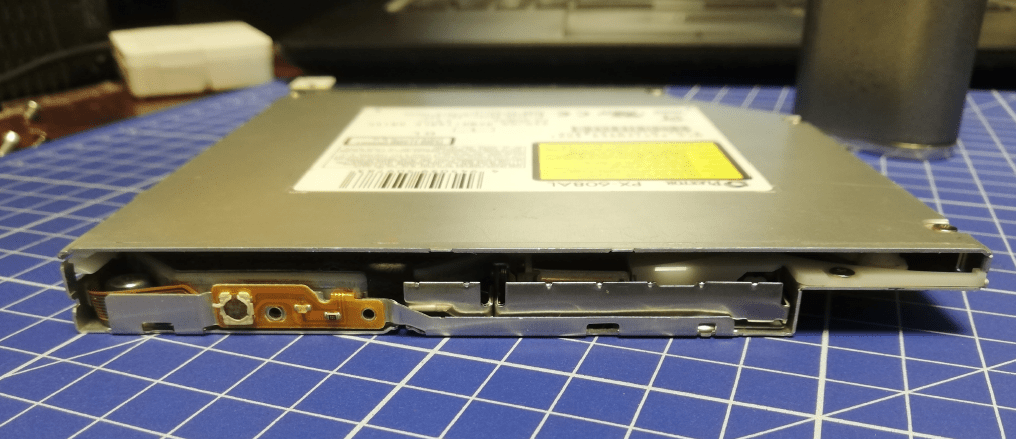
Plextor DVD drive
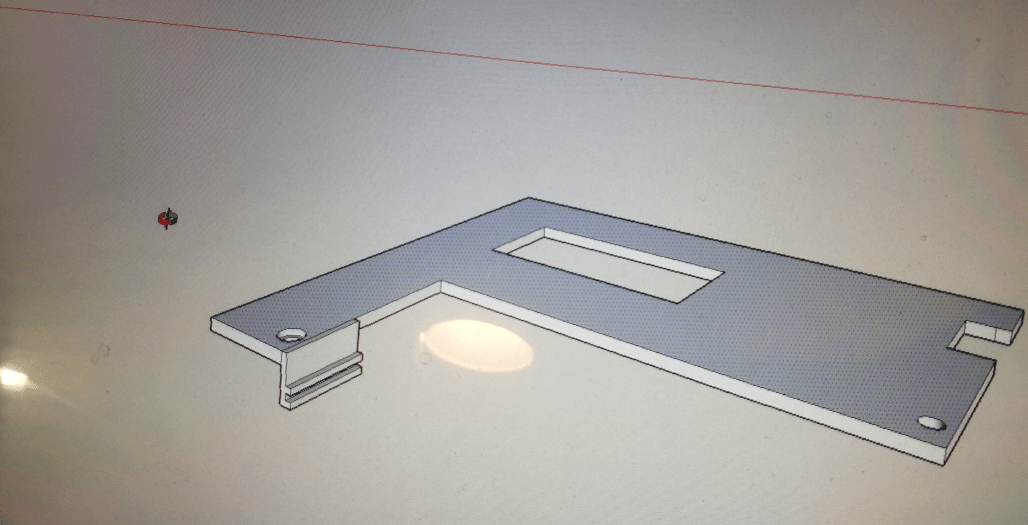
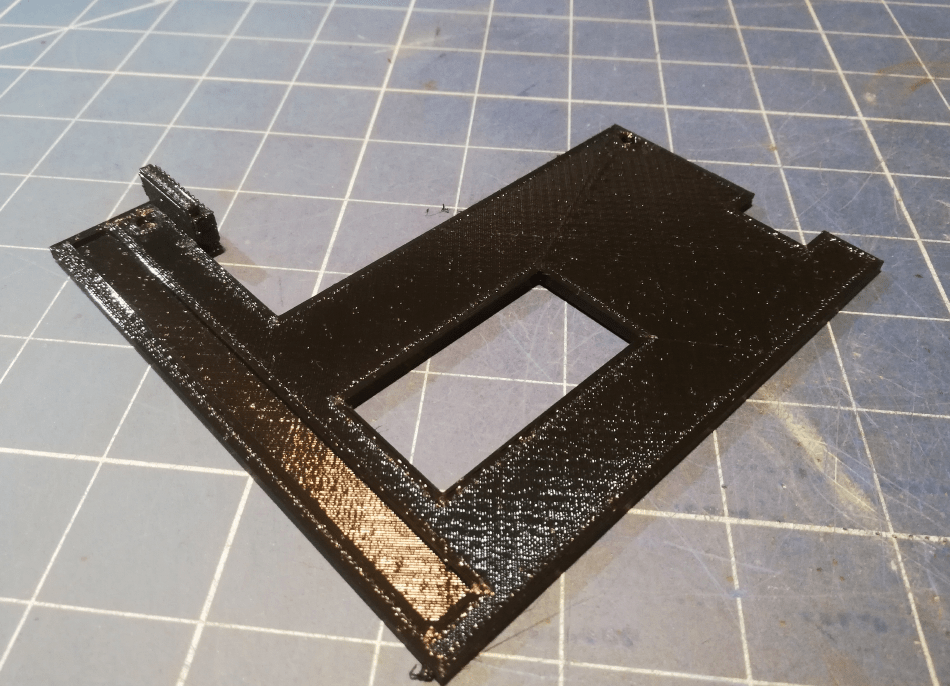
I’ve started designing and 3D printing some brackets.
Some hours or days later …
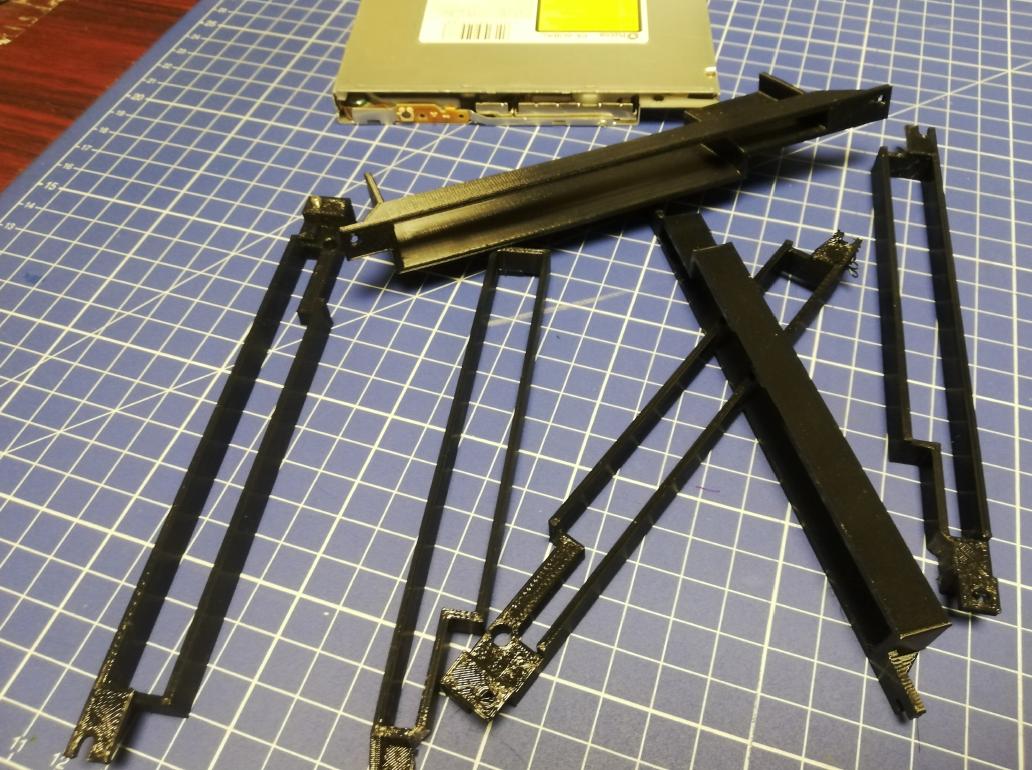
… I came up with this bracket
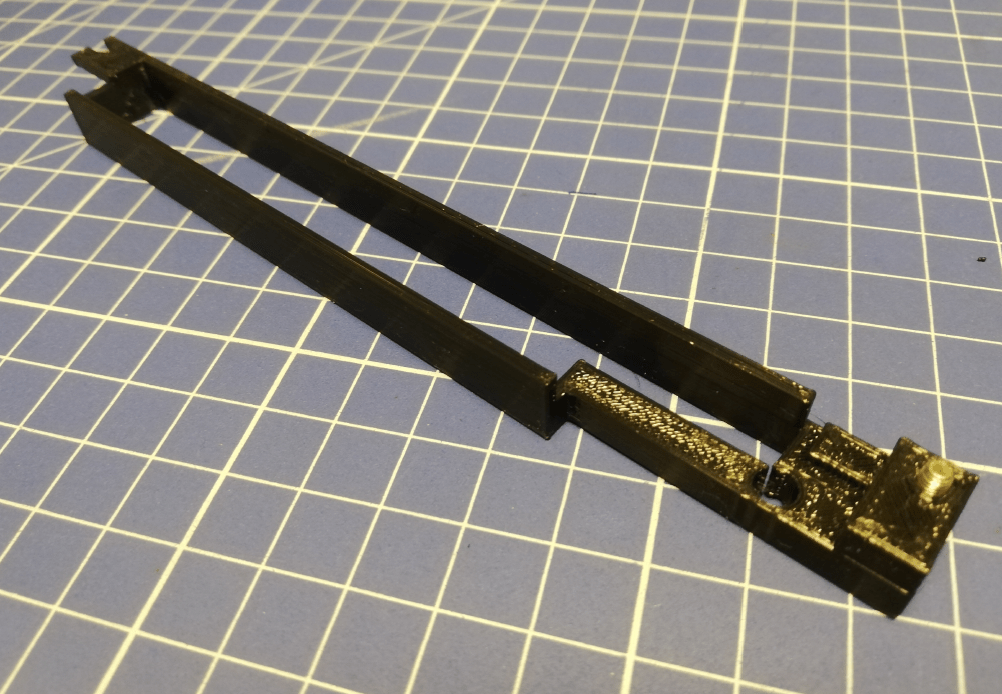
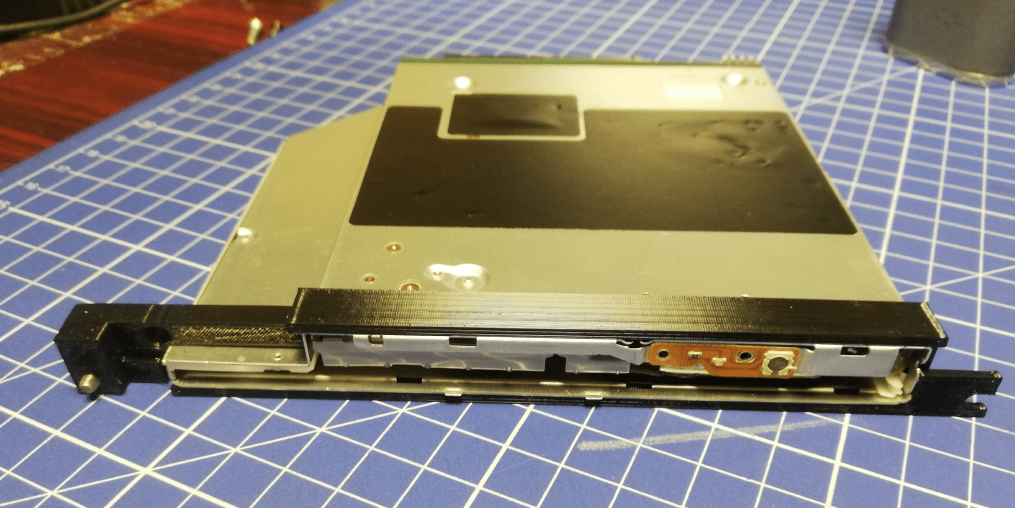
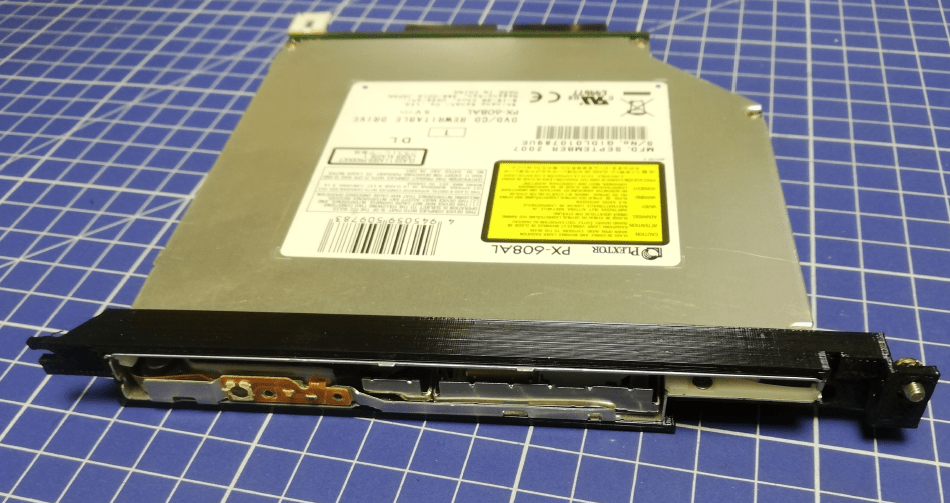
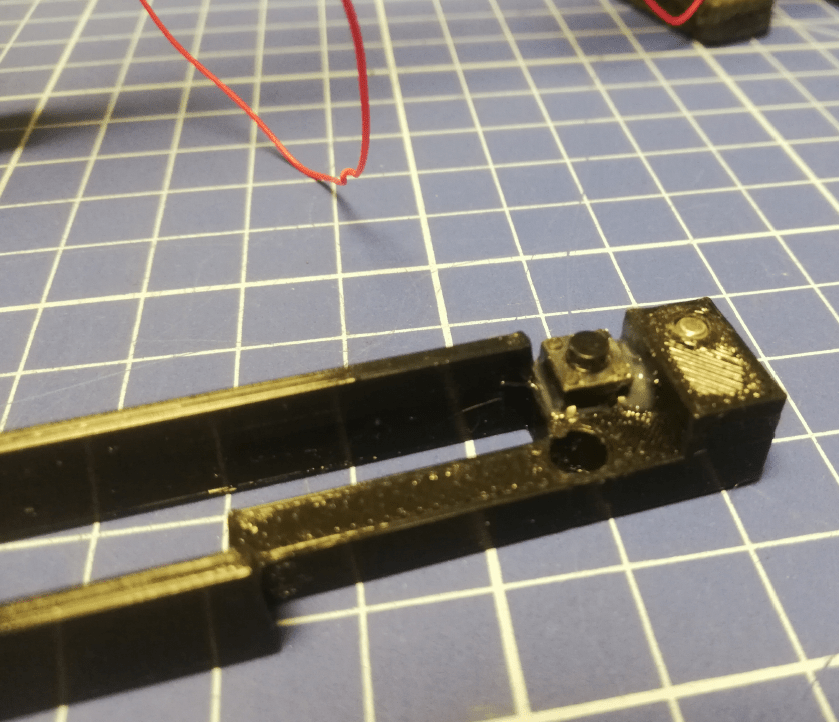
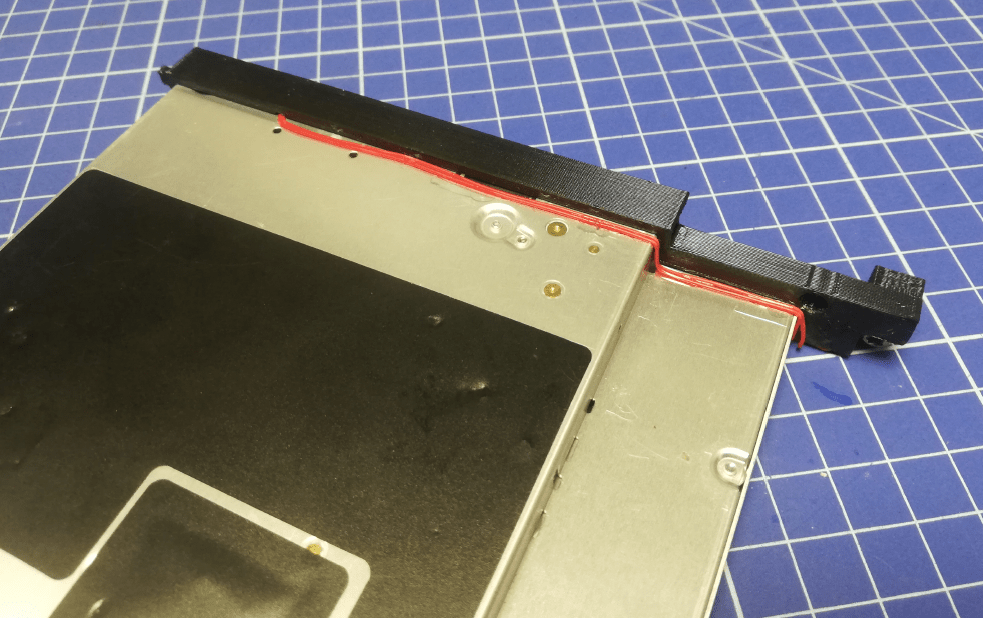
The above bracket is only keeping the front of a DVD drive in place. I’ll describe the rest of the support in future posts.
End of PART 3
You’ve reached the end of part 3 of the Amiga Tesseract project. Stay tuned for more episodes of this build. Just to let you know about the timeline, the above jobs were done in January of 2021 and the project is still ongoing. Yup, it is a bit time-consuming 😉
Outro
If you want to get the retro gear I am manufacturing or hardware modules, please visit shop -> https://retrohax.net/shop/
Please support my work by commenting here and on our Facebook or Twitter pages.

not sure if my comments are posting… has told me forbidden and other things.
Yeah, there is some sort of a problem with comments section that I am looking into.