… or why I’ve spent nearly 50 quid on it
<the other intro>
Again, an announcement. I am slowly running out of badly damaged computers I am open to accepting broken retro computer donations so If you have a broken/rusty/muddy/post-apocalypse/car accident/burned or simply not working retro computer, I am happy to accept it and will attempt to repair it. The best repairs will be covered here.
I know, I know what you want to say – MAKE A VIDEO out of it!!! – Naaaah, I am not a youtube kind of person and I prefer writing about things that I am trying to fix … but who knows … as they say – never say never 😉
Anyway, if you have a broken piece of retro hardware and would like me to repair and cover it on this blog just drop me an email with some details at [email protected] or contact me through the Facebook page.
Also, please leave comments as this is a great feedback tool for me. This helps me to write better content. You can either comment under posts or on my Facebook page here -> https://www.facebook.com/Retrohax.net/
</the other intro>
<std intro>
Rrrrrite, another extreme episode is ready. It will be divided into two or three posts simply because there is too much material to cover – over 200 pictures. If you didn’t see other episodes, you can find links to each of ’em below.
Episode:
</std intro>
The story behind
It all started with one of my very early posts called “Atari 1040 STe a.k.a. Puzzle project“. It was an awesome journey and I’ve felt this is what I like the most – to fix unfixable.
Then came a badly damaged Commodore 64 (Episode one – links above) that I had an opportunity to fix. After that blog post, Christian a.k.a Perifractic wrote an email to me and we’ve started a small co-op.
As you may know, Christian runs an excellent Youtube channel – Retro Recipes where he talks about retro computers in a very cool and informative way (free ASMR included :). I think it is Ladyfractic along with Puppyfractic who pulls the strings and Chris only supplies his voice hahaha 😀
Chris covered a few refurb jobs of mine. He’d managed to make an excellent C64 video out of my post. Then, there was an Atari 800XL refurb that I’ve done. Again, Perifractic covered it on his channel too and it was awesome.
After the Atari job, we exchanged a few emails and decided that whenever there is an opportunity to fix an “unrefurbishable” machine, we will step in and will try to cover it on either my blog or his YT chan.
Extreme refurbs
The time passed and we’ve managed to create a few more articles/videos.
Atari 800XL Extreme Refurb: Revisited
The REAL Plus/4 Mini Extremefurb! – Commodore 116
Atari ST Case Puzzle Repair | Refurbish This!
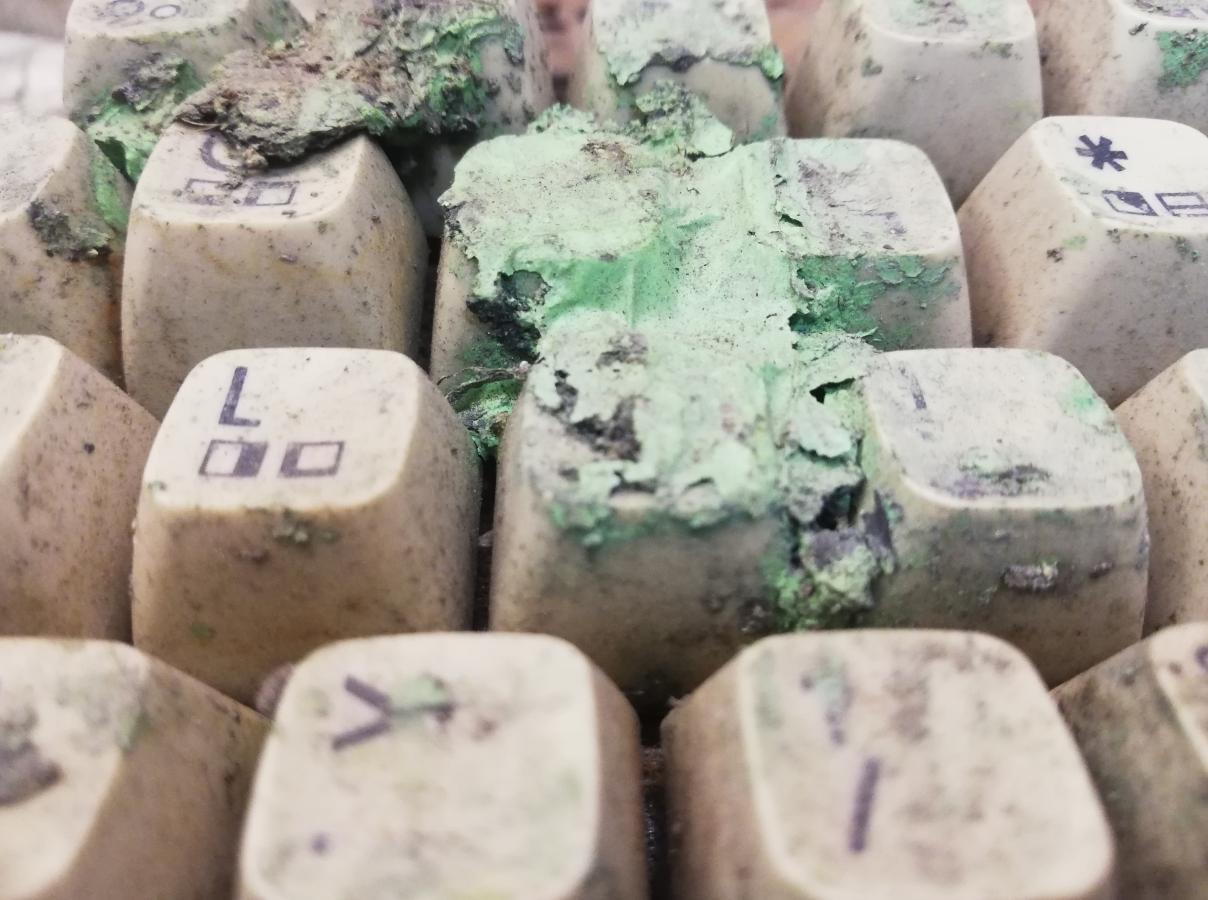
One day, Chris found an auction on eBay with a nice C64 covered in a weird green substance. He’d emailed me a link to it and we’ve both decided that we will try to bid and win this auction.
Here comes the LOL part 😀
That c64 was a disaster and I thought I would pay no more than 10 GBP (13 USD) for it. Well, it kinda turned into a bit more expensive story. I’ve set up my highest bid to 50 GBP (65 USD) aaaaaaand I’ve won this auction … however, I was a BIT surprised that I’ve won it for – 46 GBP + shipping…
I was like …

Chris took a screenshot on his phone.
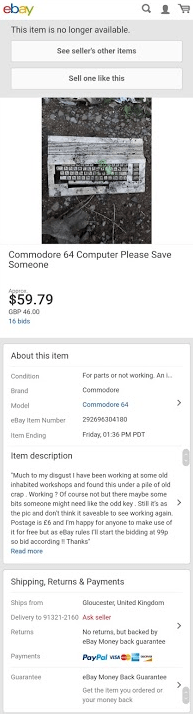
Here is a slightly enlarged Item description.

Anyway, I was happy that I’ll have a chance to fix the unfixable. I’ve paid for this machine and wrote a note to a seller to pack it nicely as I don’t want it to be damaged in transit and I hope it will come in mint condition LOLOLOLOL
That’s where the refurb story begins …
w00t! it is here
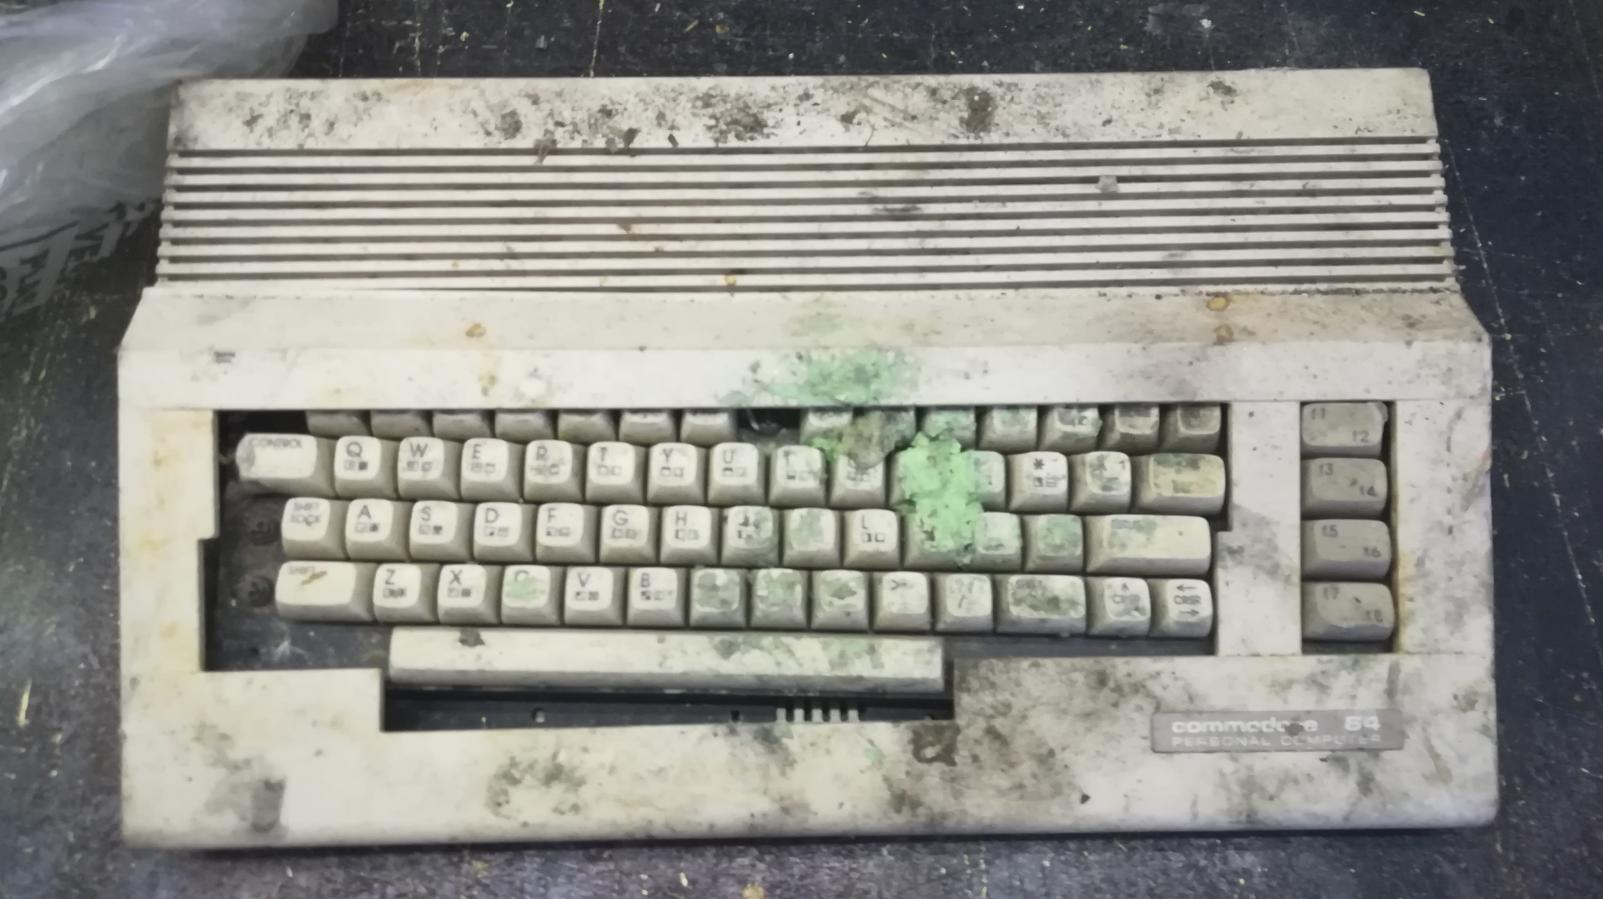
Ok, so it arrived untouched LOL.
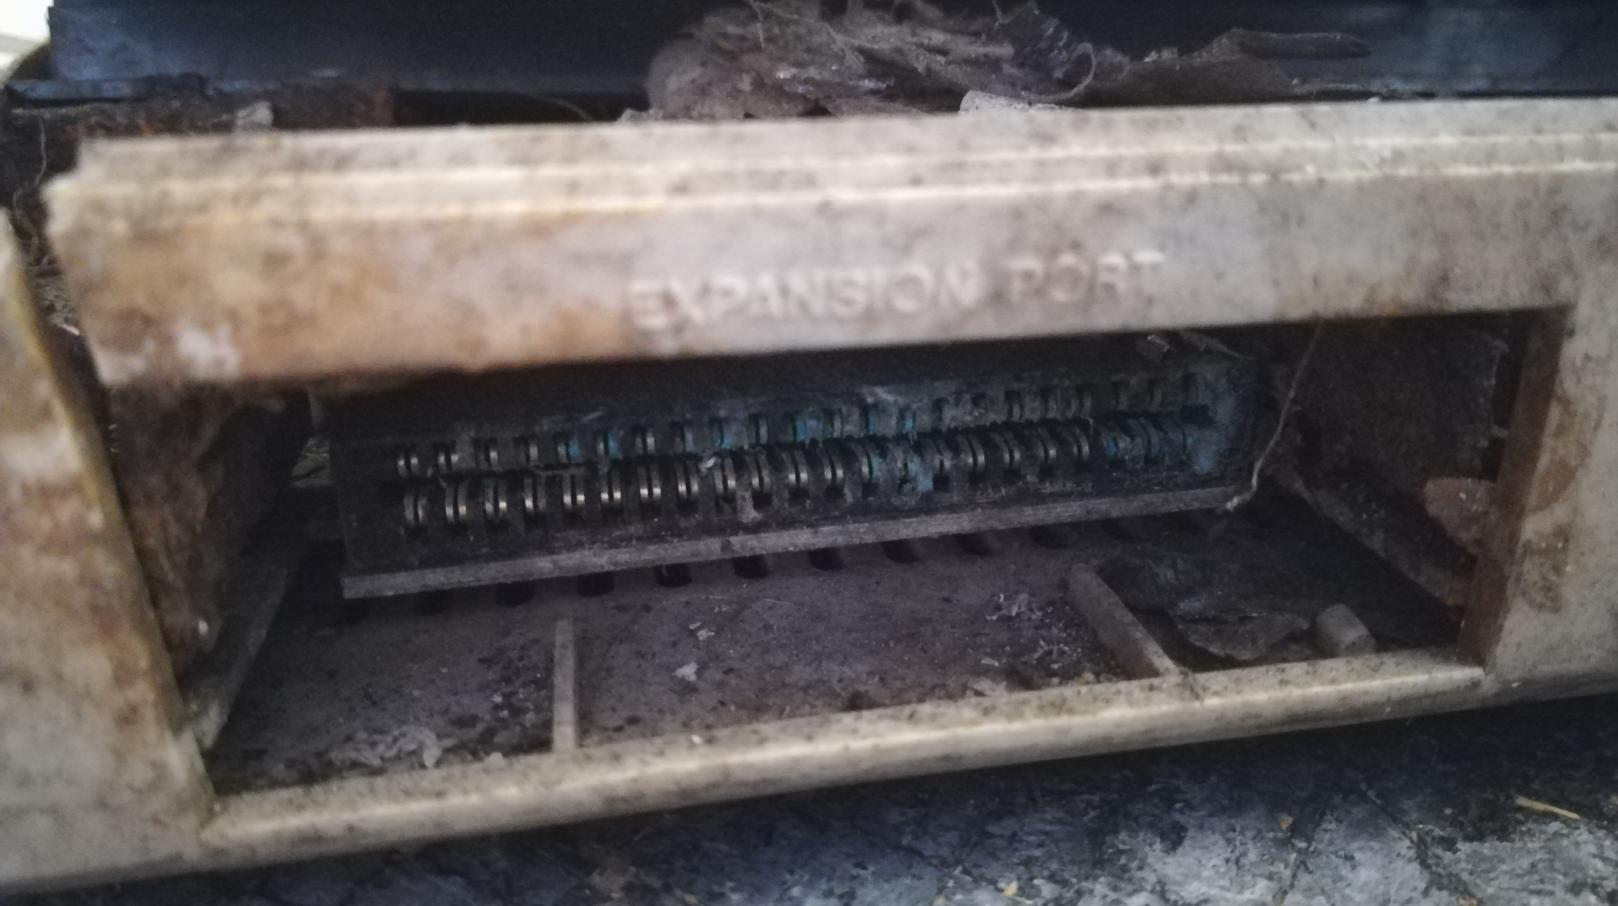
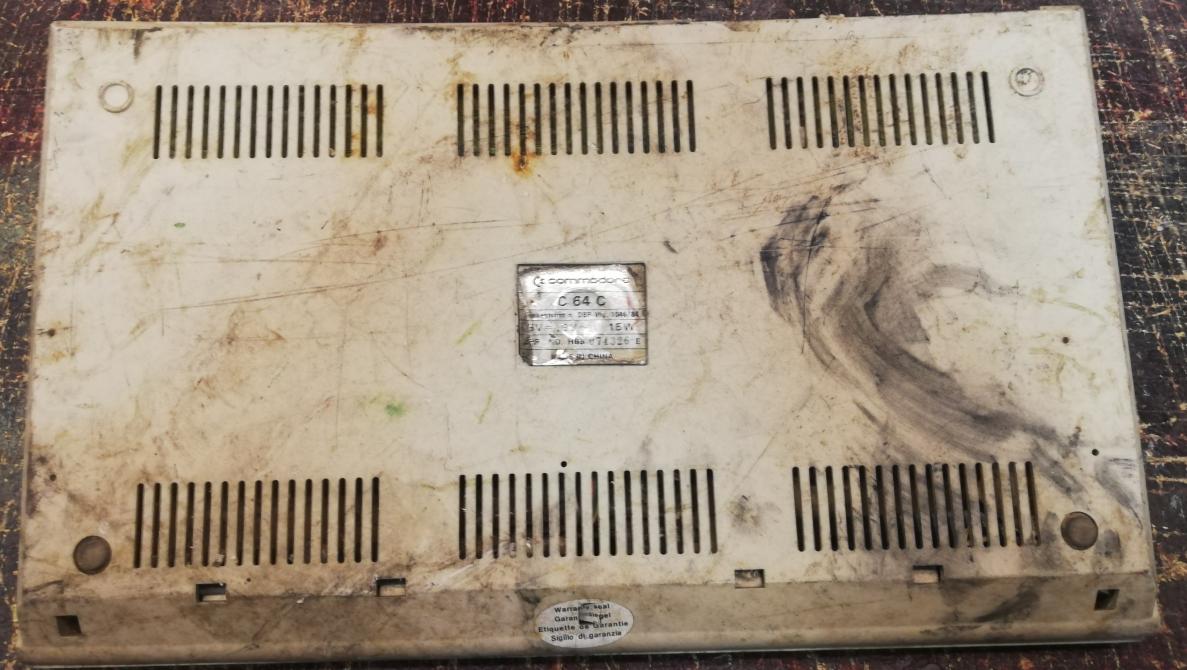
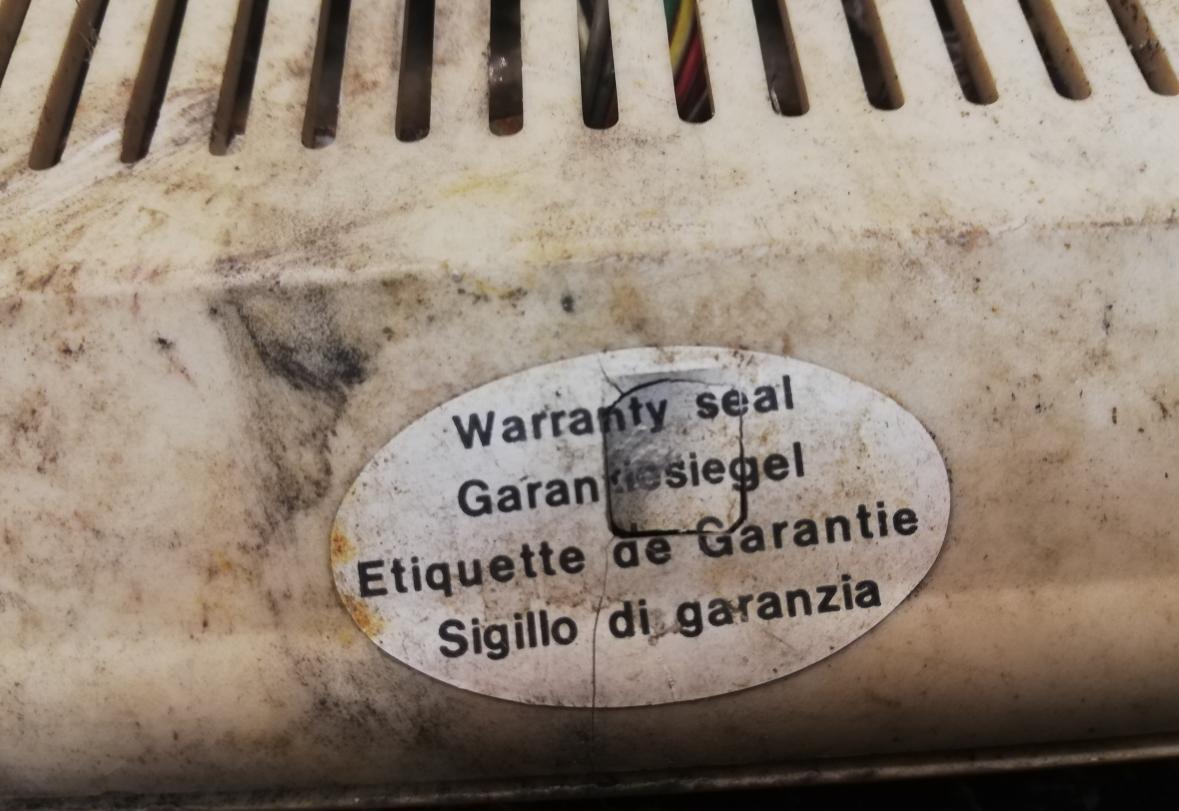
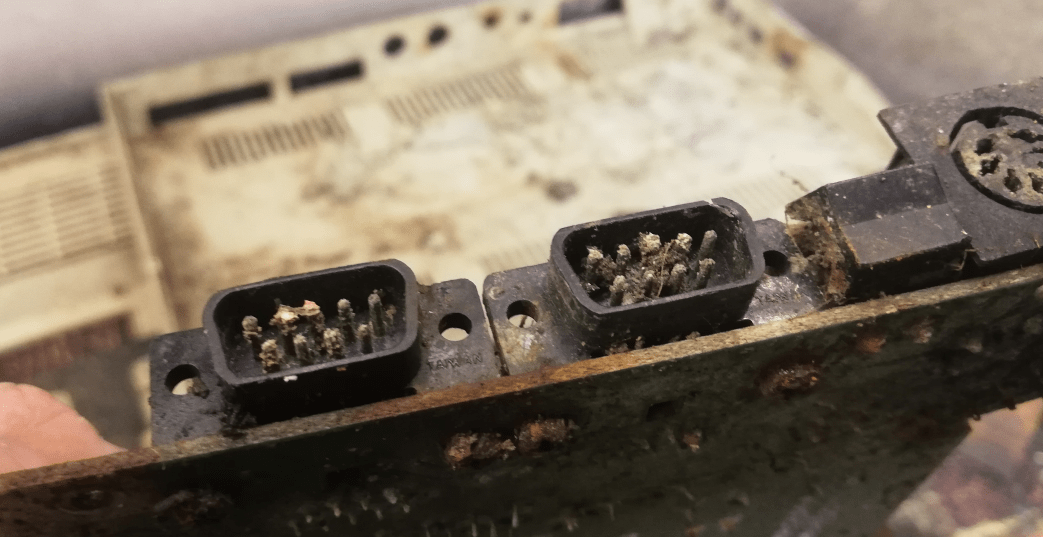
Here is how it looked right after arrival.

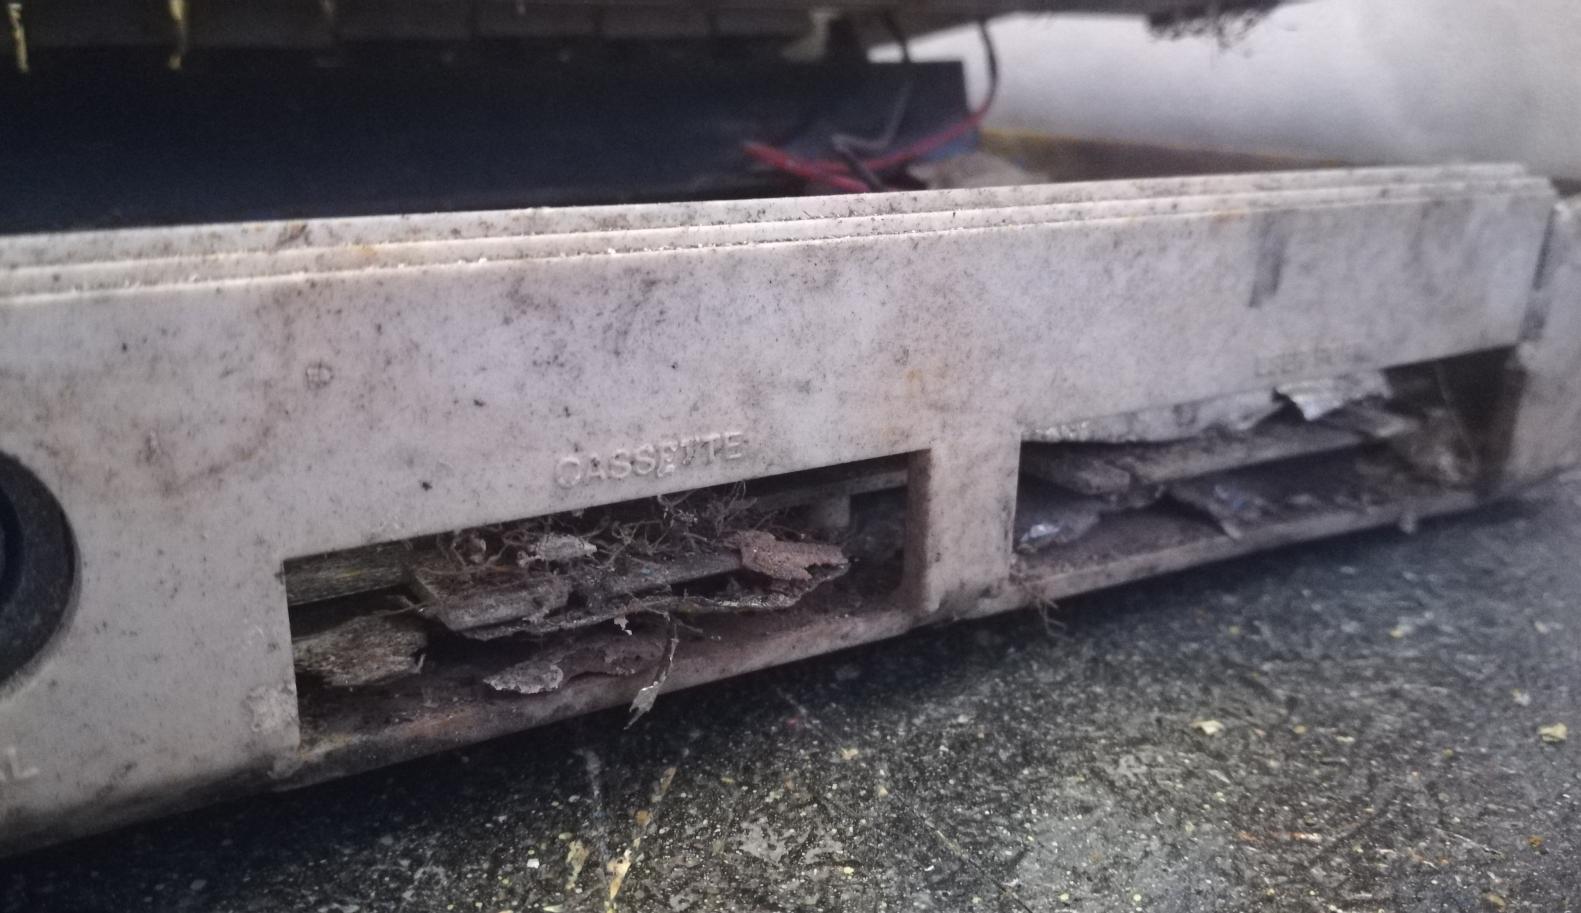
So this poor Commodore stayed in this state for nearly a year. I simply had no time to work on it.
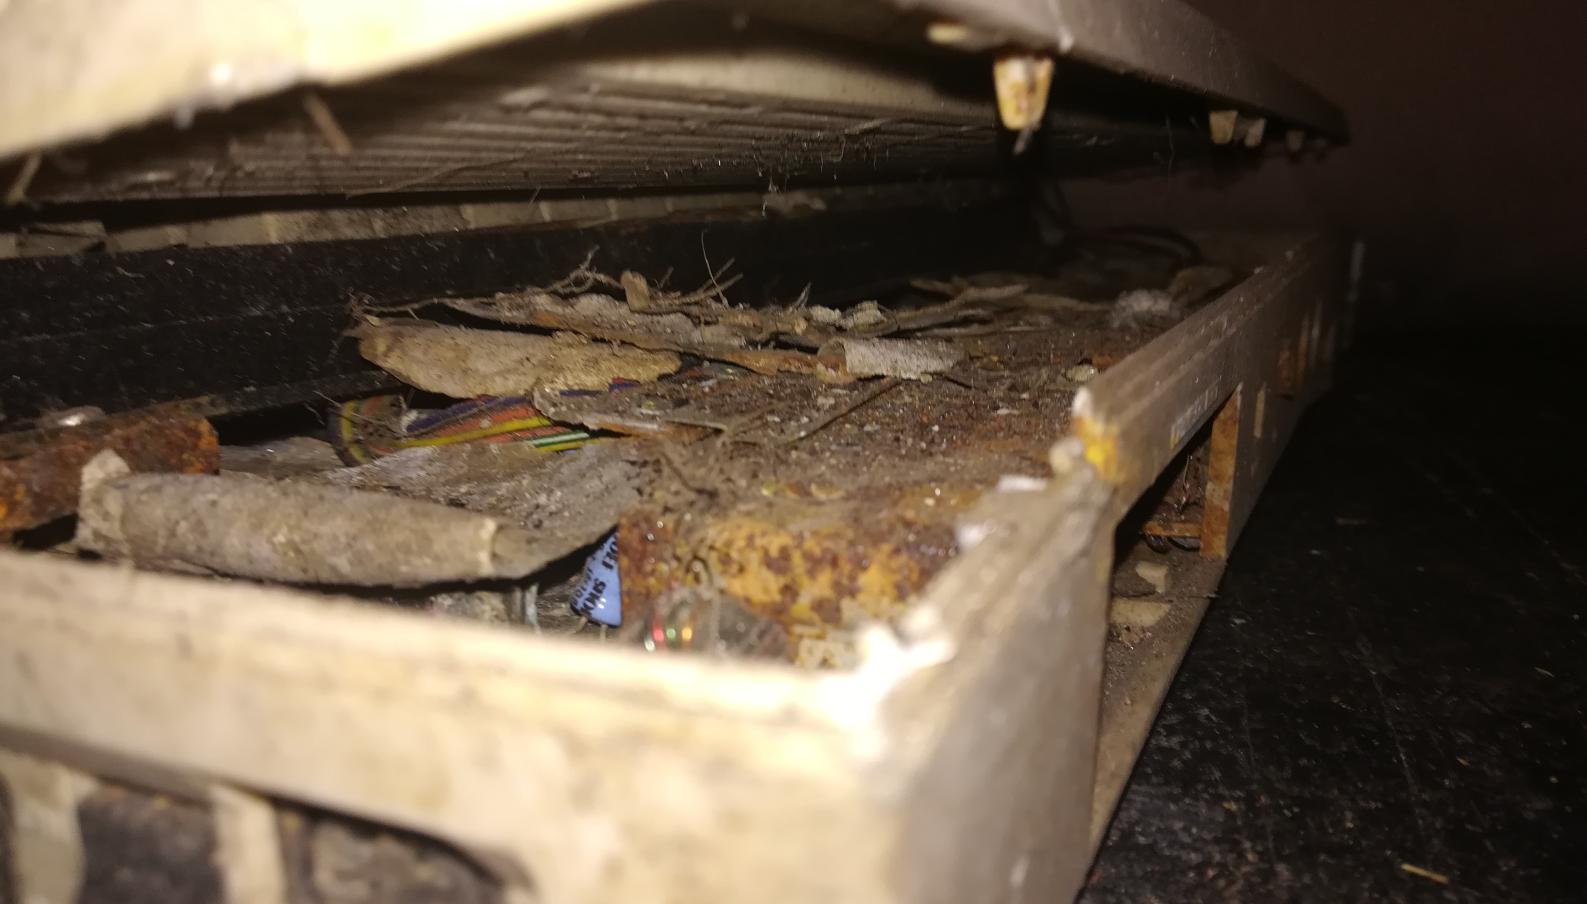
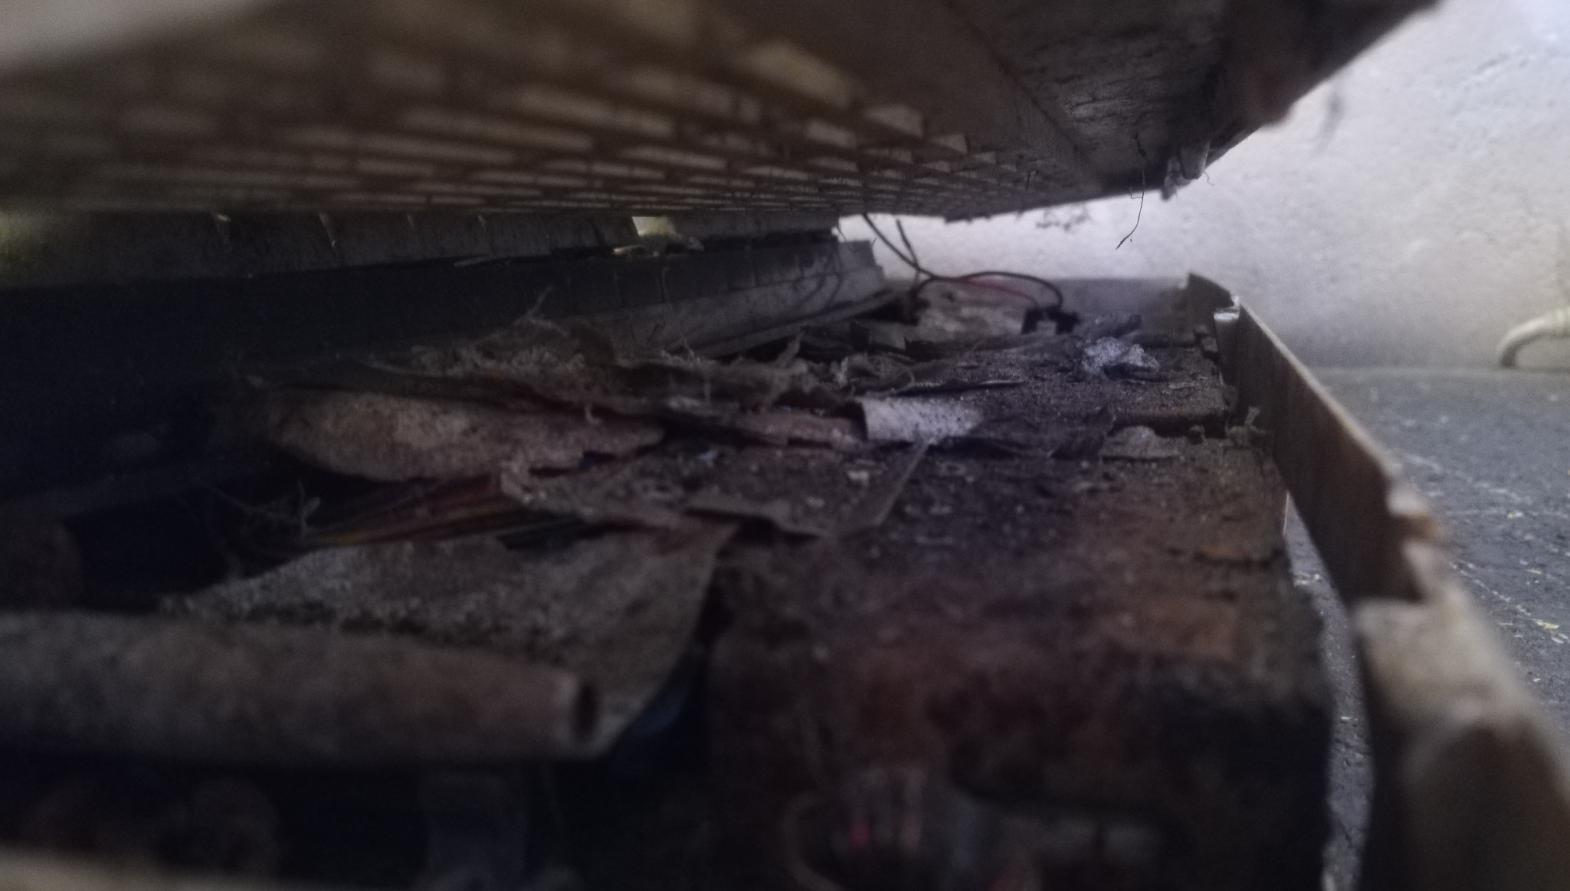
Just before the start, I took some more pics.
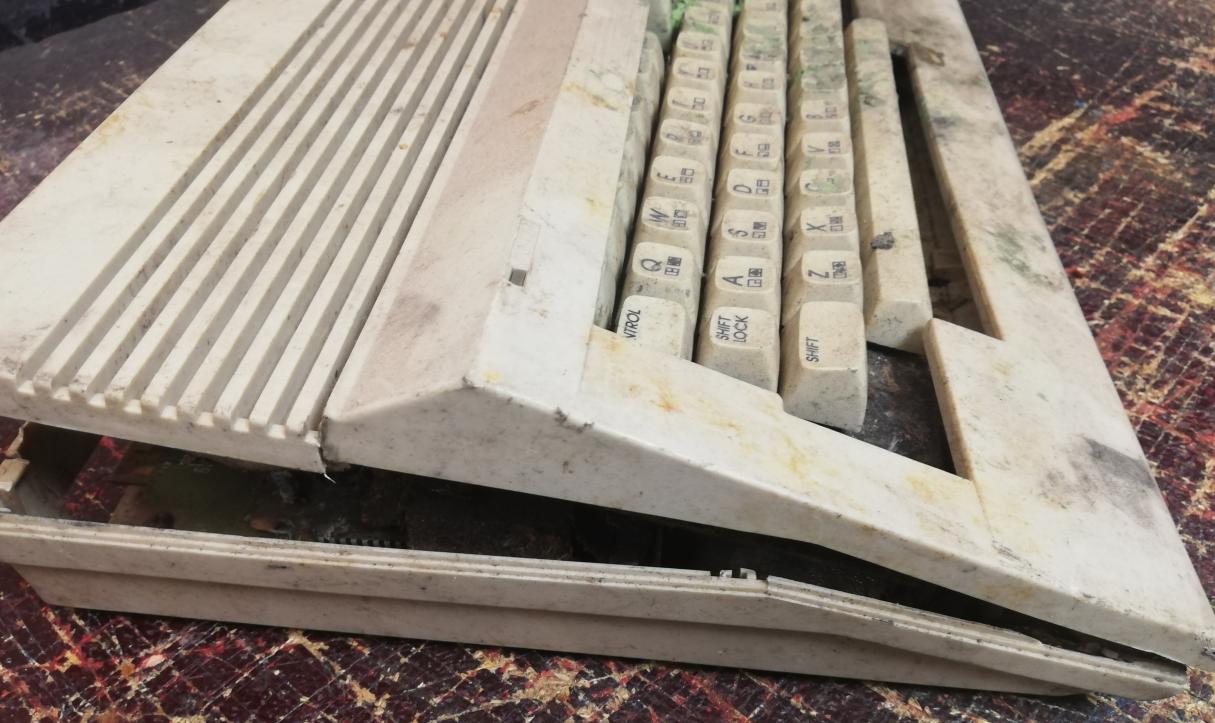
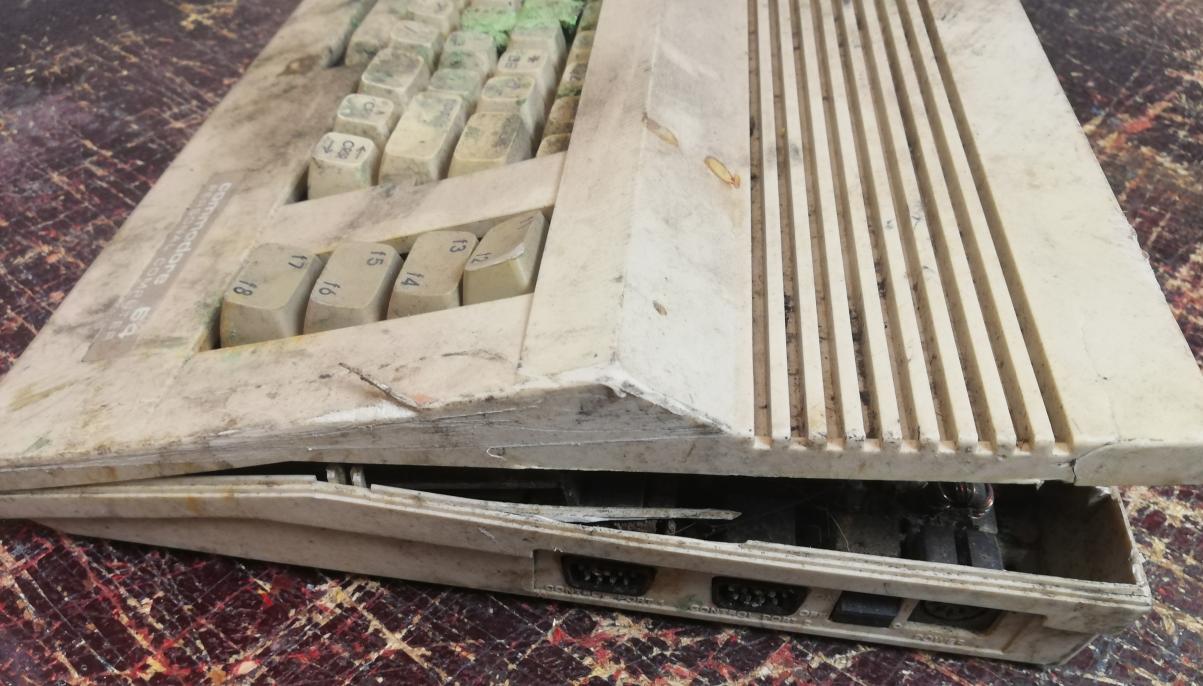
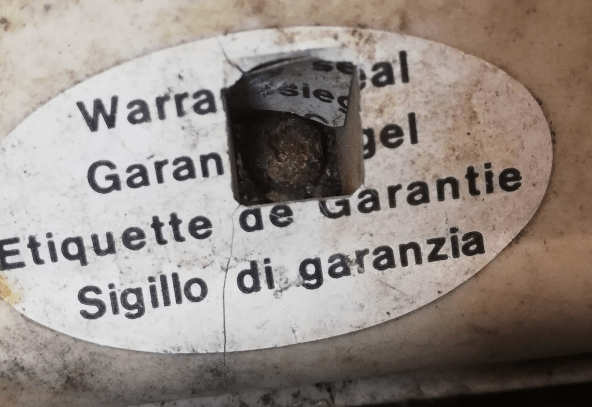
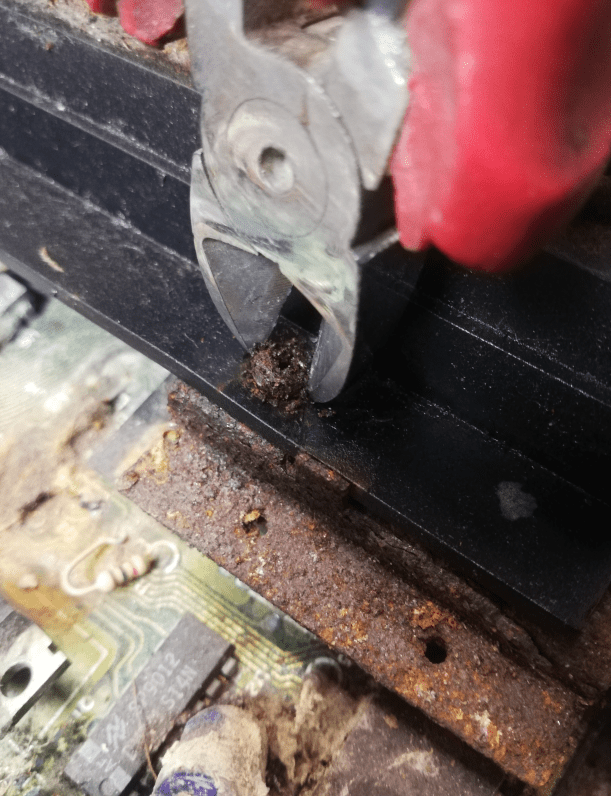
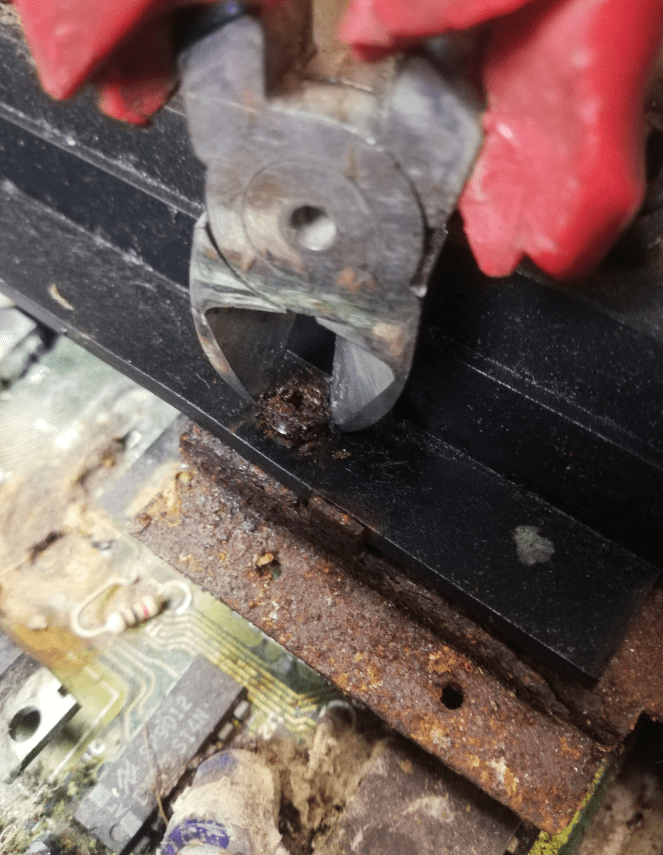
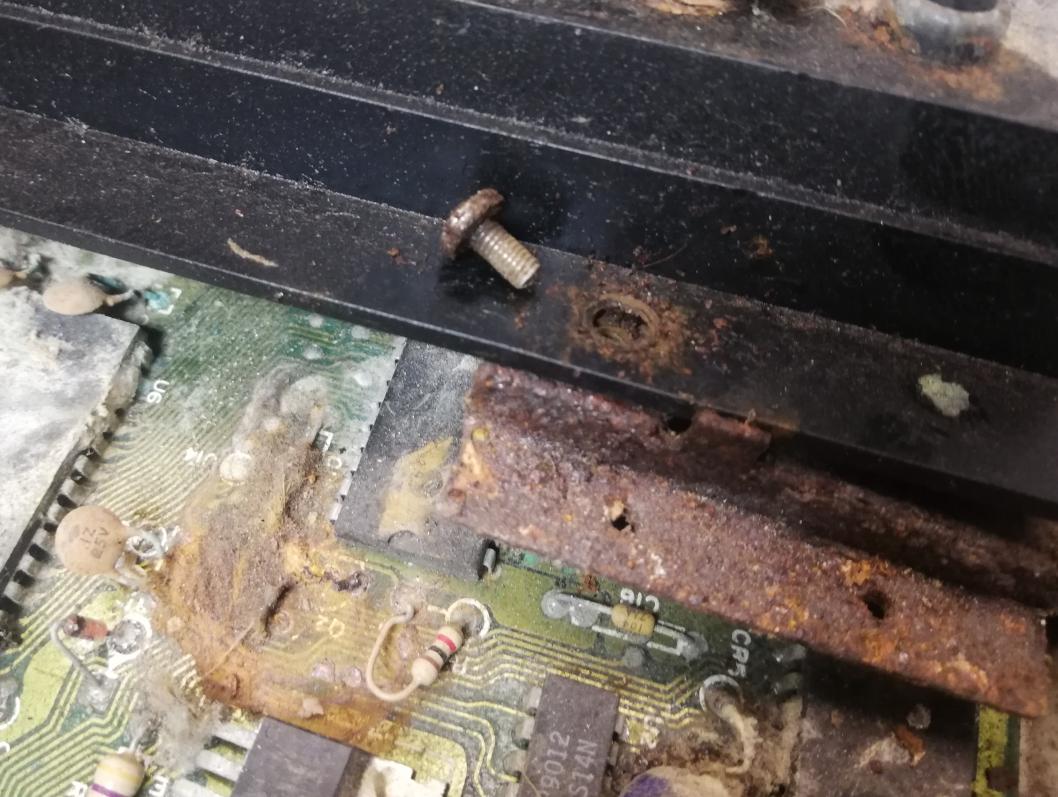
I’ve started a long disassembly process using various chemical tricks to unscrew completely corroded screws.
U r doing it rrrrong 😀 … yup, no other way to unscrew it.
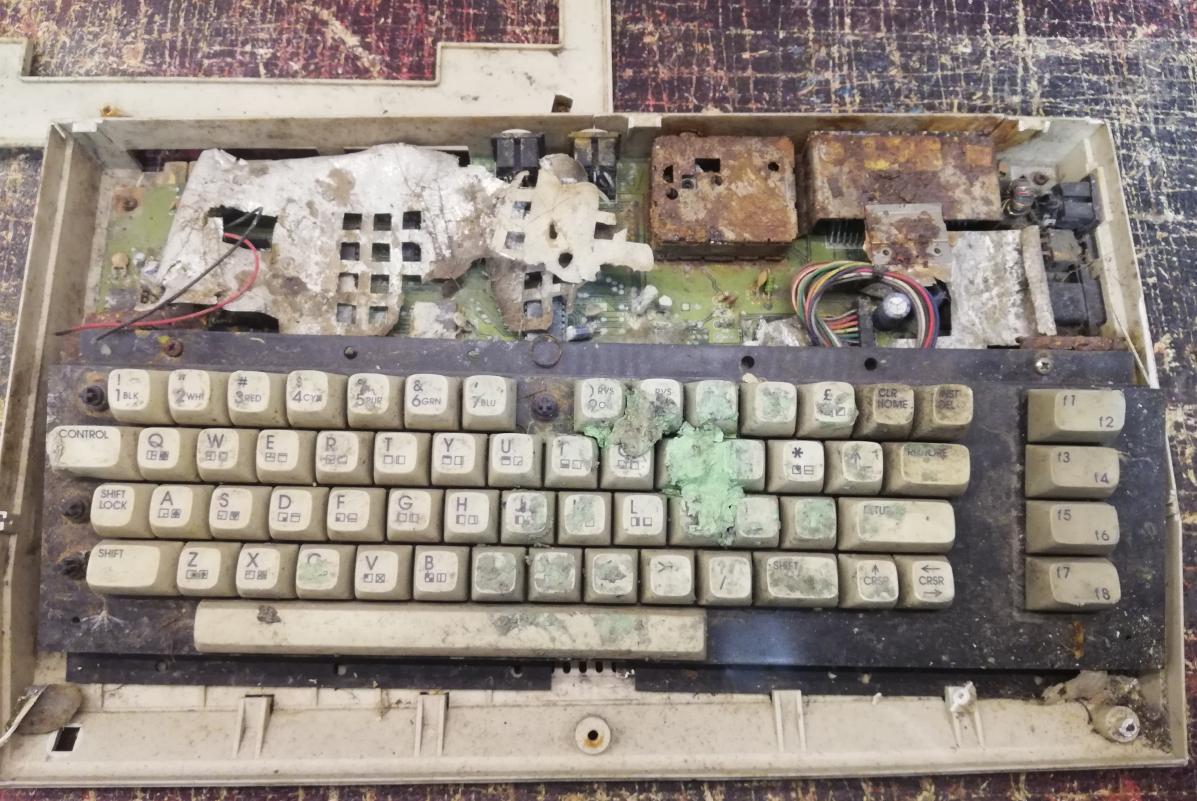
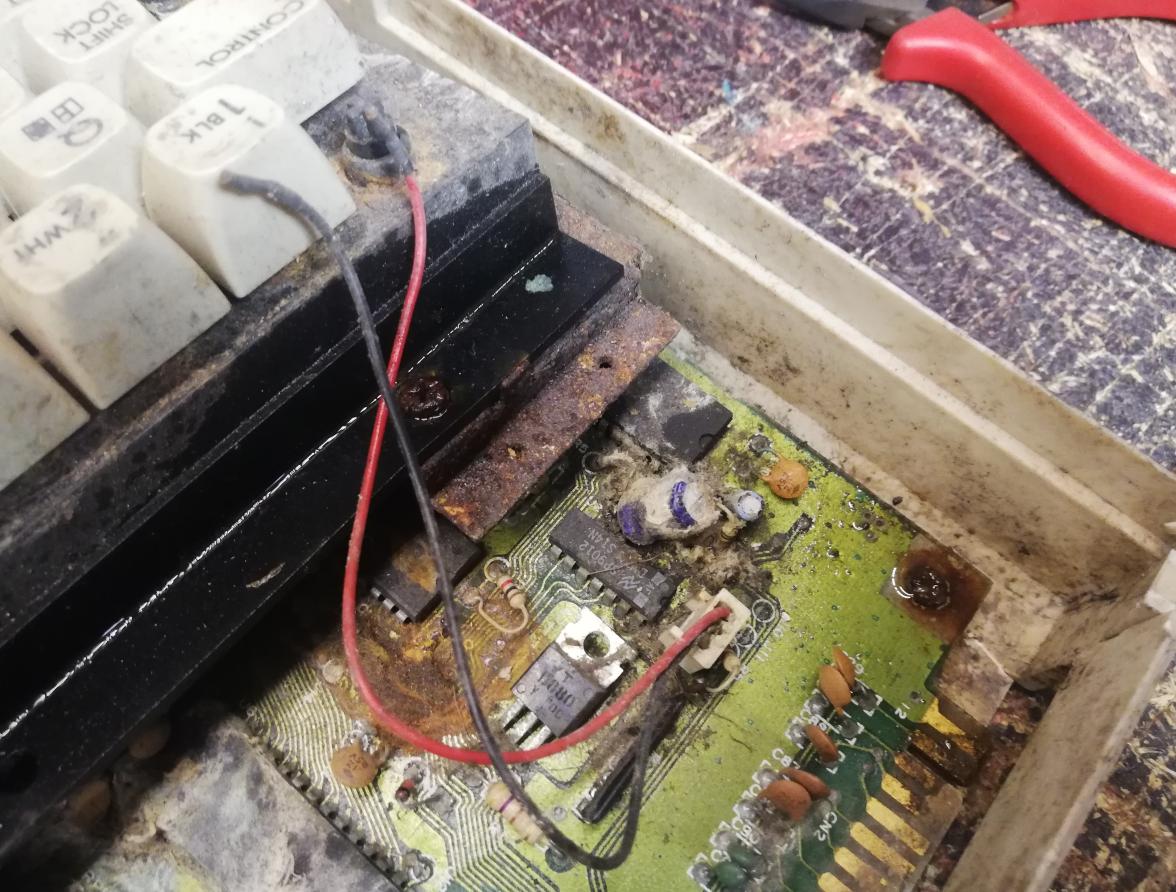
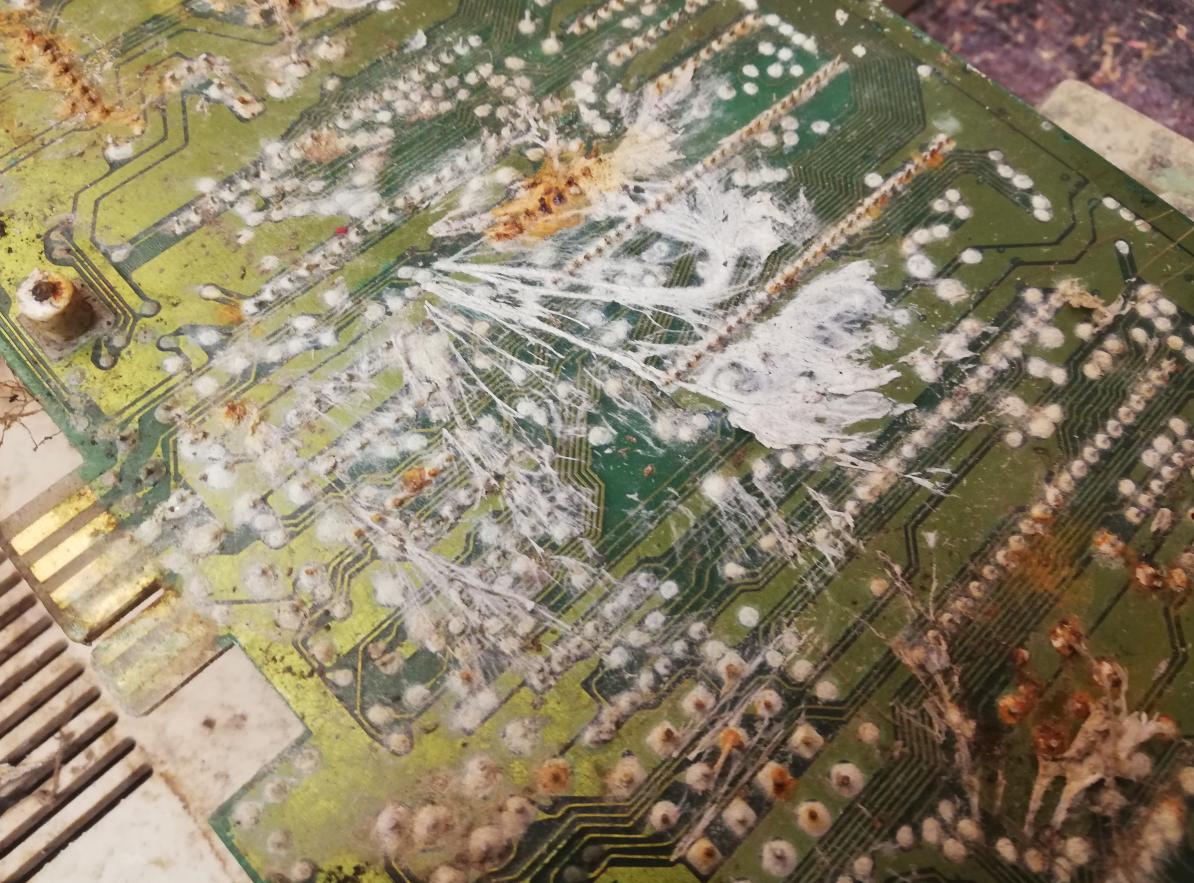
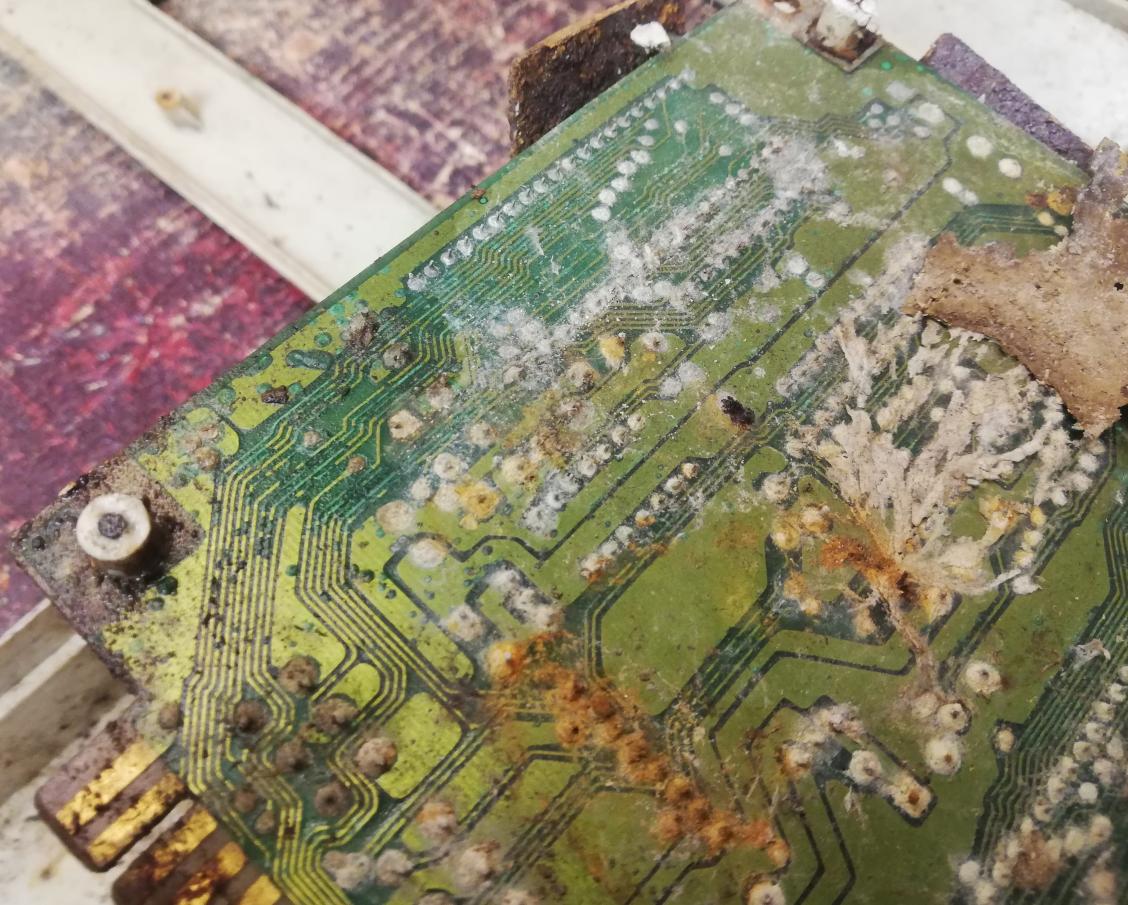
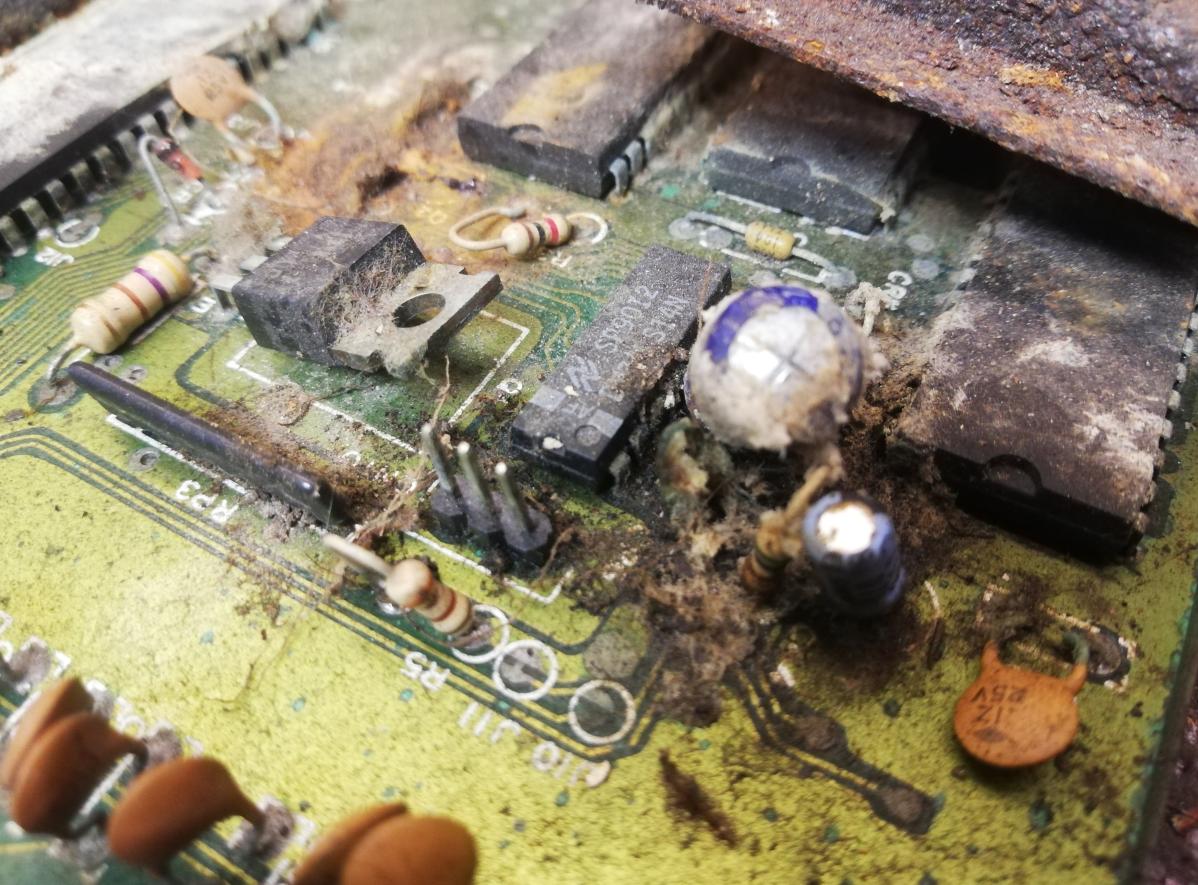
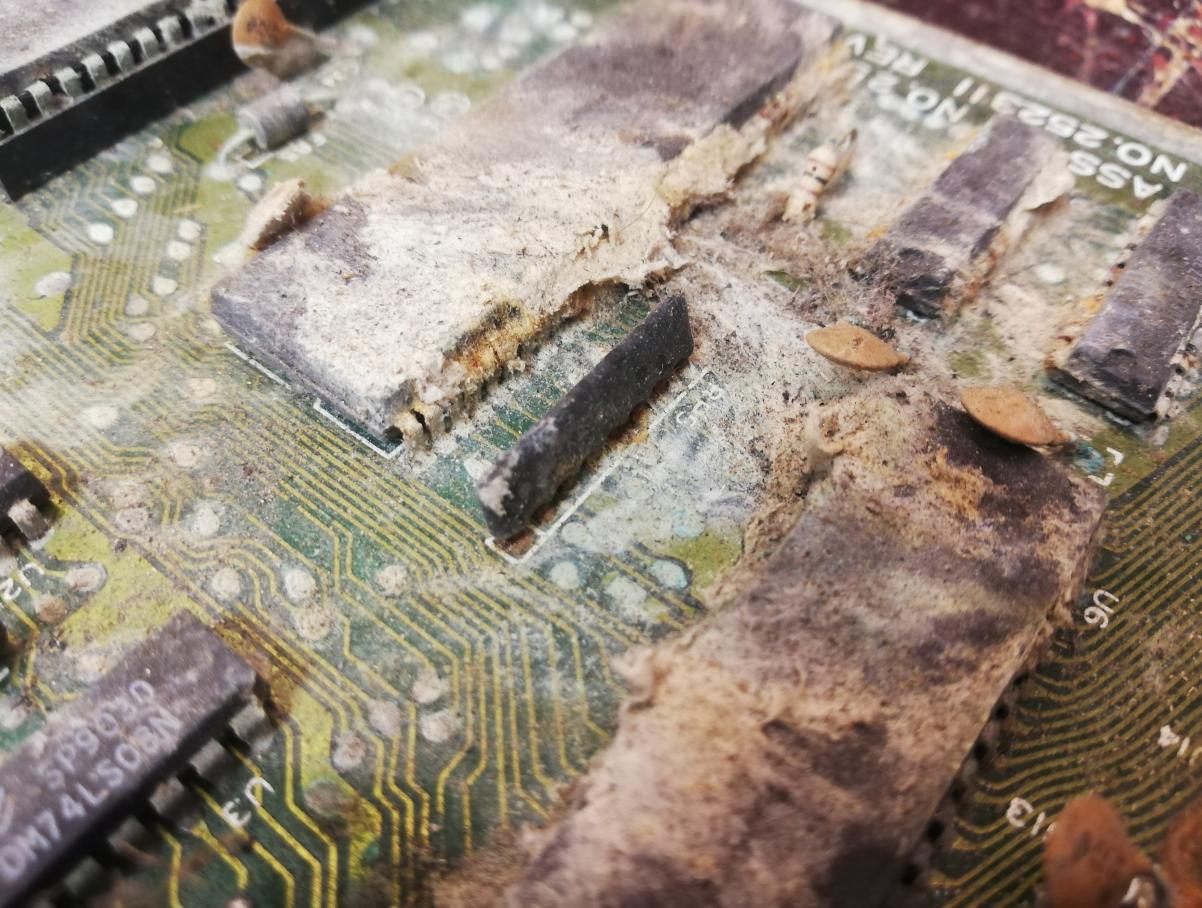
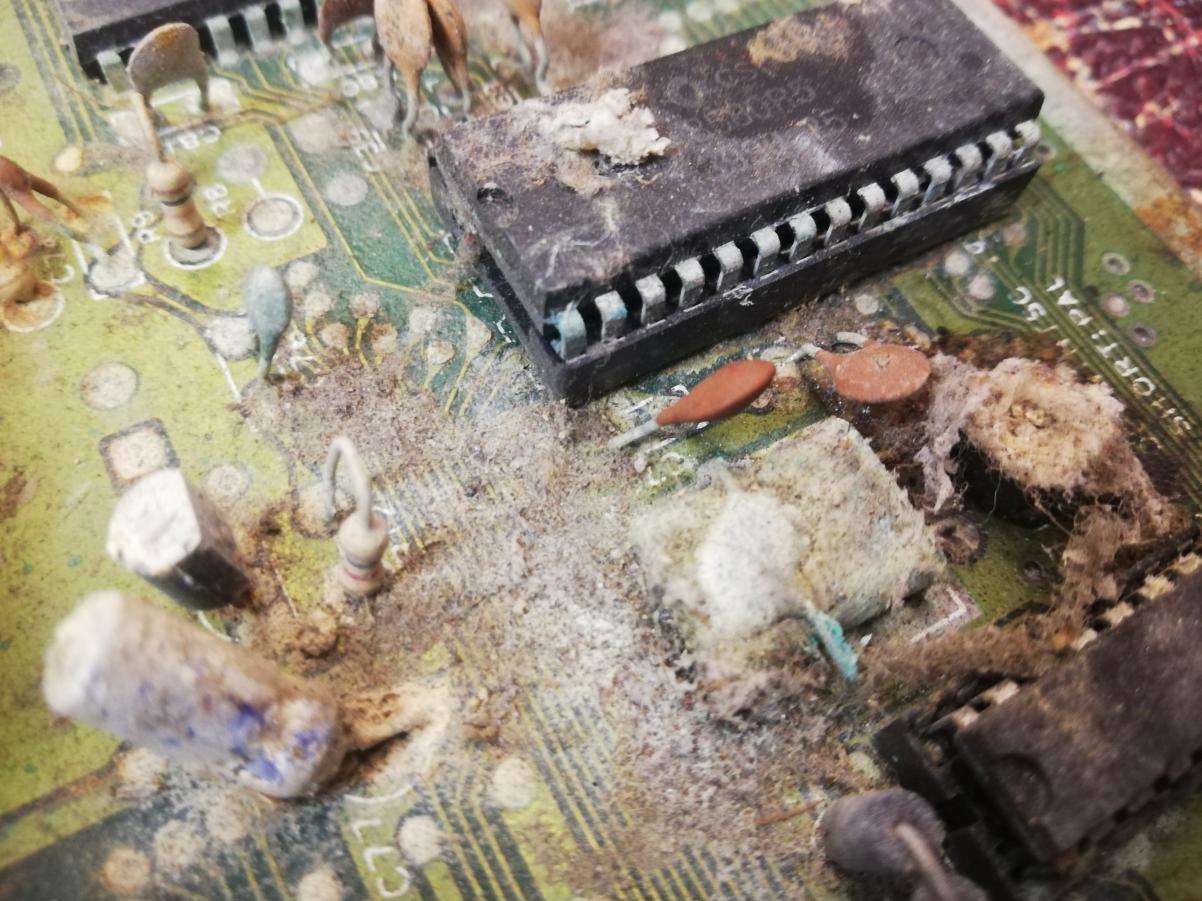
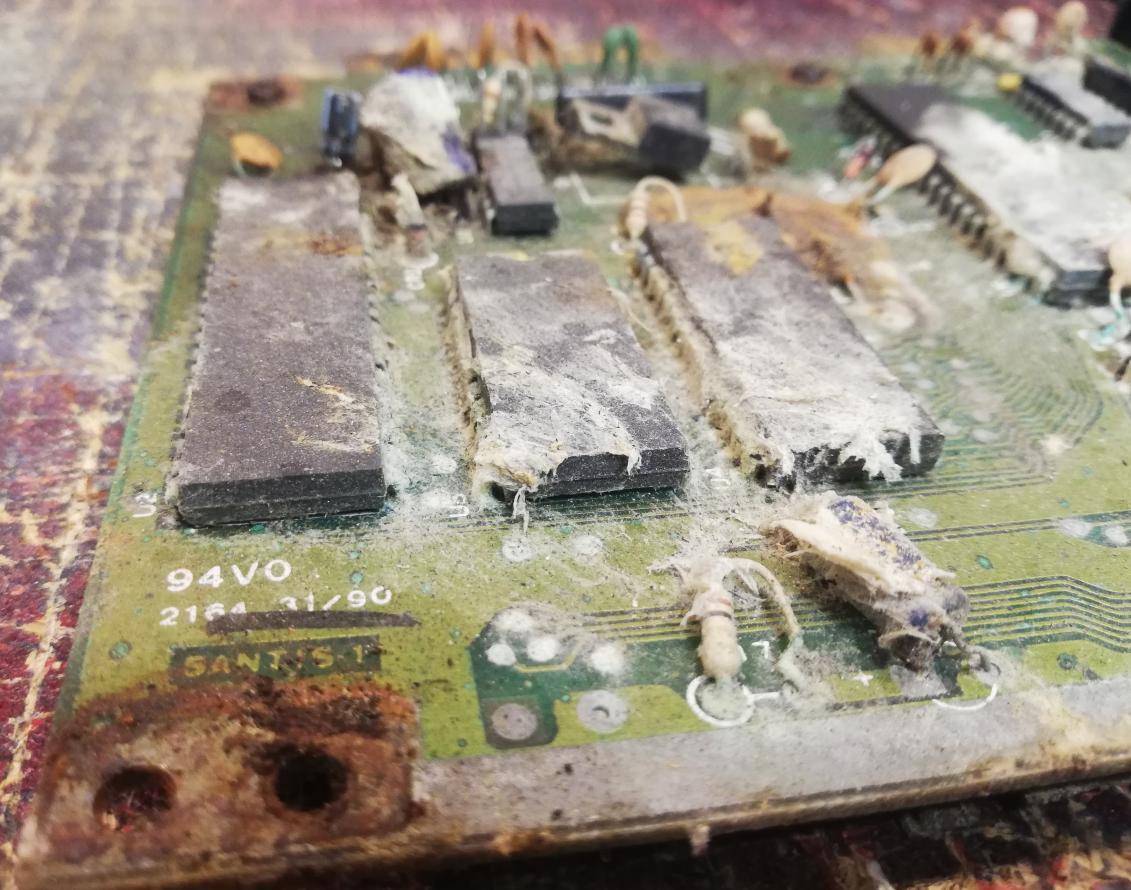
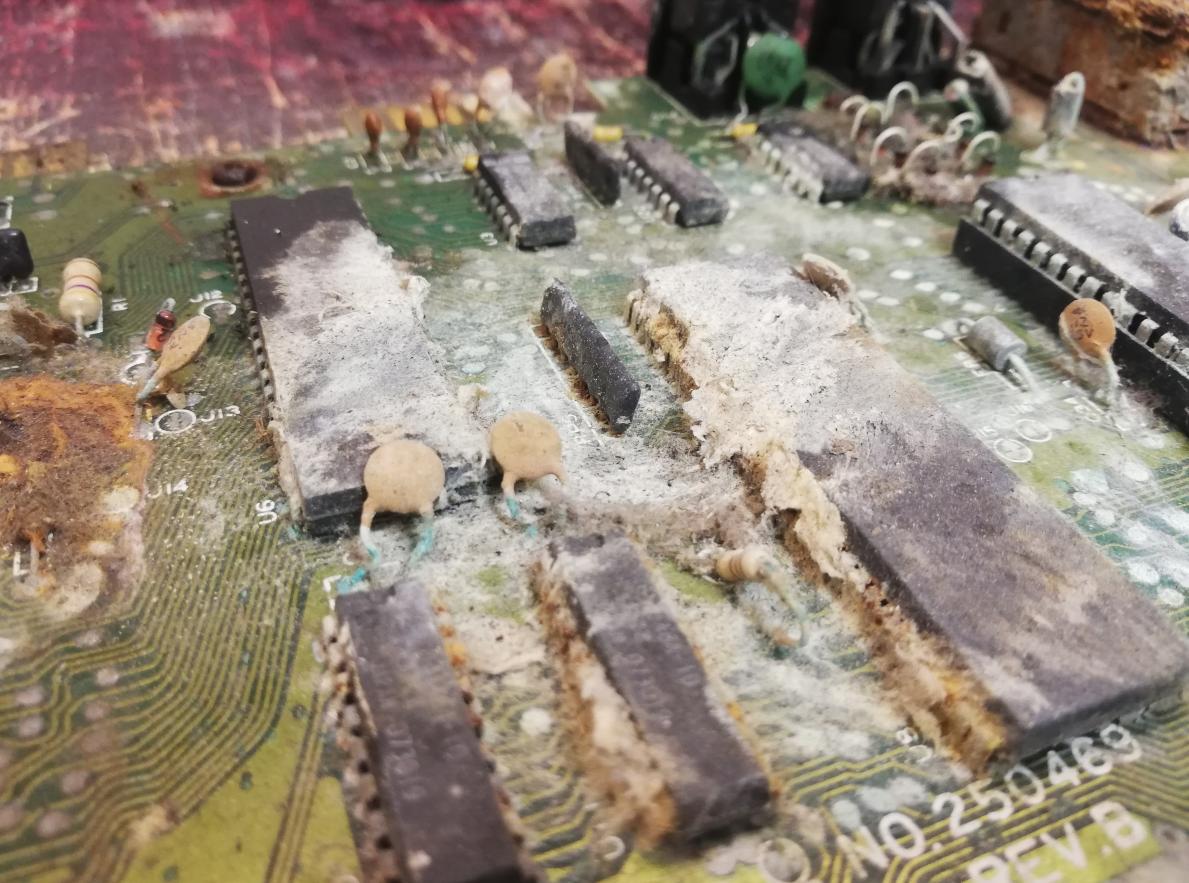
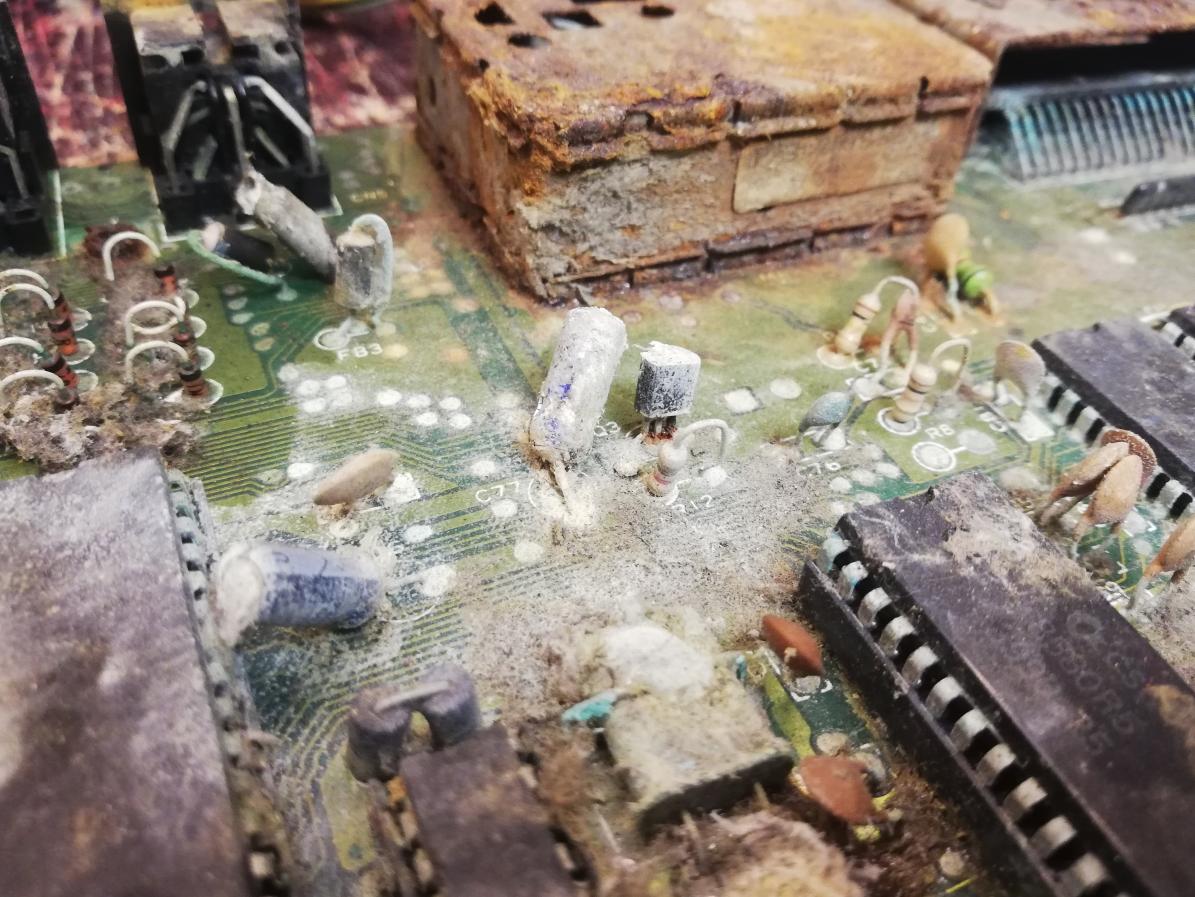
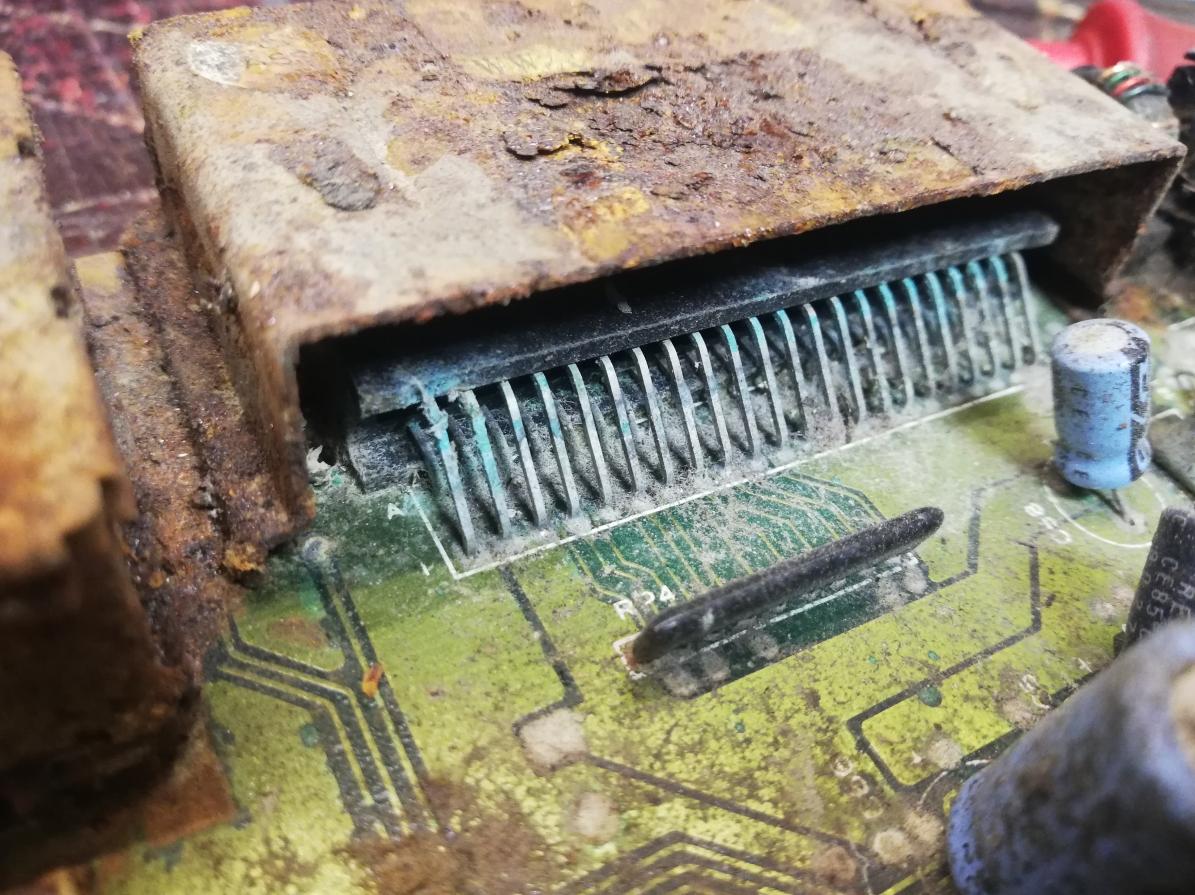
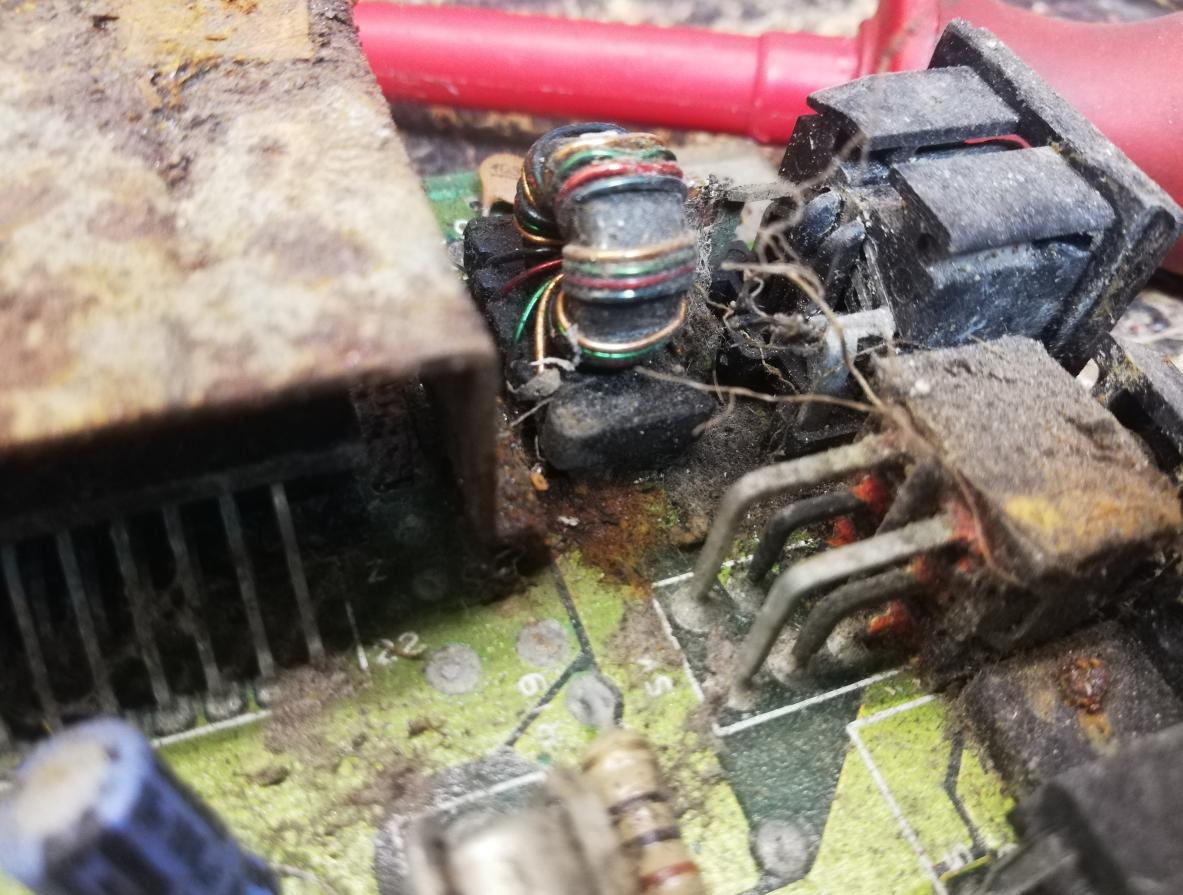
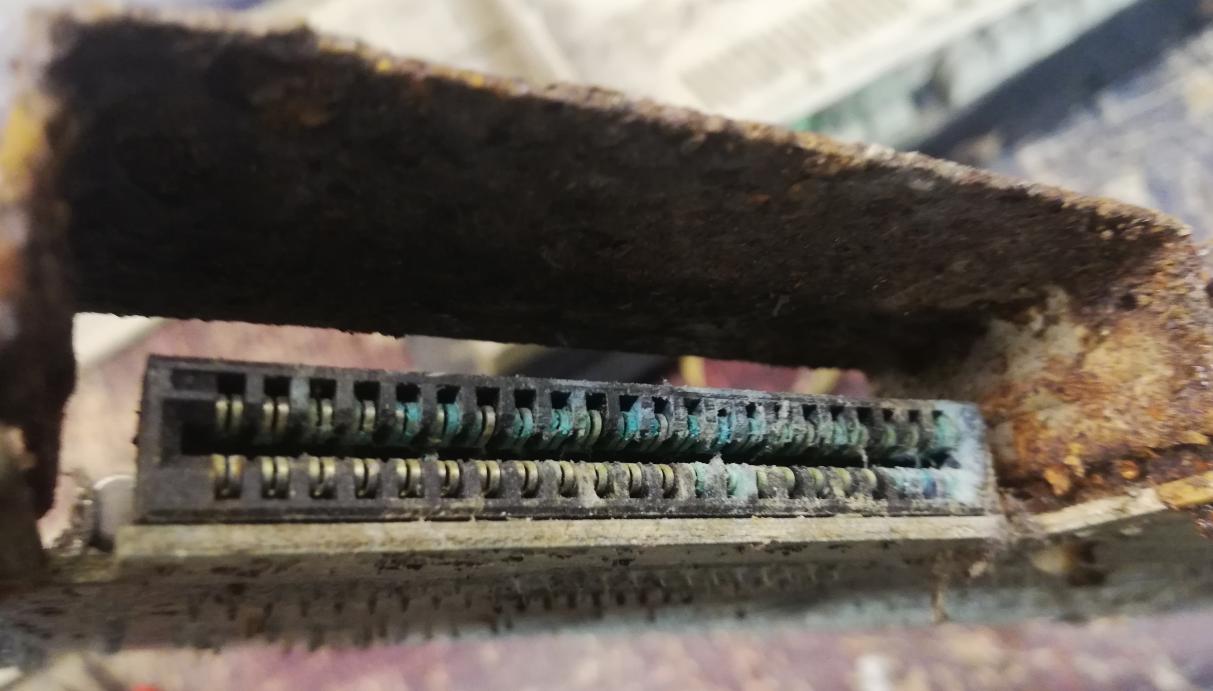
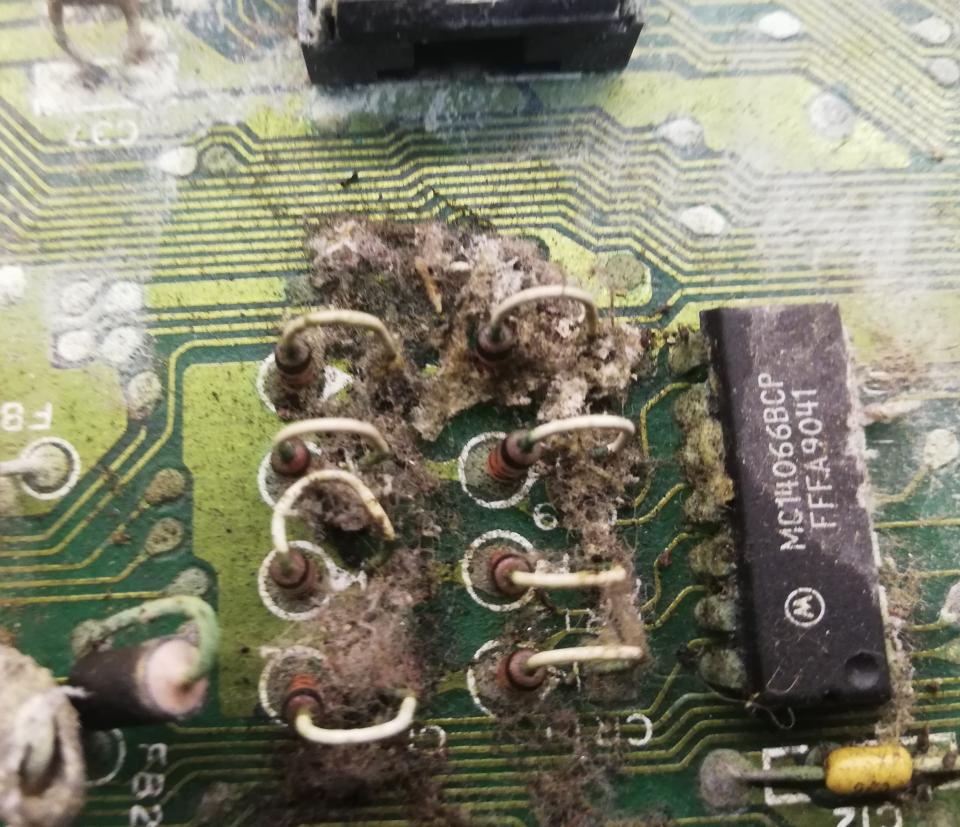
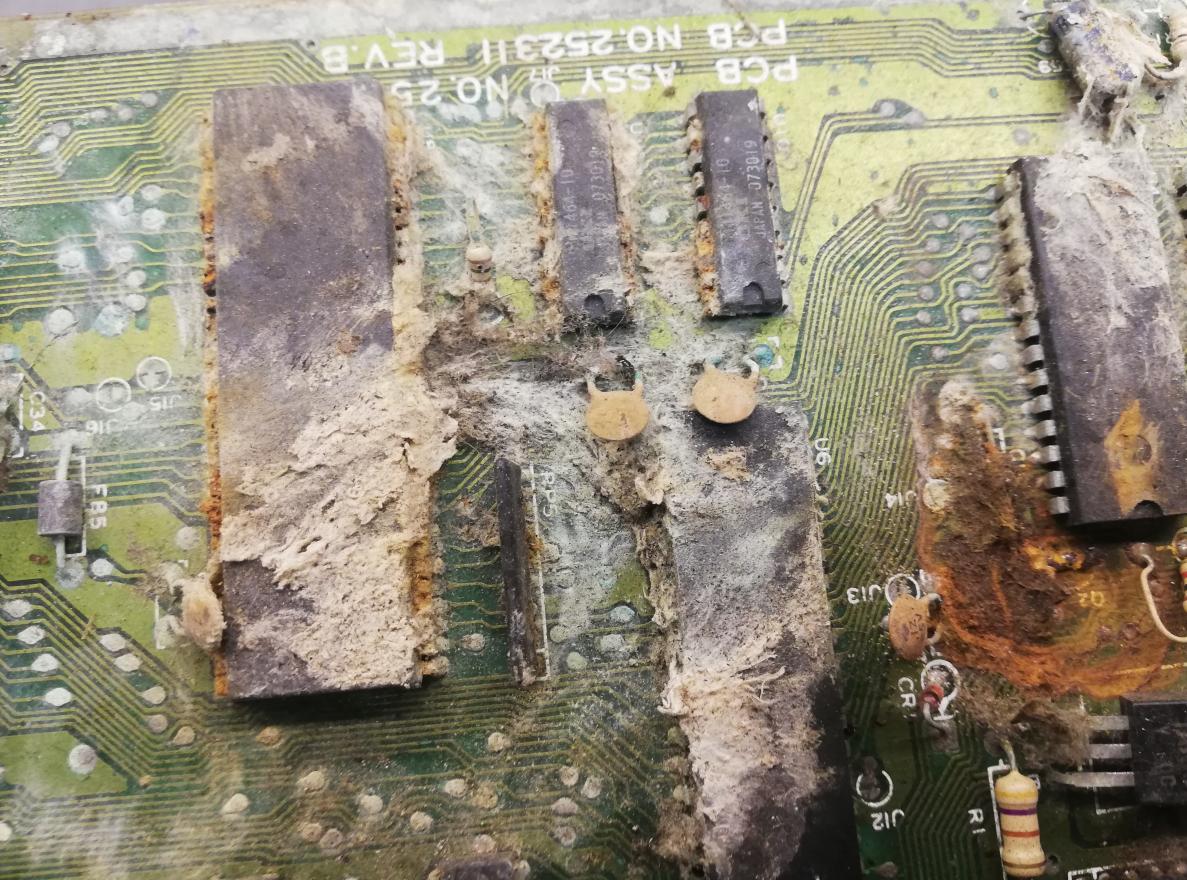
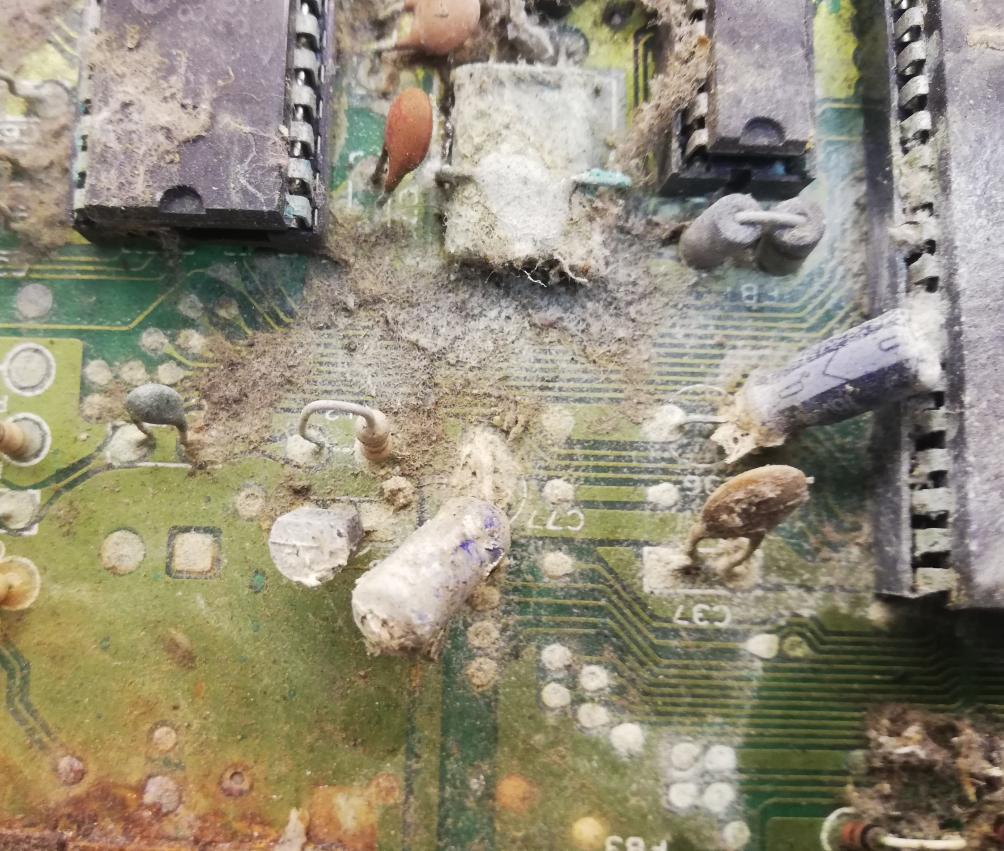
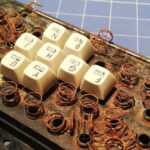
w000t! t3h mainboard at last!! …. and its damage 🙁
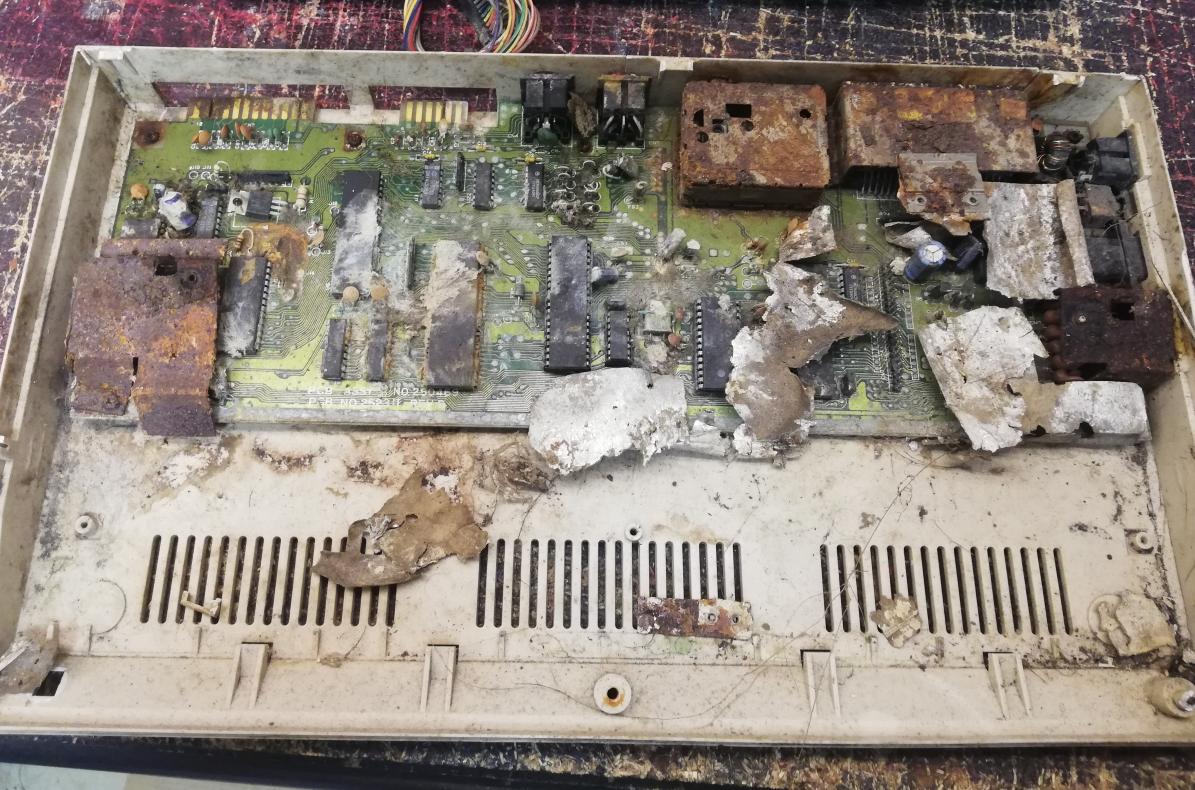
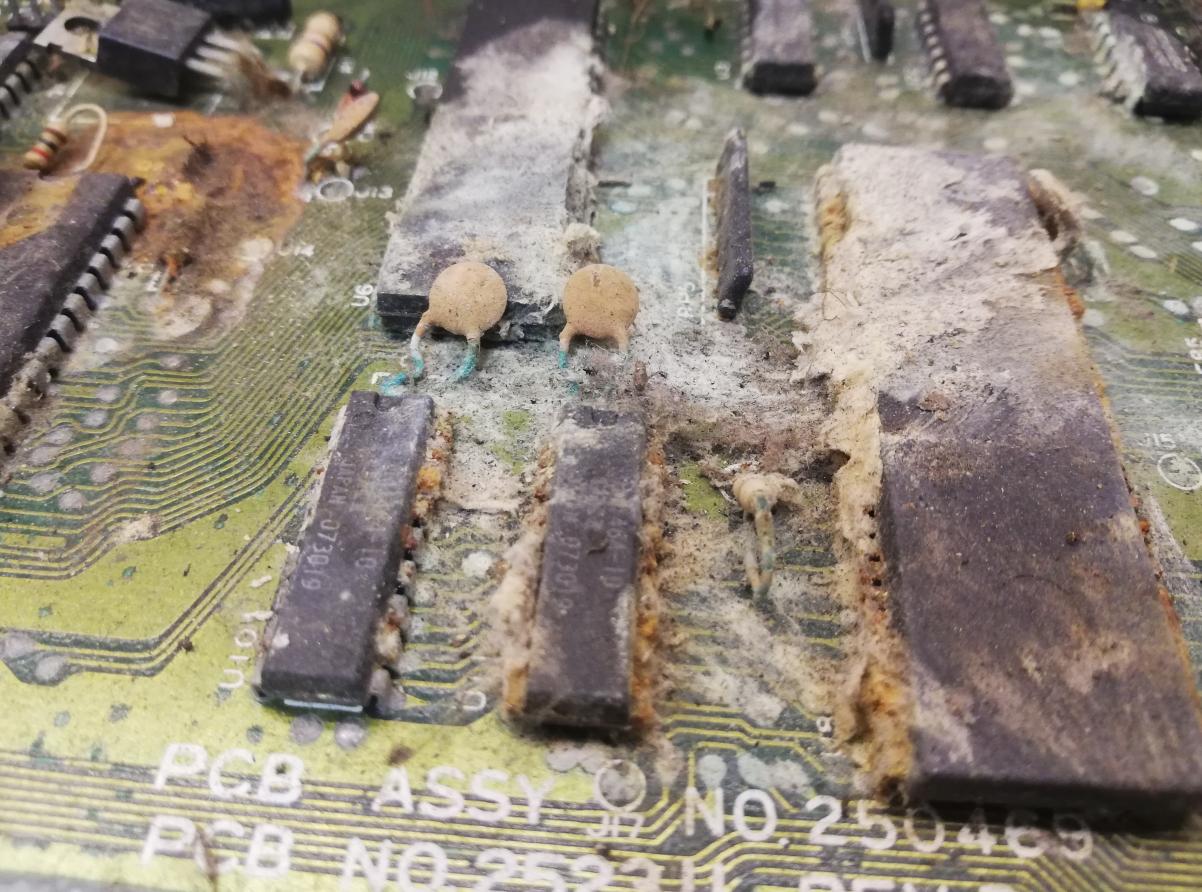
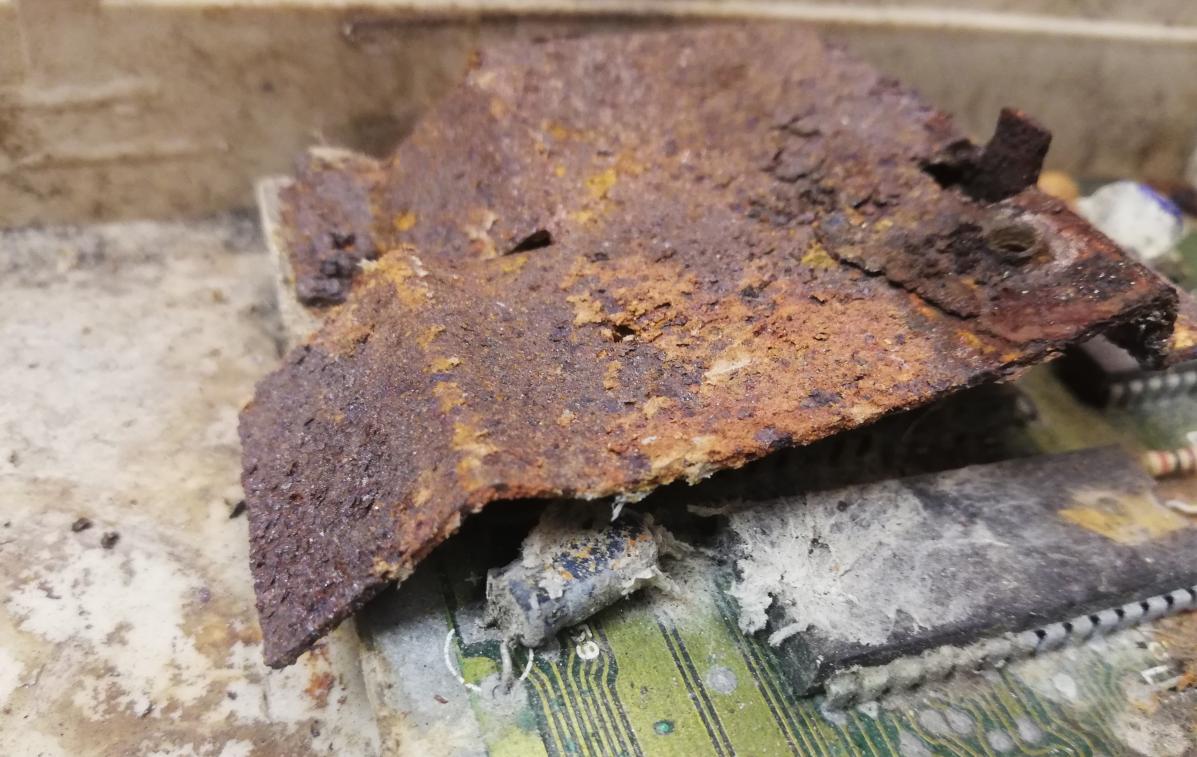

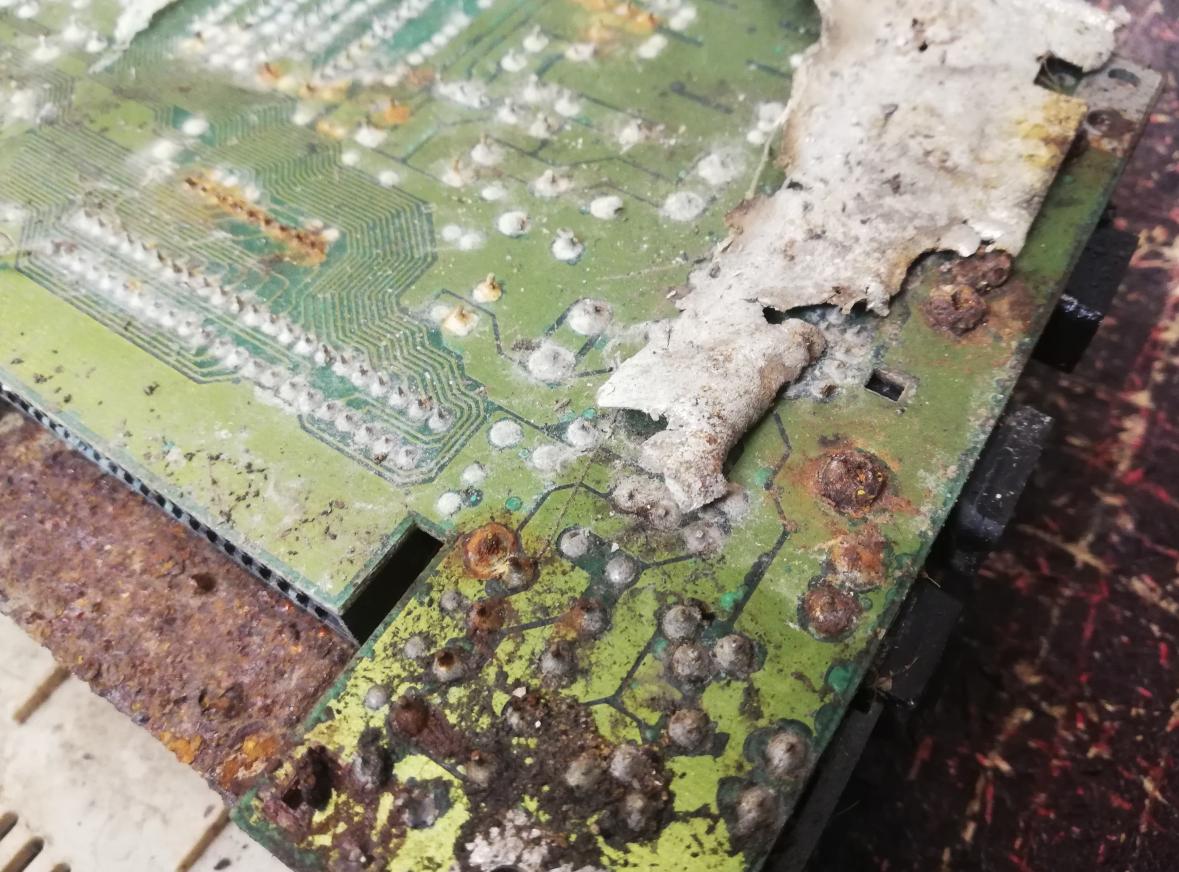
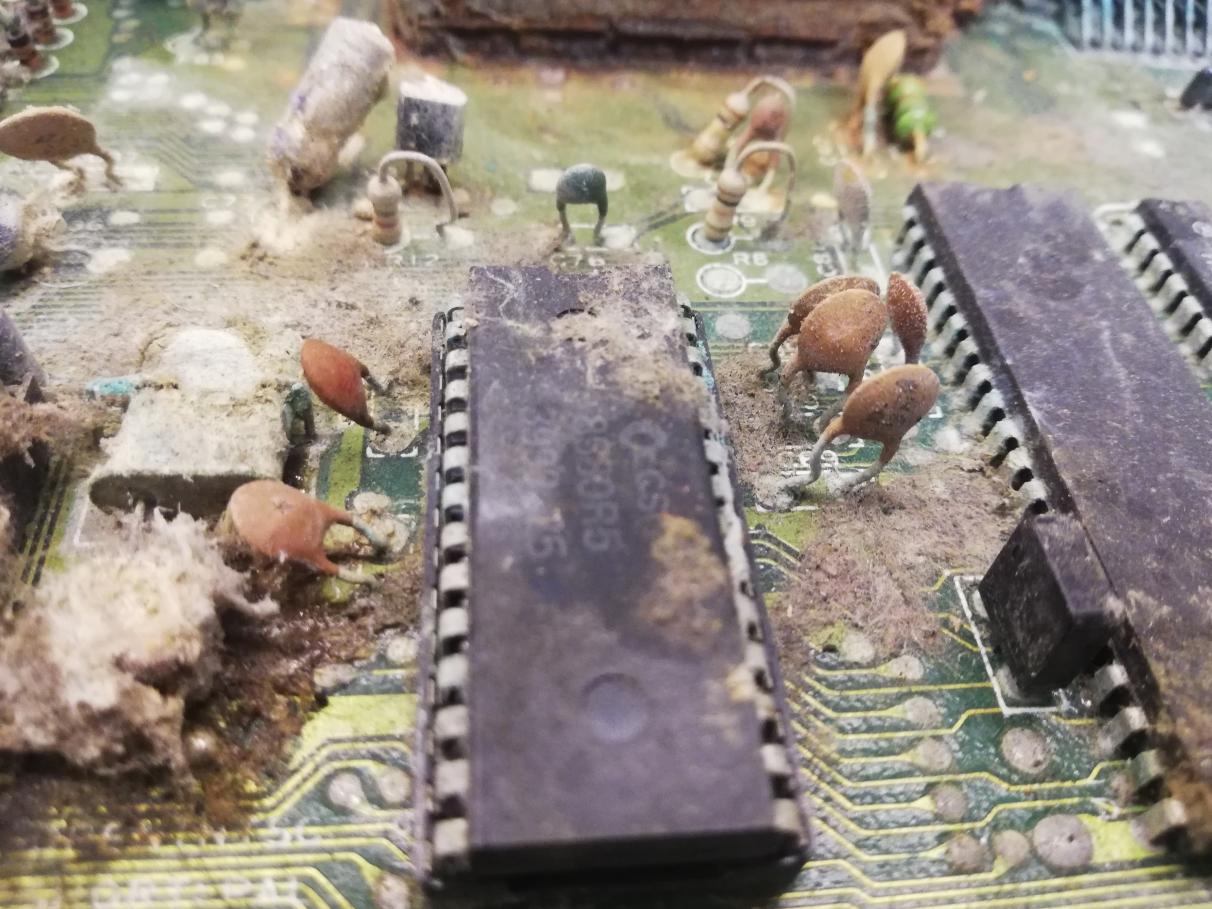
Aliens!!! Whaaaaaaaaa! RUUUUN!!!

Ok, after this long disassembly, it is time to start the grand restoration.
Let me start with …
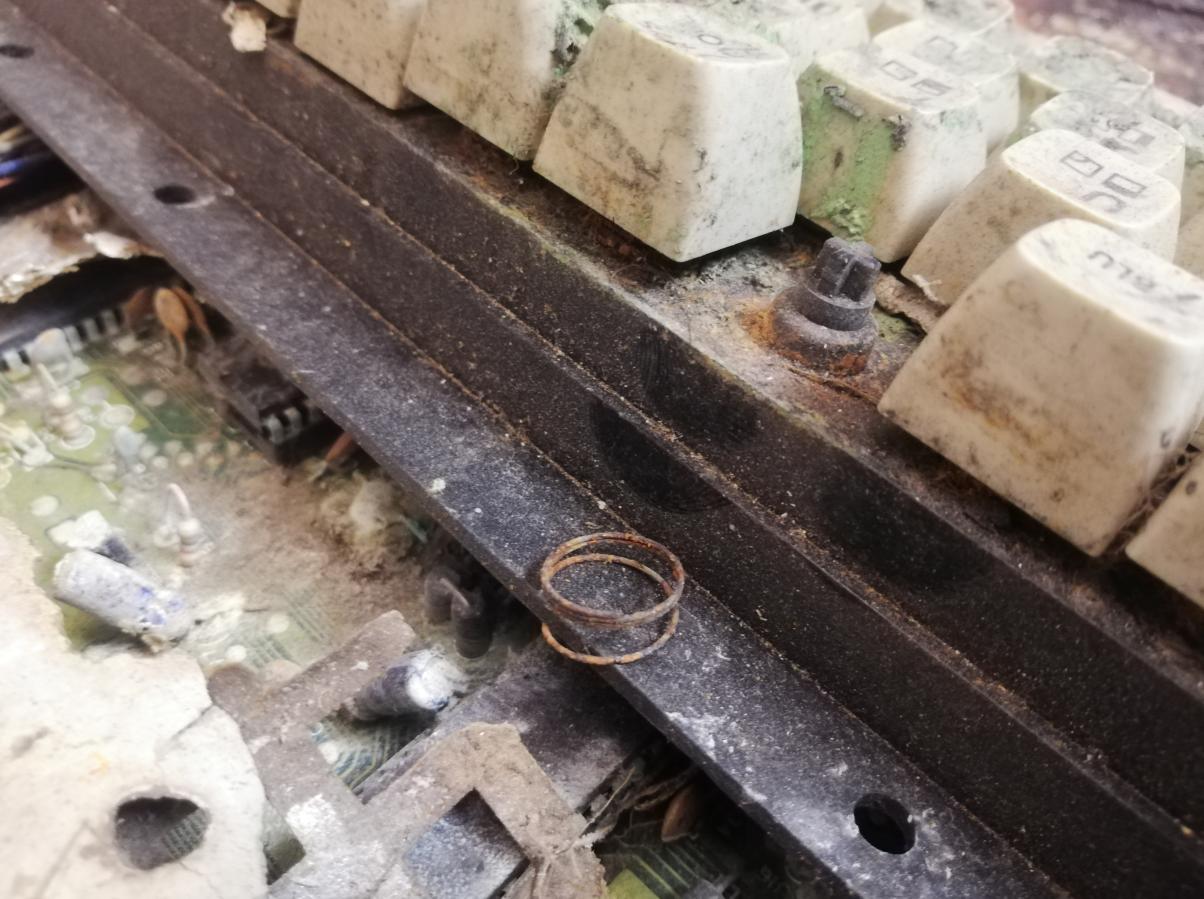
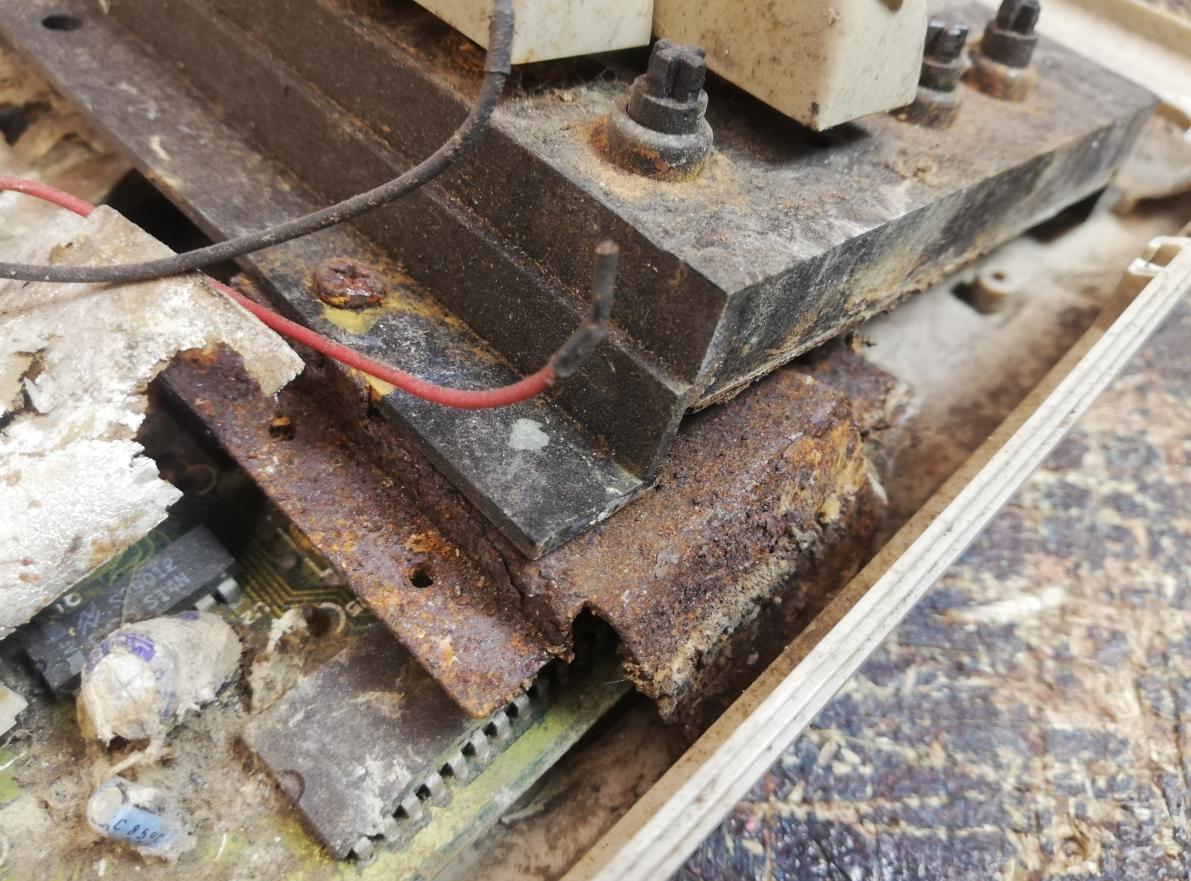
OMG de-rusting!
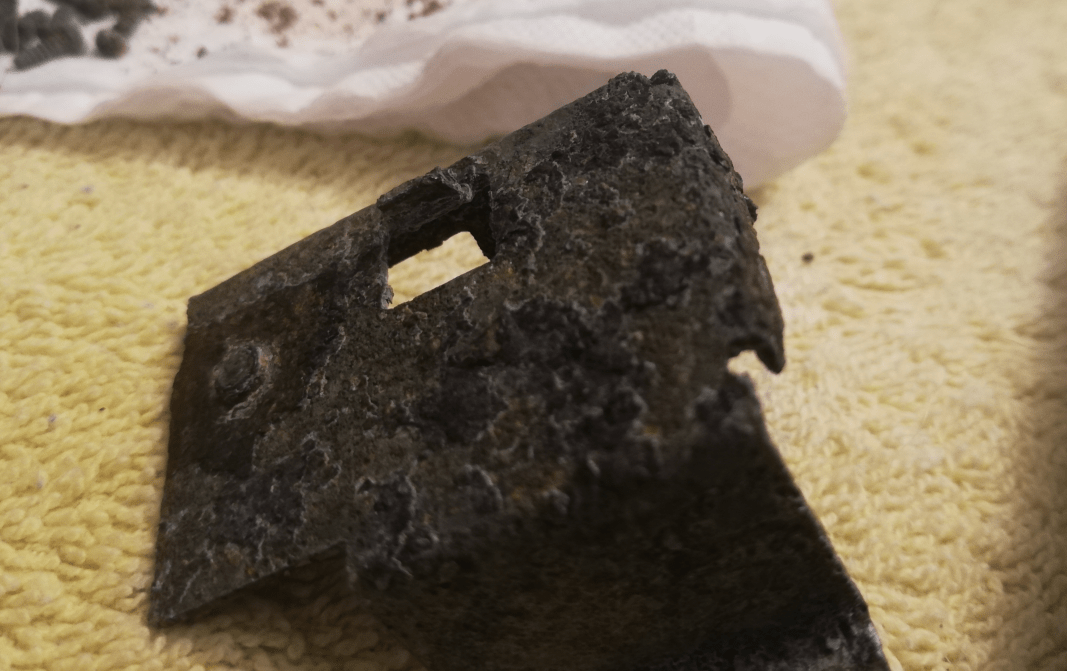
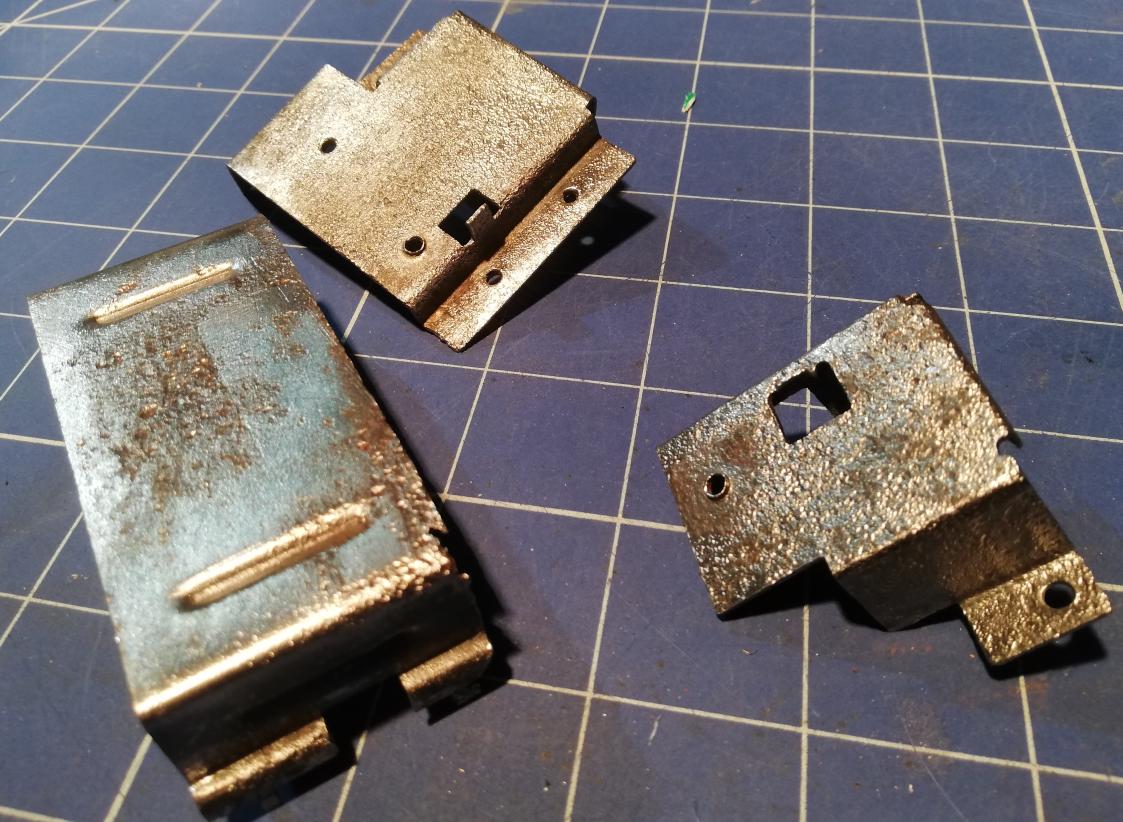
There is not enough place left in this post so I’ve decided that I’ll cover the de-rusting process because it is short. There were four parts that I wanted to restore
- Two keyboard stands
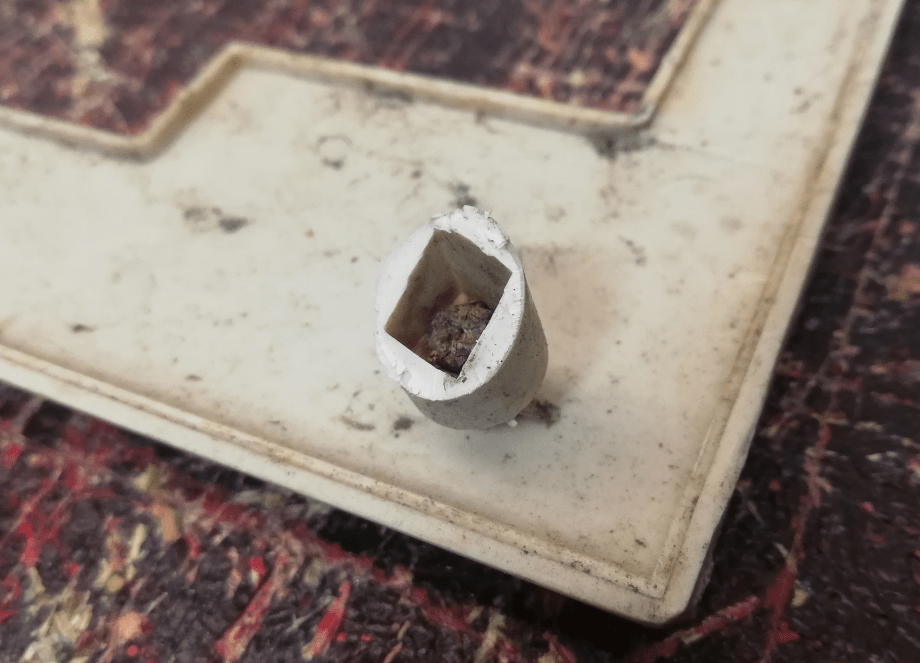
- Cartridge port cover
- RF modulator
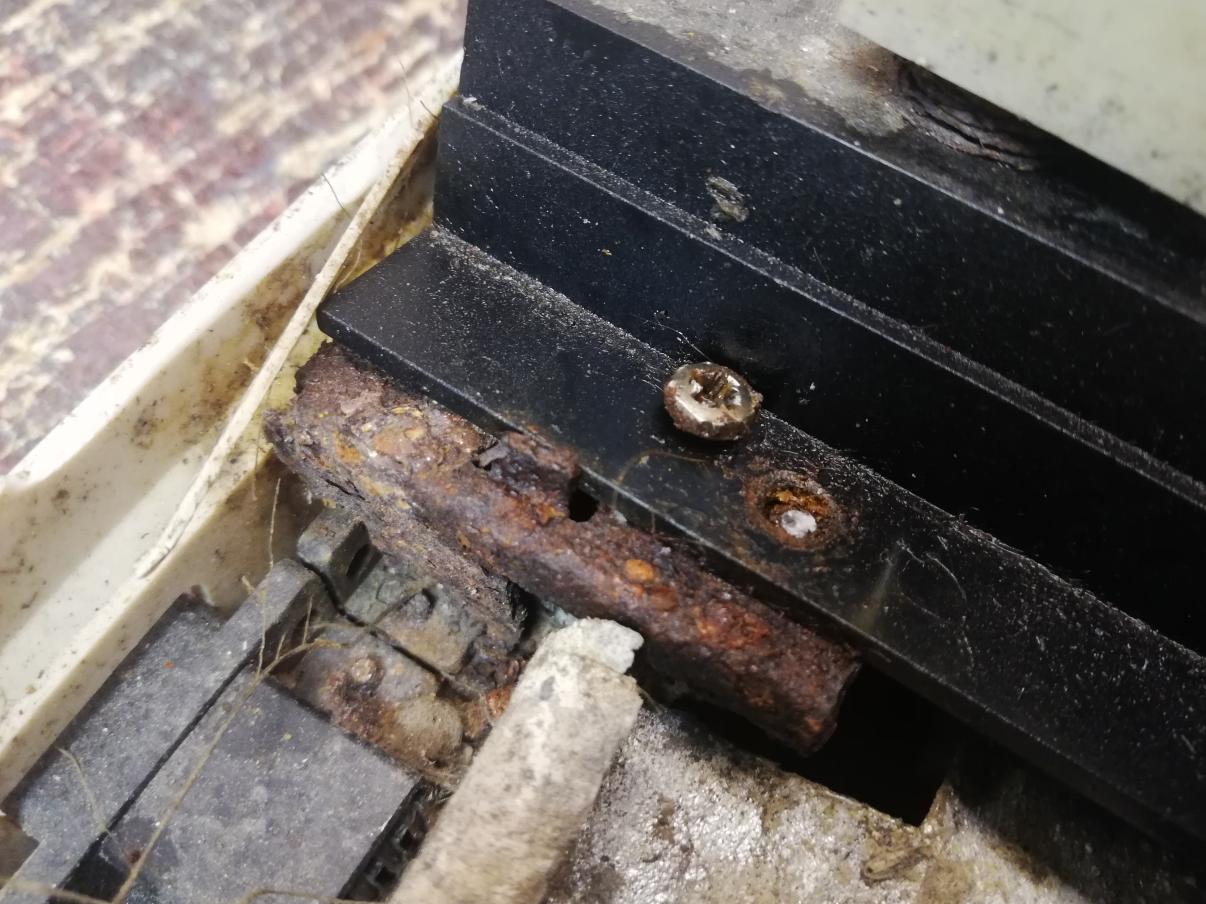
- Screws and a few other parts
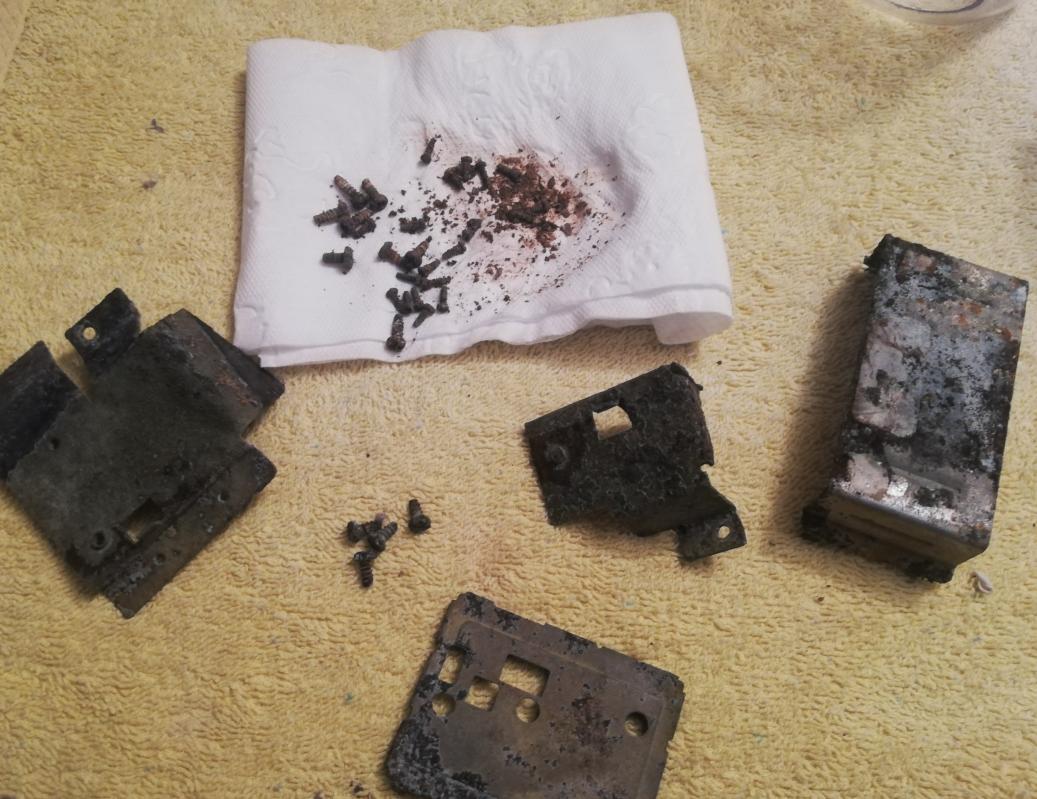
Unfortunately, I’ve managed to recover only the cartridge cover and keyboard stands. Screws were badly corroded and there was no point in even trying to restore them. However, I had to try … with poor results though, as seen in the pics below.
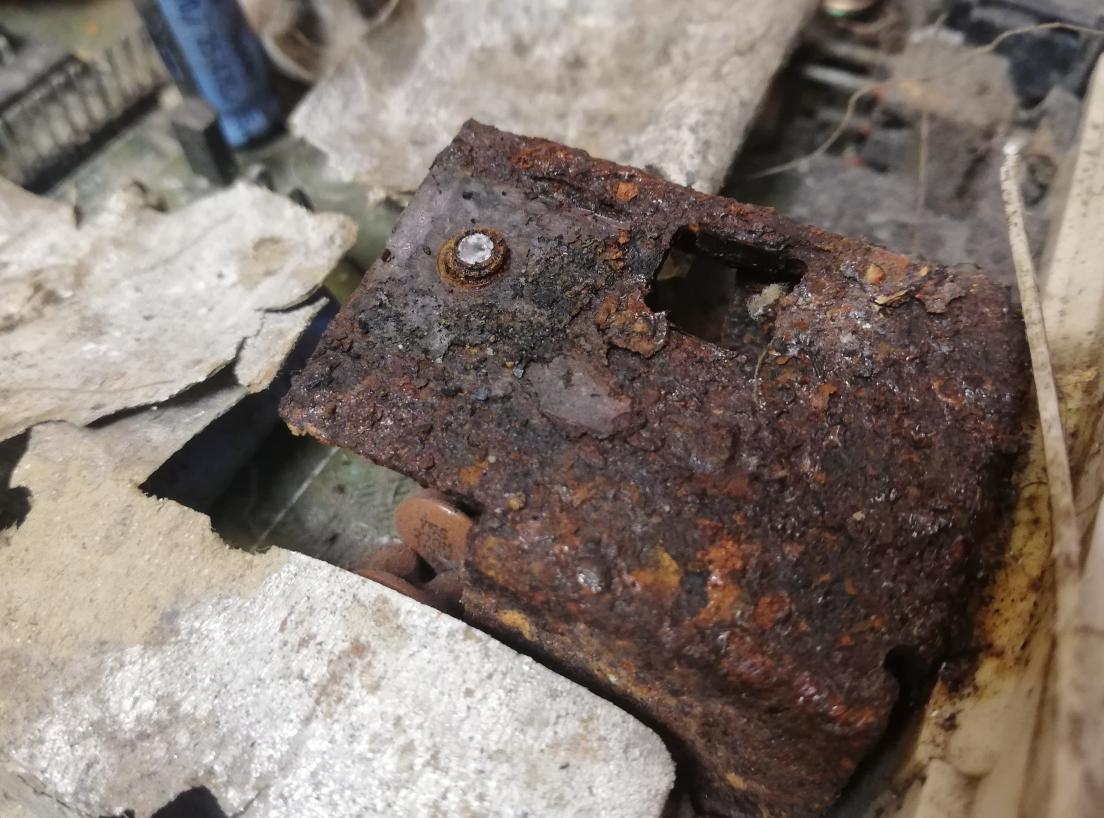
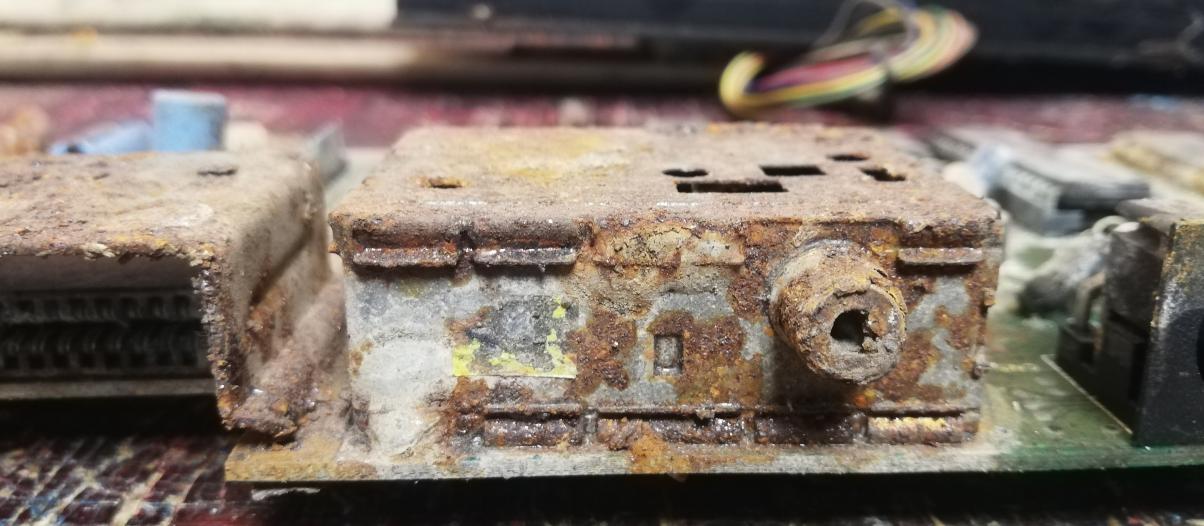
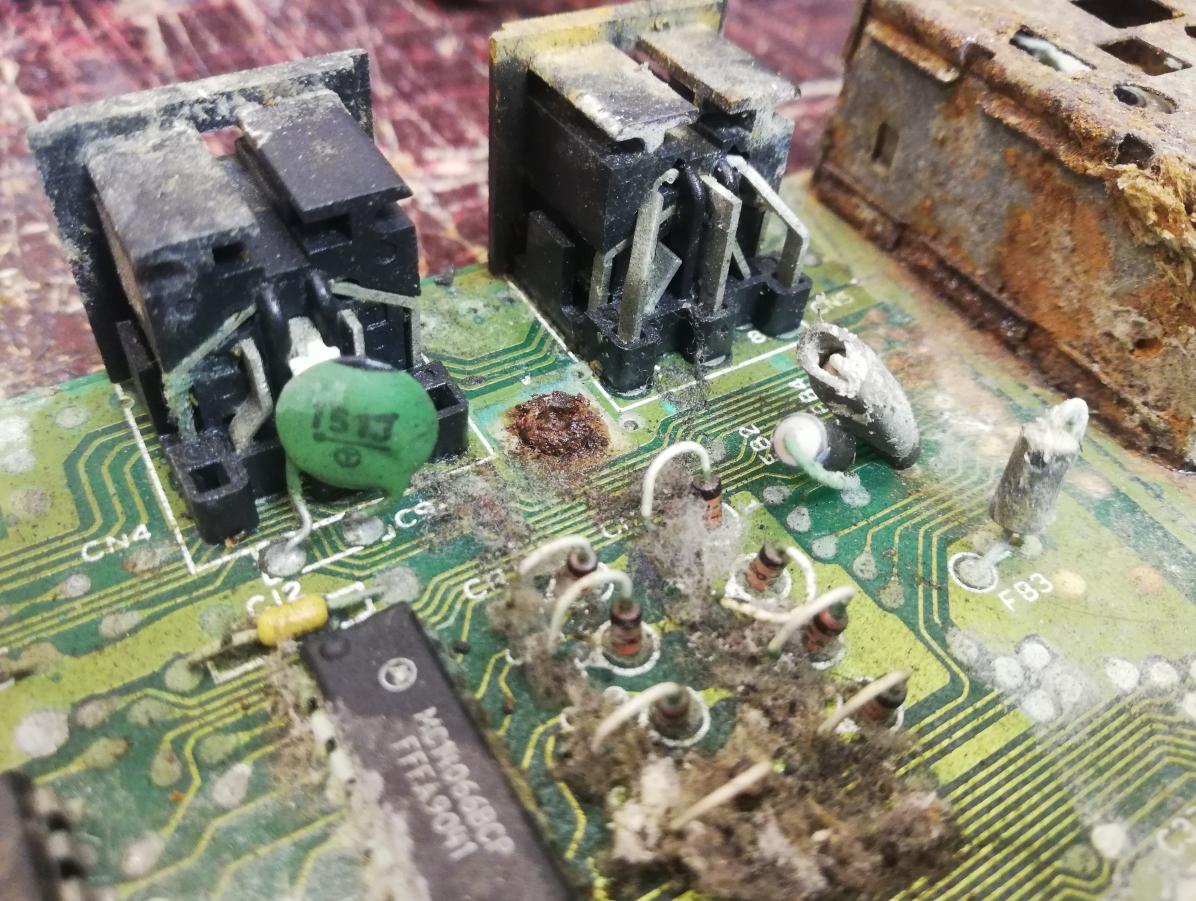
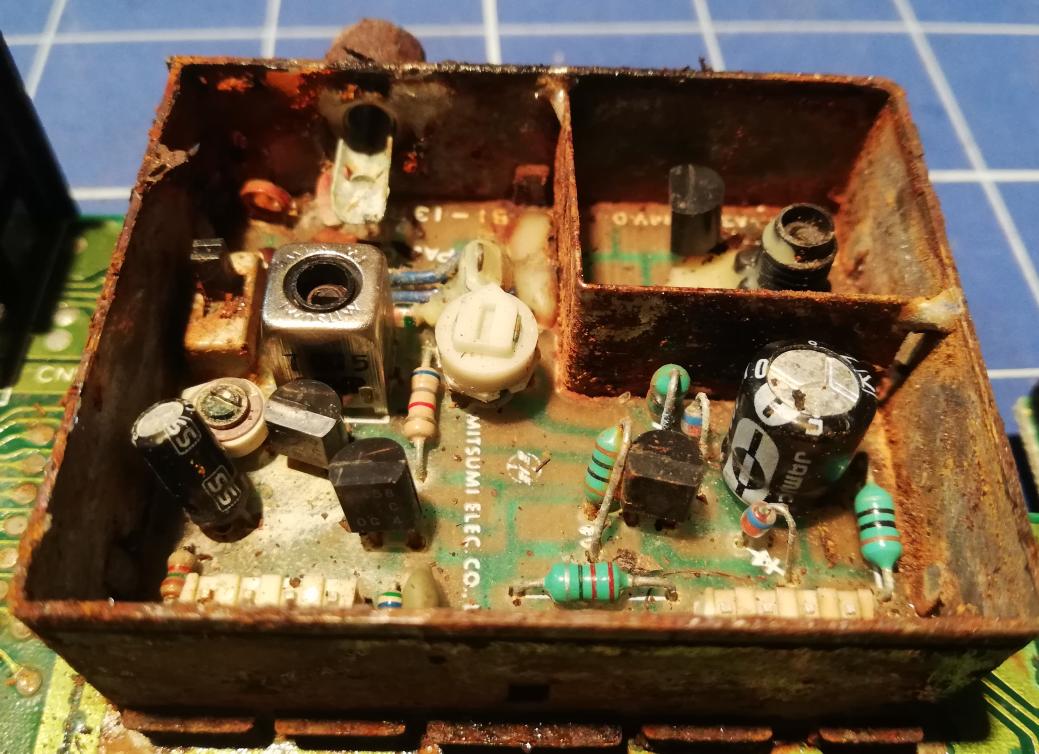
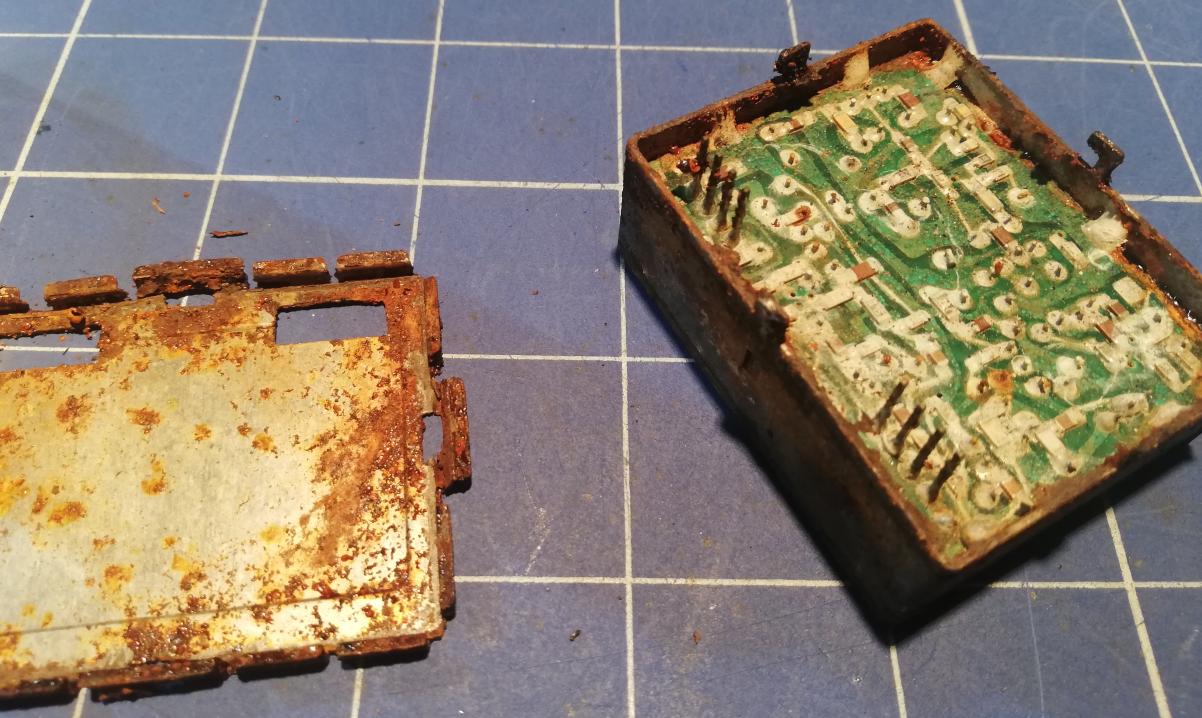
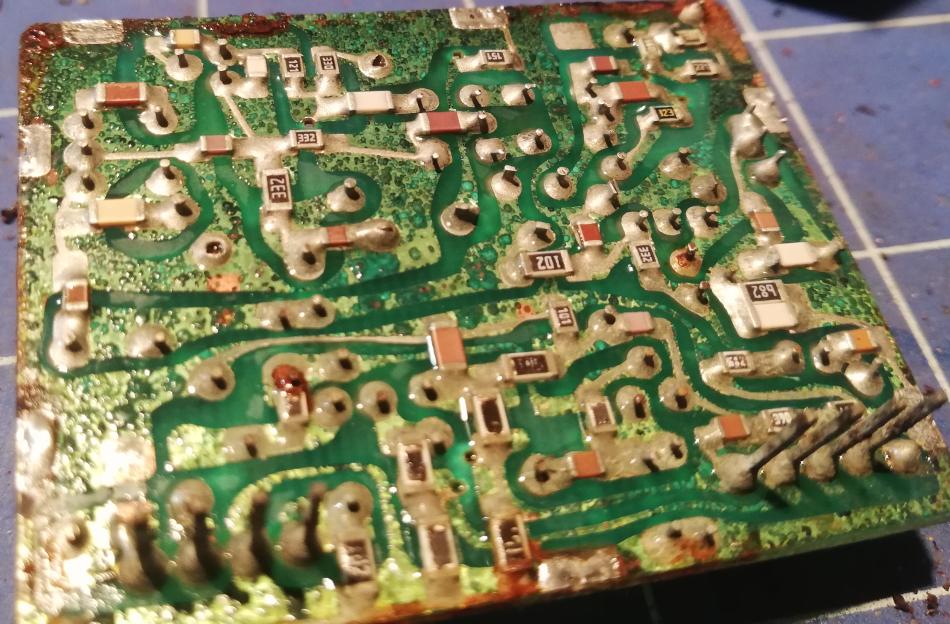
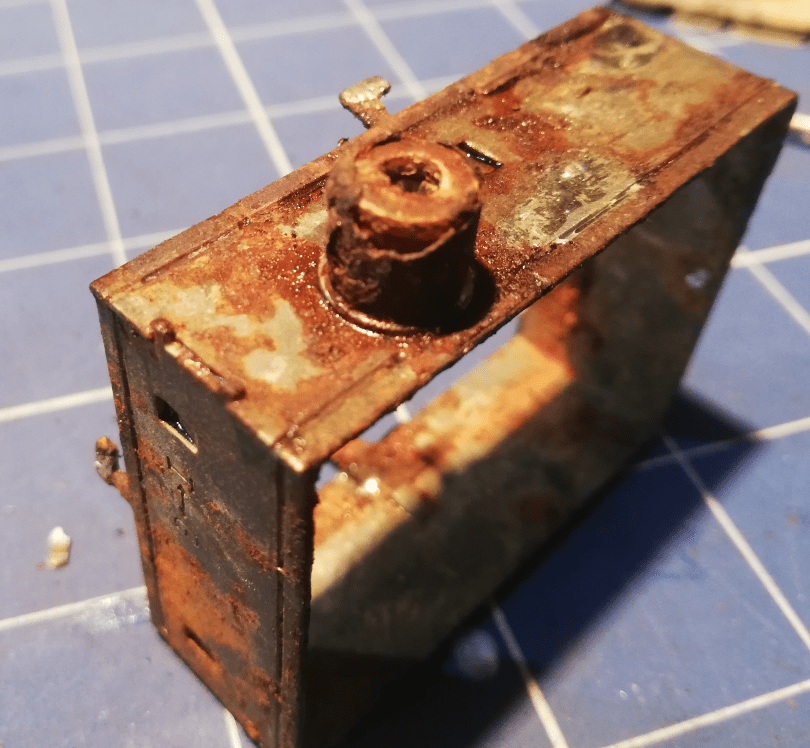
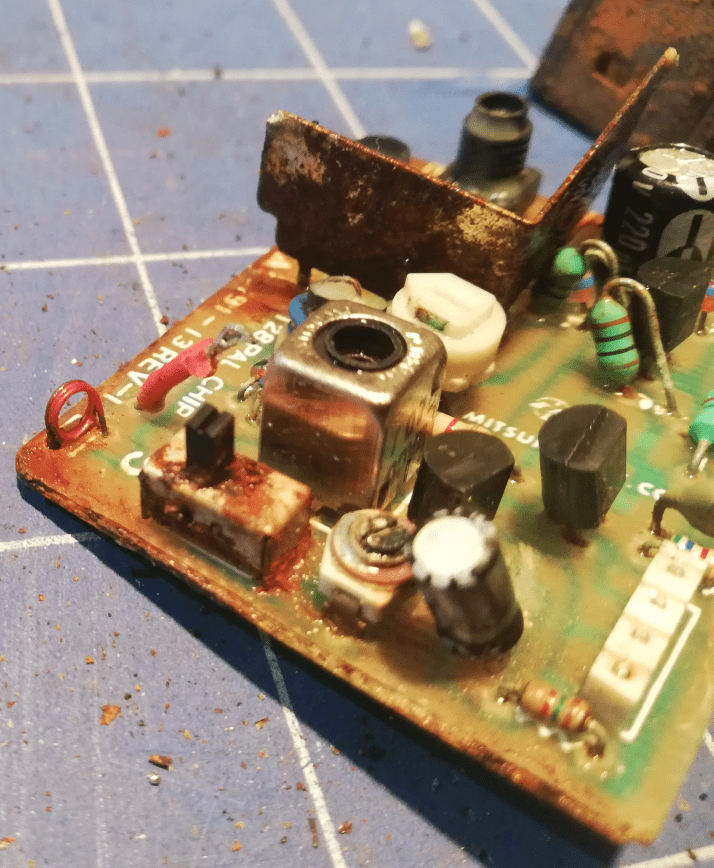
The RF modulator
I wanted to restore the RF modulator but it turned out that it is badly corroded too. RF CHINCH port was eaten by rust. I’ve desoldered and opened it and looked at the PCB. You’ll see on pics that it was in kinda poor shape. Some components disintegrated right after touching, others were filled with rust. I’ve decided that I’ll replace it with a modulator that I’ve scavenged from another C64 motherboard that I had on the shelf.

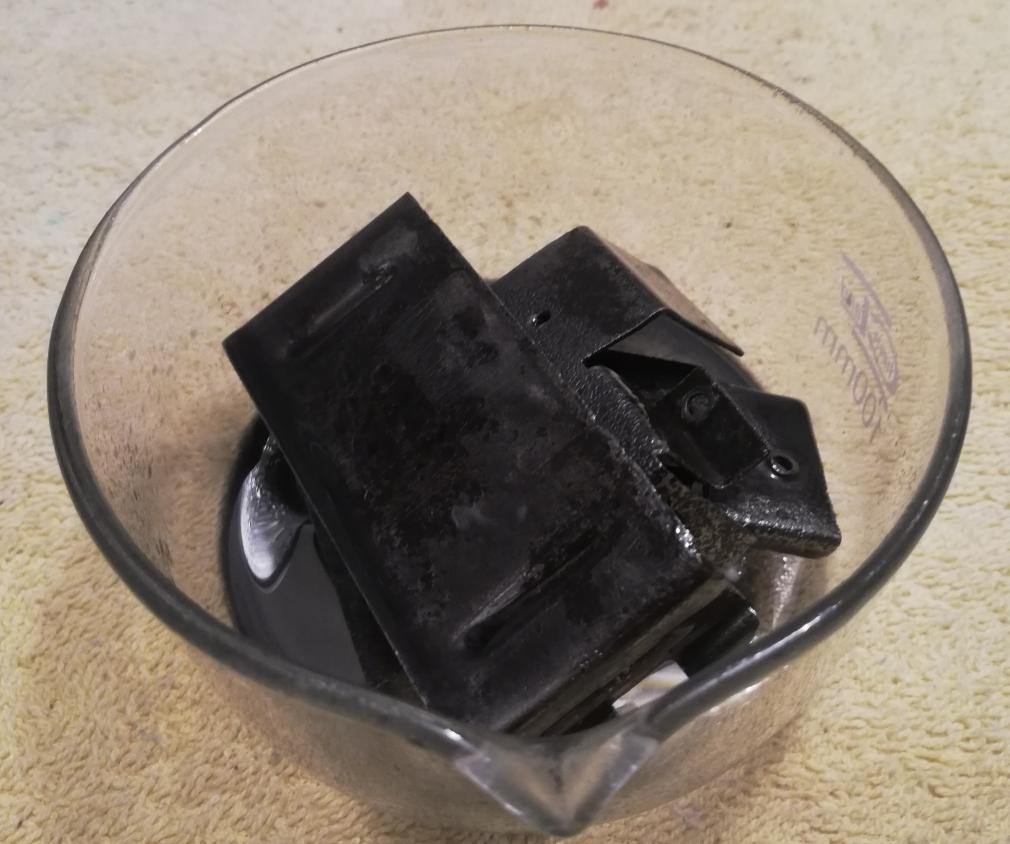
Anyways, I’ve prepared a nice warm bath of Phosphoric Acid. Phosphoric Acid is great for rust removal. It binds with Iron Oxide without damaging Iron itself. This is the preferred method of removing rust from small parts.
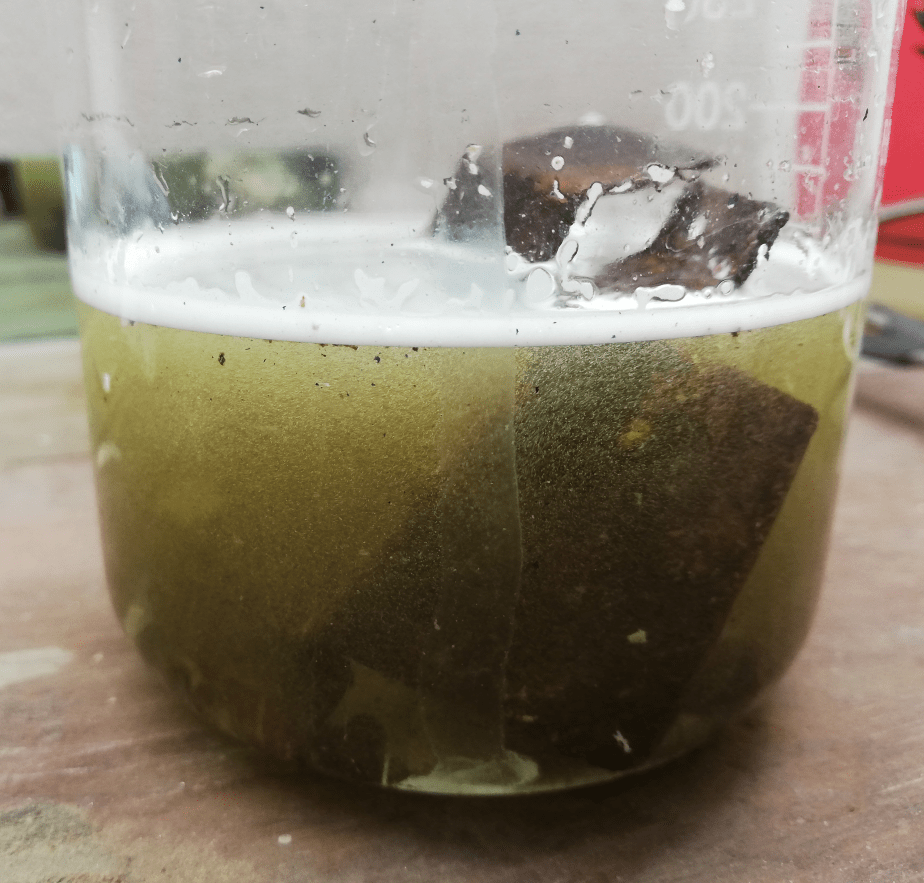
After 24 hours, bubbling stopped and the chemical reaction was over.
As you can see, most of the screws disappeared which means that they were completely corroded as Phosphoric Acid does not touch Iron and removes oxide.
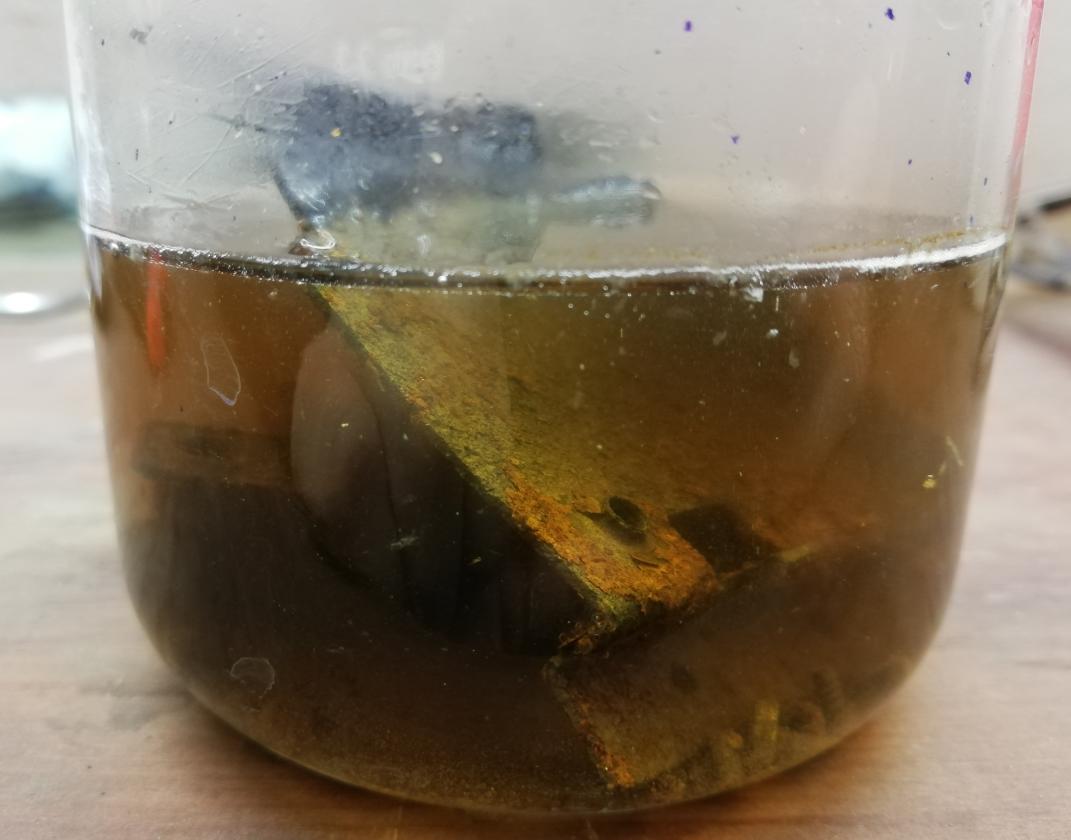
I could set up another bath but I’ve decided that I’ll try to remove it mechanically first. I did it because this first bath removed rust dust (lol) and loosened thicker layers. I’ve used a steel brush. Results below.
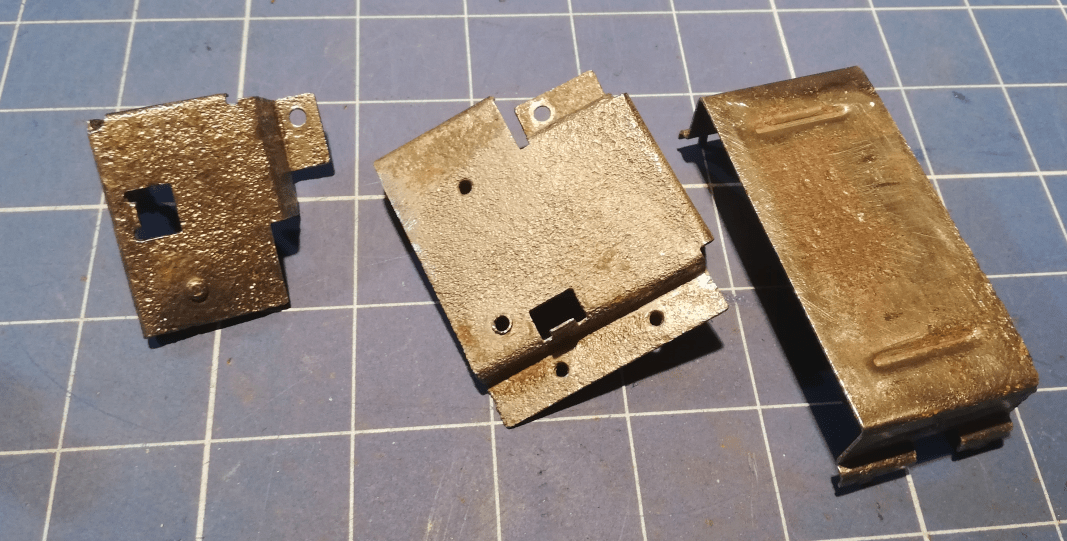
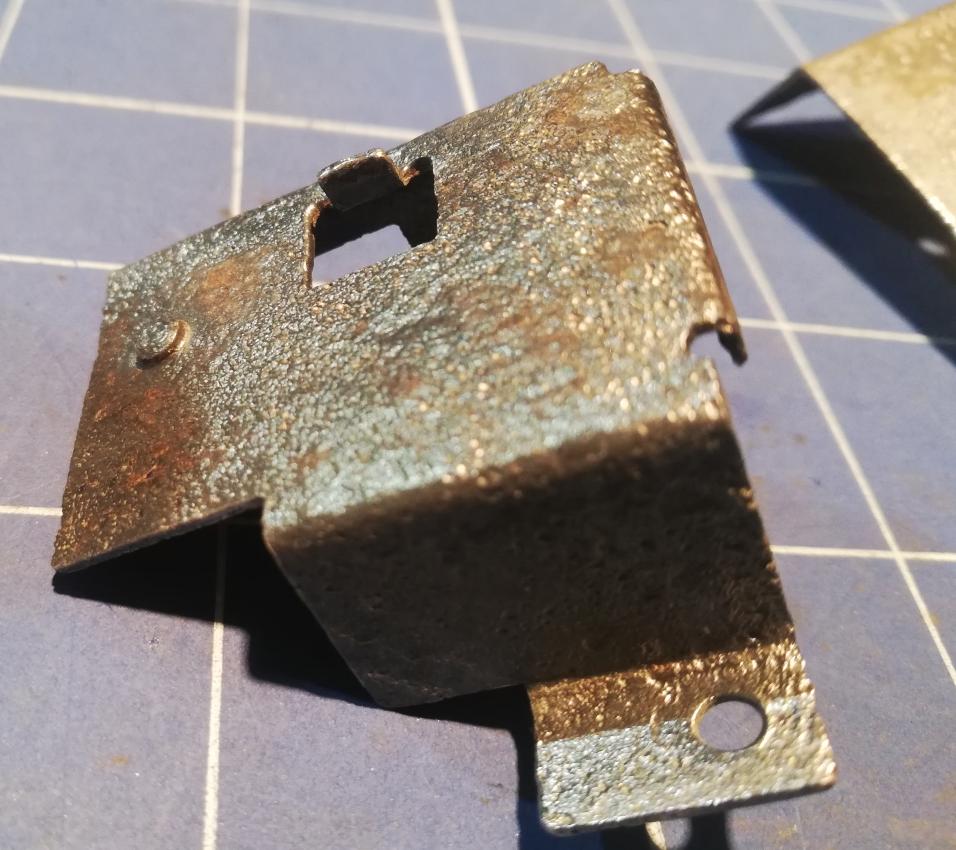
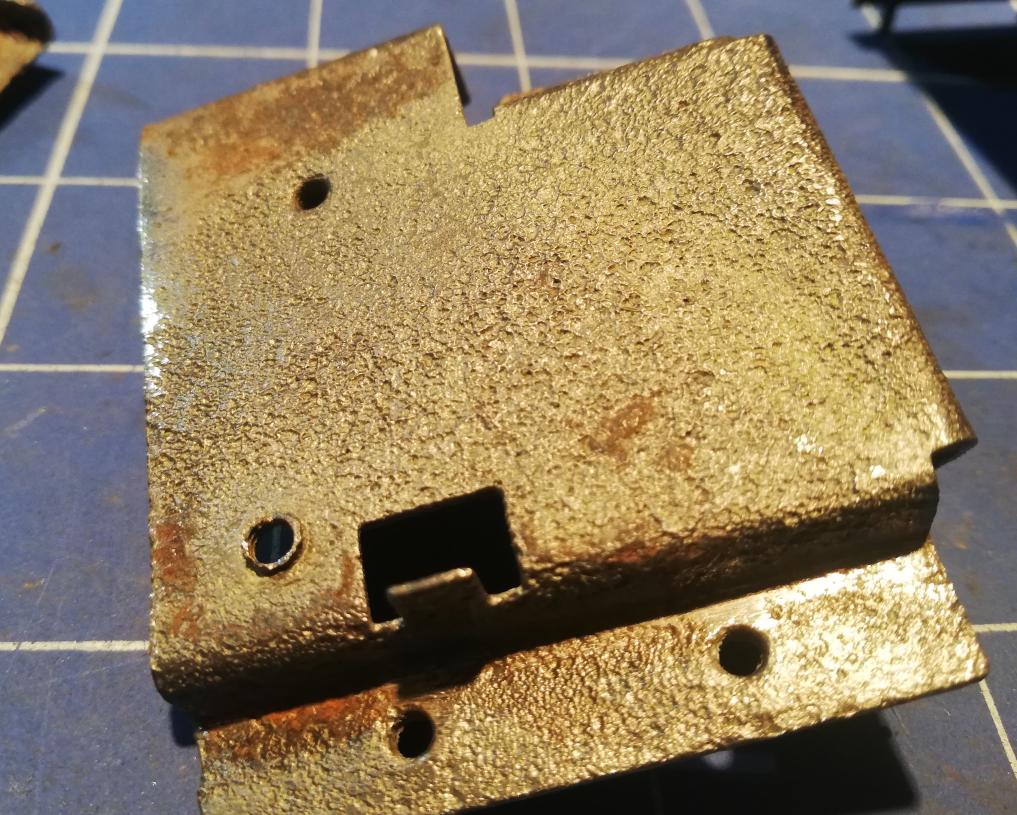
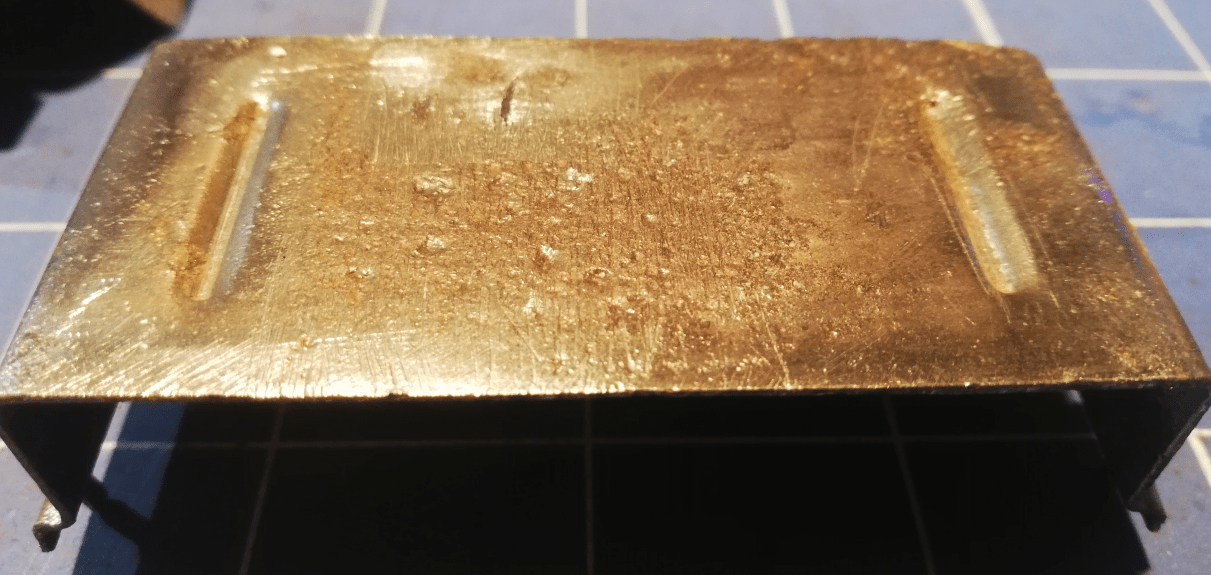
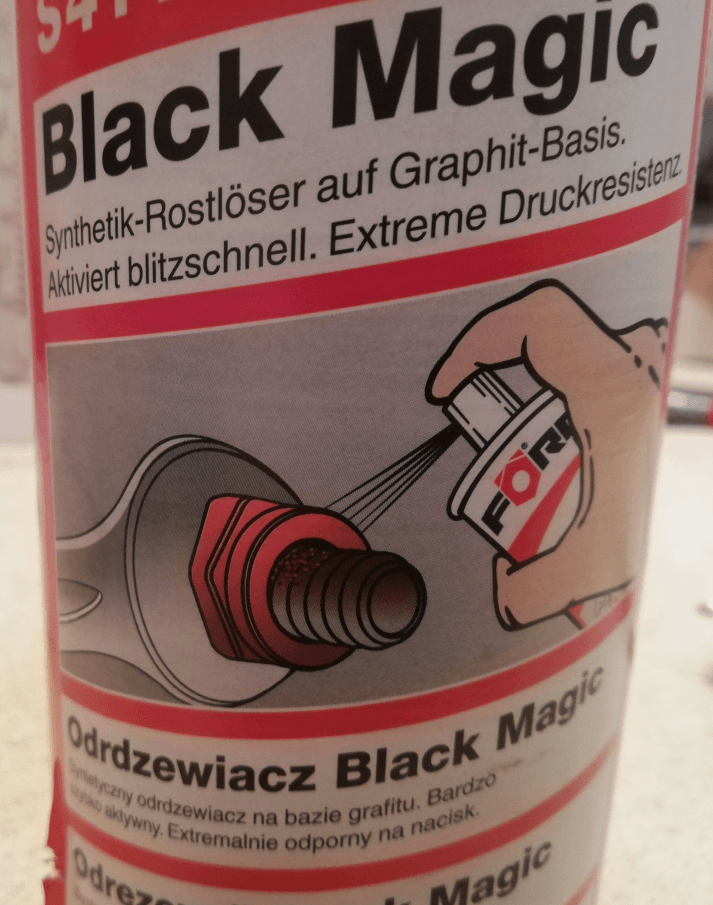
I was really satisfied with the results so I’ve decided that I will do a final round with the graphite rust loosener, then clean it with extraction gasoline.
At the end of PART ONE
Yeah, there is a lot to cover and too much for a single post. See you soon in PART TWO where I’ll cover motherboard and keyboard fixes.

OUTRO
If you want to get retro gear or hardware modules, please visit our shop -> https://retrohax.net/shop/
Please support our work by commenting here and on the Facebook page
I am looking for more retro computers to repair so feel free to send me a machine that is dead. Moreover! Extreme cases are welcome 🙂


Better than a Netflix cliffhanger! Can’t wait for the next post
hahaha 😀 just give me 2-3 days and it will be posted. I need to polish it a bit.
Great content! Super high-quality! Keep it up! 🙂
Thank you sir 😀