… or biznaz continues :O
intro

/intro

This is the second part of “Extreme refurbishing – episode 2” feat. Atari 800 XL
The first part can be found here
A curious case of plastic case repairs :>
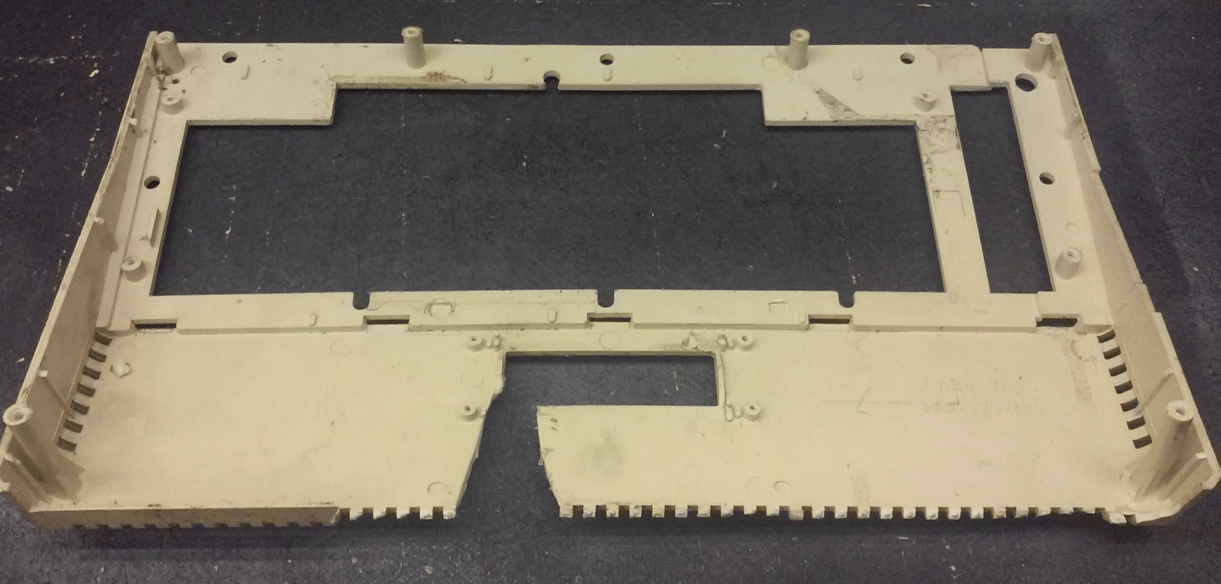
Ok, back to work. A whole case was missing big chunks of plastic and was broken in several spots. To repair it, I needed a decent and cunning plan … OK, maybe not cunning ;P
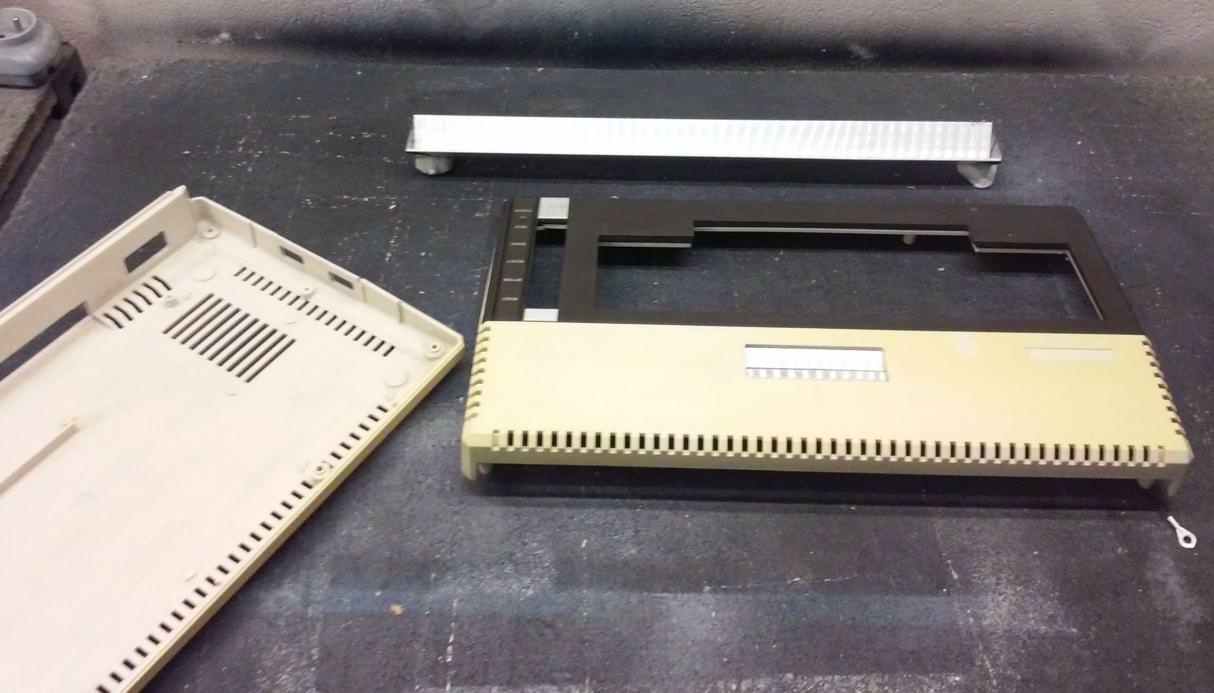
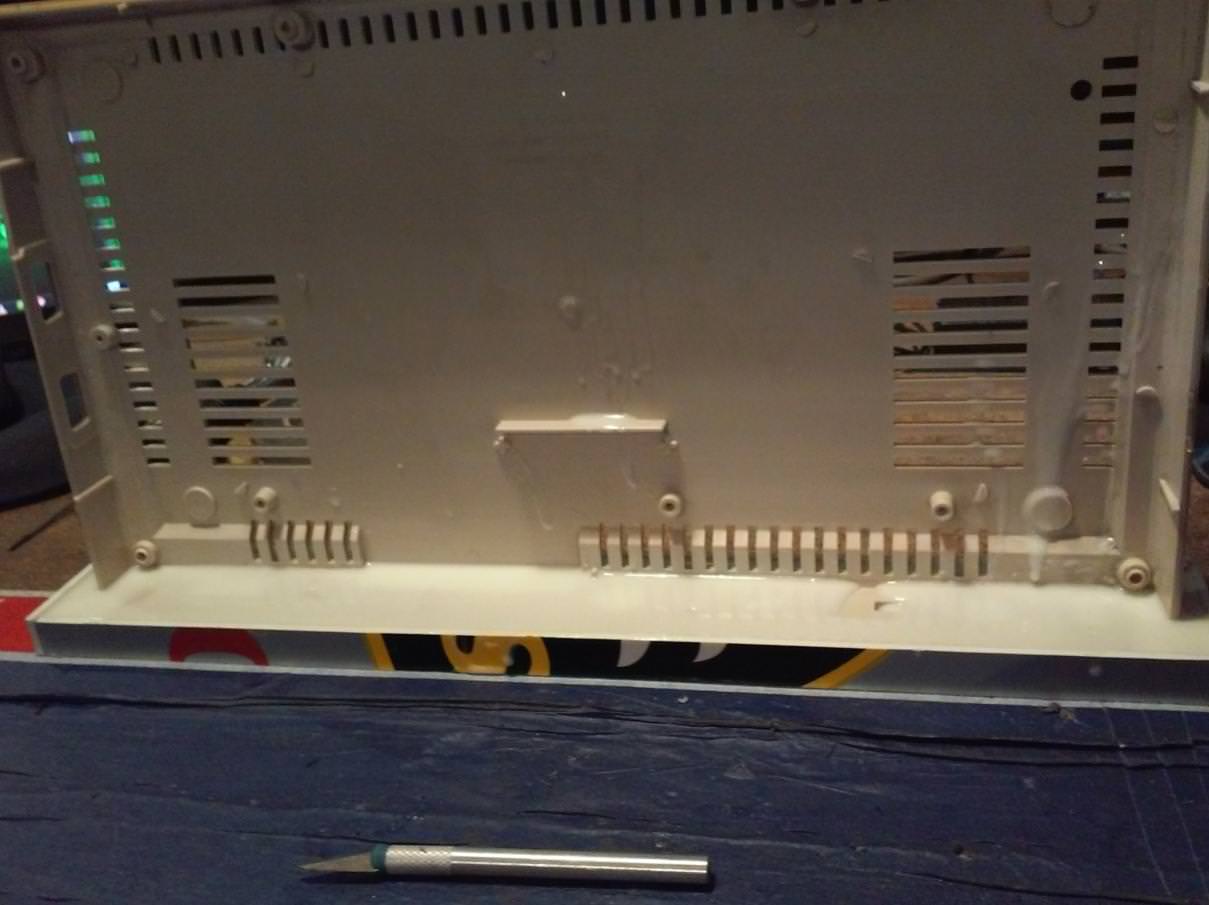
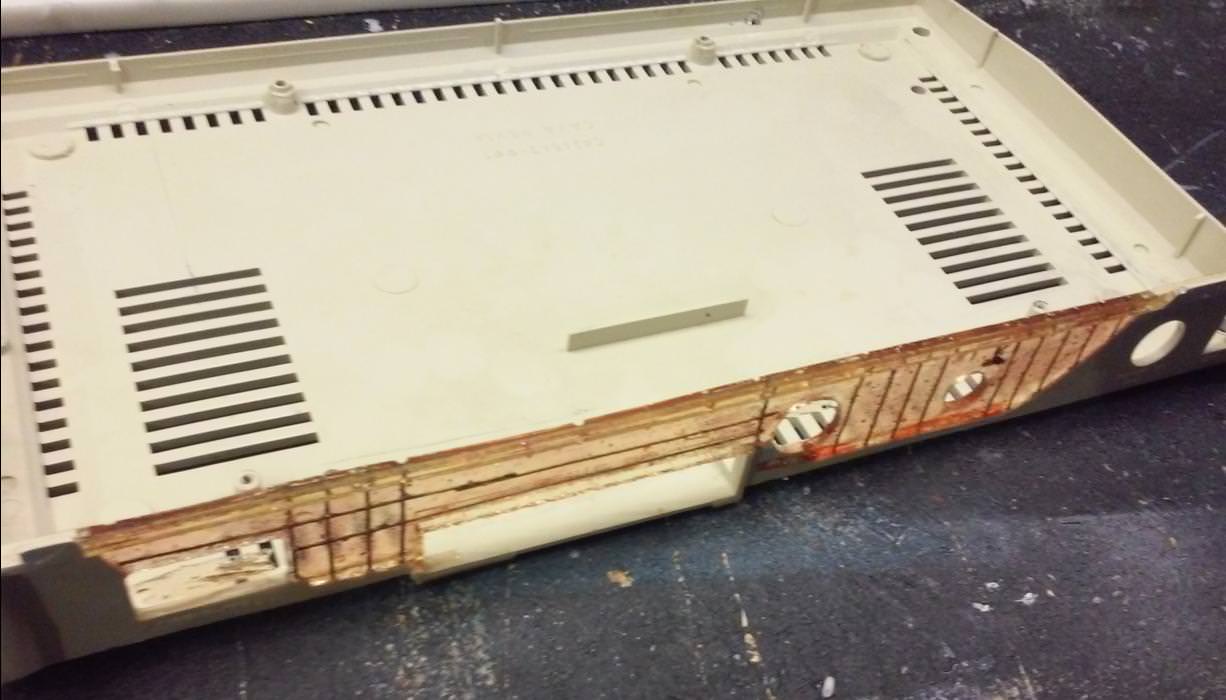
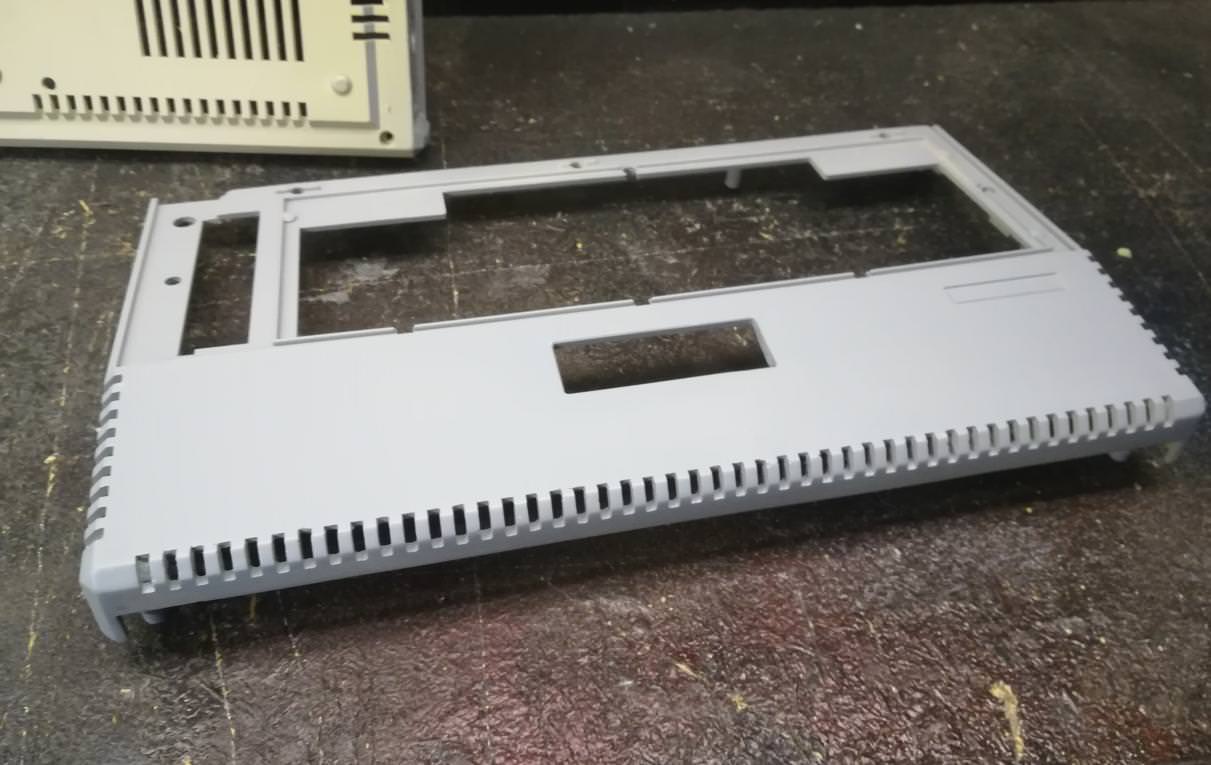
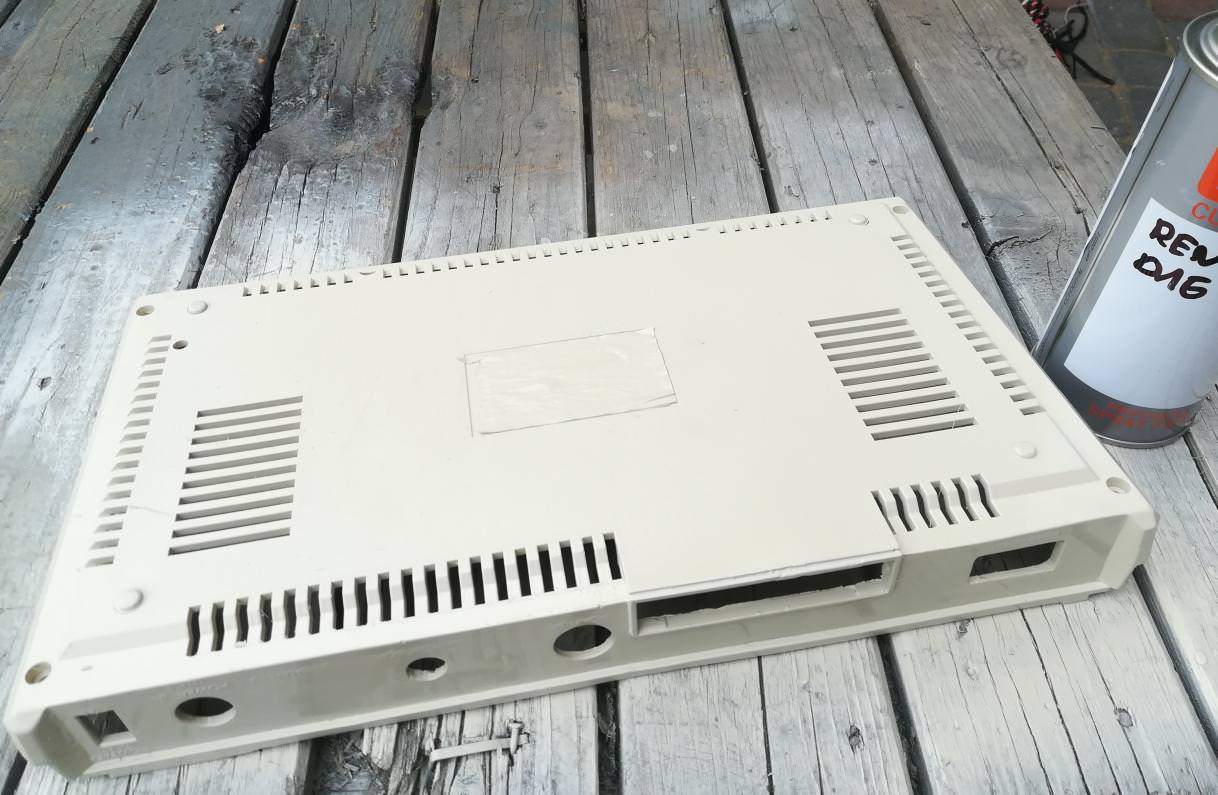
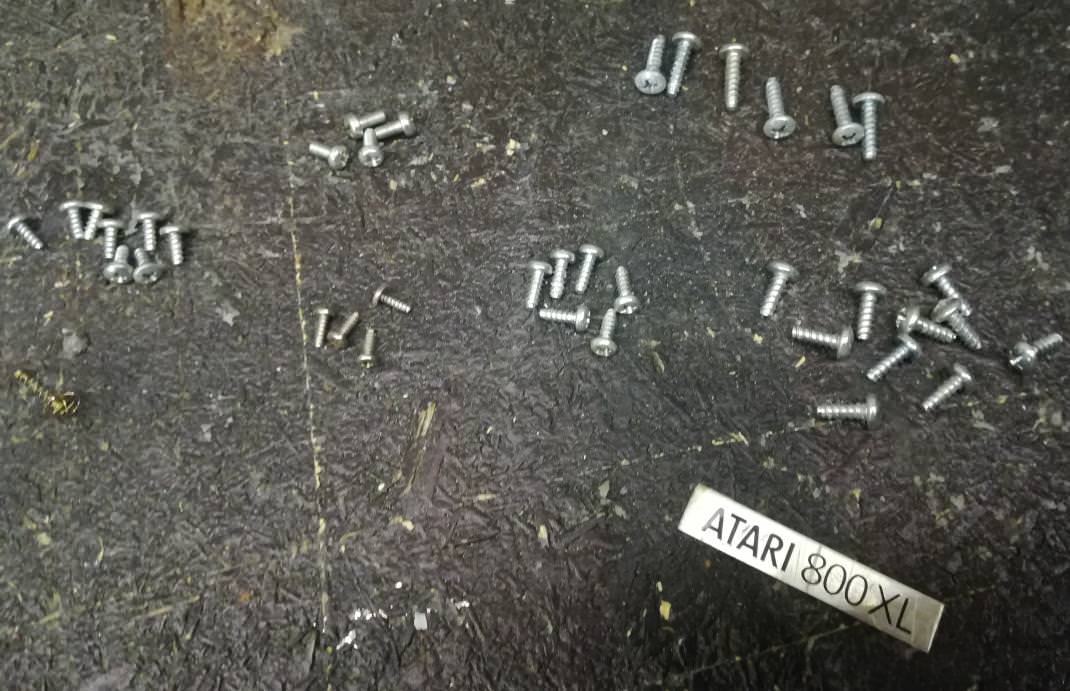
First, I needed to clean all parts from mud, grease, and other nasty stuff that stuck to it.
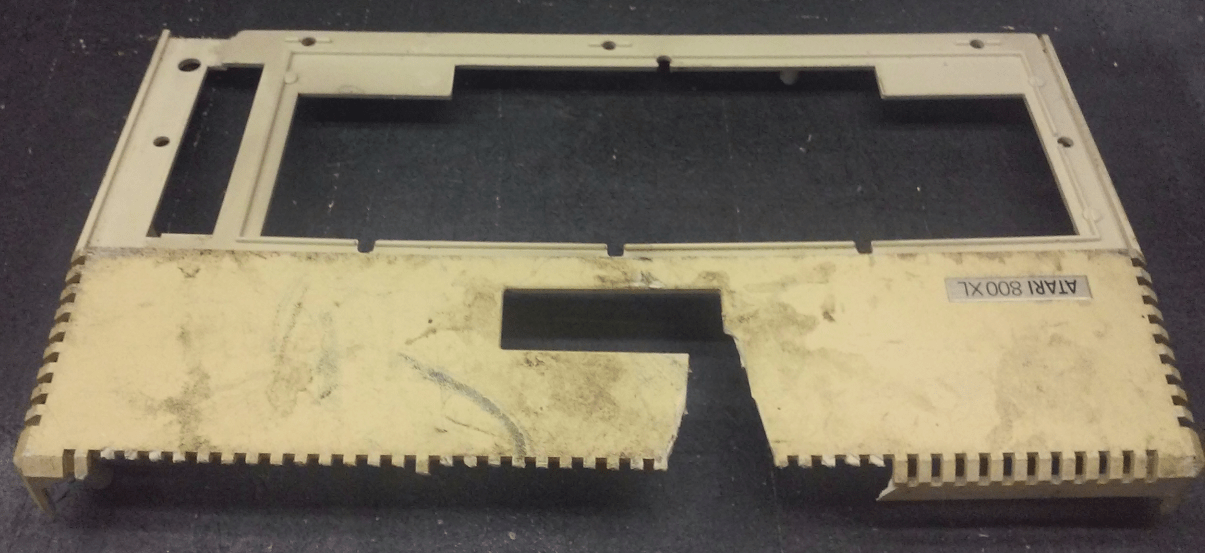

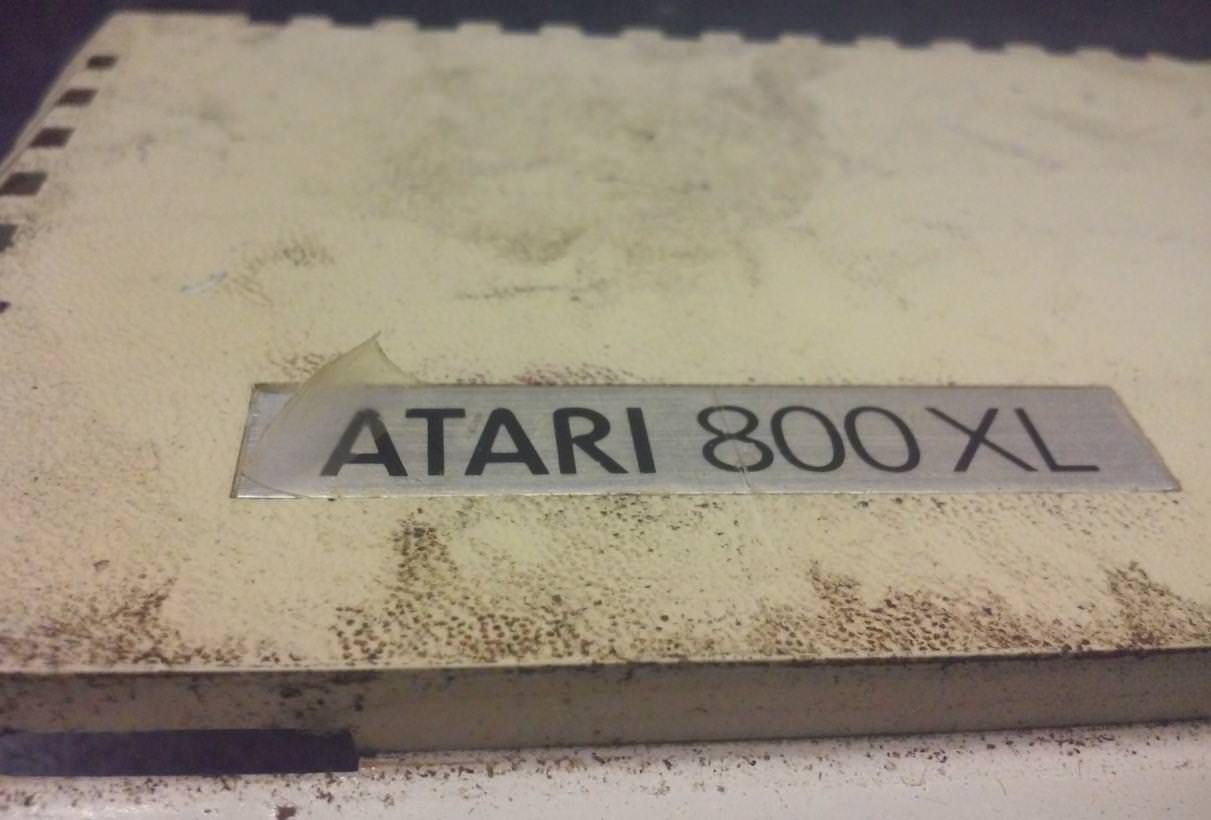
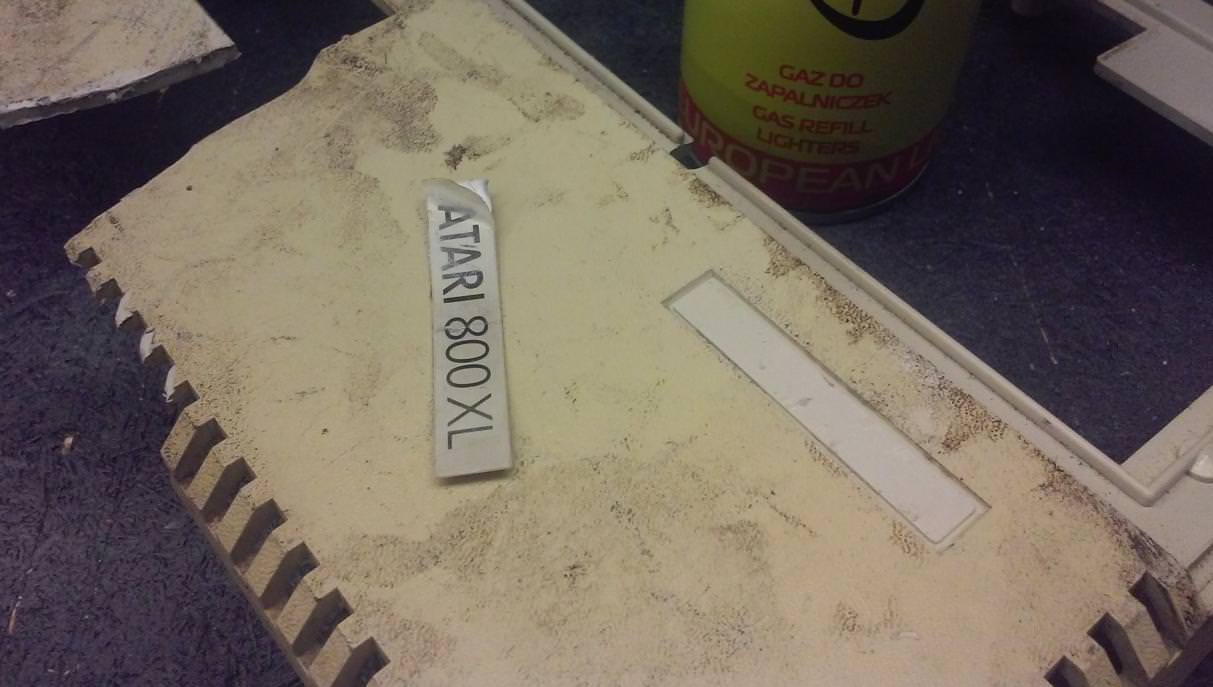
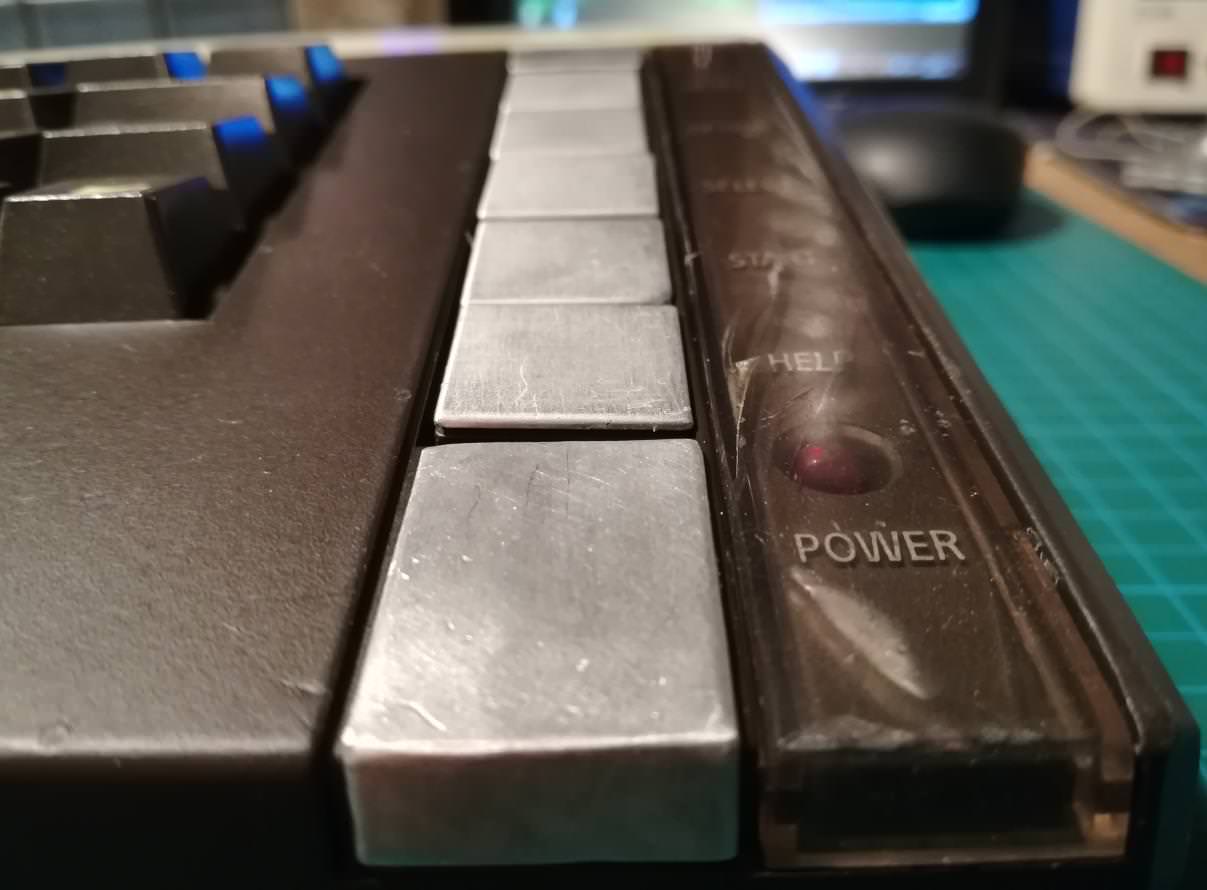
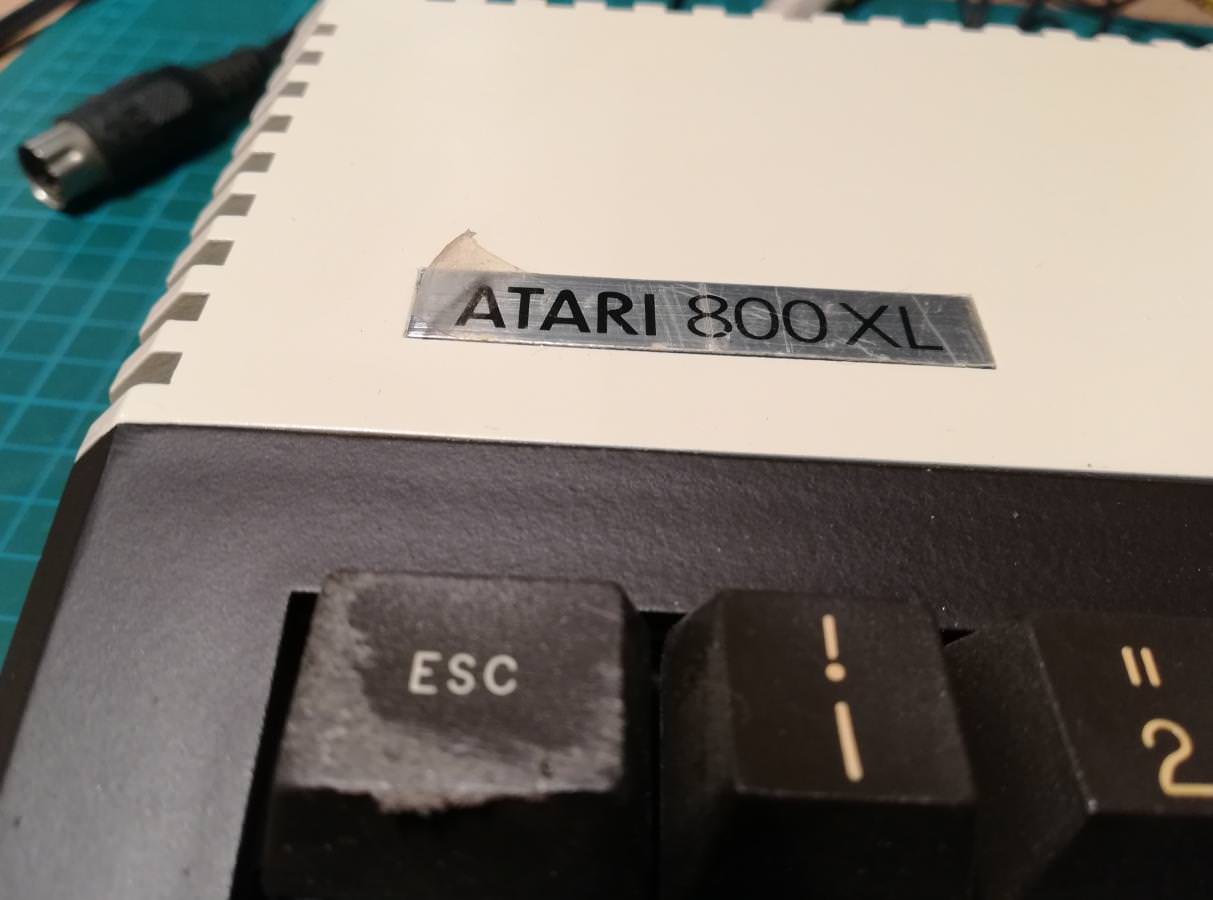
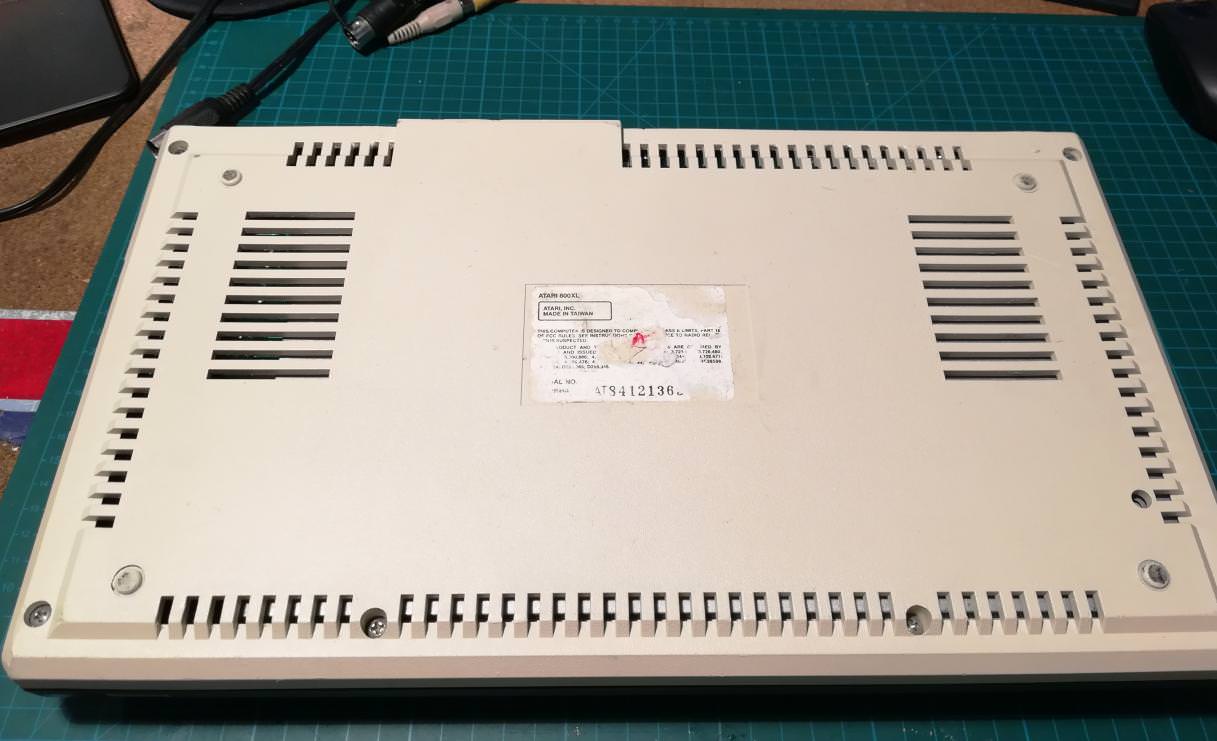
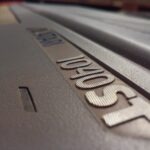
Btw., I’ve lolled at this heavily. Atari still had an original foil on a badge 😀
It kinda worked, it protected the badge … only … mwahahaha 😀

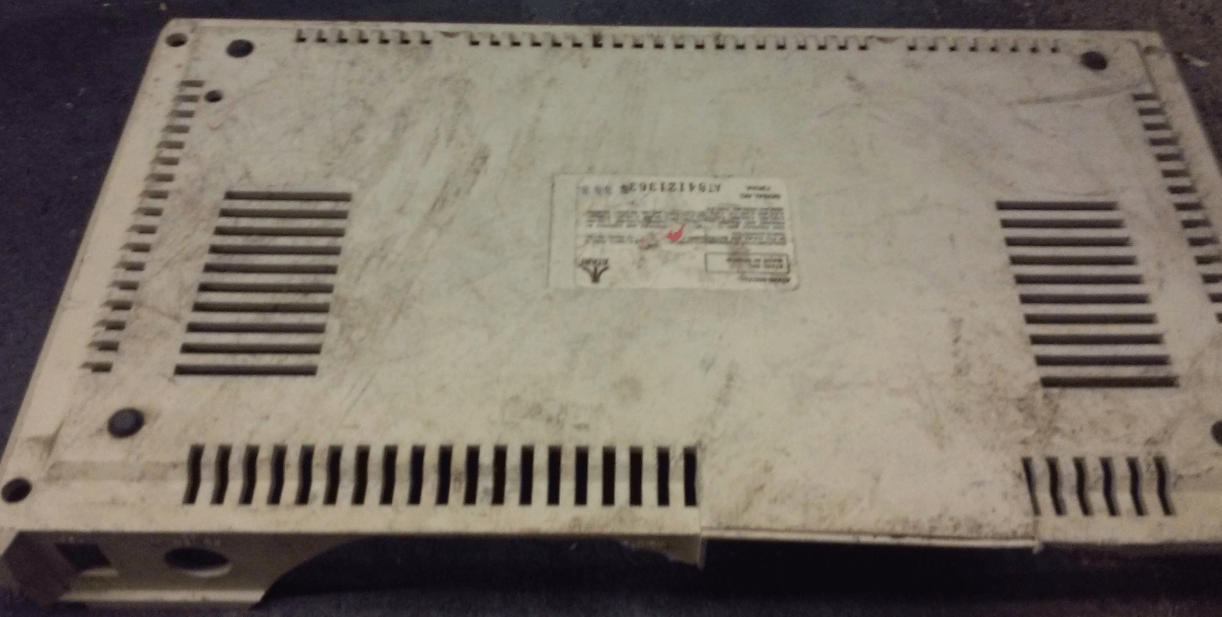

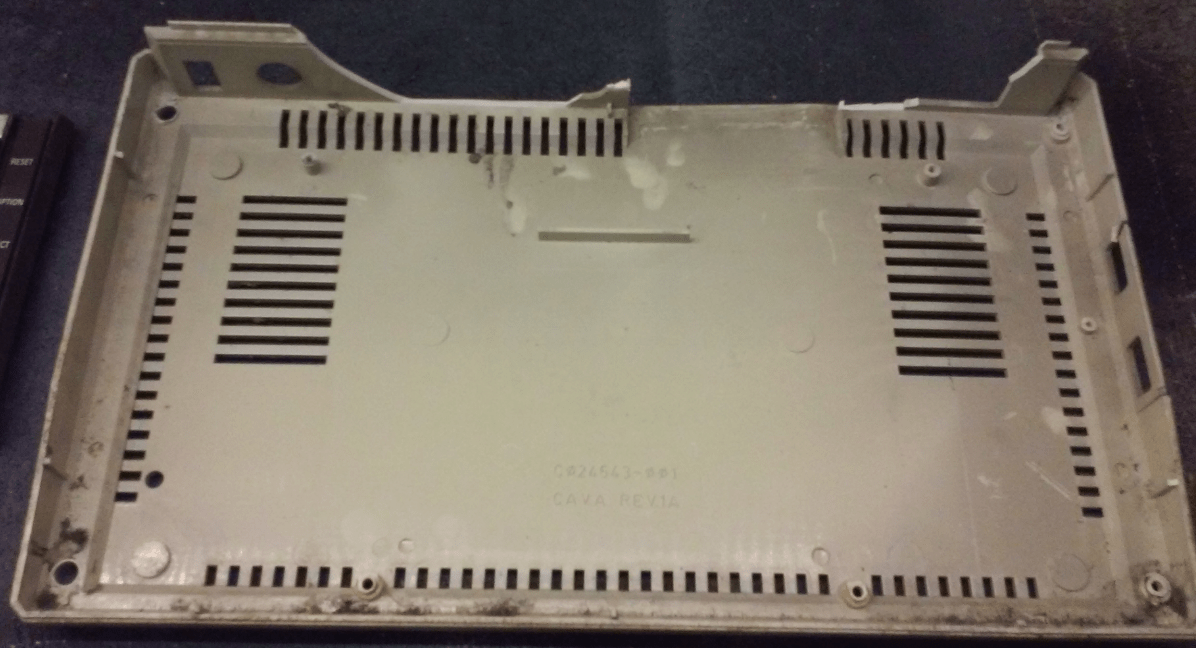

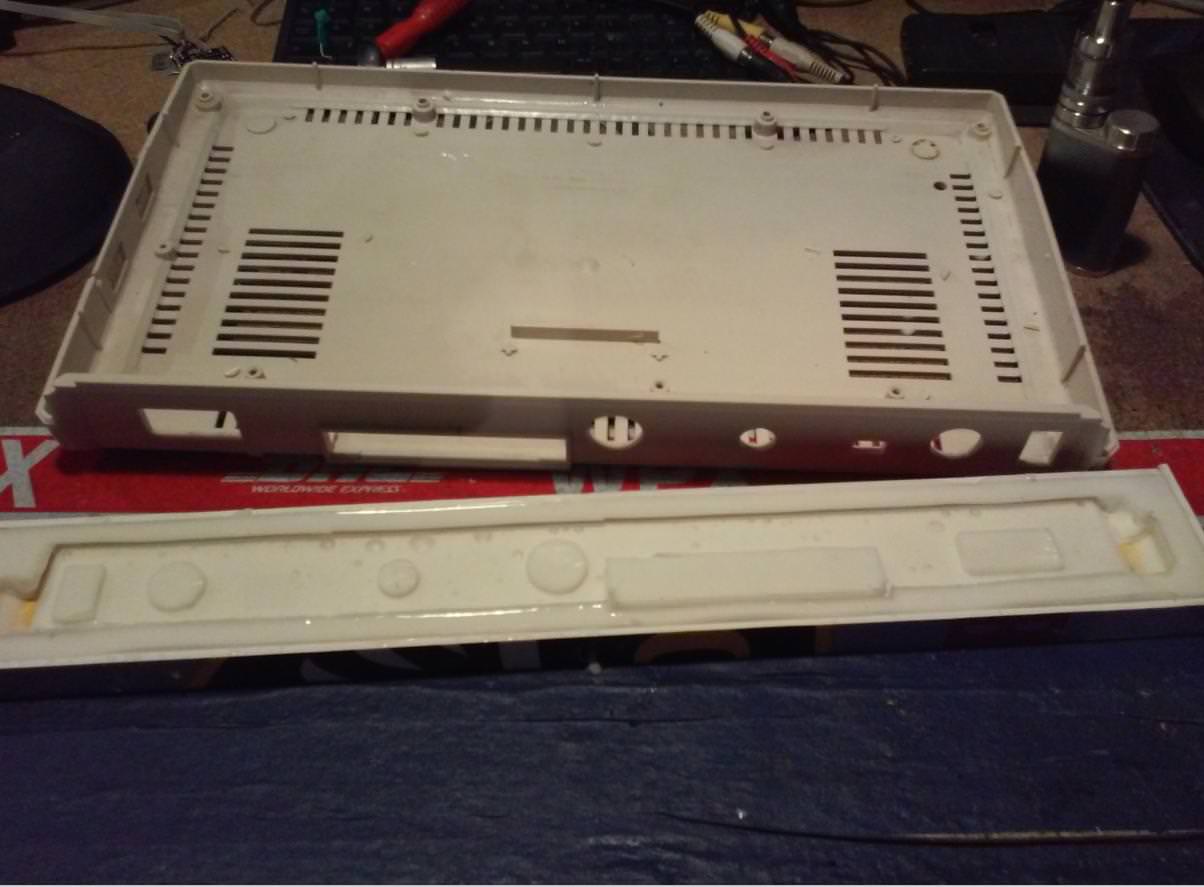
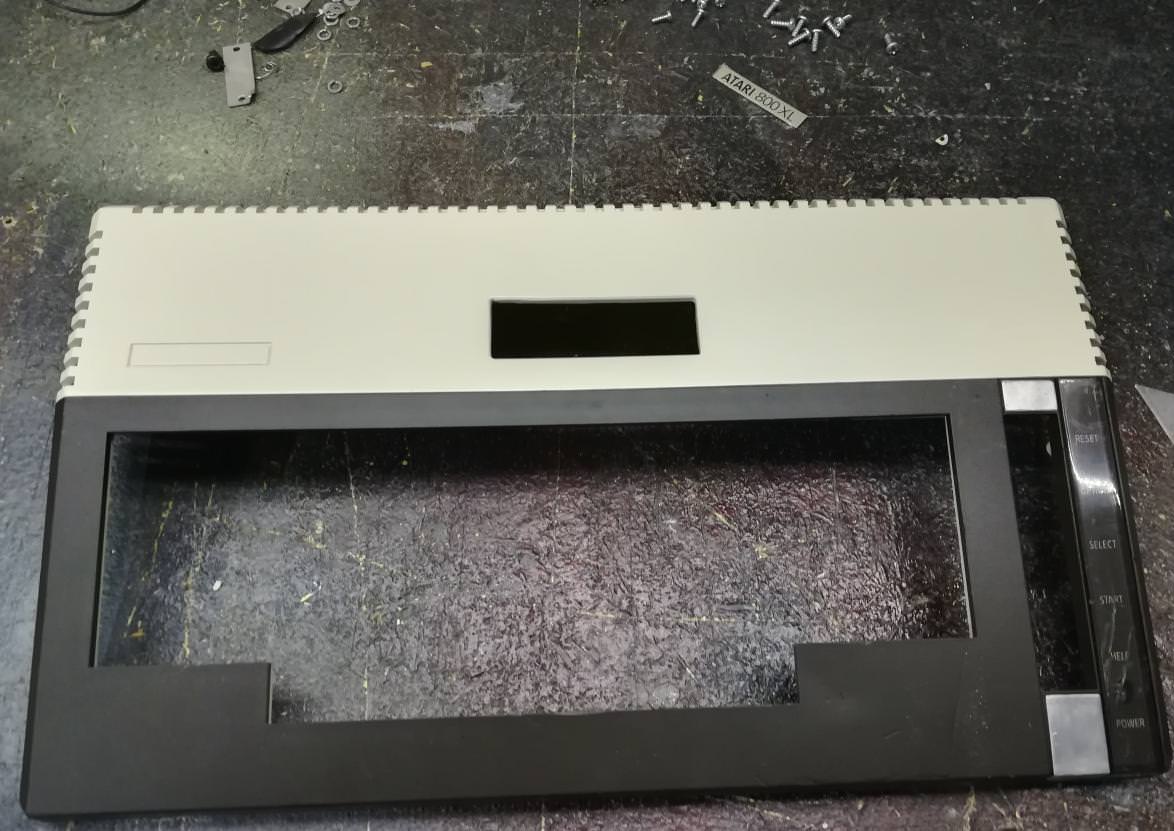
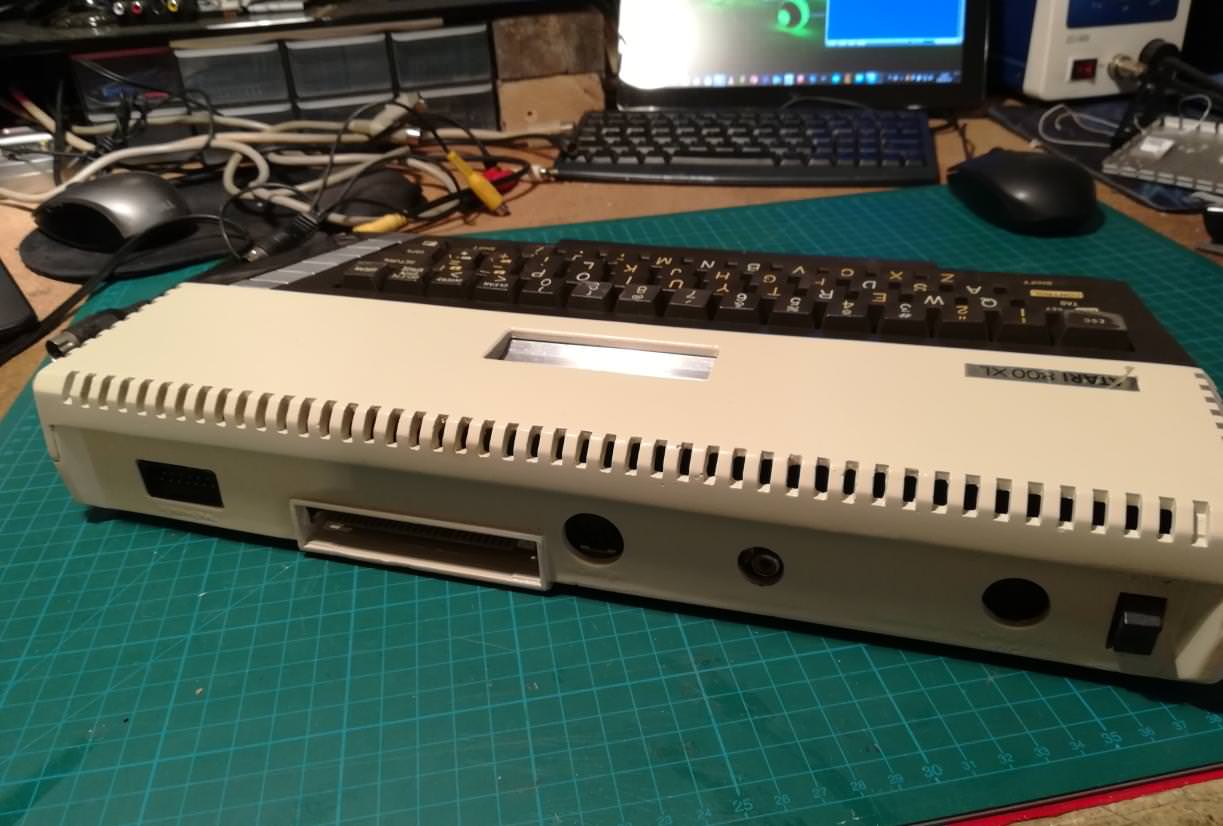
Pics after the initial cleaning.

The plastic welding method was applied to fix some minor cracks.


I also had to straighten one of the mounting poles.
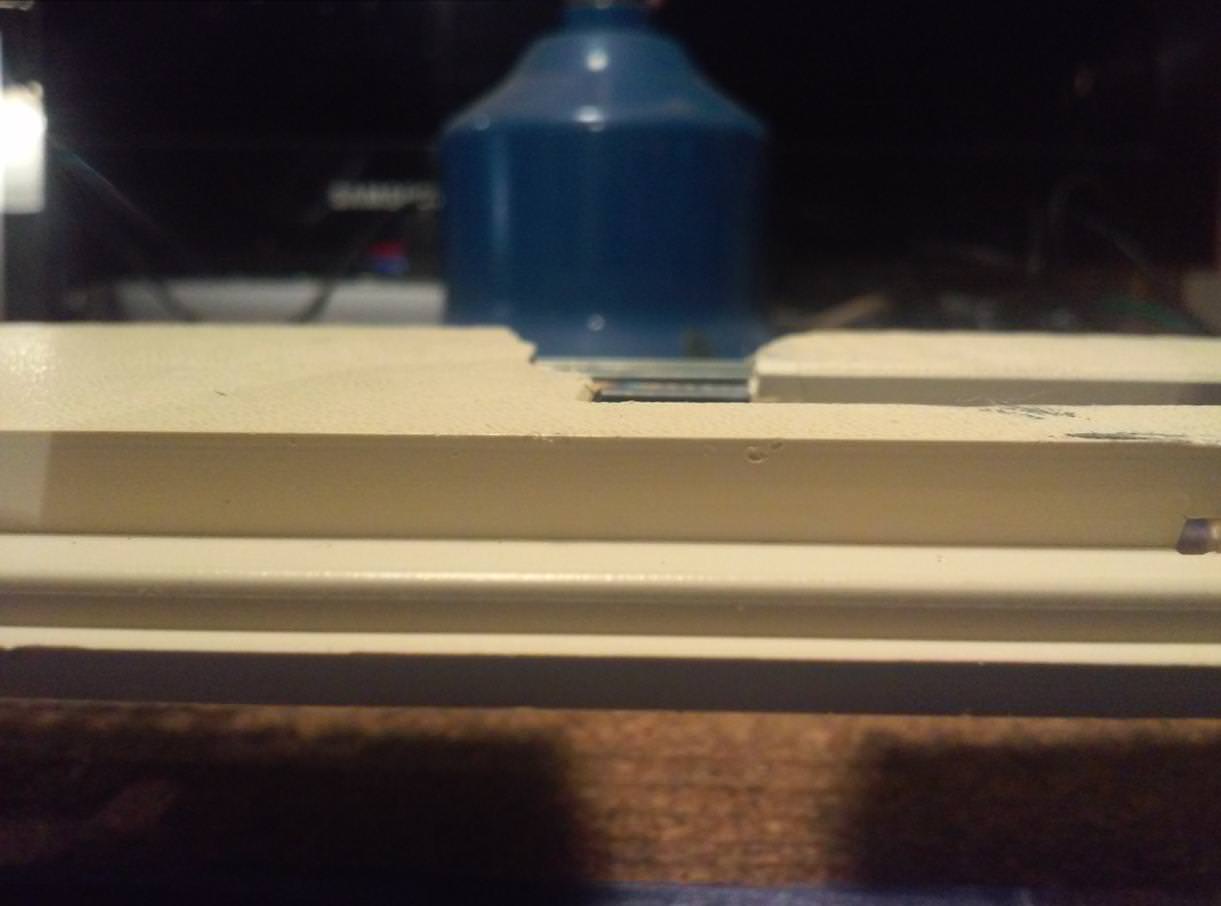
I’ve figured that heating plastic with a hot air gun will let me straighten it with a steel rod inserted in it.
Here is a small vid of how it went
and an outcome 
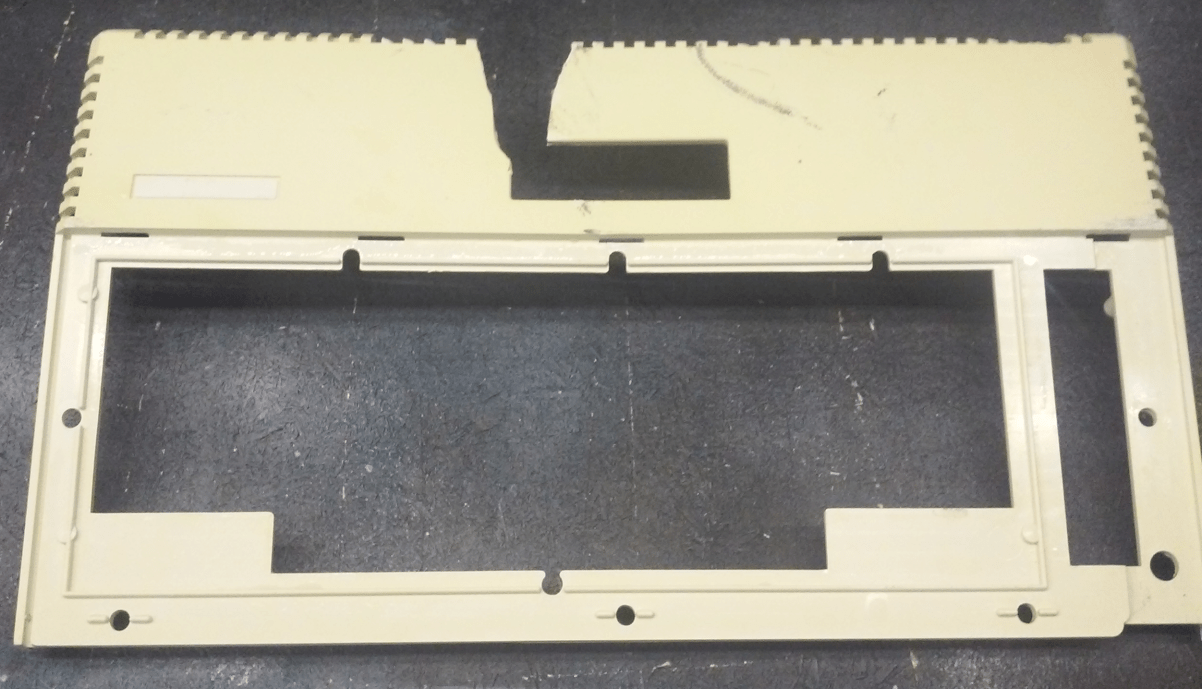
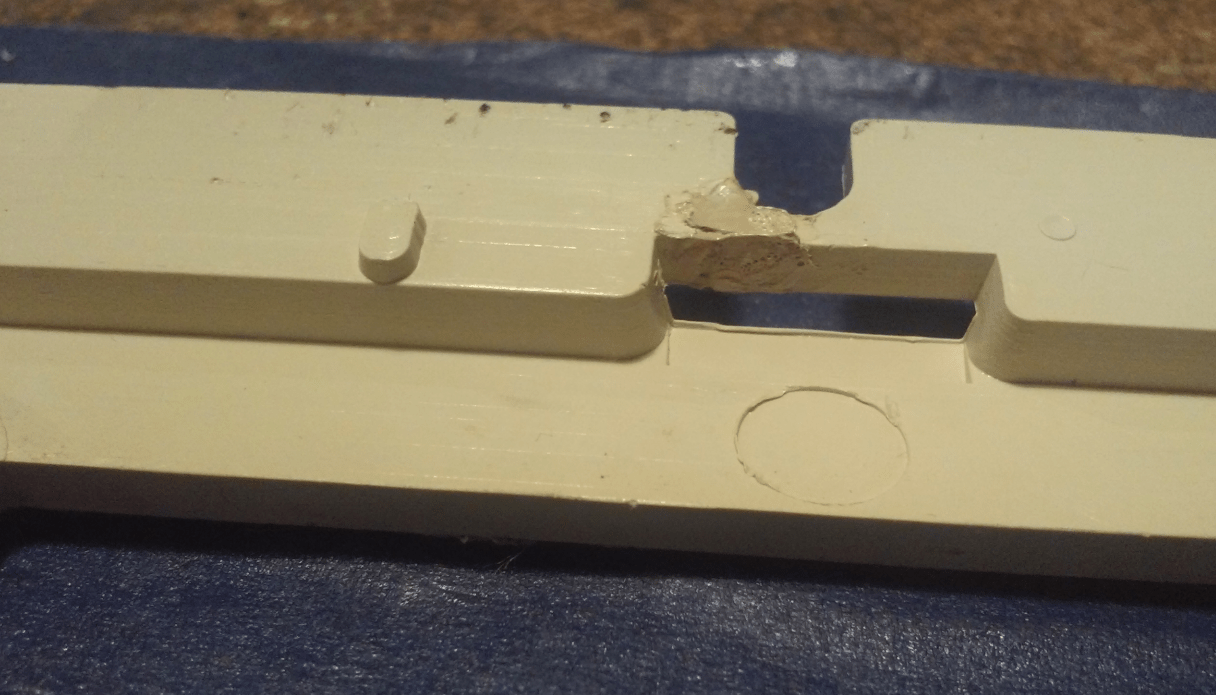
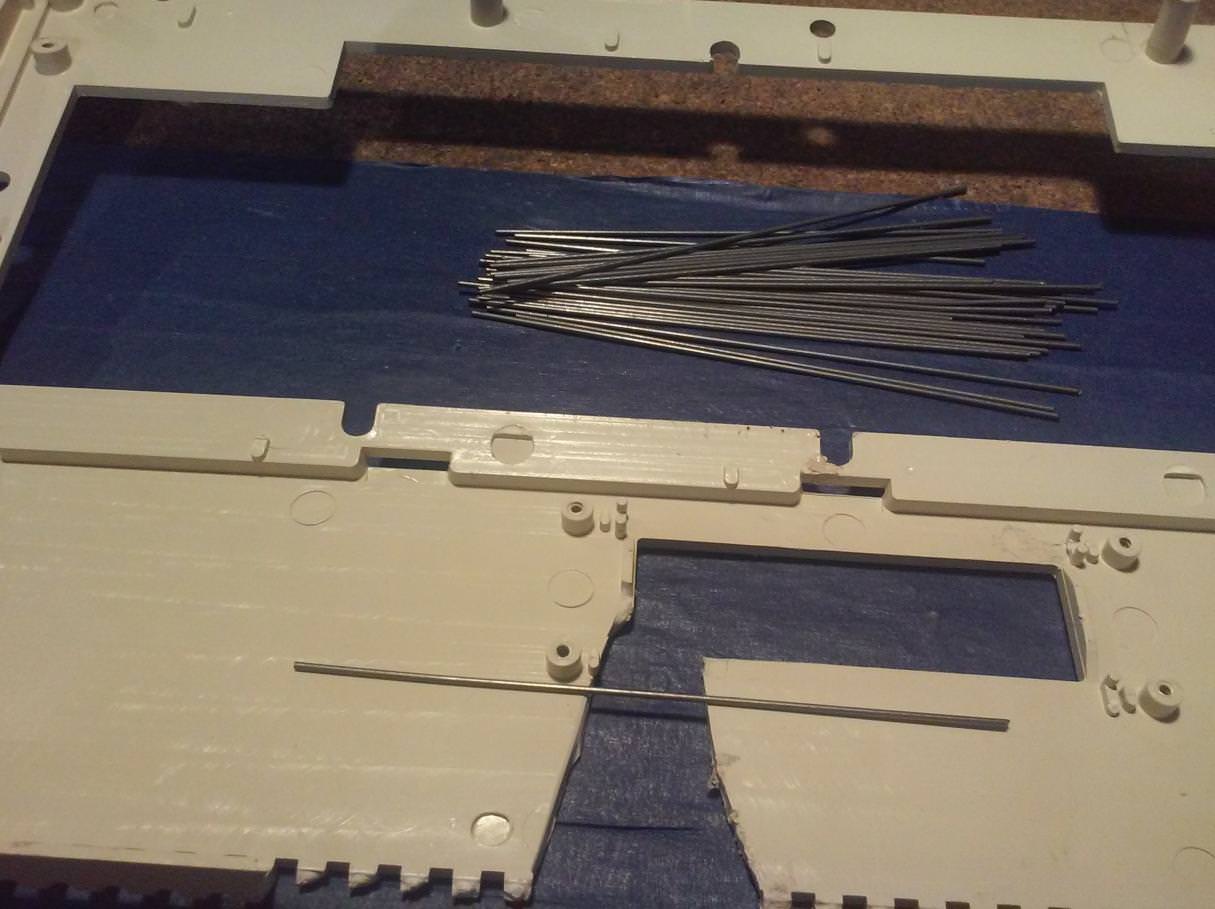
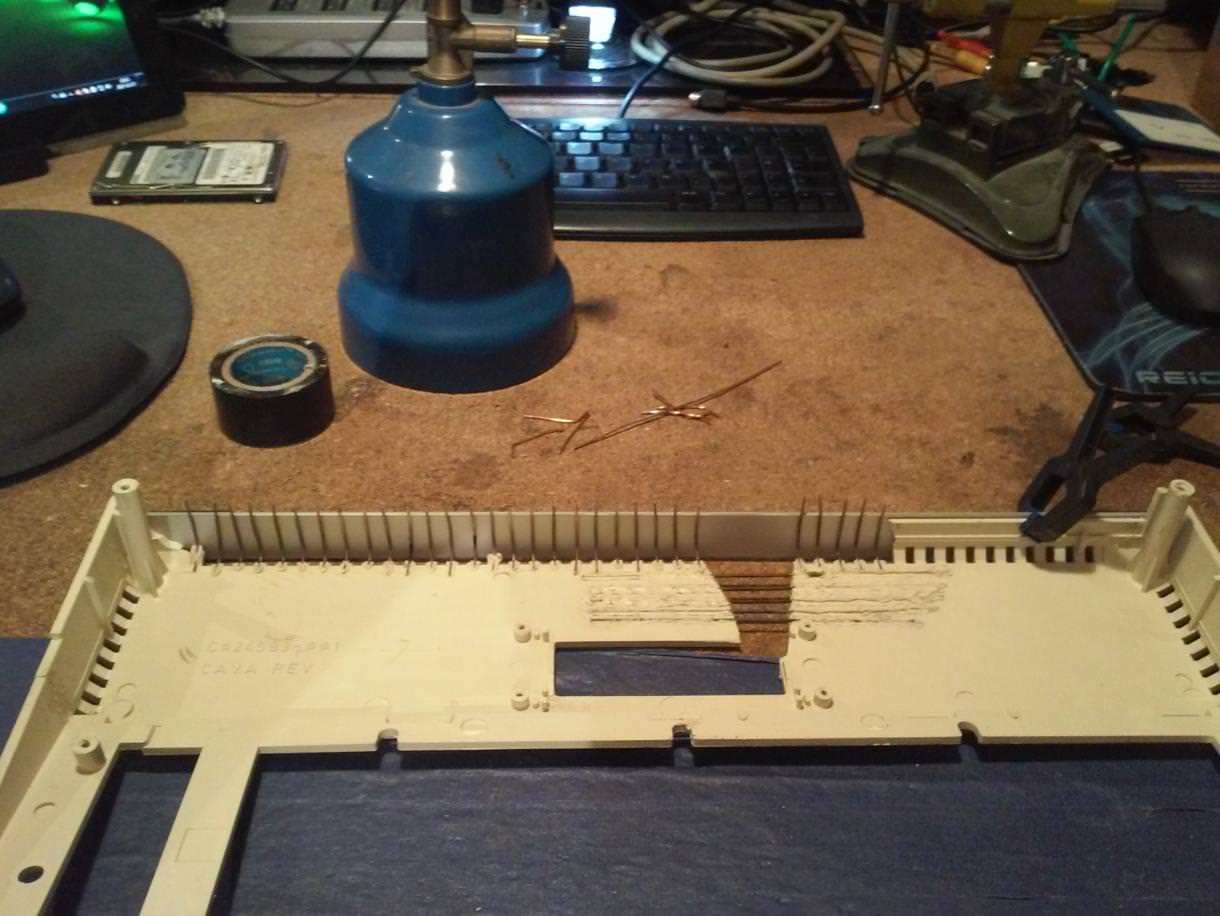
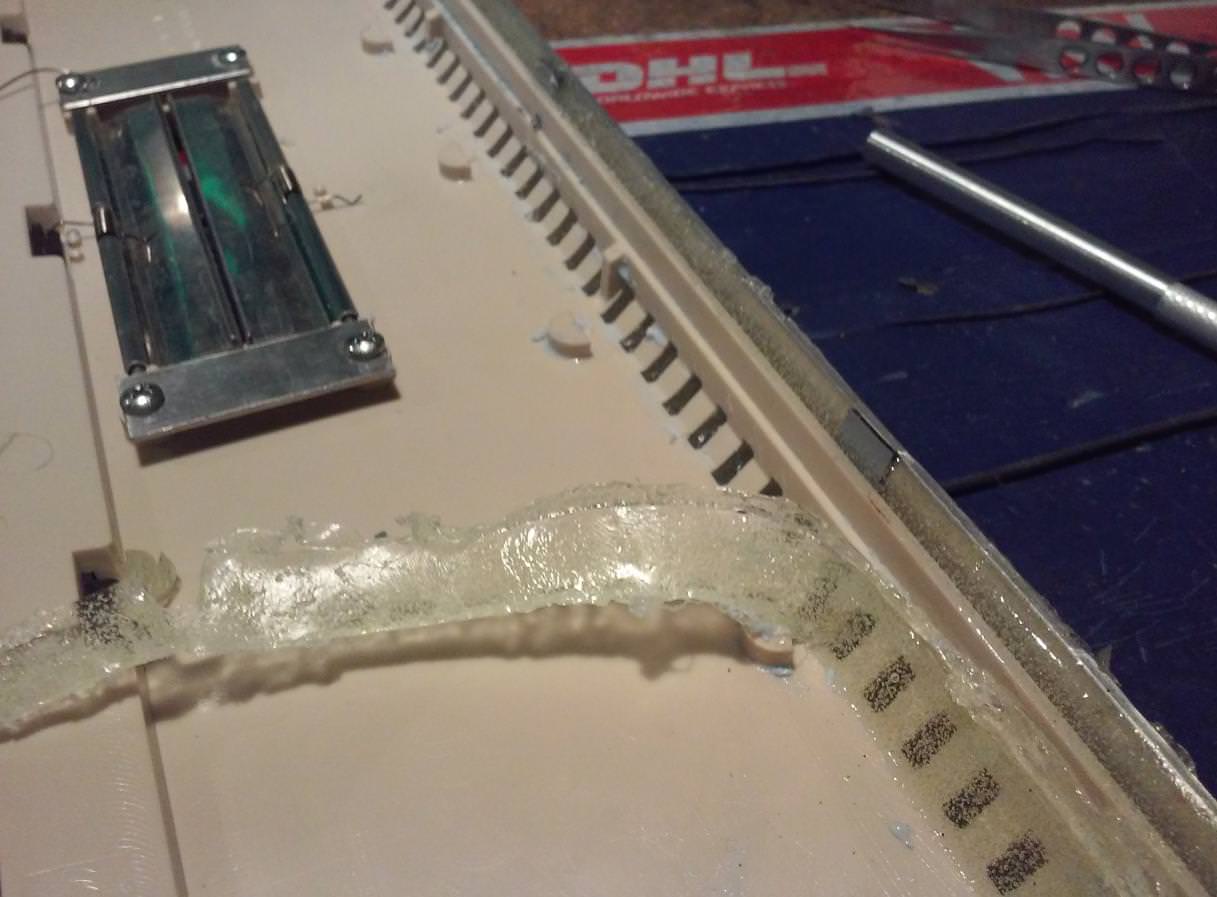
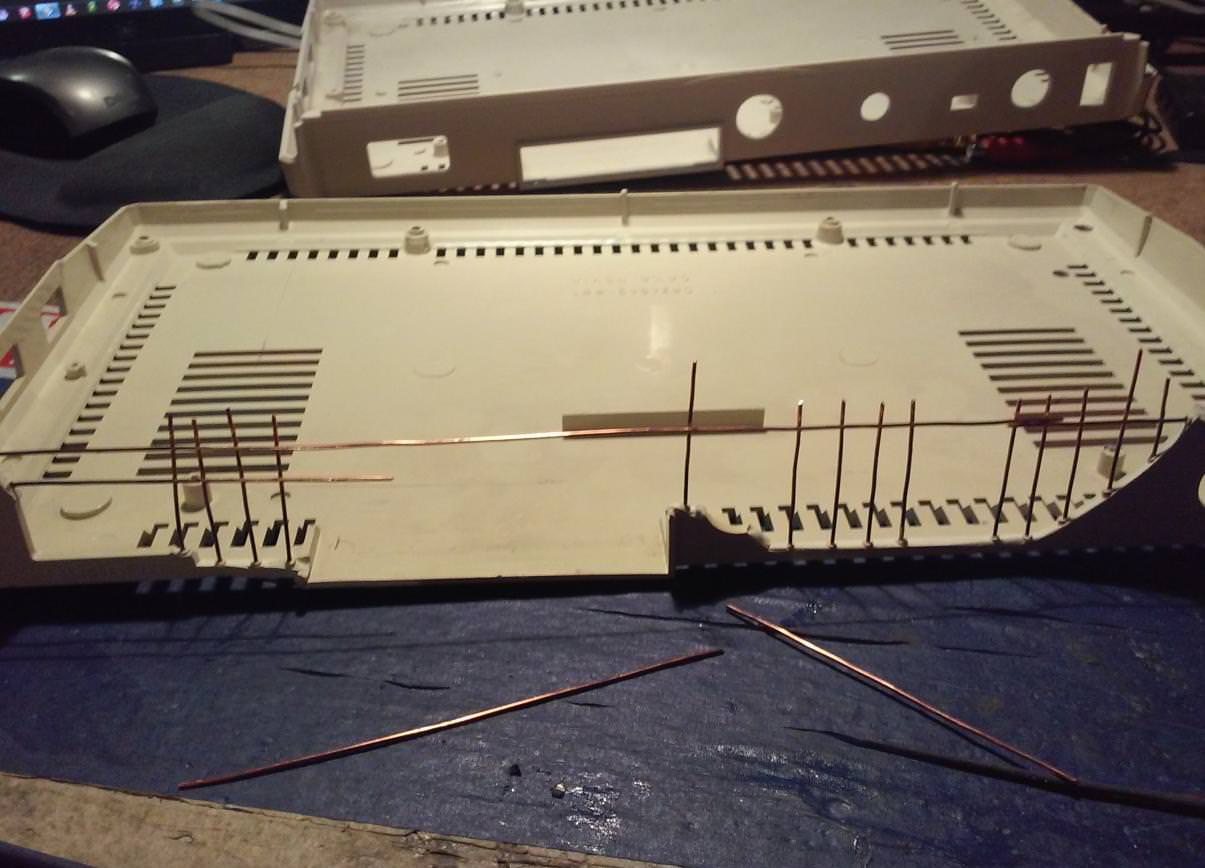
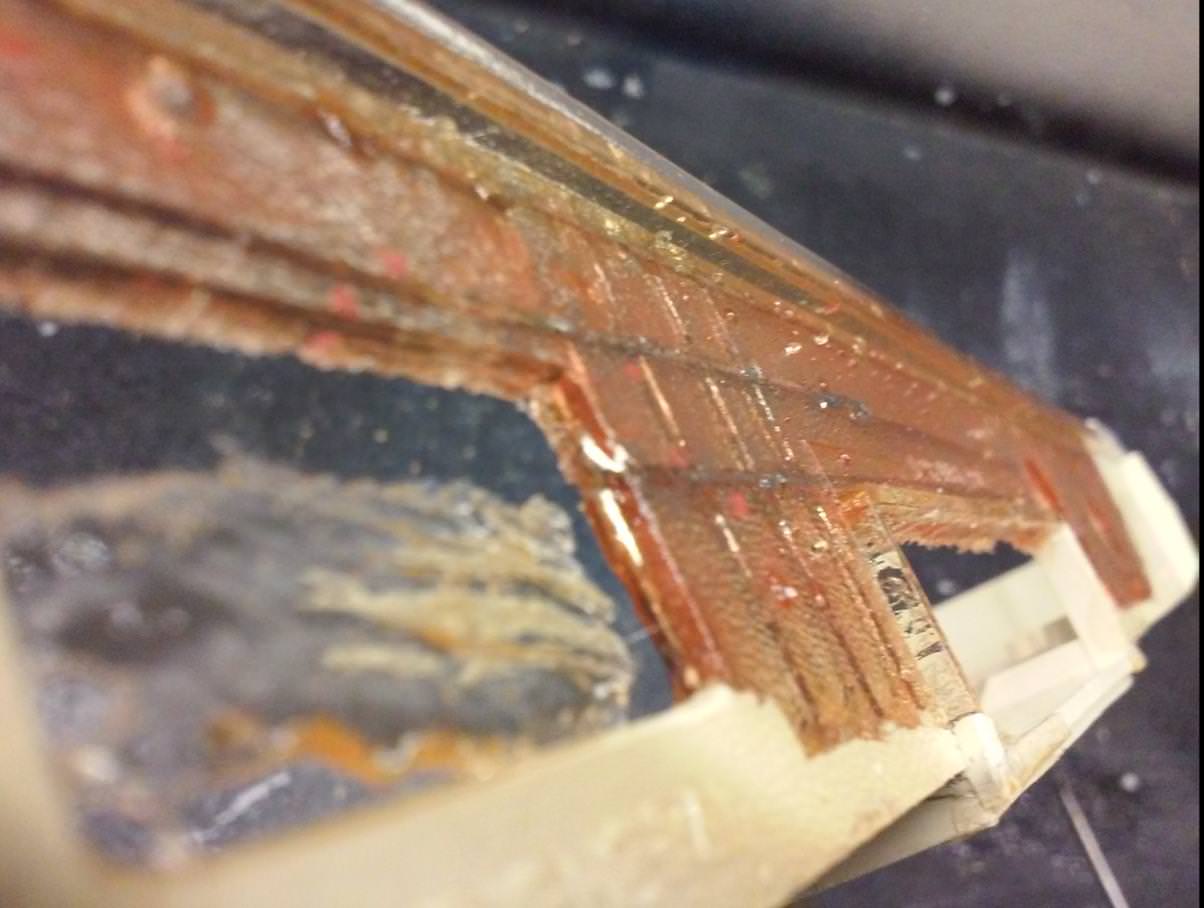
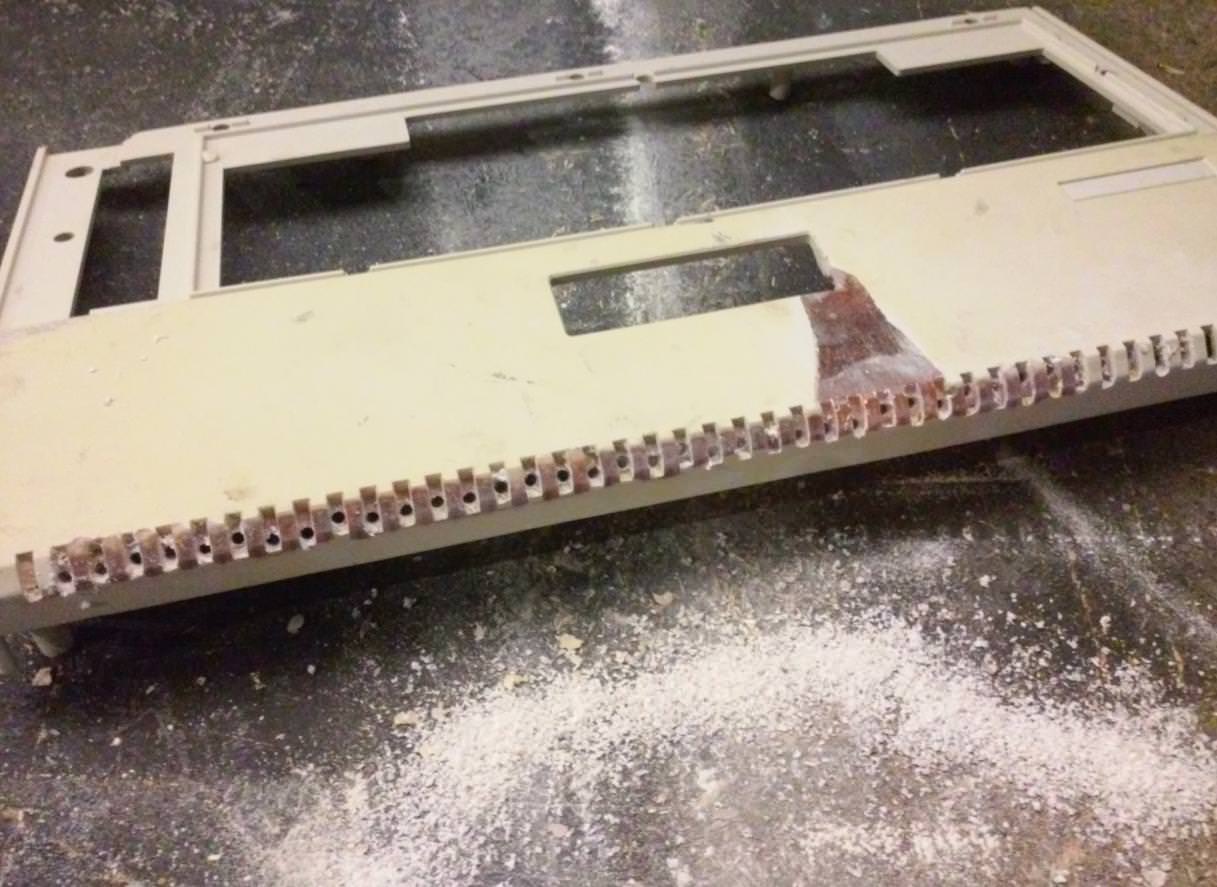
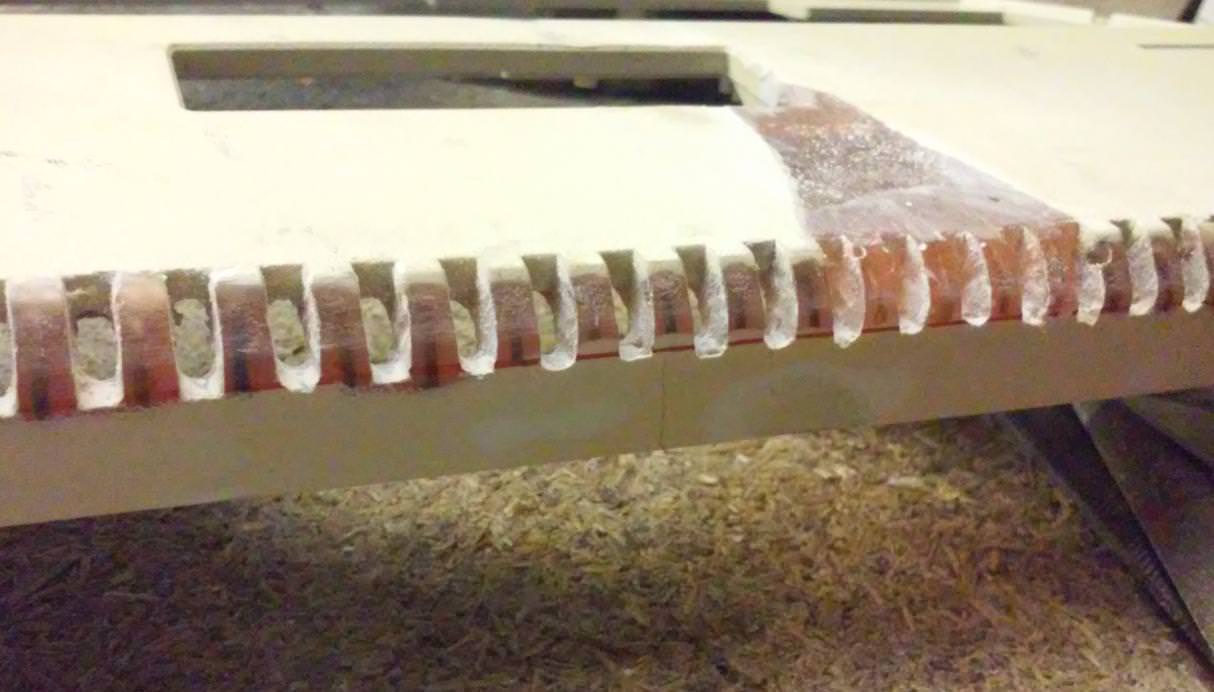
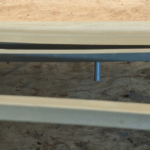
Next, I needed to level both broken sides of the top part.
That is necessary to add stiffness and also serves as a base for repairs that followed.
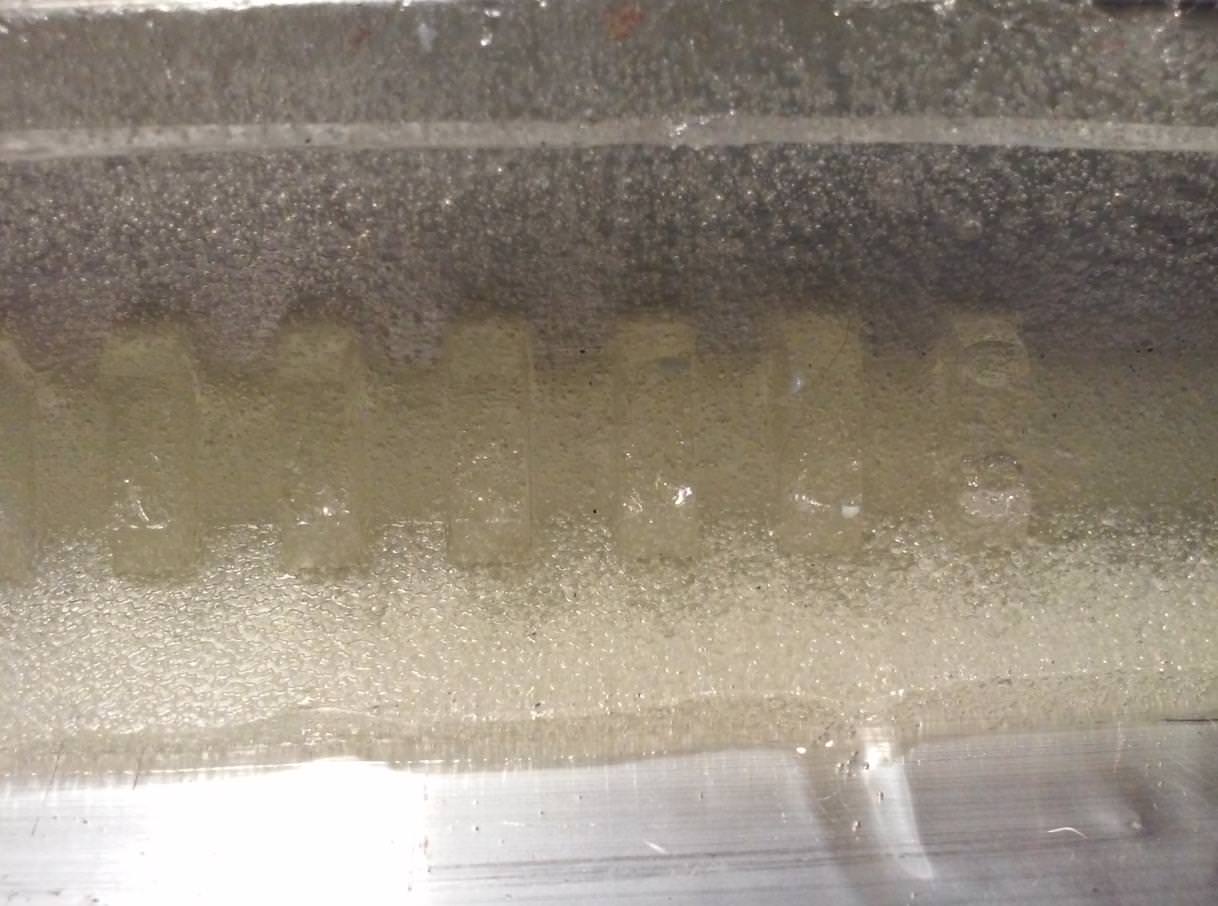
To do it, I had to prepare pieces of straight steel wires that were heated up with a gas torch and then left on plastic and sank into it.
Unfortunately, the video is not showing what I wanted it to show but at least it shows a general idea (hopefully).
Yeah, I know, I gotta 3D print some sort of cam holder 🙂


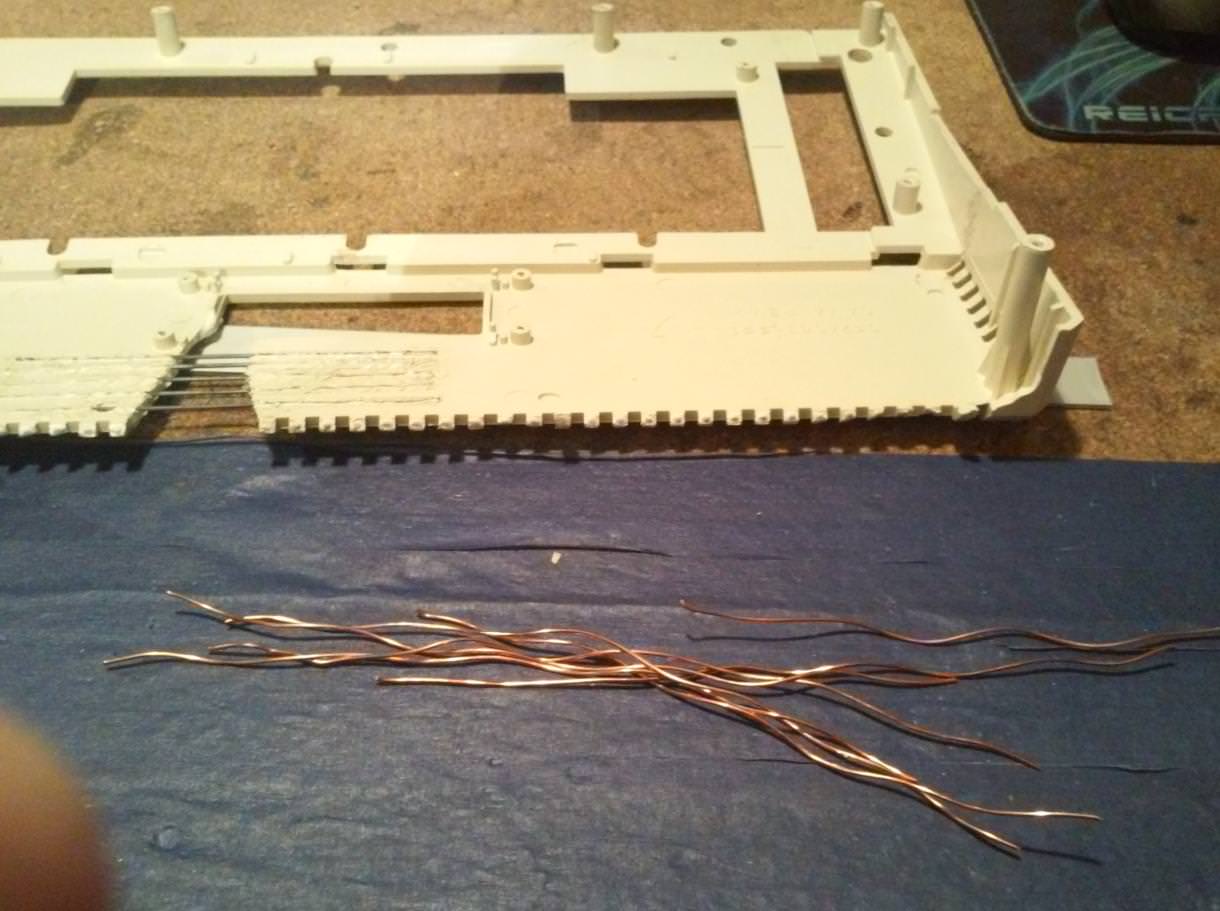
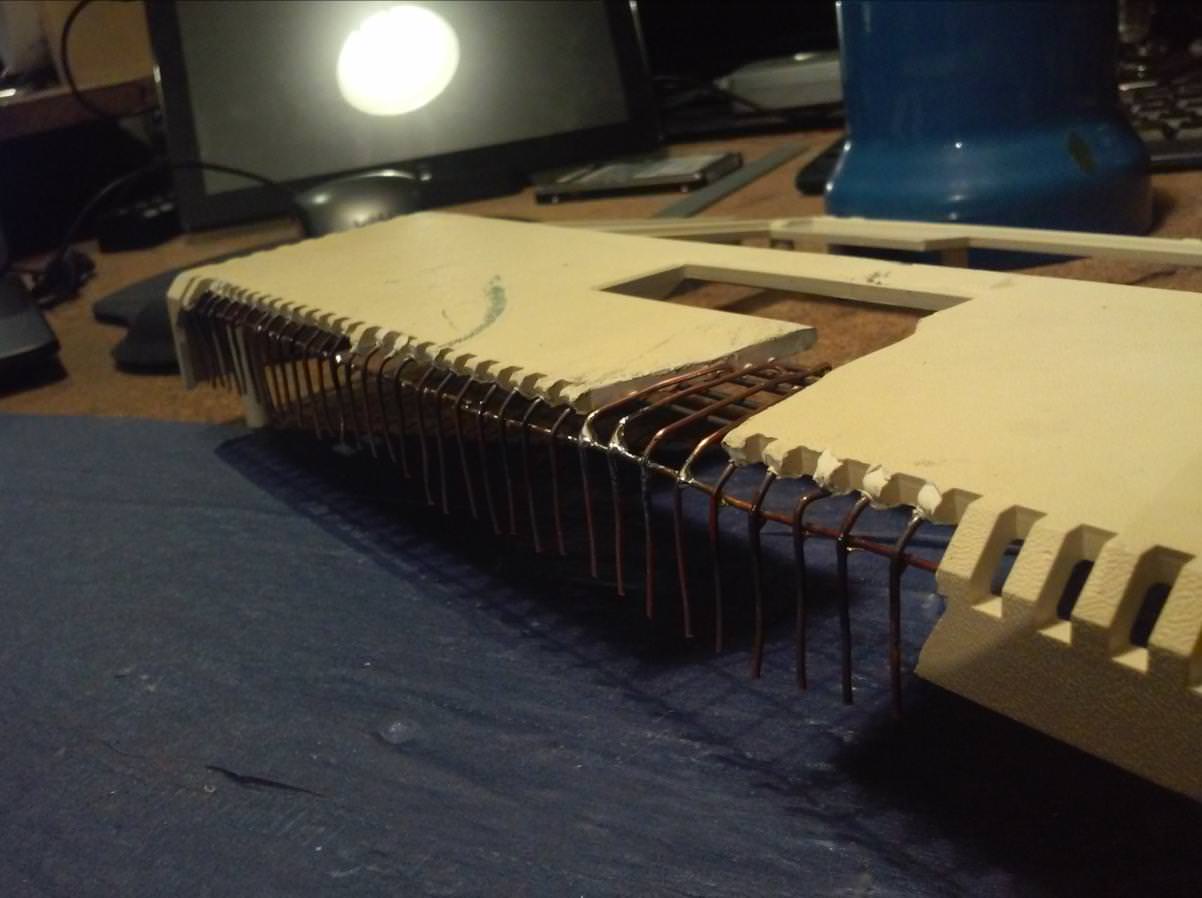
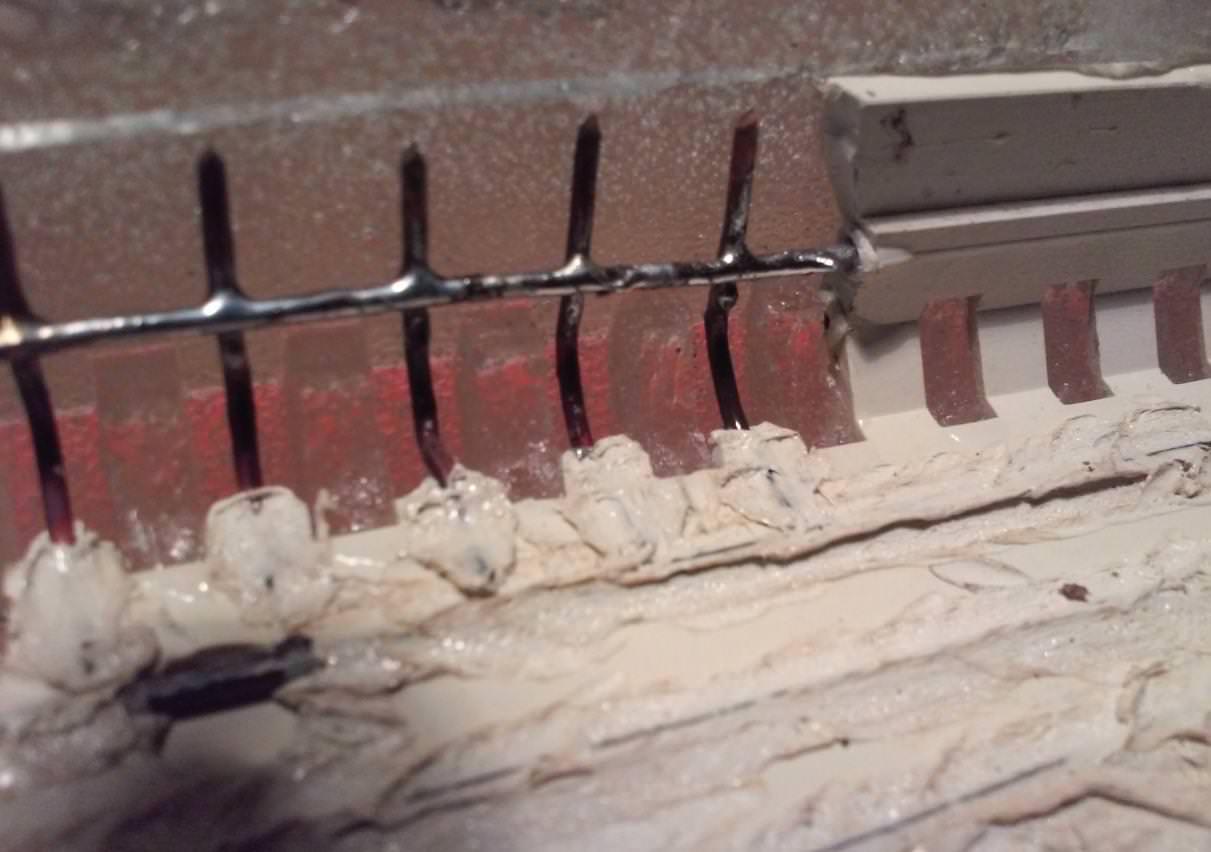
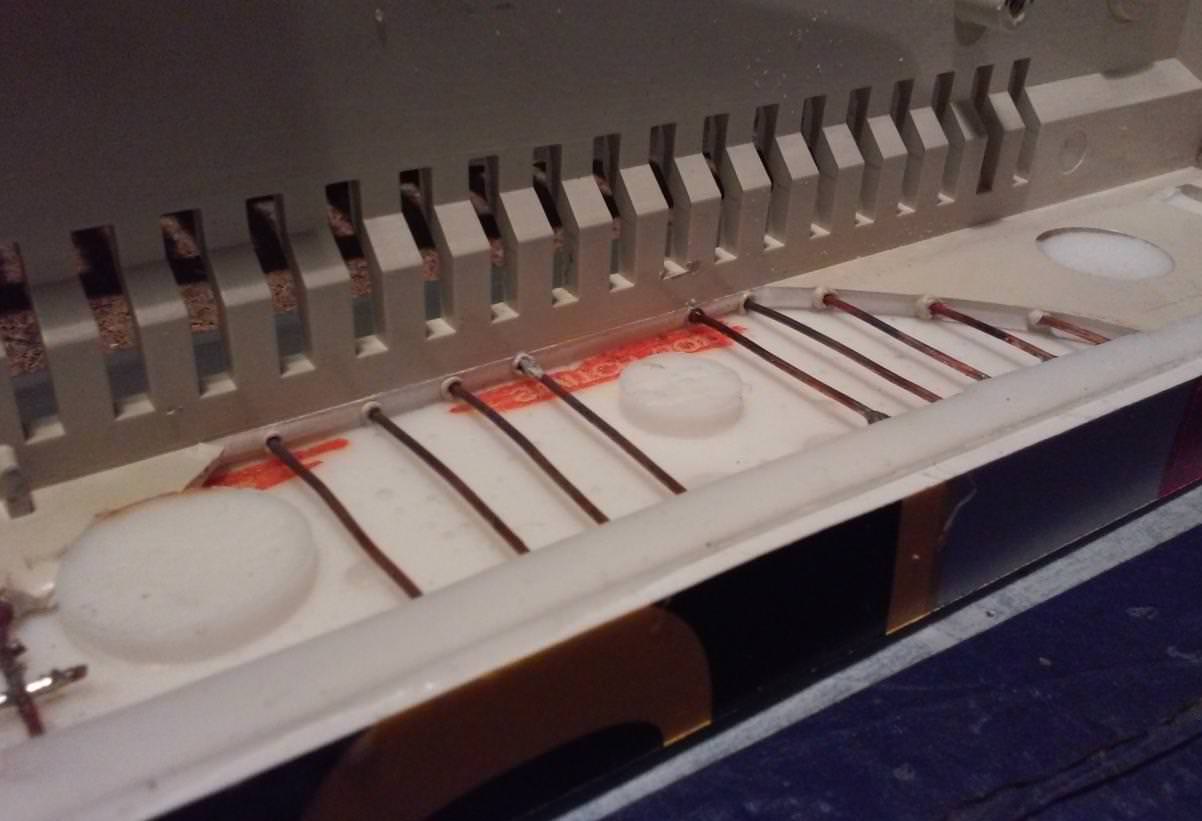
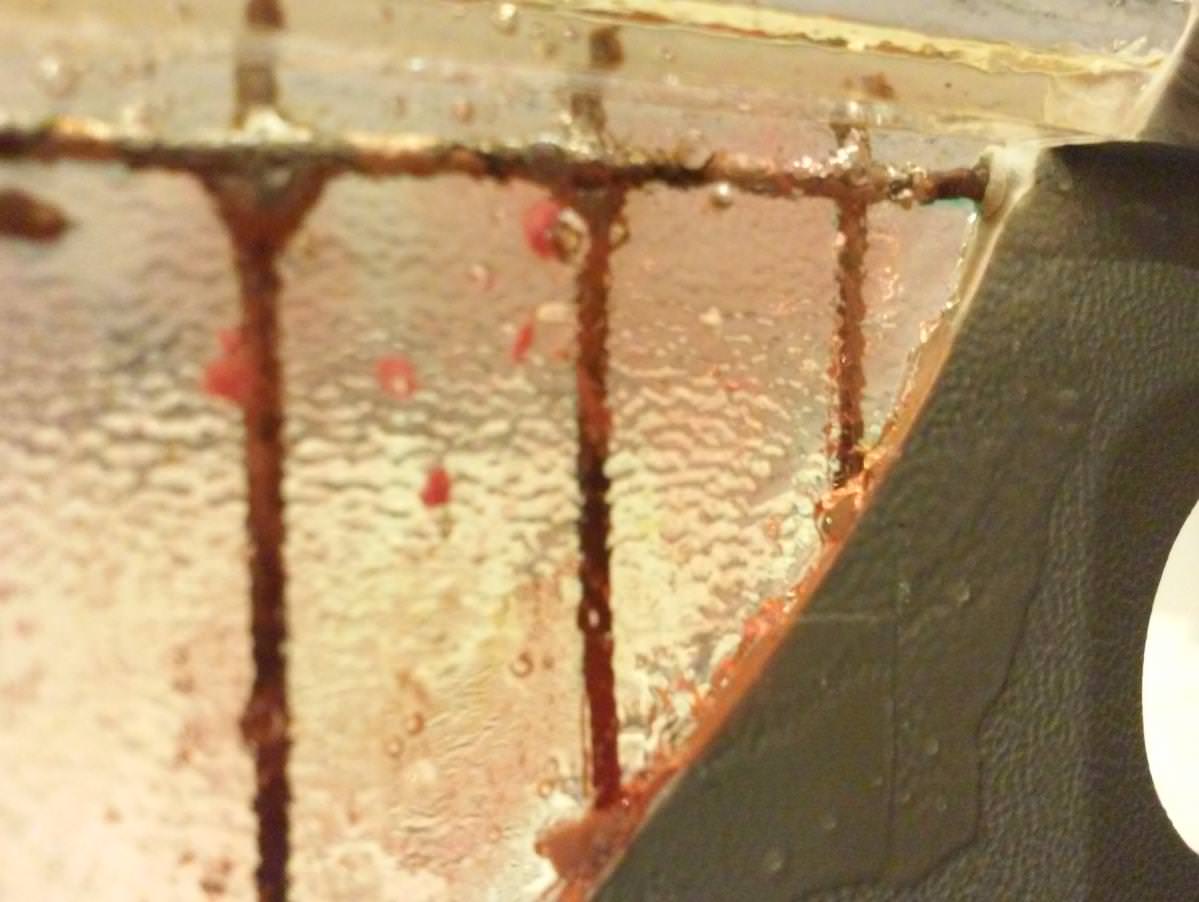
With a case straightened, I was finally able to work on a mesh for the polyester resin. The plan was to make it out of copper wire and solder it all together. It looks rather ugly but it works.
Pics are worth 1000s words so have a look at how it was done 🙂


The molds
At this point, I’ve figured (lol, no comment) that I didn’t have another Atari 800 XL to take measurements so I was kinda stuck.
I’ve asked on Atari forums if someone has a spare 800XL case. I needed it to get all the original measurements and to create a mold out of it. Fortunately, a few guys stepped in and helped me to deal with this problem.
Big thanks go to Perinoid (cheers buddy:)) who sent a complete case, along with an original keyboard which was also needed, but more on that later. With the original cast, I could continue my work on 800 X(HEL)L.
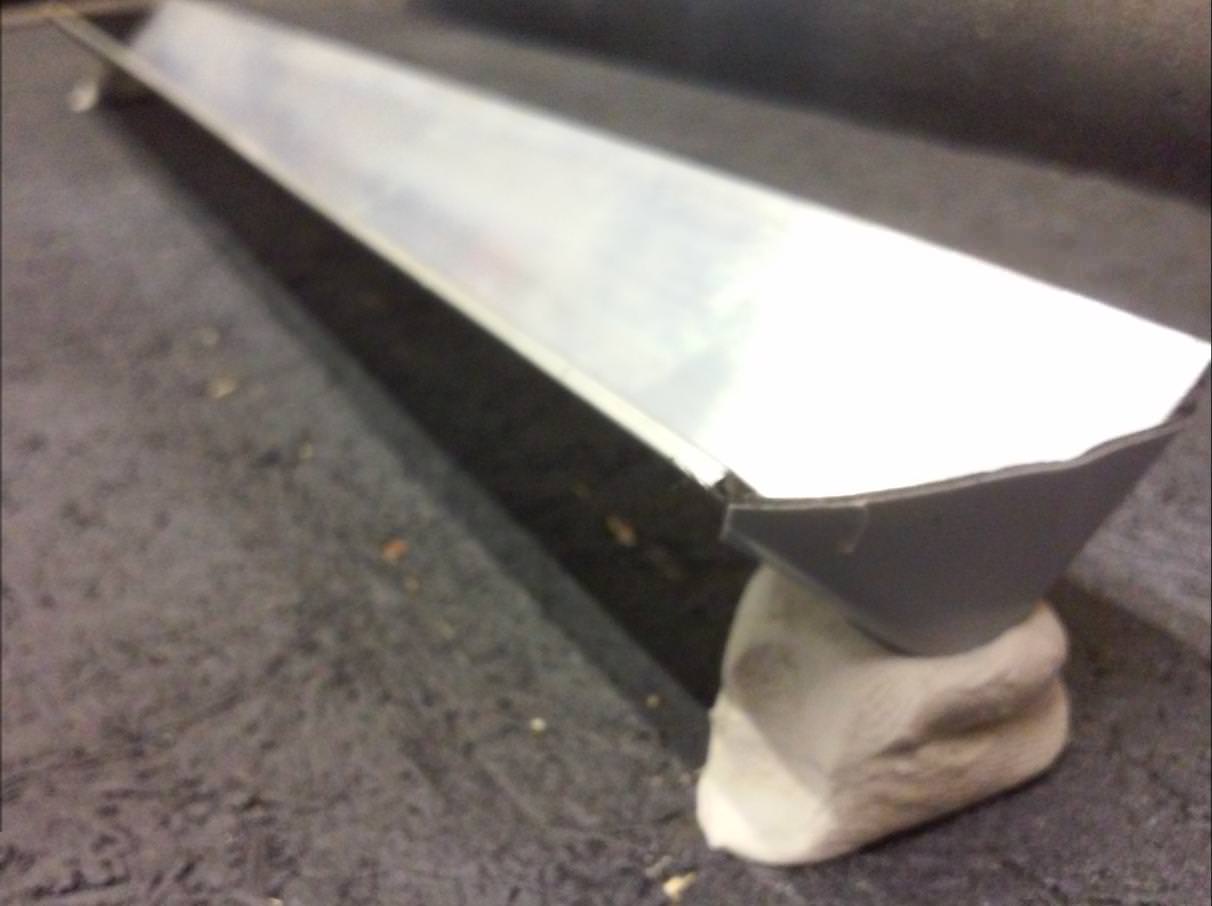
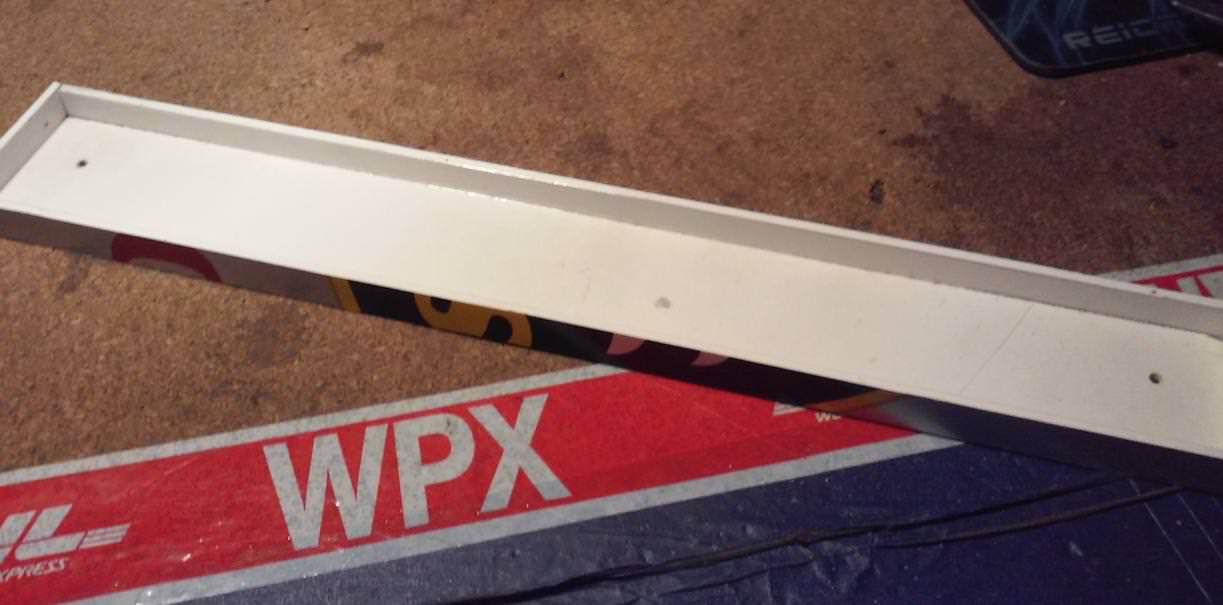
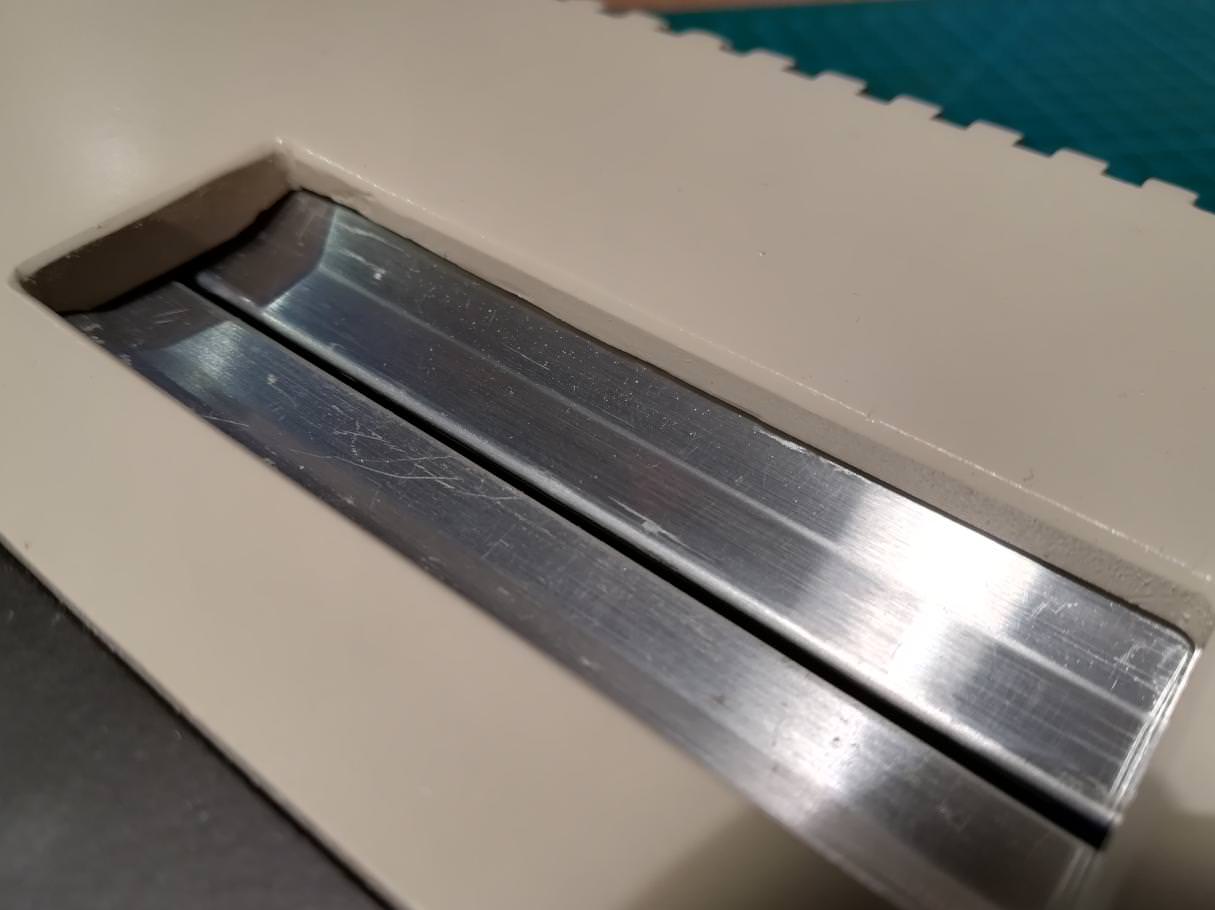
I needed to create a container for a mold. I’ve used something that I already had on a shelf which was a piece of aluminum pictured below.
… but to make things more complicated there is a sub-story here …
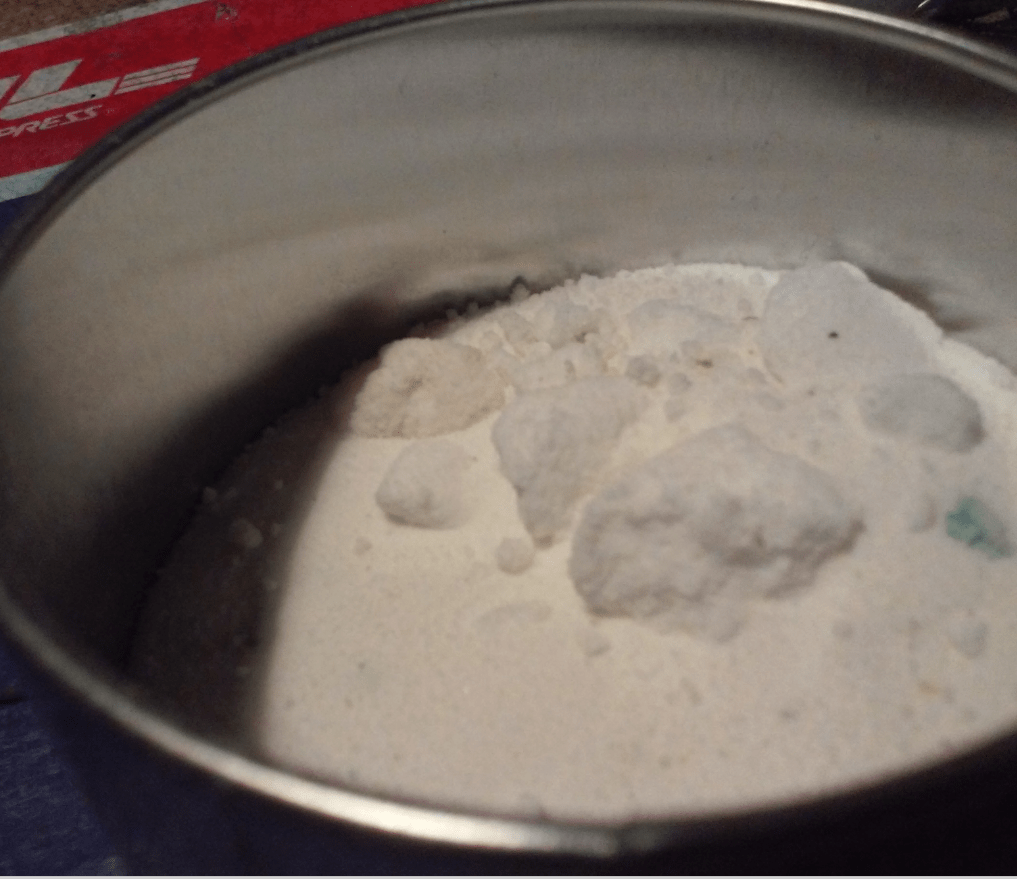
A year ago, I’ve bought a pack of molding silicone that I intended to use for this project and this is where Fail number one comes into play … just wait for it

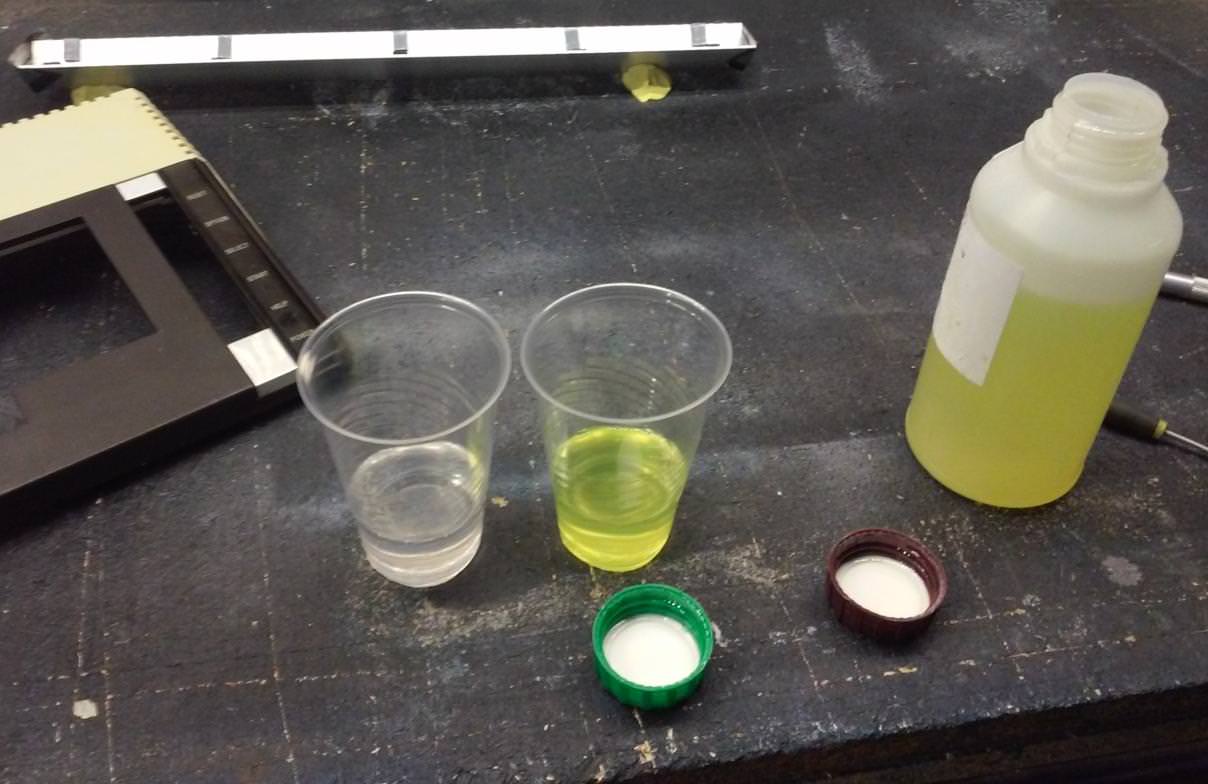
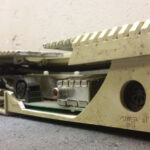
With all bits and pieces prepared, I’ve started assembling a molding setup.


It turned out that old silicone of that type will never cure. I don’t know why. I’ve even tried keeping it in 50-60 C for a few days but that didn’t help either. I’ve waited for two weeks and it didn’t change its consistency at all. My best guess is that it simply was too old.
Sadly, I ended up cleaning that whole mess and had to start from scratch.
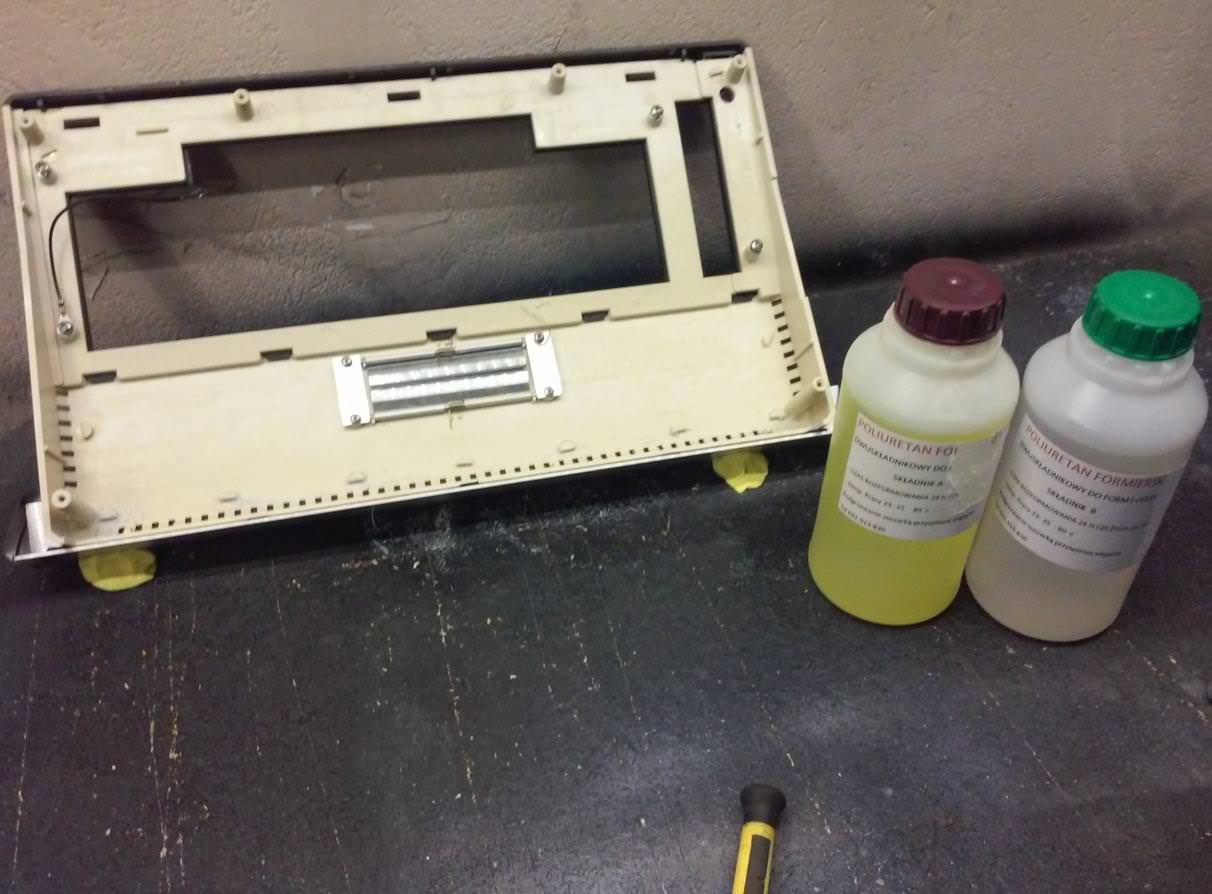
I’ve ordered fresh molding silicone and just in case a molding polyurethane combo(which turned out to be a great choice).
Ok, back to work. TAKE 2 😀
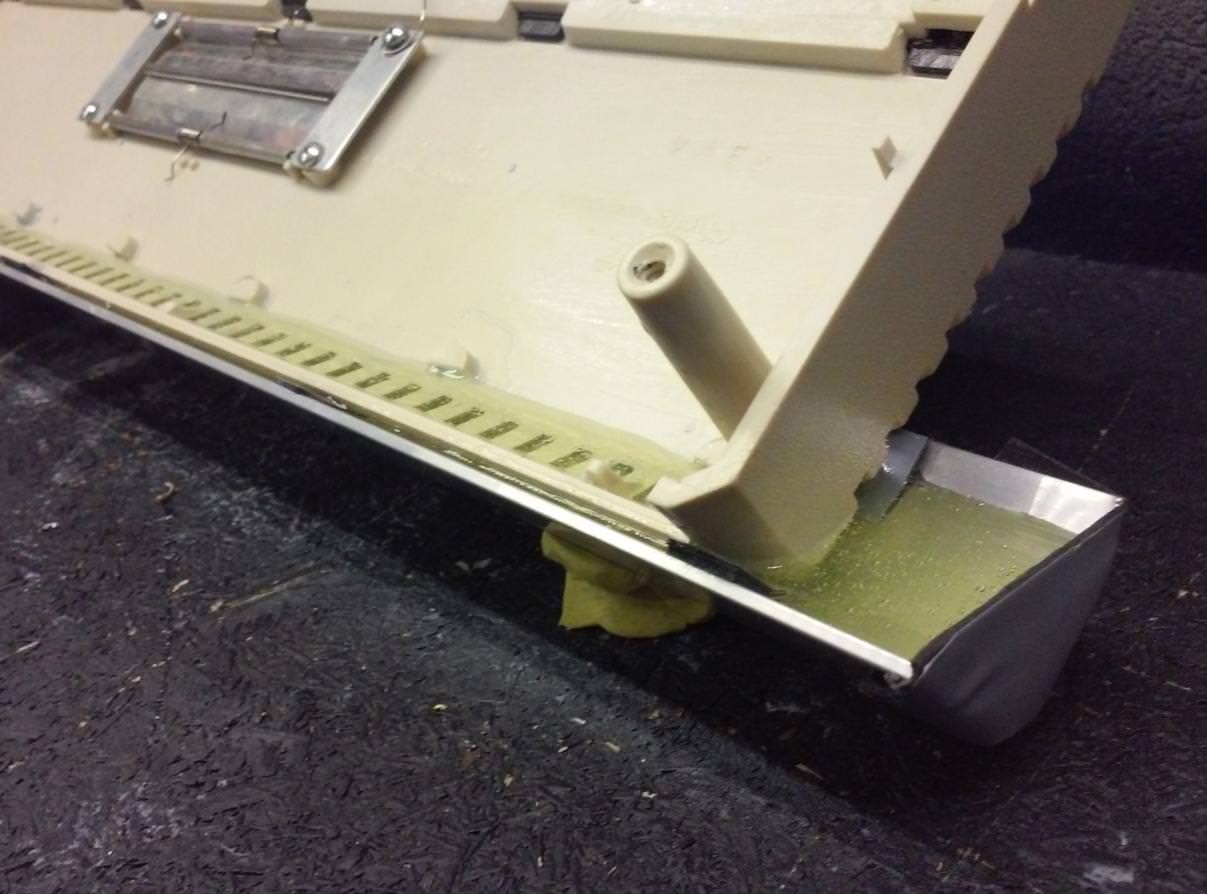
I’ve started by doing another mistake ARRRGH. I didn’t cover inside holes and obviously, (duh!) polyurethane came through all of ’em. I had to cut it a bit to pull out the original case, but in general, the top part came out pretty well. Polyurethane was a good choice because it forms a relatively strong bond and I was able to pull it out without any major damage to the mold itself.

A bit later I was ready to make use of a freshly made mold YAY o/ !

I’ve decided that I will use a polyester resin <– that was a major mistake because it cures too quickly. More on that later.


When the curing process ended I removed the “ready” part from the mold.
At this point, I should have already noticed my mistake but somehow I’ve missed it :/


The problem was that the cast wasn’t straight at all. This is because polyester resin tends to heat up and sorta shrinks during a curing process.
I should have used resin with 24h+ curing time instead.
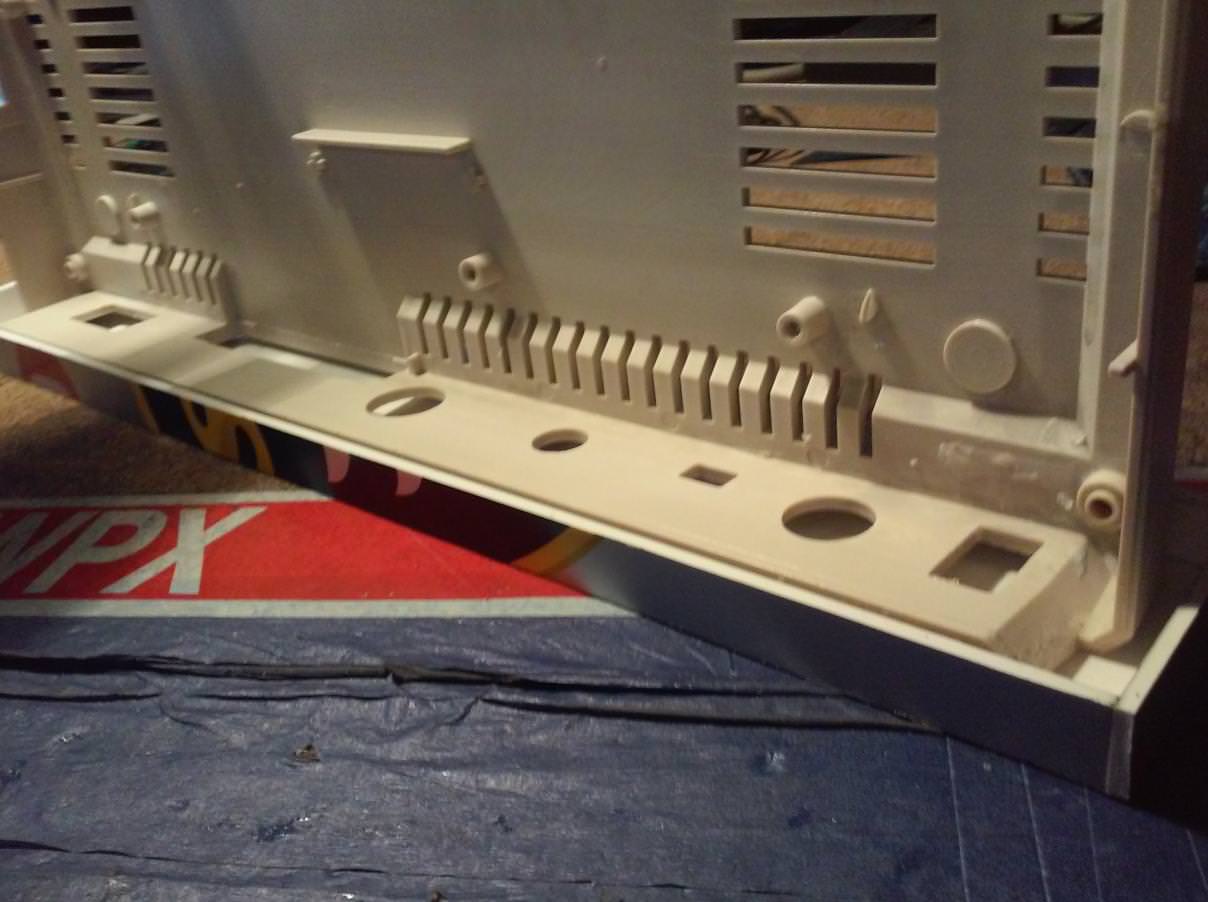
Anyway, back to the bottom part. It still needed some work.
I needed a slightly different approach here and I decided that I’ll create a special box for this mold. I did the very same mistake with resin choice as before.
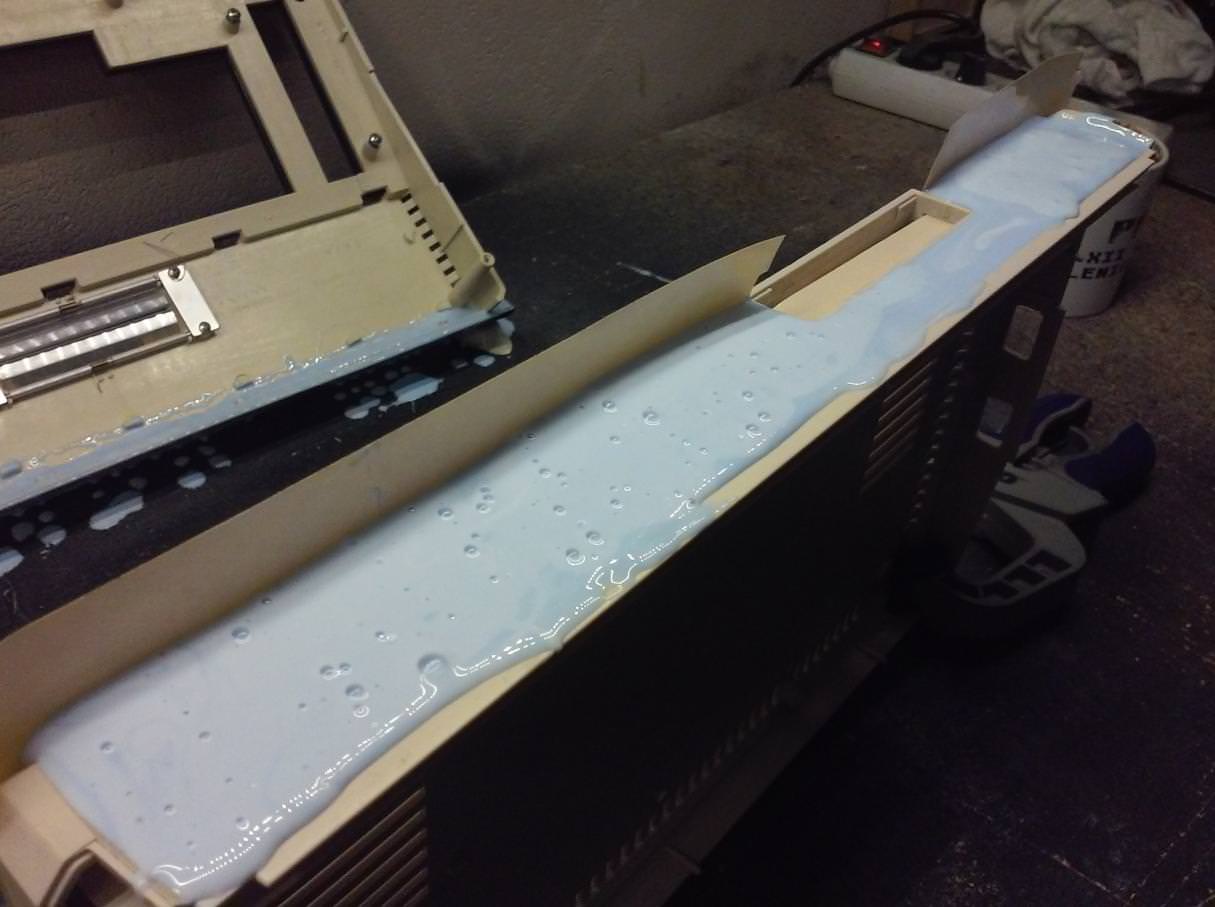
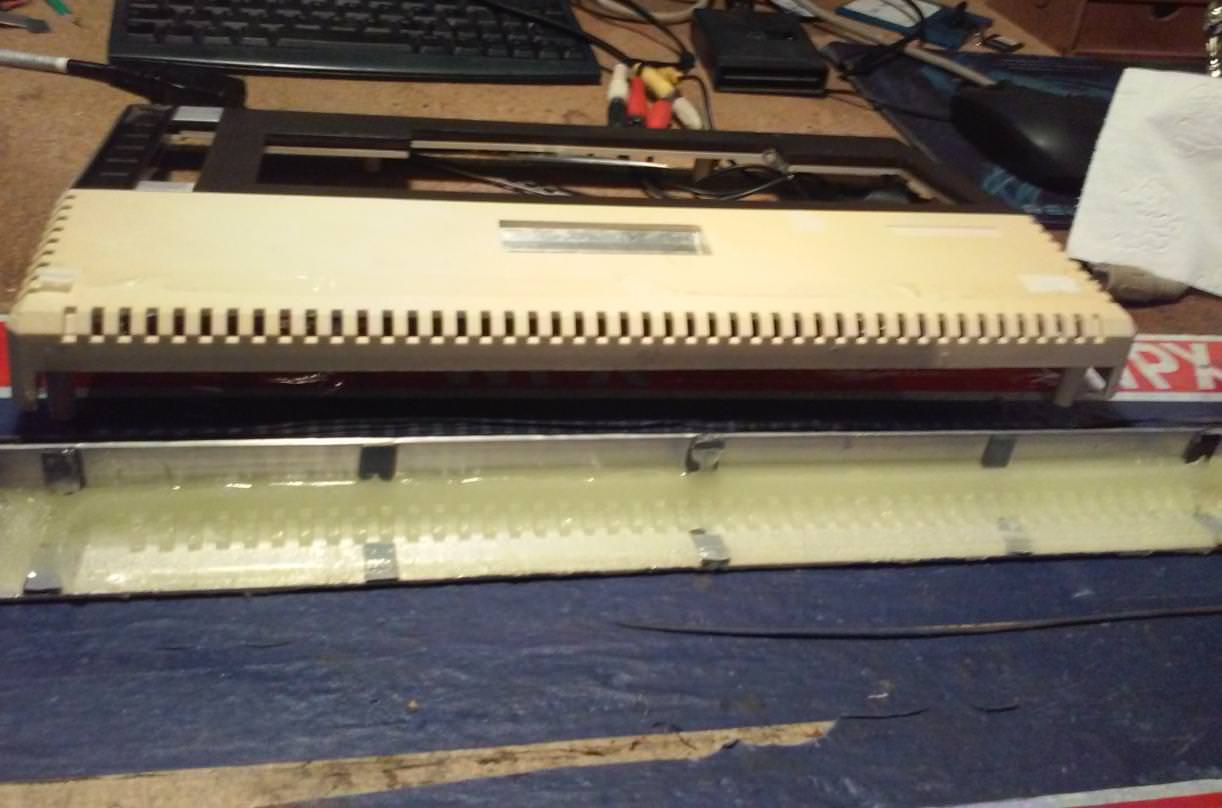
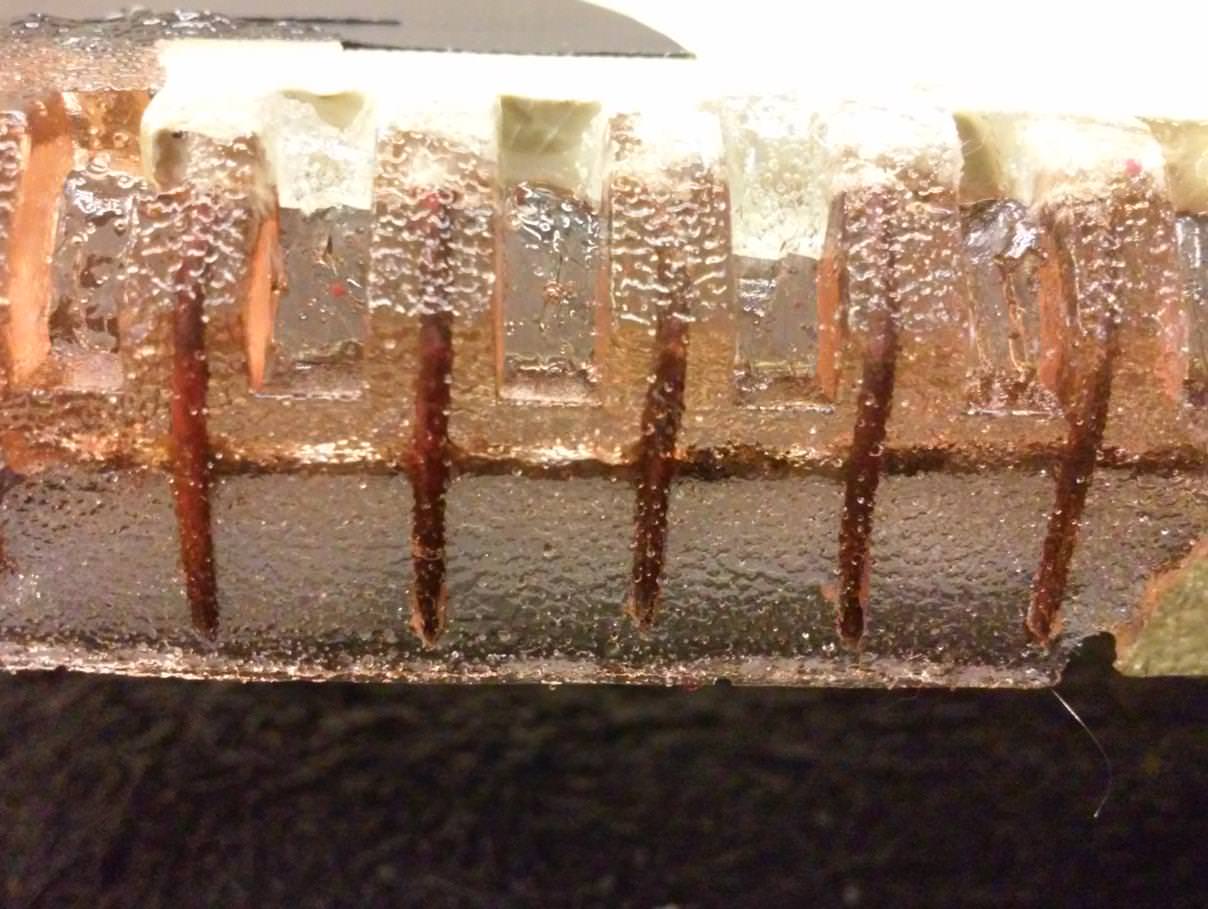
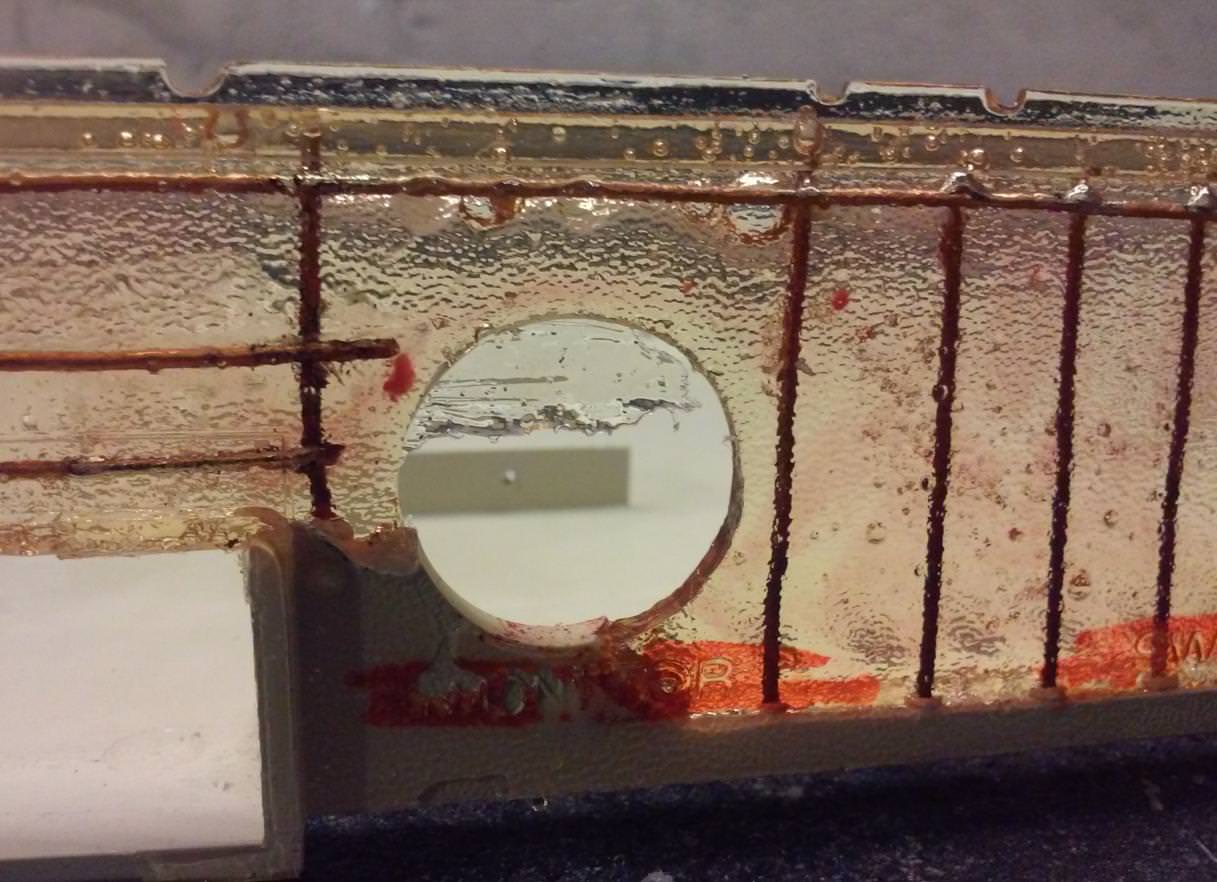
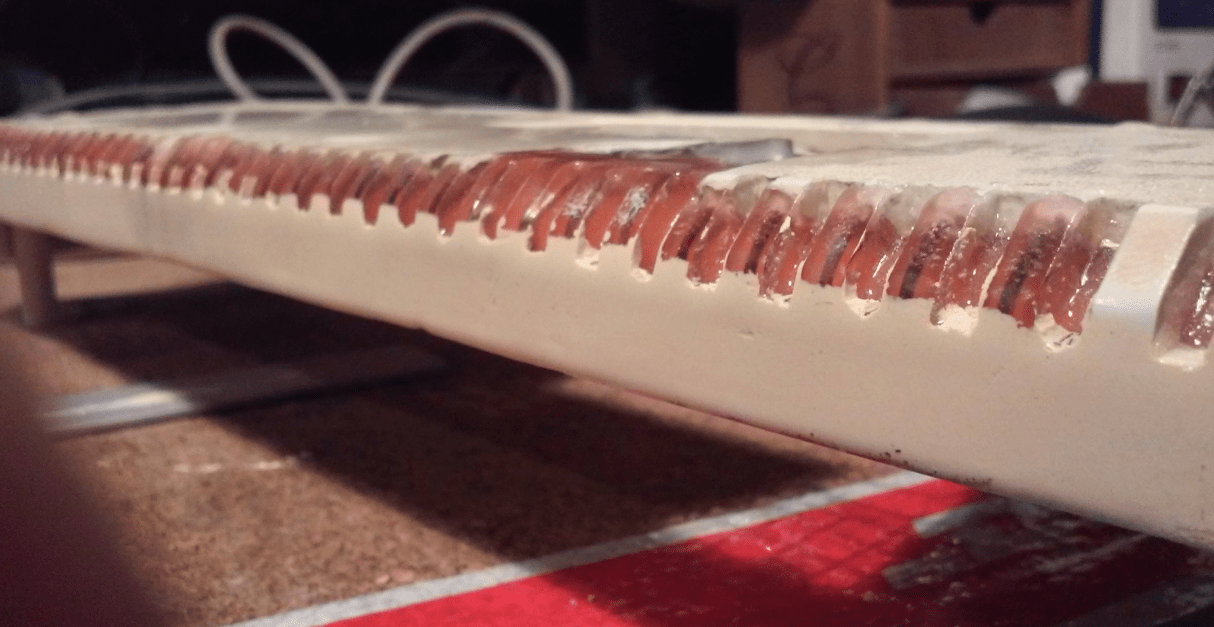
This time, I chose that I will use molding silicone for the mold itself. It turned out later that it was a mistake and a necessity at the same time.
Necessity, because silicone is a bit less “stiff” than polyurethane so dismantling a mold (without doing damage to it) is way easier, especially when there are a lot of holes where silicone goes through. However, the major problem was with air bubbles trapped in it. Here is where a vacuum chamber would help a lot.
You will notice what I mean in the pics below.

Degassing a silicone alone would also yield way better results than above.
If I knew how much work it will cost me to sort it all out (with a poor outcome btw.), I would have stopped and built a vacuum chamber of some sort first.
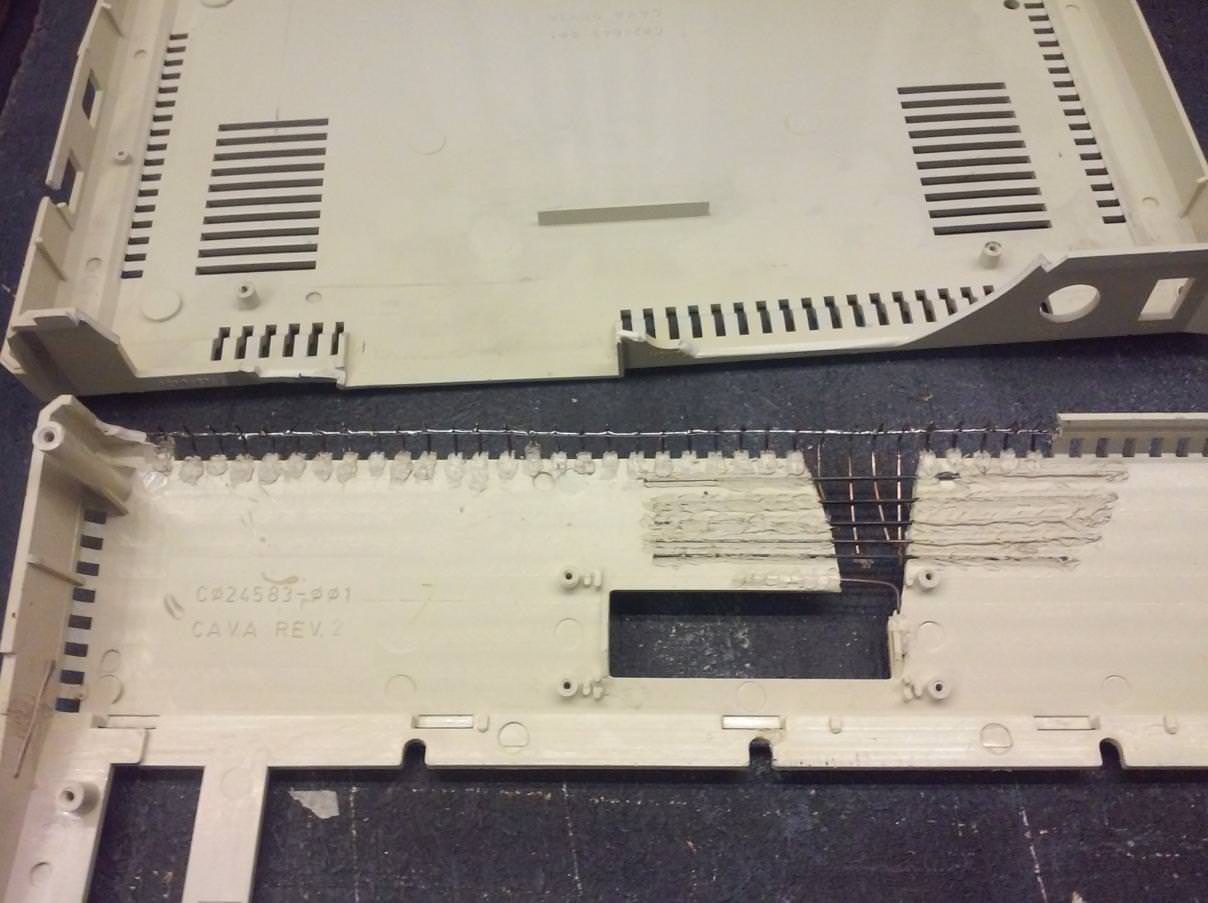
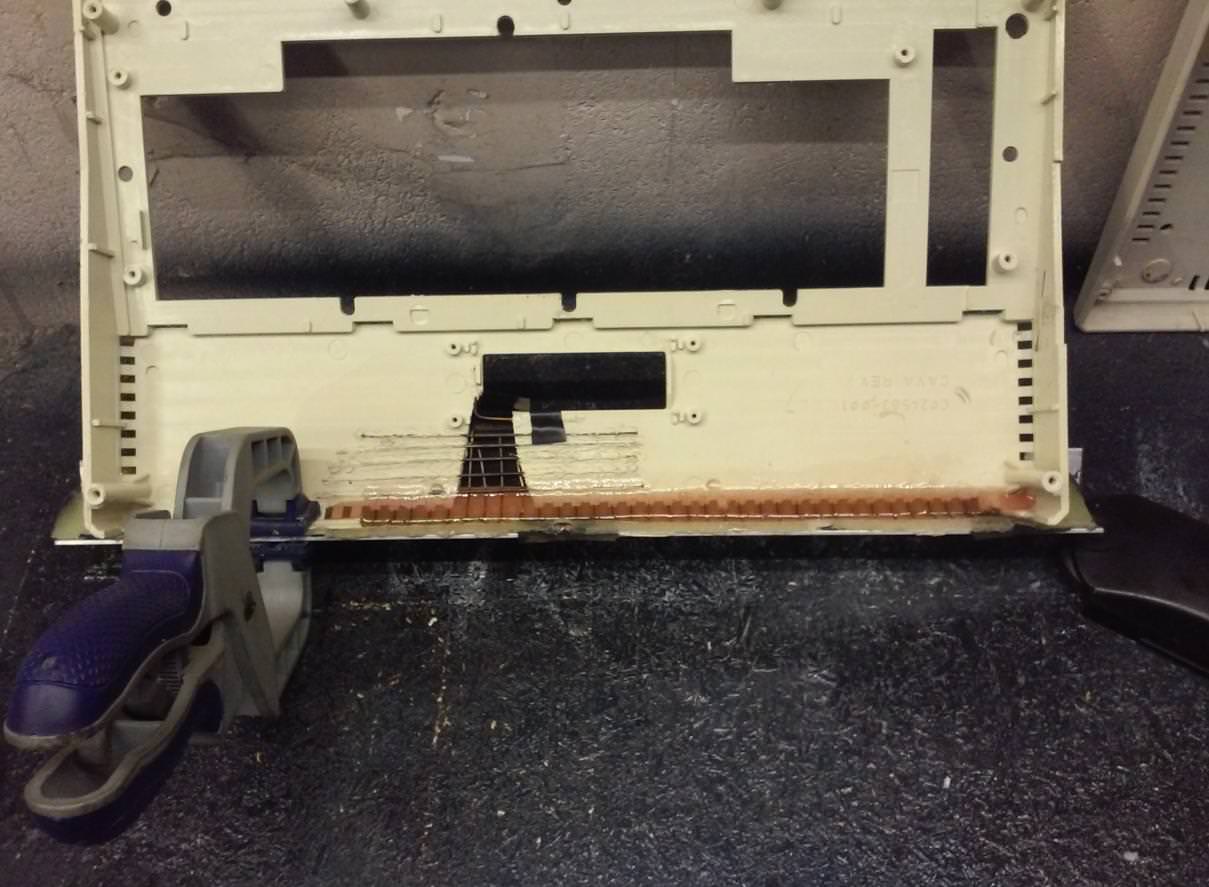
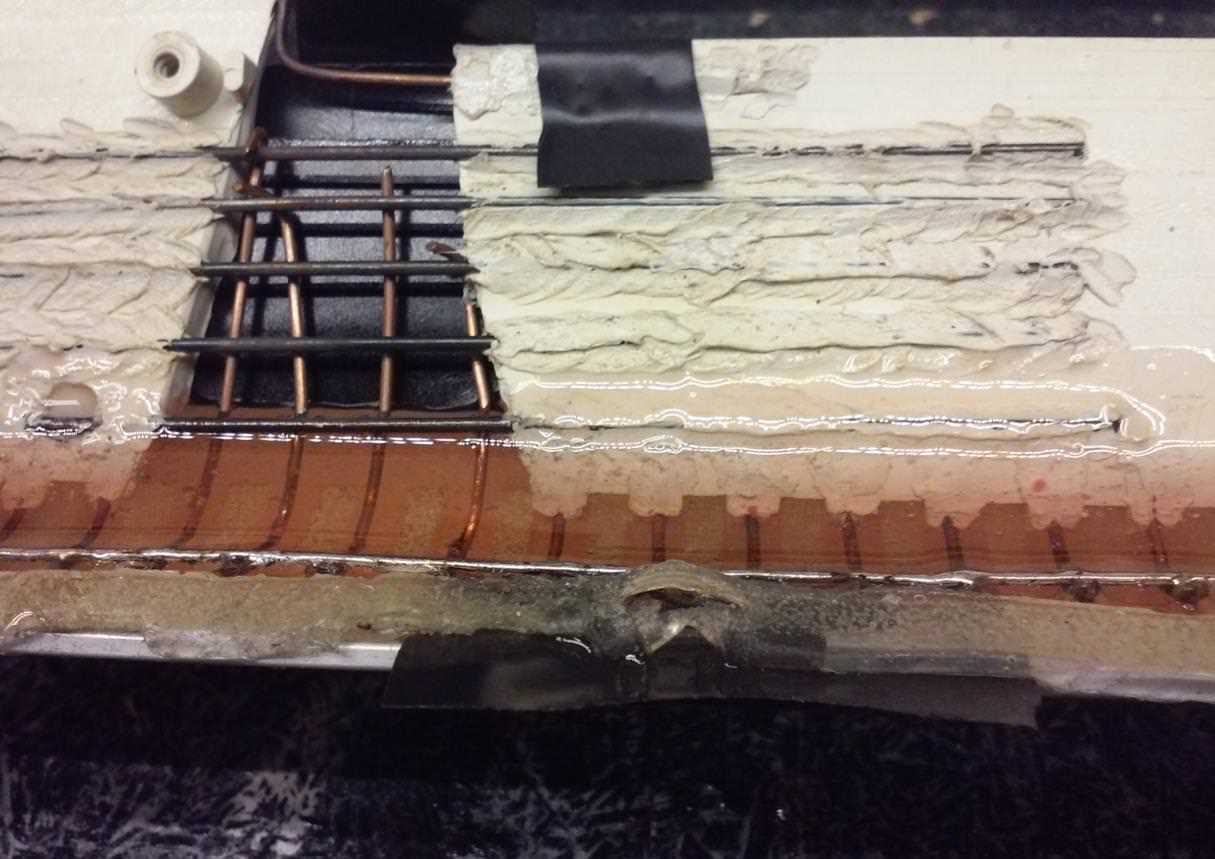
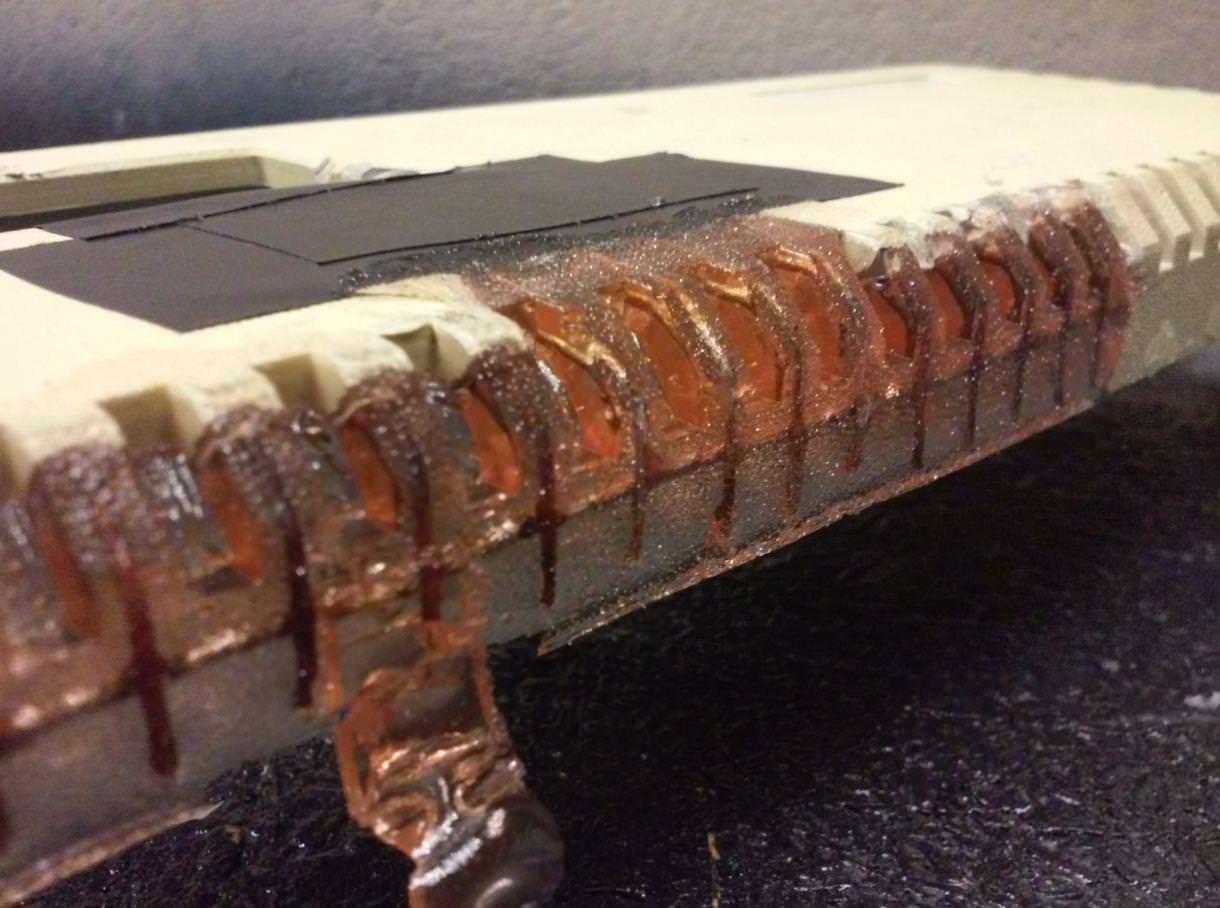
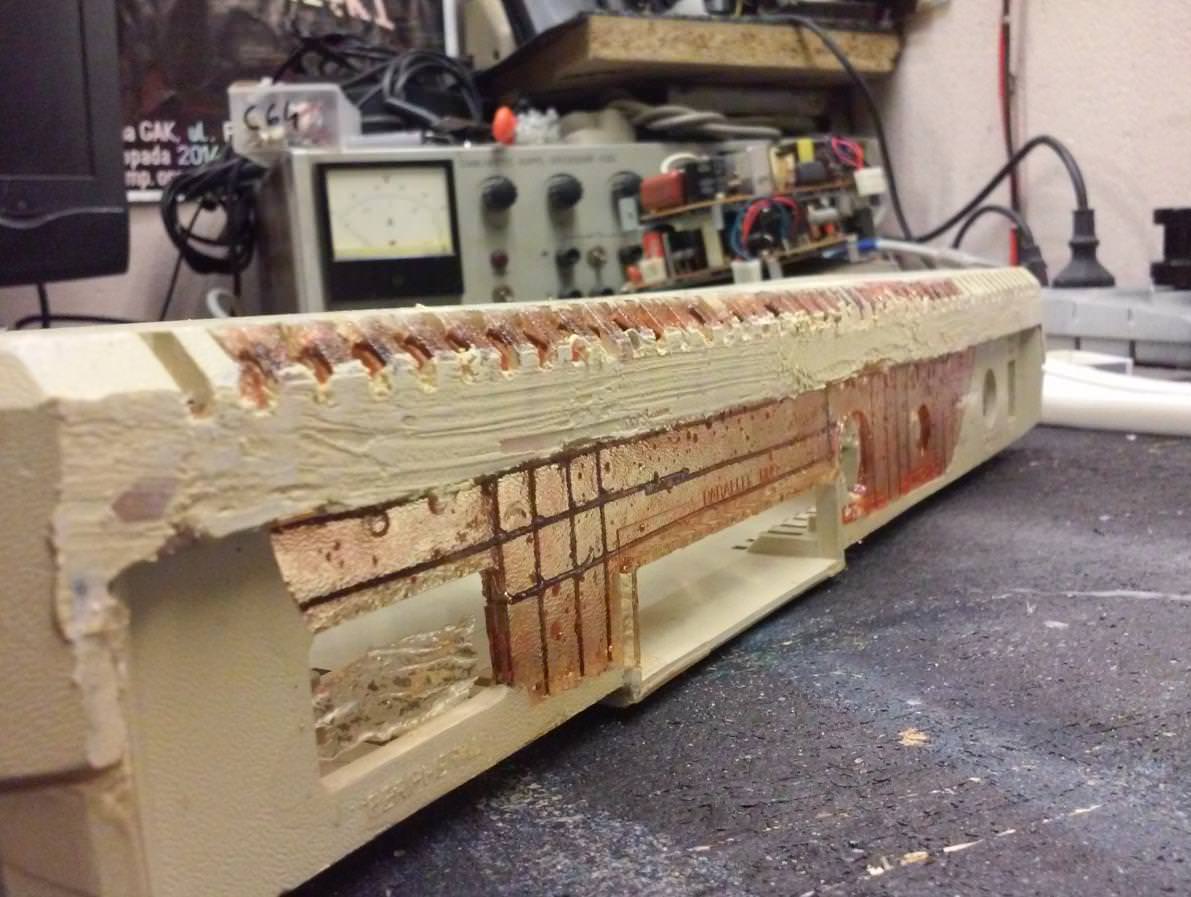
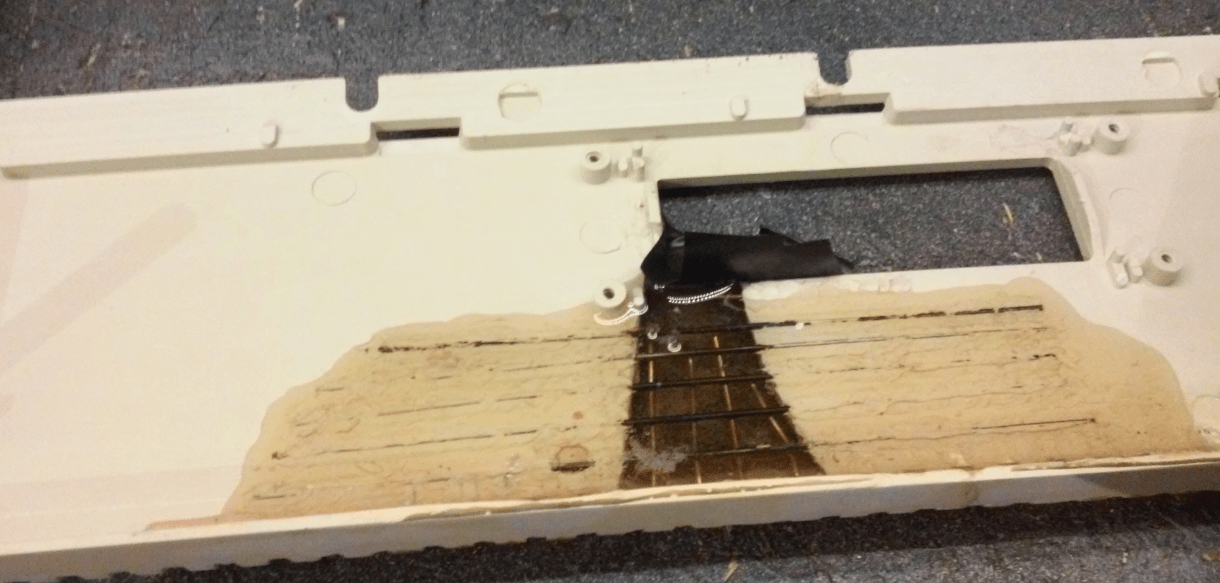
Anyway, I moved on and started to build another mesh for resin similarly to before – soldering a copper wireframe

Ammonium Chloride was used during the soldering process, simply to remove copper oxides and make the soldering process easier.


Some tests

No worries, horizontal wires were added later 😉
Here it is after demolding.


Putty and further < cough >fails< /cough > errr … work
At this point, just before applying putty, I’ve finally noticed and pinpointed a problem with polyester resin and its shrinkage that I’ve mentioned before.
Below, you can see how far from perfect that cast was.
But HEY, we learn as we go right ?!

Regardless of the poor effects, I had to move on and fix all my mistakes. For that, I had to introduce some game-changers – putties FTW! 🙂

Initial layers always look nasty…
..but after a bit of work, it started to look a bit better.

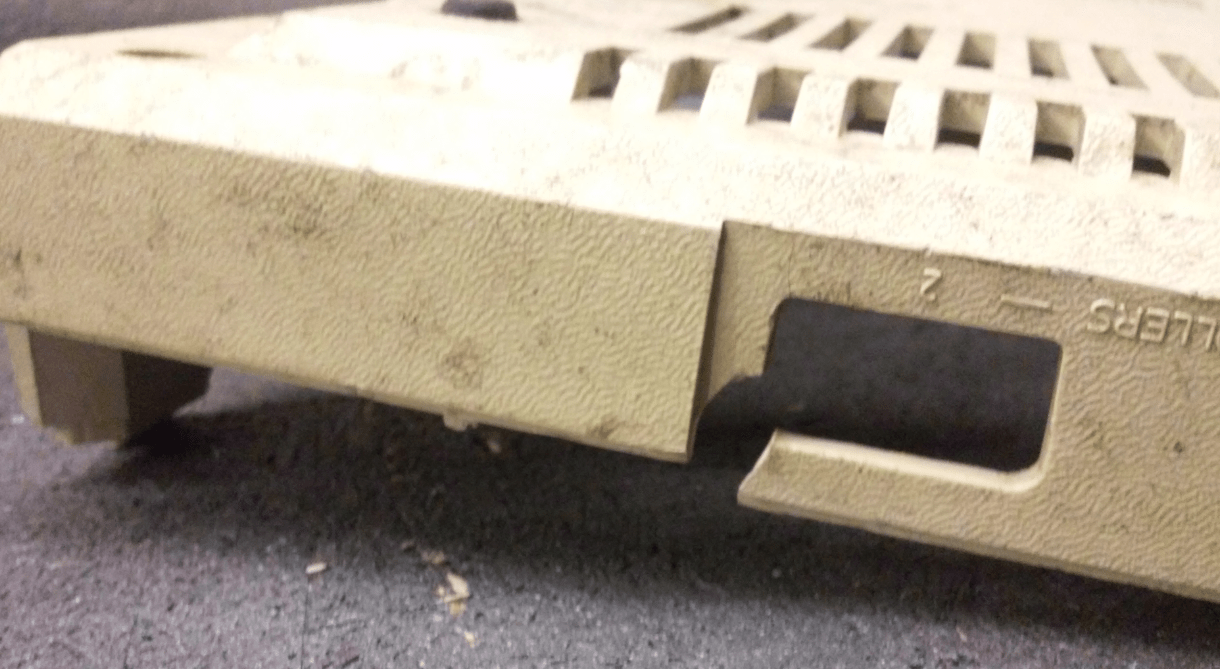
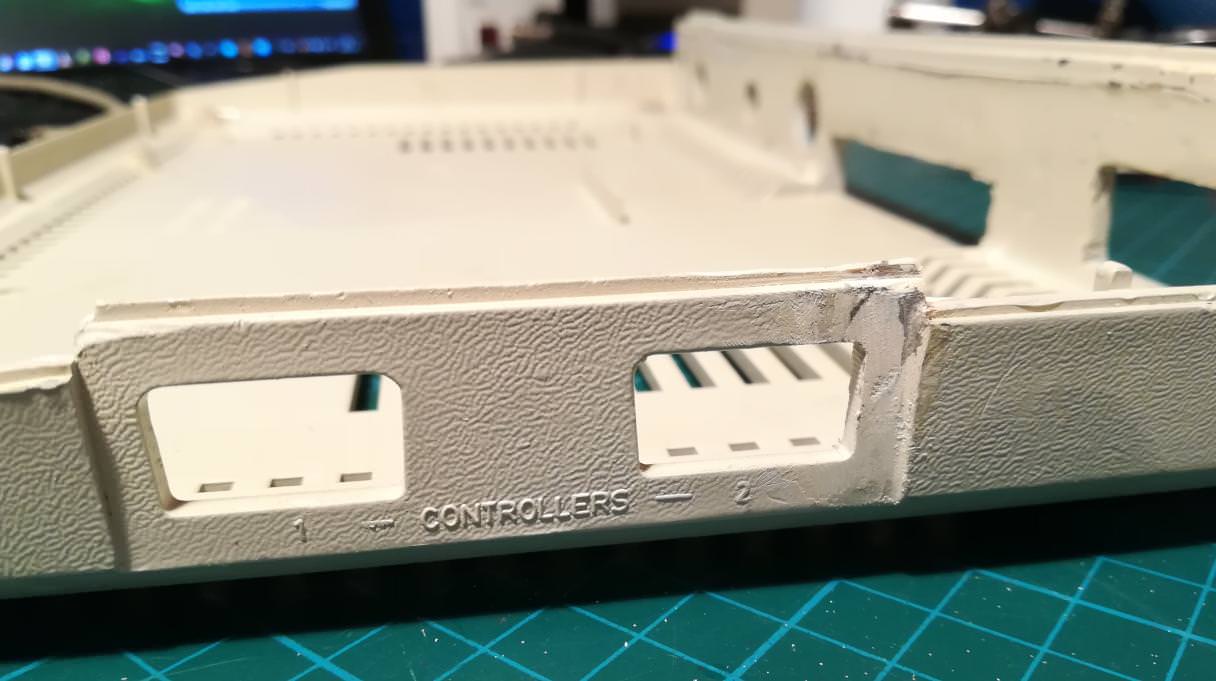
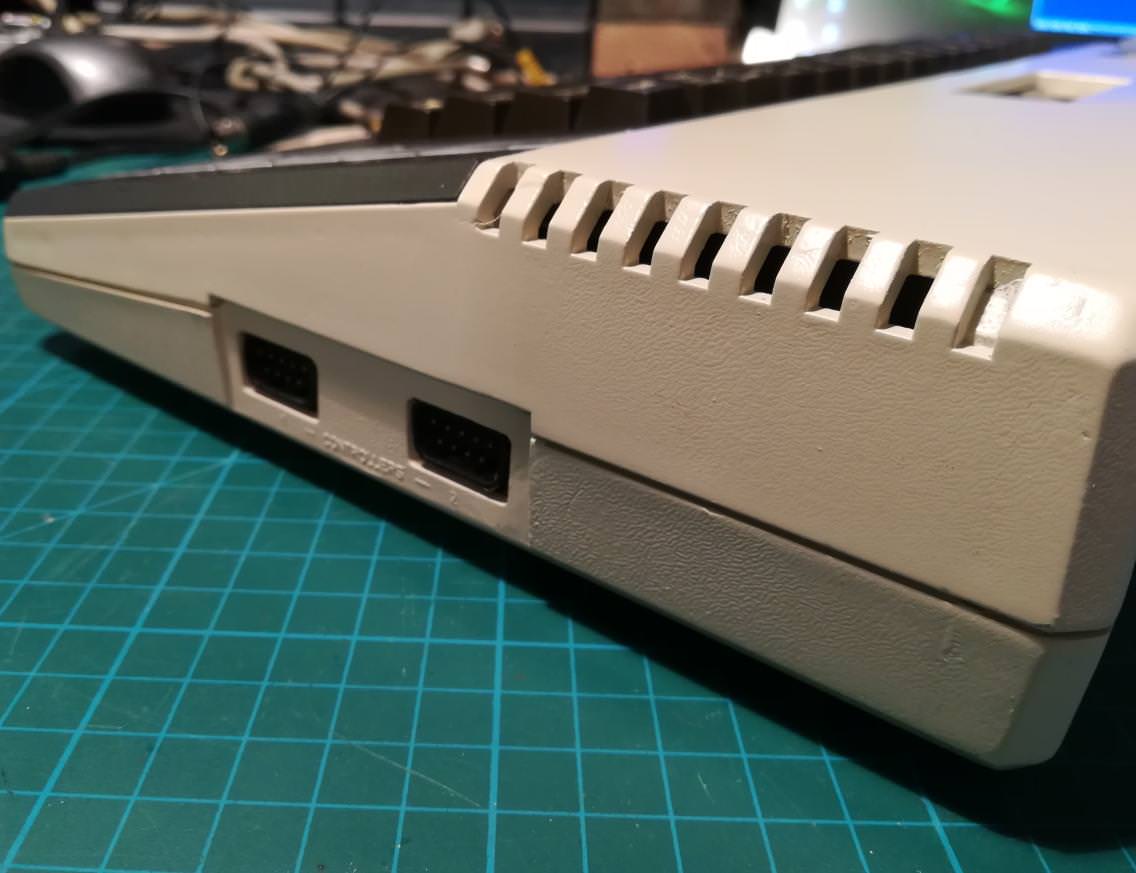
At this stage, I’ve also addressed a missing part near joystick ports.


The top part was still missing a large chunk of plastic that had to be filled with resin.
However, instead of a typical mold, I needed a polyurethane “footprint” of the original case’s texture, if I can call it that way. I’ve simply spilled a polyurethane mix onto an original part that had an original texture and then used it as a mold for further work <– btw. that was another fail LOL
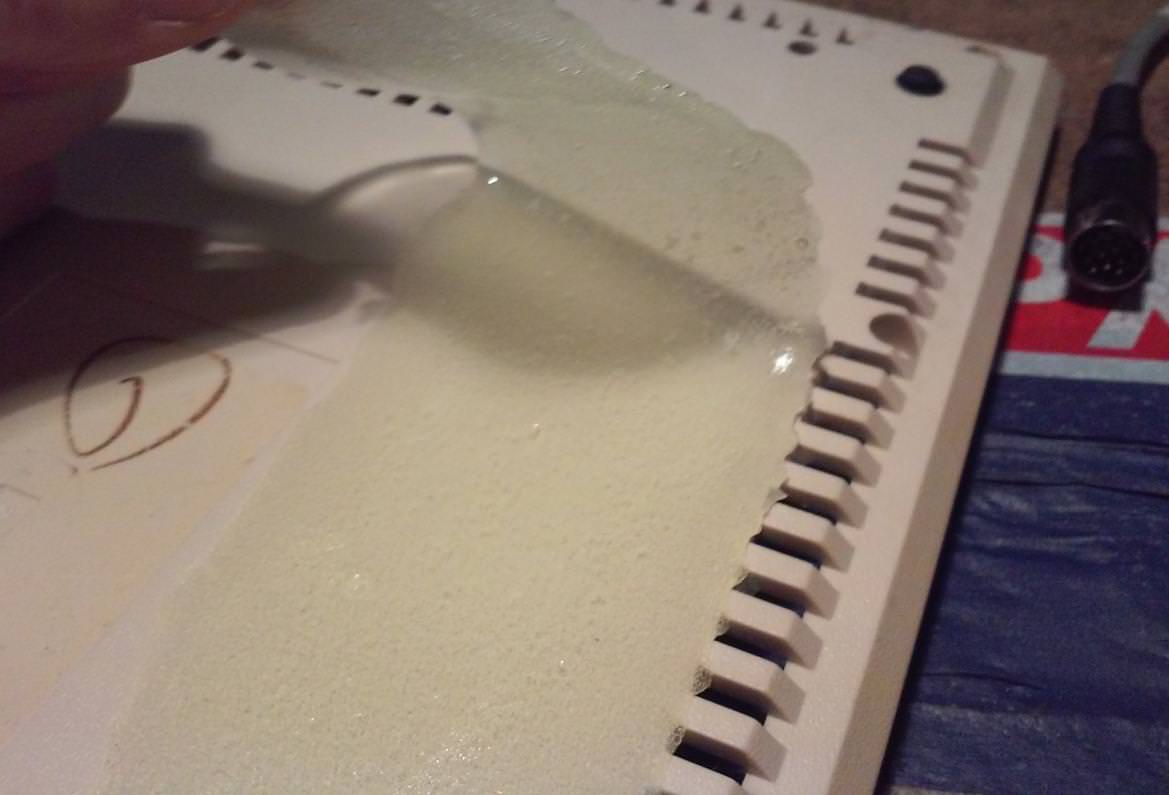
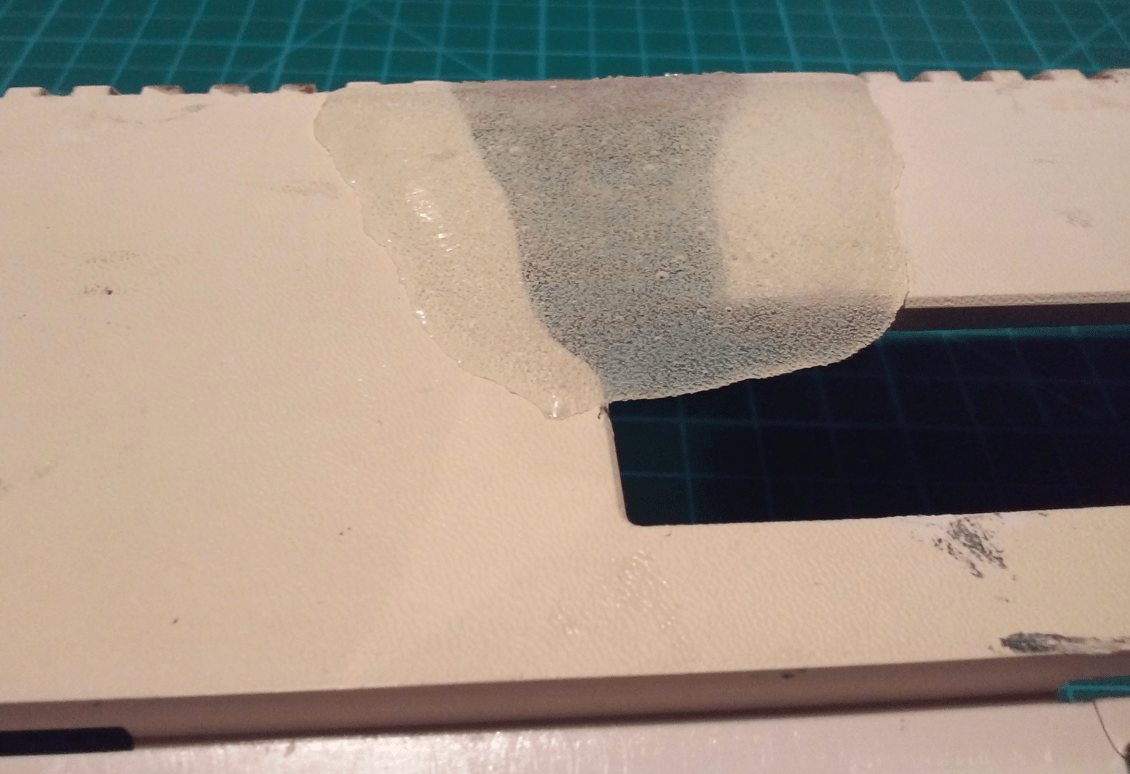

Here is why. The fill came out way too concave (a.k.a shrinkage problem) so the whole idea of applying texture failed for now.
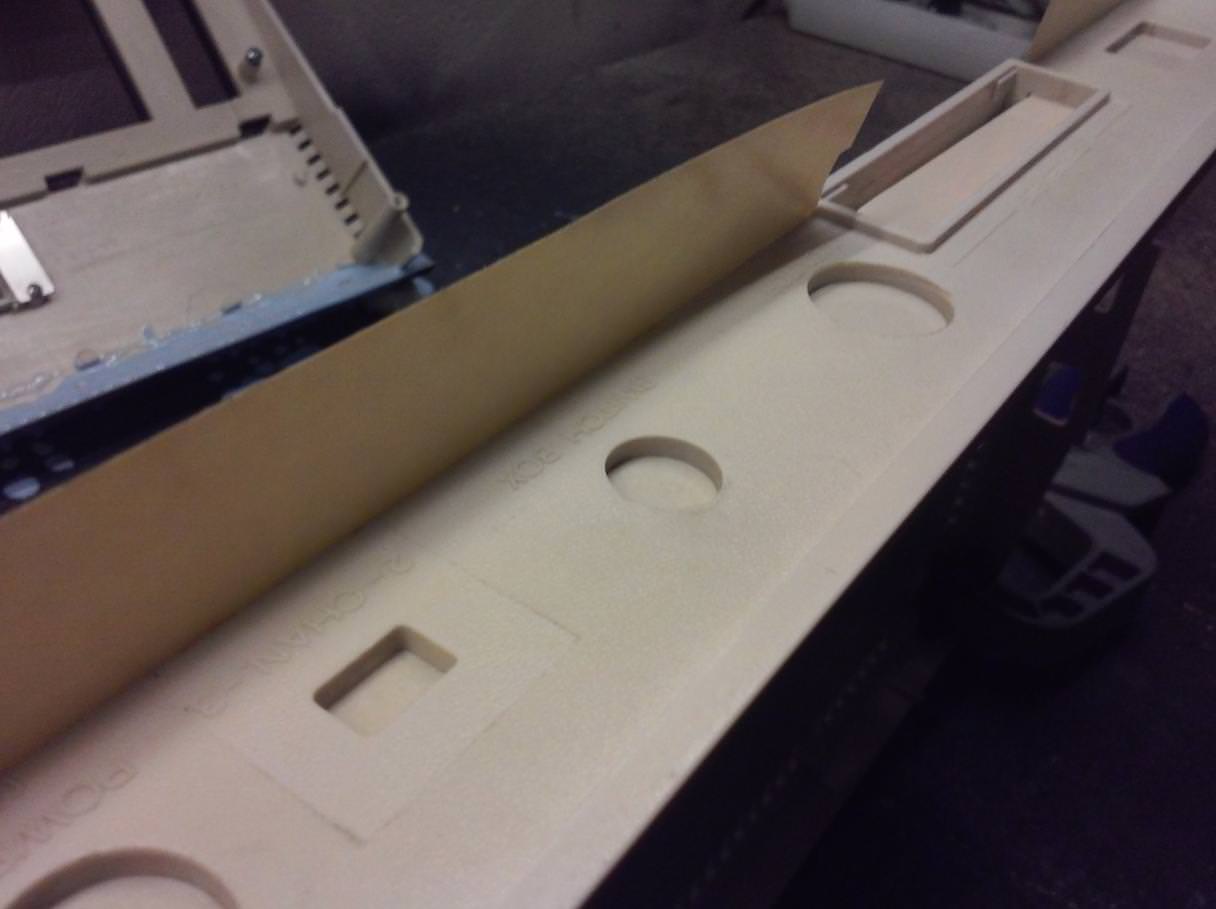
Anyway, I had to fix all these mistakes again. I’ve started with drilling holes as in the original case.
Initial file work and its outcome 🙂

Truth is that I wanted to sort out rounded edges but I didn’t have a proper file to do that job. I’ve ordered a few from China but to this day I didn’t receive a package 🙁
I did my best with the tools that I had and moved on to the next stages.
A layer of putty was applied on, as mentioned before, the concave part.

Also, I thought that I will be able to fix all “mold bubbles” problems by redoing a resin surface using an original mold. It kinda worked on old bubbles but without a vacuum, it introduced new bubbles during the process 🙁
At least this sorted out the uneven surface that was there due to the resin problem.


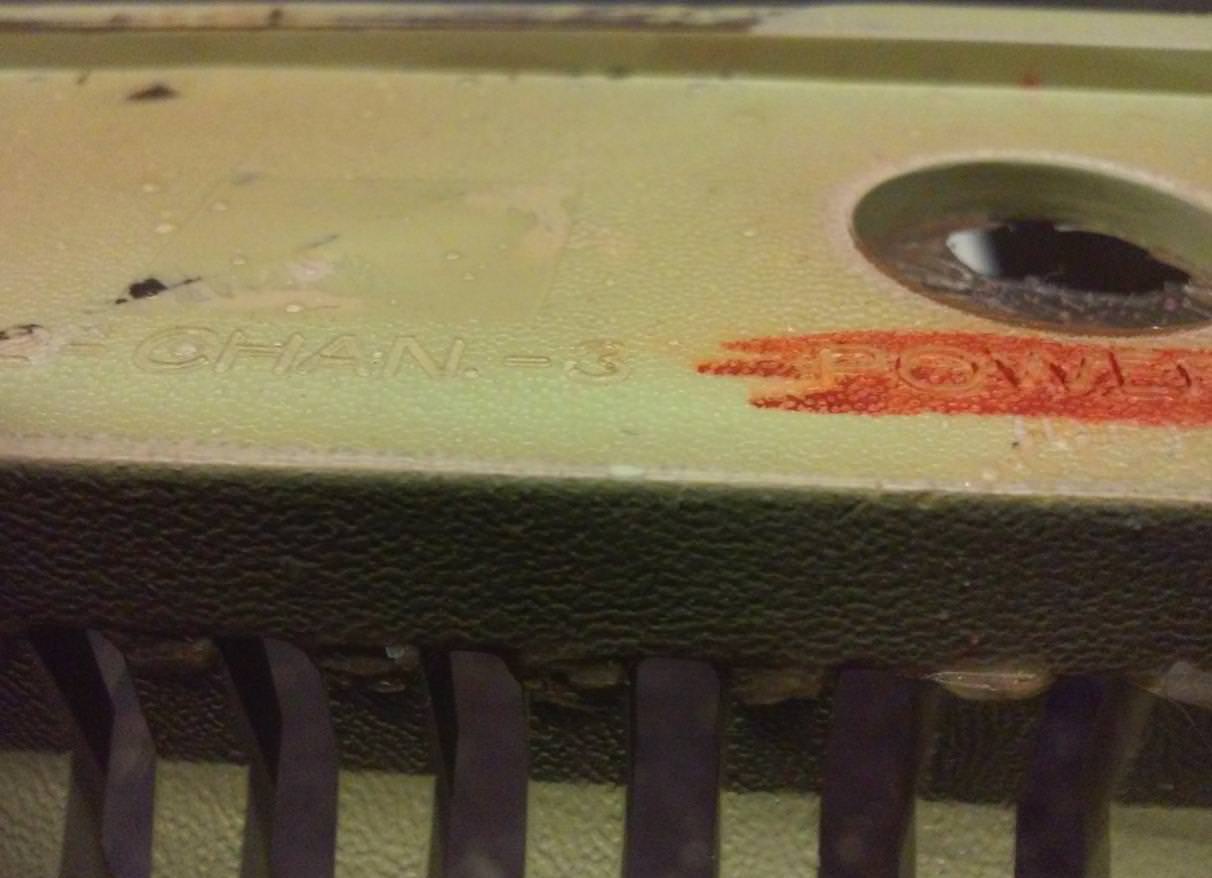
At first, I was really happy with the results because of the nicely restored port descriptions but a while later I realized that it will be gone once I’ll apply putty to sort out bubbles 🙁
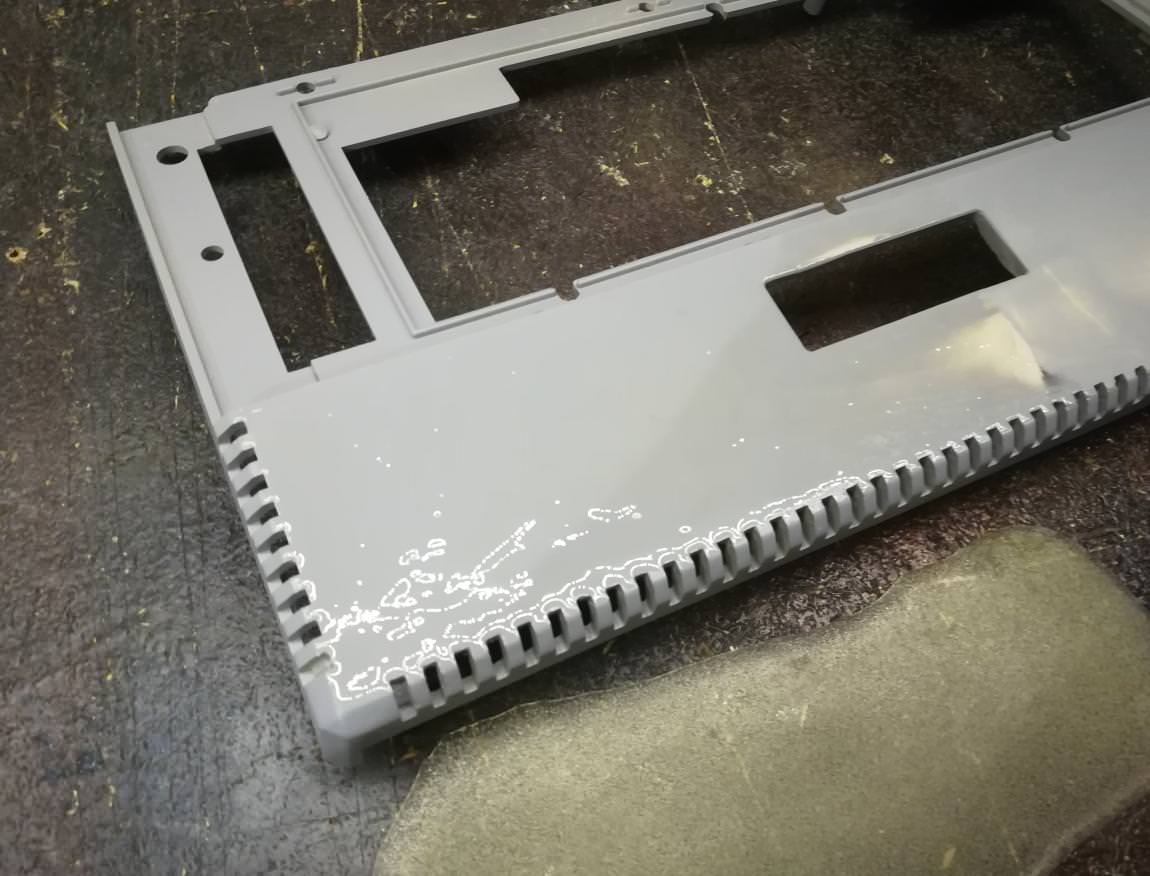
Anyway, work had to be finished so I corrected all ugly points as much as I could by injecting drops of resin into holes and then sanding them off. Finally, I’ve applied the first layer of undercoating.

Next, I applied the first layer of (again) custom-made spray paint that exactly matched the original color.
Bottom part.
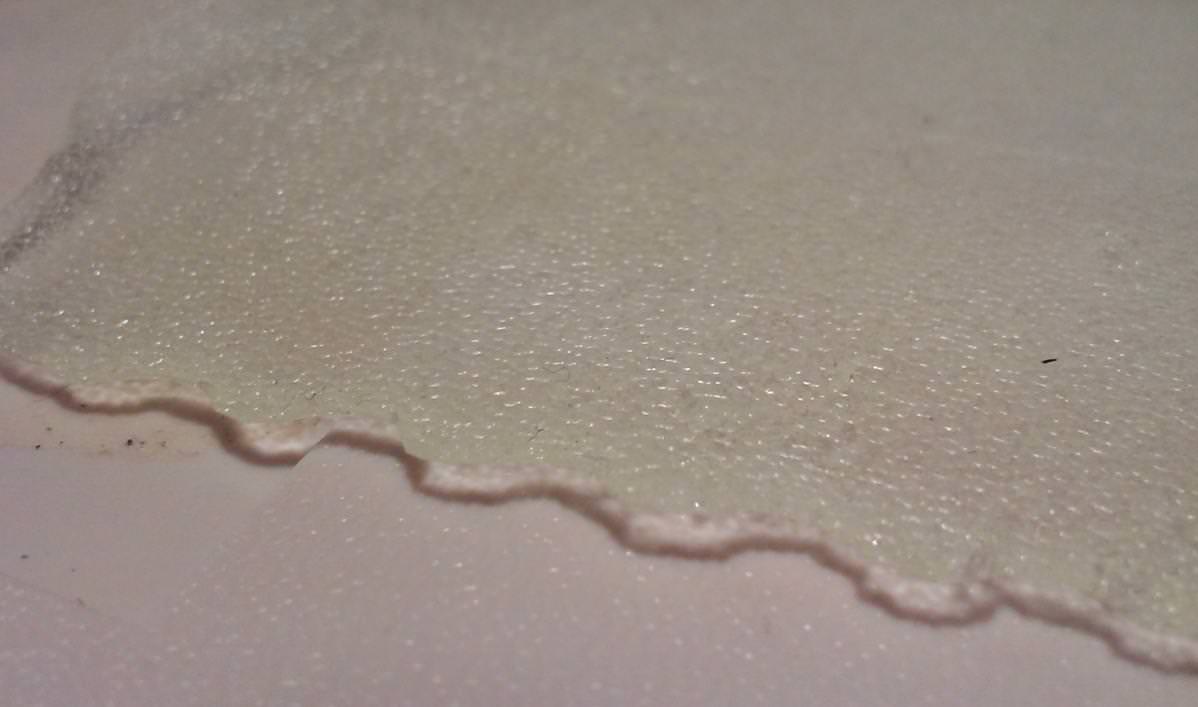
I still wanted to get a nice original texture on the top part.
My cunning plan was to apply a texture by reusing a resin+polyurethane method.
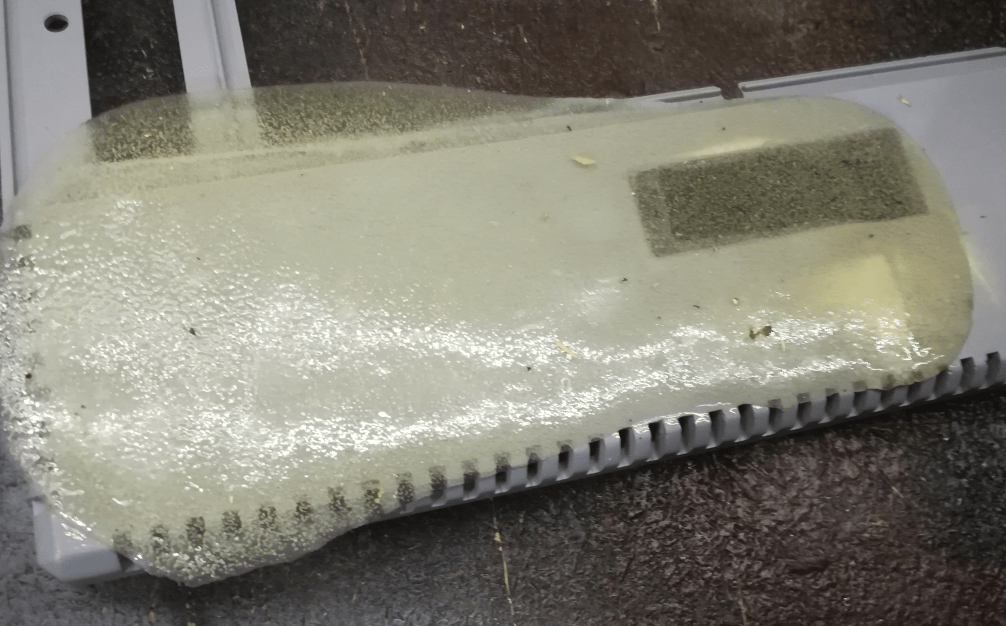
As you can see, the outcome is quite decent but again, without a vacuum, it is all ruined by random bubbles. In the end, the idea was not so bad but it failed because I simply didn’t have all the necessary tools.

To wrap it all up it could be done better. And YES I need new tools <– work in progress 😉
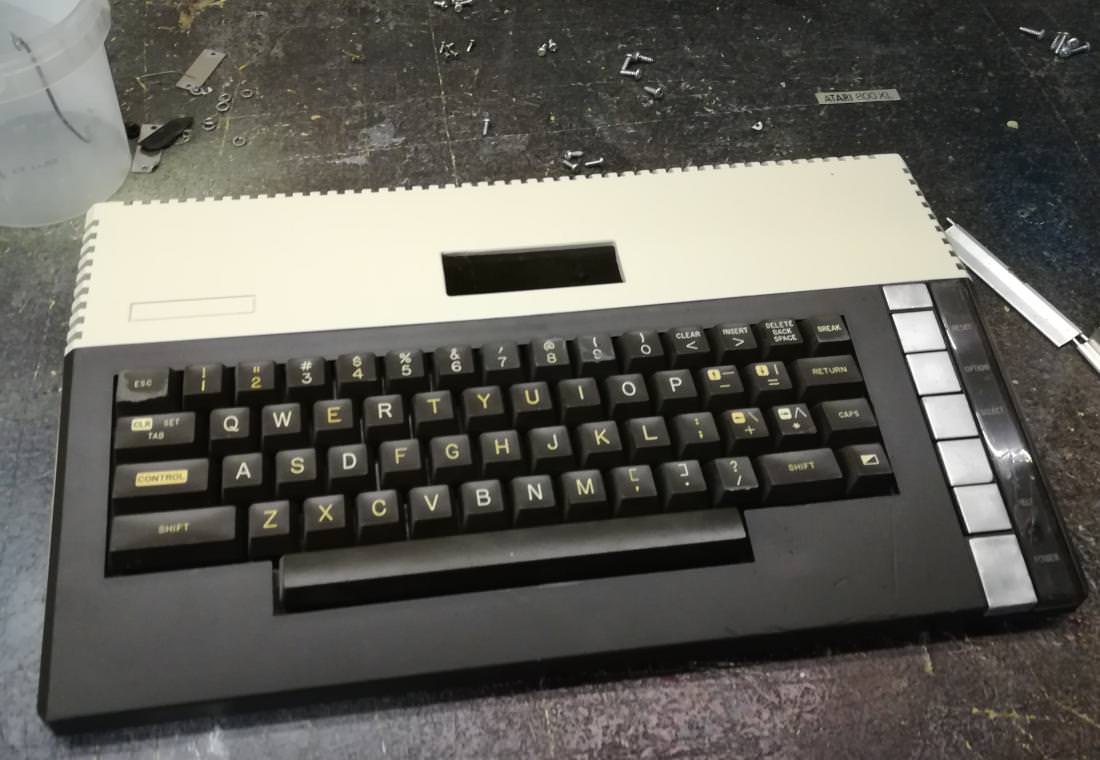
Keyboard
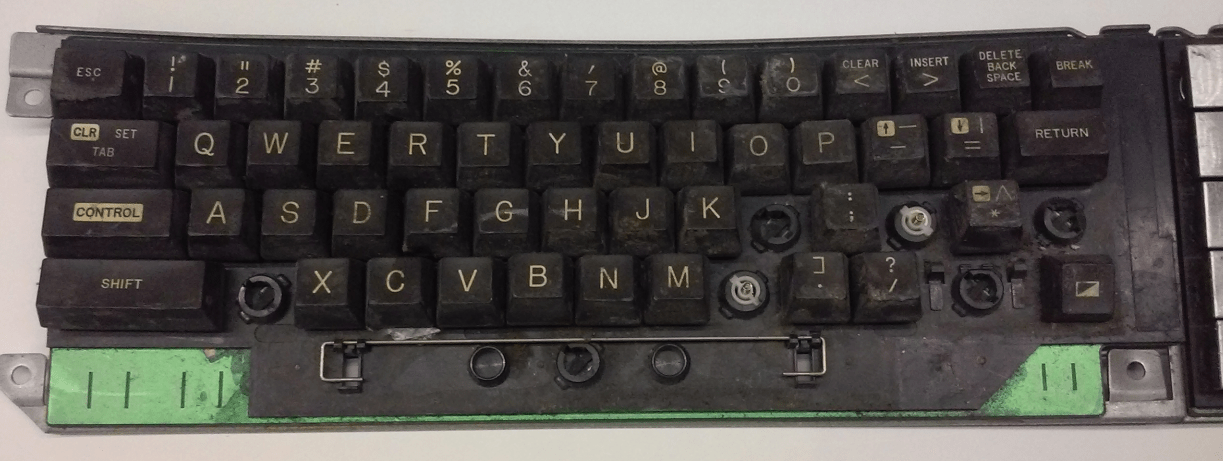
Yup, that’s how it looked 😀
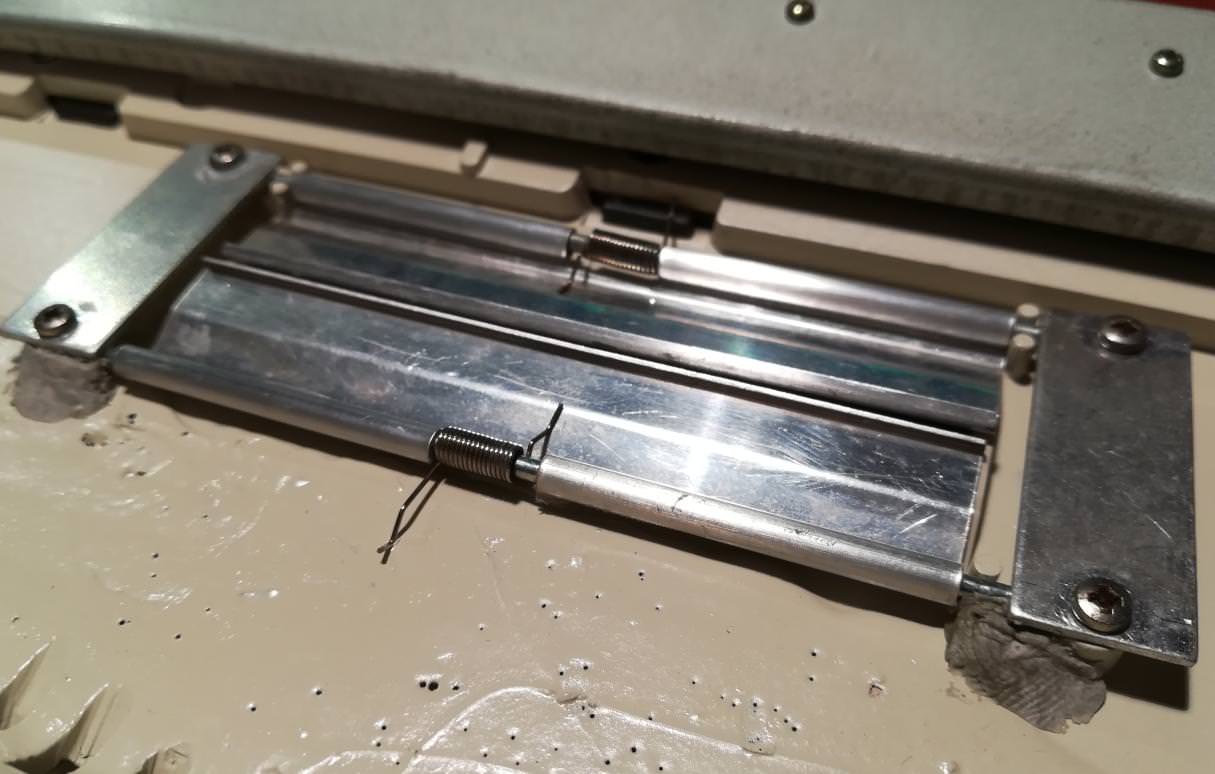
An early prototype of banana type ergonomic keyboard lol


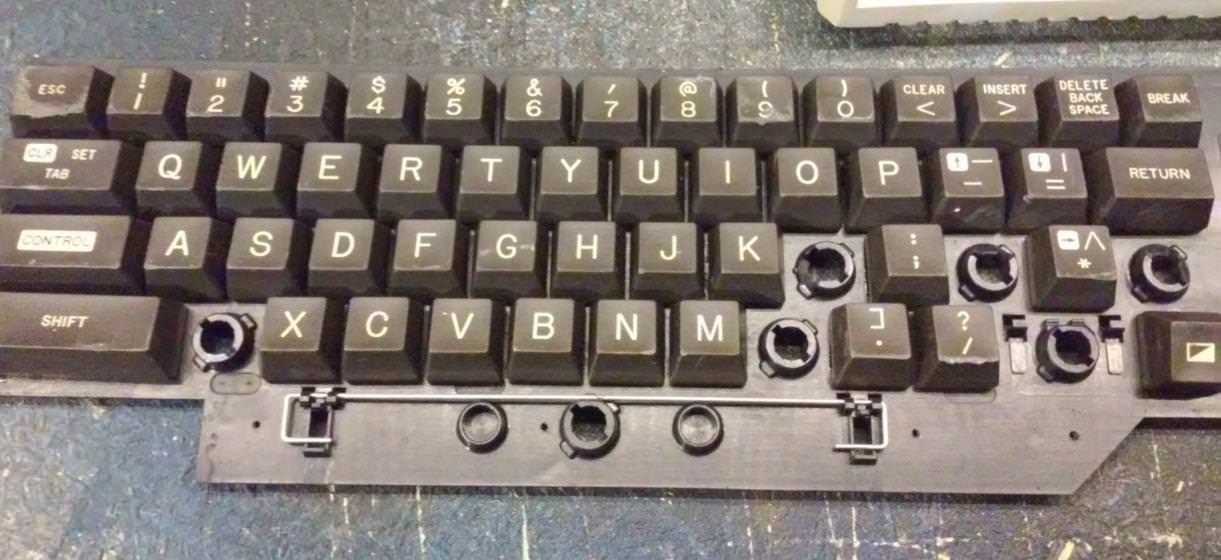
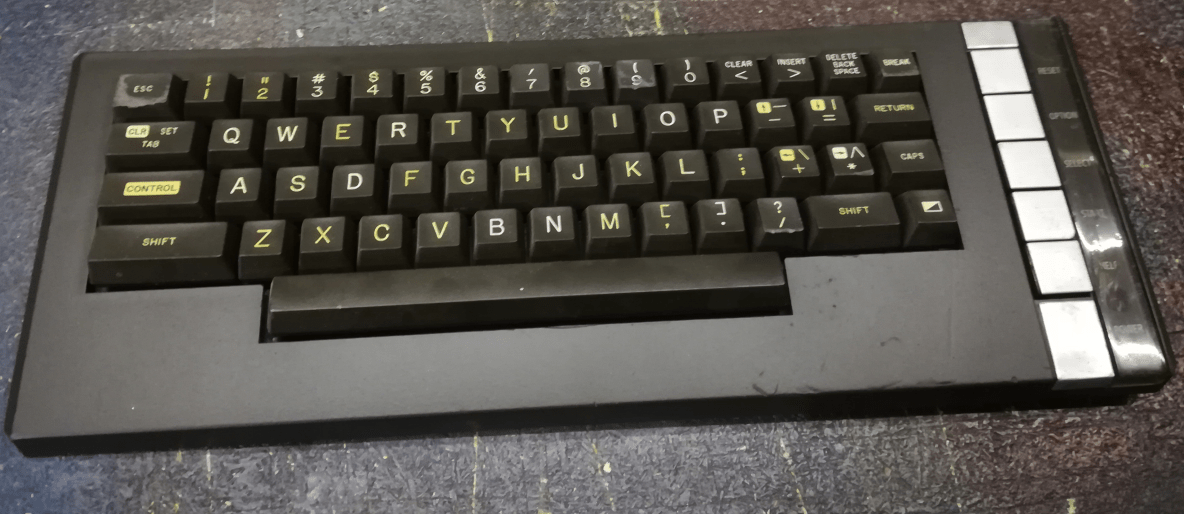
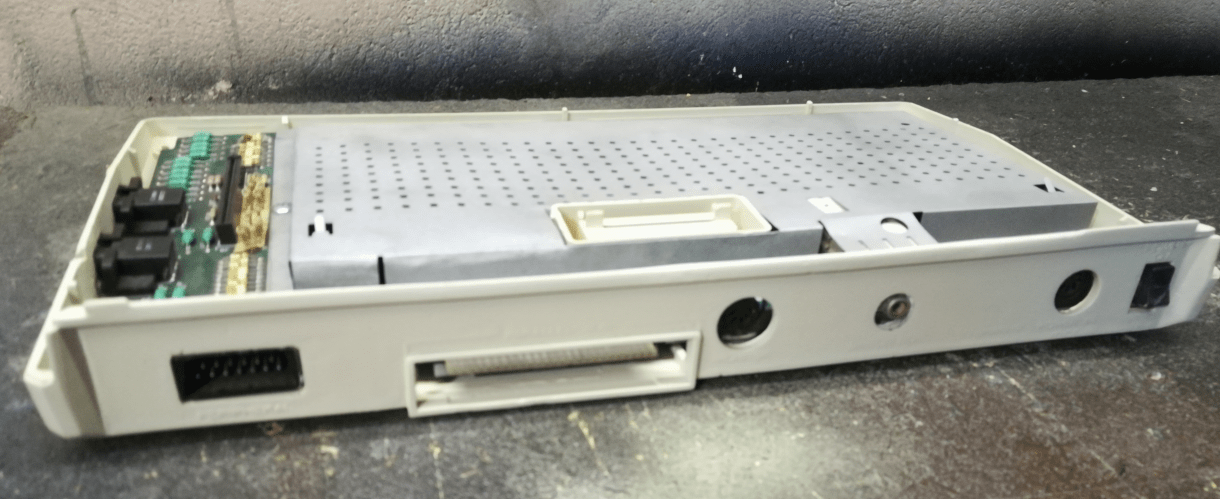
As mentioned in the previous post, thanks to Perinoid I was able to supply missing keys and complete a keyboard. Here is how it looked after cleaning.
I’ve also trimmed and sanded off all the keys that required it.
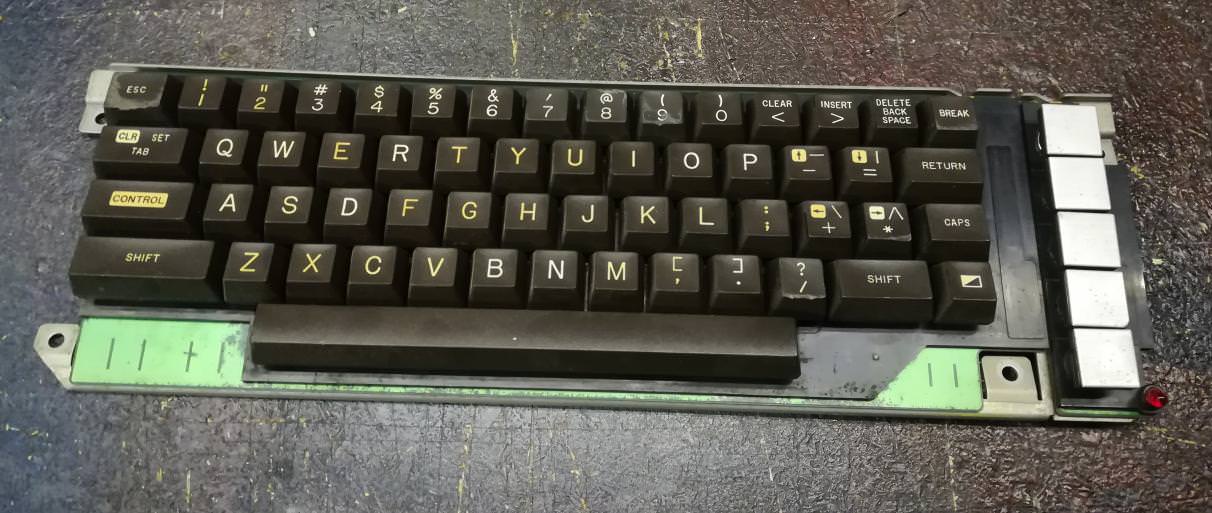
Yes, I know that I should have whitened all yellowed keys but I was simply too impatient lol. Hopefully, I’ll sort it out later.
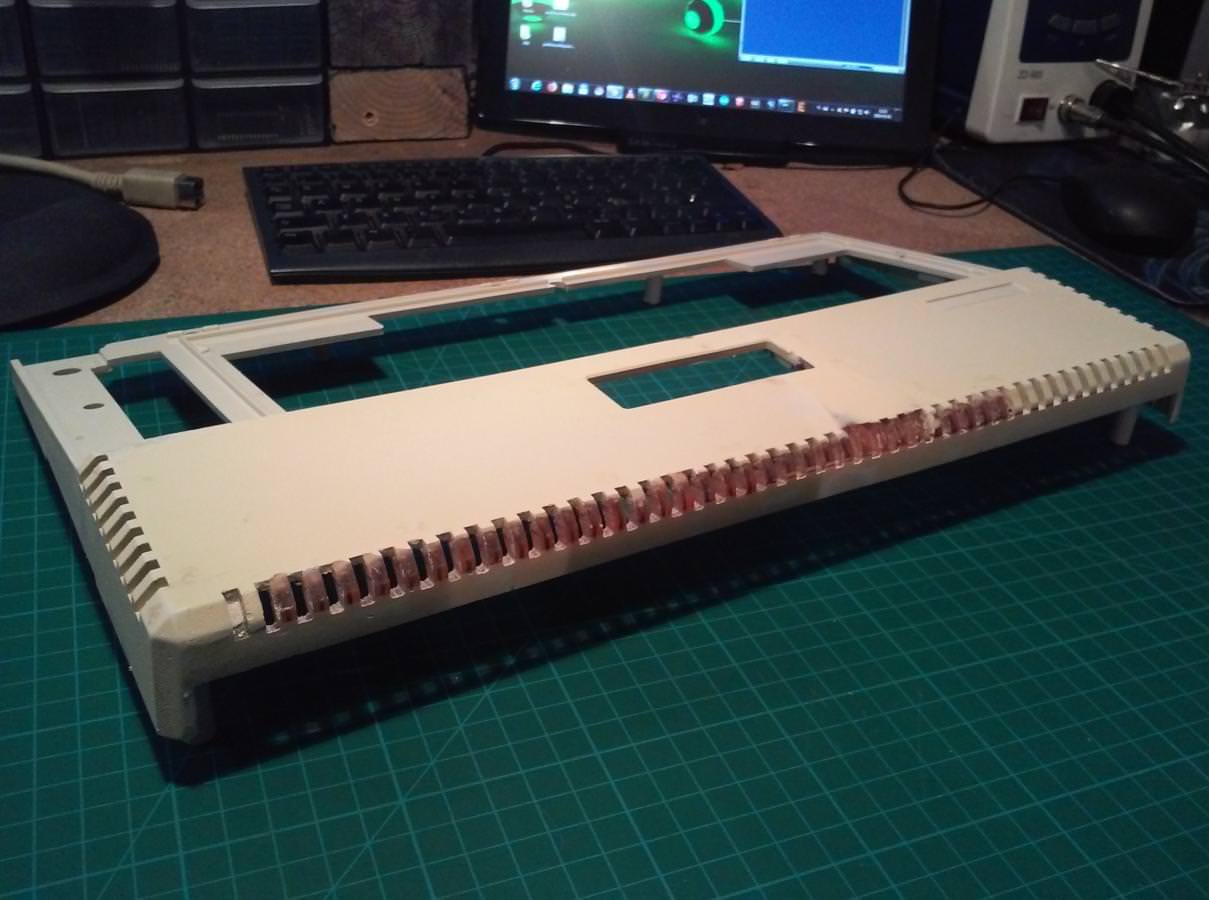
Soooooo with a clean frame and a keyboard, I started …
Assembling
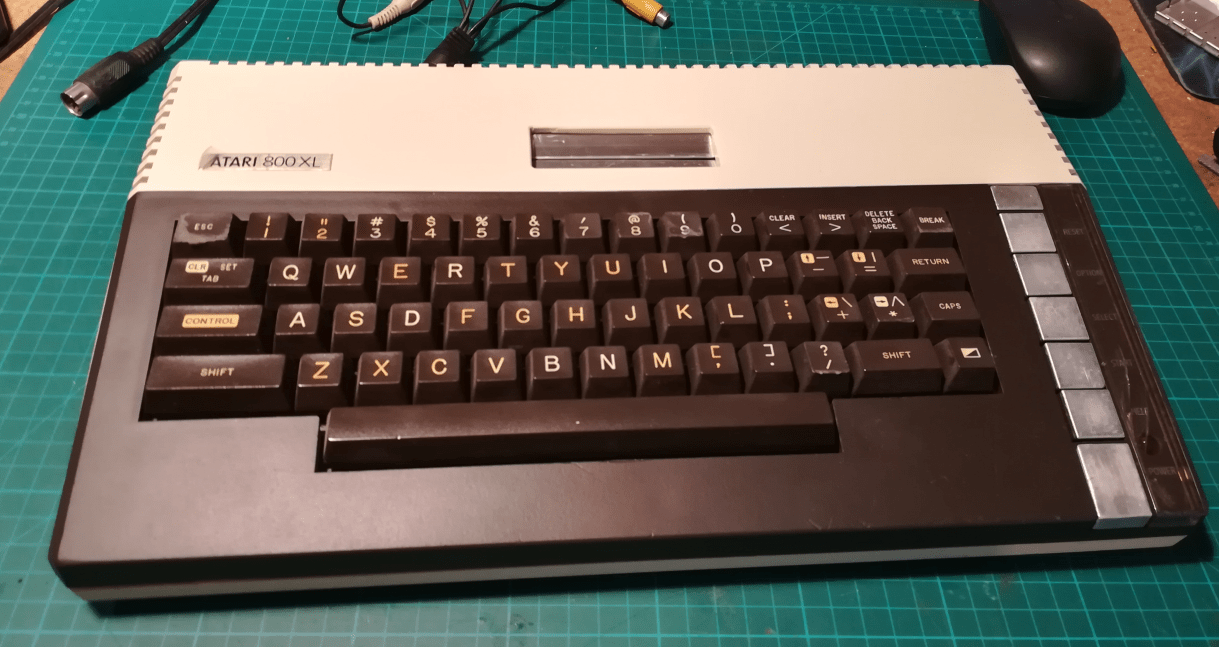
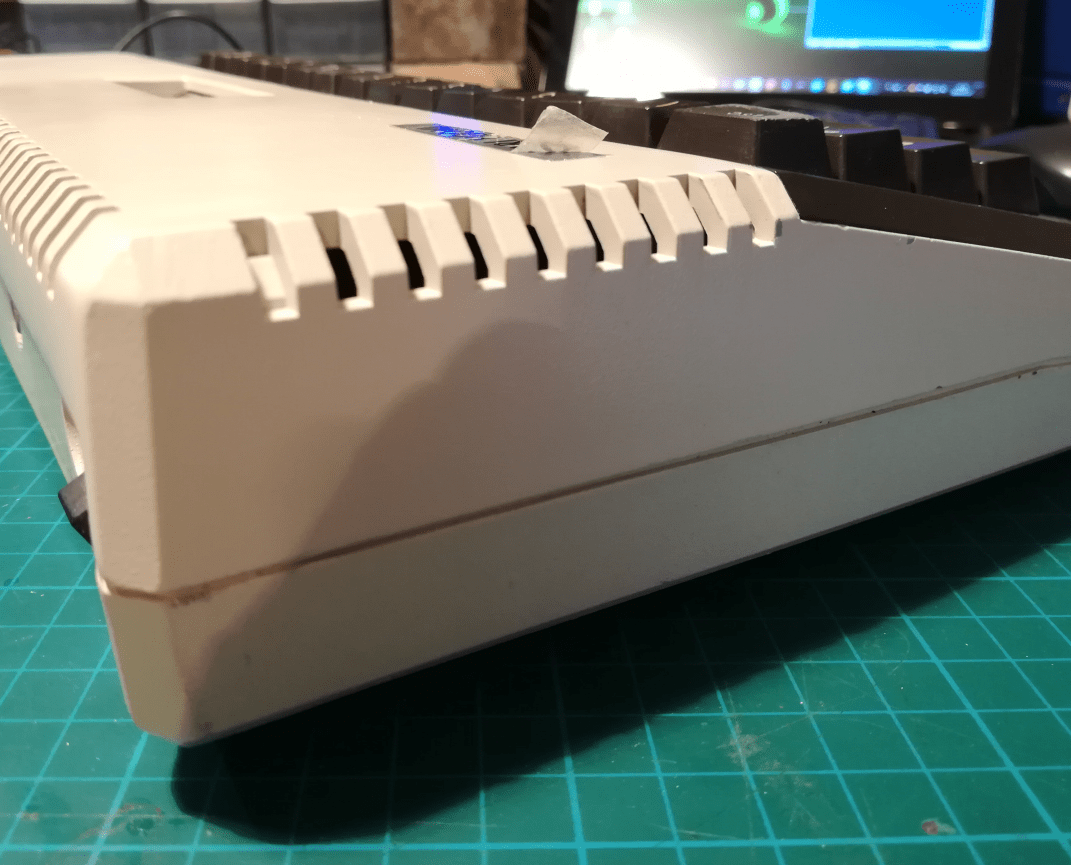
Having all parts sorted out, I was finally able to assemble 800 XL.

Grand finale
Just to sum it all up. Yes, it could be done way better, I am aware of that. I should have used a different resin. I also know that some sort of vacuum chamber is a very handy tool and would sort out quite a few problems. I’ve skipped describing several minor fixes because this post is already a long one and I wouldn’t like anyone to TL;DR it ;P
Well, I’ve learned quite a few lessons this time so hopefully, it will result in a better outcome for upcoming projects. Oh, Did I mention that quite a few projects are waiting in the queue? 😀
So this is it, this is how an Atari looks now.
Credits
Jesionen – for donating a CPU to this project
Perinoid – for sending me an A800XL case and keyboard
String – for wanting to send an A800XL case :>
Kaz – for bringing morale up 🙂
SOS – for giving this Atari to TDC
TDC – for successful trolling :>
… and obviously, a mandatory video dedicated to TDC 😀

OUTRO
If you want to get retro gear or hardware modules, please visit our shop
New products are added every month.
Also, please support our work by spreading info about it.
Without your support, we simply cannot grow and we have a lot of new excellent retro hardware (and more) products to come 


LEGEND