… or scarred case FTW!
<the other intro>
If you have a broken piece of retro hardware and would like me to repair and cover it on this blog just drop me an email with some details at [email protected] or contact me through the Facebook page.
Also, please leave comments as this is a great feedback tool for me. This helps me to write better content. You can either comment under posts or on my Facebook page here -> https://www.facebook.com/Retrohax.net/
</the other intro>
<std intro>
This is the third part of Wasabi C64 refurbishing. The first part is here and the second is here.

</std intro>
The case
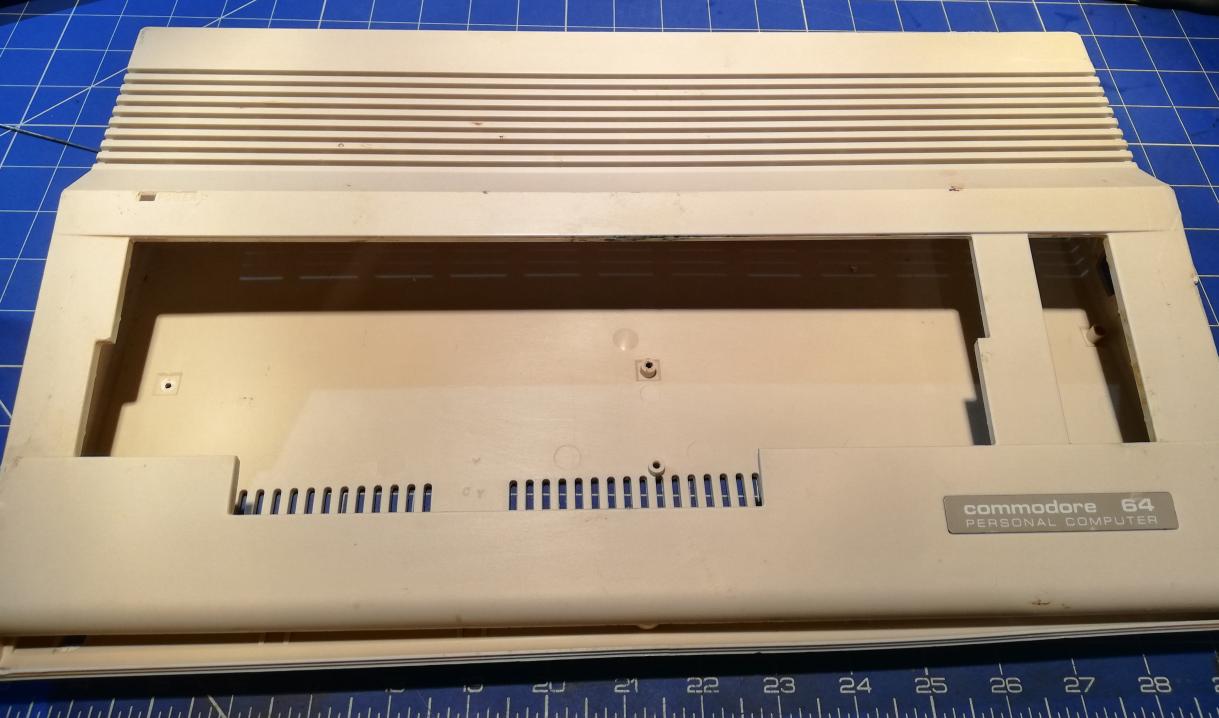
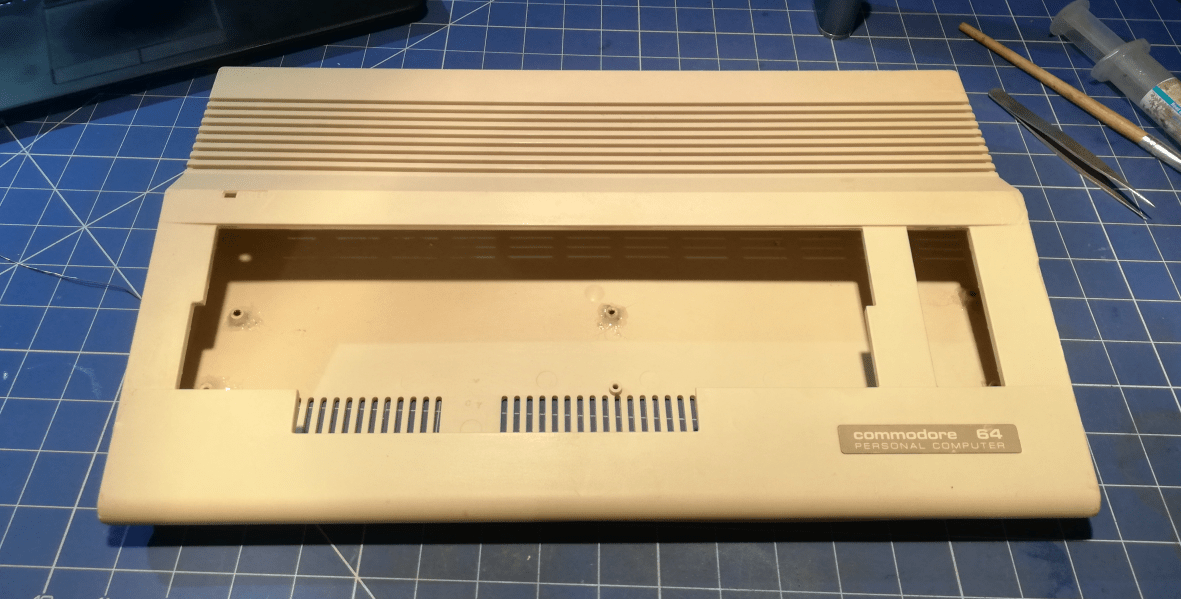
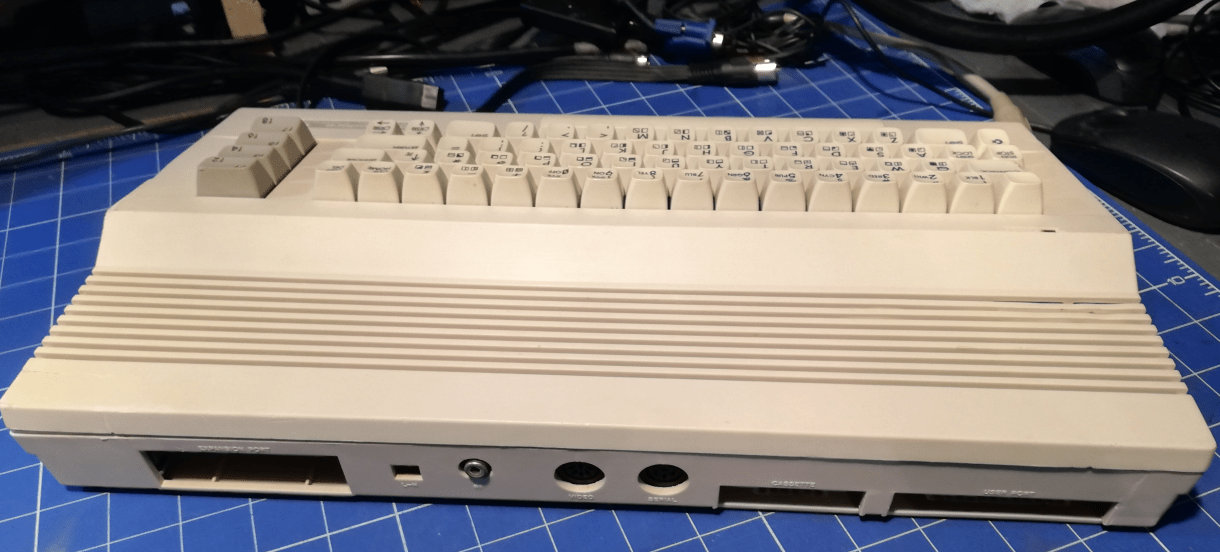
Ok, I have to admit this task wasn’t challenging. The case of this C64 was broken and scratched but still in one piece. With some old techniques (and new ones as well) it was a rather easy job.
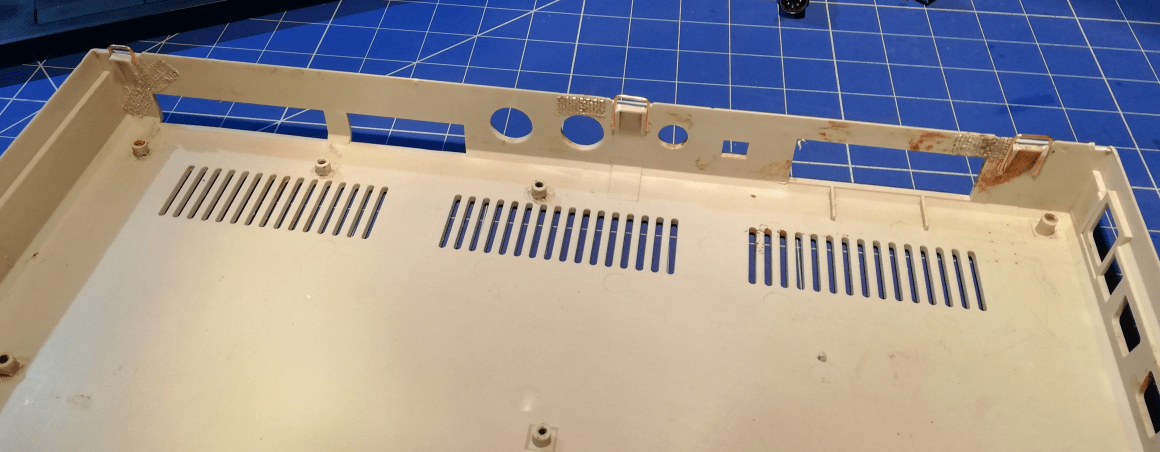
Here is how it looked after the initial cleaning.
Fixing it
Ok, I have this relatively new (for me) method of fixing various broken plastic parts. I’ve tested it on several other cases and it worked very nicely. Before this method, I used acetone to join broken ABS parts or used a soldering iron to create a strong bond. Combinations of the above methods were used to bring this C64 case to one piece.
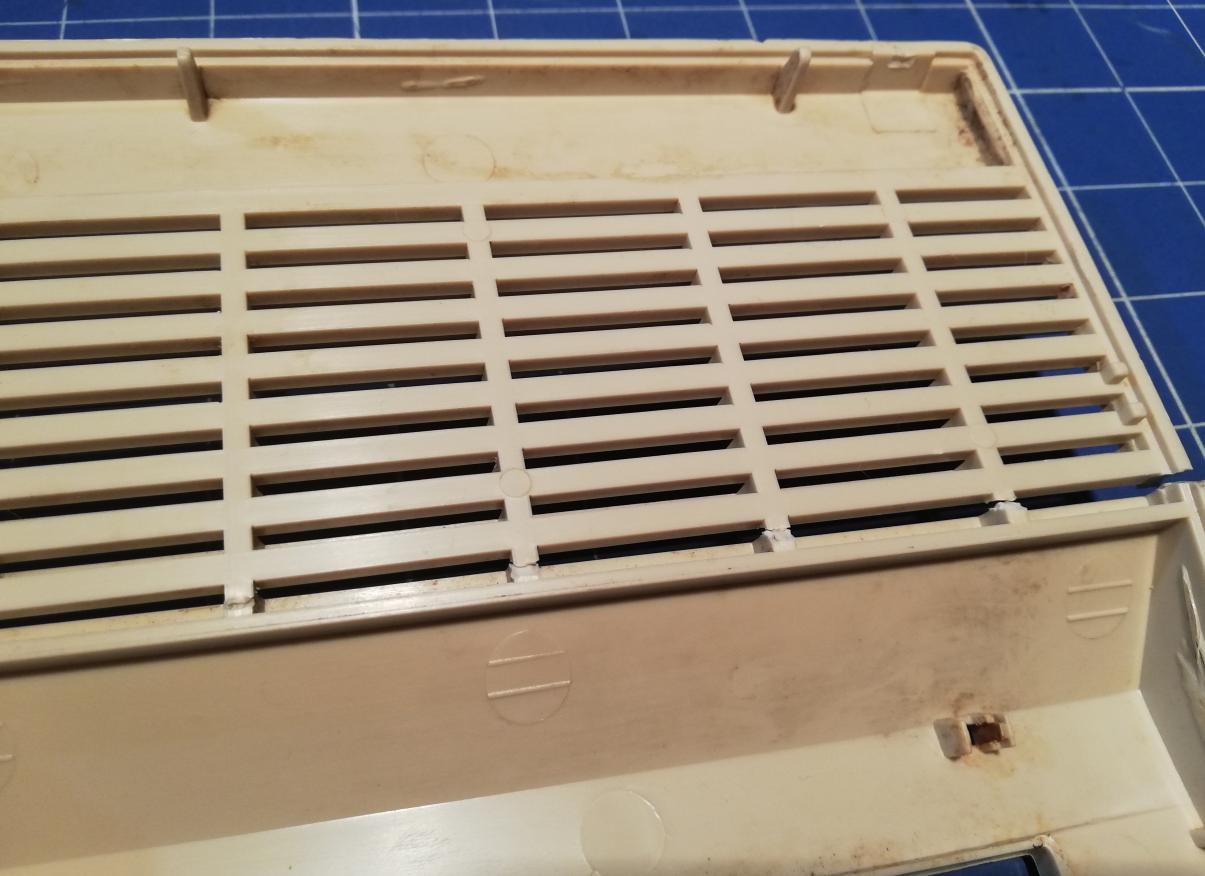
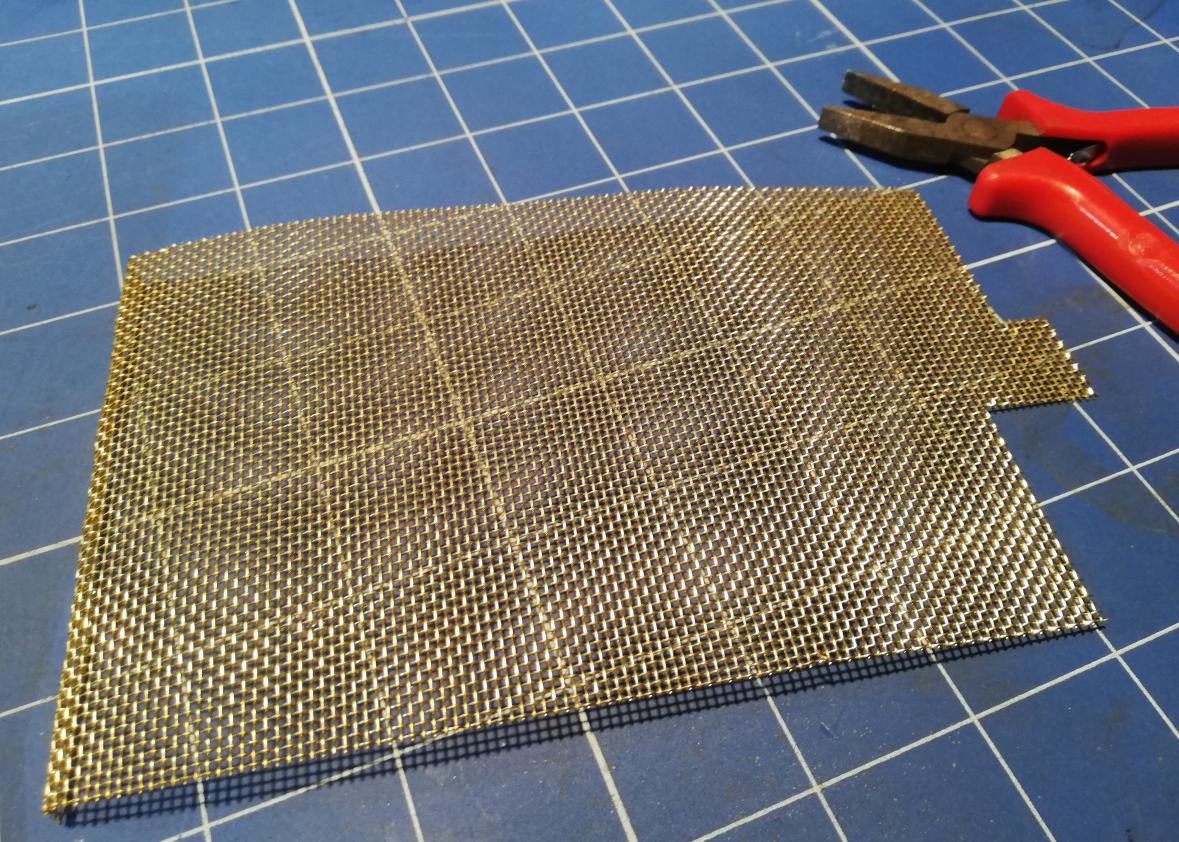
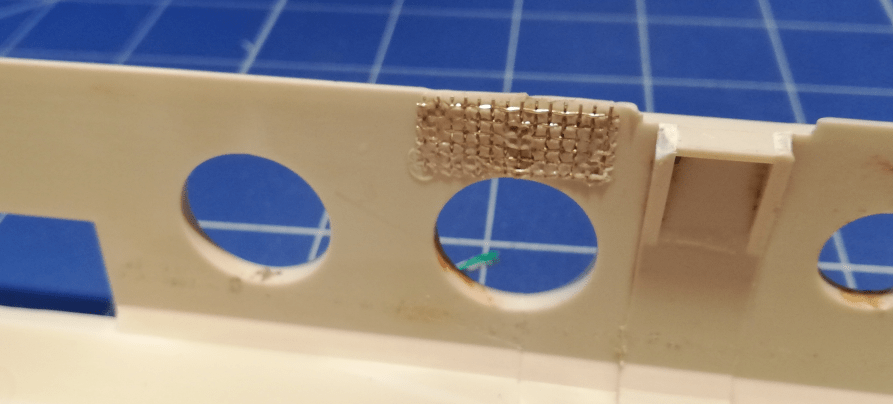
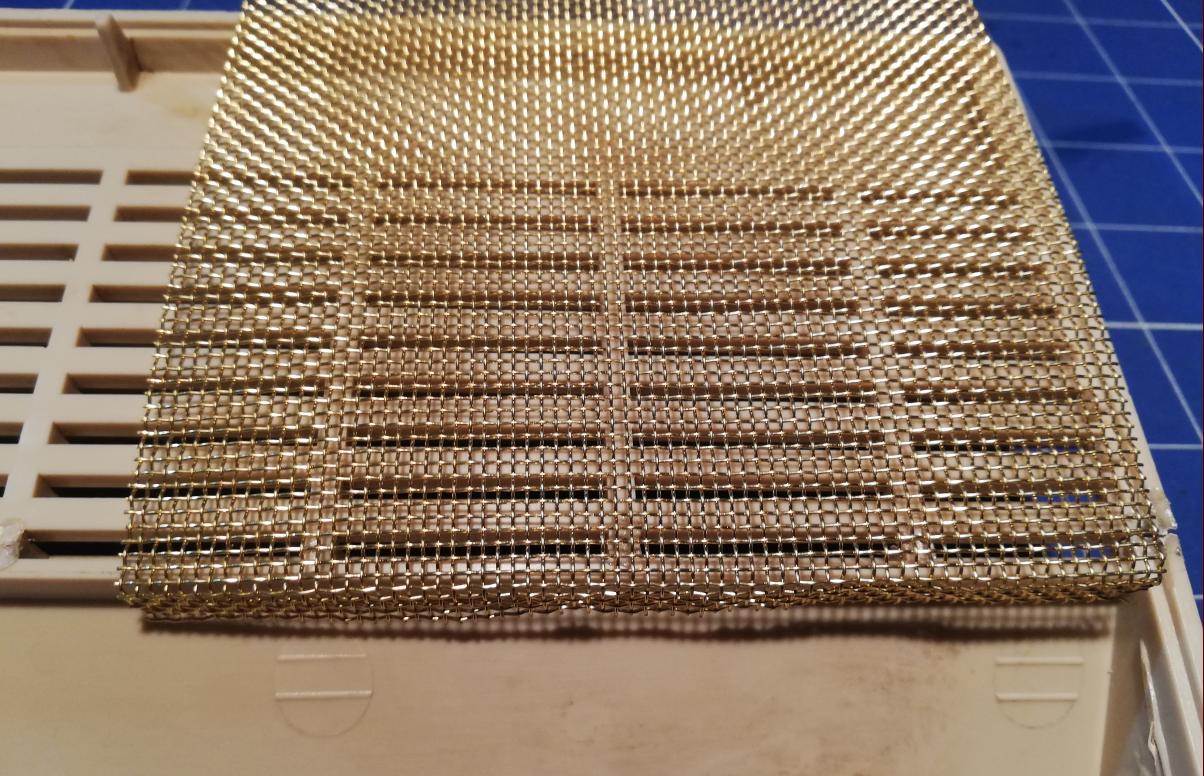
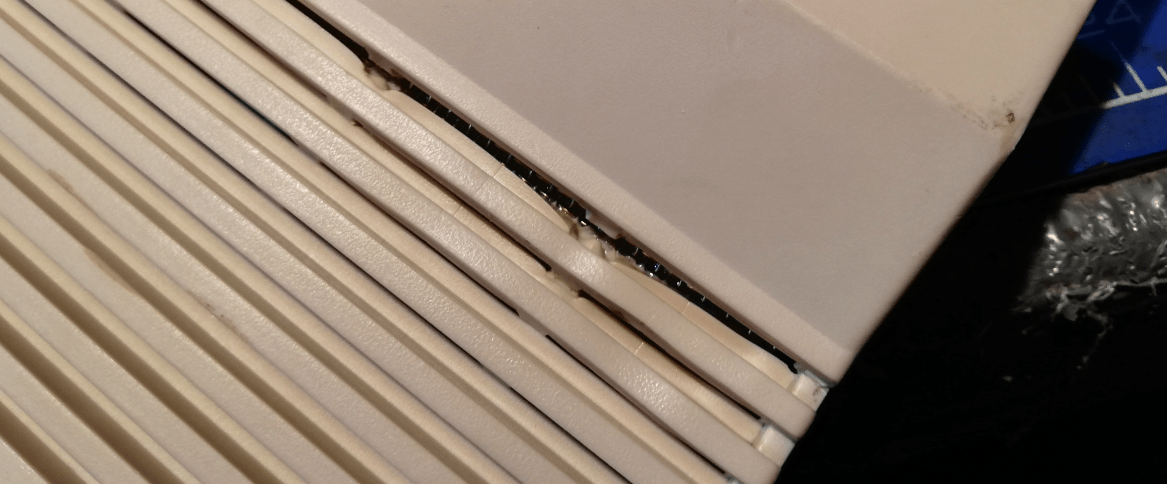
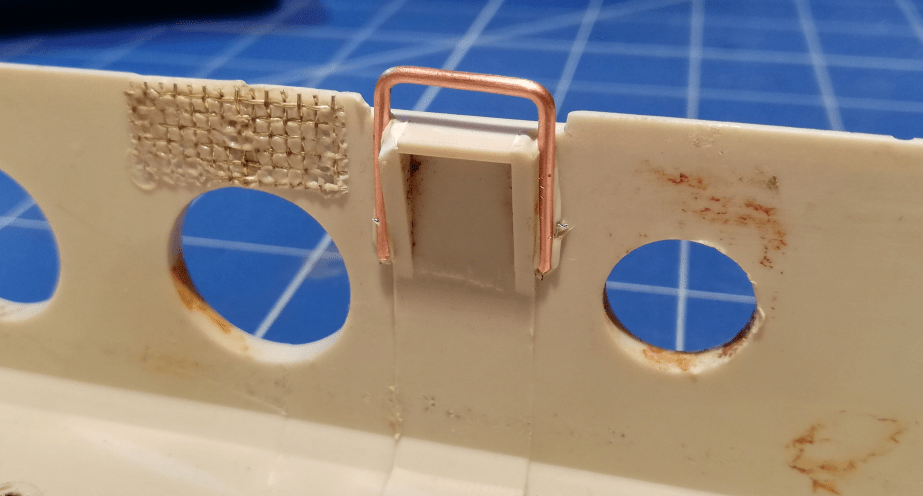
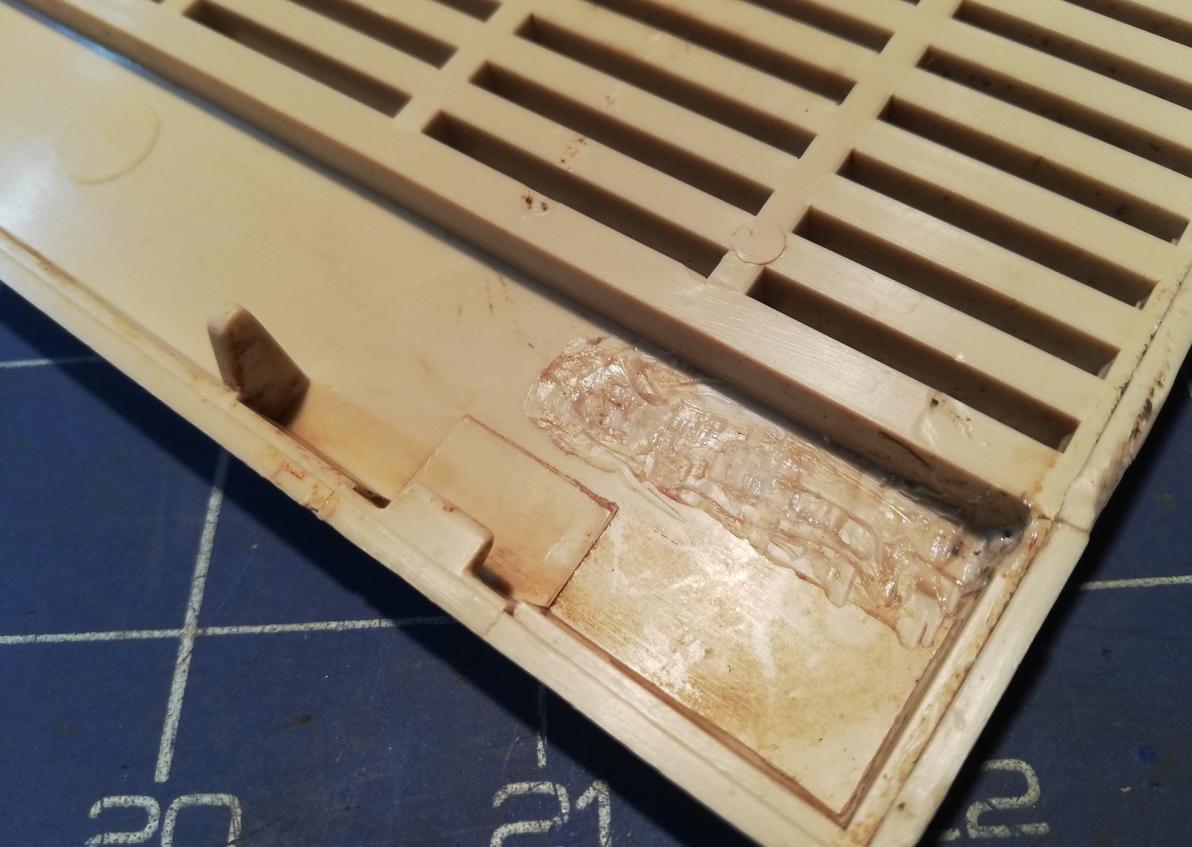
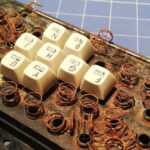
First I used acetone to join and hold in place the broken ABS part. After that, I cut a brass mesh to a desired size/shape, and with the help of a soldering iron, I melted it in the middle of a break. Here is how it looks.
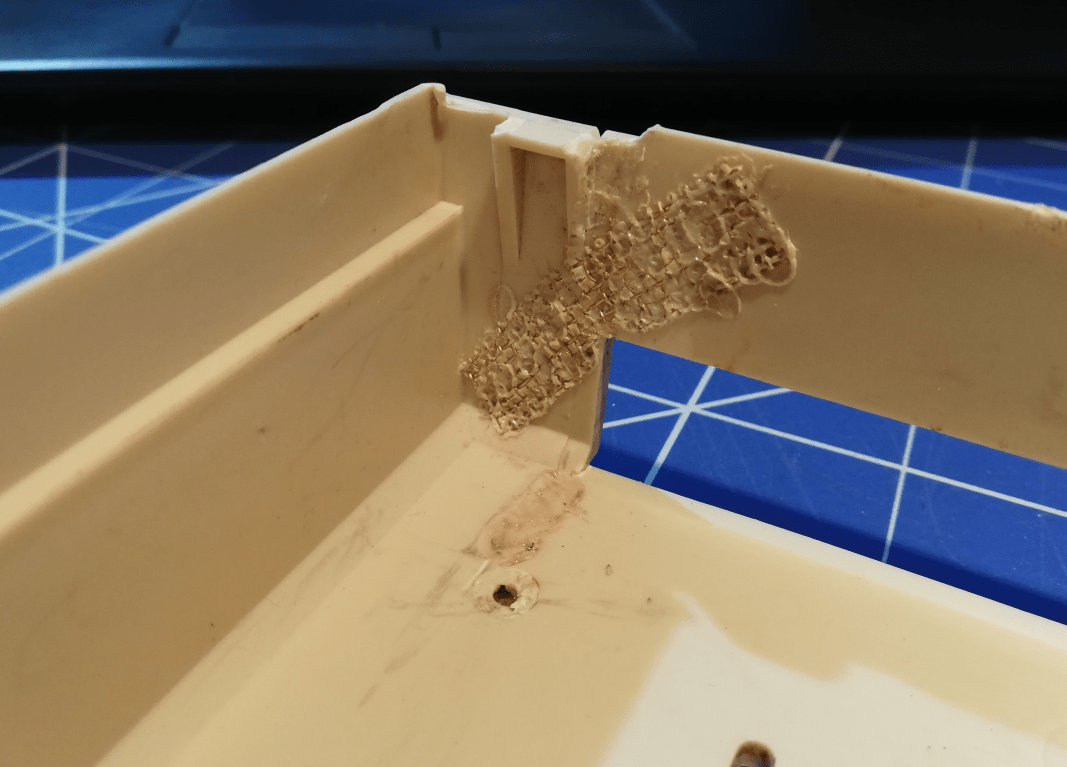
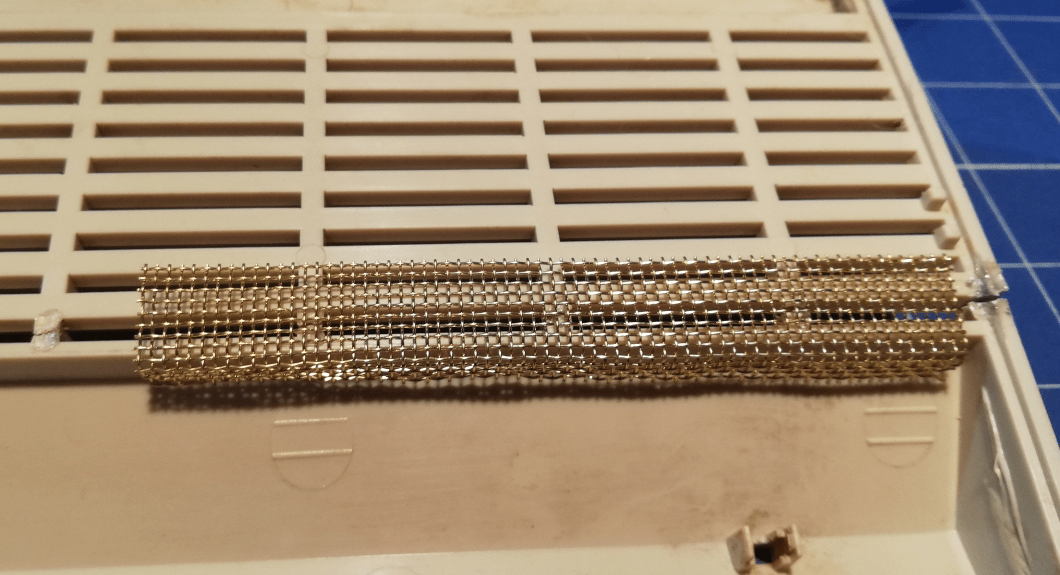
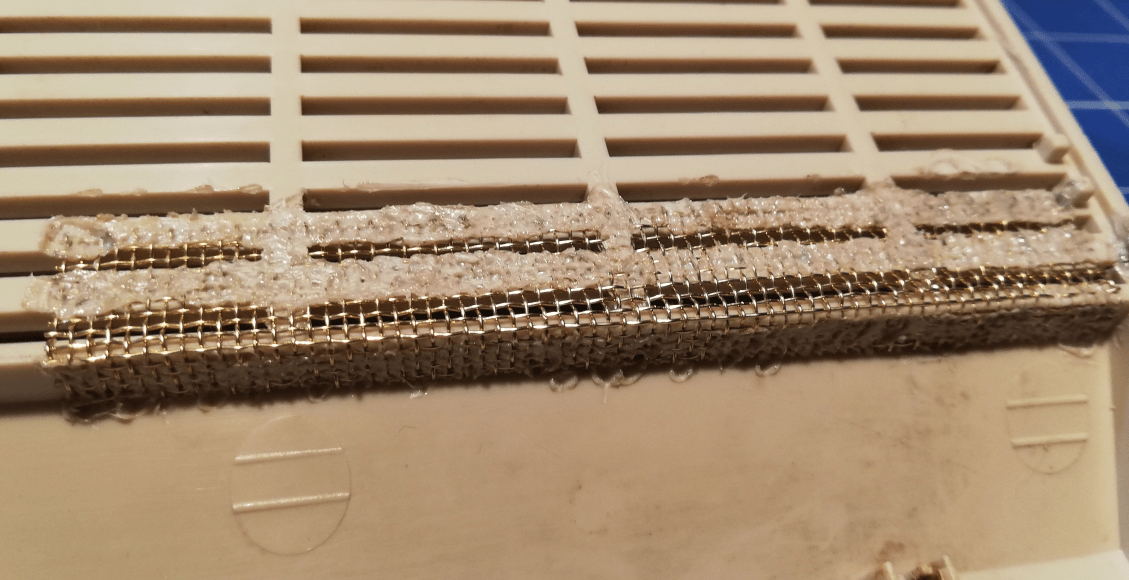
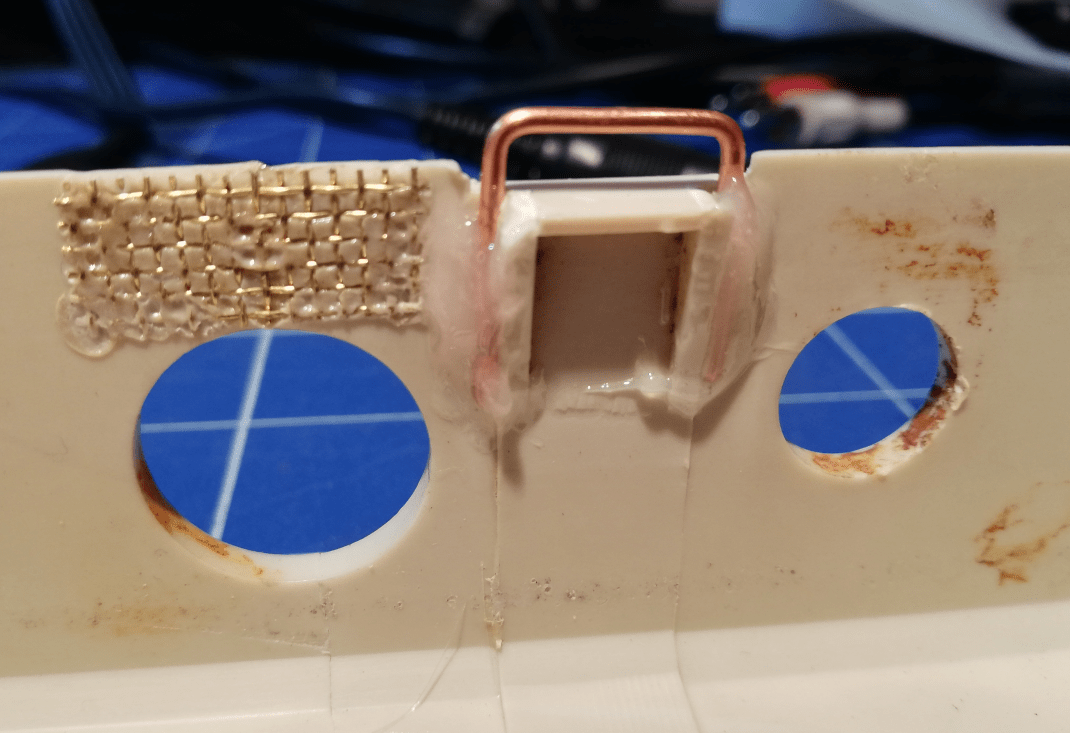
A larger piece of brass mesh was used to bind the top part of the case. I must admit that I did a lame mistake and held soldering iron for way too long (meh, these whiskey Fridays…) which resulted in slightly deformed parts 🙁
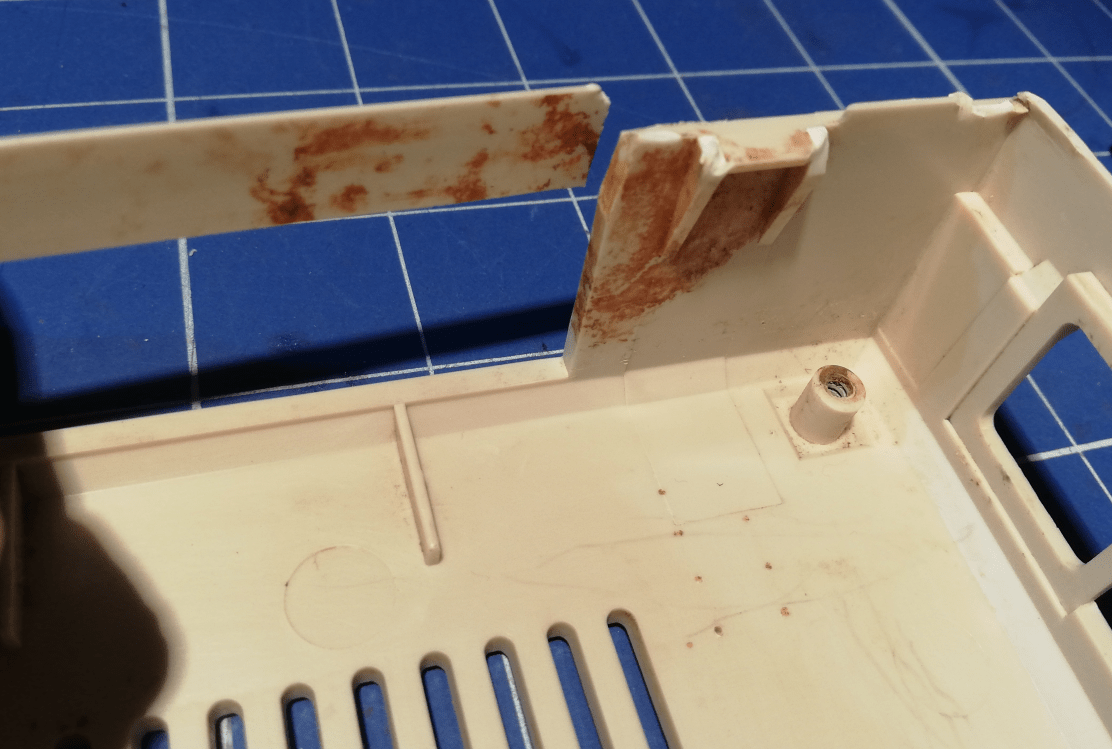
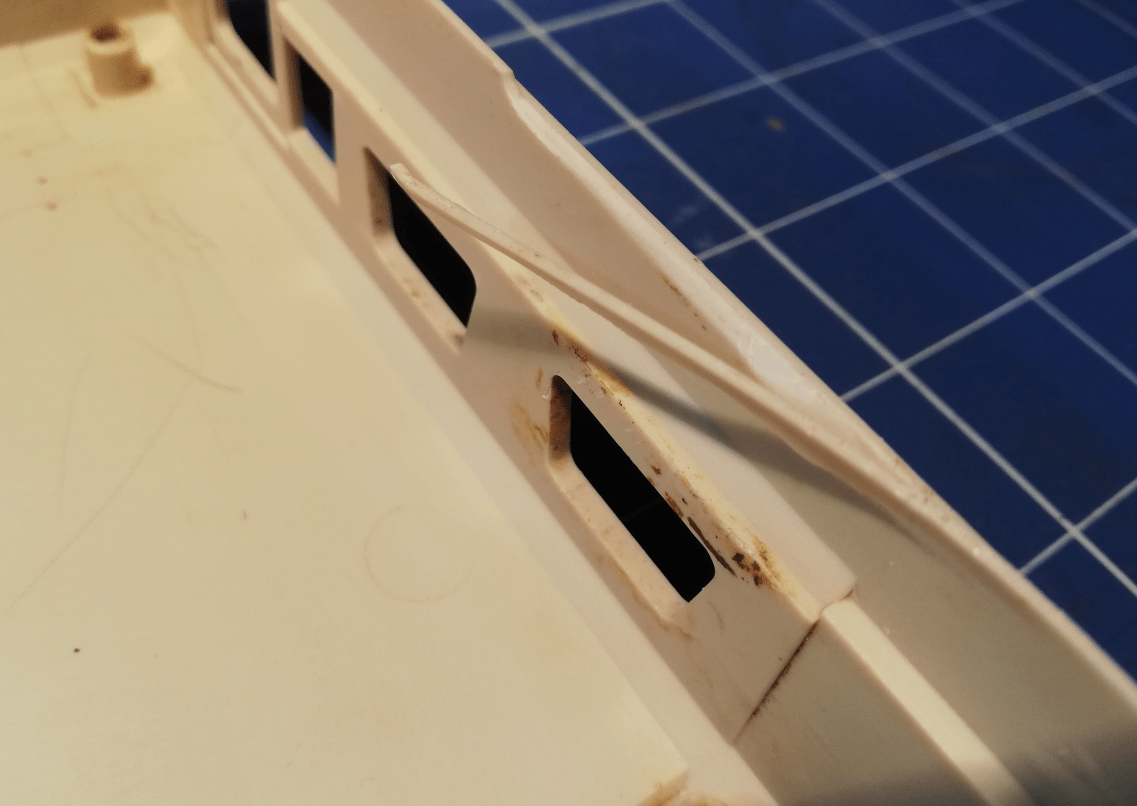
Further case fixes and fails too
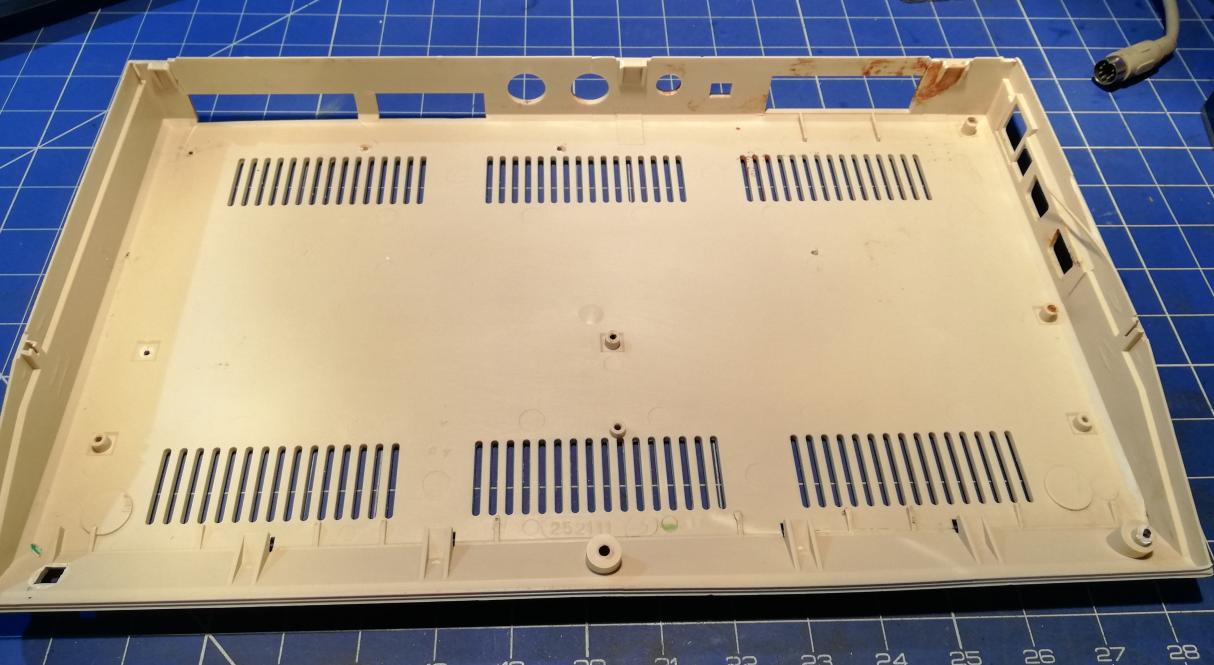
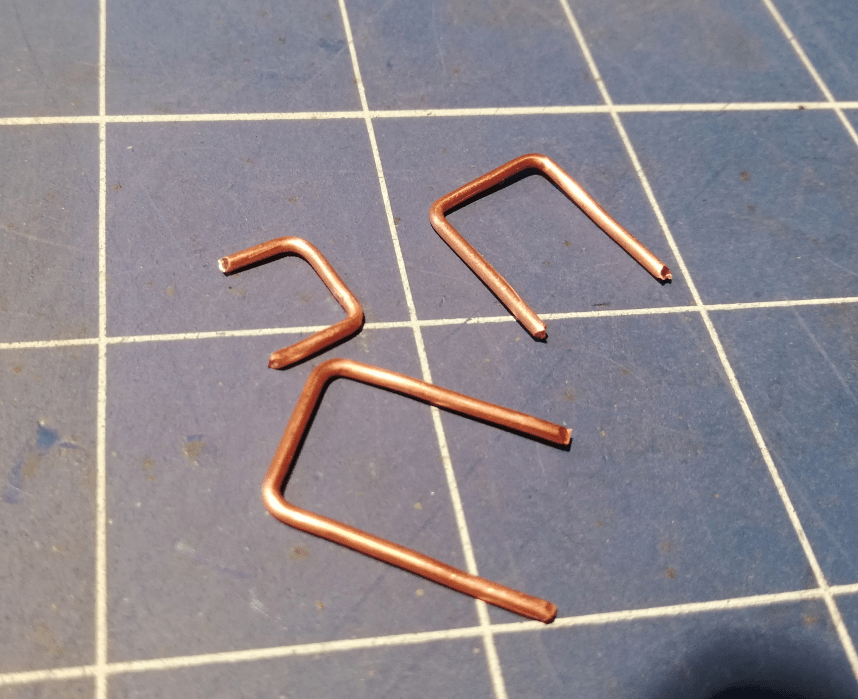
The next fix is another failure lol. It is all about broken brackets. It could’ve been simply 3D printed… Do I have to mention that I am 3D printing things for nearly 8 years now? Well, unfortunately, it struck me exactly when I was writing this post. This is due to a recent YT video made by Mr. Hey Birt
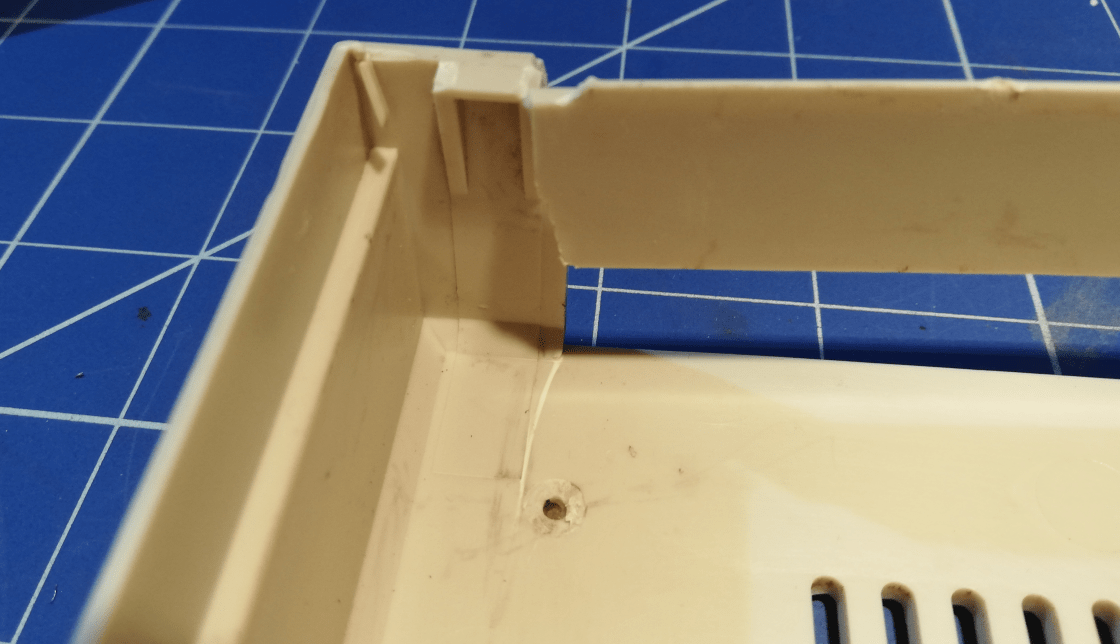
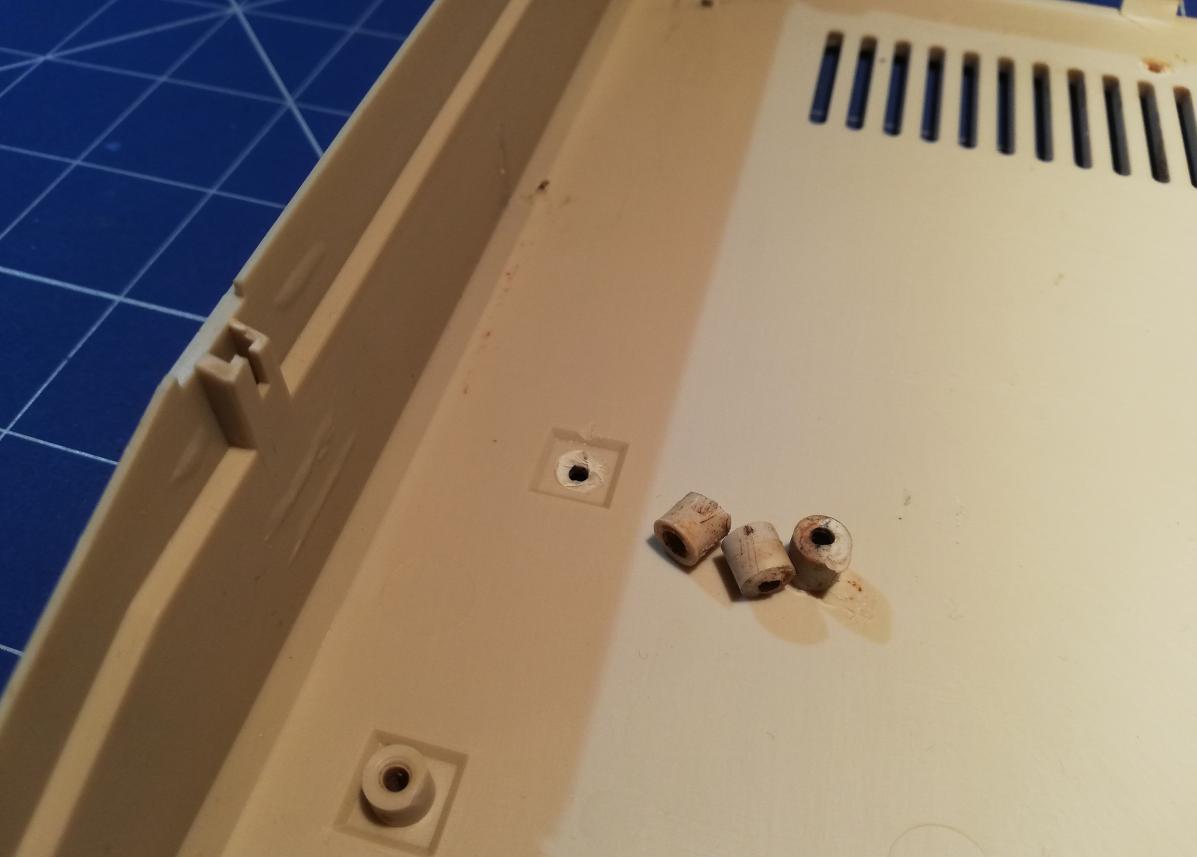
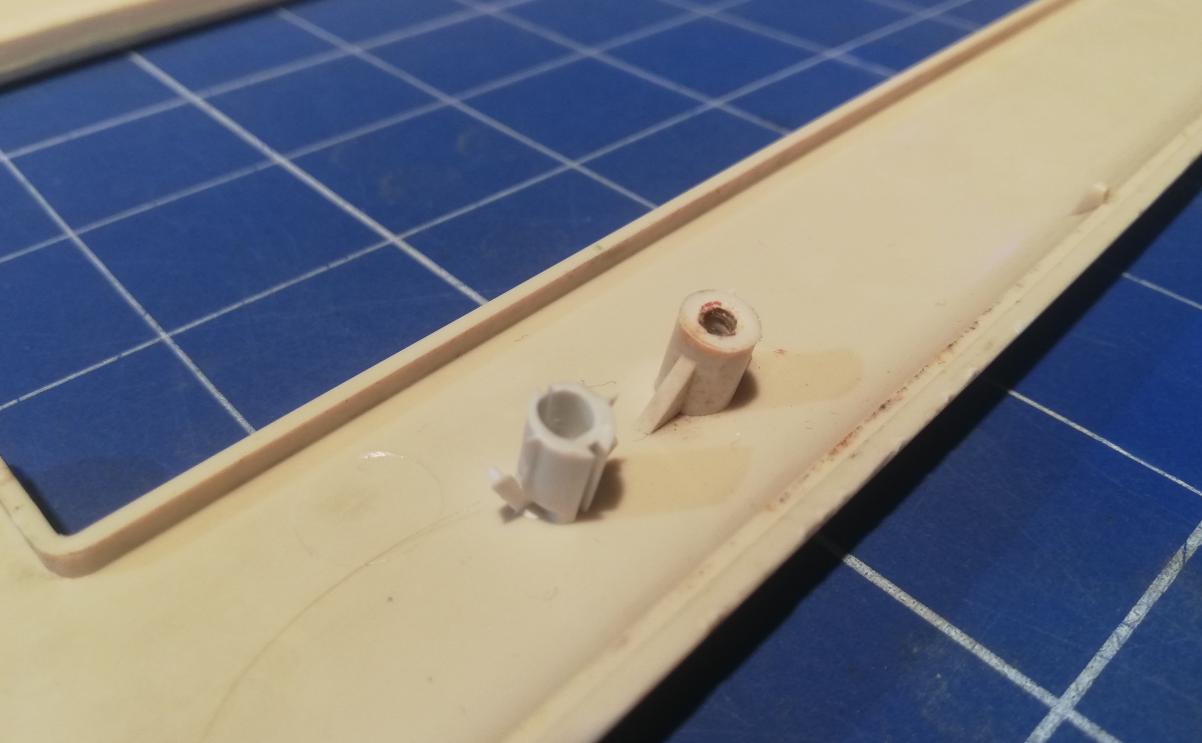
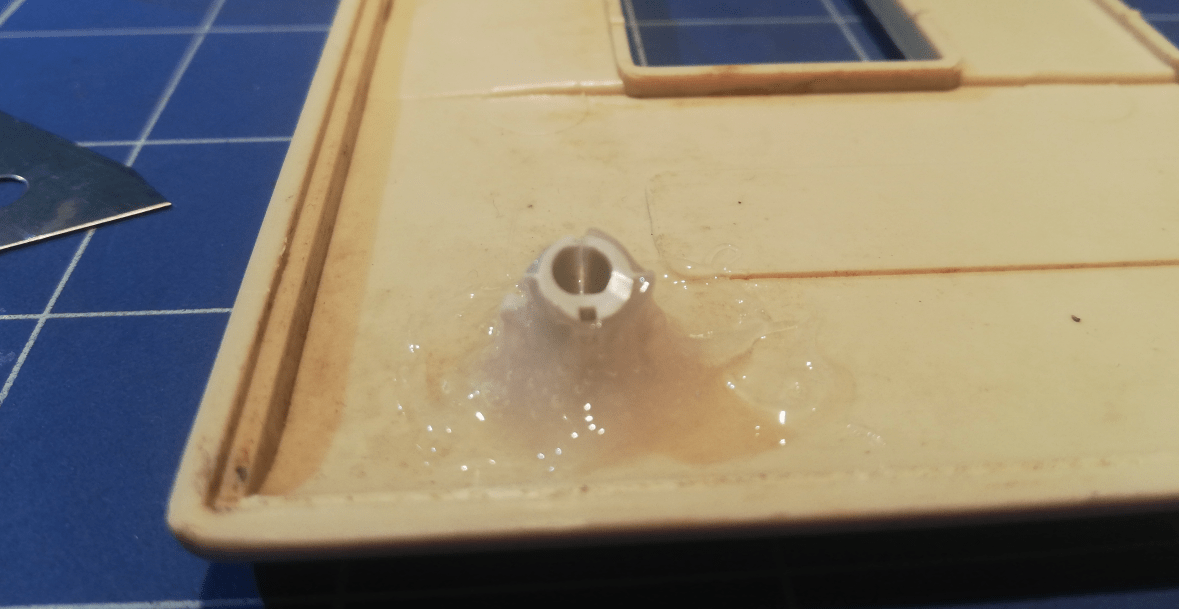
The funny thing is that I’ve failed even more and fixed broken screw studs in an old-fashion way too – soldering and using epoxy glue.
Anyway, the fix is still a fix 🙂
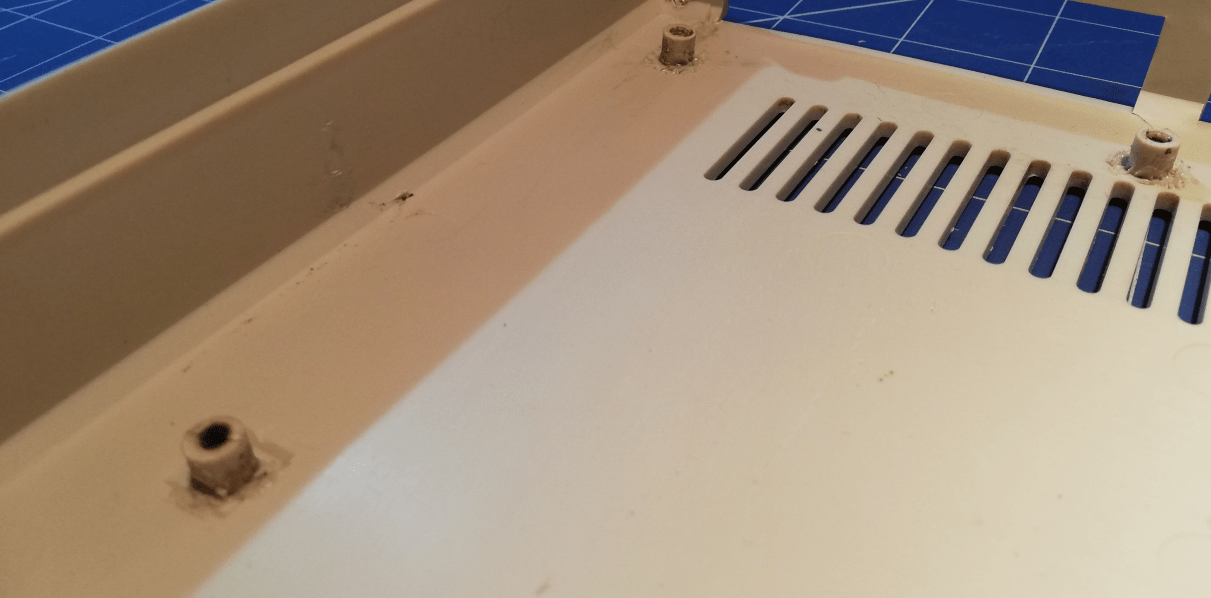
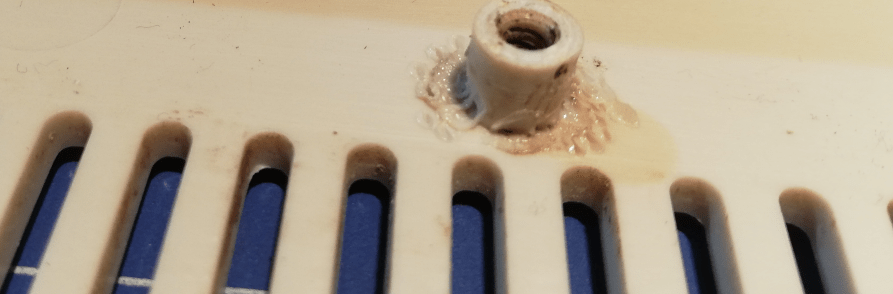
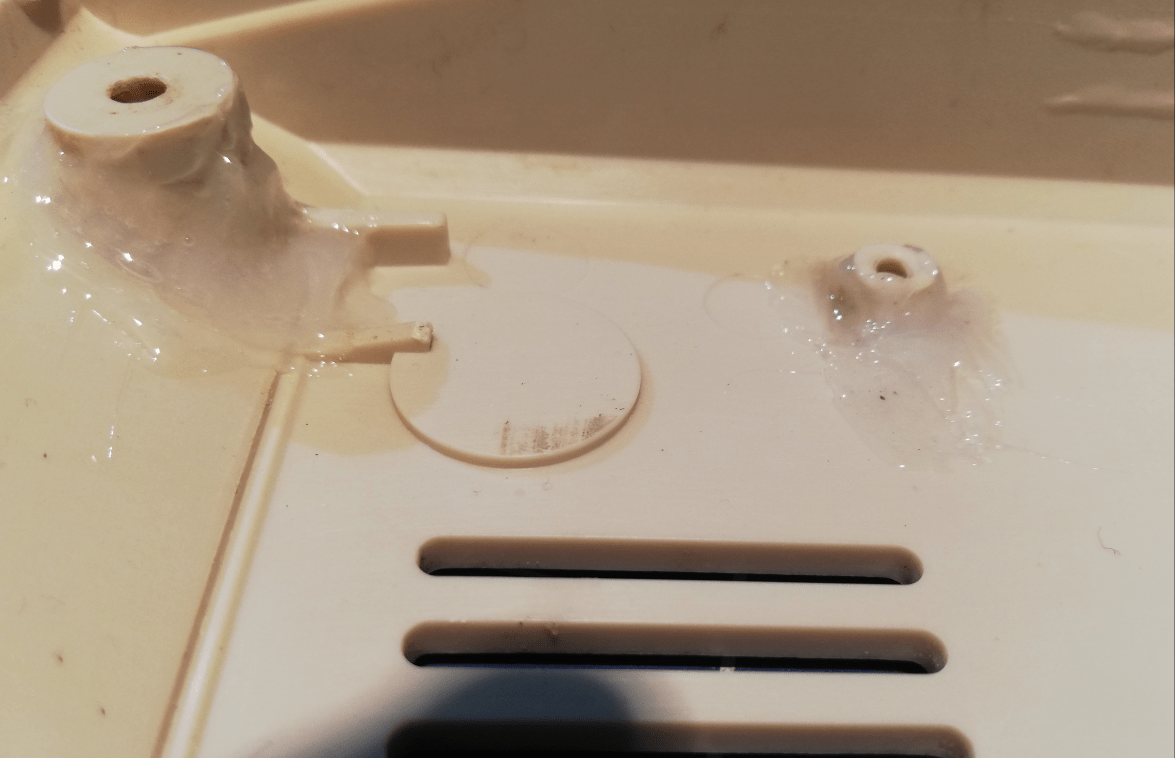
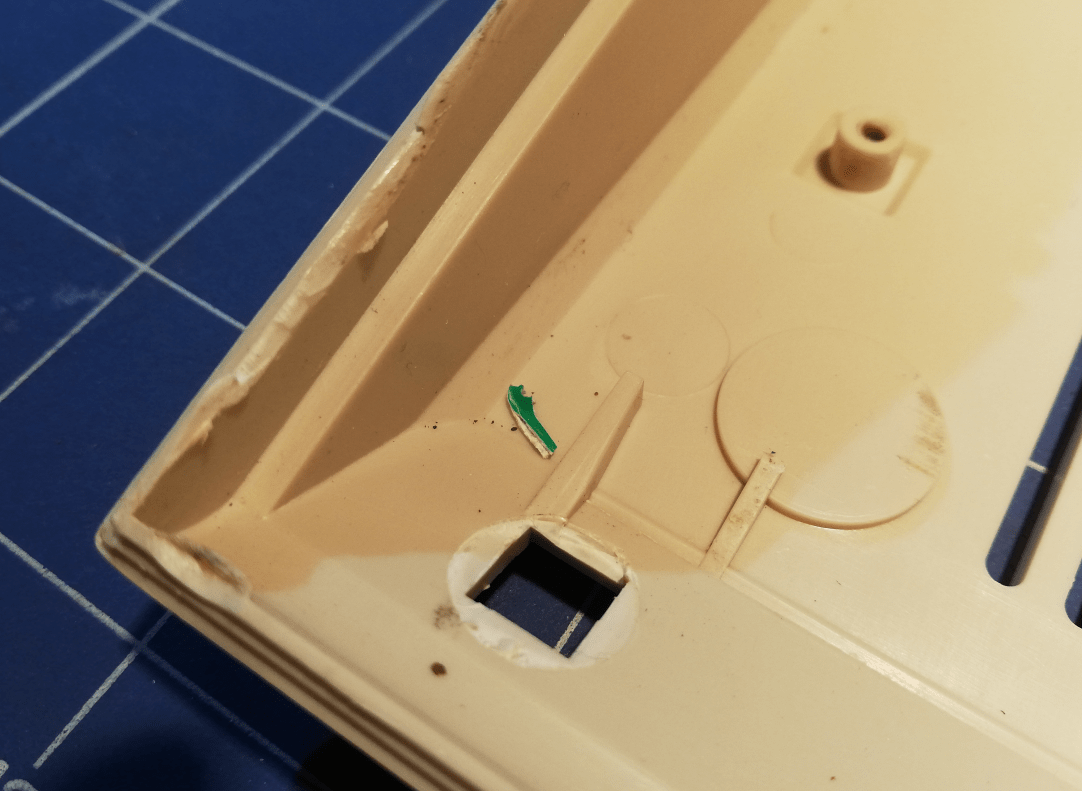
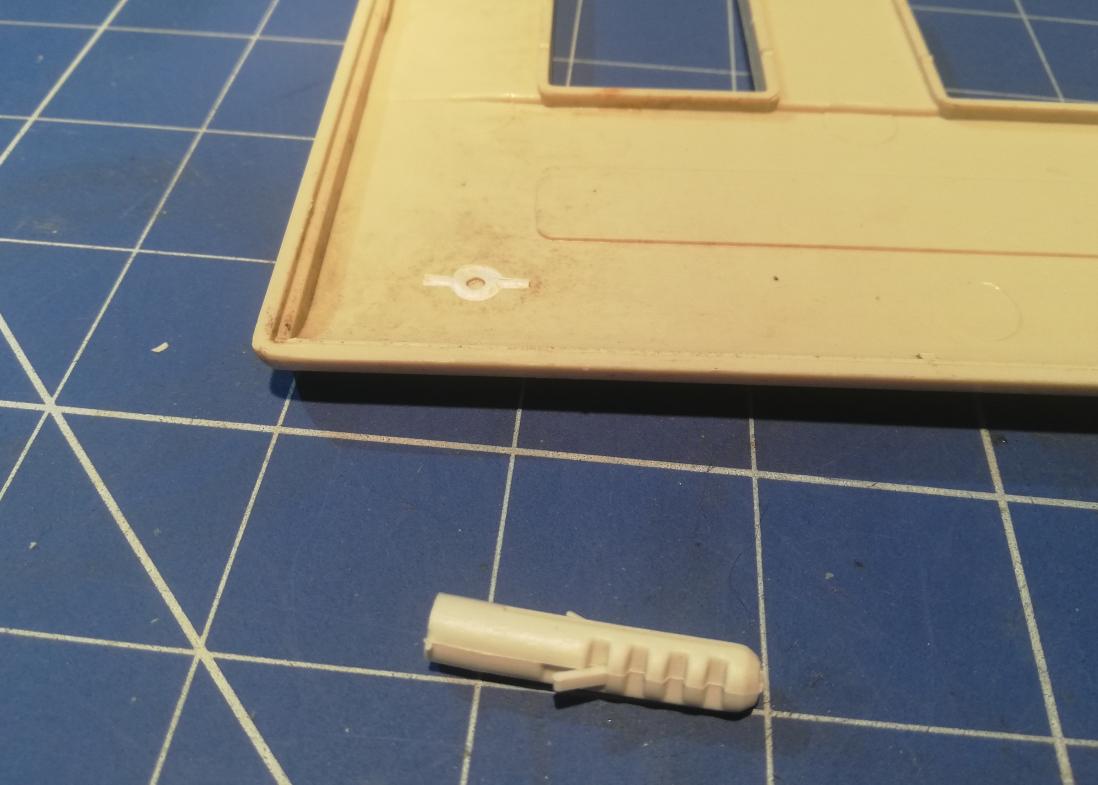
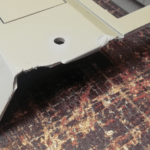
I also had to fix one of the broken screw studs. Since the original stud was completely missing, I’ve created a new one out of a plastic wall dowel.
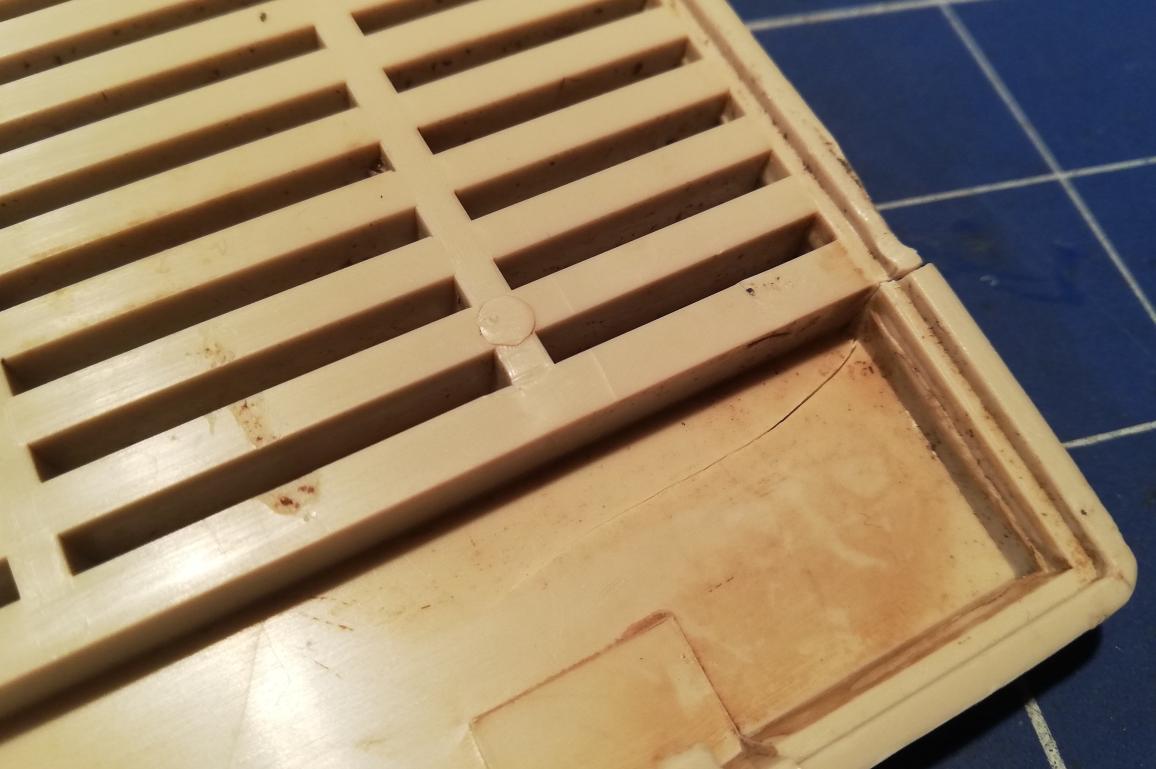
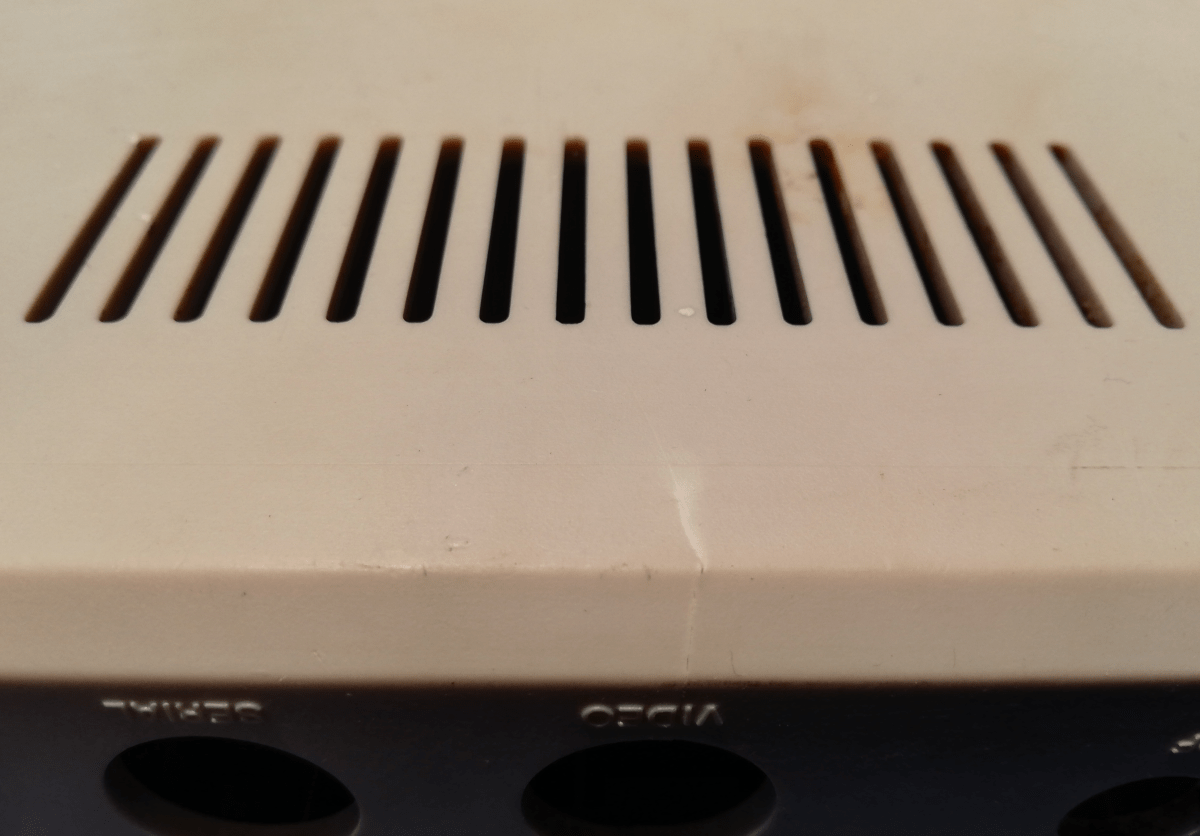
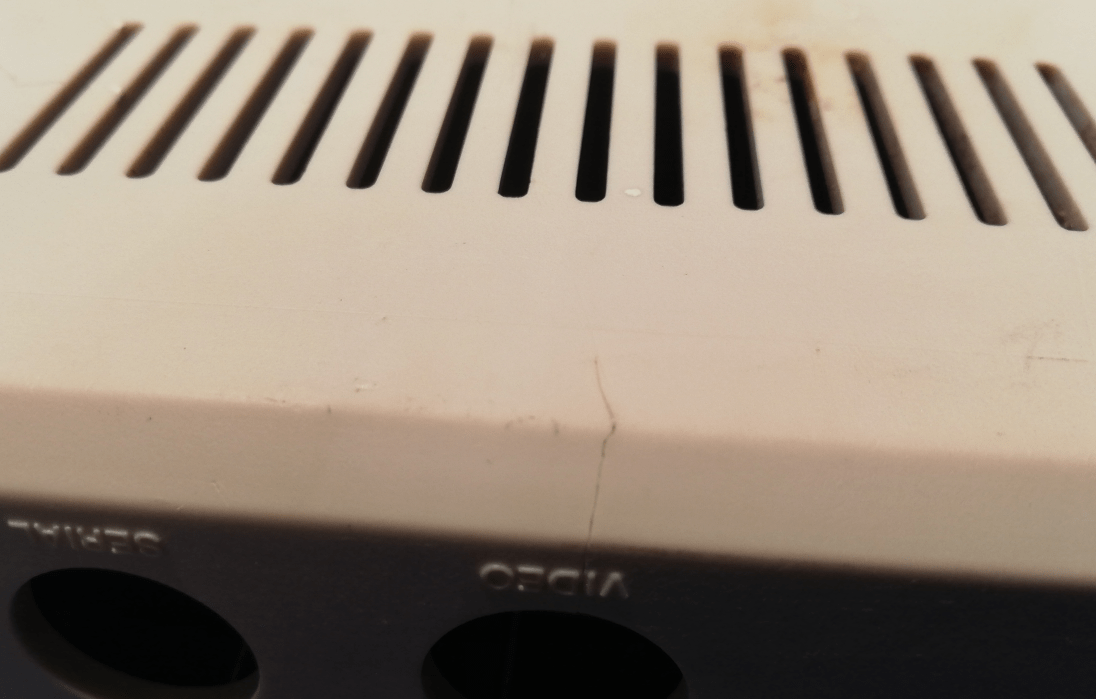
At this stage, I’ve also fixed some minor cracks with a soldering iron method.
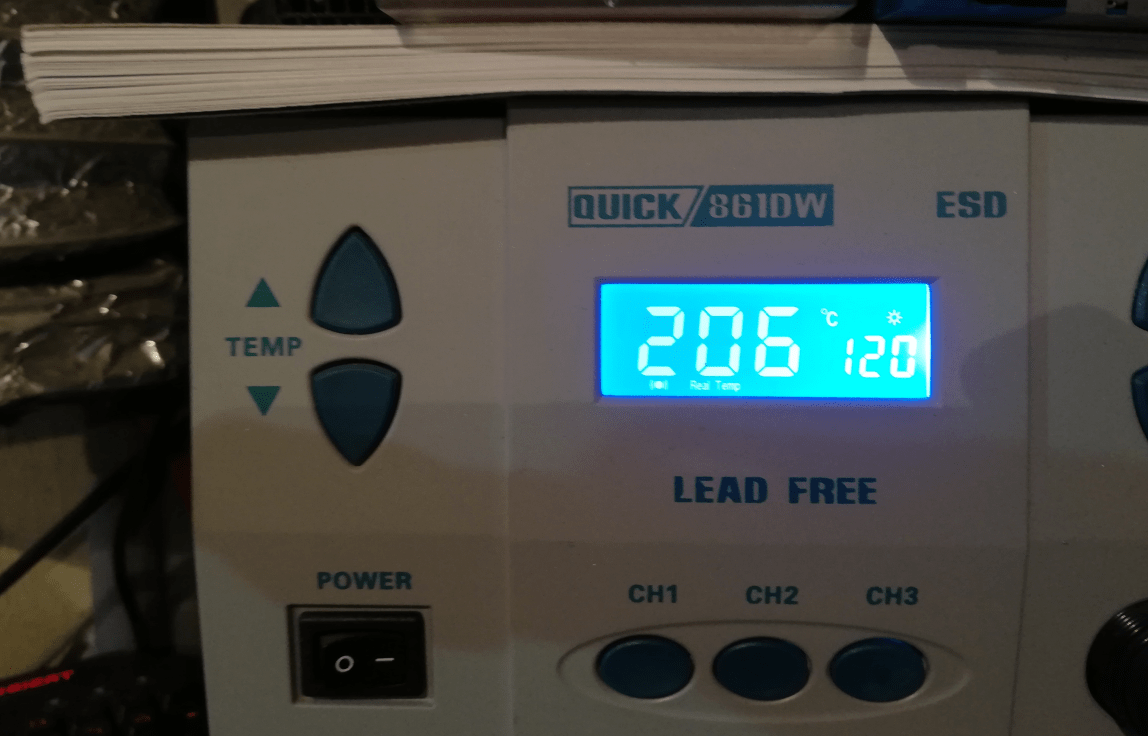
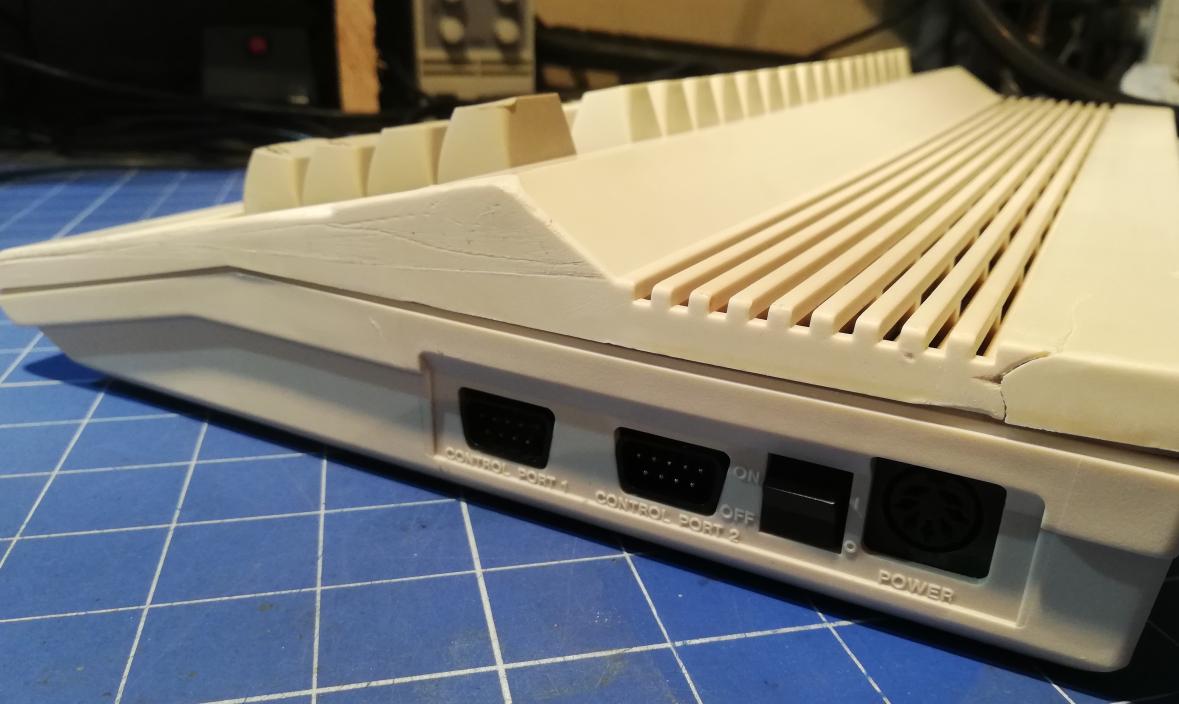
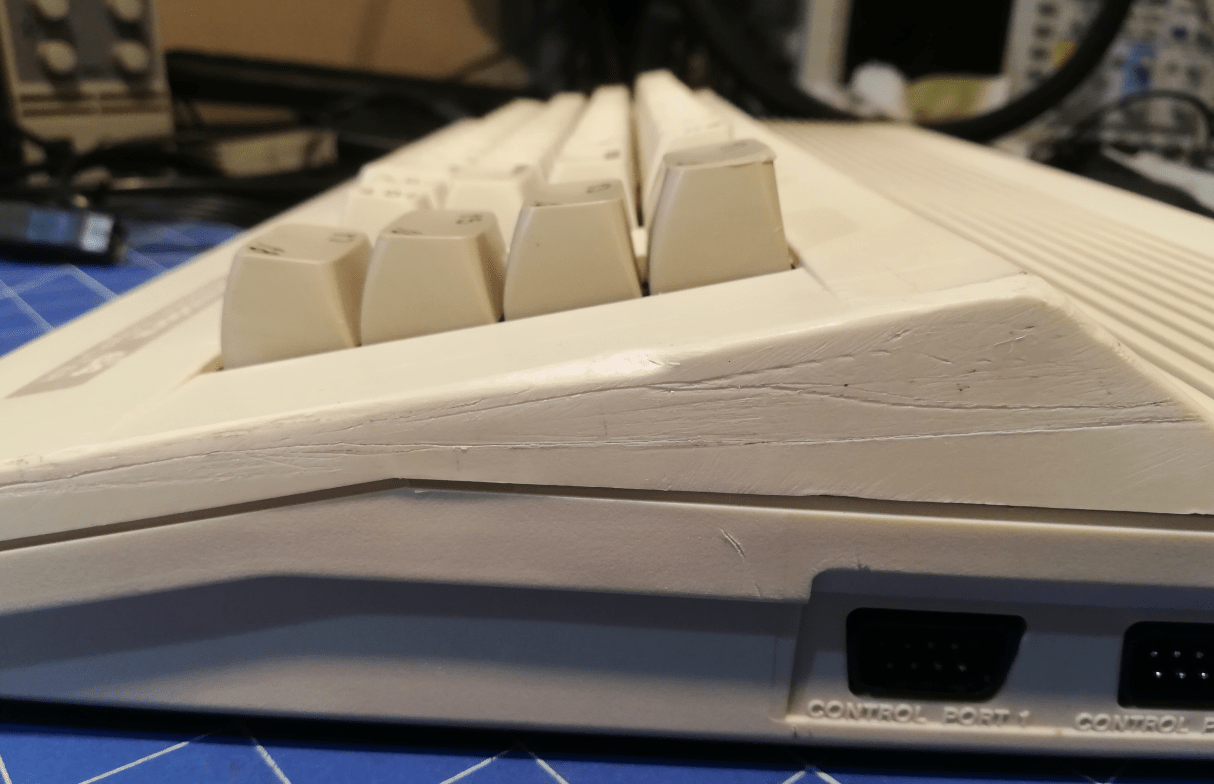
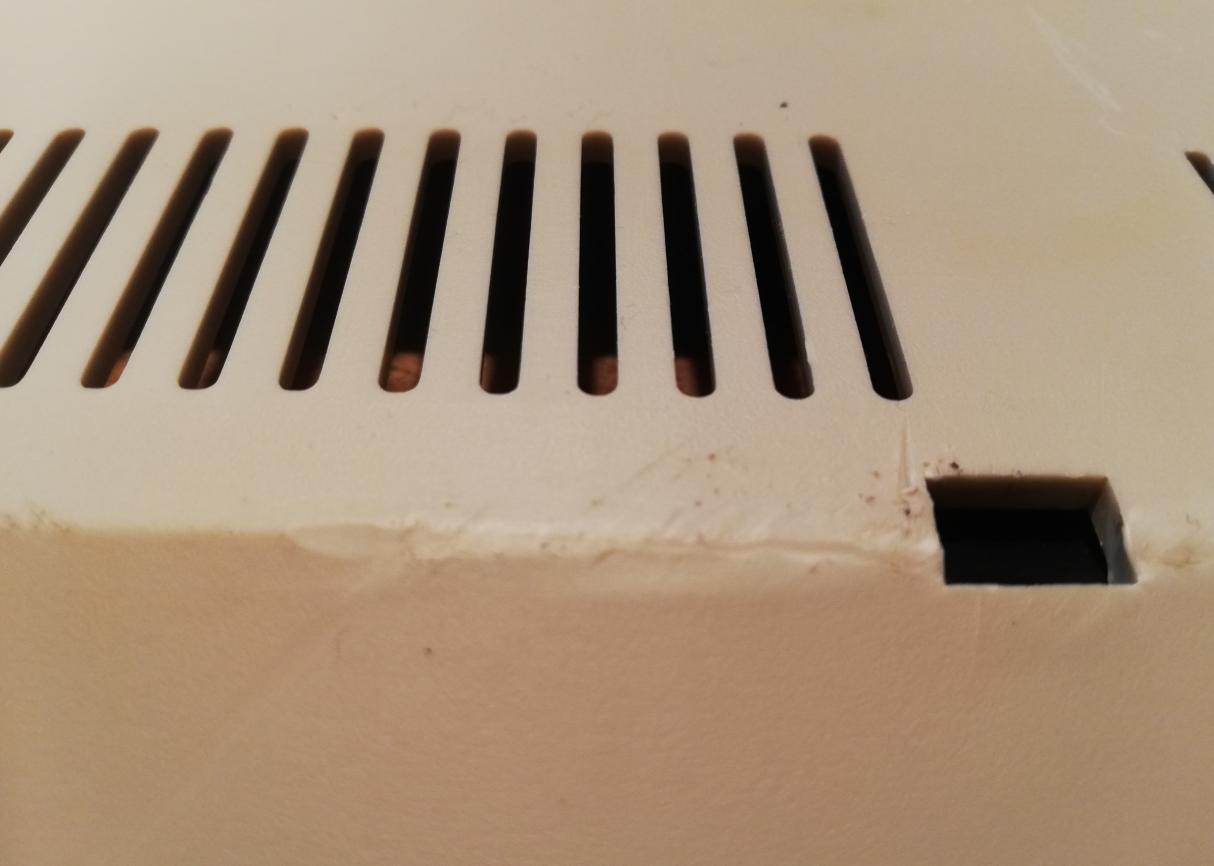
This C64 case had a lot of tension marks. To fix them, I’ve used a hotair gun set to 206 C.
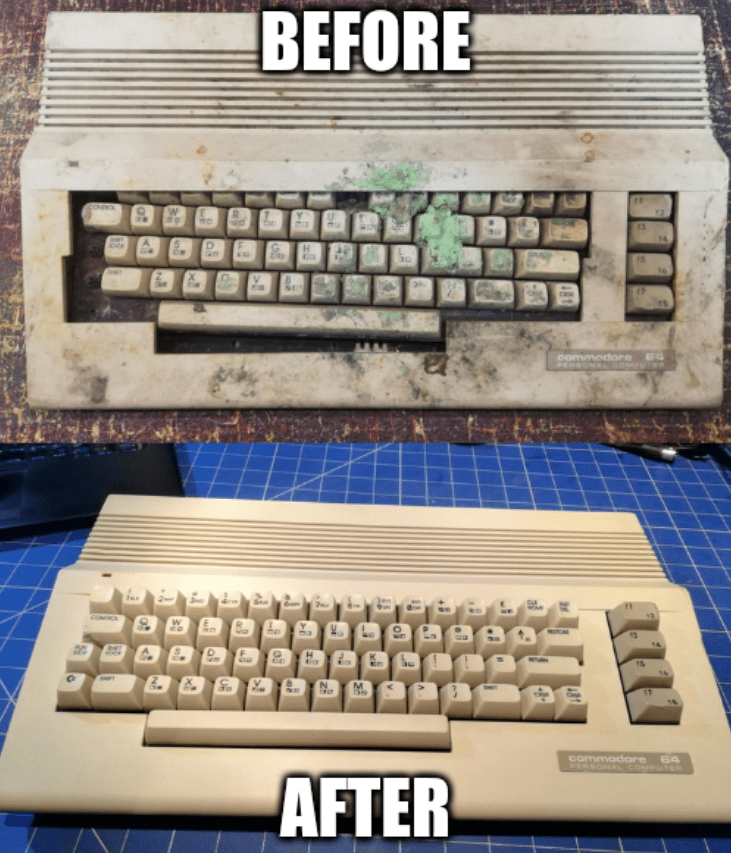
BEFORE
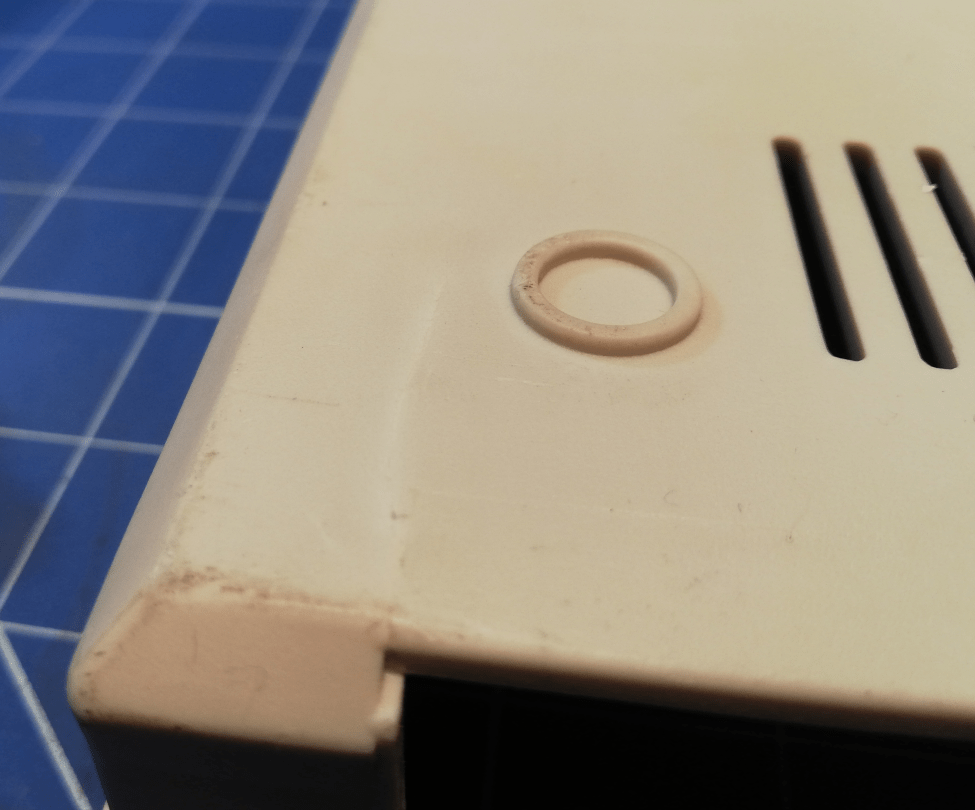
AFTER
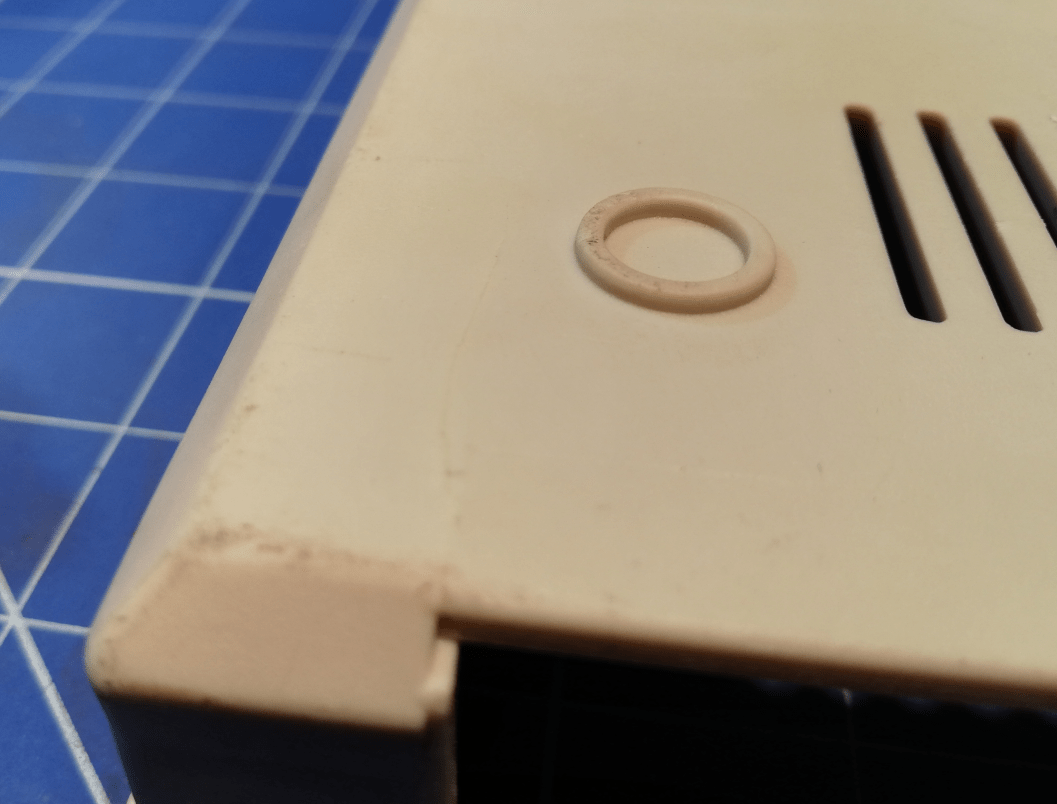
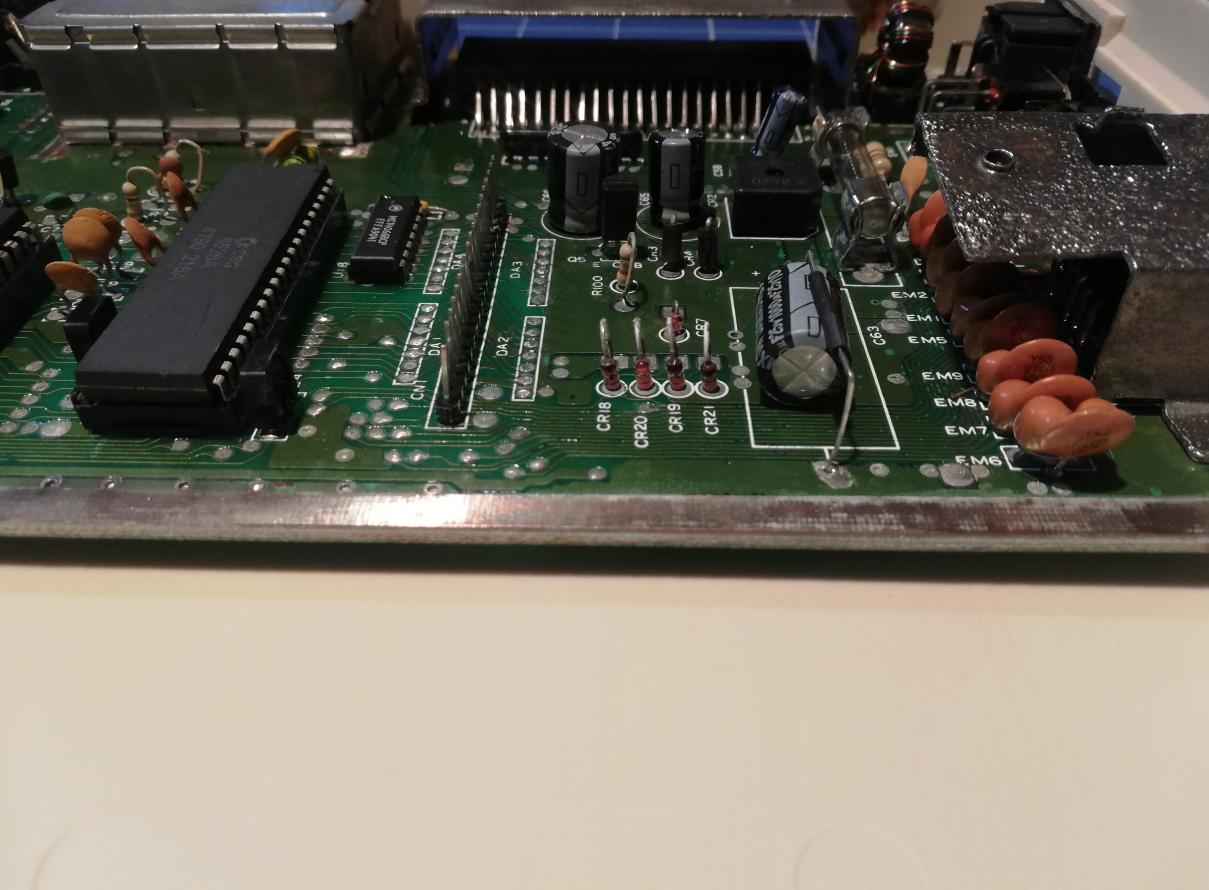
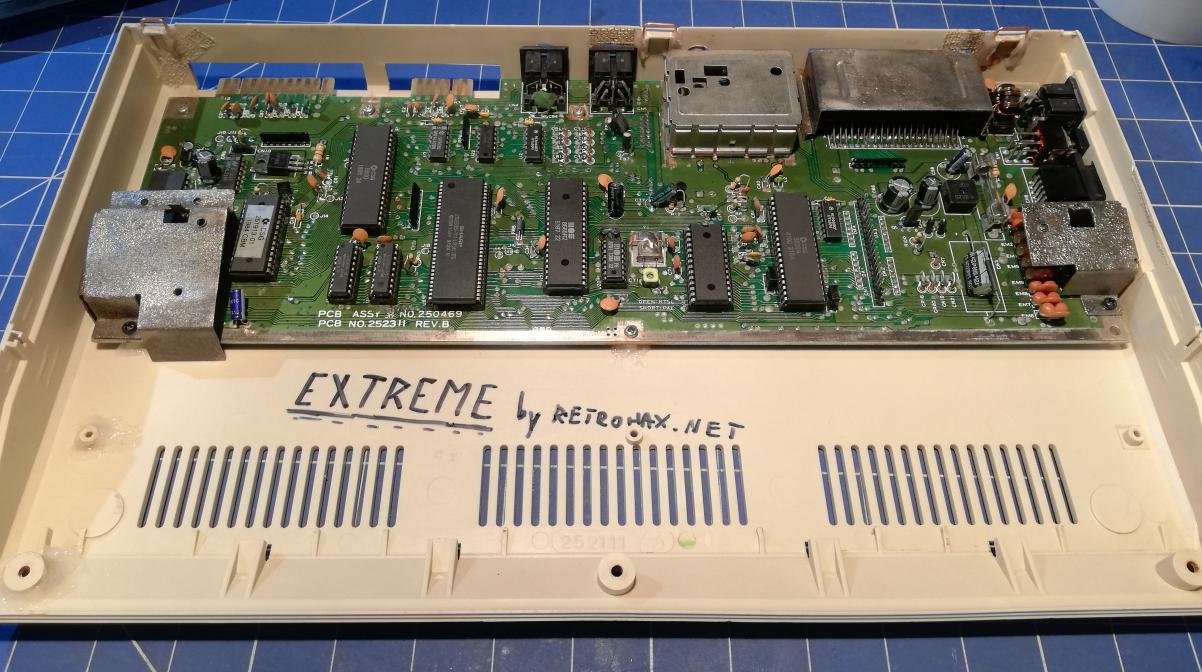
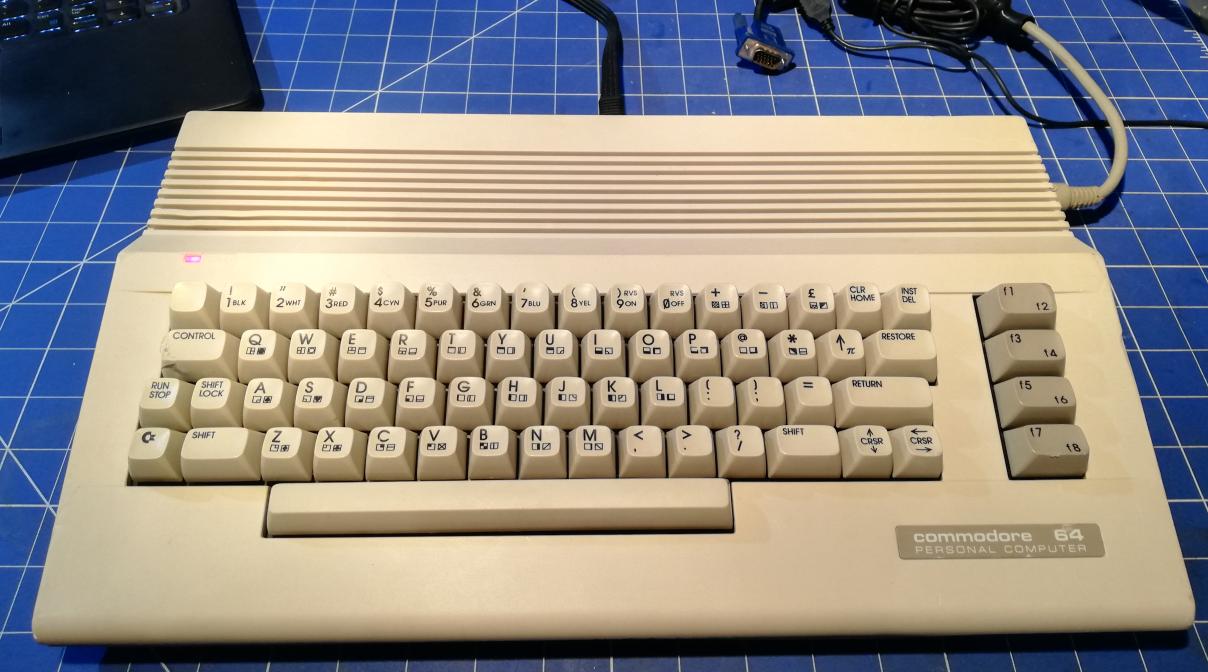
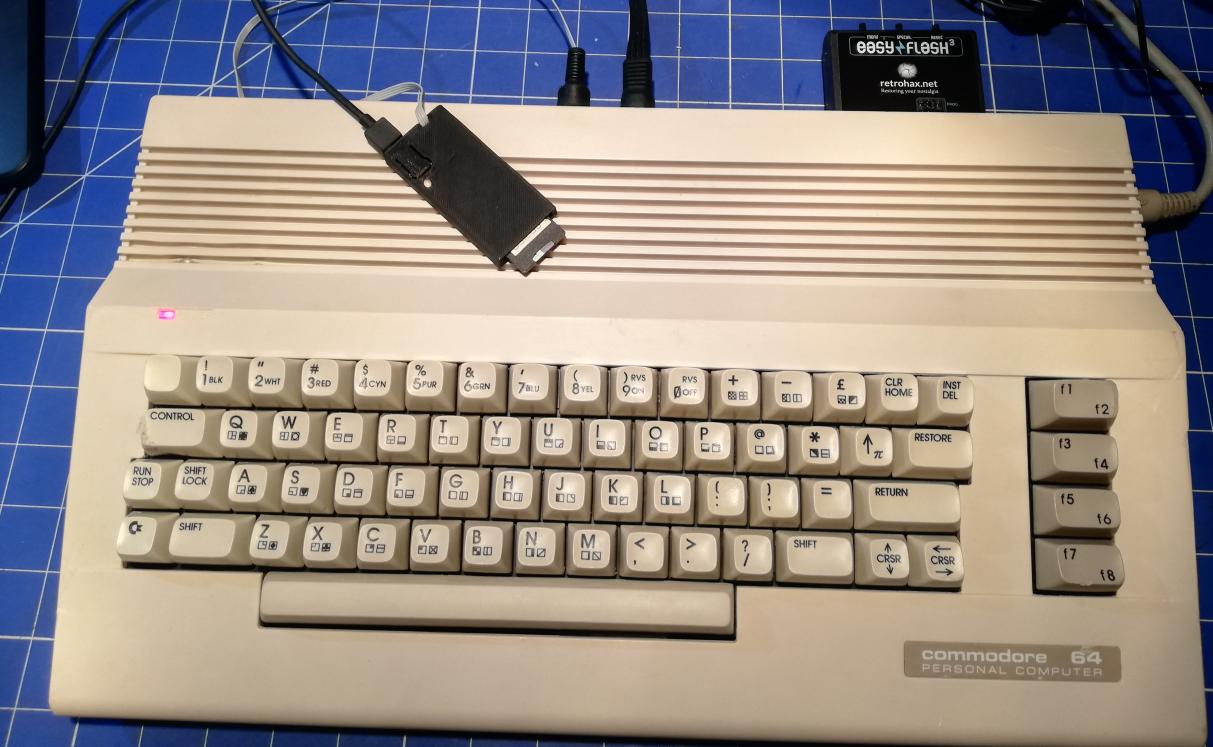
Now the case was ready for final cleaning, and mounting PCB inside 🙂
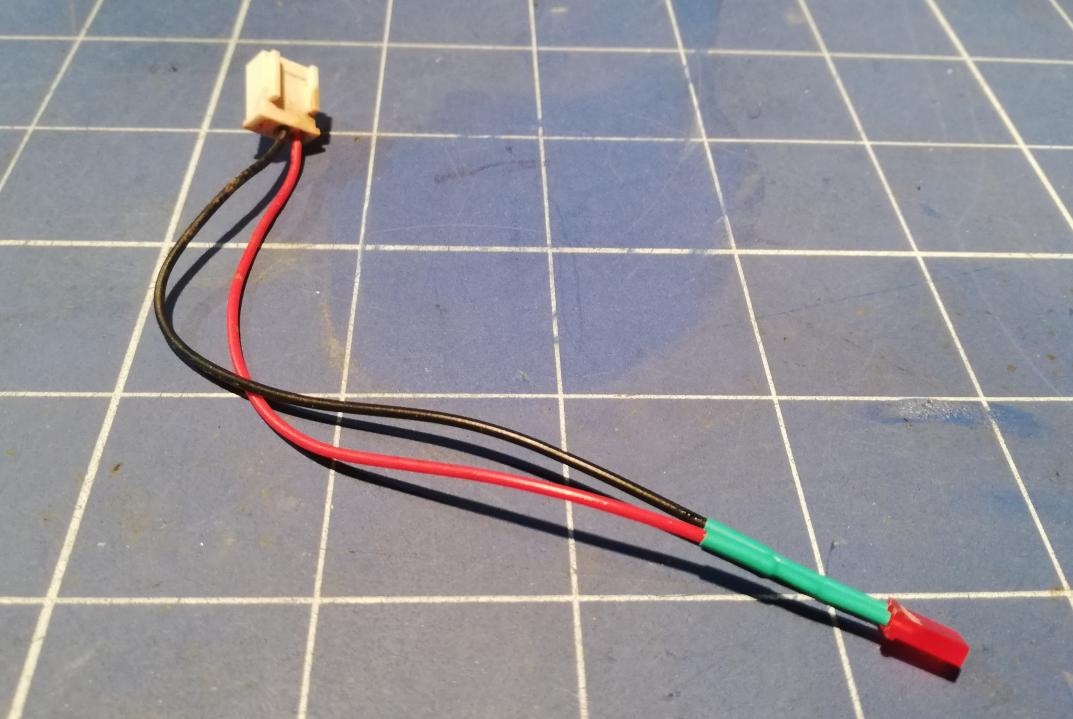
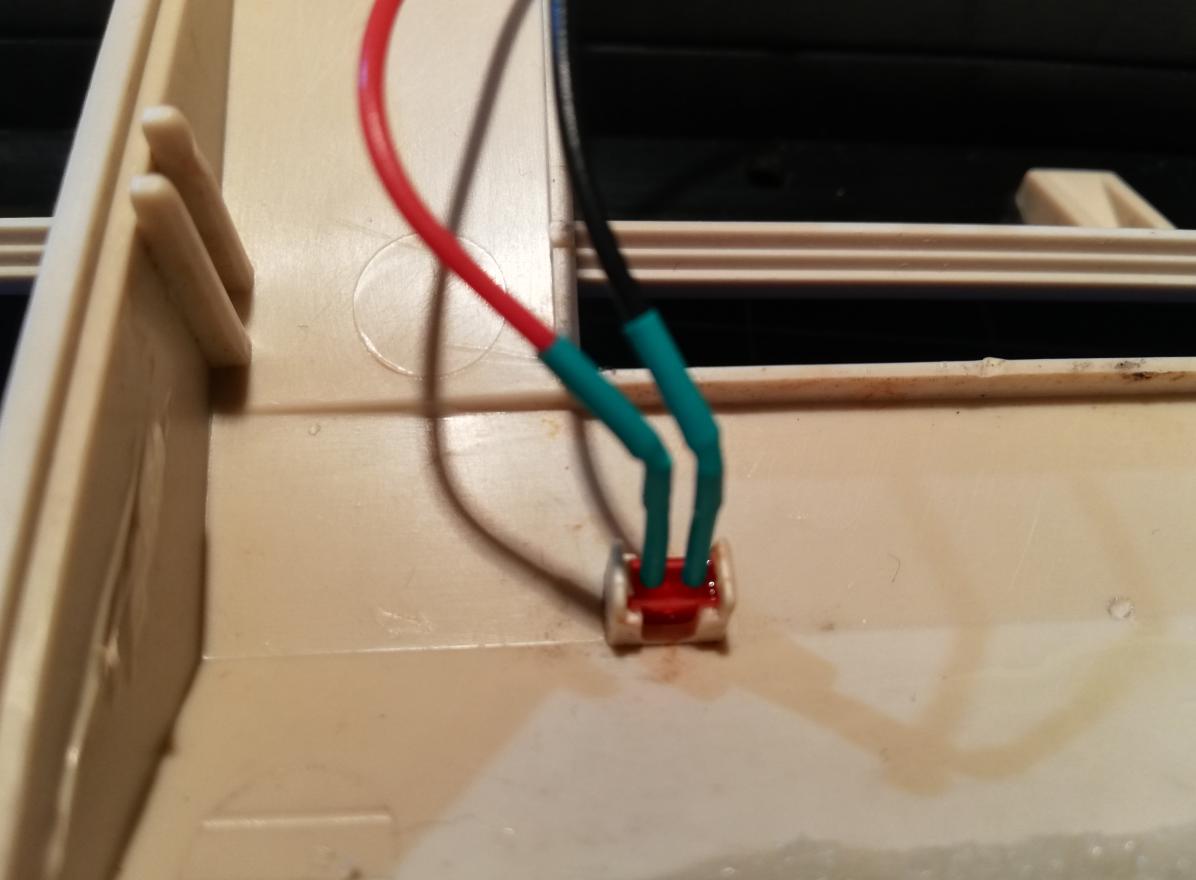
I’ve also made a new LED. The original was missing.

The Grand finale
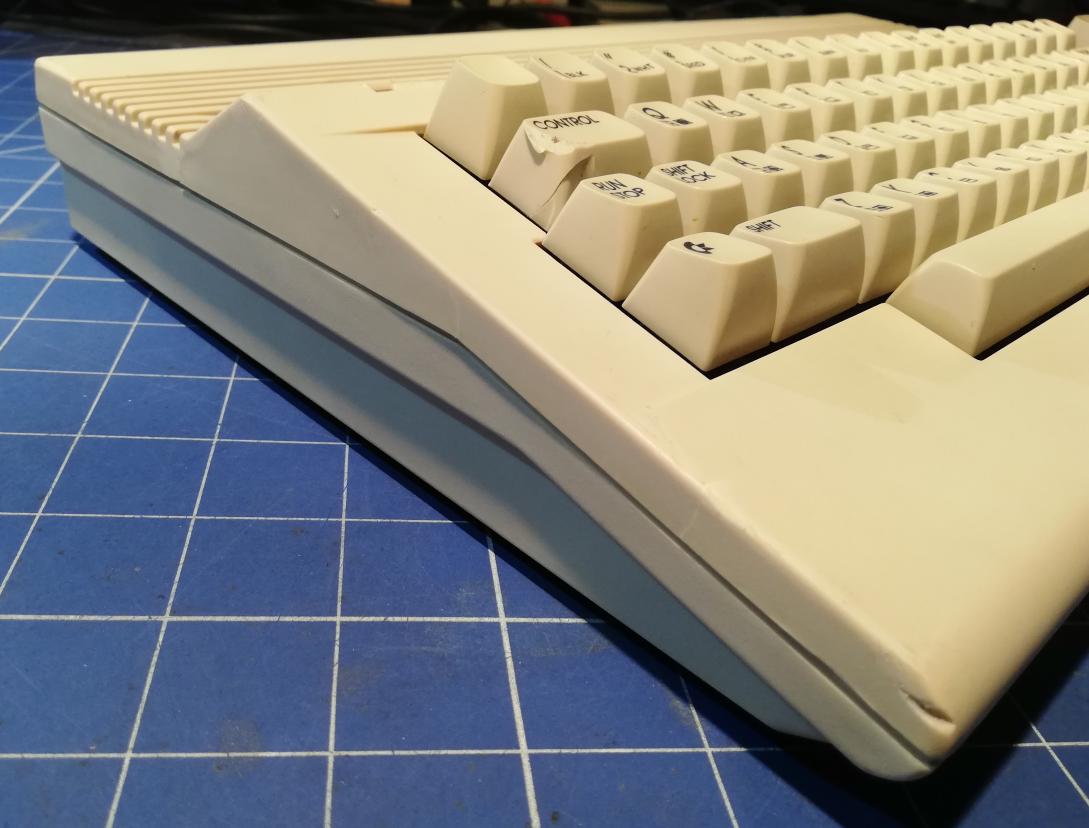
This time I’ve decided that I won’t use putty and paint to completely fix the case. I chose to leave all “scars” because when I did previous refurbs, a lot of folks told me that bringing hardware to the original form is better. It is doable though 😉
Anyway, my job is done.

Final tests with external SD2IEC
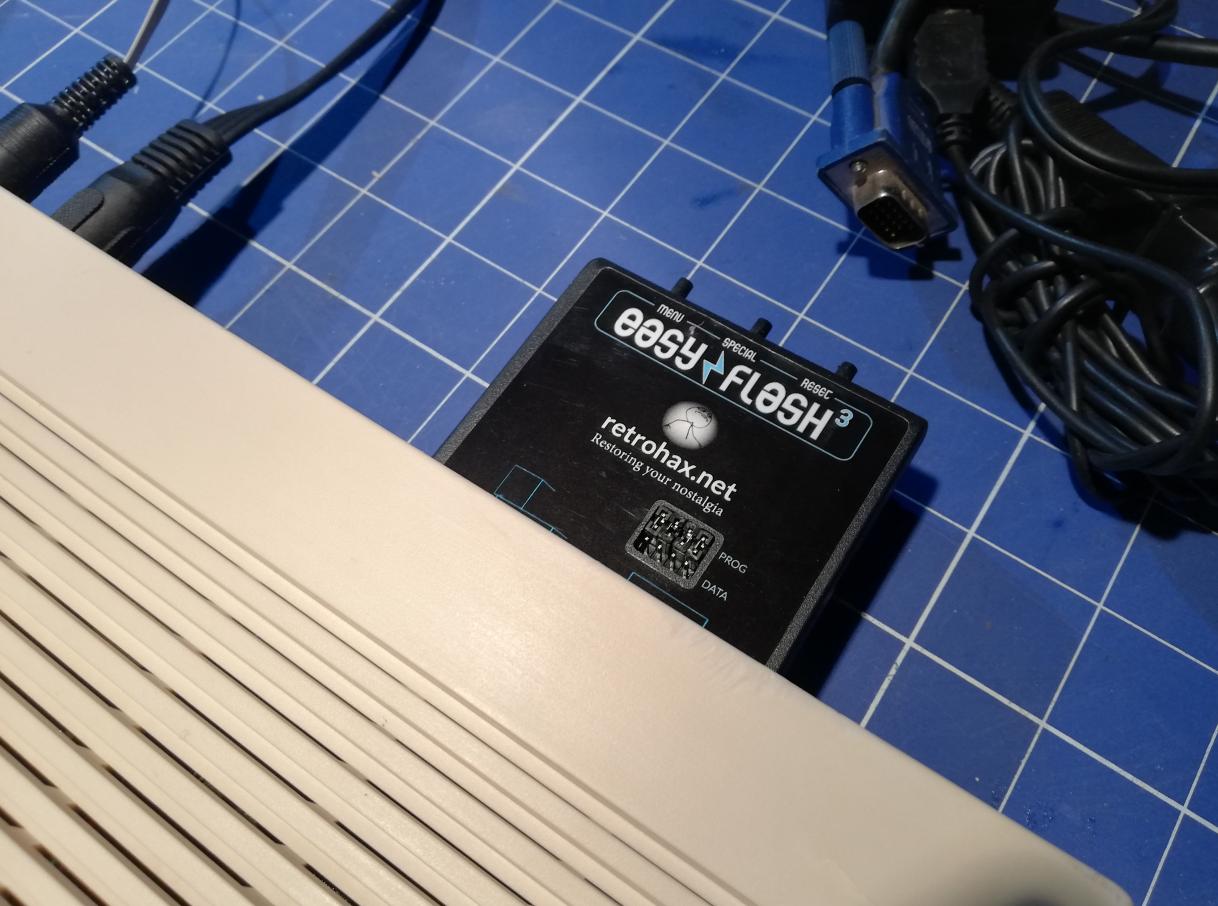
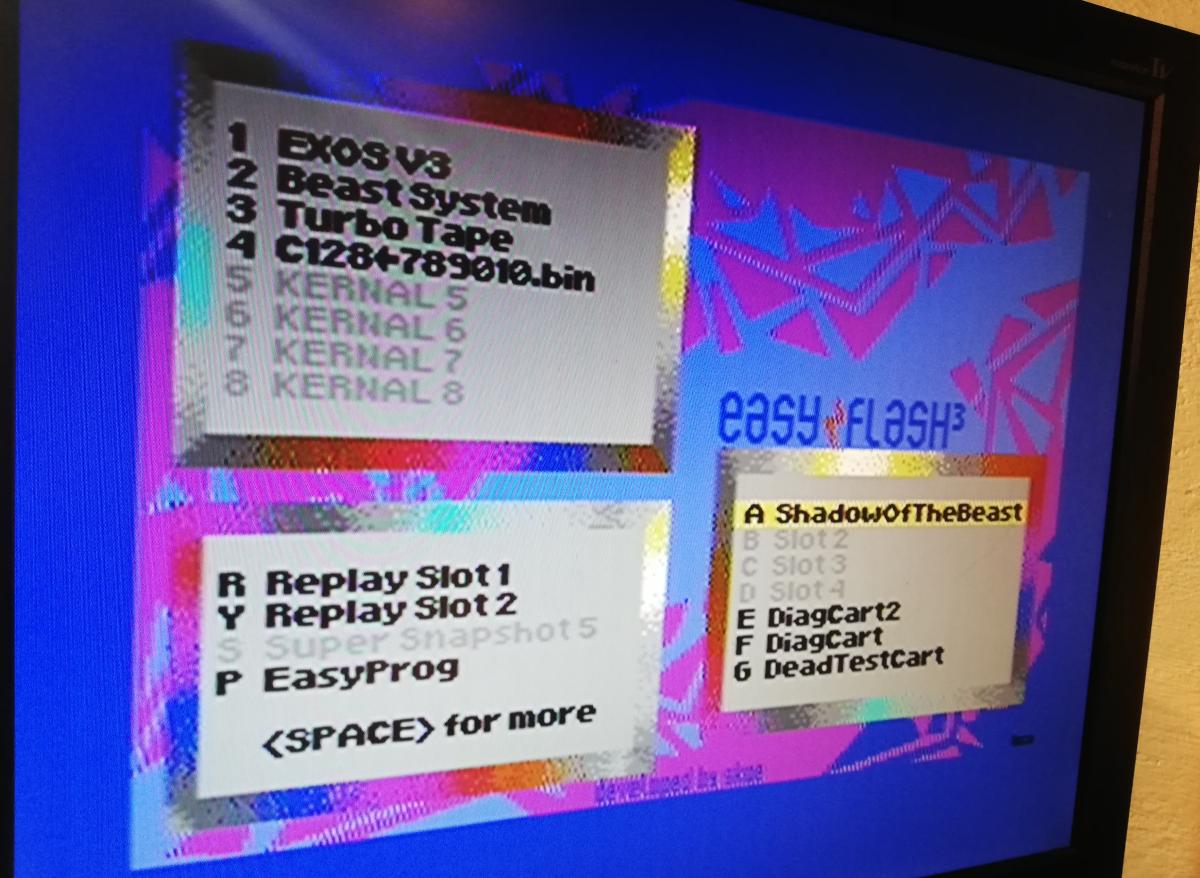
Time to play “Shadow of the beast” loaded straight from the Easyflash3 cart 🙂

OUTRO
If you want to get retro gear or hardware modules, please visit our shop -> https://retrohax.net/shop/
Please support our work by commenting here and on the Facebook page or Twitter
I am looking for more retro computers to repair so feel free to send me a machine that is dead. Moreover! Extreme cases are welcome 🙂


One of the most incredible restorations…..It looked hopeless…..and you managed to bring it back to life.!
Just incredible work….thanks for the wonderful content.