… or repairs mayhem … sort of
Photo of the week
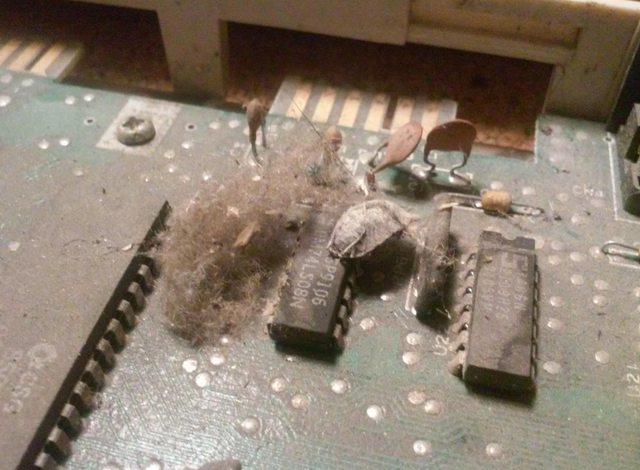
This C64 mainboard needs serious debugging ;P
Intro
This post is a continuation of the CPC repairs saga that I’ve started HERE
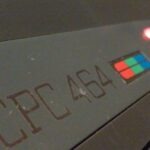
This time, I’ll present three CPC 464 repairs that I had an opportunity to make. Nuff said! let’s roll!
CPC 464 nr.2
Recently, Johny/Lamers bought a very nice Amstrad CPC 464 but unfortunately, it was dead …
If I remember correctly it was Friday evening so we’ve failed to even spot a problem … because …

For obvious reasons, I didn’t restart work on this unit on Saturday morning …. but a bit later 😉
Anyway, CPC was completely dead – black screen. My first assumption was that 40007 or Z80 was simply fried. Since both chips are socketed it is kinda “low hanging fruit” to check, isn’t it?
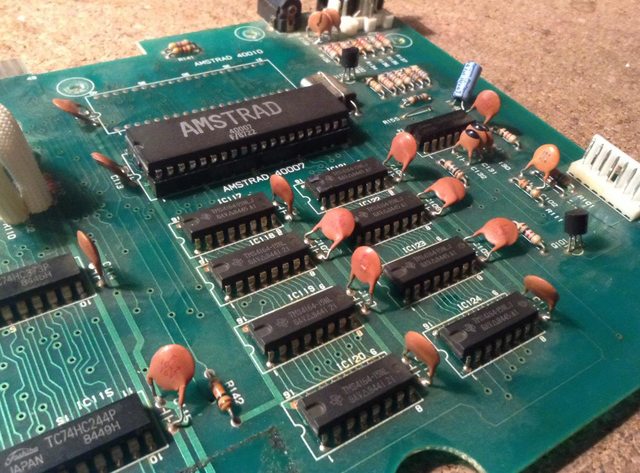
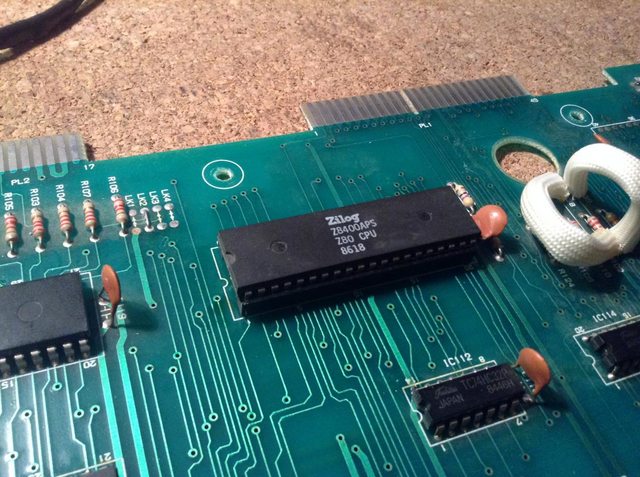
After swapping Z80 to a working one, I didn’t notice any change so I moved on to 40007. After removing it I was like HA! GOTCHA!
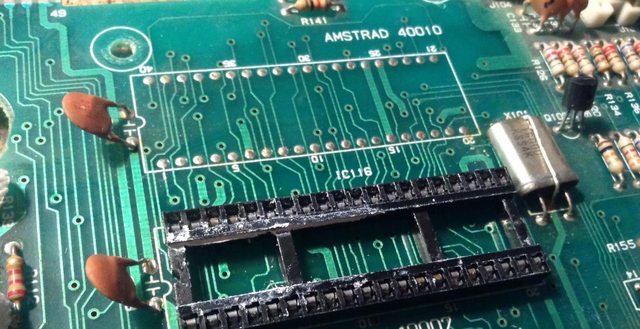
It turned out that the socket is covered with a thermal paste of some sort. I quickly desoldered it and put it in a new socket.
Unfortunately, no progress 🙁 … still a black screen.
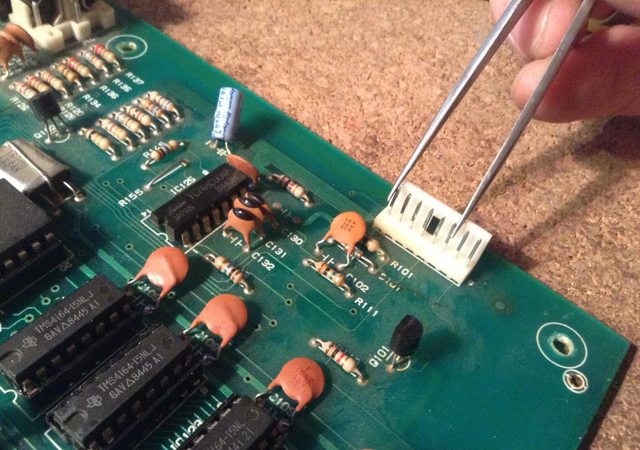
By the way, this is how I power up an AMY while disassembled … with pliers 🙂
ROM
Now I was like, that has to be RAM! I’ve checked if any chip is hot or warm at least but it wasn’t so I’ve left it. As usual, I’ve visited the throne room seeking a solution 😀
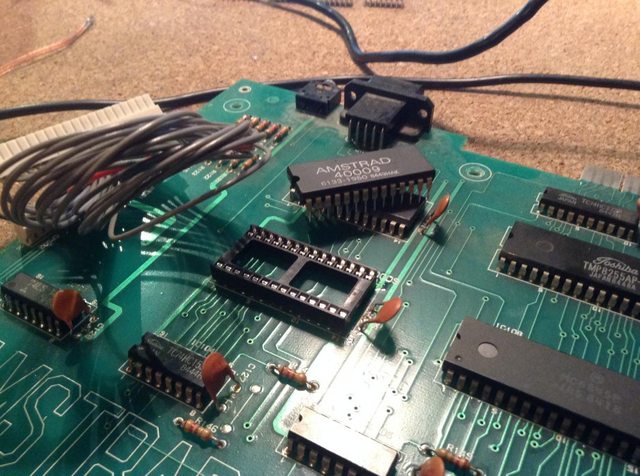
The solution didn’t come so the next thing on a checklist was 40009 – an EPROM.
A few minutes later I had a brand new socket soldered on the board
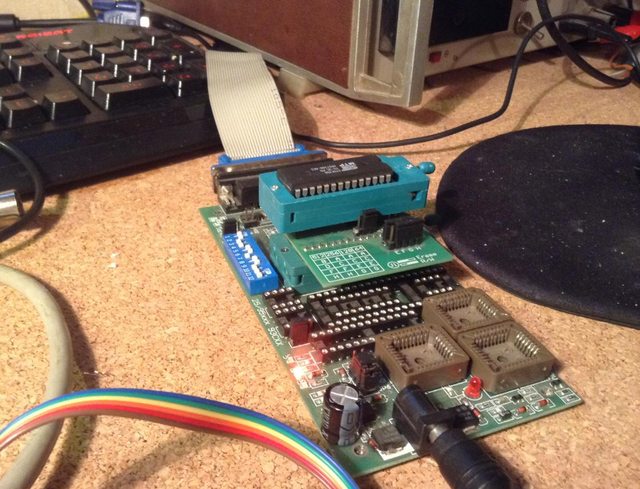
I had a few SST27SF512 flashroms laying around so I gave it a go and flashed it with my WillemEZO programmer.
Still no luck … 🙁
As a lazy bastard, I’ve found out that very often I can get away with a quick replacement of a most suspicious element instead of dull measuring or analysis.
The downside is that from time to time I find myself in a loop that is hard to escape. That was exactly the case this time 😀
I should have started with RAM chips. Seriously, RAM CHIPS FIRST !!!!
Anyway, better late than never 🙂
RAM chips desoldered (new chips on the bottom)
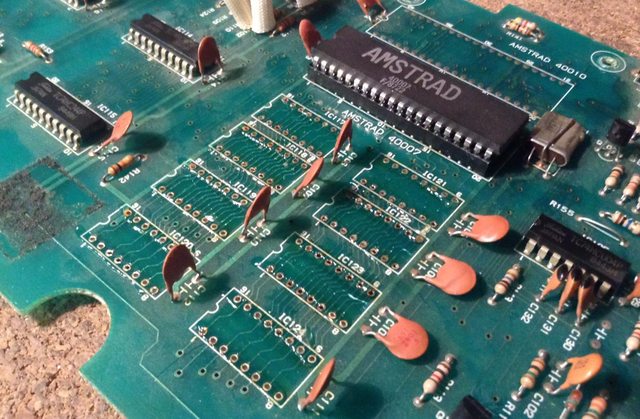
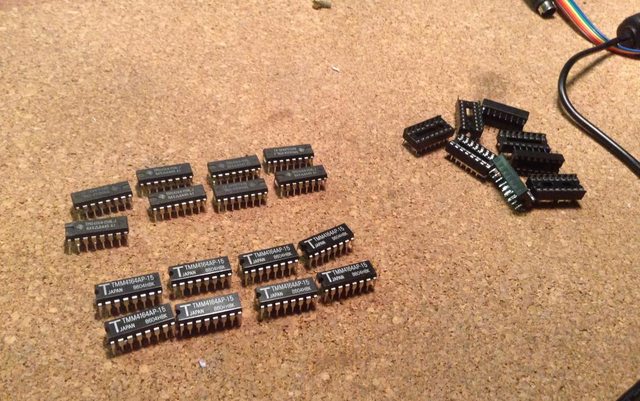
After soldering on sockets, it was just a matter of 2-3 minutes to find which RAM chip is fried.
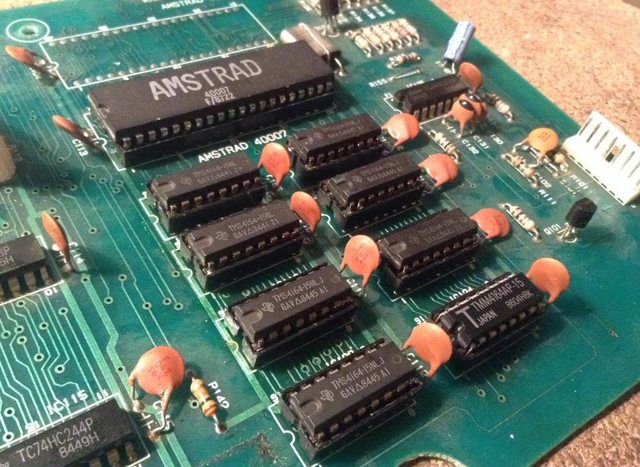
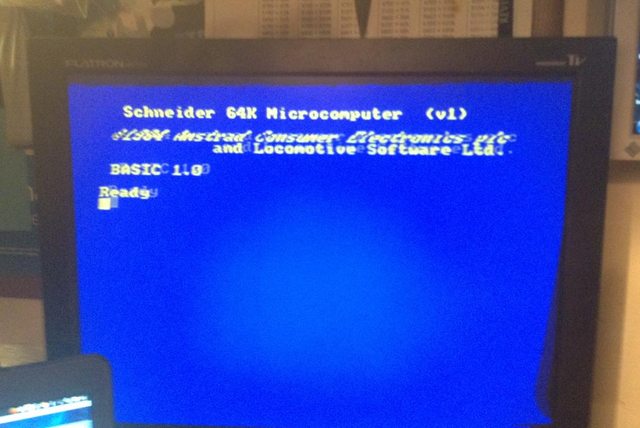
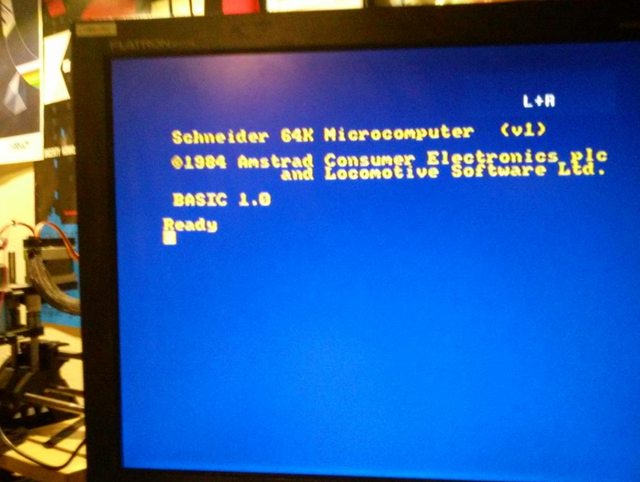
The bottom right chip was dead and after swapping it for a new one, I was finally greeted with a startup screen! (distortion caused by crappy cable)
CPC 464 nr.3
The next CPC that I was given to fix, was a very nice unit sent by V12/Tropyx. V12 told me that there is a problem with a cassette recorder that is constantly ON.
I was surprised that the case of this Amstrad is slightly larger than a CPC that I already own.
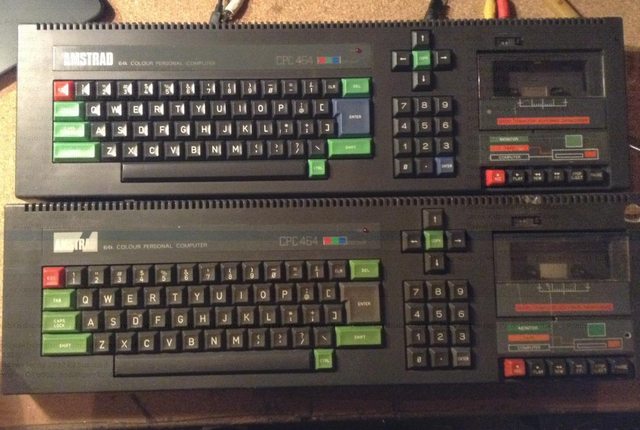
Also, the mainboard was different form than other 464 machines that I disassembled.
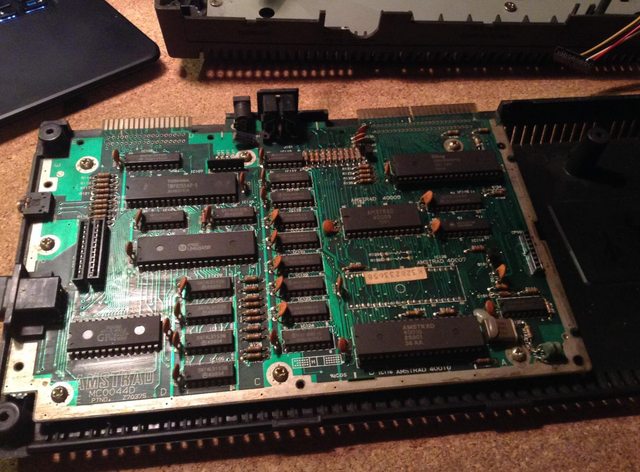
I’ve extracted a cassette player module and started to clean it and look for possible problems causes.
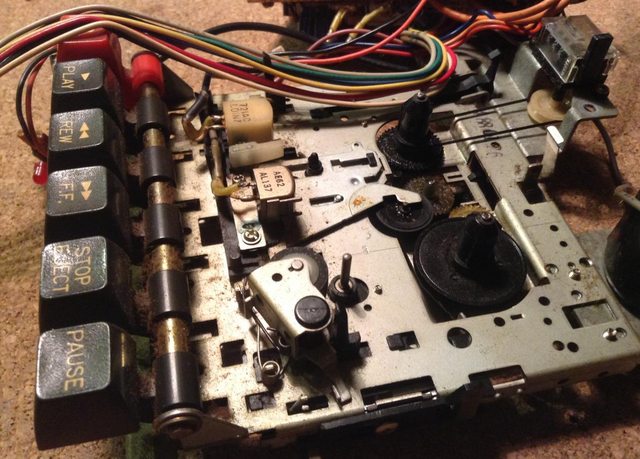
Can you spot a problem already? It is hidden in plain sight.
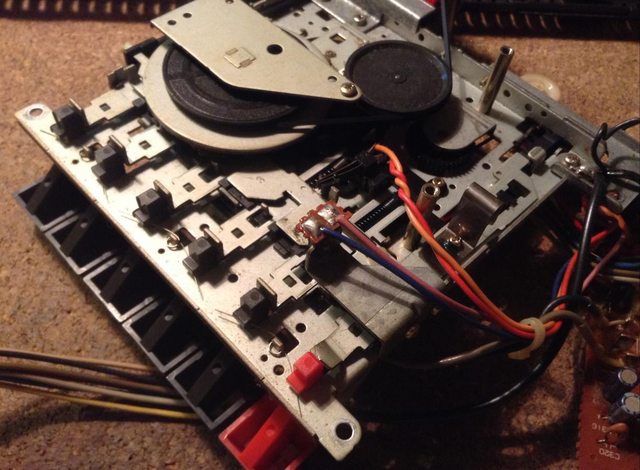
I didn’t spot it at first. Instead, I’ve focused on connectors that were all-time shorted, regardless of button positions.
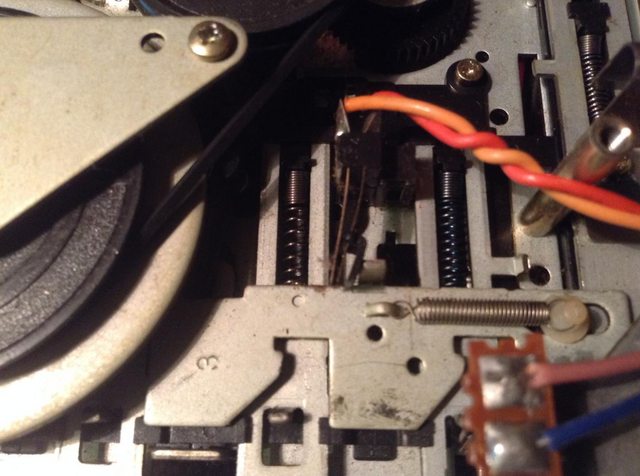
That leads me to the real cause of the problem. Now it should be more visible 😀
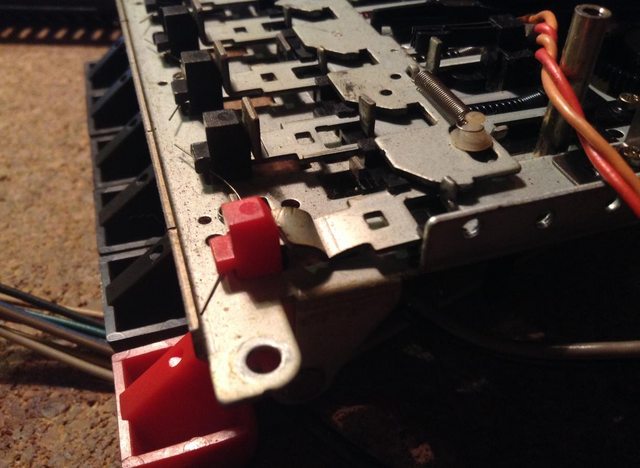
Yup, just a simple mechanical problem. I’ve straightened this lever and the problem was fixed – the Cassette recorder started to work normally.
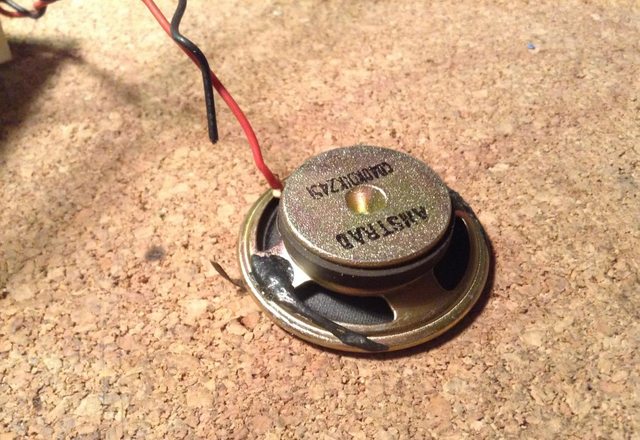
While assembling this unit, I also fixed a broken speaker wire and that finished the repair.
CPC 464 nr.4
The last CPC that I fixed recently was delivered by one of my blog readers – Borys.
Borys wrote an email to me, asking if I could take a look at his 464 which didn’t work properly.
I was like “Hey! Why not?! Send it in :)”
A package came after a few days.
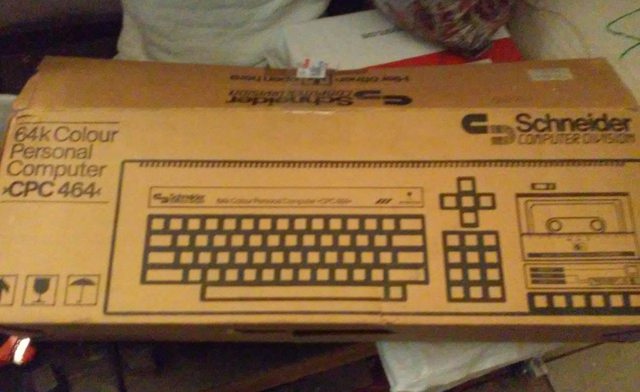
Indeed, it wasn’t working properly …
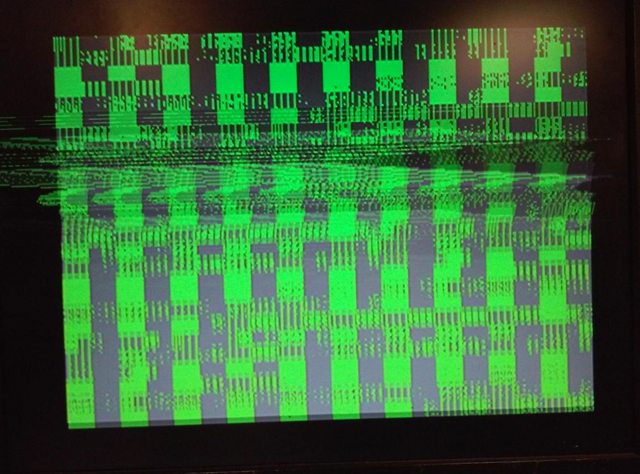
This time, I’ve started with RAM :>
However, I have to add that it was quite obvious to spot an issue. One of the MT4264 chips was getting very hot. Desoldering it took a minute and I was ready to install a new socket and replace a faulty part …
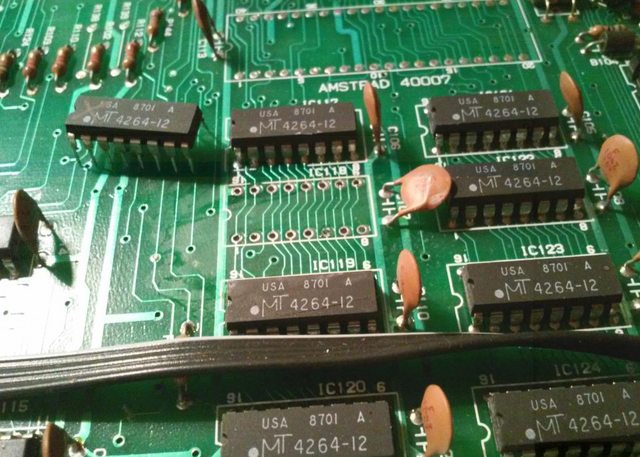
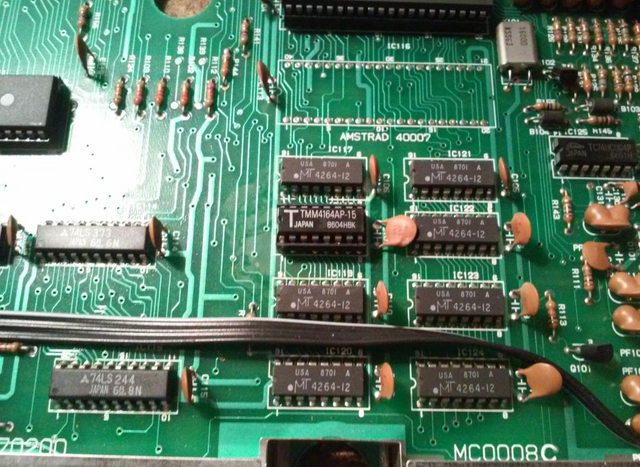
… but after powering CPC up I saw this.
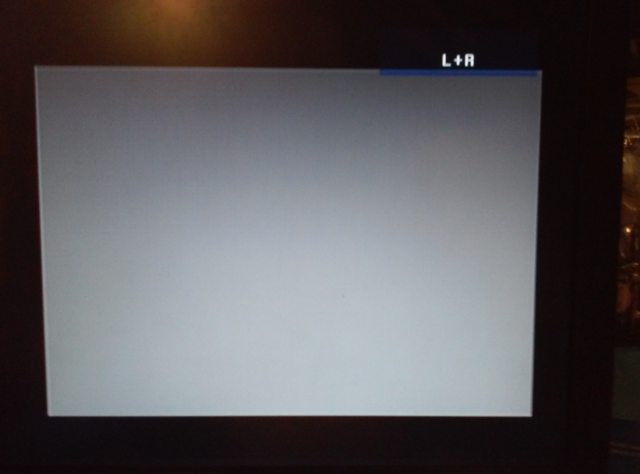
I was like “daaaamn, now what?!”
After a bit of checking, I’ve found a second broken RAM chip. I don’t know why, but I didn’t notice it at first.
Quick replacement followed
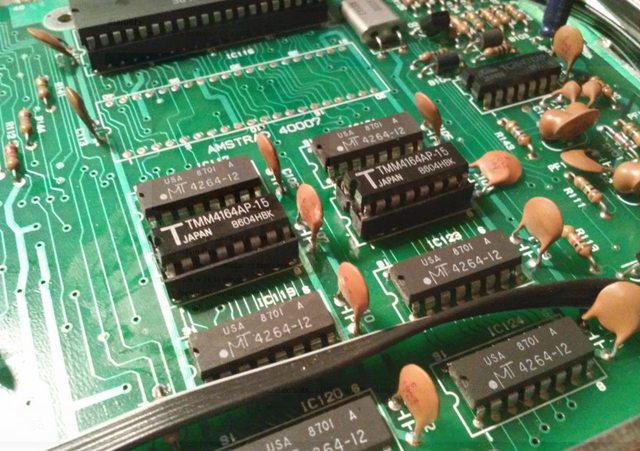
Finally, CPC was brought back to life!
Outro v0.1
Lessons learned:
- DO TEST FOR FAULTY RAM CHIPS FIRST !!!
- DON’T DRINK MUCH ON FRIDAY 😛
The saga will continue 🙂
Next in line is CPC 6128
OUTRO
If you want to get retro gear or hardware modules, please visit our shop
New products are being added every month.
Also, please support our work by spreading info about it.
Without your support, we simply cannot grow and we have a lot of new cool retro hardware (and more) products to come



What method did you use to remove the ram chips ?
Usually, I am using desoldering gun + desoldering wick and flux 🙂
thank you… is there any way to figure out which of the ram chips are faulty without removing them one by one..
The easiest method is to turn on the machine, wait a bit and touch ram chips with finger. If one is of the chips is hotter than the rest, you can try replacing it.
Howeverm this is not a 100% sure method. The other method is to put a brand new chip on top of the one on the motherboard so all legs are connected. This is also not 100% sure method.
will try the heat test and piggy back…
thank you
Great Post… Can you please tell me where you purchased the replacement RAM and RAM sockets?
Thank you 🙂
I’ve got sockets from tme.eu but I can’t recall where I’ve bought RAM chips. I usually buy ’em in bulk for various computers.