… or how to break stuff in order to repair it
Intro
A long time ago, far far away, in a distant galaxy, something happened but …
… nobody knows what exactly happened because it is too fuckin far away.

1541-II
So I have this Commodore 1541-II floppy drive that is a bit yellowed, missing serial cable and a power supply.
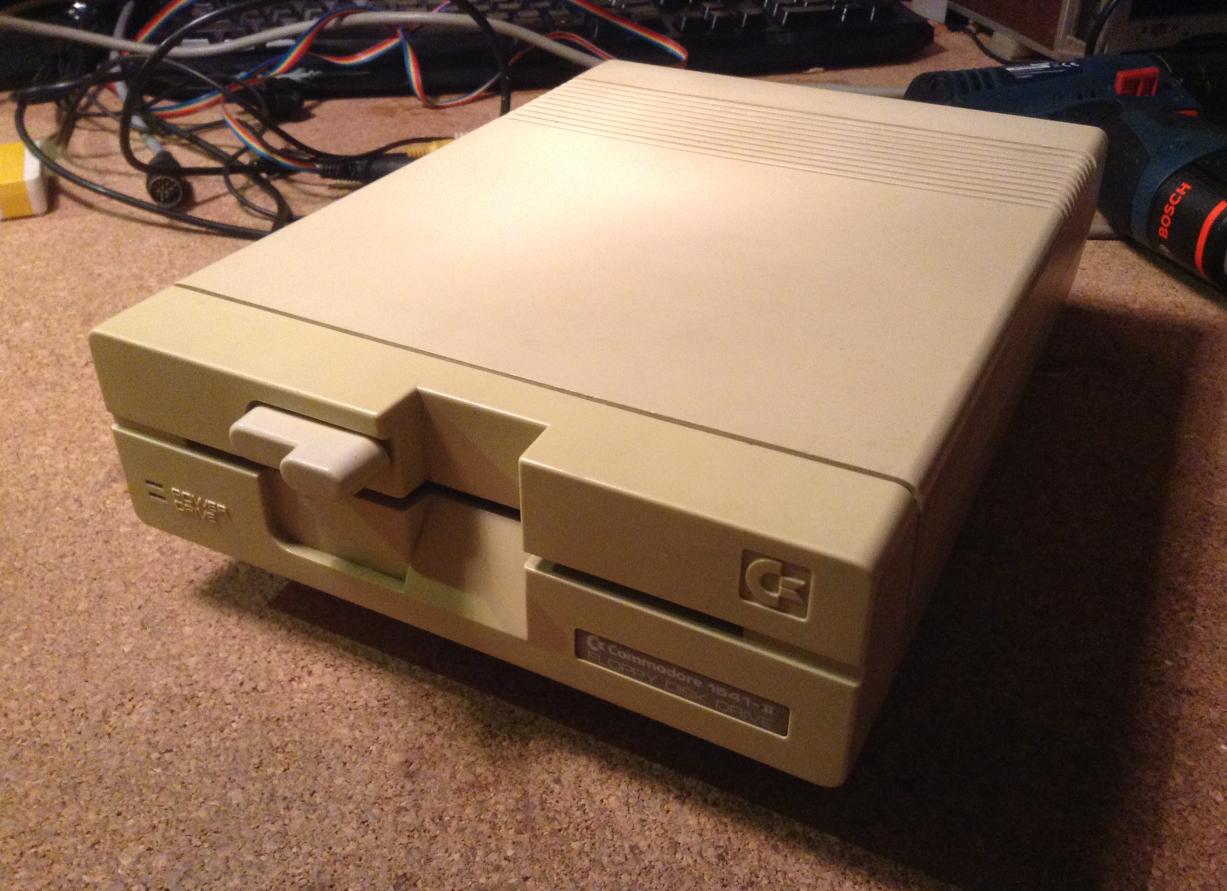
Obviously, I wouldn’t be myself if I left it like this so when I finally had a bit of free time (seriously, just a tiny bit) I decided I’ll refurbish it 🙂
The floppy drive was in pretty good shape so I assumed (wrongly! :D) that it’ll be a rather straightforward and easy job. I just needed to de-yellow it and clean it off the old dust and other crap that it was covered with.
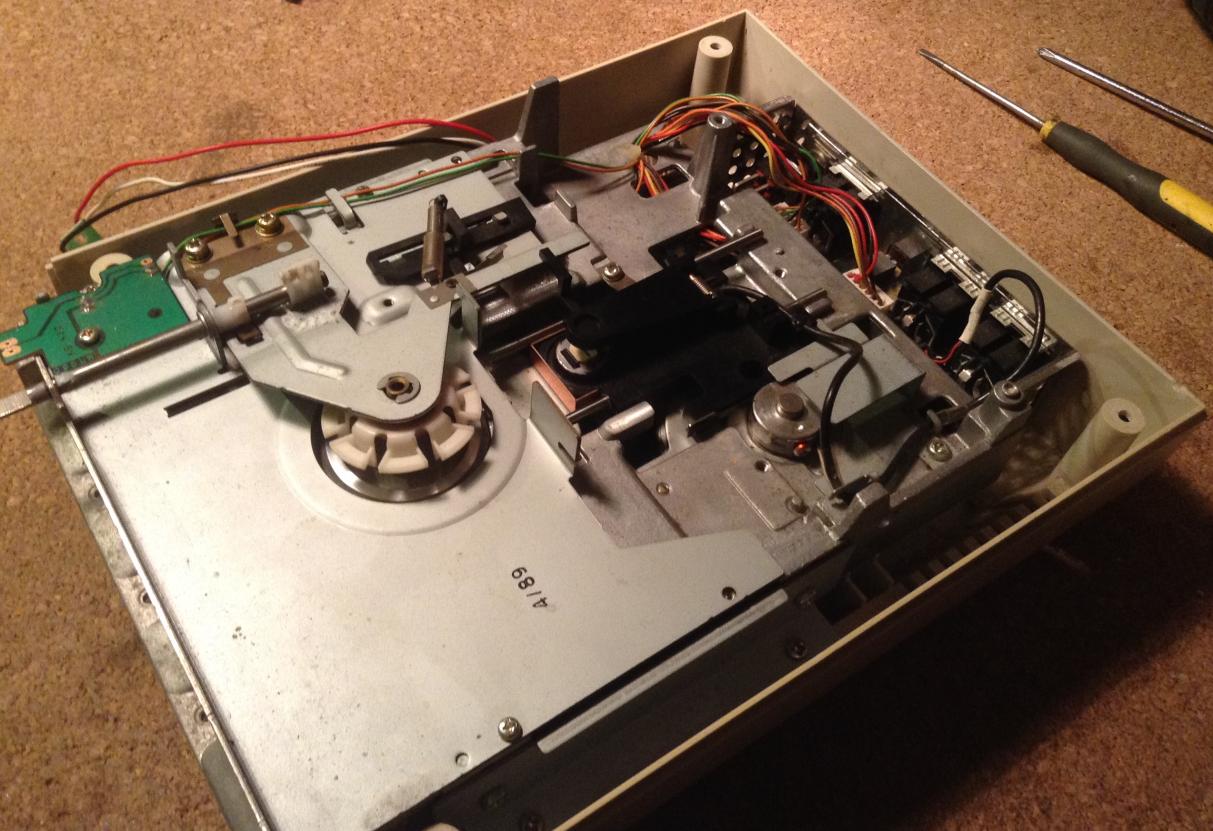
Disassembly followed shortly.

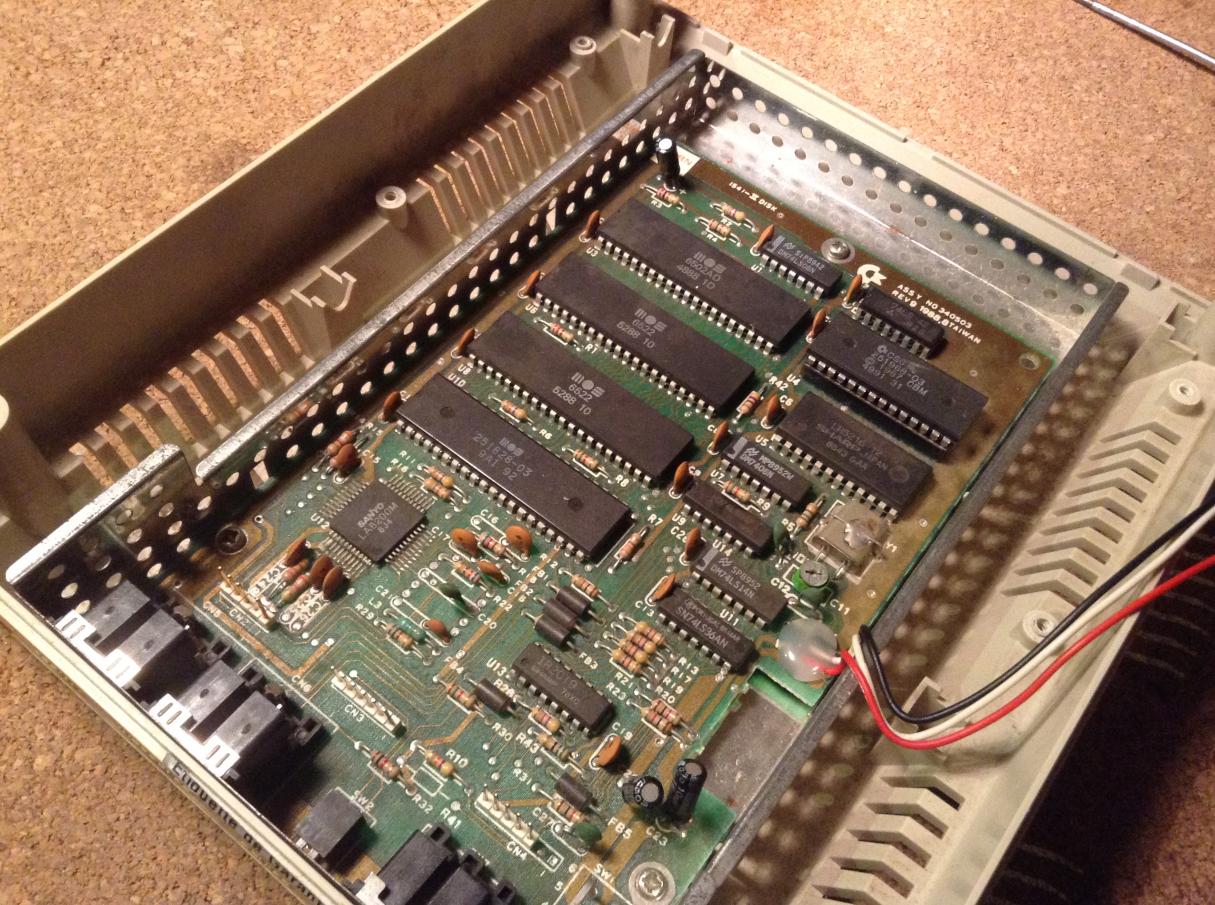
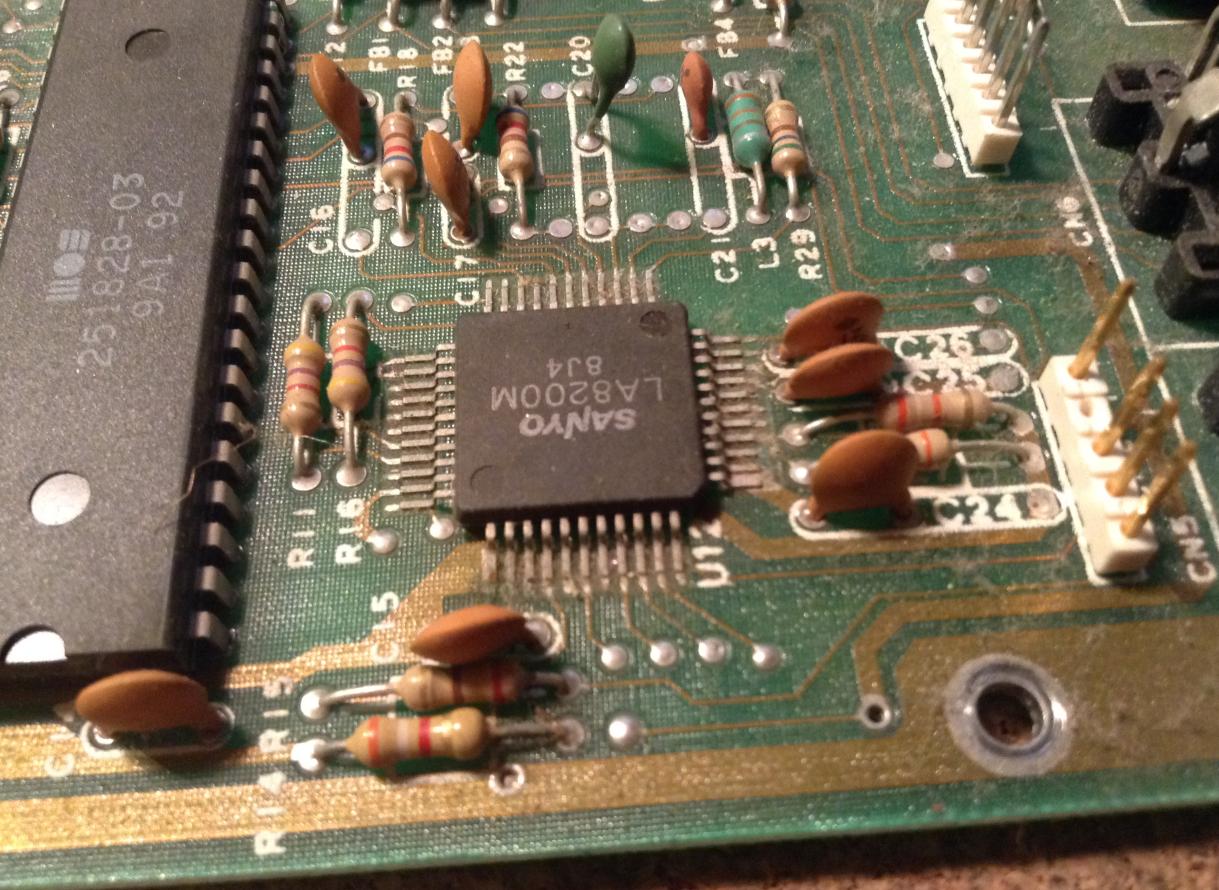

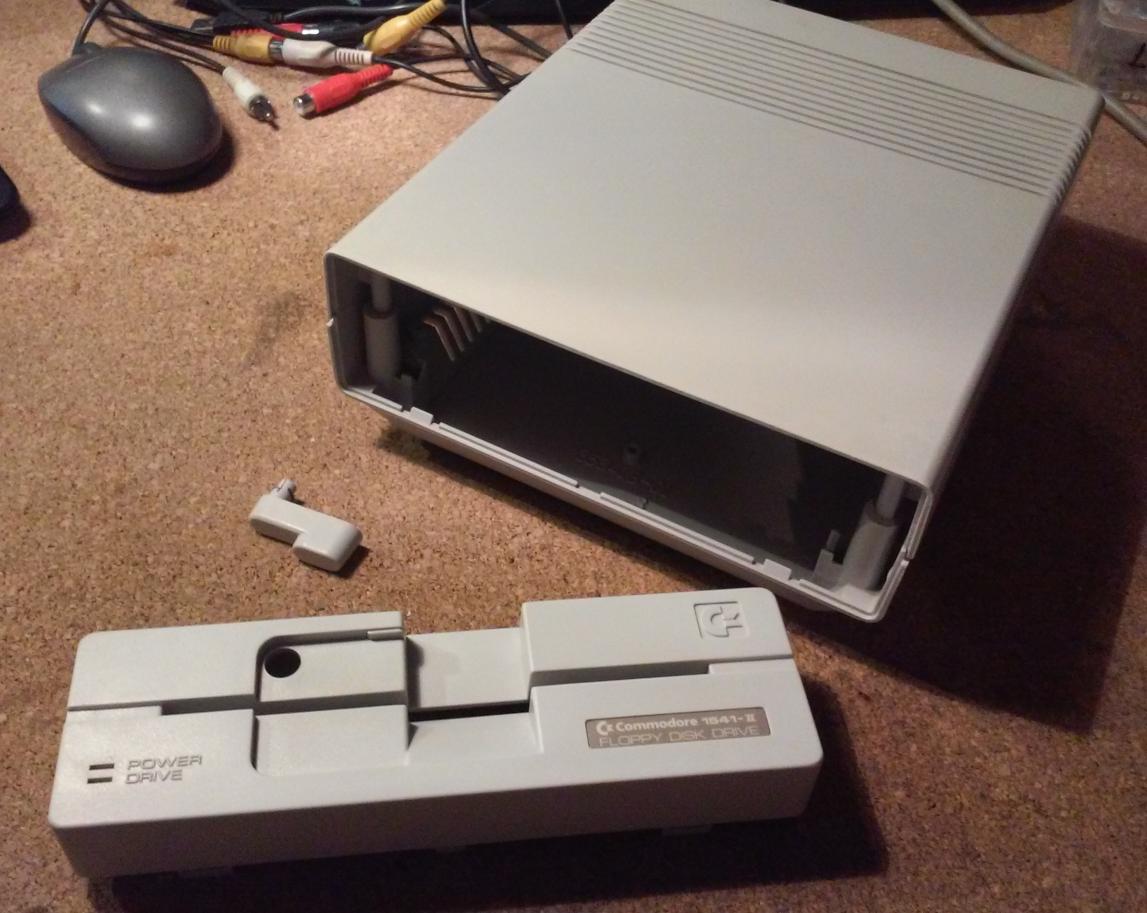
So far, so good. Cleaning was quick and easy. De-yellowing took some time as usual but worked like a charm. I’ve covered de-yellowing so many times already that I’ll skip it and show you outcome photos instead.
Oh crap!
In the meantime, one of the folks on Lemon64 forums ( cheers guys 😉 ), started a thread about failed part inside 1541-II. His problem was a broken piece of a part that pushes a floppy disk holder into a working position.
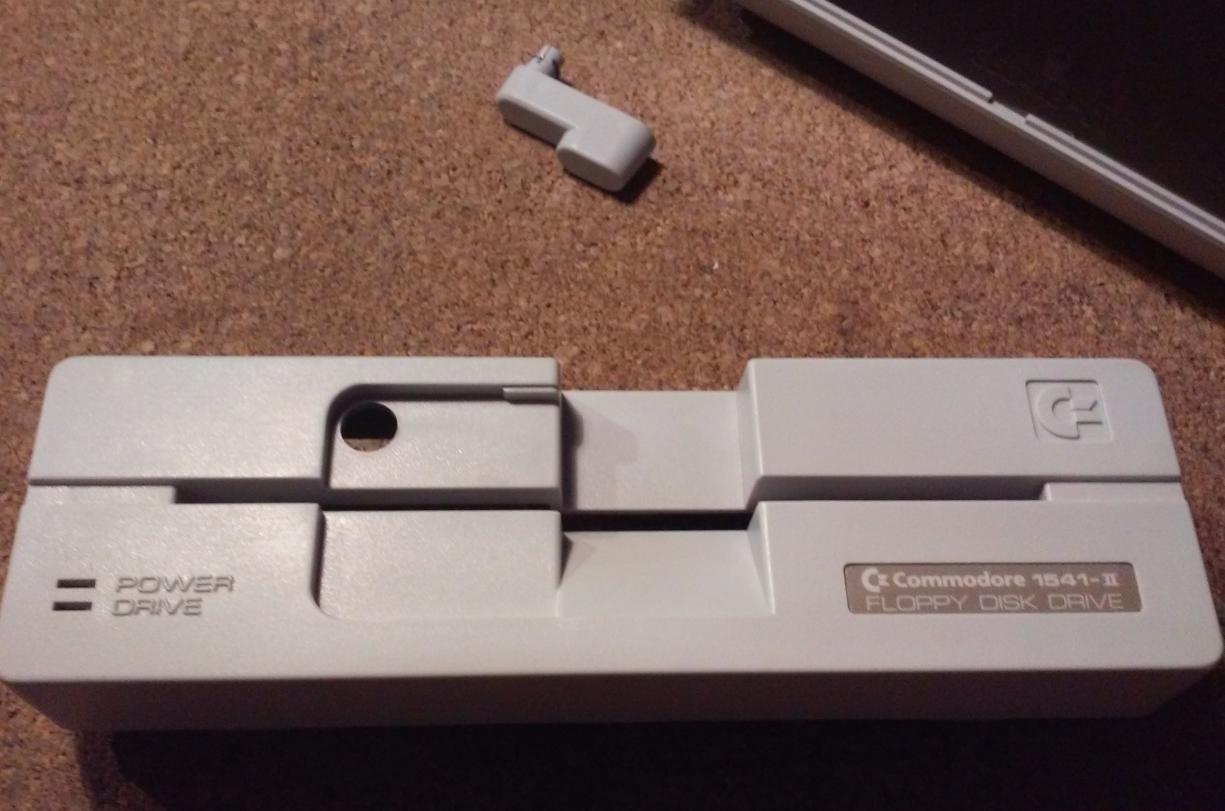
It is that white thing in the photo below.
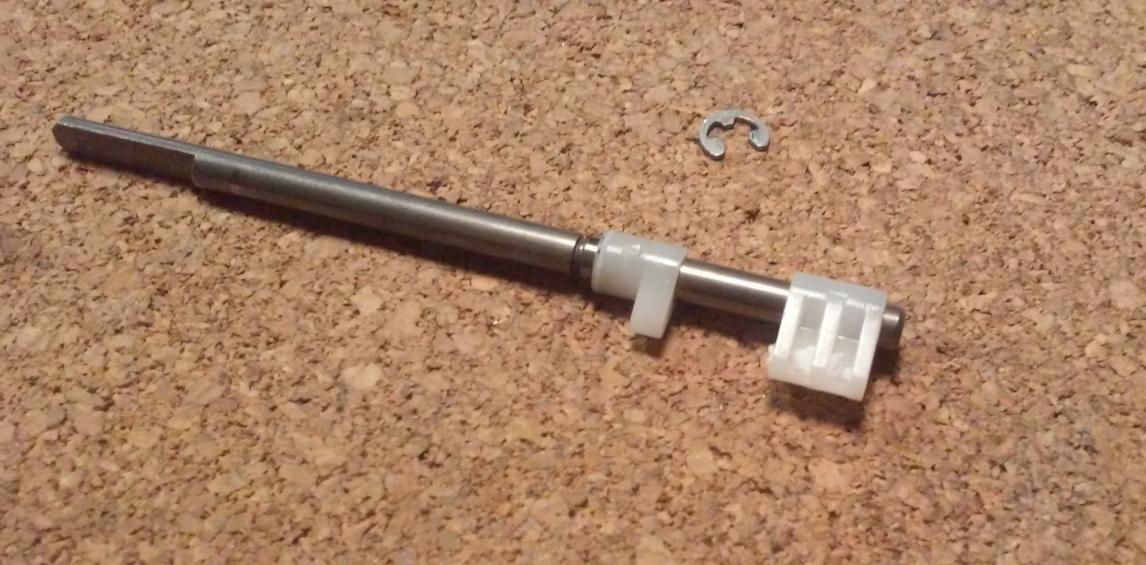
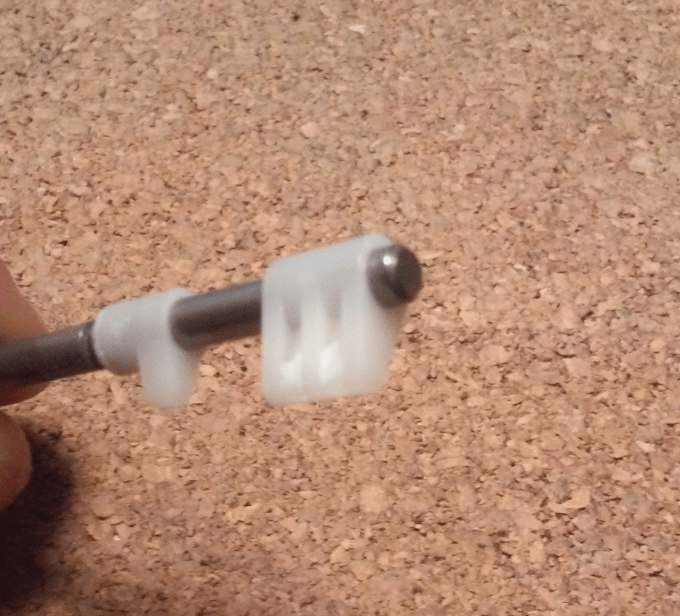
Obviously, my idea was to 3D print it and since I had all disassembled it, I could take some measurements without problems.
I’ve no idea why (actually I have an idea, I am an idiot, that’s why ;P) but I desperately wanted to remove this thingy to make some additional measurements and to figure out how it is mounted. I started to pull it strongly … then I pulled it with pliers … then I farted (lol) … aaand … then it broke.
I was like …

My model
So, instead of simply helping the other guy with creating a model for a 3D printer, I’ve ended up with a real problem lol 😀
Luckily, I already had everything I needed to start drawing a model.

Since it is quite a small part, it is always a good idea to print a few of ’em at once, especially if you don’t have a cooling fan installed on a 3D printer.
I’ve loaded a model into Slic3r and set up parameters.

A few minutes later I had six printouts ready for testing. 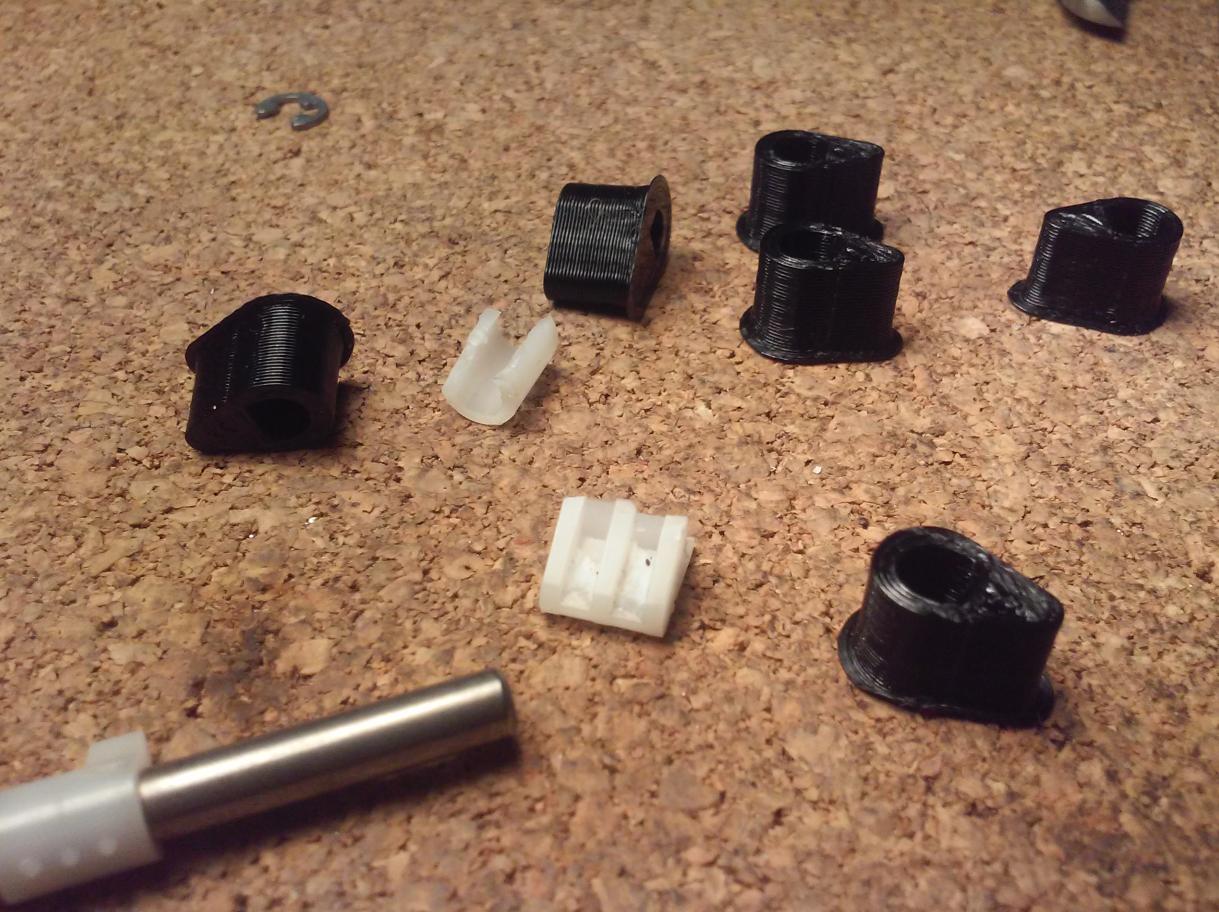
Printouts needed some post-processing, like cutting off a brim and a bit of sanding. After that, I pressed it onto a shaft and secured it with a small injection of epoxy glue to hold it in place. Here is how it looks mounted. 


Phew, it worked 😀
For all those with a similar problem, HERE is an STL file for your 3D printer 😉
Remainings
Just two things left to be done.
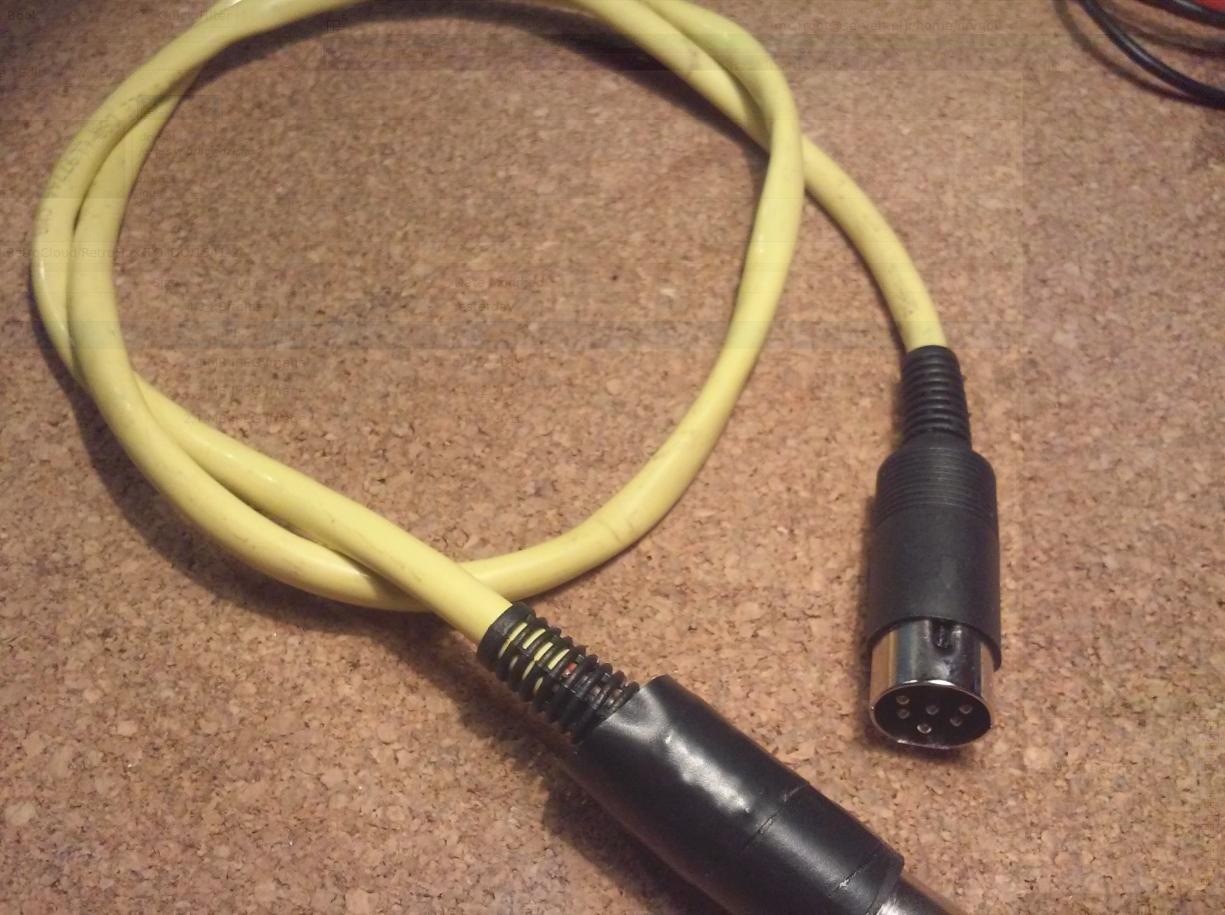
First is, a serial cable which I’ve made out of a UTP cable
The second is a PSU for a floppy.
This floppy drive uses two voltages 5V and 12V so that was quite an easy task. As usual, I’ve used a typical 12V PSU and added a step-down DC-DC converter to get 5V, shrink-wrapped it, and … YAY, IT WORKS!.
I already did a similar hax in the past – HERE for an example.

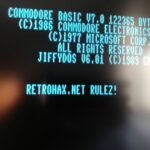
The whole above resulted in a rather nice-looking and fully working 1541-II floppy drive setup for my C64 :D.


See ya next time 😉
OUTRO
If you want to get retro gear or hardware modules, please visit our shop
New products are being added every month.
Also, please support our work by spreading info about it.
Without your support, we simply cannot grow and we have a lot of new cool retro hardware (and more) products to come