… or a DIY PCB milling machine
Intro
I’ve got this link from Wiecz0r/Lamers … no further explanation is required … :>
What for?
Yeh yeh, I didn’t write for a while. Xmas… new year … and so on.
Some time ago, I was trying to build a SIO2SD for Atari 8bit
I already had a decent understanding of how to work with the toner transfer method, but I wanted to automate the prototyping process a bit more and also simply wanted to learn something new.
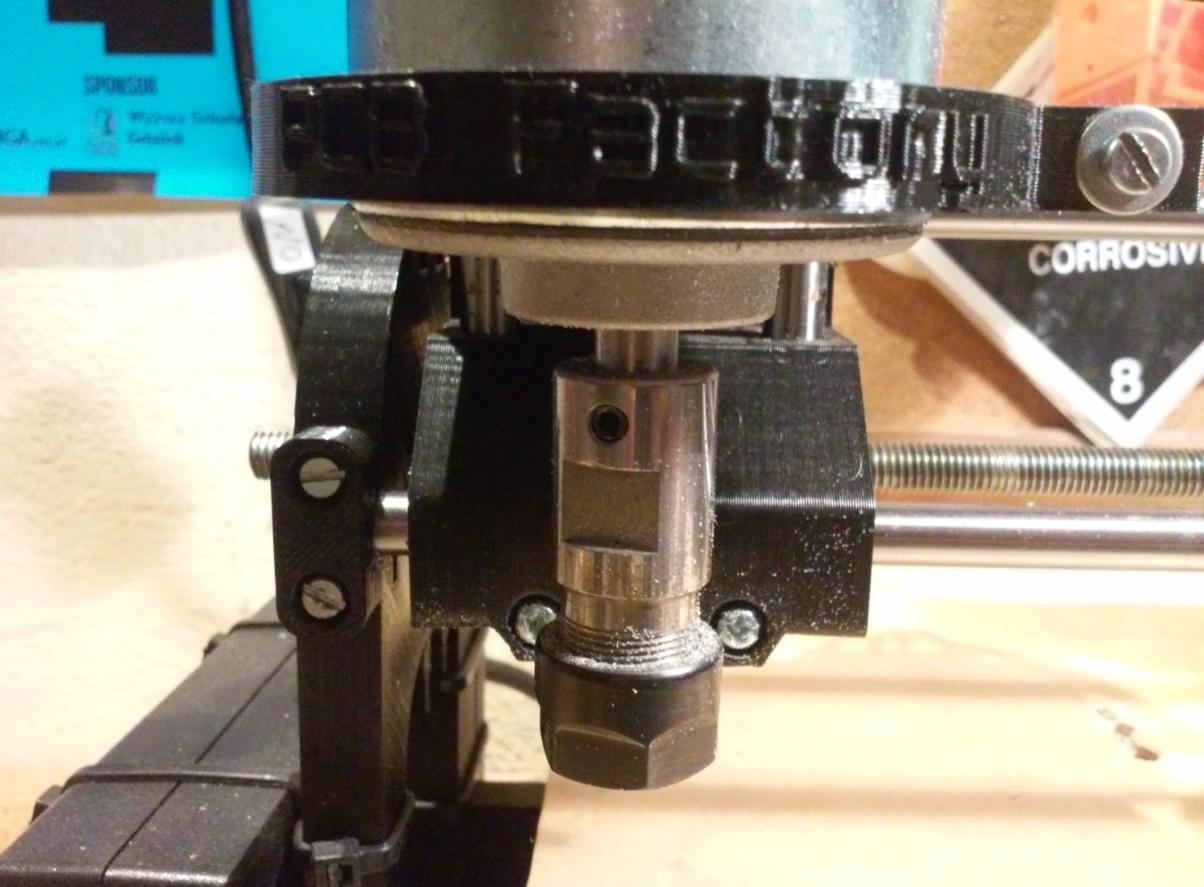
On the Internetz (yay !) I’ve found a very cool project – Cyclone PCB Factory. It was started by Carlos Garcia.
The Cyclone is basically a 3D-printed CNC machine designed for PCB milling.
Instantly, I was like …

The plan
At first, I decided that will build this just for the lolz/fun/learning.
Actually, I had specific plans for it at that time … and still have (with my latest build), but I also have had issues with time management recently. I’ll fix it soon 😉
Also, I don’t have many photos of my early builds … but I have movies instead !!! one!11!eleven!1!
Anyway, I started to order parts for this project like crazy and in the meantime, I’ve 3D printed the necessary parts.
Version 0.9.7 was the first one that I built.
The machine was controlled by Arduino MEGA with RAMPS shield, the same combo as in my 3D printer. I’ve used NEMA17 motors to control axes and the Dremel-like tool to do the milling.
After a few days, I had a working machine … sorta 😀
Arduino received a Marlin firmware which is common in the 3D printing world. I set it up, uploaded it to electronics and I was ready to run some tests.
The build
The very first thing that has to be done when milling a PCB is auto-leveling. It is important because you don’t want the milling tool to plunge too deep into a PCB. You only need to get rid of a very thin layer of copper.
Auto leveling utilizes firmware ability (with some mods) to achieve this. It simply probes for a Z-axis height in an array of points on a PCB and writes down values so it can be used to adjust Z height later during milling. The process looks like this.
After that, I could start milling my first PCB.
As you can see, I’ve failed miserably 😀
First of all, I’ve used the wrong tool (an end mill bit) to cut v-groves (sic!), that is for starters. Failed leveling, wrong milling speed, feed rate, and other small mistakes were introduced in that video too, but hey! that is a part of a painful learning process, amirite?
I’ve tested various software configurations, and experimented a lot with different PCBs – not really with great success, however, going through this process gave me a better understanding of machine limitations, software toolchains, and its usage in general.
Tools
Tools and software that I’ve found useful at that point:
- FlatCAM – GCODE preparation
- Rapid-PCB – GCODE preparation
- CNC GCODE Controller – GCODE sender
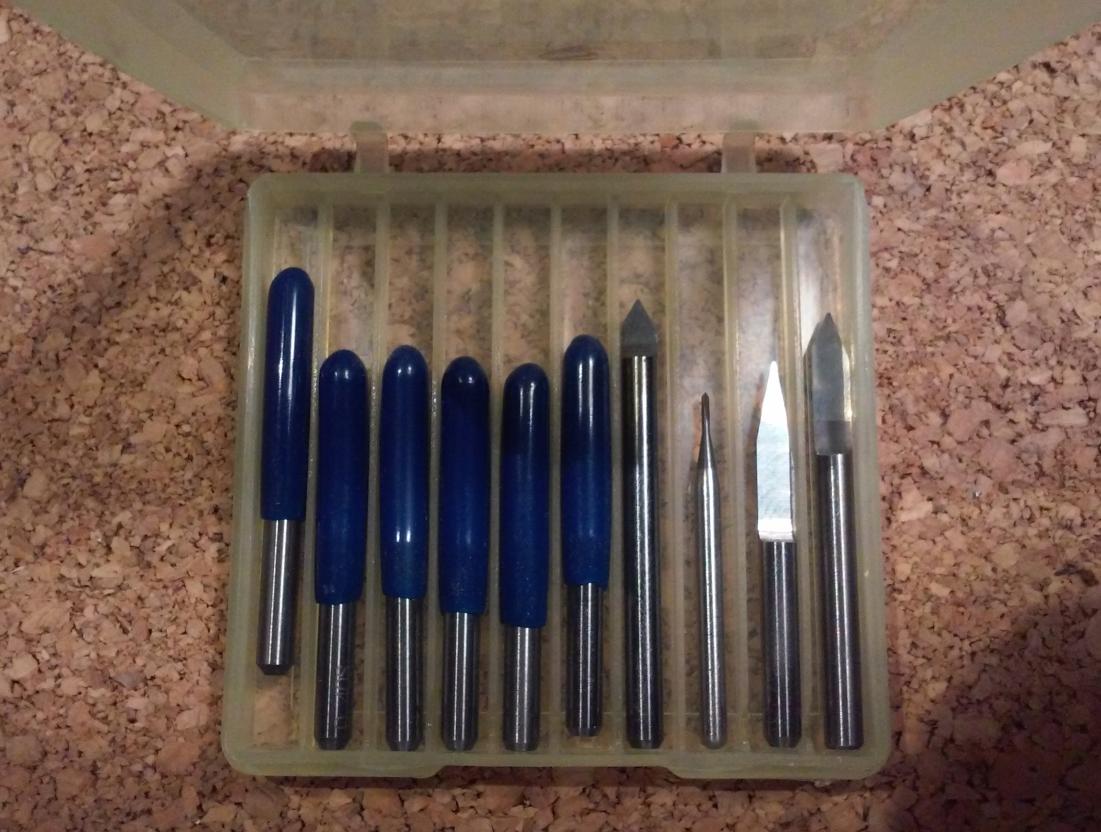
Endmill bits

V-bits
Meanwhile, Carlos and other folks on a google-groups didn’t waste time and they’ve made a lot of cool mods.
Obviously, this shortly resulted in …
The second build
This build had lead screws changed to trapezoidal equivalent.
I had to modify the x-carriage a little and add some own small tweaks to make it work. I’ve also 3D printed a few elements out of PLA instead of ABS – it made the frame stiffer.
Here is how it looked and worked
Some sample PCBs
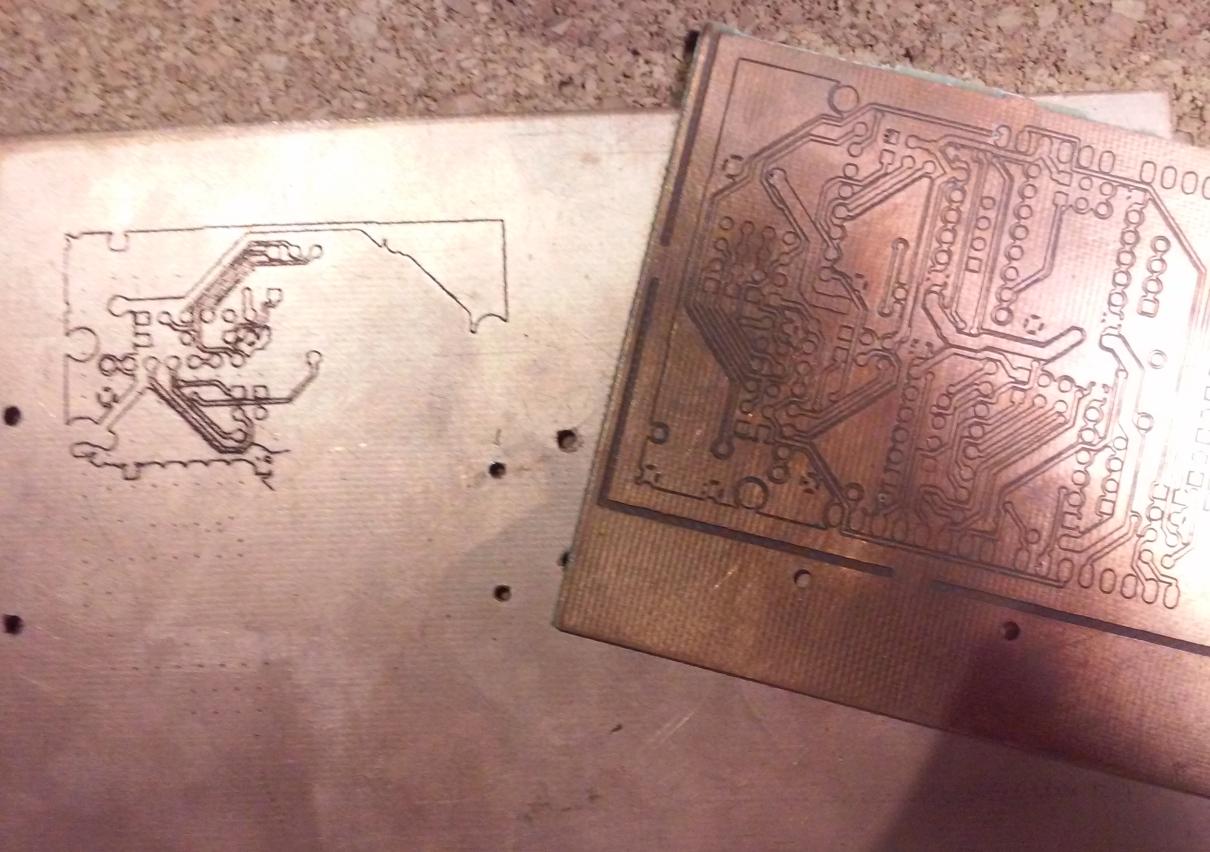
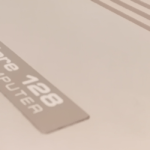
To put this machine on a more serious test, I’ve decided that I’ll try to mill a PCB – SIO2SD for Atari 65XE – and then compare it to the one that I’ve made using the toner transfer method. Several clicks later, I had my GCODE ready so I could start milling a PCB.
Mid-work

Milled and partly assembled.

Nearly finished.

Ready for testing.

Third build
While working on my RetroBlade project, I needed to prototype the top and bottom cover for it, so I figured that it should be possible to mill it on Cyclone. I saw some folks were successful in milling acrylic with Cyclone.
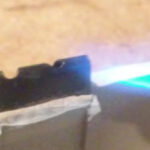
This time, I also wanted to switch to GRBL. I’ve decided that I’ll simply try an Arduino UNO with a CNC shield. A new “silent” spindle was already waiting and Cyclone 2.0 was already released by the community, so it was the perfect time for some changes 🙂
I switched back to lead screws and reprinted a whole machine.
I don’t have any photos of it, just a movie where I try to mill a top cover prototype for RetroBlade.
I’ve also played a bit with a very nice software project that goes along with this setup nicely – bCNC
I’ve quickly realized that a larger workspace generates a new set of problems.
Besides, I’ve already had my prototypes milled by a friend 😉
A quick decision was made to make it smaller 😀
So…
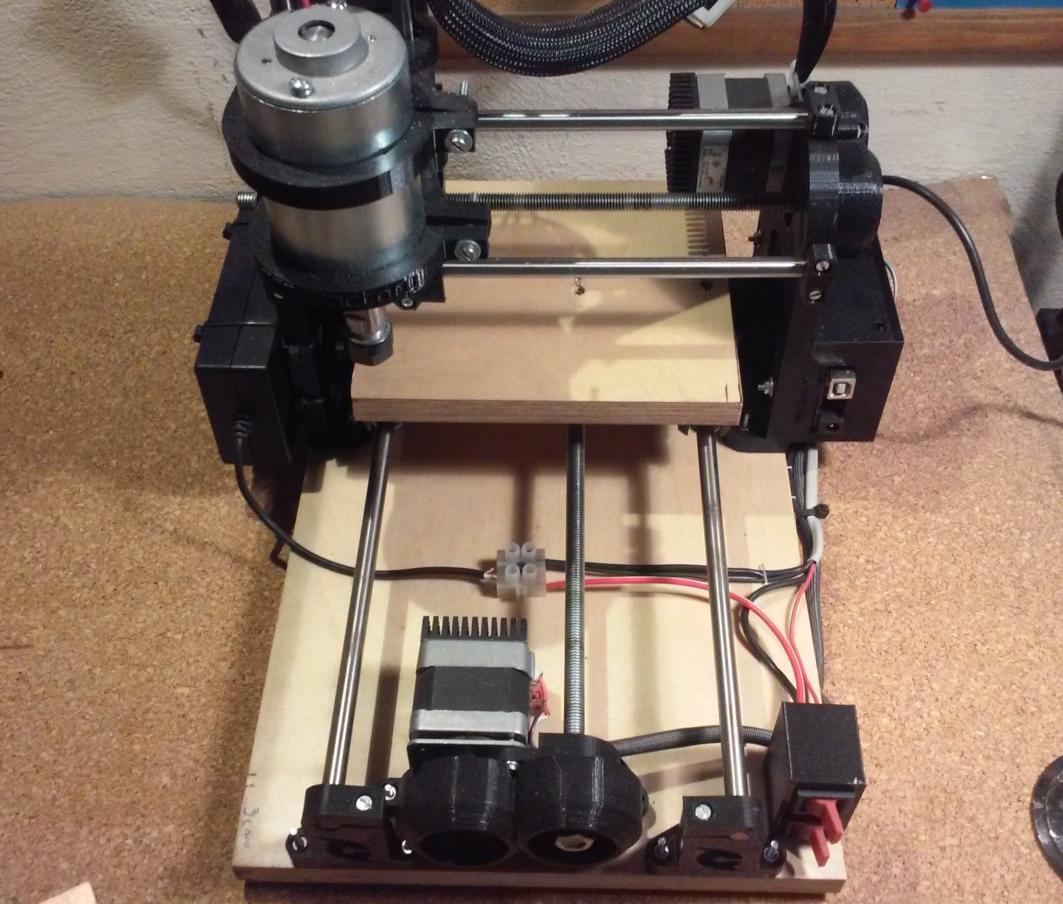
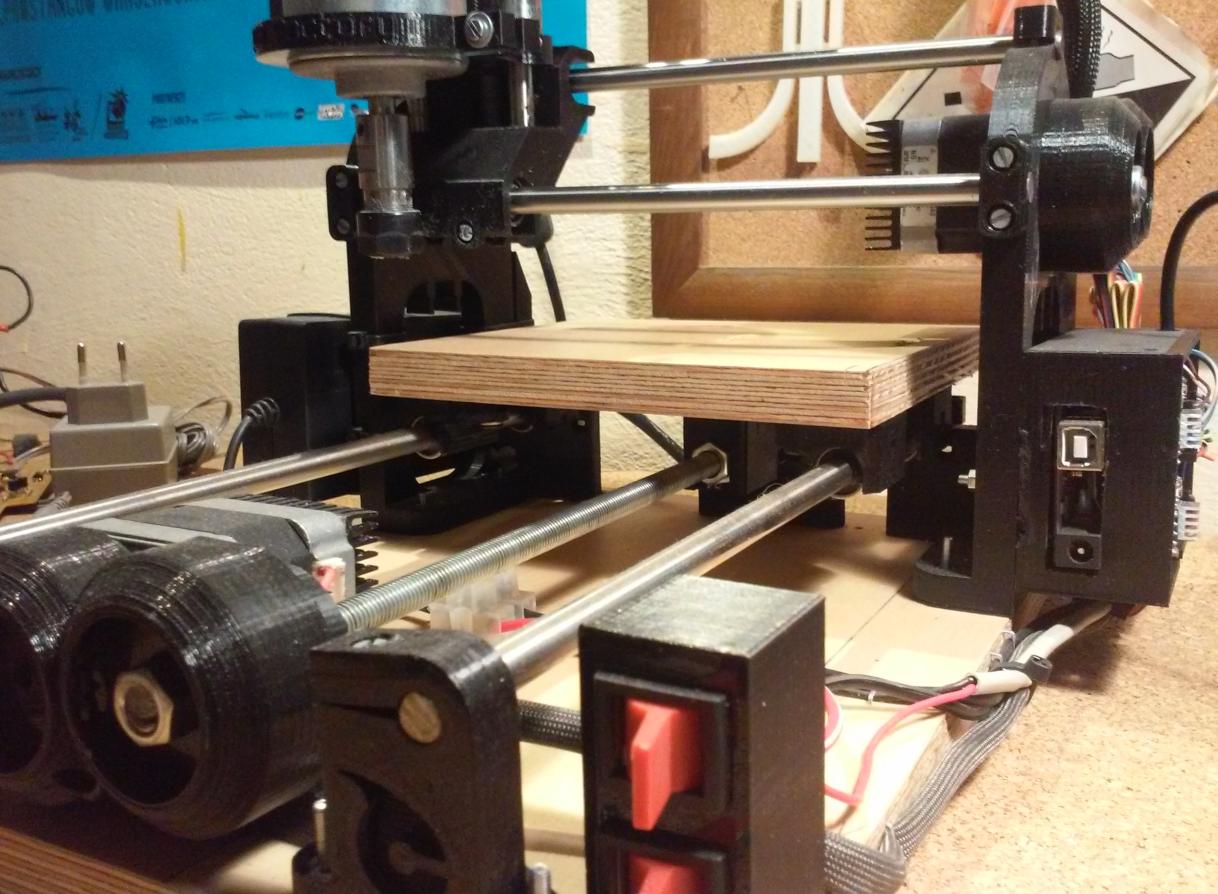
Fourth build
Yup, that’s the latest one so I finally have some photos 😀
This build, except for being more compact, also received some cosmetic changes.
The electronics box and PSU are now sitting on the sides of a frame.
I’ve added some radiators to NEMA17 stepper motors and 3D printed a box for on/off switches.

I’ve also run some tests with milling hardwood.
… and the journey continues
This is one of the coolest projects so far. It is definitely not suitable for professional manufacturing but is very handy when a PCB prototype is needed.
Moreover, building and working with these machines gave me a better insight into the world of CNC, therefore Cyclone is an awesome project for everyone who wanna start learning cool CNC stuff at home without spending a crapload of money 🙂
In the end, I would like to thank Carlos and all folks involved in creating software, hardware upgrades, and all other details without which this awesome project couldn’t grow and evolve.
Links

OUTRO
If you want to get retro gear or hardware modules, please visit our shop
New products are being added every month.
Also, please support our work by spreading info about it.
Without your support, we simply cannot grow and we have a lot of new cool retro hardware (and more) products to come