… or computers that conquered UK hearts
Pic of the week
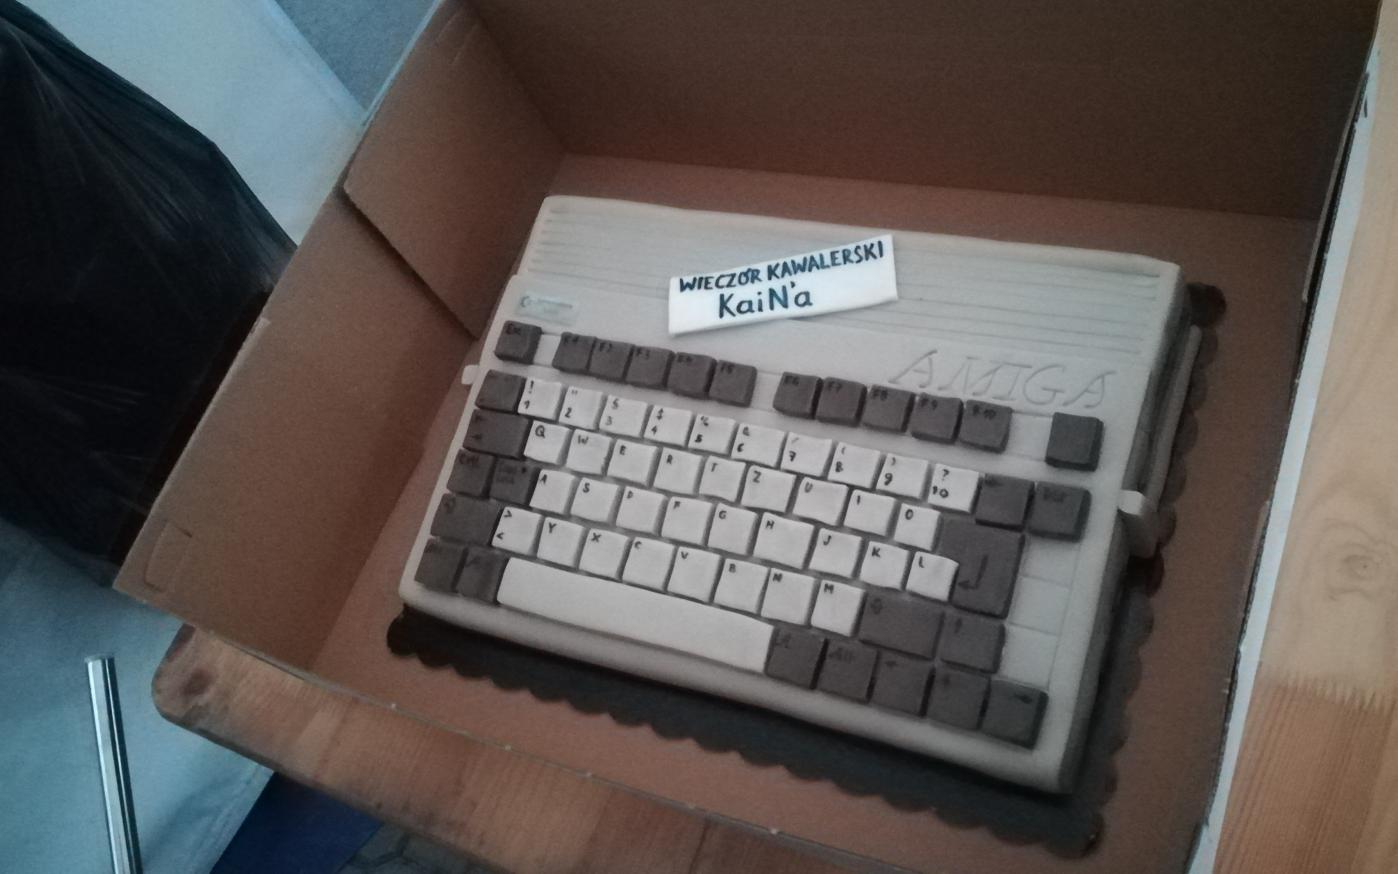
Amiga 600 cake on the RetroKomp party
Electrons
A couple of months ago, my dear friend Wendell (again lol) asked me to find, refurb, and mod a BBC Micro. I did it and covered it on a blog some time ago. It kinda started my own interest in UKs machines of ‘the 80s/’90s era.

I’ve bought Acorn Archimedes 3000, Sinclair QL, and three Acorn Electrons. Well…. to be honest, I’ve also bought Acorn Archimedes 3020, Dragon 32, and BBC Master, and … errr that is another story lol. Let’s continue with Electrons 😀
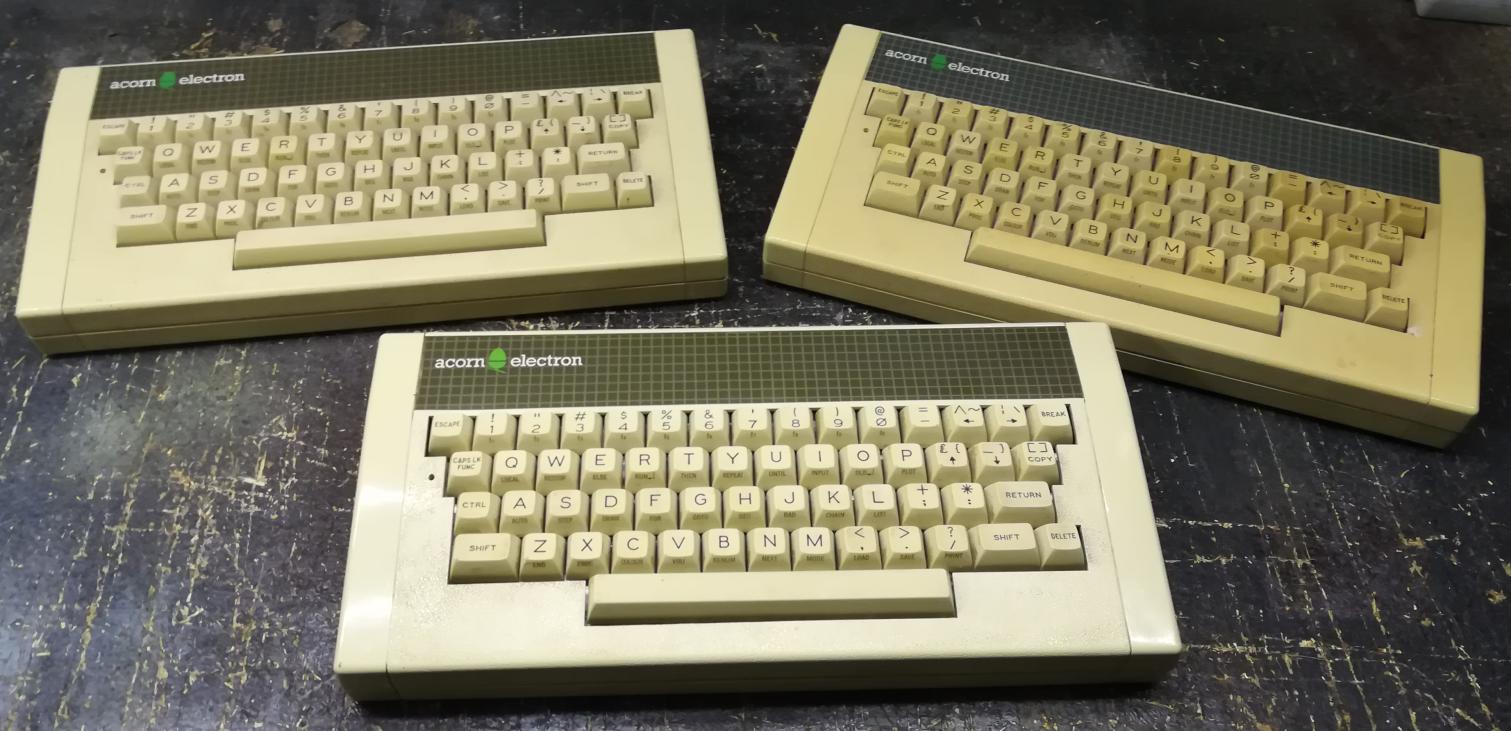
Three machines came in separately with their own extras.
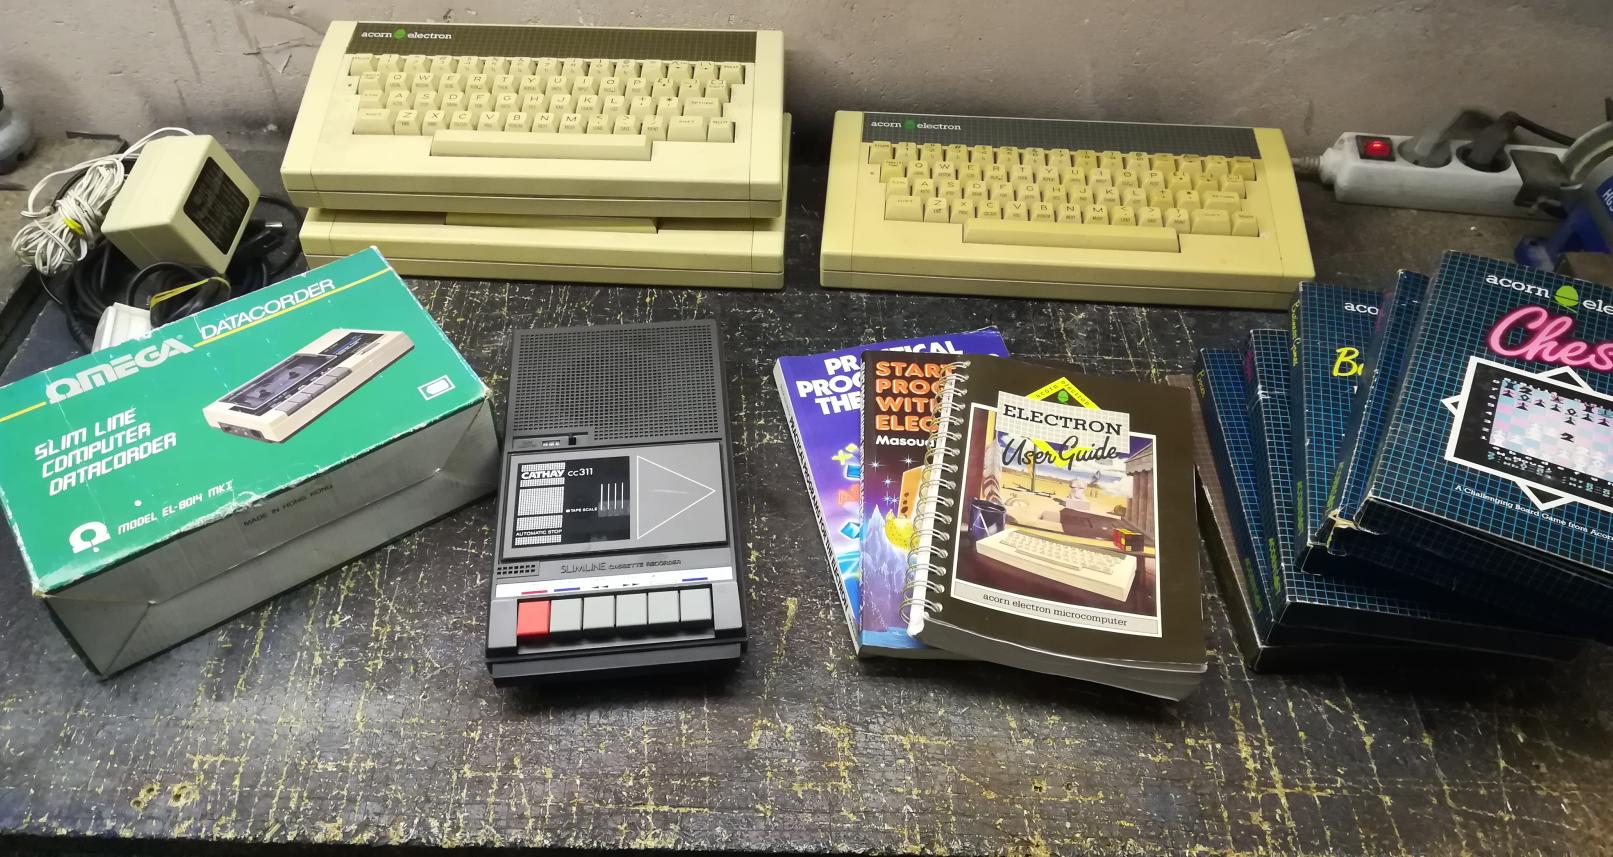
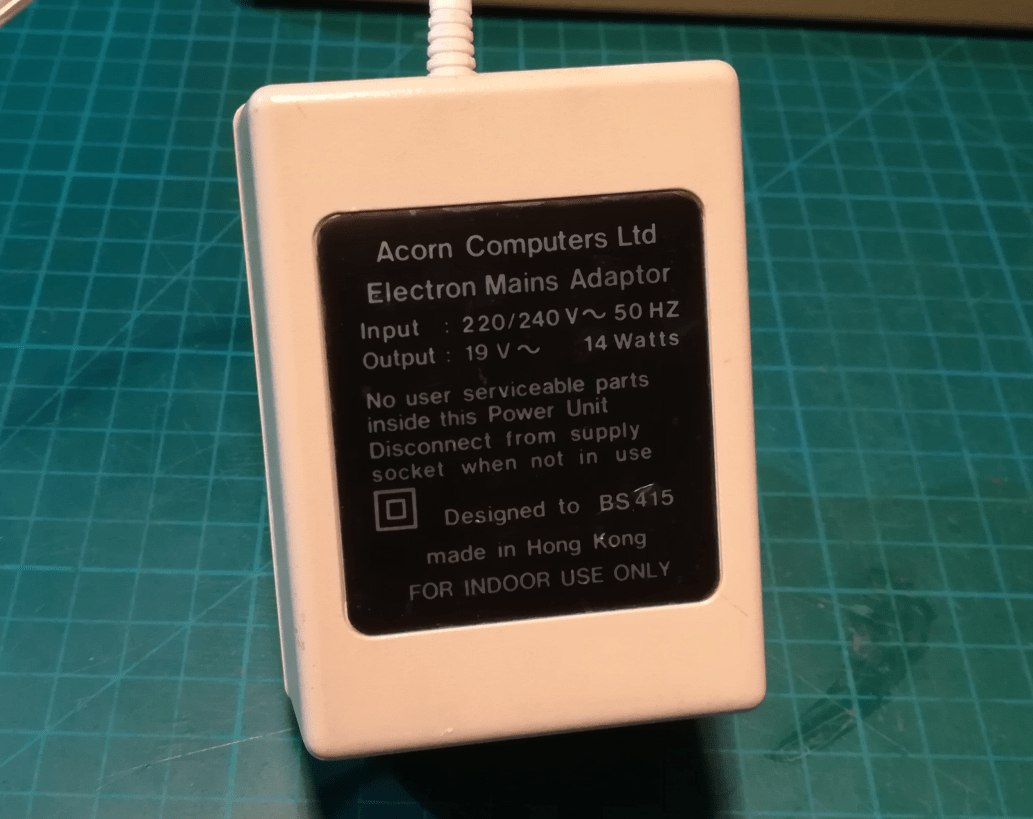
… but I received only one PSU within those three packages.
I’ve never played with Acorns so I didn’t know what to expect but I’ve hastily connected them one after another to see if any of them works. It turned out that only one machine is working and the remaining two outputted only a white screen.
As usual, I’ve started with disassembly. Here is how it looked. I’ve picked some more interesting photos.
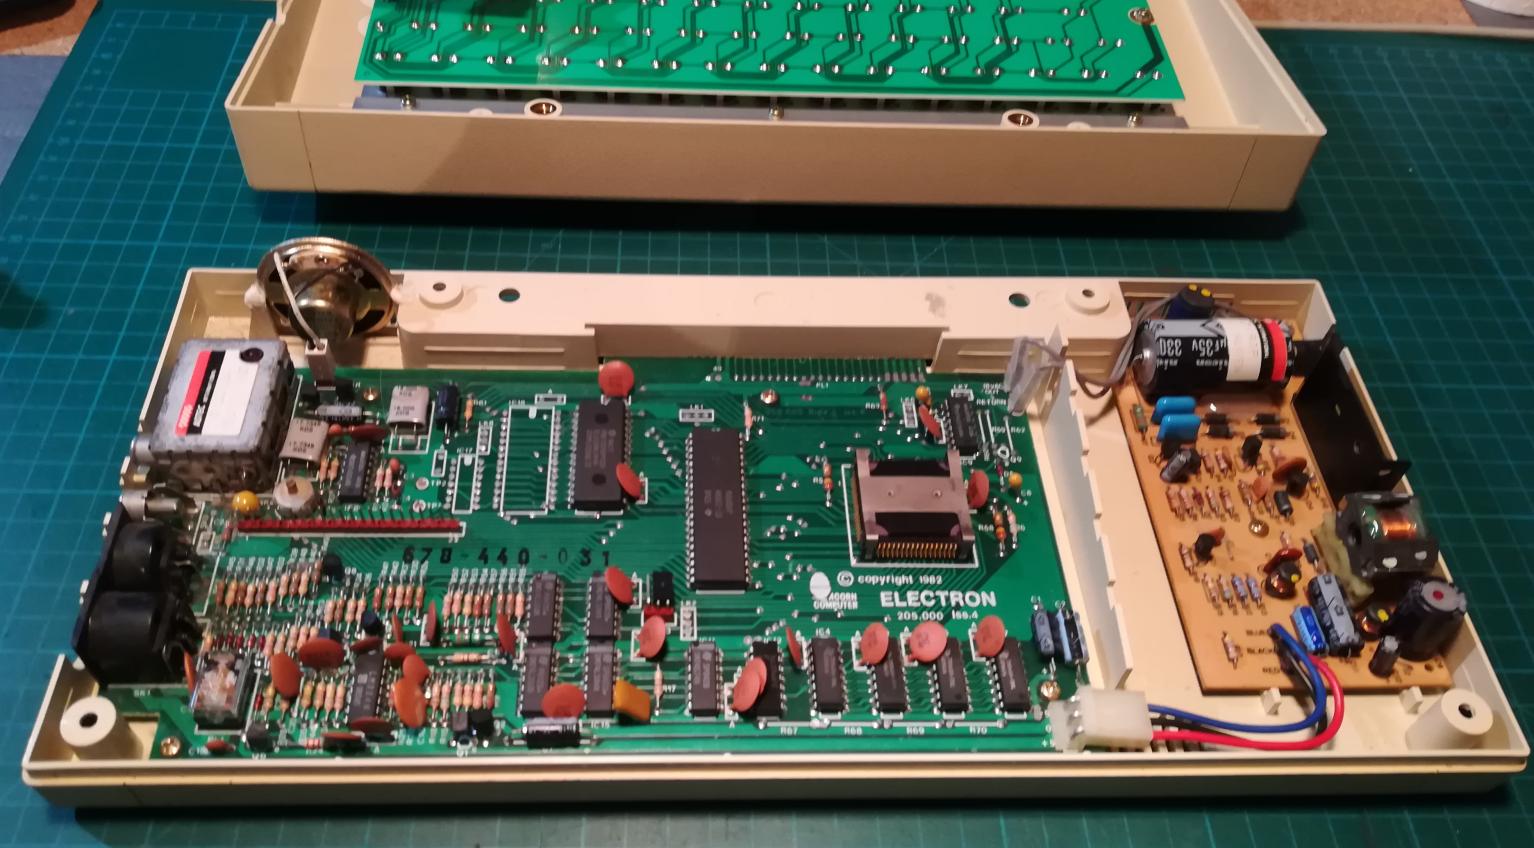
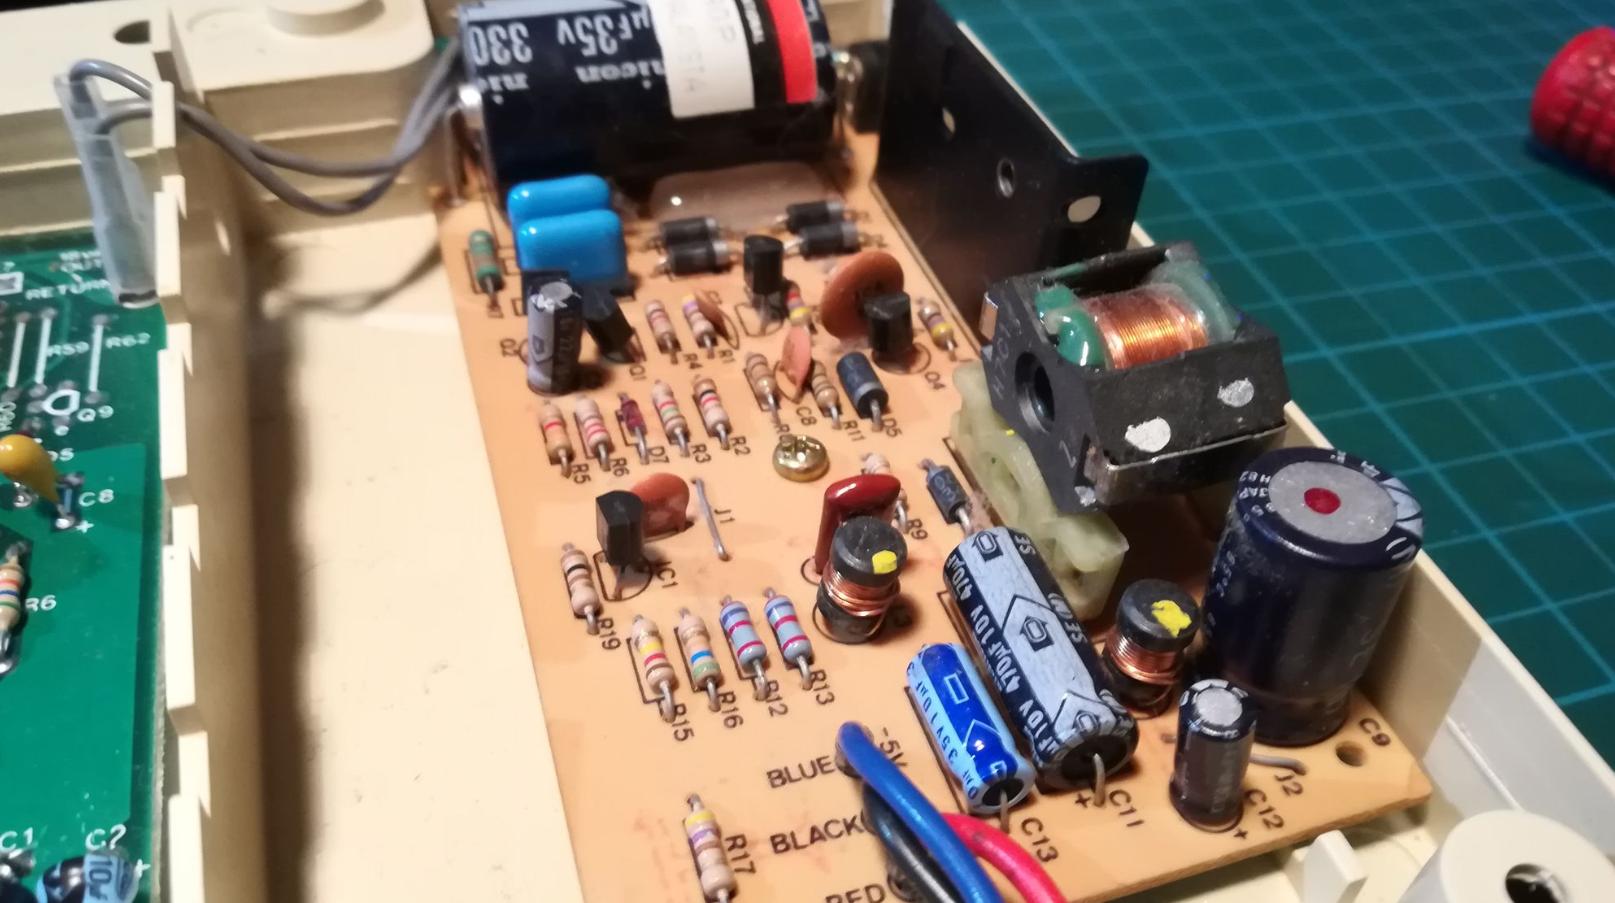
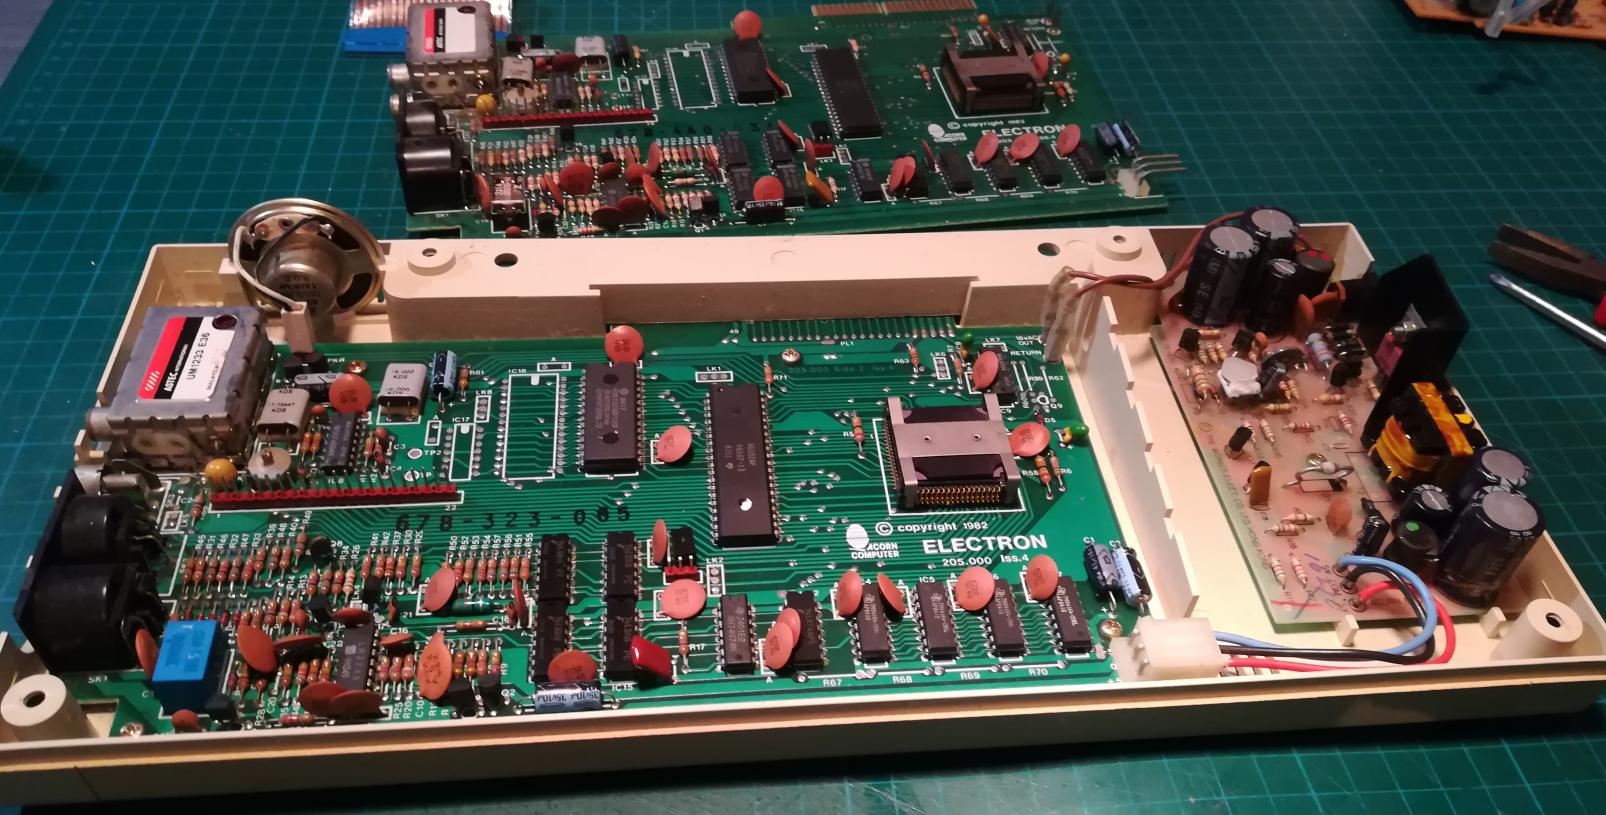
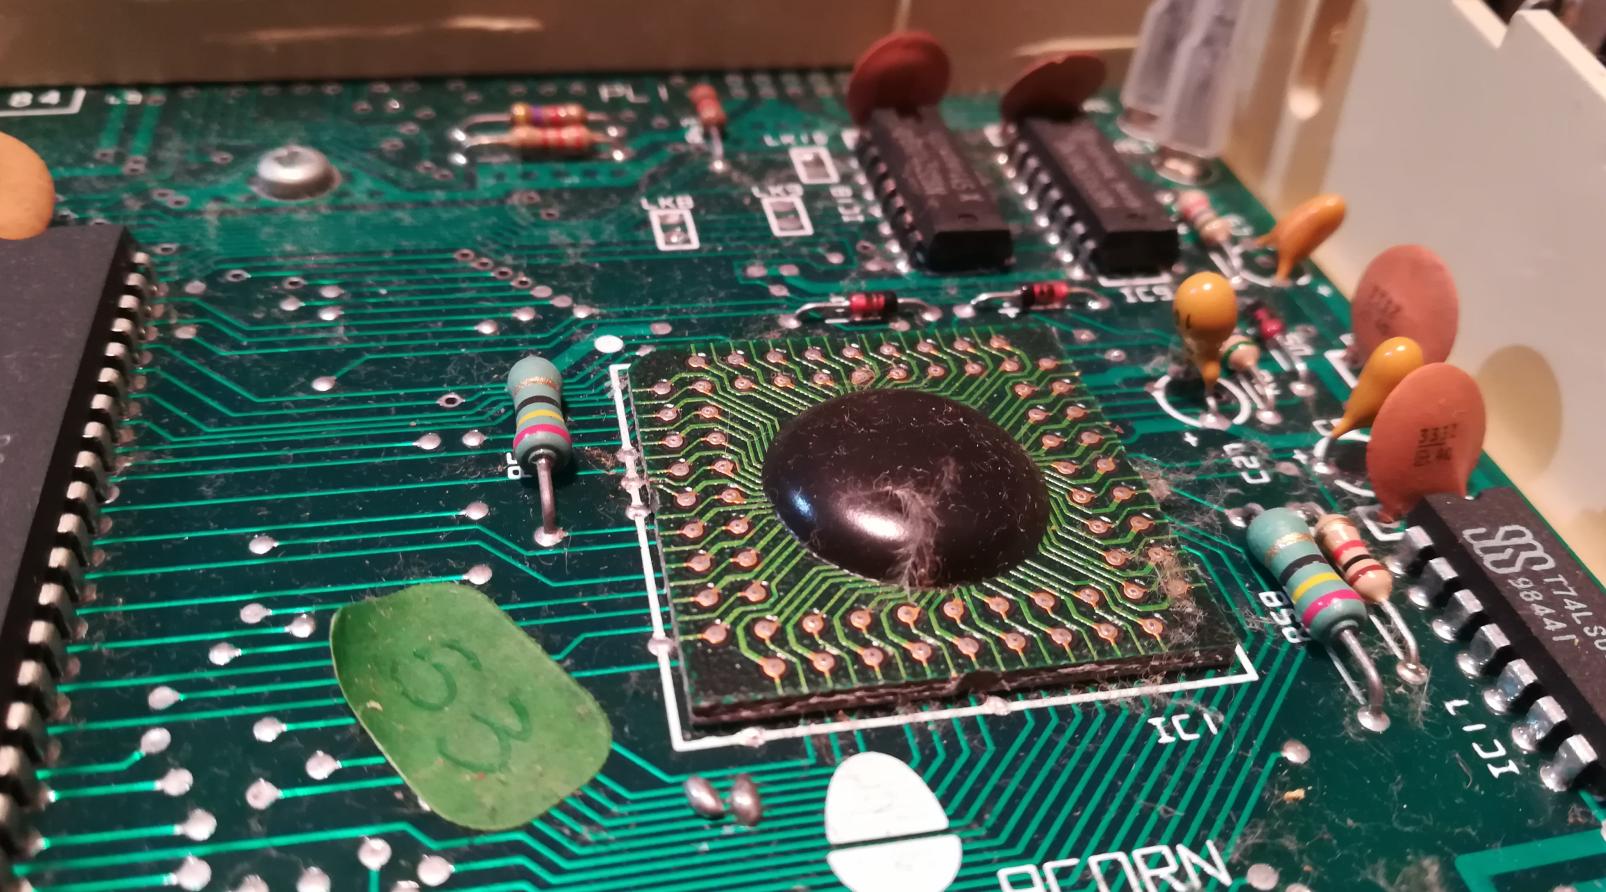
Super excellent looking way of securing a custom chip
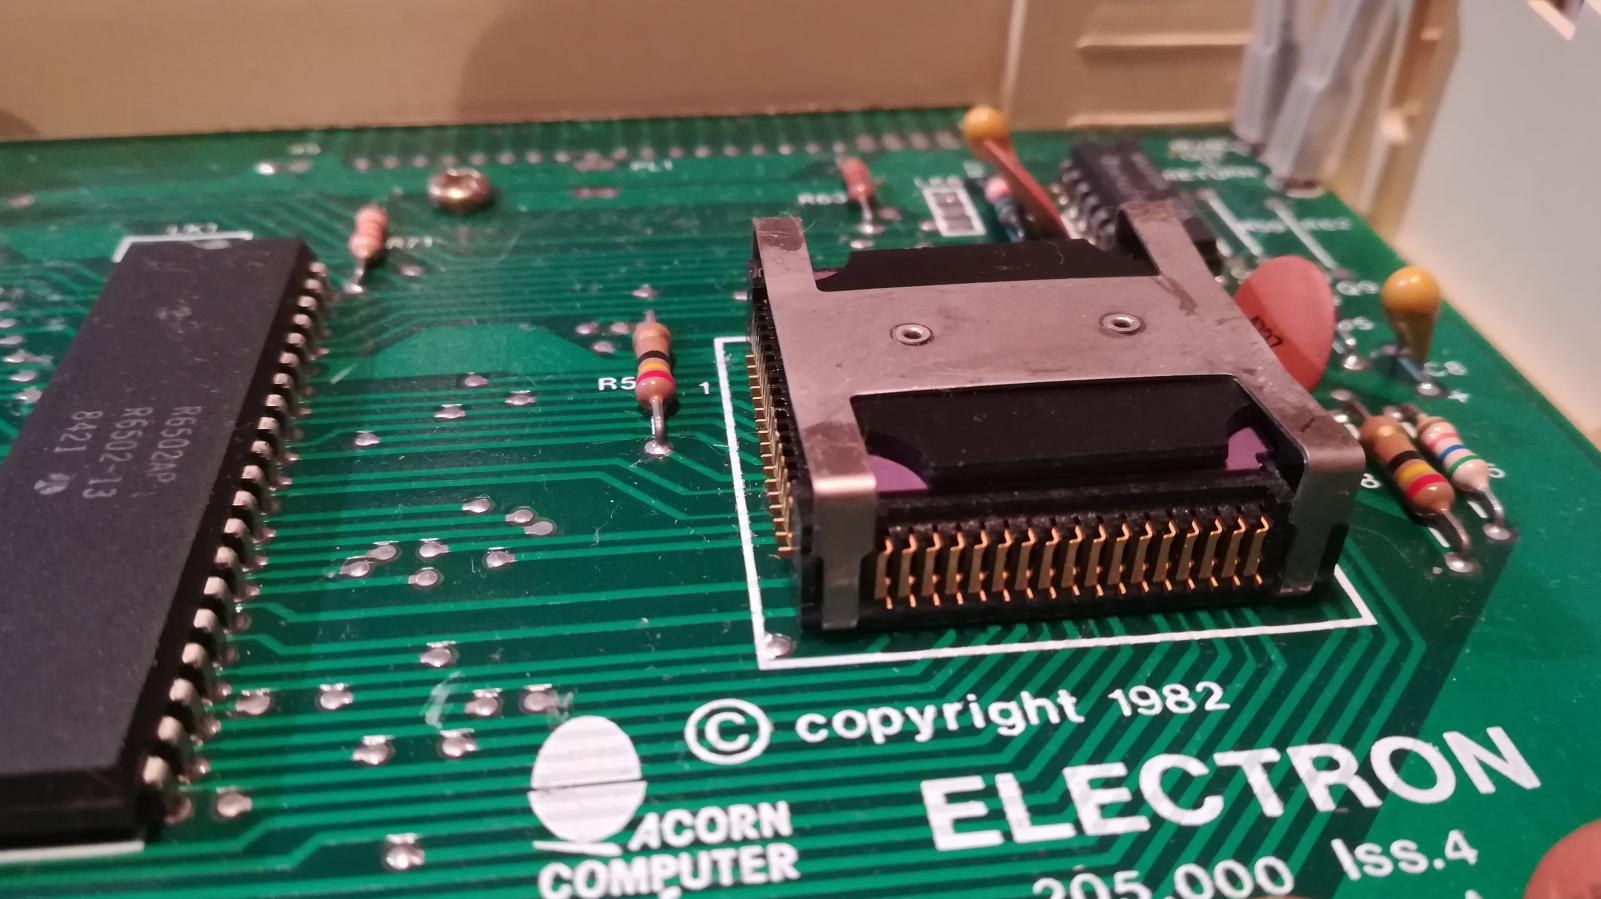
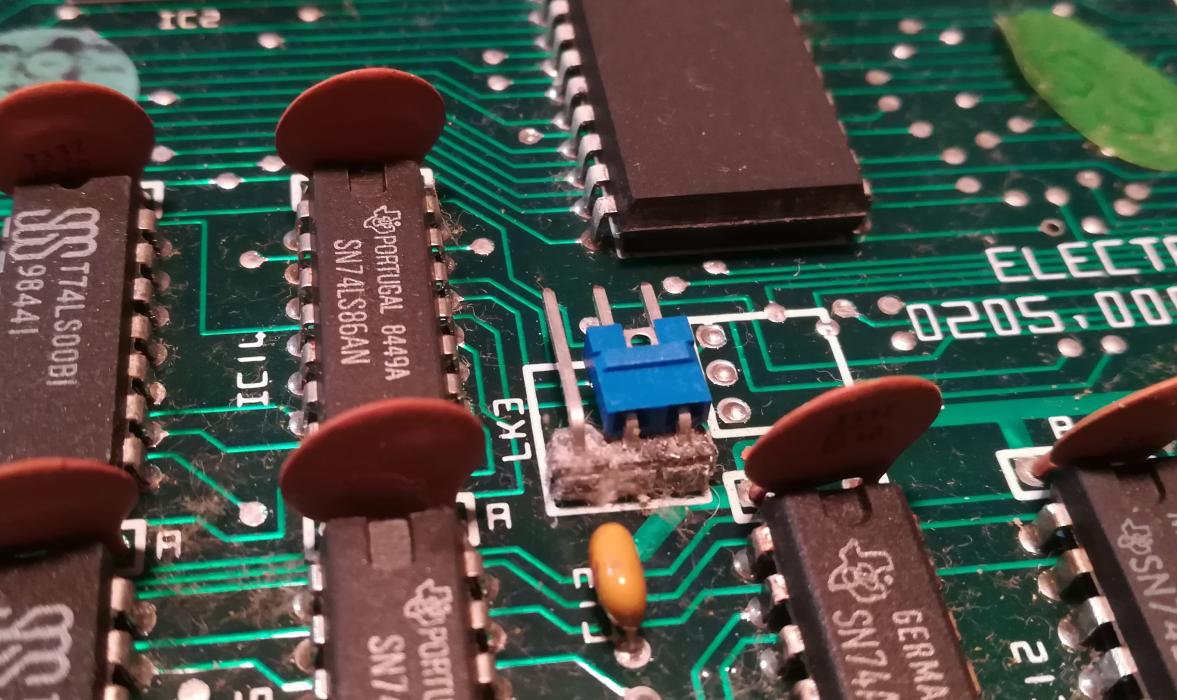
I’ve found a lot of debris on various plastic parts. I will have to make a chemical analysis of it someday because it is not the first time I’ve found it. It looks like it is a tin oxide or lead oxide.
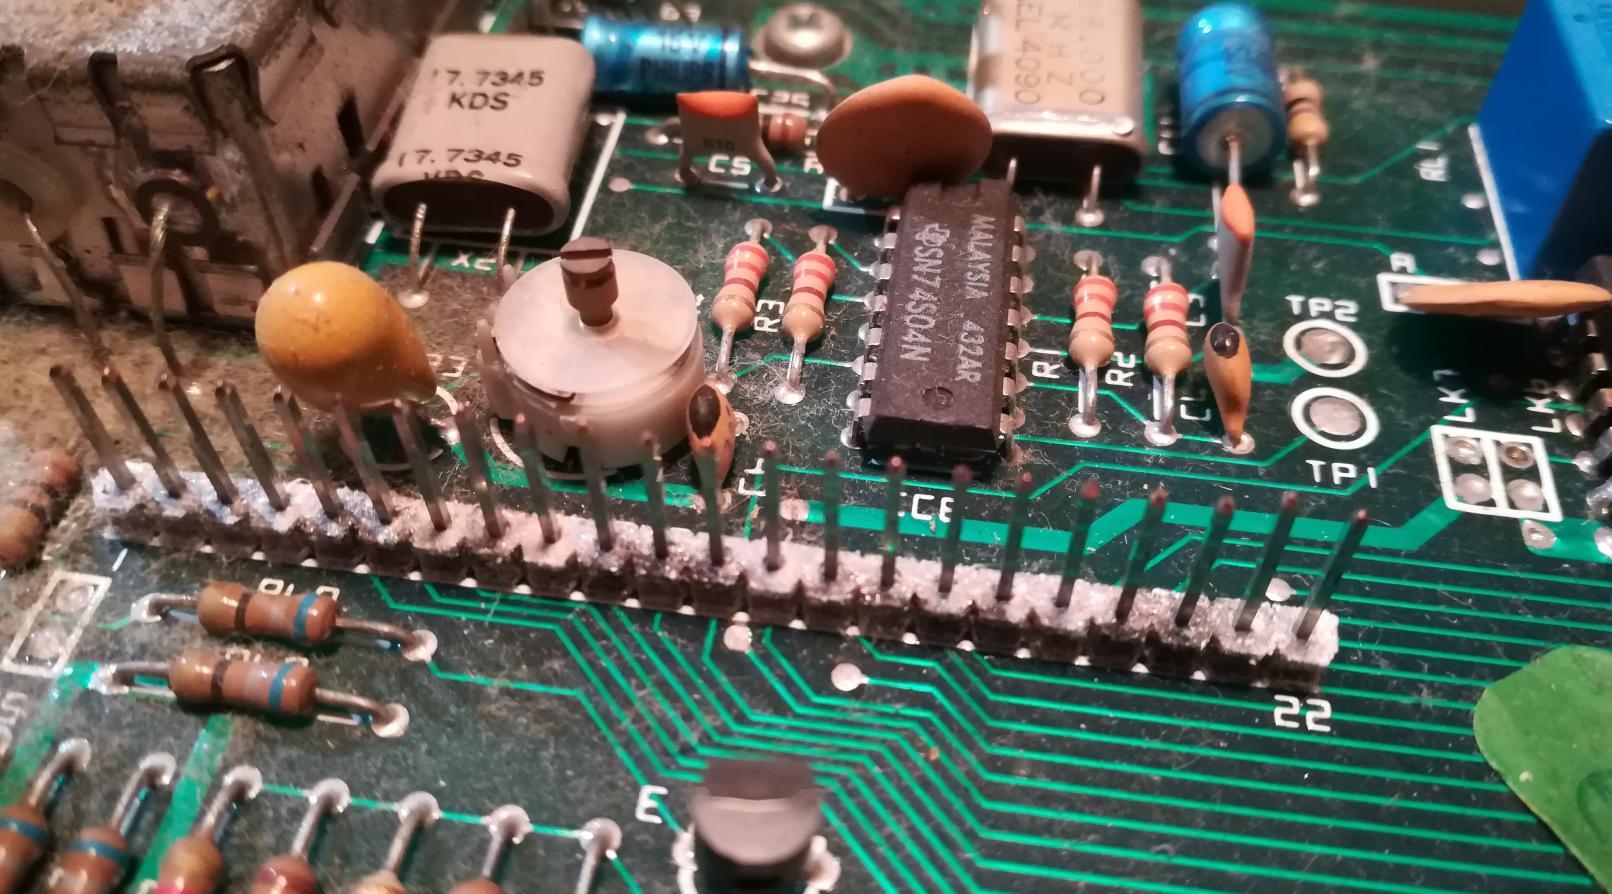
Aaaand the one and only… ALMIGHTY … 6502!!!
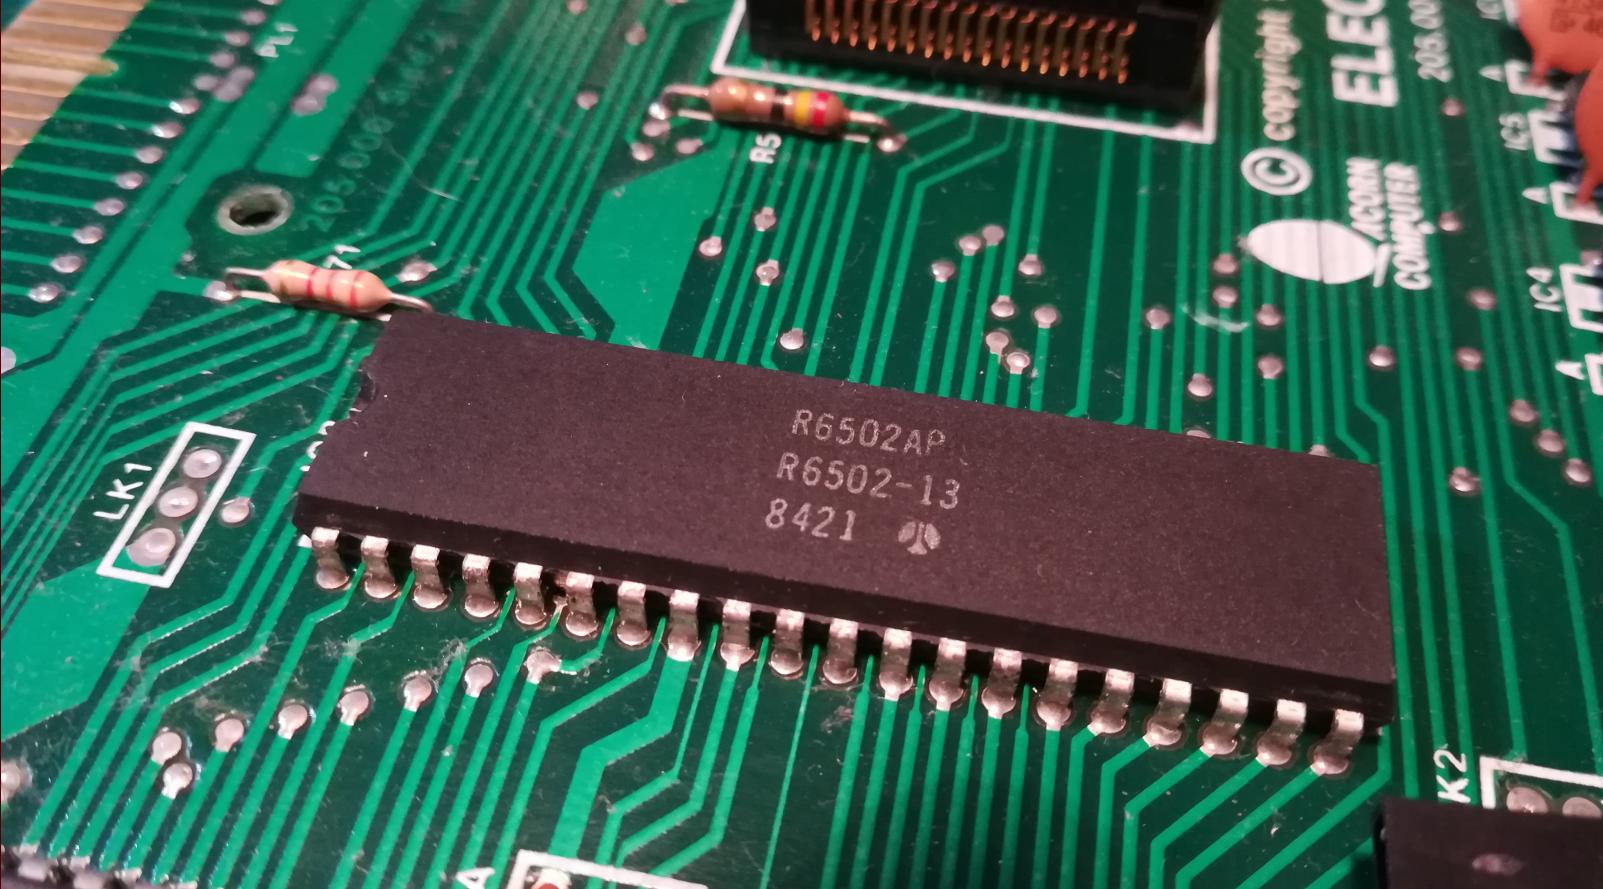
The interesting fact is that in Electron, 6502 is tacted up to 2MHz while accessing ROM and only to 1MHz while accessing RAM.
Cleaning time!
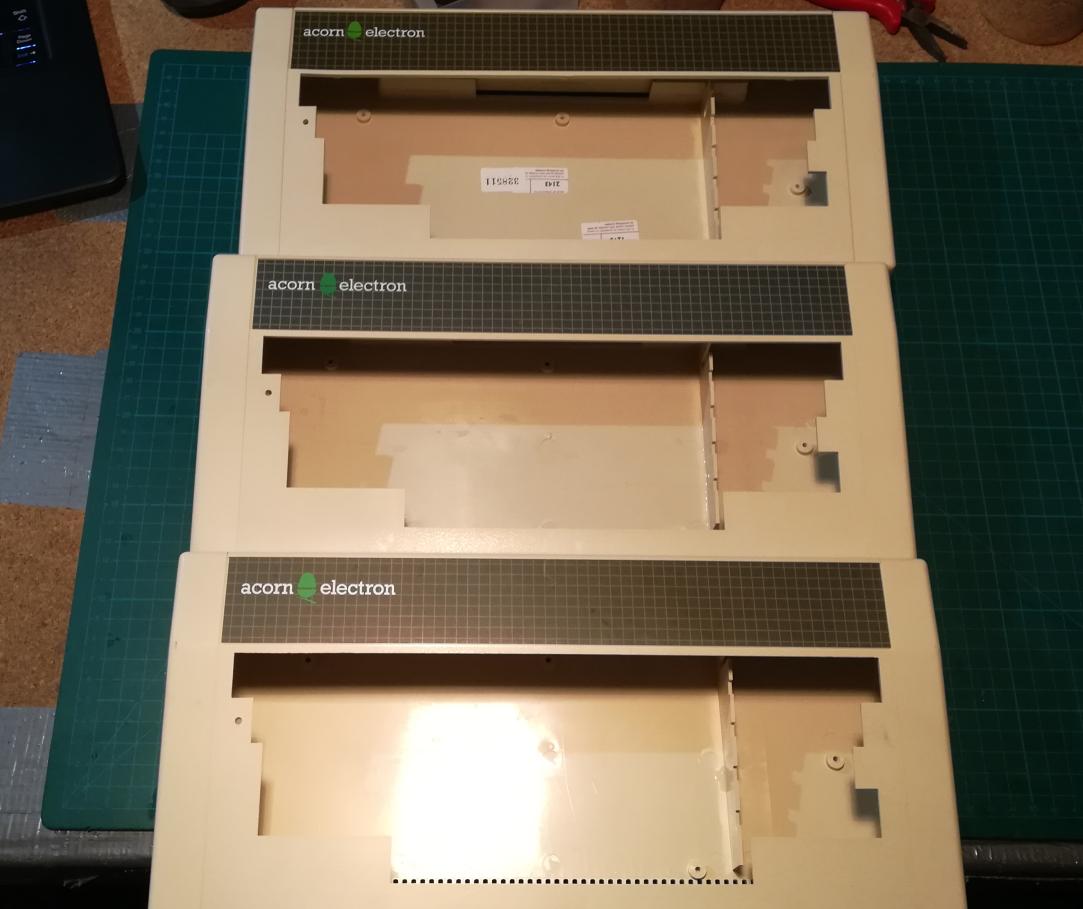
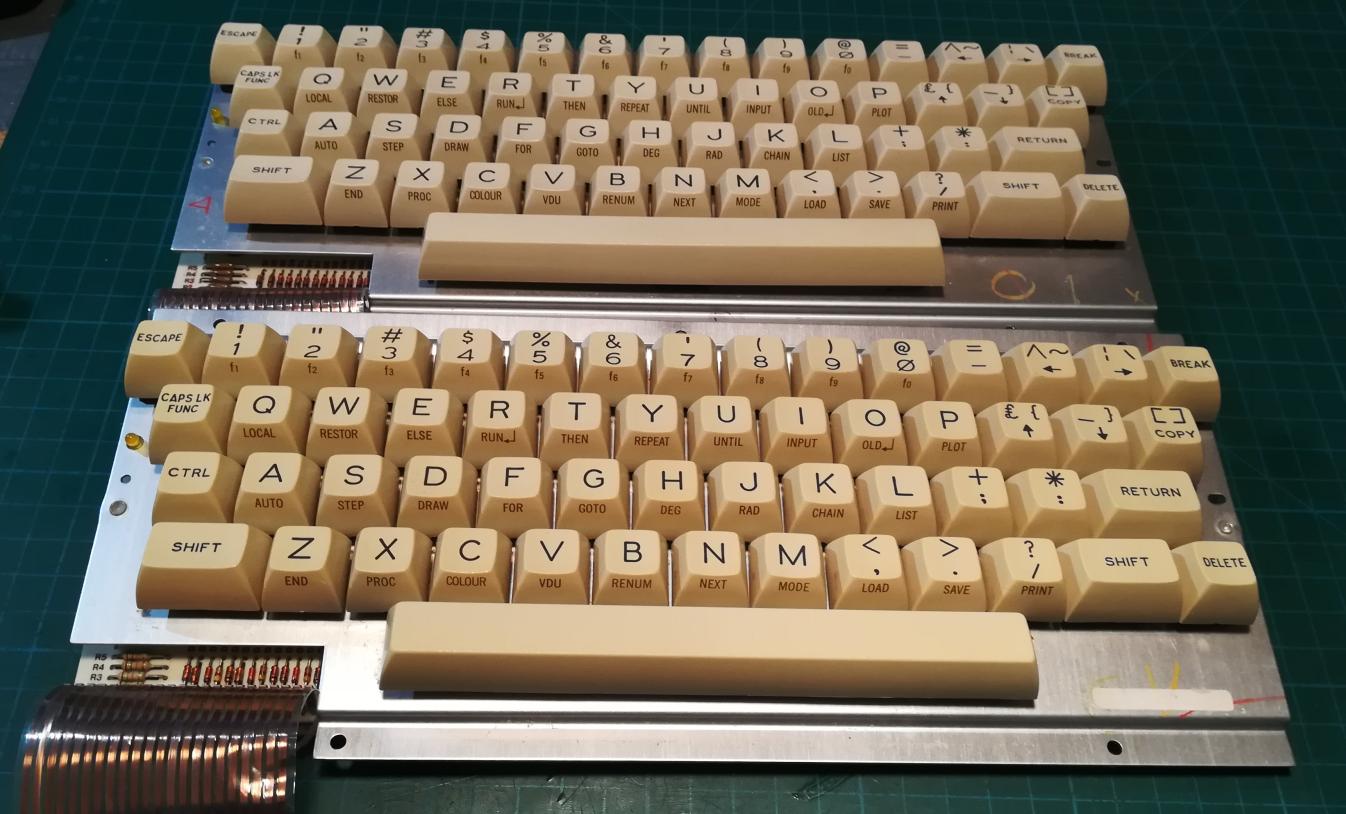
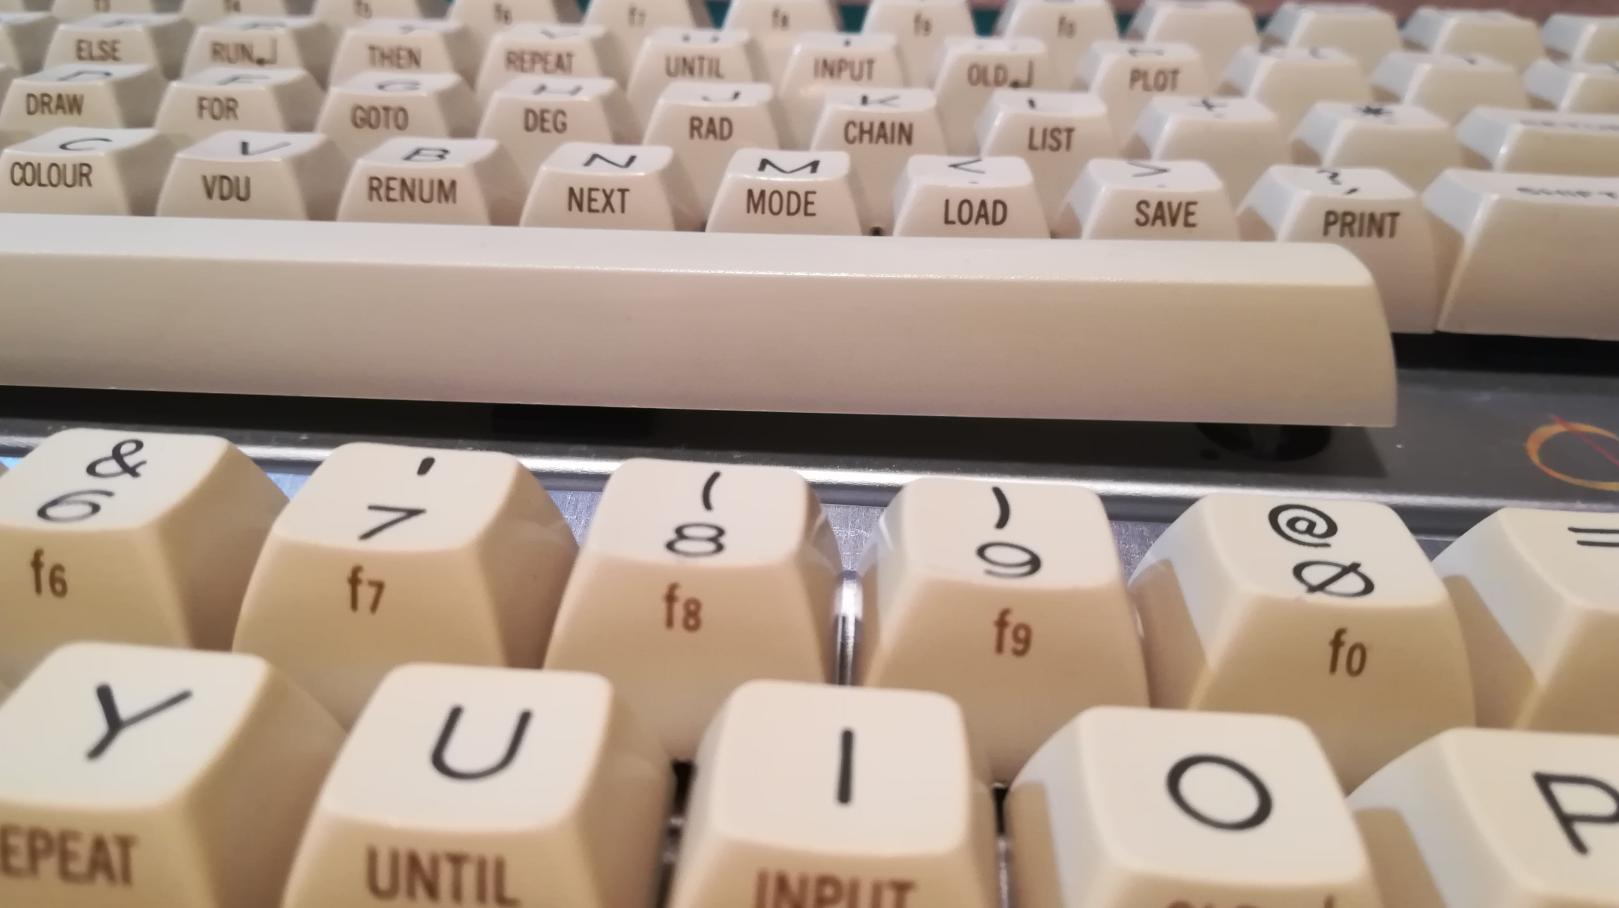
My standard case and keycaps deYellowing methods were applied.
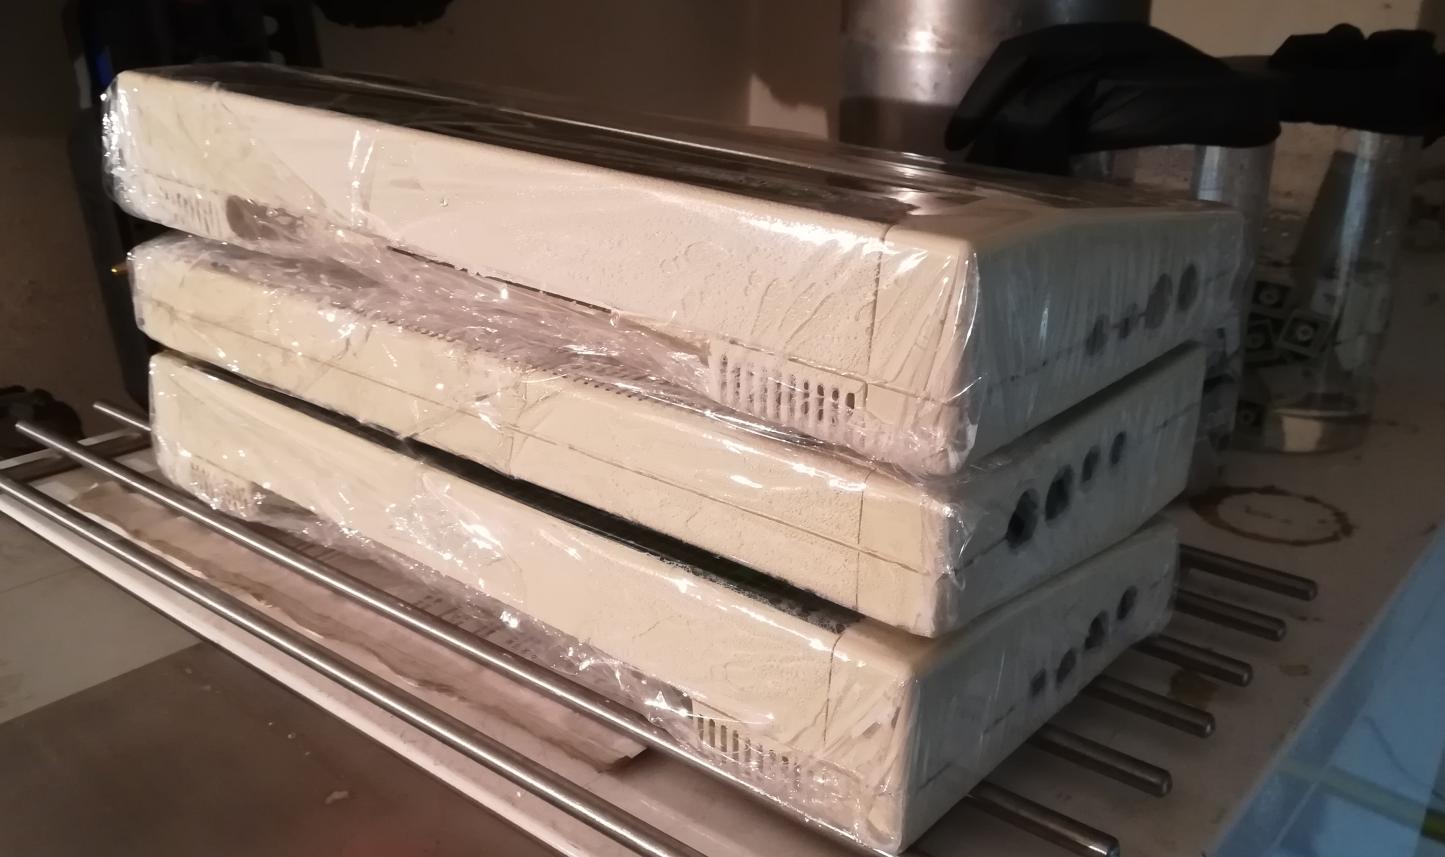
Results vary a bit from machine to machine but I am not that experienced in Acorns so I’ve no idea if there were differences in the ABS manufacturing process like in C64s or Amigas. In general, I was rather pleased with the results.
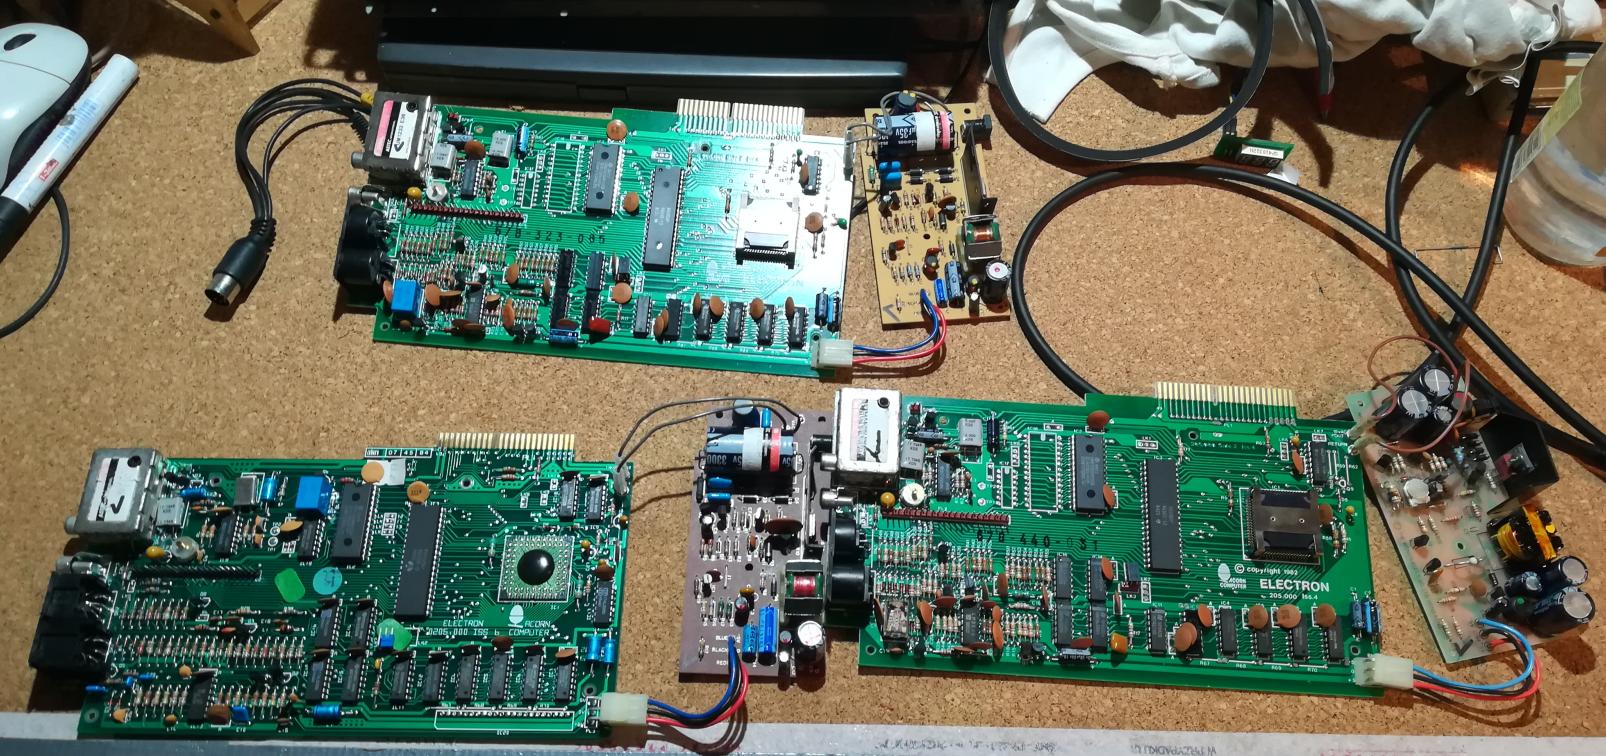
Motherboards
I’ve also spent a while cleaning motherboards along with some fixes.
There were some issues with keyboards in all three Electrons.
Some keys simply didn’t work. At first, I thought it is a problem with a wire connecting the keyboard to the motherboard so I replaced it.
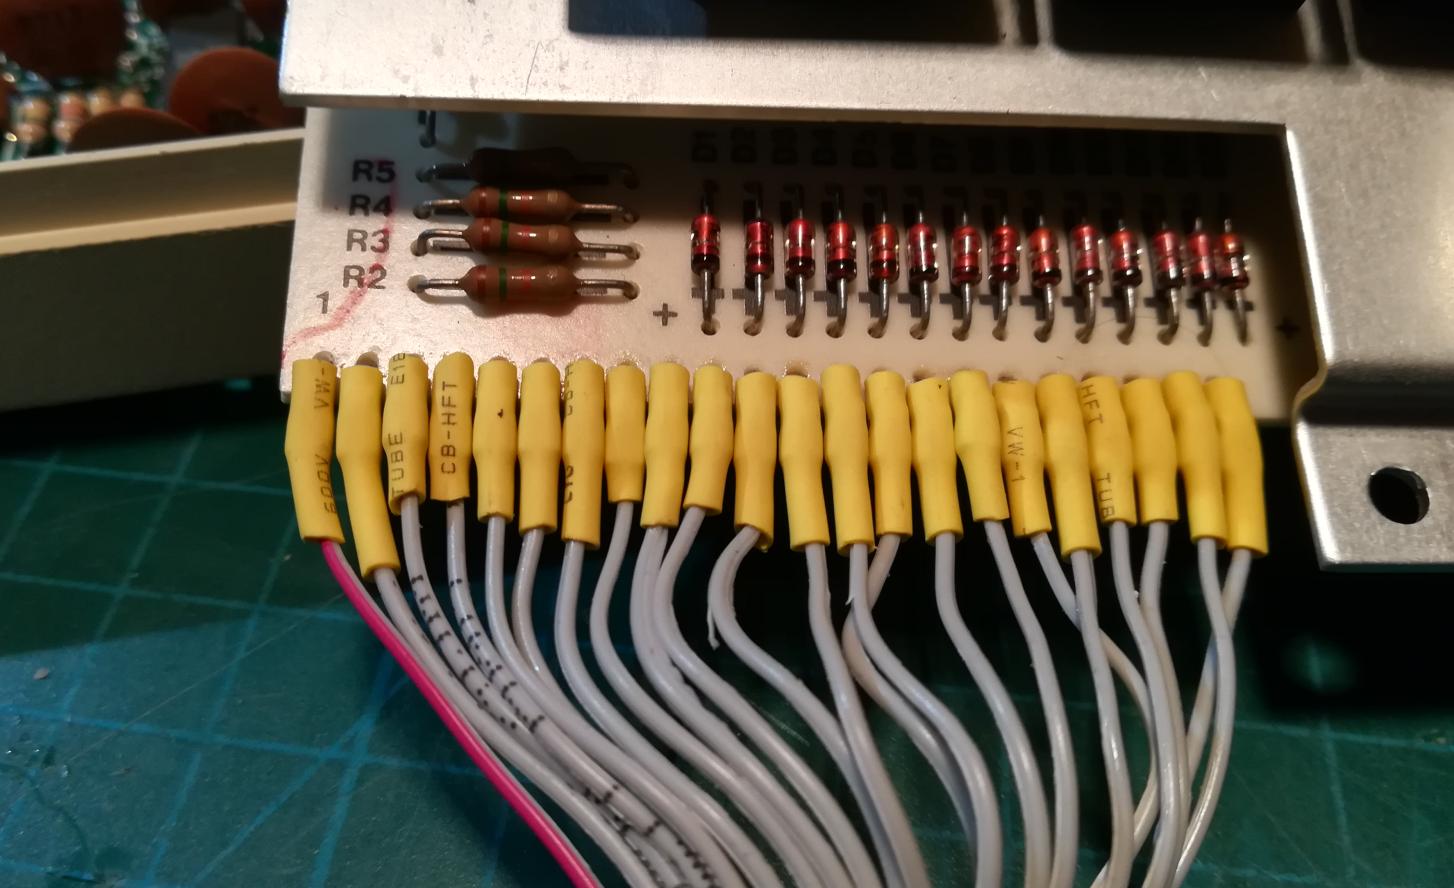
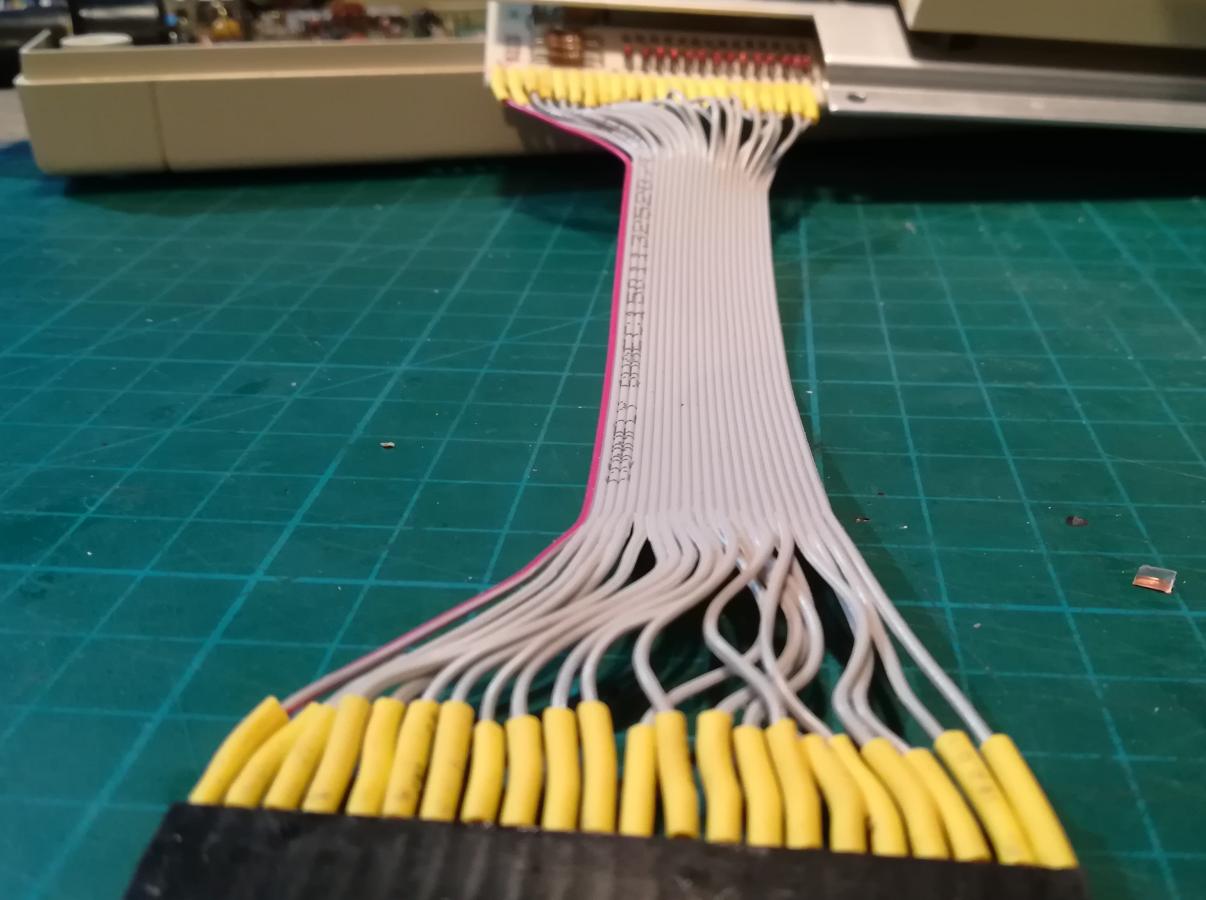
That didn’t help at all so I’ve started looking for answers. It turned out this is a common problem. The problem is caused by tarnished pins inside a key button.
I had to desolder all keys that didn’t work and clean each pin individually.
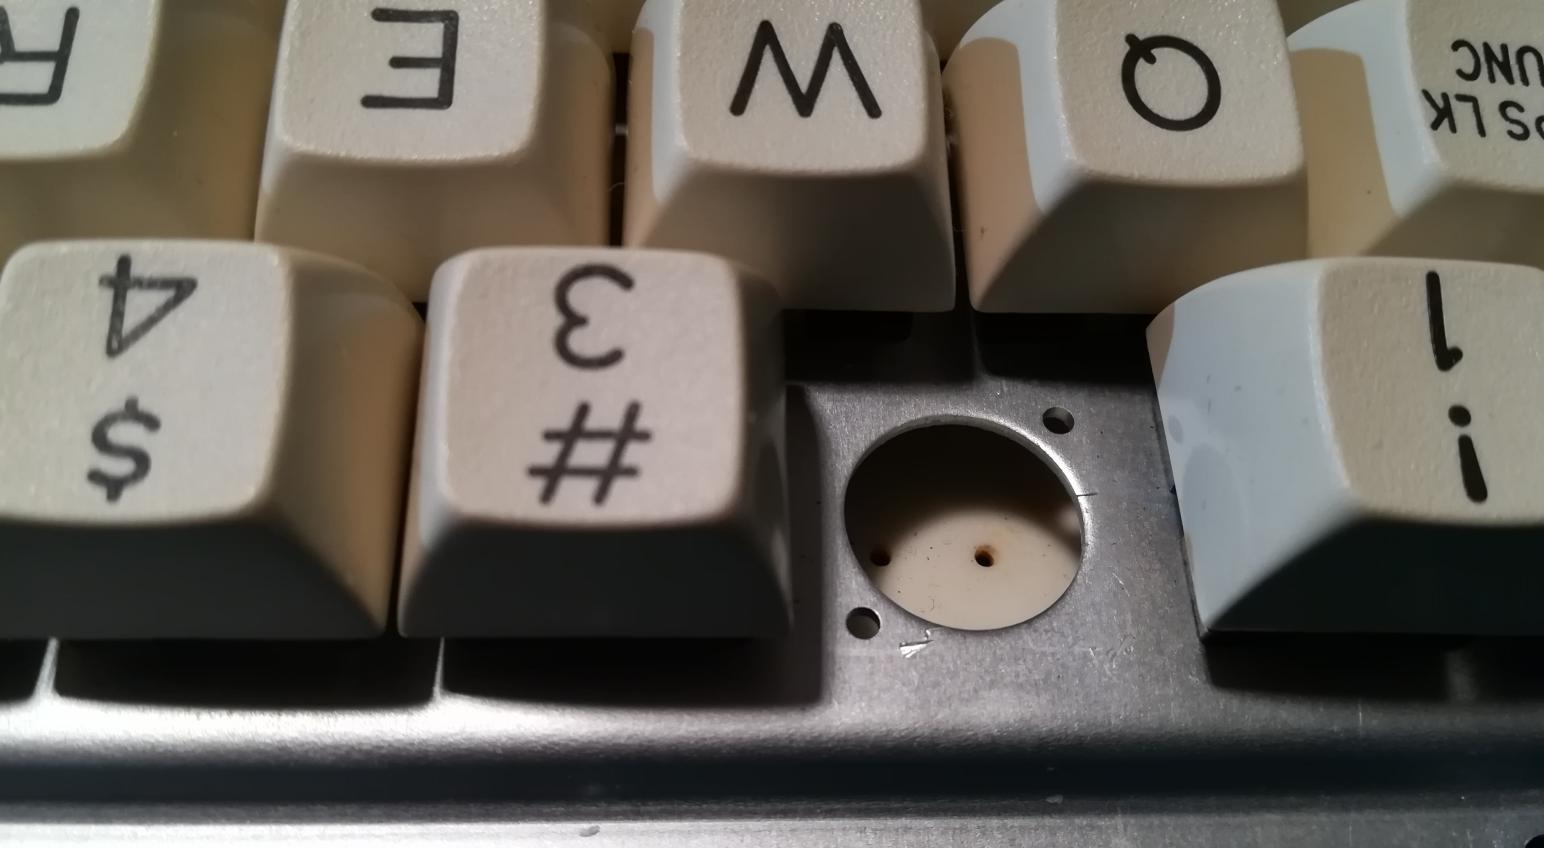
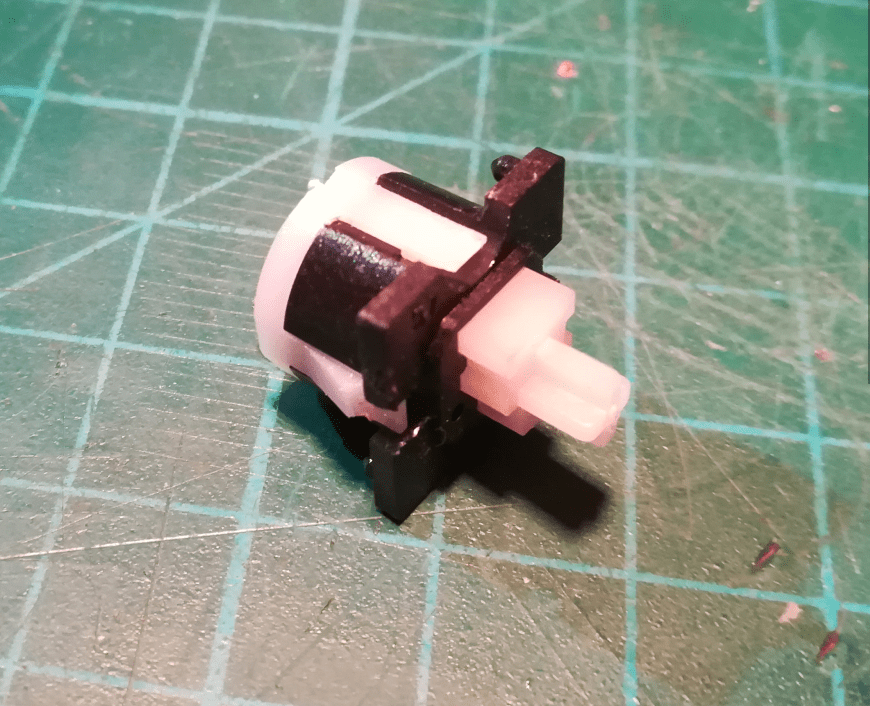
The funny thing worth noting is that pins are simply ‘unscrewed’ from a button. I didn’t know it at first and it took me a while to figure this out.
Cassette player
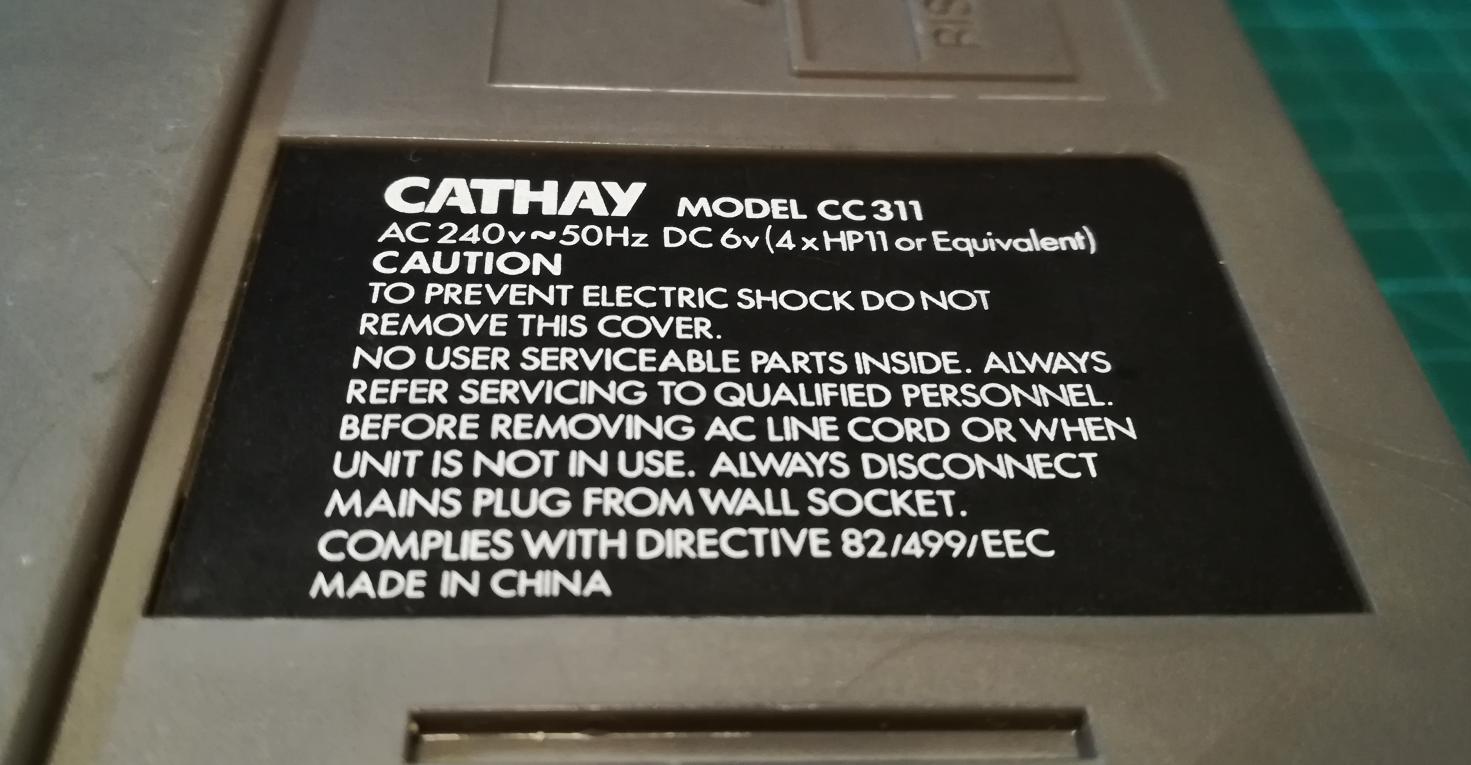
Cassette player Cathay CC311 that I’ve found in one of the packages needed some cleaning too. Nothing really fancy. Just a standard case and electronics cleaning, plus lubricating mechanical parts that needed it.
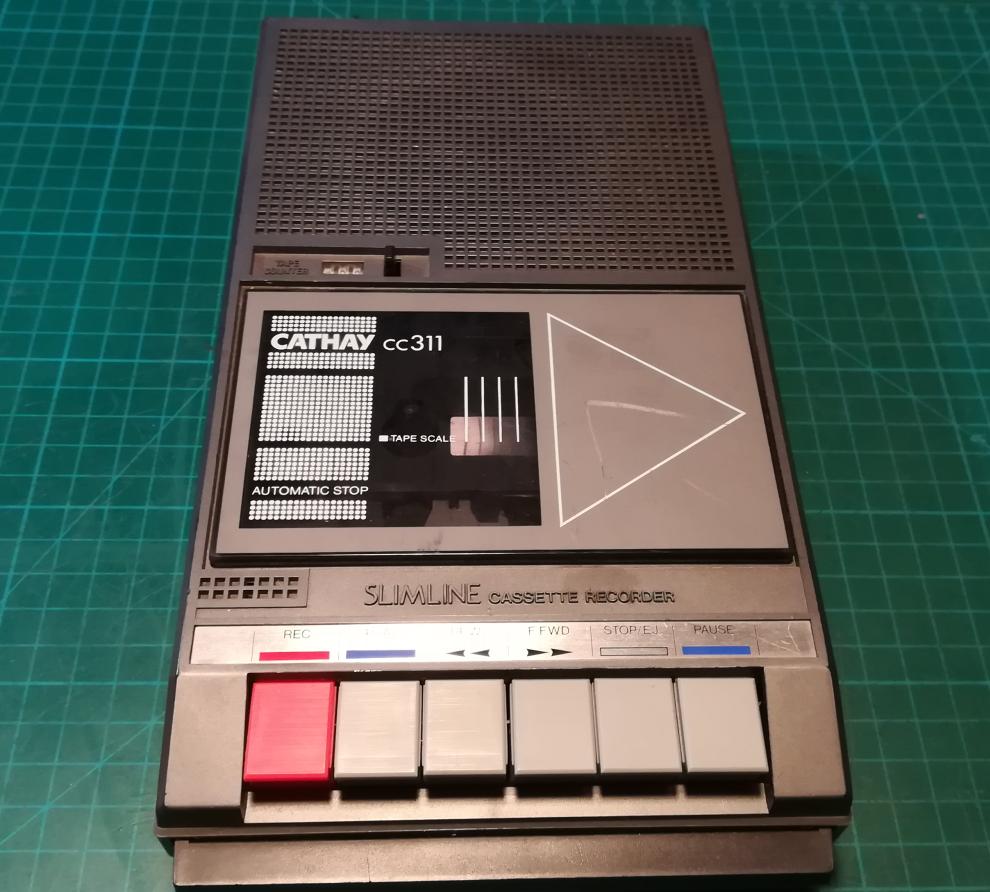
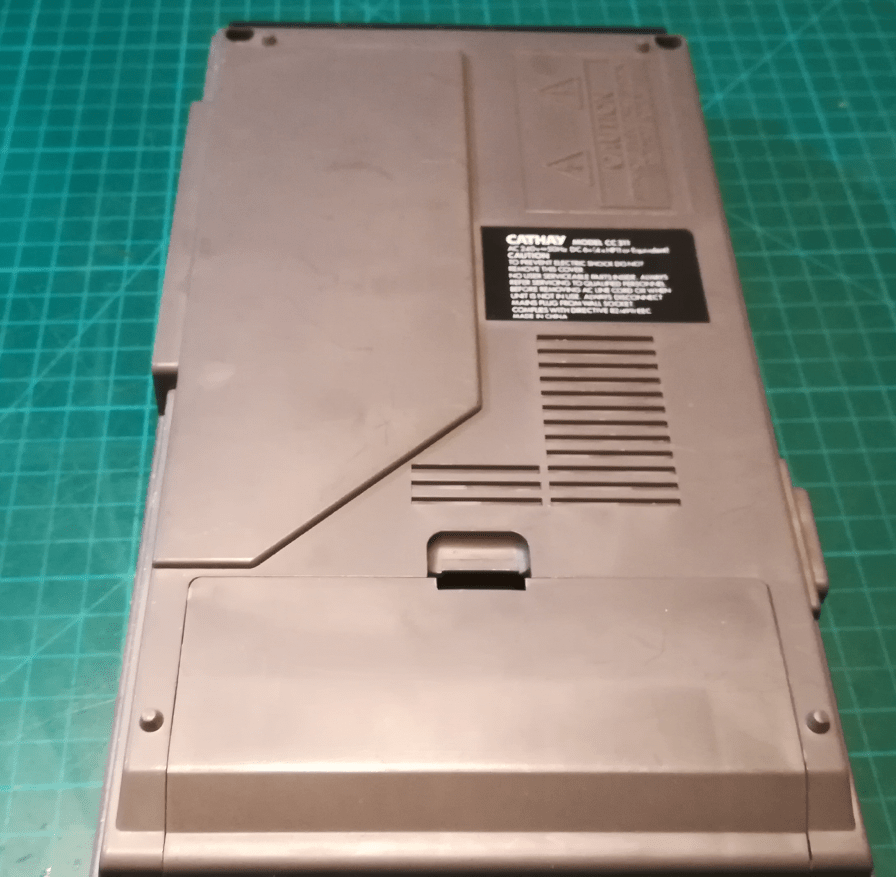
Running some tests again
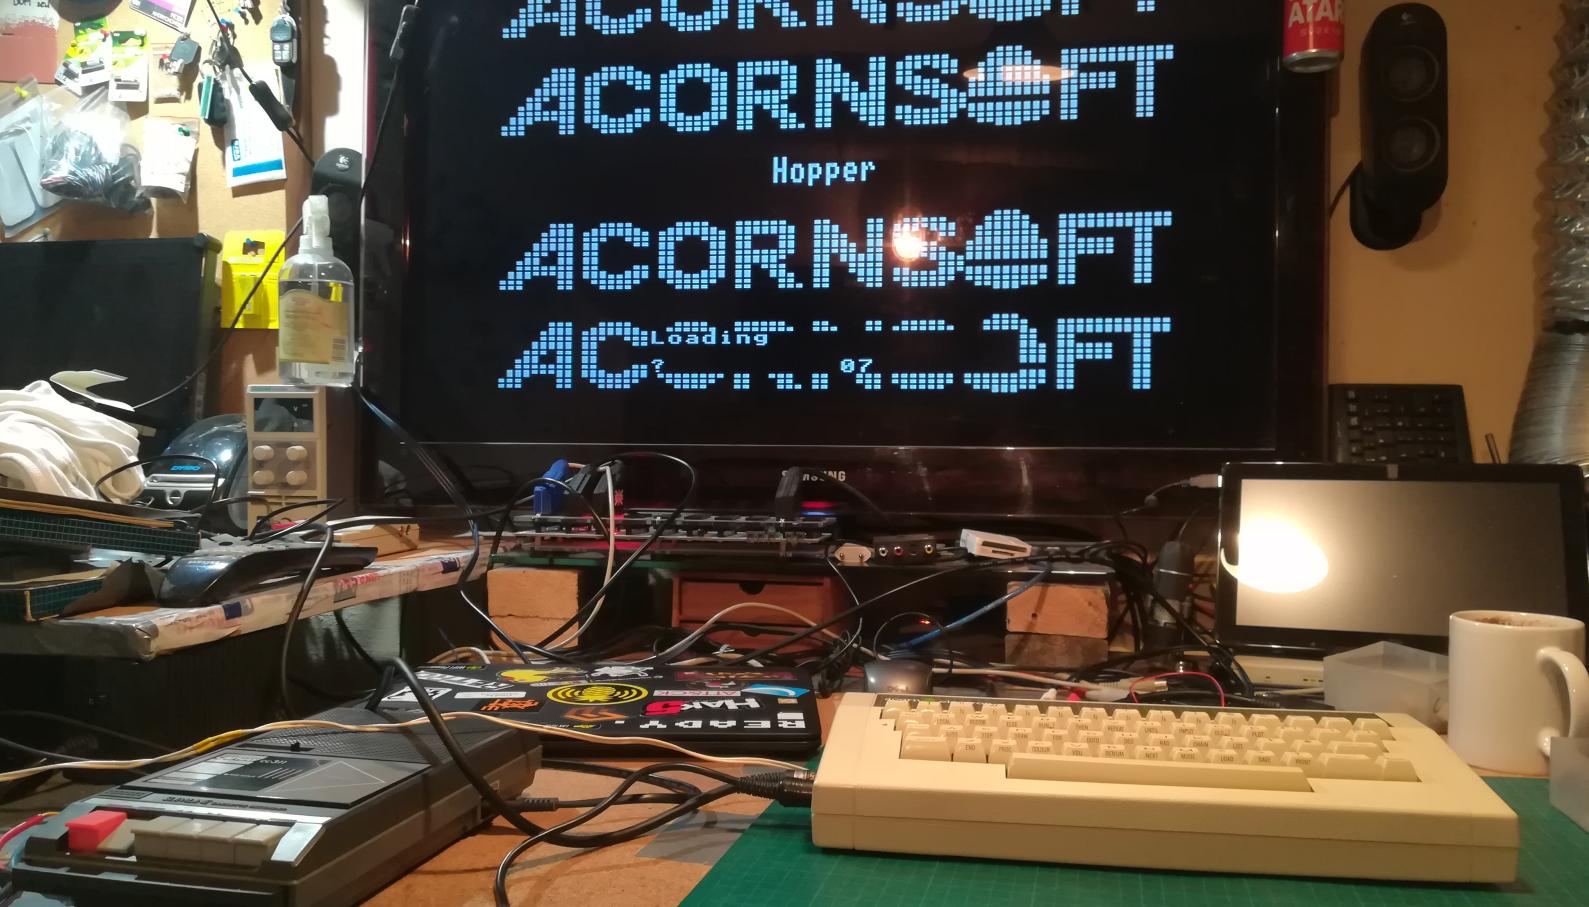
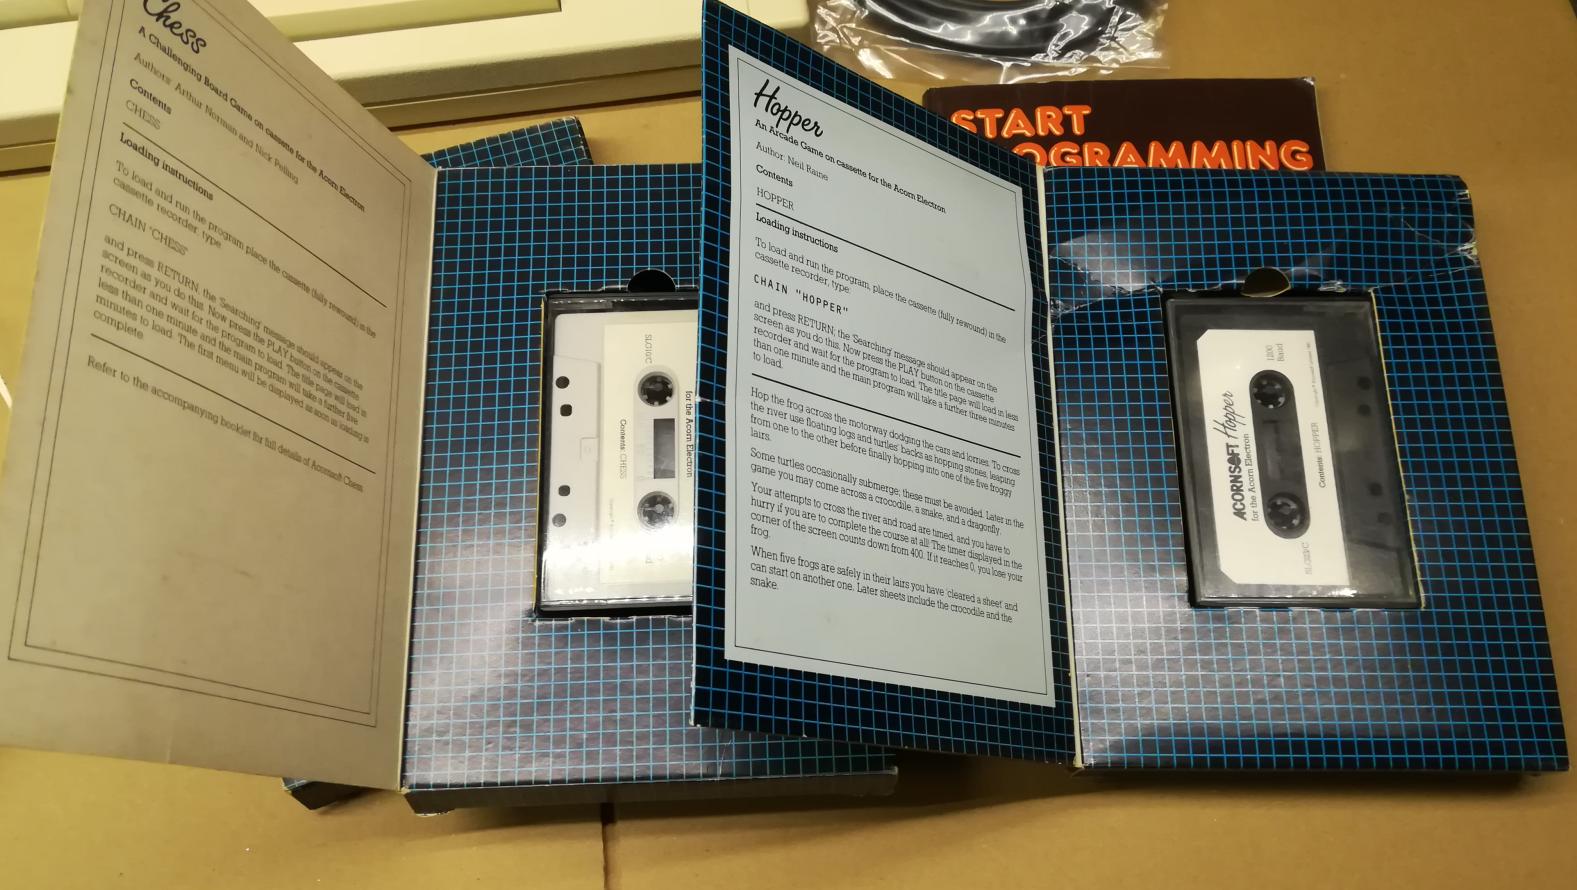
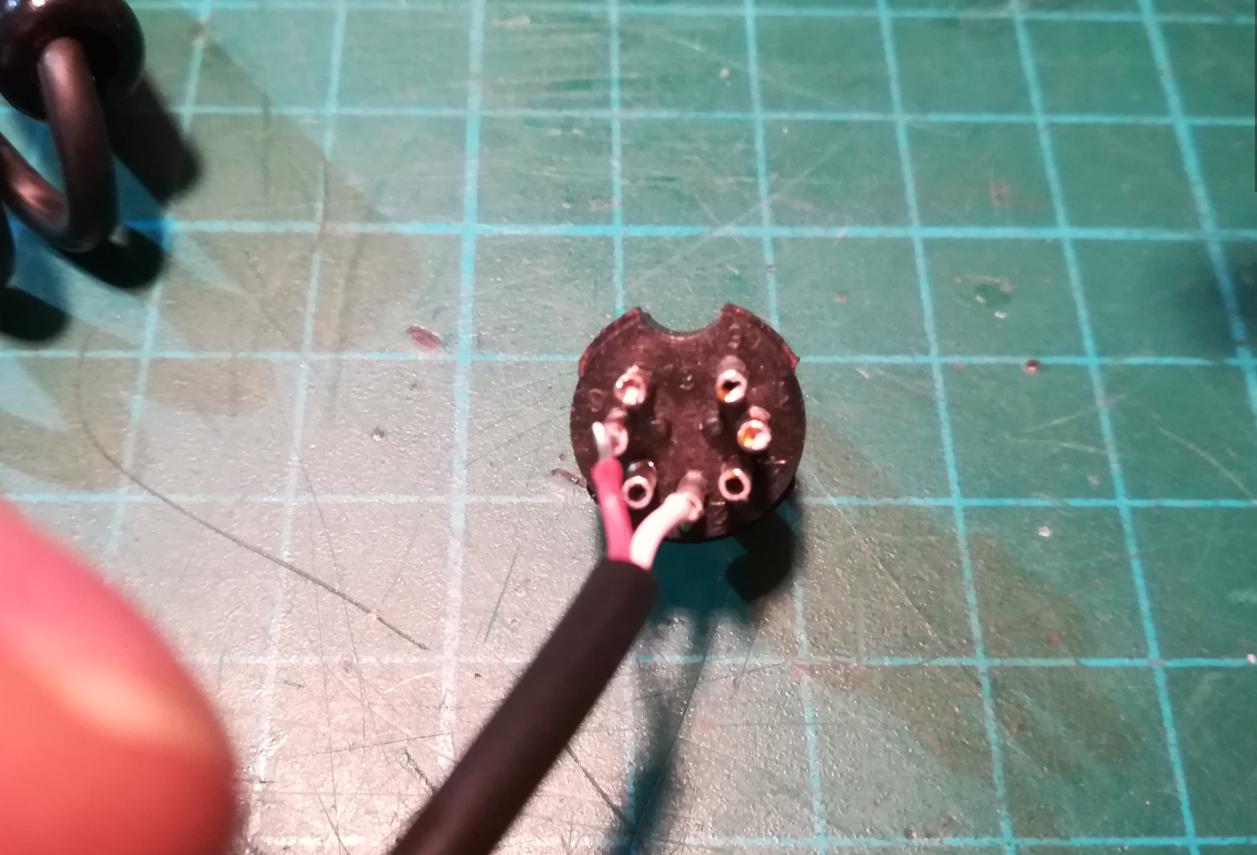
I figured that I need a proper and working cable to load games via Cathay C311 because the one that came within packages was kinda unreliable so I’ve made that cable out of a mono mini-jack, a DIN-7 plug, and an old phone wire.
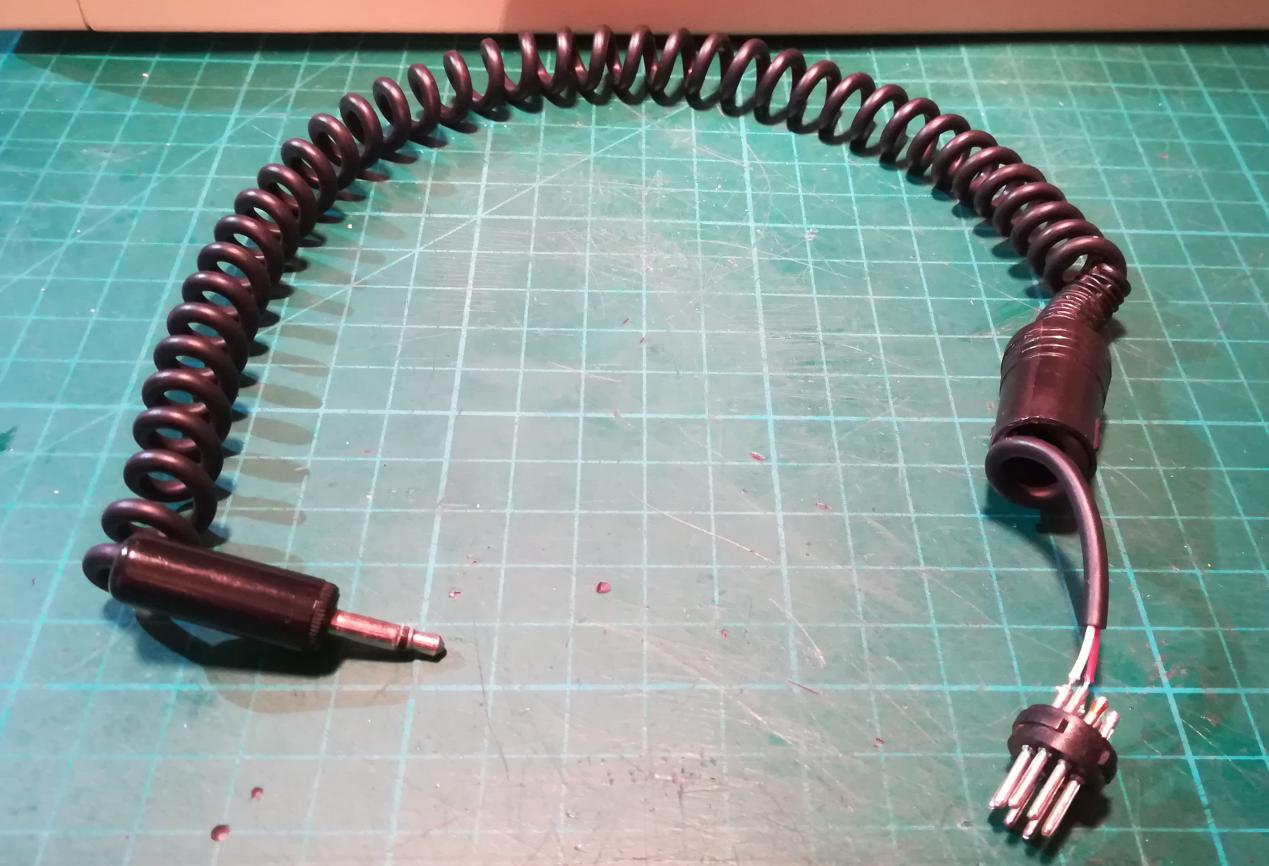
Job’s done
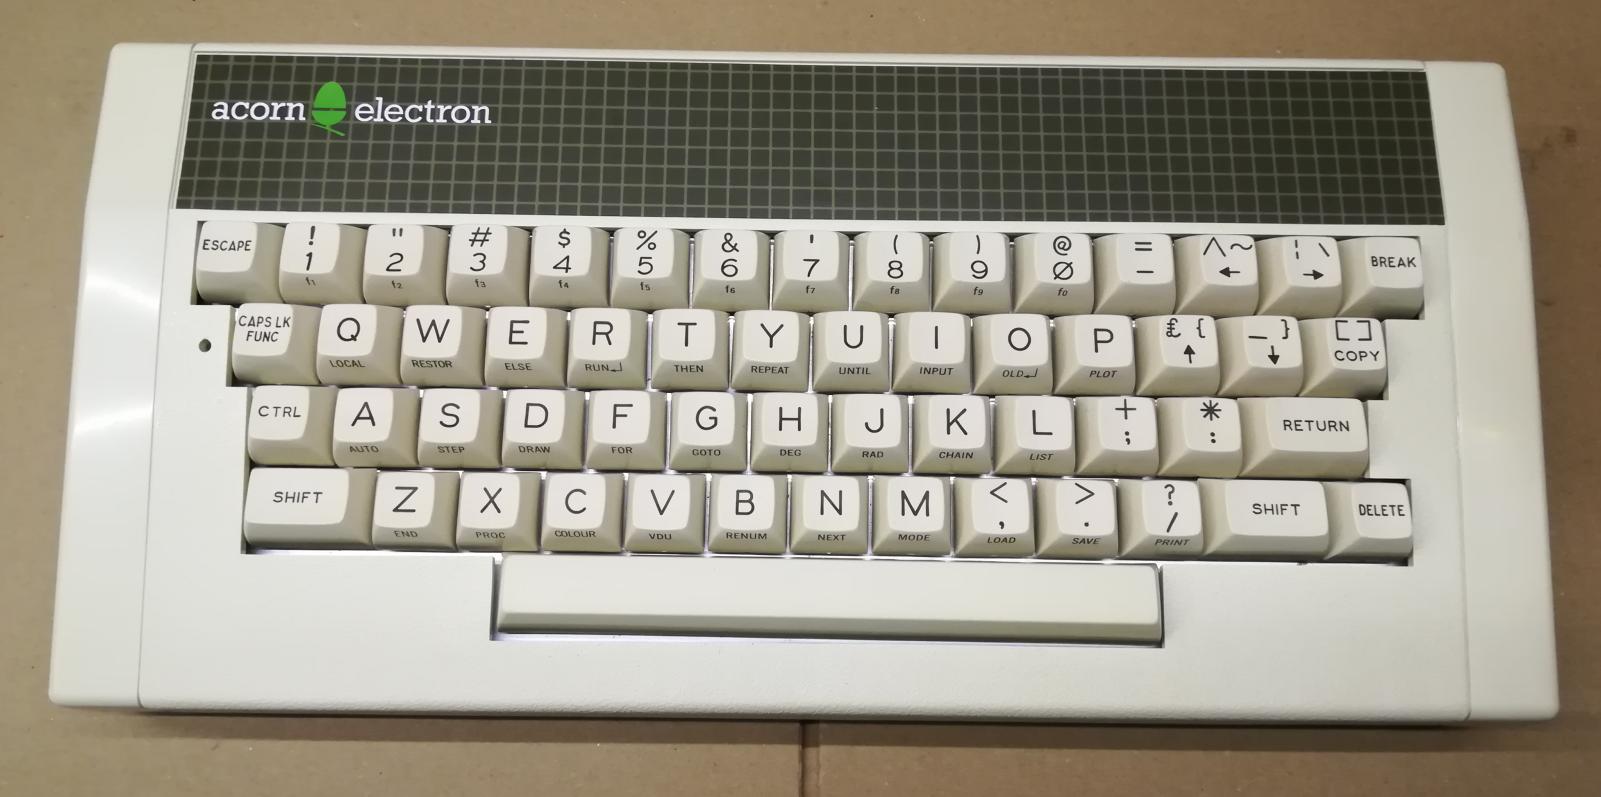
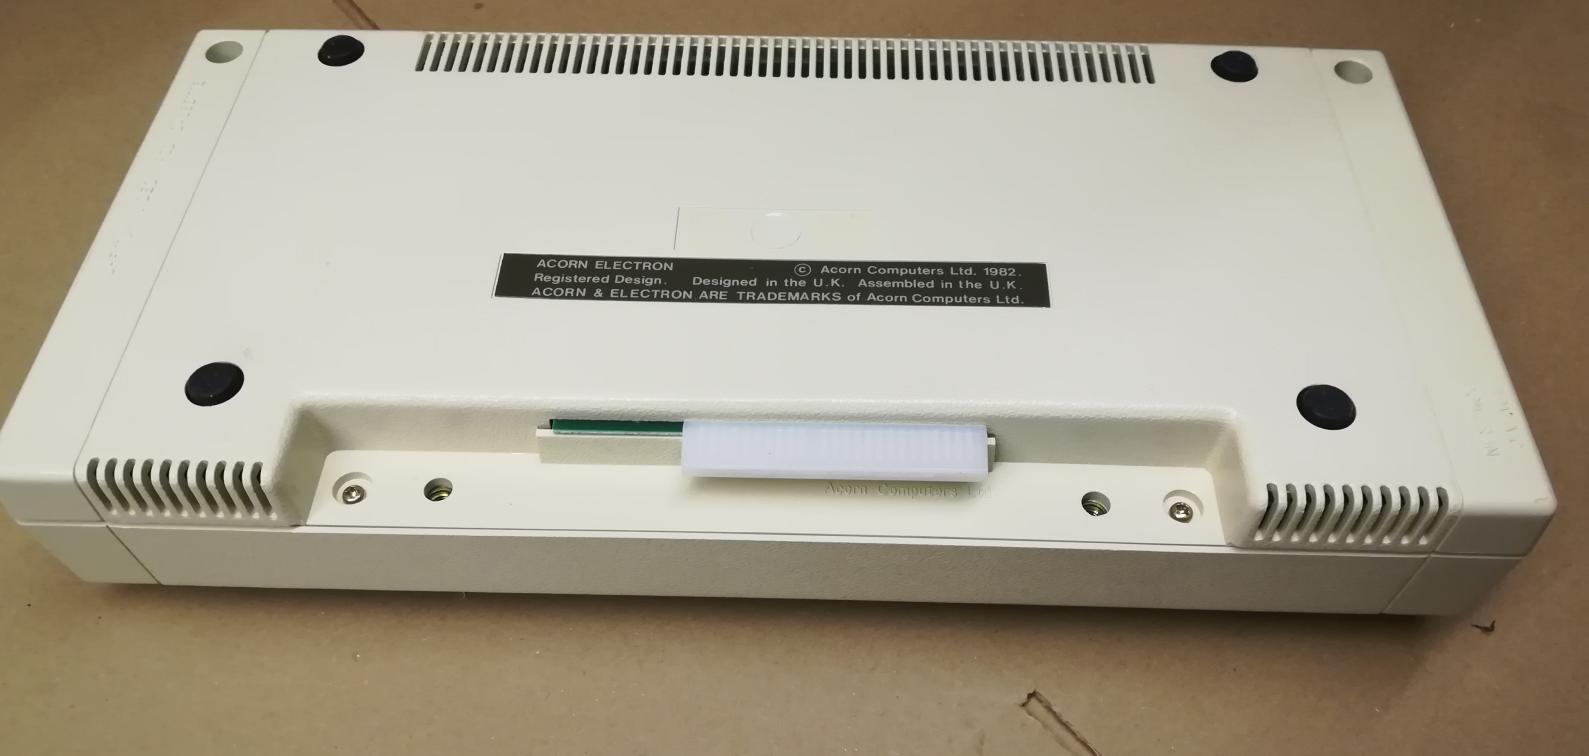
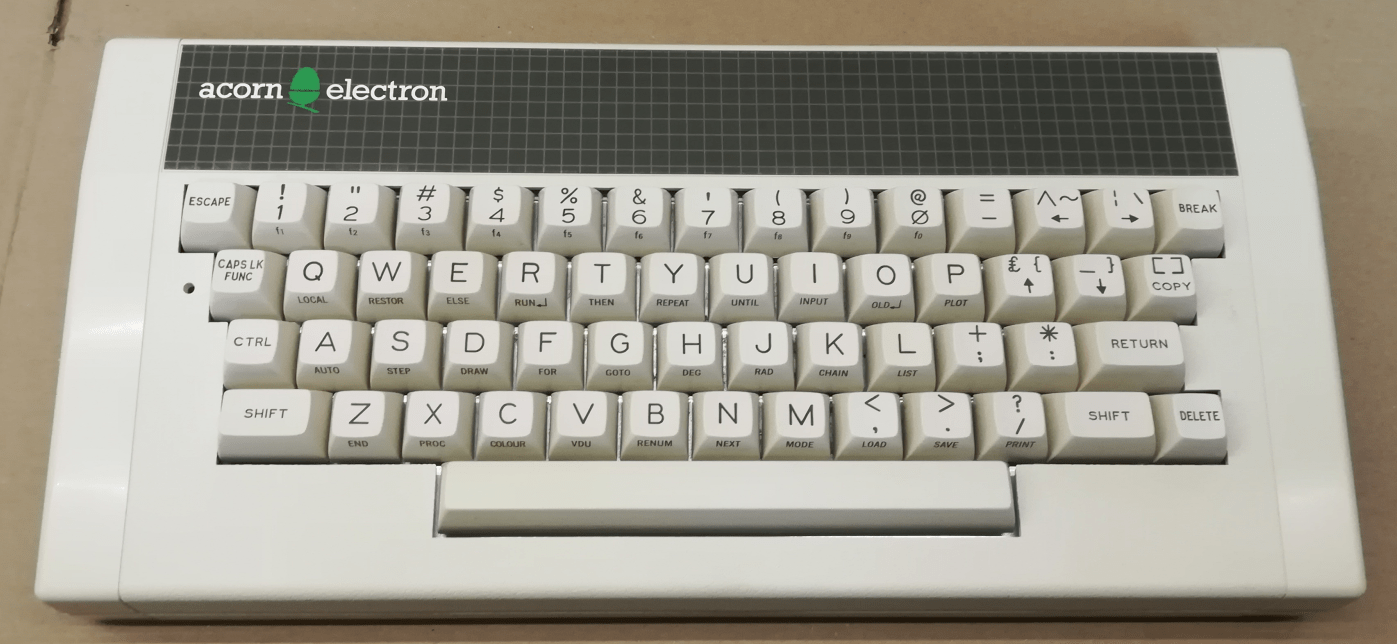
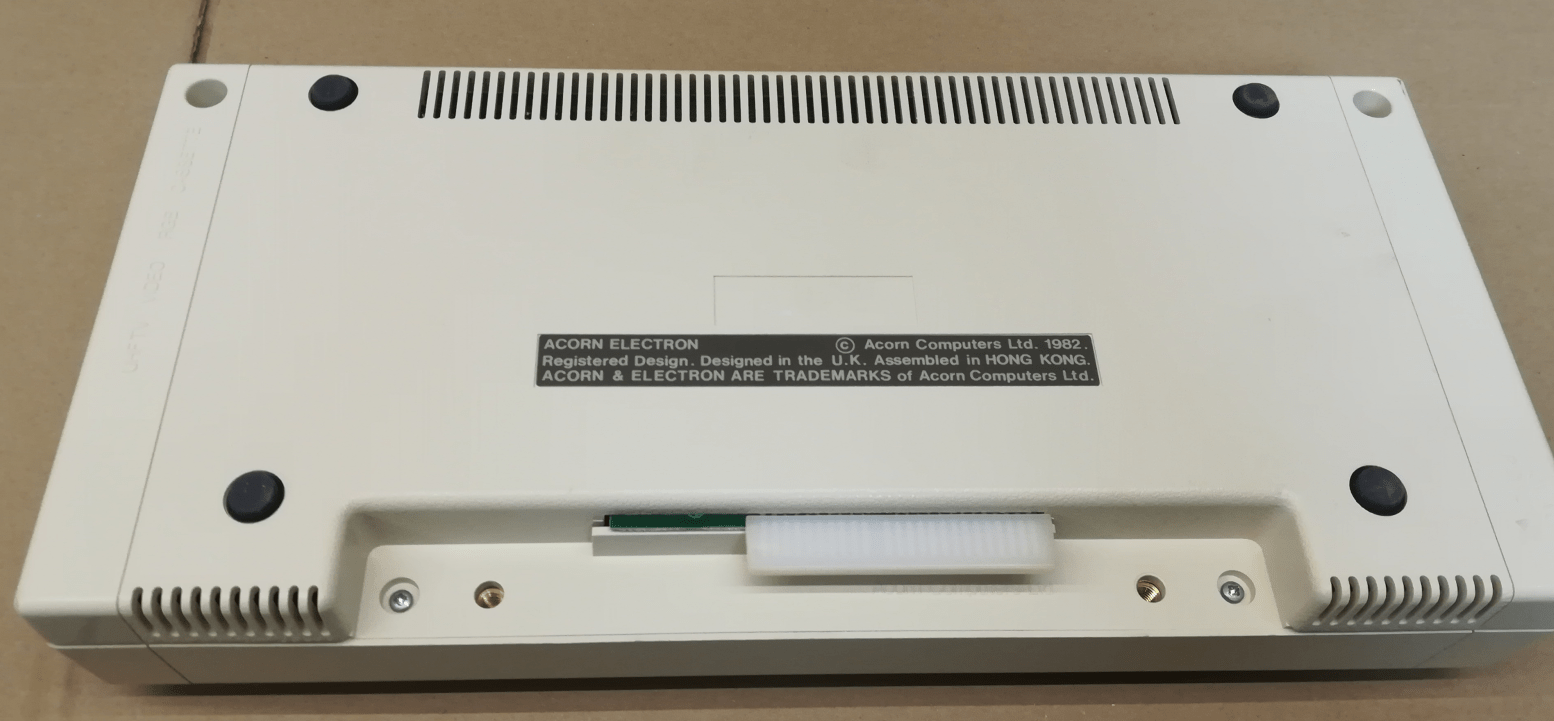
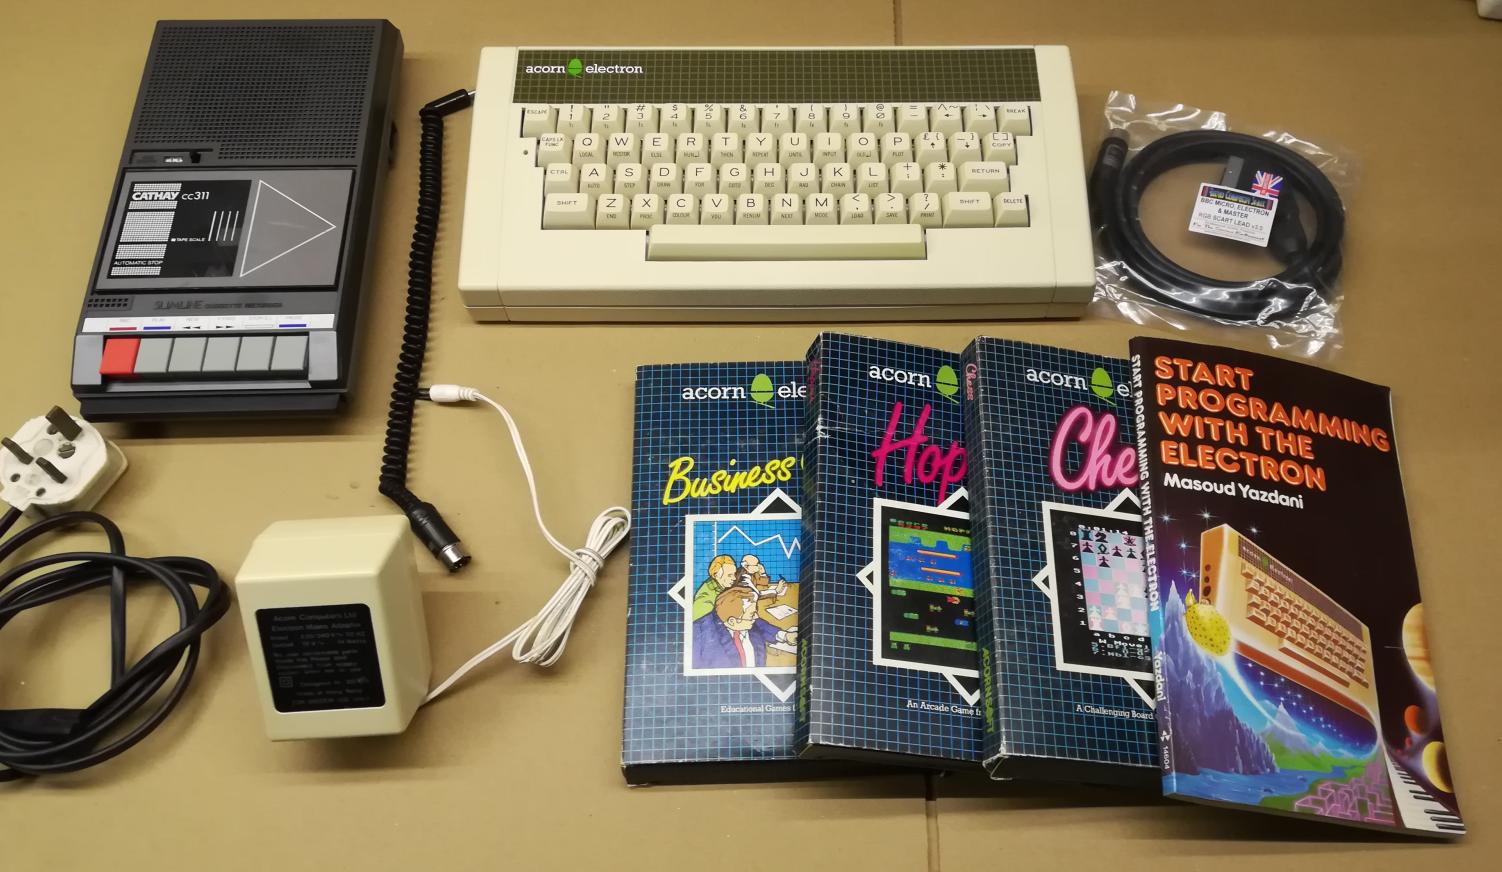
Complete setup for your retro experience 😀 😀 😀
OUTRO
If you want to get retro gear or hardware modules, please visit our shop
https://retrohax.net/shop/
New products are added every month.
Also, please support our work by spreading info about it.
Without your support, we simply cannot grow and we have a lot of new cool retro hardware (and more) products to come




Thanks for your post! The pictures won’t load for me though.
Hi Ctag, I am currently working on few tweaks and that is why you might encounter some issues with images 🙂