… or another bedtime story
<Random garage pic>
</Random garage pic>
Poor Atari800XL
Some time ago, I’ve bought an Atari 800XL that was rotting in a basement. I wouldn’t be myself If I didn’t try to repair it. However, it waited in a queue for quite a while 🙂
After several heavy refurb jobs, this one was rather easy and you’ll see how it all went in this post … followed by a bonus.
I’ll jump straight to retr0brighting results because disassembly and cleaning were covered here many times in previous posts.
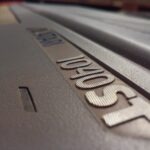
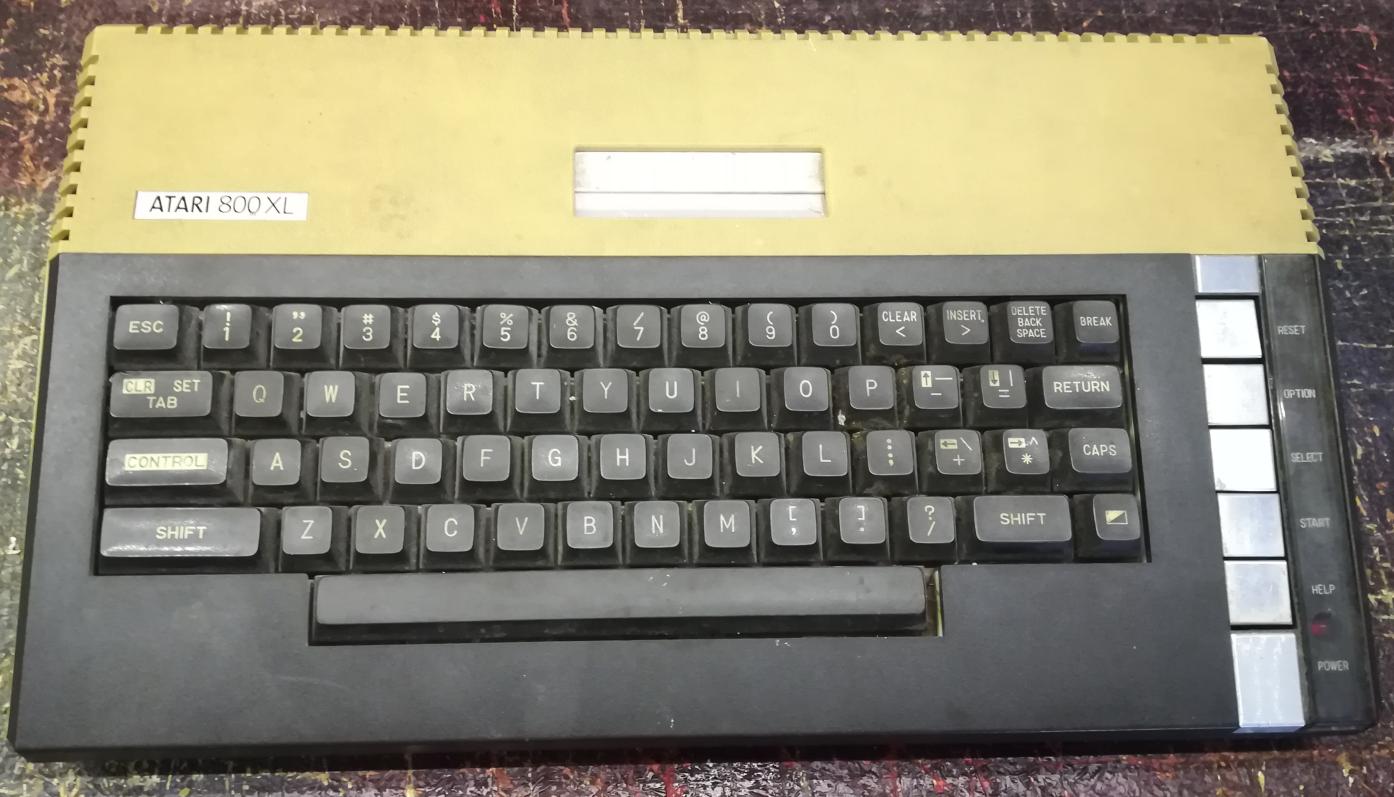
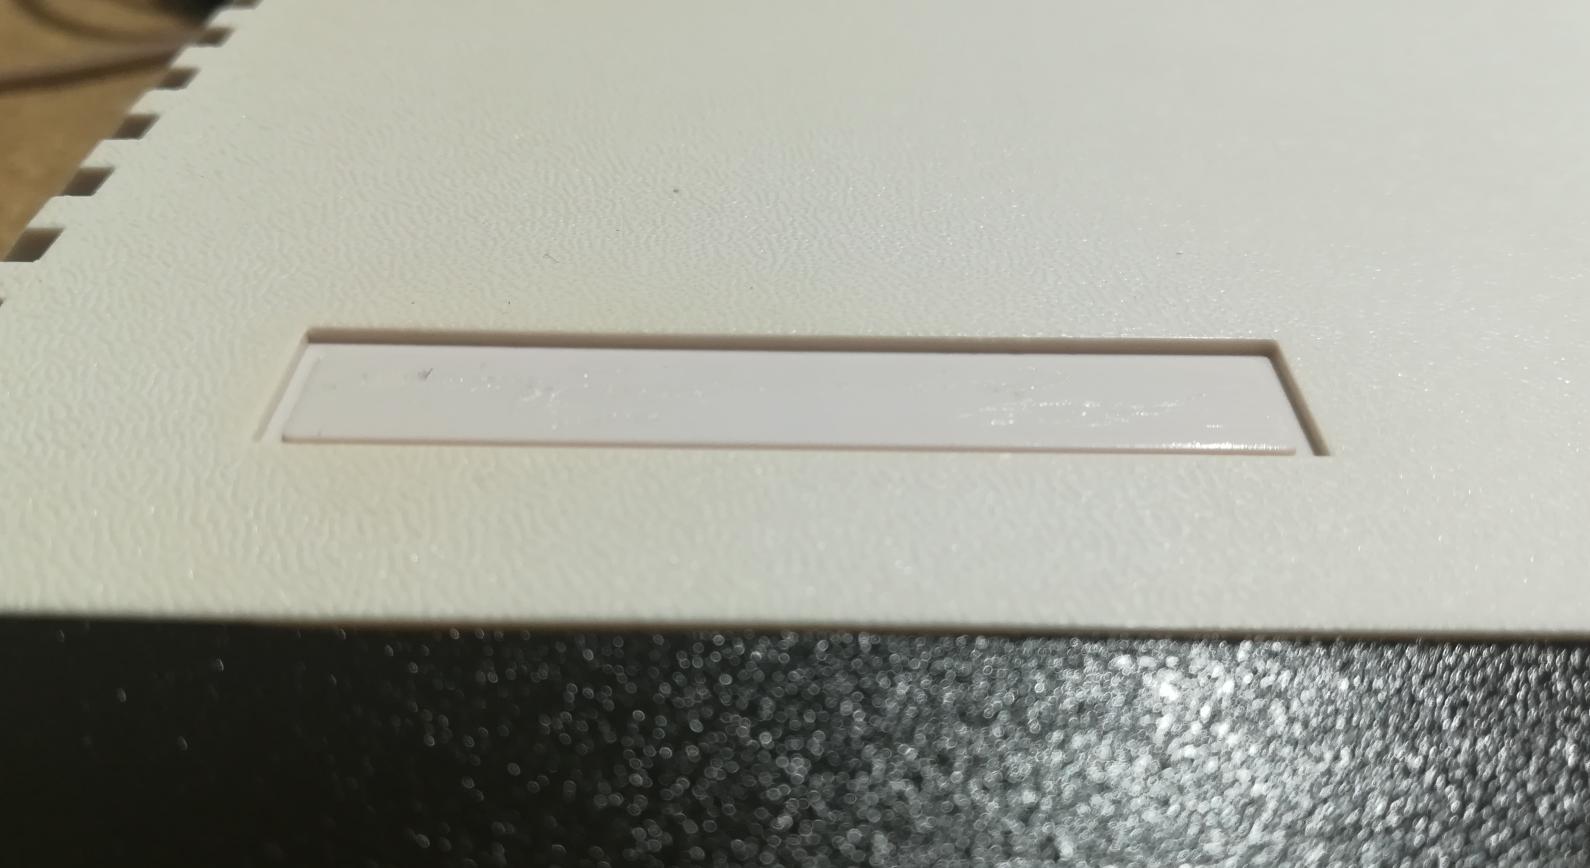
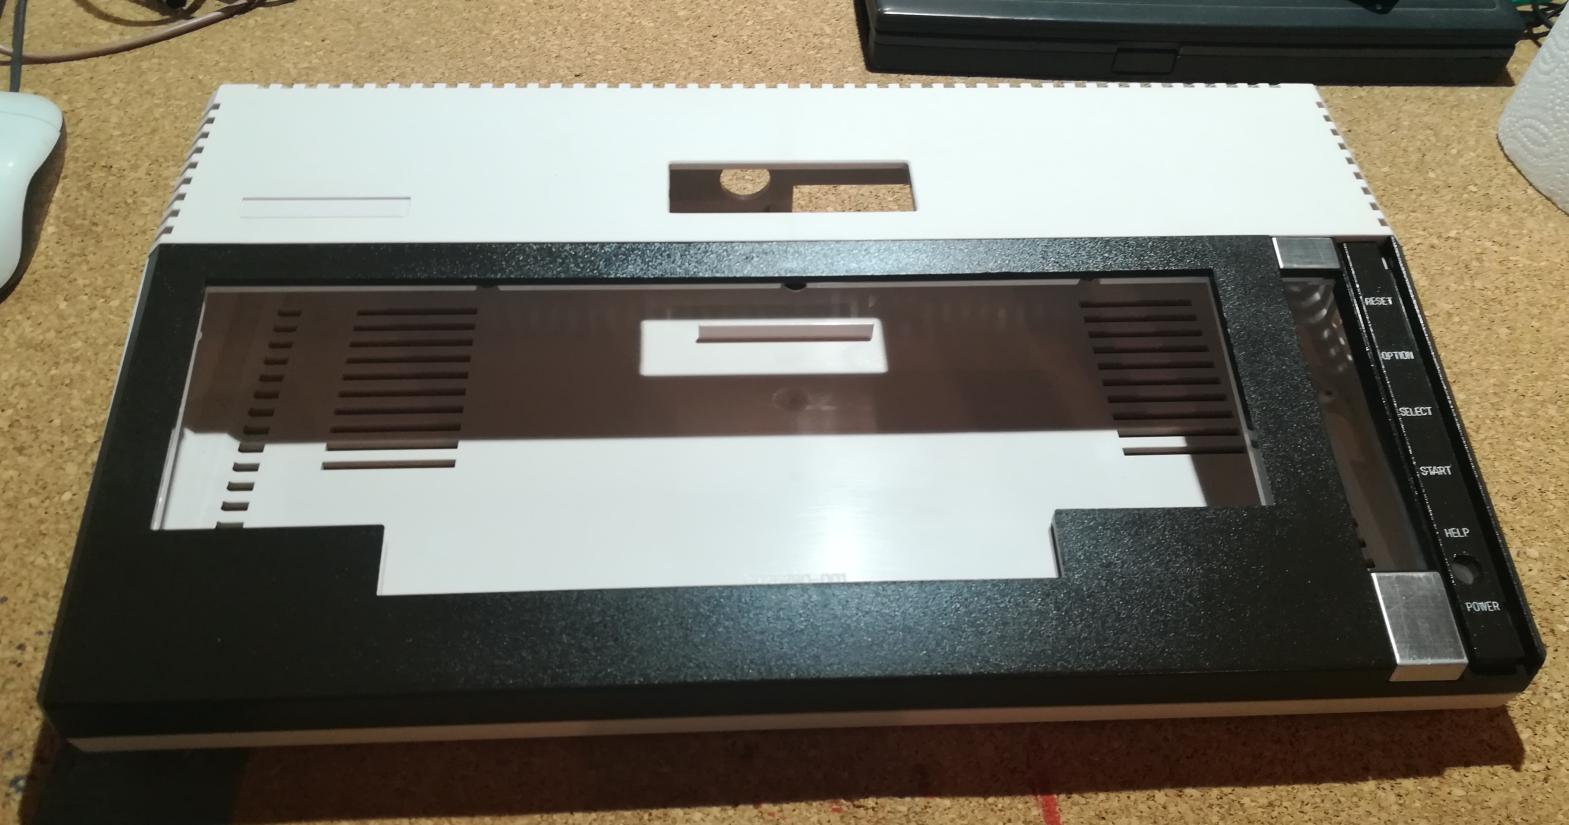
Here is a pic that I took after cleaning but before retr0brighting.
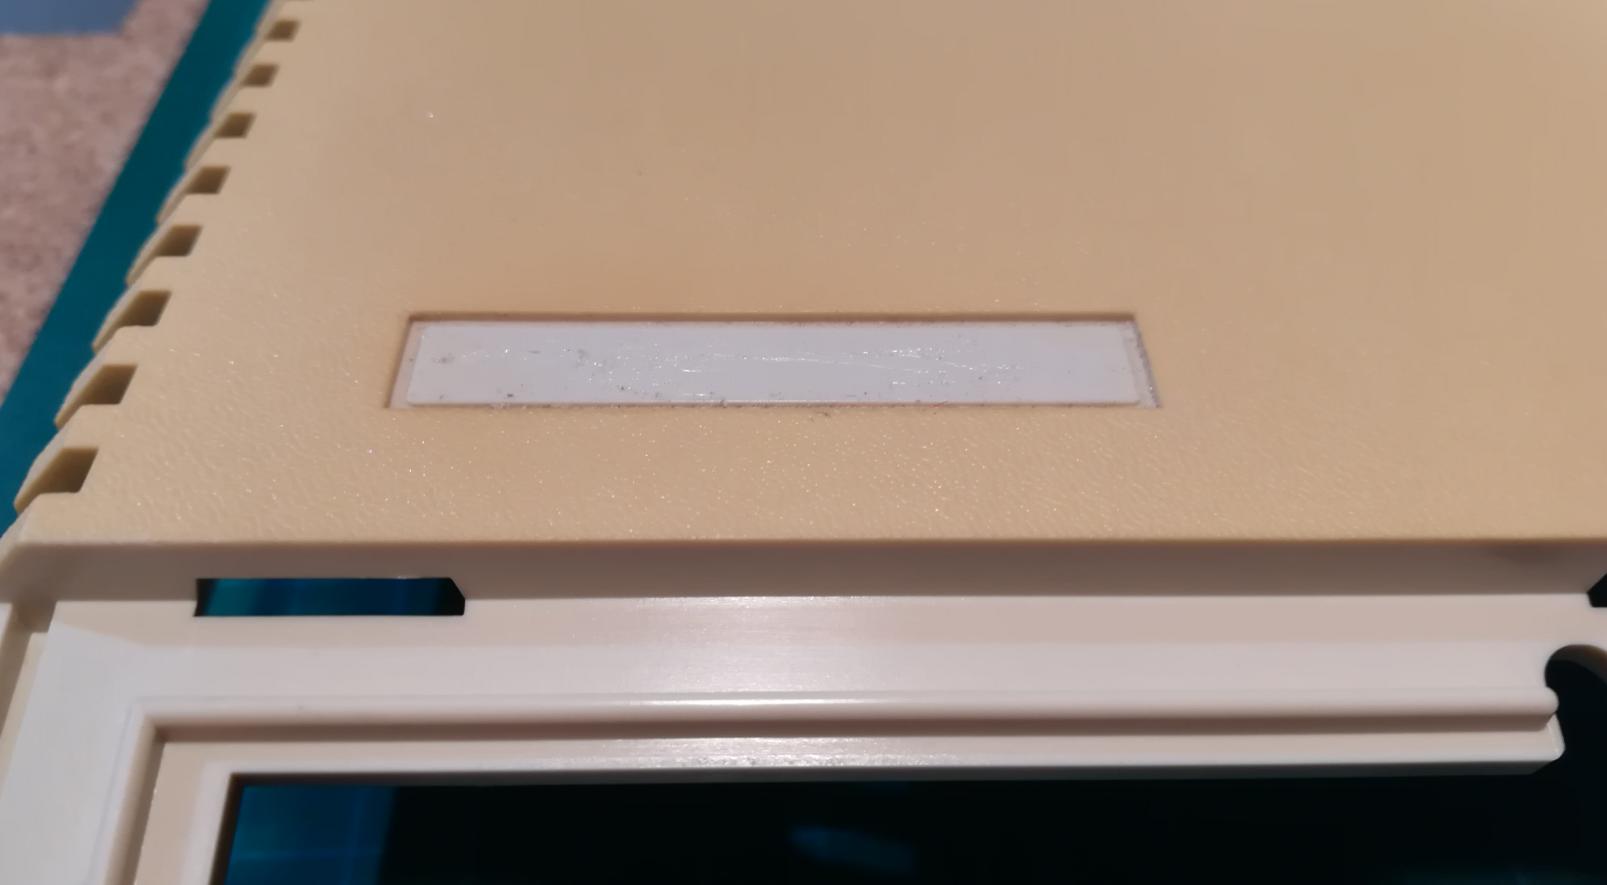
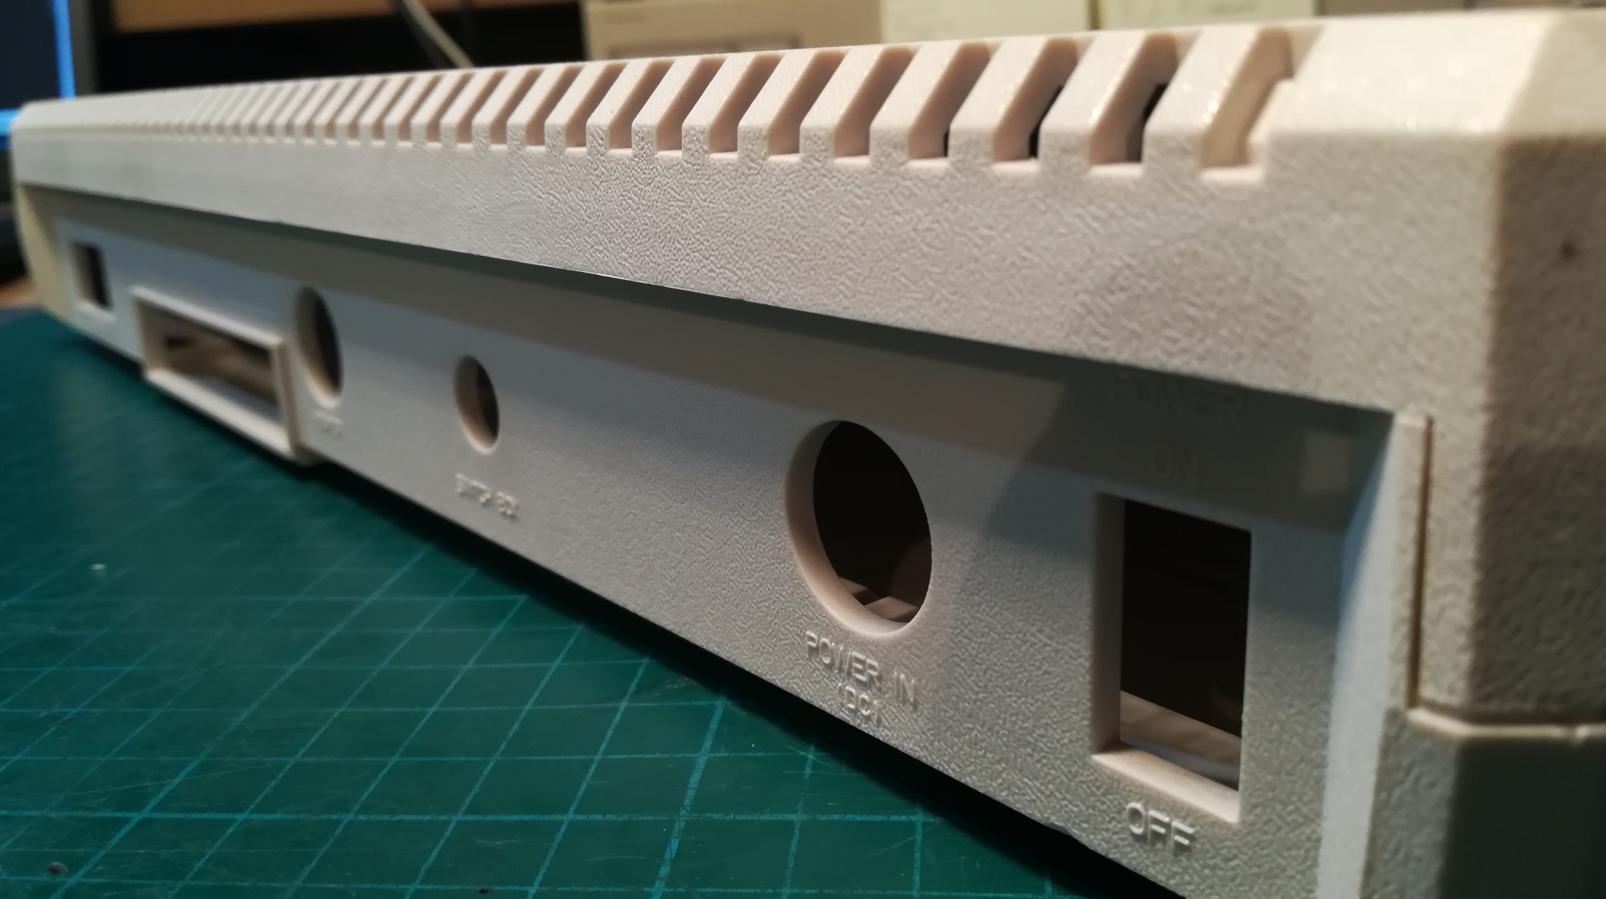
… and this one is after retr0brighting.
Case refurb job finished.
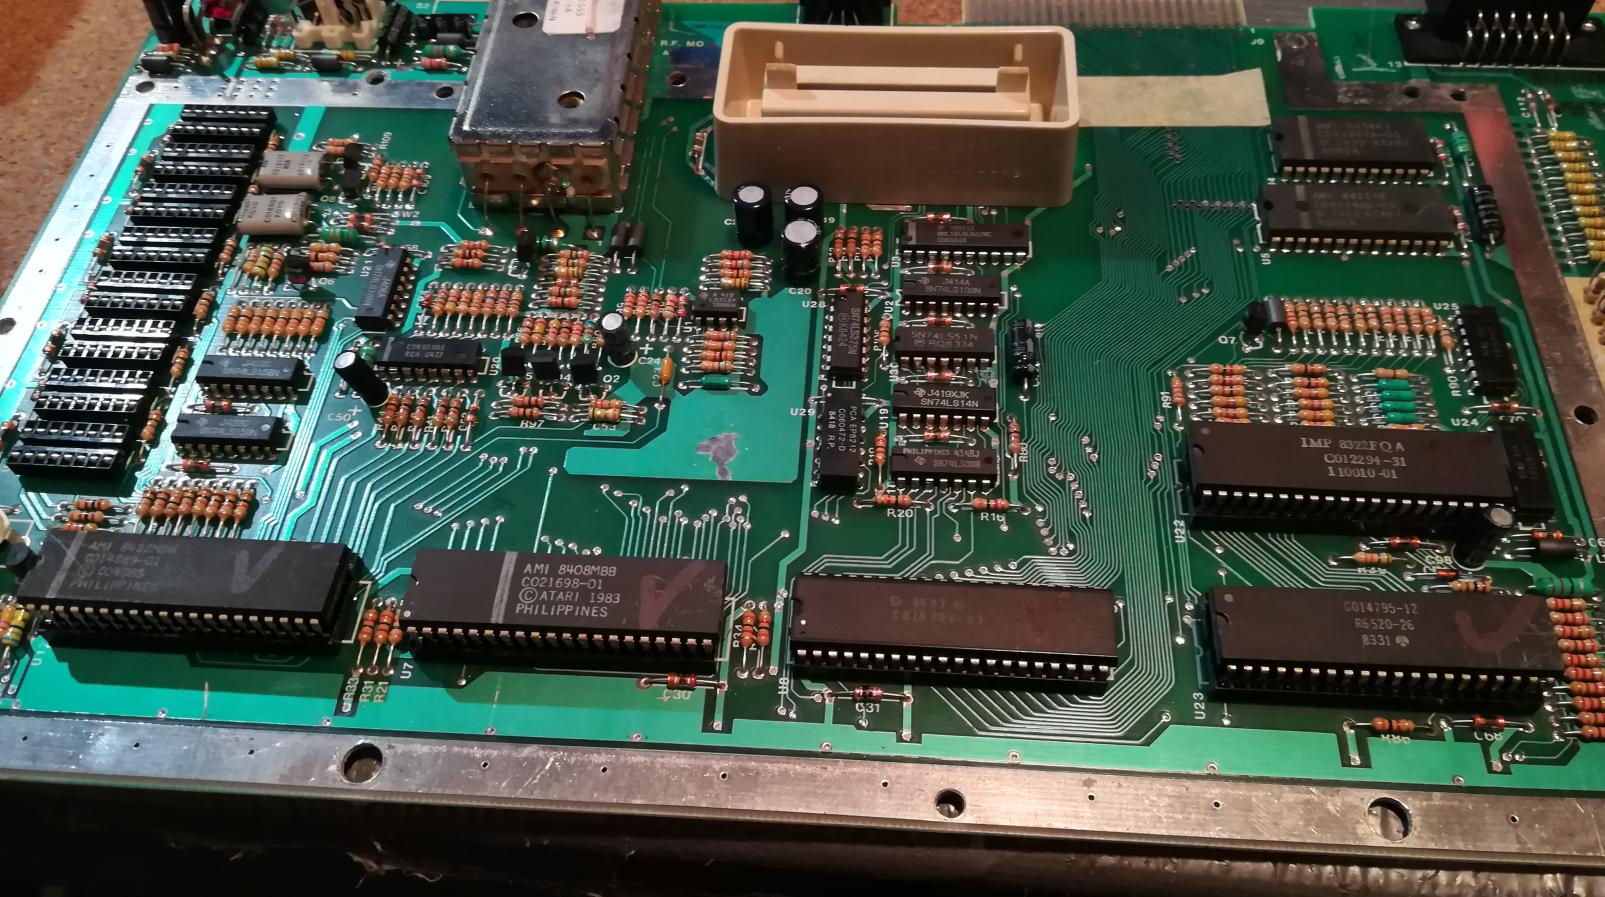
On the electronics part, I had only minor issues with shorted RAM chips so that was an easy repair.
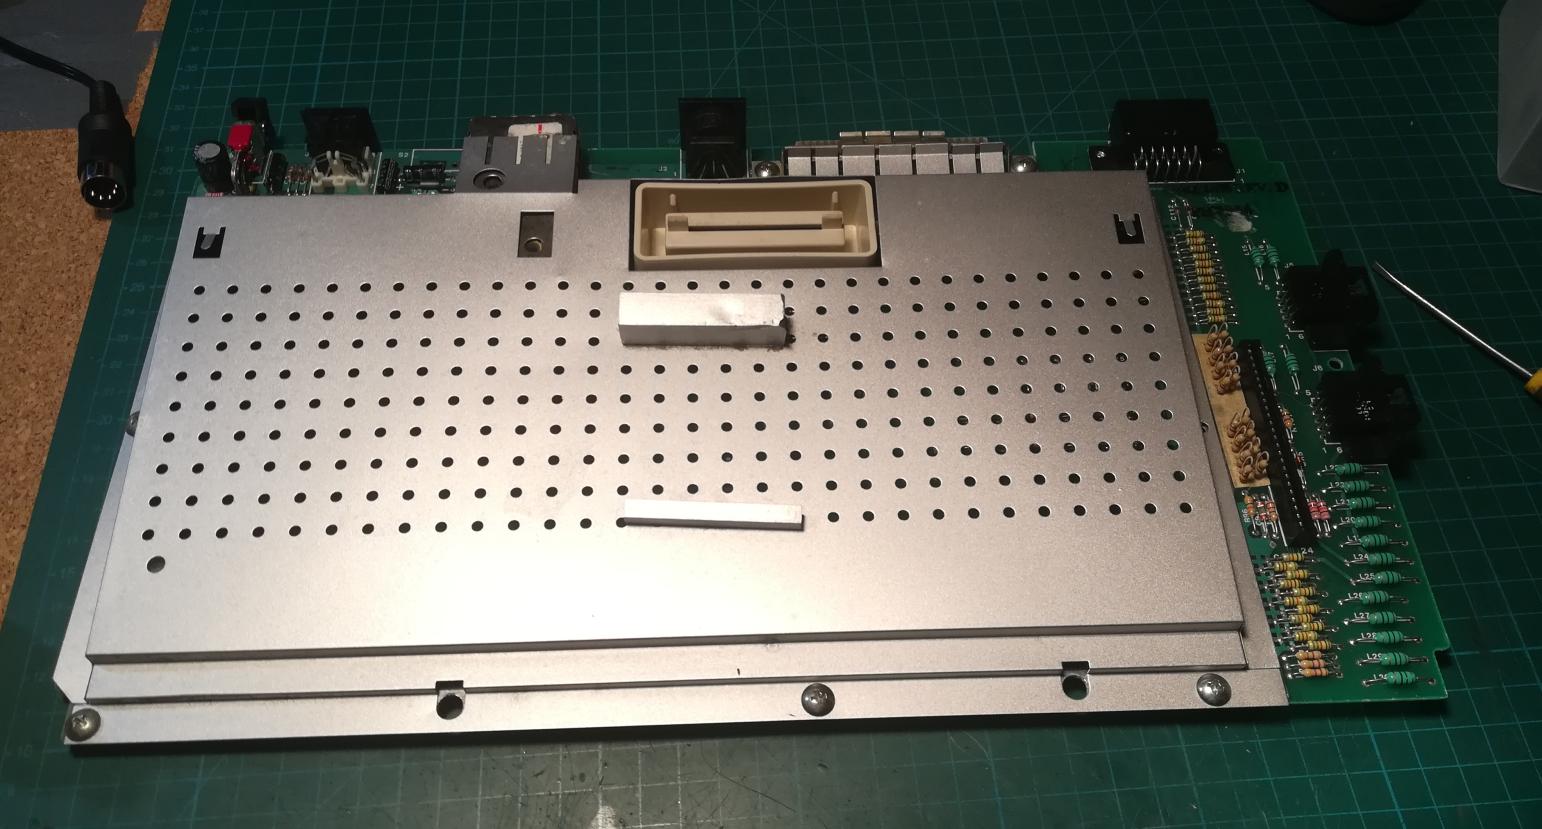
I’ve also cleaned metal shields and painted them a nice silver color.
The main issue with this unit was the keyboard. A lot of keys didn’t work or were simply stuck. I guess dust + moisture/water did most of the damage.
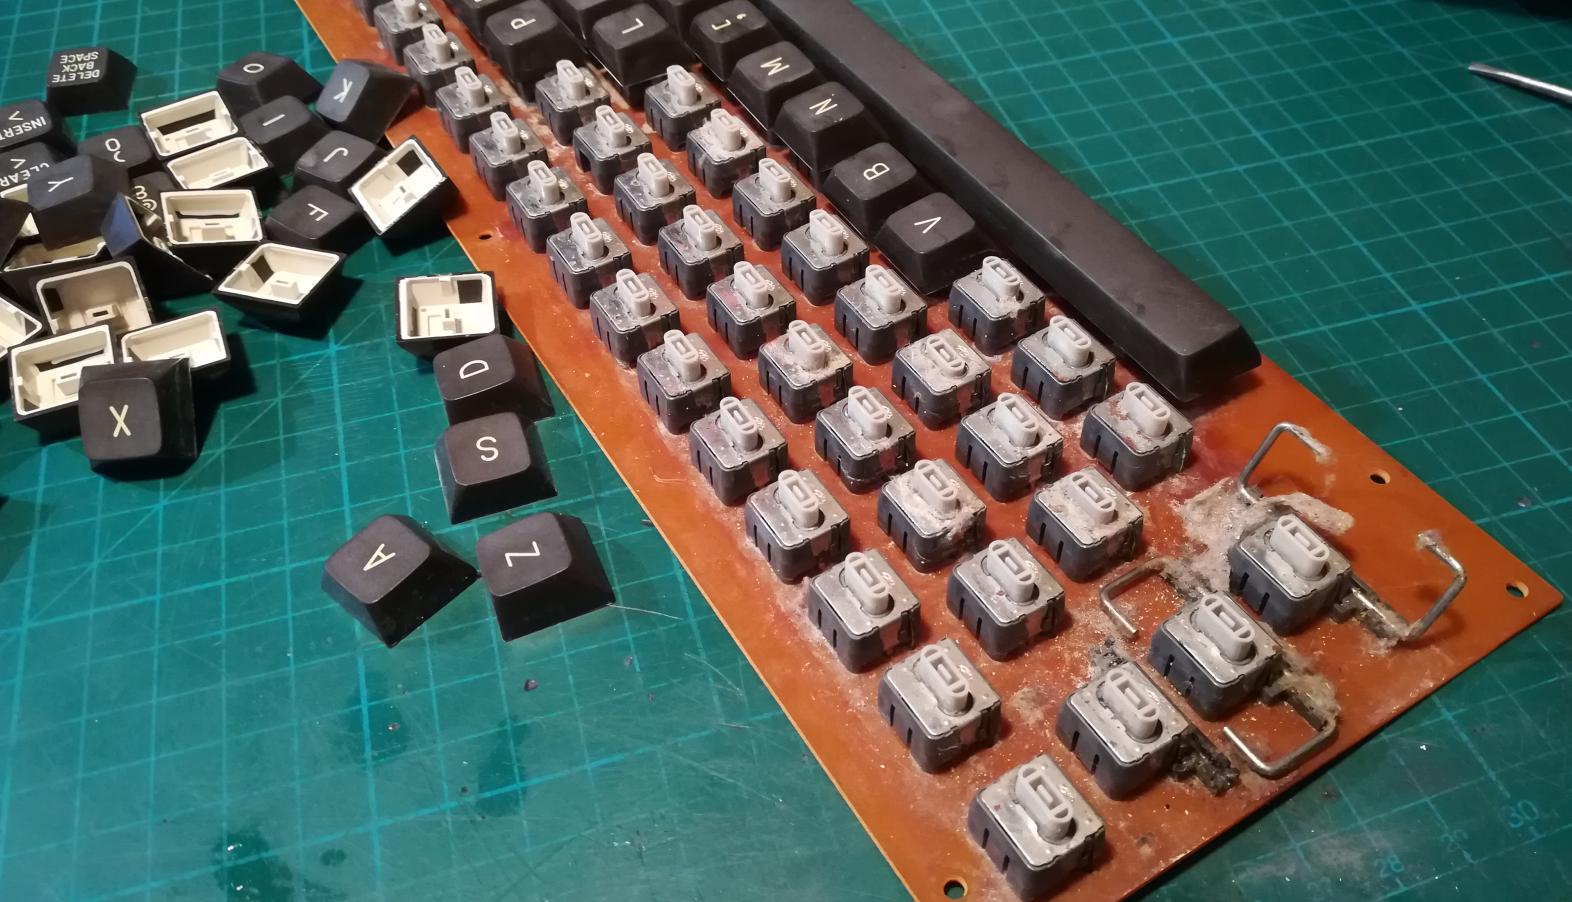
I’ve desoldered all faulty keys and slowly started working on them.
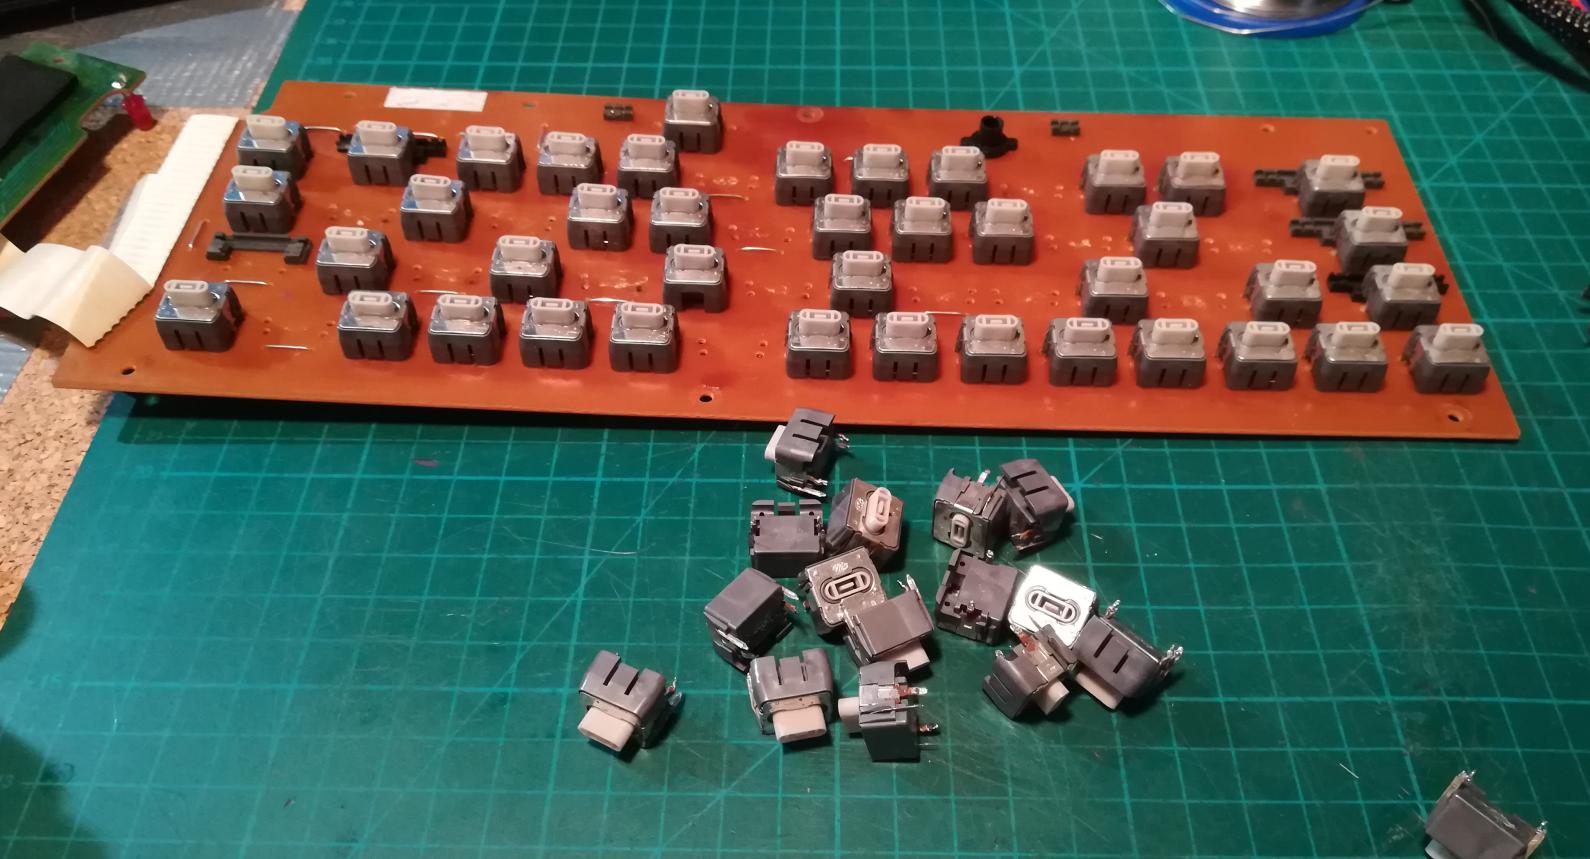
Every key had to be disassembled and fixed. After desoldering, all you need is to gently take off the metal piece and the whole inside can be accessed.
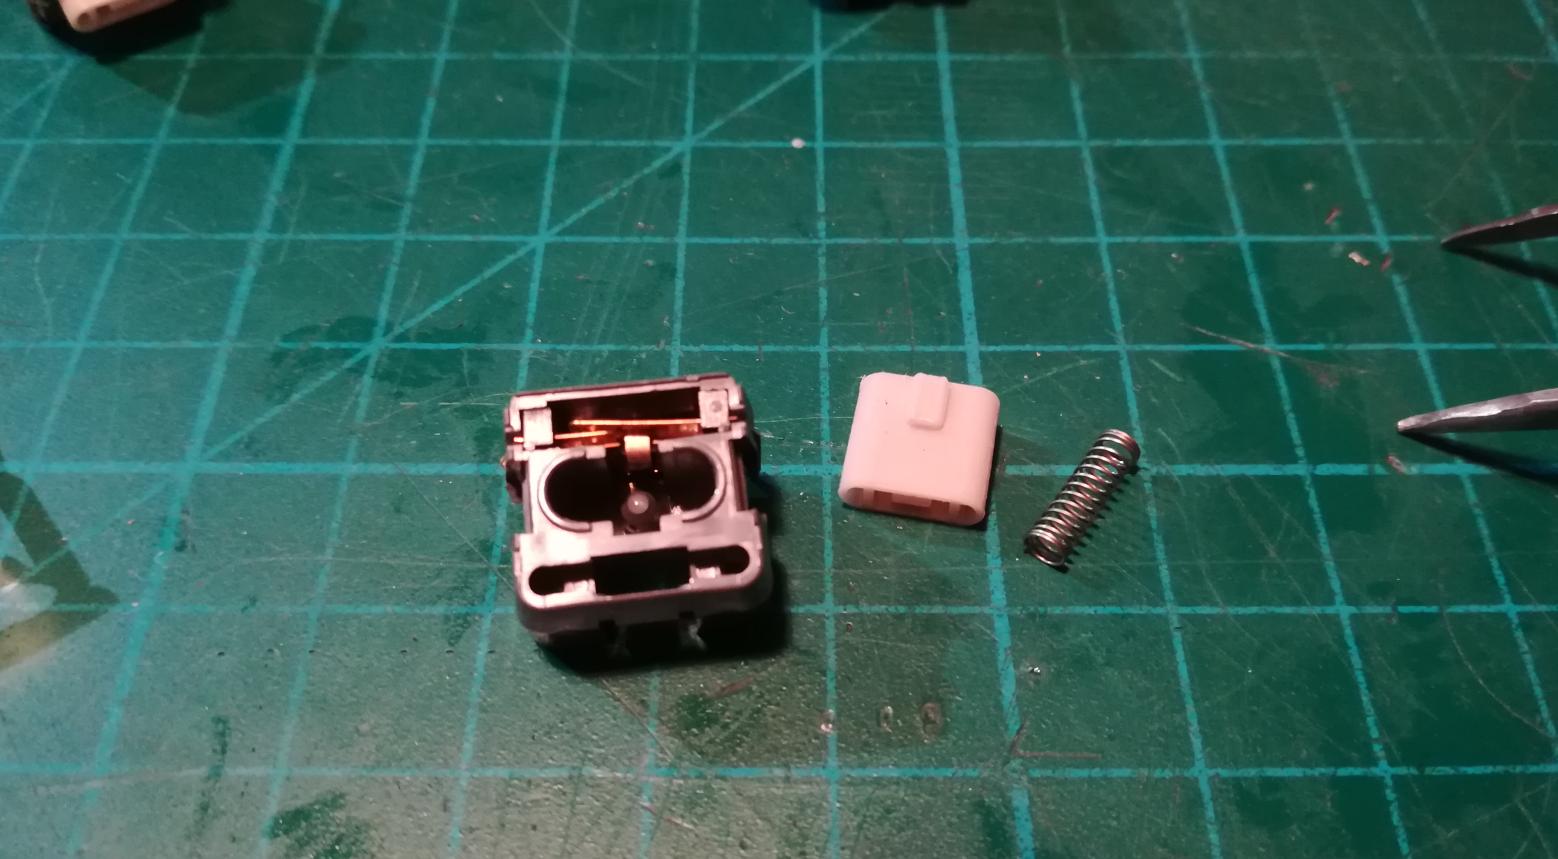
Some keys had tarnished contacts that had to be cleaned. I put those parts in a small ultrasonic cleaner and then tested it again after cleaning. More stubborn dirt was removed with a hard brush and detergent.
Some keys had springs unnaturally squished so I had to straighten ’em up.
While putting it all back together, I also put tiny drops of machine oil to lubricate the white key holding part. That fixed all those keys that kept on being stuck while pressed.
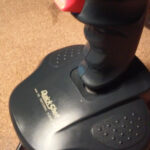
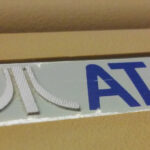
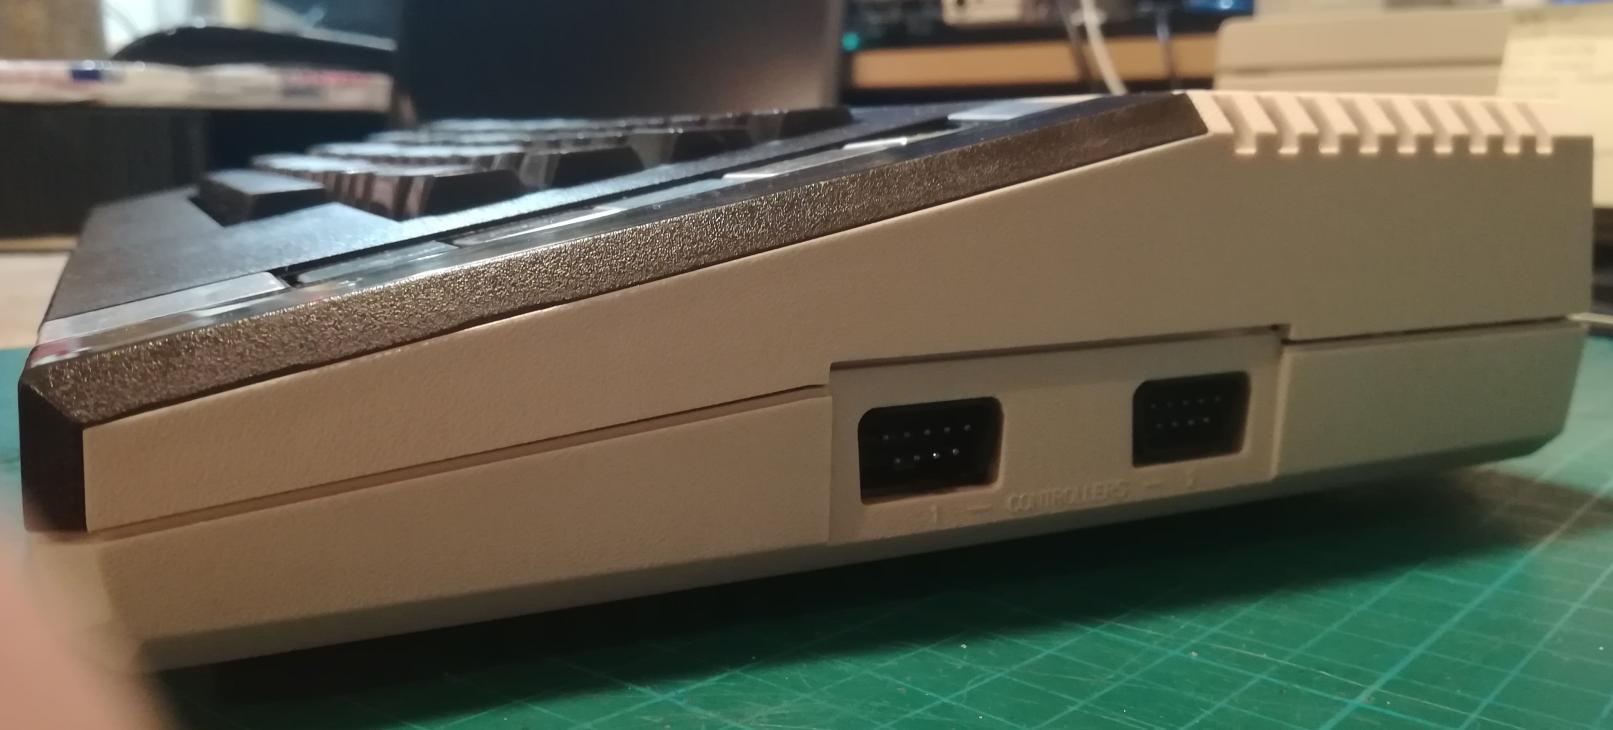
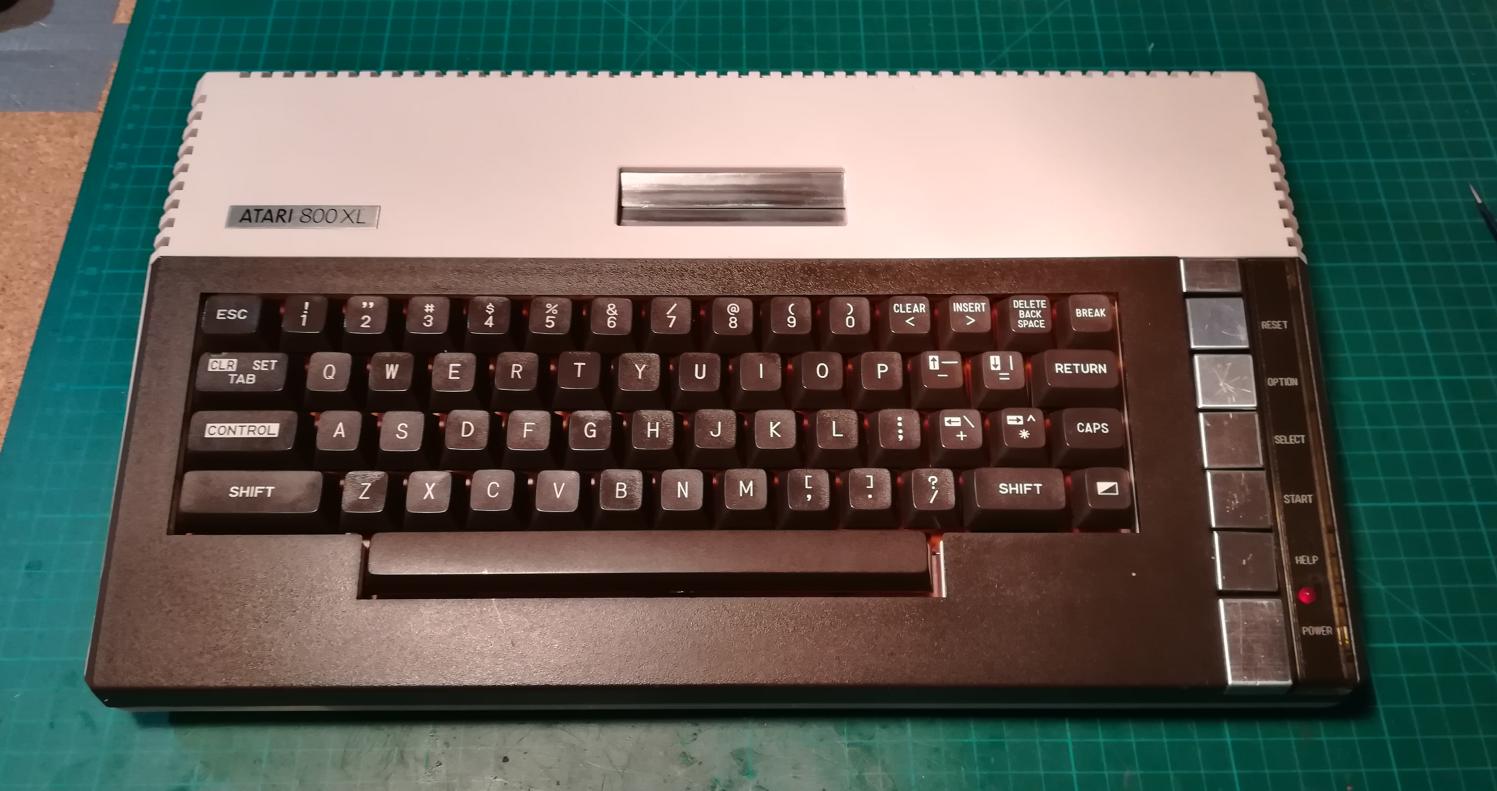
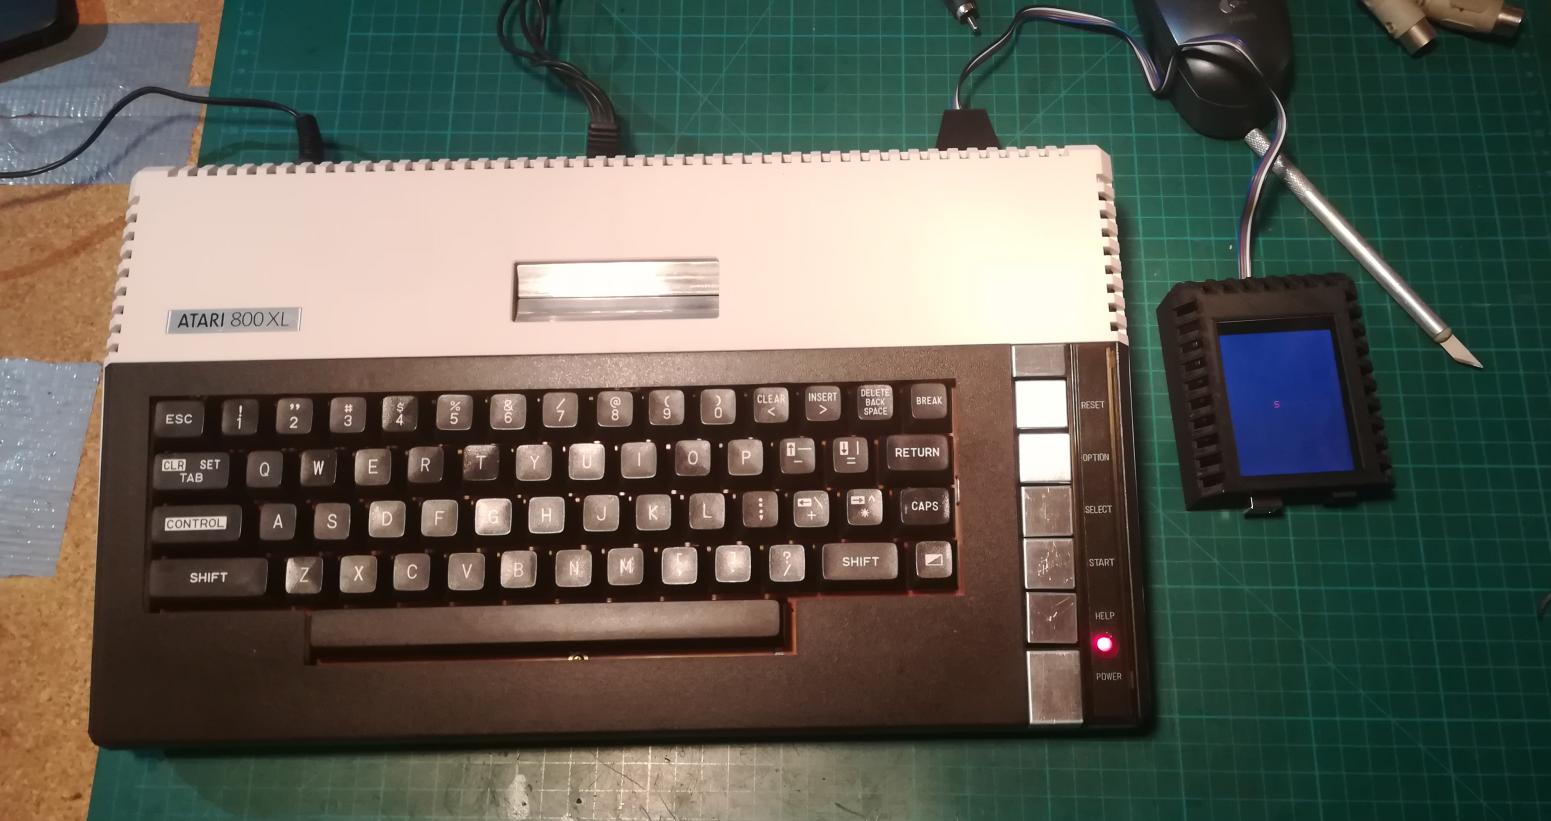
Below are some pics of a refurbished Atari 800XL.

SDrive-MAX
Some time ago, Kaz of atarionline.pl portal visited me. He brought a cool device with him – SDrive-MAX.
It is a very neat device that uses Arduino paired with a small 2.8″ TFT screen to load software. It emulates a standard floppy drive.
Here is the original project’s website
Unfortunately, his unit didn’t work and he also didn’t have a case for it. The problem was a diode added by someone that prevented proper communication with Atari so that was a quick fix after some tests. I’ve also 3D printed a nice case for him.
You can find STL files for 3D printing on thingiverse.com or the project’s website.
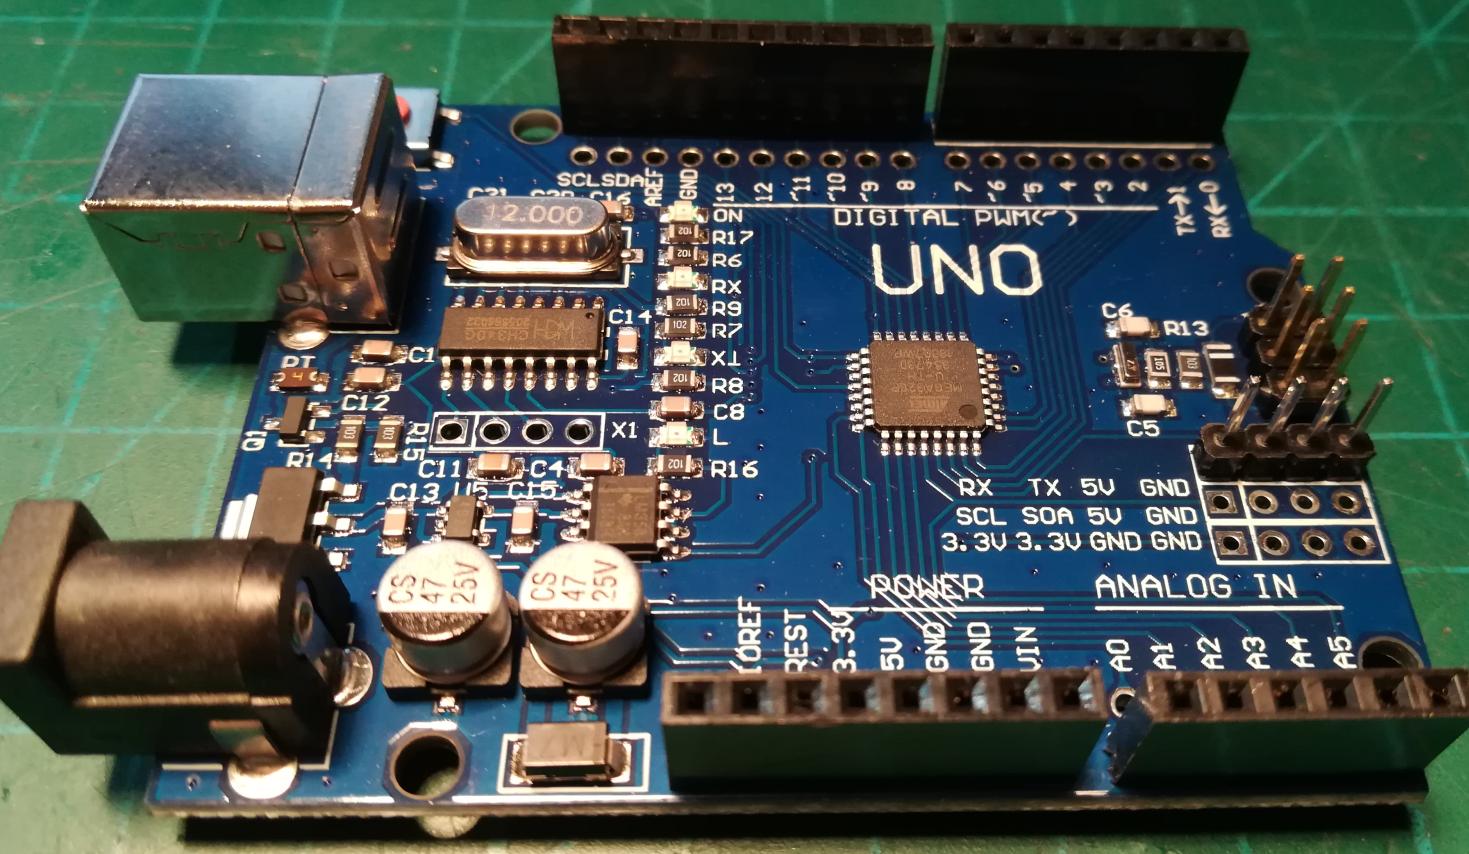
I had few Arduino UNOs left after working on various CNC machines so obviously I had to build my SDrive-MAX 😀
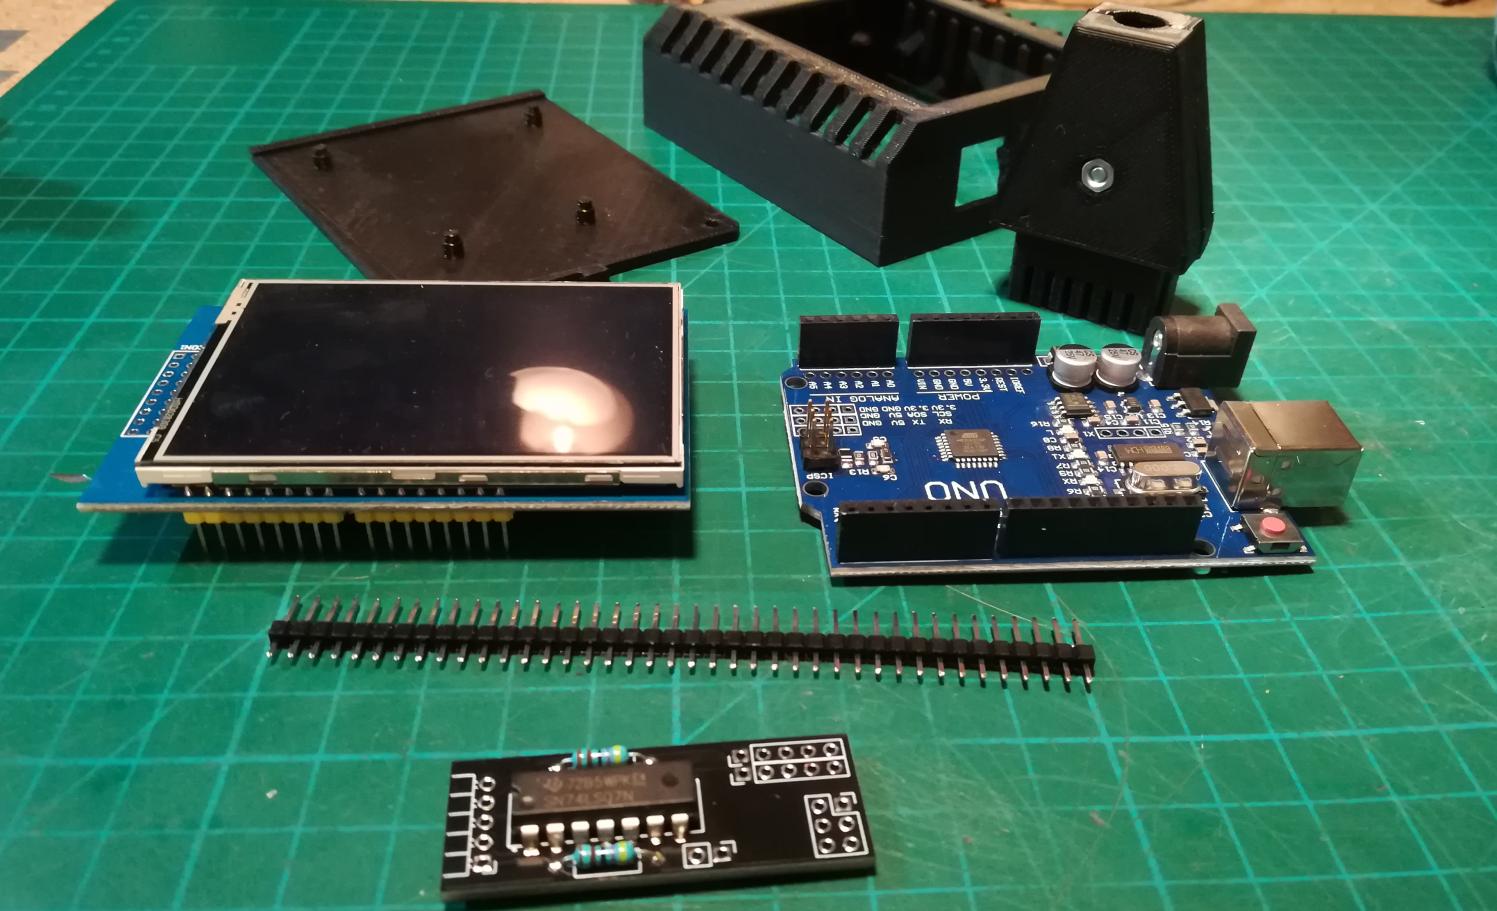
Parts needed:
- Arduino UNO R3
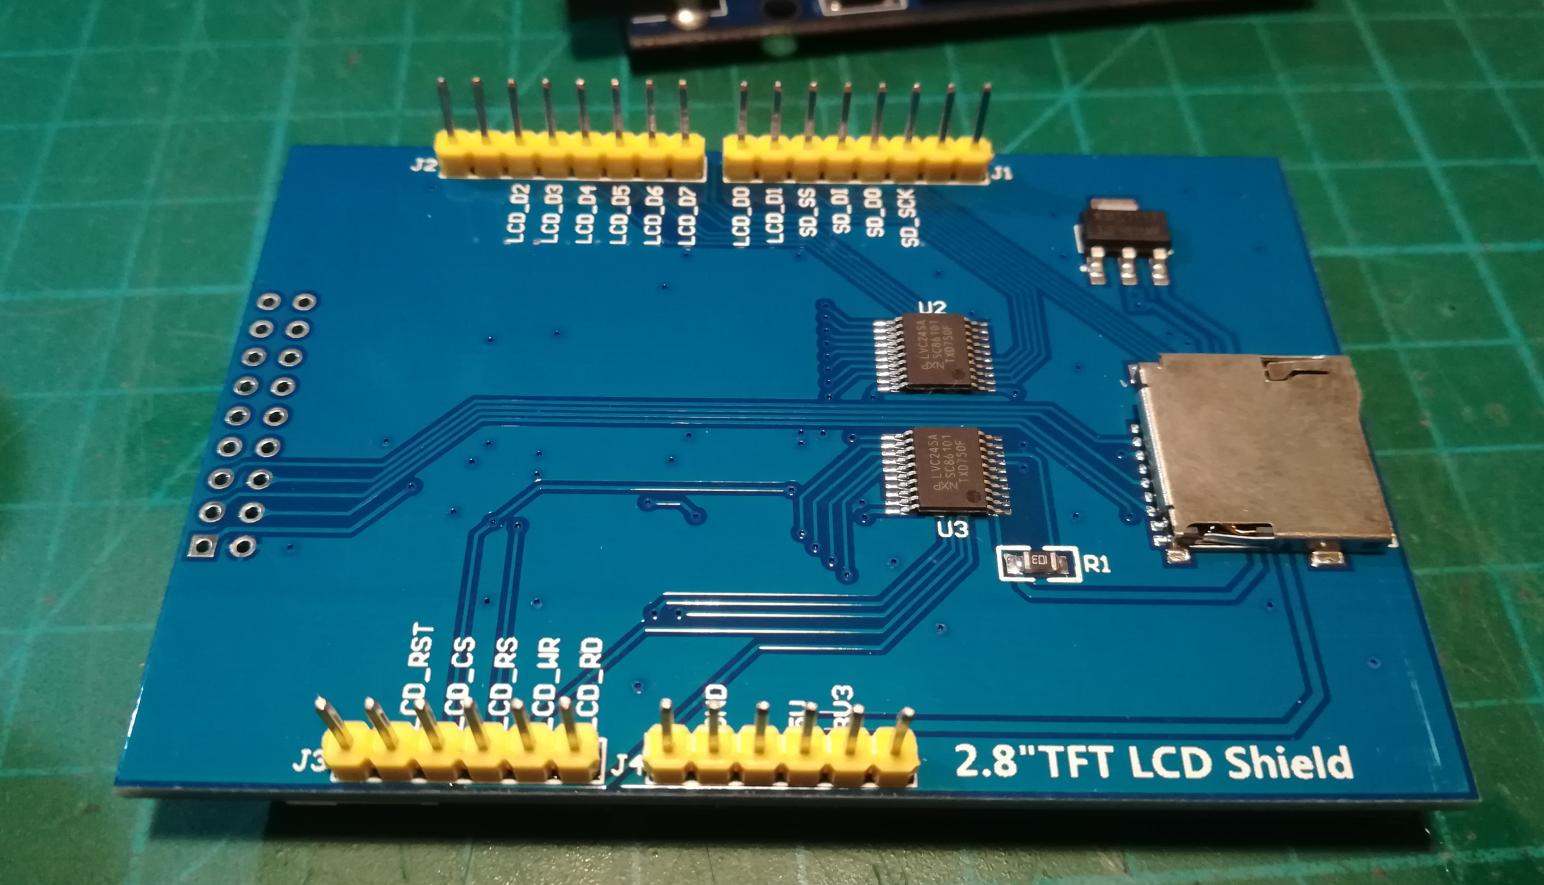
- 2.8″ TFT LCD shield with SD card slot – based on ILI9341 COG
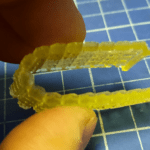
- 3D printed case
- 3D printed SIO plug
- Multi SIO devices mod (OPTIONAL)

Firmware flashing
The first thing to do is to flash firmware onto Arduino. It is done in two steps.
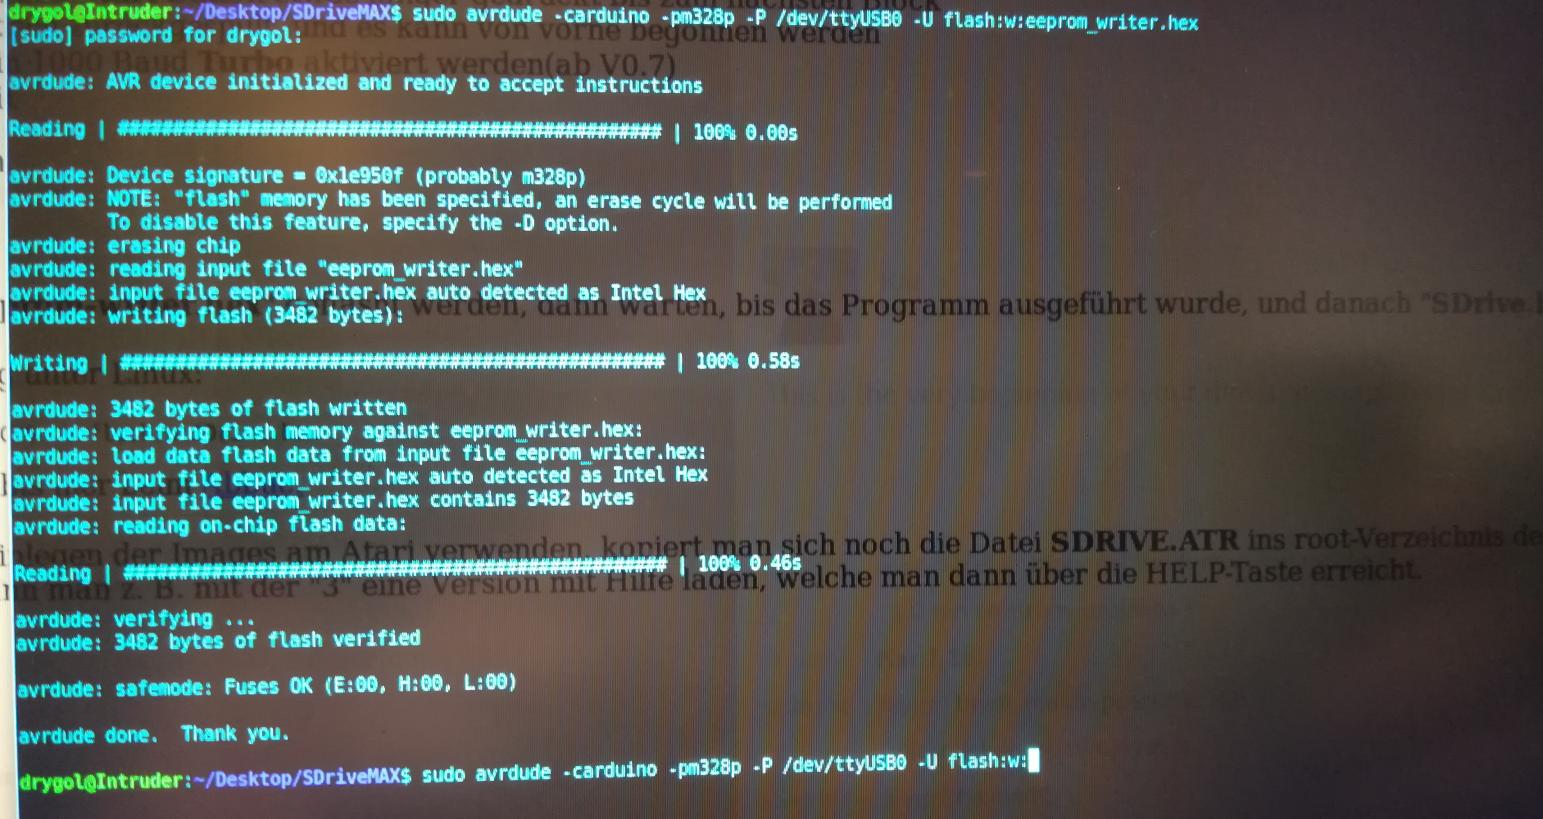
- You need to flash an eeprom_writer.hex with an LCD connected to monitor progress. I am using avrdude under Linux because it works right away without installing tons of crappy software.
sudo avrdude -carduino -pm328p -P /dev/ttyUSB0 -U flash:w:eeprom_writer.hex
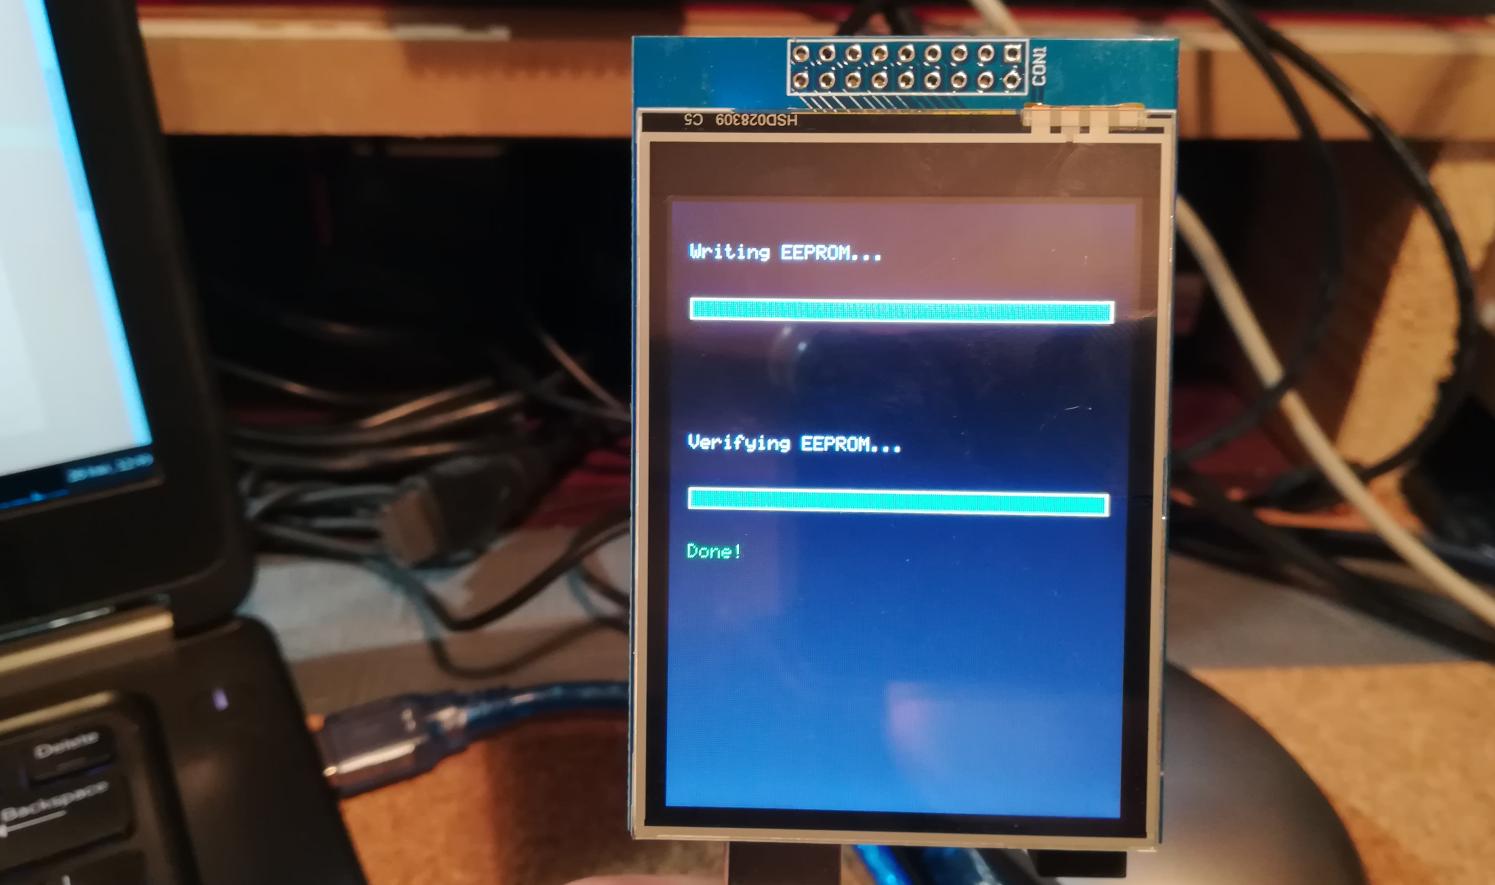
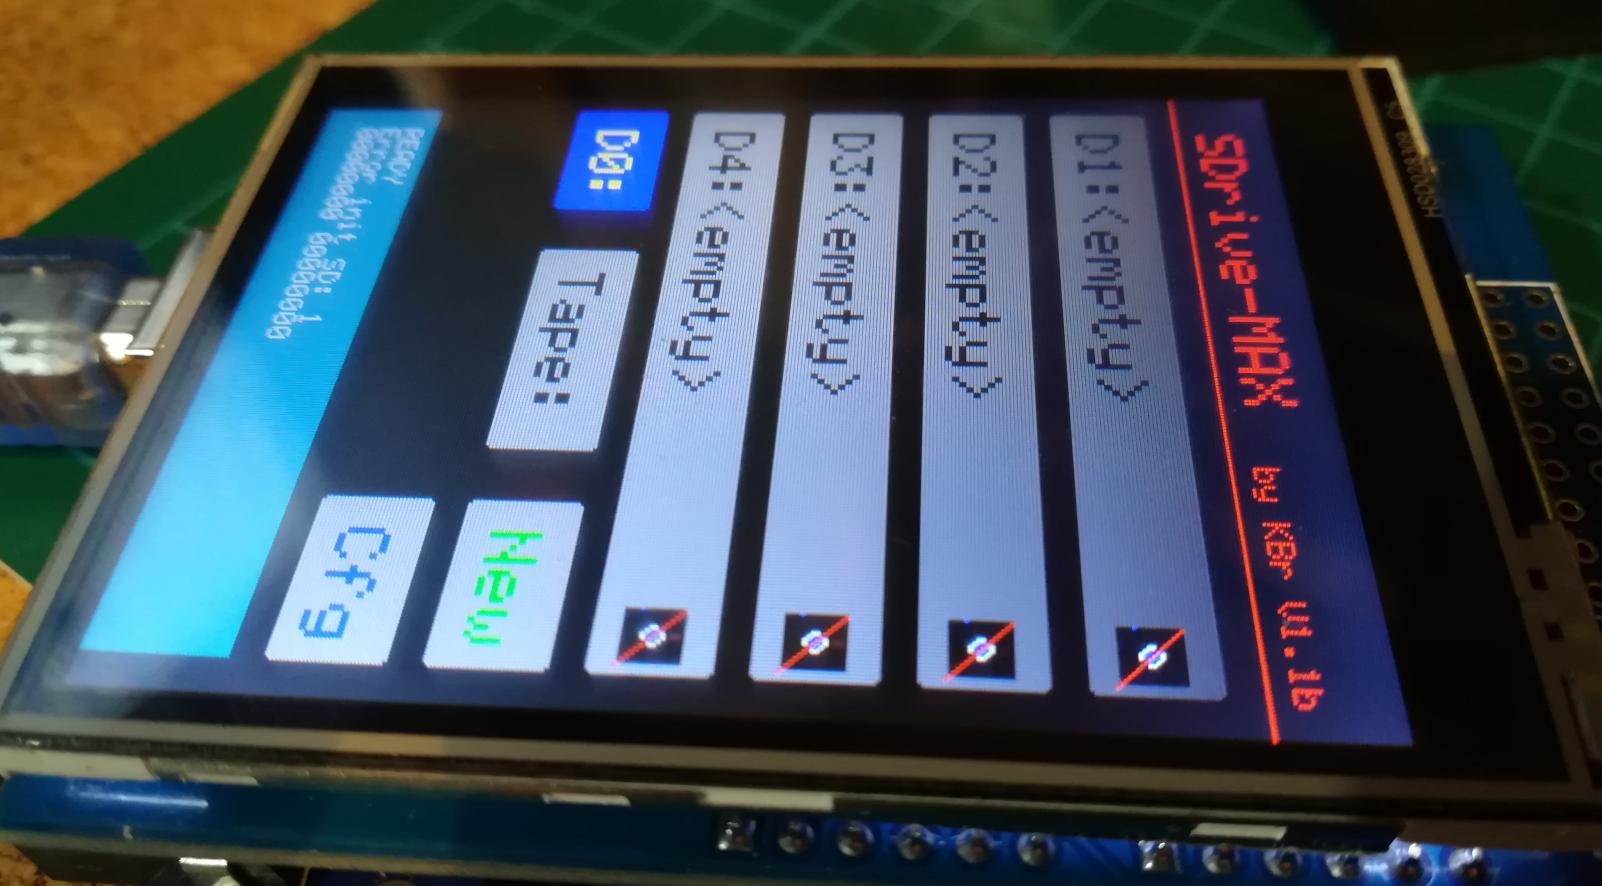
Then look at the LCD and it should look like this
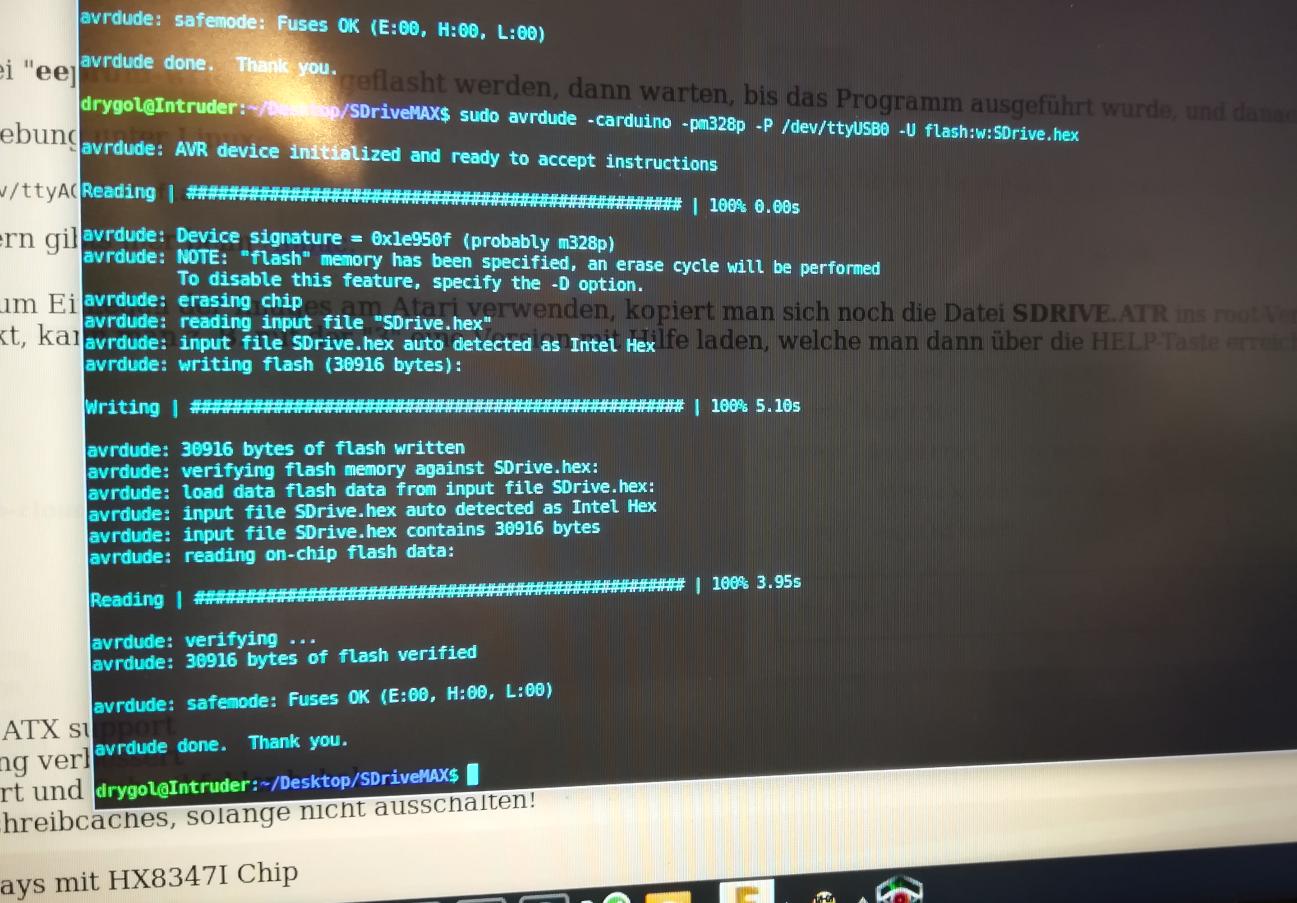
2. Once eeprom_writer finished its job, flash a second part by issuing the following command.
sudo avrdude -carduino -pm328p -P /dev/ttyUSB0 -U flash:w:SDrive.hex
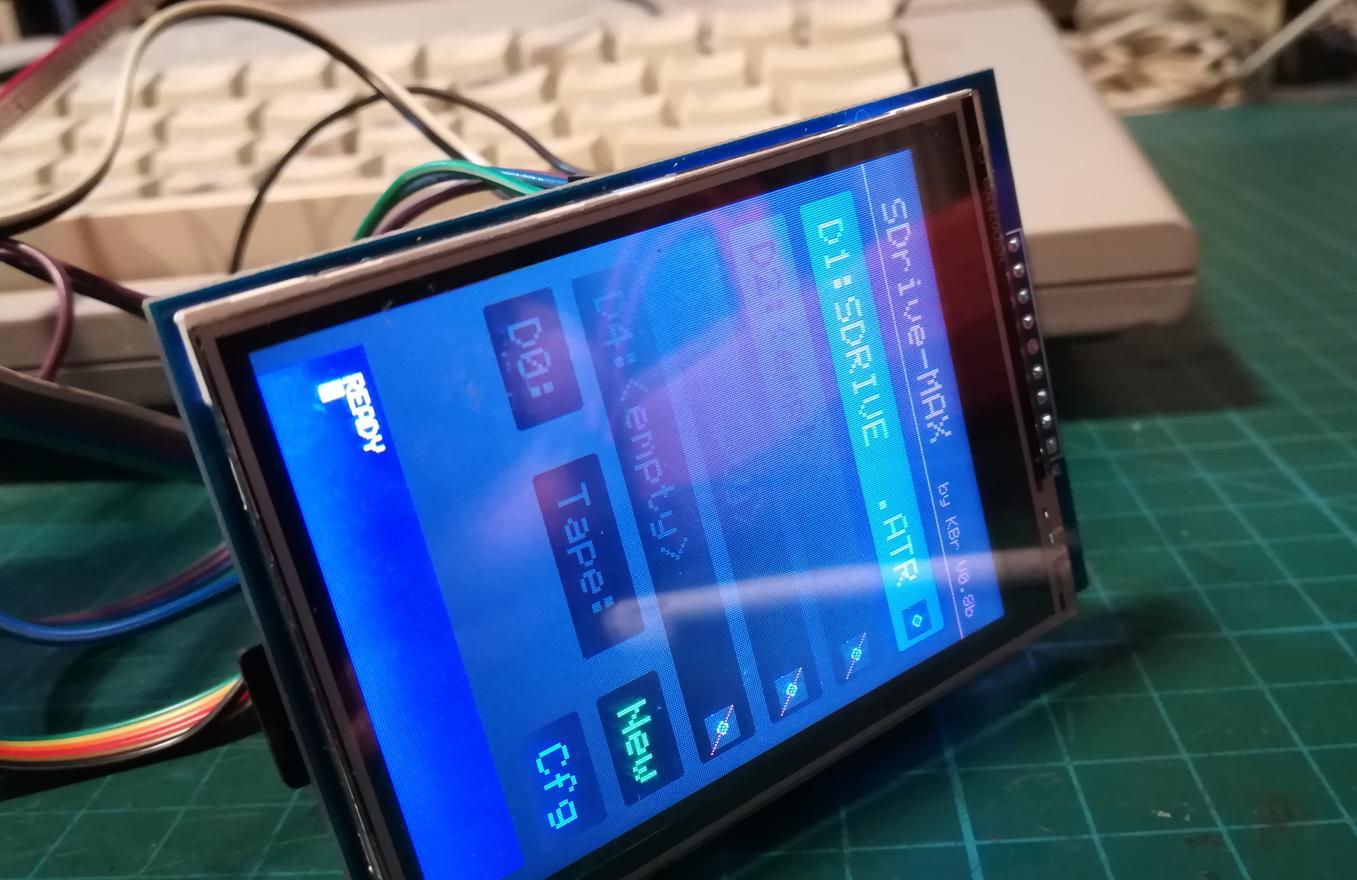
Then you should be greeted by a calibration setup on an LCD.
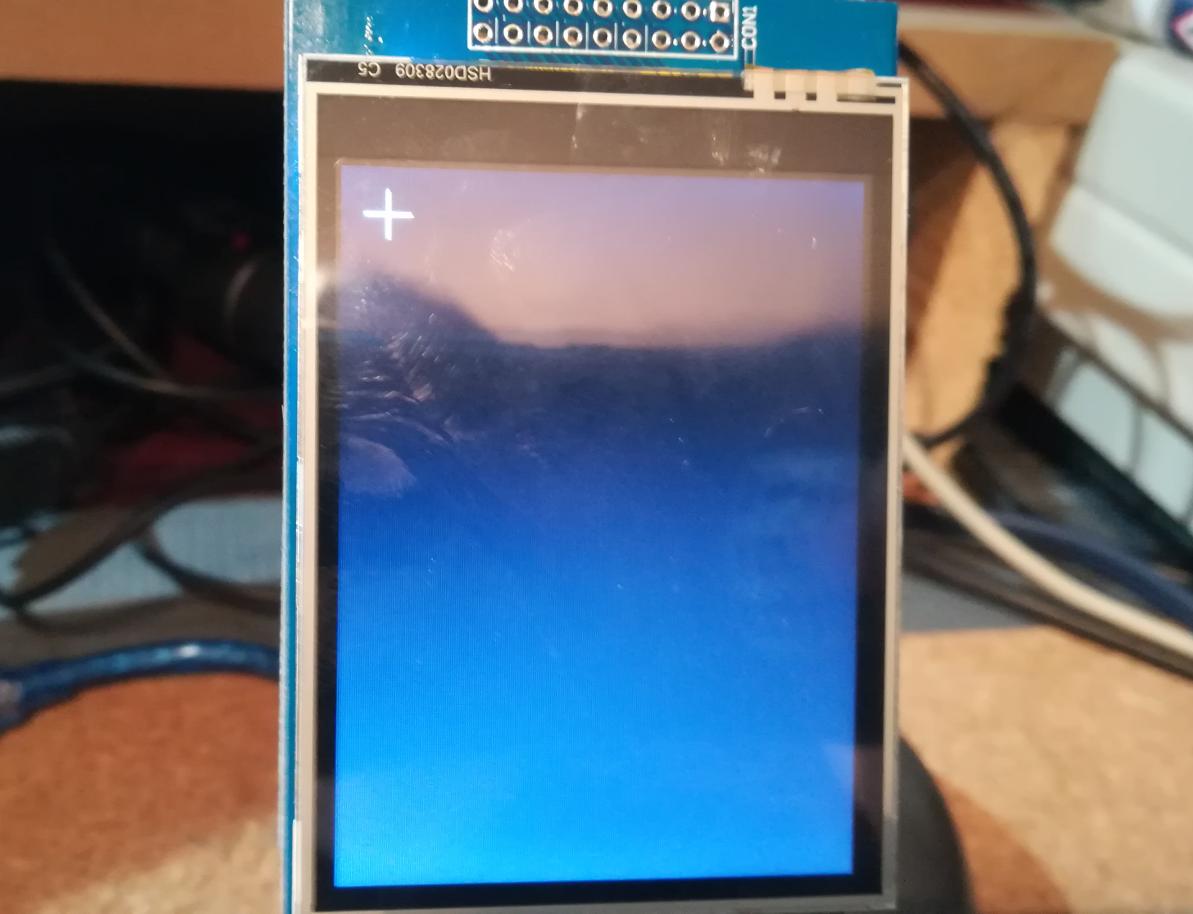
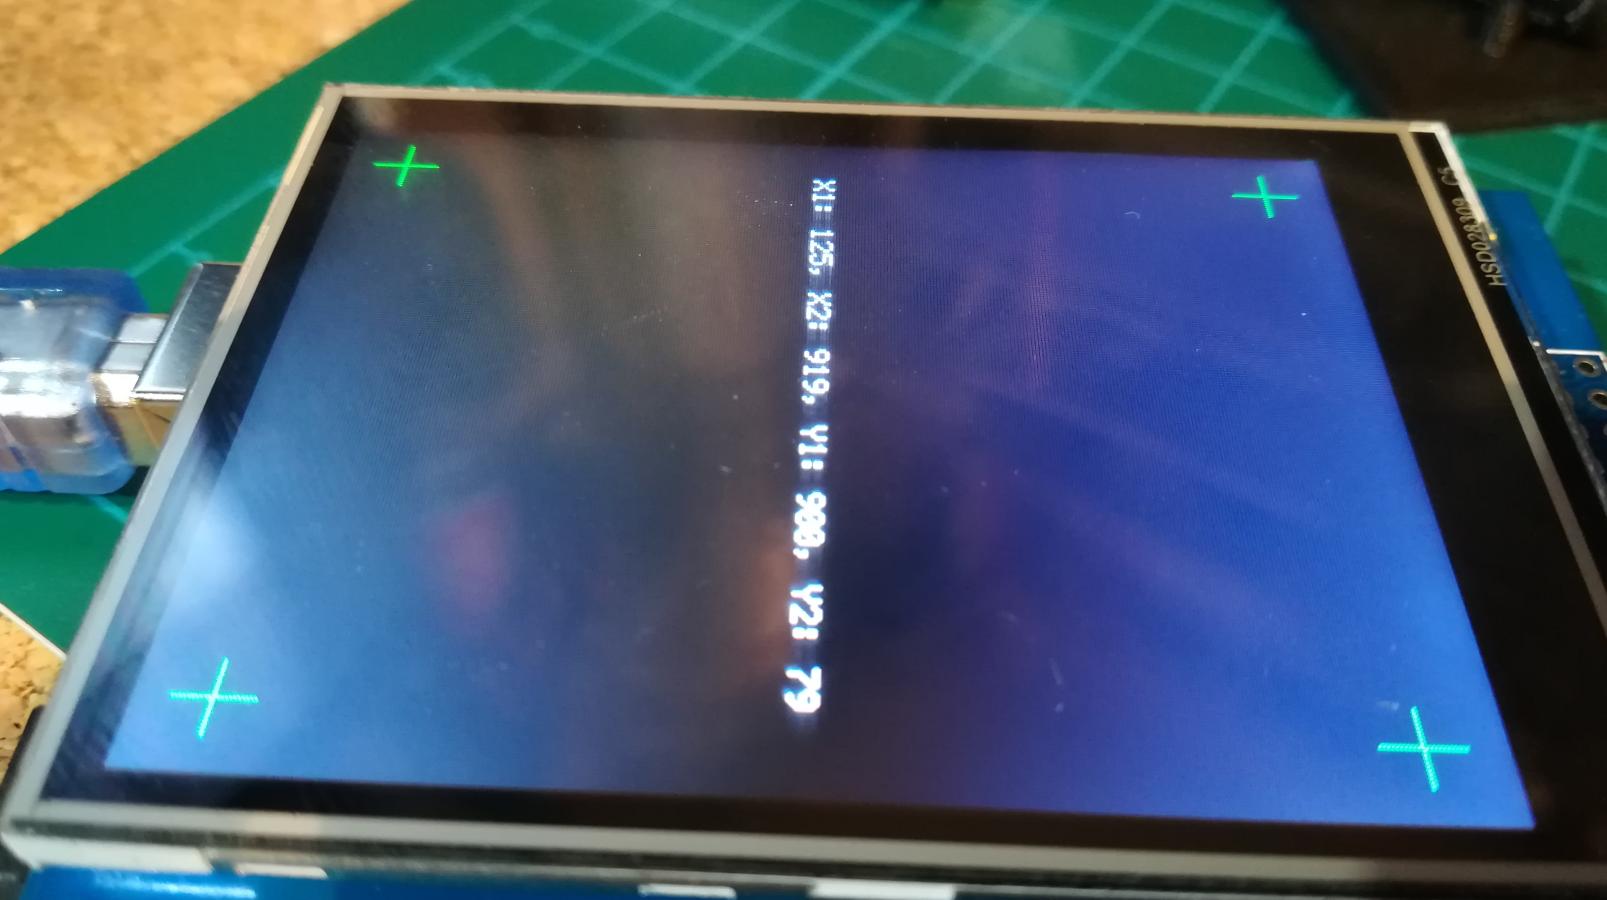
Calibration finished.
The next step is optional. You can install a mod that fixes issues with multiple SIO devices connected to the SIO bus. You can also skip it if you will use SDrive-MAX as a single device connected to Atari.
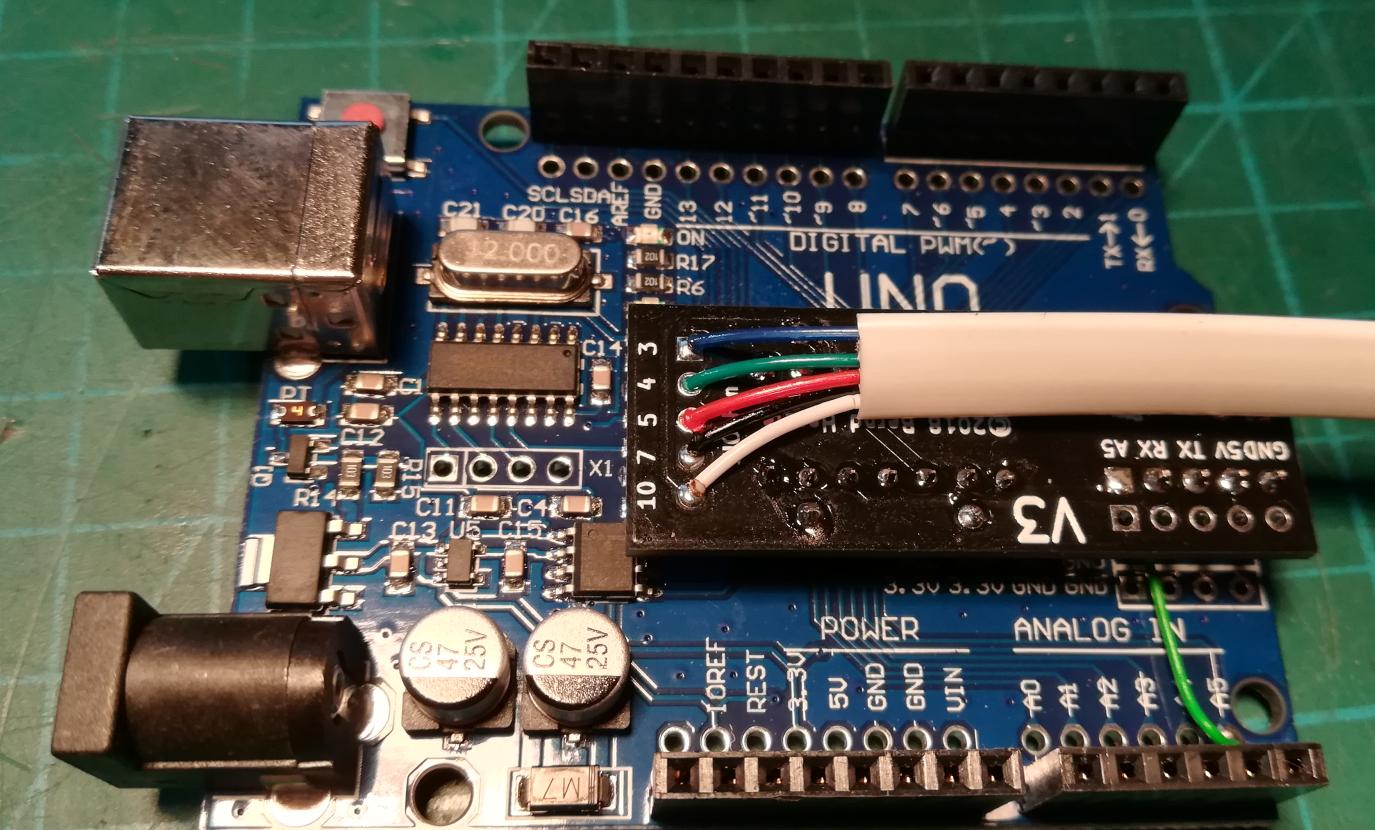
All left to be done was to put it all into the 3D printed case, wire up an SIO plug and that is it.
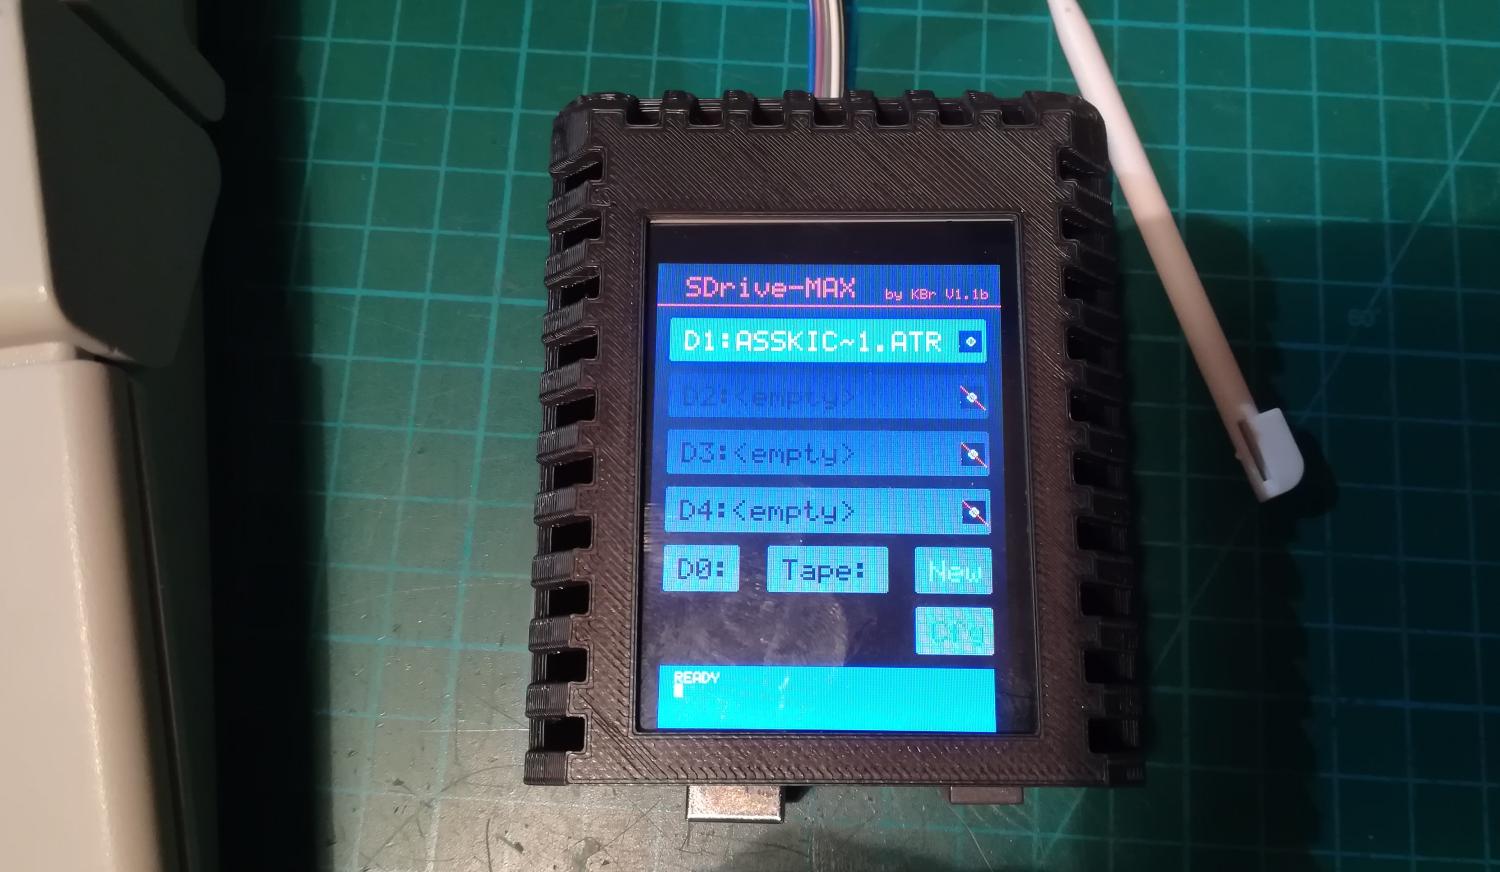
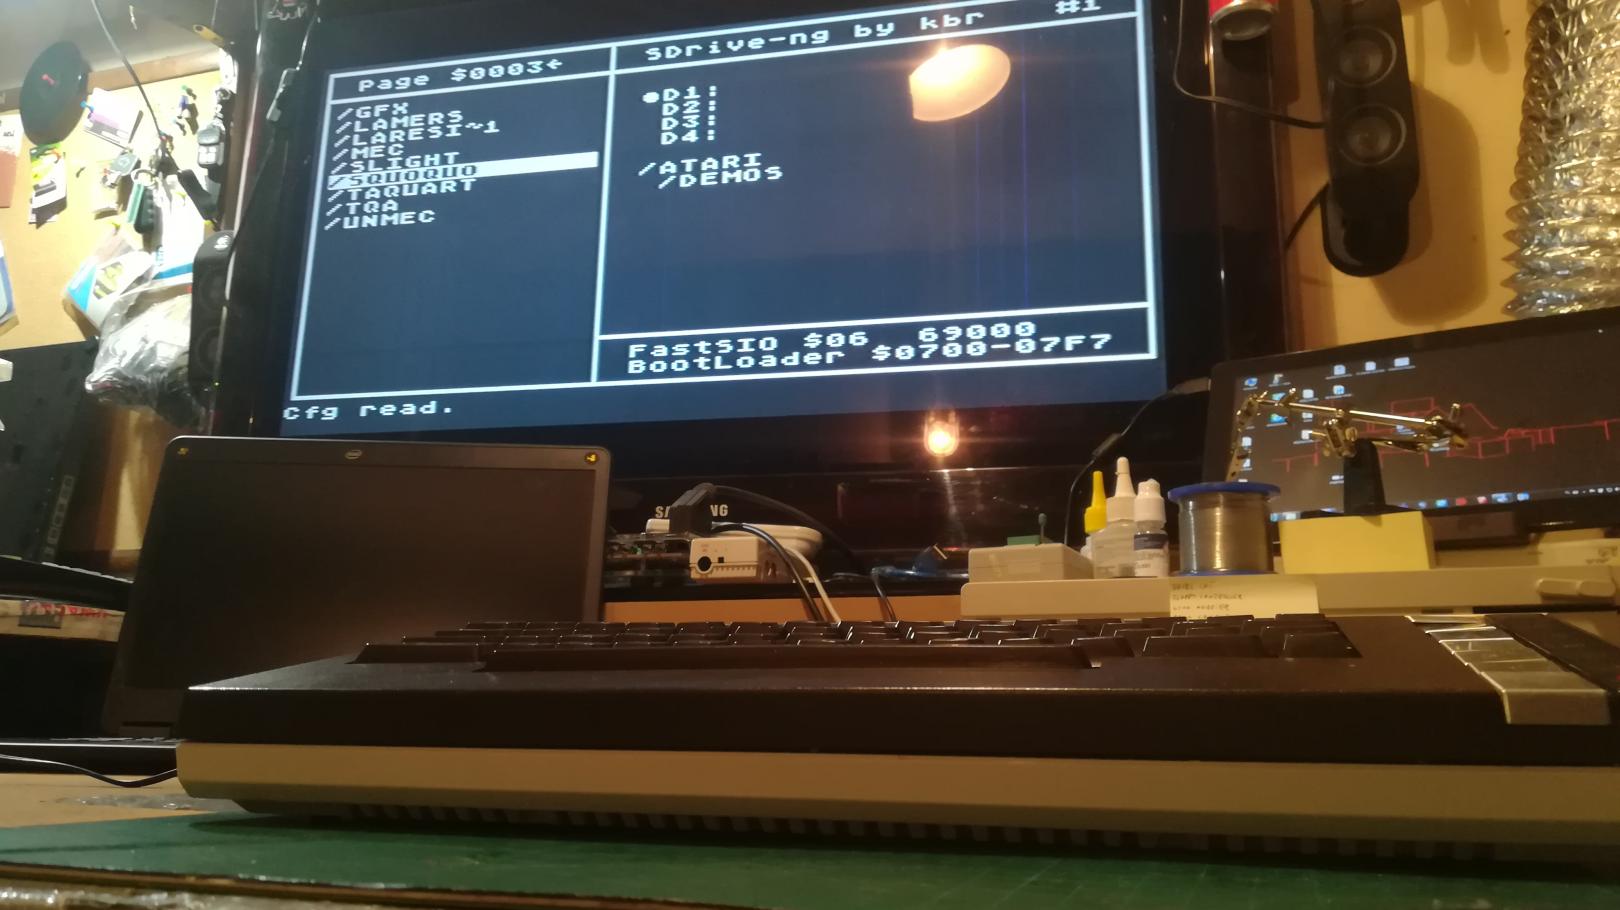
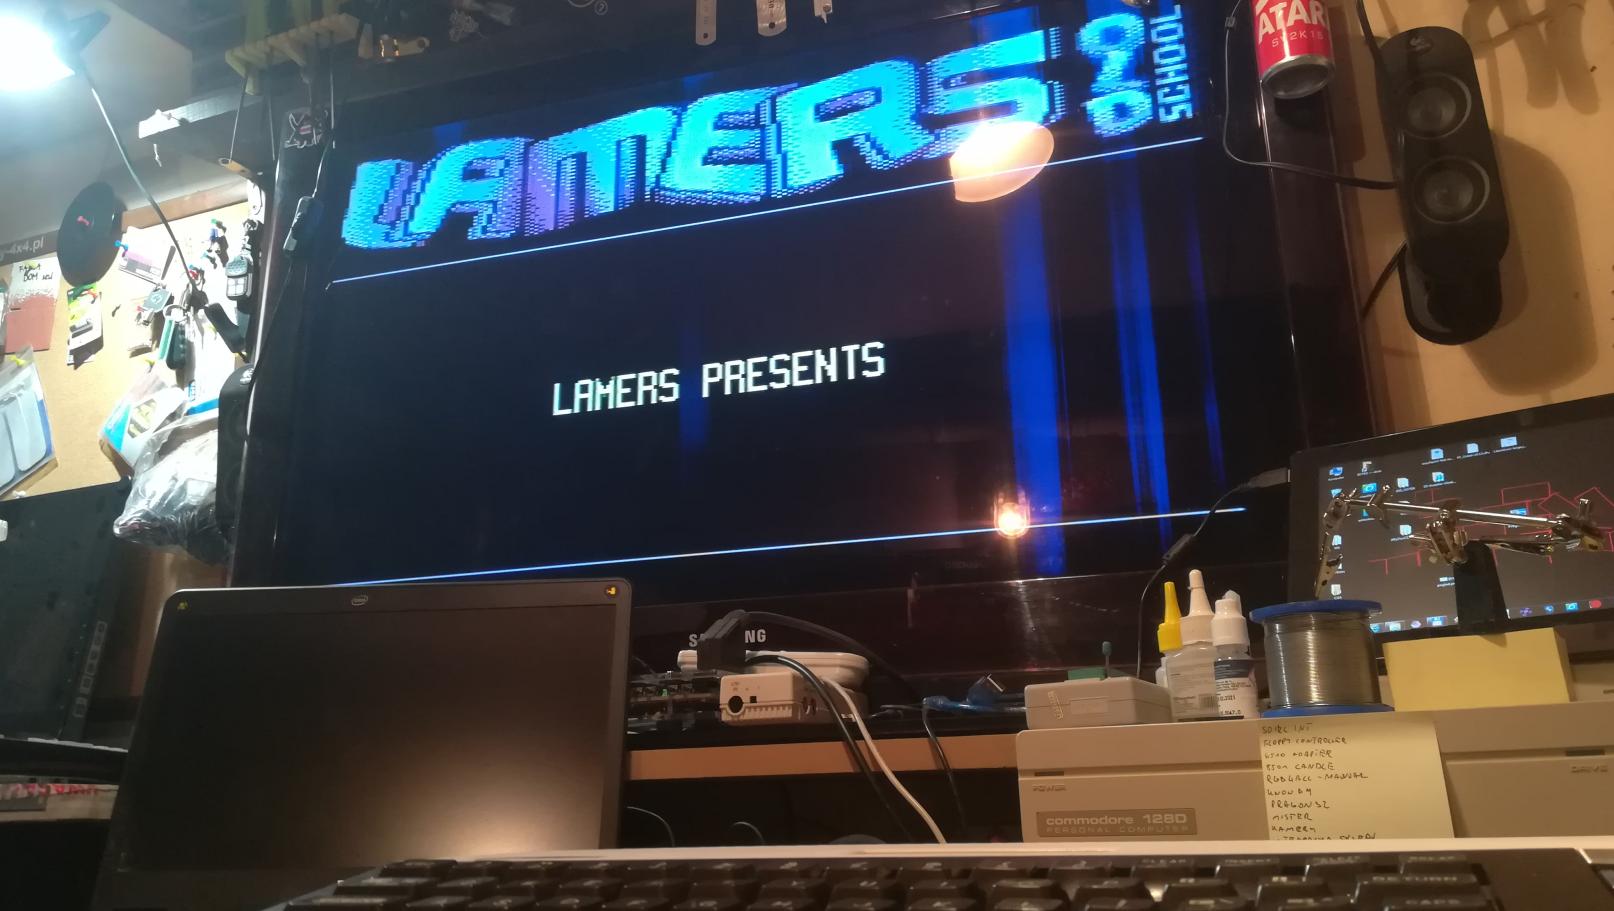
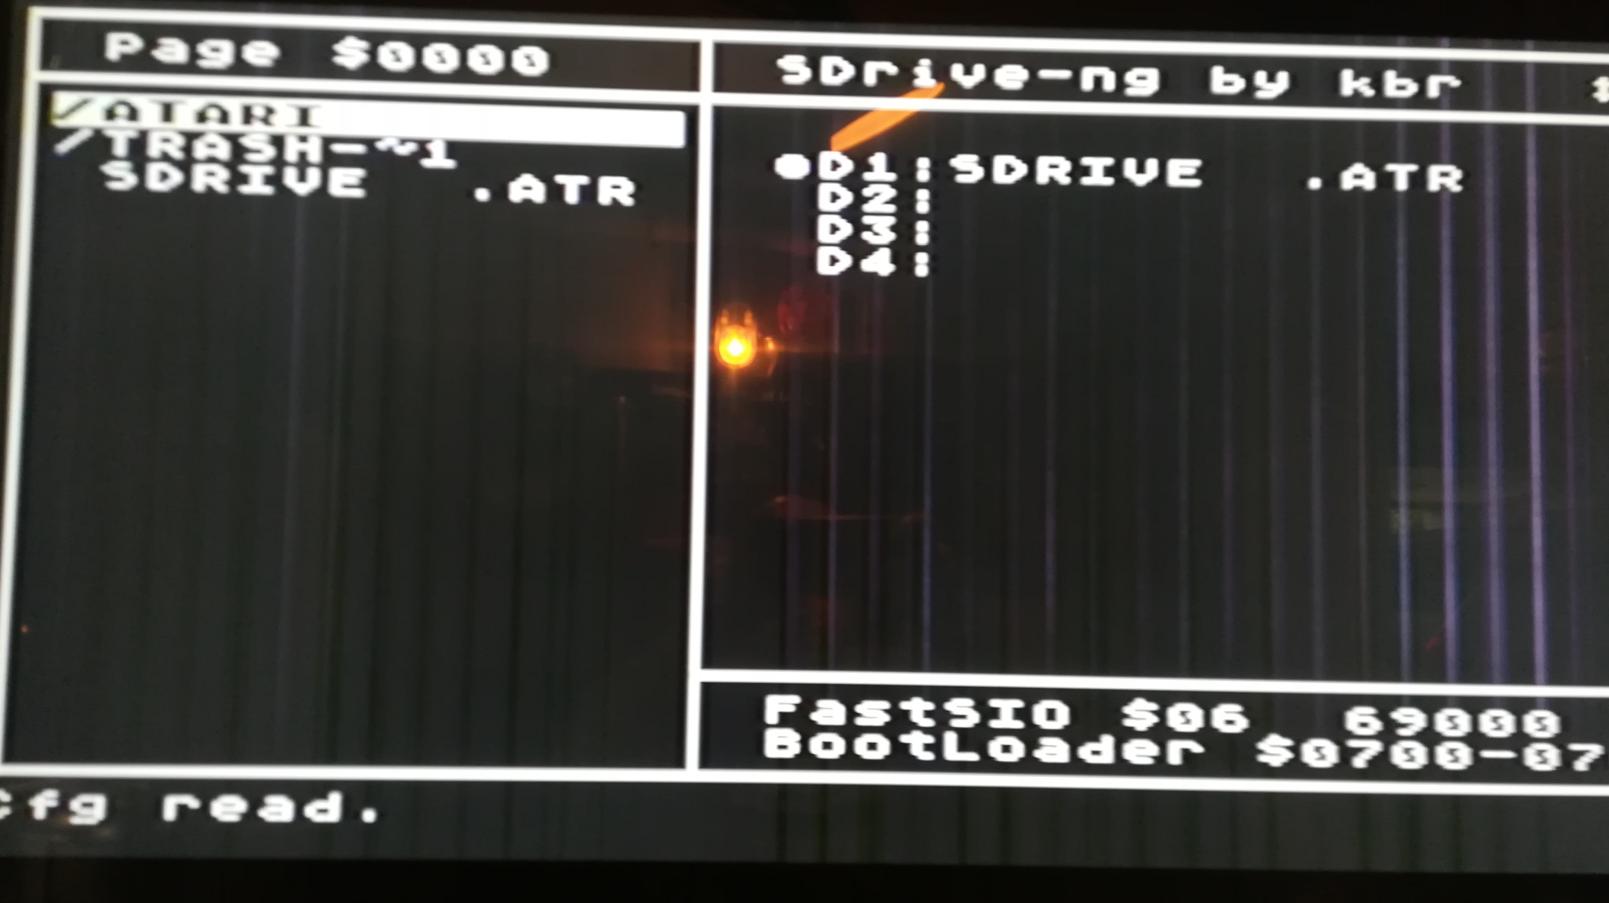
I must say that the device works like a charm. It has a very nice menu to load software directly from Atari.
Further tests
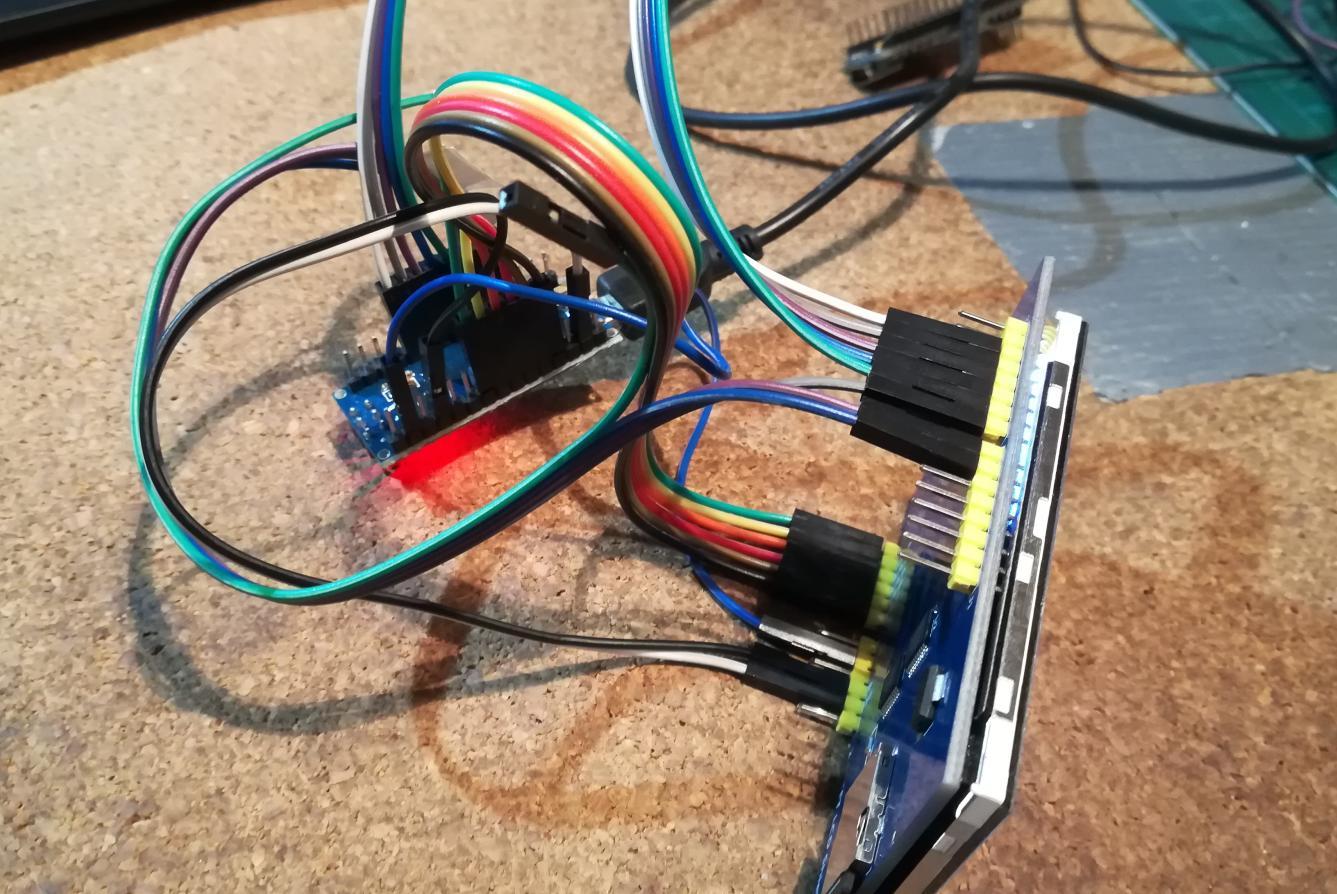
Since Arduino UNO uses the very same Atmel chip as Arduino NANO, I came up with an idea to create an SDrive-PICO project. I am currently working on this device but I wanted to share what was already tested.
I’ve wired up an LCD for testing and 4 t3h lulz :>
===UPDATE===UPDATE===UPDATE===UPDATE===UPDATE===UPDATE===UPDATE===UPDATE===UPDATE
Will/Lamers created his version of firmware for SDrive-MAX that works with 2.4″ ILI9325 LCDs that are commonly found on Aliexpress. Here is a link to an already compiled most recent version ready to be uploaded to Arduino.
Here is a link to GitHub with sources
Compiled diagnostic software for MCUfriends LCD shields. Shows the ID of your display, and displays a simple test. If the screen is blank, check the serial output. (Arduino serial console) Source: https://github.com/prenticedavid/MCUFRIEND_kbv
There is also a new cased (molded) version of SDrive-MAX in our store -> HERE
===UPDATE===UPDATE===UPDATE===UPDATE===UPDATE===UPDATE===UPDATE===UPDATE===UPDATE
OUTRO
If you want to get retro gear or hardware modules, please visit our shop
New products are added every month.
Also, please support our work by spreading info about it.
Without your support, we simply cannot grow and we have a lot of new excellent retro hardware (and more) products to come