… or adventures of a lame modder
intro
Only here you will find a Commodore C64 SUSHI!!! 😀
/intro
Background story
Yeah, I admit that I was super lazy for the past few months if it is about writing posts. Thing is that material for future posts is being made at an exponential rate so I have to do something about it. There is no better way than start posting all that gathered stuff.
This particular post is waiting in queue for almost a year and is still fresh if compared to other gathered stuff. I’ll spare you another lengthy description of things that were already covered on this blog many times. Don’t expect stuff like C128 retr0brighting or other super-common topics.
Wanna become l33t in retr0brighting? then please read previous posts 🙂
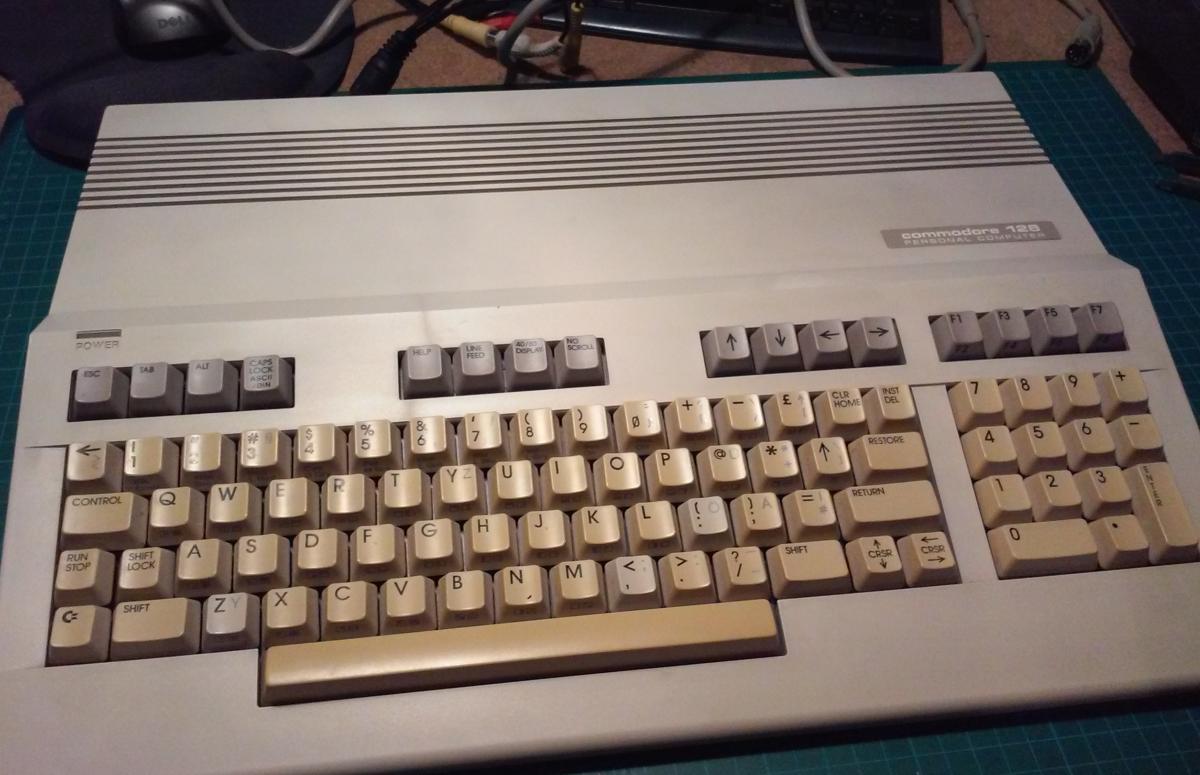
The story began a long time ago when Wendell (cheers my friend) ordered a modded C64 from me. Sometime later he’d asked me If I can refurb and deliver a few other machines. Two C128s were on that list too. He’d asked me to repair, refurb, and add some mods to these Commodores – custom stuff! My fav! 😀
I wouldn’t be myself if I’d declined it. Moreover, I was like …

Finally, I could start to work on a C128 machine and I must point out that I’ve never had an opportunity to even see it, not talking about playing and modding it 🙂
eBay hunting
I didn’t want to be cornered with one faulty machine so I’ve managed to win four auctions with C128s.
Unfortunately, all of the ordered machines didn’t work. It took a while to fix ’em all.
In this blog post, I will focus on two units that I’ve managed to refurbish for Wendell.
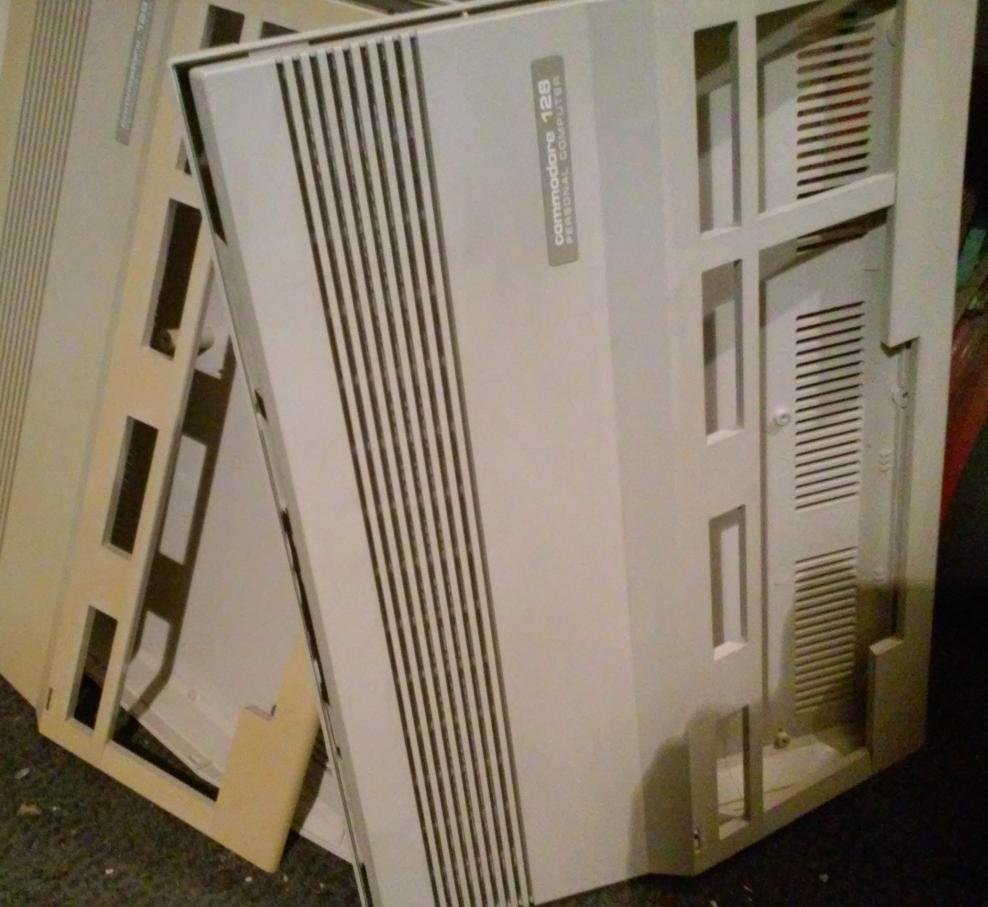
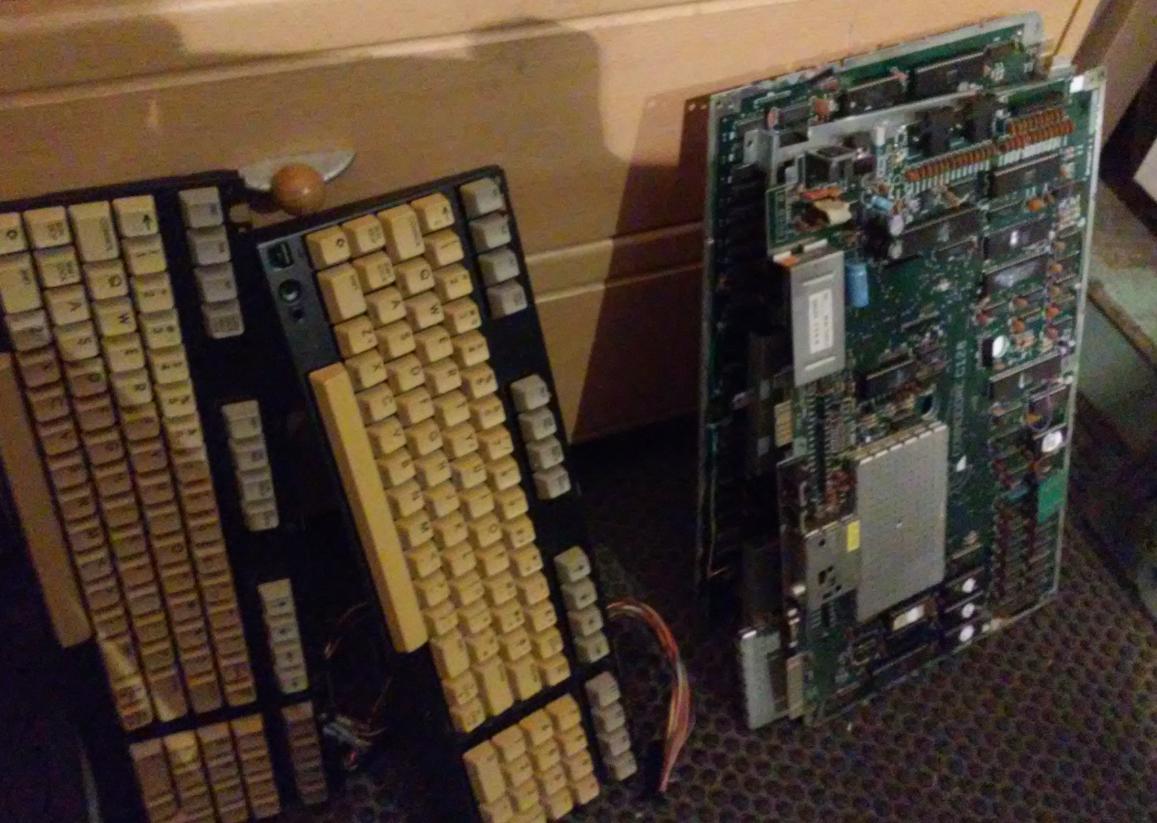
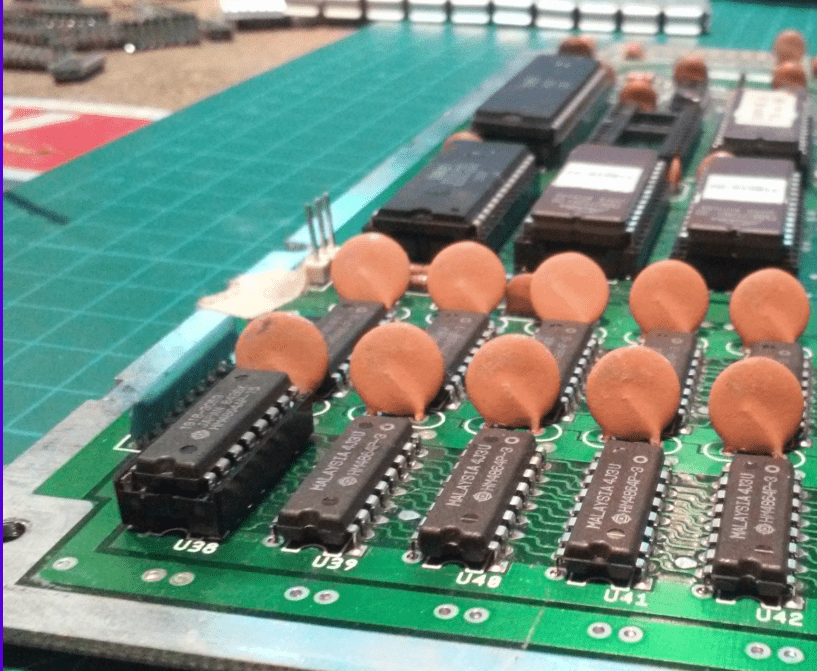
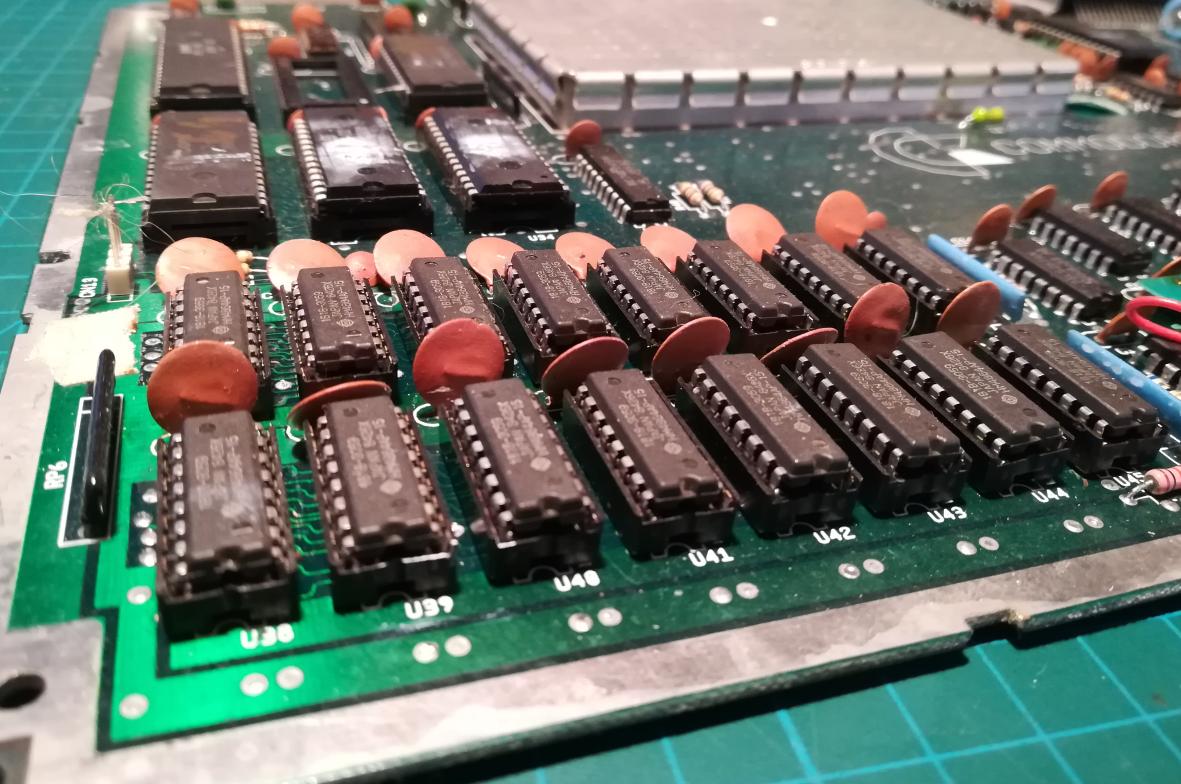
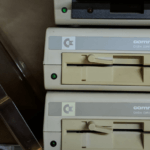
Below are some more interesting pics of disassembled machines that I’ve ordered.
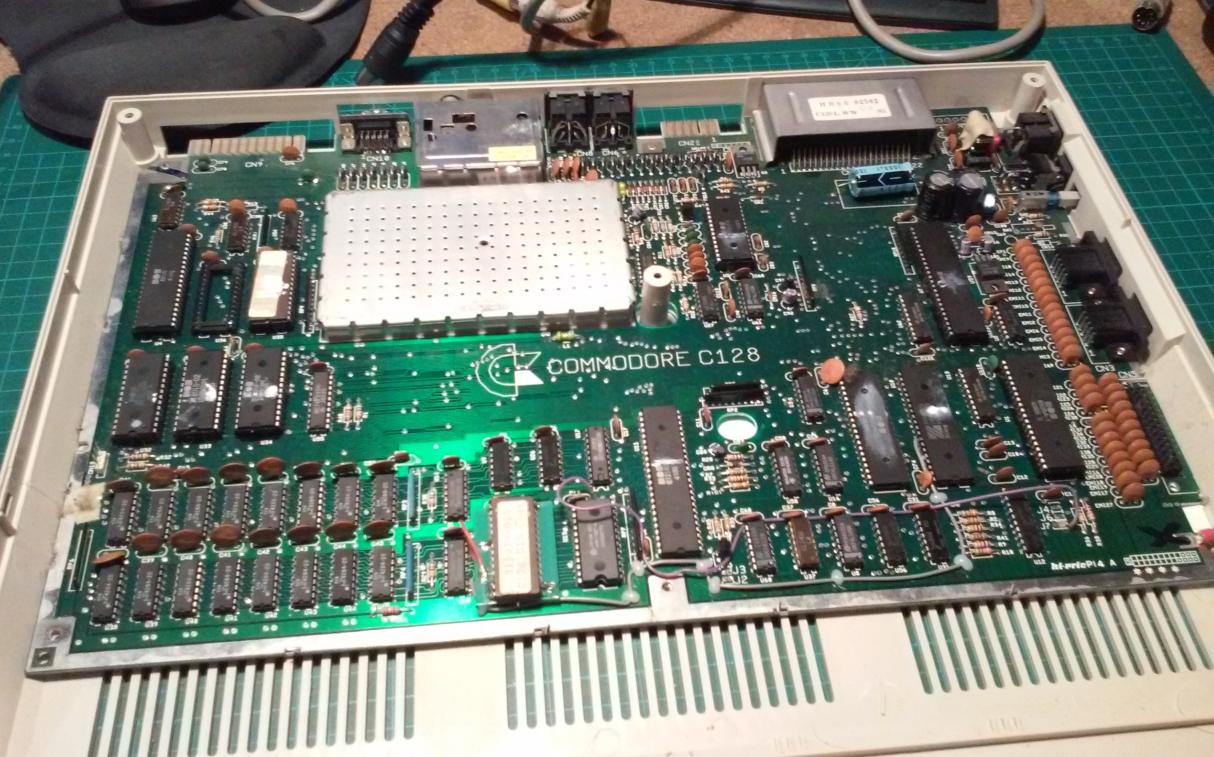


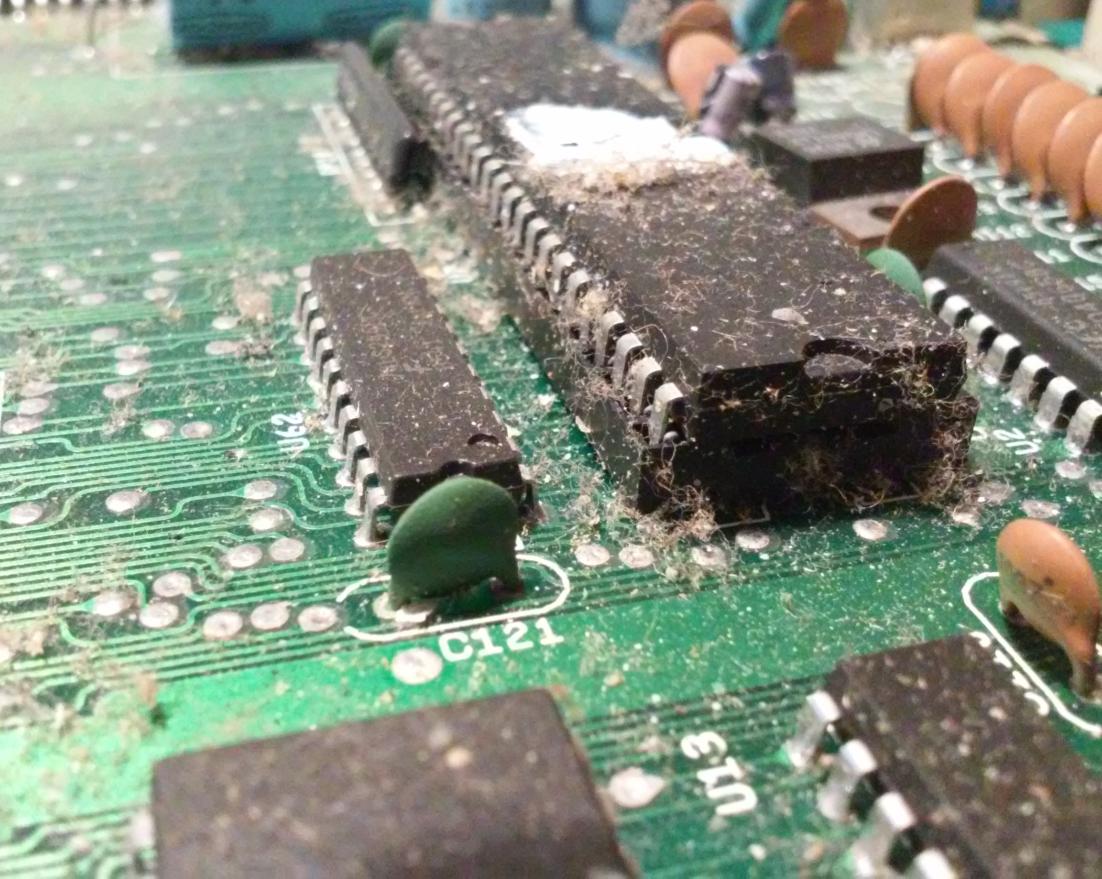
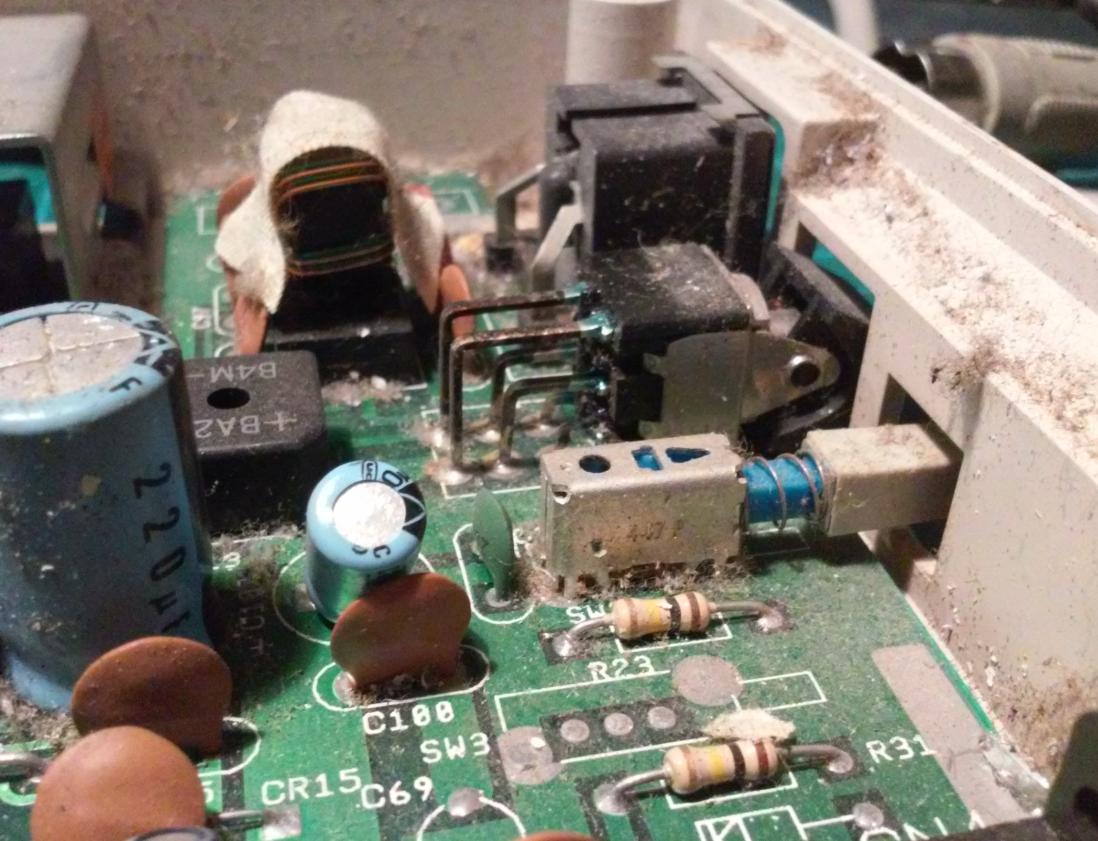

Fixing stuff
I’ve started with fixing electronics.
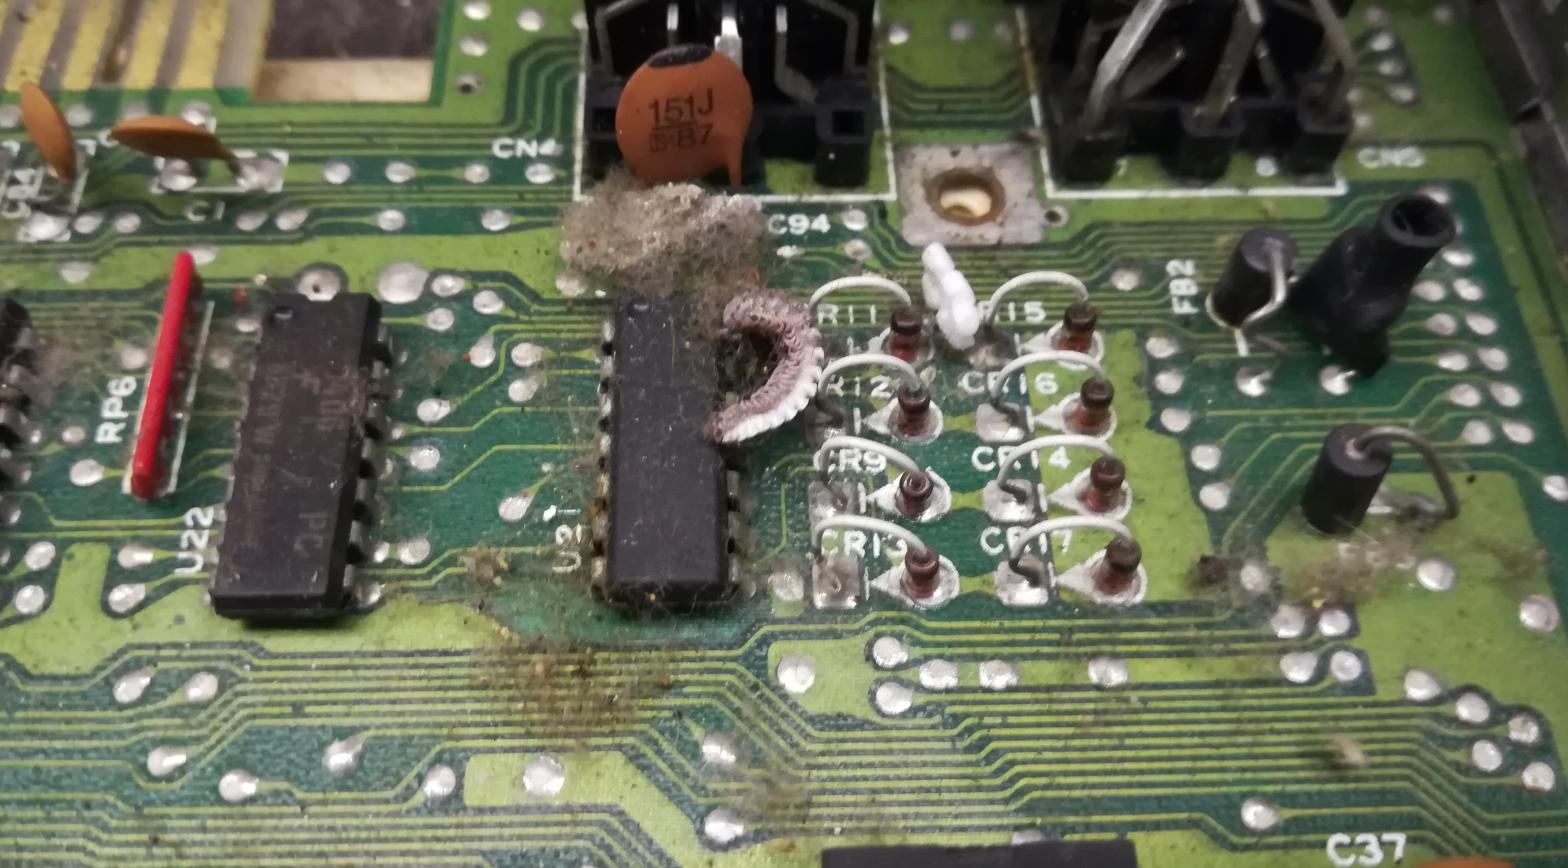
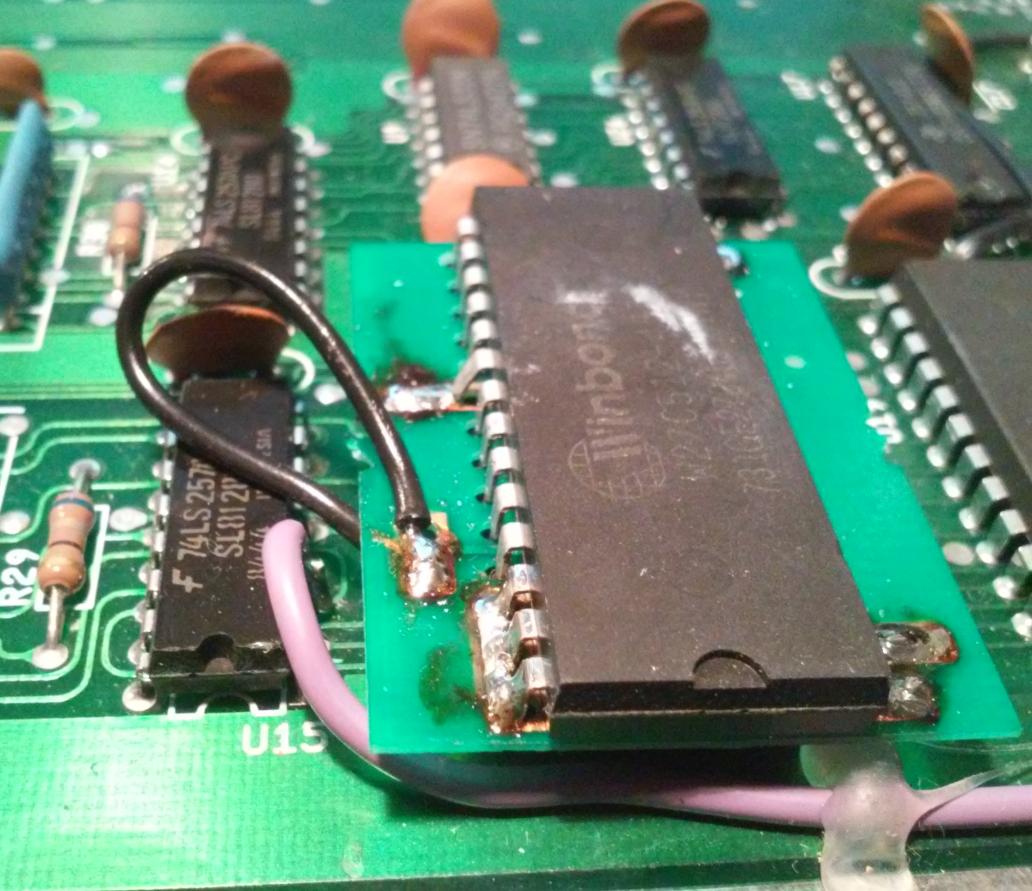
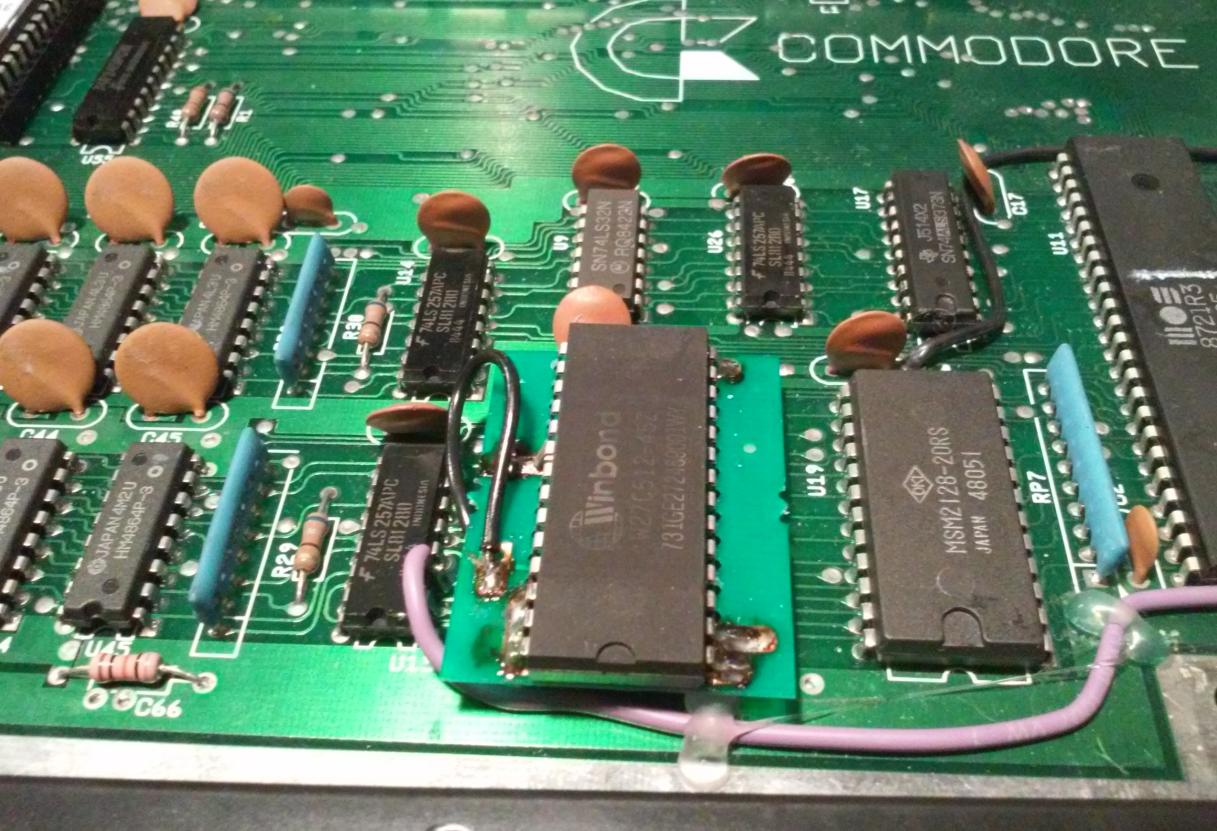
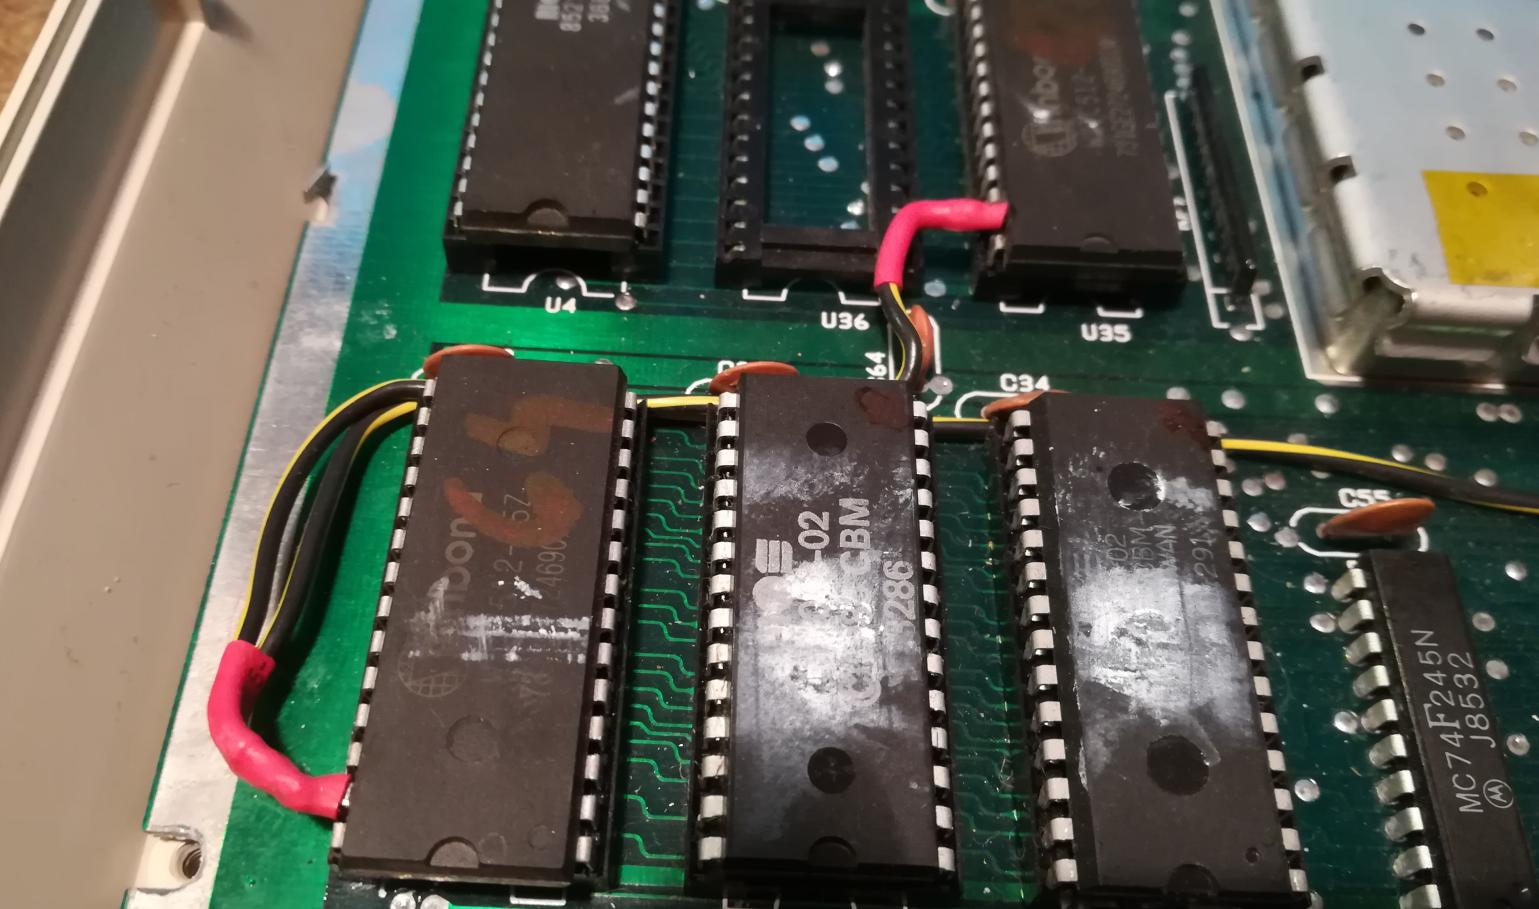
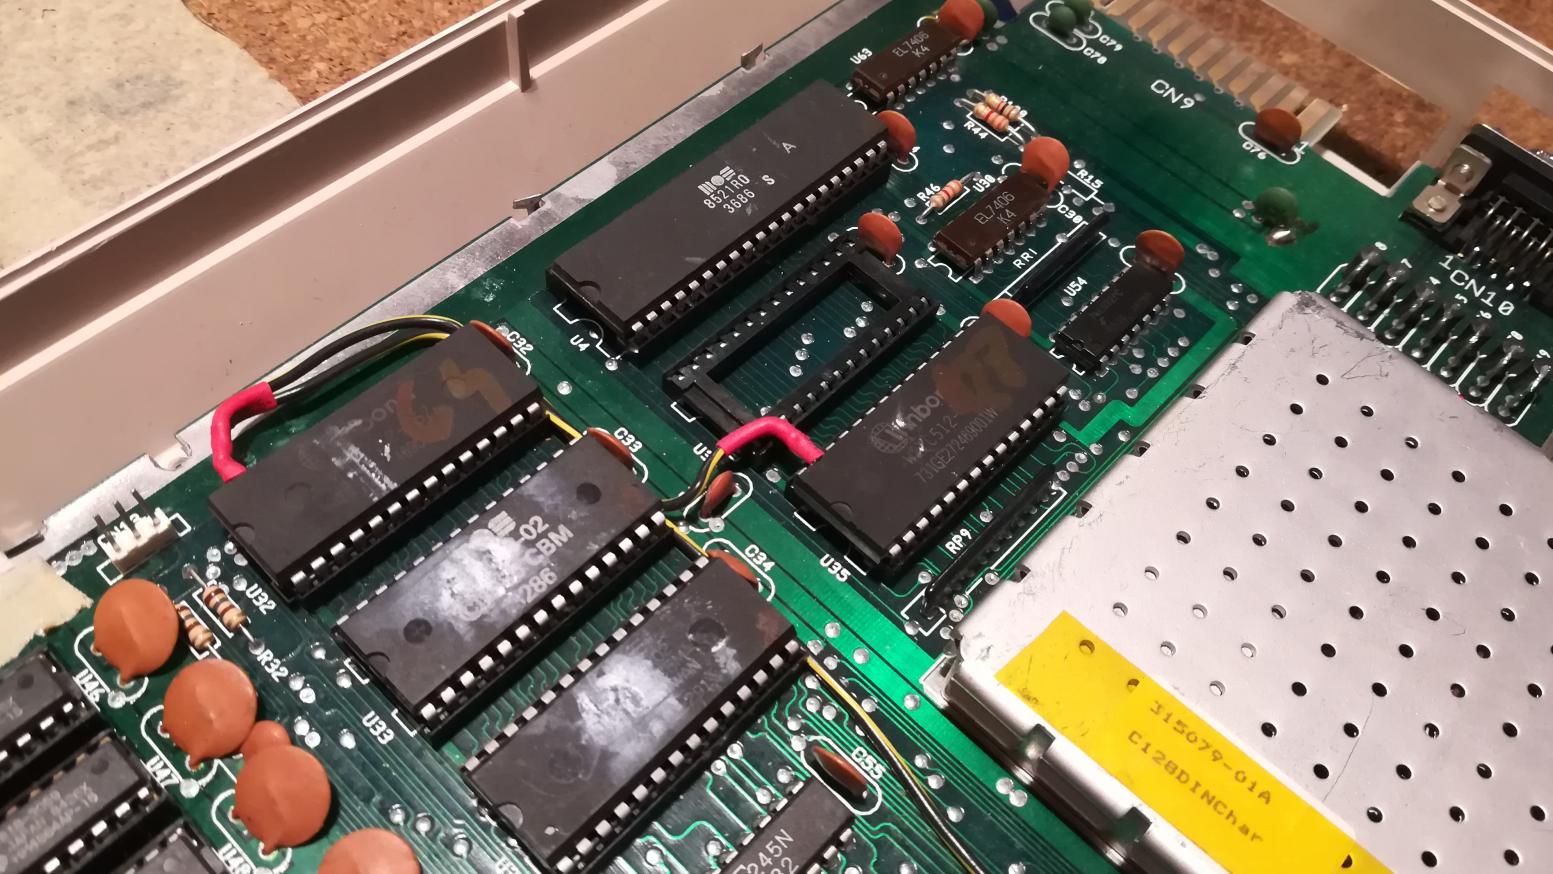
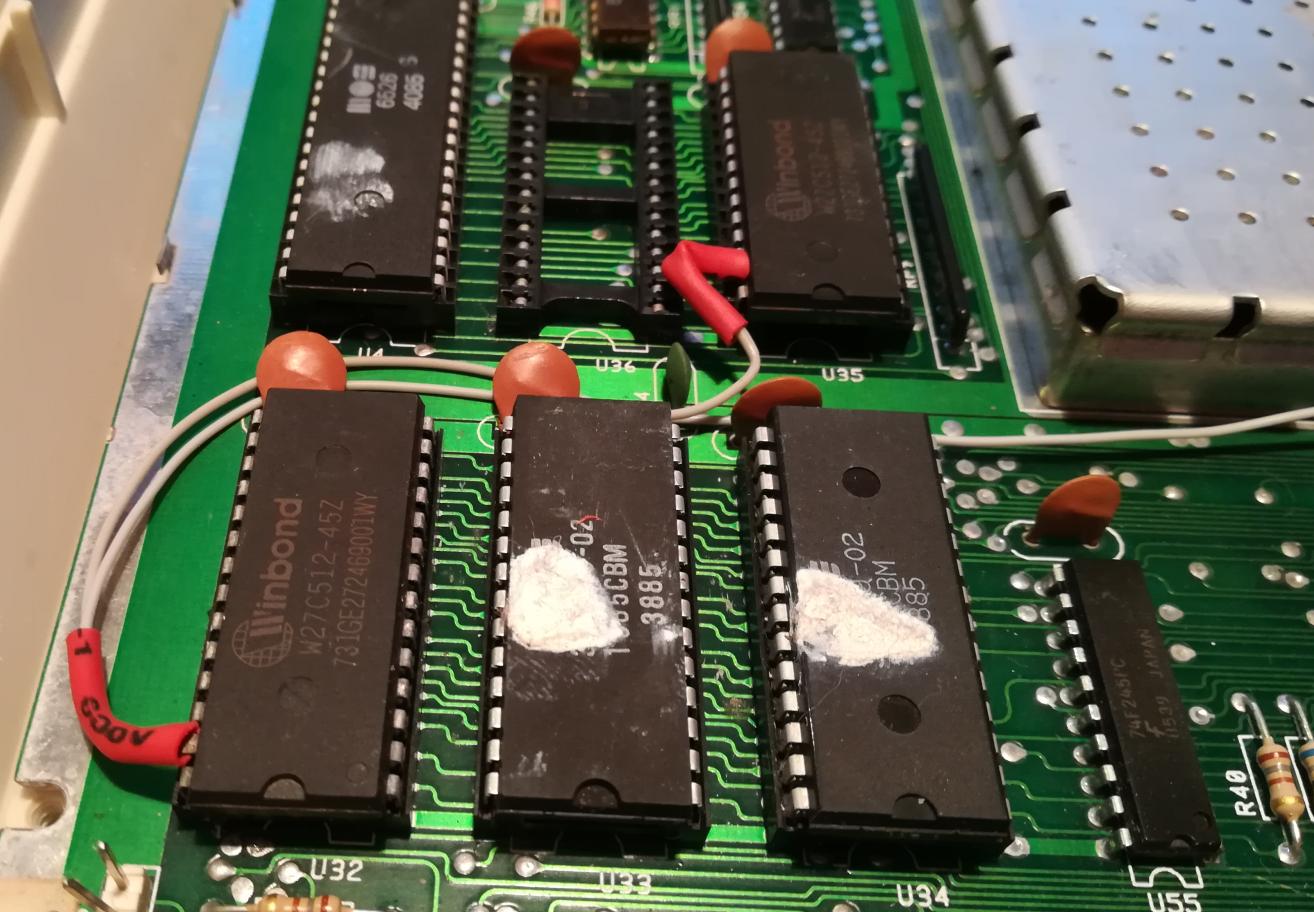
After many hours spent getting familiar with C128s circuits, I’ve figured that the CHAR ROM is playing games with me. Since this particular motherboard had an already made (I think it is an original mod) mod accepting 28-pin EPROMs, I’ve decided to replace it with an overkill FlashROM -> W27C512. Overkill, just because I have plenty of 512s on the shelf 🙂
OK! First one alive!! …NOT!
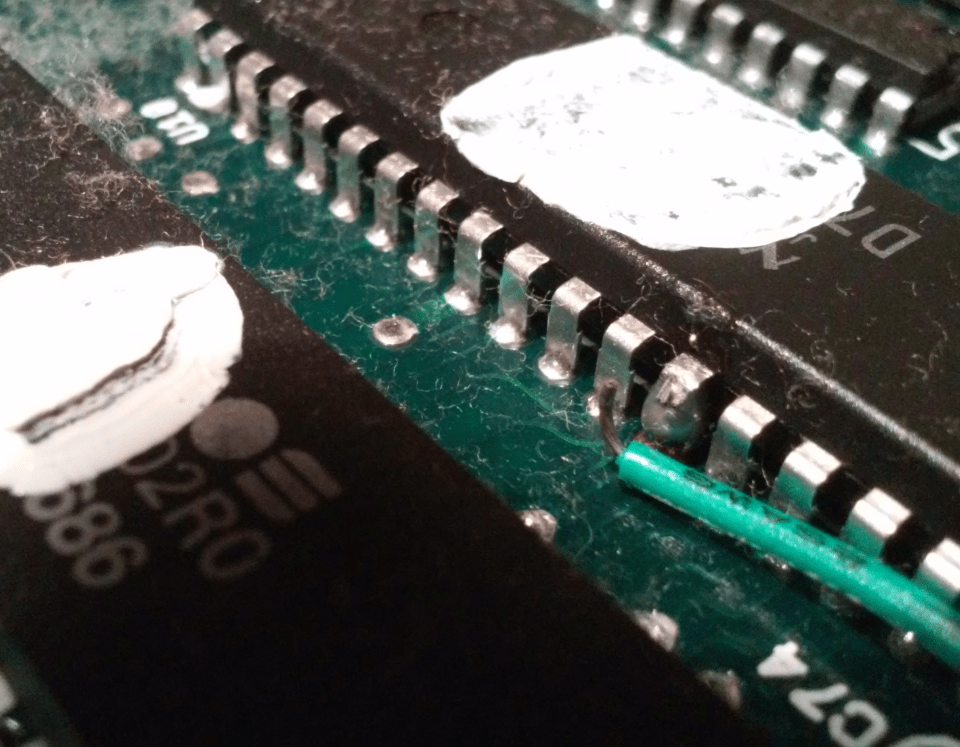
…not really … I also had to replace a RAM chip to make it fully functional.
The second unit was a bit more demanding lol.
Next on the list was a dual OS ROM mod. JiffyDOS is the first OS, and stock OS is the second. I’ve bought all the needed files from guys running Retro Innovations and was ready to burn.
Old chips were replaced by another two W27c512s – each for both C64 and C128 modes.

Keyboards
While working on electronics, I’ve also spent a while refurbishing keyboards and cases. I’ll spare you another description of this boring process.
However, there is one cool thing worth noting.
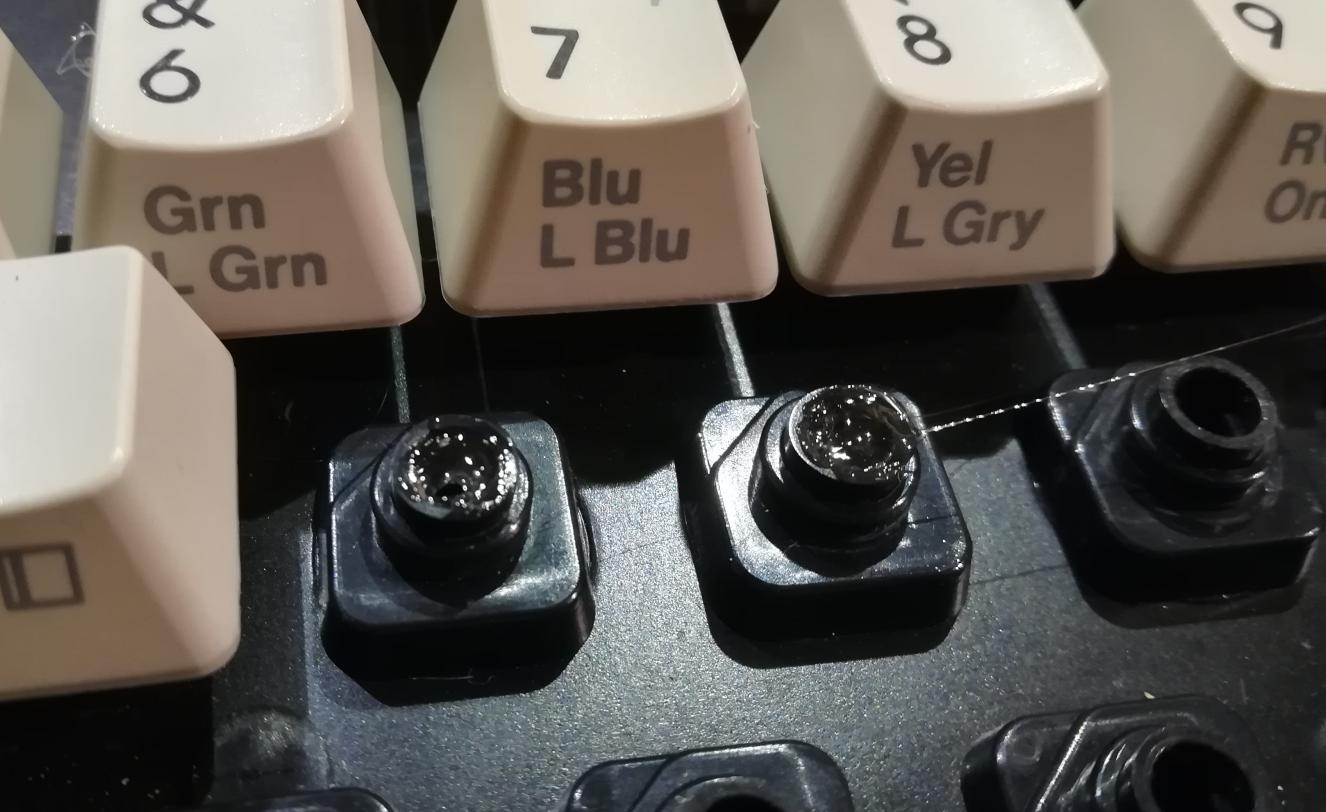
Keyboards had issues with broken … I’ll be honest, I’ve no idea what these are called in English… hammers?
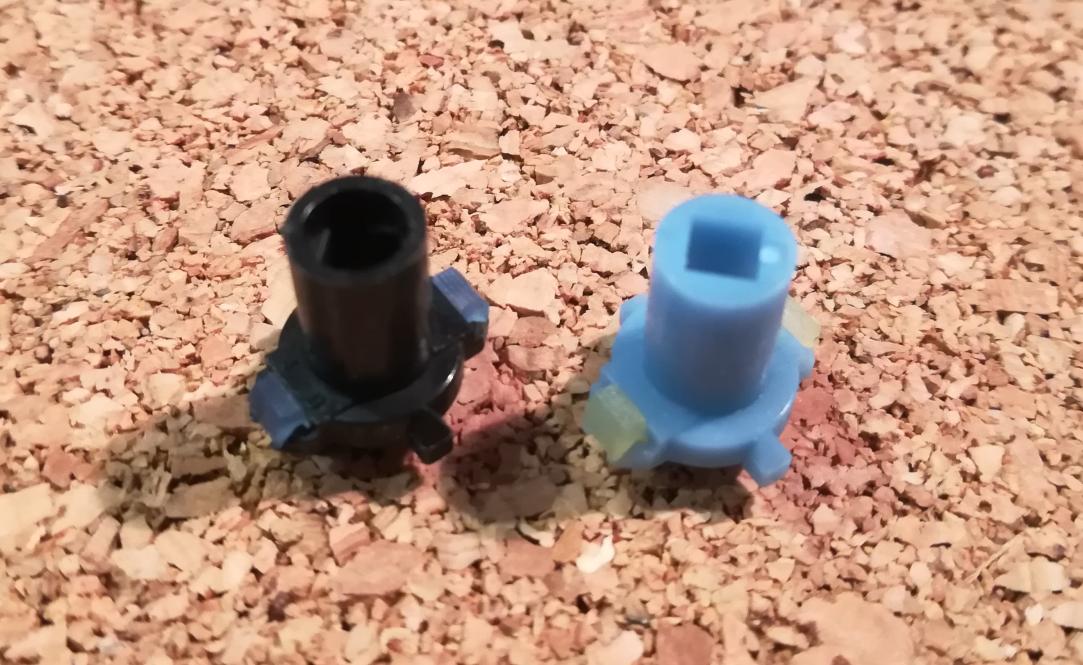
Anyway, I’ve made a cool observation. The blue one is an original C128 ‘hammer’ and the black is from Amiga 500 keyboard. There is a slight difference. Black ‘hammer’ has an inside chamfer which makes it unusable unless …
HOT GLUE!!!
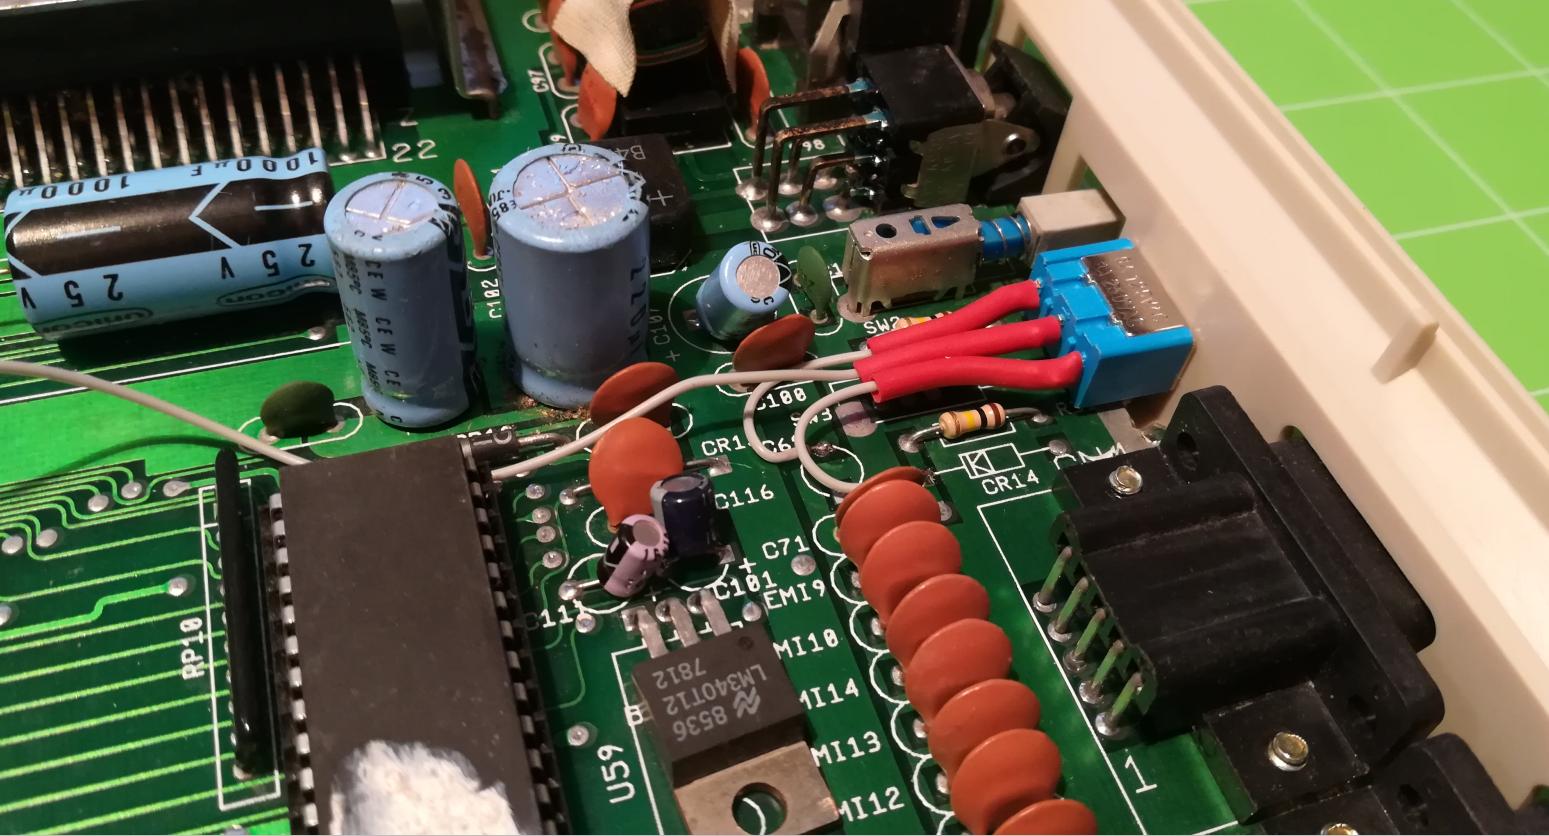
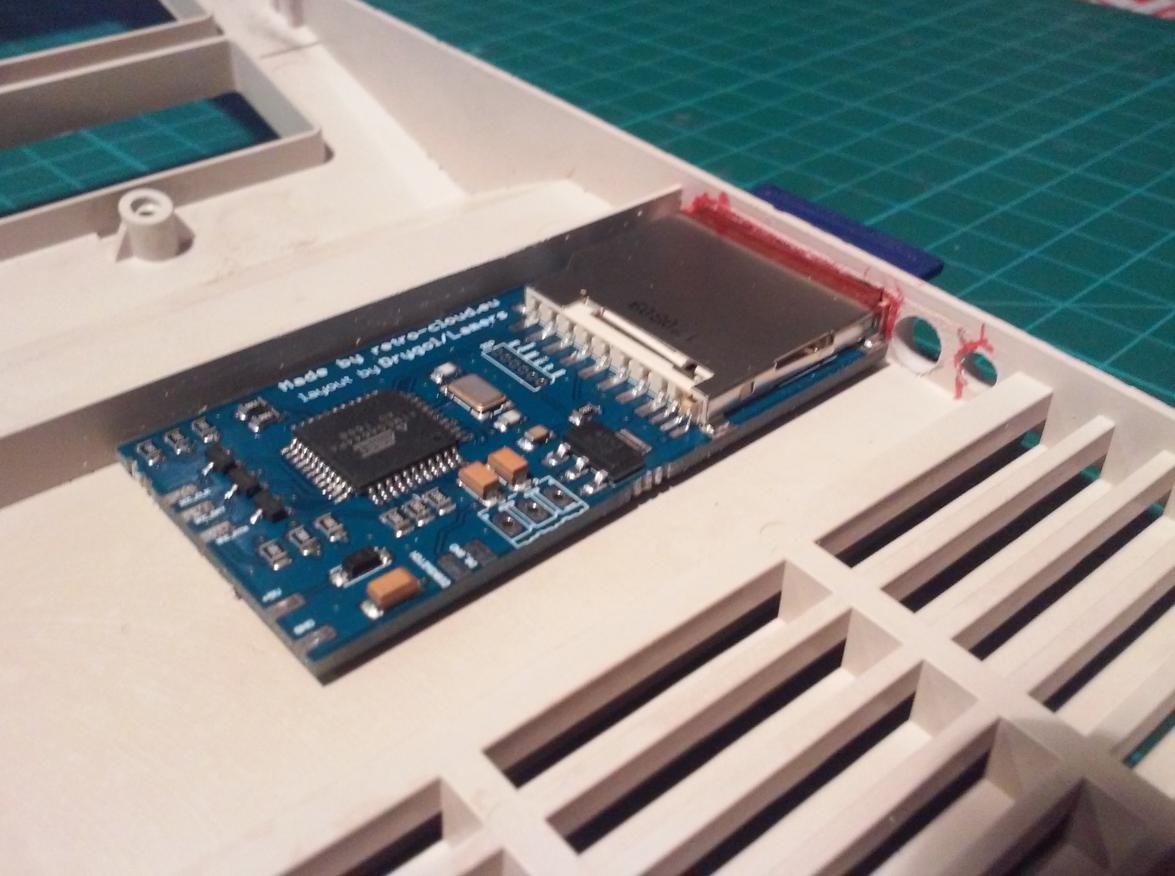
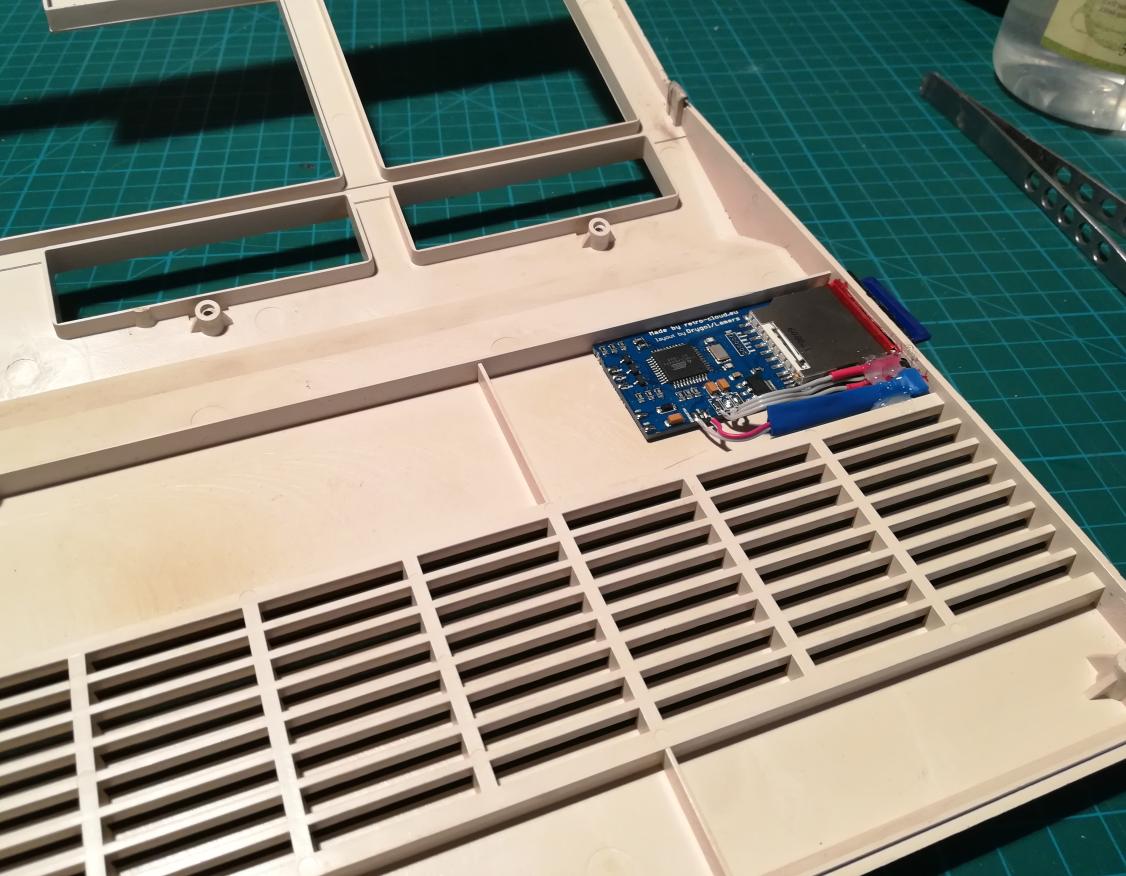
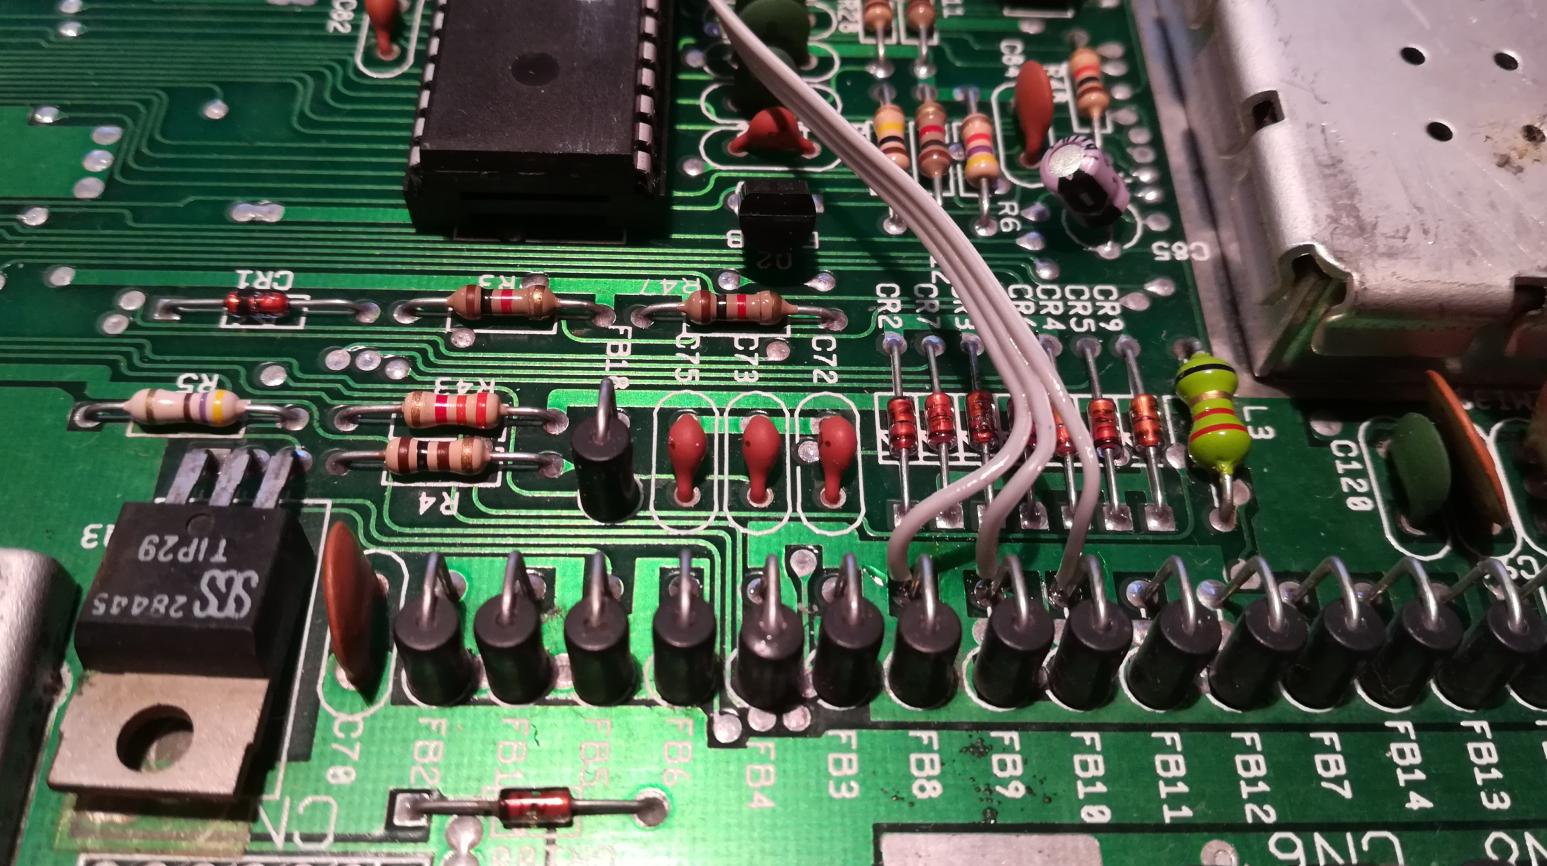
The next task was to mount inside an SD2IEC mod with my layout that I sell through store.retrohax.net
First I’ve picked a proper place to mount it in a way that allows easy and convenient access to the SD card – the right side of the upper part of a case
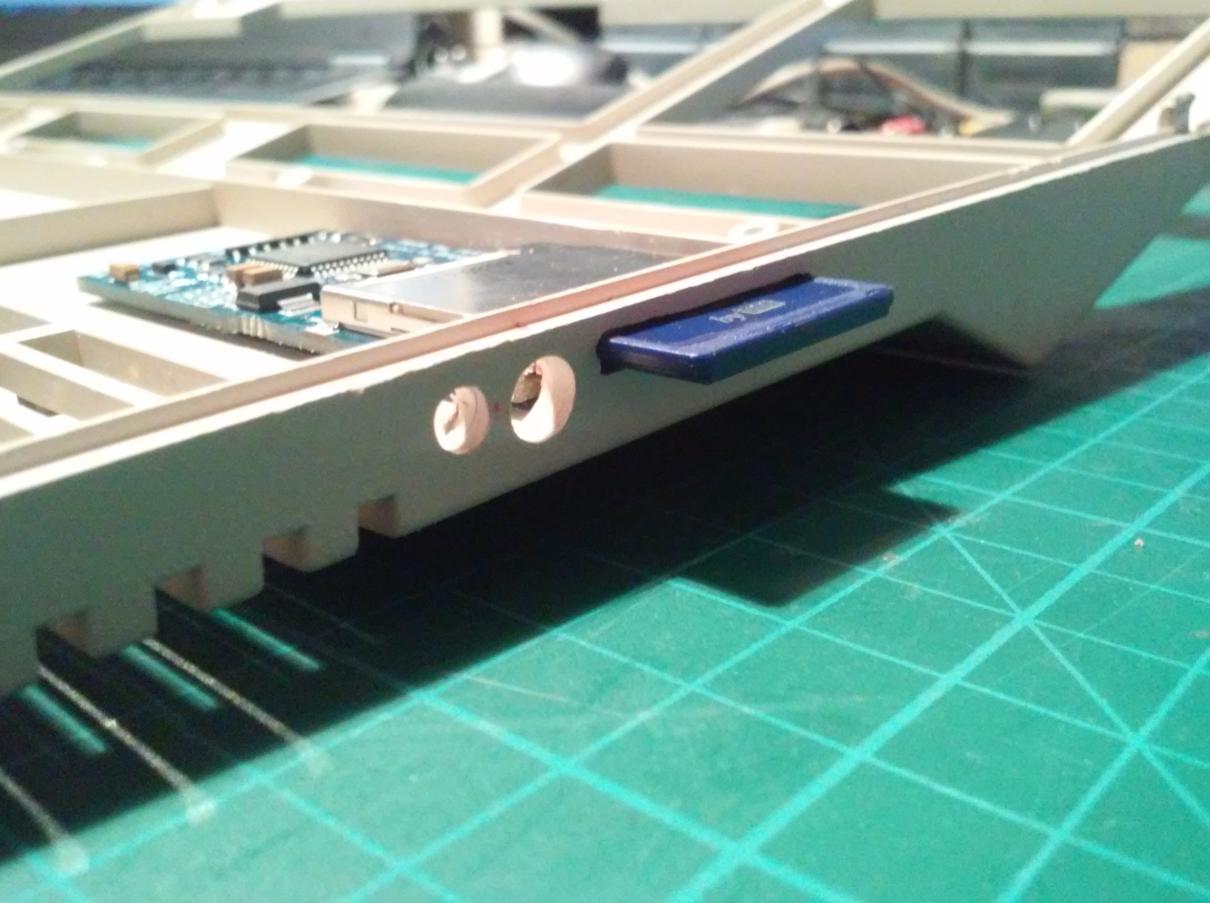

It was connected in the following way:
DONE
C=Key
NEXT inline:
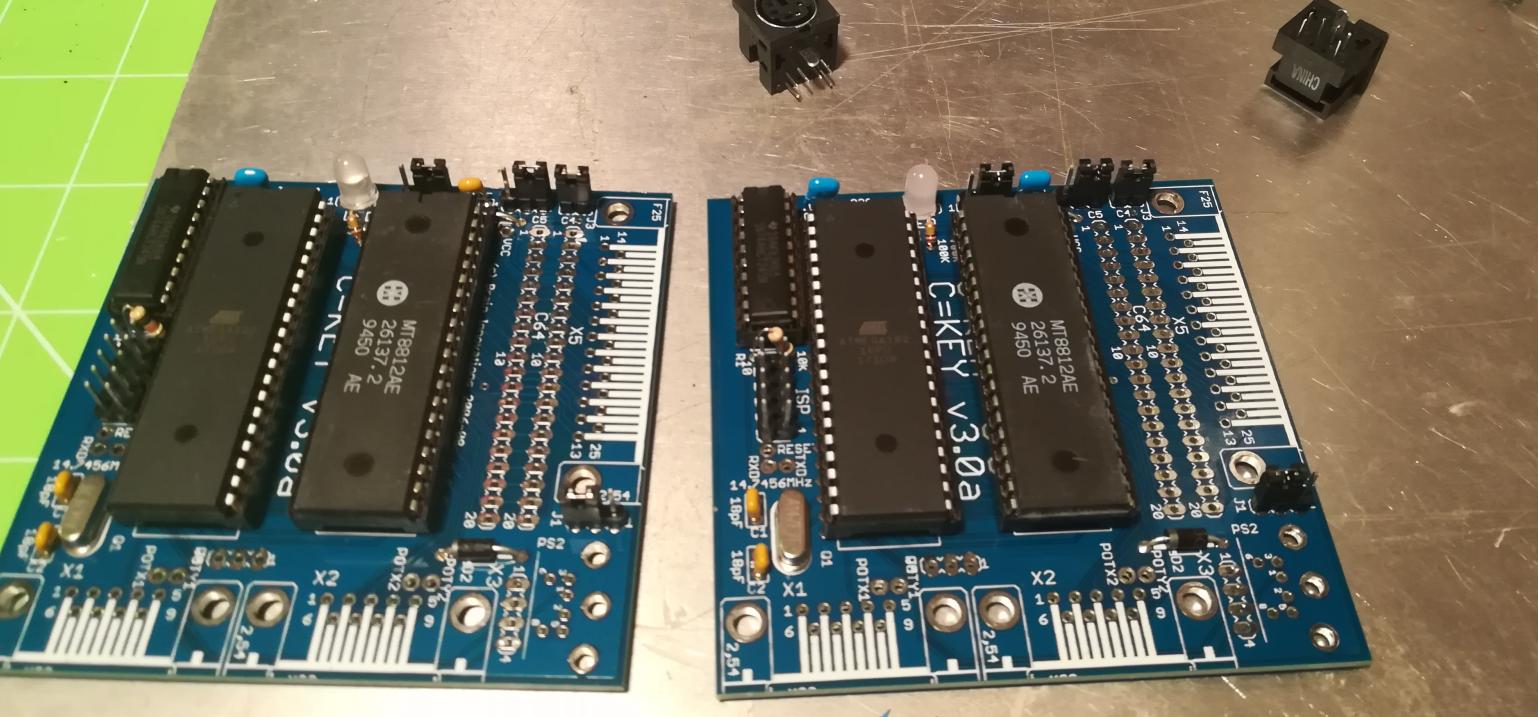
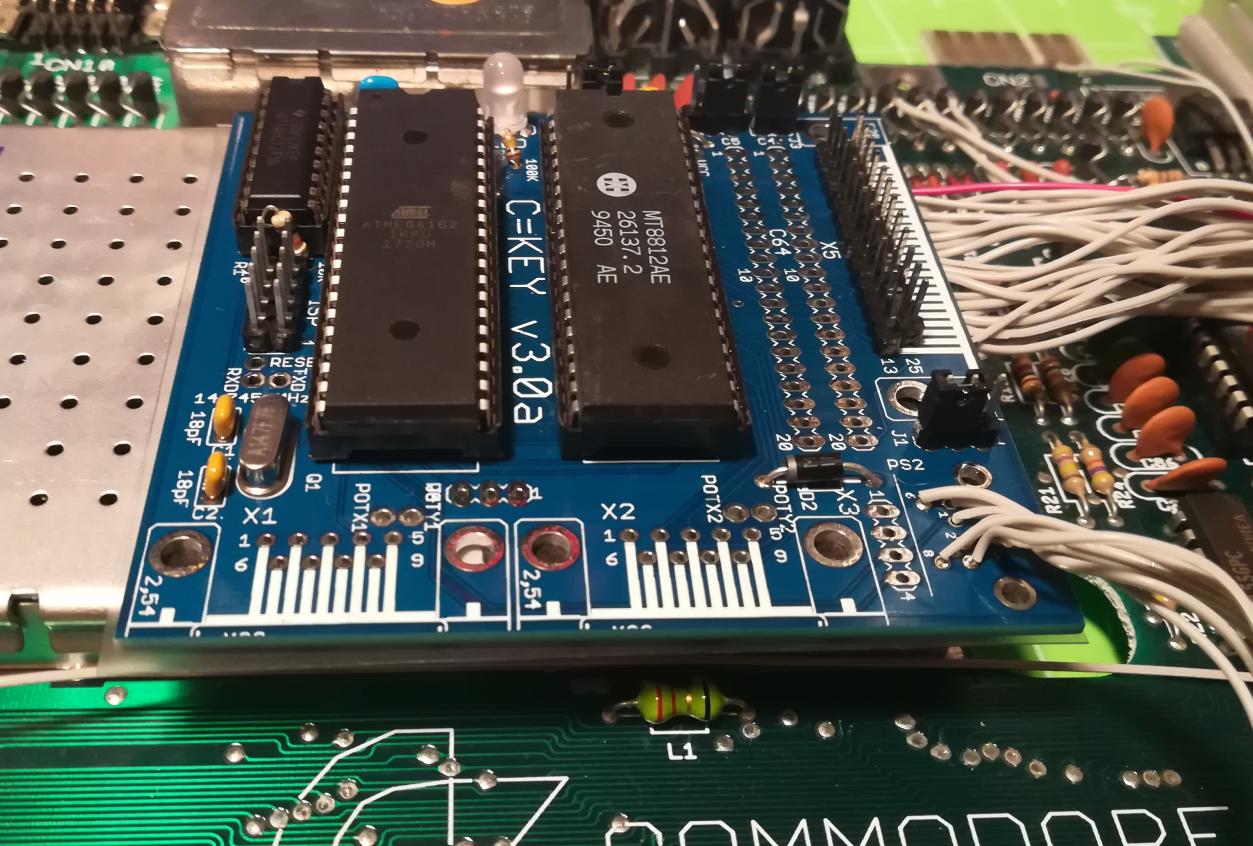
C=KEY – again from Retro Innovations.
A mod allows the connection of a PS/2 keyboard to a C128 (among other Commodores) in this case.
I’ve bought a DIY kit and the below pic of an already assembled unit.
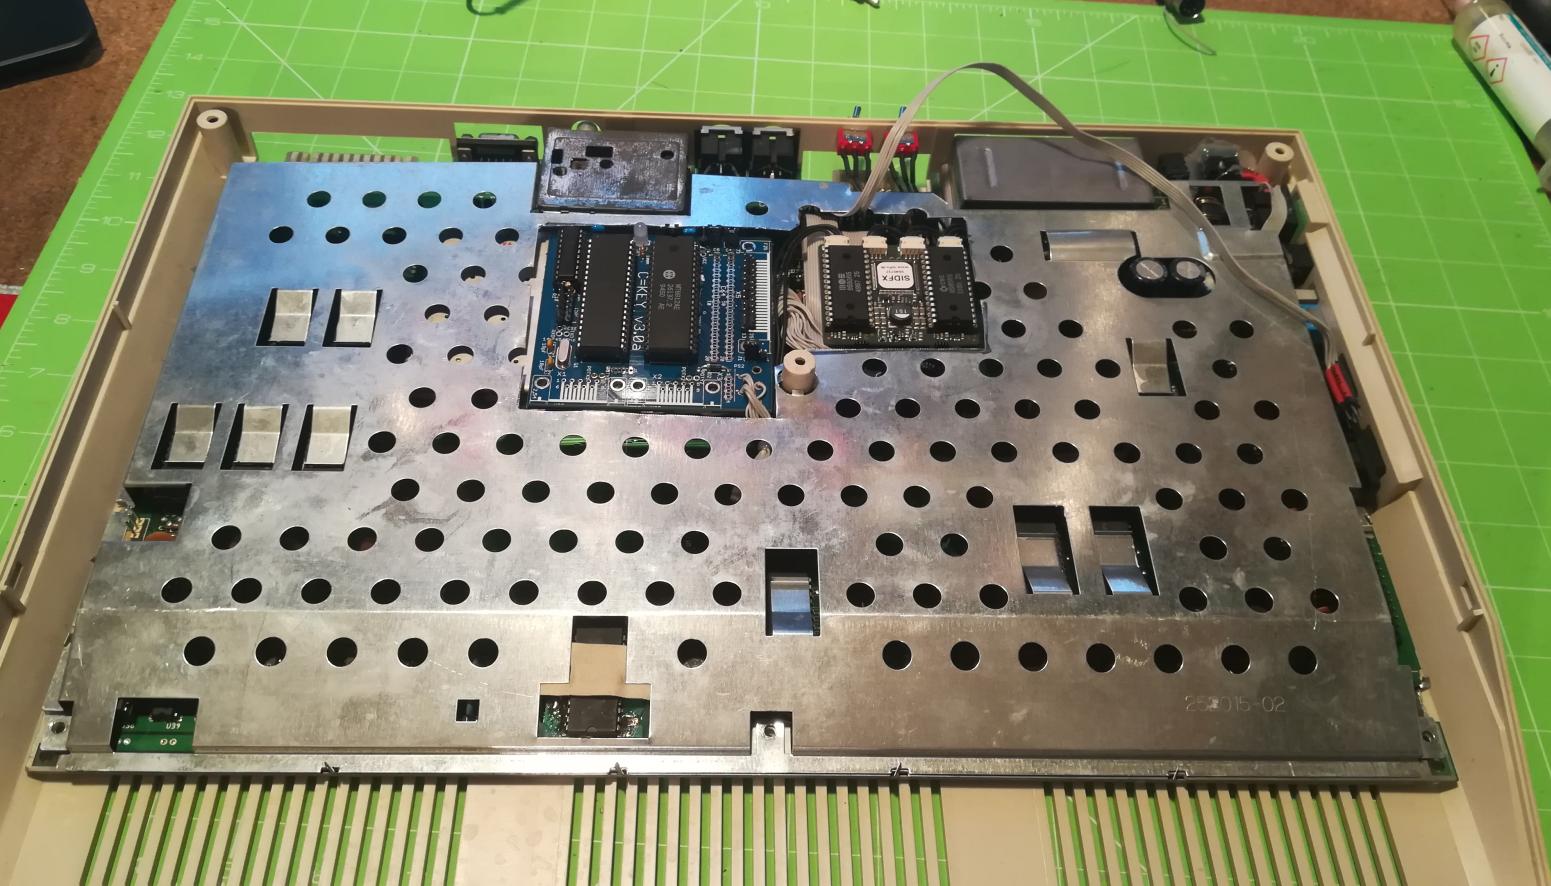
I wanted to mount it on a metal cage in the middle of the motherboard.
Like this.
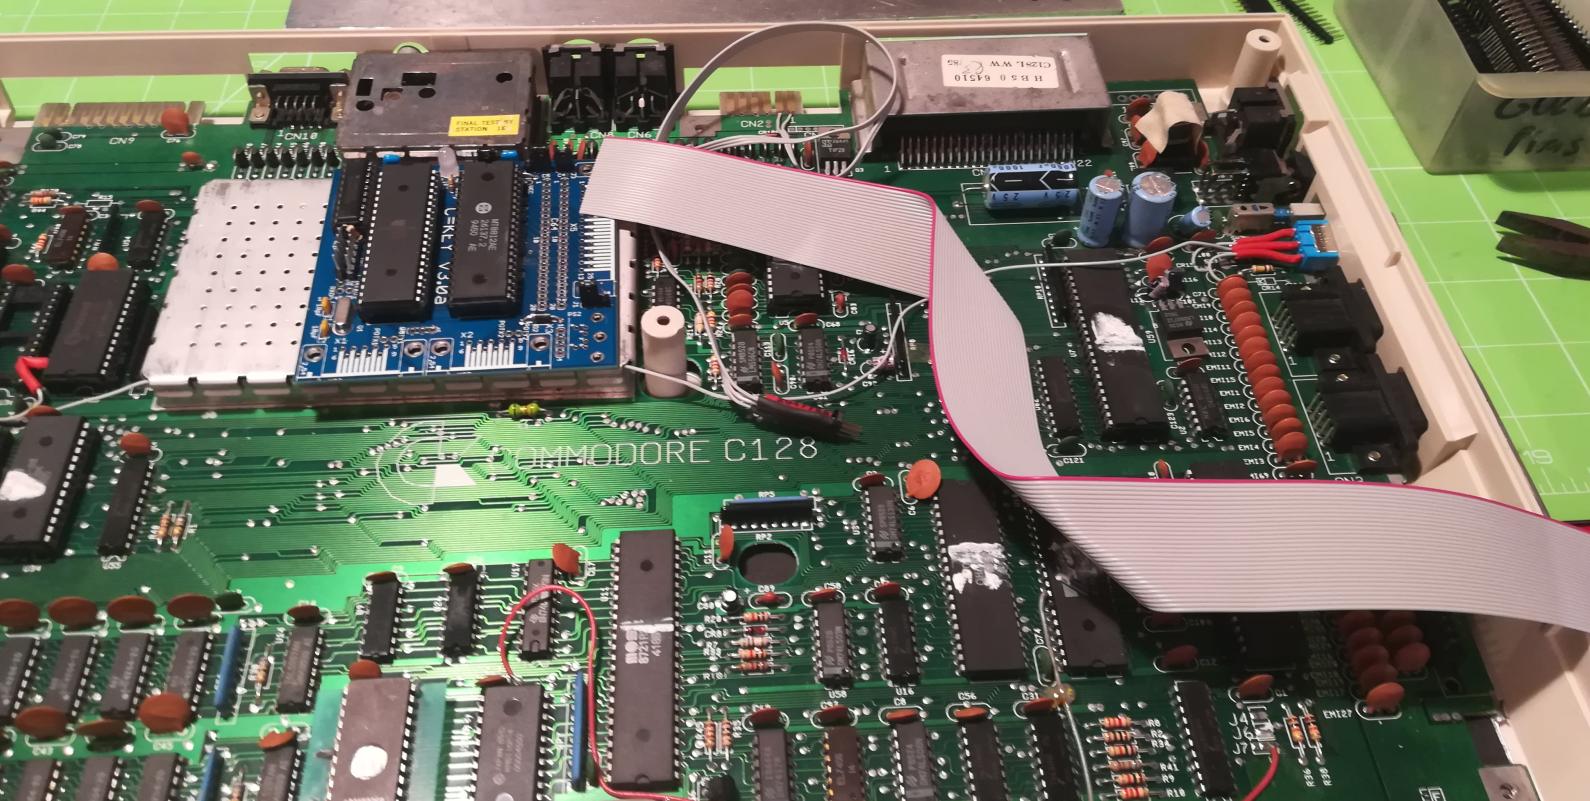
The problem is that this mod cannot be mounted directly as in C128D or DCR because of surrounding components.

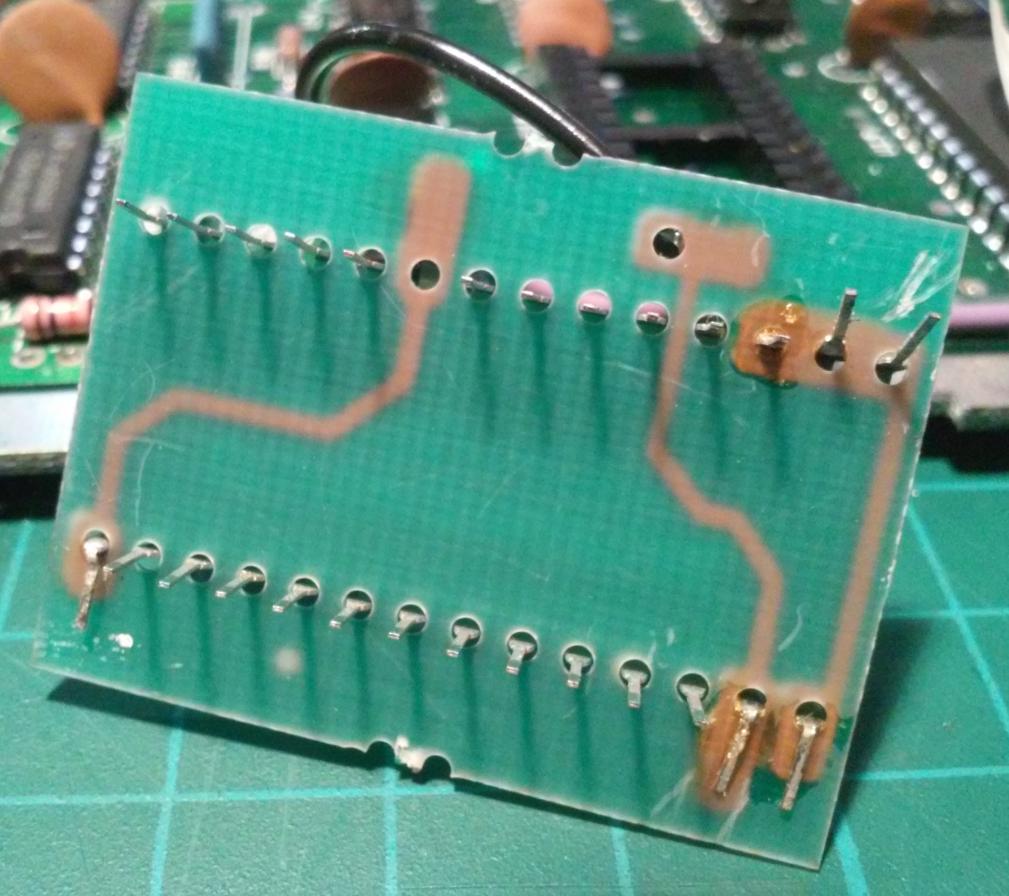
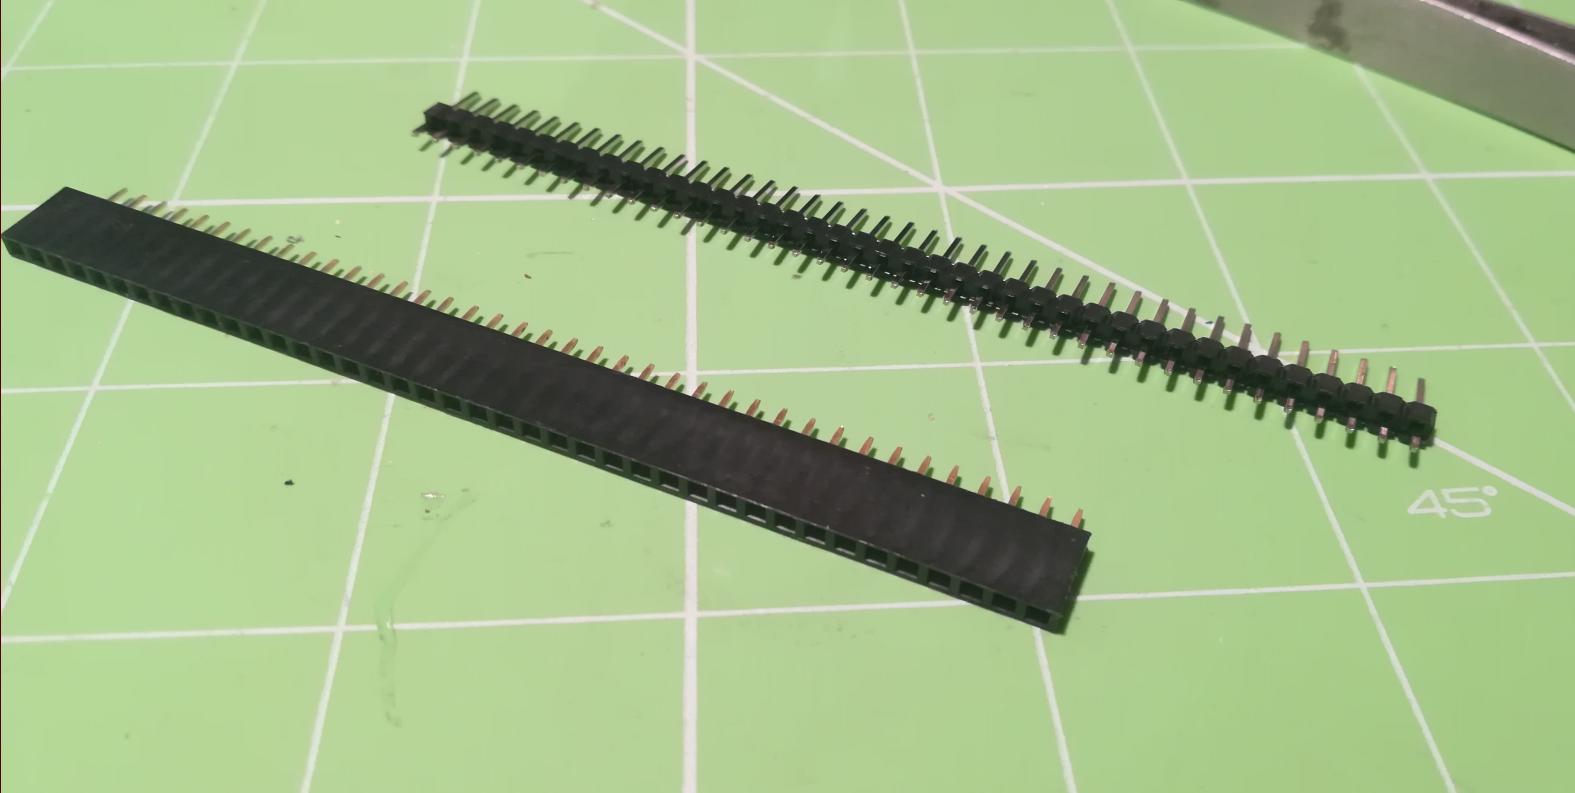
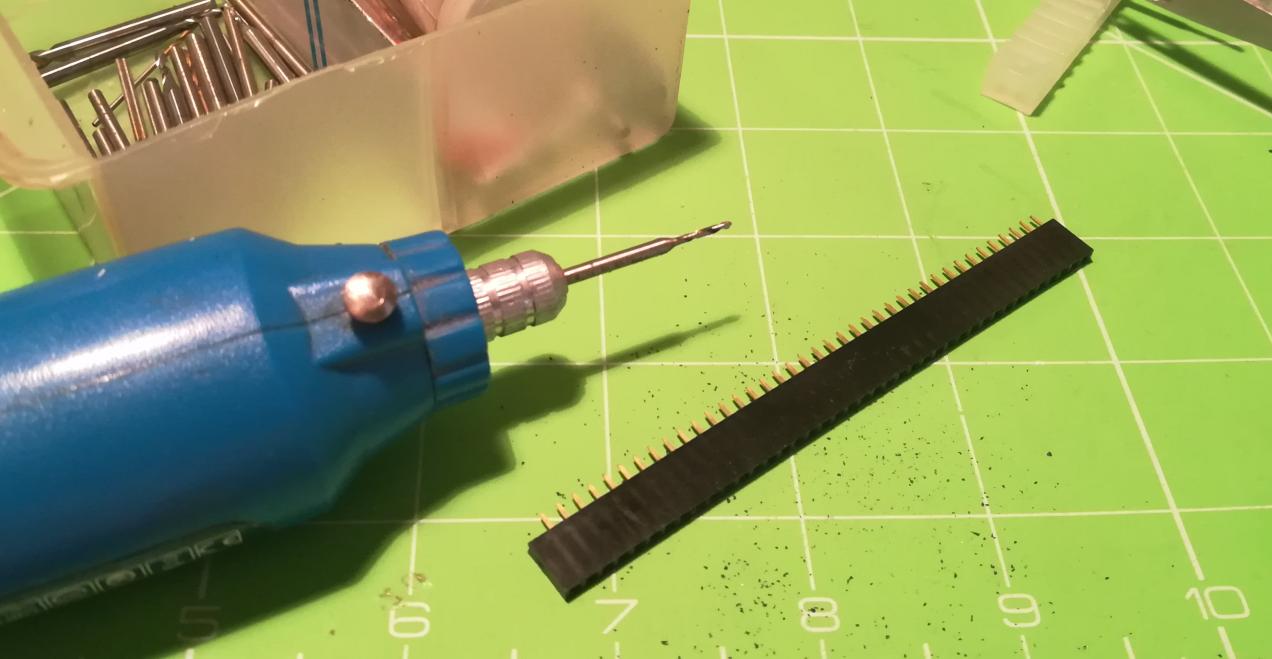
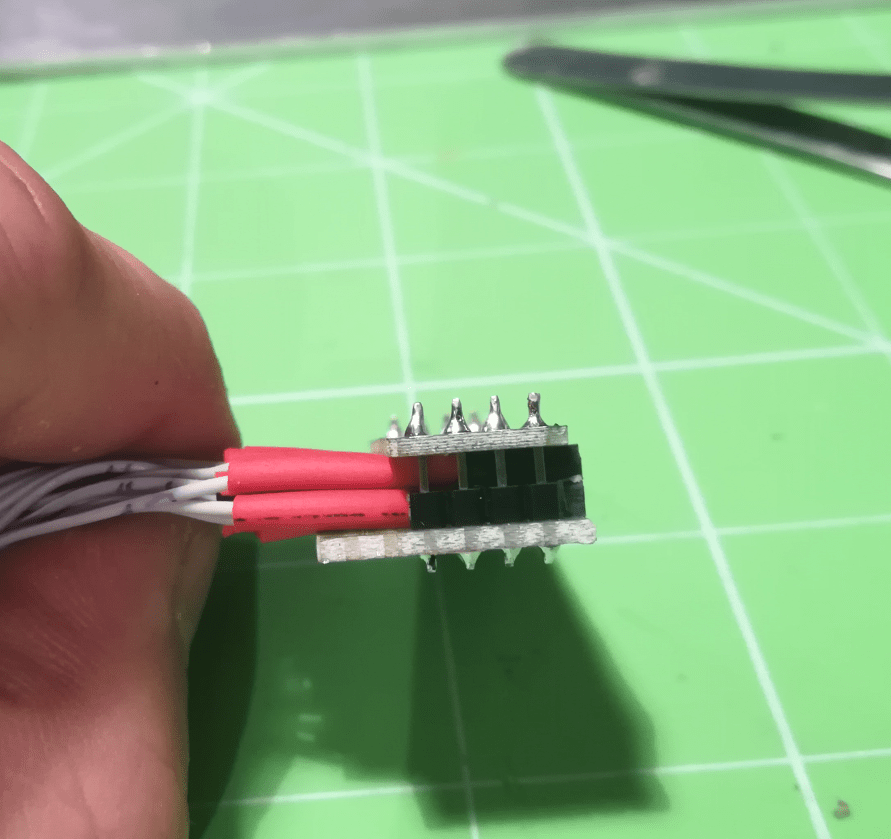
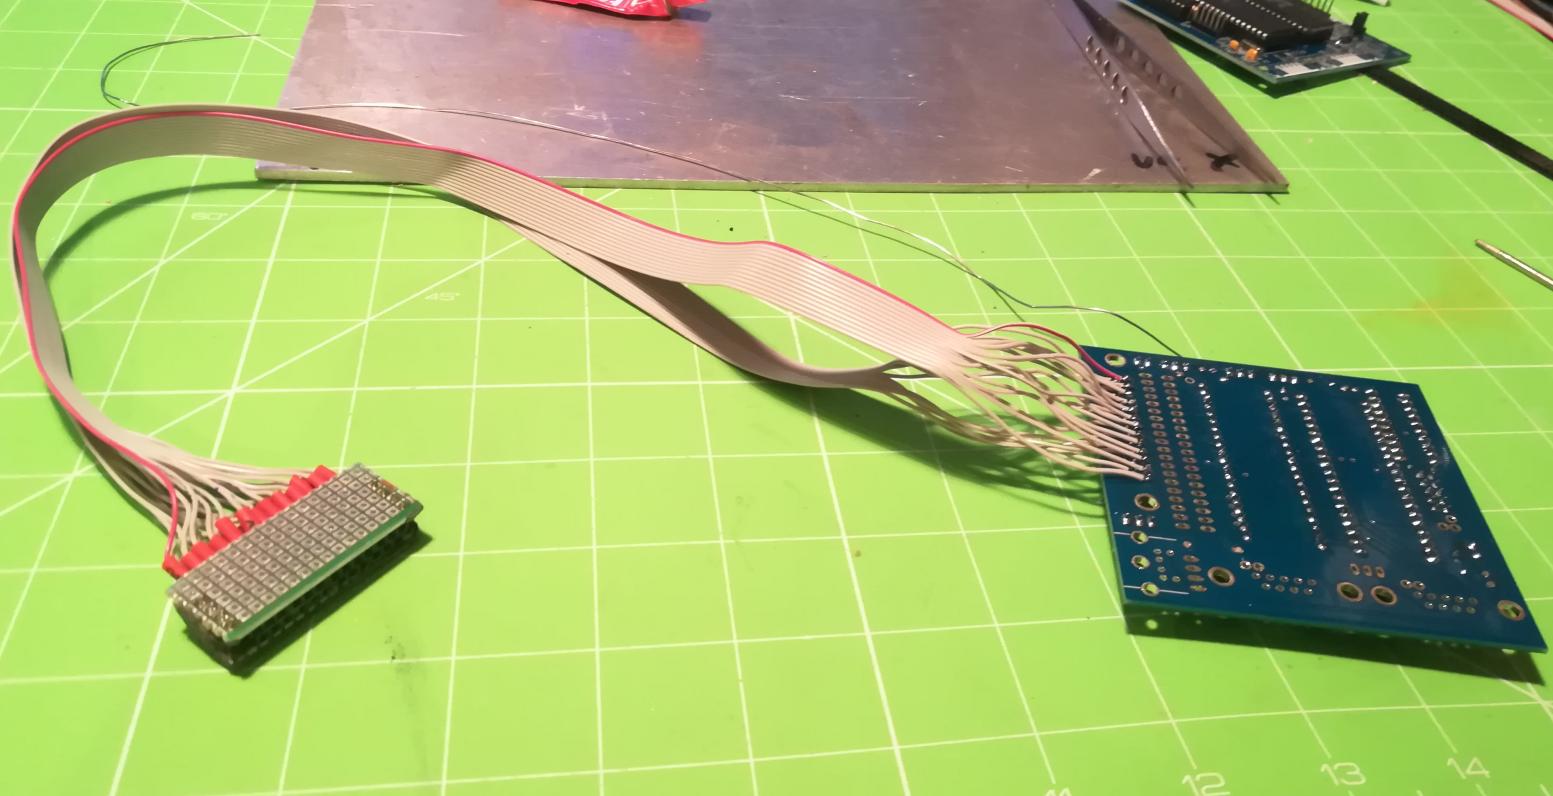
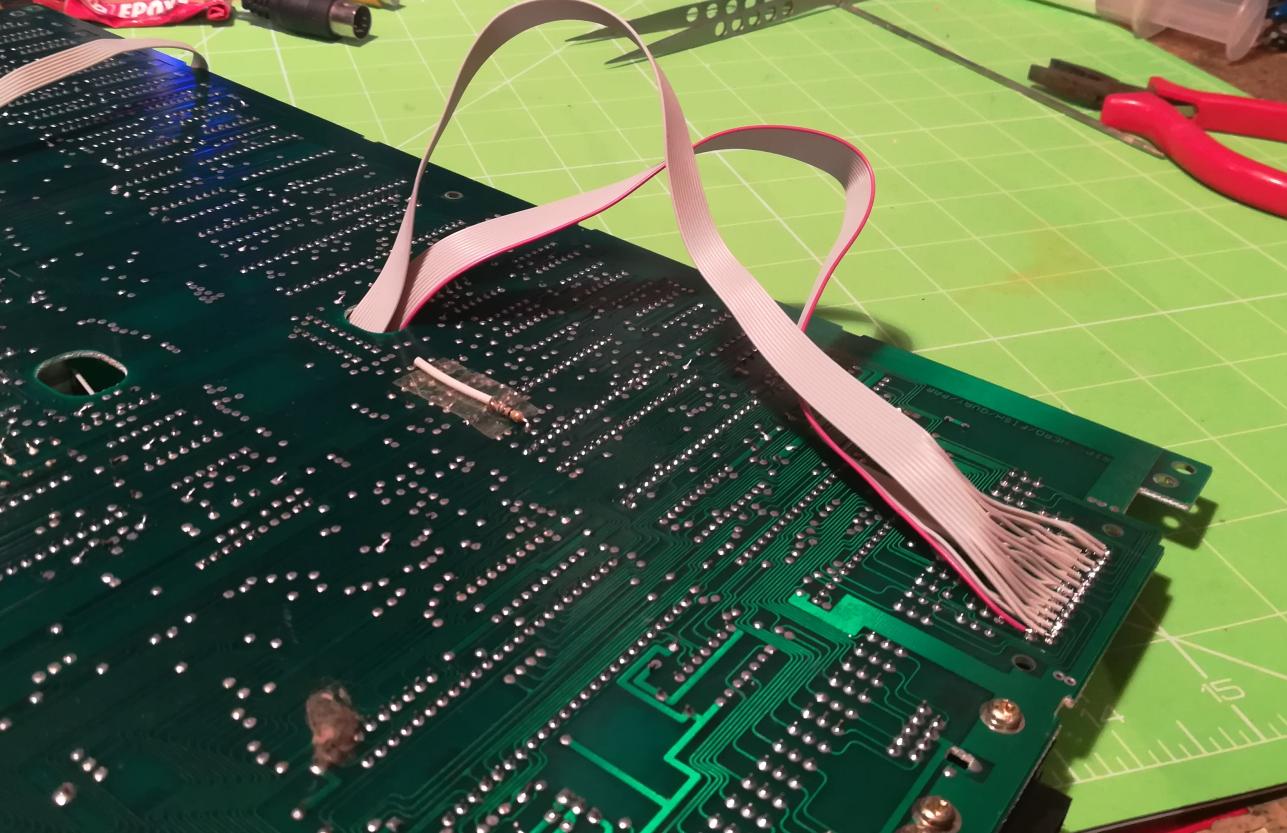
That creates another problem – the lack of original and custom plugs used in the internal C128 keyboard. I’ve figured that I can make my own out of 2.54mm gold pins.
I had to widen holes a bit <insert silent LOL here so your wife won’t hear :P>

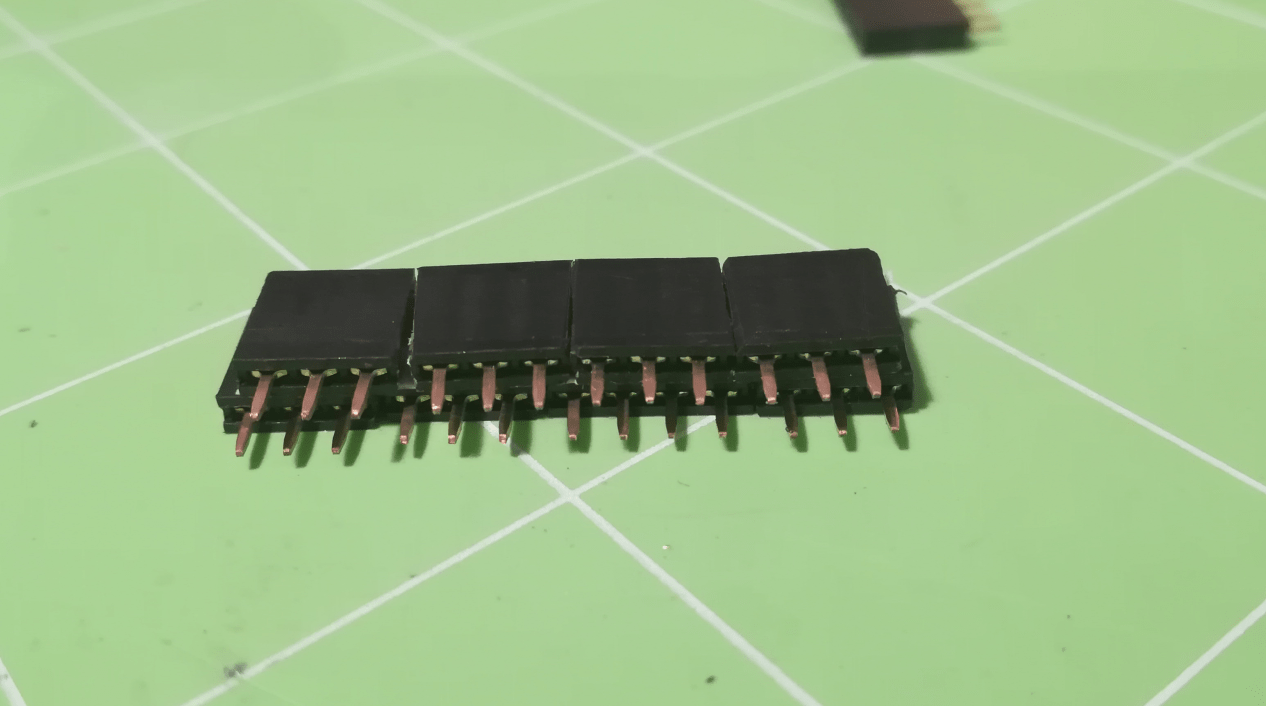

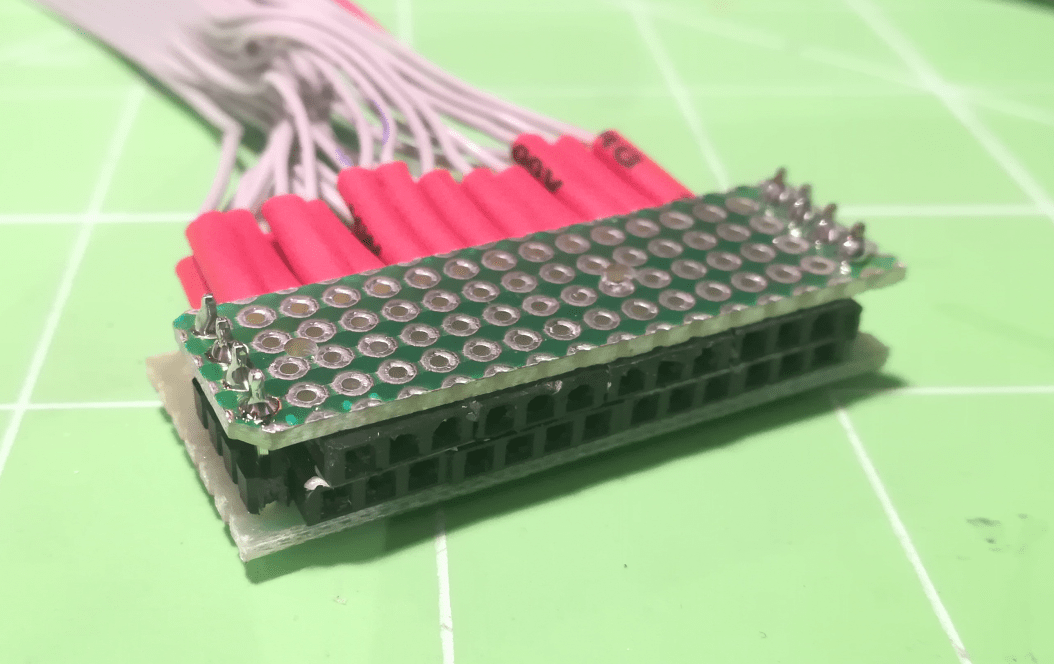
TADAAA!
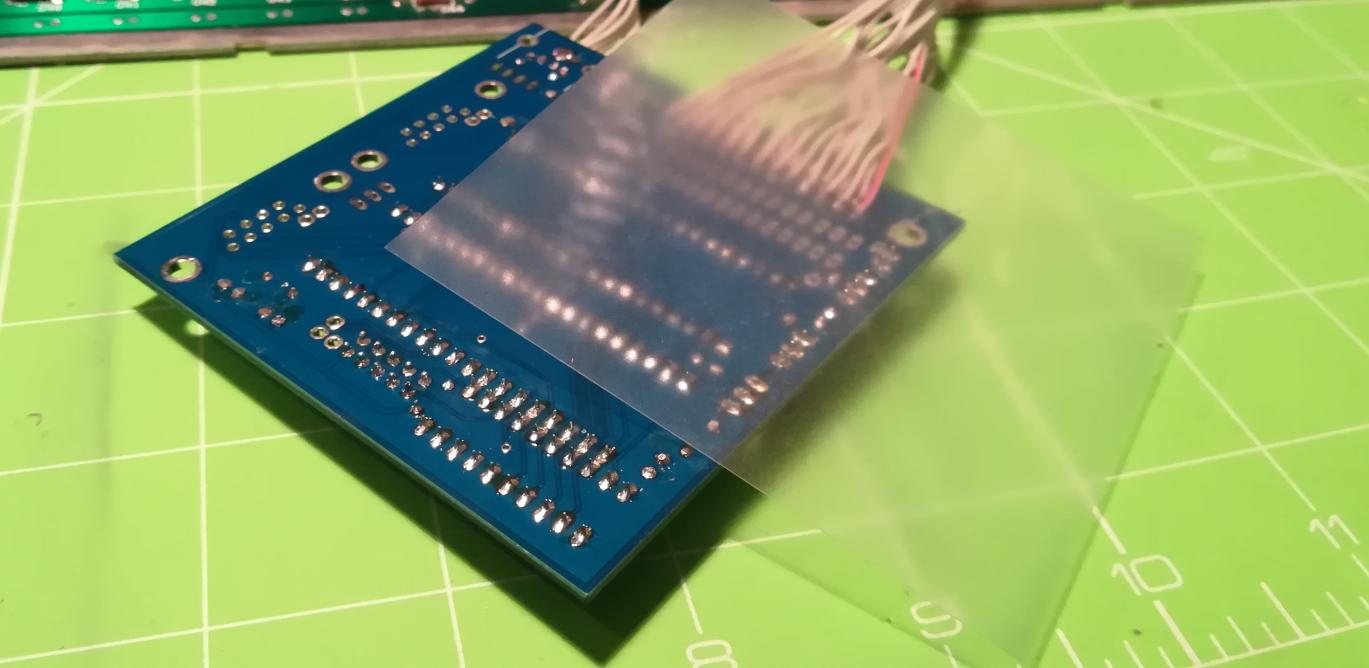
To prevent an eventual short circuit, I’ve put a piece of plastic under a PCB.

YES! As you’ve probably figured out … it is now time for a solid …

…because at this very moment, I’ve realized that my wonder socket won’t fit…
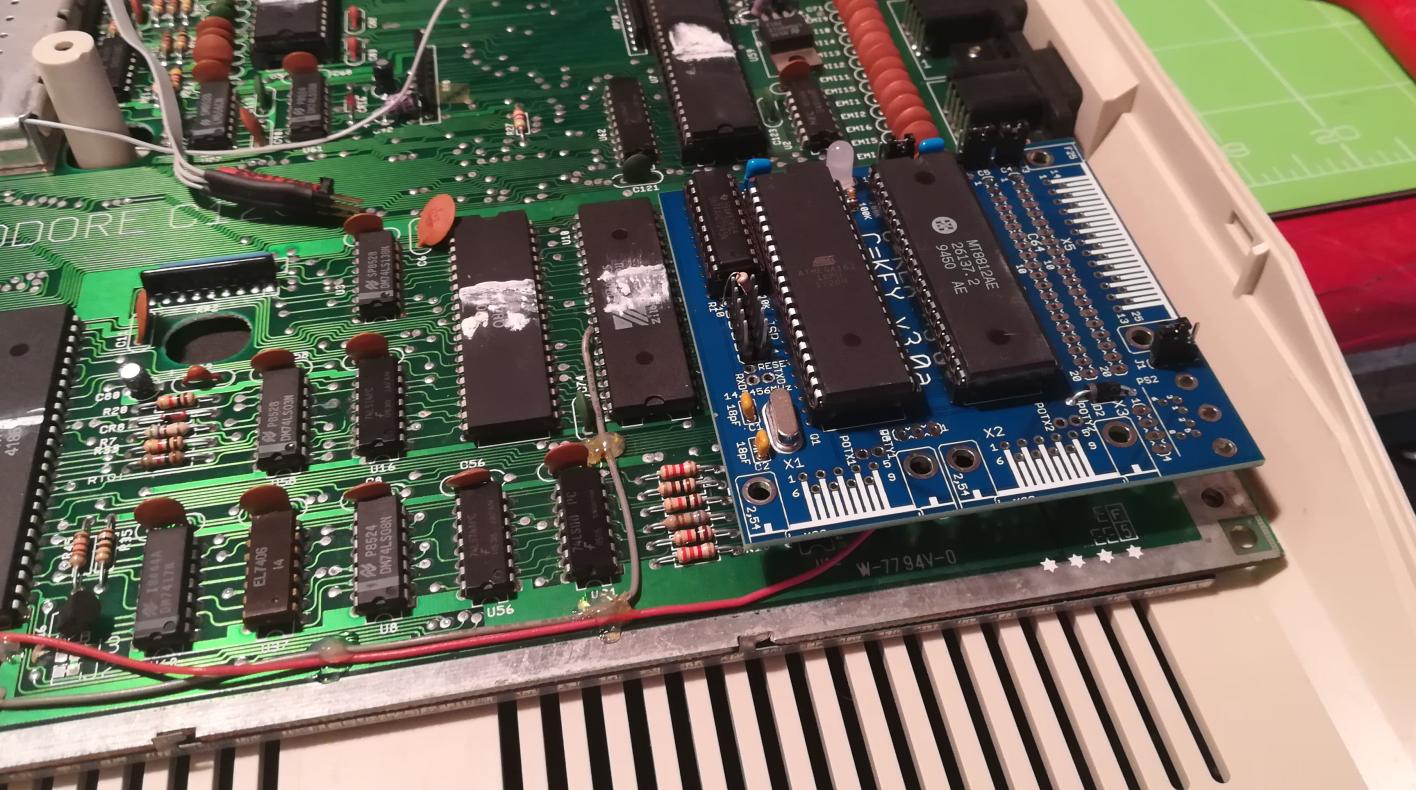
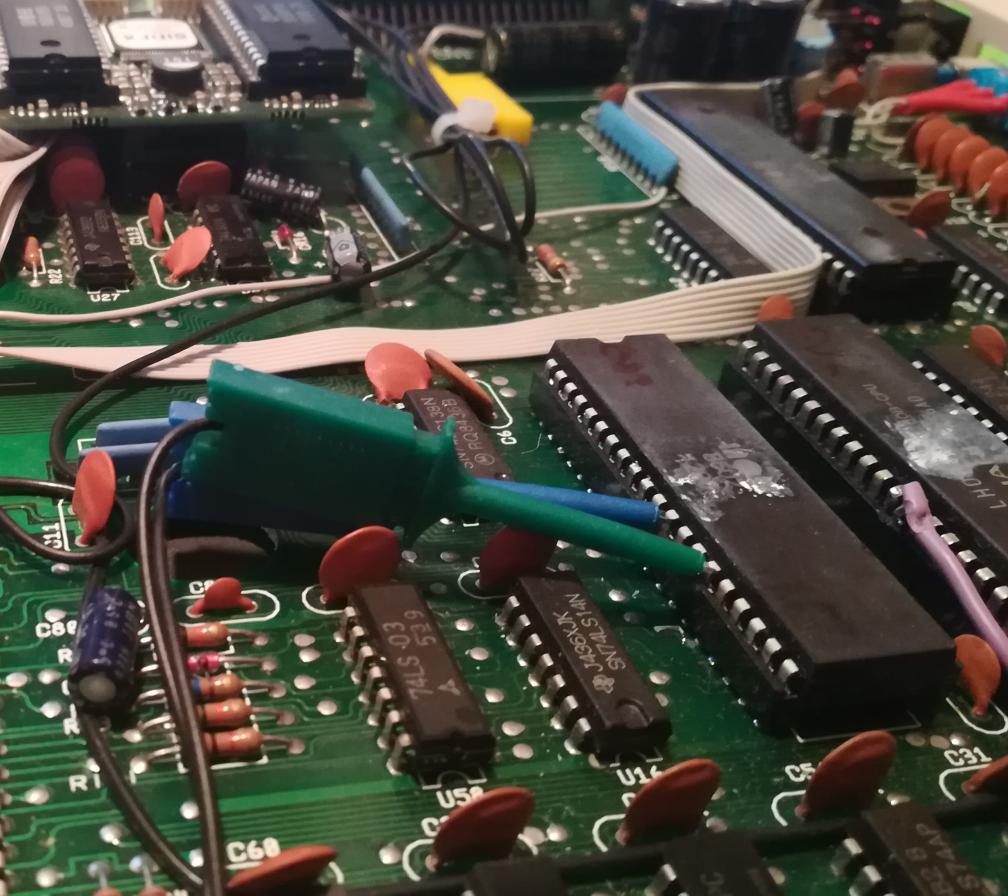
Plan B
Plan B was really simple – just solder everything FFS!
…which is what I quickly did.

DONE
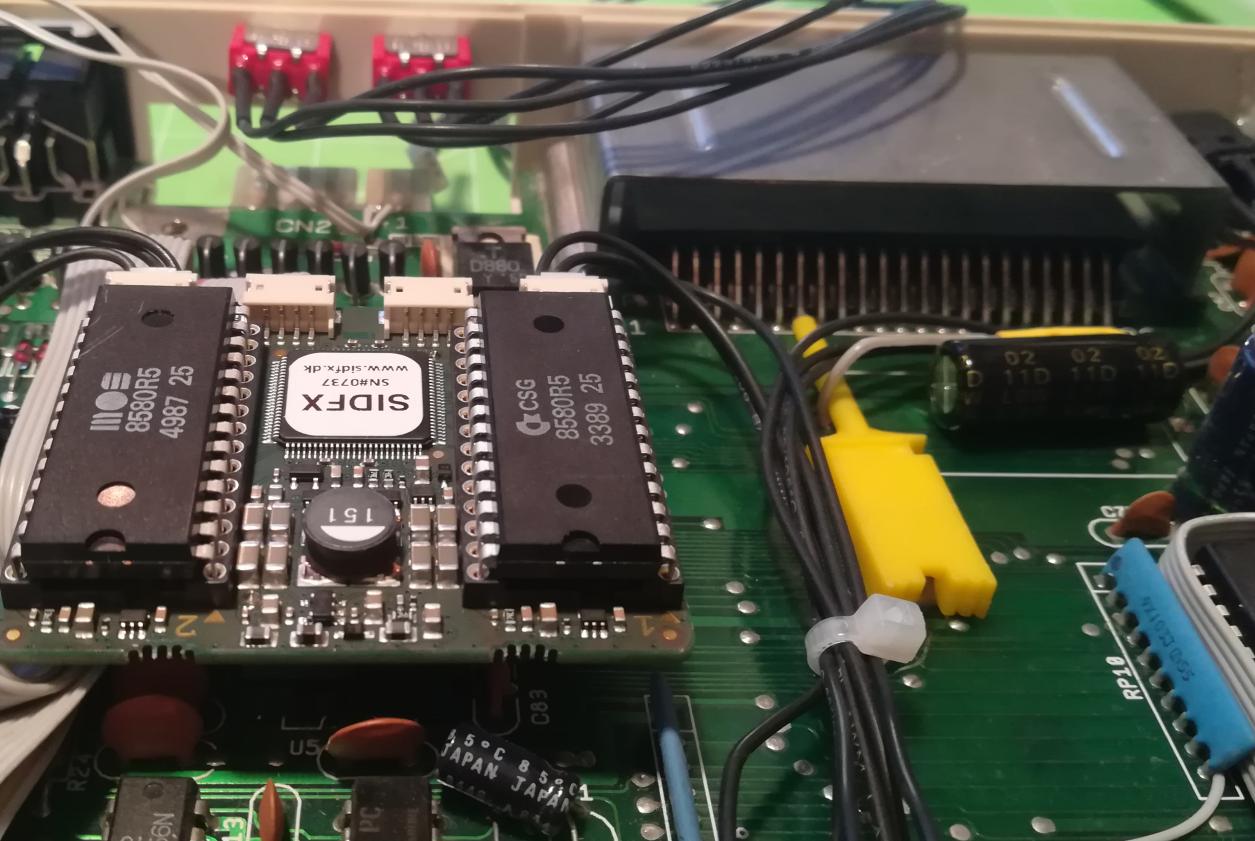
Next mod:

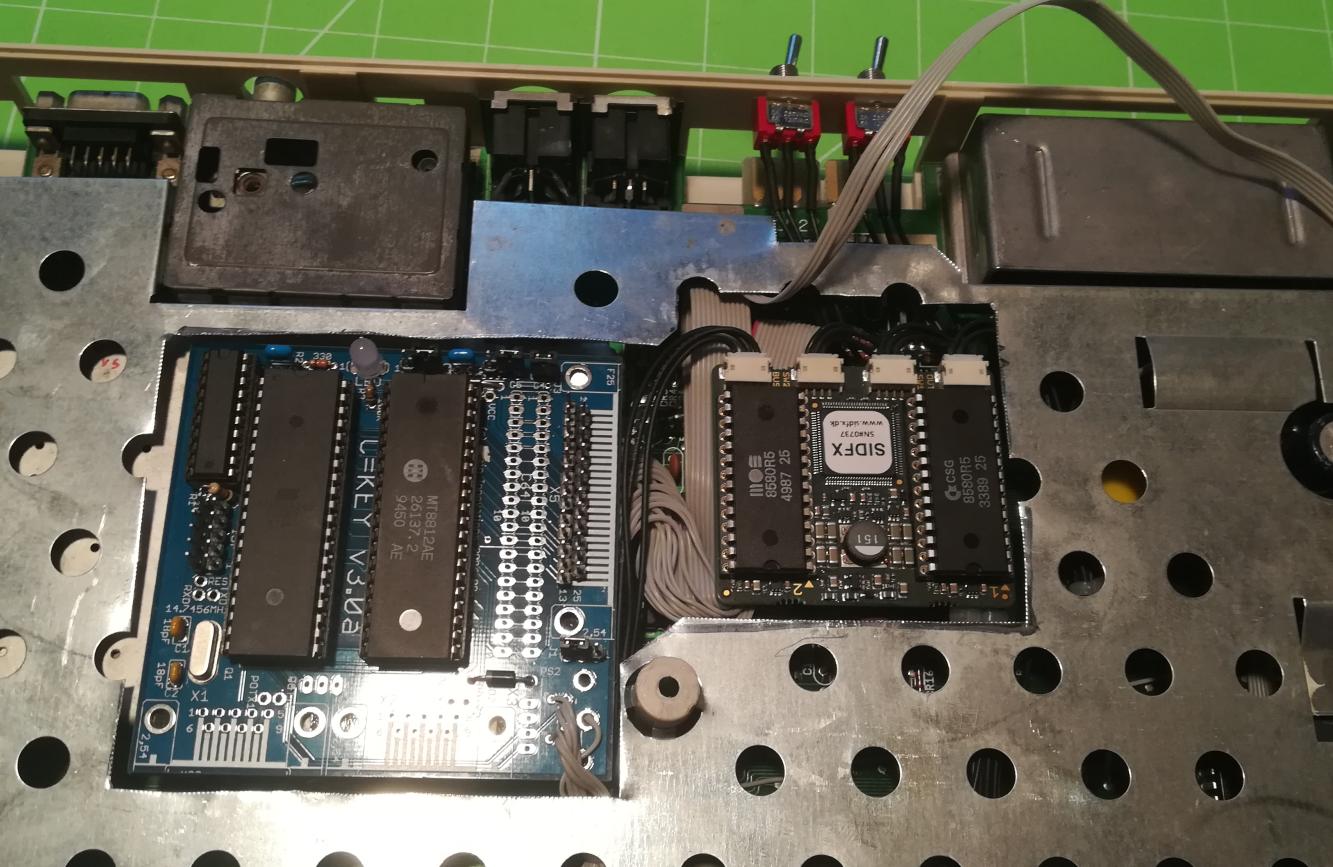
Awww yeah! The SIDFX! A nicely done mod. I was surprised when it came in.
Nice package, a nice manual, and the nice mod itself. It was a really easy job to mount SIDFX – Thank you SIDFX team for this extremely well-done project!
Some pics with everything in place.
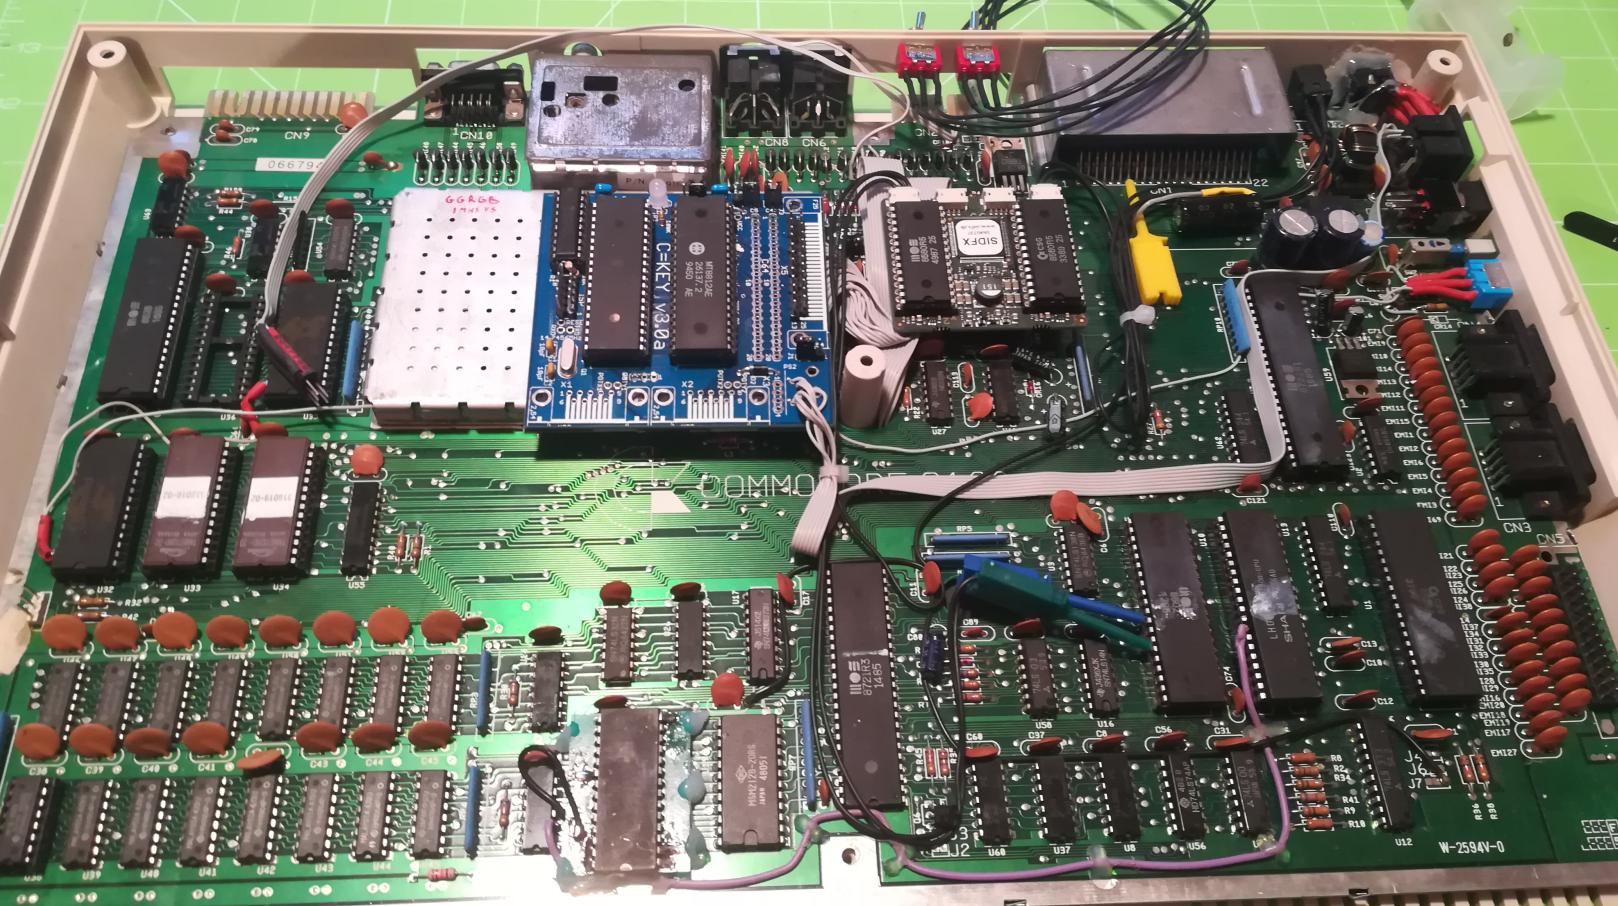
The last thing left was to cut a nice hole for all mods.
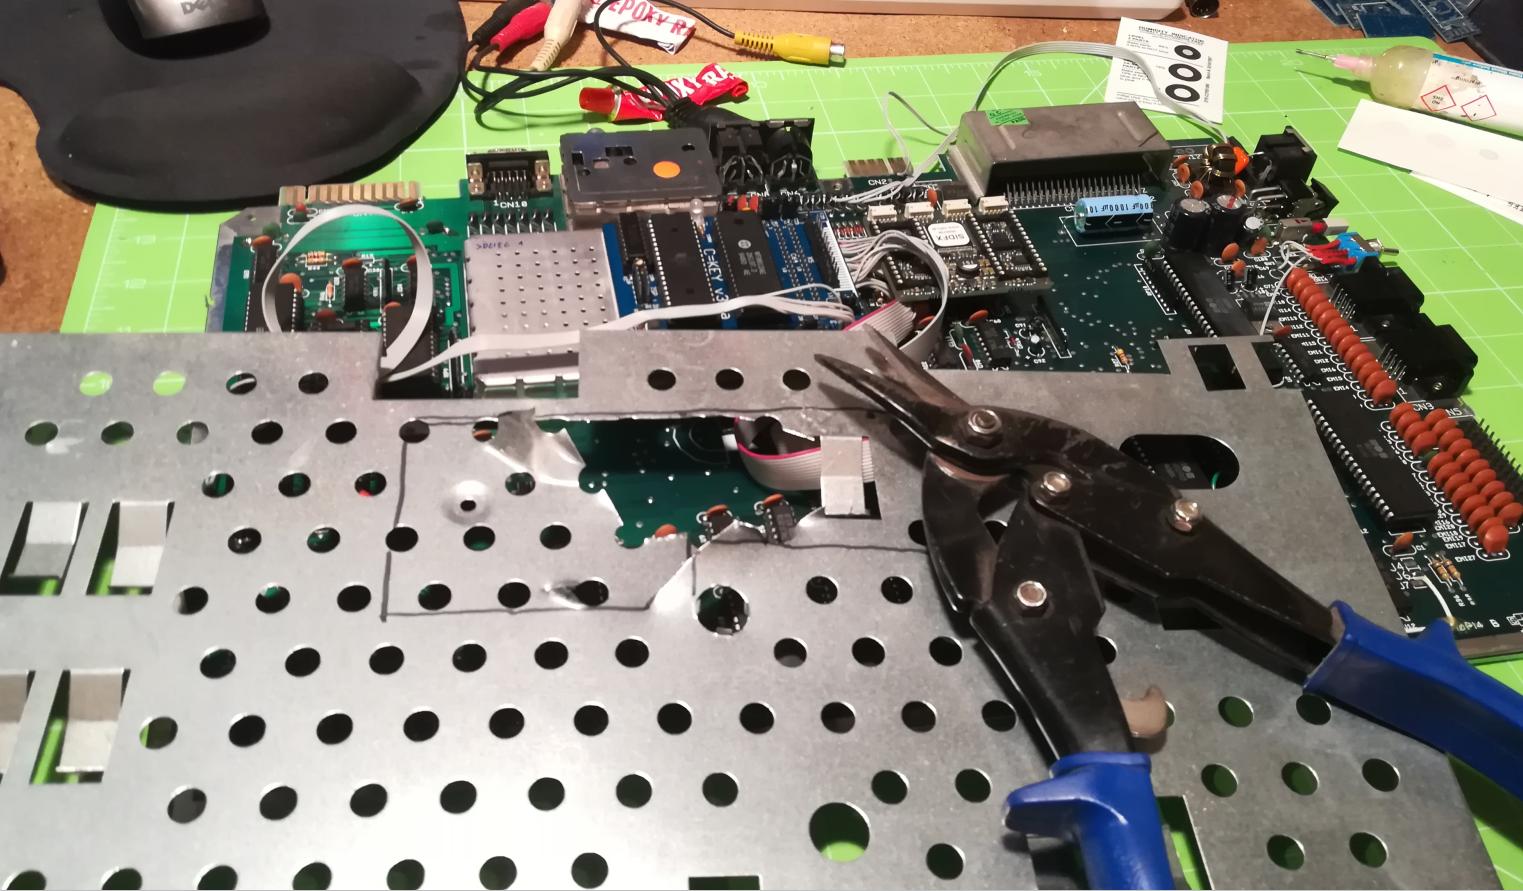
Hardware modding on these two C128s was ready.
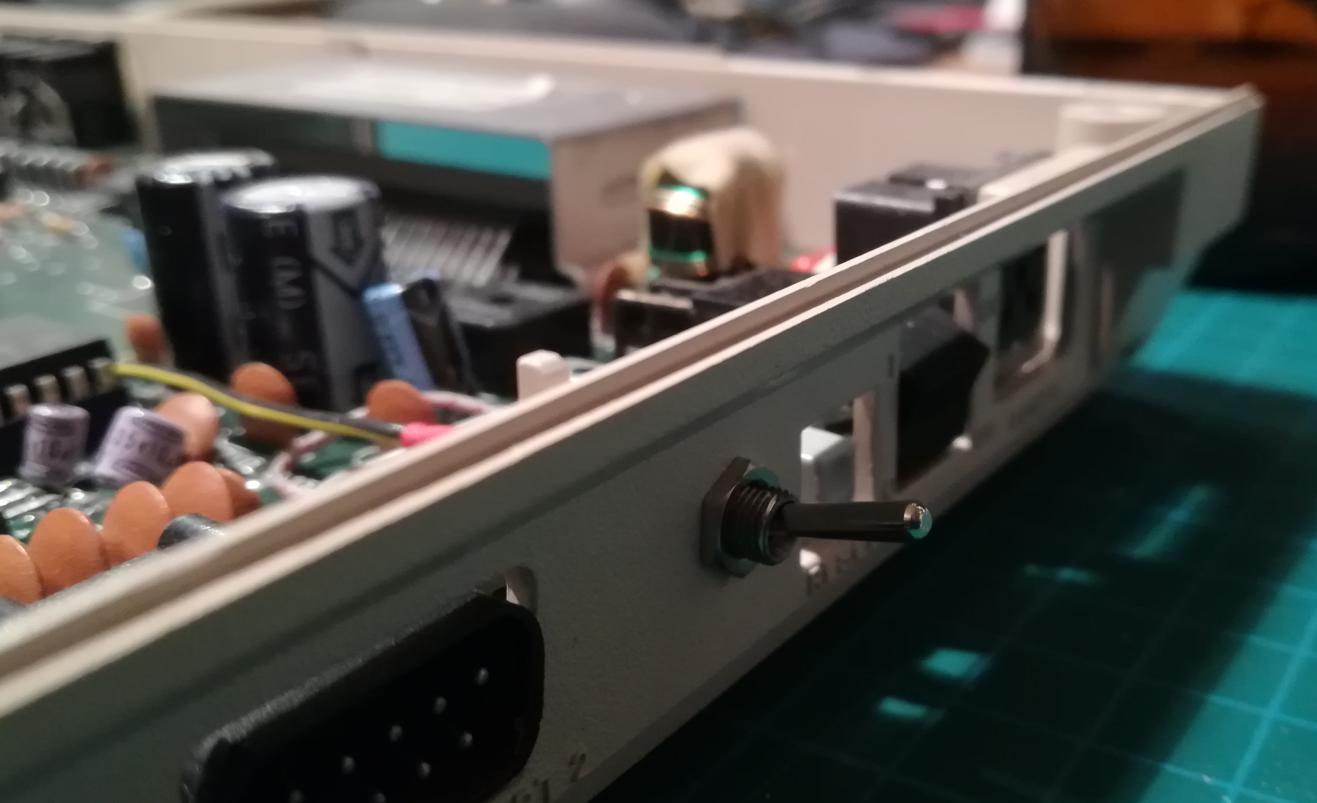
However, I’ve also ordered one more thing for this setup.
It was a solution to address 80col mode and supports the RGB to S-Video conversion.
It is made by Pyrofer – a very cool guy that I’ve met on IRC – Cheers buddy 🙂
You can get one here.
Excellent piece of hardware I must admit and works like a charm.
I didn’t take any “after” pics but I have something better 🙂
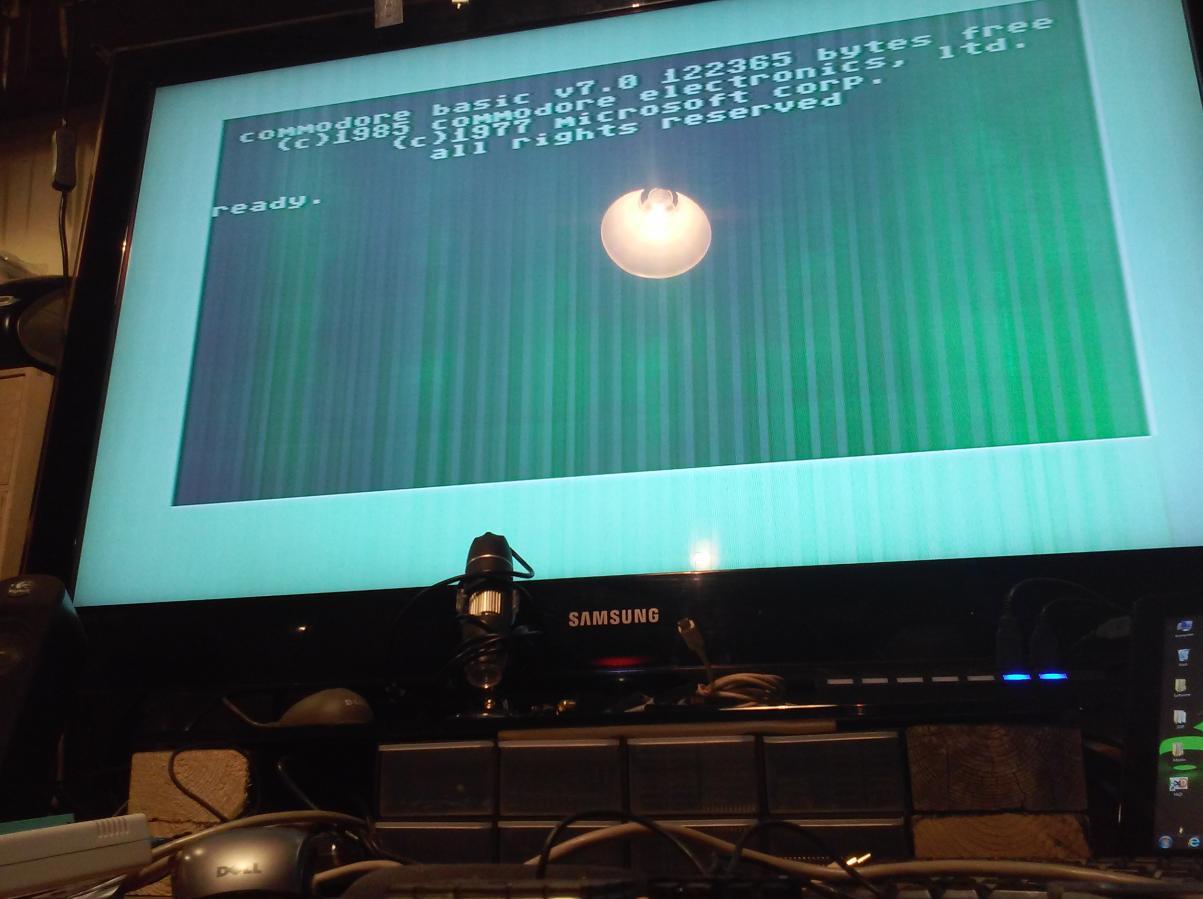
A movie with all the above working demoing two SIDs and a PS/2 keyboard.
A small note though, that vertical bars are there because of my faulty plasma screen.
That’s it 🙂
Now you can safely watch a C128 80col demo!
OUTRO
If you want to get retro gear or hardware modules, please visit our shop
New products are added every month.
Also, please support our work by spreading info about it.
Without your support, we simply cannot grow and we have a lot of new excellent retro hardware (and more) products to come 
One thought on “Commodore 128 – mods”