… or 3D printing FTW! … again.
<Intro>
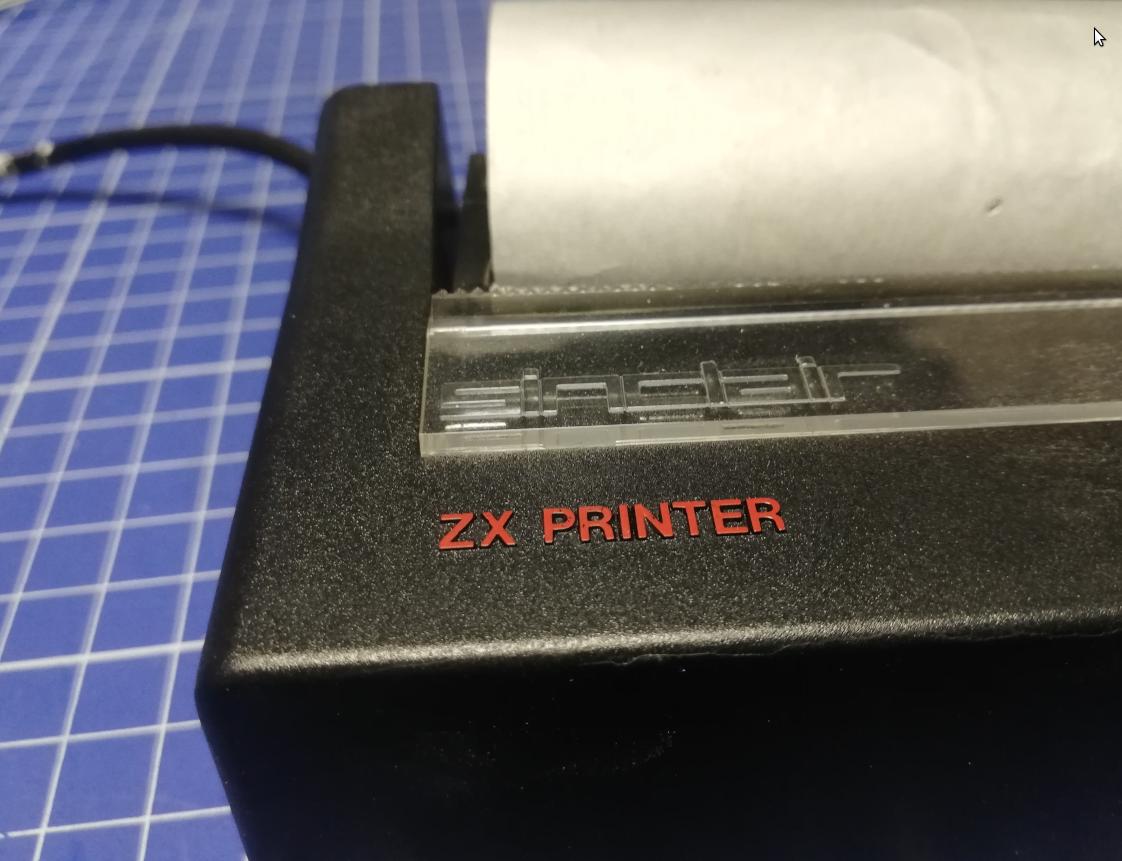
I bought a Sinclair ZX printer the other day.
As usual, it turned out to be broken.

… oh! we’ve gotta fix that!
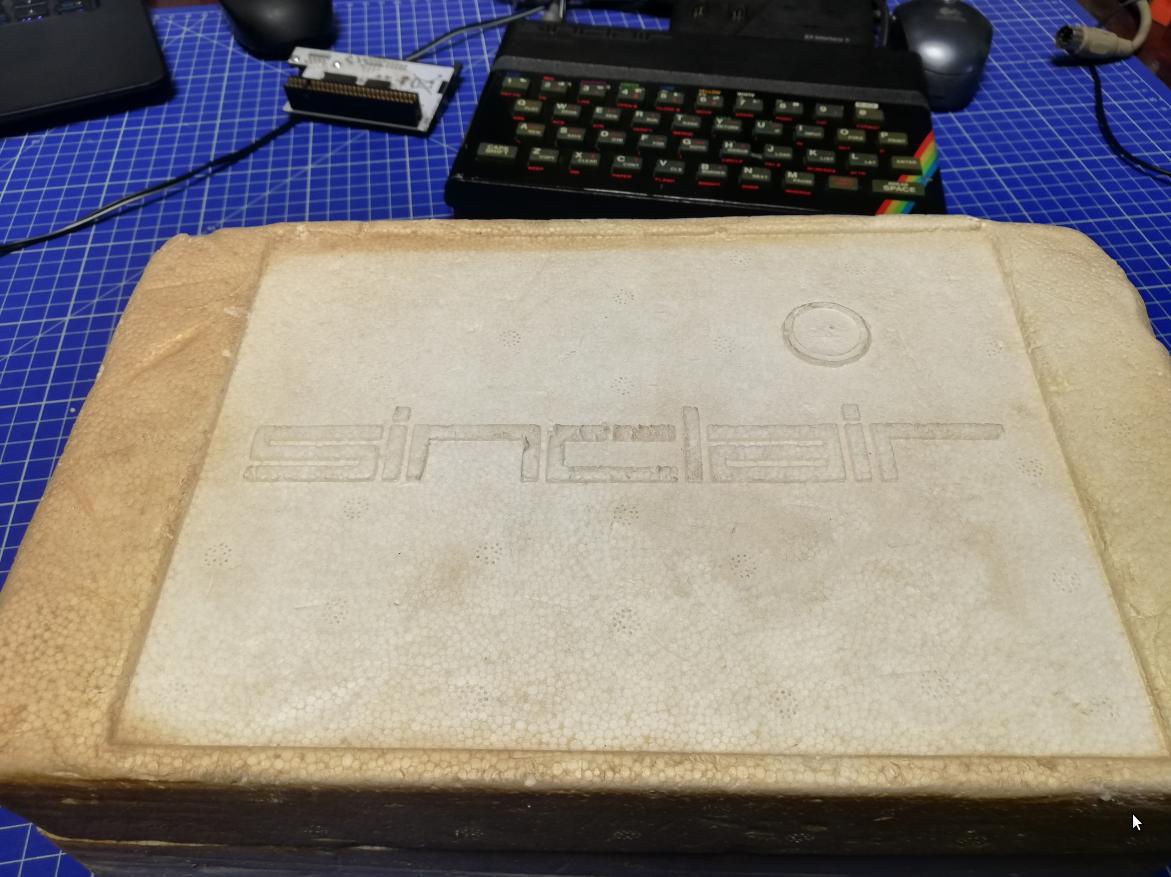
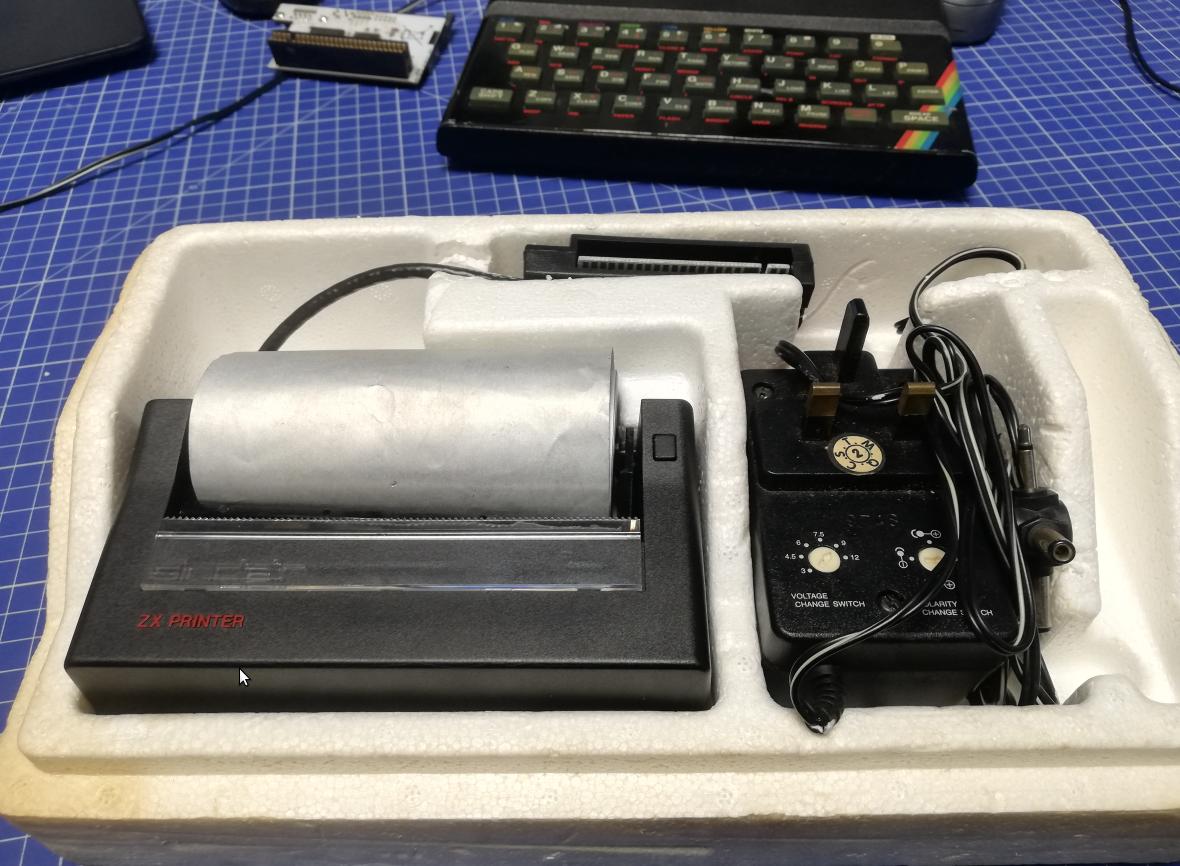
Unboxing
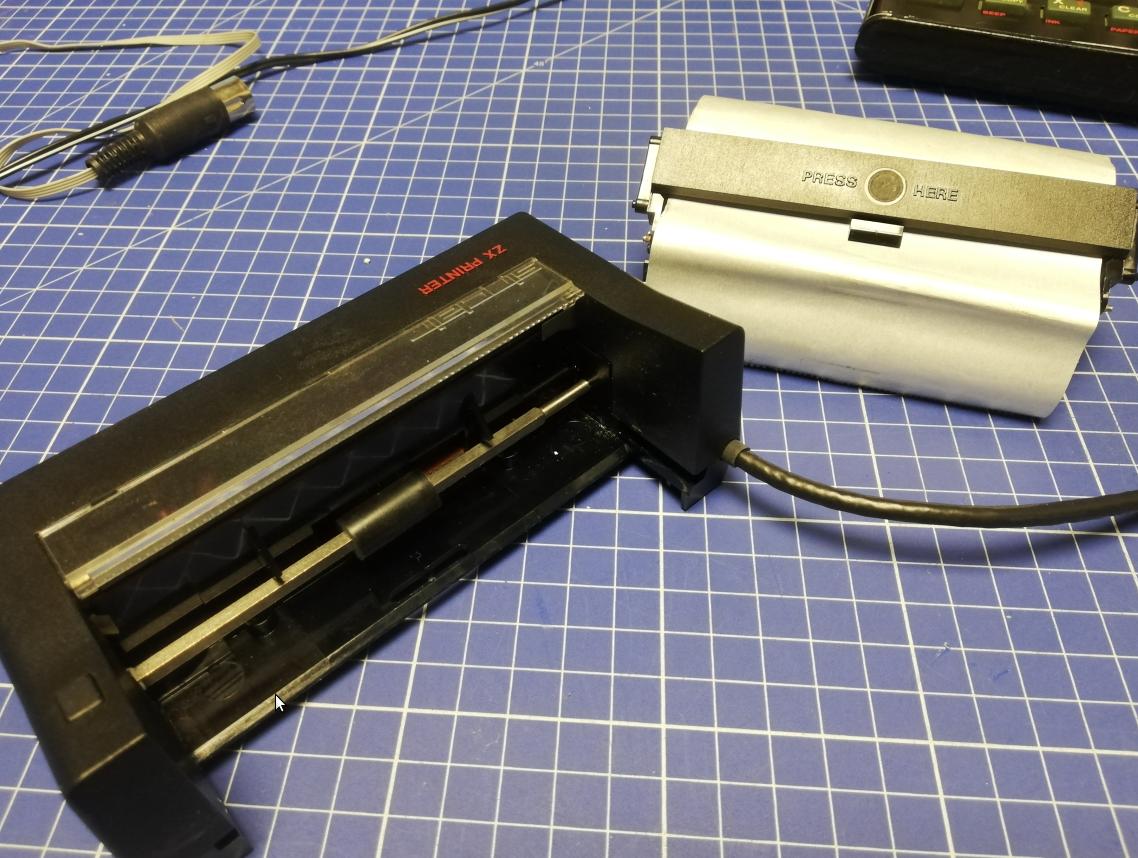
It came in the original styrofoam but I am not sure if a PSU is original. Let me know in the comments section if you know if this PSU is original or not.
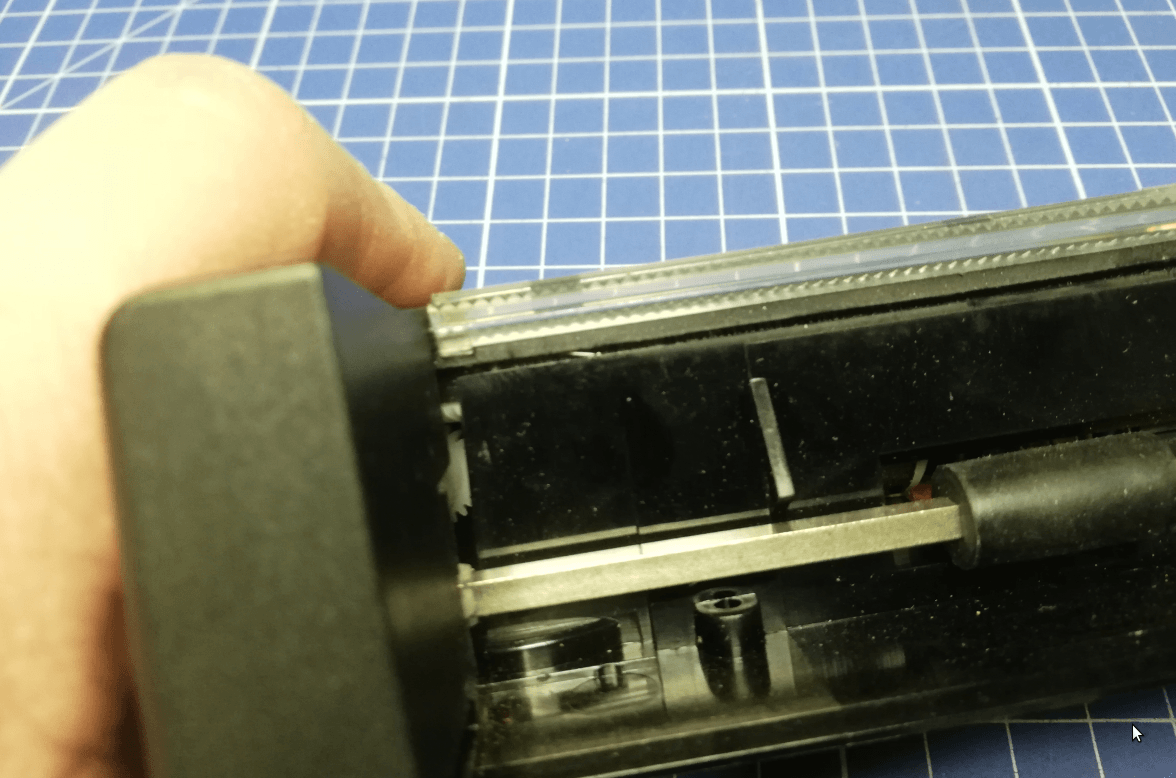
Disassembly
It is a small device so that was quick and smooth.
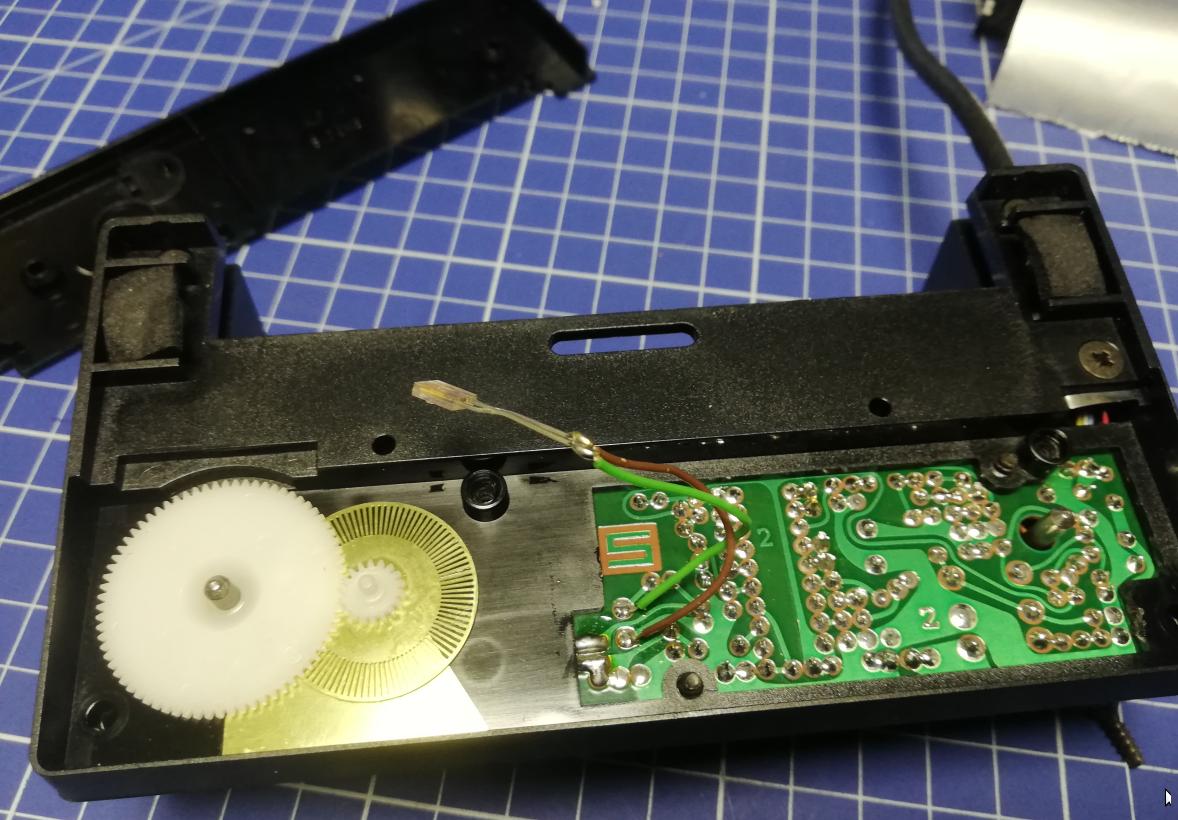
It was kinda obvious from the very beginning but now it was confirmed – a broken belt
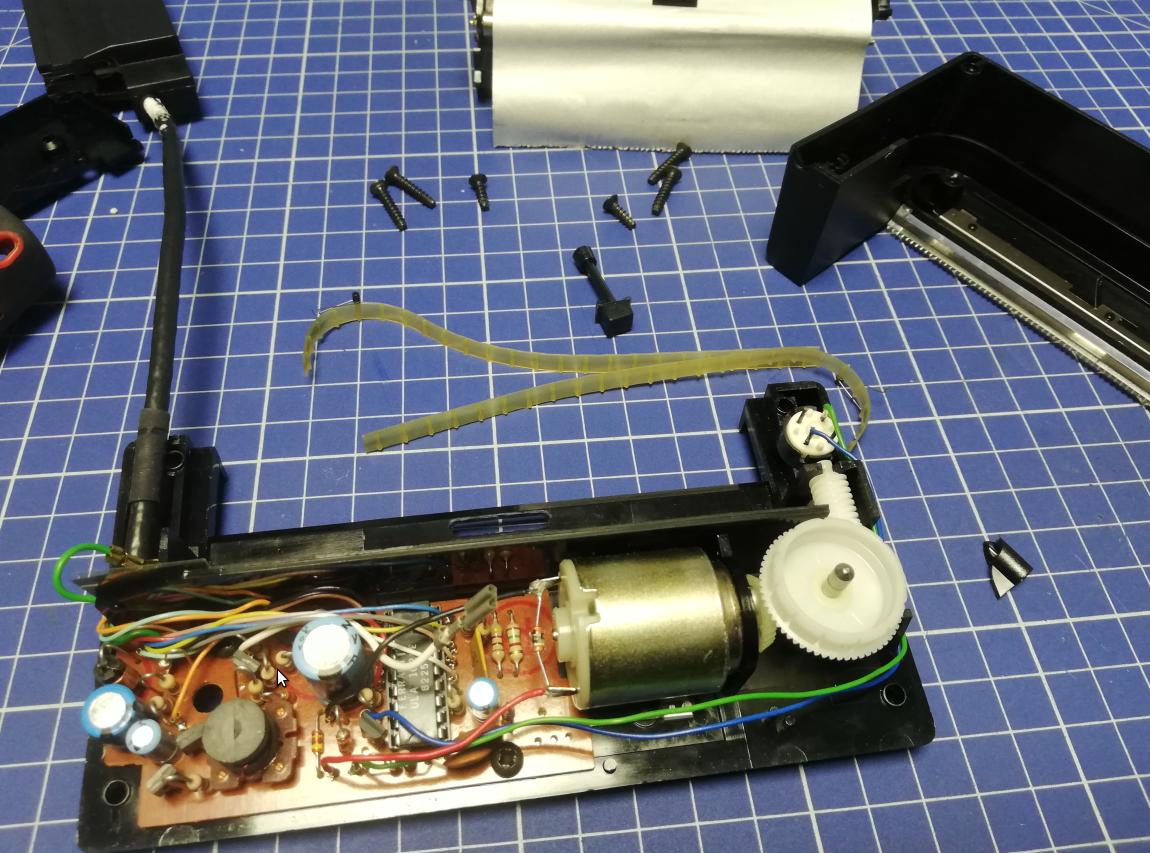
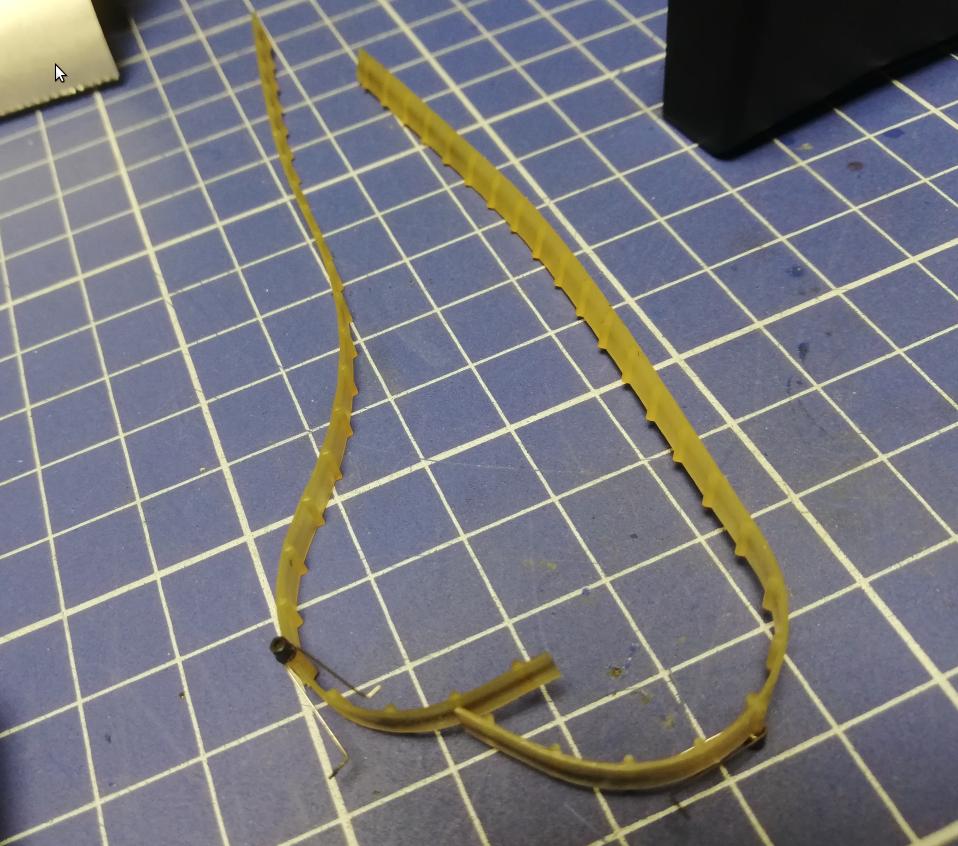
The fix
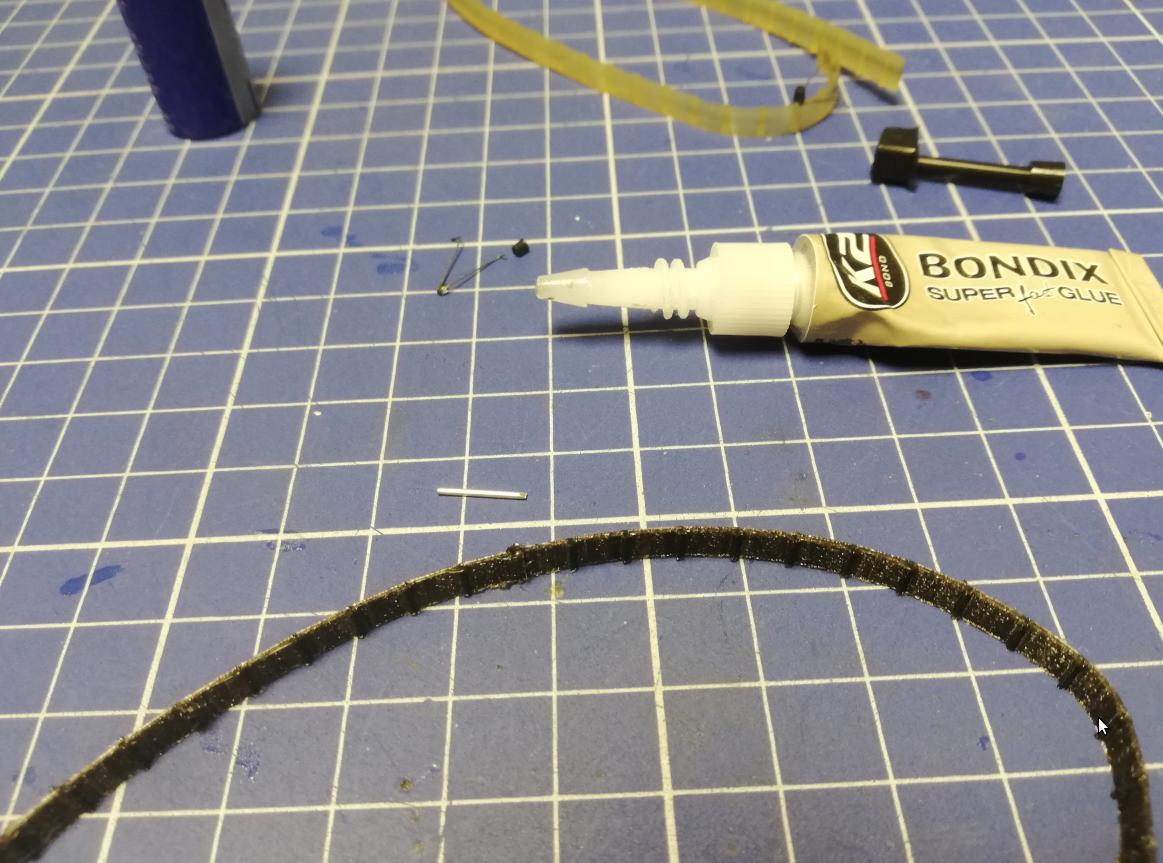
At the time of the fix, I didn’t own a resin 3D printer and FFF one uses Bowden type extruder so I cannot print out of flexible filament that easily. That was not a problem though, I bought a 3D-printed replacement belt via eBay.
I also had to make new pins that hold springs as the original pins were missing.
I’ve used cyanoacrylate to secure pins on the belt.

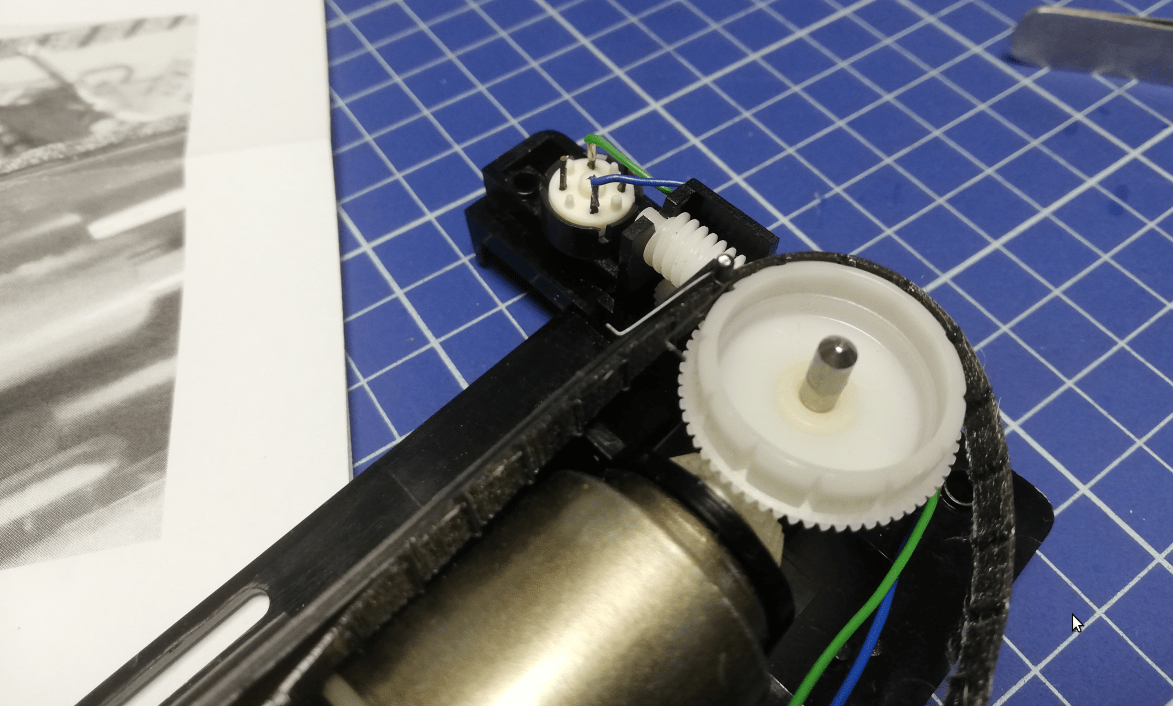
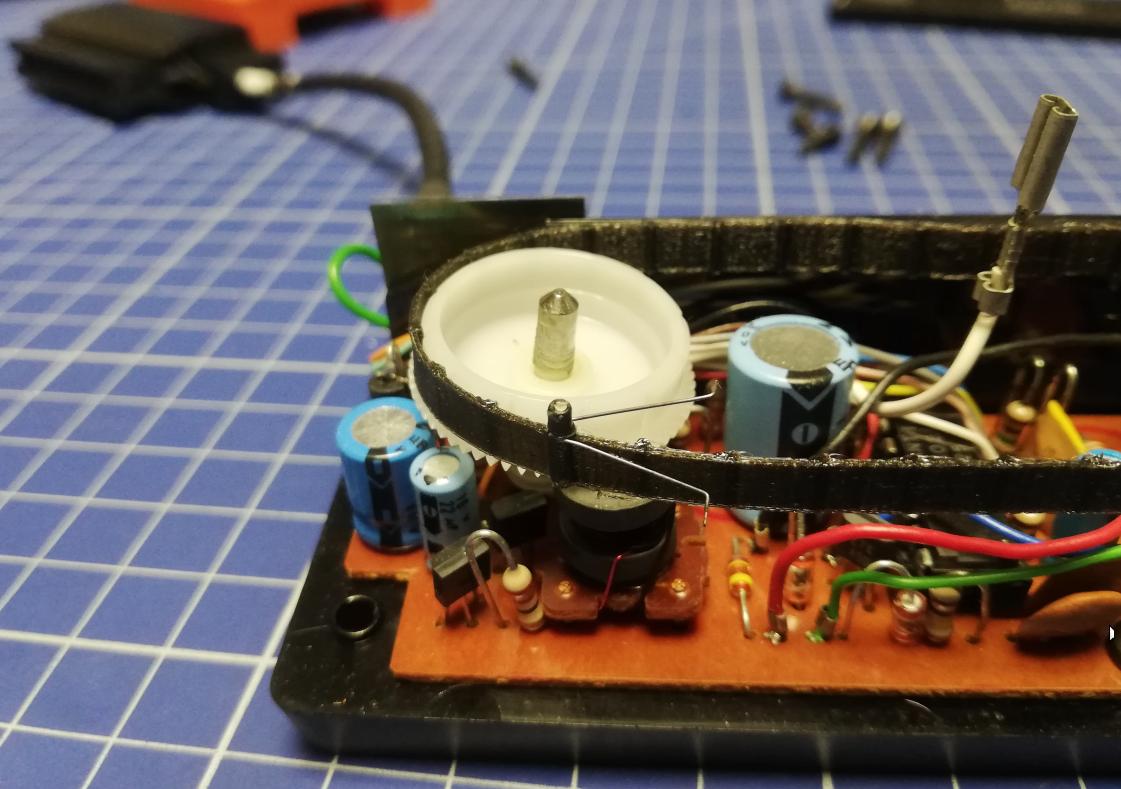
Assembly
Putting it all together.
Testing time
I’ve assembled a testing setup.
ZX Spectrum 48k + ZX Interface 2 + ZX printer
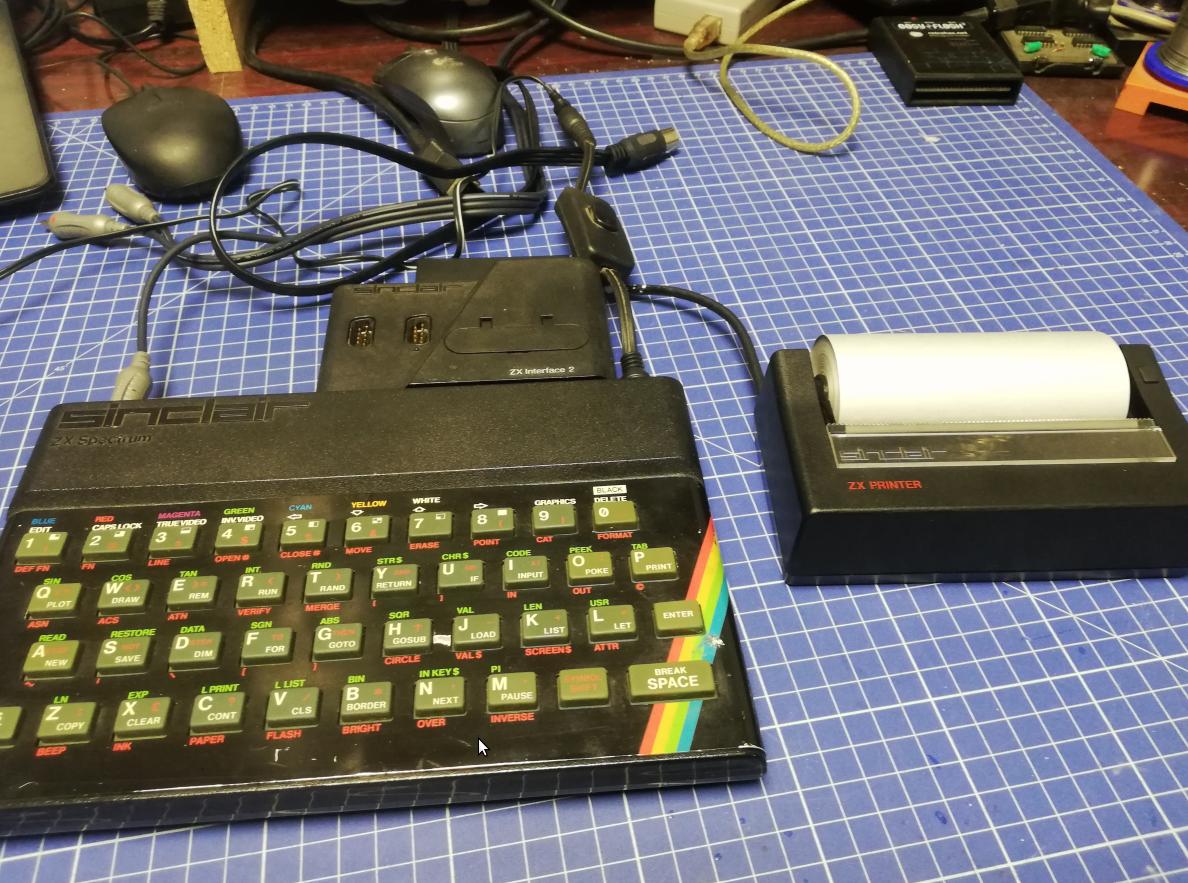
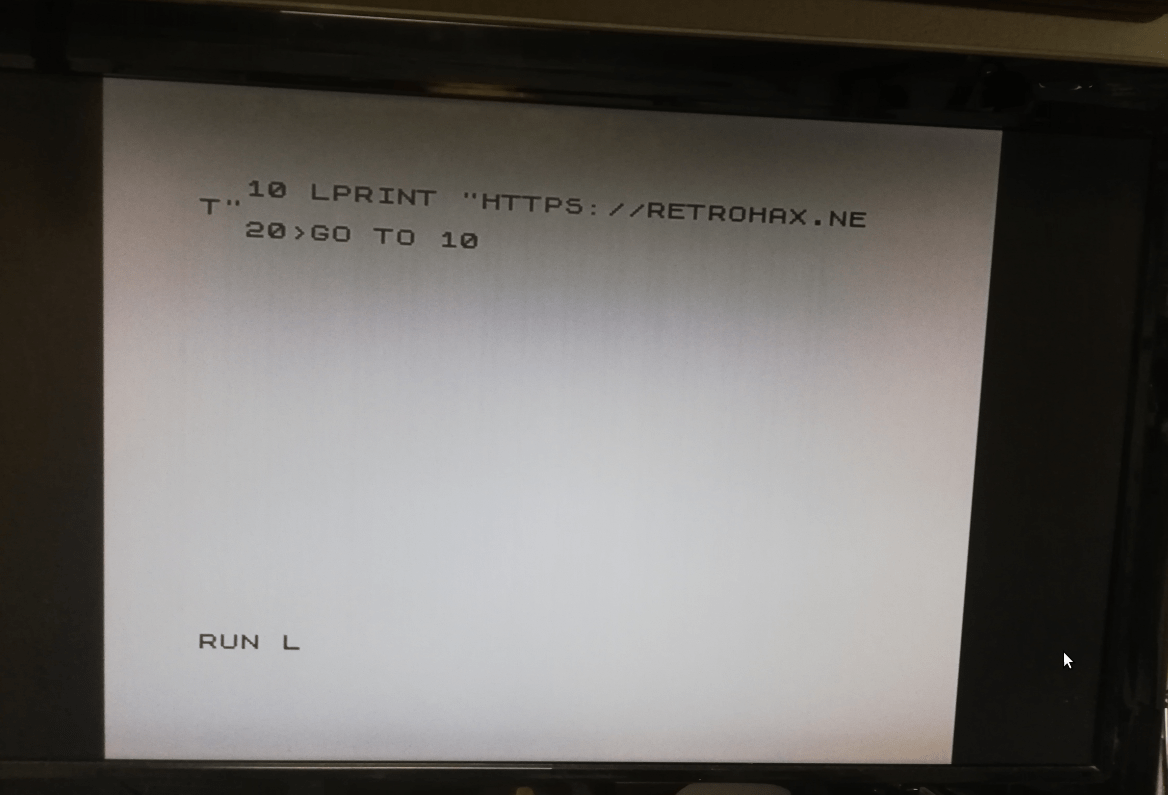
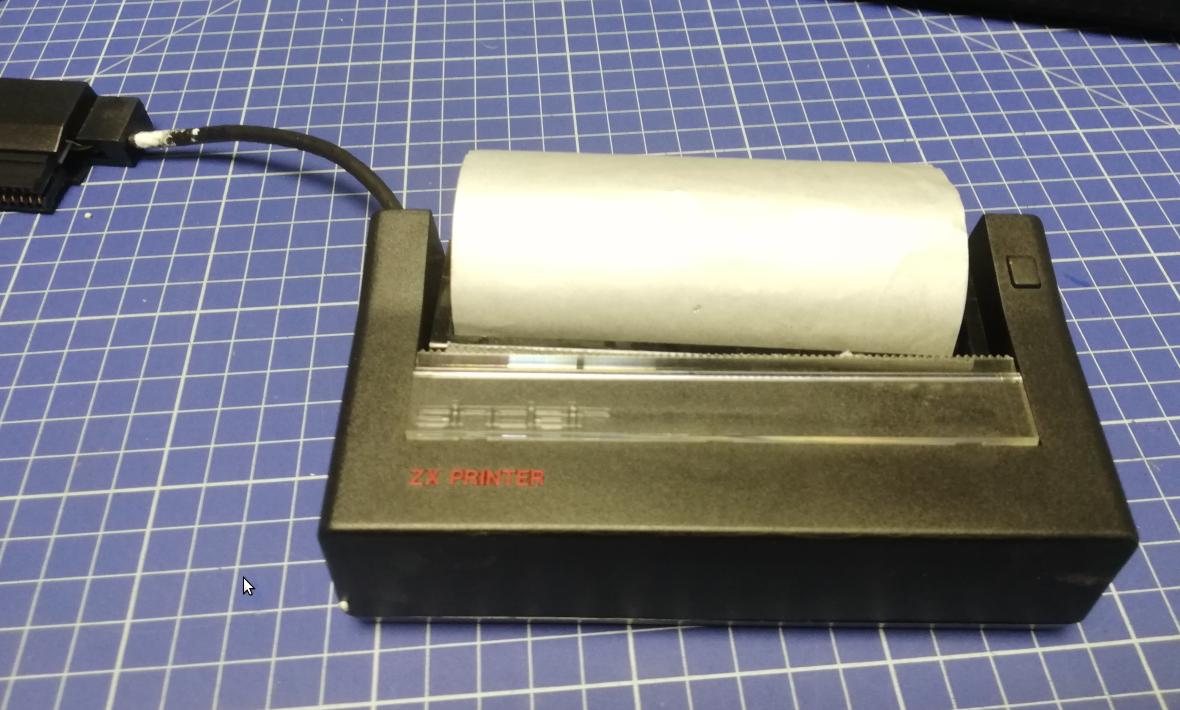
Viola! Sinclair ZX Printer ready
Well, it still requires minor tunning but at least it works now 🙂
Outro
If you want to get the retro gear I am manufacturing or hardware modules, please visit shop -> https://retrohax.net/shop/
Please support my work by commenting here and on our Facebook or Twitter pages.