… or that was easier than I’d thought
Intro
There are many ways to load software onto our computers nowadays. If it is about 8-bit Atari computers, there are cartridges like AVG cart, dedicated devices like SIO2SD, and many more out of which SIO2PC is the easiest to make.
I already made some SIO2SD devices and even managed to describe them on my blog in one of the early posts on SIO2SD for 8-bit Atari but that is not as easy as the one that I am writing about today 🙂
SIO2PC
Basically, this device allows your regular PC to serve as a floppy drive for an Atari through USB to SIO bridge.
Once connected, you have to load a floppy emulation software onto your PC and throw a floppy image file at it.
Then it is just a matter of turning on the Atari machine and it works right away!
One of our Czech friends described how to make one in one of his posts https://3d.odkaznik.cz/sio2pc and provided a model for 3D printing! Remember to drop him some coins for sharing his project 🙂
The build
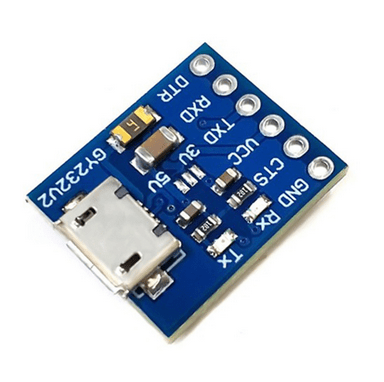
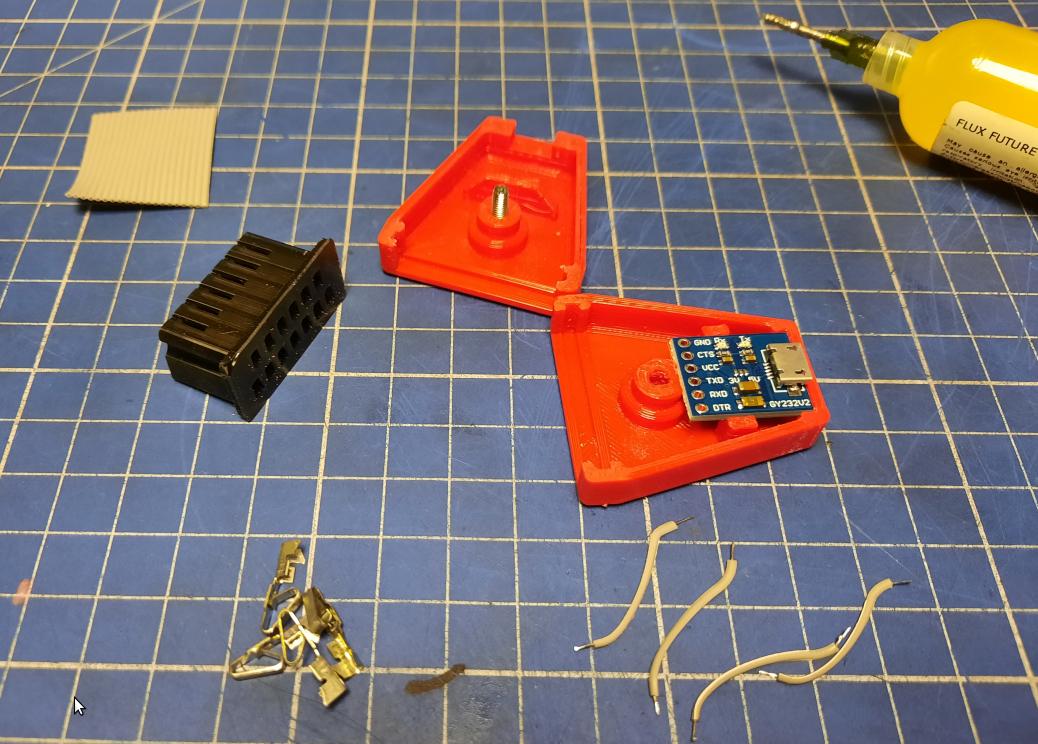
First of all, you need to get a ready-made FT232RL USB for TTL module from sites like Aliexpress.
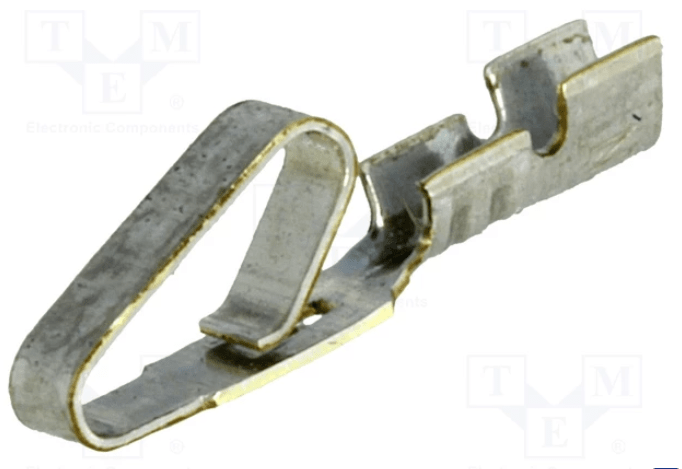
Some MOLEX MX-08-50-0107 pins are needed too – 5pcs per device. I’ve got them from https://www.tme.eu
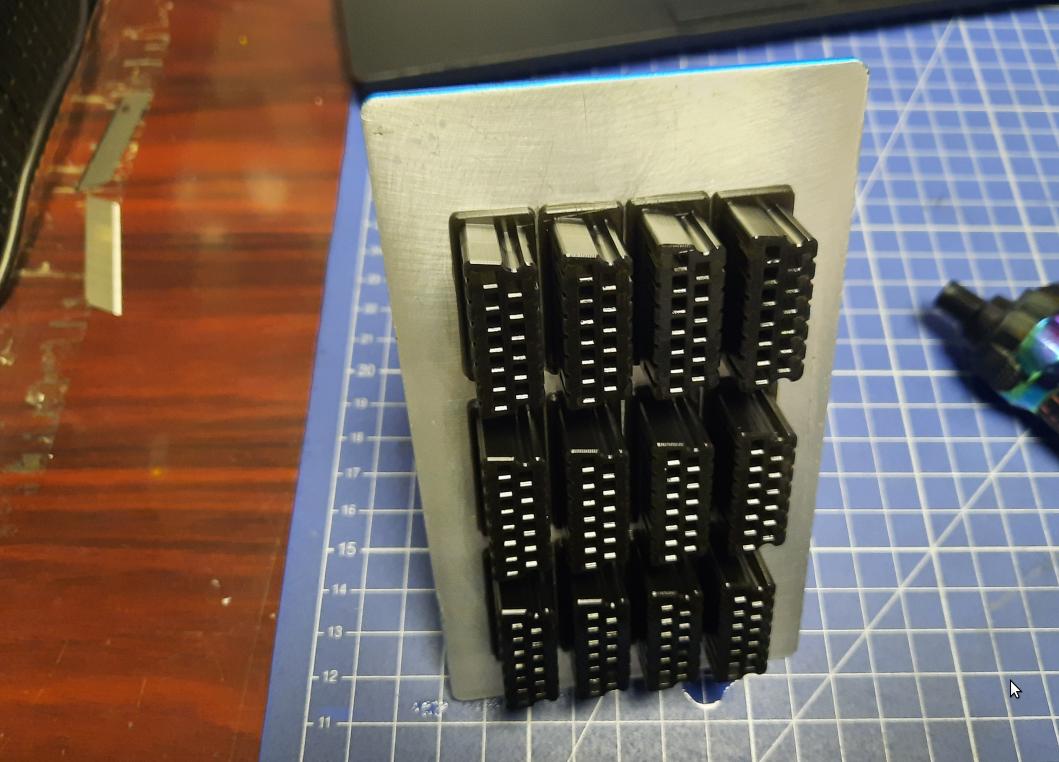
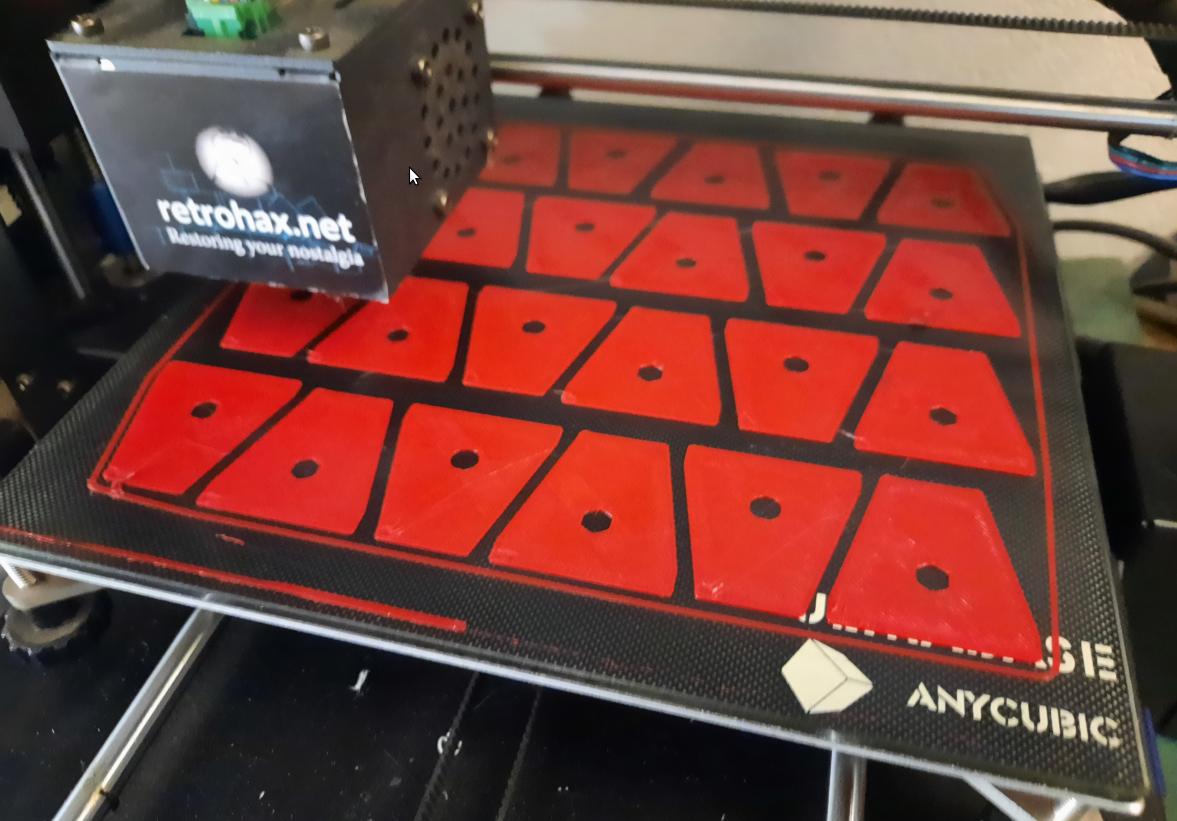
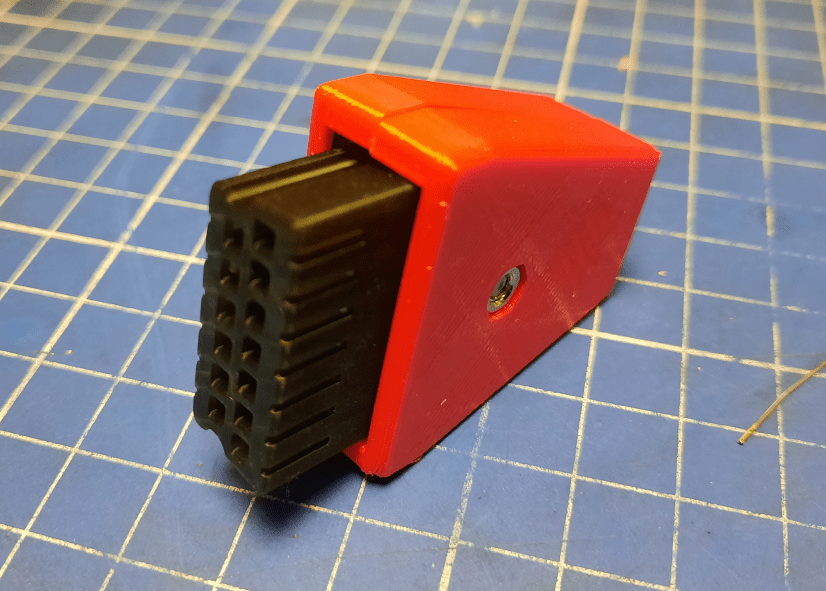
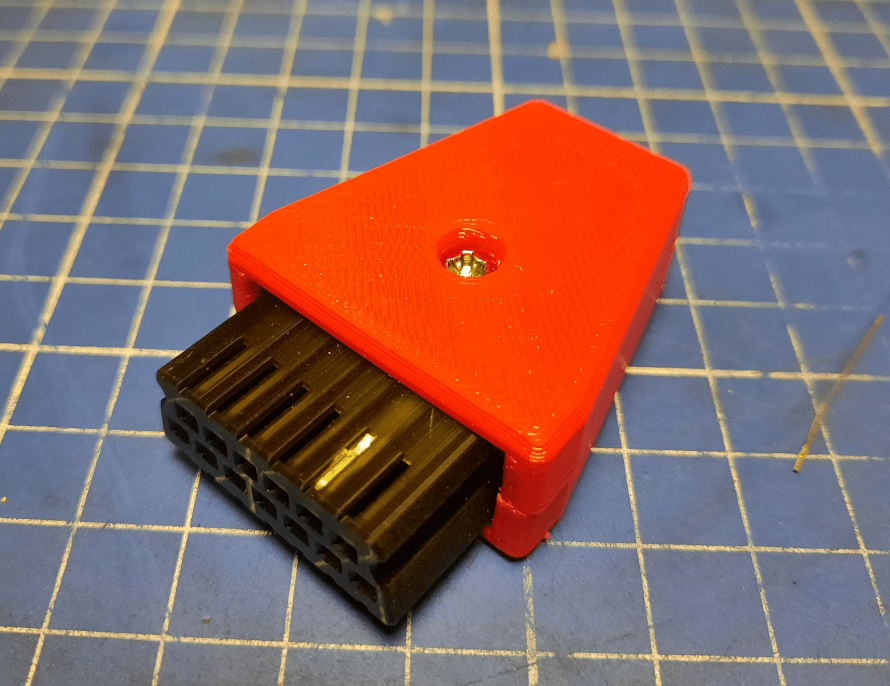
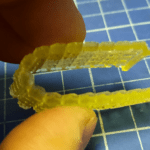
Once these are ordered, it is just a matter of 3D printing an SIO plug and the case for it.
Models are available HERE
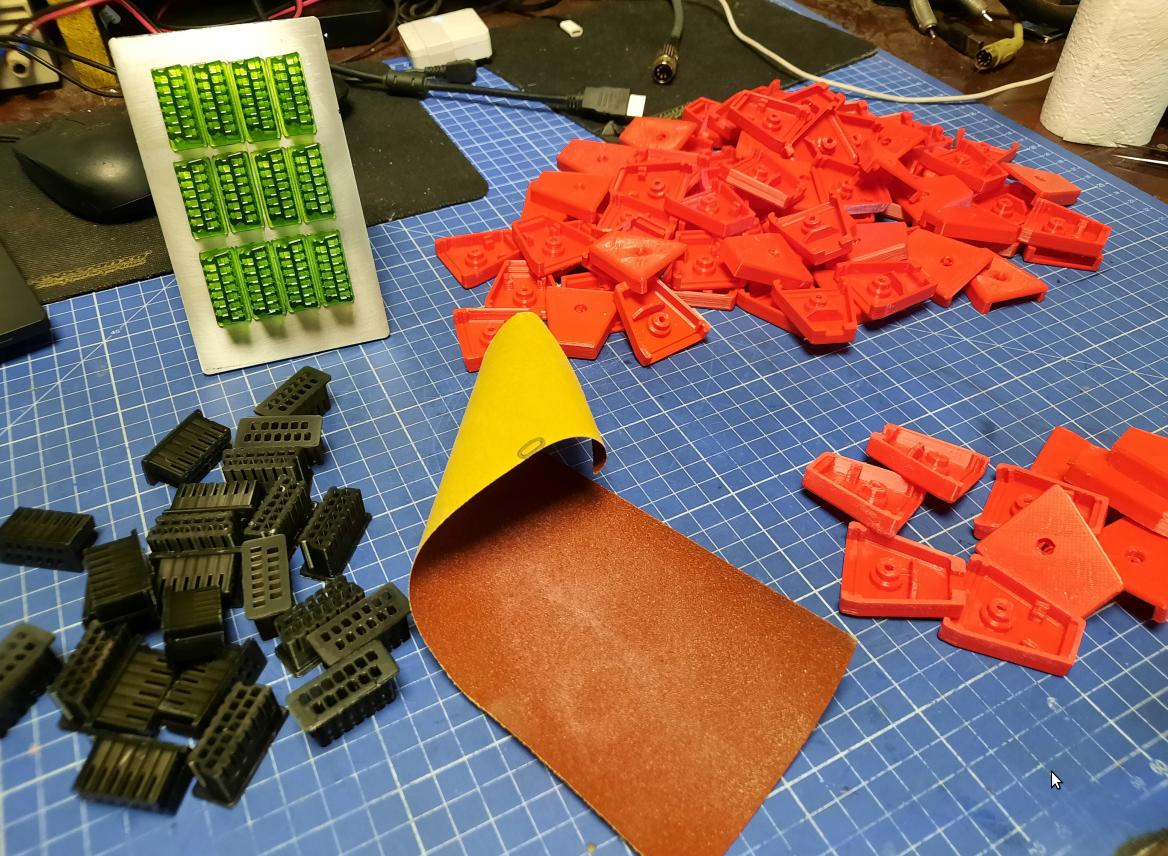
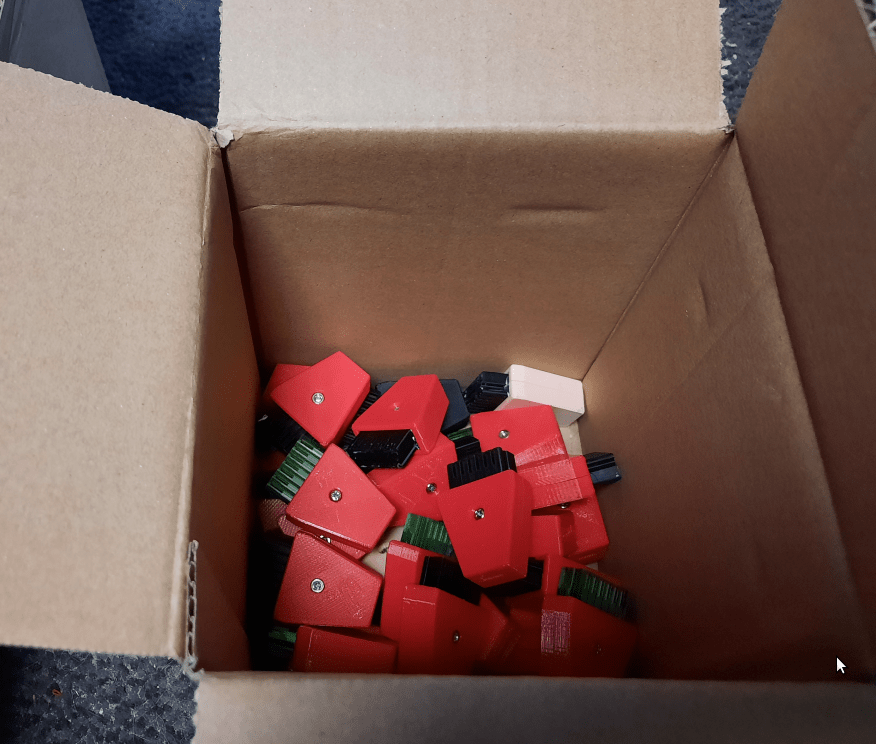
In my case, it was a bit more than a single device 🙂
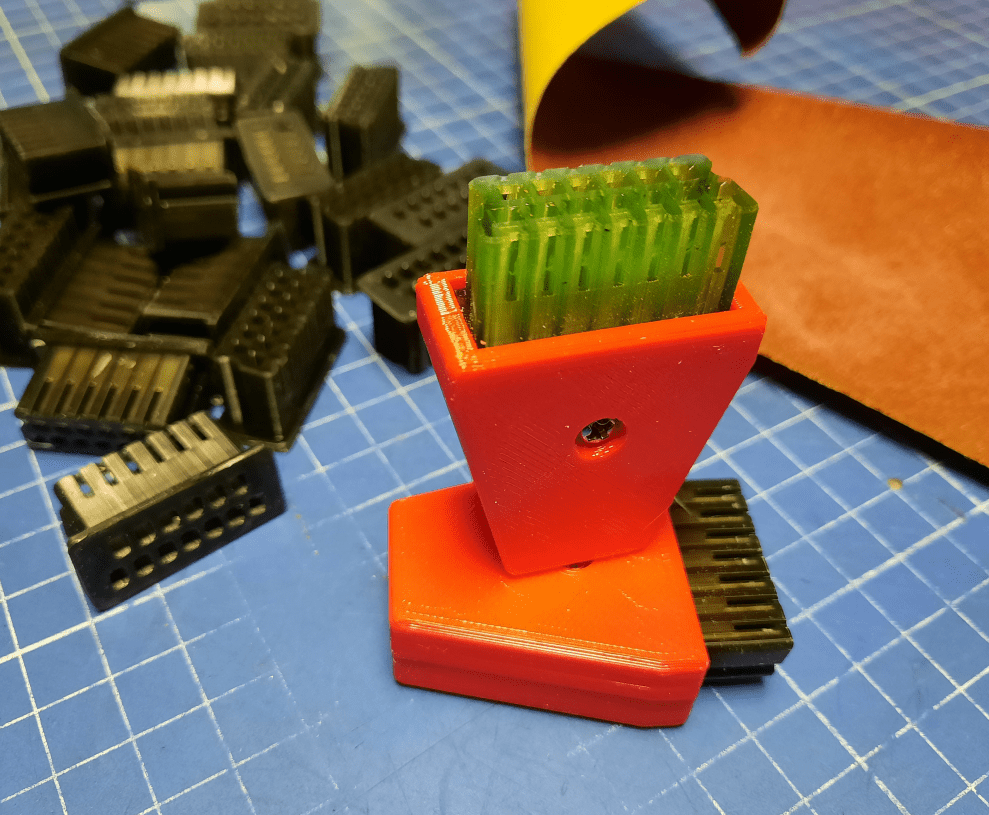
I’ve decided to 3D print the plug on the UV resin 3D printer as the print quality is so much better on these printers. The case was printed on the standard FFF 3D printer.
Once that was done, I had to slightly post-process all printouts.
Next, I had to solder four short wires according to the schematics provided in the above links. The diode can be omitted if you are planning to use this device alone. However, if you plan to use it with a splitter then you will need it.
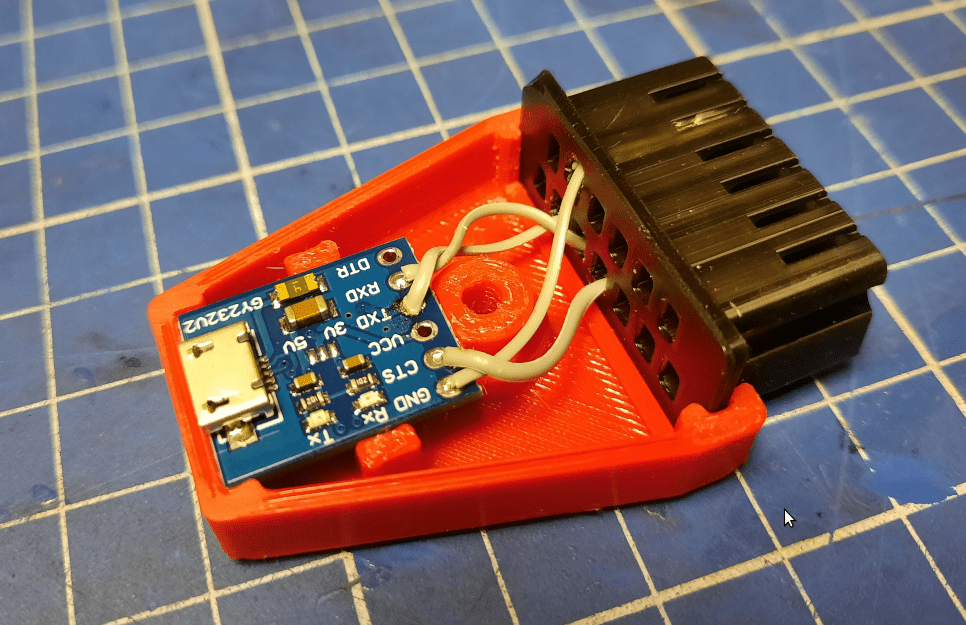
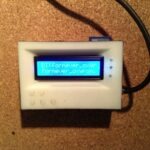
Add some screws to close the case and …. tadaaa! ready!
Testing
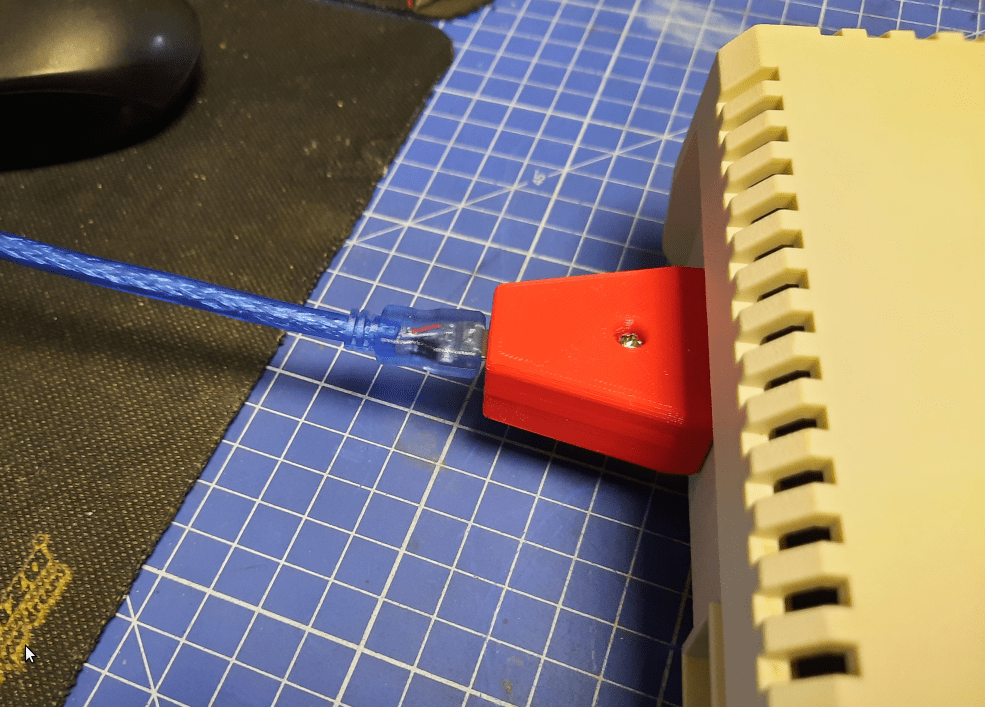
Once connected, it is just a matter of downloading and running software on the PC side. You also need some floppy images that you can easily look up on the Internetz 😉
There are two serial emulators to choose from.
In my case it was RespeQT.
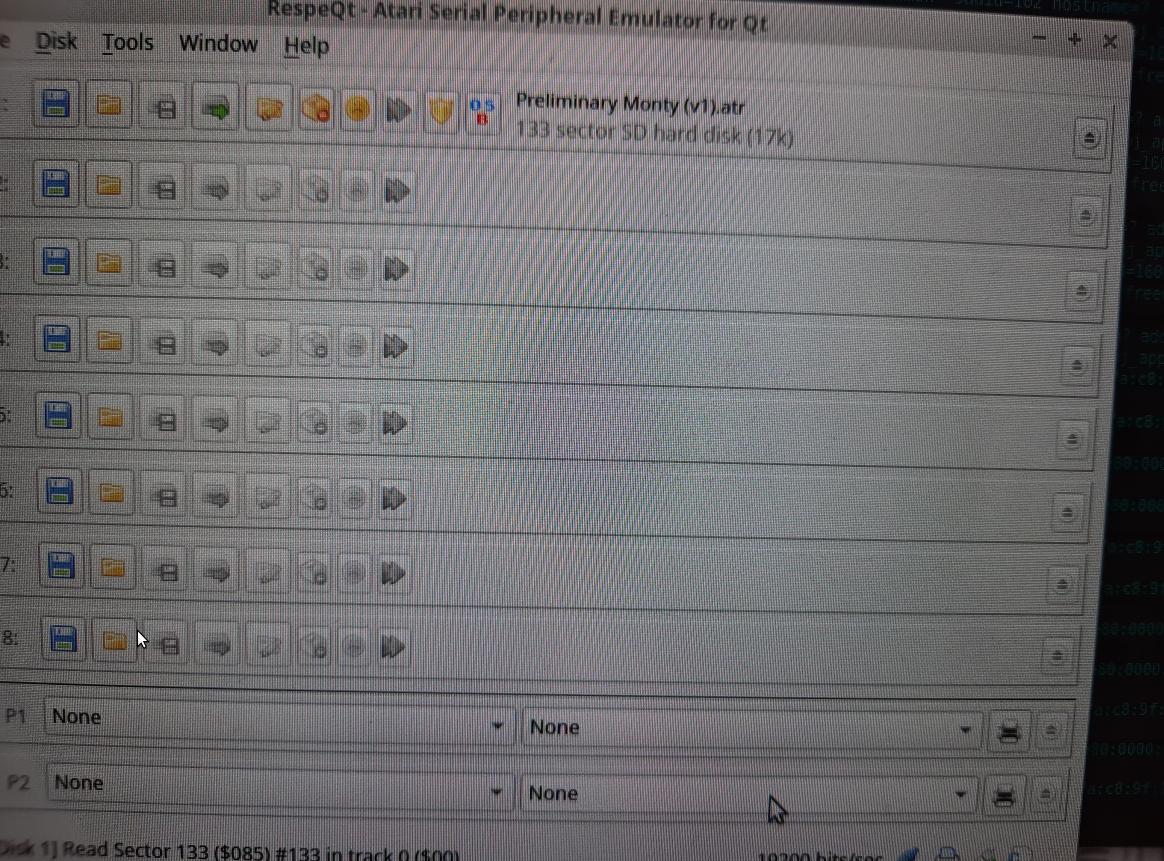
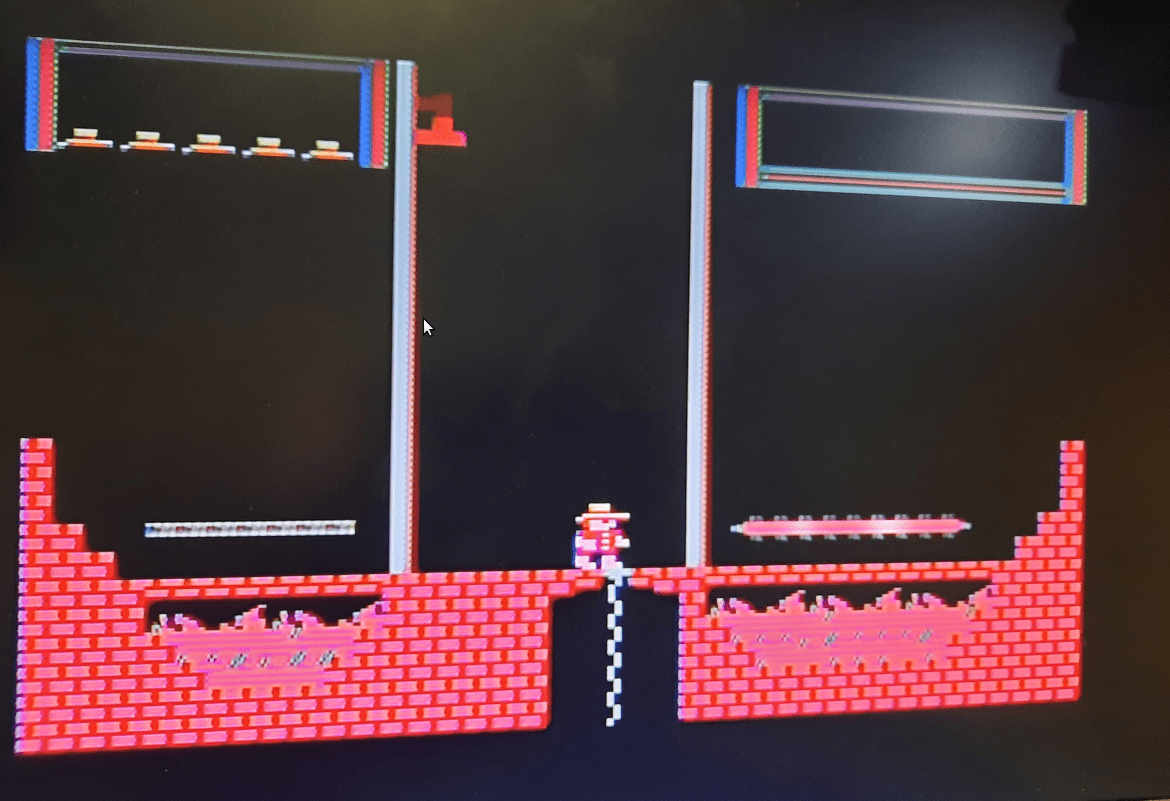
Turn on your Atari and it just loads! 🙂
Additional info
This neat device can also serve as a bridge for Atari floppy drives like XF551 or 1050. If such a drive is connected to a PC, it allows dumping the original floppy diskette contents into a file. However, it requires a bit different connection.
More details:
https://atarimax.com/sio2pc/documentation/
I know there is a discussion on one Atari forum but I’ve lost a link to it. If you know the link, let me know in the comments section so I can add it to this blog post.
If you still think you cannot make it by yourself my eBay re-seller has these devices available HERE
Outro
If you want to get the retro gear I am manufacturing or hardware modules, please visit shop -> https://retrohax.net/shop/
Please support my work by commenting here, and on my Facebook and Twitter pages.


muchas gracias excelente