#shorts
This is the first post with the #shorts hashtag. I’ve decided to start writing #shorts instead of grouped hax like in the Various hax series.
Various Hax series of posts were a bit messy and whenever I need to search for something that I’ve worked on in the past, I have to browse through all those posts to spot it. It also shows how I progressed over time 😀 Funny how lame I was at the beginning, well, I still am! 😀
For convenience, I’ve put links to all those previous posts below:
- Various Hax #1 – 2016
- Various Hax #2 – 2016
- Various Hax #3 – 2017
- Various Hax #4 – 2017
- Various Hax #5 – 2018
- Various Hax #6 – 2019
- Various Hax #7 – 2020
Latching mechanism fix
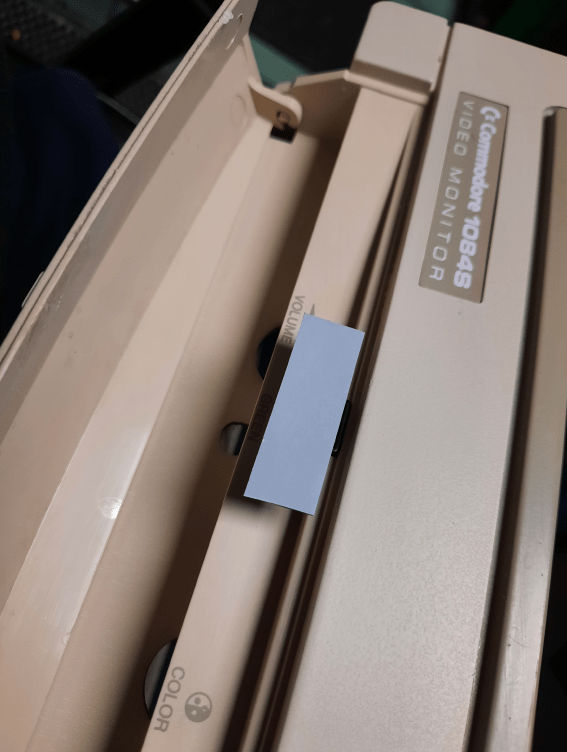
A few months ago, I was working on two Commodore 1084 monitors. Usual stuff like re-capping, cleaning, retr0brighting and … hax 🙂
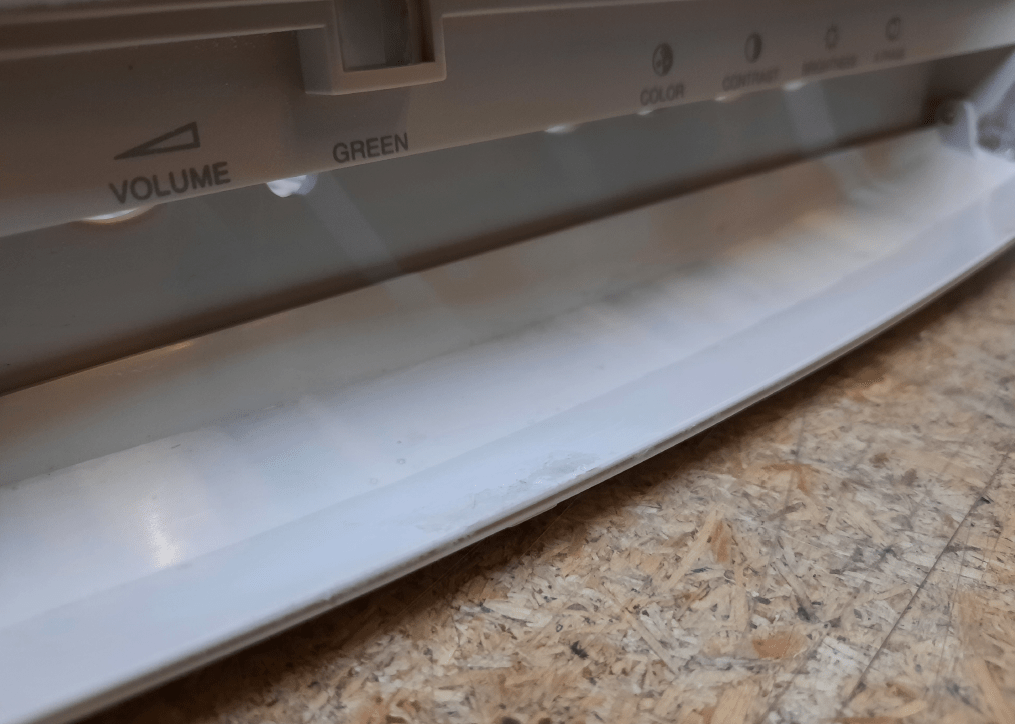
One of the monitors had a broken latch mechanism that keeps the front panel in place.
It was broken in two ways, a cracked latching mechanism and a broken hook on a panel itself.
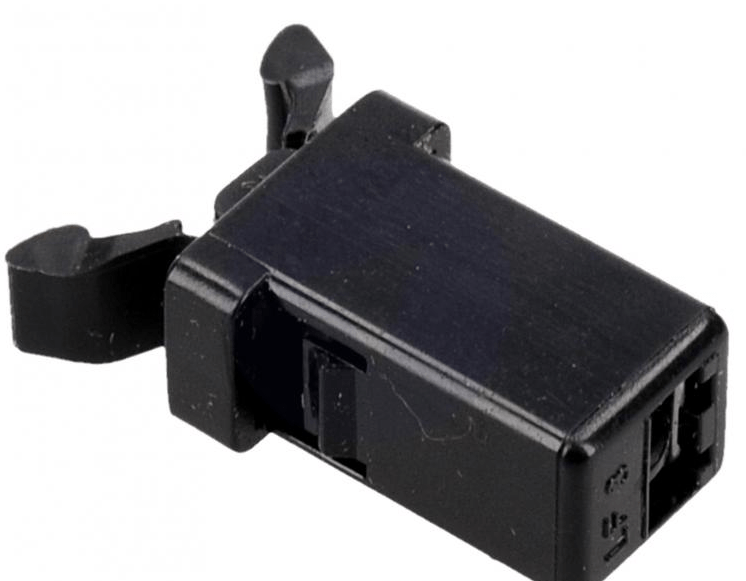
Latch
The first part is a ready-made product which you can get in my store – easy
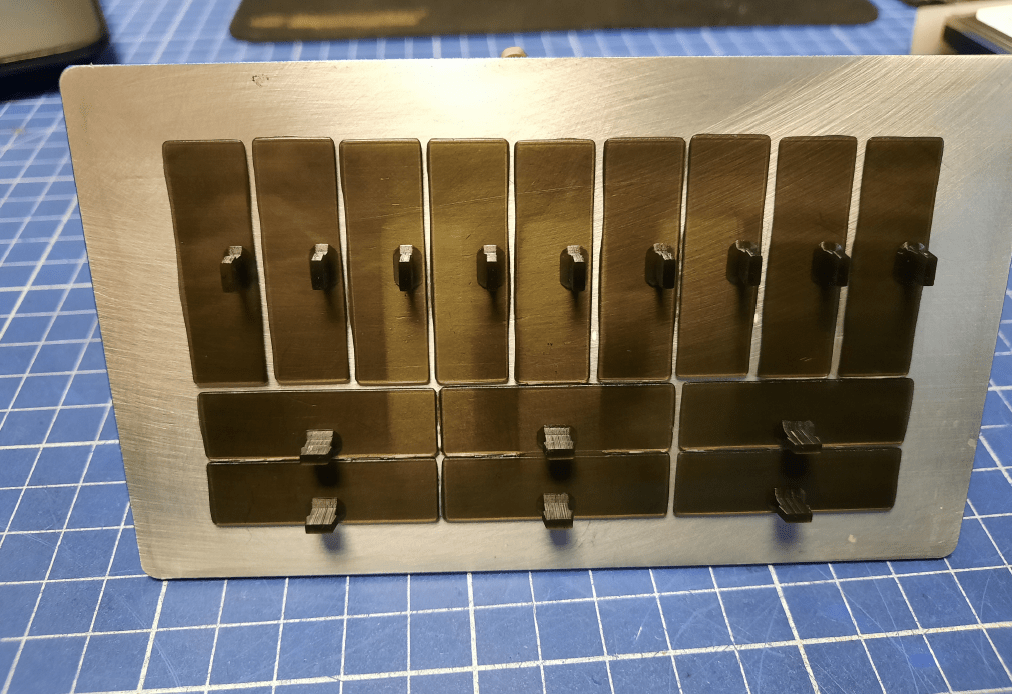
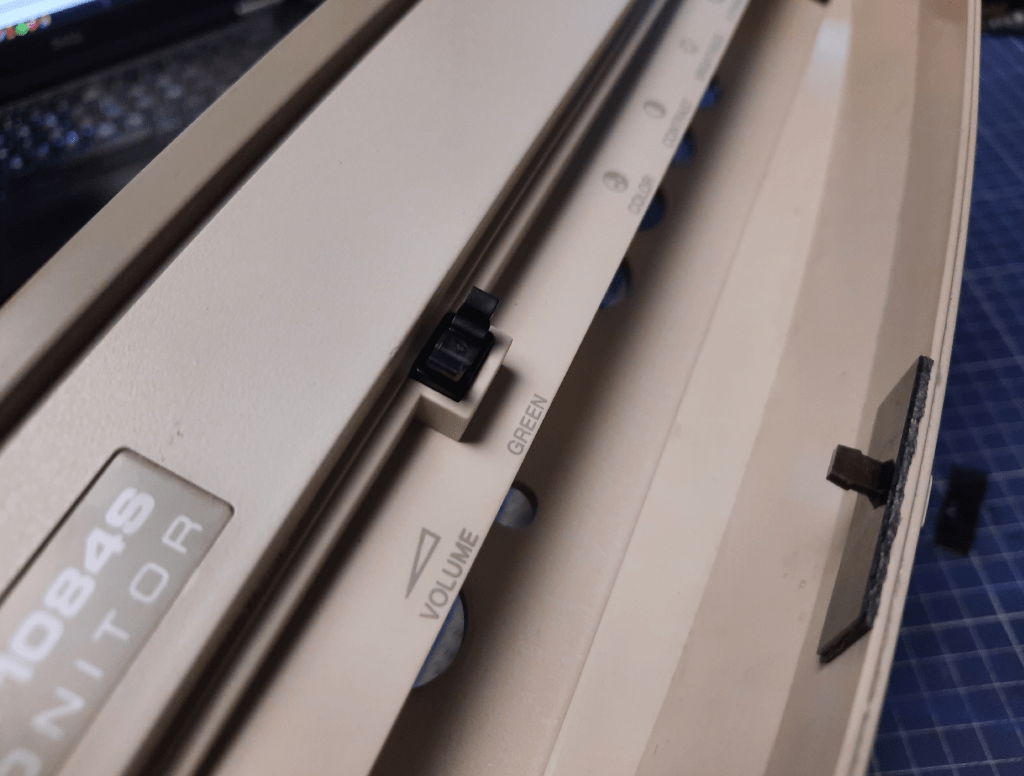
To sort it out, I’ve designed a model and 3D printed it – the link at the bottom of the post

As usual in such a case, I had to re-design it a few times and 3D print it, again and again, to eliminate problems that arose during the process.
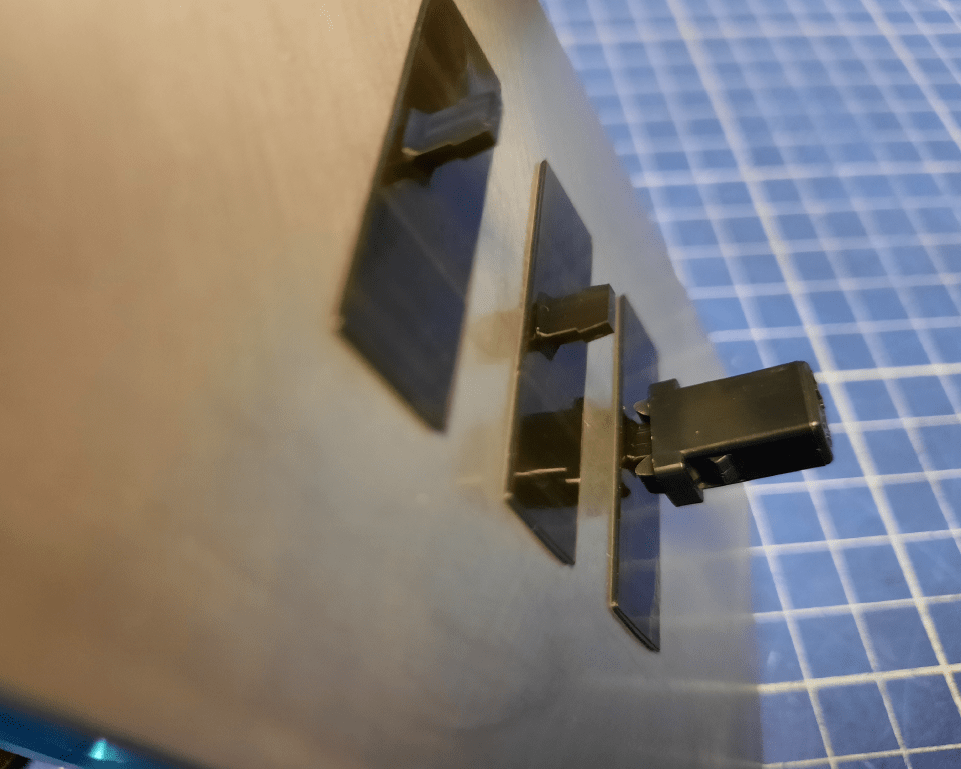
Next, I applied a double-sided adhesive tape to it and locked in the latching mechanism.
After removing the adhesive protection layer, it is only a matter of pressing the front panel against it.
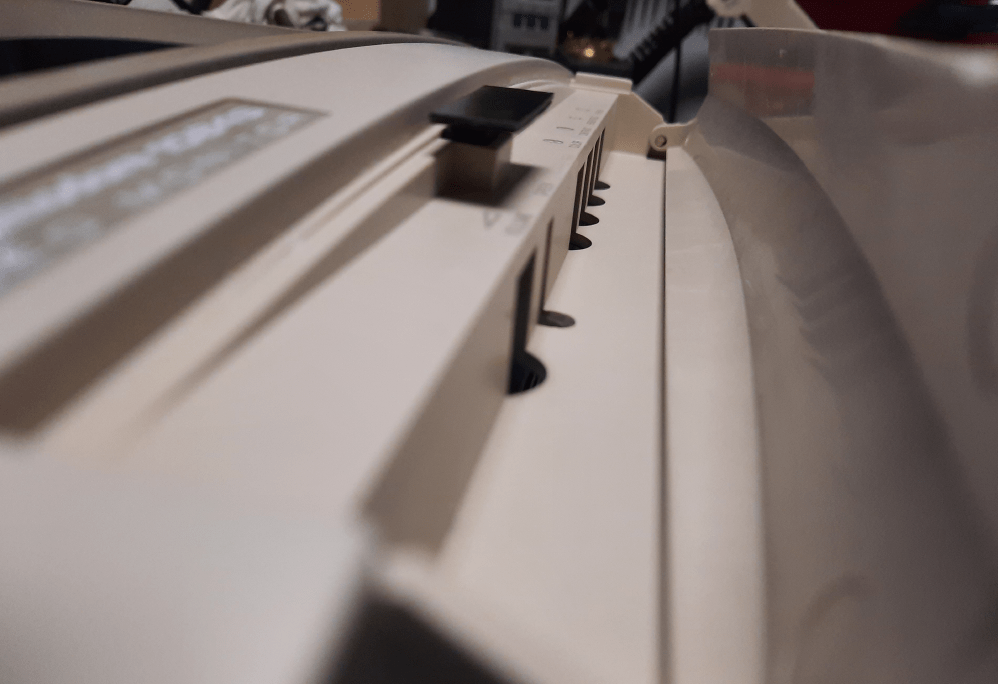
That’s it! Jobs done 🙂
The STL file of that part can be found HERE
The same approach can be used in other monitor types/brands as very often they share the same solution and use the same type of latch.