…or maybe just TEA ARE ASS EIGHTY FTW!!!one!!eleven!
Intro
I am running out of intro texts … or maybe I am just an old fart and I am running out of creative NRG lol 😀
TRS-80 that I am presenting in this post was (yeah I know I am repeating myself) for one of my friends.
It turned out to be an incredible machine, although it was unknown territory to me and it took quite a while to figure everything out, plus, I’ve found another great community that knows a lot about this type of machine.
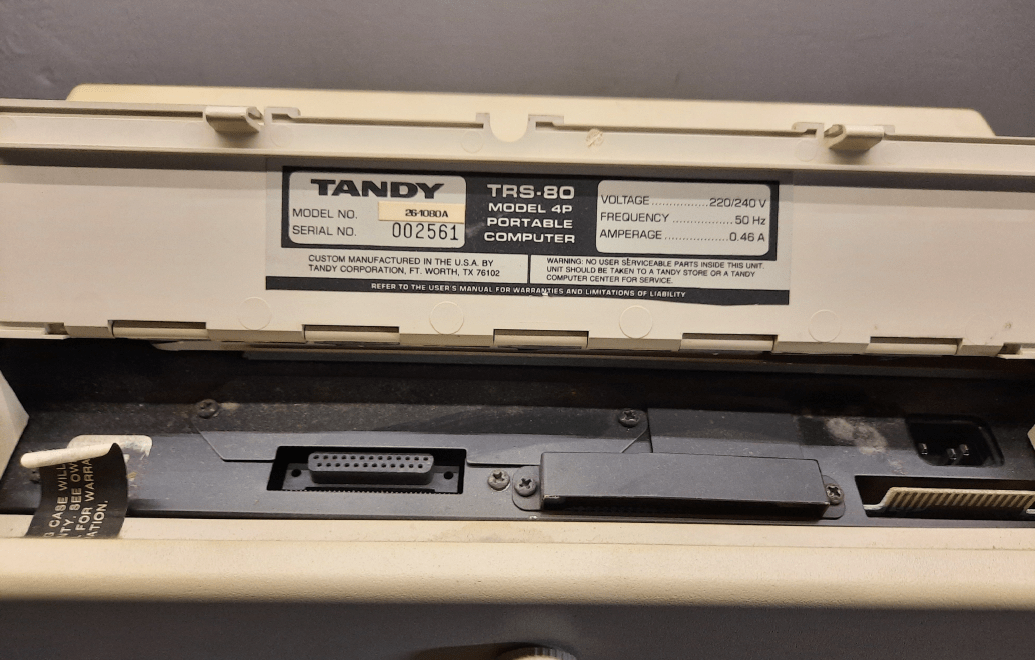
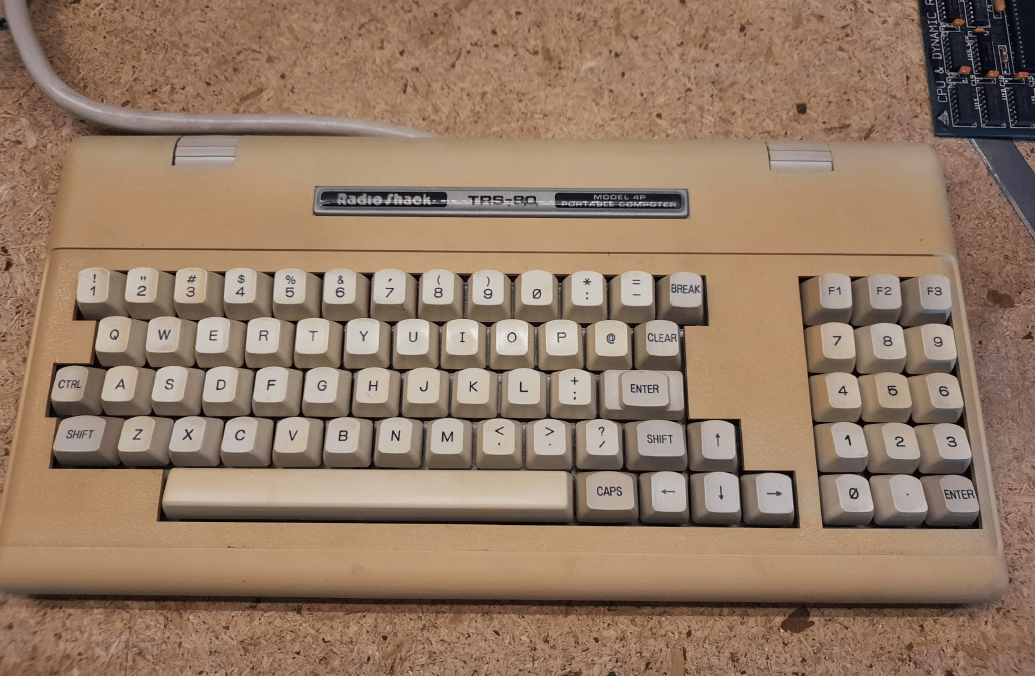
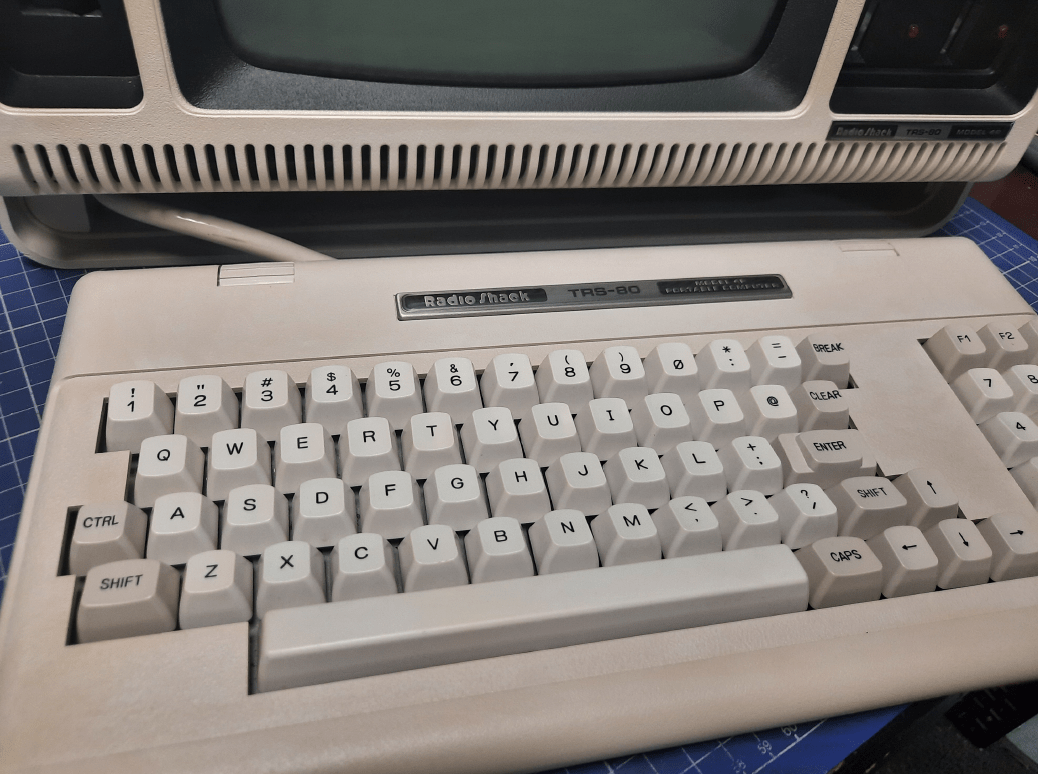
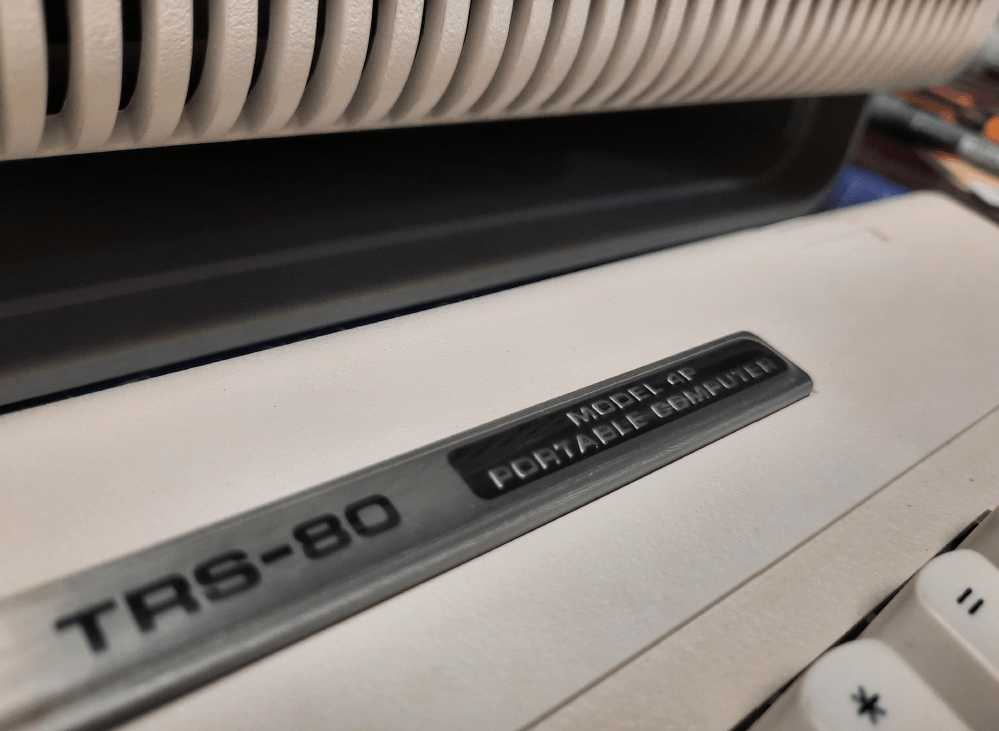
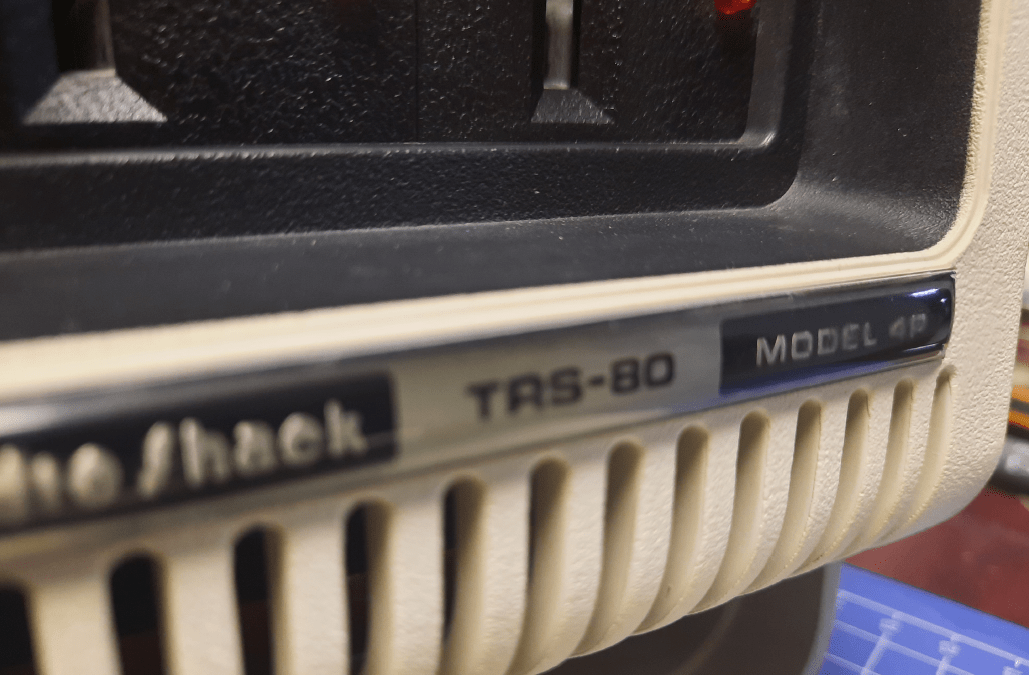
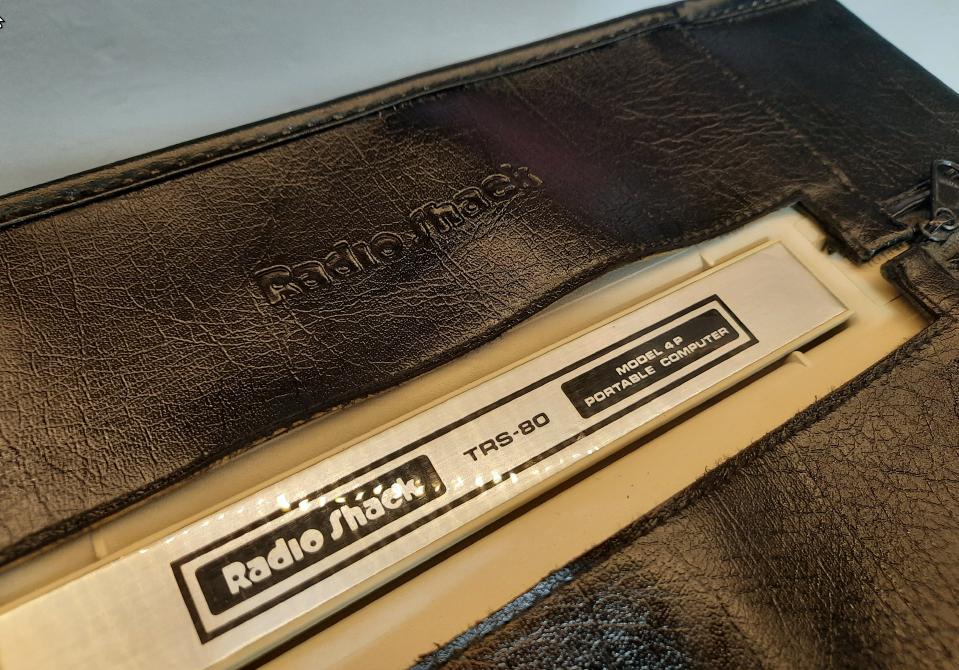
This time it is all about RadioShack TRS-80 Model 4P. It came in in a decent shape but as usual, I had a cunning plan pimping it….well, to be honest, my friend had a plan and I was simply executing it 😉
The job
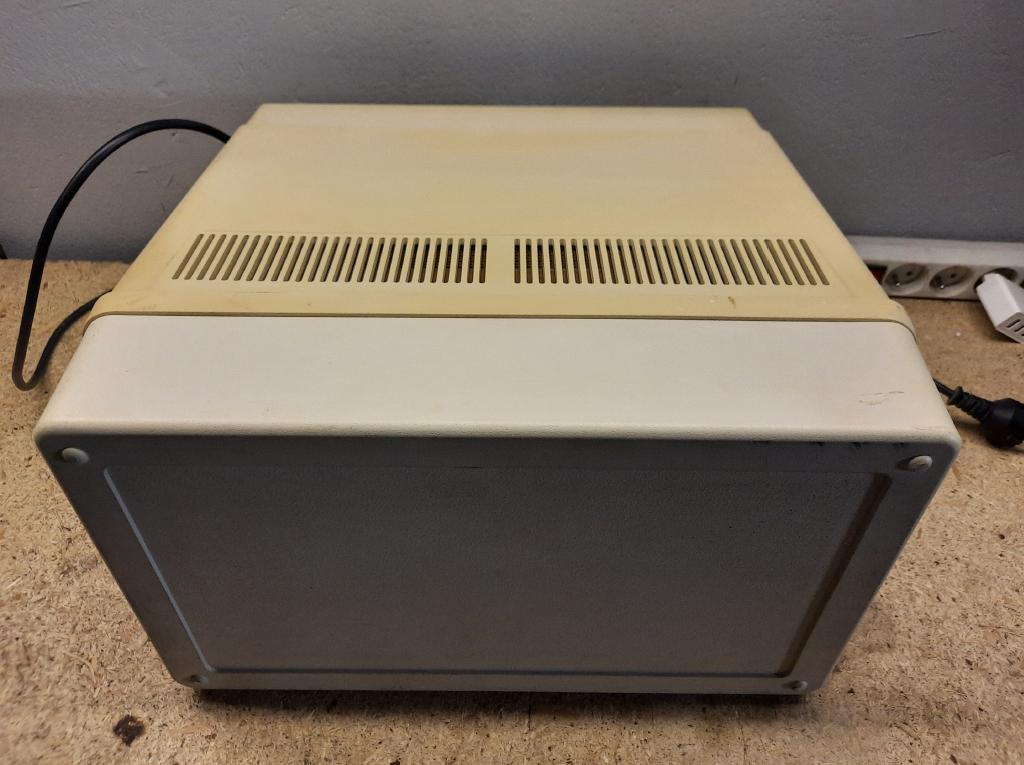
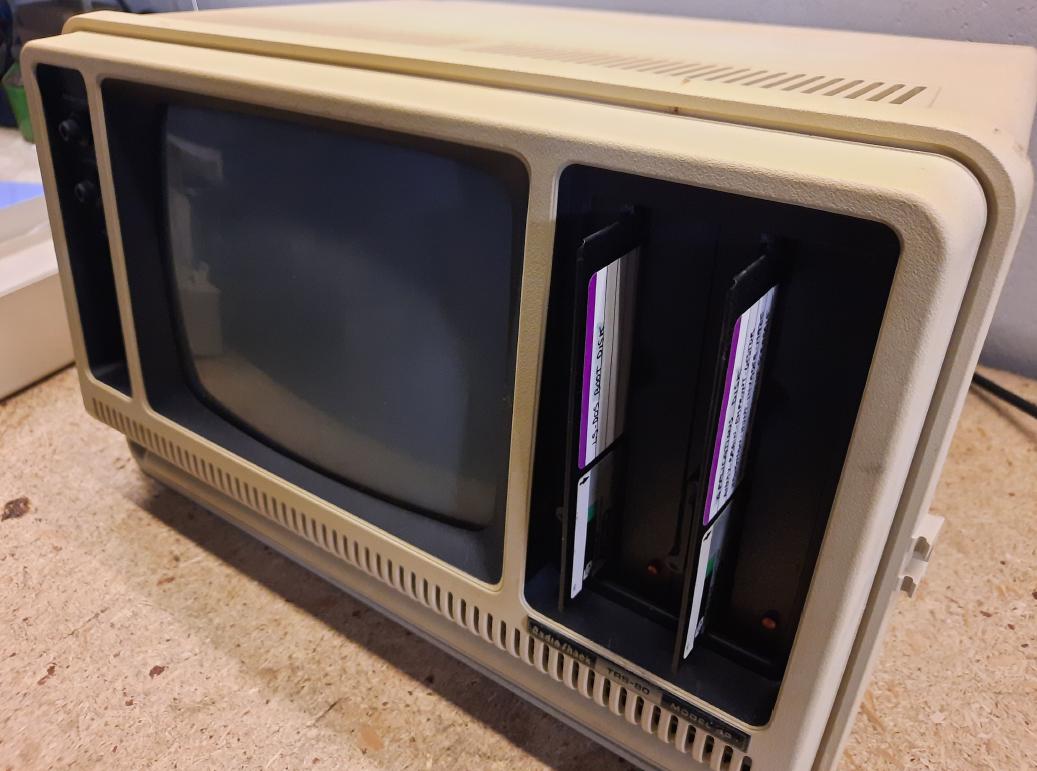
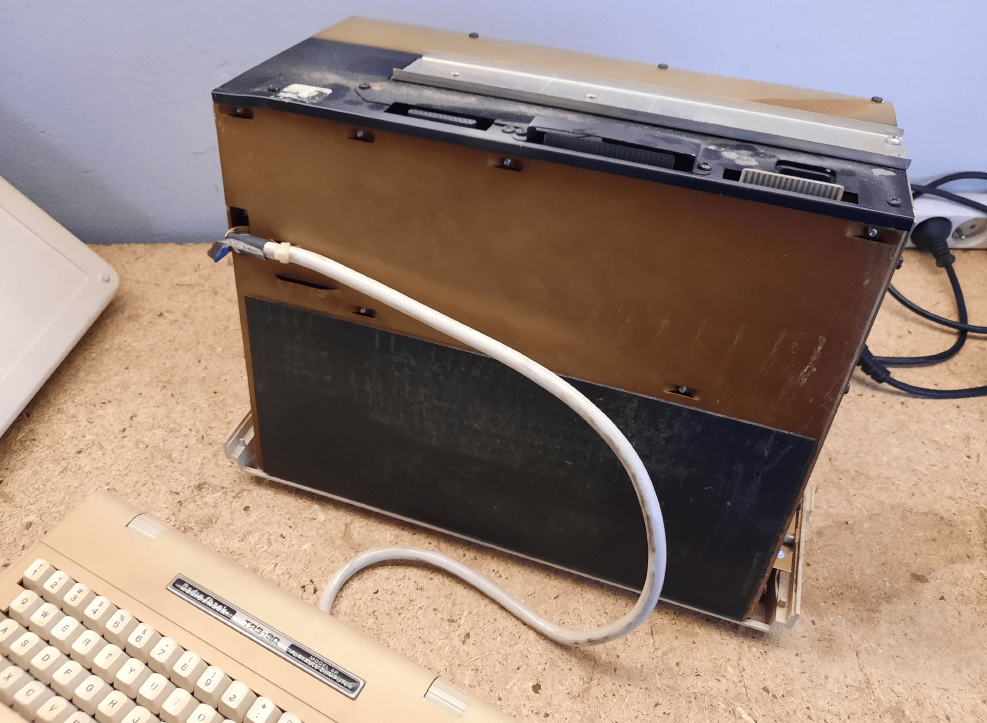
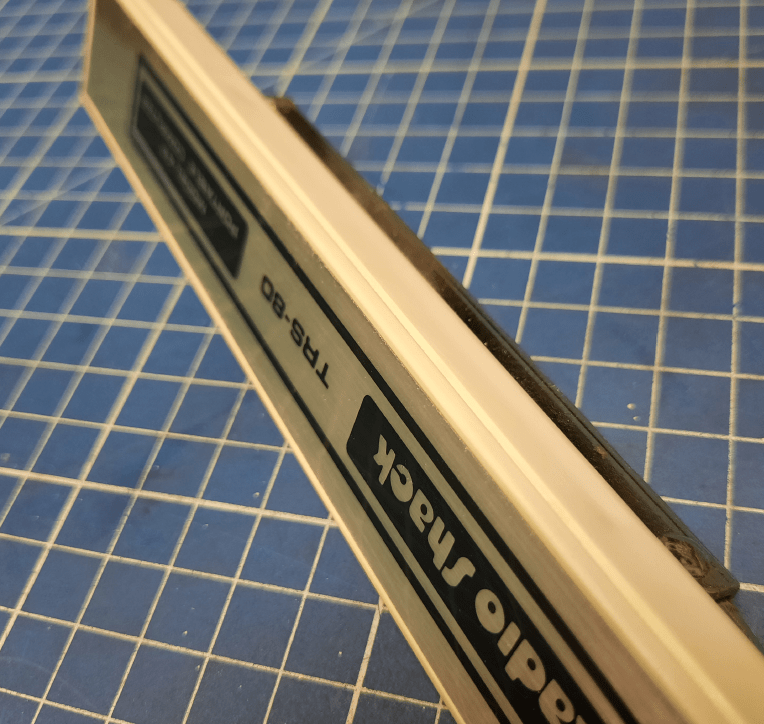
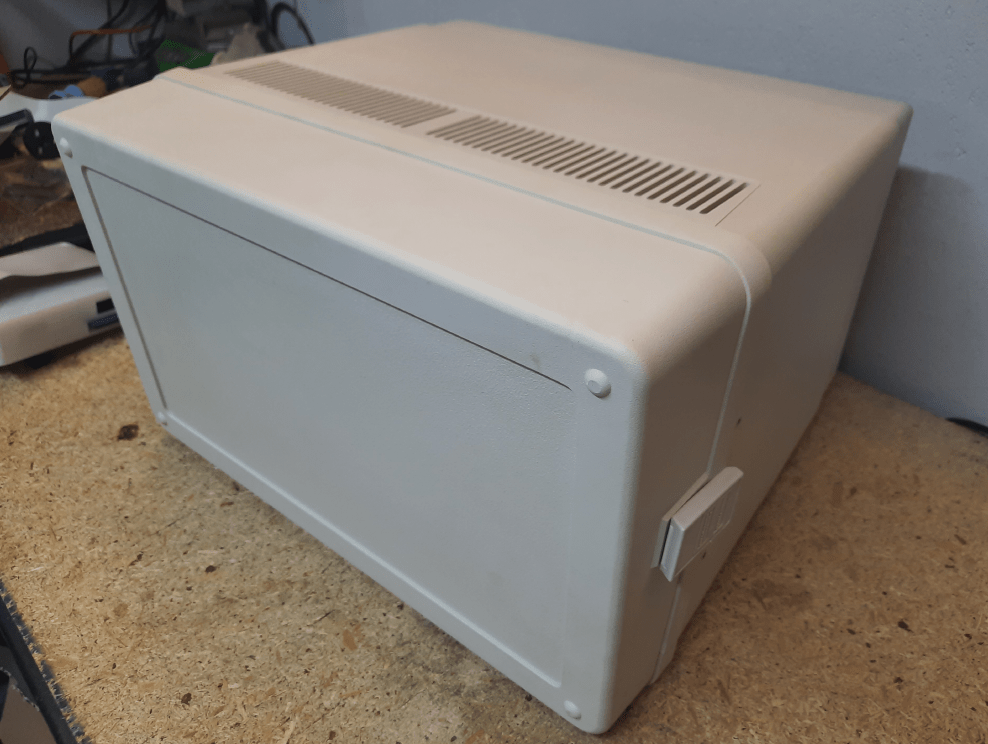
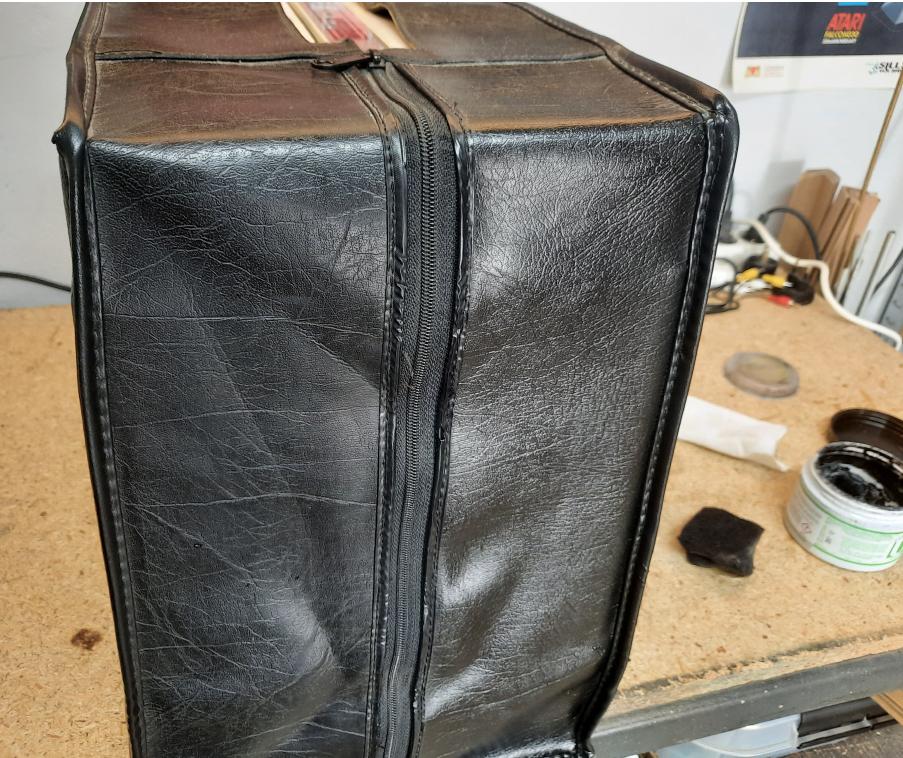
Let’s start with some after-delivery pics. It came with a leather`ish type of bag.
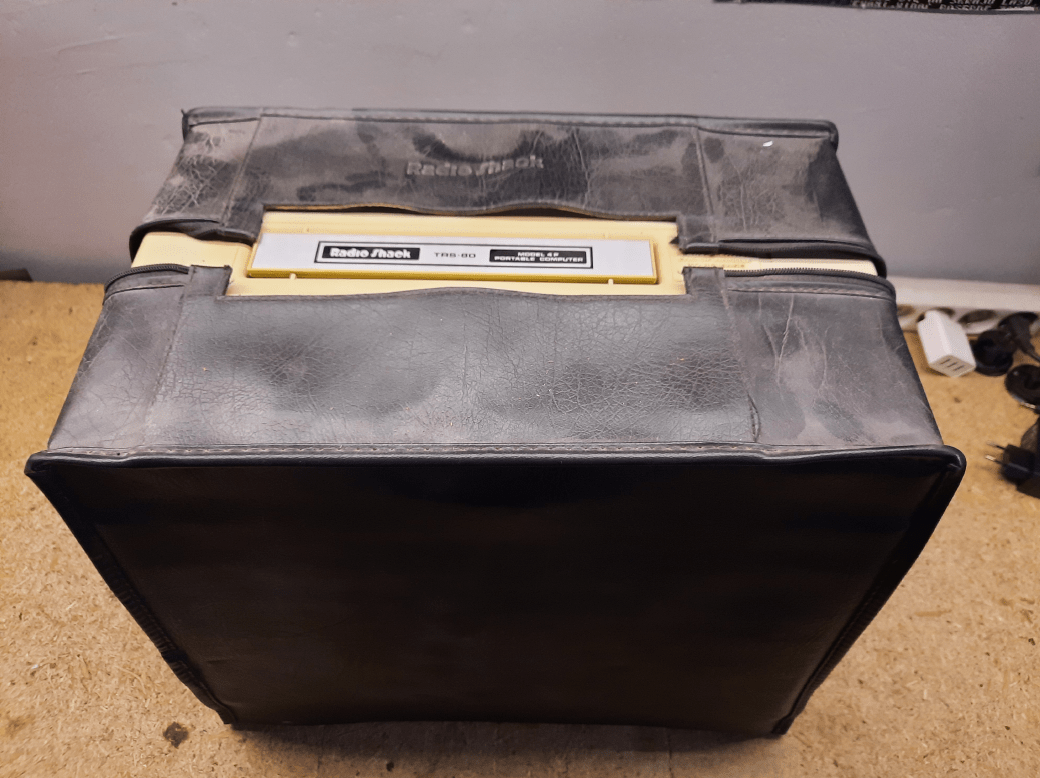
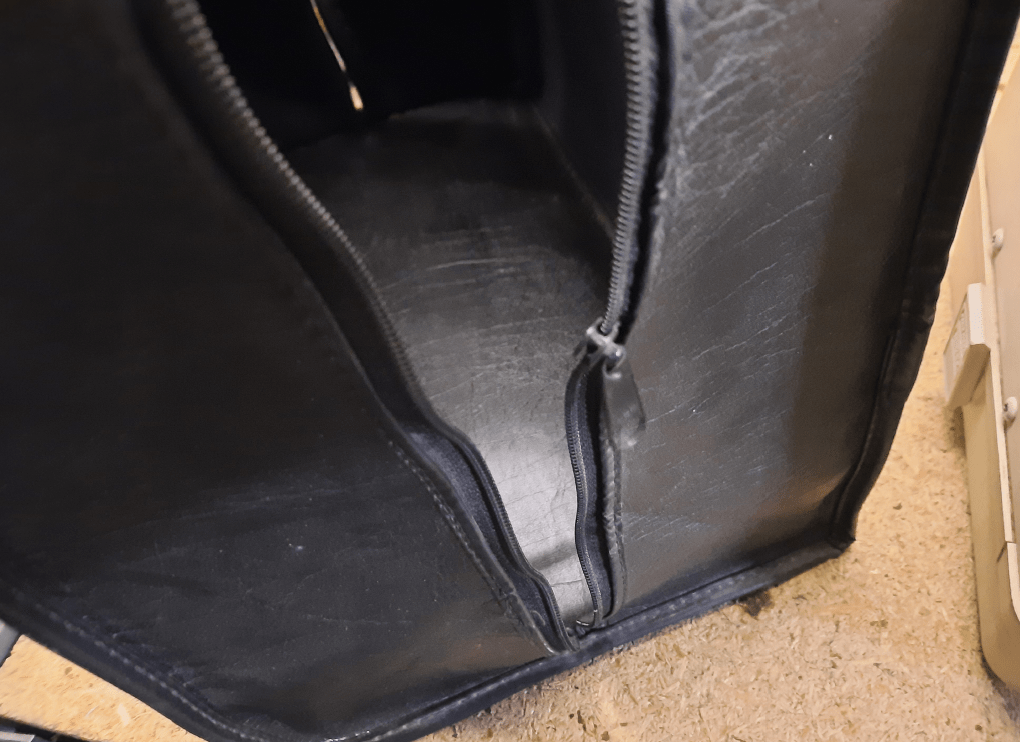
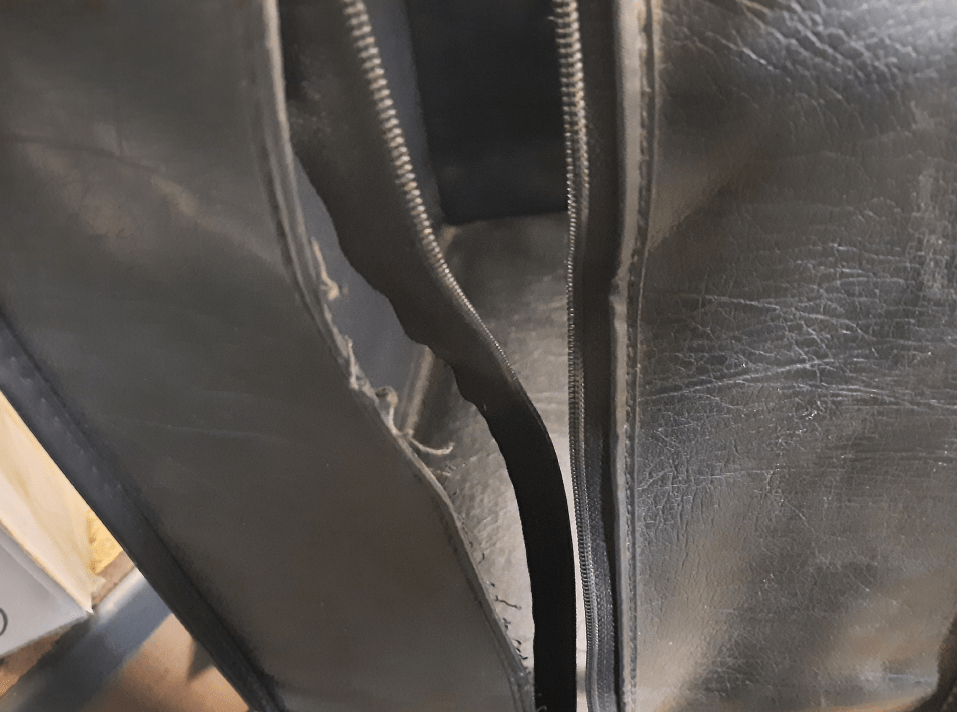
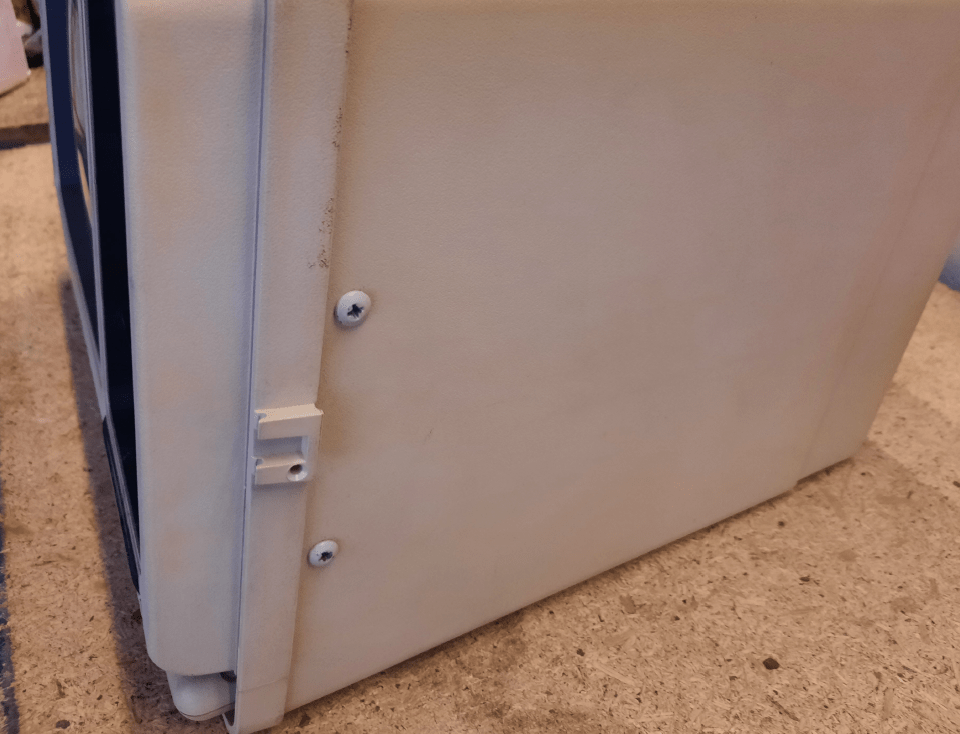
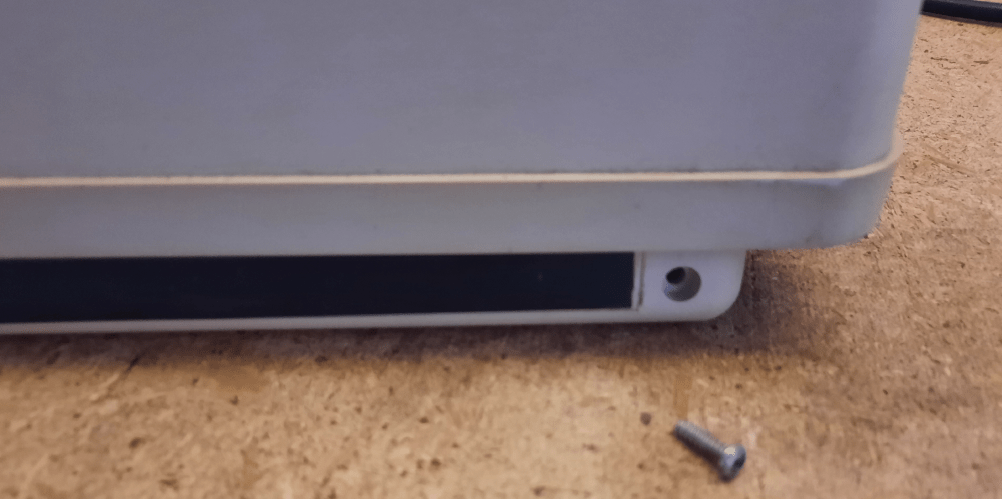
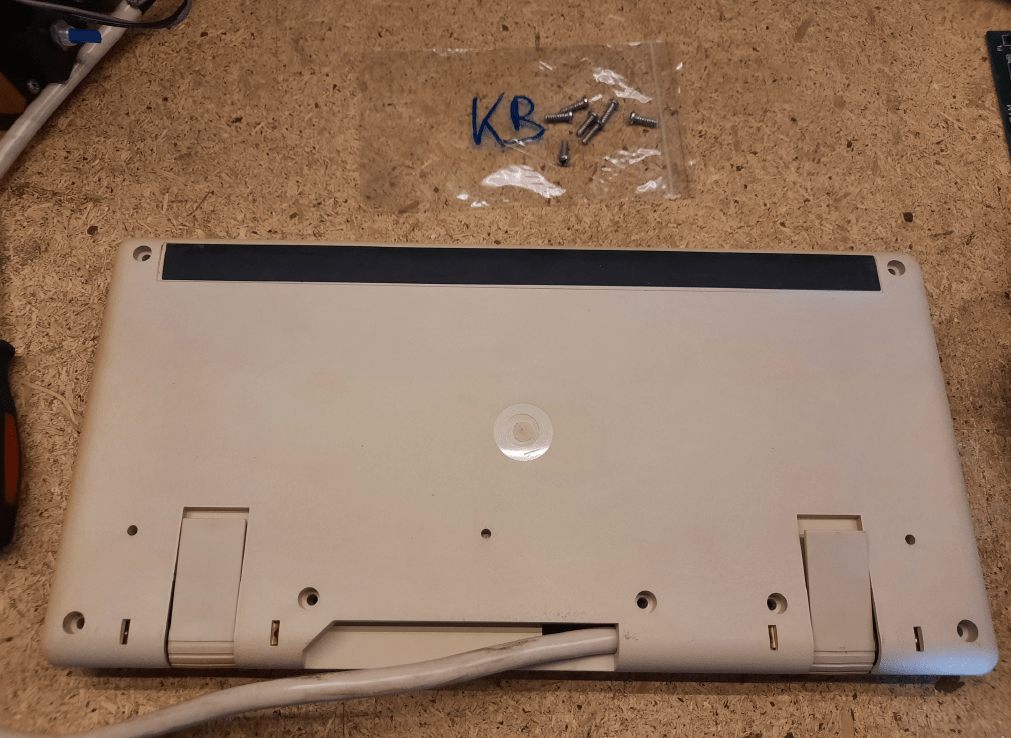
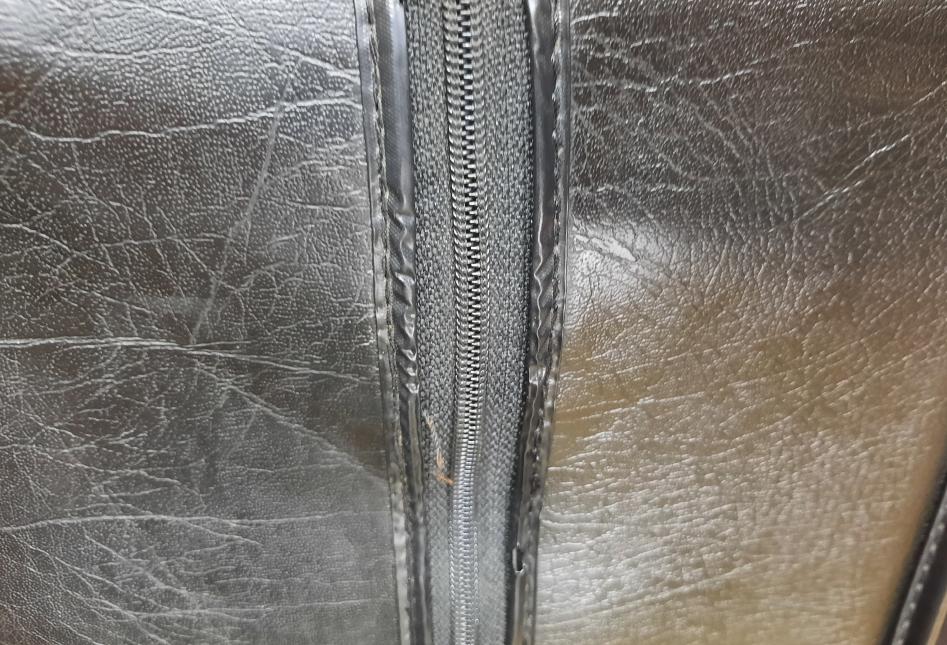
The back was broken and had to be addressed during the refurb too but more on it later.
Let’s leave it for later and go on with the rest of the “arrival” pics.
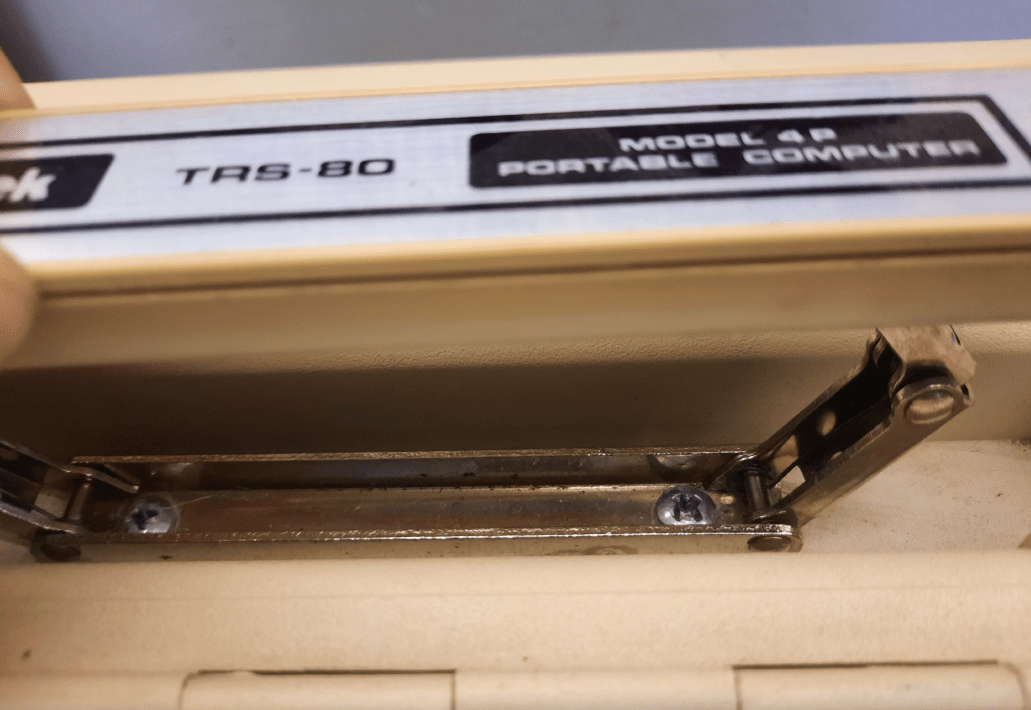
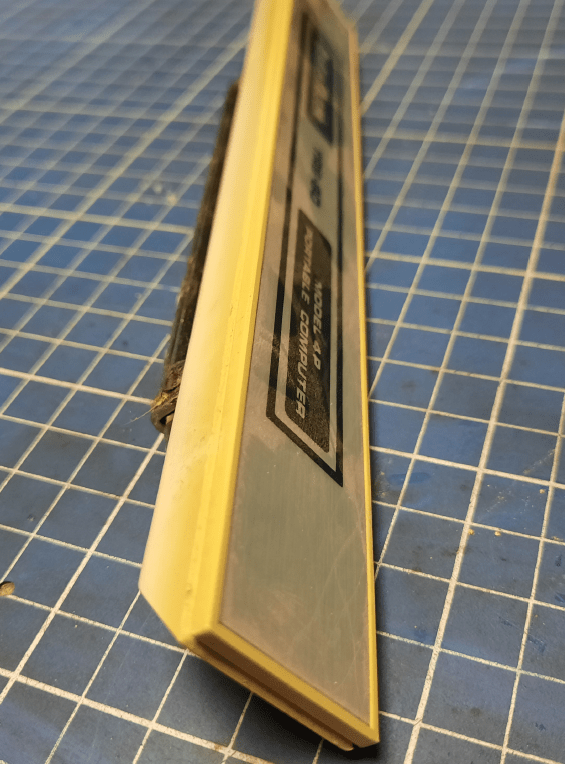
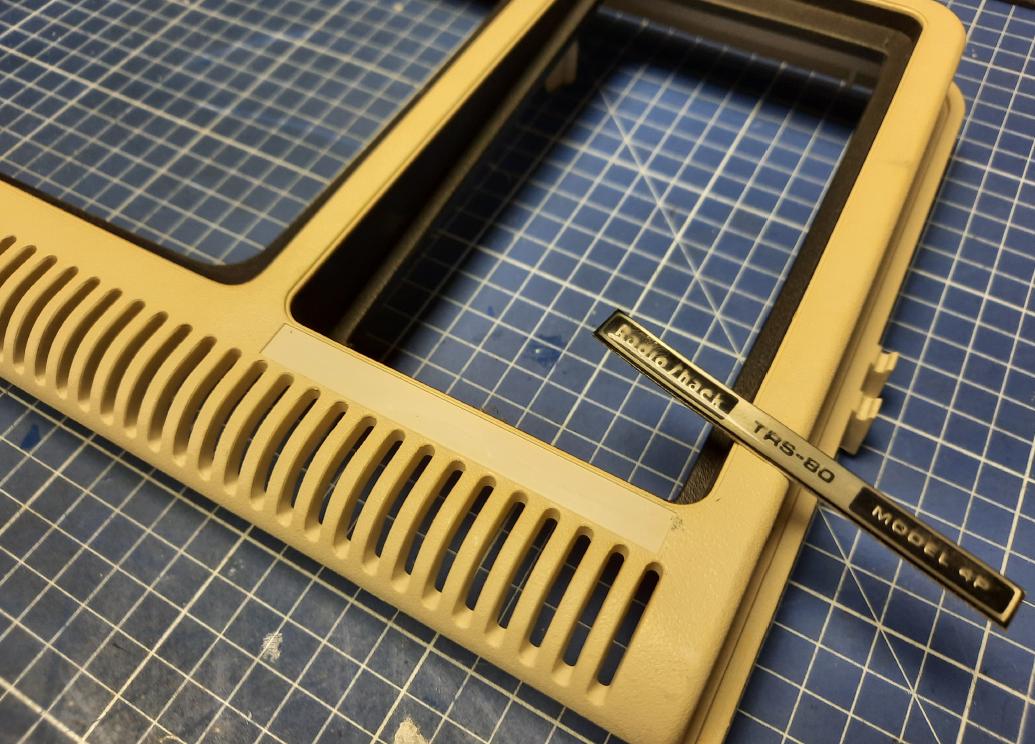
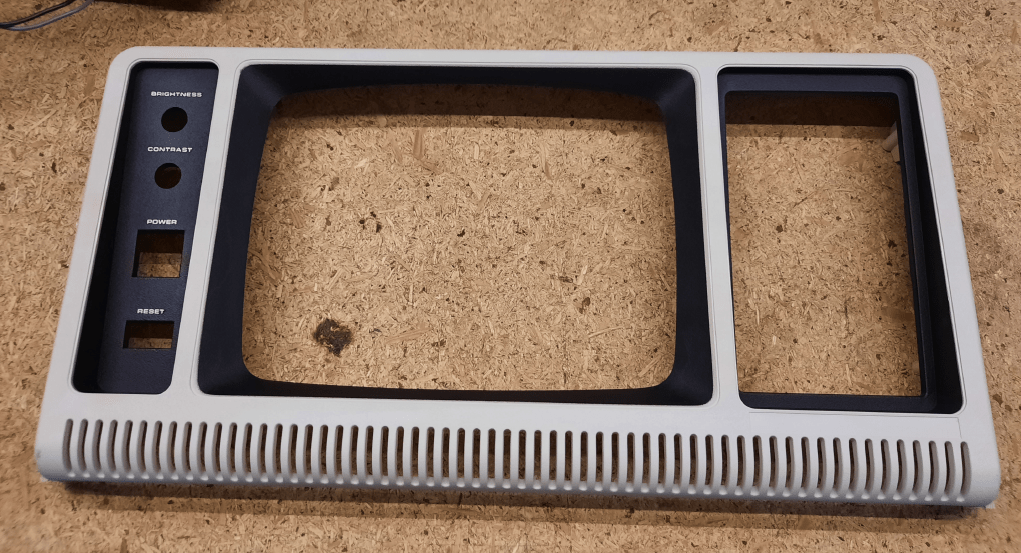
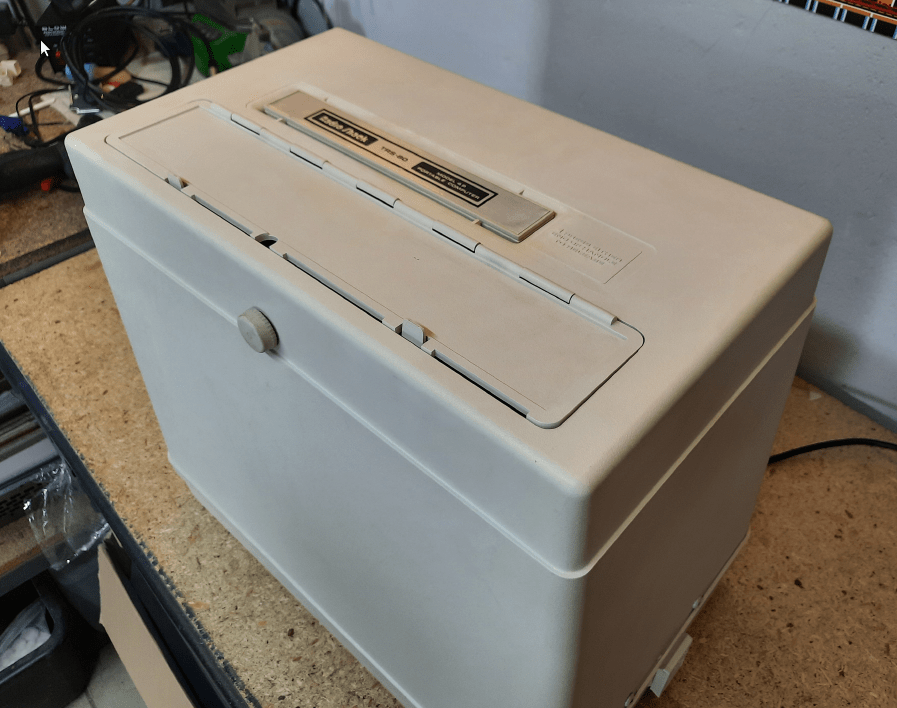
Looks like the cover was hidden in a bag most of the time, hence no yellowing
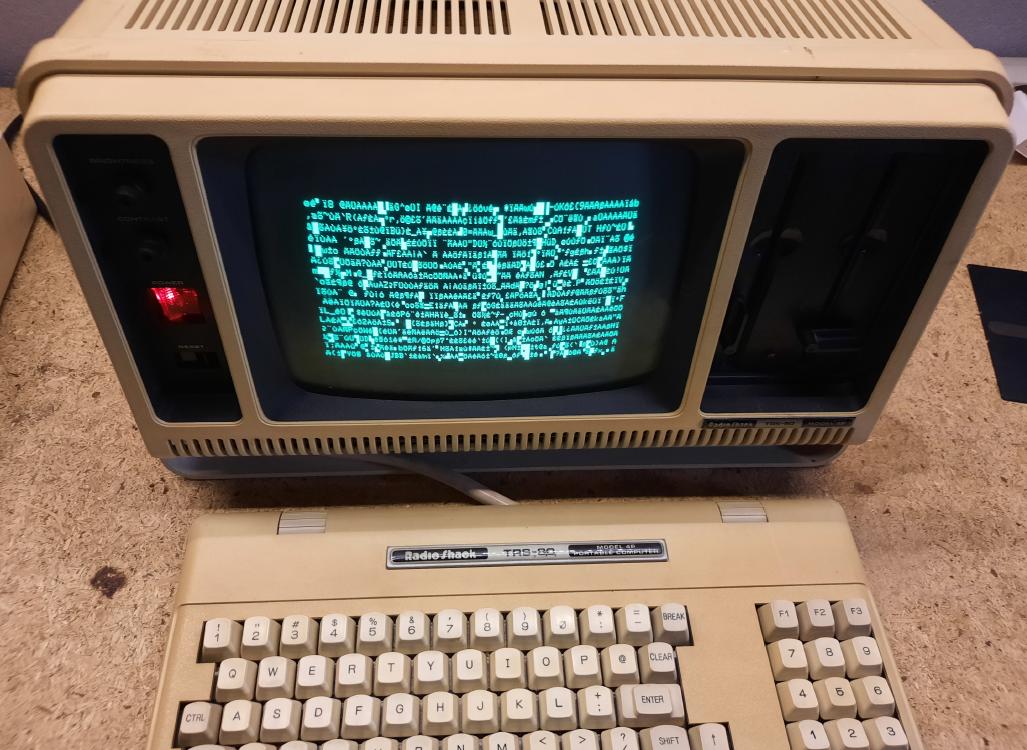
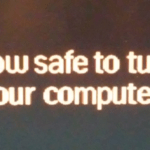
Unfortunately, after powering up, it displayed garbage 🙁
Disassembly
At this point, I had to start disassembling the machine to learn what might be wrong inside and fix it … as usual … because …

Let’s go!
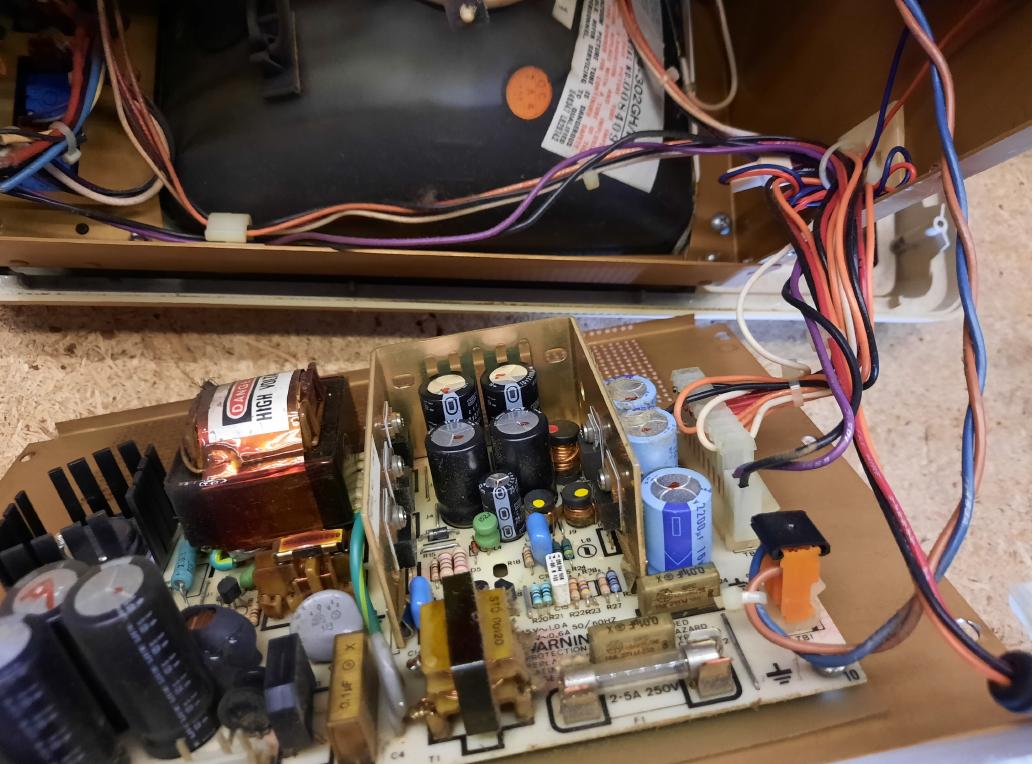
PSU ReCap
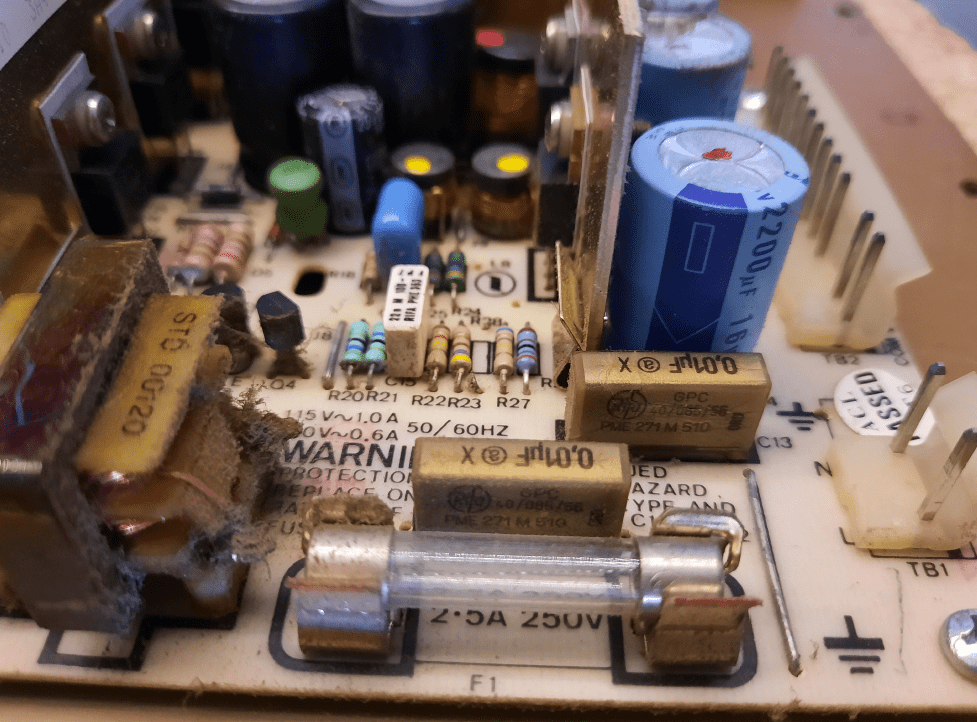
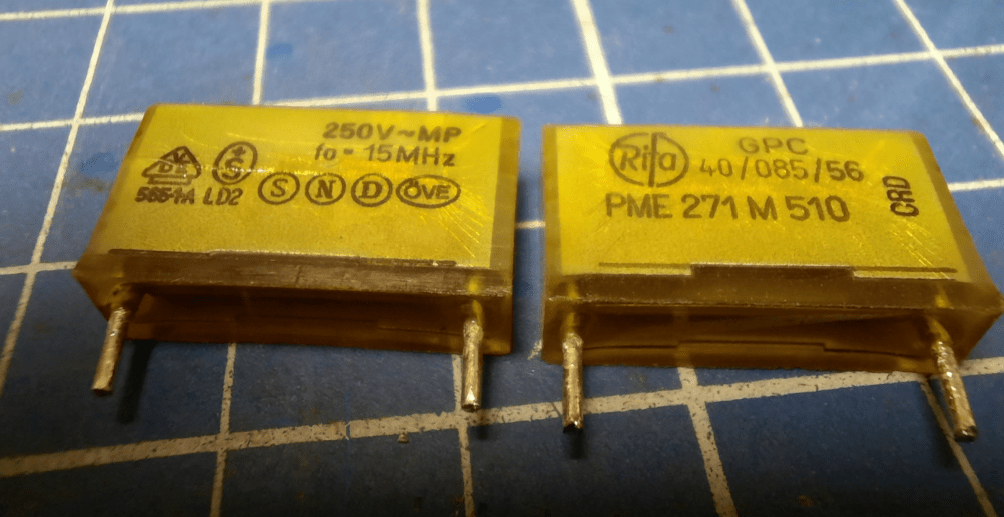
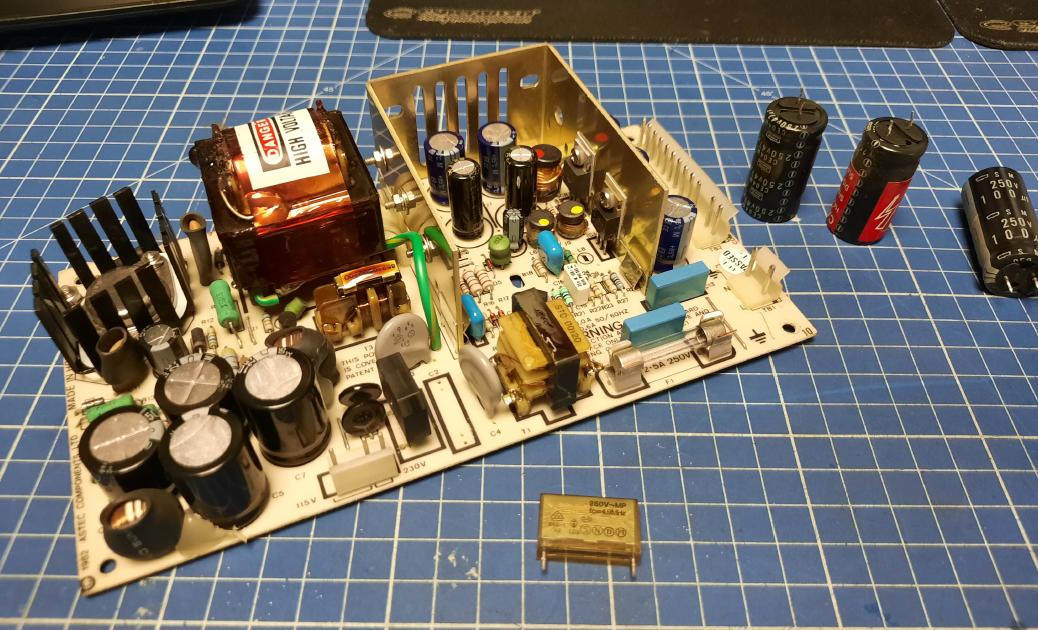
First things first. As we all (in the retro community) know, it always starts with a power supply unit. This has to b double-checked and re-capped if needed. Nothing new here, as we already know that most of the electrolytic caps are simply dried out and WIMA types are often broken.
Red marks by me, to know which cap has to be replaced 😉
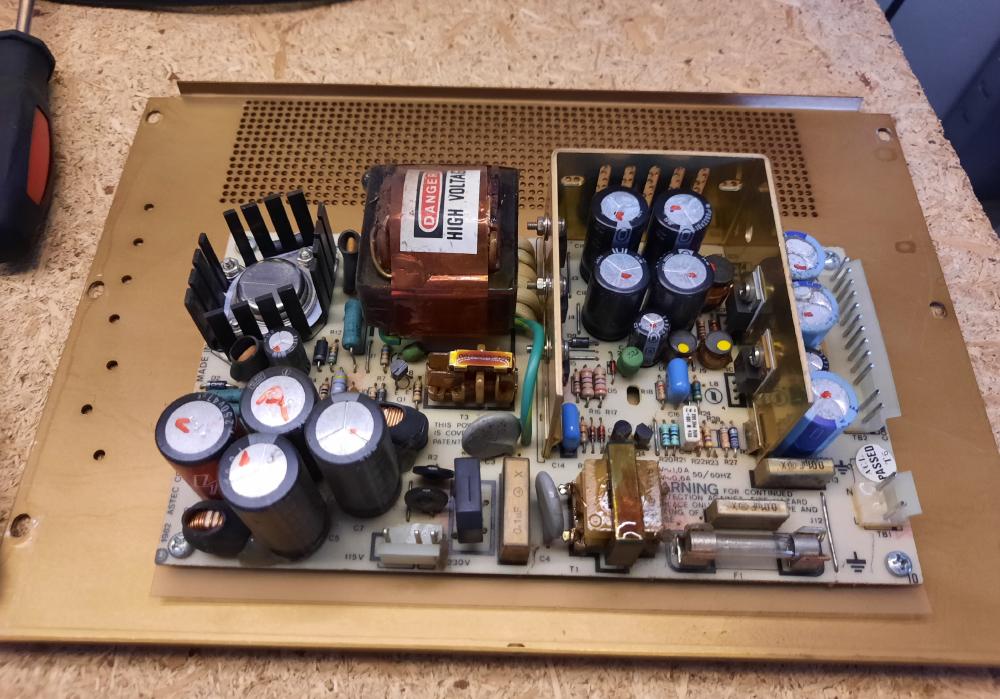
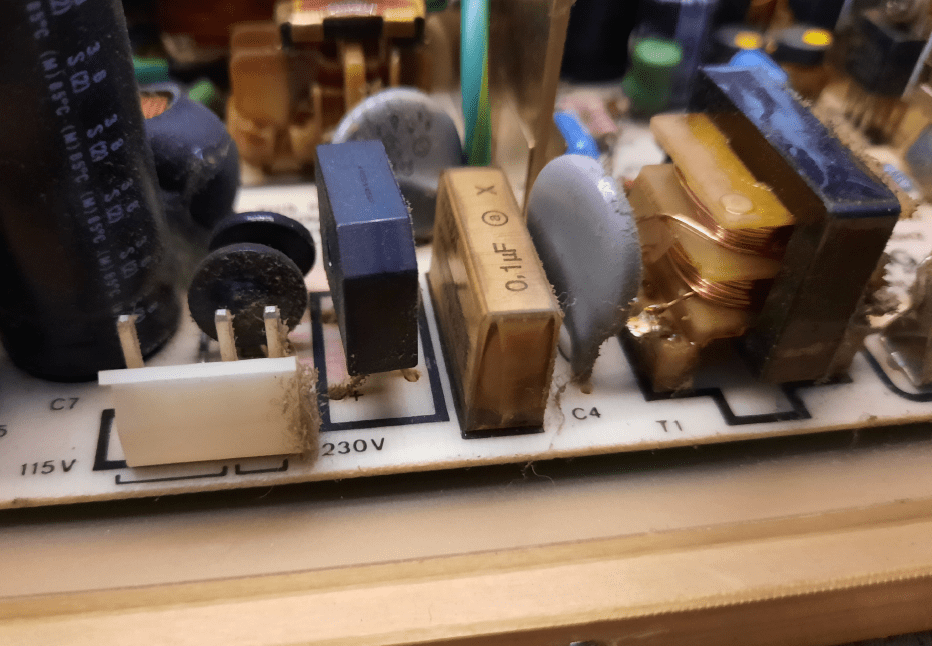
As usual with old PSUs, WIMA-type capacitors are the first thing to replace. This time it wasn’t different.
Theoretically, these WIMA caps do not affect much but it is always good to avoid magic smoke 😉
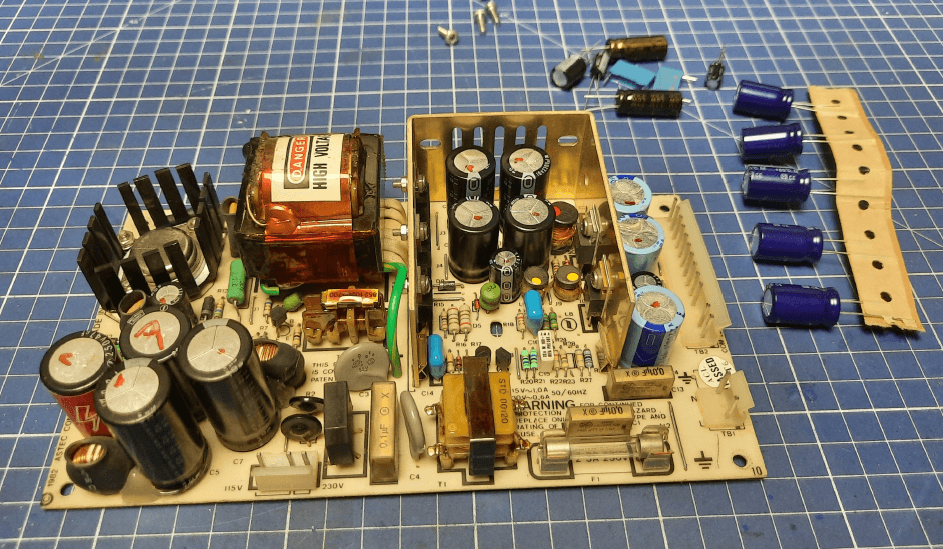
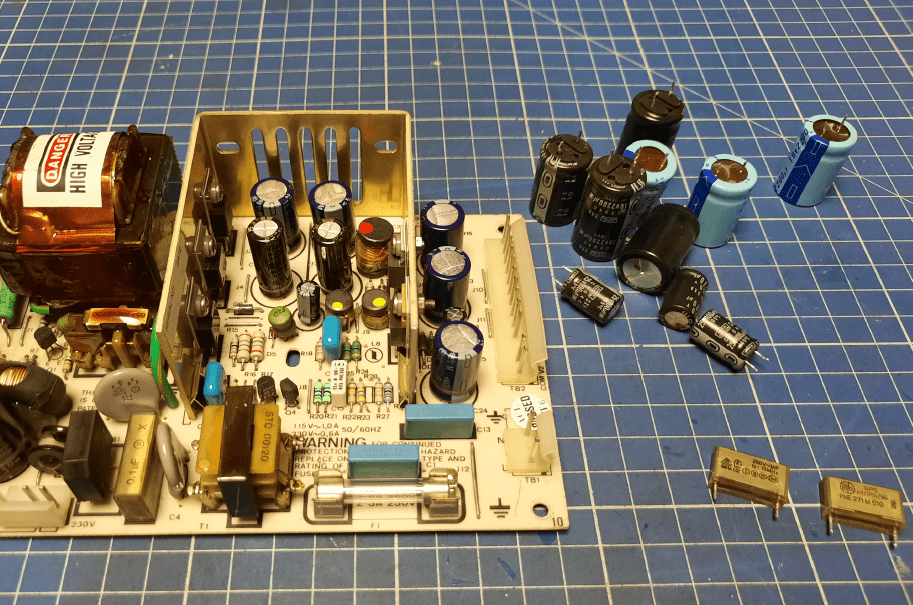
Old and desoldered WIMA-type caps.
PSU fully recapped!
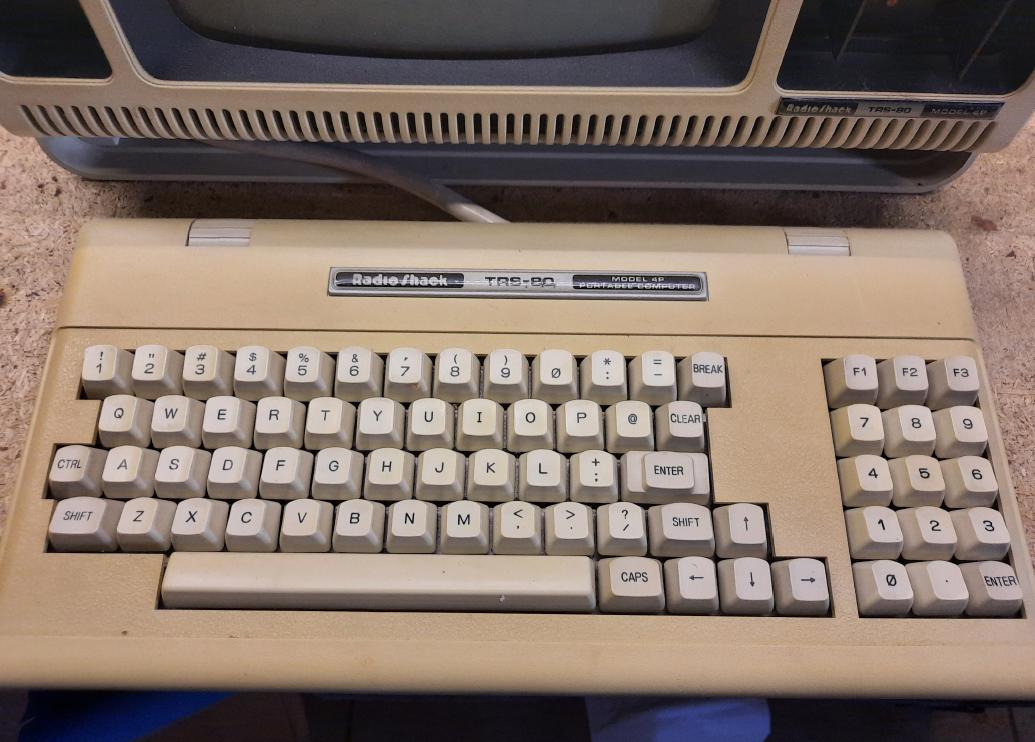
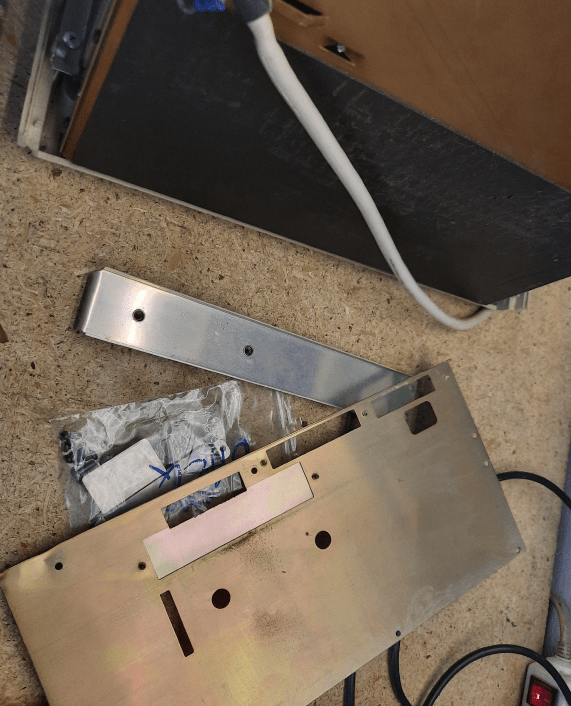
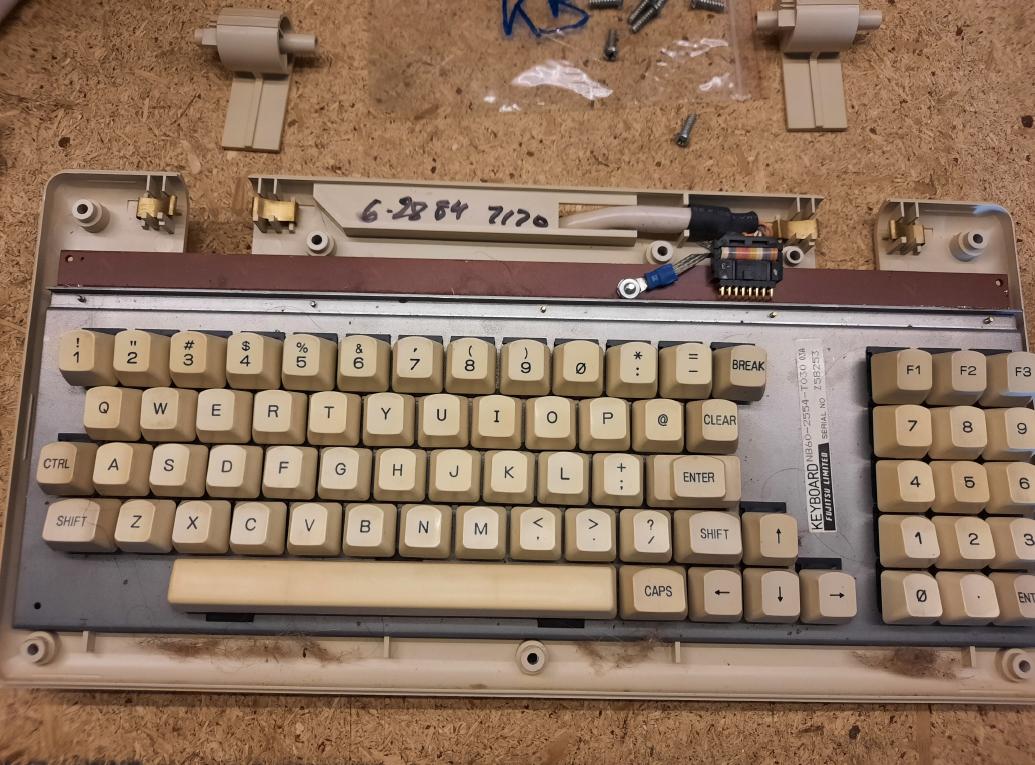
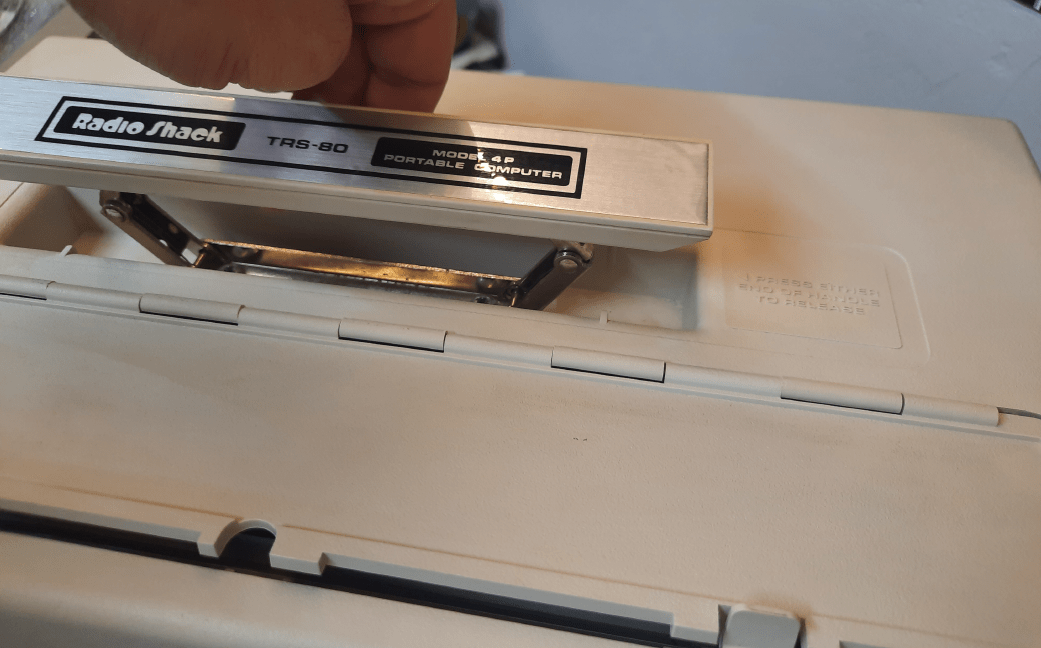
Keyboard and handle
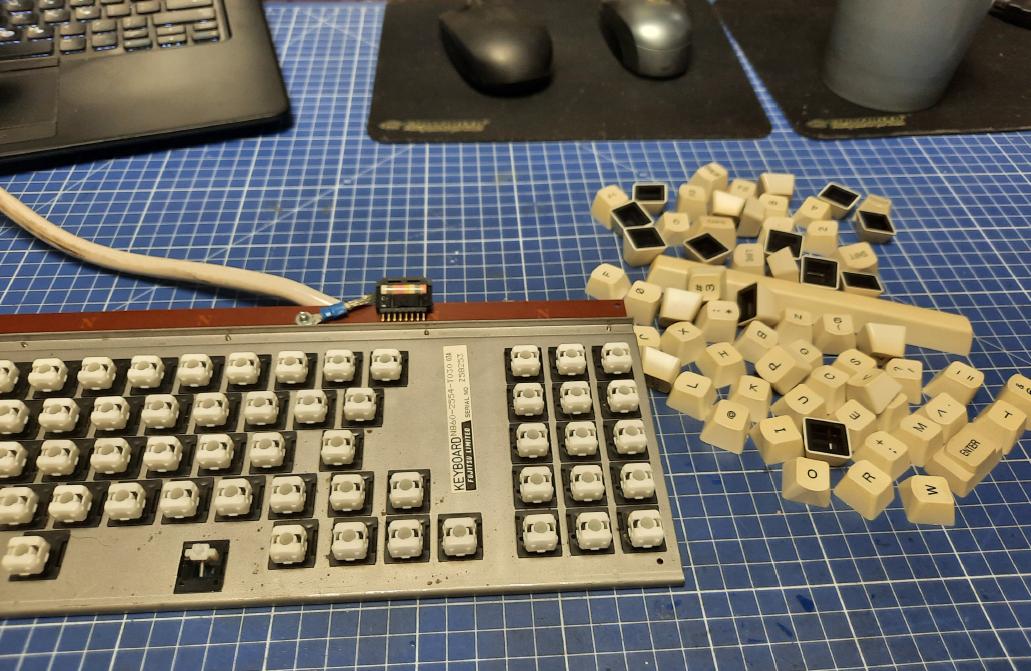
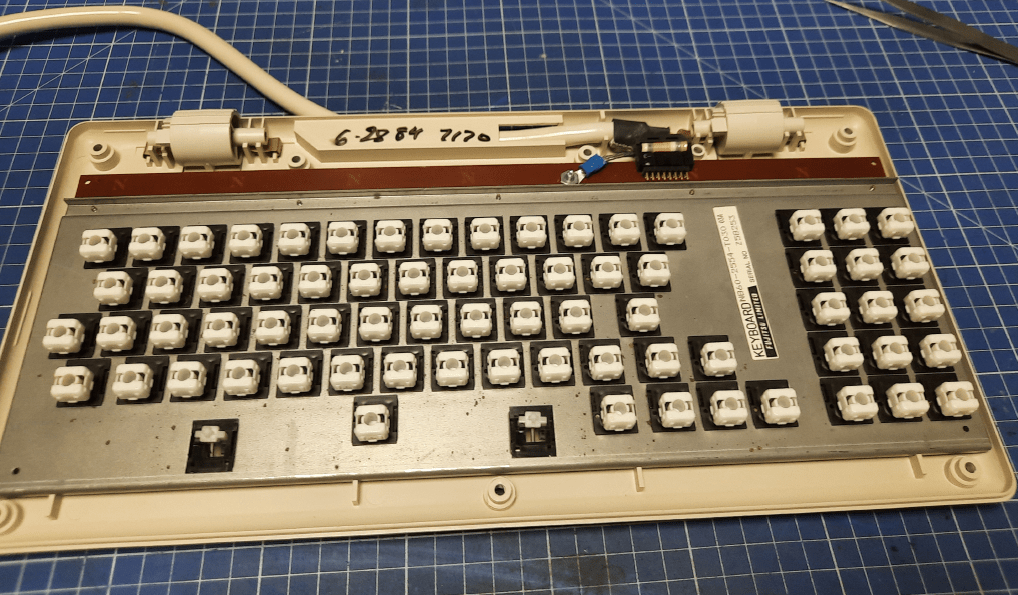
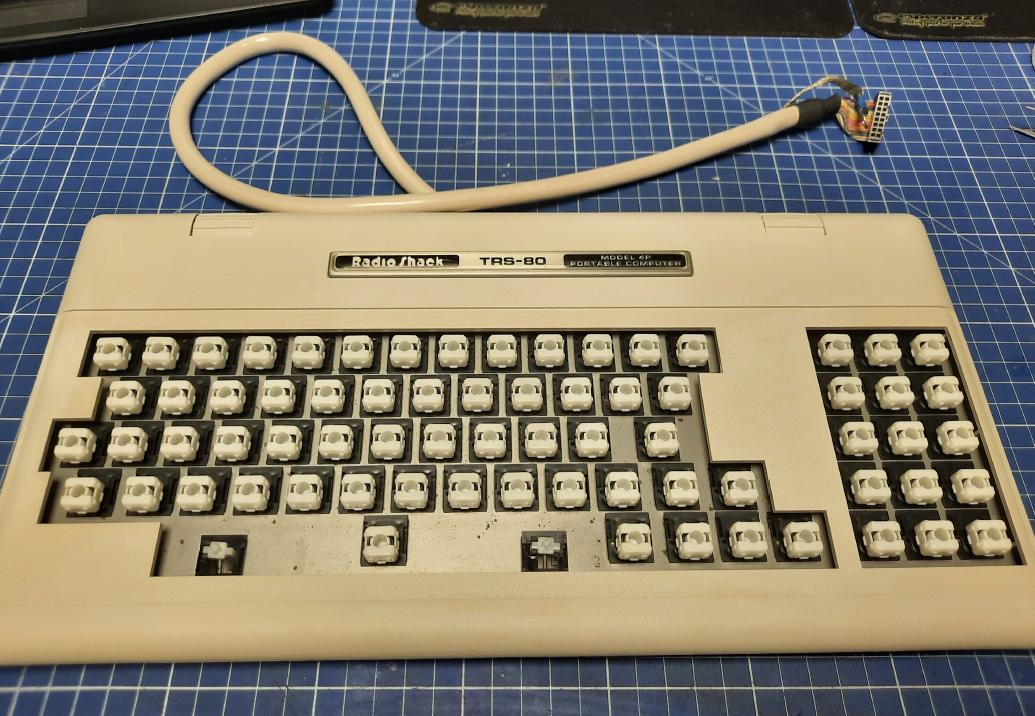
The keyboard needed a SPA so a standard retr0brighting process was initiated – disassembly, clean-up, retr0brightiging, and assembly.
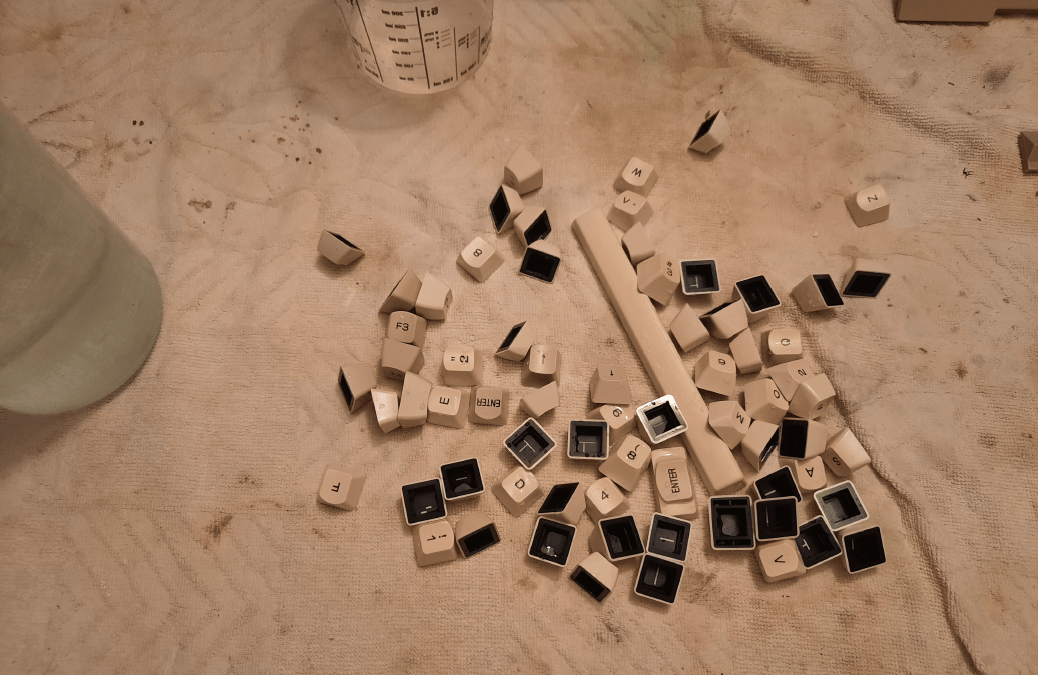
After cleaning and just before applying the magic solution and wrapping it in stretch foil.

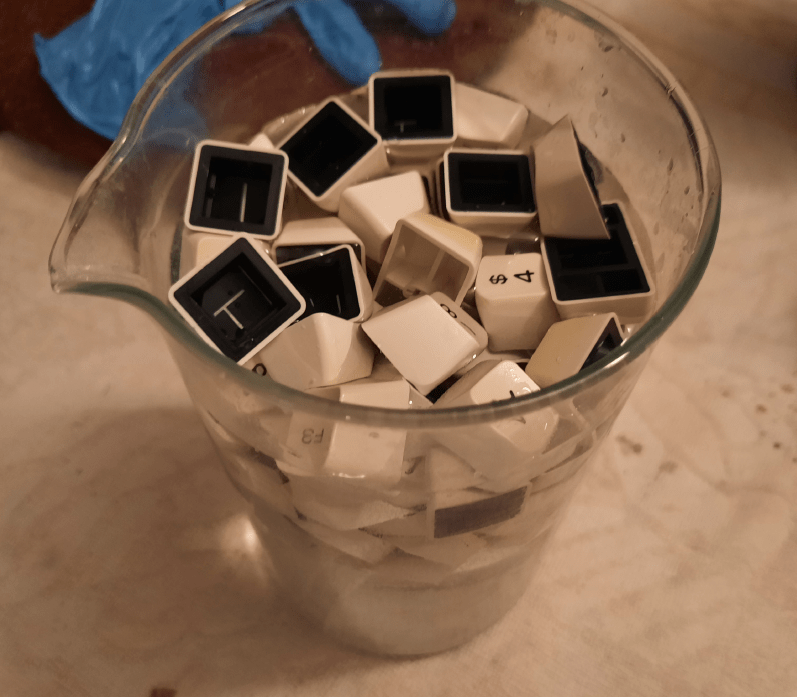
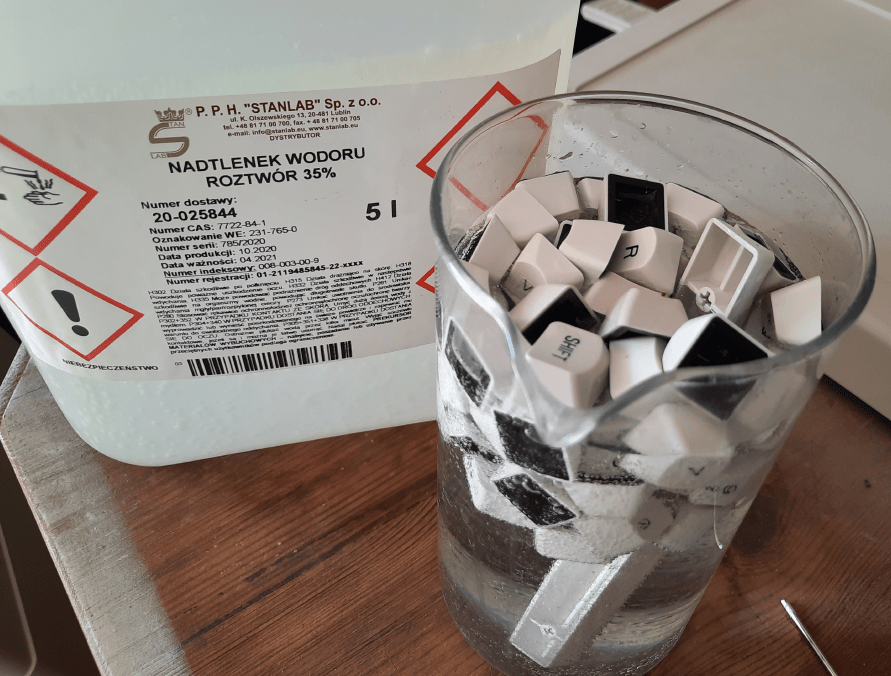
All the keycaps were removed, cleaned, and put into a beaker with a 35% peroxide solution.
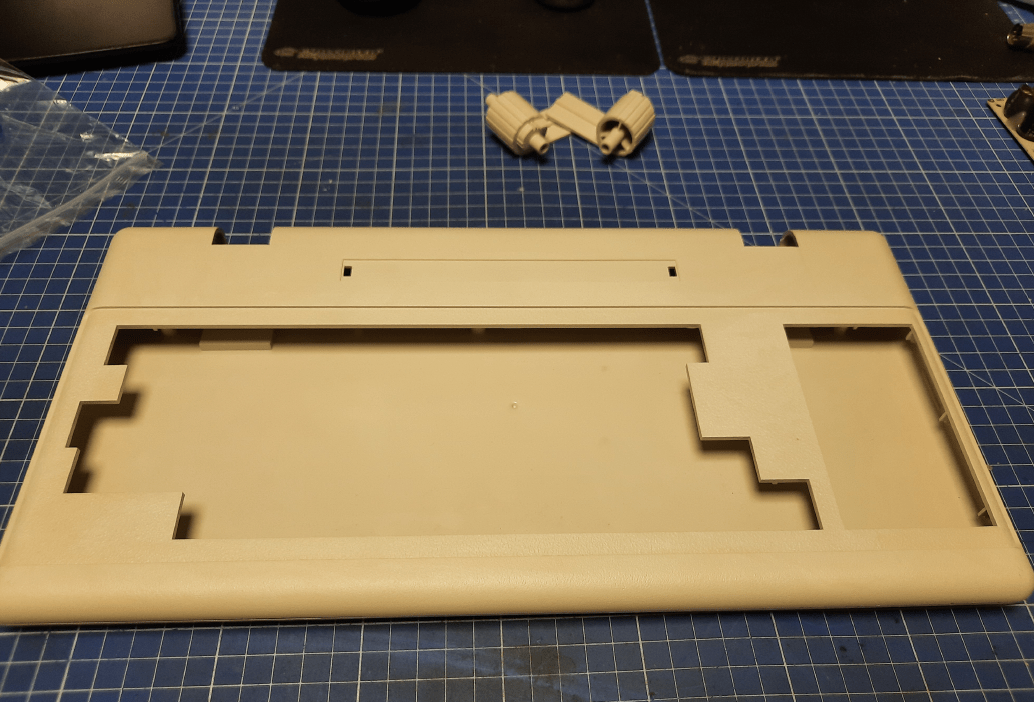
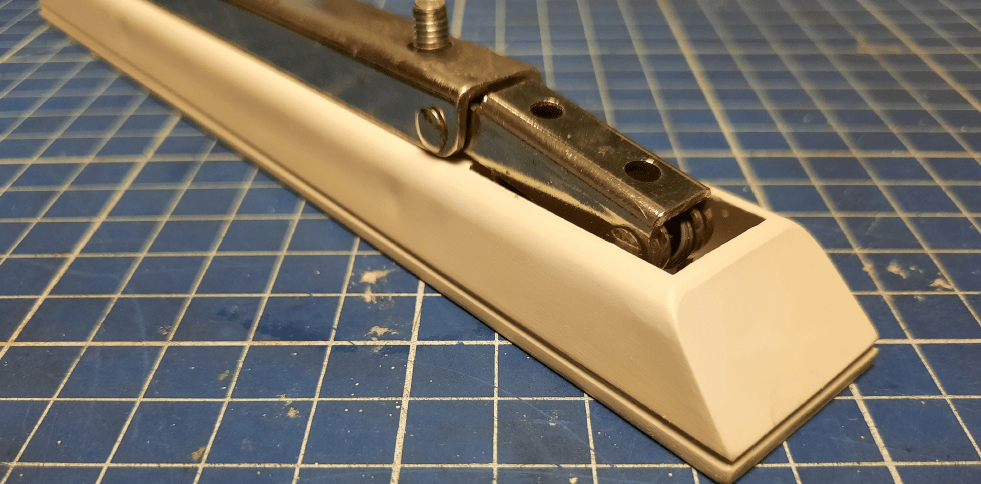
I’ve also taken care of a handle. The procedure was pretty much the same as with the keyboard.

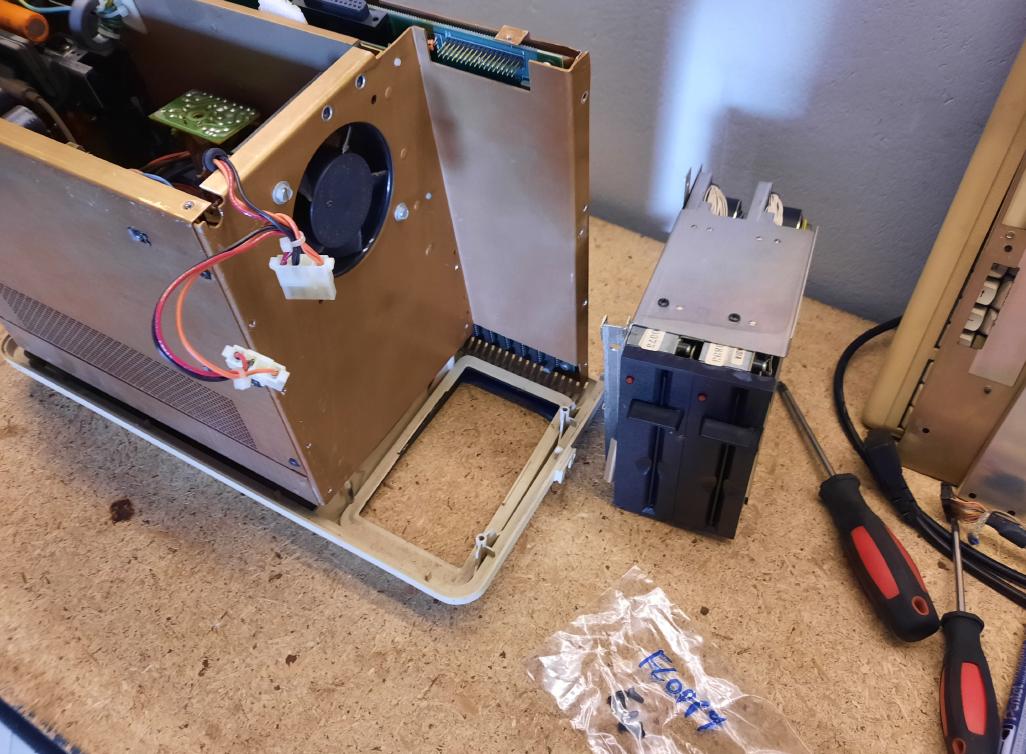
Further disassembly and mods
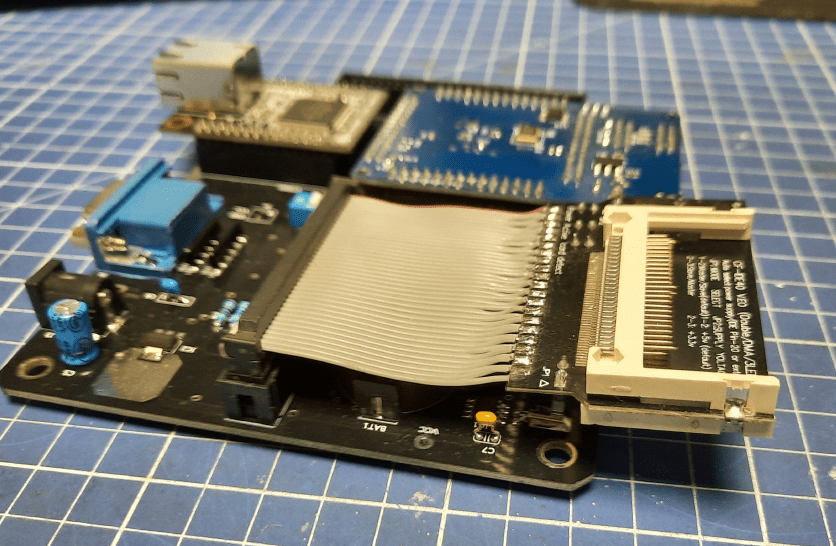
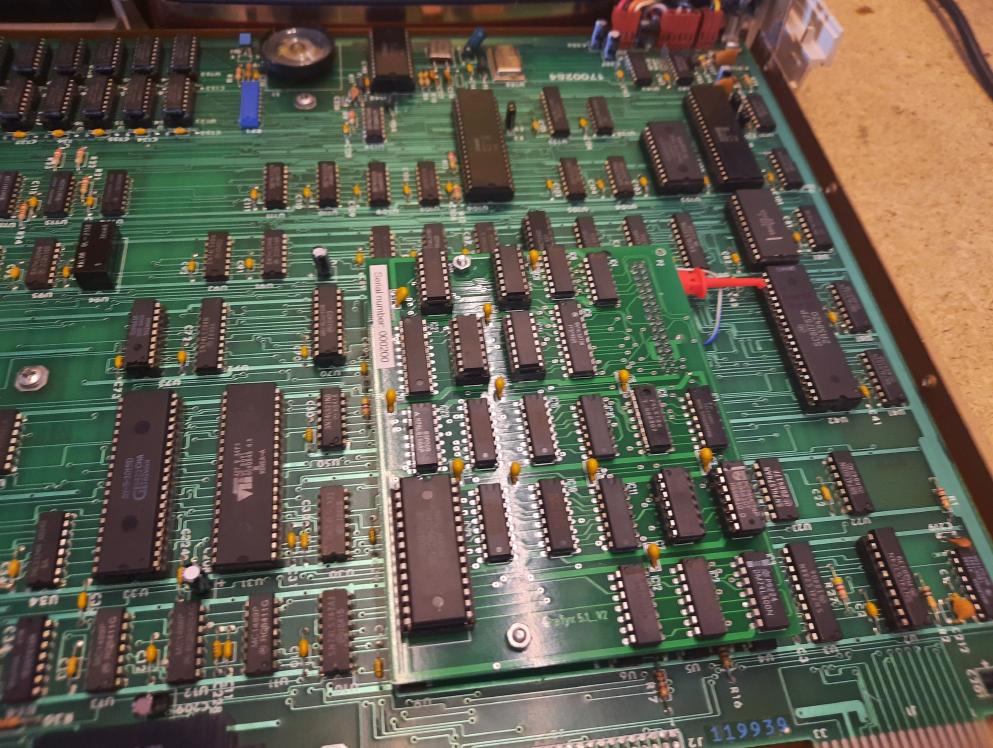
I’ve moved on with disassembly and the first thing that surprised me was that CPU/RAM expansion card. Turns out it is quite a rare device which added a bit of confusion to the mix.
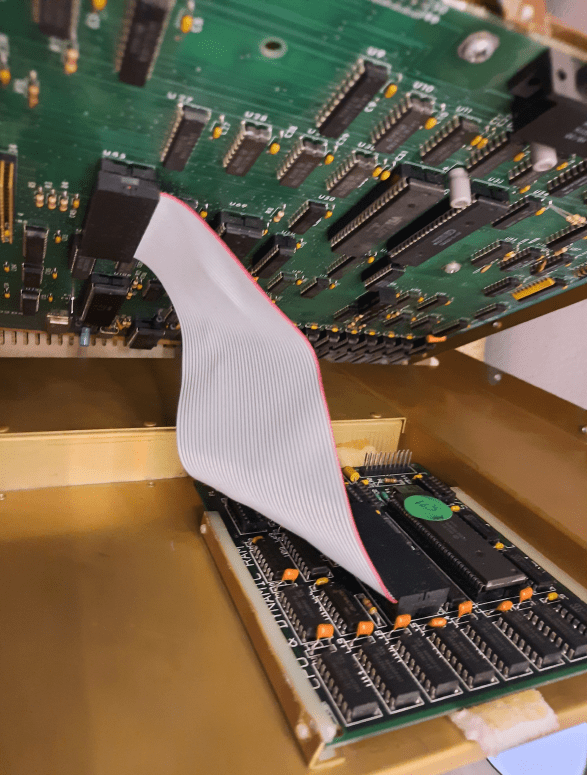
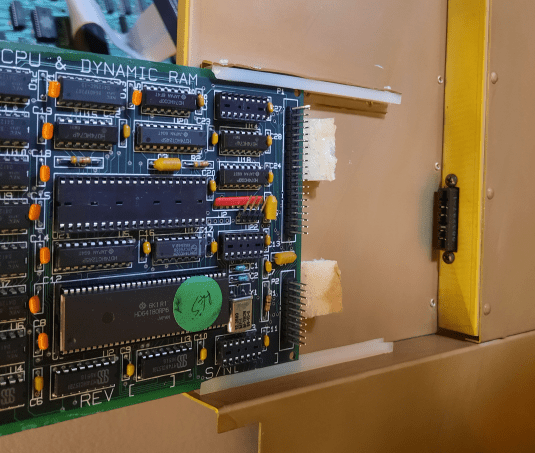
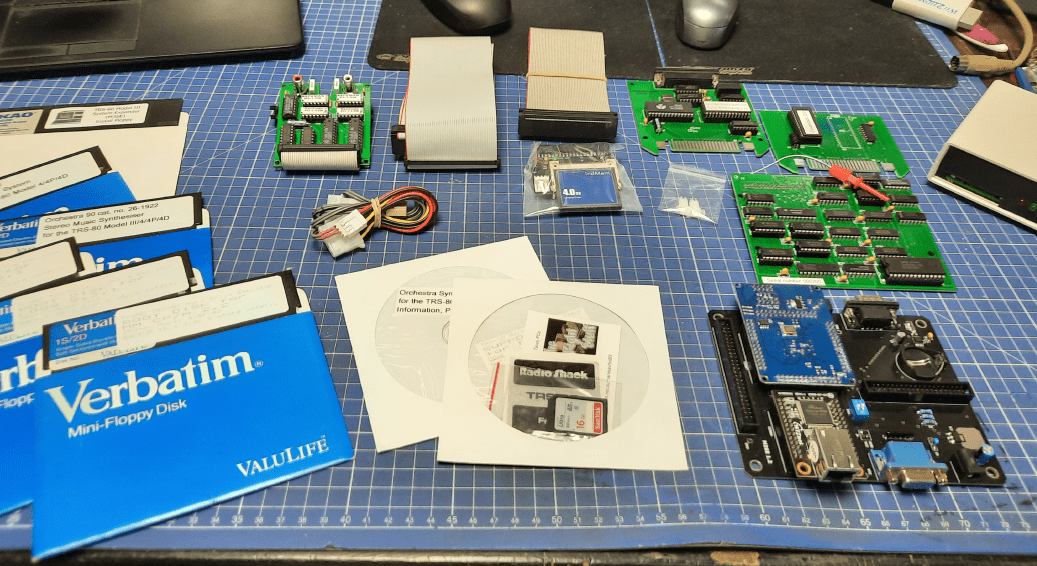
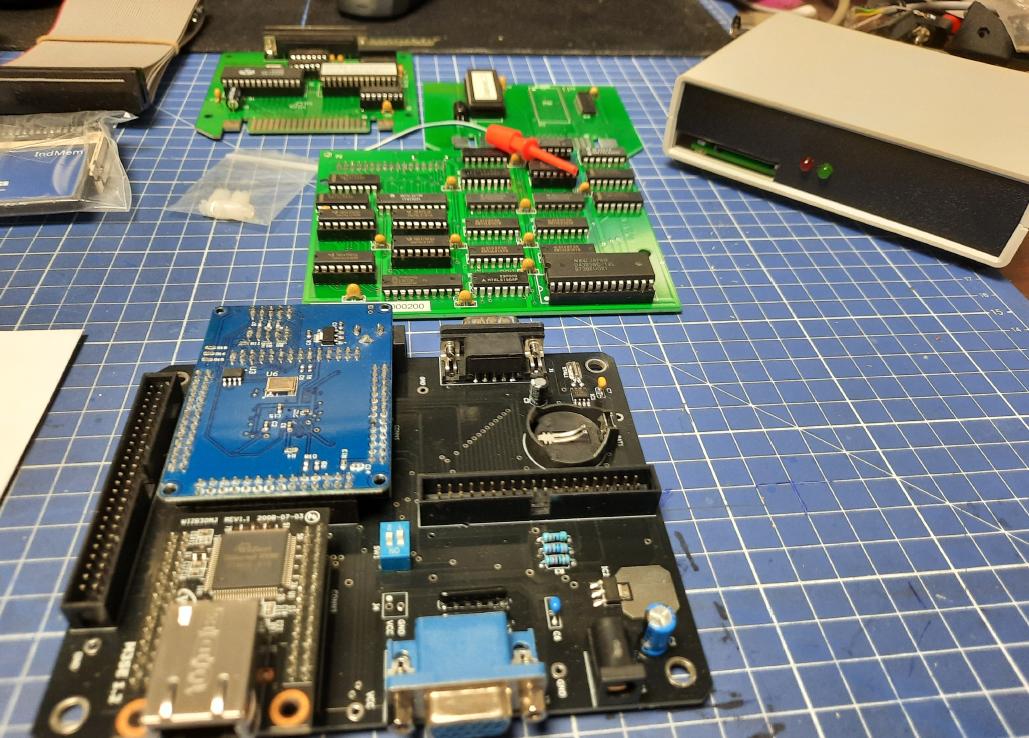
Well, there are a few main upgrades shown in the pics above.
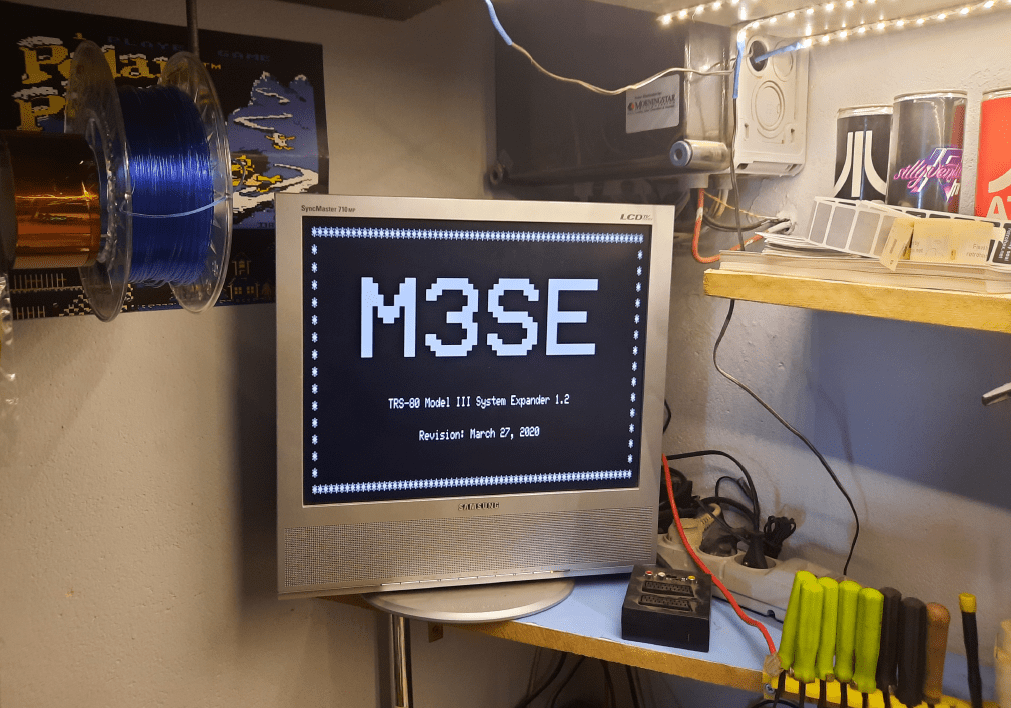
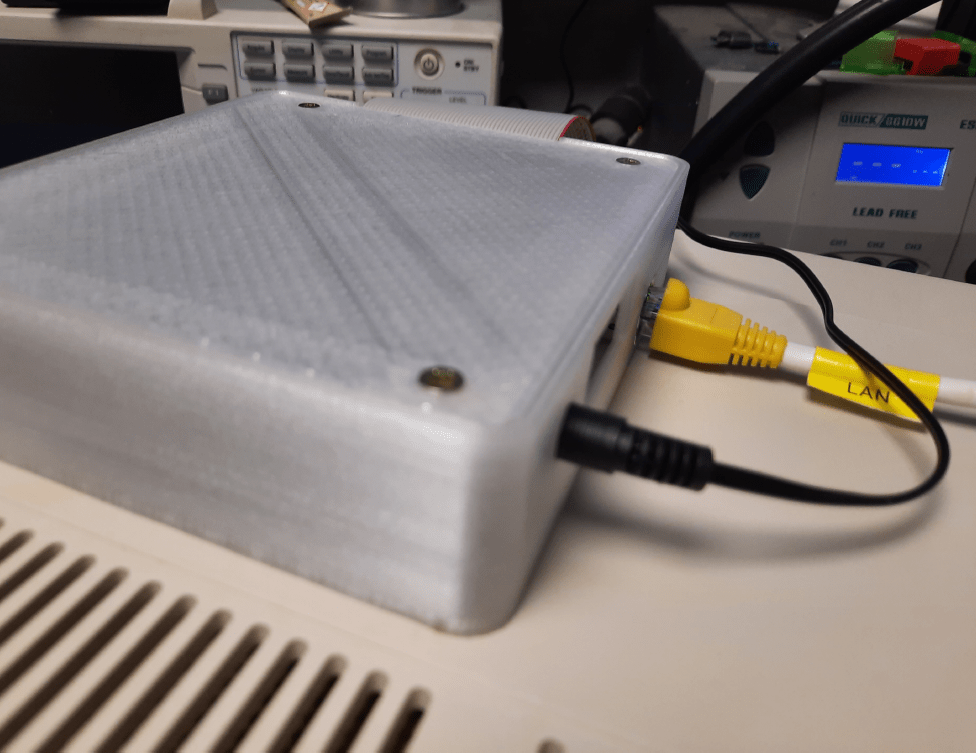
We didn’t use FreHD for this particular project (left for other projects) but we’ve used M3SE but I had to pimp it a bit first.
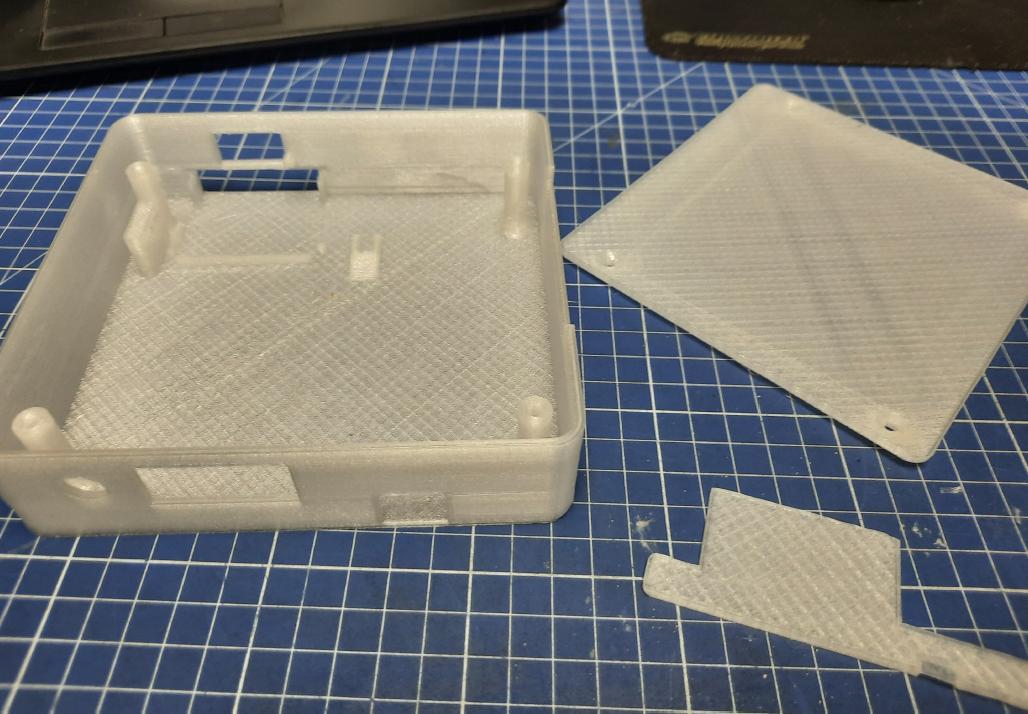
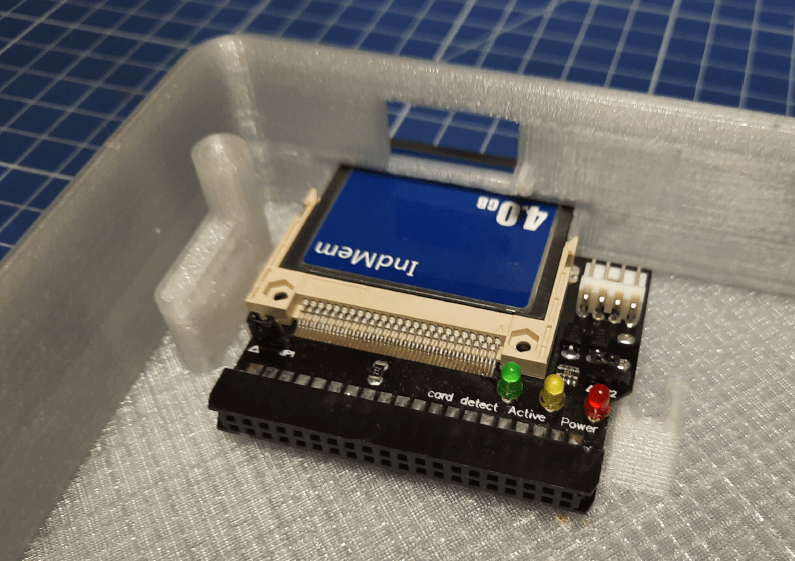
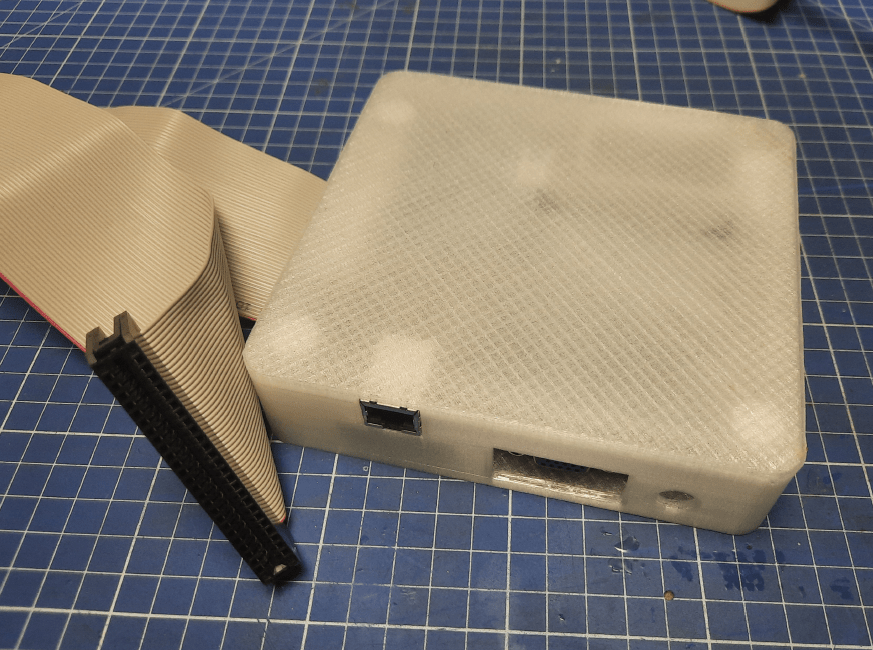
First of all, I had to 3D print a case for it. The model is already out there on thingiverse.com. That part was easily done.
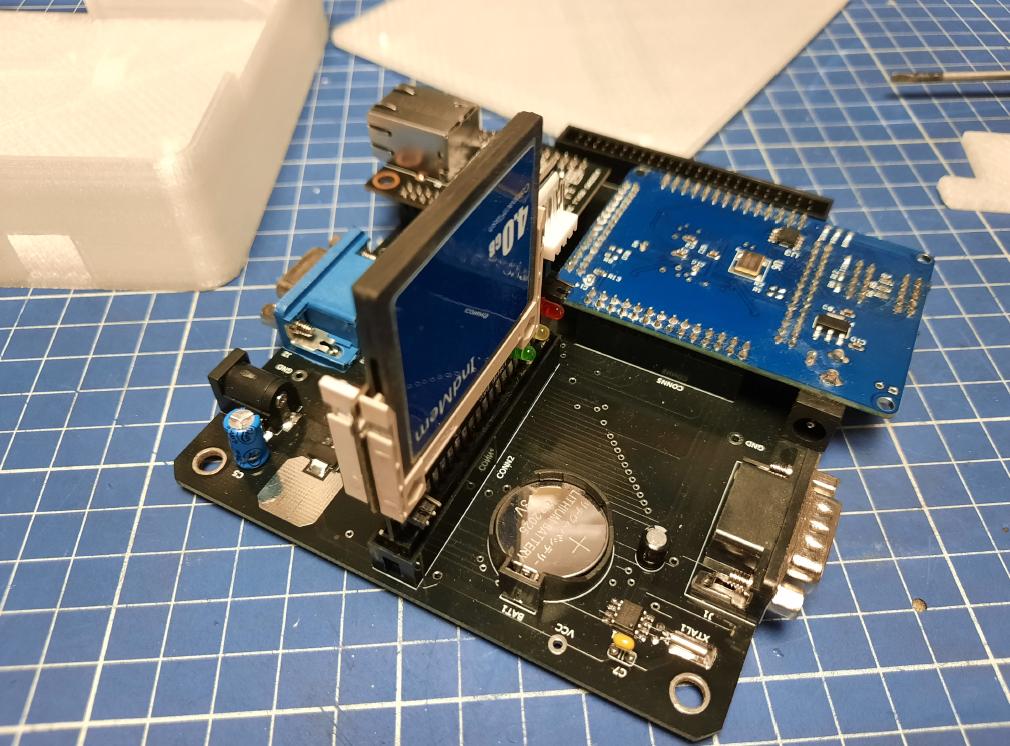
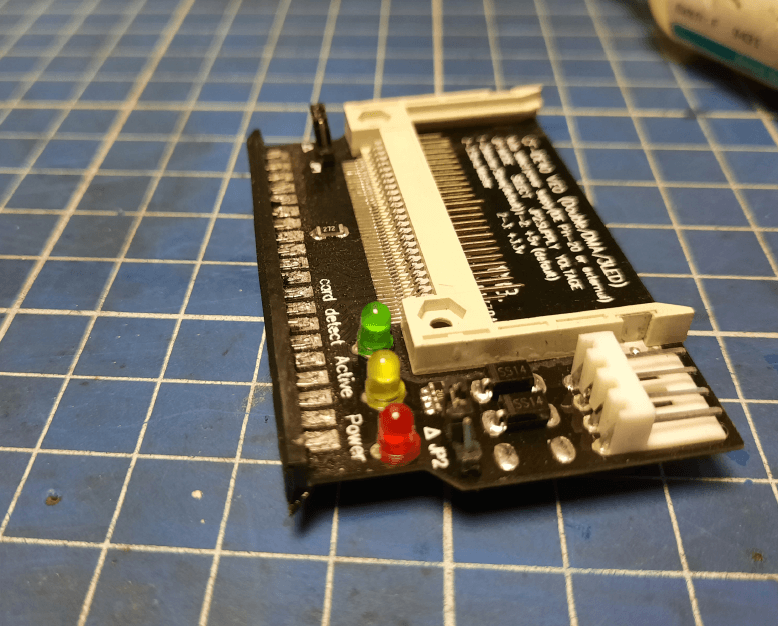
However, the CF card reader that I had, had a female connector and this didn’t fit as I would like it to fit.
We’ve needed to modern/retro hax it 😉
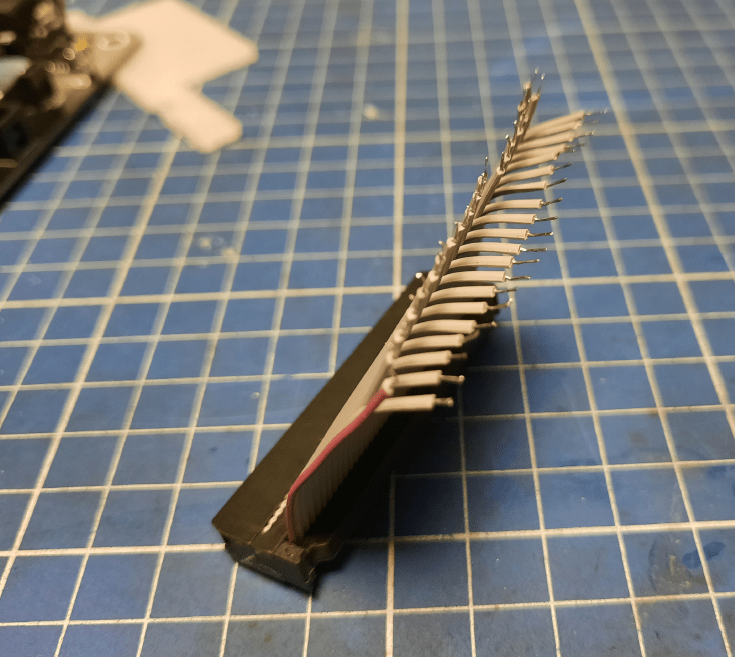
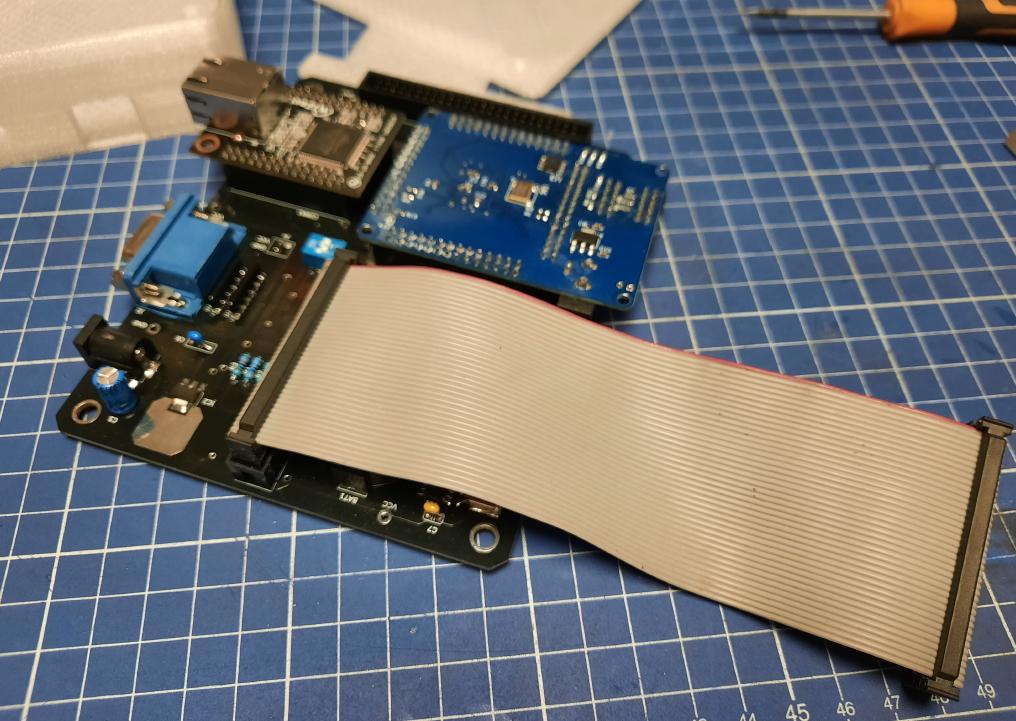
Removing the original socket is a bit hard but doable. I did it by trimming it on a grinder and then removing plastic along with pins with a soldering iron.
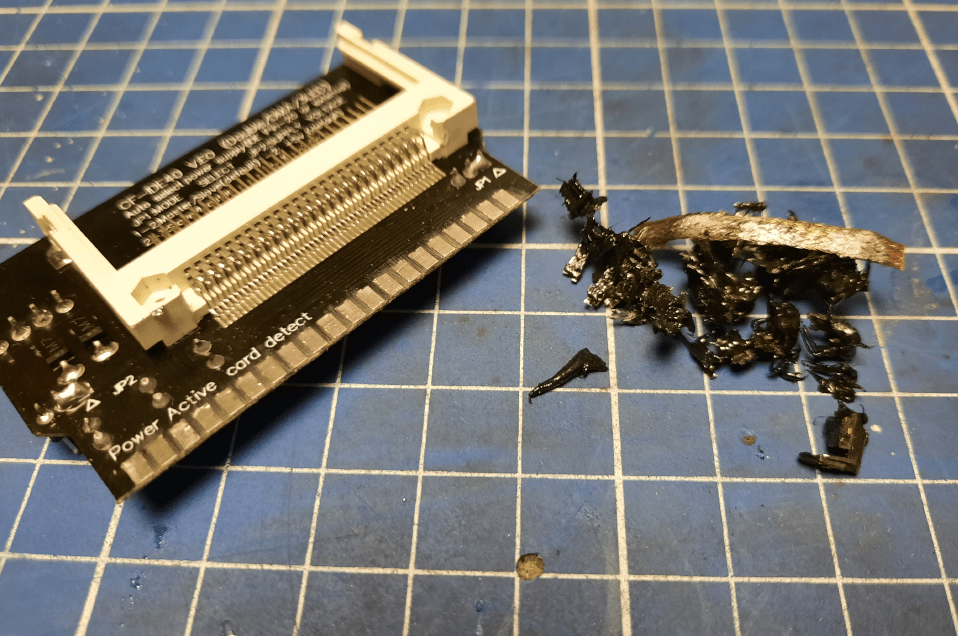
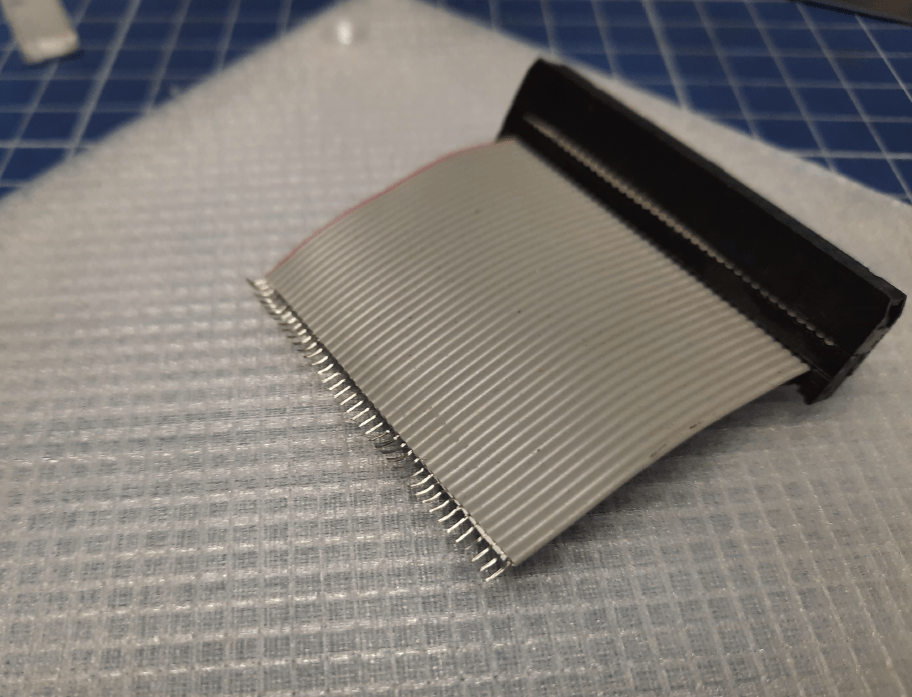
Next, I had to reconnect it with a previously prepared ribbon wire.
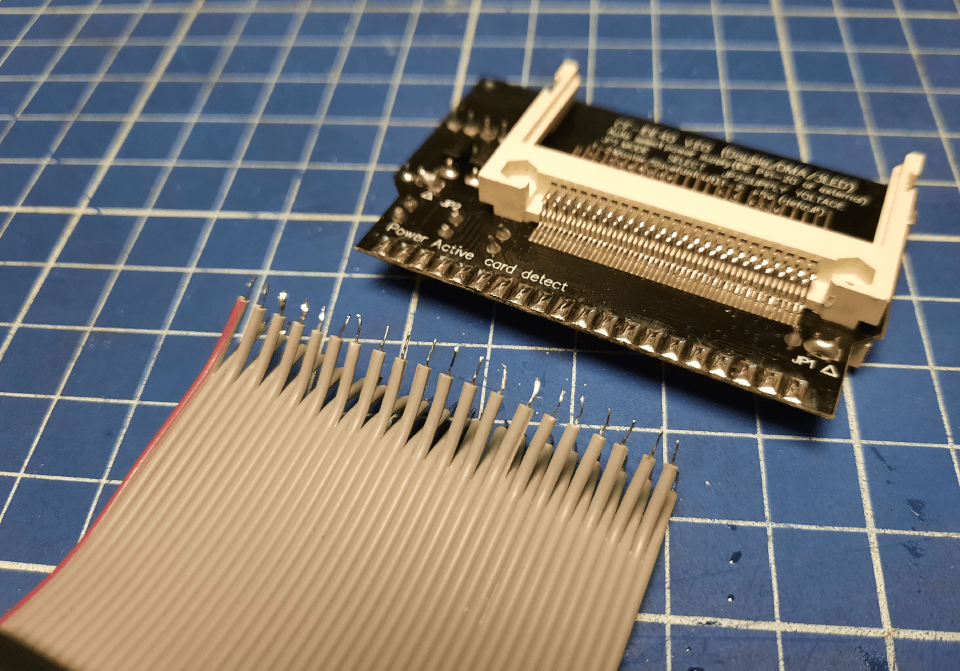
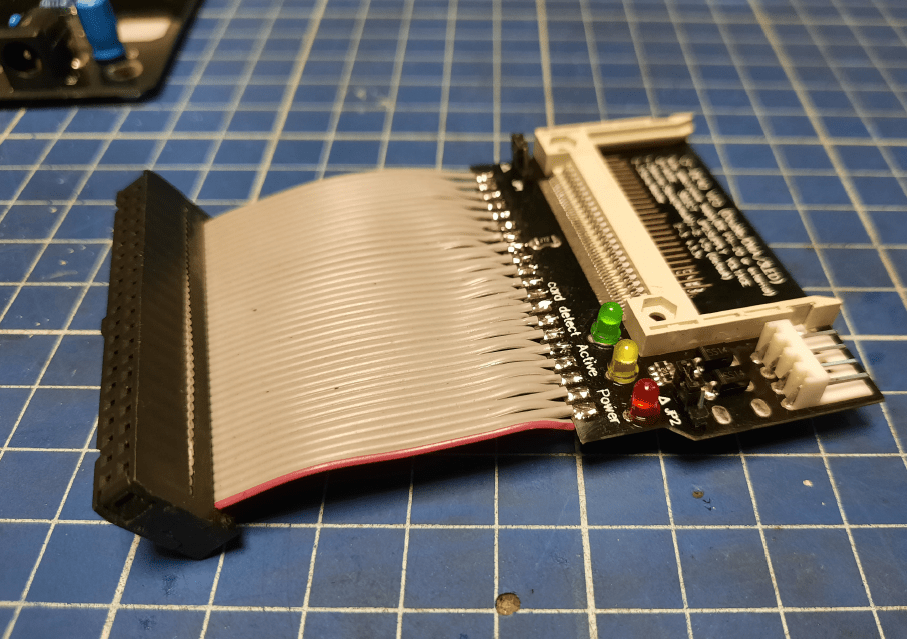
Then, I realized that I had to swap it to the other side to fit holes in the case. That was easily done by removing the top part of the ribbon wires IDC plug.
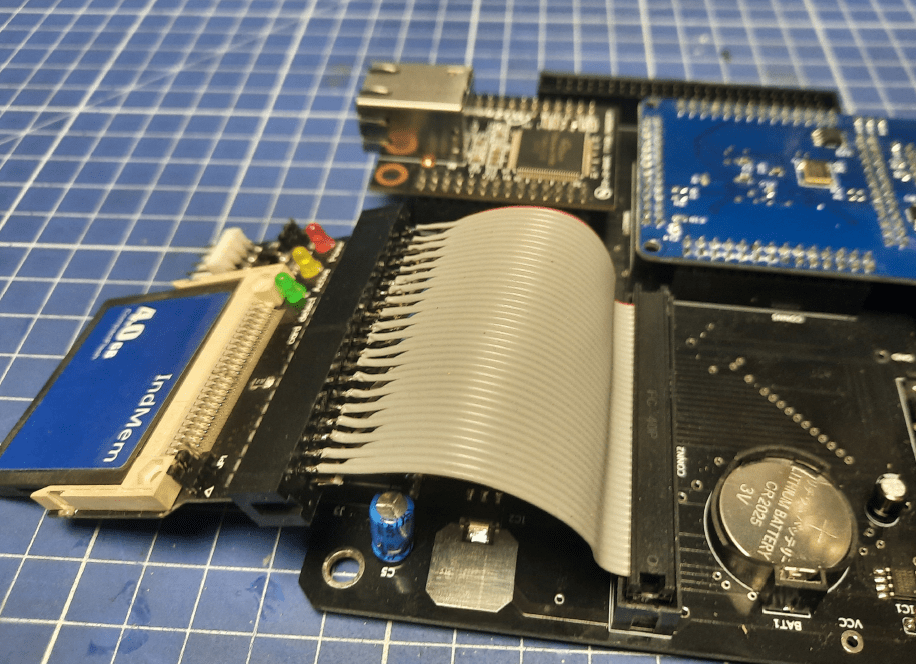
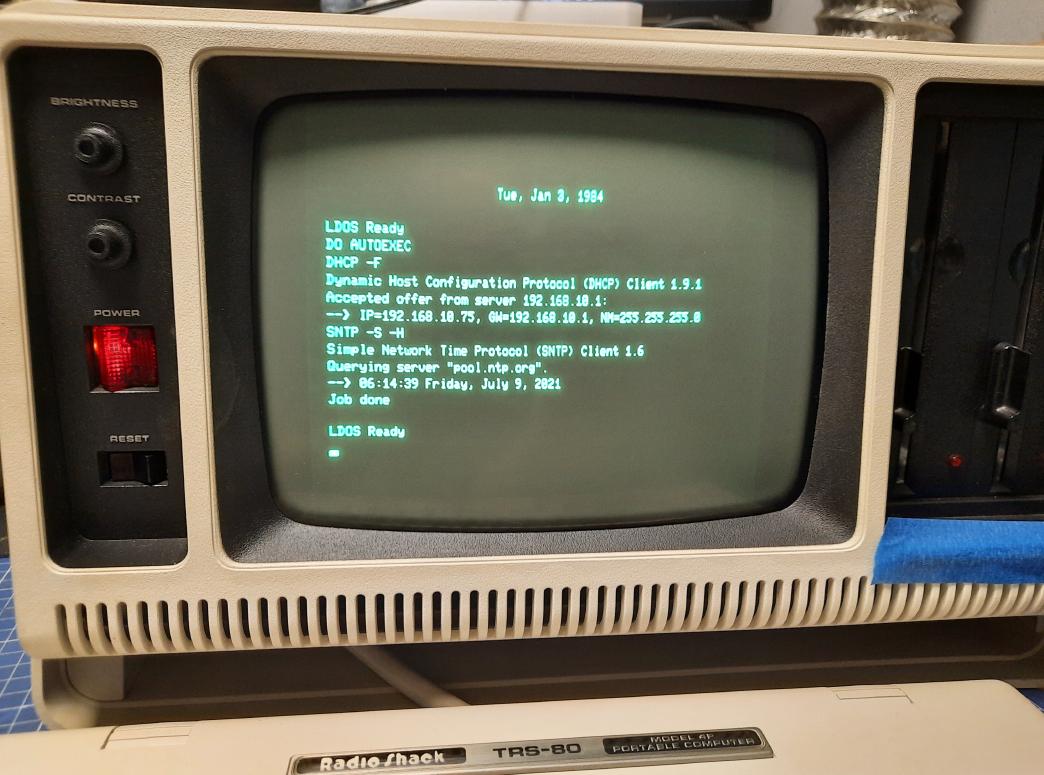
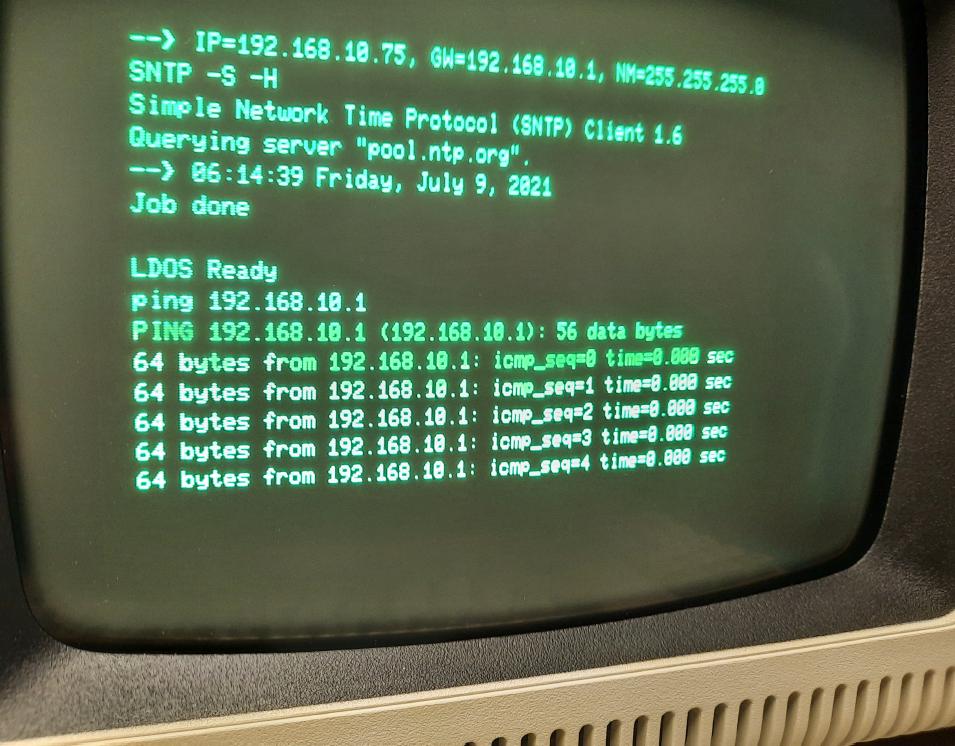
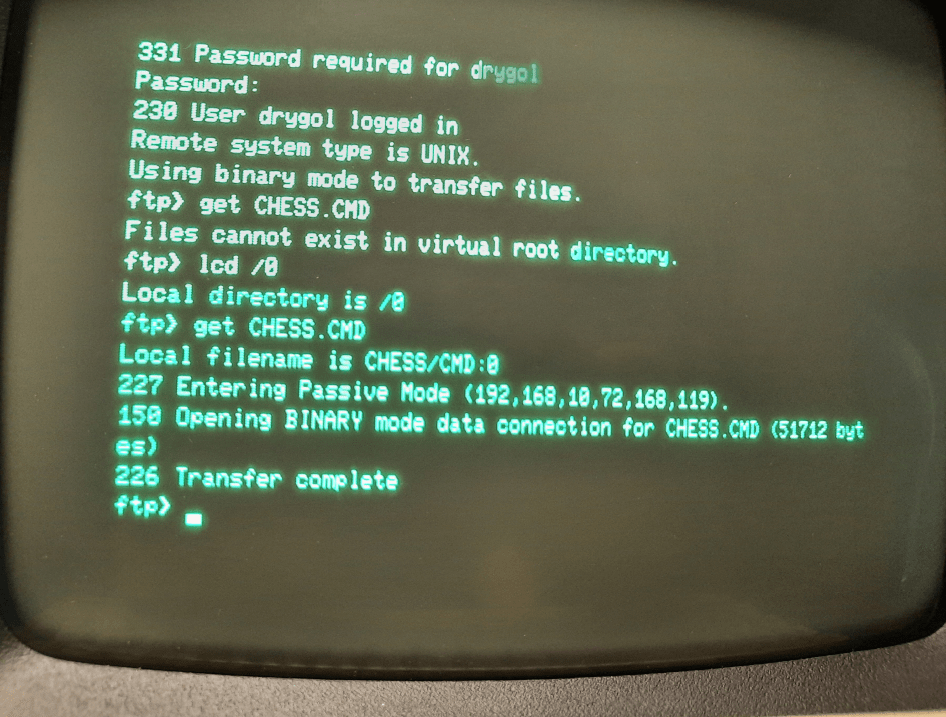
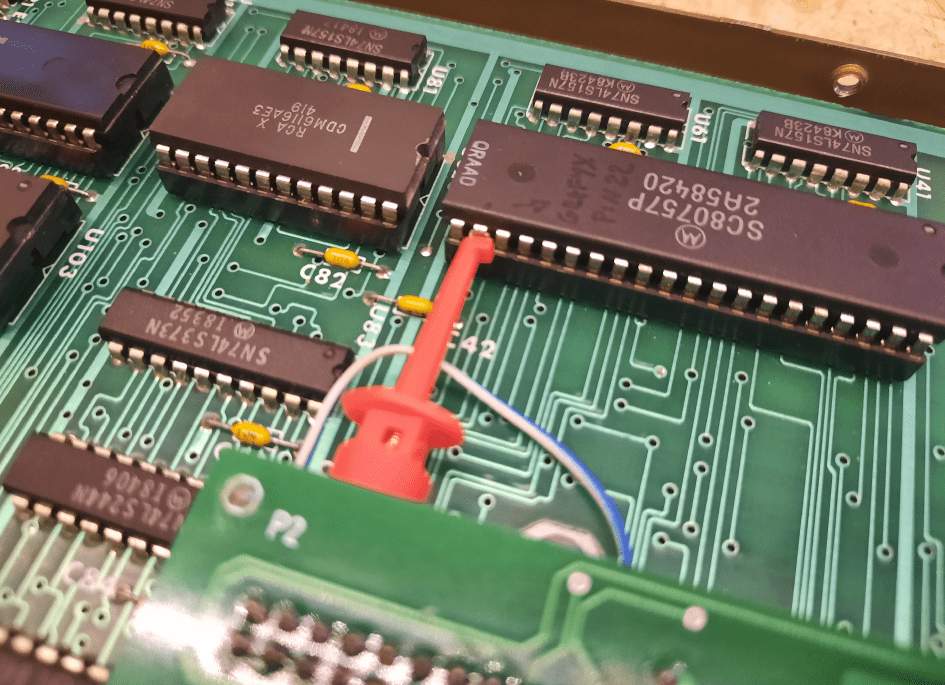
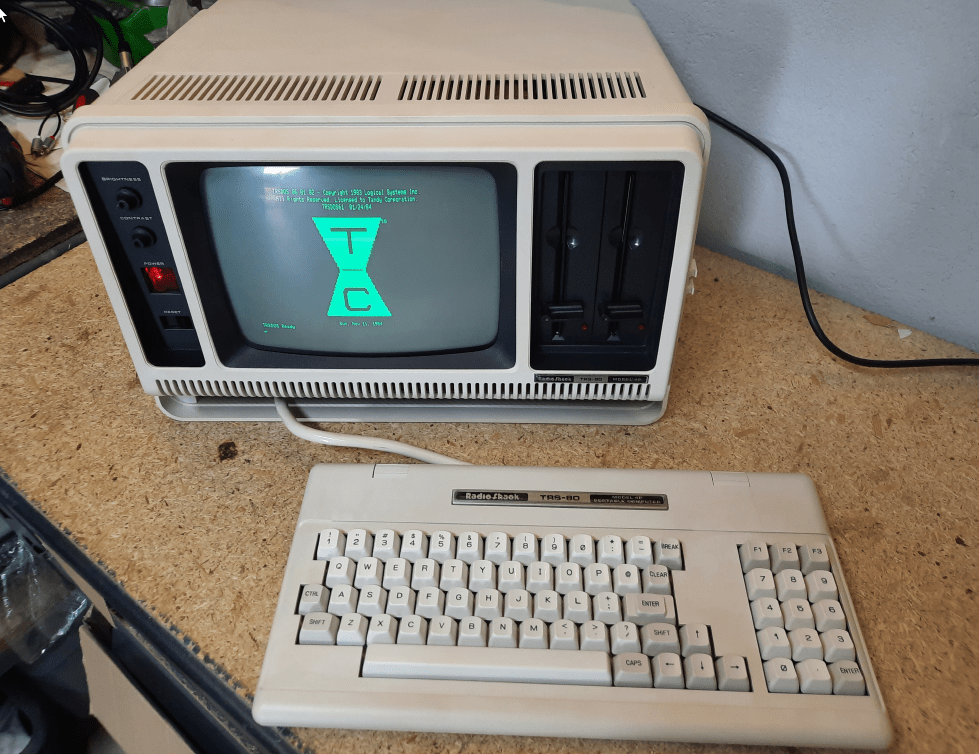
Fortunately, cleaning all sockets of a CPU/RAM card with IPA resulted in a working machine so I could test M3SE without issues and I must say that the mod works flawlessly. VGA connector and LAN work as expected without any issues … to my great surprise 😀
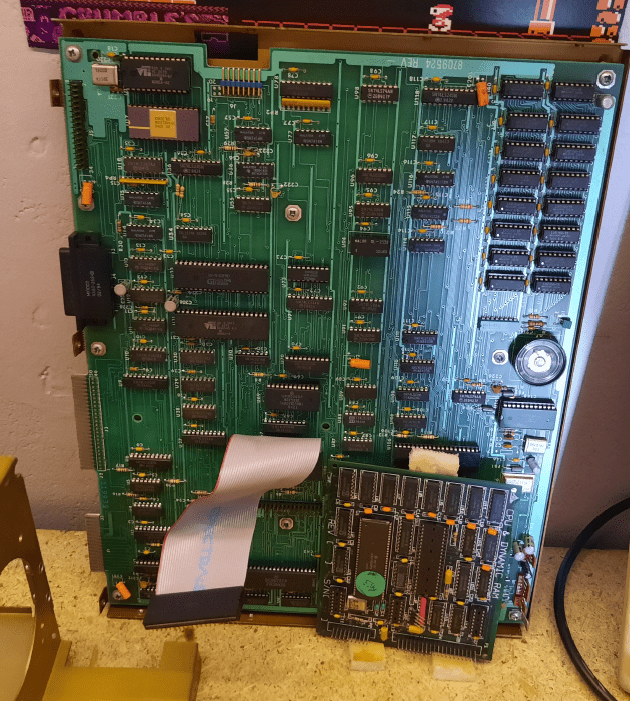
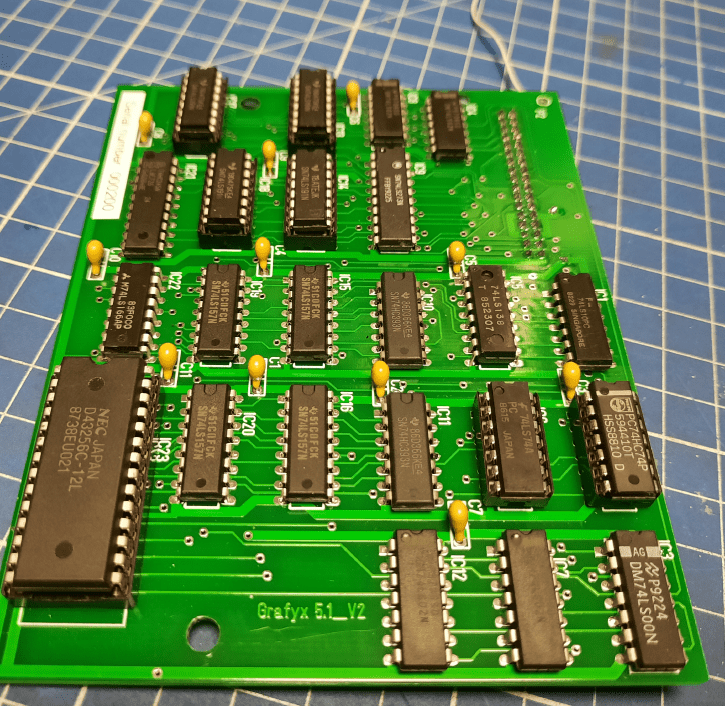
The Grafyx card
Now, to be honest, I don’t remember how I did all that. I do write my posts with a long delay but this one is very long and I seriously cannot remember what exact steps I took. I’ll do my best though 😉
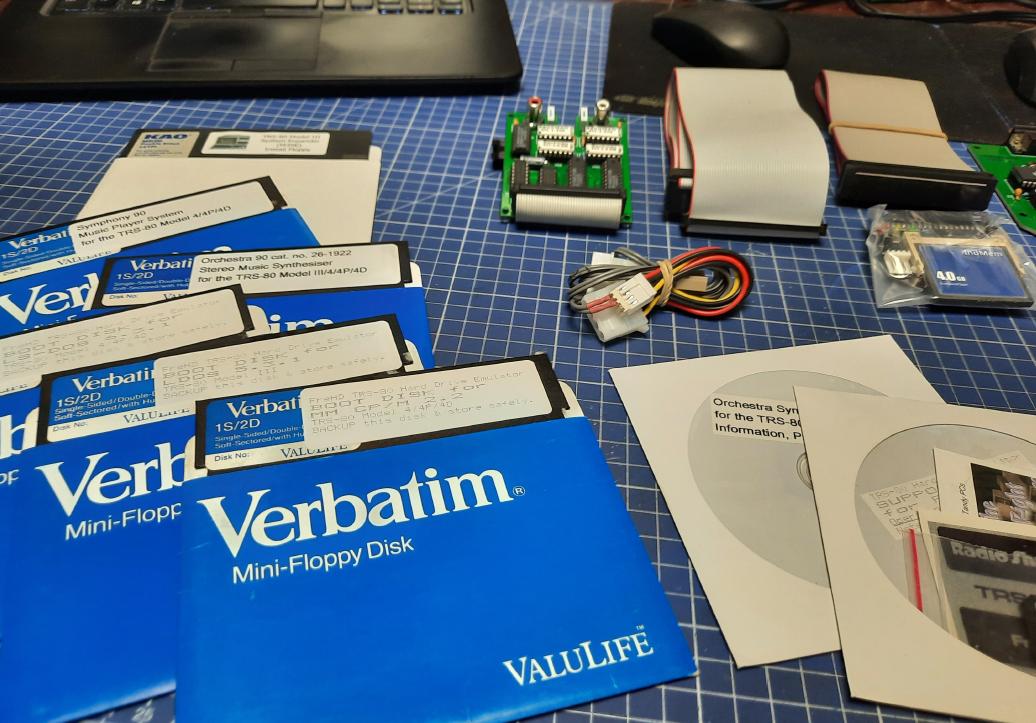
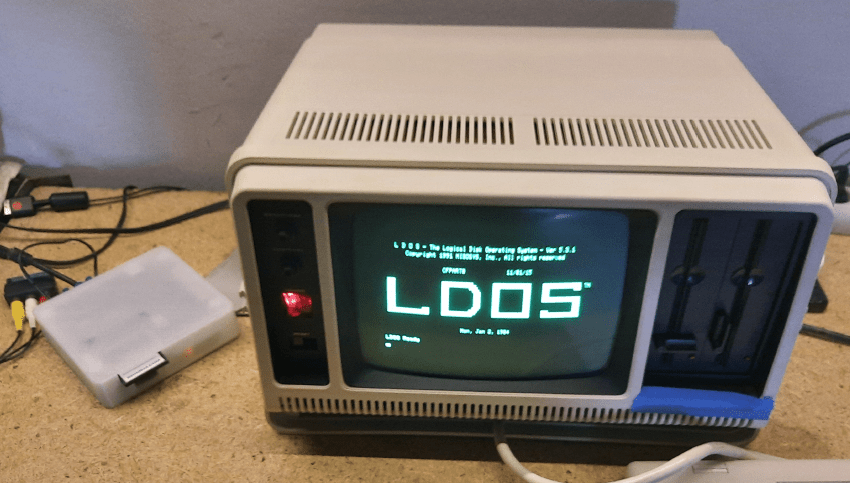
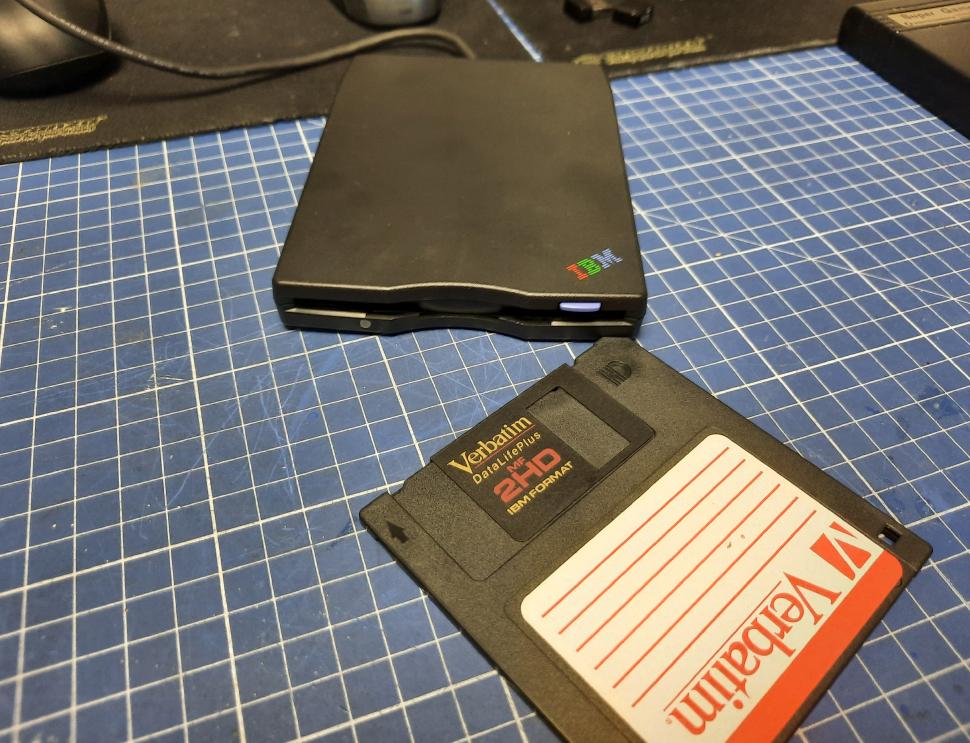
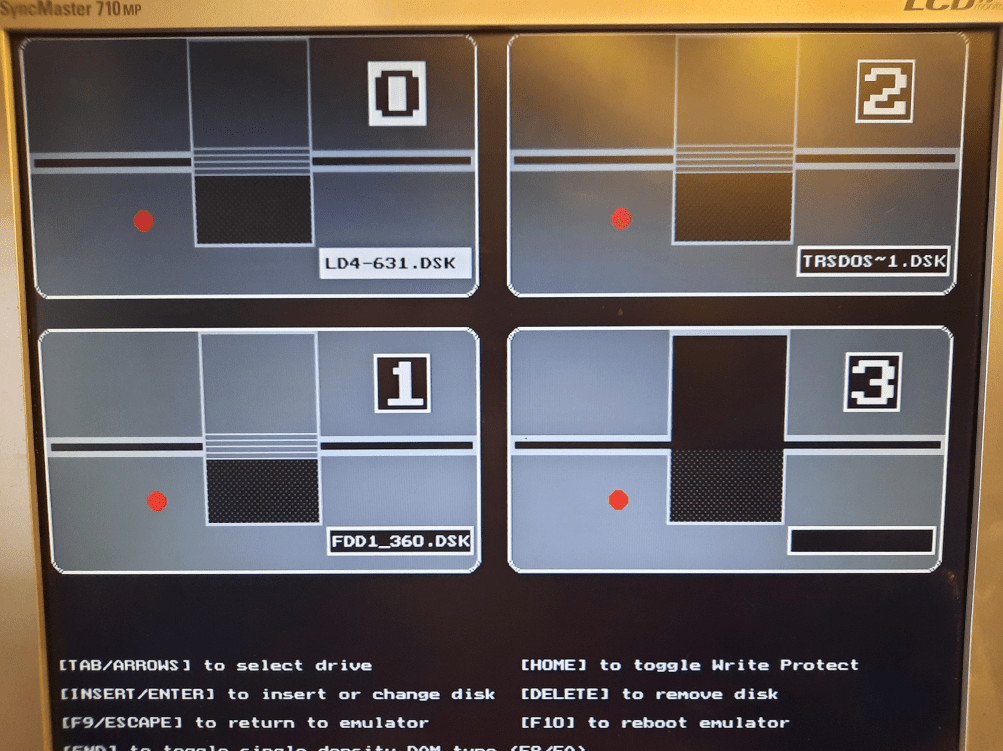
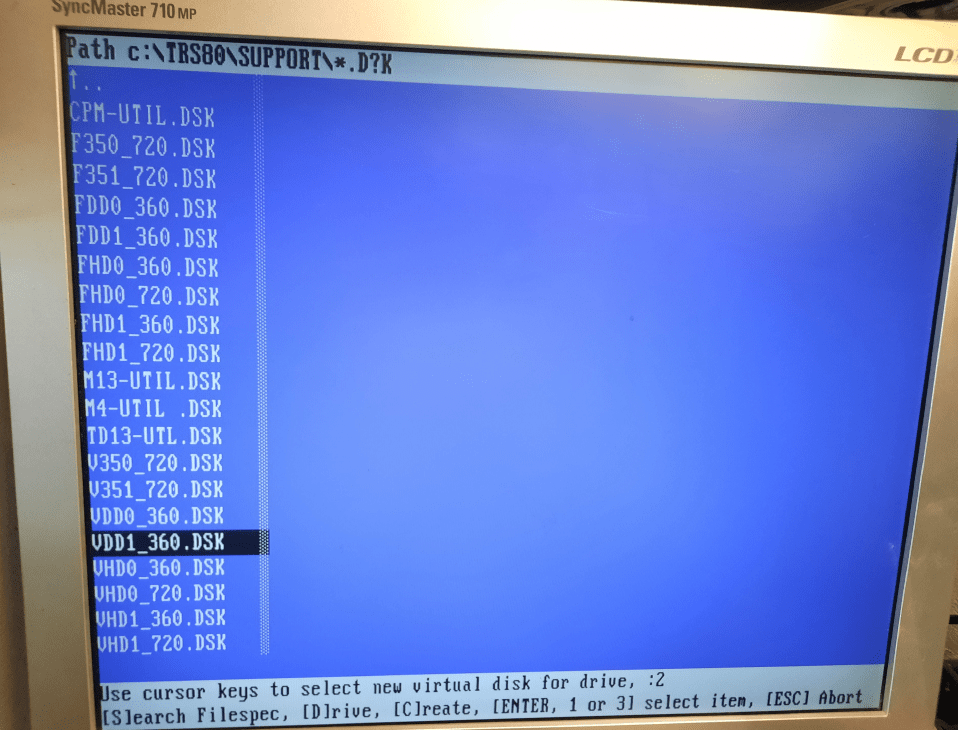
I remember that I had to use the TRSDOS disk instead of the LDOS booted from M3SE as it had all the software ready to test the Grafyx, but since an alternative medium was only a 5.25″ floppy, I had to create one. I did it with a 368 PC with a 5.25″ 360K drive that I had on the shelf. It turned out to be a pretty complicated task as I needed a TRS-80 emulator and a proper drive to “burn” a TRS-80-ready floppy.
I’ve spent quite a few days on this problem.
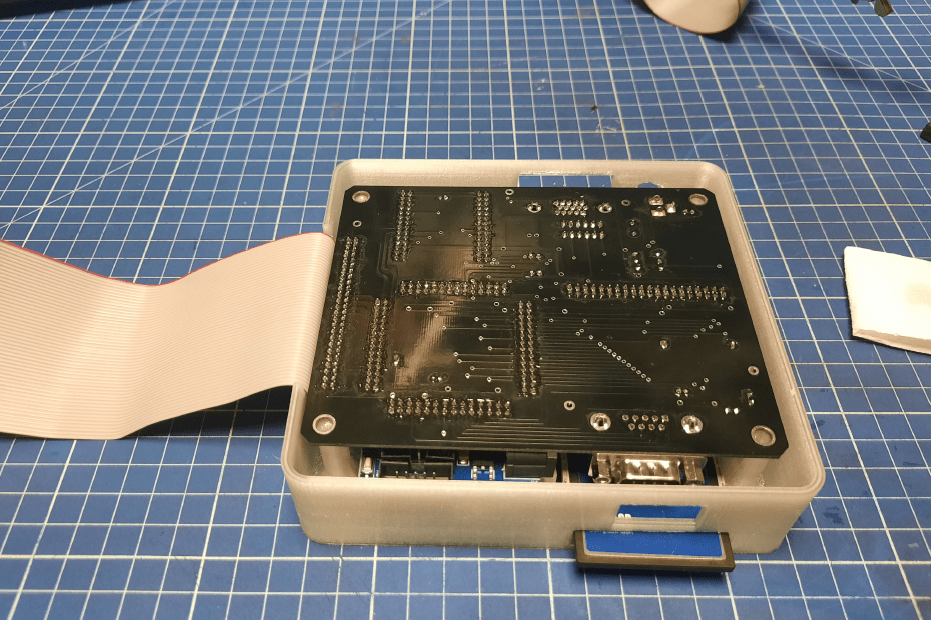
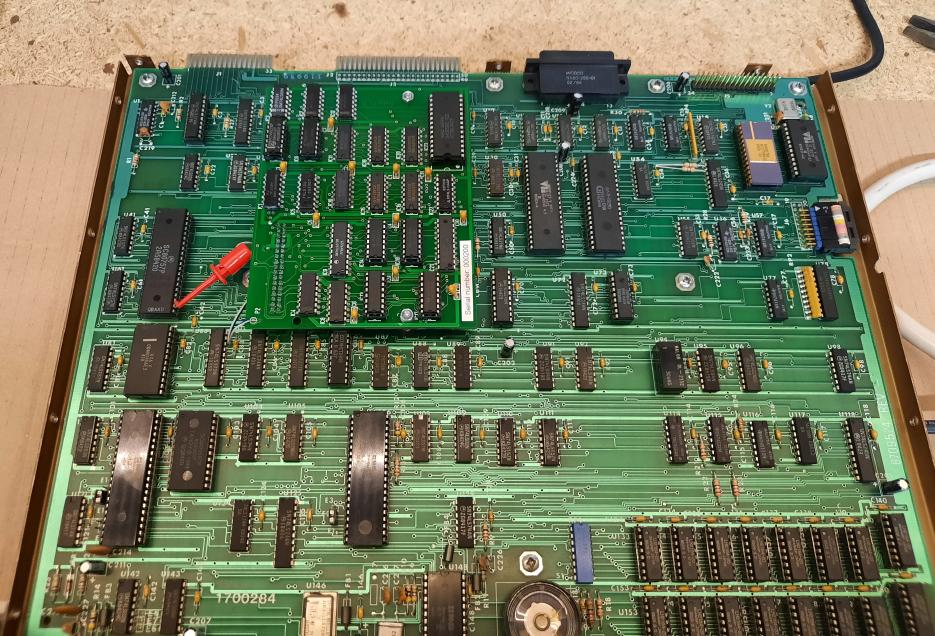
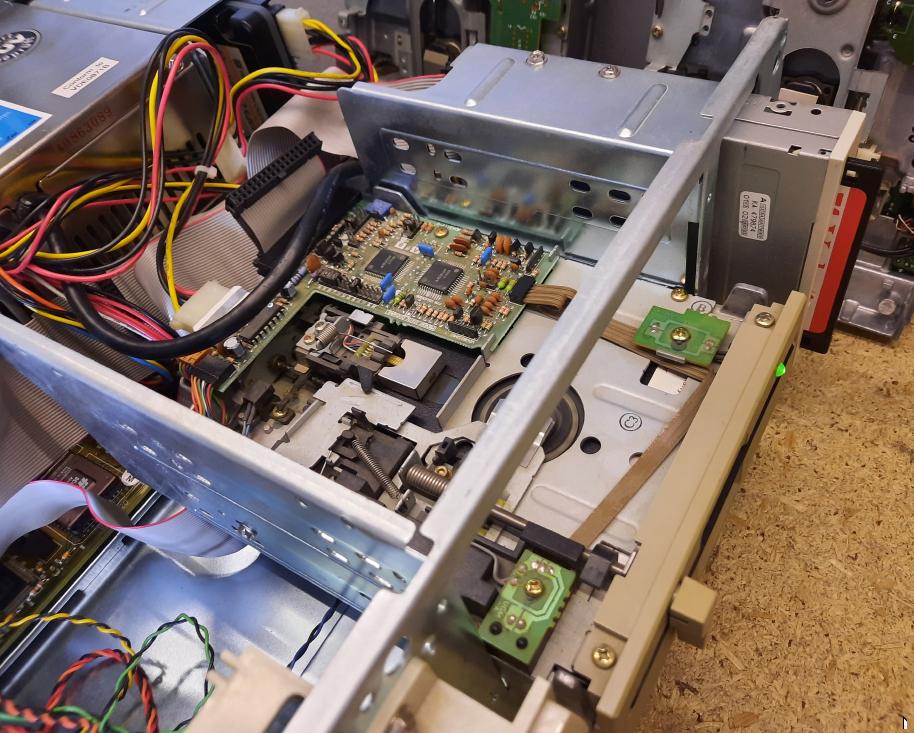
First of all, I had to install the card. This is a pretty simple task and this is how I did it.
I’ve used a 3mm bolt with 3 nuts to hold the card in place

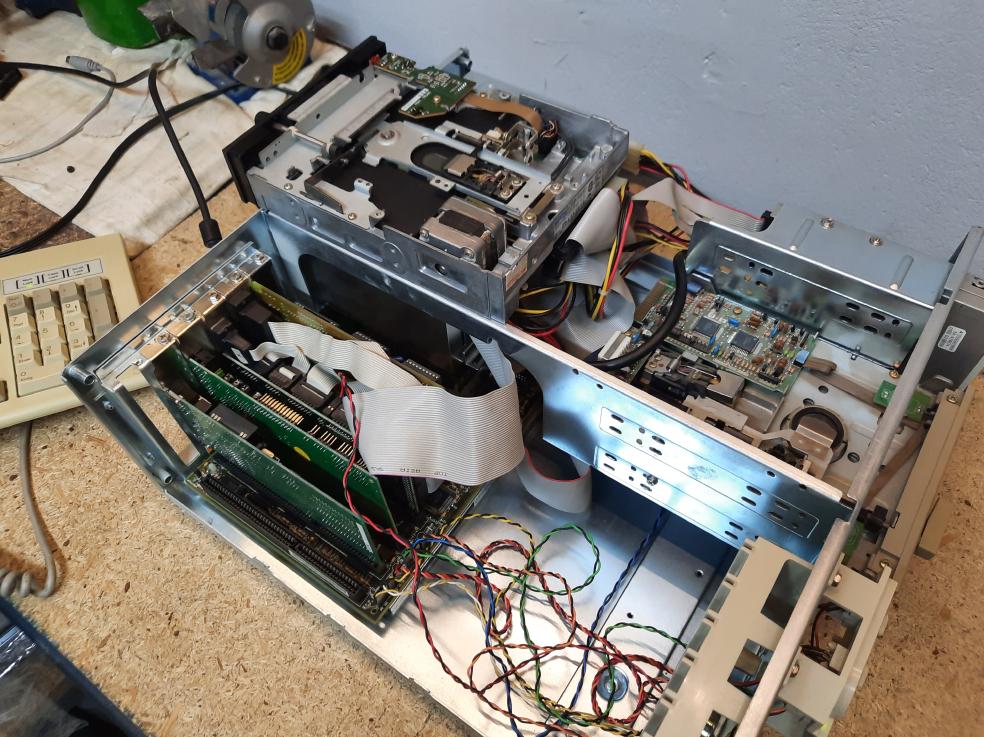
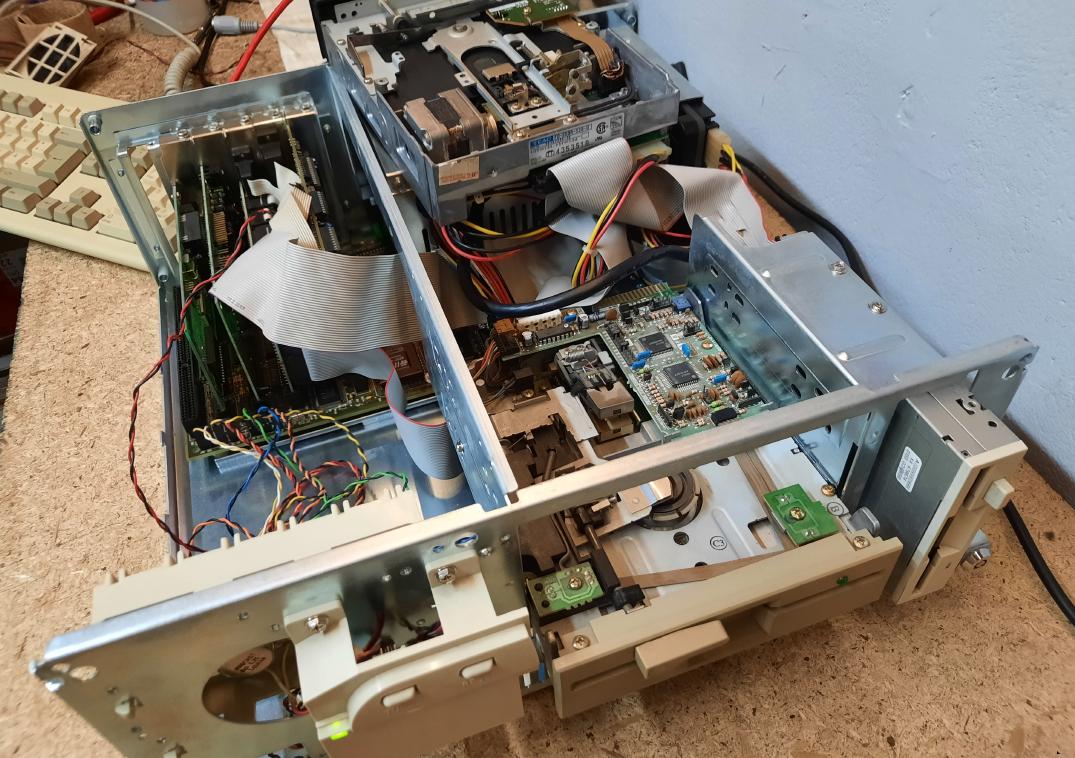
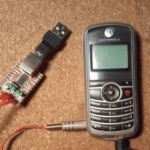
The idea was to use a 386 PC with two drives, 3.5″ 1.44M and 5.25″ 360K, and use them under an old DOS TRS-80 emulator. I’ve written image dumps onto a 3.5″ floppy under Linux to a 3.5″ floppy disk. Then used an emulator to copy over its contents to a 5.25″ disk.
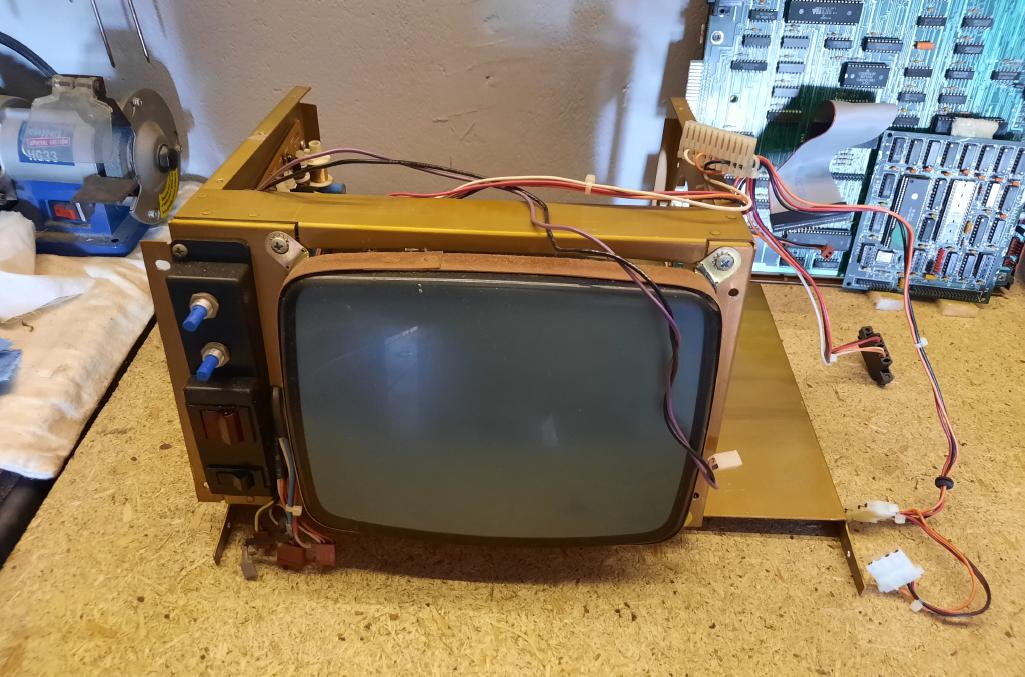
With the help of an old 386 PC
Below, is a workbench with this setup … a bit blurry pic sorry 🙁

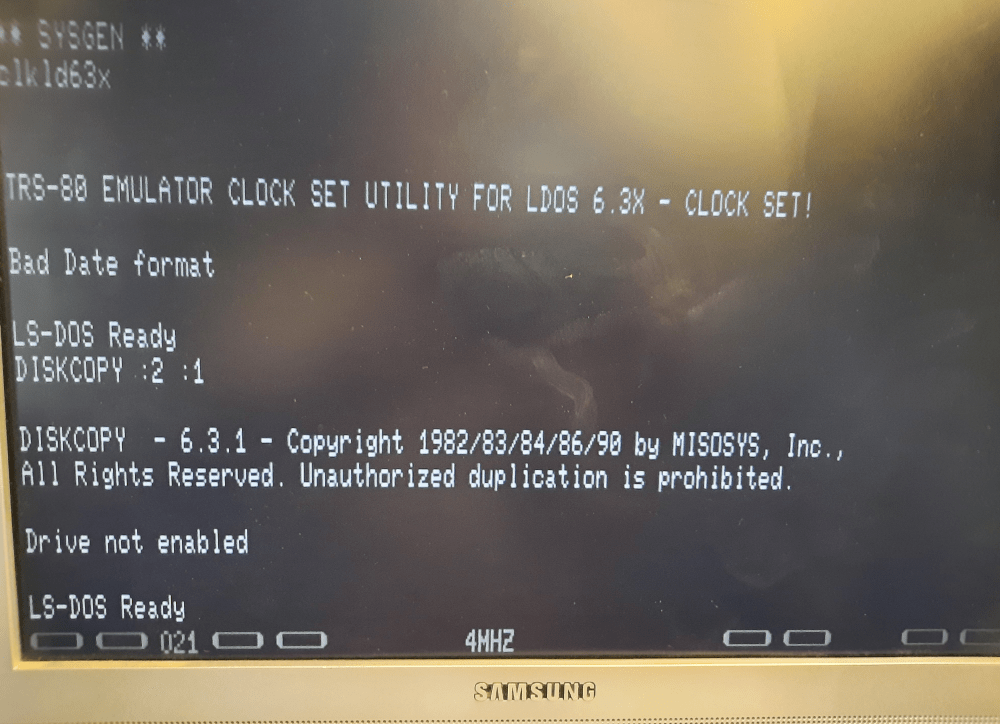
The idea was quite ok but the problem was that it simply didn’t work. 5.25″ floppies ‘burned’ that way, just didn’t work on the real HW – TRS-80 4P 🙁
I must admit that I’ve spent quite a while (days) being a noob in the TRS world. This was quite a lesson. Always remember, check everything BY YOURSELF instead of blindly believing in what the Internetz says.
I’ve tried three or four different 5.25″ drives and none of the floppies that were made on those drives worked on a TRS-80. It simply didn’t recognize such floppy and didn’t boot. I was about to give up on this and figured out that I have one last 5.25″ drive that I didn’t test – a 1.2M drive that was originally fitted inside that 386 lol.
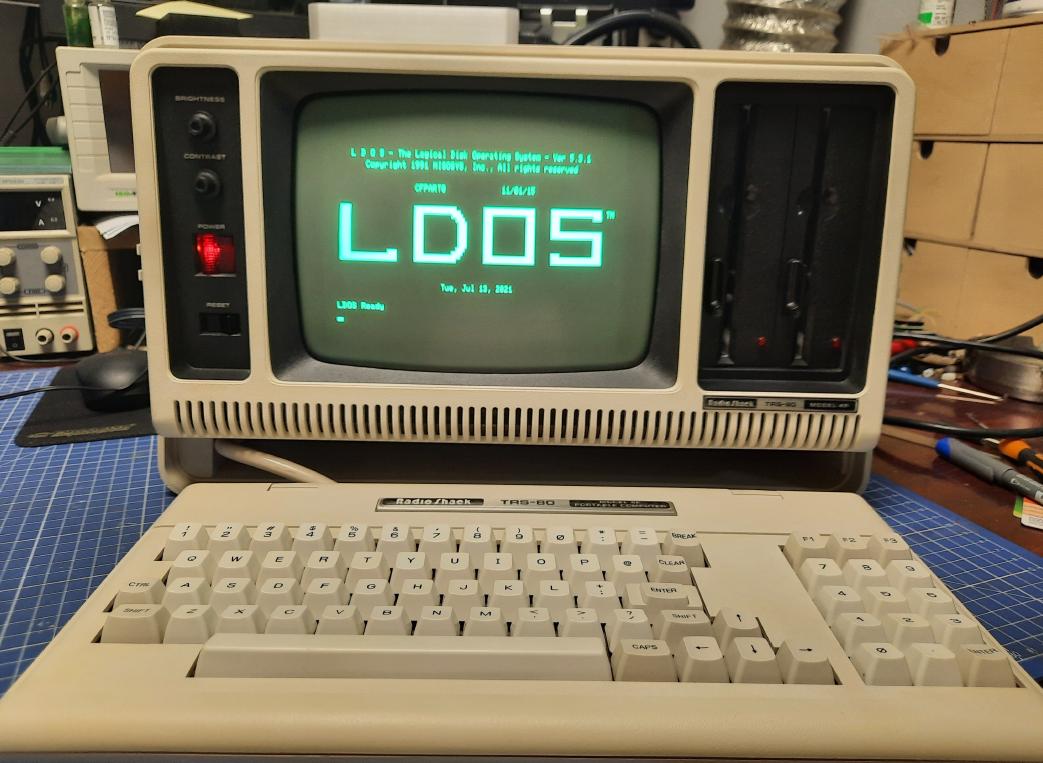
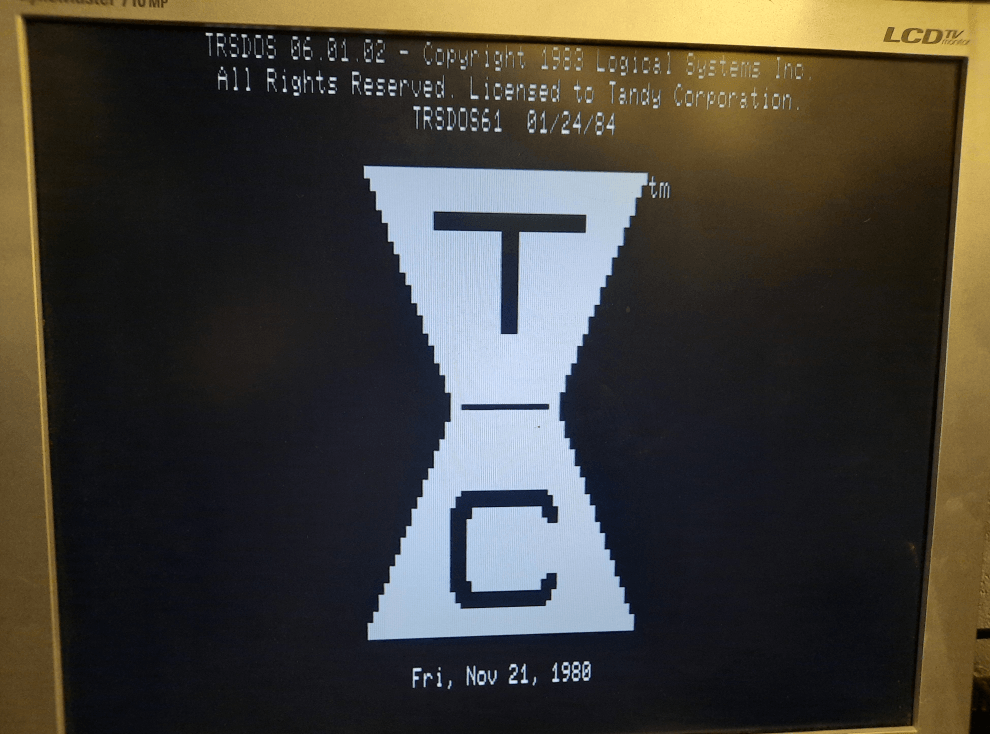
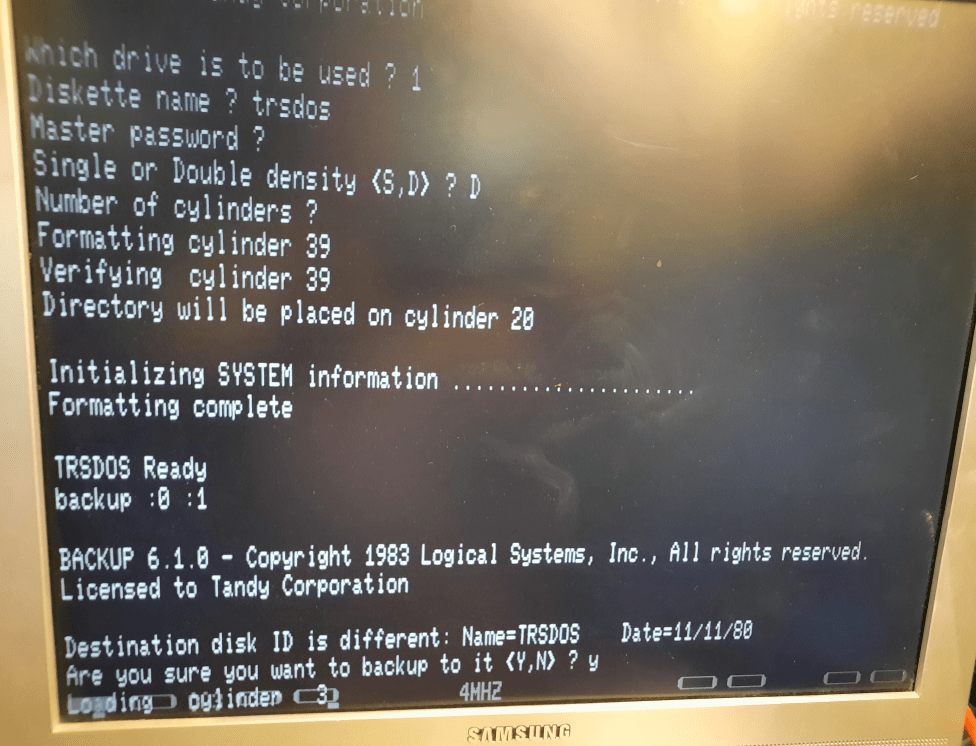
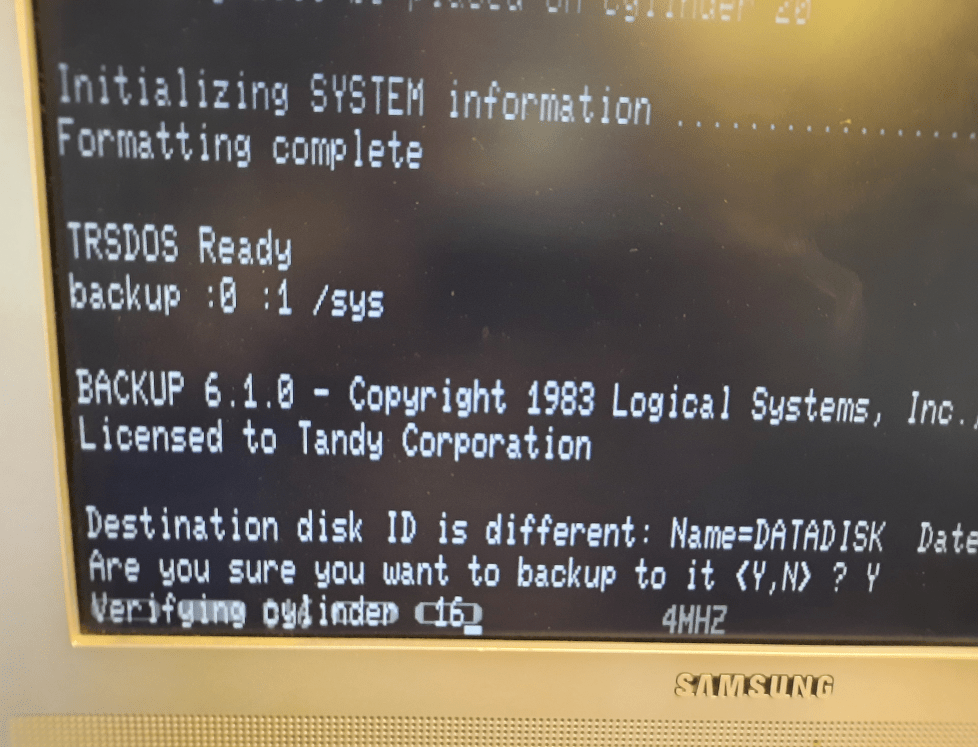
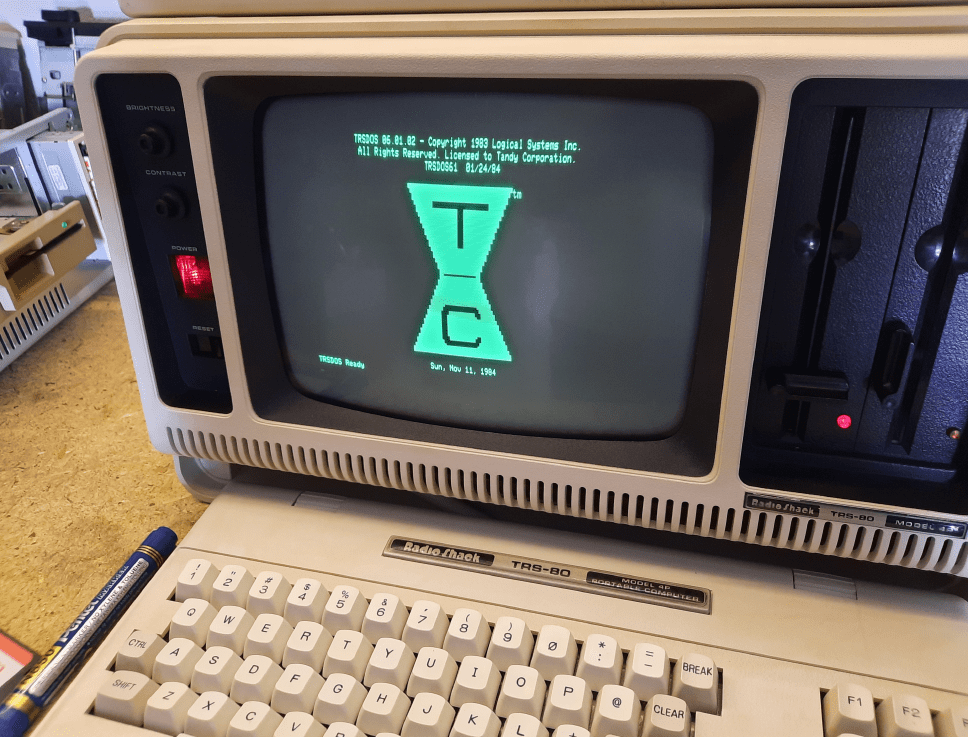
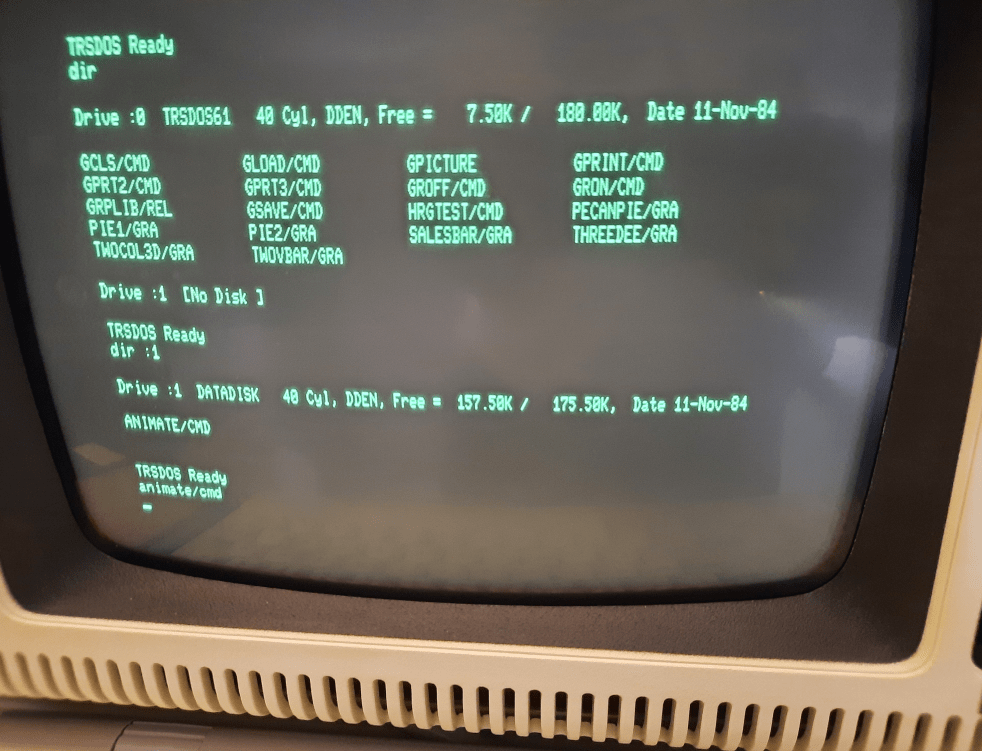
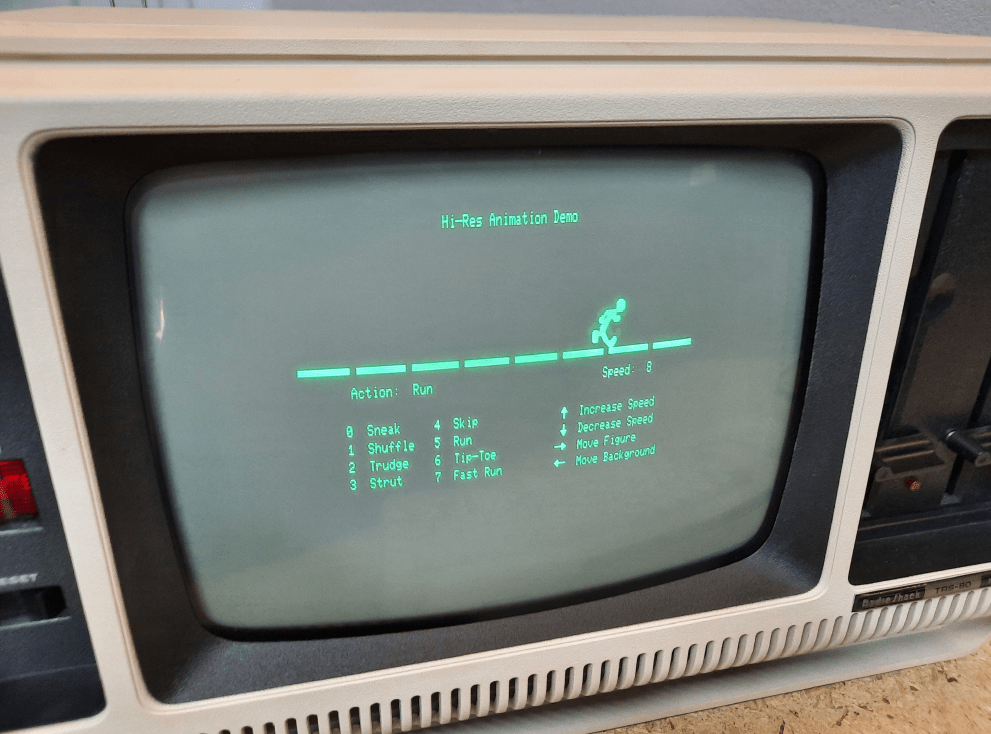
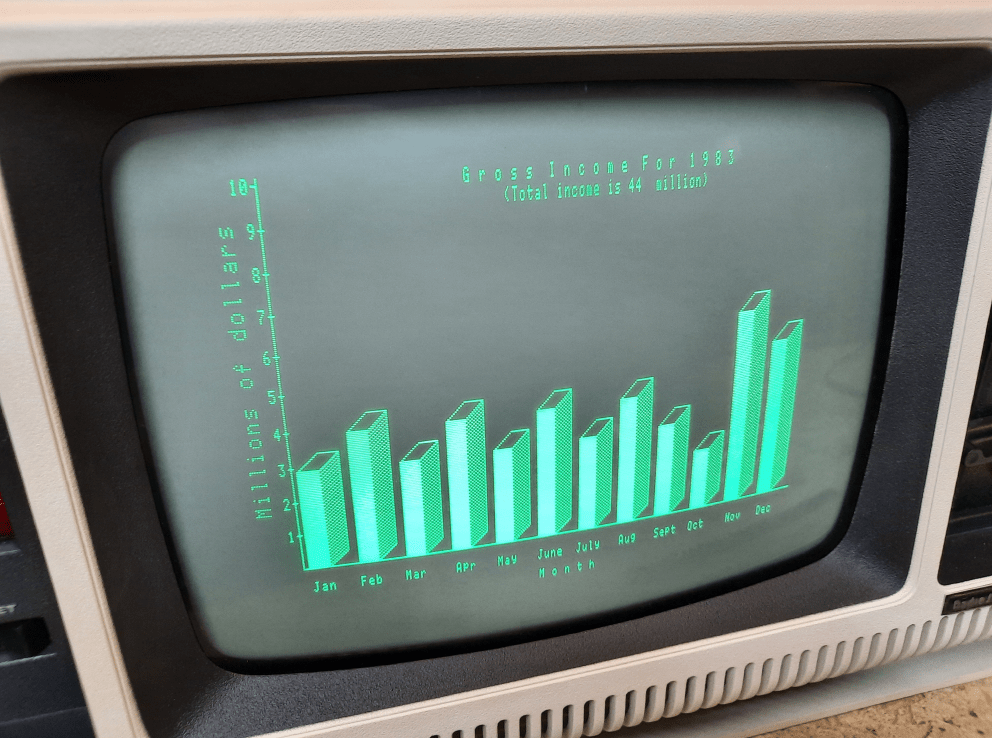
Contrary to all suggestions on the web (that I’ve found) 1.2M drive that was there, did the job perfectly, and finally, I was able to test Grafyx under TRSDOS booted from a 5.25″ floppy disk 😀
Finale
The Grafyx tests ended the electronic part of the refurb/modding and one last piece was left … the cherry on the top of this job.
Of course, I mean the original bag that was sent to the craftsman who replaced the zippers and put it all back together.
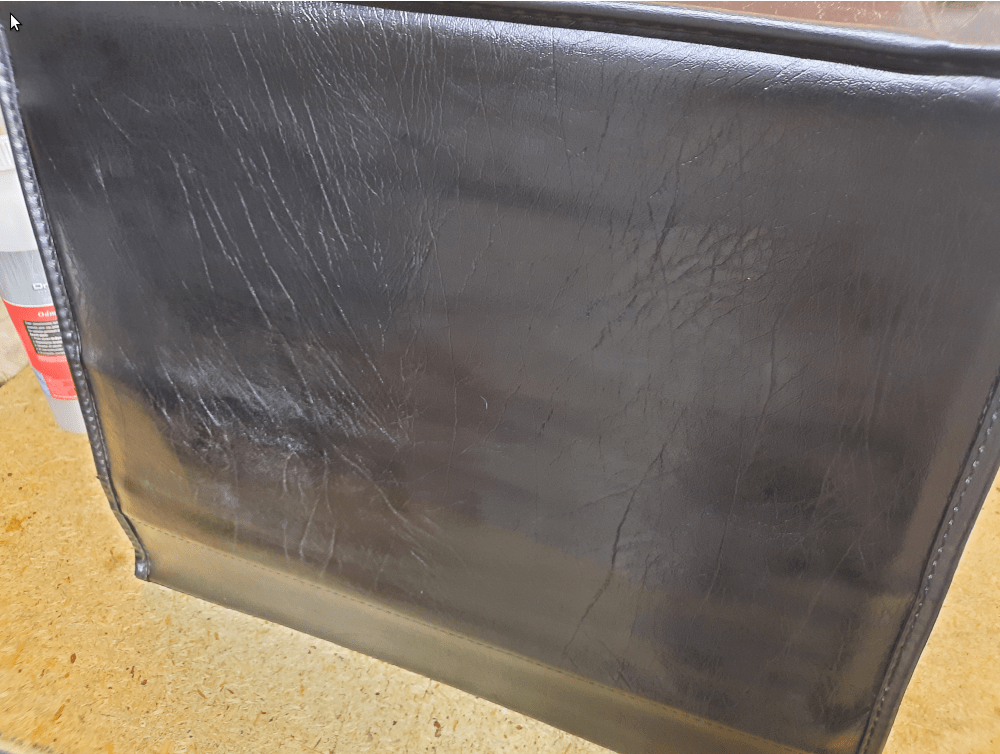
My last task was to use leather refurb chemistry and this machine was fully refurbed 🙂
Here is the outcome.

Outro
If you want to get the retro gear I am manufacturing or hardware modules, please visit shop -> https://retrohax.net/shop/
Please support my work by commenting here and on our Facebook or Twitter pages.

12 thoughts on “RadioShack TRS-80 Model 4P”