… or ginger/rusty shielding is hawt!
Intro
First of all, I need to explain this lengthy gap between posts … again. Well, this time it was caused by blog migration and fusion with retro-cloud.eu store.
A lot of good-willed friends suggested that I should merge my blog page with the existing shop for several reasons like branding, ease of management, merging audiences, etc., etc. It took quite a while but here we are….. on retrohax.net 2.0 🙂
There are still a lot of things to fix, tune and tweak left but in general … this website is finally working. YaY! 🙂
So far I’ve managed to cover restorations of three decent machines – links below.
- Episode 1 – Commodore 64
- Episode 2 – Atari 800 XL – part one
- Episode 2 – Atari 800 XL – part two
- Episode 3 – Commodore 116
This is the fourth episode of the extreme series. Don’t worry, quite a few machines waiting in a queue. Stay tuned because this series is far from the end 🙂
AMIGA 500
This specific machine was found in a large shipment of A500s that I’ve bought some time ago.
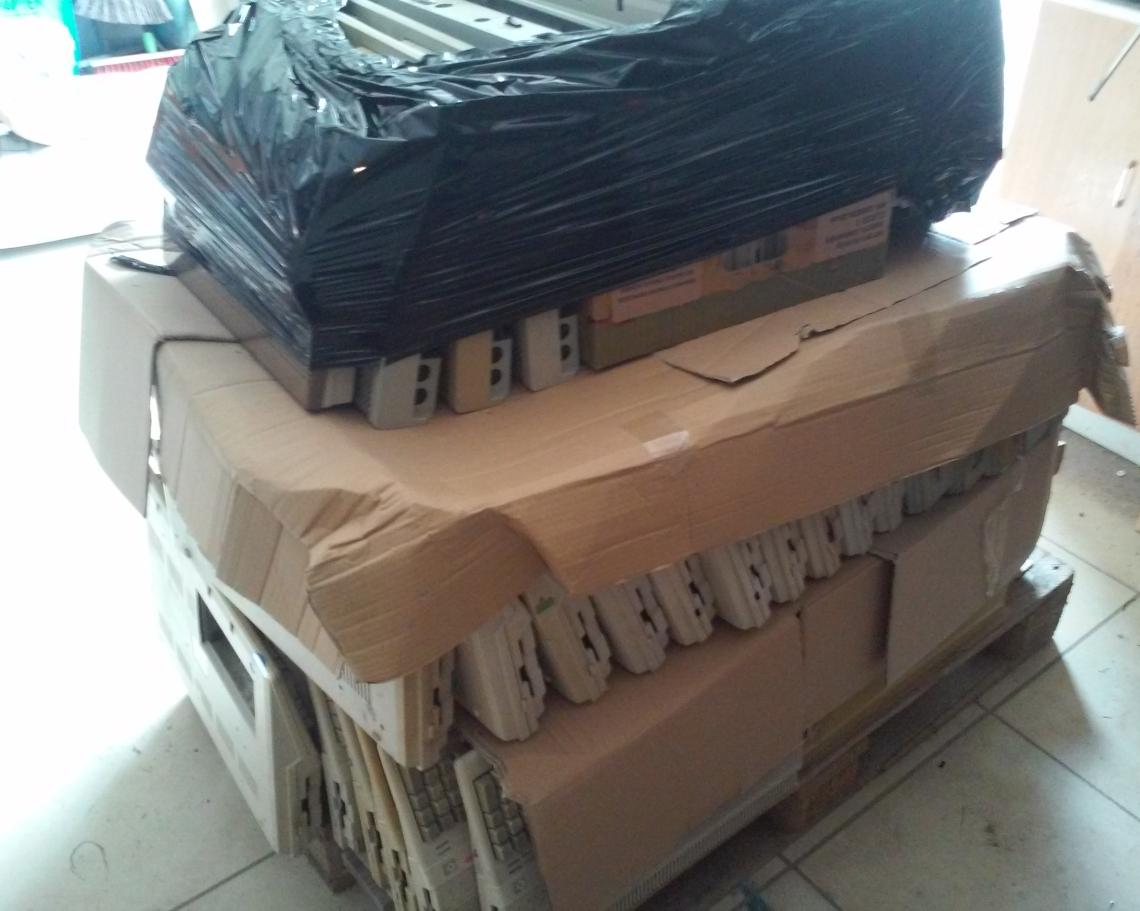
However, this unit was special. Let me show you why it was so special …
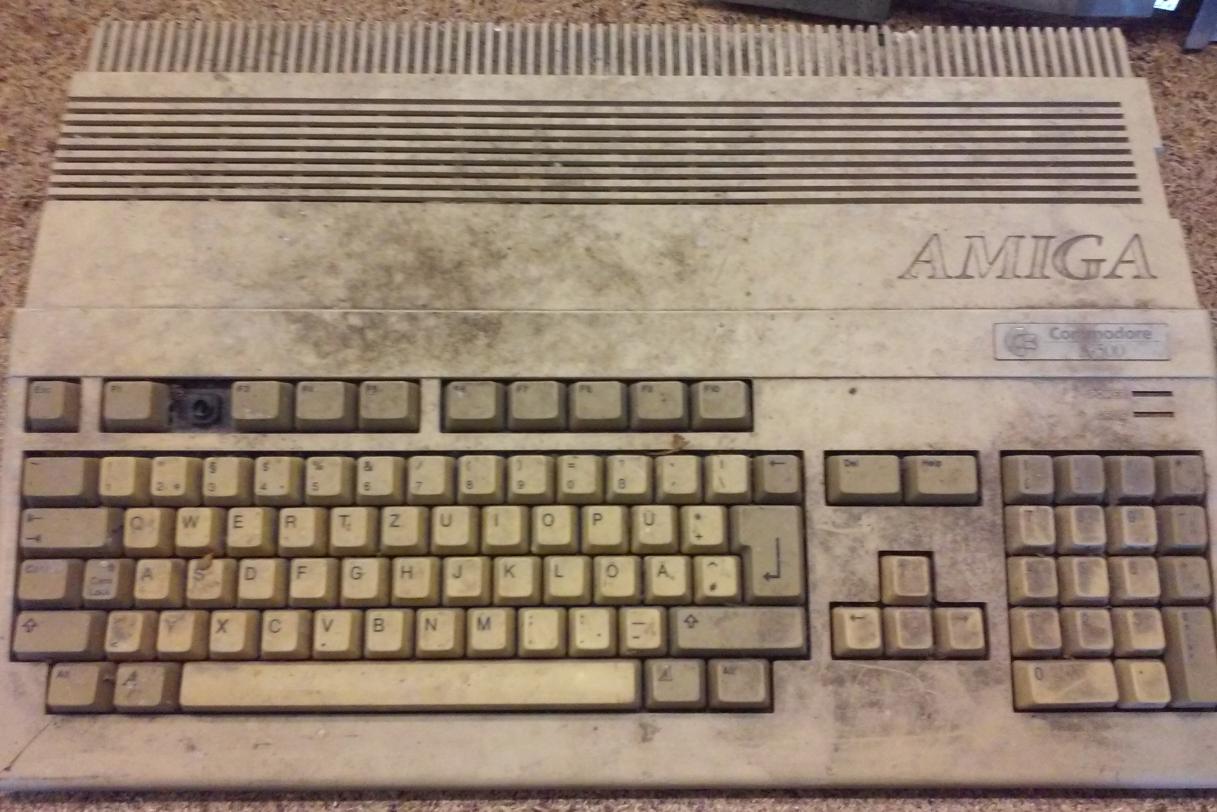
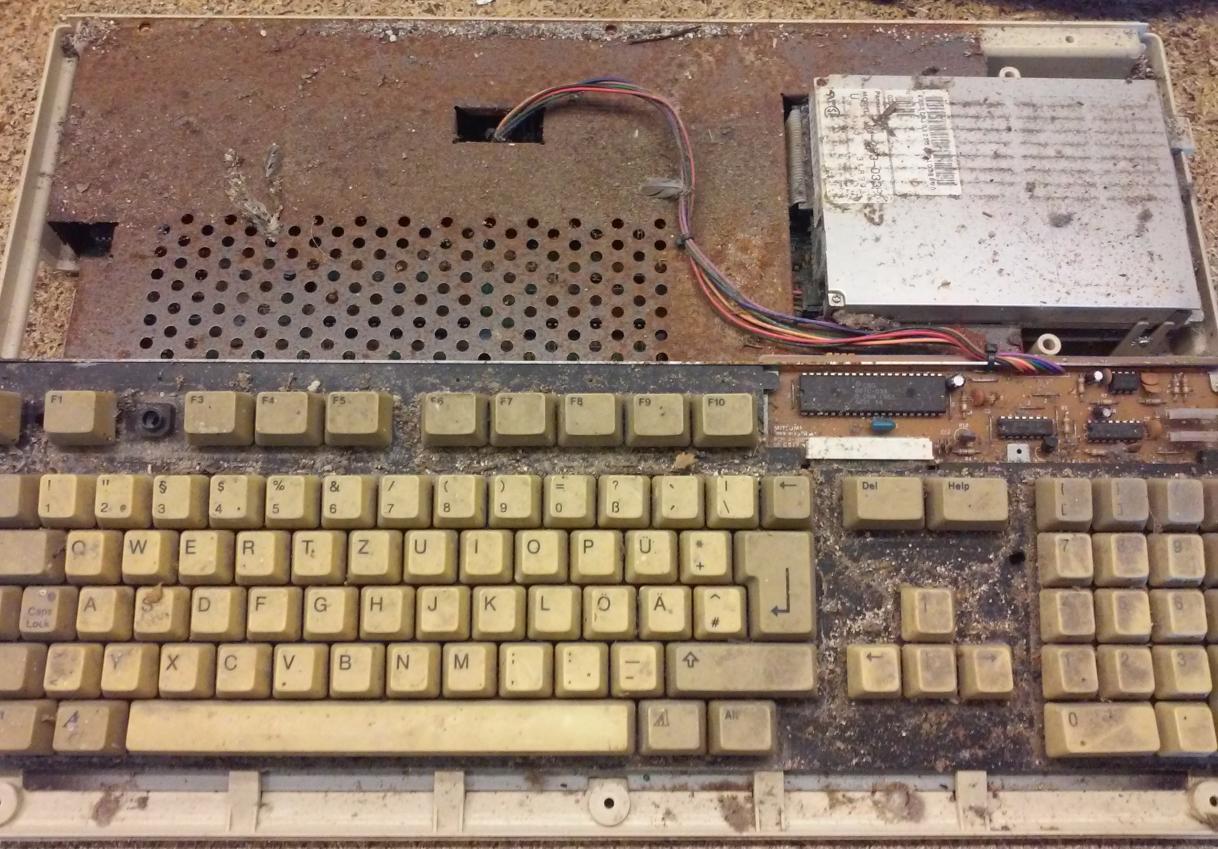
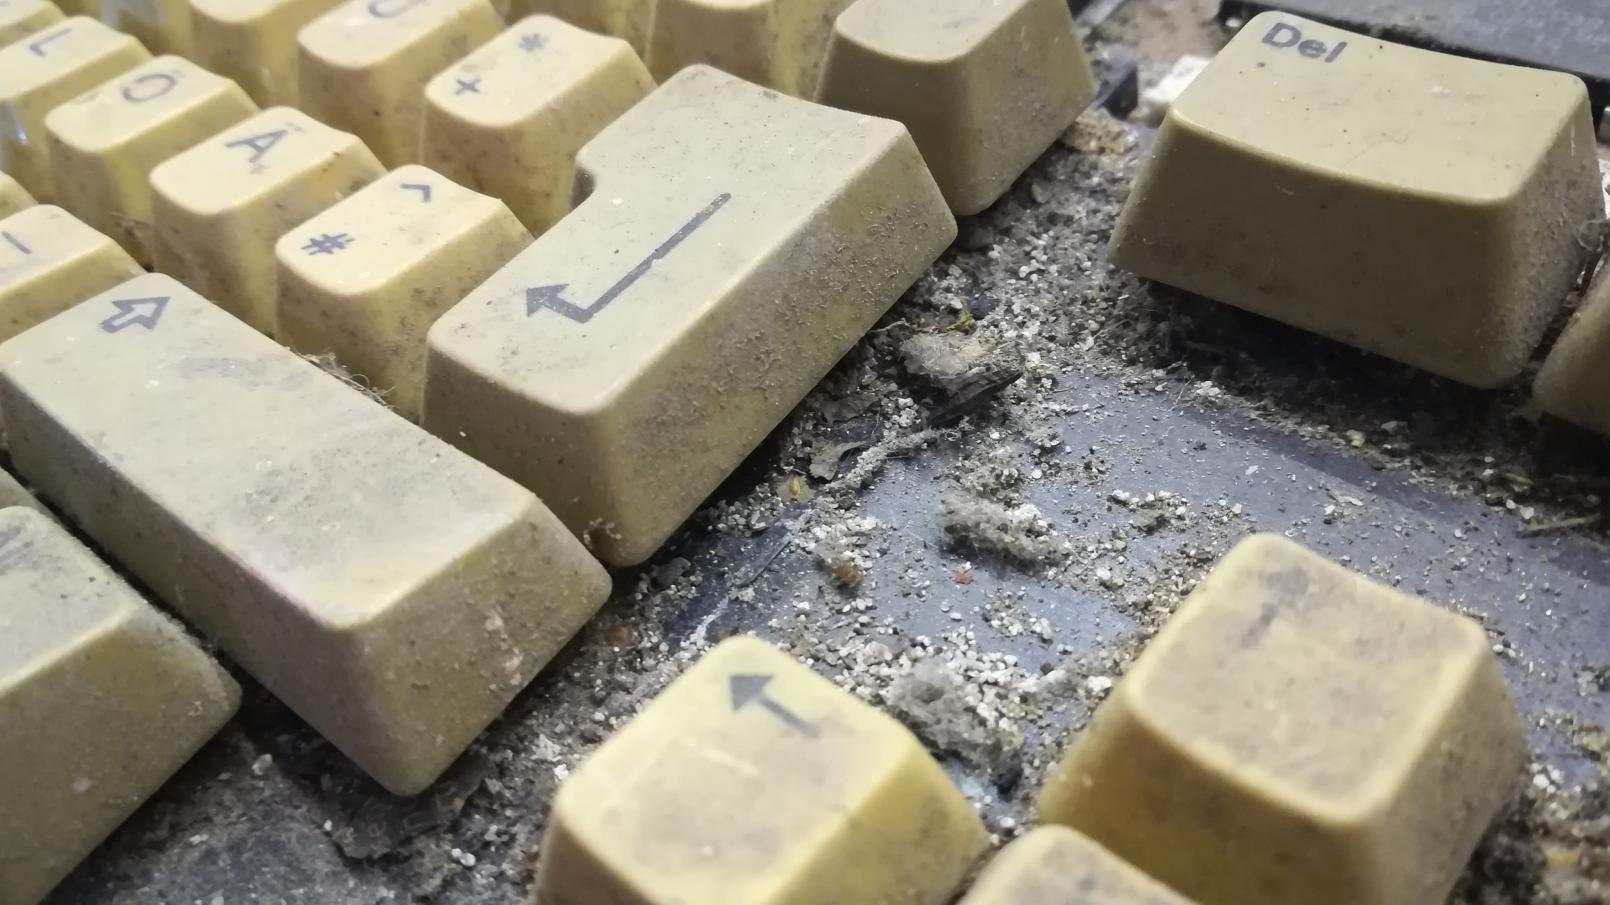
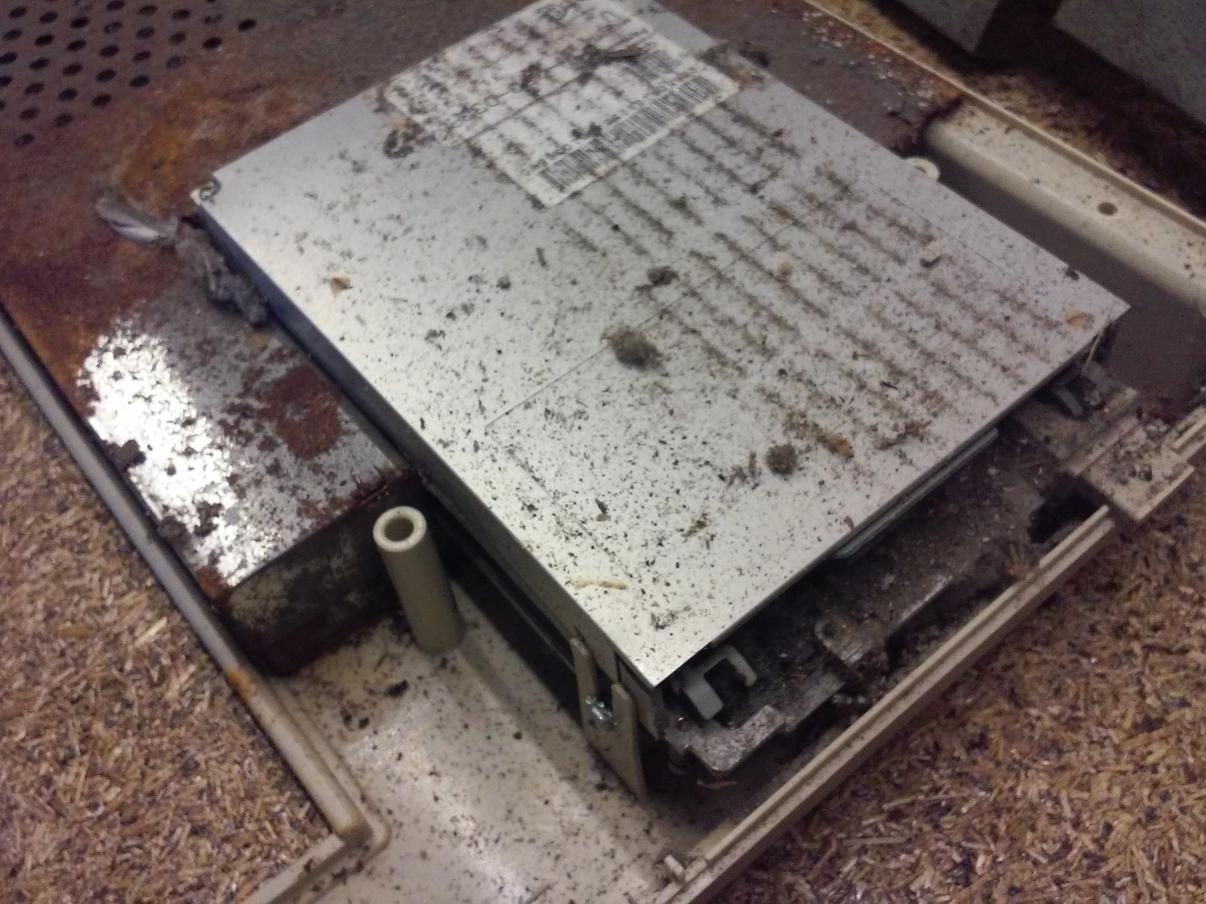
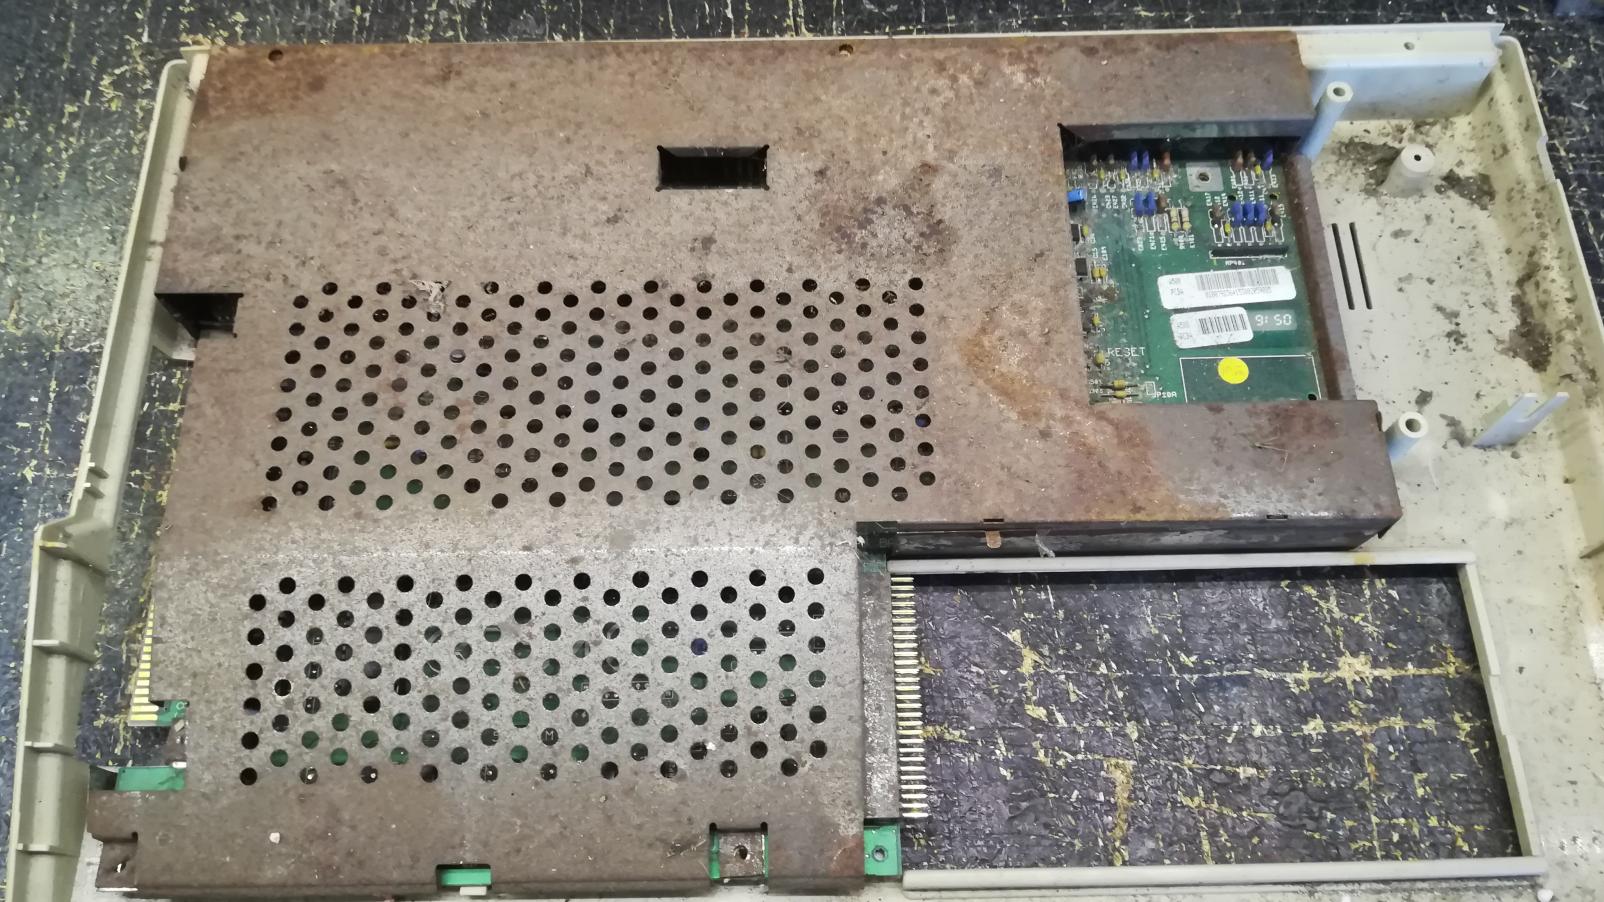
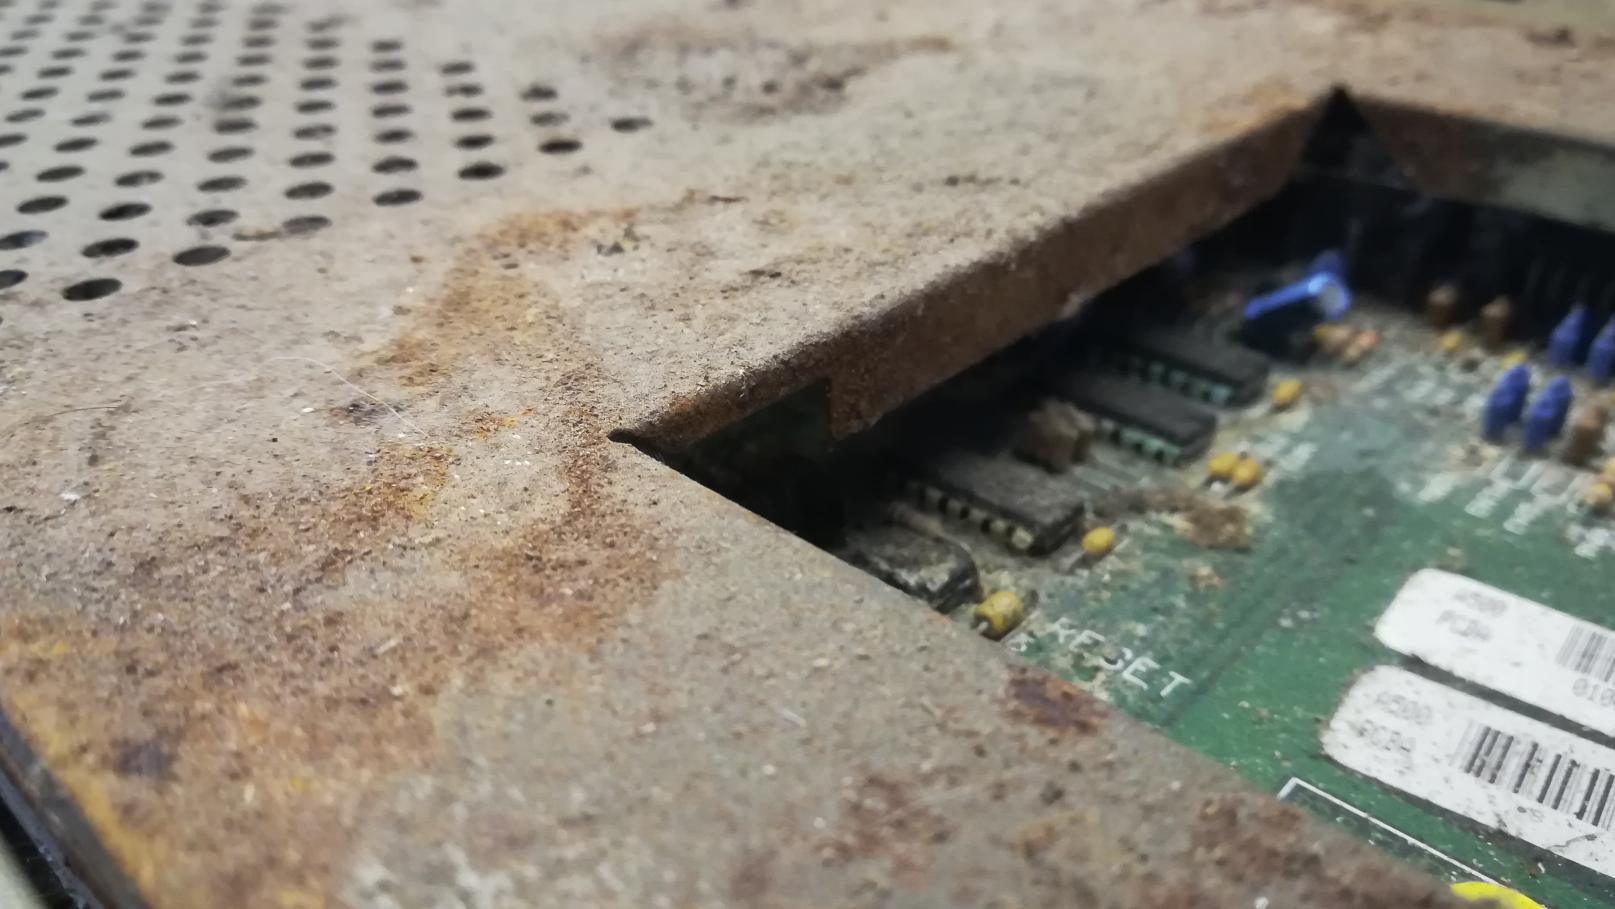
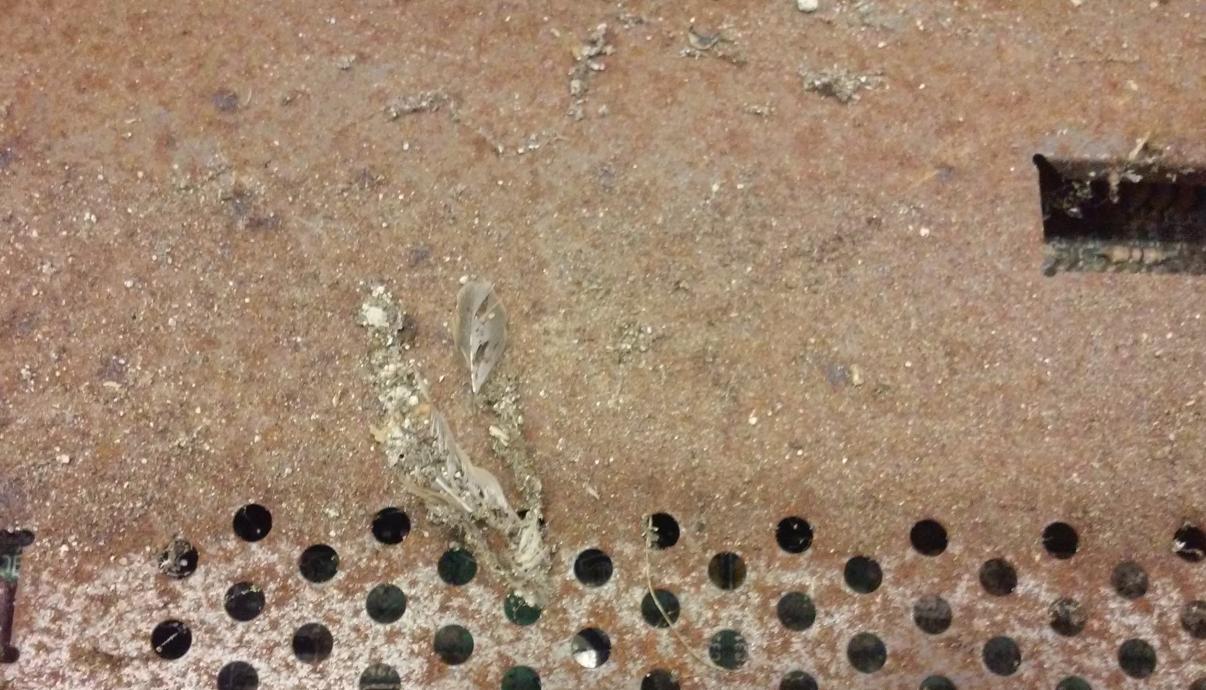
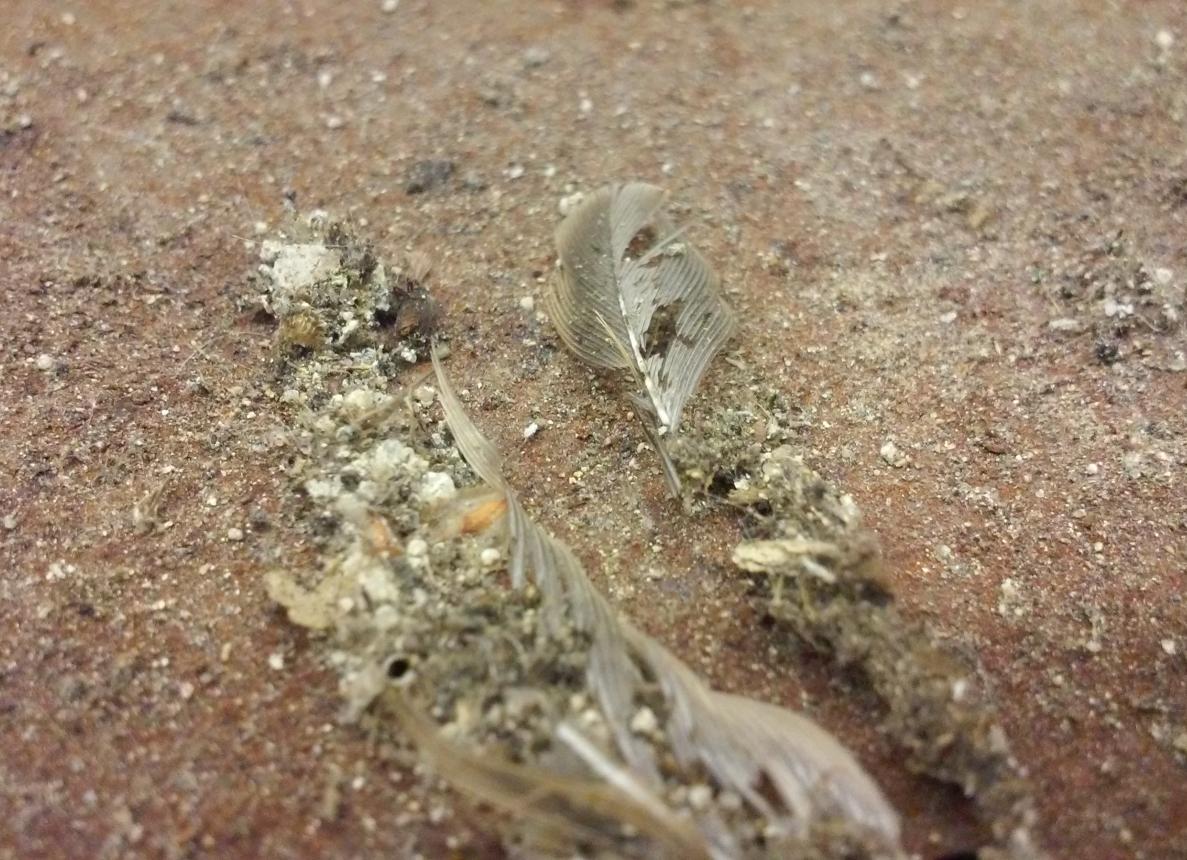
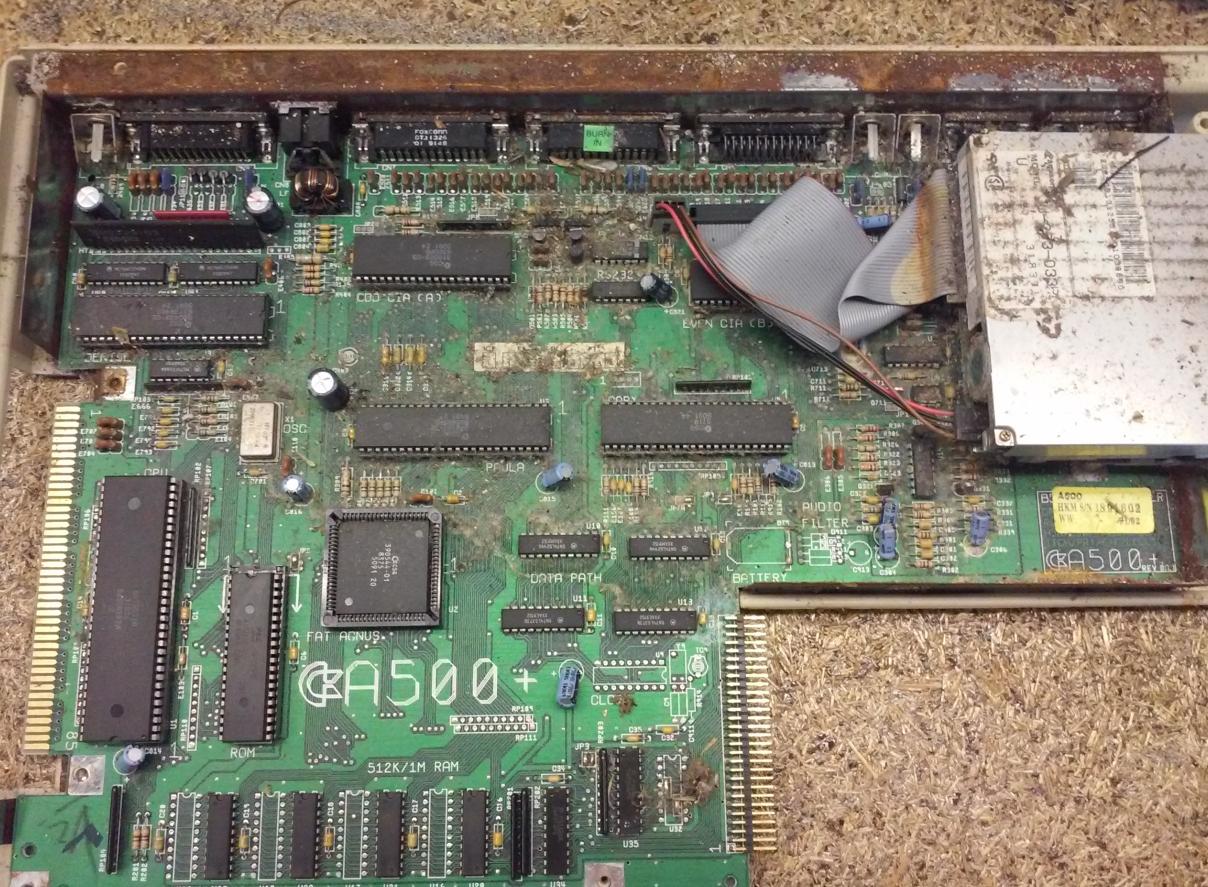
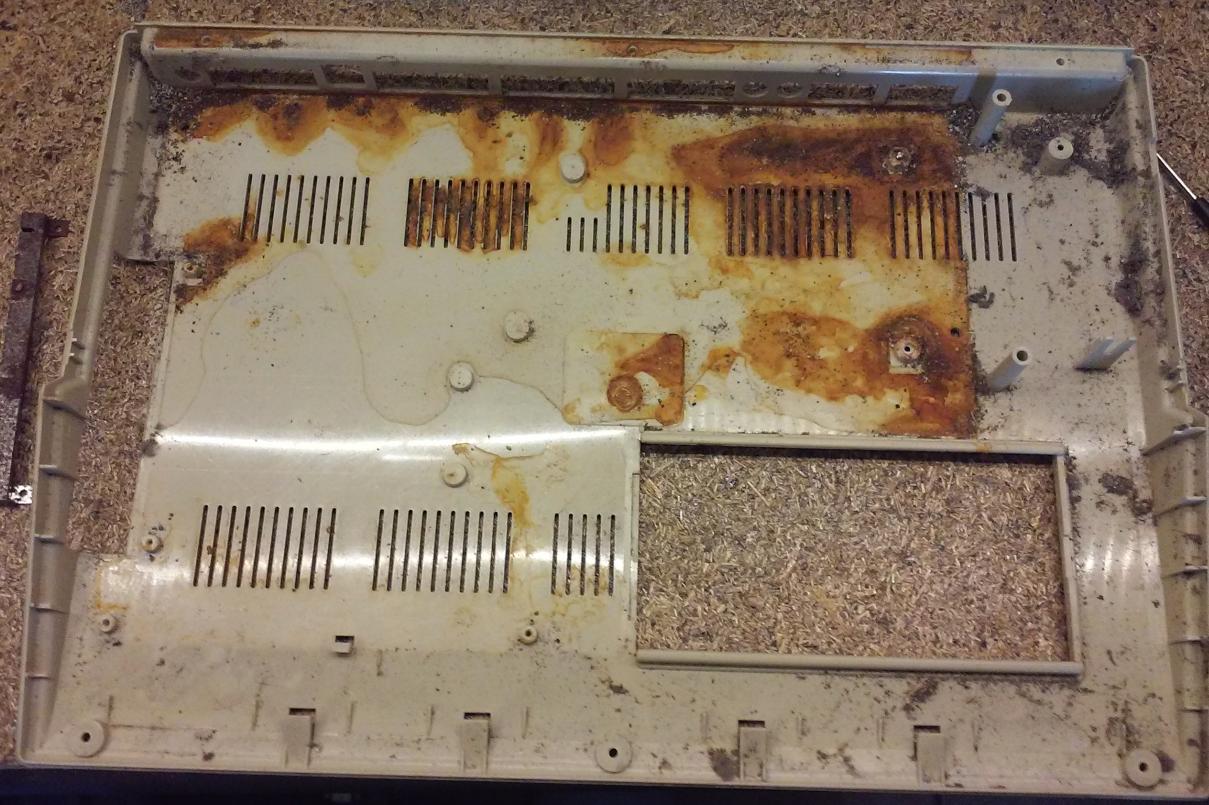
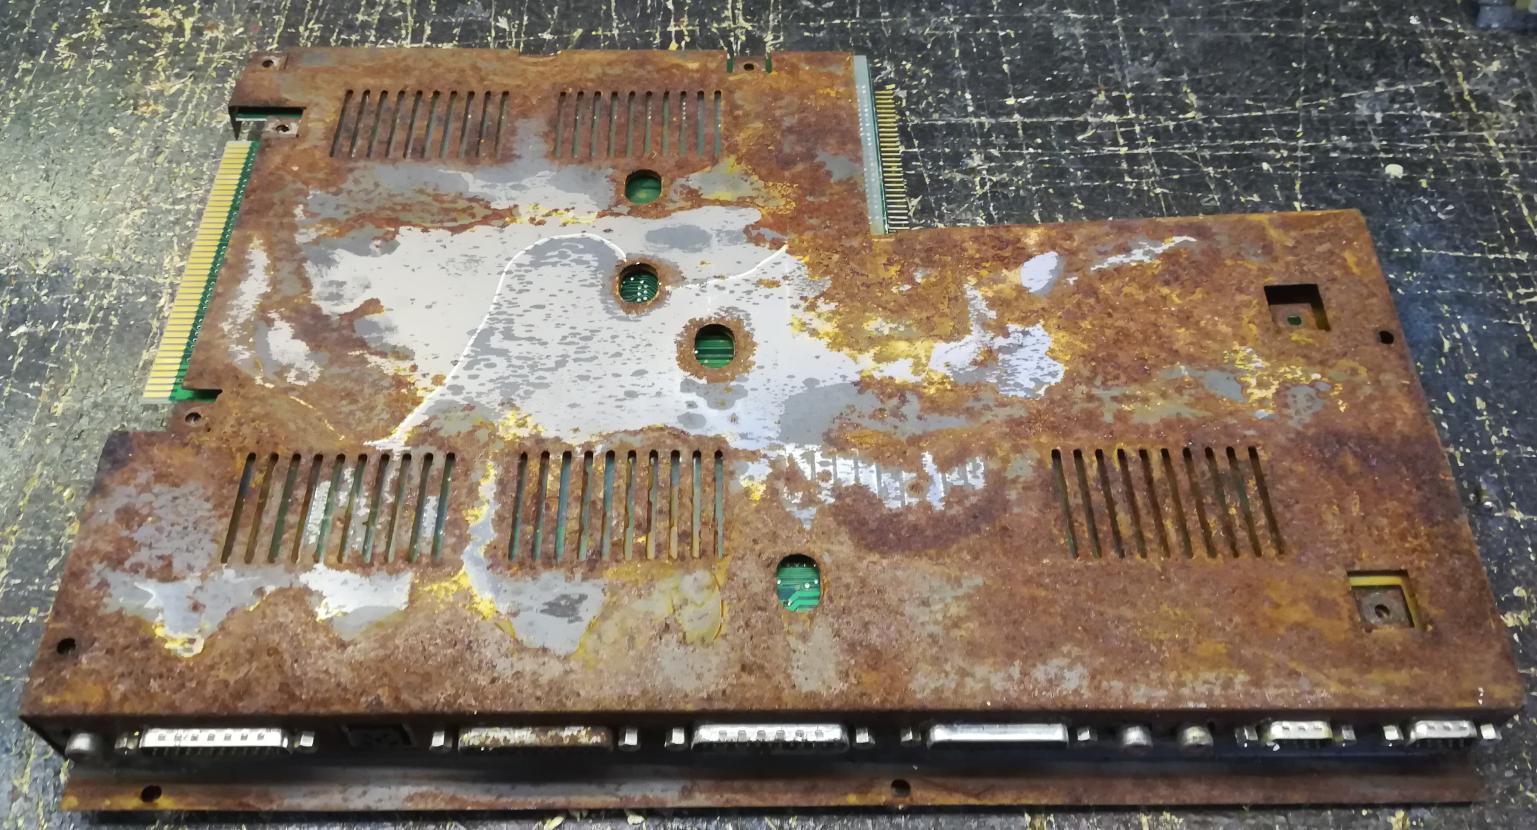
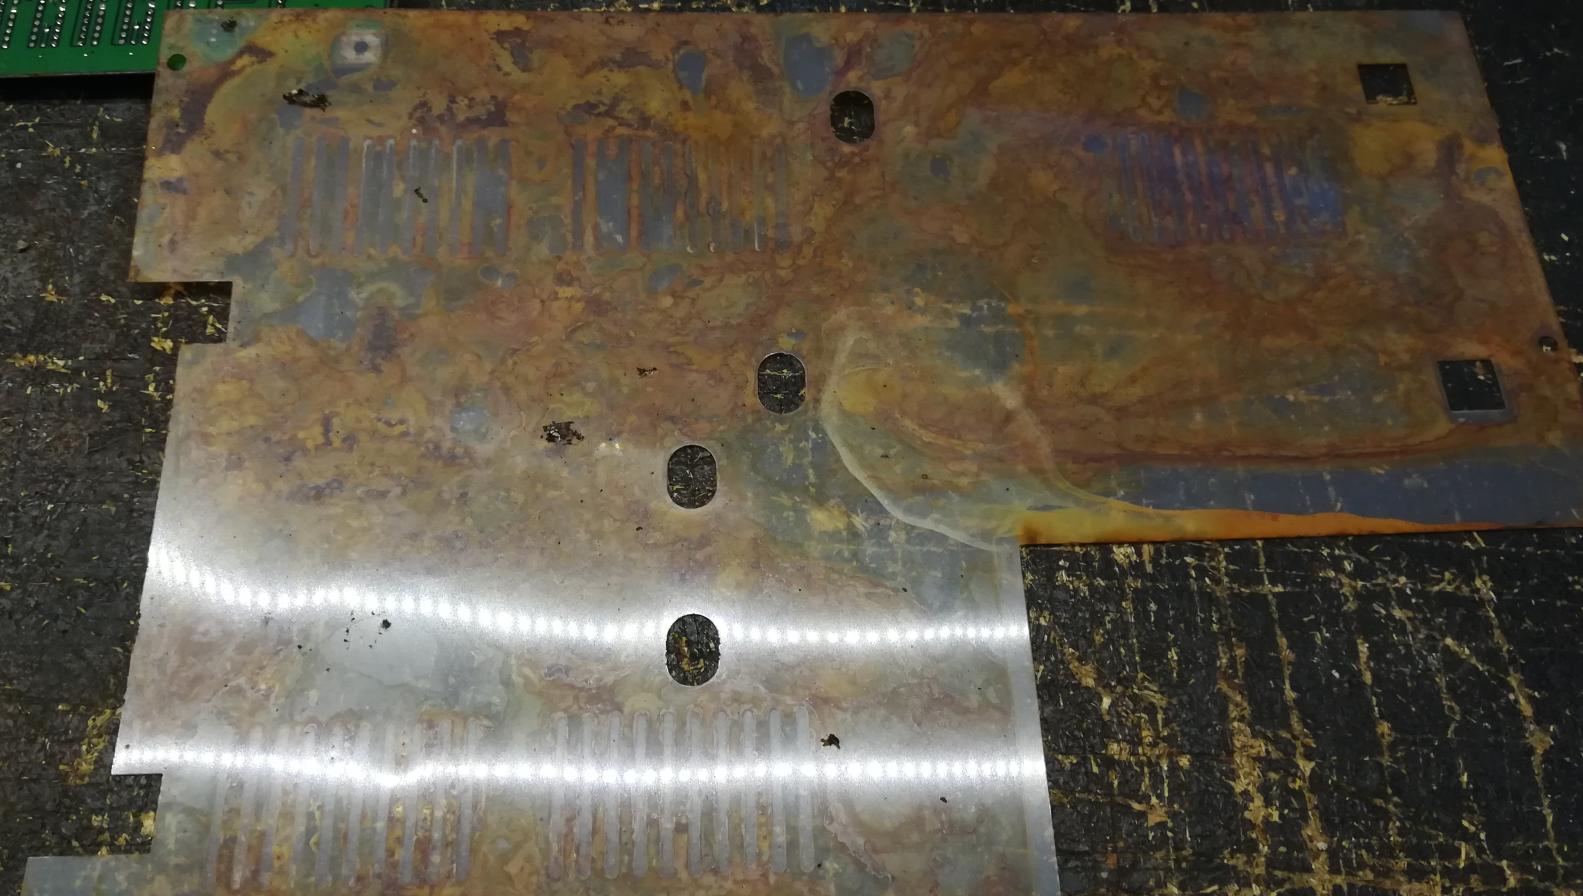
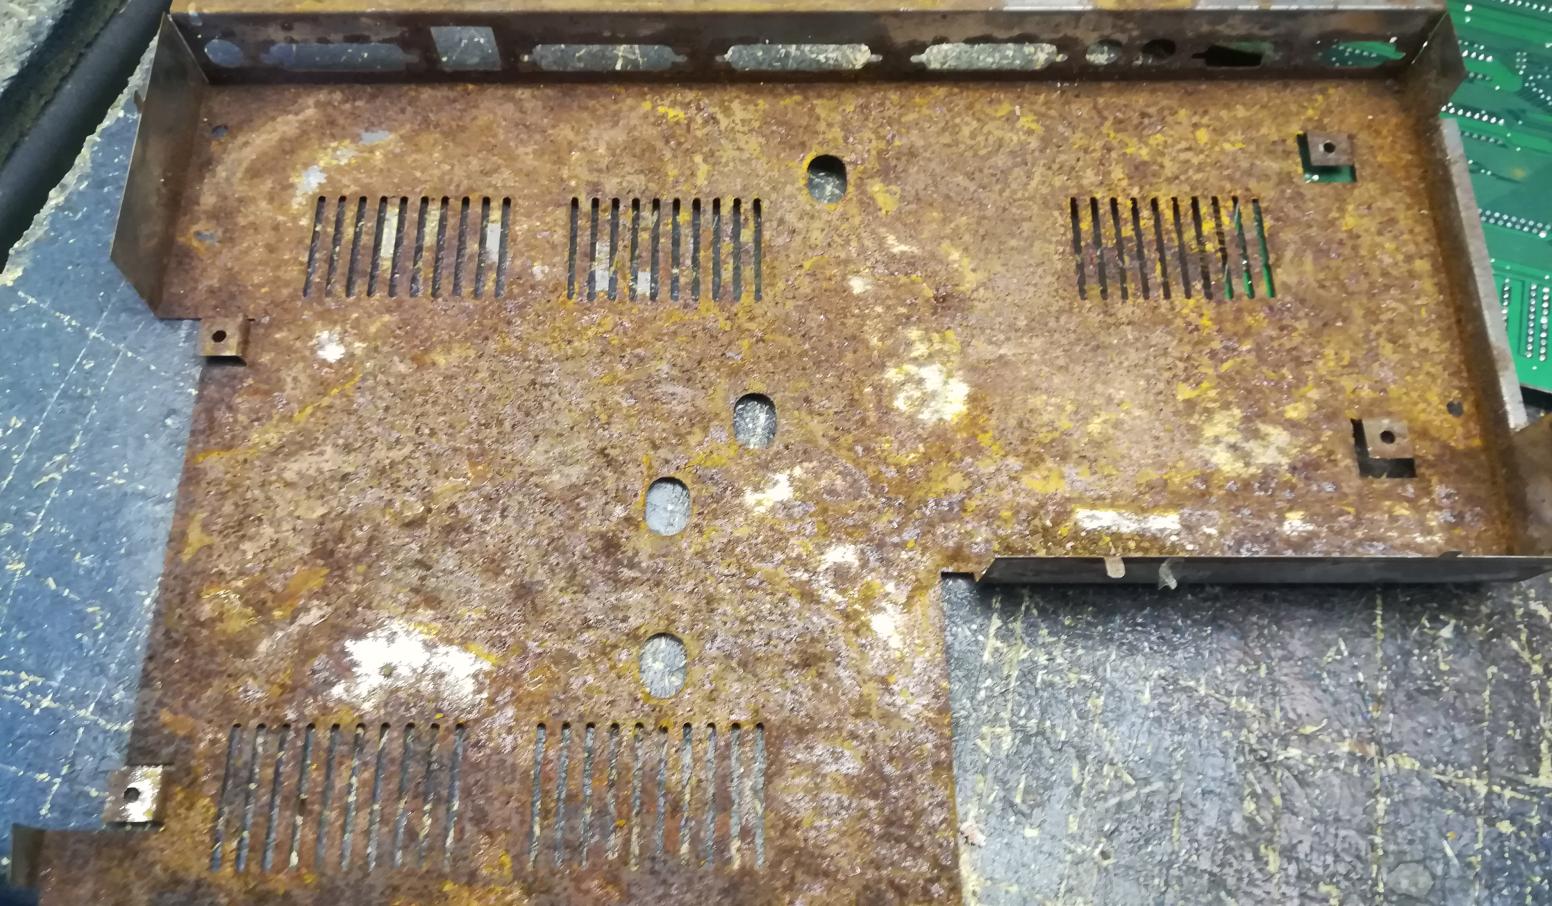
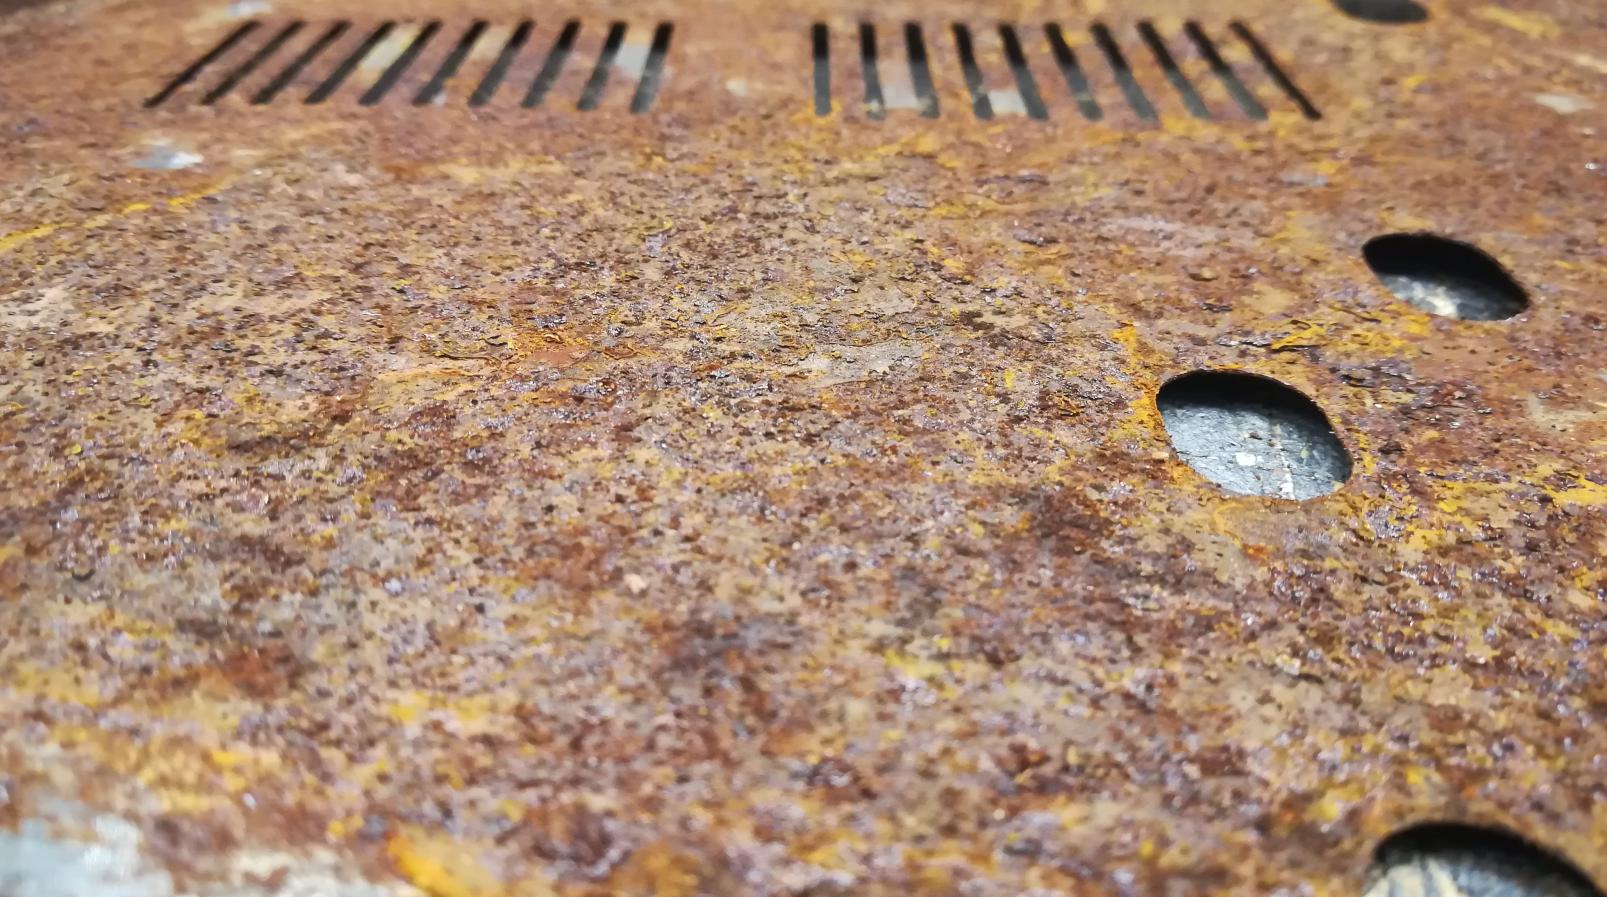
And the motherboard itself.
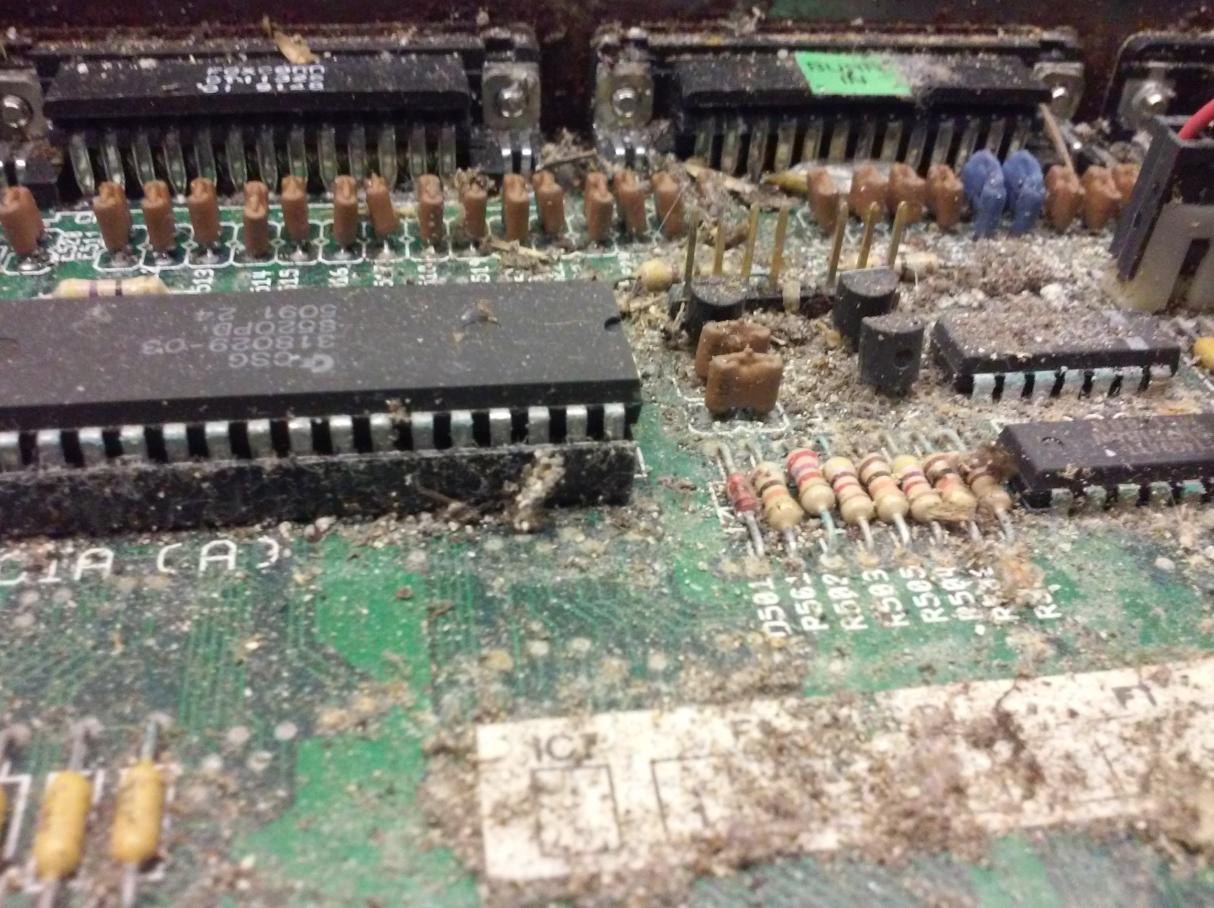
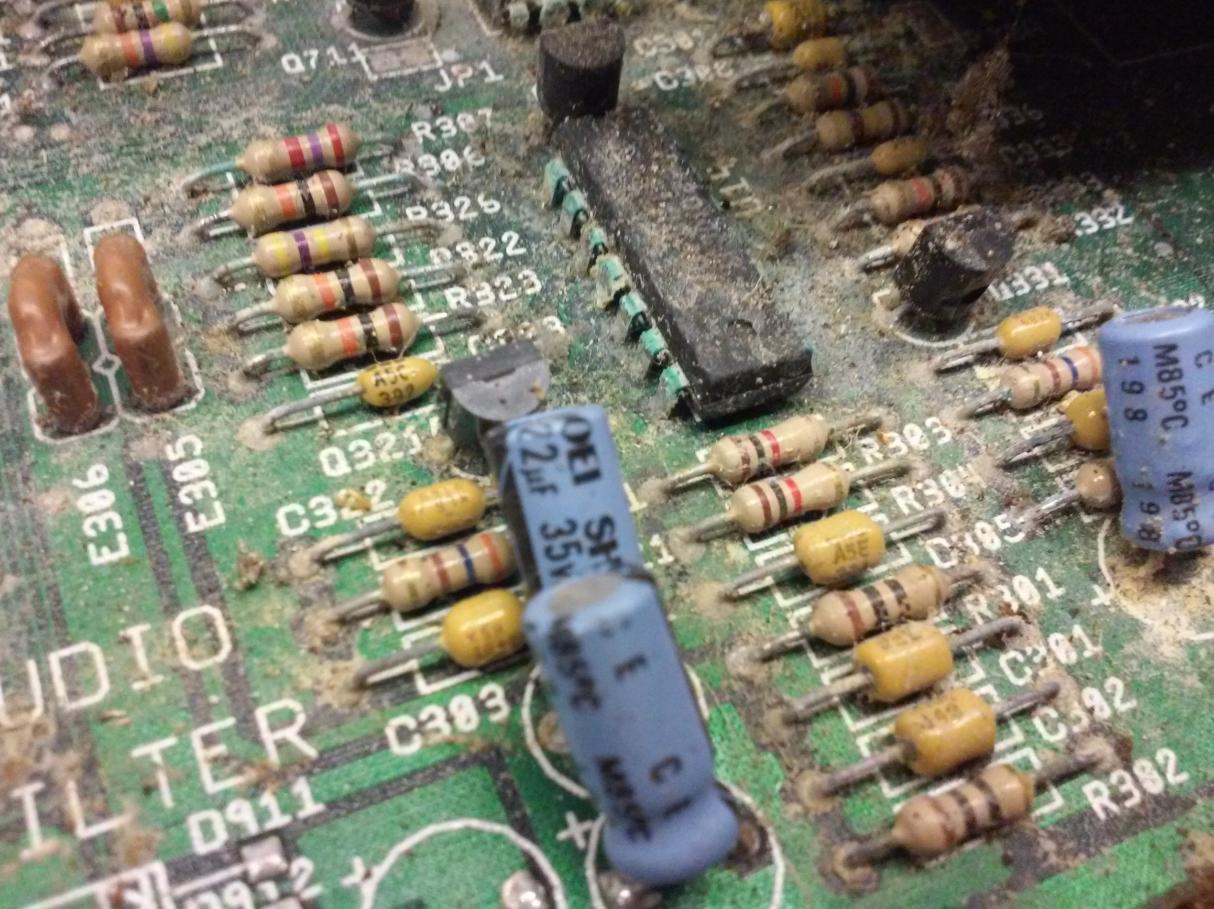
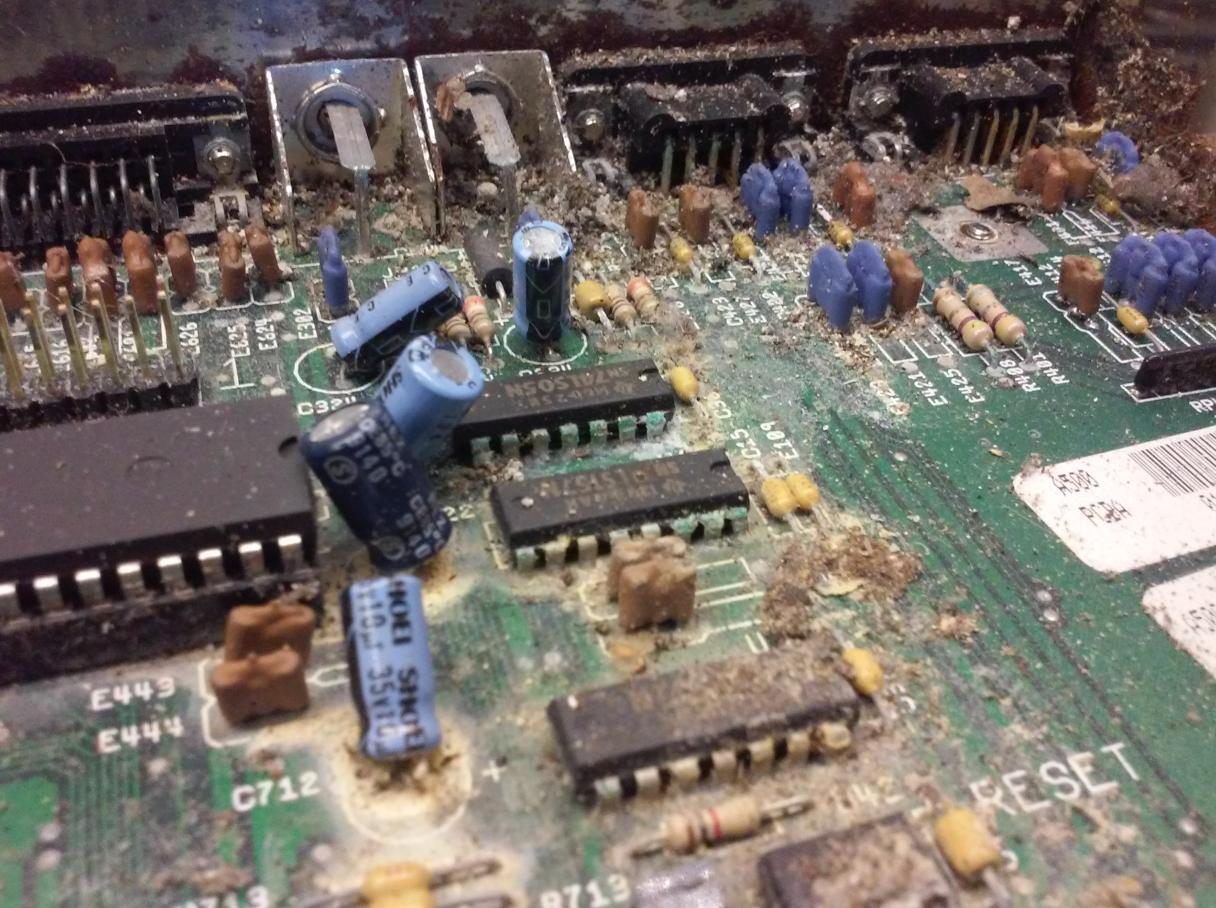
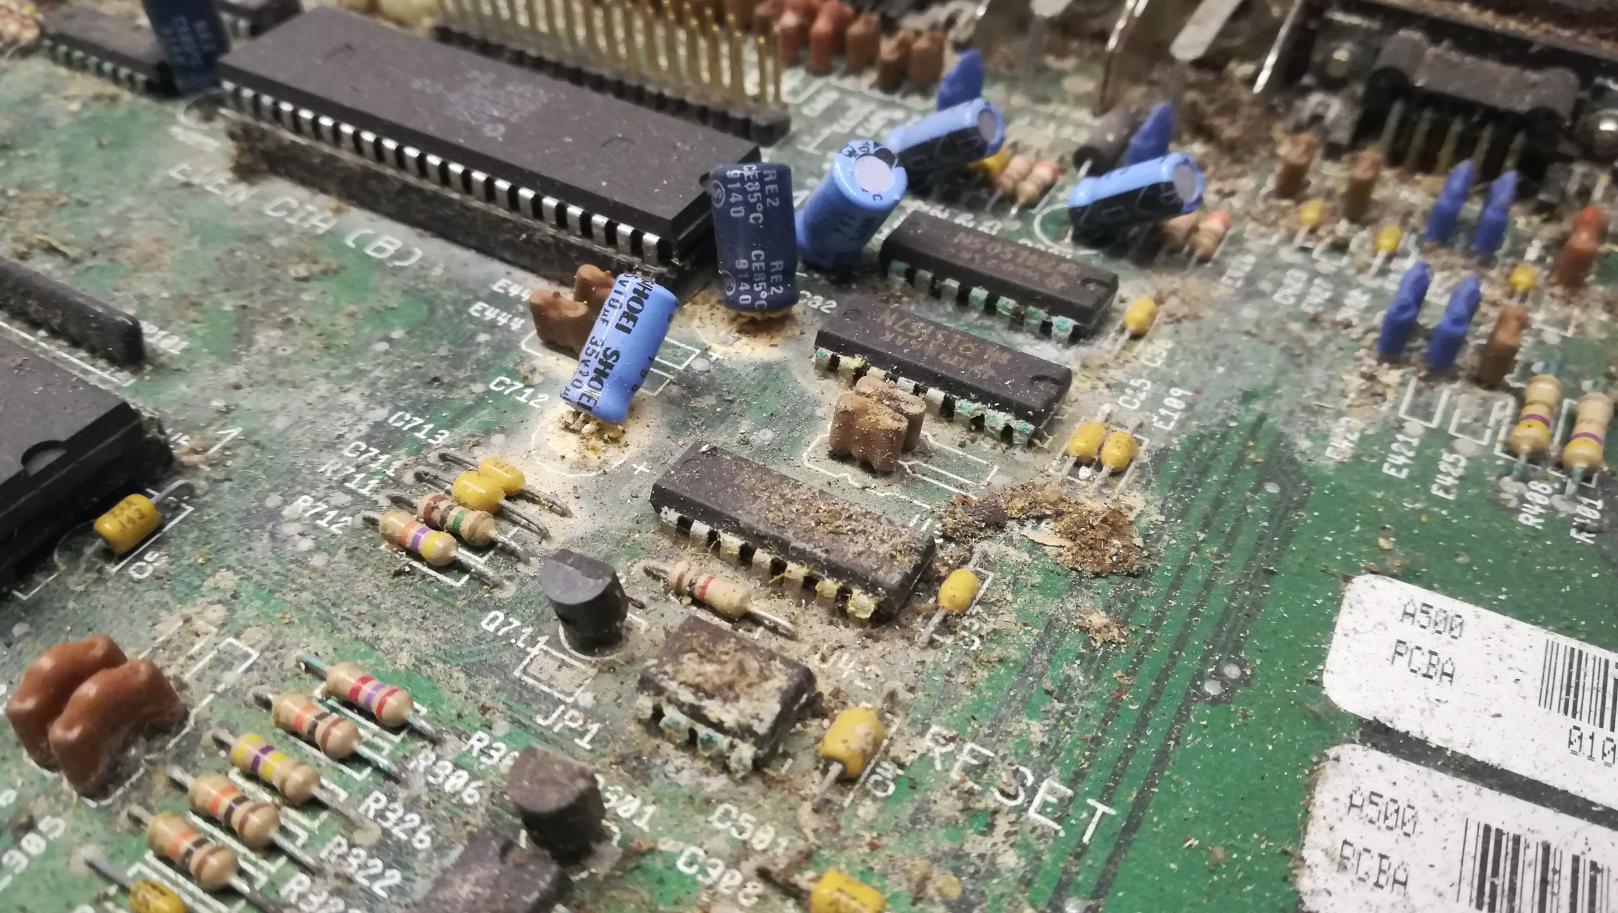
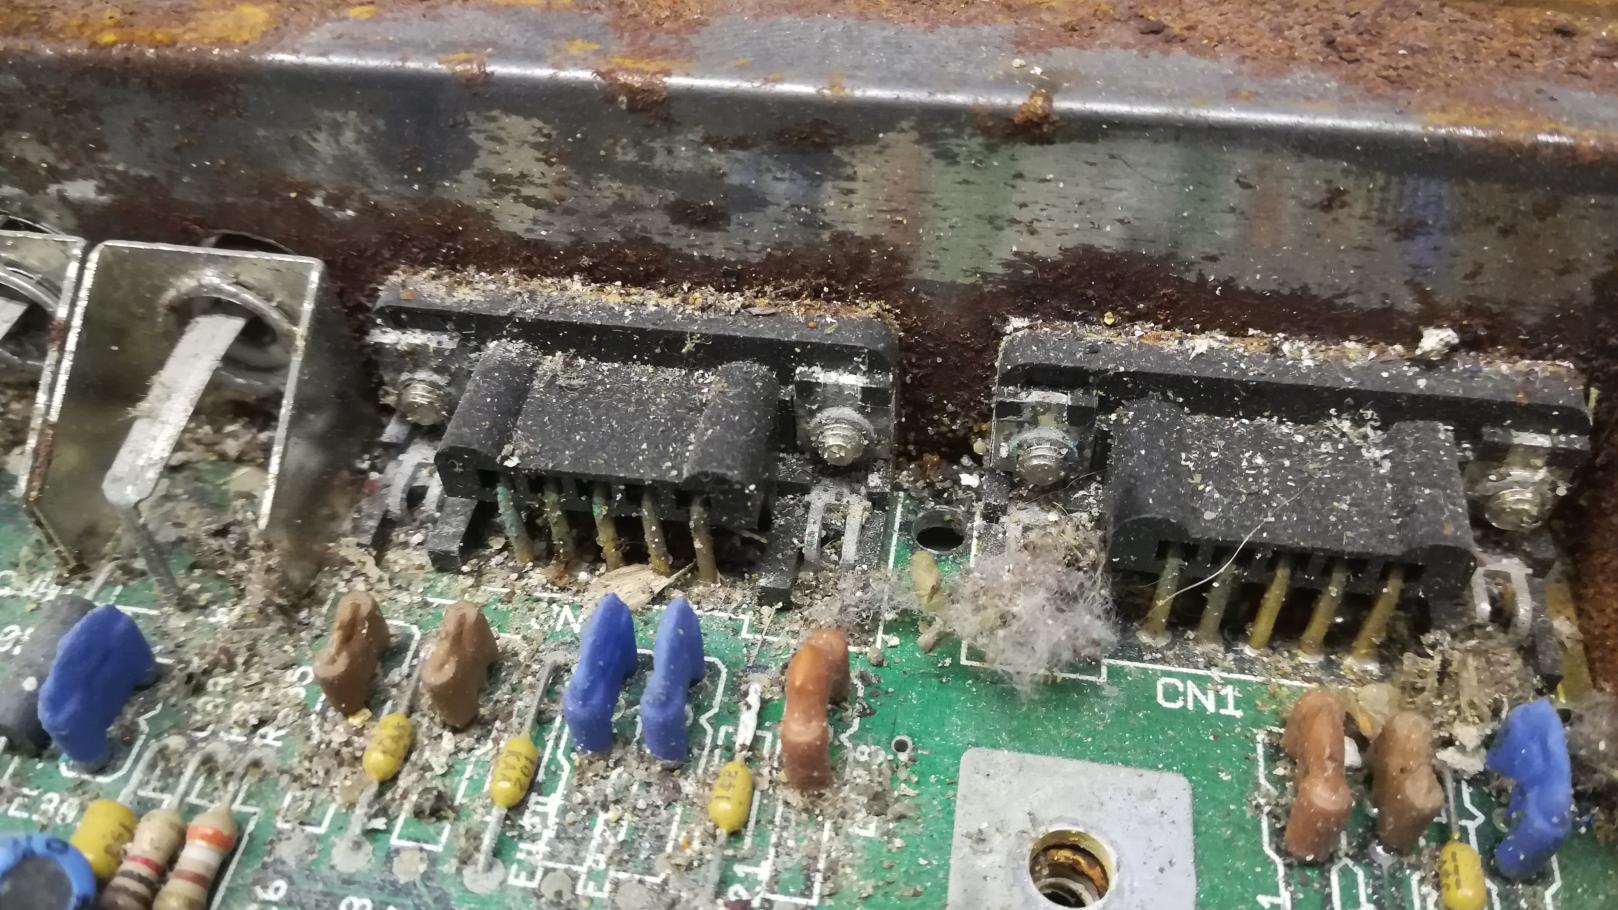
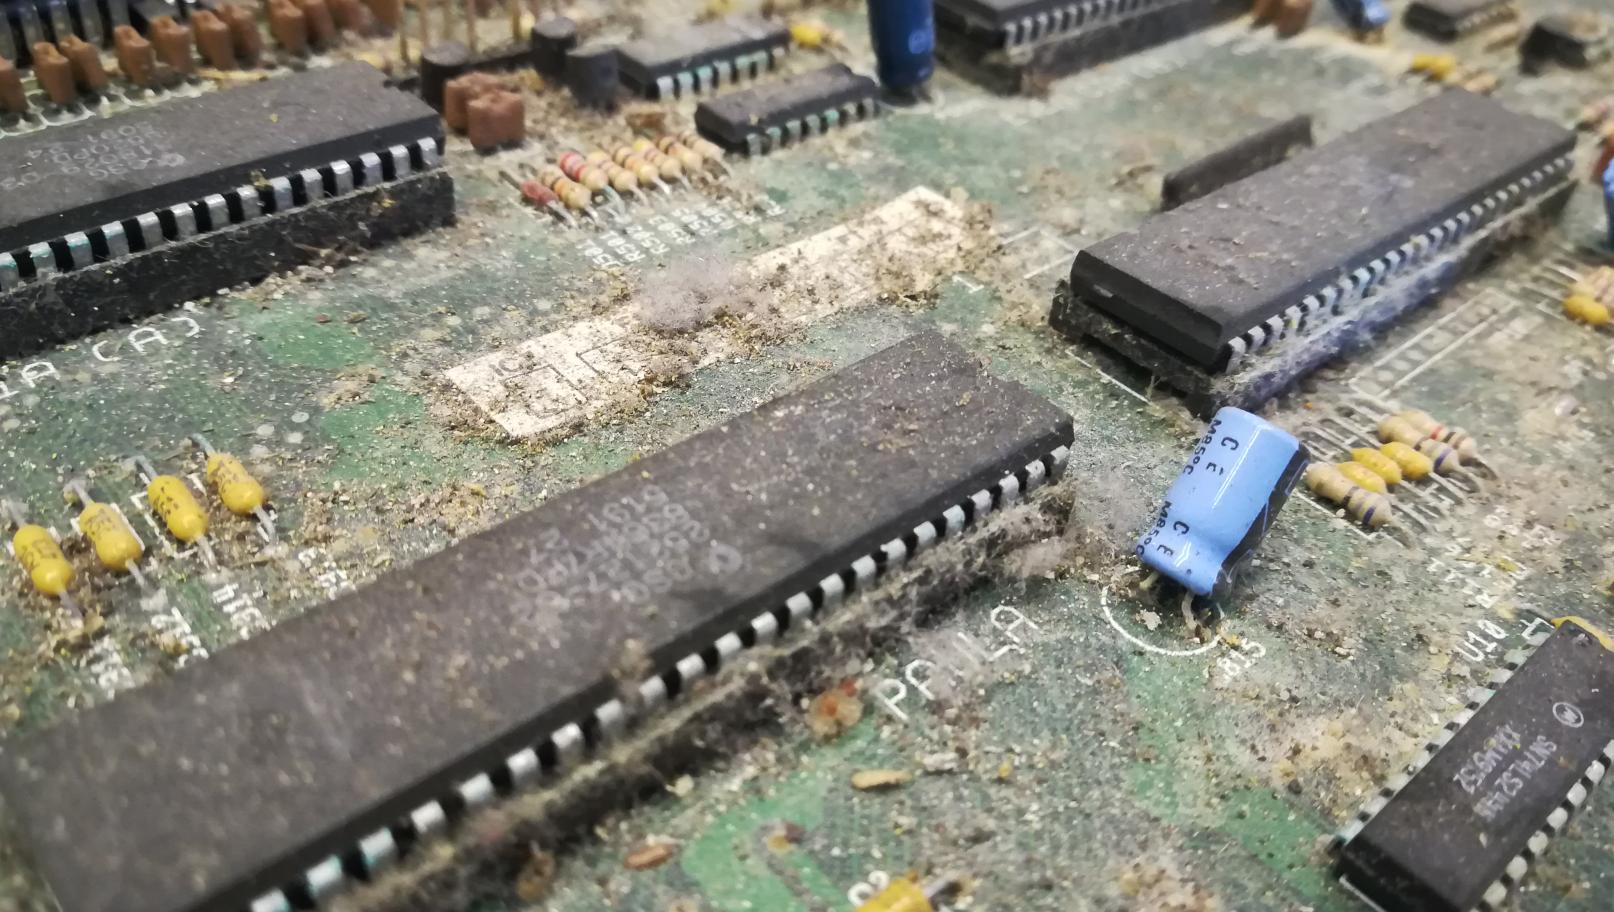
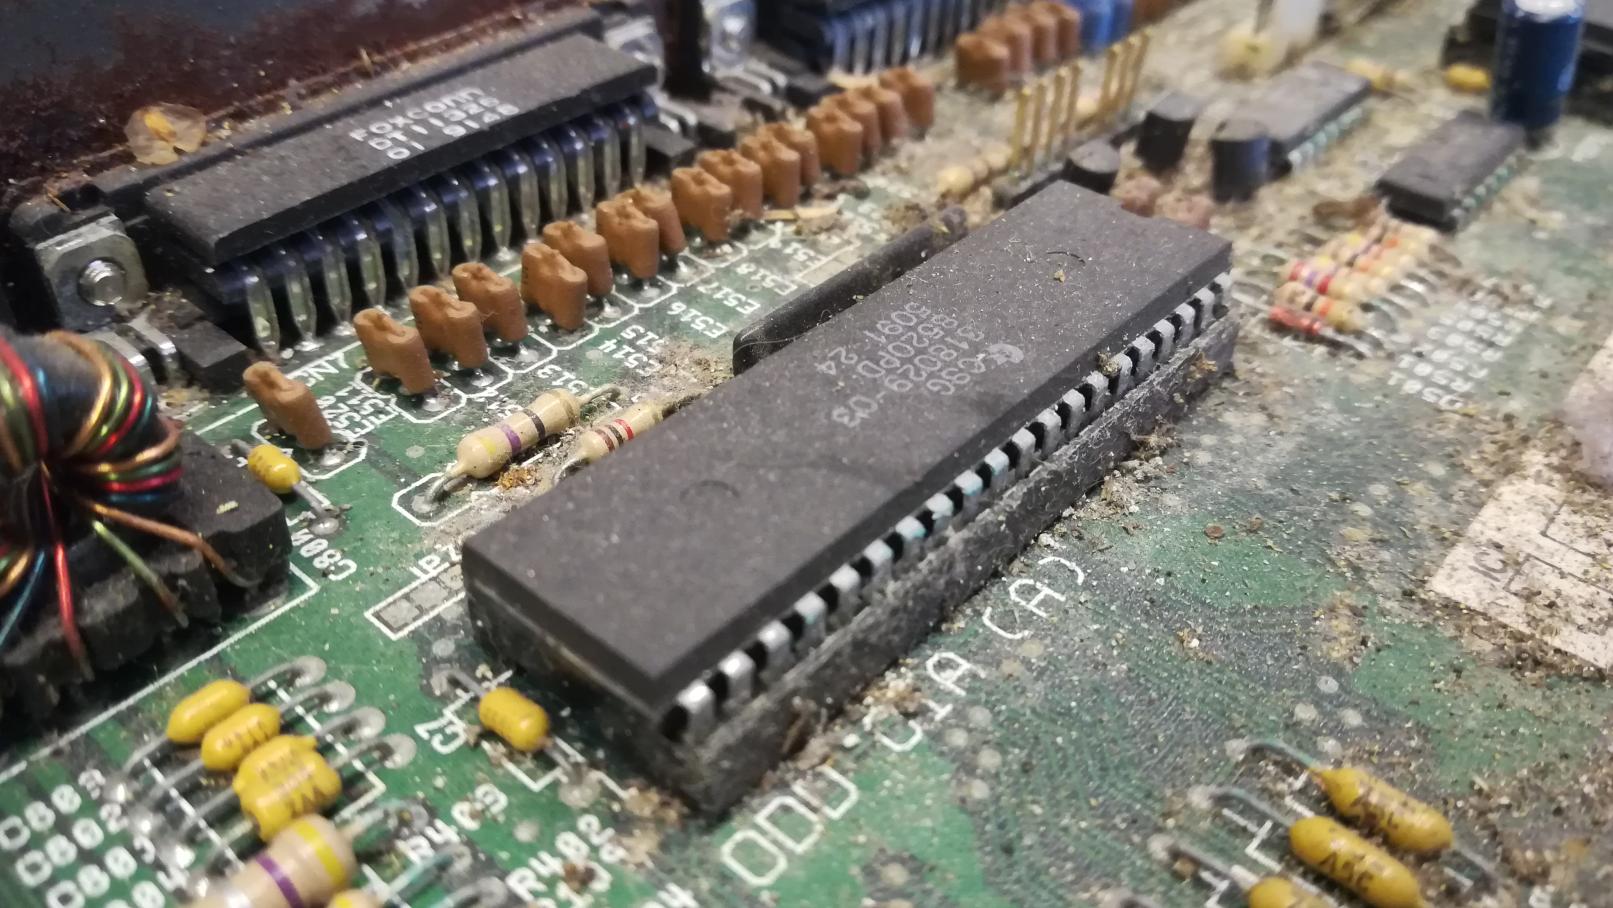
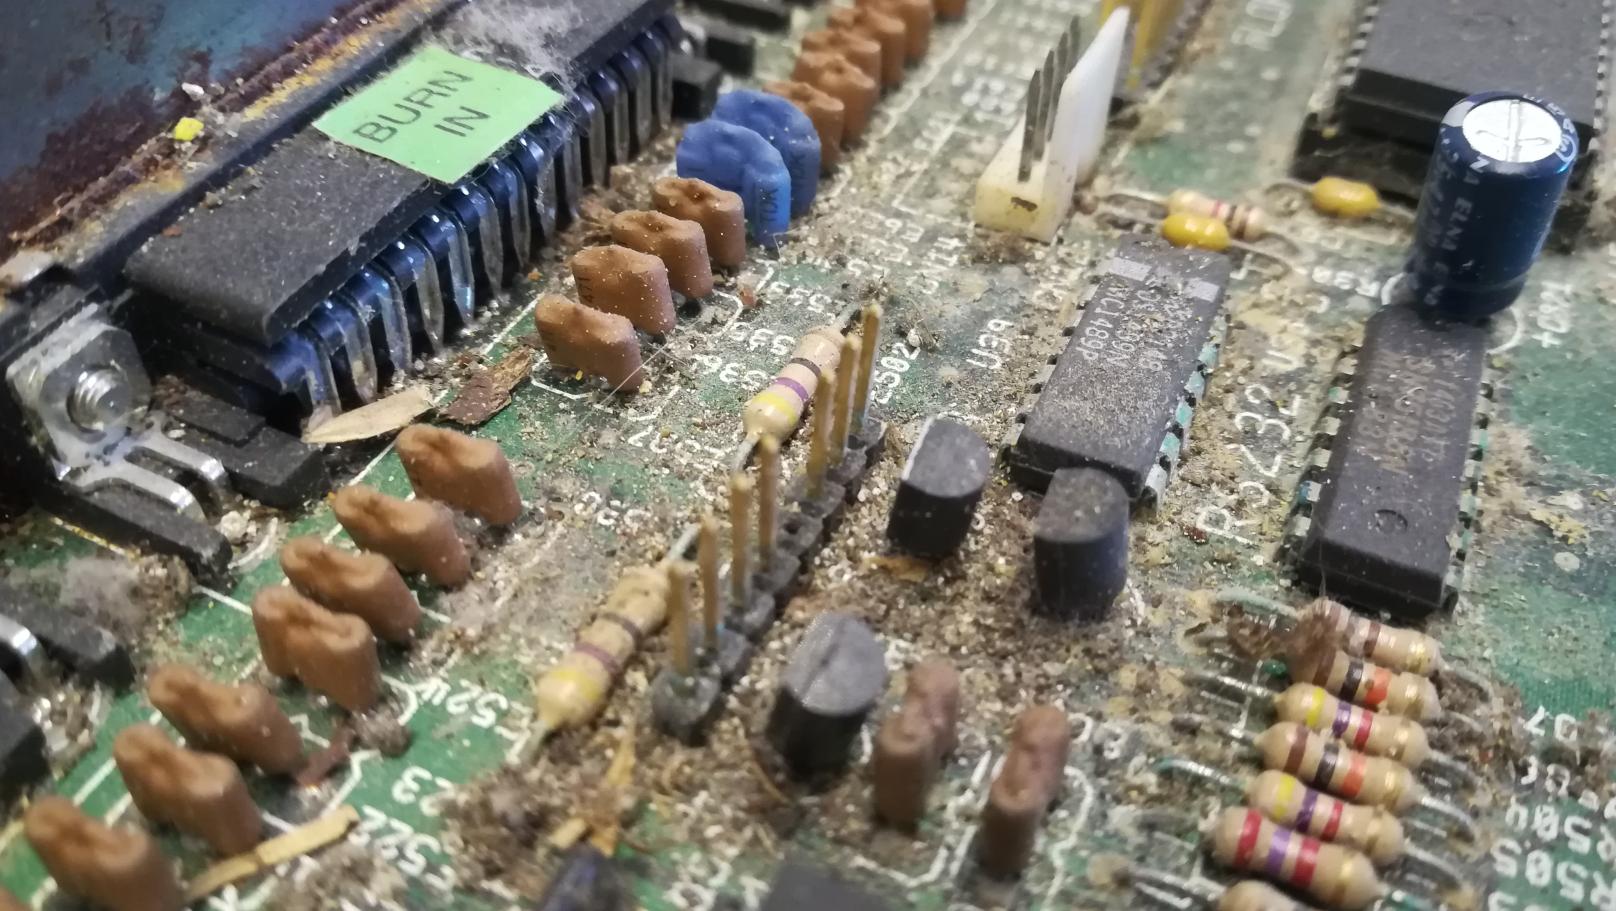
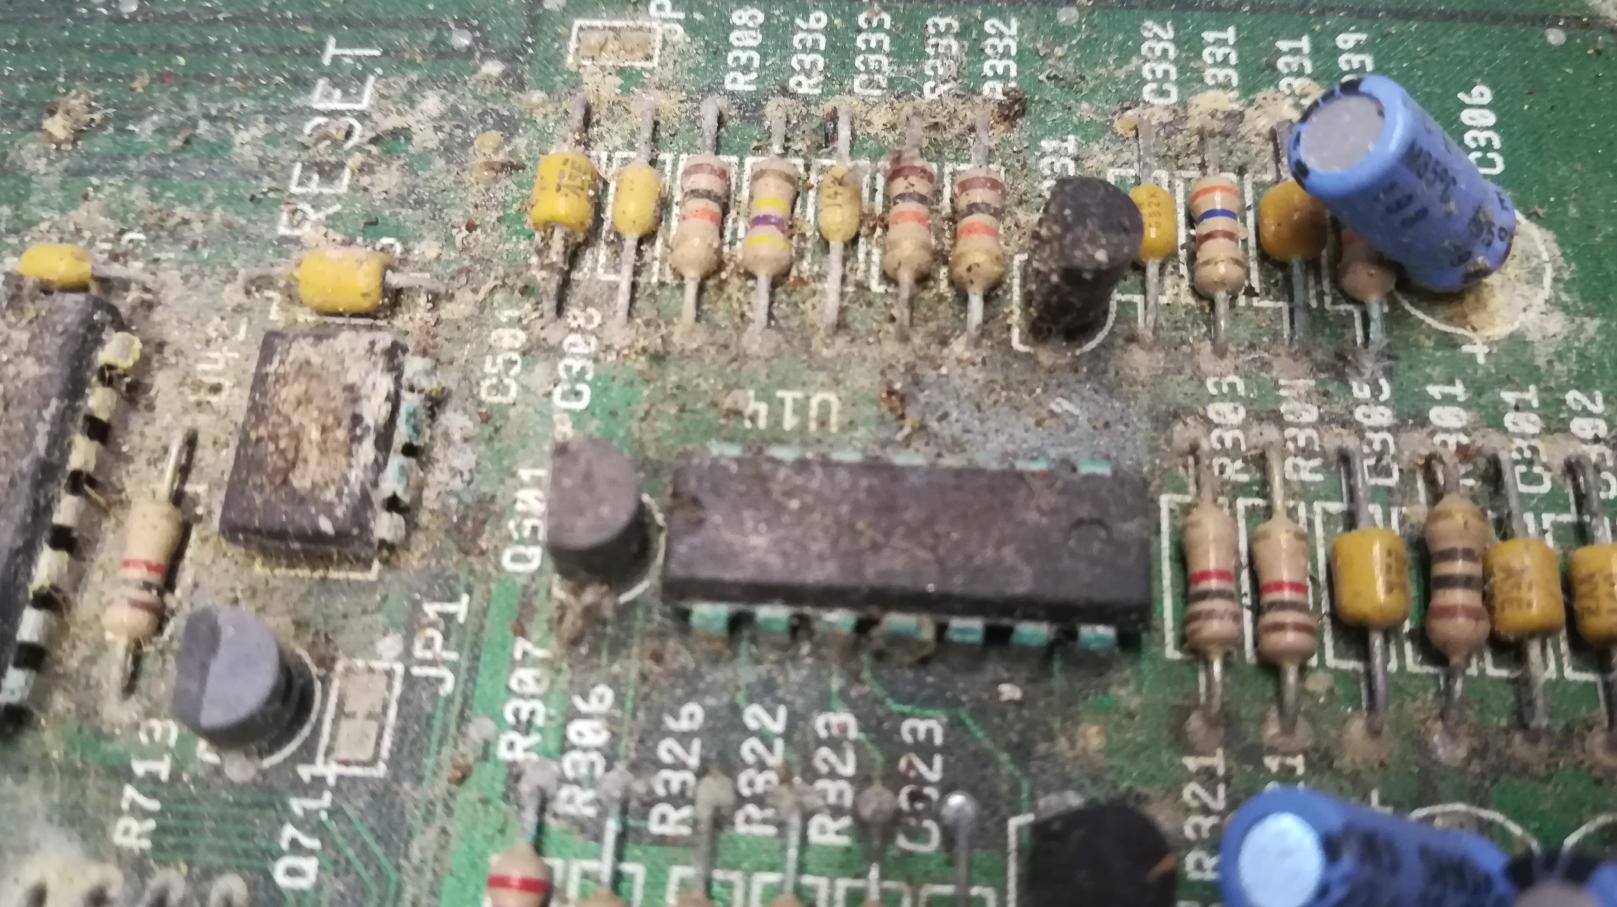
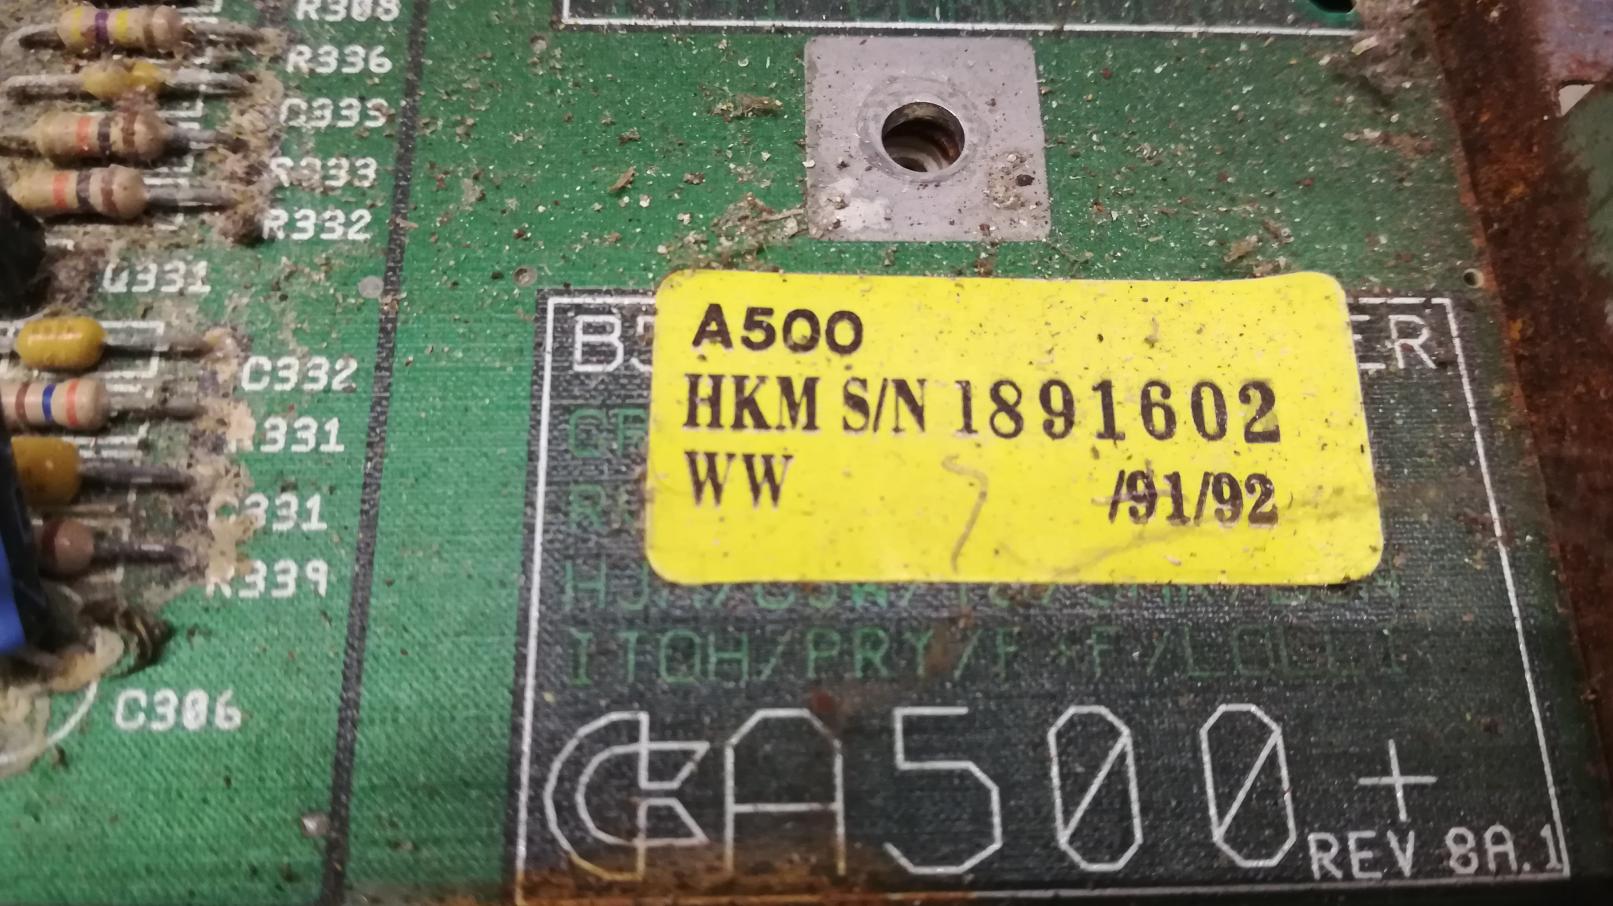
This long pictorial shows all the damage done to this poor Amiga. I can’t keep my readers sad soooo …

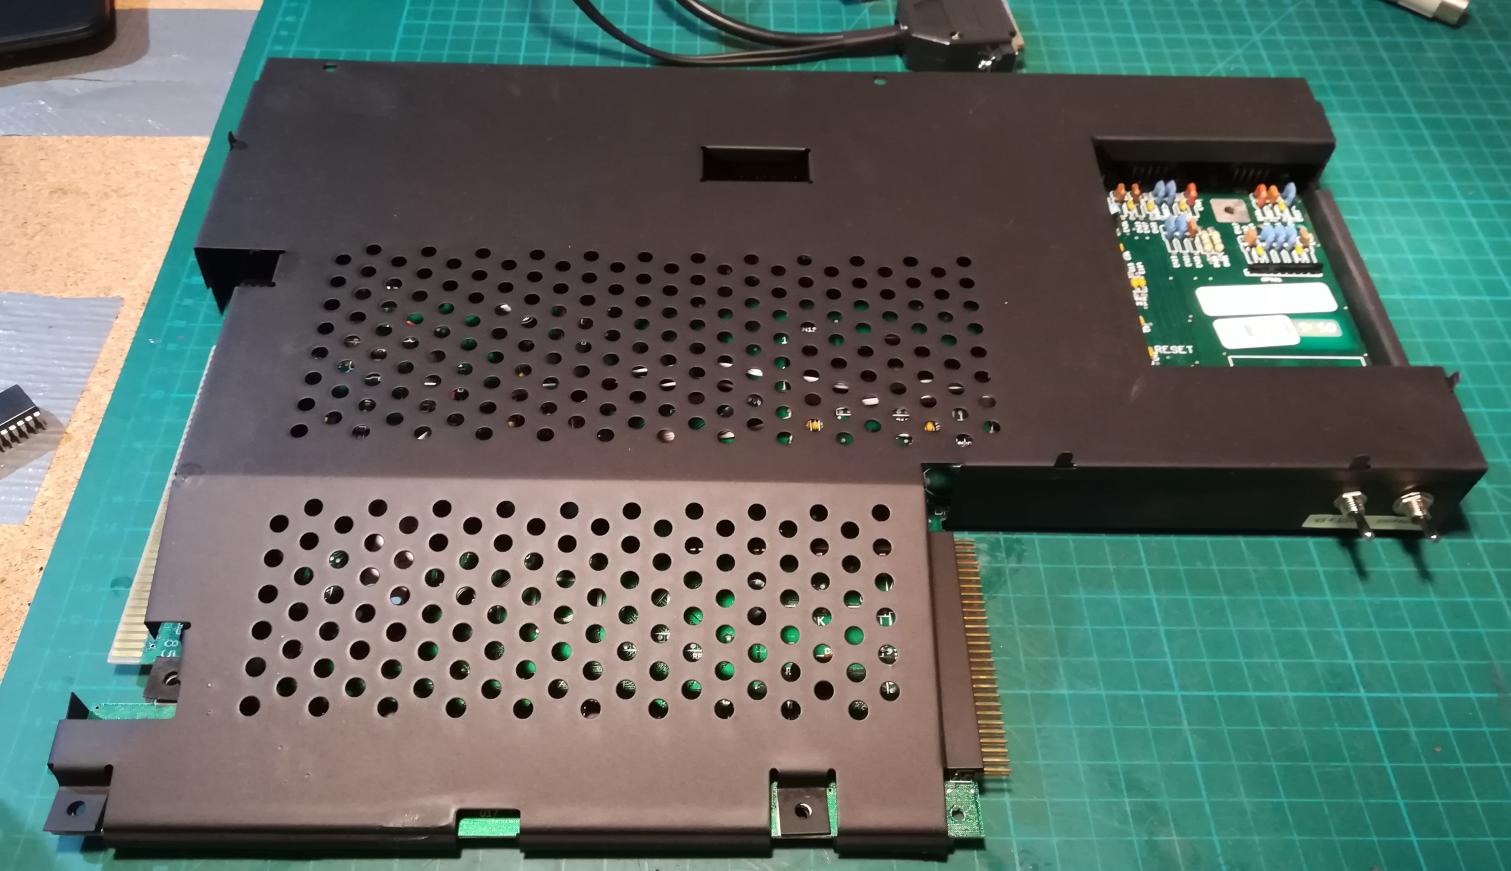
Rusty shield restoration
The first step was to remove surface/loose rust with a steel brush and sandpaper.
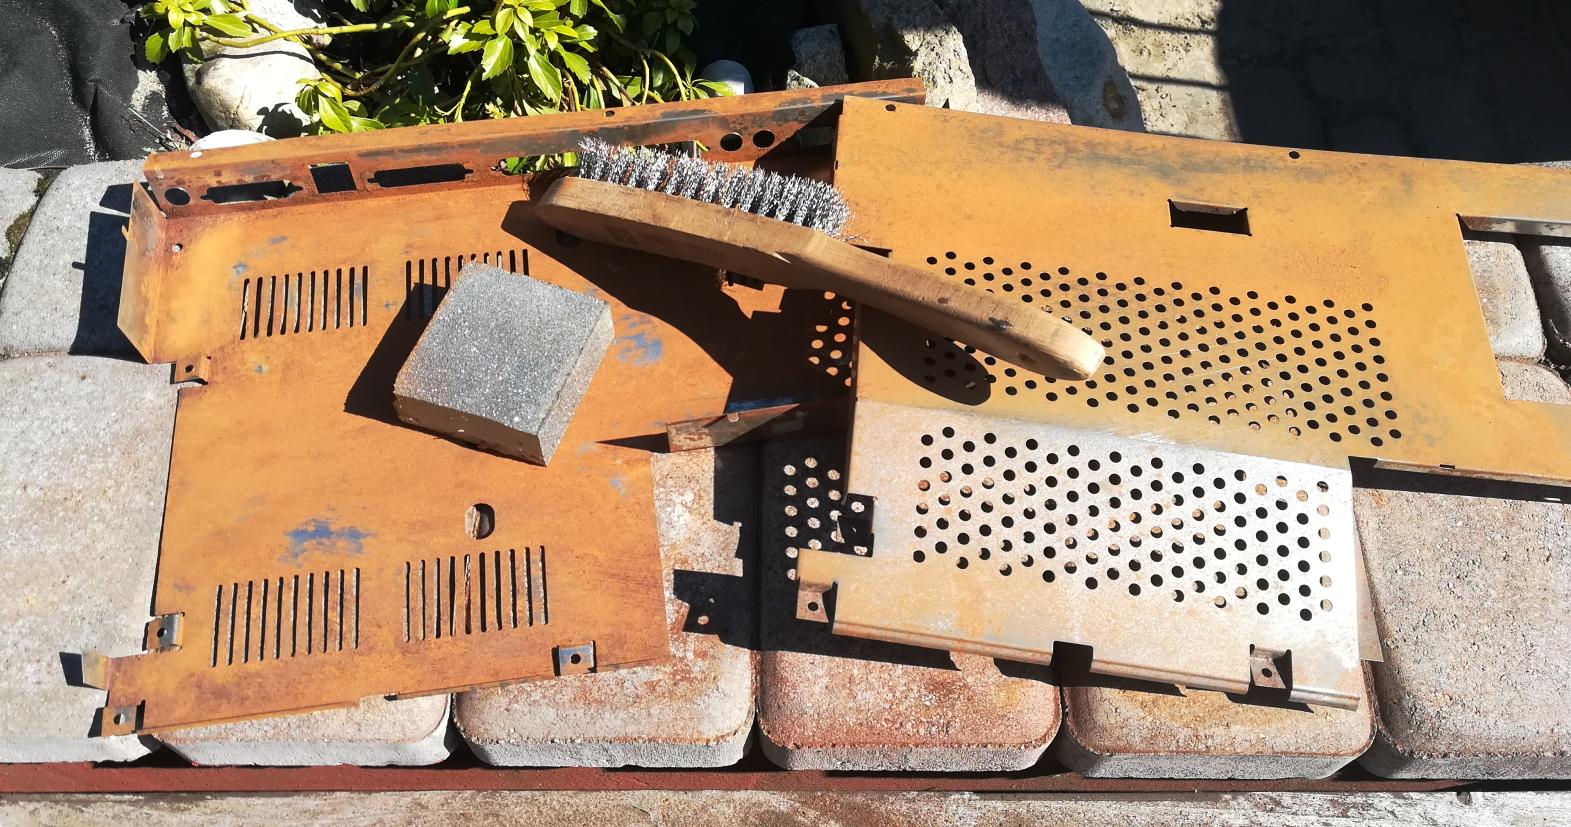
Now I was able to assess the damage. The shield was heavily corroded and chemical rust removal could be simply insufficient. That is why I’ve applied the electrochemical
The idea here is to remove rust by running a current through it while immersed in an electrolytic solution. This is a preferable method because it doesn’t damage an item being restored. Below you can see a simple diagram of how it works.
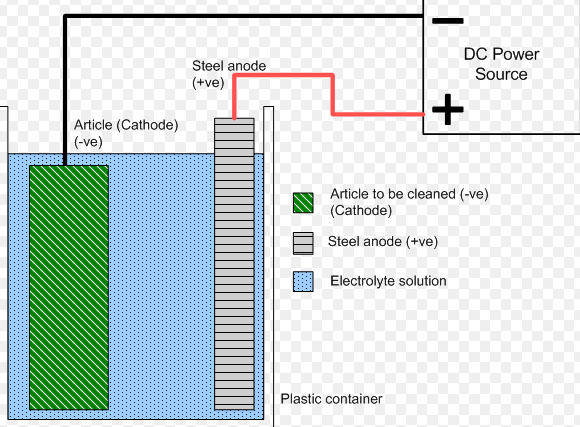
I needed some sort of steel anode. I’ve made it out of an old UPS base. It had a Zinc plating but it is irrelevant for our job.
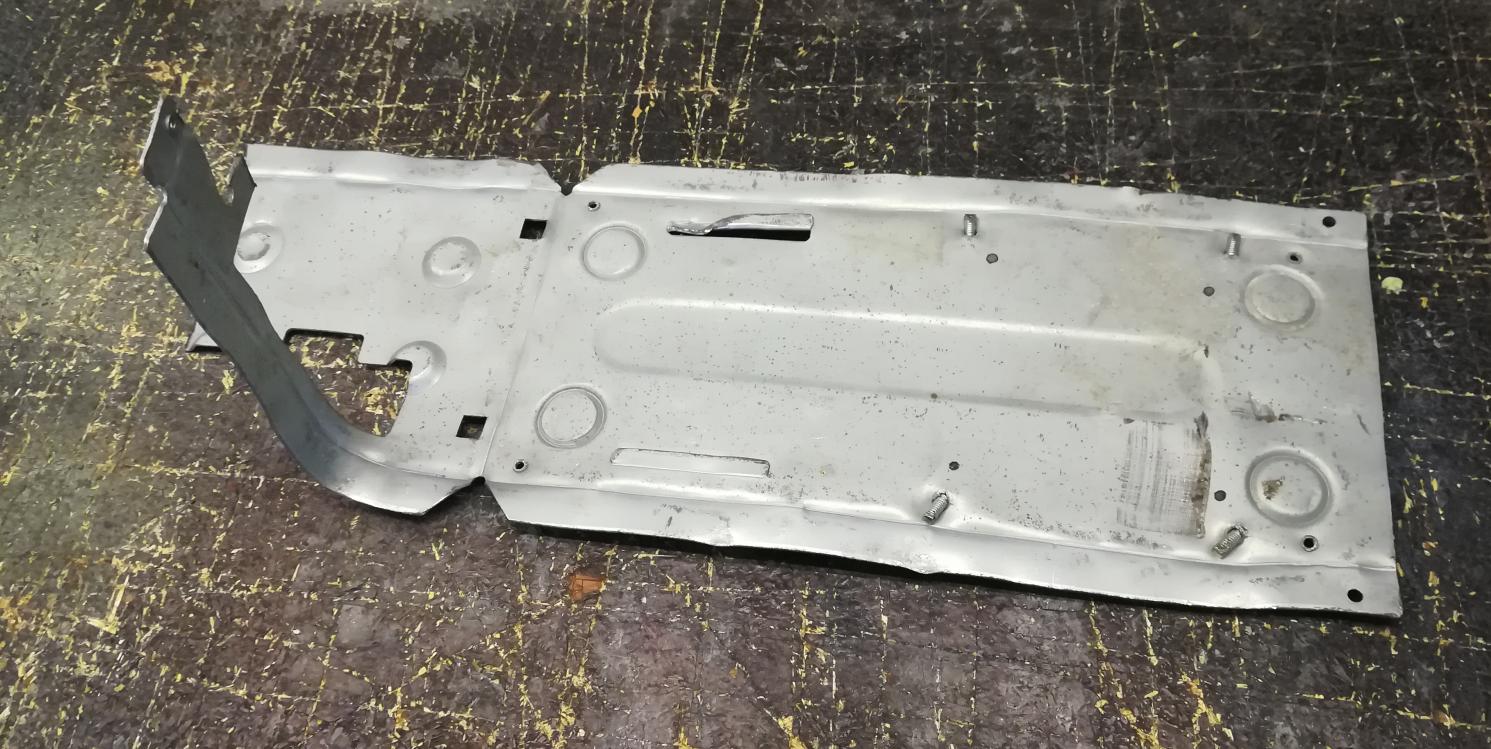
In most cases, Sodium Carbonate is used as an electrolyte but in my case Sodium bicarbonate was used simply because I had it on my shelf and it works pretty much the same.
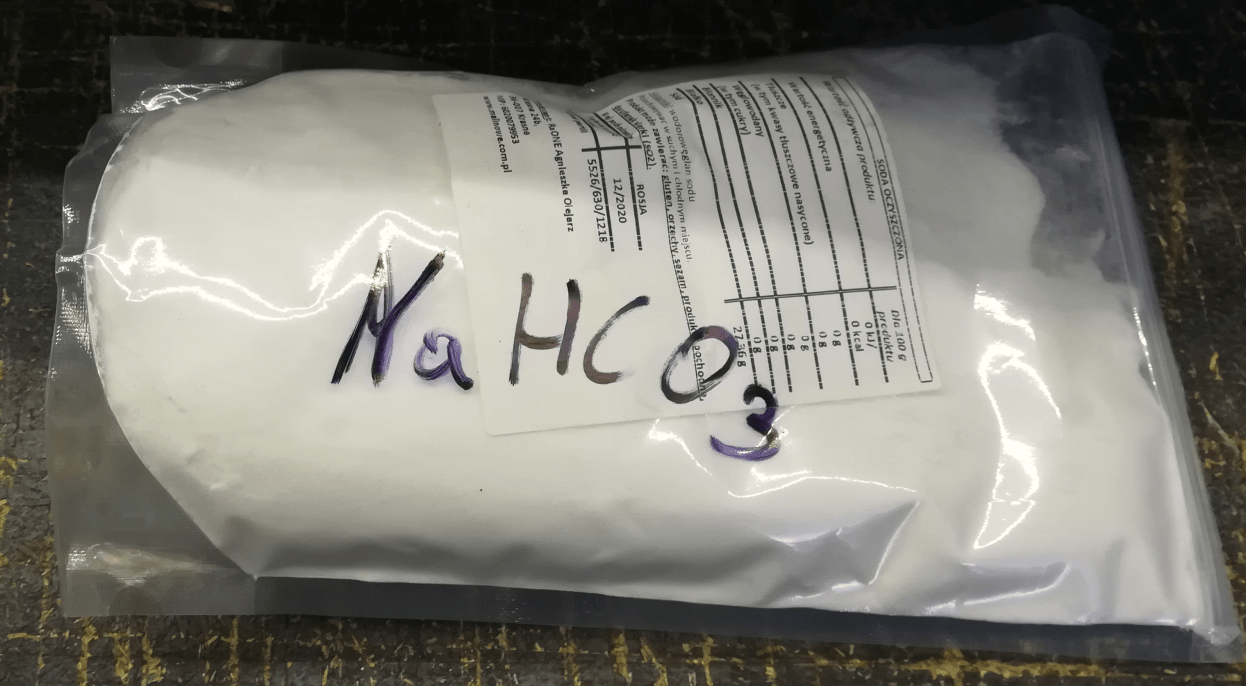
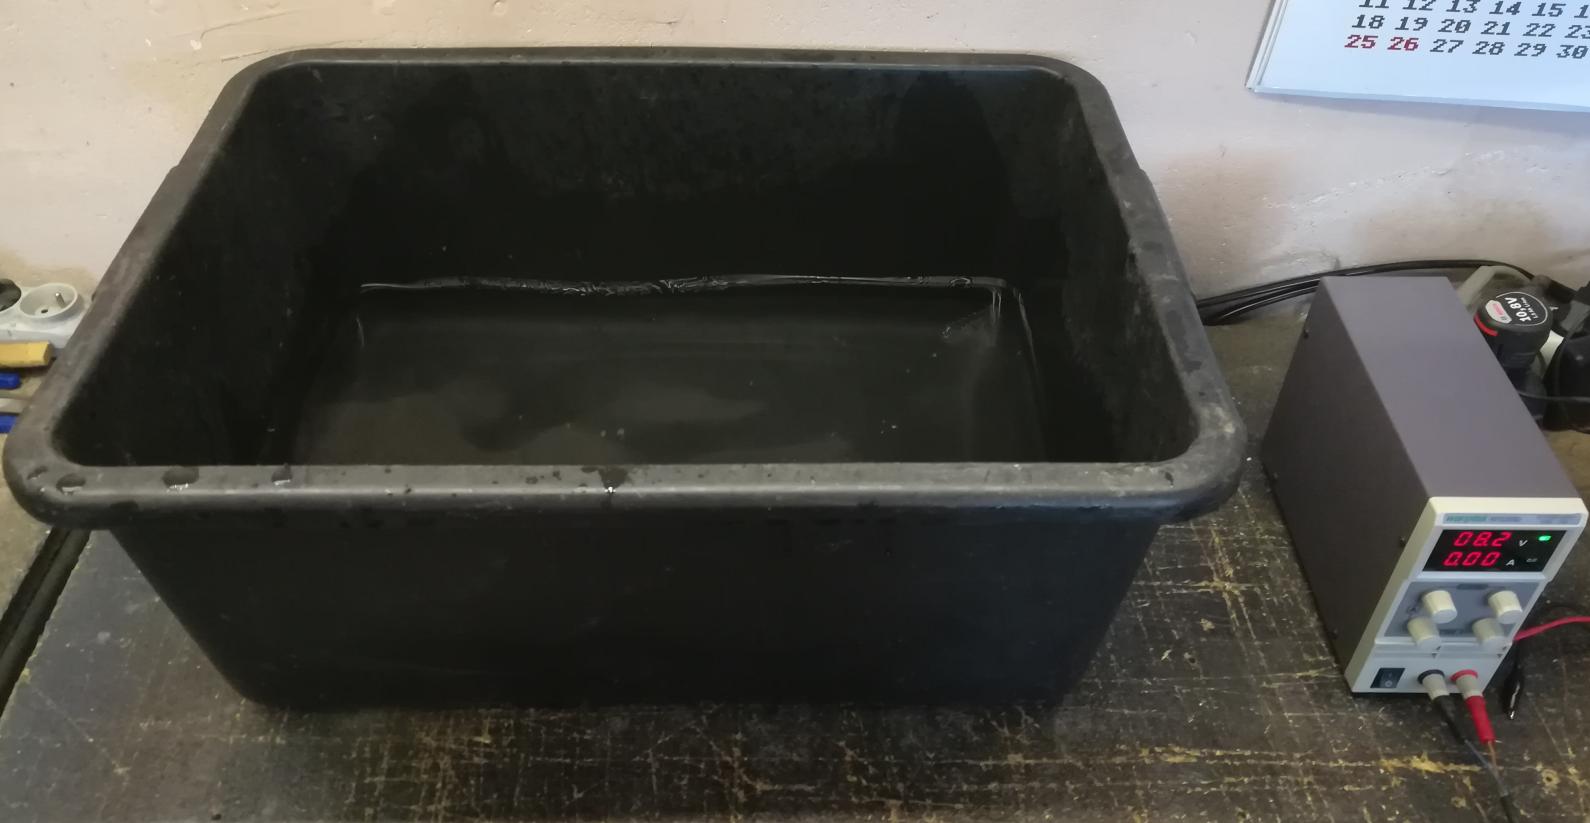
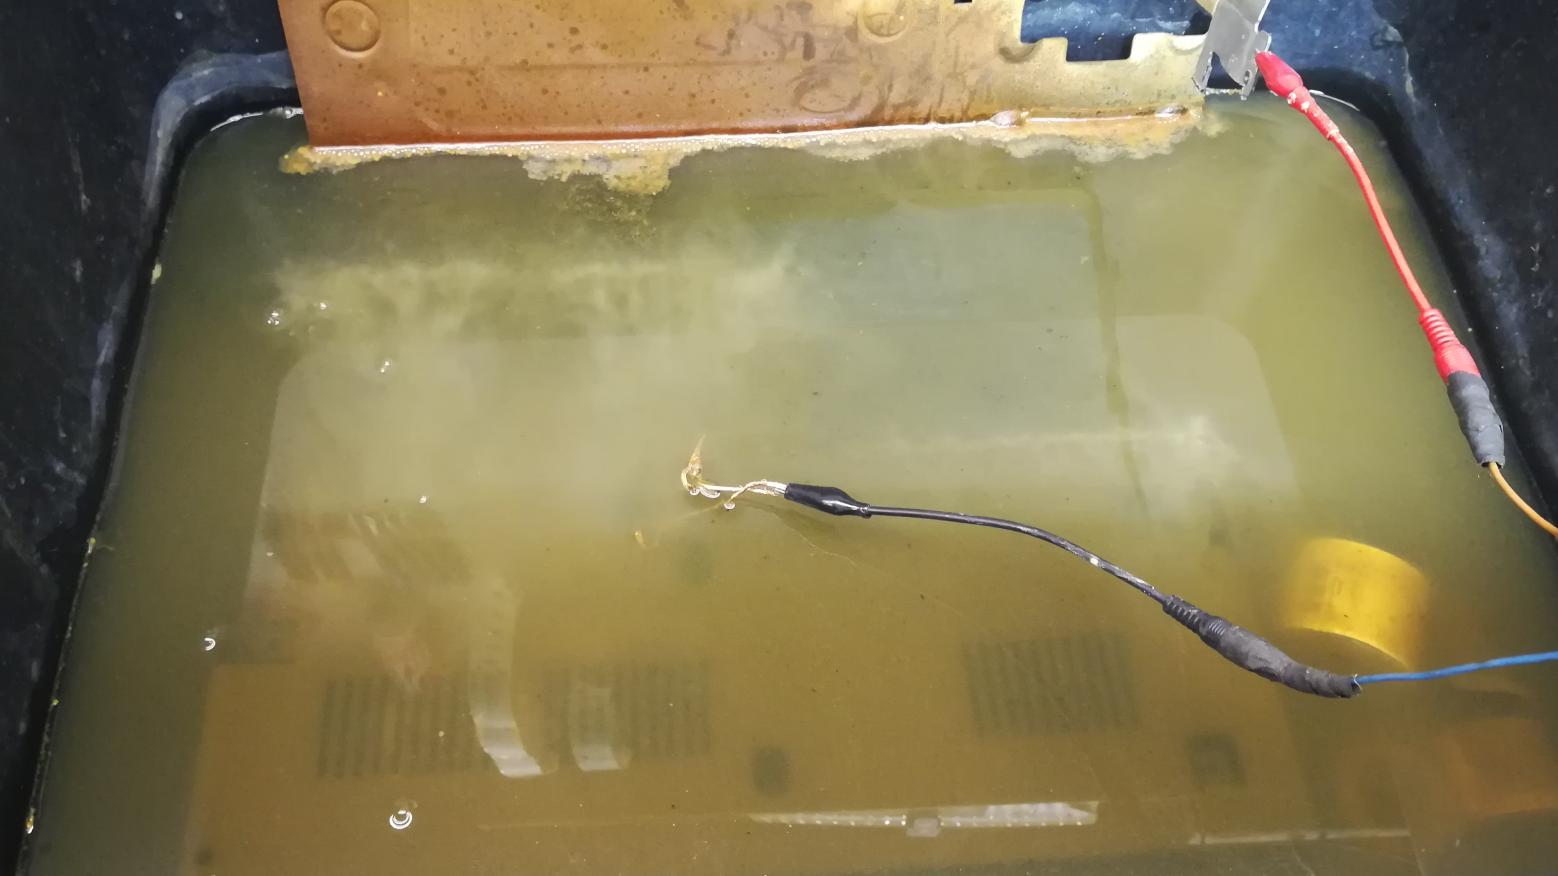
I prepared a plastic bath and filled it with warm water to which Sodium bicarbonate was added.
There are various recipes for this solution but I have my method developed through experiments.
I simply start with a minimum amount and add more (during the process) until I reach the desired effect.
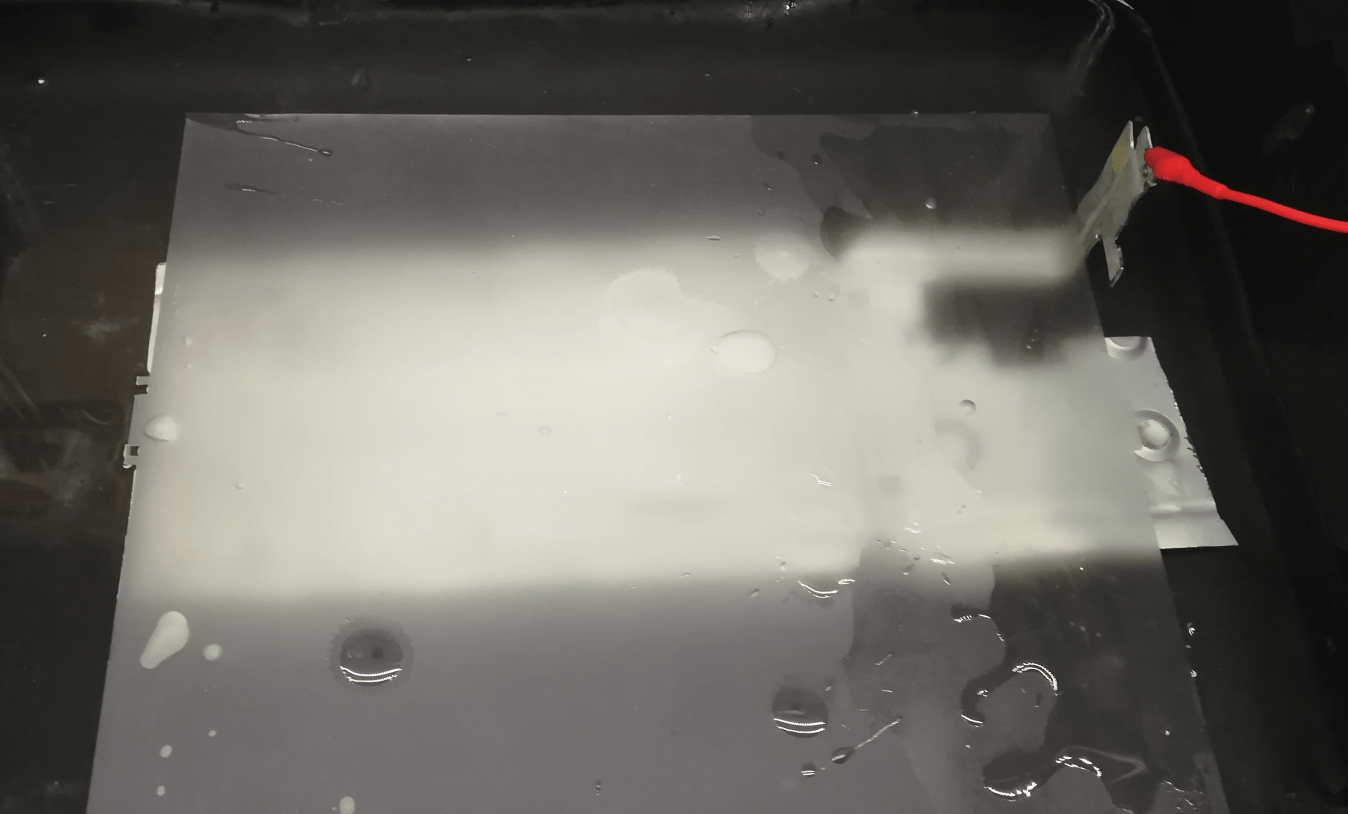
An anode was placed on a bottom with a positive terminal connected to it and a polymer spacer was put between the anode and Amiga shield(with the negative terminal) to prevent short circuits.
De-rusting
The process started when I turned on a power source. In the beginning, I had to ramp up voltage up to 9.2V to get 1A of current flowing through the solution.
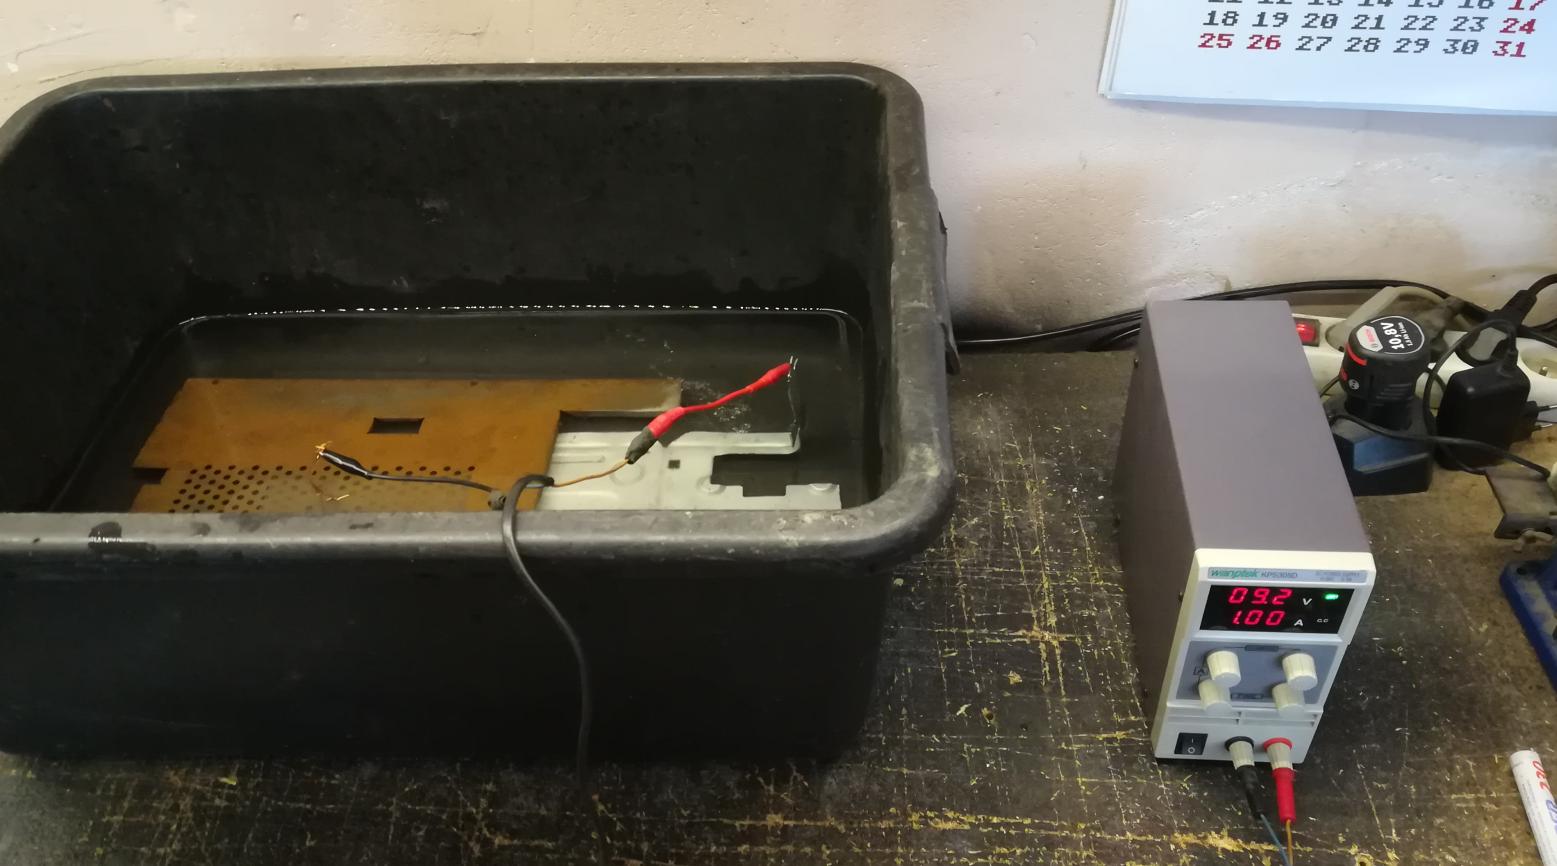
I quickly realized my mistake. At the beginning of such a process, when there still is a lot of ‘live rust’, the reaction takes place where resistance is the lowest. Meaning, that it will happen as close to an anode as possible. It was corrected by moving an anode around a few times during the de
Also, it is very important to reduce the voltage as rust disappears. Otherwise, the voltage will rise very quickly which is undesirable.
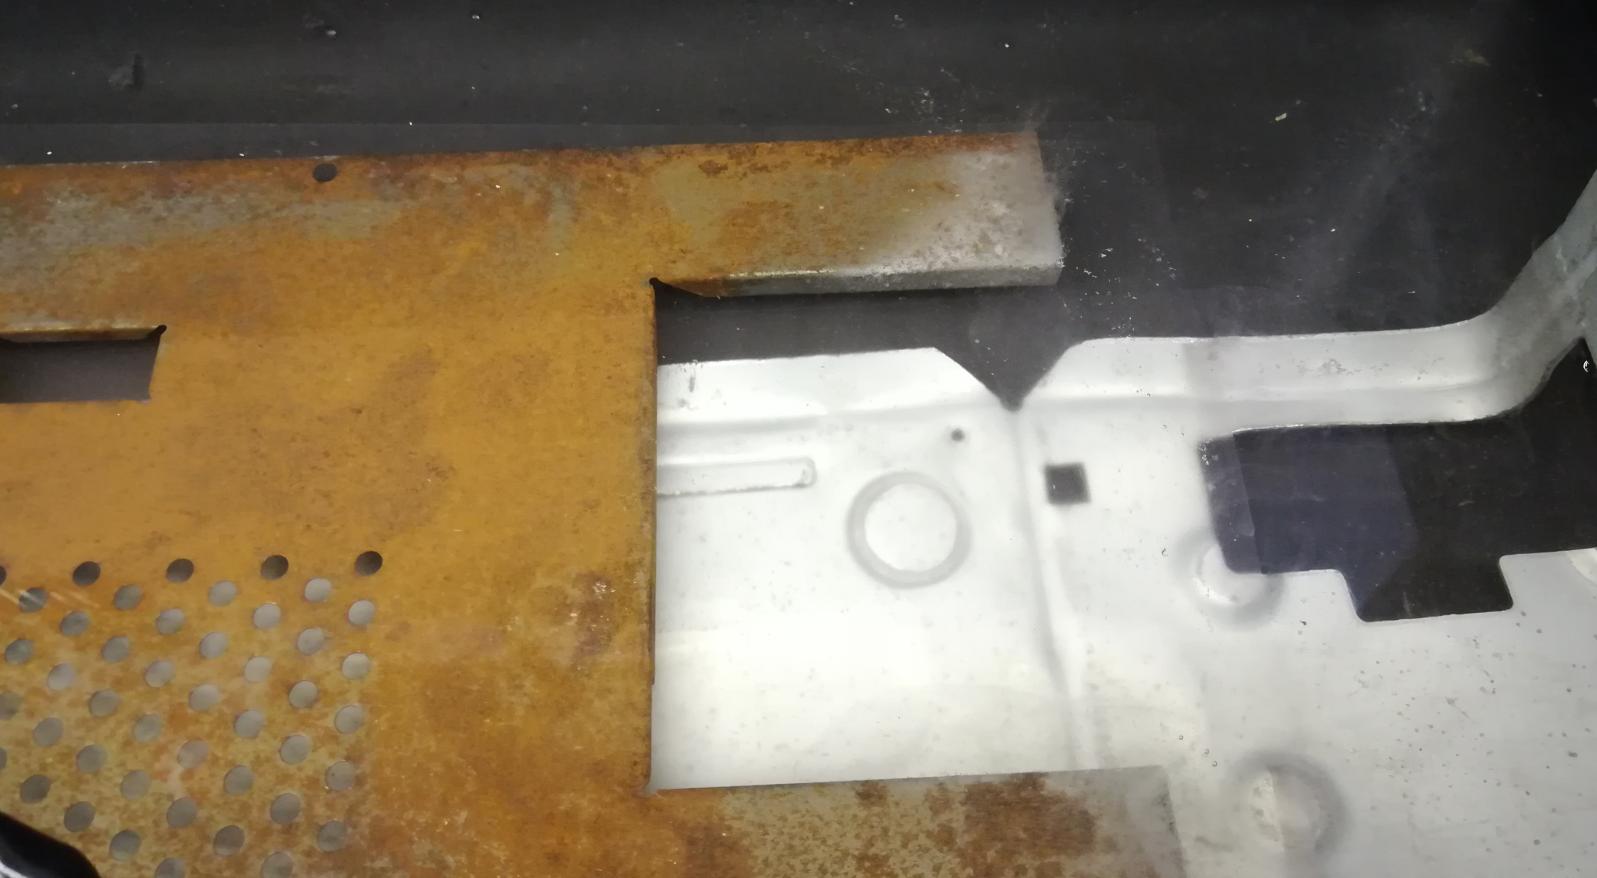
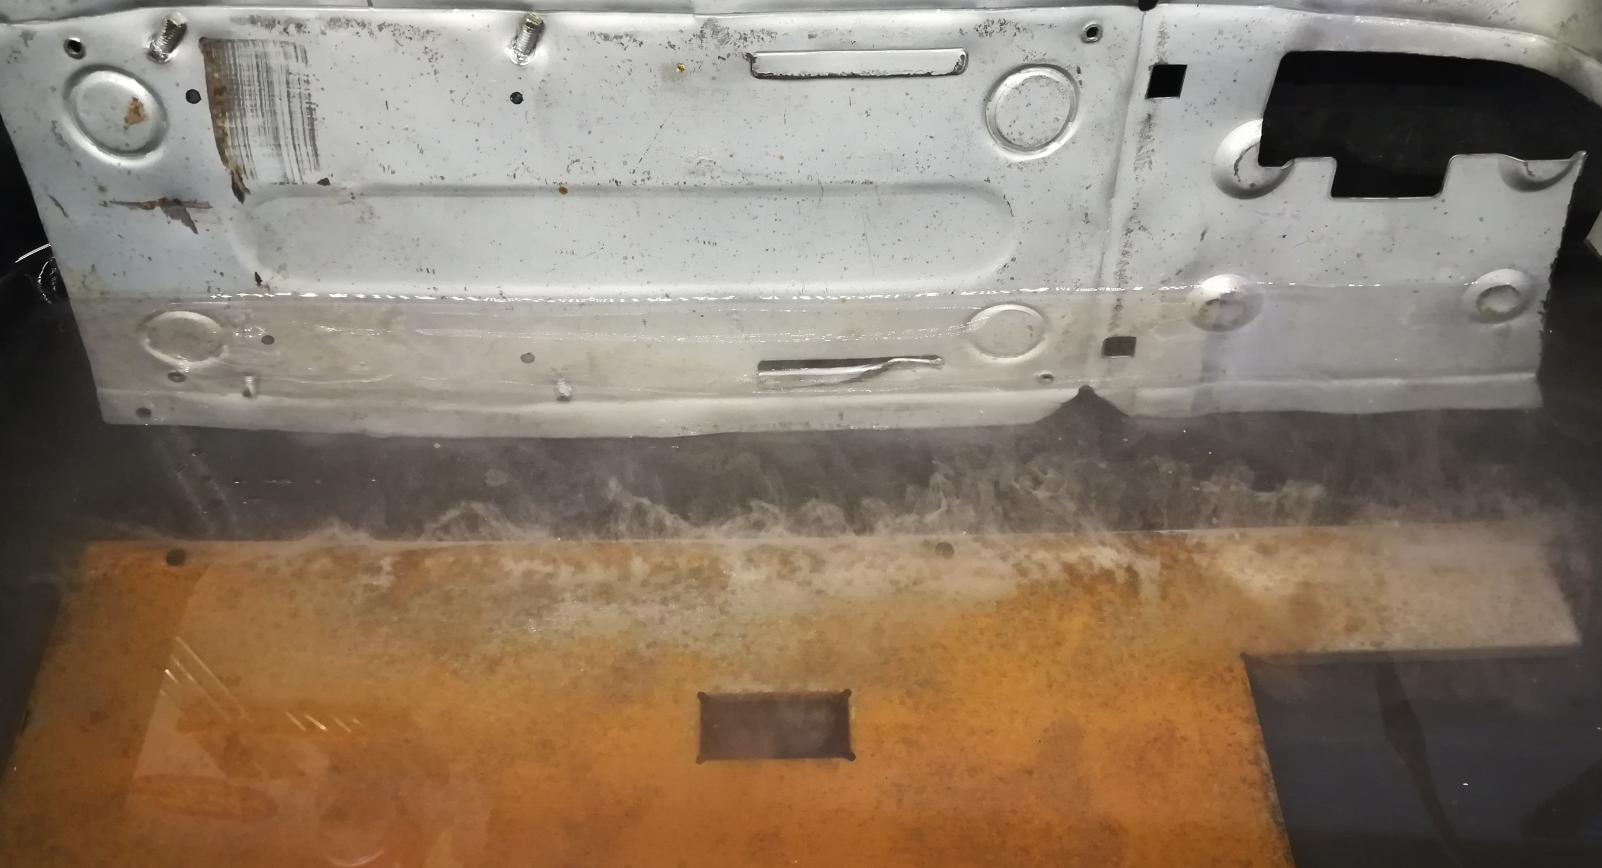
Here is a video of ongoing de-rusting.
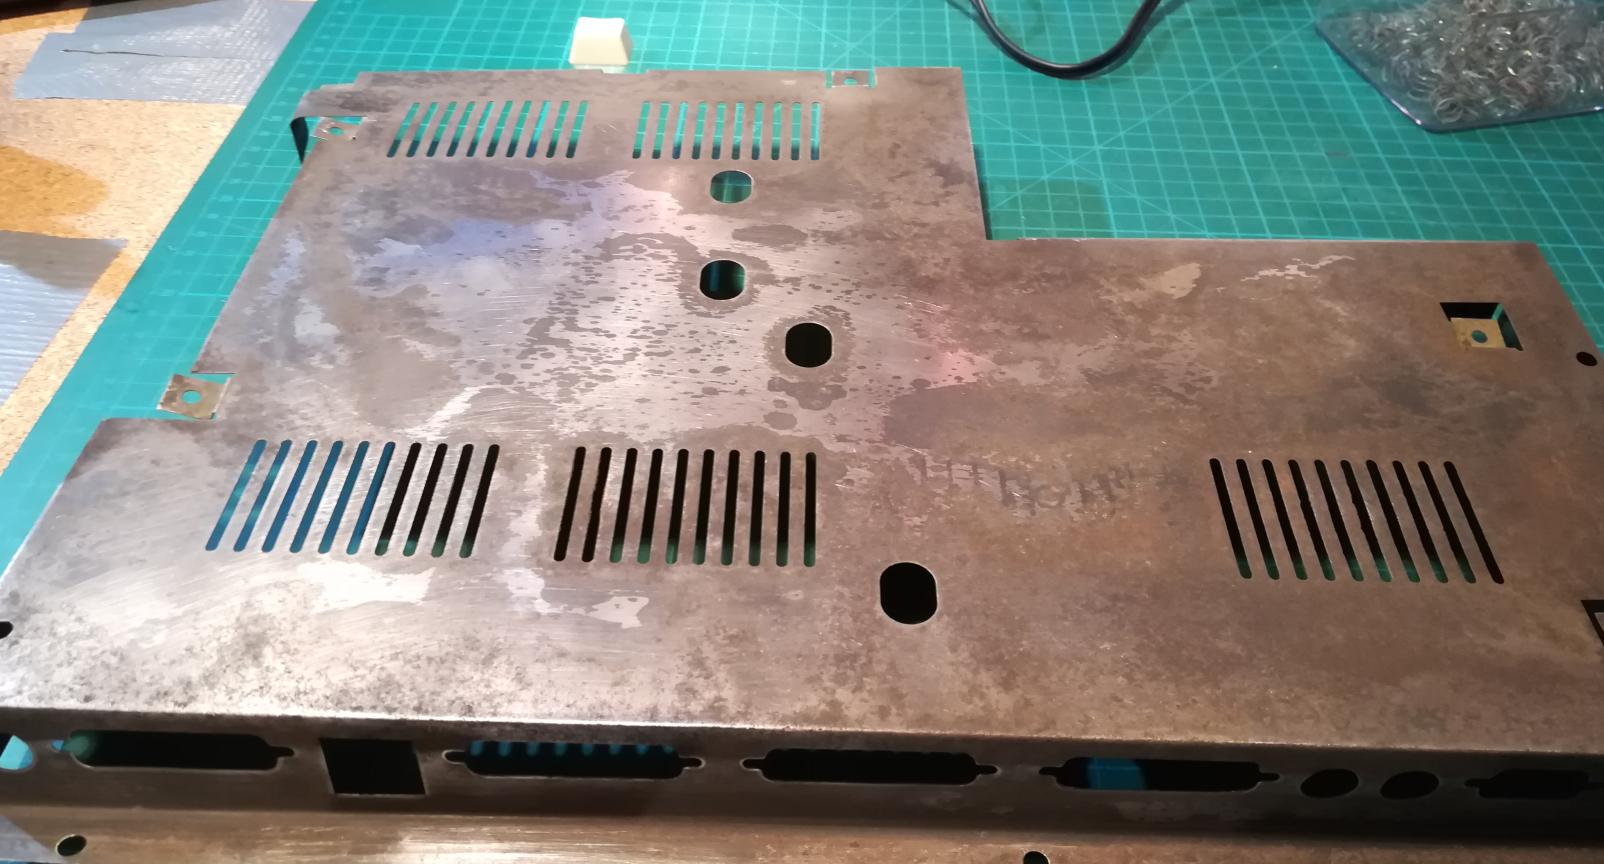
Below results.
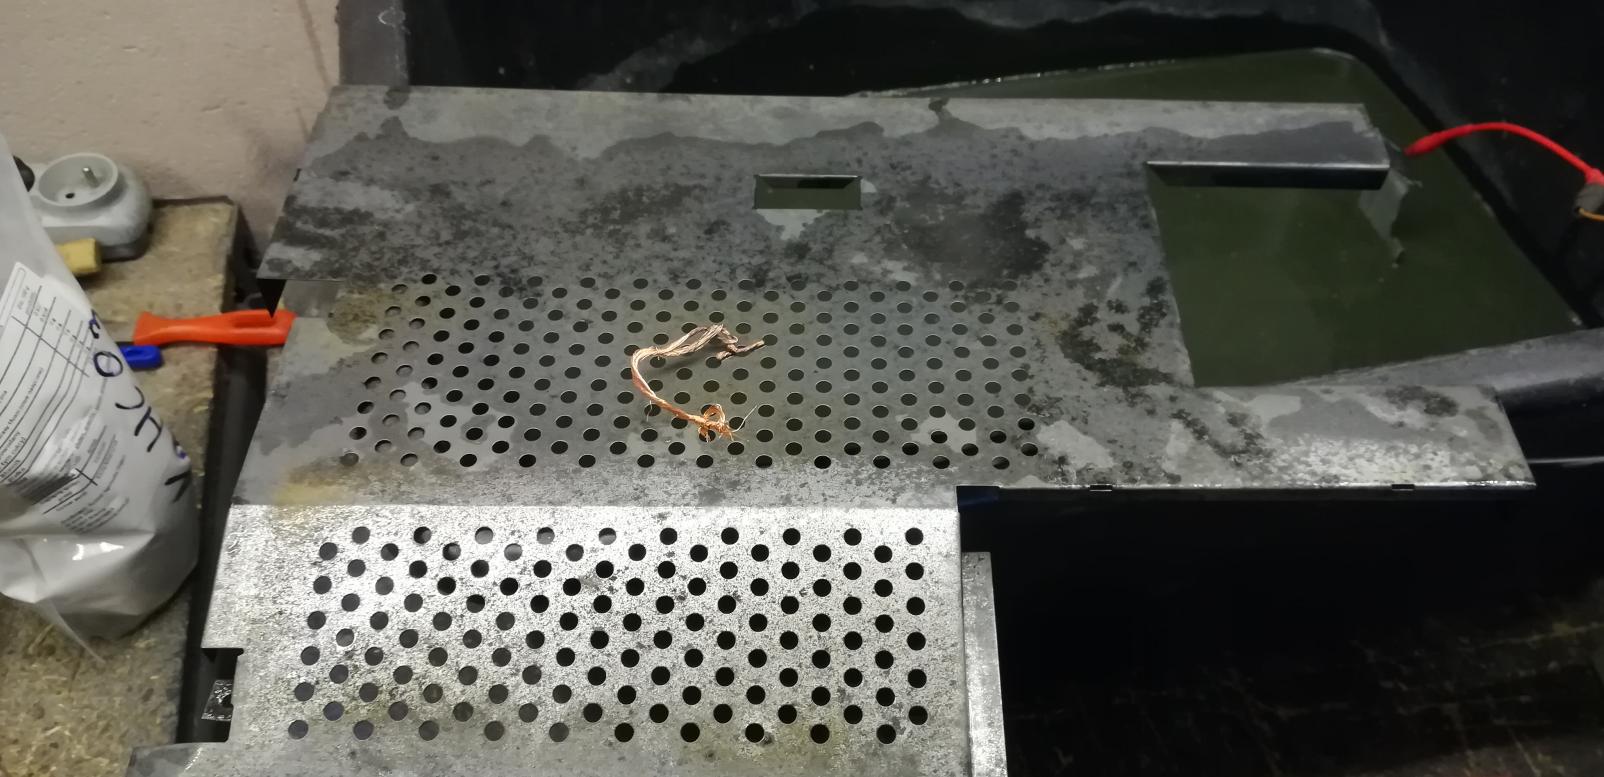
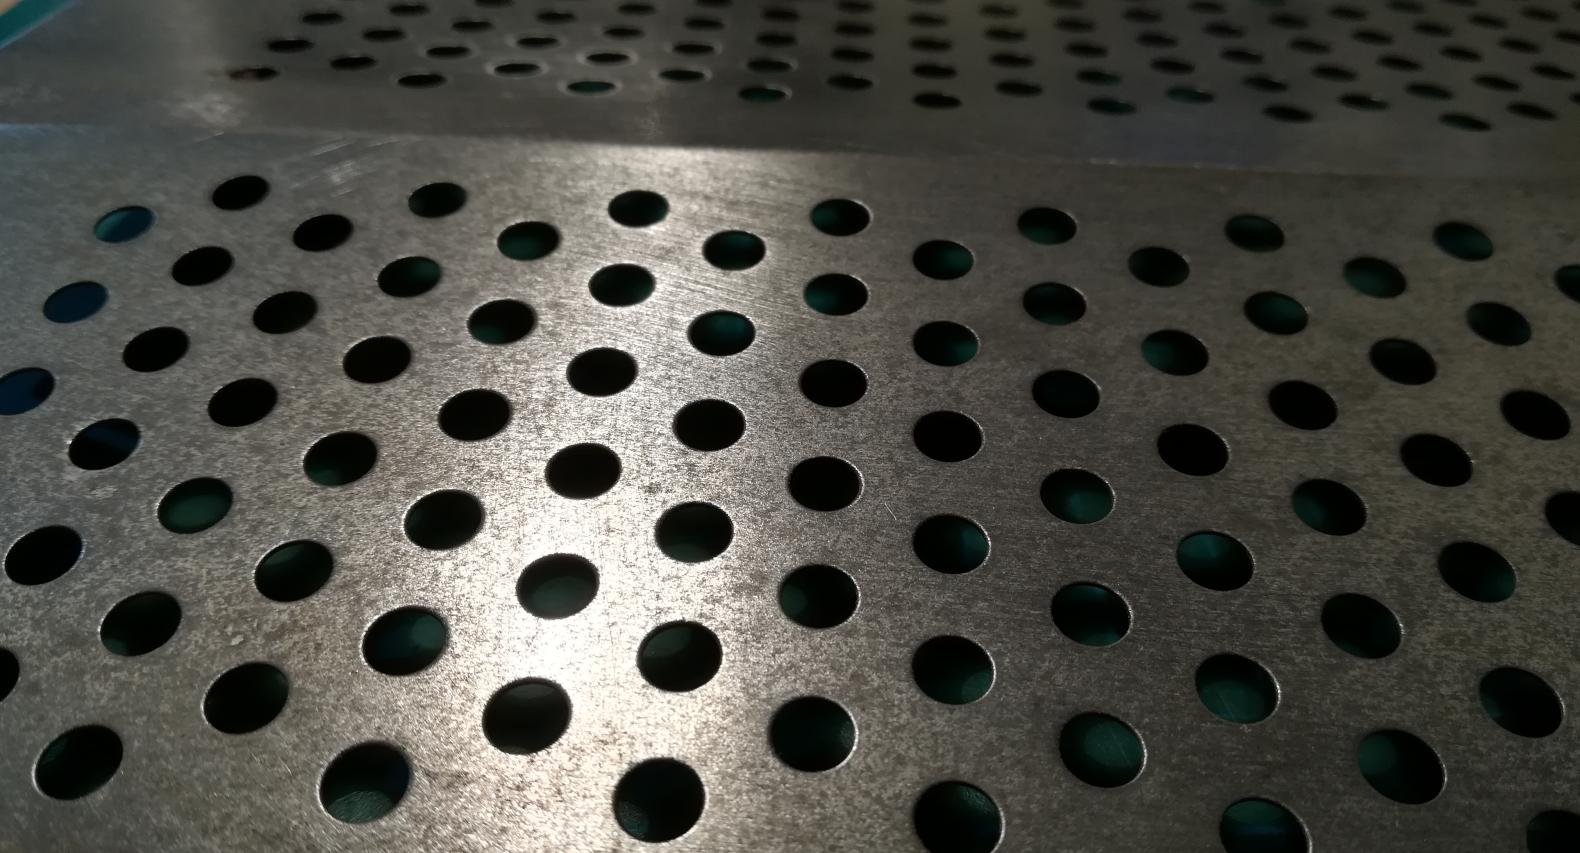
A bit of sanding was needed to remove a thin layer of remaining oxides.
Painting
After the rust removal process, it is very important to quickly dry an item and cover it with paint as soon as possible.
Otherwise, it will be very quickly (within minutes) covered by a thin layer of rust again.
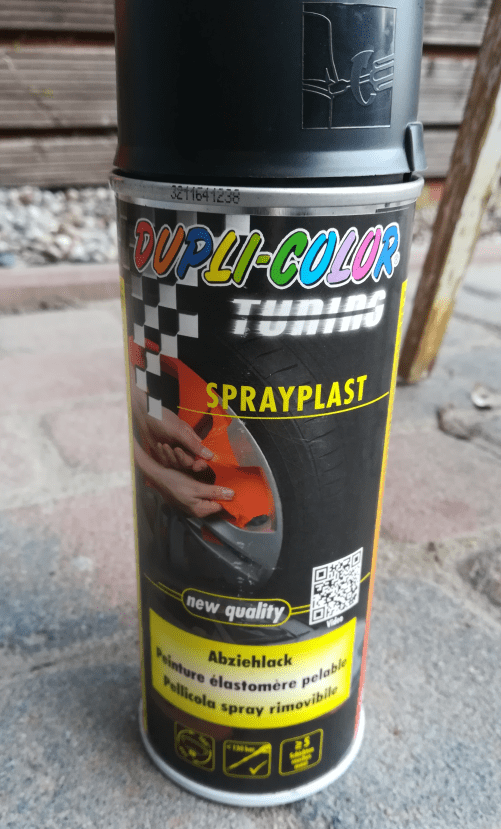
I’ve used elastic paint. Usually, this kind of spray paint is used to paint aluminum car wheels.
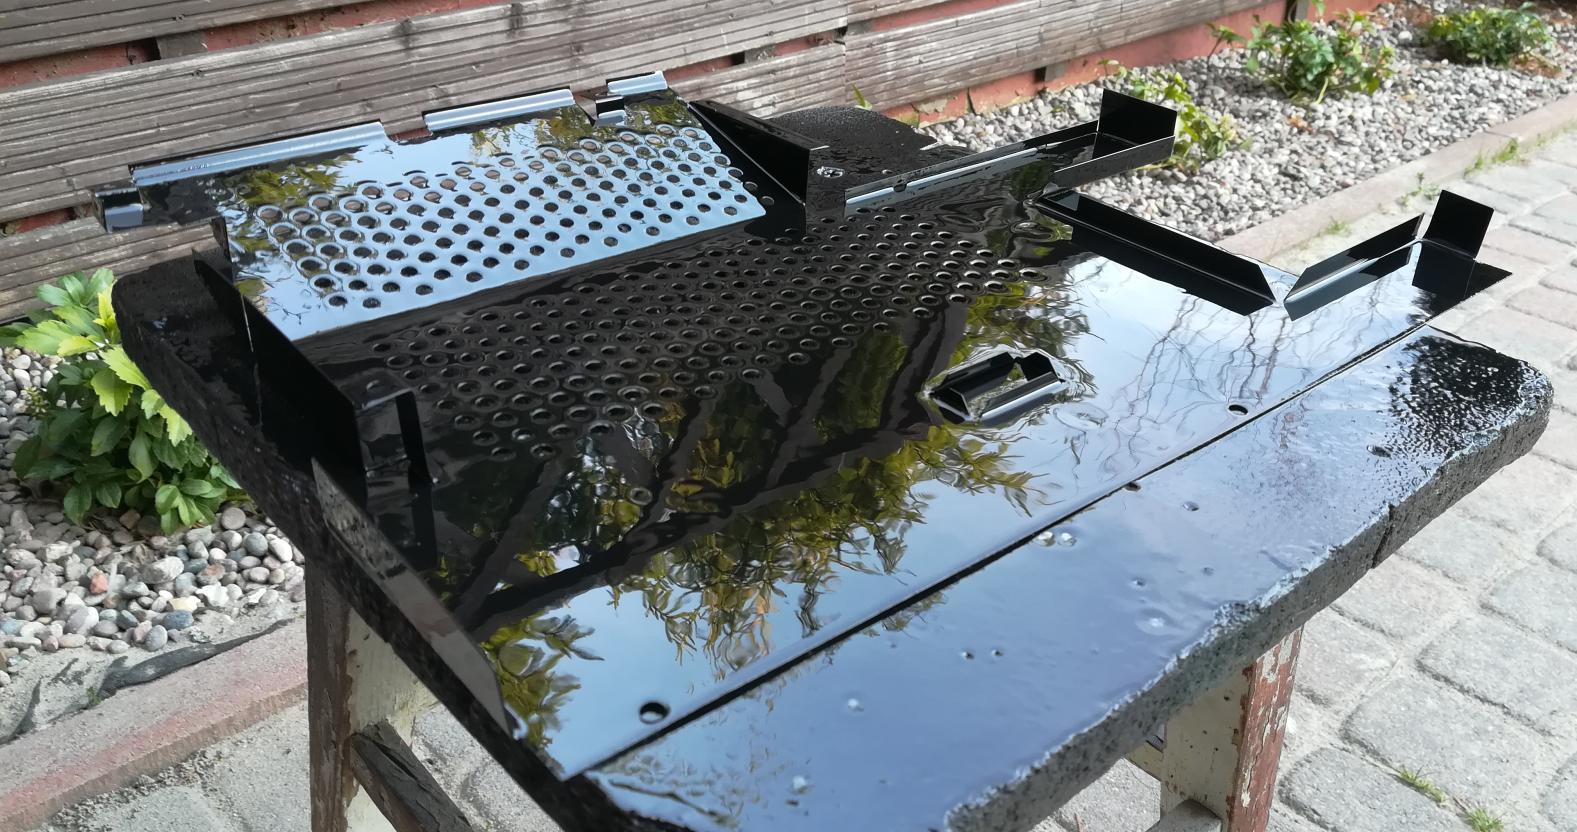
Now the bottom part.
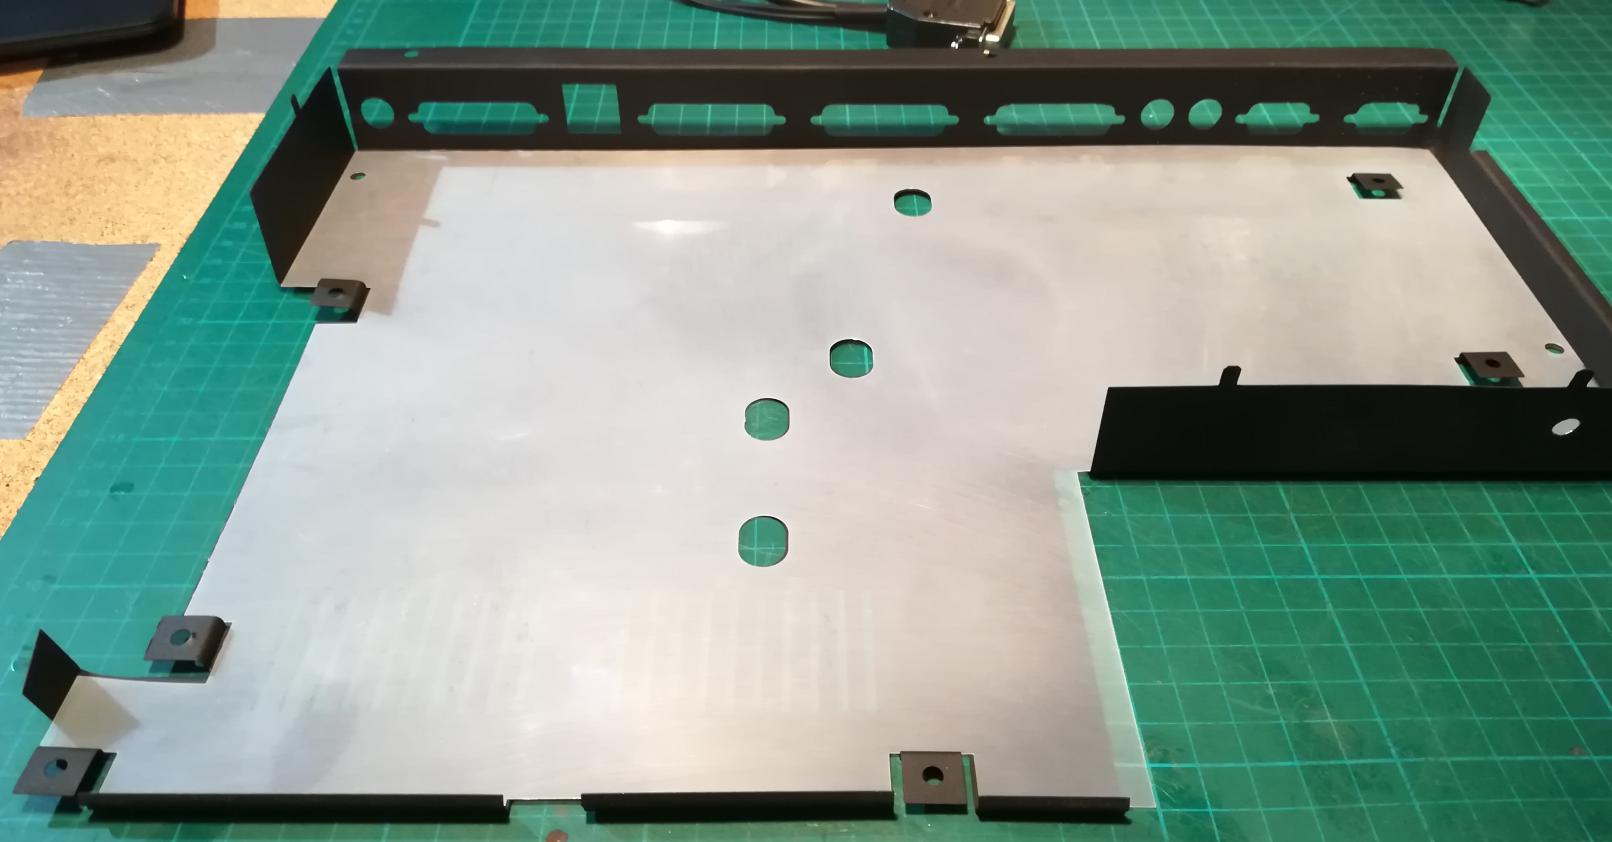
The outcome
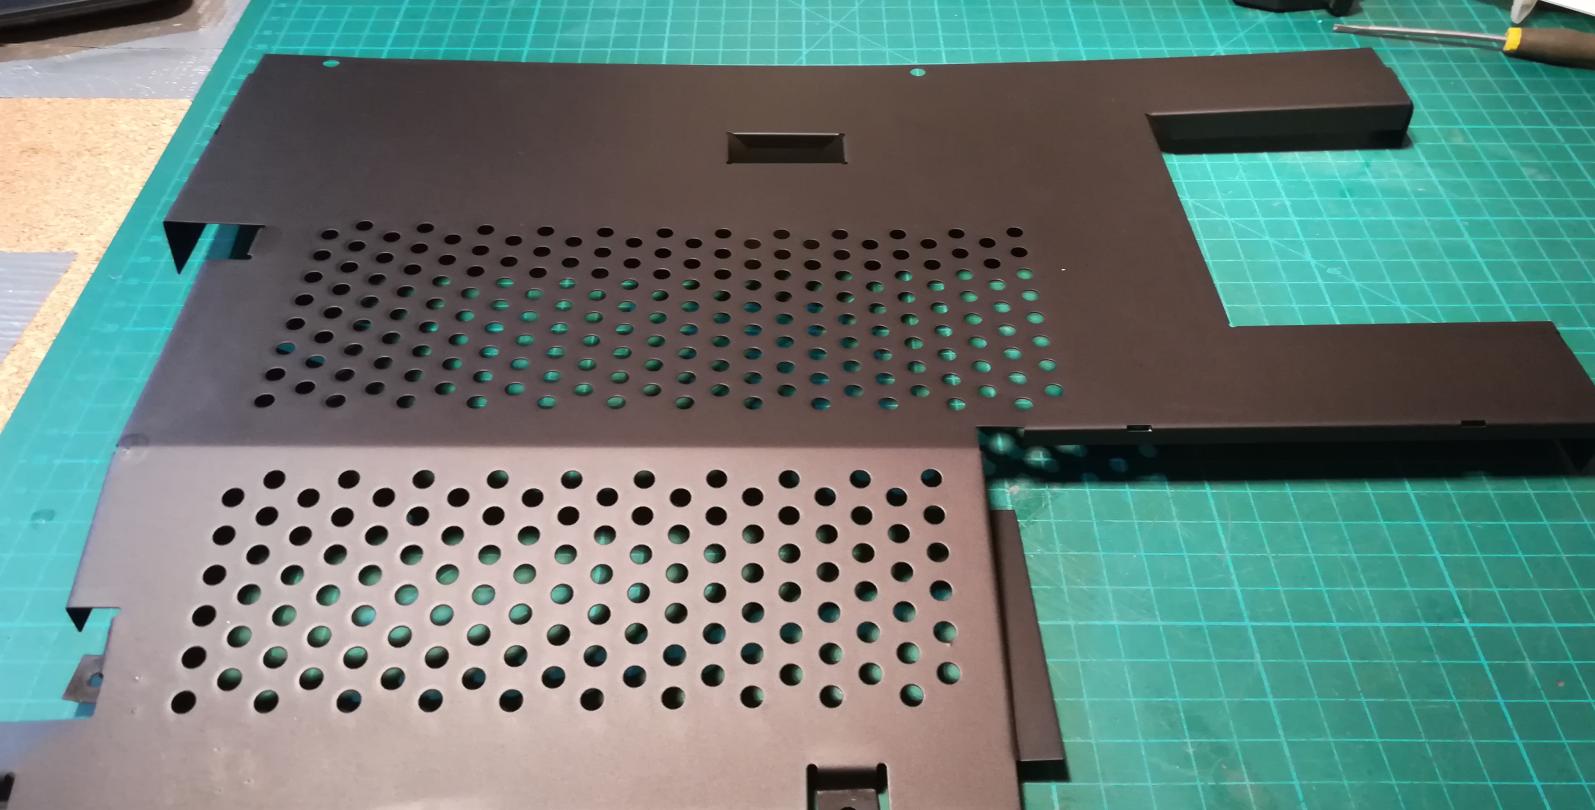
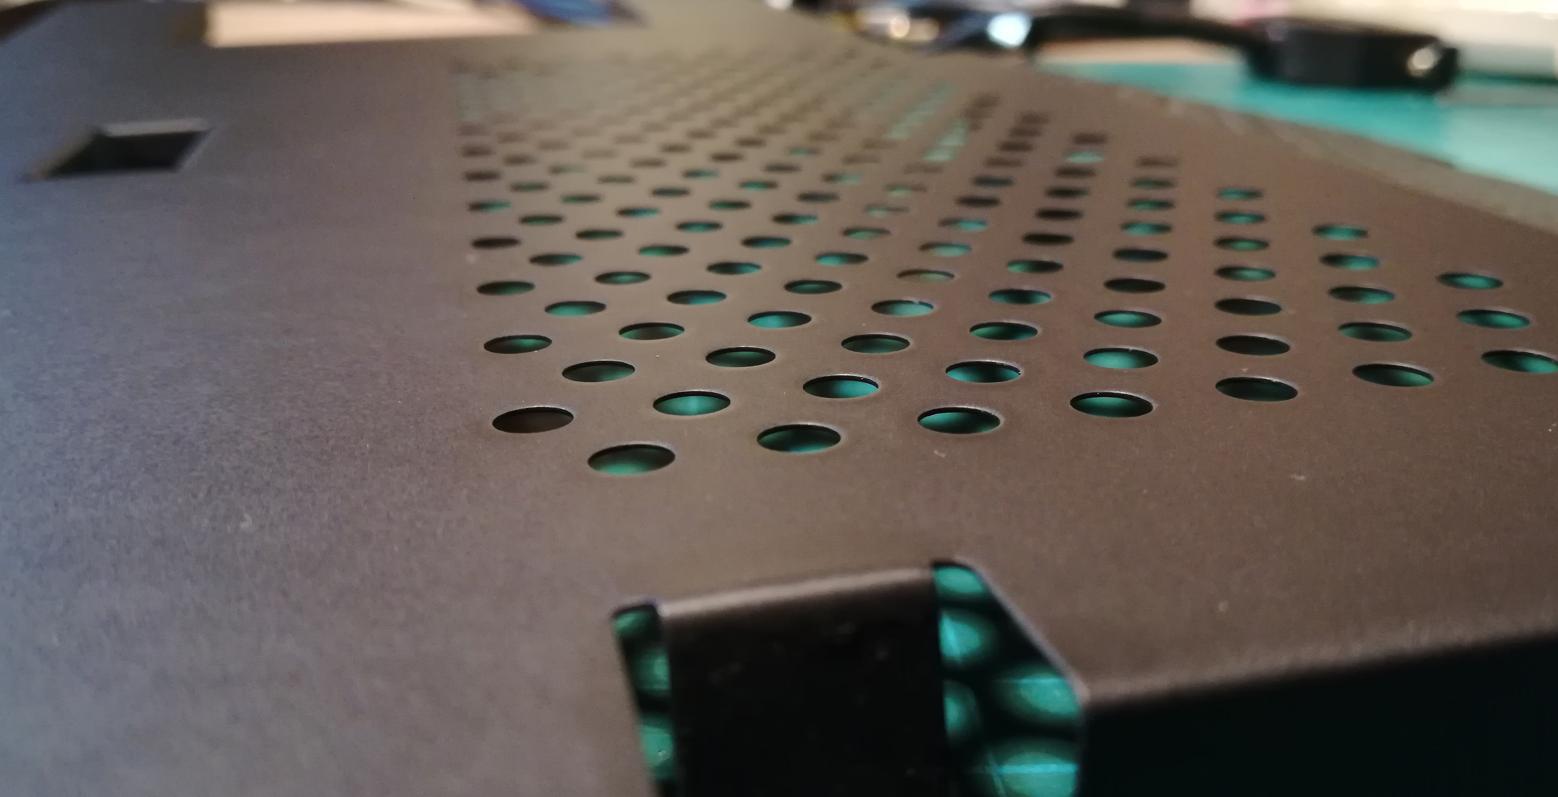
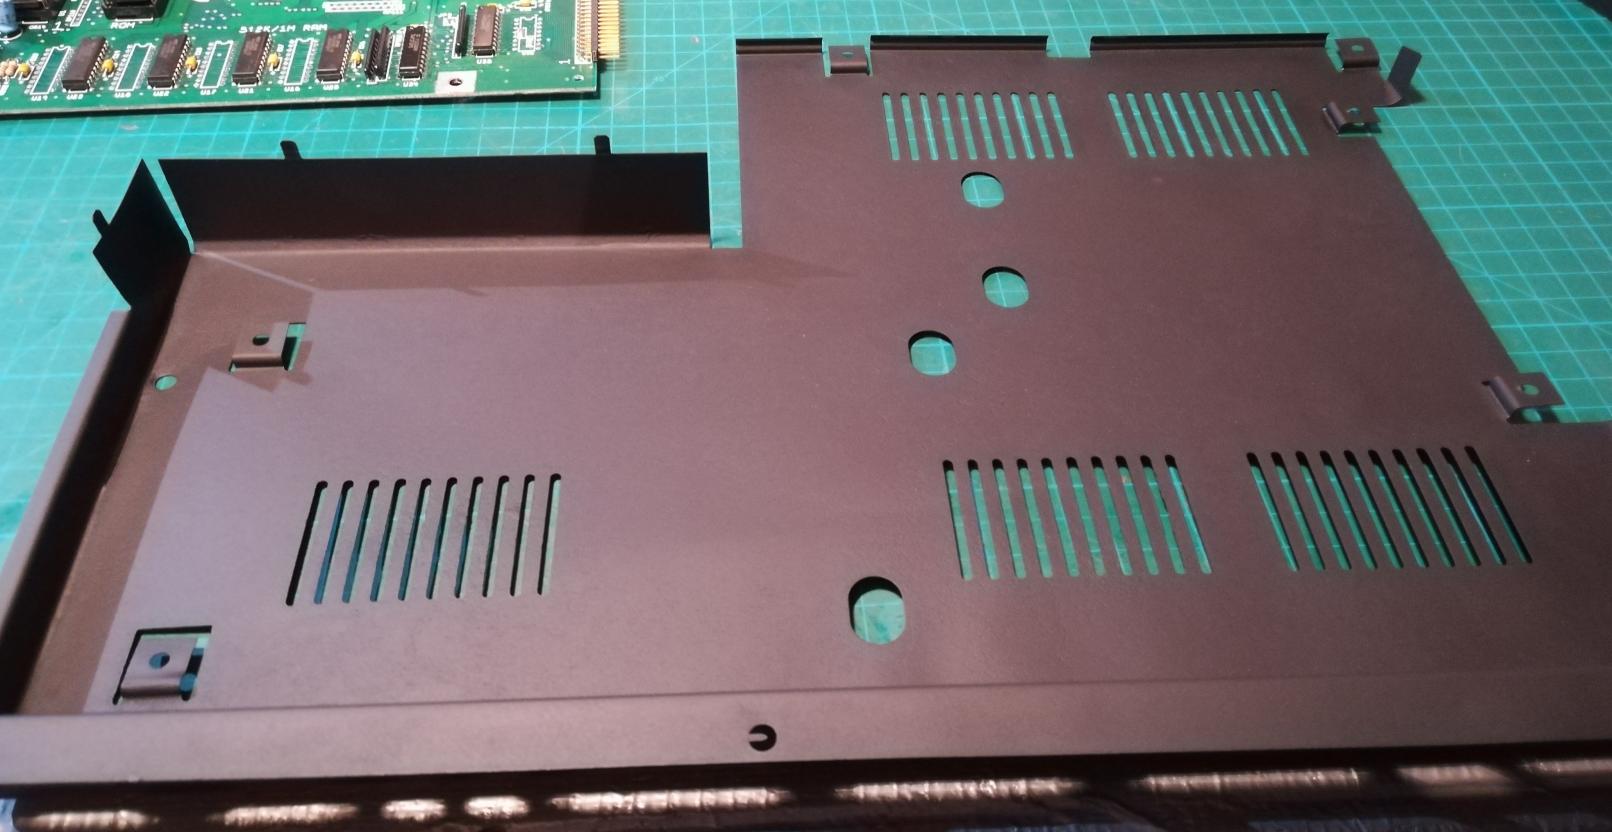
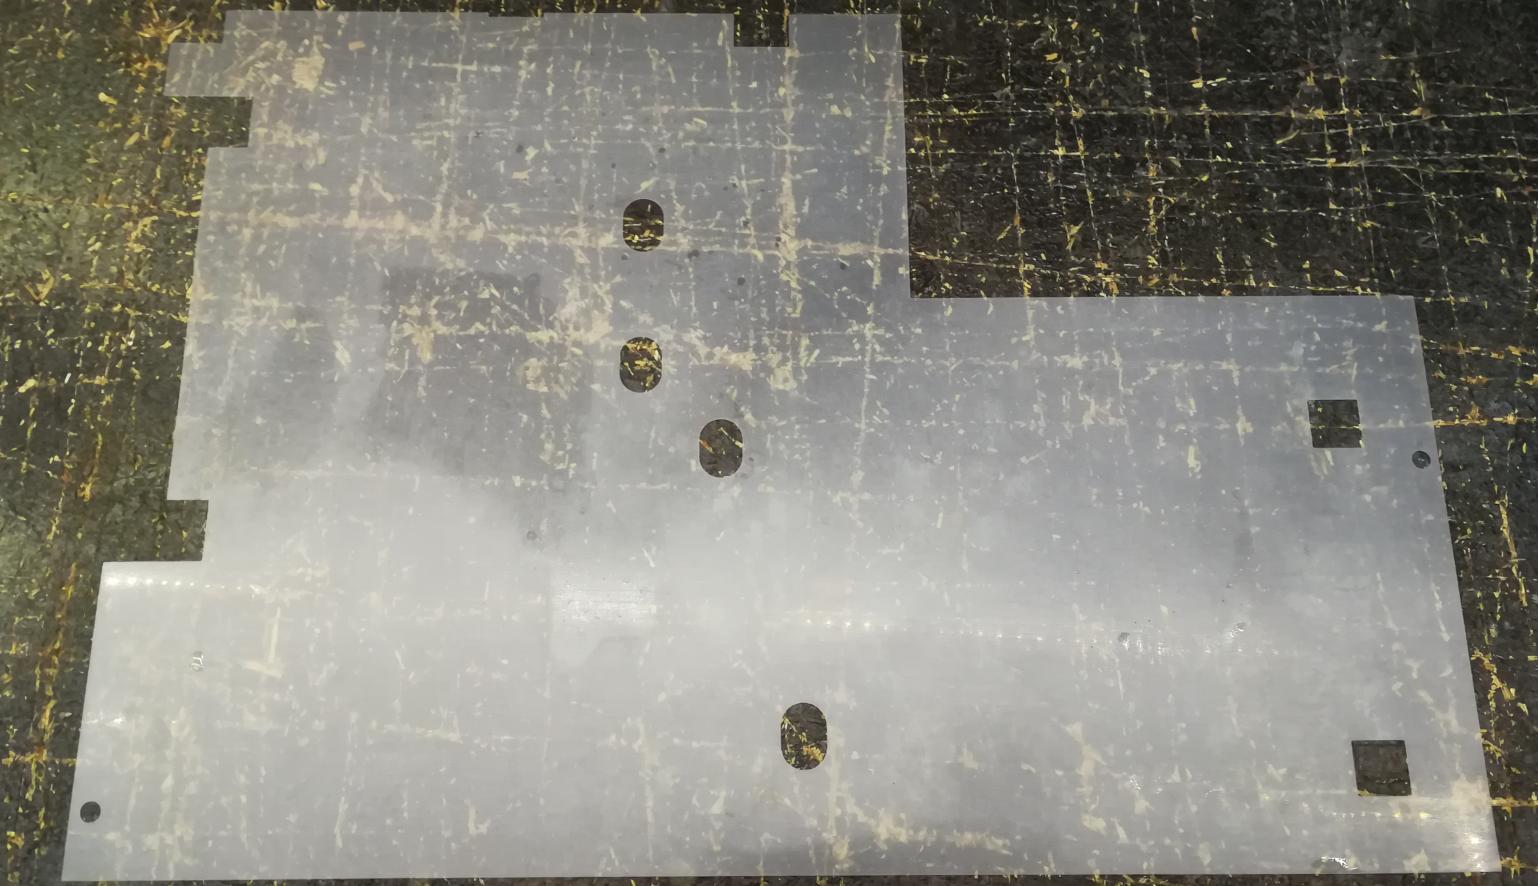
At this point, I’ve managed to clean a plastic spacer that goes under a motherboard.
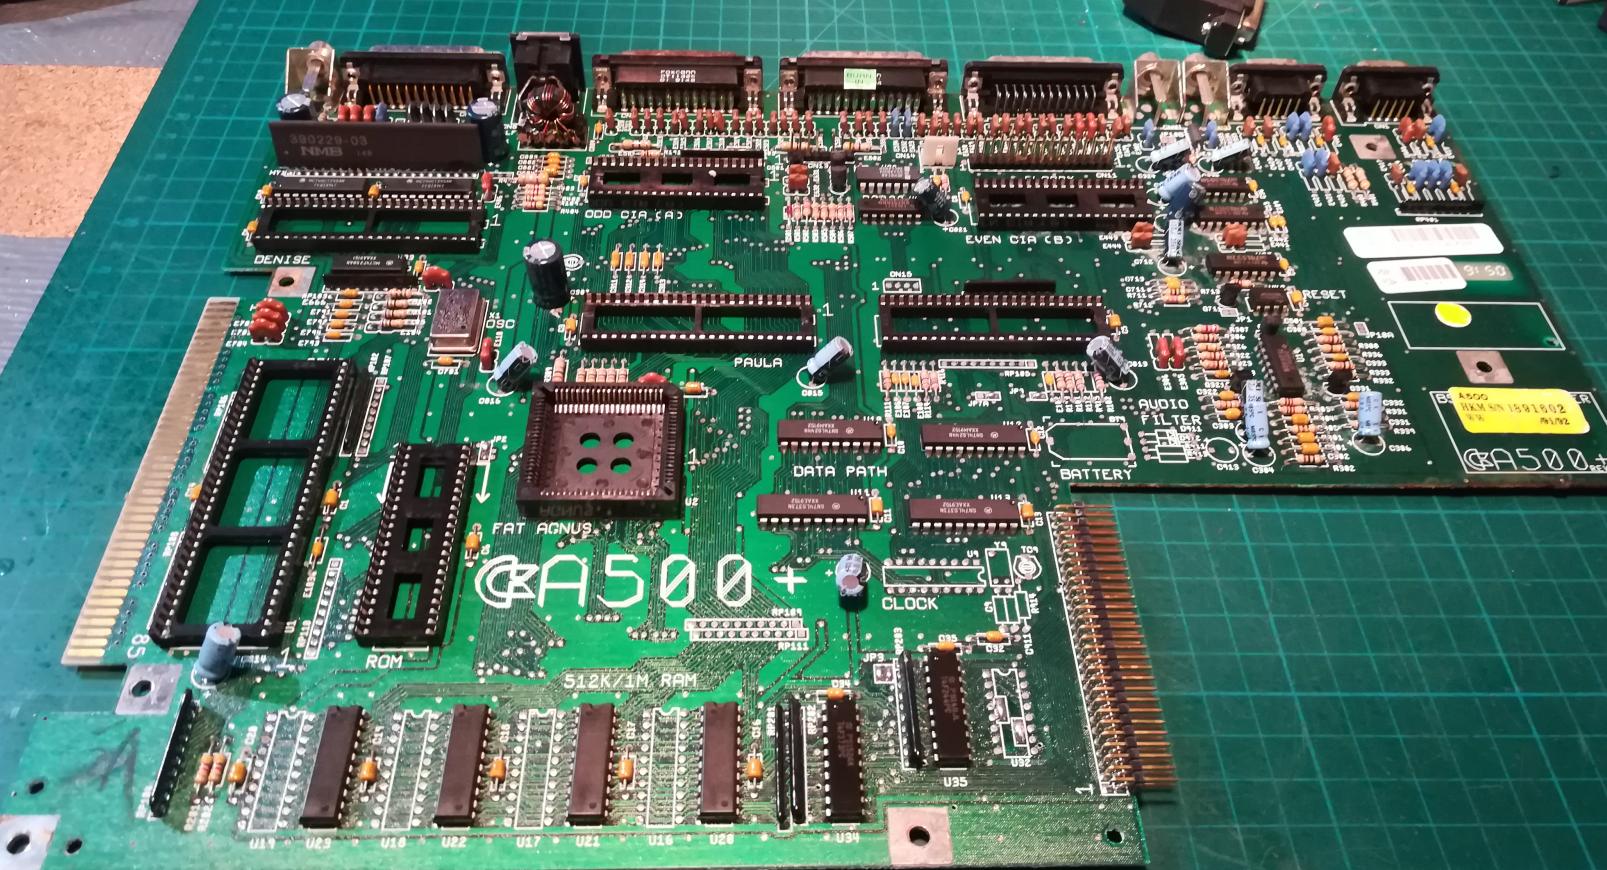
Motherboard
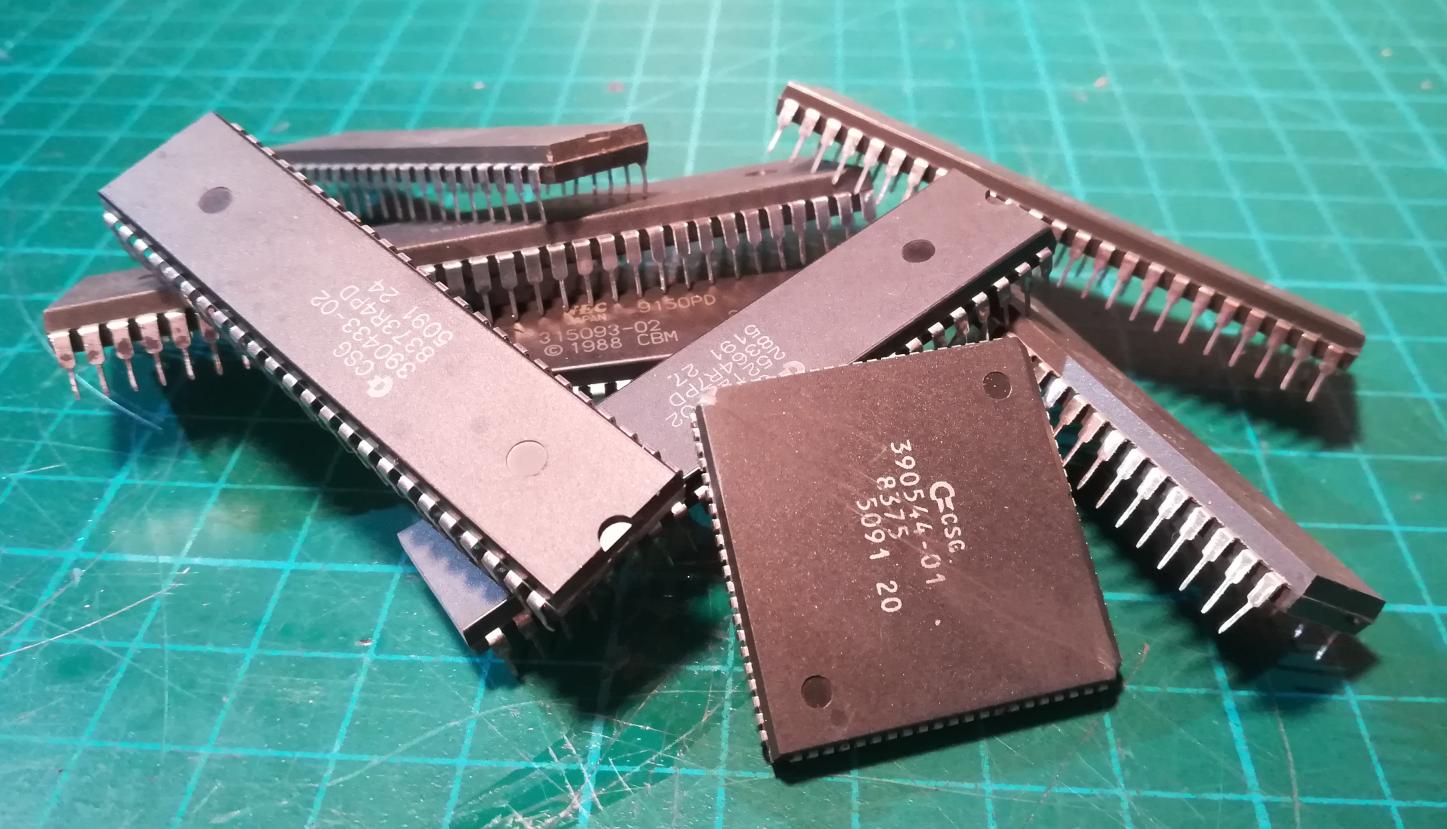
The motherboard had to be thoroughly cleaned a few times. I’ve also removed chips from sockets and removed all corrosion and dirt from ’em.
However, there was a problem with seriously corroded DB sockets. I had to desolder and give them a warm bath in Phosphoric Acid which removes rust and corrosion very effectively.
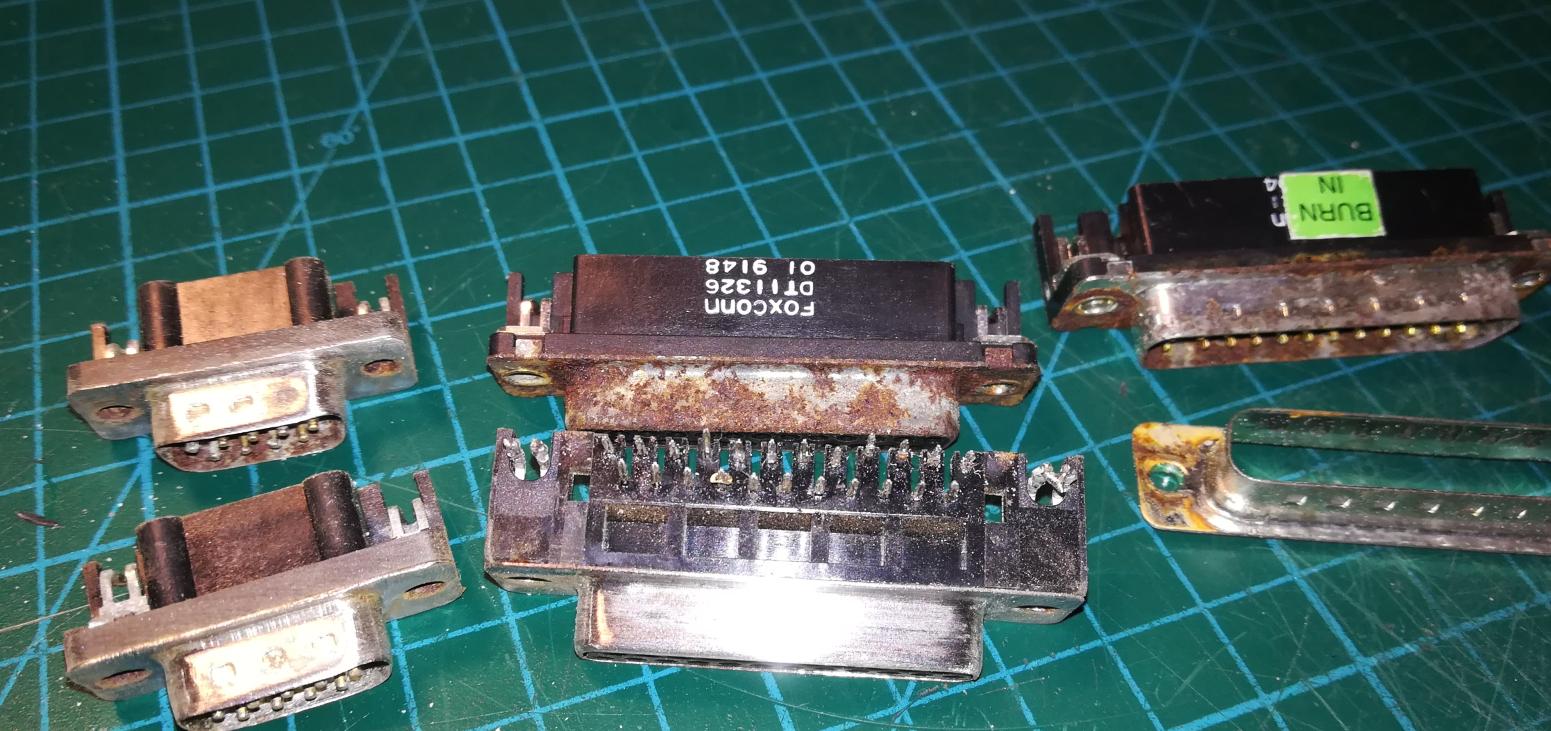
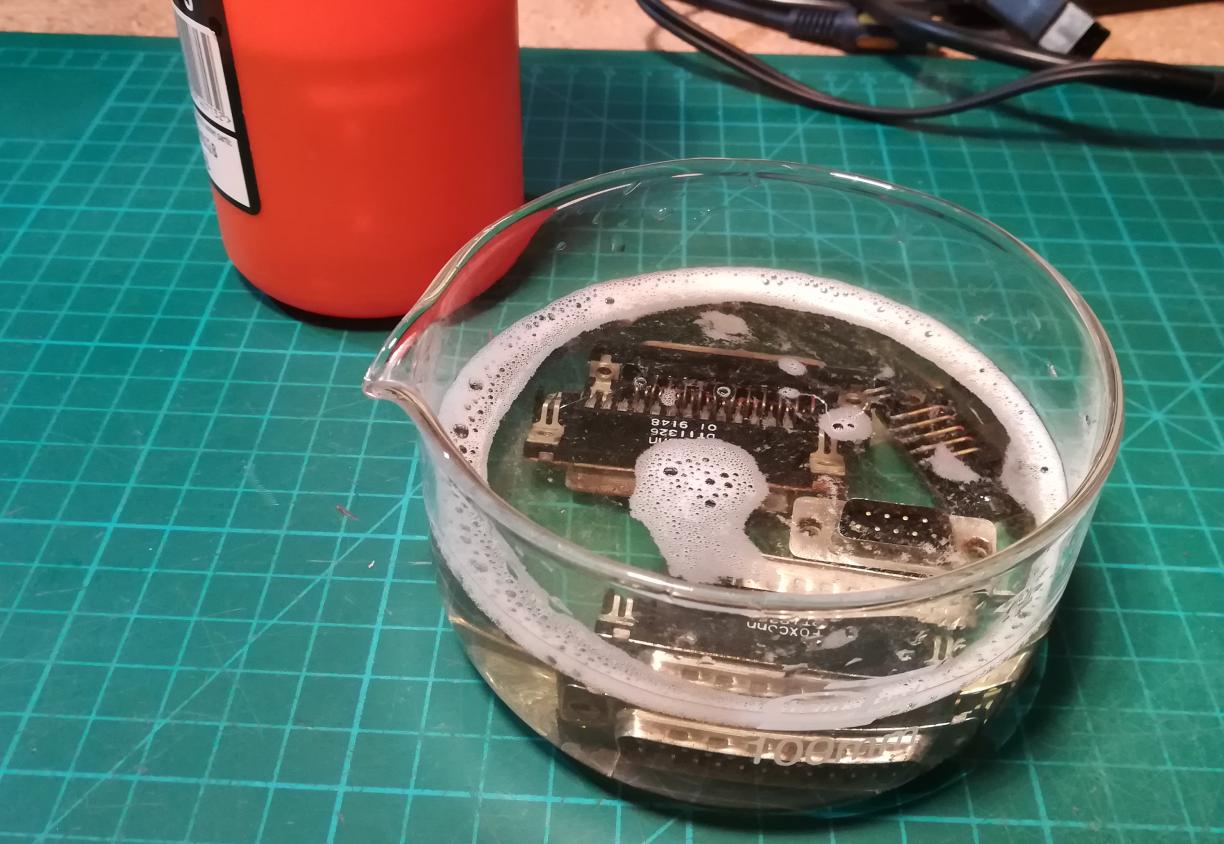
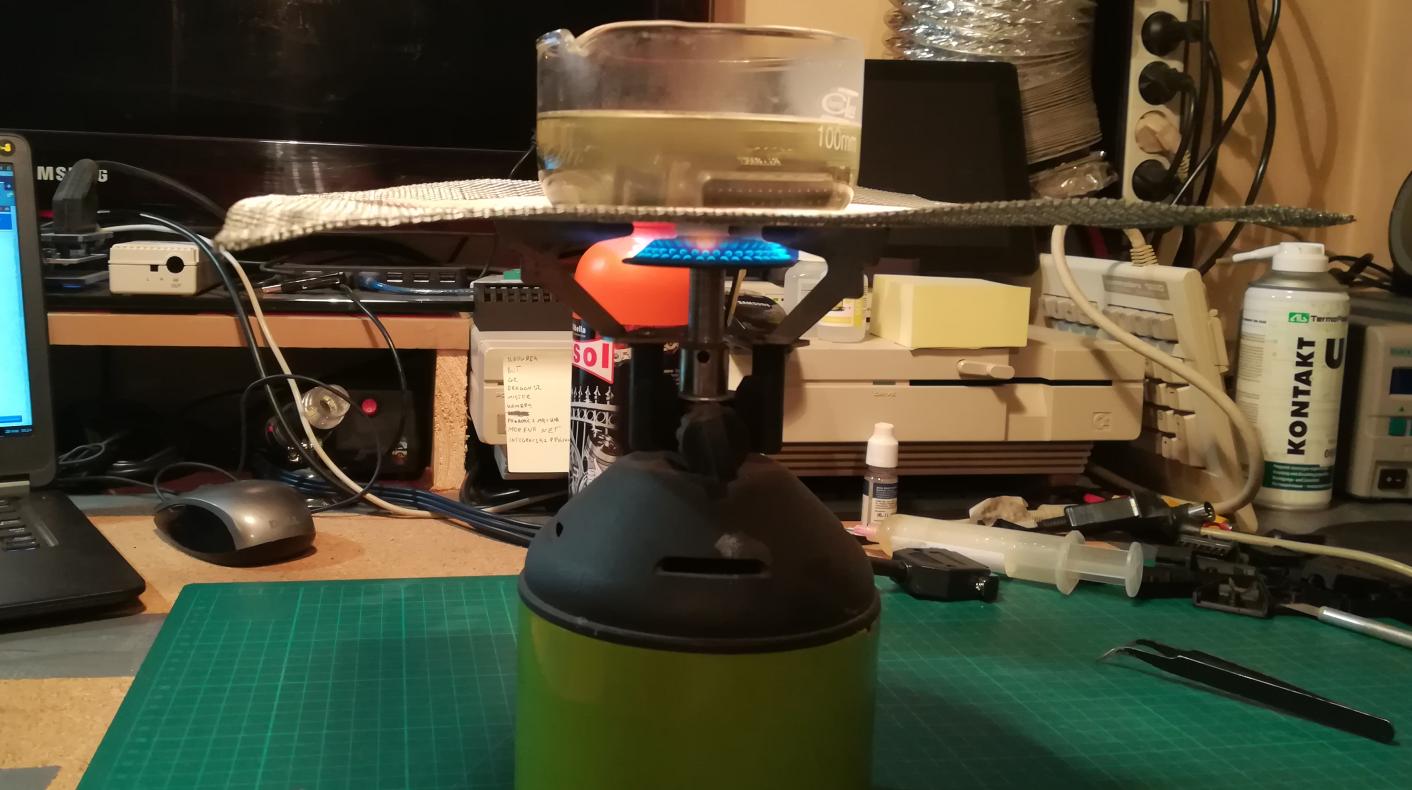
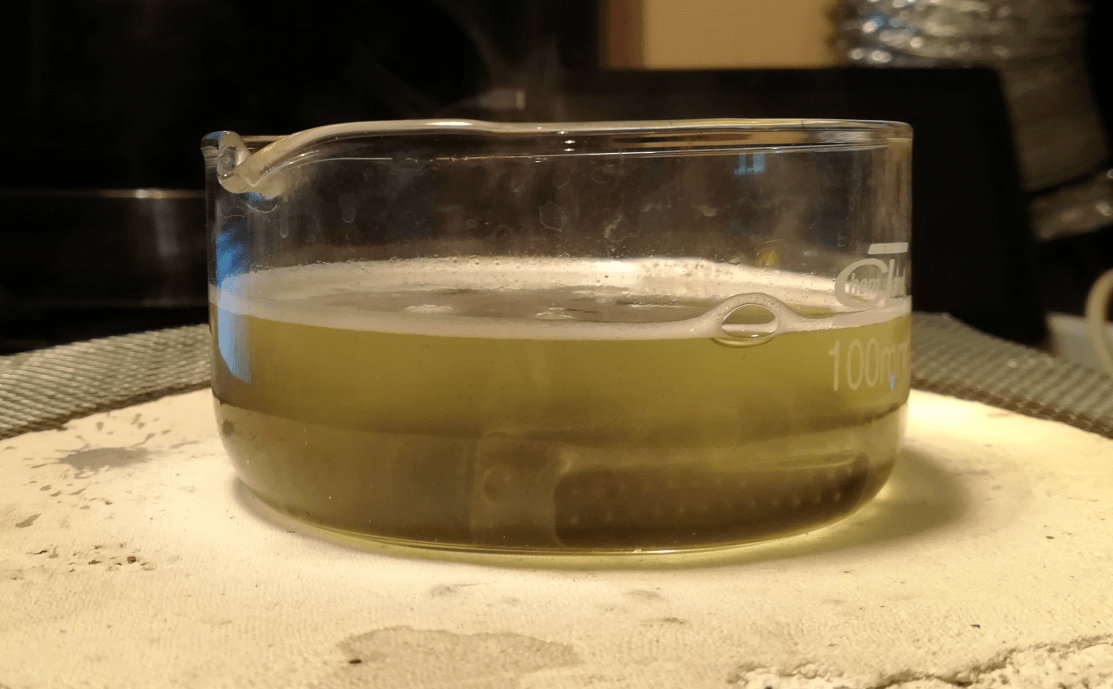
After the above, I only needed to remove a thin layer of oxide coating and sockets were ready to be soldered back on to the motherboard.
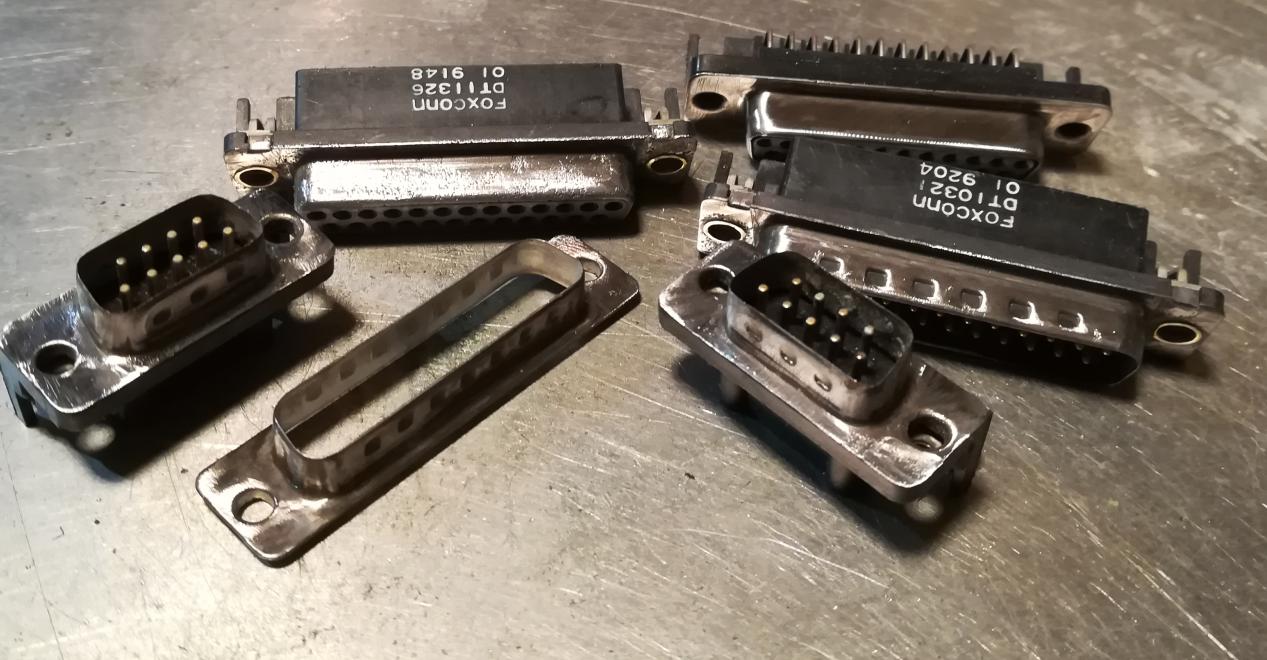
All connectors are back in place and RAM upgrade ready.
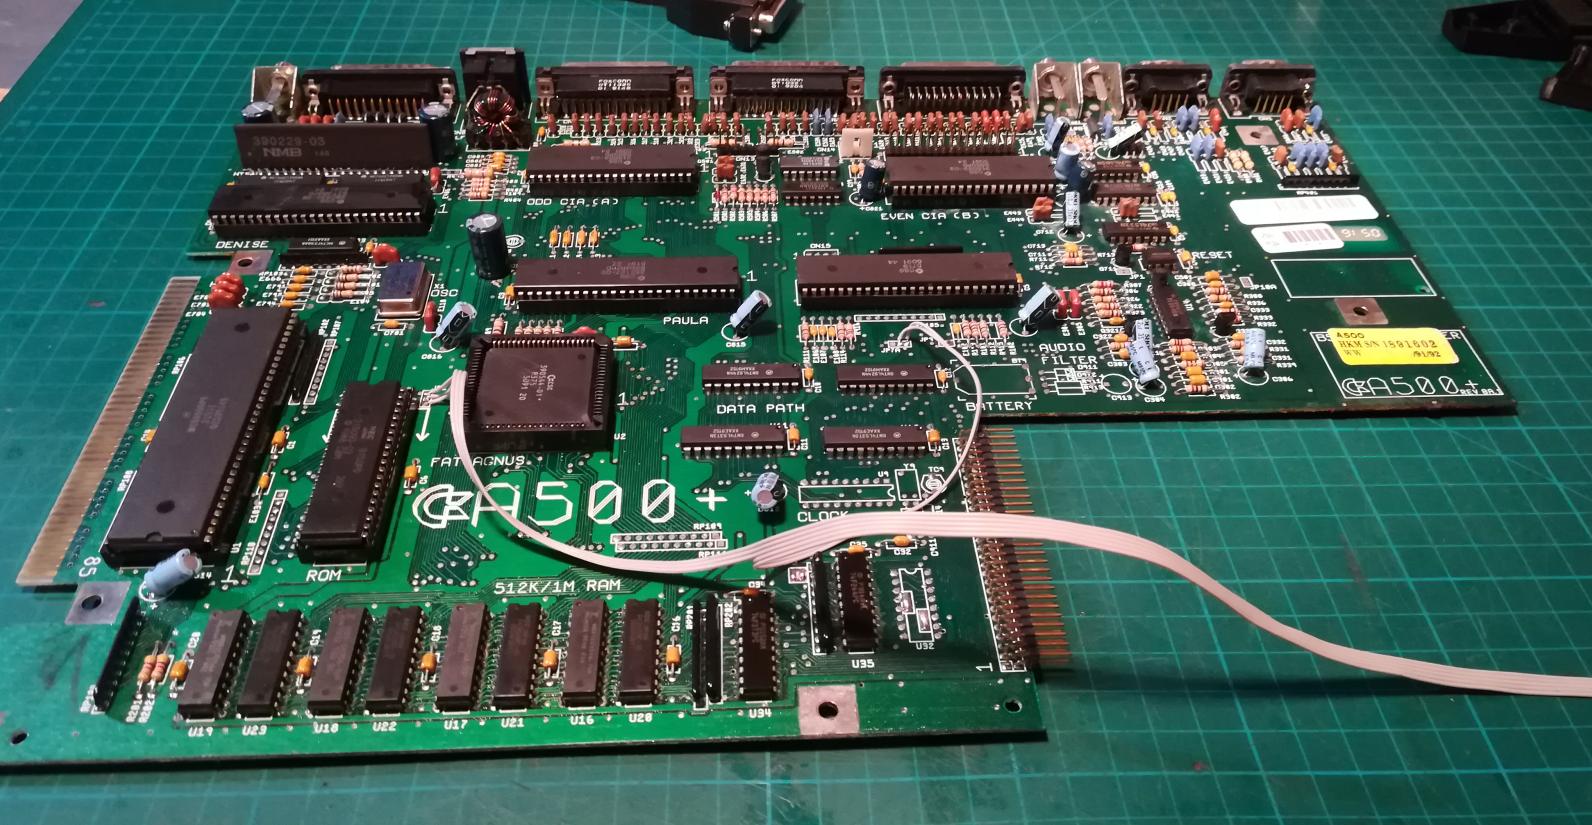
I’ve also added two switches but this time I wanted them inside a case and accessible through the trapdoor.
- RAM config switching – 1M CHIP RAM (trapdoor port disabled) and 0.5 CHIP RAM(trapdoor port enabled)
- Kickstart switch – 1.3 and 3.1
The Keyboard
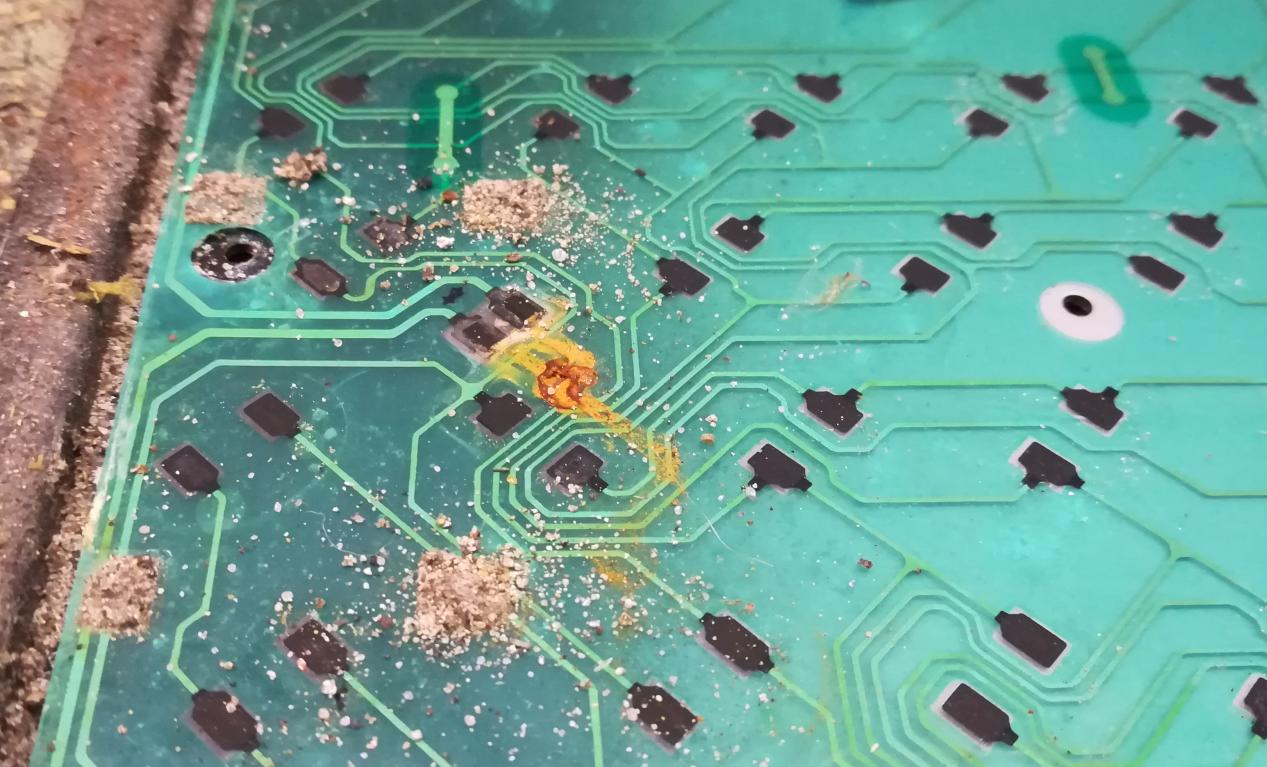
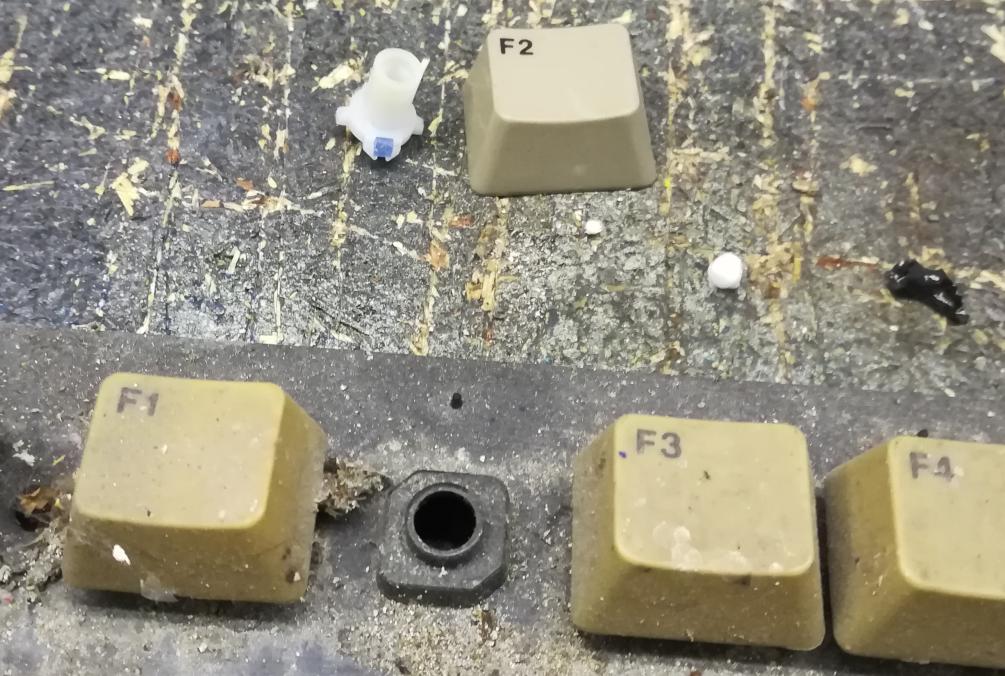
The keyboard was in poor condition so I had to disassemble it, then clean it, fix damaged parts and replace worn-out membrane and springs. This is actually when an idea for this machine was born, but first, let’s have a look at it before all mentioned jobs were finished.
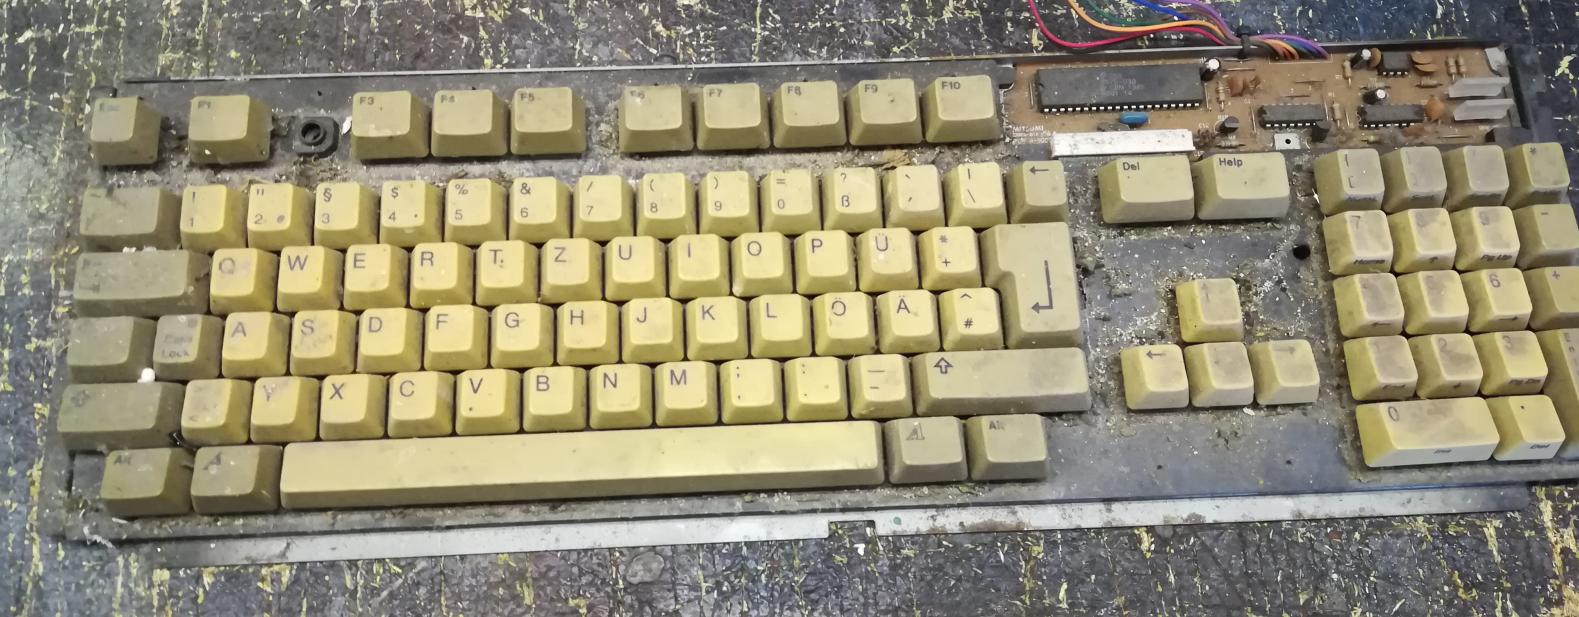
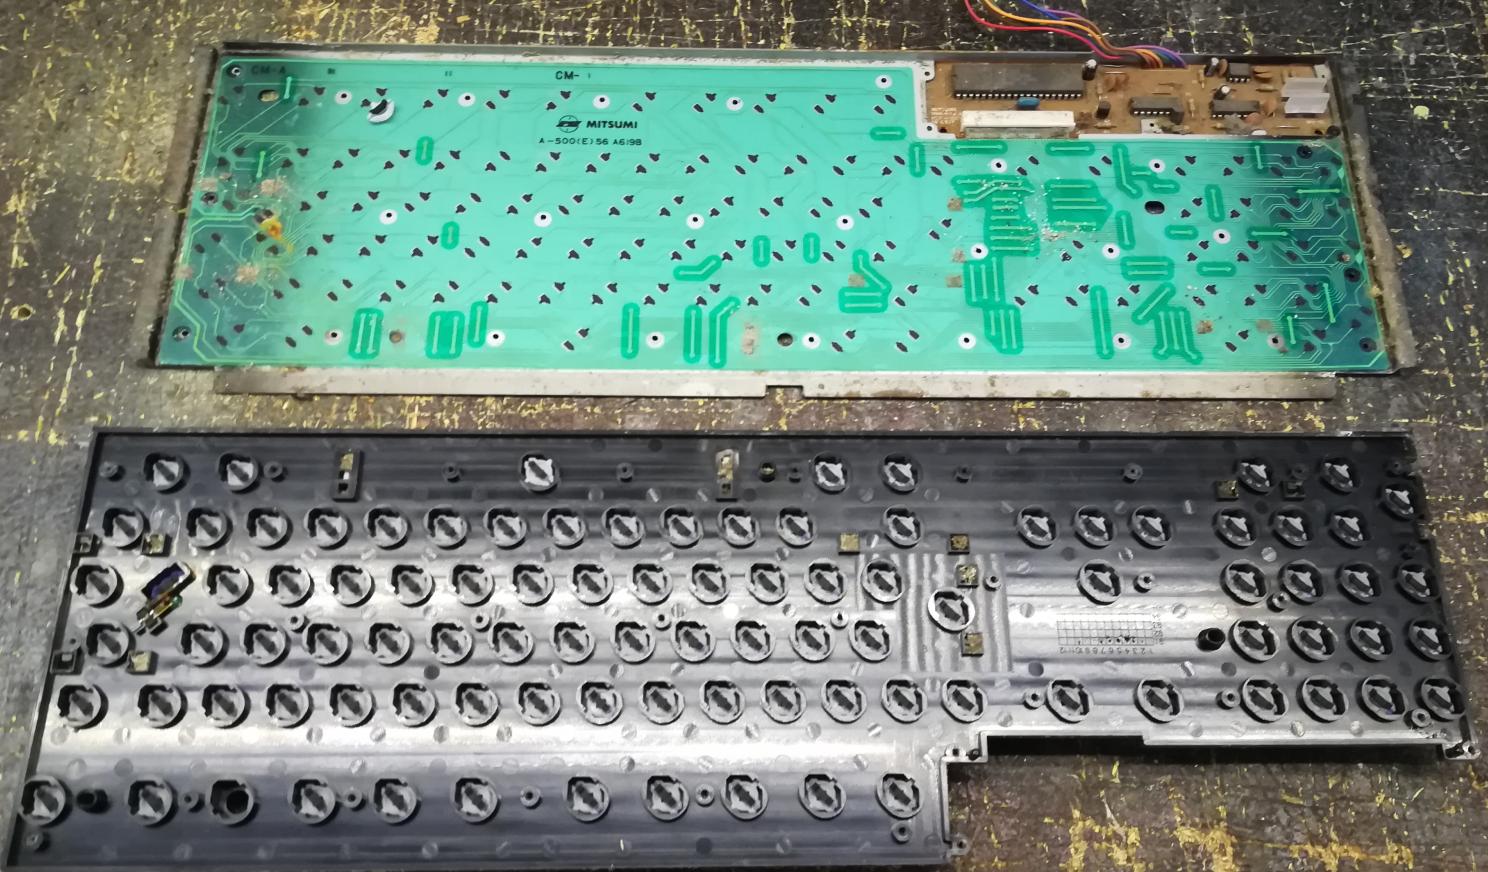
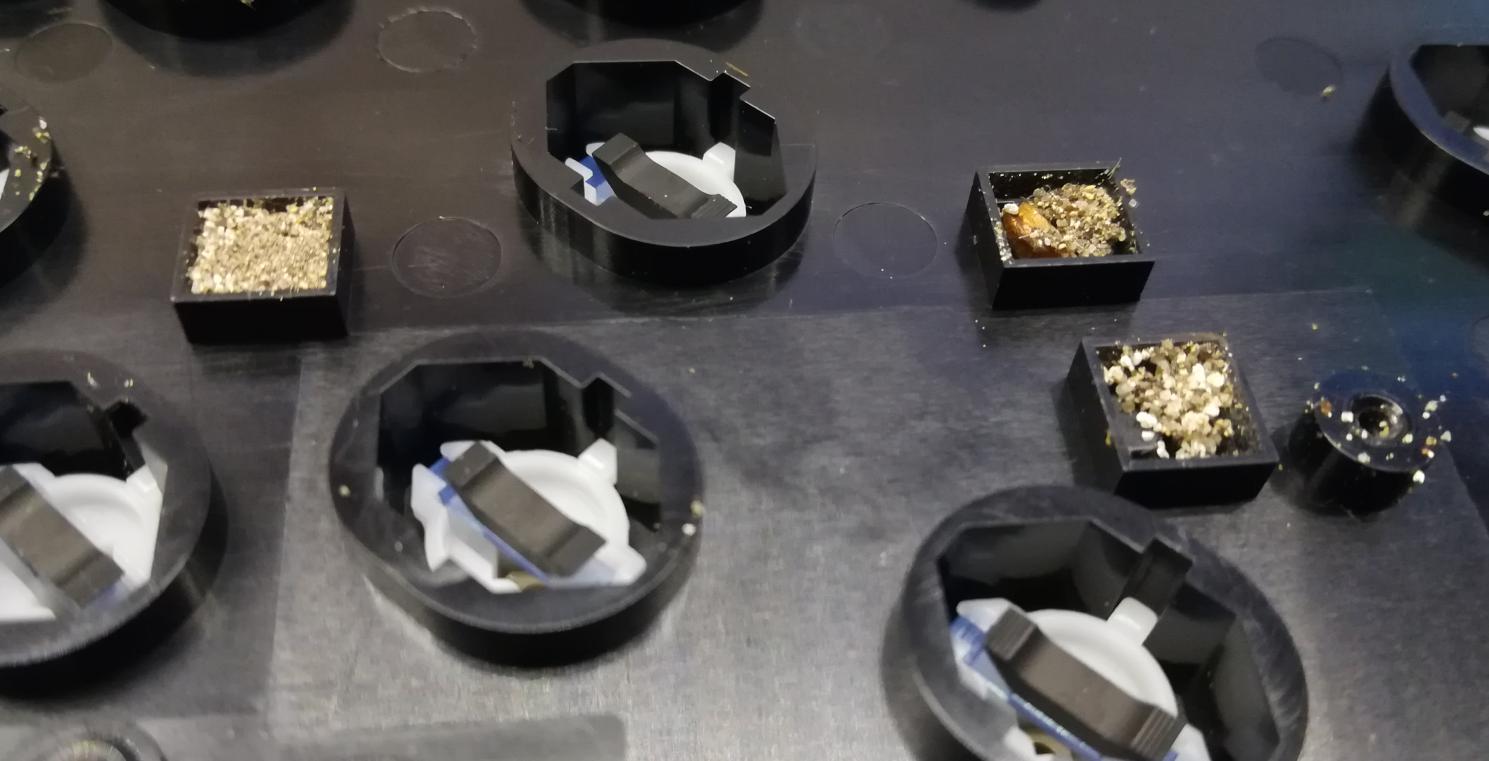
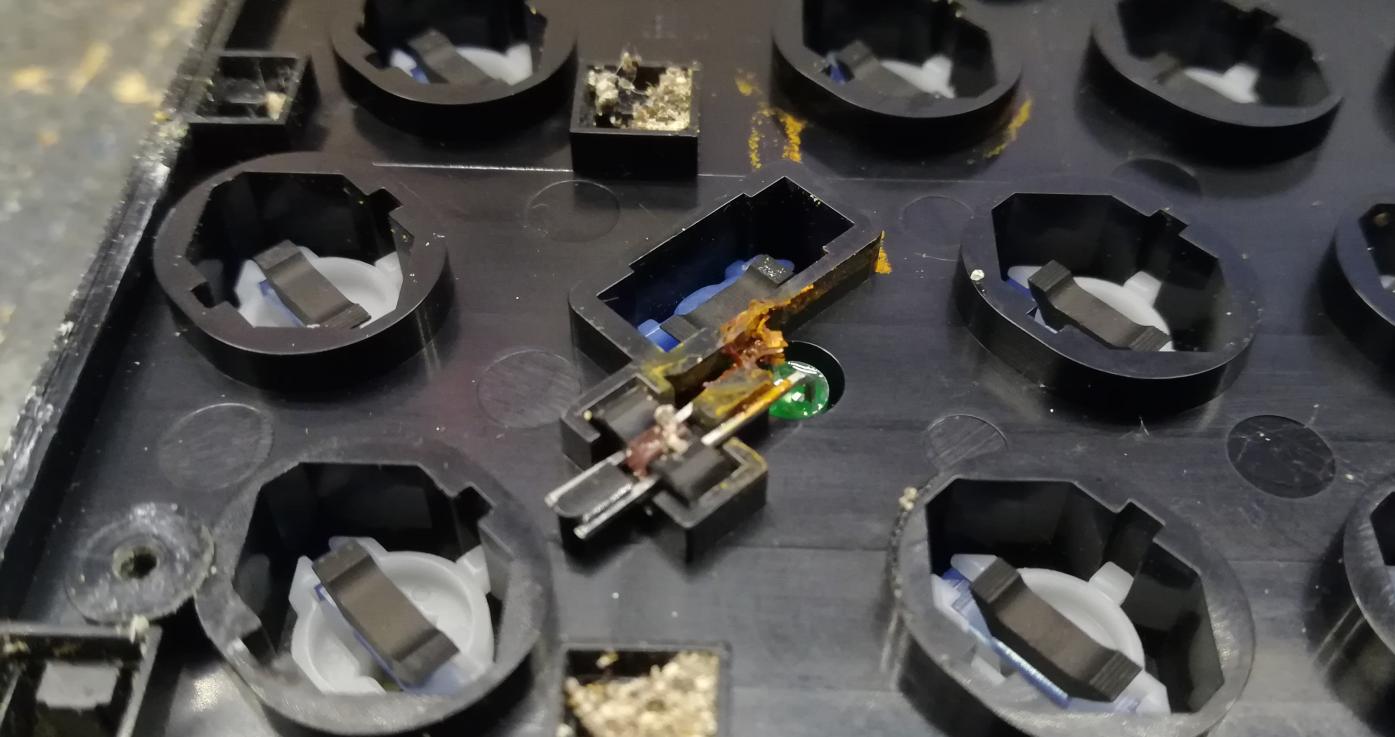
I had to replace the keycap hammer under F2 because the original one was destroyed.
After testing the keyboard membrane in another, working keyboard, it turned out that several pads are faulty.
I had to put a brand new keyboard membrane. You can get high-quality keyboard membranes in our store.
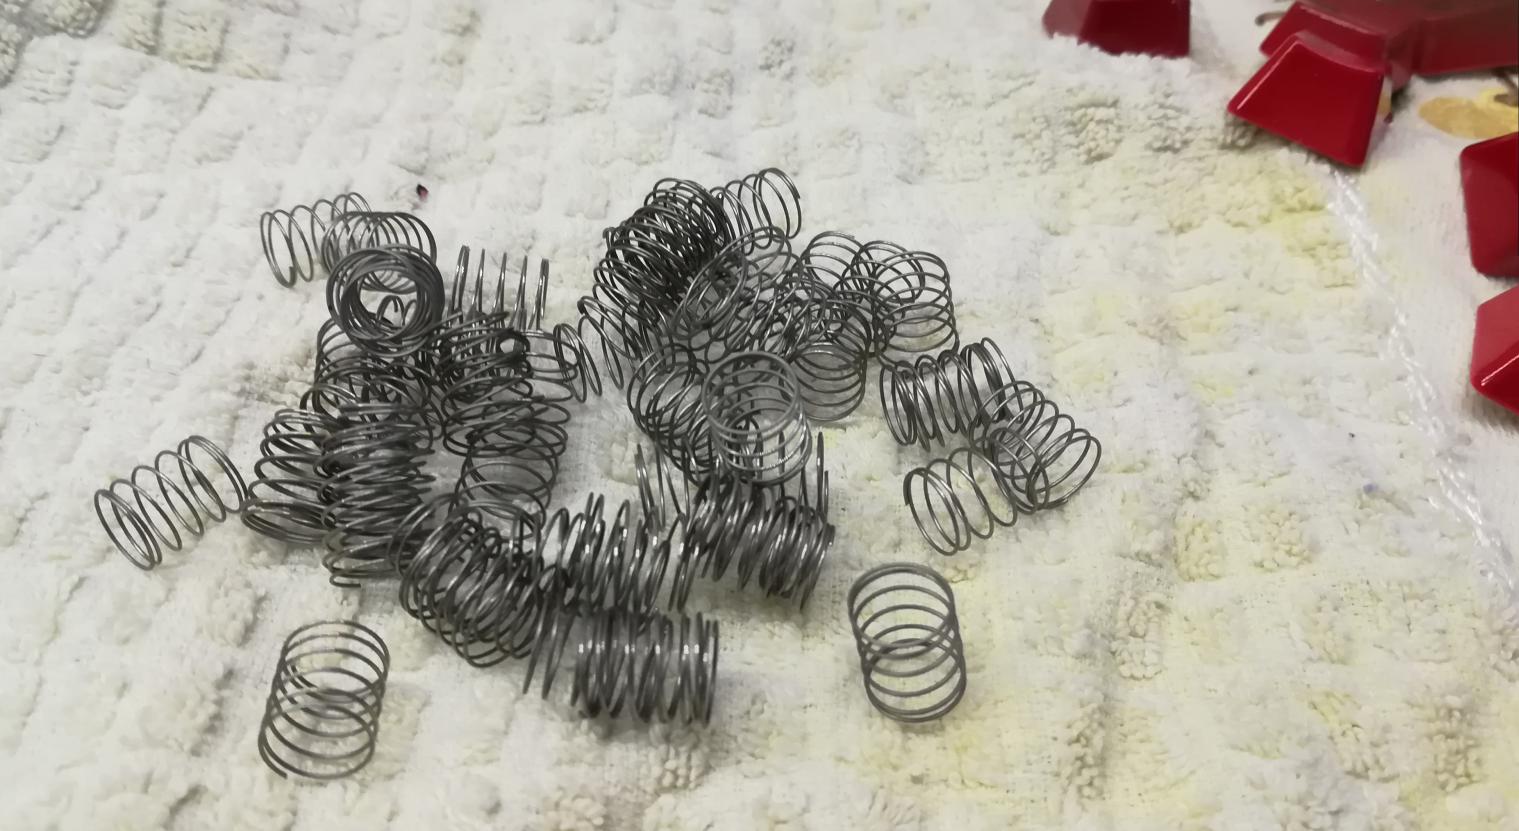
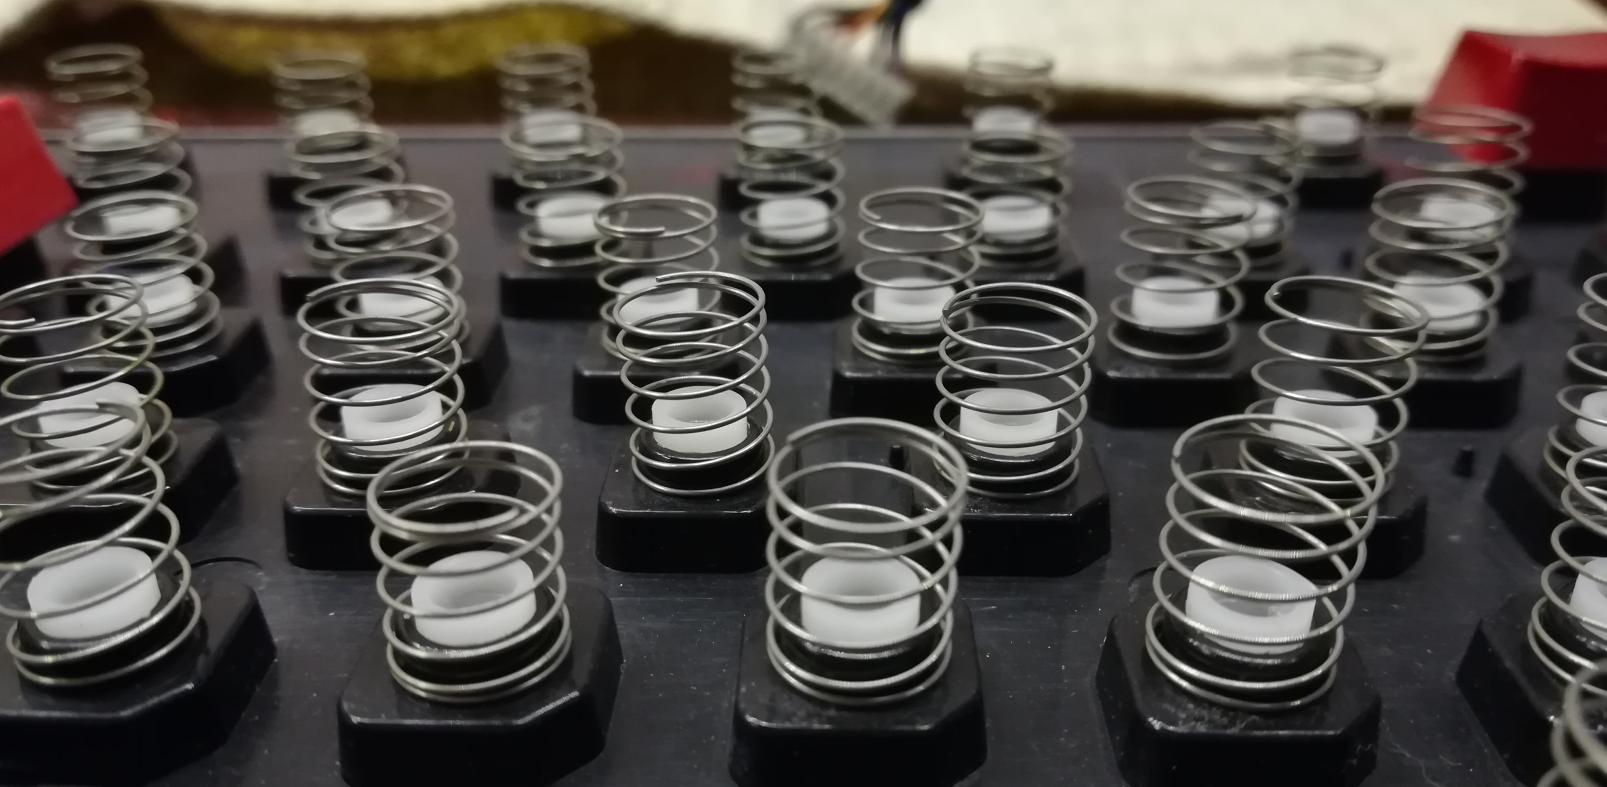
Also, the keyboard springs were seriously corroded. Some of them were completely broken. I’ve decided that I will replace all of them. Brand new keyboard springs are also available in our online store.
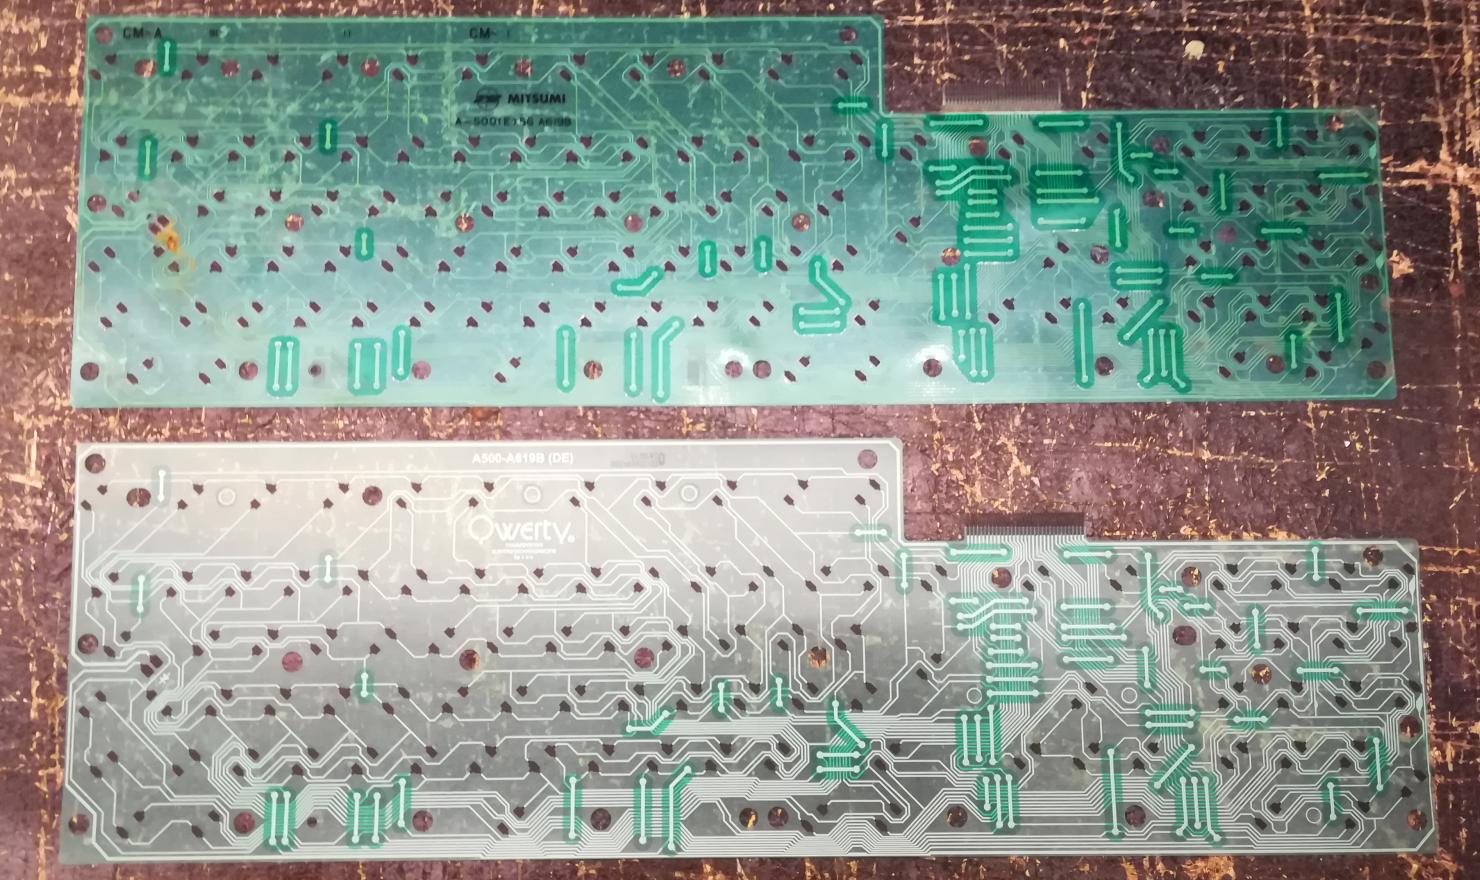
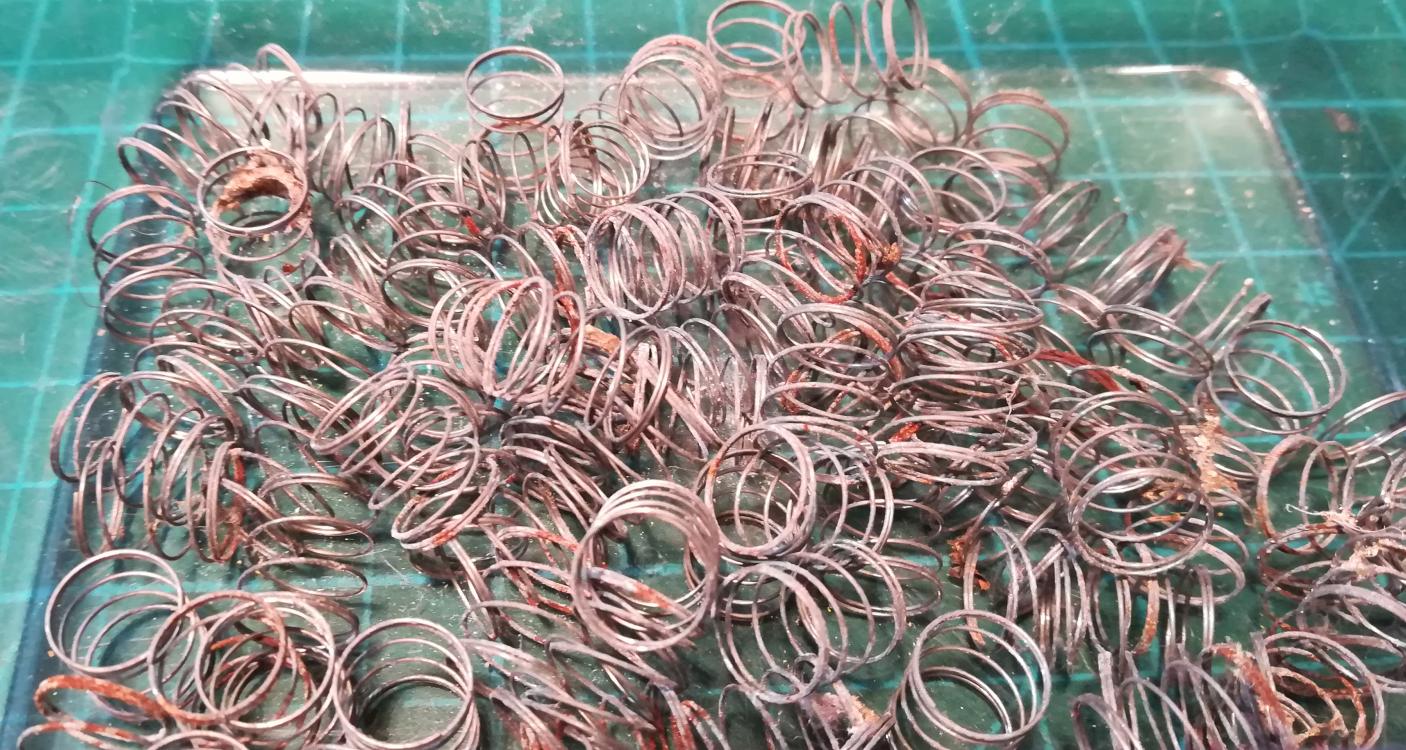
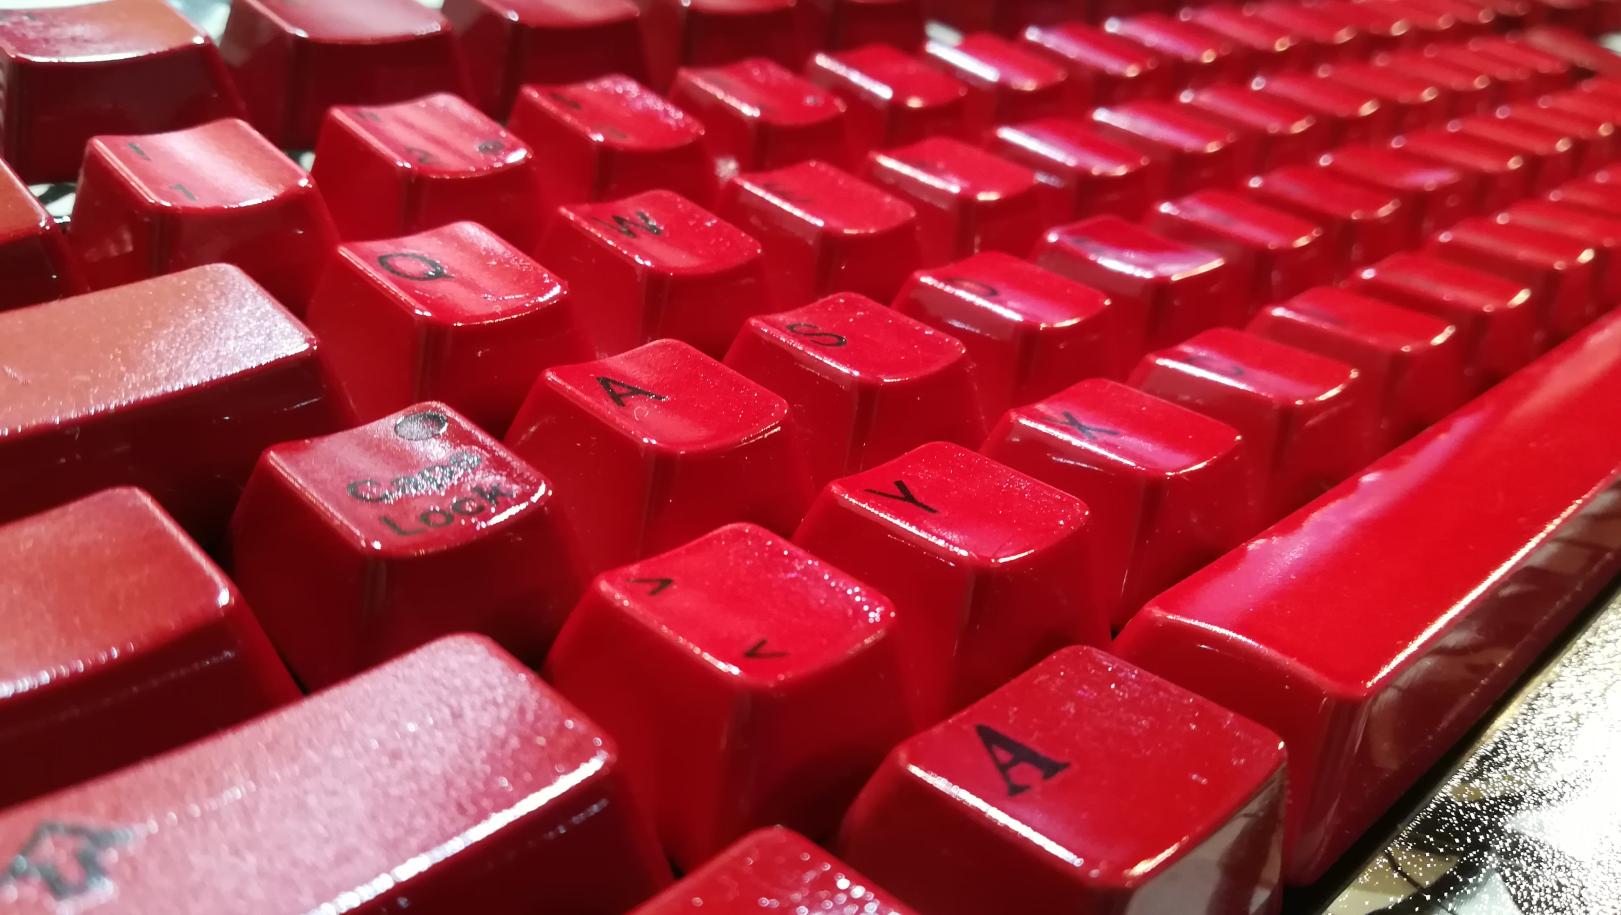
The keycaps had to be thoroughly cleaned and retr0brigthed.
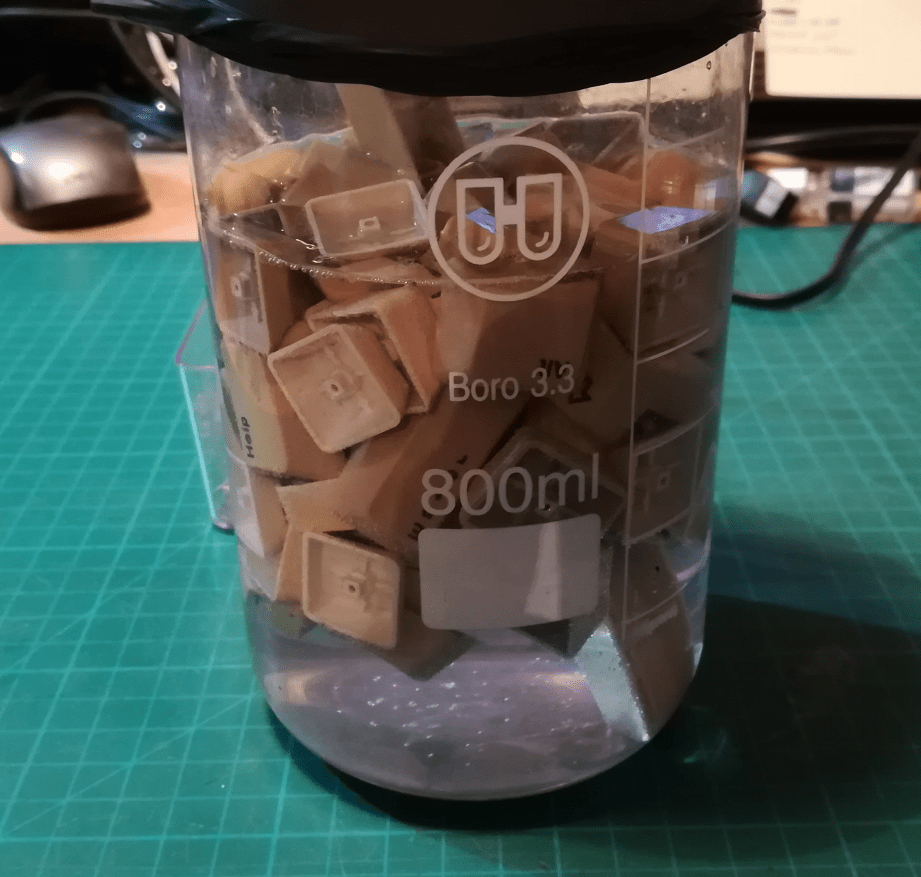
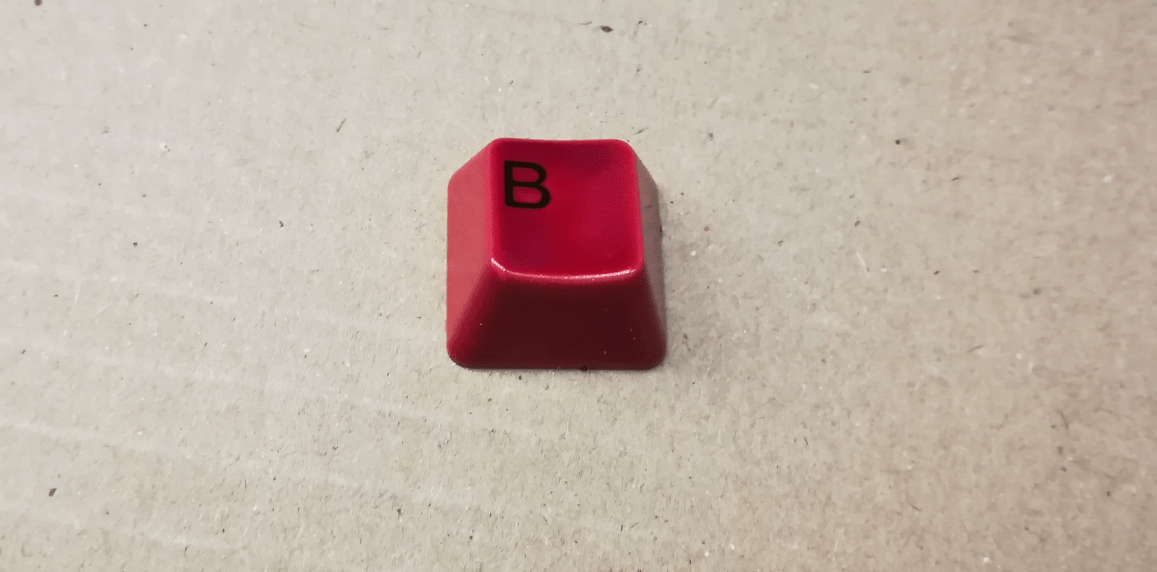
Ok, I’ve mentioned that I’ve got an idea for this machine. I decided that it will become “Vampiric A500” because it needed a lot of work and sucked up a lot of blood and energy from me lol.
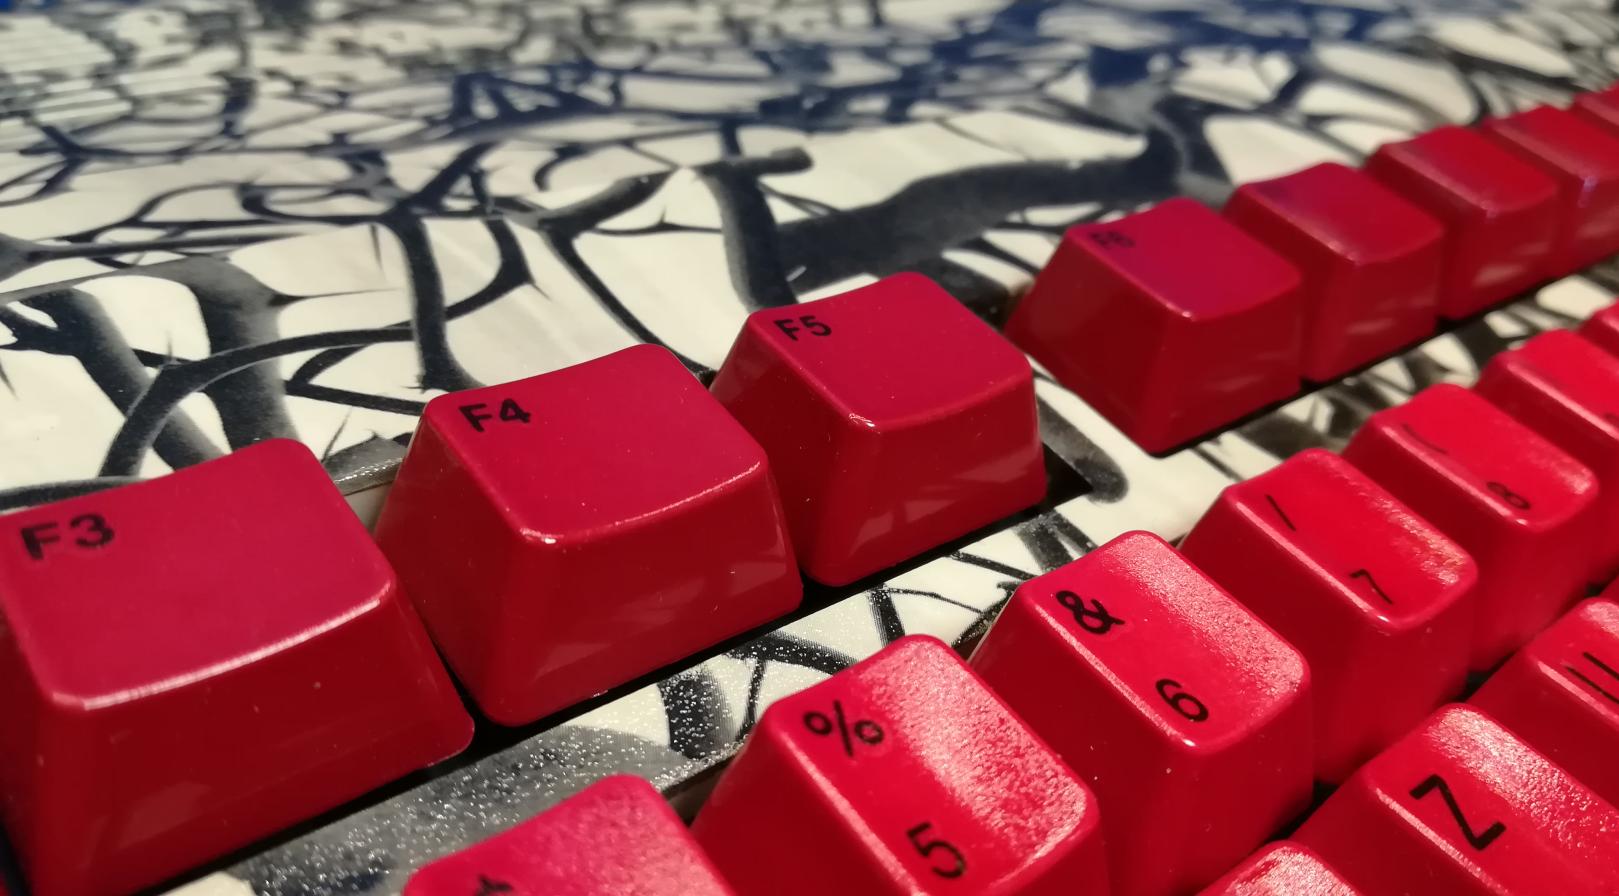
The keyboard had to become BLOOD RED. I had several colors to choose from but after running some tests the choice became simple 🙂
Making it more VAMPIRIC
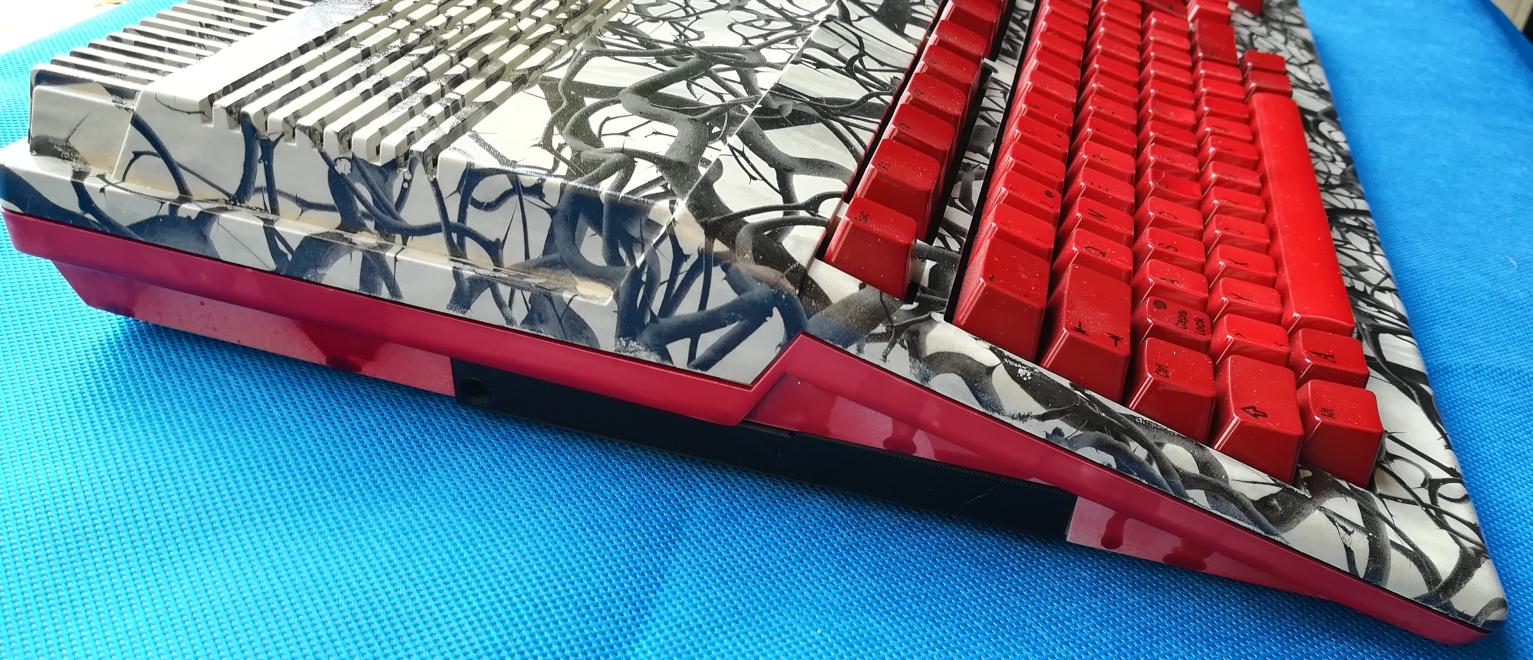
I’ve retr0brighted and covered the plastic case with the
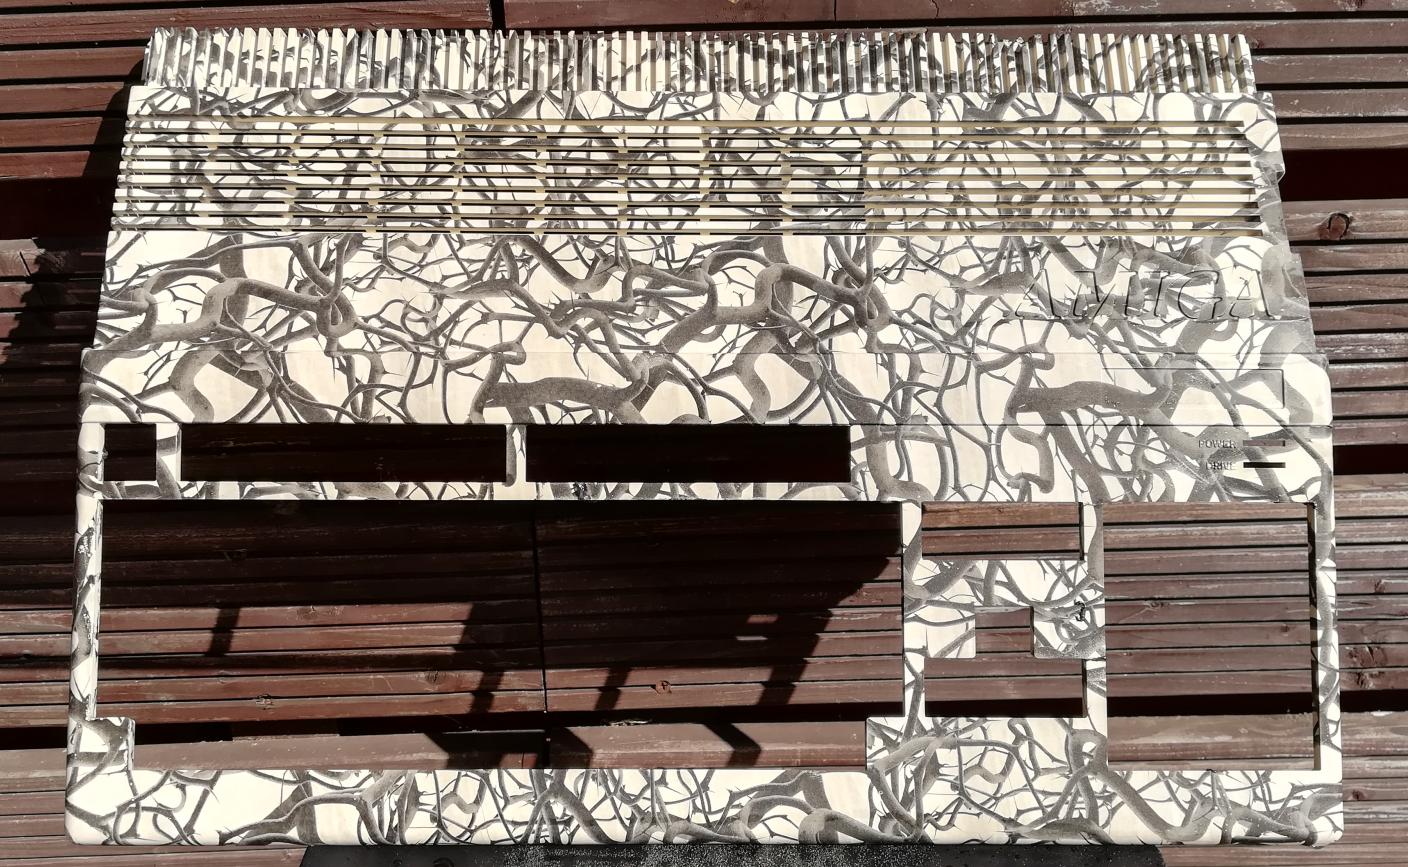
However, the hydrographic film is fragile and has to be covered with clear spray paint for protection. I’ve used gloss paint to bring out the color depth and get a nicer contrast.
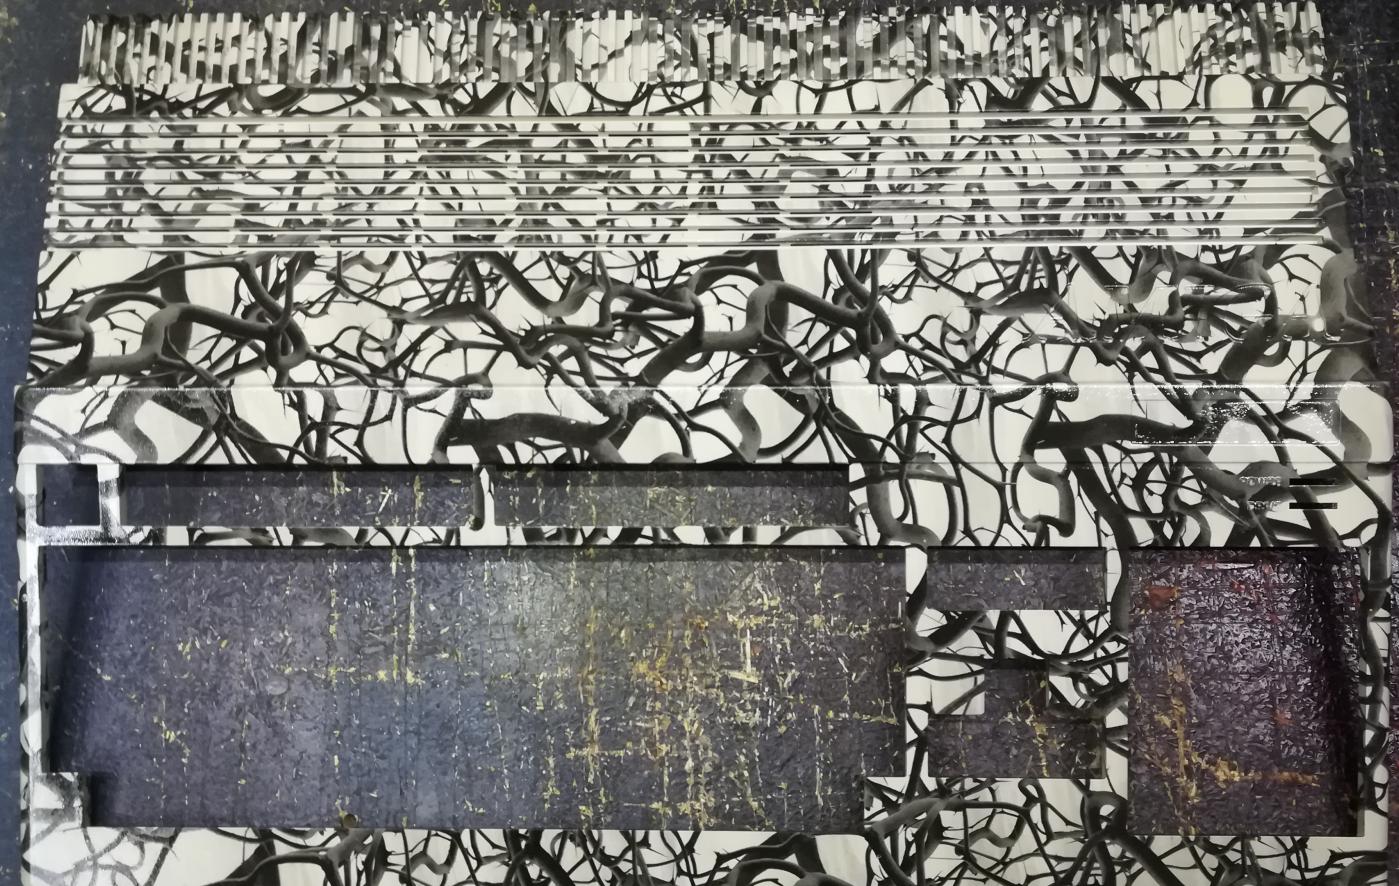
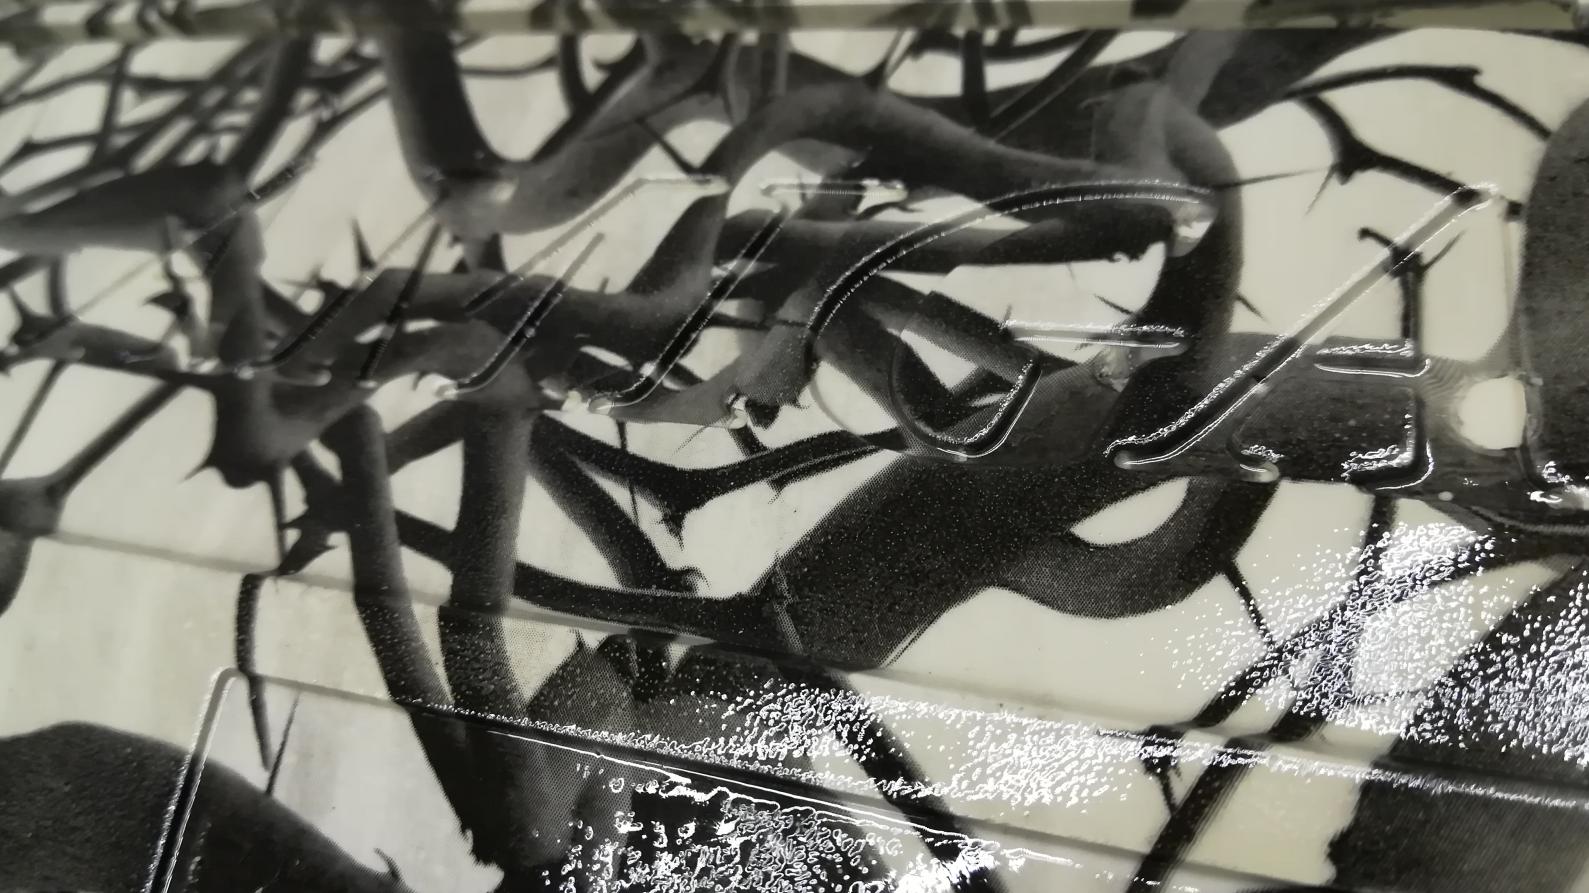
In the meantime, I’ve managed to 3D print the trapdoor cover, side dummy plug, and a chassis for the GOTEK drive.
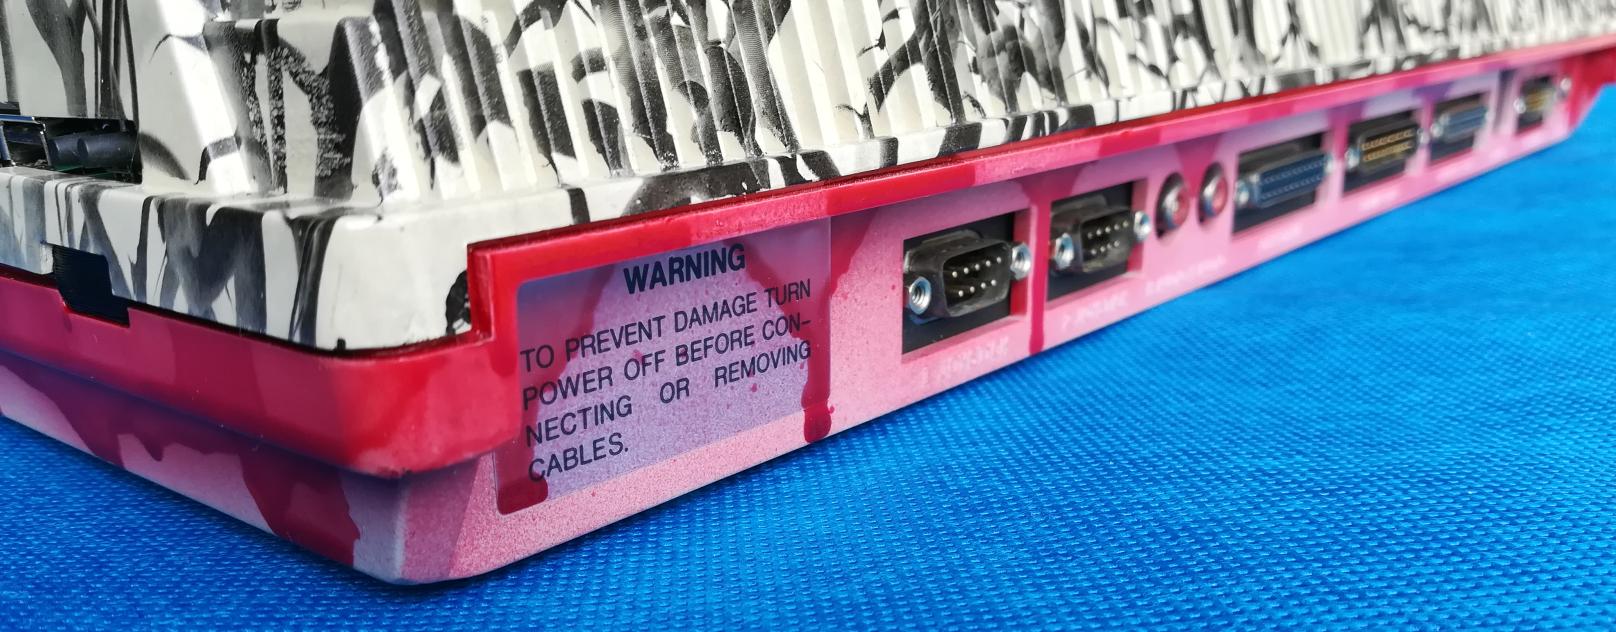
One last thing left was to cover all sides of the bottom part of the case with dripping blood and I was finally ready to assemble this Amiga.
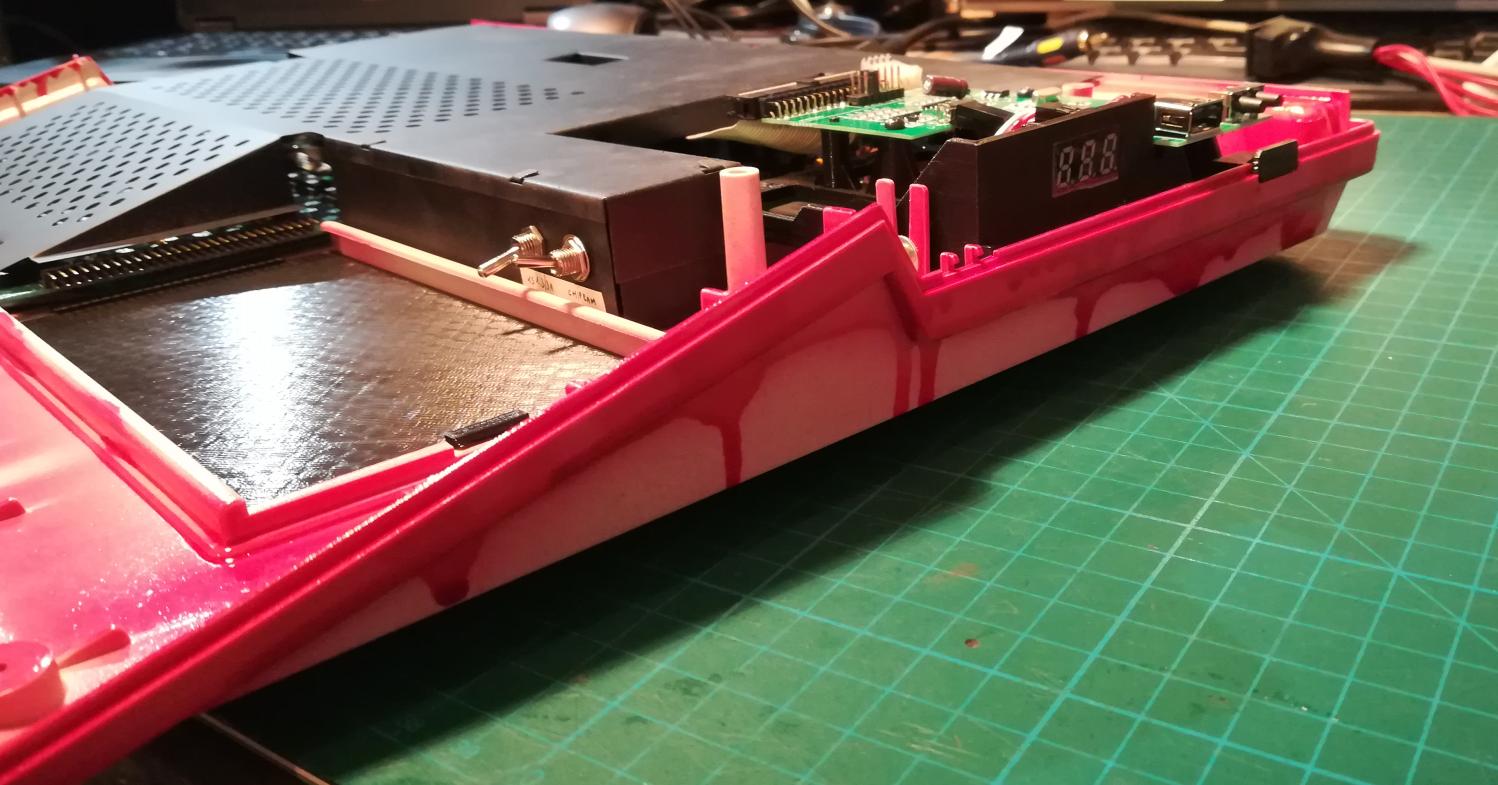
The results
Just to remind you how it looked at the beginning …

… and how it looks now.
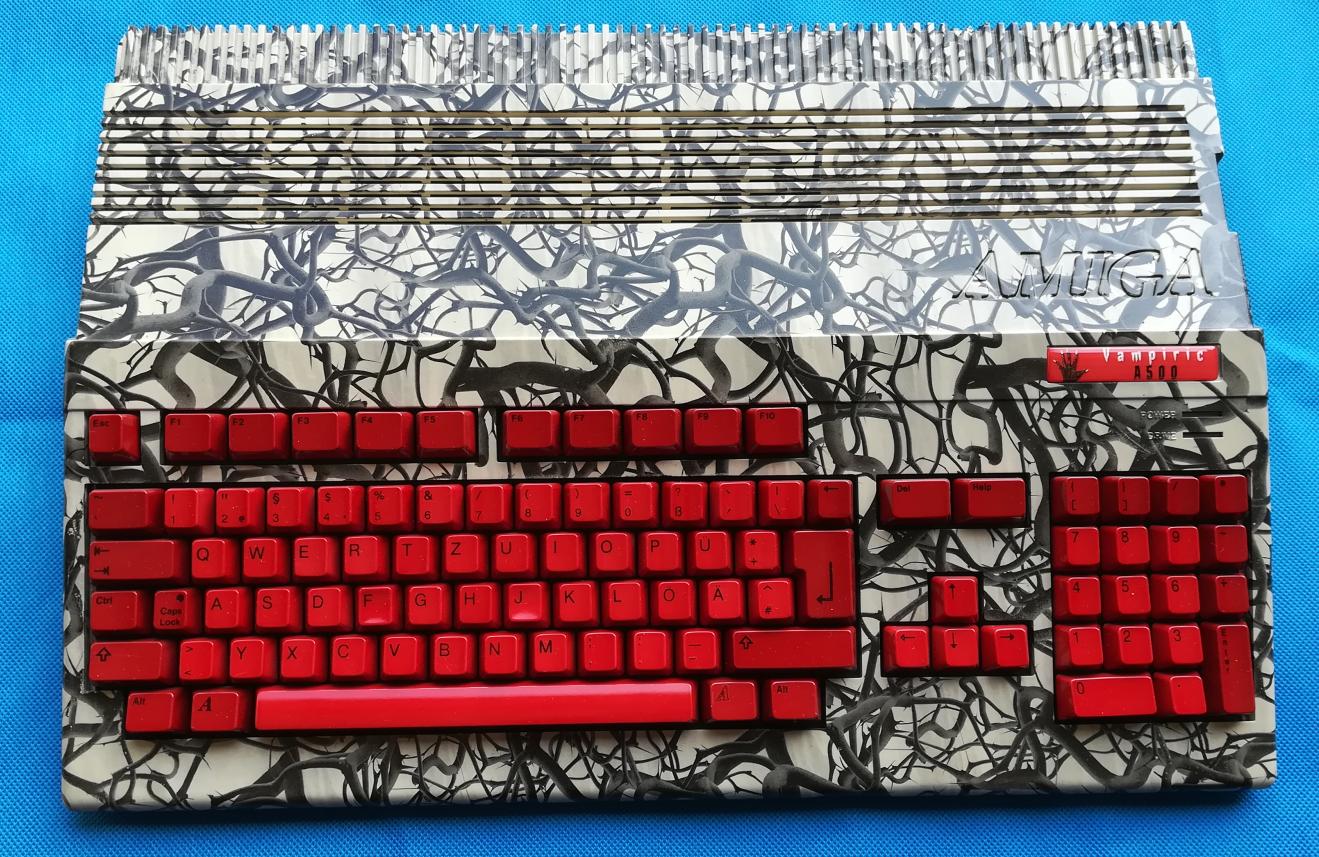
I’ve ordered a custom badge for this unit – VAMPIRIC A500 – Big thanks to RetroKlinika for it
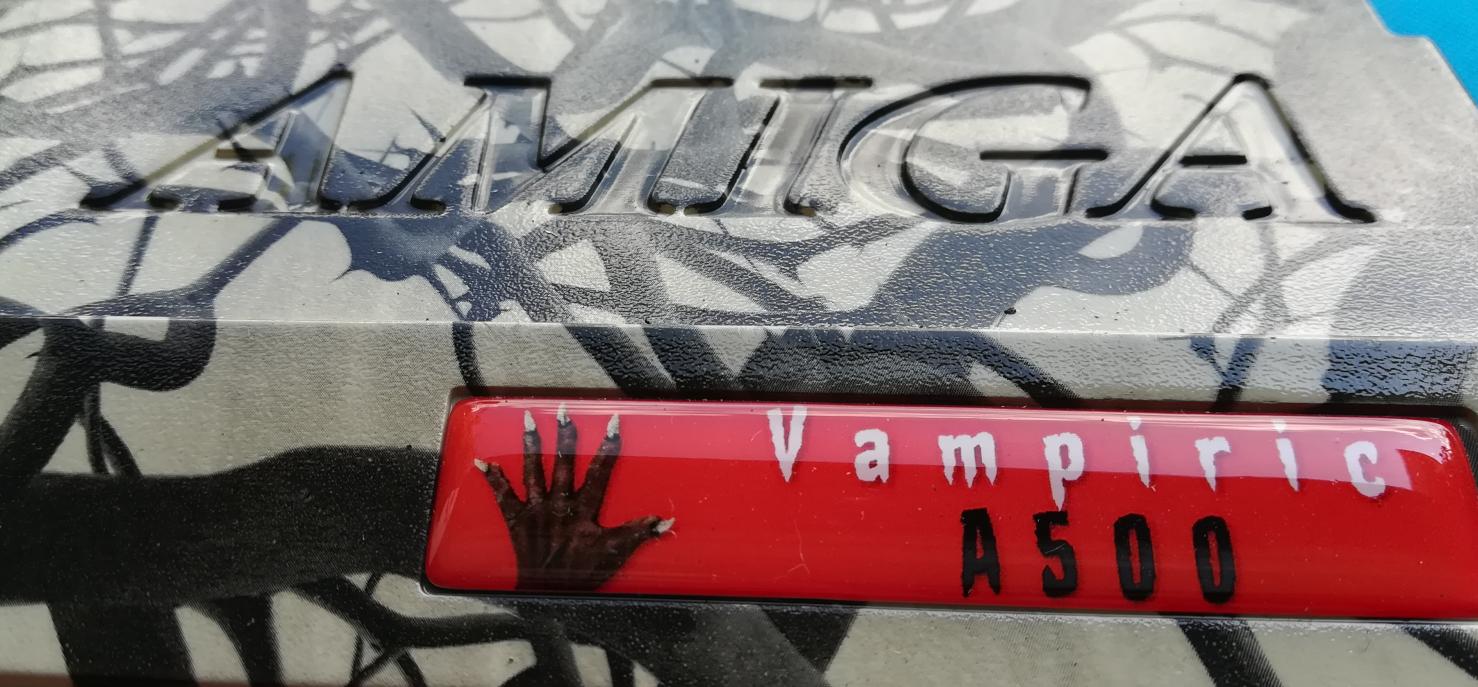

That’s it! You’ve reached the end of this refurb job 🙂
I wish you all a happy Halloween this month MUAHAHAHAHA

PS. To all purists out there – Yes, I know I could have left it in stock condition but after fixing over 200 machines I wanted something different 😉
LINKS:
OUTRO
If you want to get retro gear or hardware modules, please visit our shop -> https://retrohax.net/shop/
New products are added every month.
Also, please support our work by spreading info about it.
Without your support, we simply cannot grow and we have a lot of new cool retro hardware (and more) products to come 🙂


Wow! superb refurbishing!!! question, you know that A501 memory expansion for the Amiga? the one who comes inside a metal-tin case? it is not rusty but with like black fingerprints …do you know how to restore its shiny look? or at least how to erase these stains? many thanks
Well, the galvanized layer seems to be damaged there. I’ve seen it many times. You can attempt to gently polish it with a polishing paste but from my experience it will not work nicely. There are some ways to electroplate such part so it receives a fresh layer (I will be covering this topic someday), however, the easiest way would be to simply spray-paint it.
Love this hack & refurb. Not a fan of the swirling vines pattern but love the red. Have enjoy all your efforts I’ve seen so far. You’re an inspiration to my amateur refurbishing projects.
Thank you, sir!
Dang! Amazing restoration and color application. Need to checkout that immersion film method.
Thank you! I suggest you to test it on something that you can throw out later 😀 I took me a while to learn how to do it properly.
Wondering how the keys were coloured? Was this a soak in some dye?
Nope, that was spray painted with car tail lights dimming paint 🙂
Hi. Your images on the page is not there. Can you check? Thanks.
Hi, hmm all pics are visible. Which exact images do you have in mind?