… or how to steal an idea from Wieczor :>
<intro>
Some time ago, we had a conversation on our Lamers channel about various mods and Wieczor/Lamers mentioned his idea about inserting a nice modern LCD into Amstrad Portable PC.
Instantly I was like:

The below post is simply a follow-up of that conversation 😀
</intro>
Getting a nice machine for this project
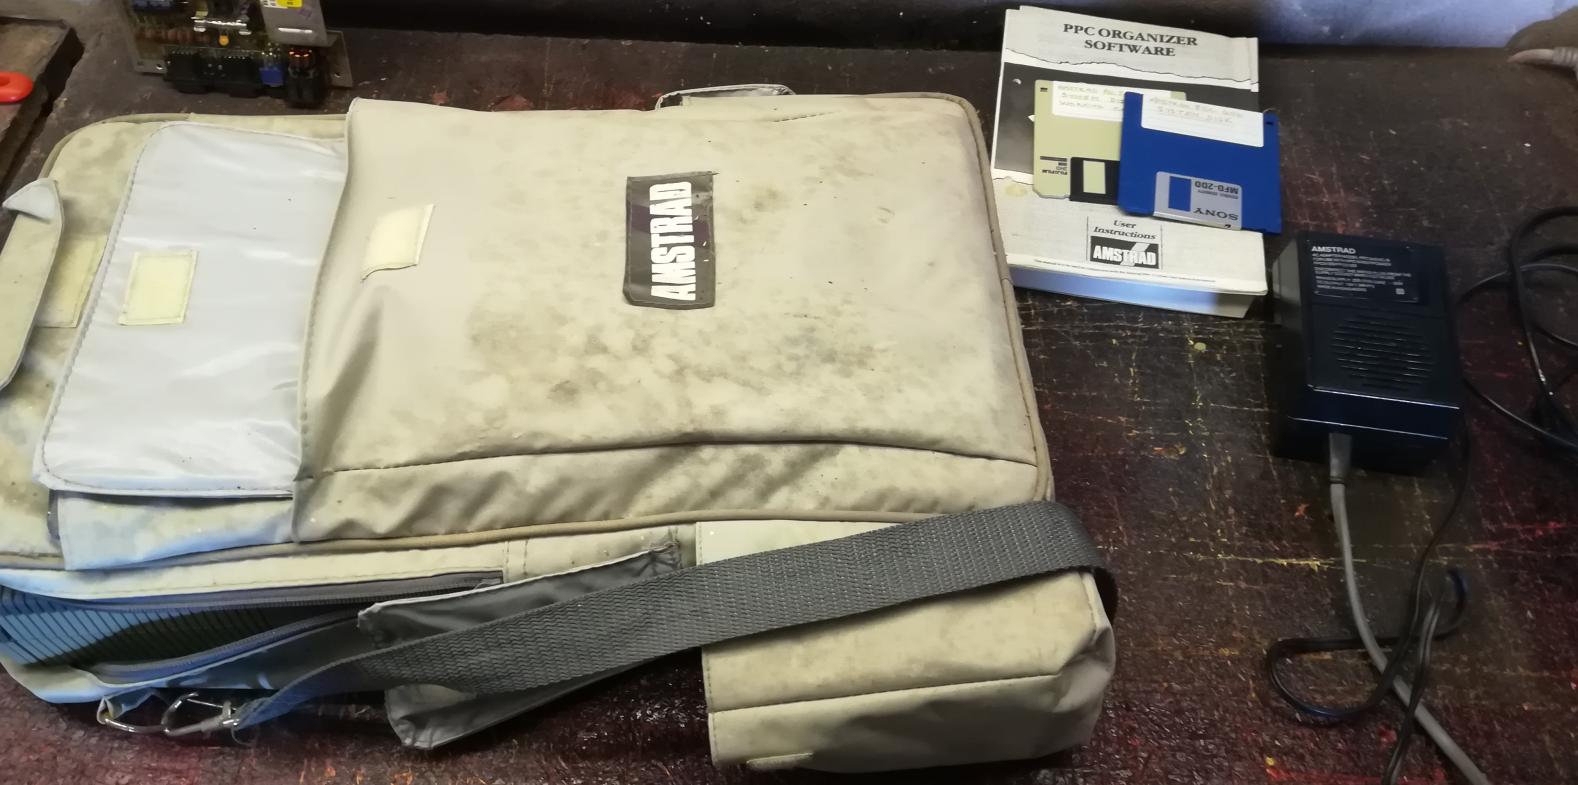
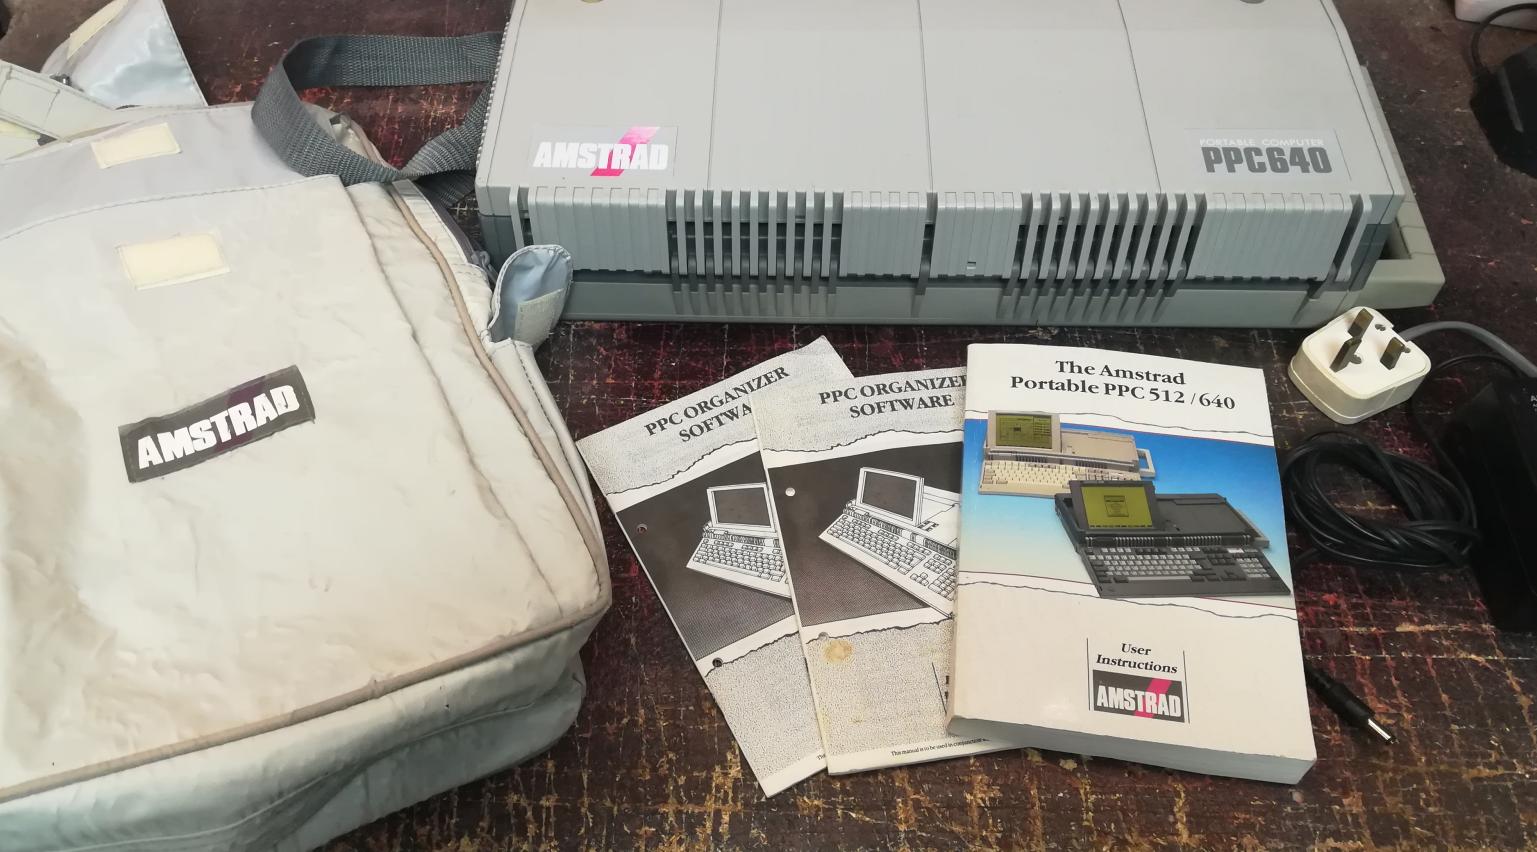
First of all, I needed an Amstrad PPC for this project. I’ve found a nice set on eBay. I chose a unit in an unknown state.
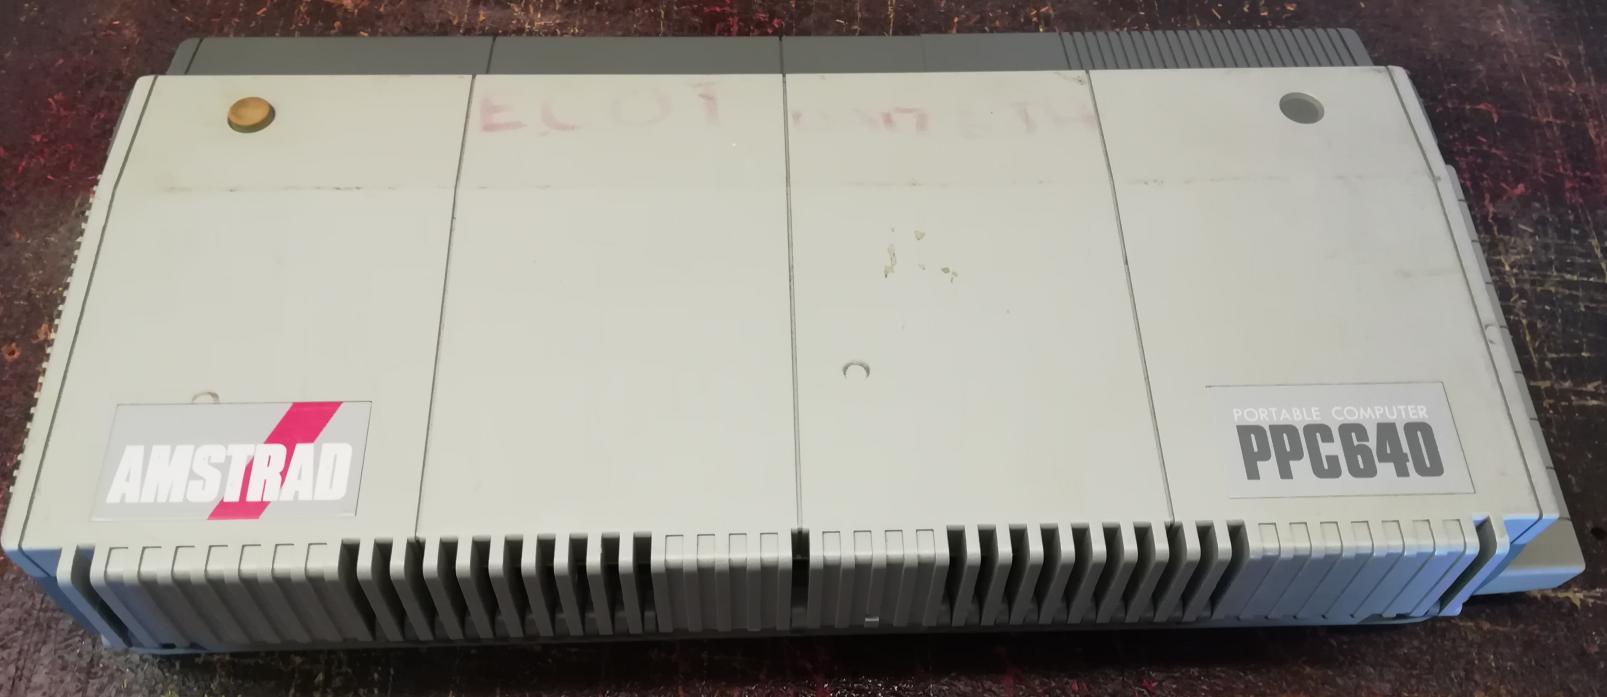
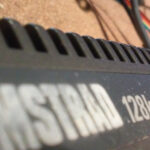
I’ve managed to get PPC640 which is slightly different than PPC512 and is actually a better choice for modding.
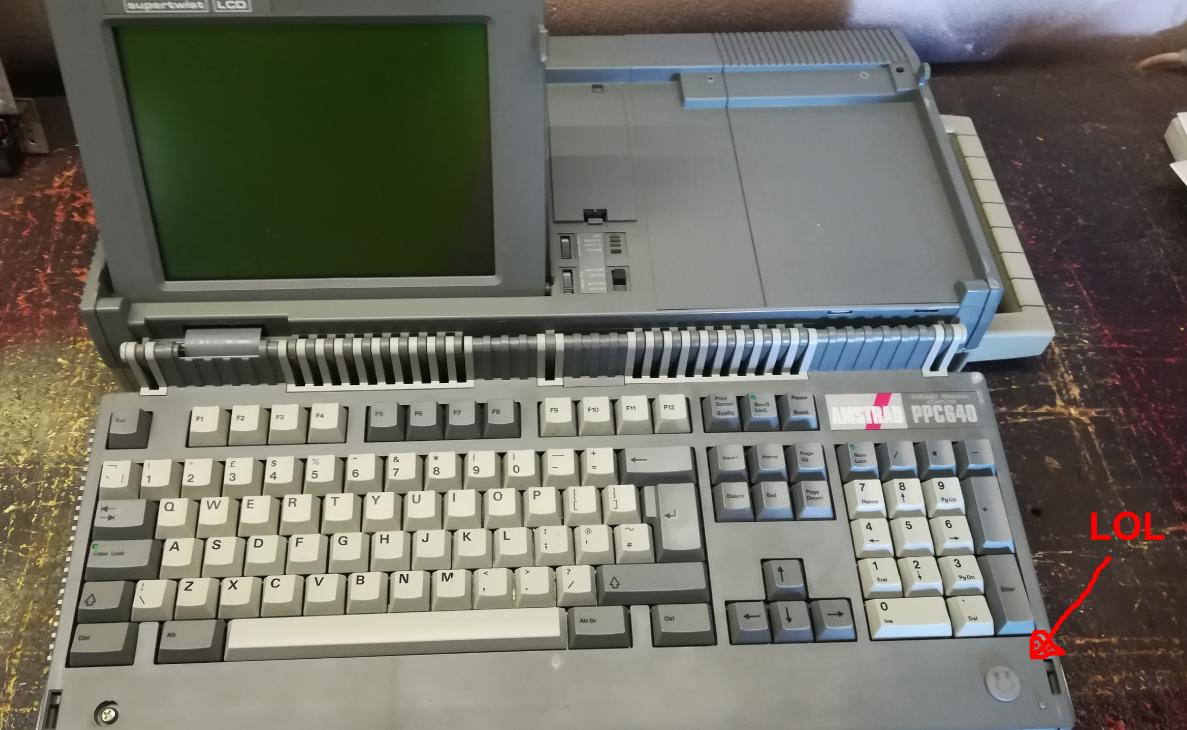
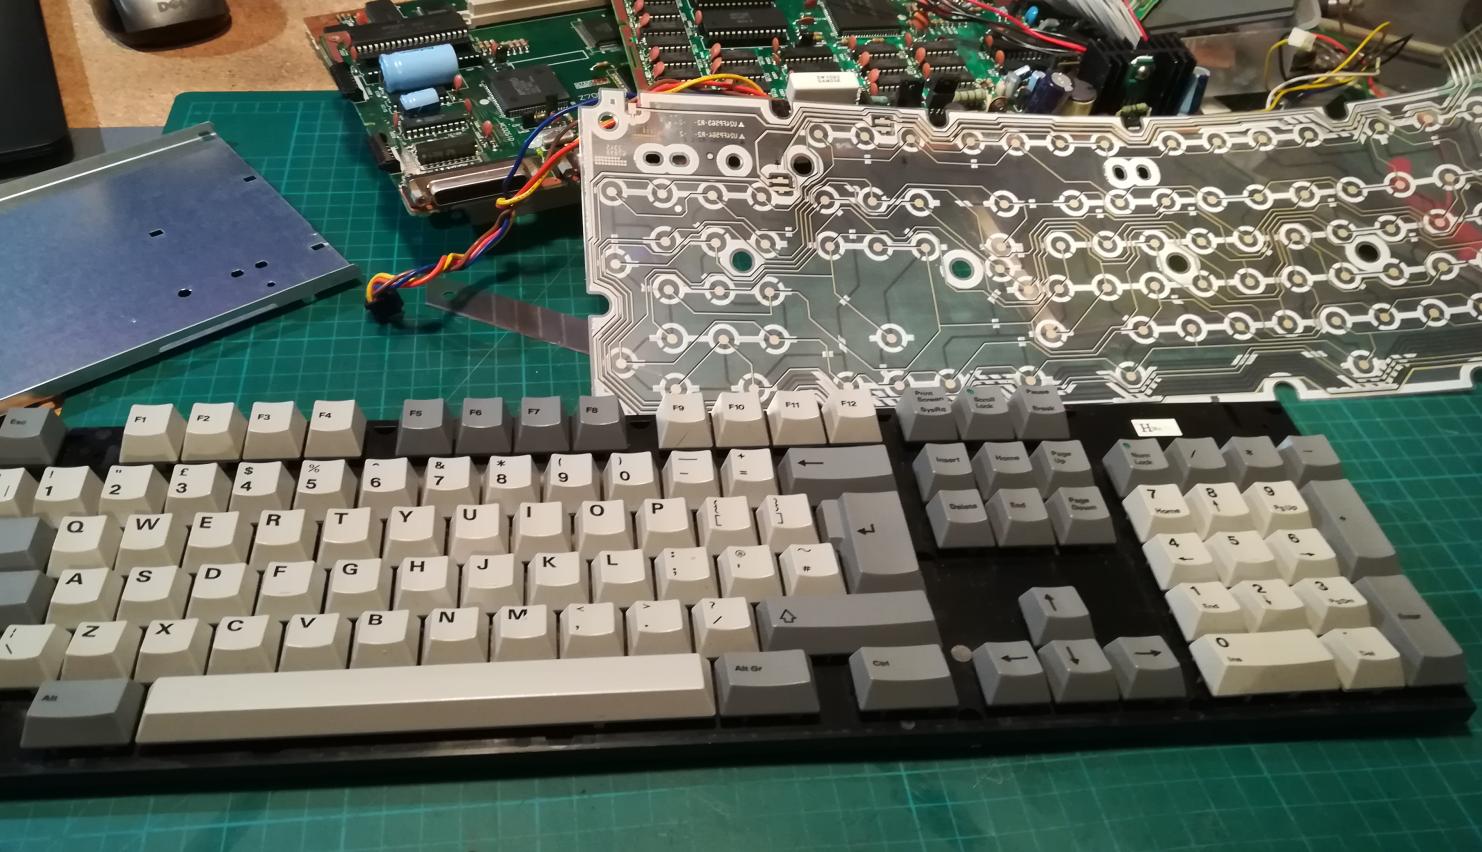
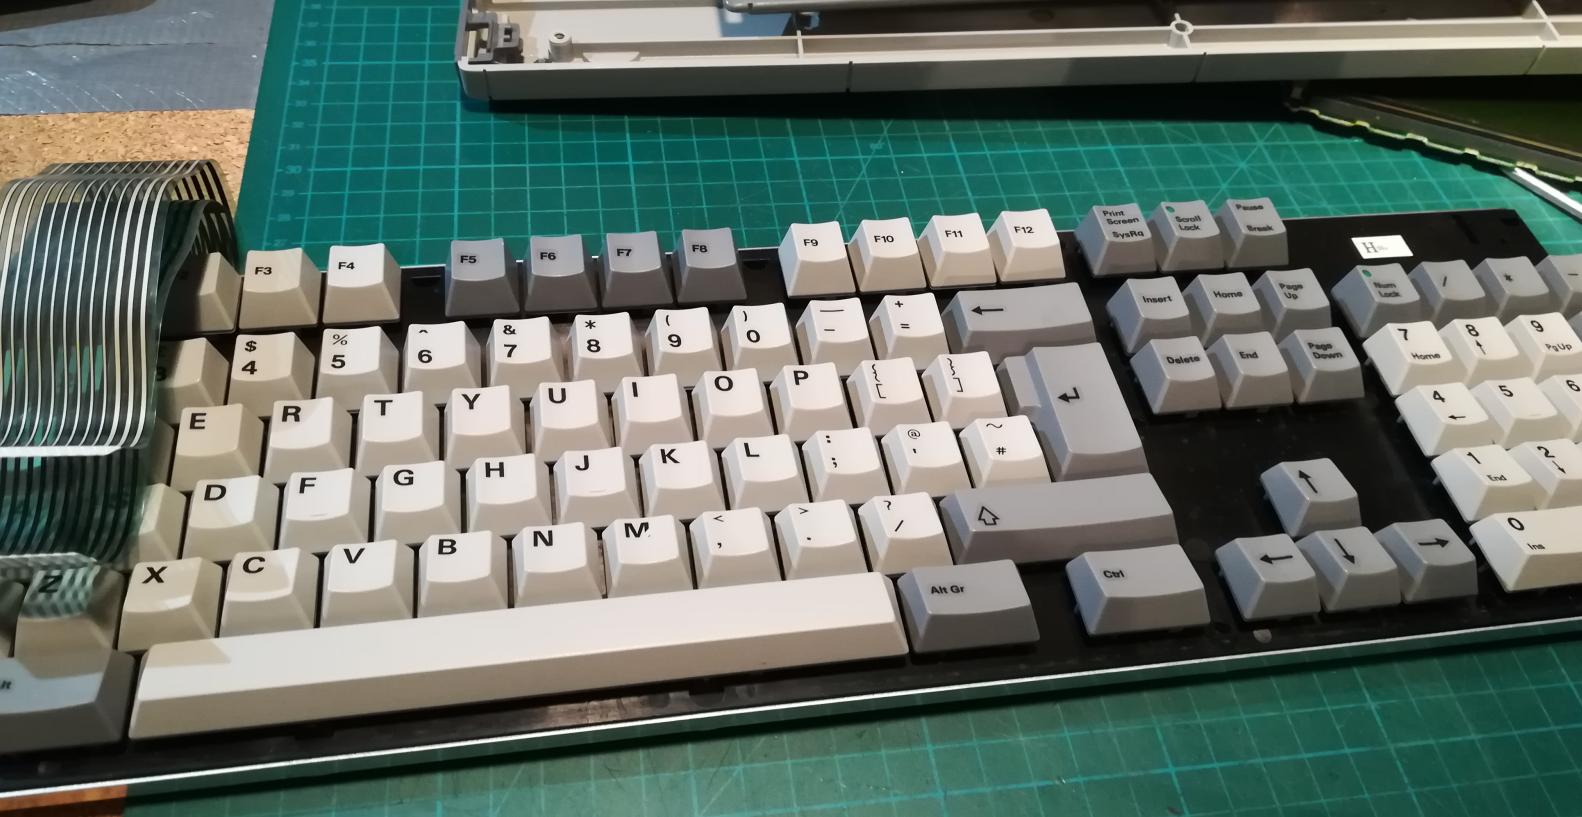
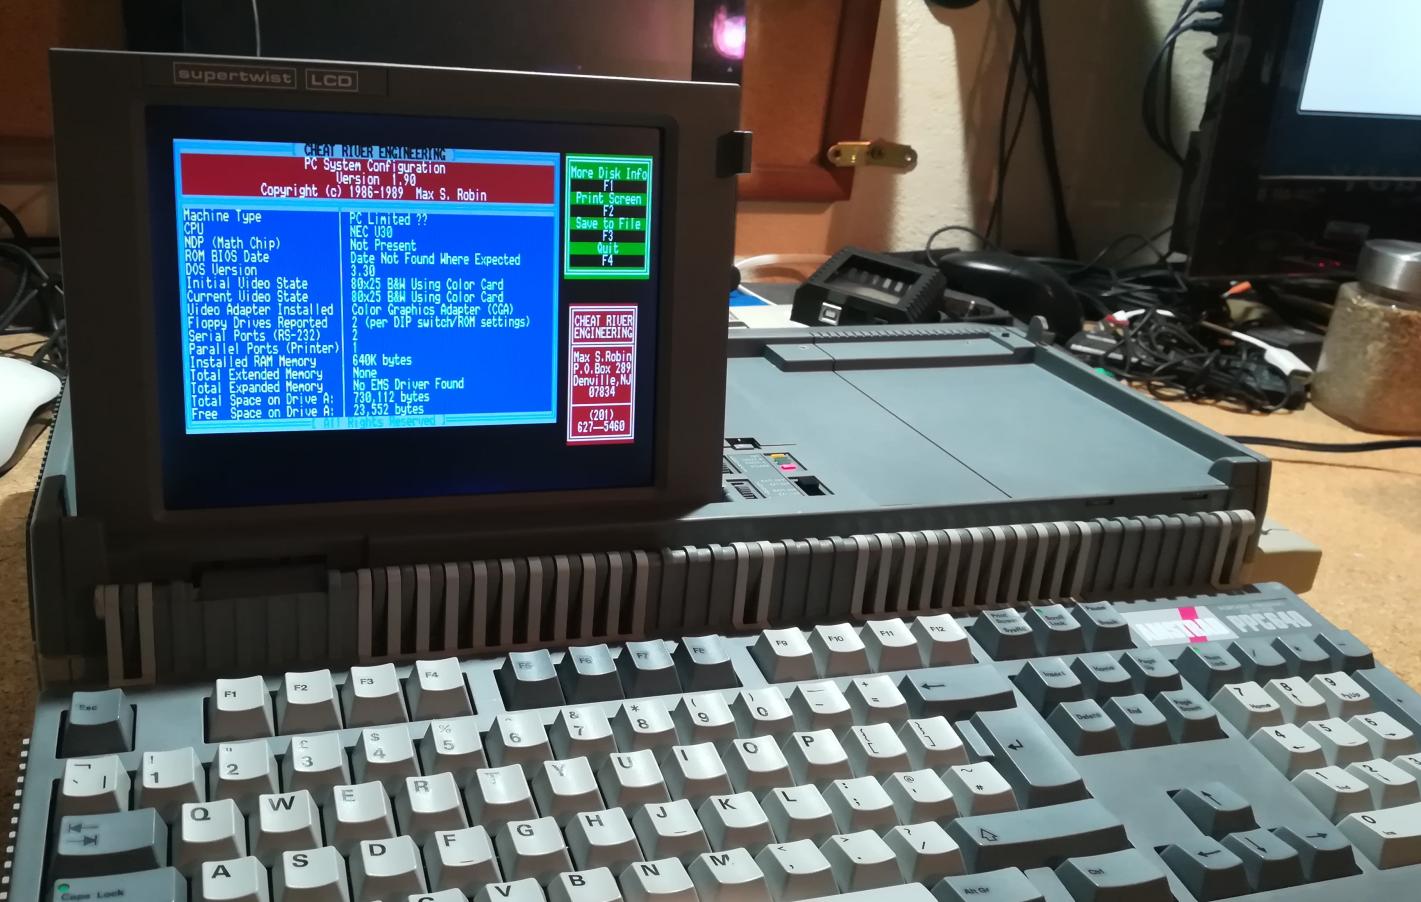
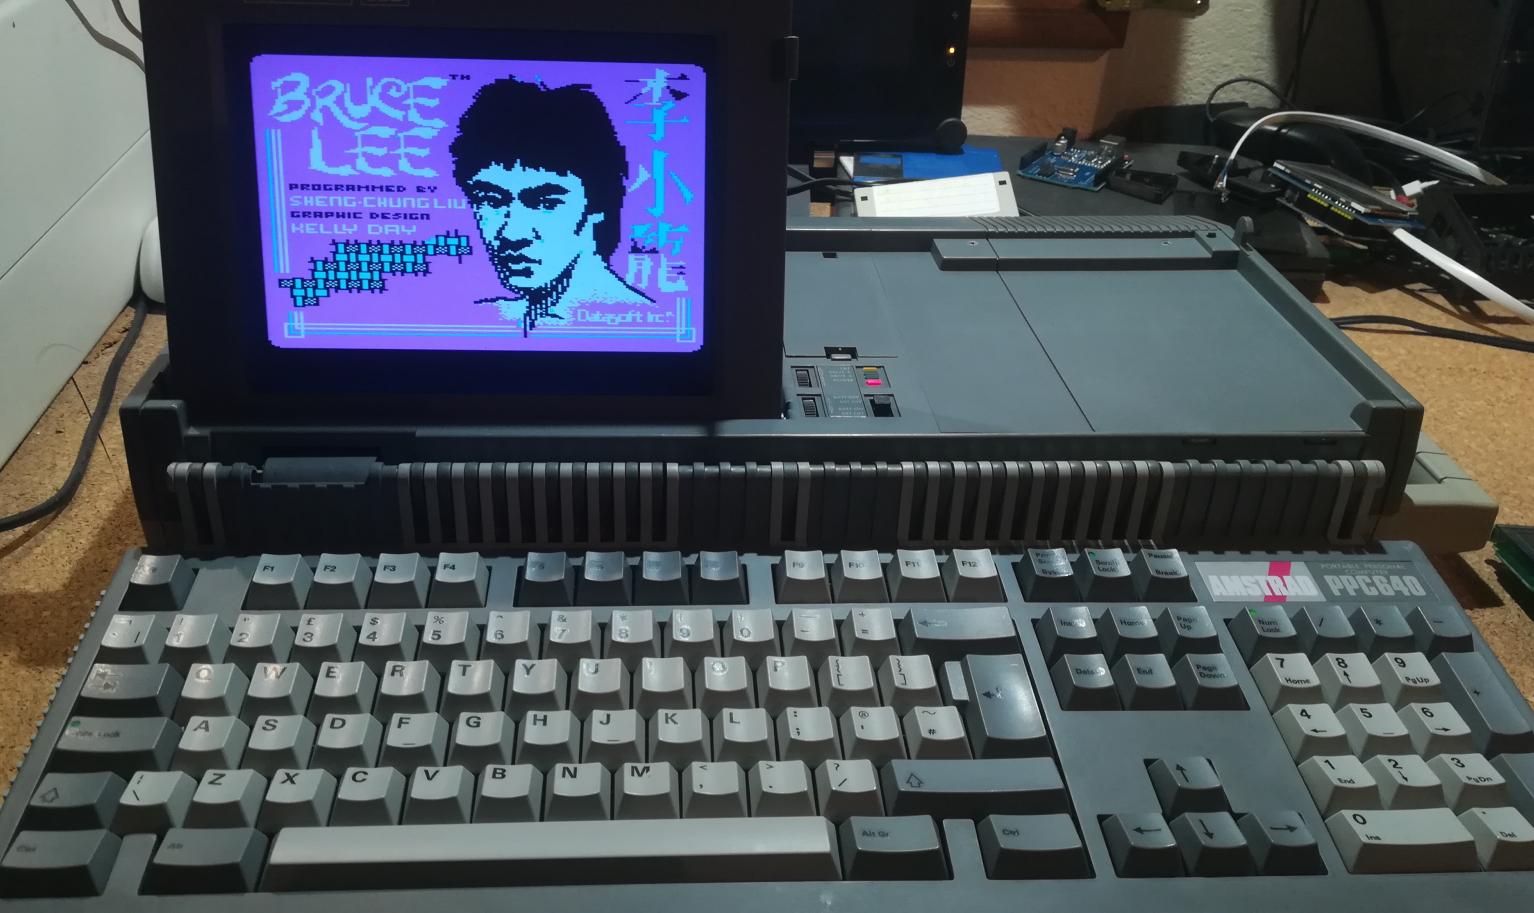
It runs on NEC V30 CPU and has 640KB of RAM. It also has a complete 102-key QWERTY mechanical keyboard with a numeric keypad which makes it an awesome retro gaming machine. You can find more info about it HERE and HERE
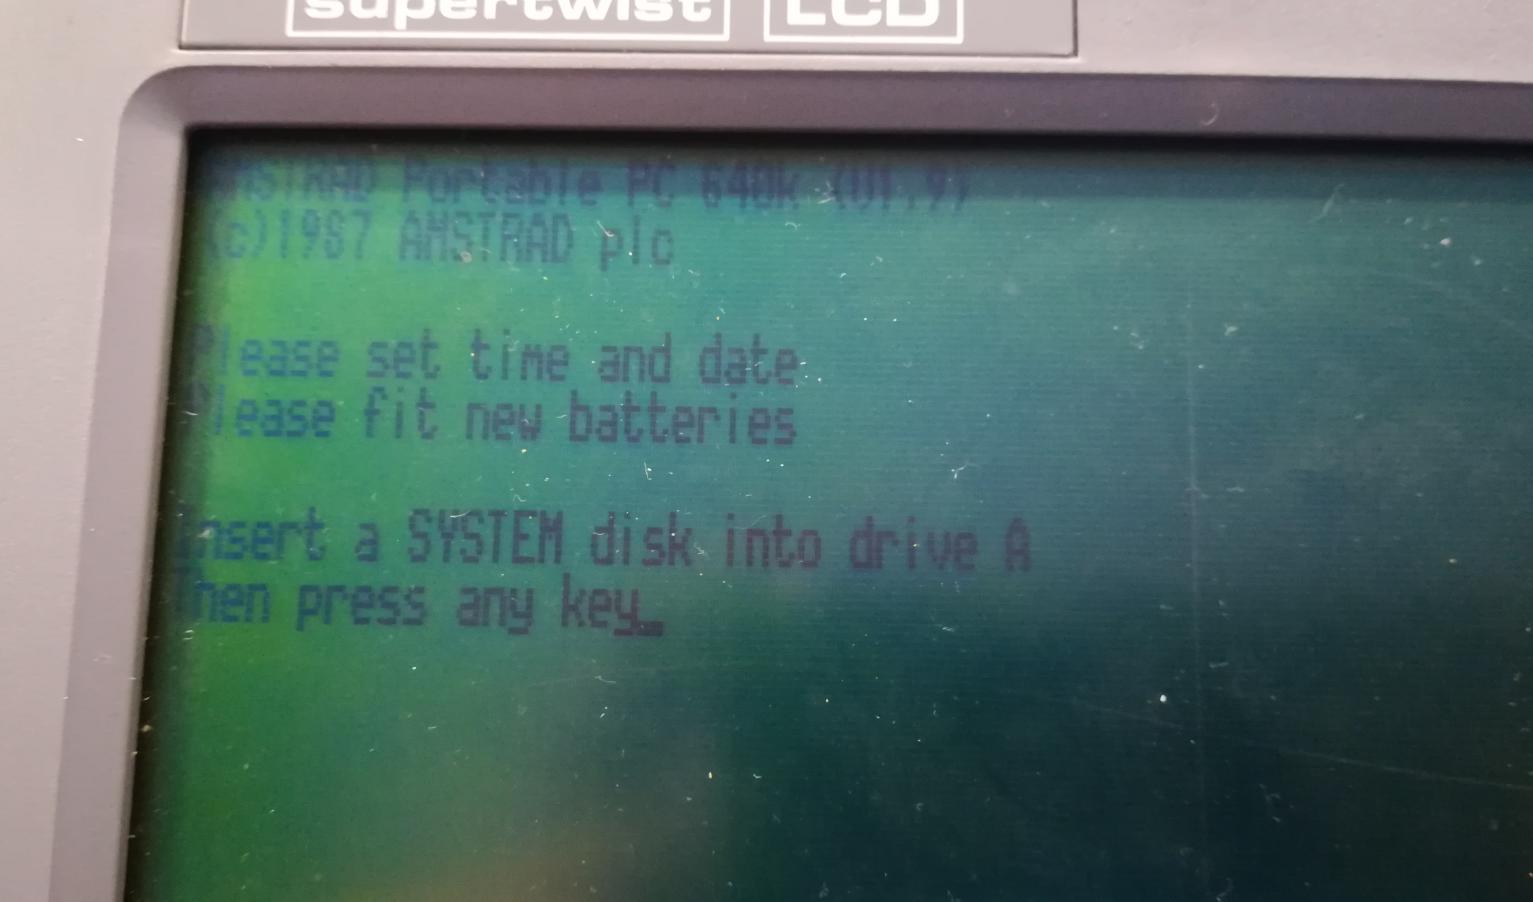
Unfortunately, it turned out that my unit wasn’t in bad shape at all. Moreover! it was kinda working.
Damn, no fancy repairs this time … well … kinda.
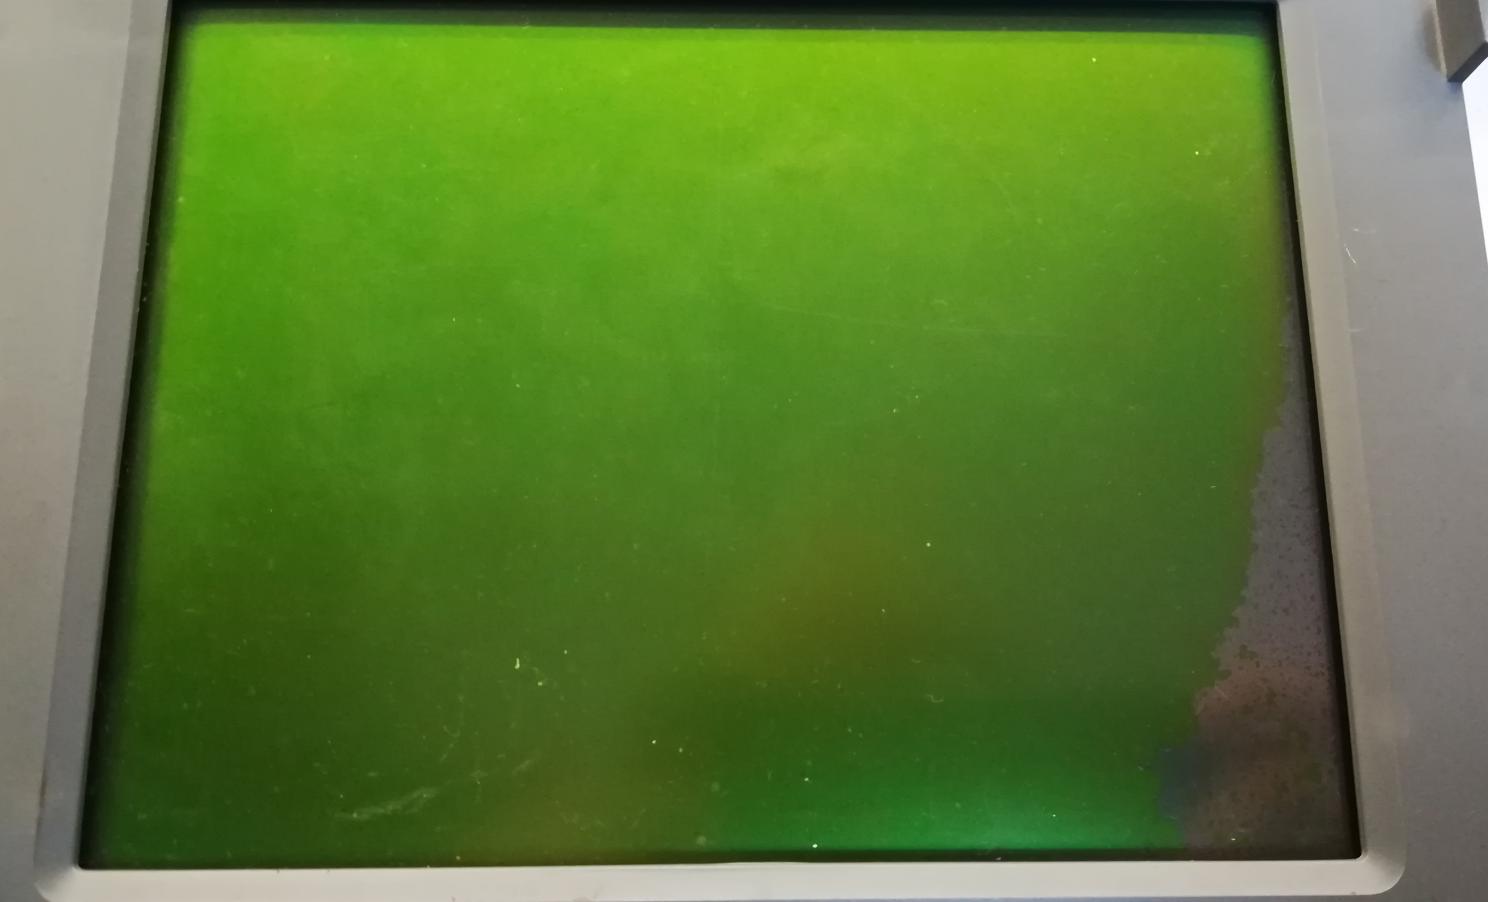
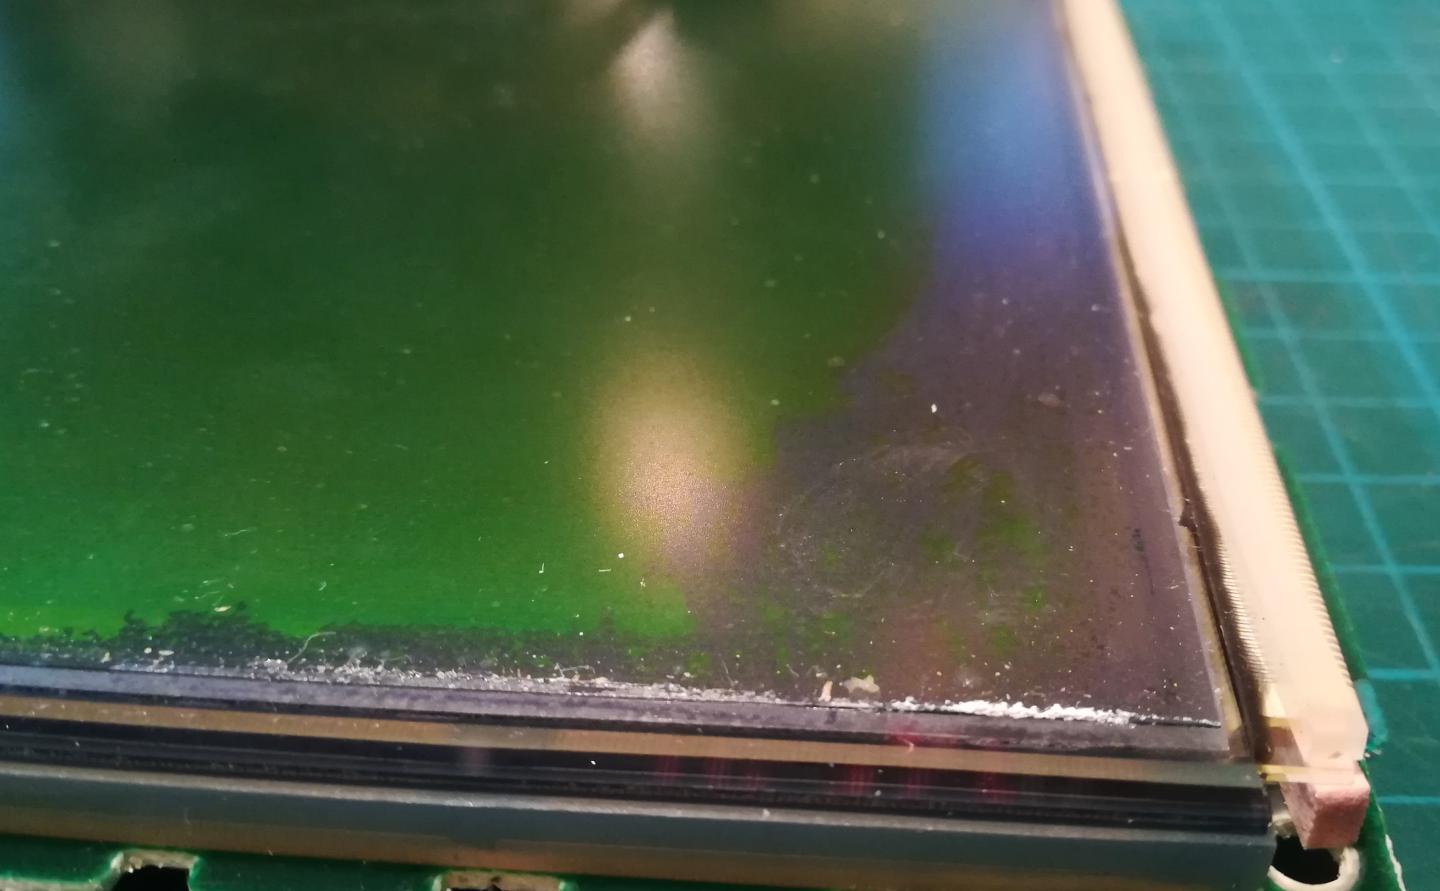
Phew, at least LCD was partially damaged … but hey! I wanted to swap it anyway so no big deal again 🙁
Cleaning
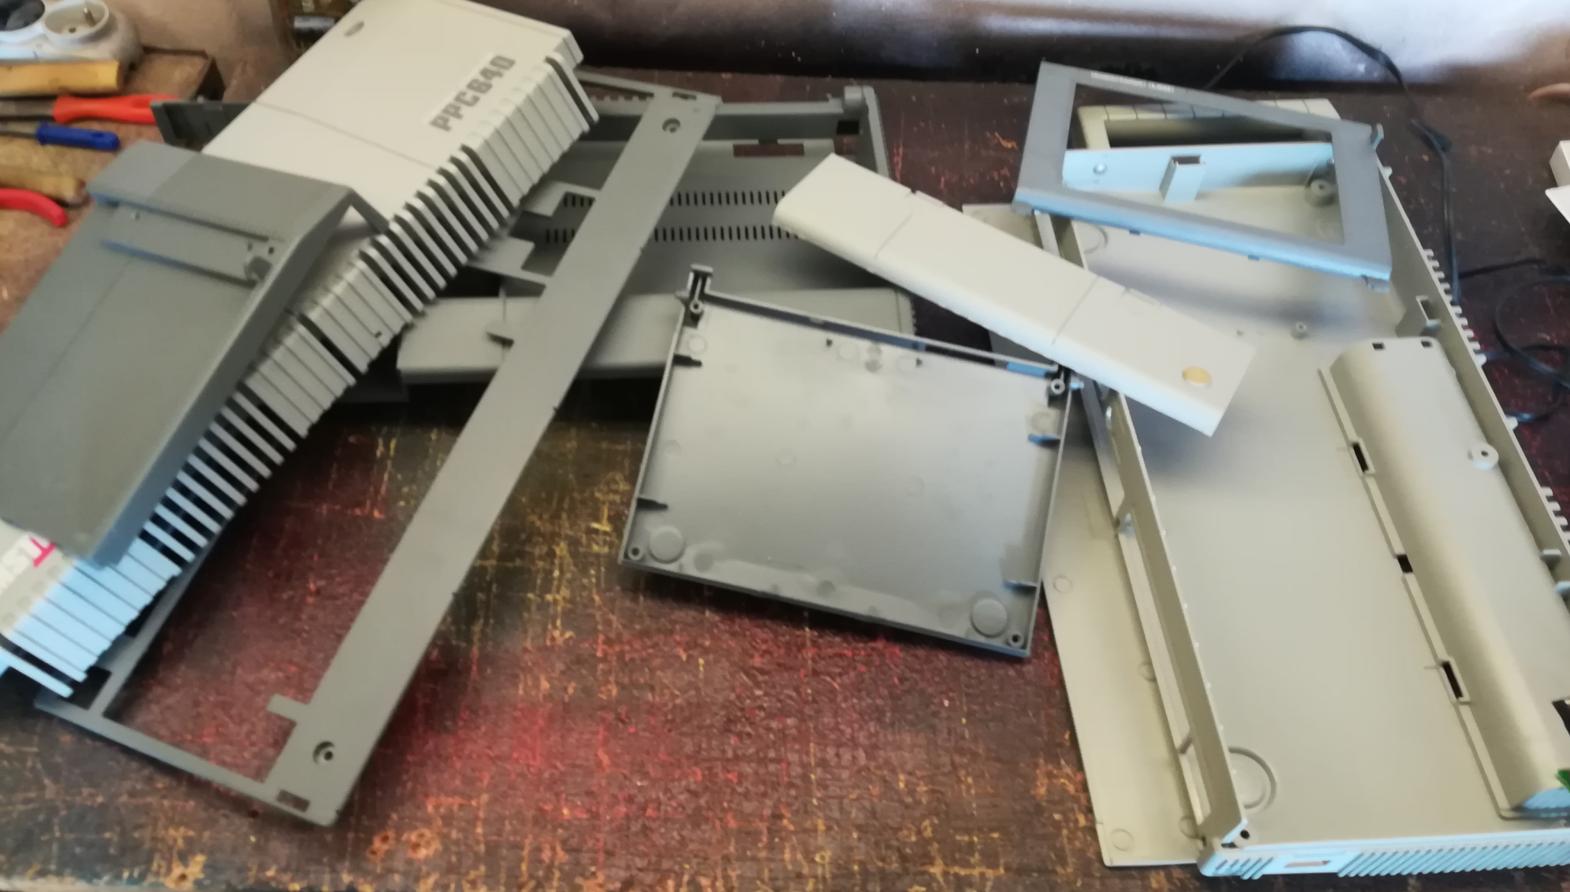
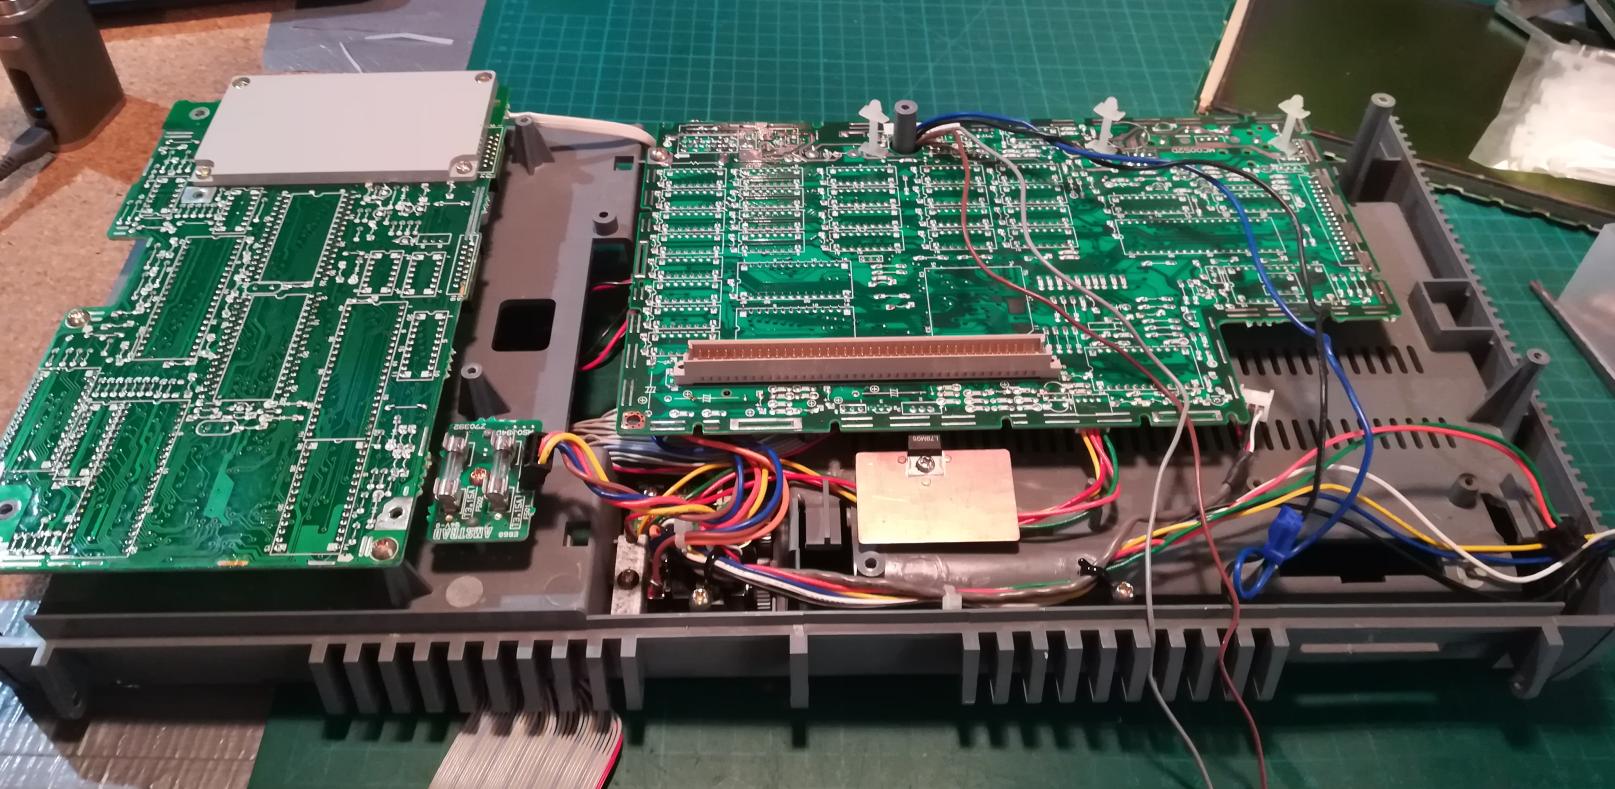
I’ve started to unscrew everything like crazy! 🙂

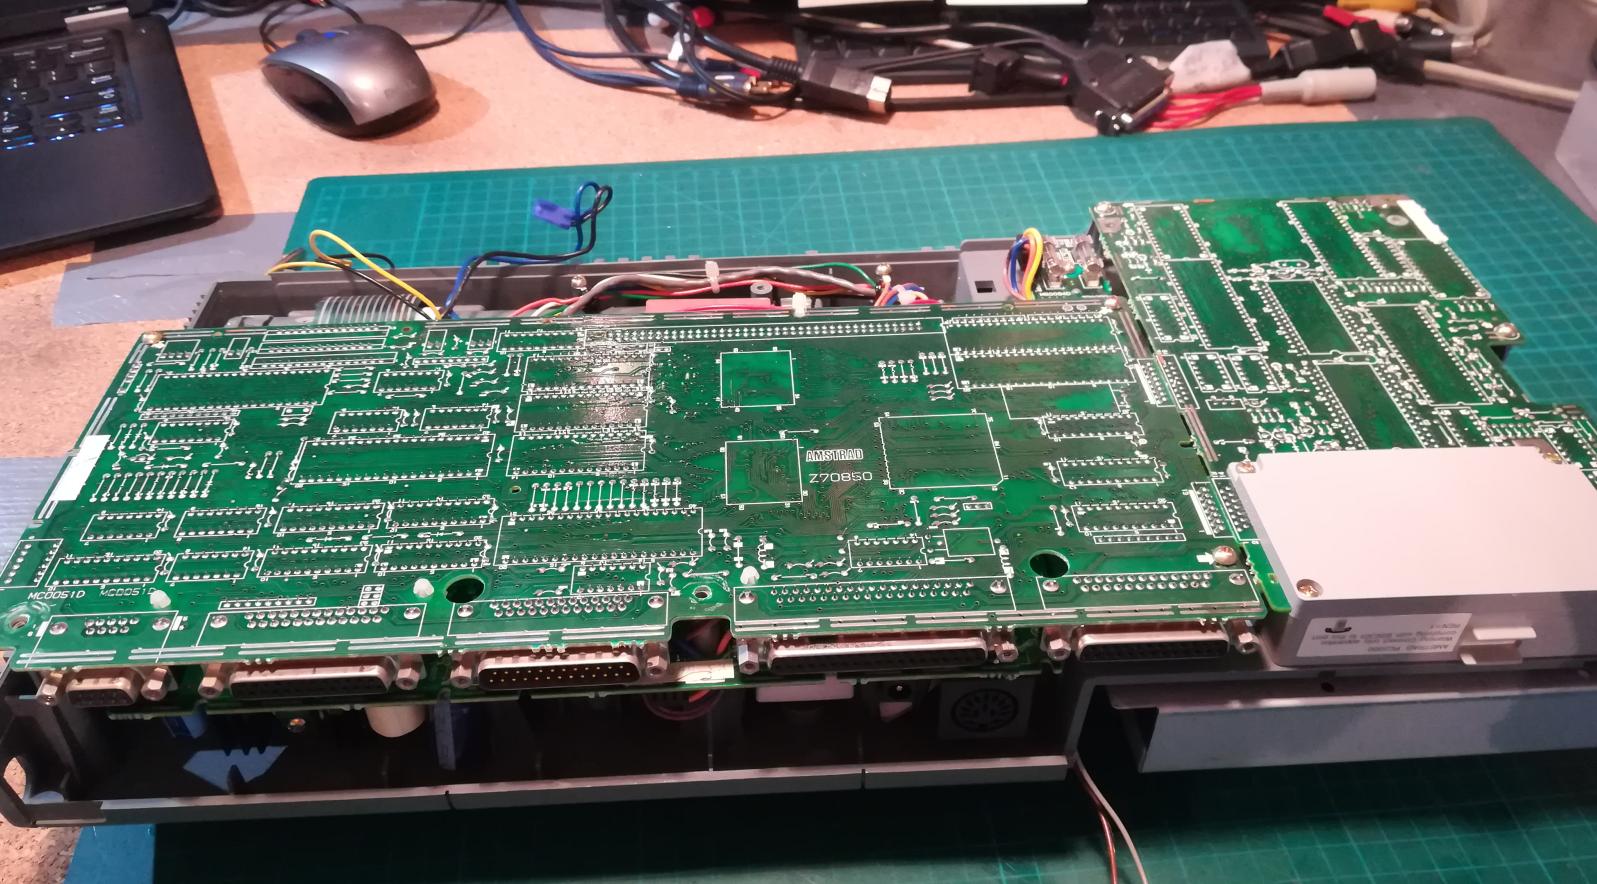
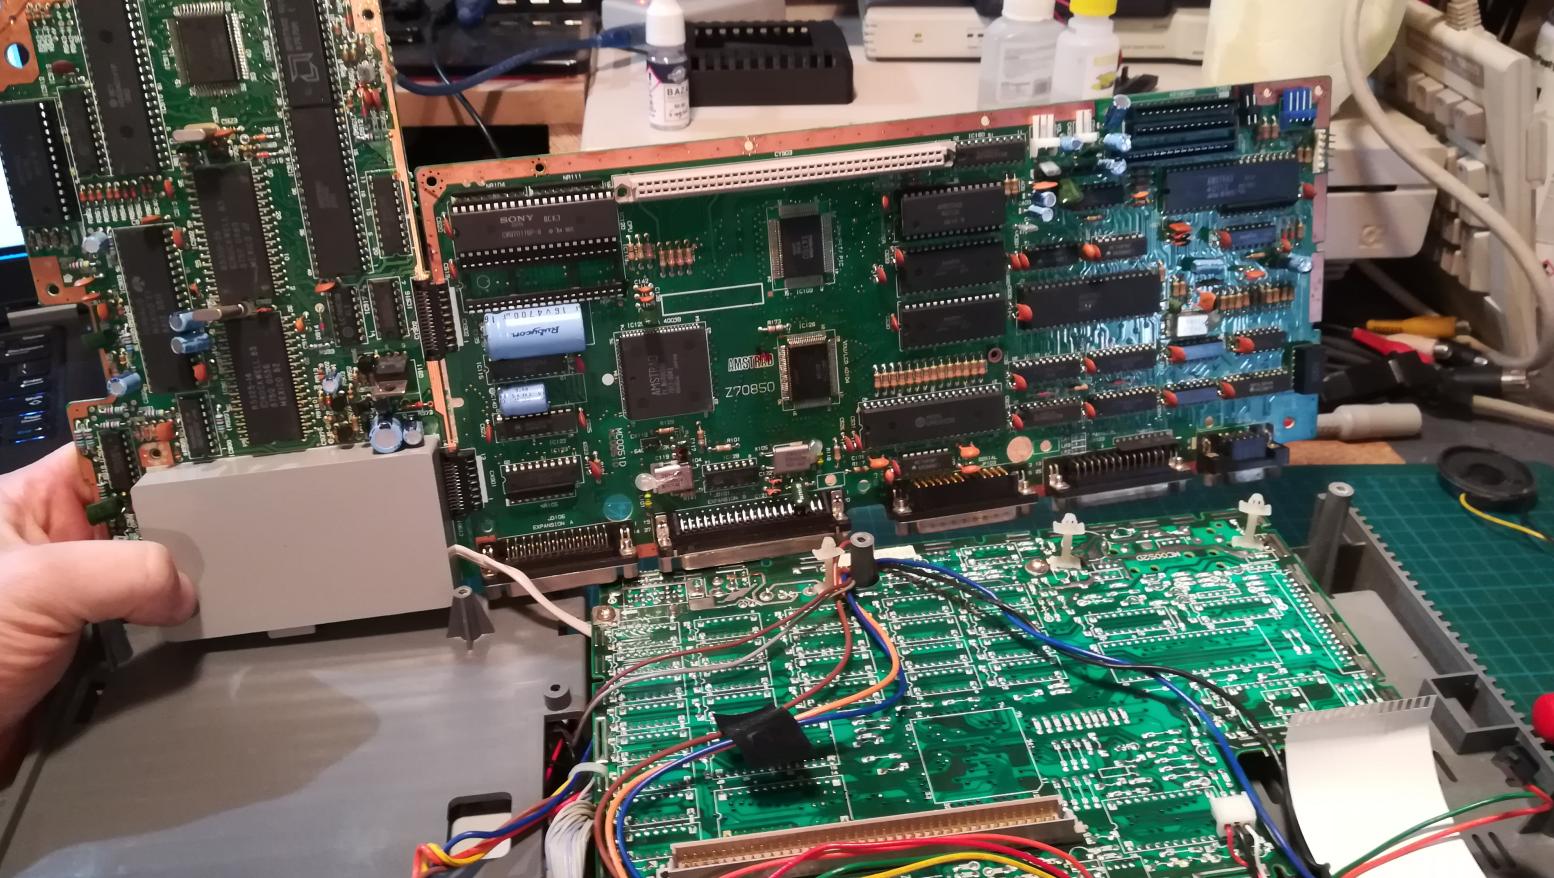
Tadaaaa! All out 😀
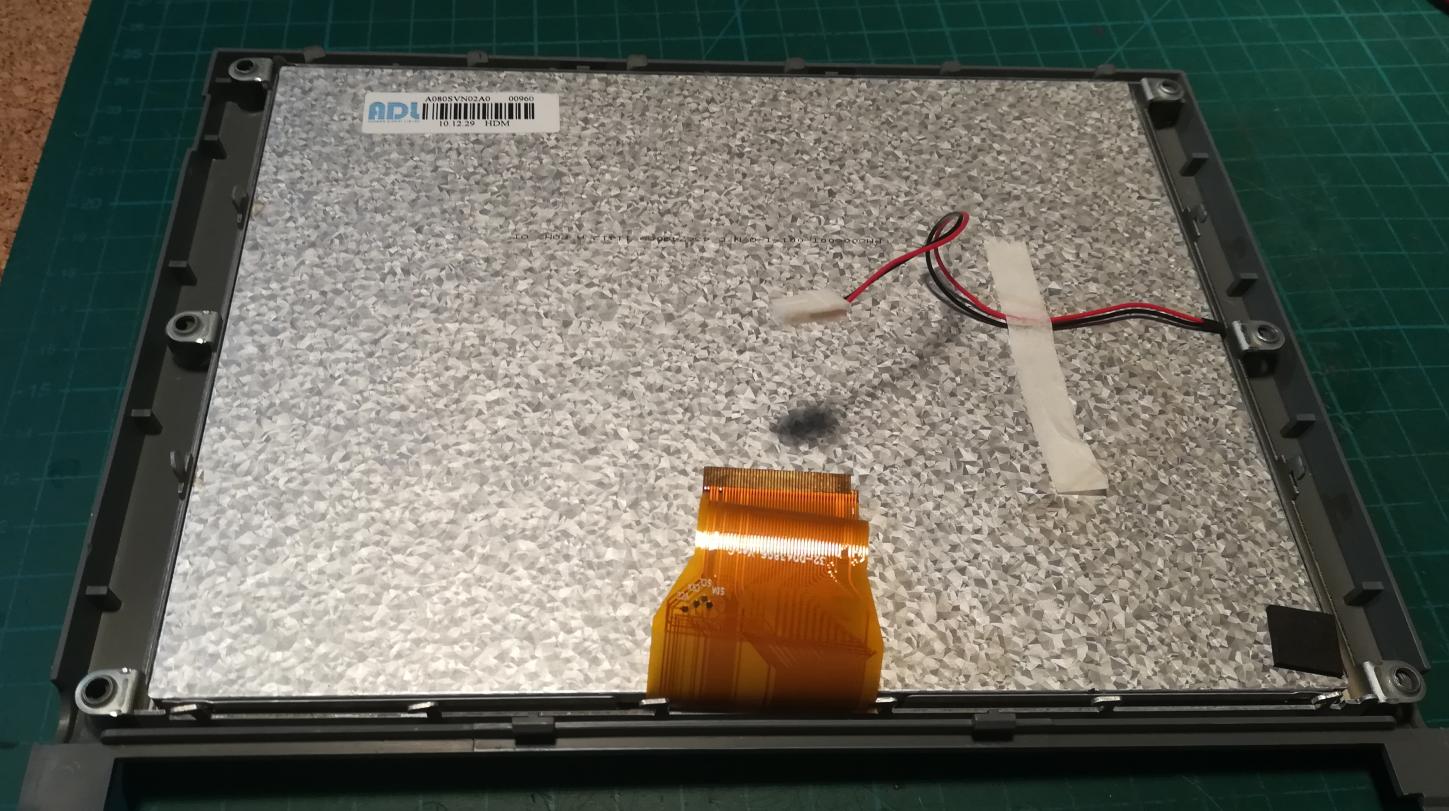
Close up on an LCD revealed the damage.
It took a while but I’ve managed to make everything nice and clean 🙂

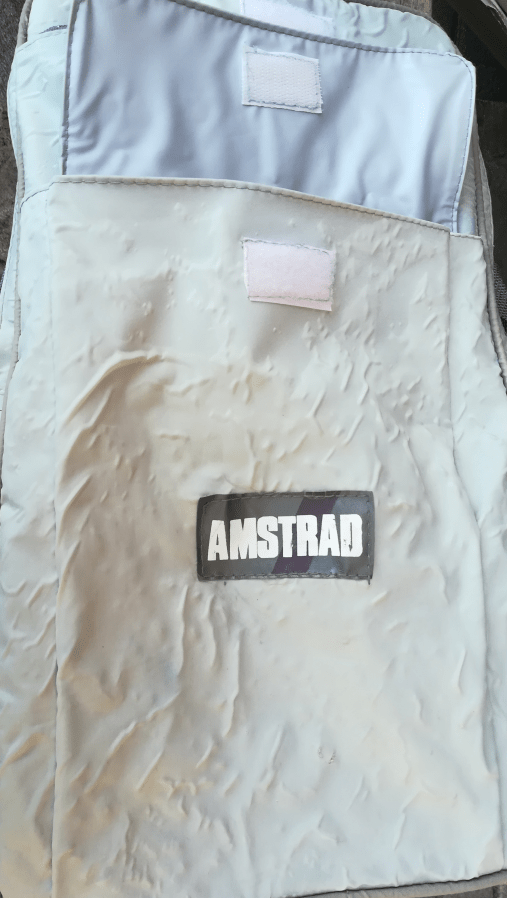
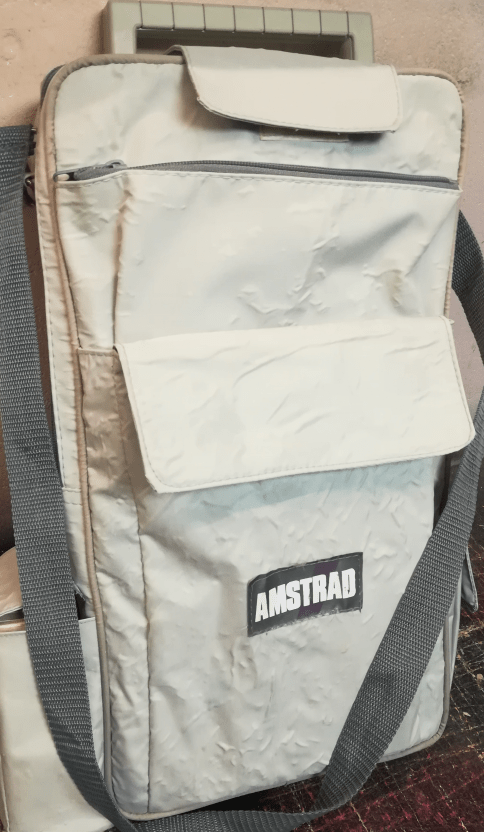
I’ve also tried to wash an original bag. However, it only removed standard dirt and left dark stains.

This is the moment when I’ve figured out what caused these stains. It was simply covered with mold!! That was a very important observation because I instantly knew how to deal with it.
Sodium Hypochlorite to the rescue!
You might not know but Sodium Hypochlorite is a very effective weapon if you fight against molds and fungi.

I’ve prepared a nice sunny anti-fungi bath outside. It is important to do such work outside or in well

Below results after 30 minutes of such a bath.

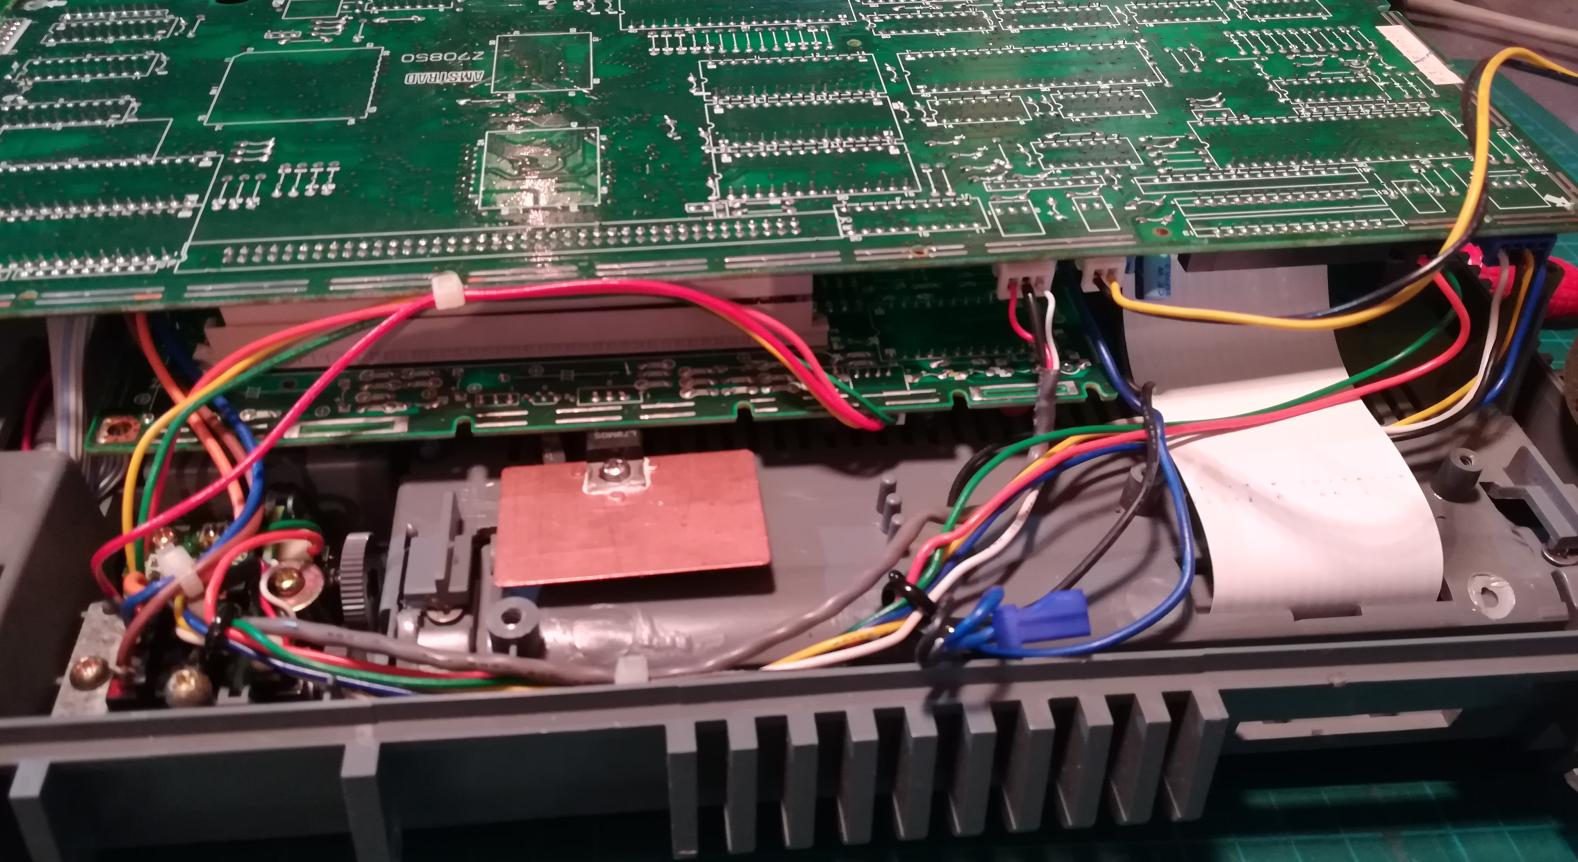
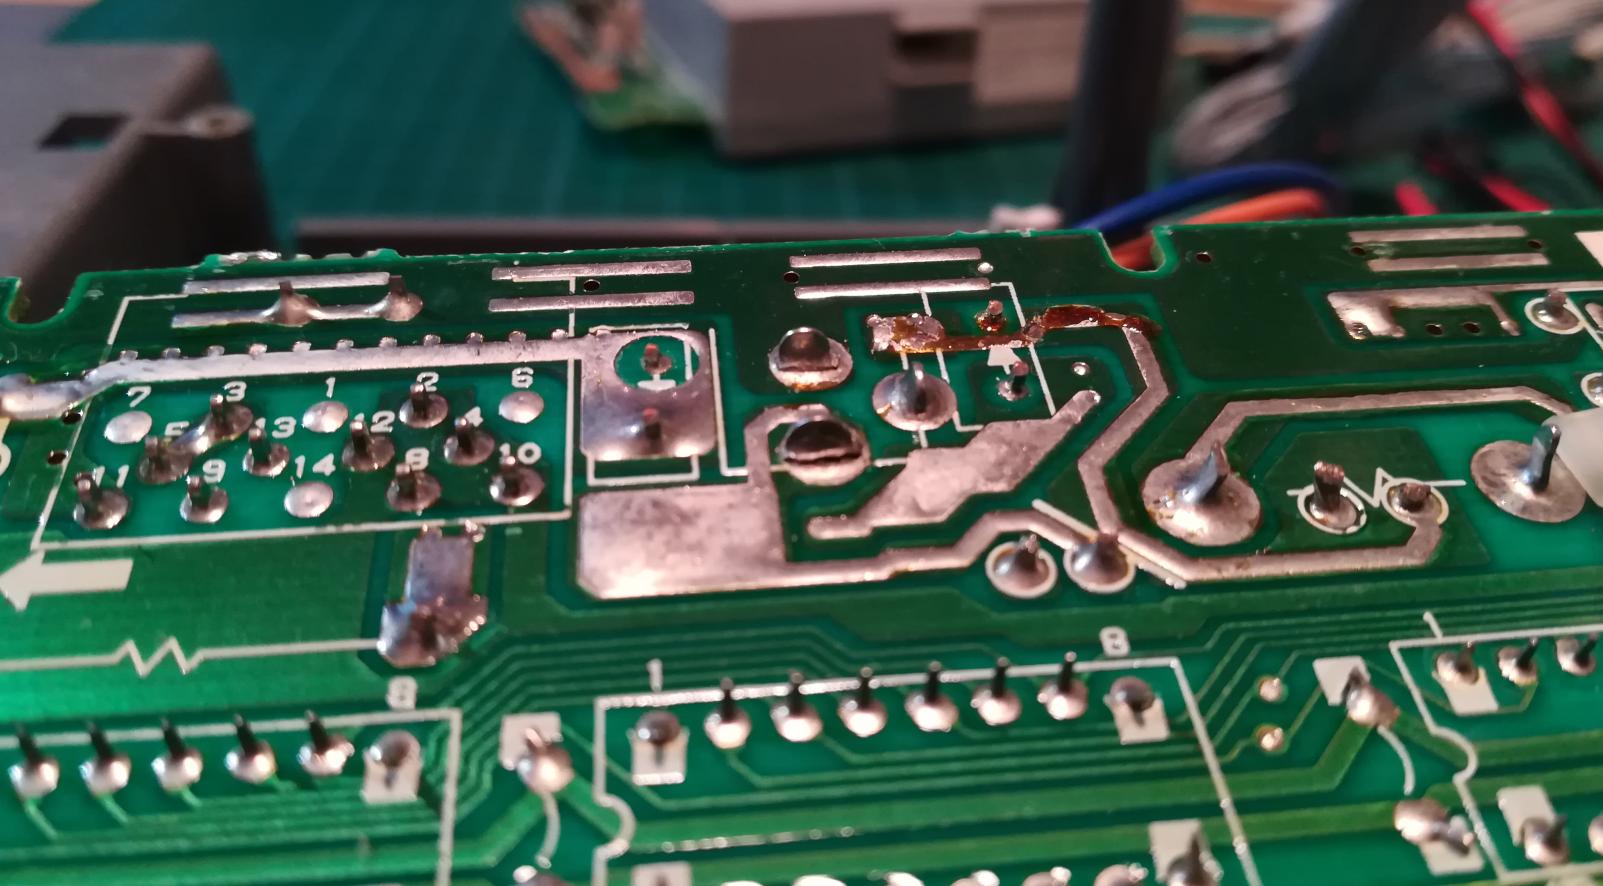
I’ve fixed some minor problems like cold joints while assembling the unit.
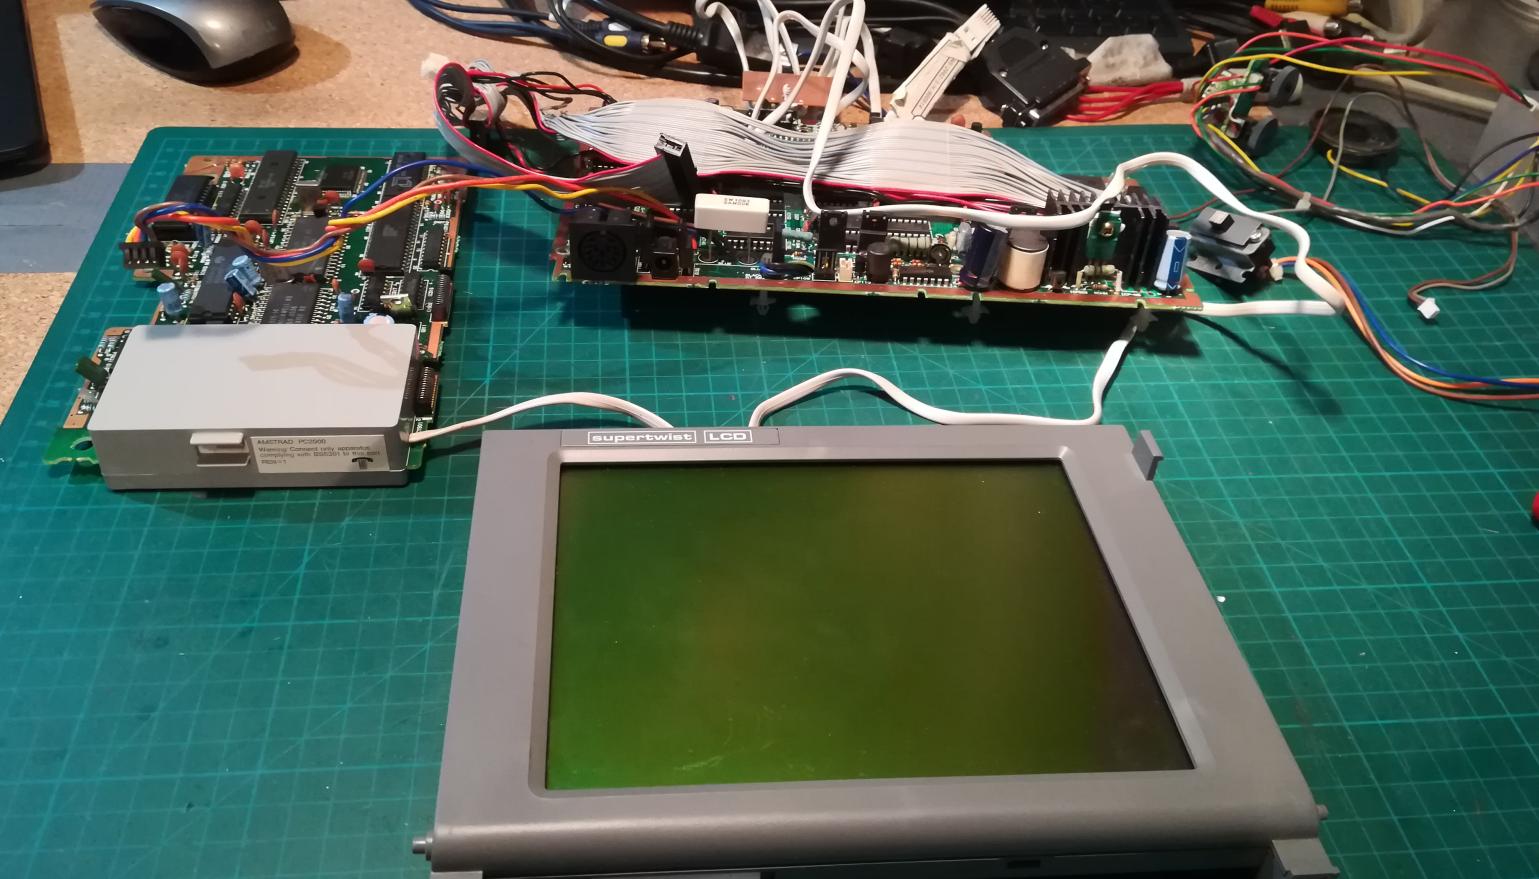
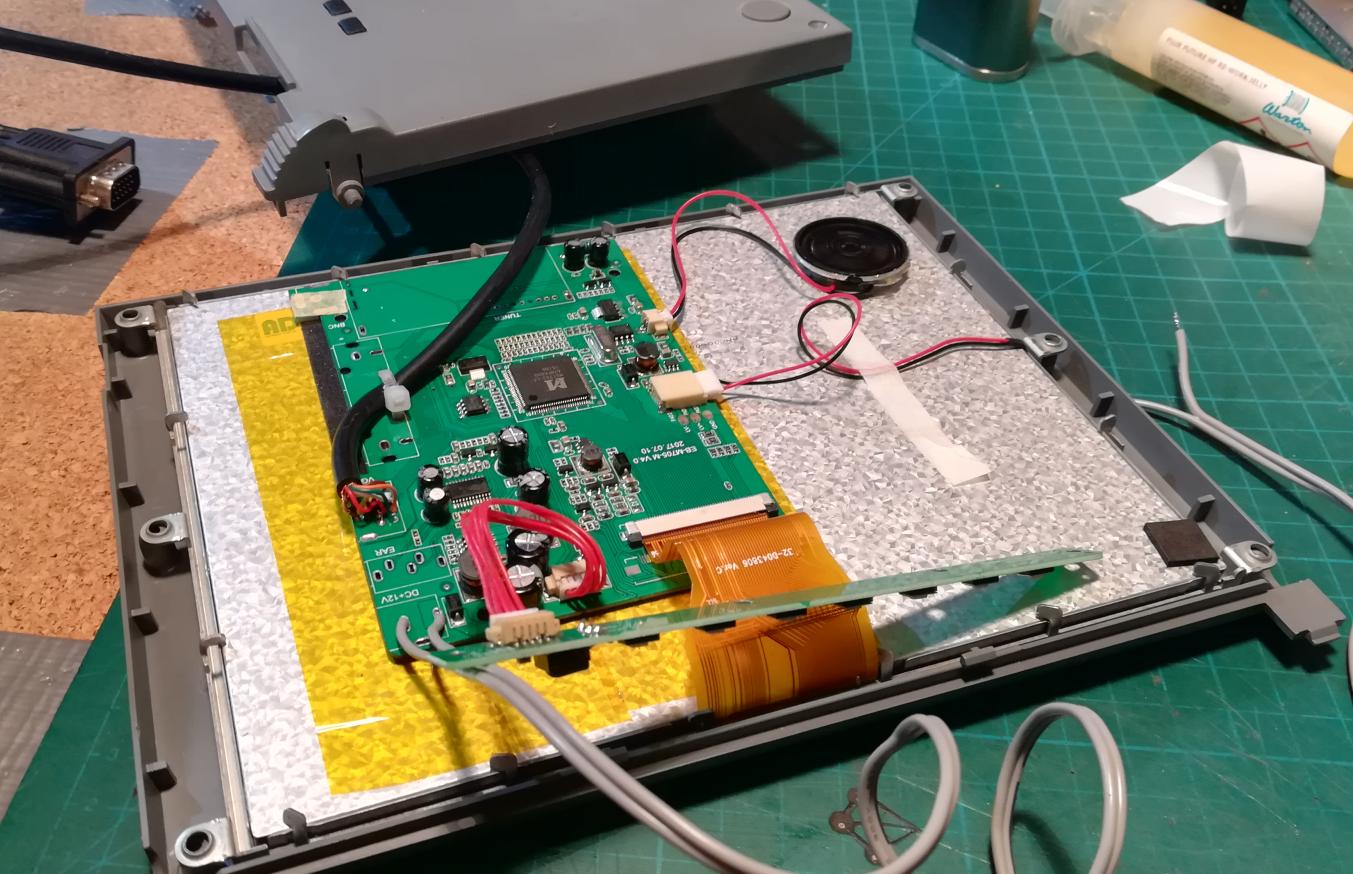
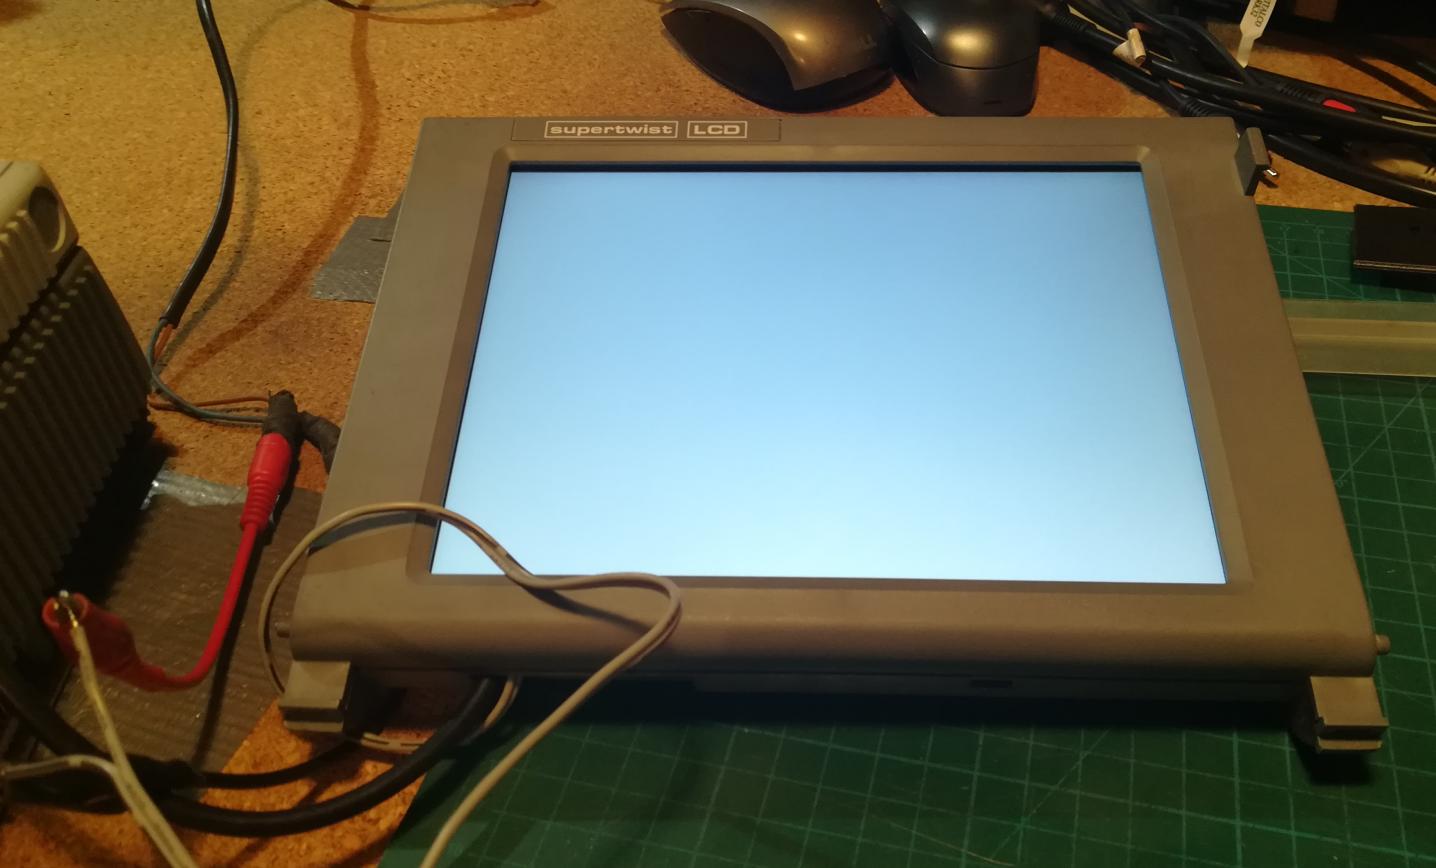
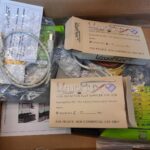
Later that day, I picked up a package with an ordered LCD TV that I bought as a replacement for the original monochrome LCD. It is a 4:3 LCD that I found on eBay. Looks like it was a perfect choice 😀
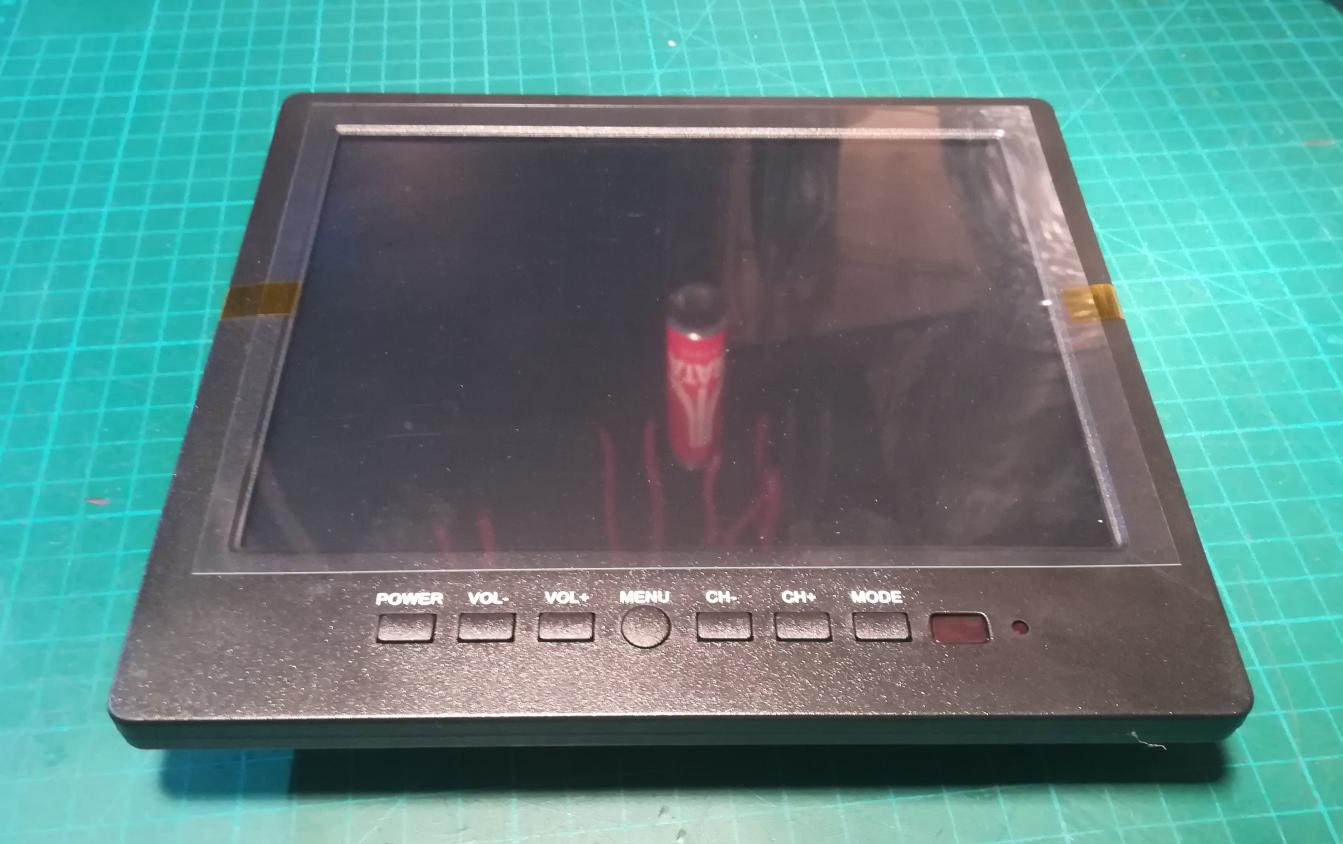
Some testing revealed that it fits perfectly in the place of the original LCD.
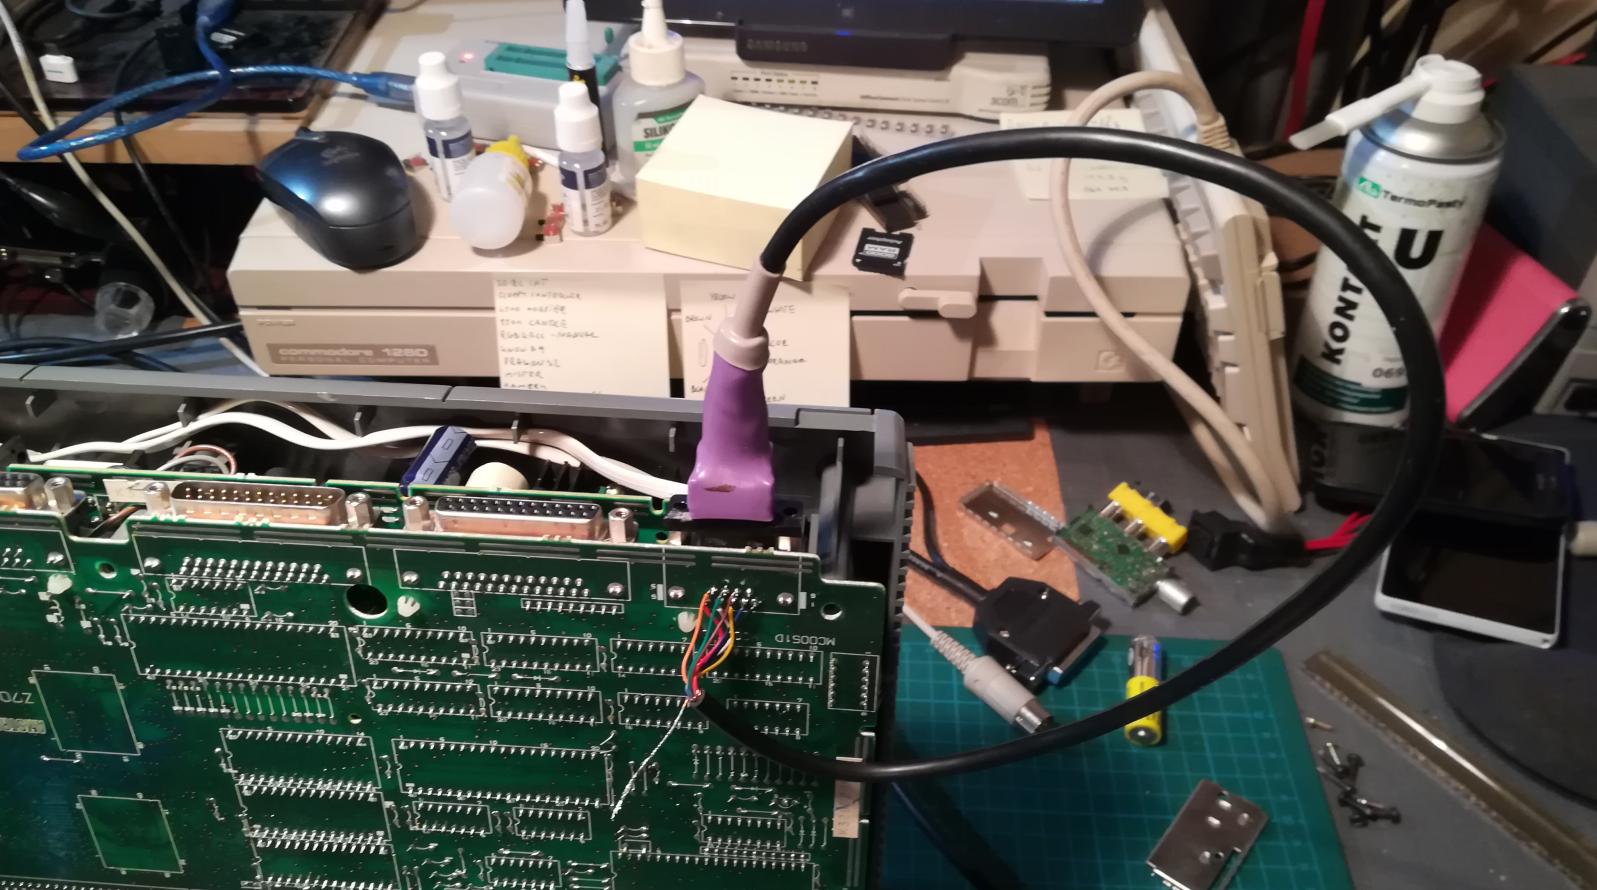
I’ve removed all larger sockets and the RF modulator. It was a necessary step to fit the electronic circuit under the hood.
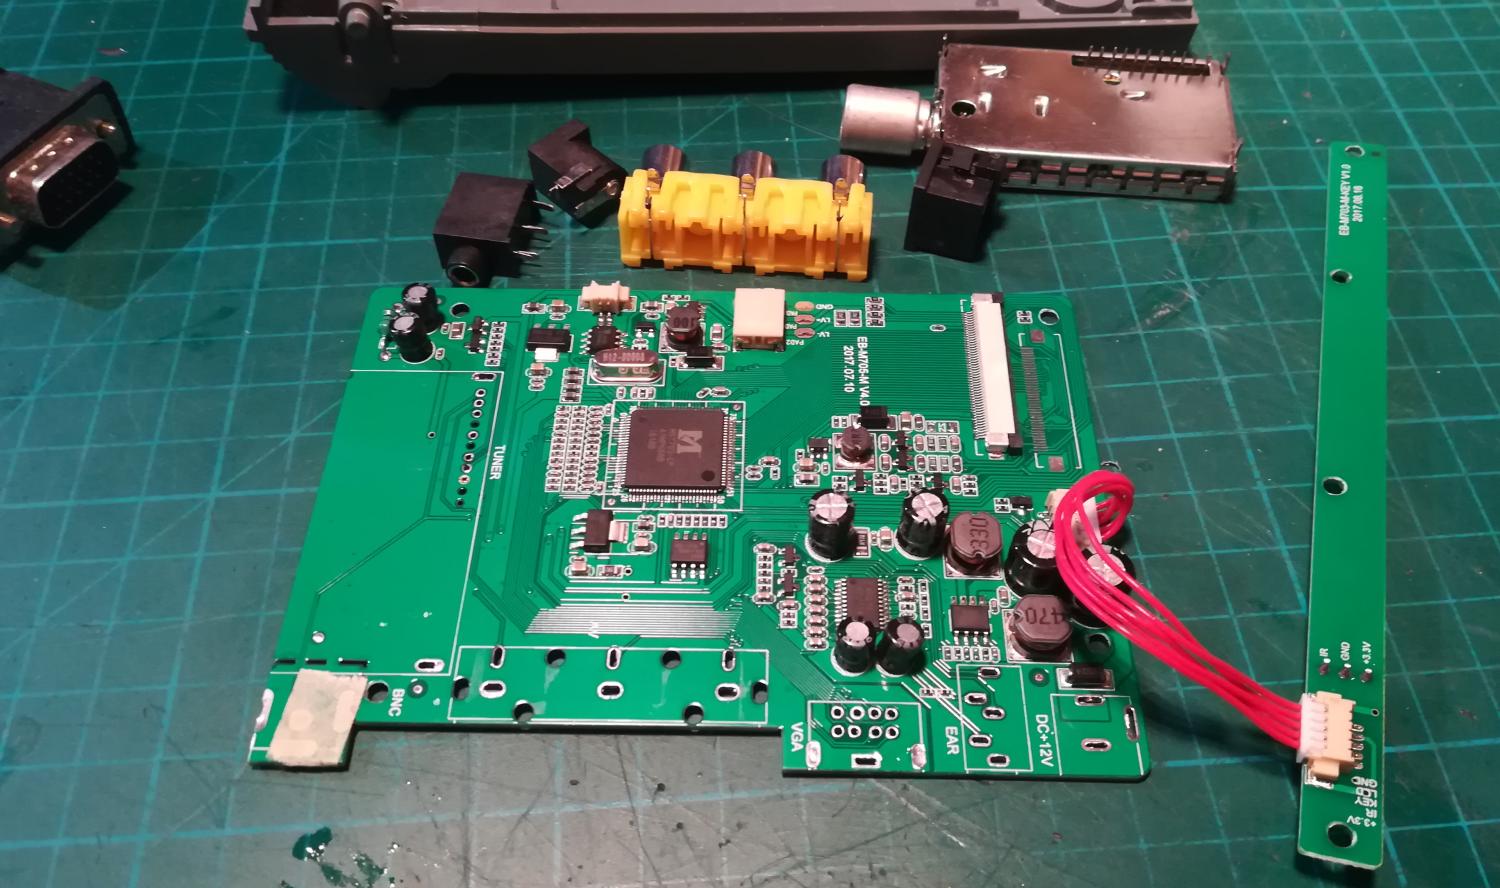
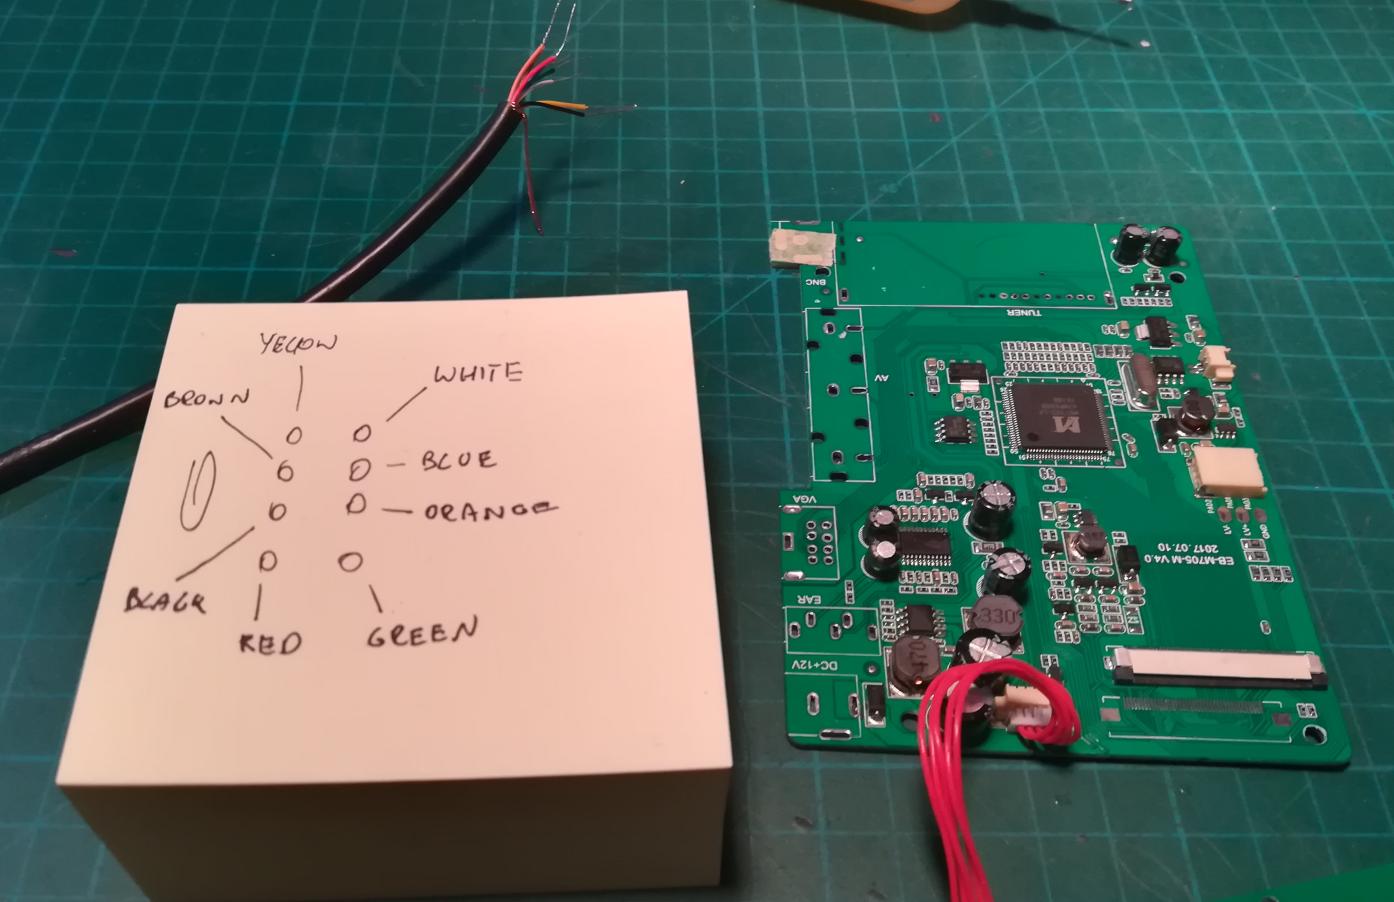
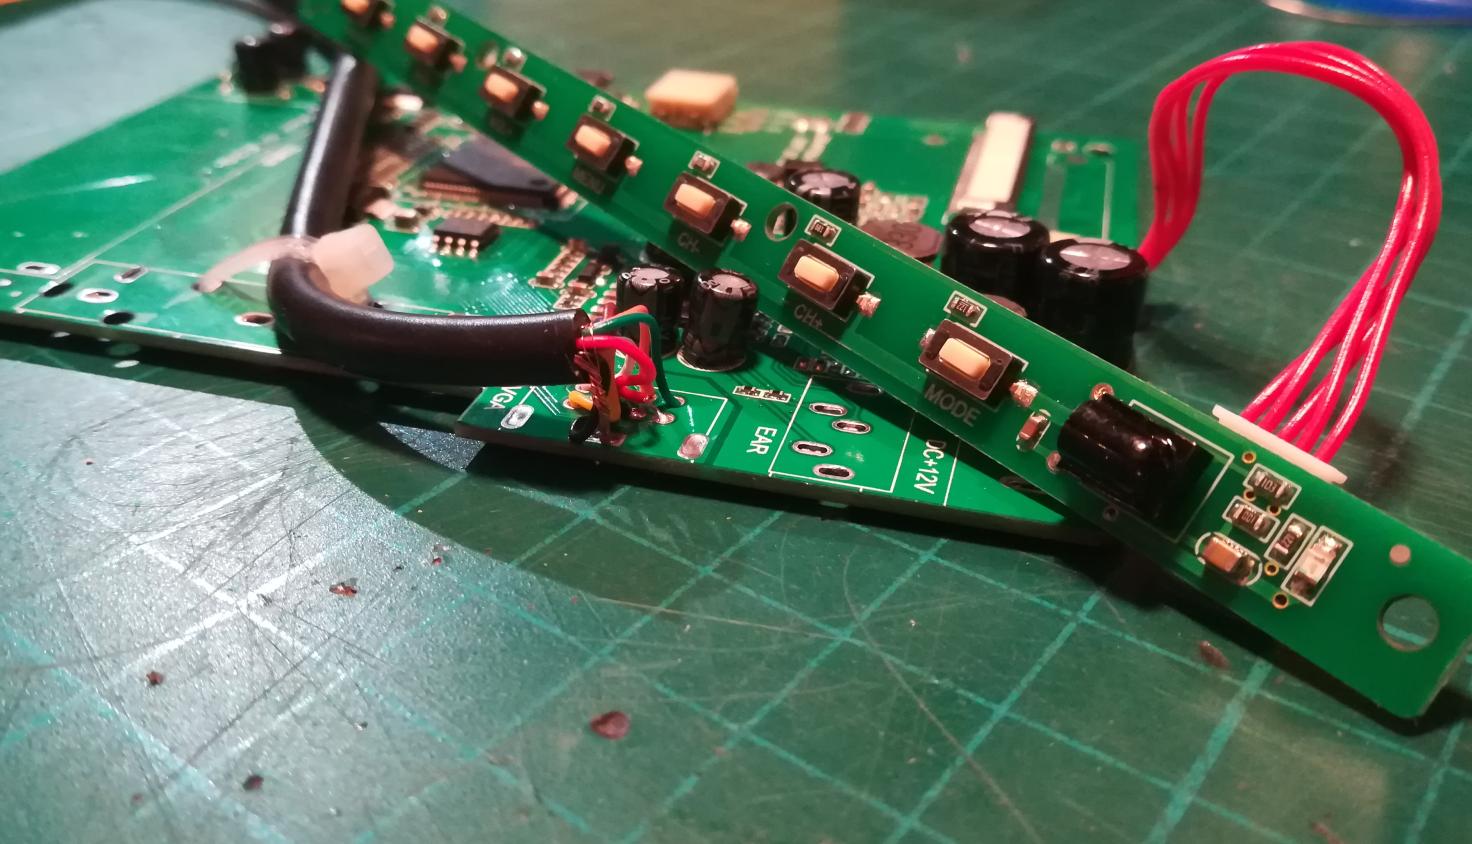
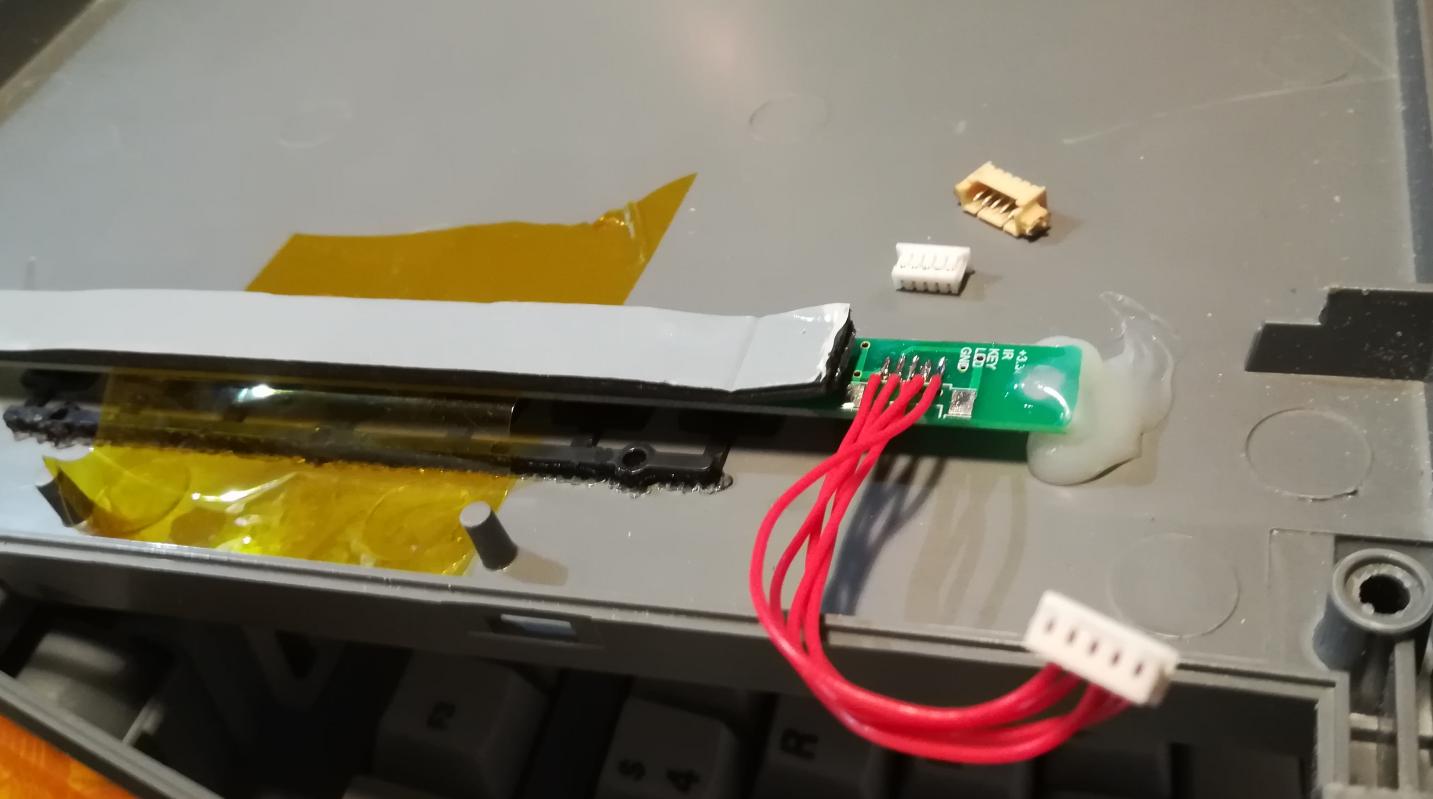
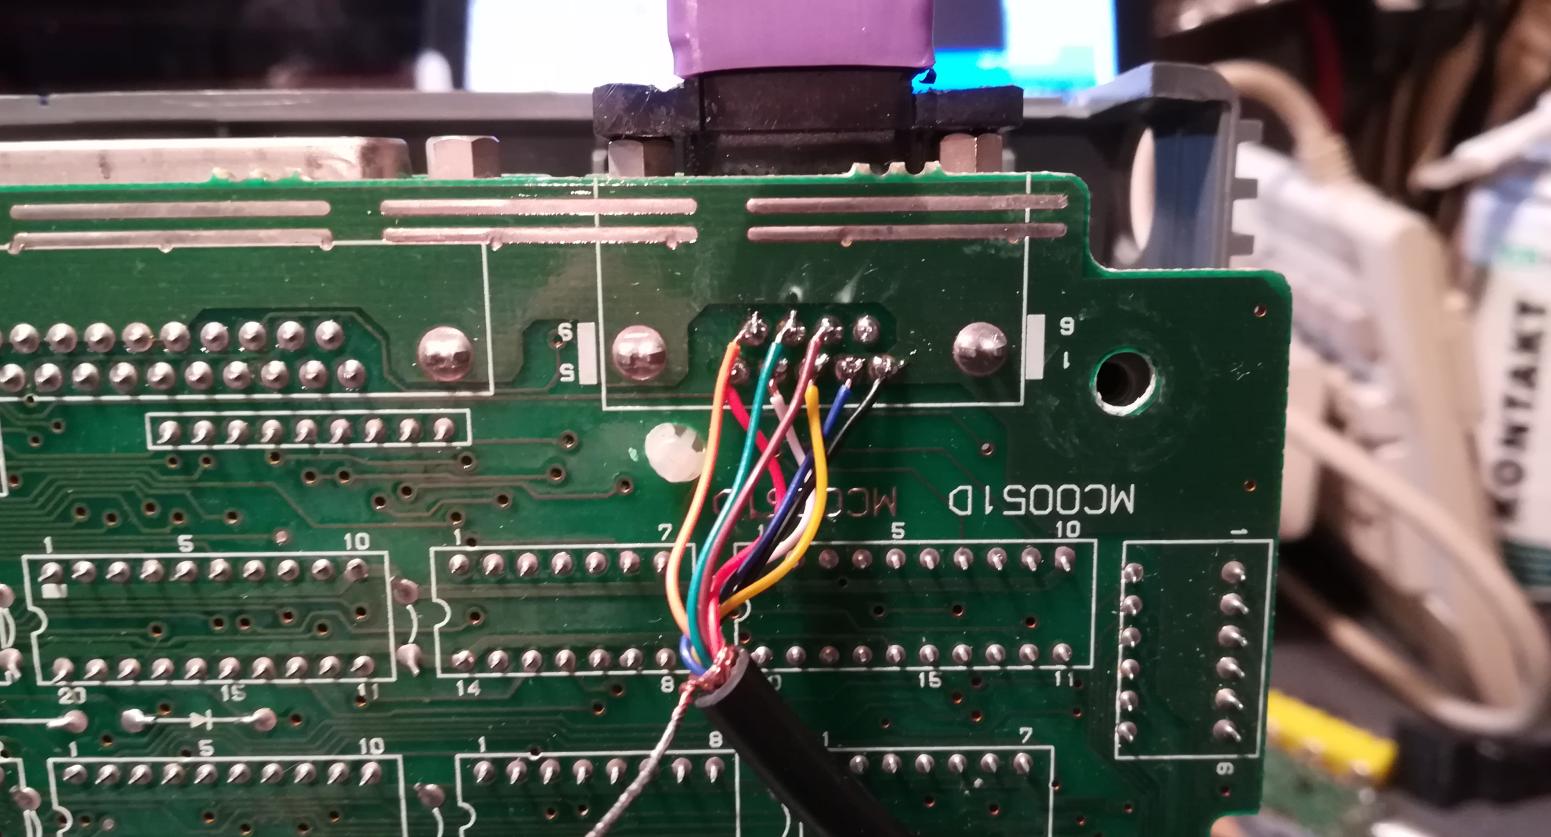
After taking some notes, I soldered a D-Sub cable to a PCB.
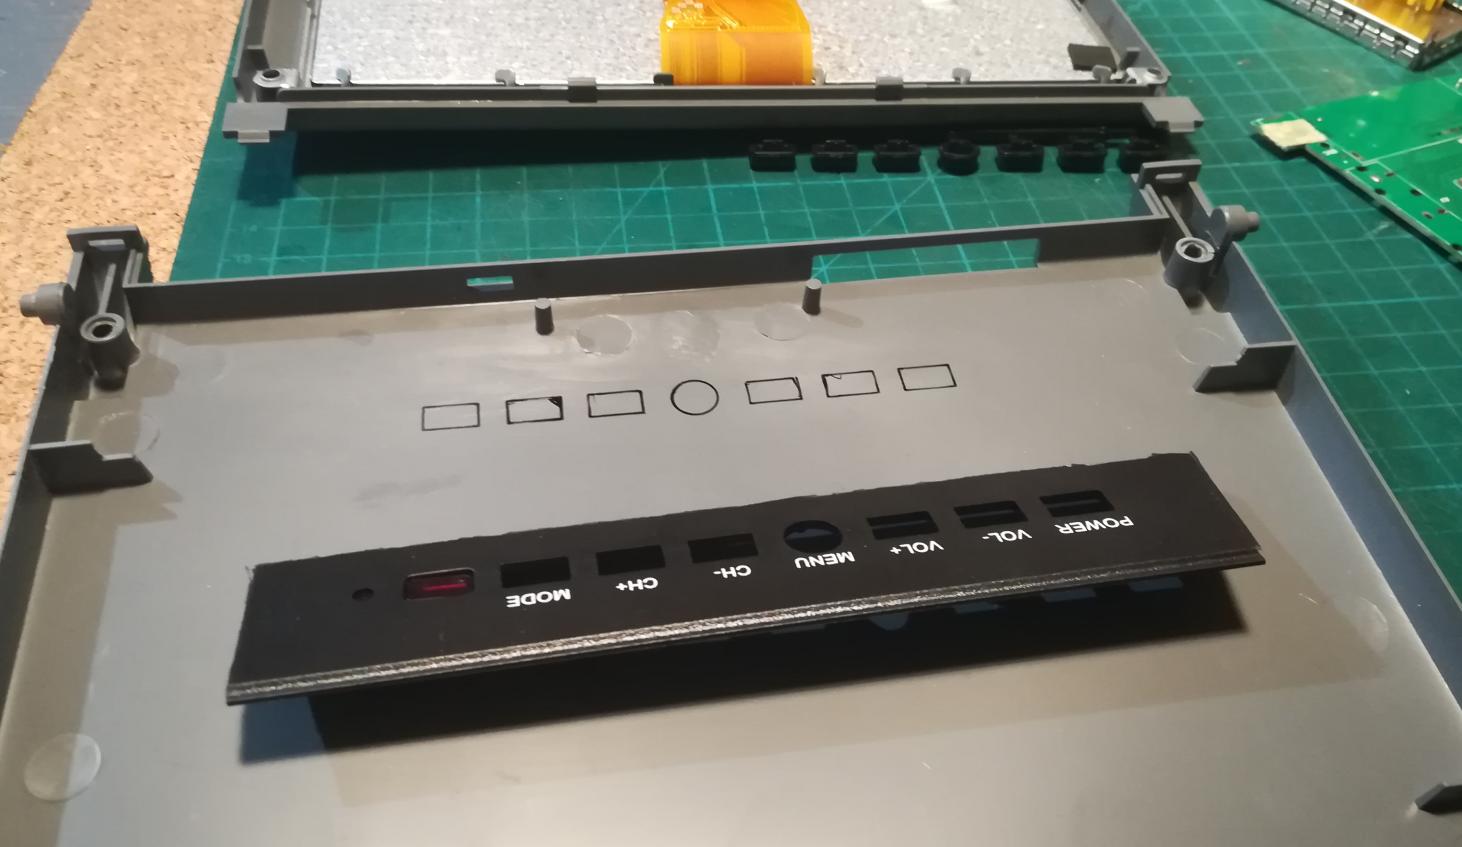
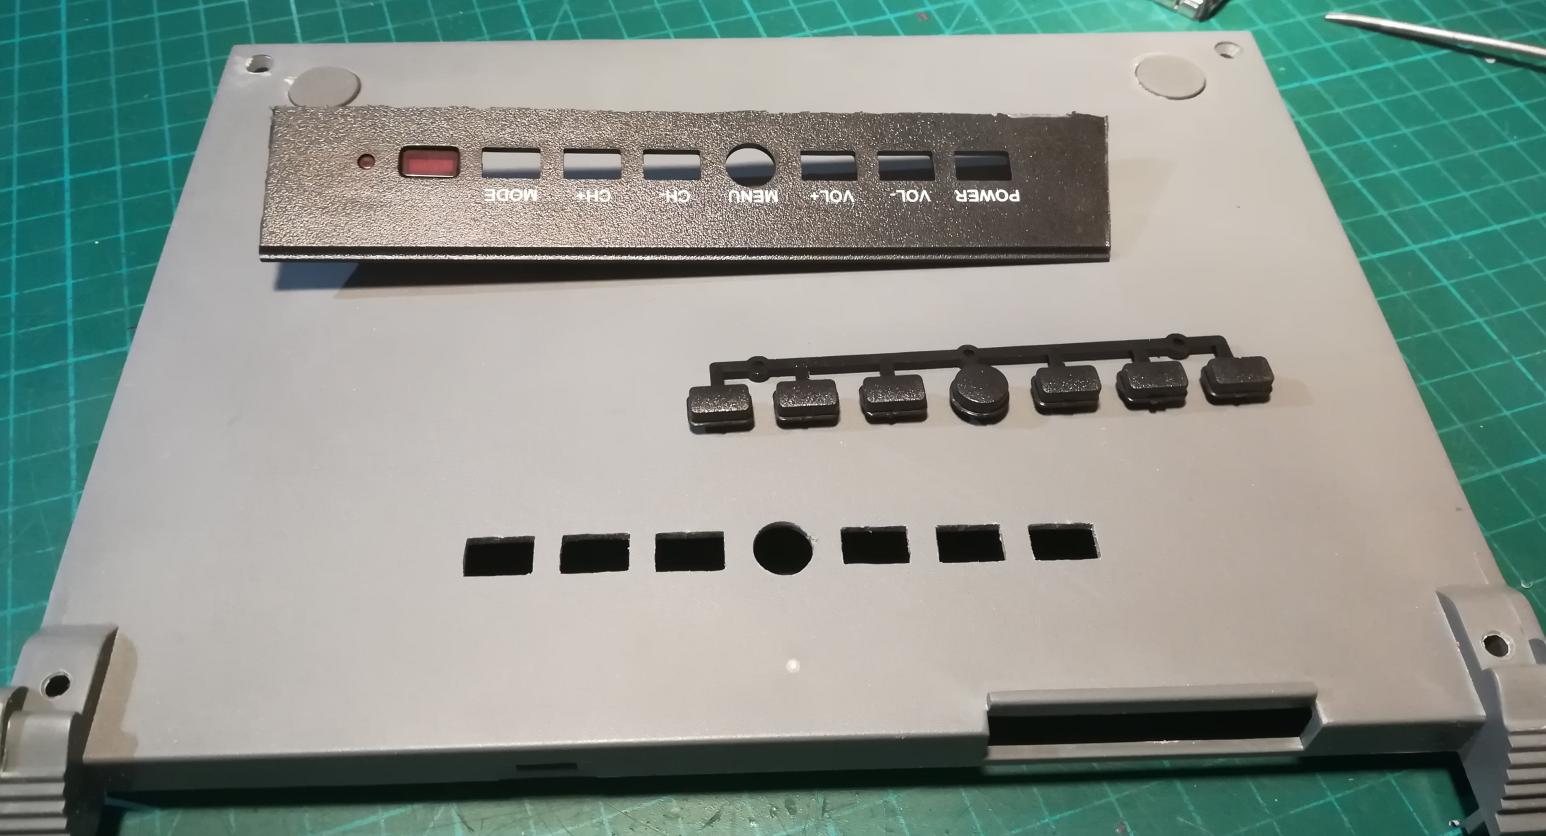
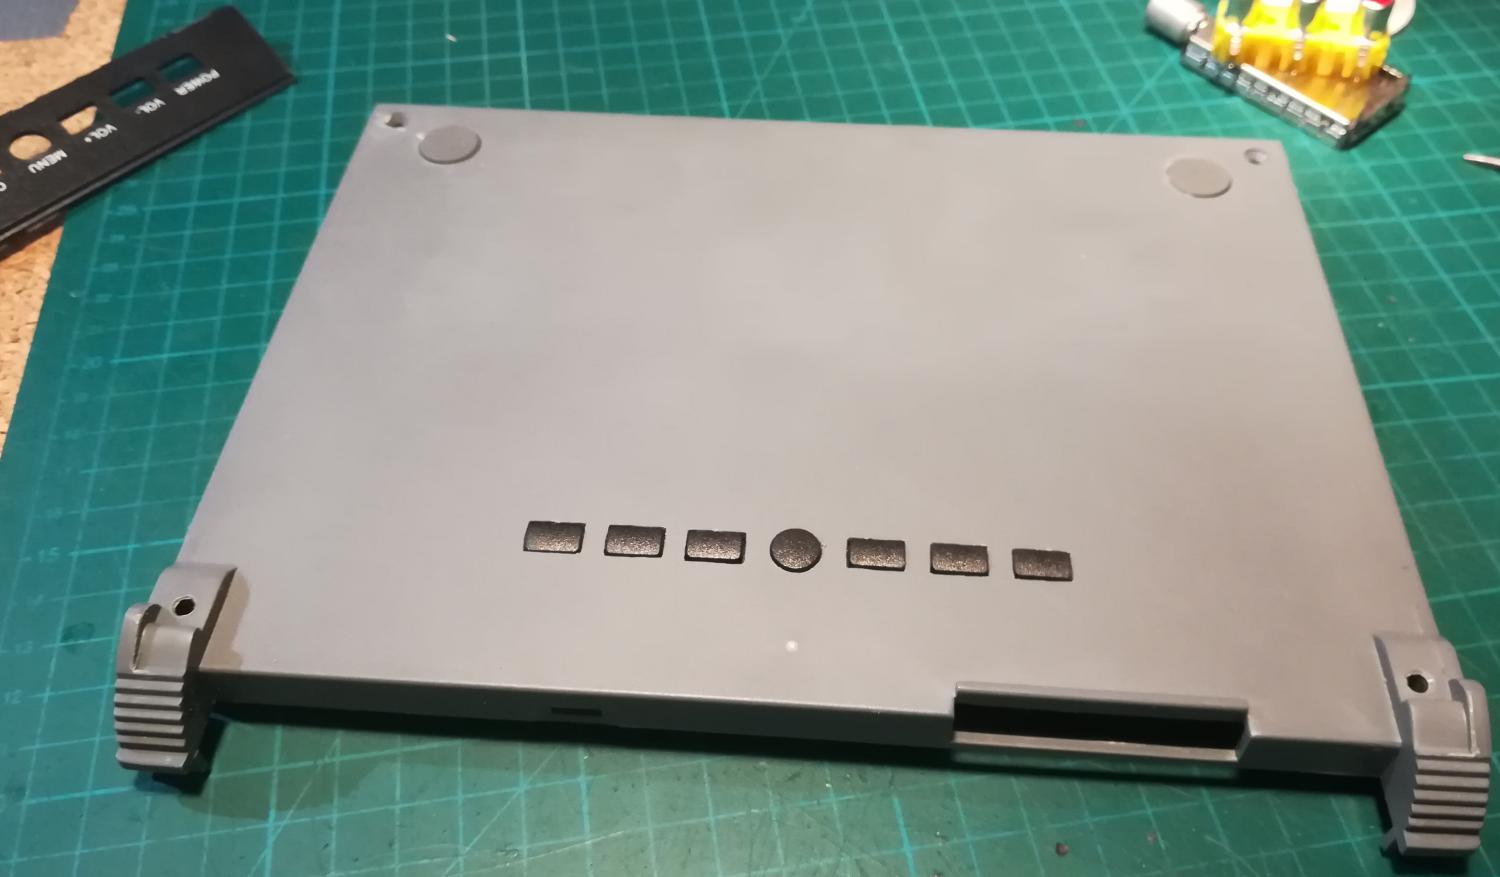
I’ve also made holes in an original Amstrad LCD case.
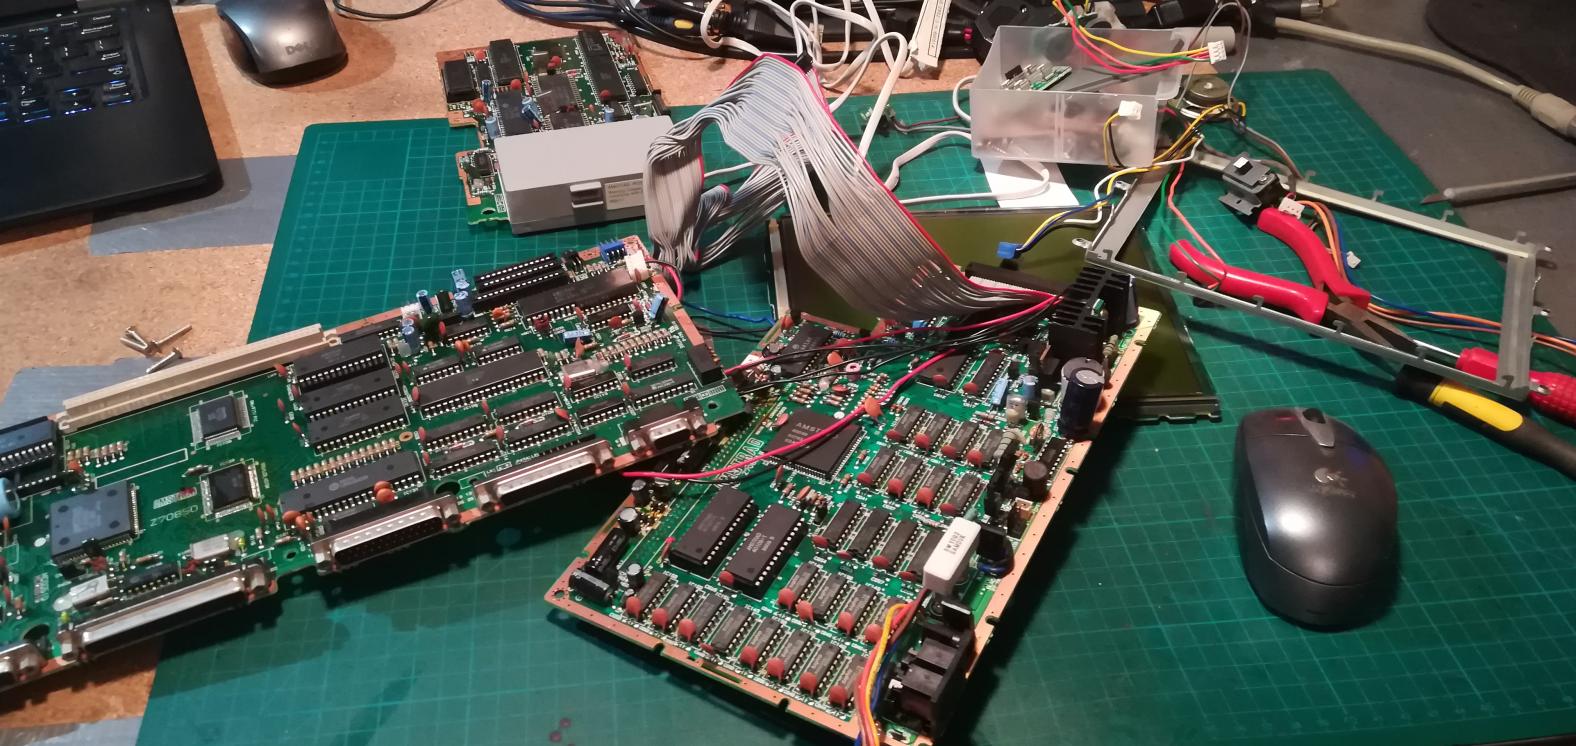
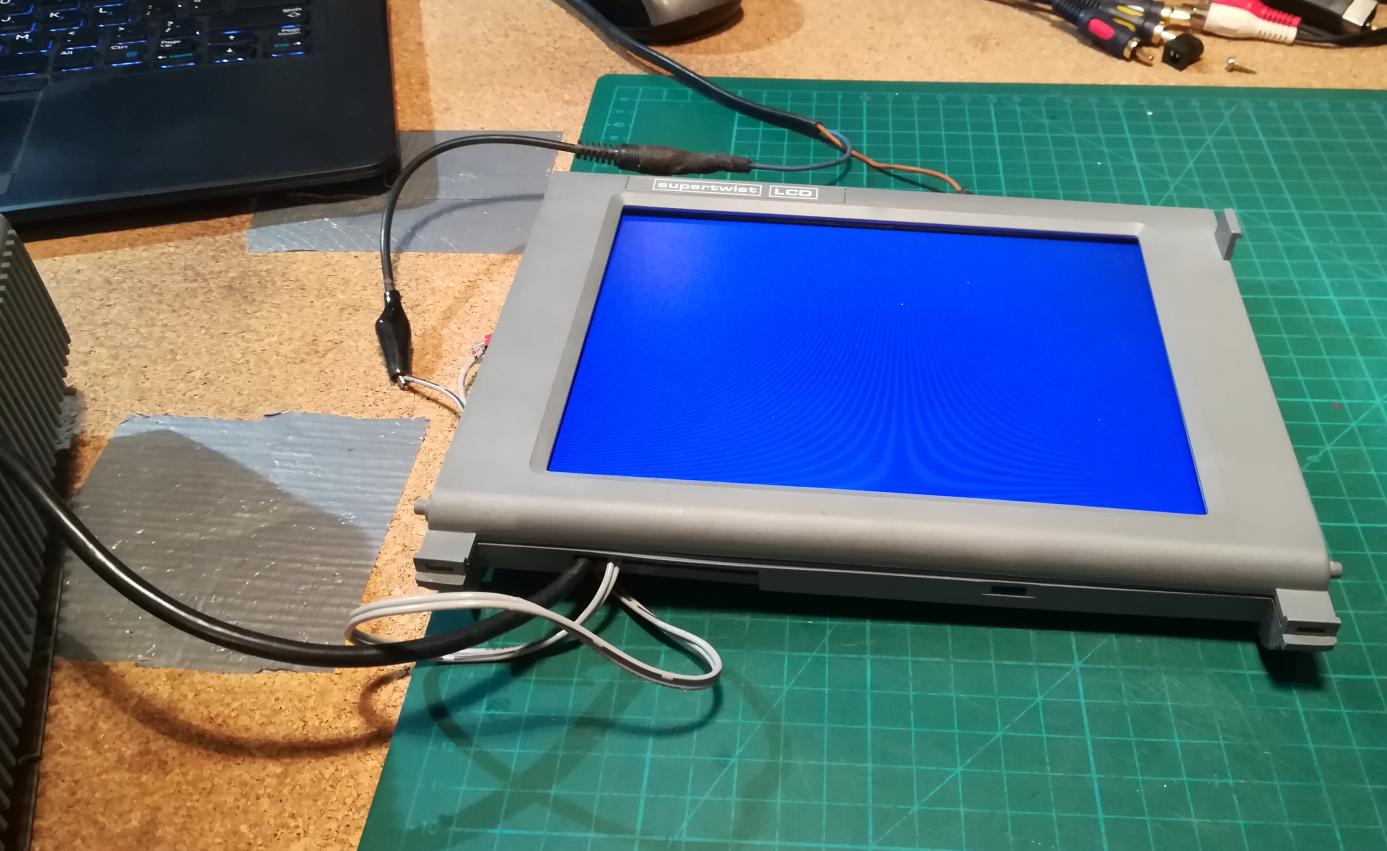
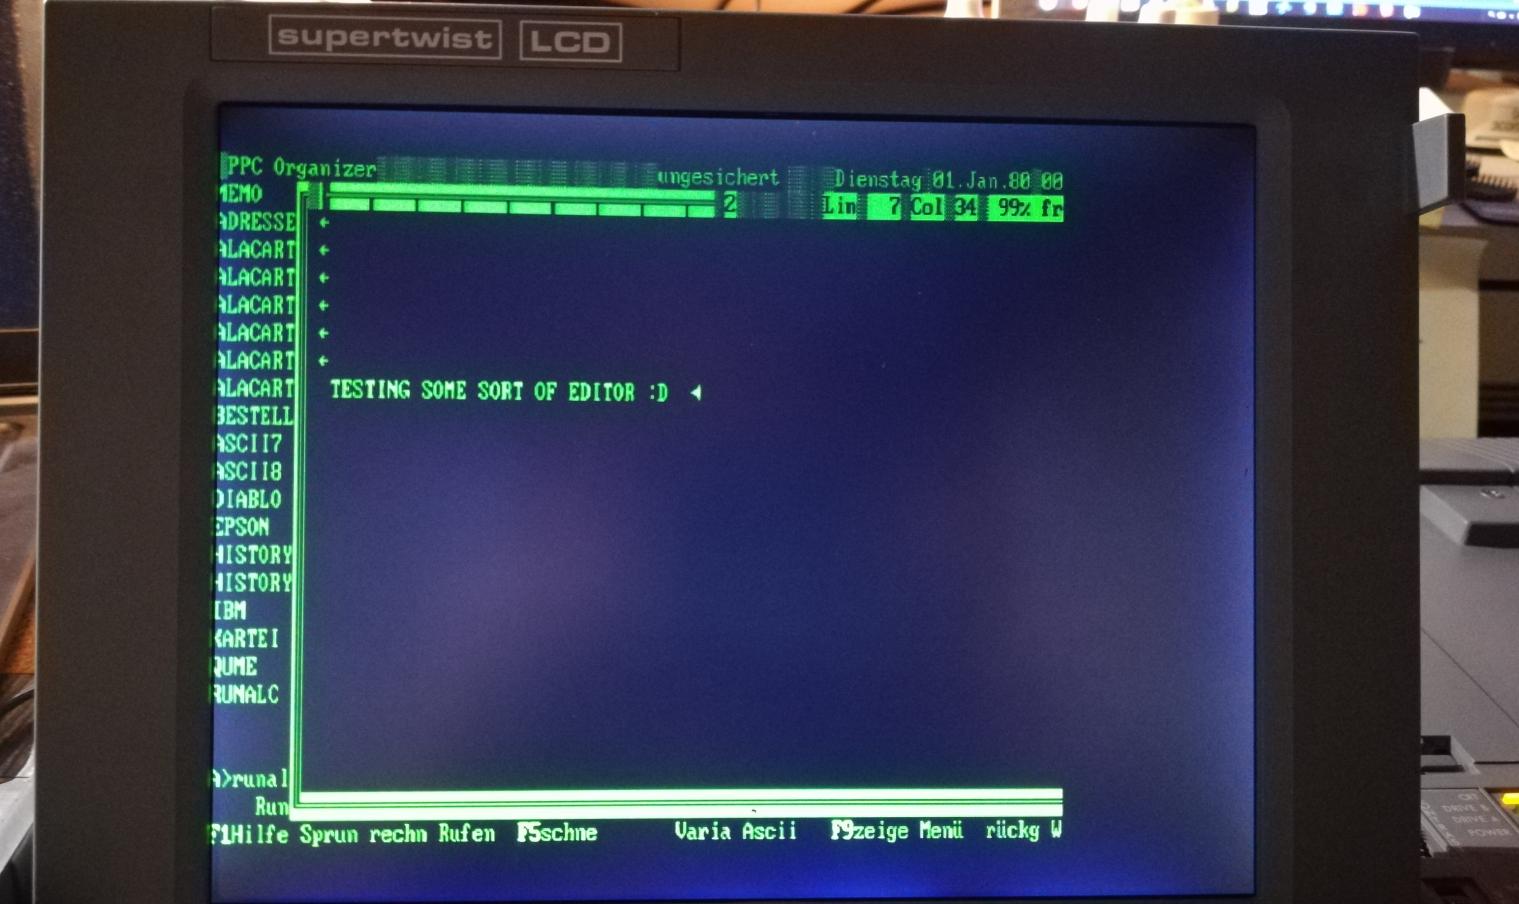
After the above, I’ve put it all together and run some tests.
To make the whole thing work together I needed one last piece of the puzzle.
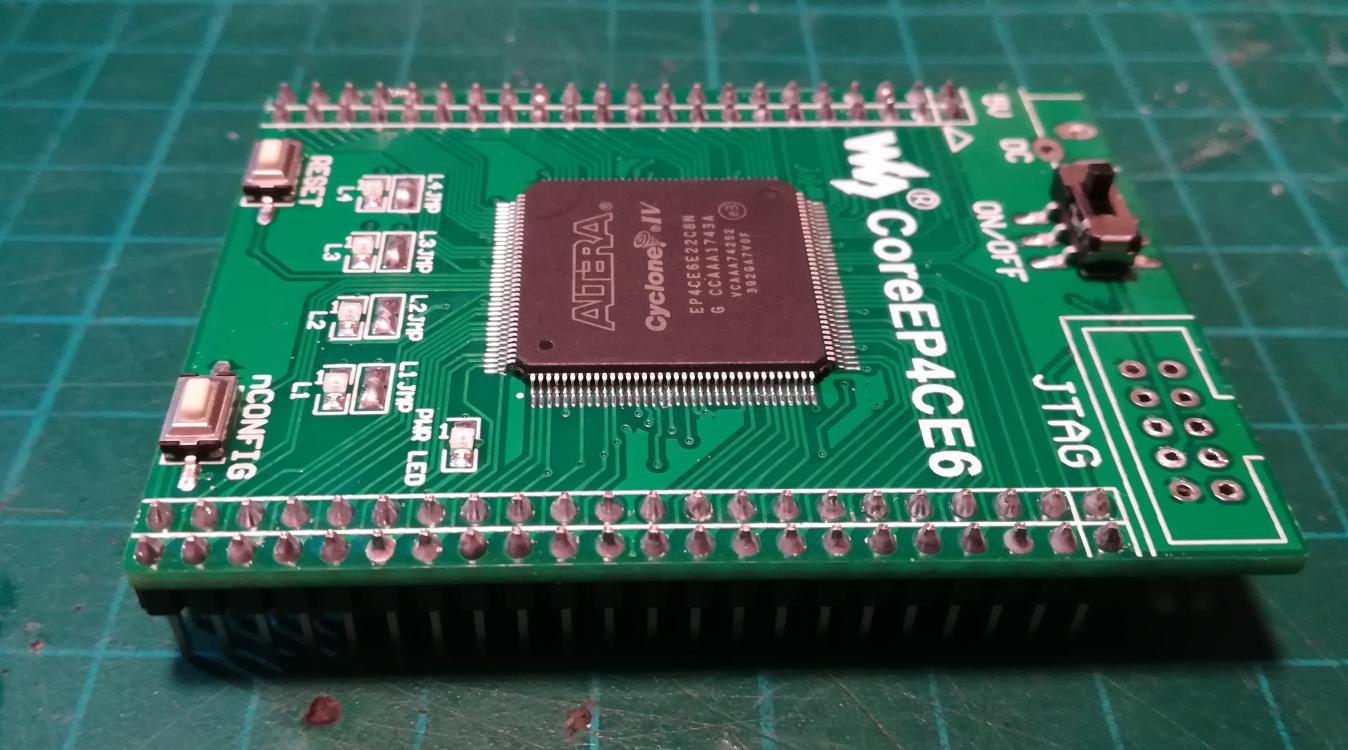
An MDA/CGA/EGA to VGA converter. I didn’t know such a thing exists but it turned out that folks who deal with CoCo computers already developed it. YaY!
Here is a link to a video about it and some links to this project:
https://sites.google.com/site/tandycocoloco/mda-cga-ega-to-vga
https://www.serdashop.com/MCE2VGA
It was a bit expensive (89EUR+shipping) but I still recommend this solution. You will see it by yourself soon 🙂
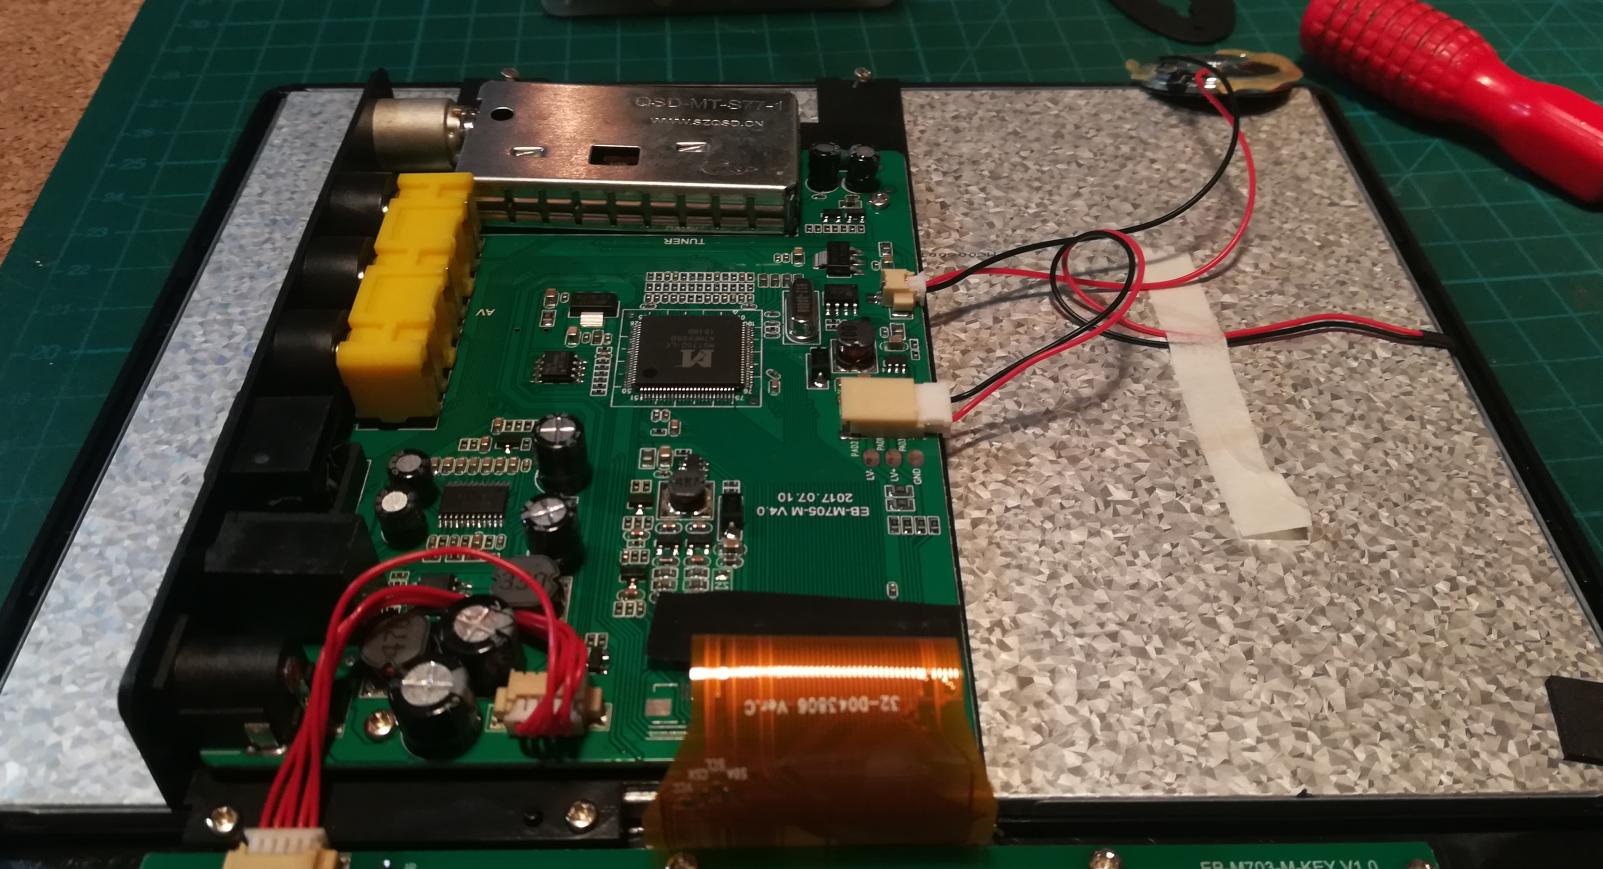
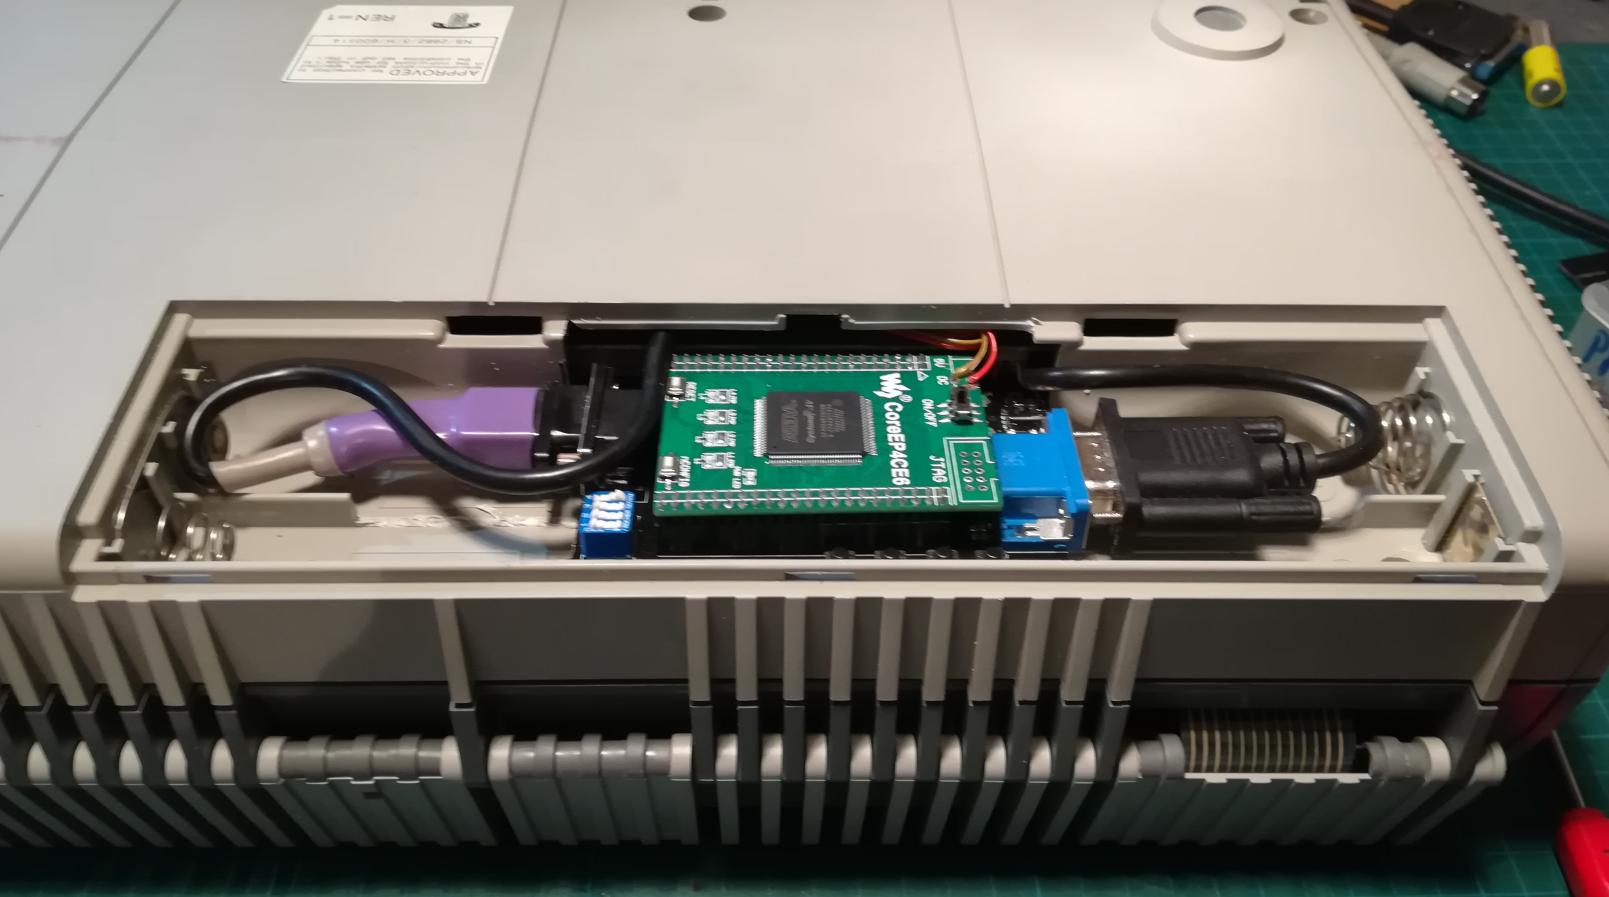
Here is my unit.
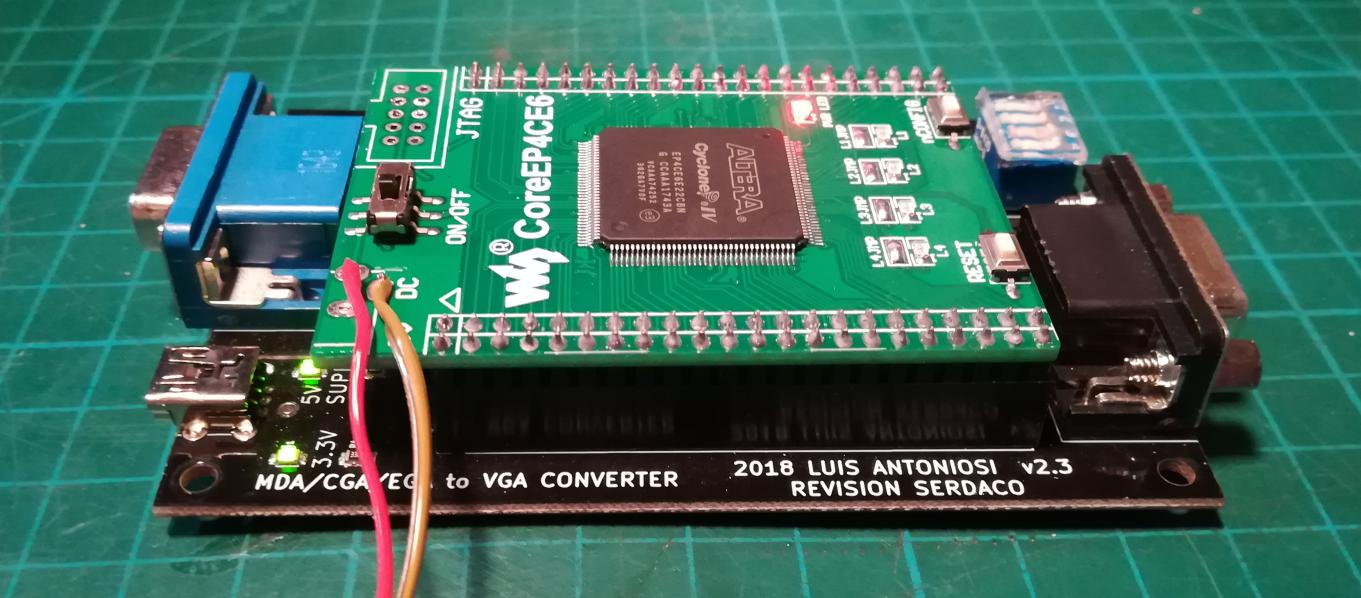
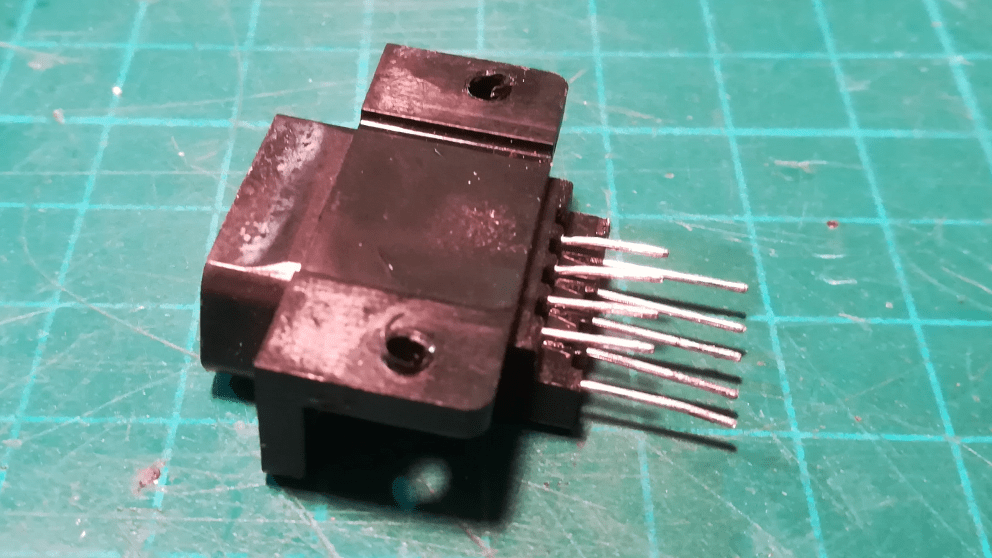
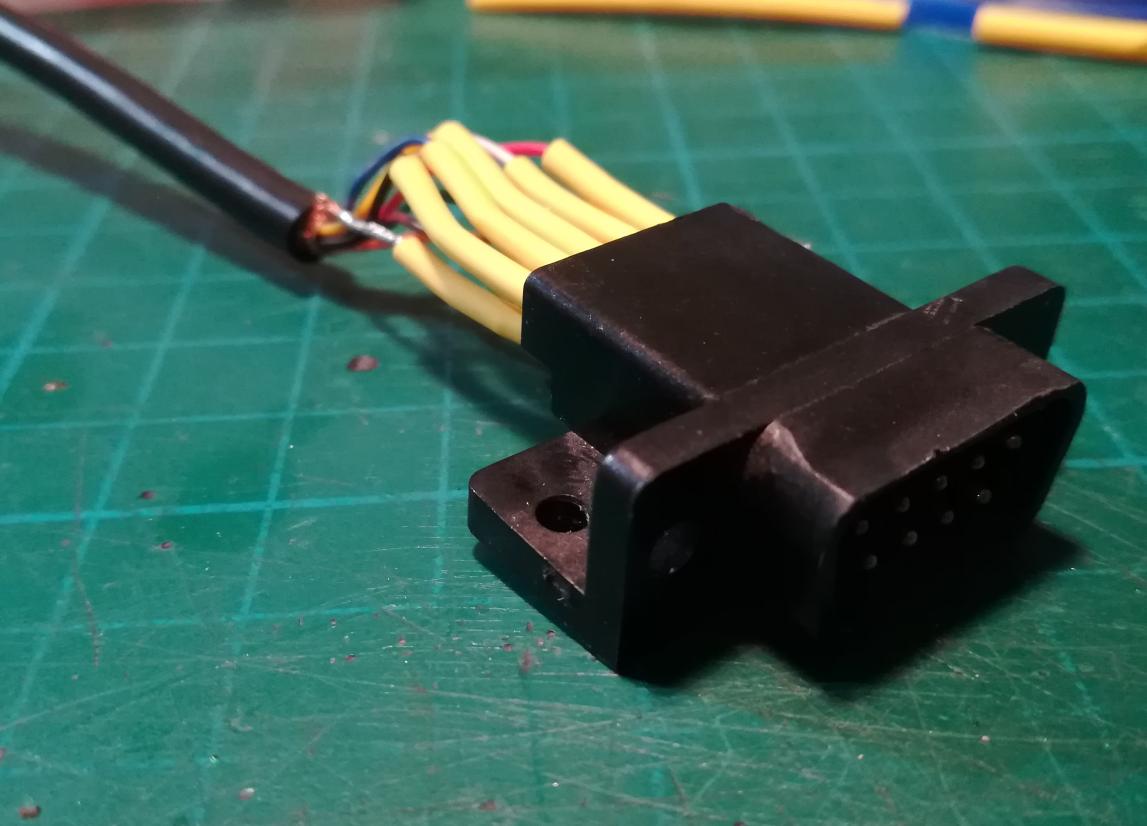
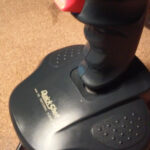
As you can see, there are two sockets. One of them is the standard D-SUB connector used in the majority of monitors (including my new LCD). The second connector is simply DB9 used in old MDA/CGA/EGA monitors and PPC640 as well. However, the connector is located on the back of a computer and I wanted to put the converter inside a case so I needed to make a custom cable. I’ve used an old joystick connector from a dead C64 motherboard. Later, I soldered the other end of a cable directly to Amstrad’s PCB.
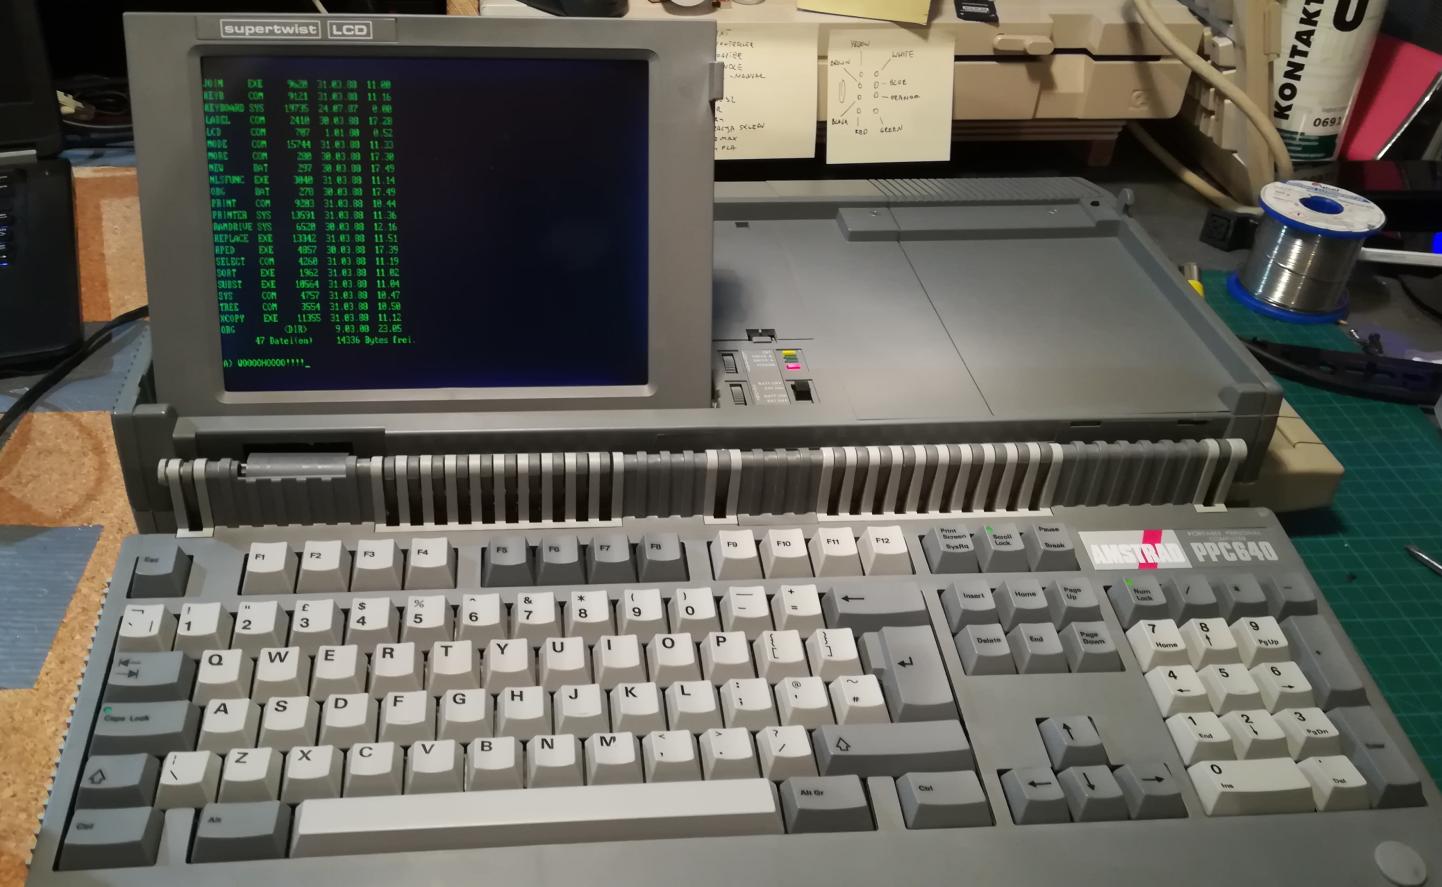
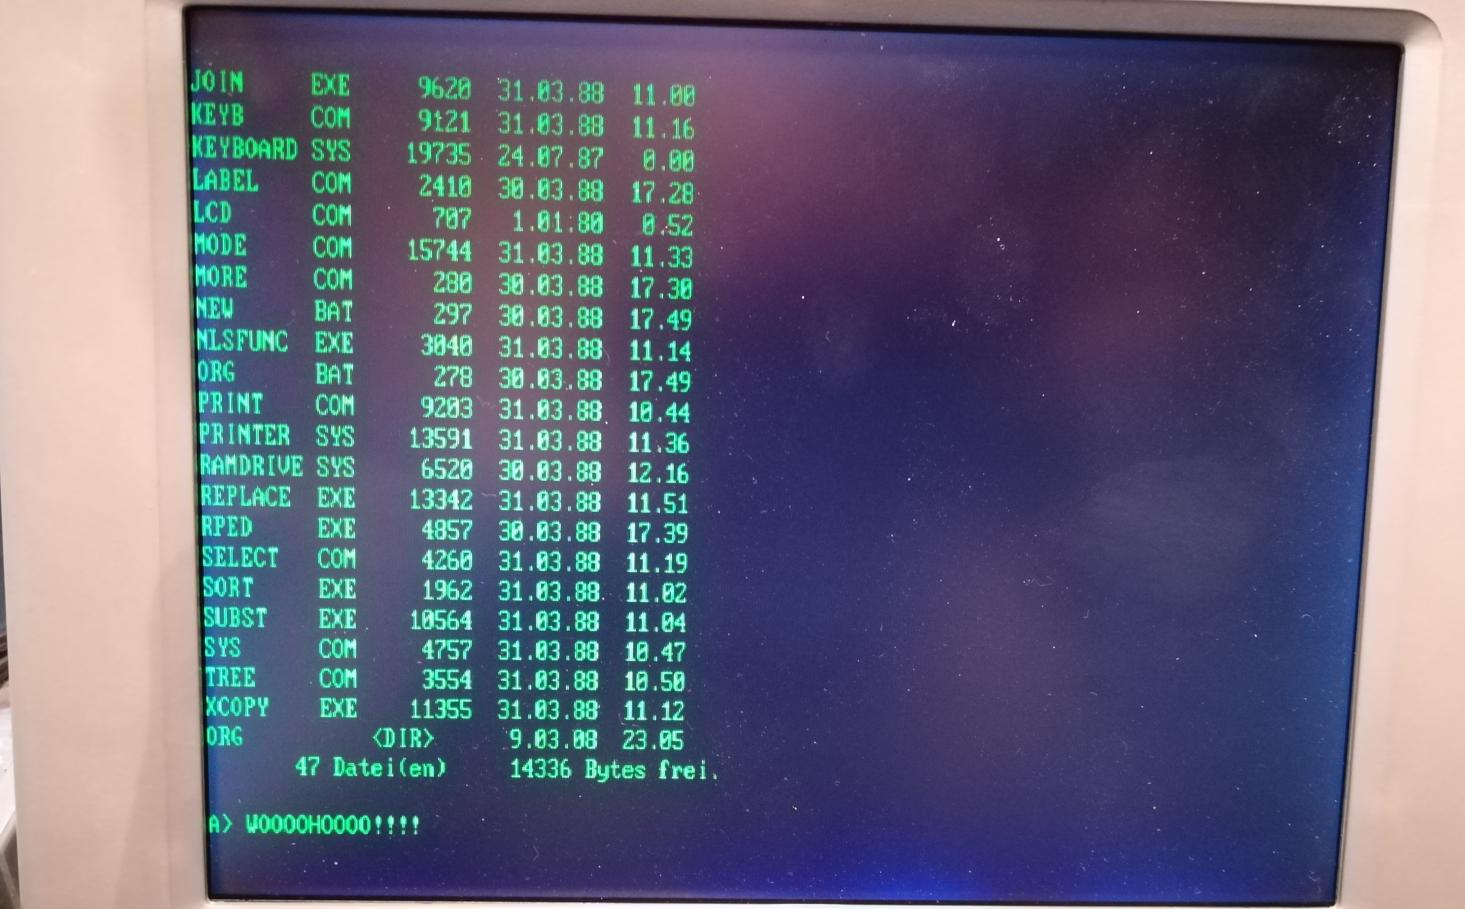
The first test gave me WOOOOHOOOOO!!!!!
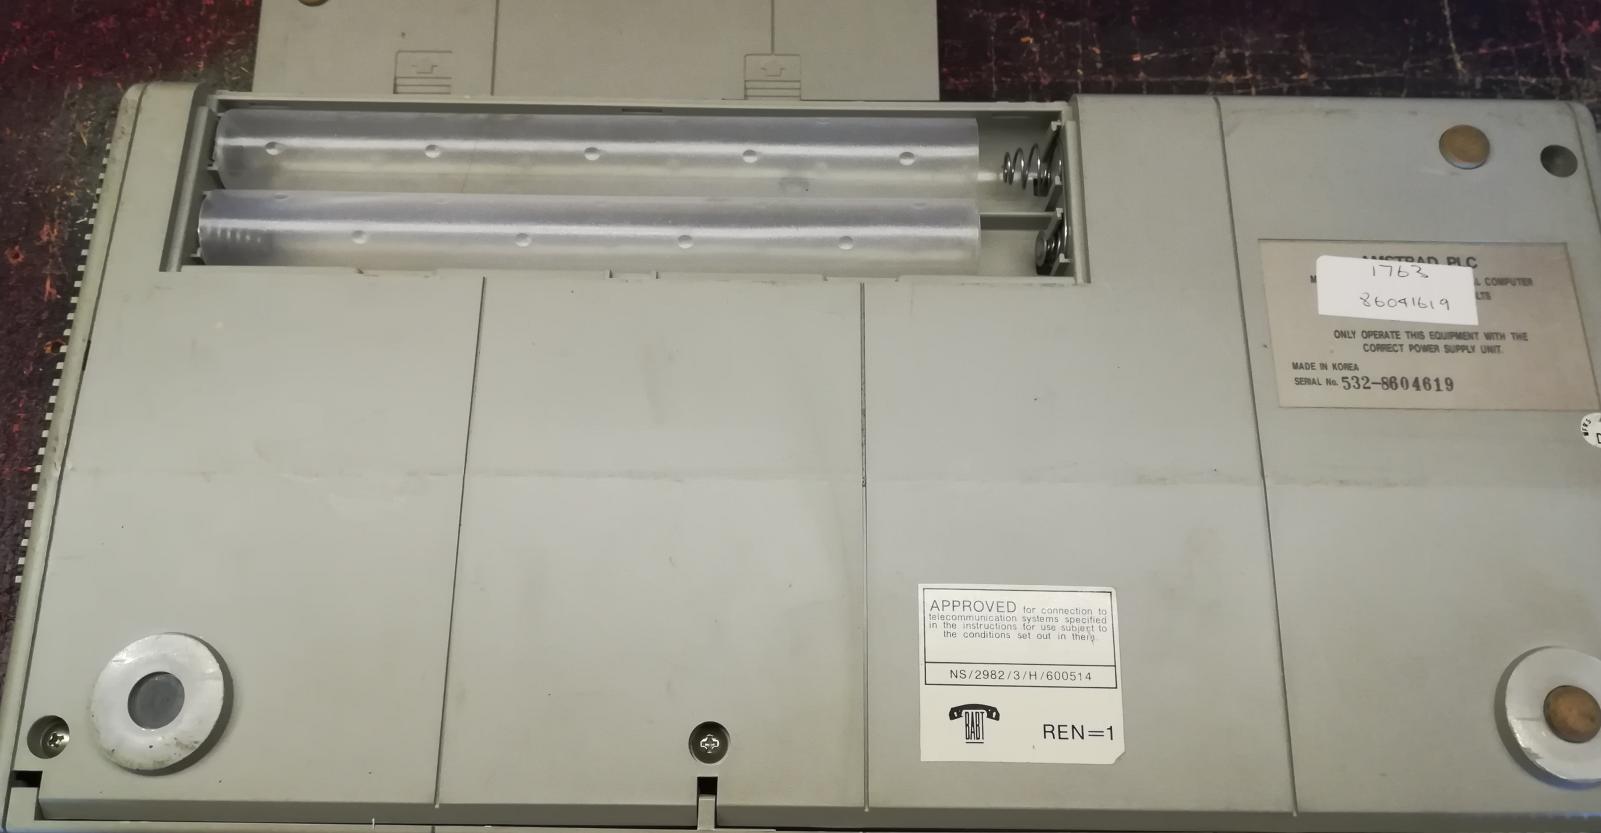
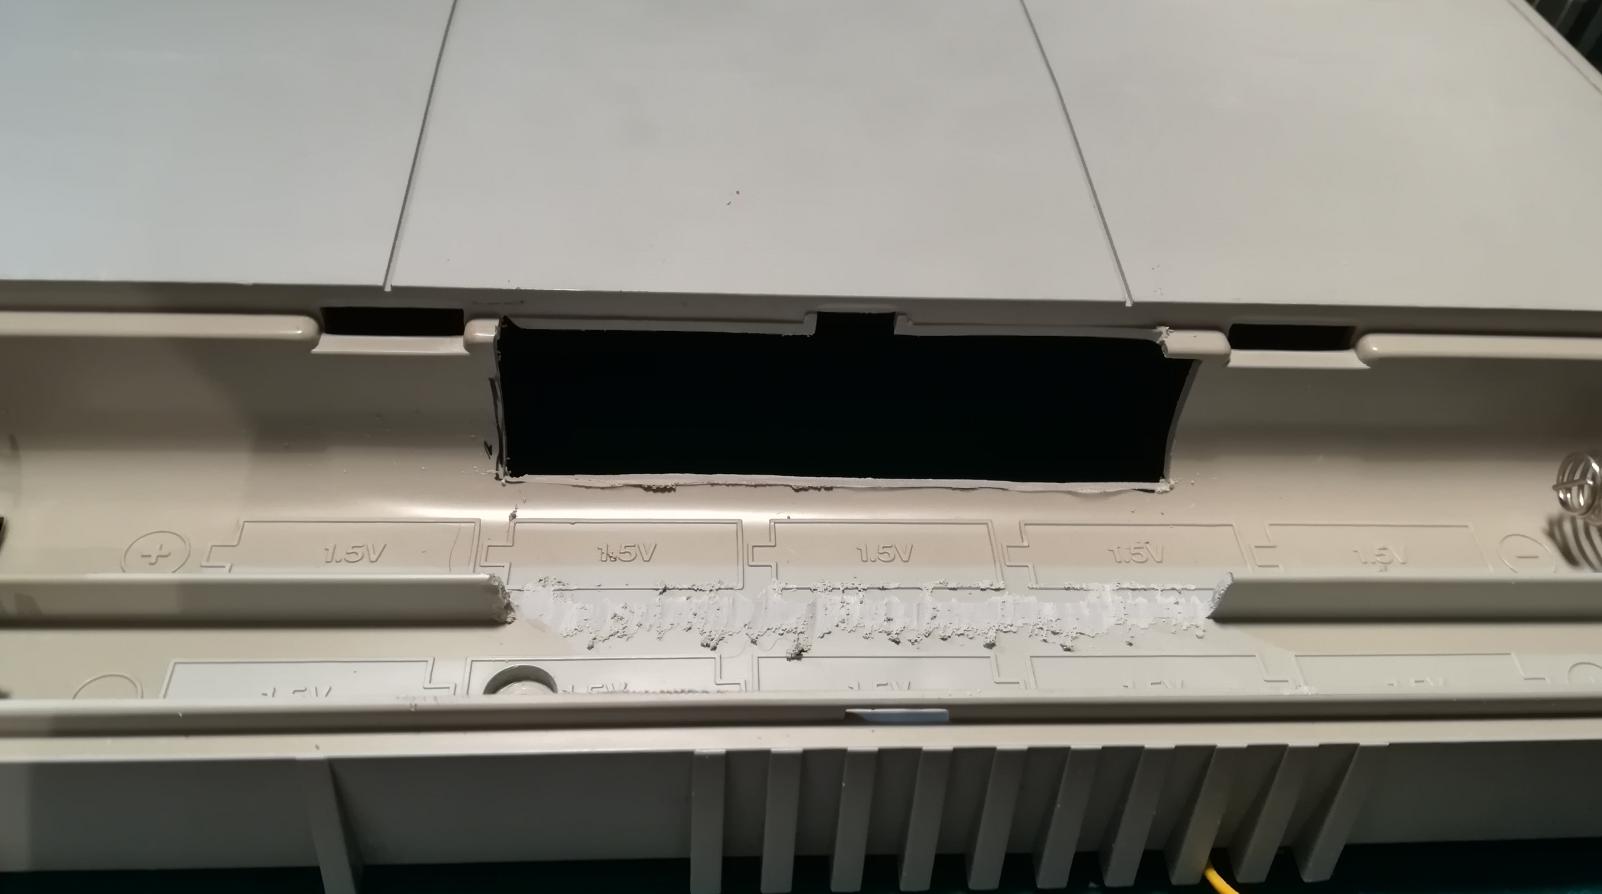
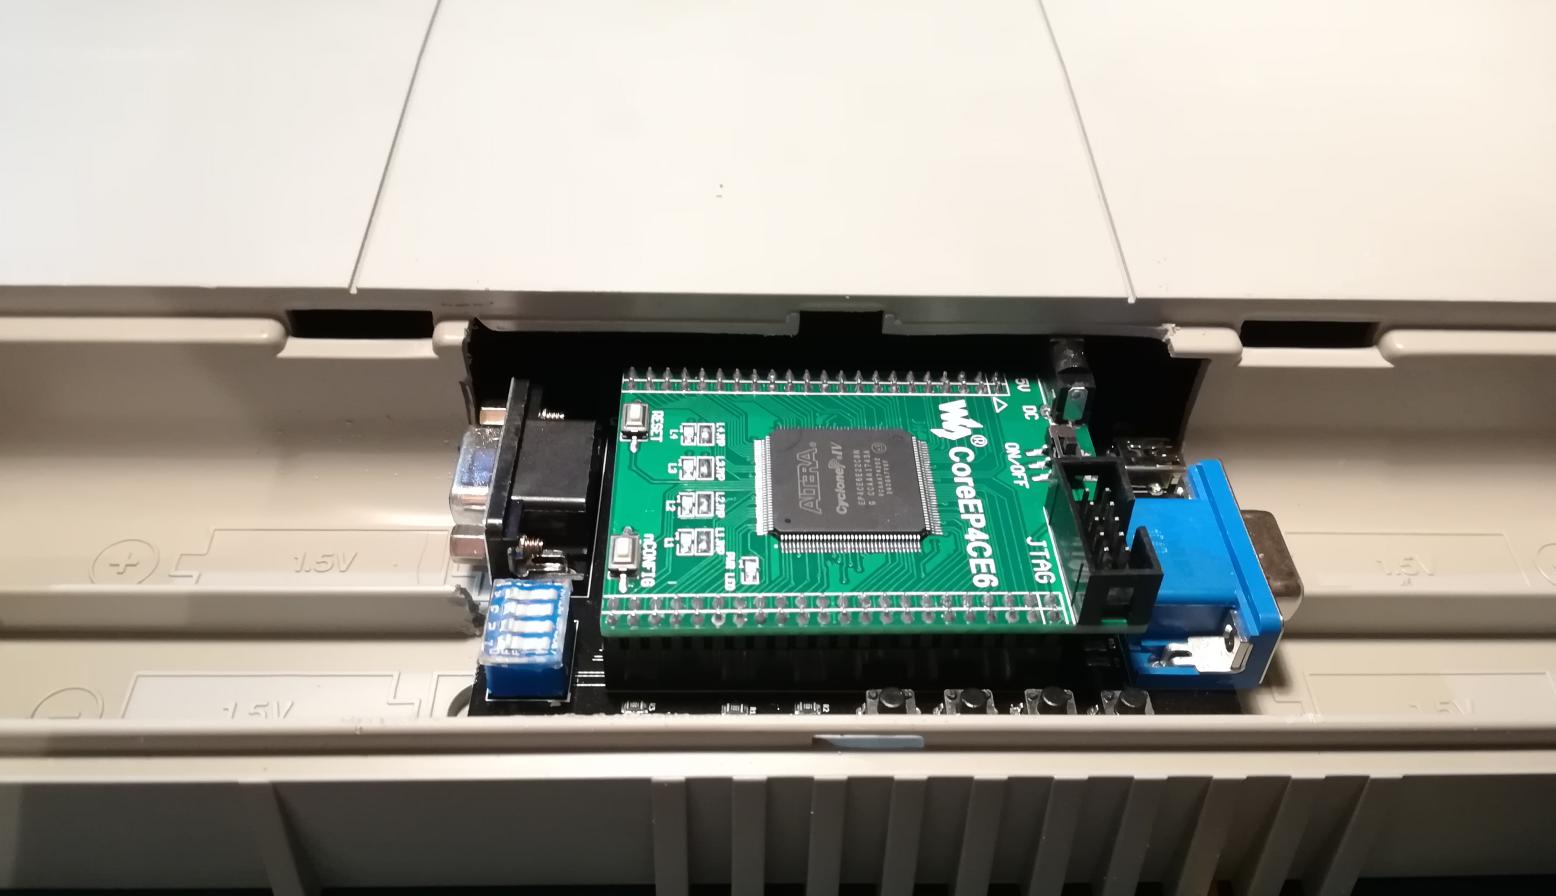
Now, I was sure that it works so more work followed. I’ve decided that I’ll sacrifice the battery compartment and put the converter in there. I had to modify it a bit though …
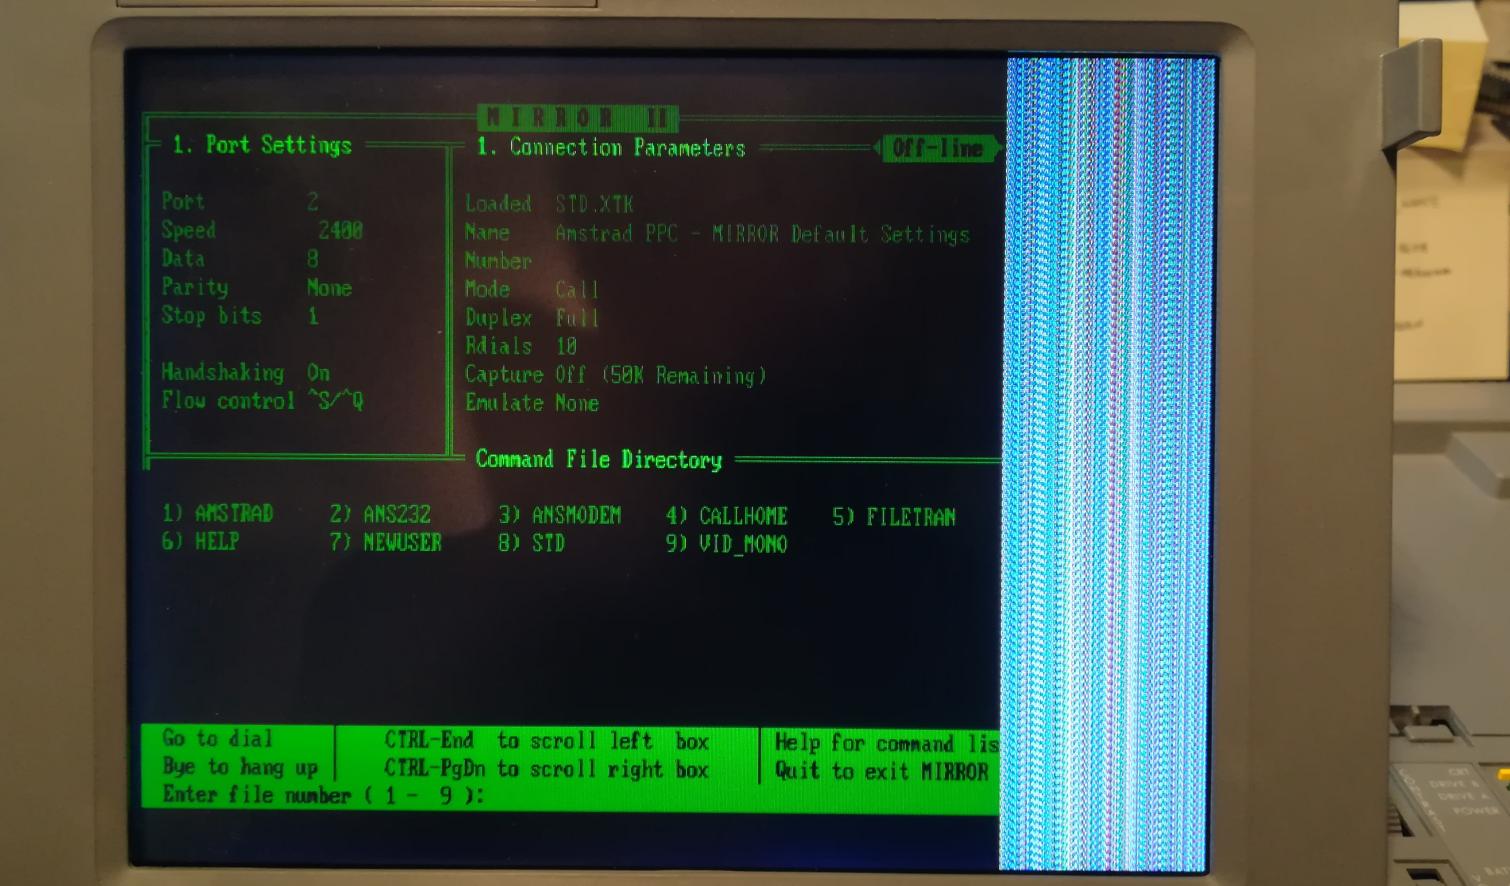
Now some final test aaaaaaand …. CRAP :/
I’ve encountered a few problems. The first issue was about weird LCD output on the right side of a screen. The second issue was caused by the fact that I’ve used an external connector, therefore I had to switch to an external monitor every reboot.
In the beginning, I had no clue how to resolve this issue so I started to browse the Internetz like crazy.
Unfortunately, nobody faced such a problem before. Maybe because people do not modify their PPCs in such ways DUH!
After a long while of looking for the answer, I decided I am giving up for that day and picked up PPC to put it on another table. That was the moment when I noticed this:
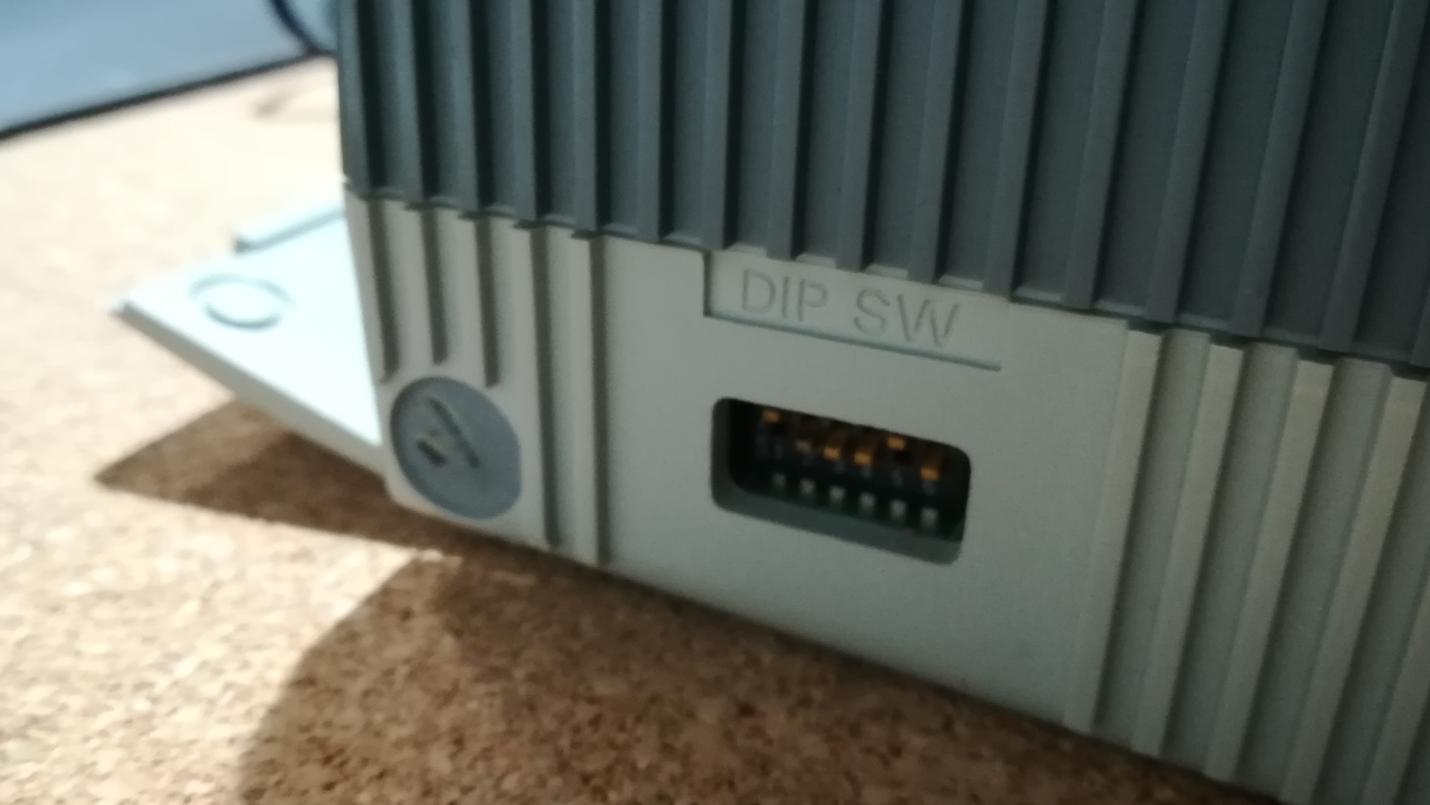
I was like …. OMG you idiot!!!
I instantly looked up the proper combination here, set it up and I was golden!
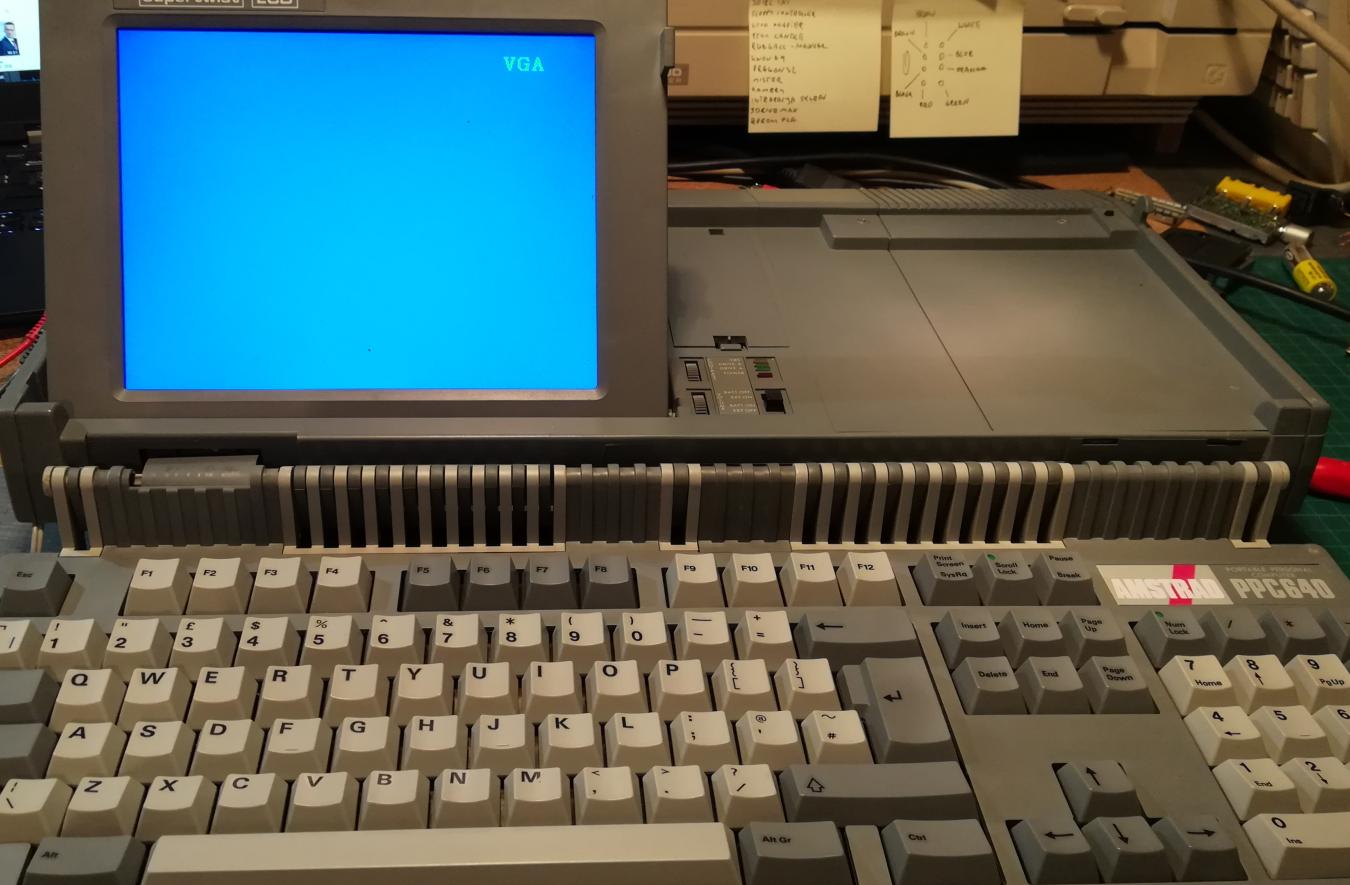
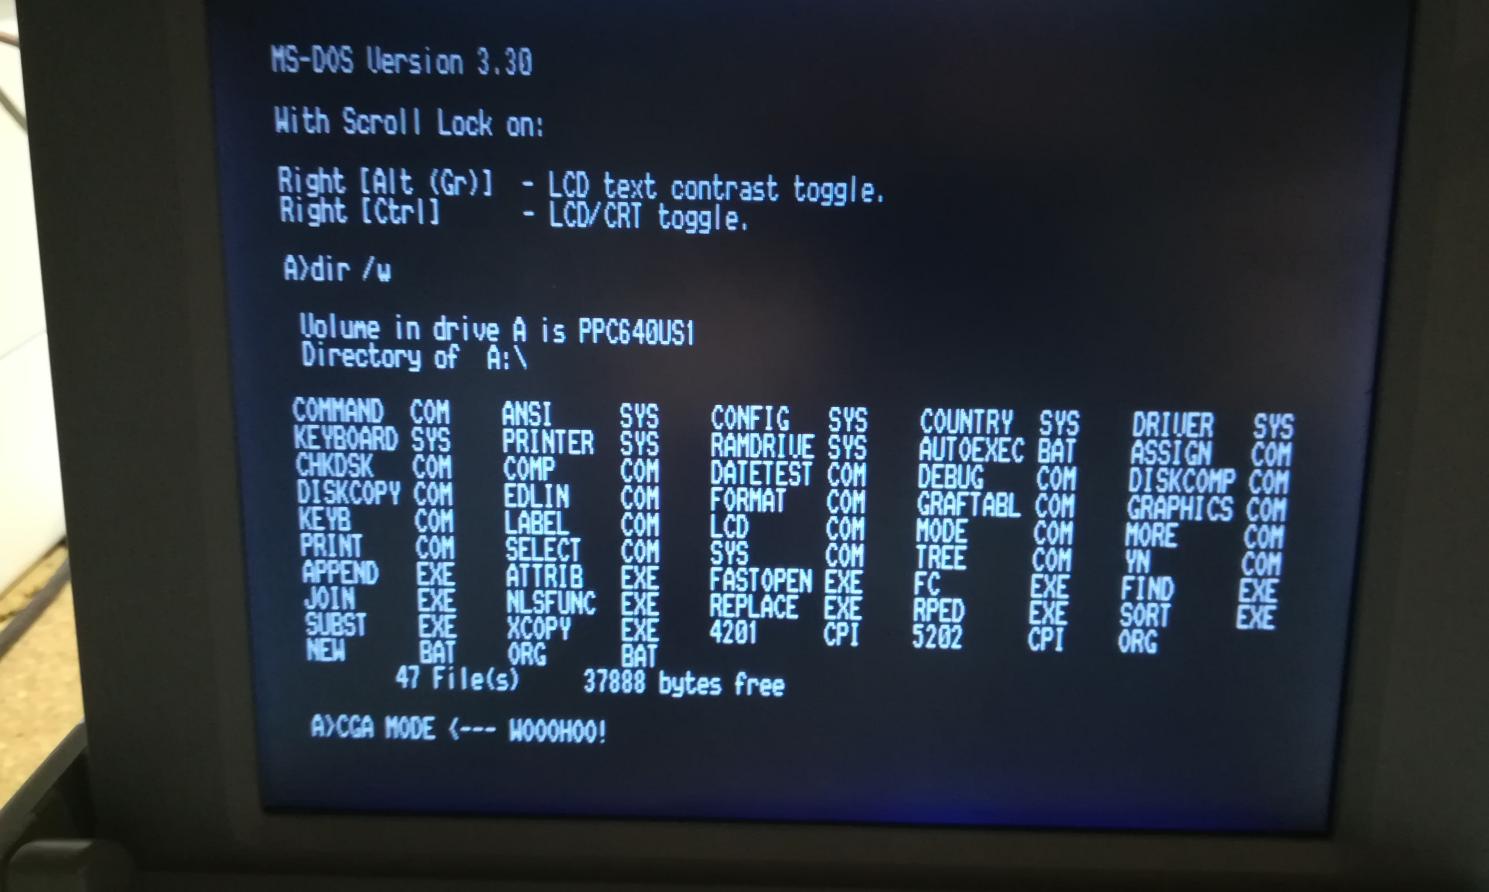
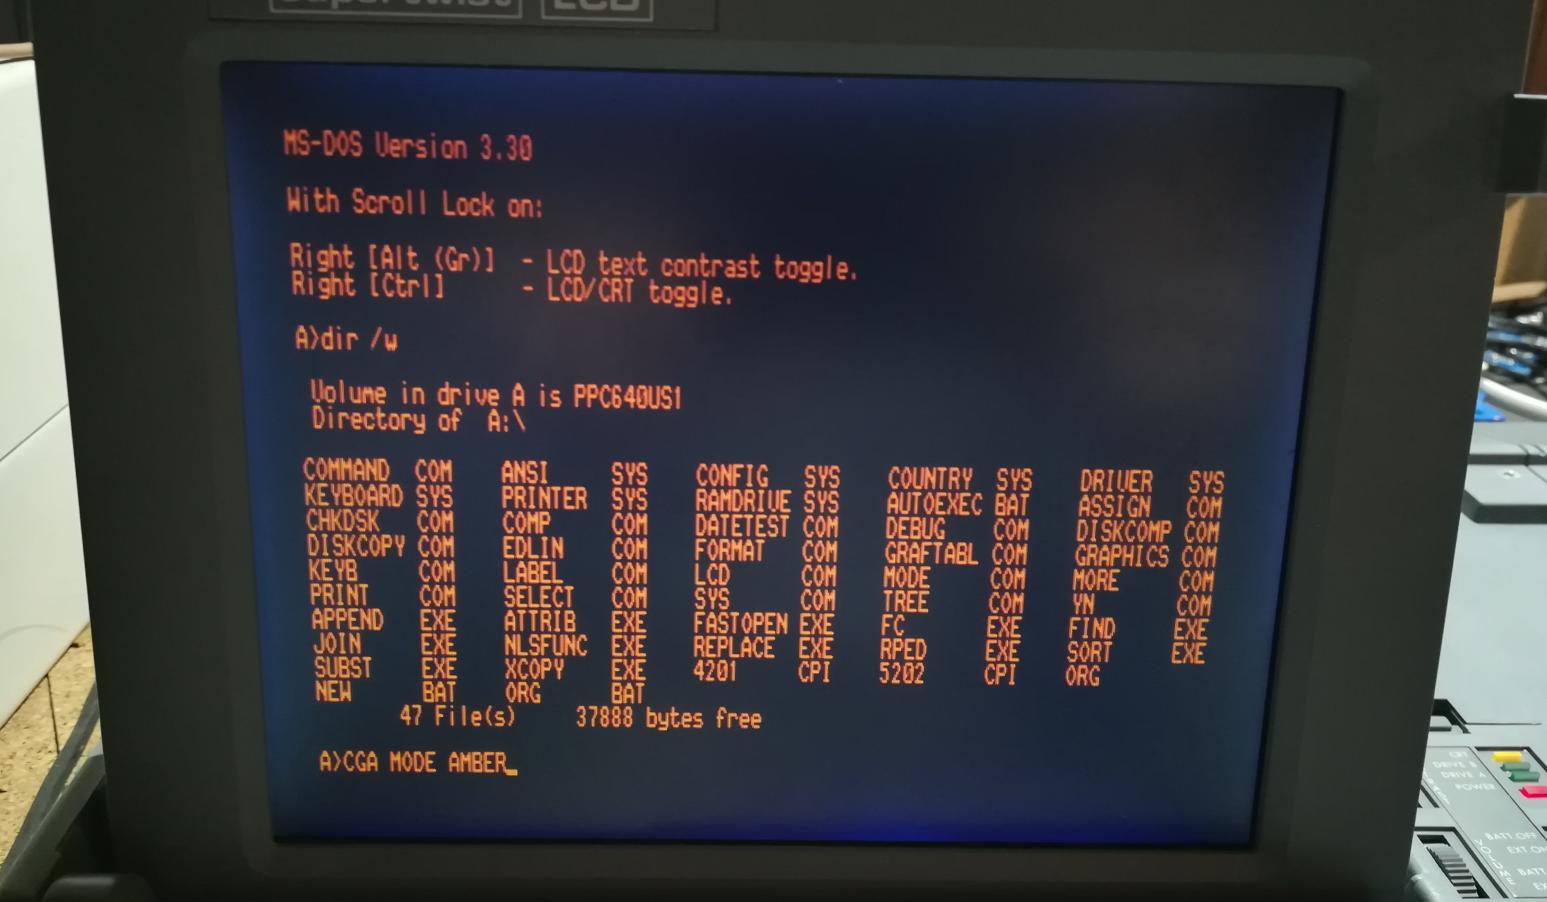
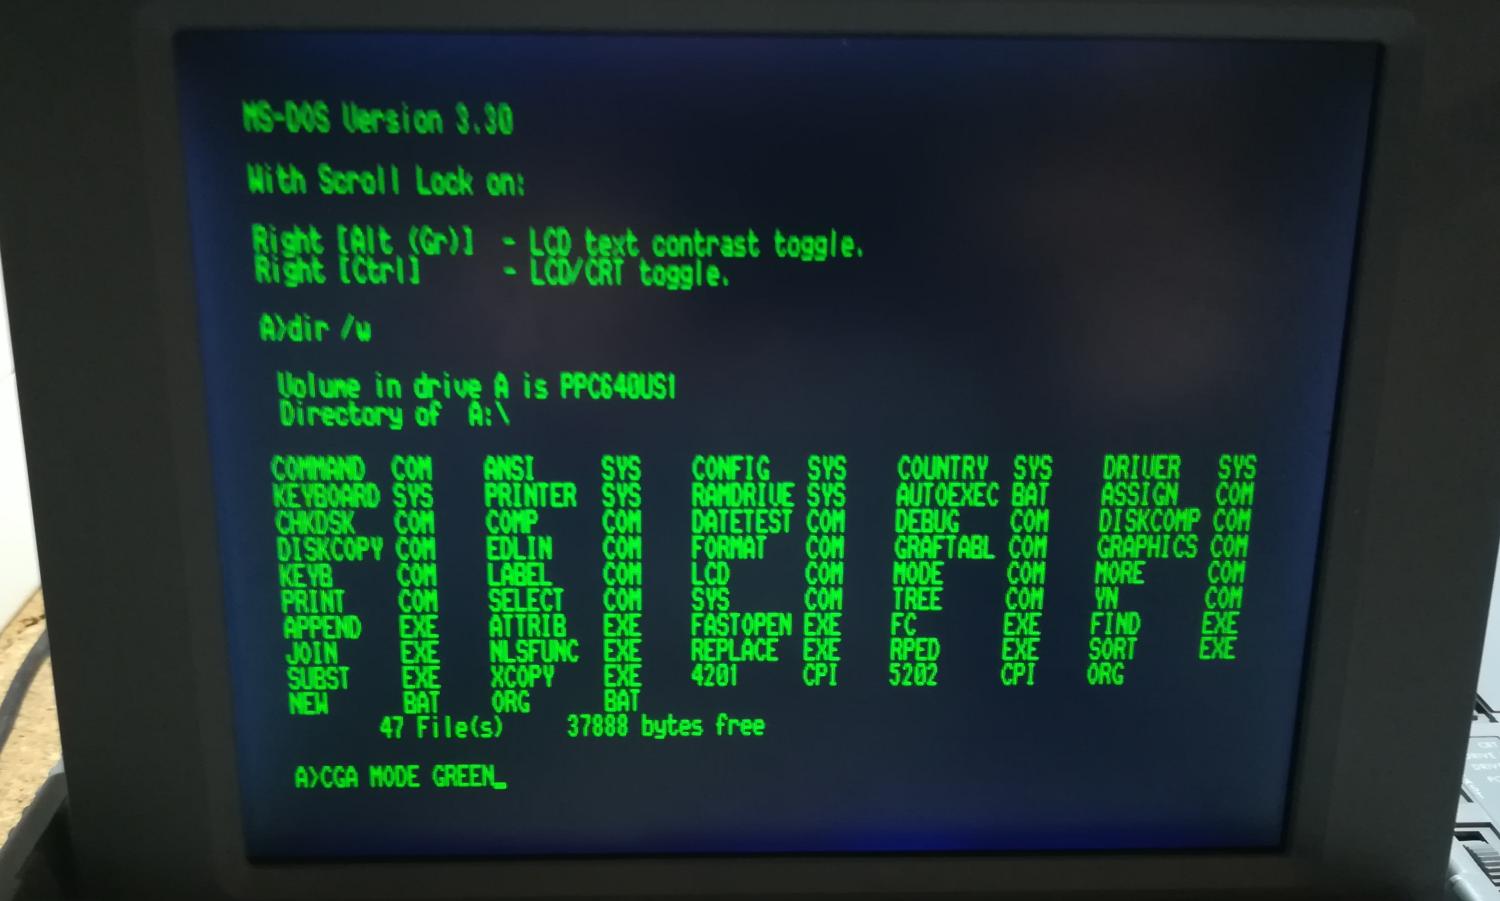
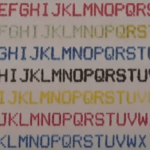
Both problems vanished! Setting an external monitor as a default sorted out a booting issue and changing the output to CGA sorted out weird screen problems.
Here are the results:
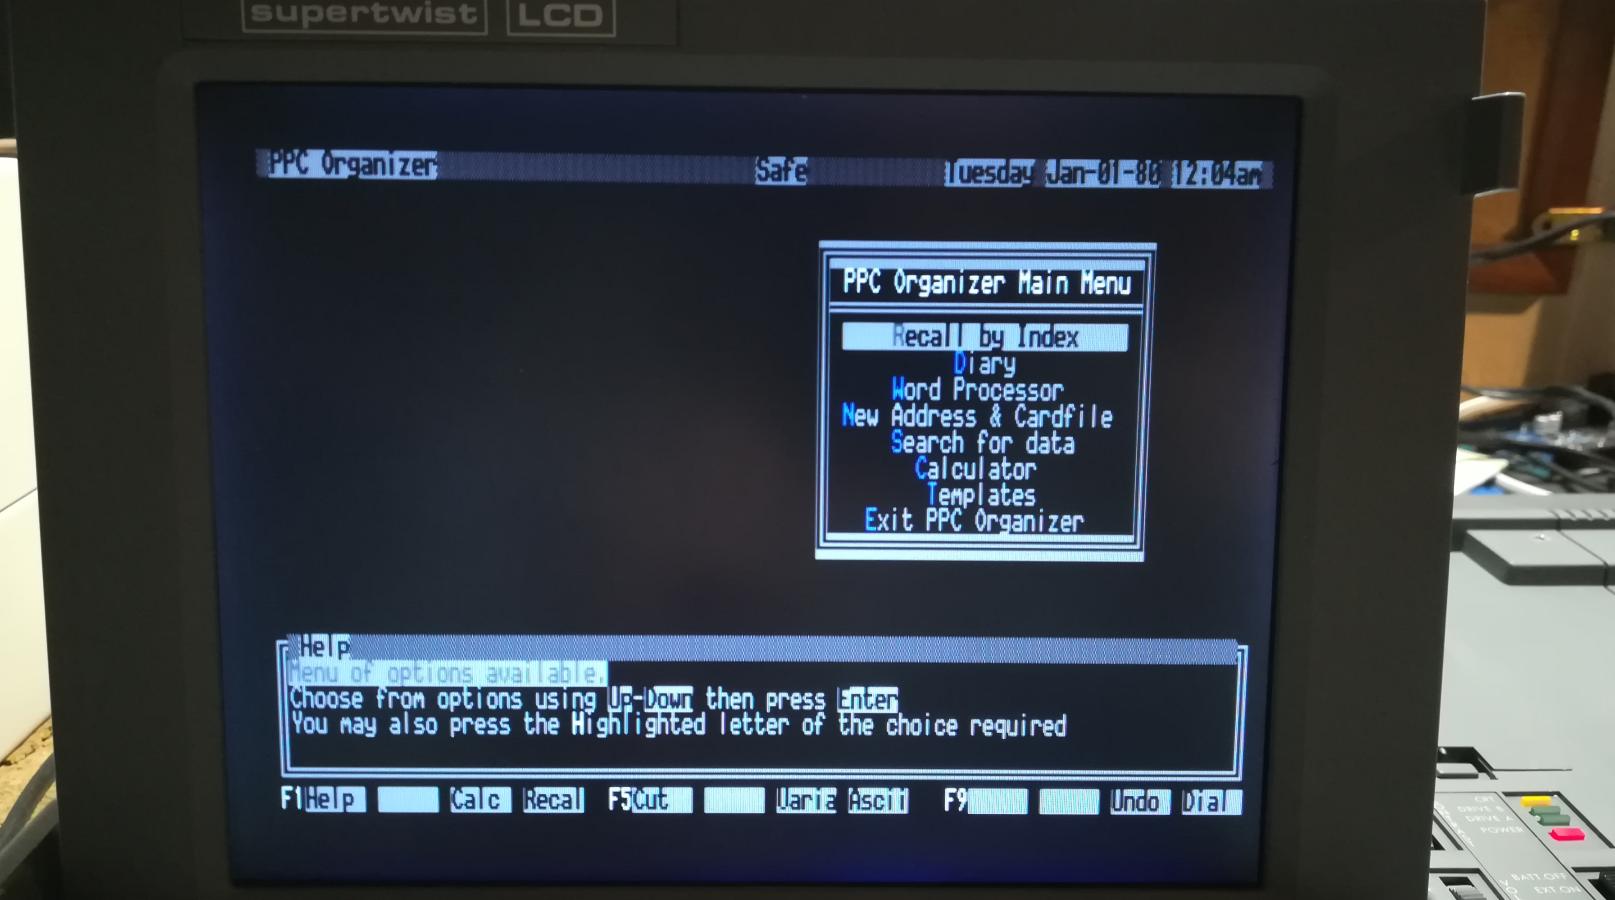
Oh!! and I nearly forgot! I’ve also installed a GOTEK as a second drive and I forgot to take pics of it … but I have a video of it working :D:D:D

OUTRO
If you want to get retro gear or hardware modules, please visit our shop -> https://retrohax.net/shop/
New products are added every month.
Also, please support our work by spreading info about it.
Without your support, we simply cannot grow and we have a lot of new cool retro hardware (and more) products to come 🙂
A na karnisterku napis “Trujące” 🙂 Ciekawe kolego 😉
Oczywiście 🙂 stąd w opisie żeby uważać 🙂
Where can I obtain a screen converted amstrad ppc640 and at what price?
I’ve put link to it in other comments. Search for Lapsun LCD
What monitor is that?
I can’t remember the full name of it 🙁 It started with “L” though – chinese brand
Found it! it is LAPSUN https://www.ebay.ie/itm/141332028757
you are genius~!!!!!!!!!!!!!!!
I wish I have skill like you so I can mod my PPC 640 with color LCD