… or about de-yellowing one more time
Ataaariiii
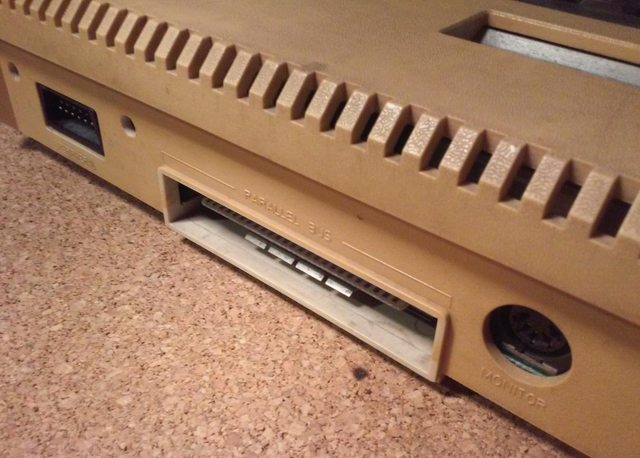
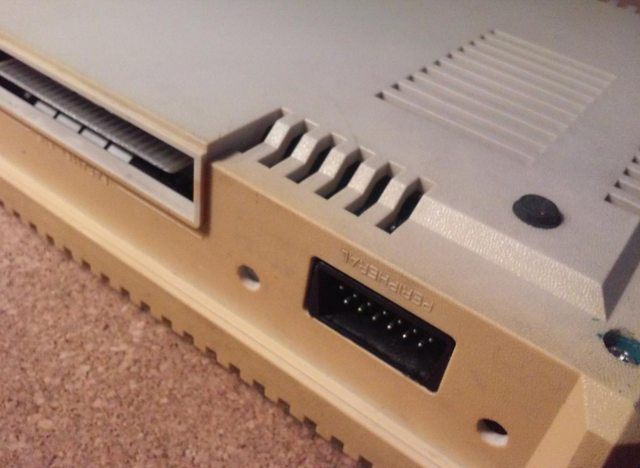
I’ve recently bought a nicely worn-out Atari 800XL.
I won’t lie if I say I did buy it on purpose when I saw it on a bidding portal, I mean, of course, because it was a bit “worn out”.
Hell yeah! Another restoration but this time focused on a heavily yellowed case … plus, I had a few other tricks to test and mod 😉
Disassembly
Believe it or not but this is the first time I’ve disassembled an 800xl.
Obviously, right after unscrewing everything I cleaned all plastic case parts with household chemistry and prepared them for a lengthy de-yellowing process.
Parts were densely smeared with peroxide and wrapped in black stretch foil, then left for a week in a warm place.
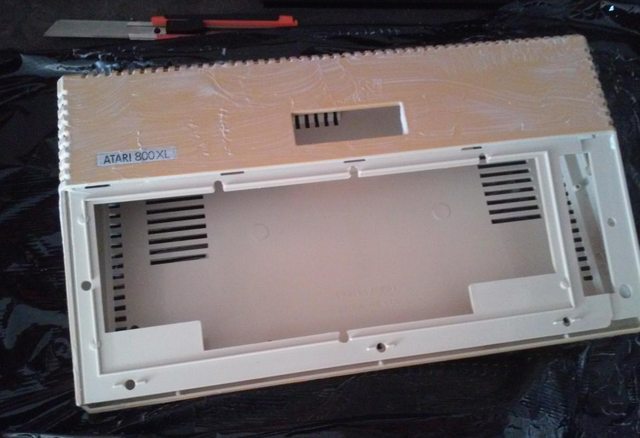
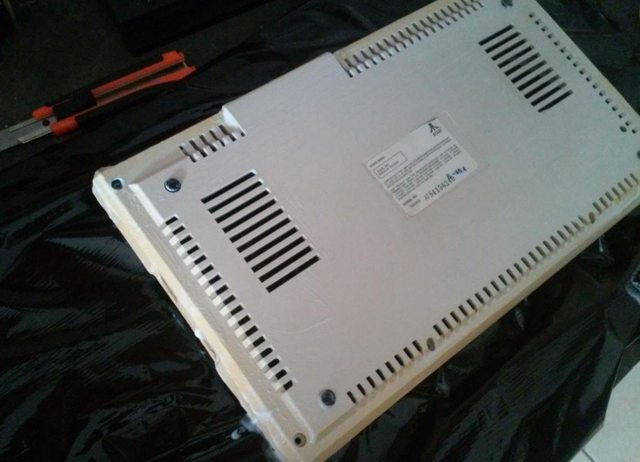
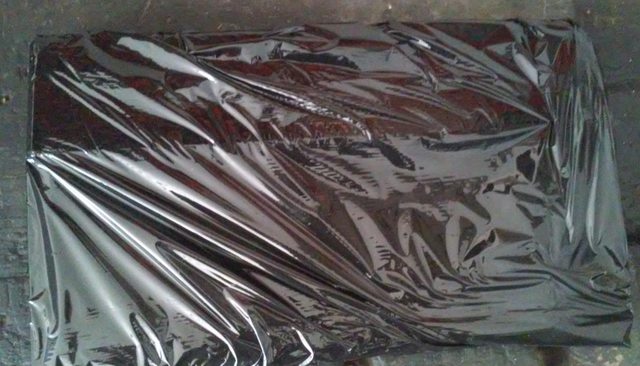
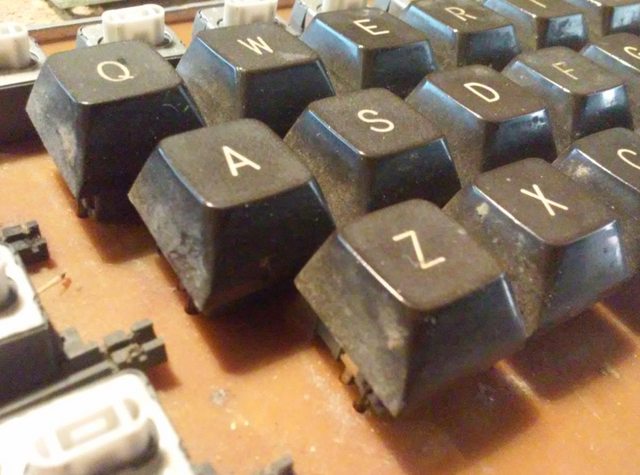
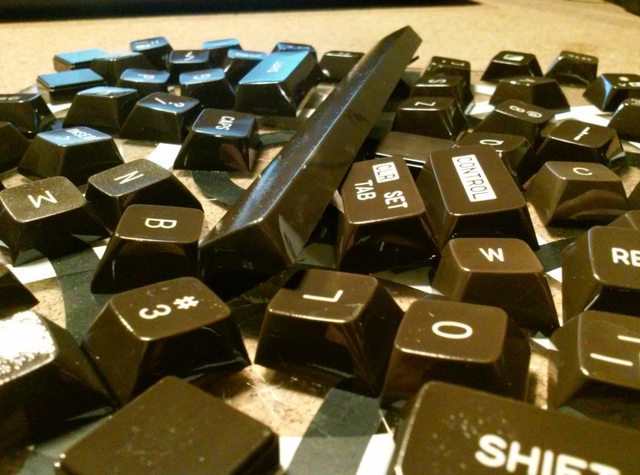
I also had to clean the keycaps and keyboard PCB since they looked nasty …
After cleaning I’ve put all keycaps into a plastic bag and covered it with peroxide of course. 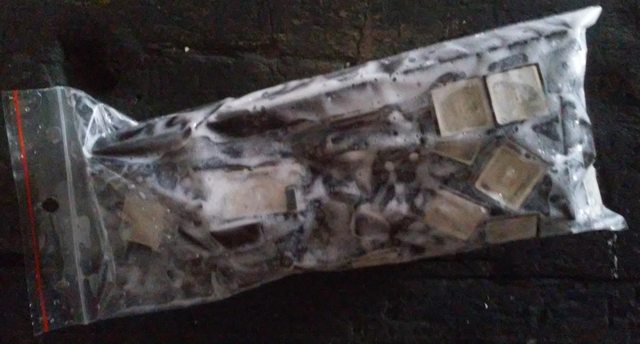
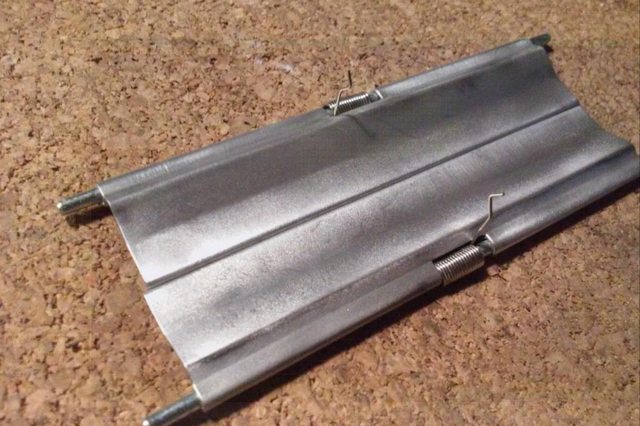
Next, I cleaned the rest of the case and sorted out the aluminum parts of the cartridge slot. I had to treat it with a metal brush mounted on the rotary tool. That resulted in quite a nice effect. 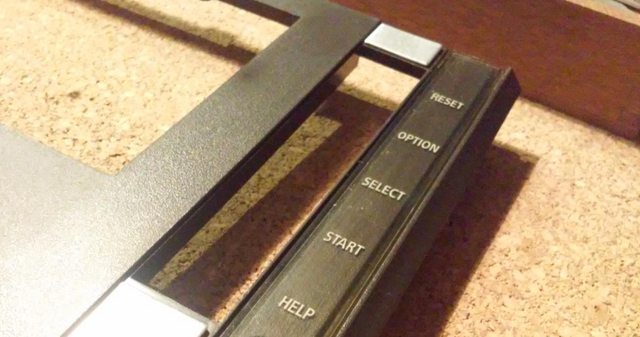
Broken U1M
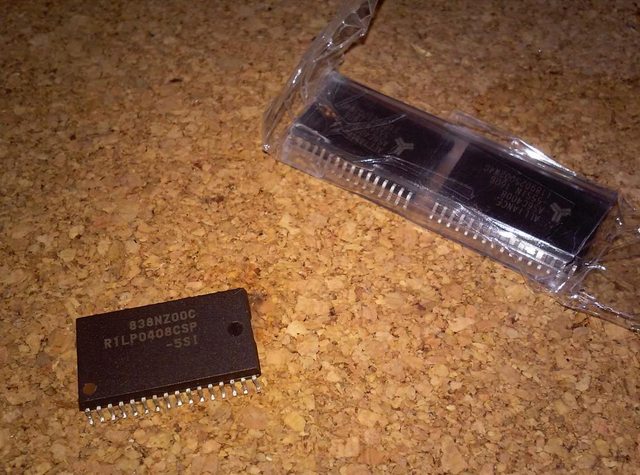
I had an older revision of Ultimate1M expansion by Lotharek in a drawer. However, in this unit, one of the 512K RAM chips was fried and it had to be replaced.
I figured that it would be a nice add-on to the 800XL project.
The mandatory rule to drink on all Fridays didn’t end well for PLCC socket LOLOL!
I’ve burned it with a HotAir a bit …. but nothing heavily wrong happened I promise ;).
I’ve managed to desolder old RAM chips and decided I’ll continue with it on the next morning which turned out to be an evening. The reasons should be obvious 😀
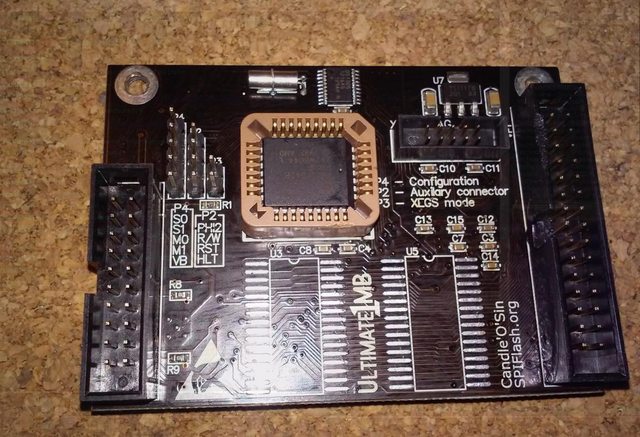
I’ve restarted my work with soldering on brand new RAM chips.
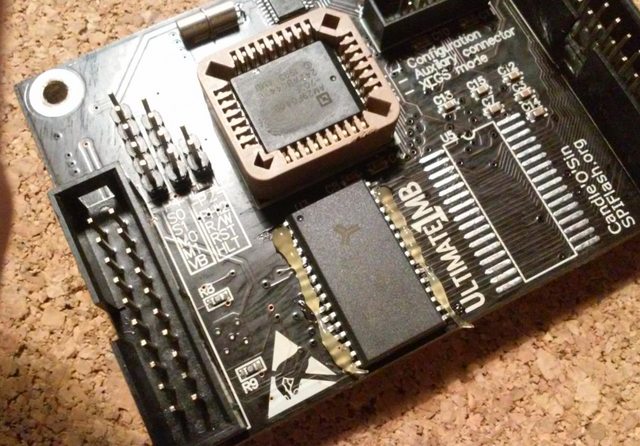
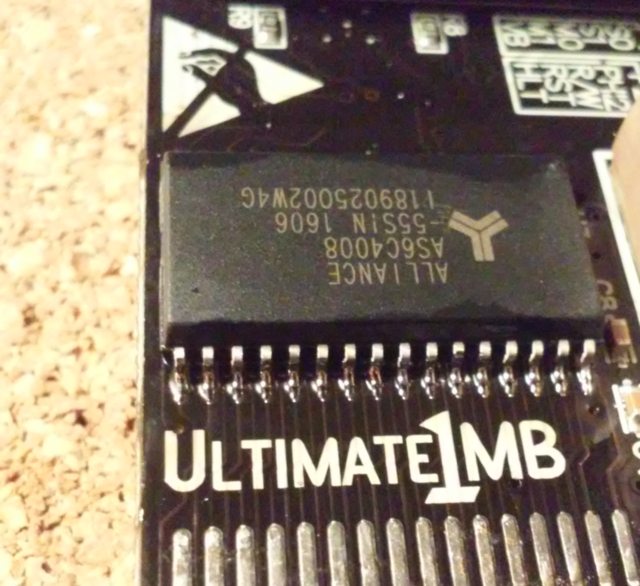
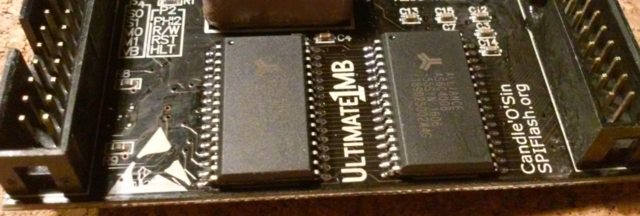
Cleaning a PCB in an ultrasonic cleaner finished this repair.
U1M ultrasonic cleaning from pit on Vimeo.
Atari PCB was cleaned and prepared to install U1M.
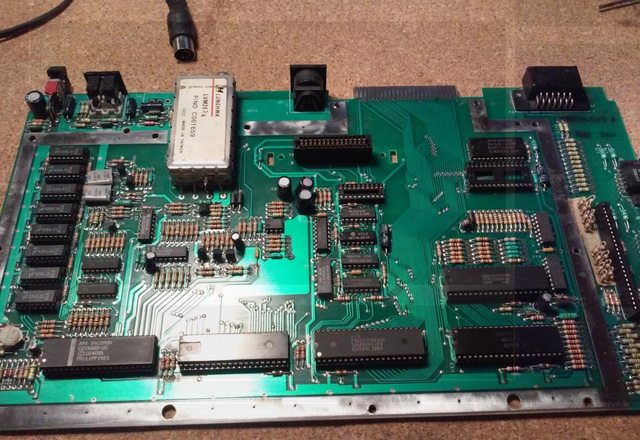
In order to install this mod, a few things had to be done.
First I had to desolder the original MMU and ROM chip and replace it with sockets which is a perfect job for my new toy.
A cheap desoldering gun that I’ve recently bought for jobs like this.
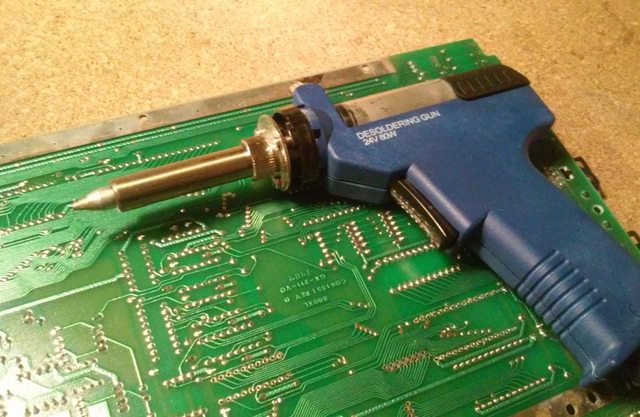
Here is how it works (different board)
New toy in a shop 😉 from pit on Vimeo.
In progress.
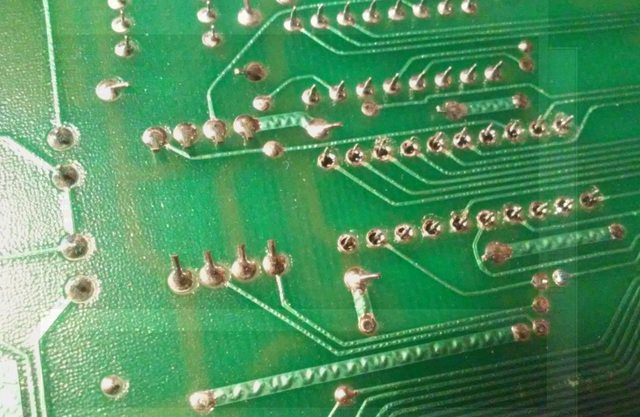
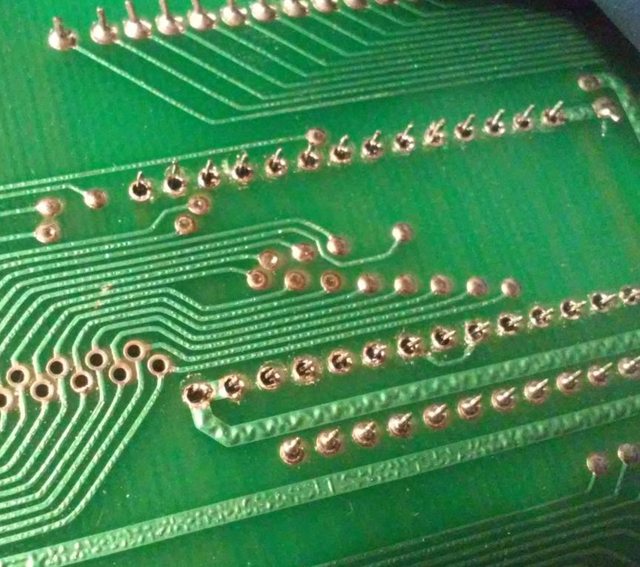
Finished, cleaned, and ready to get new sockets.
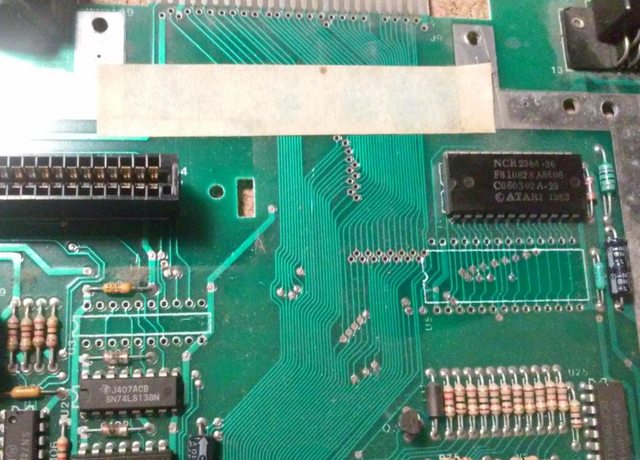
U1M needs four signals connected to it PHI2, R/W, RST, and HLT. A lot of folks get these signals either from the expansion port or directly from the CPU. I took a different approach and connected it to vias on board near the CPU area.
Like this:
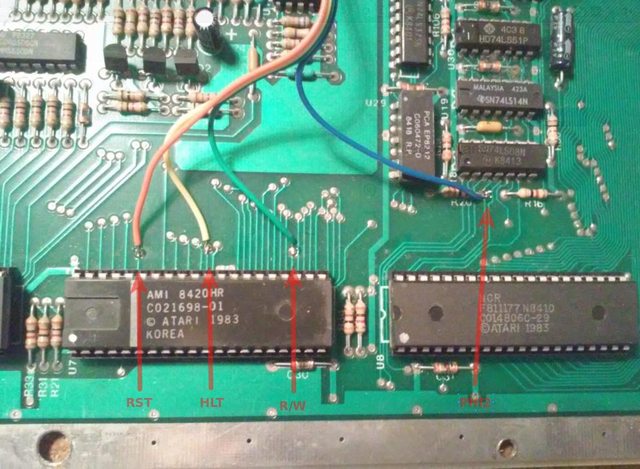
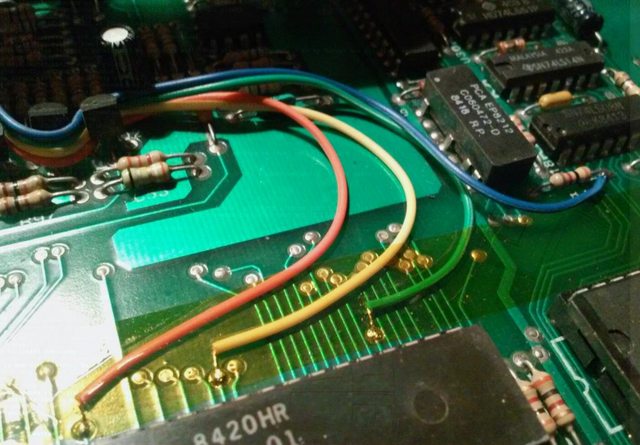
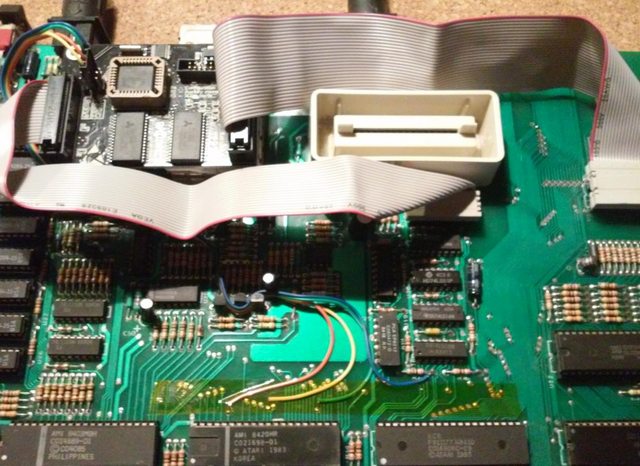
Quick test aaaaaaaaaand viola!
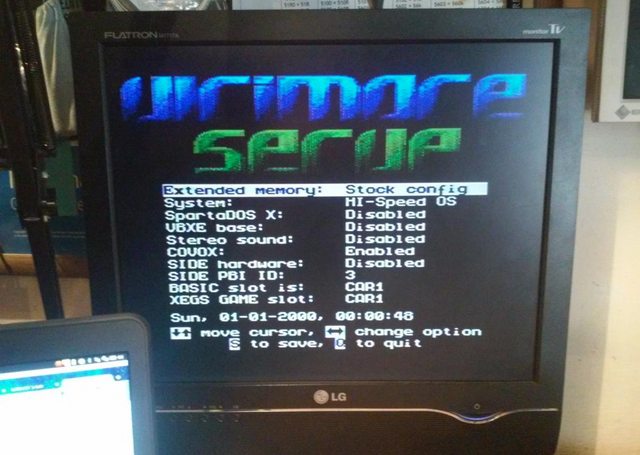
Keyboard
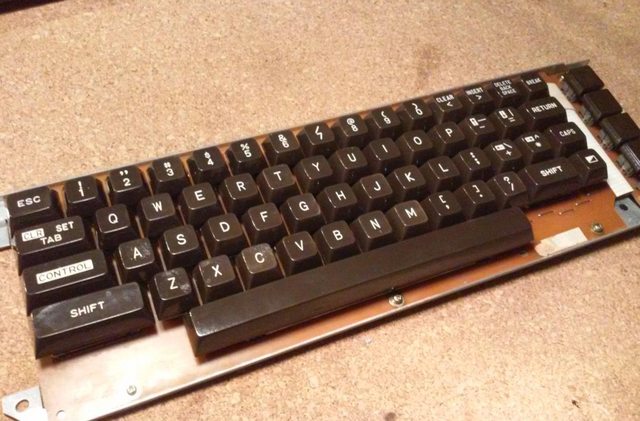
With electronics ready, I’ve started to work on keycaps and keyboards. Generally, the keyboard was in good shape but some keys didn’t work. That was simple to repair. Three connector pins were shorted, so after straightening, it started to work.
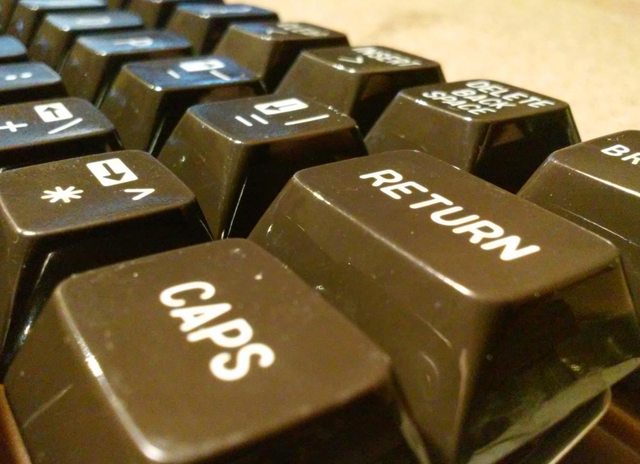
As usual, keycaps after cleaning and whitening became ugly.
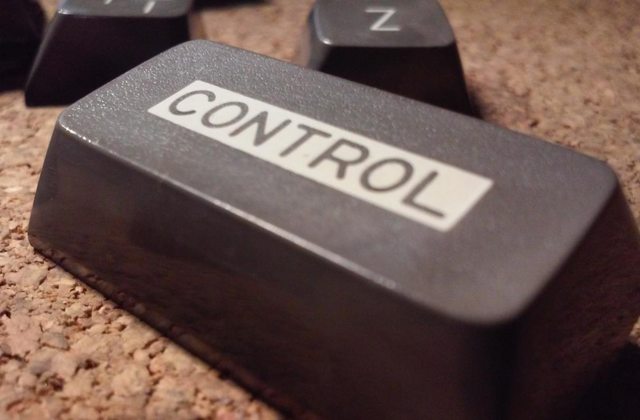
Also, as usual, I’ve used the old good acetone vapor method.
Results (keys already fixed on the left):
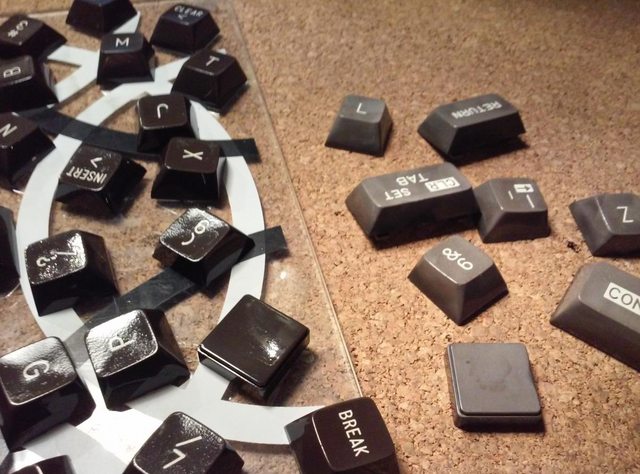
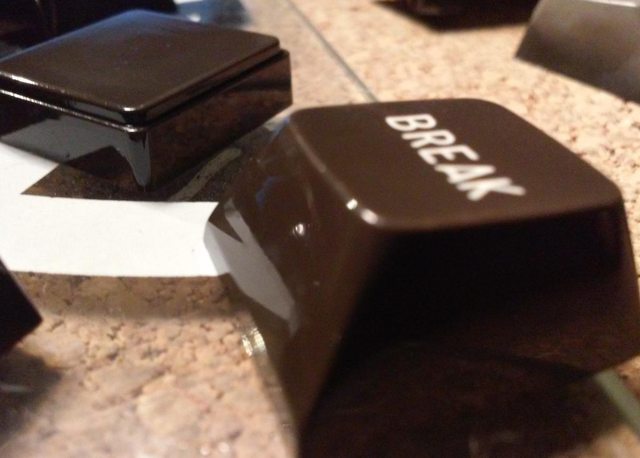
And a keyboard after assembly.
Whitening – The ultimate method
The PDWPE method mentioned in my other post works like a charm. The downside is that it takes a while to get decent results.
Here are some shots of whitened case.
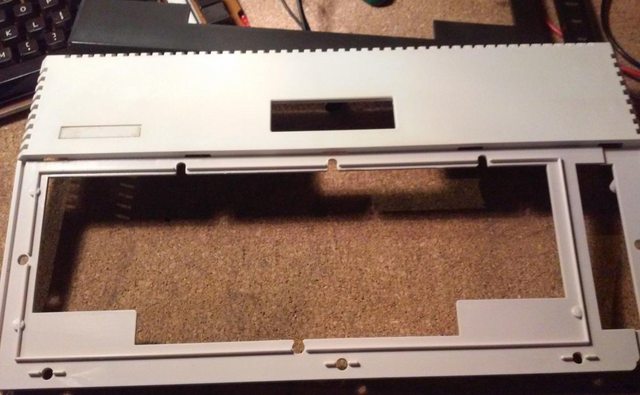
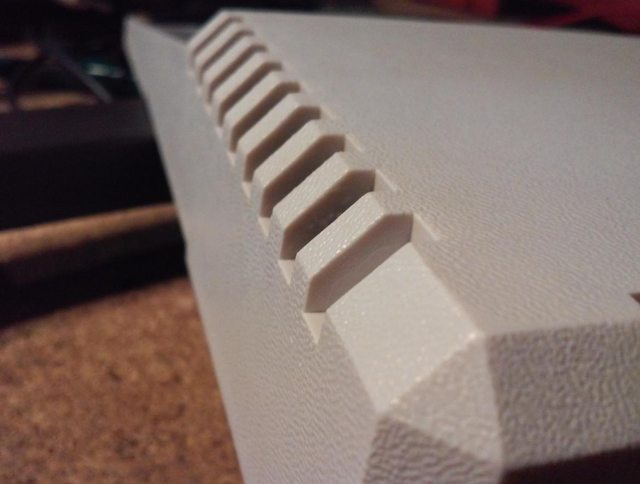
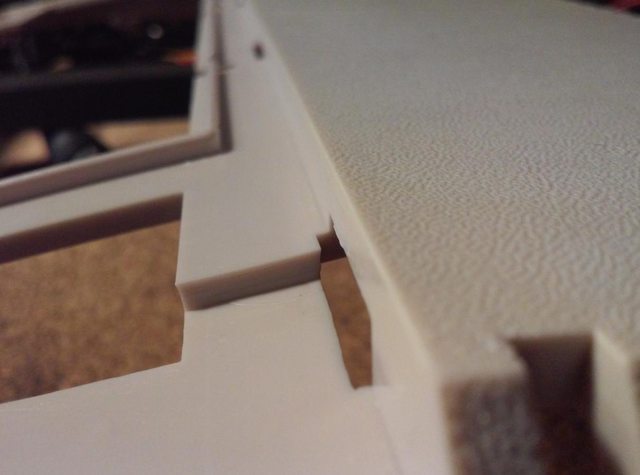
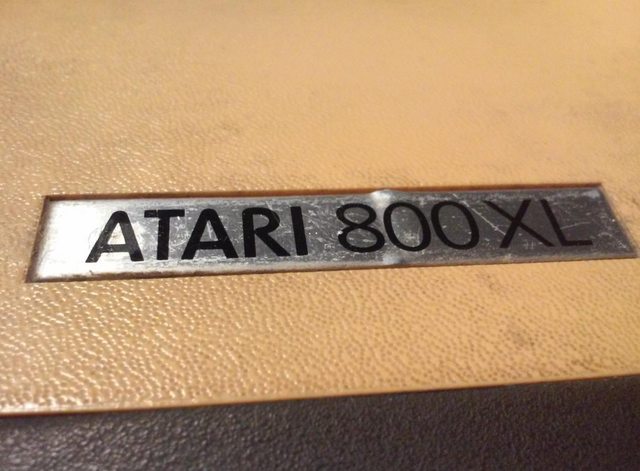
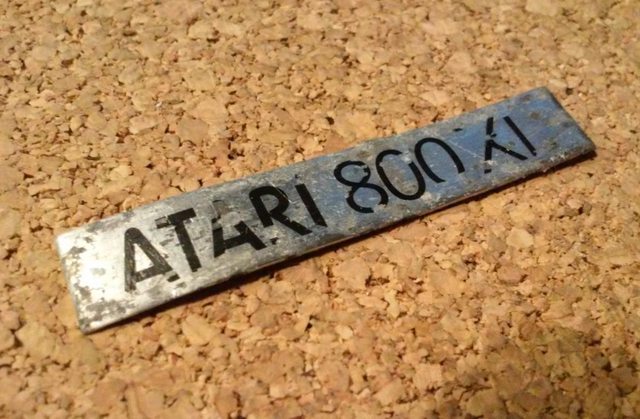
I’ve also learned that when whitening aluminum badges have to be removed.
The first thing is that peroxide quickly degrades these badges and the second problem is that the whitening process of plastic that is nearby an aluminum badge is slowed down horribly.
End results
Assembling this unit took only a few minutes.
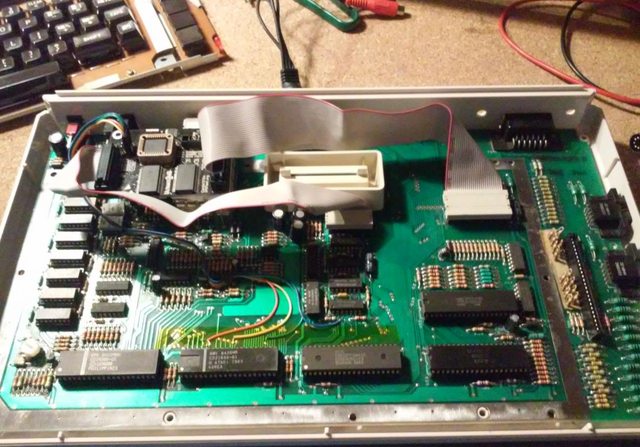
Unfortunately, I am still waiting for a new badge 😉
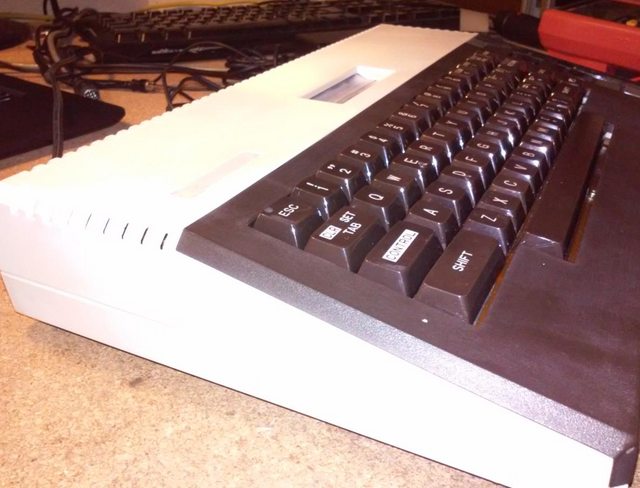
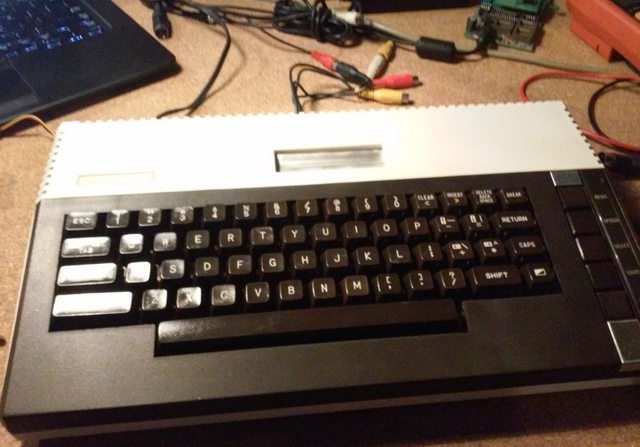
Here it is, refurbished Atari 800XL
OUTRO
If you want to get retro gear or hardware modules, please visit our shop
New products are being added every month.
Also, please support our work by spreading info about it.
Without your support, we simply cannot grow and we have a lot of new cool retro hardware (and more) products to come


