… or simply, nothing fancy
Intro
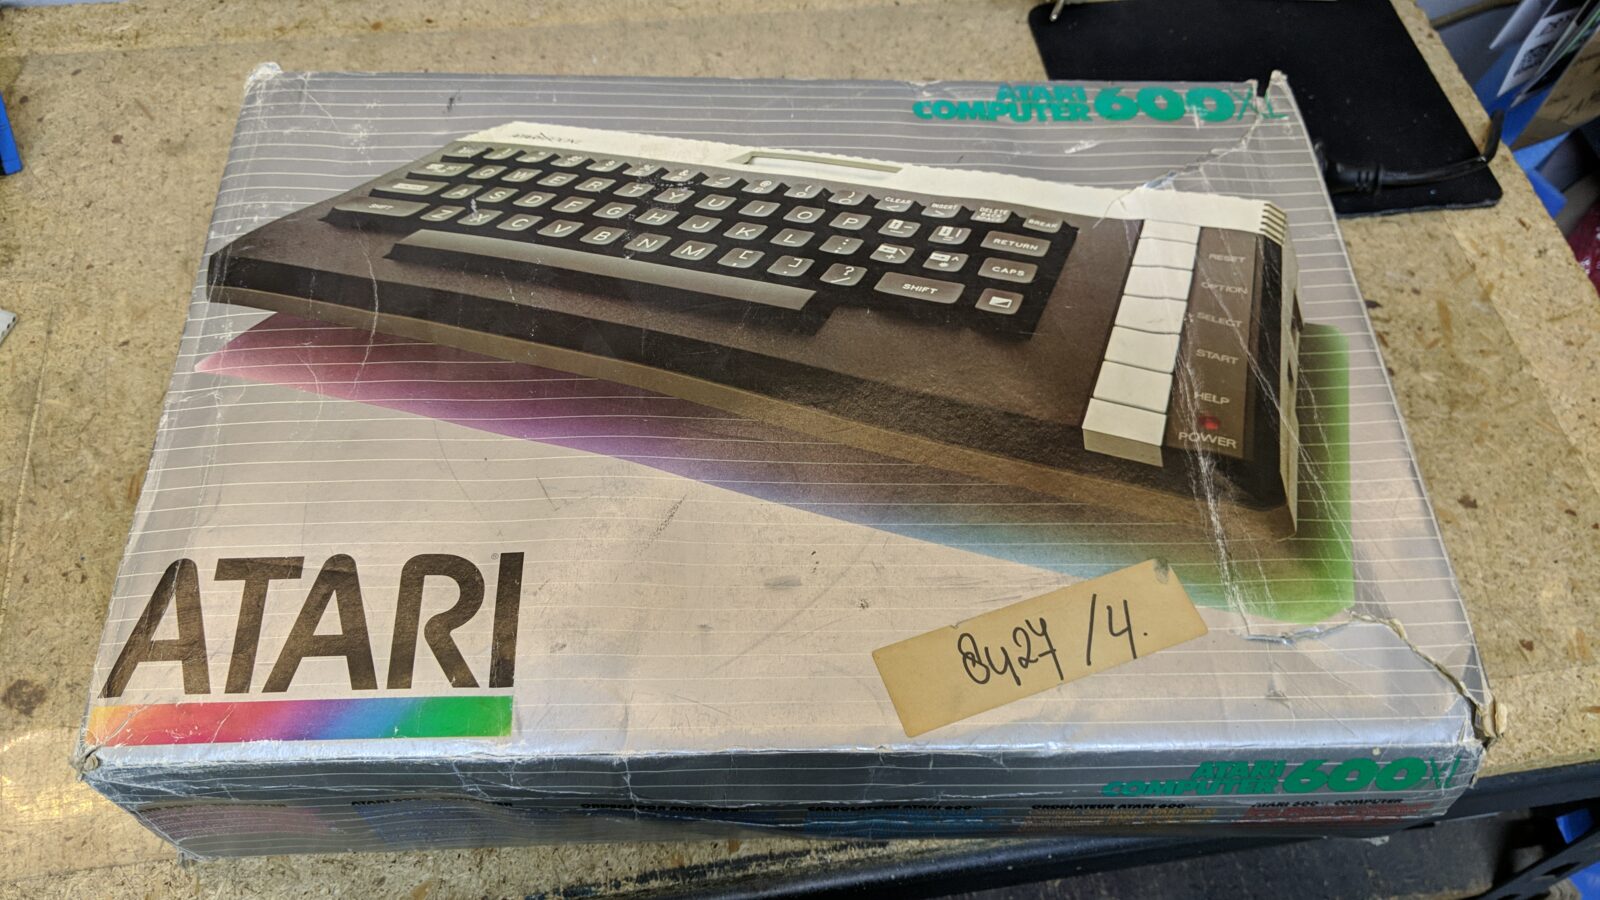
Recently, I’ve written a blog post about Atari 1020 pen replacements and I started eyeing this boxed Atari 600 XL sitting on the shelf for quite a while. I was like, OK let’s stay with this line of computers.
I decided to return this machine to its original state this time. No mods at all.
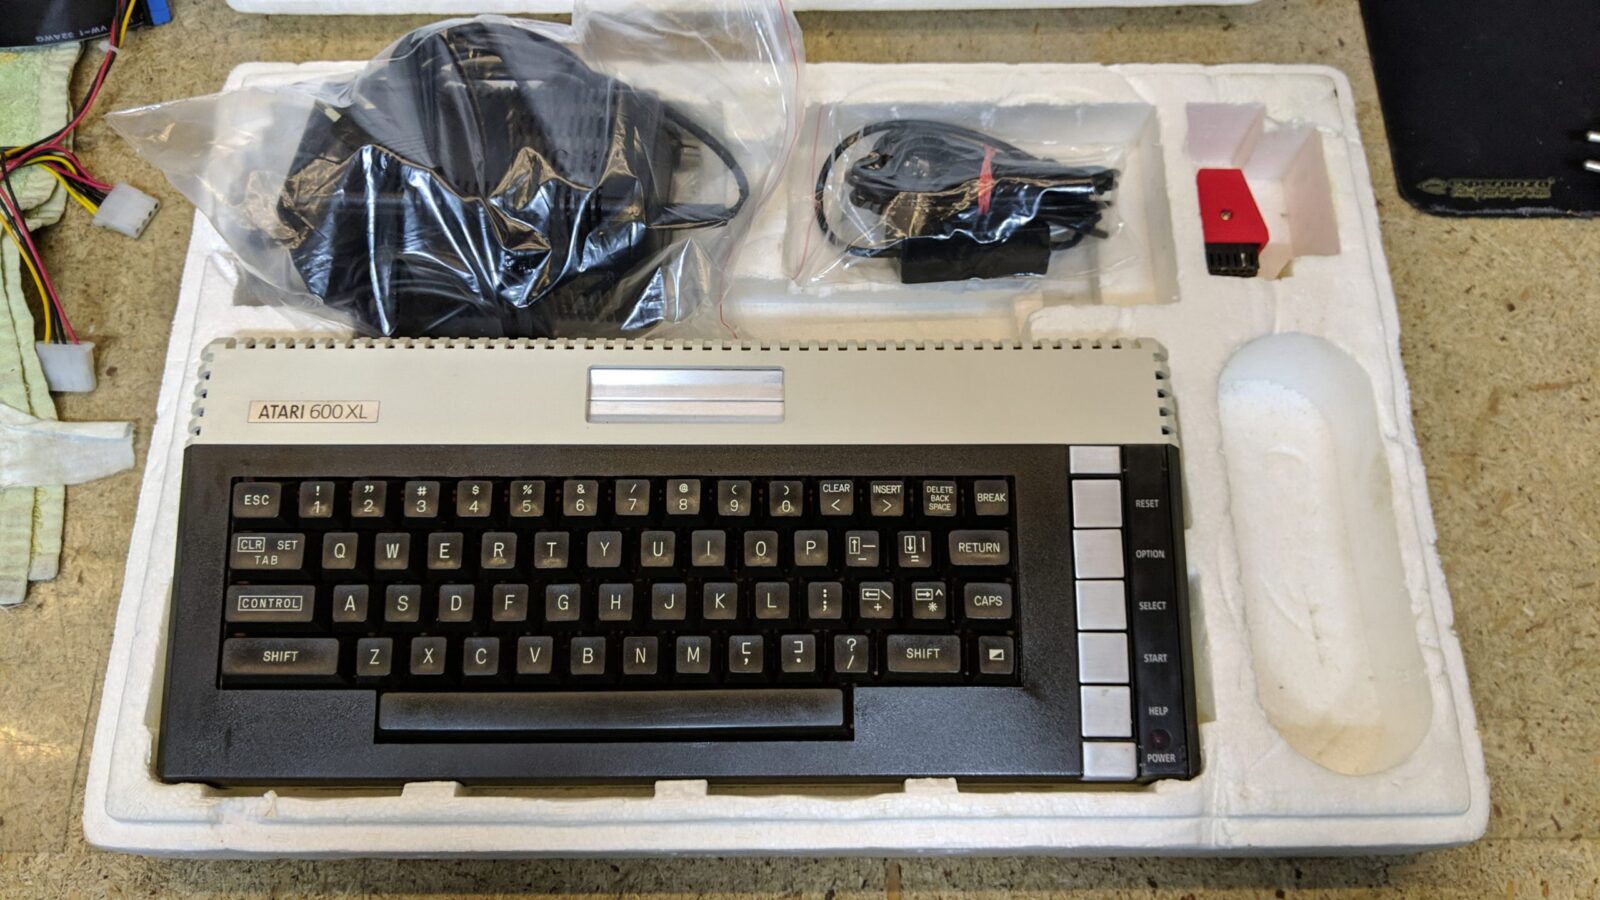
Here is how it looked.
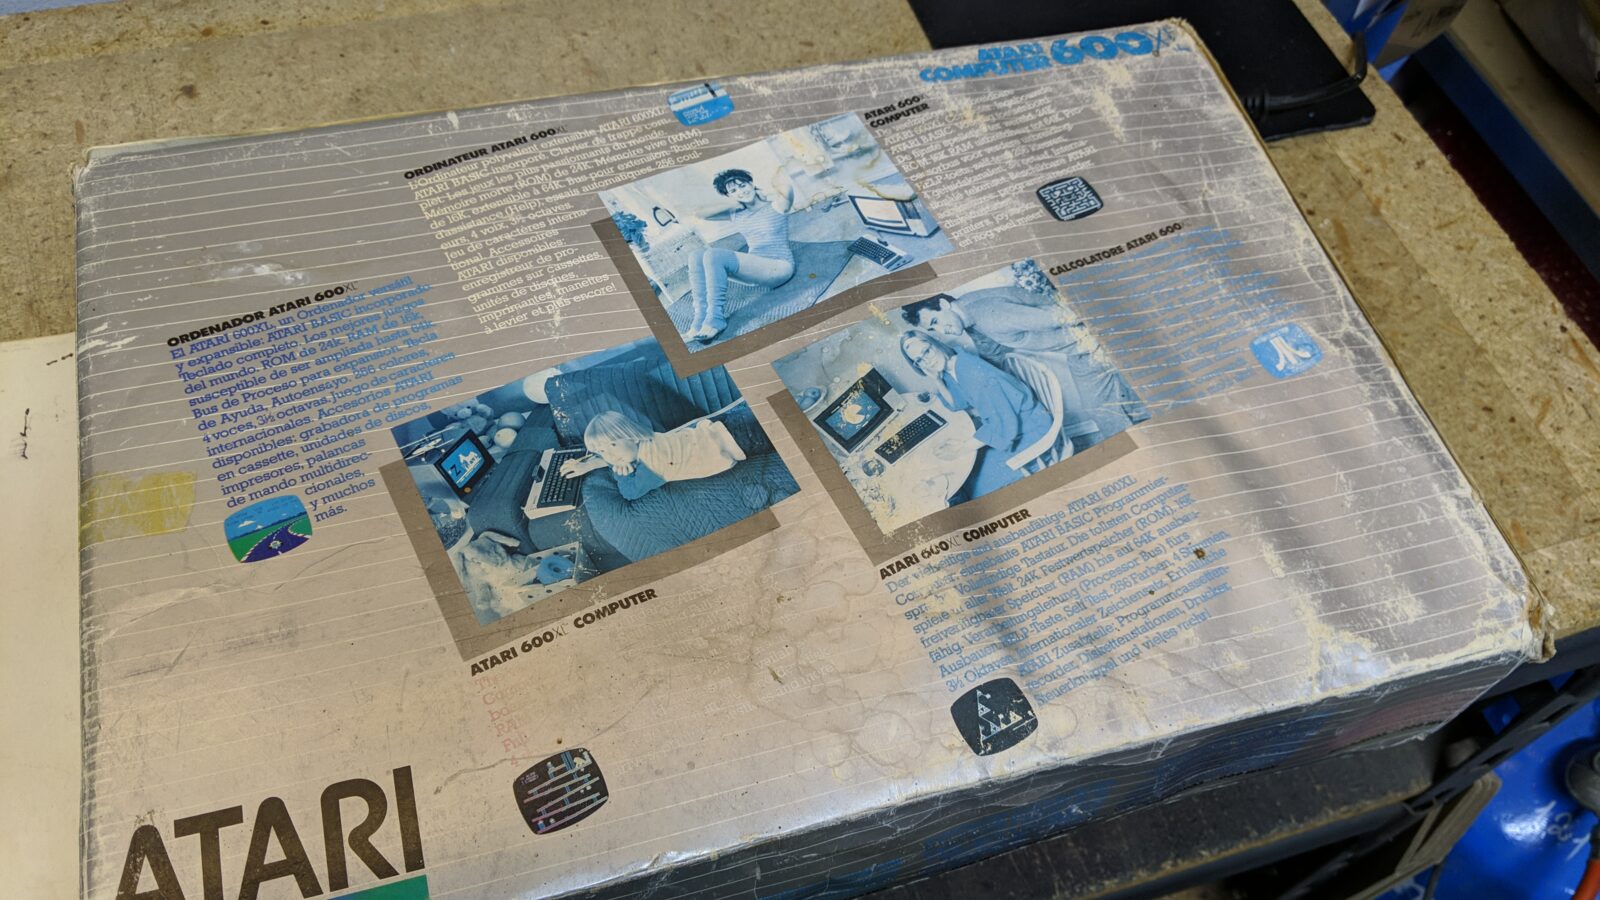
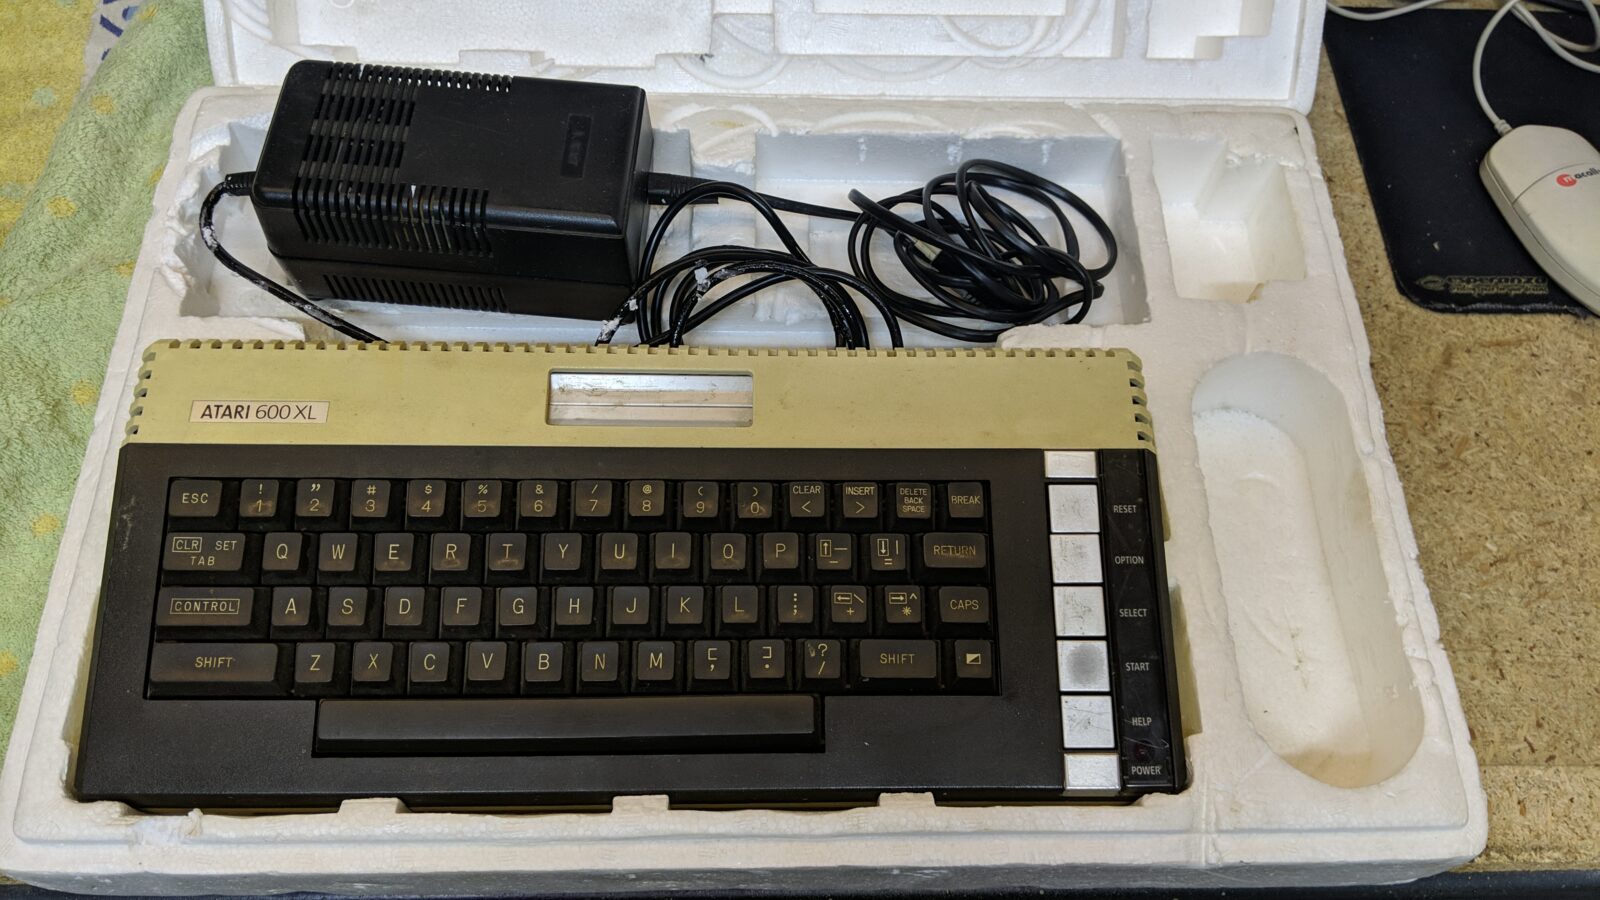
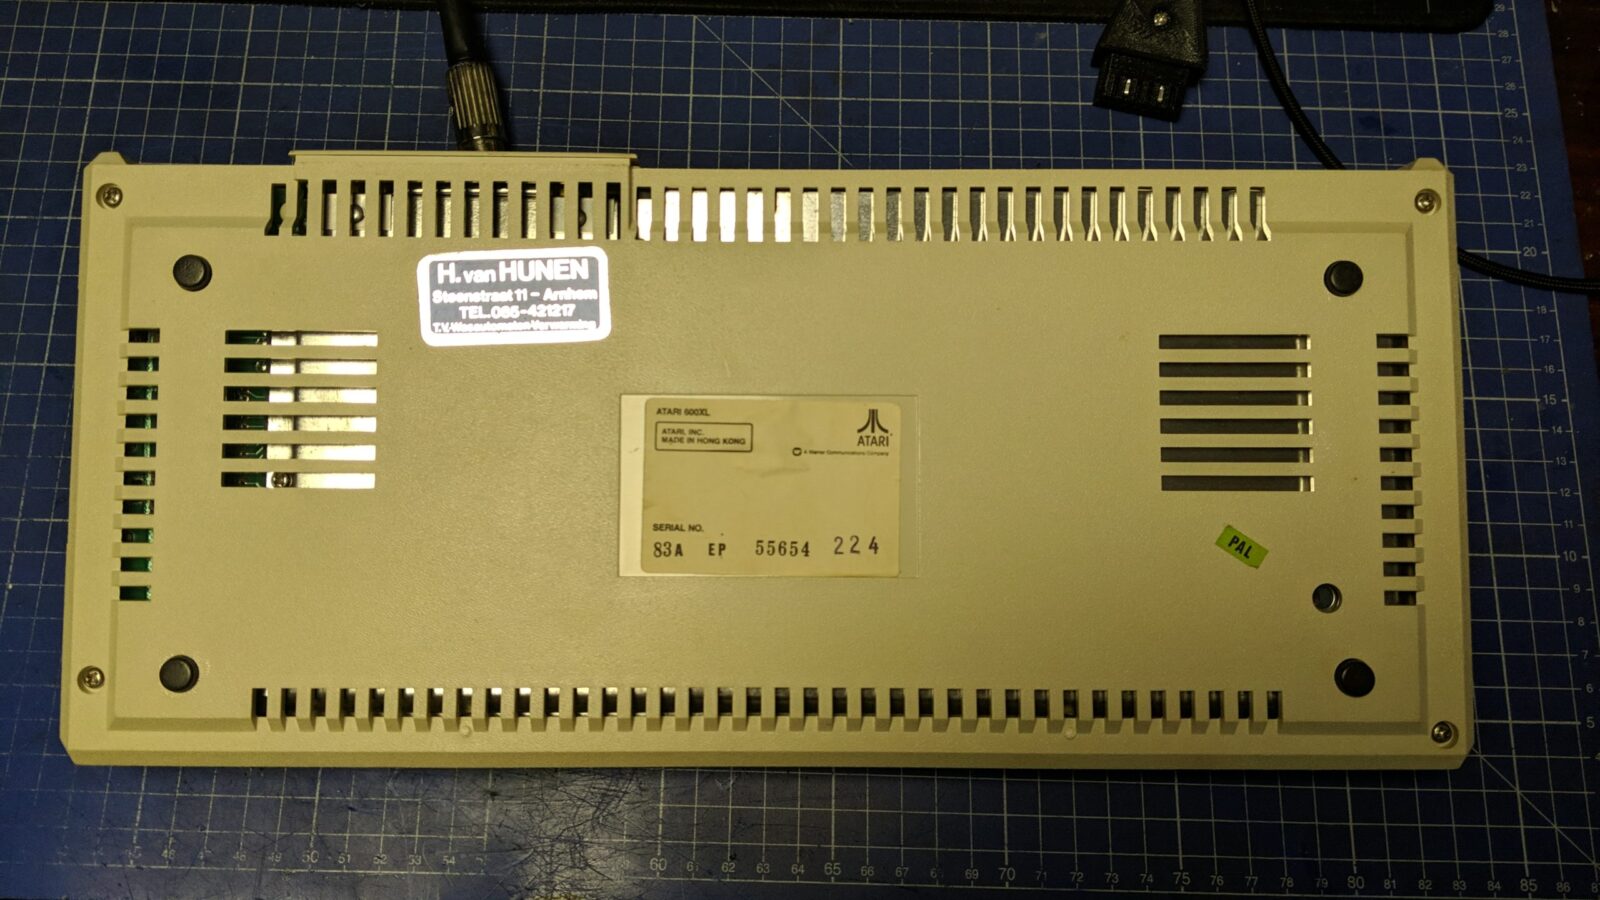
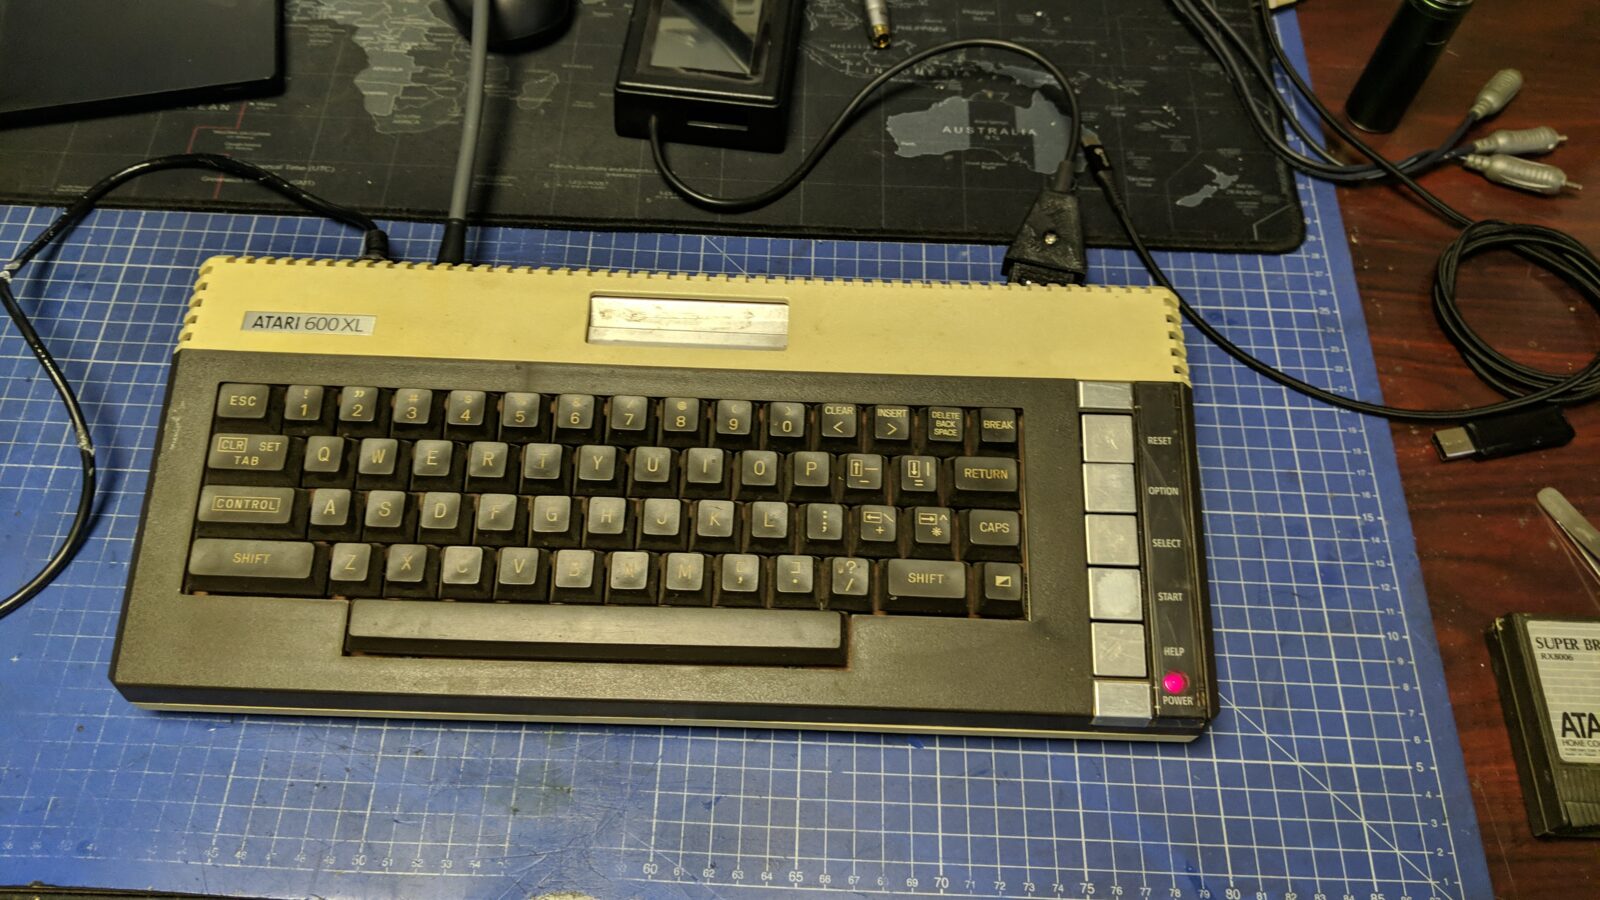
I was a bit unlucky this time as it was in a fully working condition …
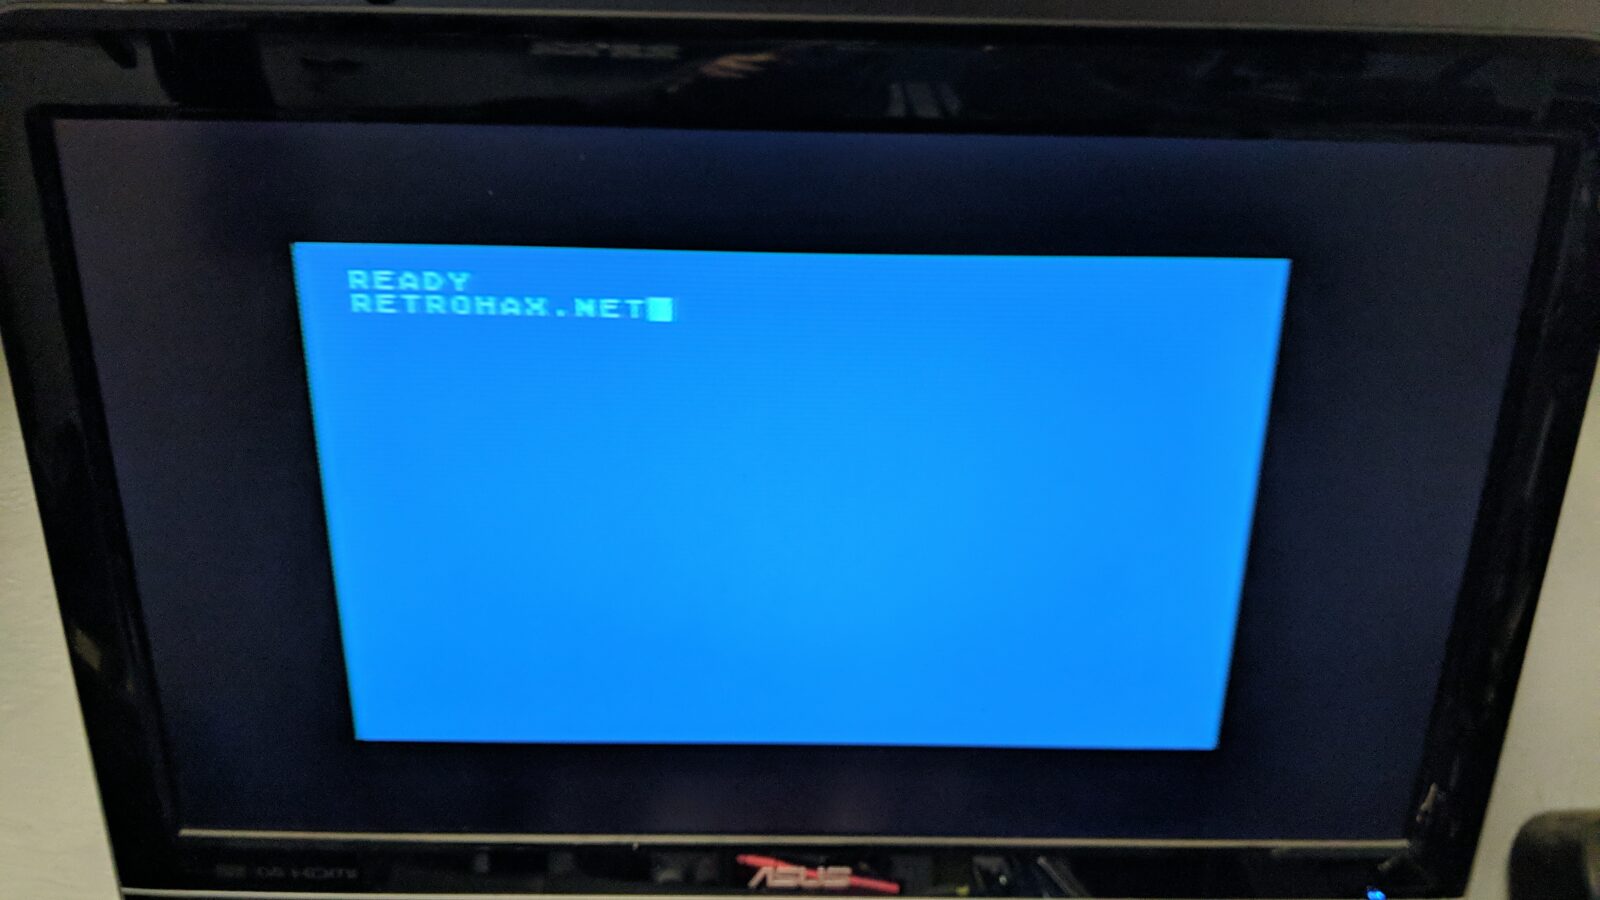
Fortunately, it was not in the greatest cosmetic shape so I still had to spend some time on it. YAY!
The usual disassembly
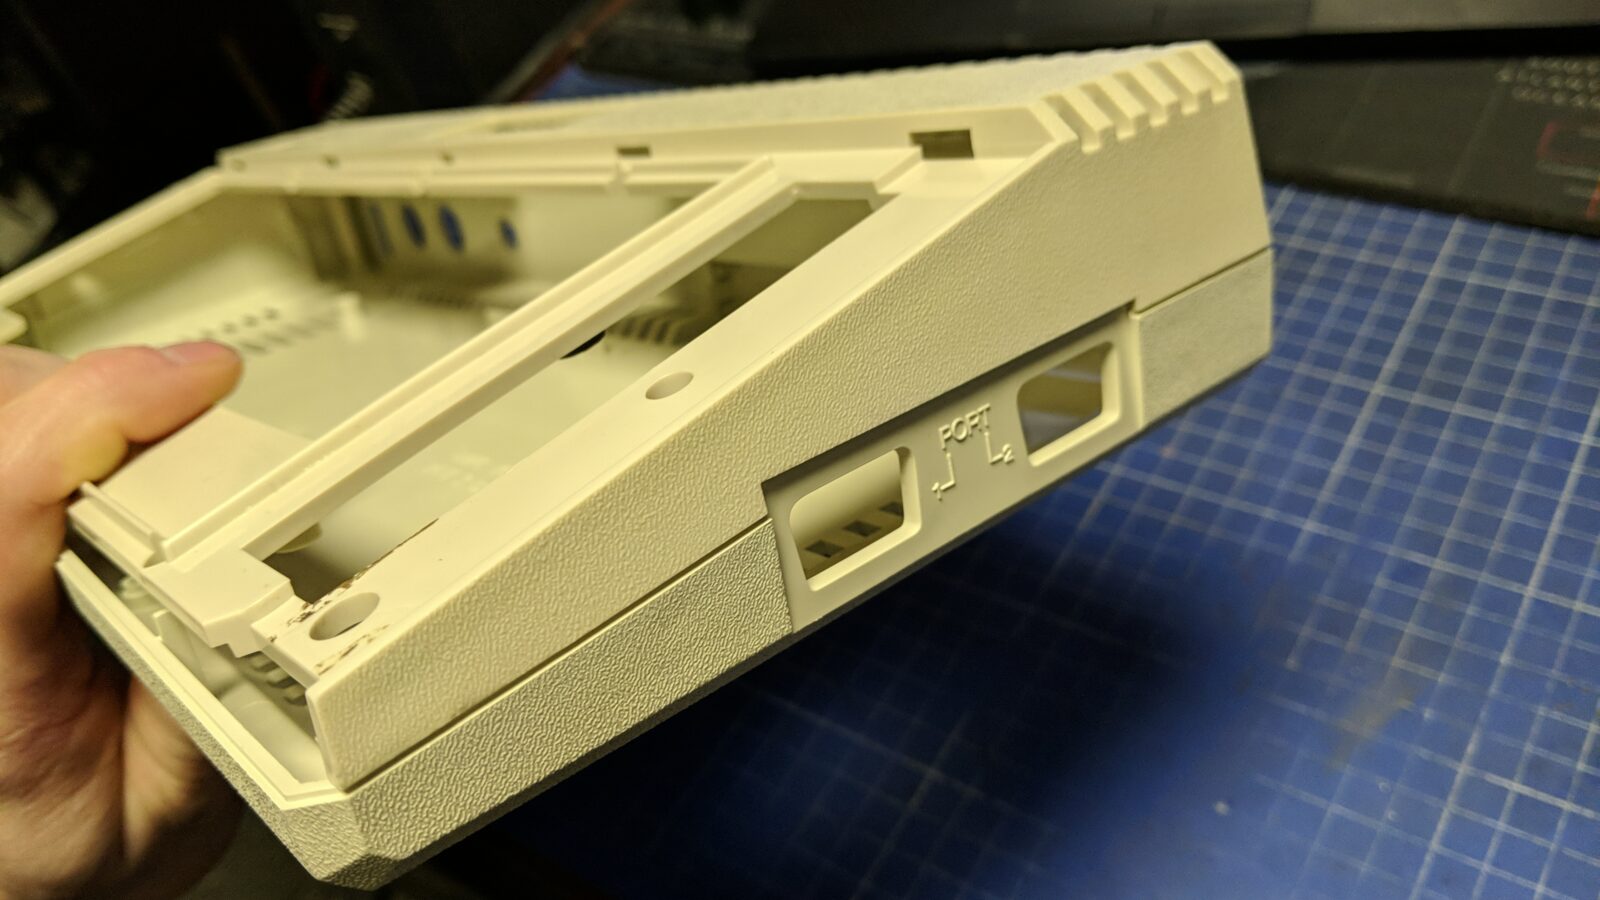
As usual, I had to have the machine fully disassembled and prepared for retr0brighting.
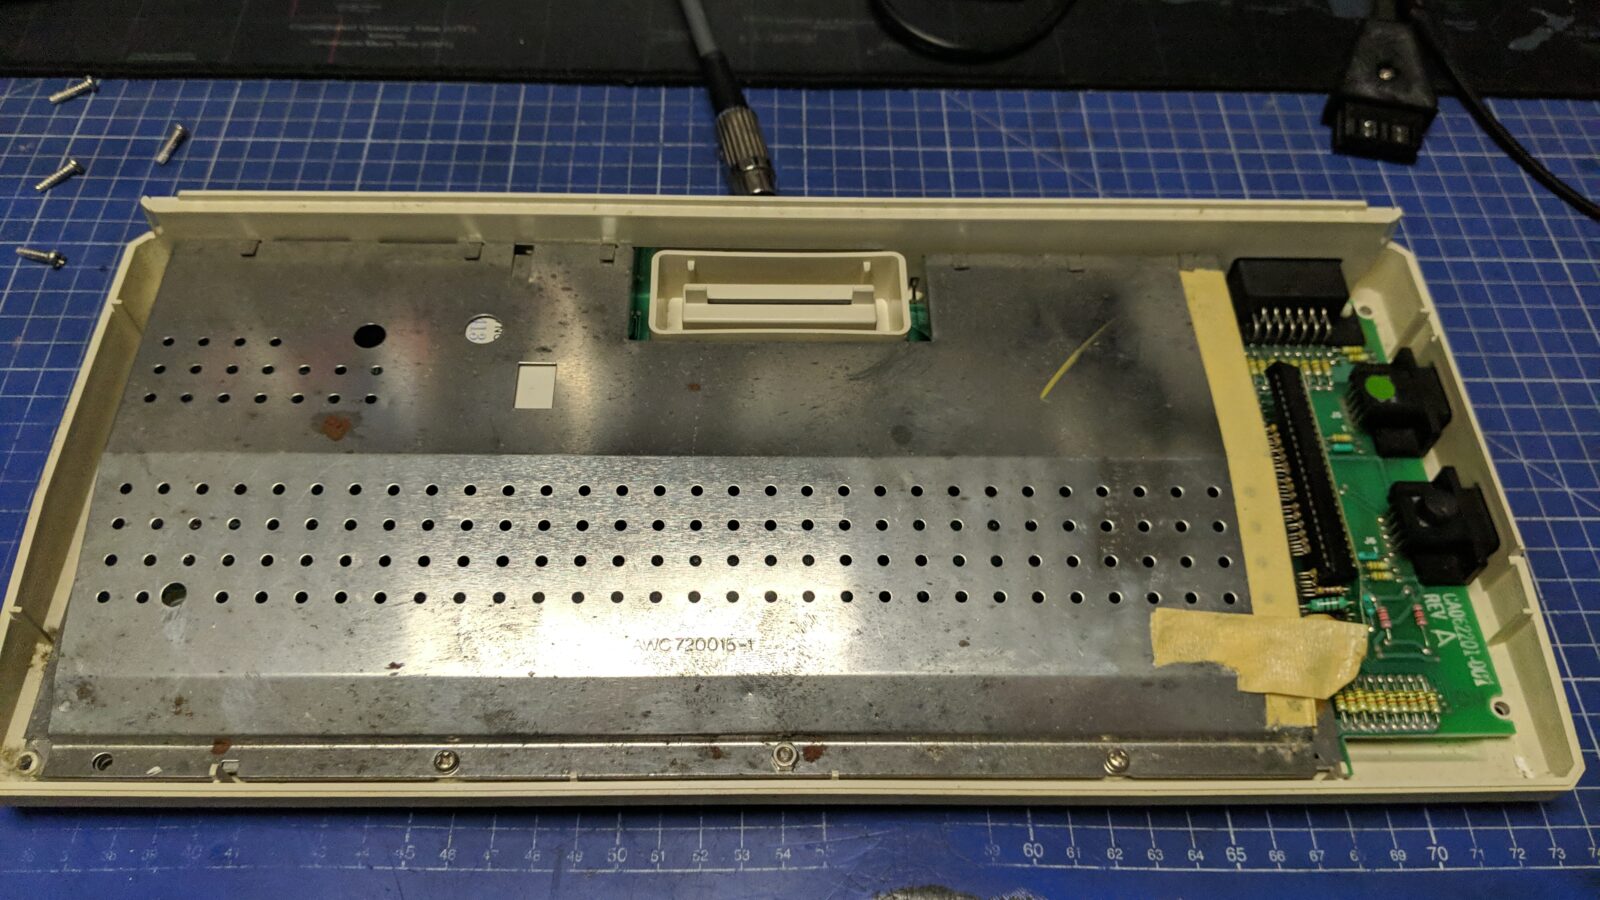
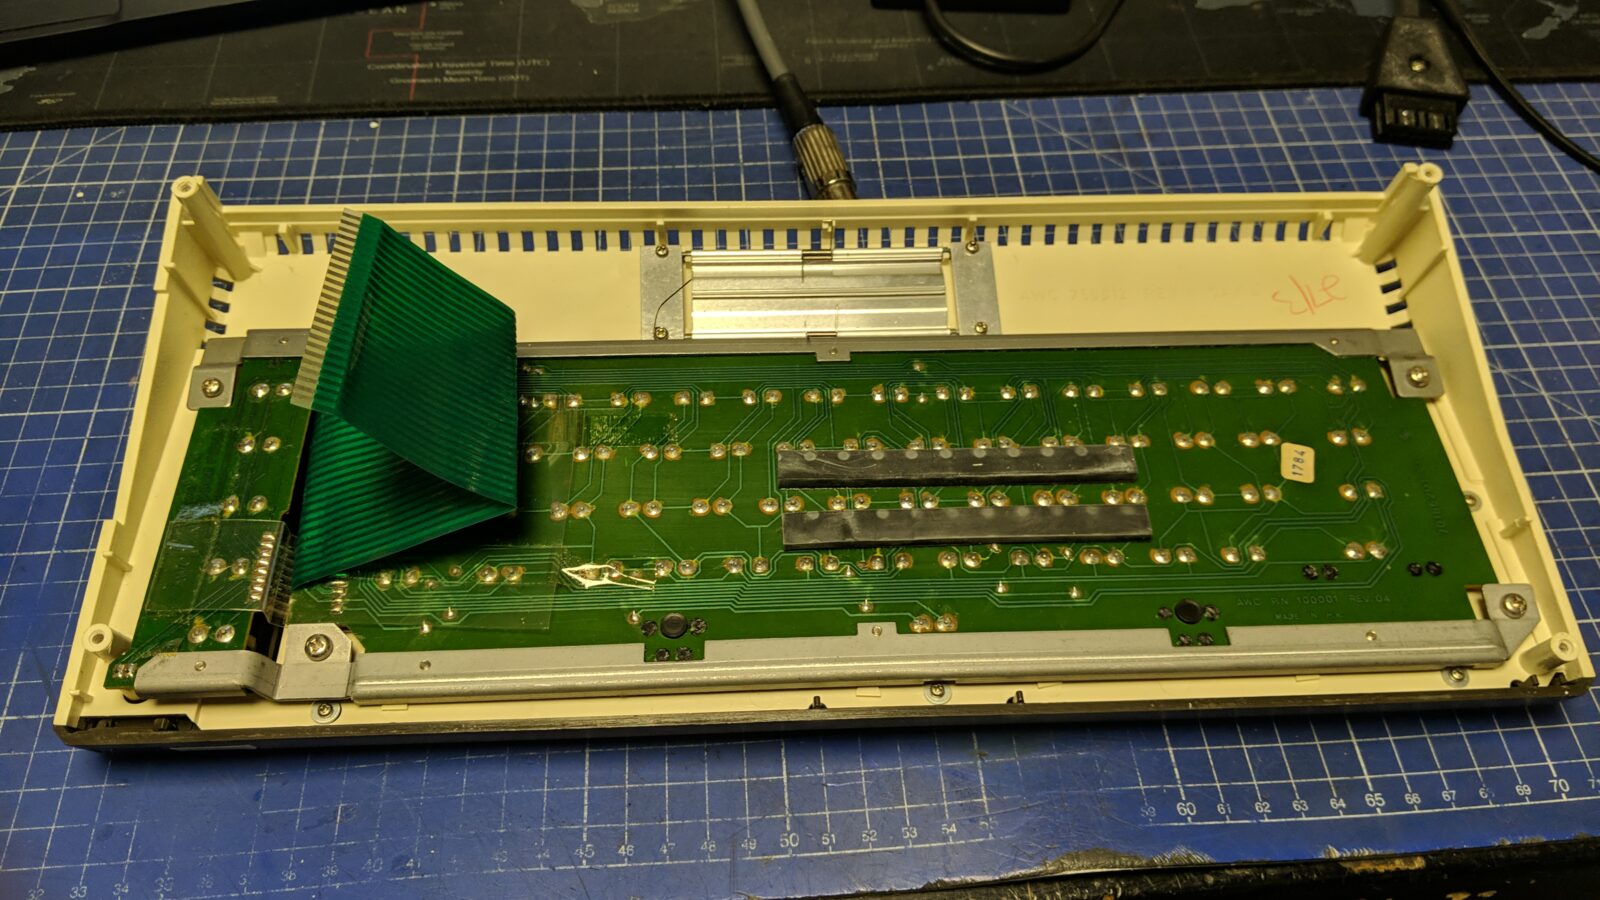
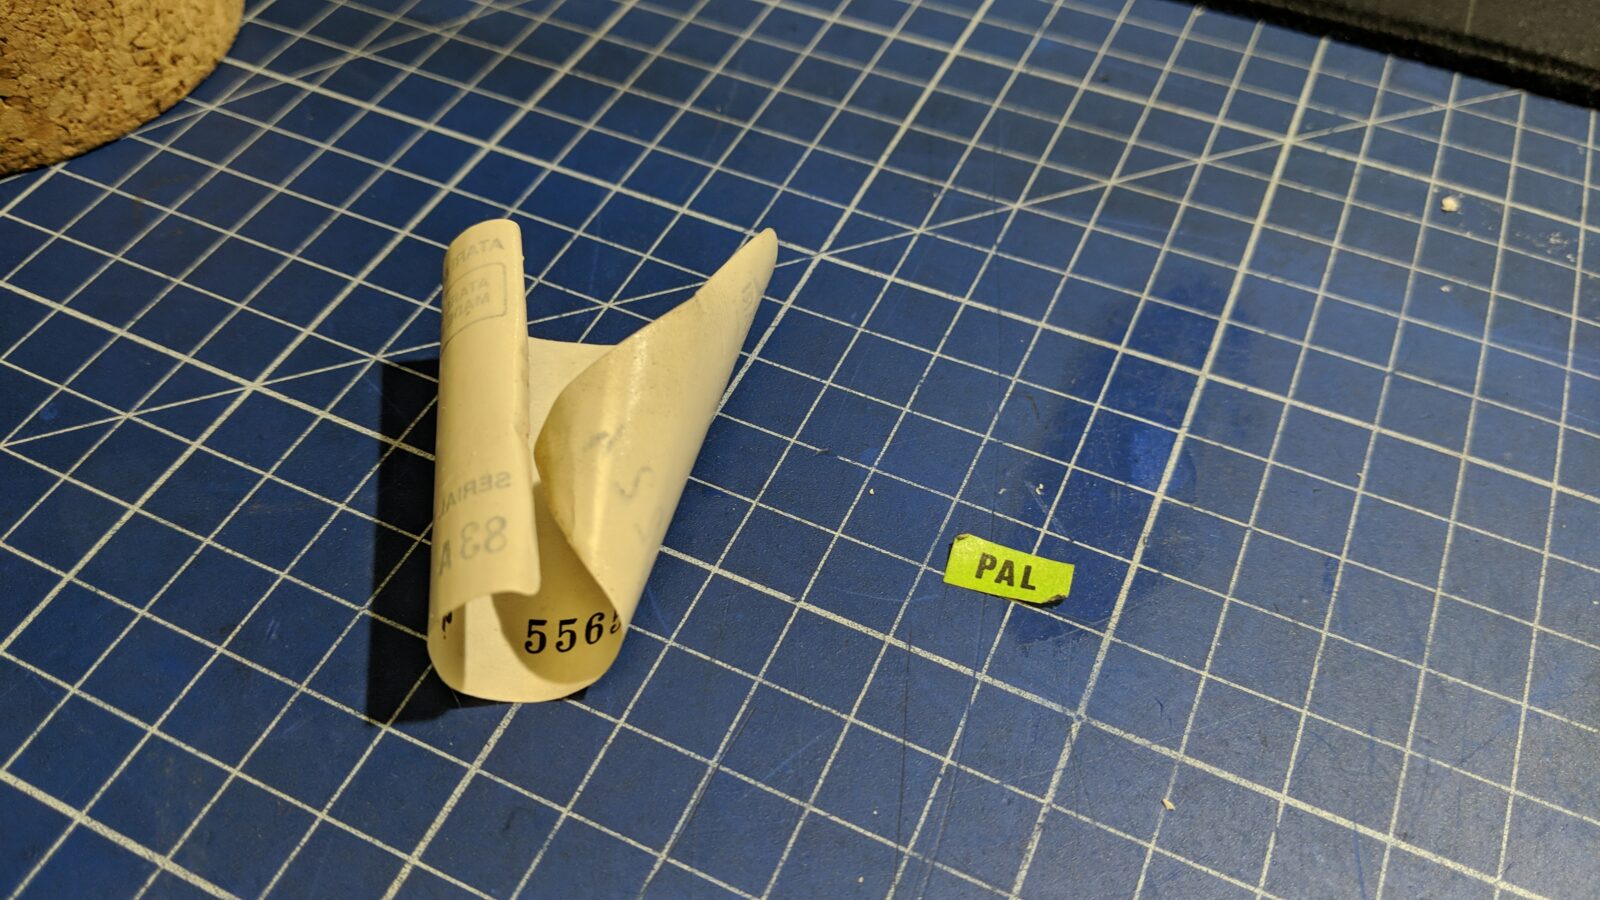
Depending on the machine, there are various methods to remove a badge. With the XL and XE series, I usually use a freezing spray. This works very nicely as it renders the old glue weak and the only thing to do after freezing it, is to pry on it gently.
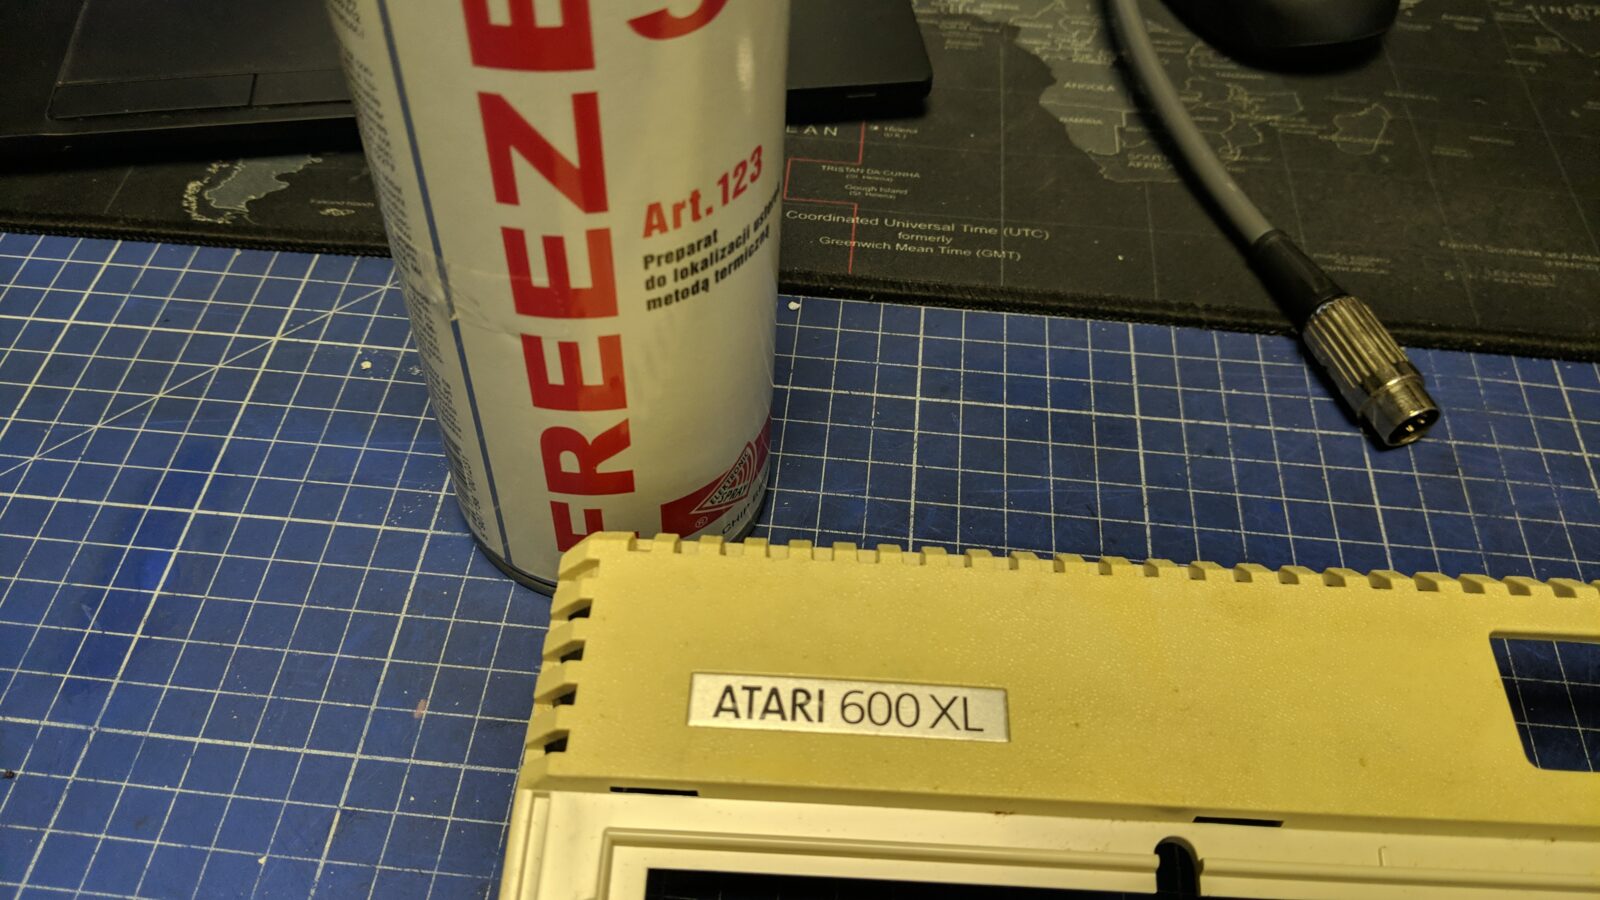
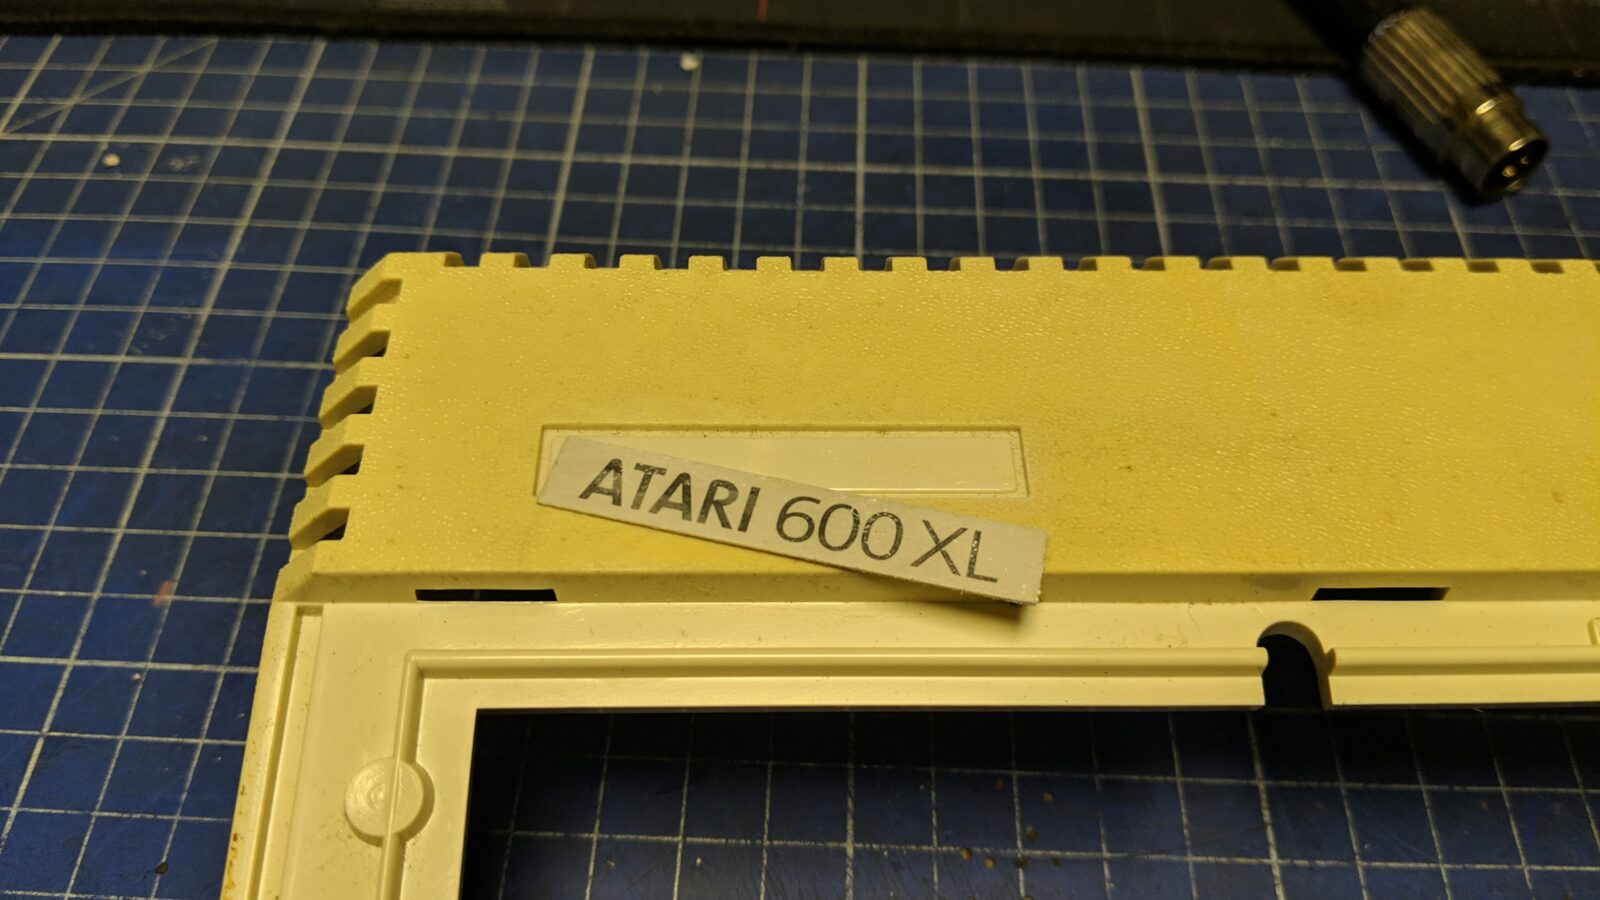
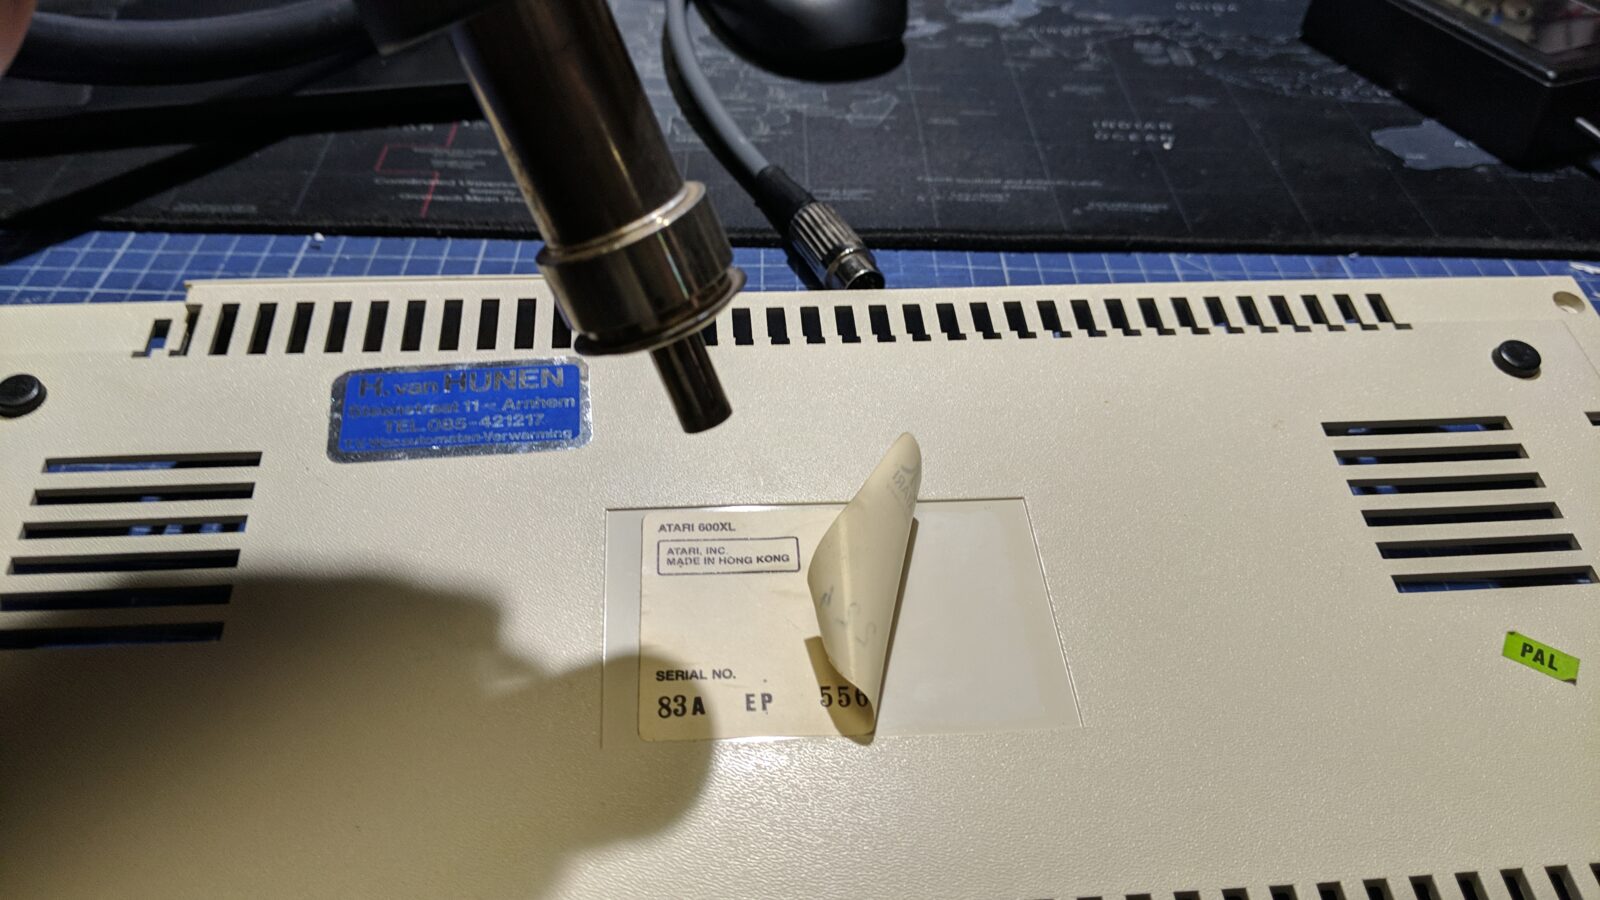
On the other hand, a hot-air station set to 150 degrees Celsius, helps a lot with removing paper badges.
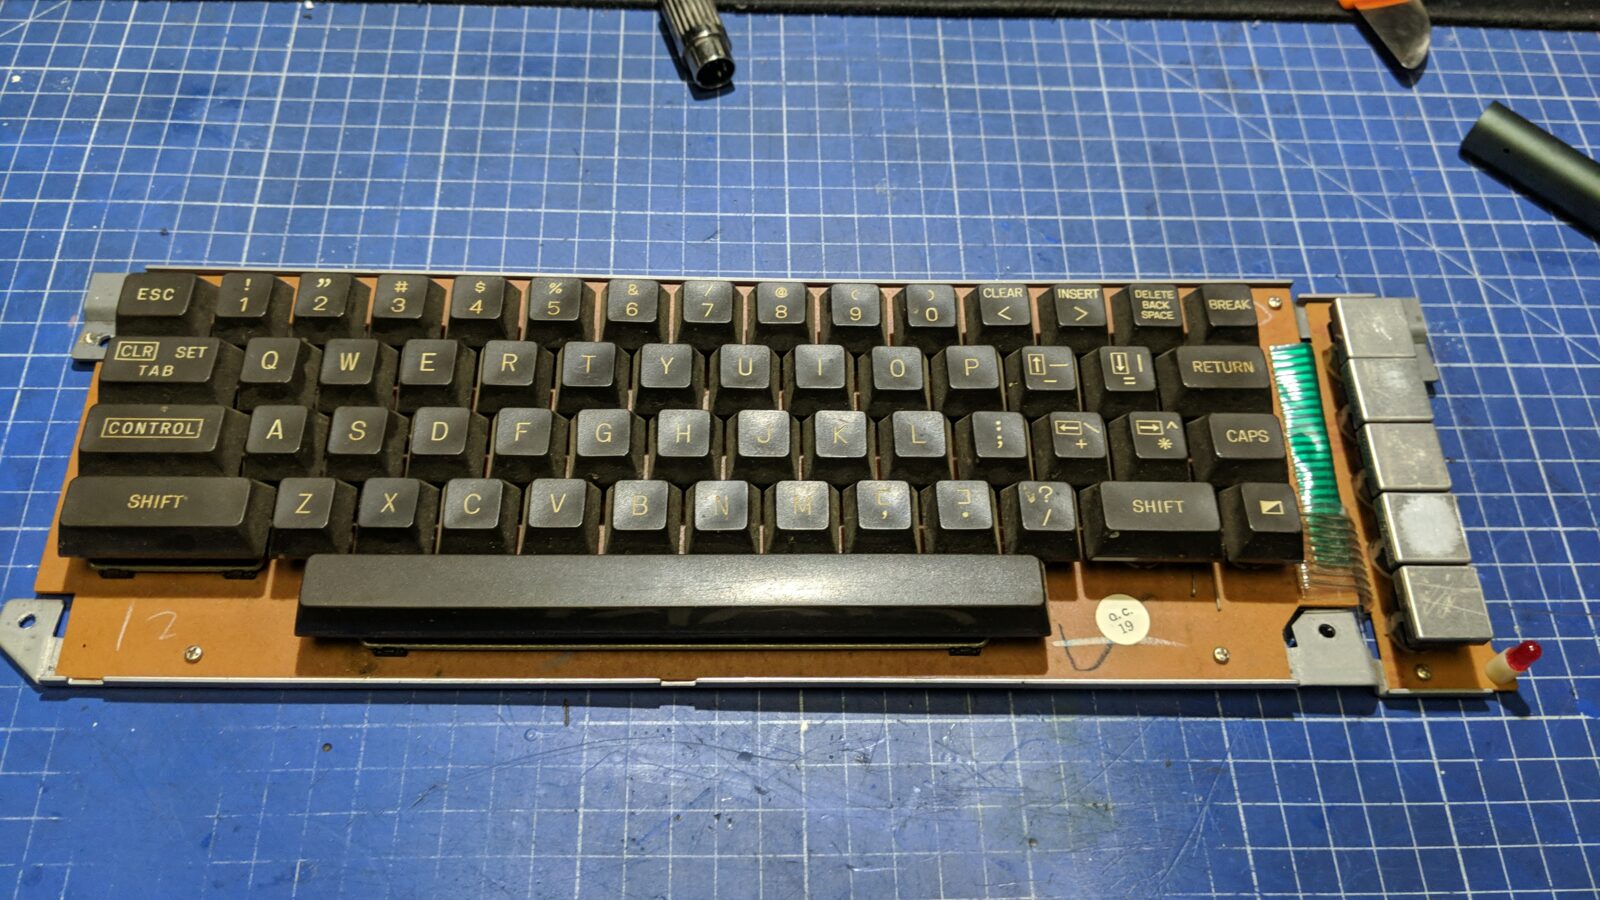
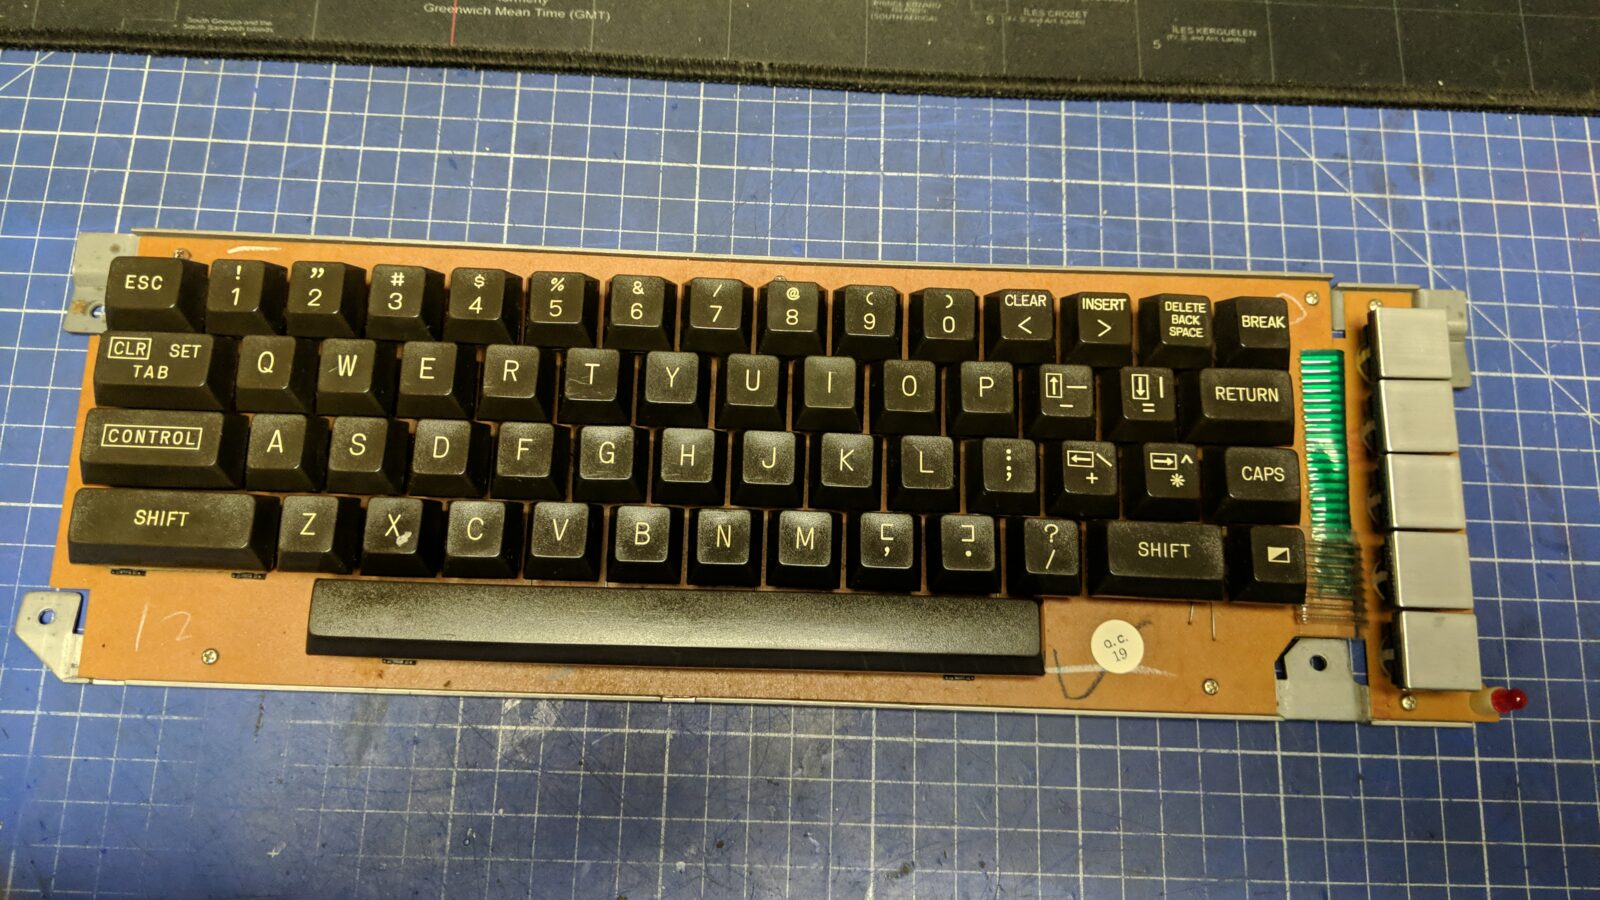
Keyboard caps had to be removed and treated with peroxide as all the signs on them were yellowed.
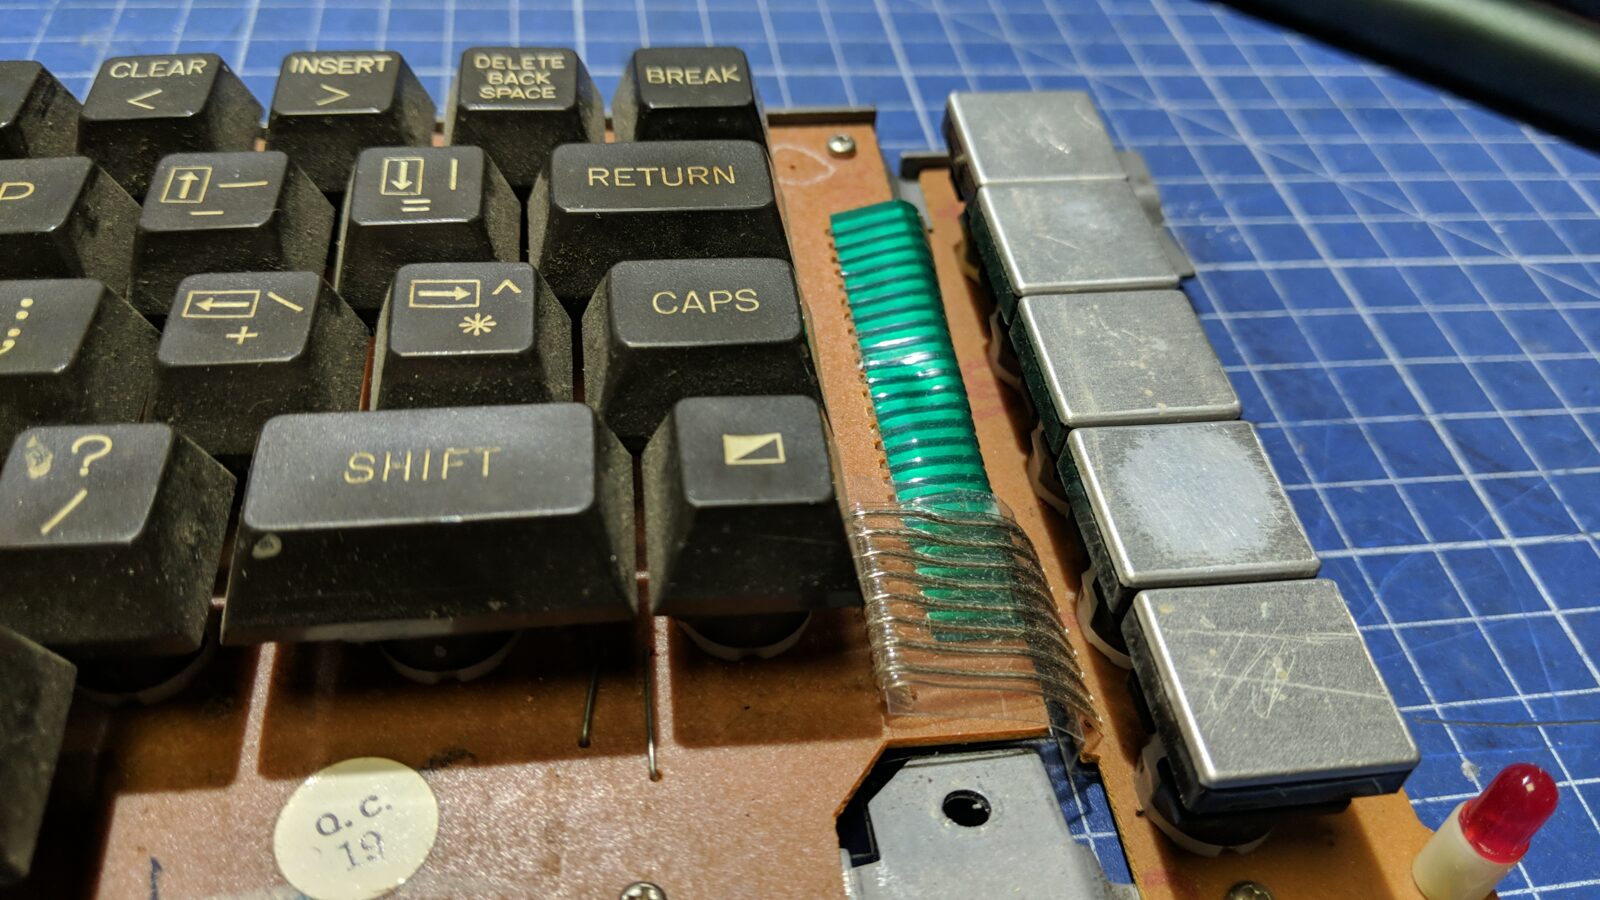
Again, I’ve used a freezing spray to remove some more aluminum parts.
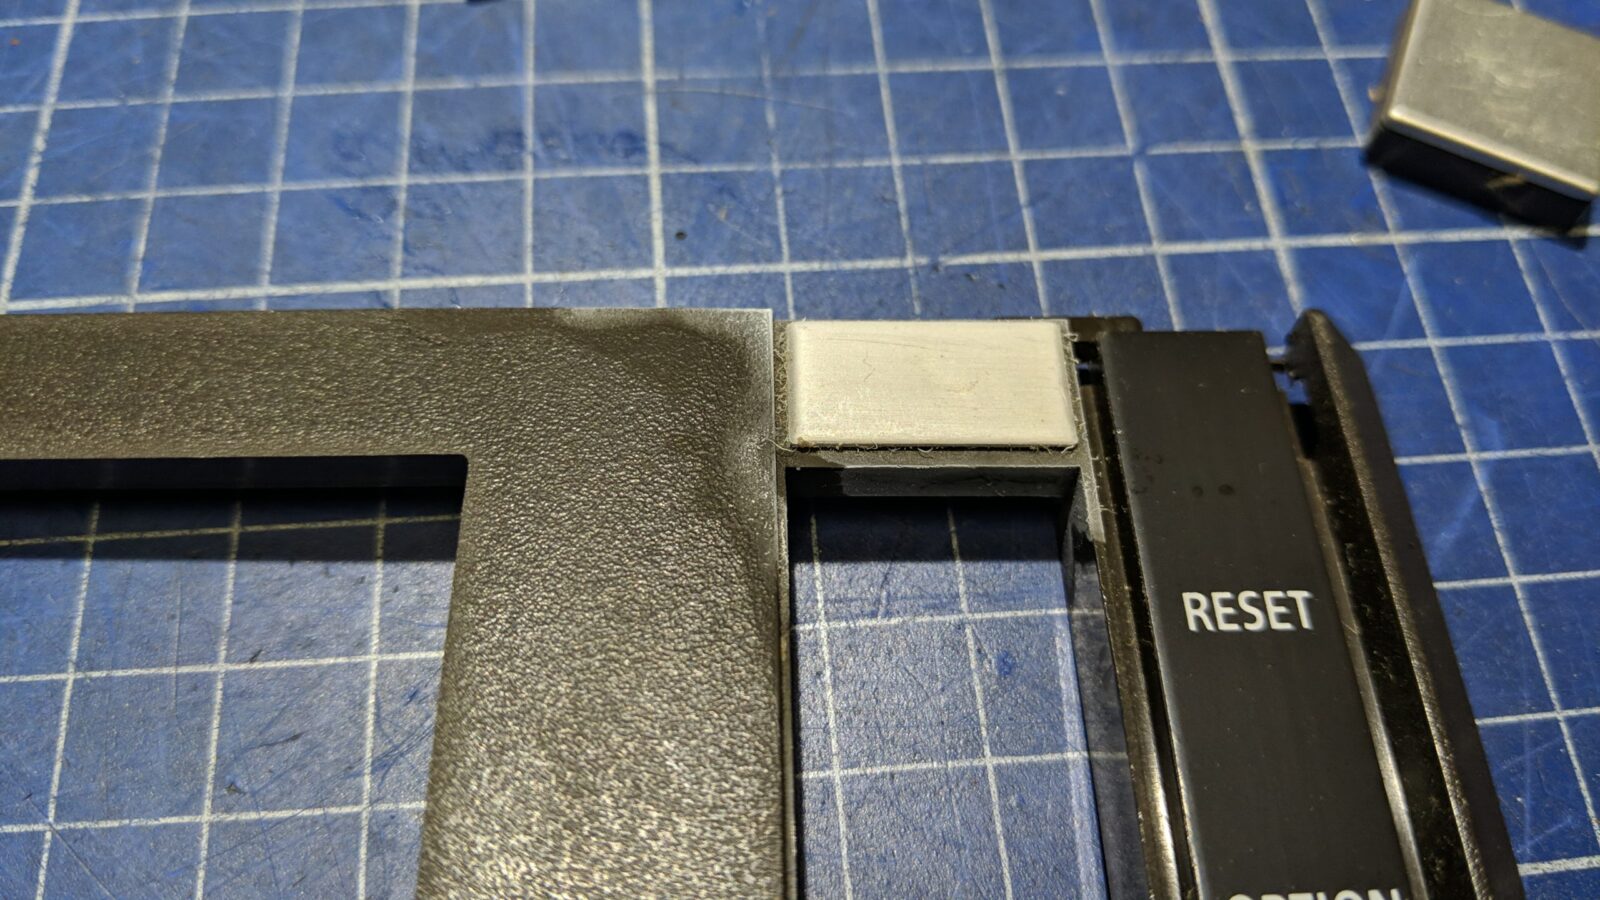
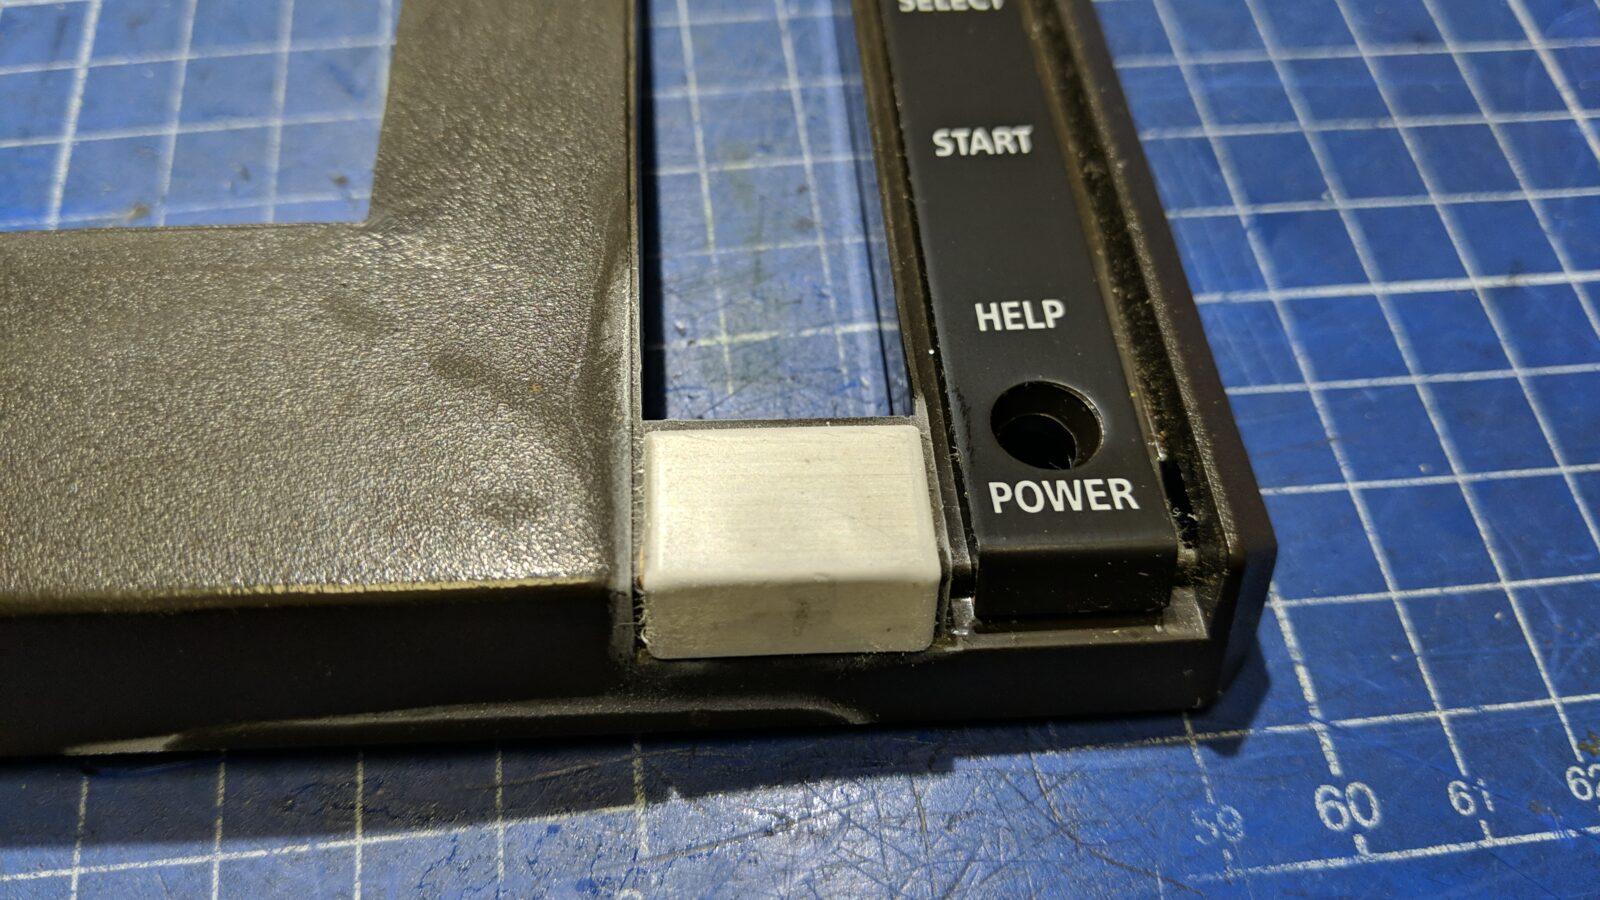
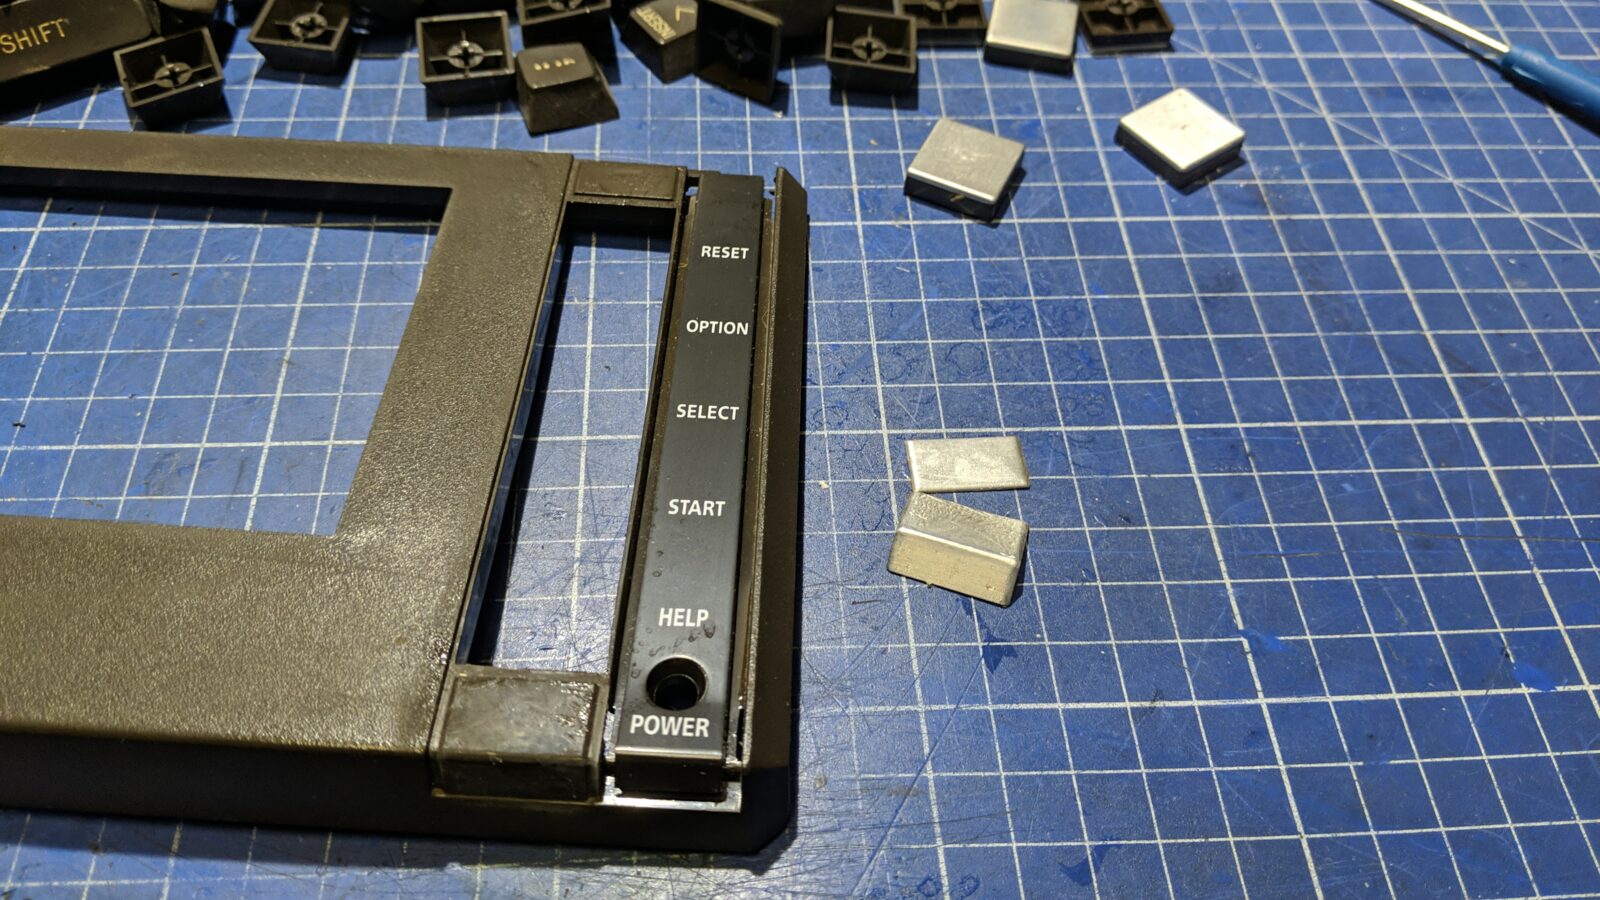
Next, to soften the original glue, I’ve put all these parts into an IPA bath.
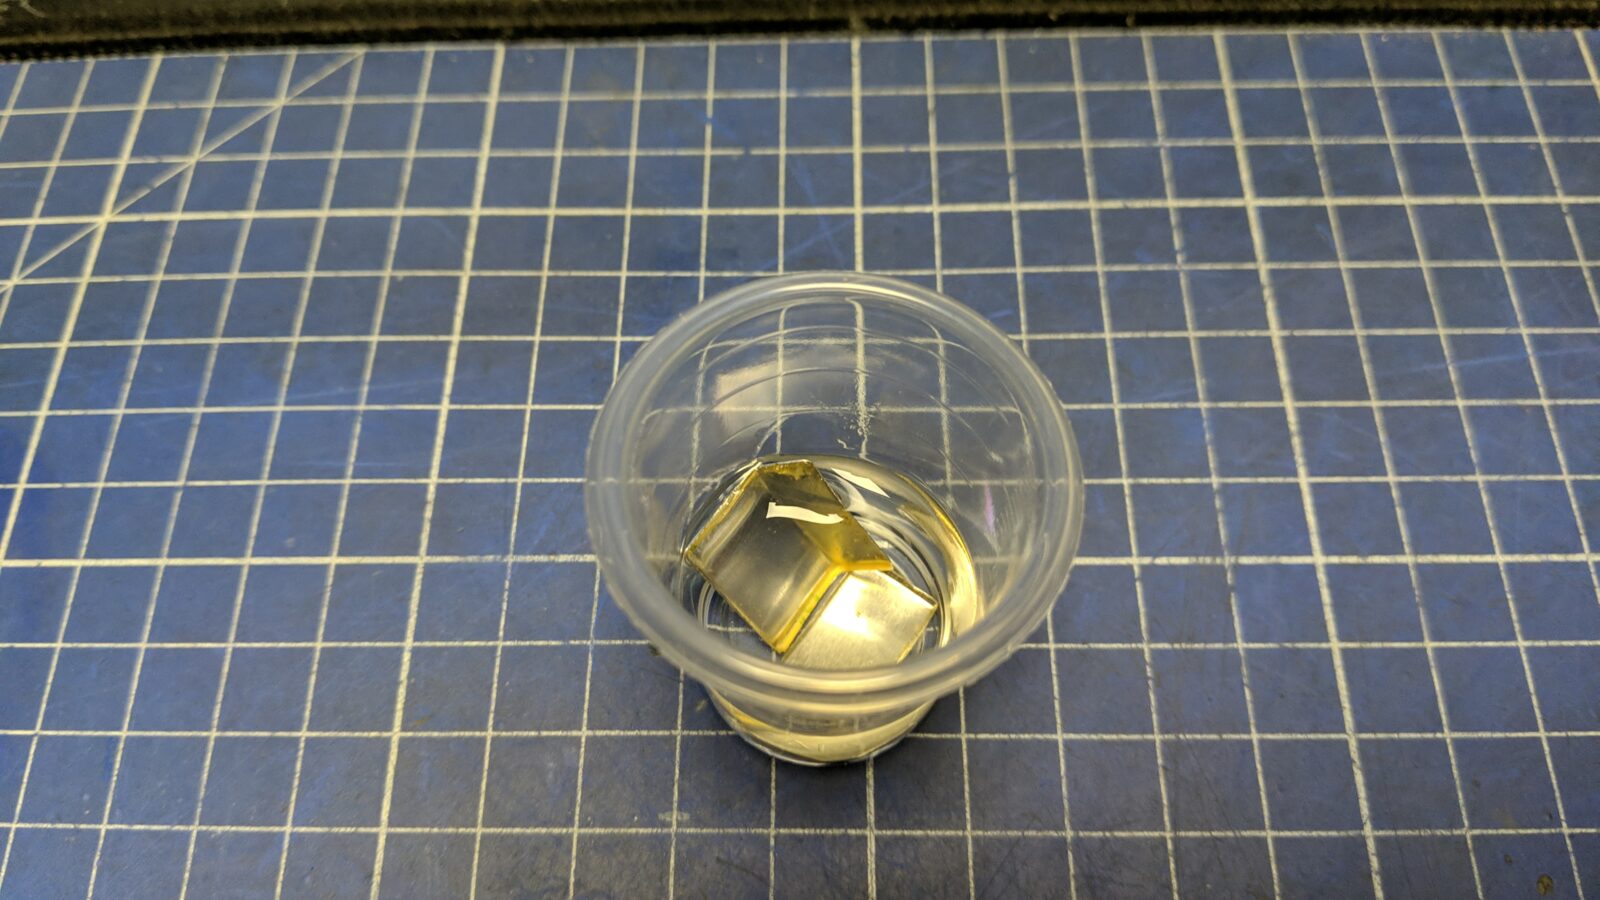
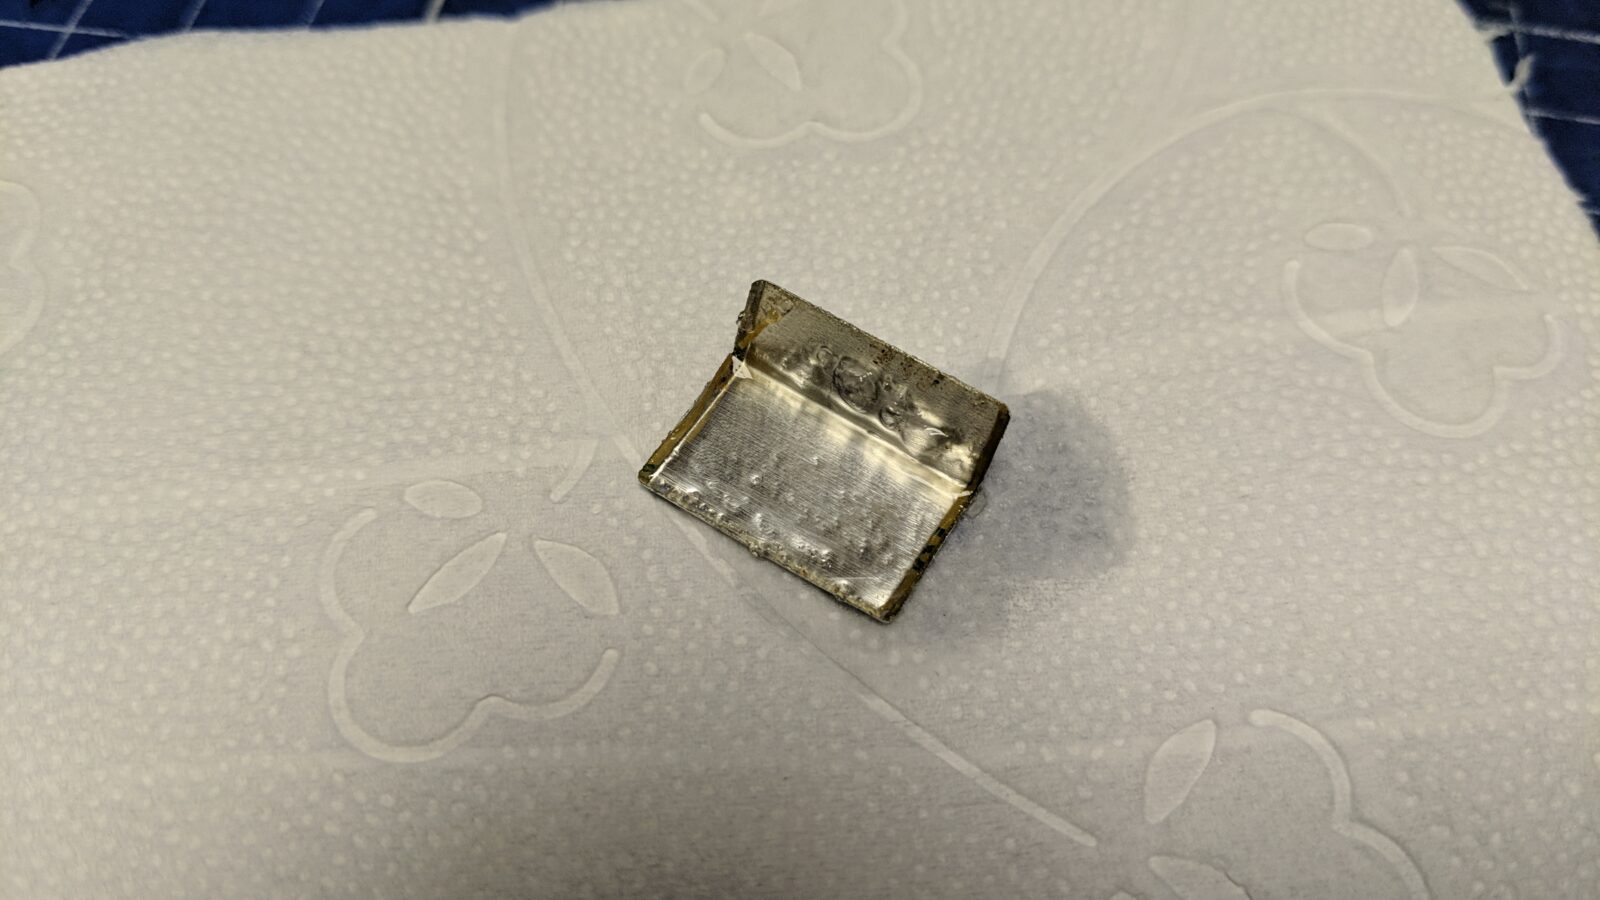
Now, with the case stripped off all the parts, it was ready for a bit of retr0brighting and keycaps in a beaker.
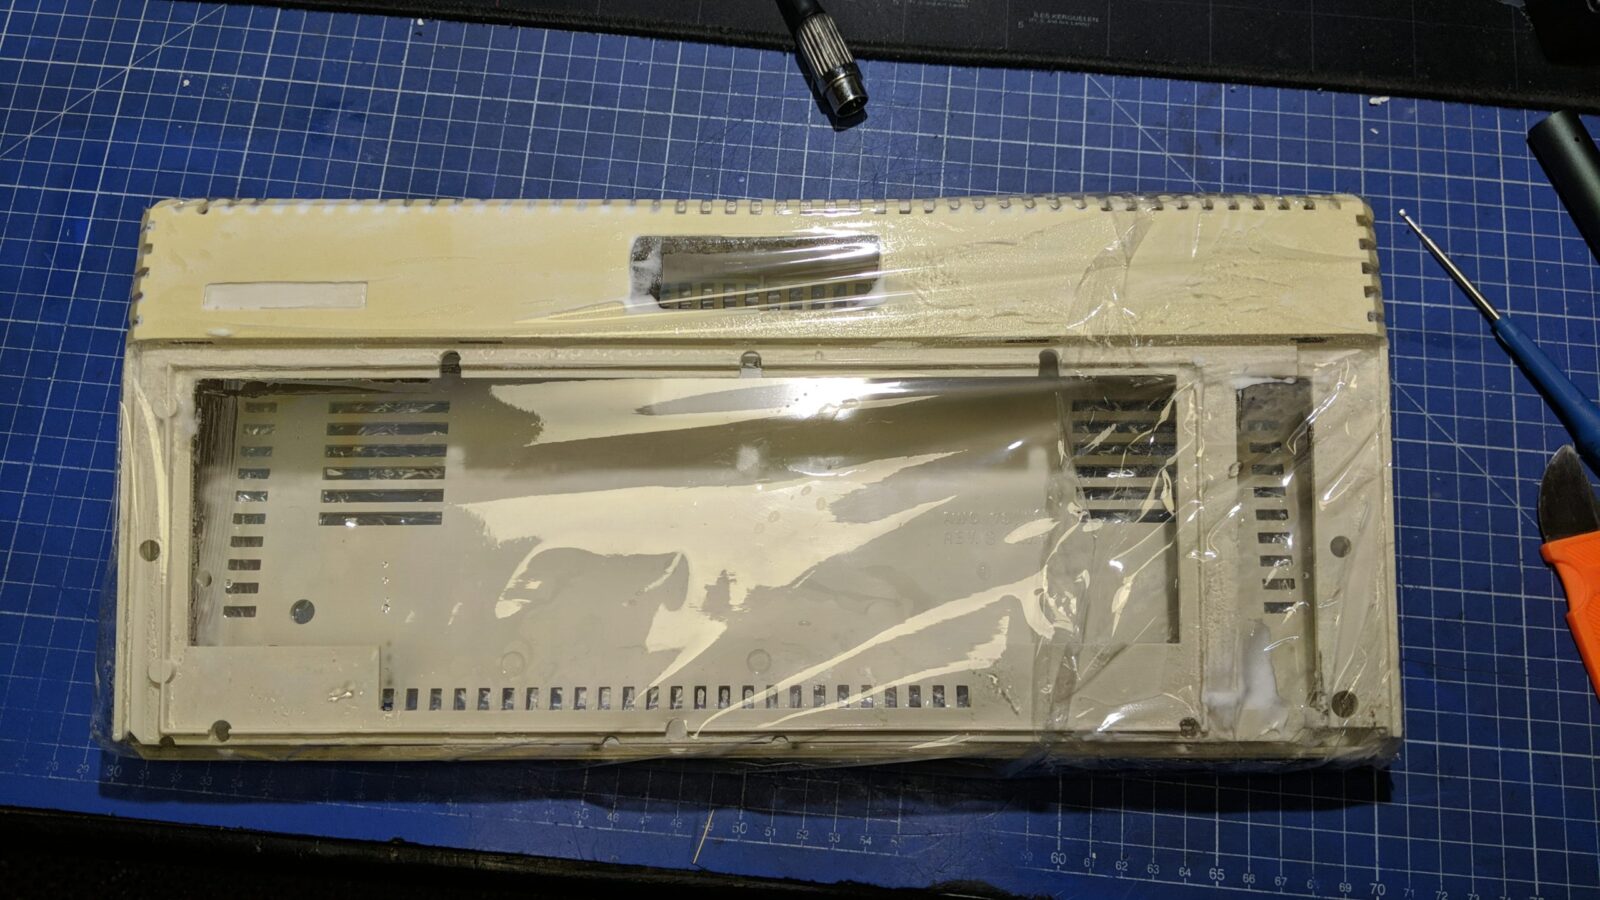
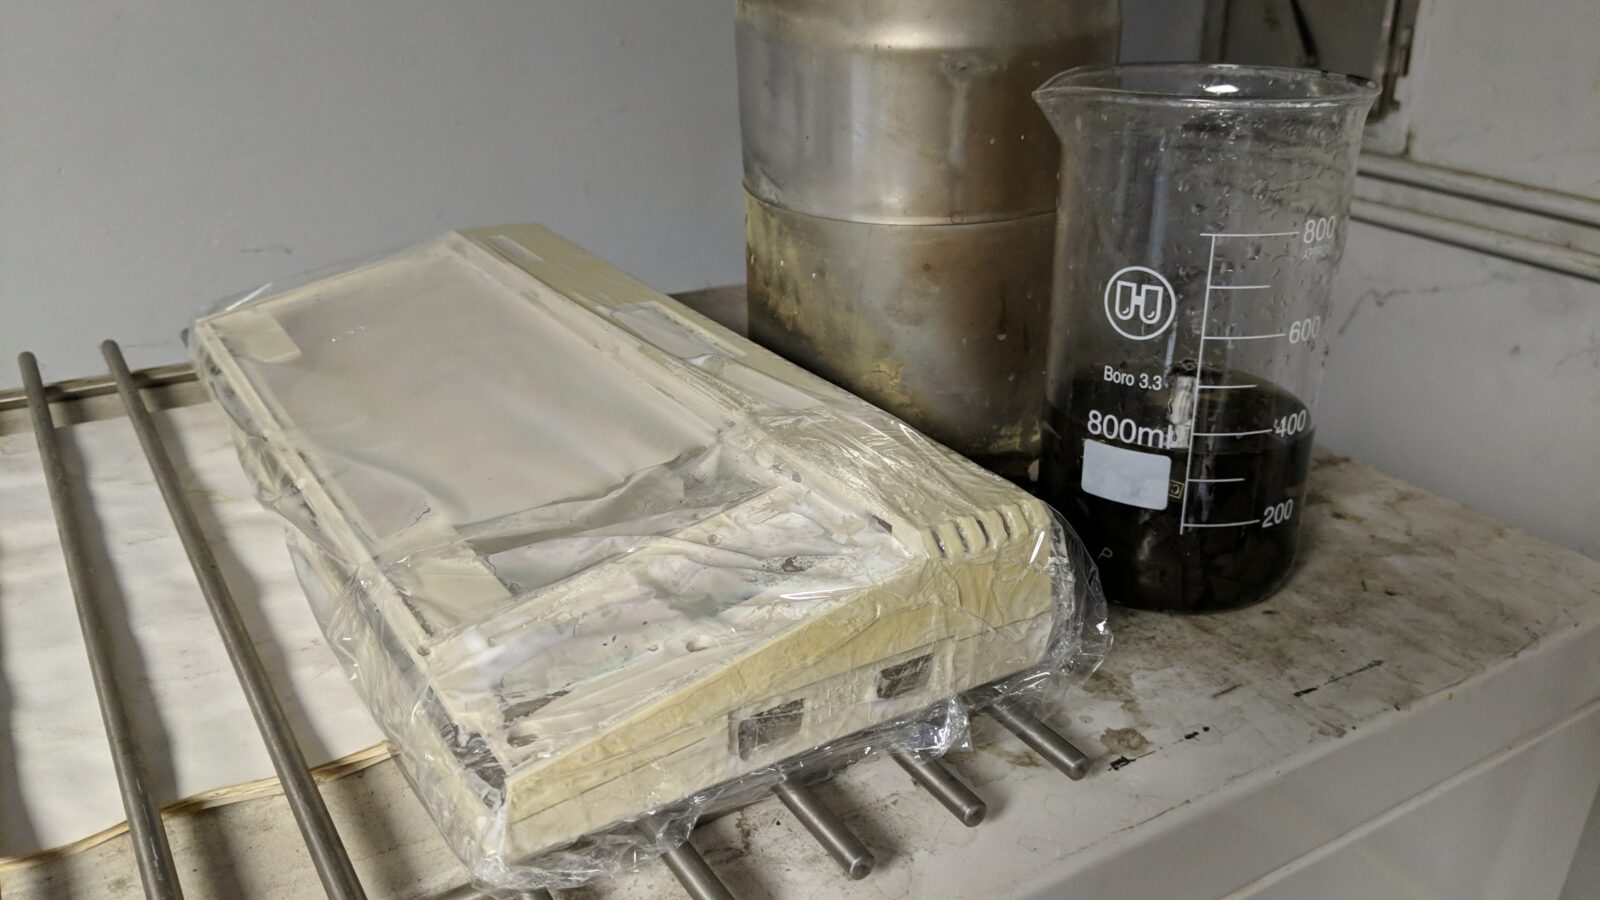
After a few days, I also gave it a nice UV bath in my UV reactor to finish the job.
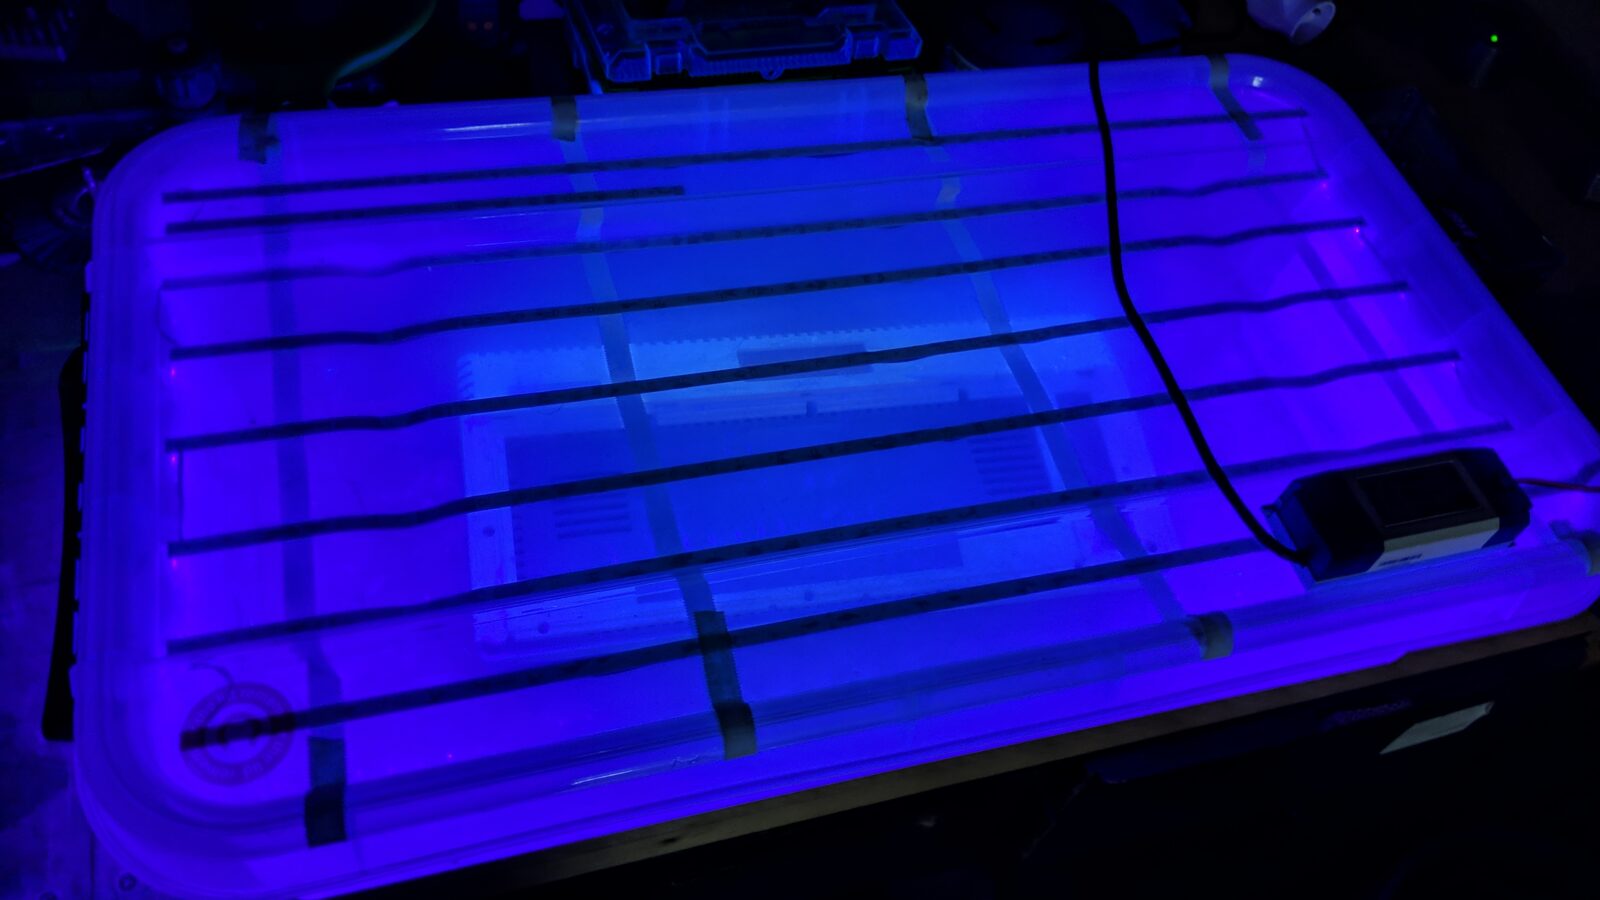
A bit of polishing …
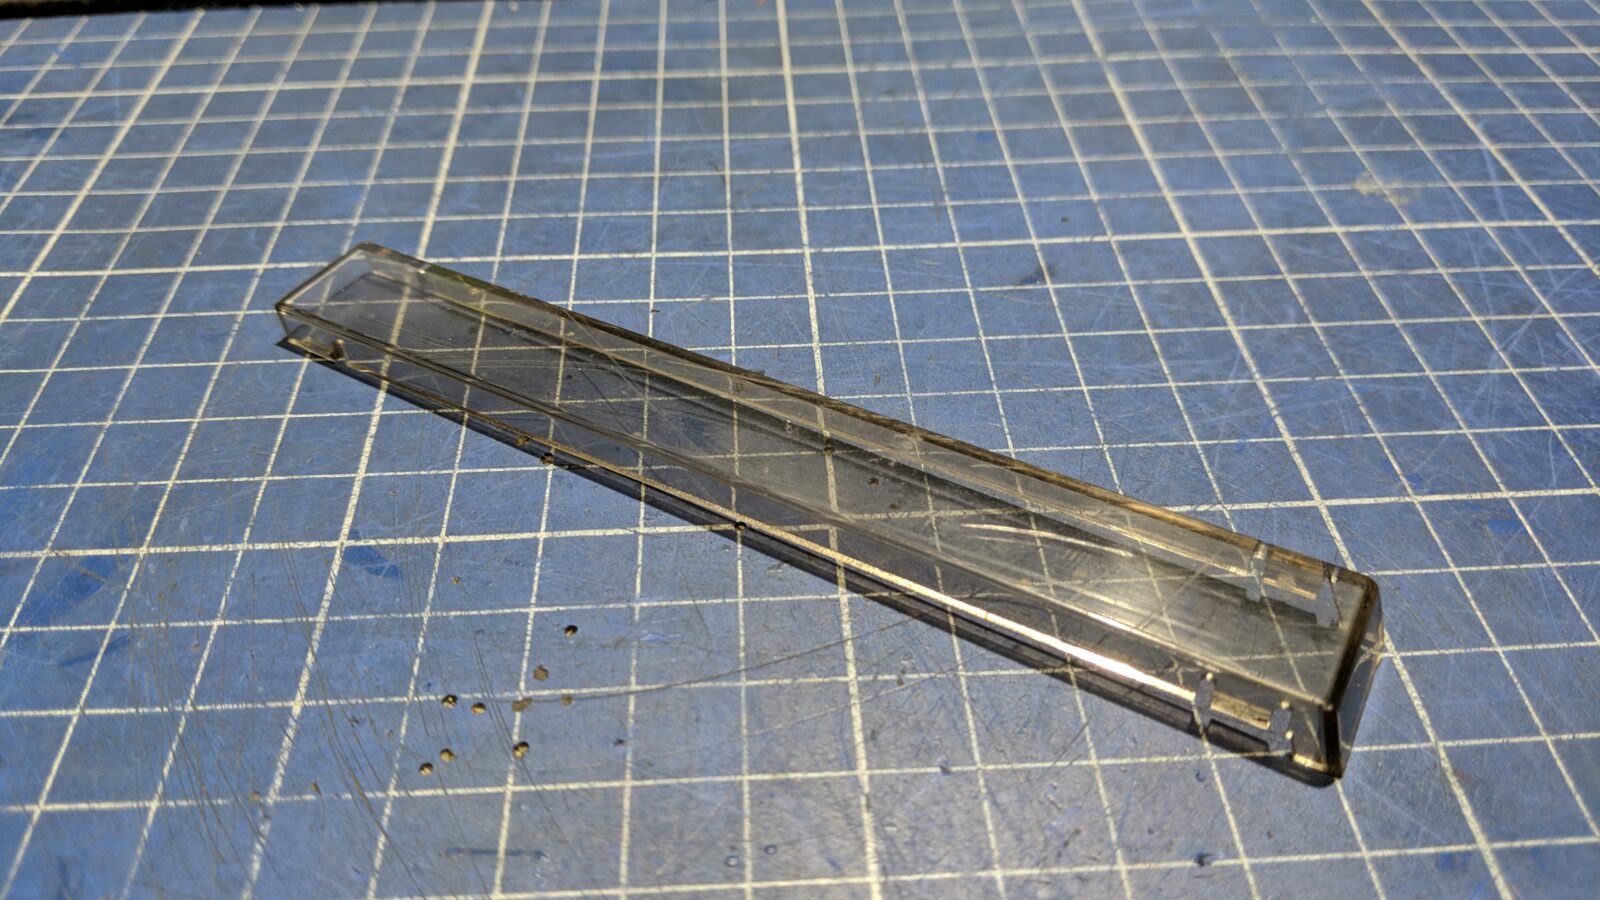
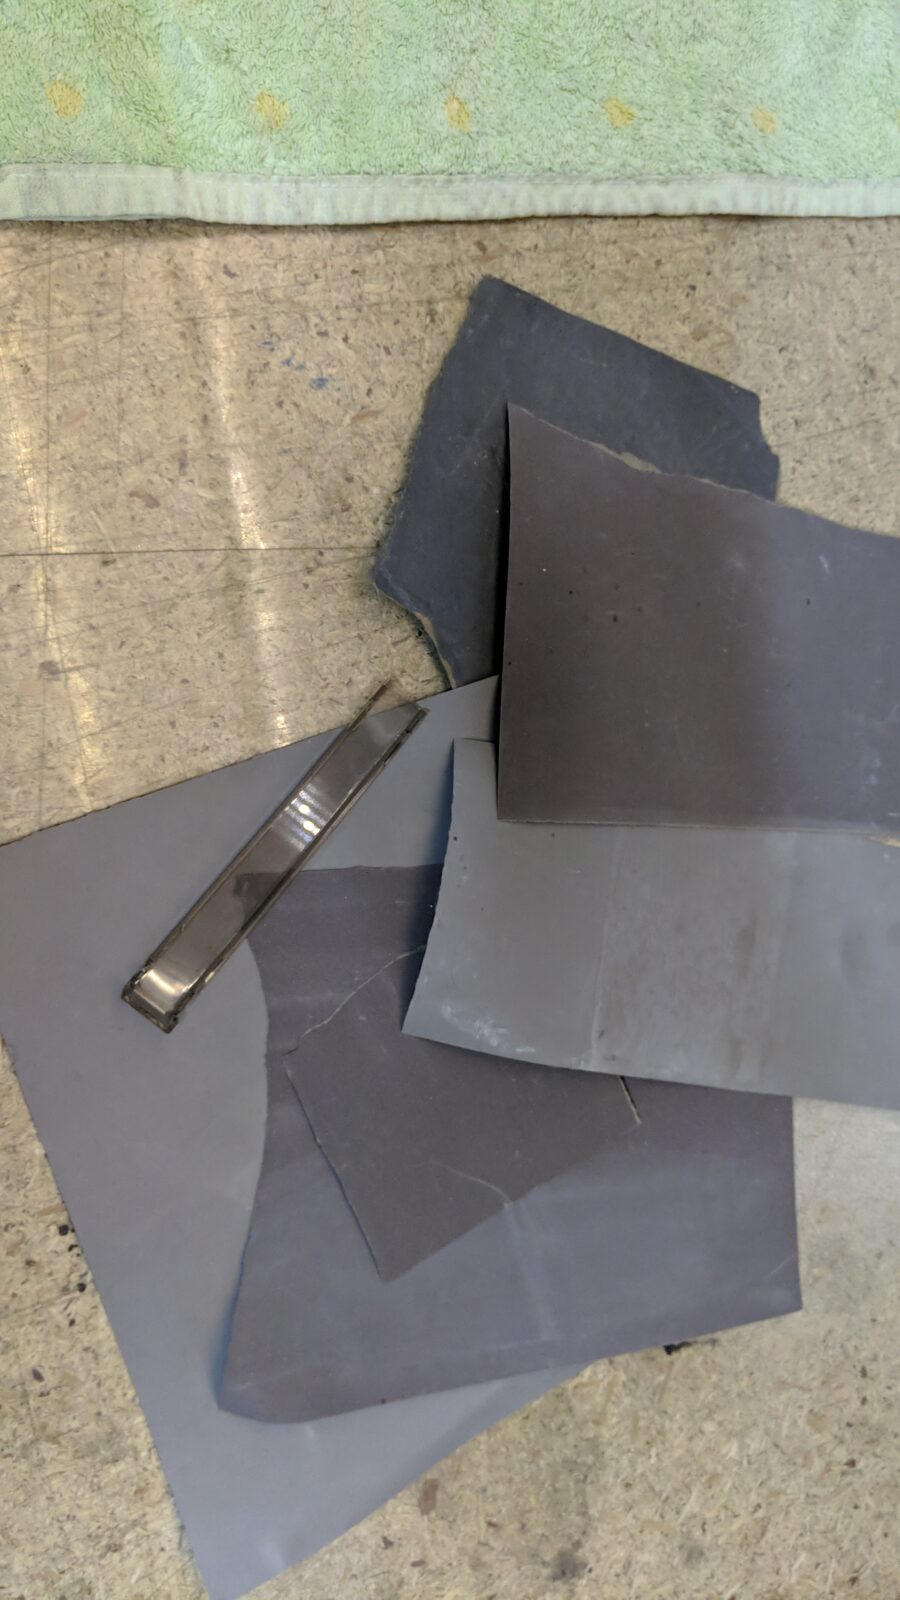
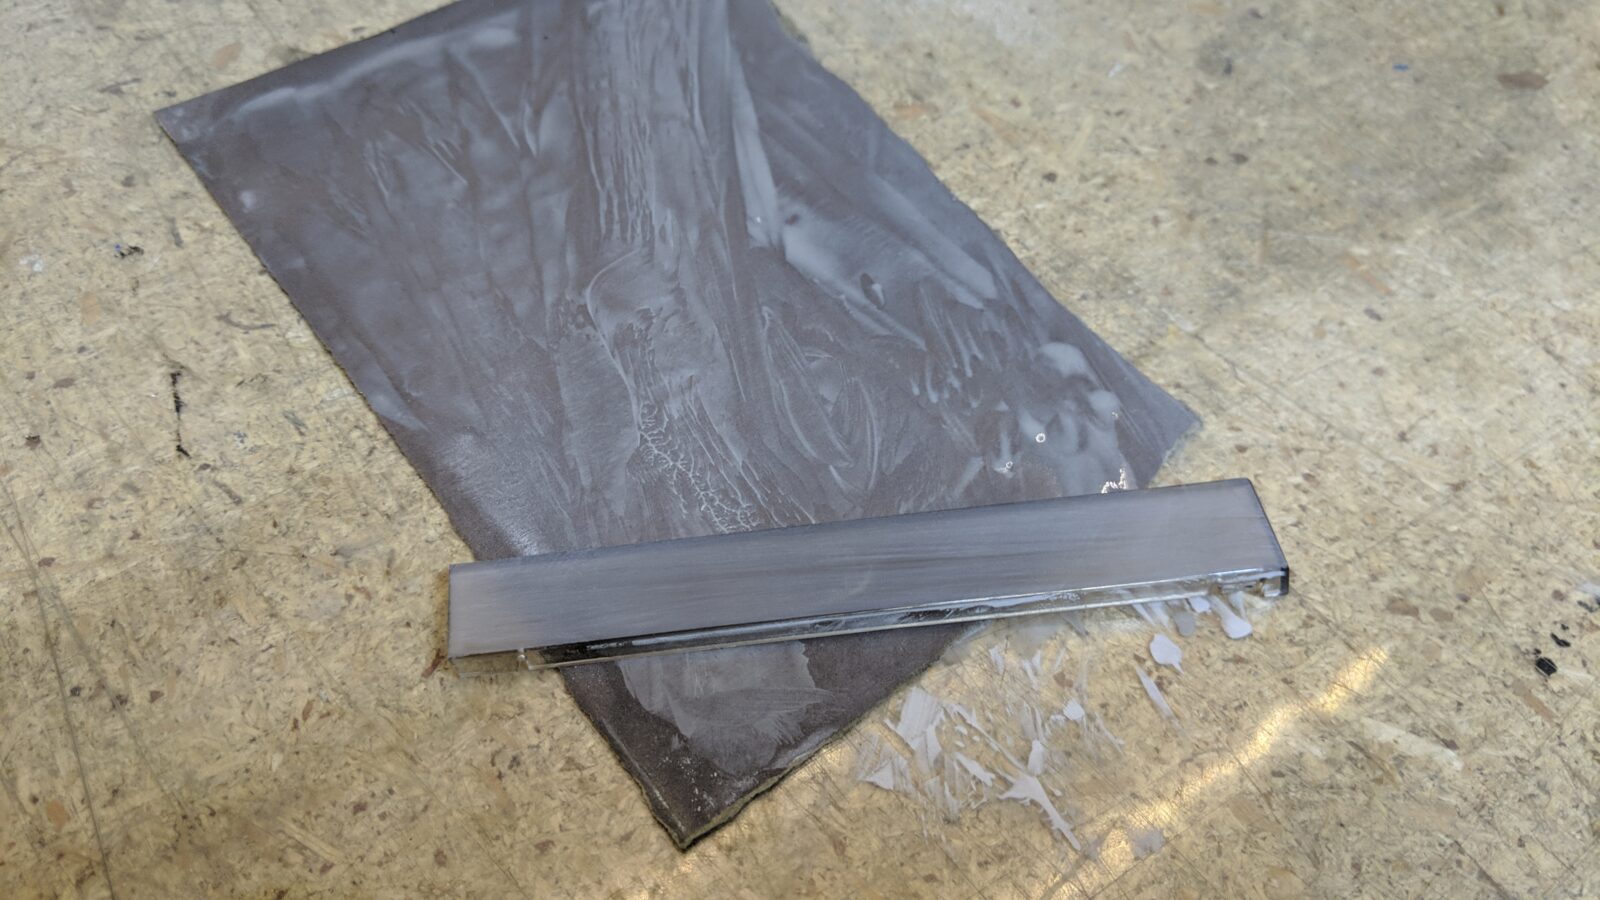
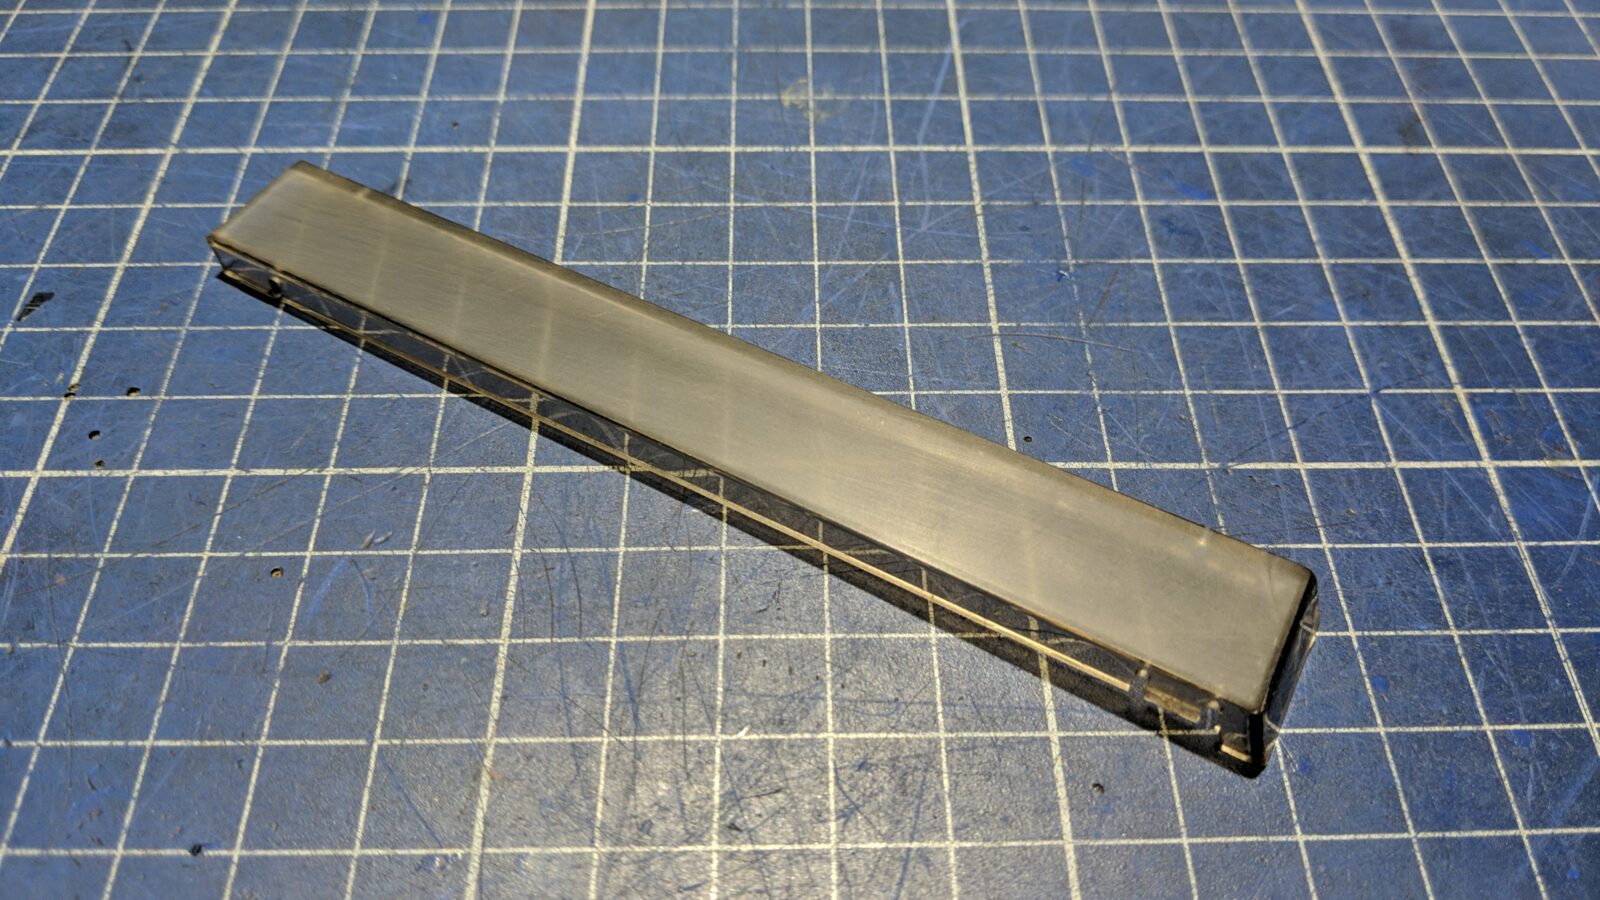
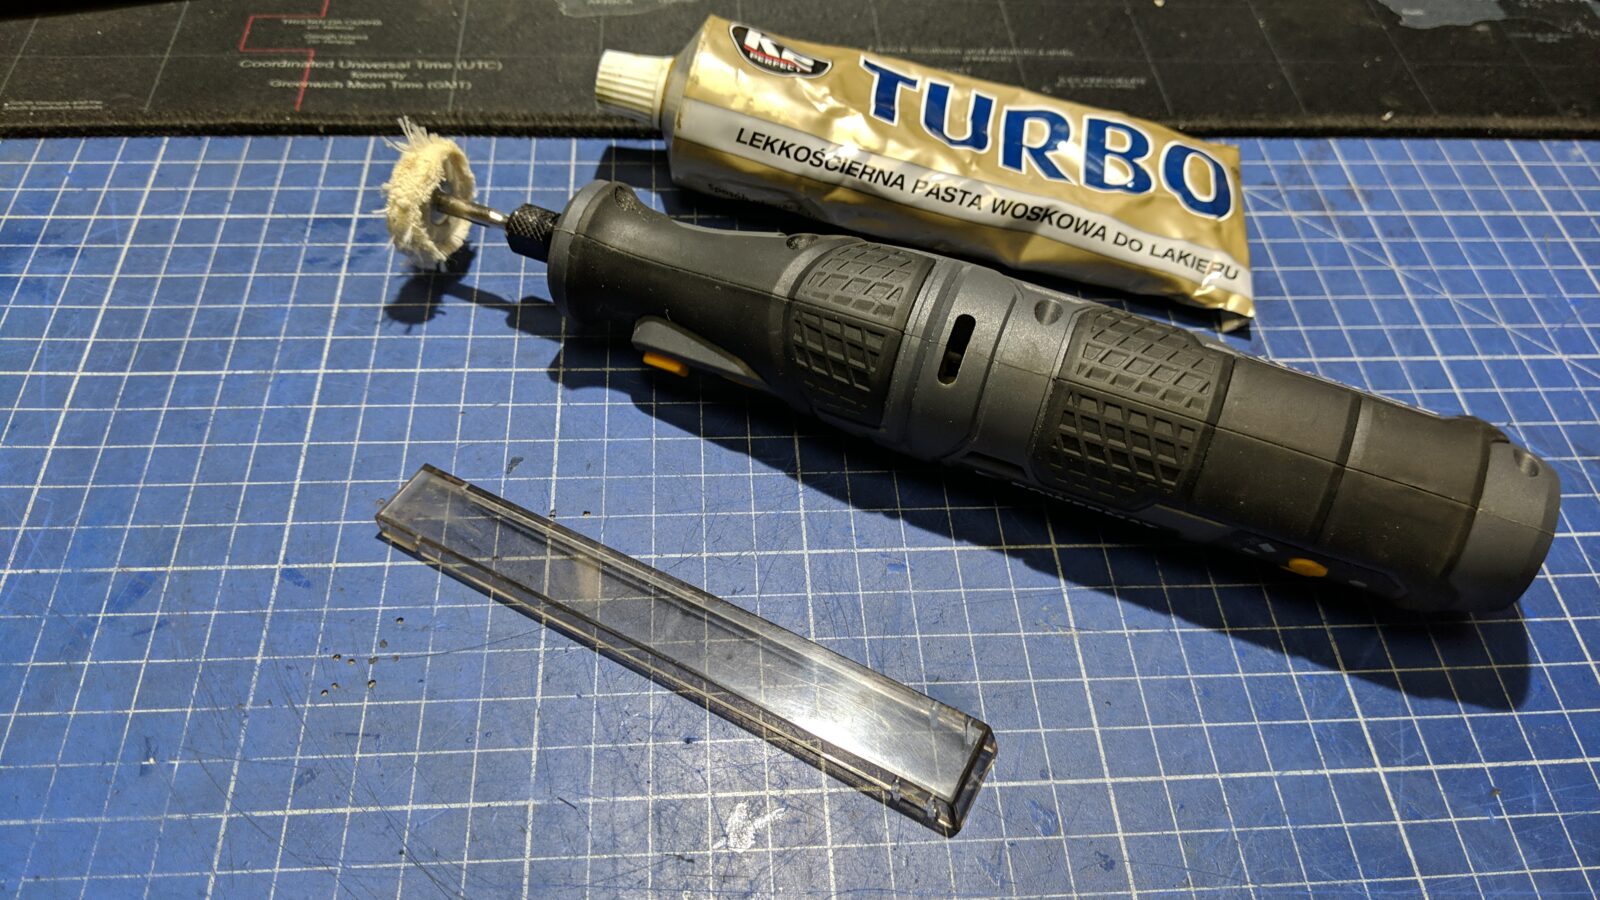
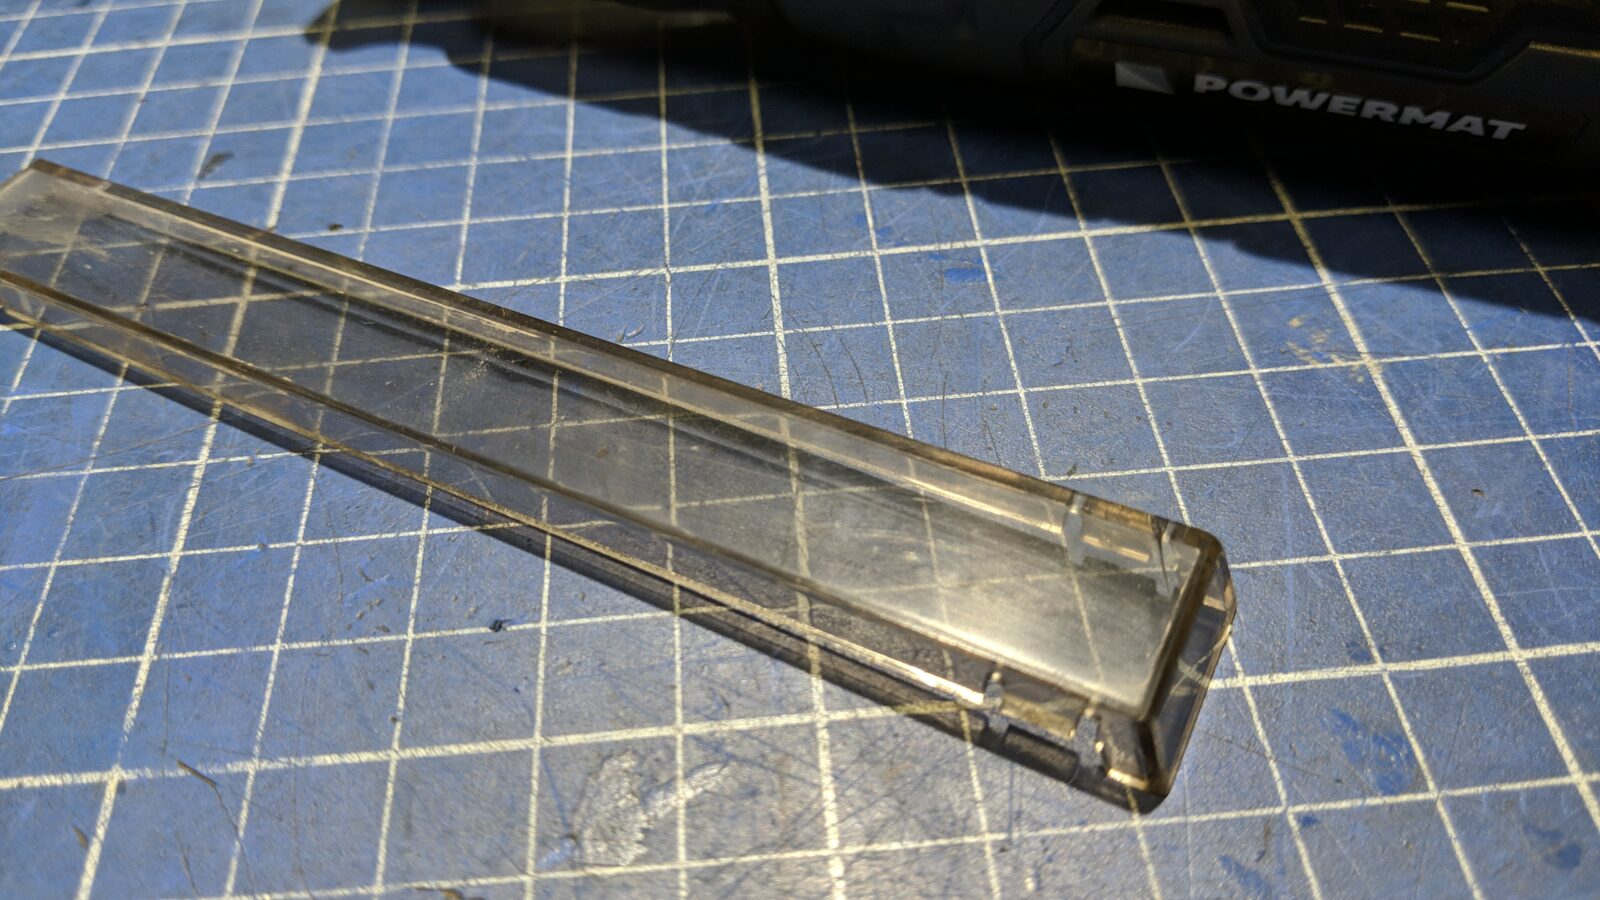
I had to work on the transparent plastic cover as it was slightly scratched.
For such a job, I usually use a set of sandpapers. Most of the time I gradually go with 400, 600, 1000, 1500, and 2000 grit sandpaper. After that, only a polishing paste.
Here is how the process looks.
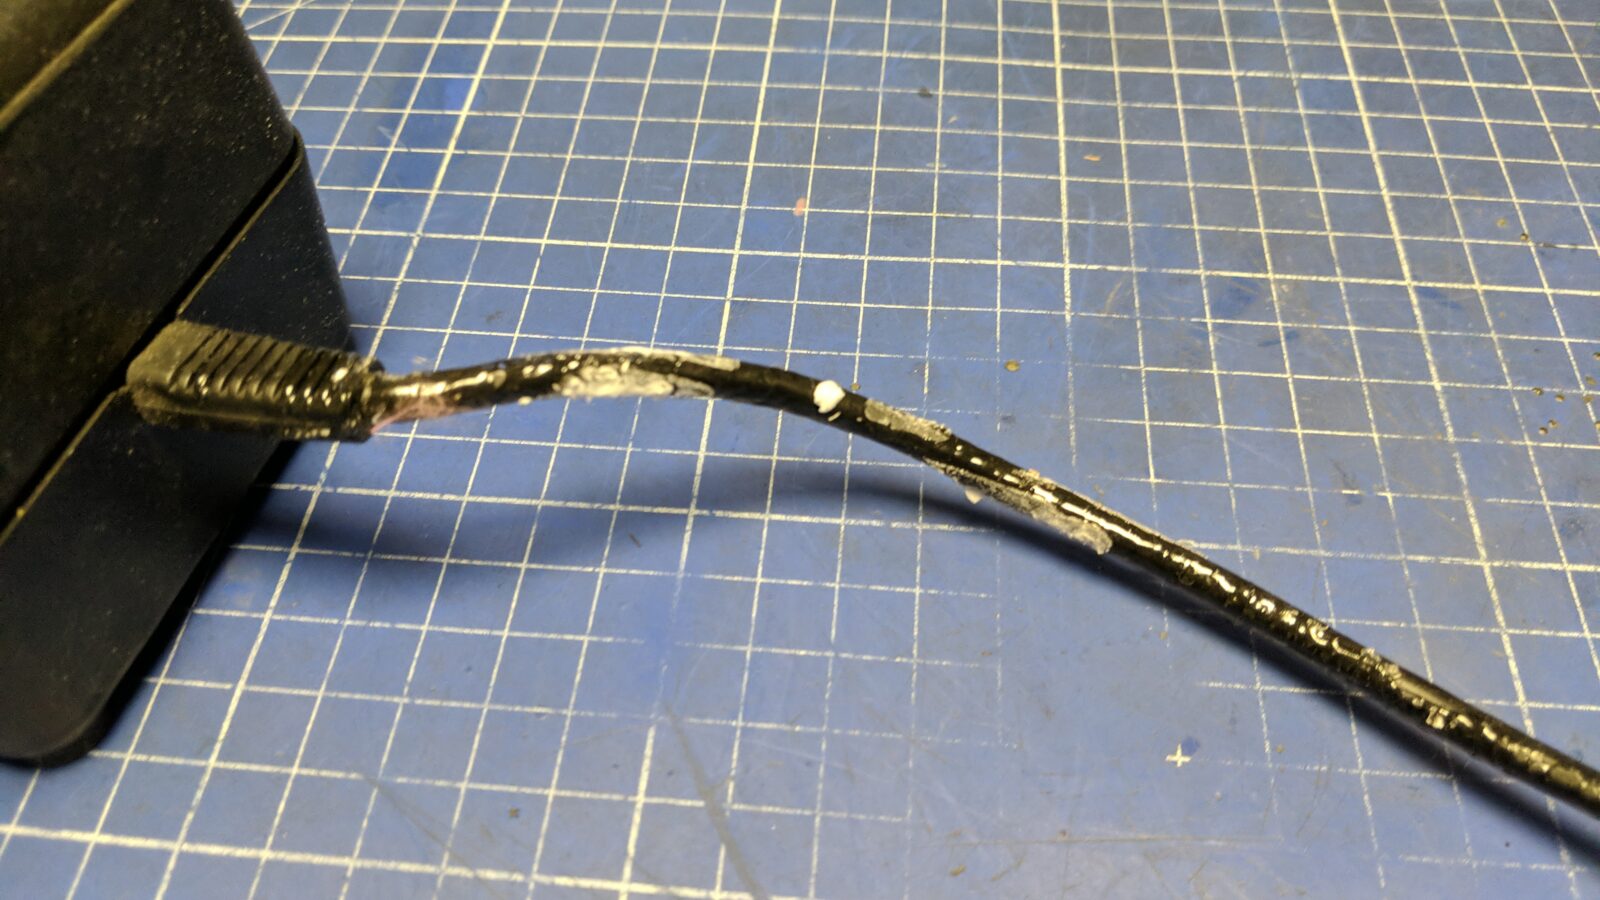
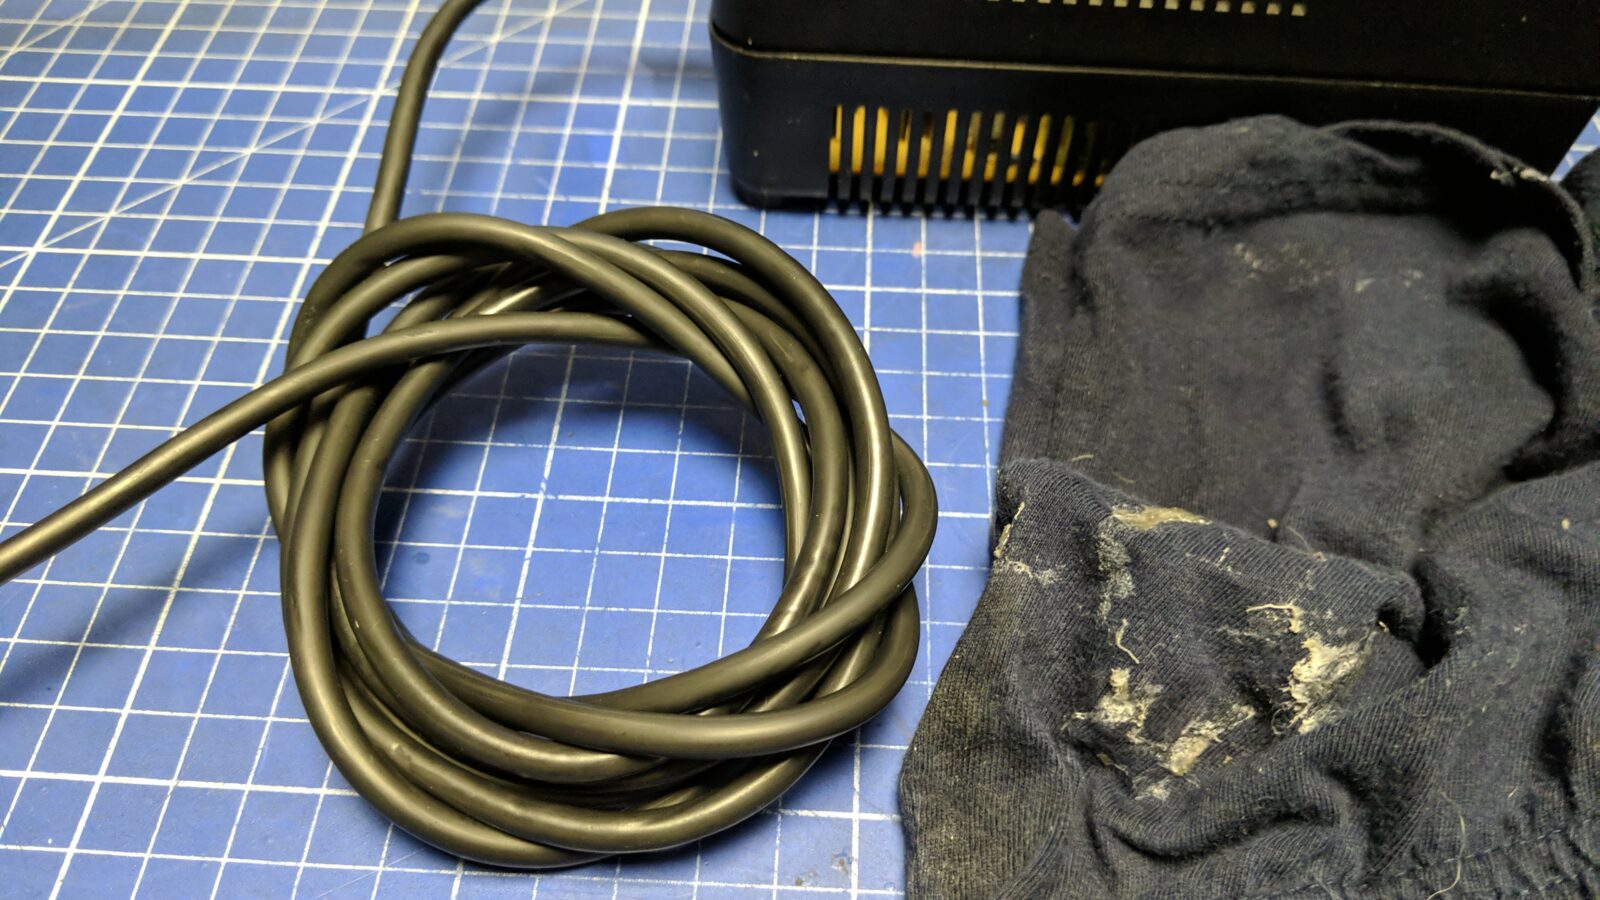
Polystyrene covered wires
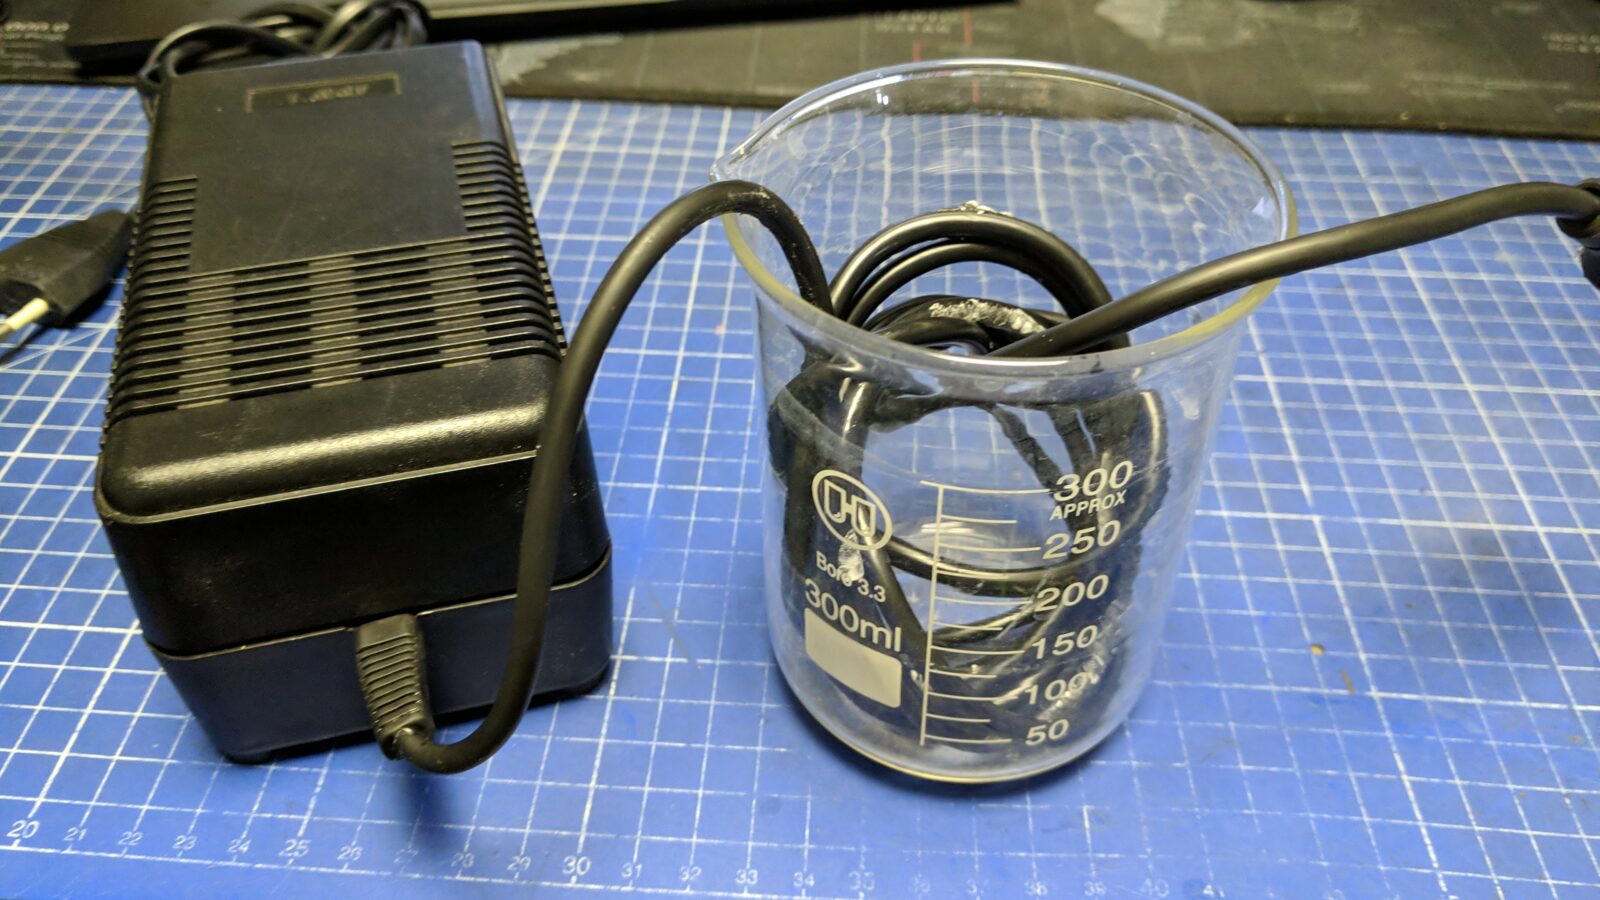
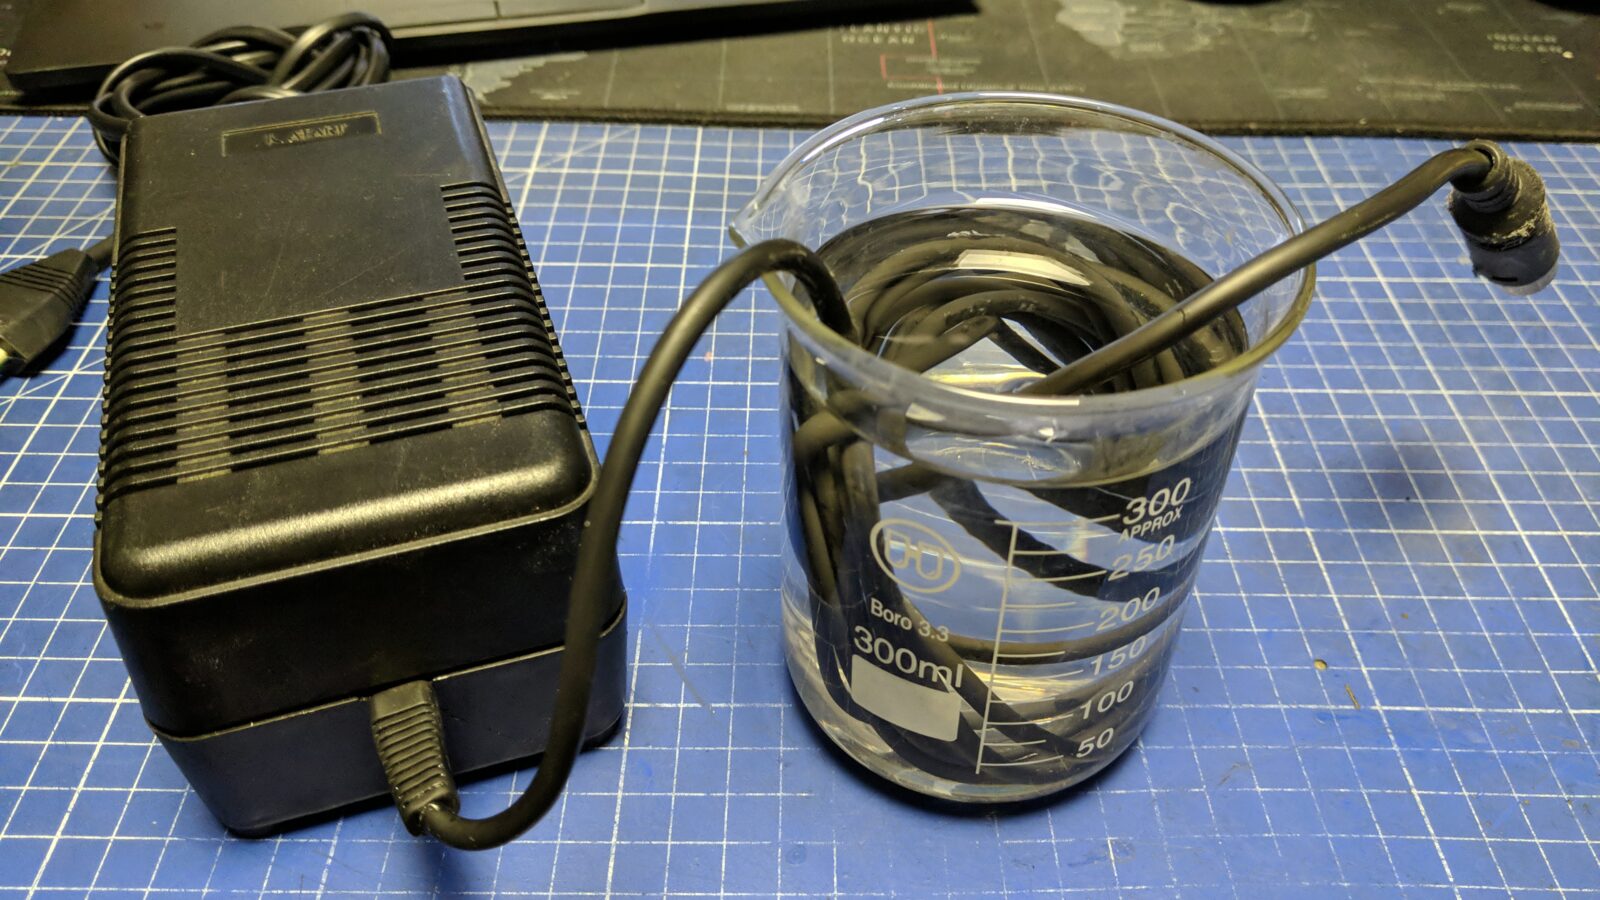
When working with boxed systems, there is an issue with a polystyrene insert reacting with PVC cables and/or with computer cases. Most of the time, people tend to skip wrapping wires in original polyethylene bags. The majority of cable insulation is made out of PVC which reacts with polystyrene resulting in a nasty gooey covering those cables. To get rid of it, I’ve poured acetone into a beaker, and submerged a wire covered in styrene residue. After a few moments, you can take it out and remove the styrene residue with a piece of cloth. Other hydrocarbons can be used too. It is important to not keep such wire for too long in a beaker because it might soften PVC insulation.
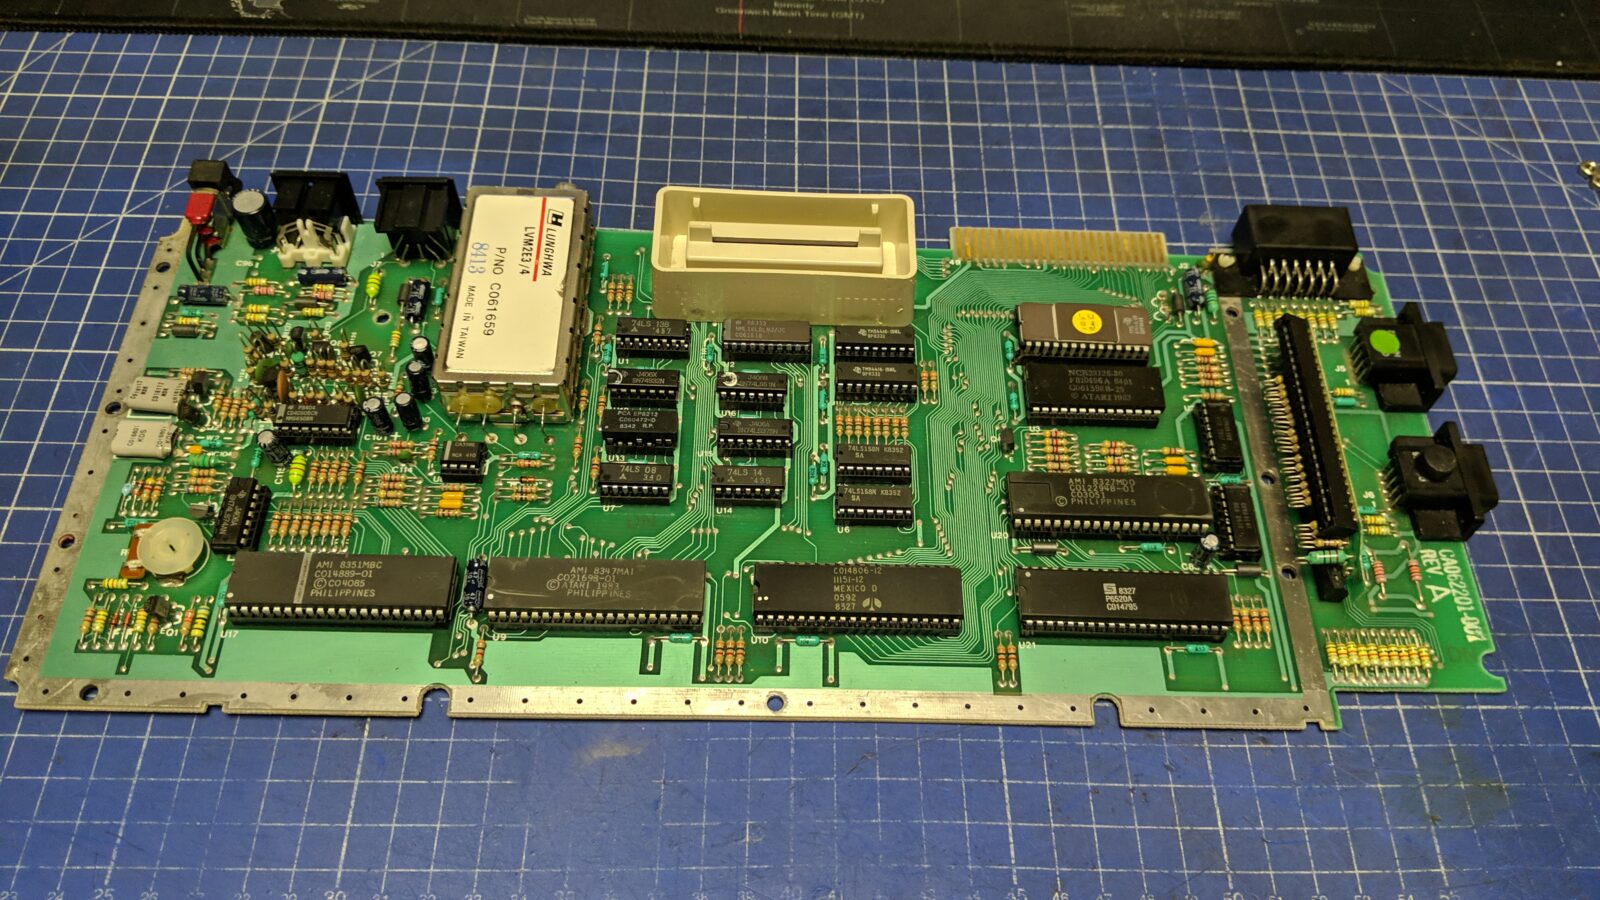
The PCB went through a traditional ultrasonic SPA, nothing fancy here.
Aluminum parts
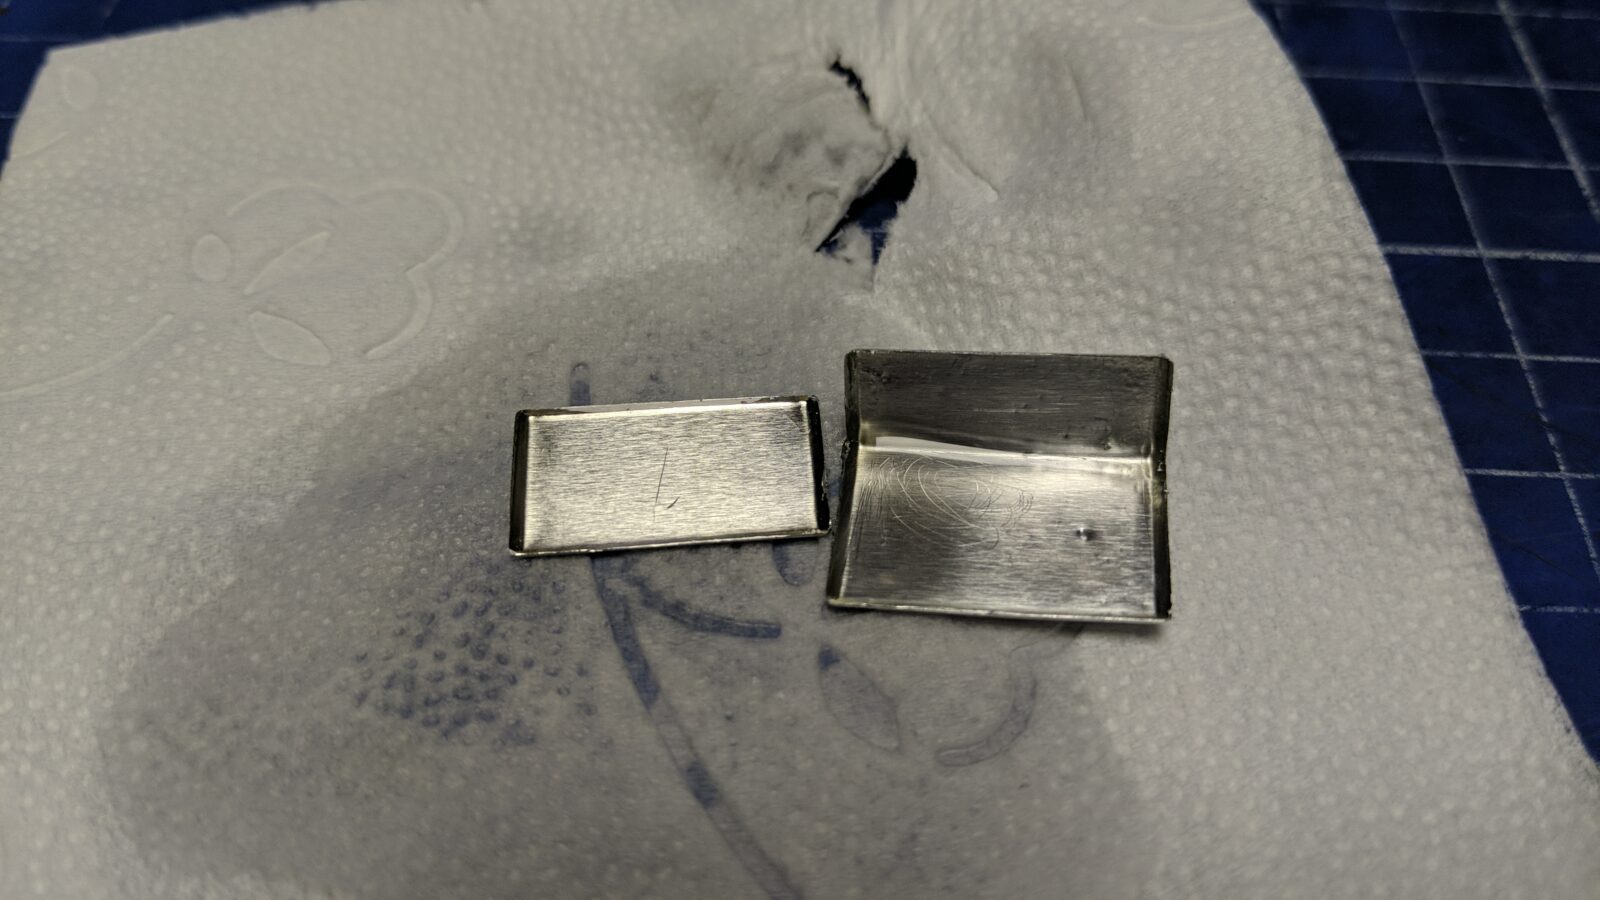
I’ve noticed after sorting out the keyboard (skipped pics), that the aluminum plates on the function keycaps were worn out. Again, I’ve used a set of sandpaper sheets to sort it out. Here is the outcome.
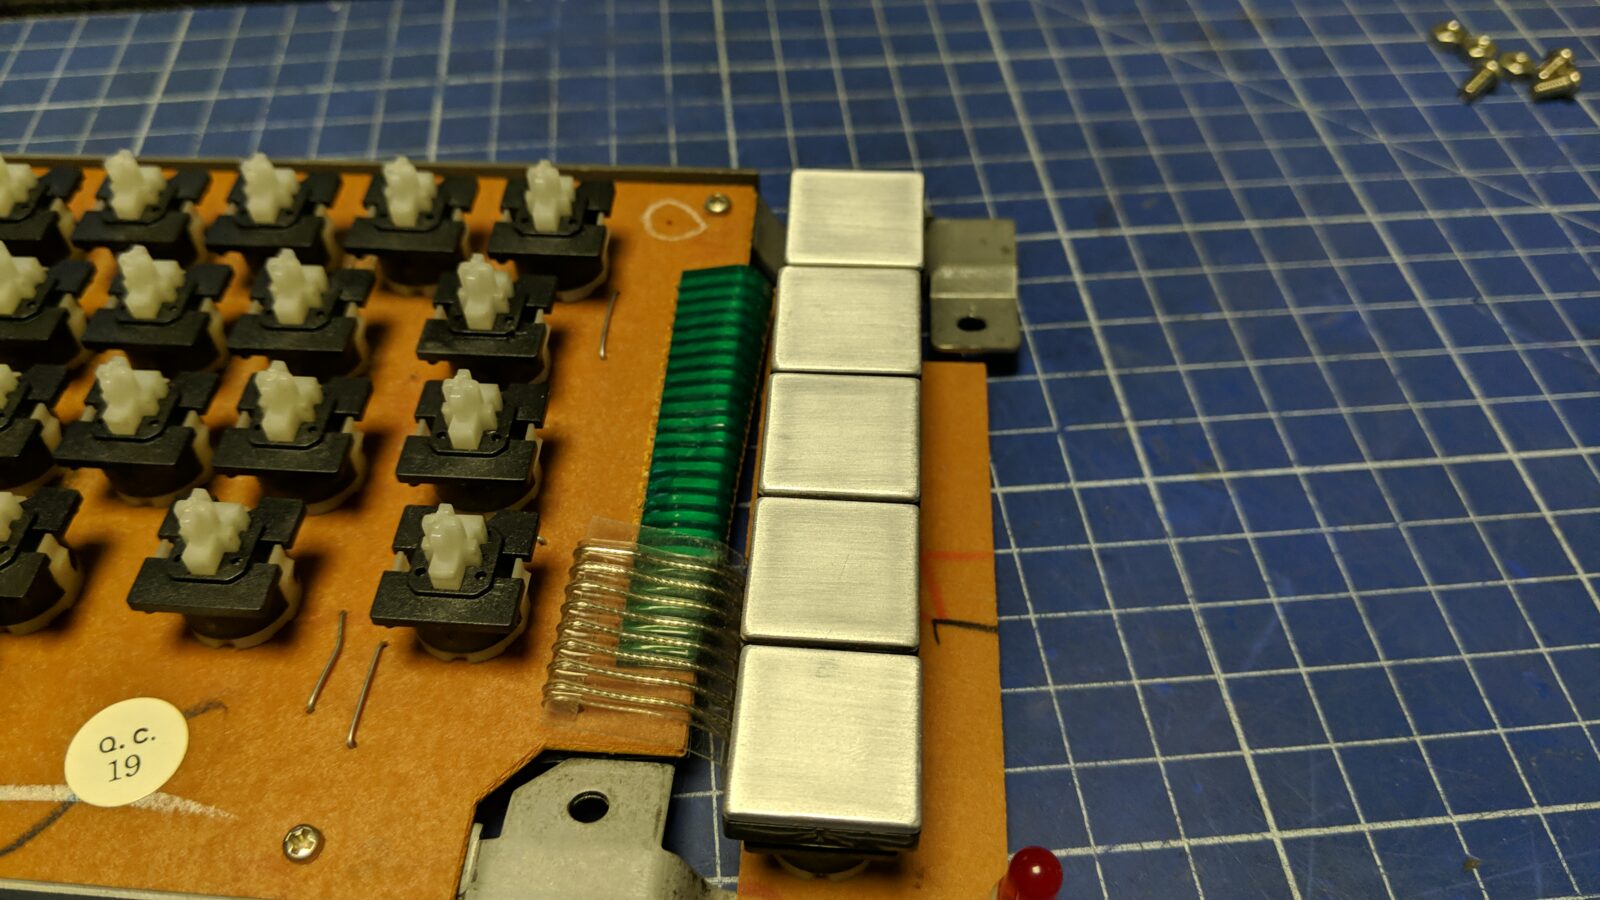
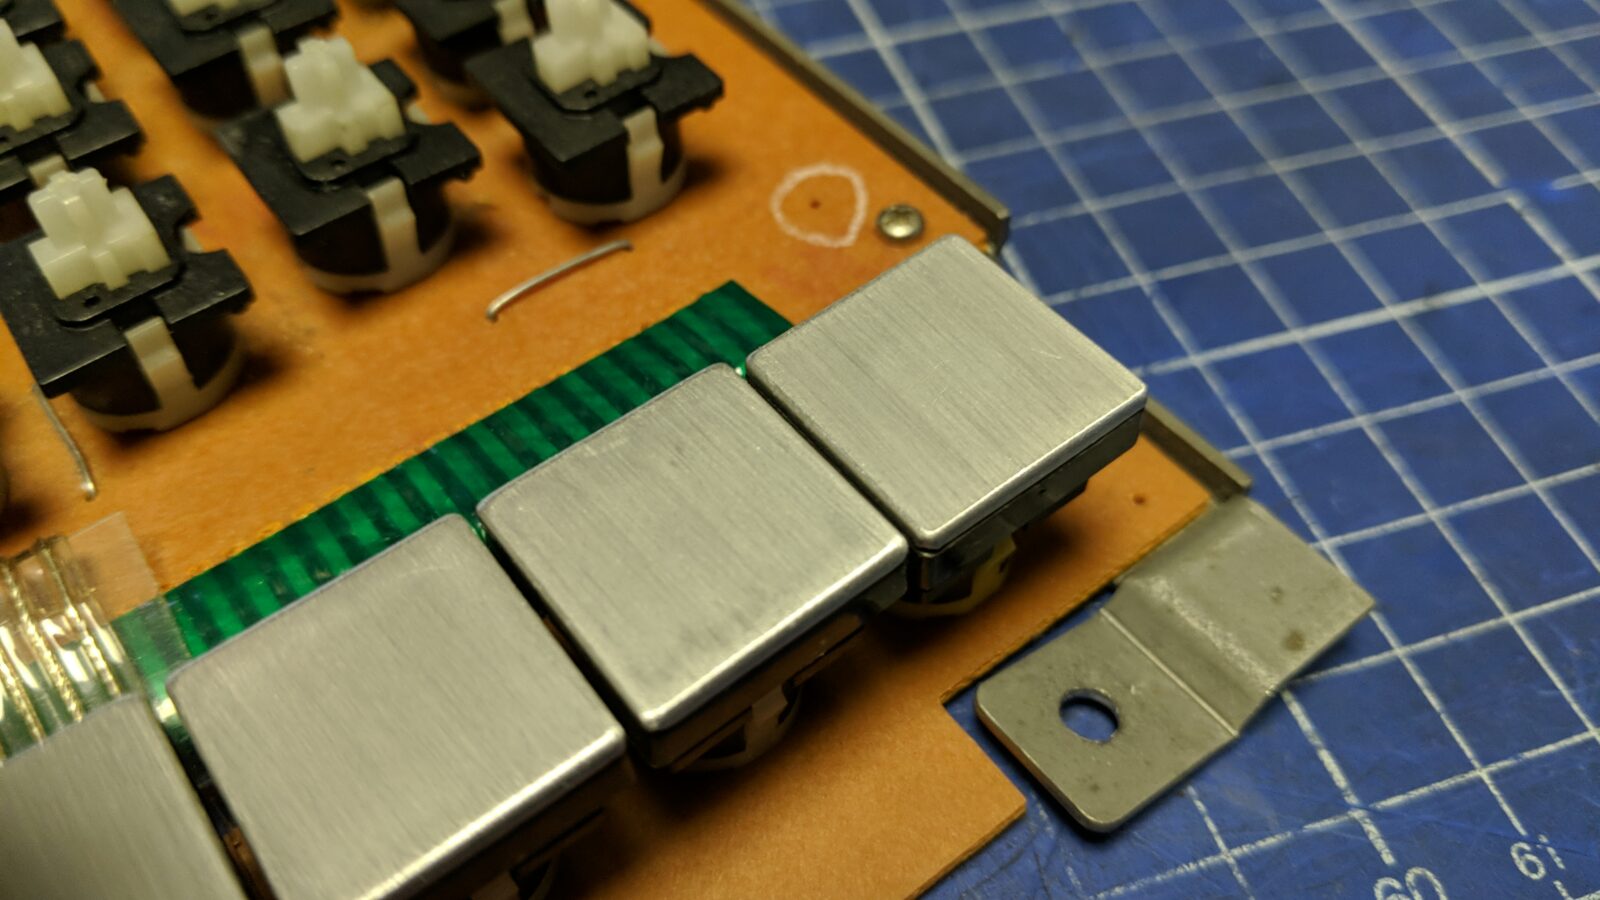
I’ve applied the same method to the remaining aluminum parts.
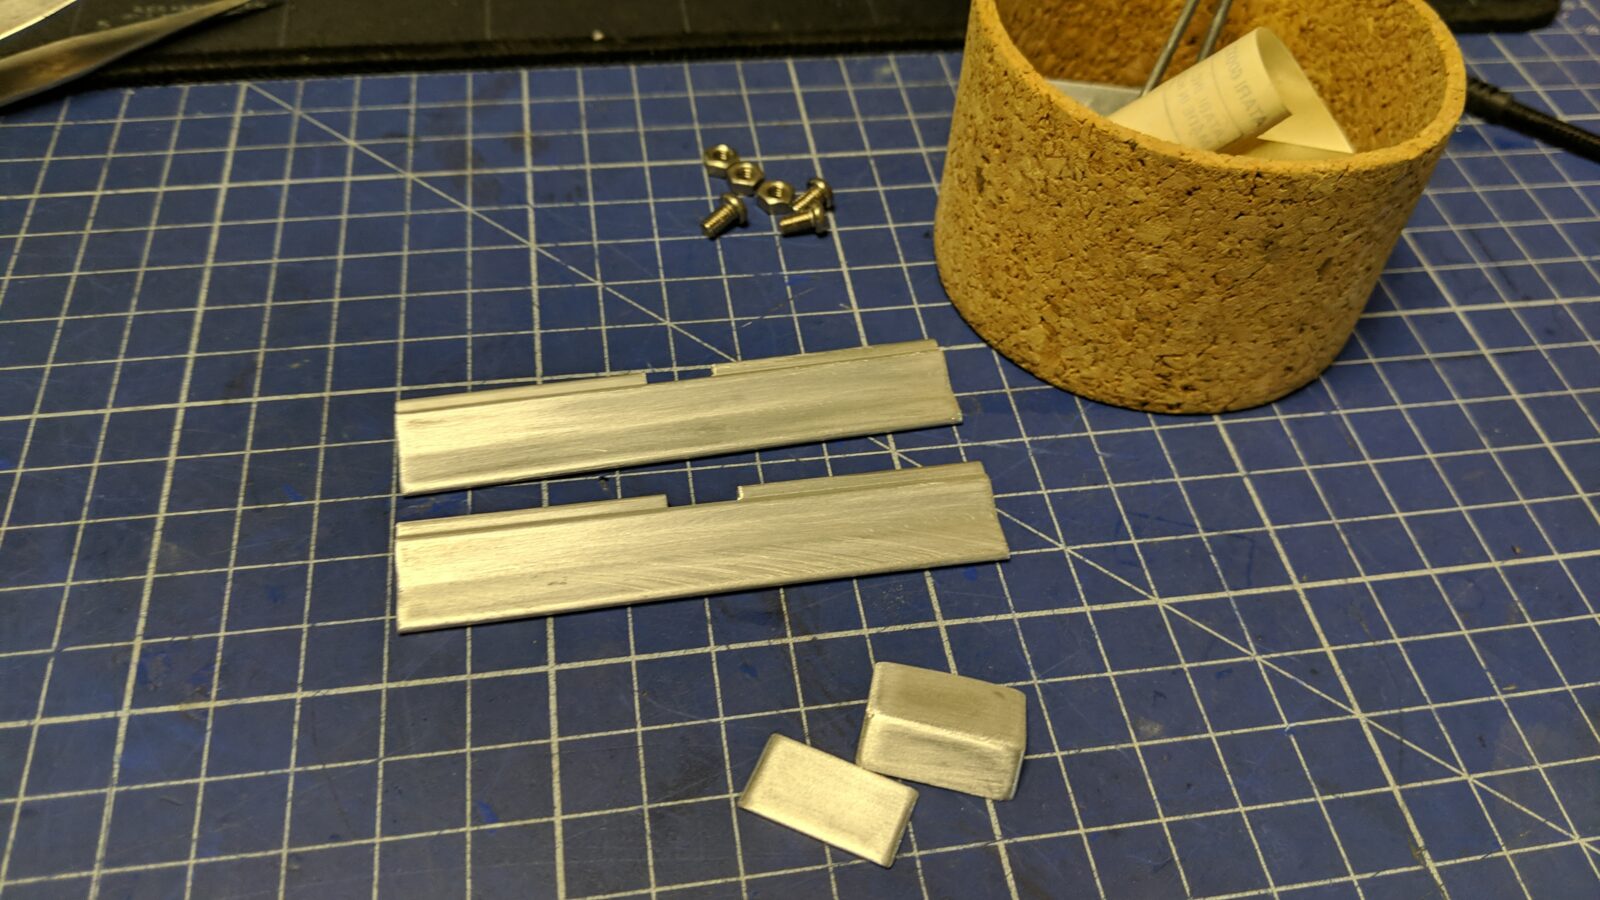
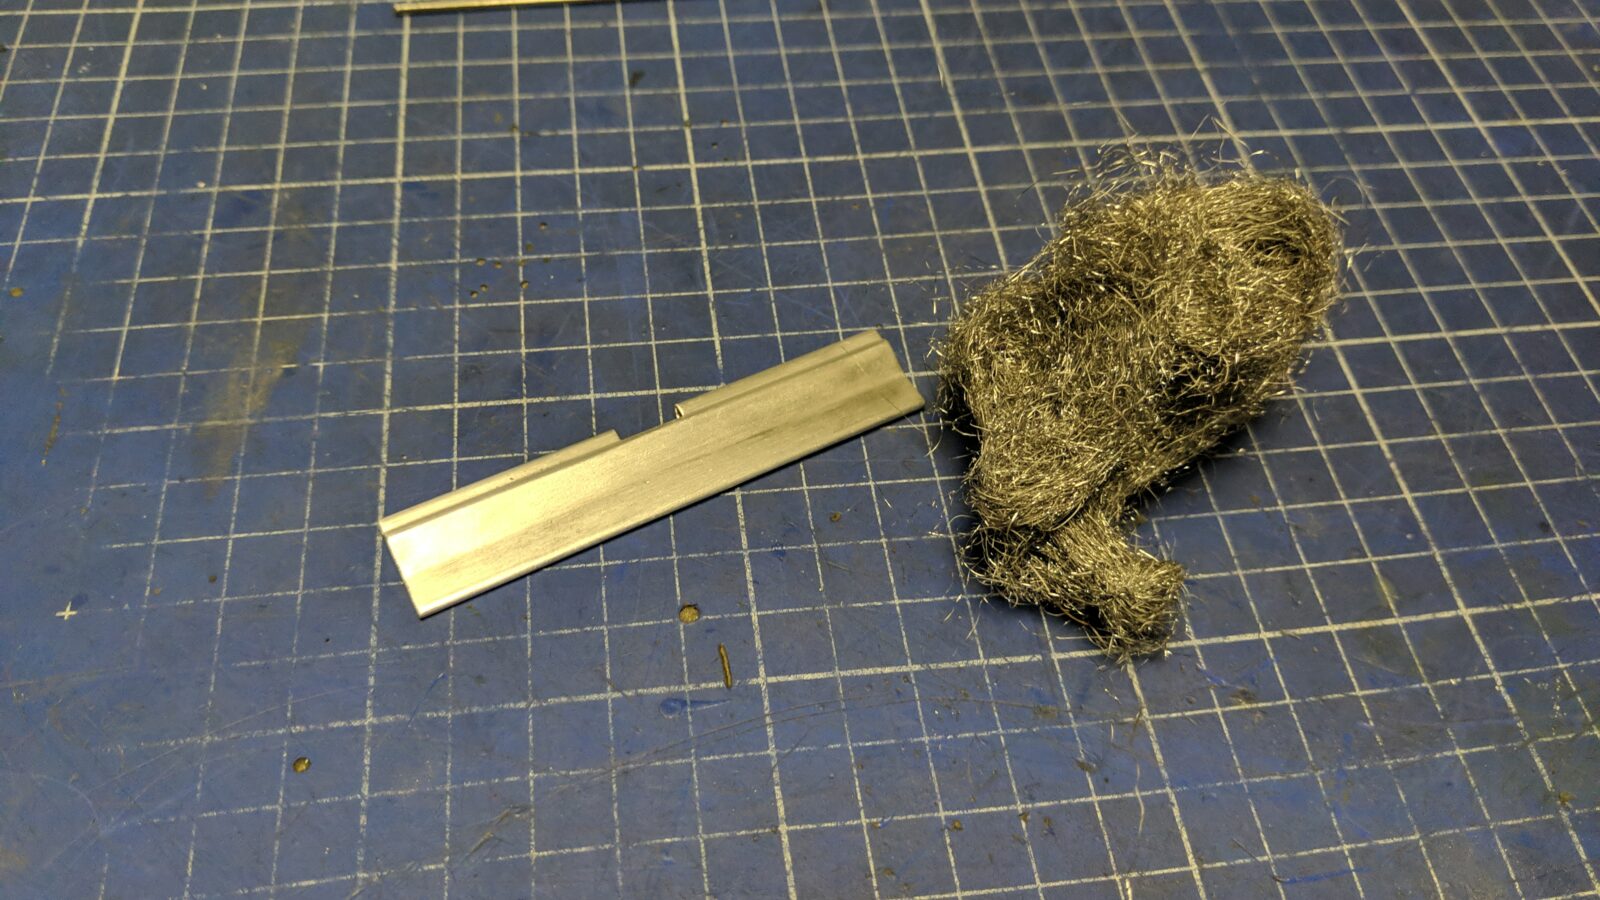
To add a final touch, I often use steel wool which gives a nice finished surface.
Assembling it all back
Not much to talk about, just look at the pics.
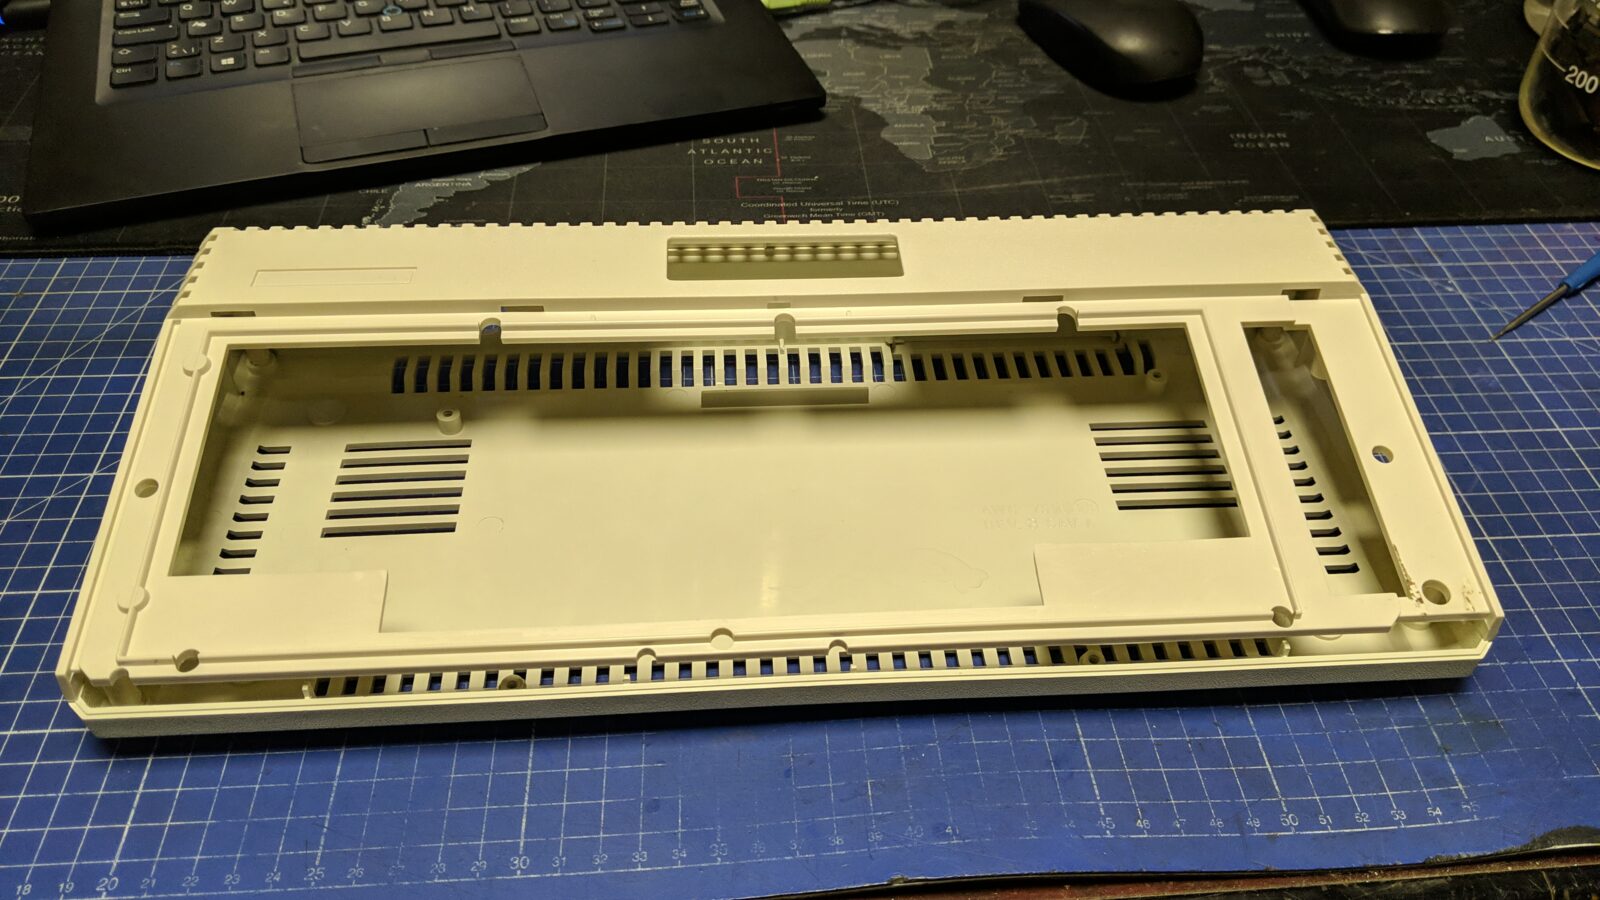
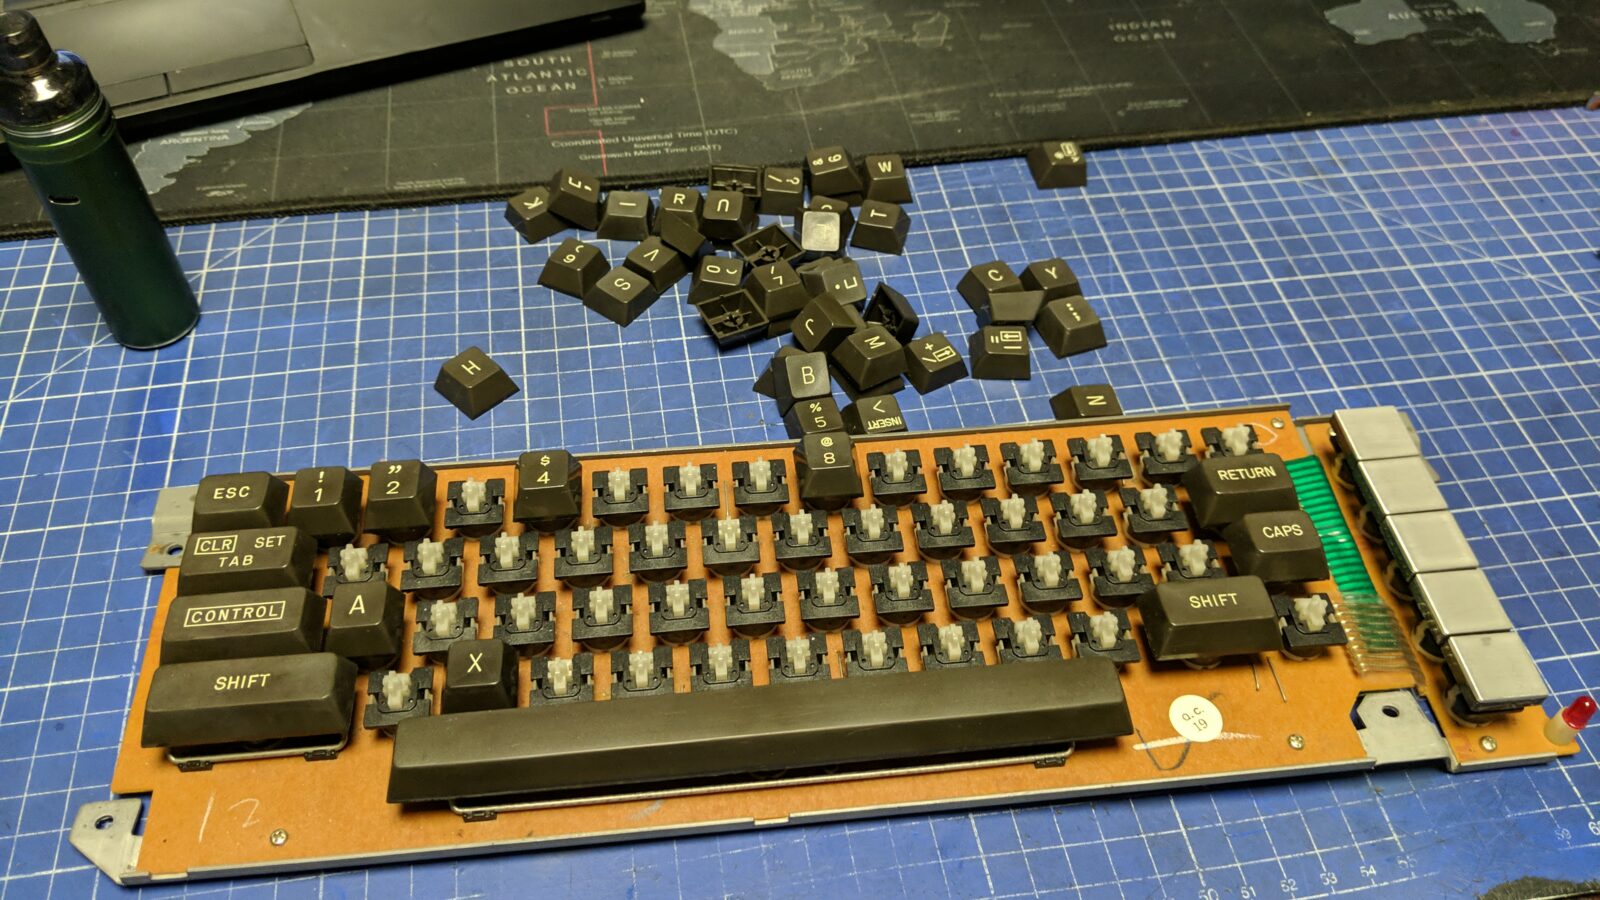
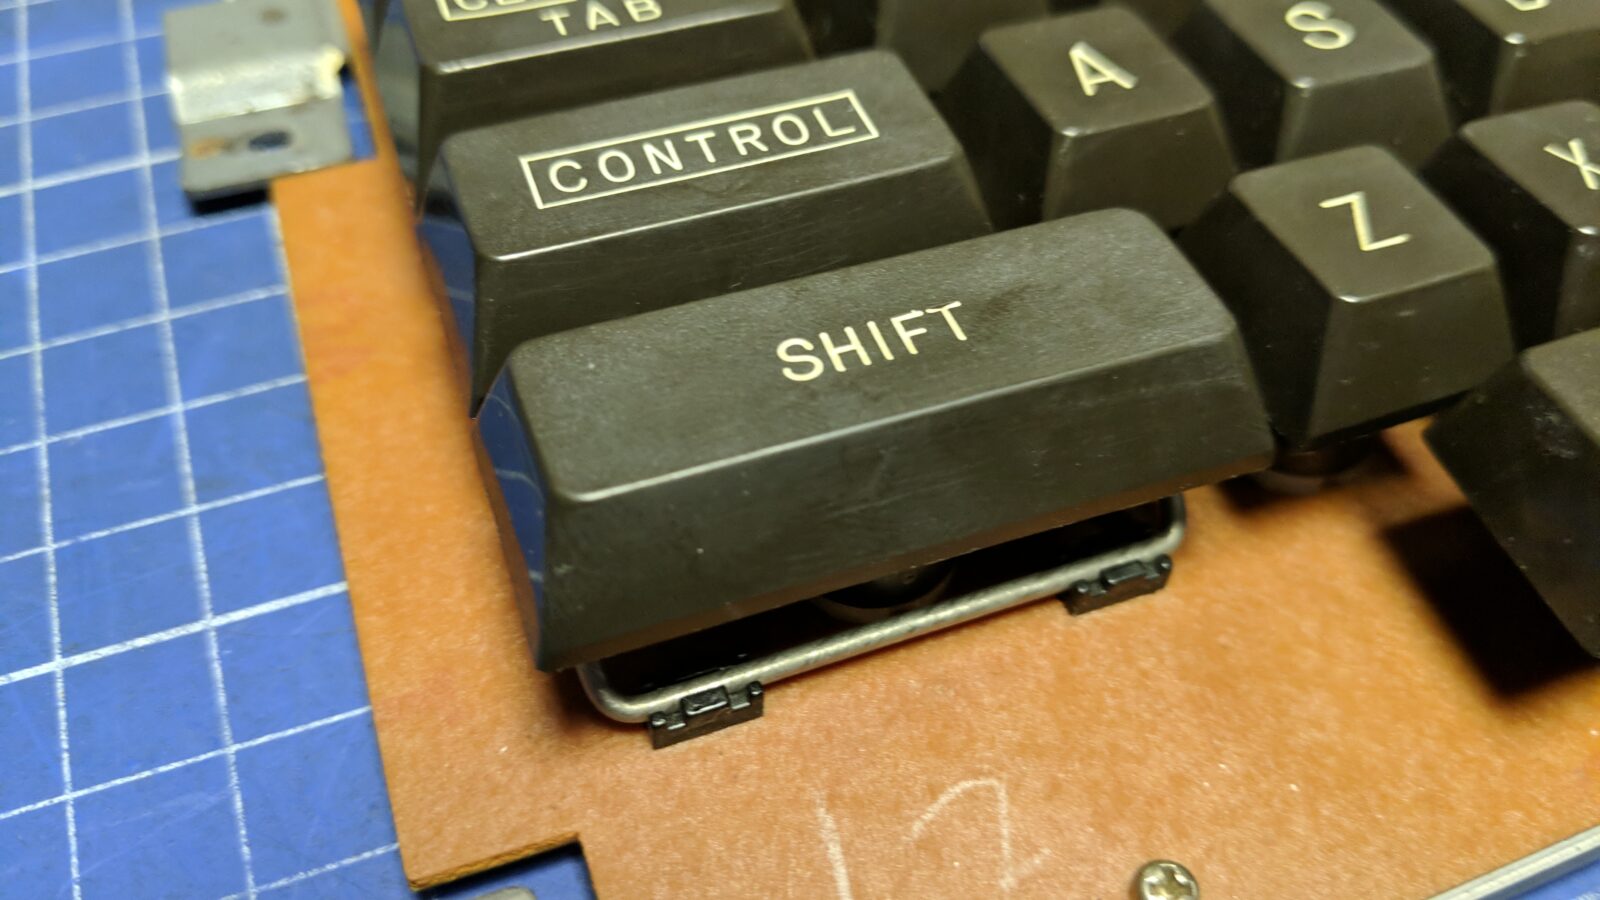
As seen in the above pic, keycaps after retr0brighting are not nice and shiny at all.
To sort it out, I usually use mineral oil – keycaps on the left, for comparison
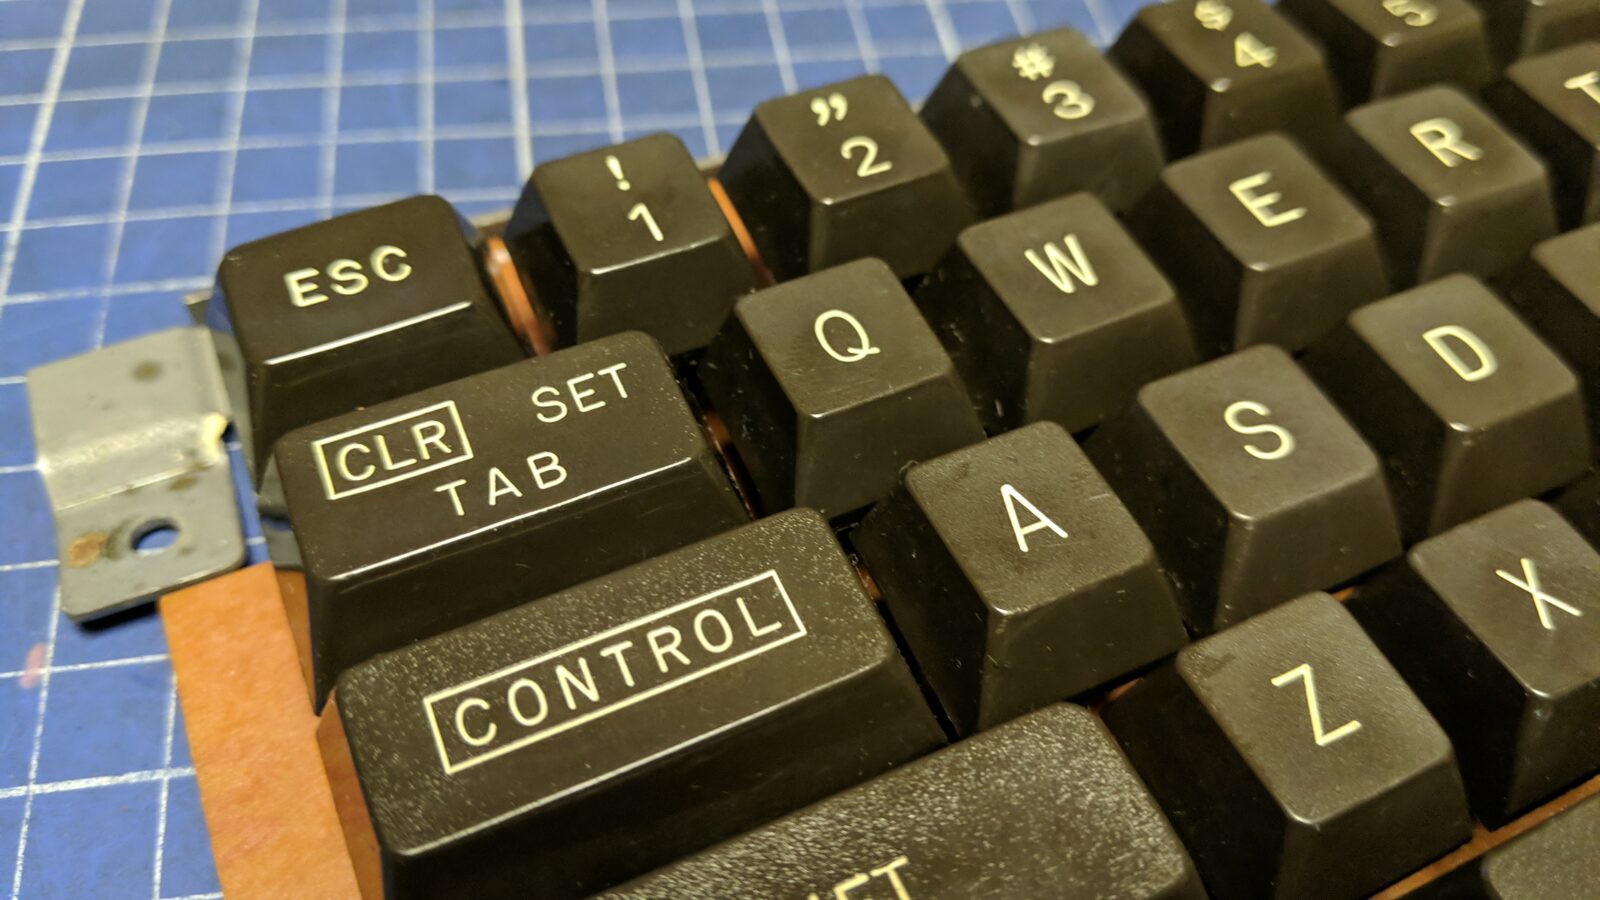
The stickers are back in place.
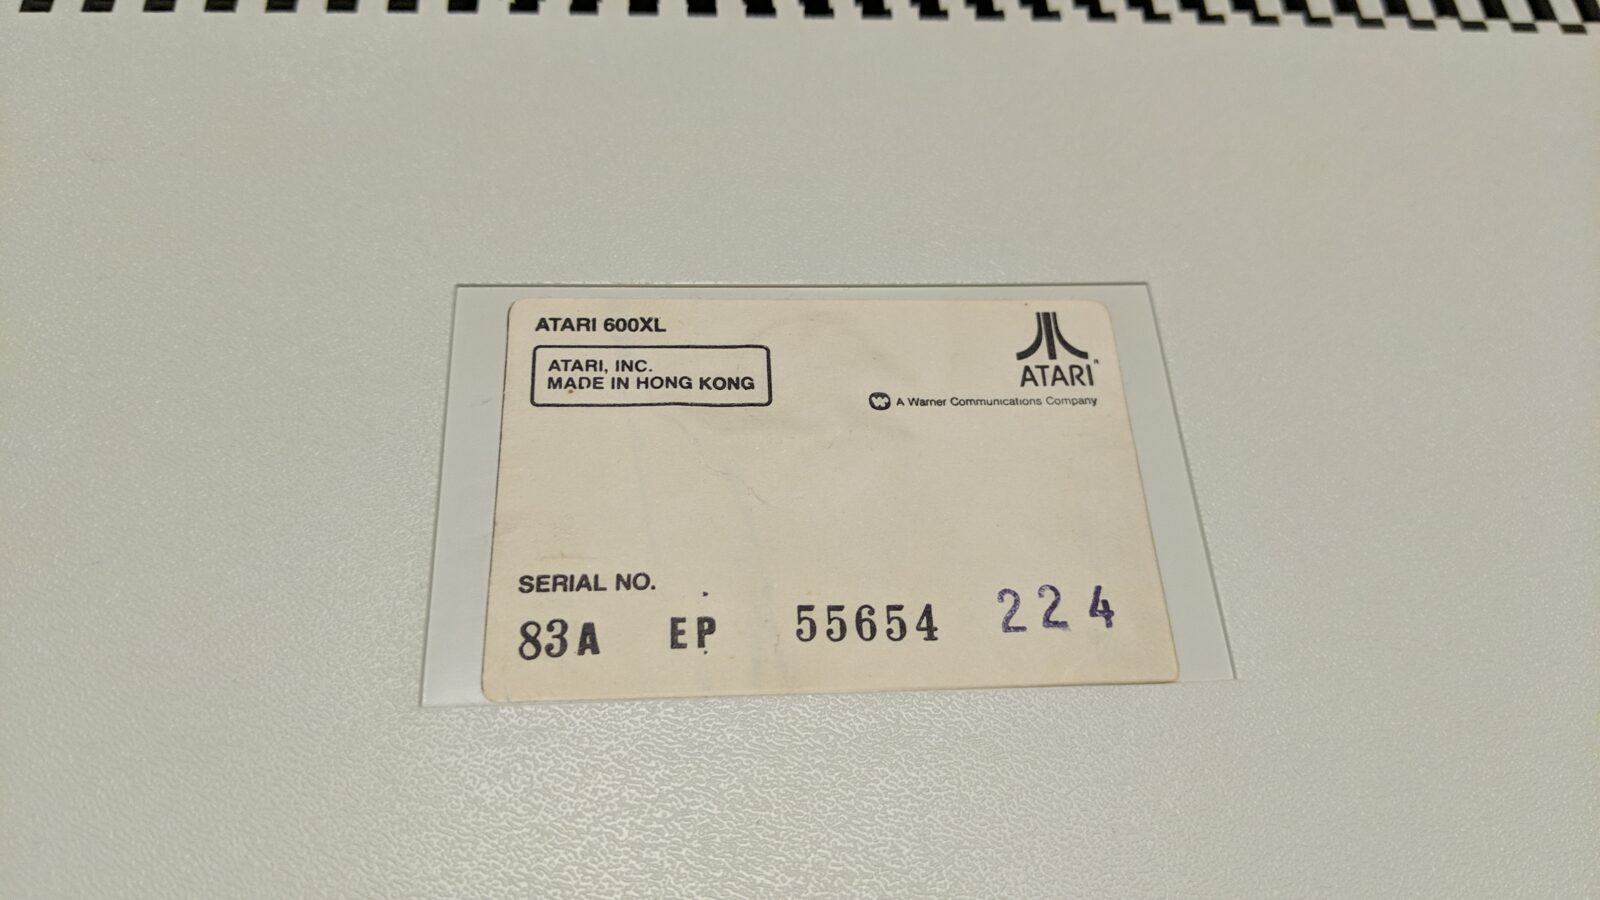
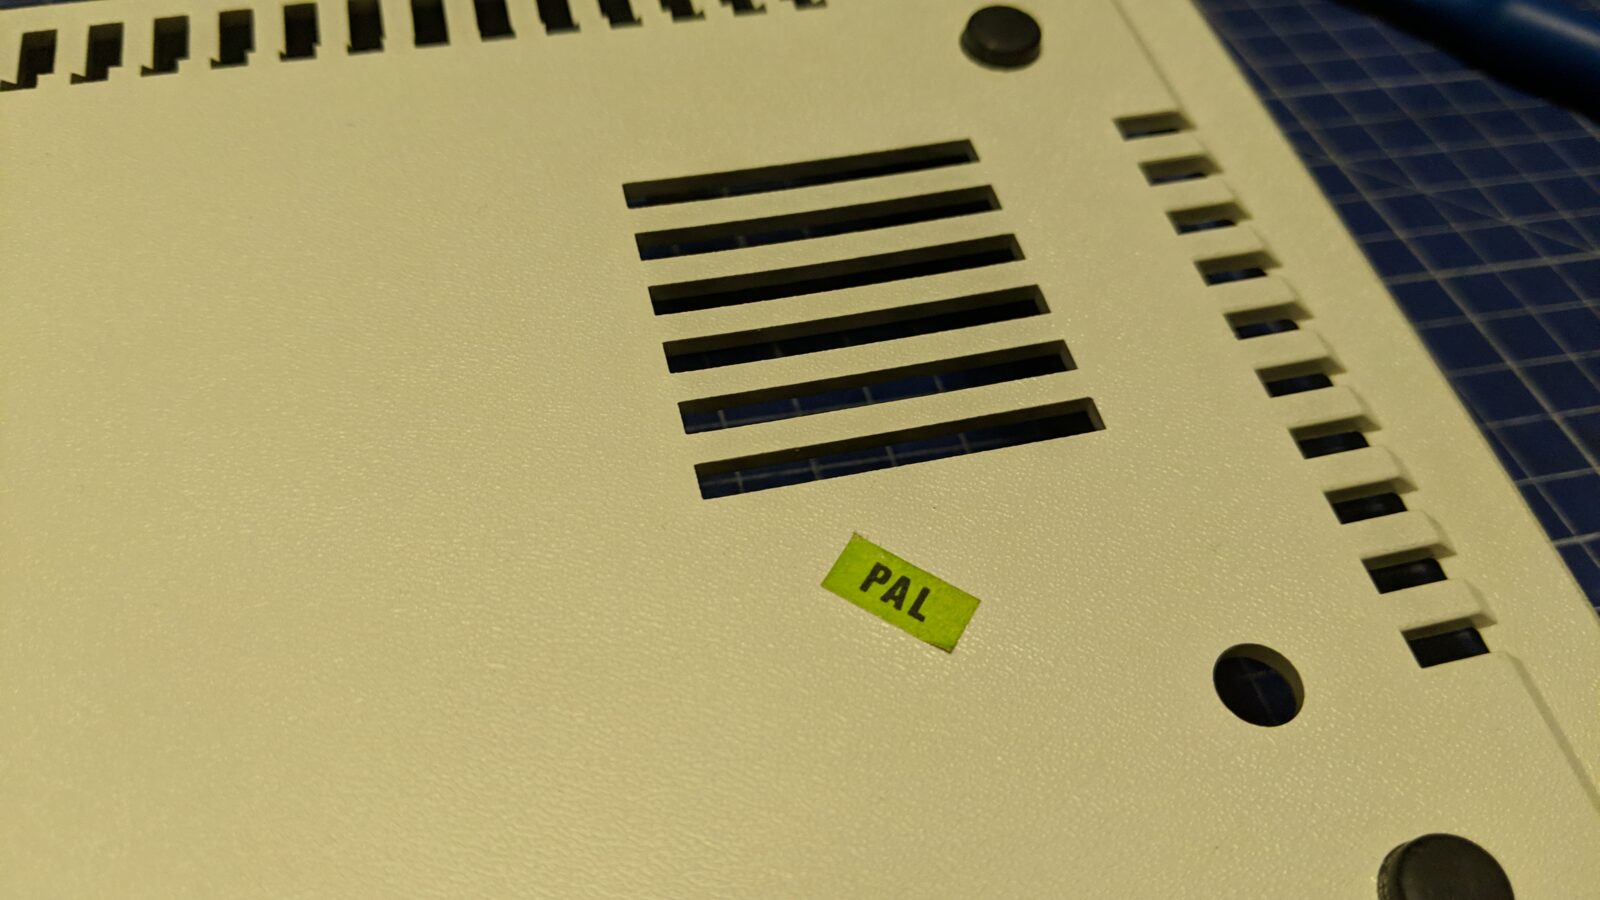
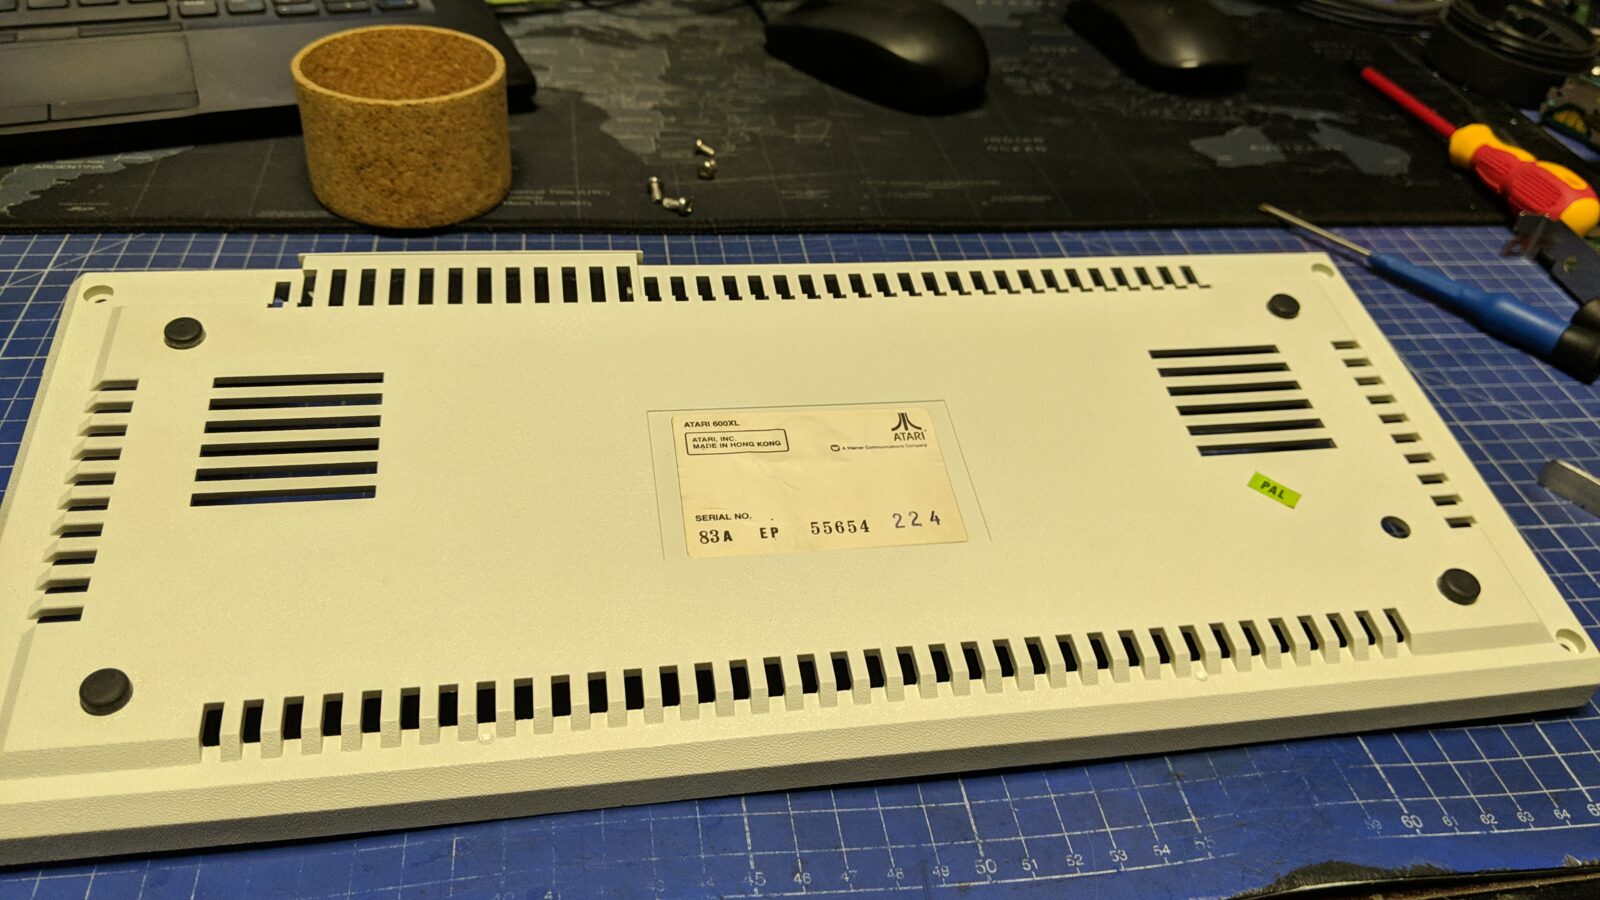
The final result
Here is how the machine looks after such a short refurbishment job.
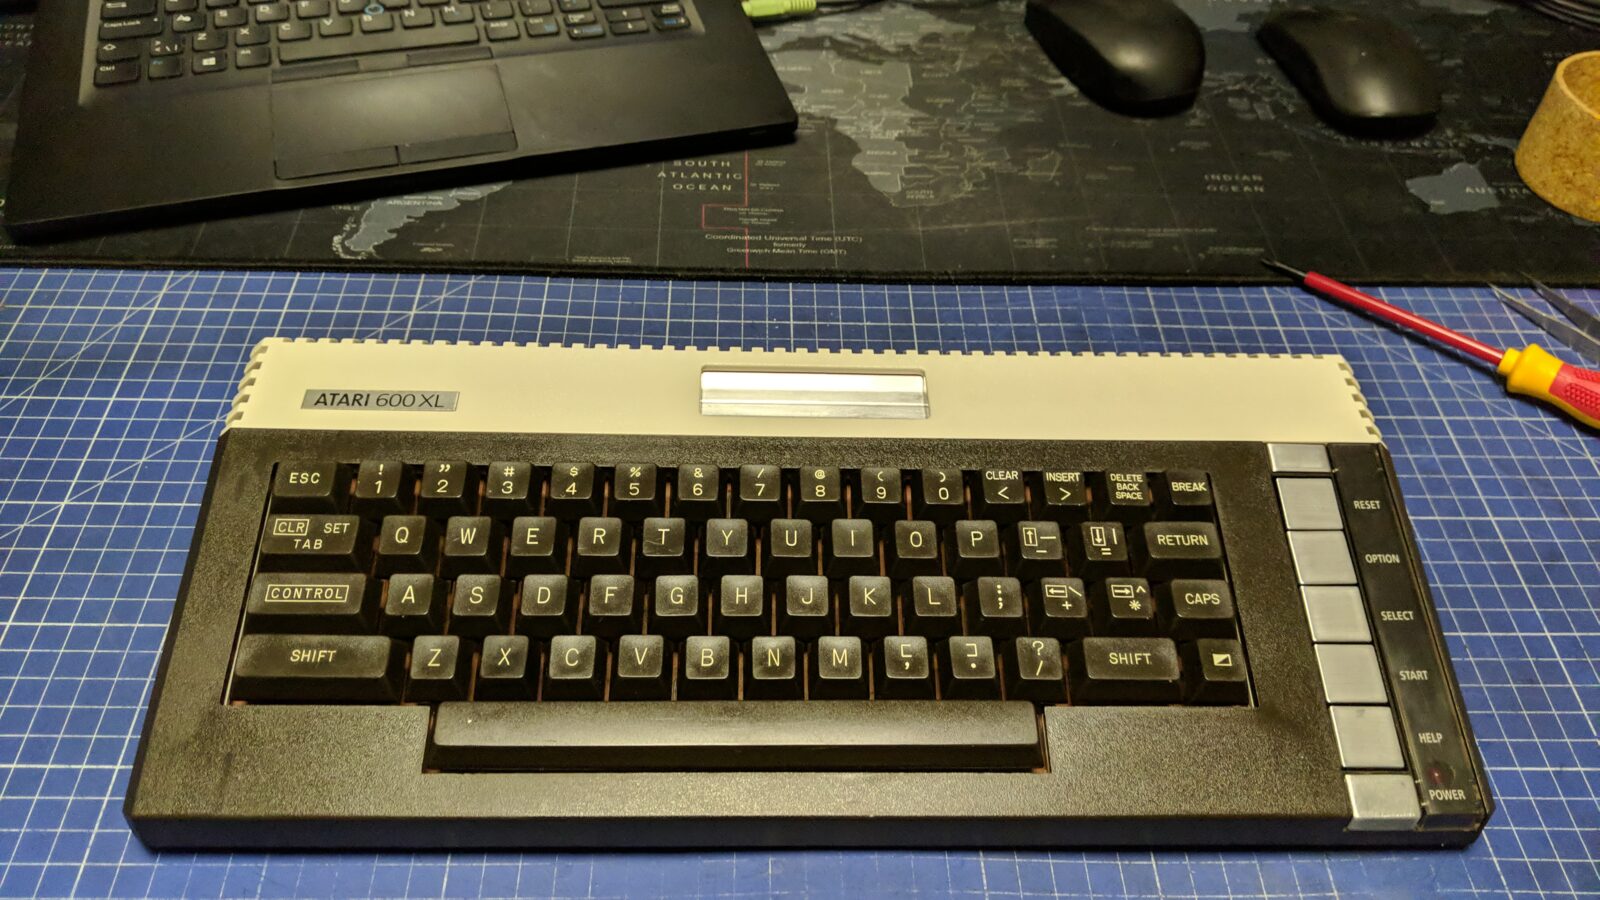
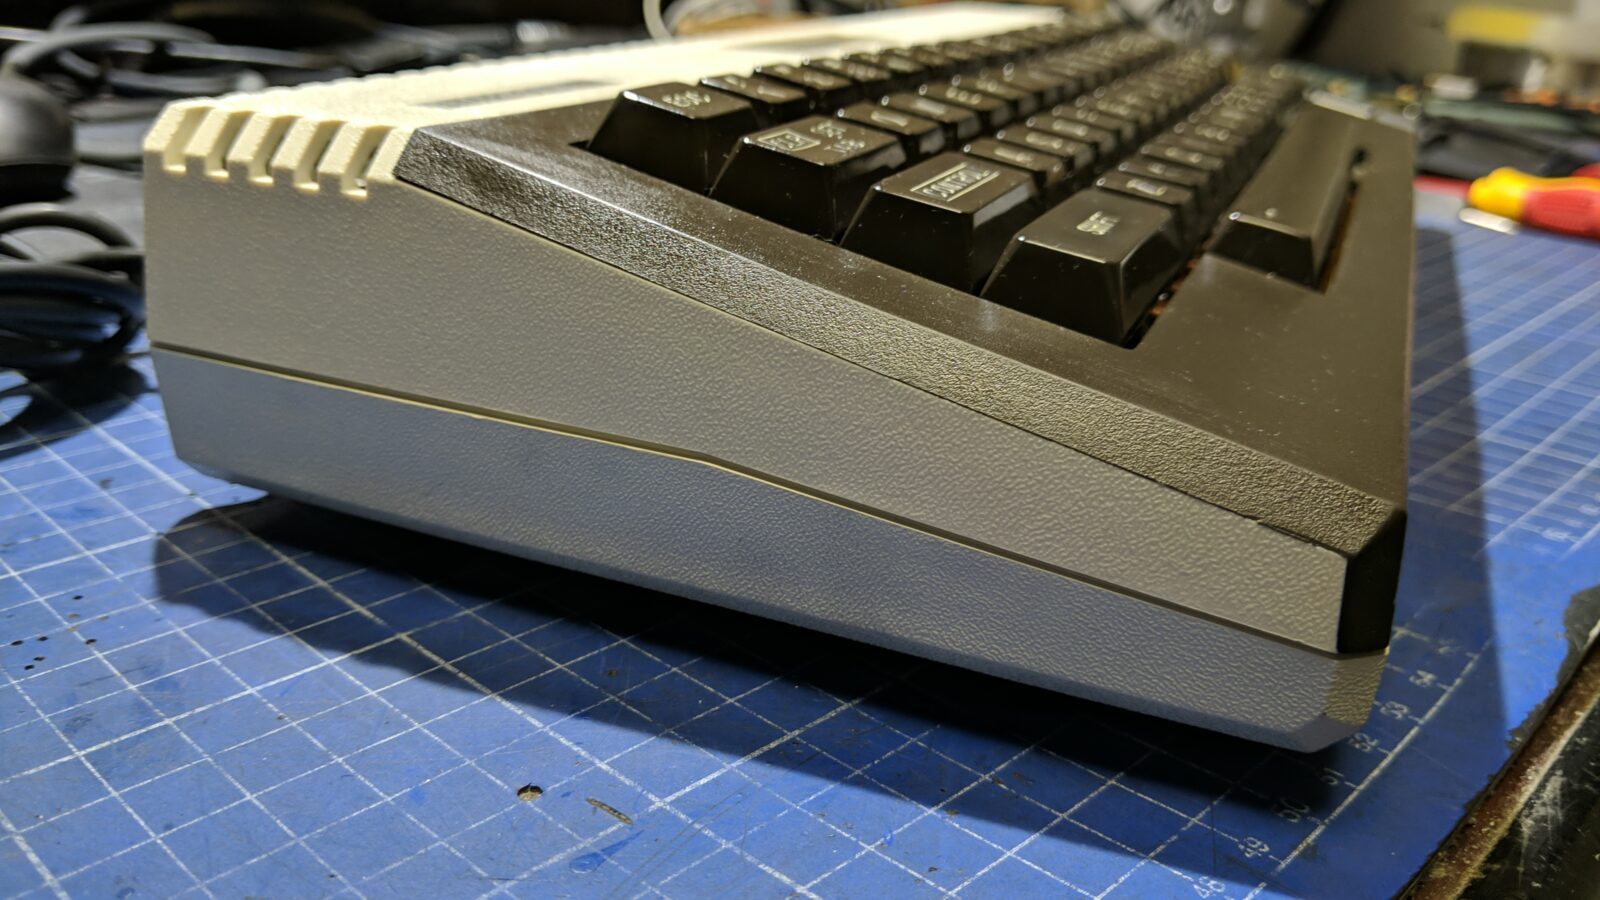
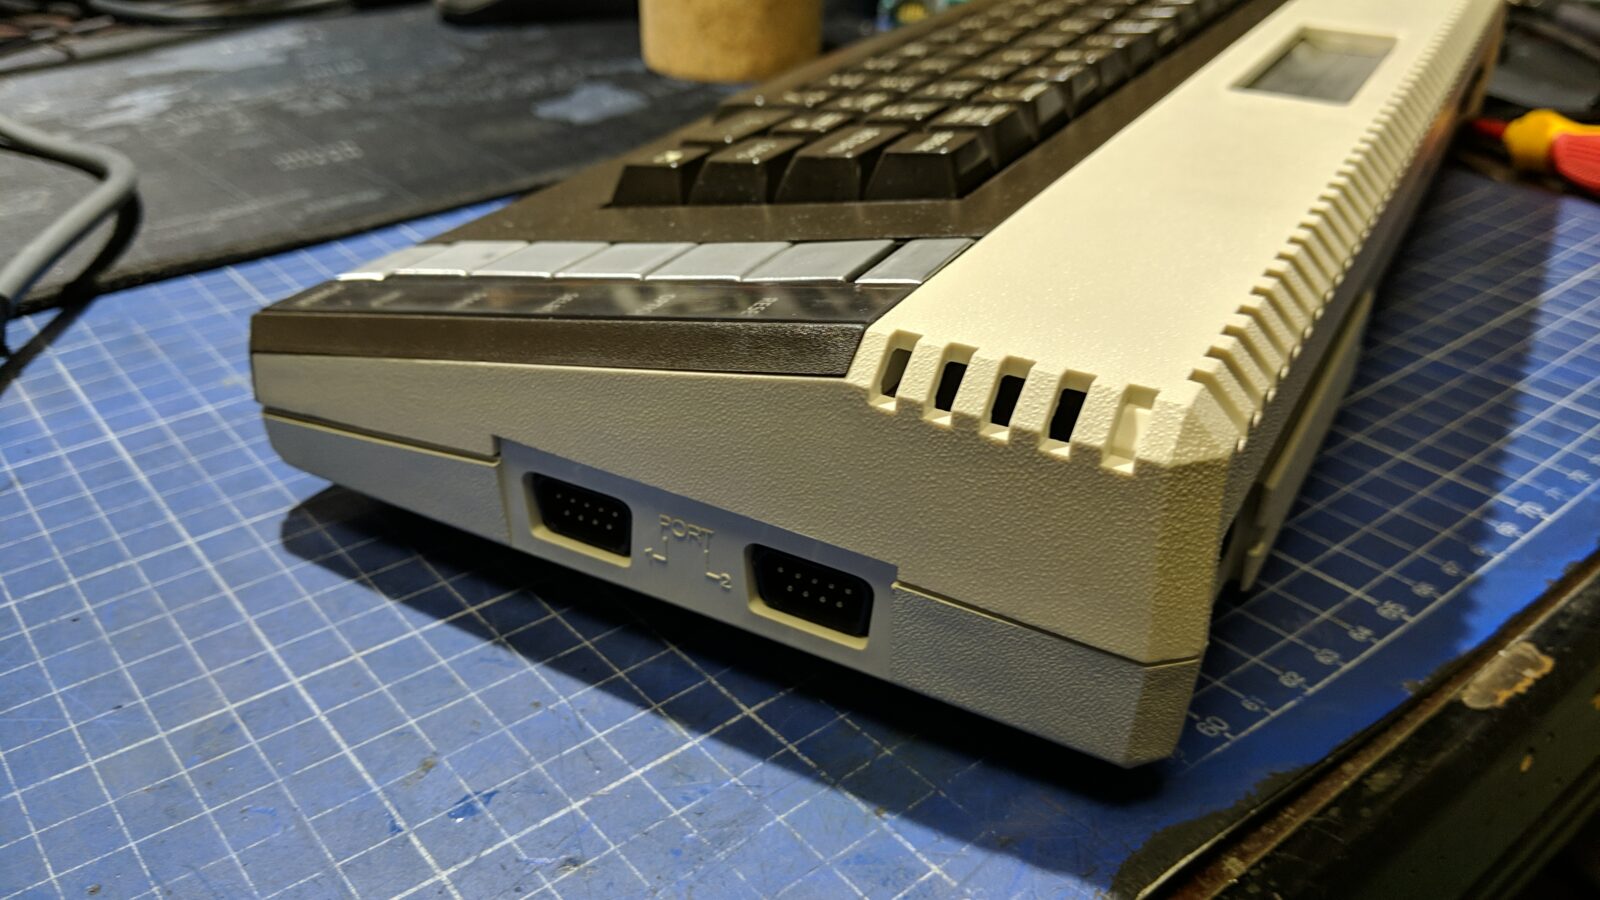
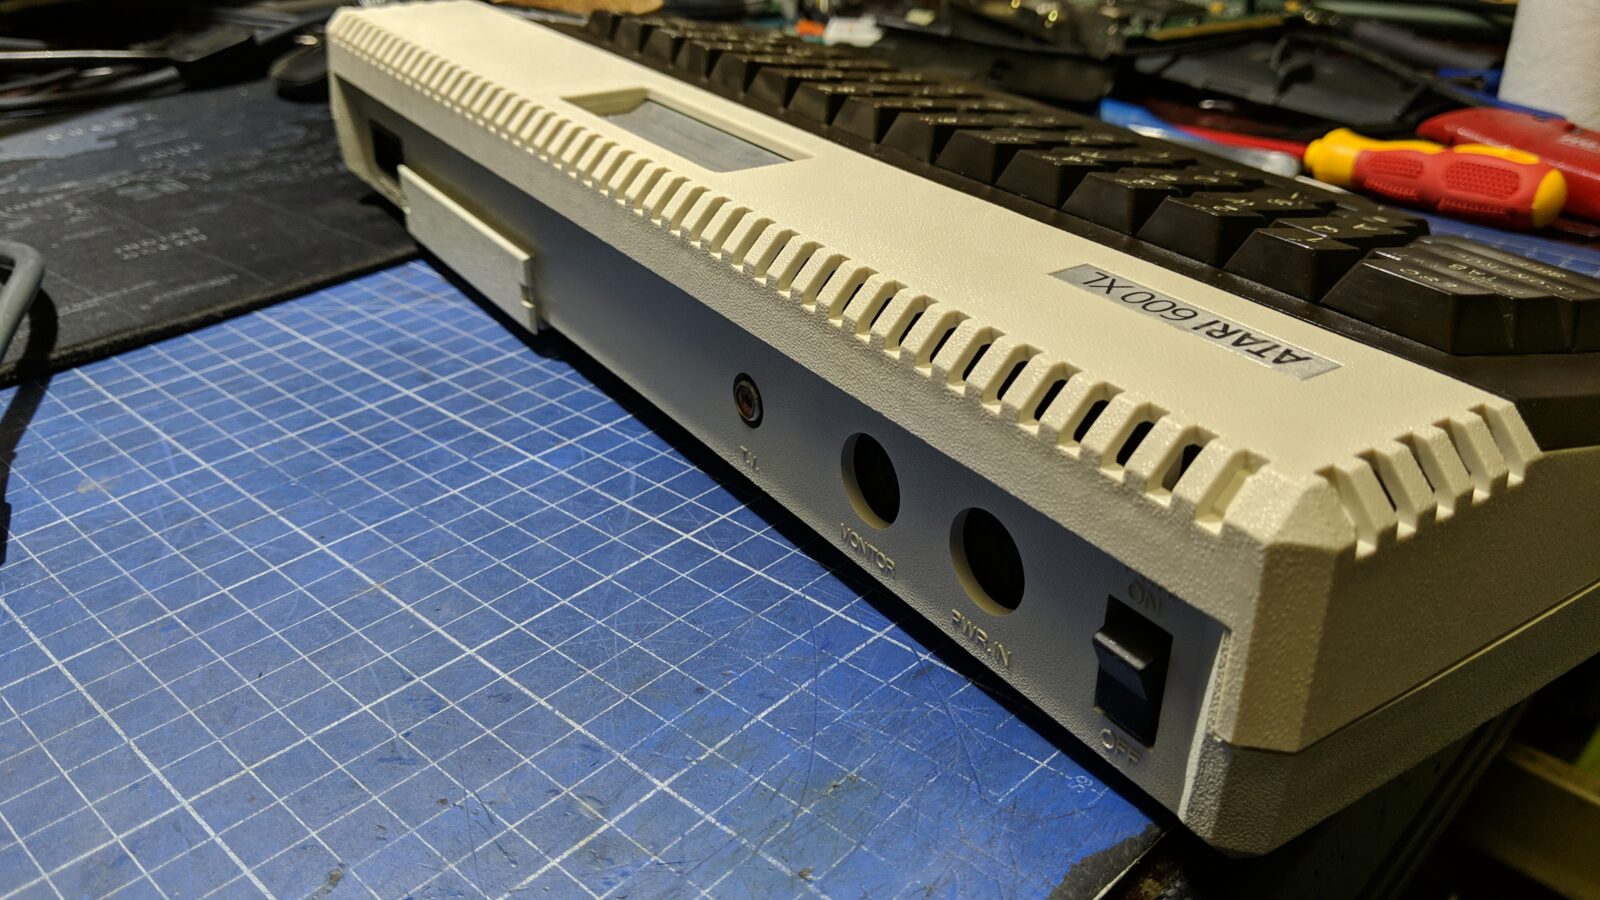
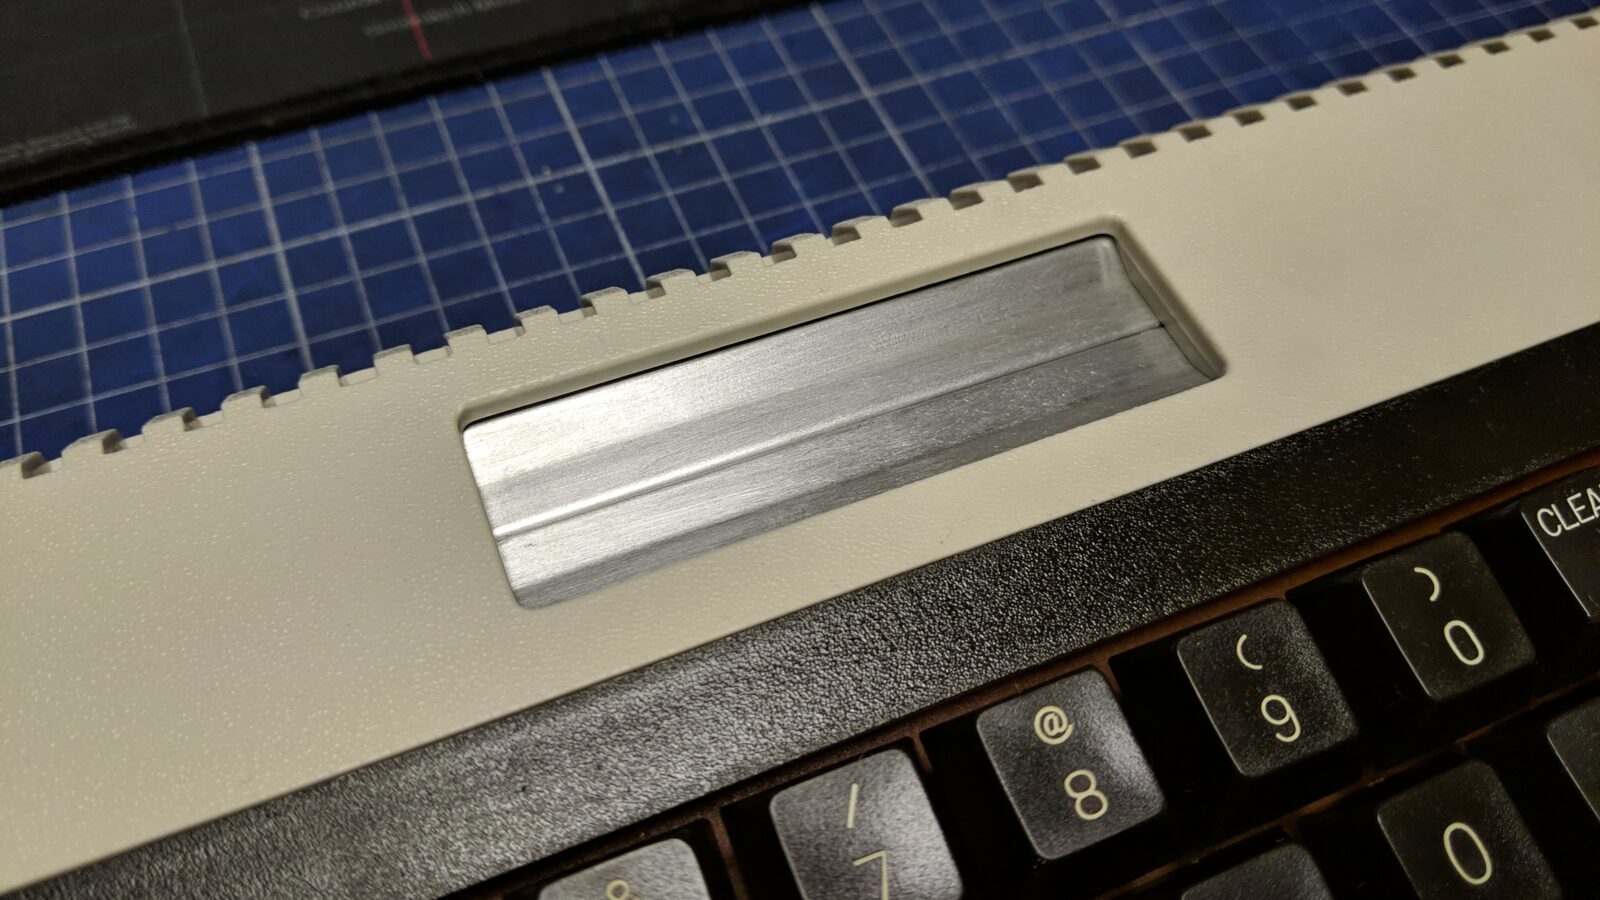
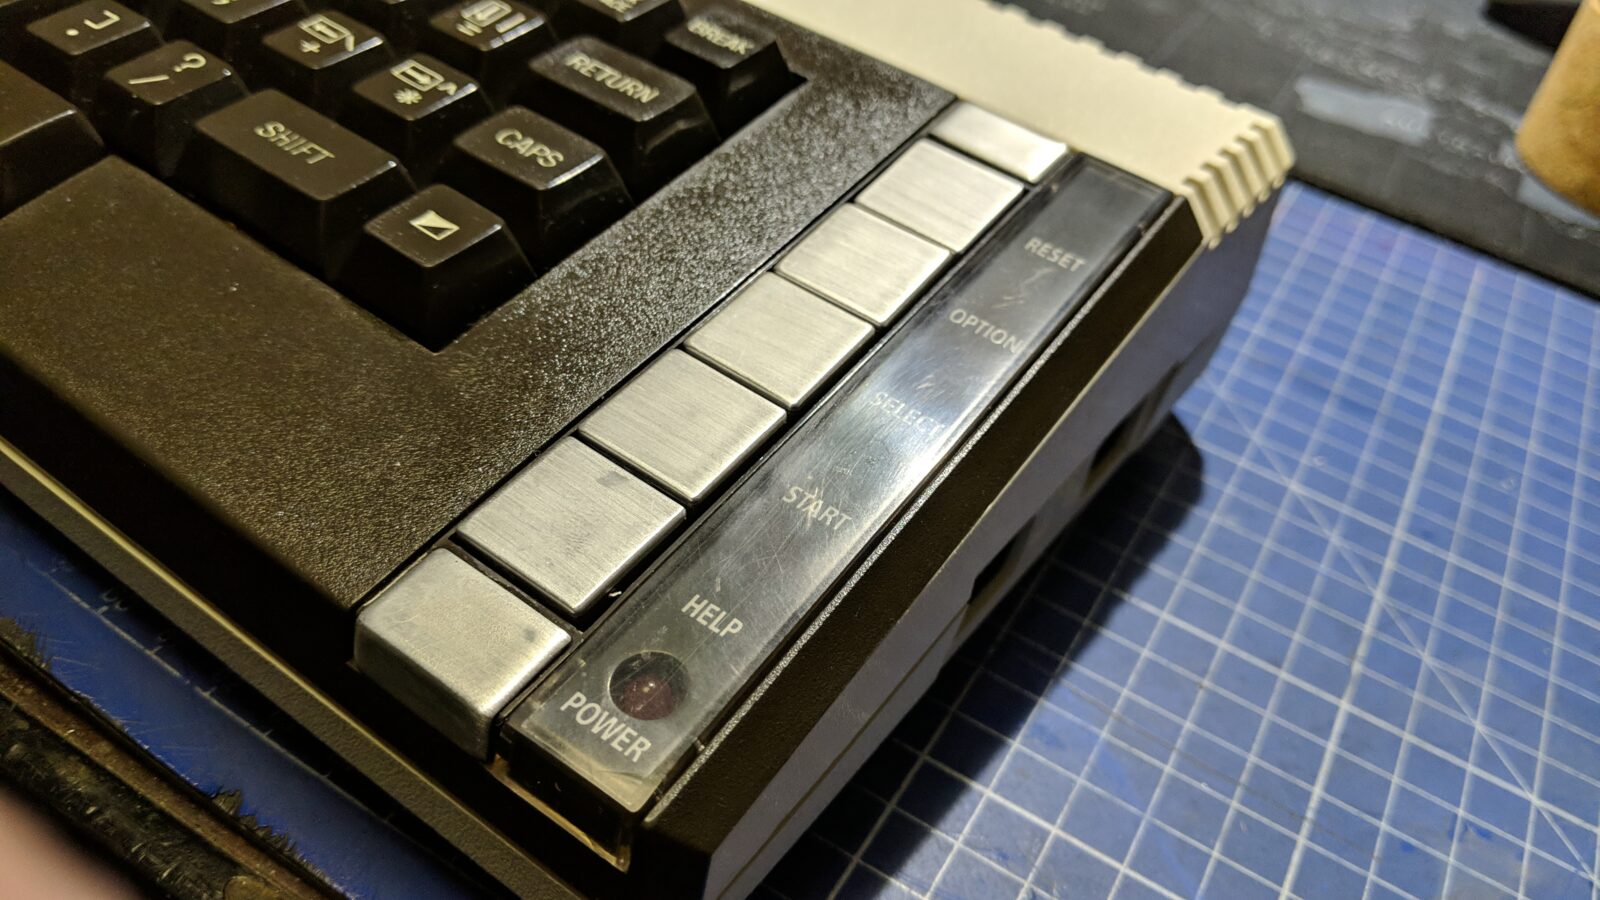
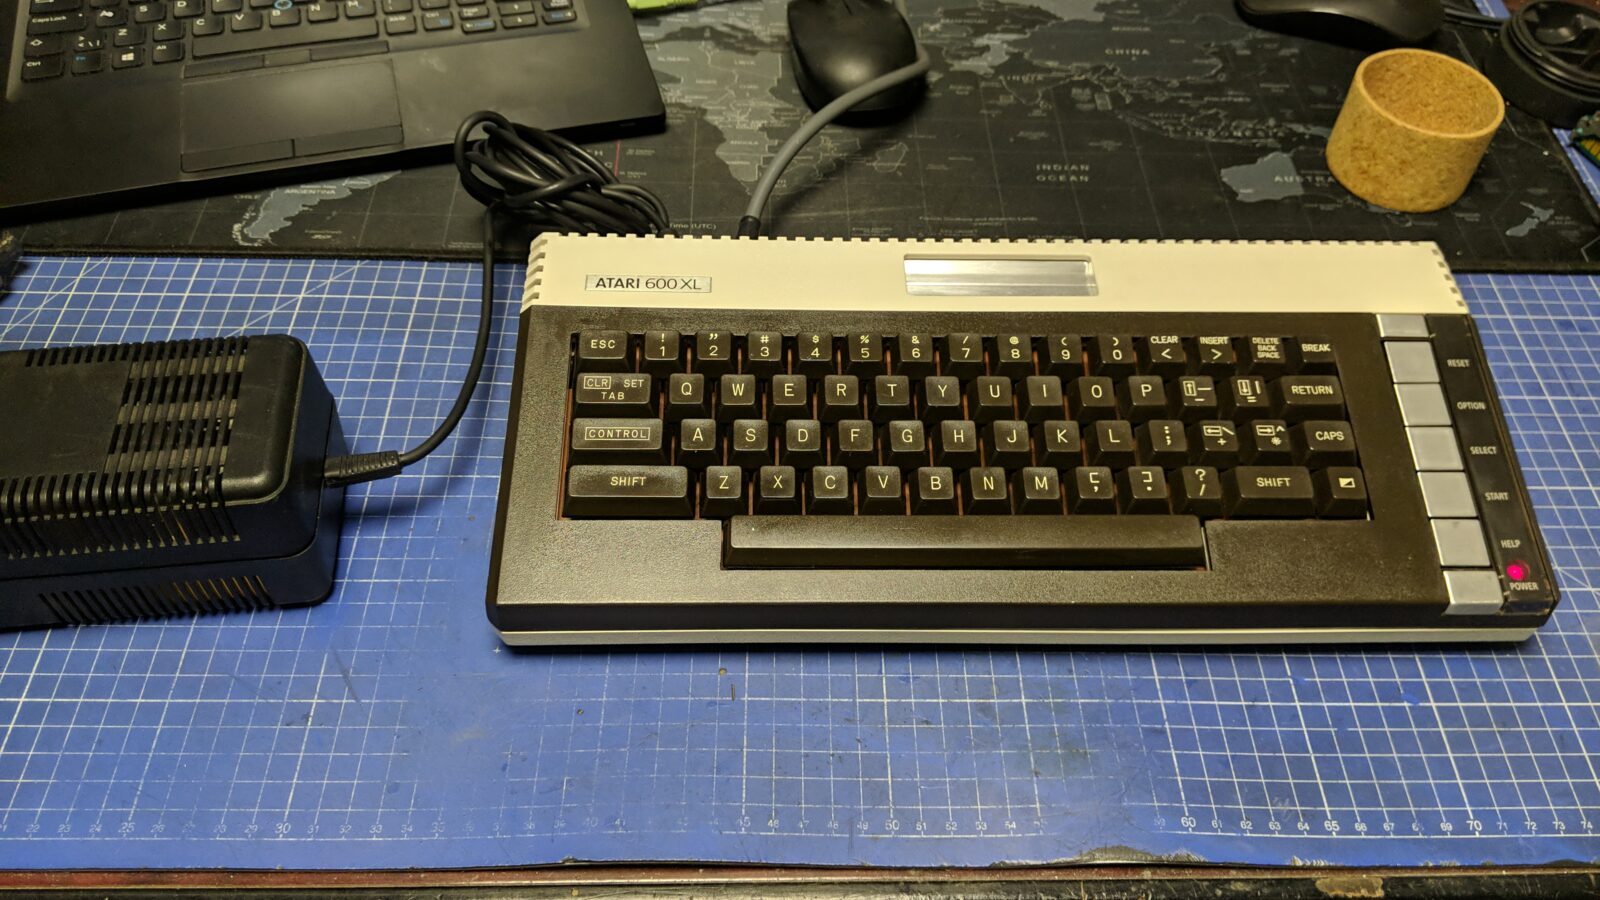
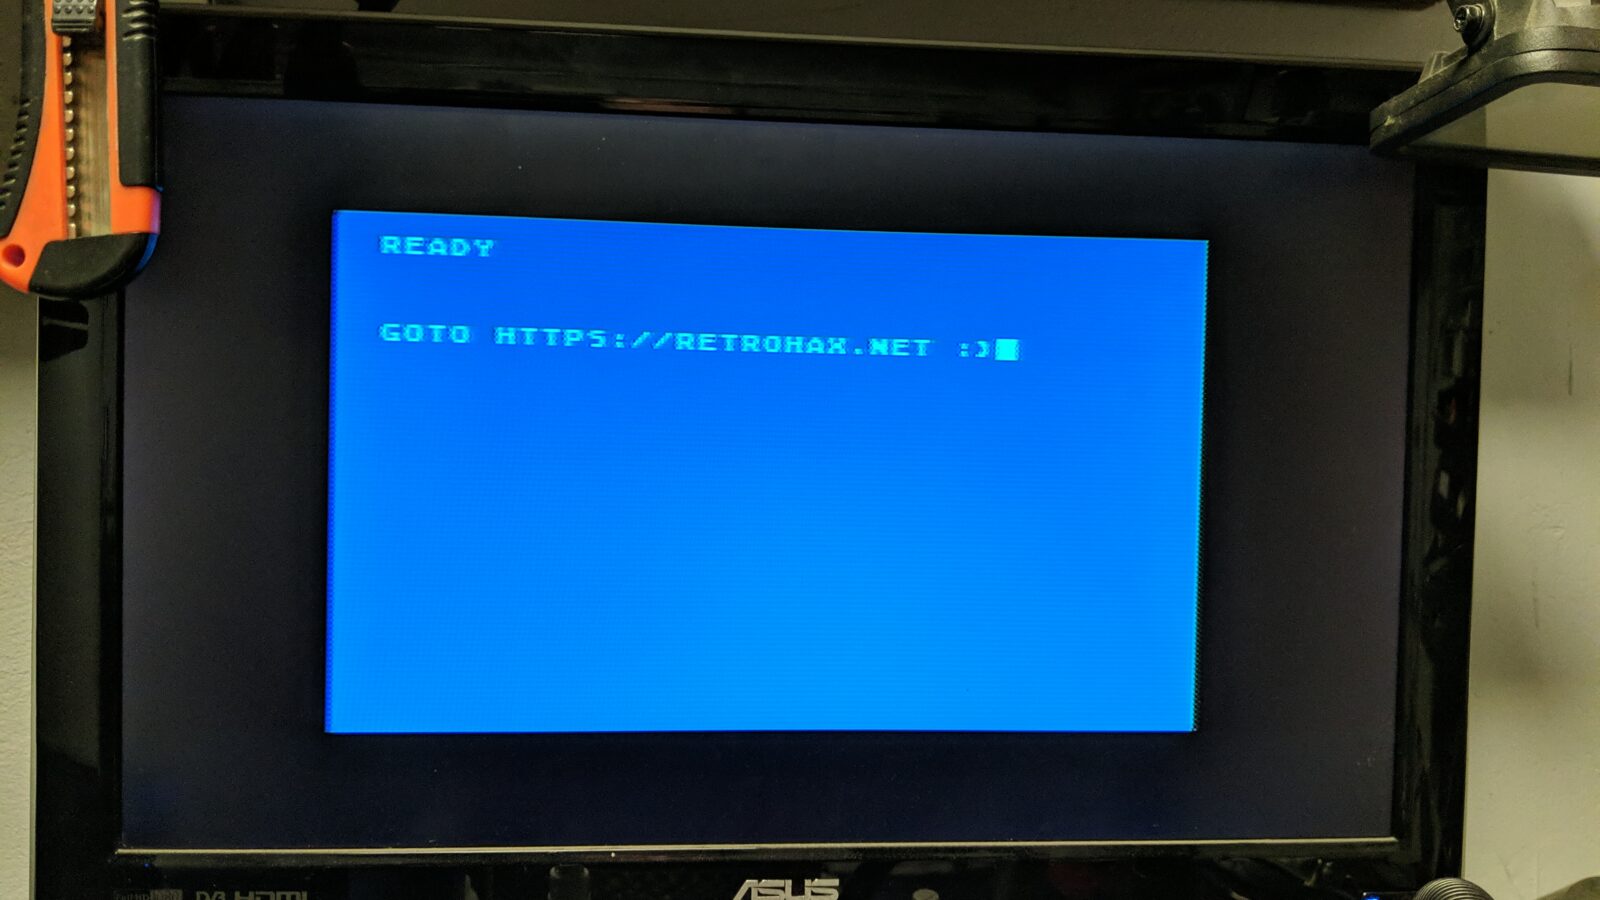
I’ve wrapped it all in polyethylene bags, added a SIO2PC to this set and the machine was ready 🙂
Outro
Please support my work by spreading the word about my work or simply commenting here or on my Facebook, Twitter, Reddit, and other social media platforms.
If you want to get the retro gear I manufacture or hardware modules, please visit shop -> https://retrohax.net/shop/ Don’t bother with a shop anymore. I am closing it. More on this, here.



That’s a lot of work! Well done.
Thank you sir!
If you really wanted a challenge you should have worked on my 600XL. It had a dead CPU, Pokey chip, PIA, and RAMs. I think the original PSU was the notorious Atari “ingot”.
It is not that I didn’t, although easy jobs are cool from time to time 🙂
https://retrohax.net/extreme-refurbishing-episode-2-atari-800-xl-part-one/
https://retrohax.net/extreme-refurbishing-episode-2-atari-800-xl-part-two/
Good job! Would be great if there was a way to re-new the box too…
True true. I am not skilled enough, though. Maybe someday … 😀
Retro Brite
Like a NEW!! 🙂
😀