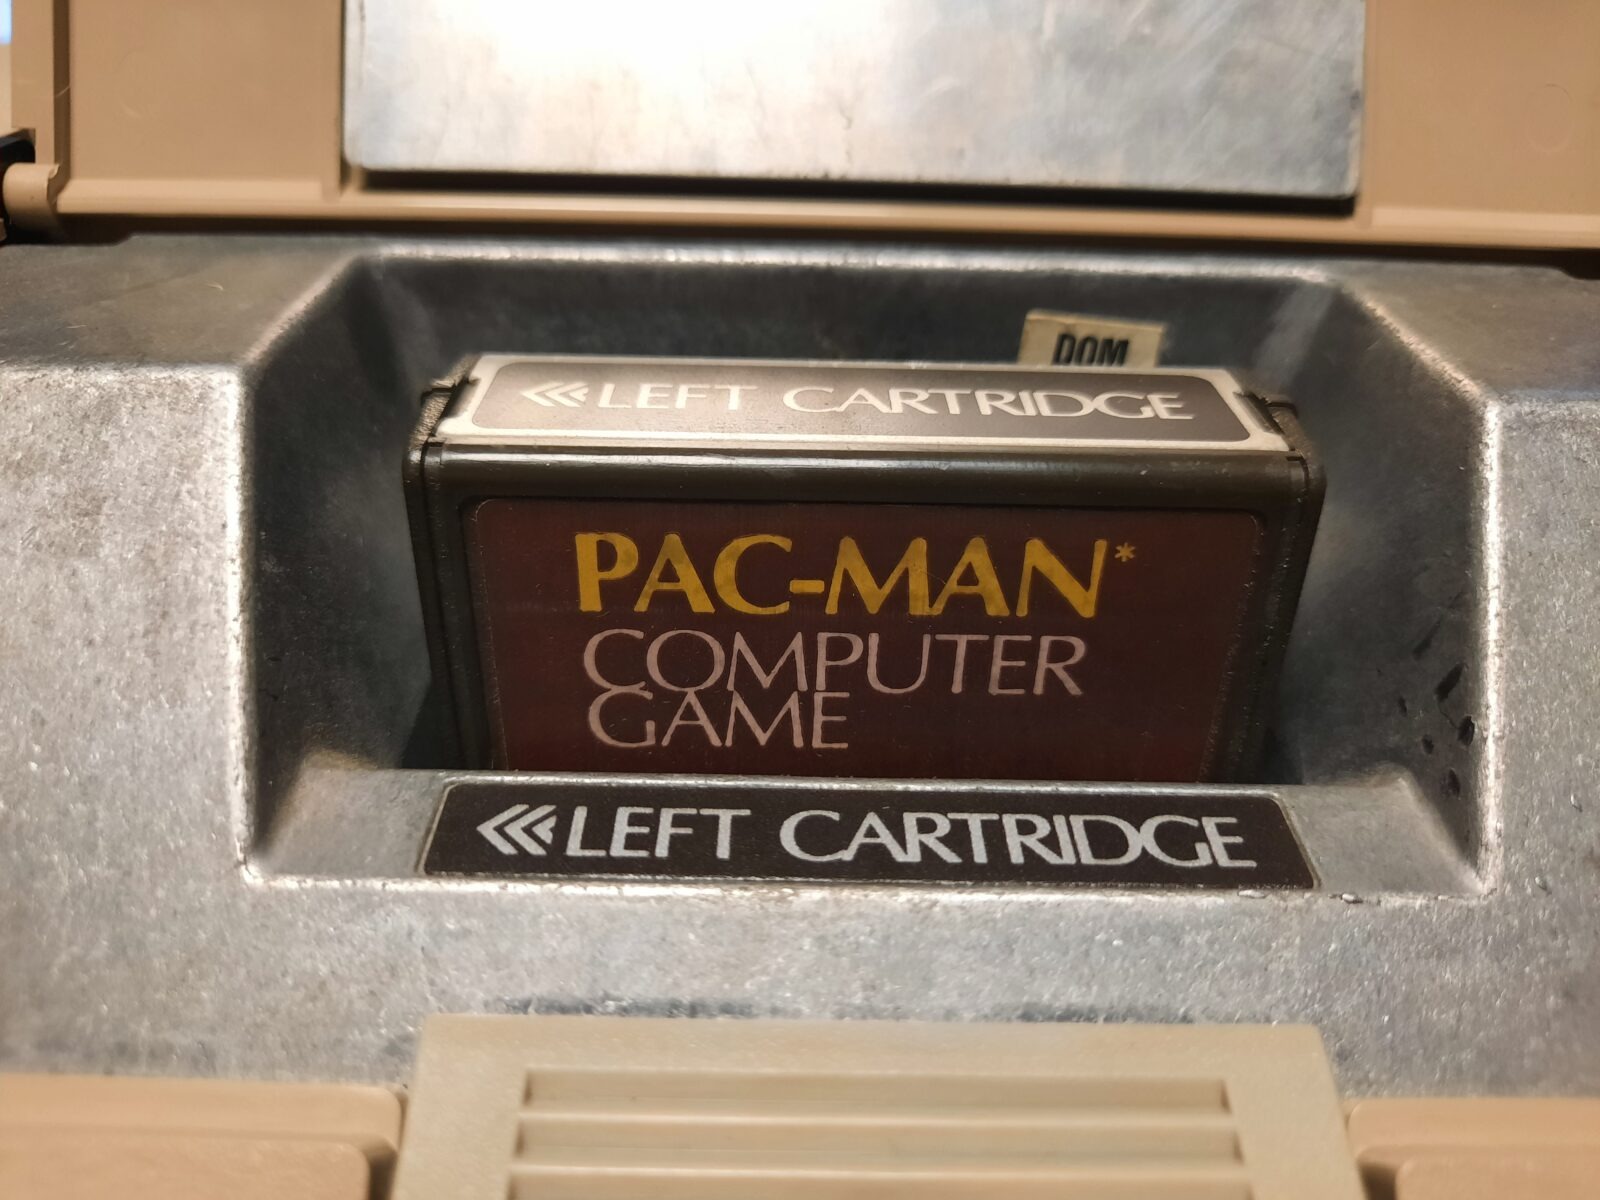
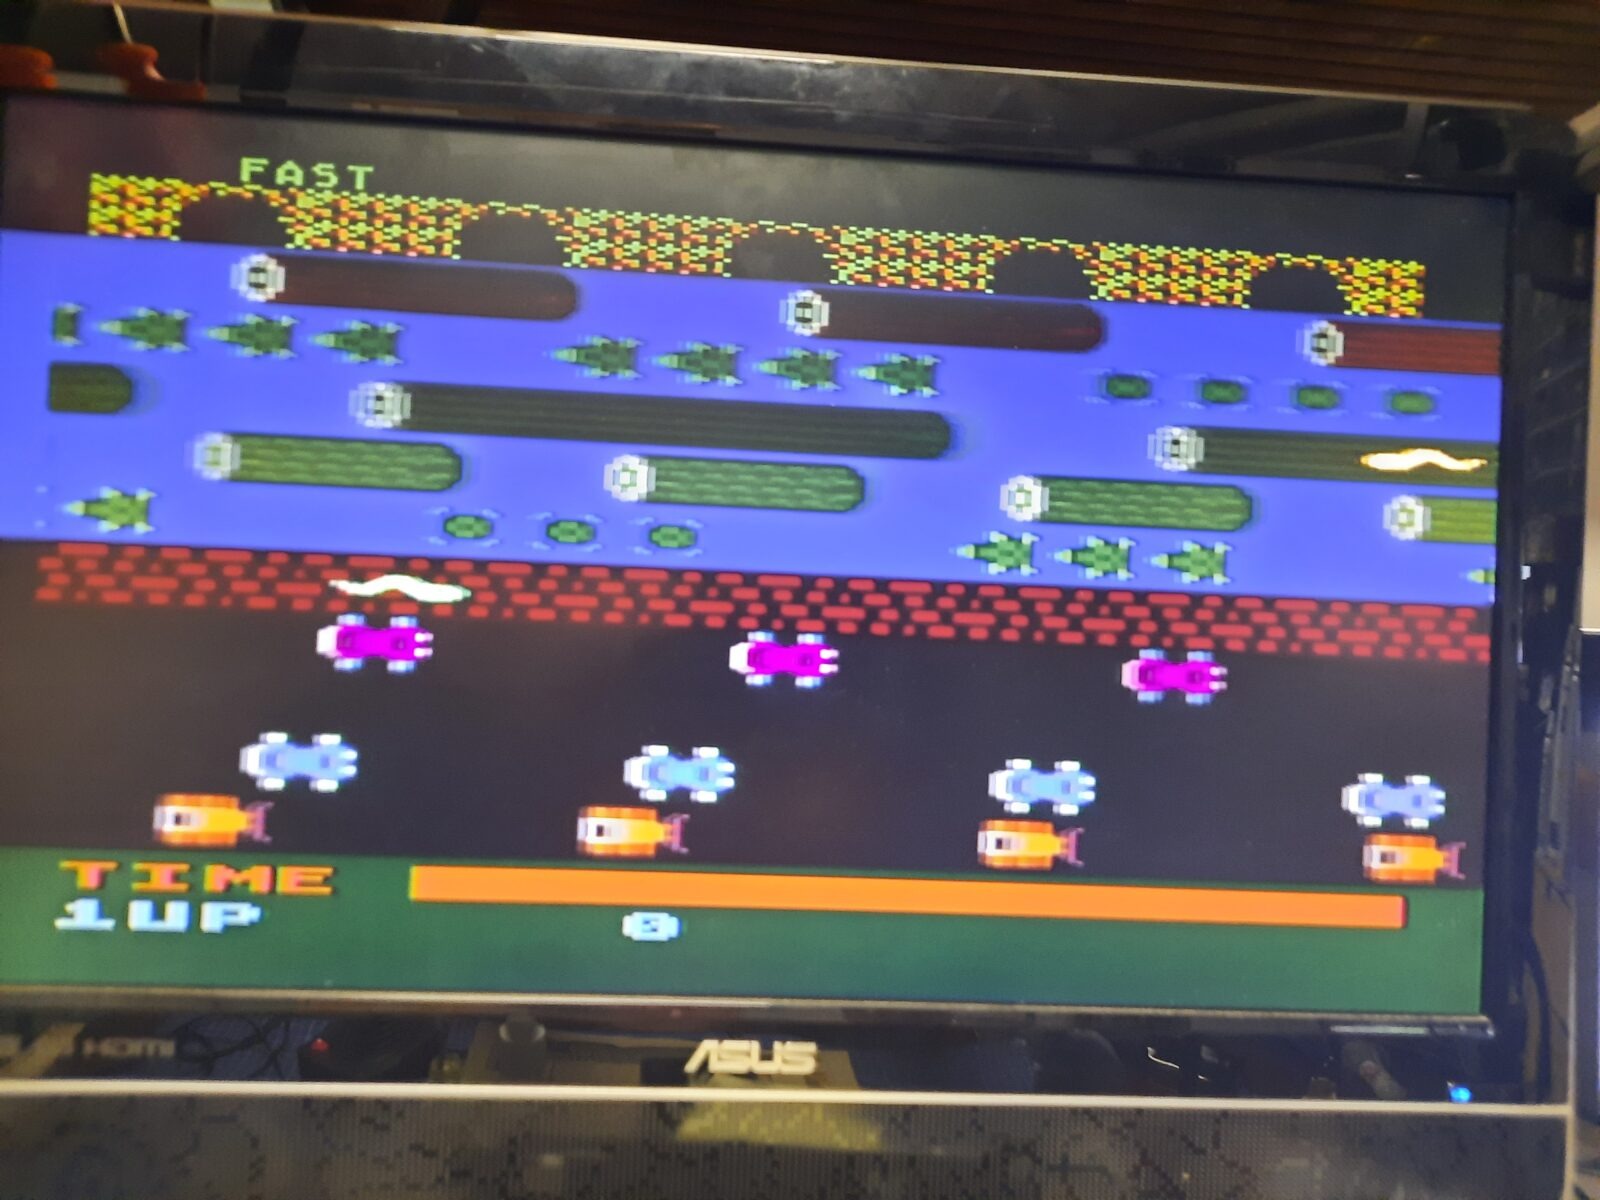
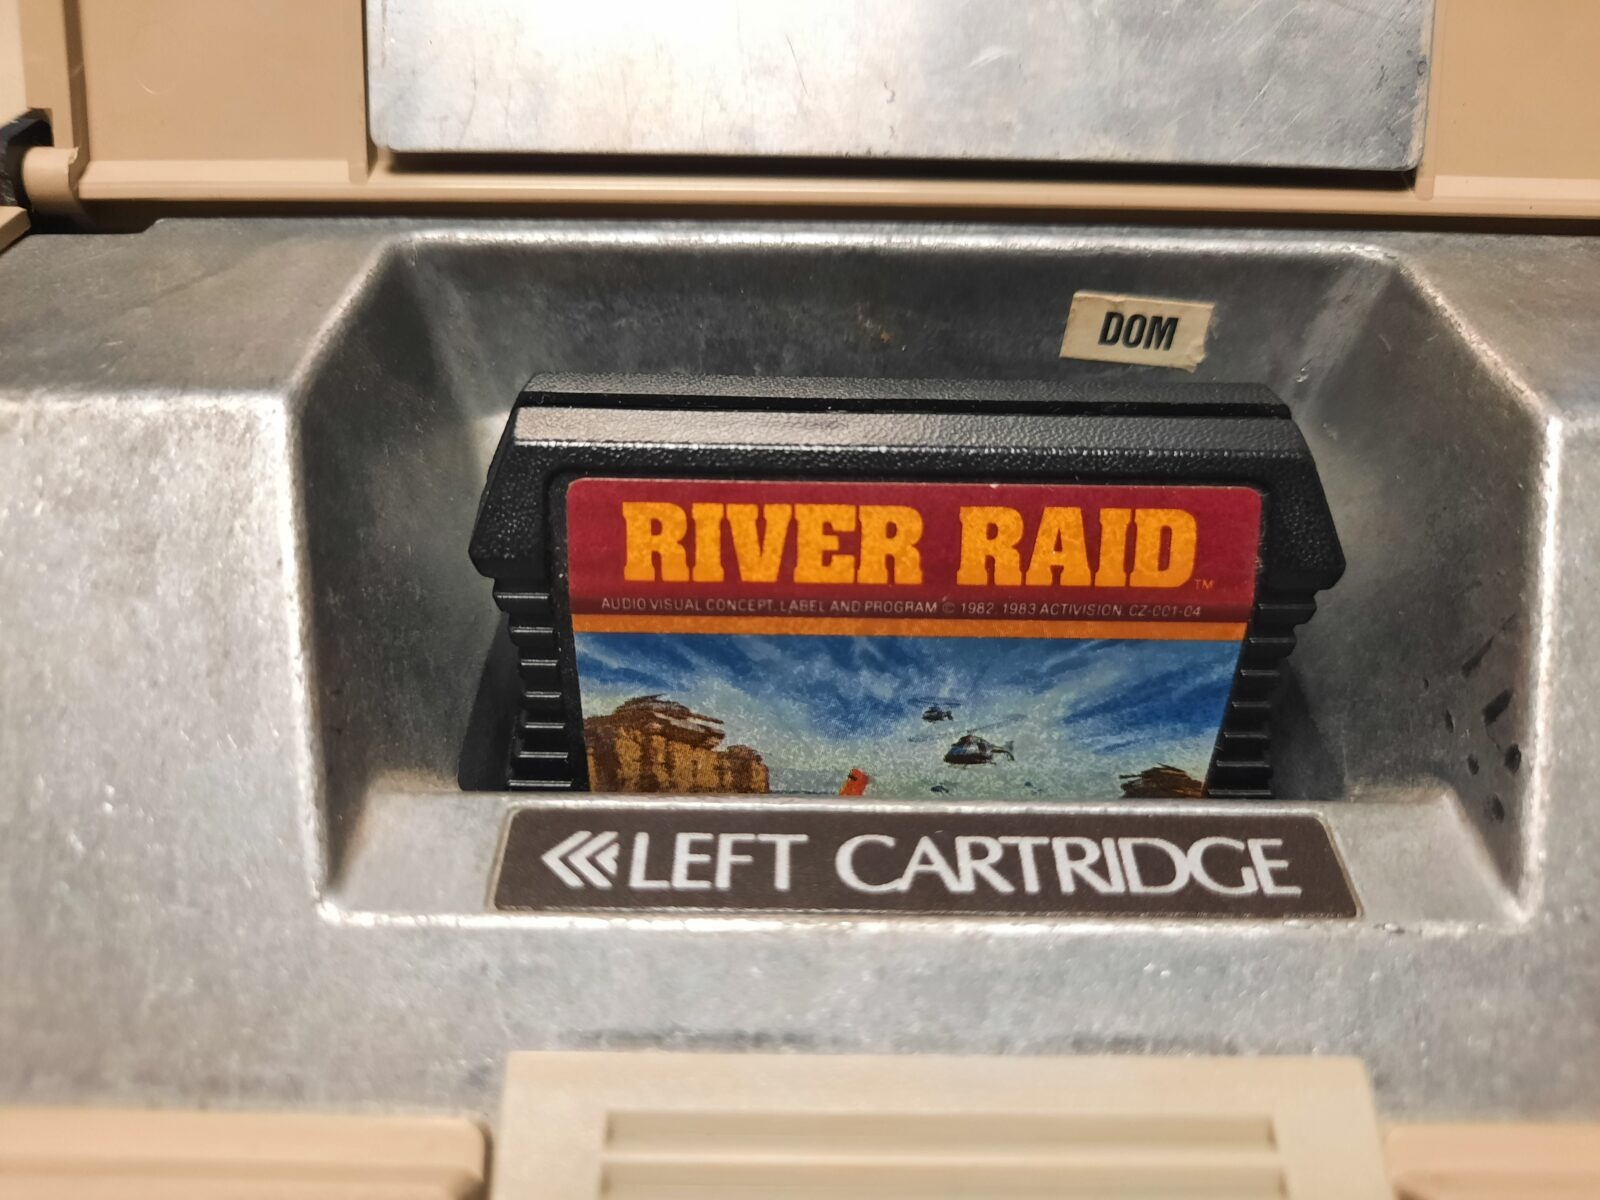
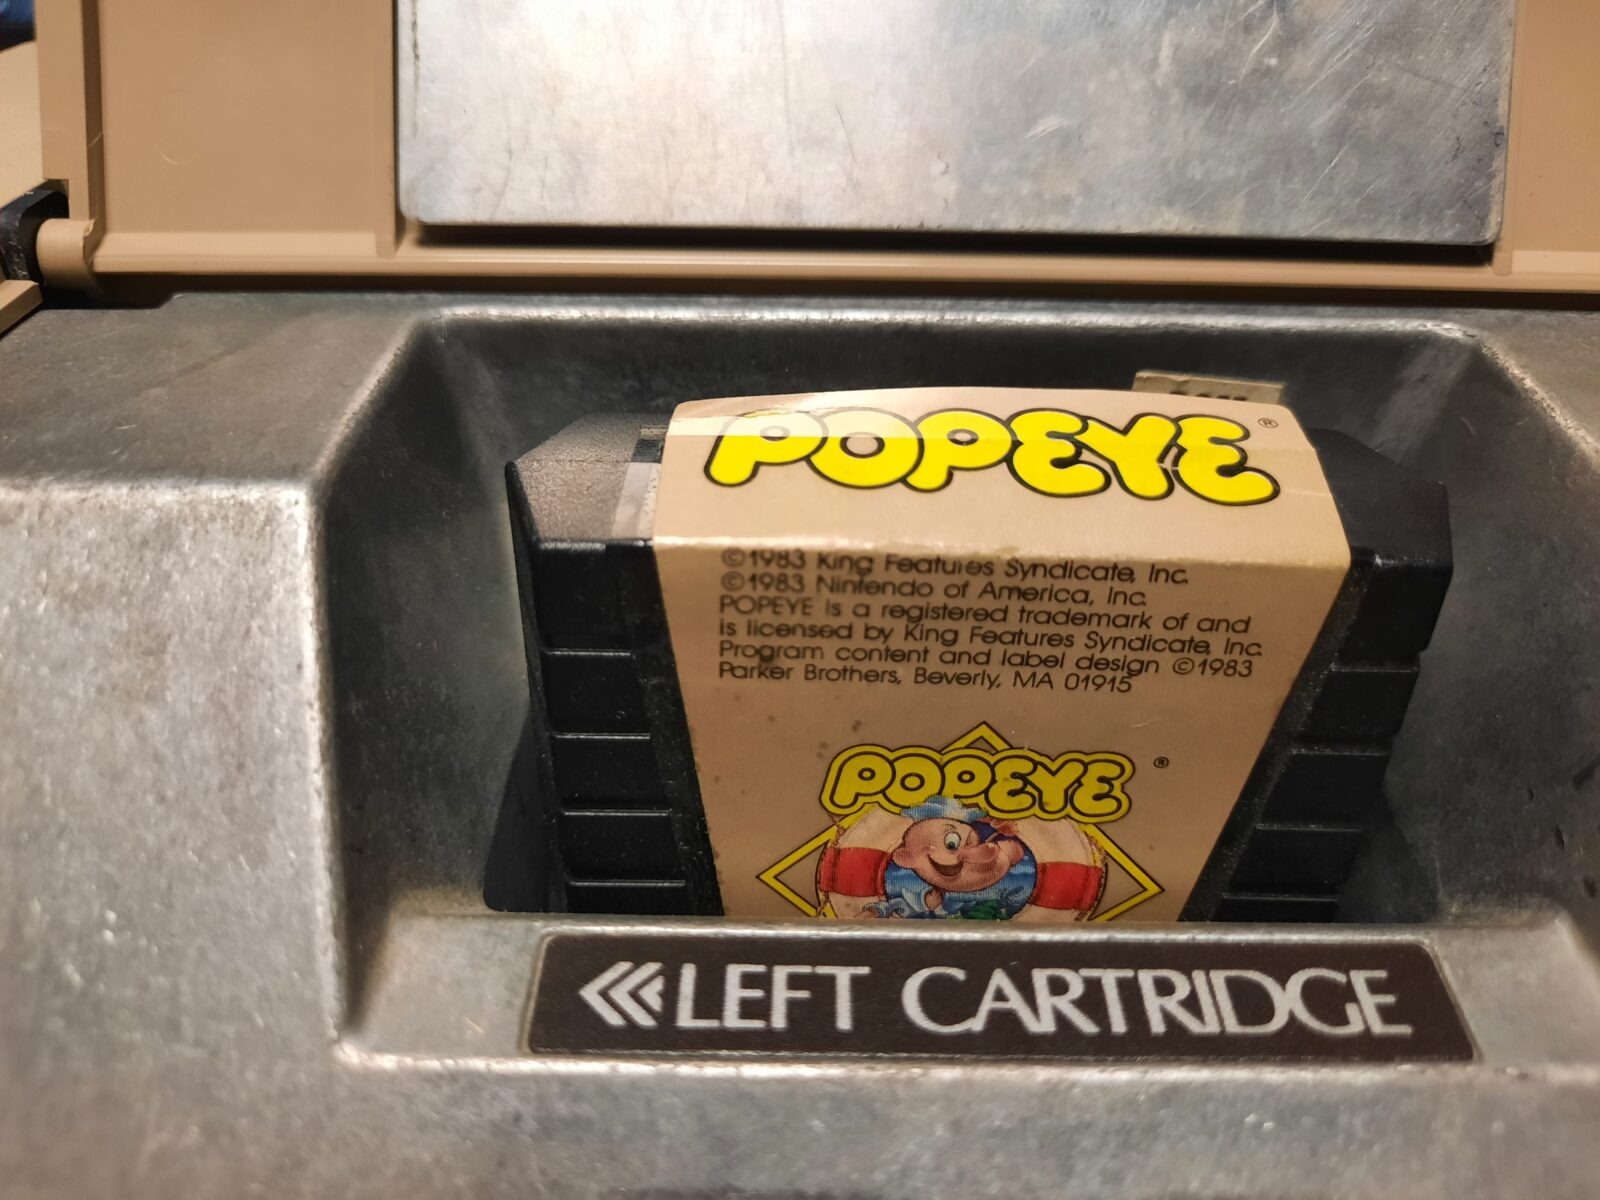
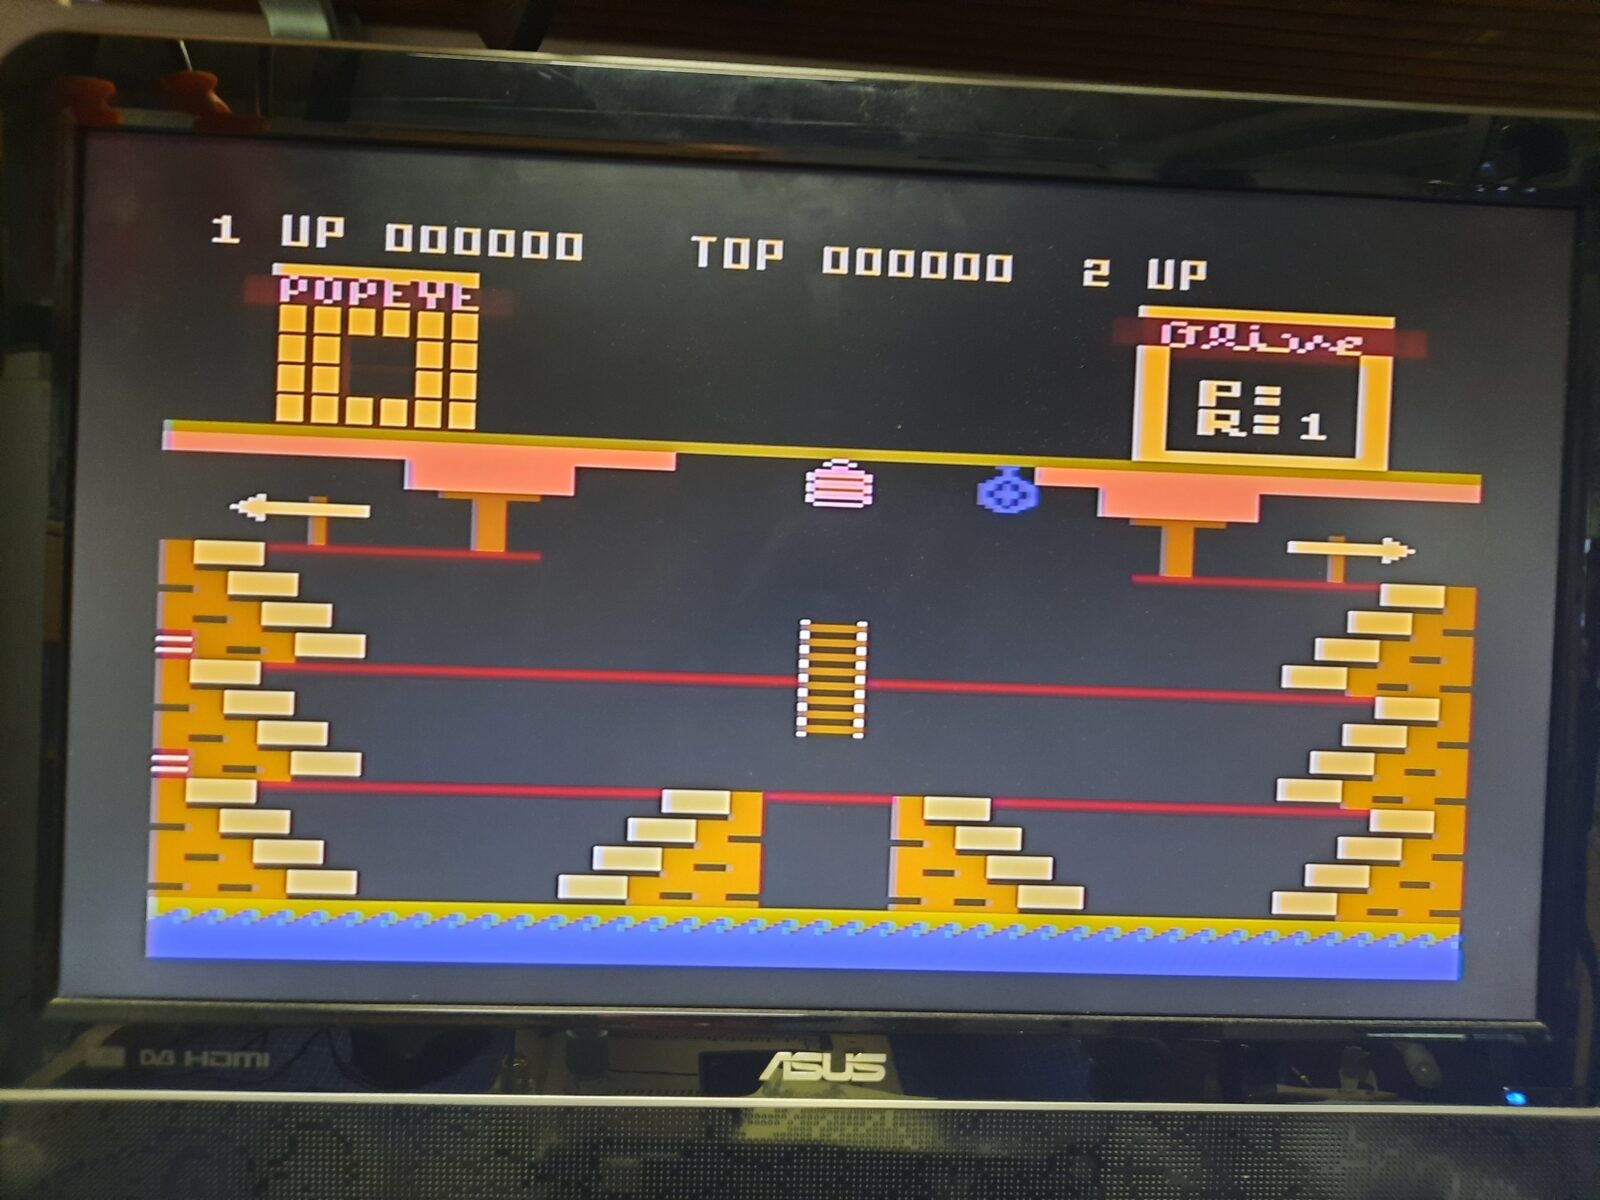
… or I just wanted to play RiverRaid 😉
Intro
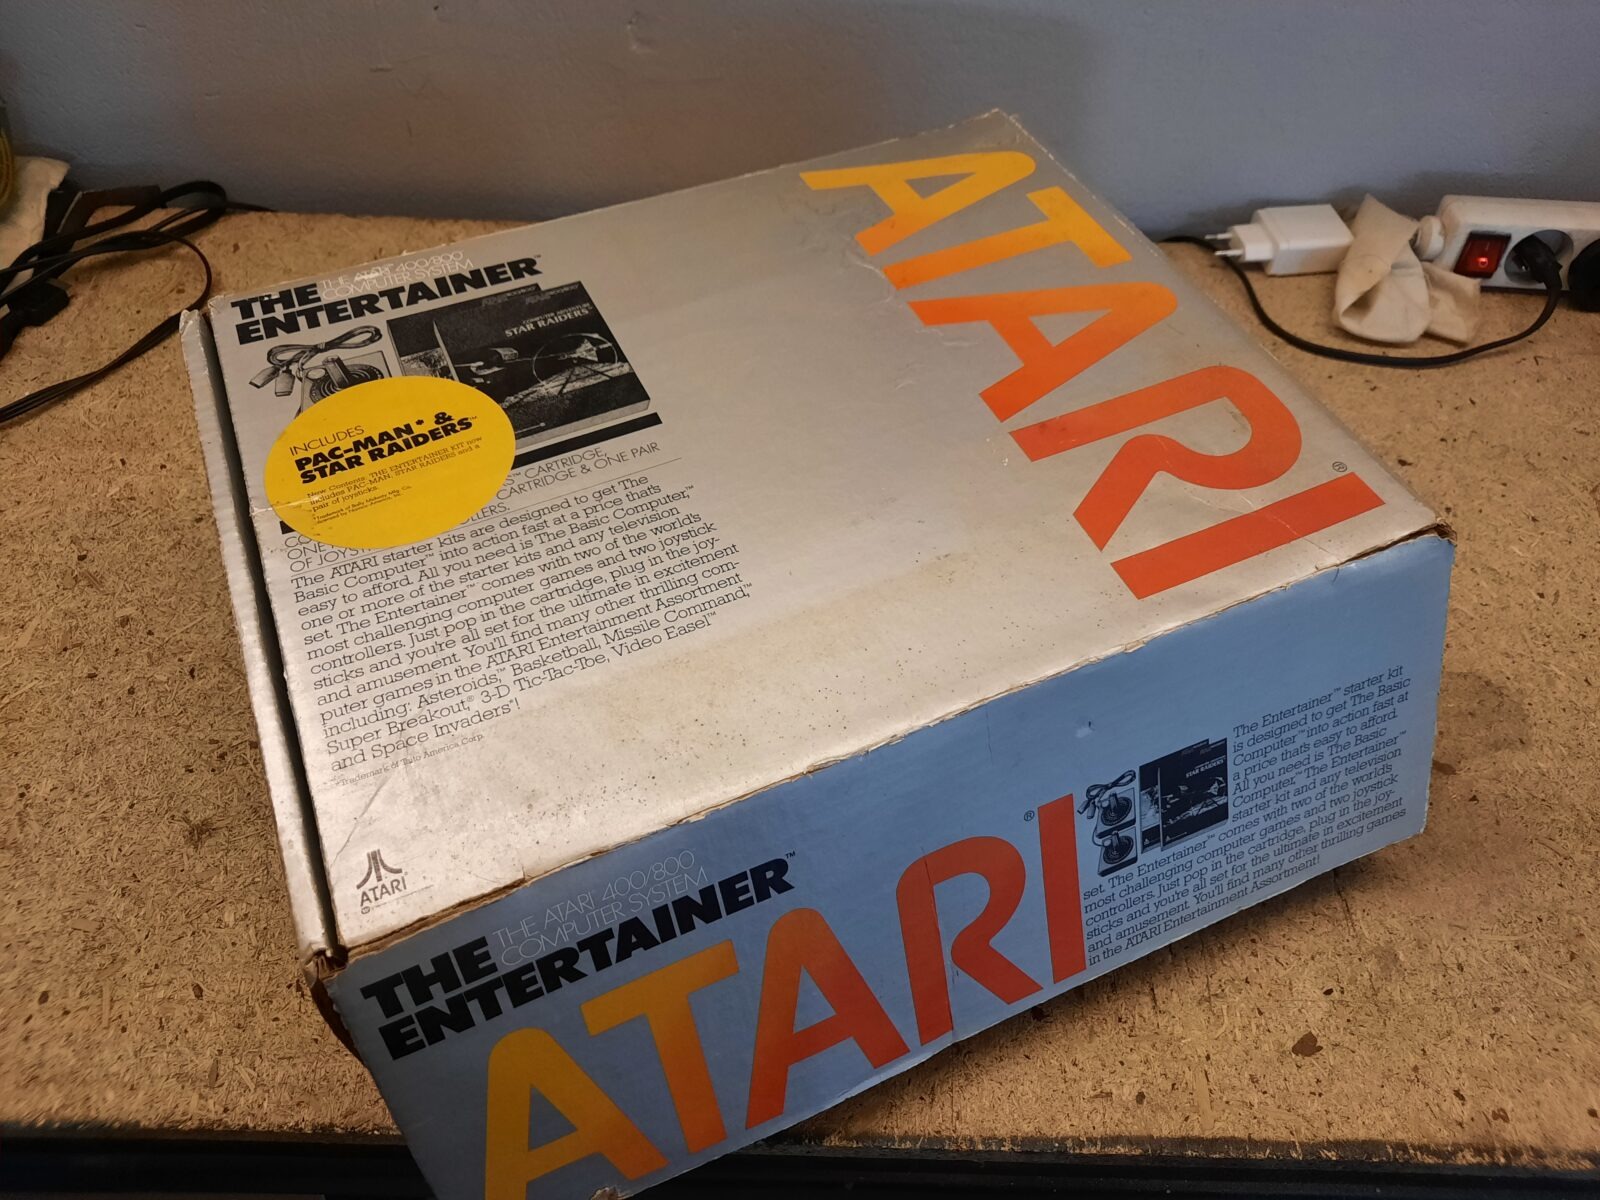
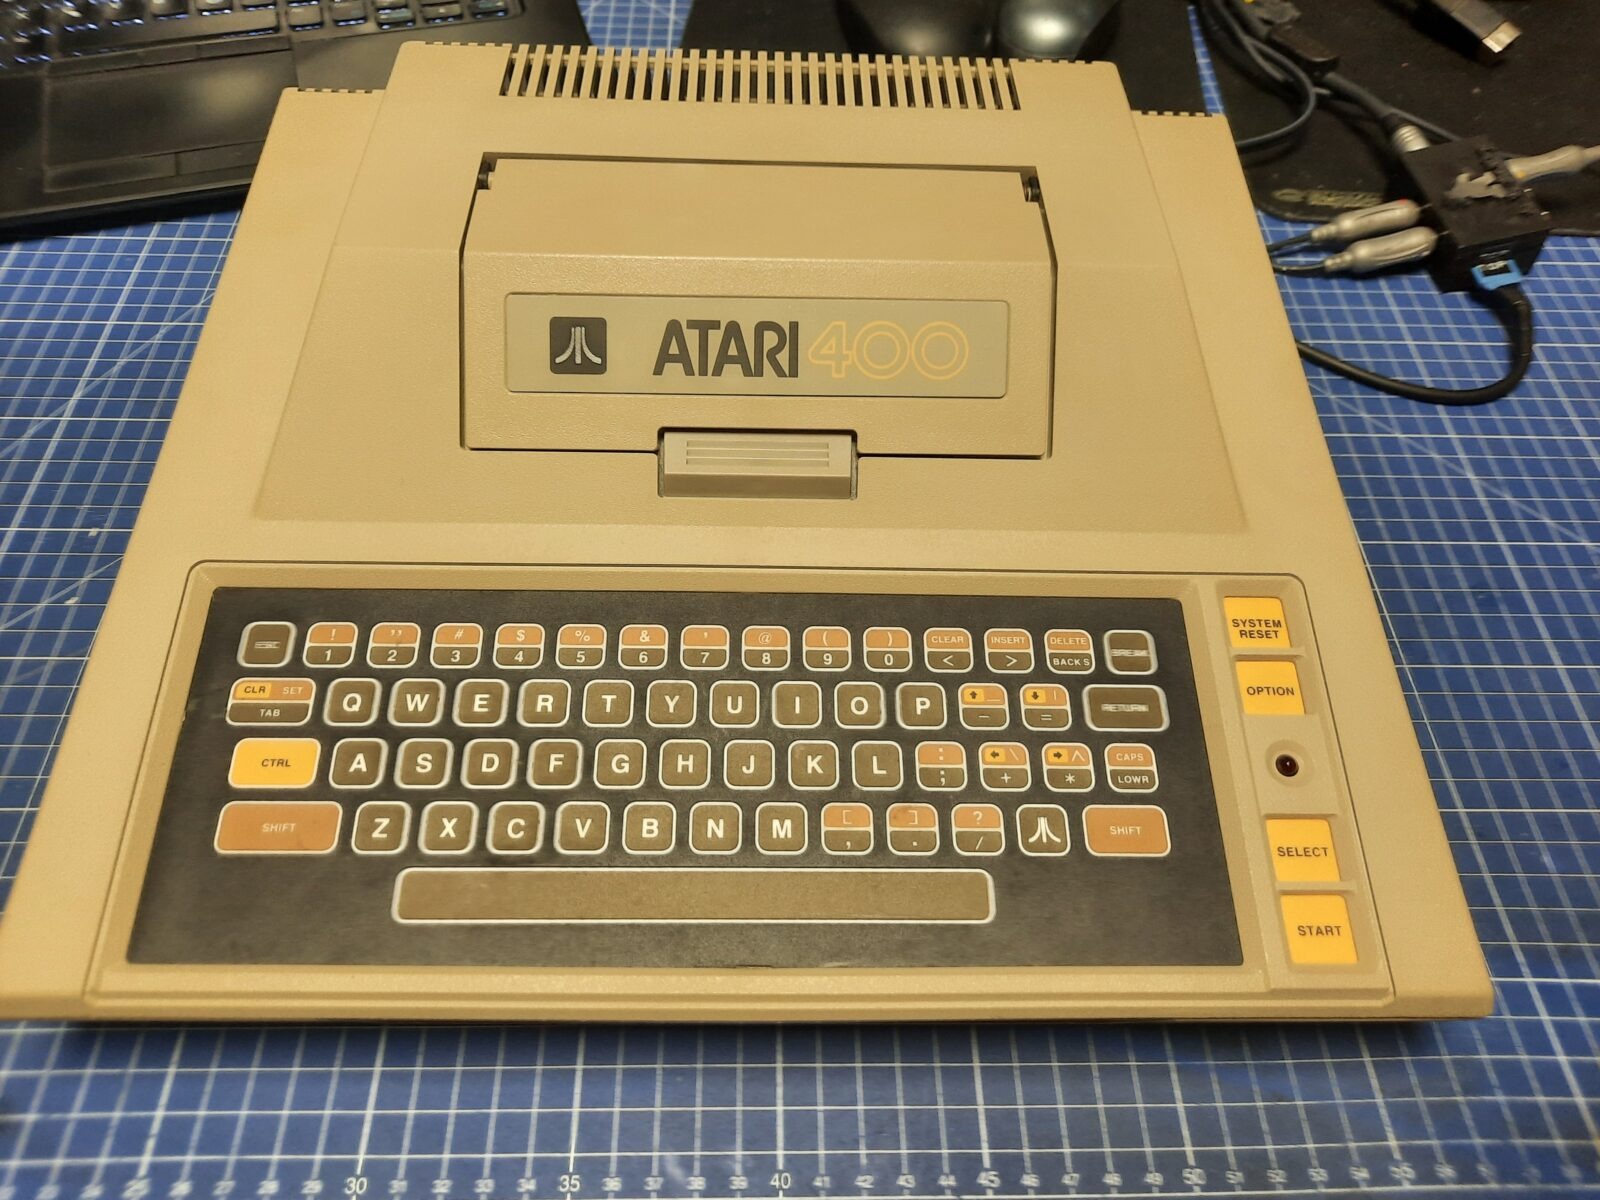
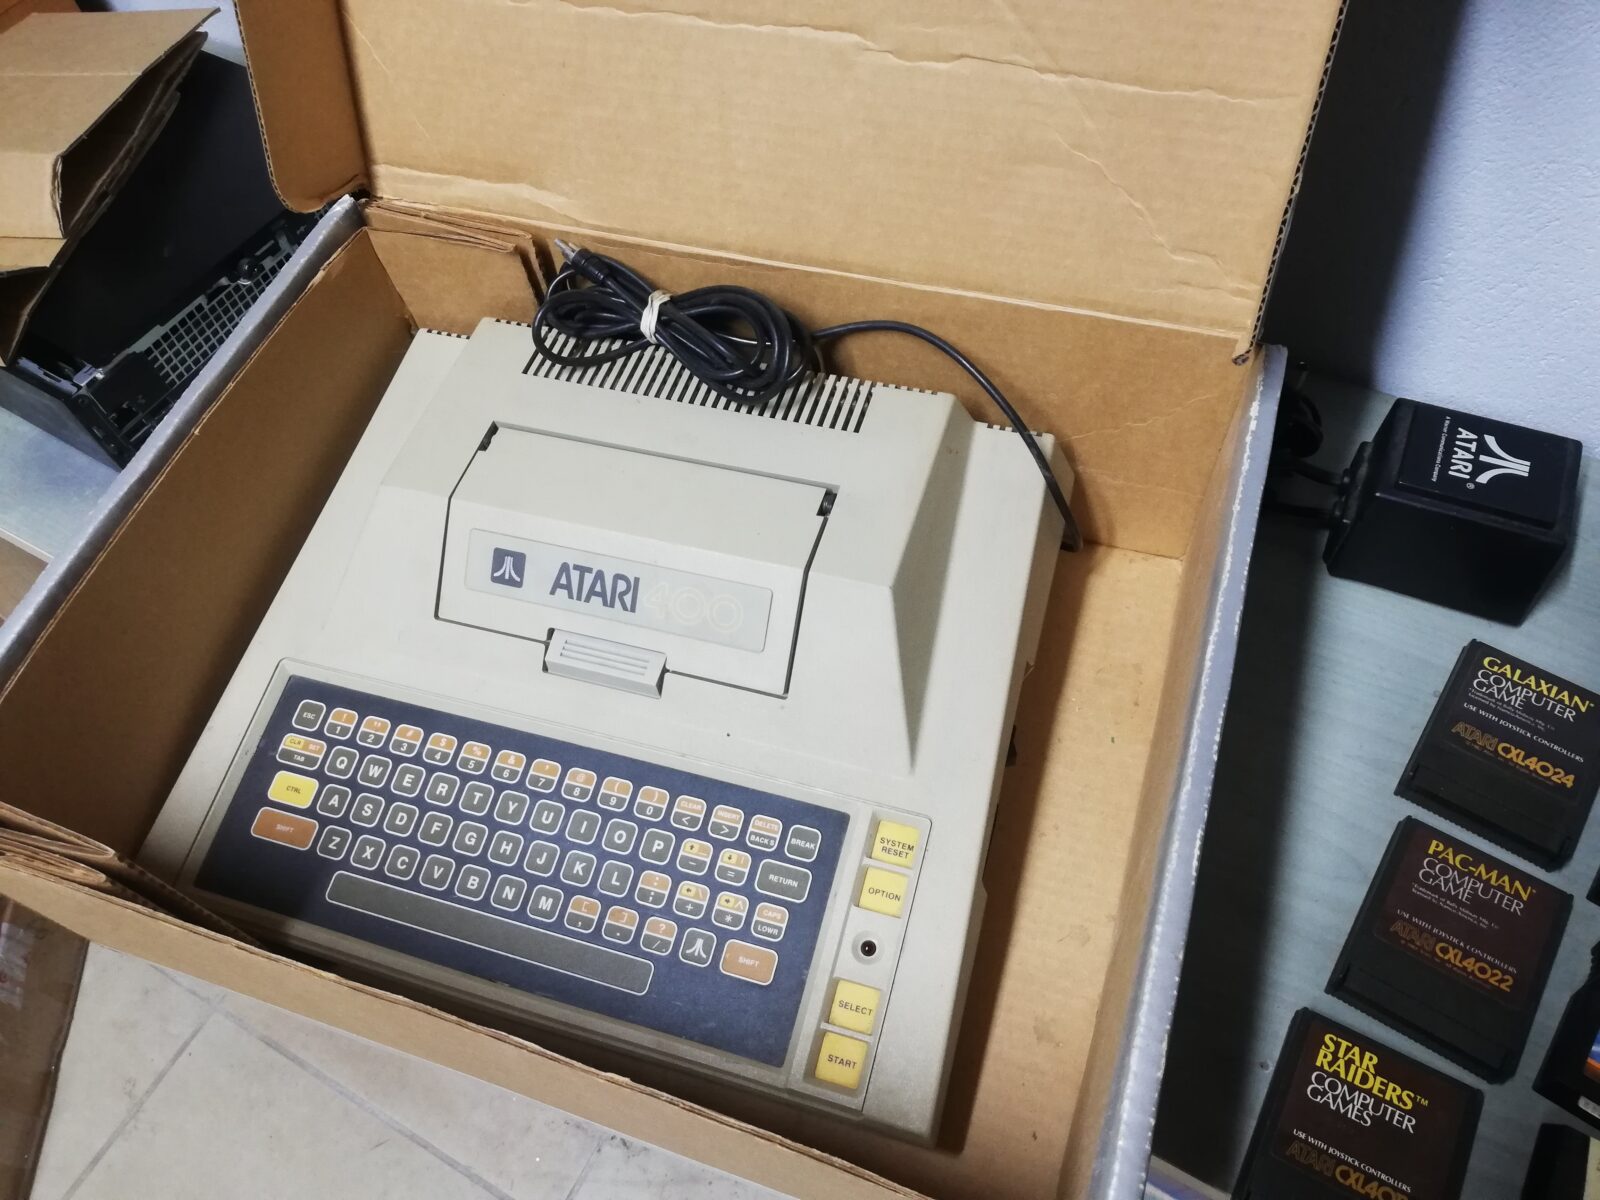
Today, a short post with the Atari 400 on the workbench. I did work on a few of those machines before but I don’t have a complete set of pics so I won’t cover it here. Maybe in another post someday 🙂
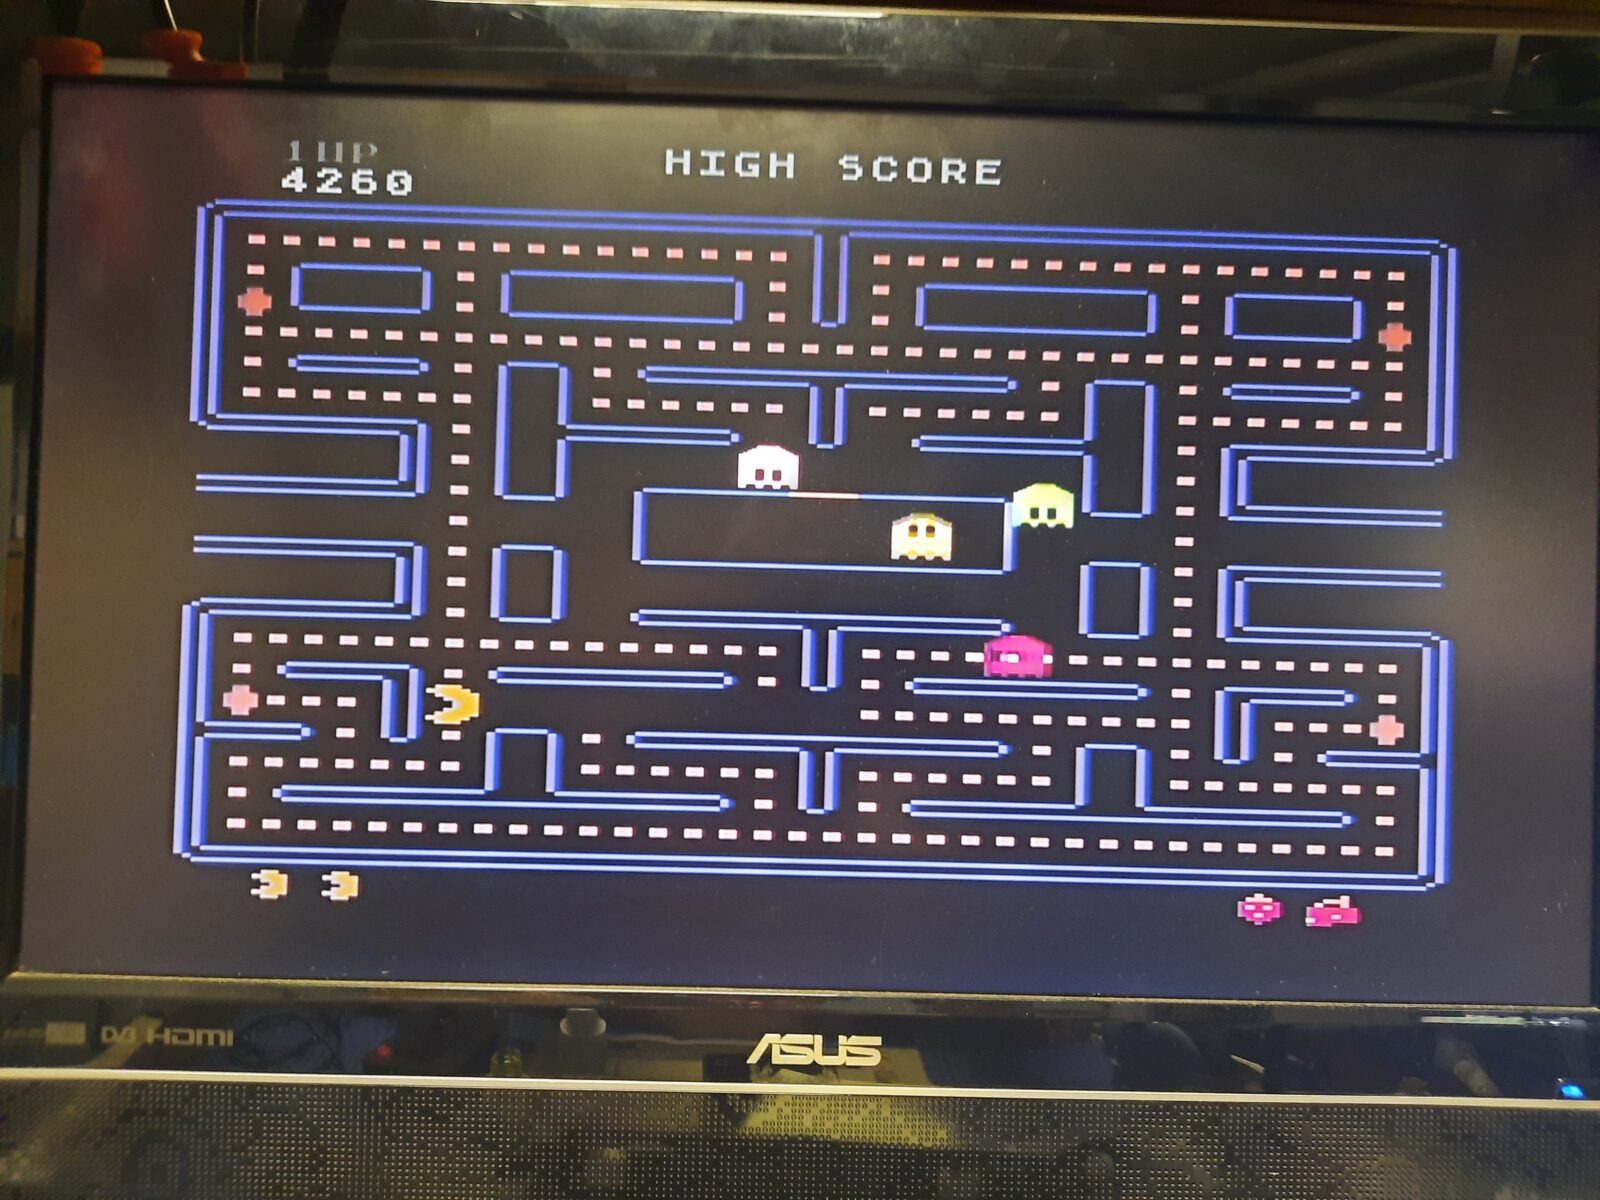
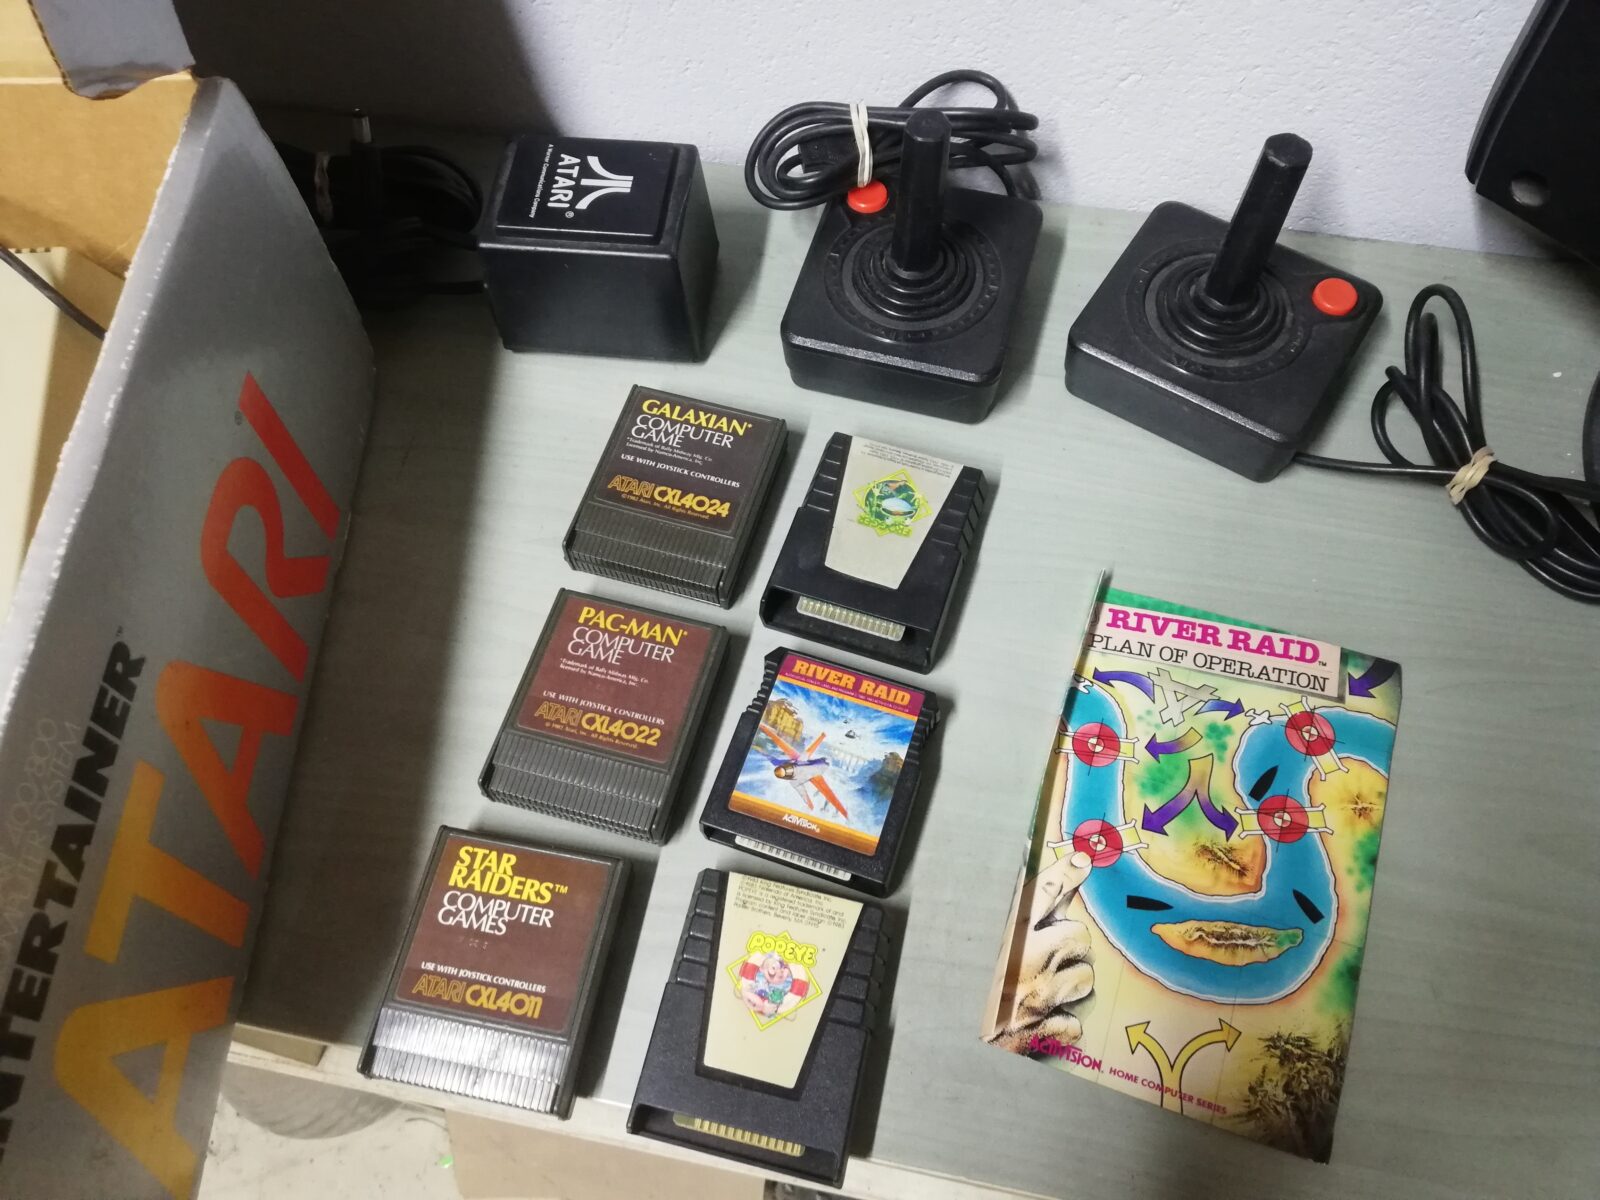
This particular machine is a 110V NTSC version released on the US market. It came boxed with a lot of cartridges. We will surely be adding some Atari 400 mods to it so it is more convenient to use in current times 🙂
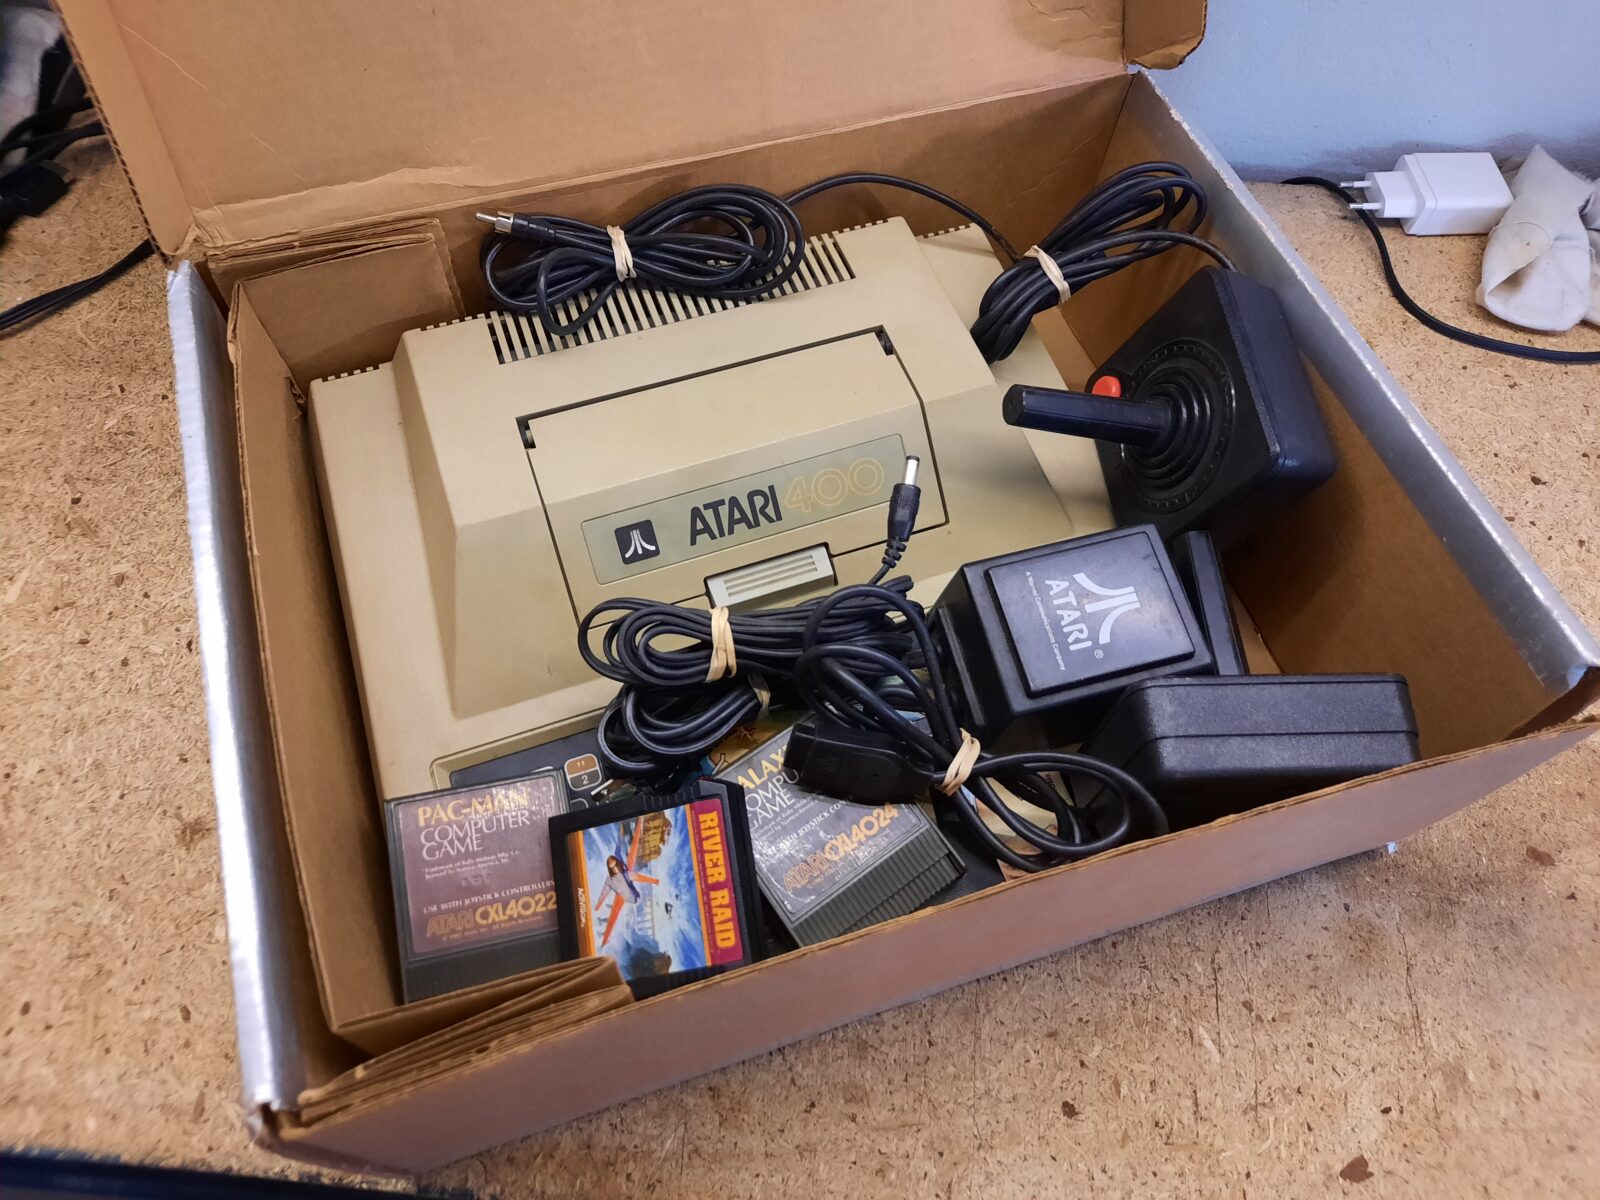

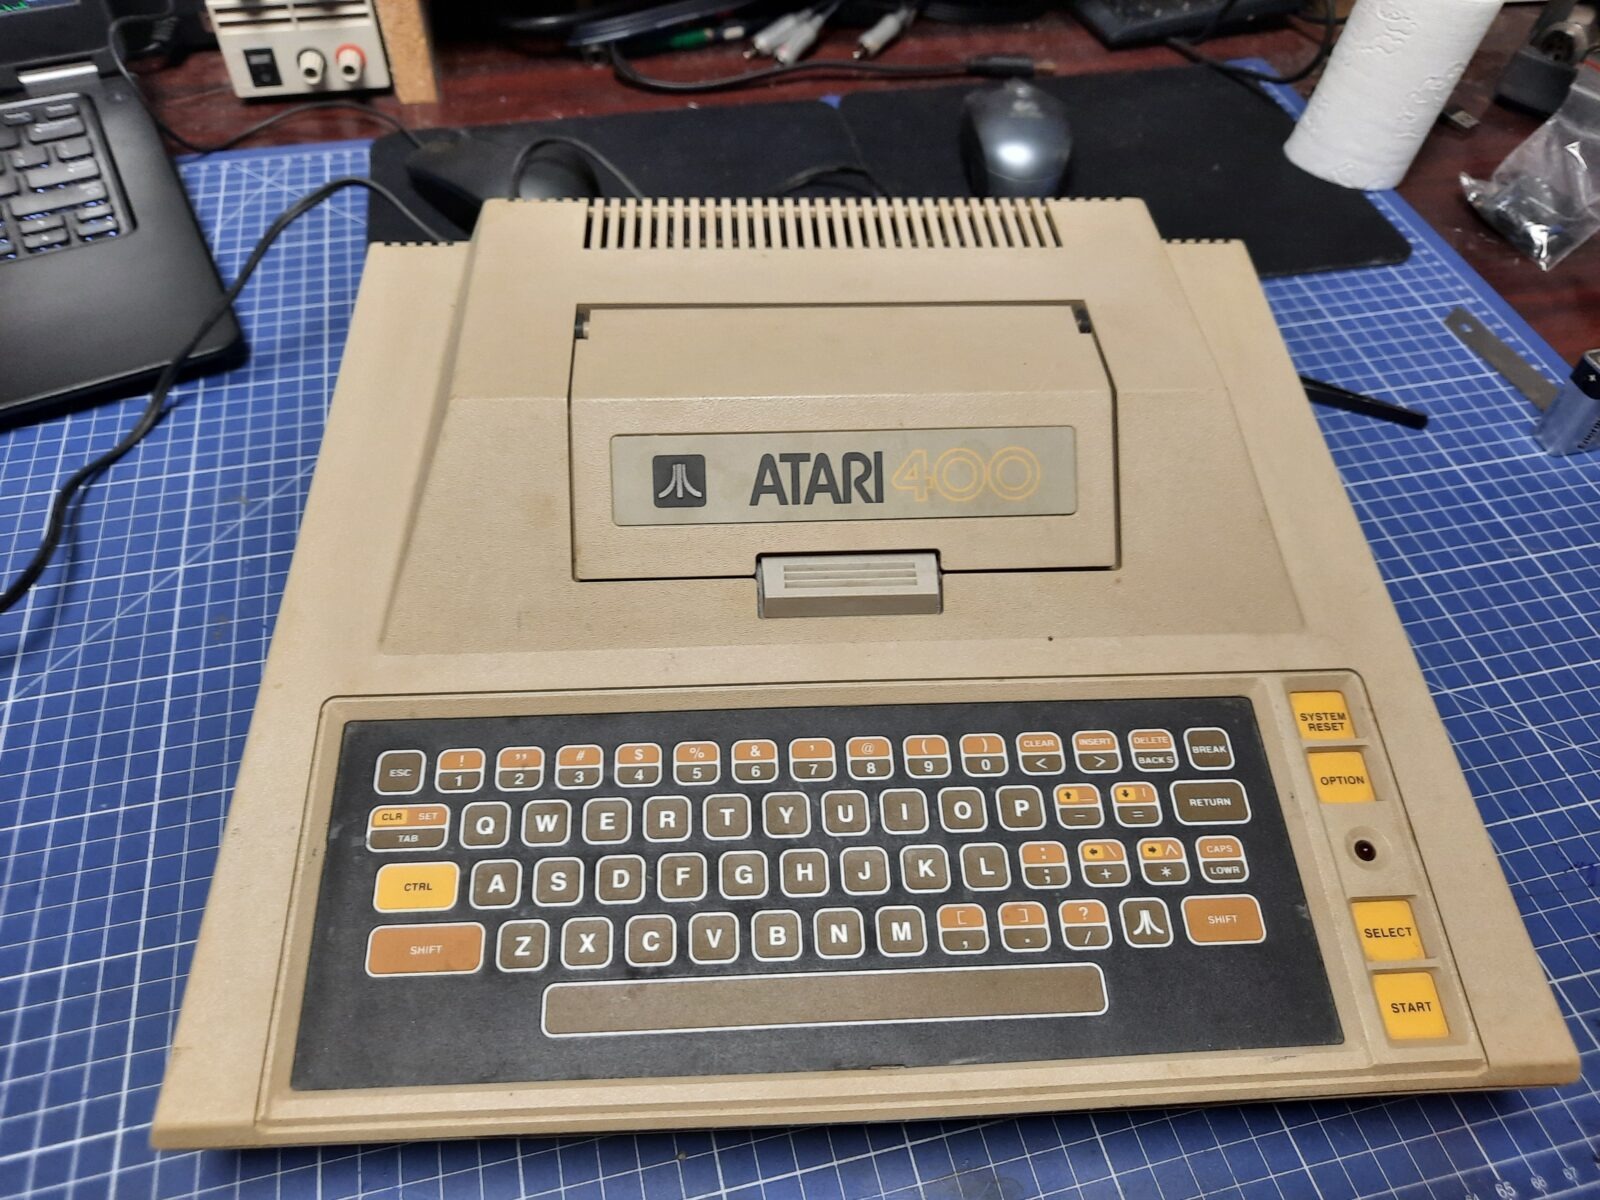
The machine itself was just slightly dirty but in relatively good shape.
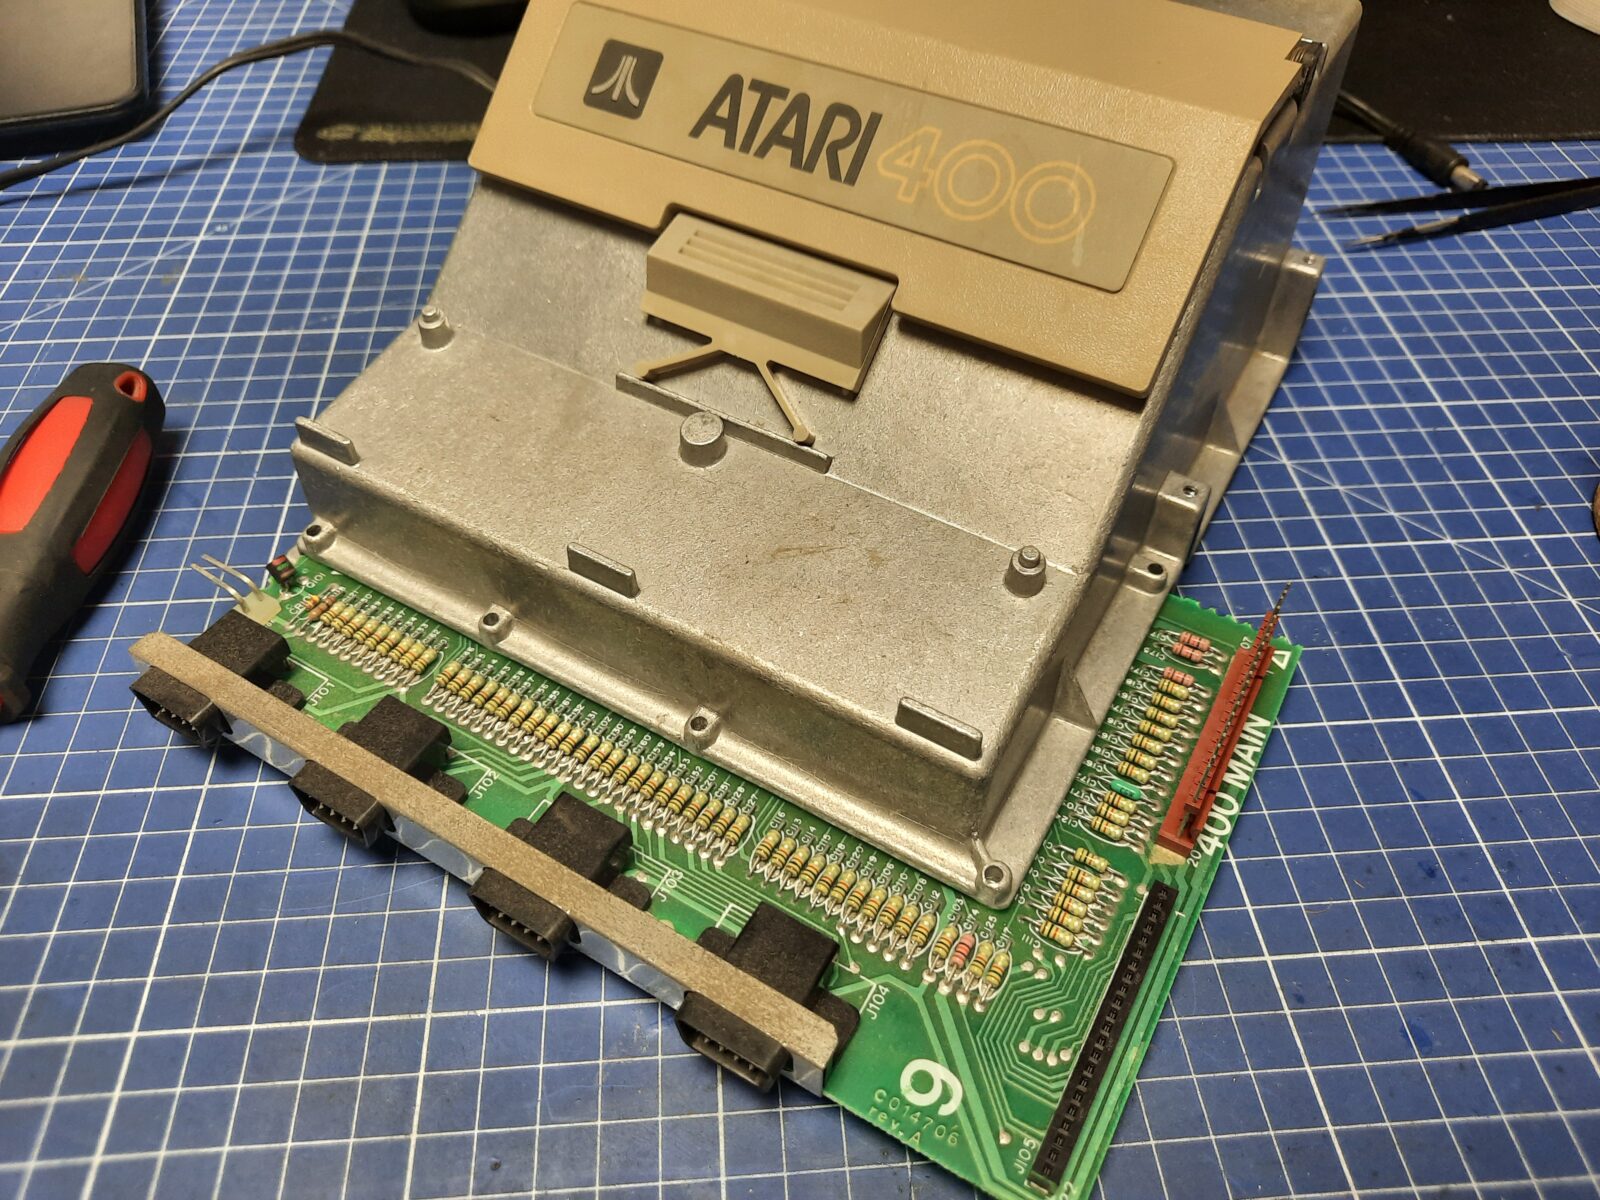
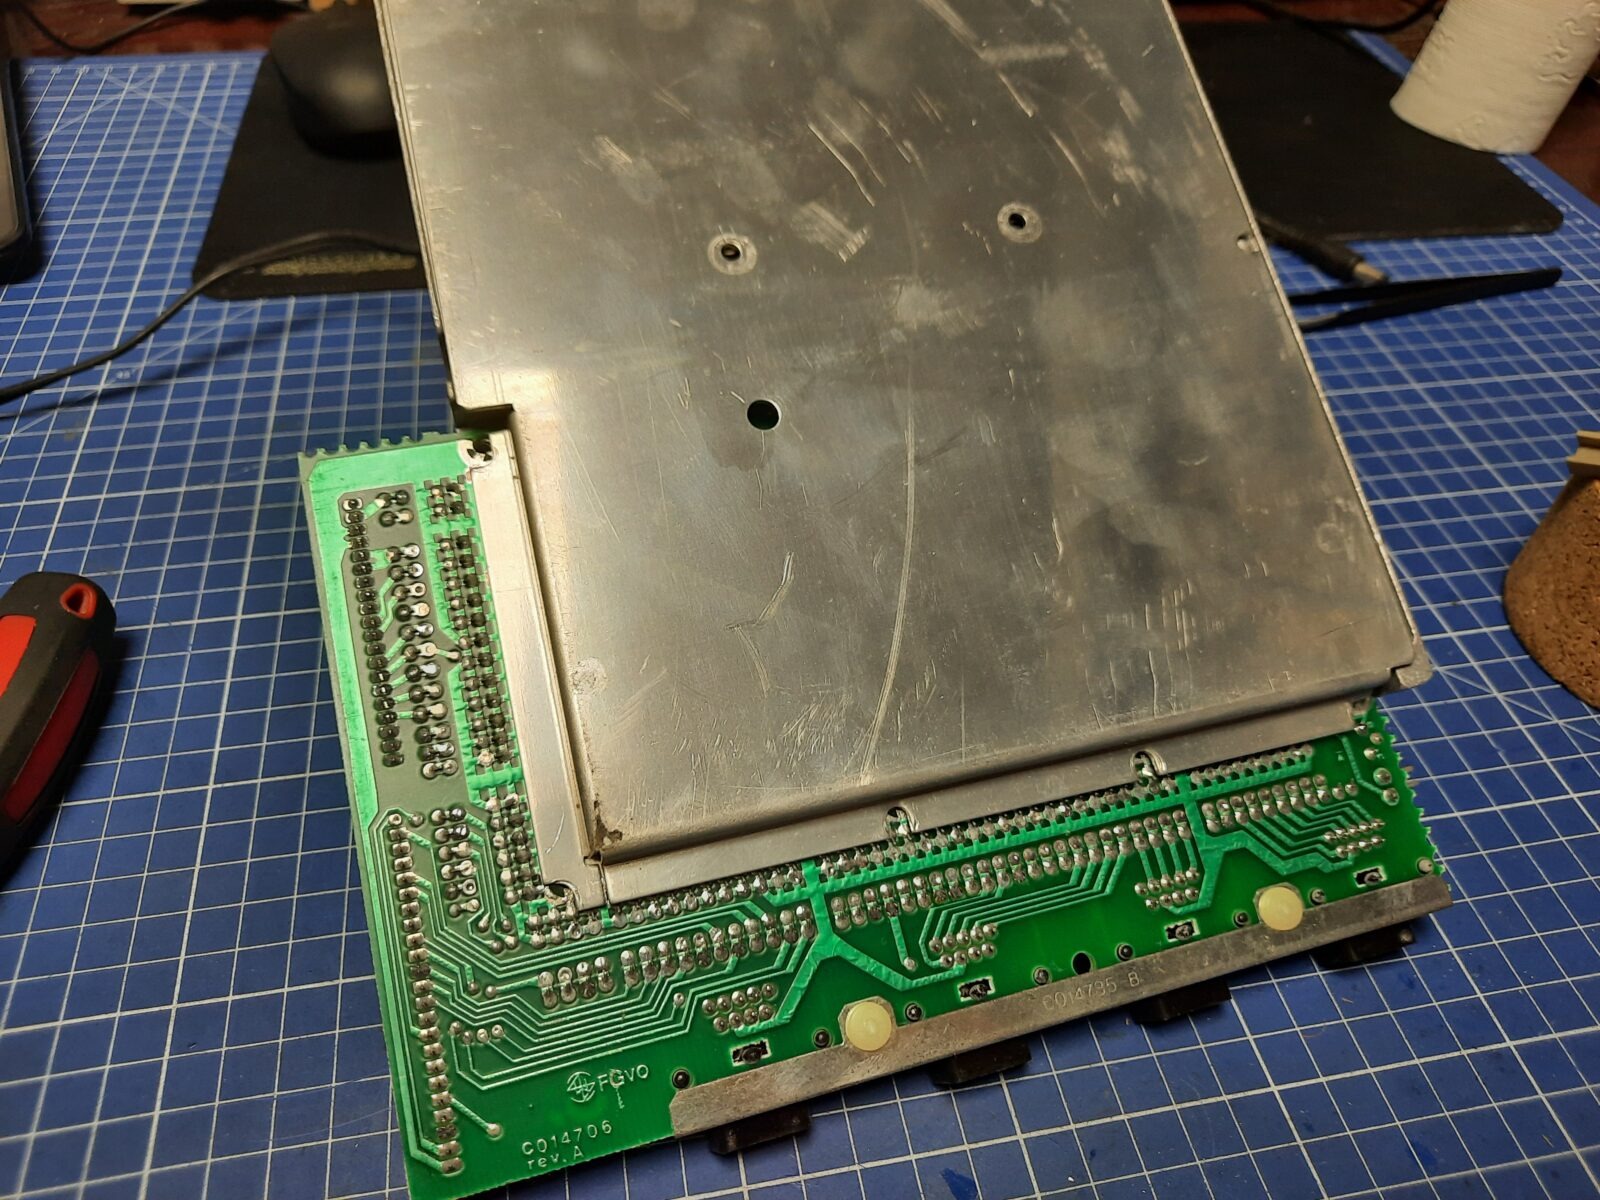
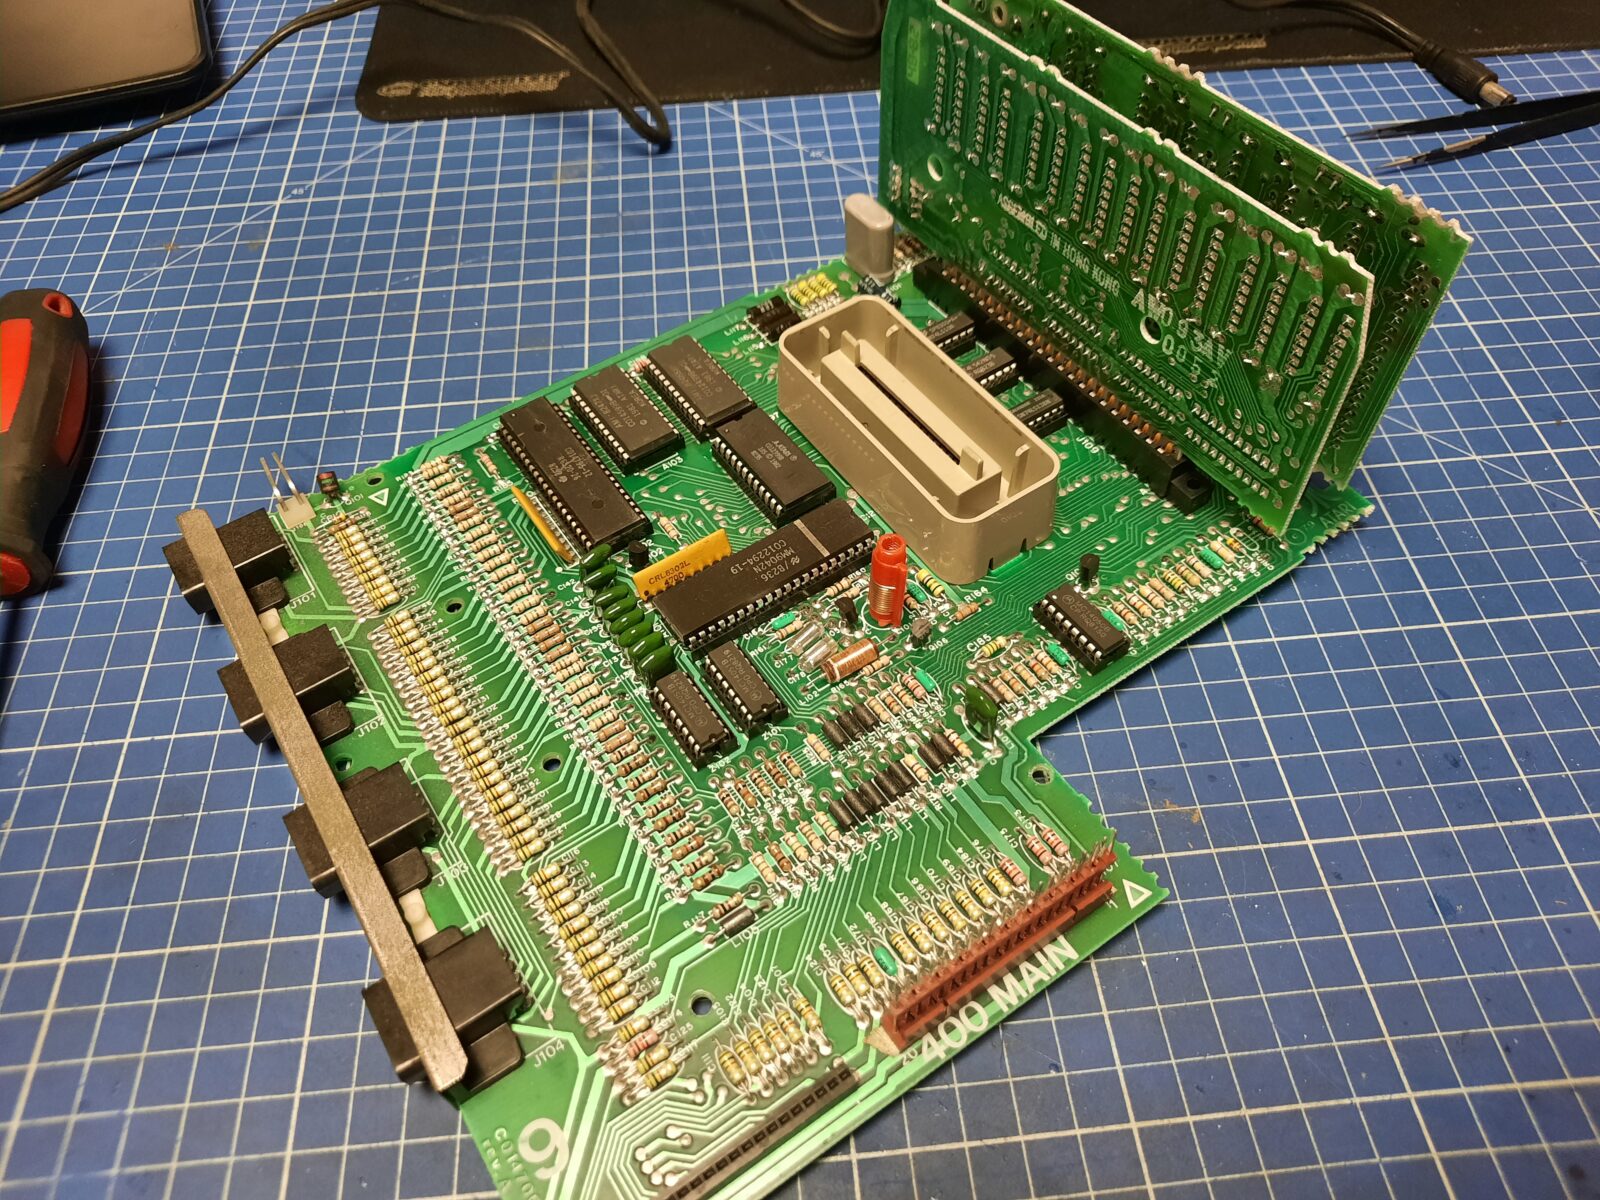
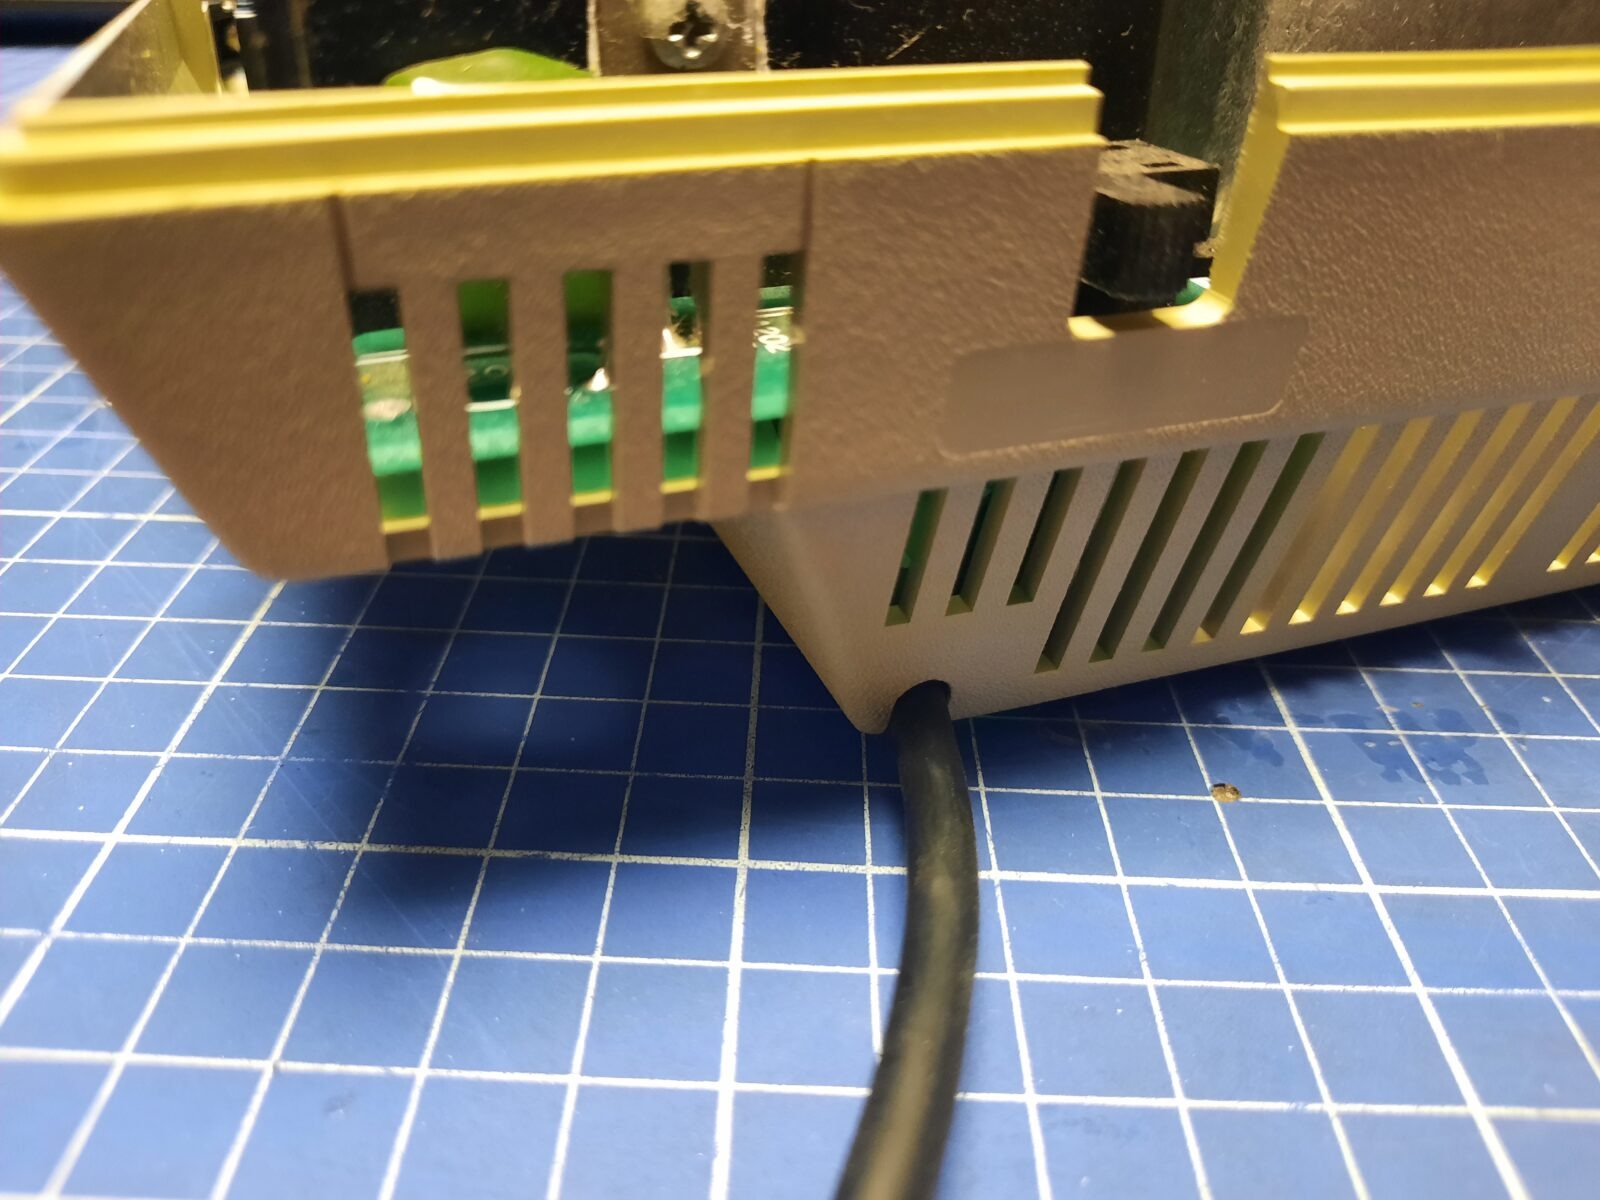
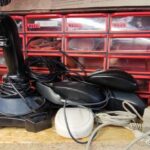
Disassembly
Below are a few pics of disassembled Atari
Introducing mods and add-ons
The idea was to upgrade this Atari a bit.
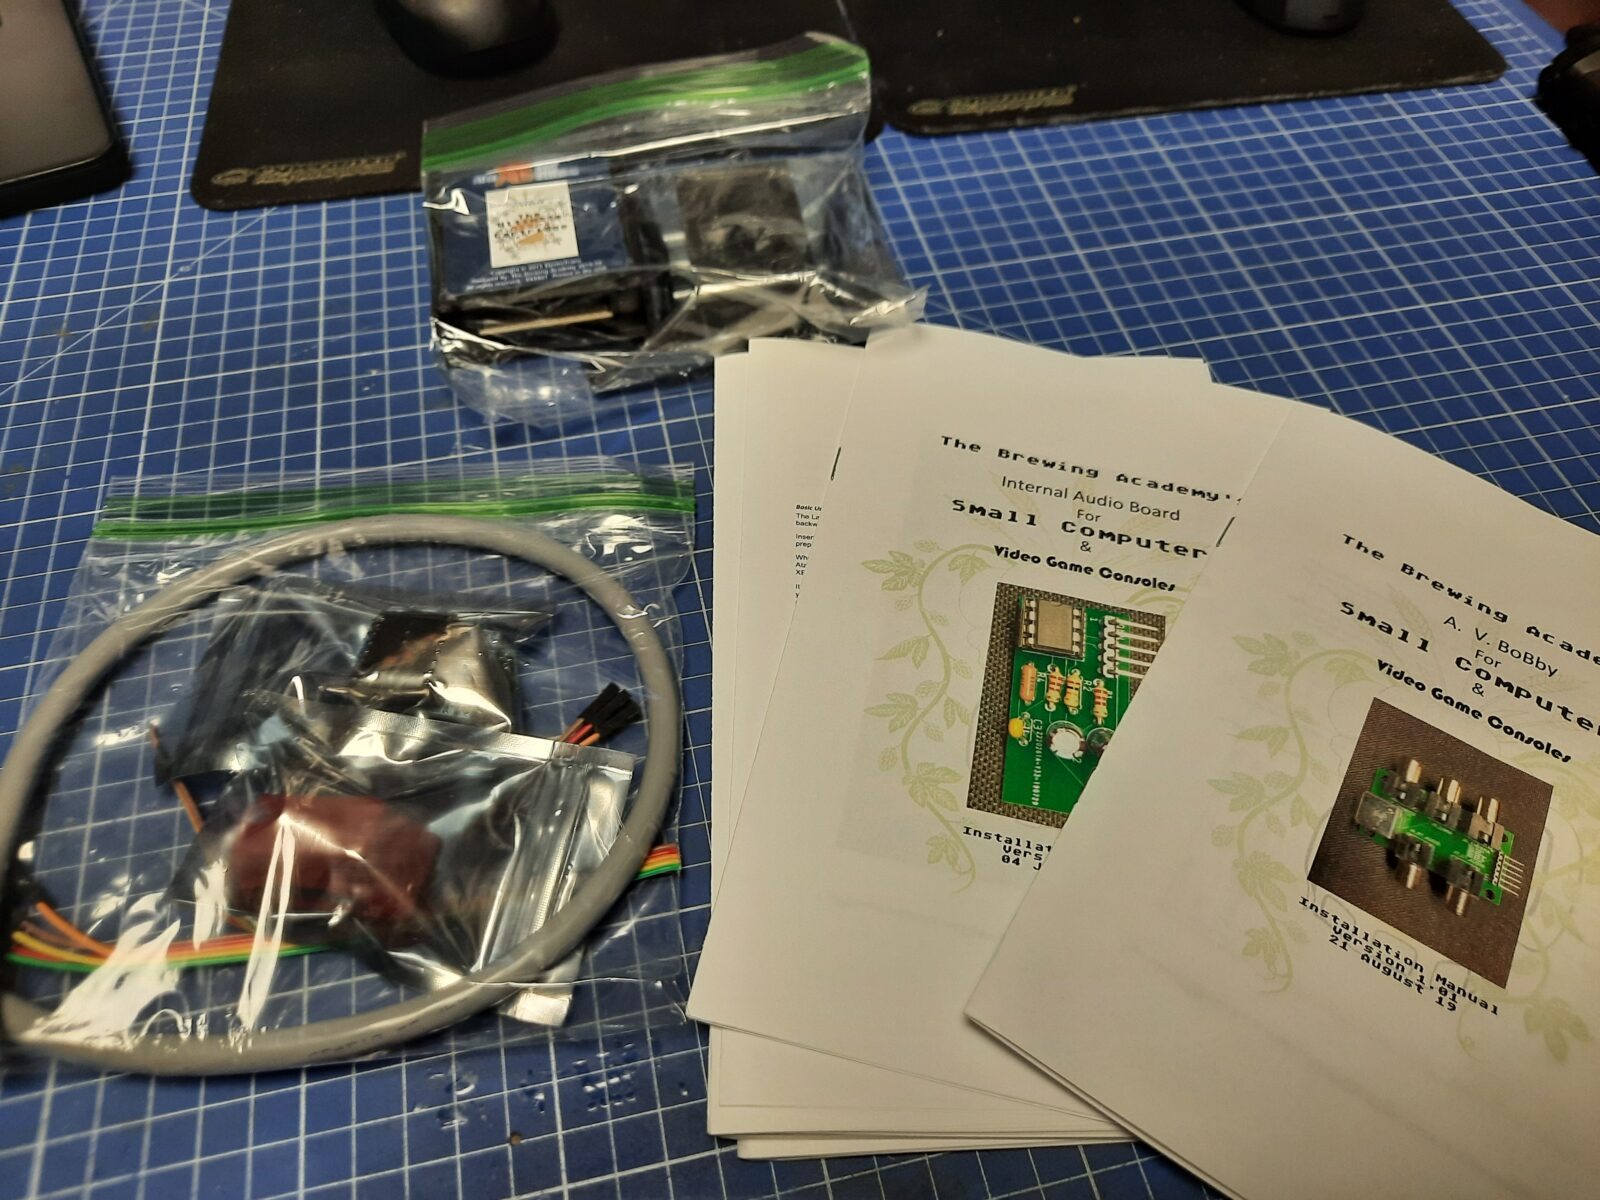
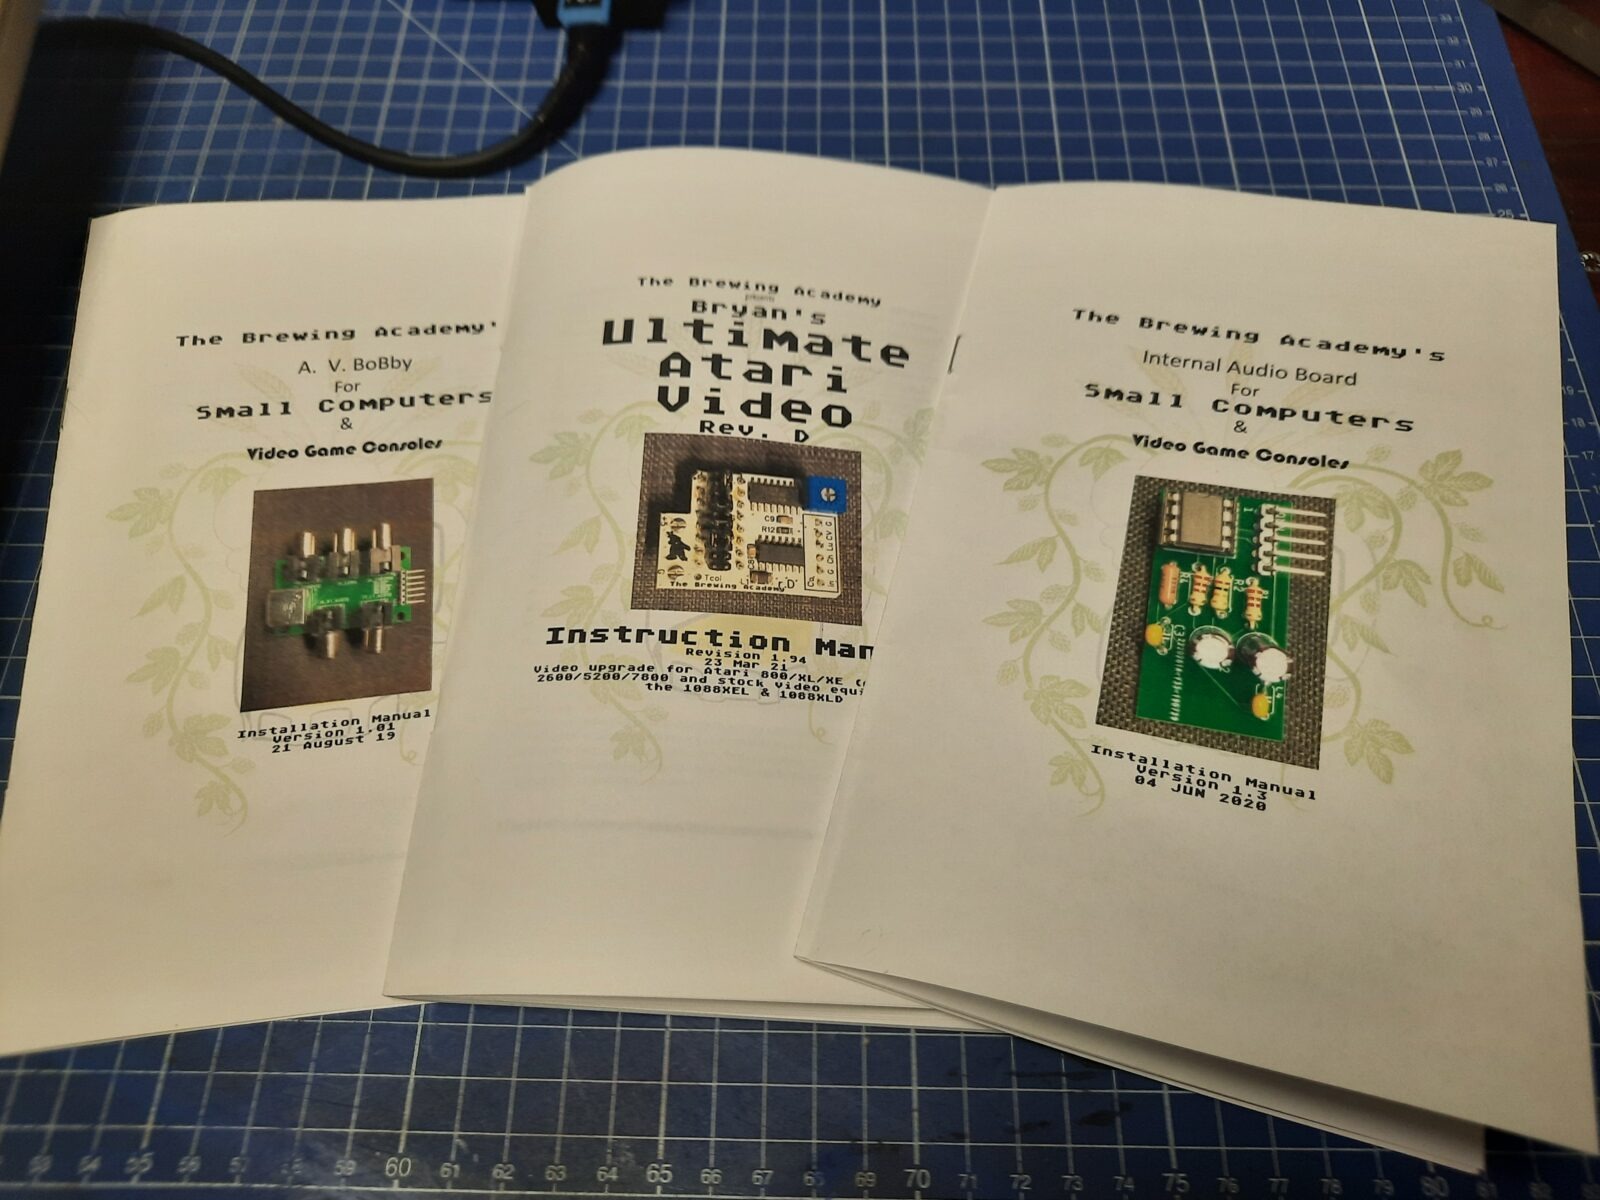
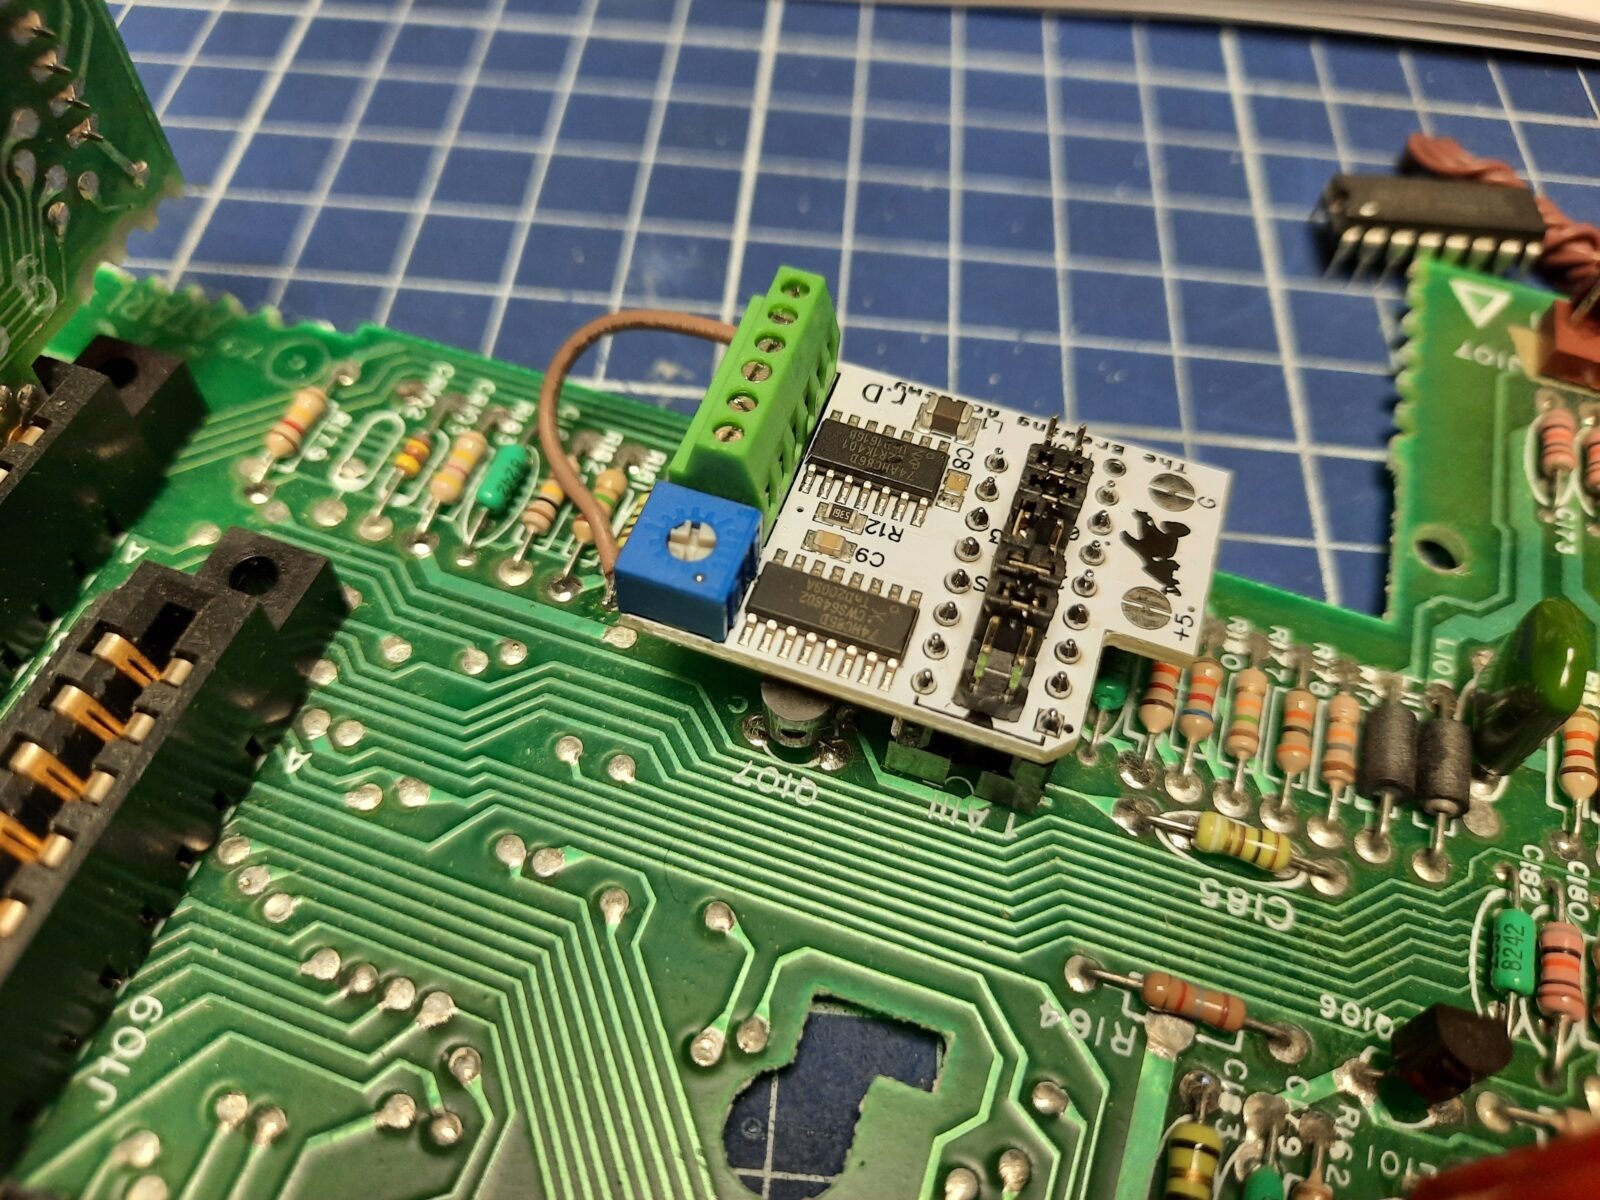
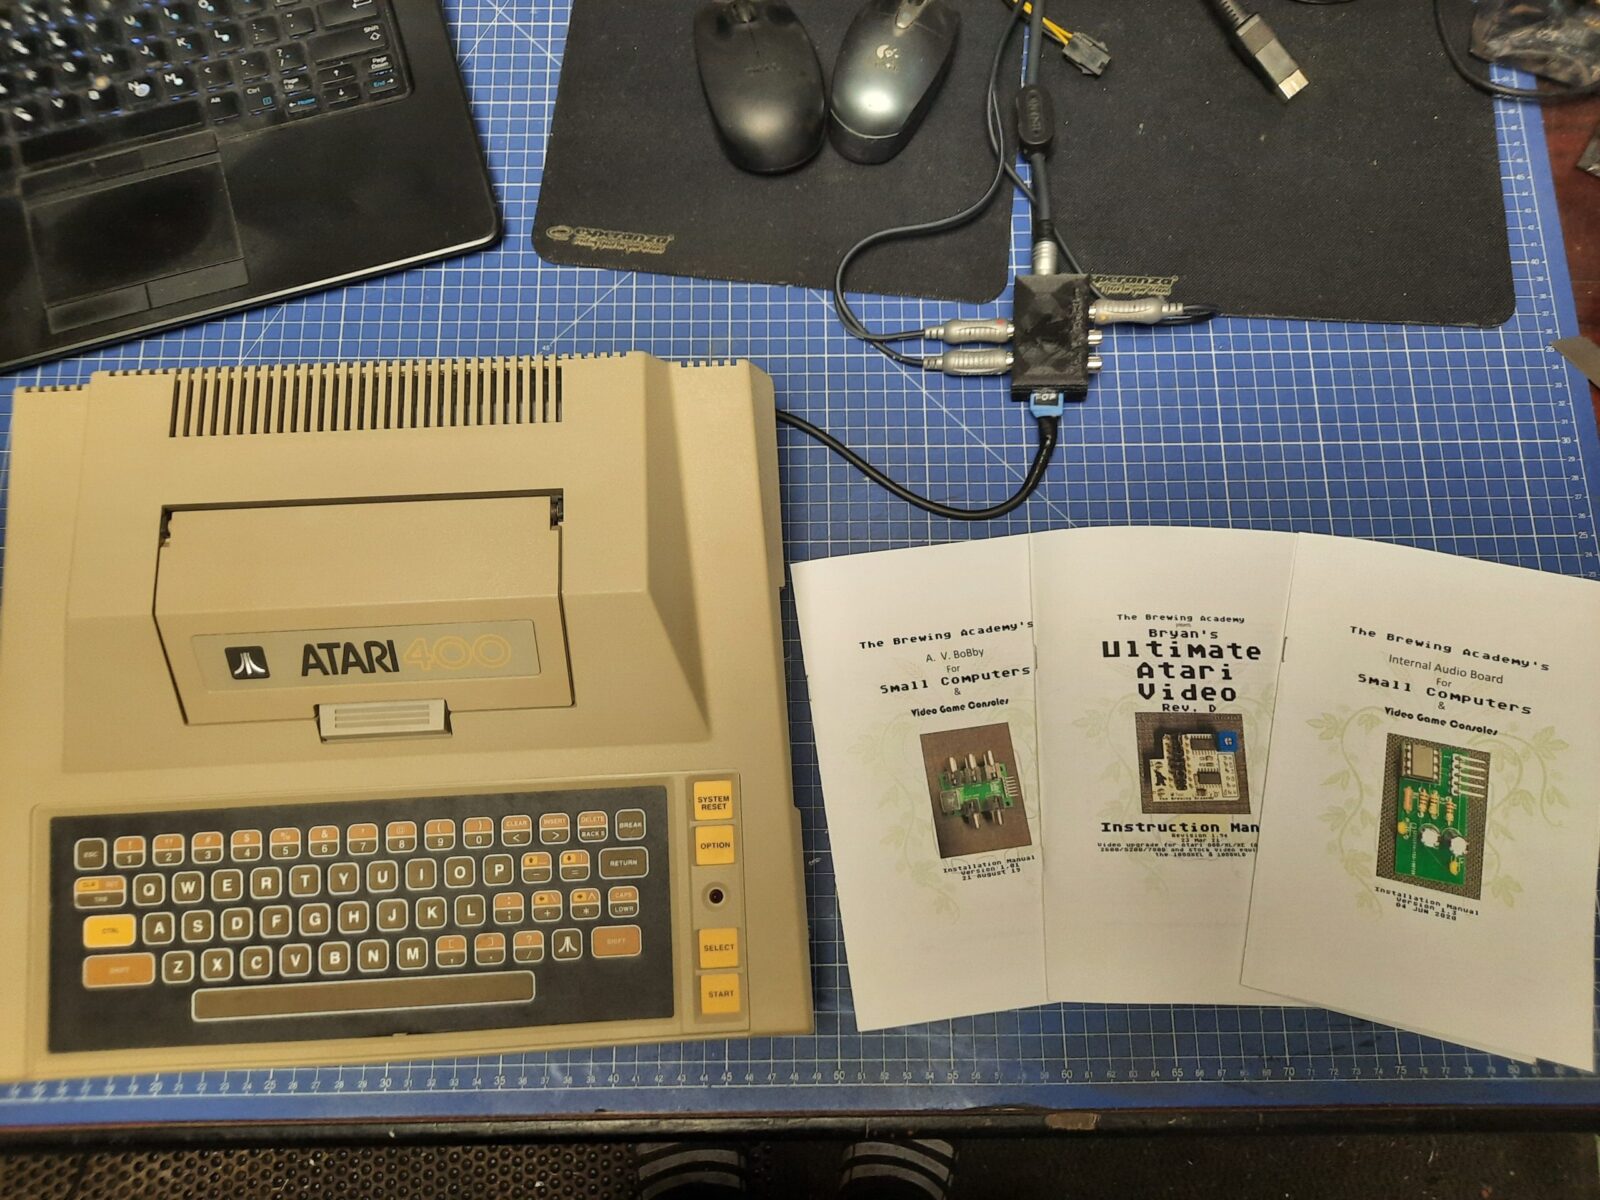
I’ve used some cool mods from thebrewingacademy.com and van-radecke.de which are awesome websites with various add-ons.
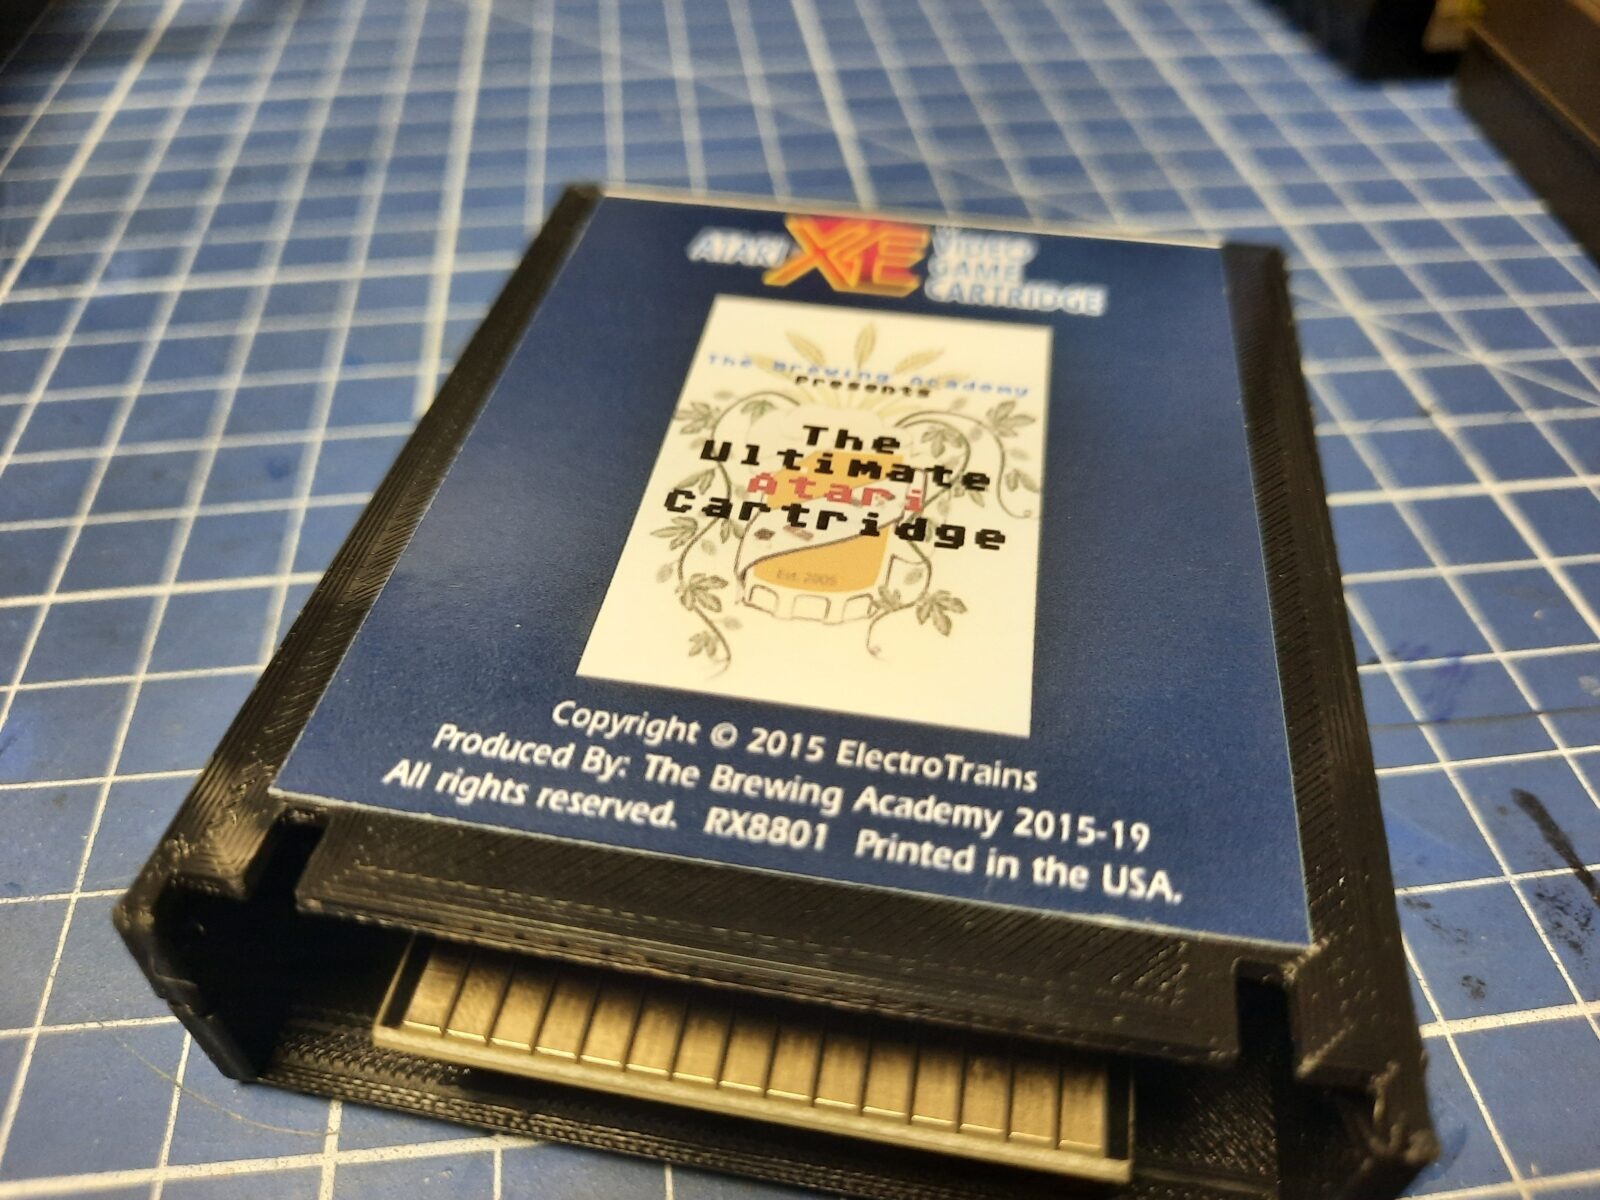
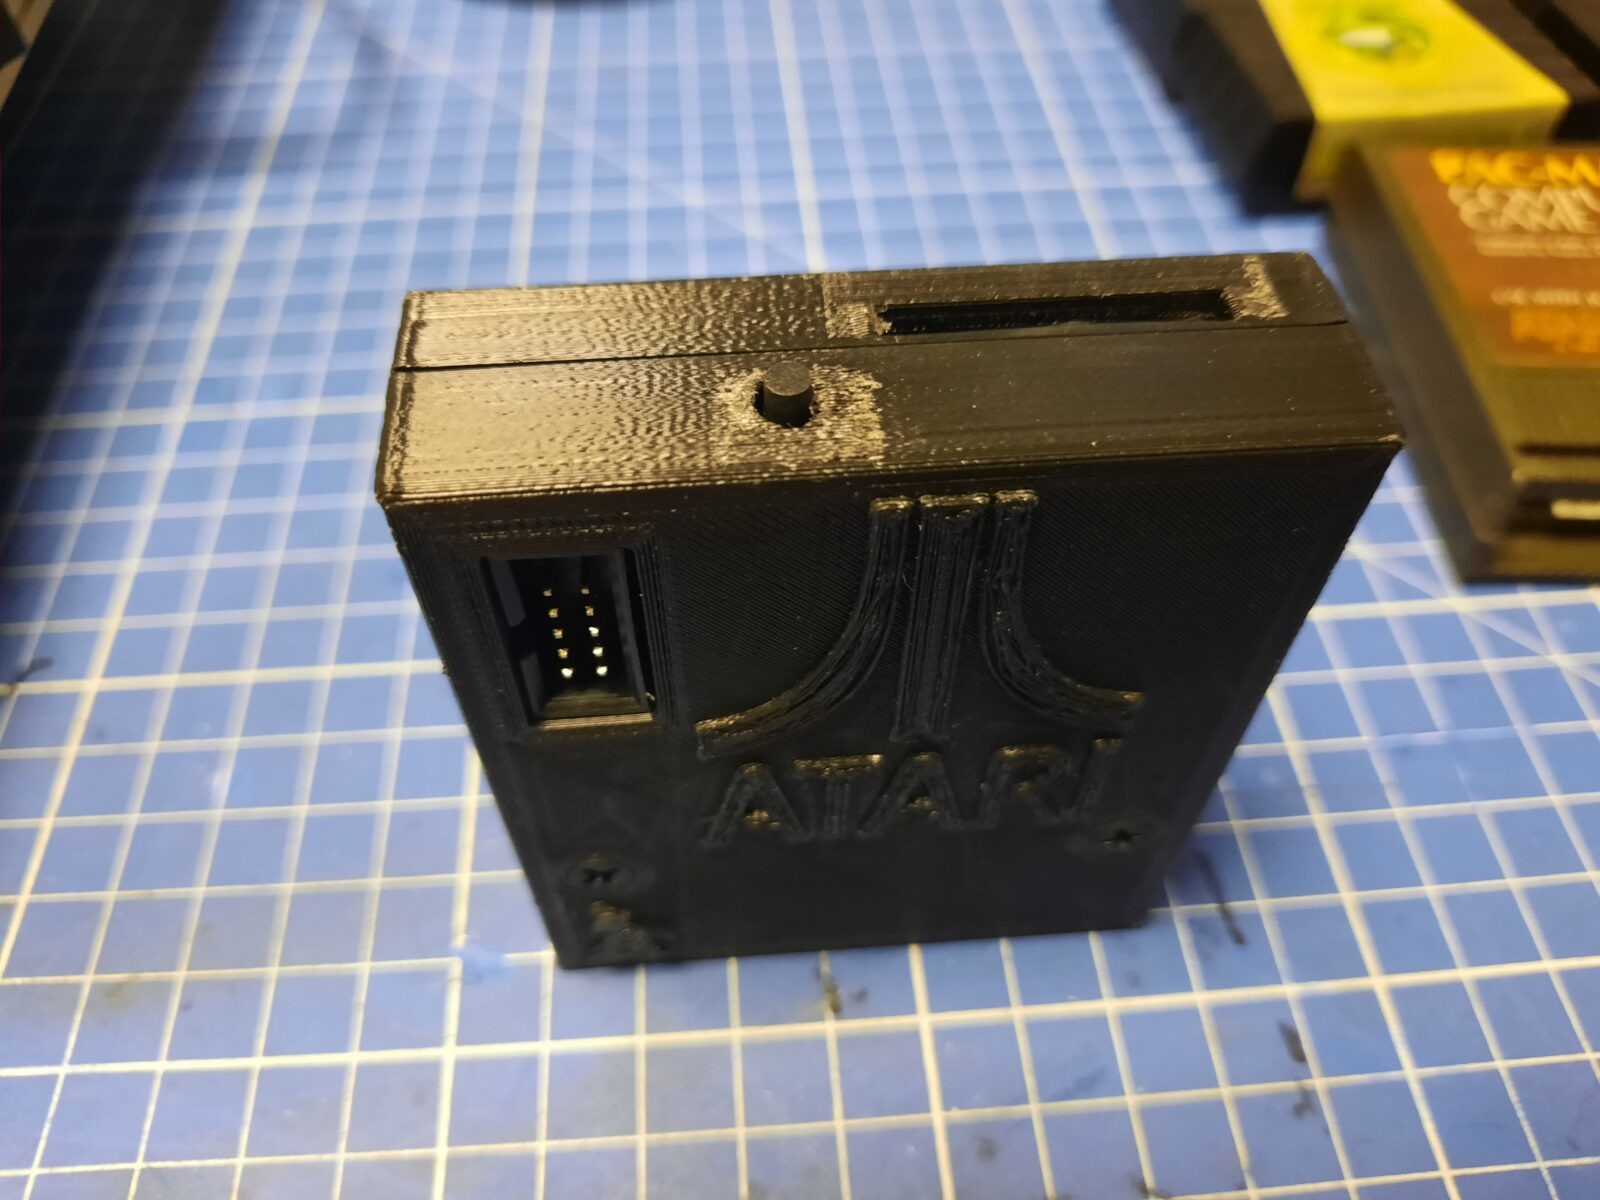
- TBA’s Ultimate-A8 SD Cartridge for Atari 400/800/XL/XE & 1088XEL/XLD
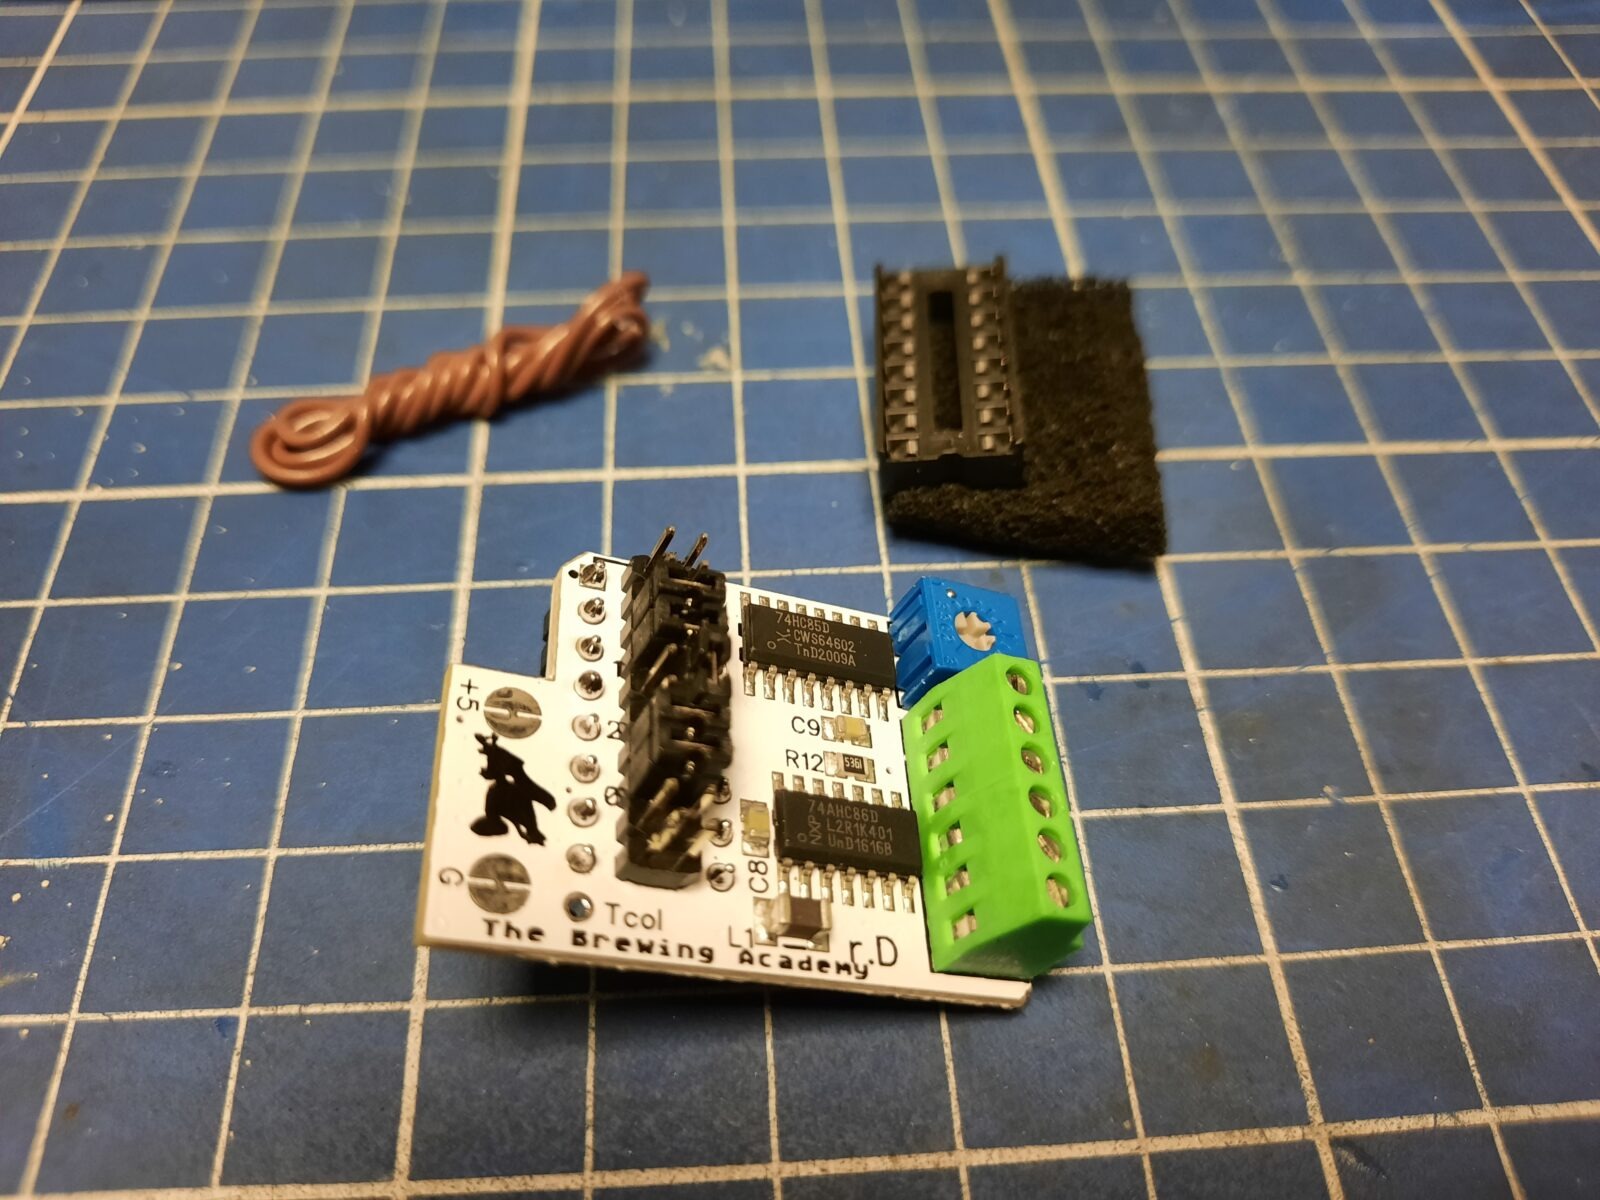
- TBA’s Ultimate Atari Video (UAV) board for 400/800/XL/XE and Also for 1088XEL/XLD + BOBby
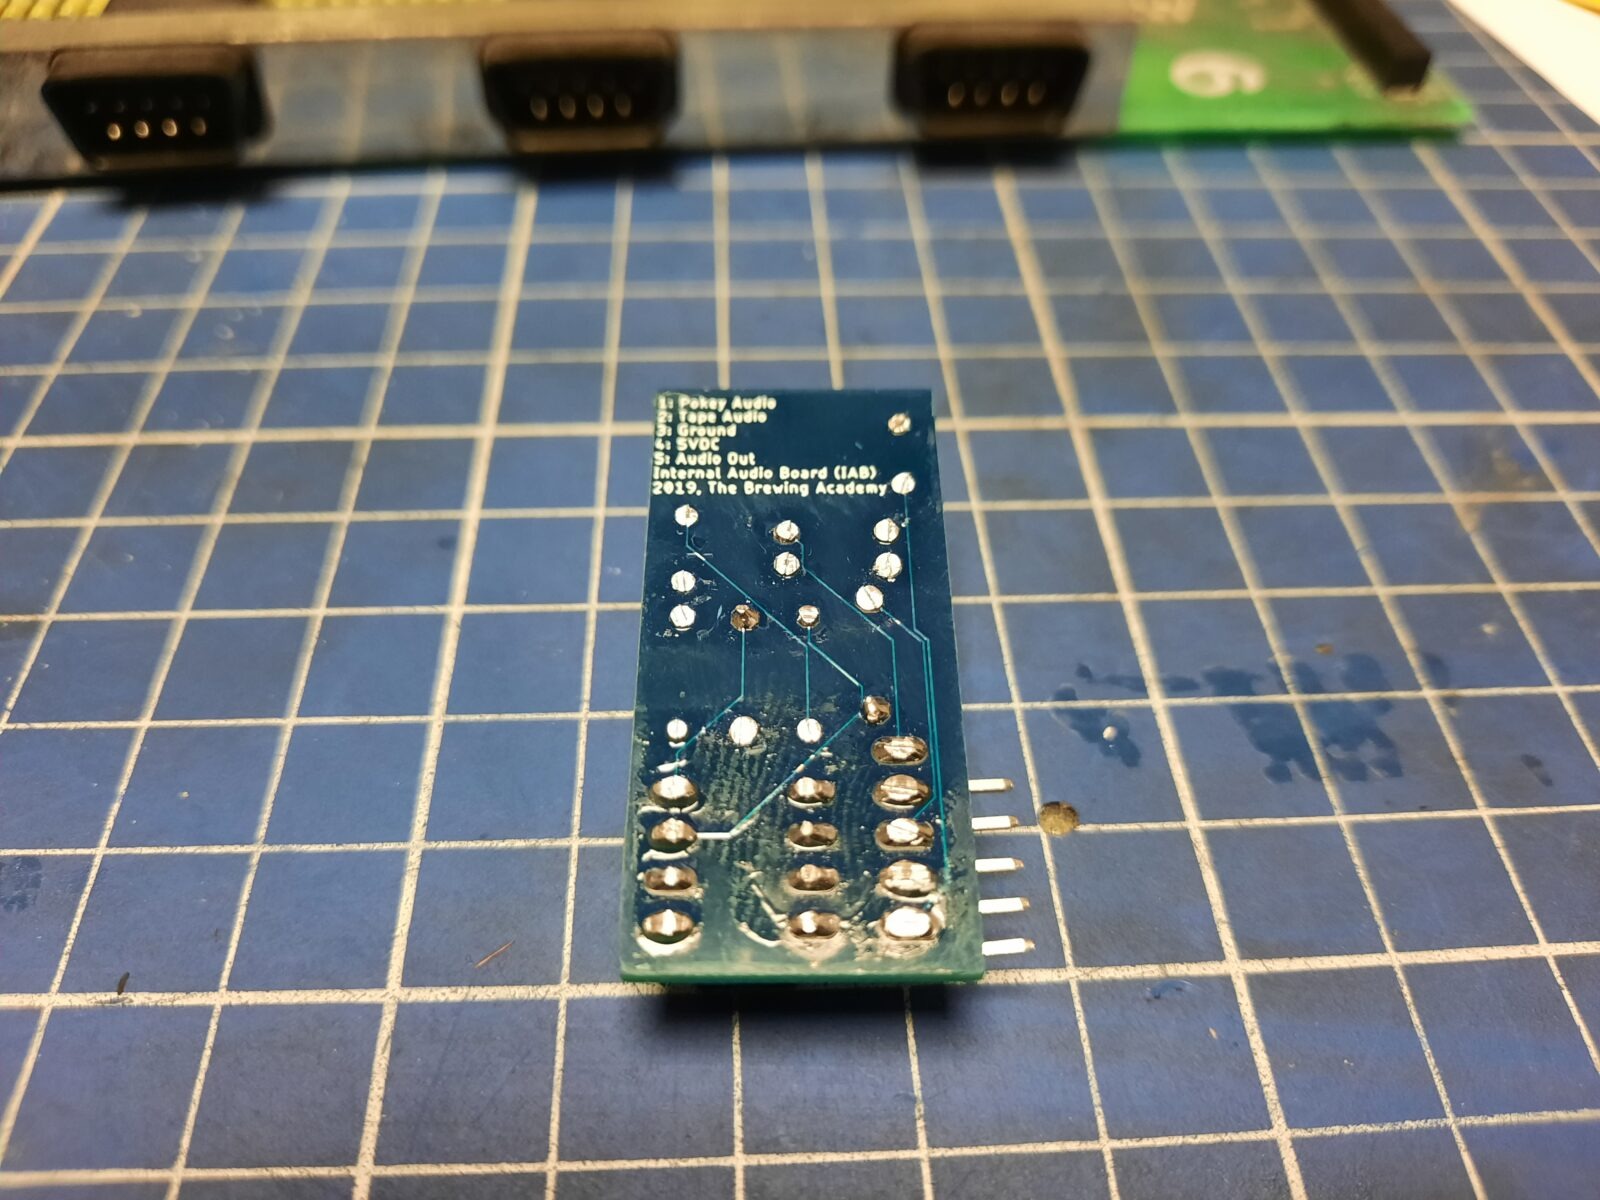
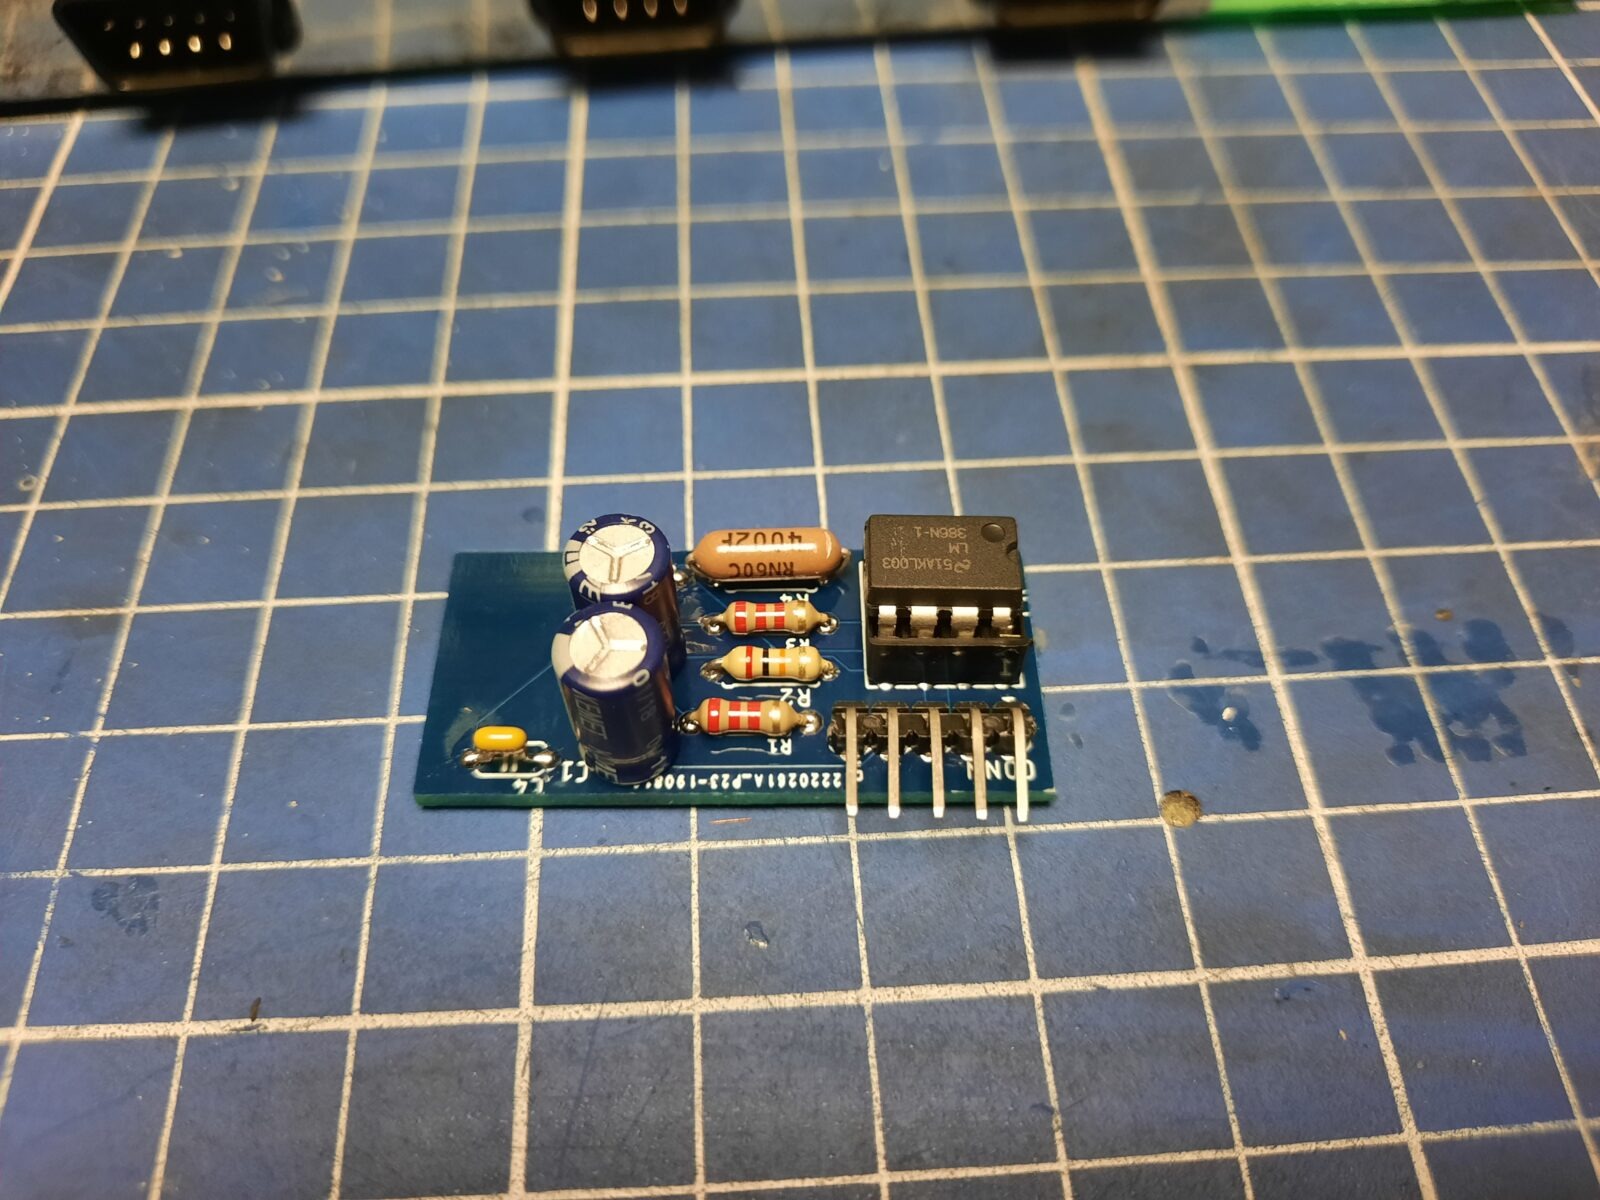
- TBA’s Internal Audio Board (Atari 400, 2600, & others)
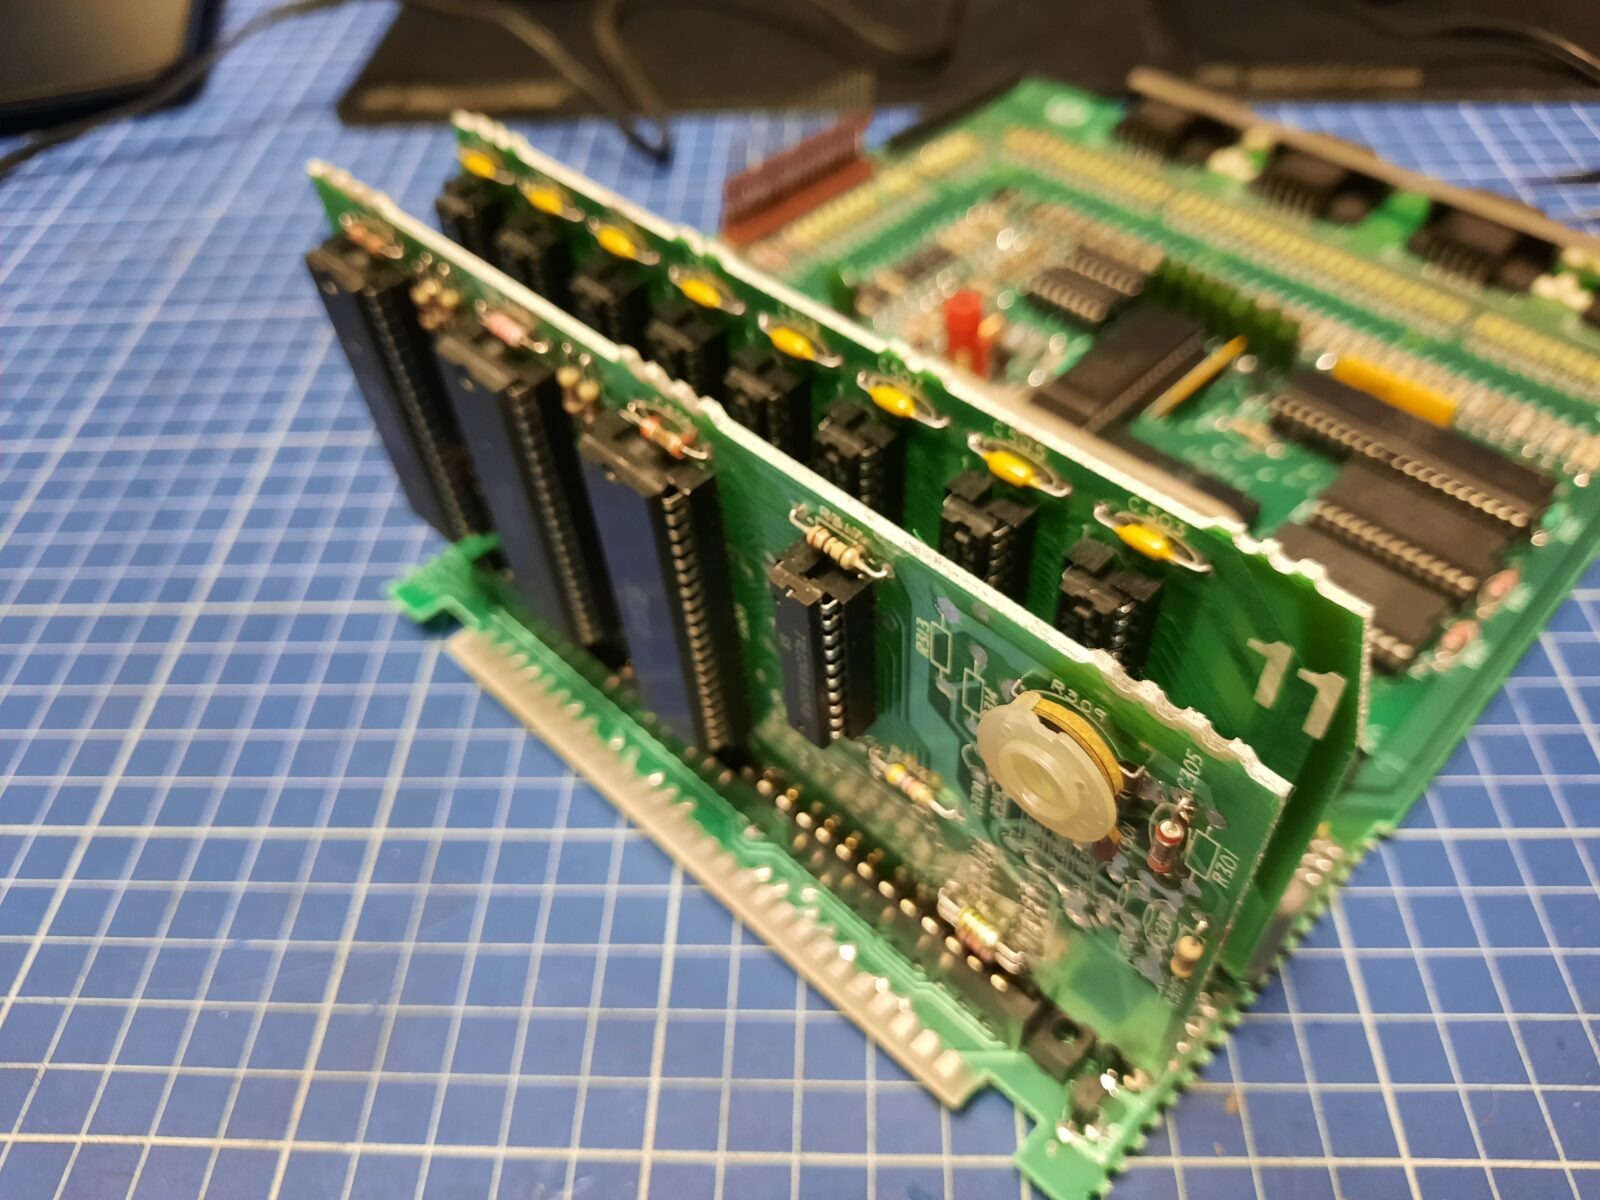
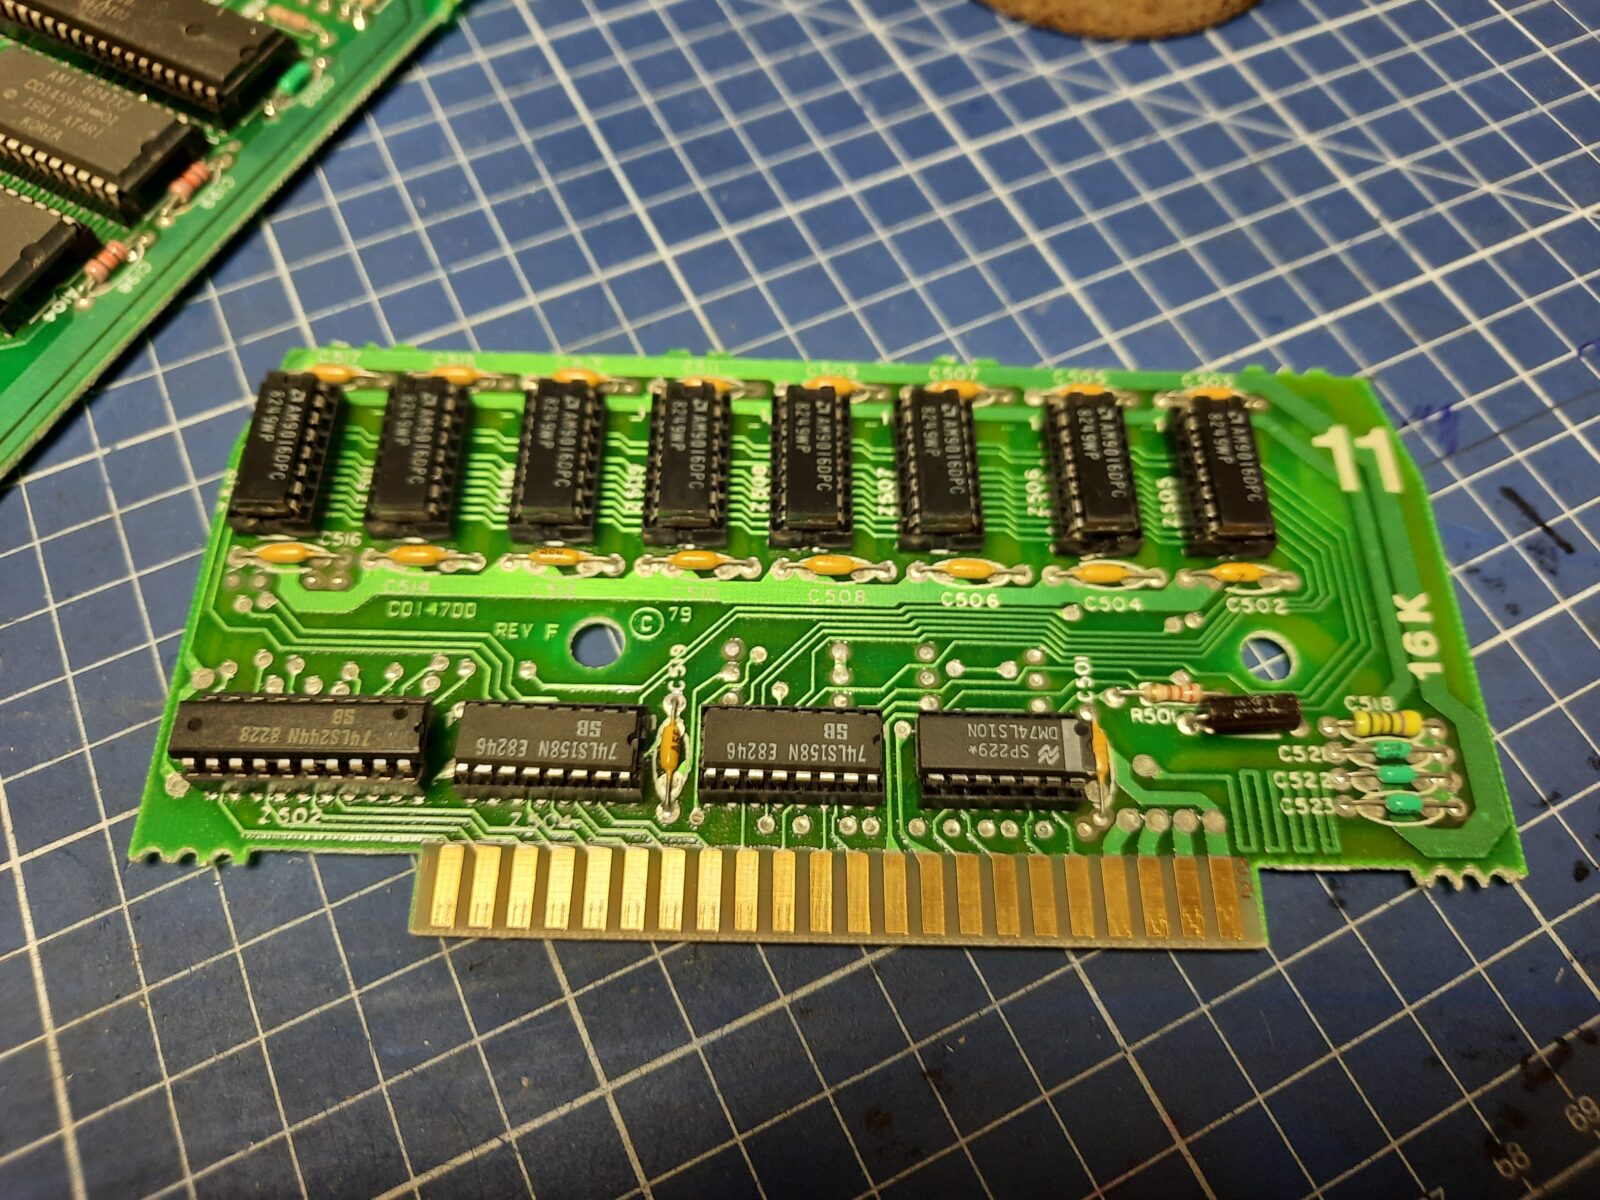
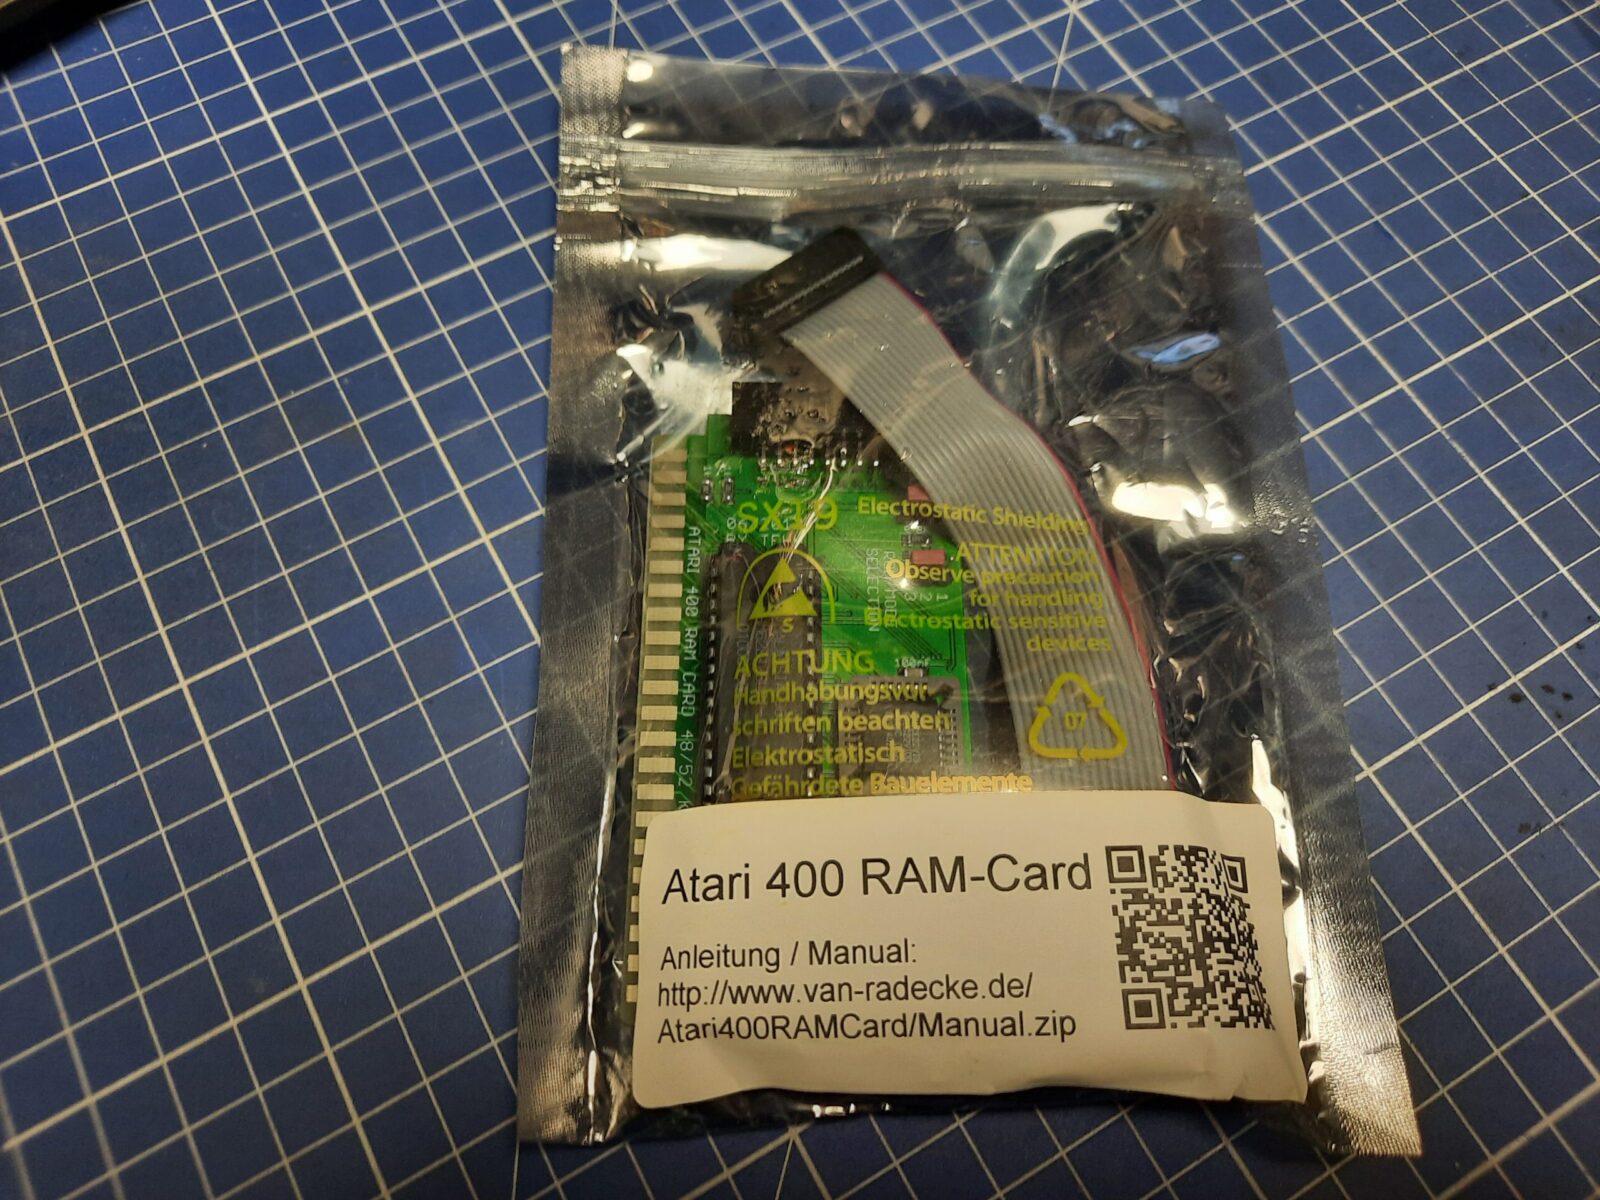
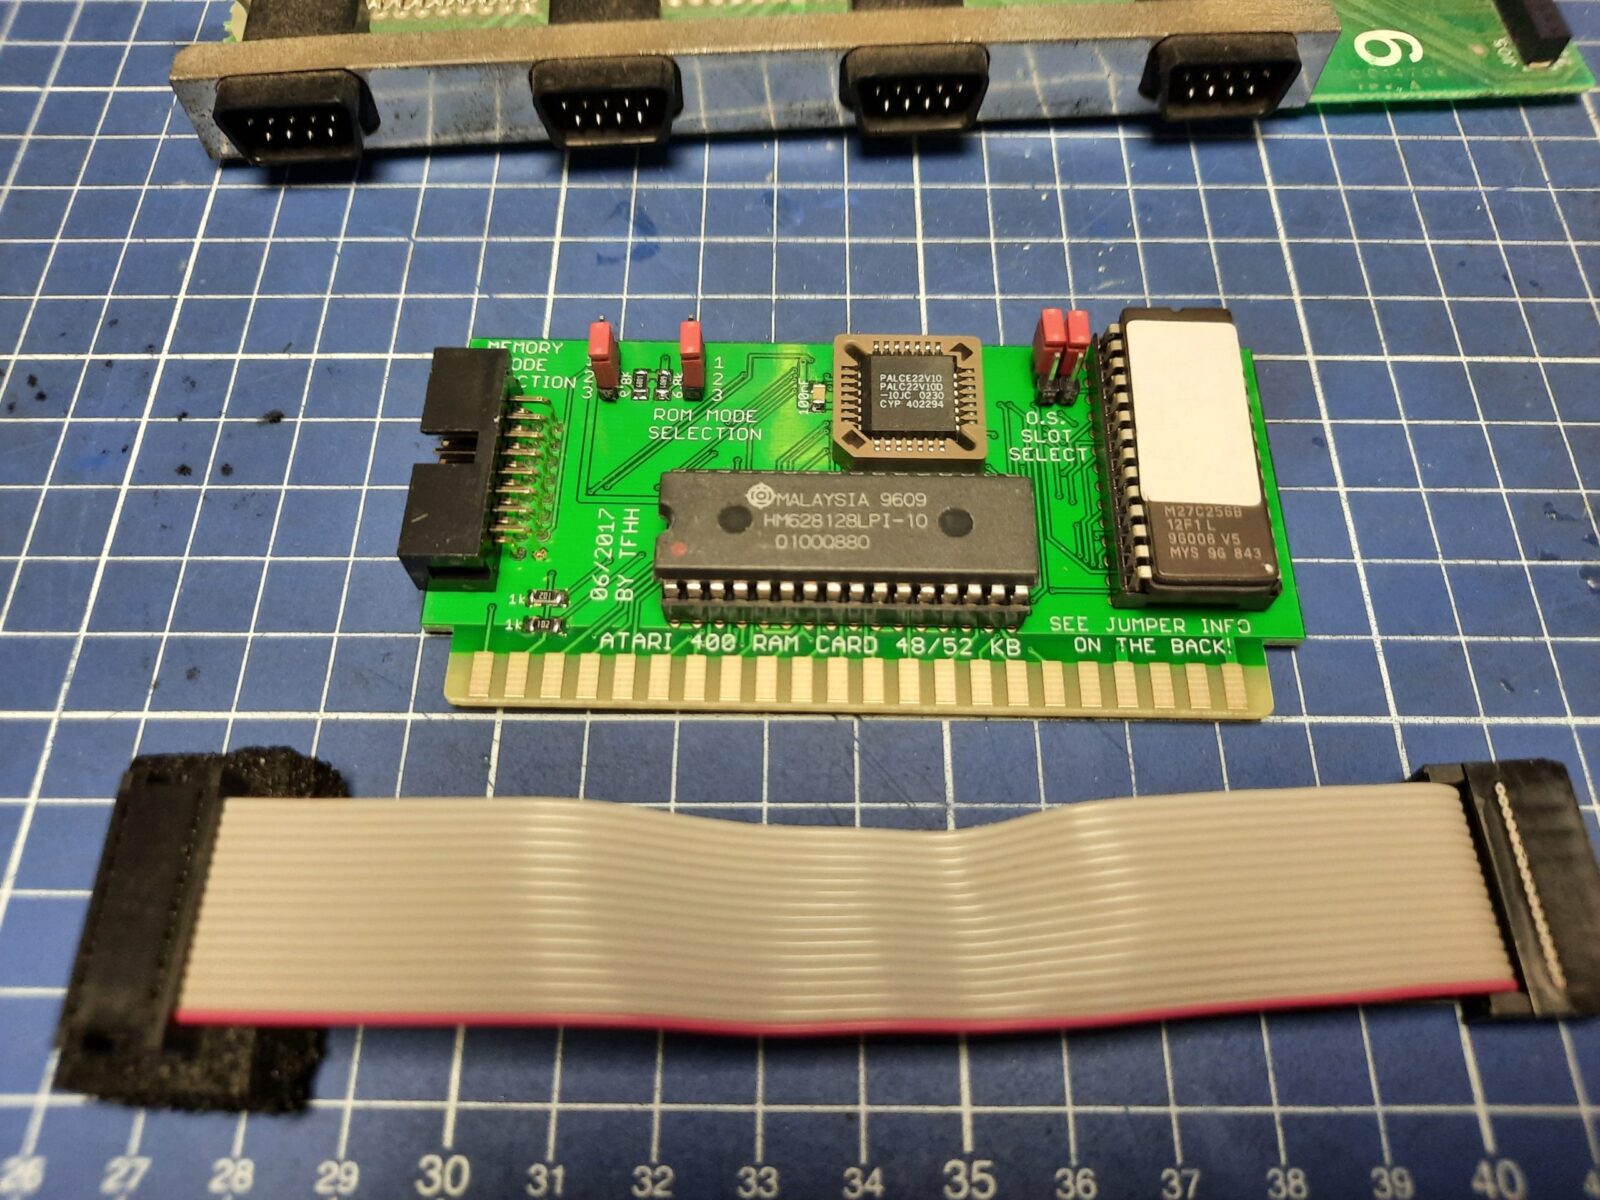
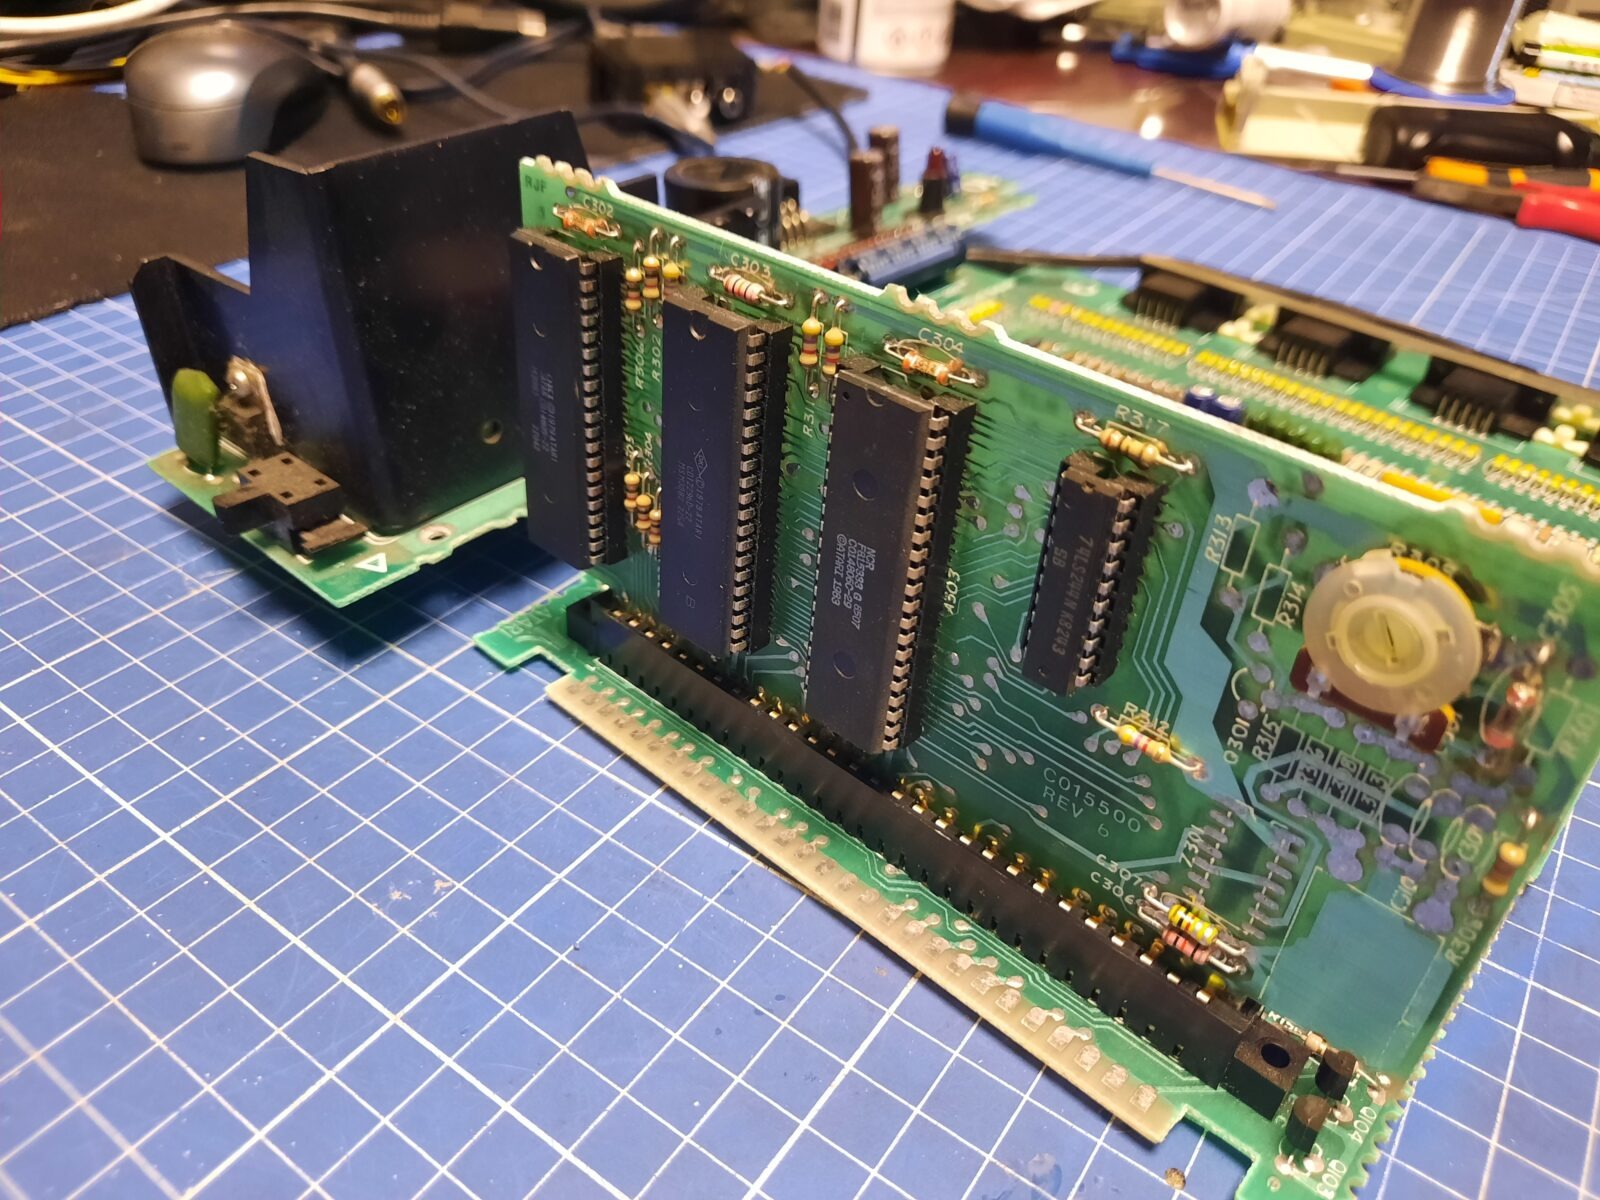
- Atari 400 RAM-Card
Installation
The manuals that come with these mods are written very nicely so making the installation process straightforward. First, A/V mods were installed.
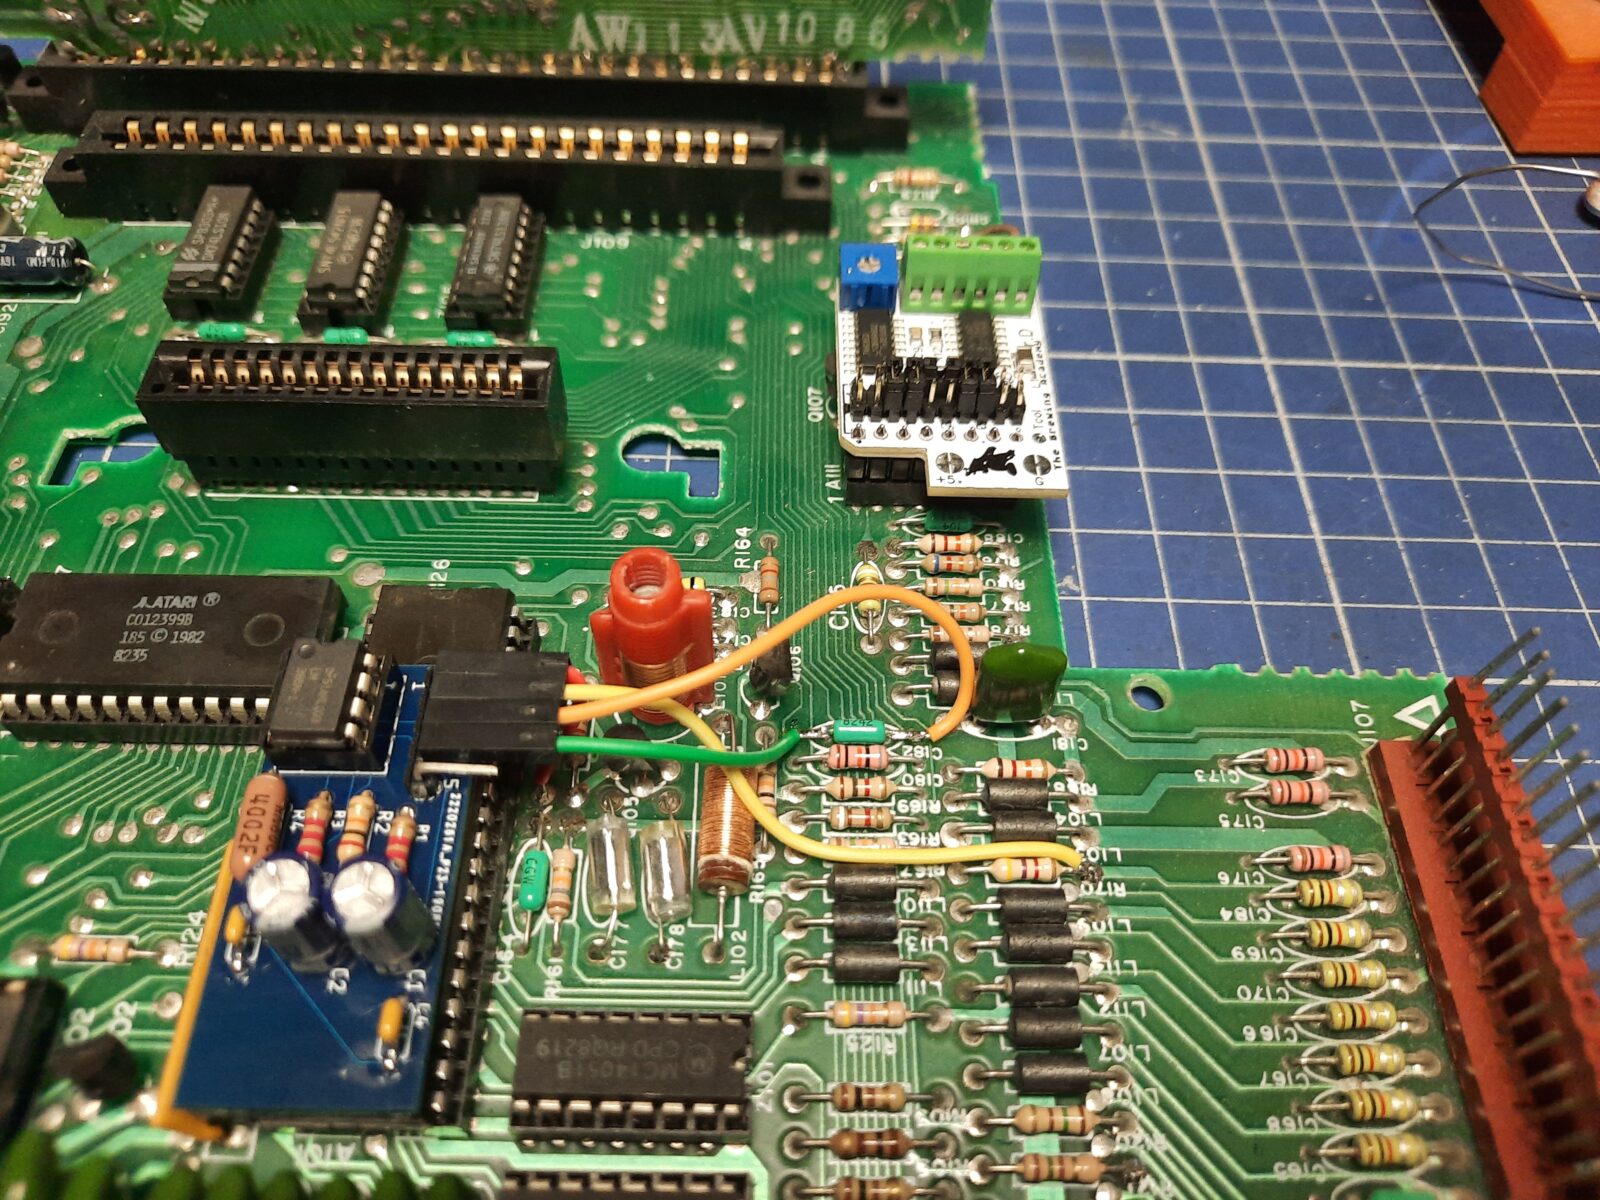
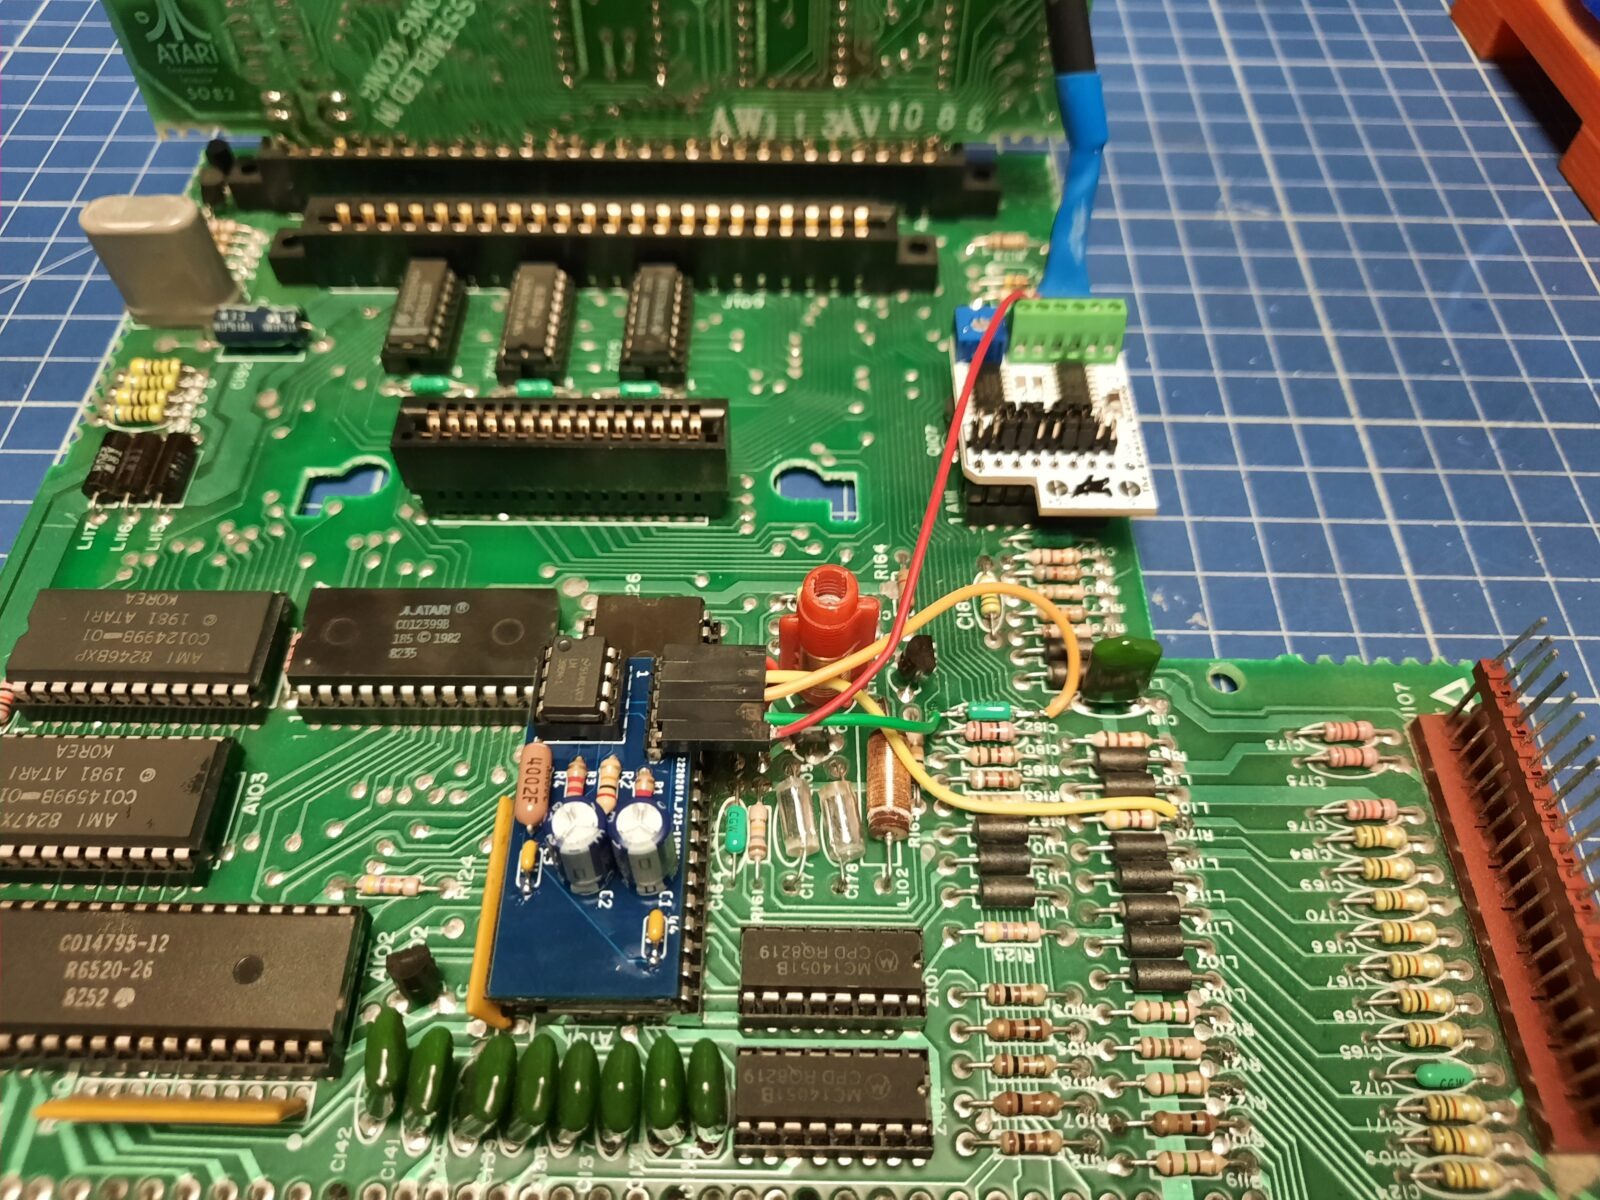
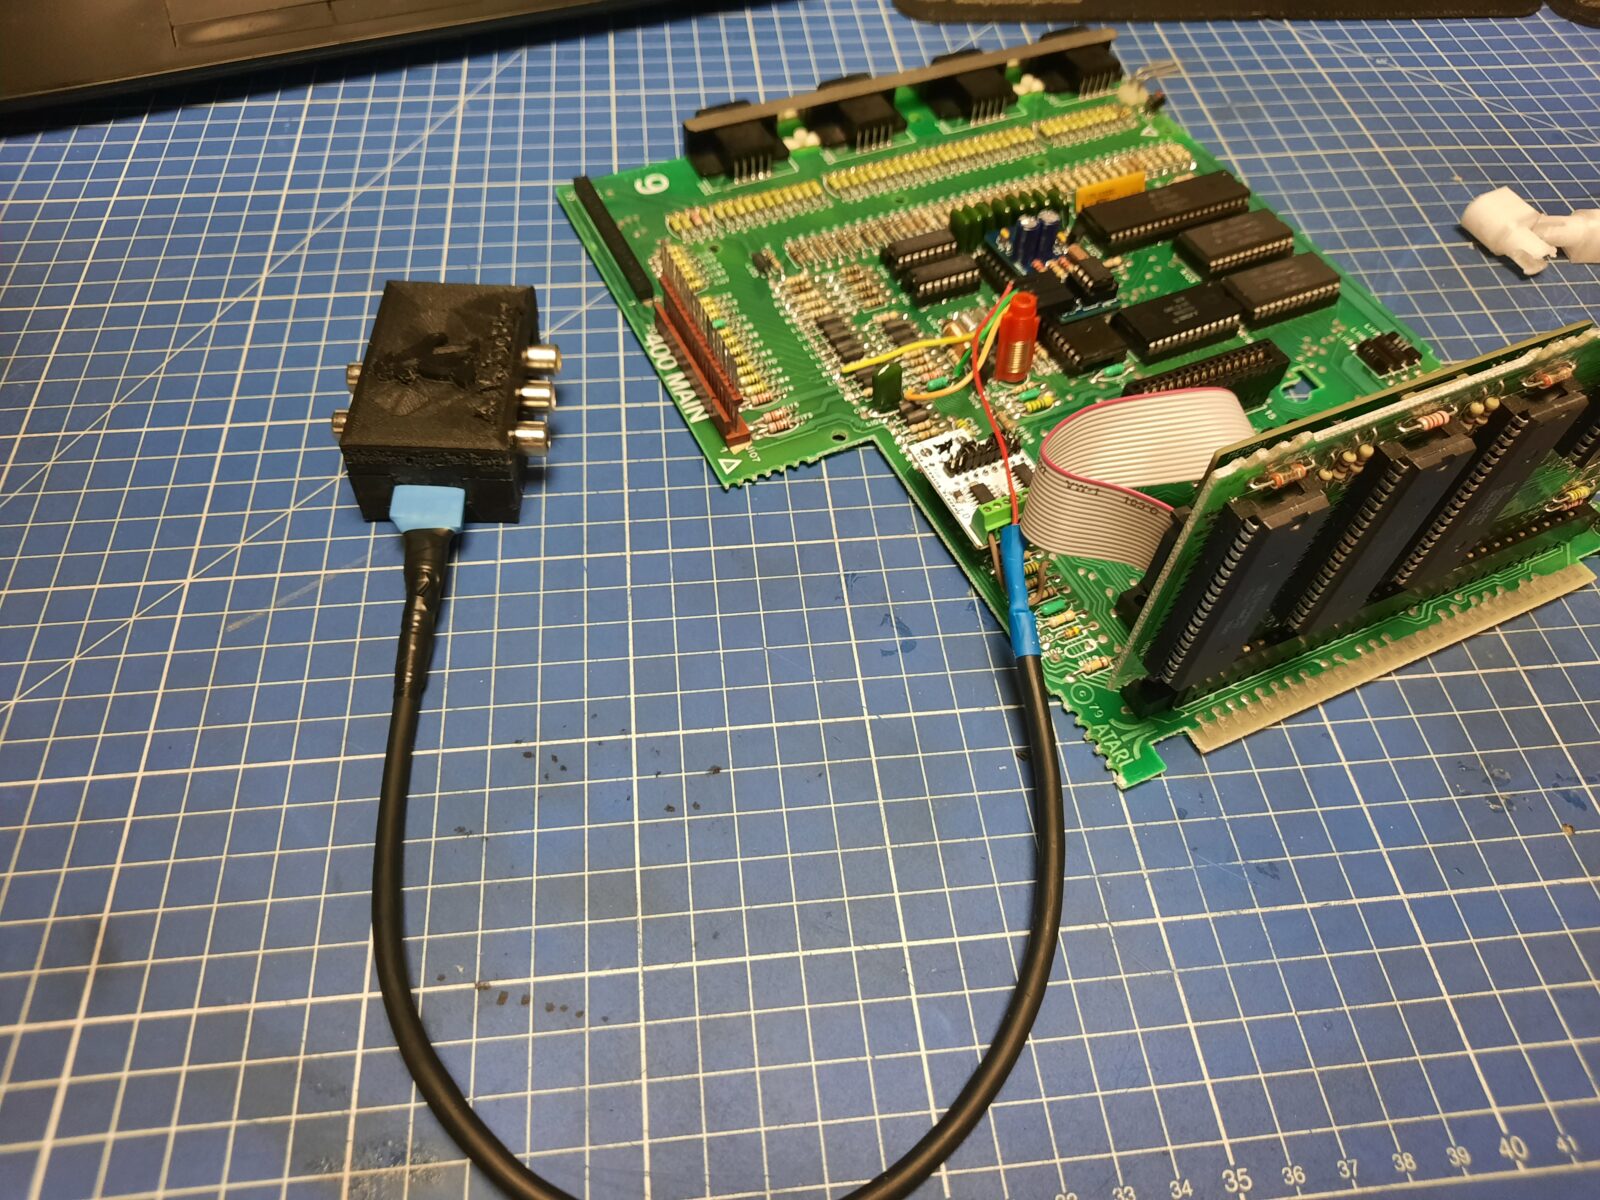
A quick test with an A/V BOBby – the video output is crystal clear! YaY!

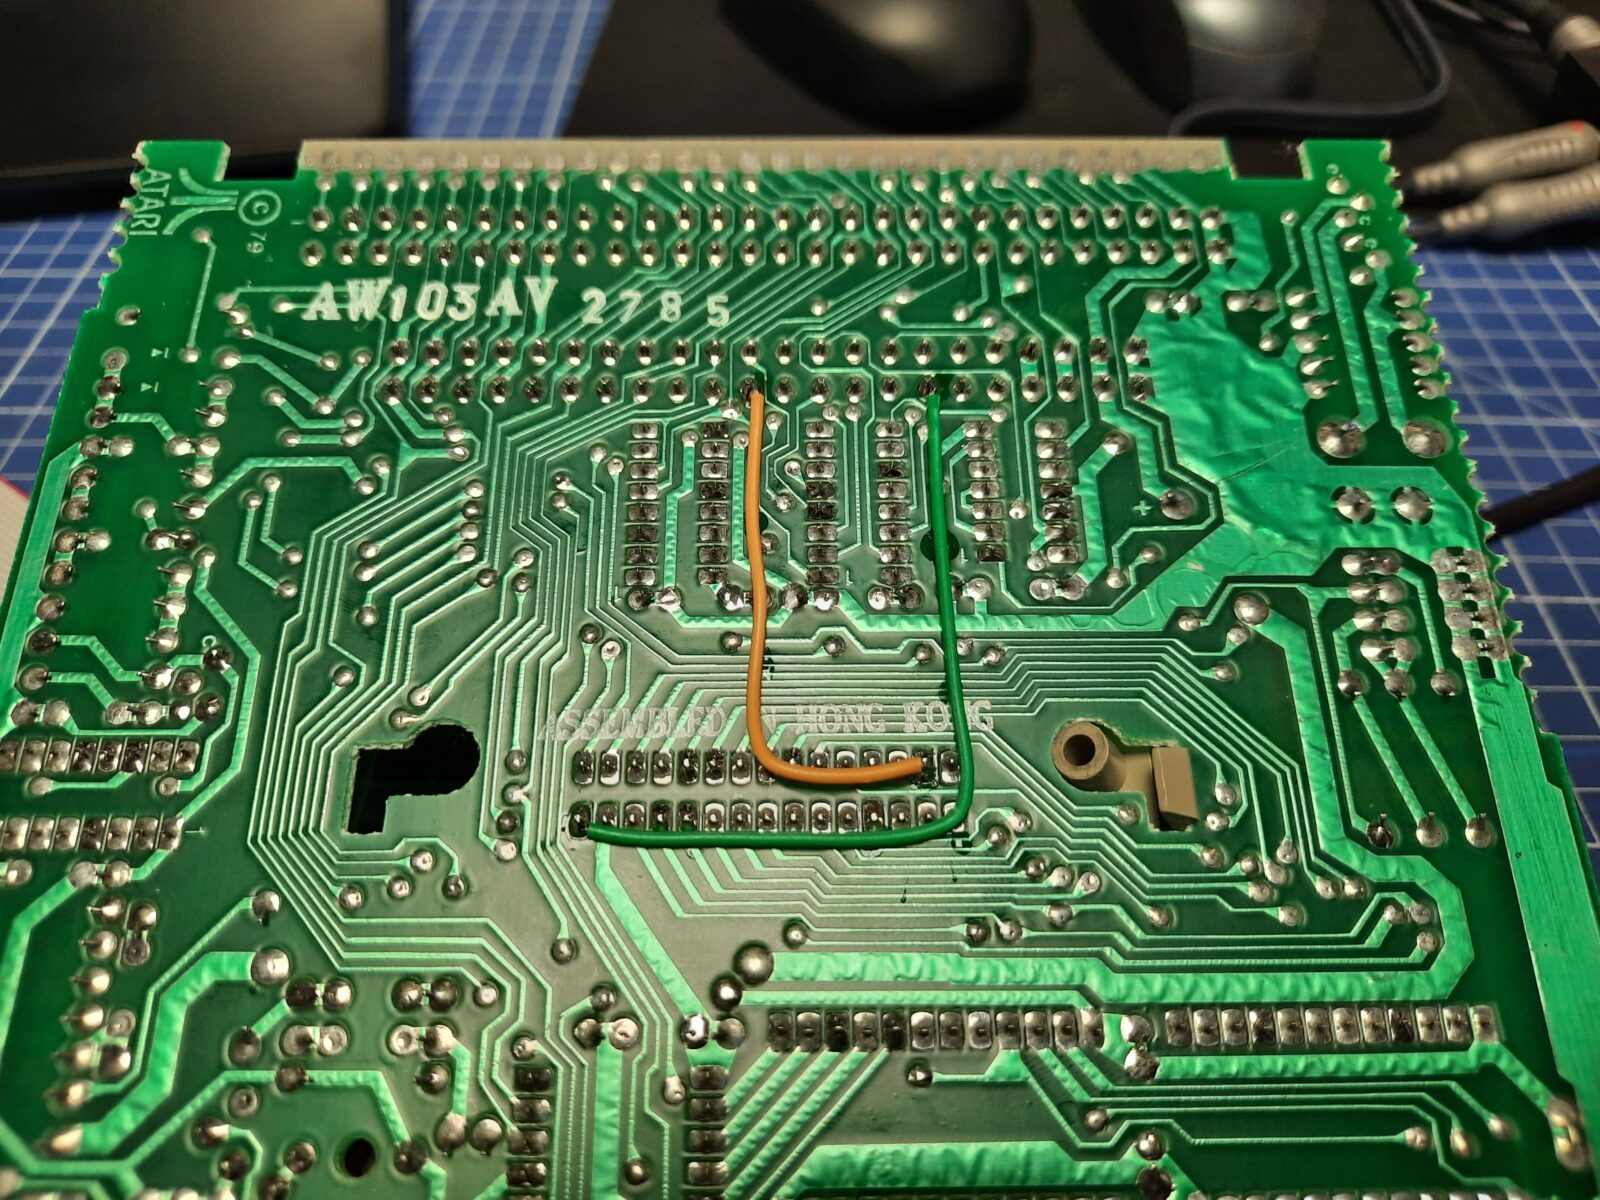
Now, let’s see how the RAM Card fits in.
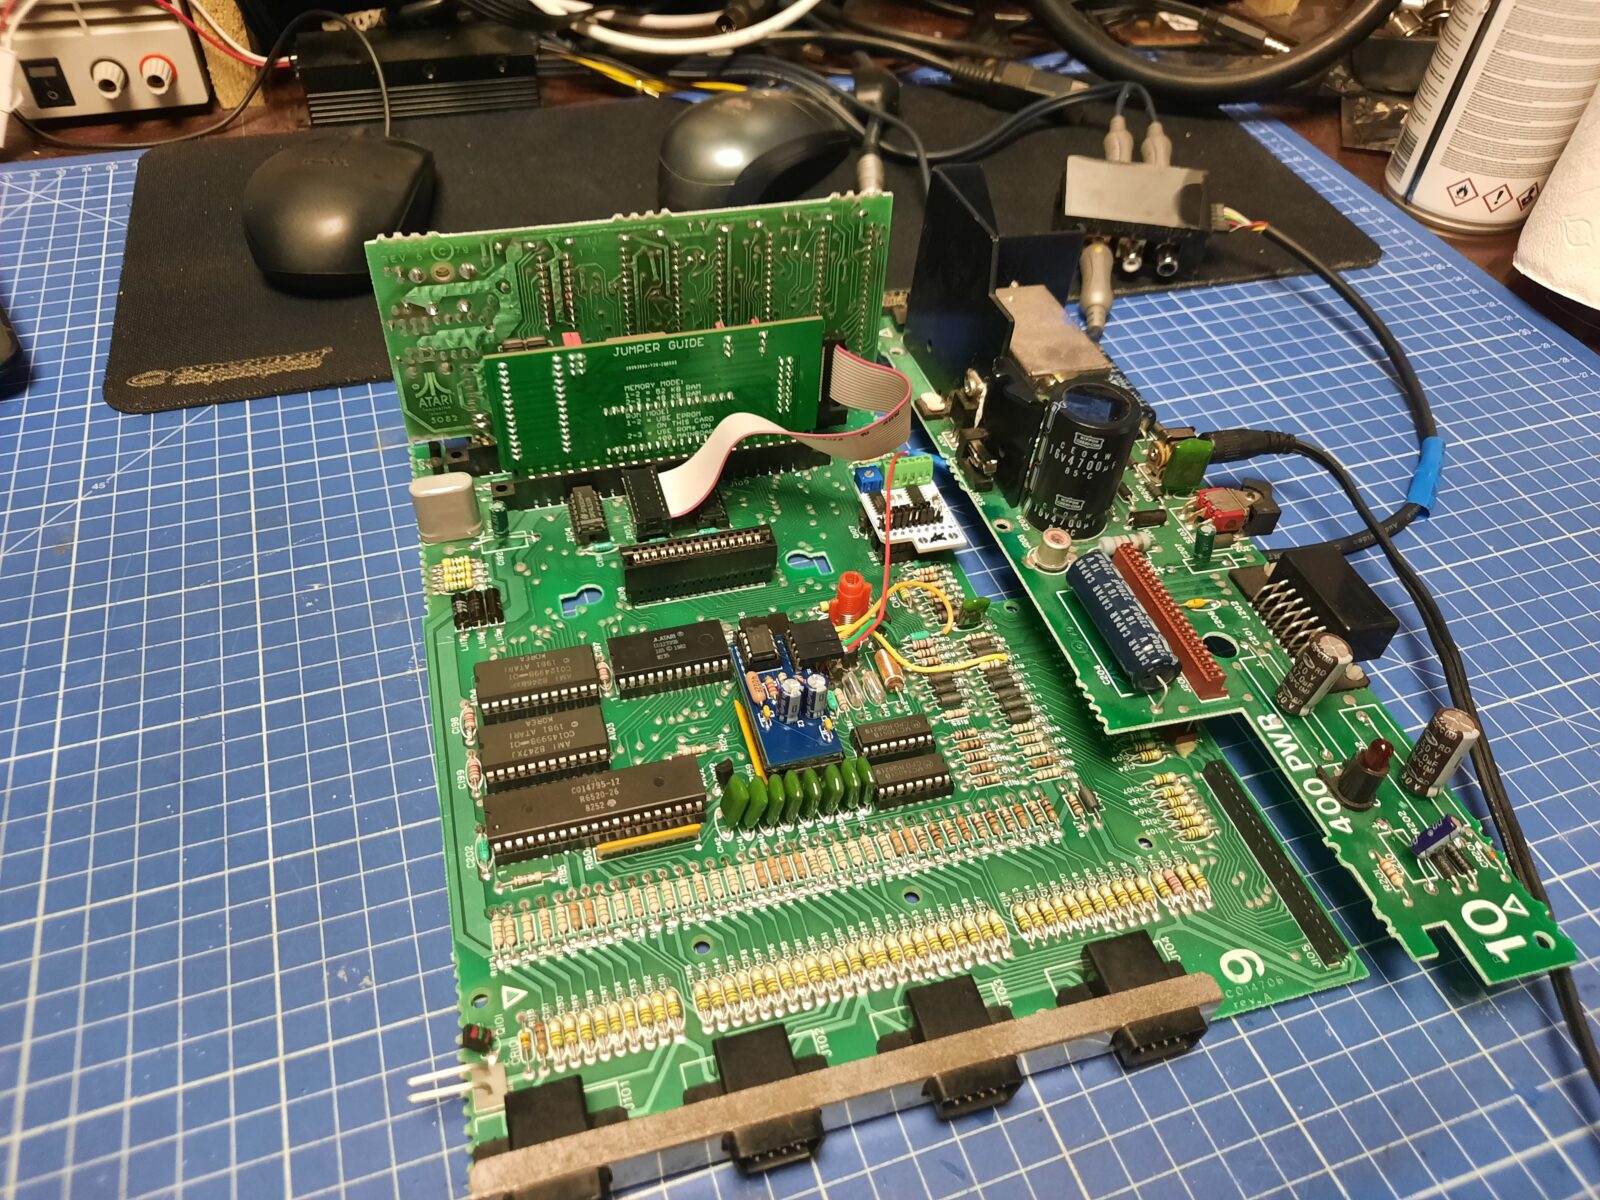
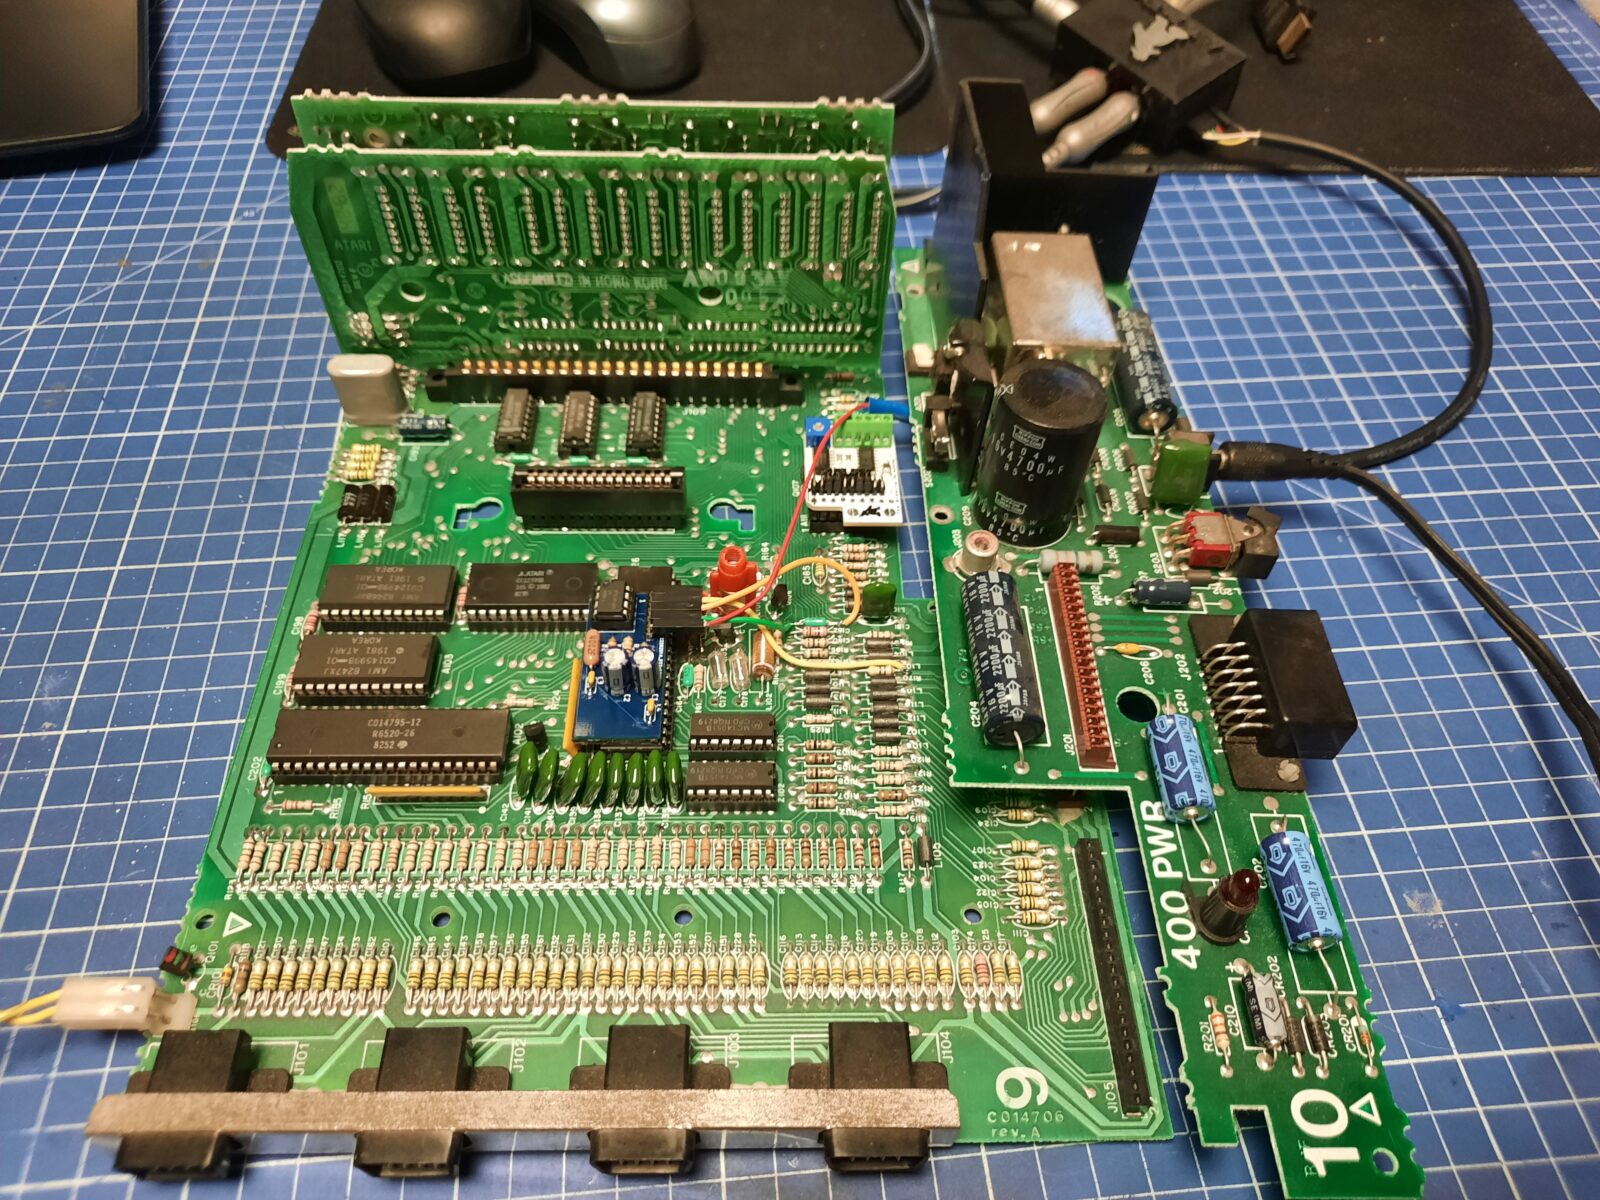
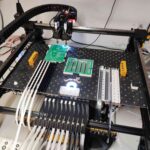
Assembly and testing
While I was soldering all the mods with one hand, the other hand auto-magically cleaned the case, disassembled and cleaned all cartridge connectors so I was ready to run some final tests 😀


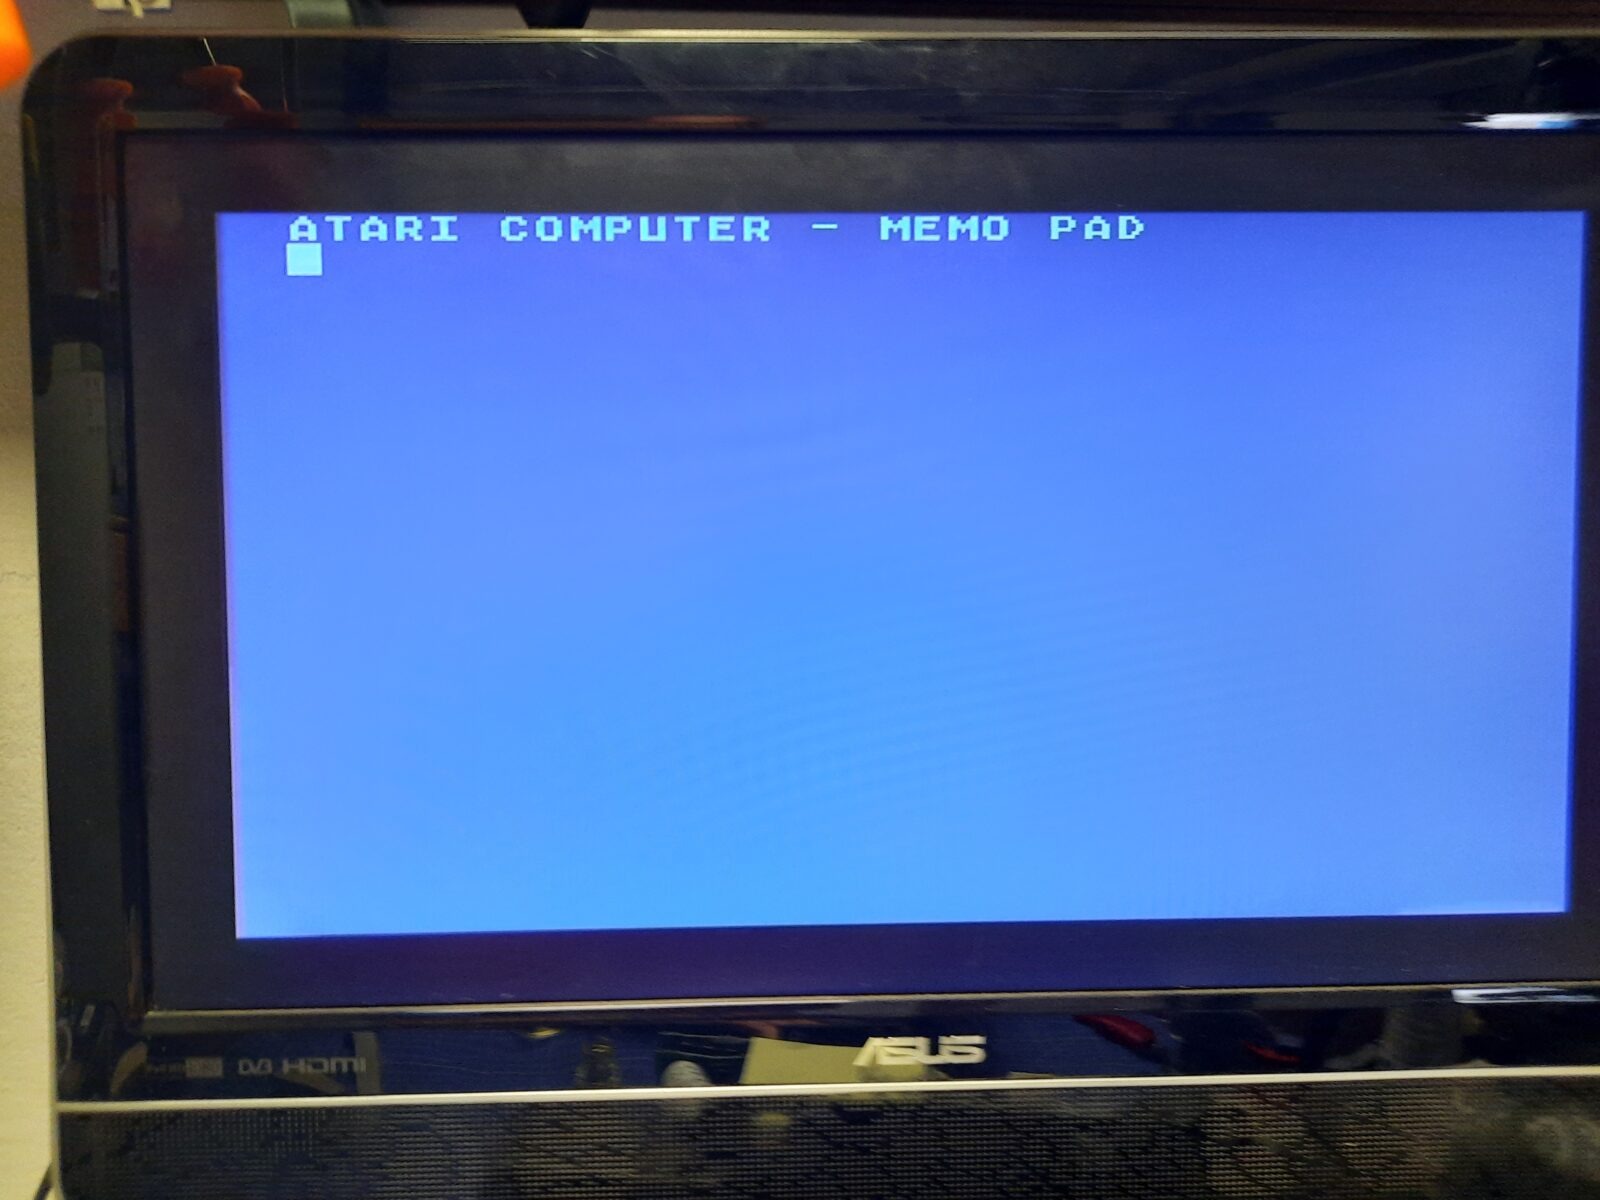
The end
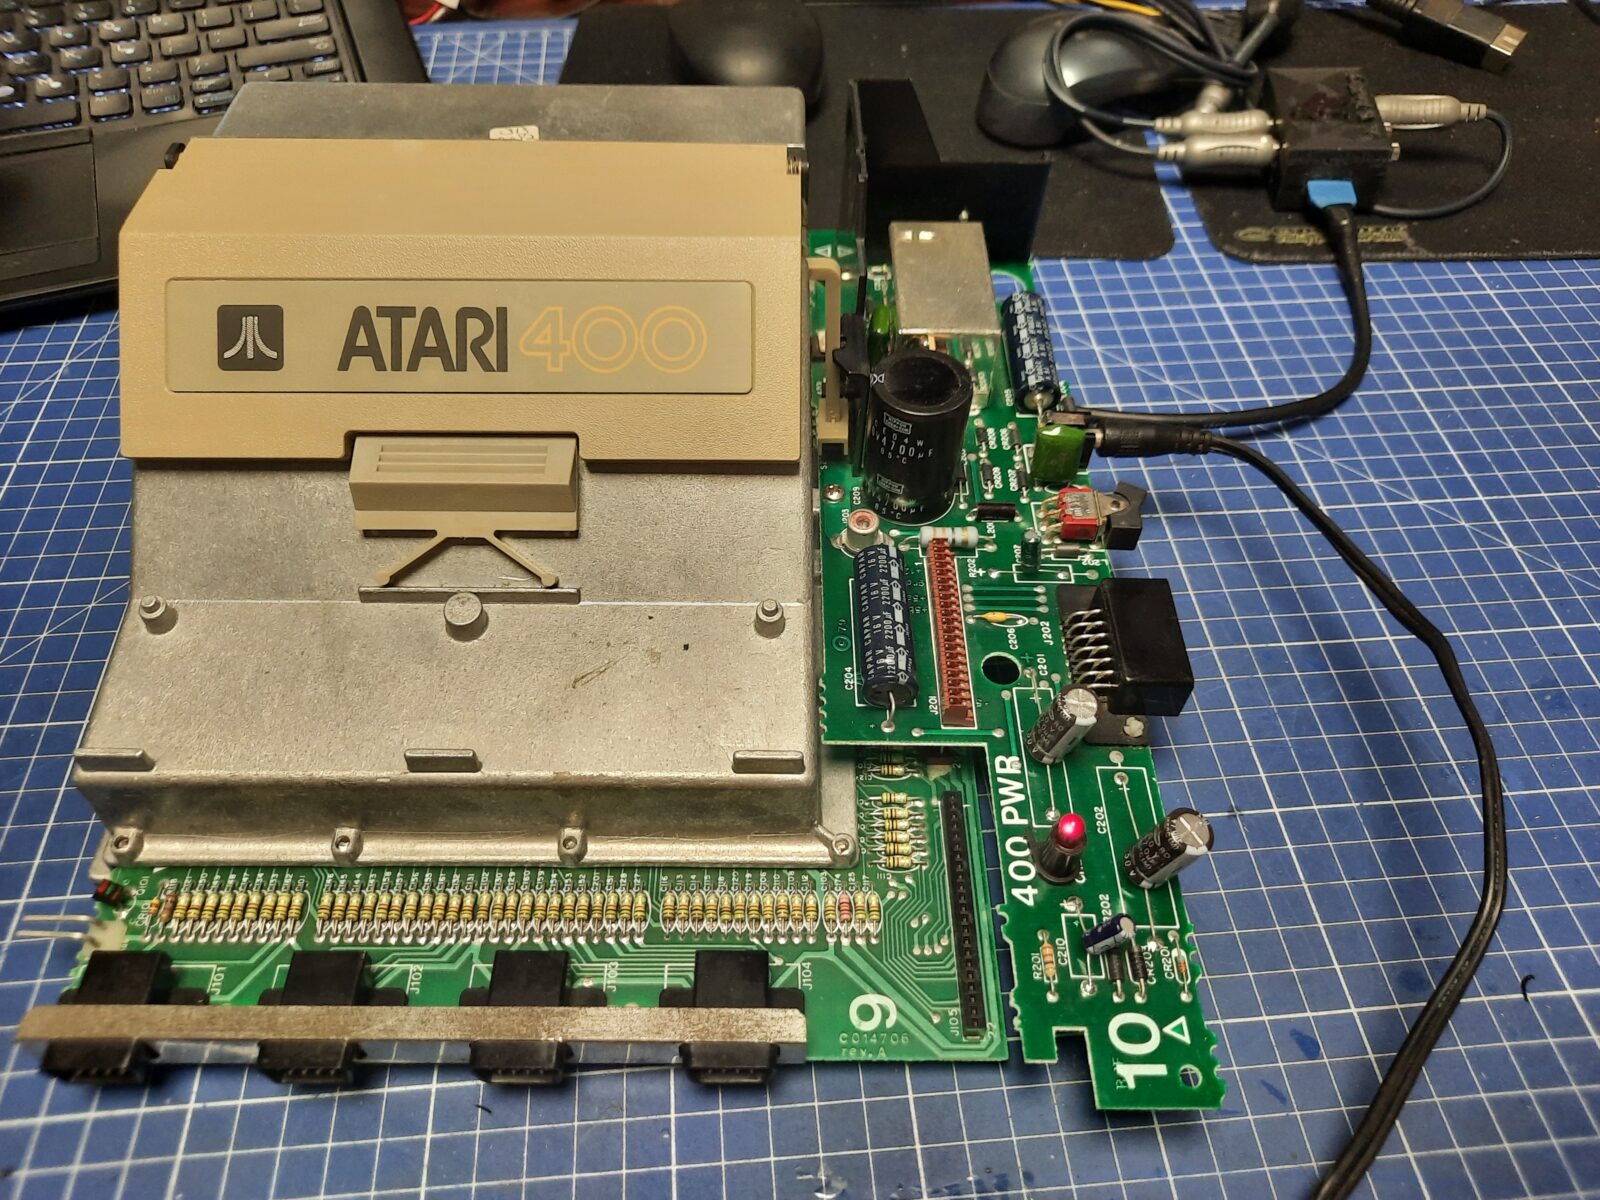
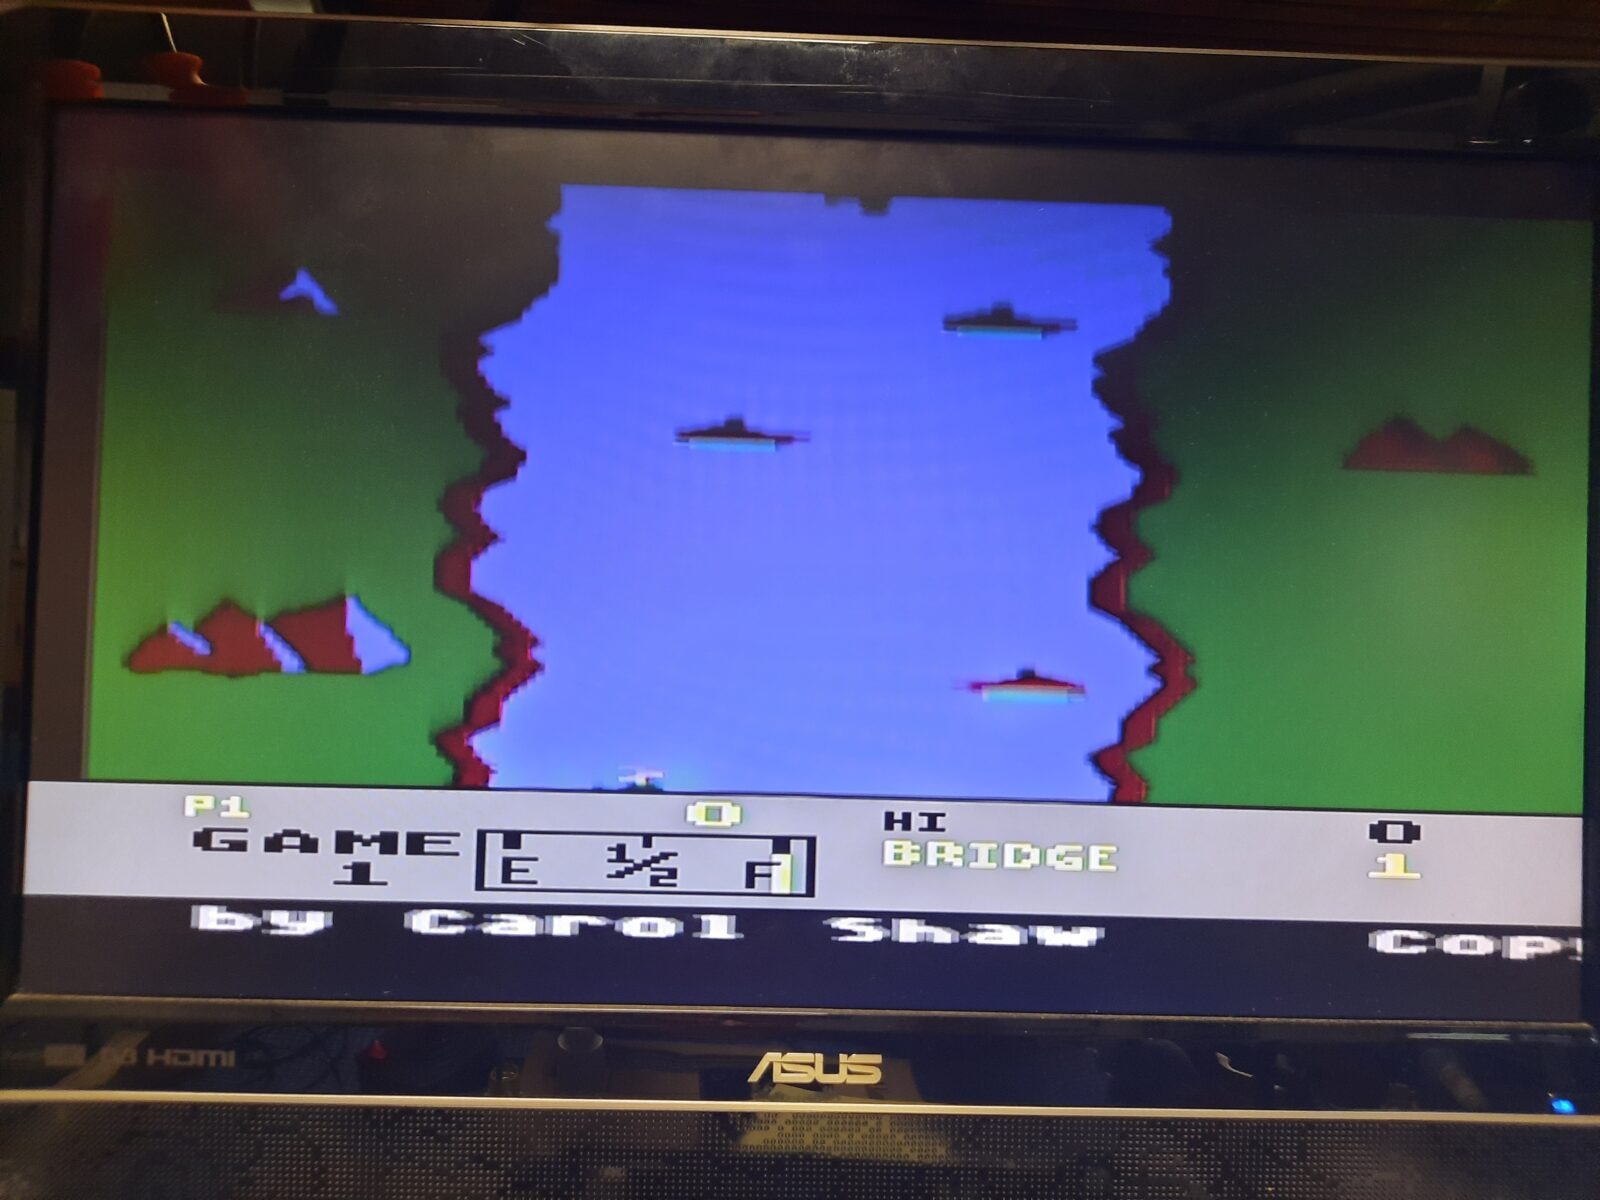
This is it, the upgraded Atari 400 is roaring again! I’ve played with it for a while and the machine was shipped to another (hopefully) happy client 🙂
PS. Yes, I did bubble-wrap it thoroughly 😉
Outro
If you want to get the retro gear I am manufacturing or hardware modules, please visit shop -> https://retrohax.net/shop/
Please support my work by commenting here, and on my Facebook, Twitter, Reddit, and other social media platforms.

Coraz bardziej zastanawiam się nad zleceniem dla Ciebie. ?
Fully turbocharged A400. Awesome!!! Great Job 🙂