… or I didn’t know it will be soooo cool journey 😉
<intro>
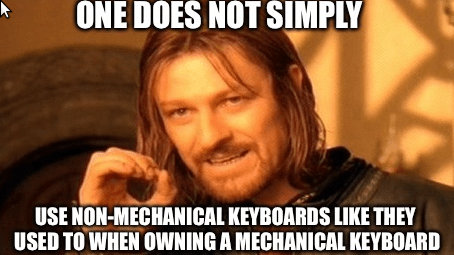
ha!
</intro>
Intro
This is a short post preceding a more extensive project that I will be covering soon – The Beast64 project.
I’ll cover it in smaller chunks, so it is more edible as it is kinda large 😀
I have these two C64s that badly need a brand new mechanical keyboard instead of the original.
My friend, who wanted these machines made asked me to add the Mechboard64 project to the list of neverending mods (cheers W;)
Coincidently (lol, NOT!), my DLP 3D printer came in. A small one but quite resourceful as it turned out … after days of research as usual.
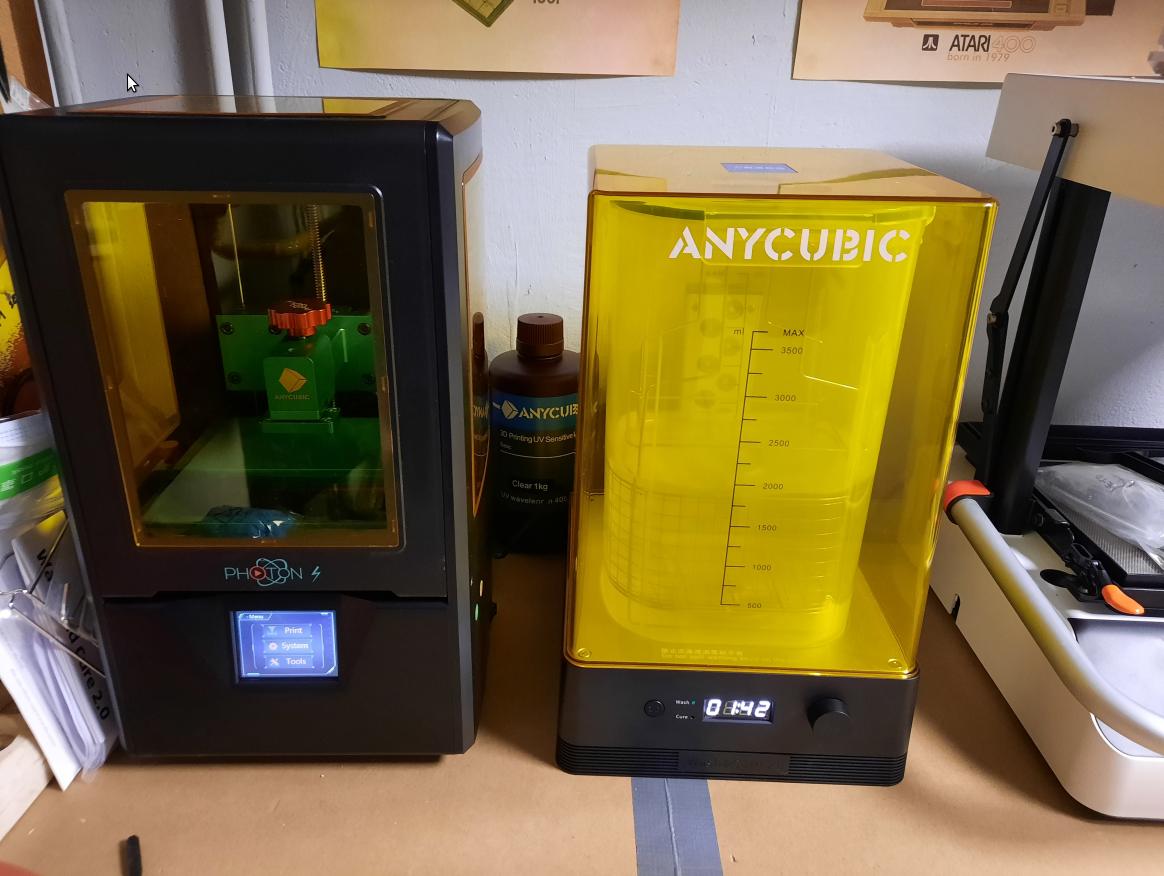
First steps
As you can imagine, my first project was to 3D print adapters for CherryMX switches and original C64 keycaps.
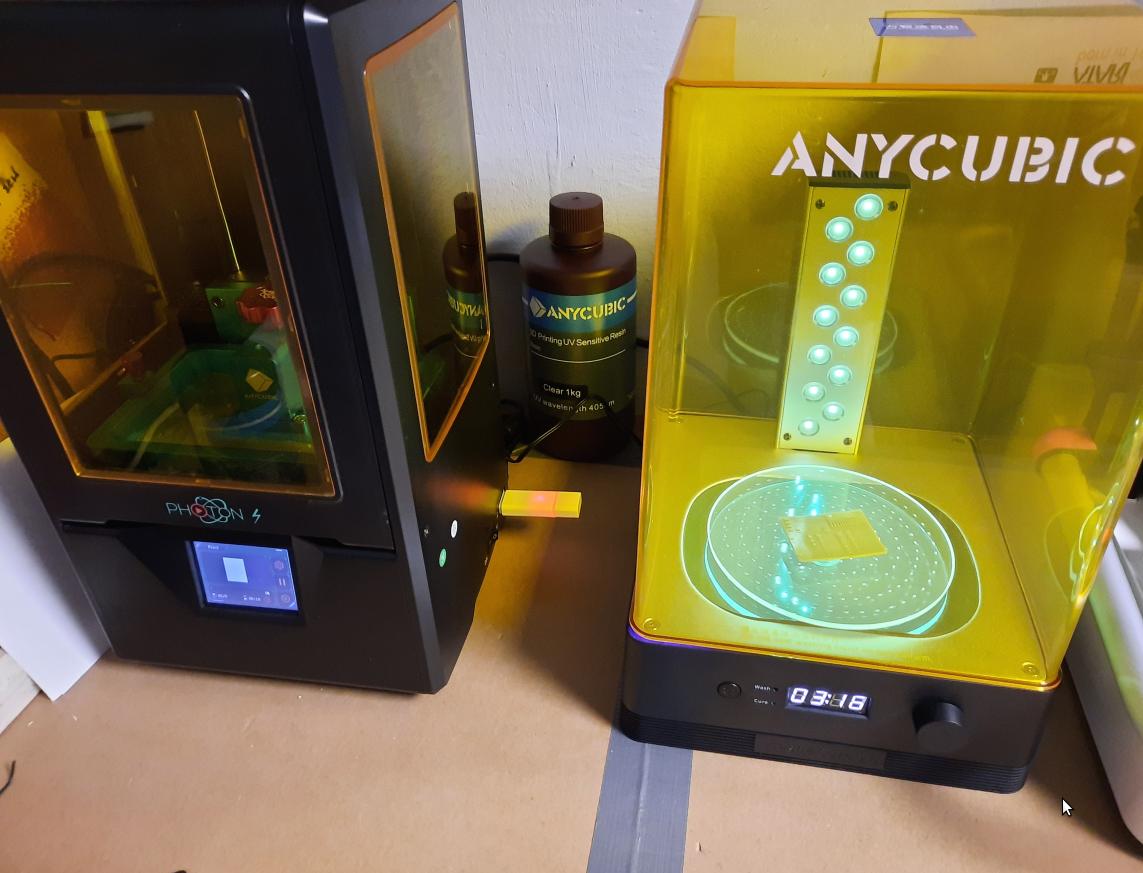
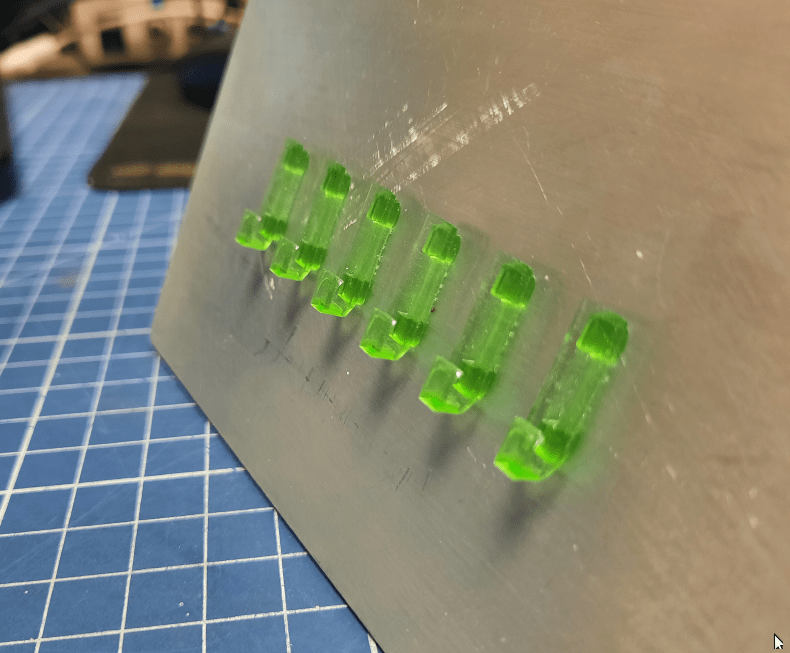
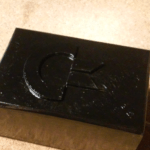
This is one of the very first printouts – original resin from a KIT 🙂
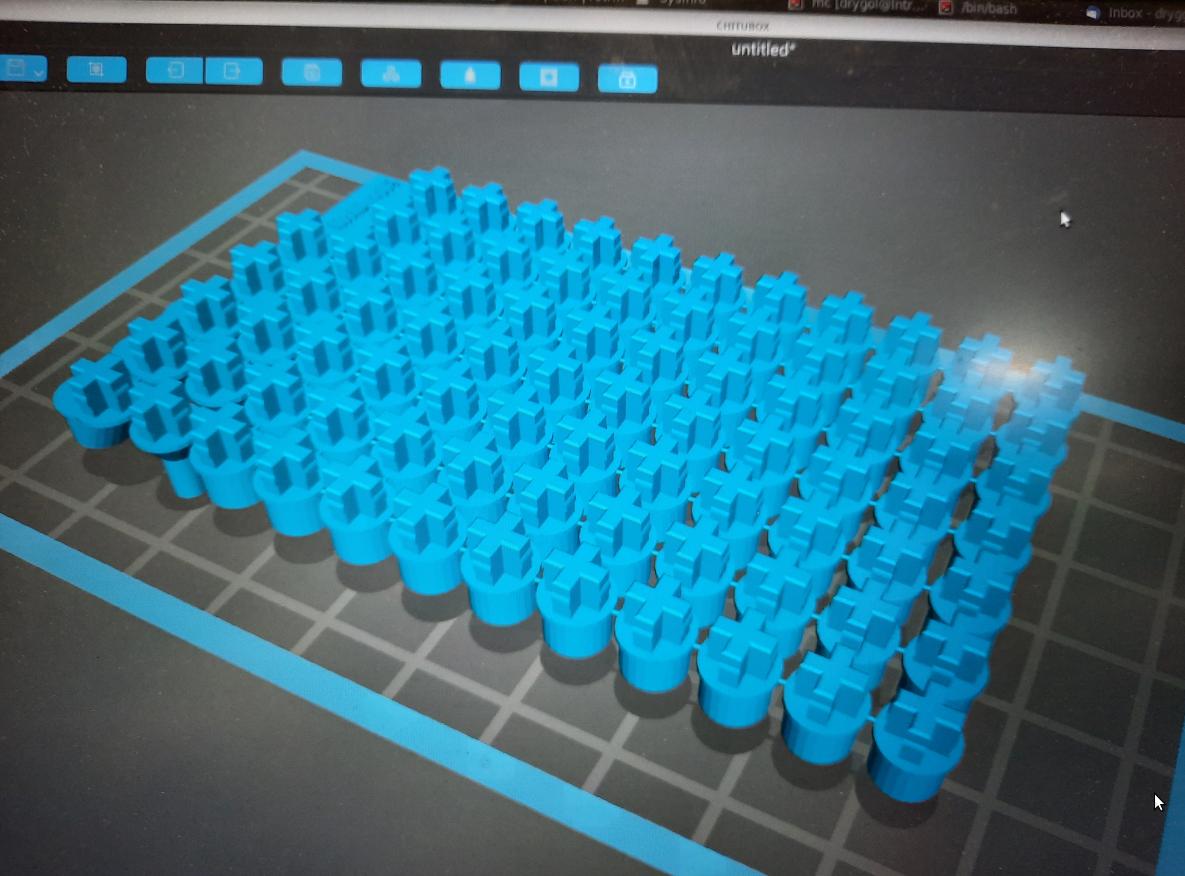
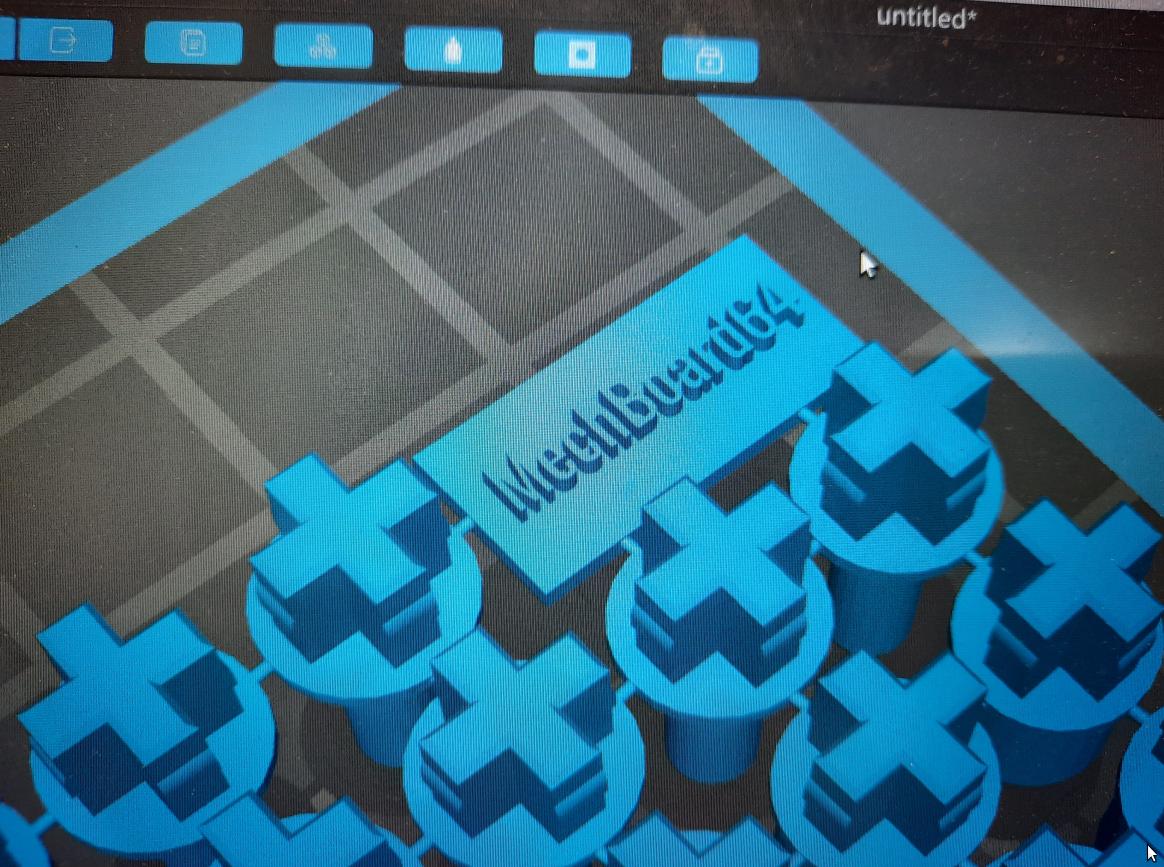
… and there it is! My first, failed printout … there is more to these fails but stay tuned 😉
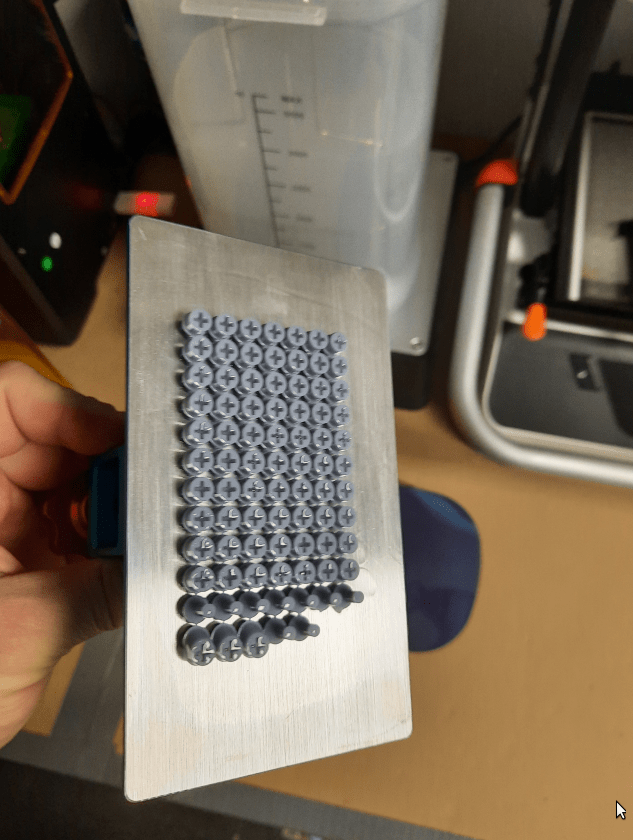
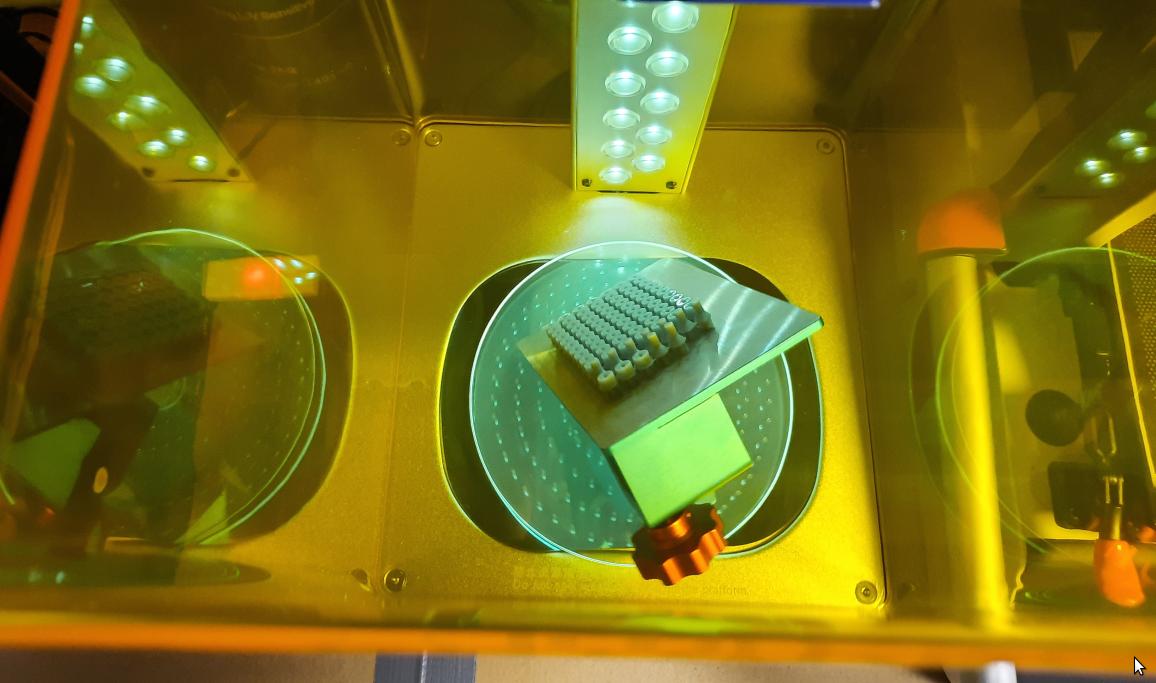
Curing it in a UV chamber like it never failed 😉
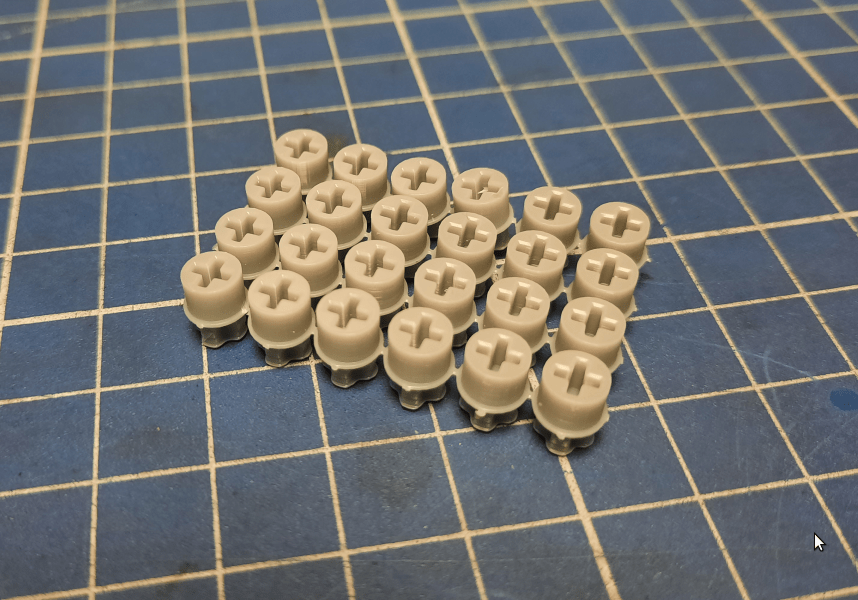
Now, can you see that ‘elephant foot’ issue? it will never fit in the original keycaps 😀
PCBs
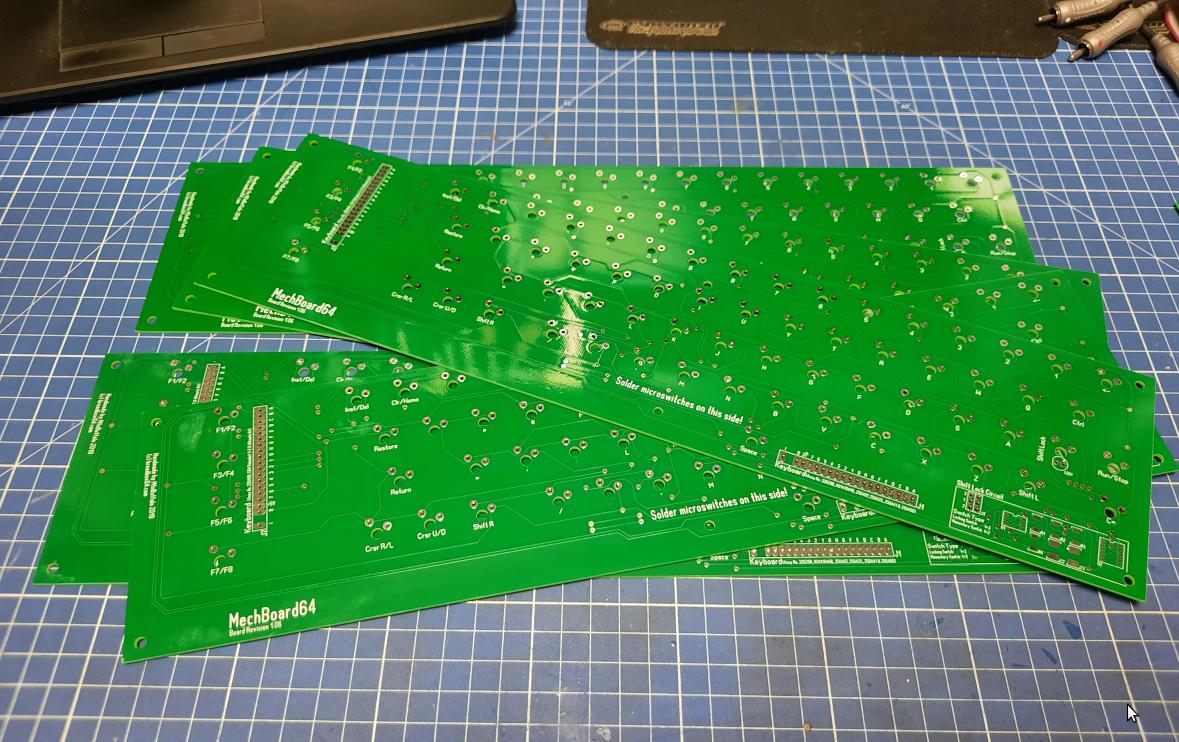
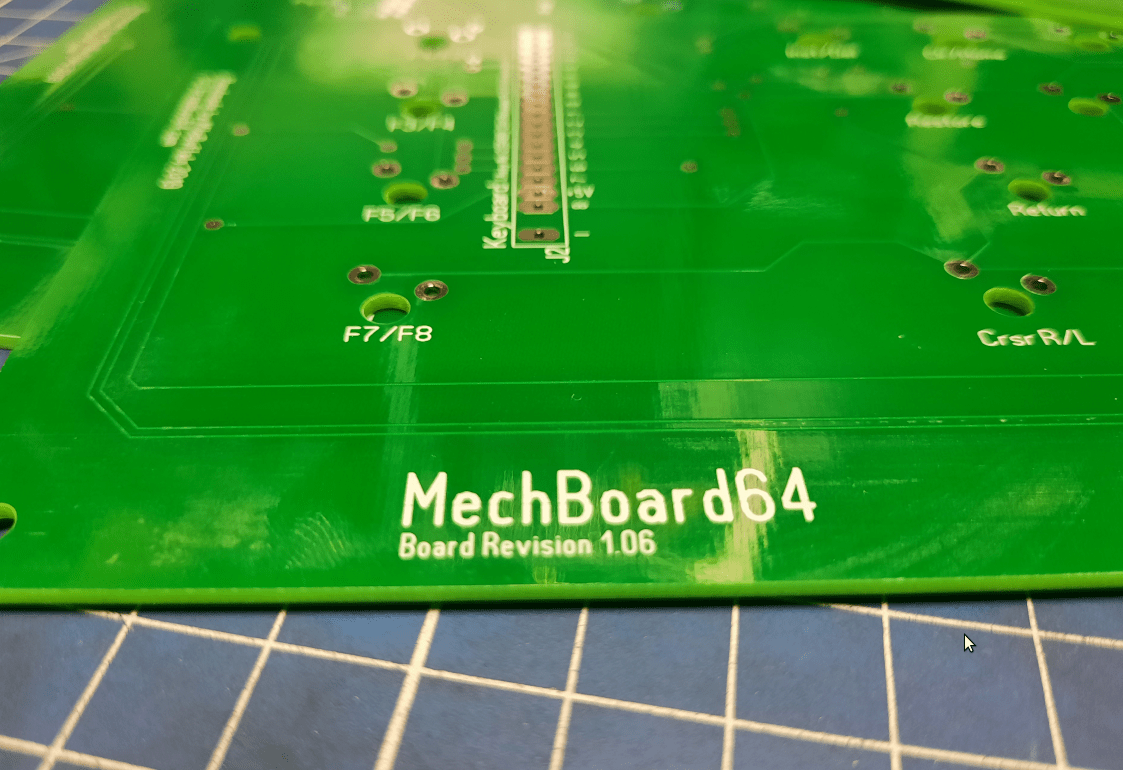
Let us leave it for now and move on to PCBs that I’ve ordered from PCBWAY which was a bit disappointing experience but I don’t want to go into details about it.
PCBs were indeed flawless and perfectly fine once they FINALLY came in after several weeks.
Metal brackets
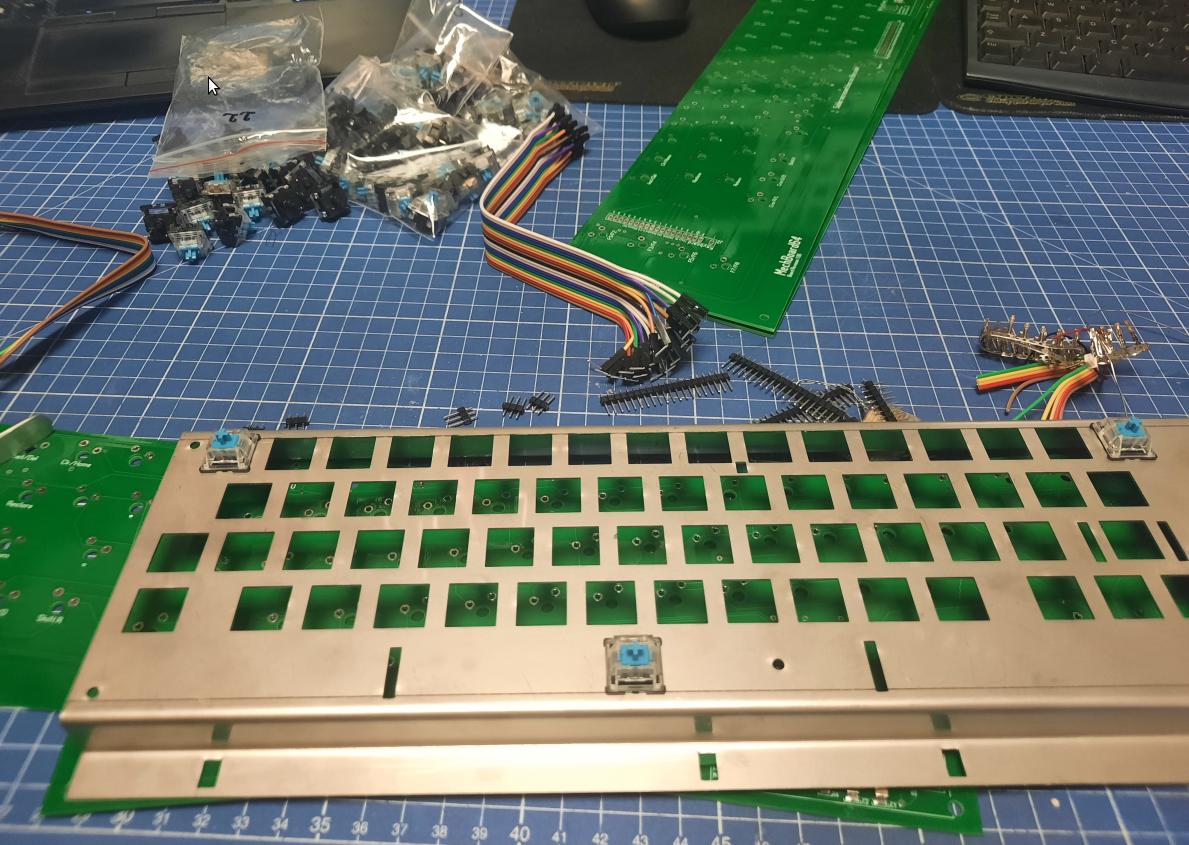
This should be a #SHORT post because I didn’t take all the necessary pics. What you will see in a second is the 2nd order of laser-cut brackets. The first one was a very expensive and total failure and this is one of the pitfalls you might get into.
The company that made it the first time, did a totally crappy job. They’ve used a thicker, stainless steel sheet and didn’t even bend it to a proper size…. not to mention hole tolerances that were totally off and no CherryMX switch would fit. Unfortunately, I didn’t take pics of that costly abomination 🙁
However, I did find a better company that did the job (still hella expensive) properly.
Fitting PCB
Fitting PCB with SMD parts was an easy thing – BOM is listed under the original projects link
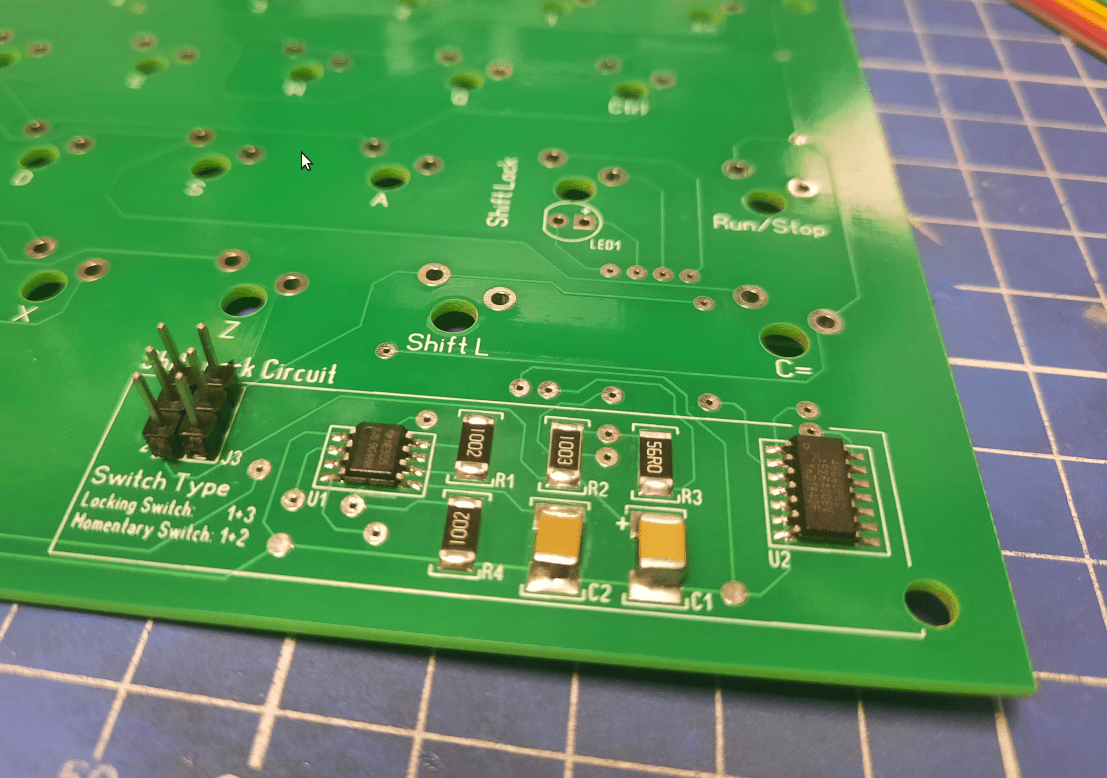
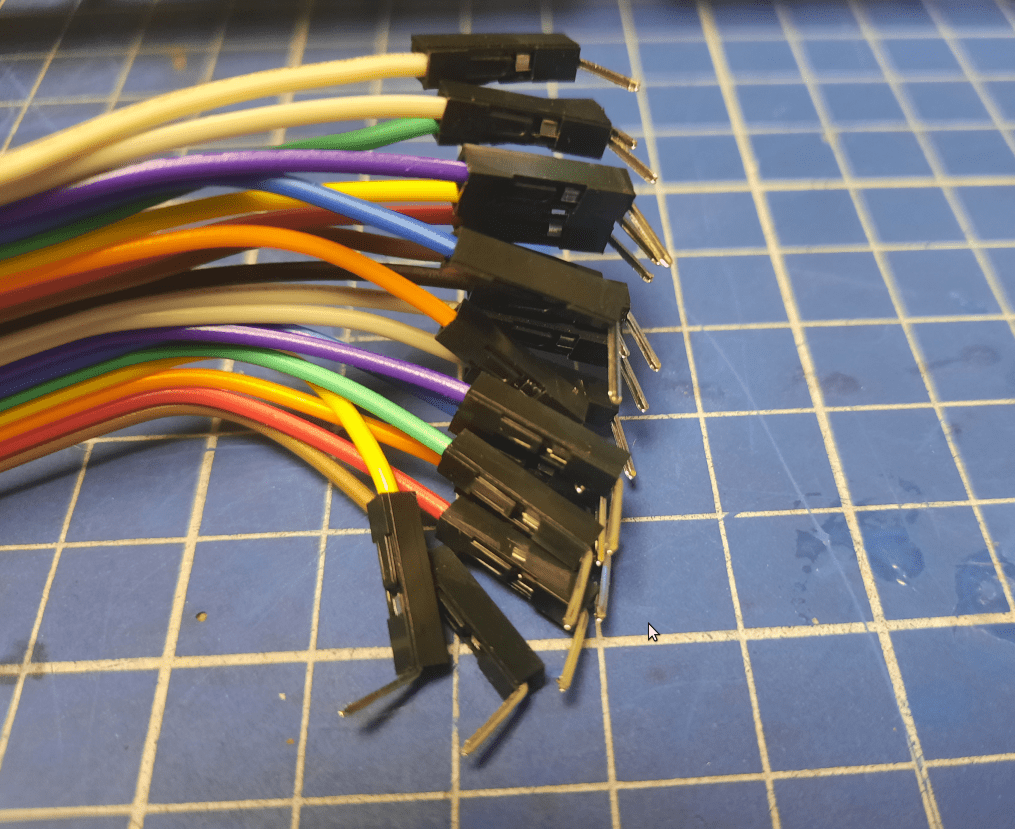
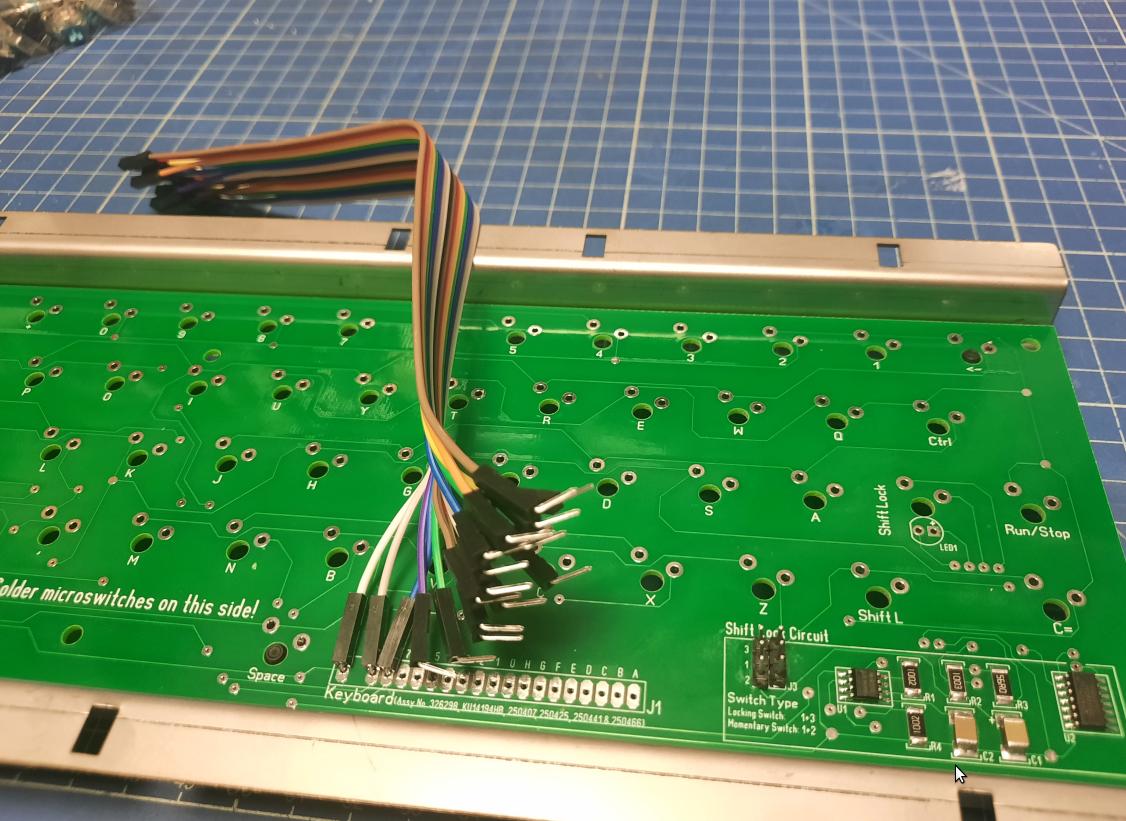
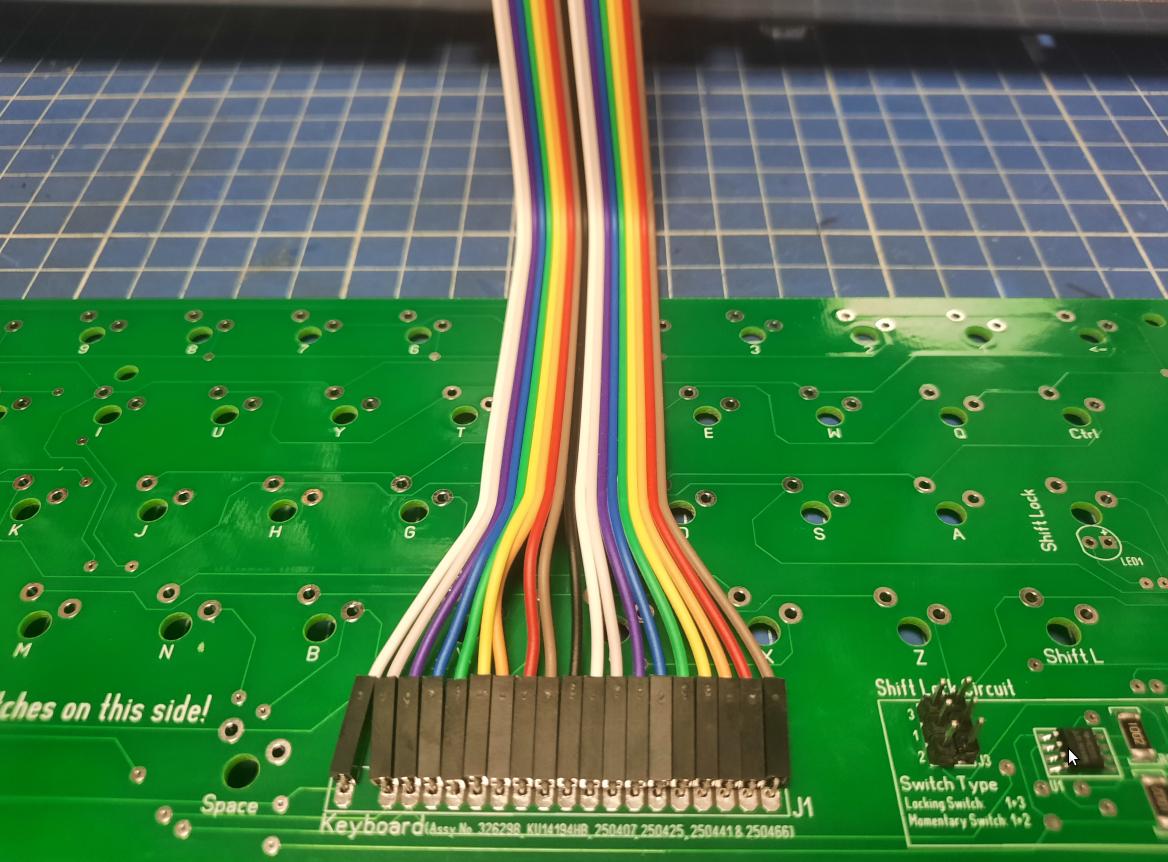
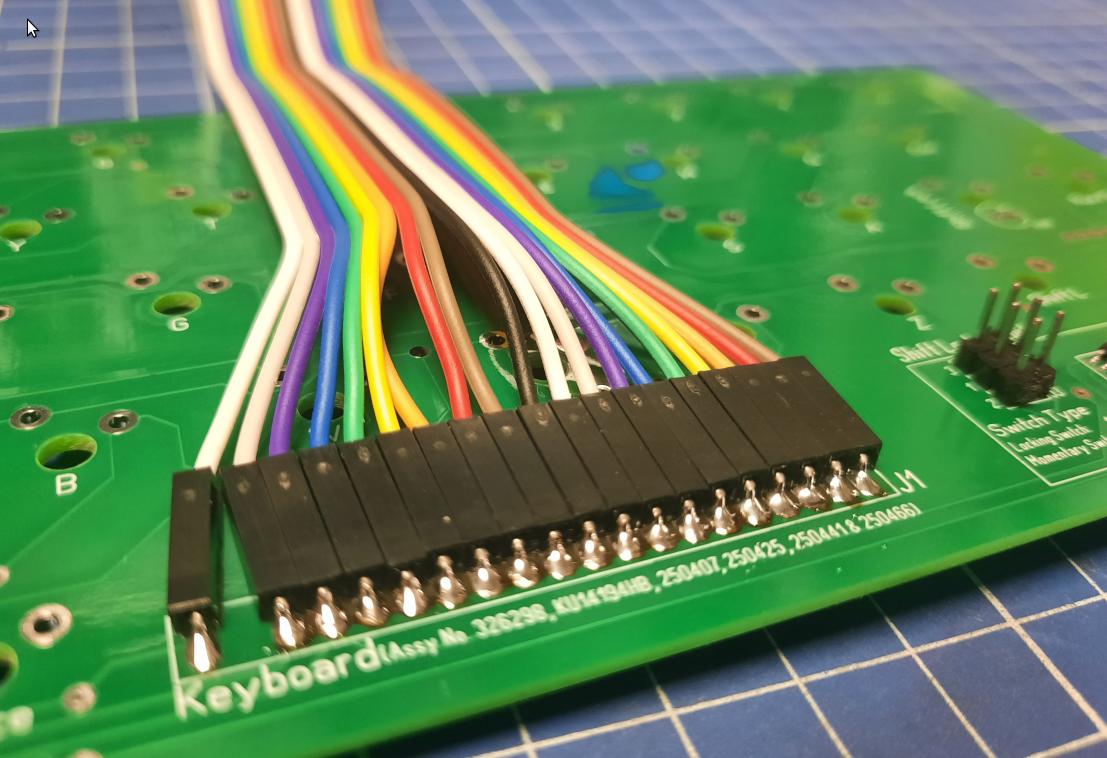
The easiest way to connect this PCB to an “unknown(yet:) device” is to use standard ribbon wires available to every Arduino/RPI enthusiast. I just needed to hack ’em to bit by bending every pin;)
Spacers
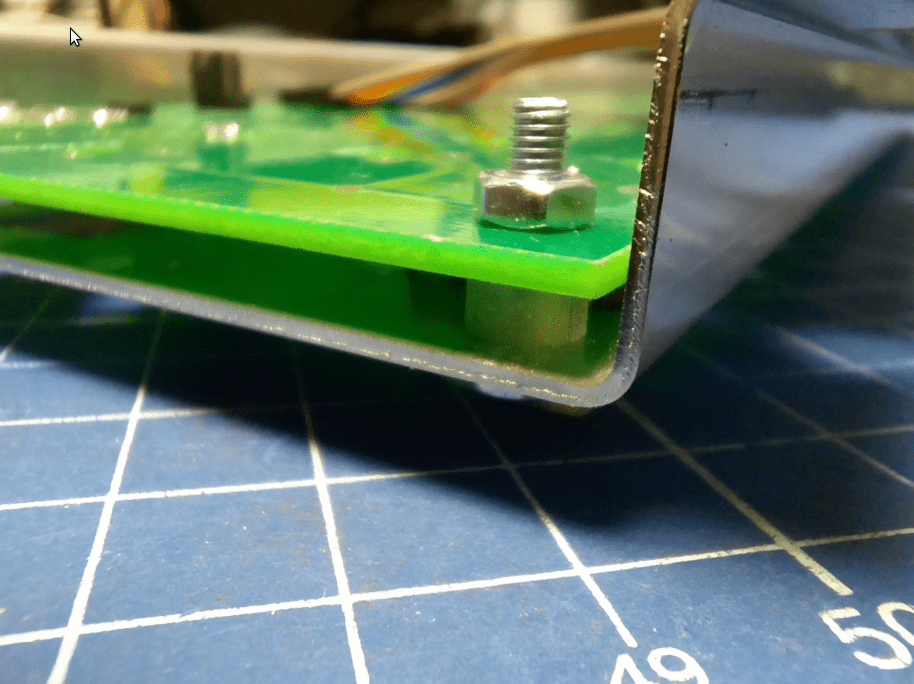
Next, I had to design and 3D print some spacers that turned out to be a requirement.
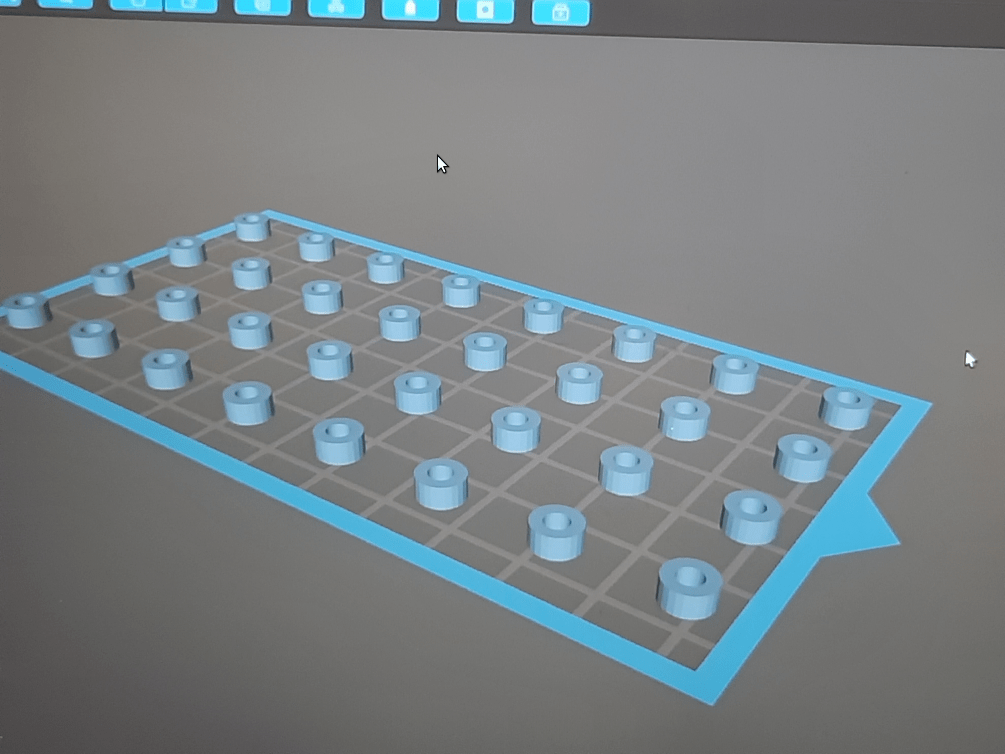
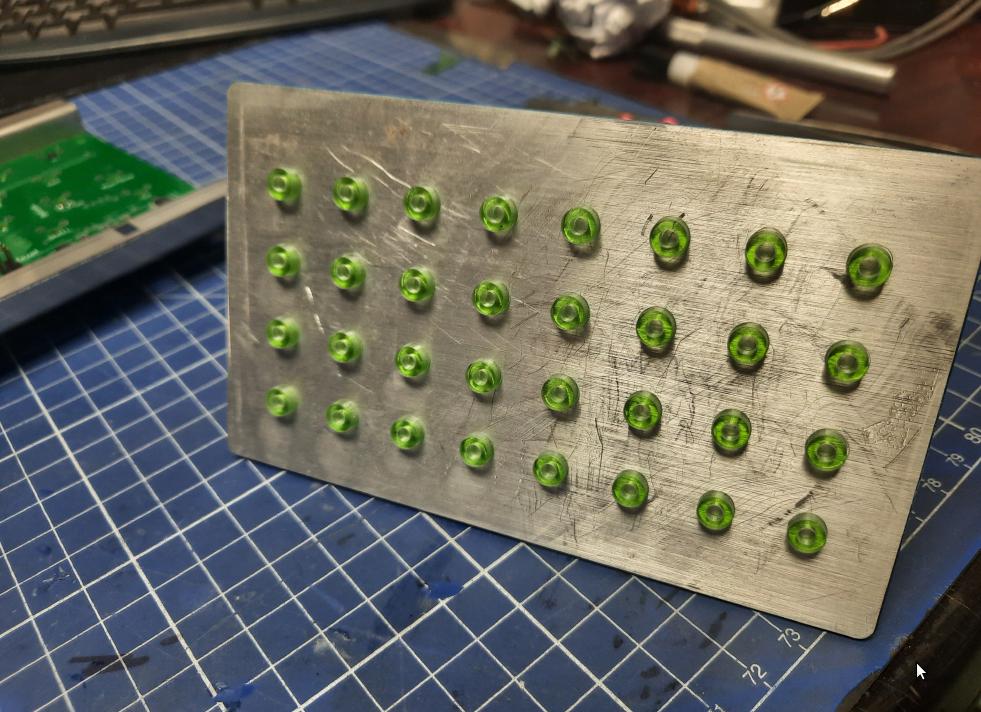
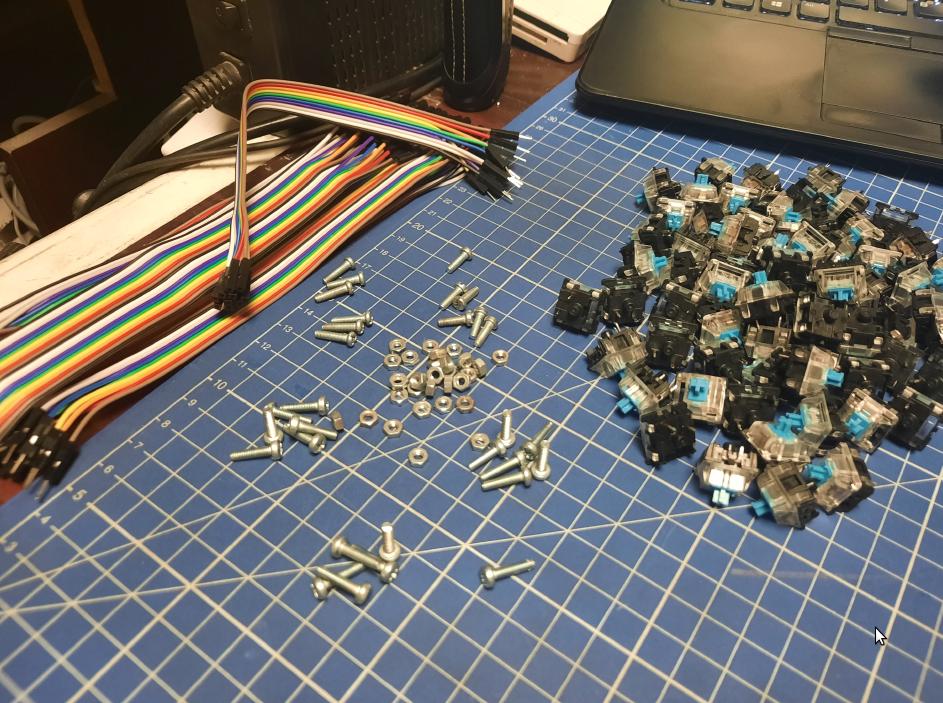
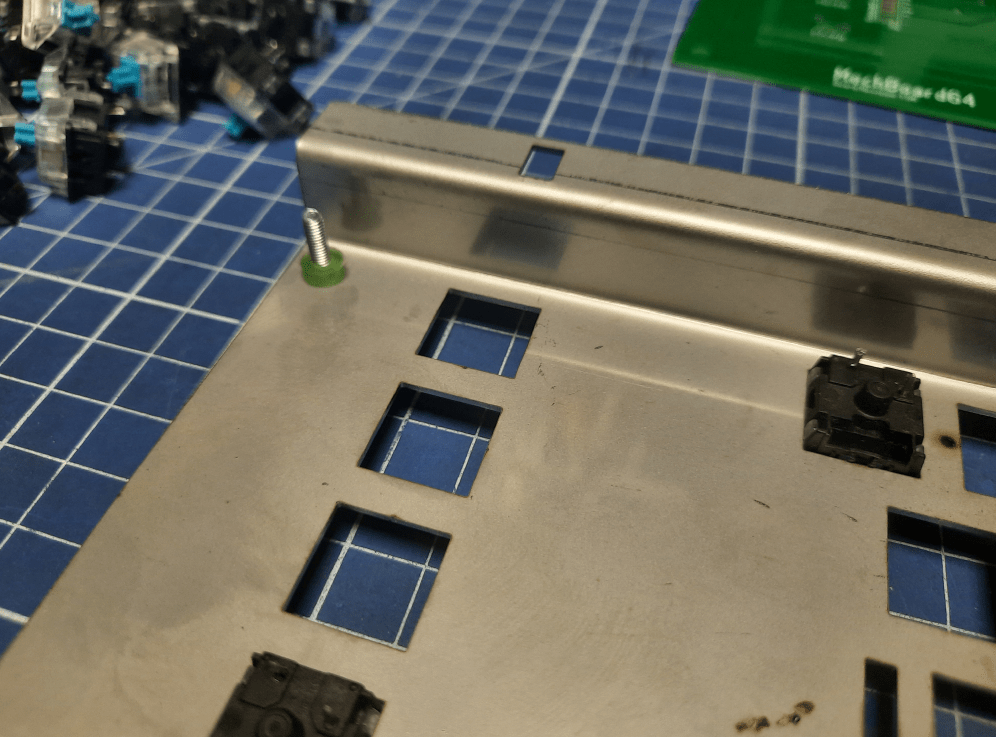
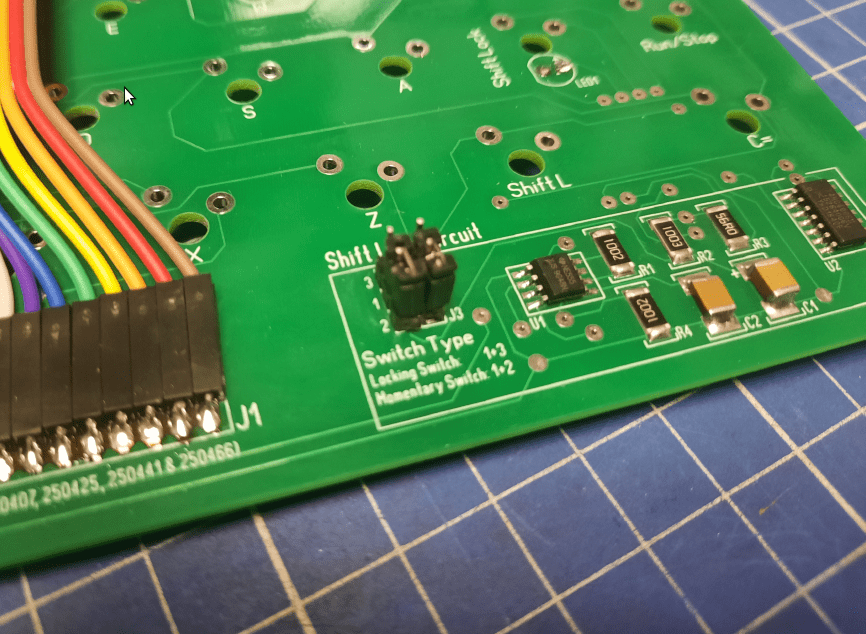
Meanwhile, I was able to set up a switch type to either the ‘momentary’ or ‘locking’ option.
CherryMX switches
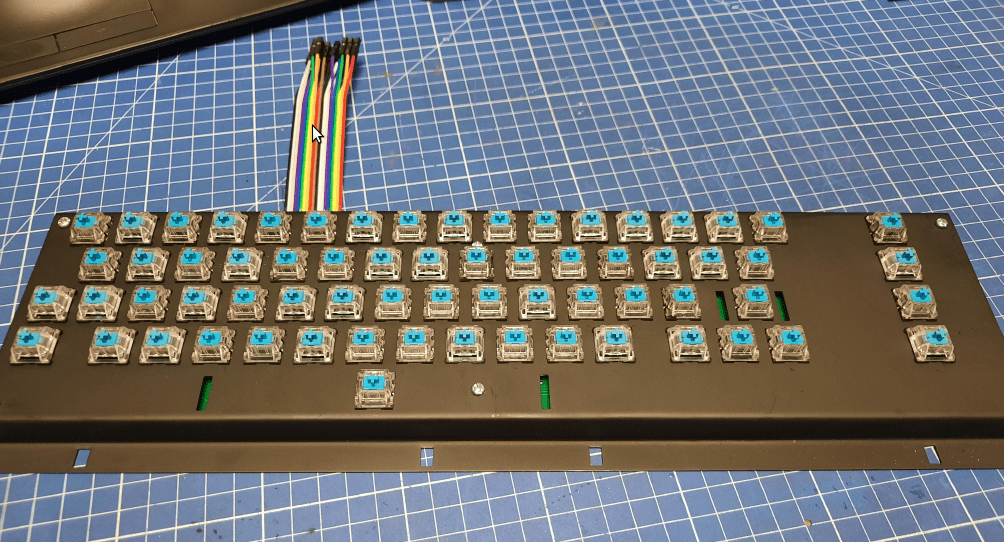
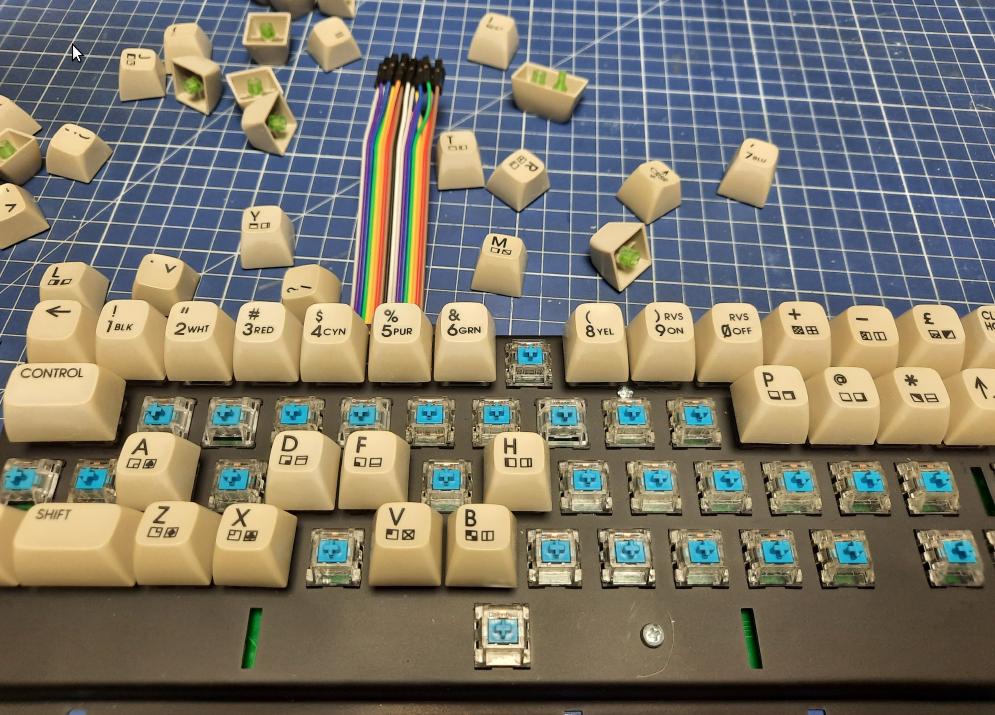
Now, I was able to start installing all CherryMX switches. This part was smooth as nearly everything matched.
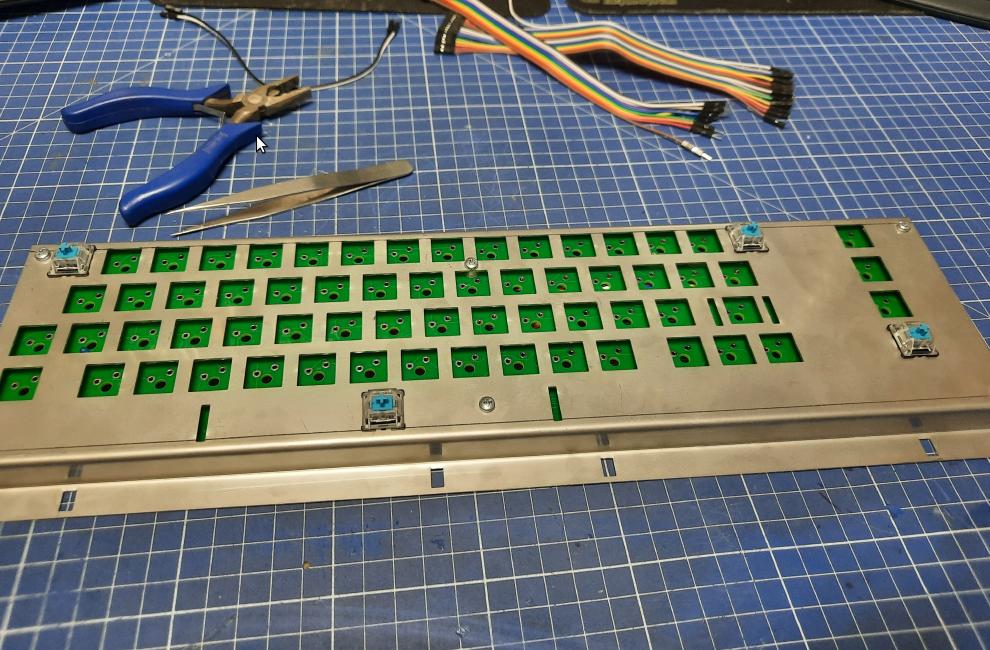
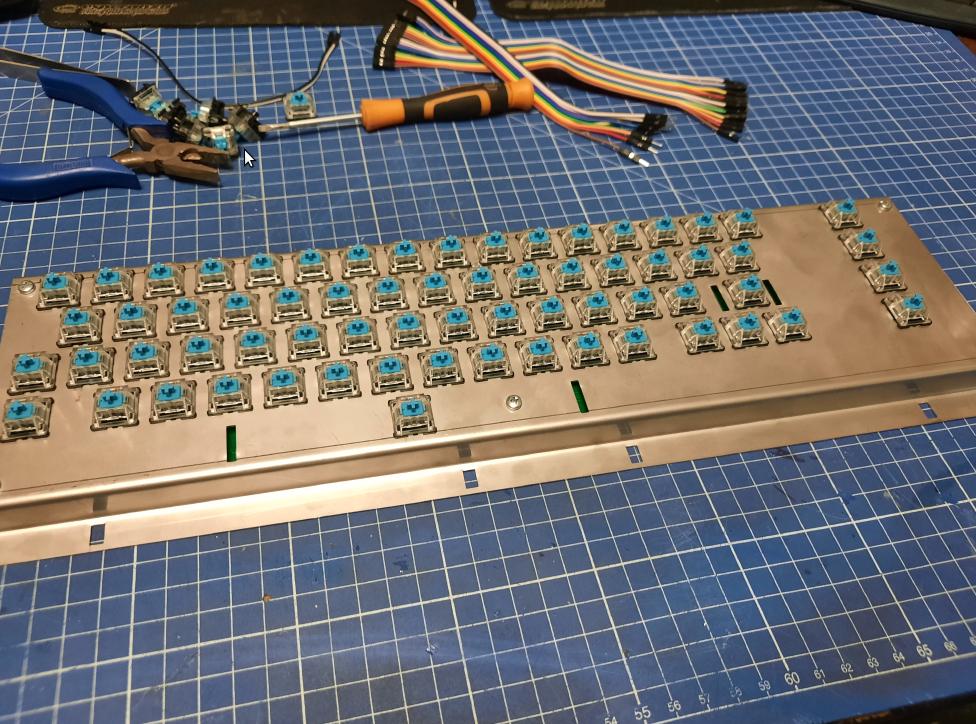
At this point, I had to remove all those switches because of two reasons, the first one being the PAINT.
Yeah, I was so into it that I forgot to paint that bracket lol.
The second reason was that I had to cut some metal out of this bracket to fit into a Beast64 project but more on this in future posts.
Anyway, here is a reworked and still not finished thingy.
3D Printed adapters
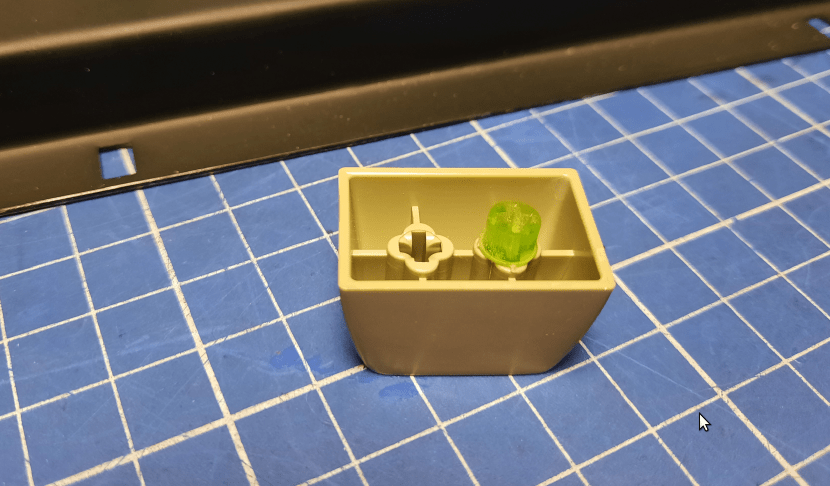
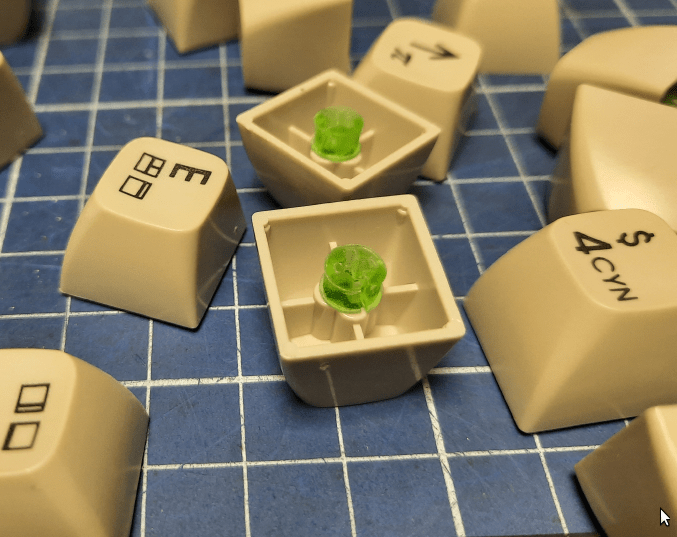
Oh yeah, this one had to be done in several iterations. Mainly because of a tolerance issue. The problem is that adapters that were cured in a the UV chamber, didn’t fit either the original keycap or the cherryMX key plug.
I did several tries and failed miserably BECAUSE SCALING is not an option in this scenario. Instead, I’ve noticed that 3D printouts are still a bit flexible after printing. I’ve taken advantage of that fact and installed ’em in keycaps that in turn were installed onto CherryMX keys. Then curing in sunlight finished the job.
I can tell you one thing … that was a hella tedious job.
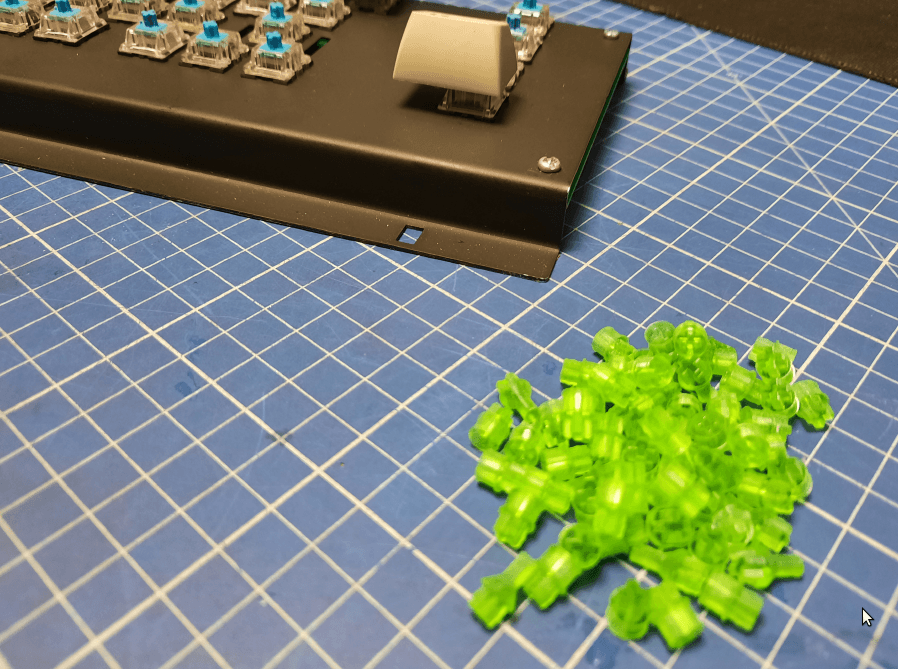
Some of the adapters cracked along the way and I had to manually remove remains with a tiny drillbit …
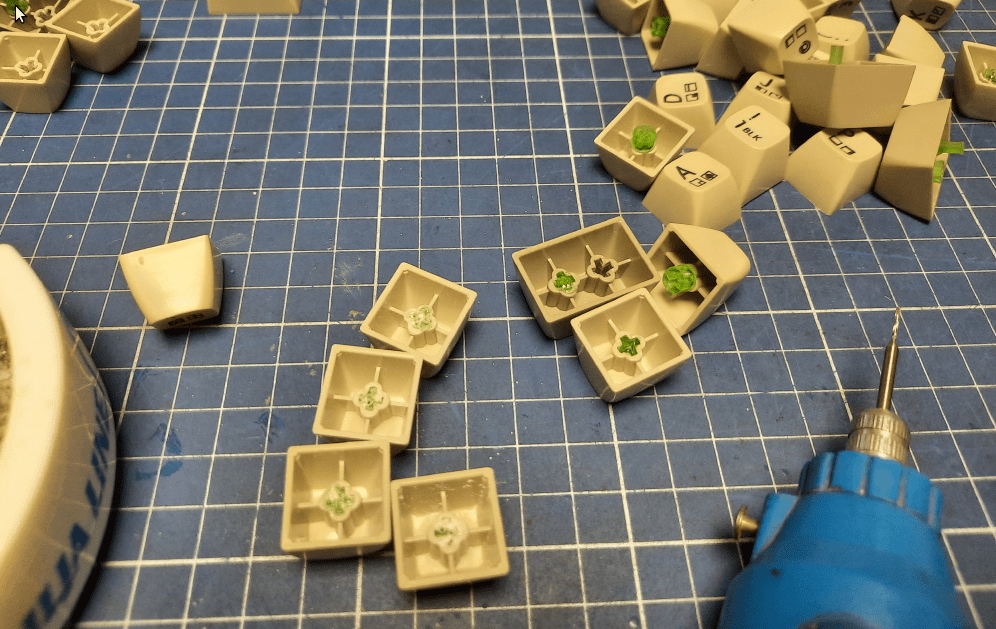
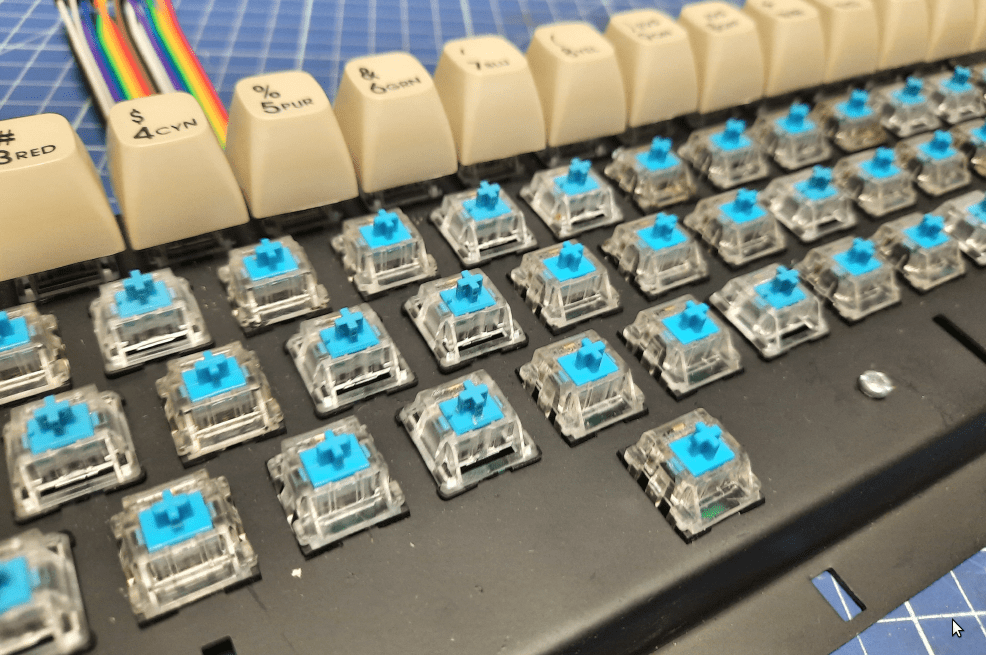
Slowly, I was heading closer to the end of this mess.
Spacebar problem
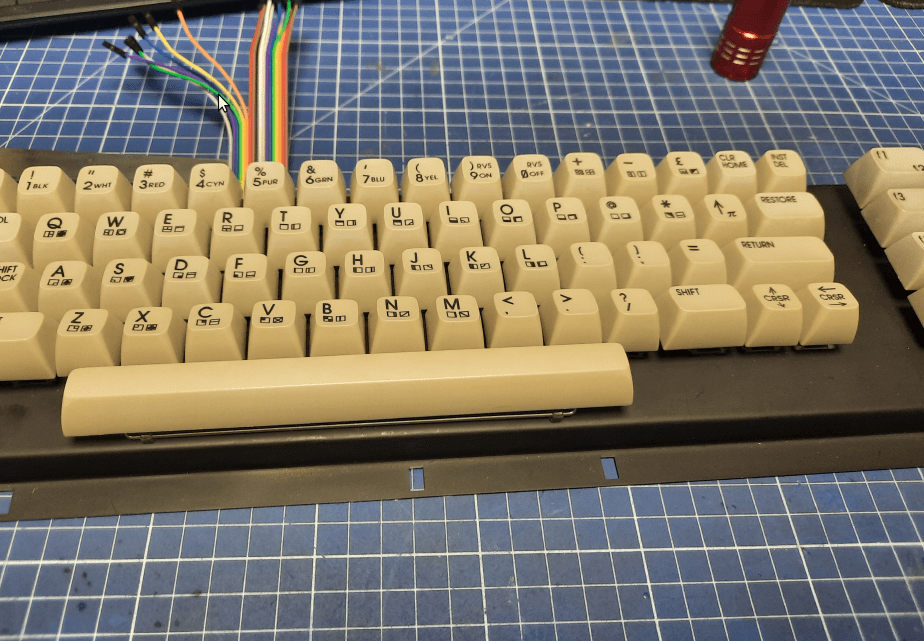
With nearly all keycaps placed I was now facing the great ‘SPACEBAR’ that would not without proper support on the sides. This is why I’ve designed a simple 3D printable object that would sort this out.
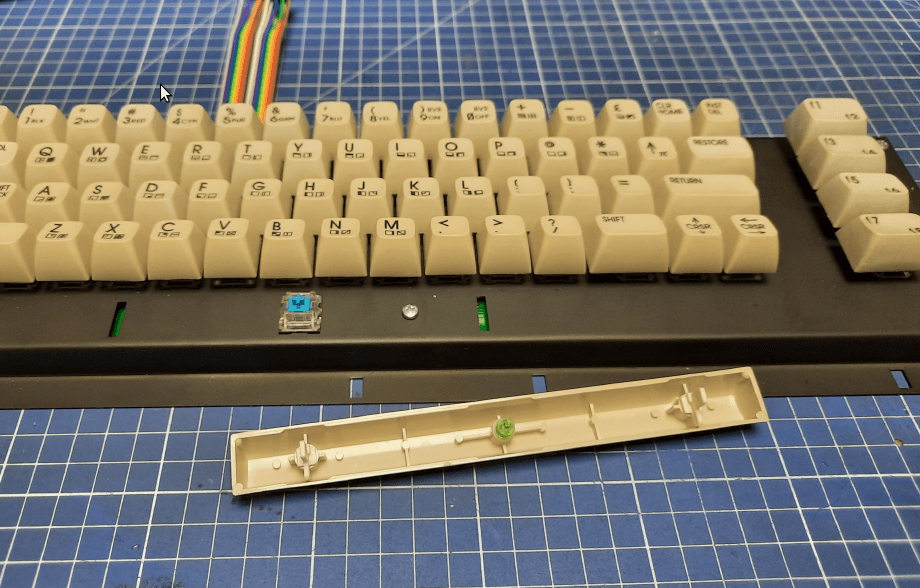
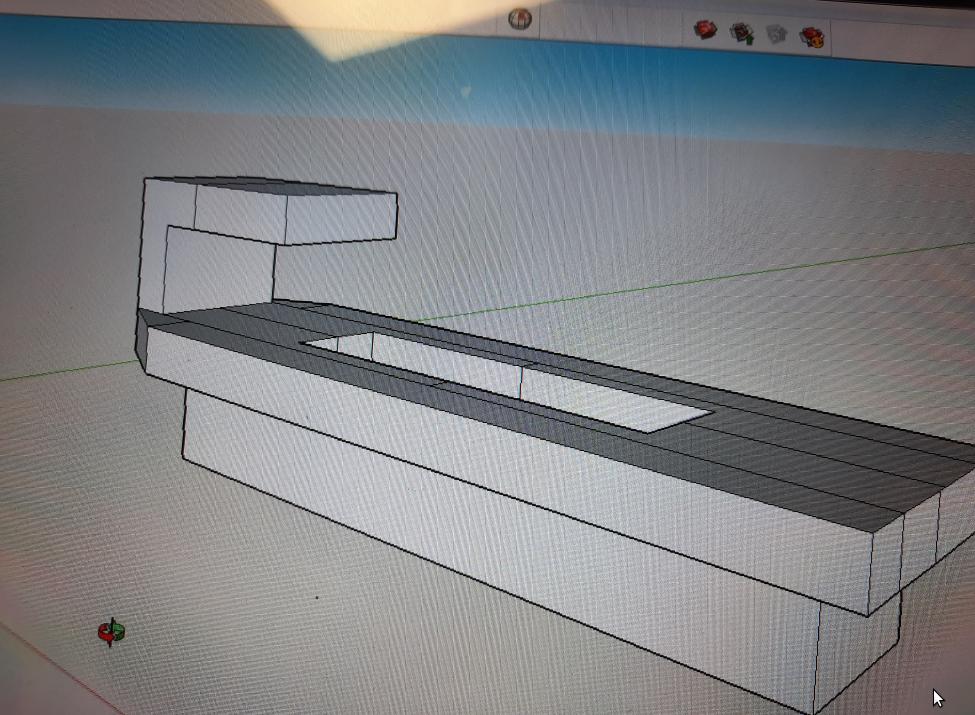
Fortunately, that was an easy print and it did fit nicely this time (rare:)
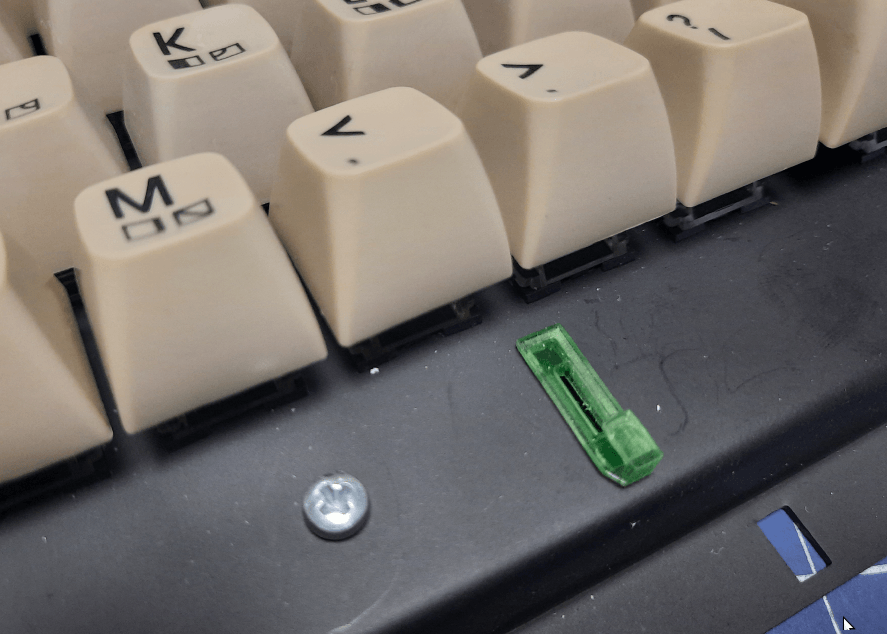
Done!
Finally, the Mechboard64 project was DONE and it works flawlessly!
Now, I need to work on additional 4 keyboards like above 😀
Printouts
To all of you that crunched through this short post, here is a ZIP file with all my 3D designs that worked for me in this project – FILES
Outro
If you want to get the retro gear I am manufacturing or hardware modules, please visit shop -> https://retrohax.net/shop/
Please support my work by commenting here and on our Facebook or Twitter pages.
Nah, don’t do the above. We are old and supposed to have fun and nothing more! Cheers! 😀



A ta podstawa to musi być metalowa? Nie da się tego wydrukować albo coś?
Może i się da ale po pierwsze w dwóch częściach a po drugie nie było by to solidne.
I am very interested too. We like to show the whole project on our Channel https://www.youtube.com/channel/UChjTe7l8hkqmaV6z–YsRSw
Holger
Do you have any extra that you’d be willing to sell? I need a keyboard for my breadbin and after hearing about your project, really would like to purchase one. Please let us know. Thank you so much!
Oh, not at the moment. Maybe In future, I’ll order another batch of 5 but the last ones were used in projects already.
Who did you end up using to get the metal bracket cut?
Oh, it was a local laser-cutting company. I would have to browse through my invoices to get its name.