… or as usual, I am writing a post of a build that happened long ago … so I don’t recall everything :/
Intro
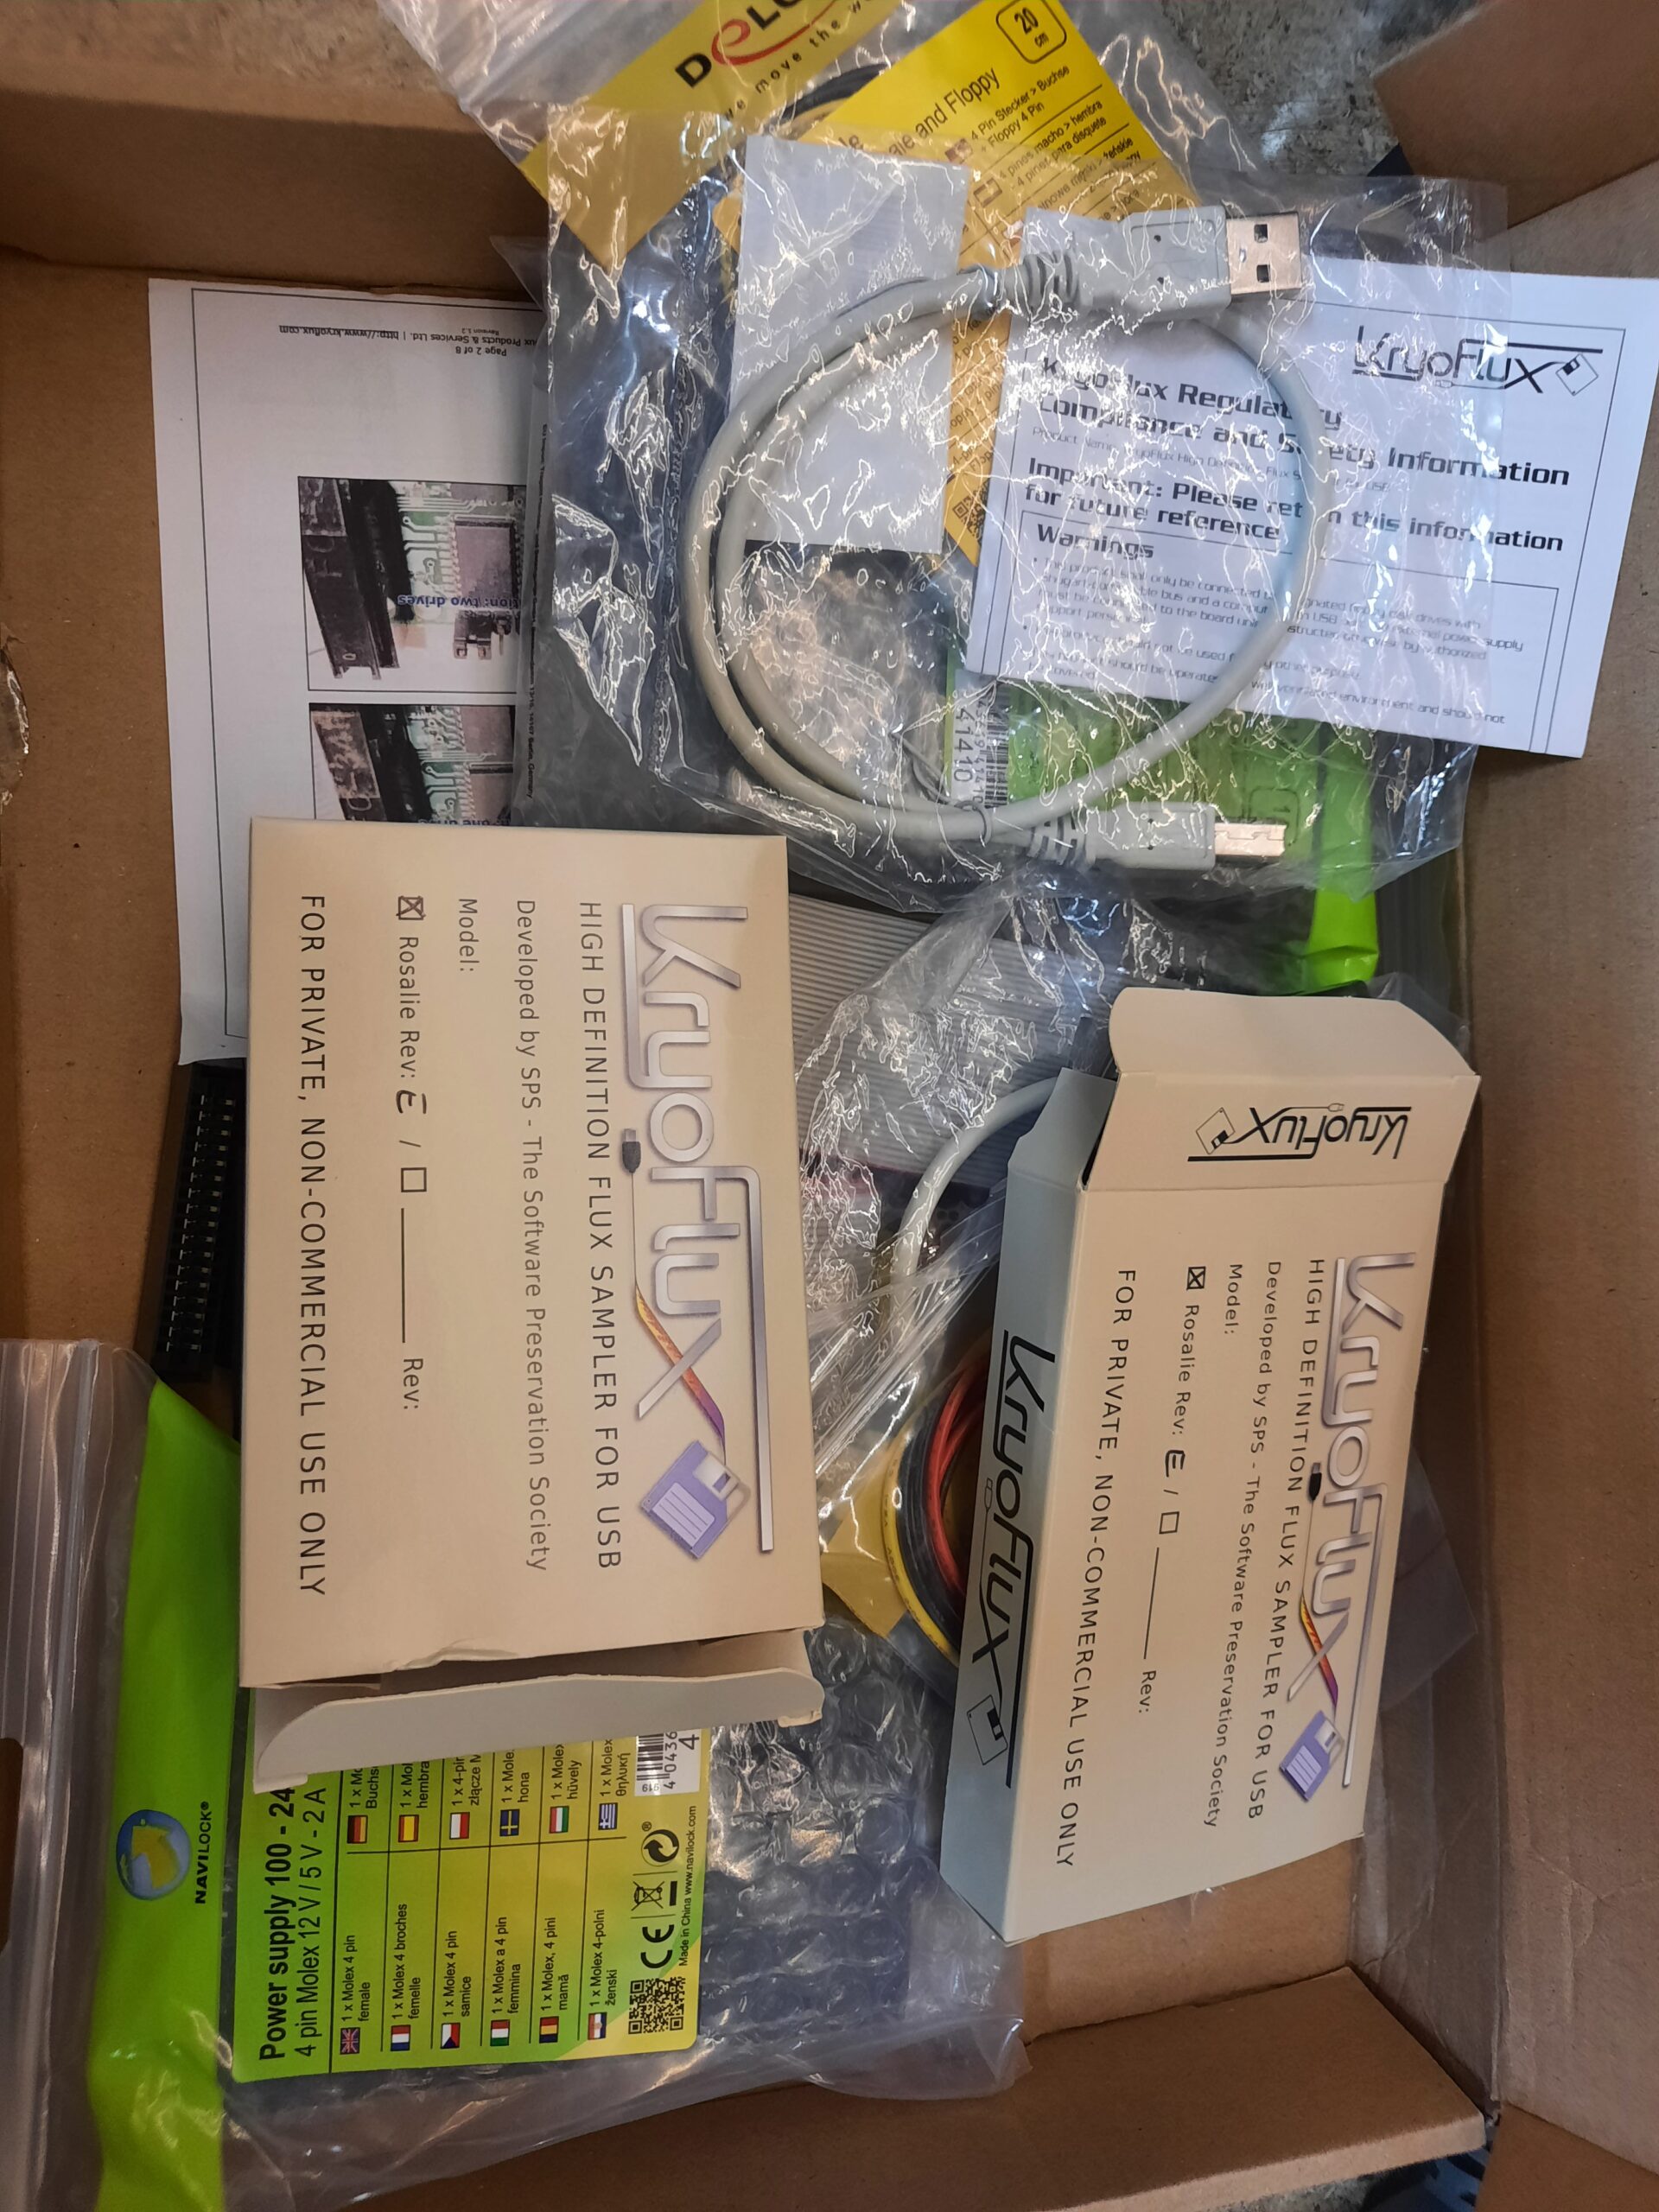
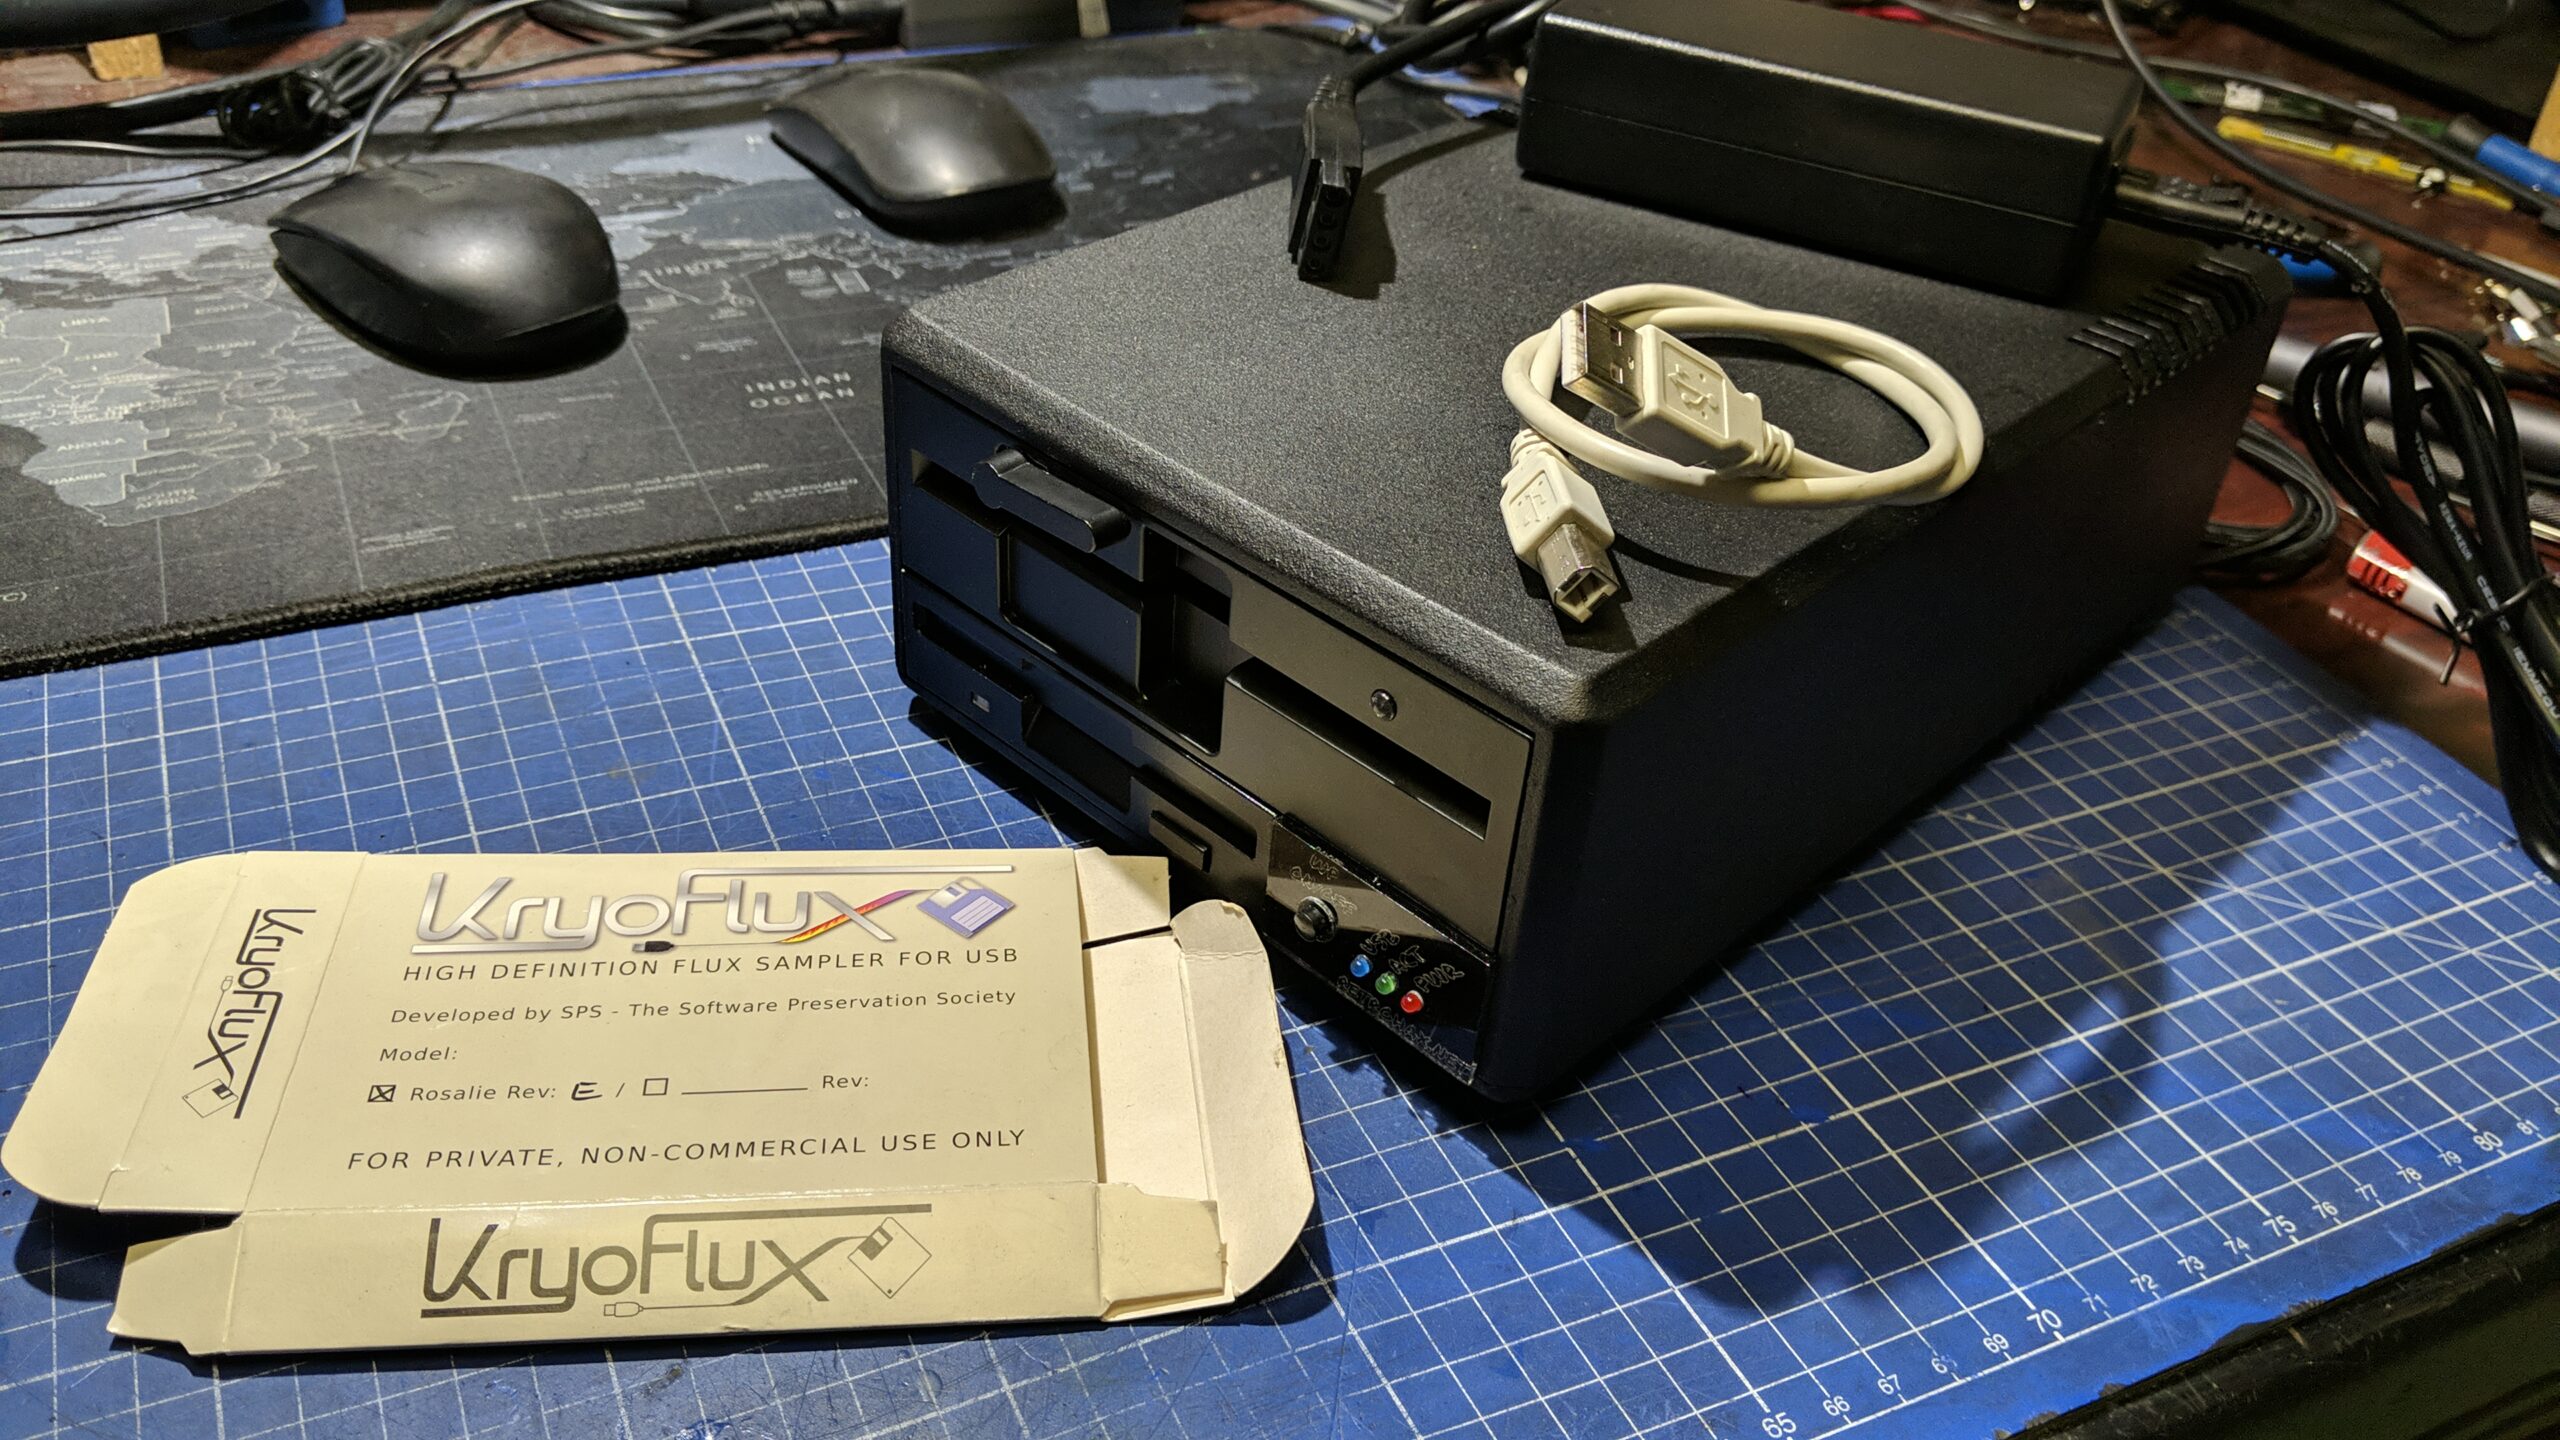
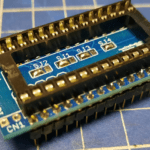
The almighty Kryoflux! Yeah, it is an awesome device developed by a clever team of people –The Software Preservation Society. Citing their description:
KryoFlux is a USB-based device designed specifically for the reliability and precision needed to acquire reliable low-level reads suitable for software preservation.
There is a cool Wired article that shows off what can you do with such a device and also a video released at DerbyCON 2012 where Jason talks about it in details.
This is an awesome piece of hardware, although it requires a bit of learning on how it all works.
It supports a variety of formats.
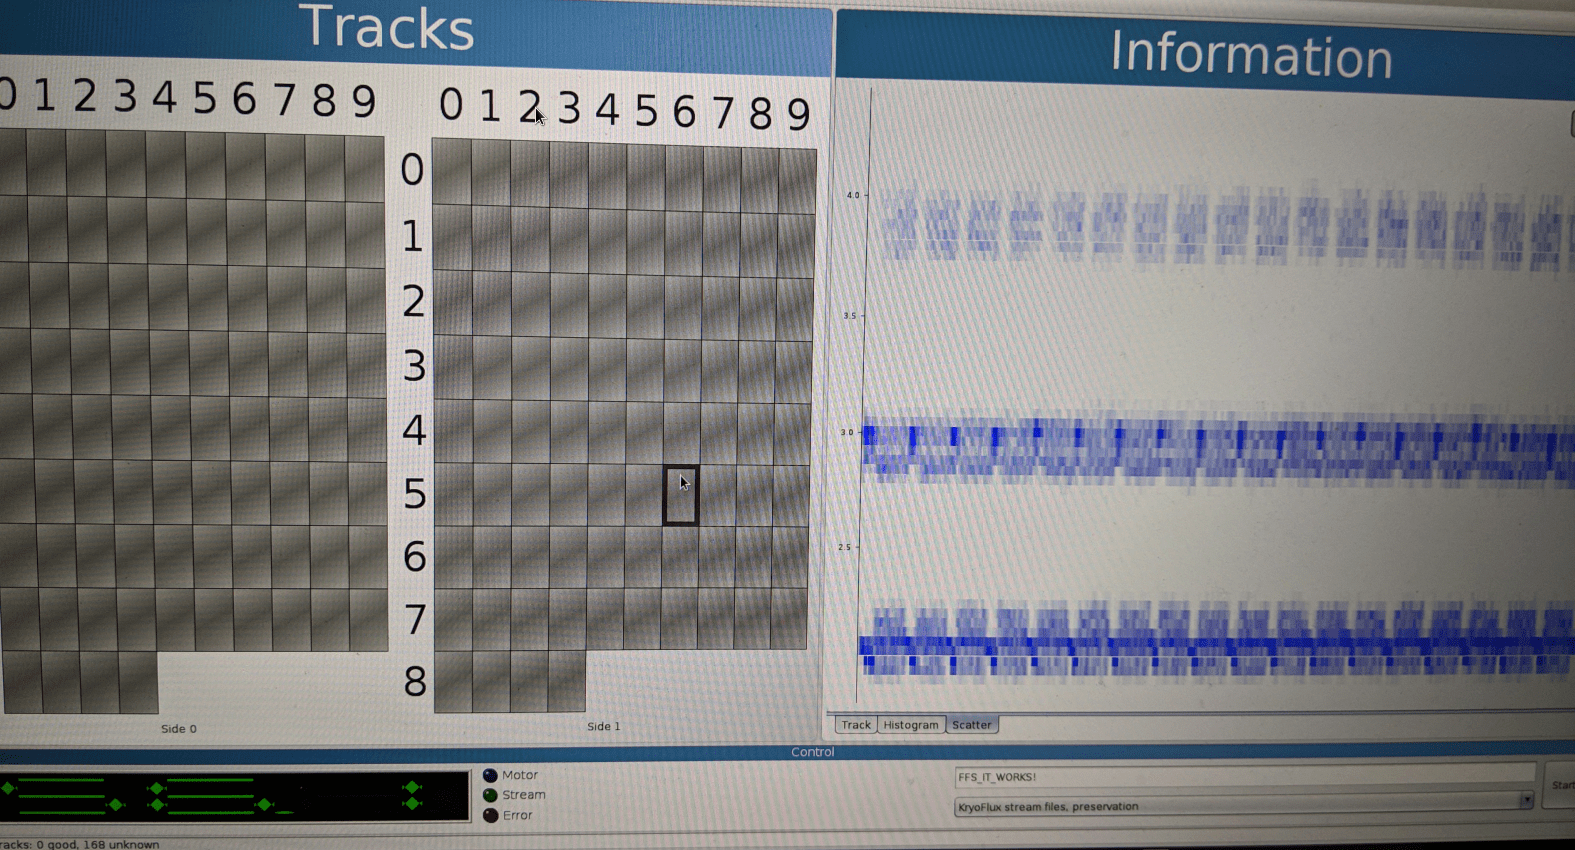
- KryoFlux stream files
- CT Raw image, 84 tracks, DS, DD, 300, MFM
- FM sector image, 40/80+ tracks, SS/DS, SD/DD, 300, FM
- FM XFD, Atari 8-bit
- MFM sector image, 40/80+ tracks, SS/DS, DD/HD, 300, MFM
- MFM XFD, Atari 8-bit
- AmigaDOS sector image, 80+ tracks, DS, DD/HD, 300, MFM
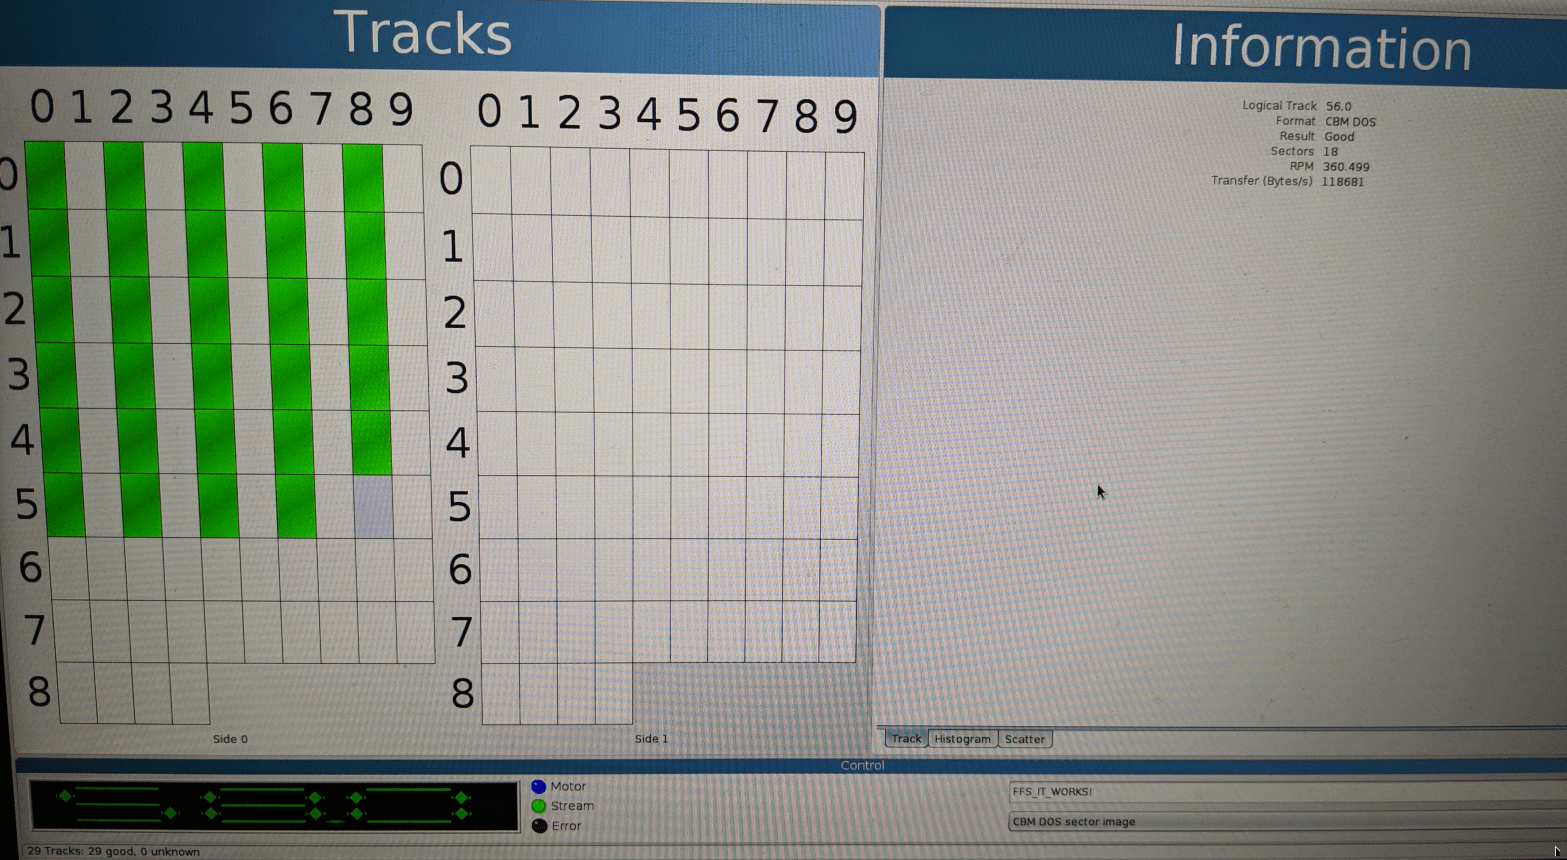
- CBM DOS sector image, 35+ tracks, SS, DD, 300, GCR
- Apple DOS 3.2 sector image, 35+ tracks, SS, DD, 300, GCR
- Apple DOS 3.3+ sector image, 35+ tracks, SS, DD, 300, GCR
- DSK, DOS 3.3 interleave
- Apple DOS 400K/800K sector image, 80+ tracks, SS/DS, DD, CLV, GCR
- Emu sector image, 35+ tracks, SS, DD, 300, FM
- Emu II sector image, 80+ tracks, DS, DD, 300, FM
- Amiga DiskSpare sector image, 80+ tracks, DS, DD/HD, 300, MFM
- DEC RX01 sector image, 77+ tracks, SS, SD, 360, FM
- DEC RX02 sector image, 77+ tracks, SS, SD/DD, 360, FM/DMMFM
Citing from the Softpres web page:
All this means we support pretty much any platform already: Acorn Electron, Apple, Amstrad CPC, Archimedes, Atari 8-bit, Atari ST, BBC, Commodore 64, Commodore Amiga, MSX, IBM PC, PC-8801, Sam Coupe, Spectrum, and many, many others.
I’ve ordered two kits and started working on it.
The build
The idea was to utilize its full potential so I was asked to make two units, with two drives each (3.5″ and 5.25″) but with different disk drives. Different drives like 1.44MB, 1.2MB, 720KB, 800KB, or 360KB to cover as many formats as possible. After all, it turned out that it would be two units with two drives each, plus some more drives for swapping 😀
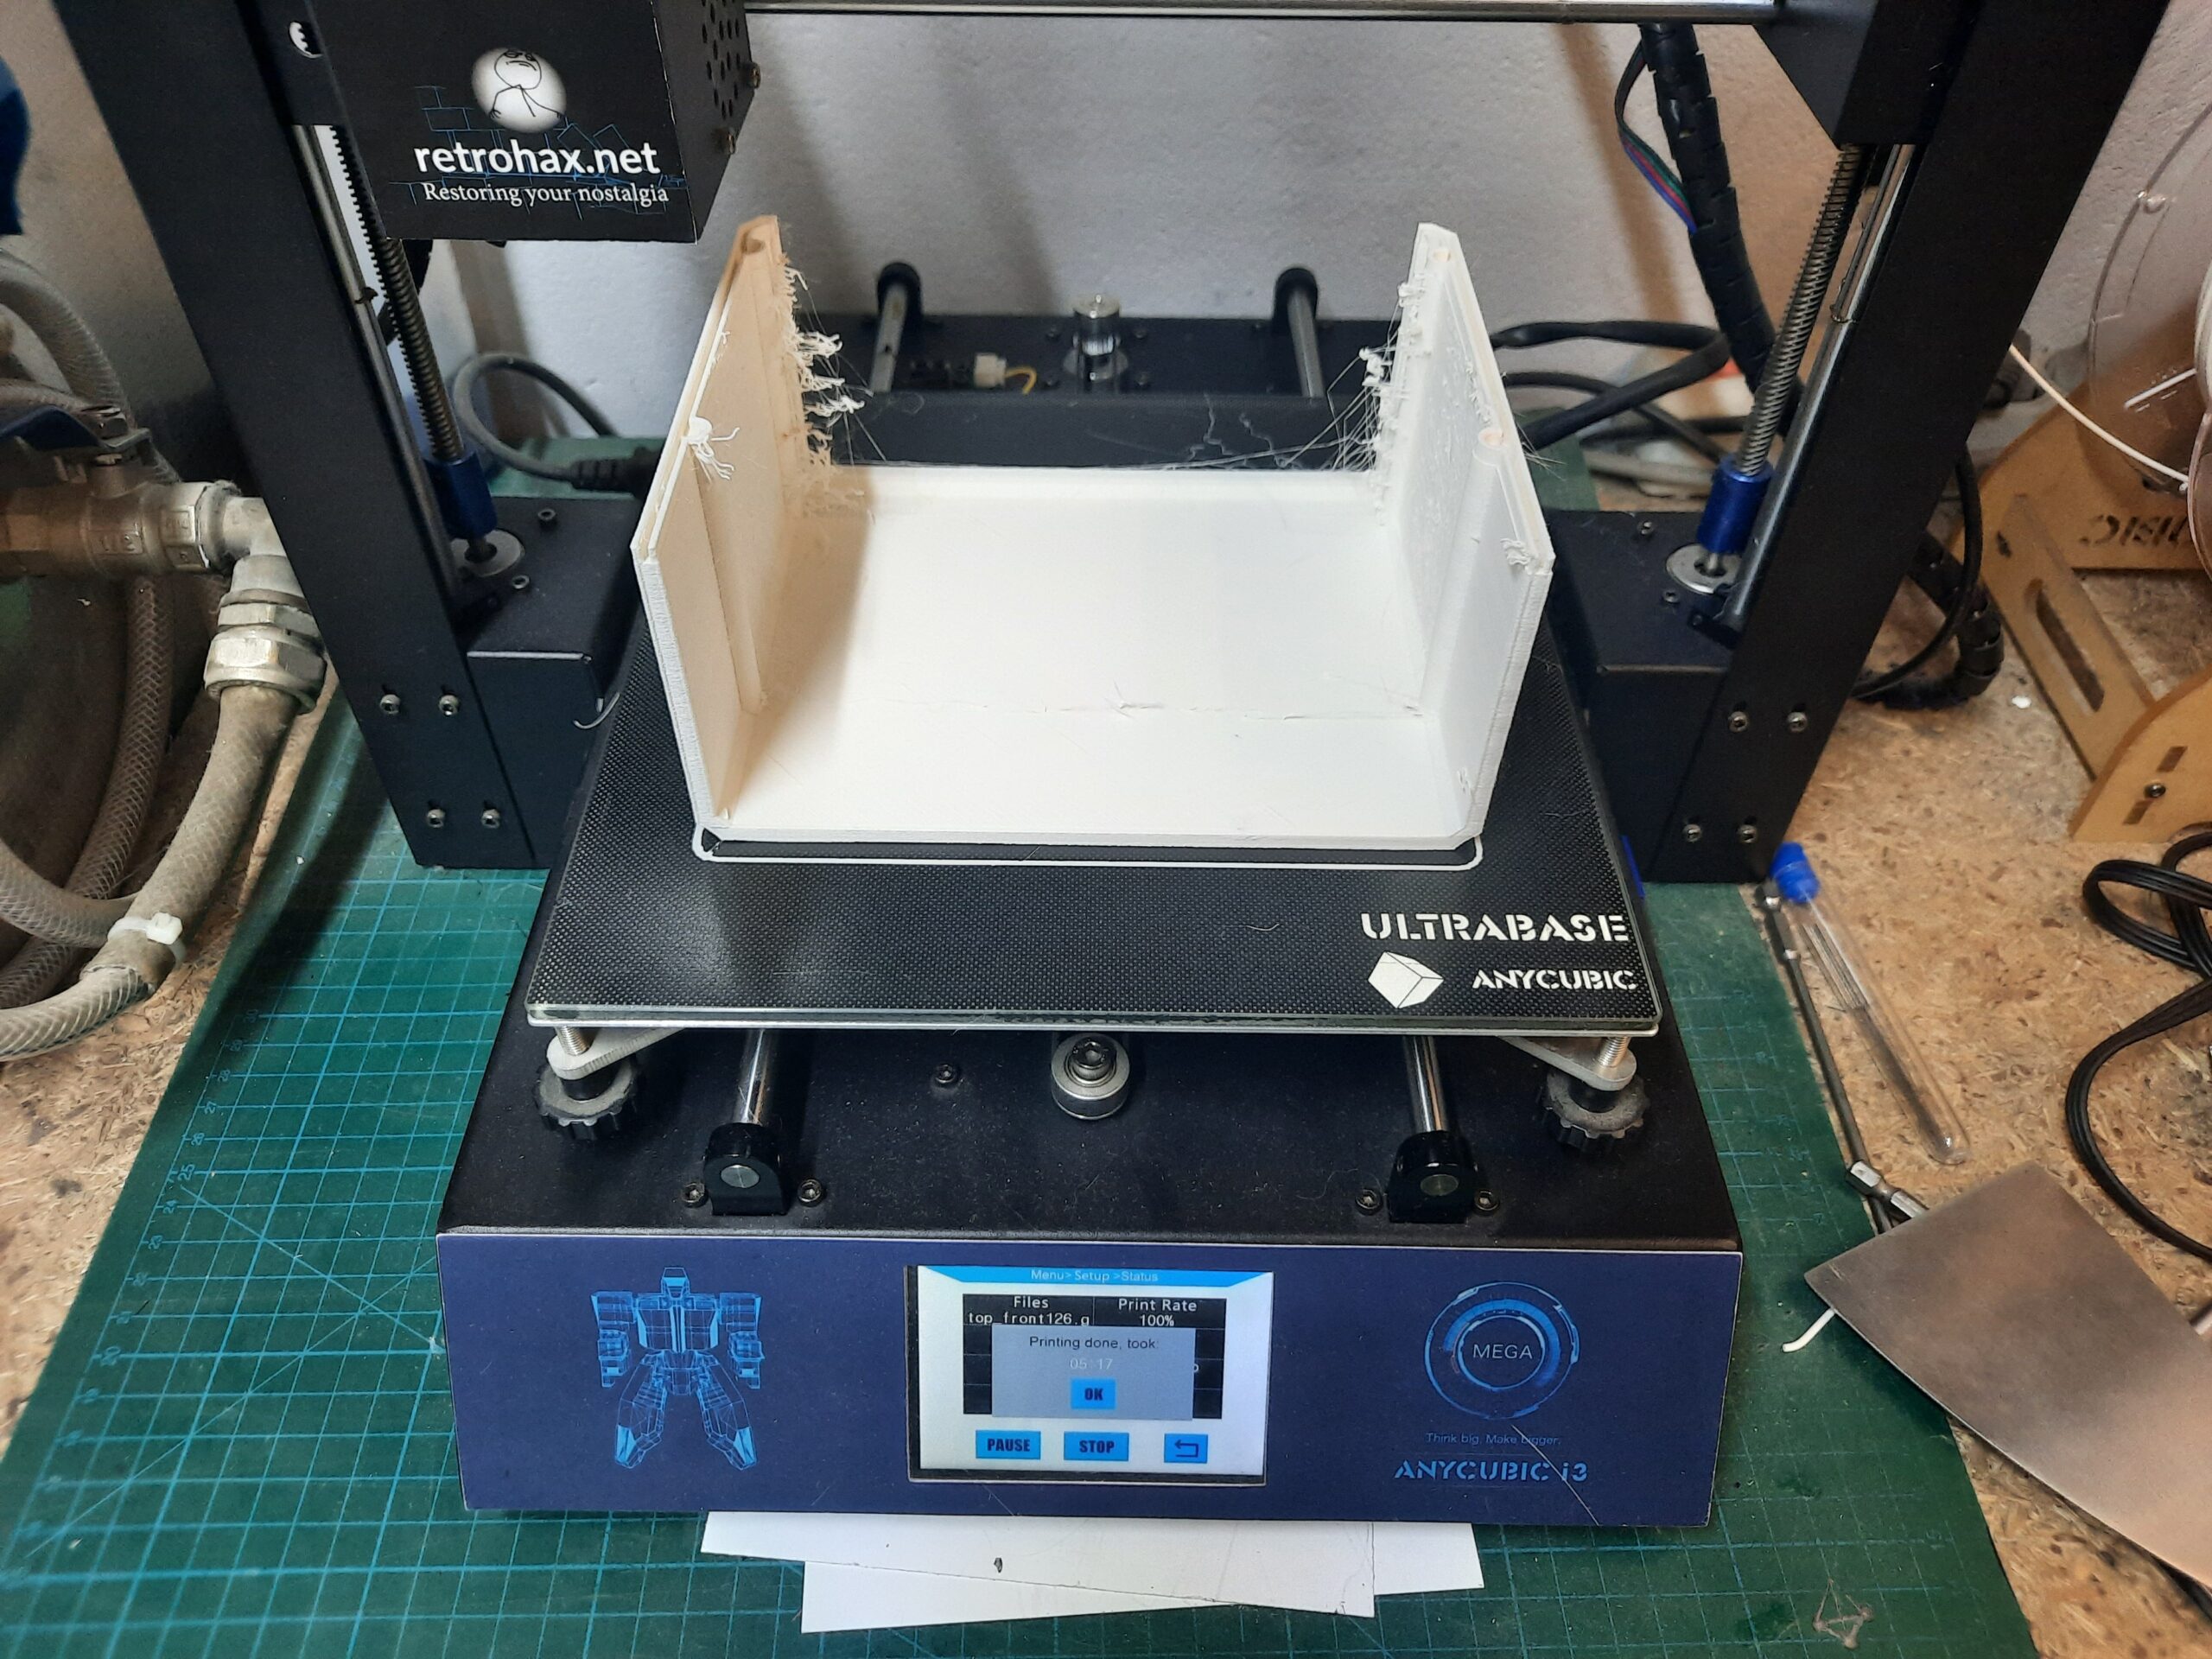
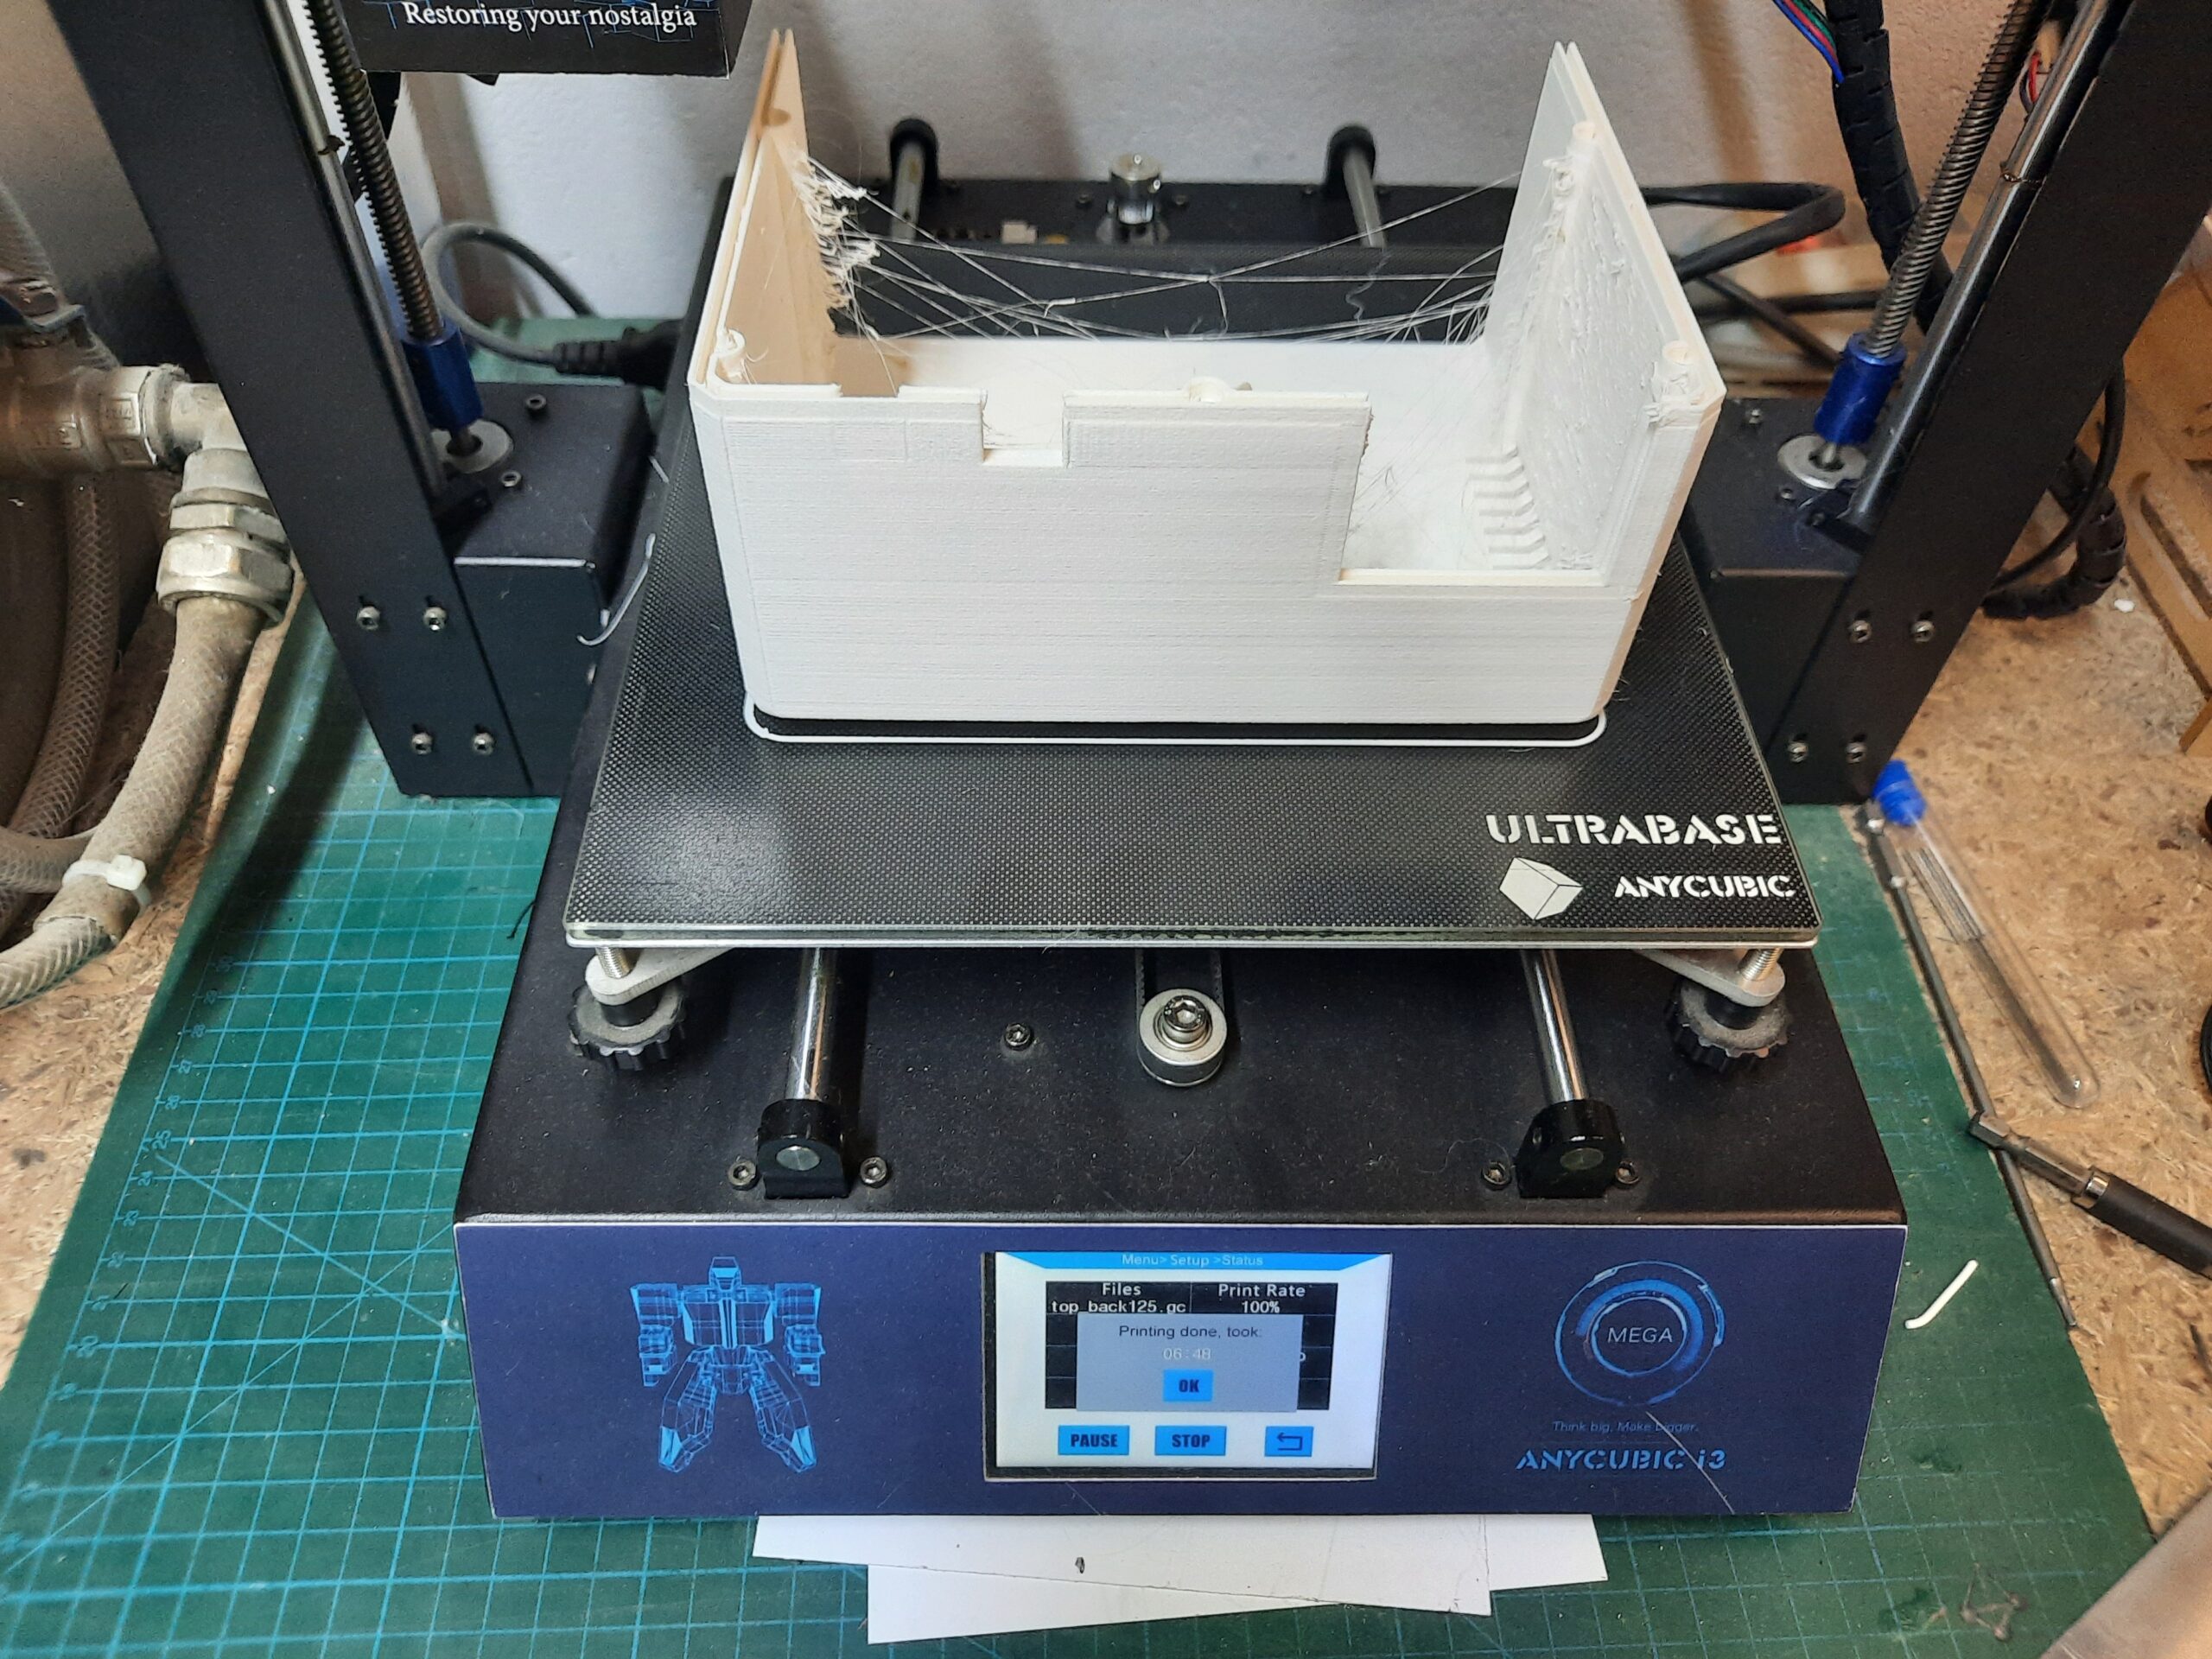
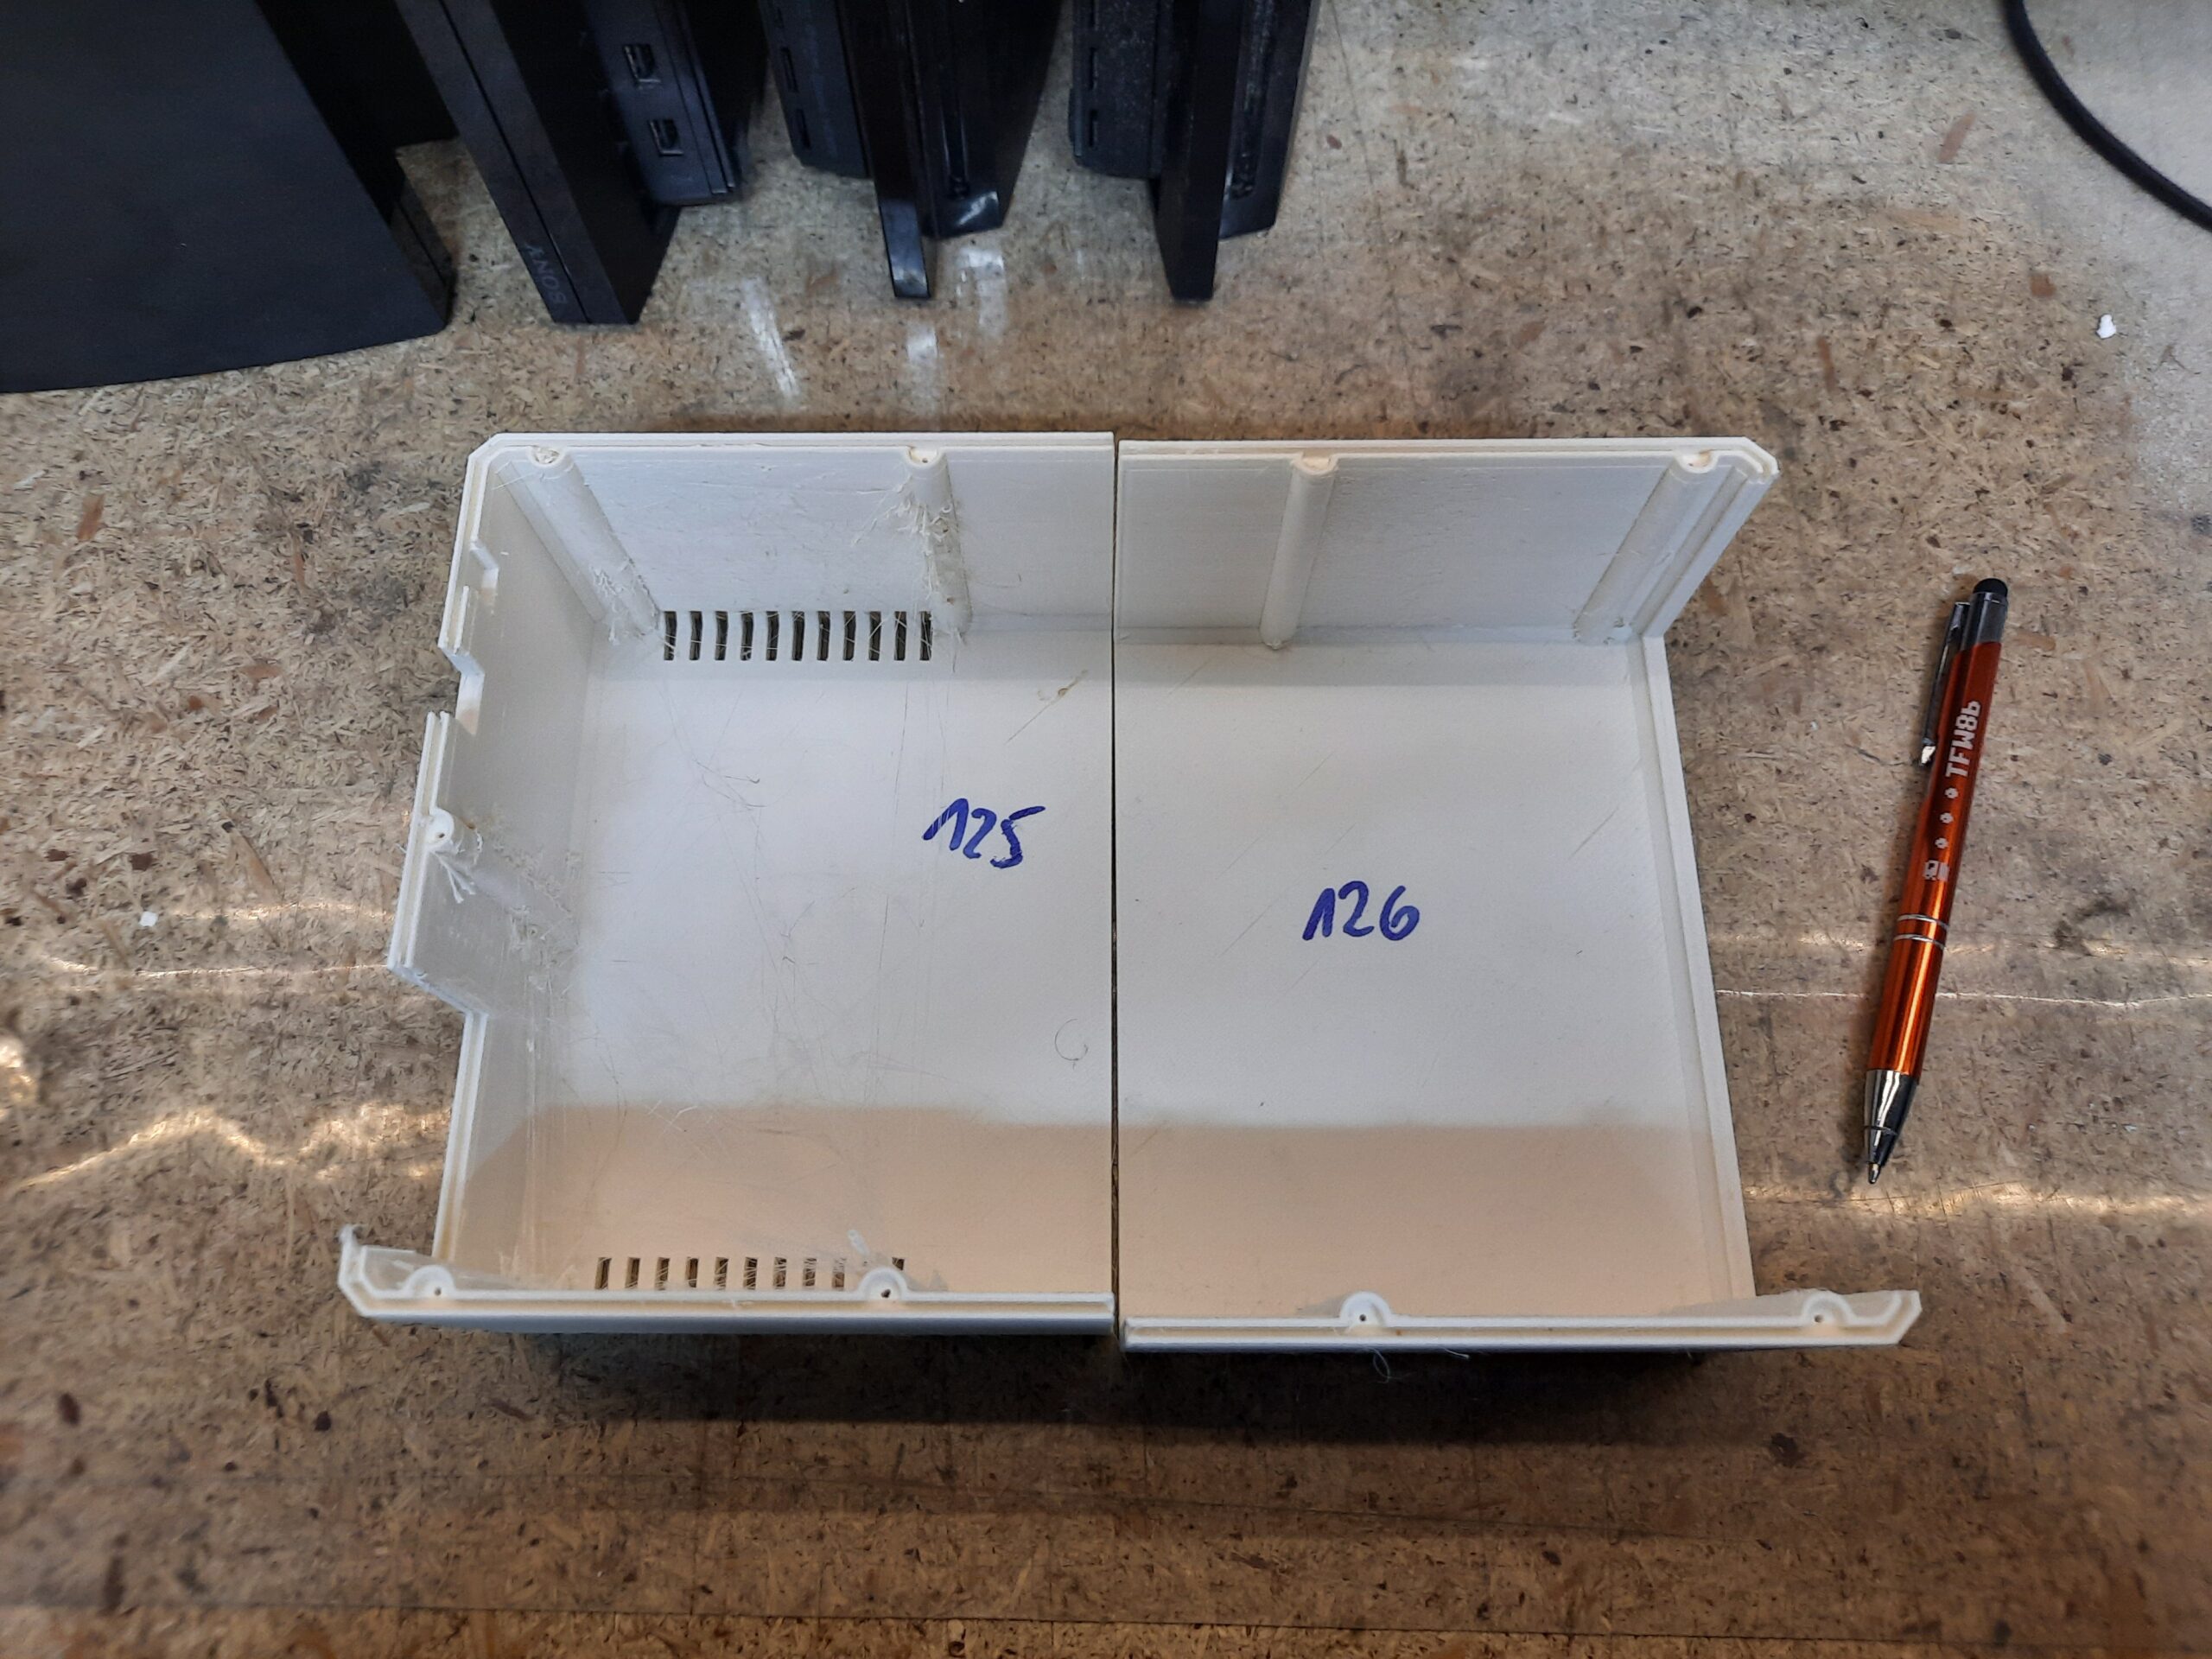
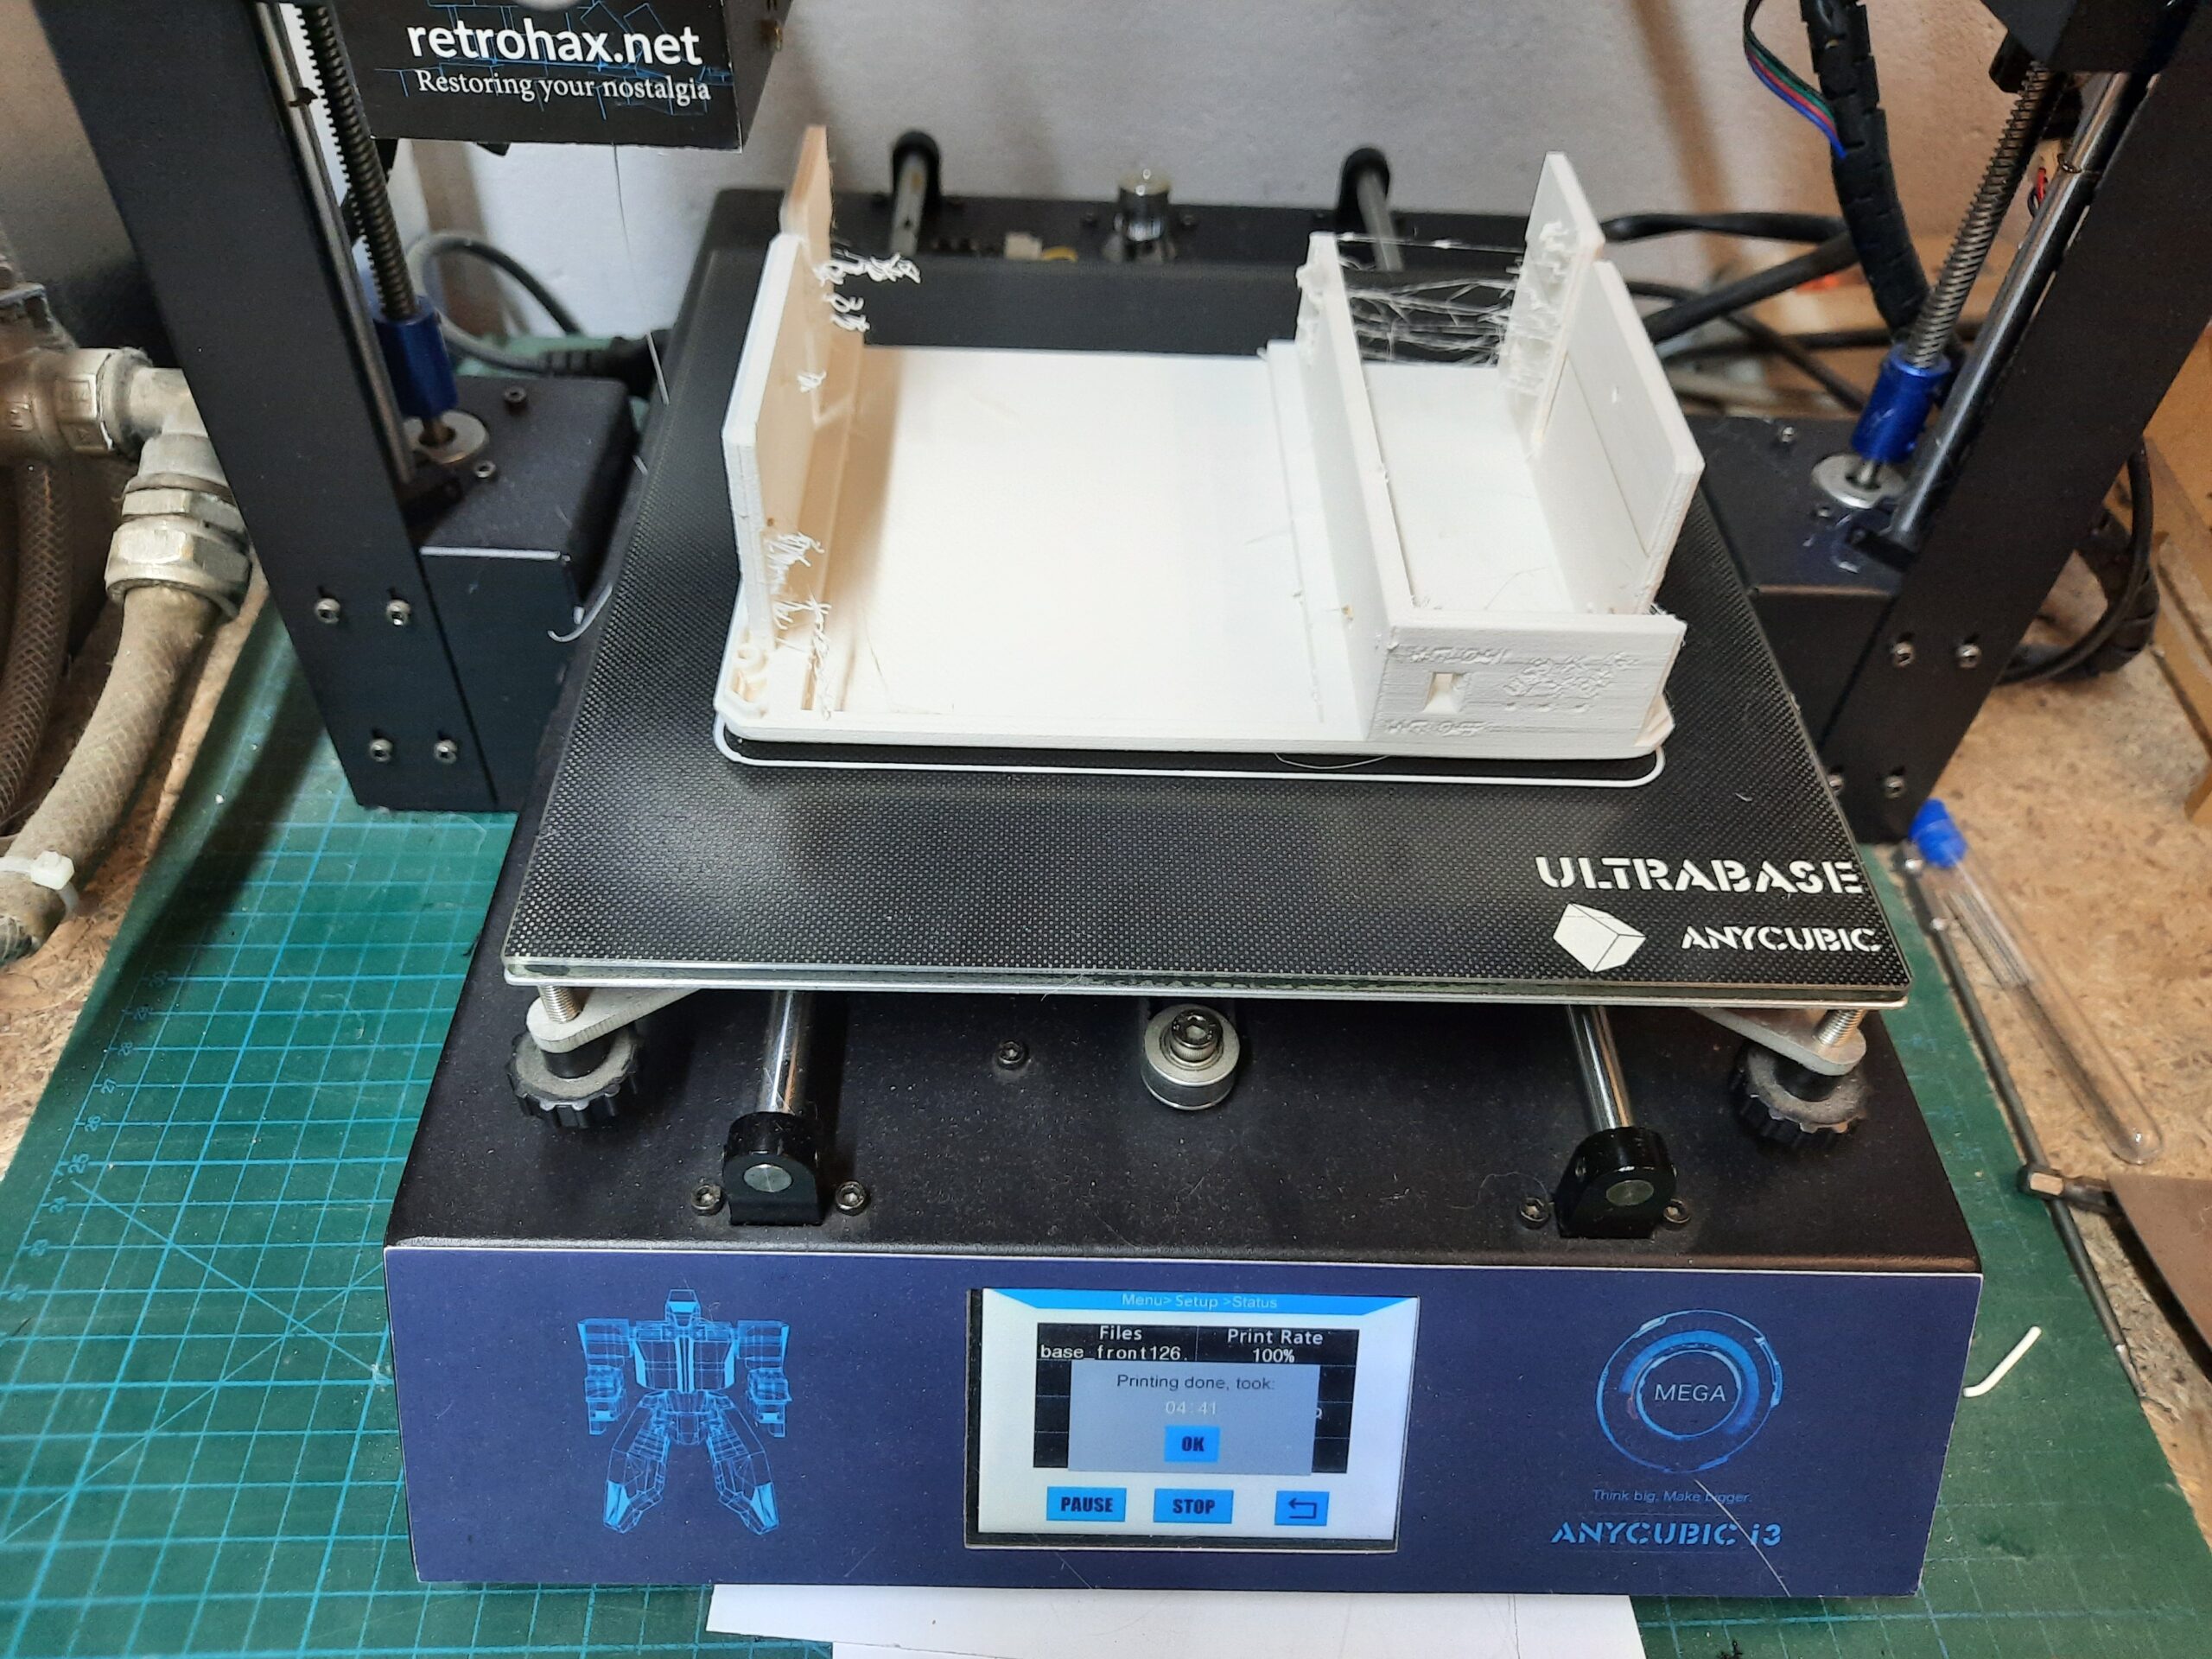
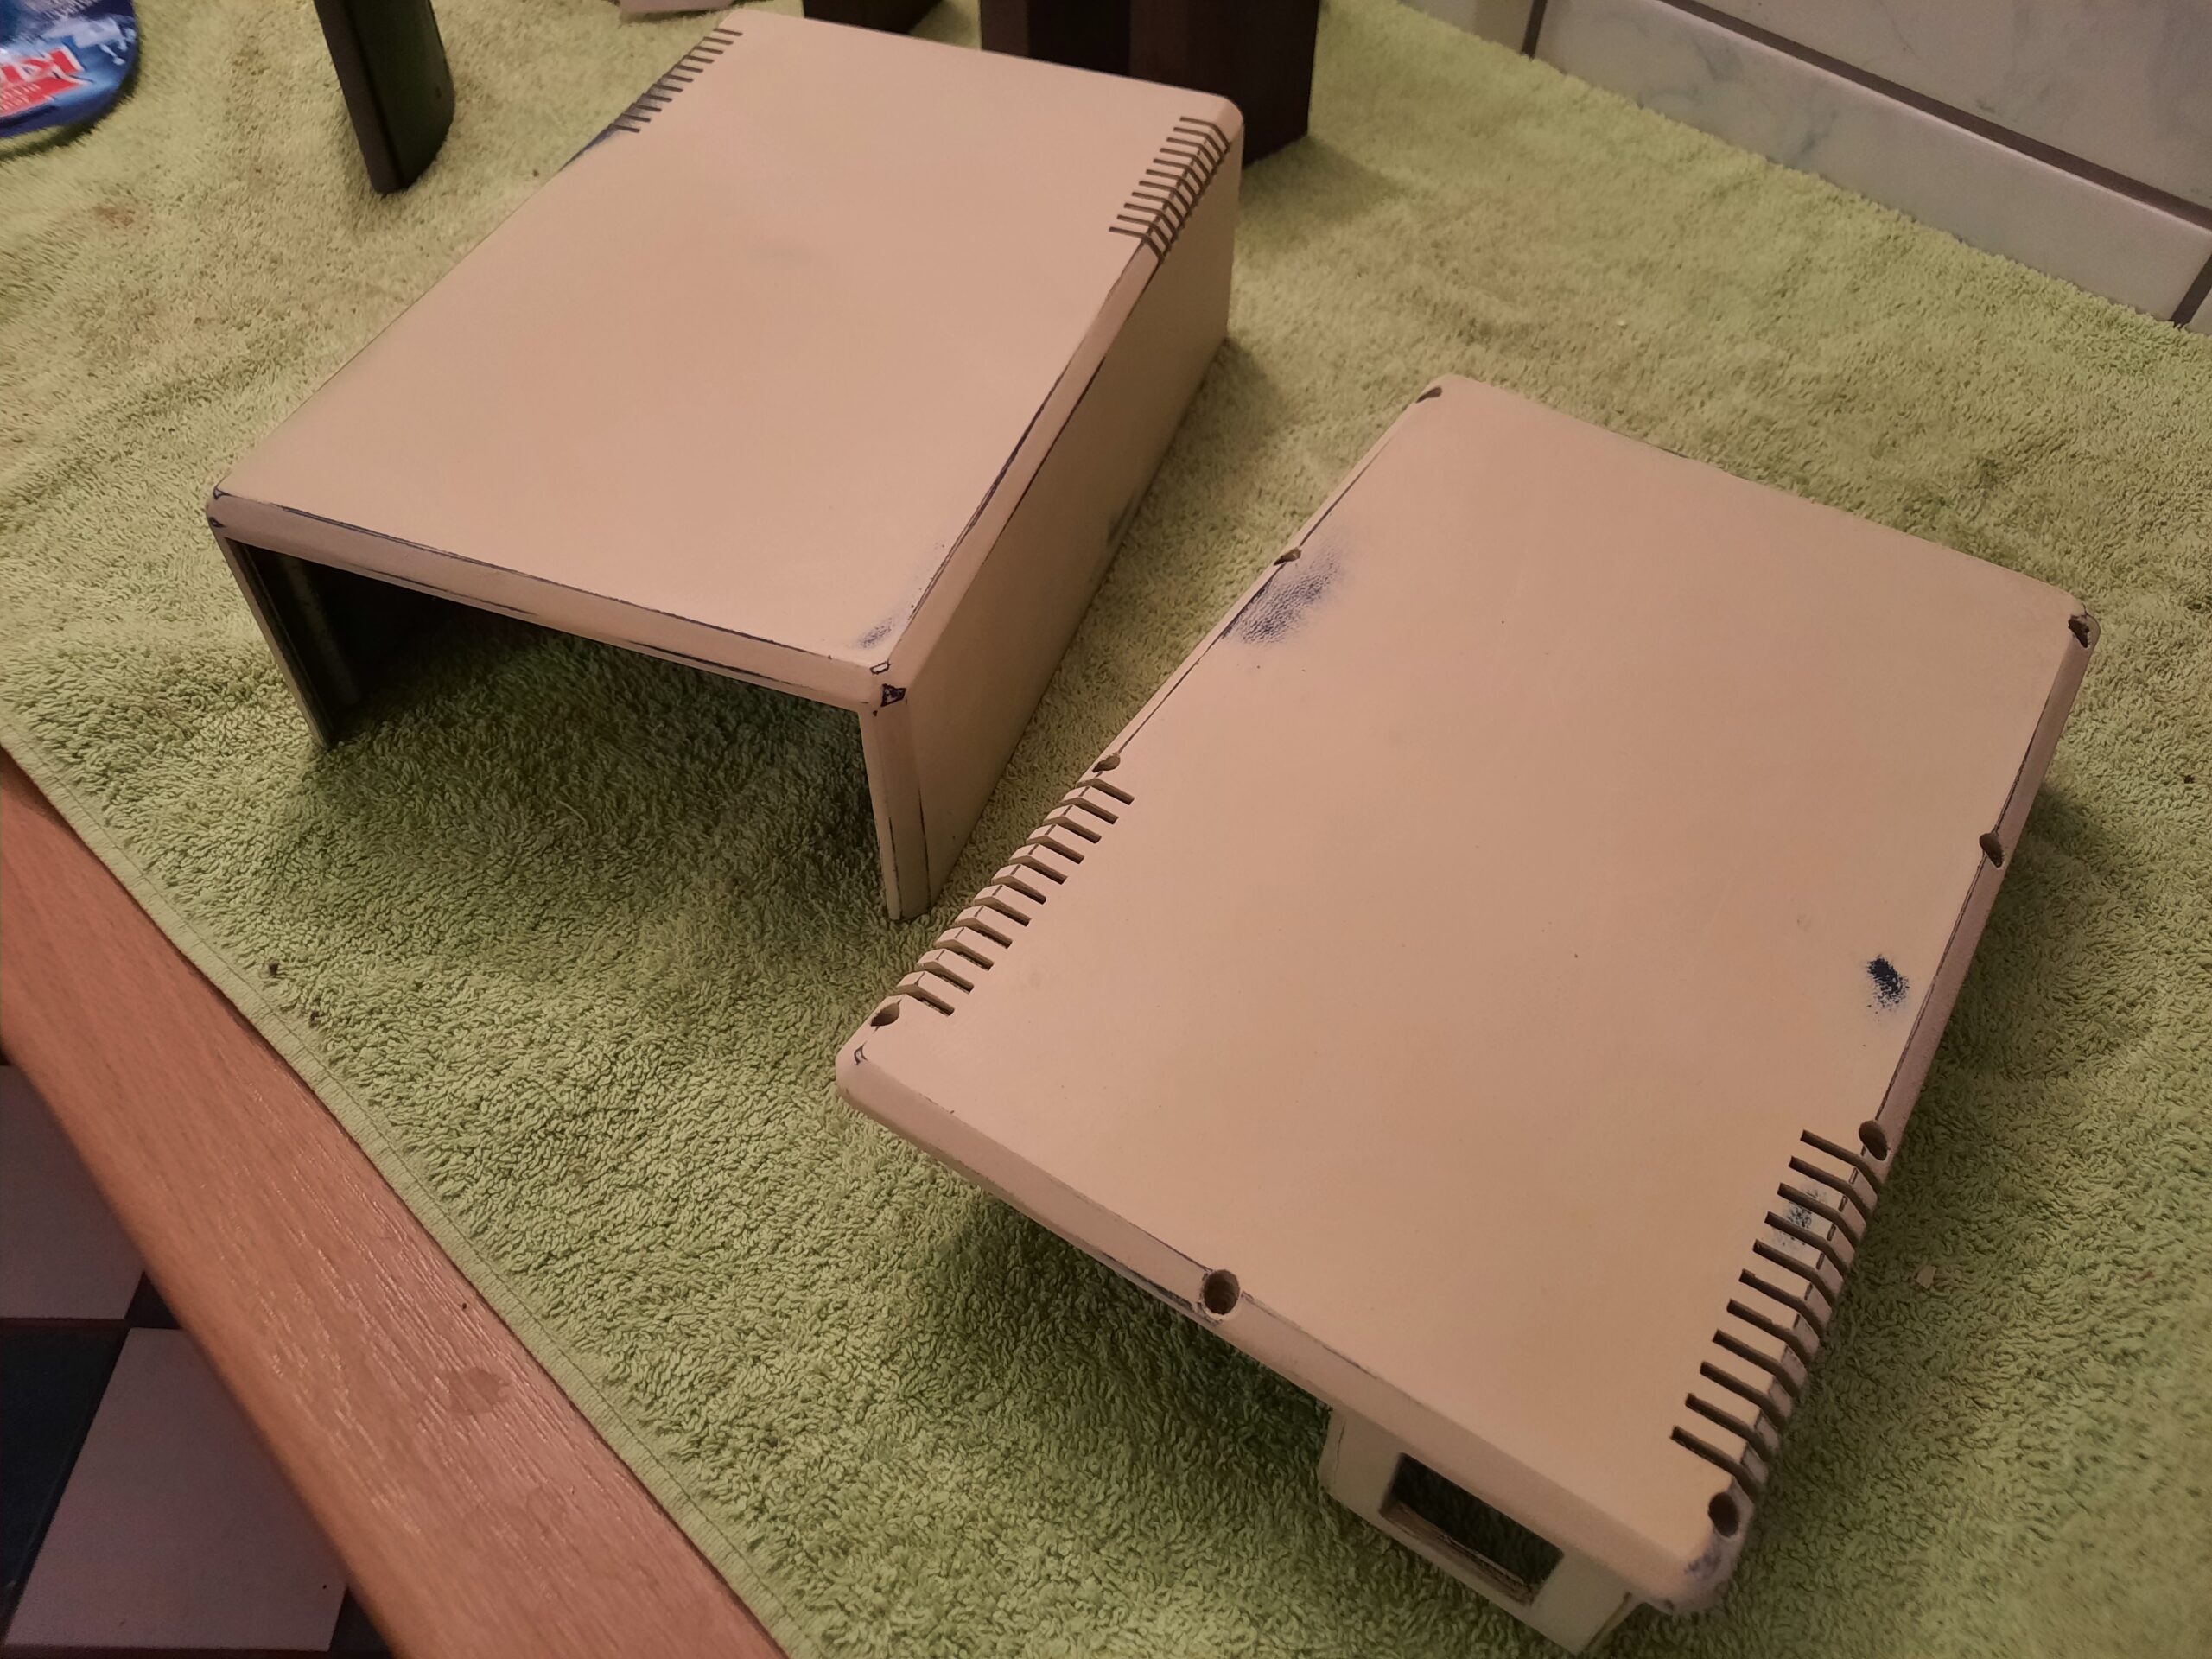
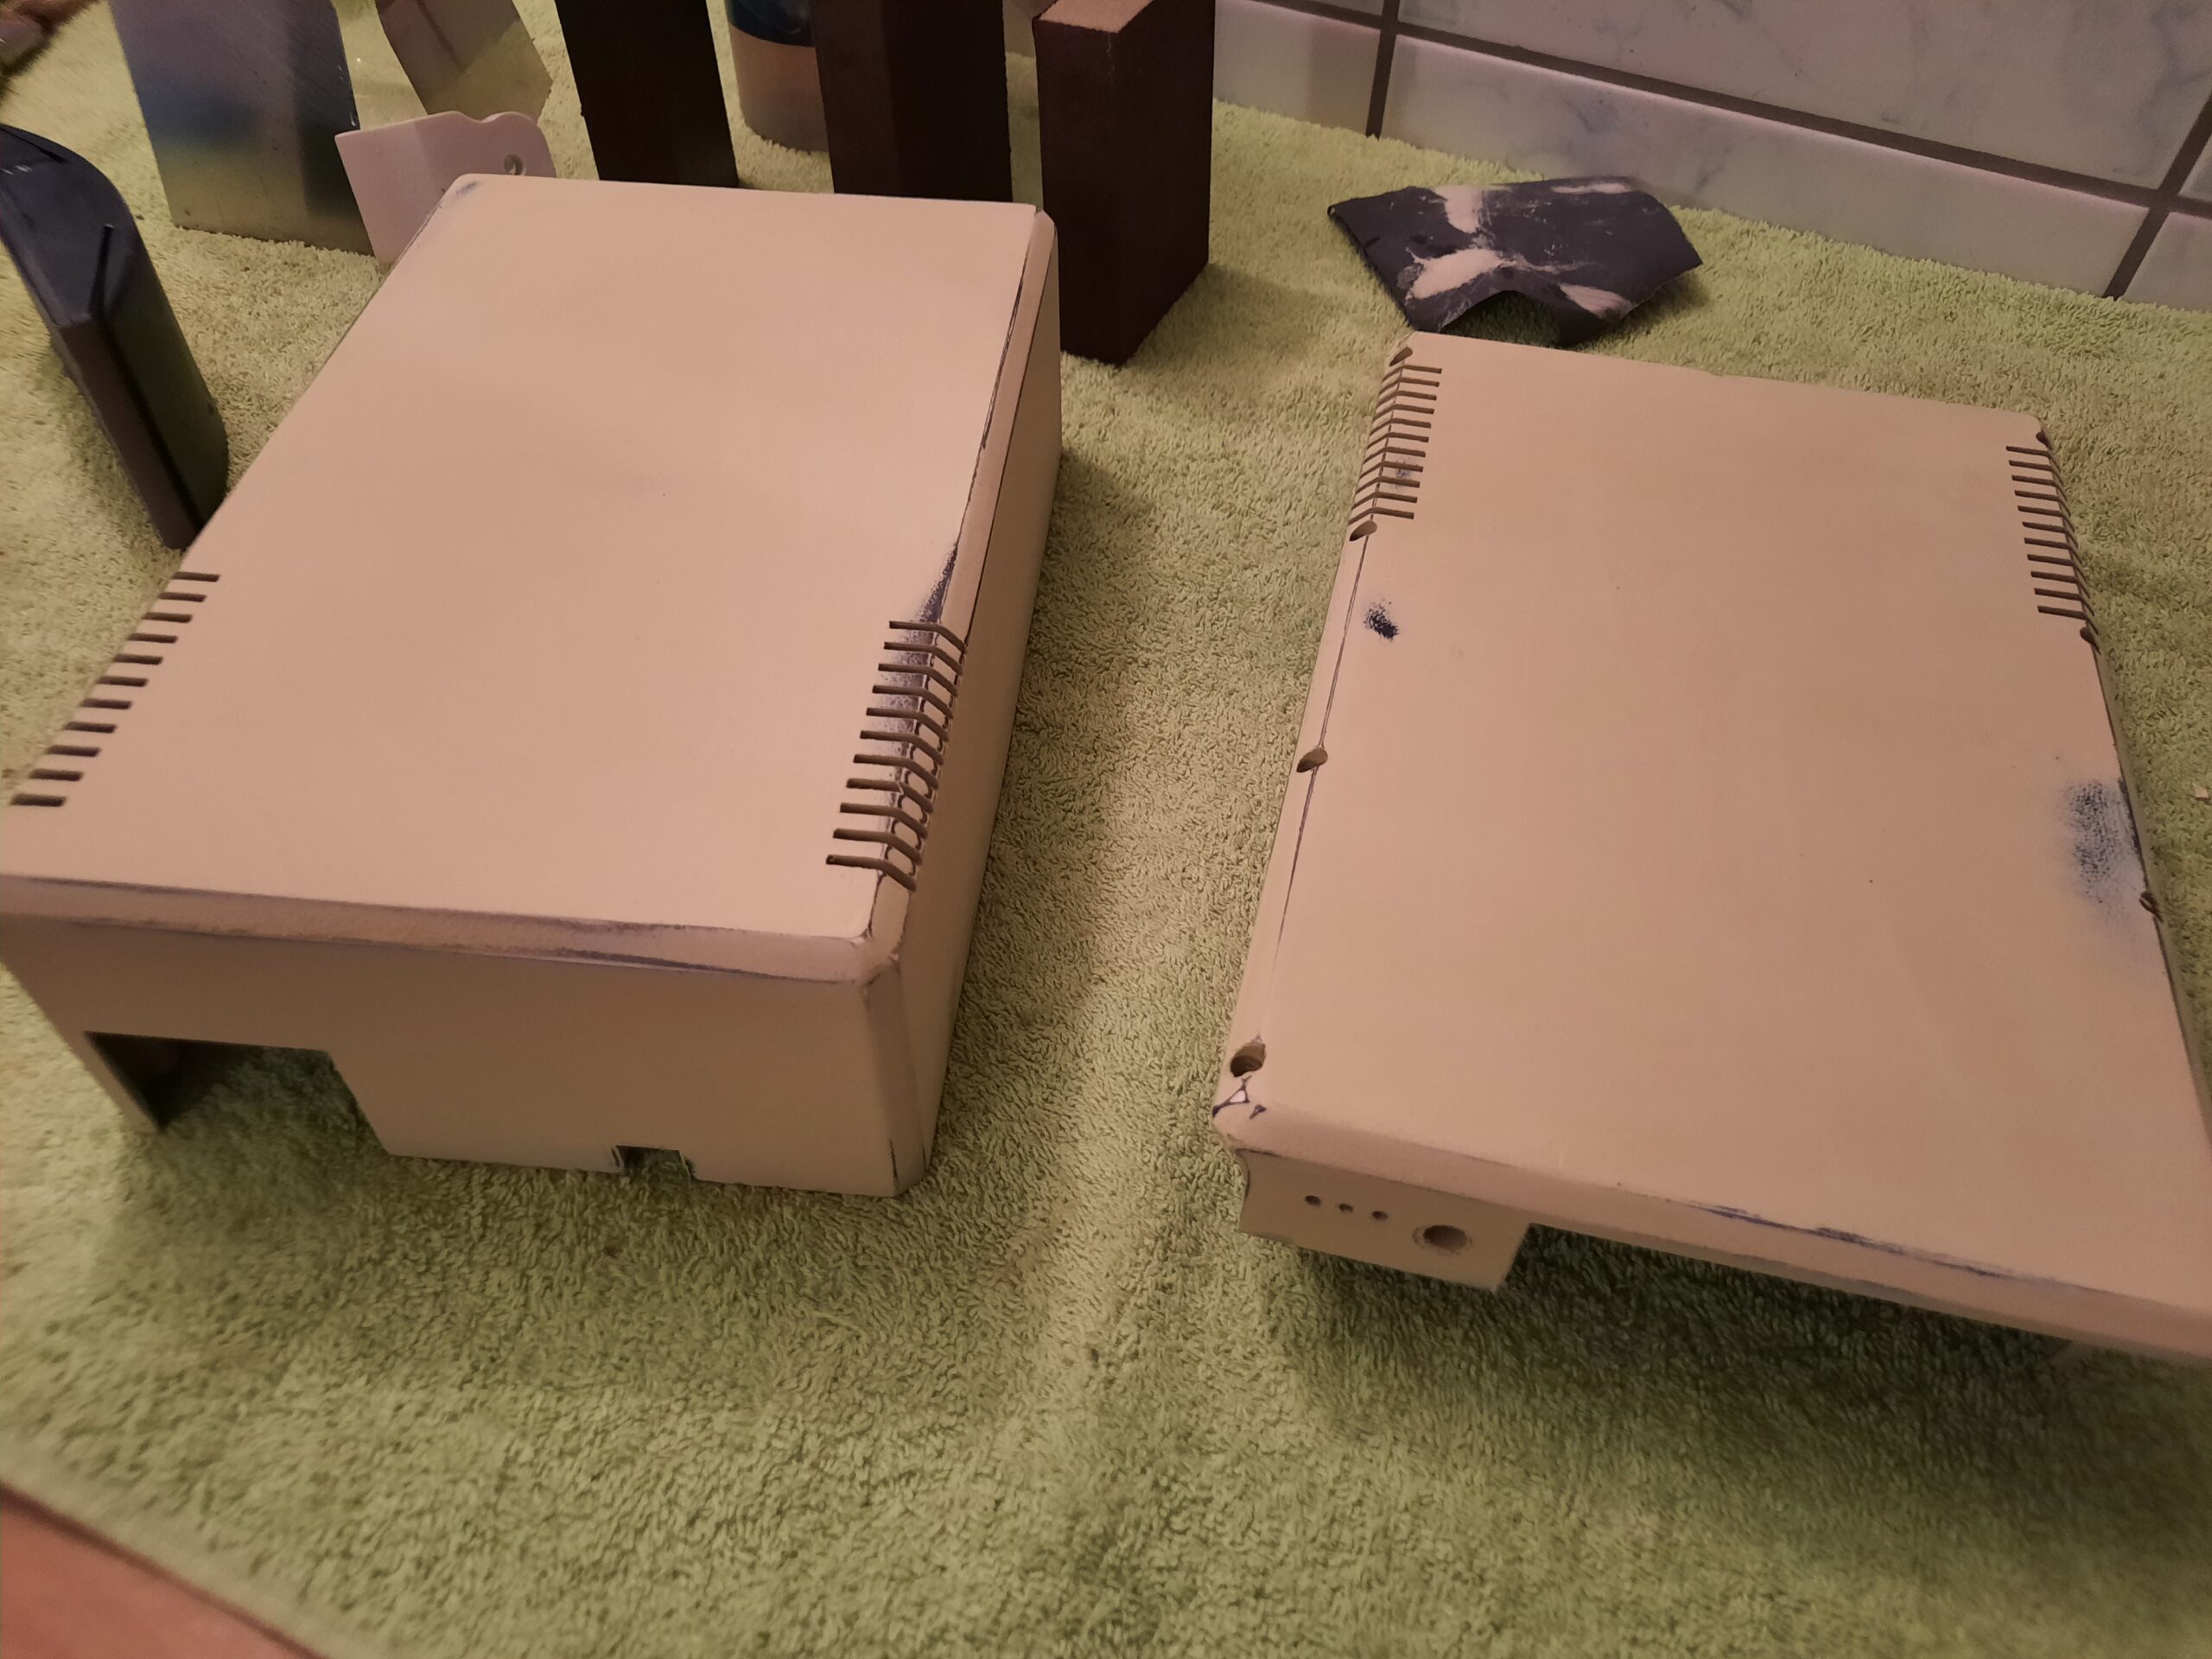
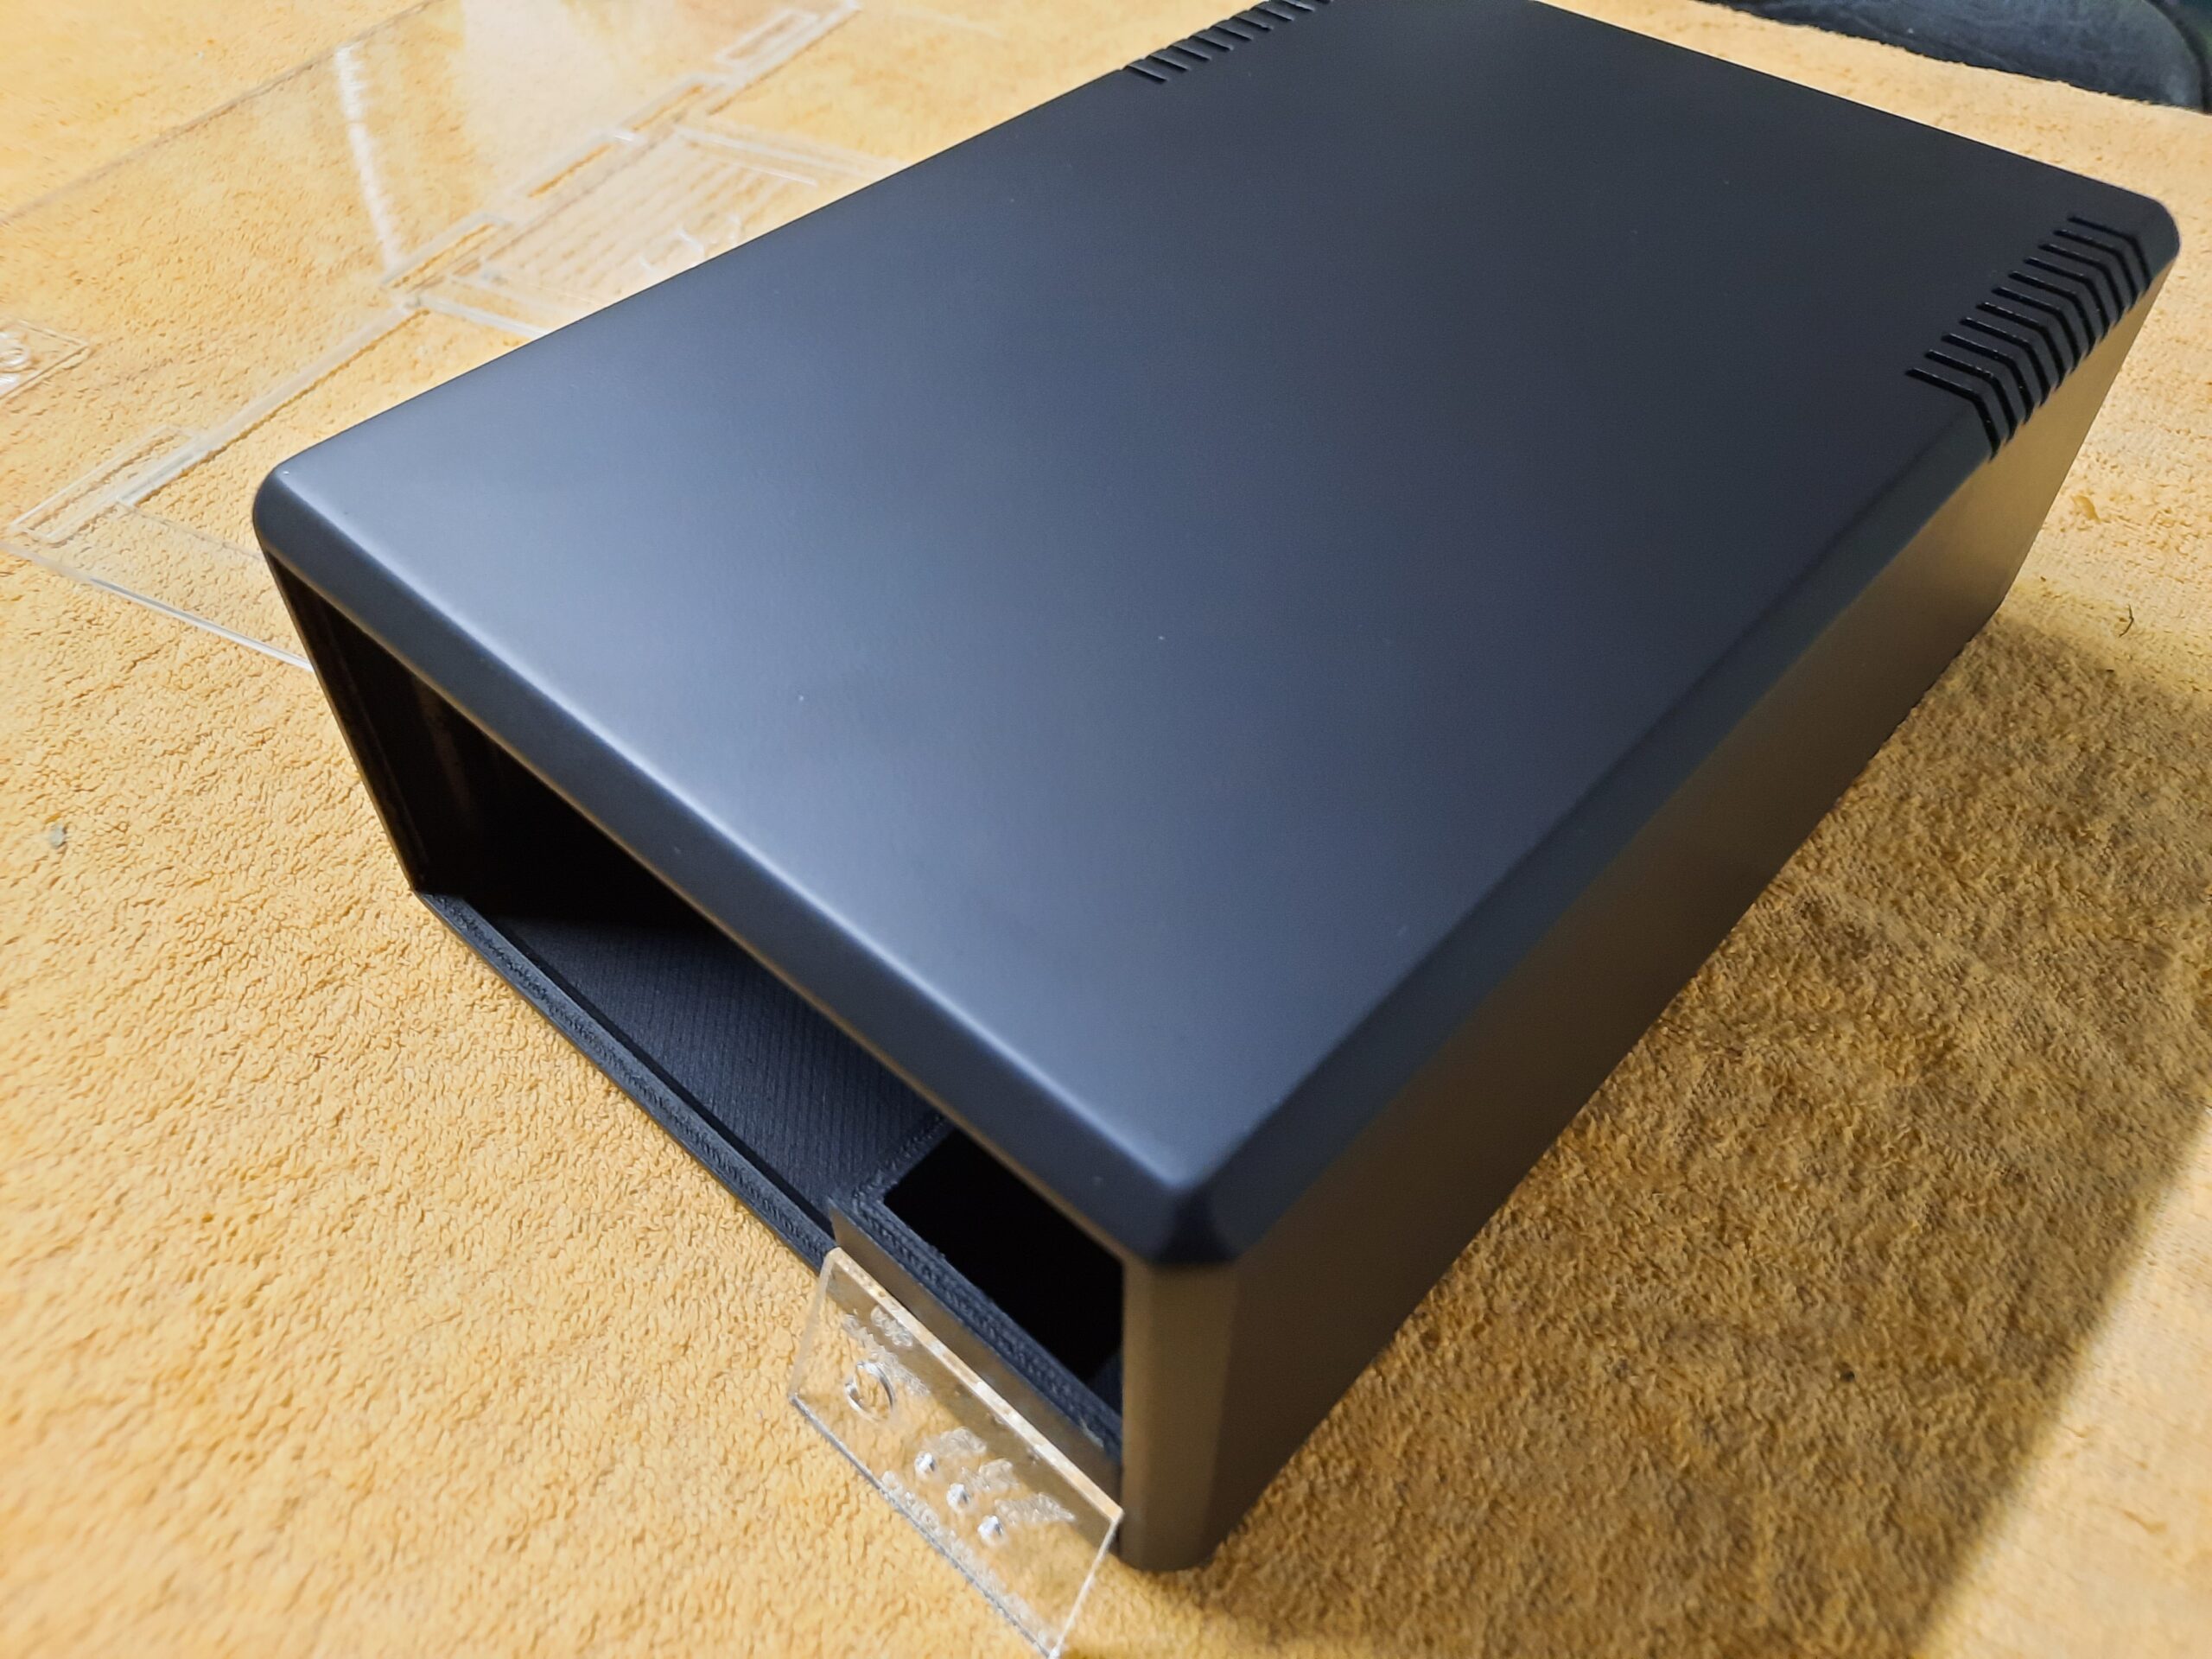
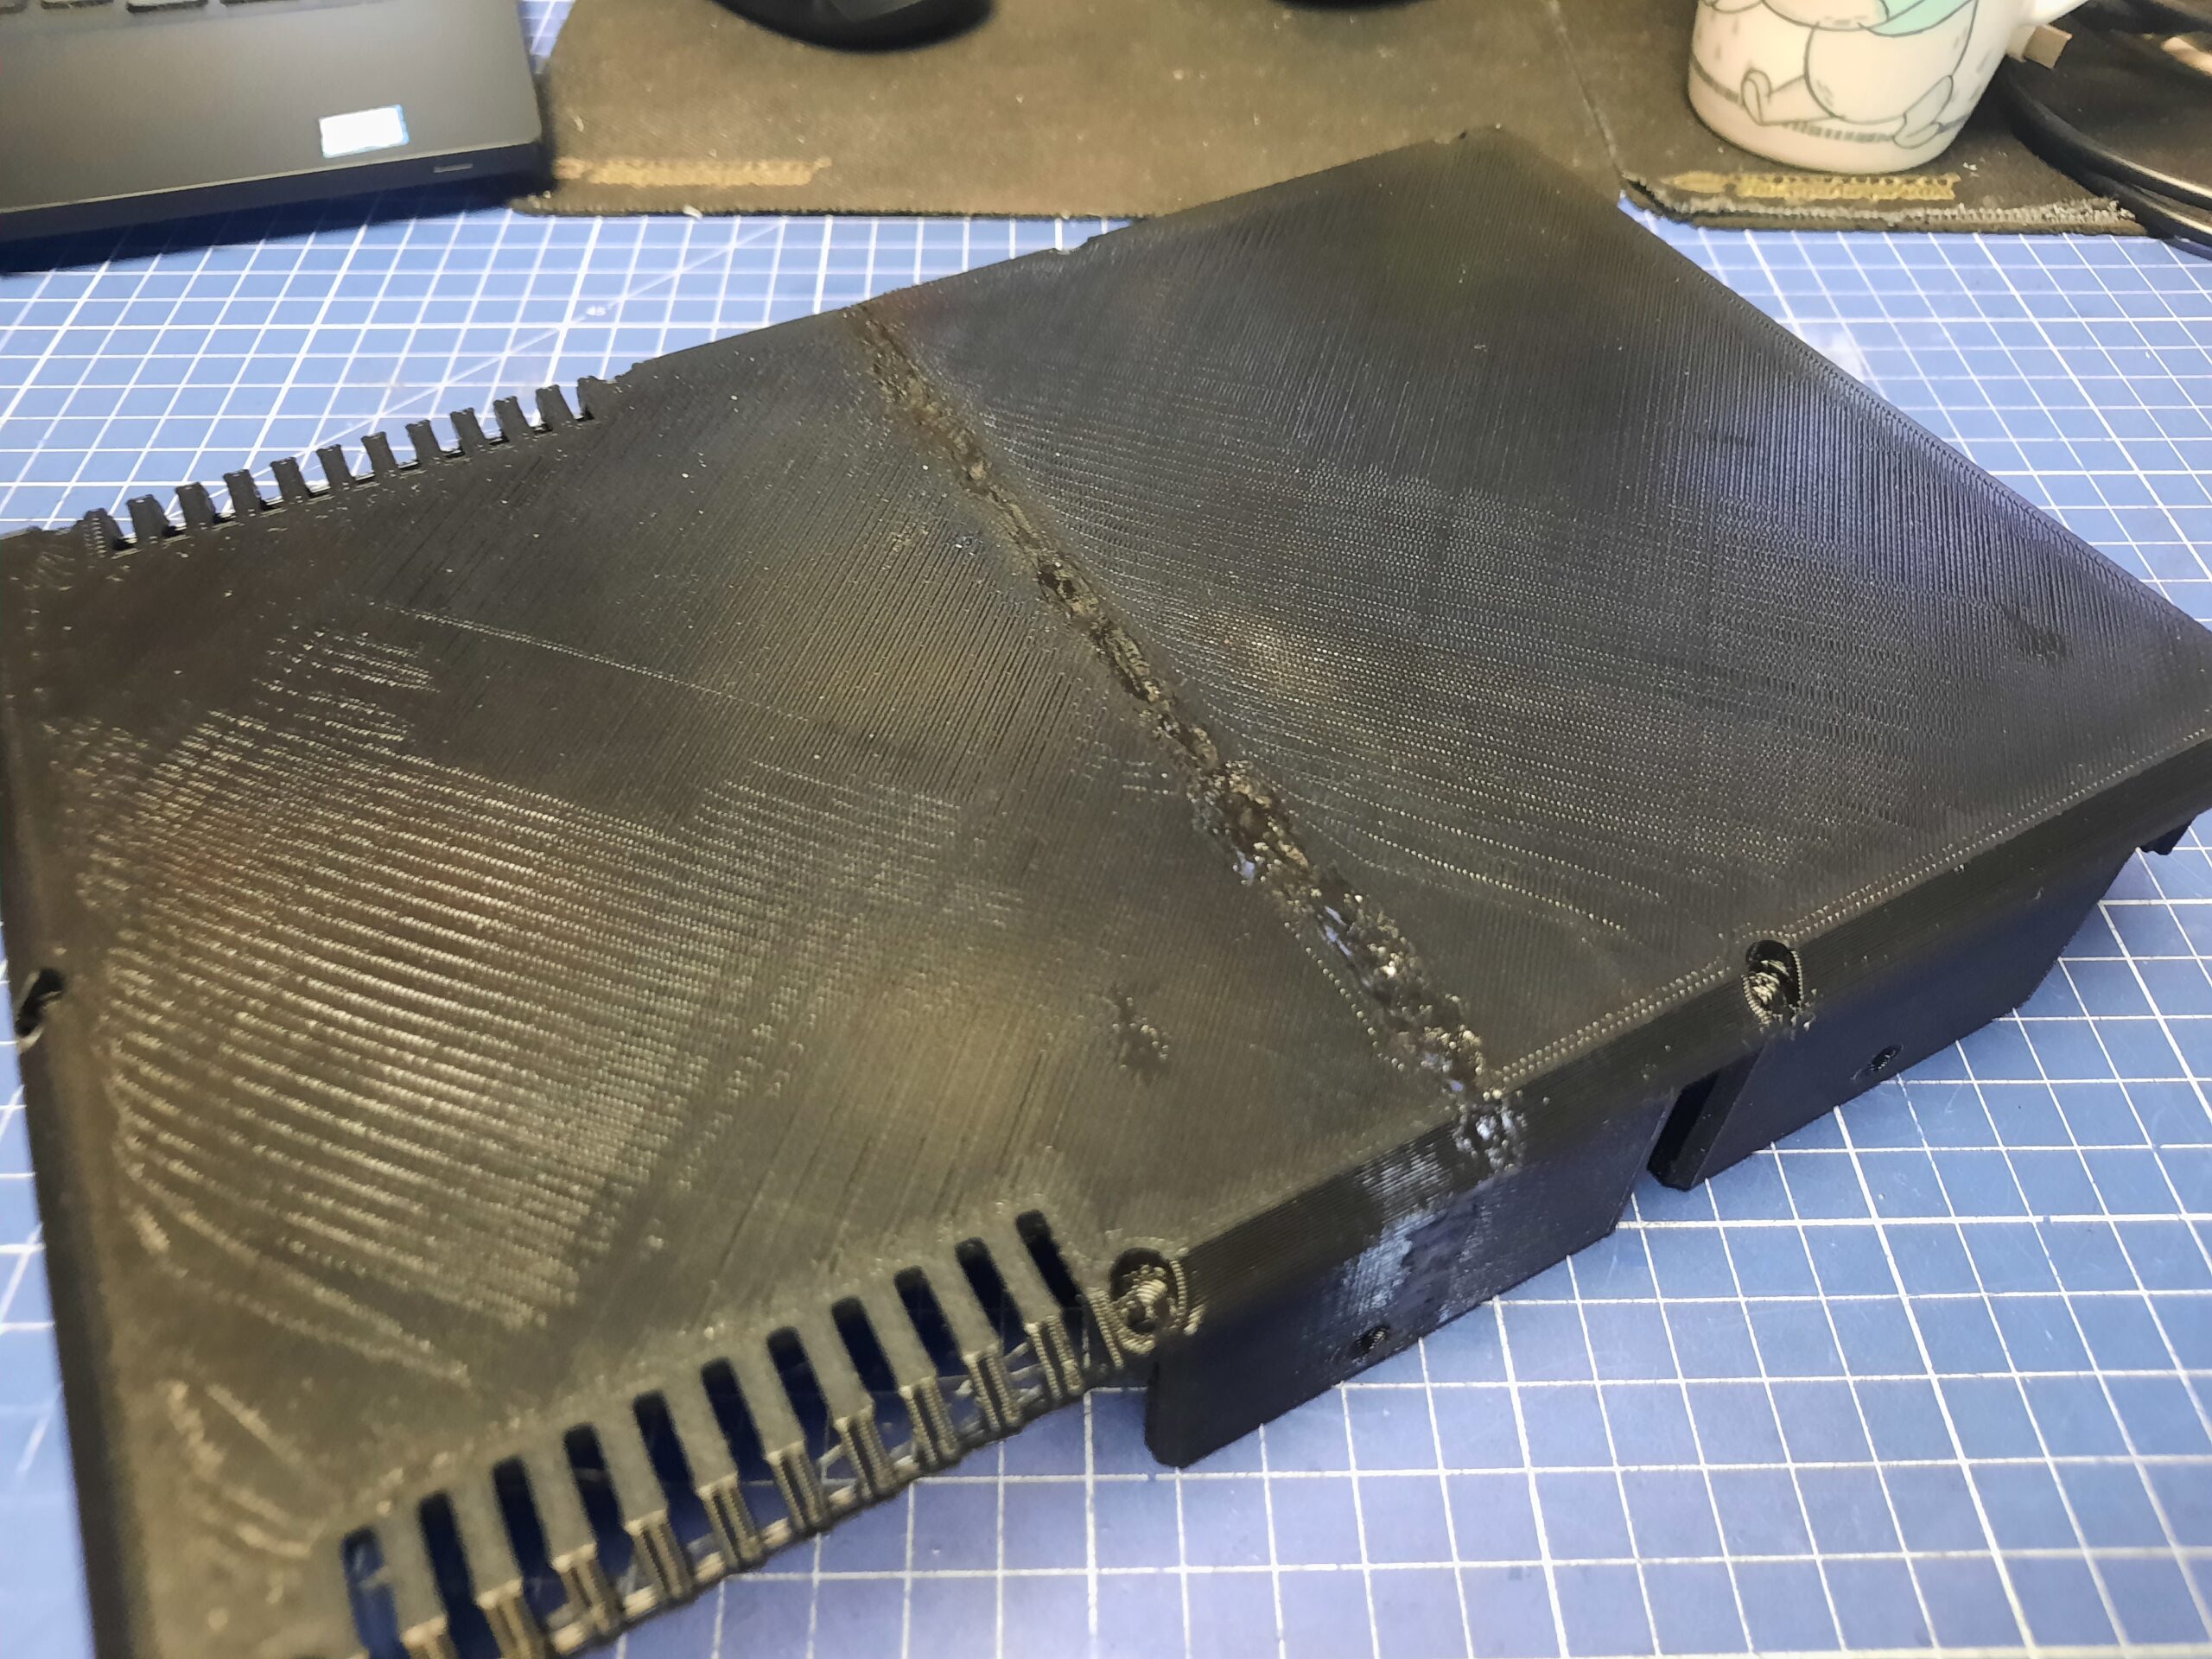
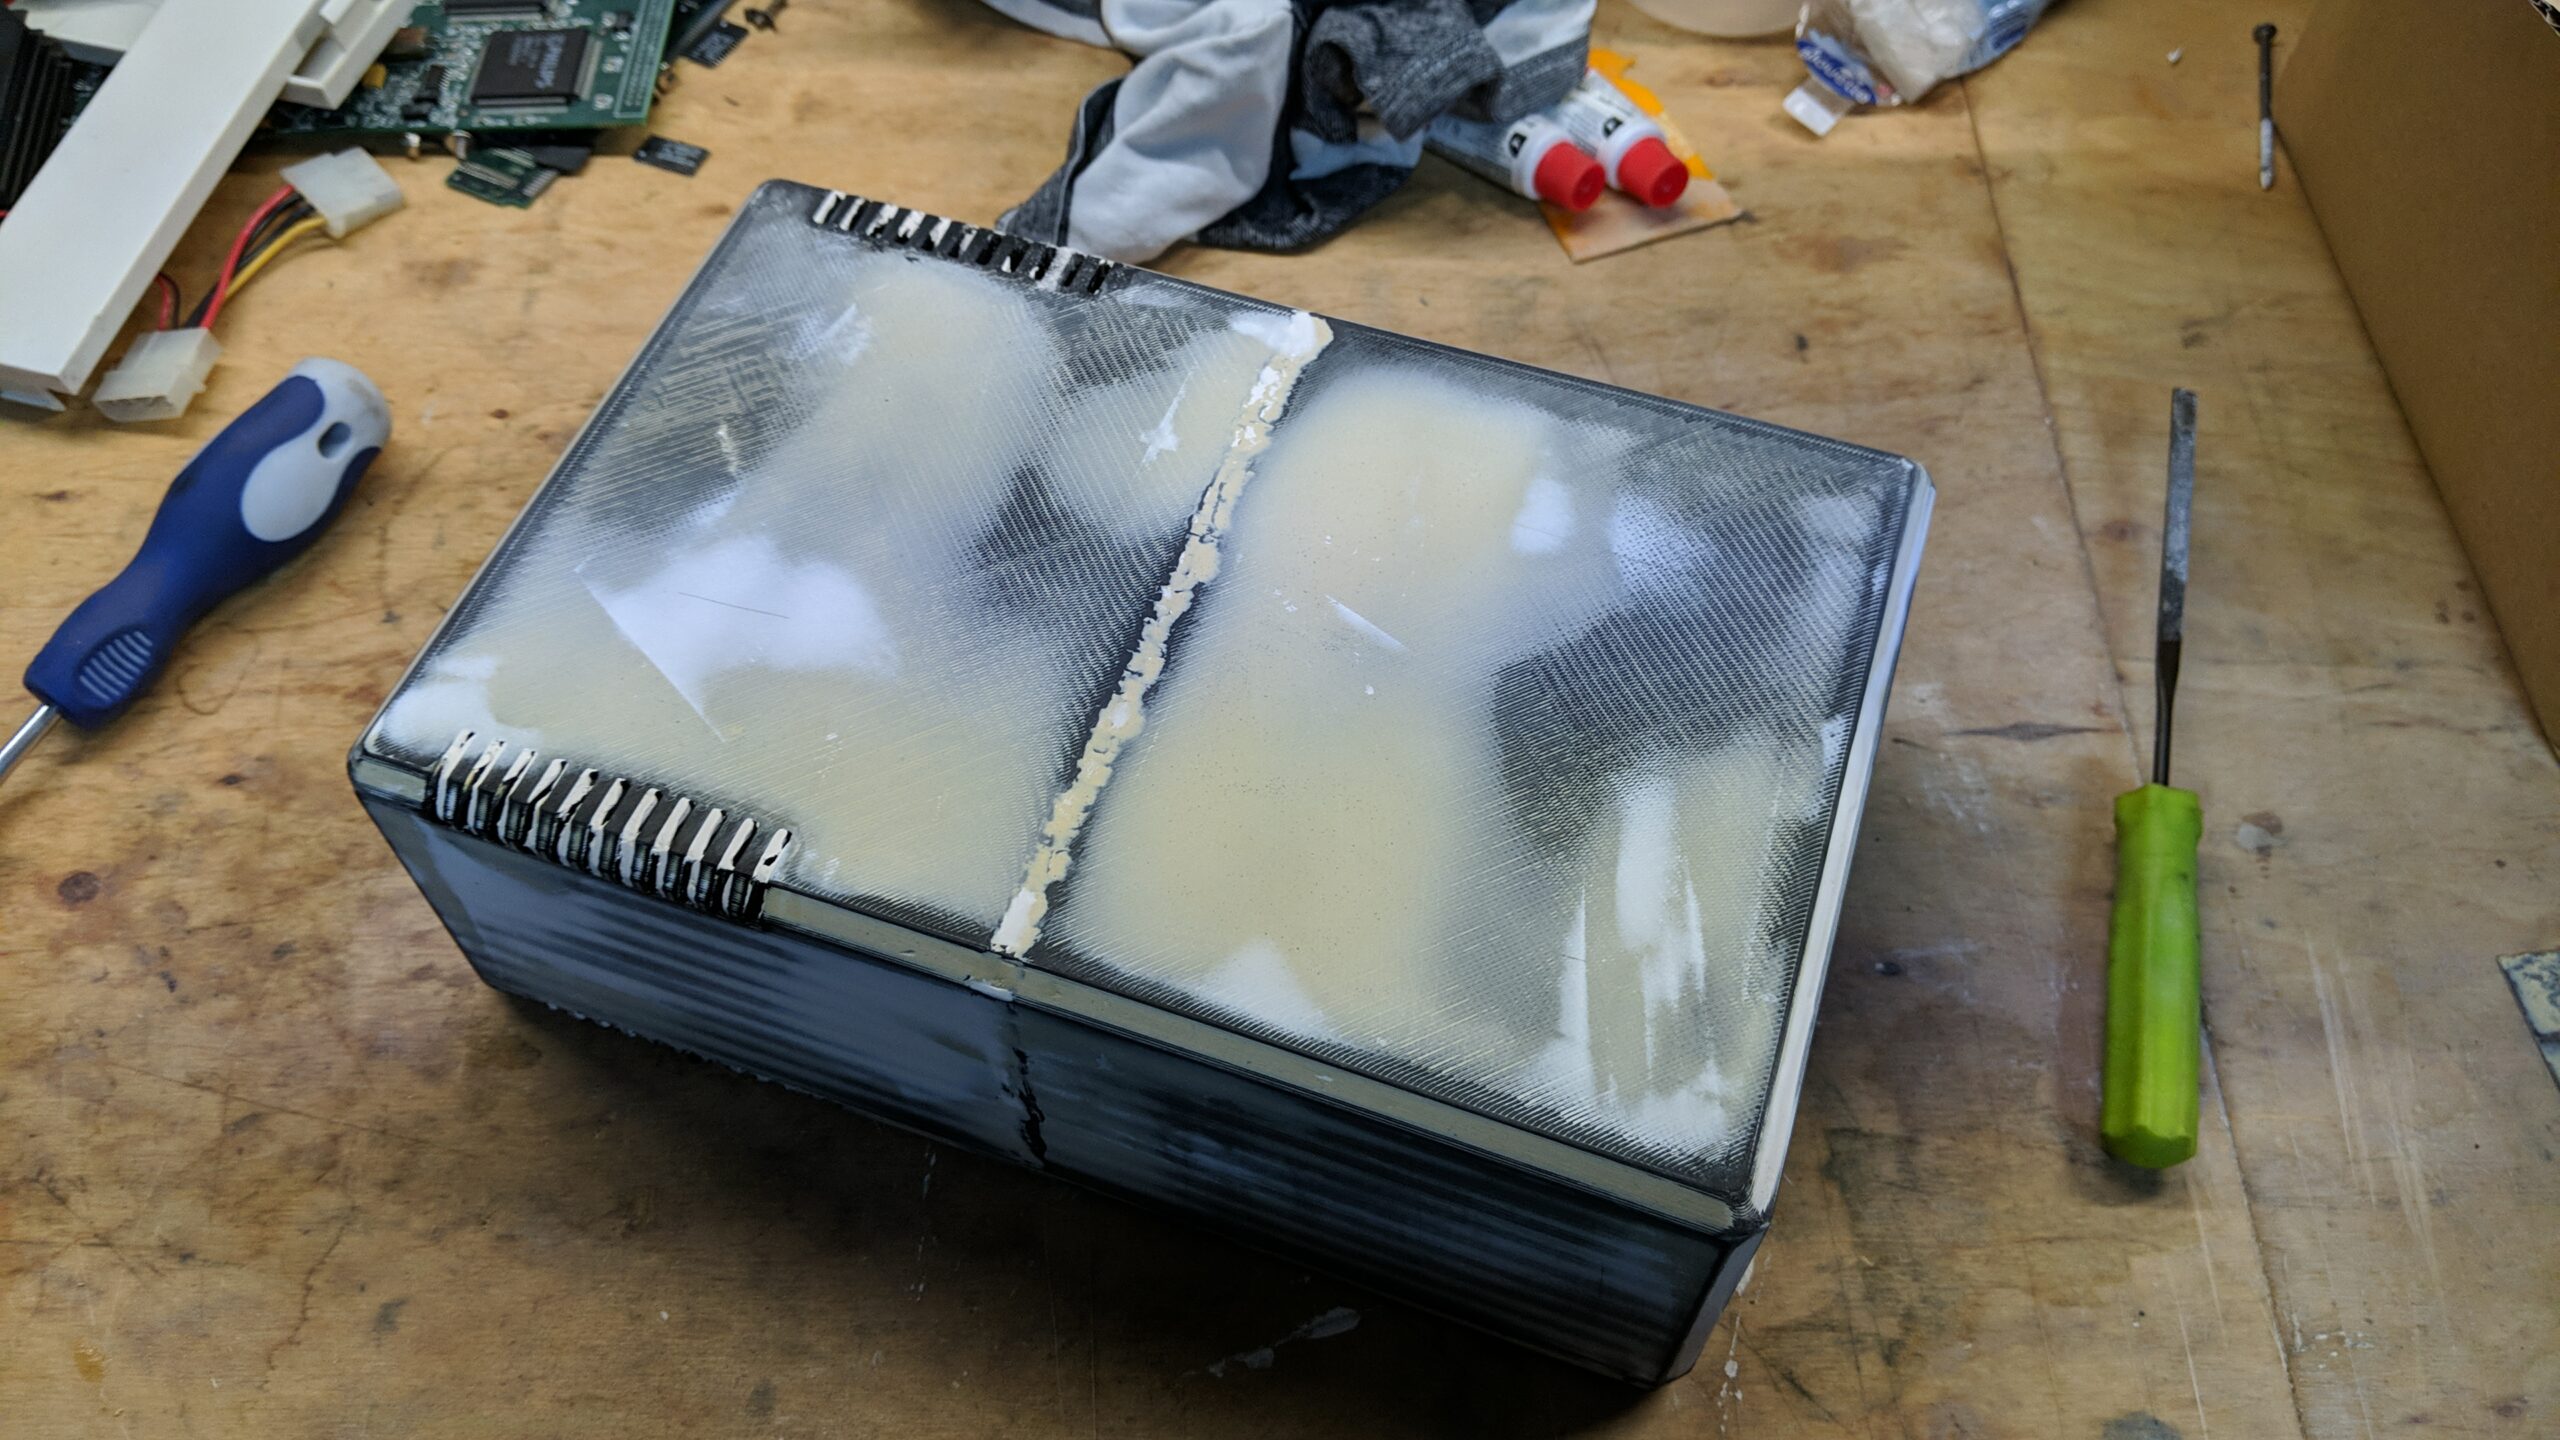
Anyway, let’s start with the case. I’ve browsed through thingiverse.com and found a nice model that I thought would fit nicely for this project, and it did, however, at that moment in time I had a pretty poor 3D printing filament on the shelf for this job – bone matt white. It printed ok after all but it required a lot of post-processing. The case is too big to be printed in a single run, so I had to divide it into four pieces – two for the top cover and two for the base.
This is how it looked.
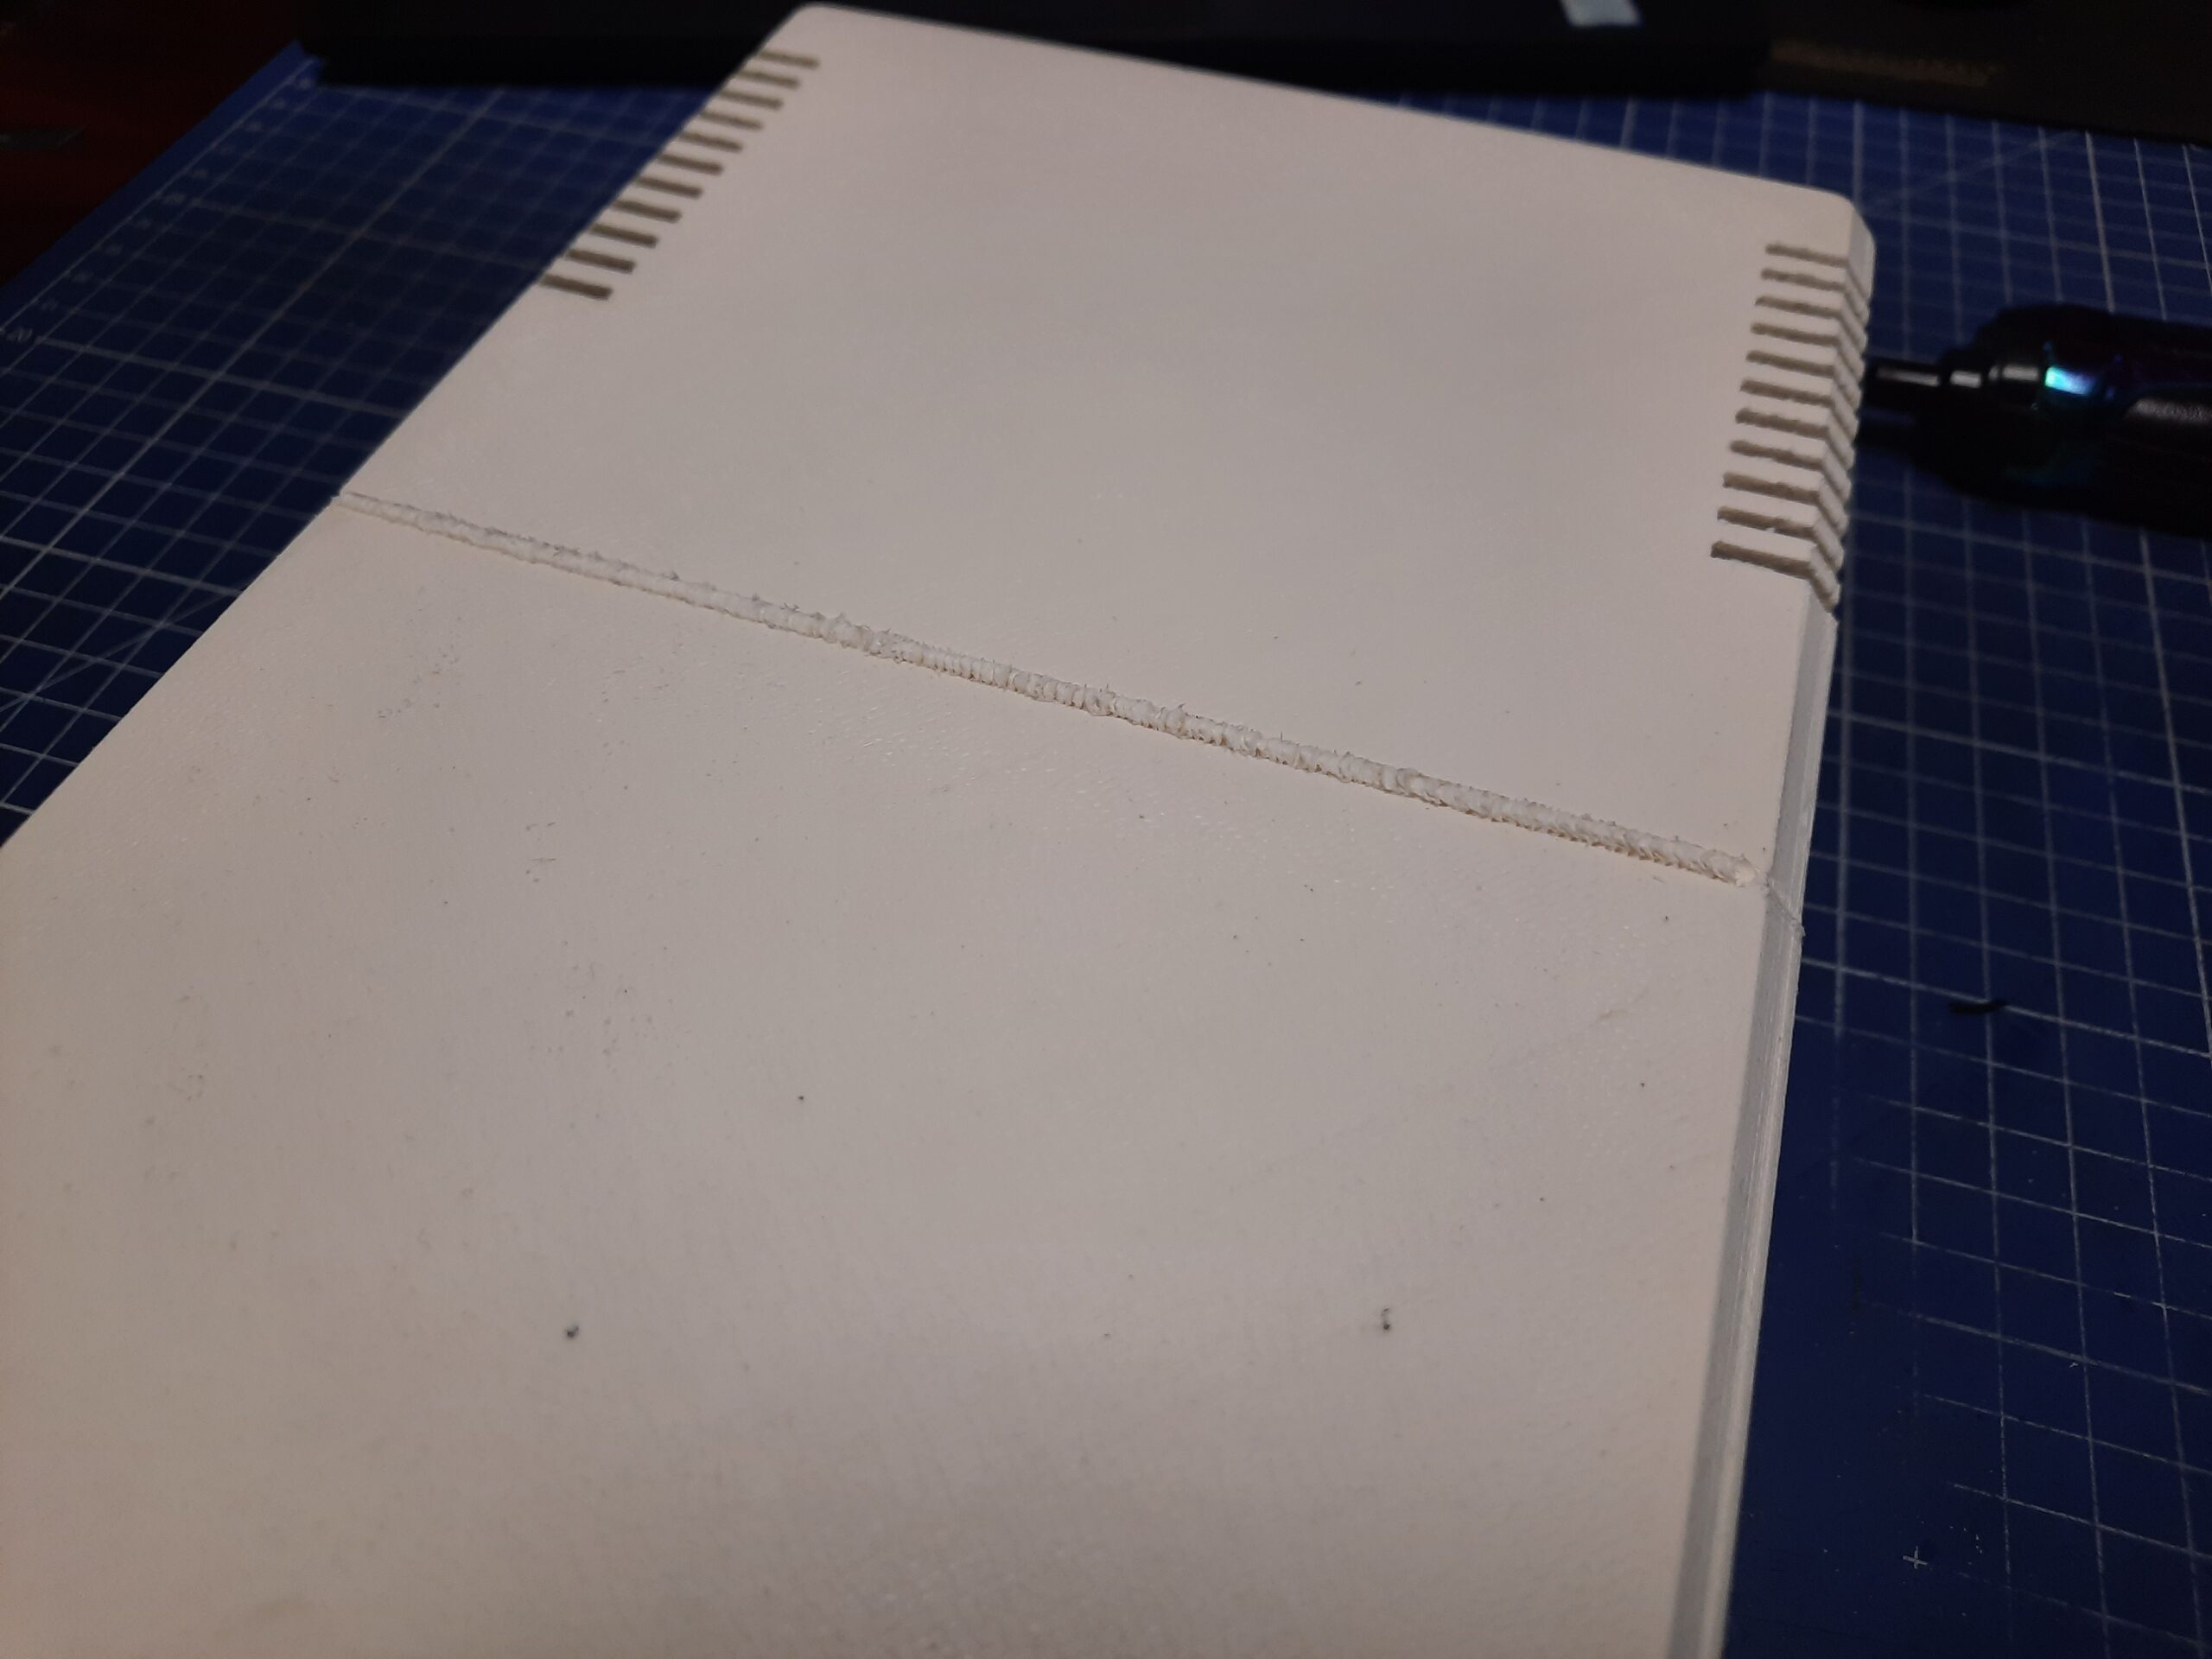
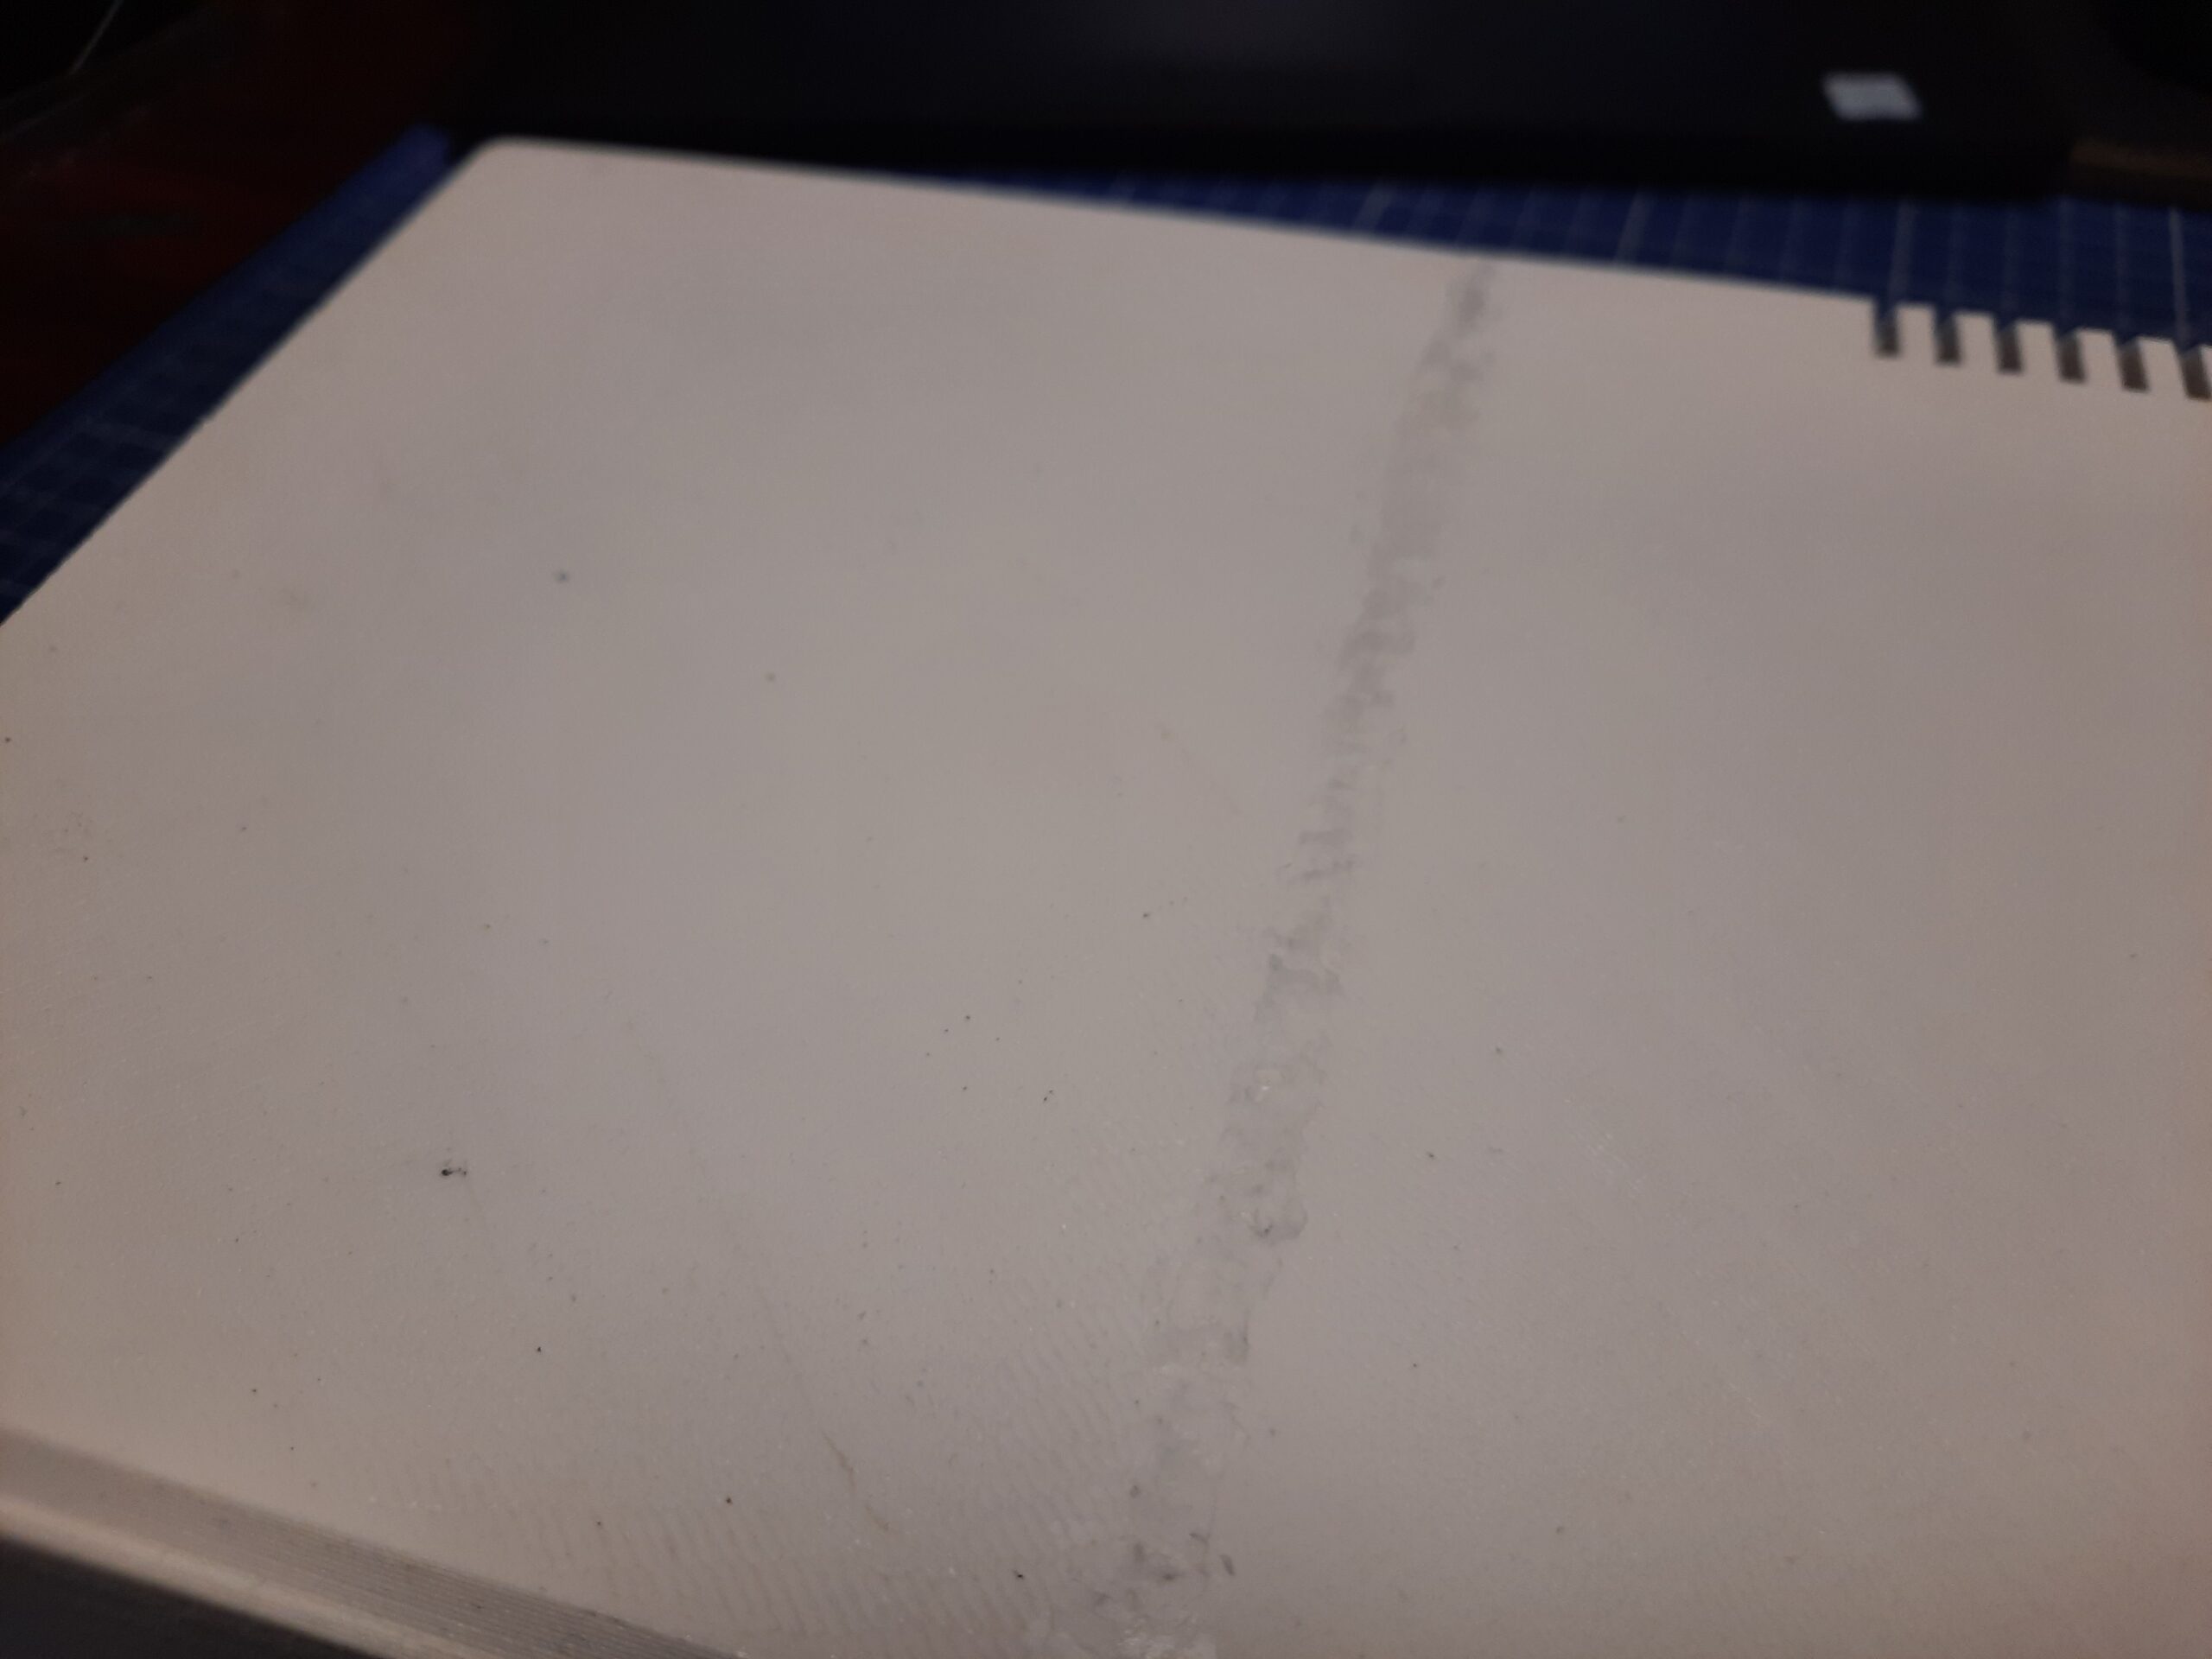
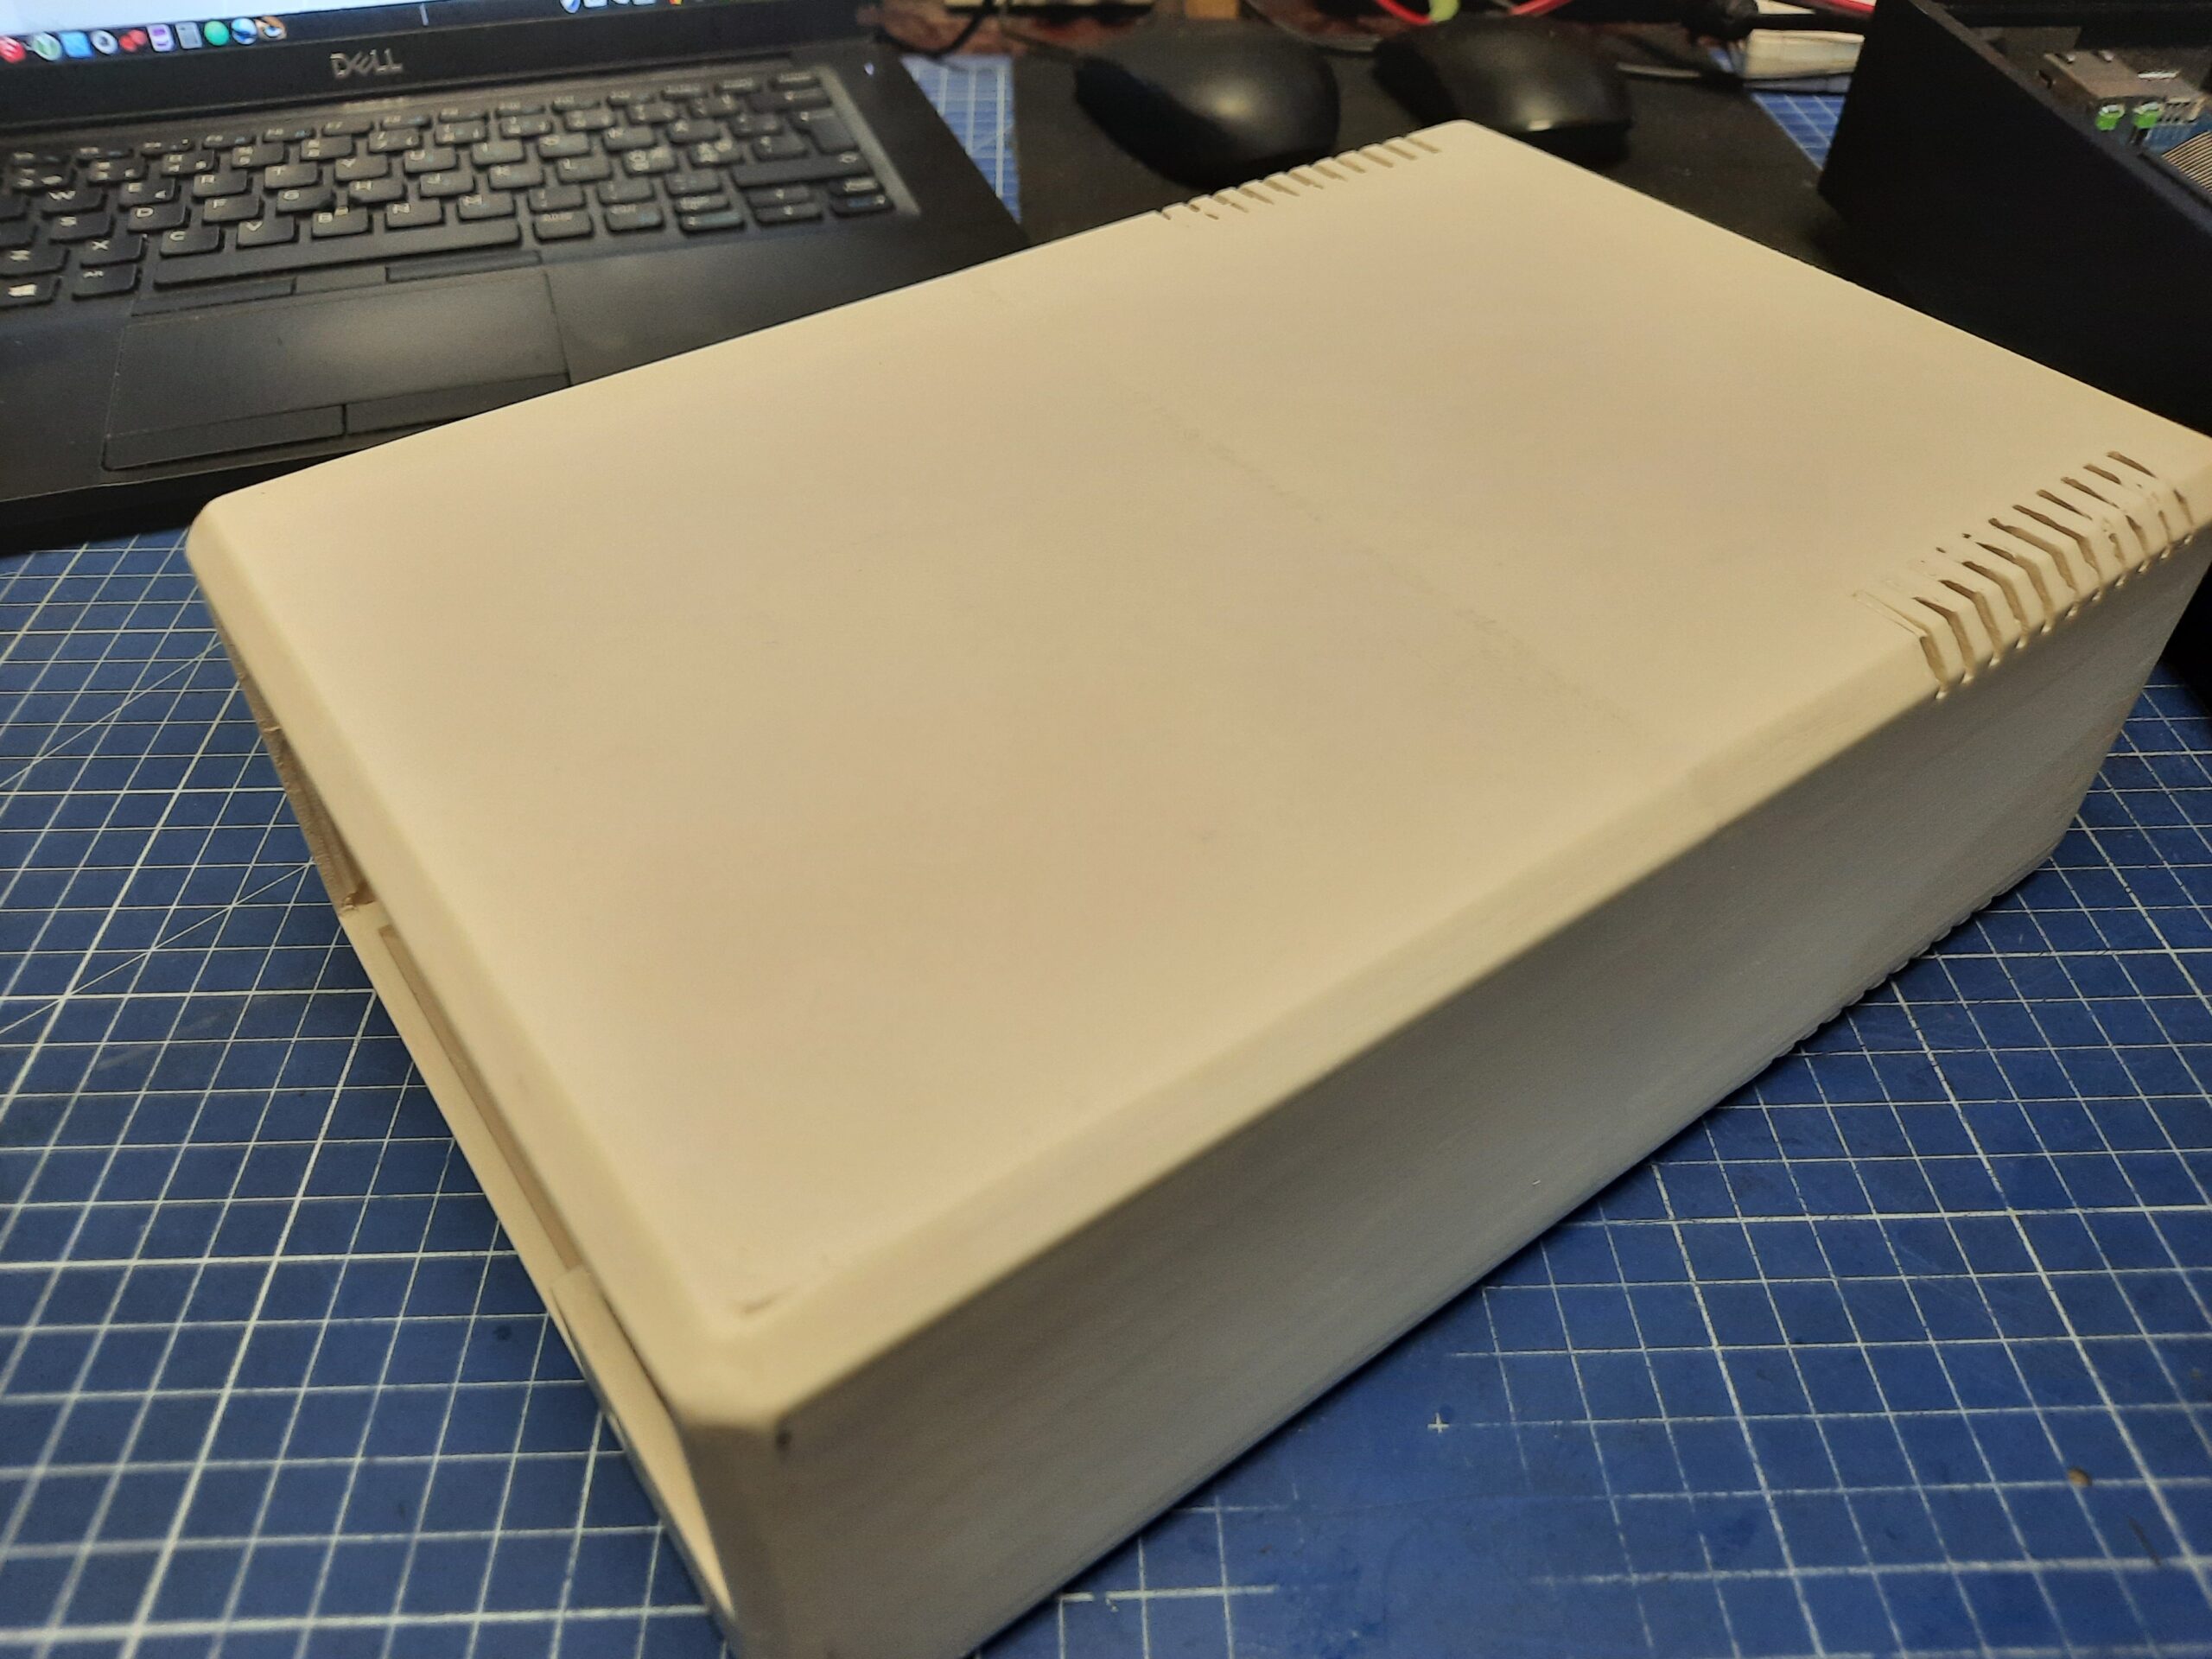
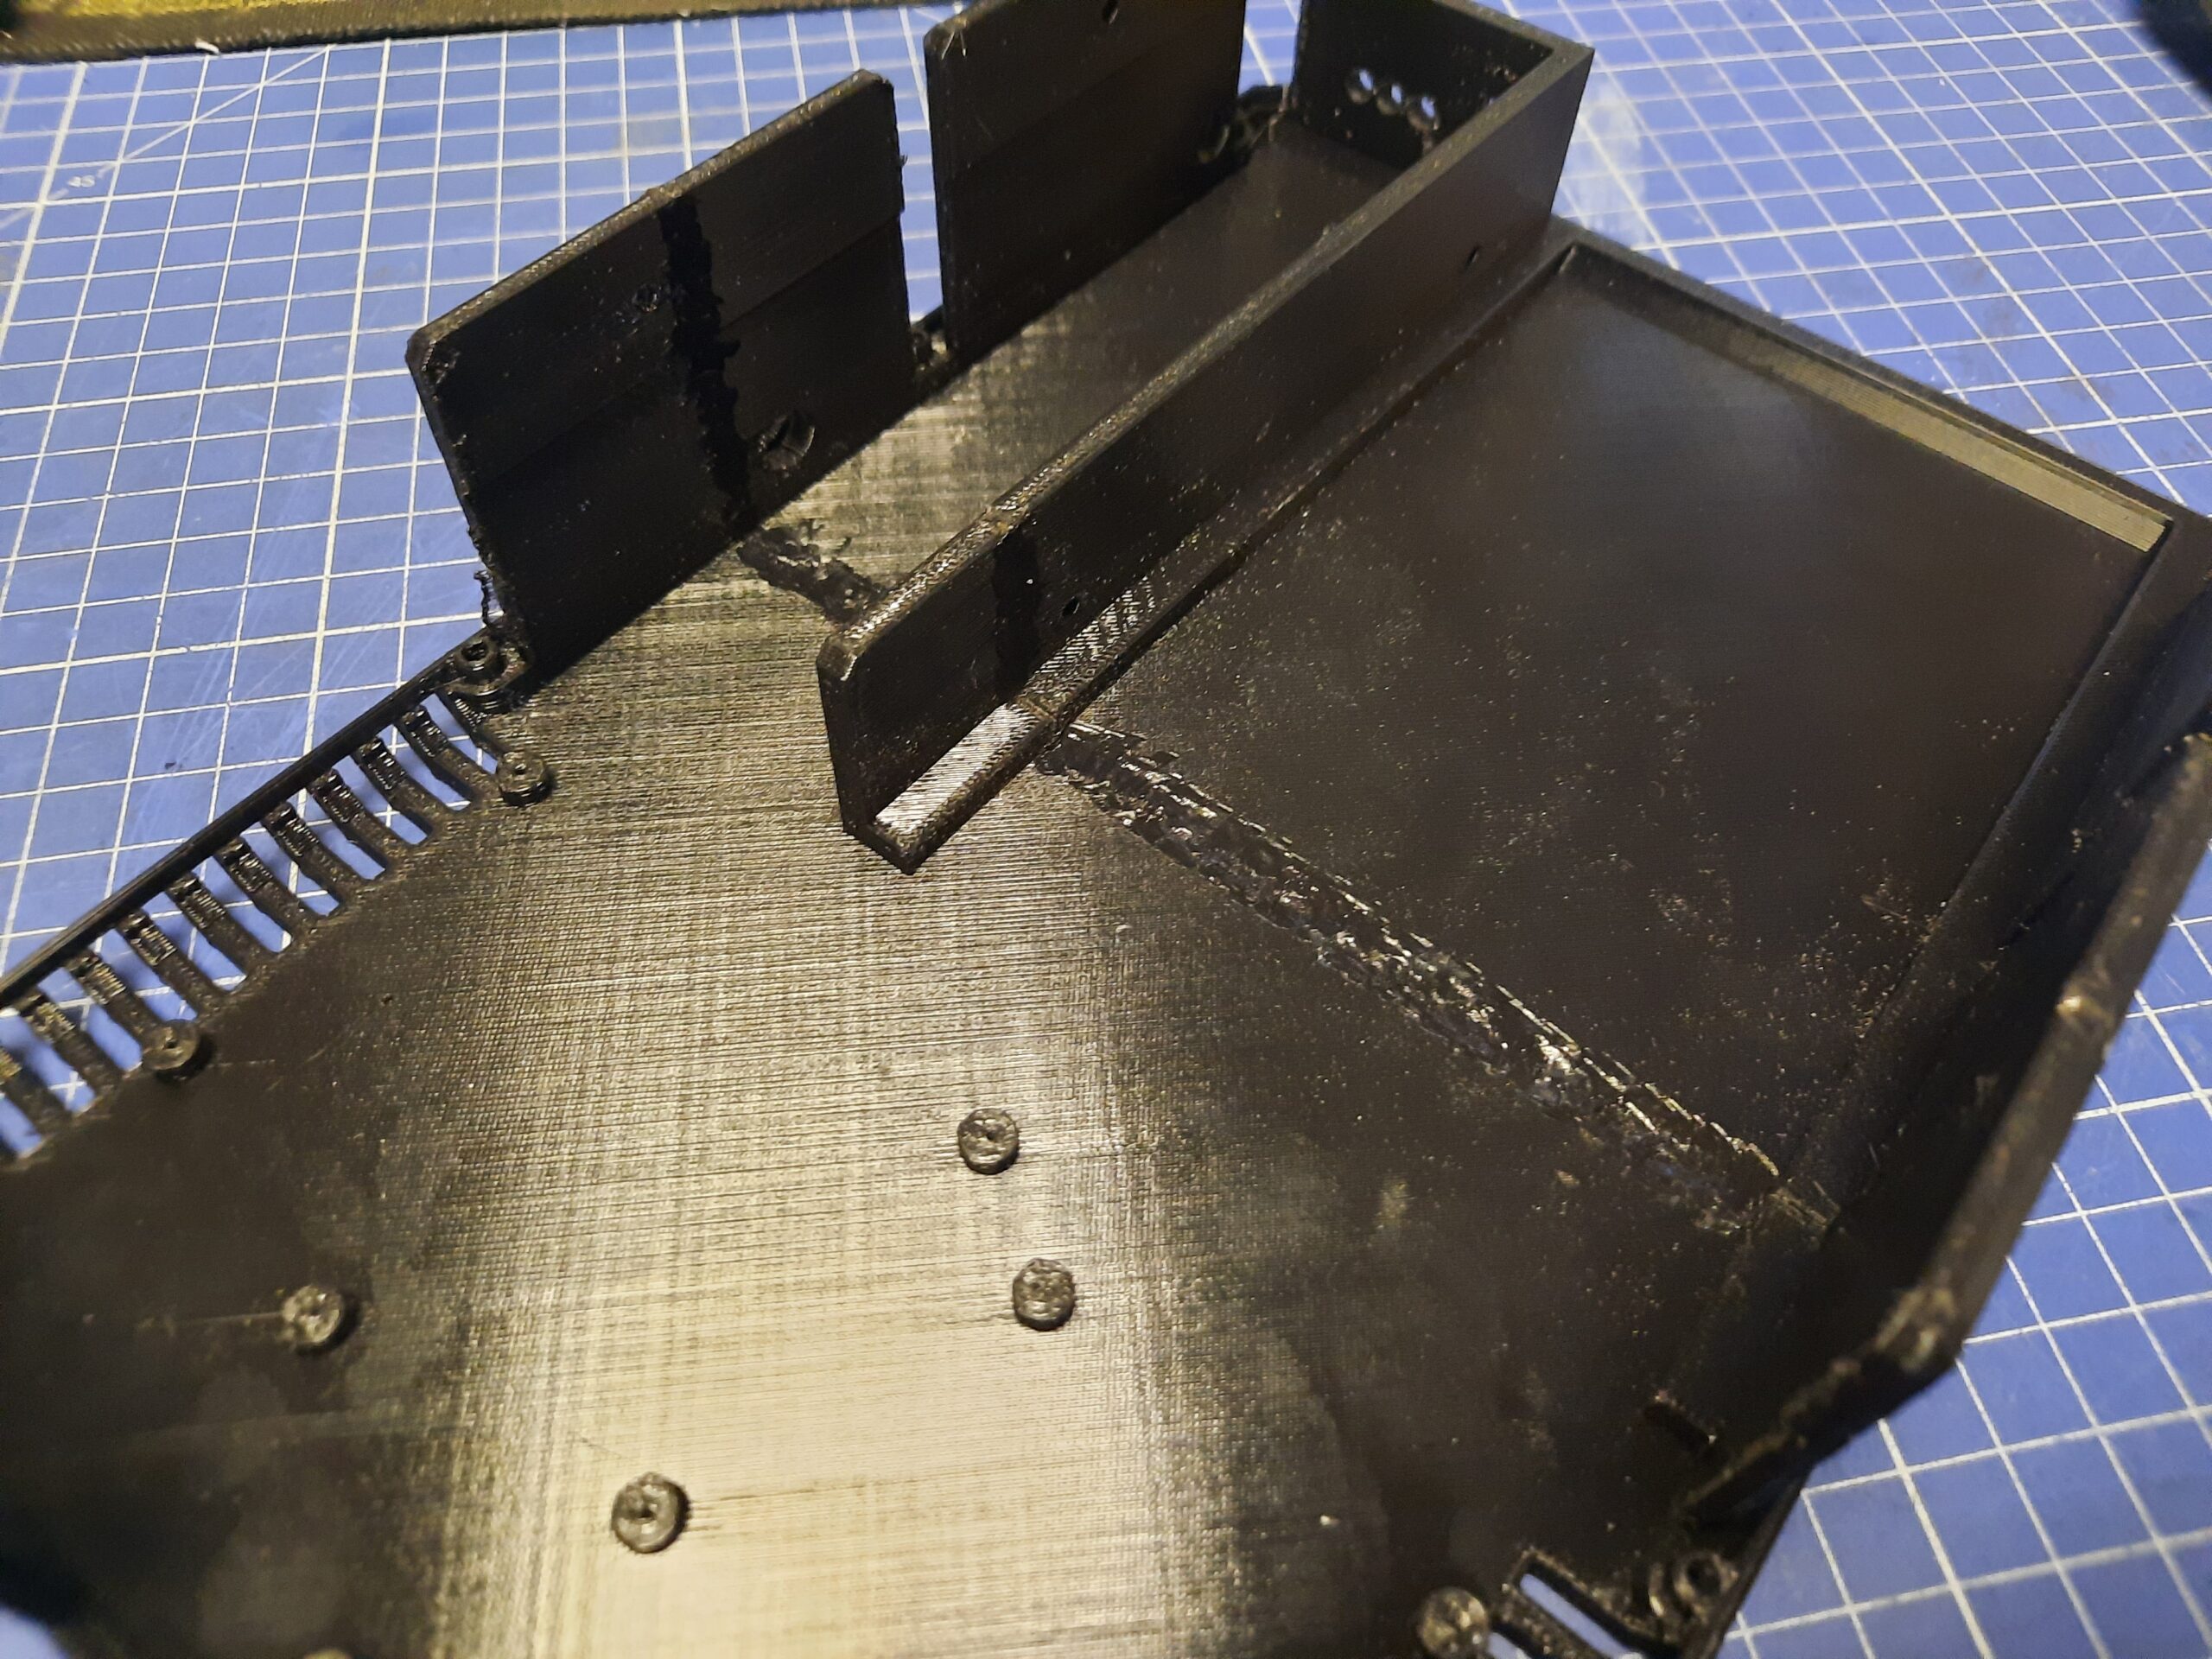
The two pieces were stitched with the help of a soldering iron. The technique is similar to the one I used while fixing the cracked Amiga/C64 case.
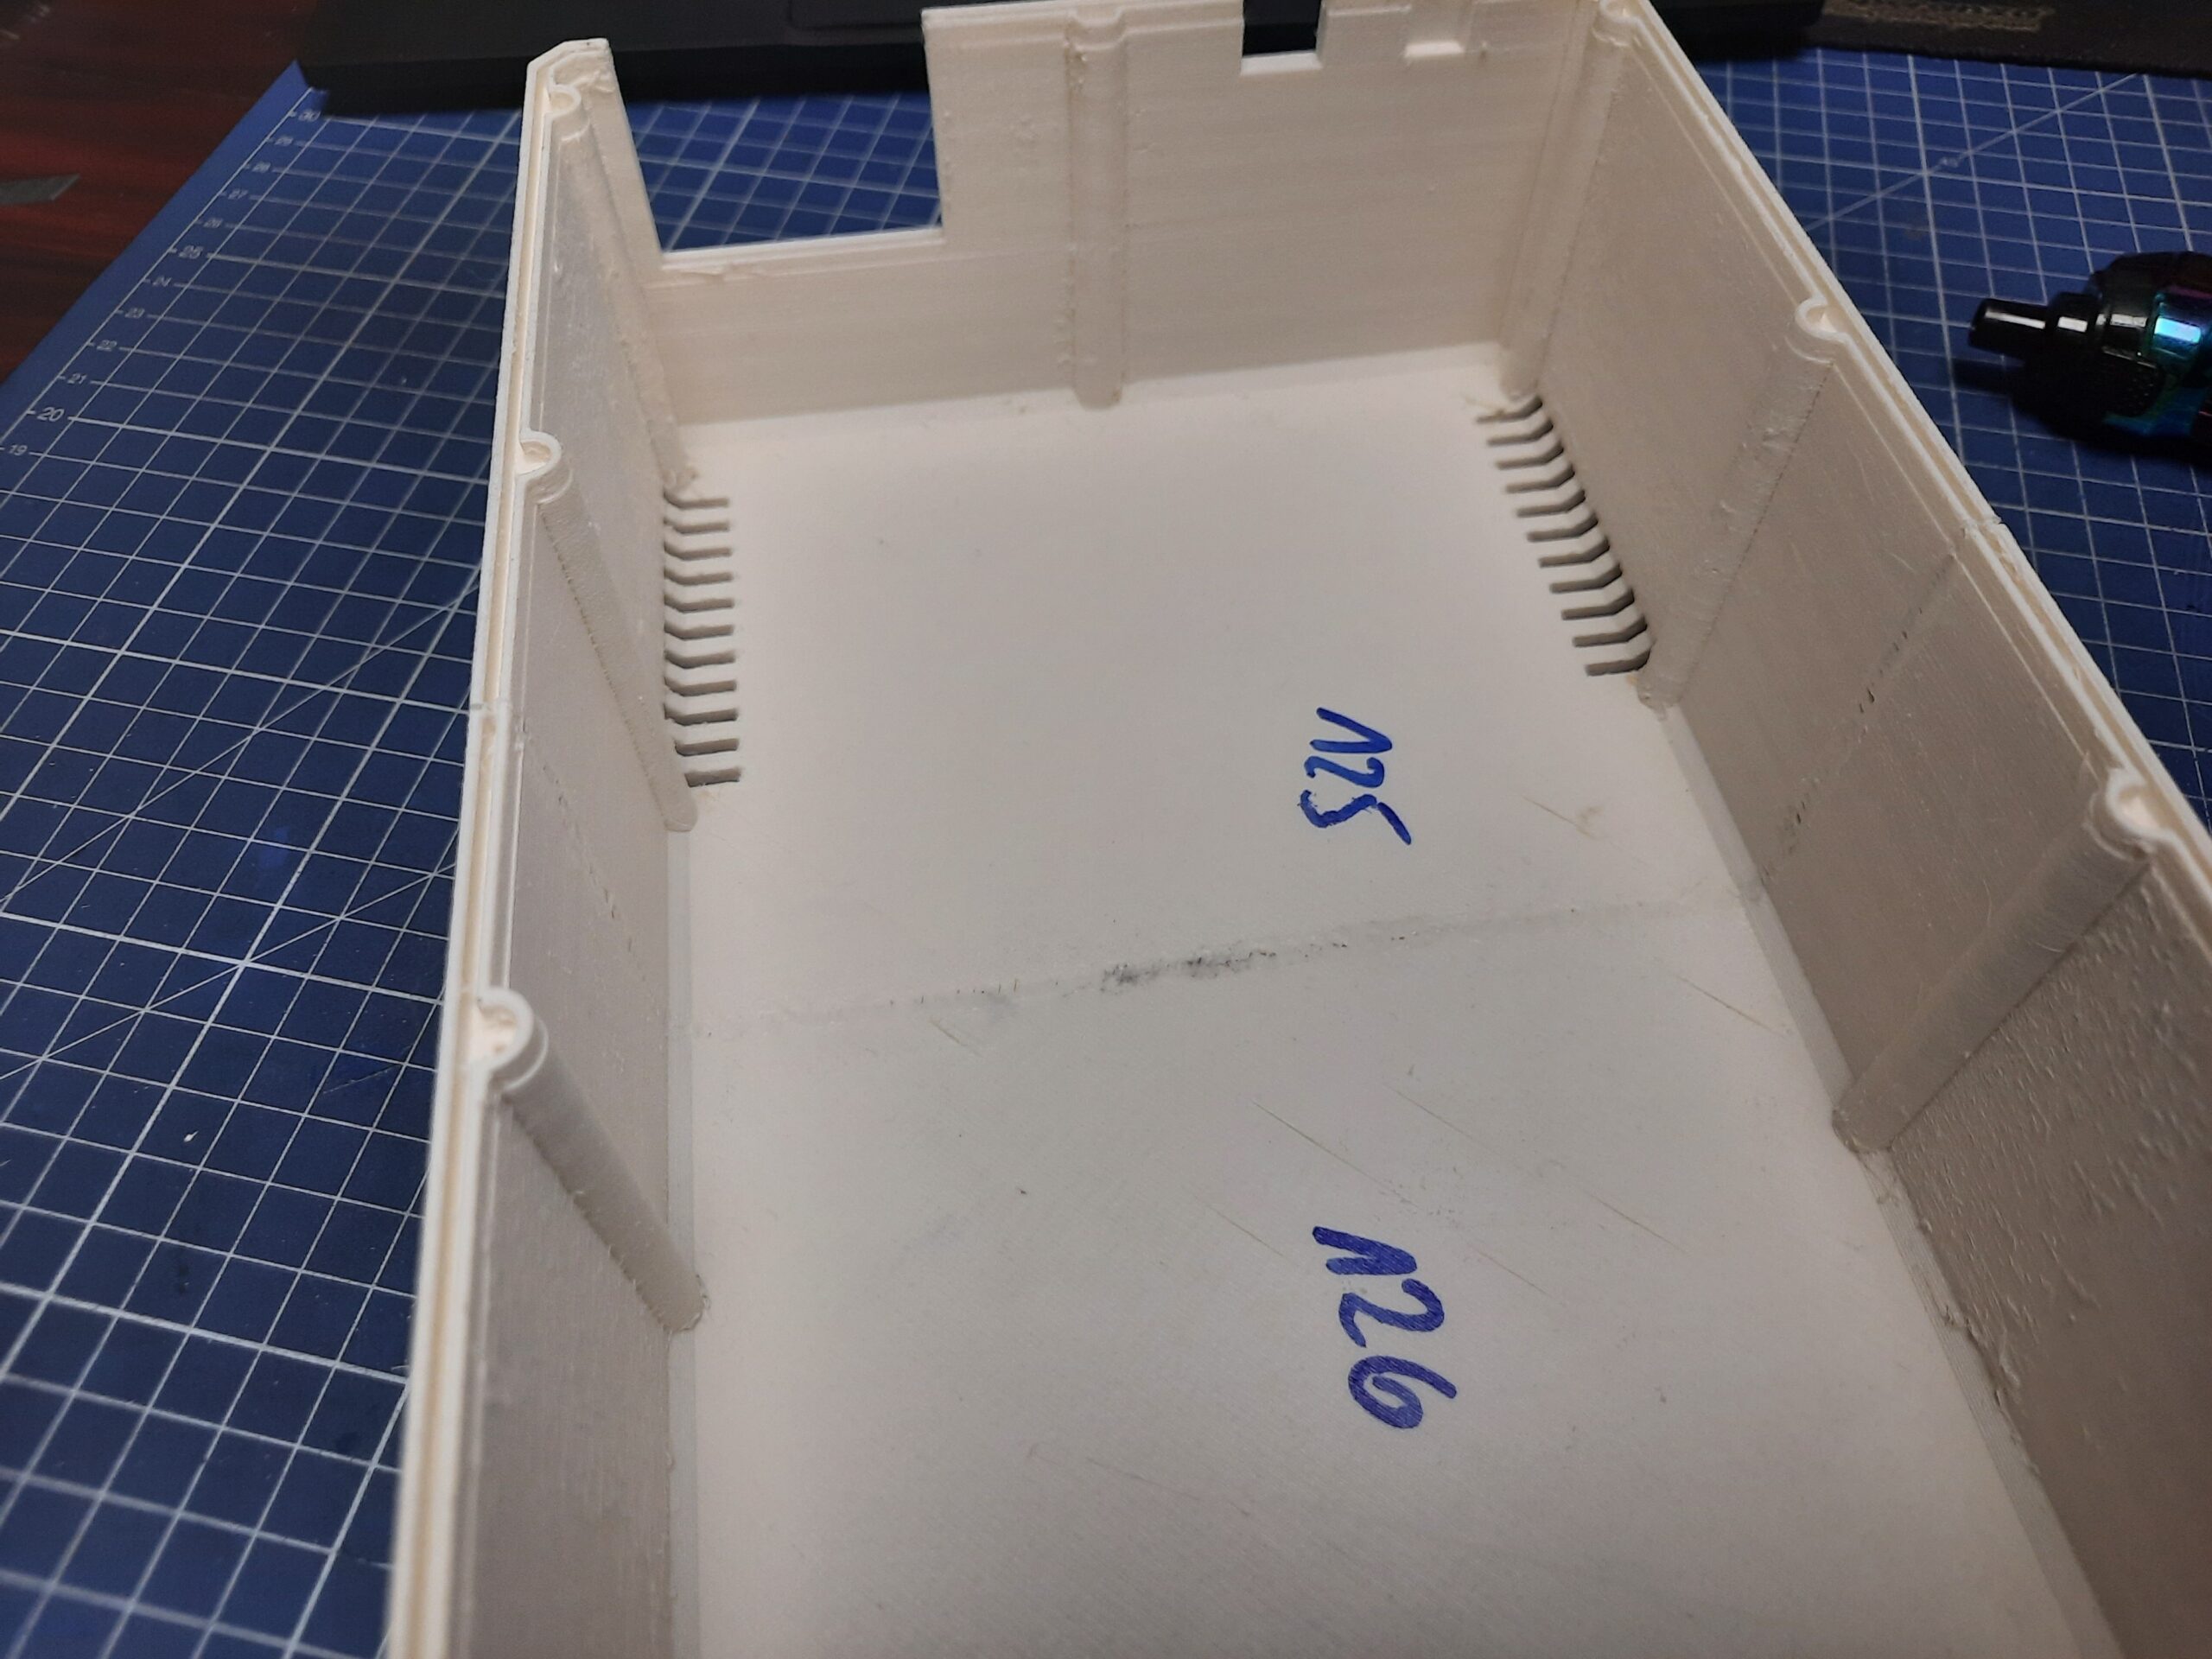
Meanwhile, the bottom part was being printed.
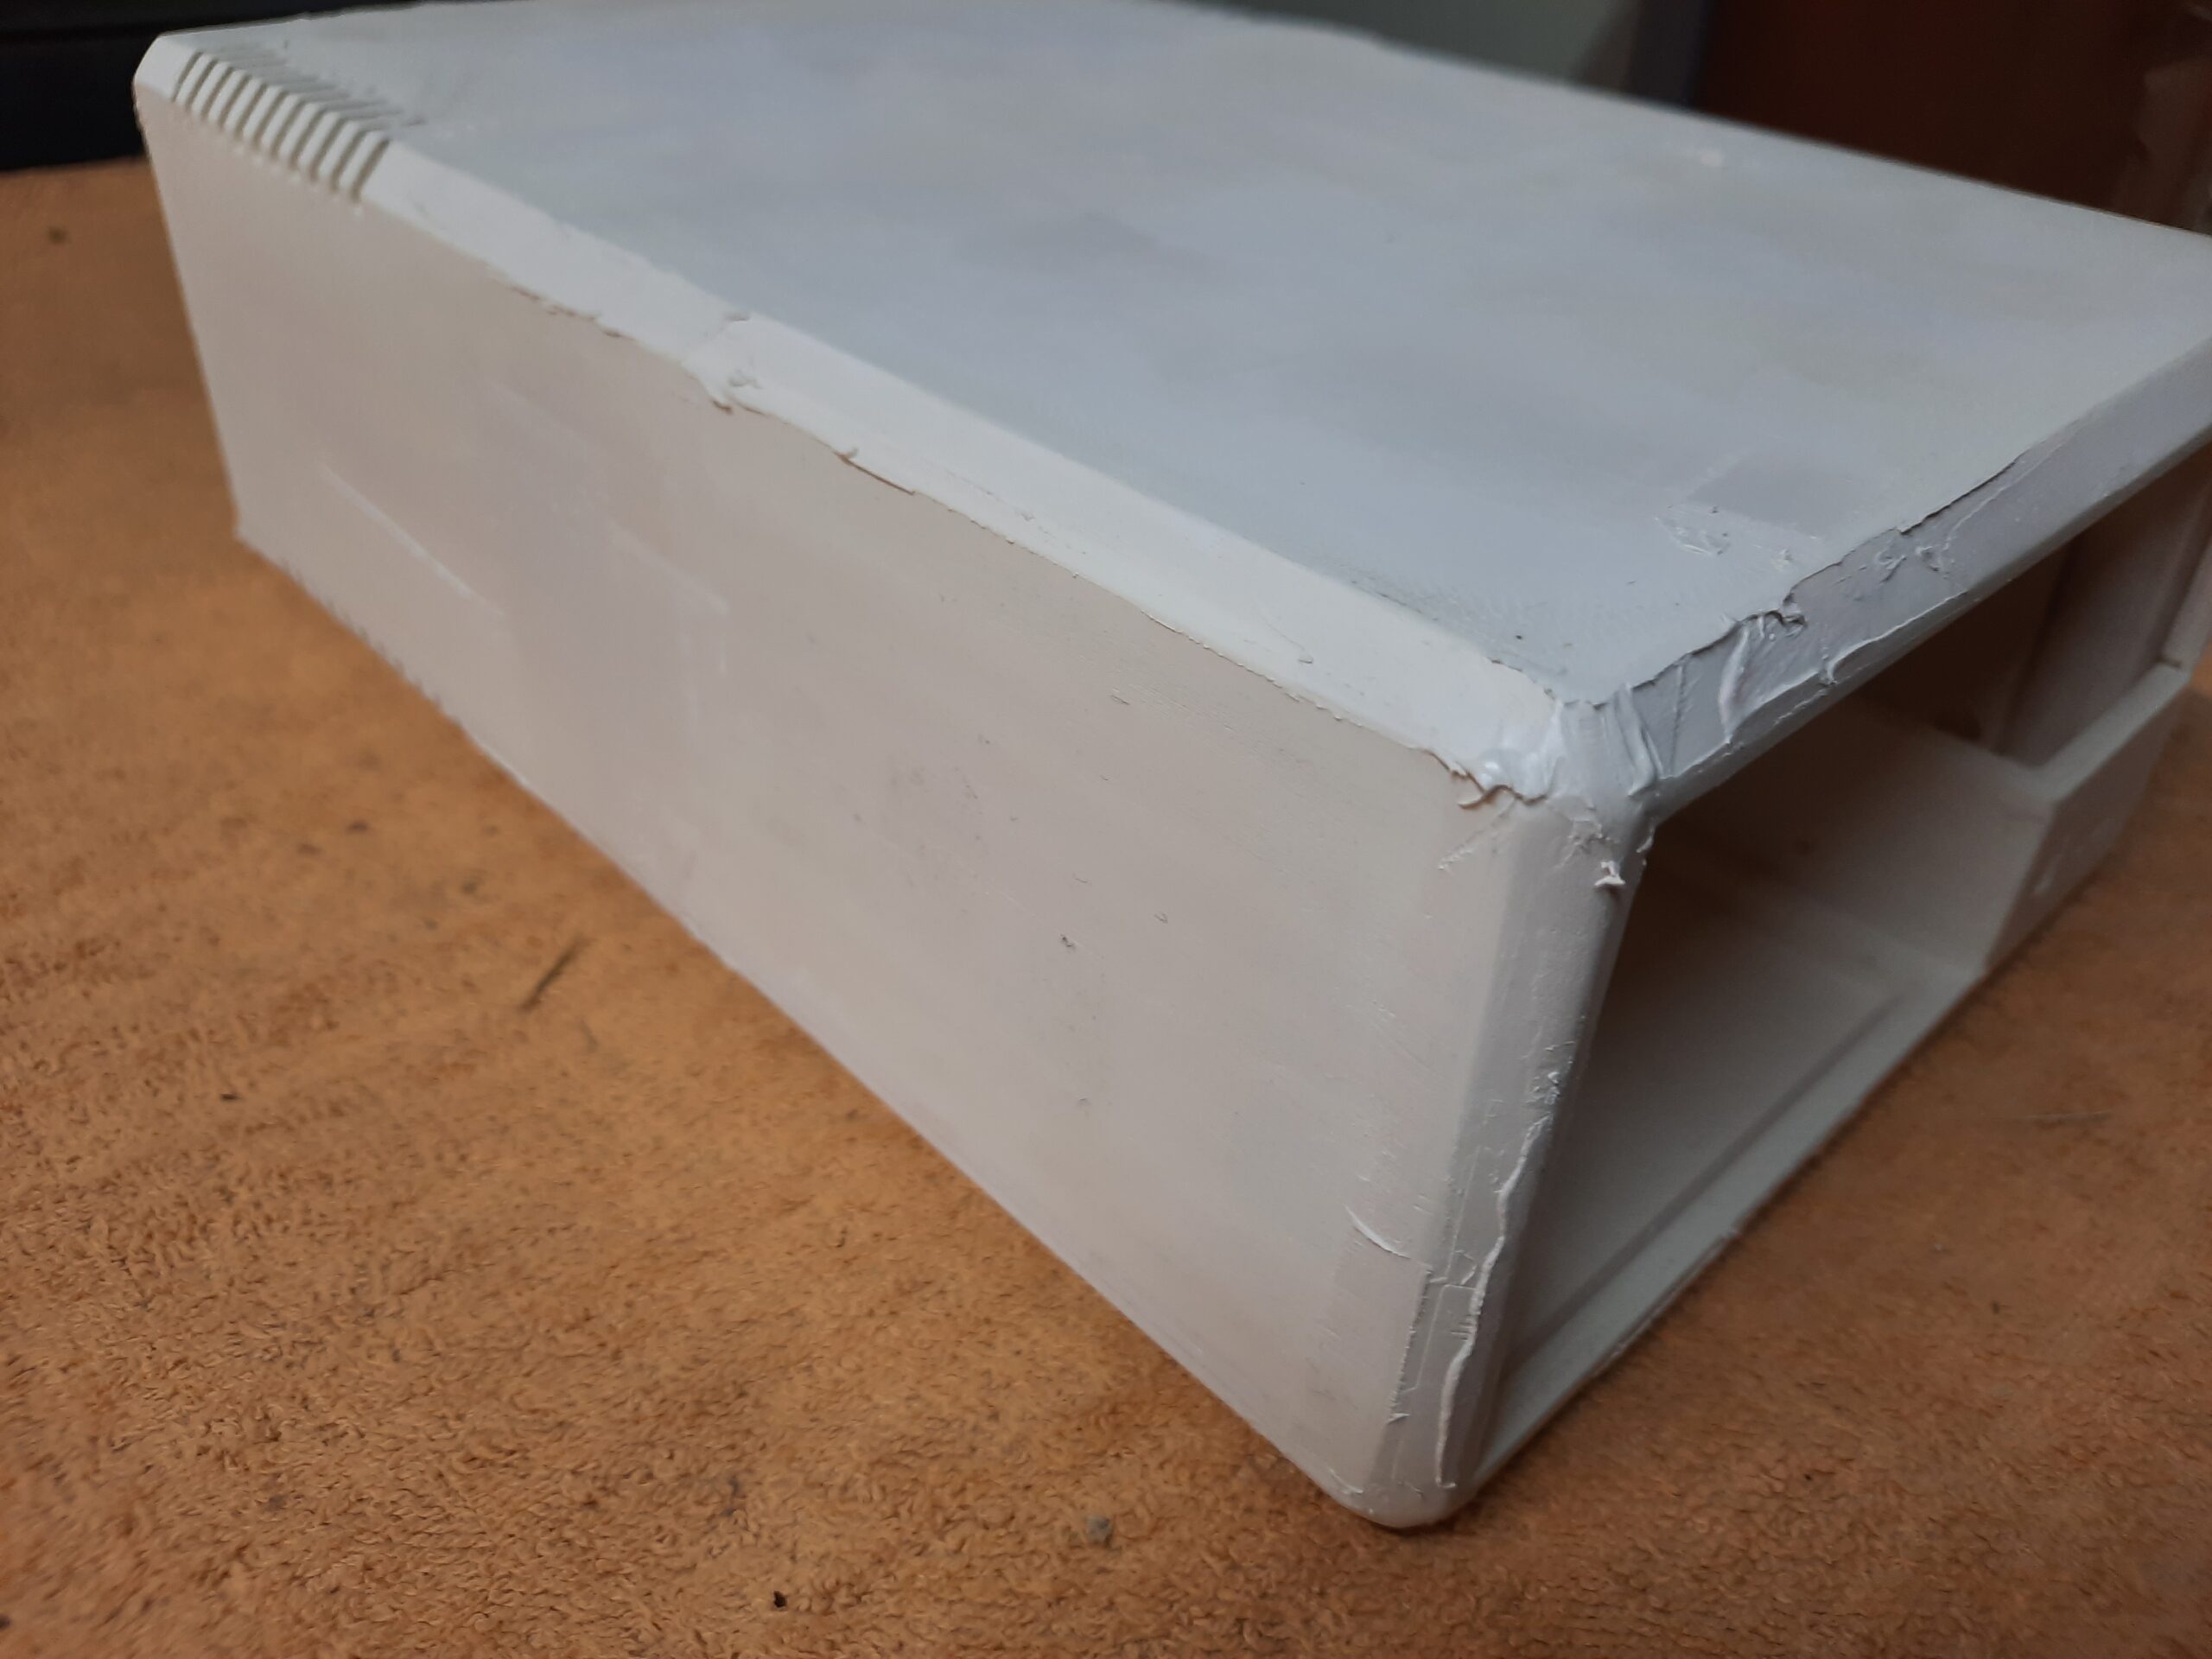
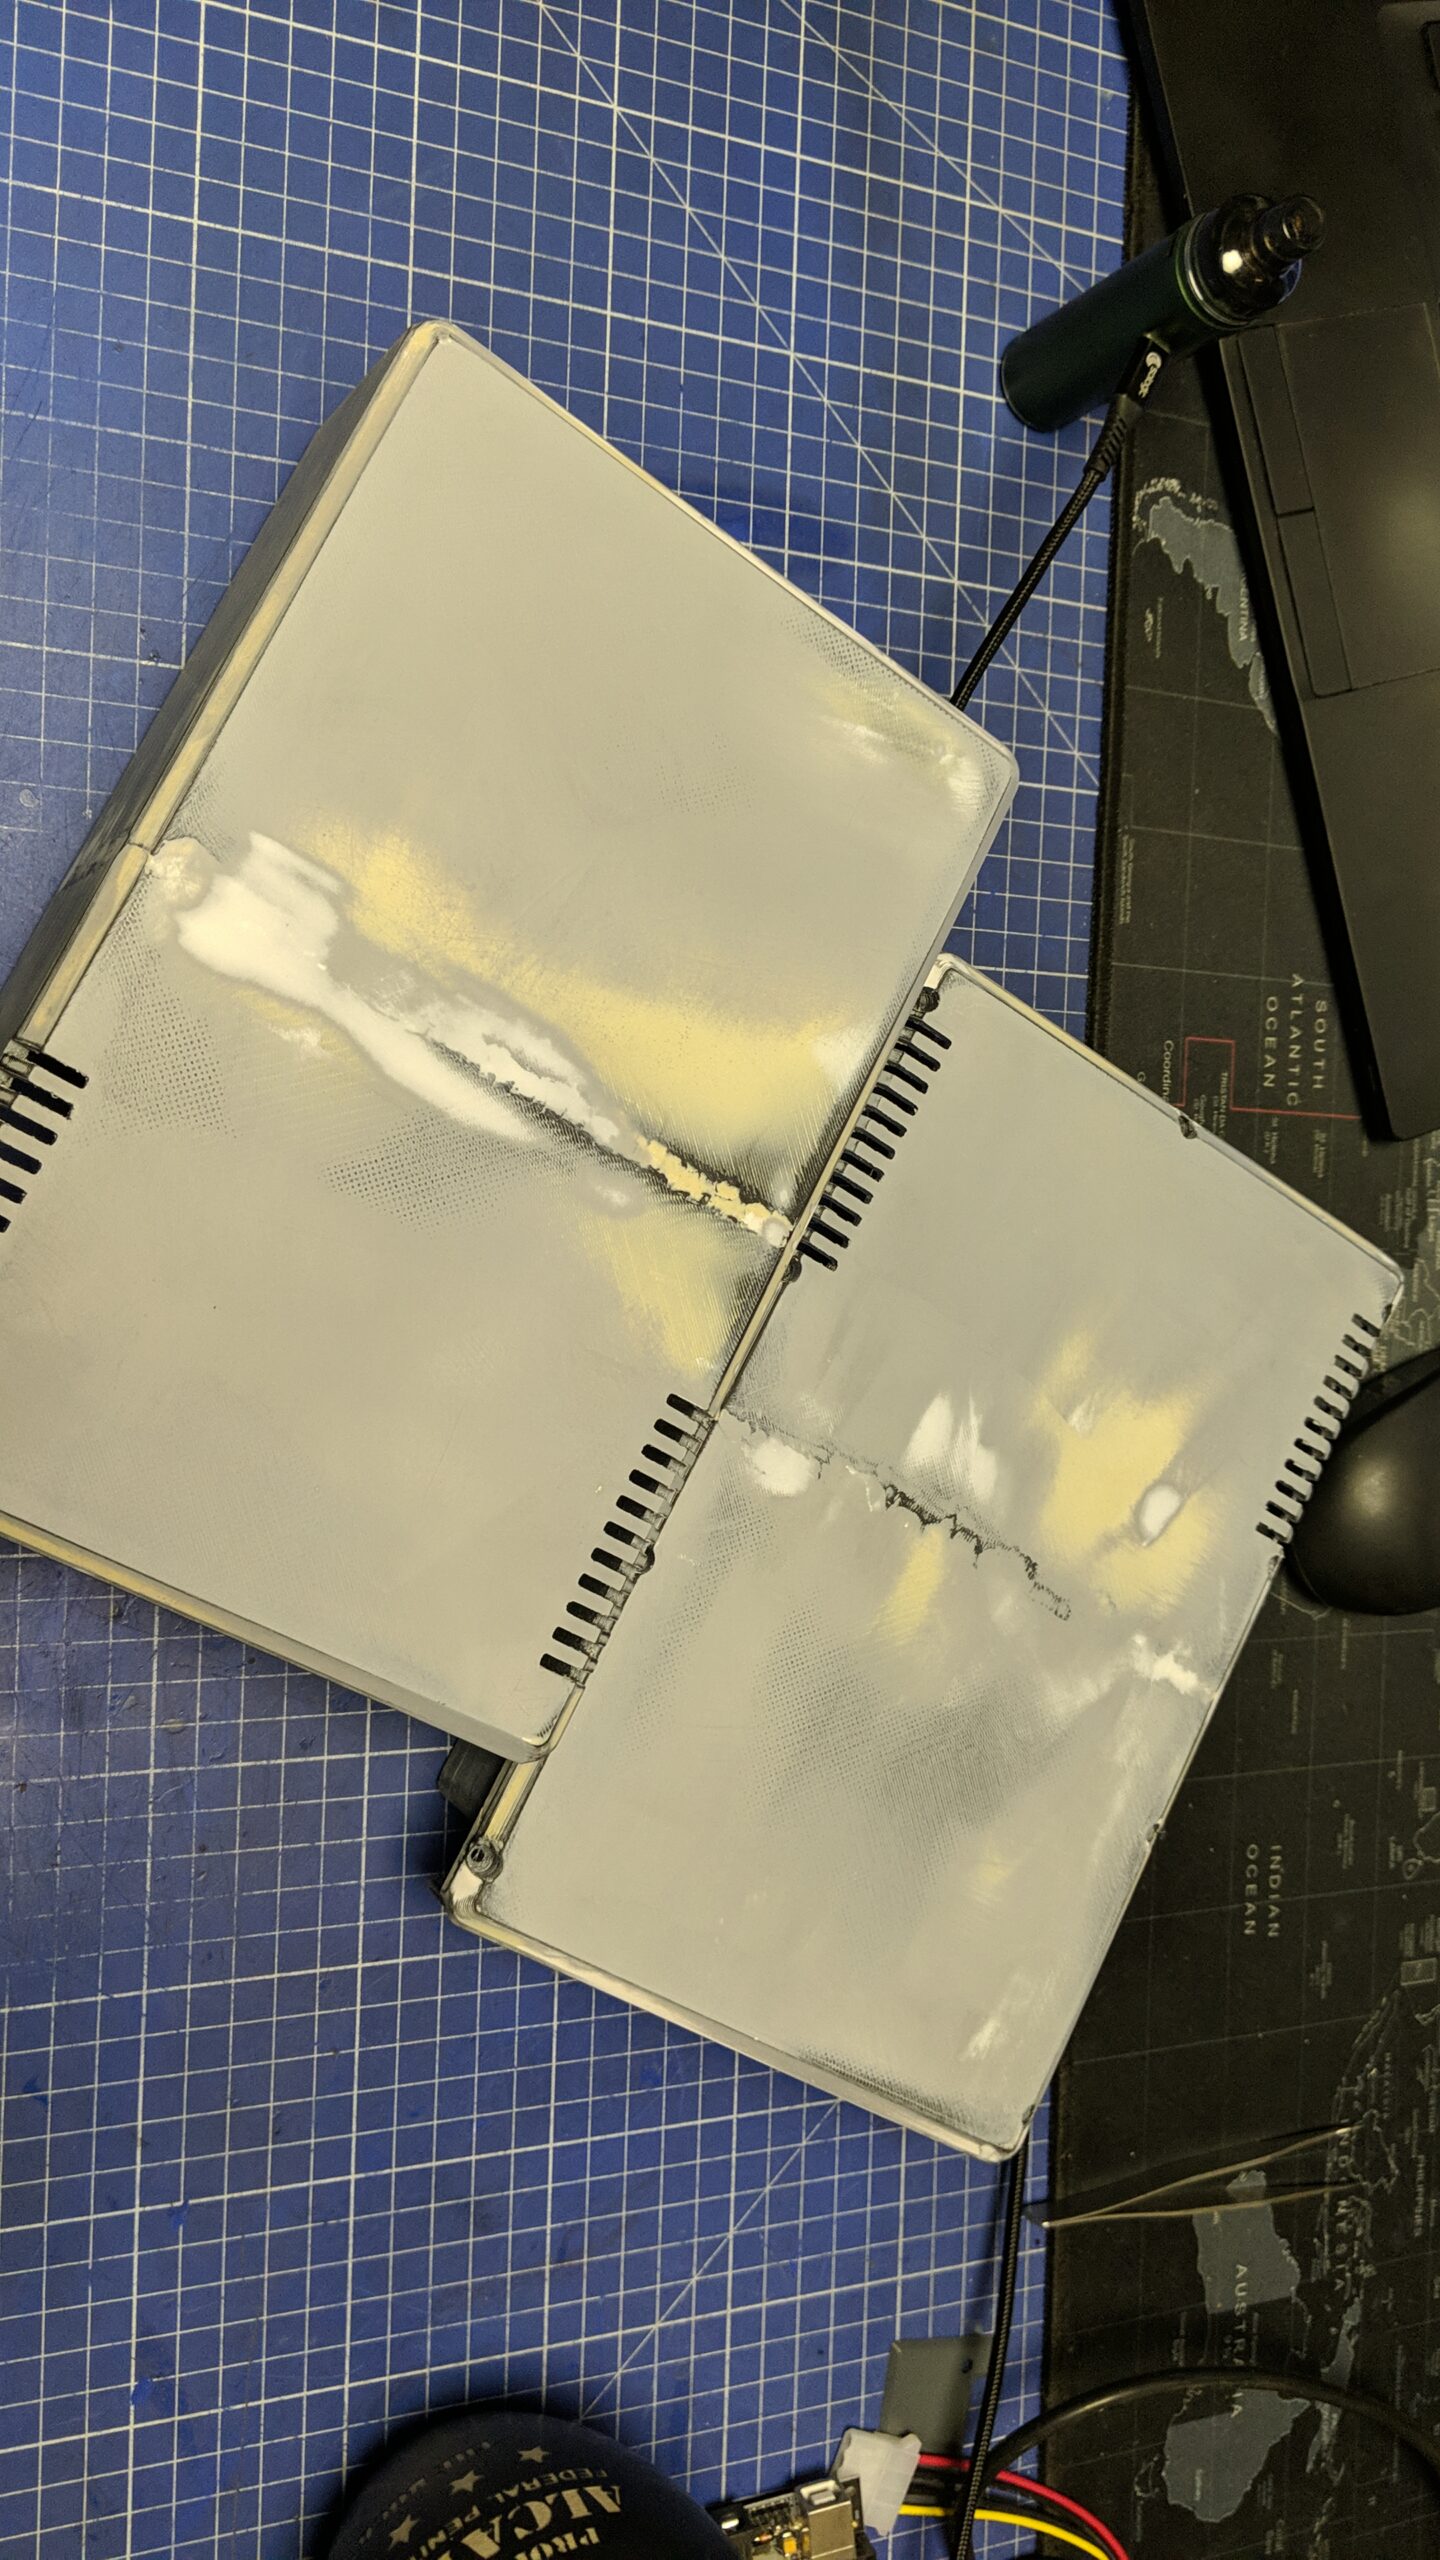
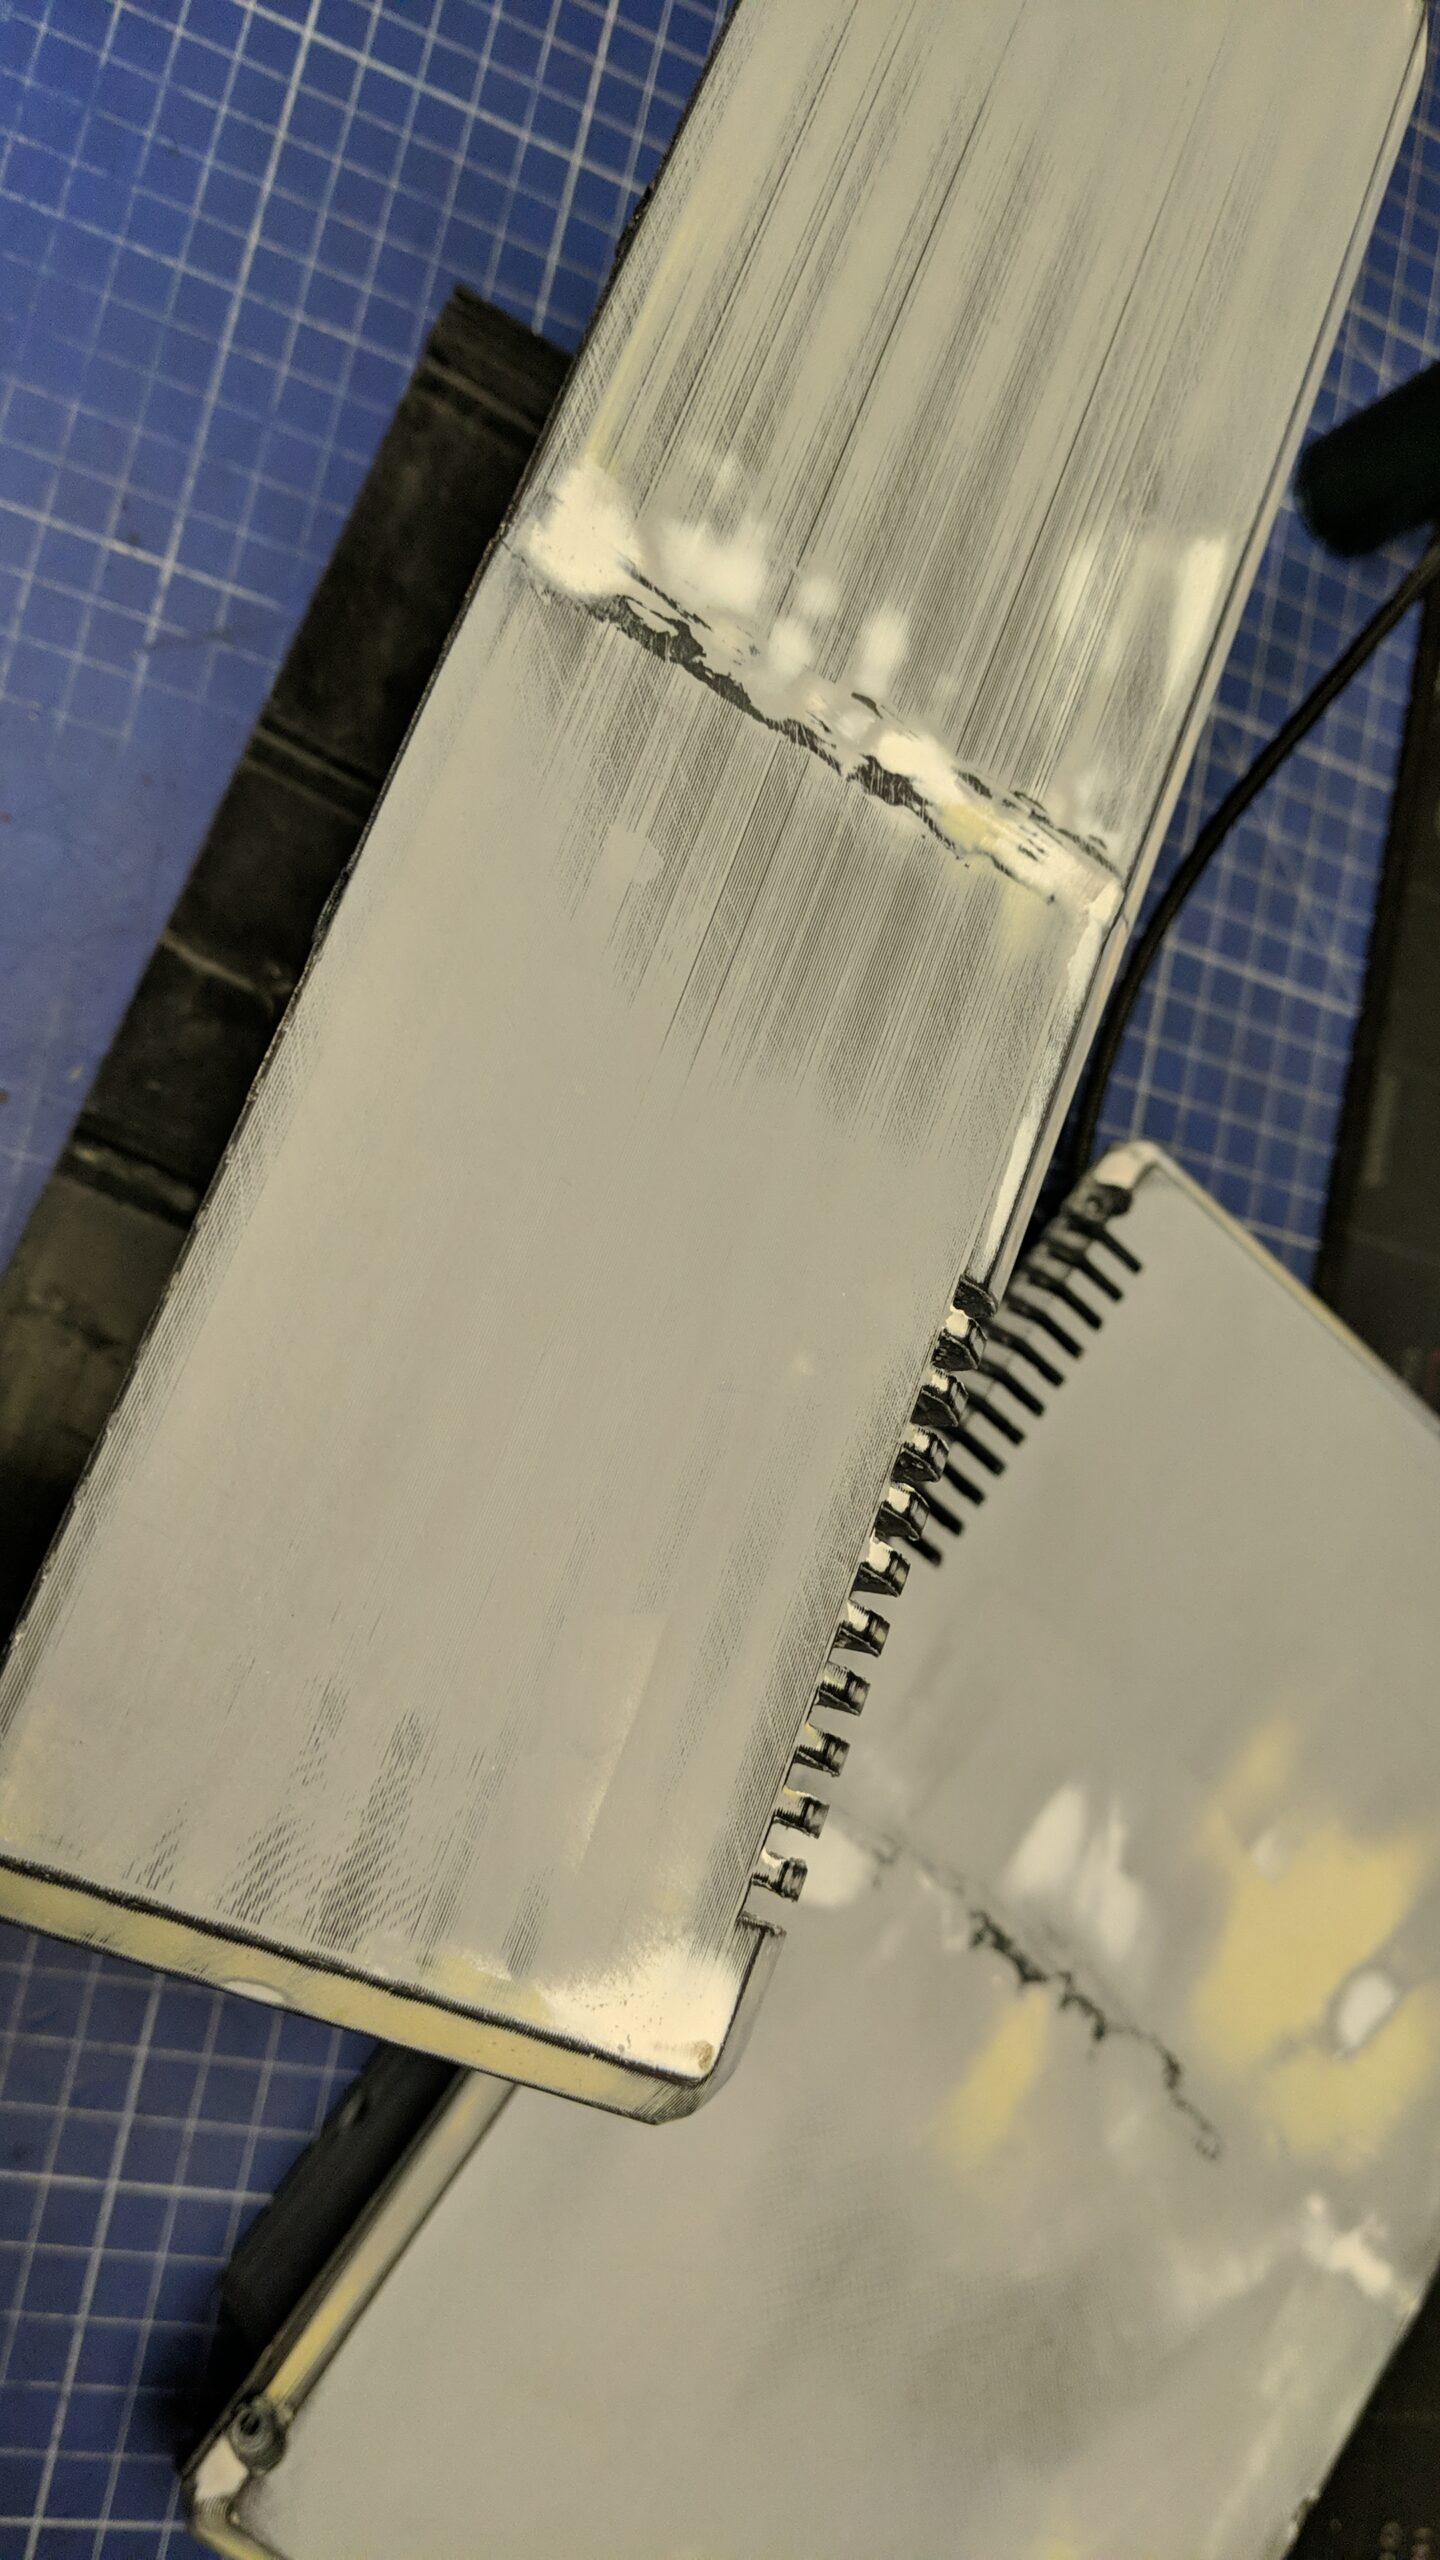
With both parts stitched, I could start with a putty application.
This process took several rounds.
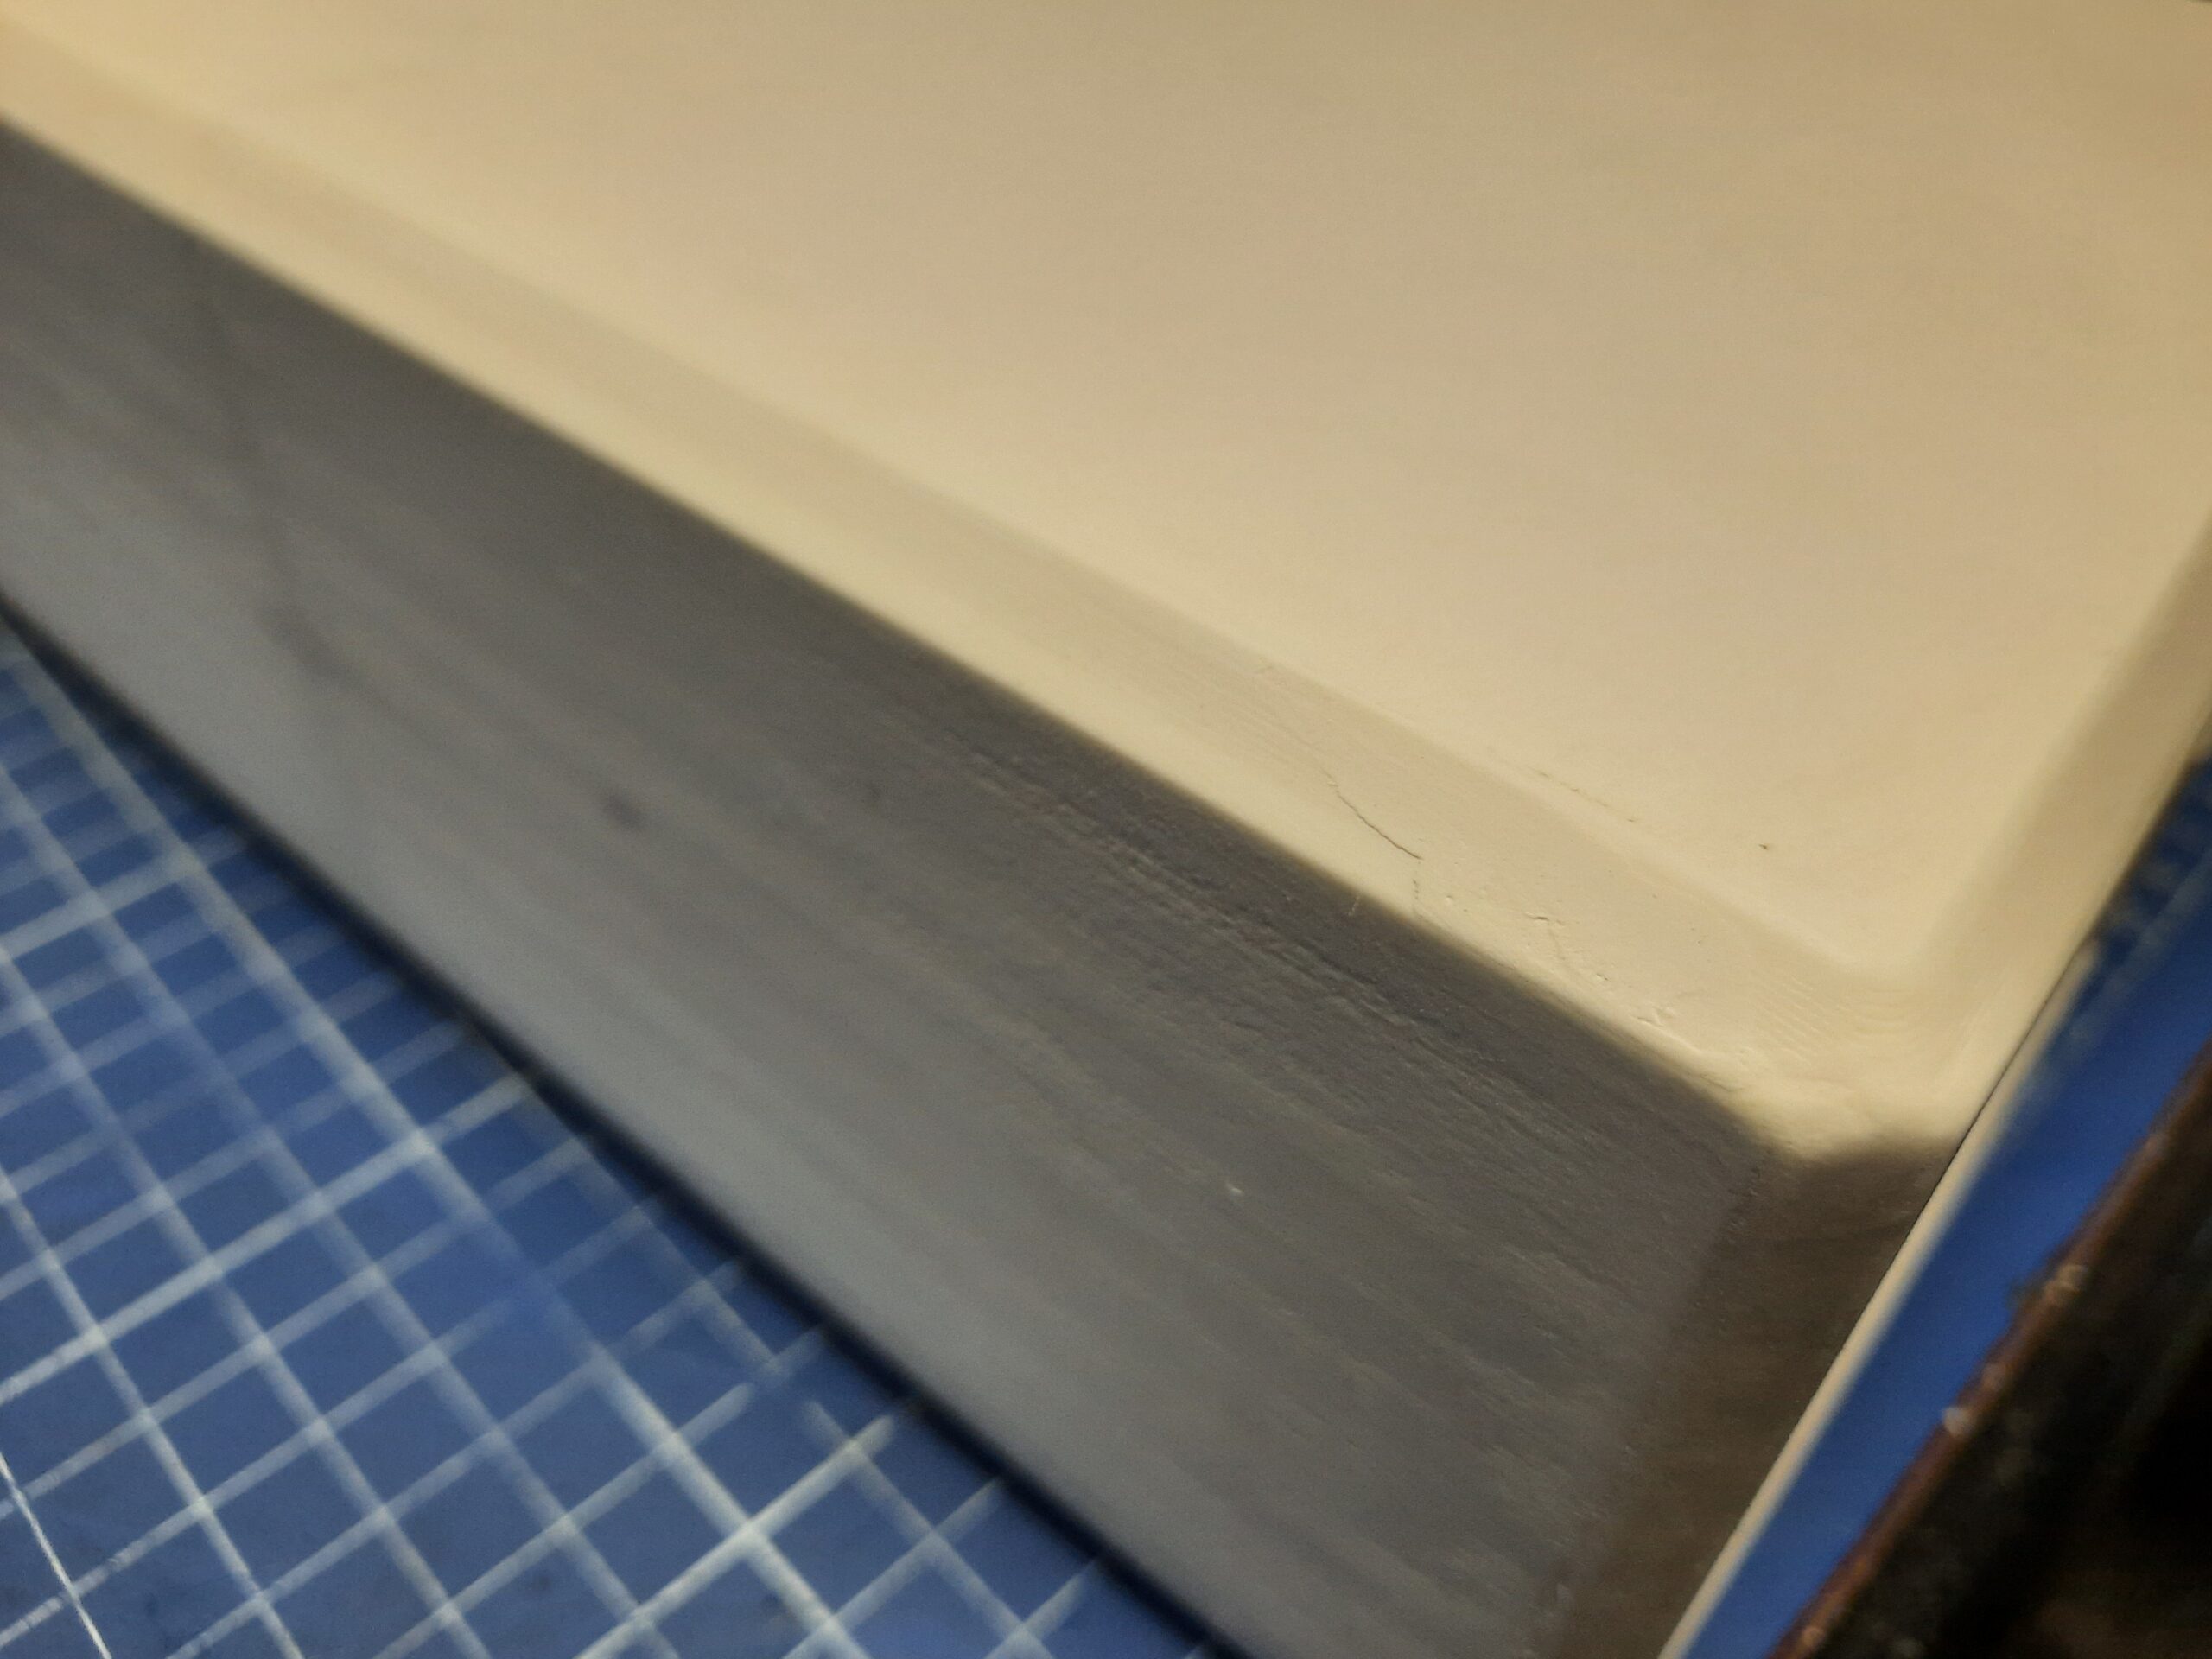
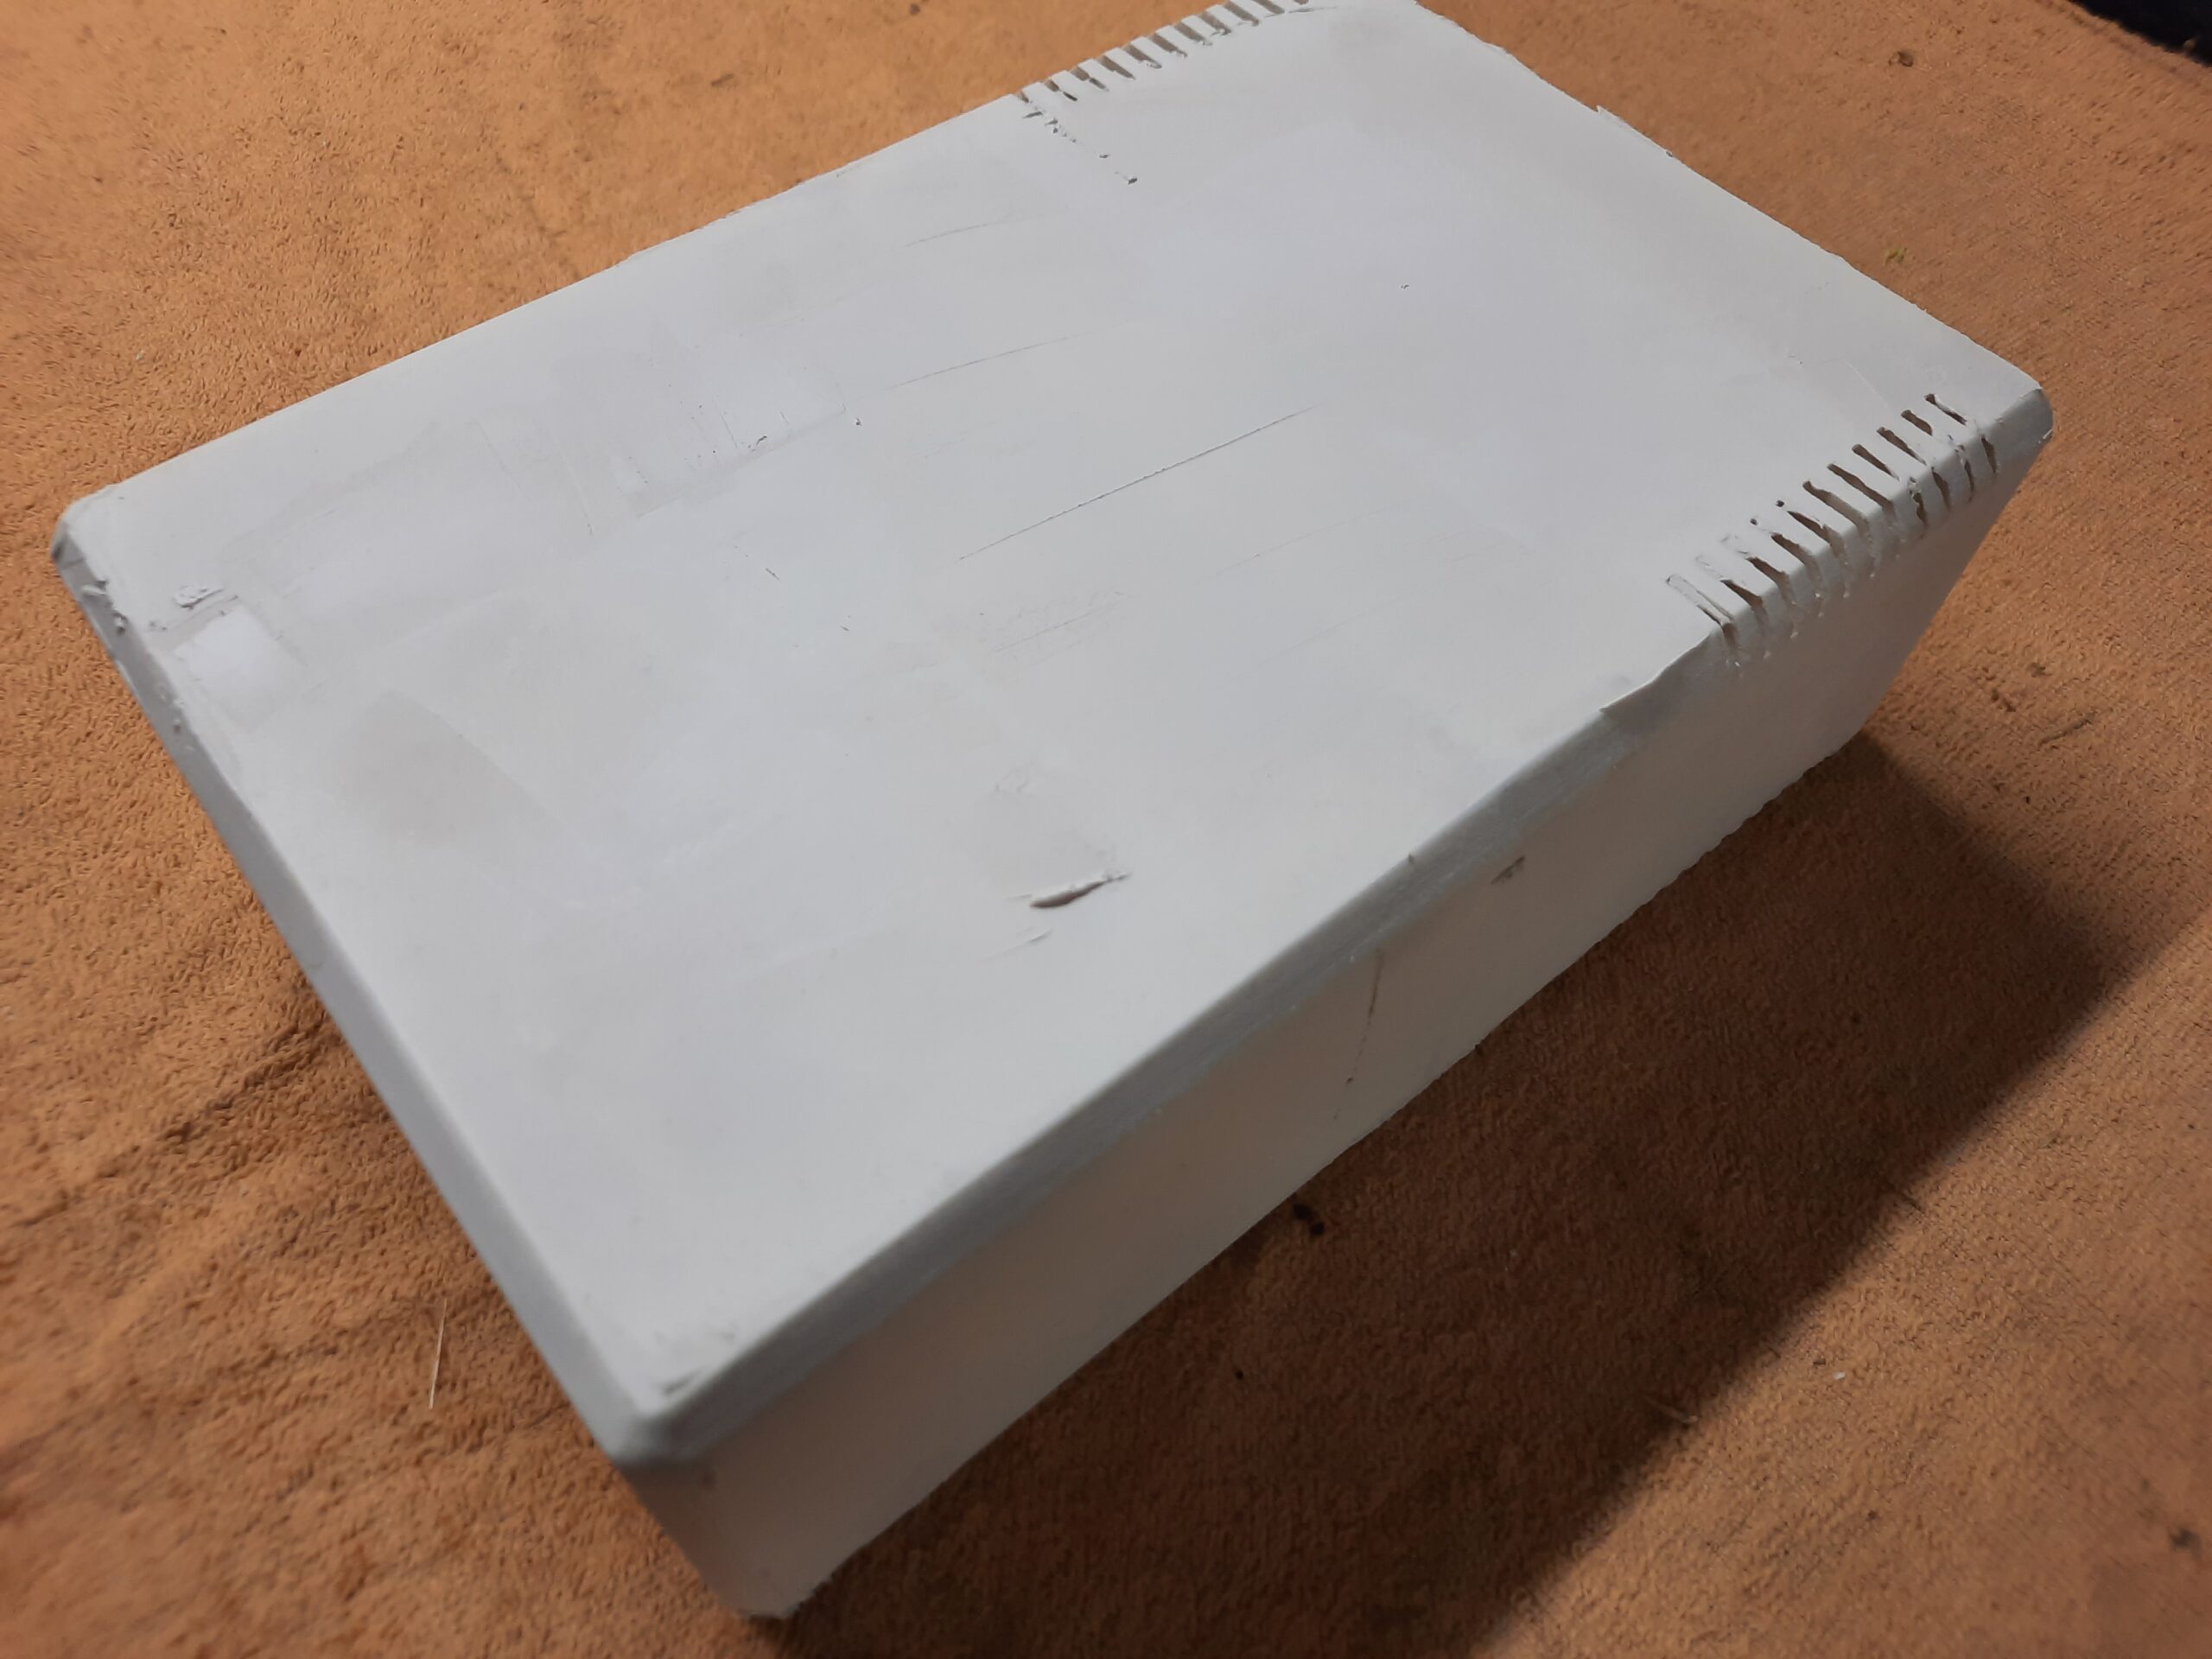
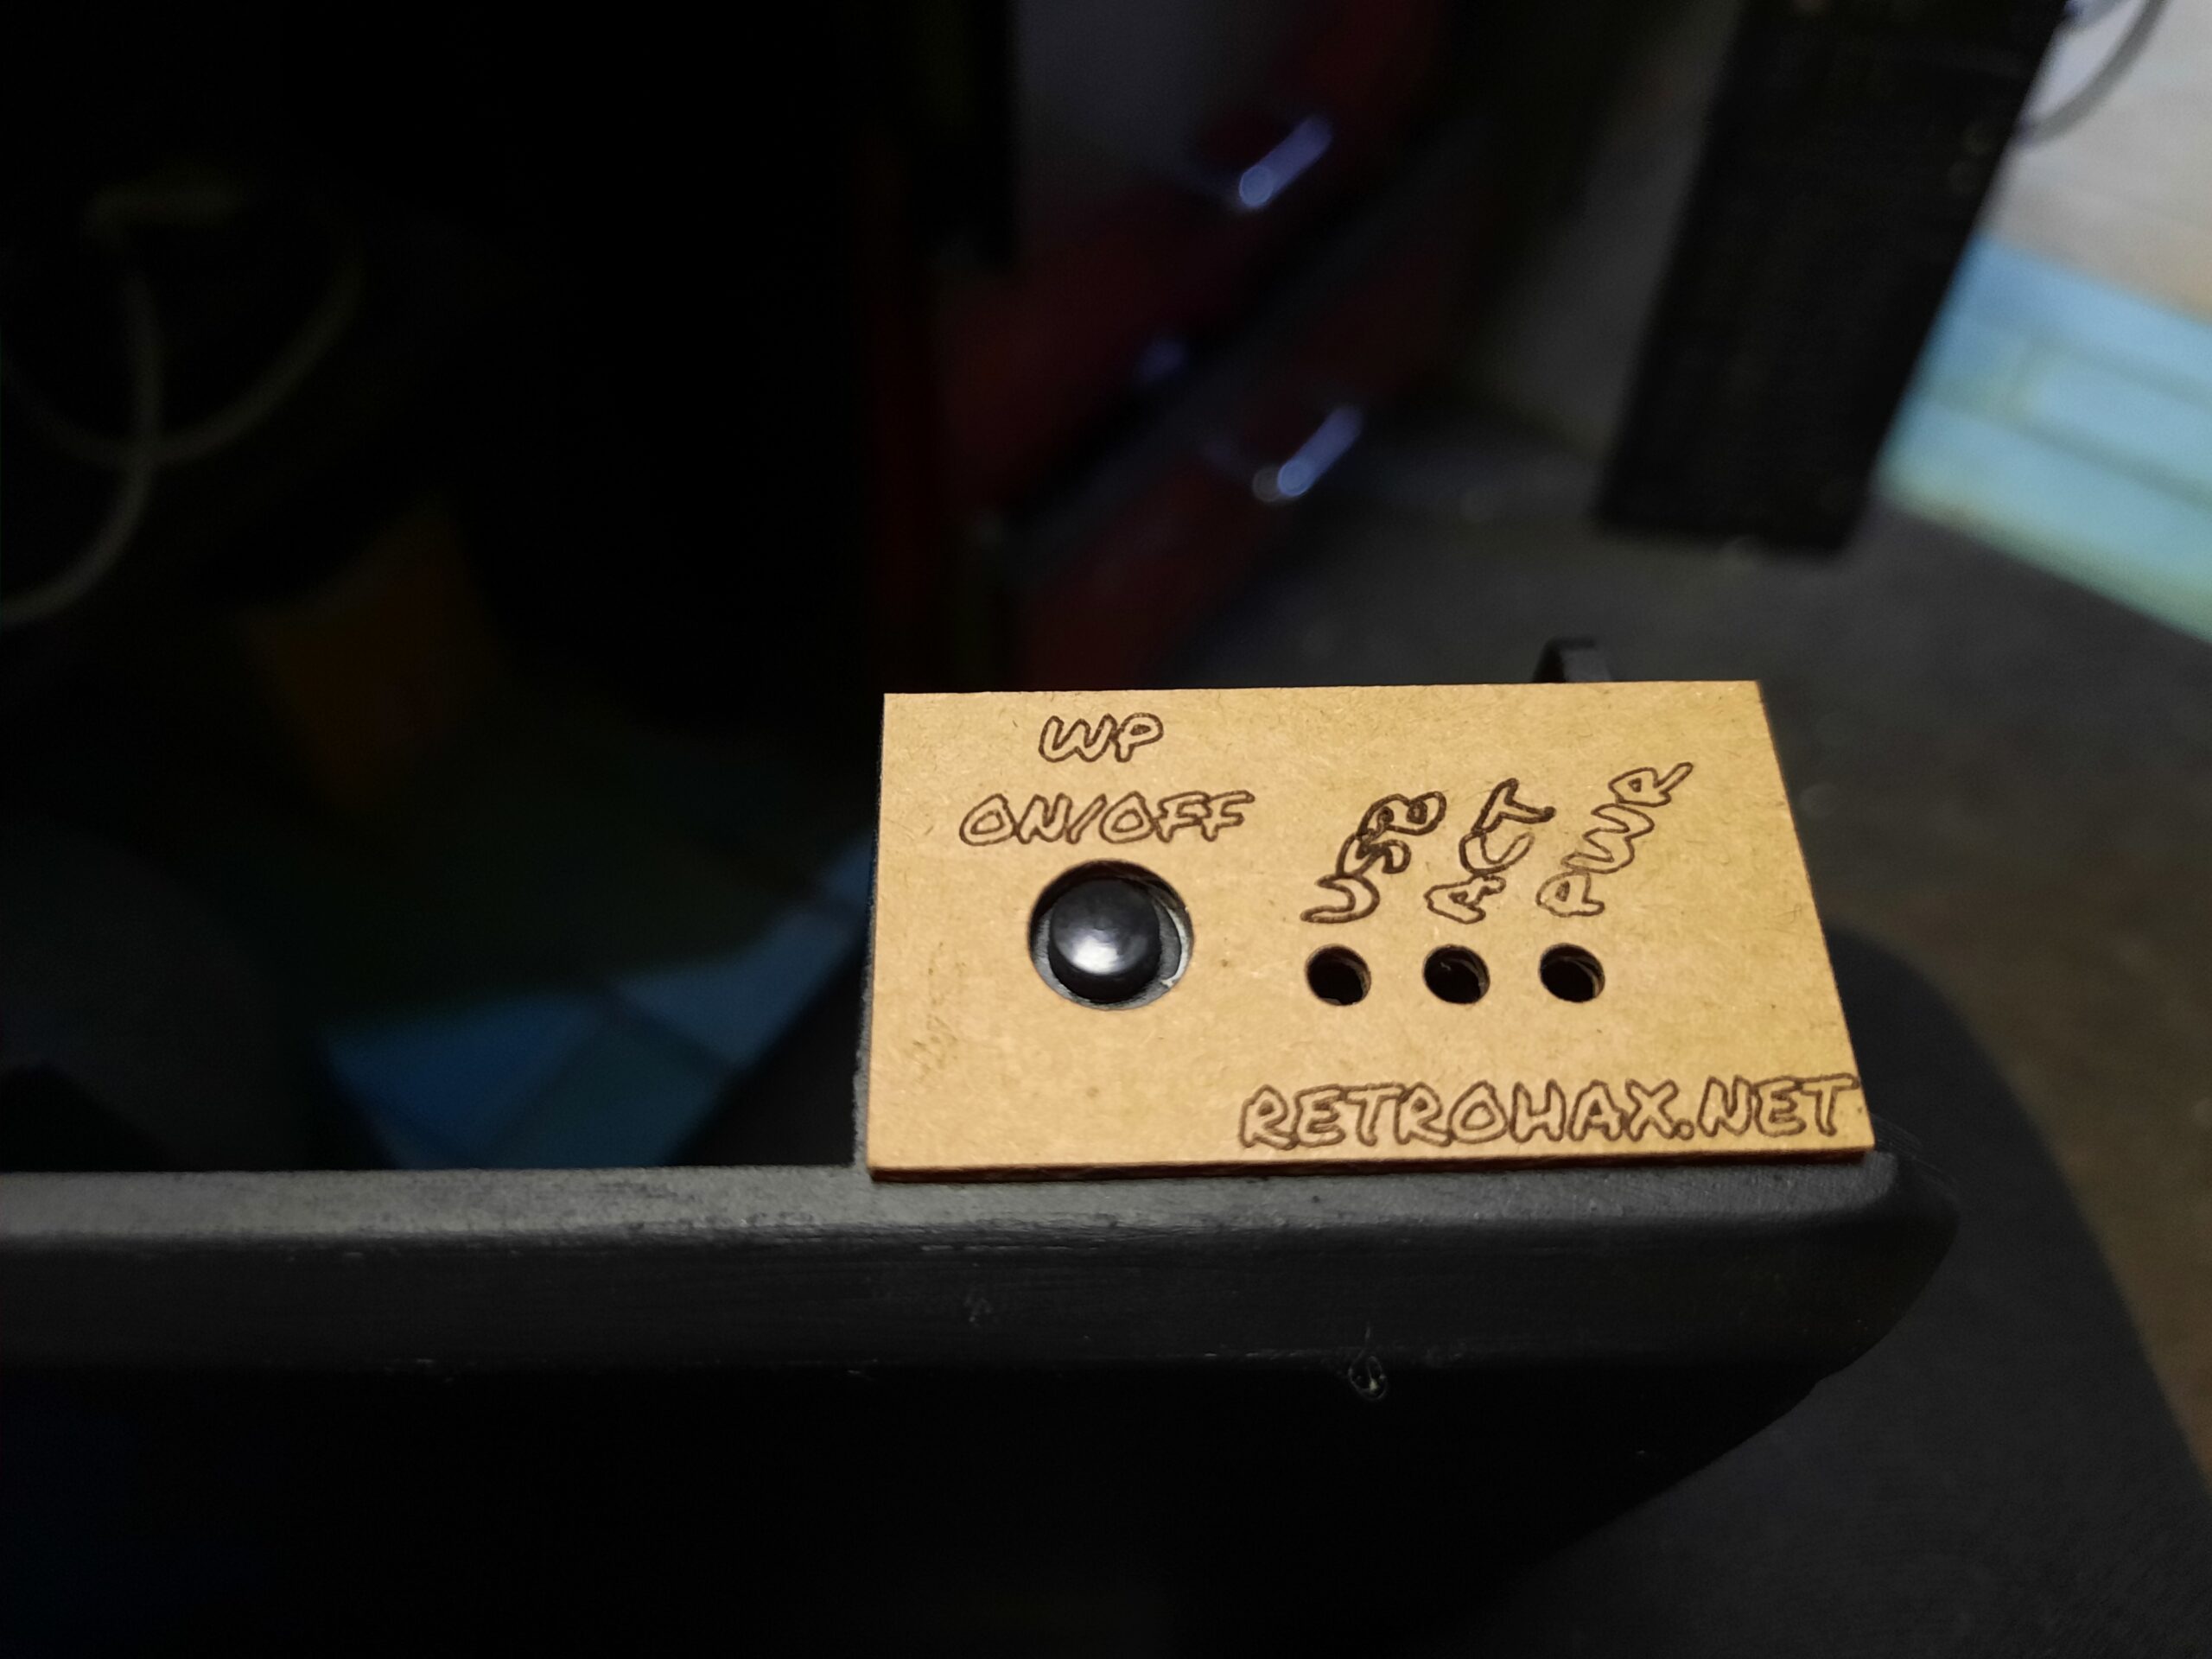
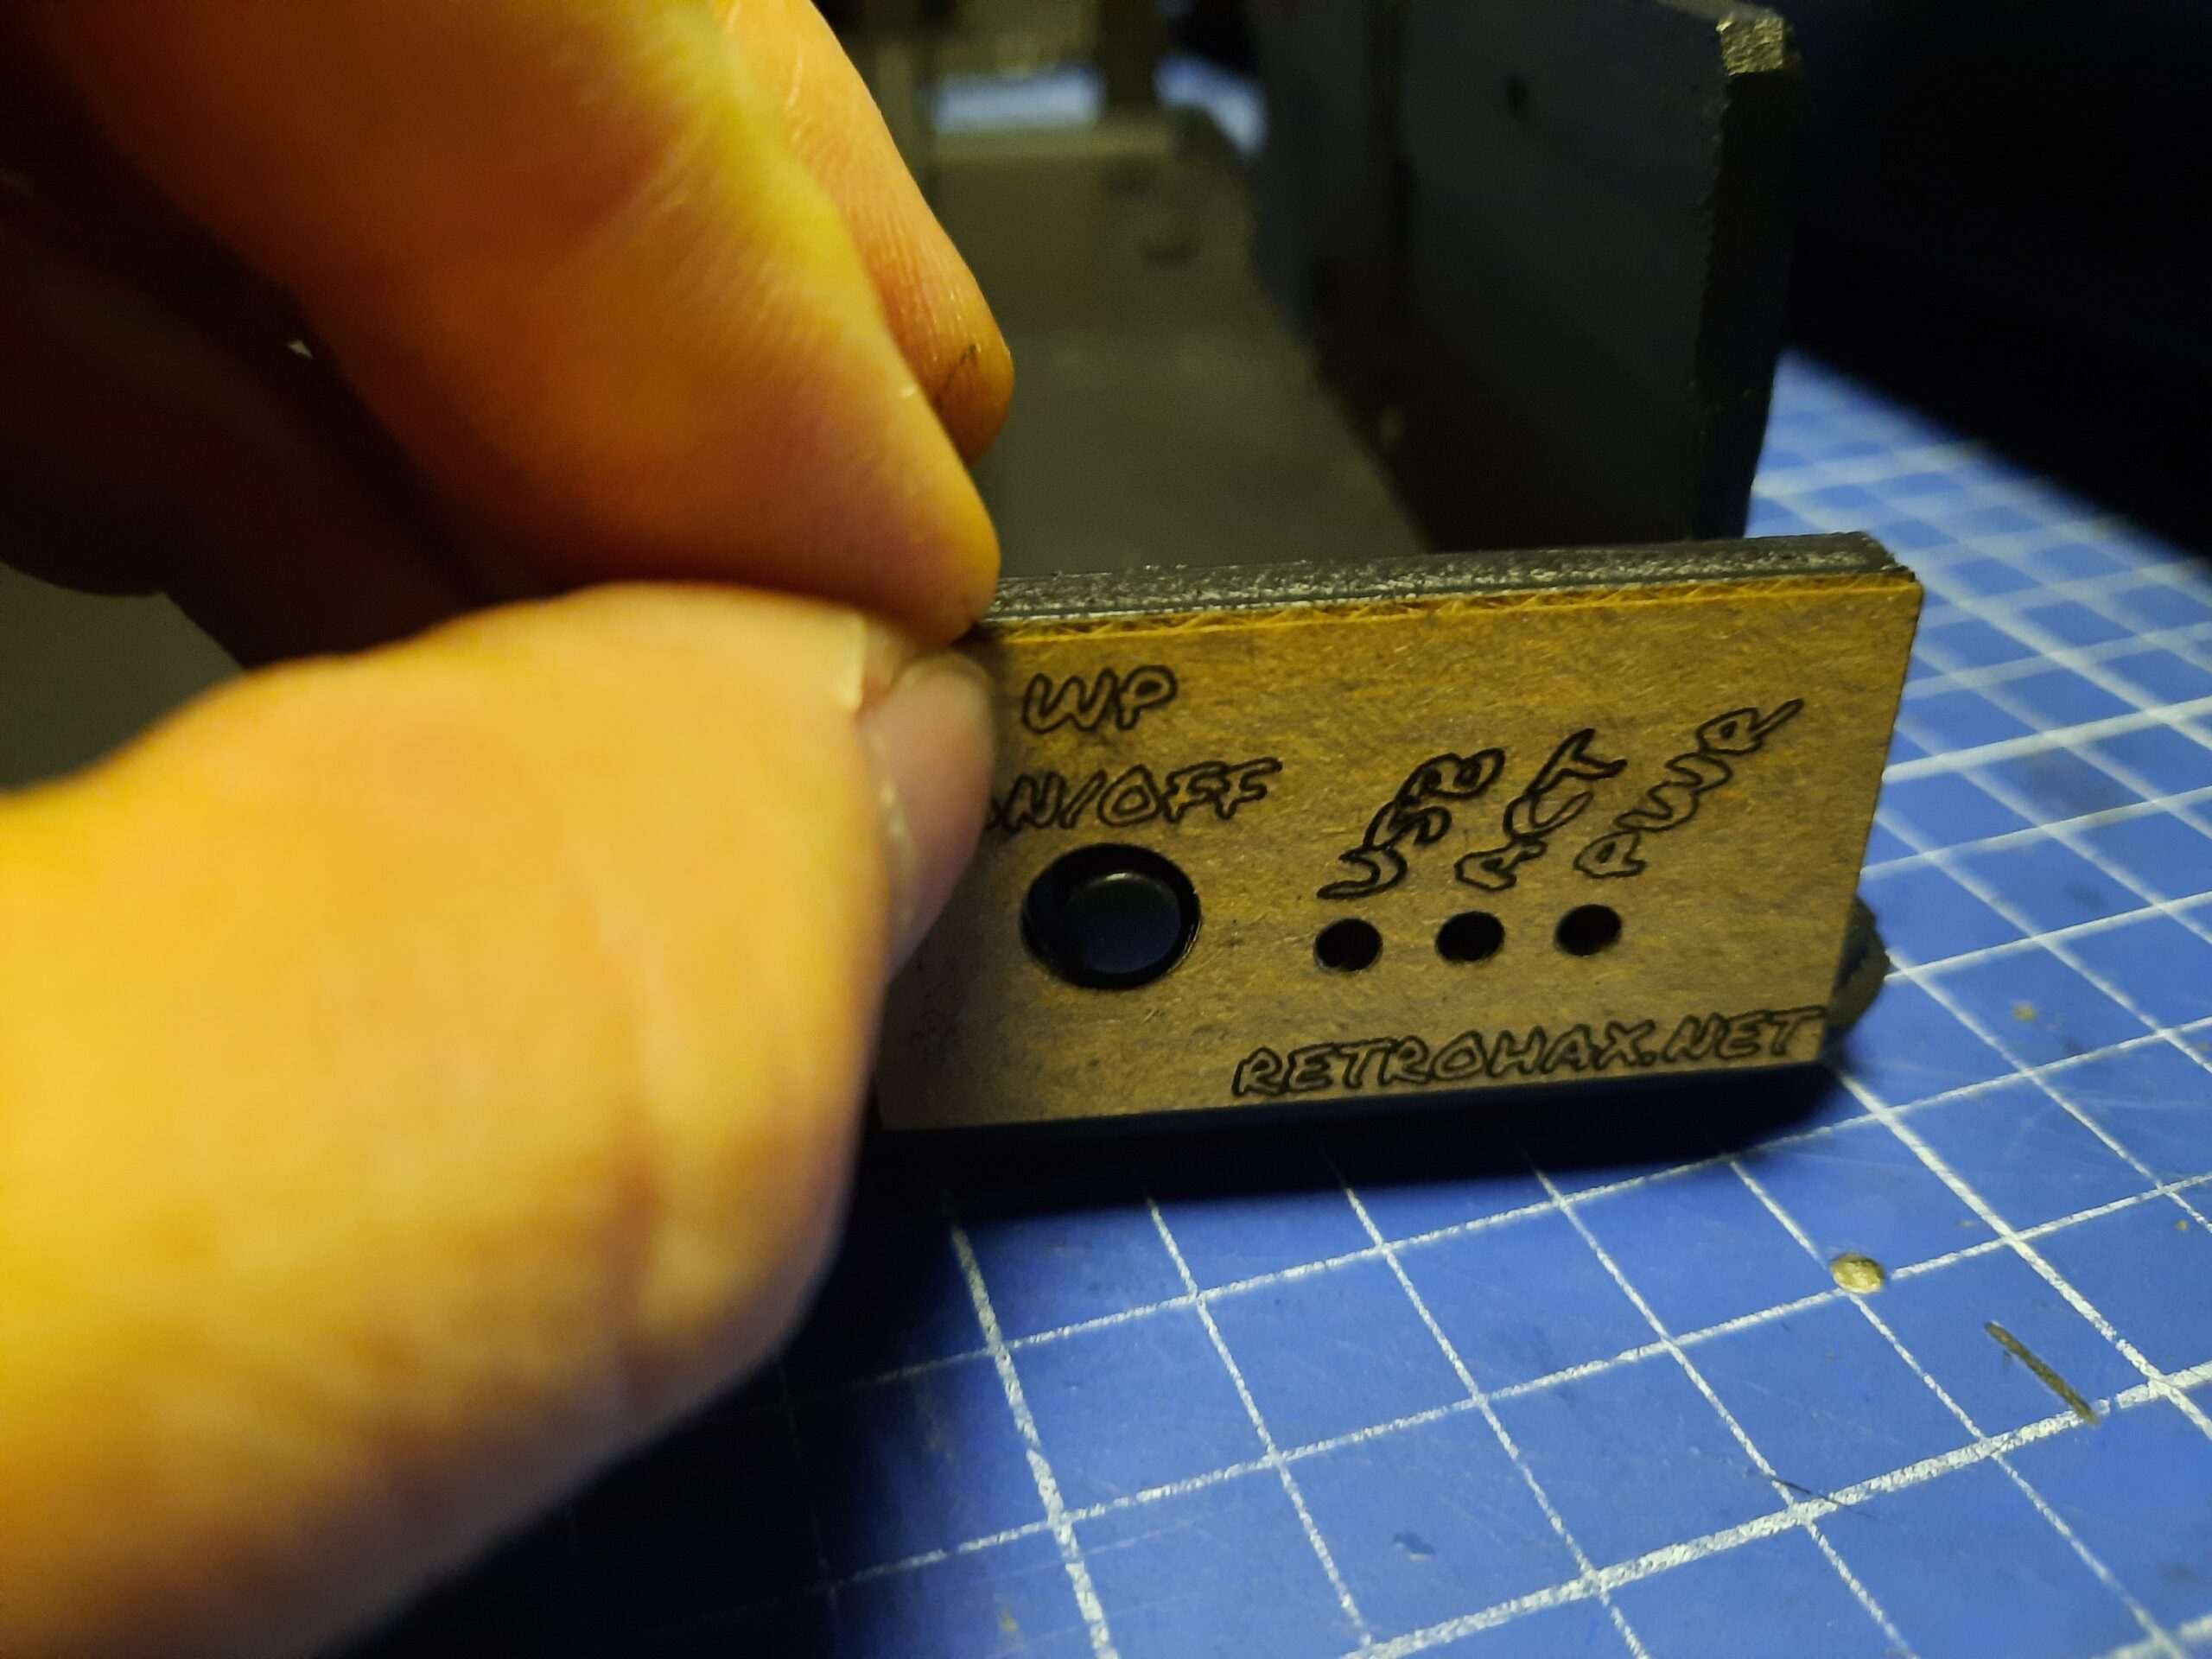
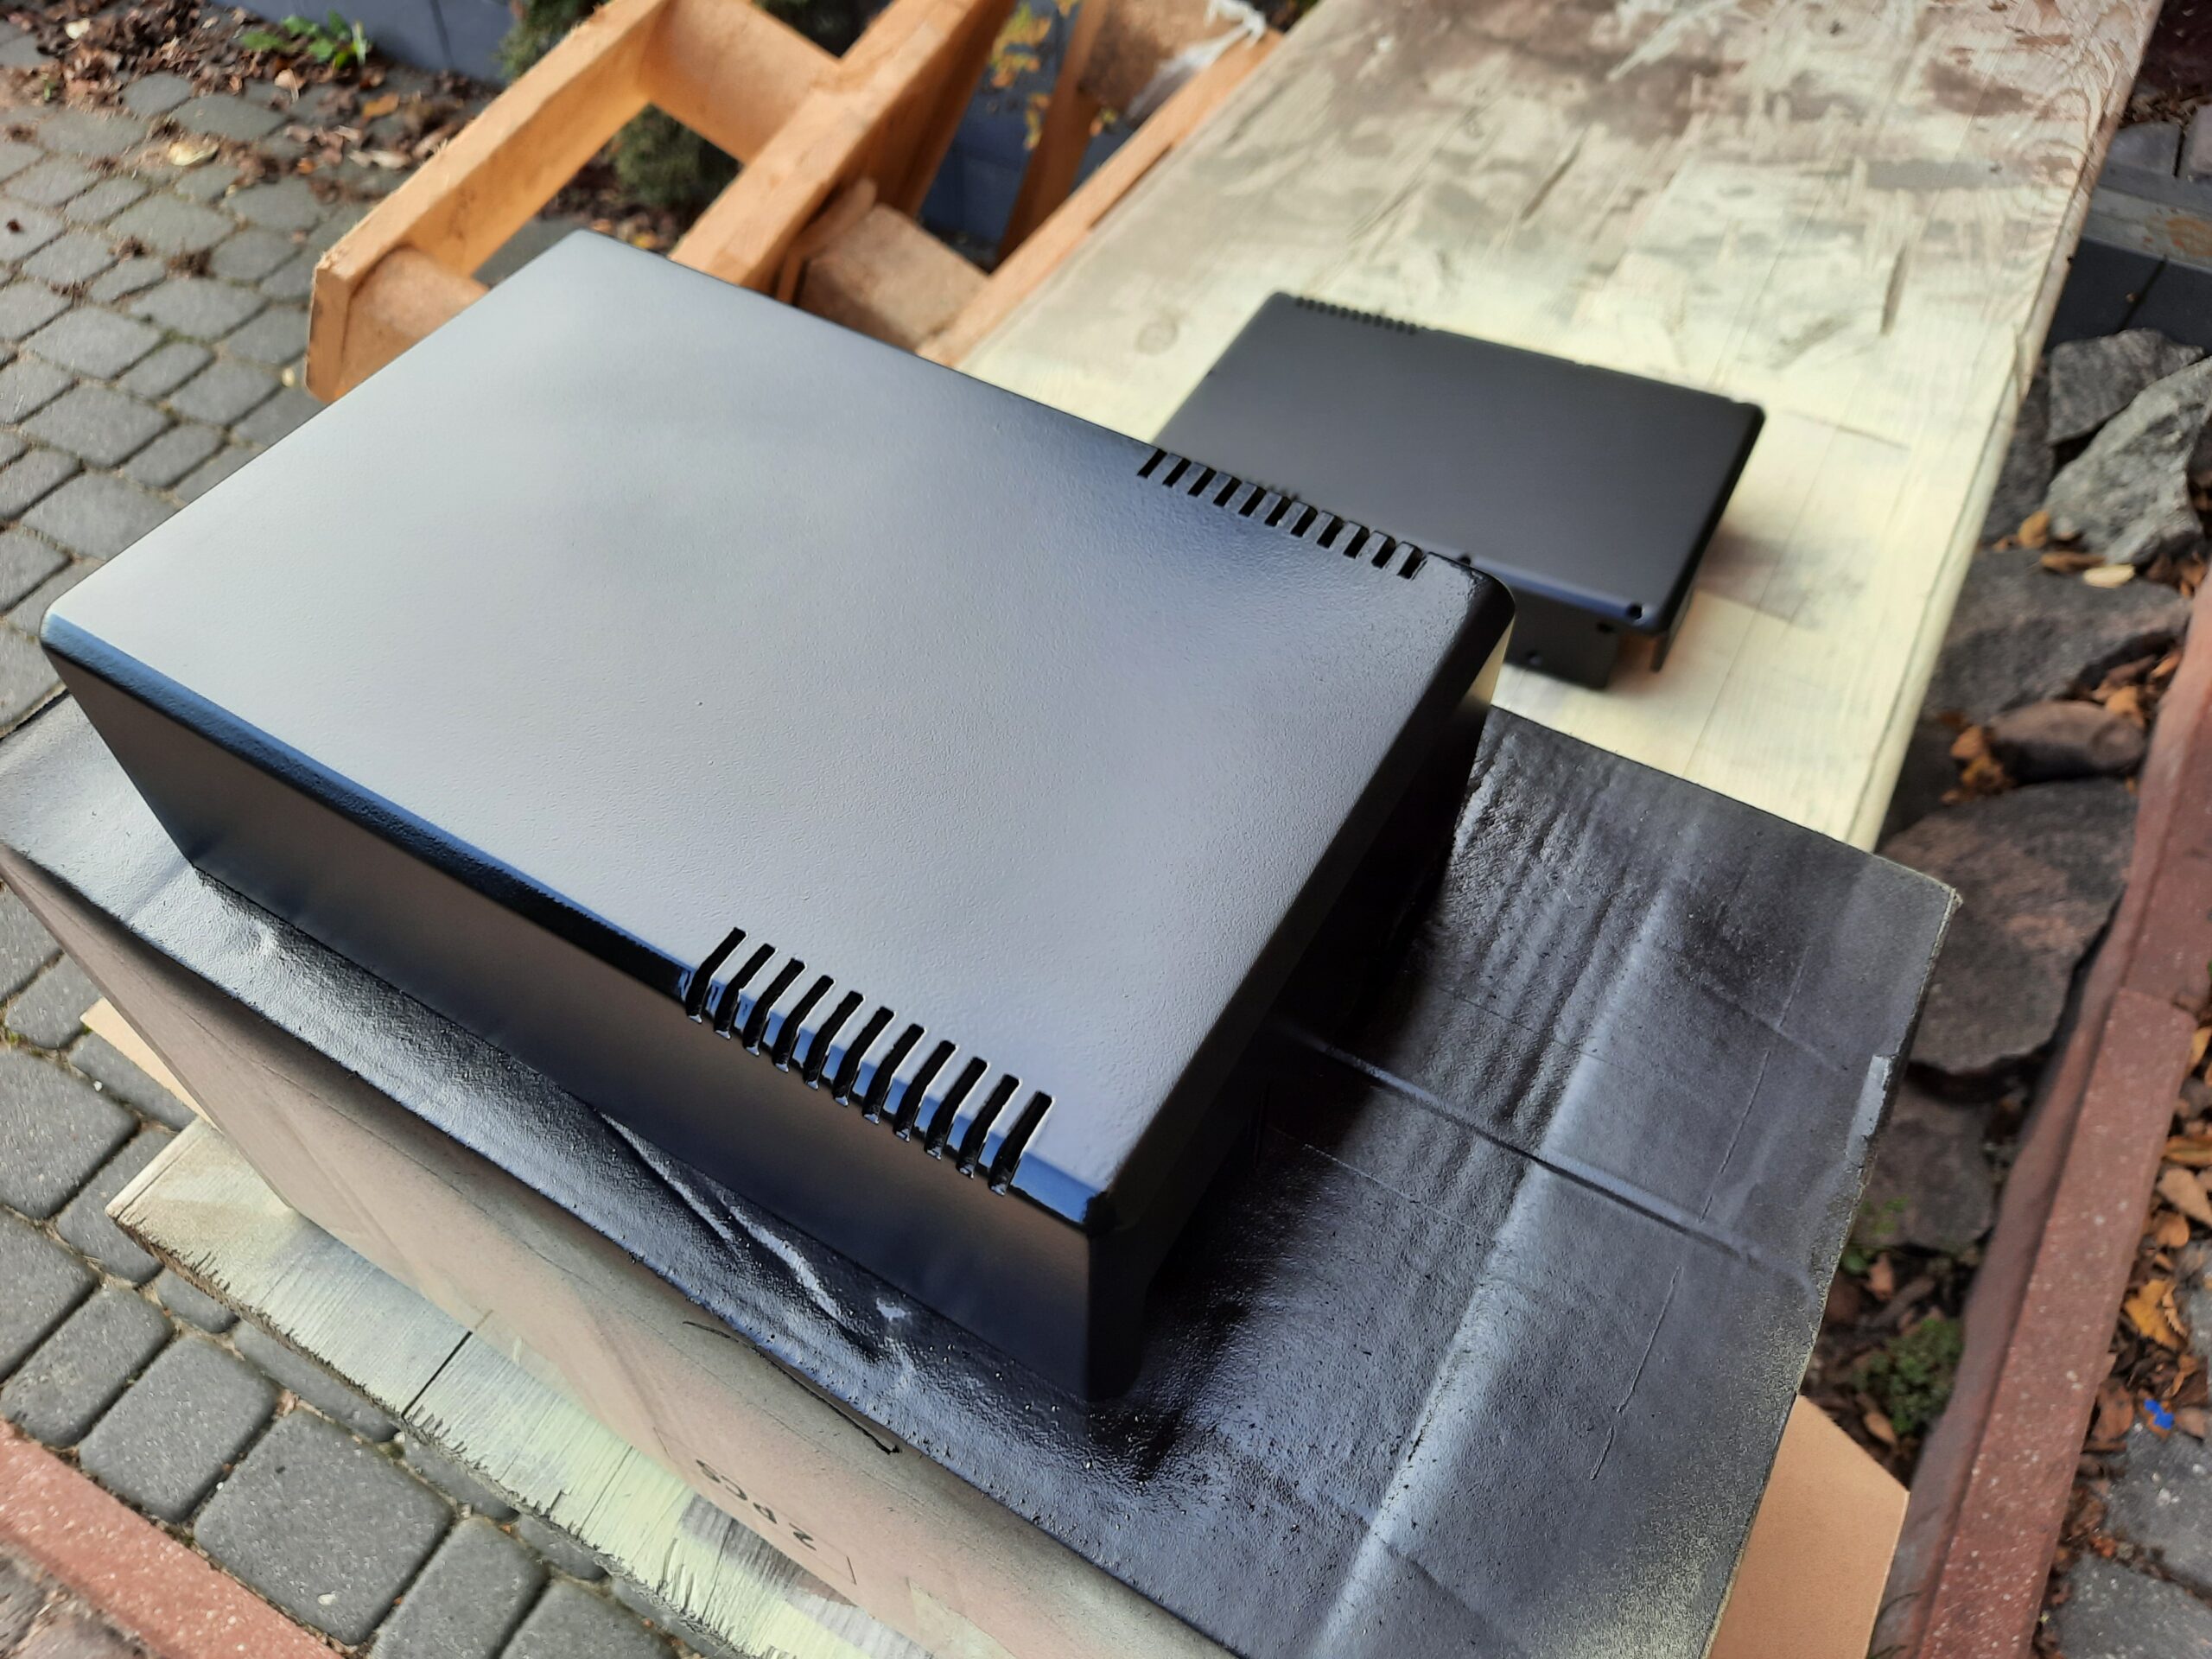
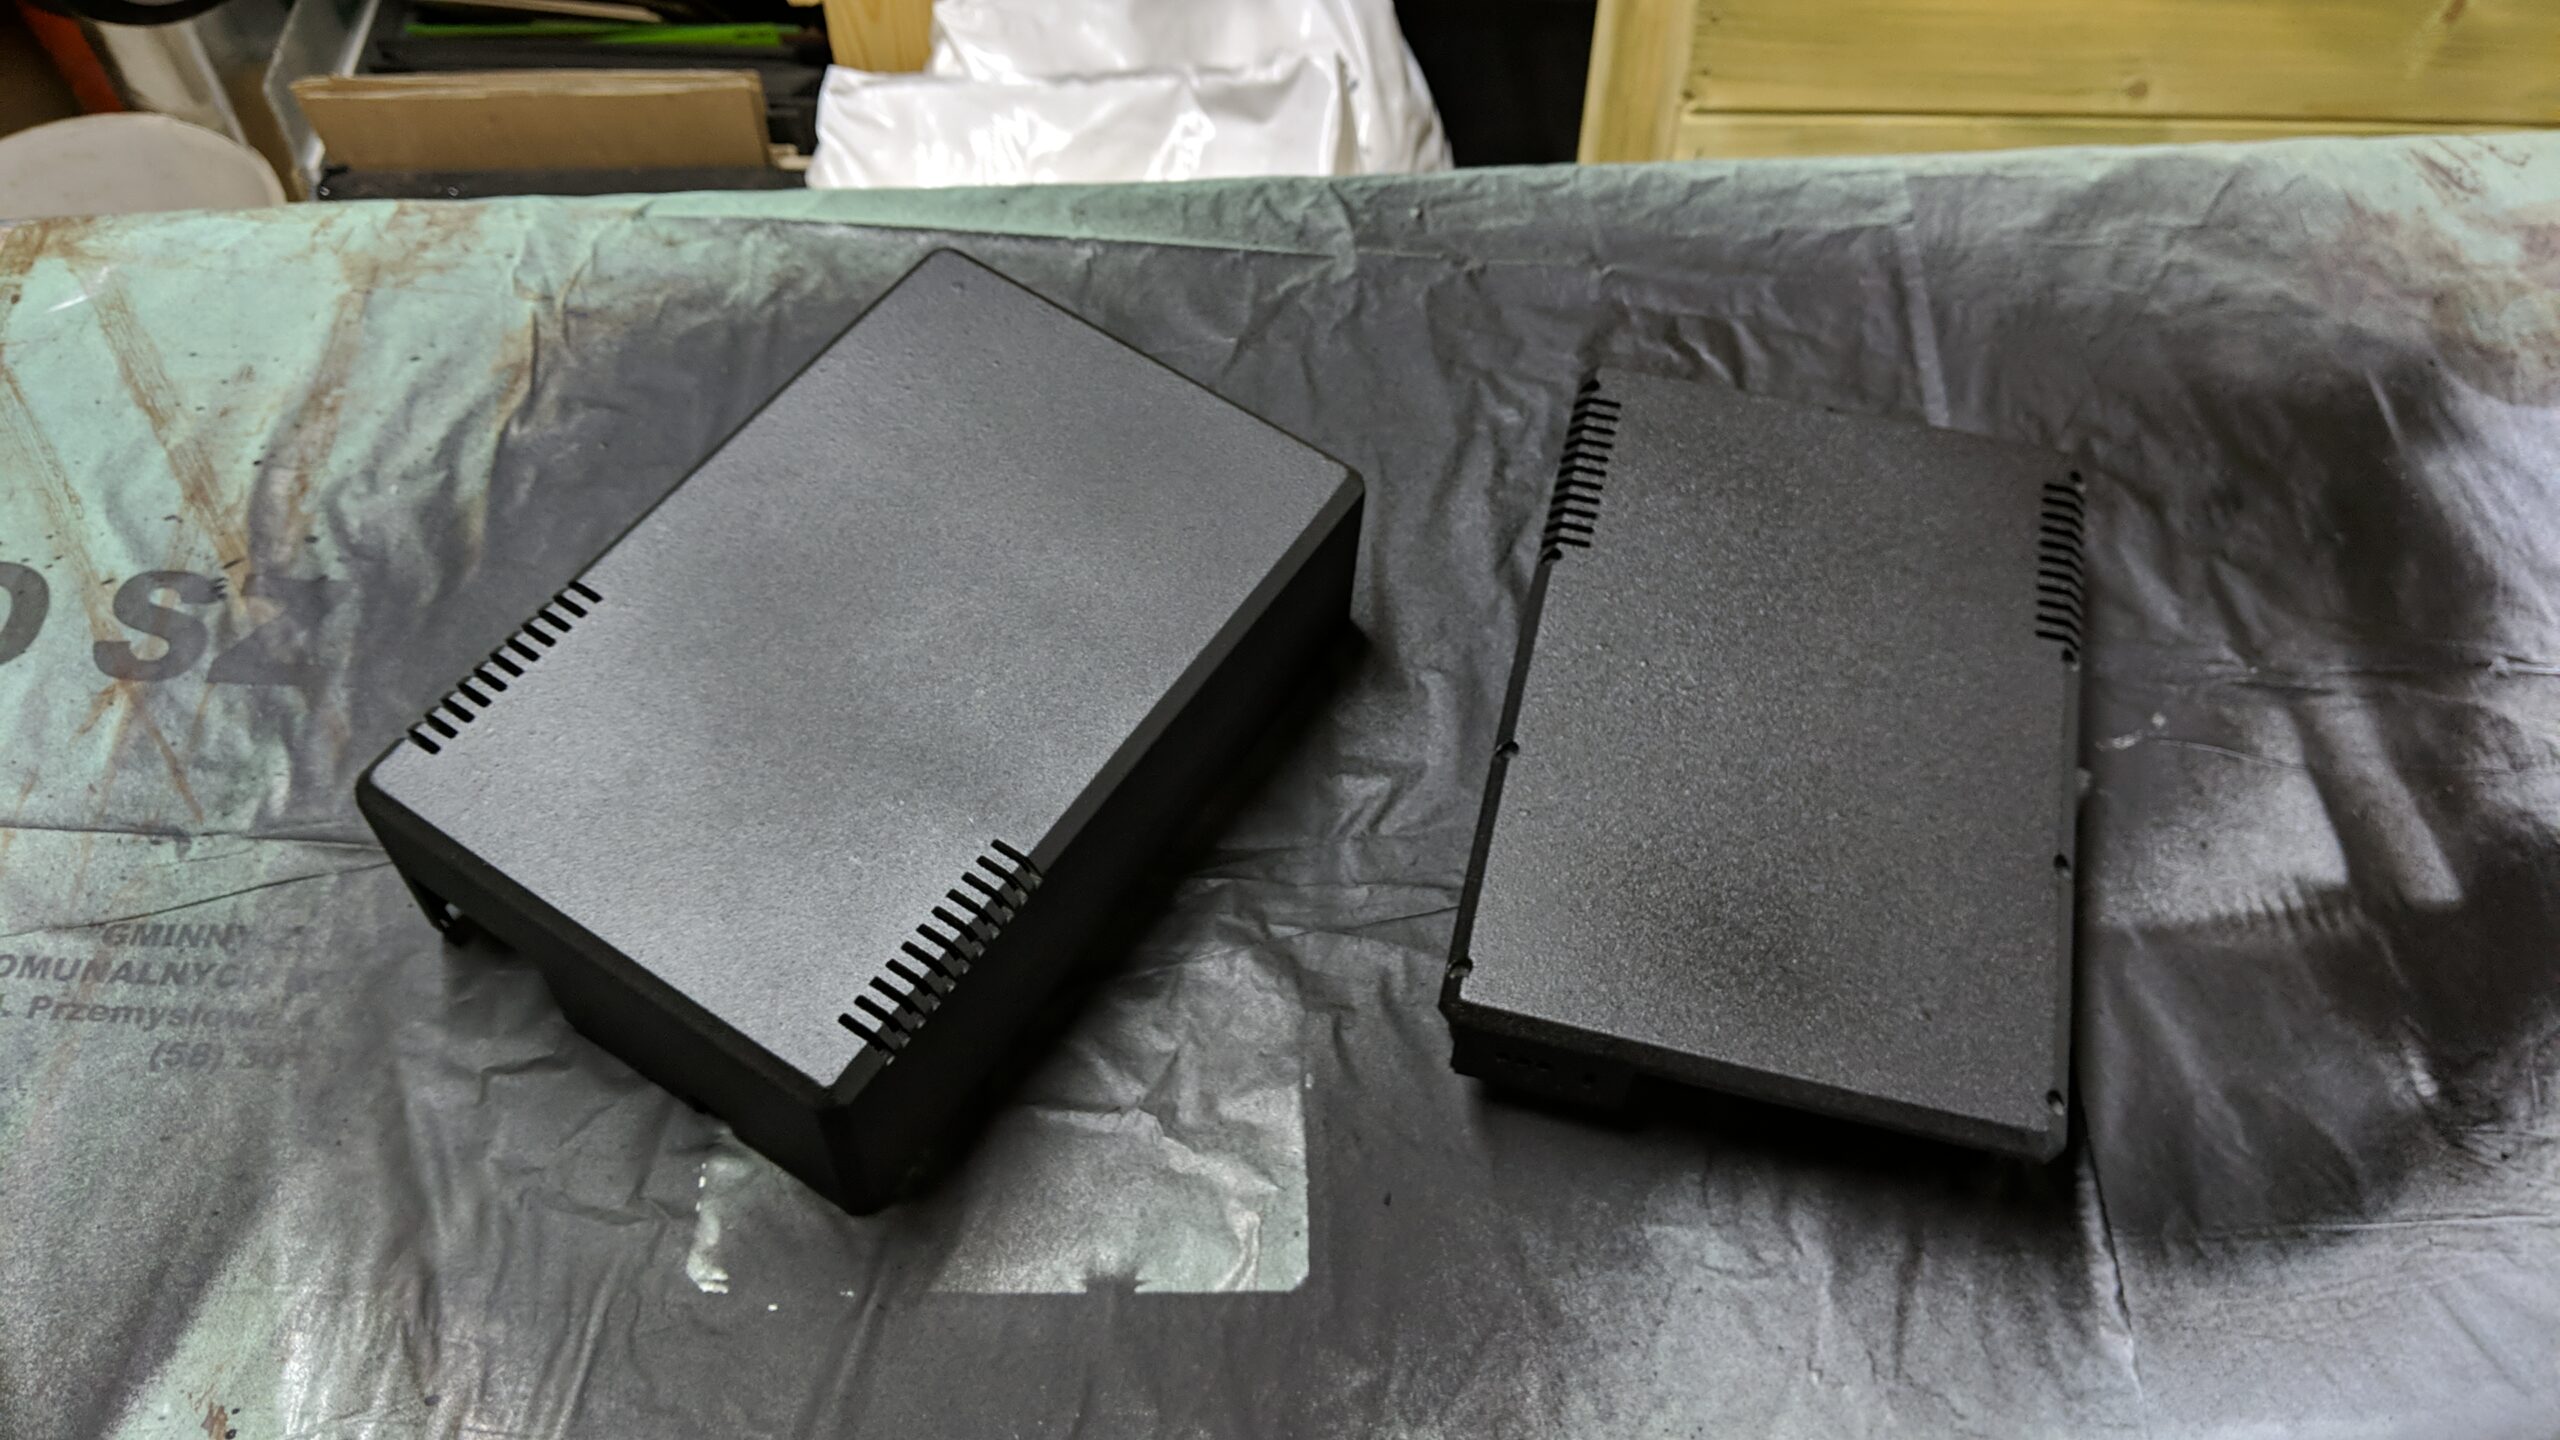
After several rounds of putty and sanding, I could cover it with black matt spray paint to be able to spot even more imperfections that required a fix, but meanwhile, I could start working on a laser-cut face plate. I’ve made a cardboard prototype as usual.
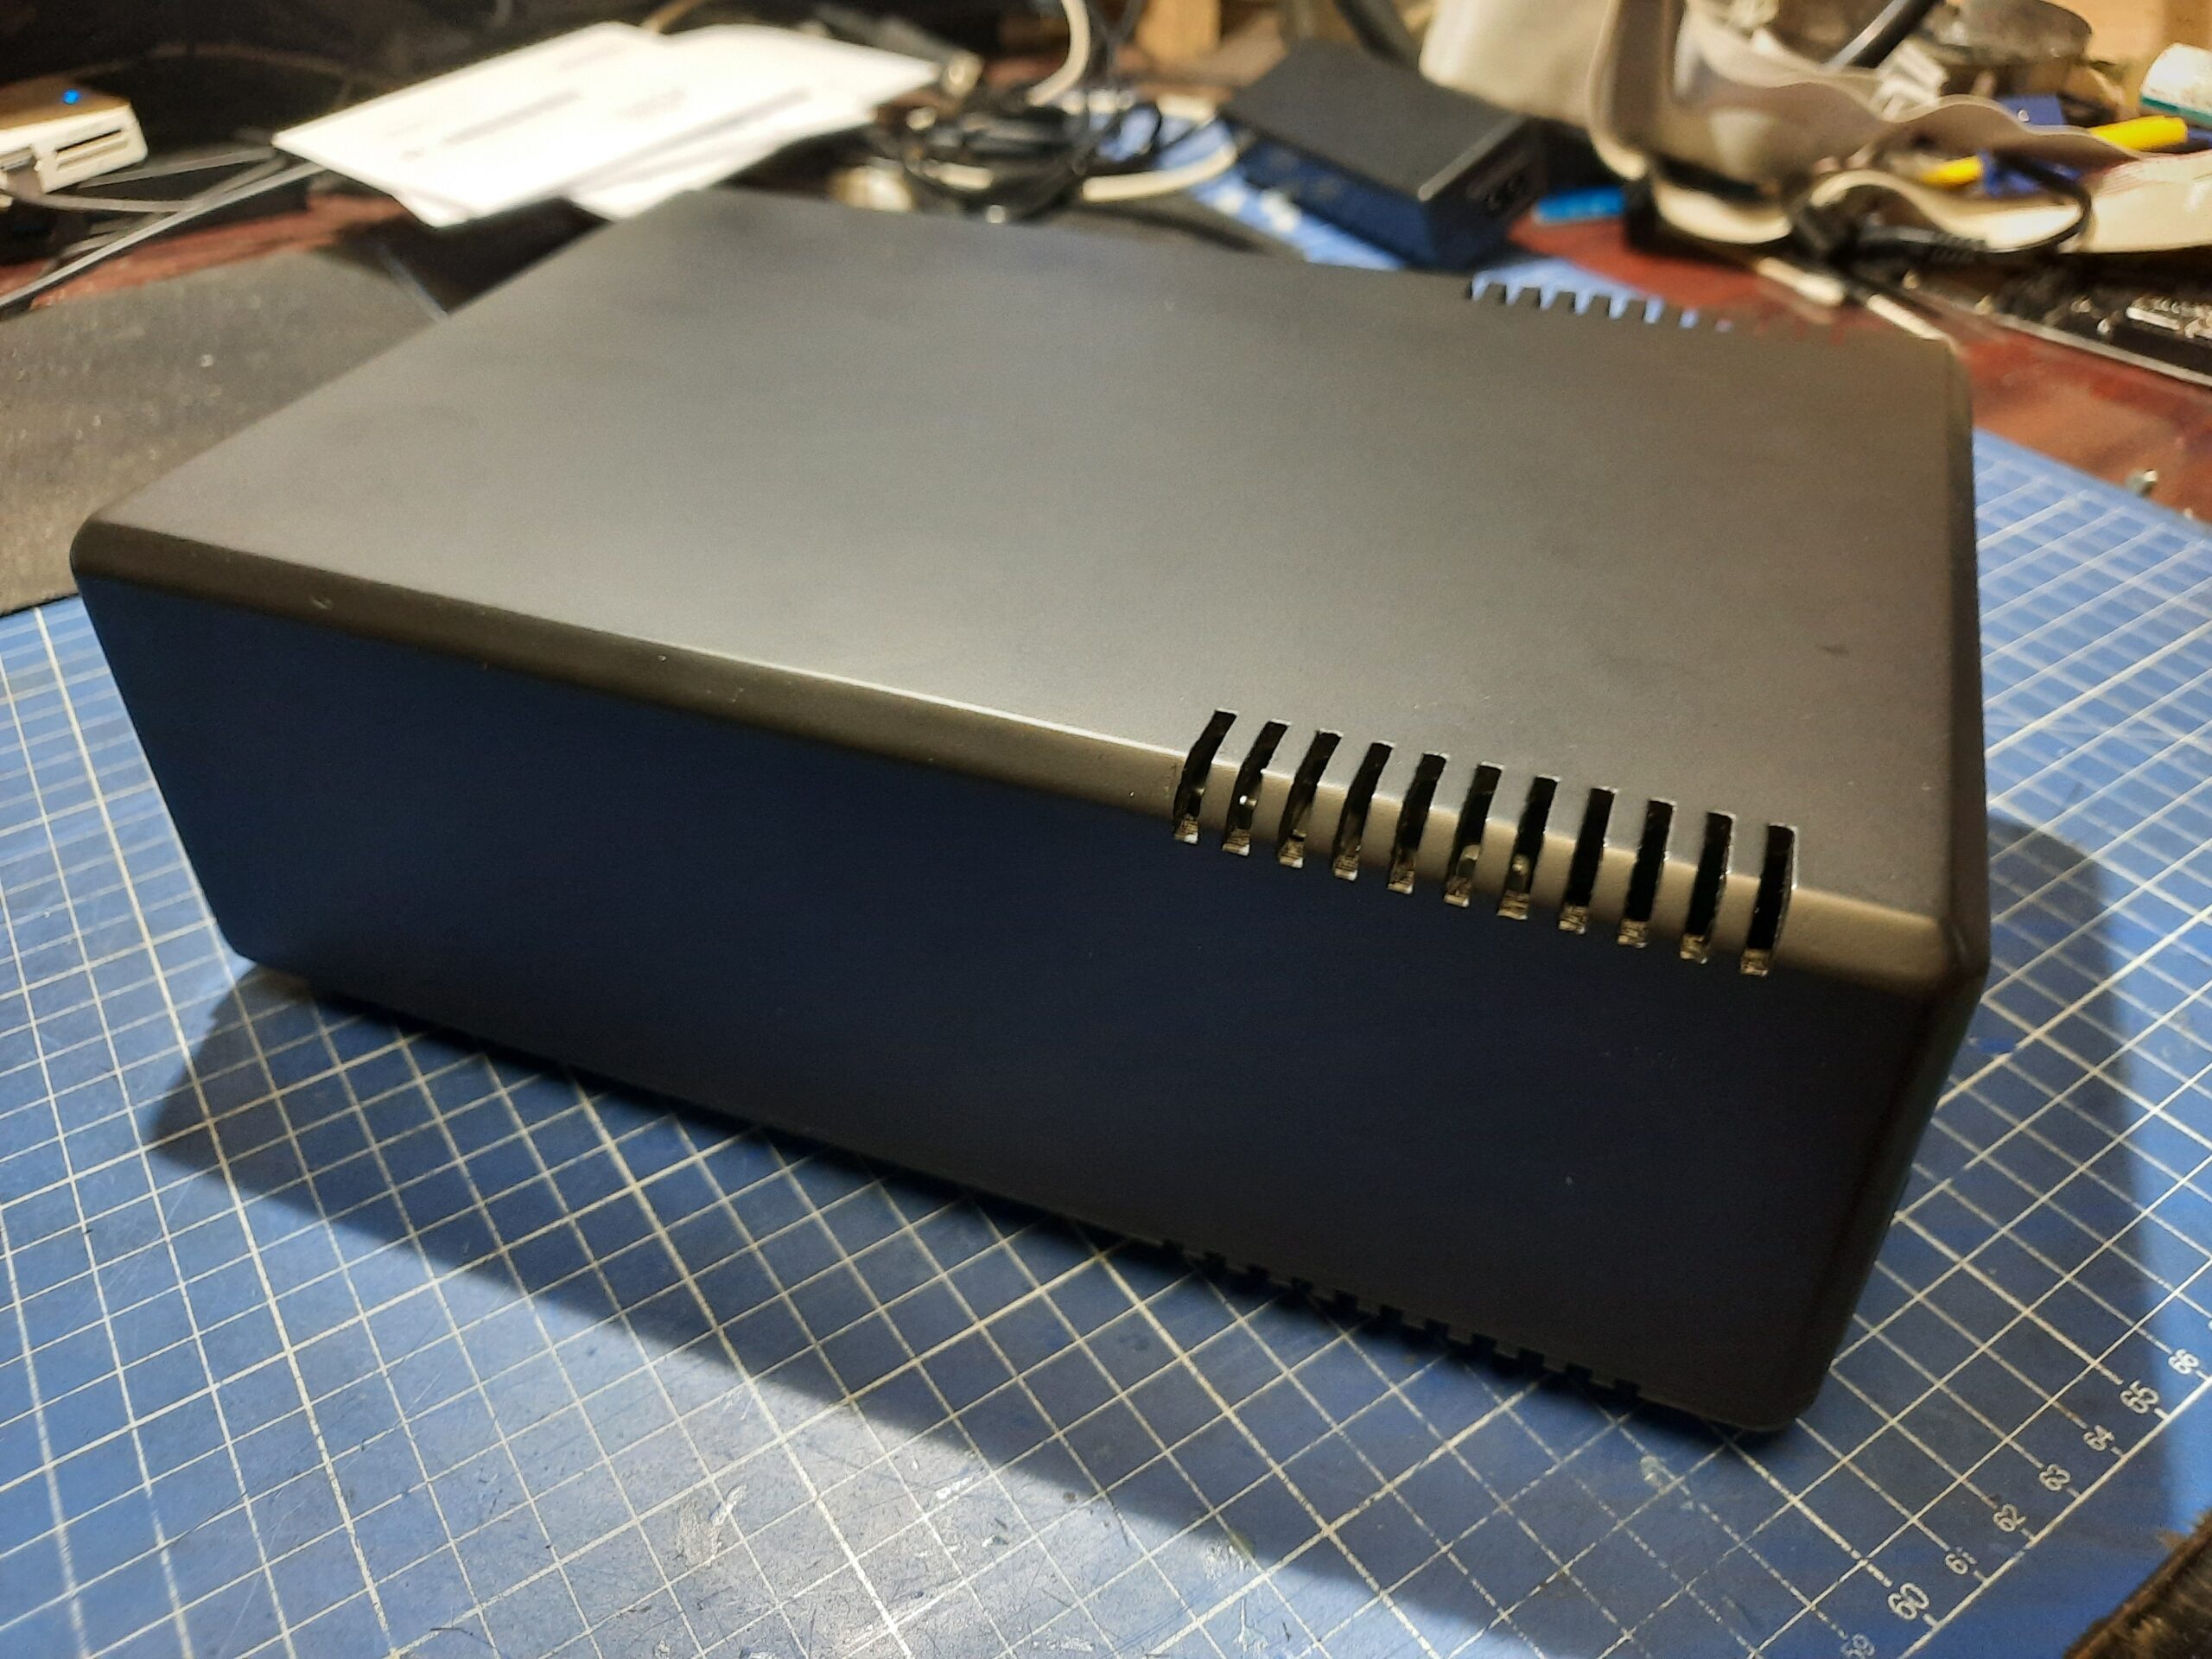
Finishing up the first case
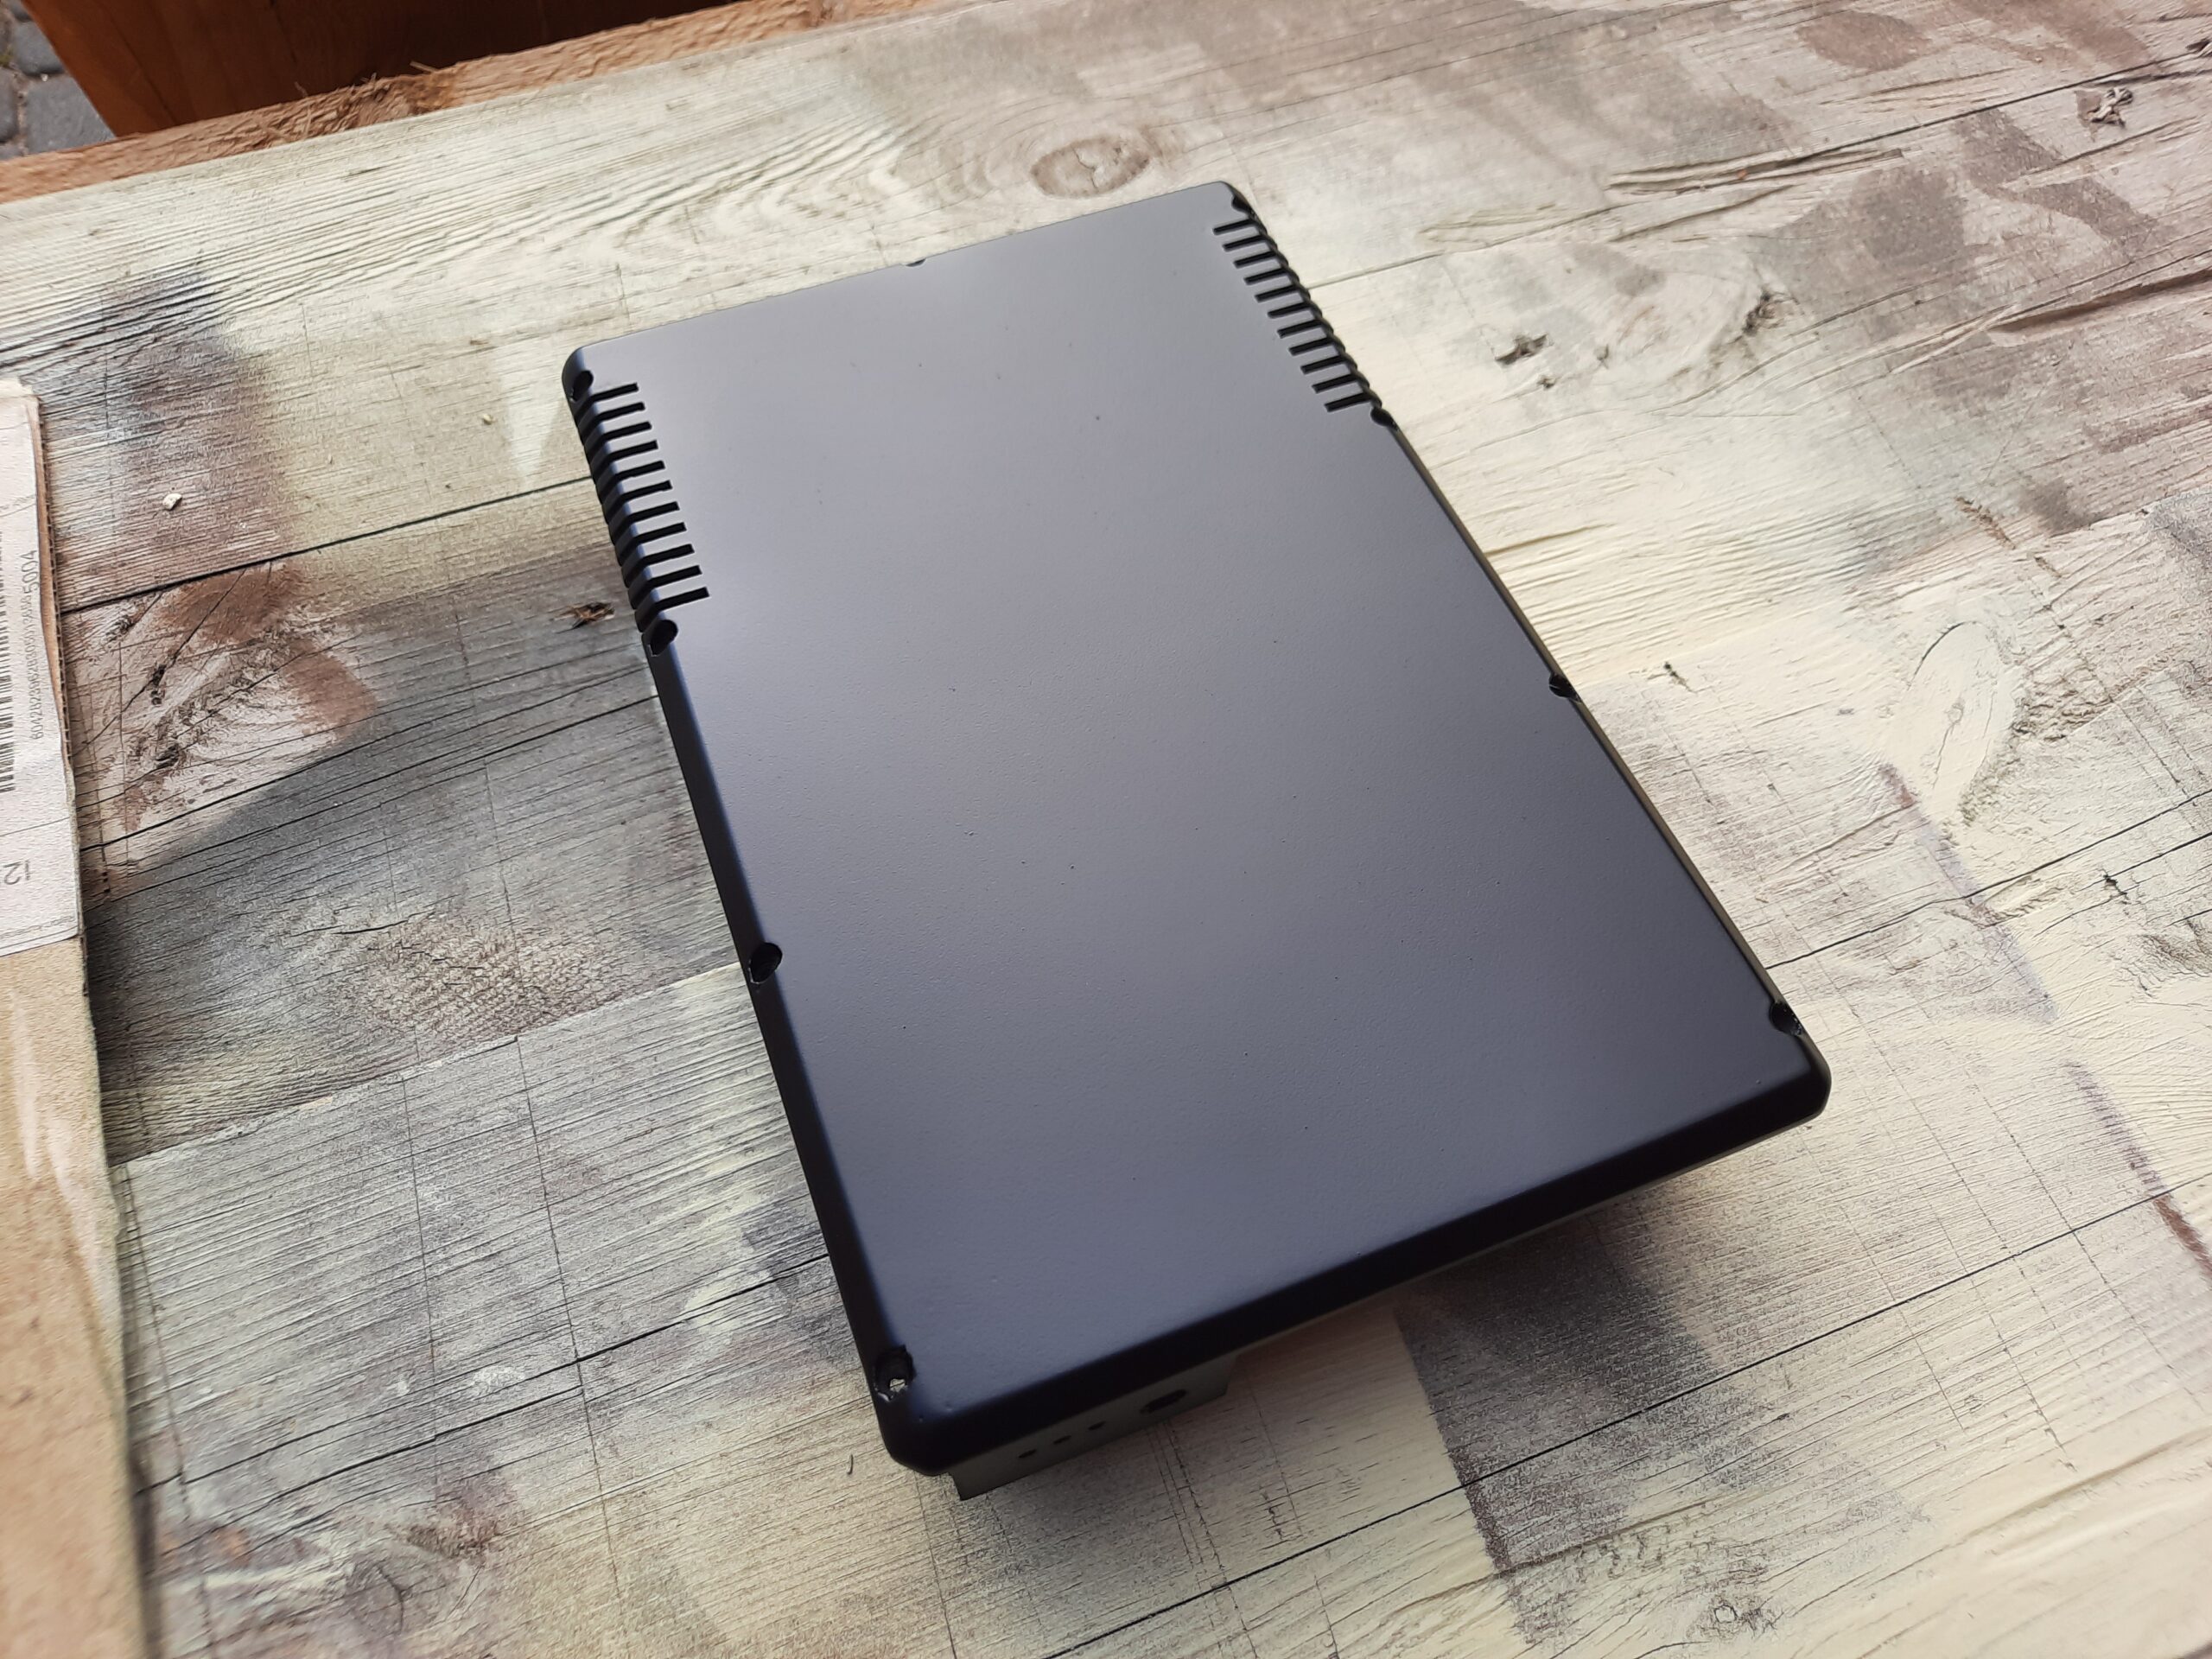
While I was working on the face plate, the putty cured and I was able to sand it further off and then cover it with a black matt finish.

Meanwhile, I’ve laser-cut a face plate out of acrylic.

There were some fuckups that I left for fixing later.
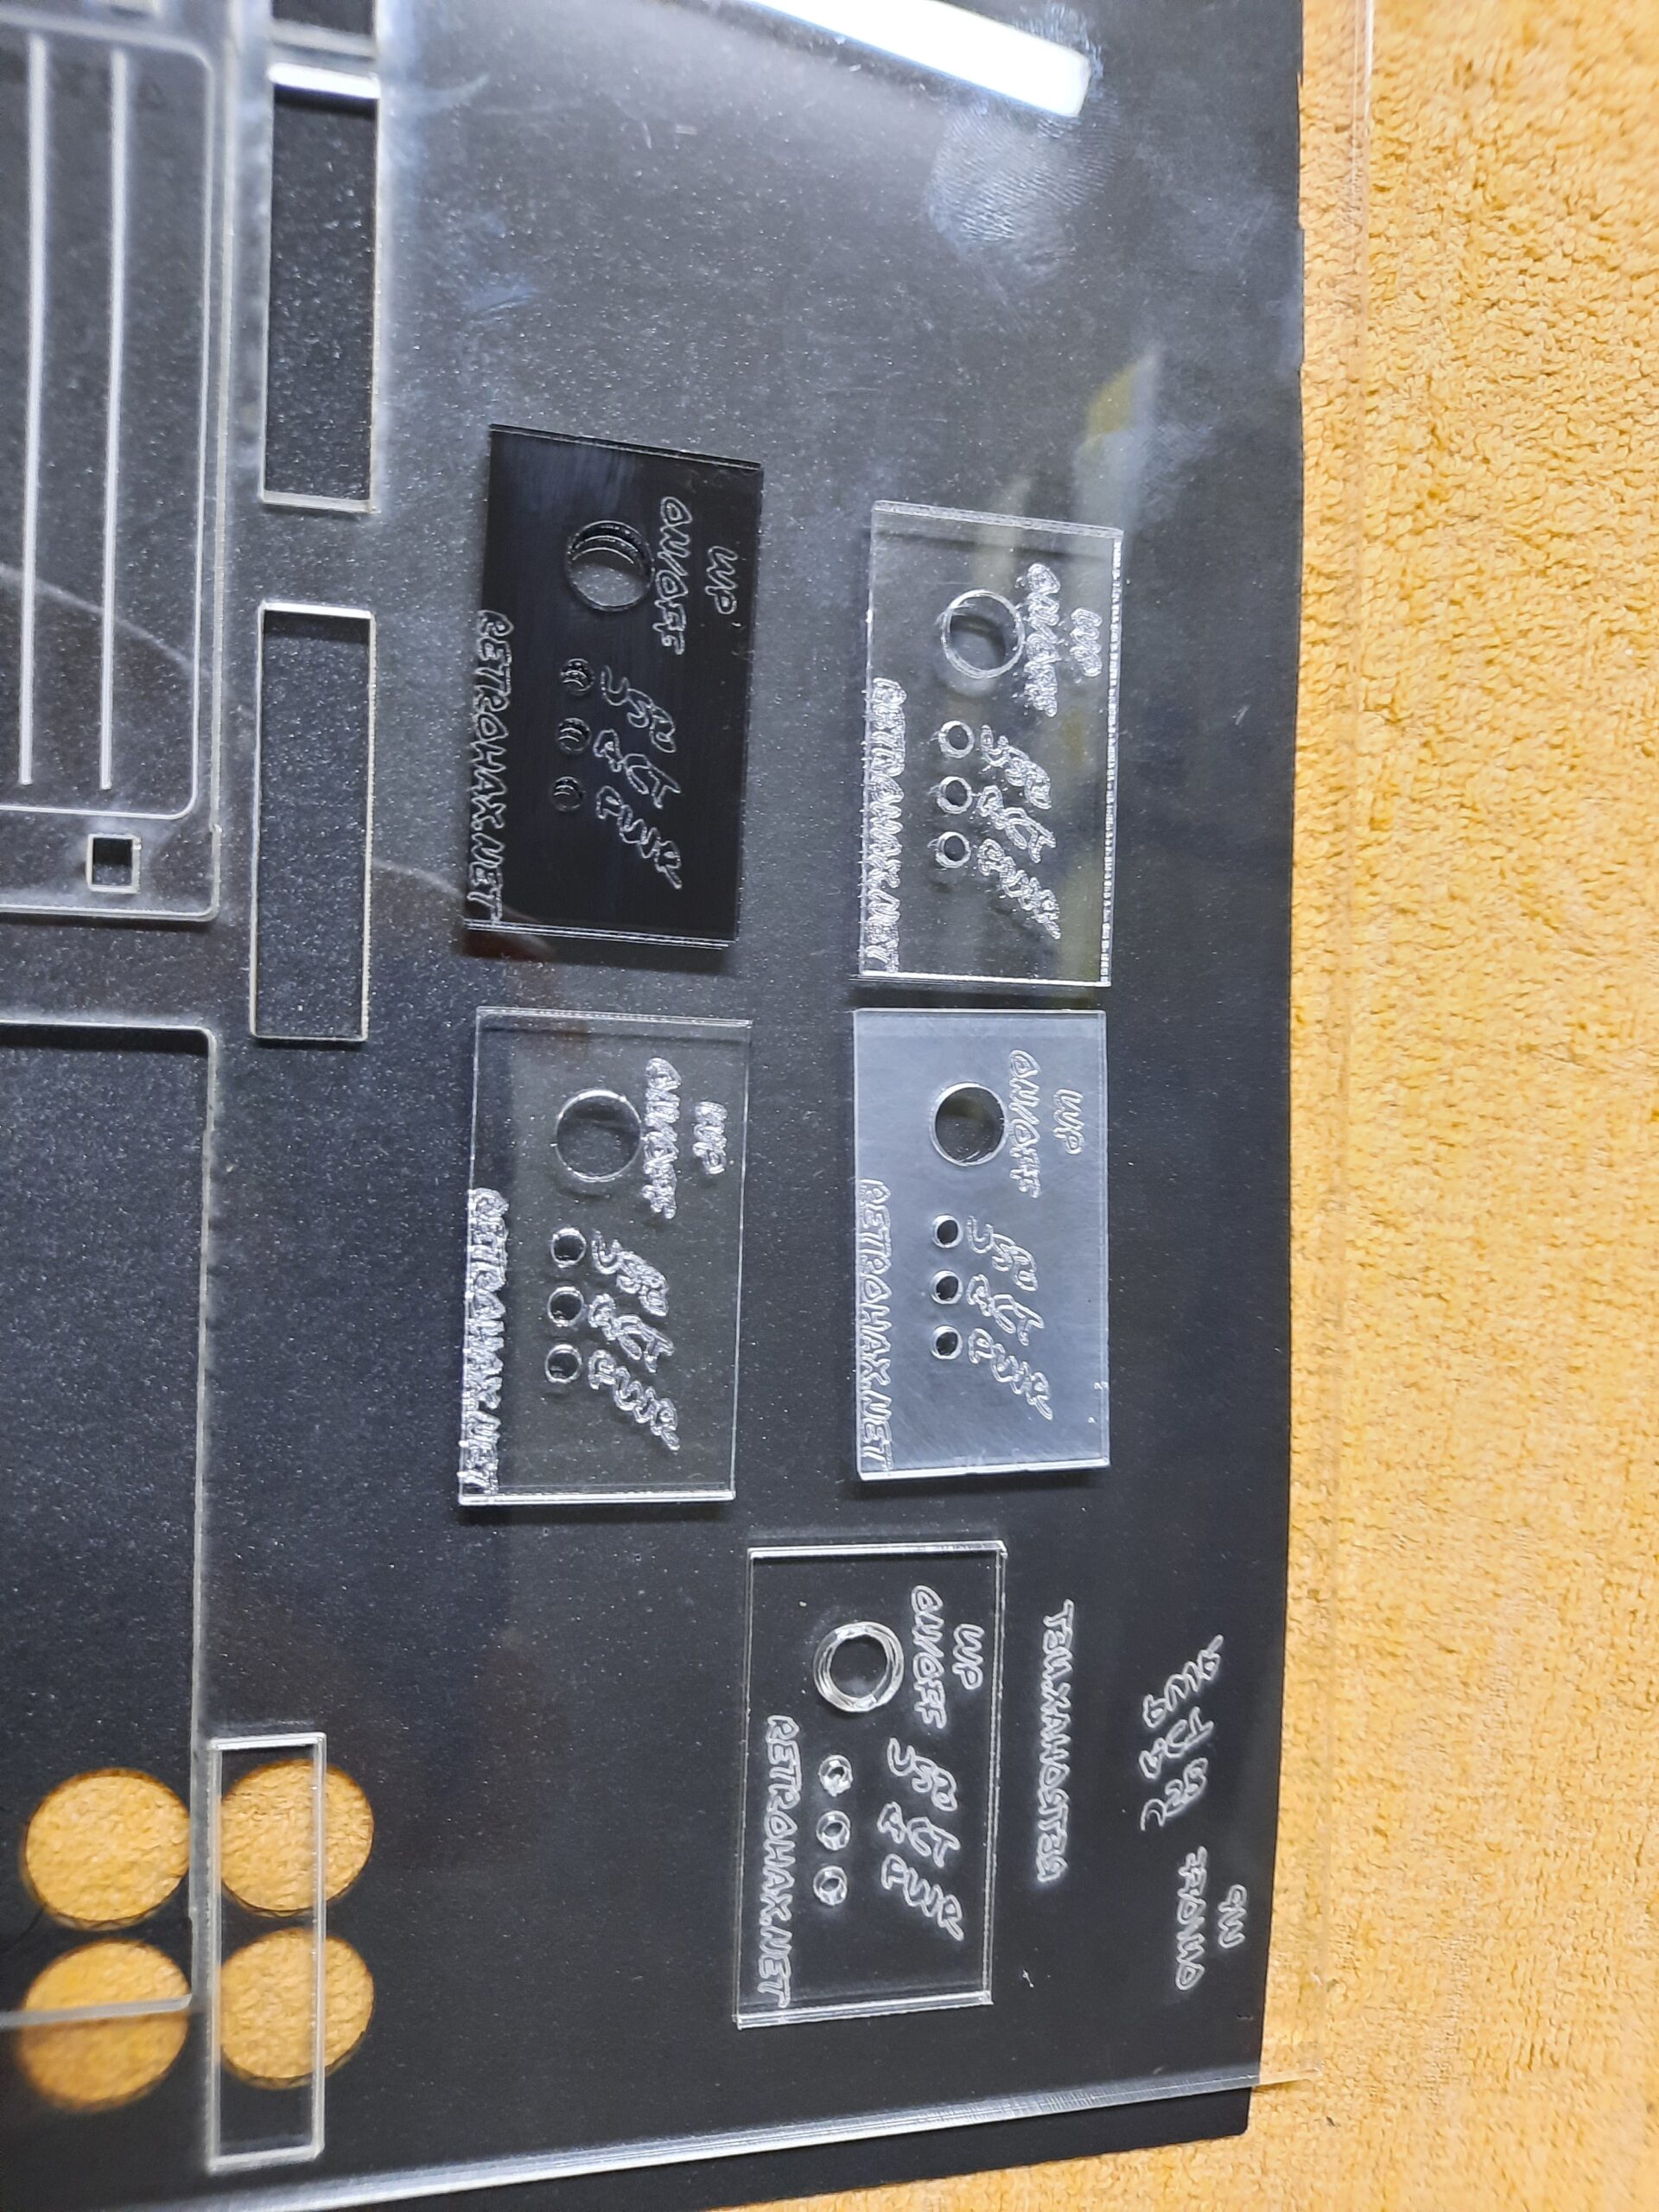
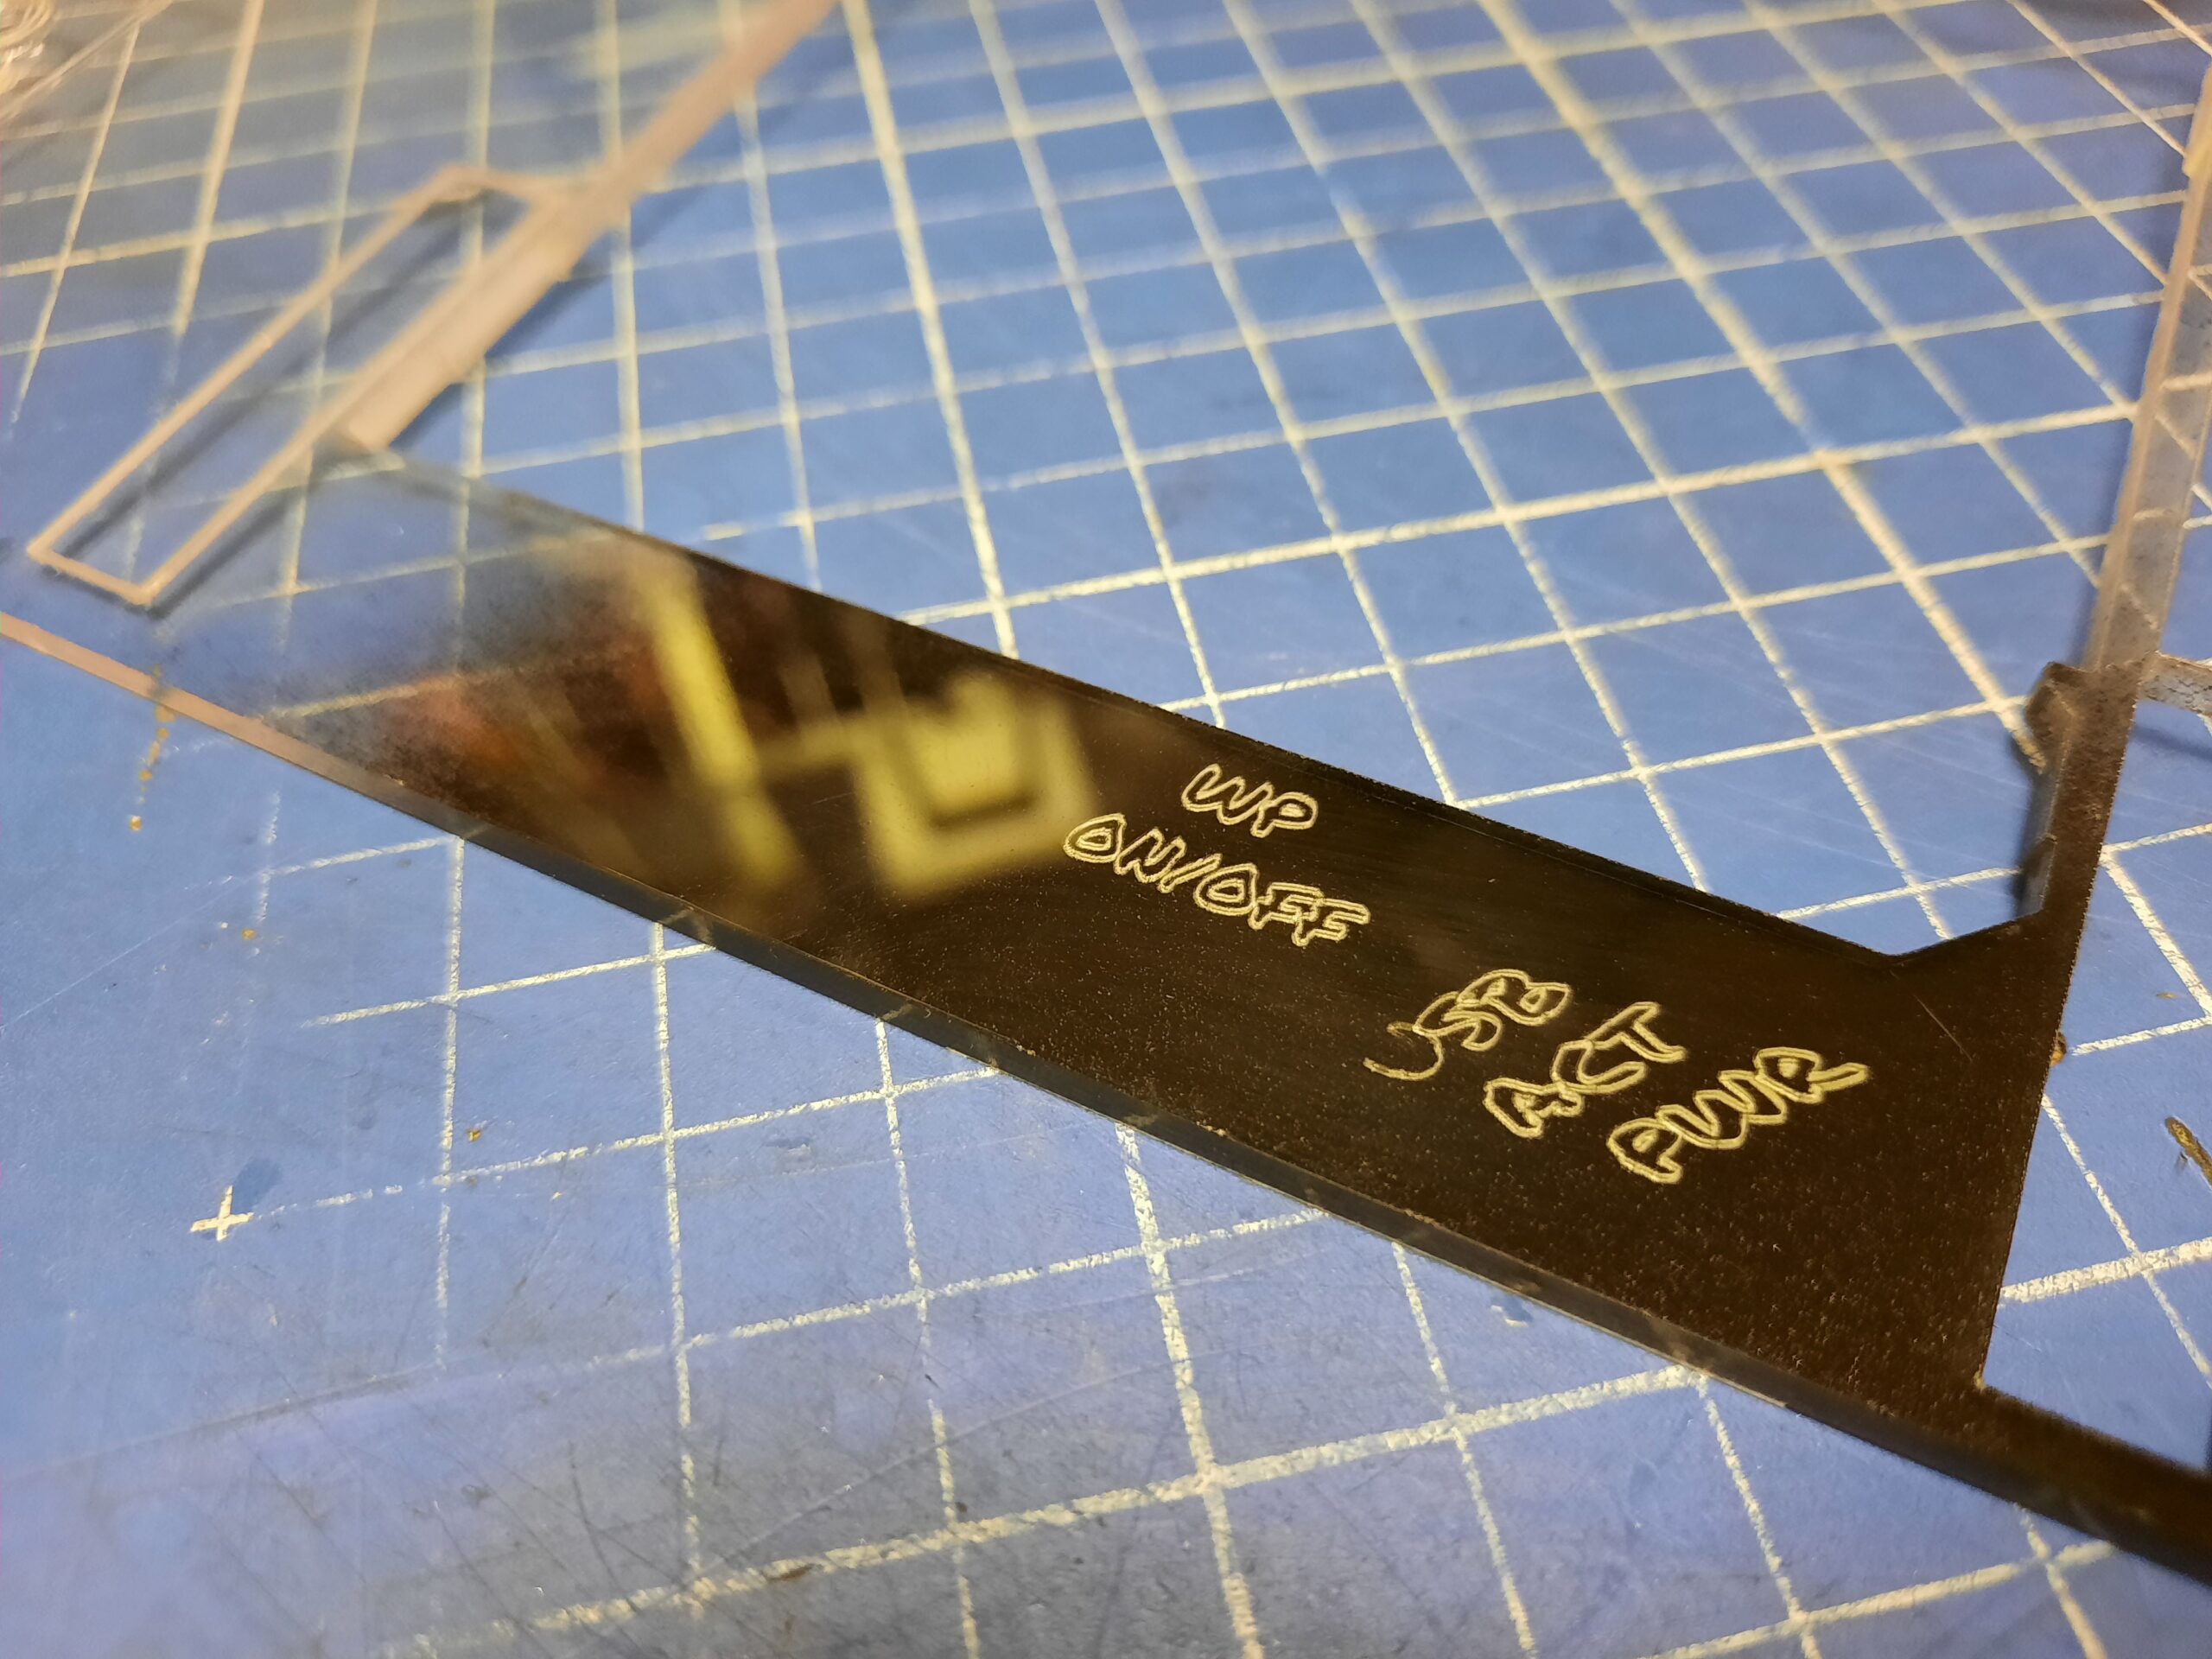
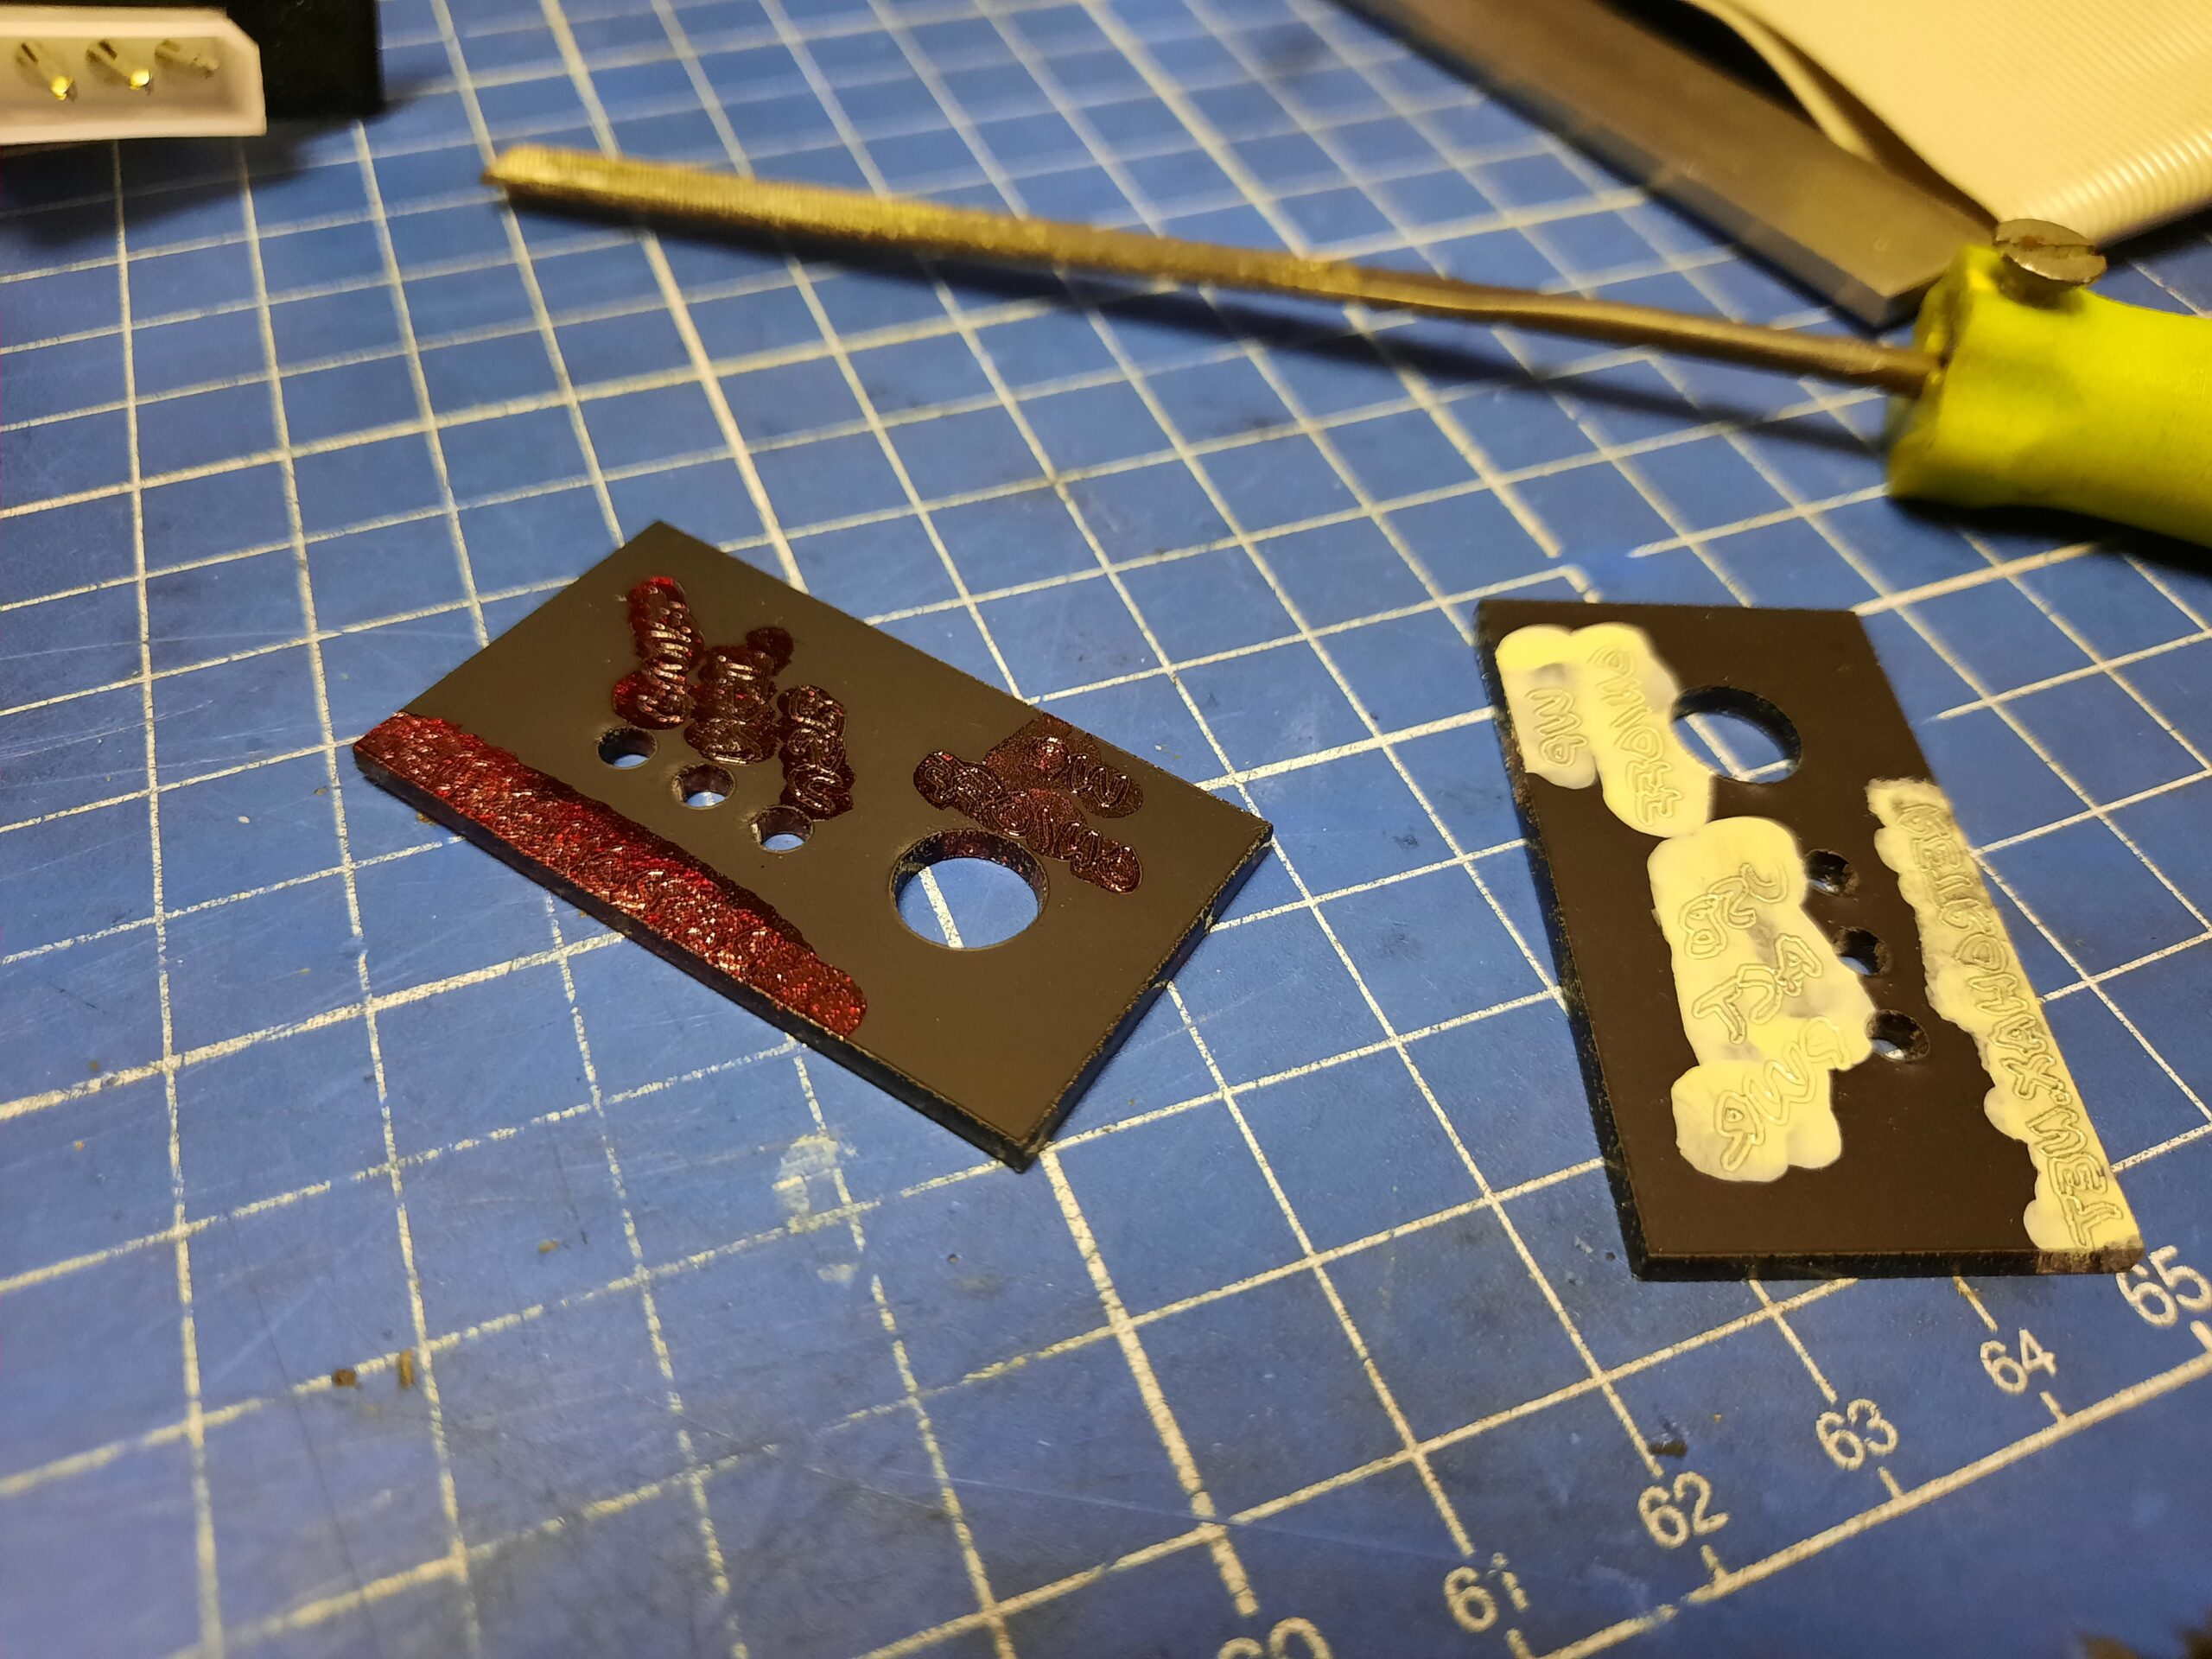
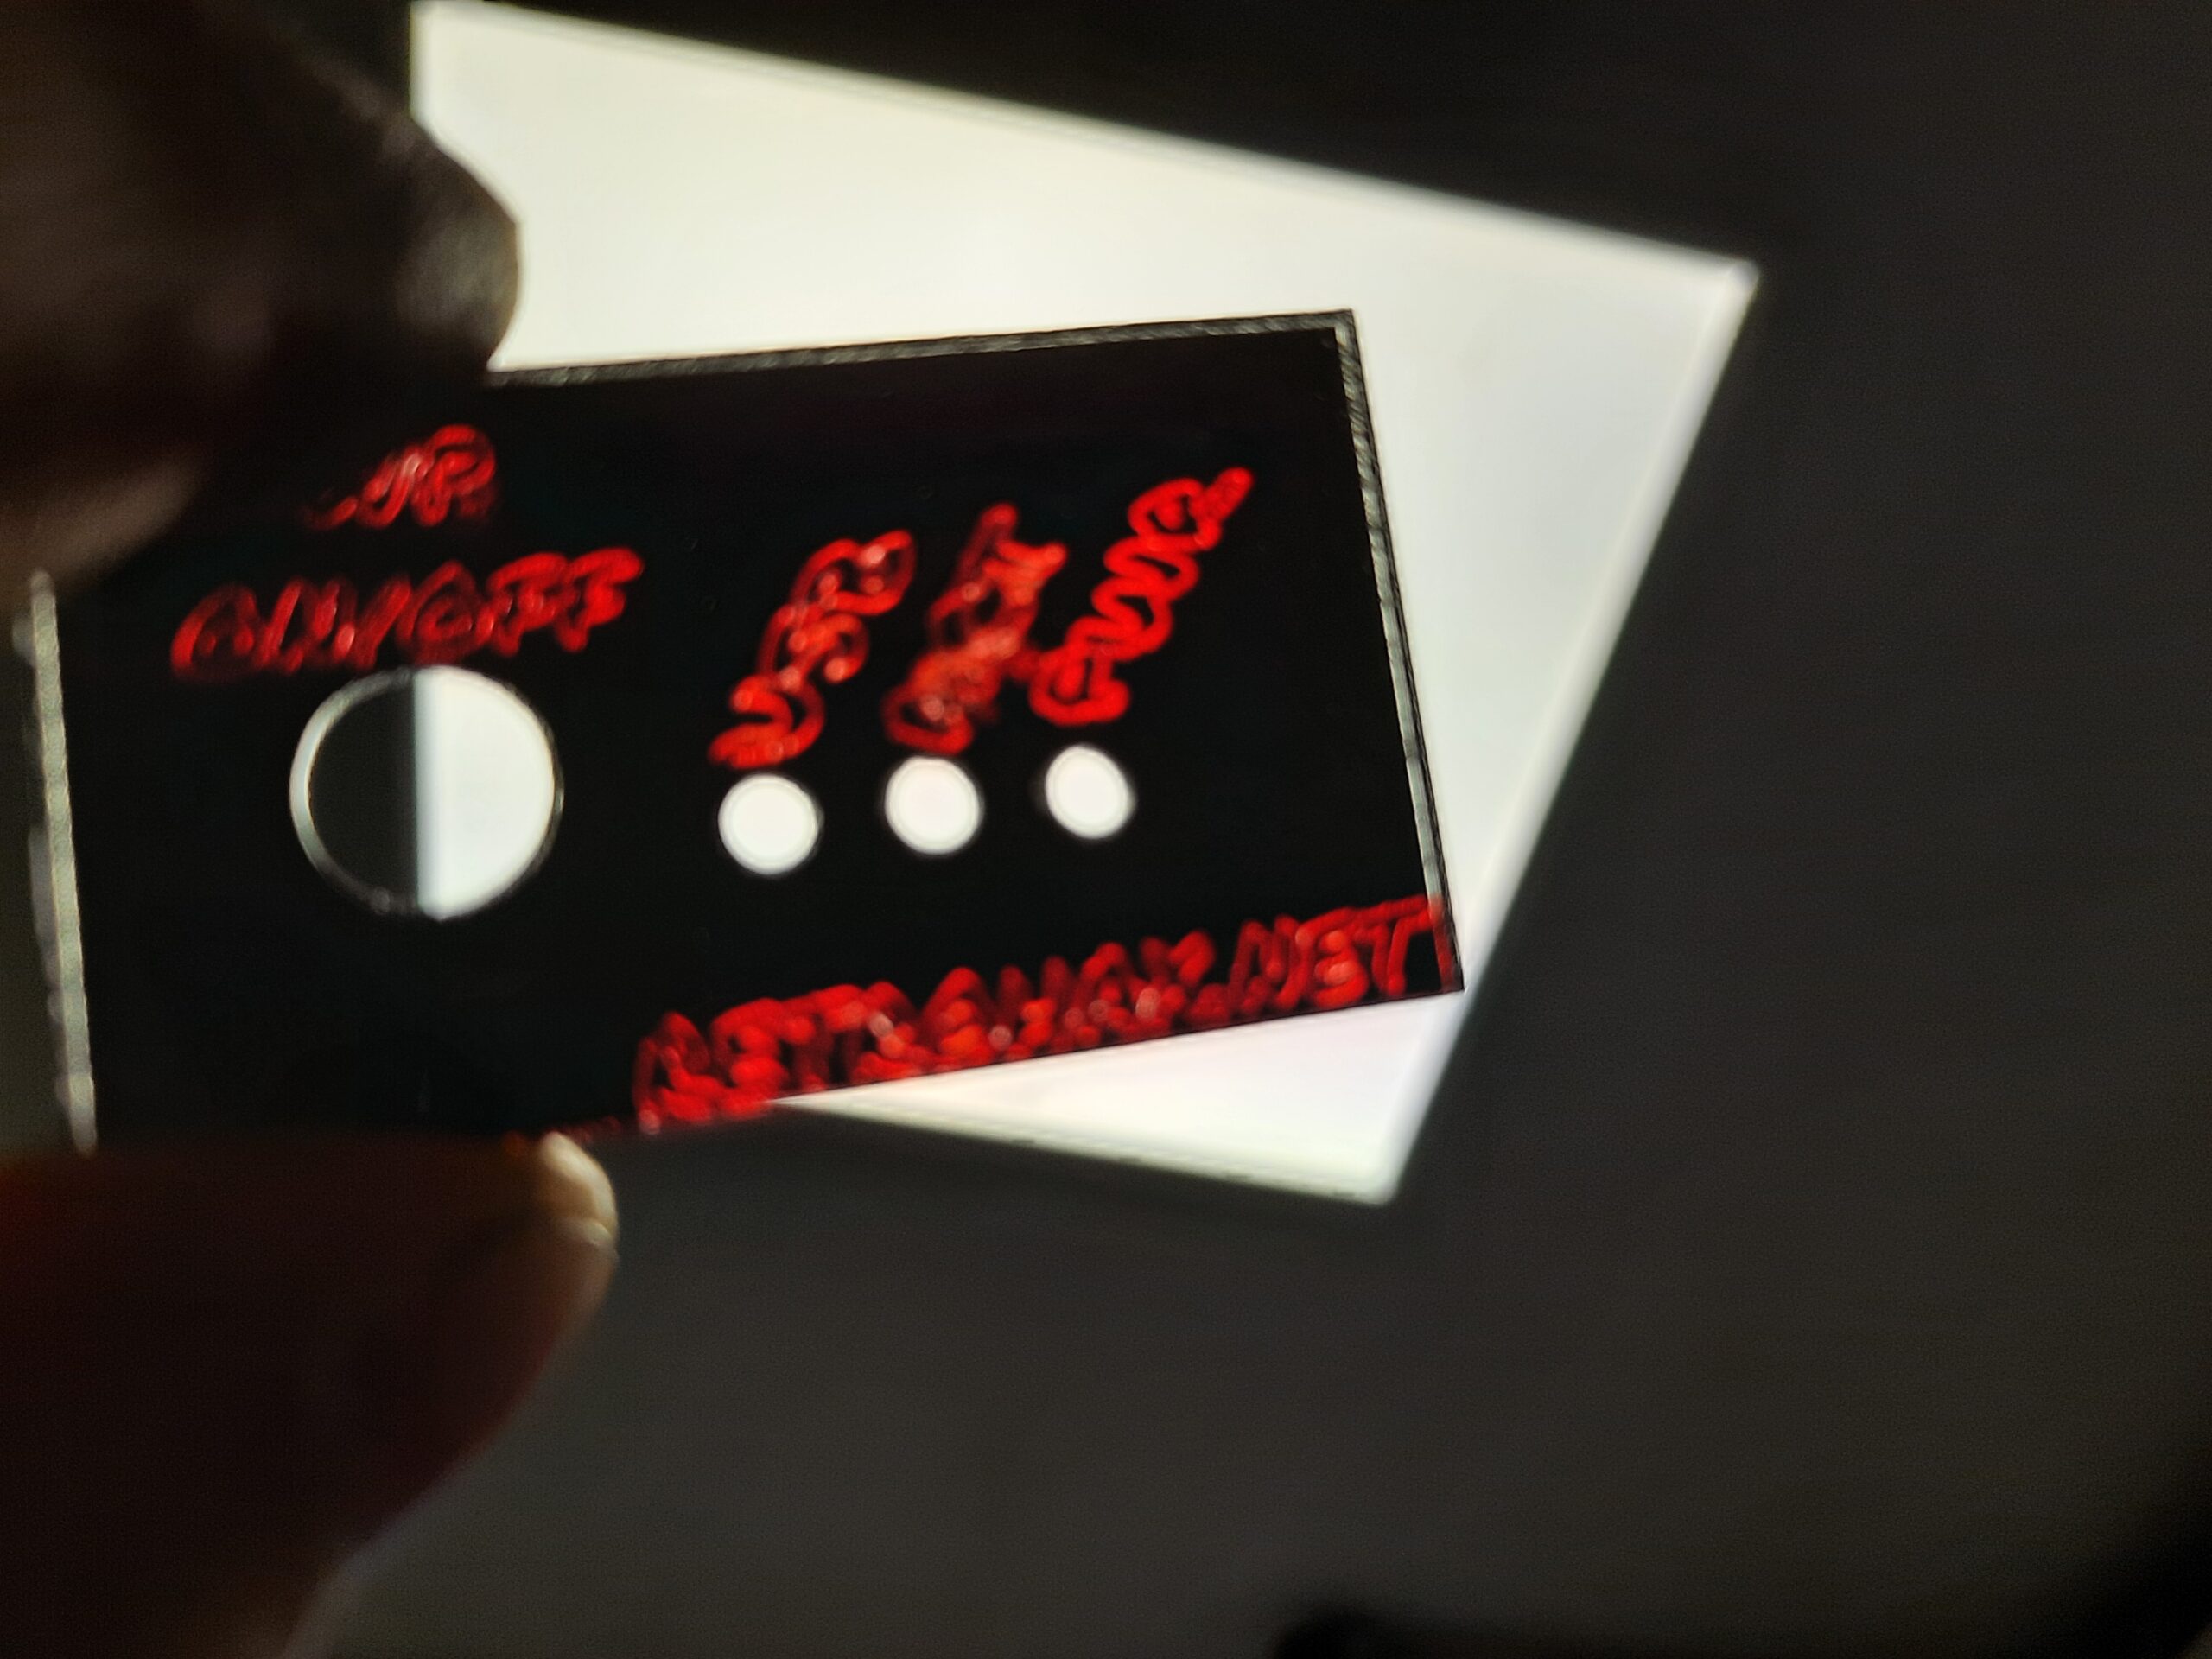
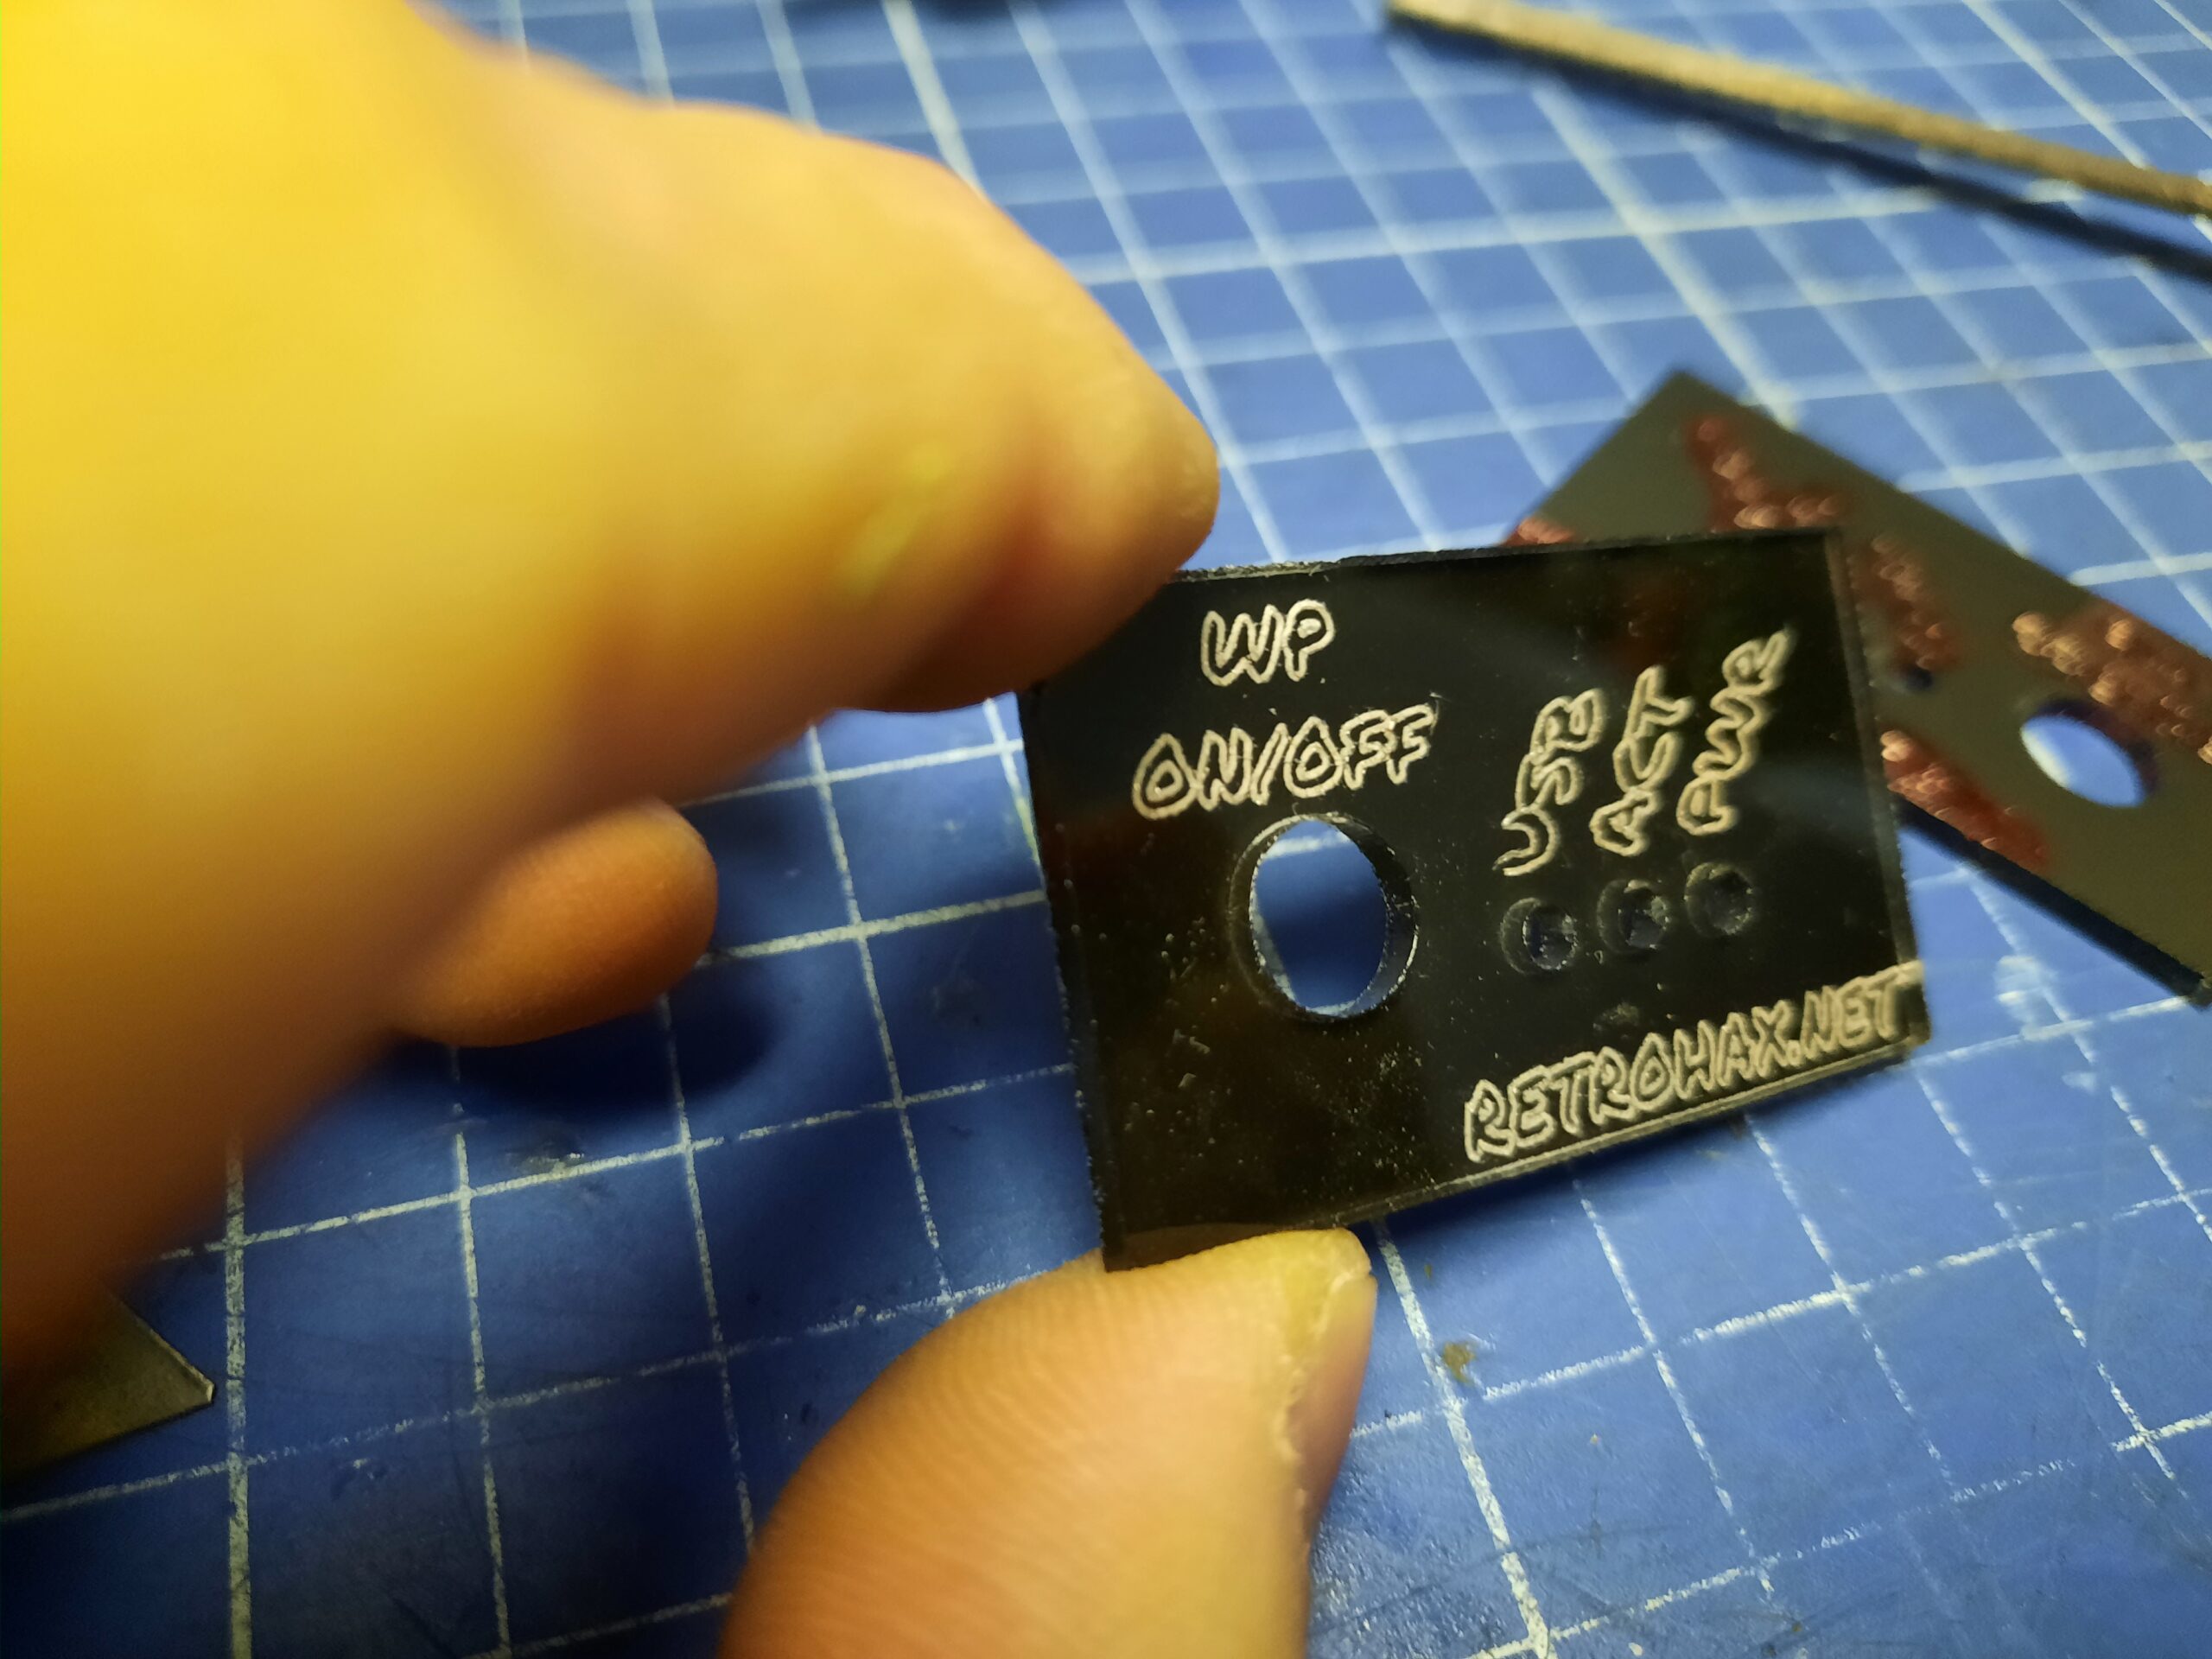
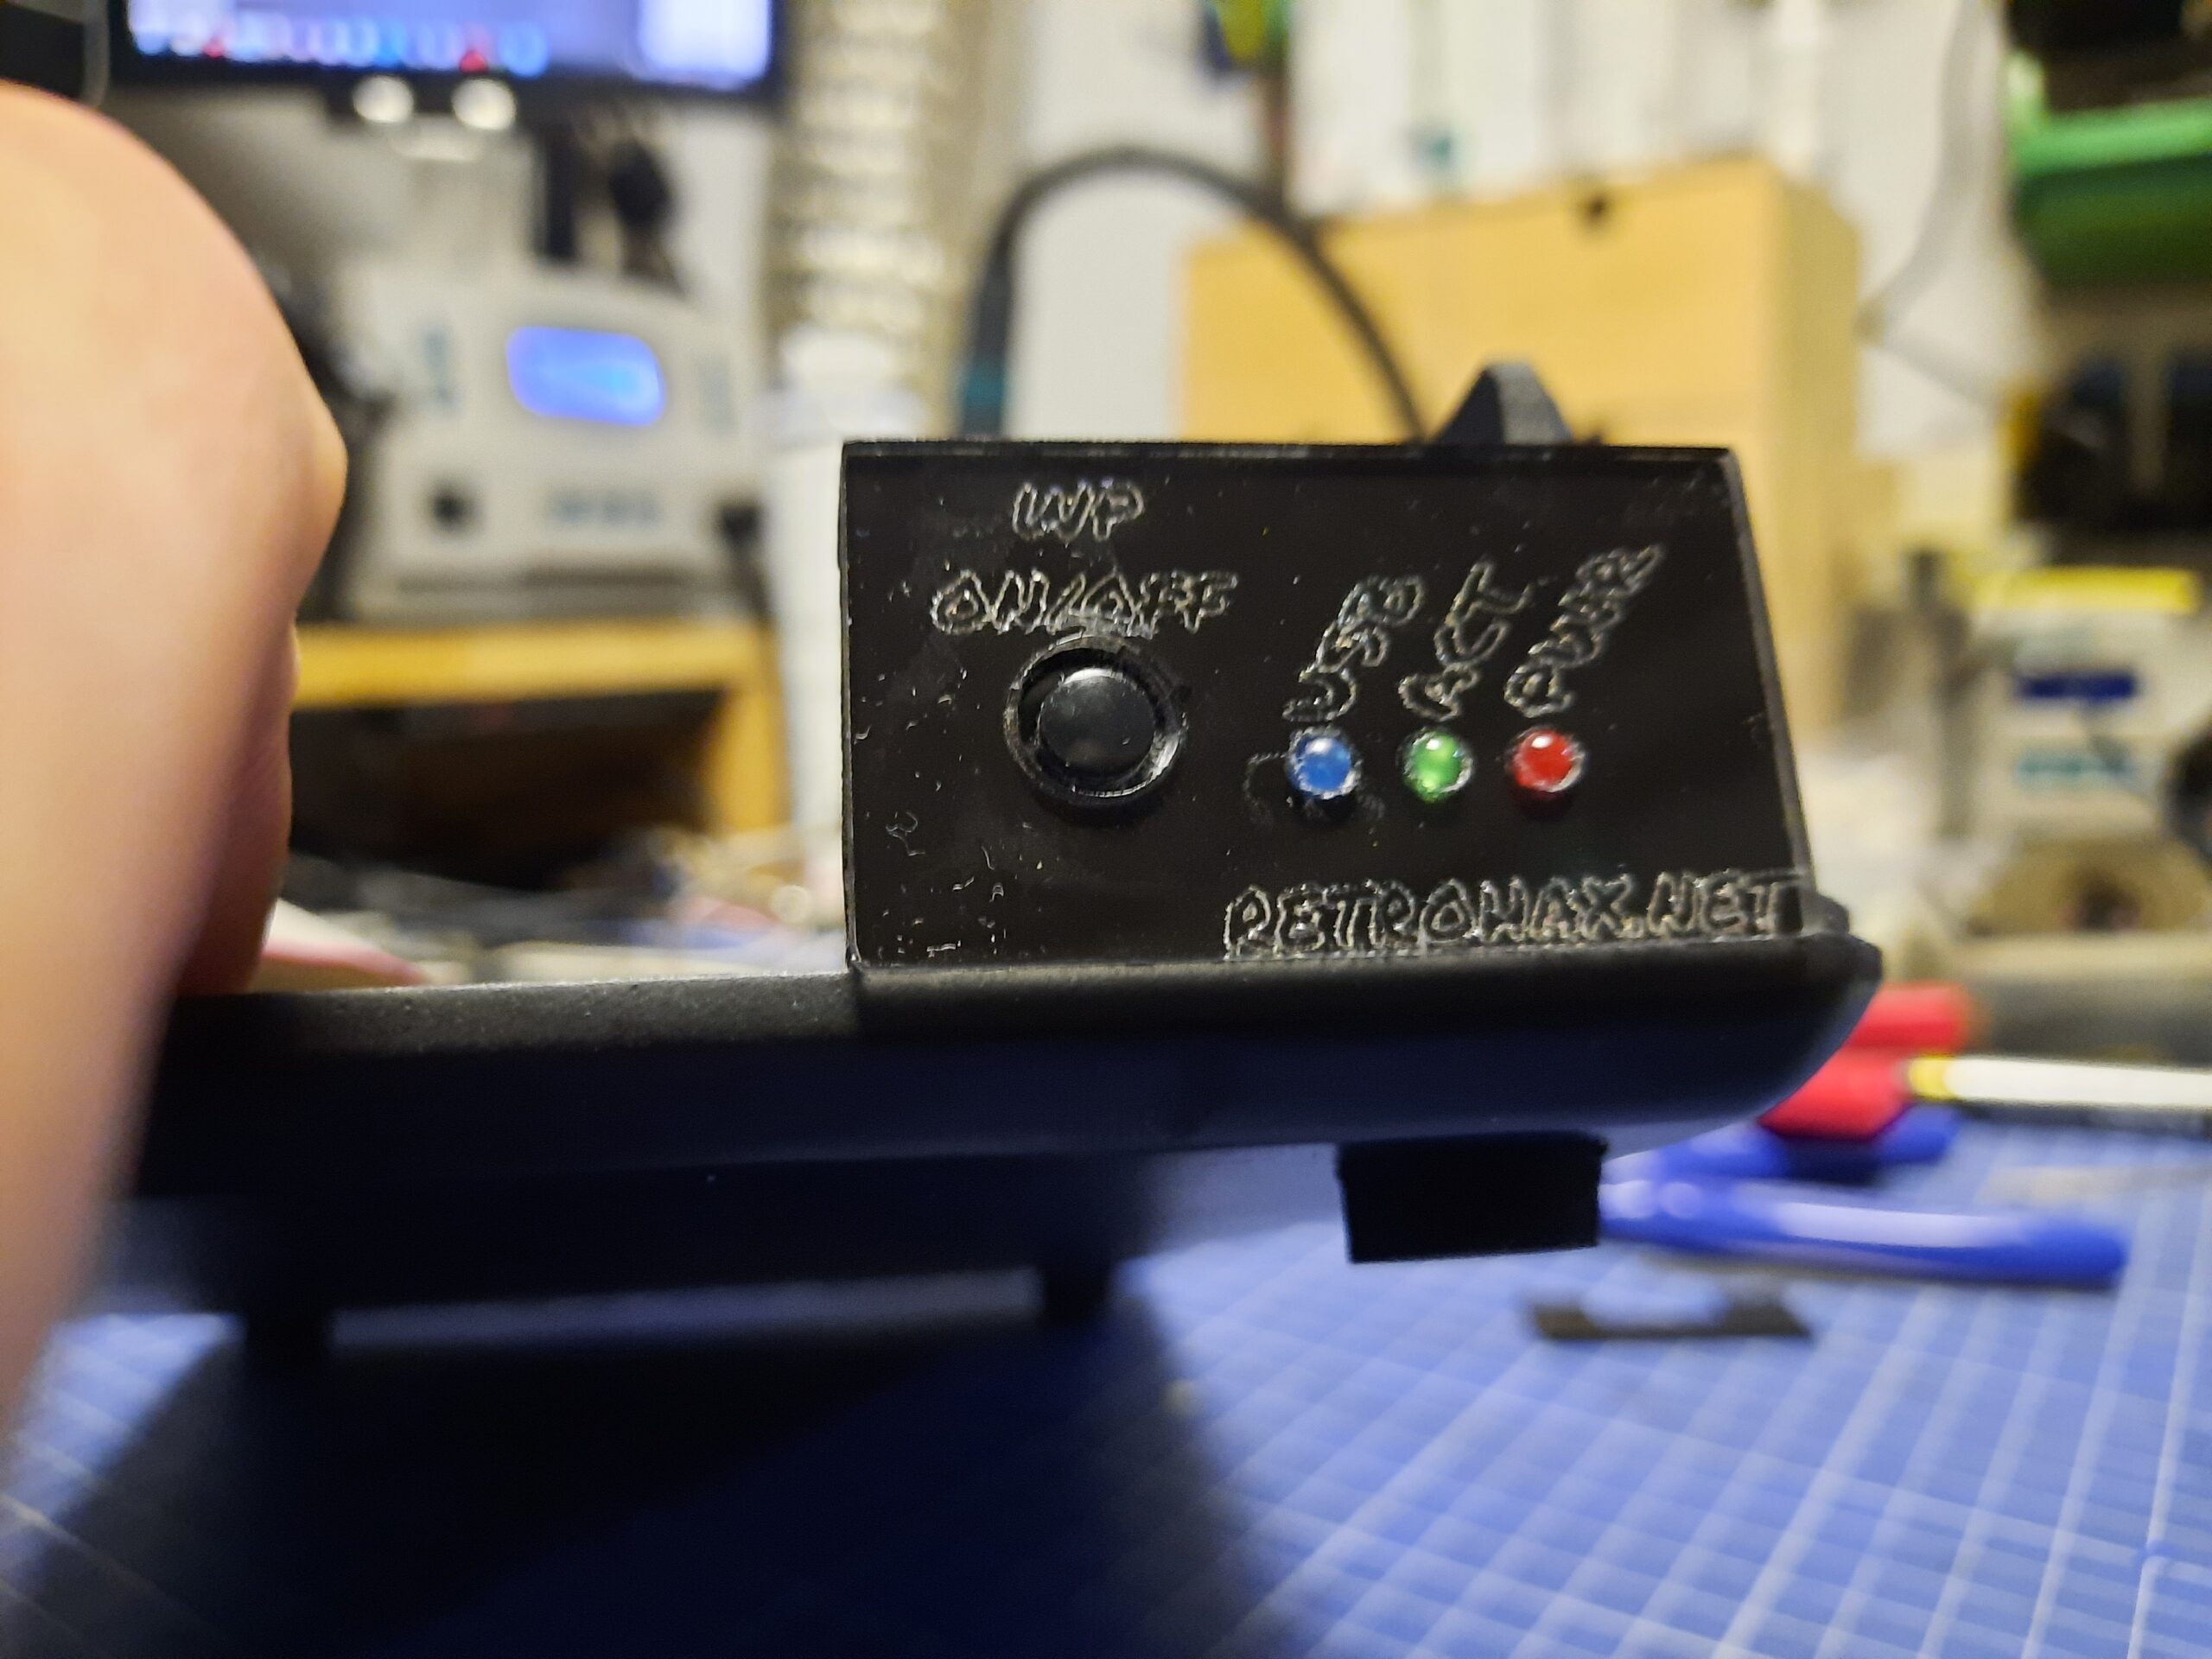
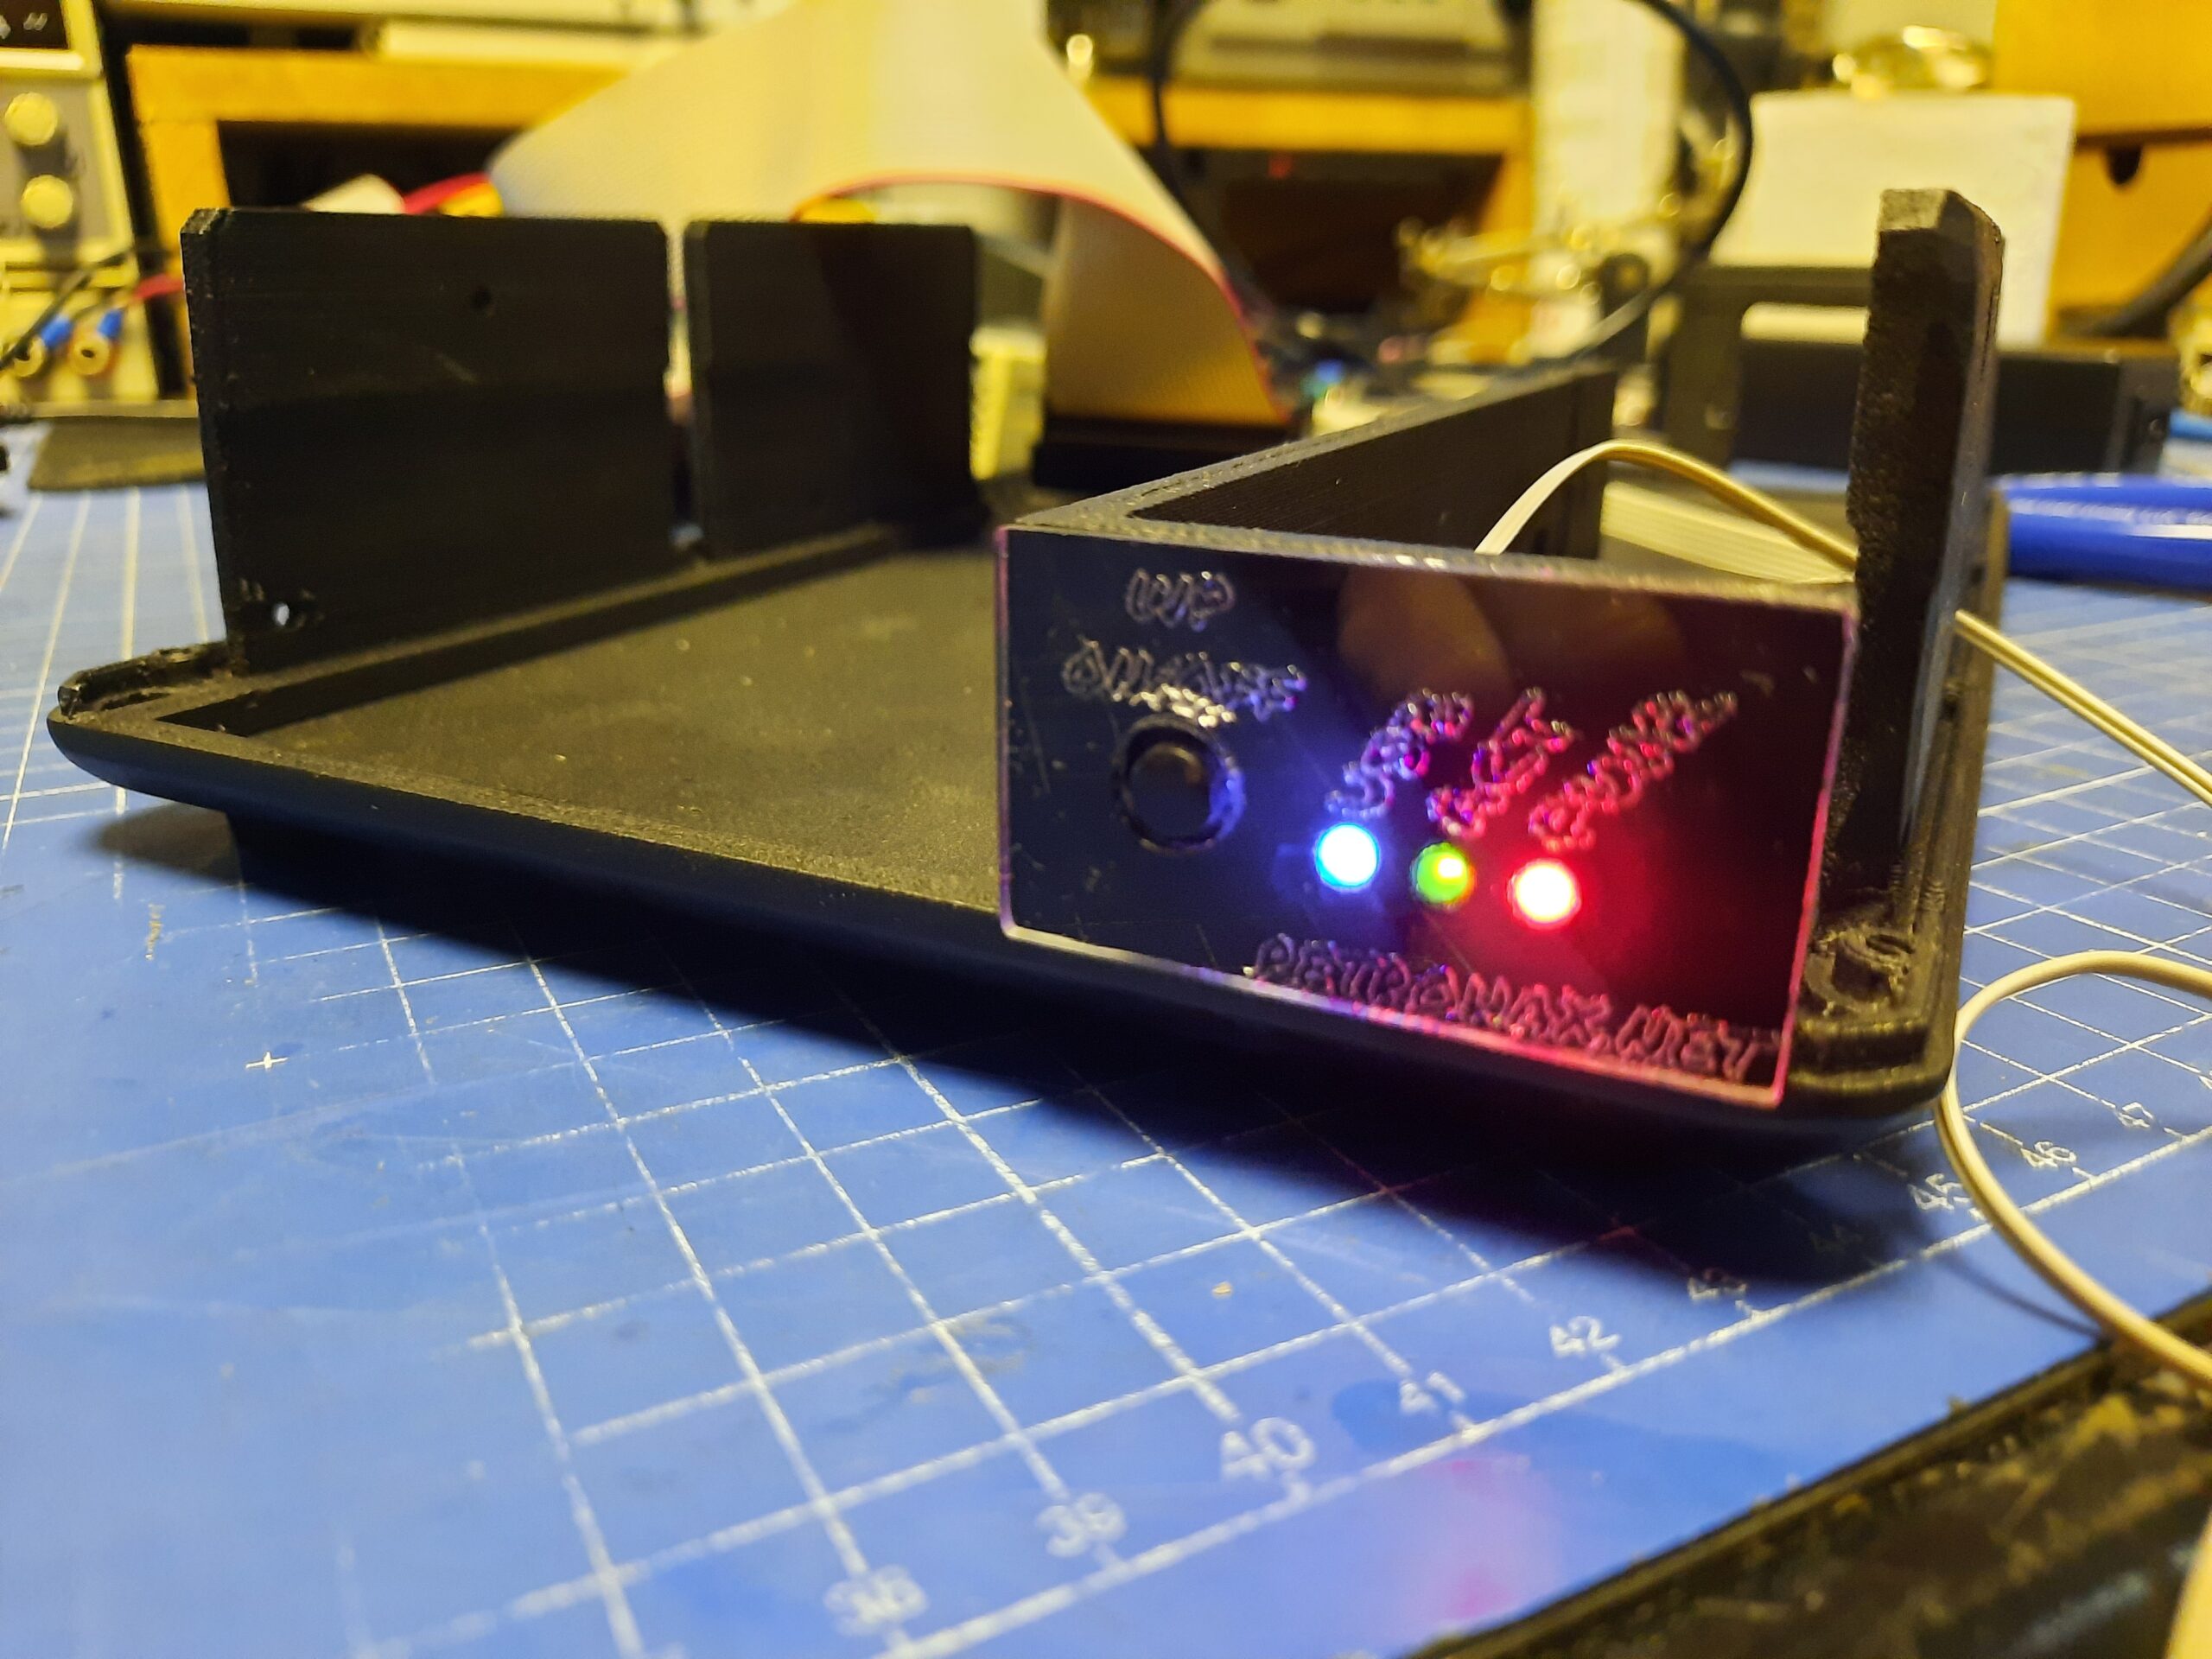
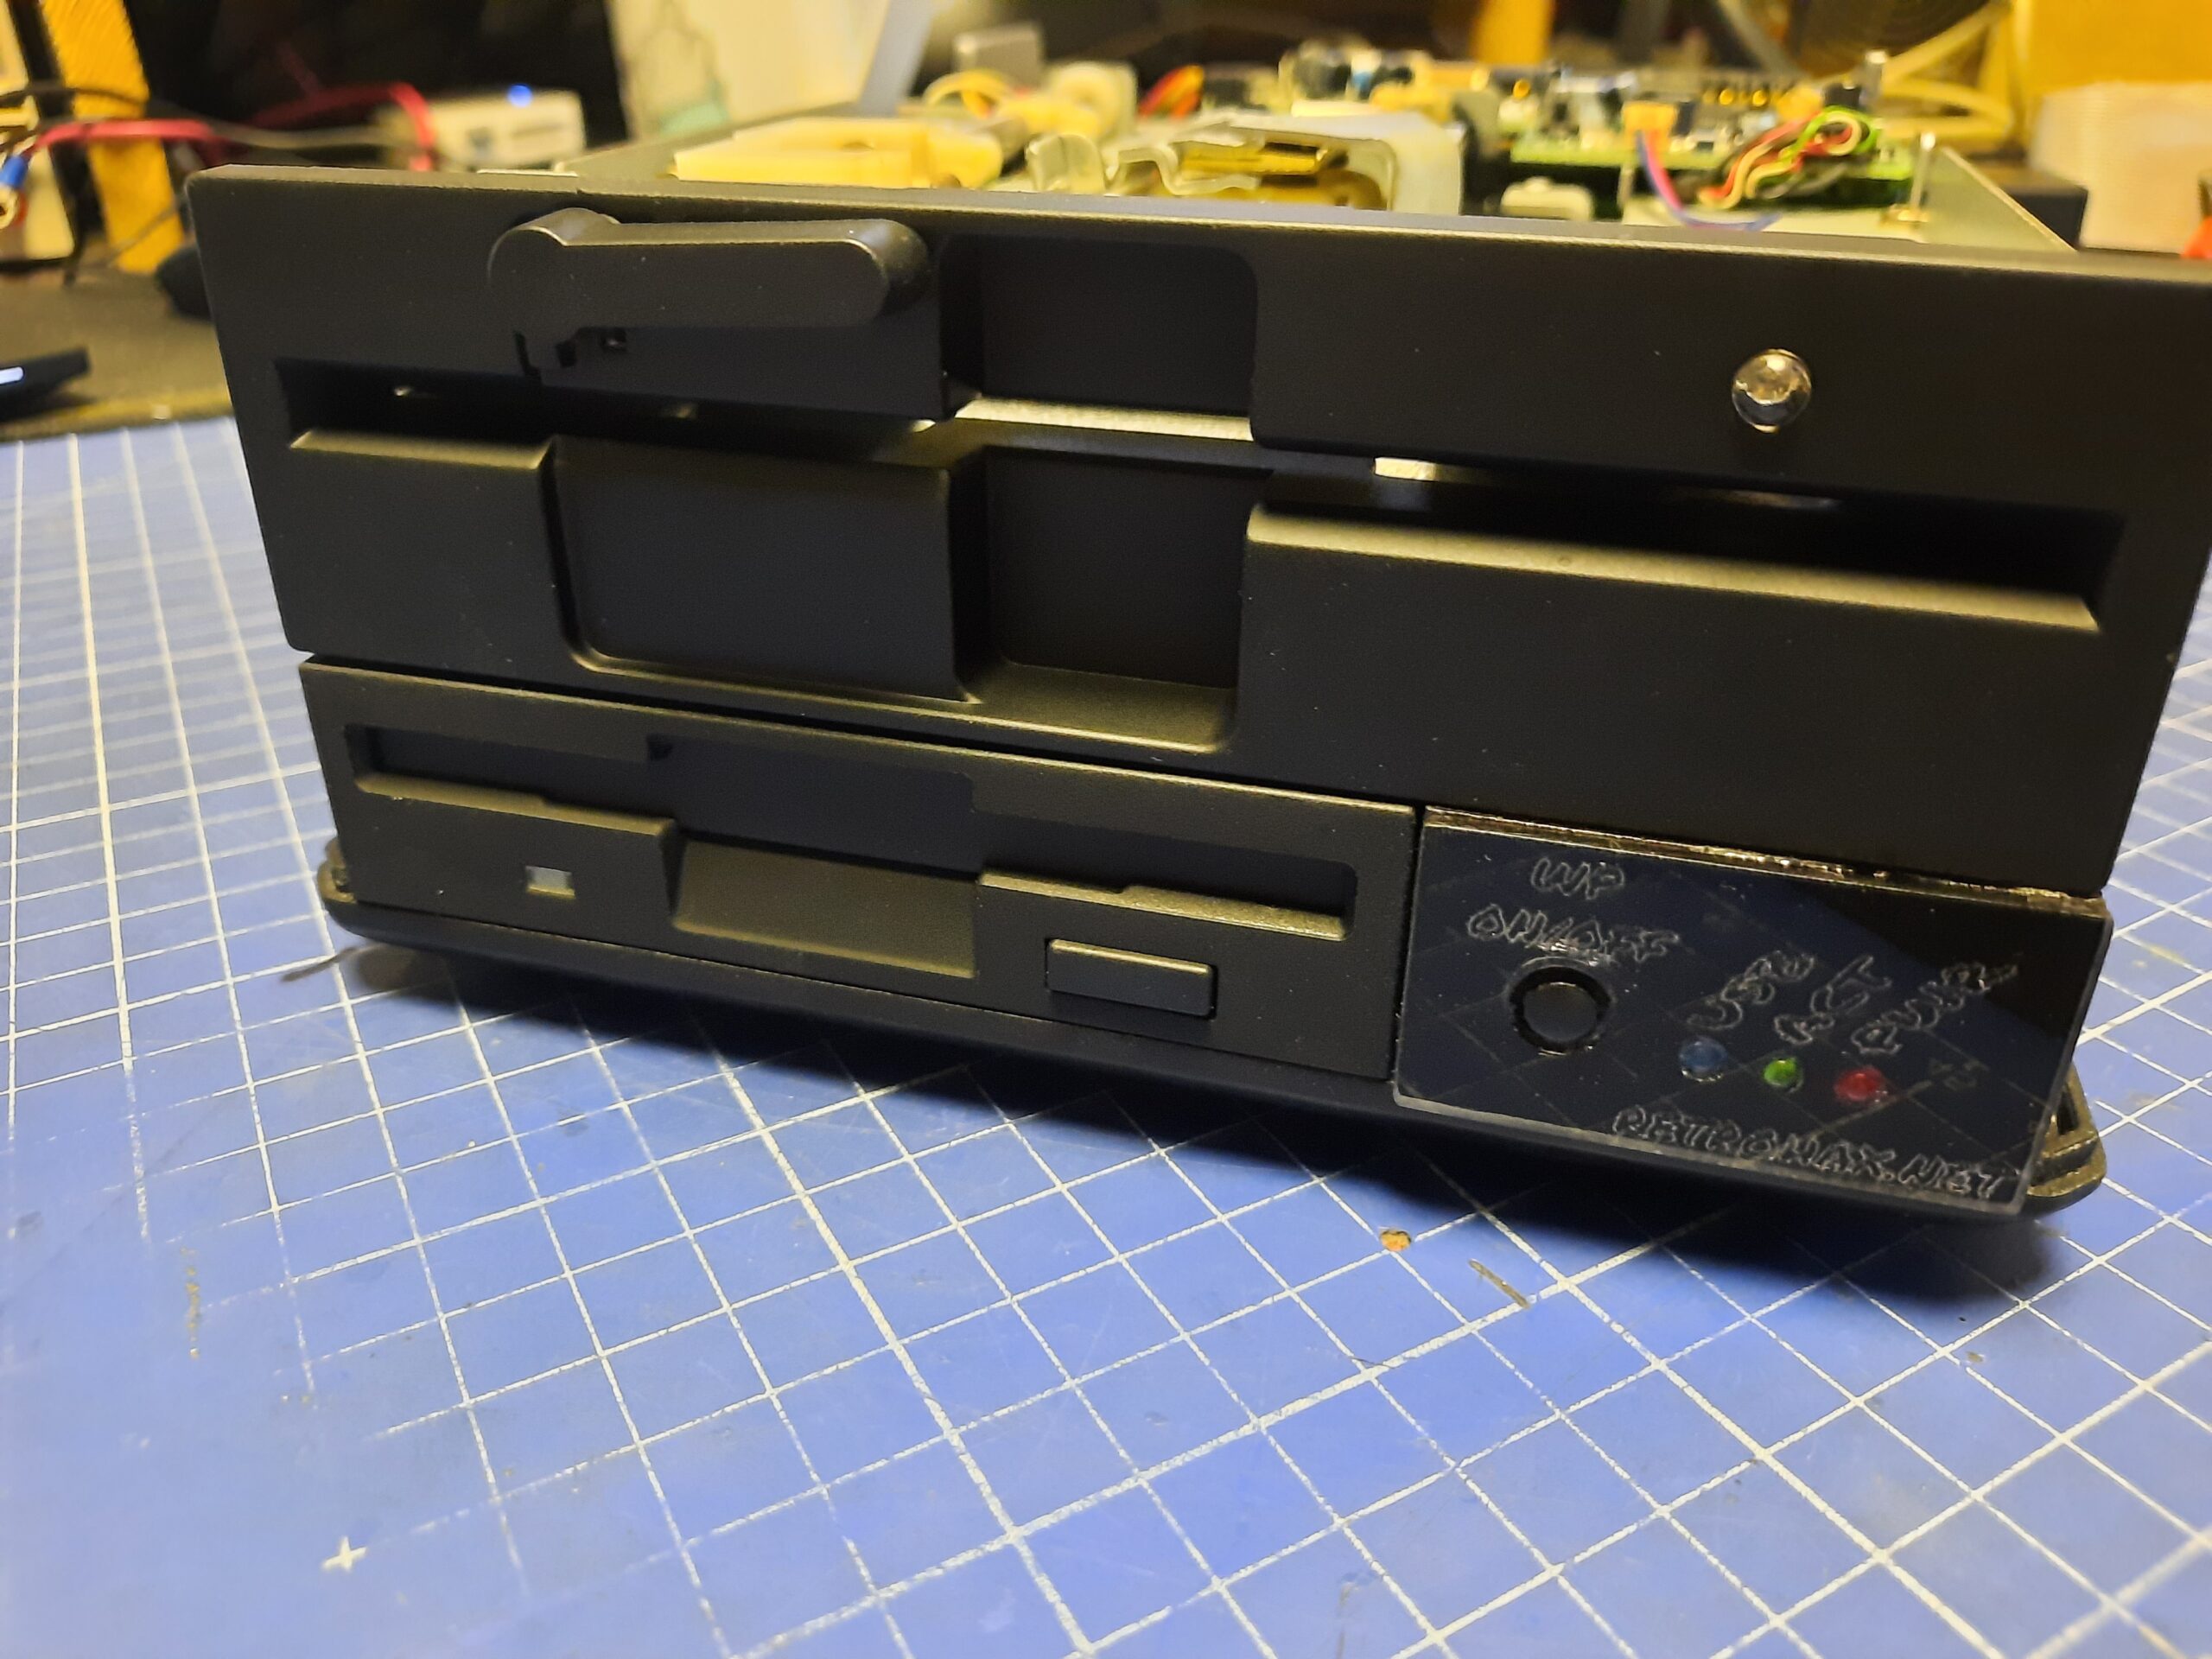
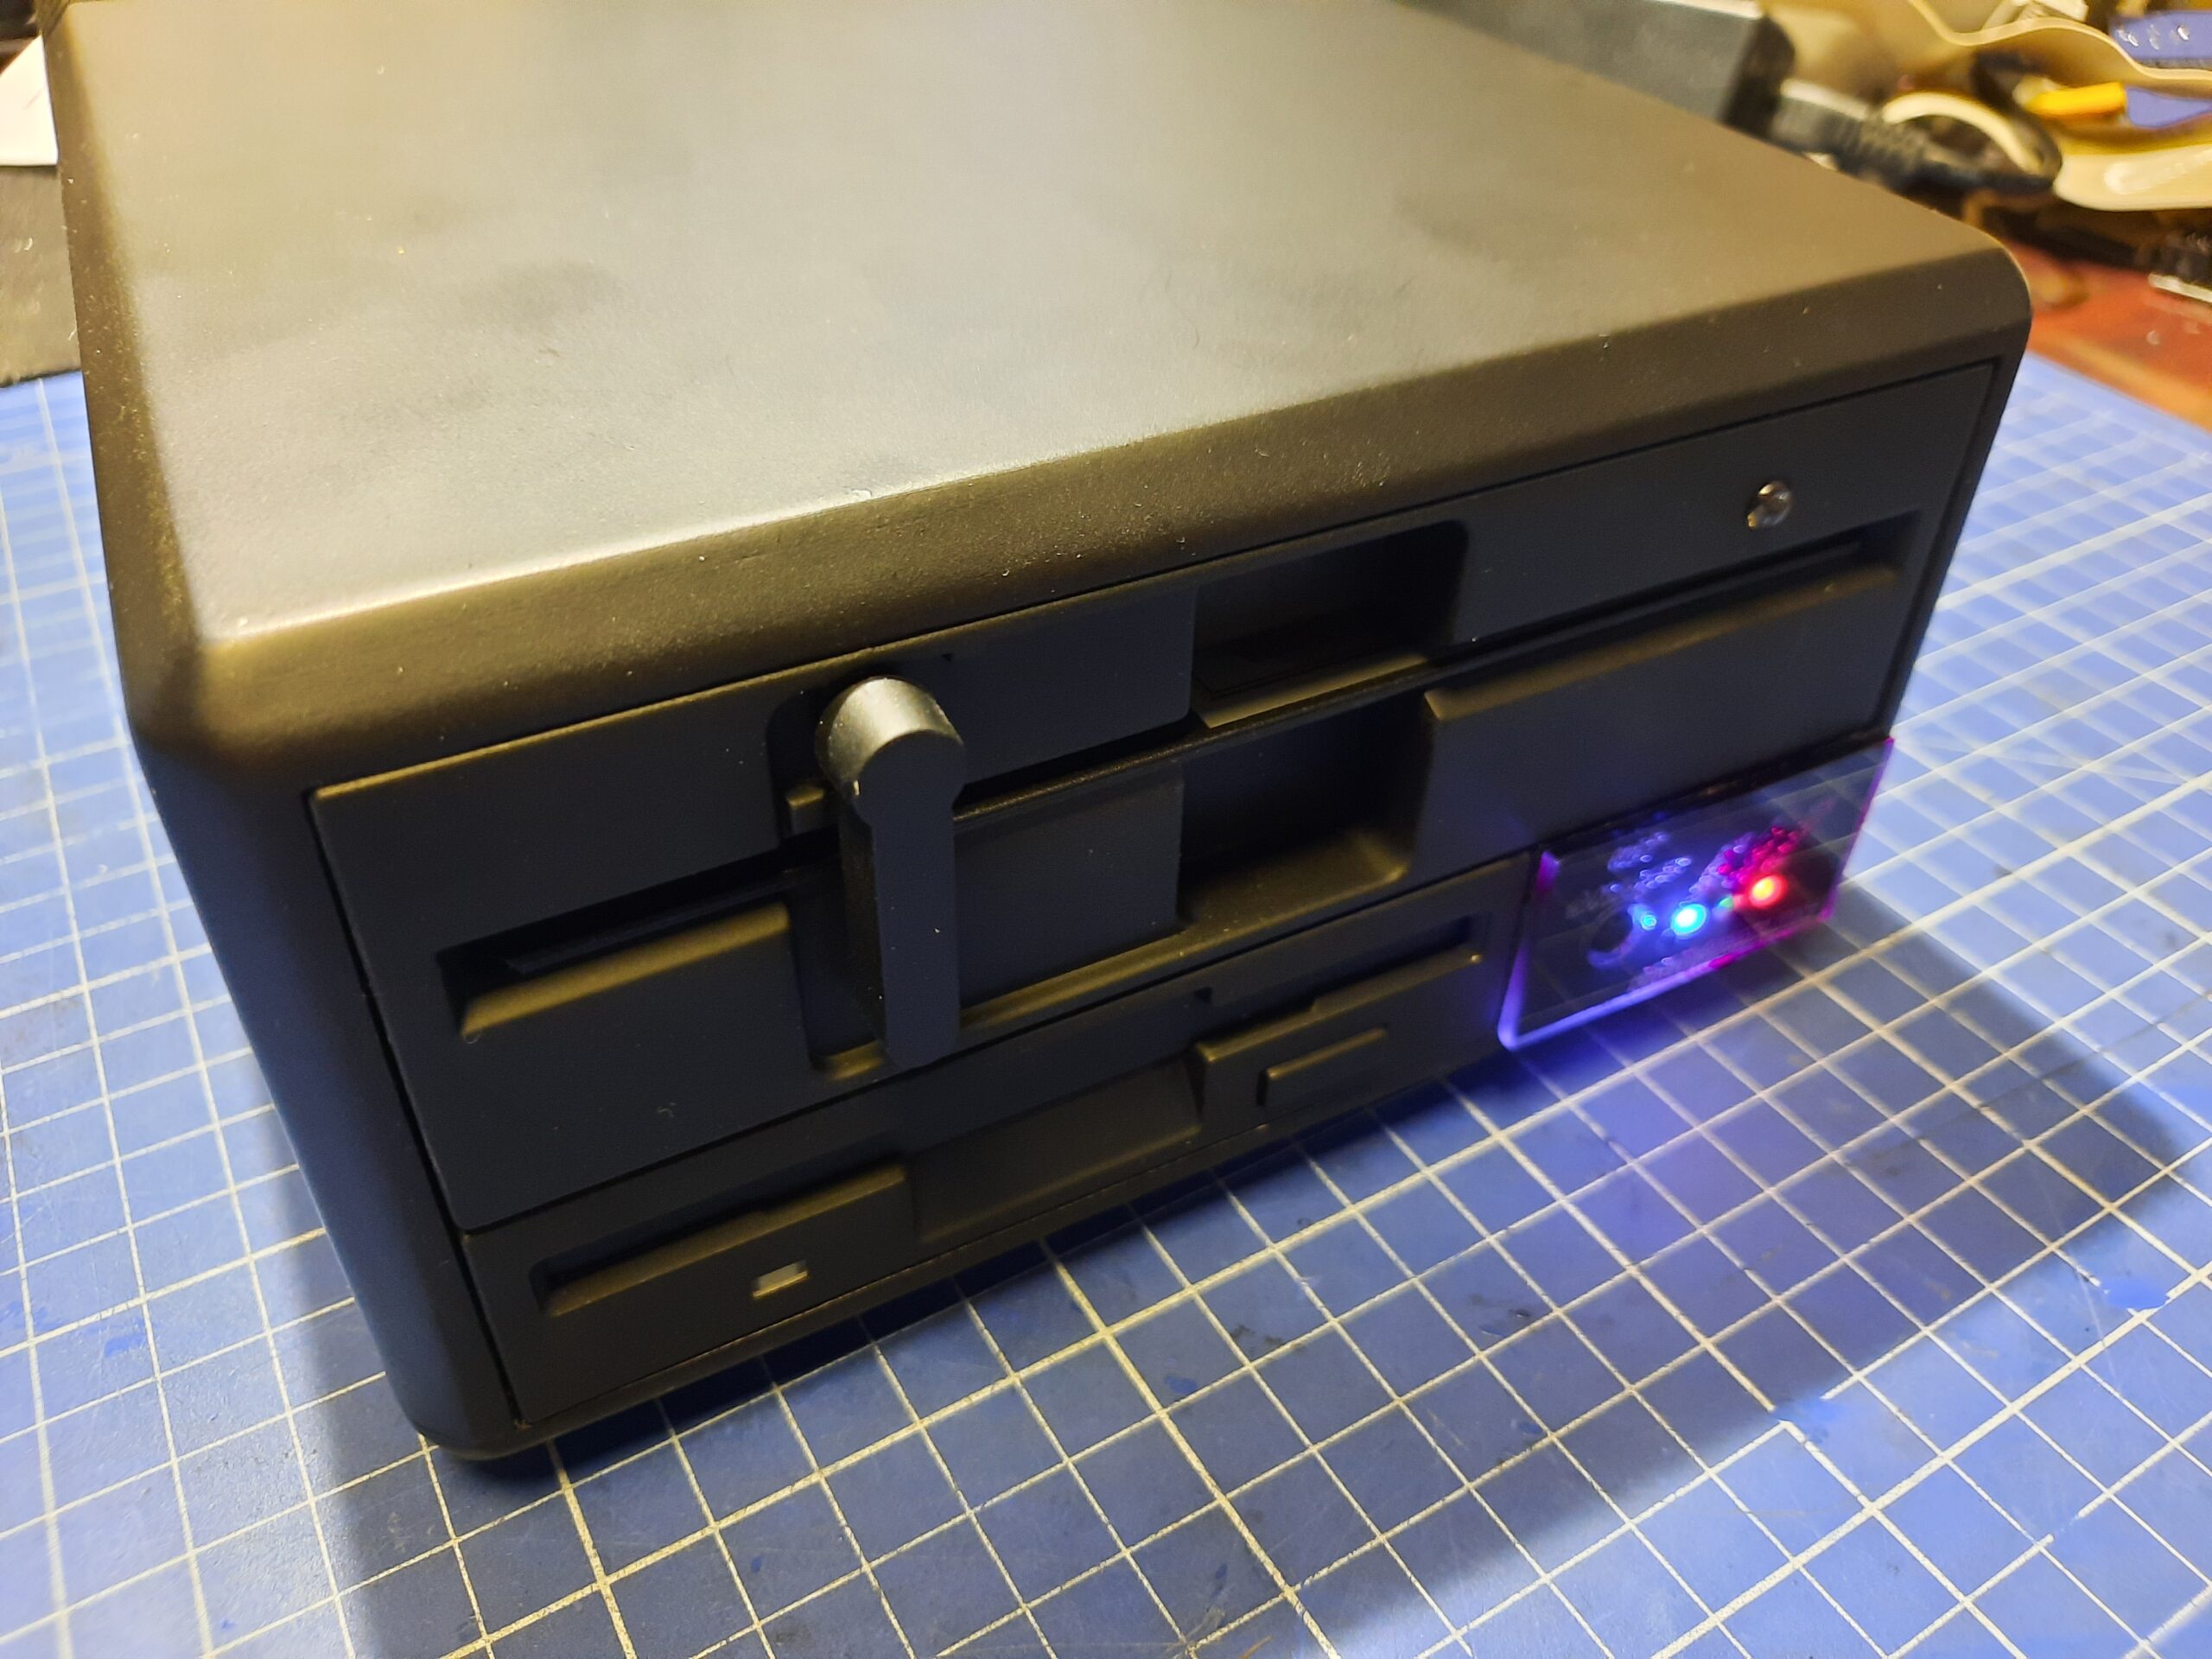
The face plate
I’ve spent some time to make the best matching laser-cut face plate. The material is 3mm thick acrylic and there were some ideas like painting and then engraving, sanding, or even tinting. I did some rounds to get the desired effect.

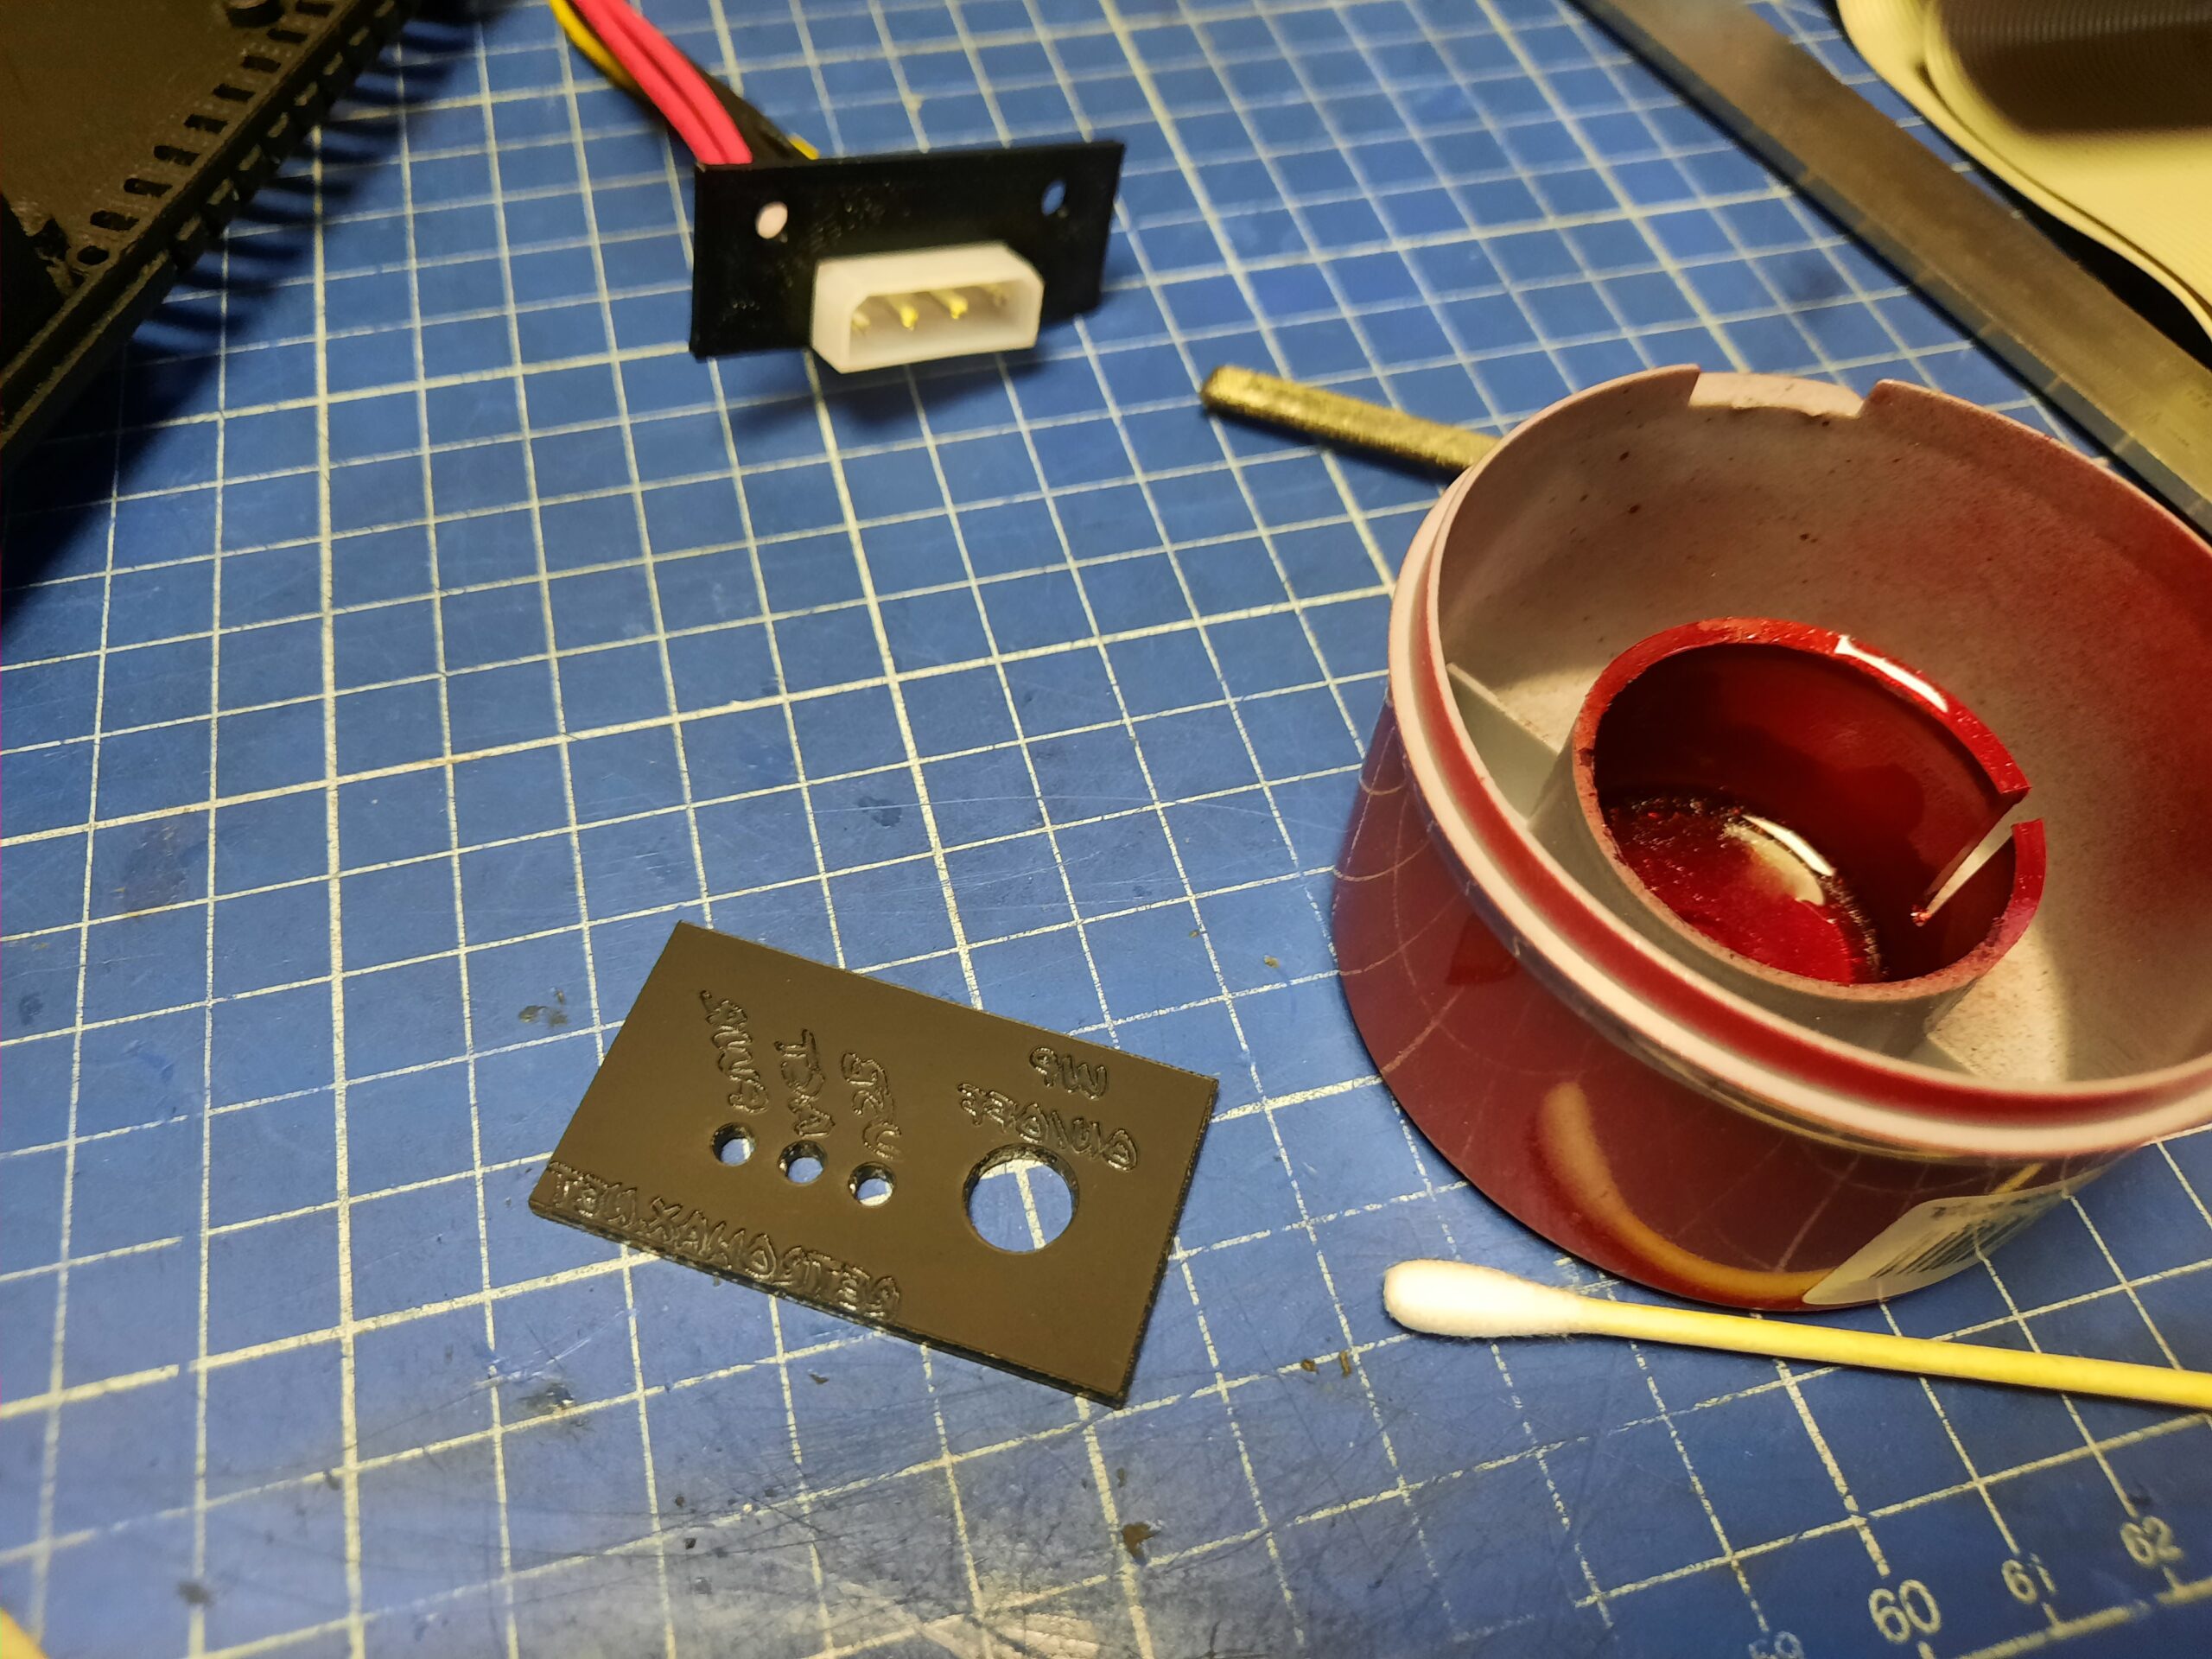
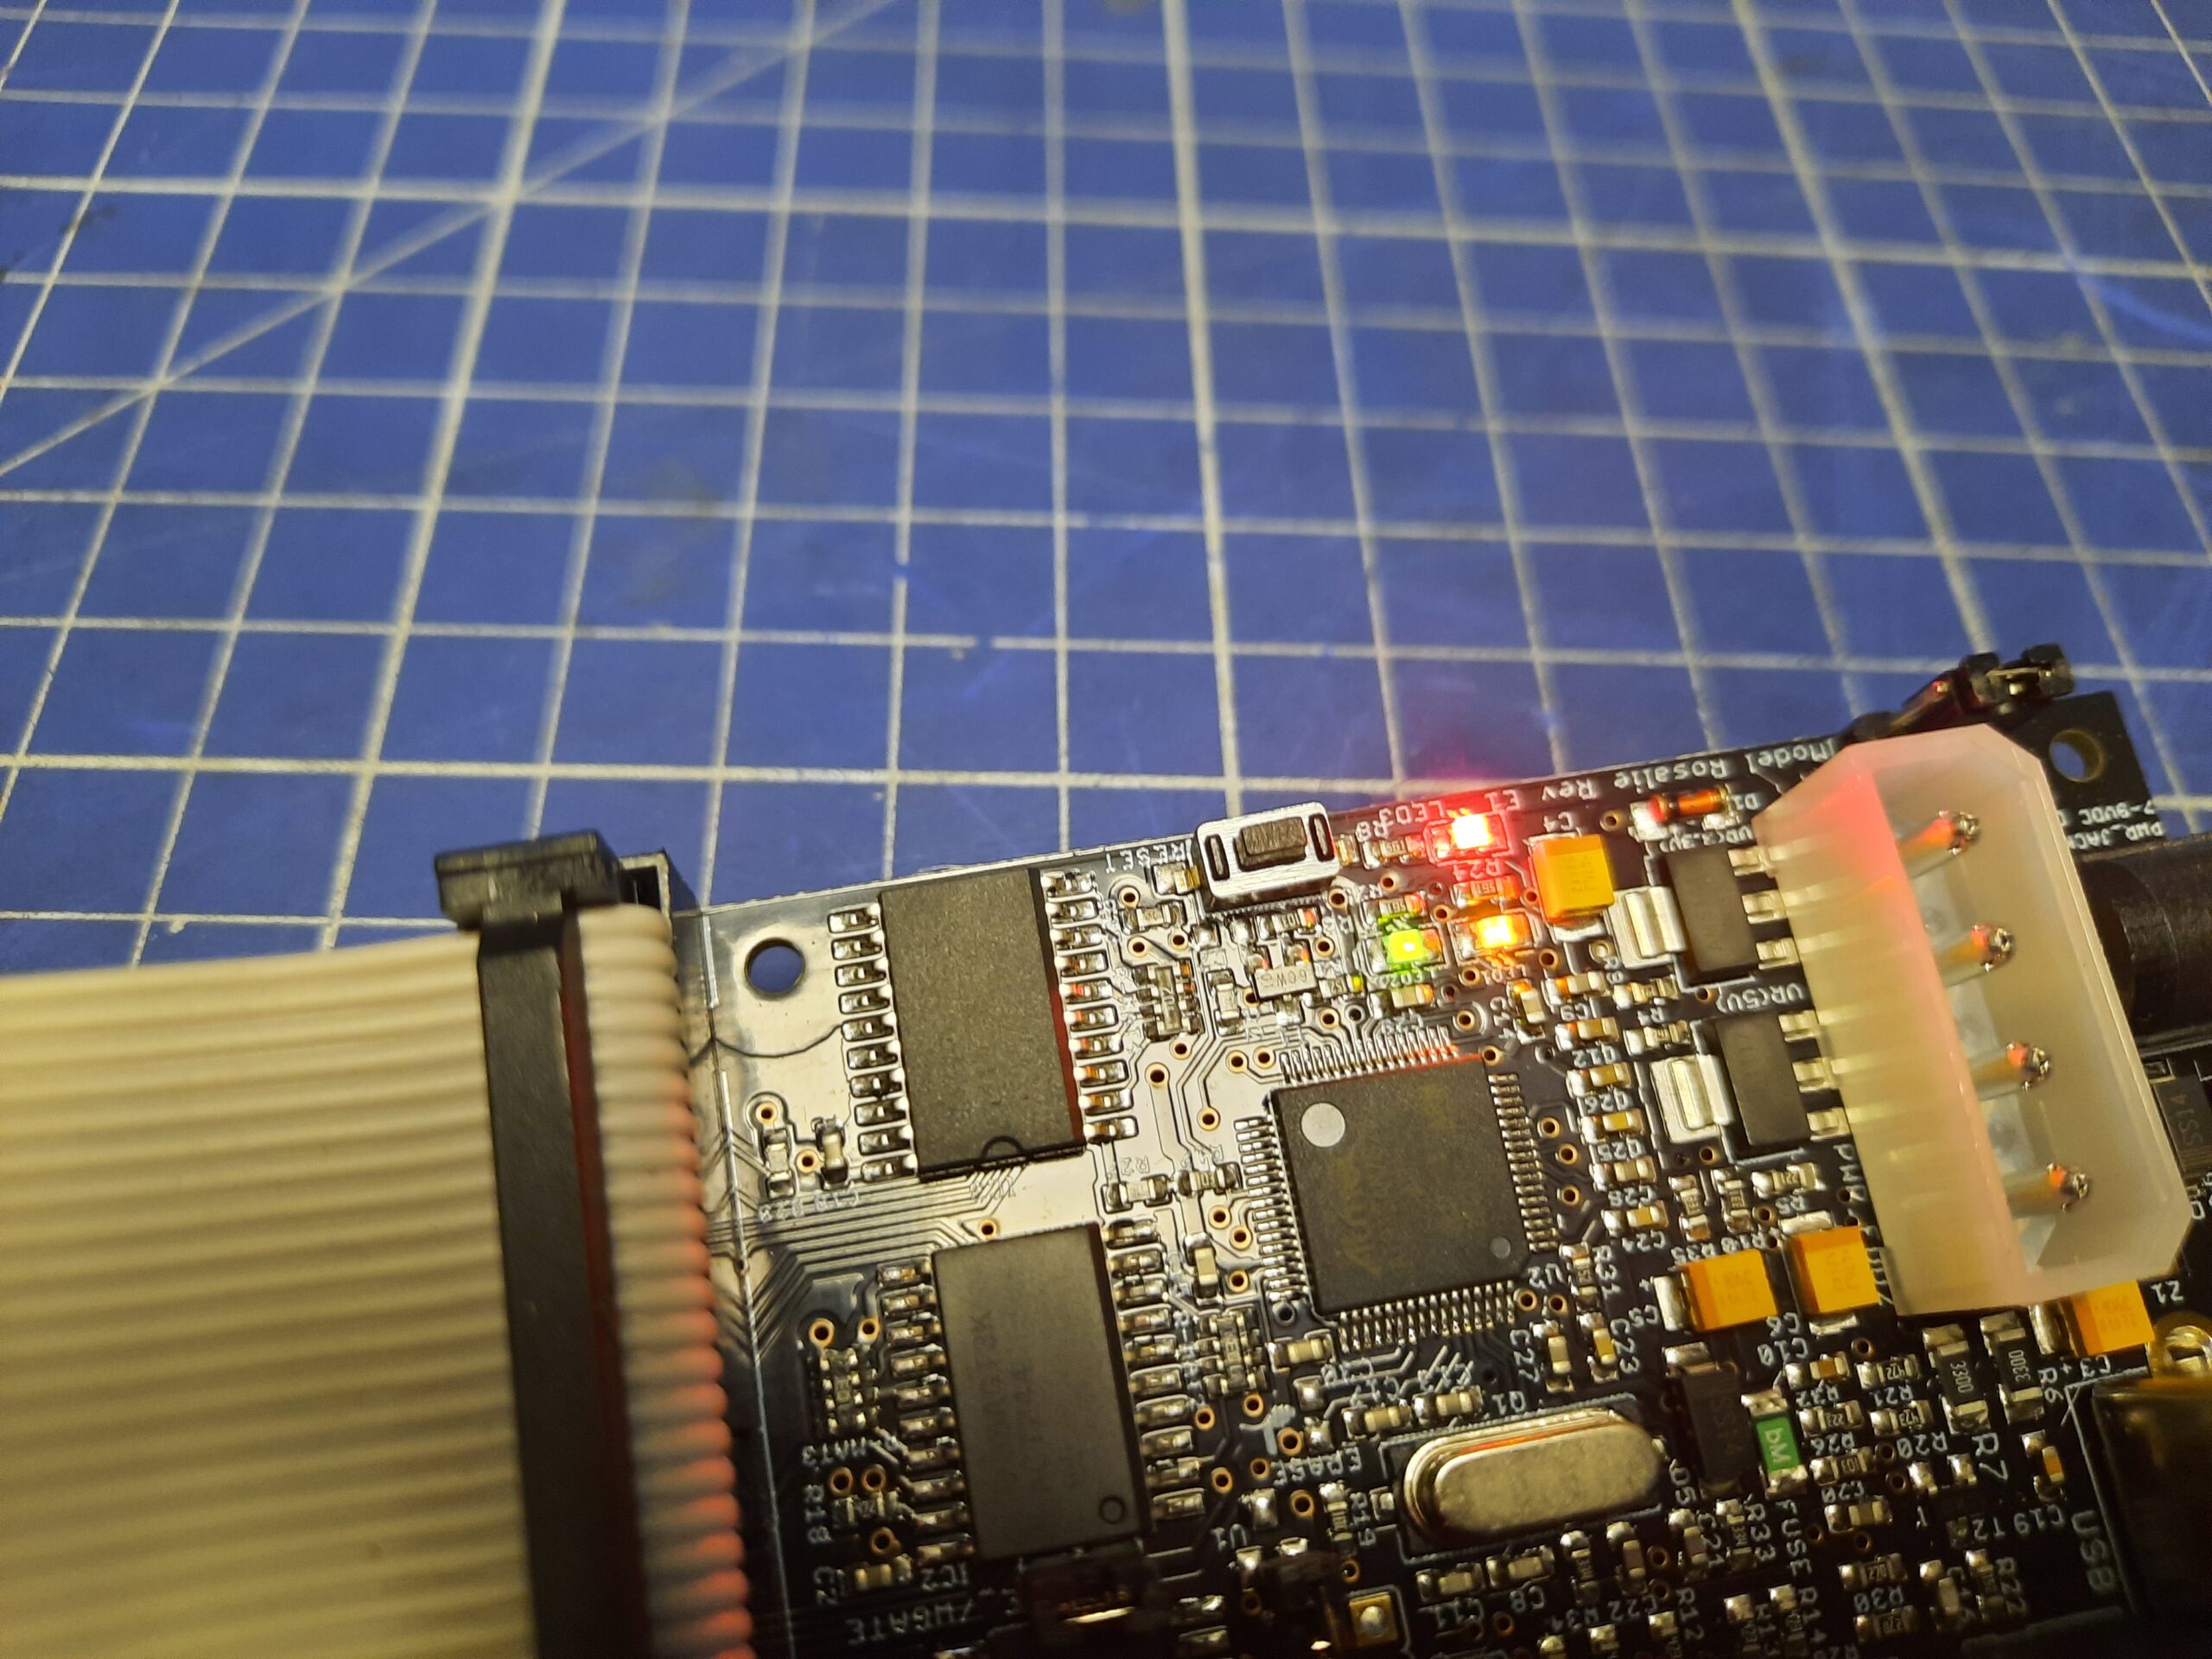
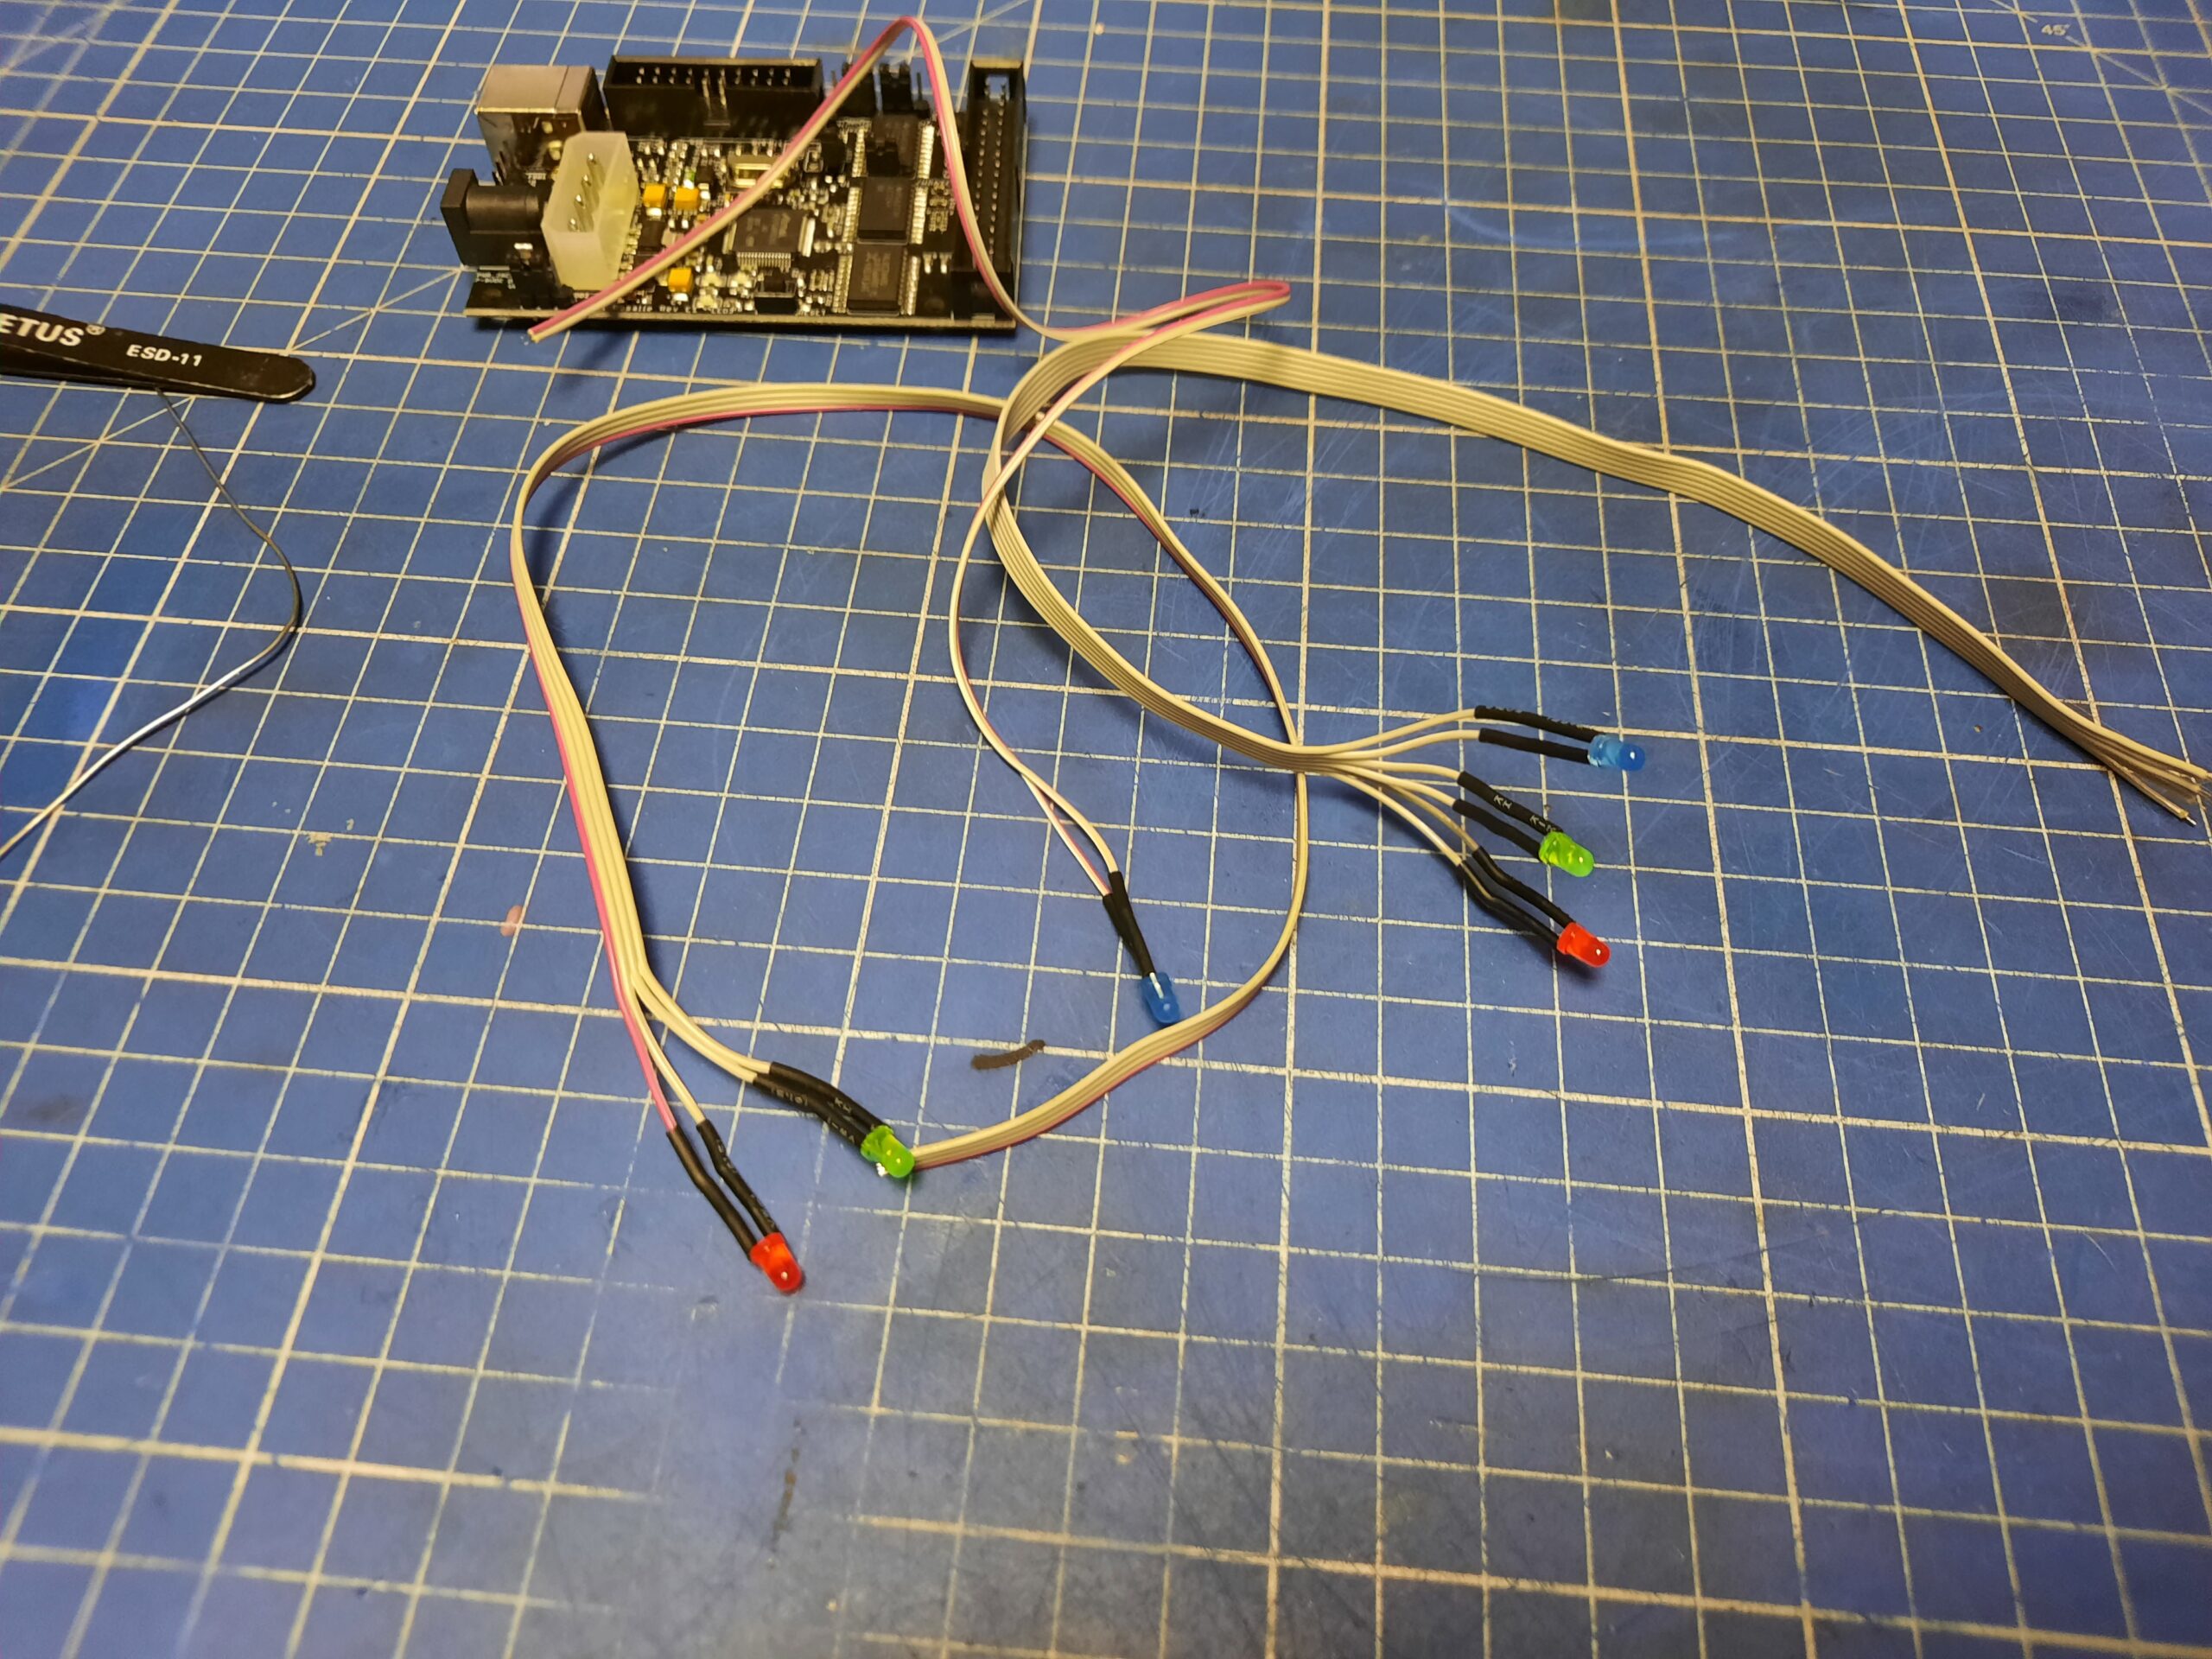
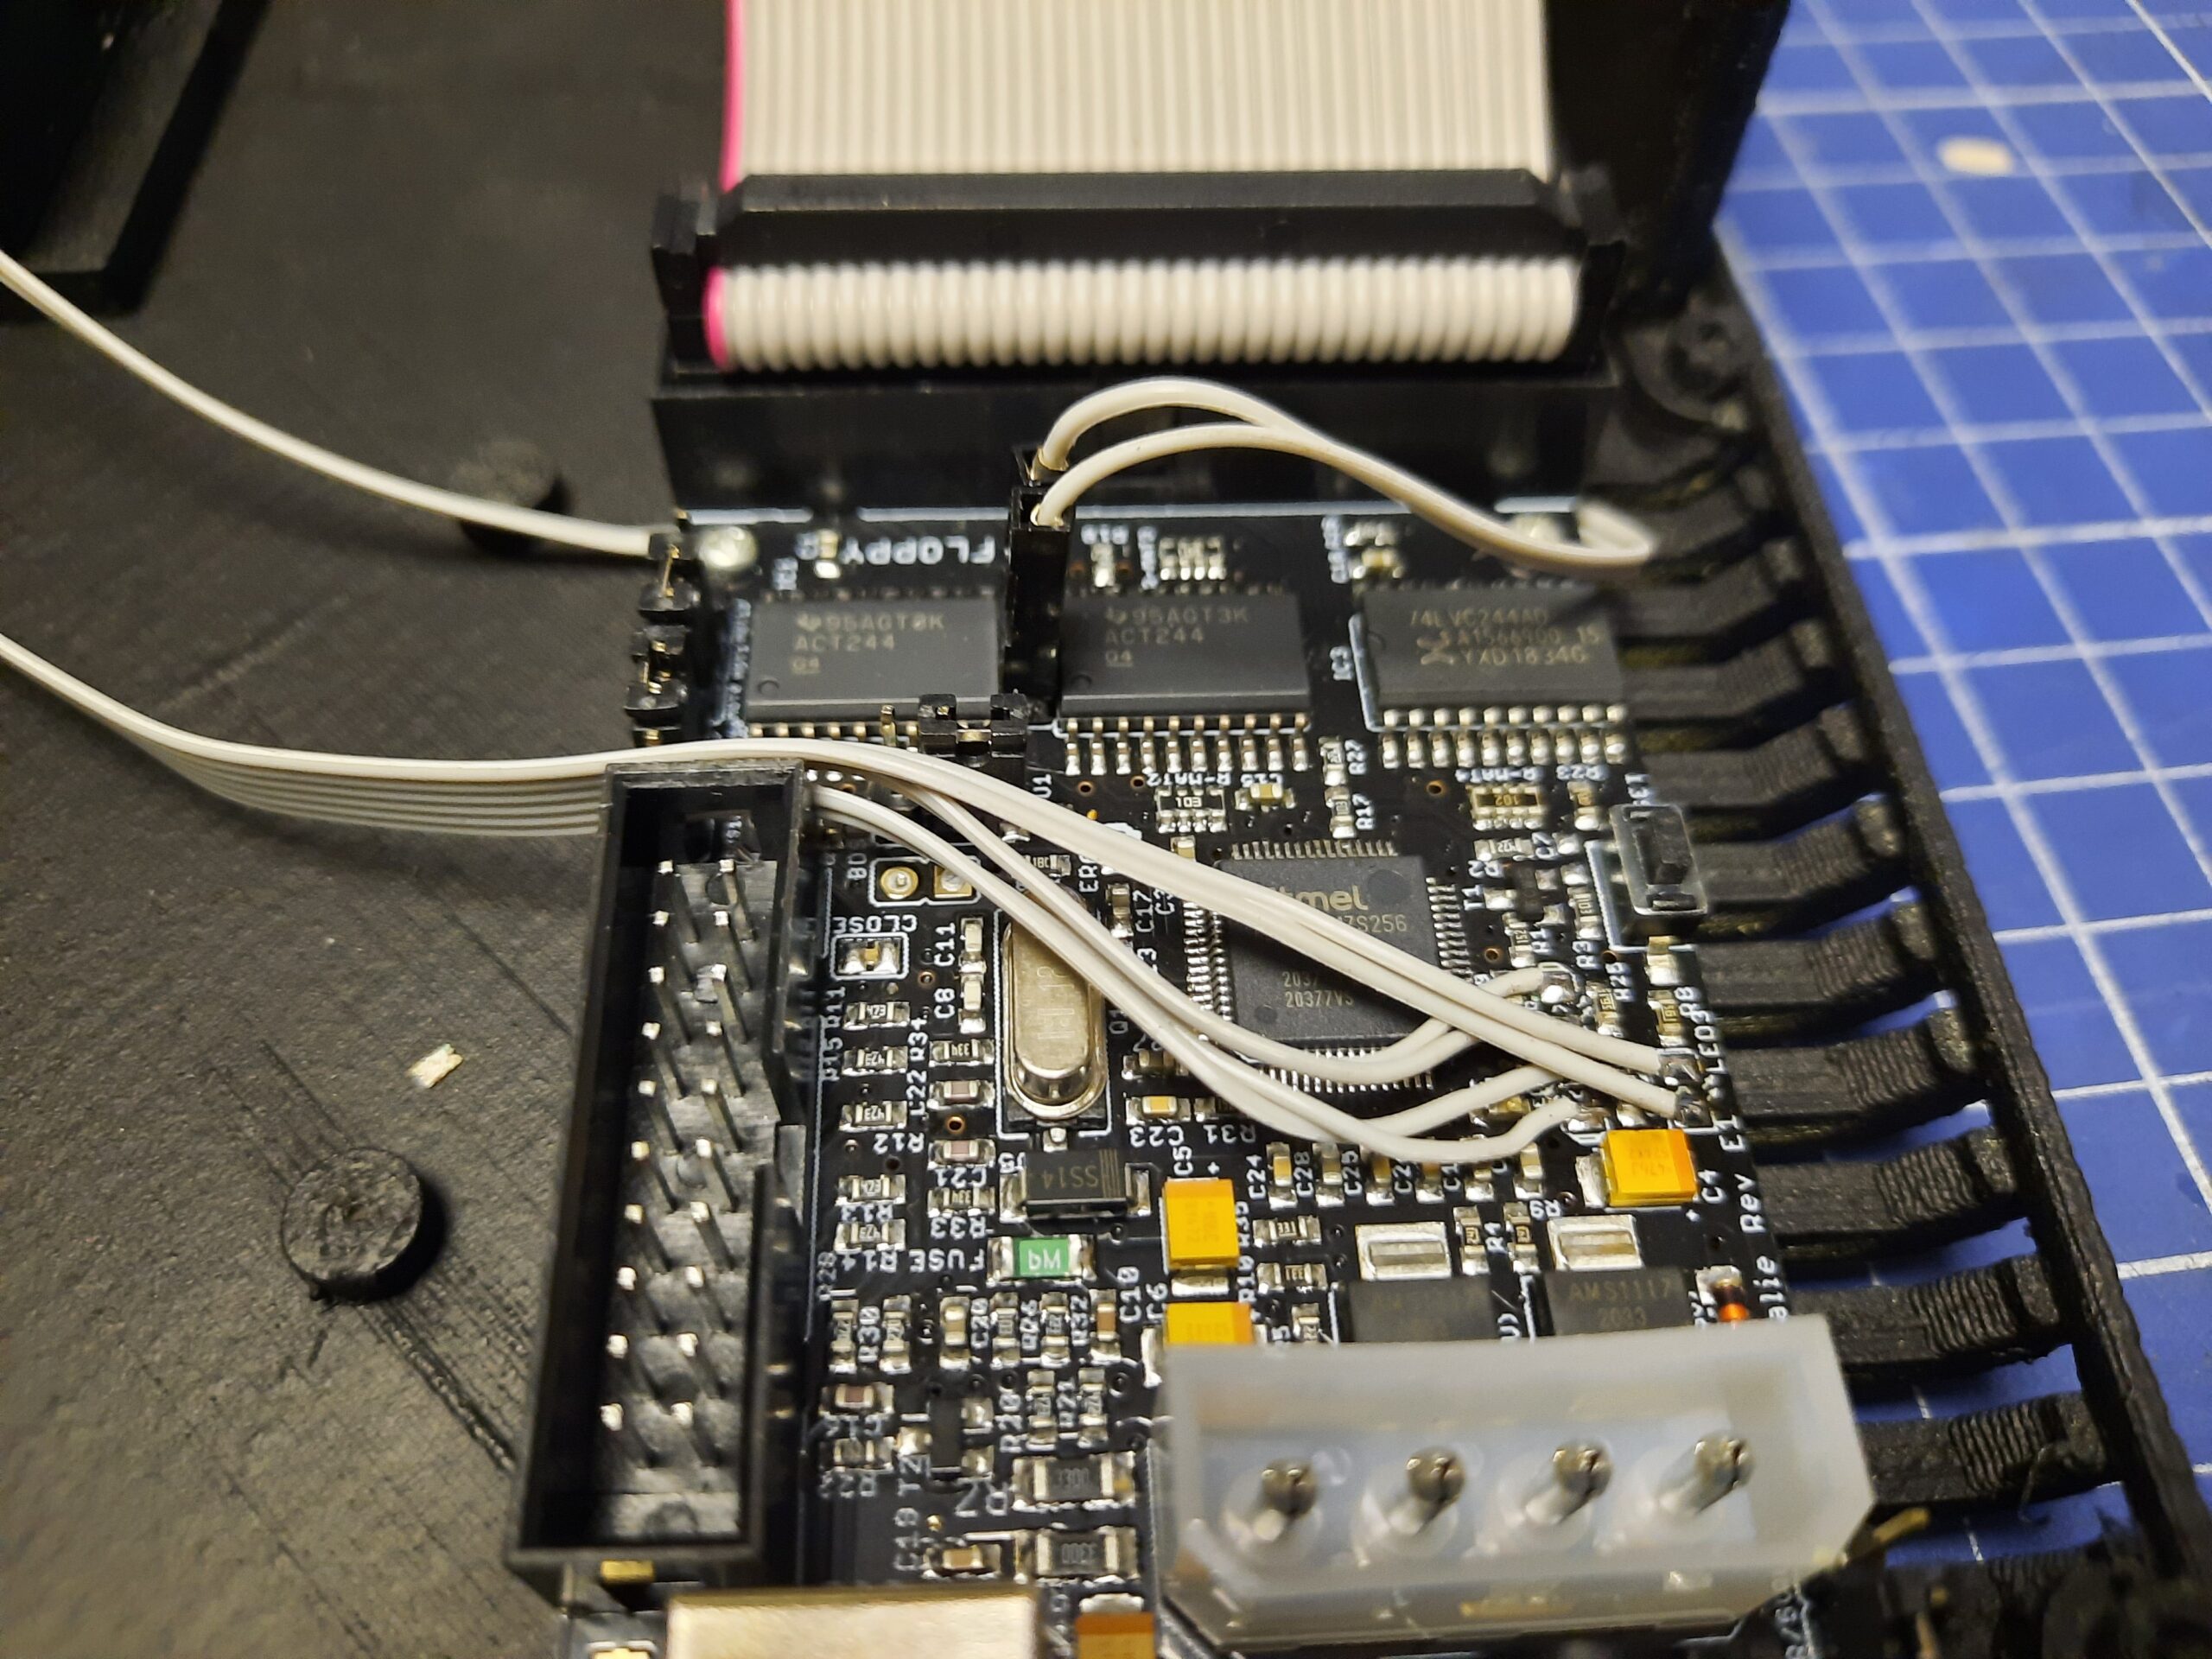
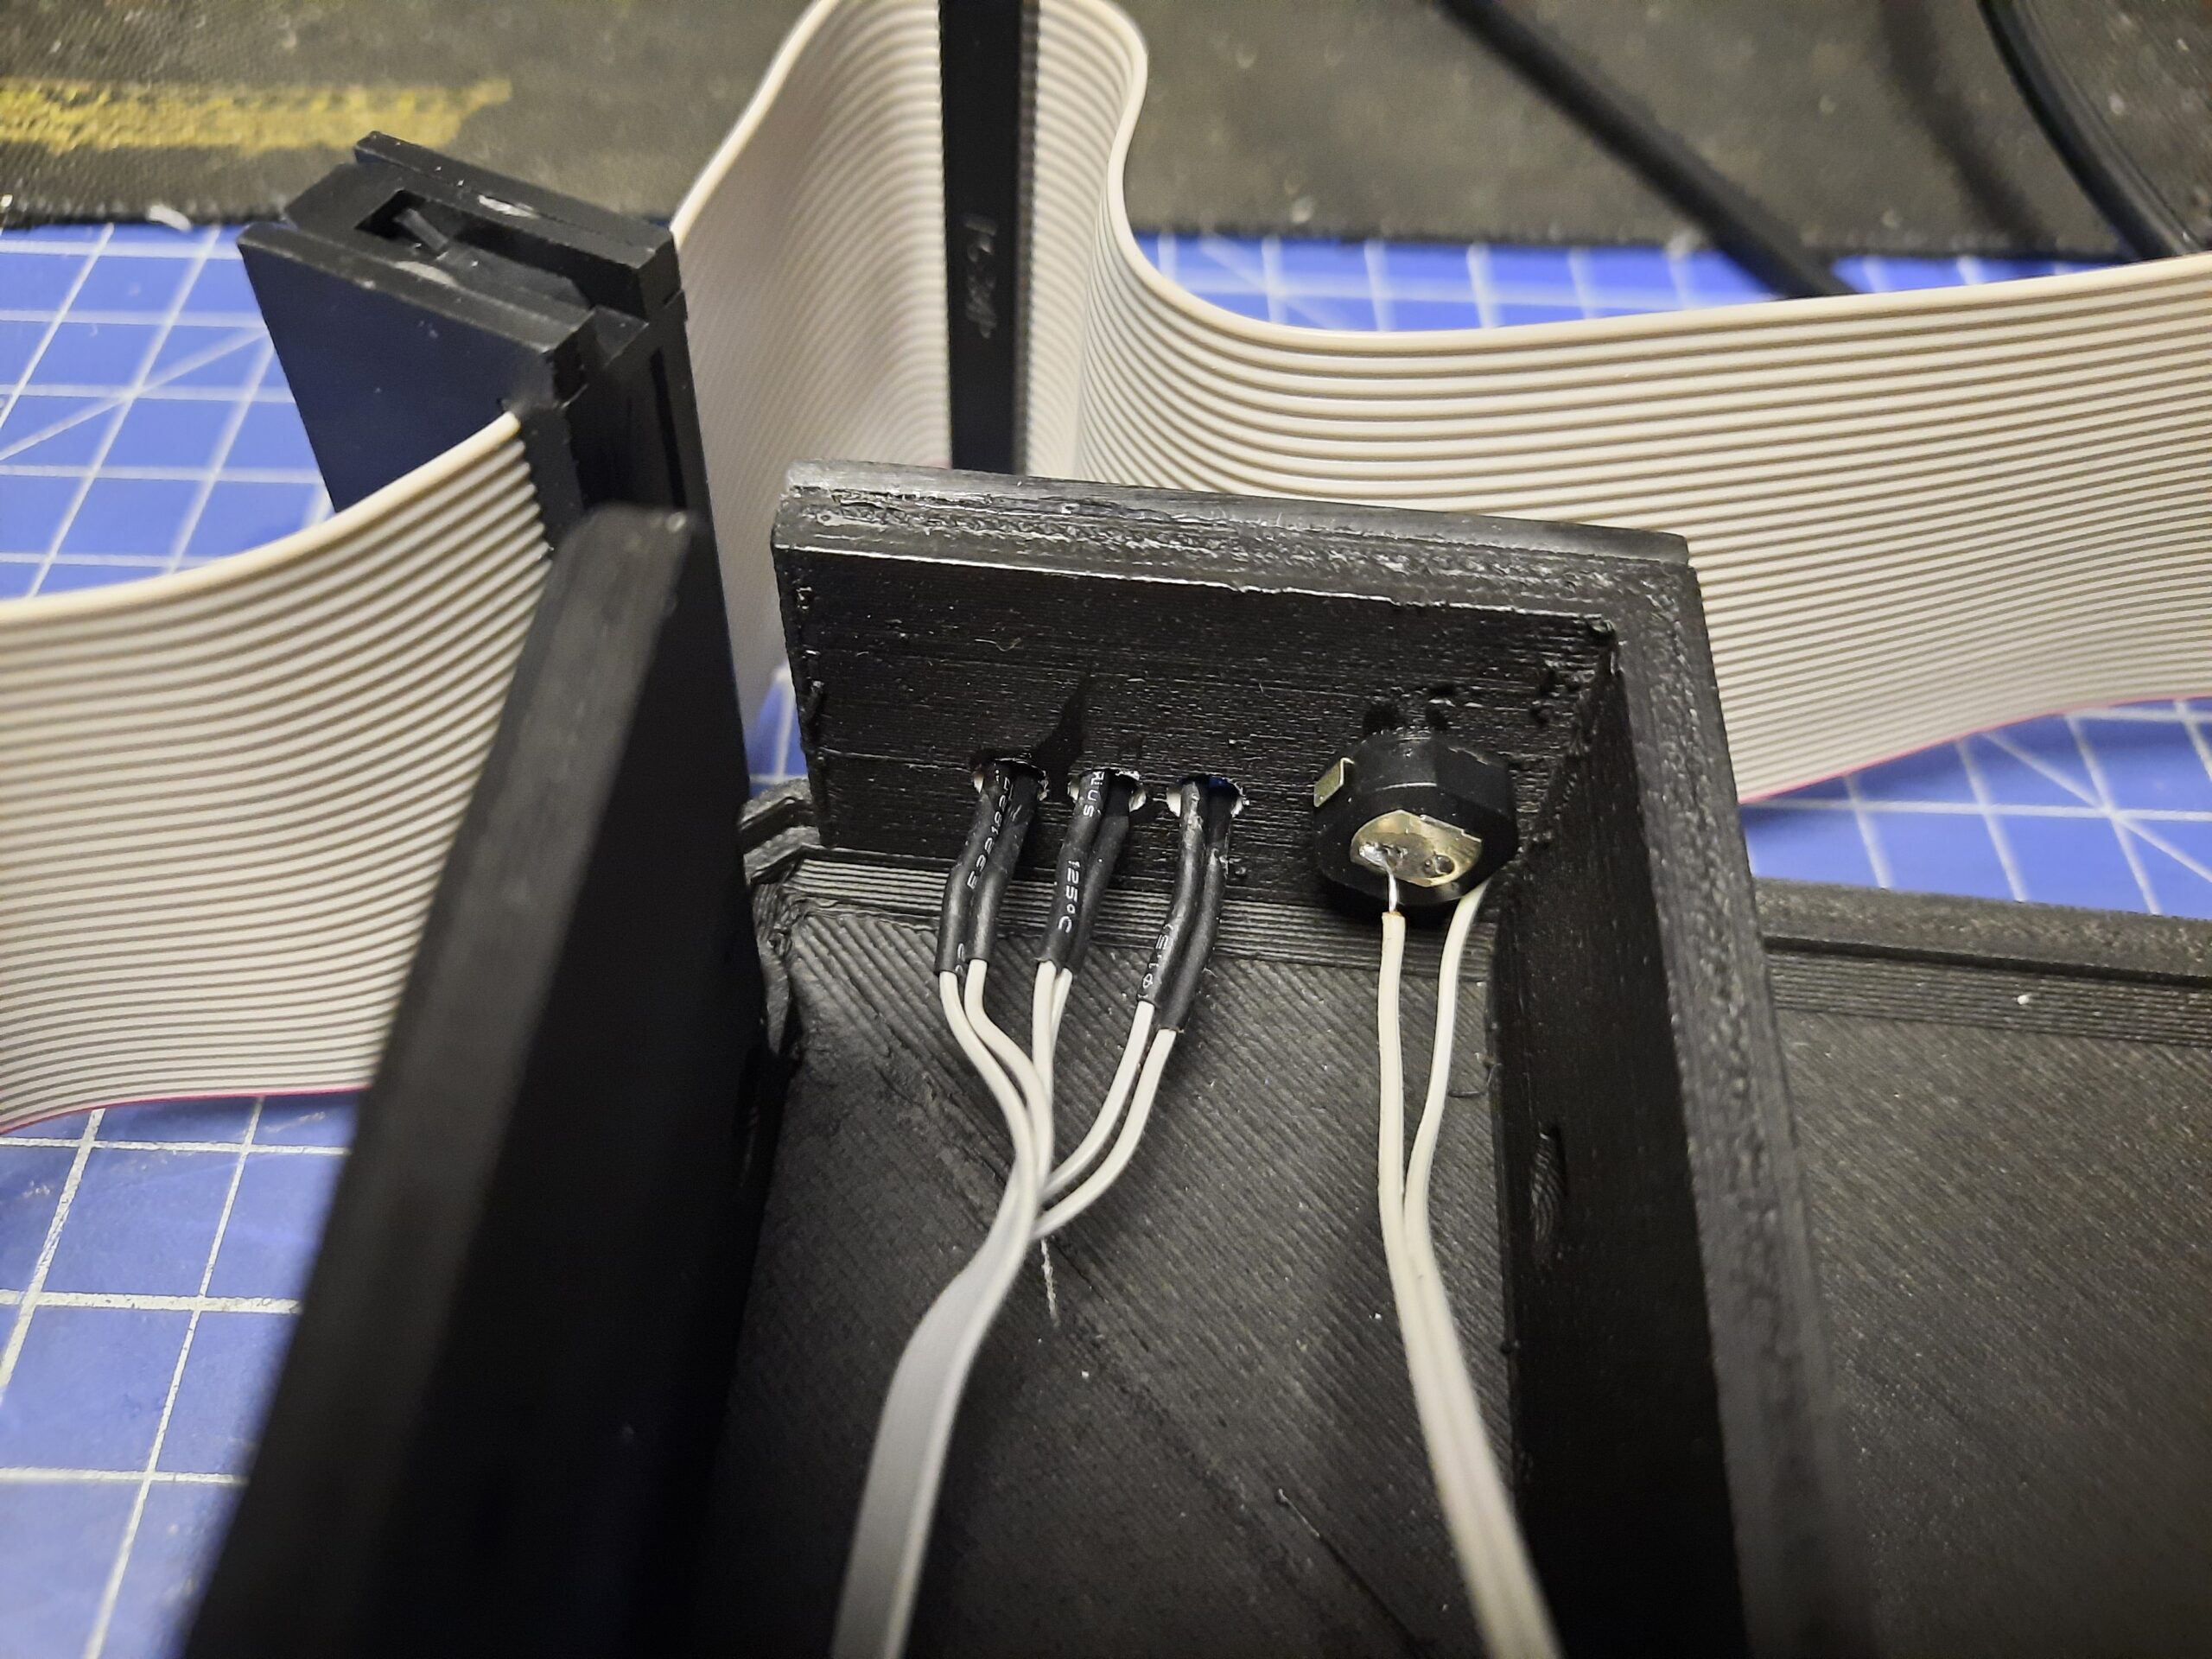
To test how it all fits, I had to remove the original LEDs from Kryoflux PCB and add some wires with LEDs fitted in a front panel.
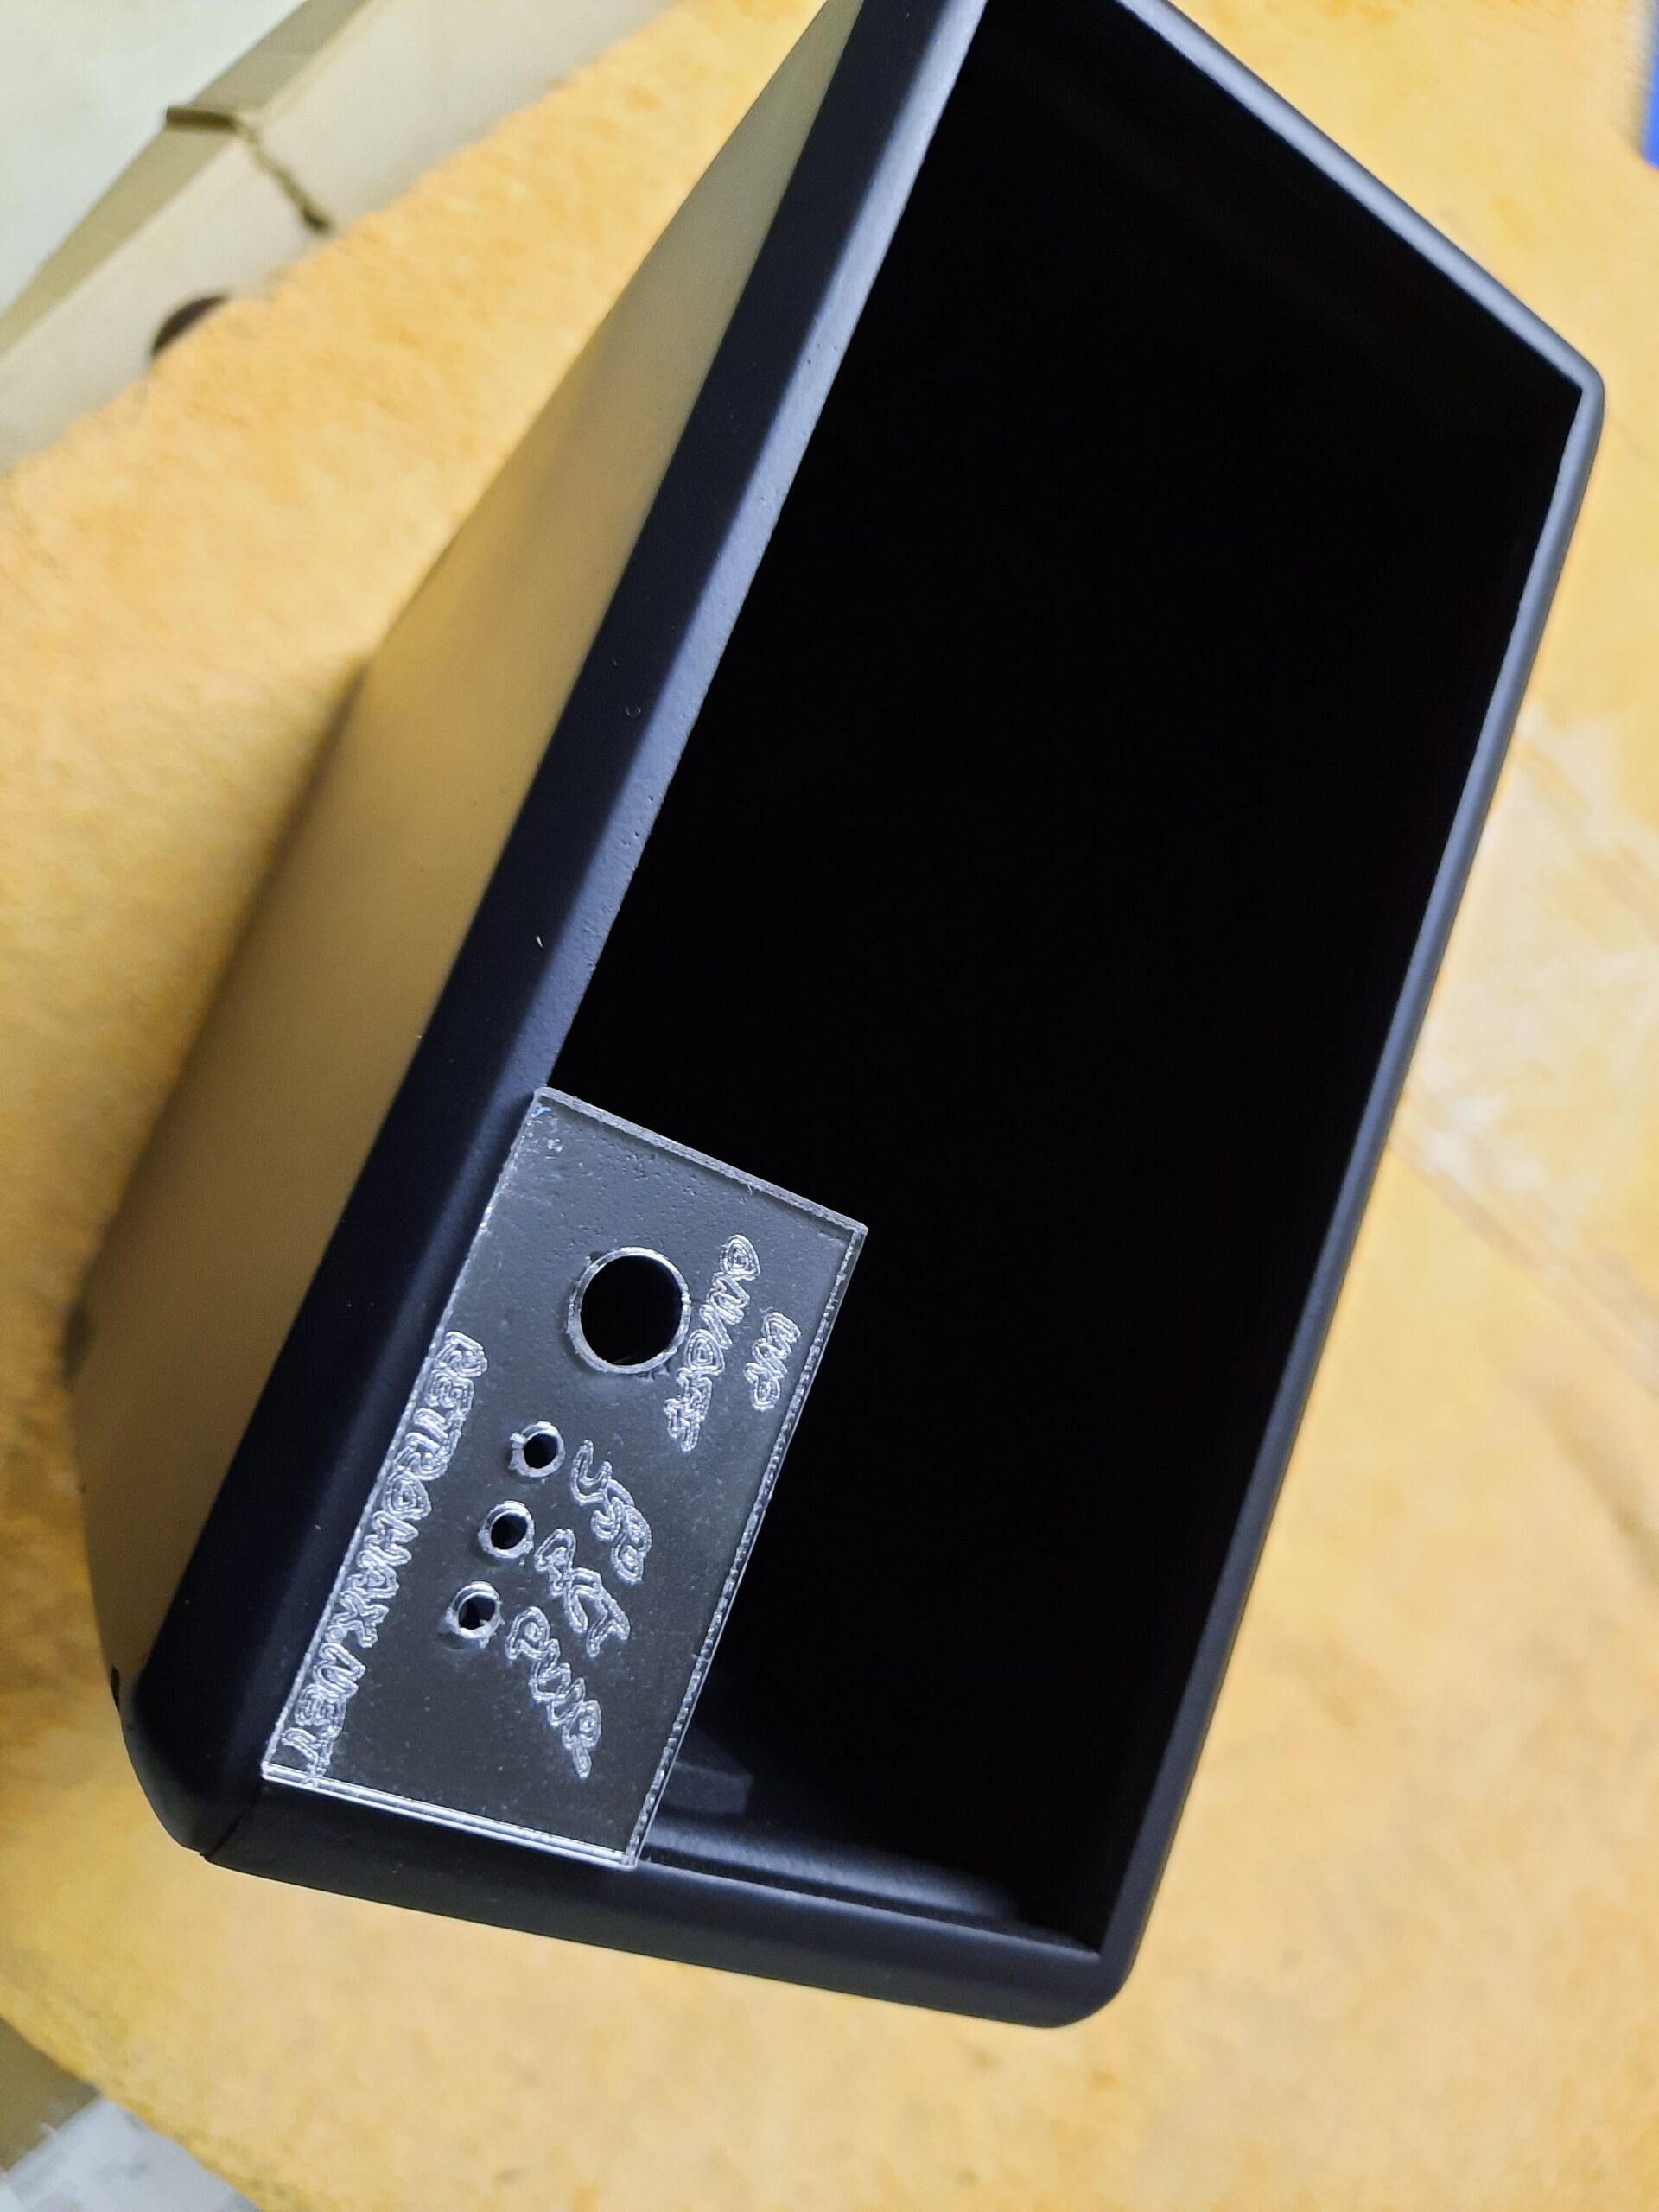
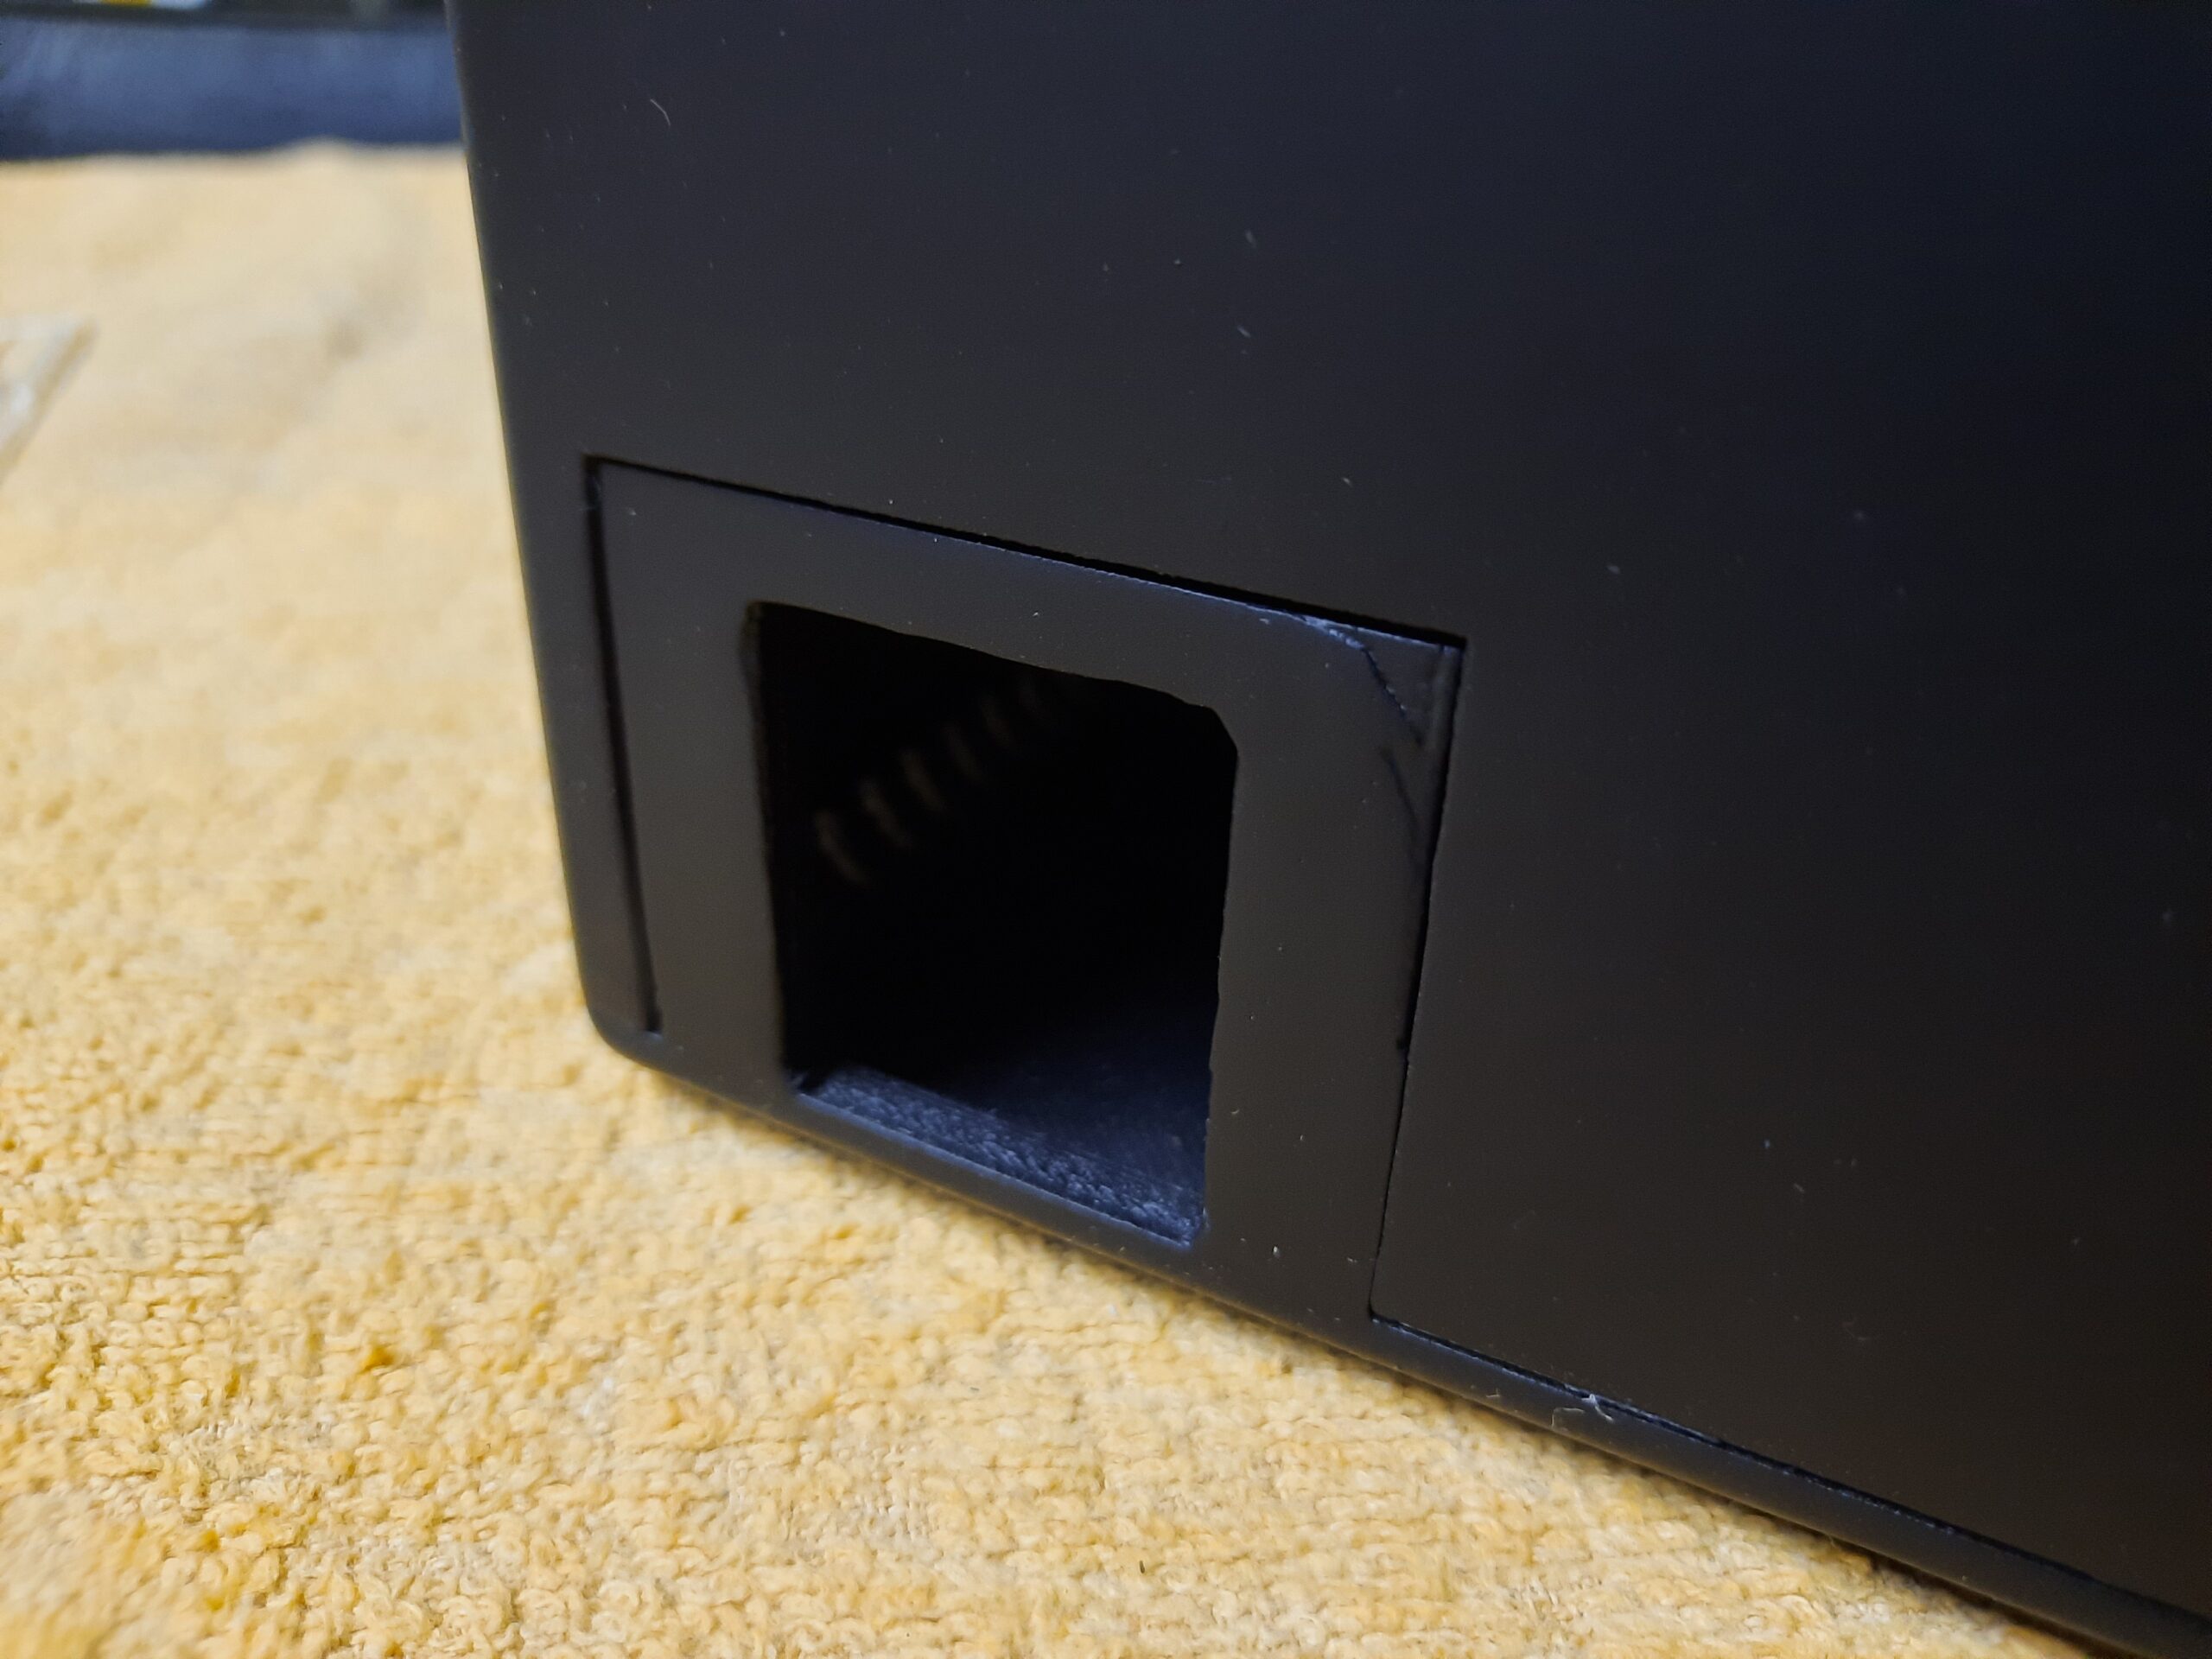
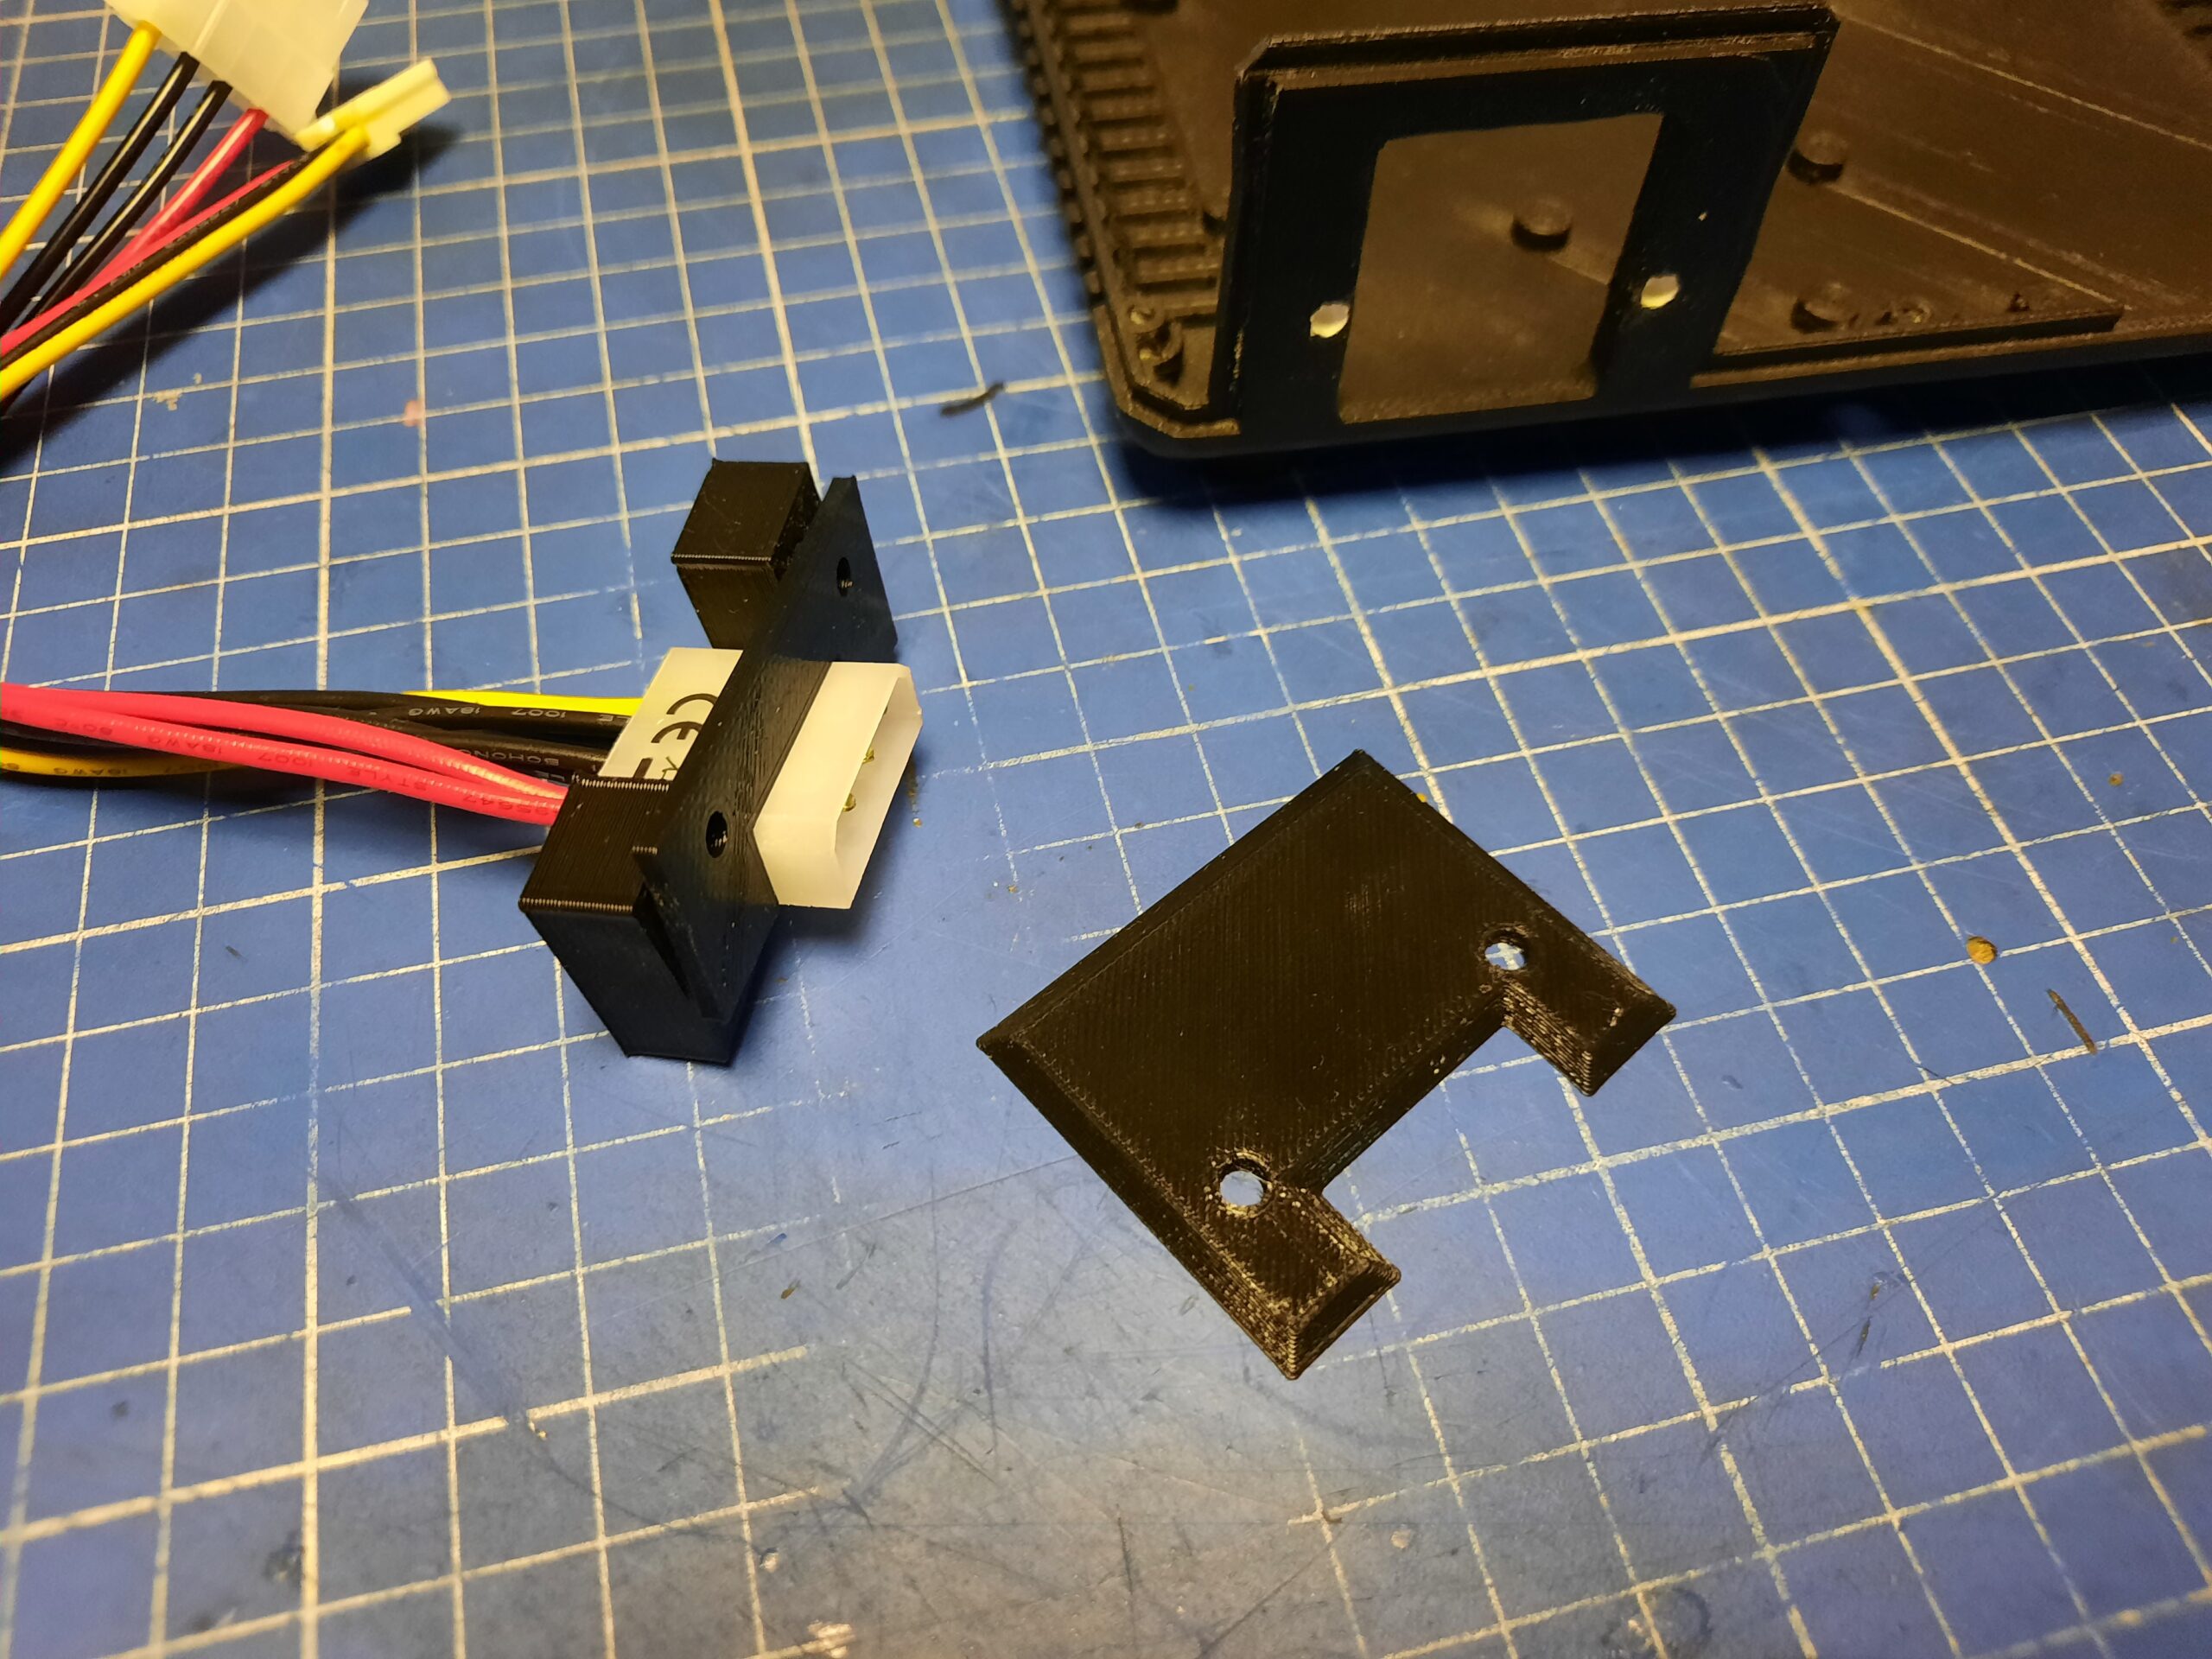
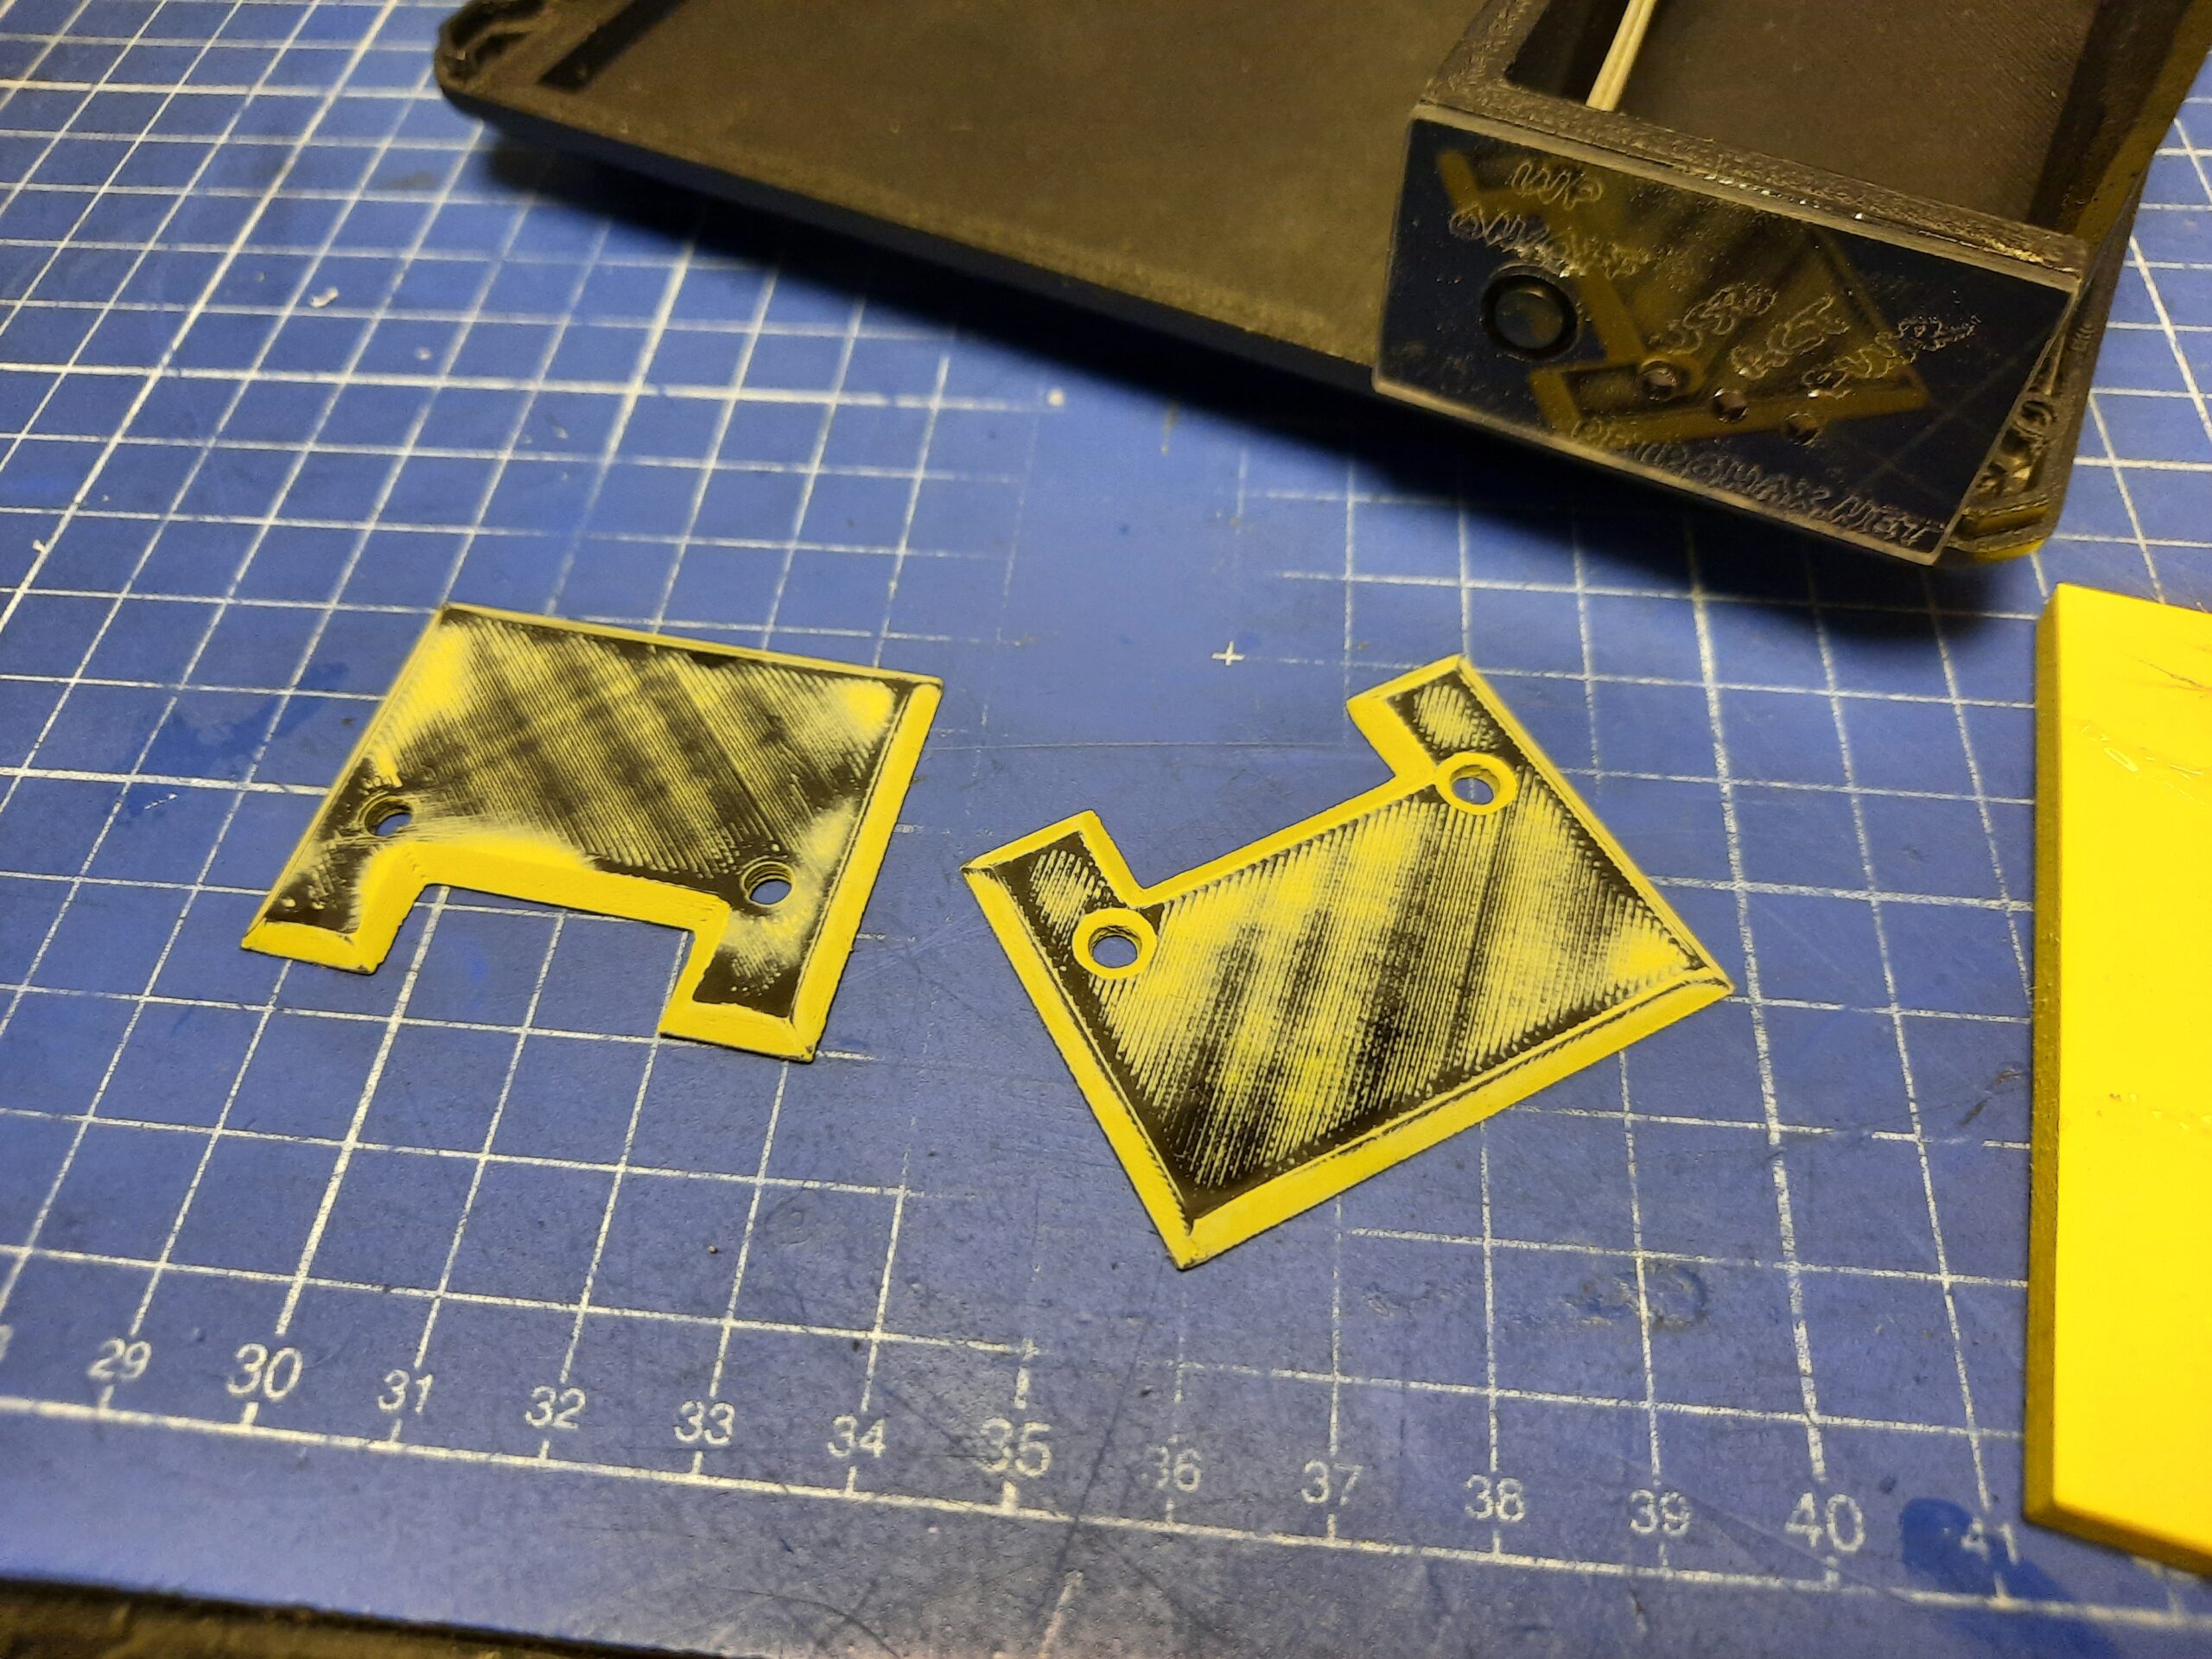
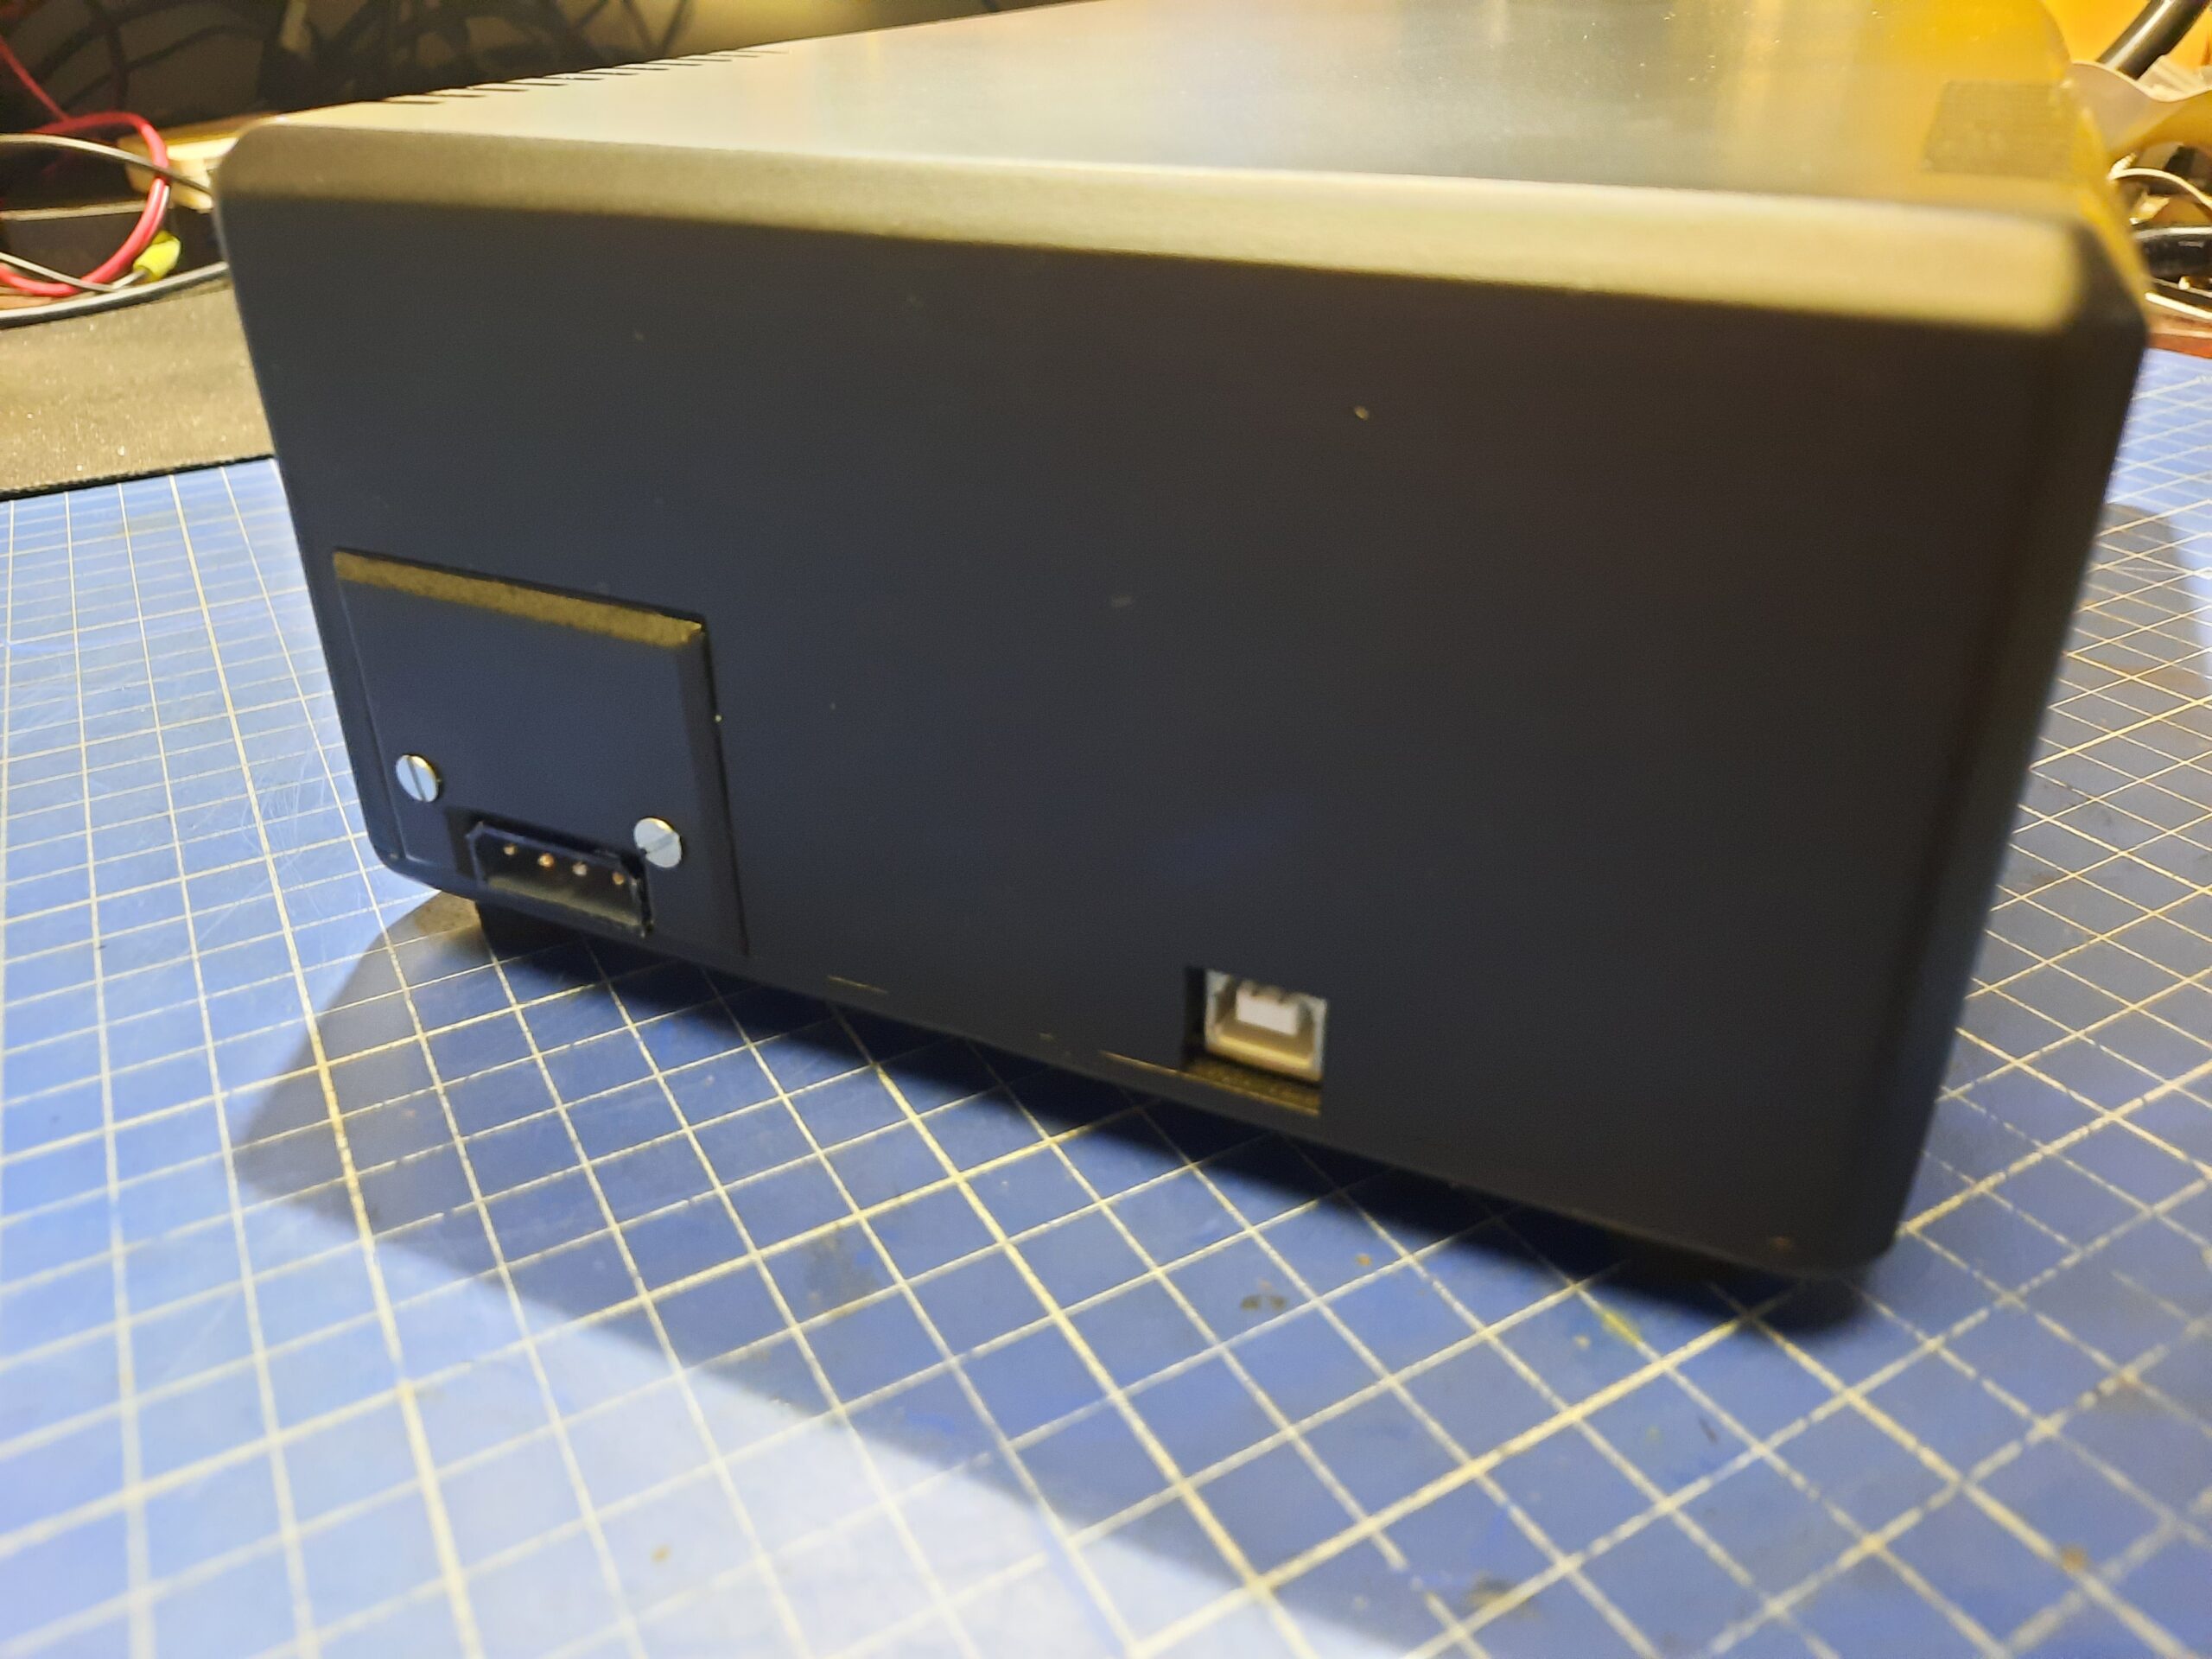
Back side
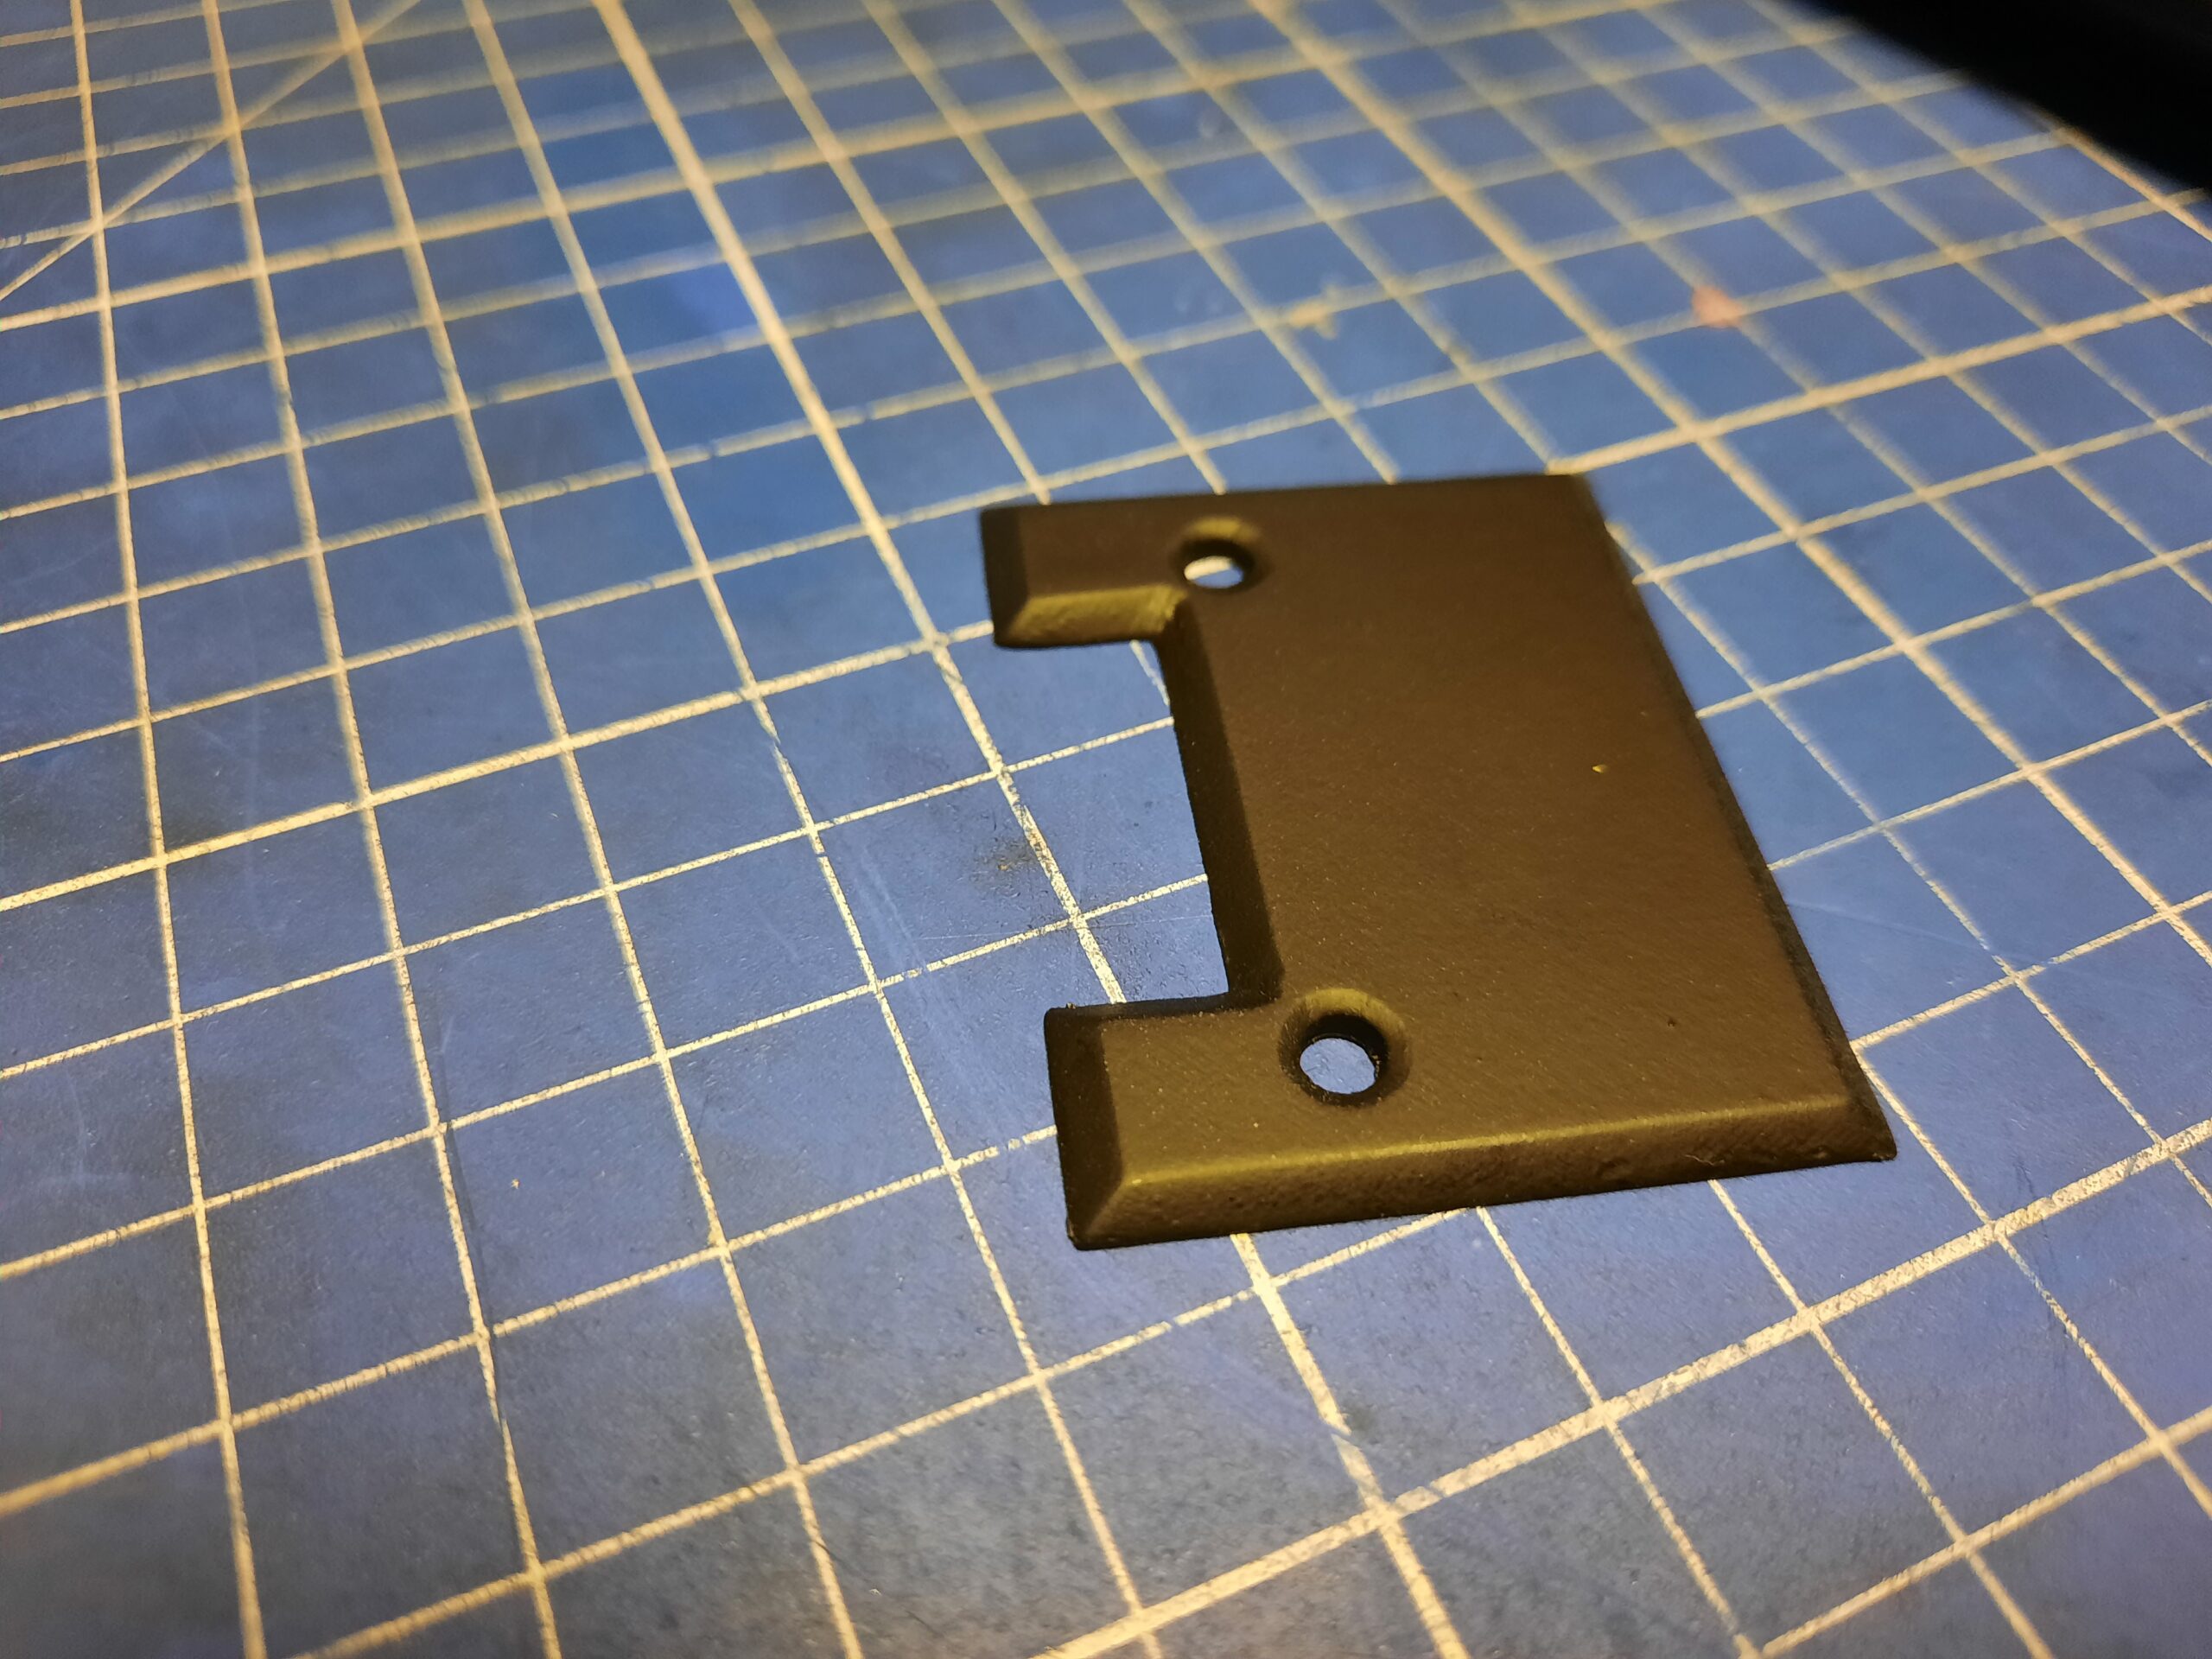
I wanted to install the Molex socket on the back as a main PSU connector. To cover the previous fuck-up I figured I’ll 3D print a cover that will also help with the Molex. I made a model and 3D printed it, then sanded it, filled it with putty, sanded it again, and spray painted it.

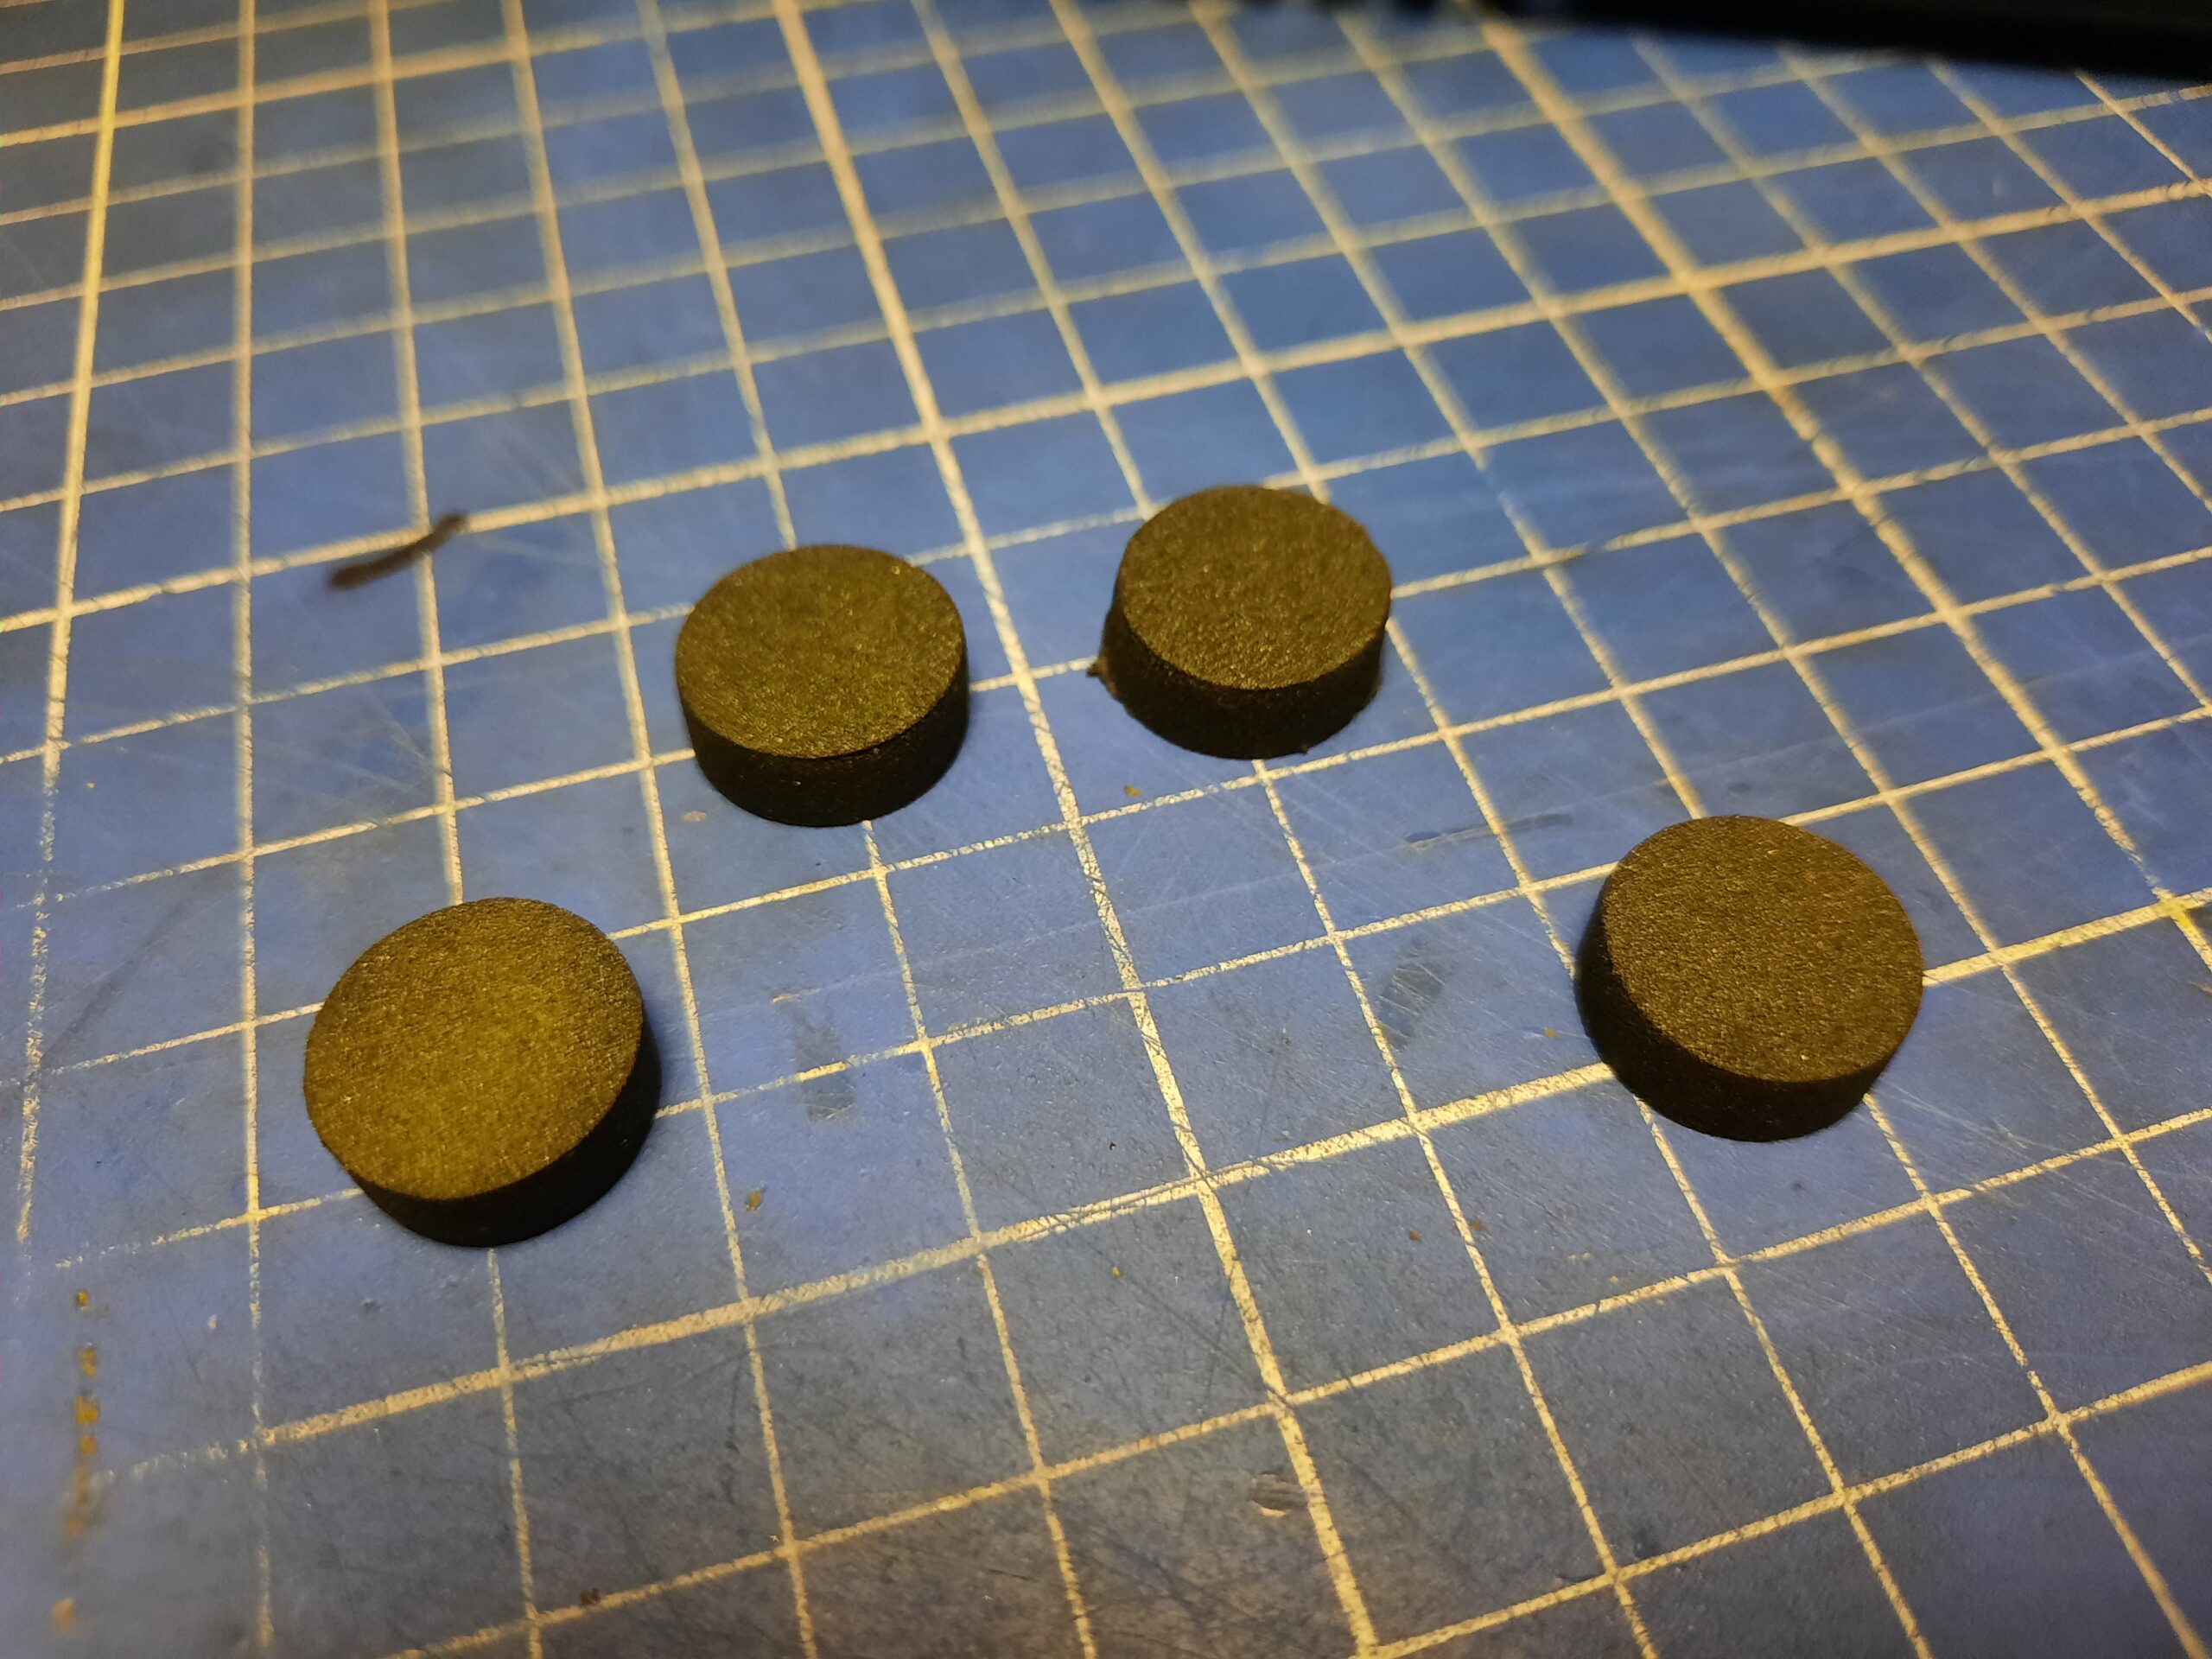
Meanwhile, I also laser-cut some neoprene pads that will be later glued to the bottom of the case.
Drives
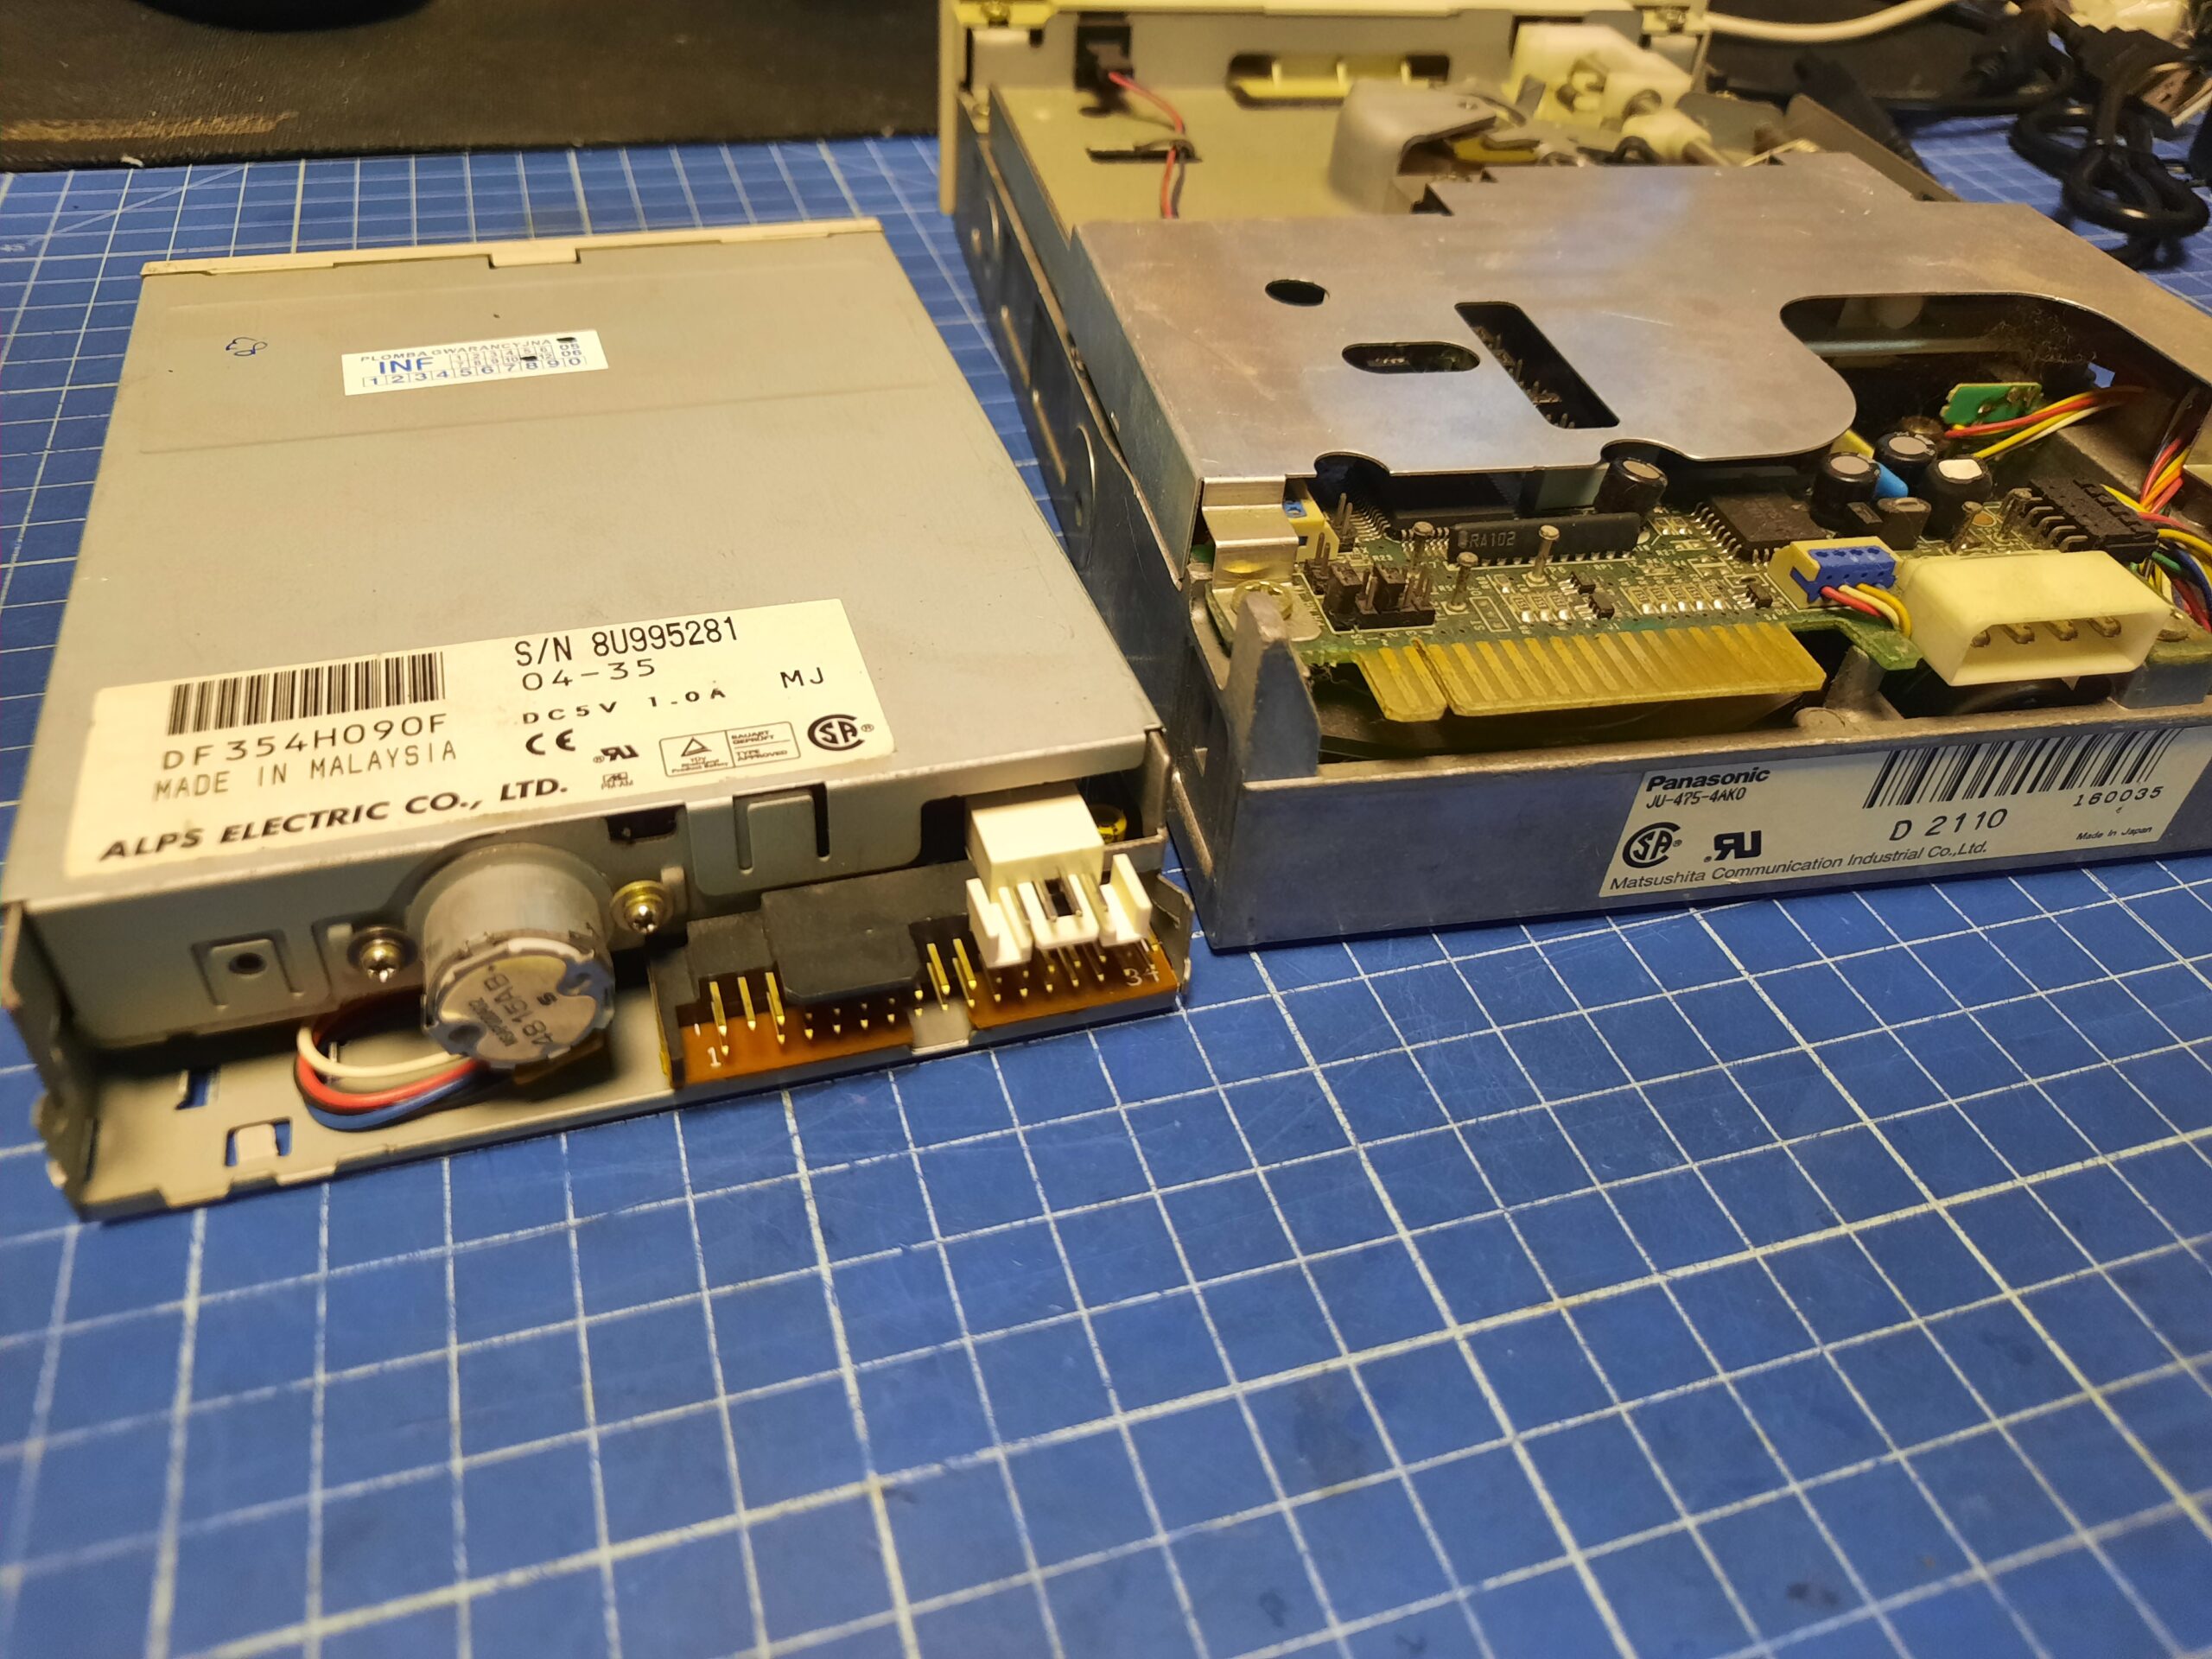
Now it was time to choose the proper drives for this device. After a long reading of the Internetz, the choice was made:
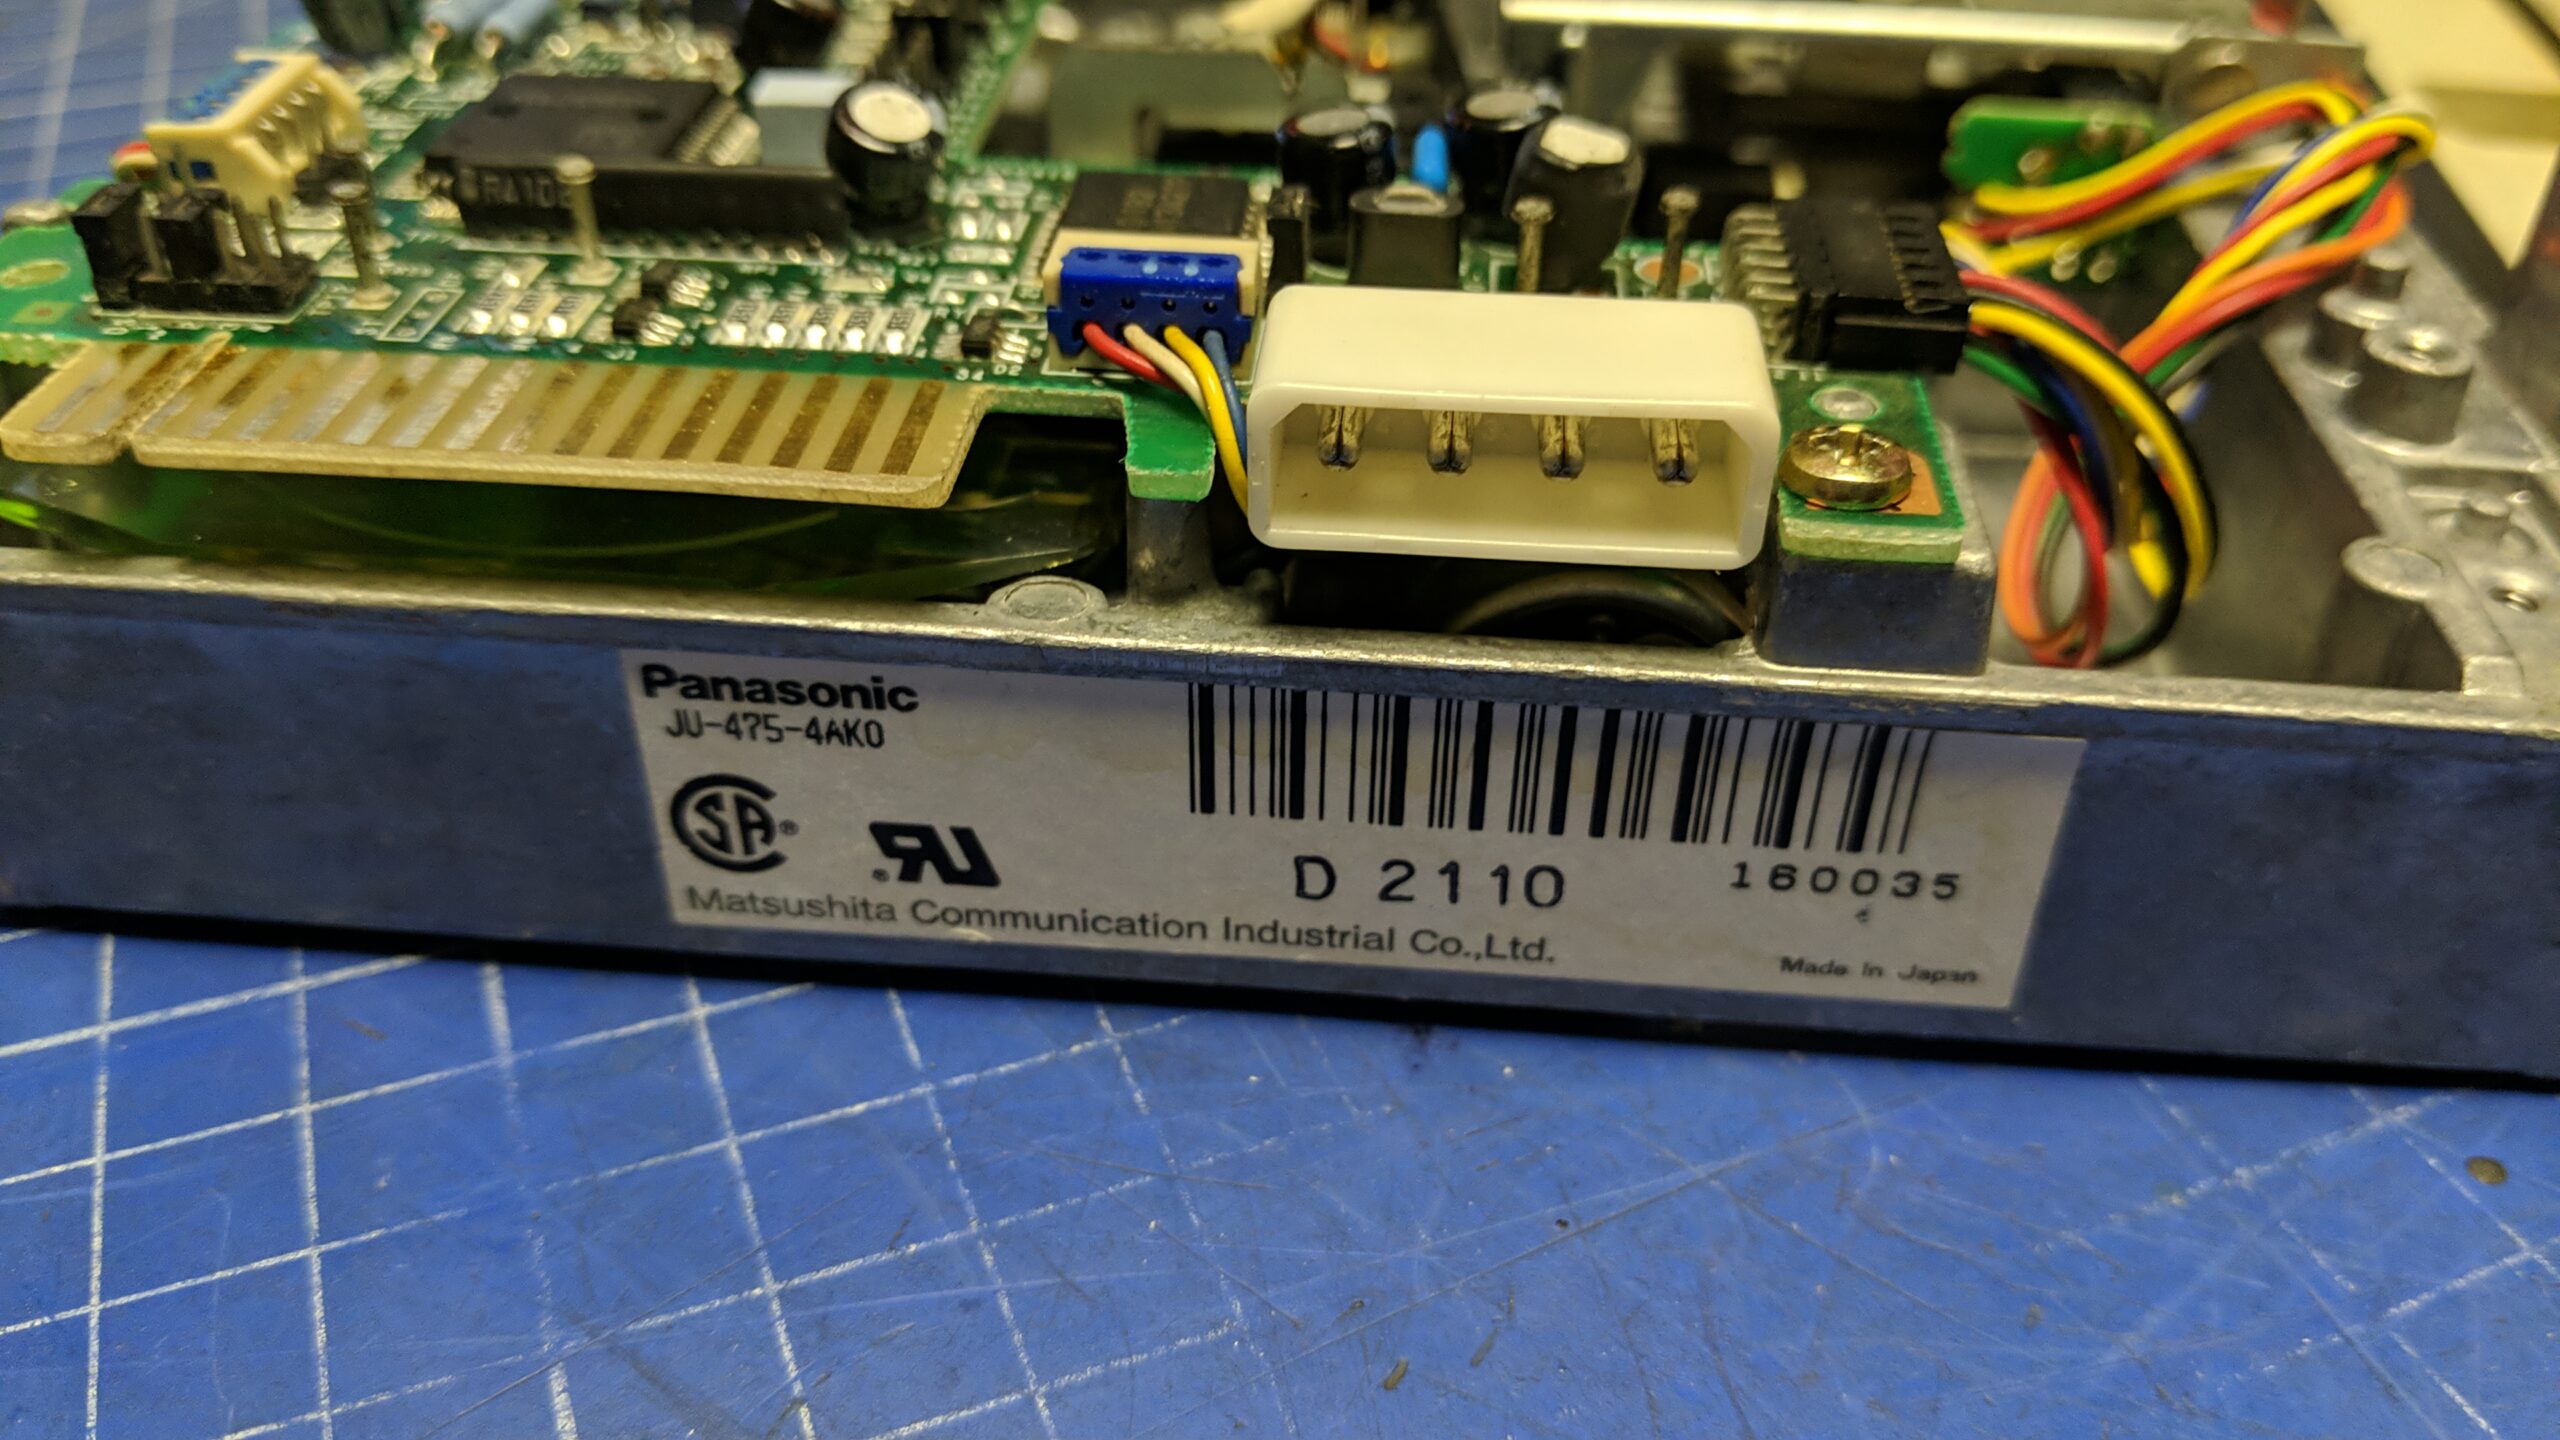
- Panasonic JU-475
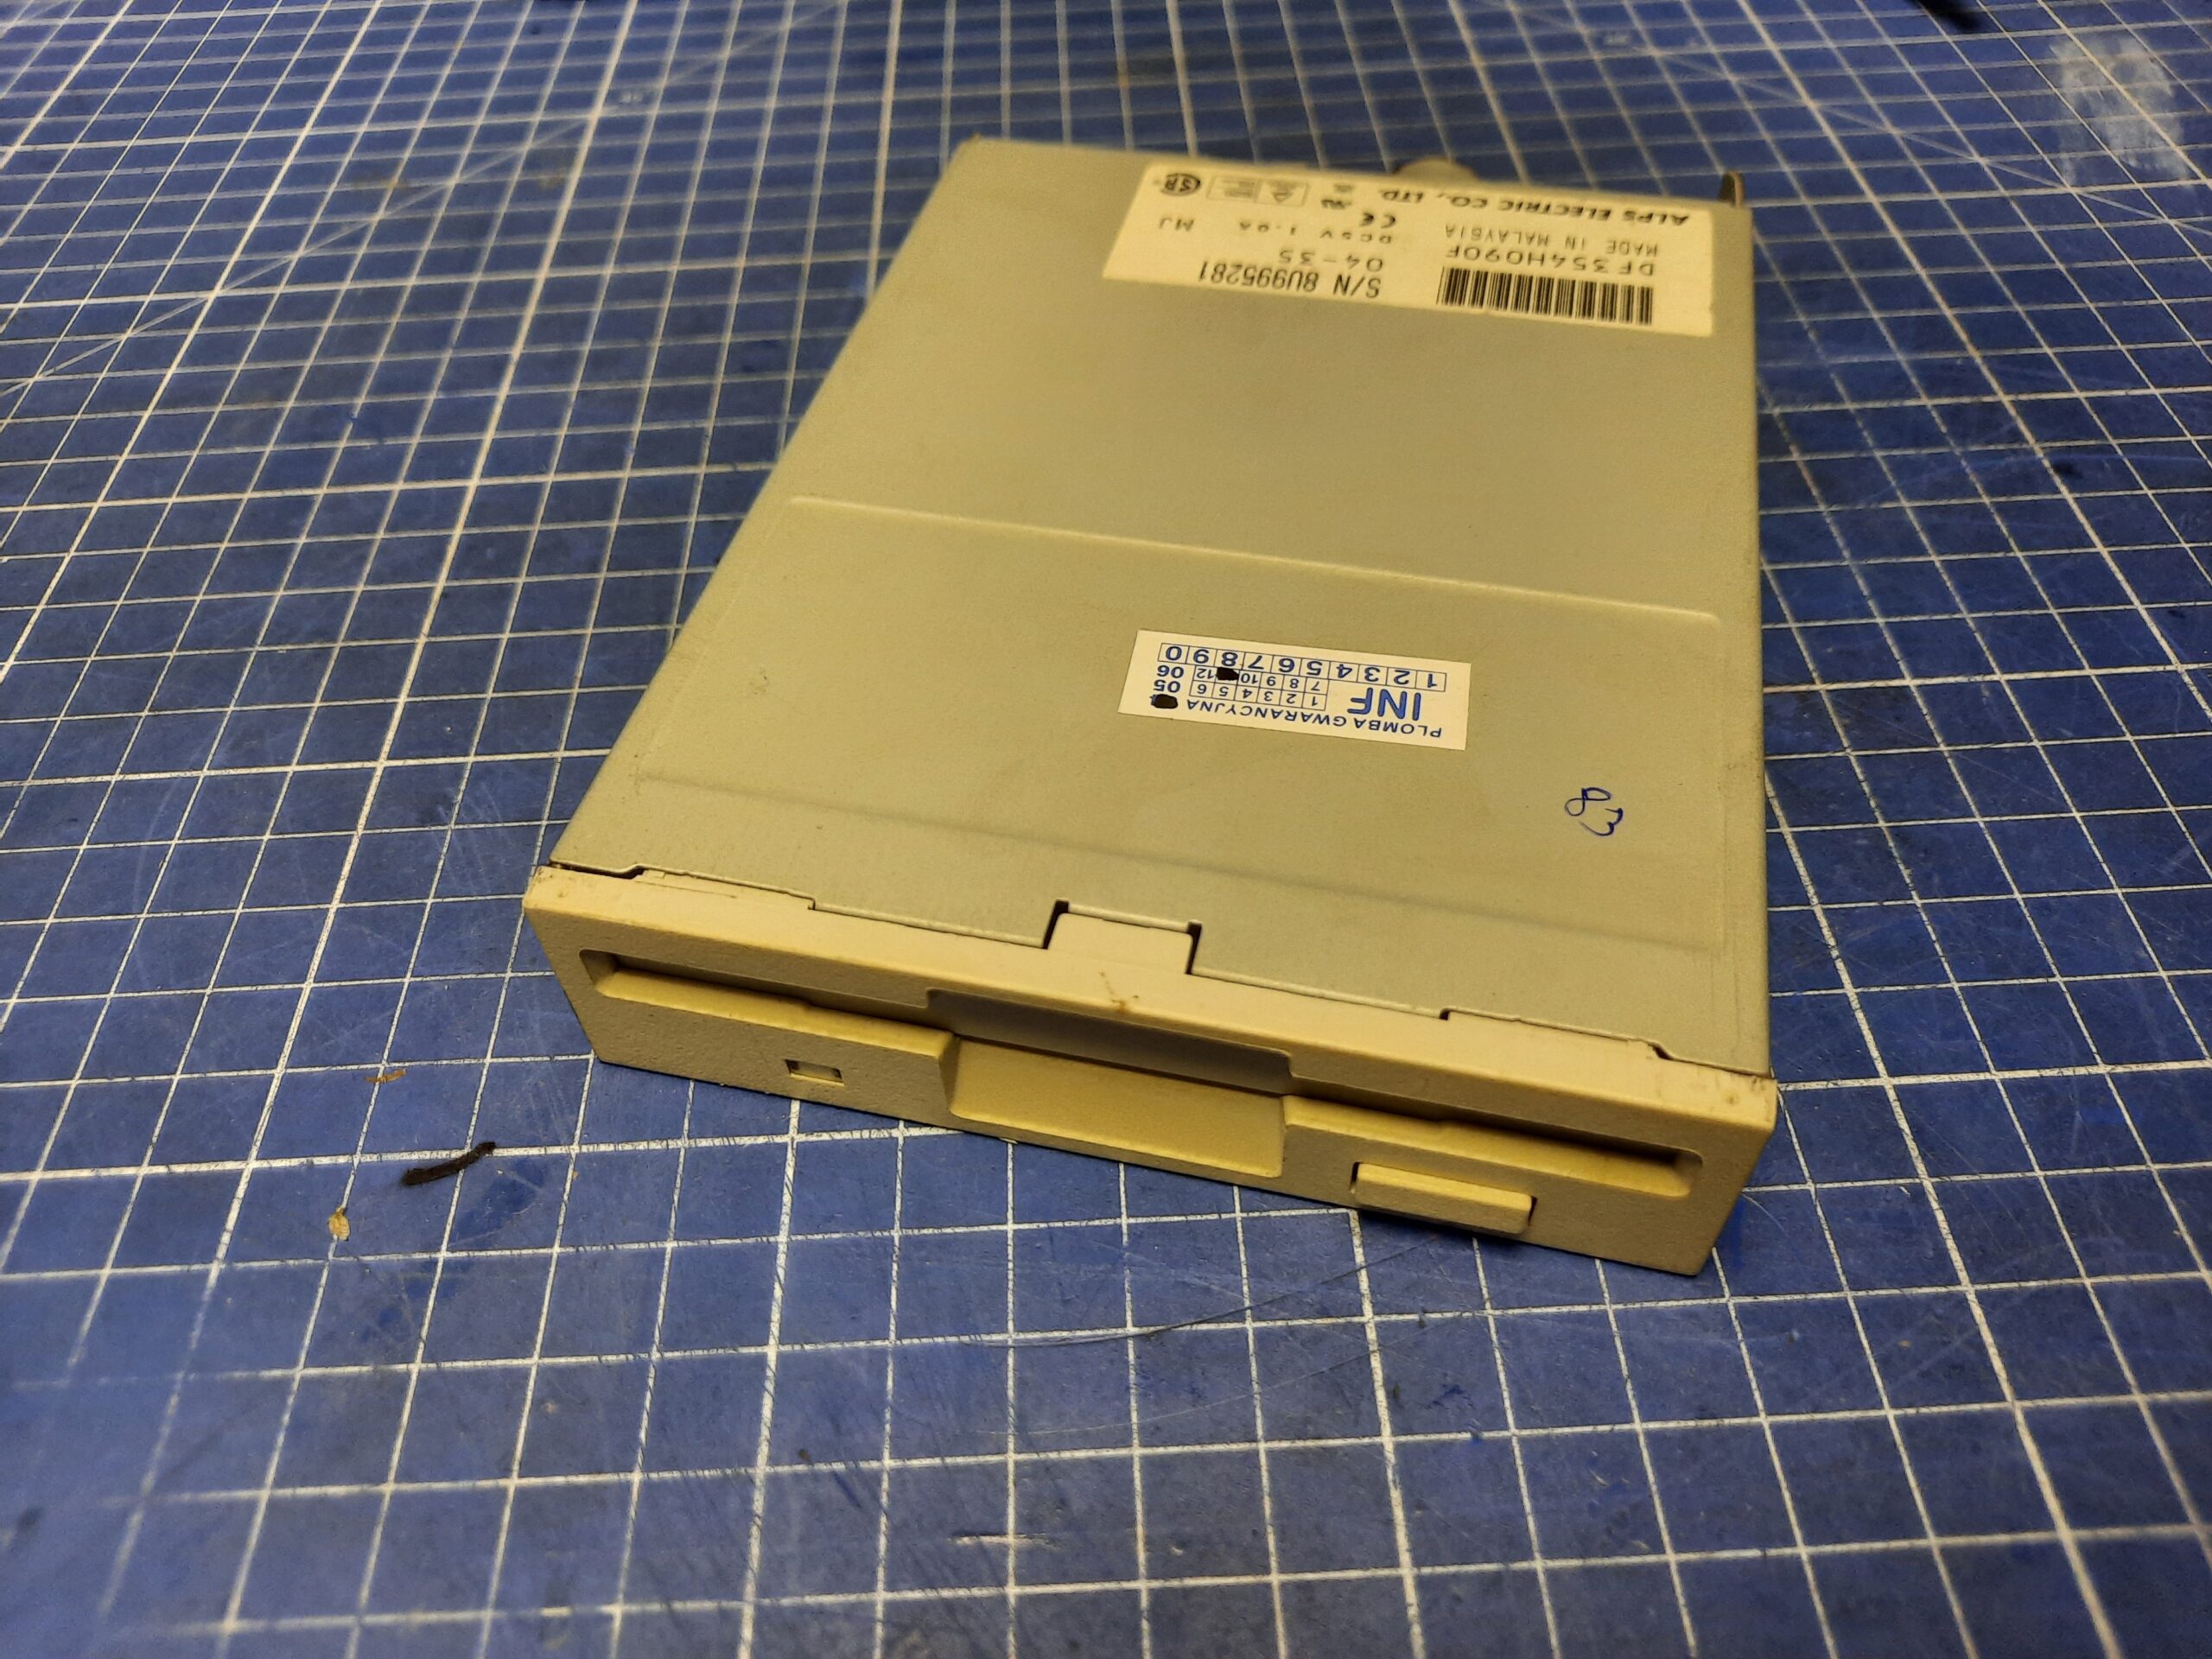
- ALPS Electric DF354
Both drives support the majority of formats out of the box which makes them a good choice for a Kryoflux unit.
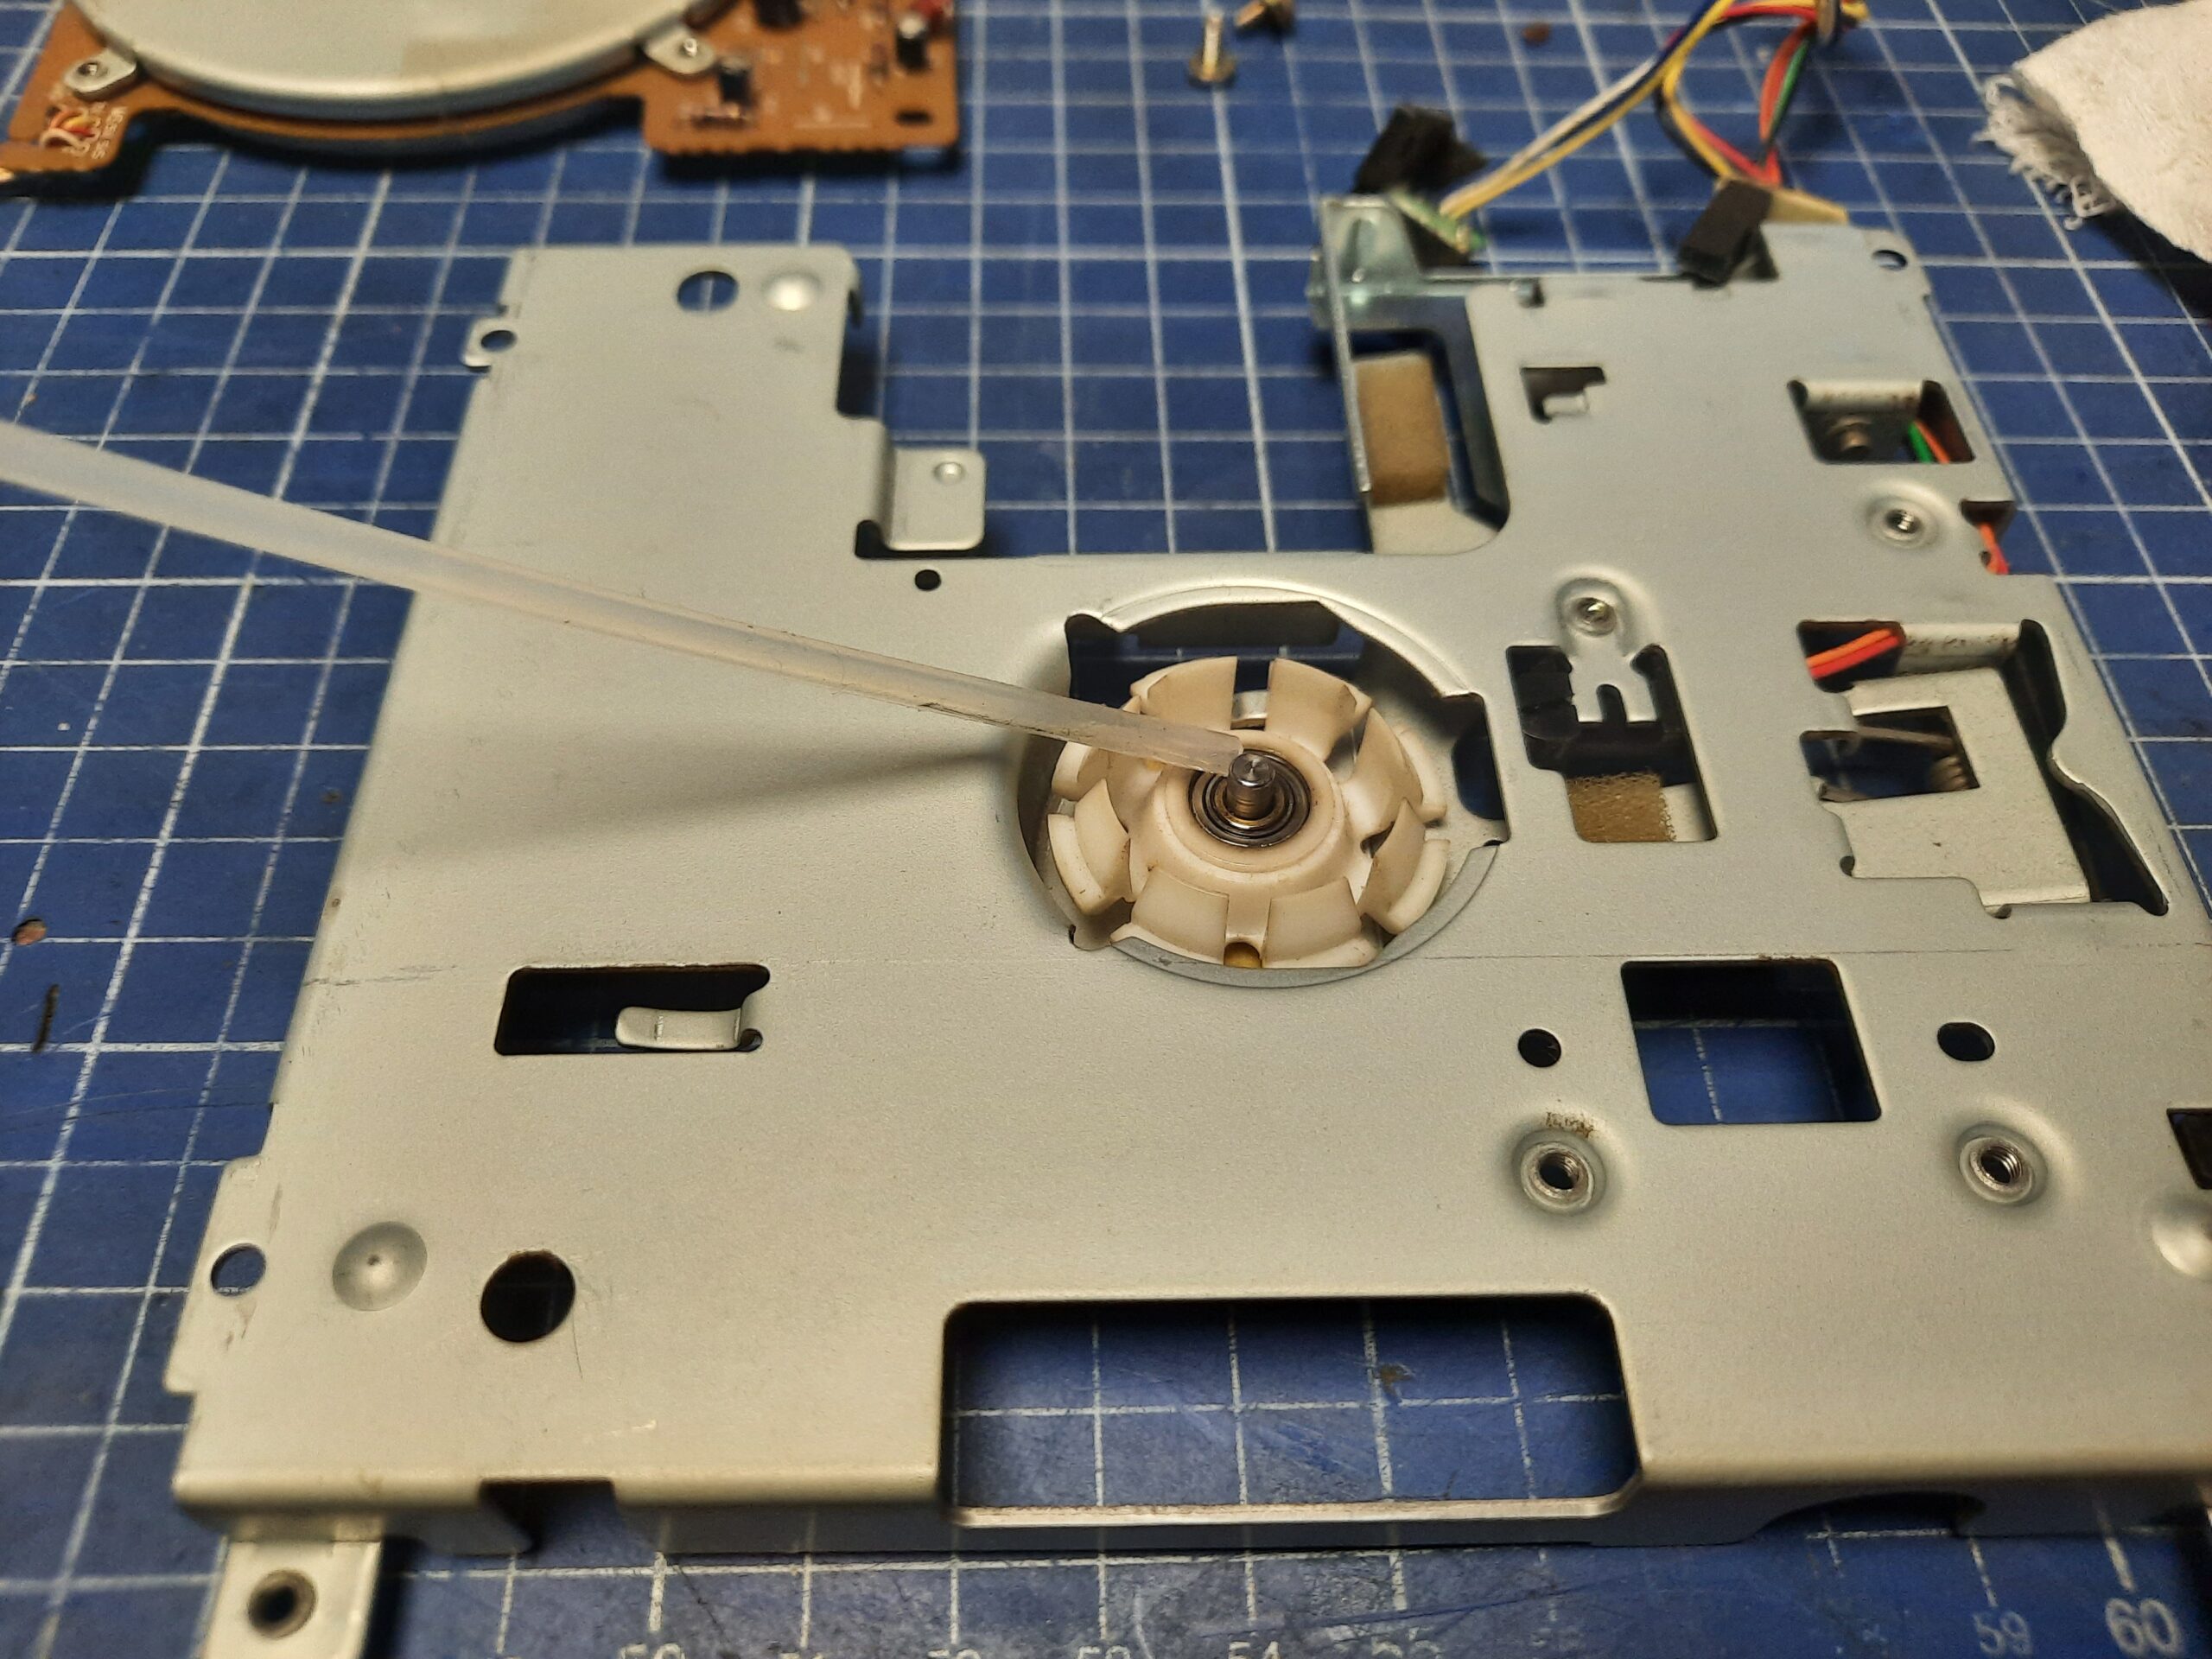
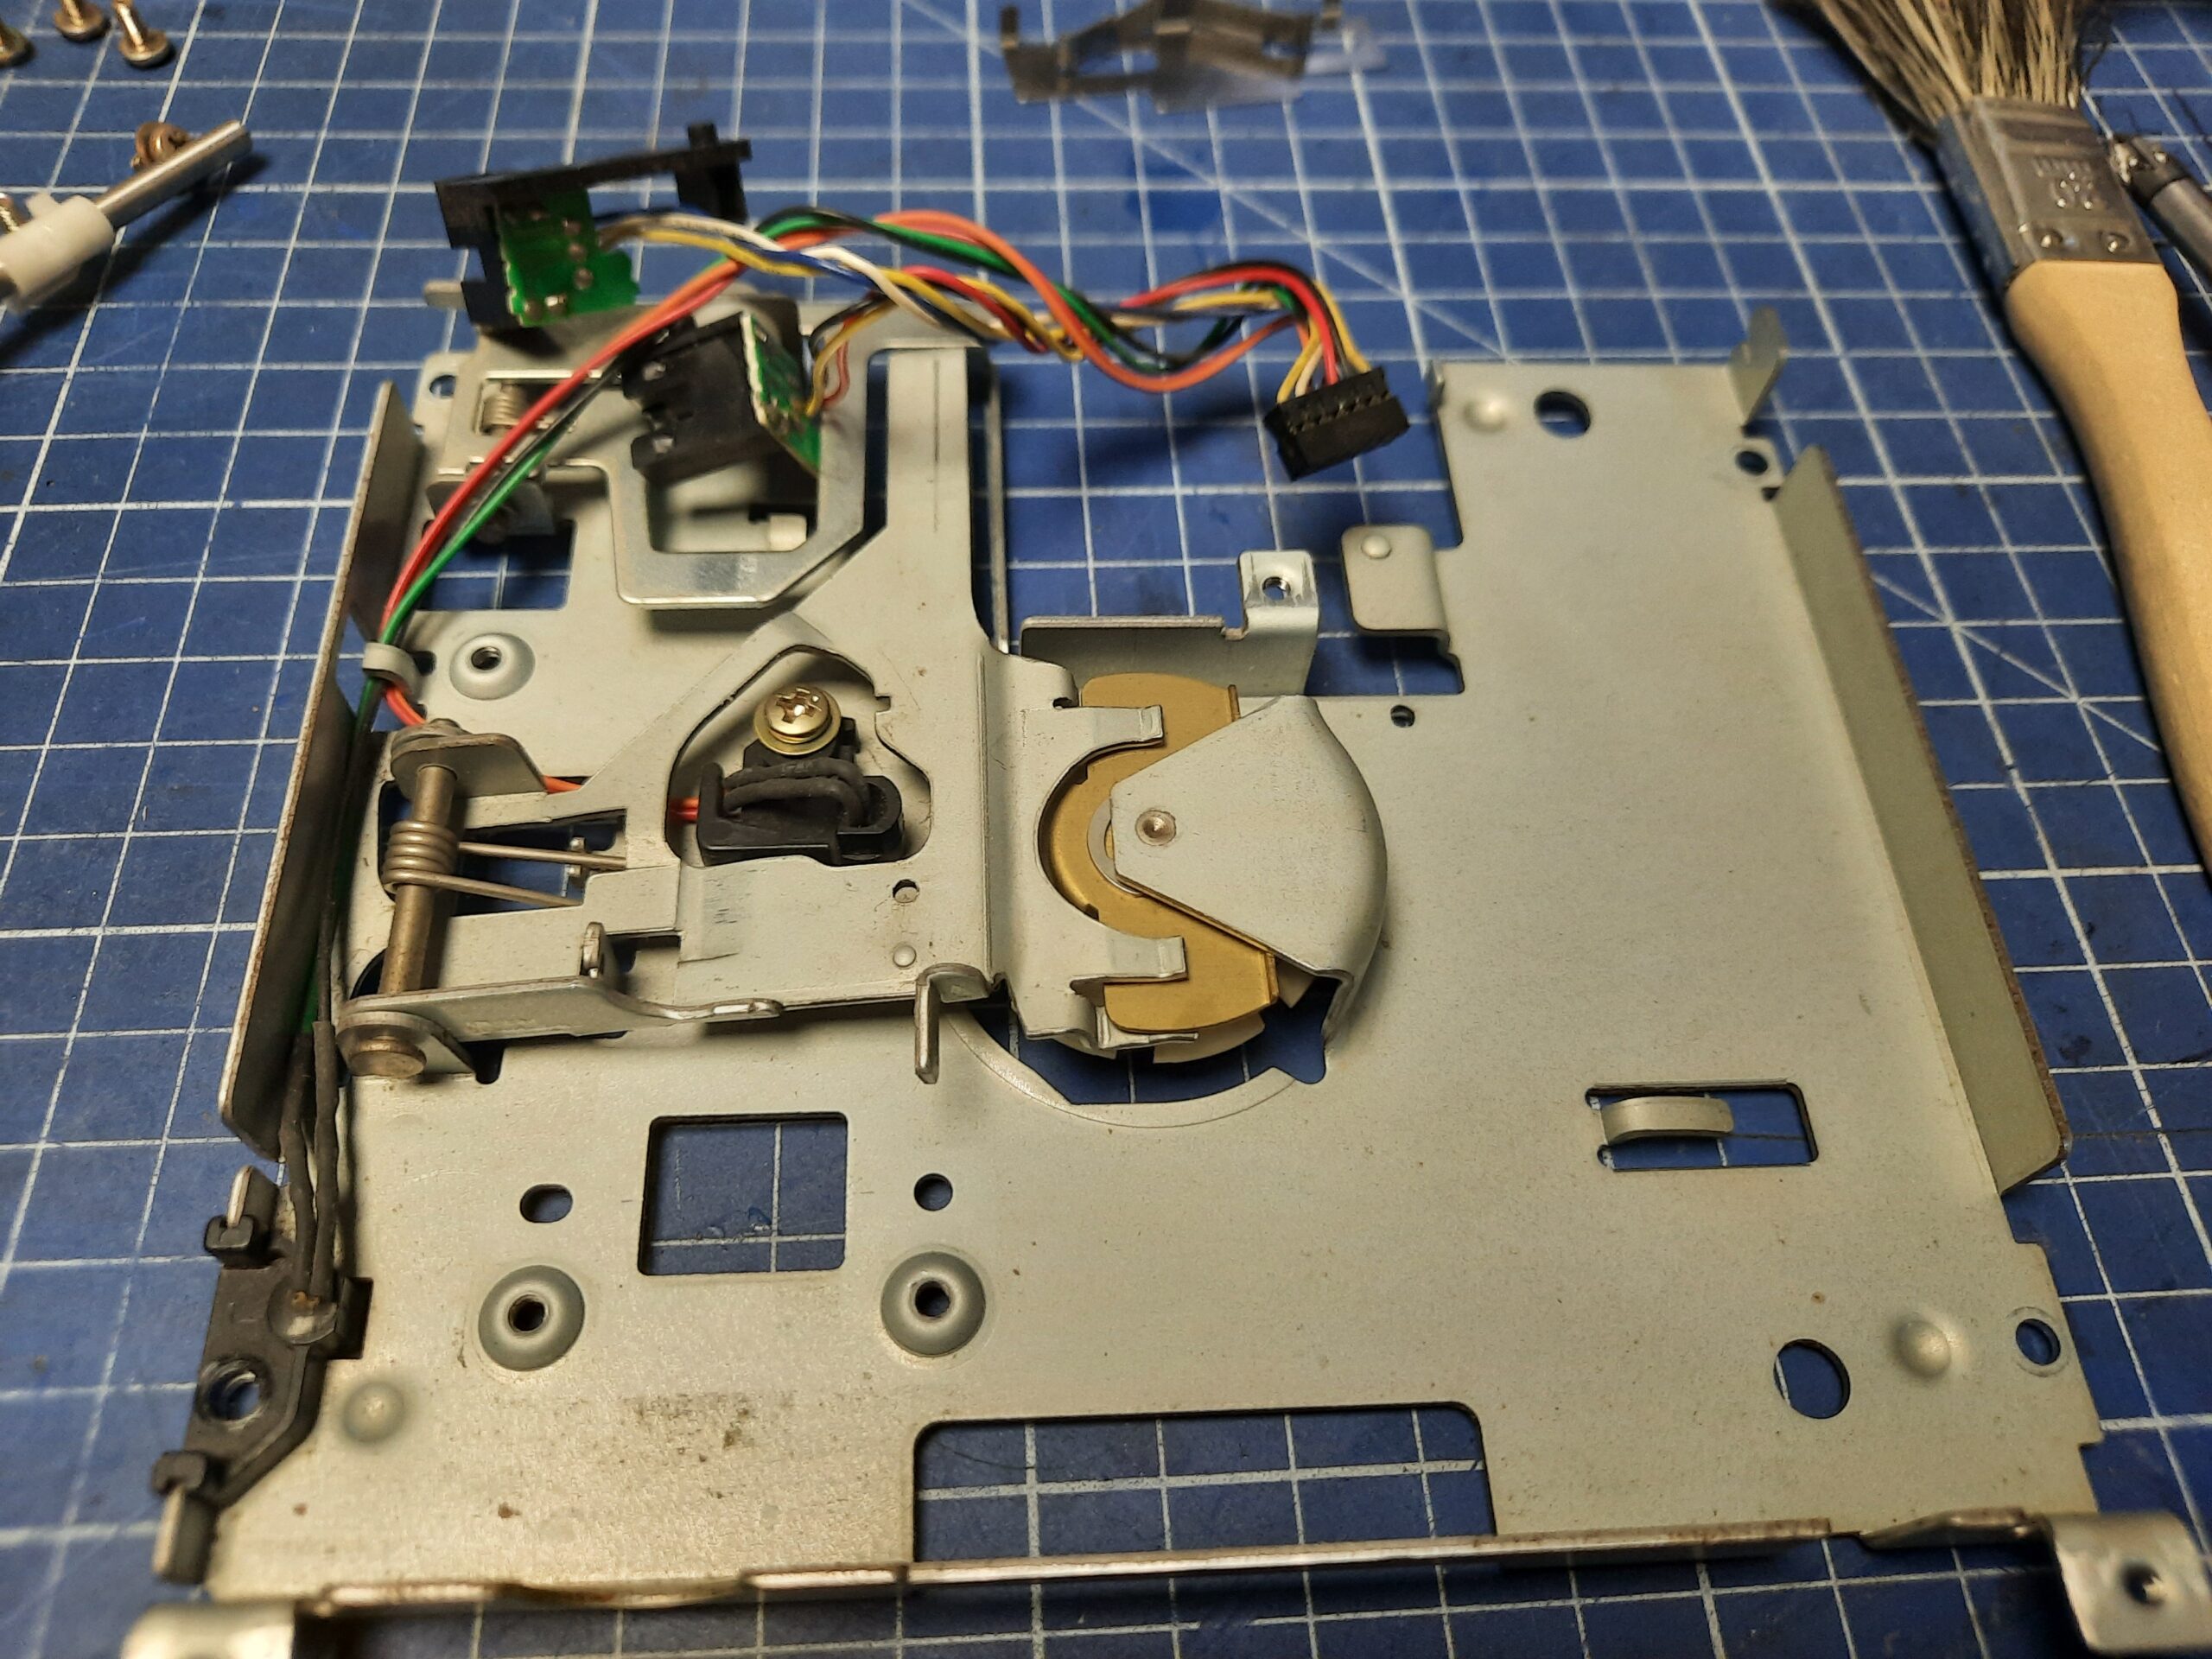
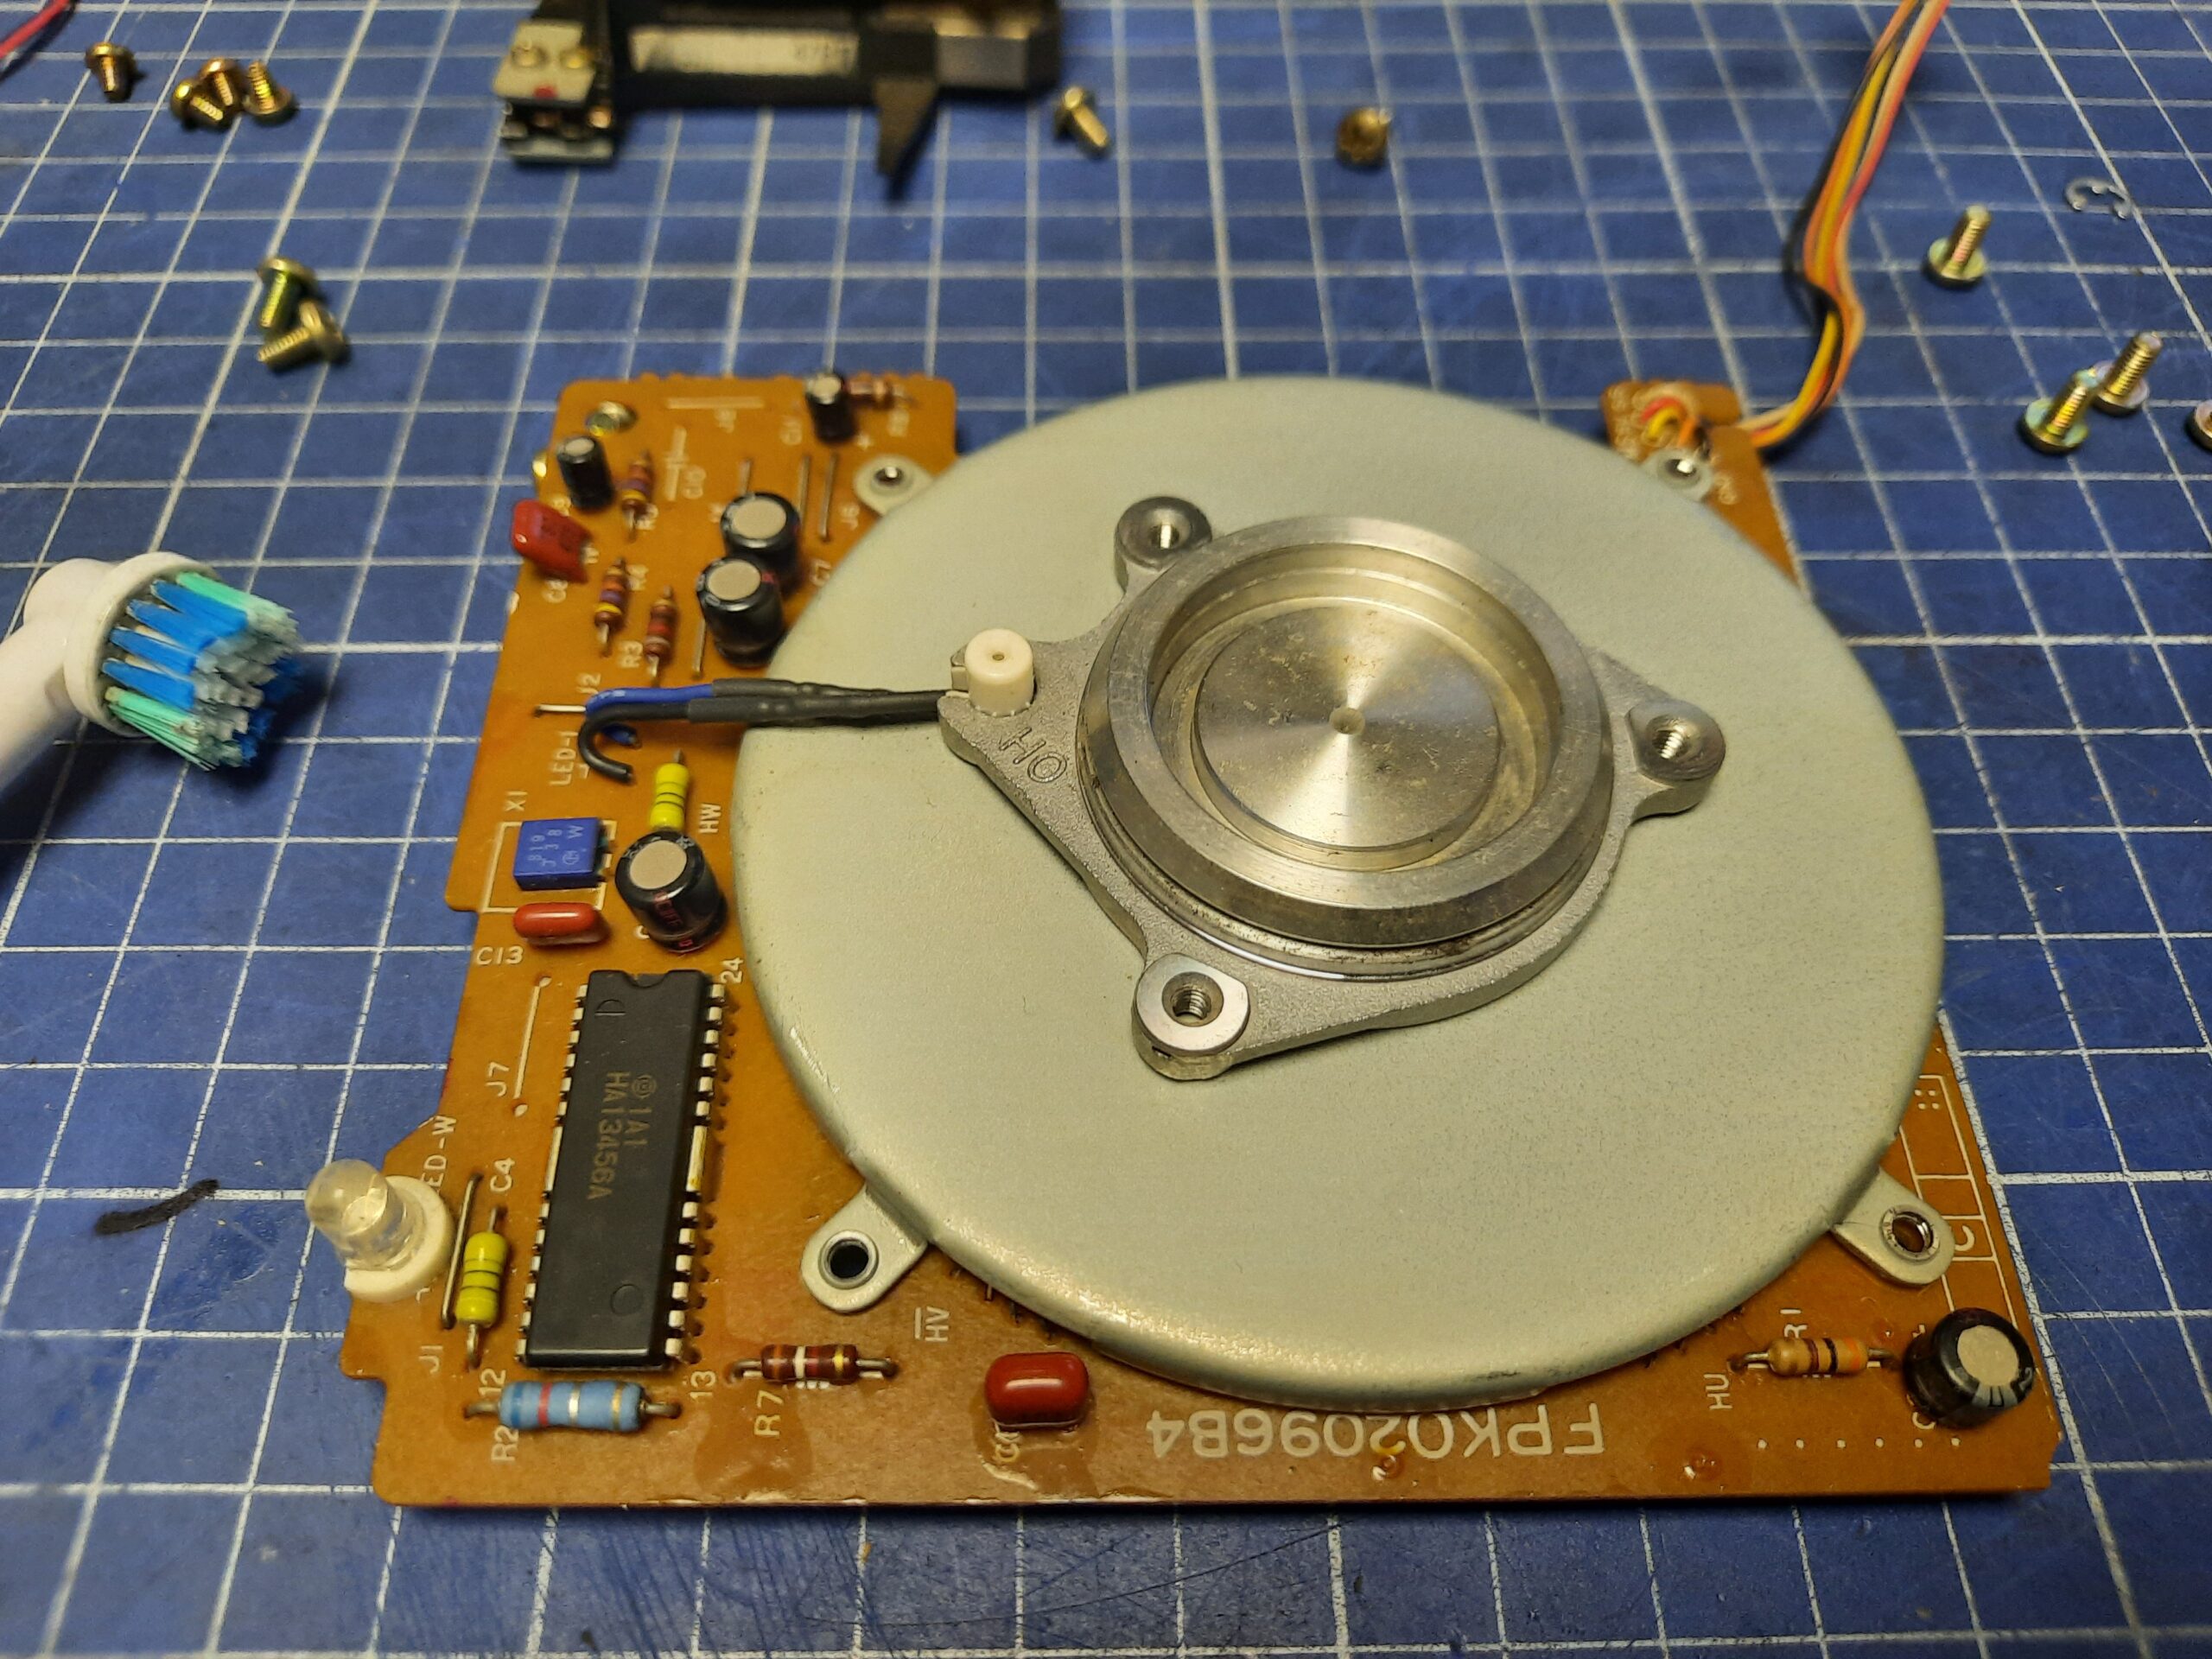
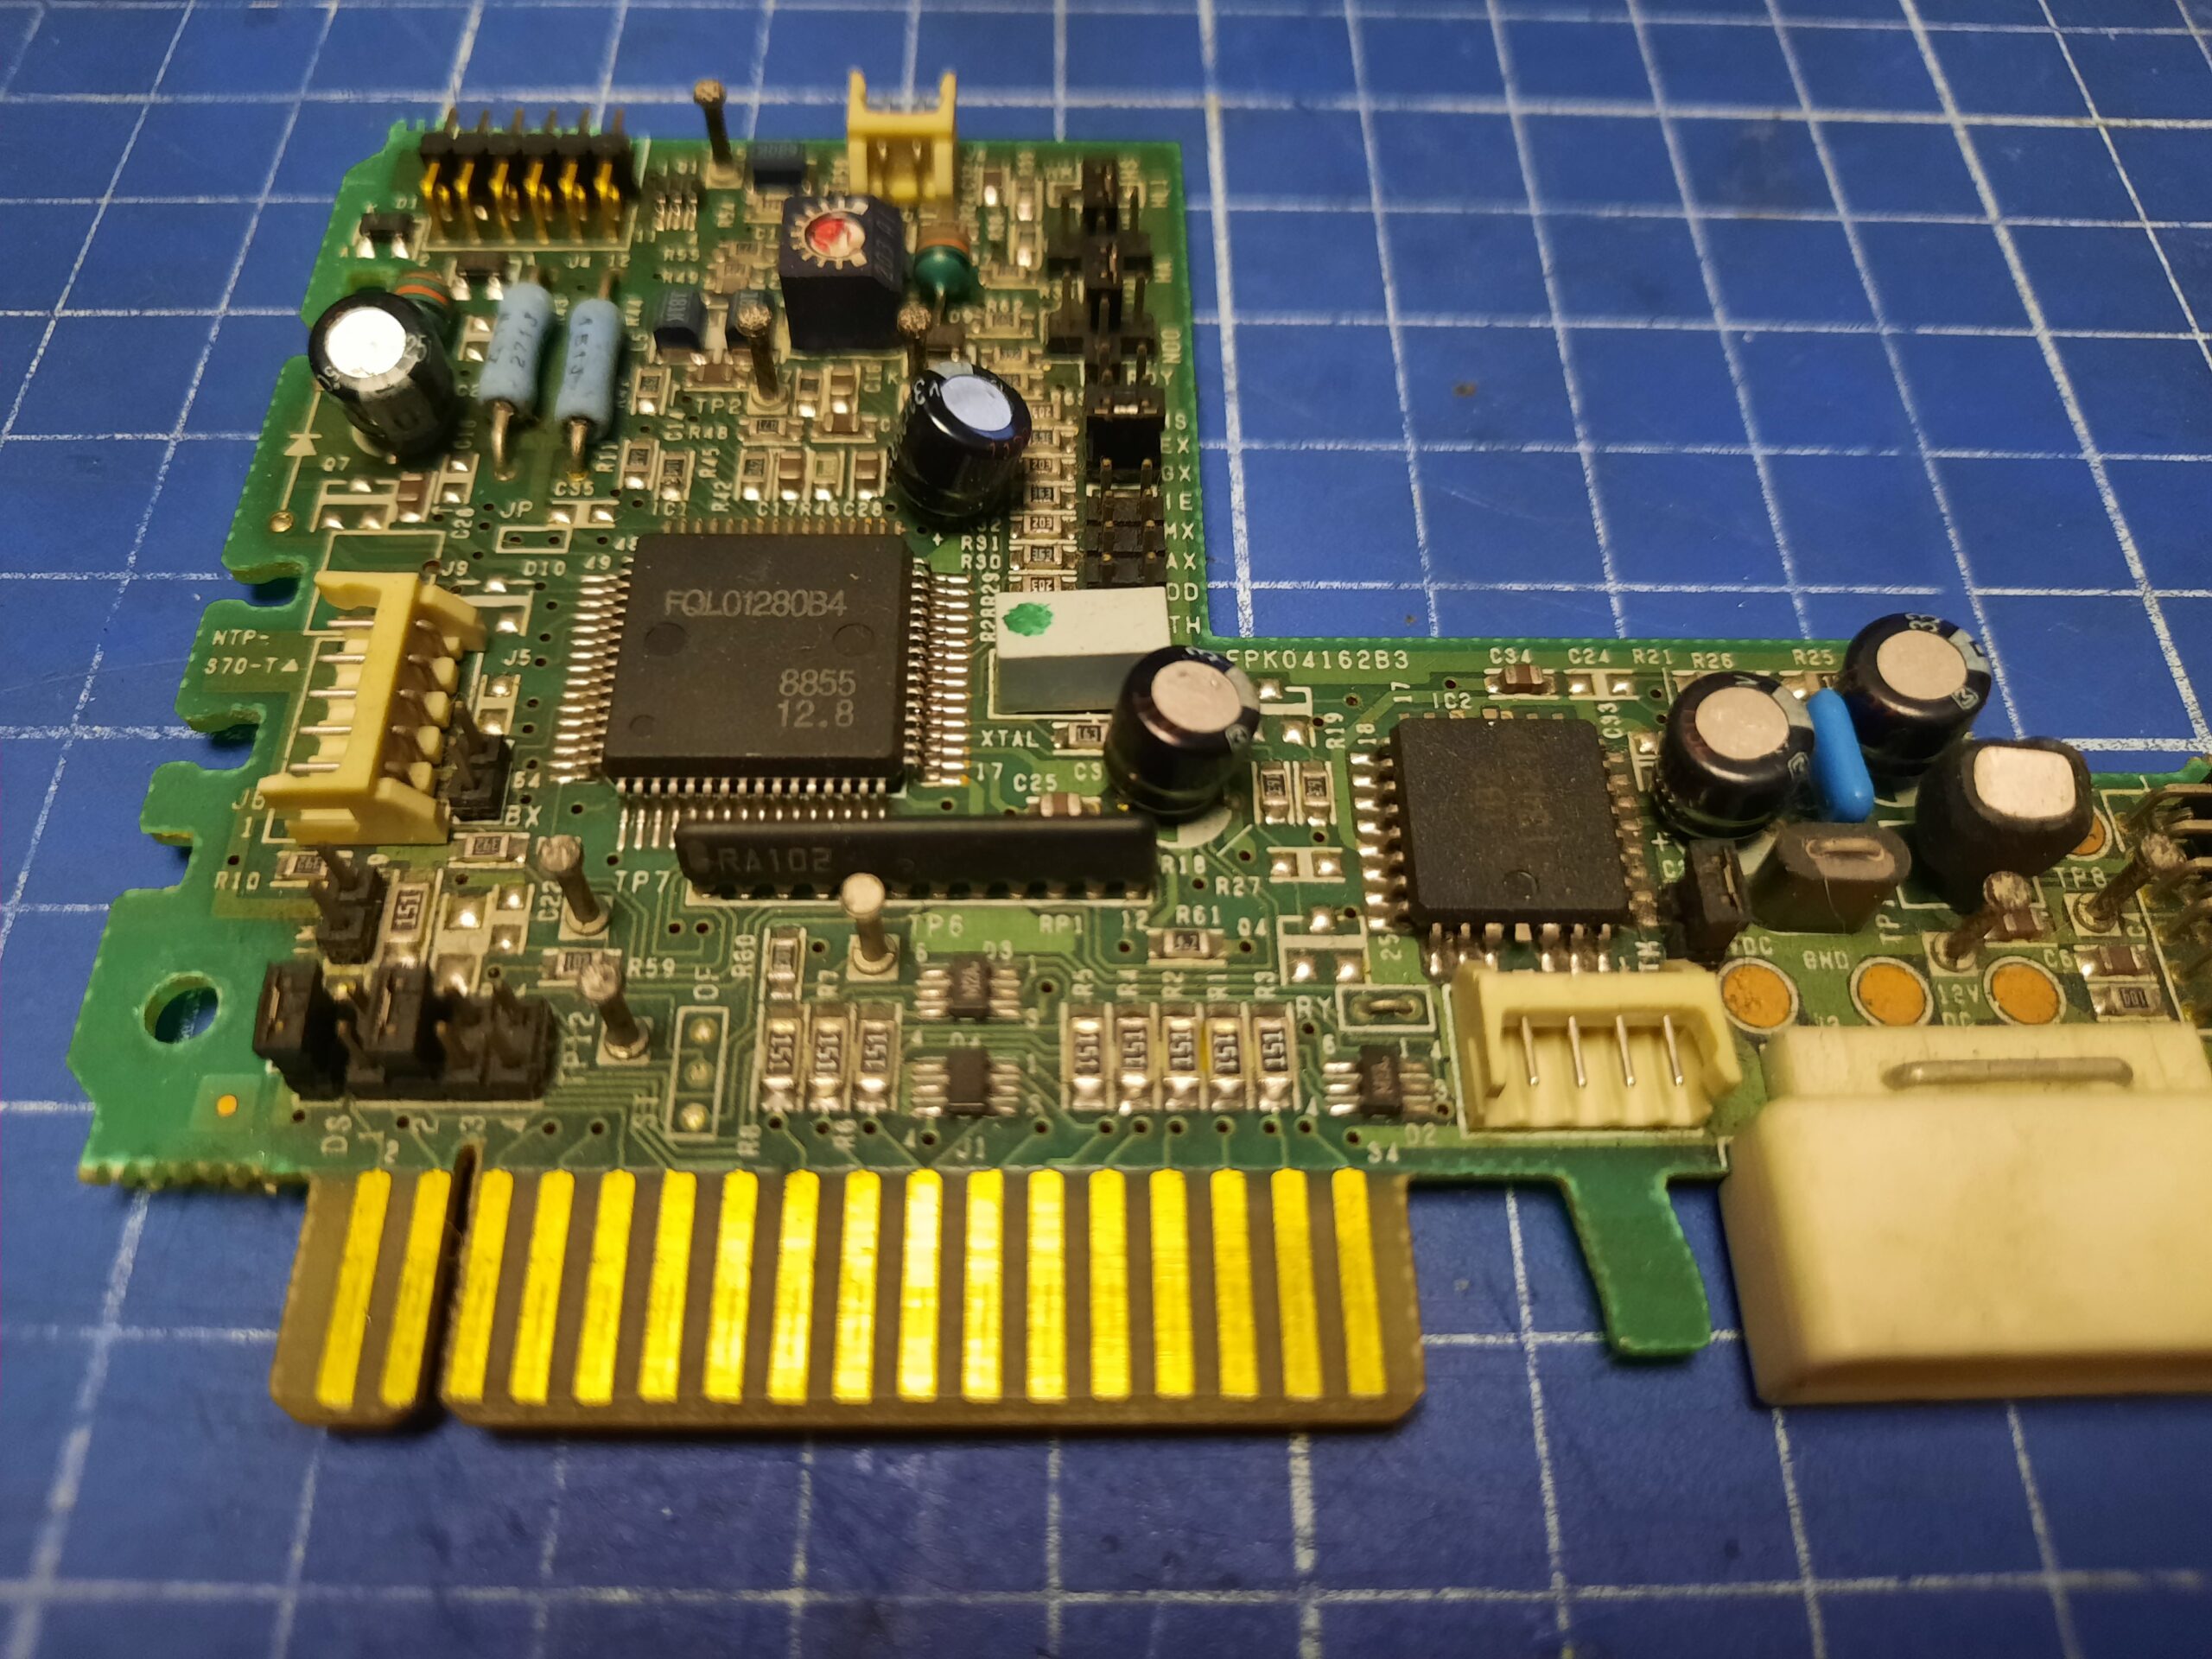
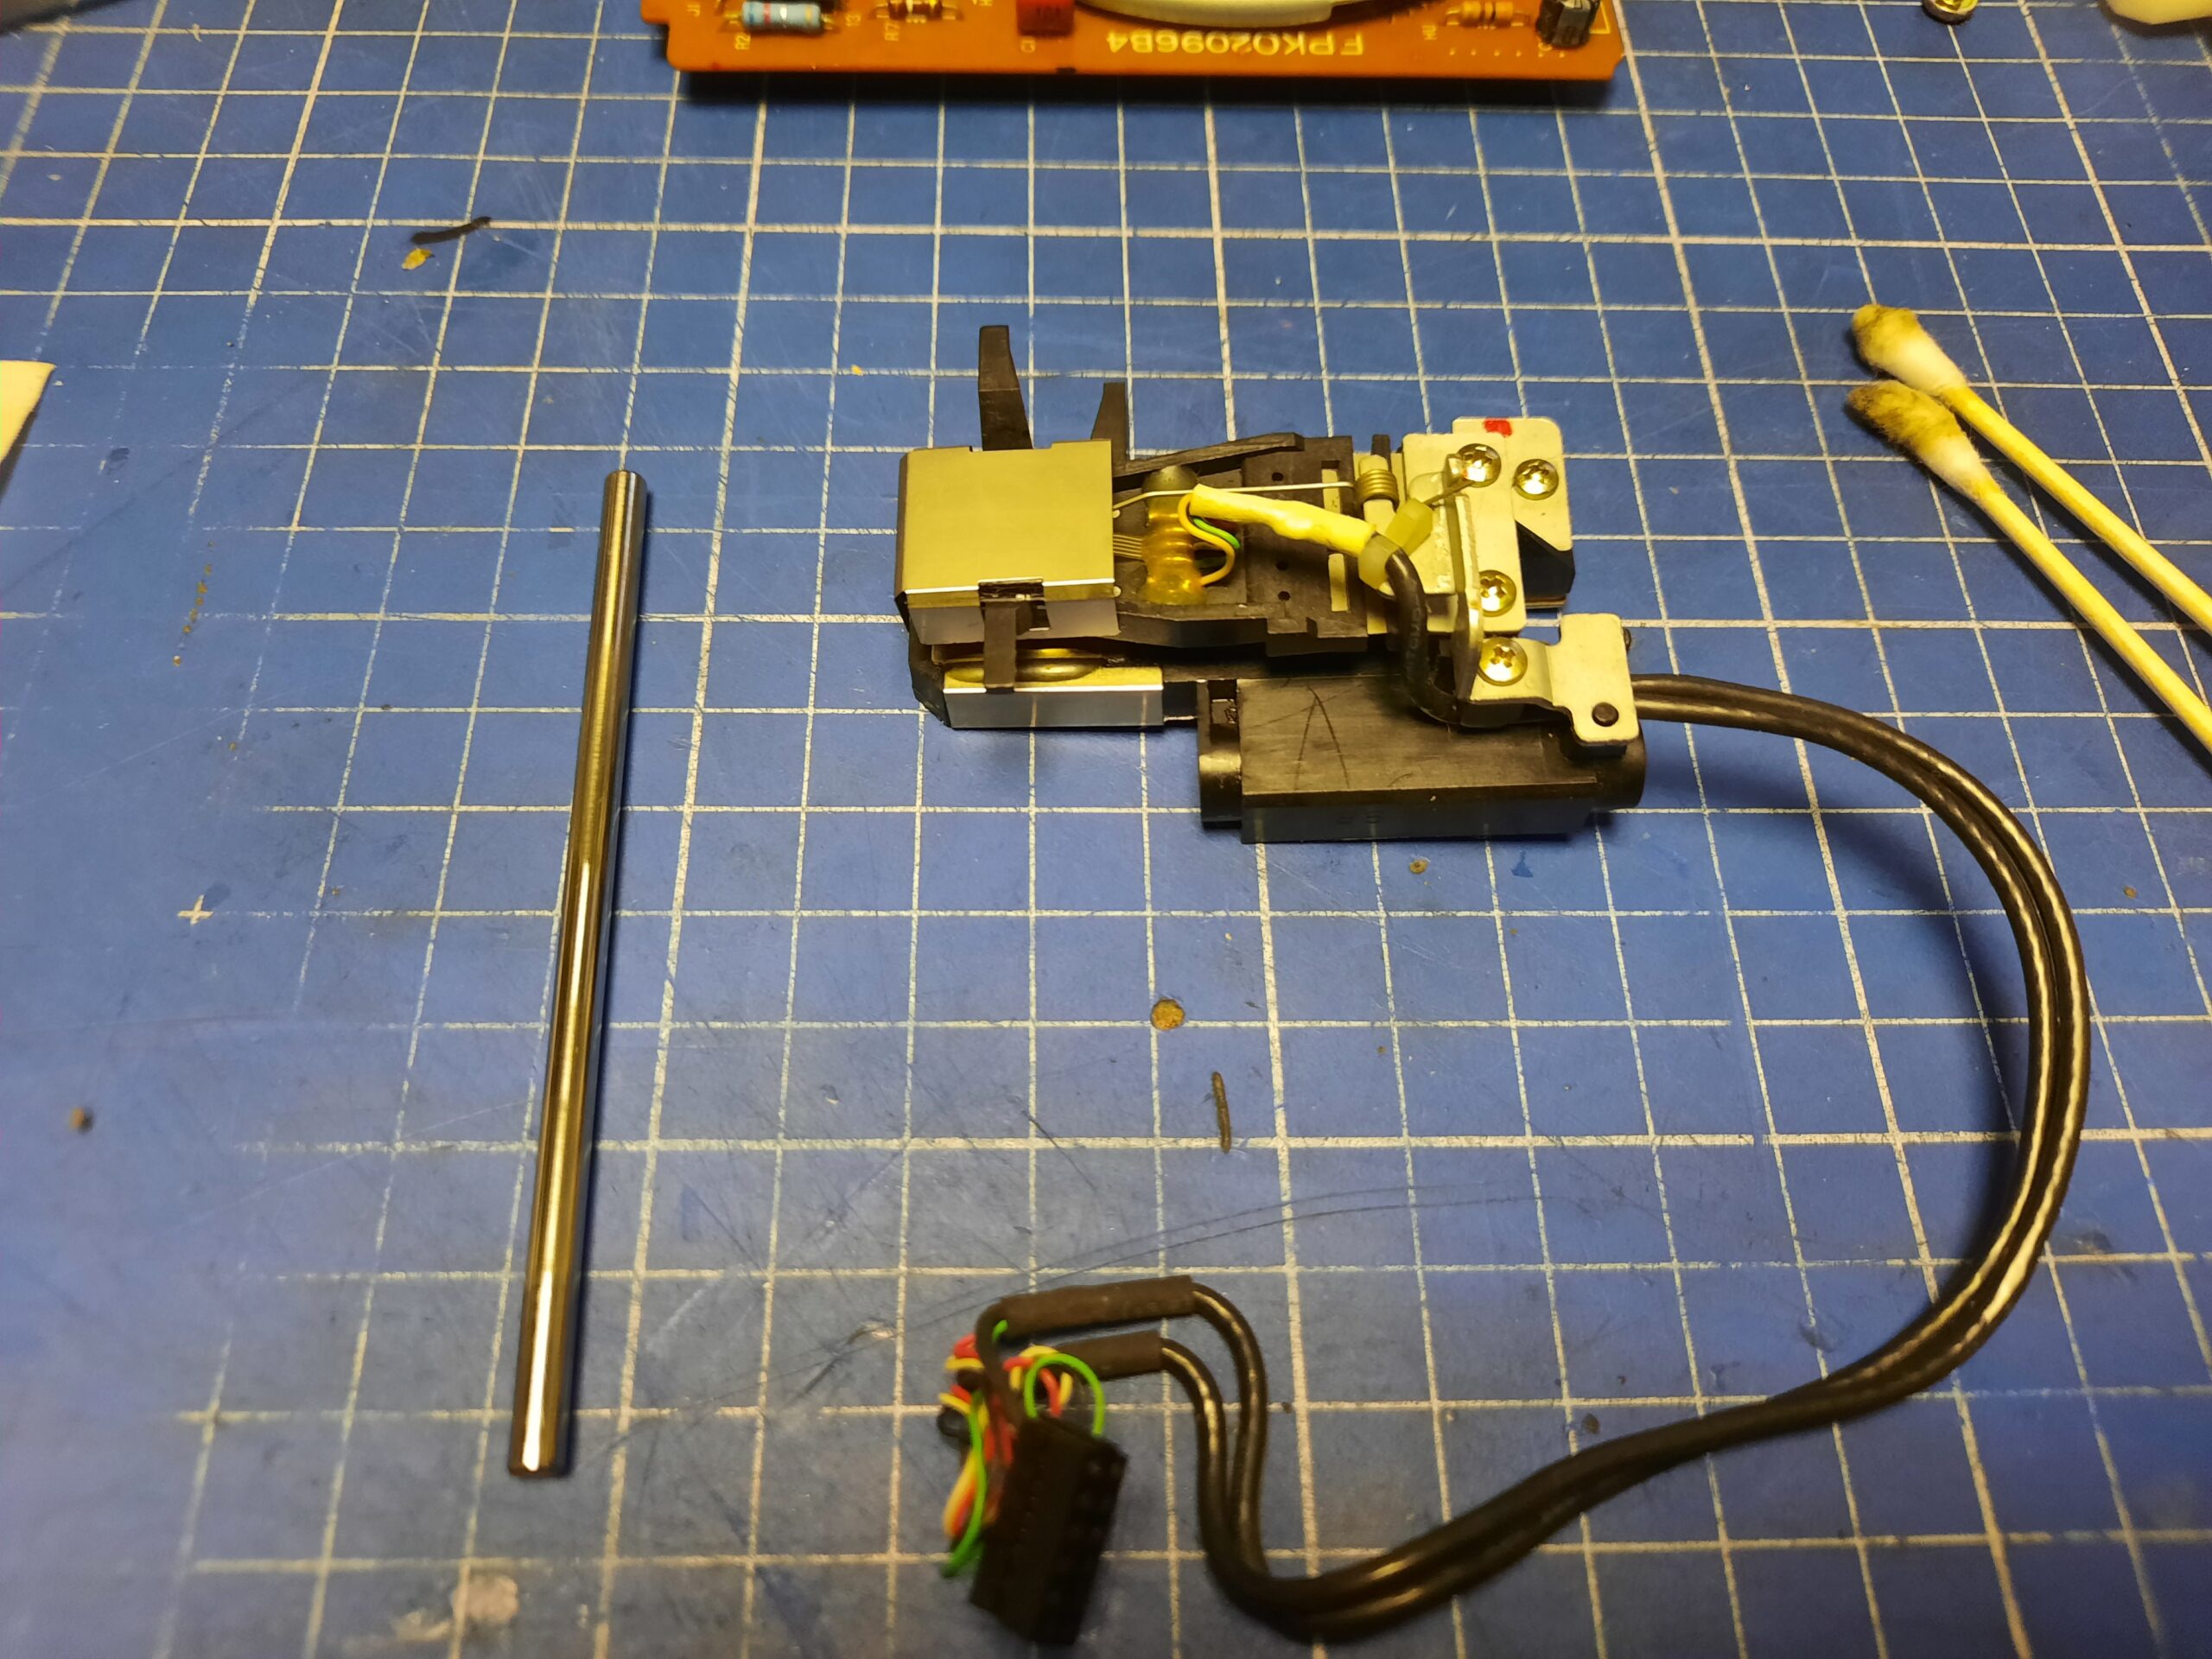
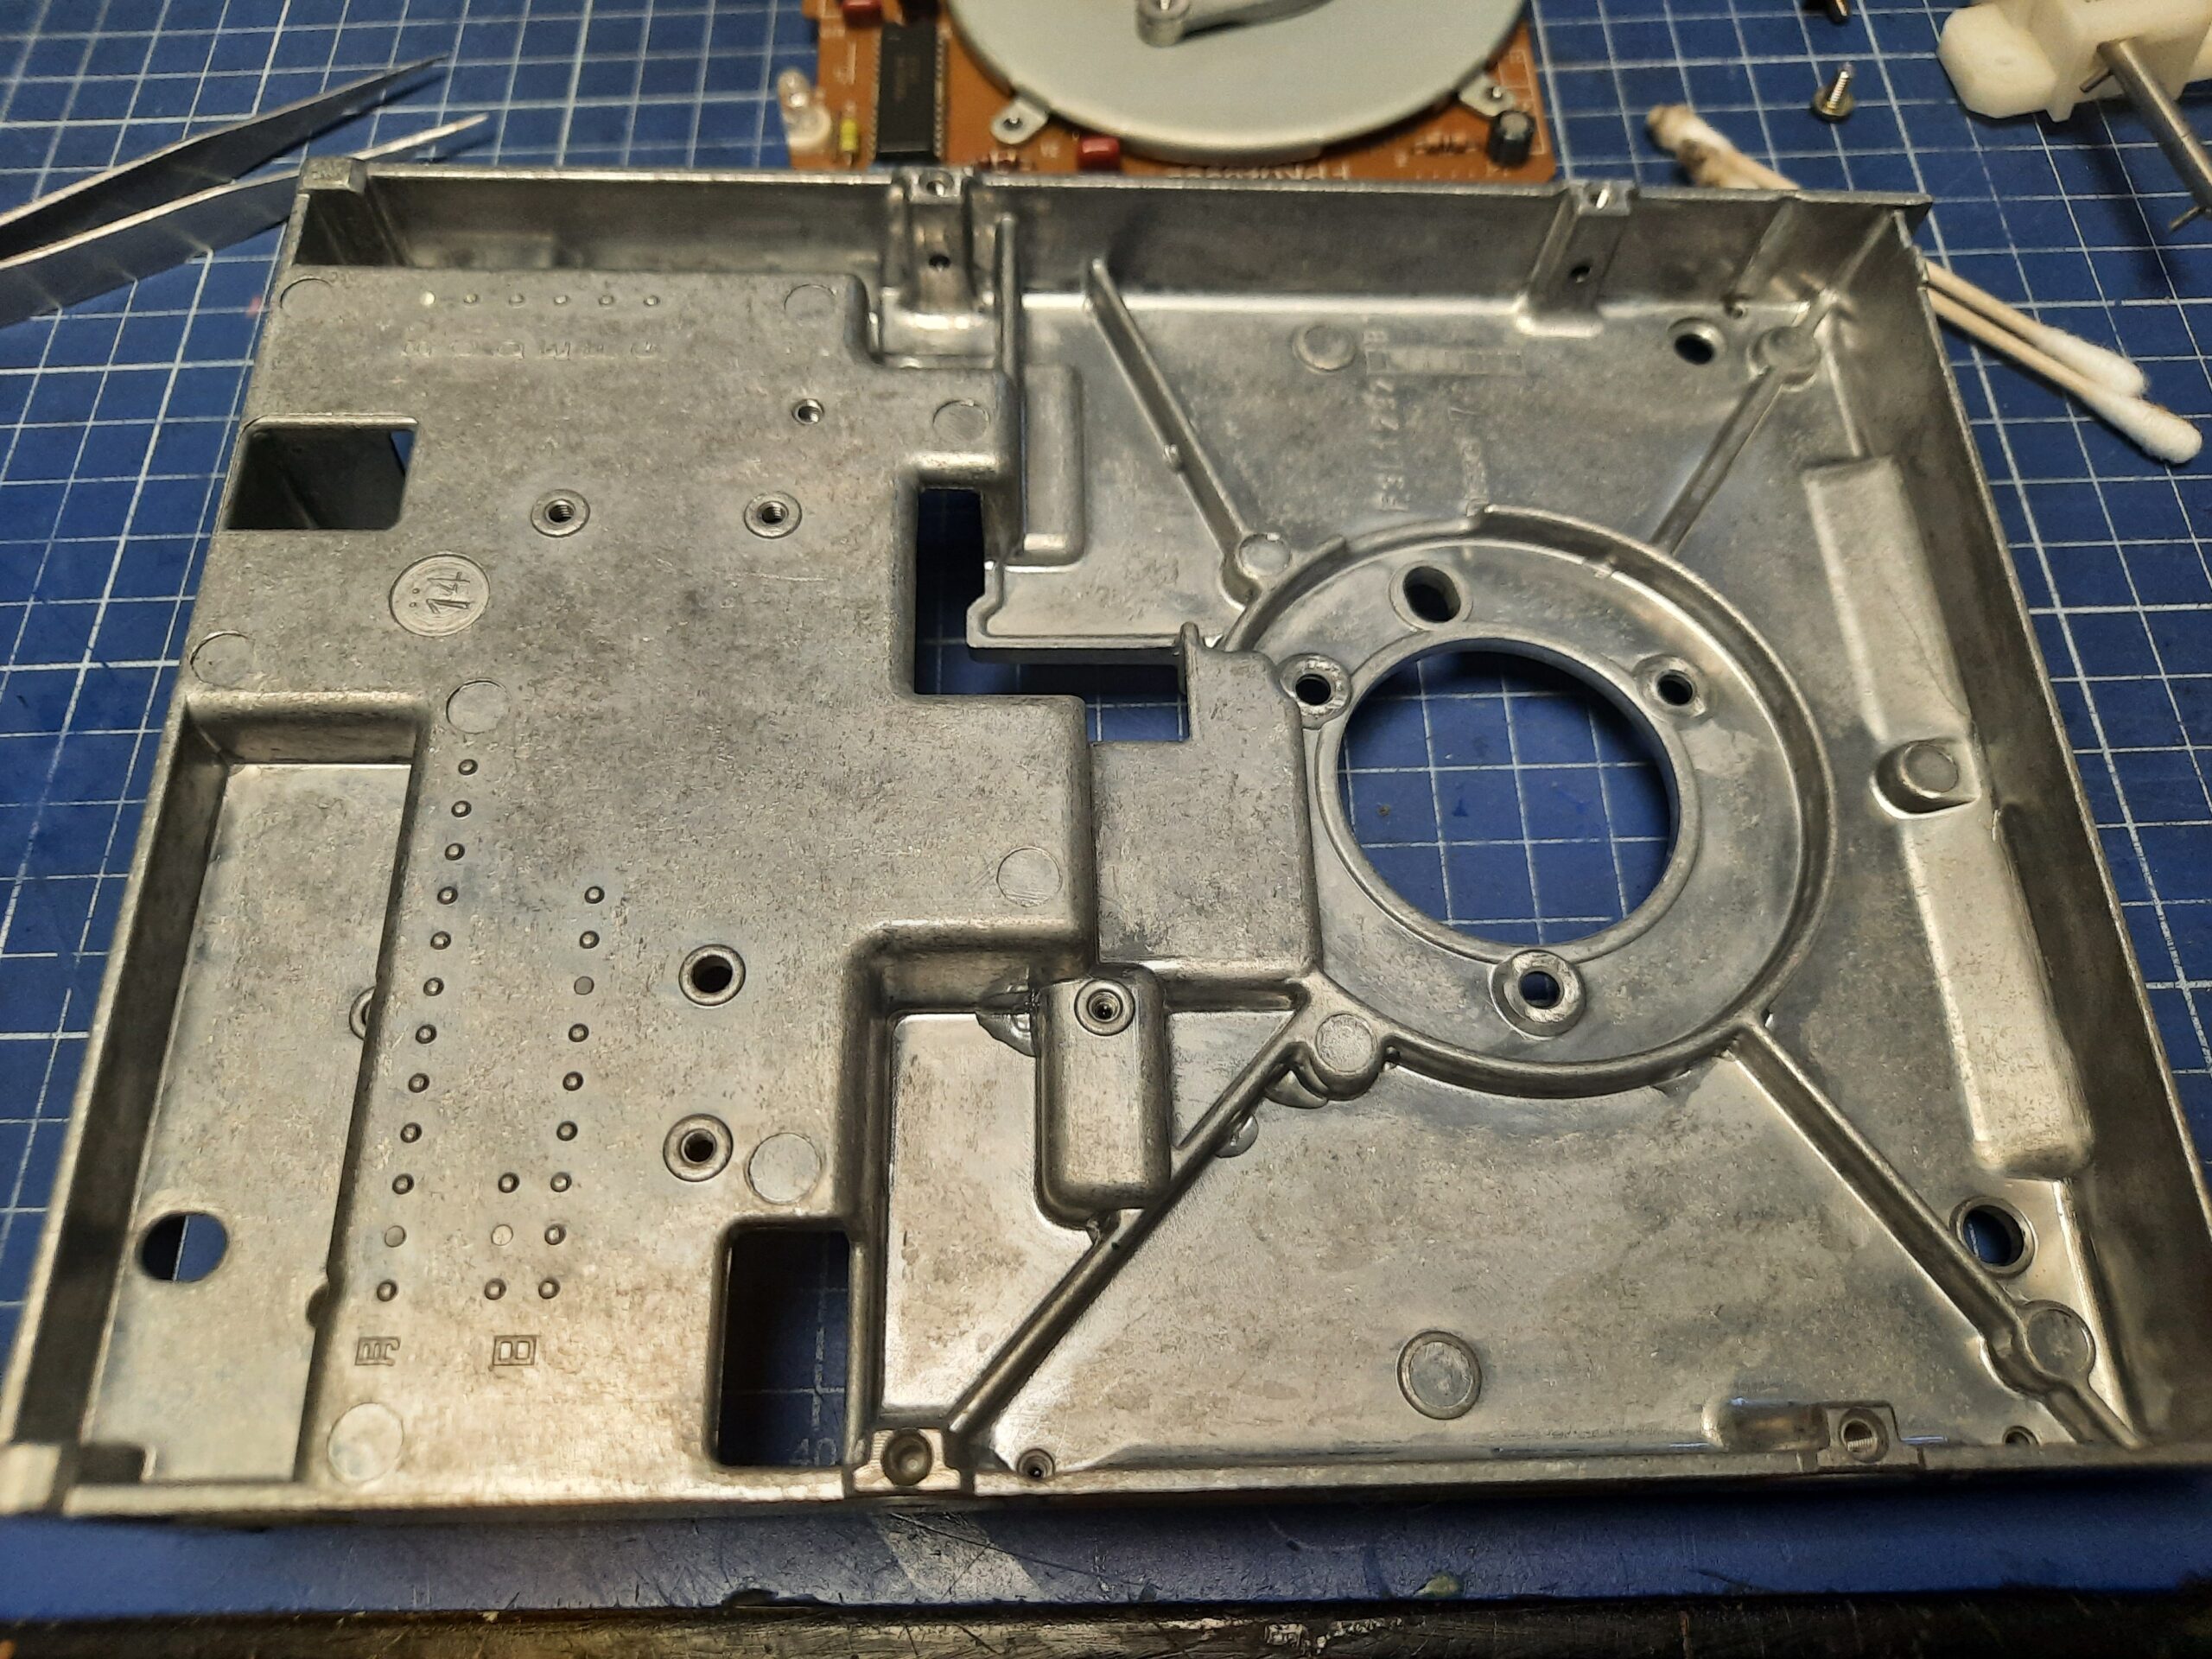
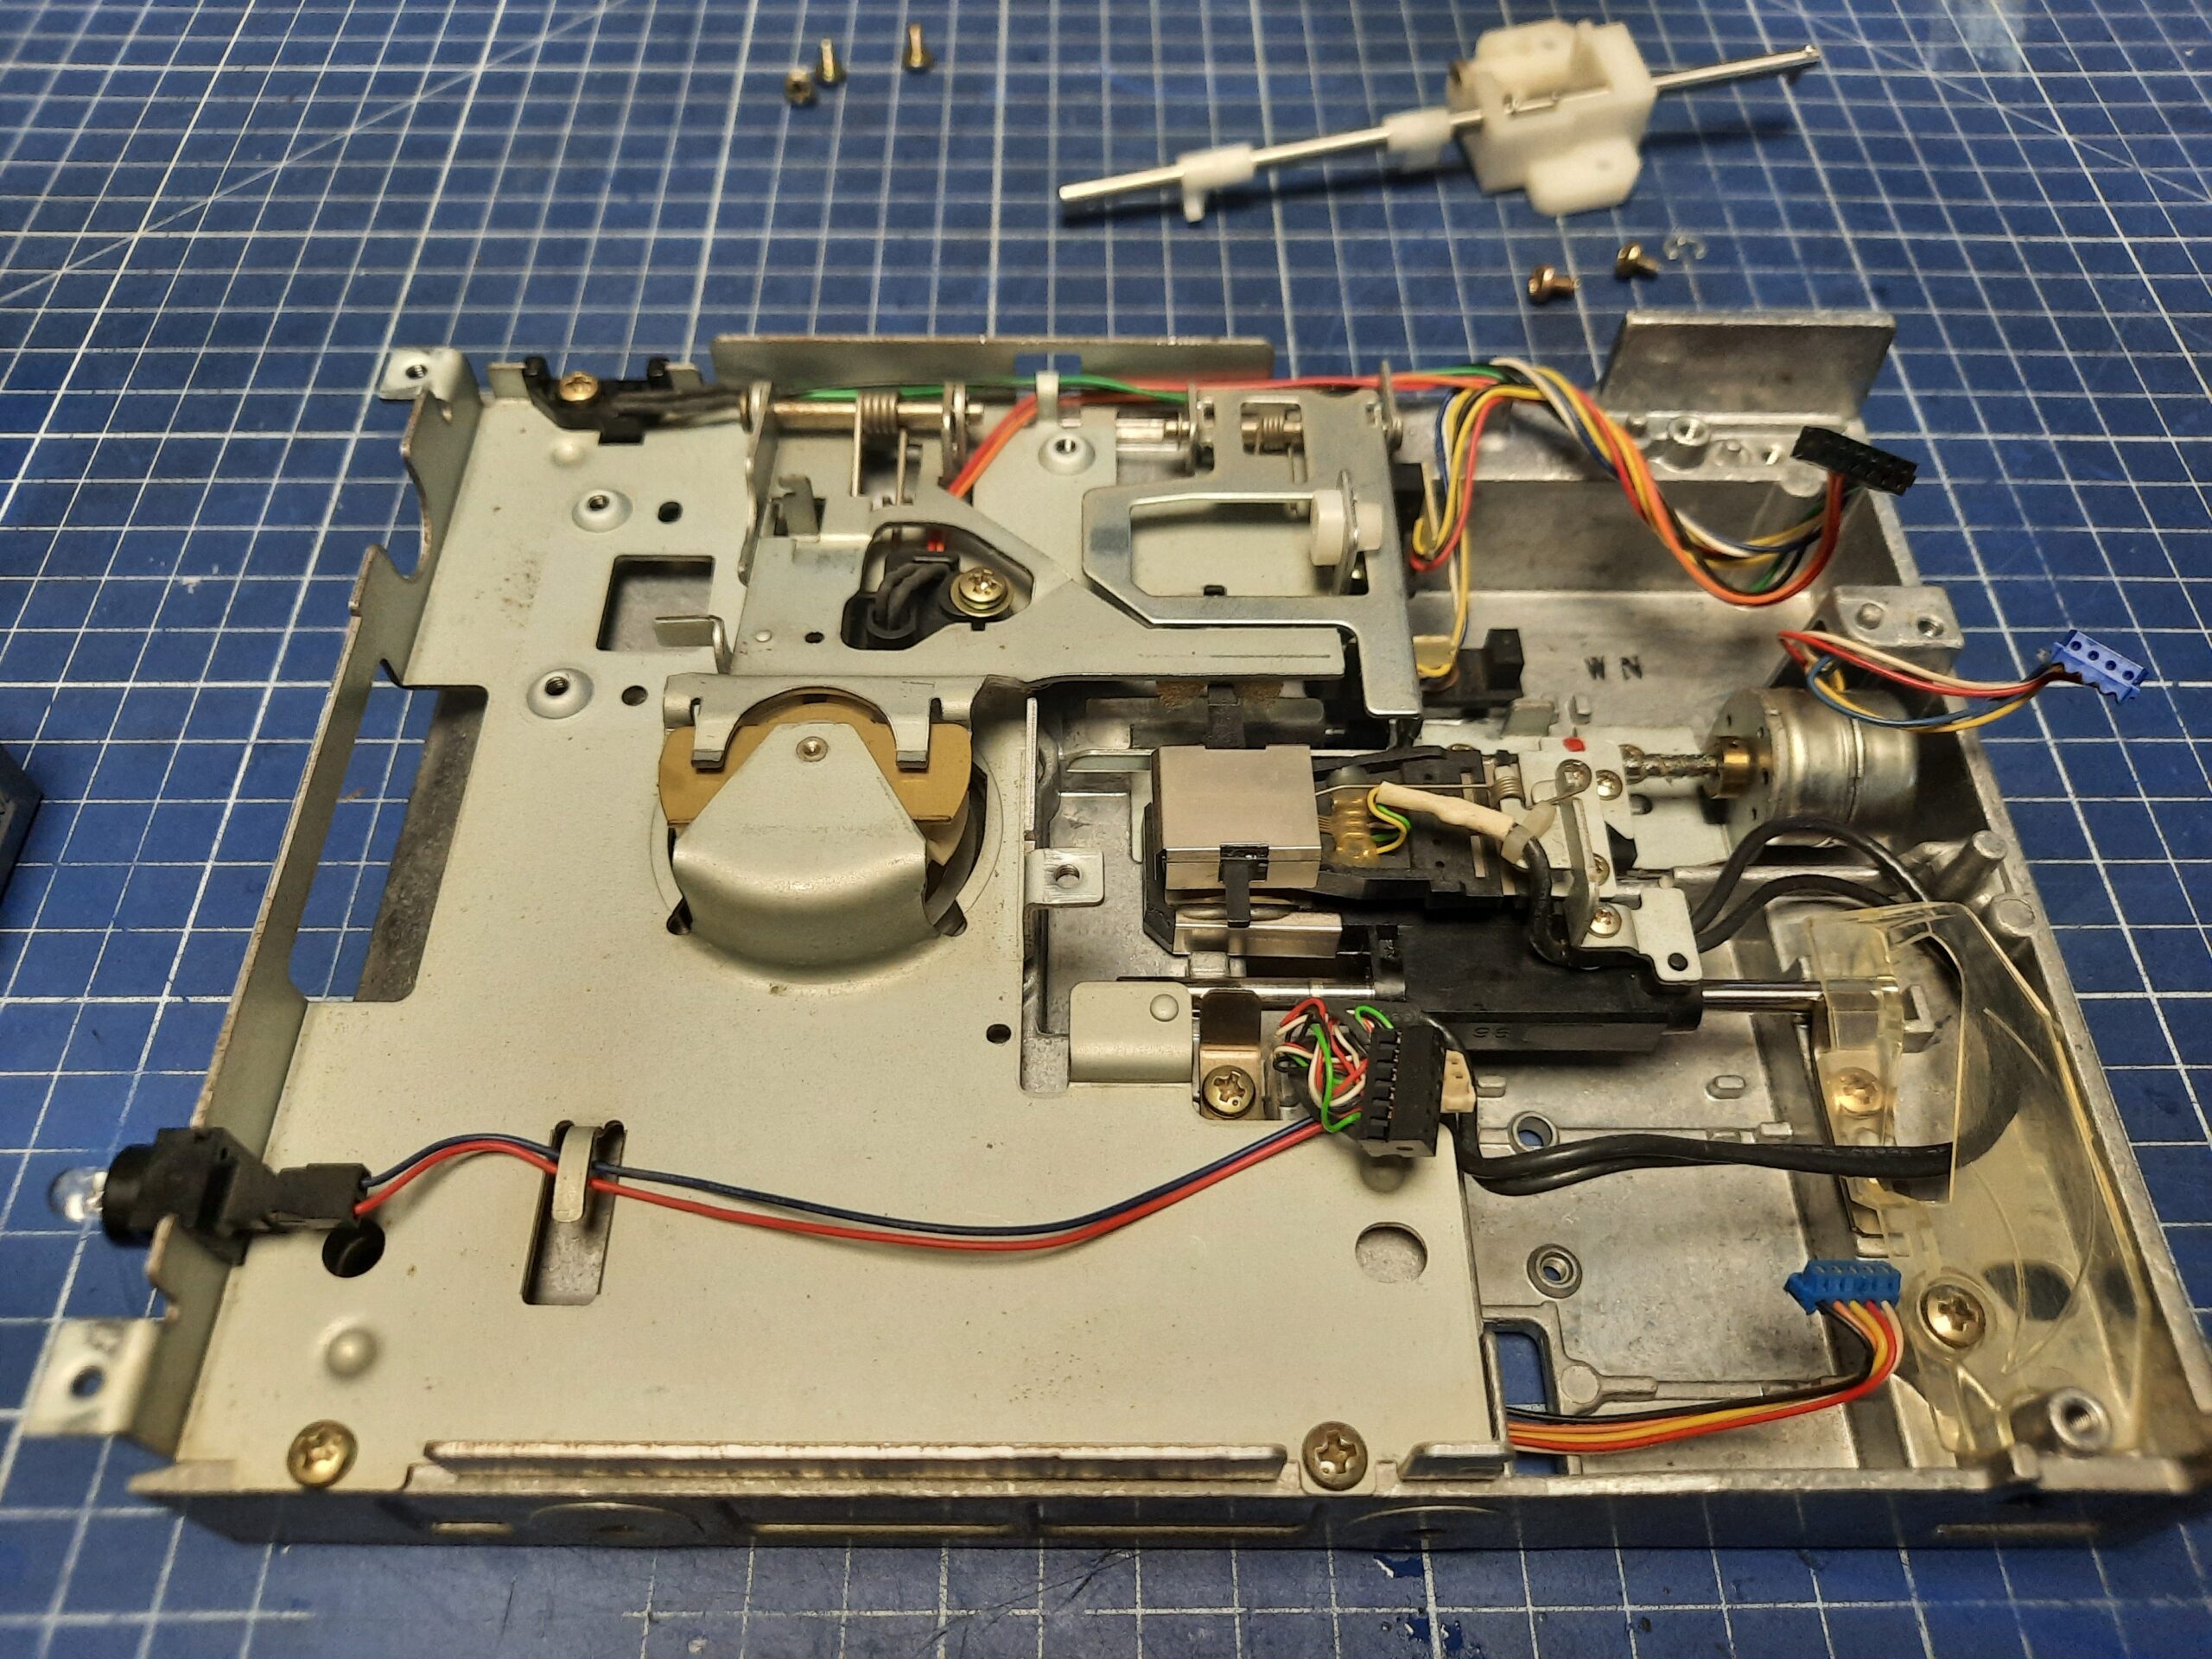
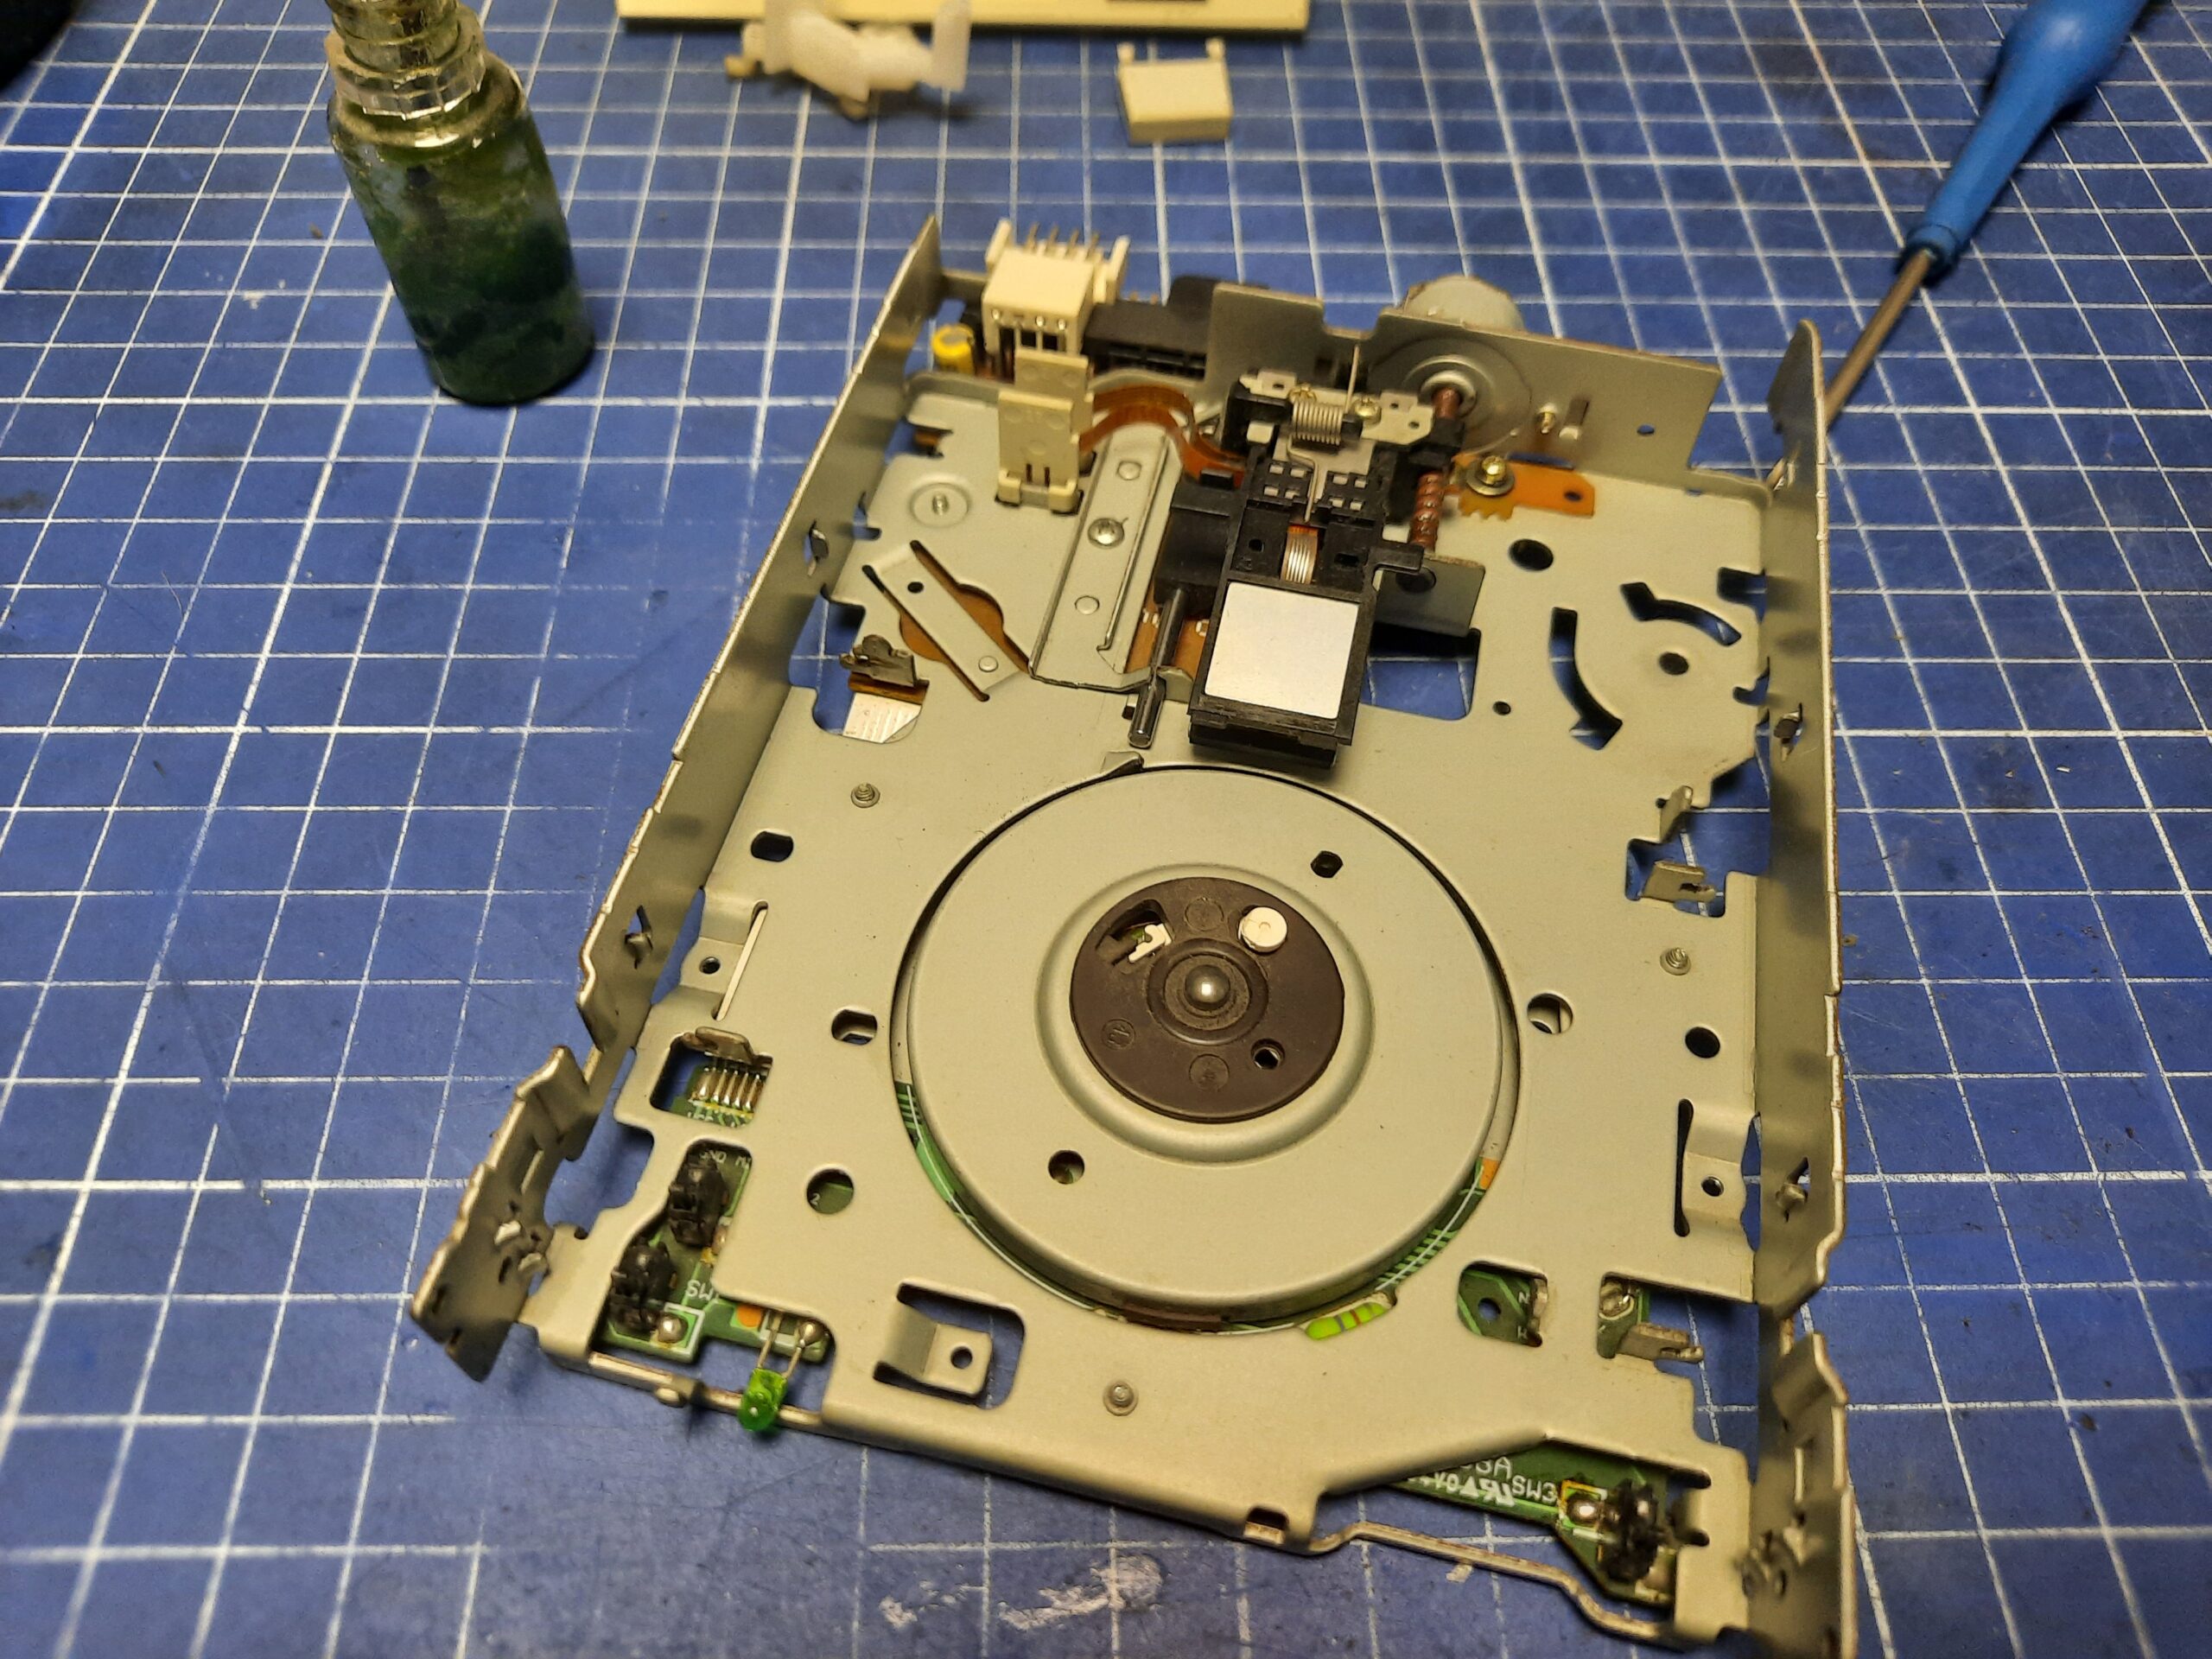
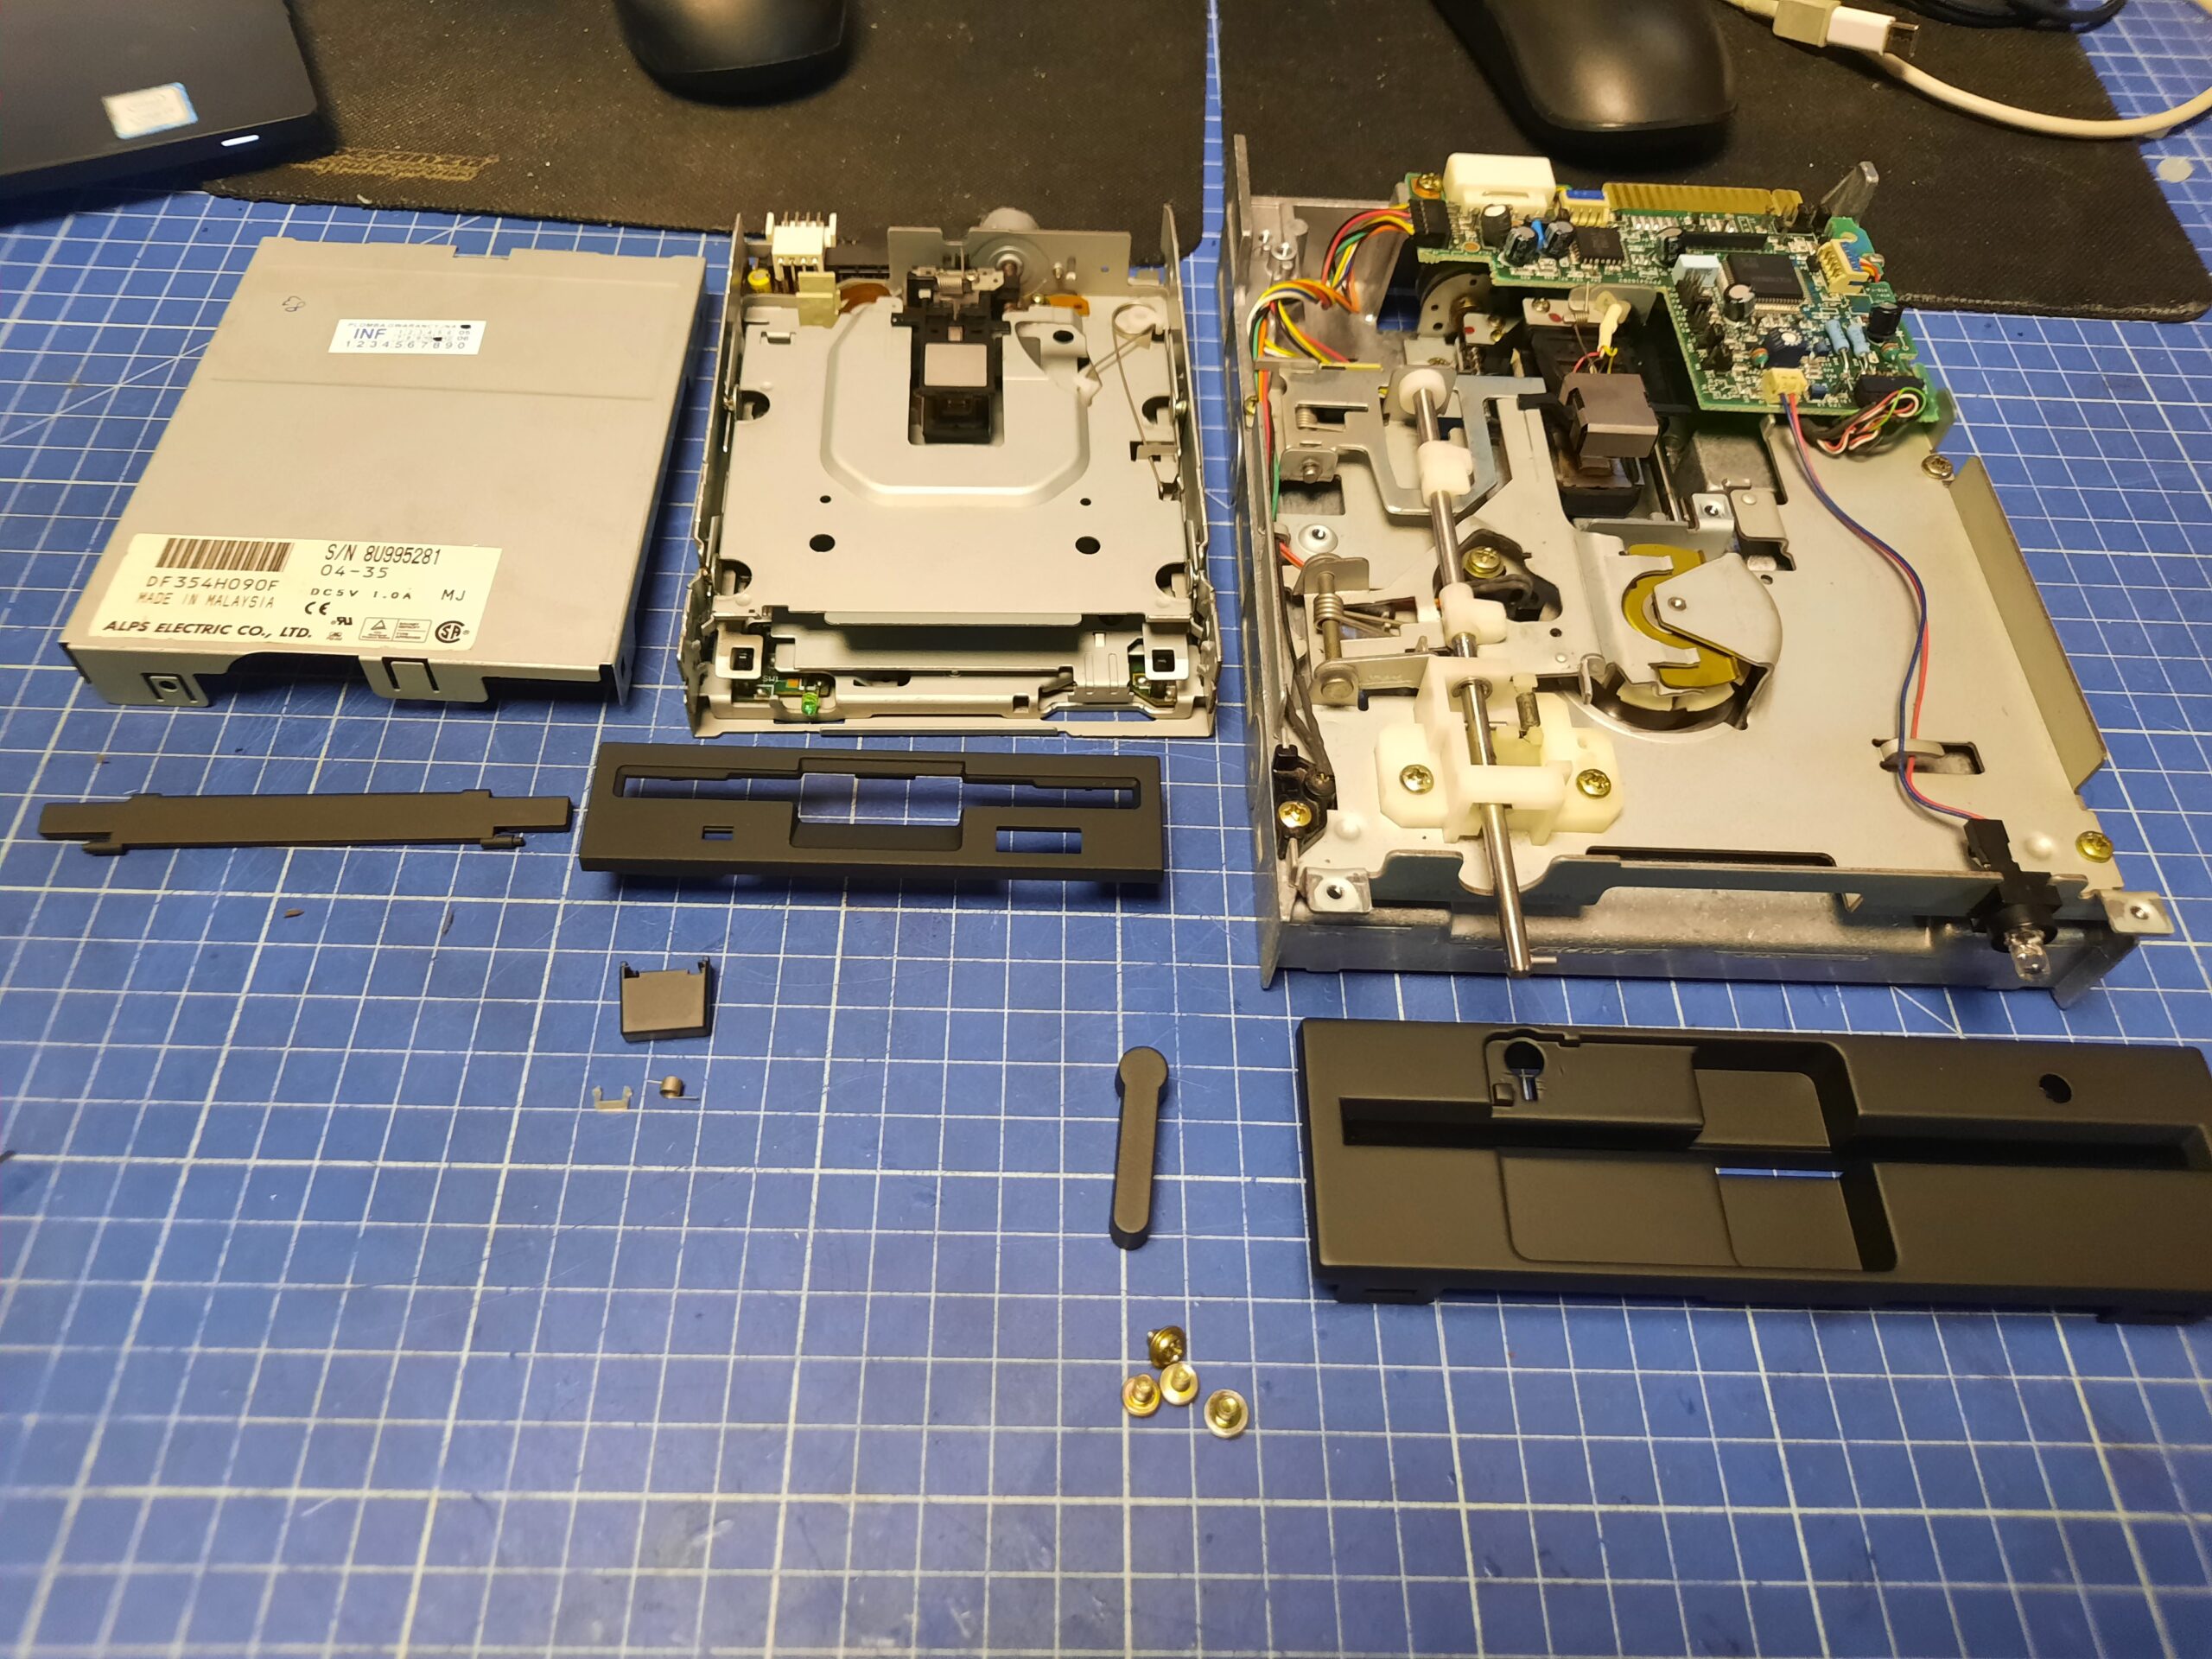
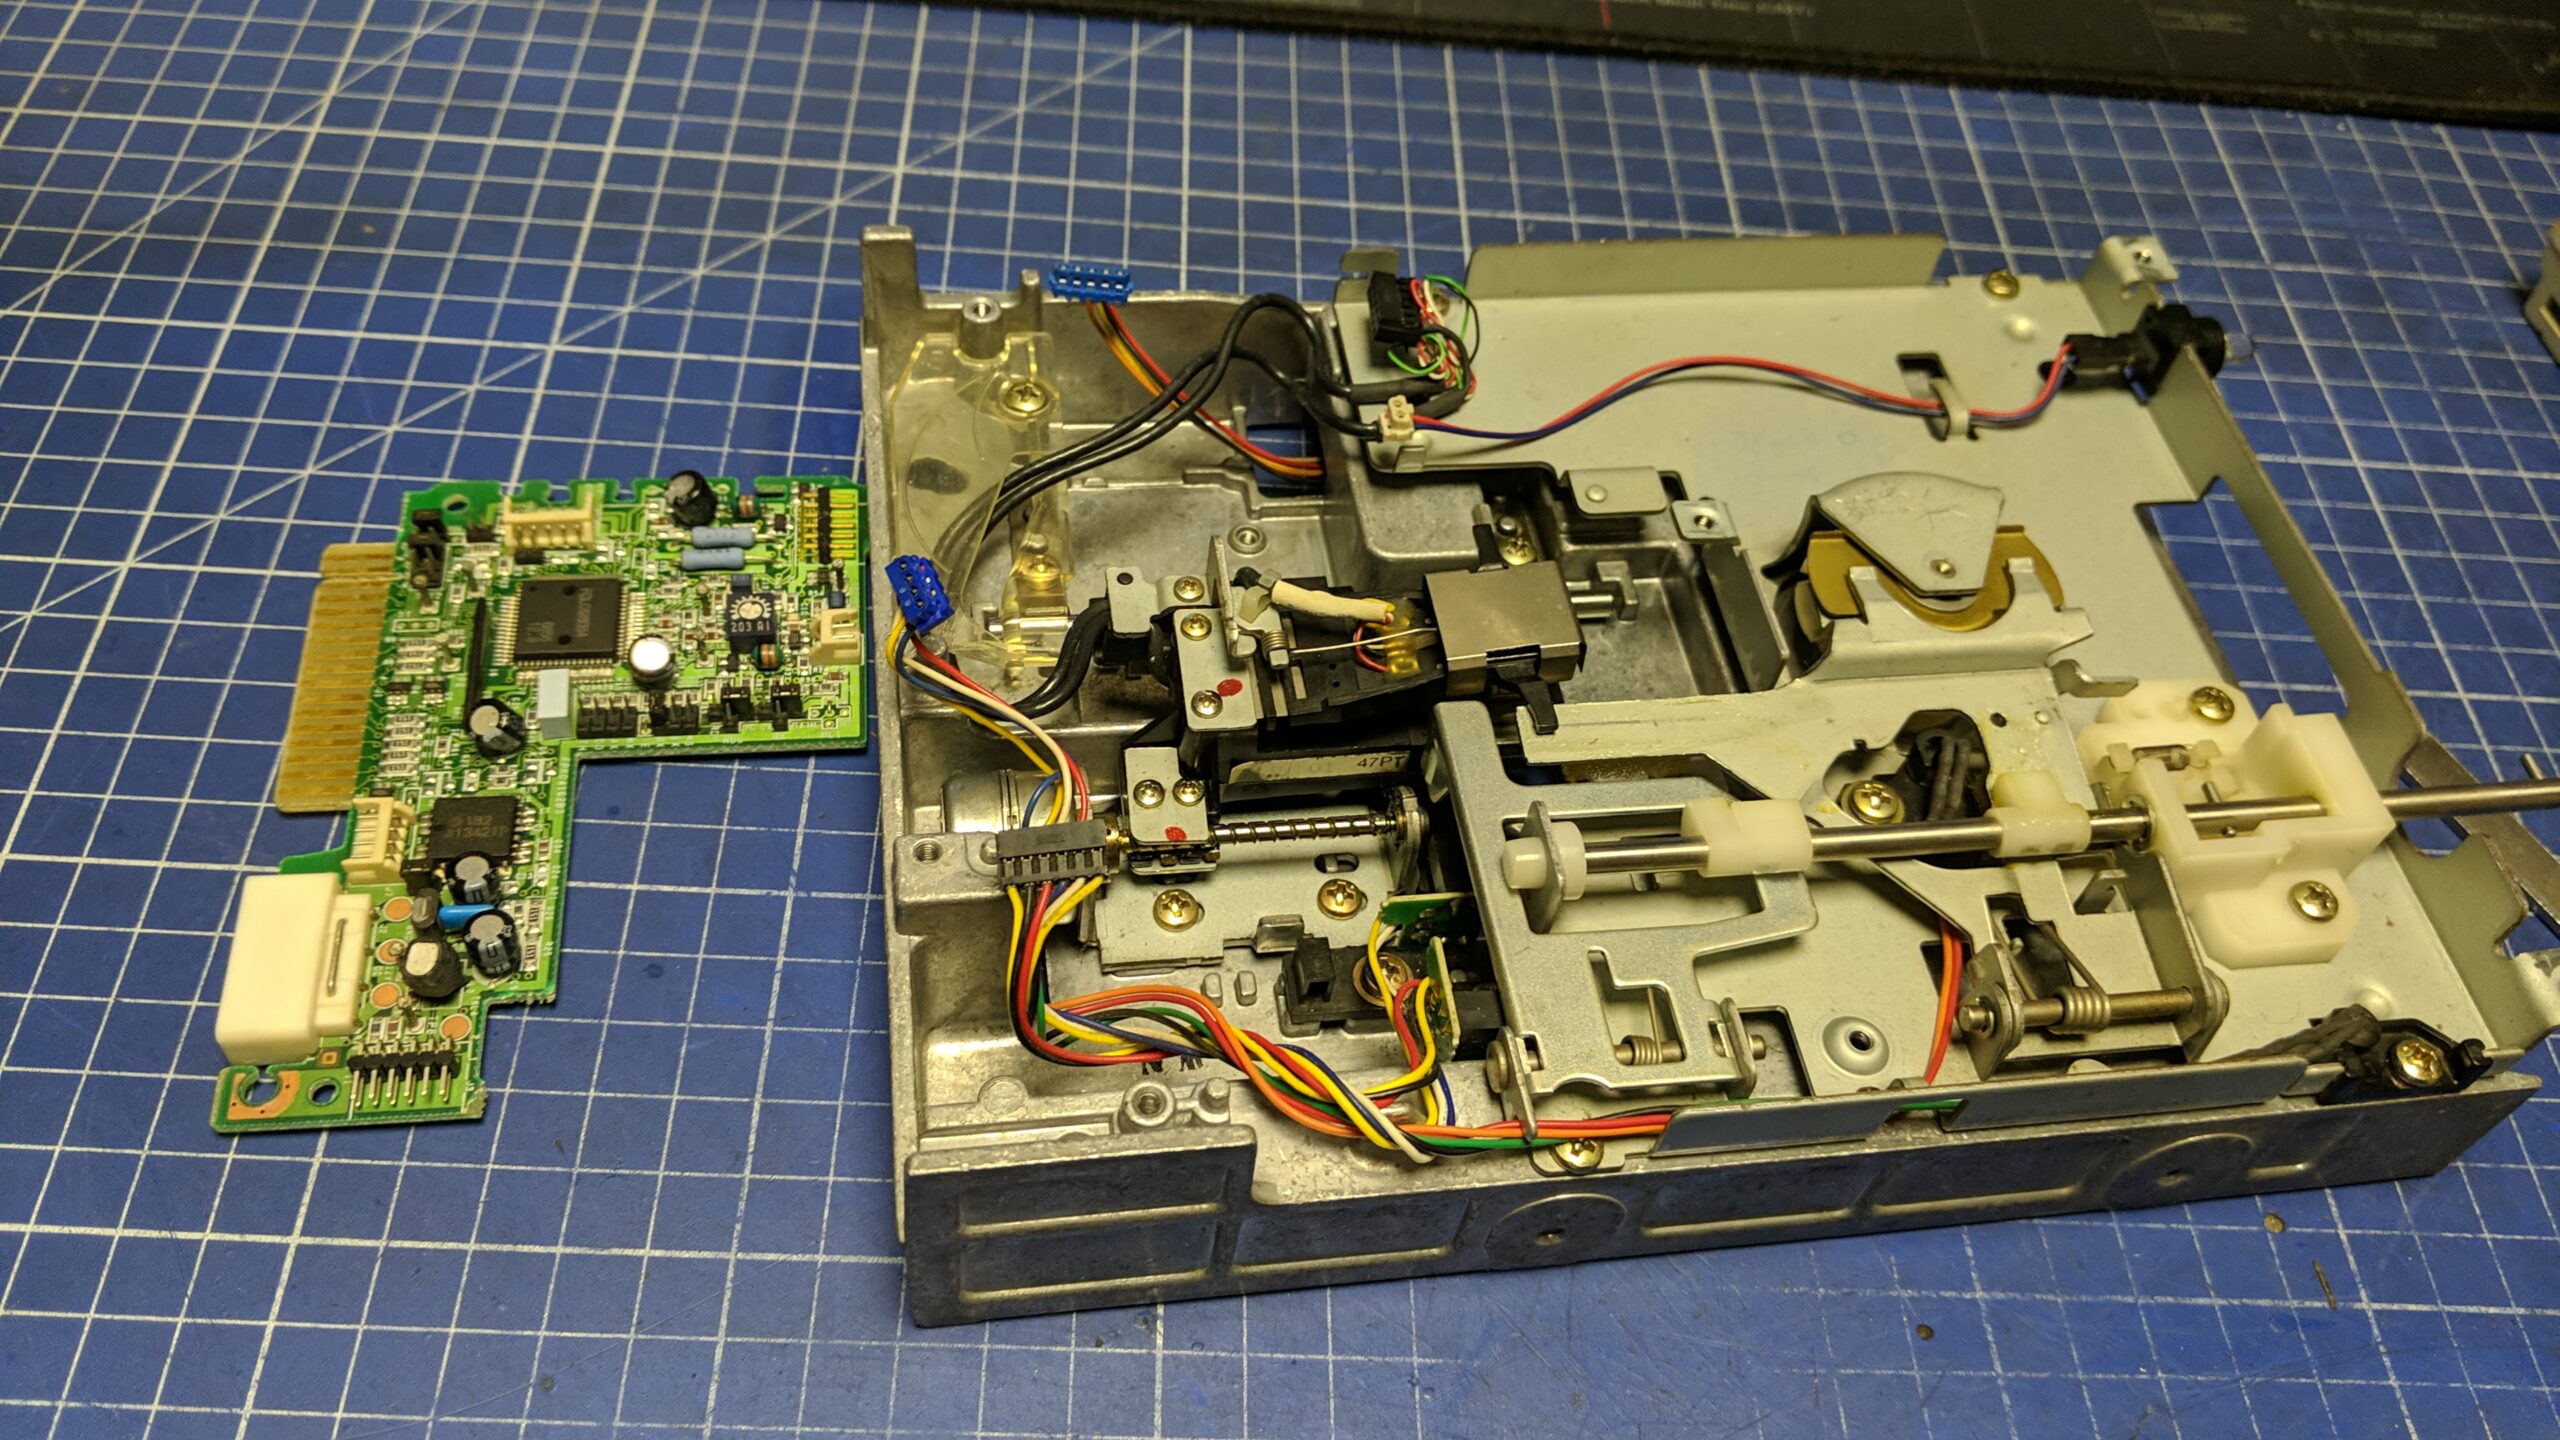
Obviously, everything was disassembled and cleaned. Here is how the process looked.
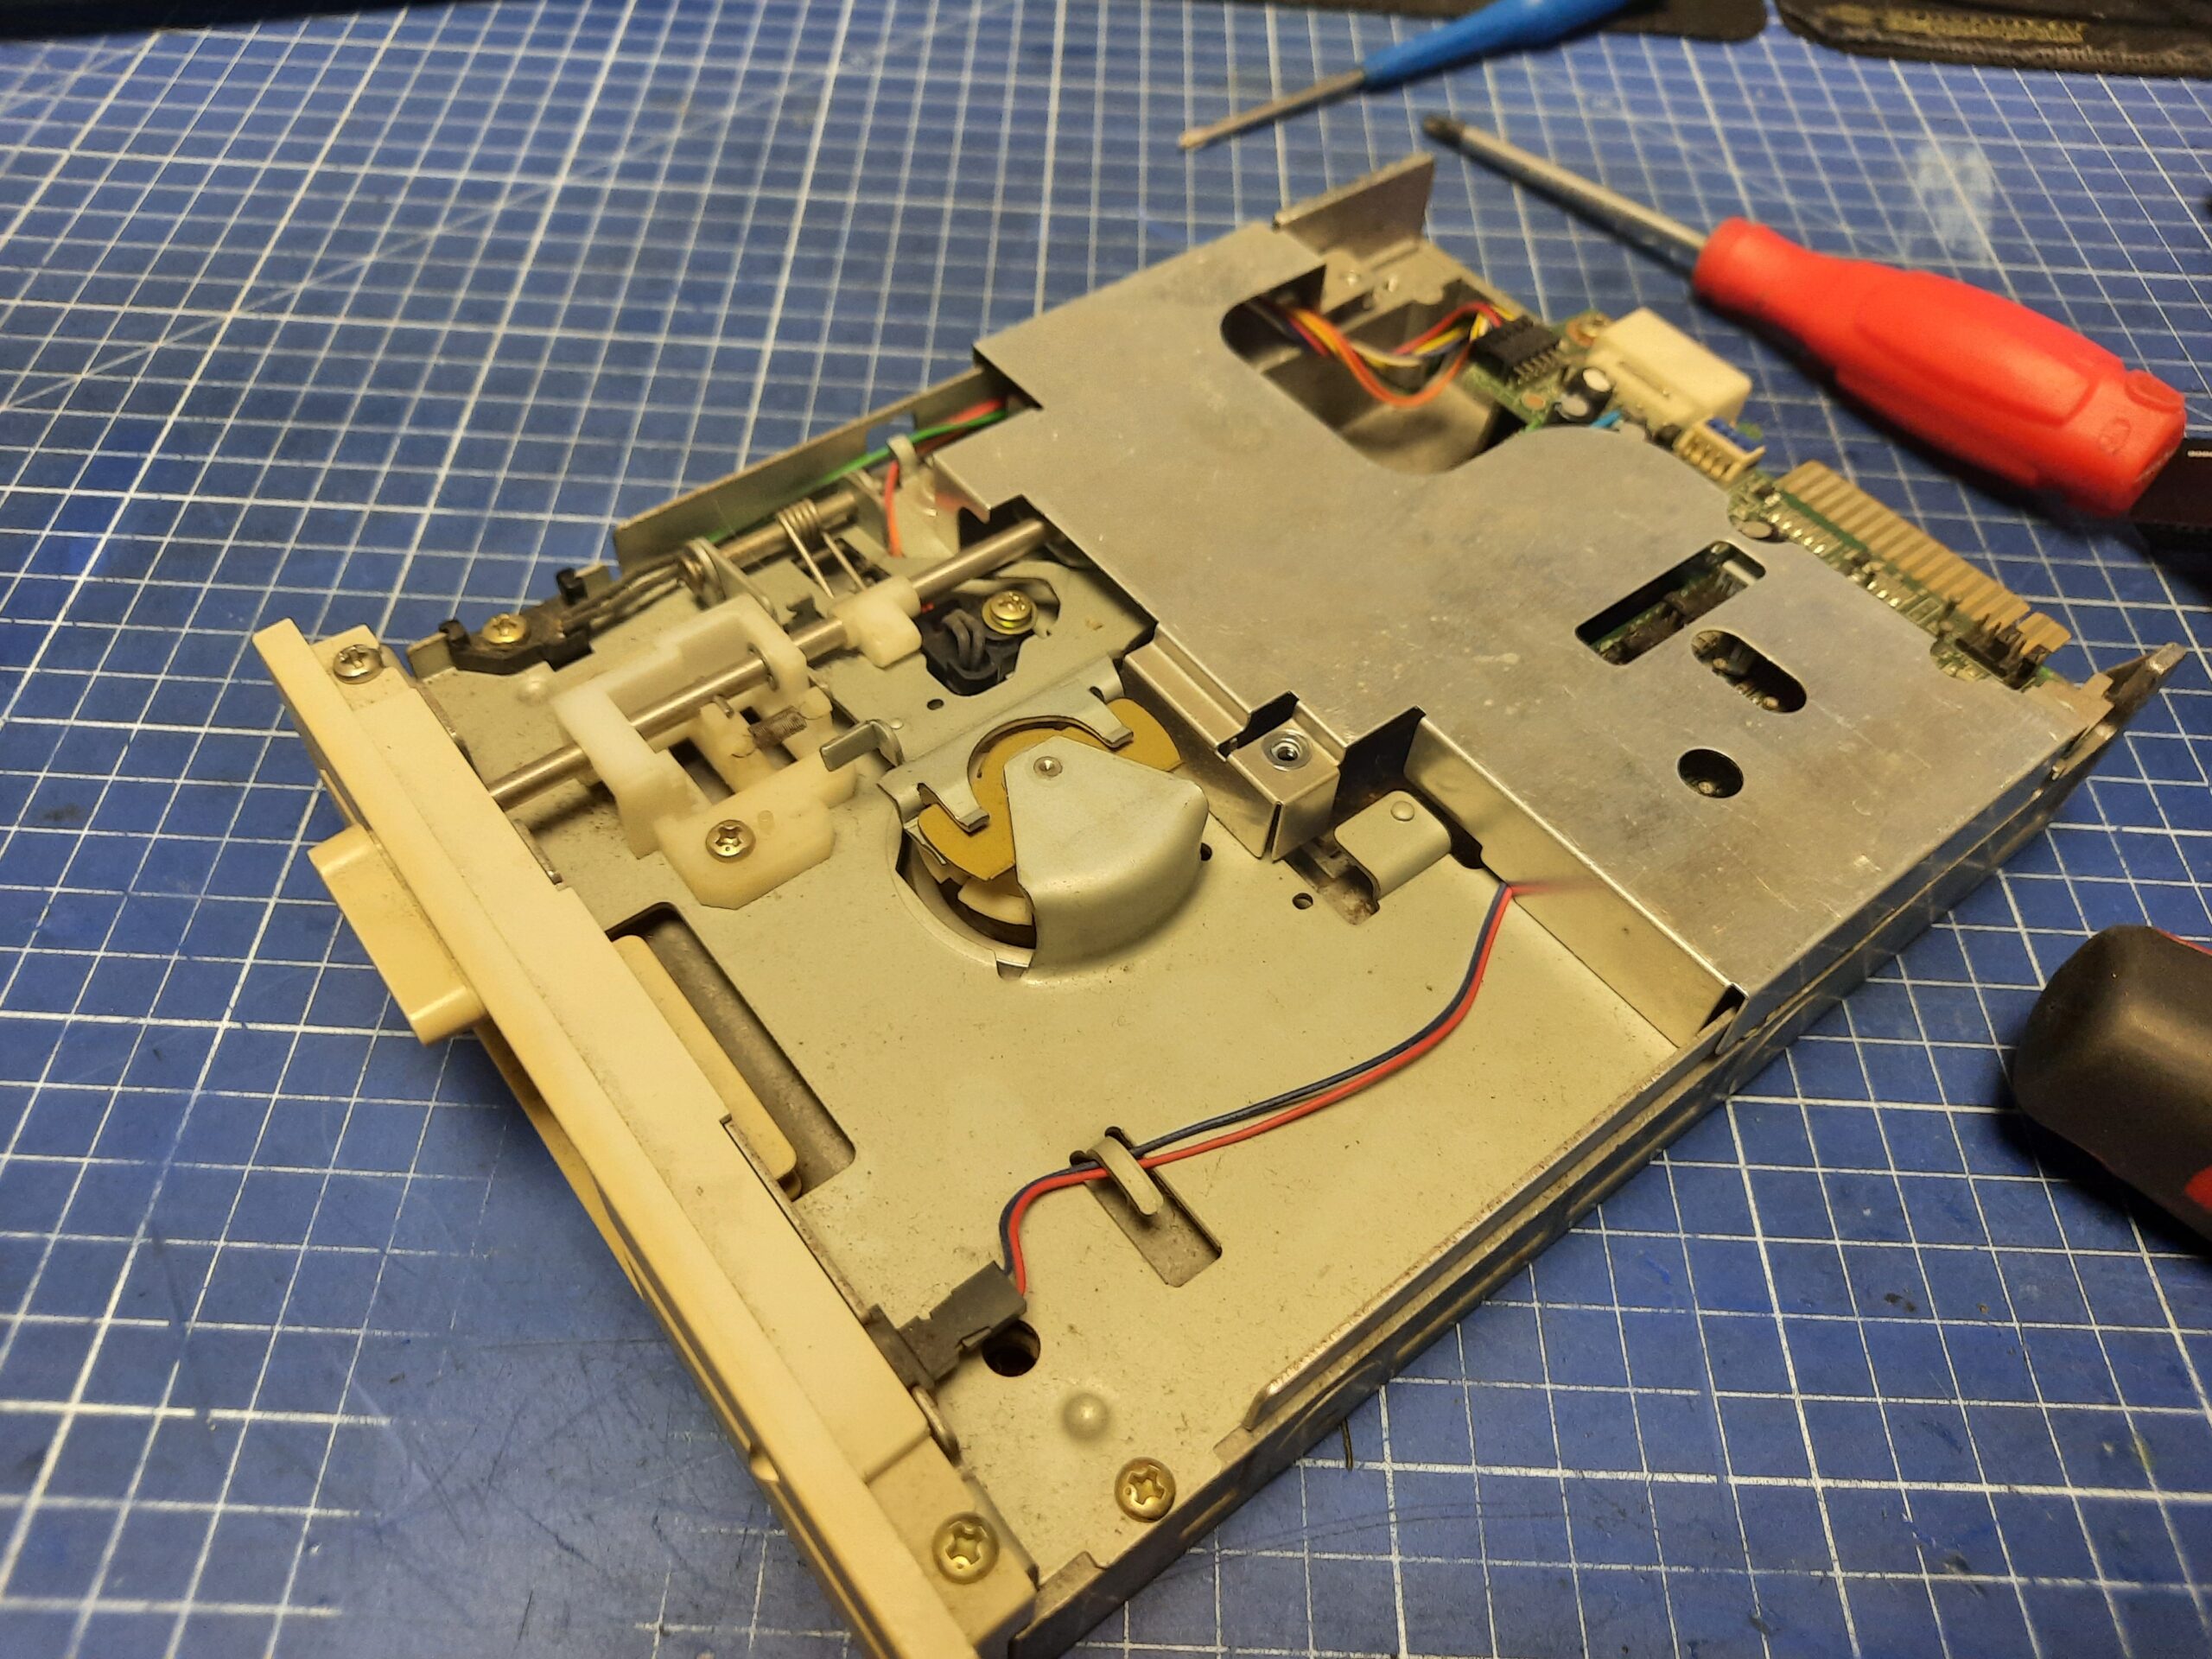
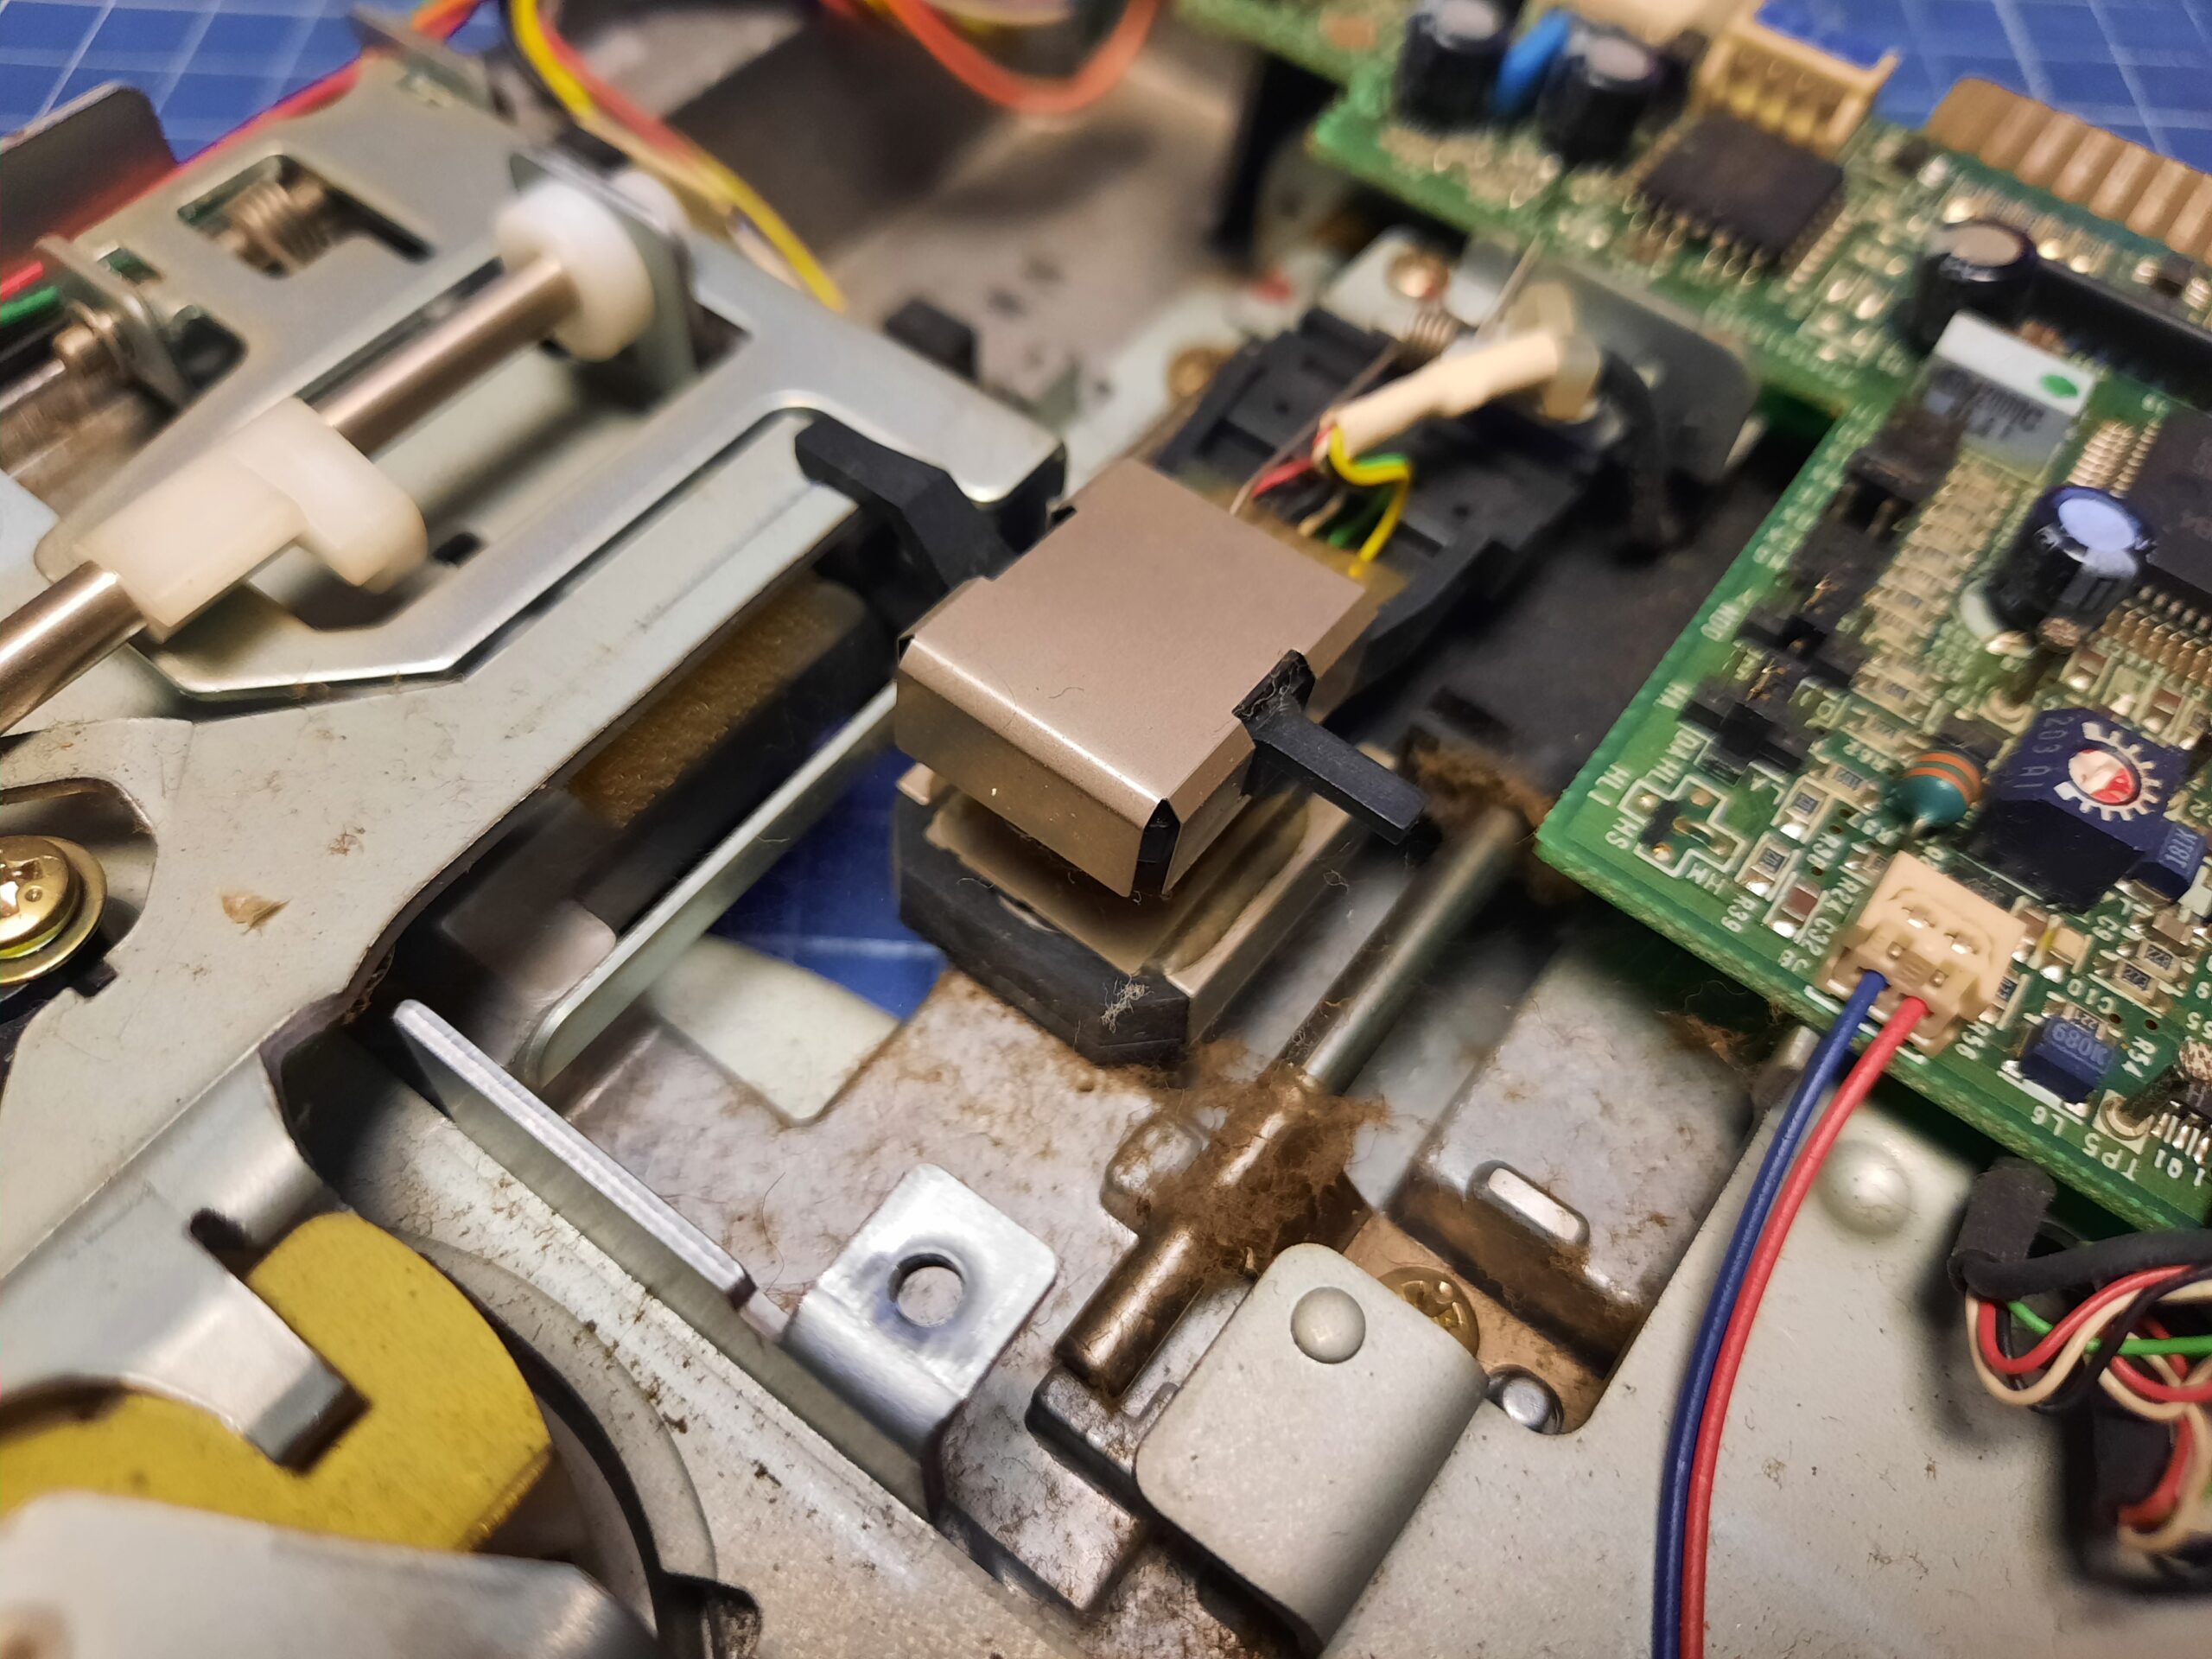
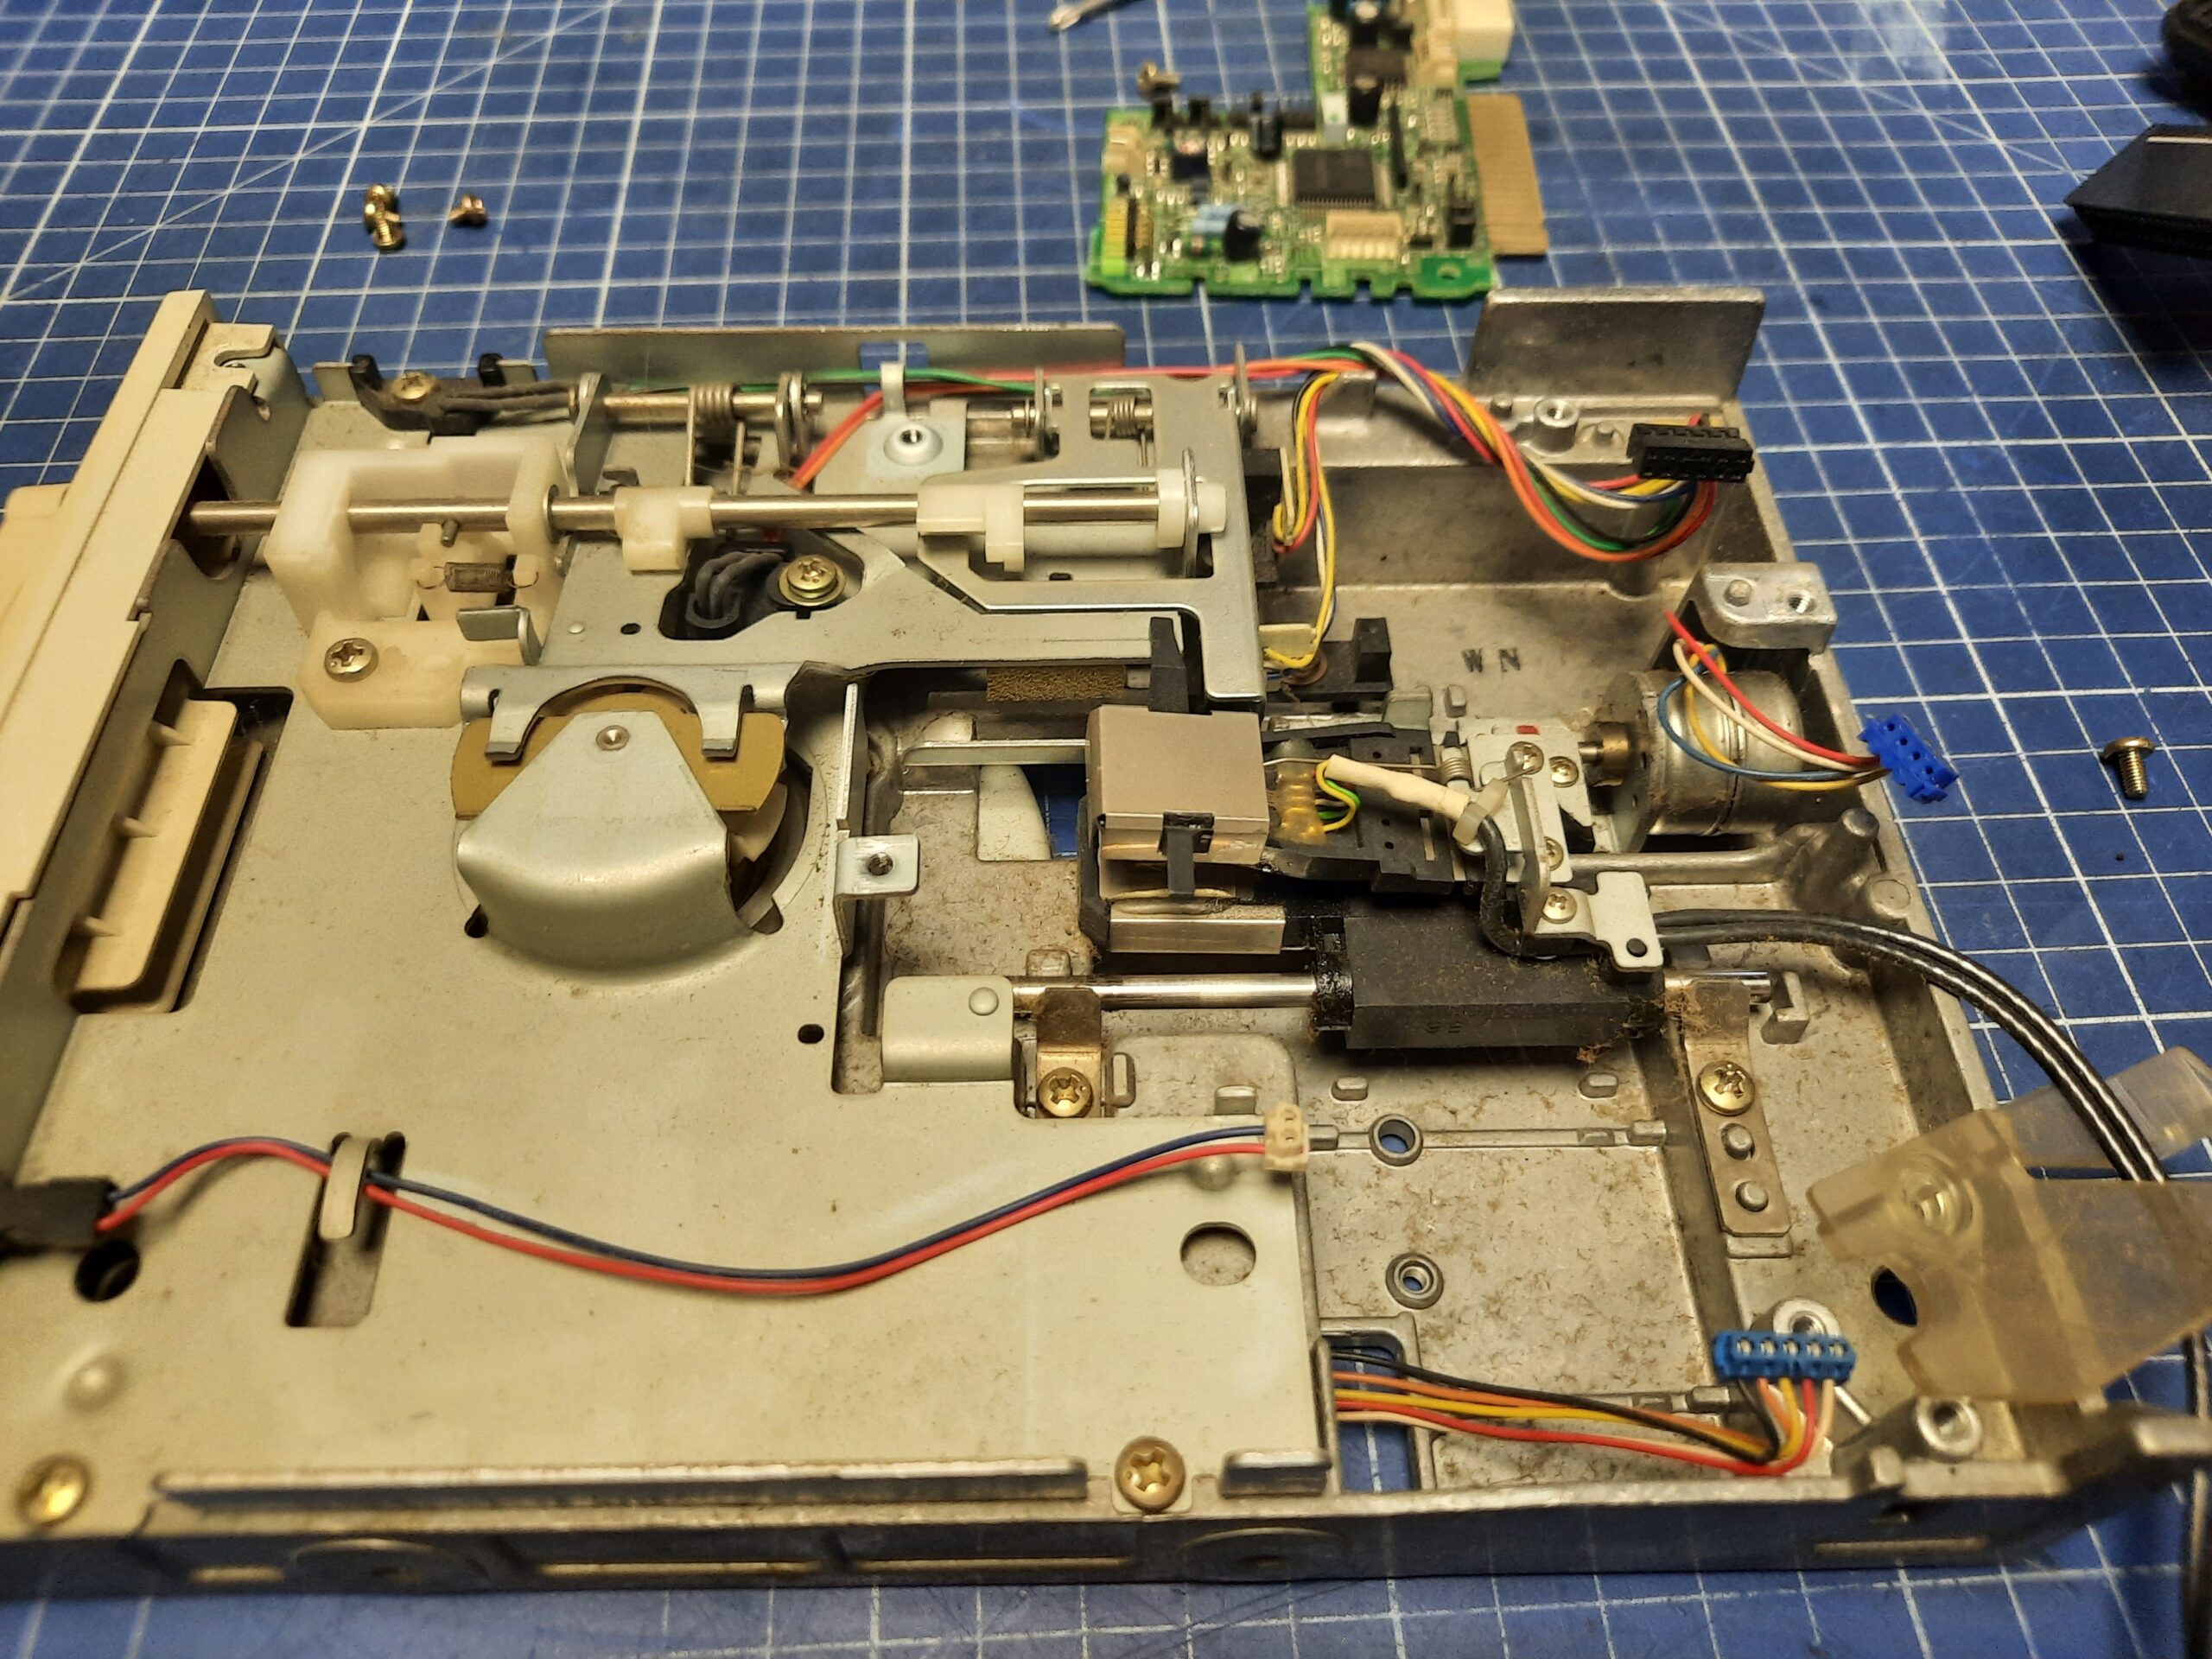
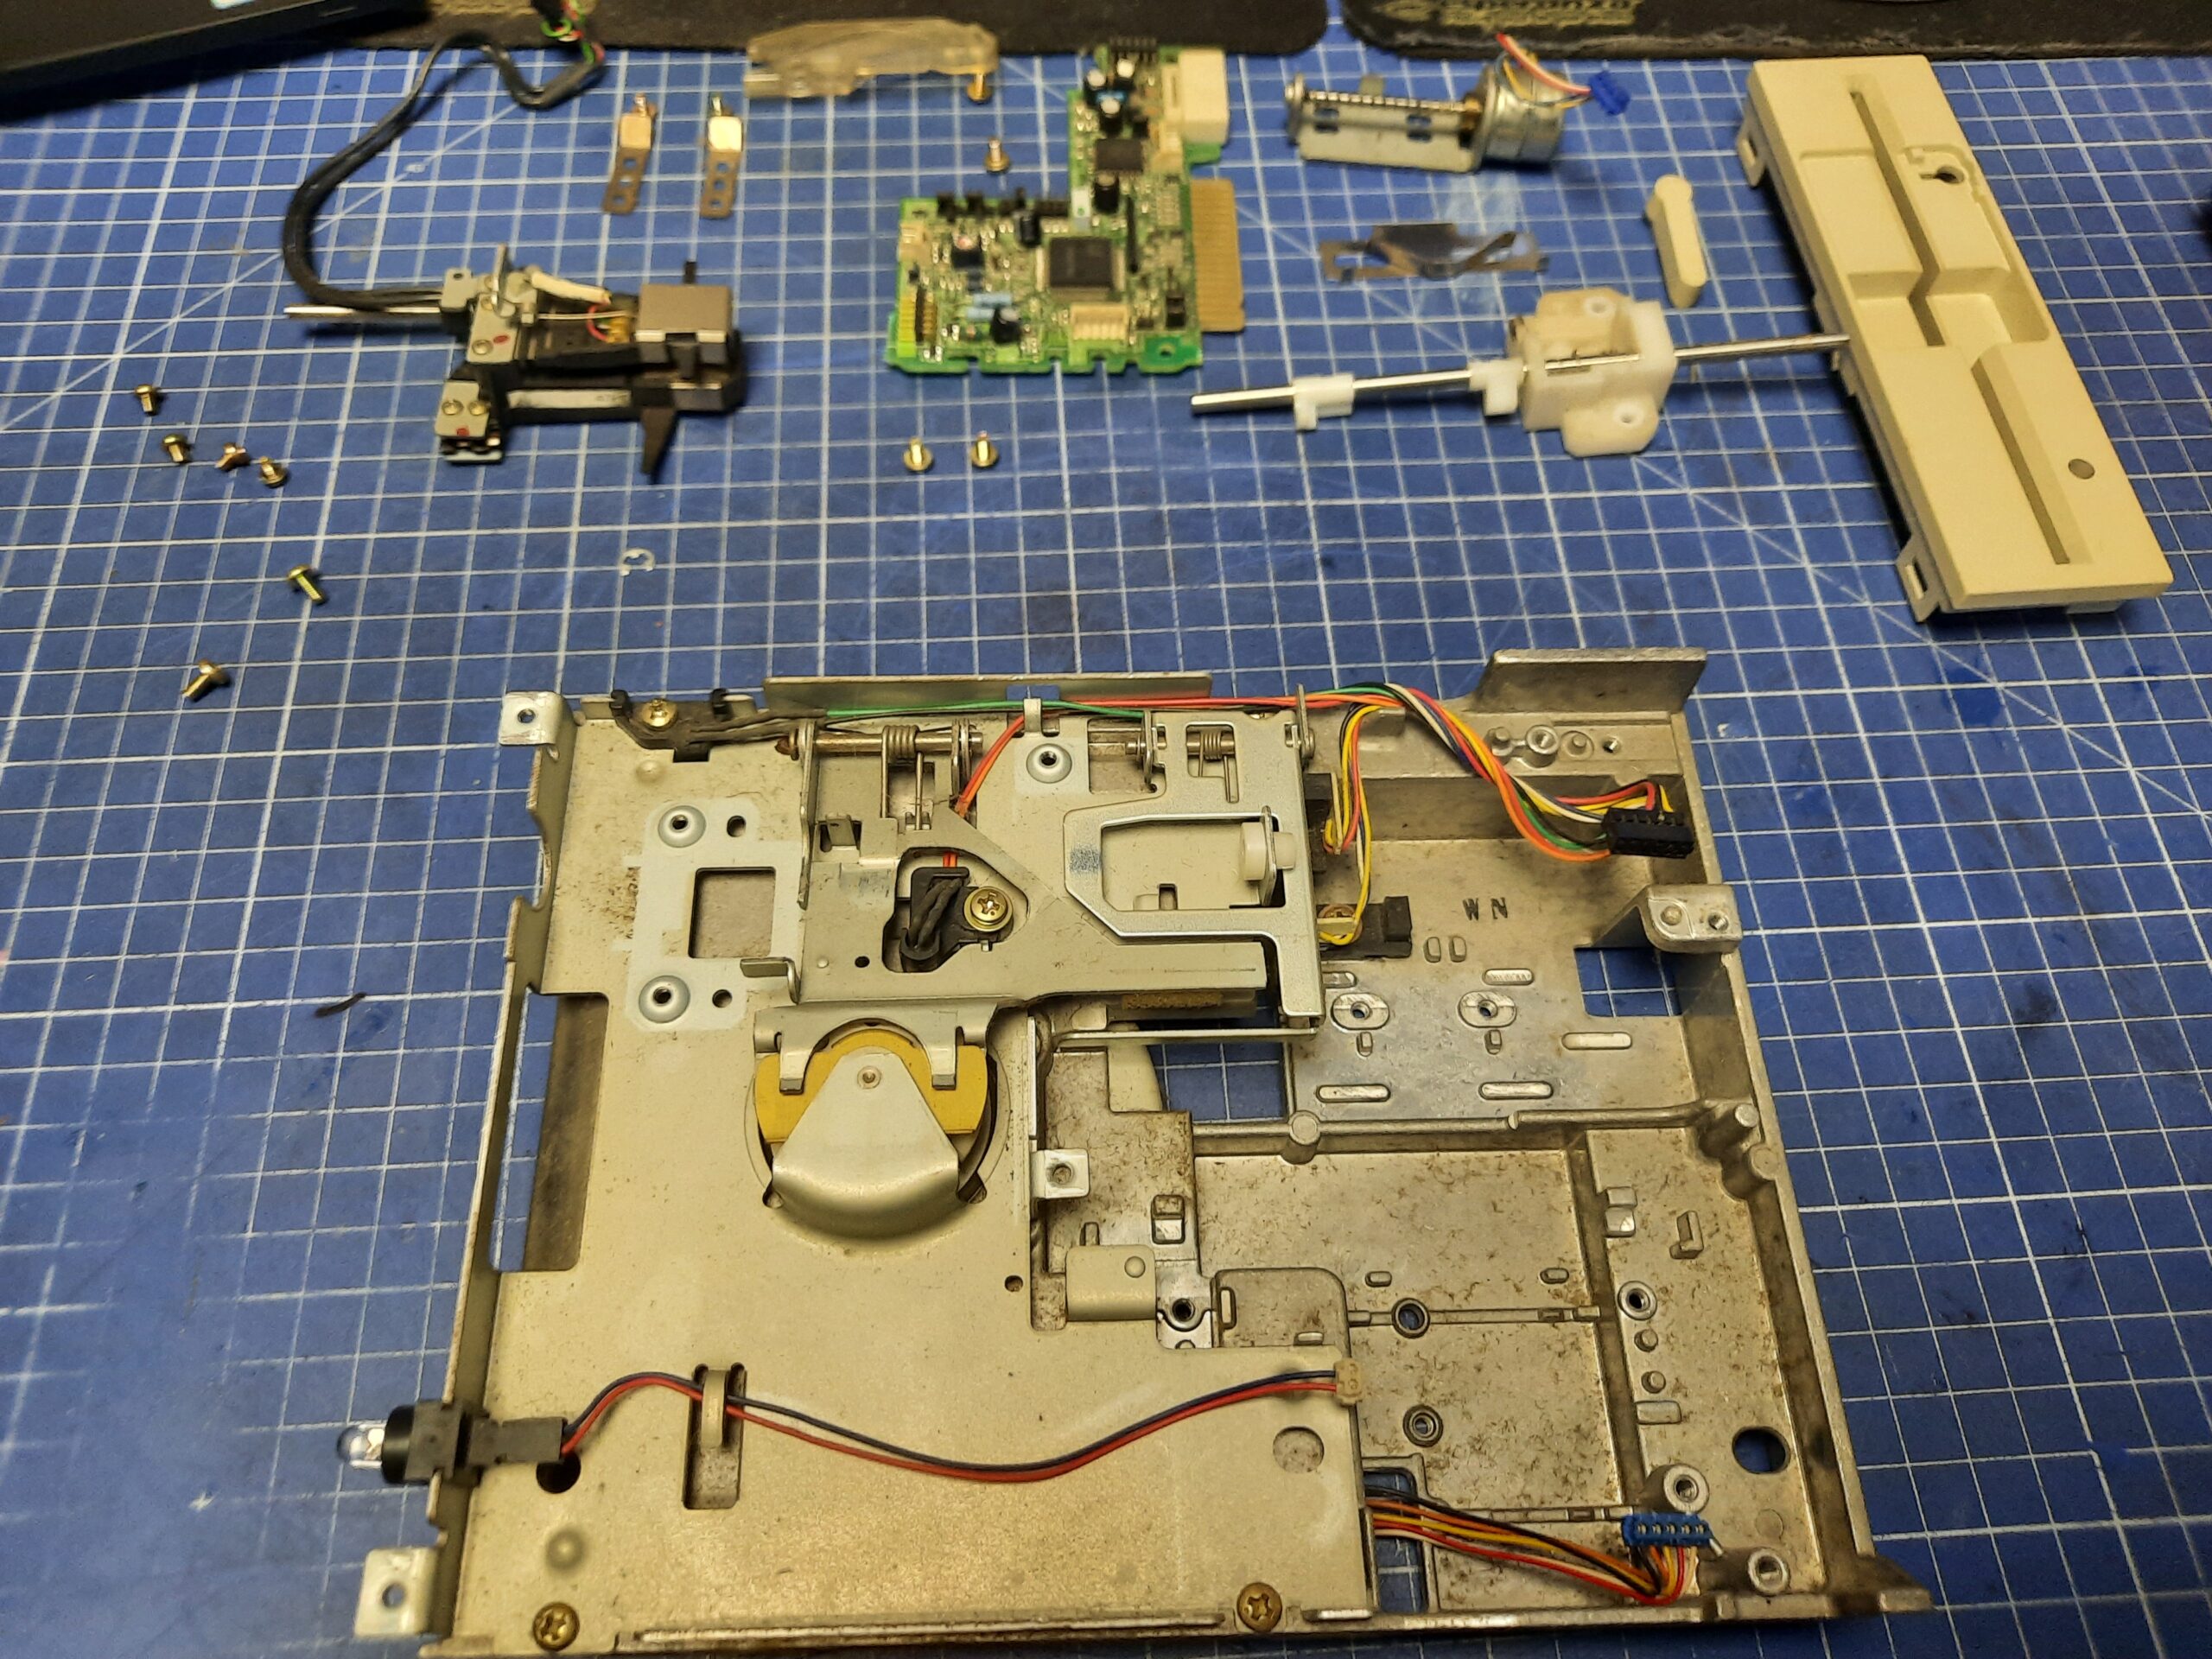
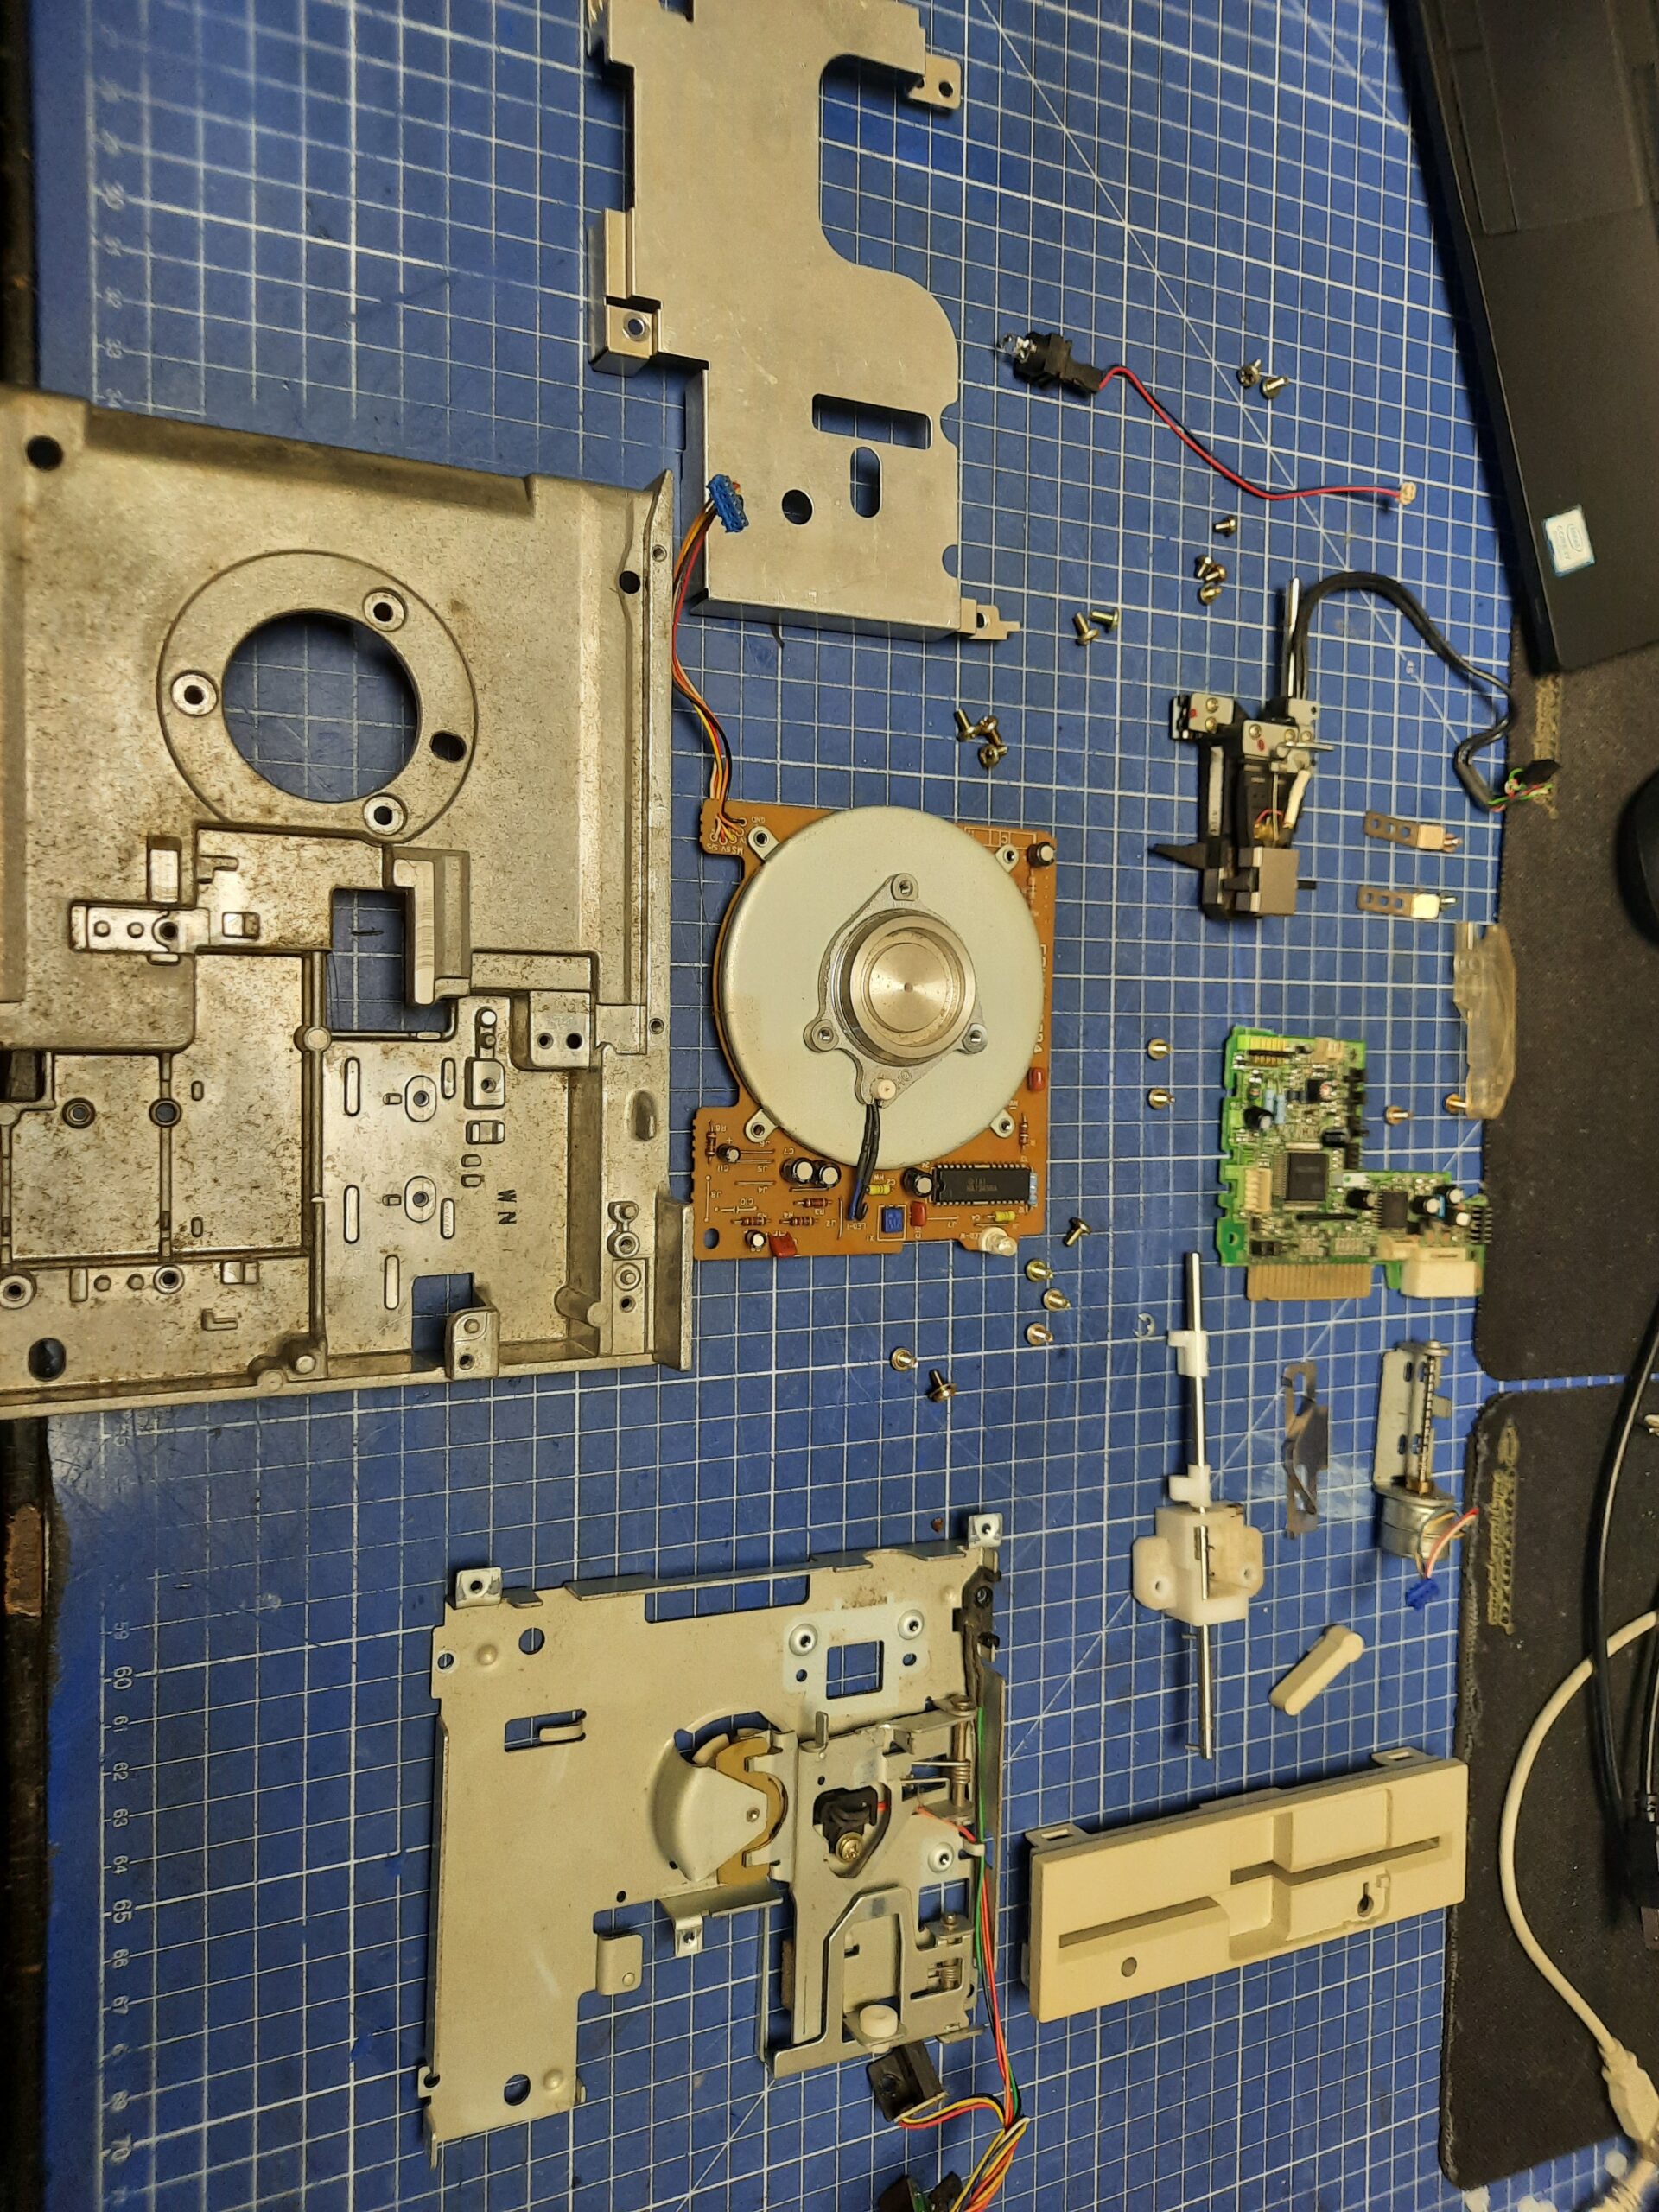
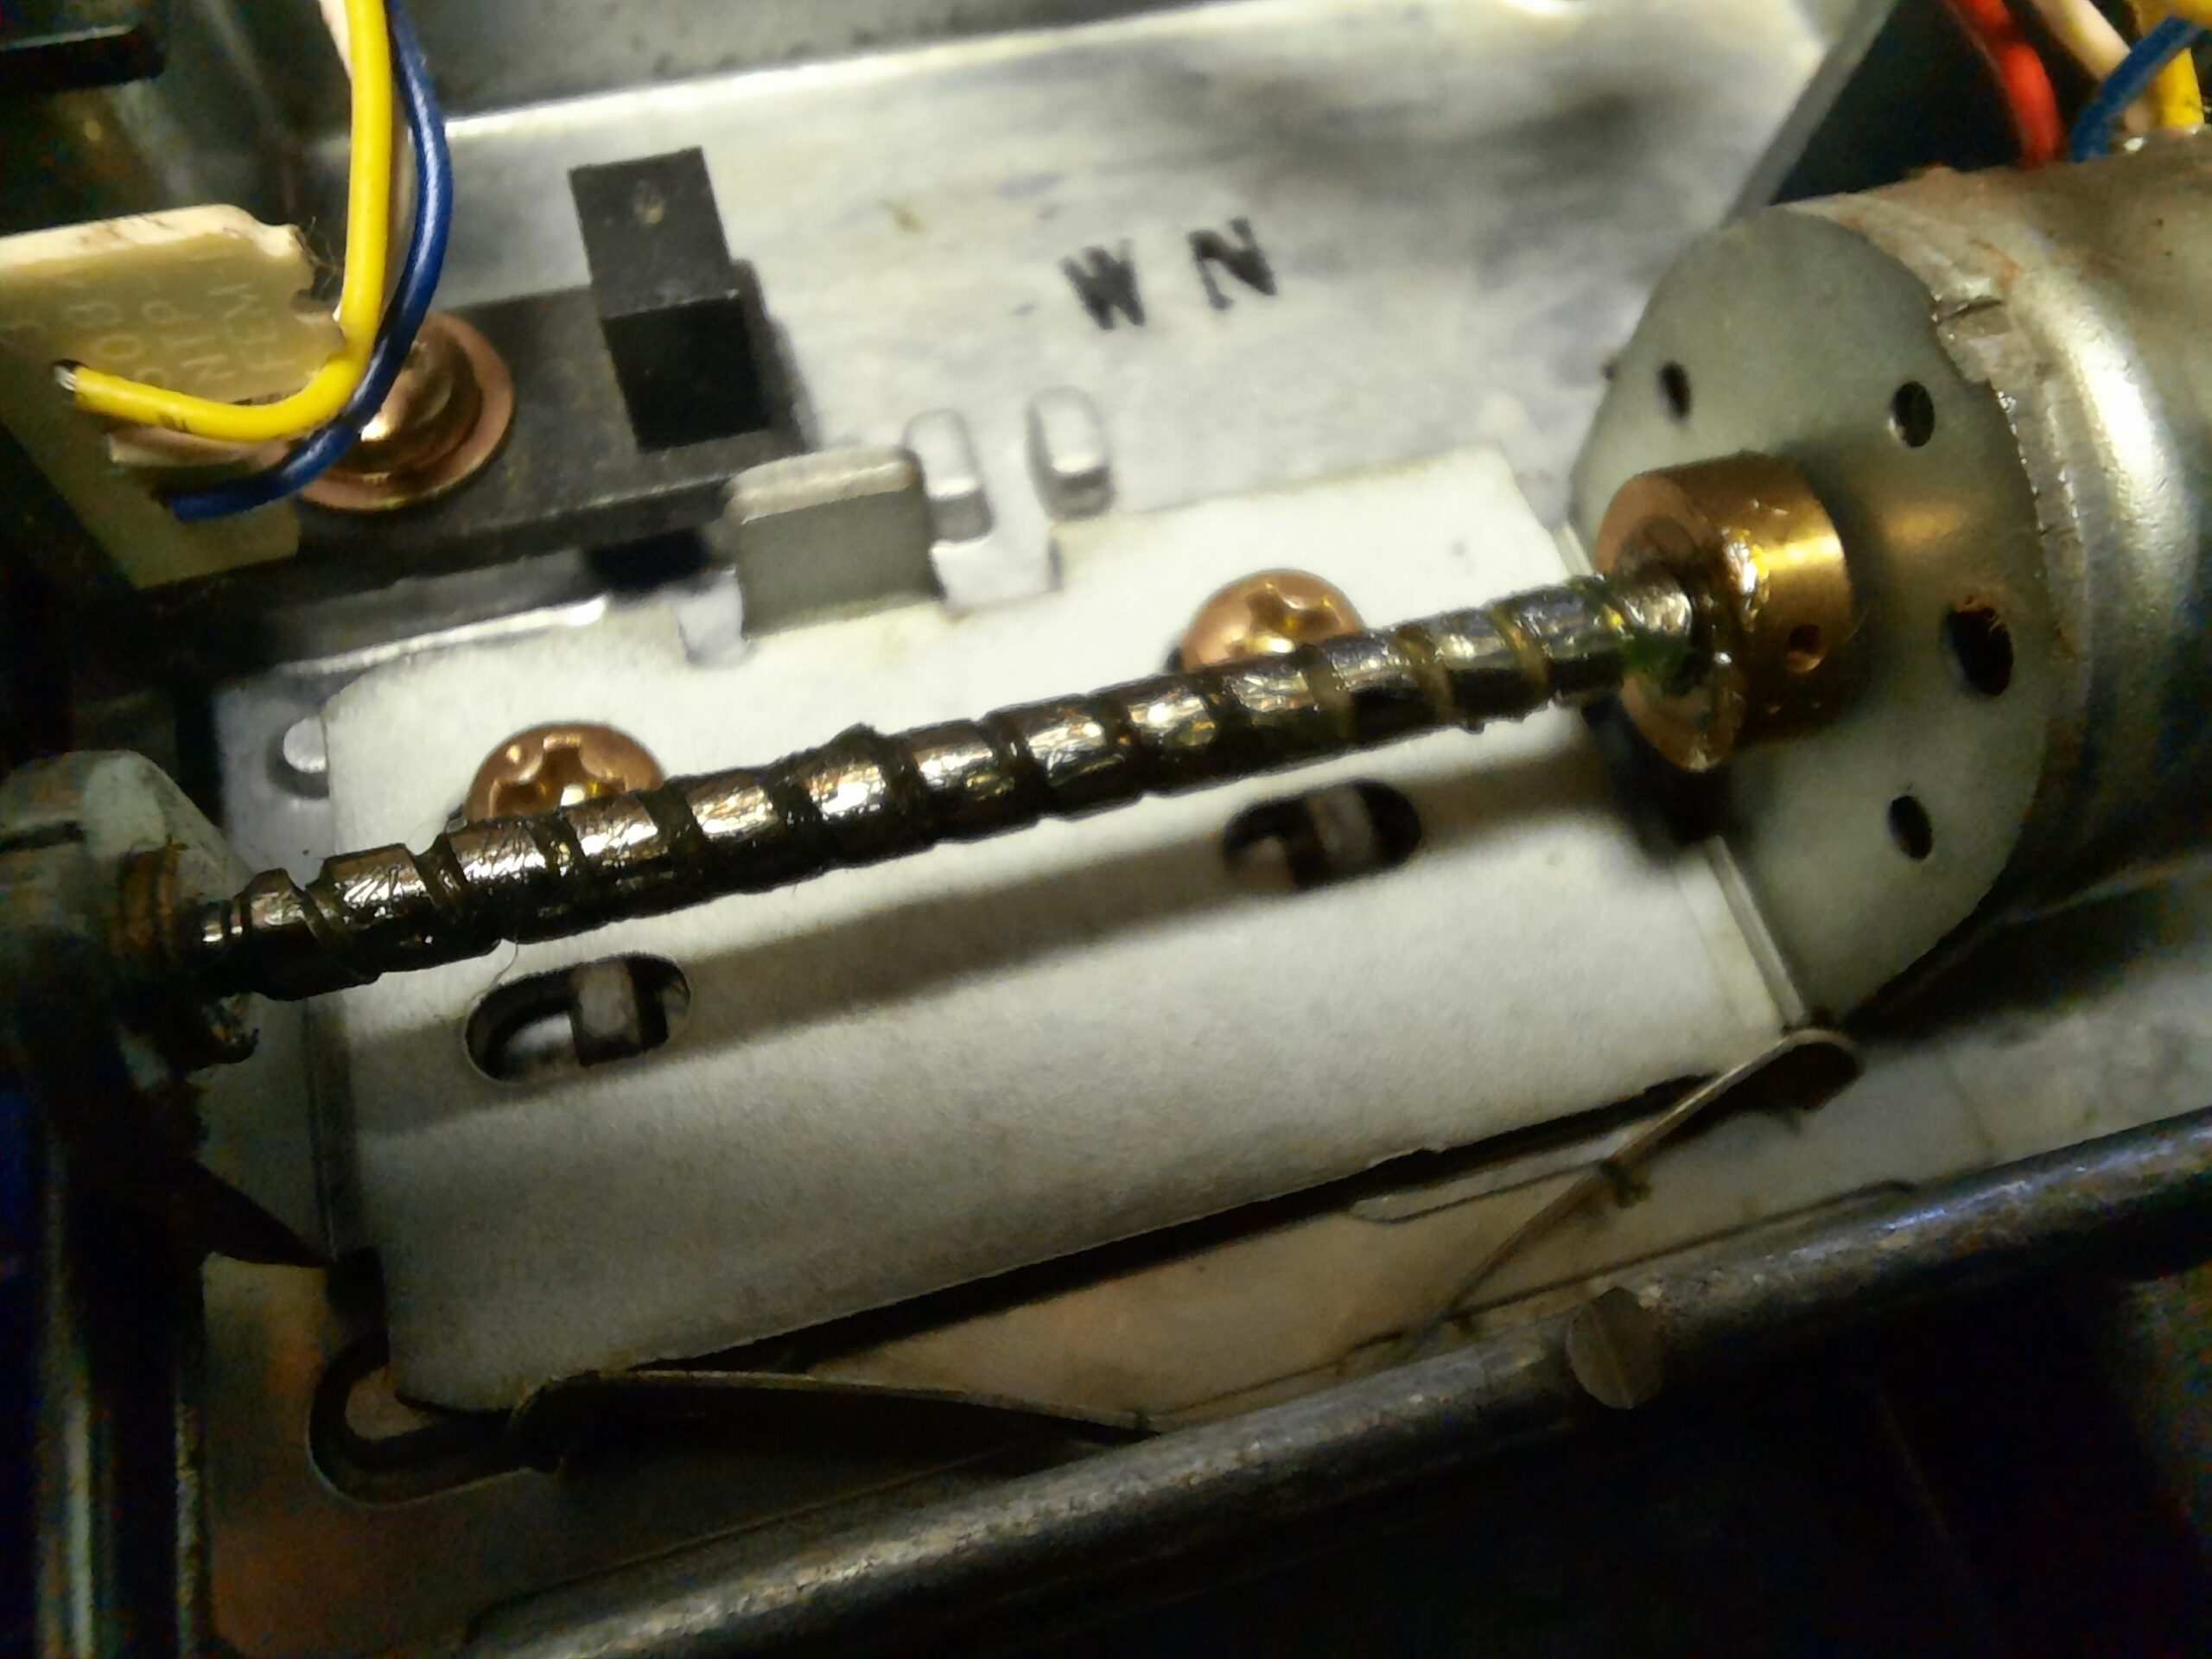
Some bearings had to be lubricated along with some other parts.


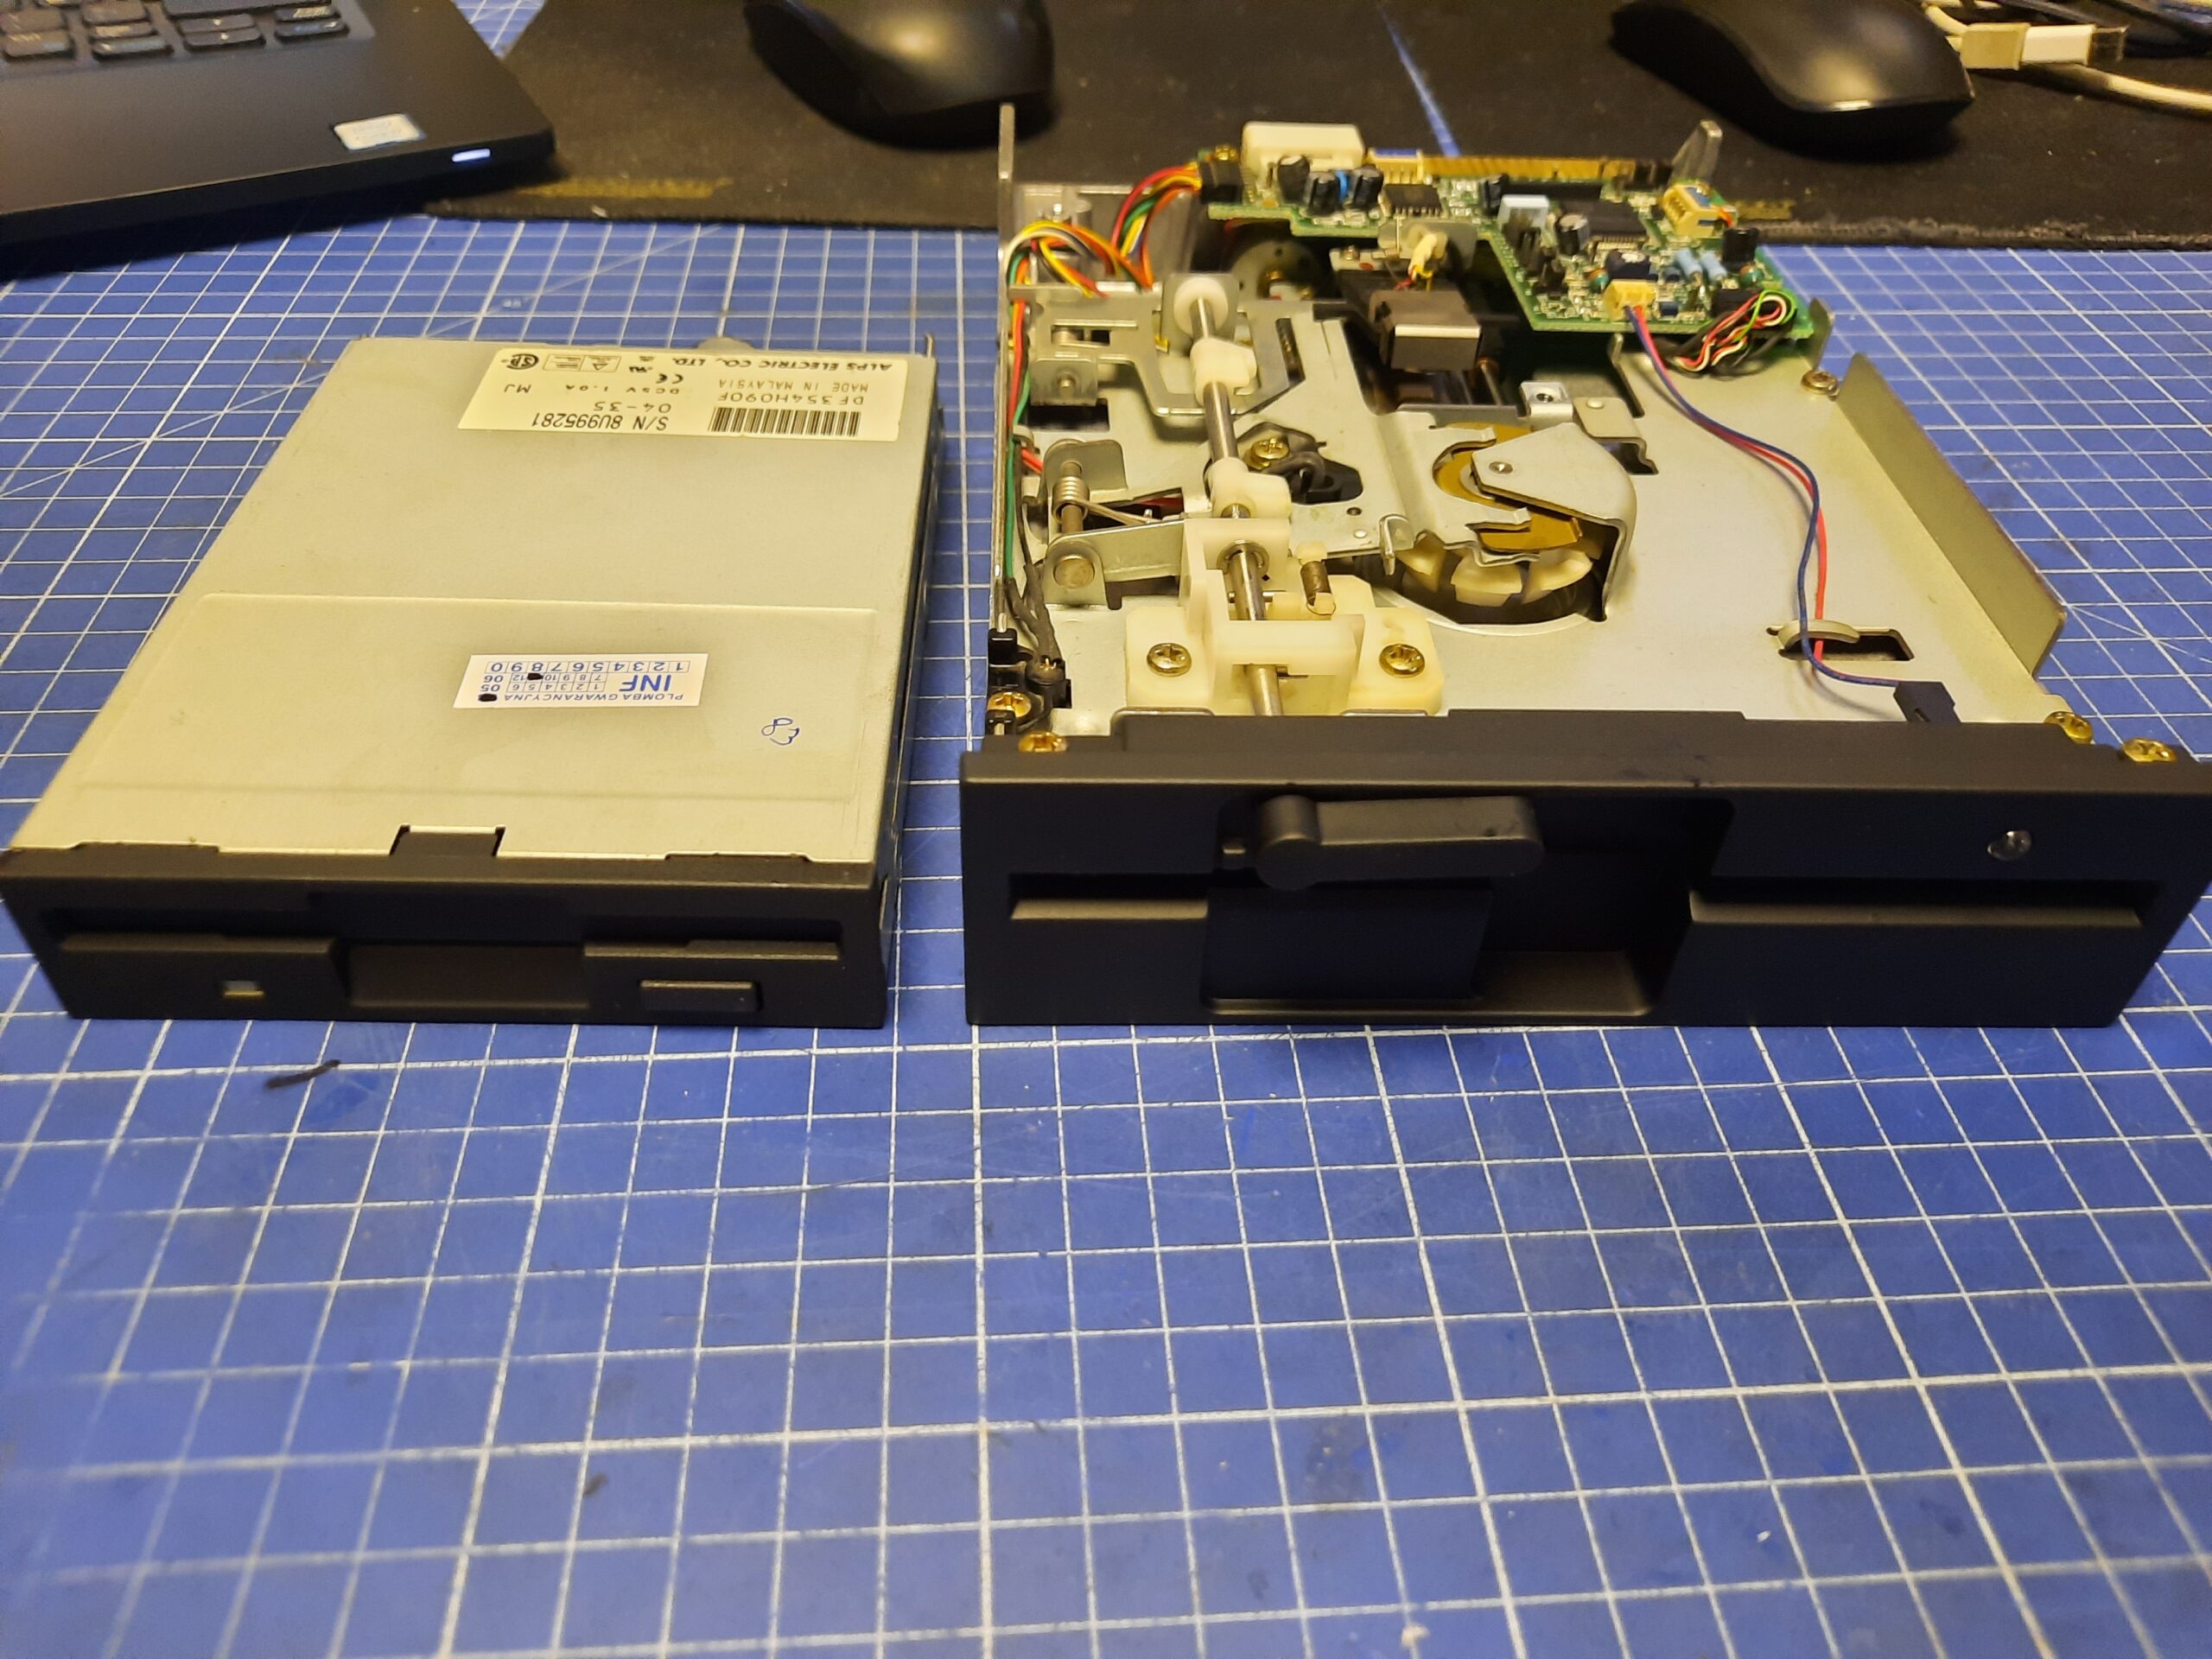
Finally, the first drive was ready. Well, except te front panel, which had to be painted black to match the case but I will get back to it a bit later.
Now, the 3.5″ drive.
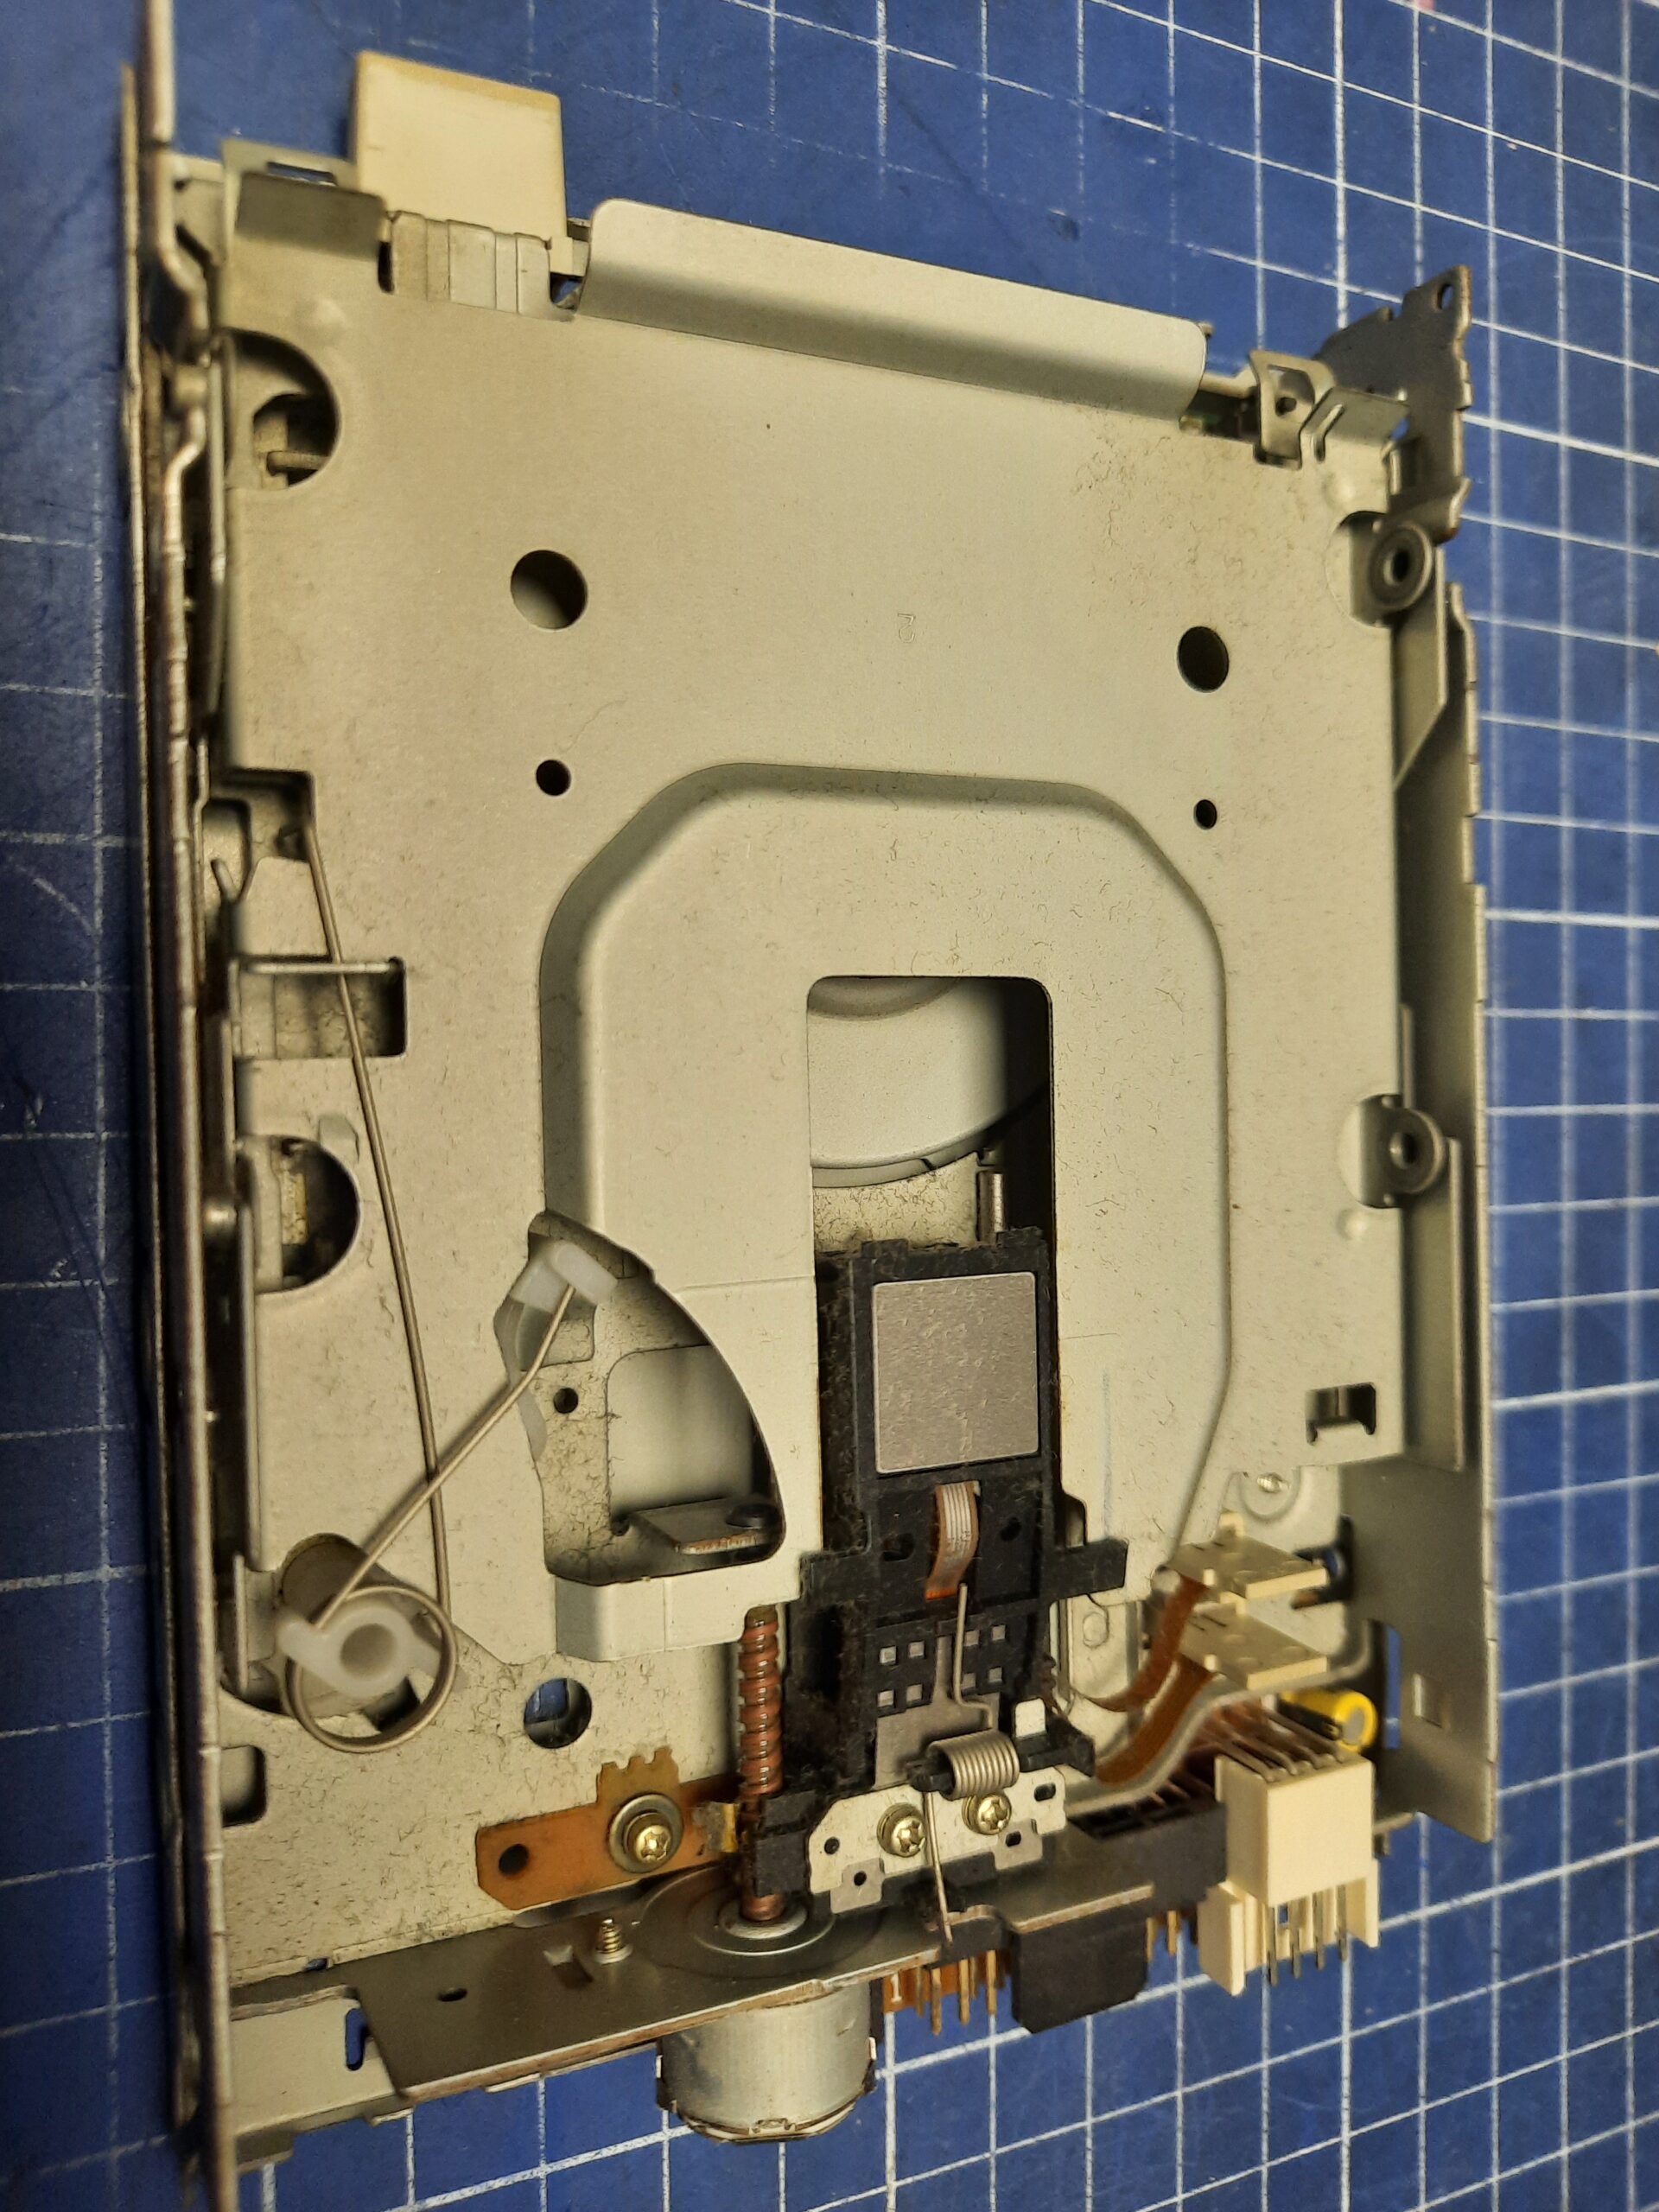
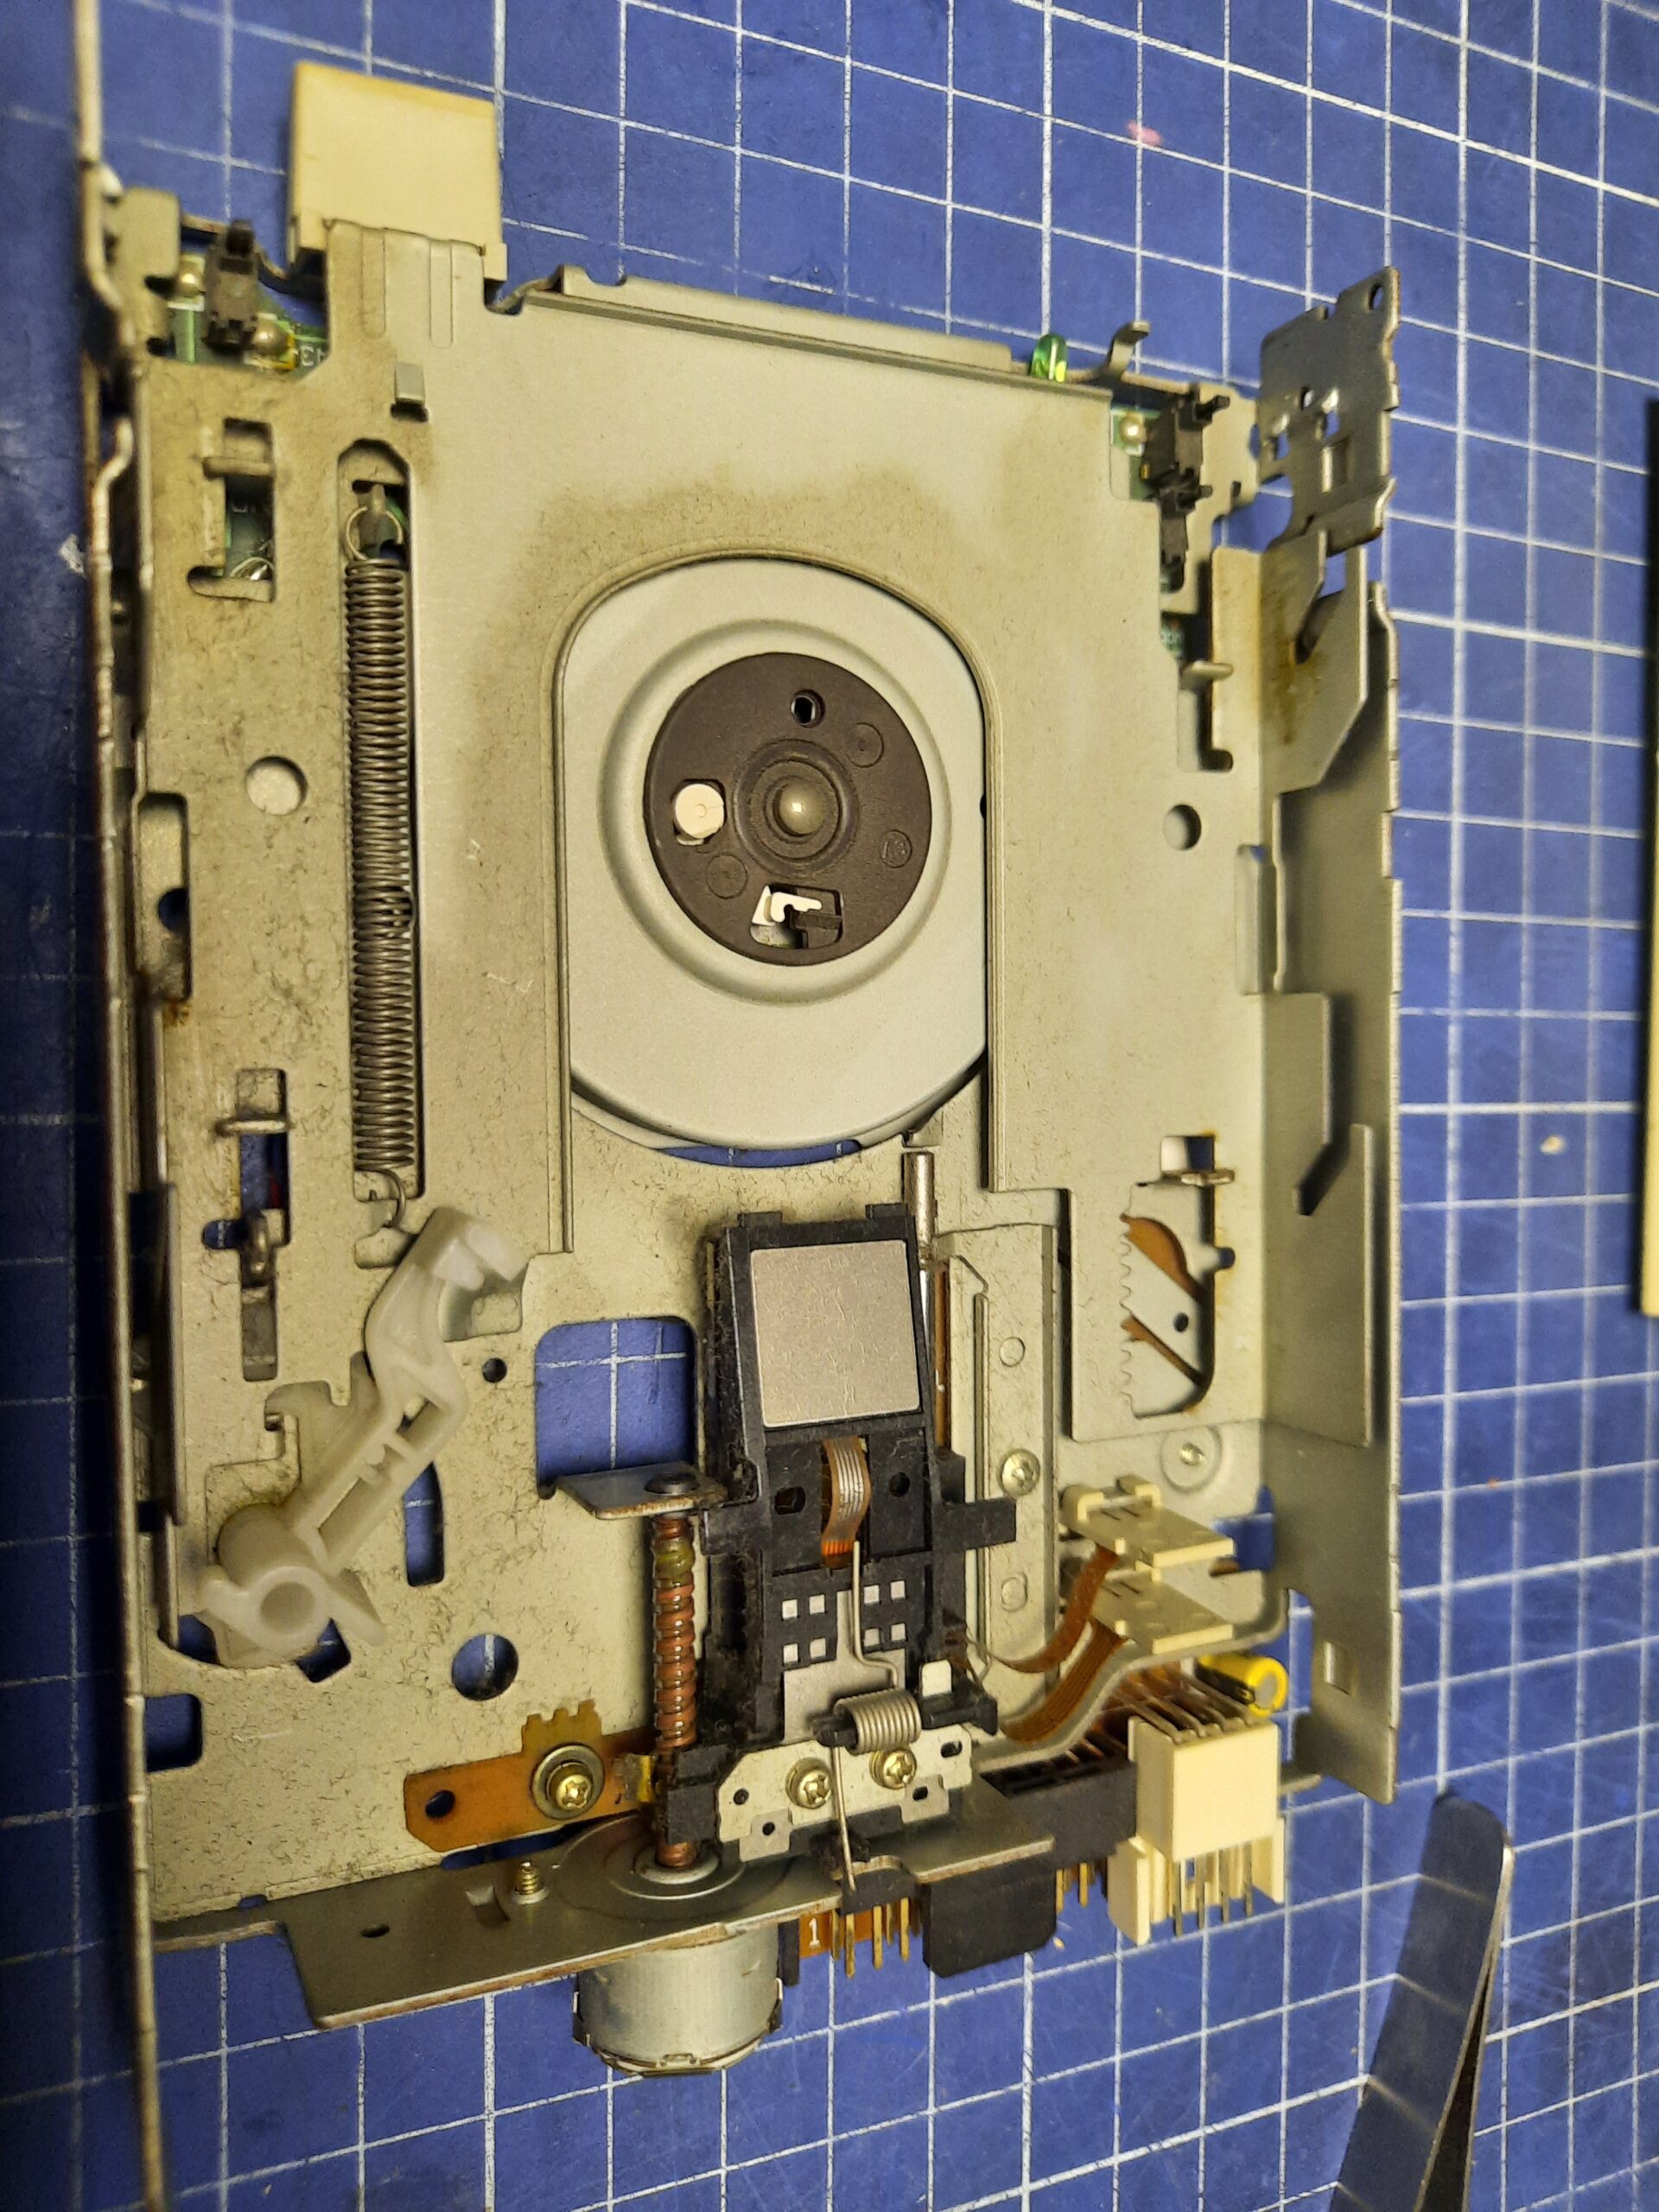
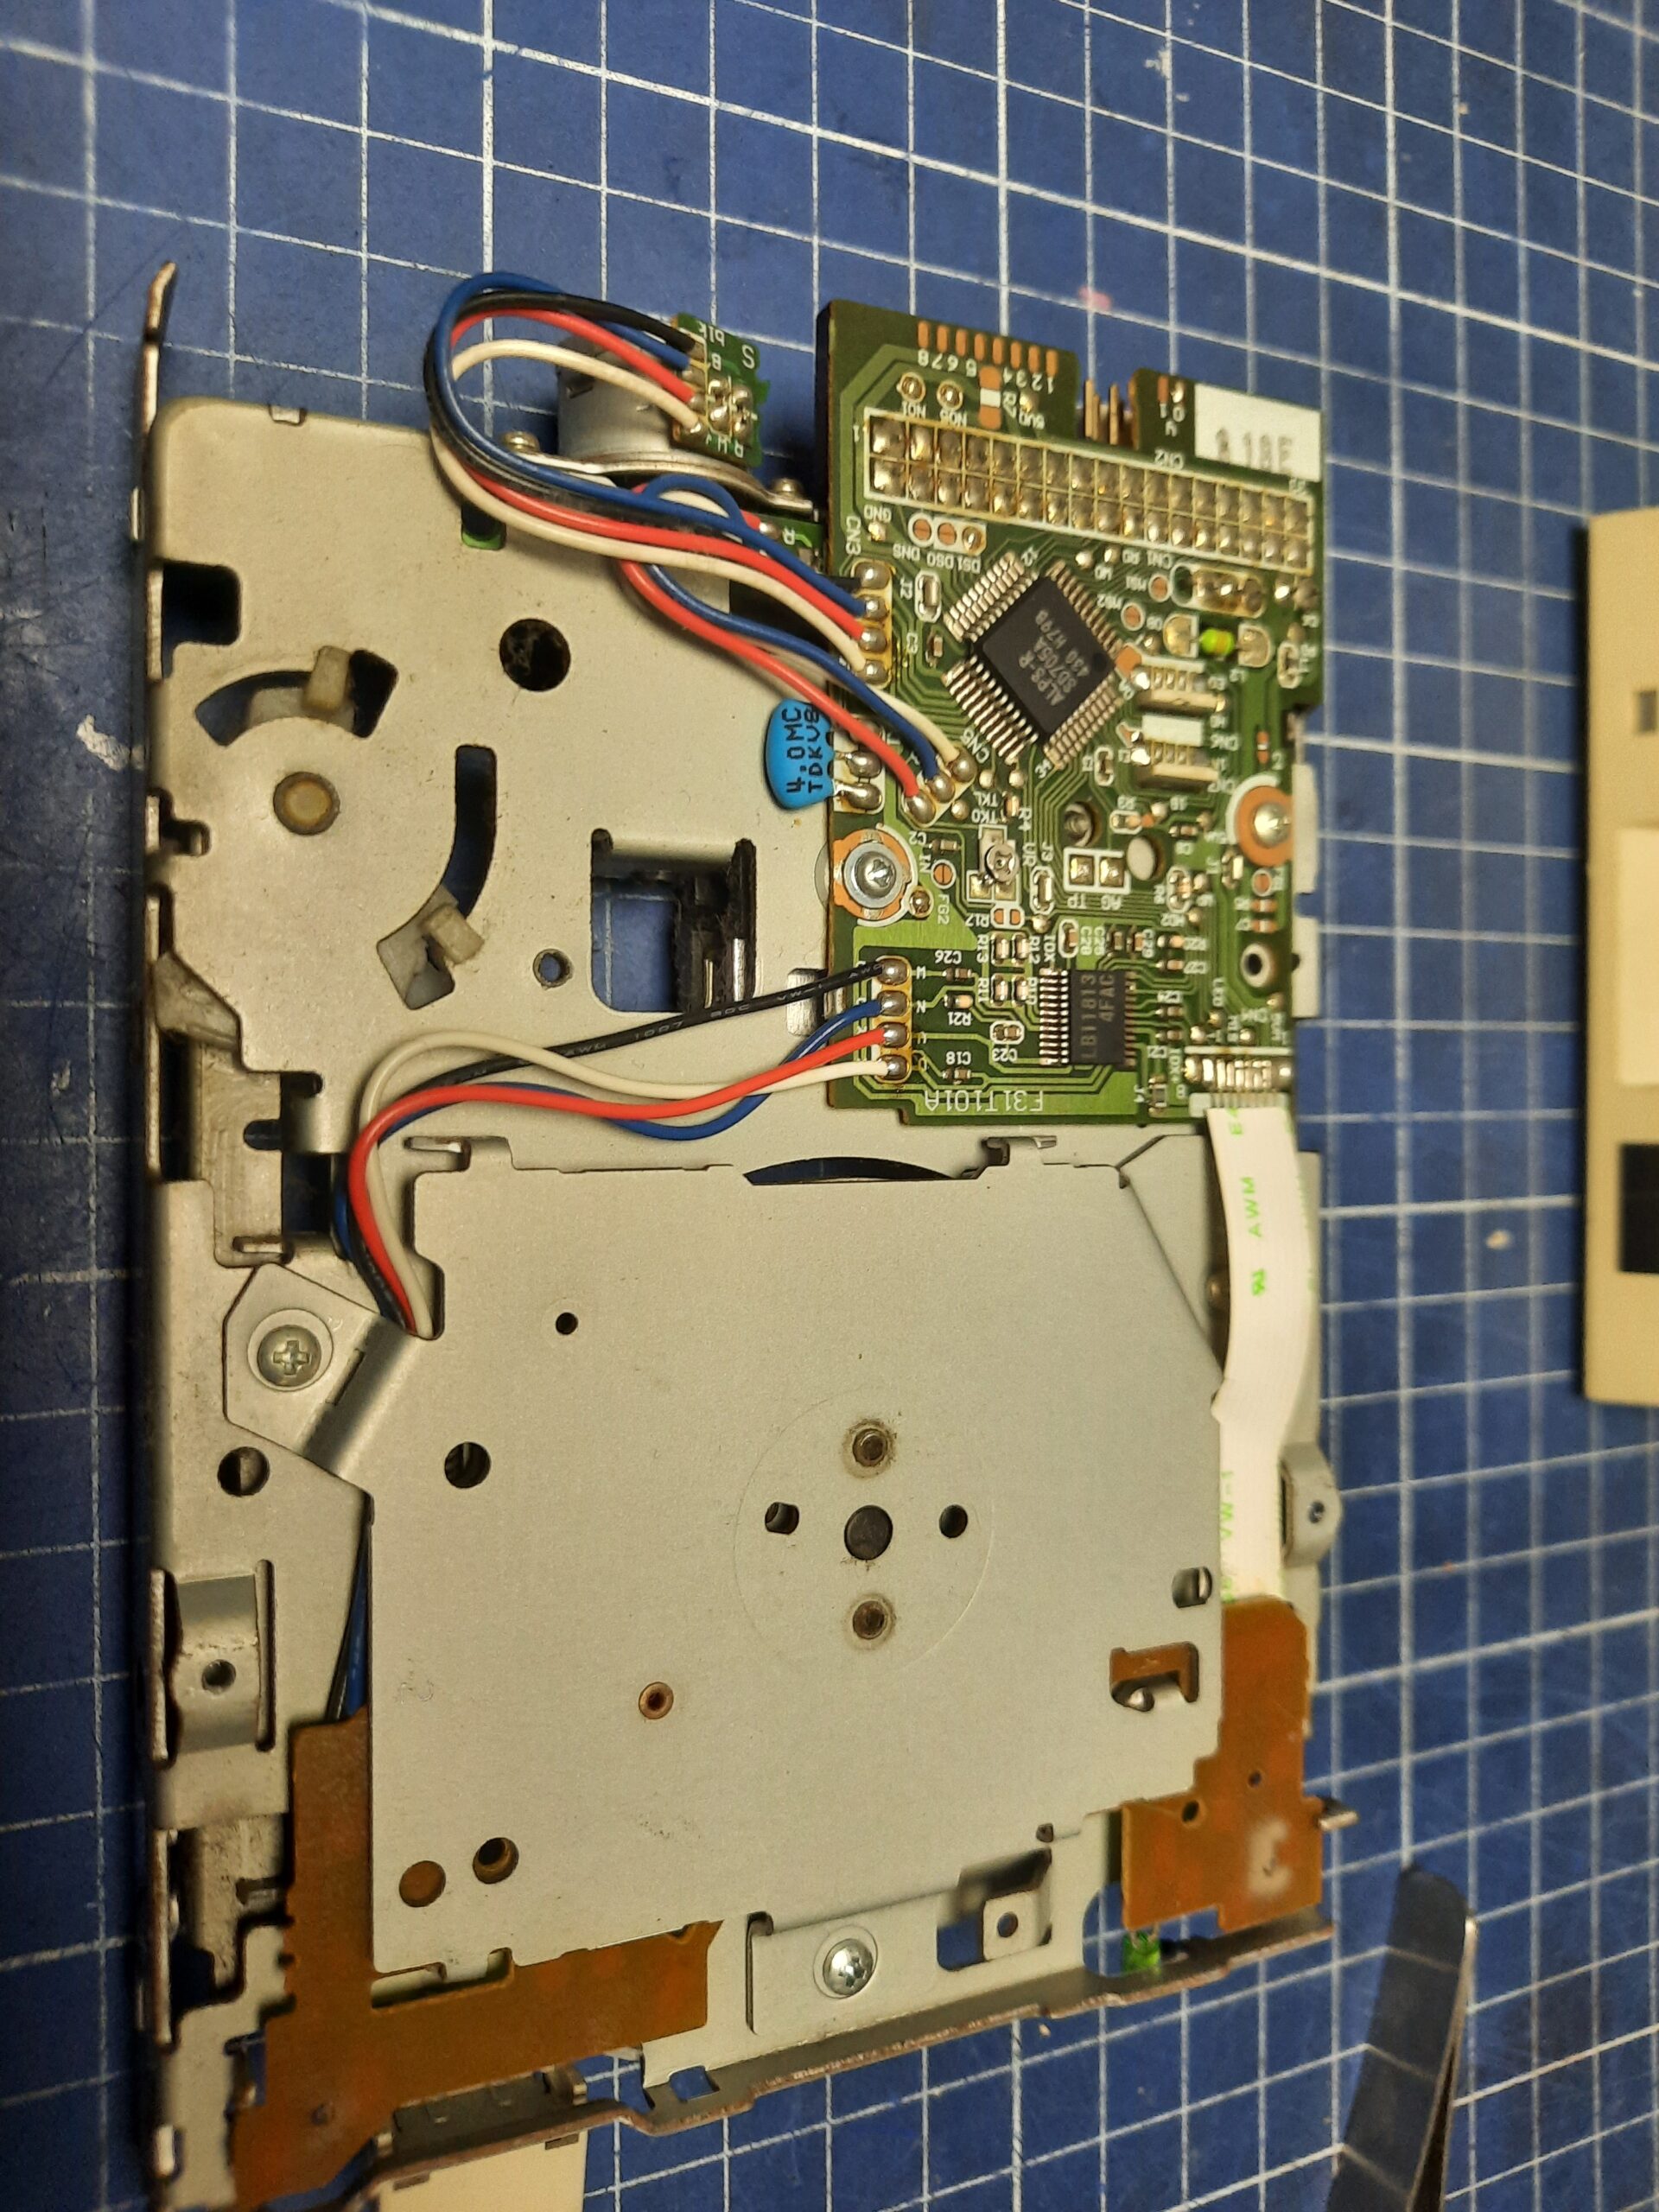
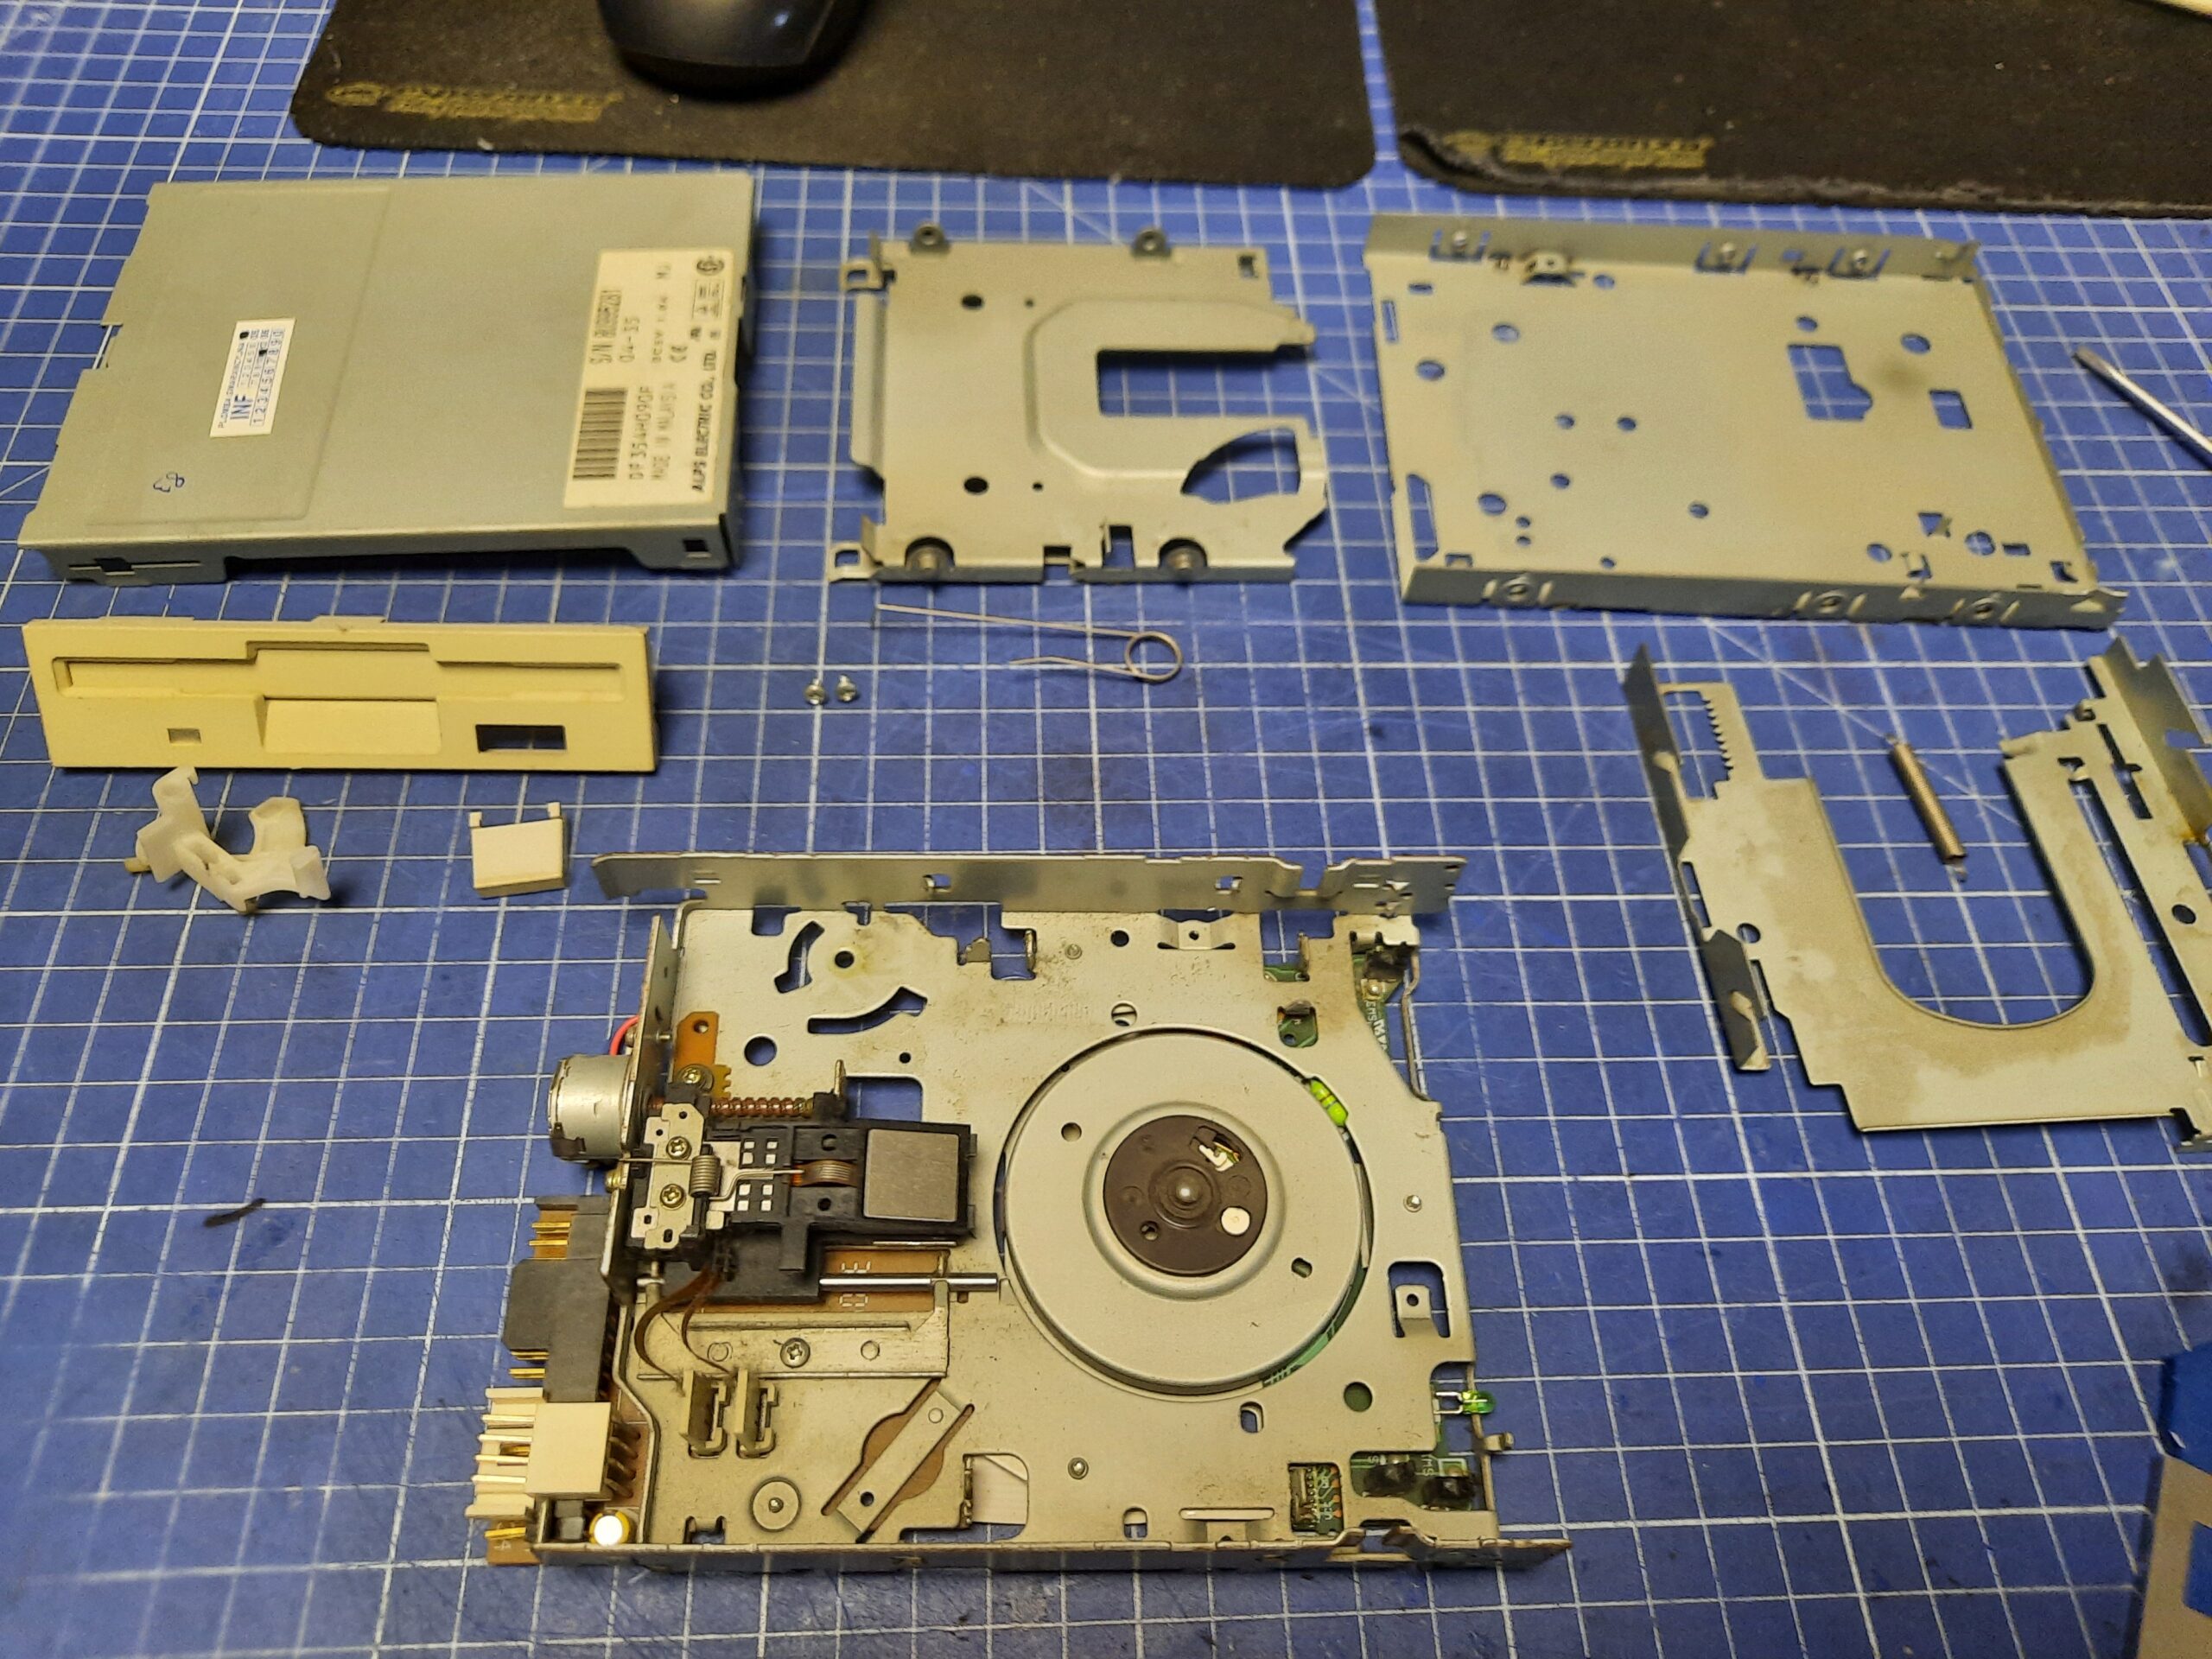
Again, cleaning and lubricating …

As mentioned before, I painted the front panels of both drives to match the case. A rather simple job. This is how it looked like before and after the assembly.
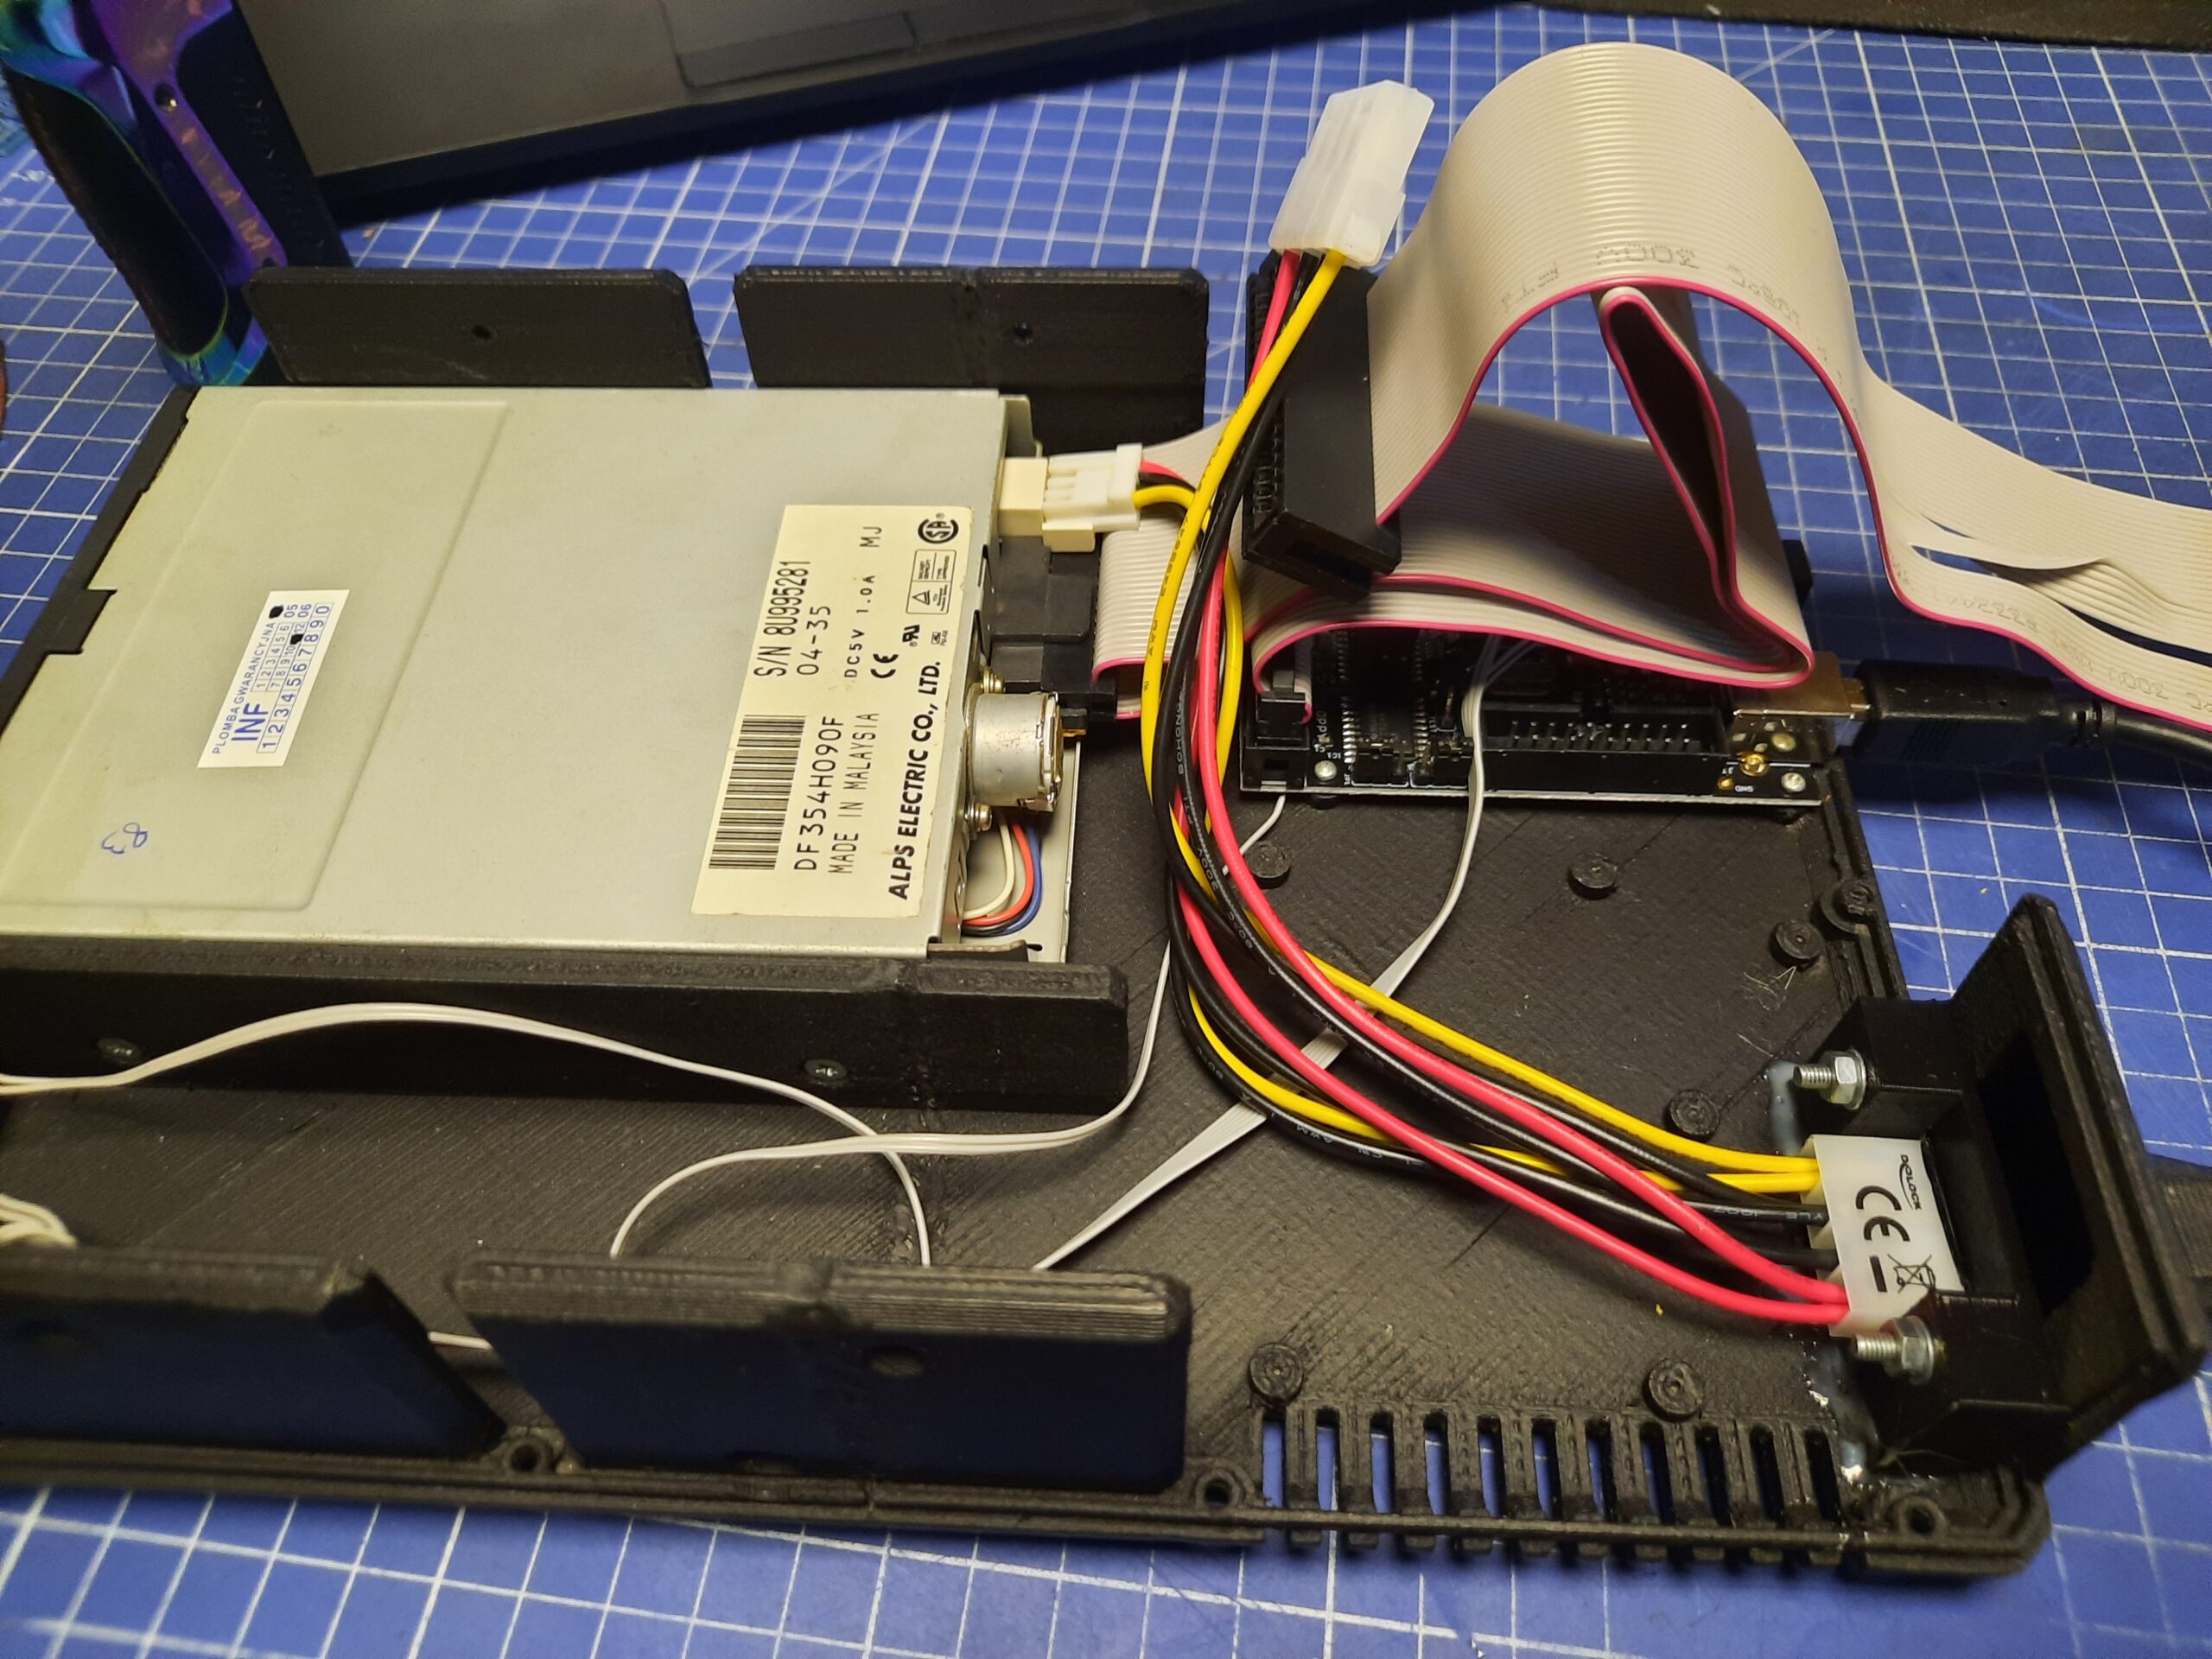
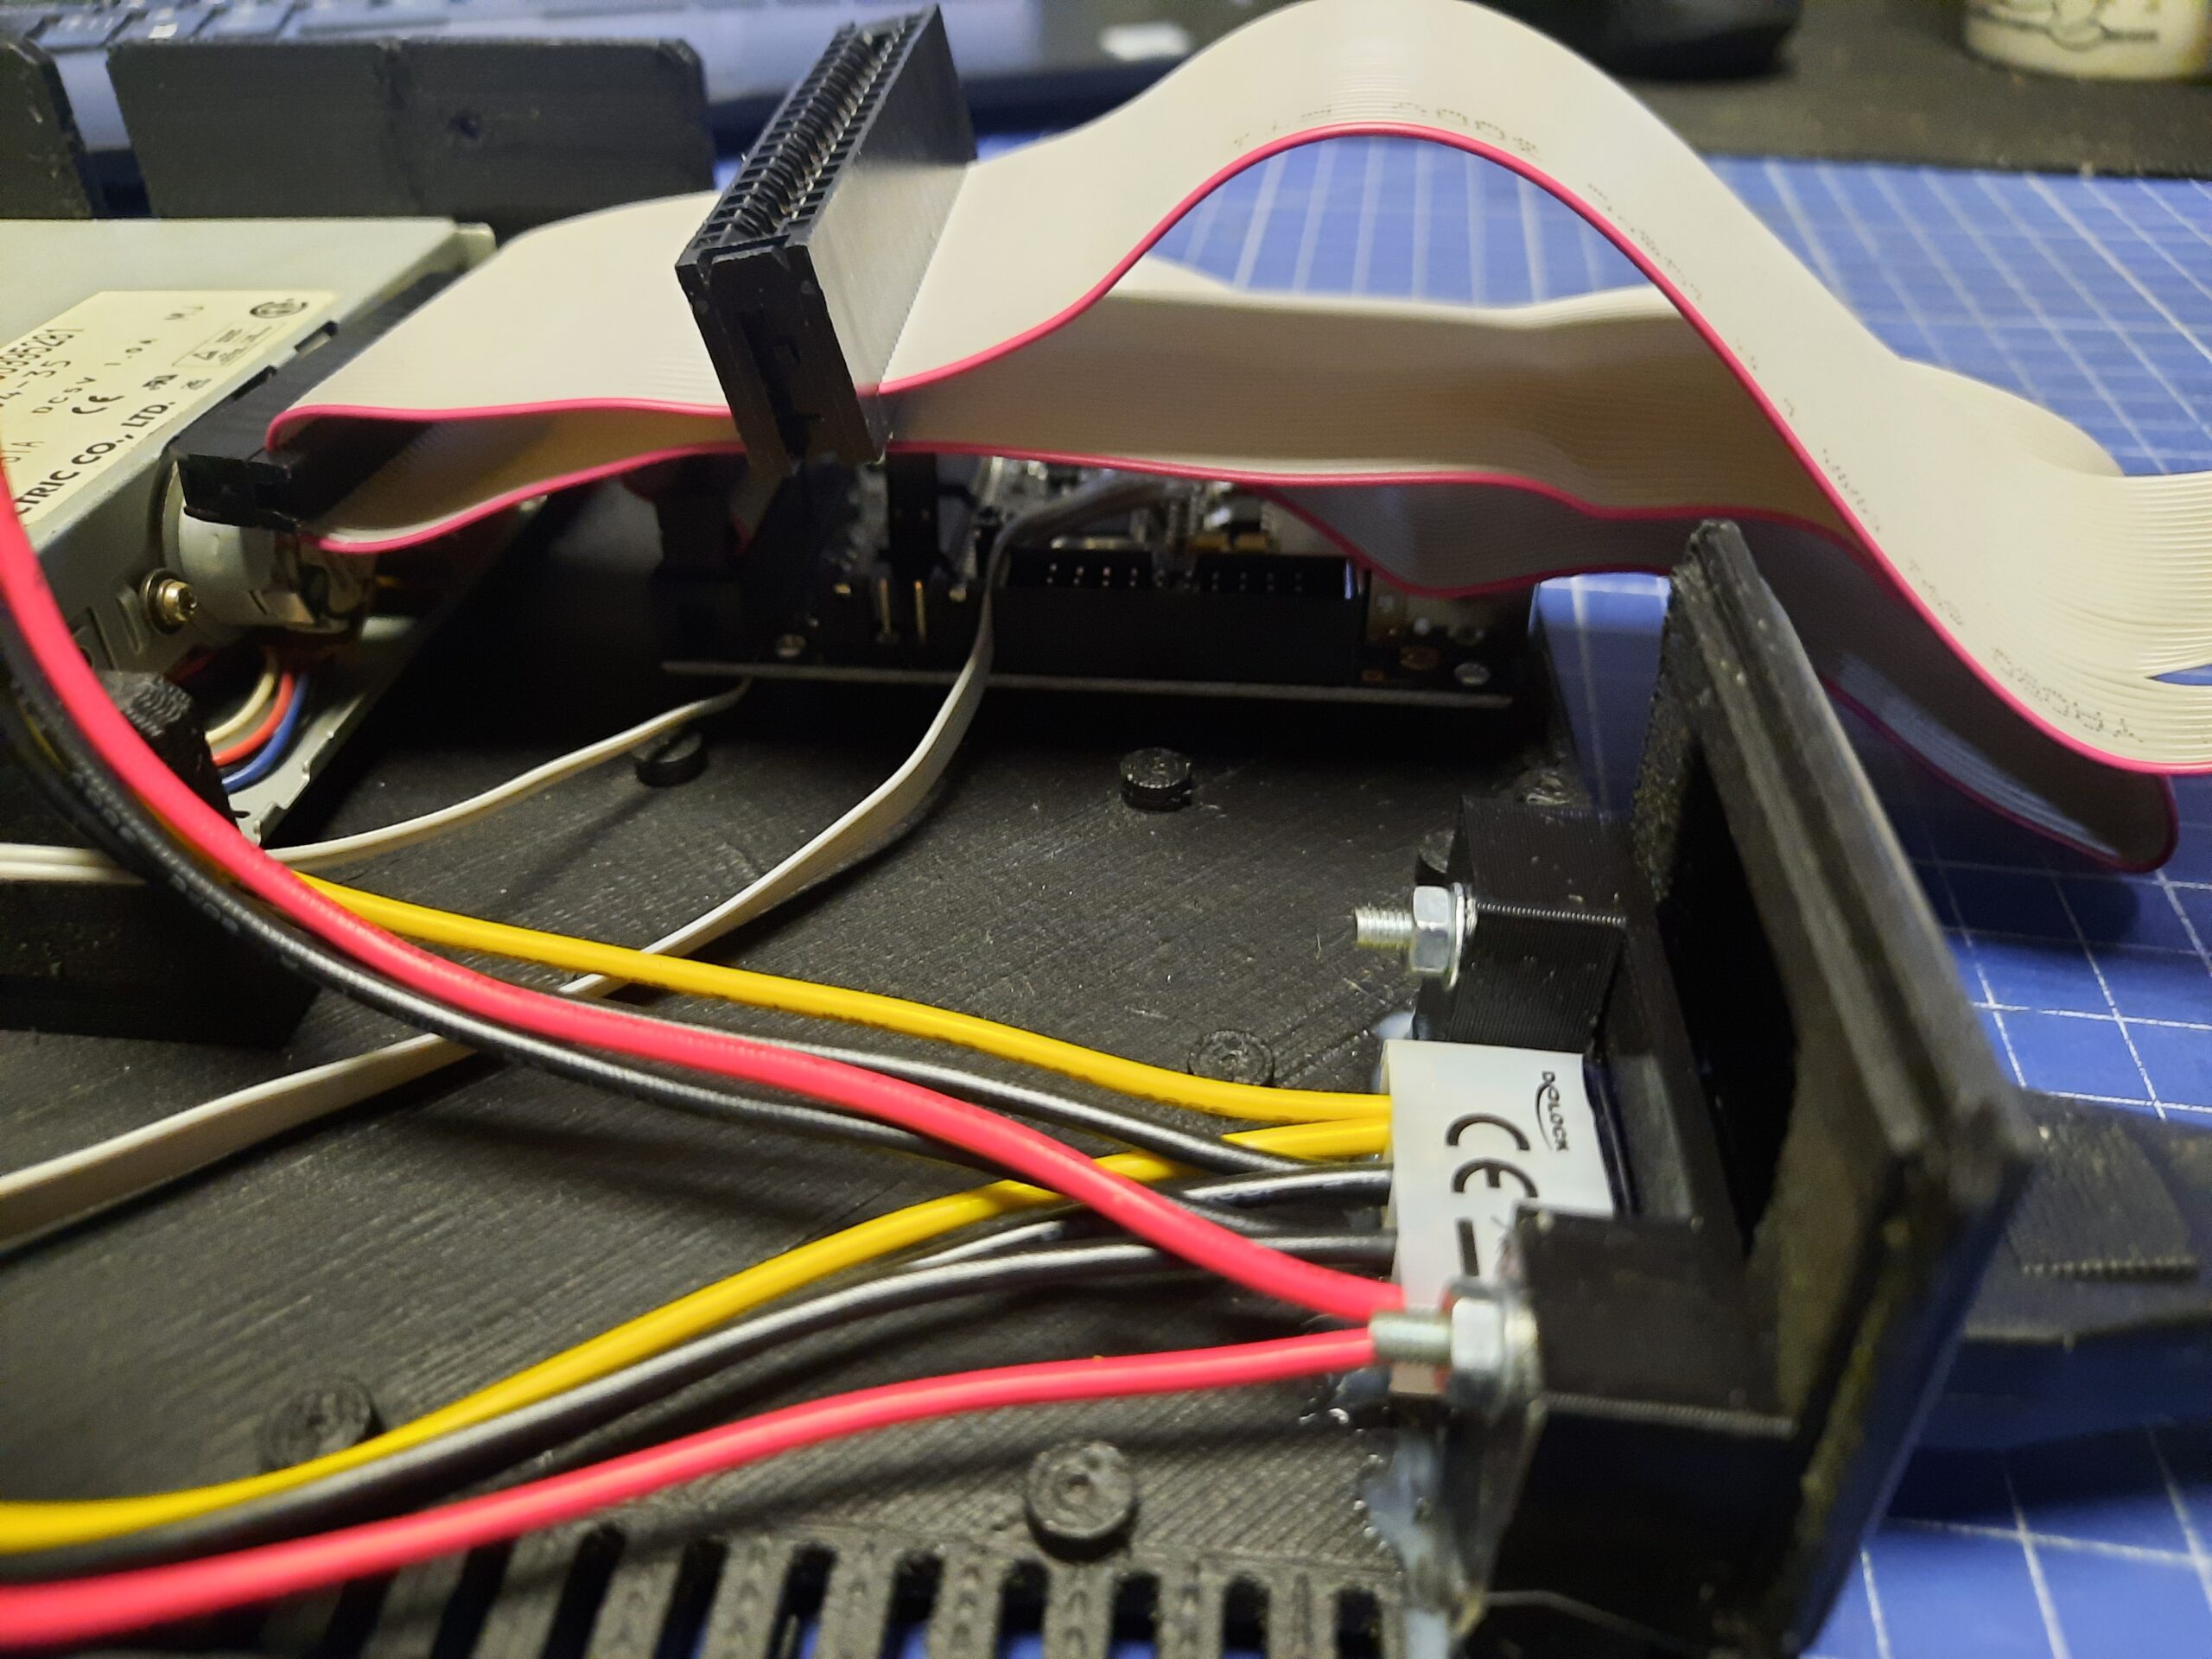
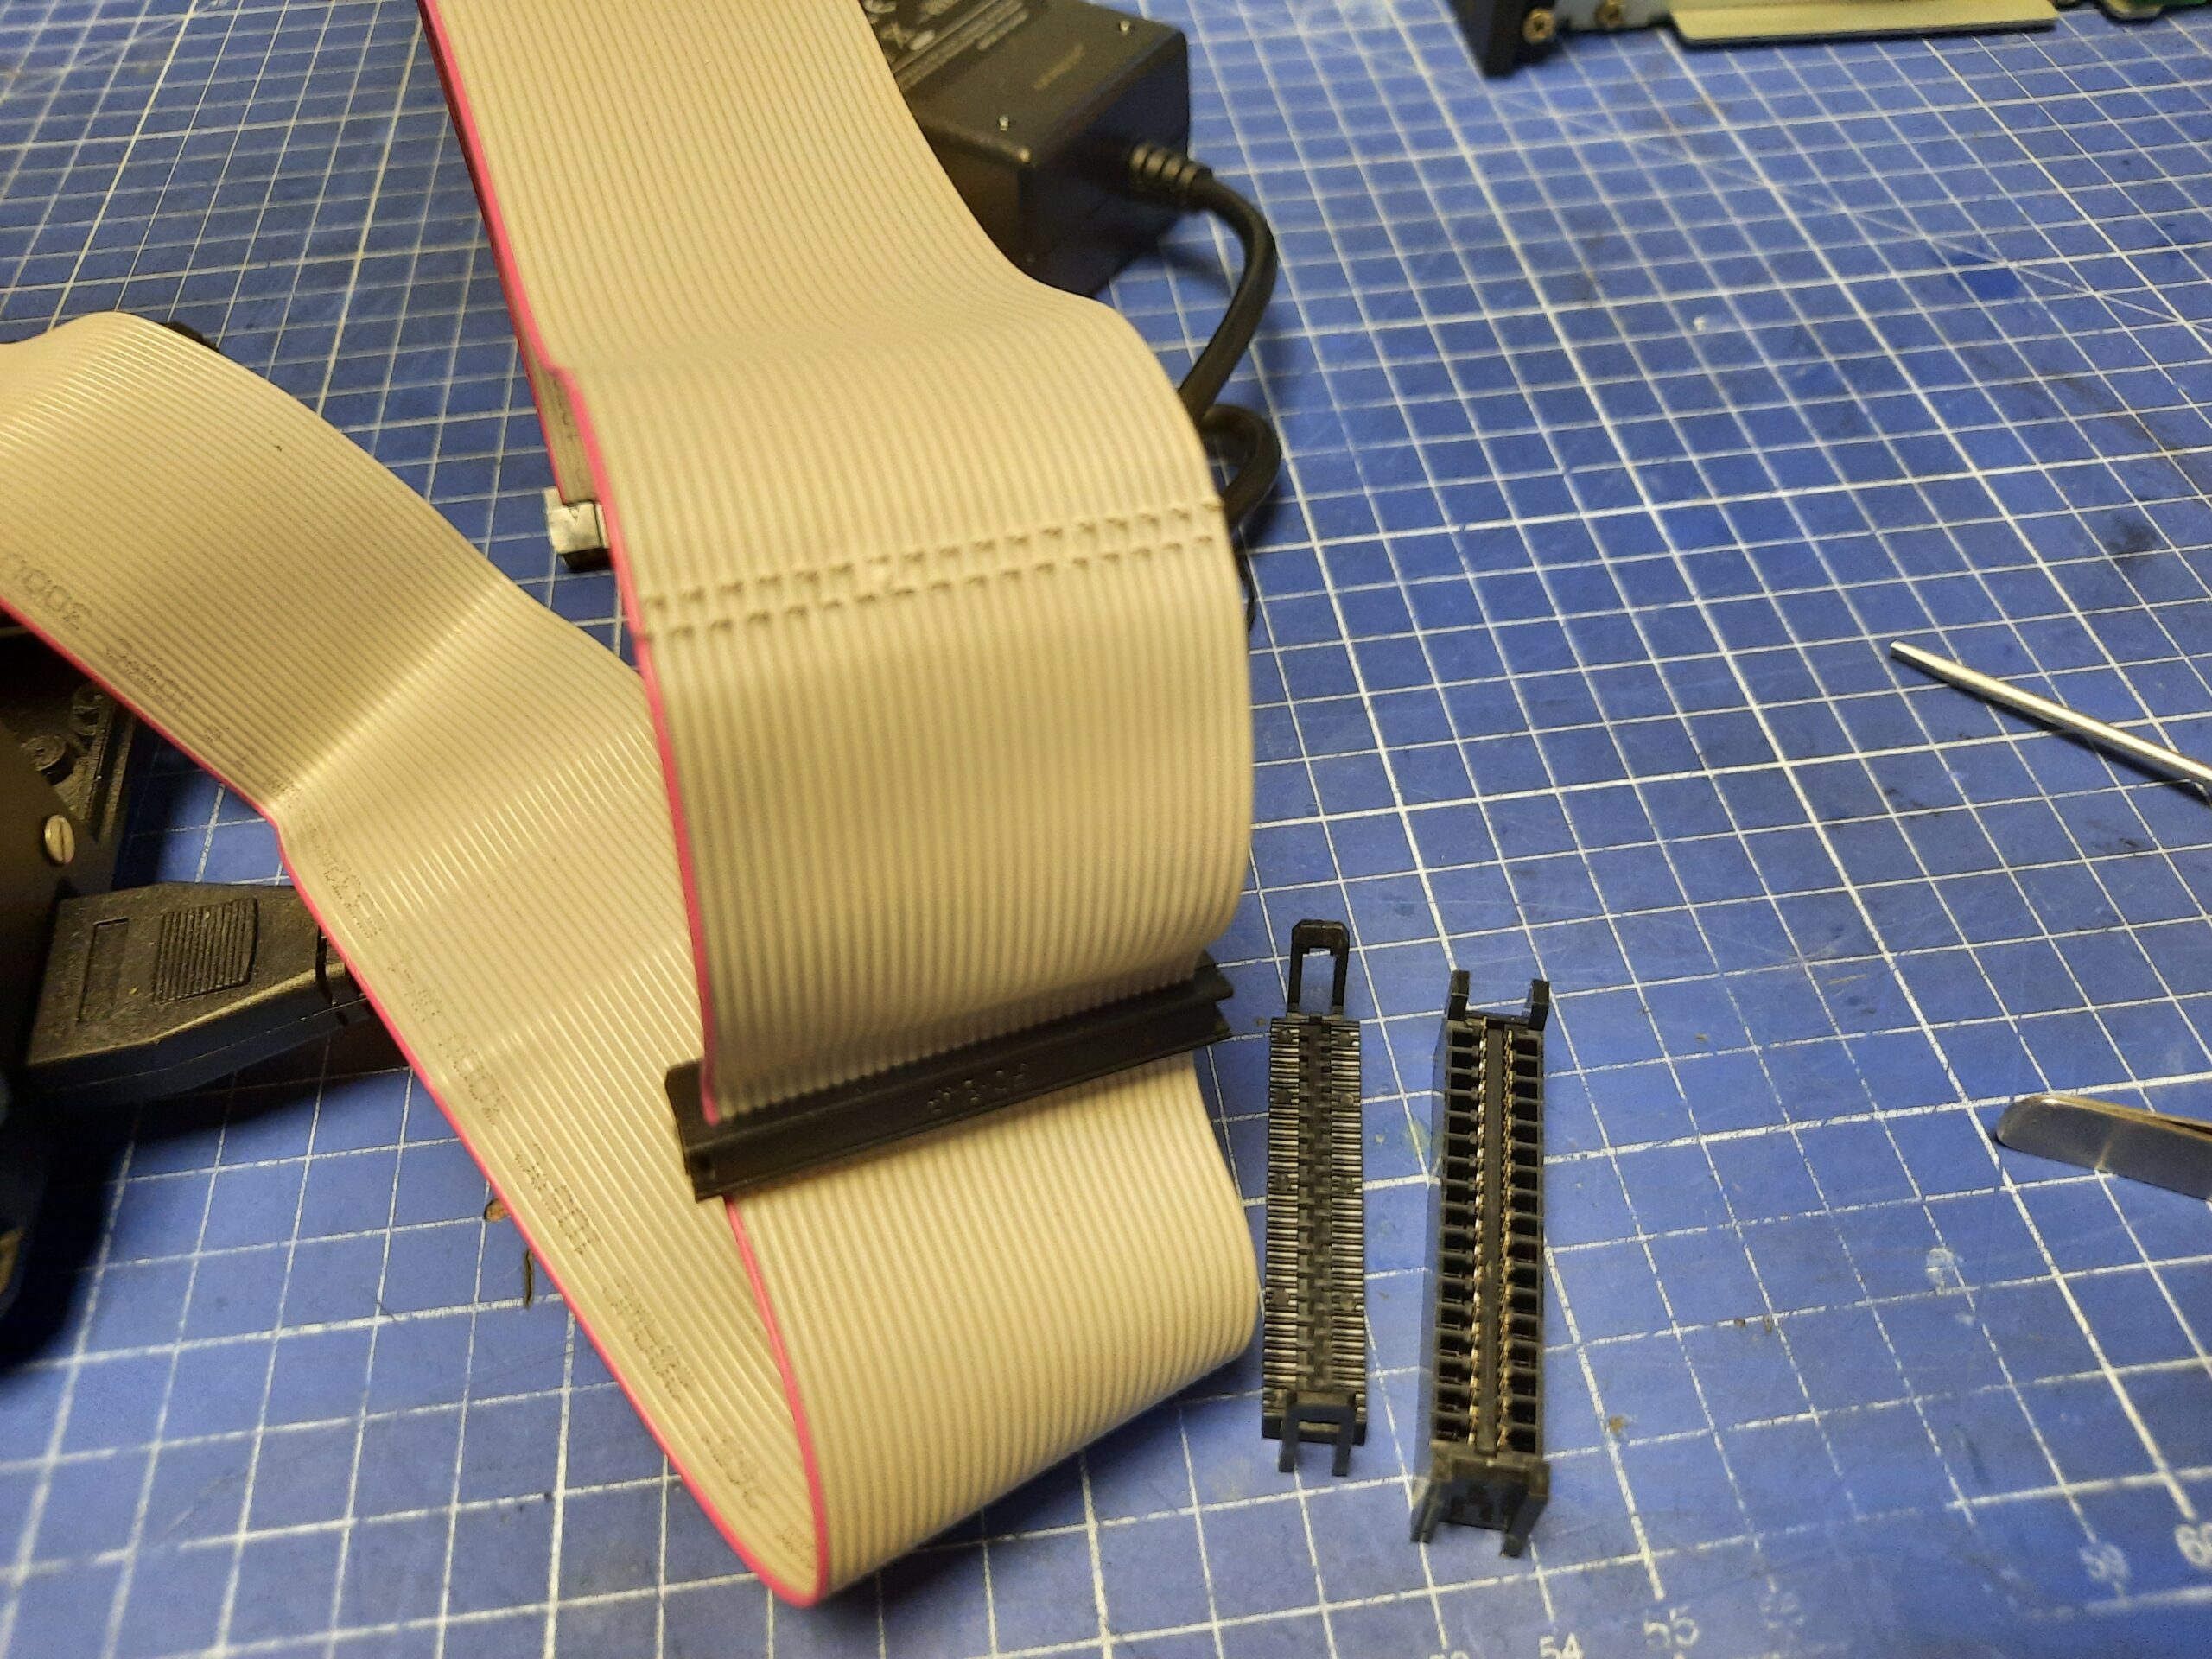
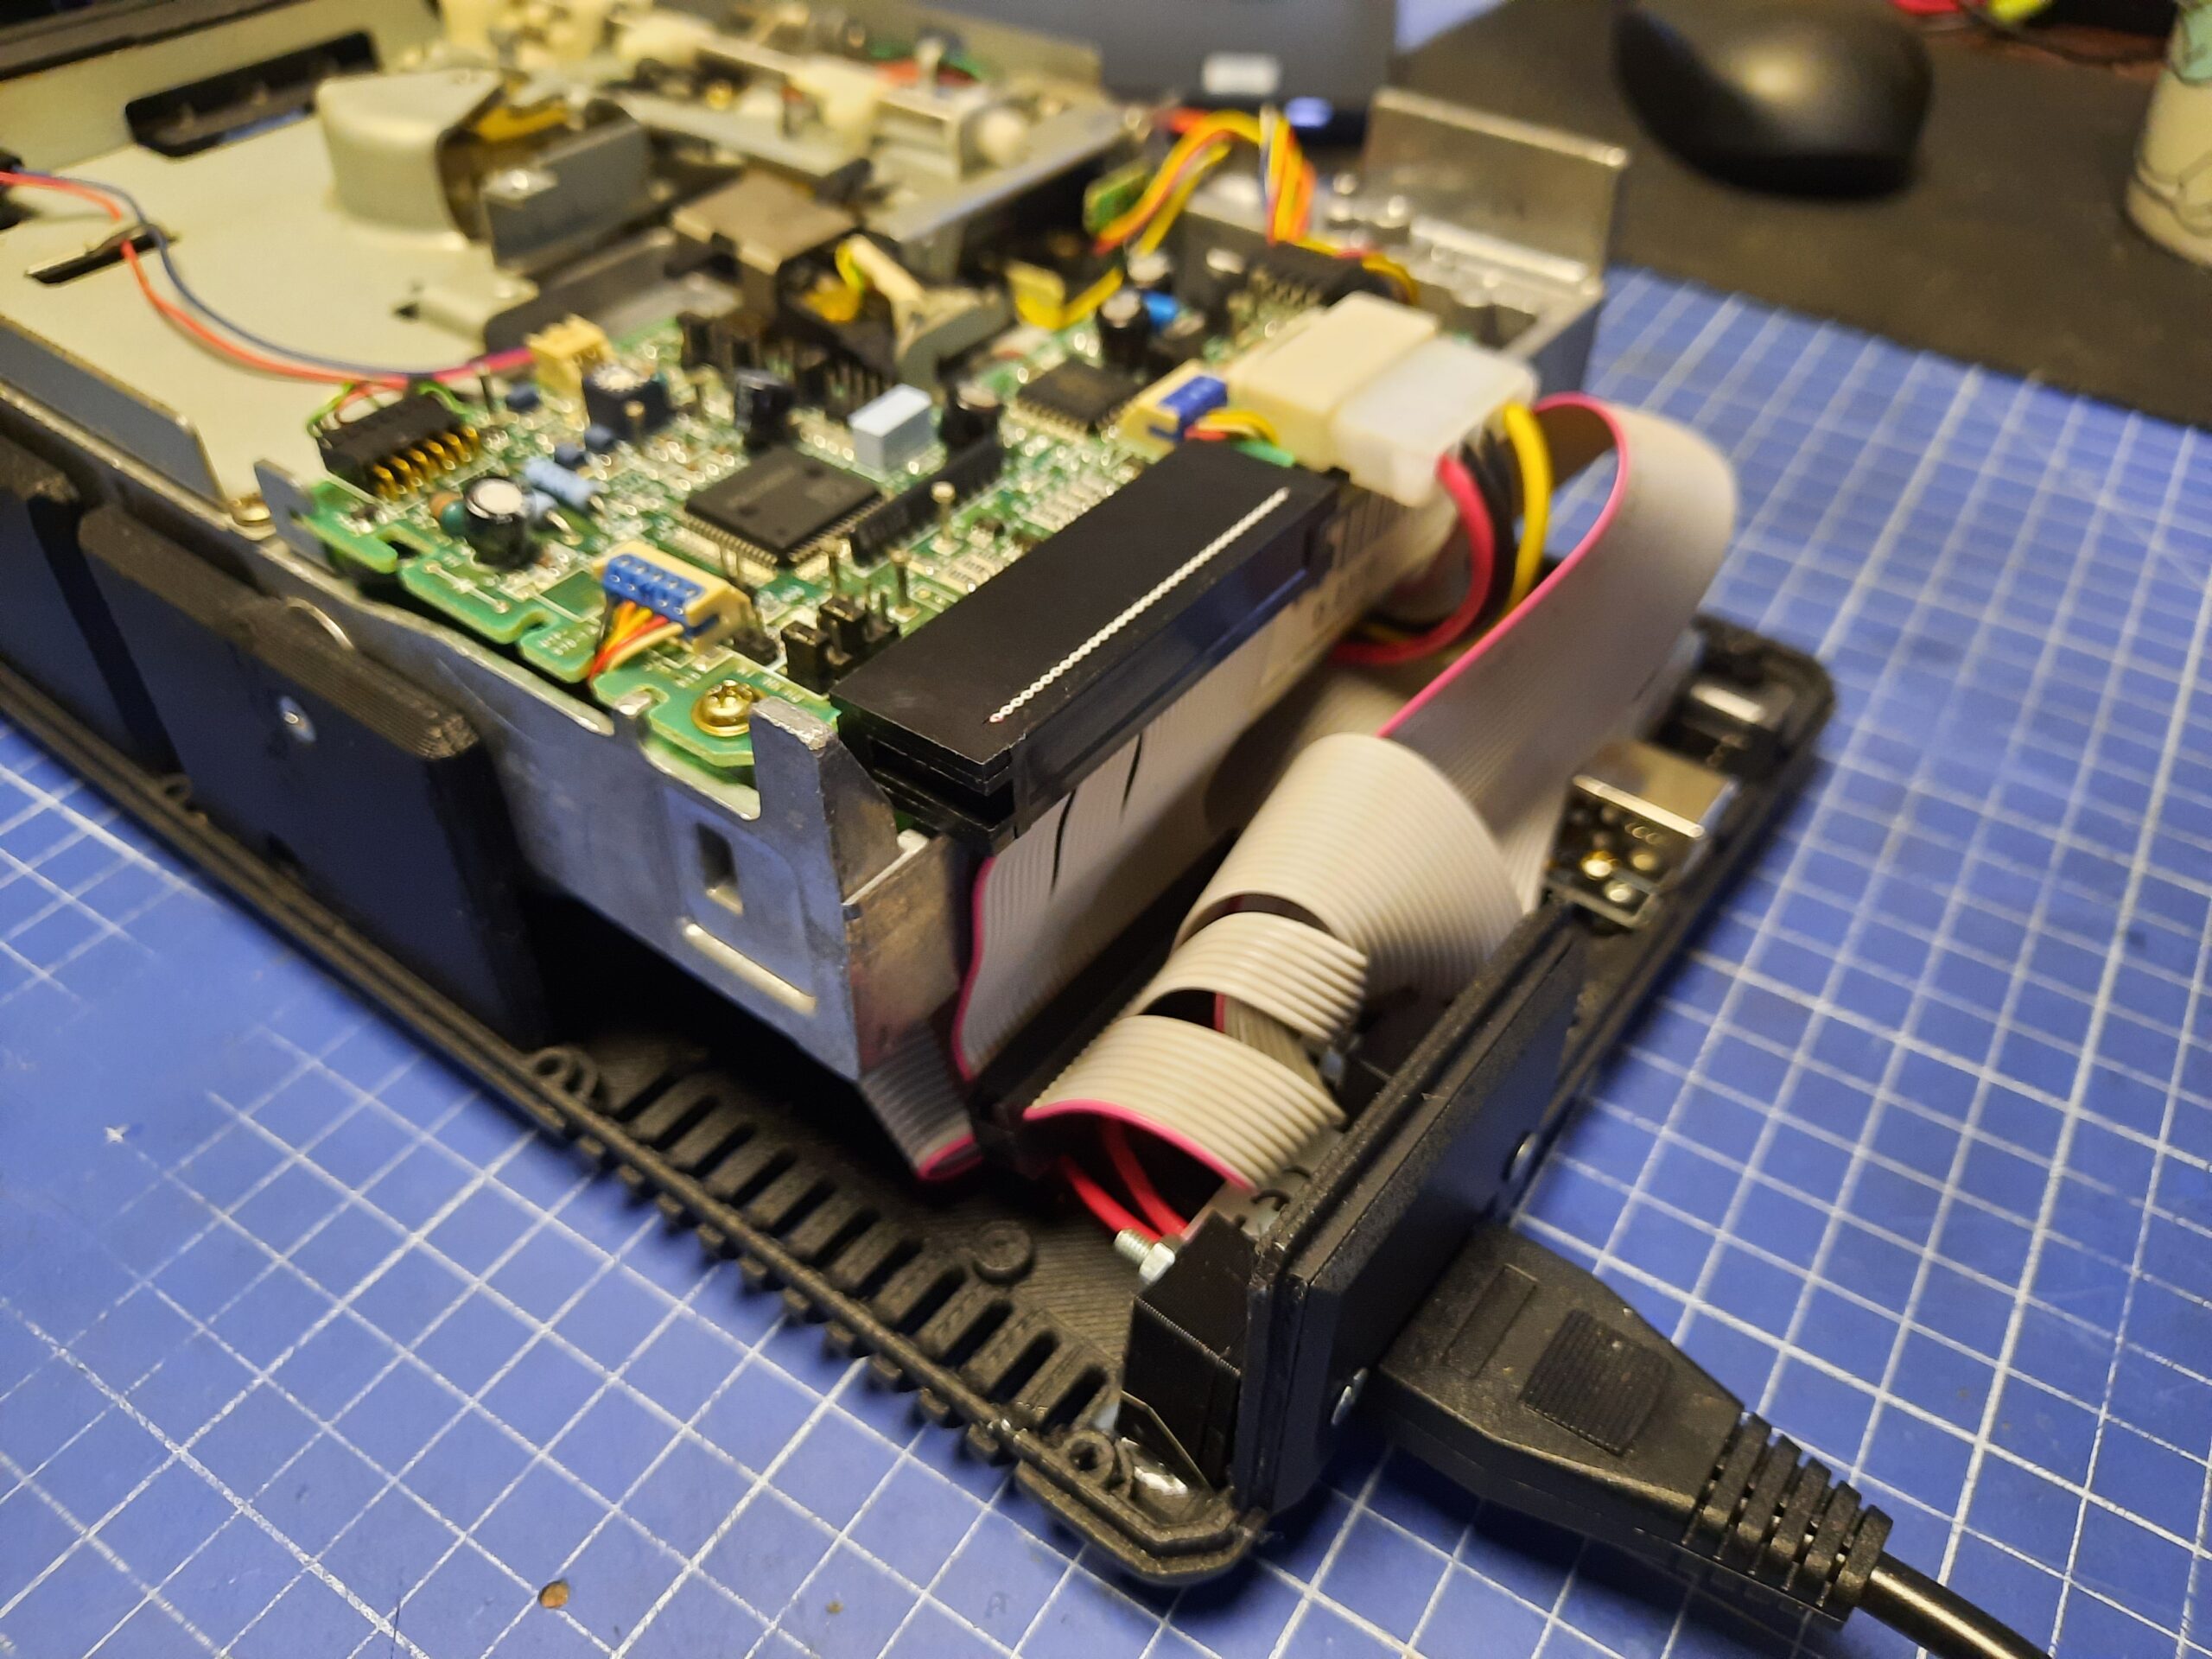
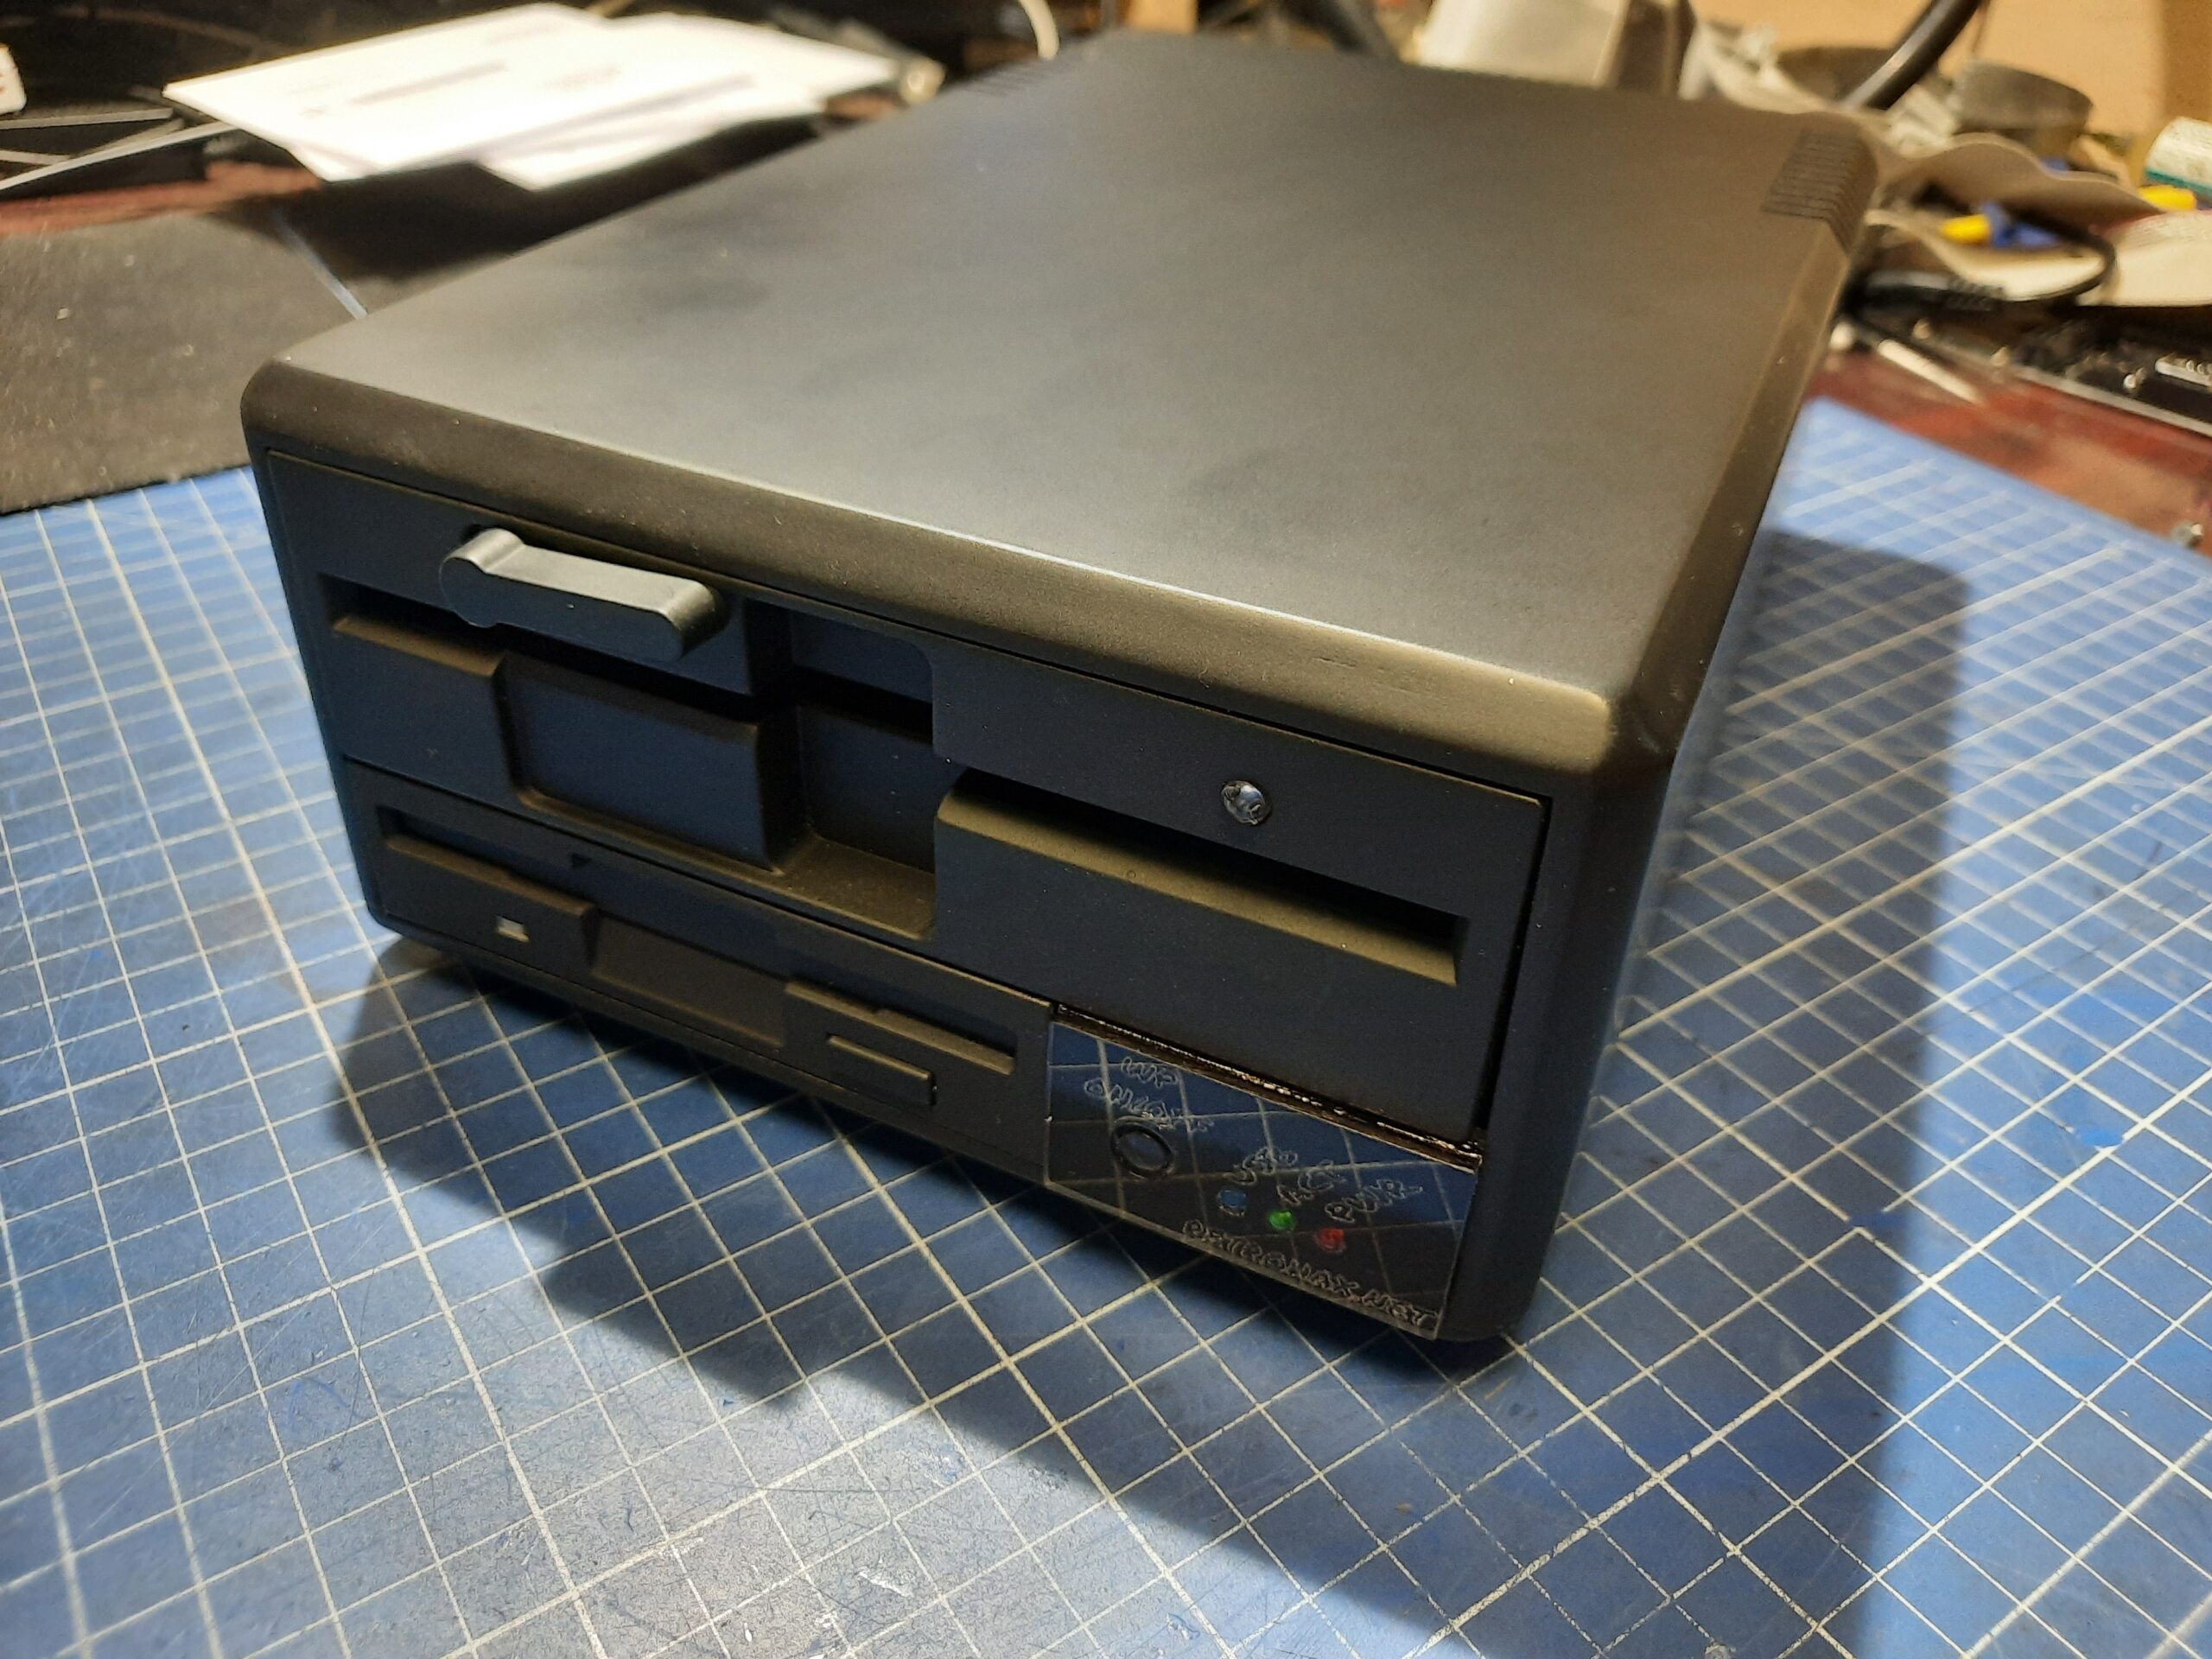
Assembling it all
With all the gear ready and fixed, I started to assemble it all. Some wire mods were needed to fit it all in that small case. I had to re-crimp some IDC connectors.
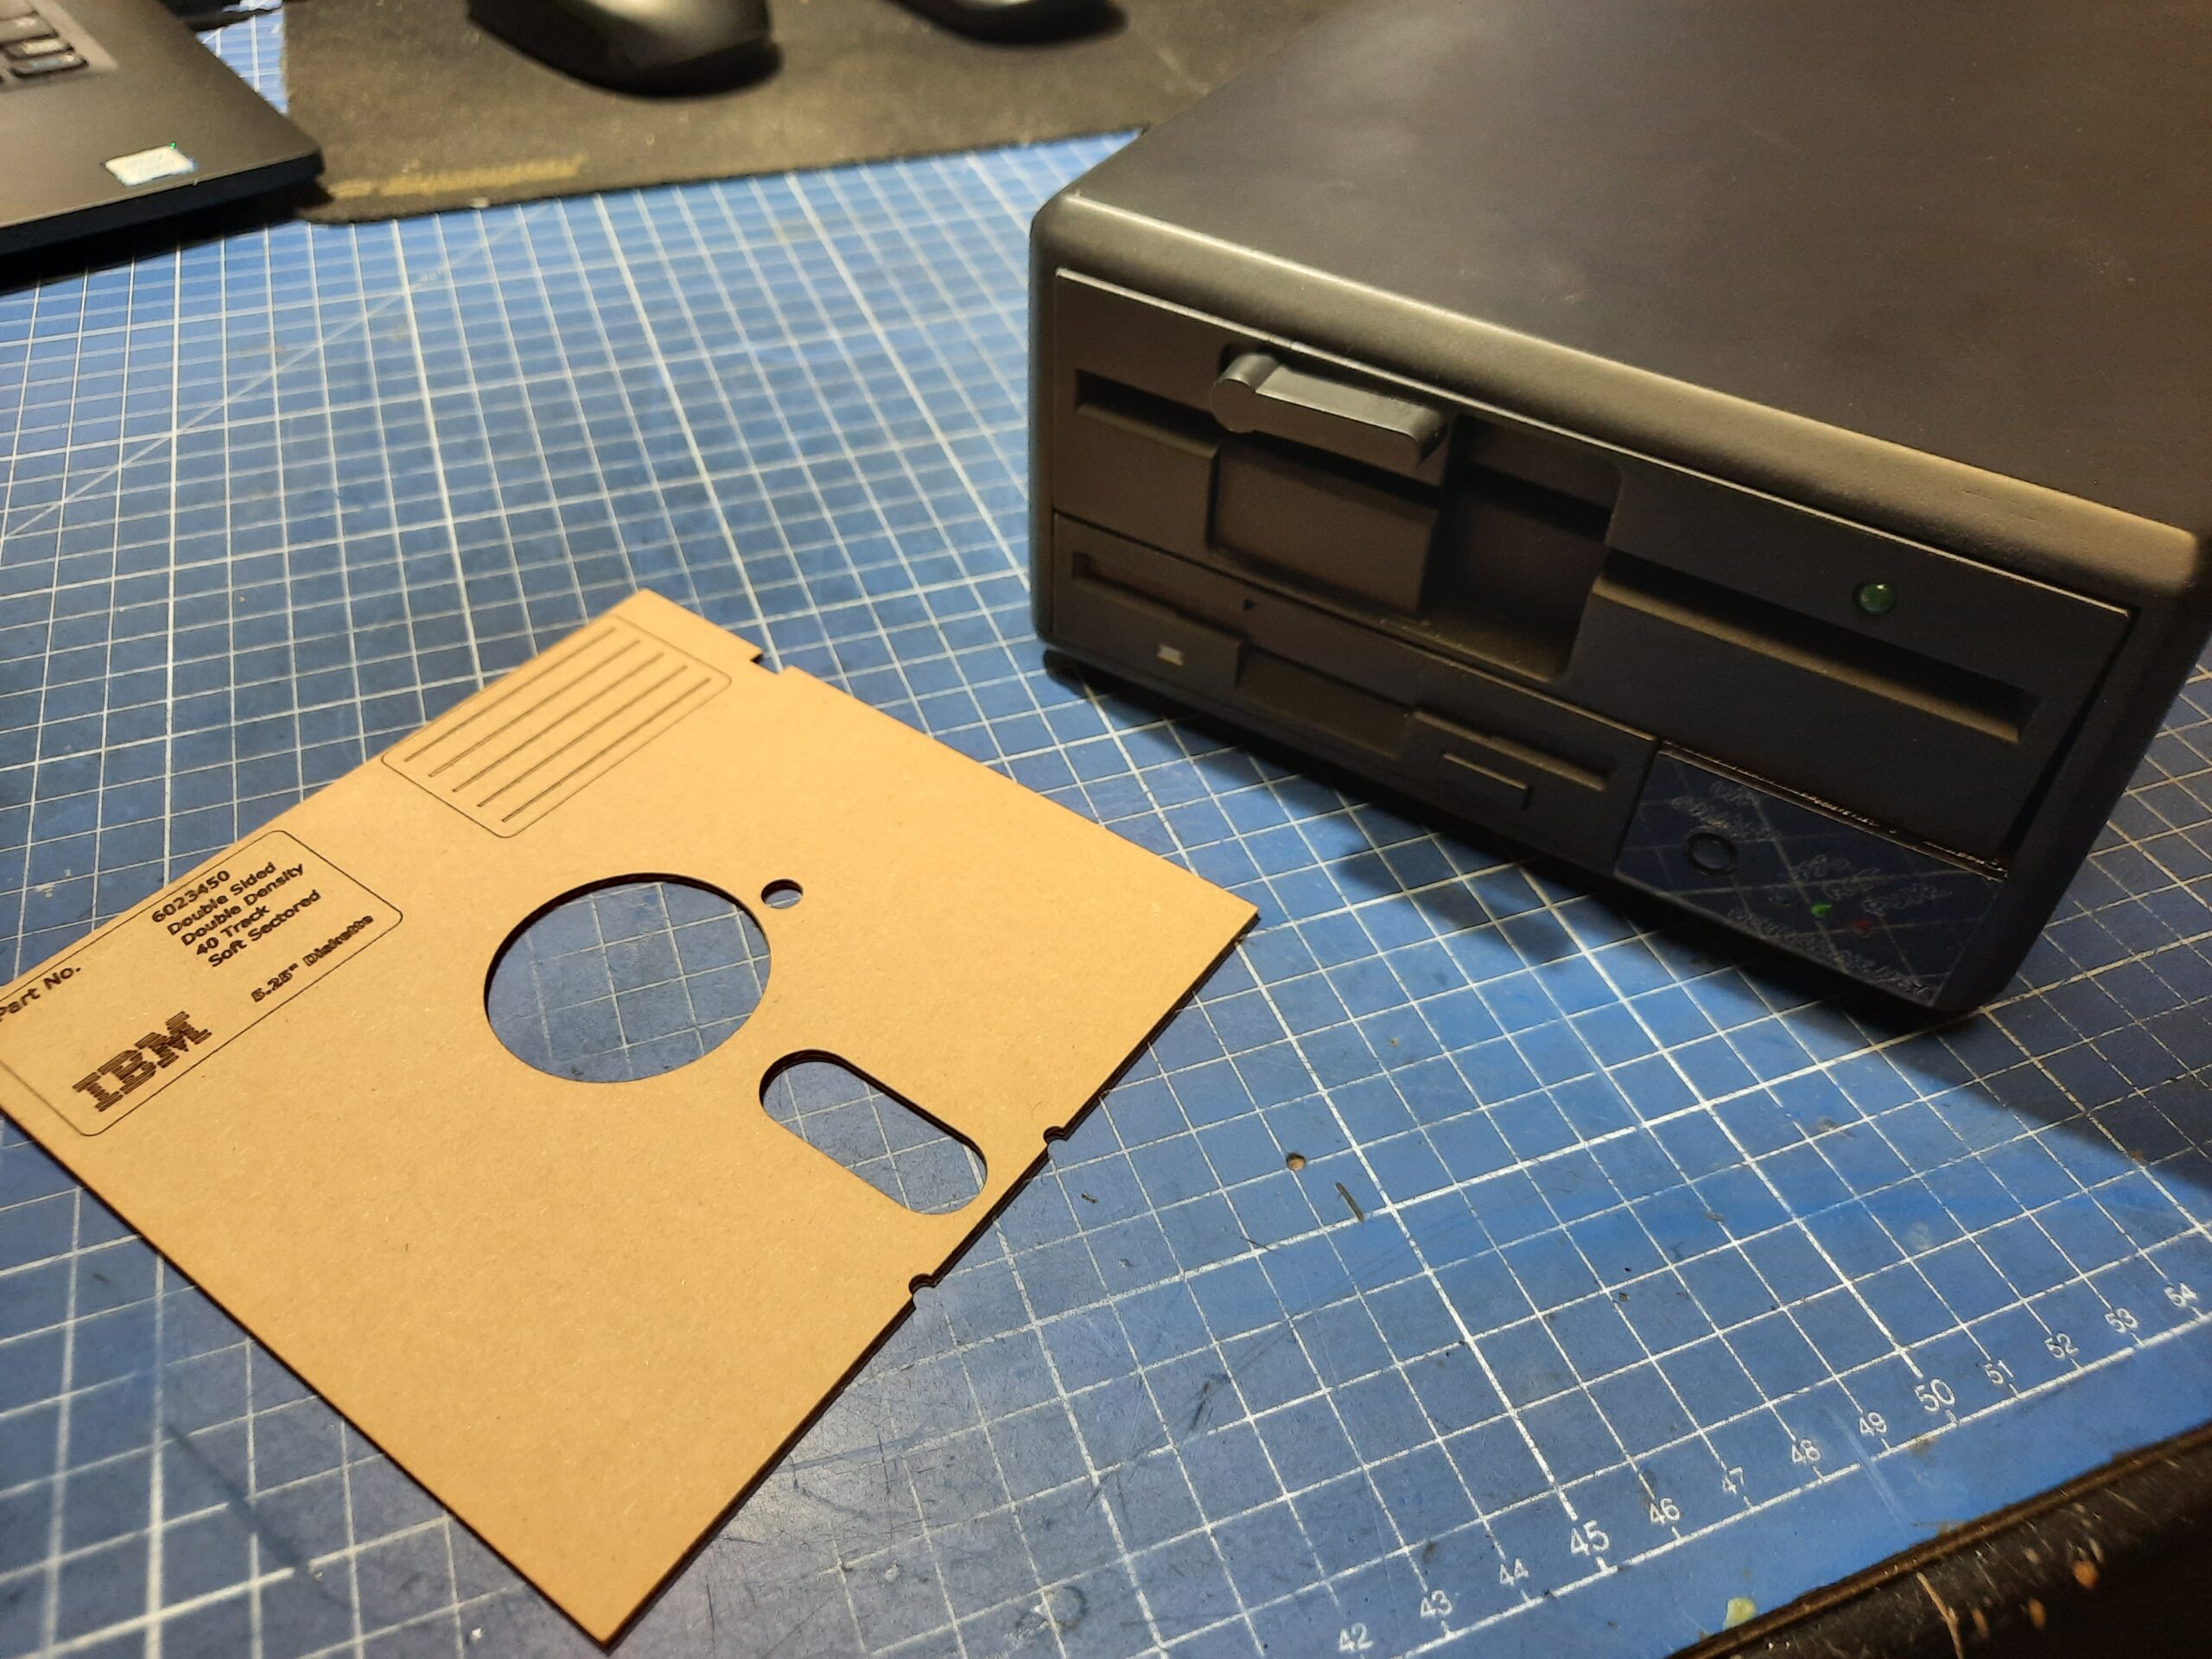
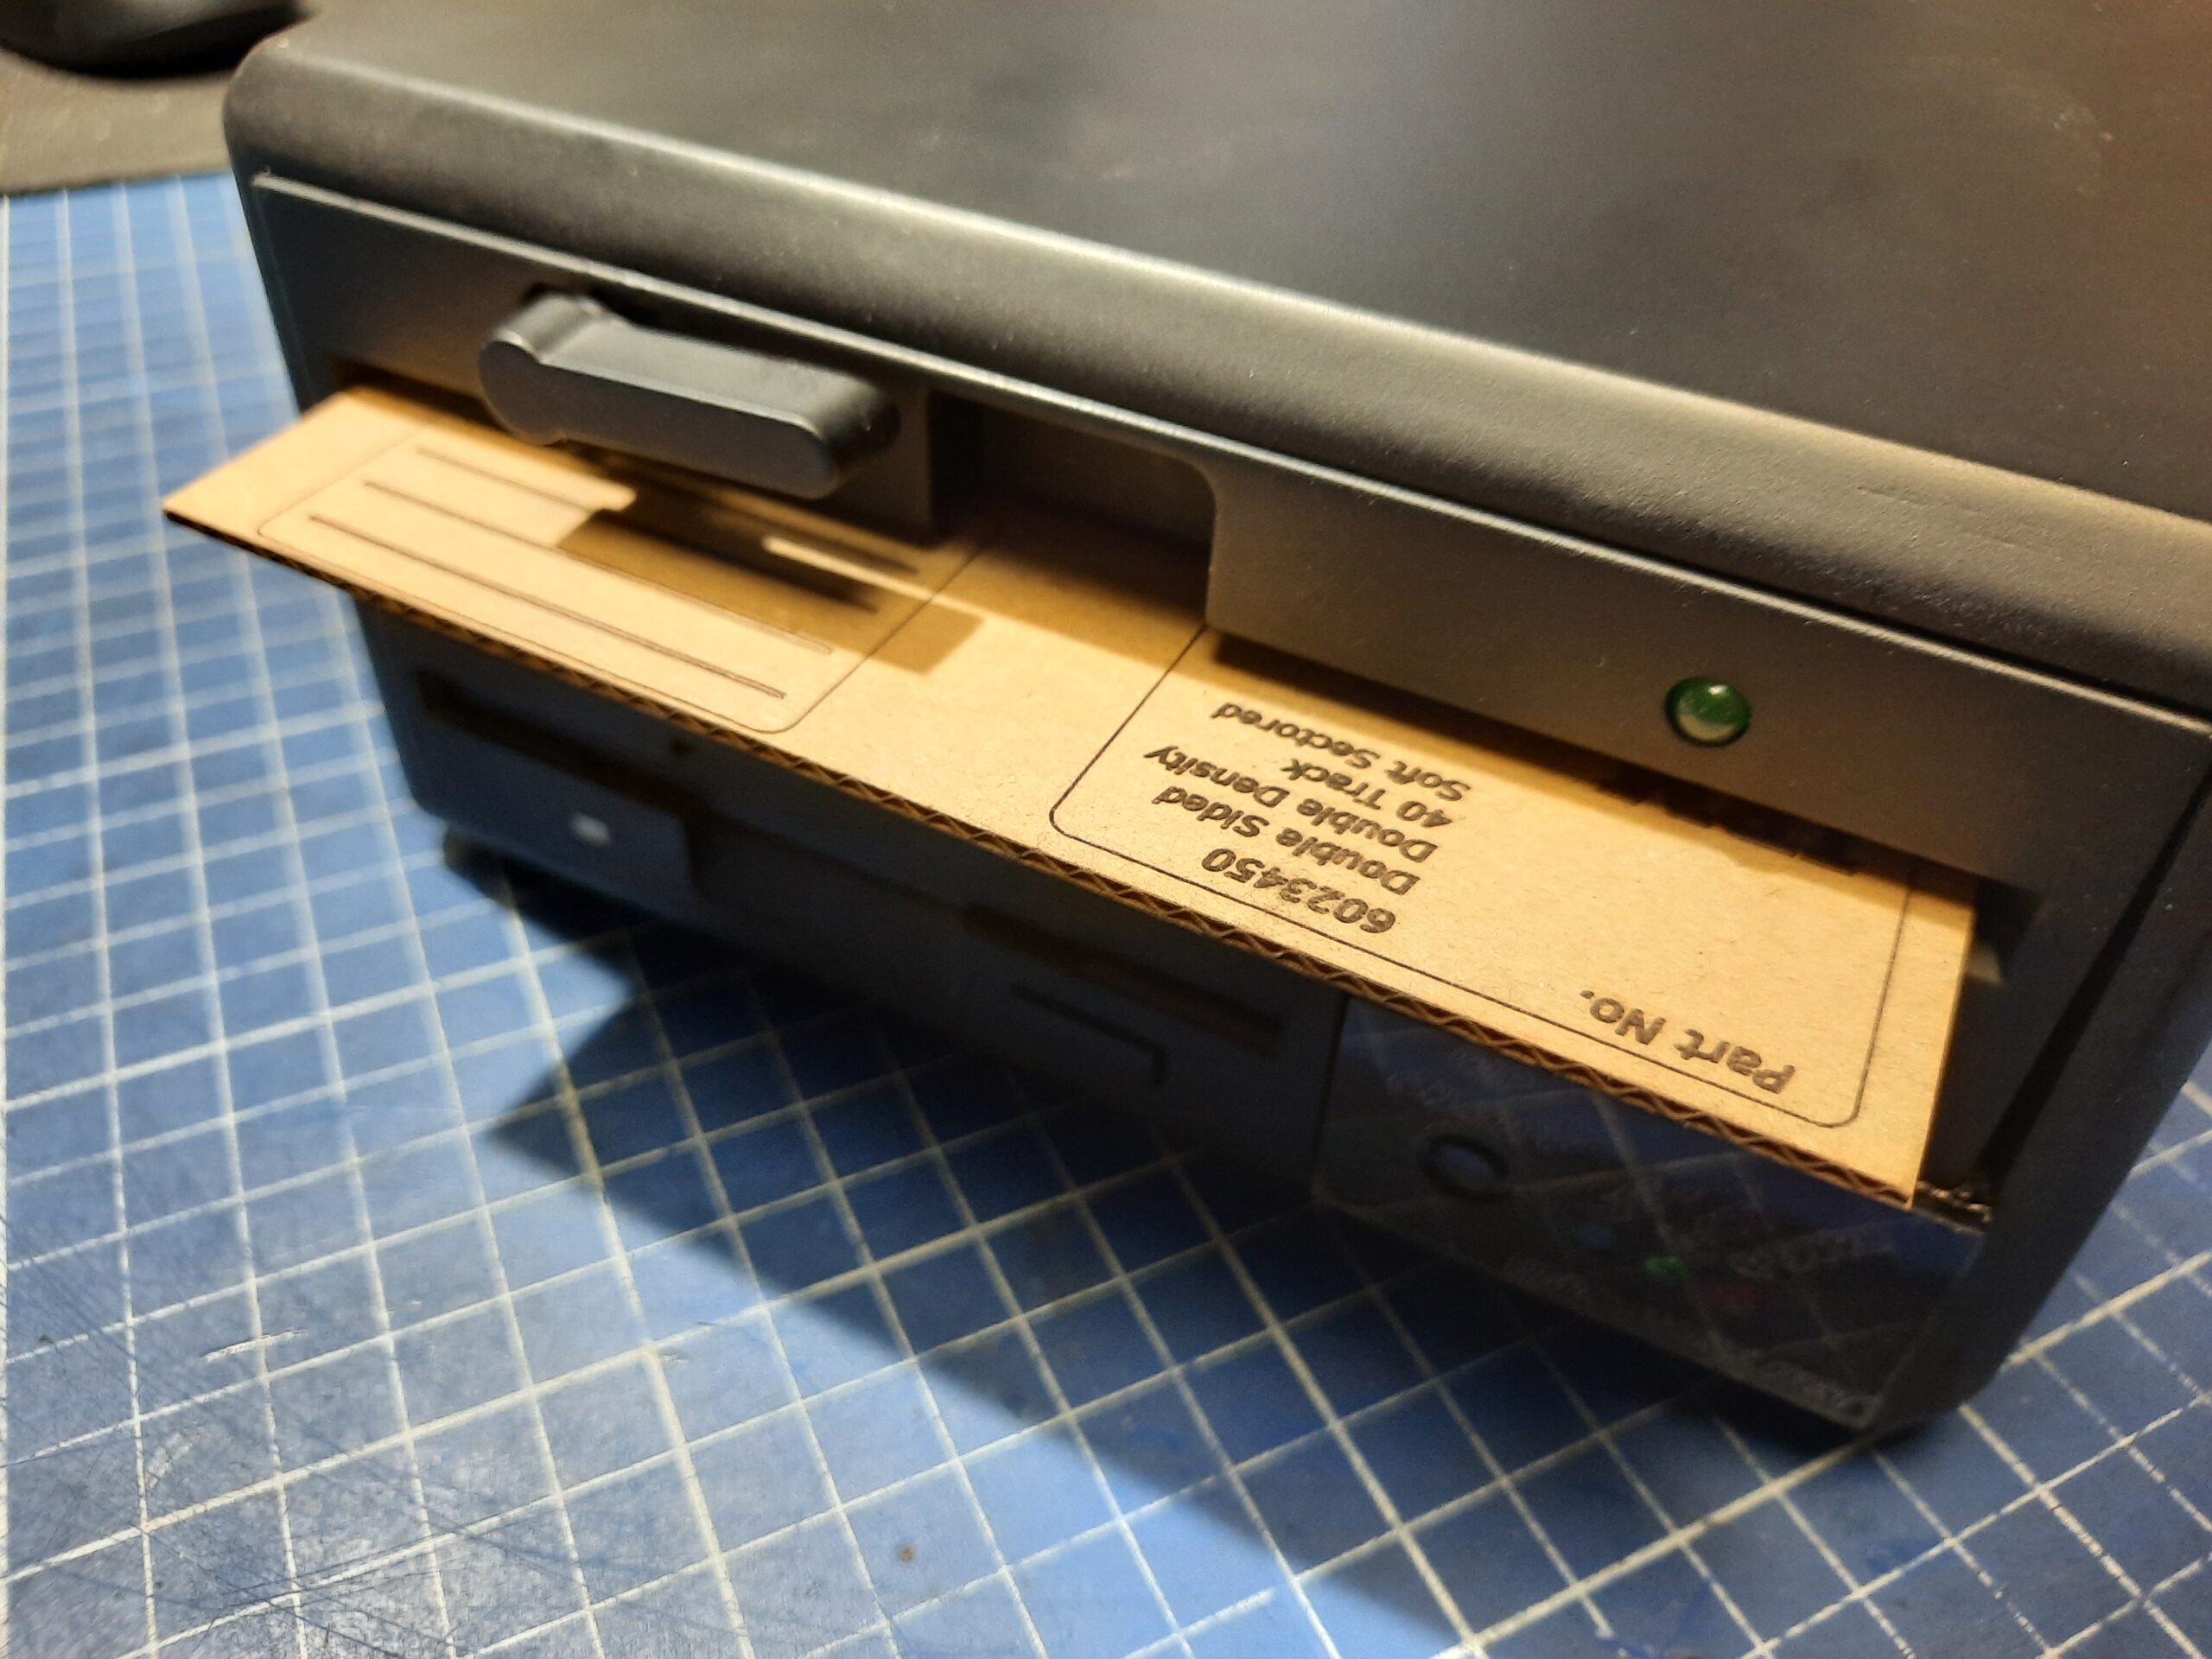
I’ve also laser-cut some dummy cardboard floppies 4 t3h lulz :>
Kryoflux unit 2.0
The second build was a bit different as this one was about addressing the more exotic formats. This is why I’ve assembled the base unit and added some swappable drives to cover even more weird formats. Also, I will skip some major descriptions of details (like face plates) as these are simply the same as in the previous unit.
This time the choice of drives was:
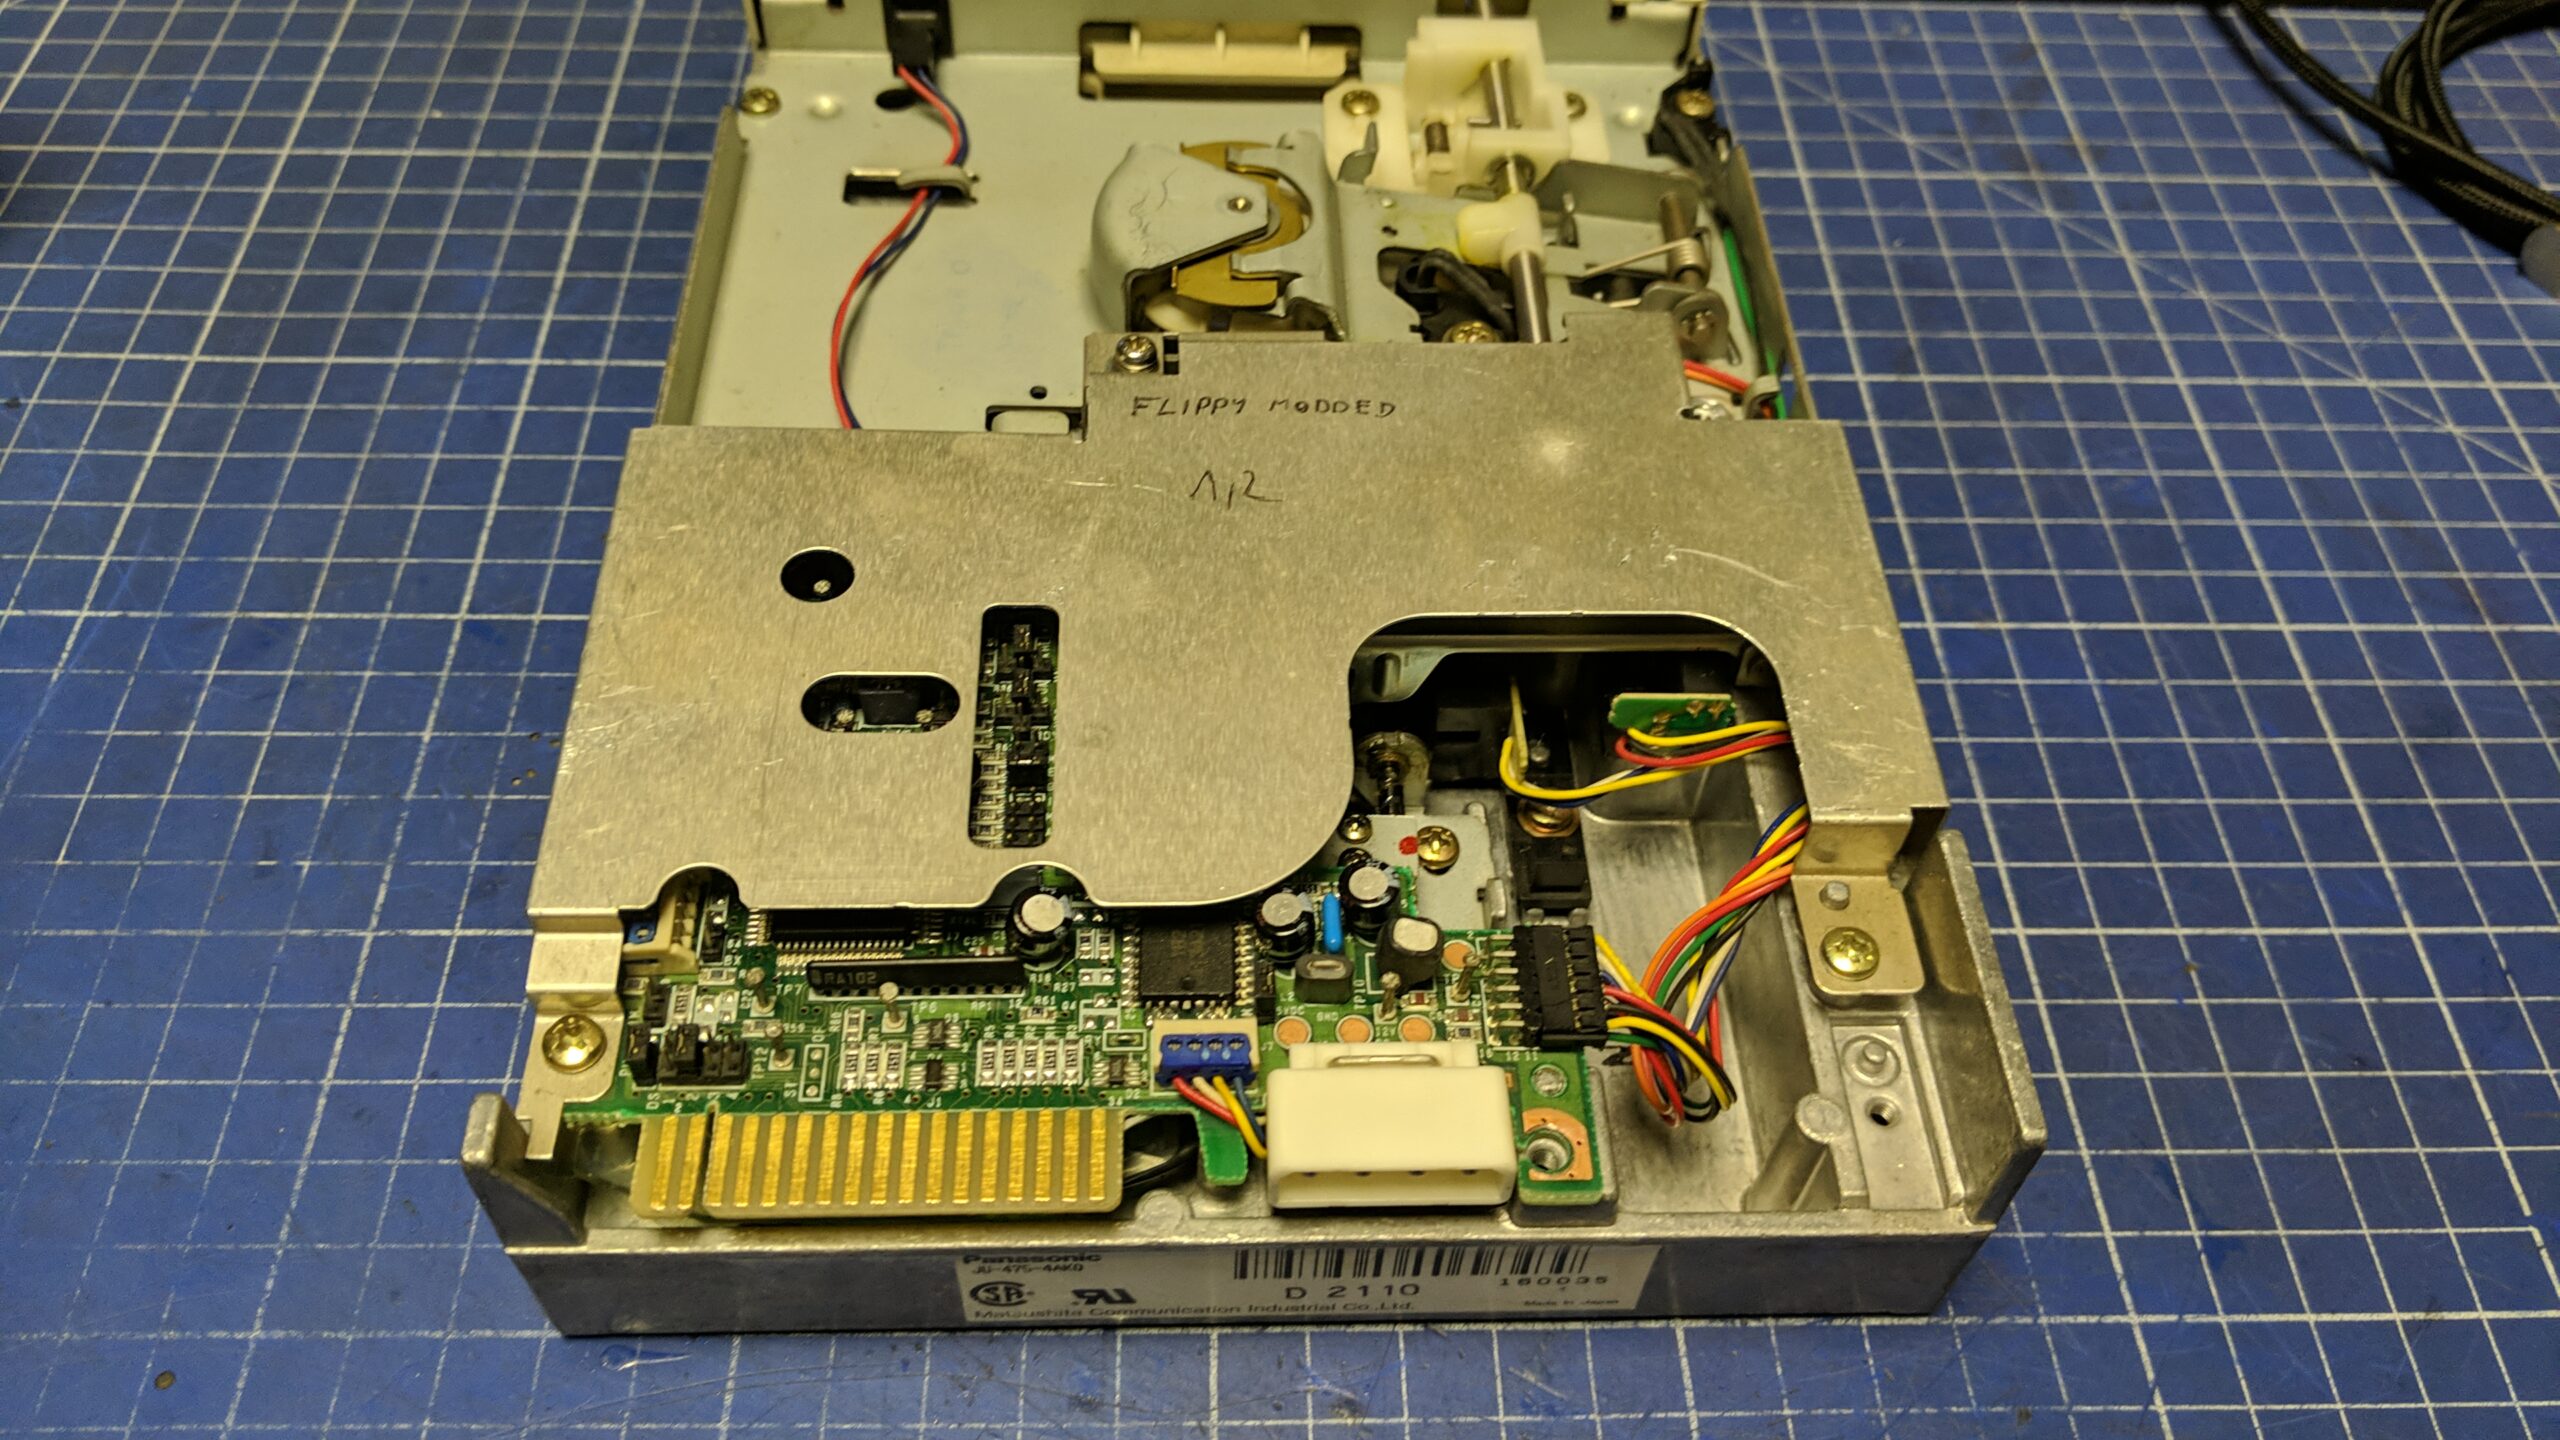
- Flippy modded Panasonic JU-475
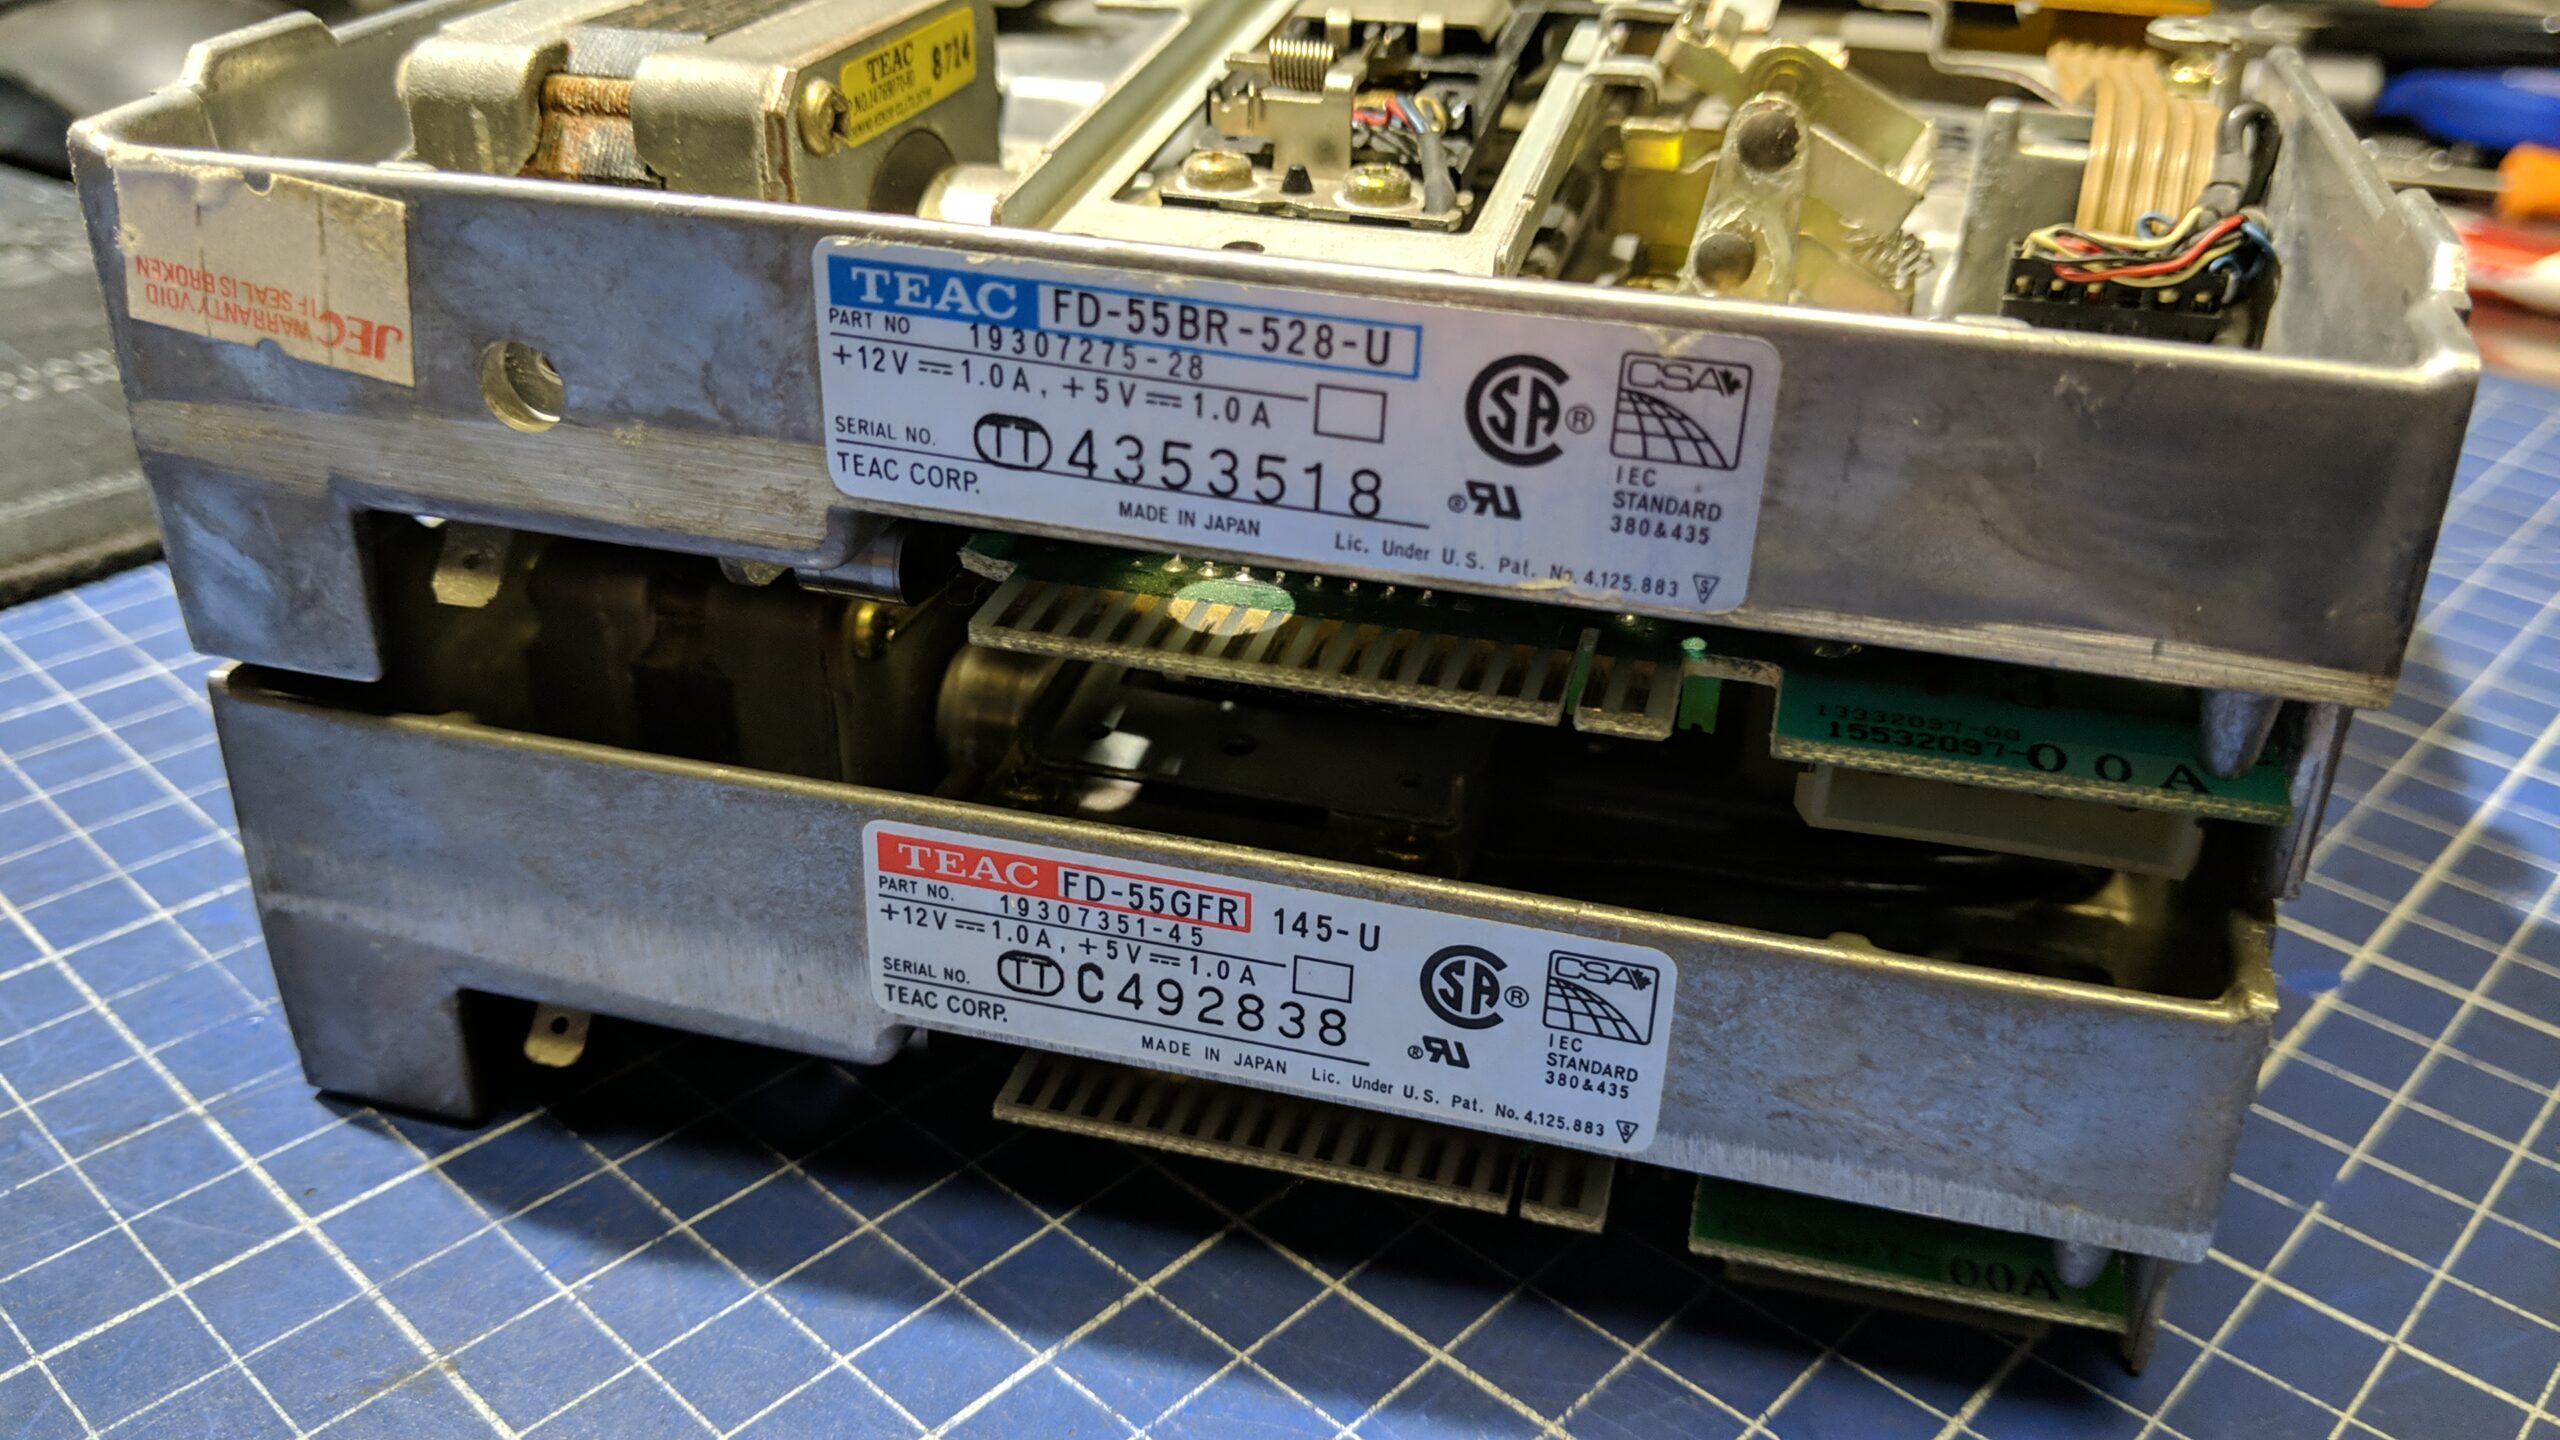
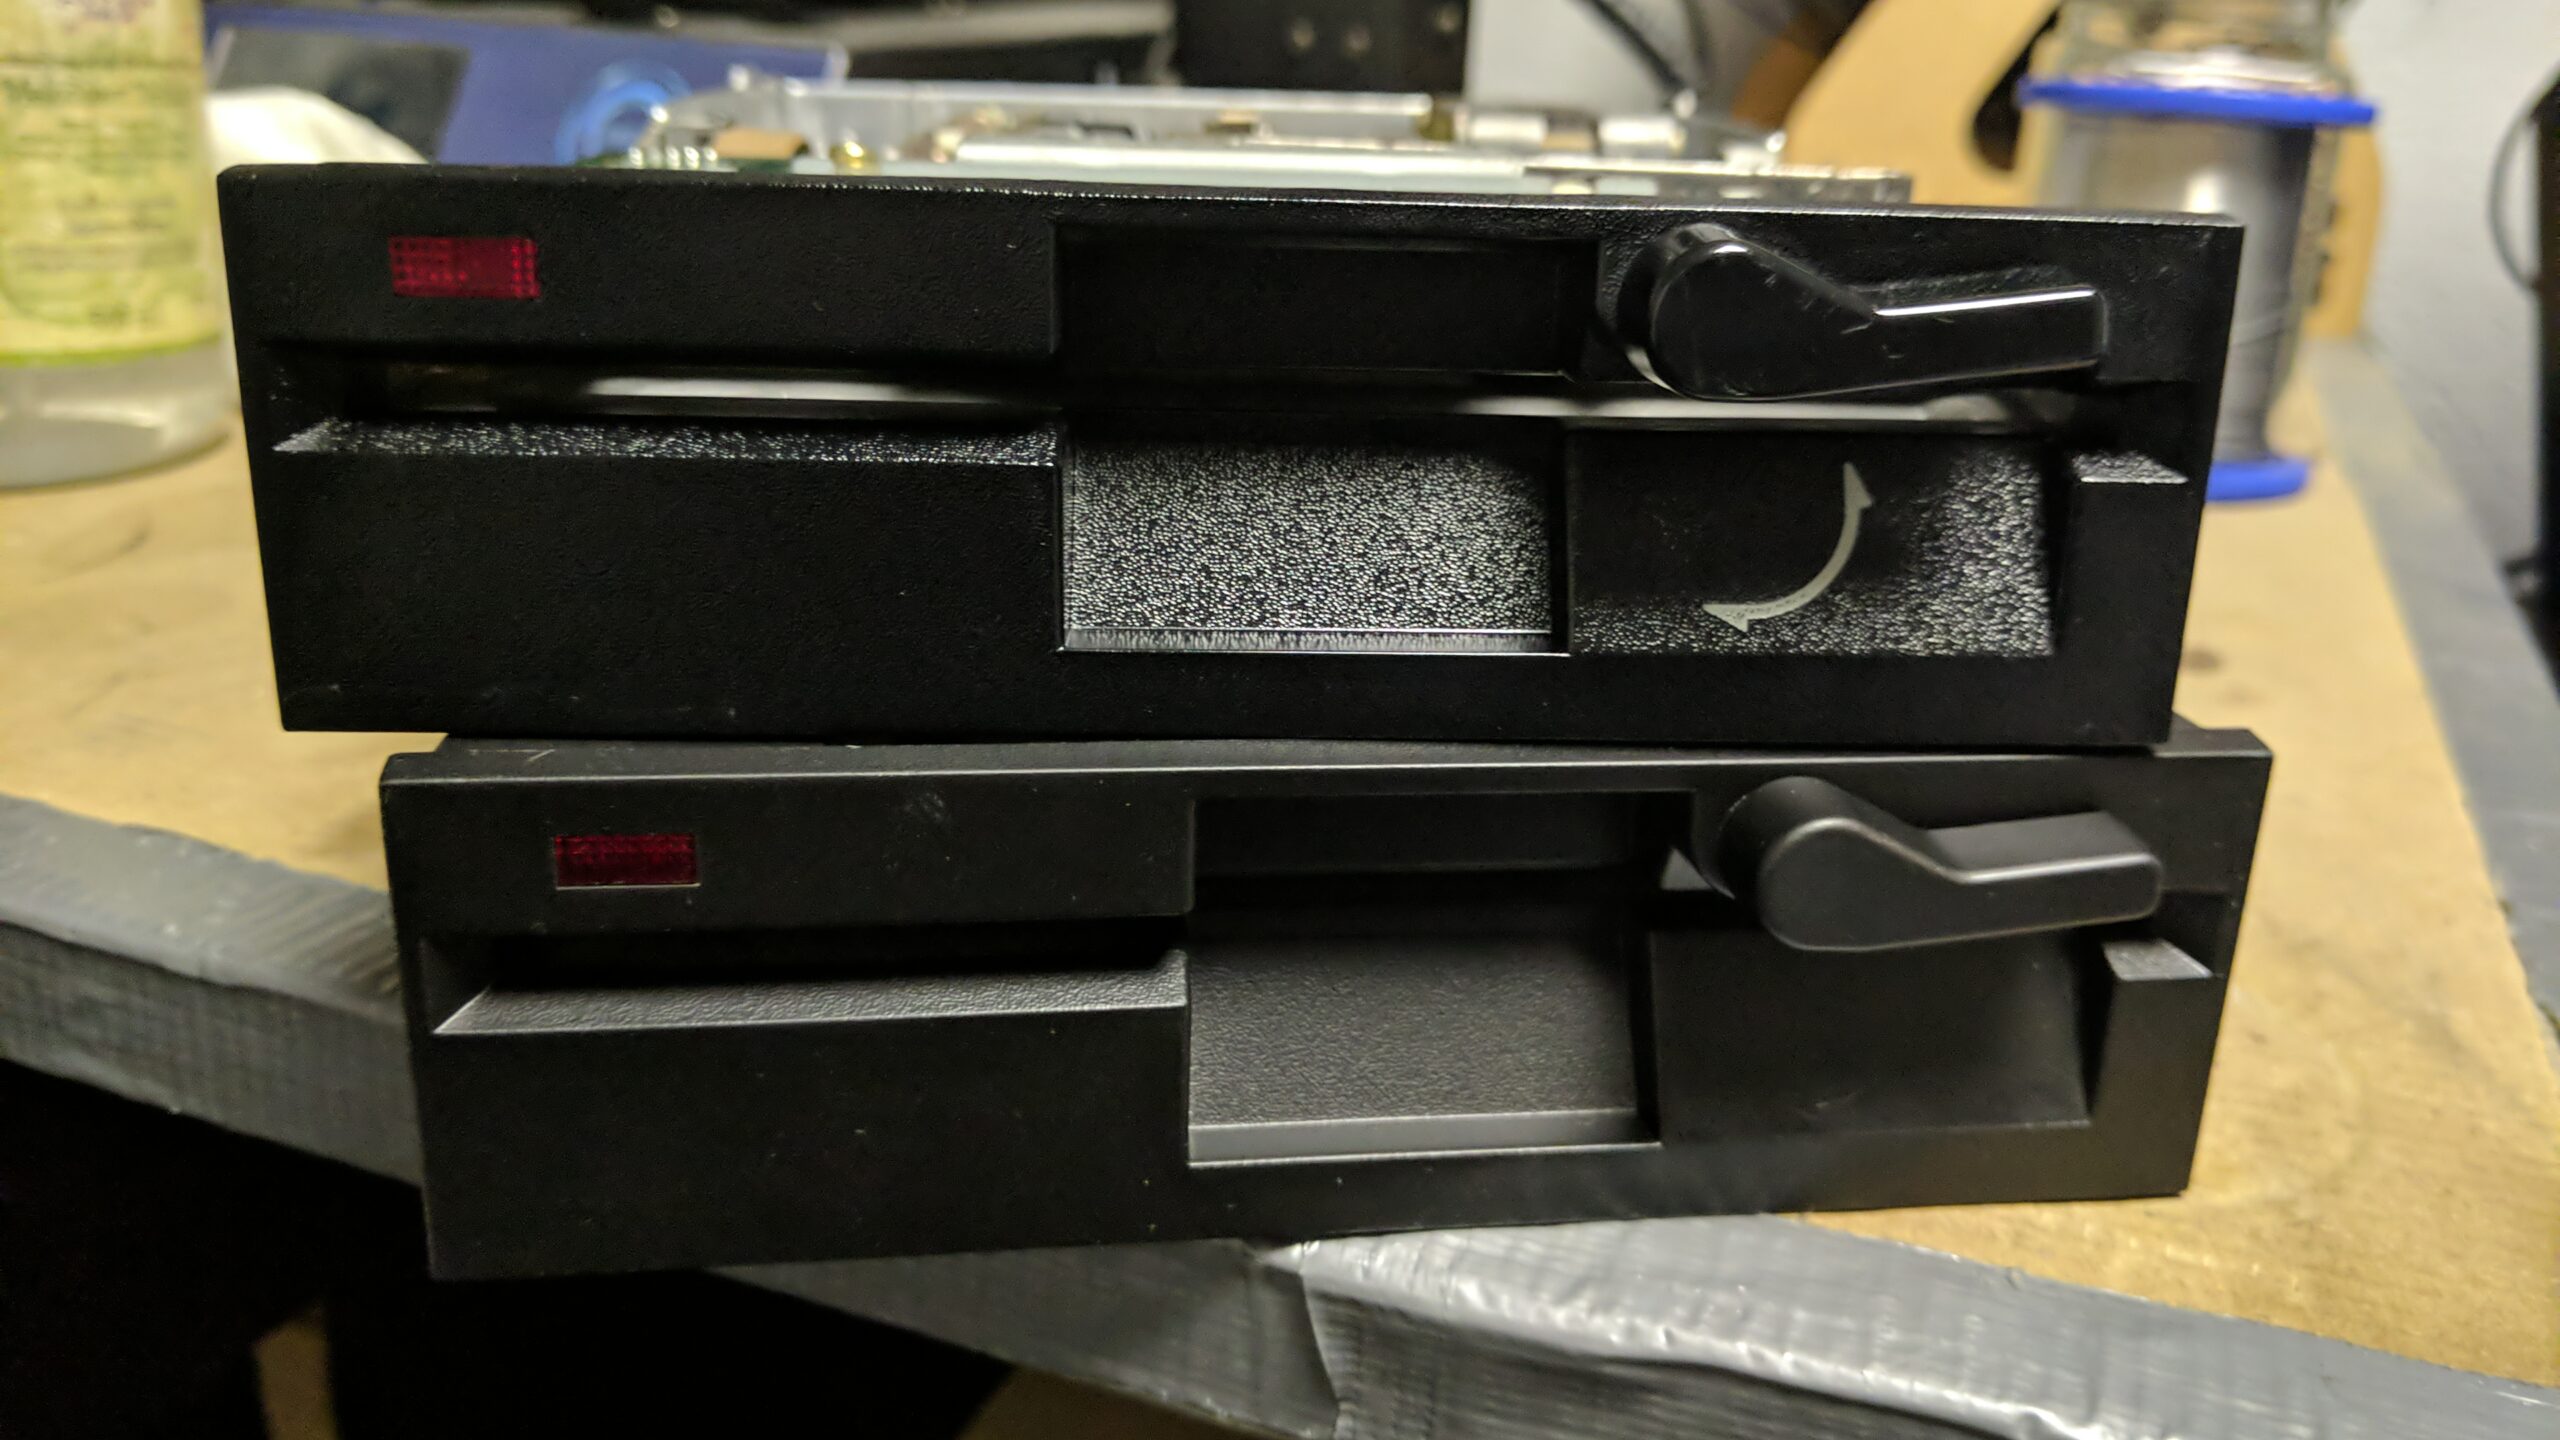
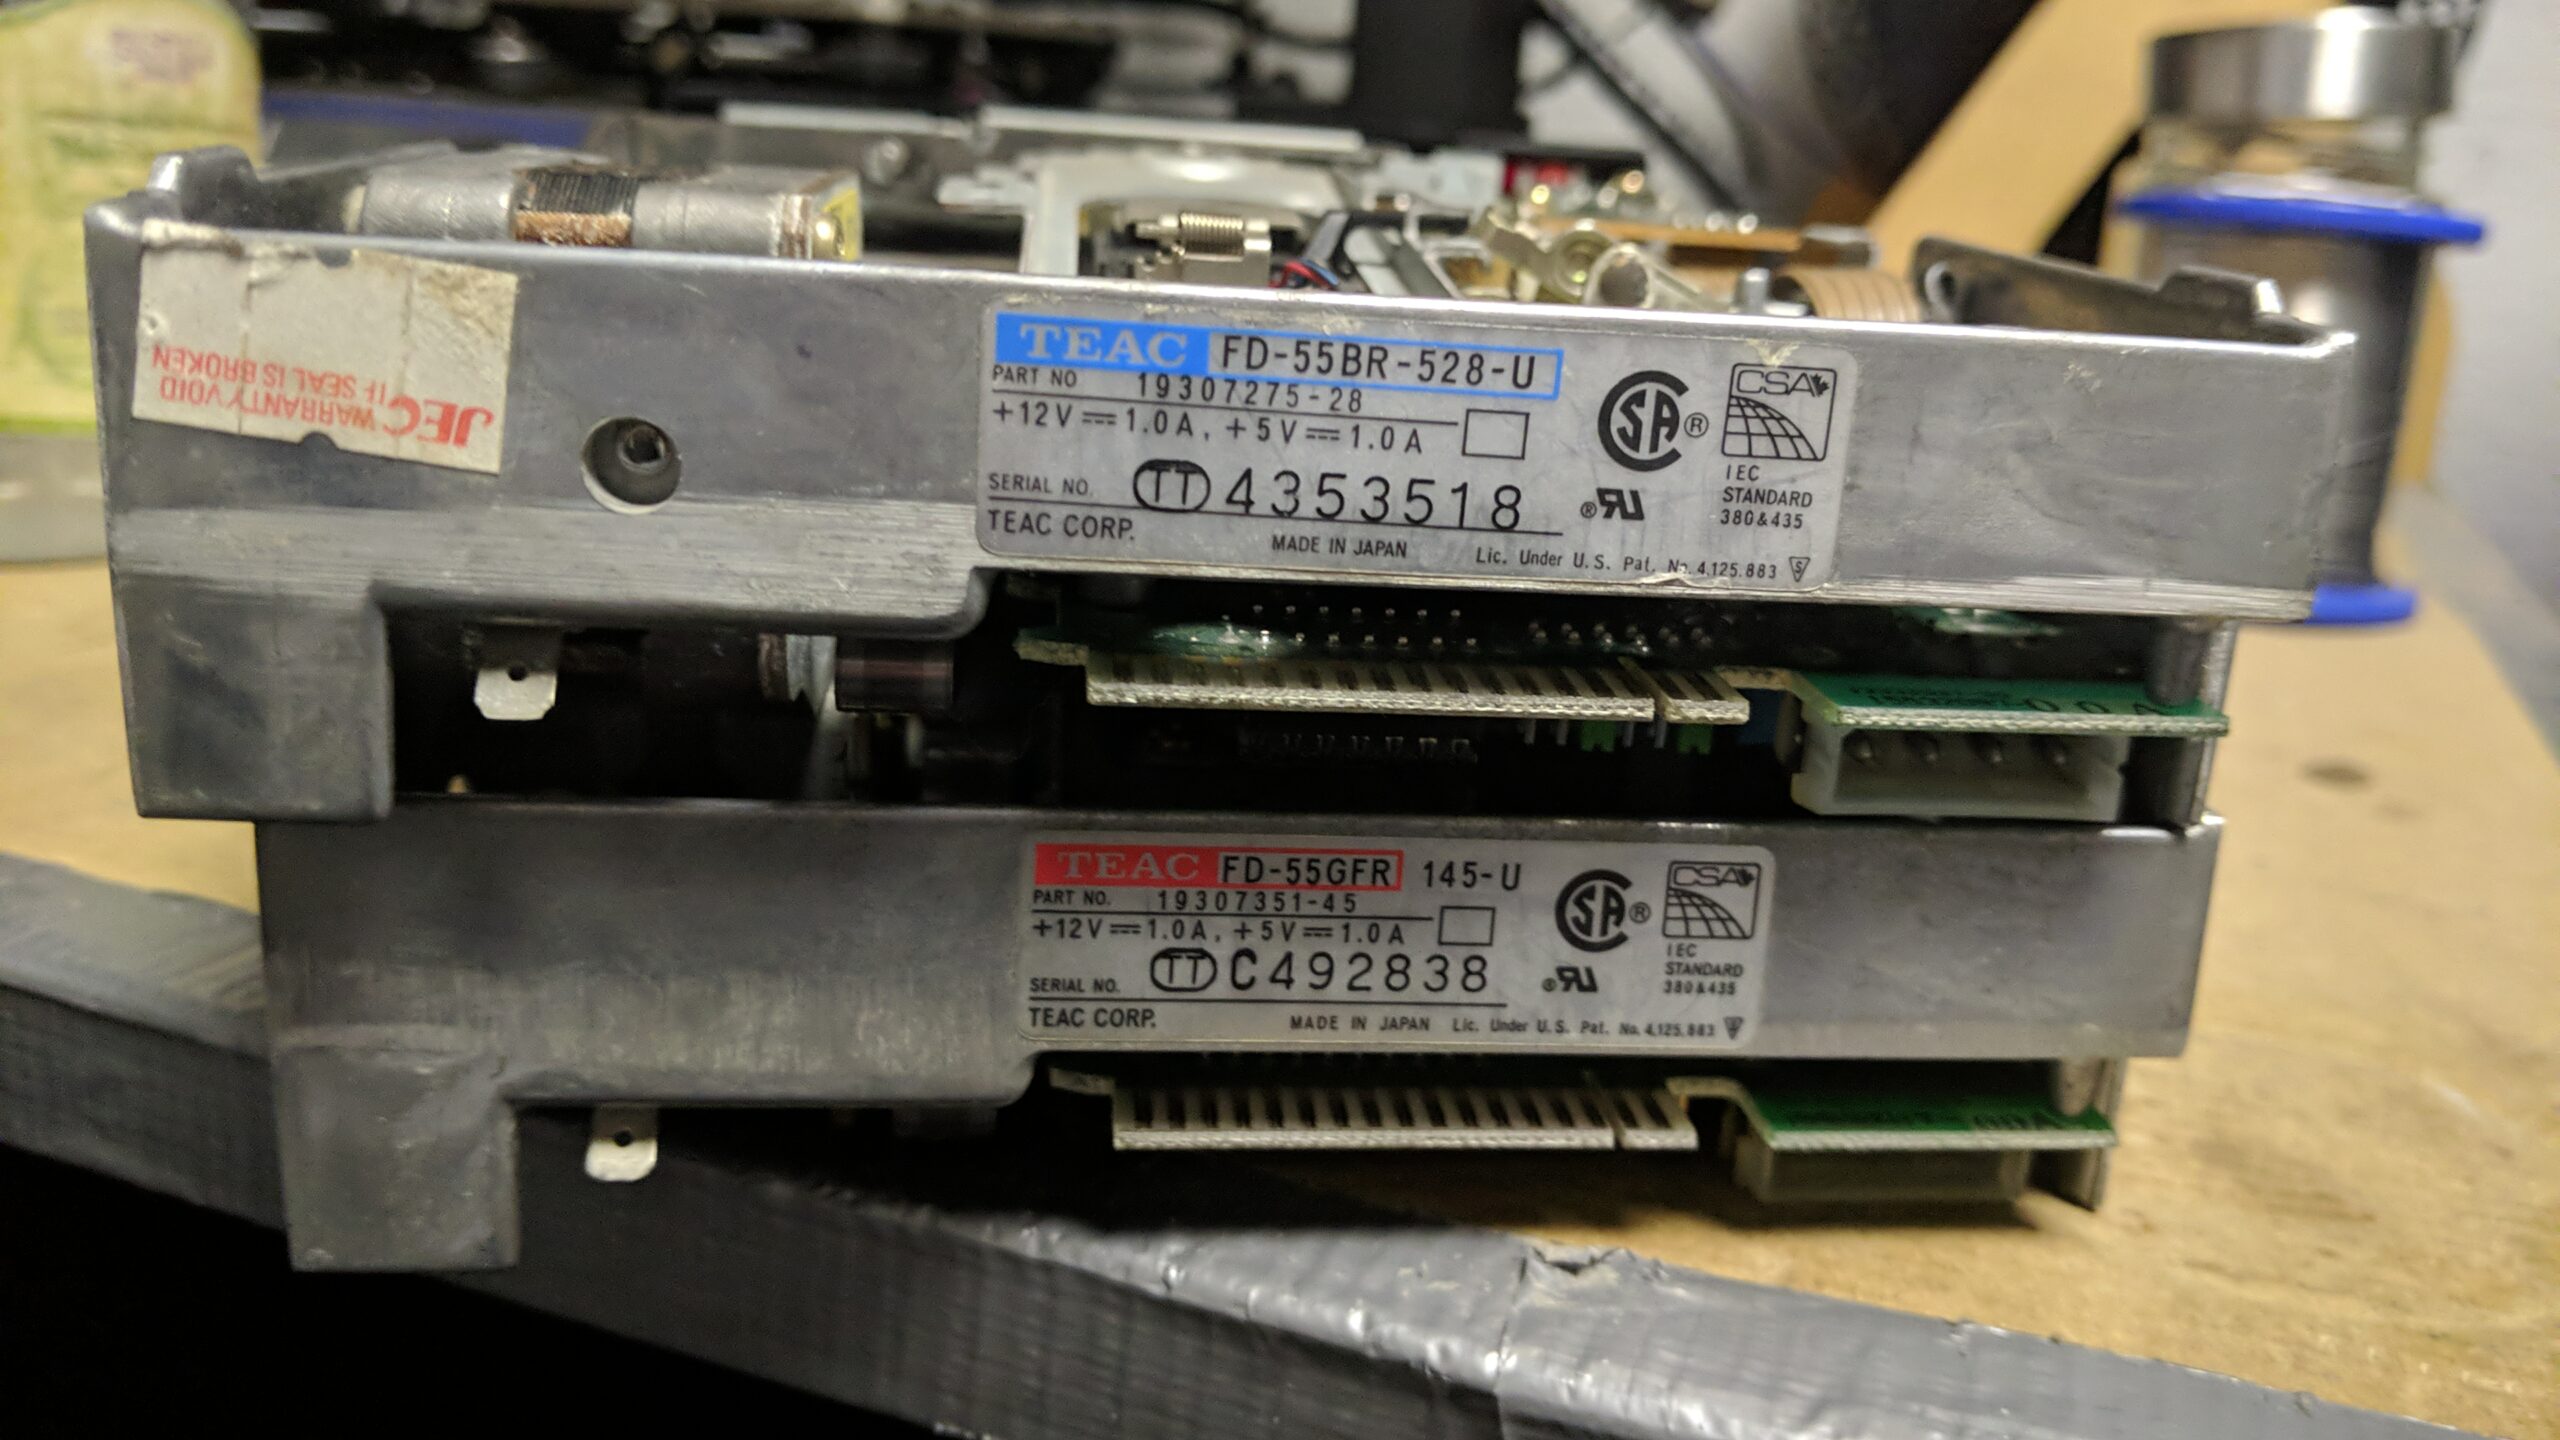
- TEAC FD-55GFR
- TEAC FD-55BR
- and again ALPS Electric DF354 for a 3.5″ drive as it is extremely universal
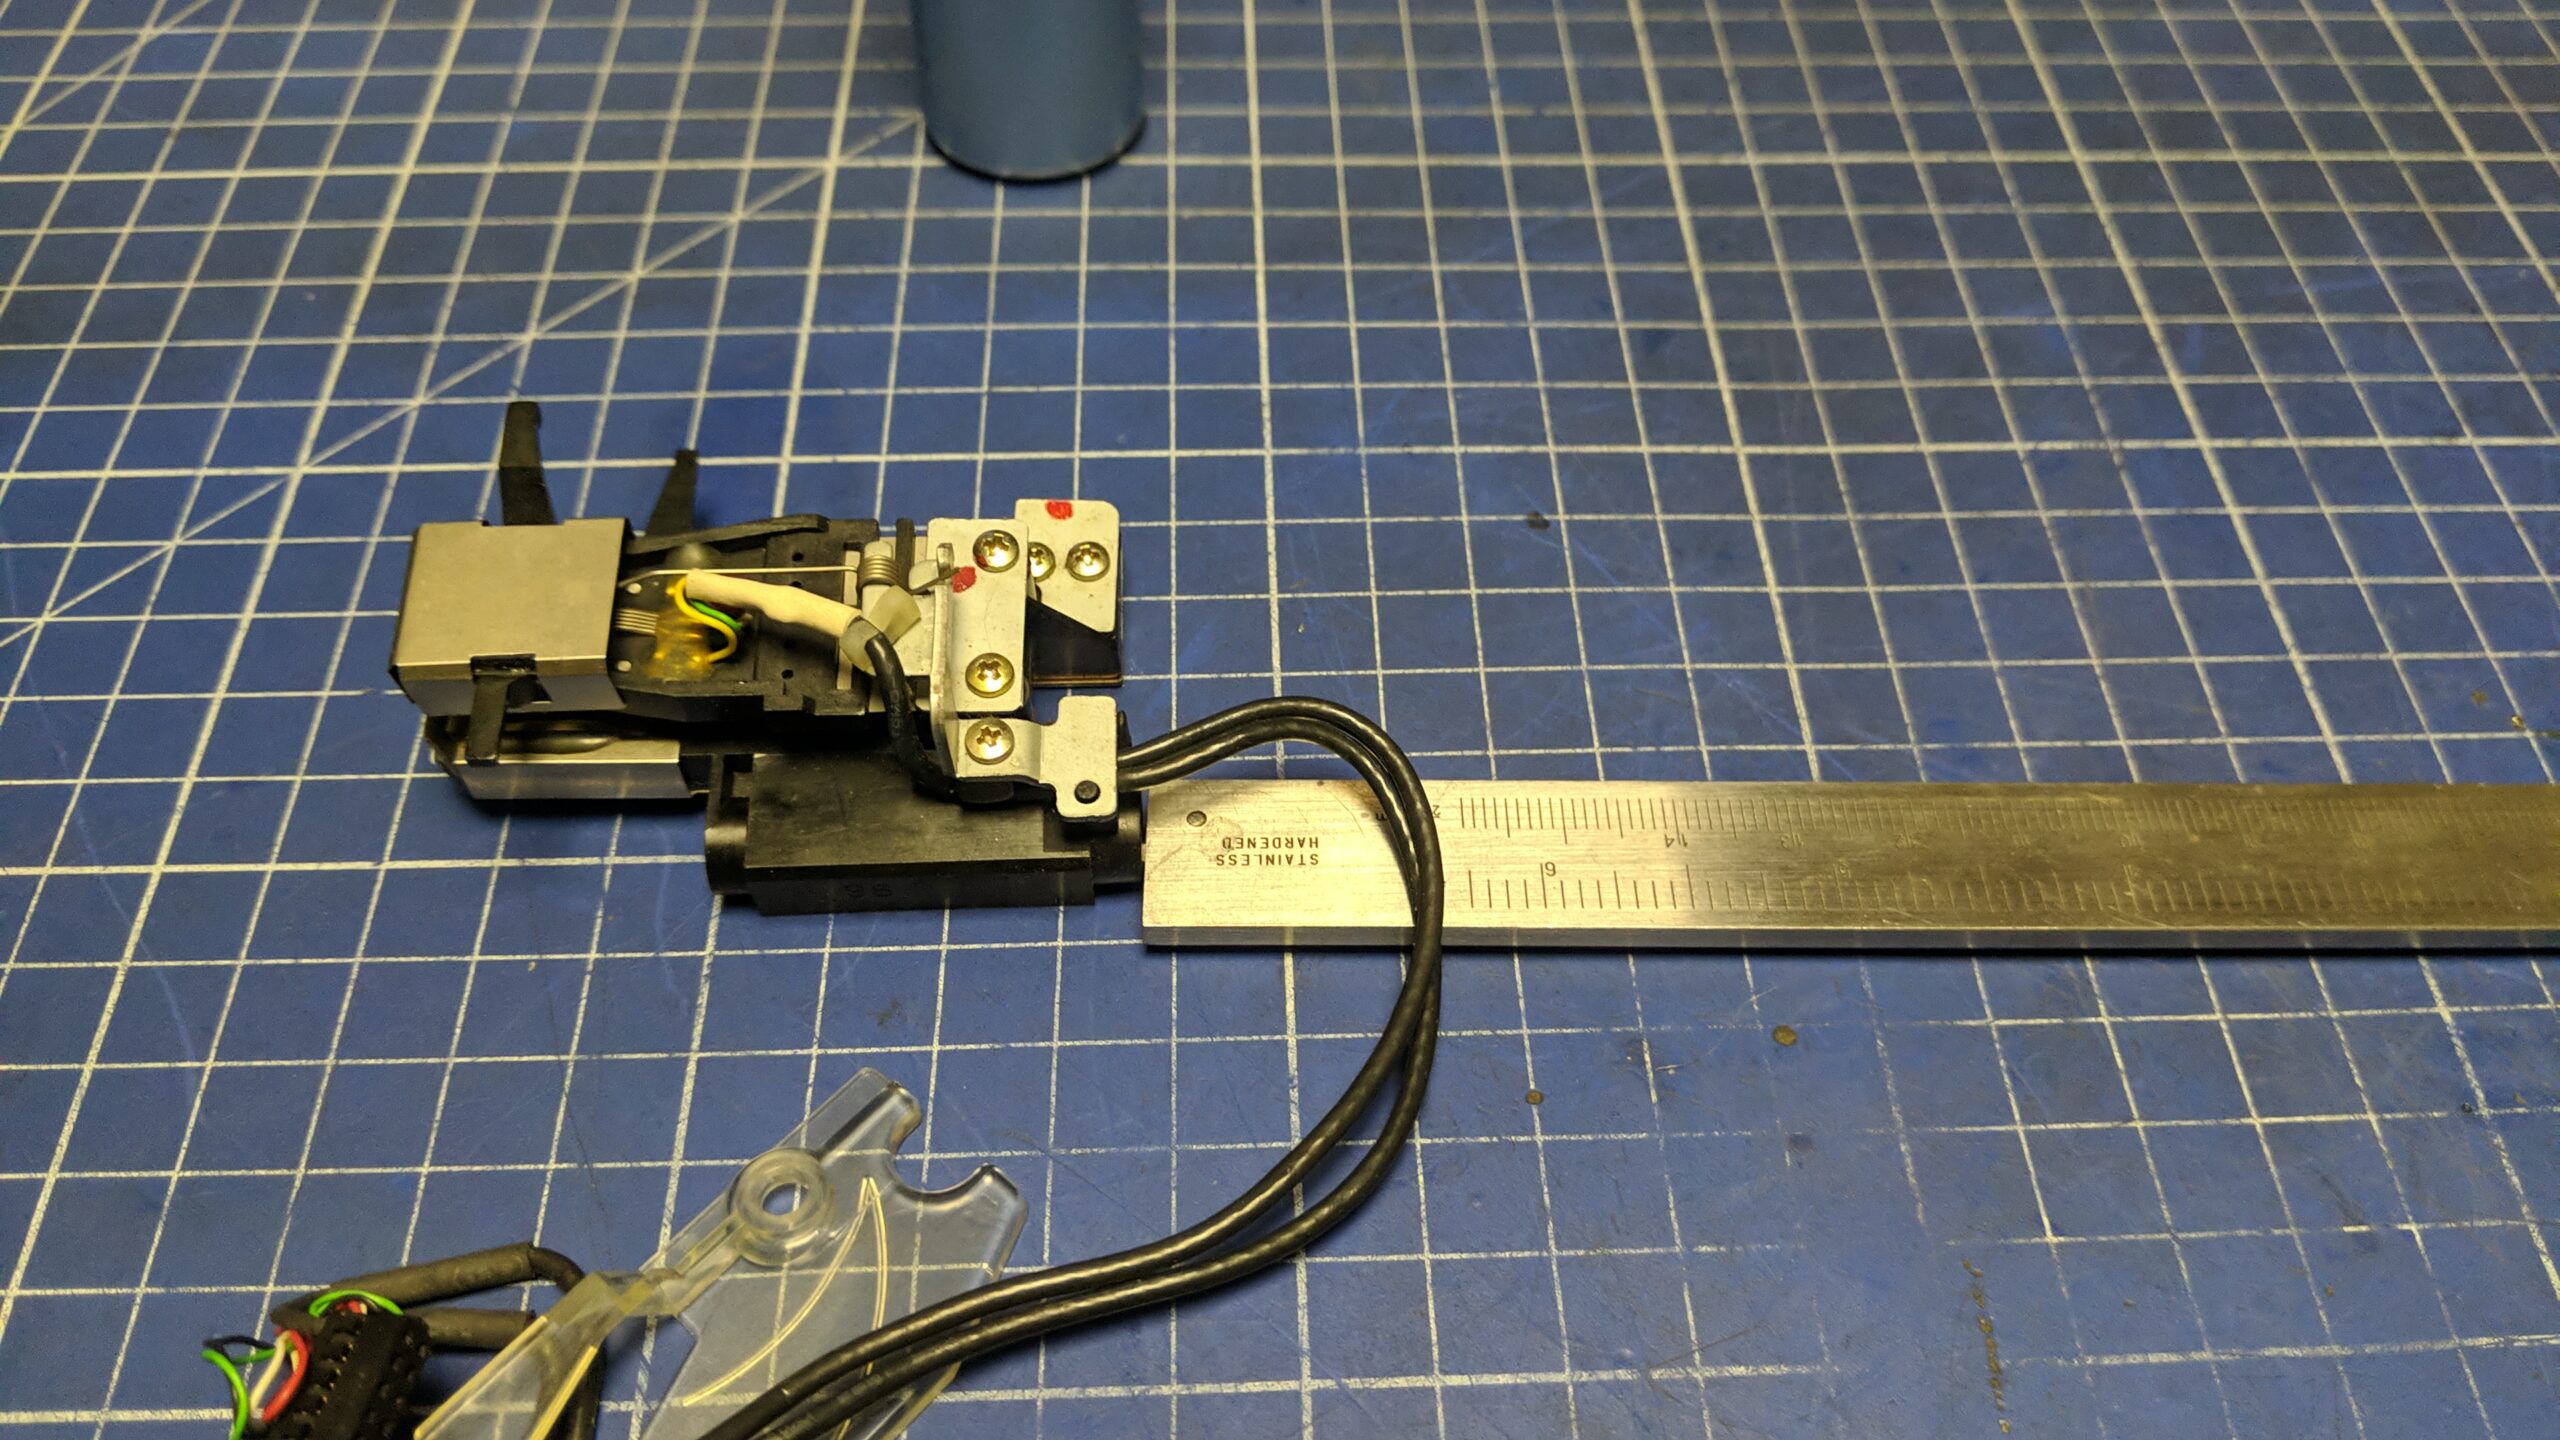
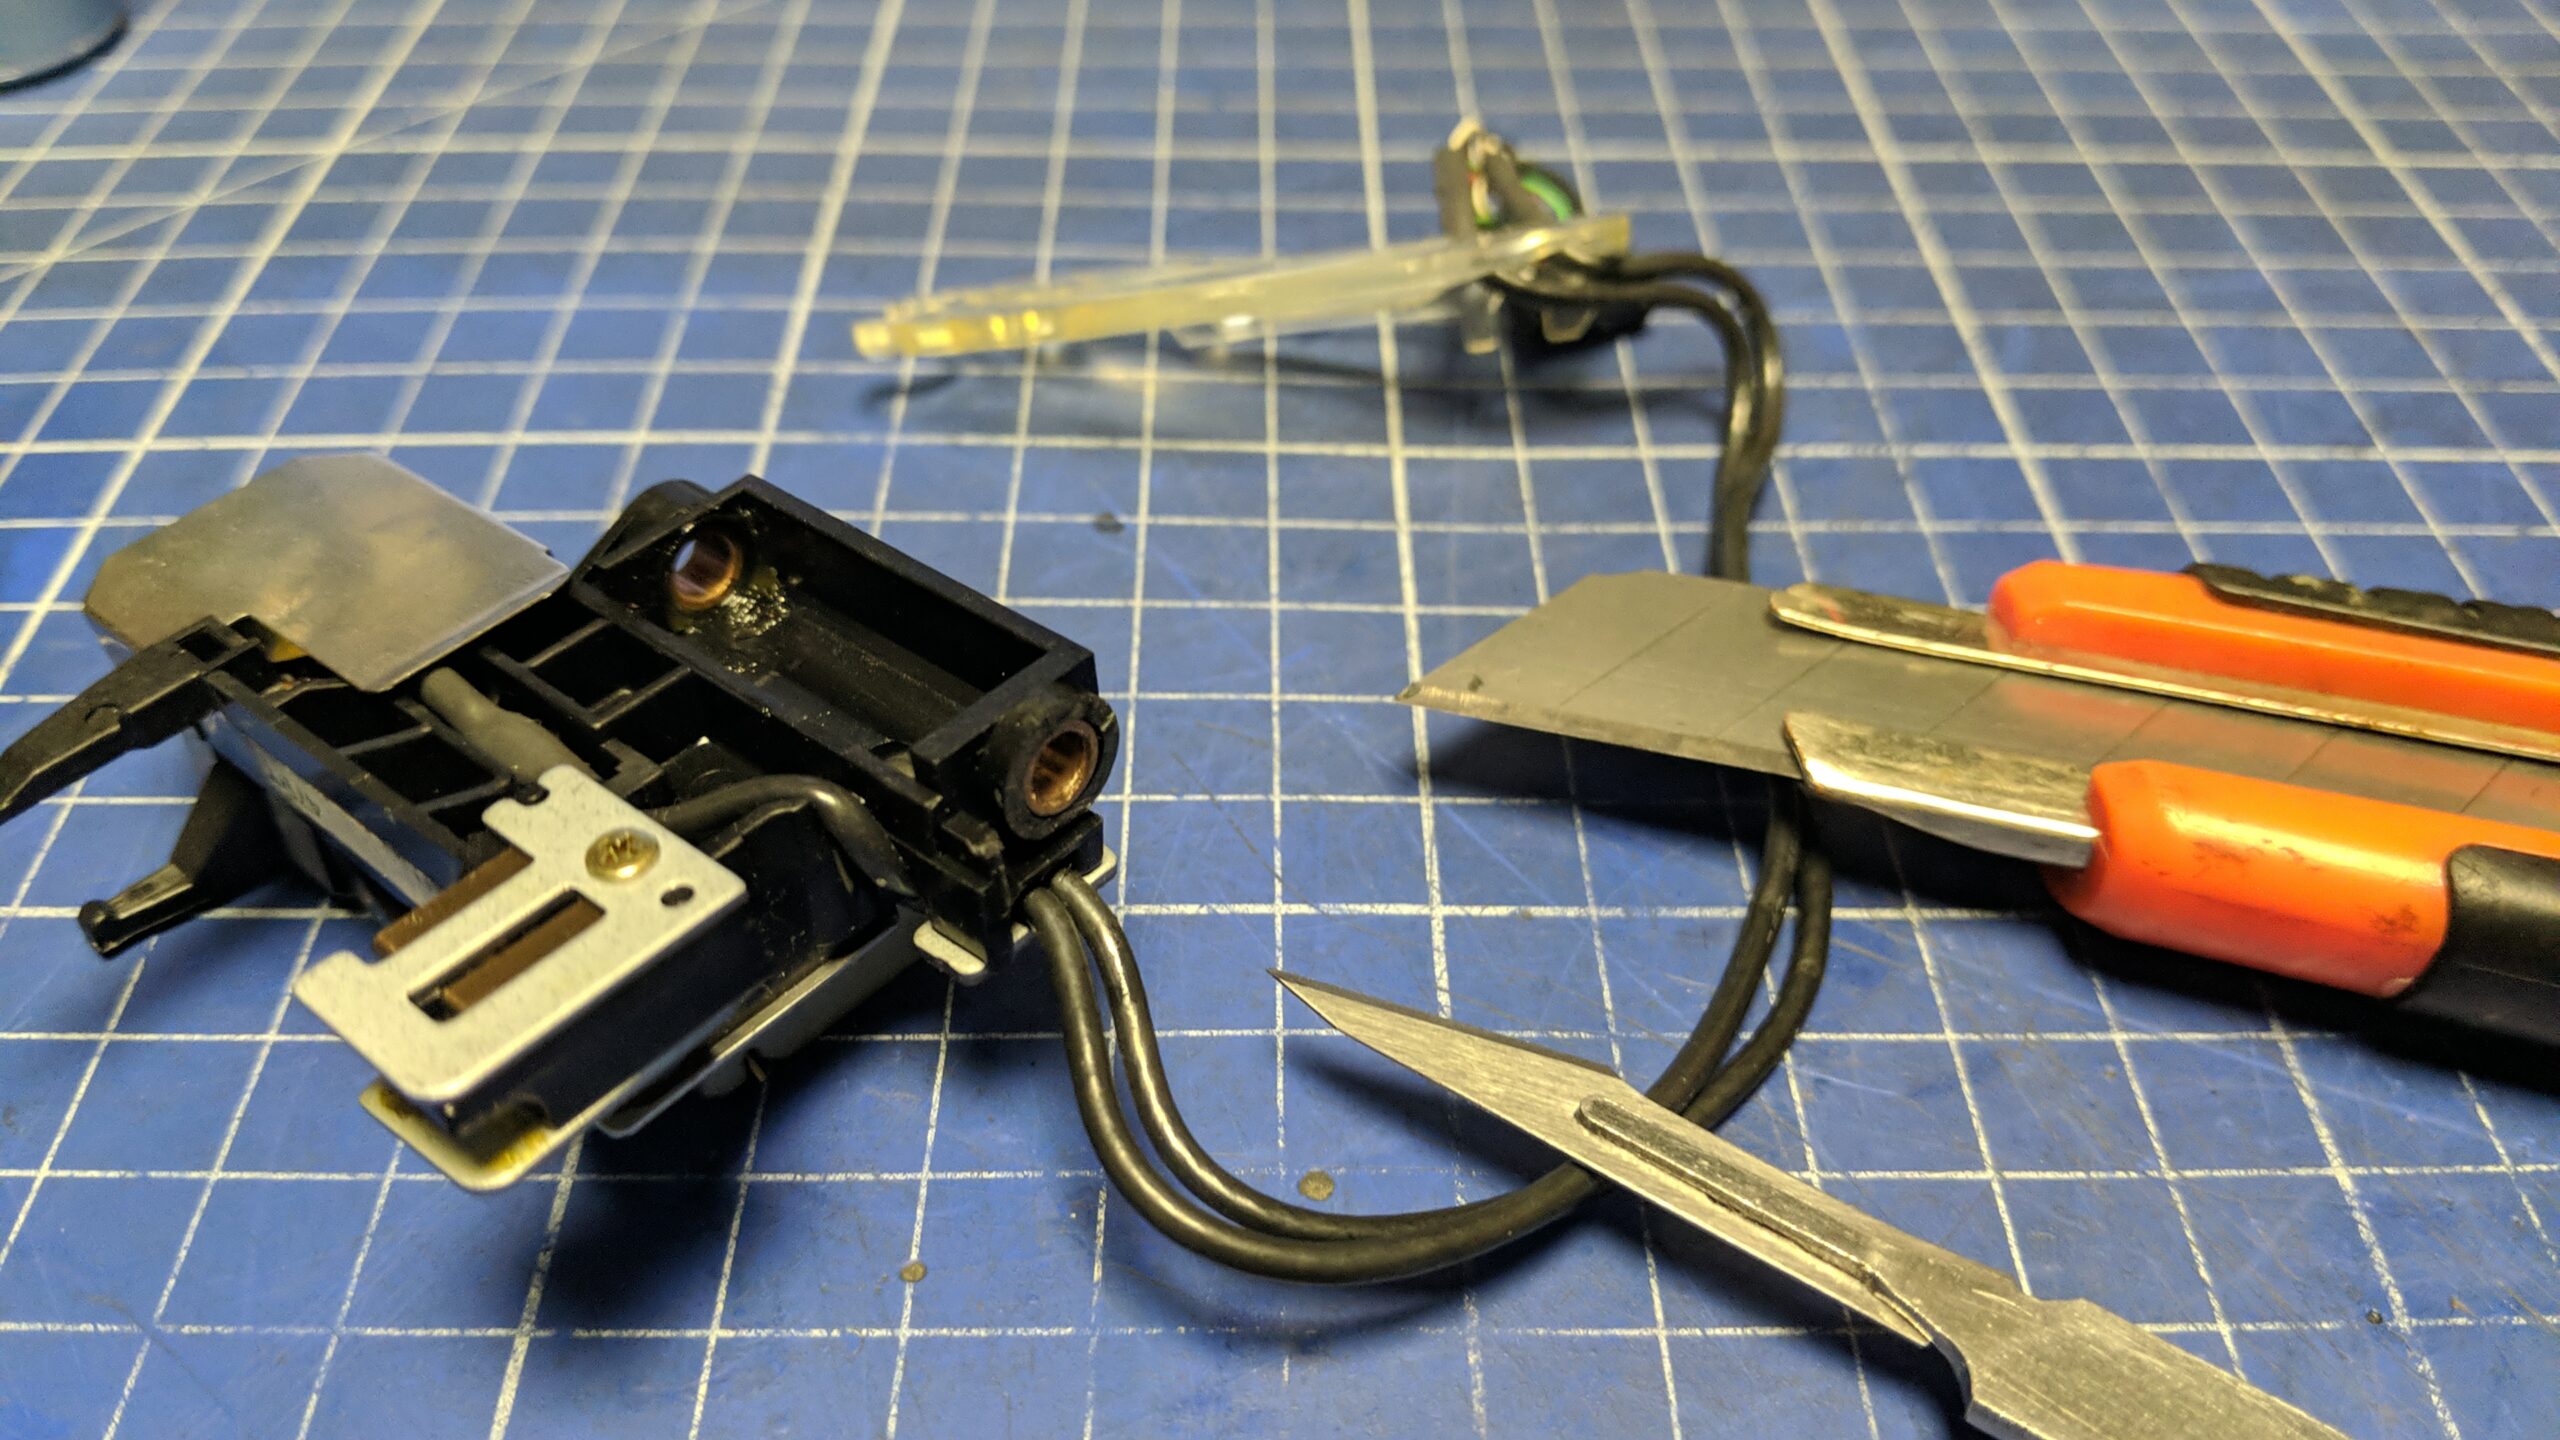
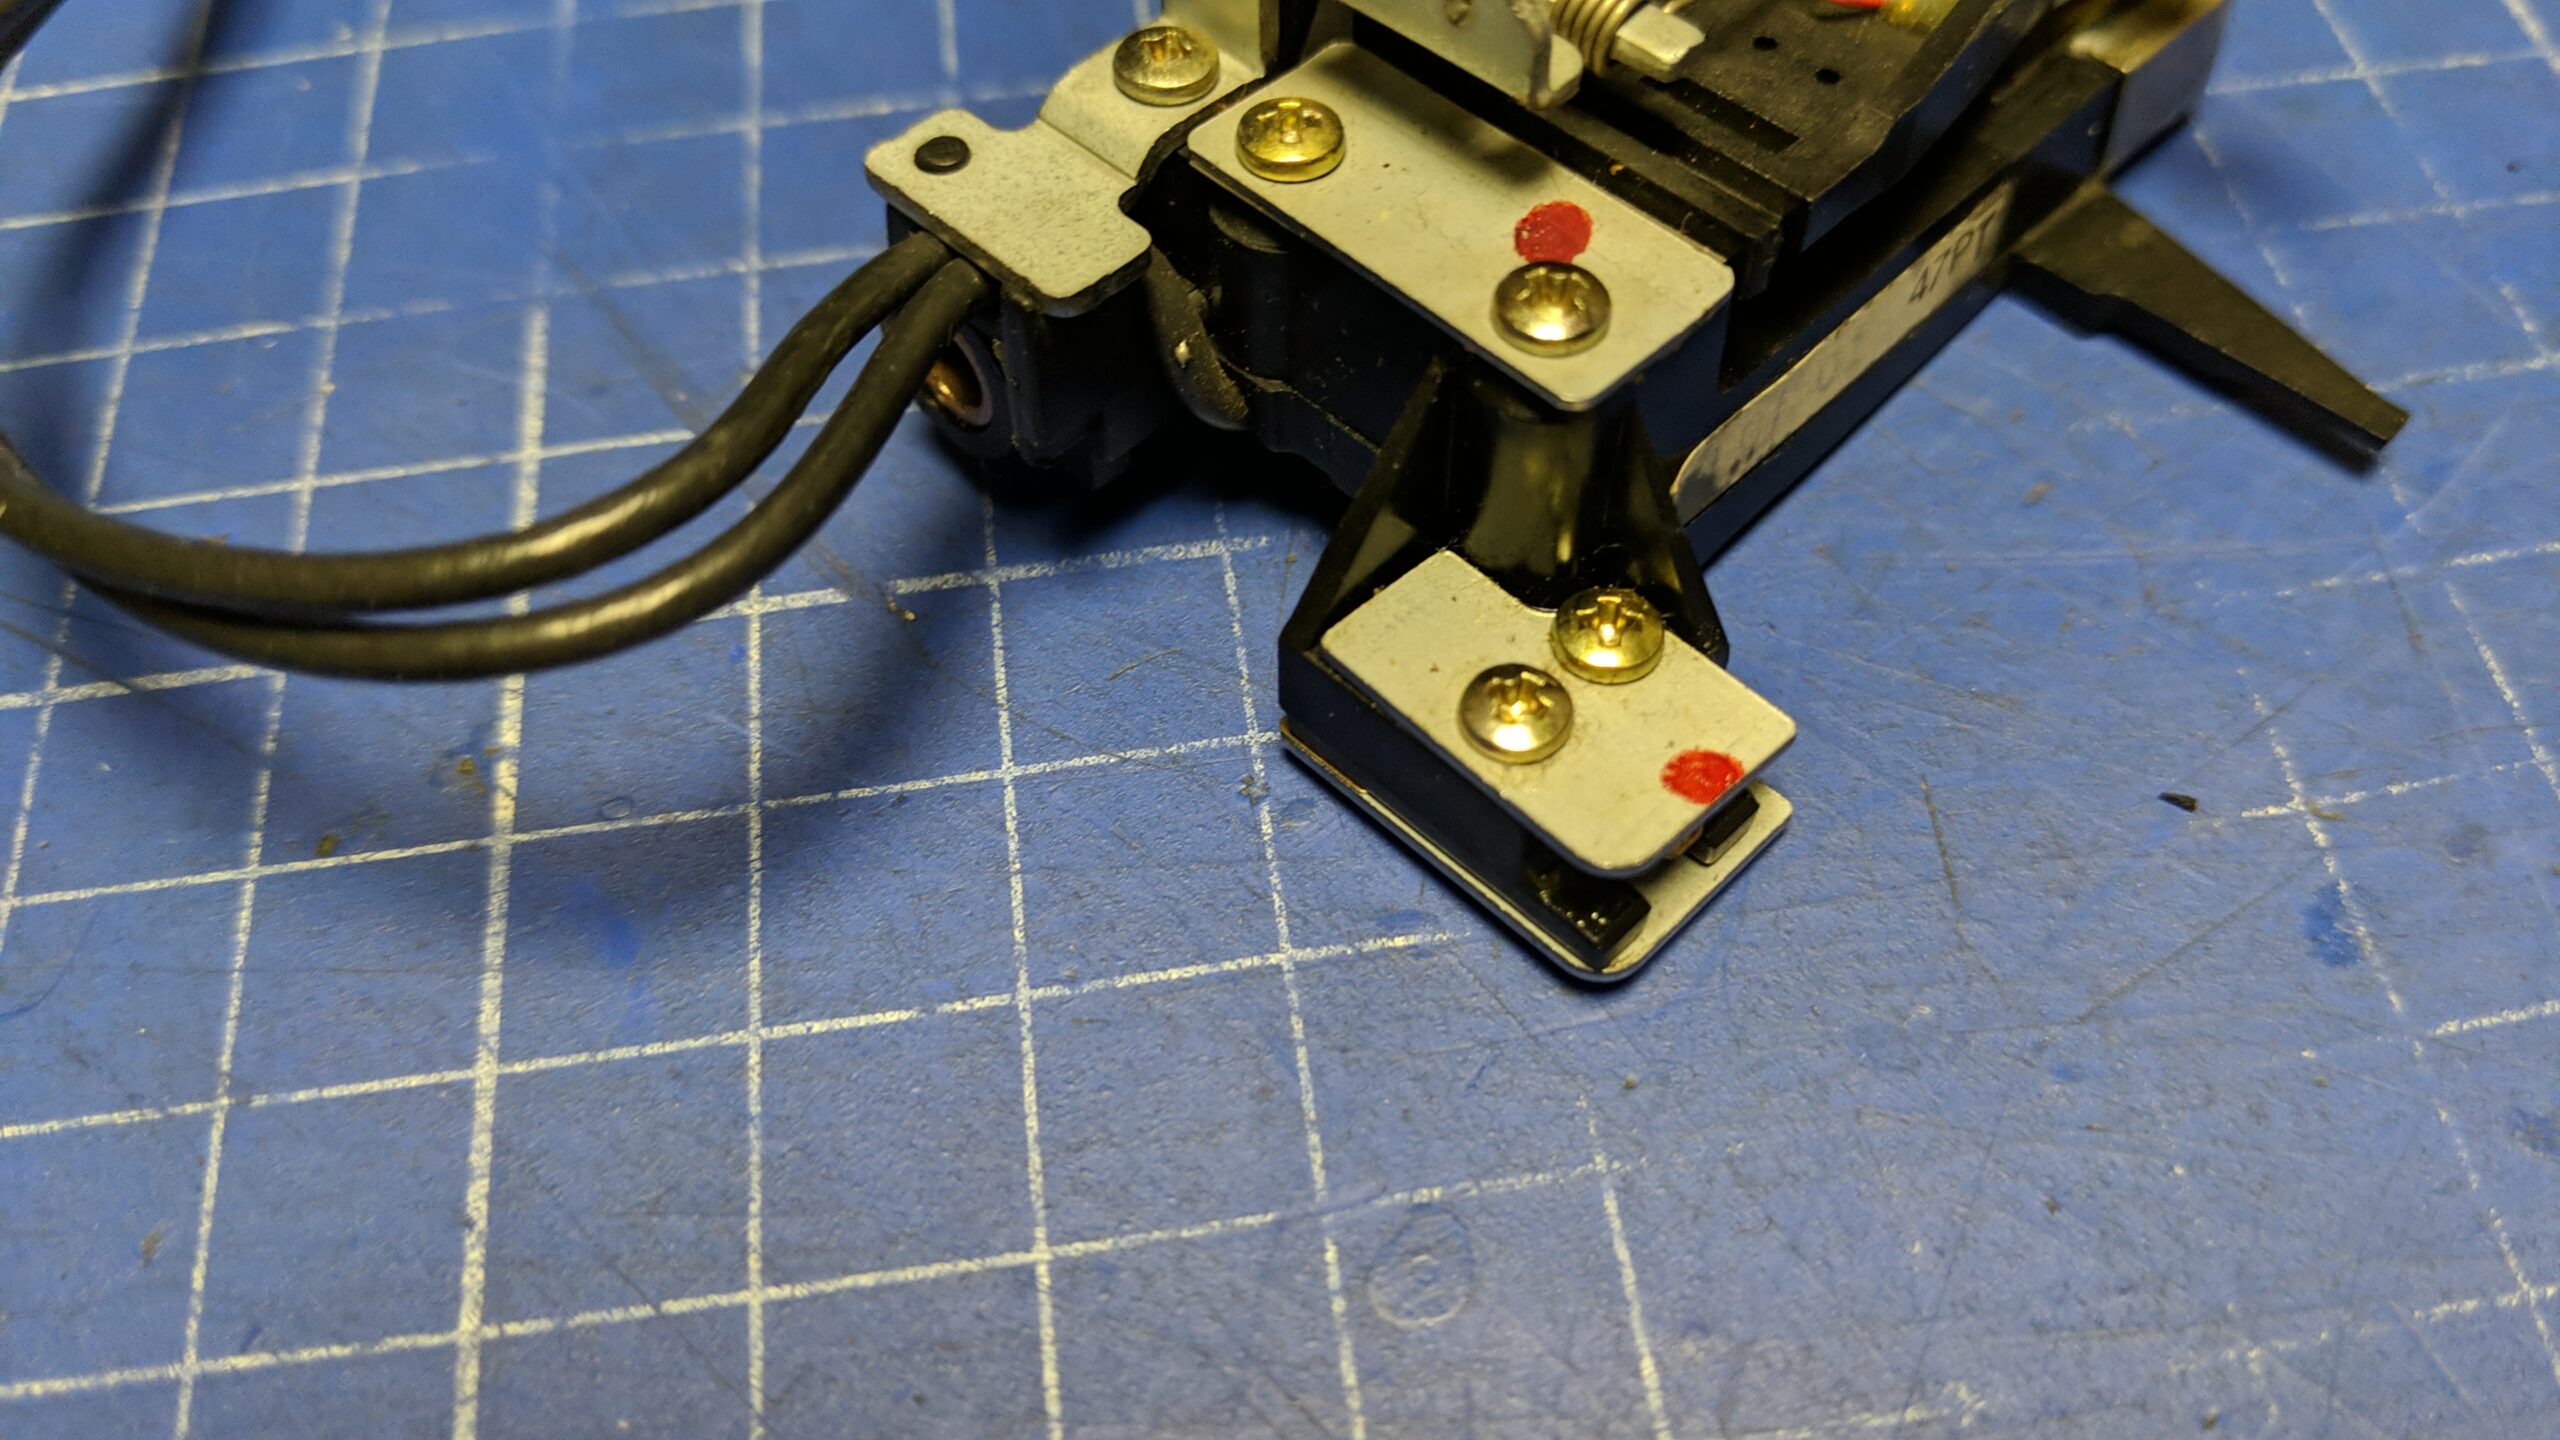
Let me start with the modded JU-475. The so-called flippy-mod is described best on the Kryoflux YT chan
This is how I did my mod.
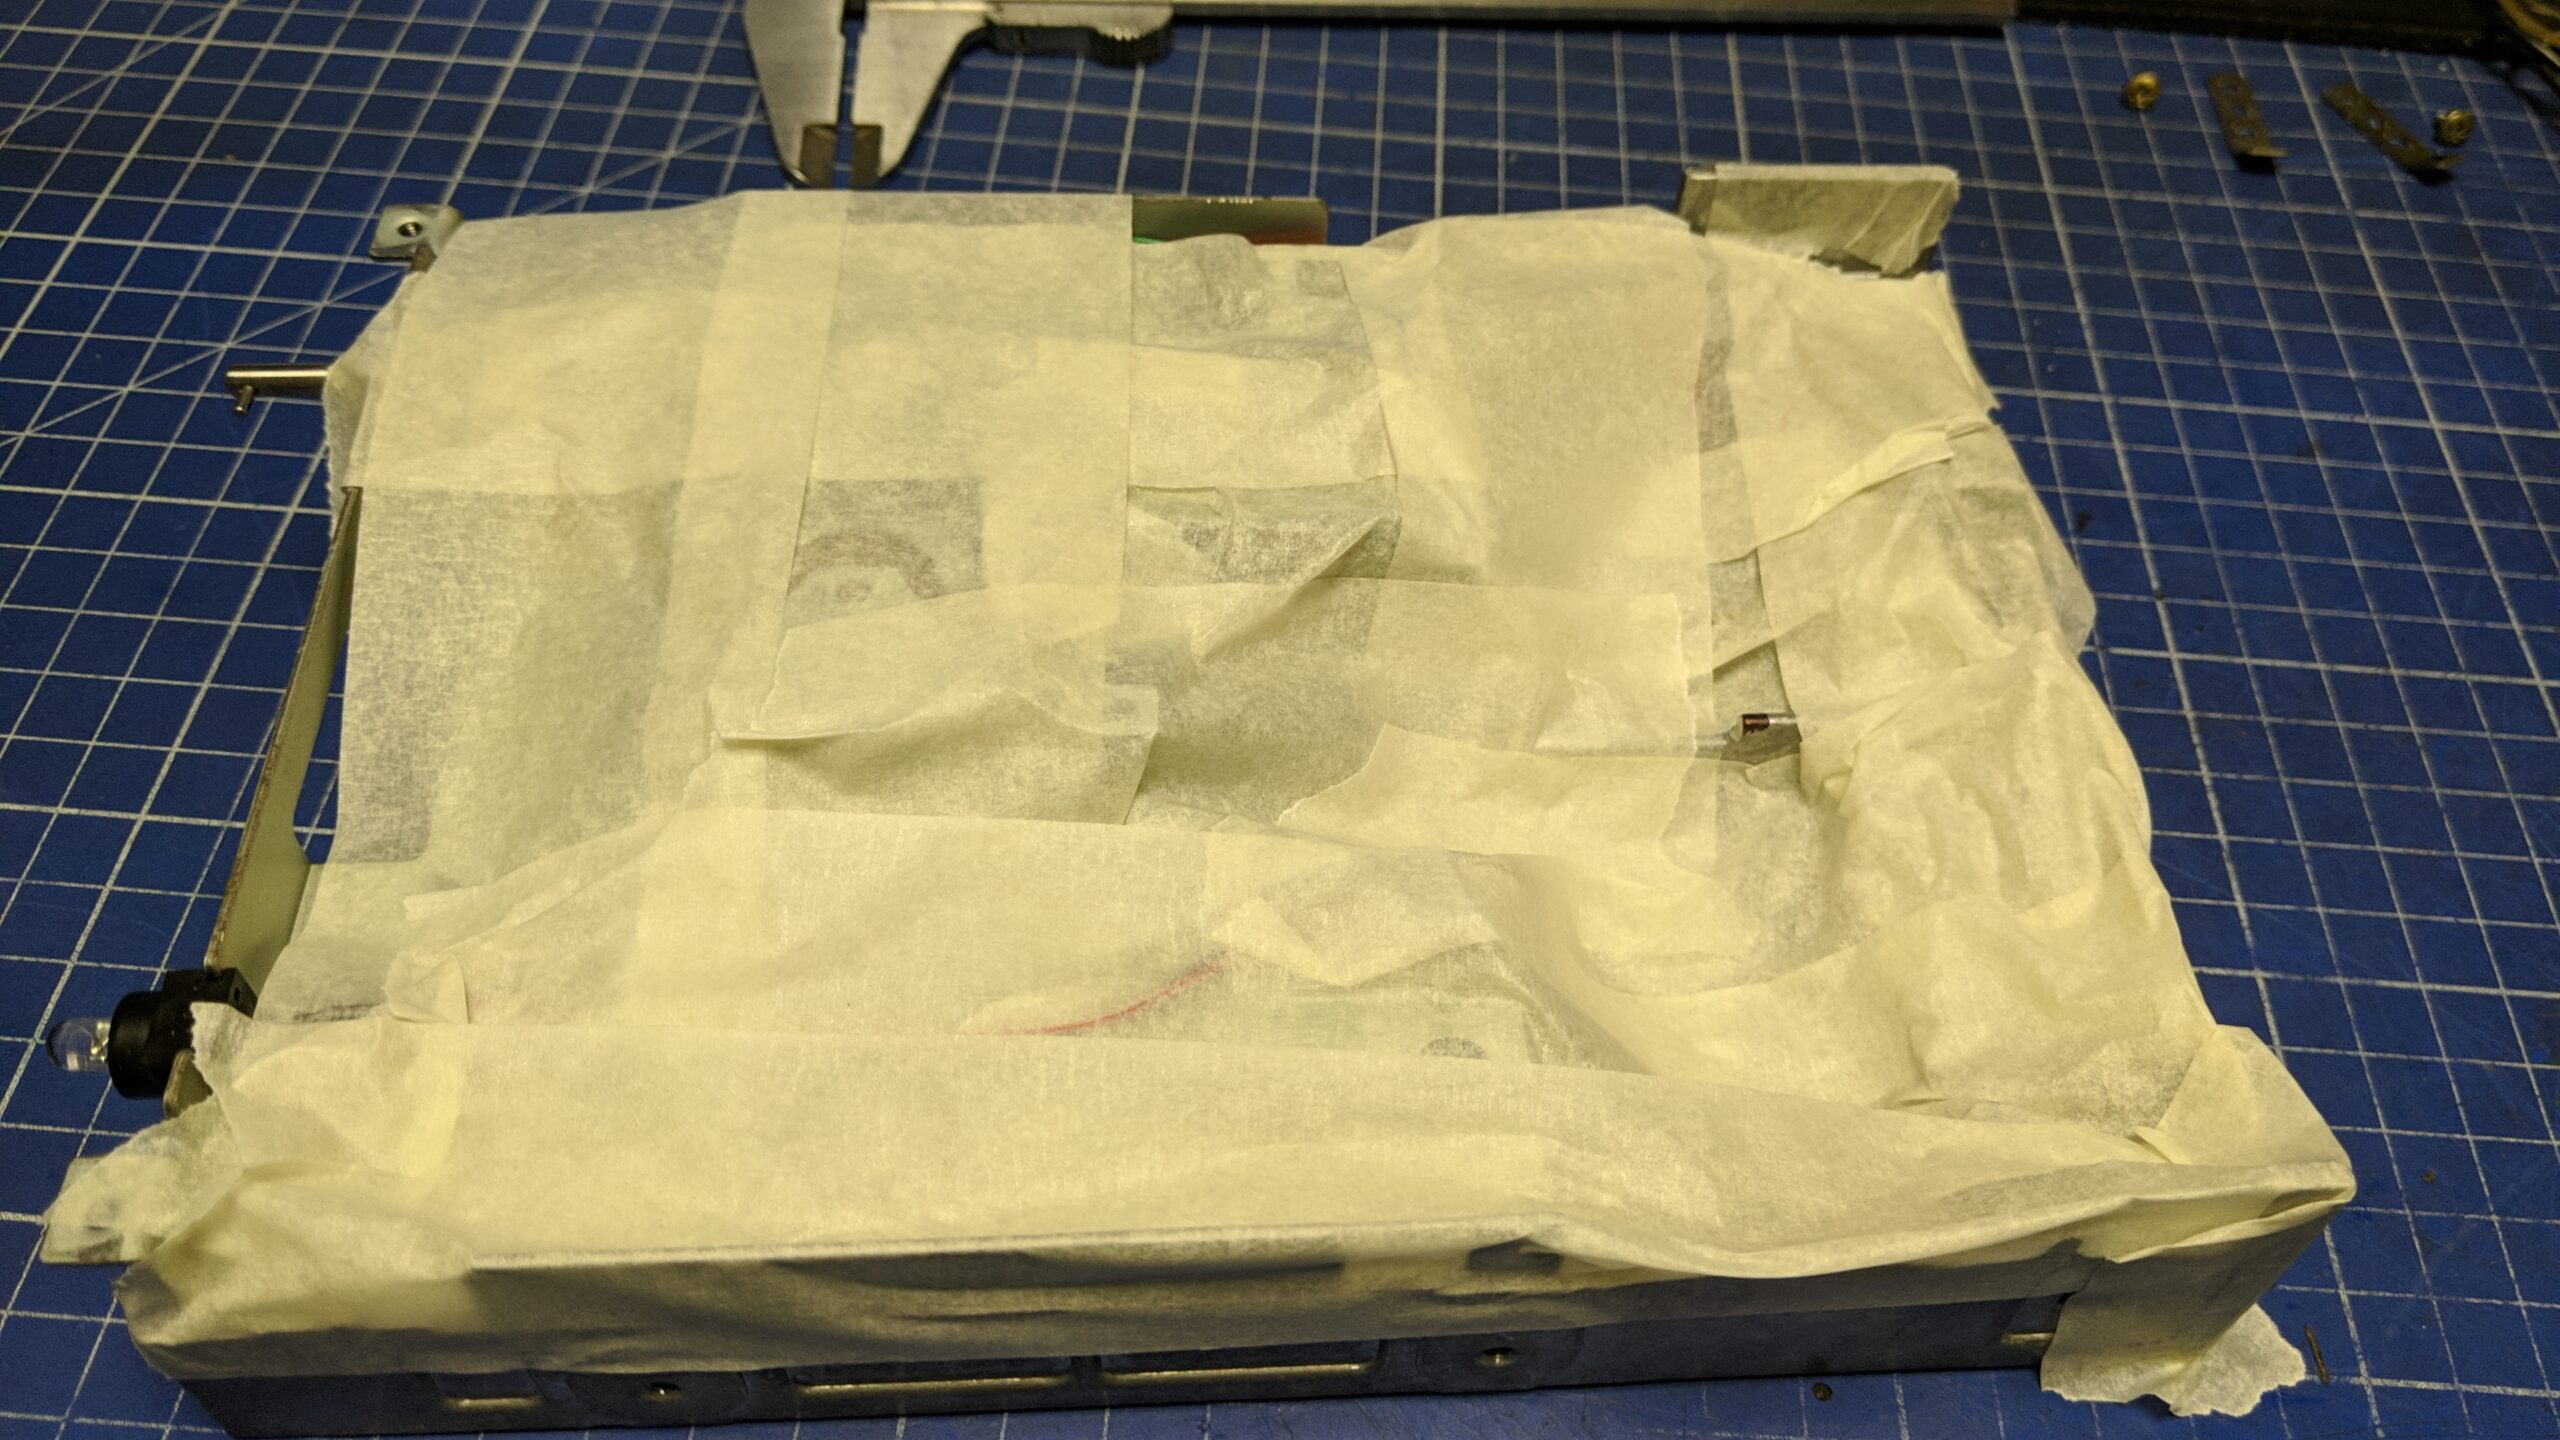
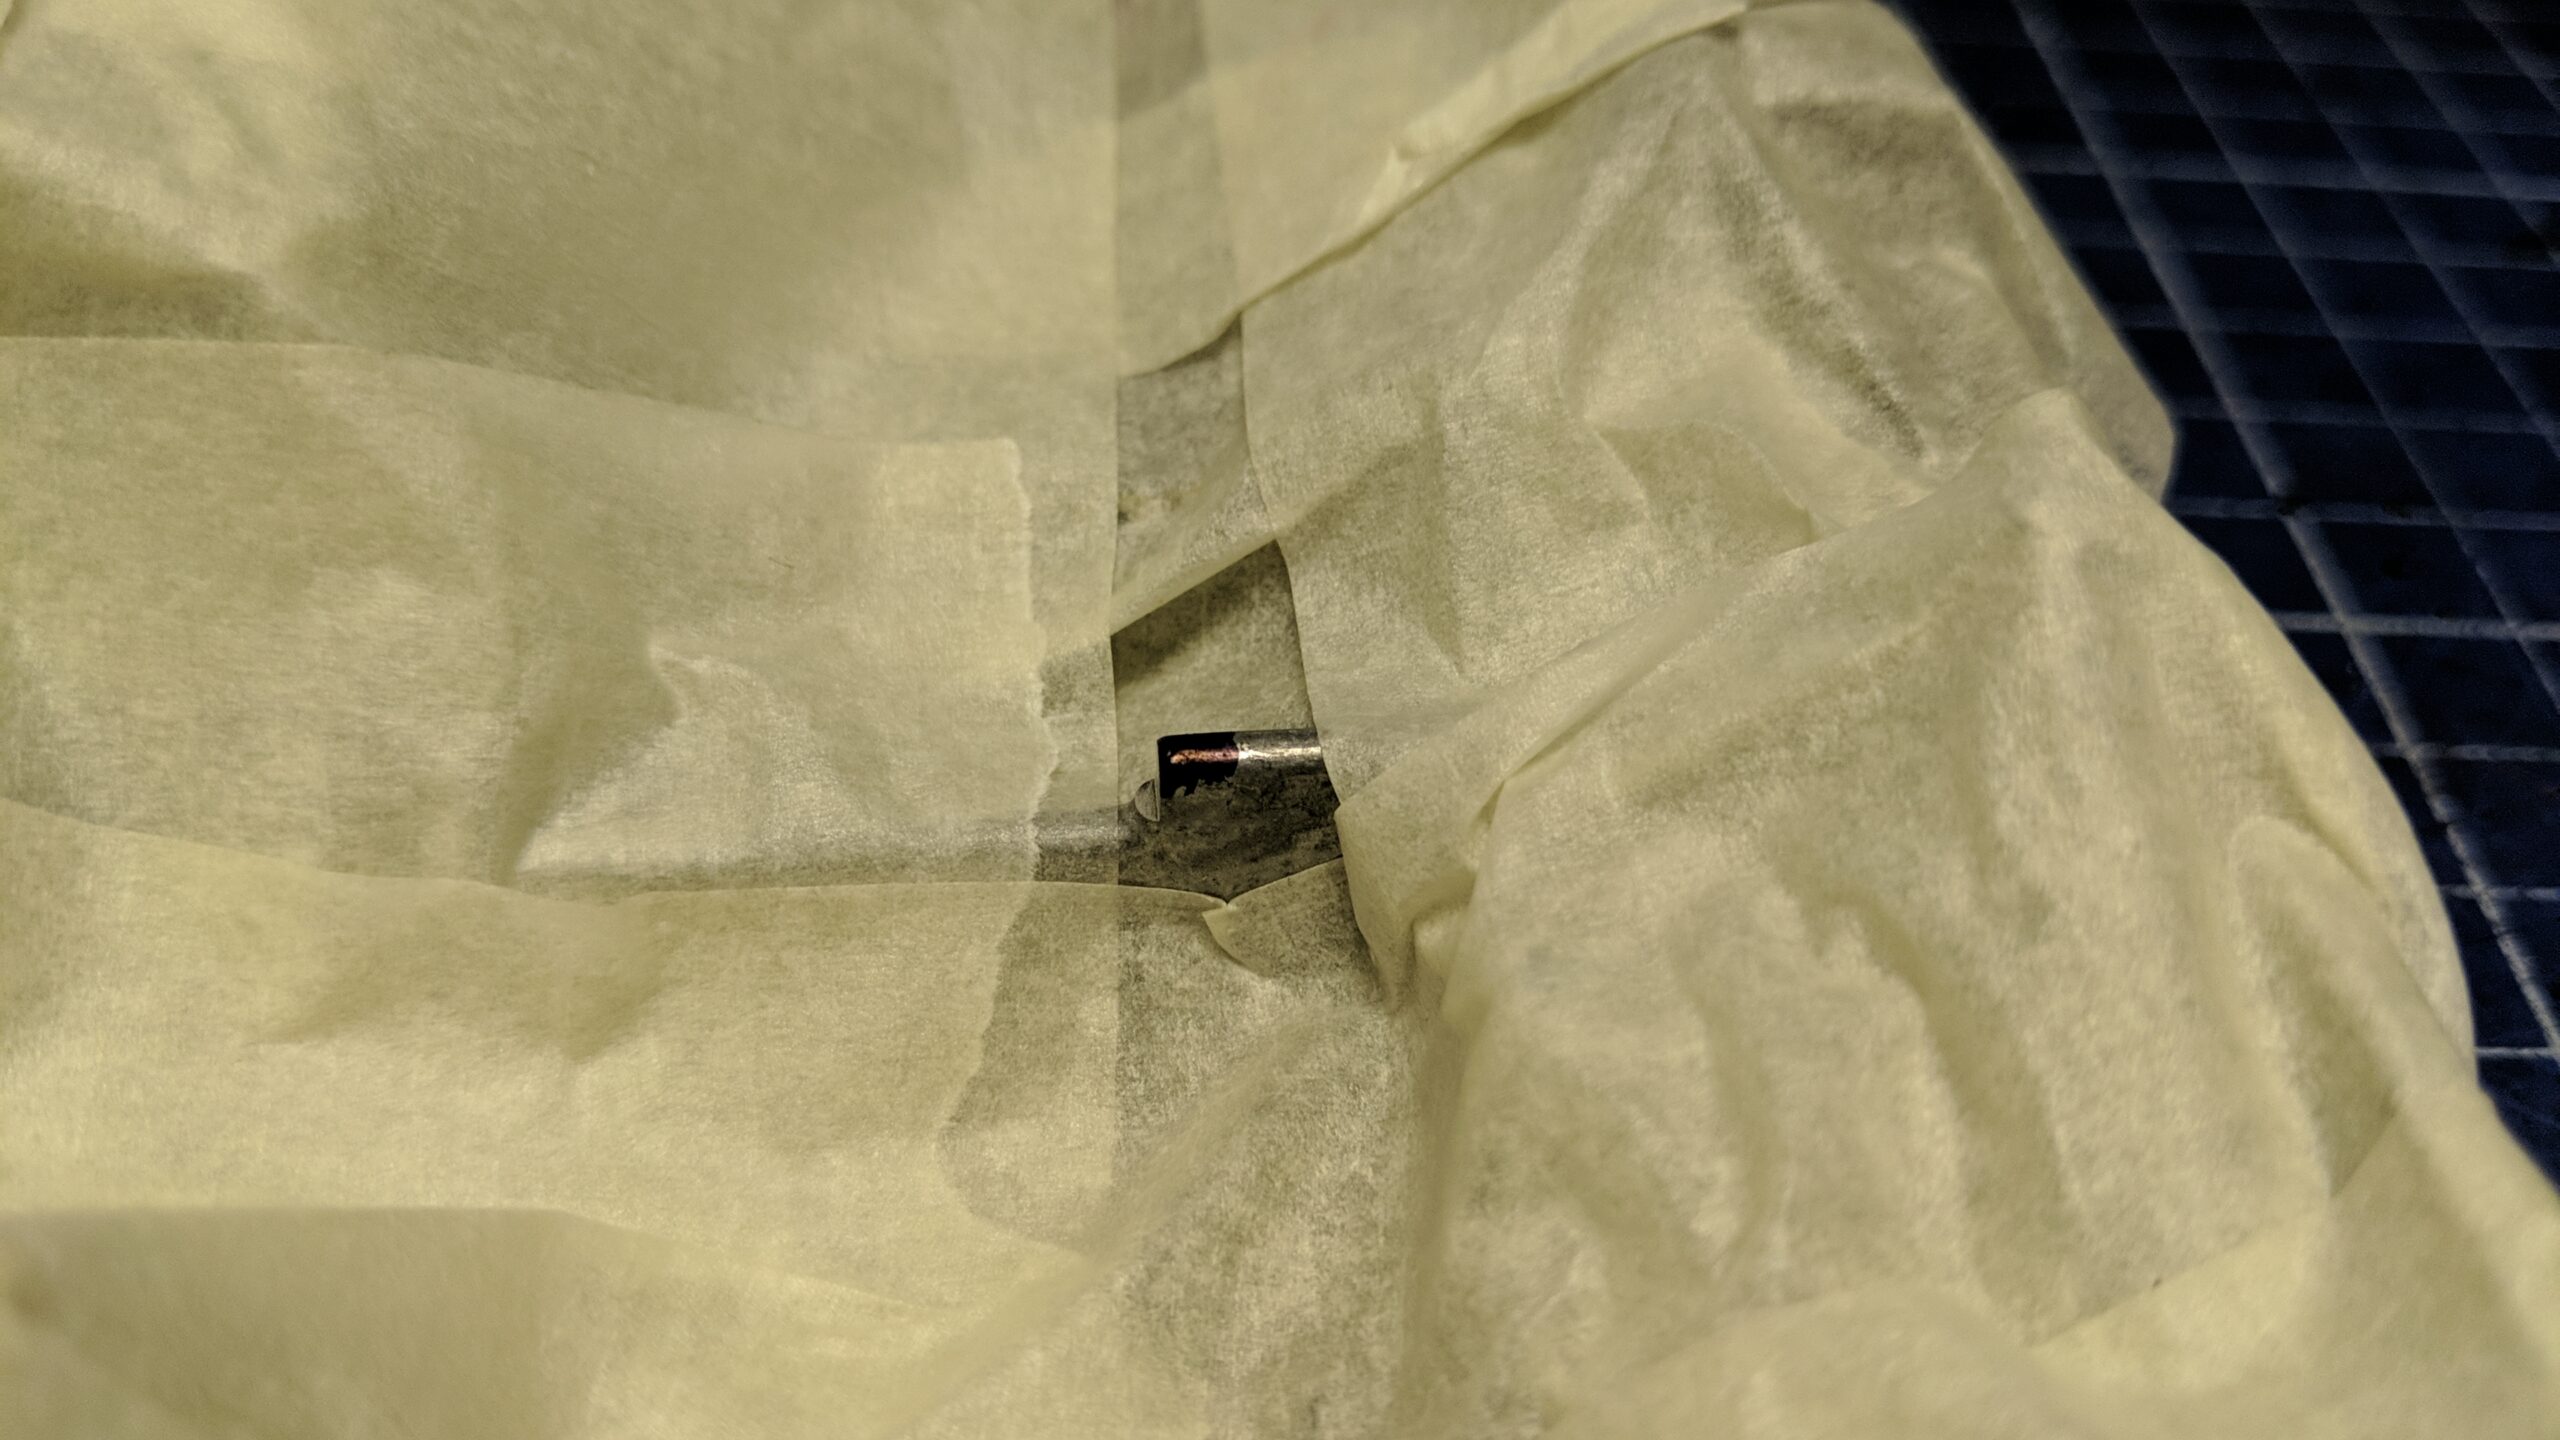
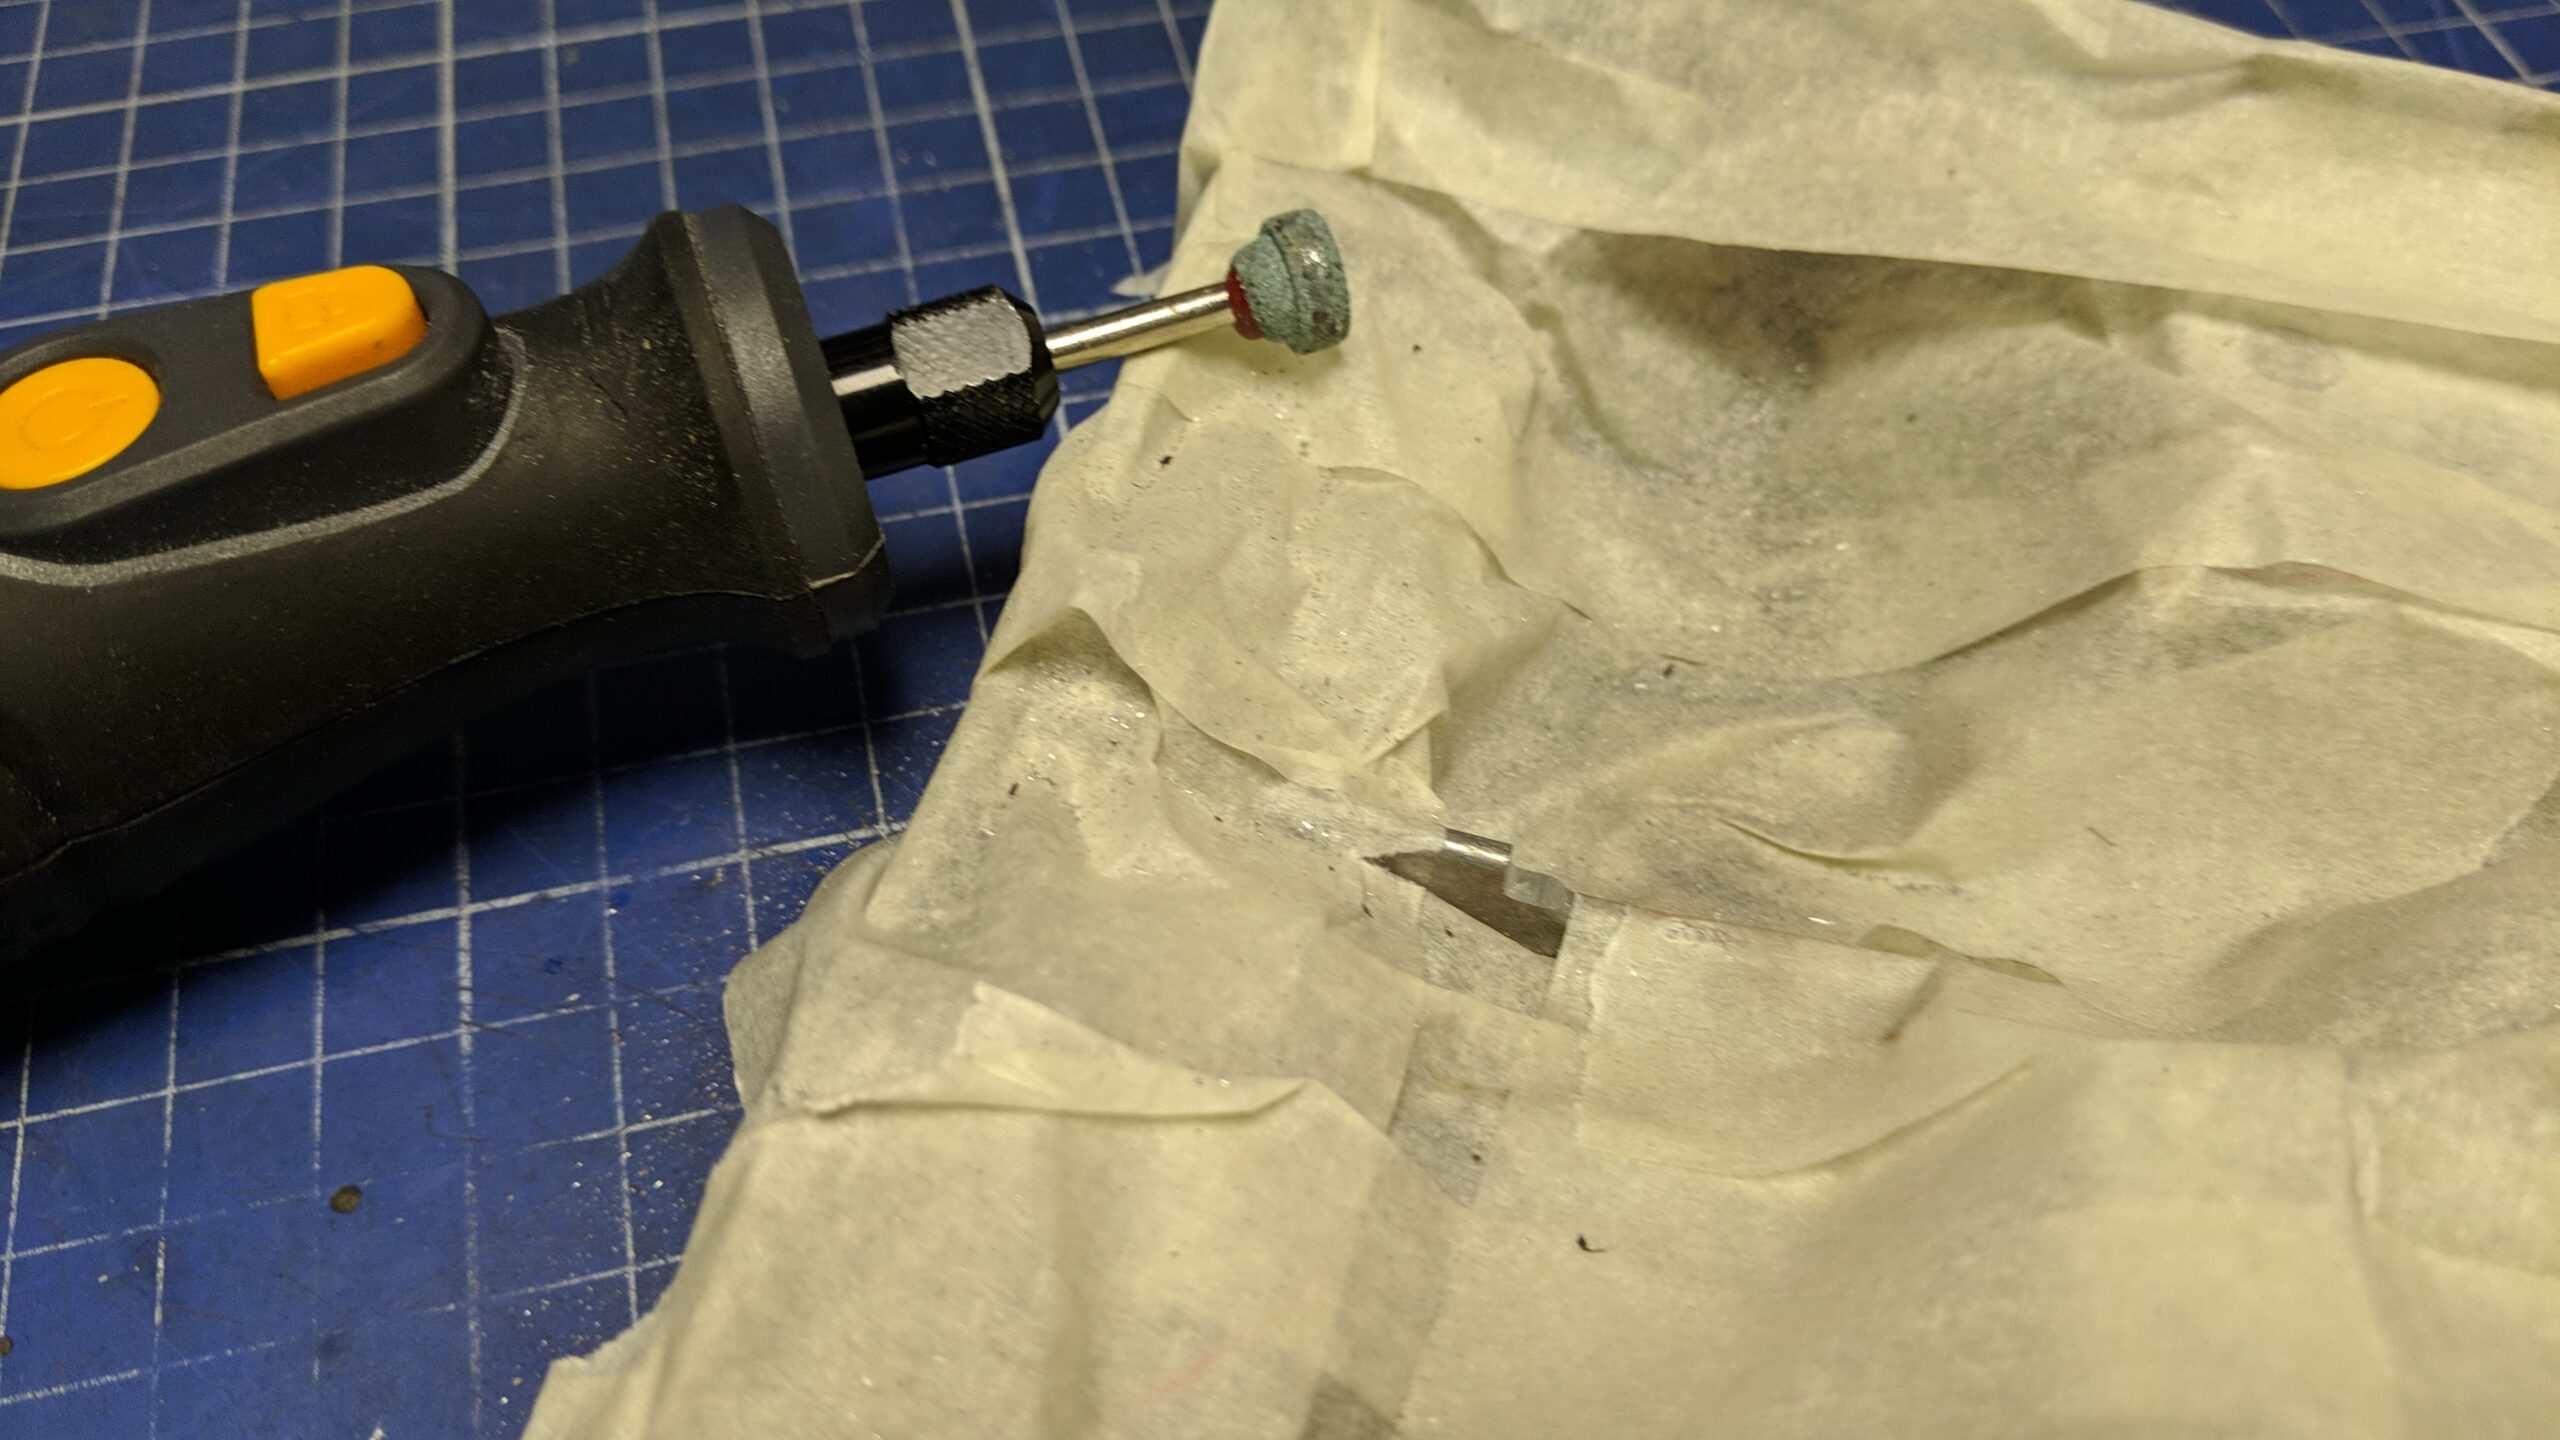
Marking some spots that will be cut with the Dremel.
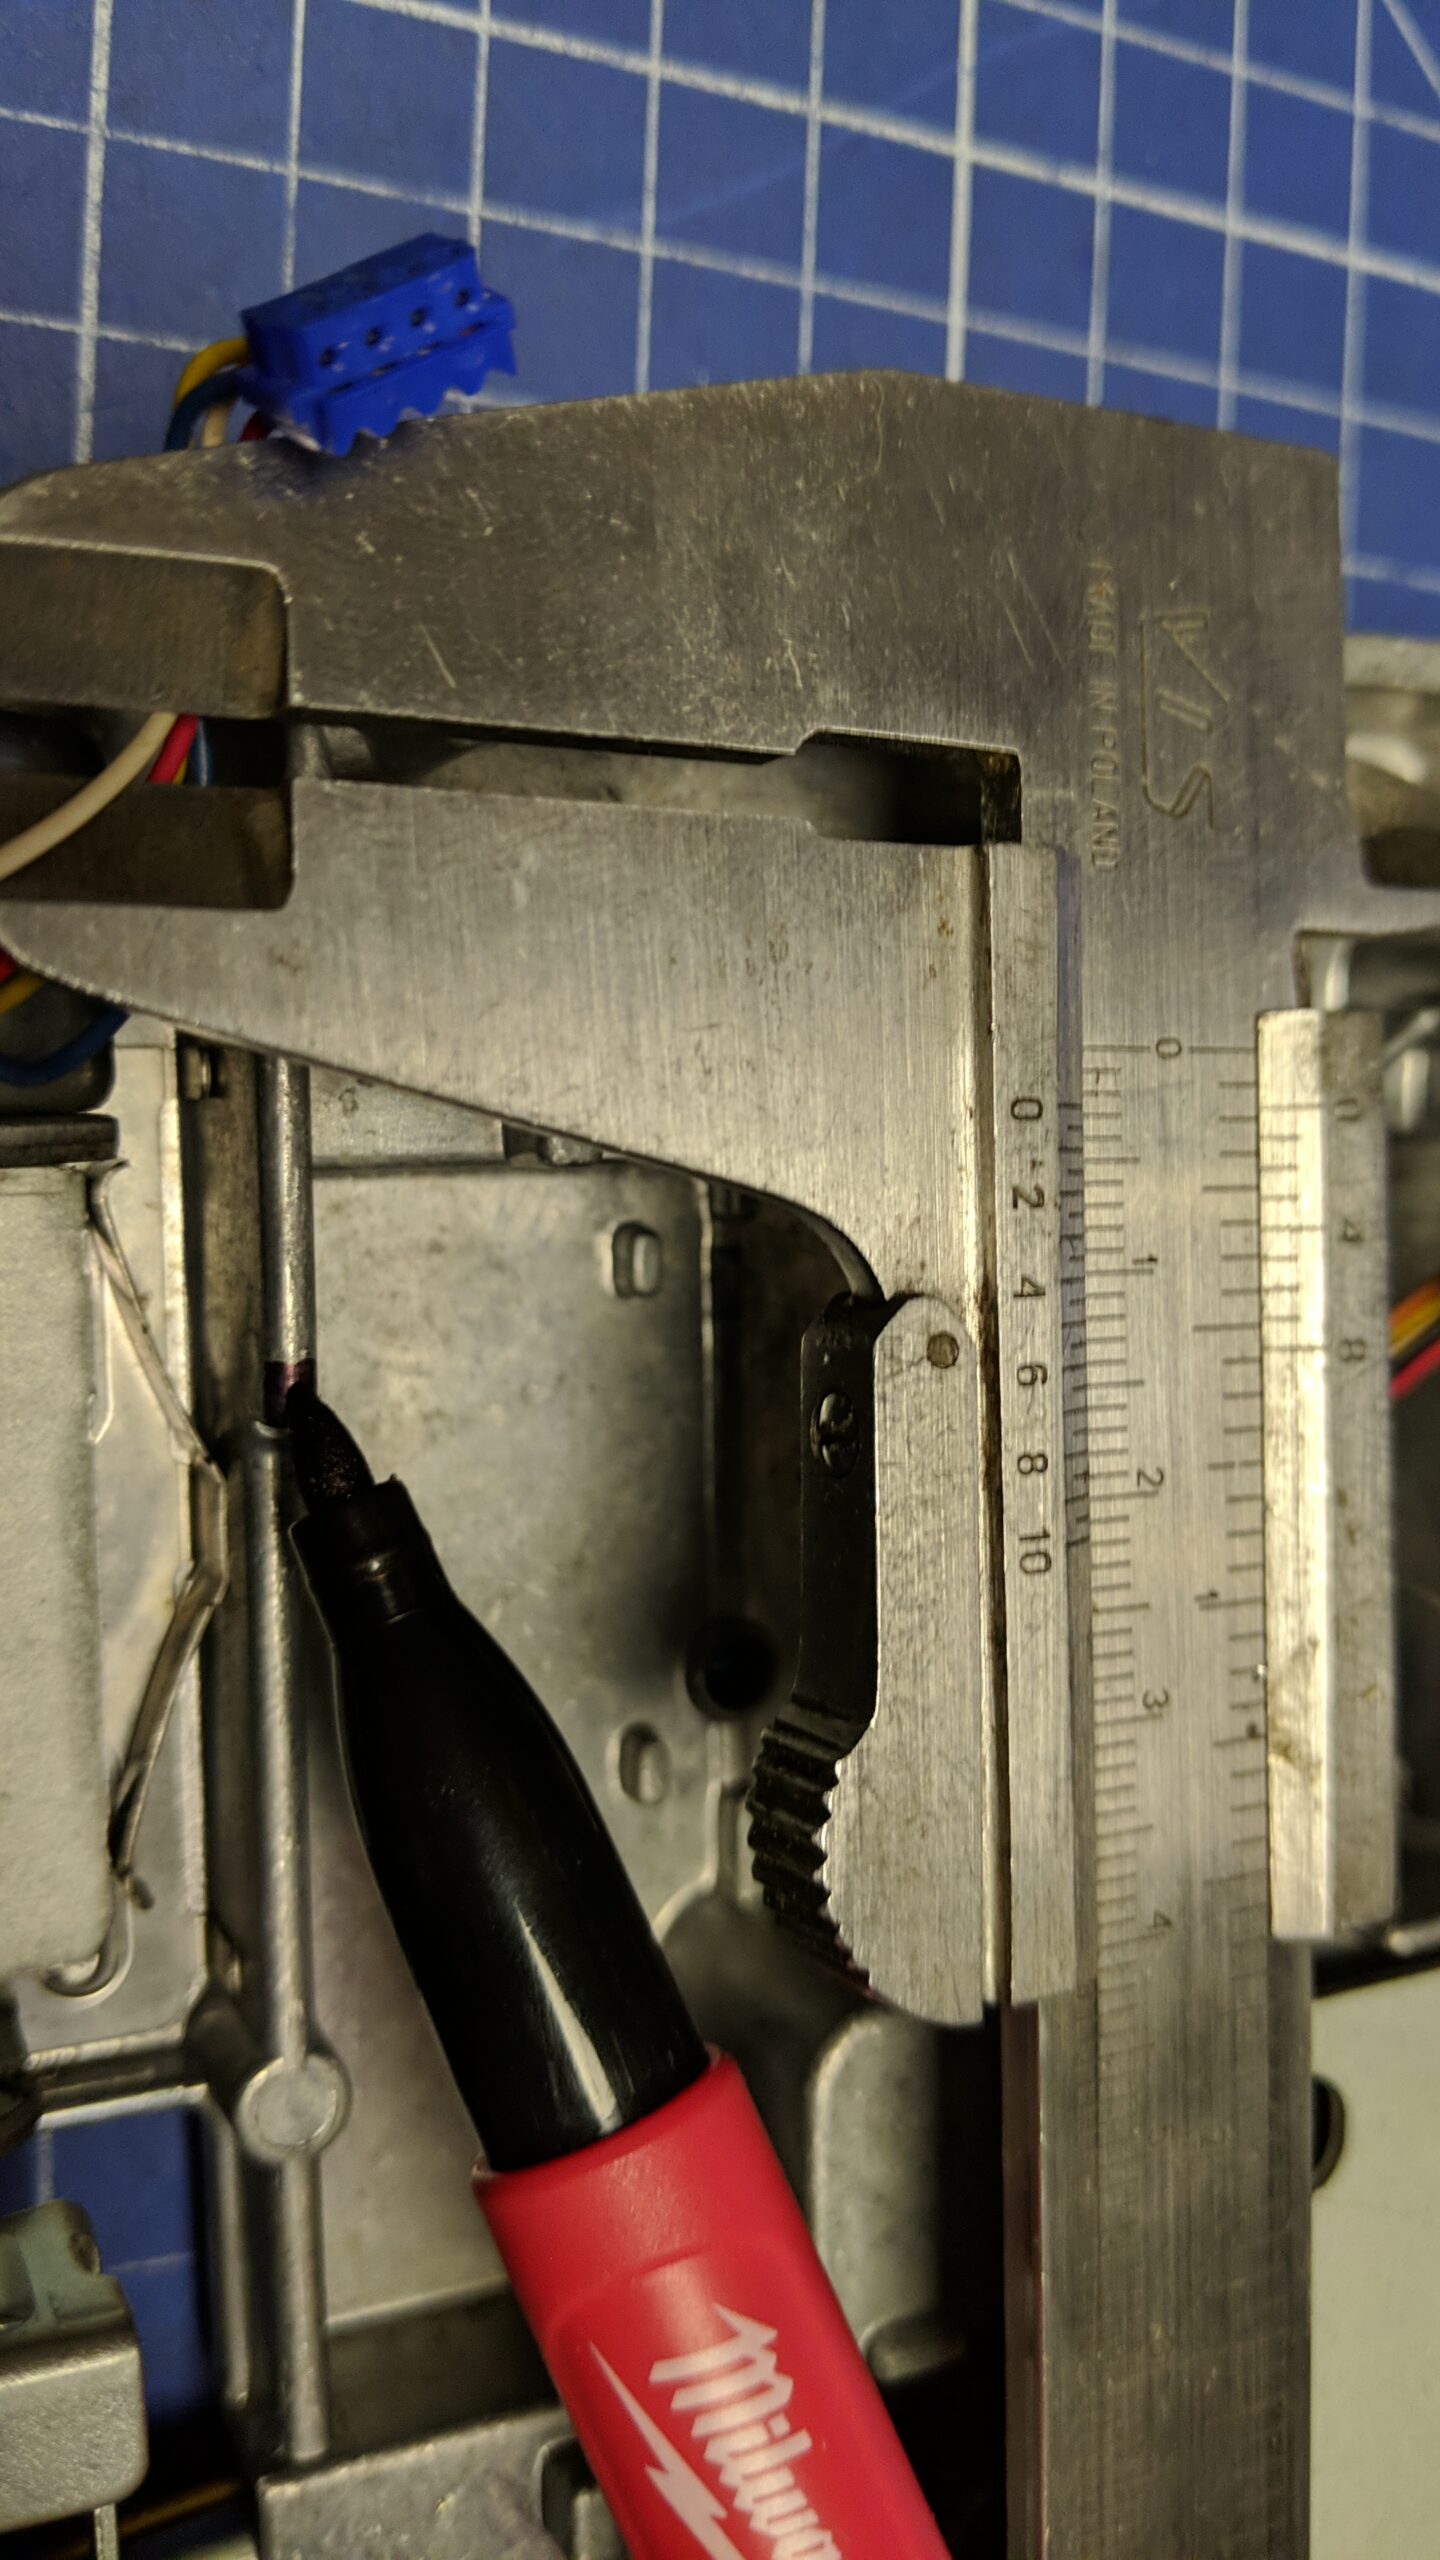
Masked with painter’s tape to the max lol 🙂 This is needed to cover all other parts from being flooded with cutting metal remains.
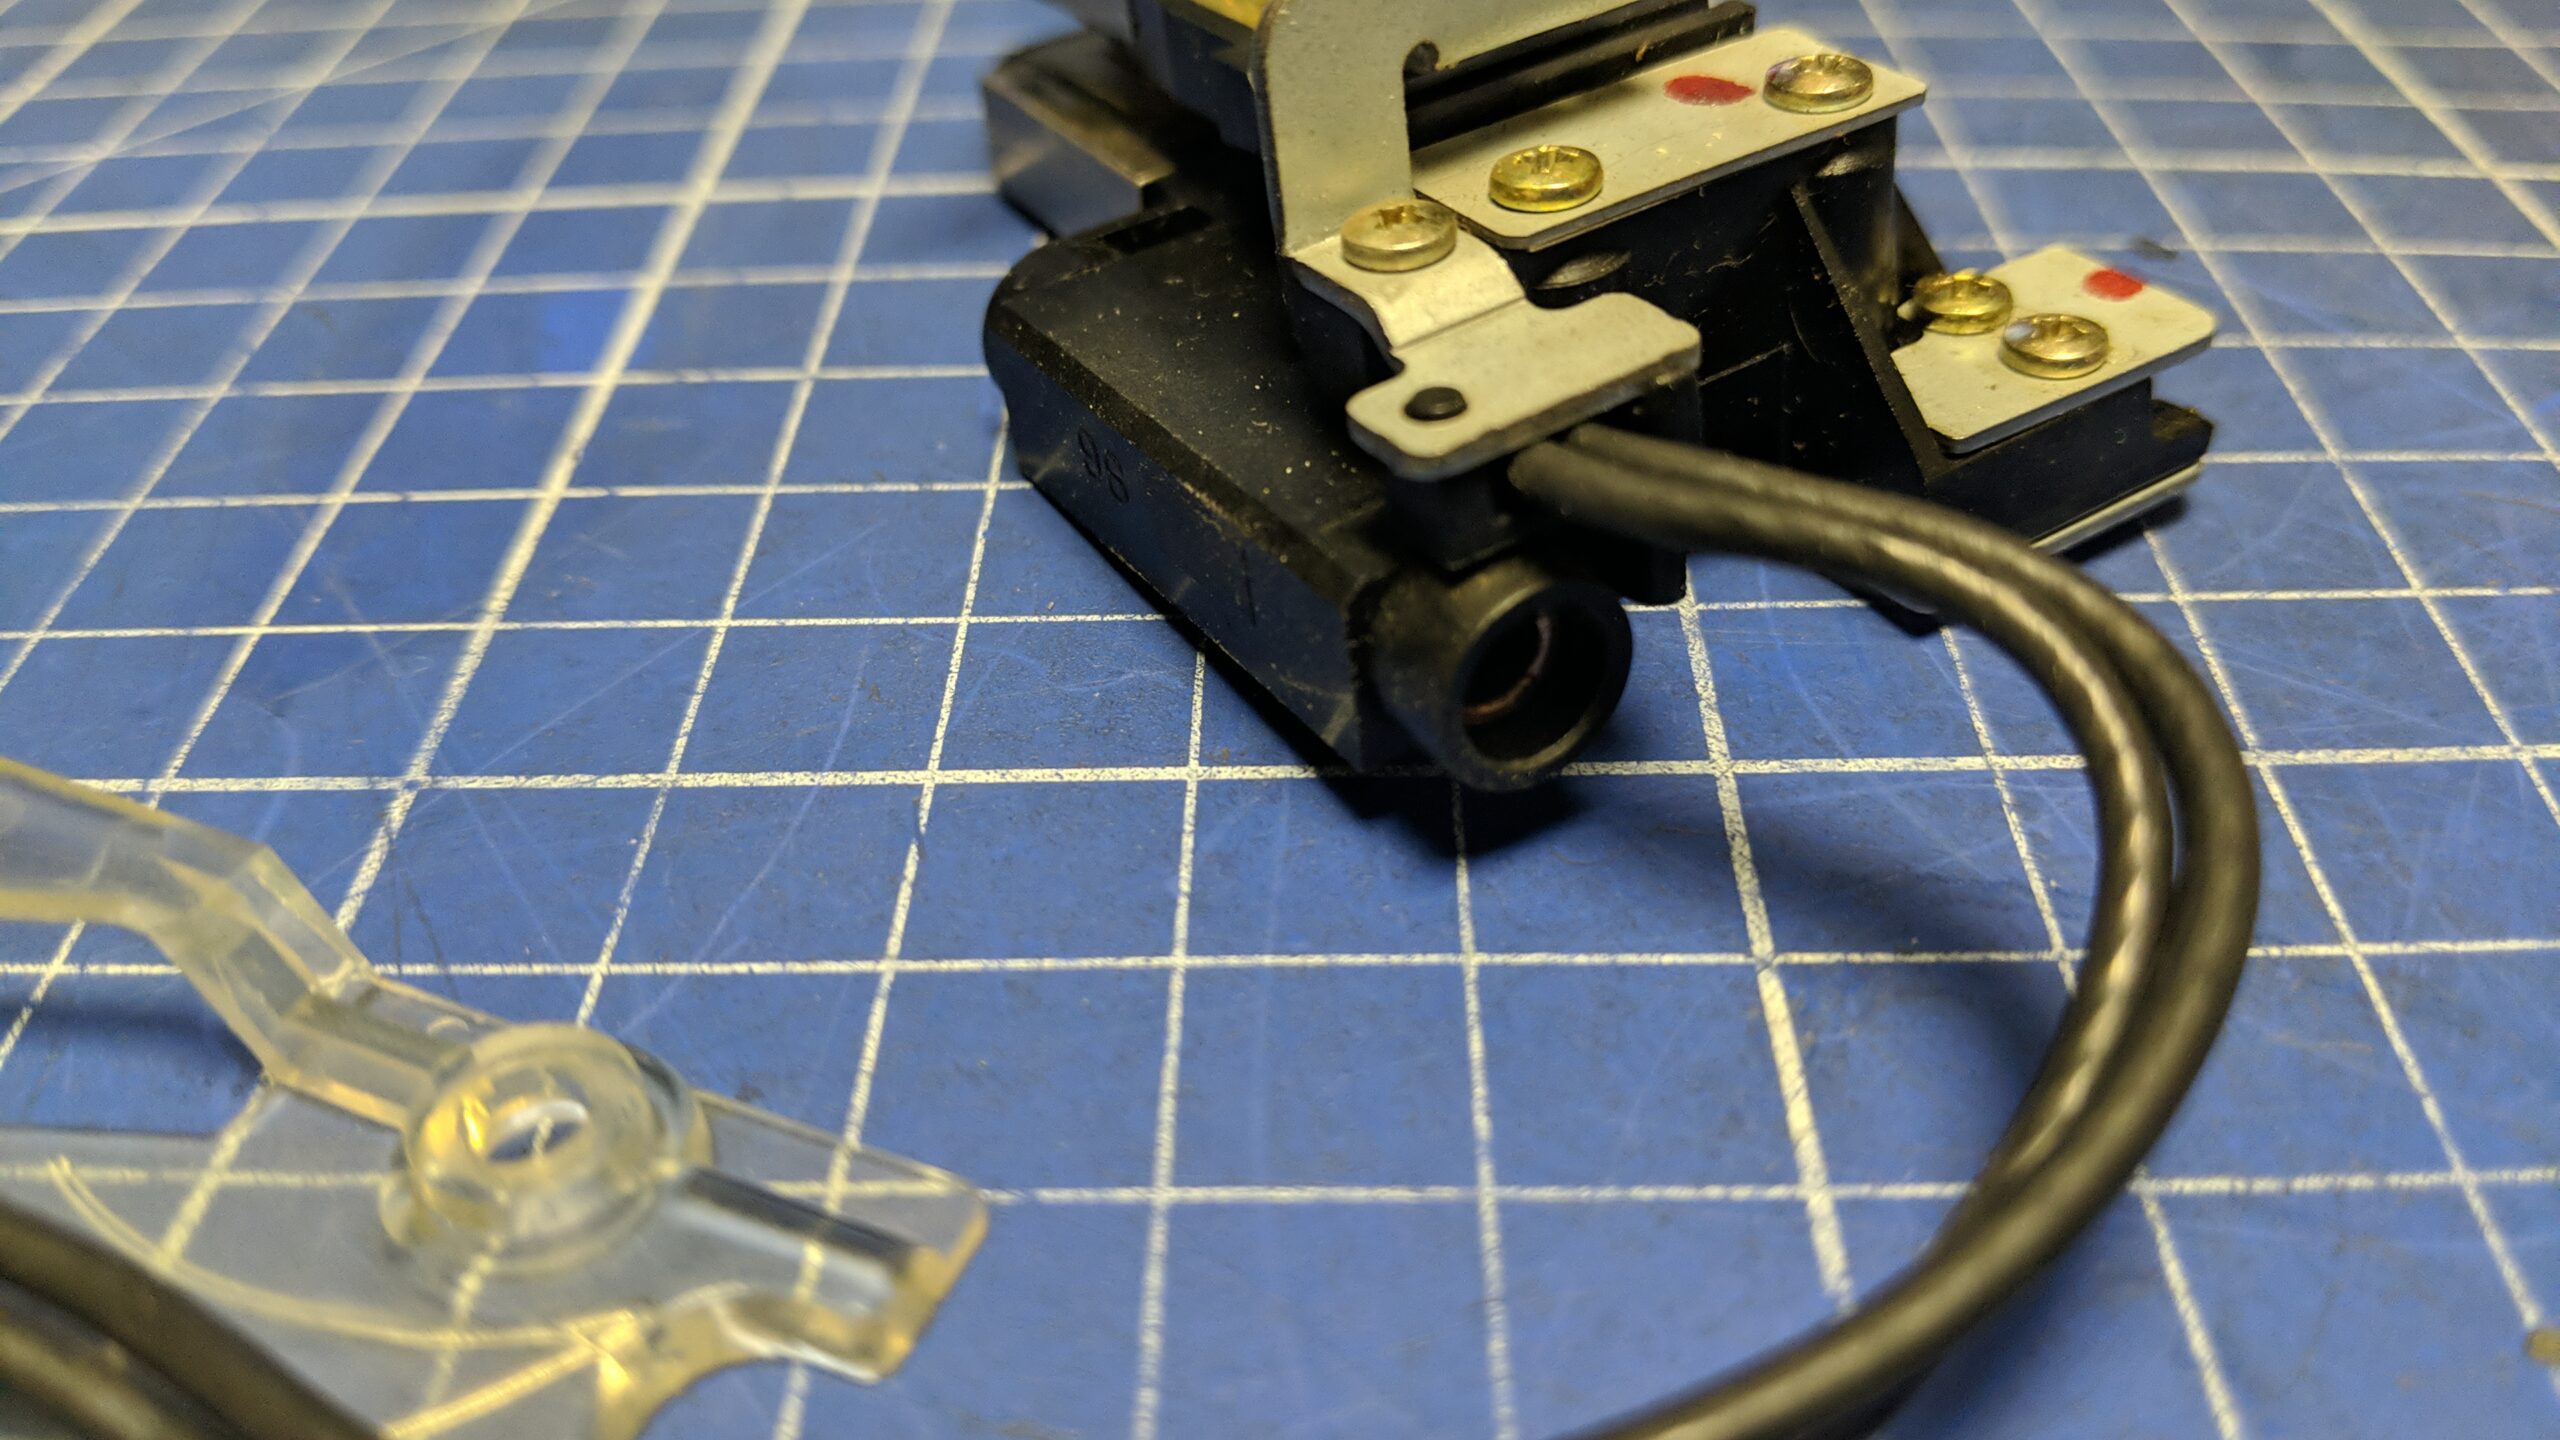
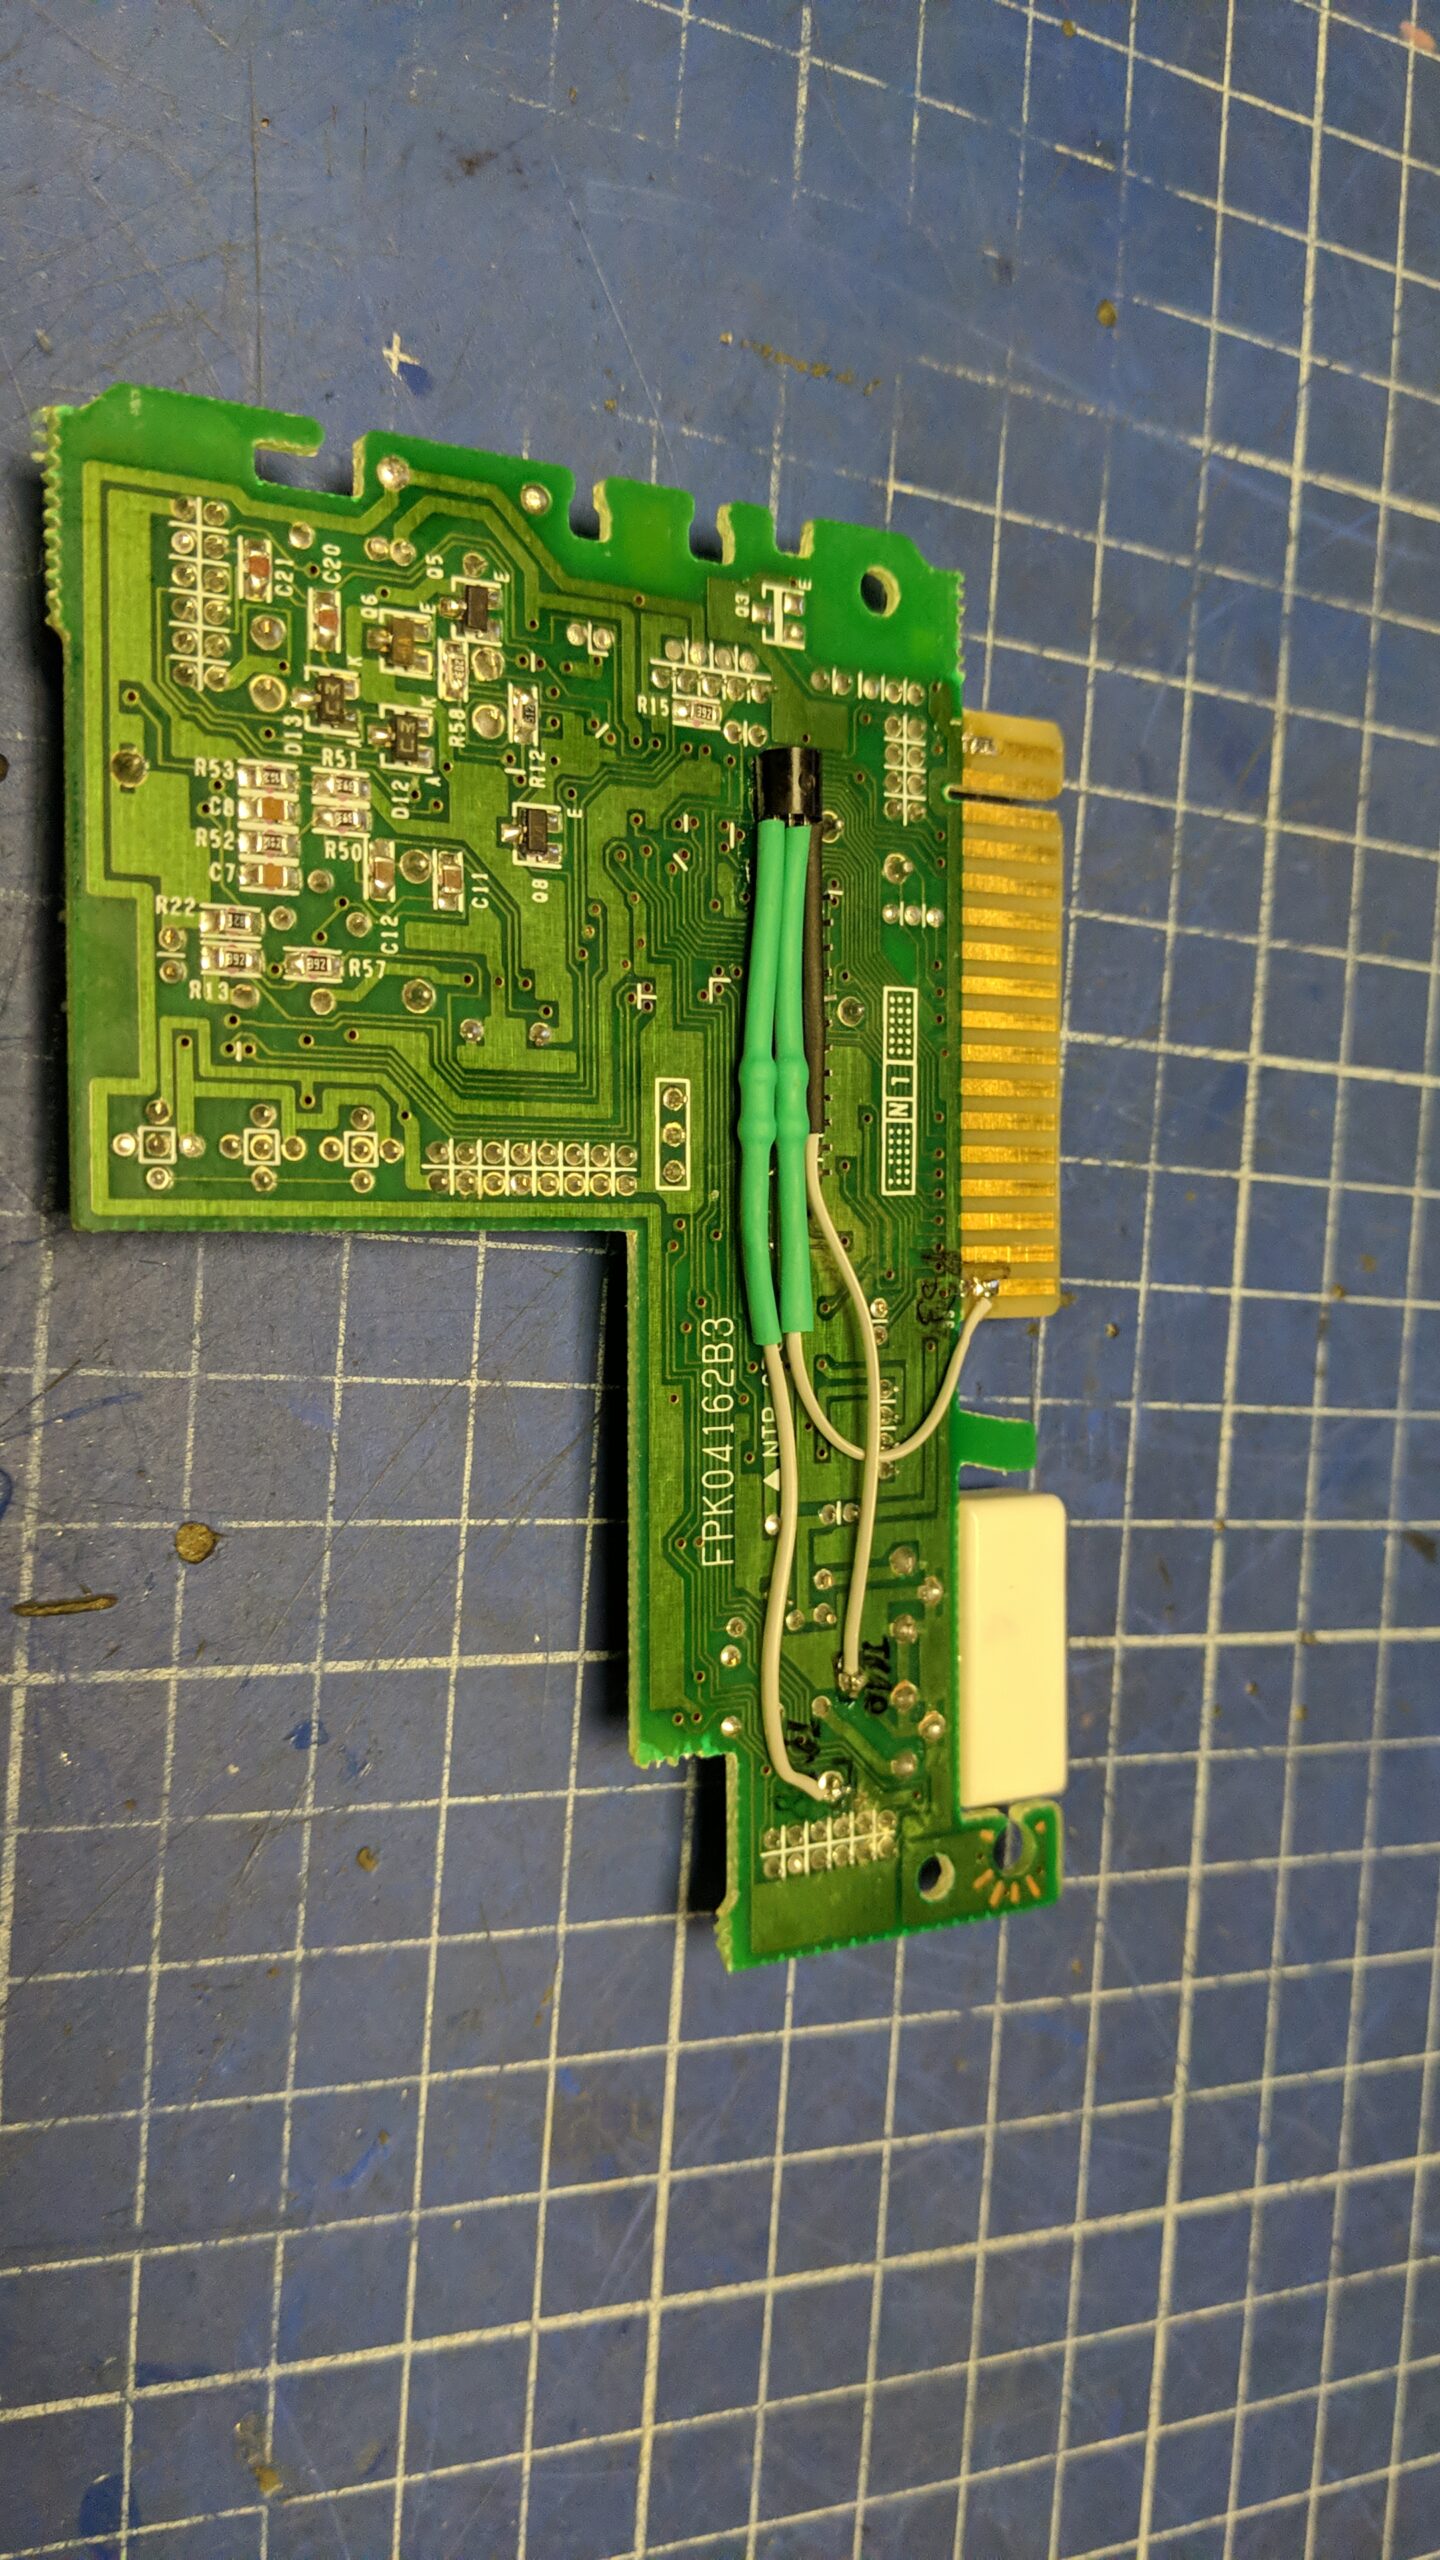
After that job, the head assembly had to be modified too.
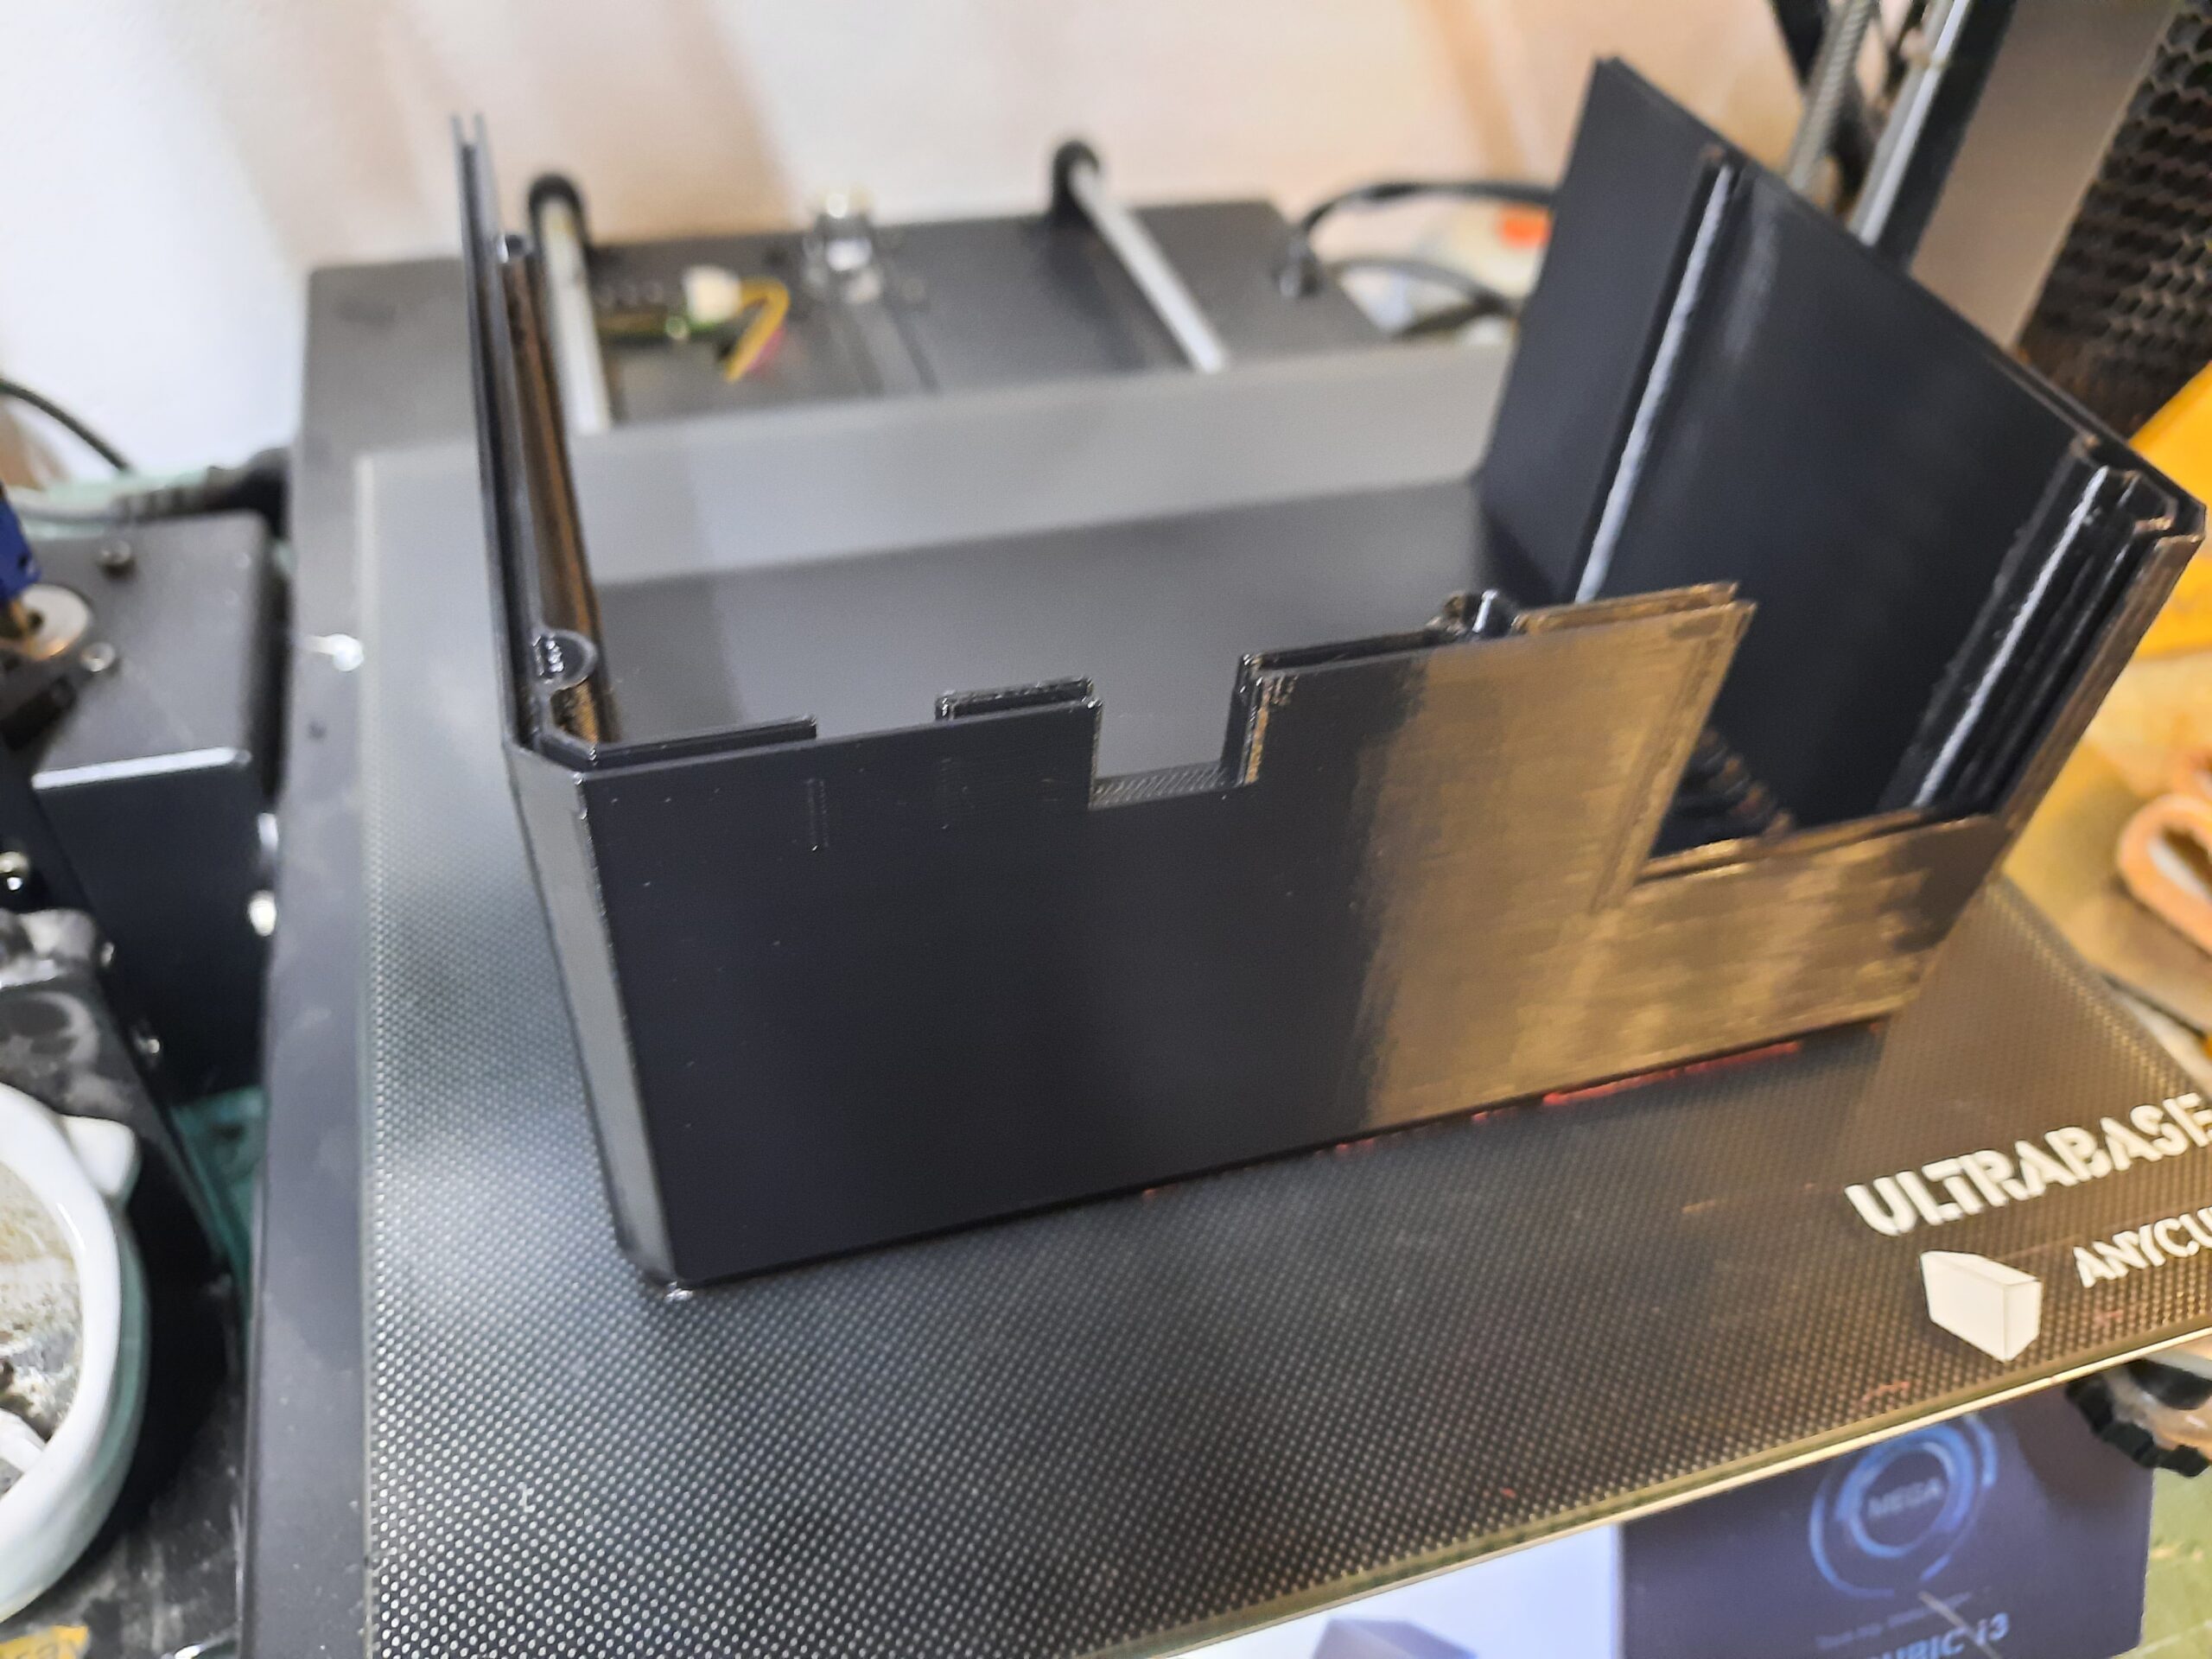
The case 2.0
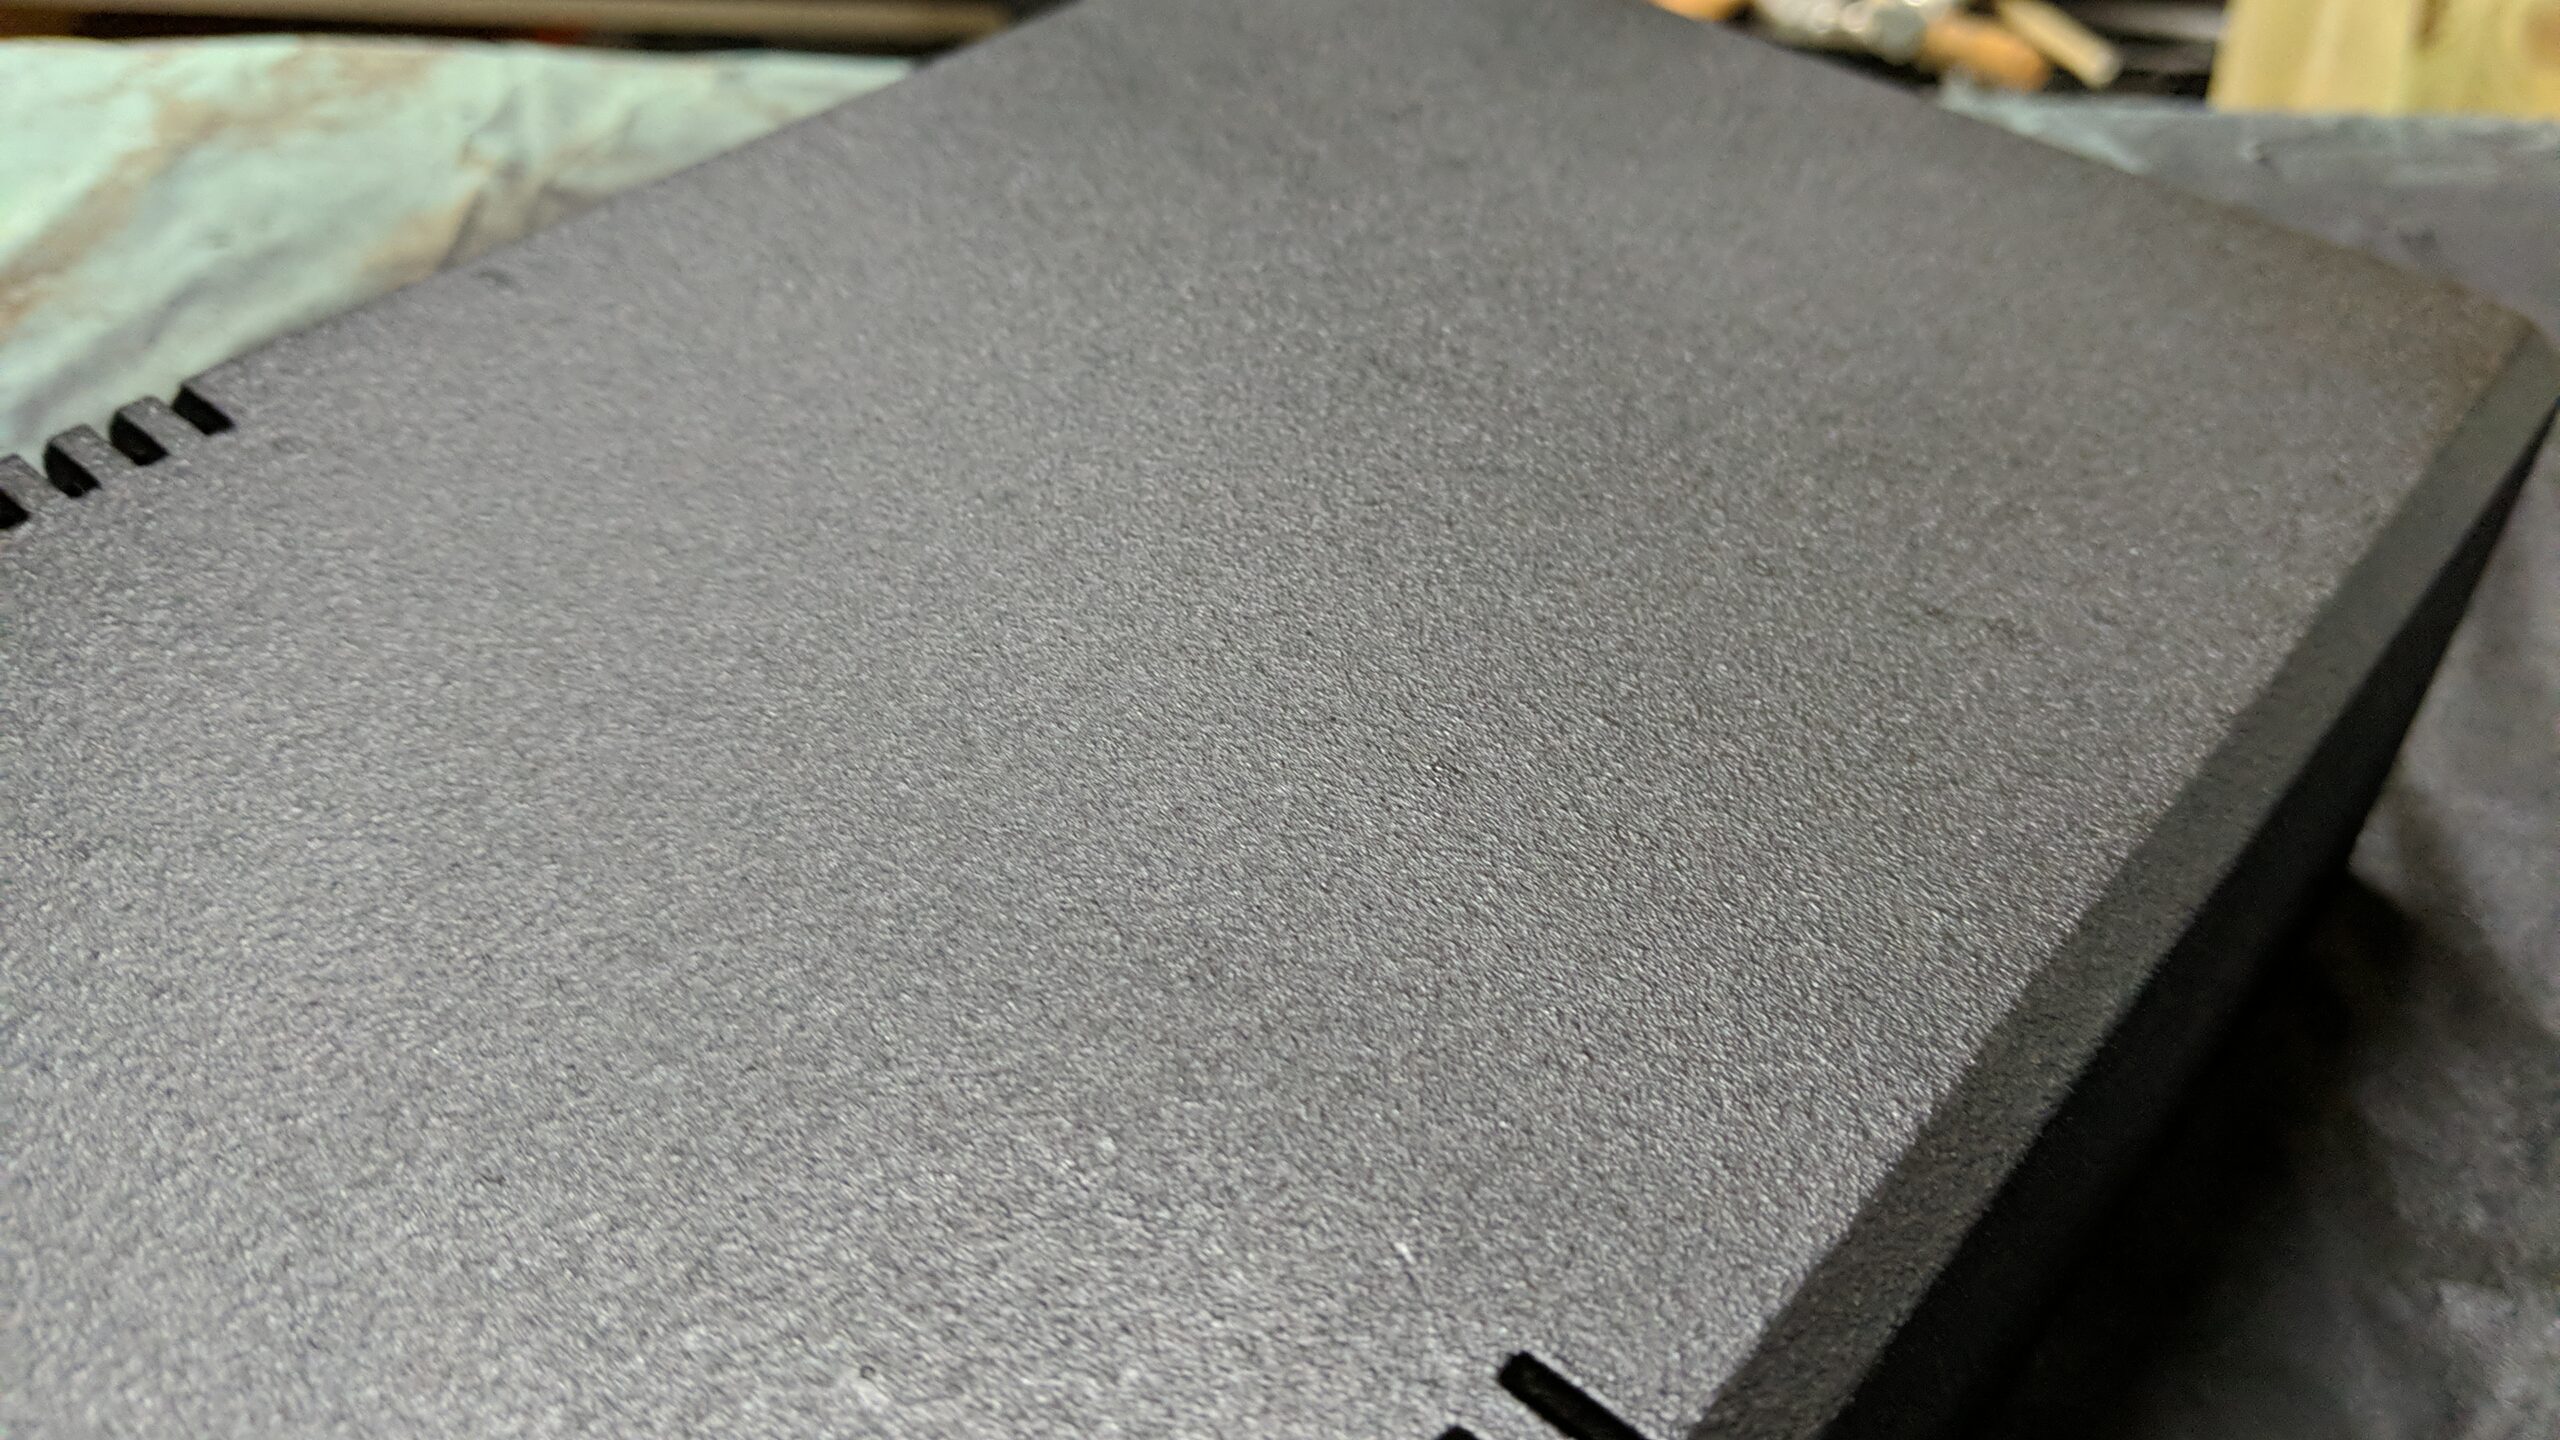
This time, it was a bit easier as I printed the case out of a nice PLA but I still had to work on the post-processing a bit and cover it all with cool structural paint afterward.
Stitching as usual …
… putty as usual …
… and dull process of putty then sanding then primer, then sanding then primer, then base layer then two final layers 🙂
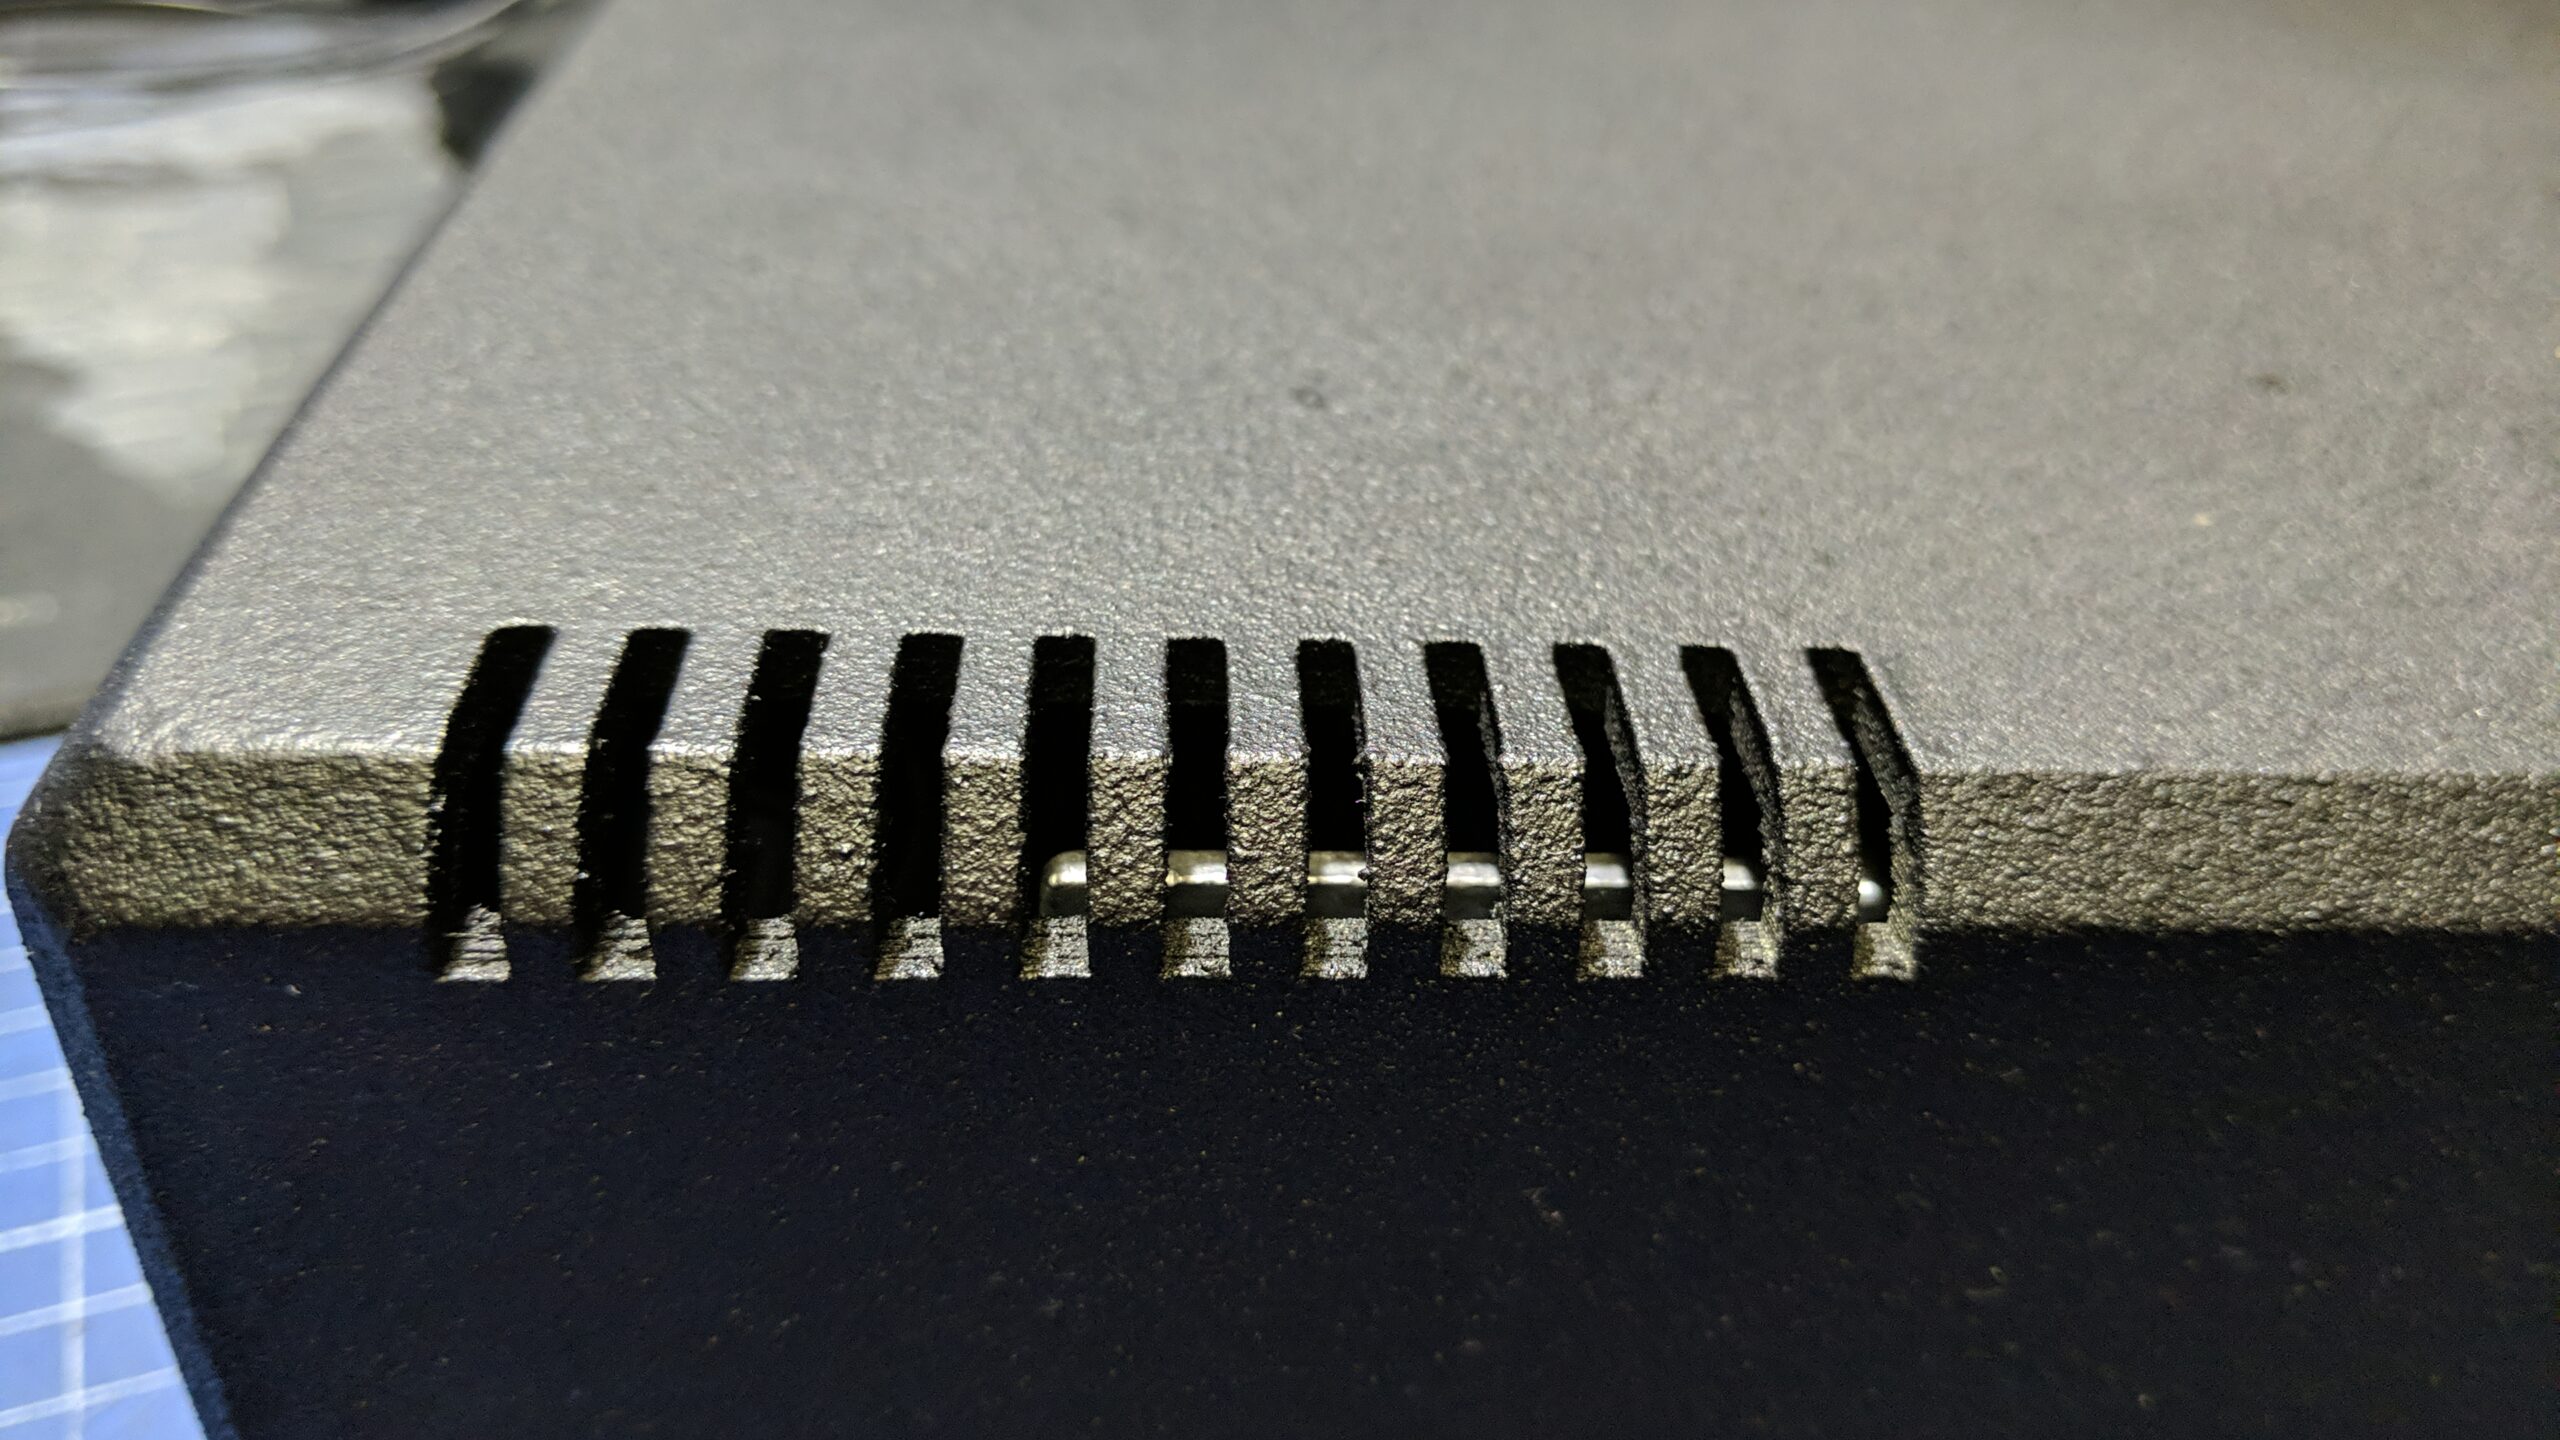
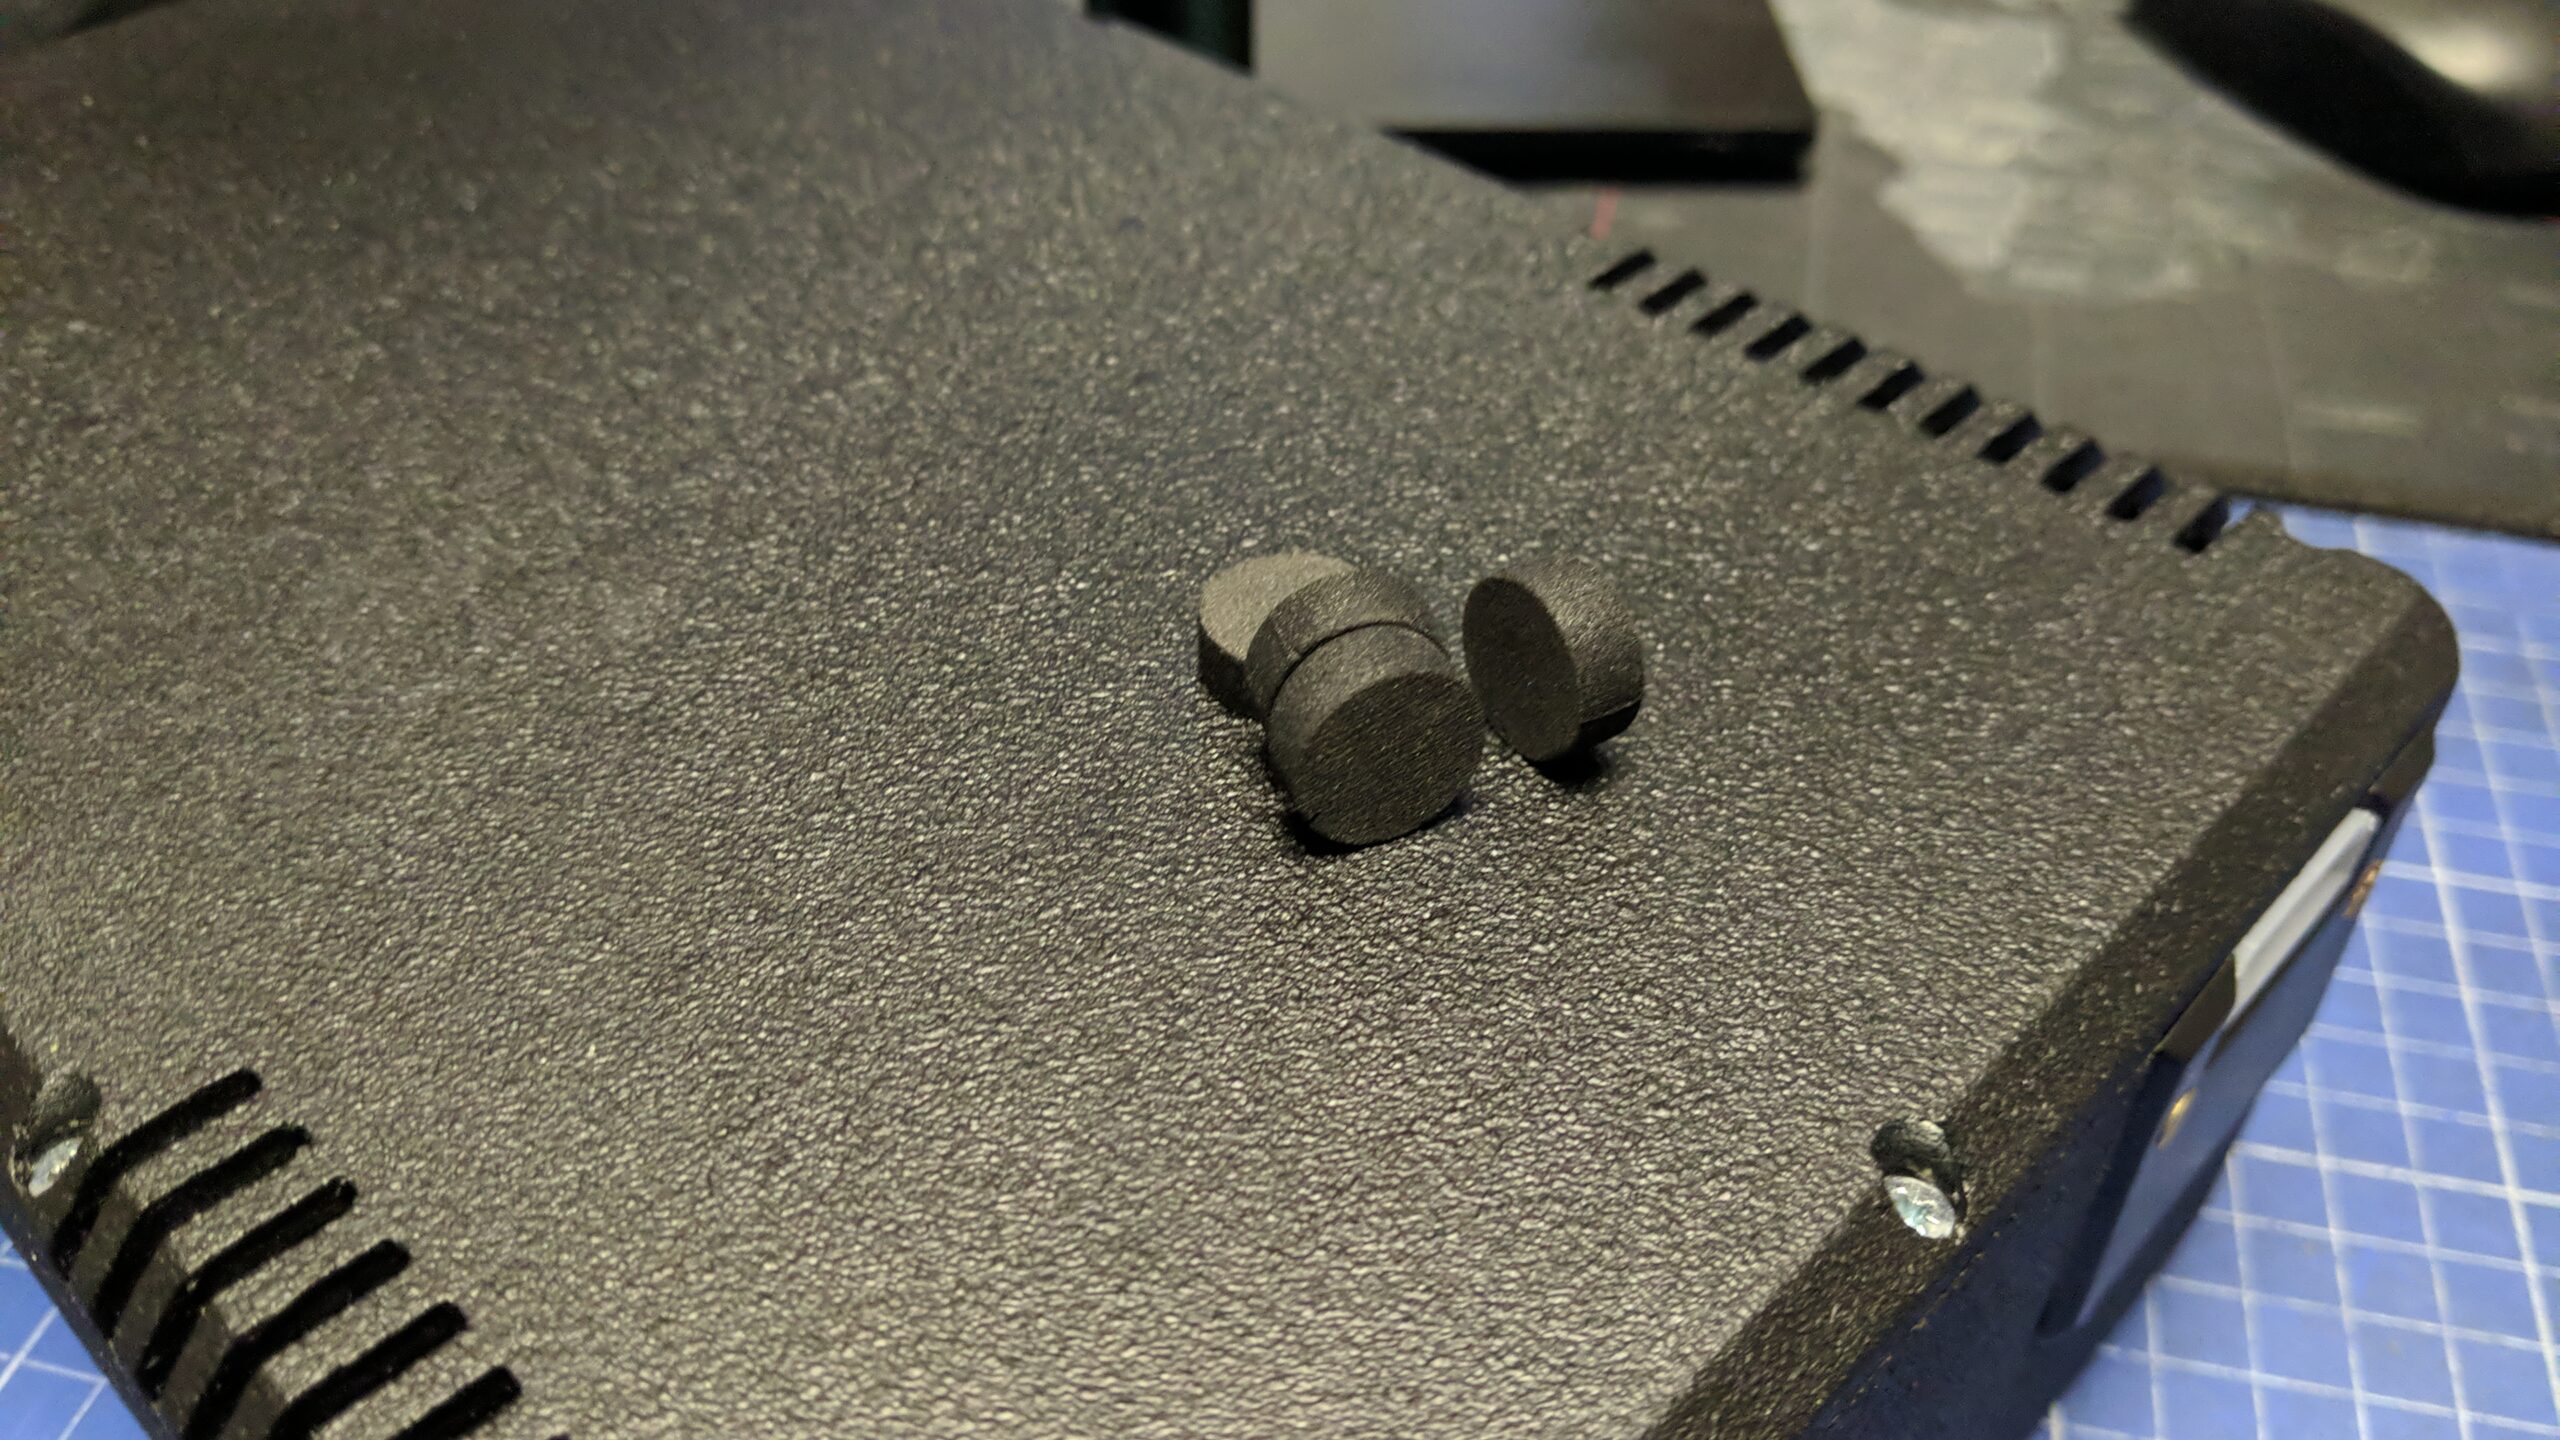
To finish the case, I’ve again added some laser-cut feet.
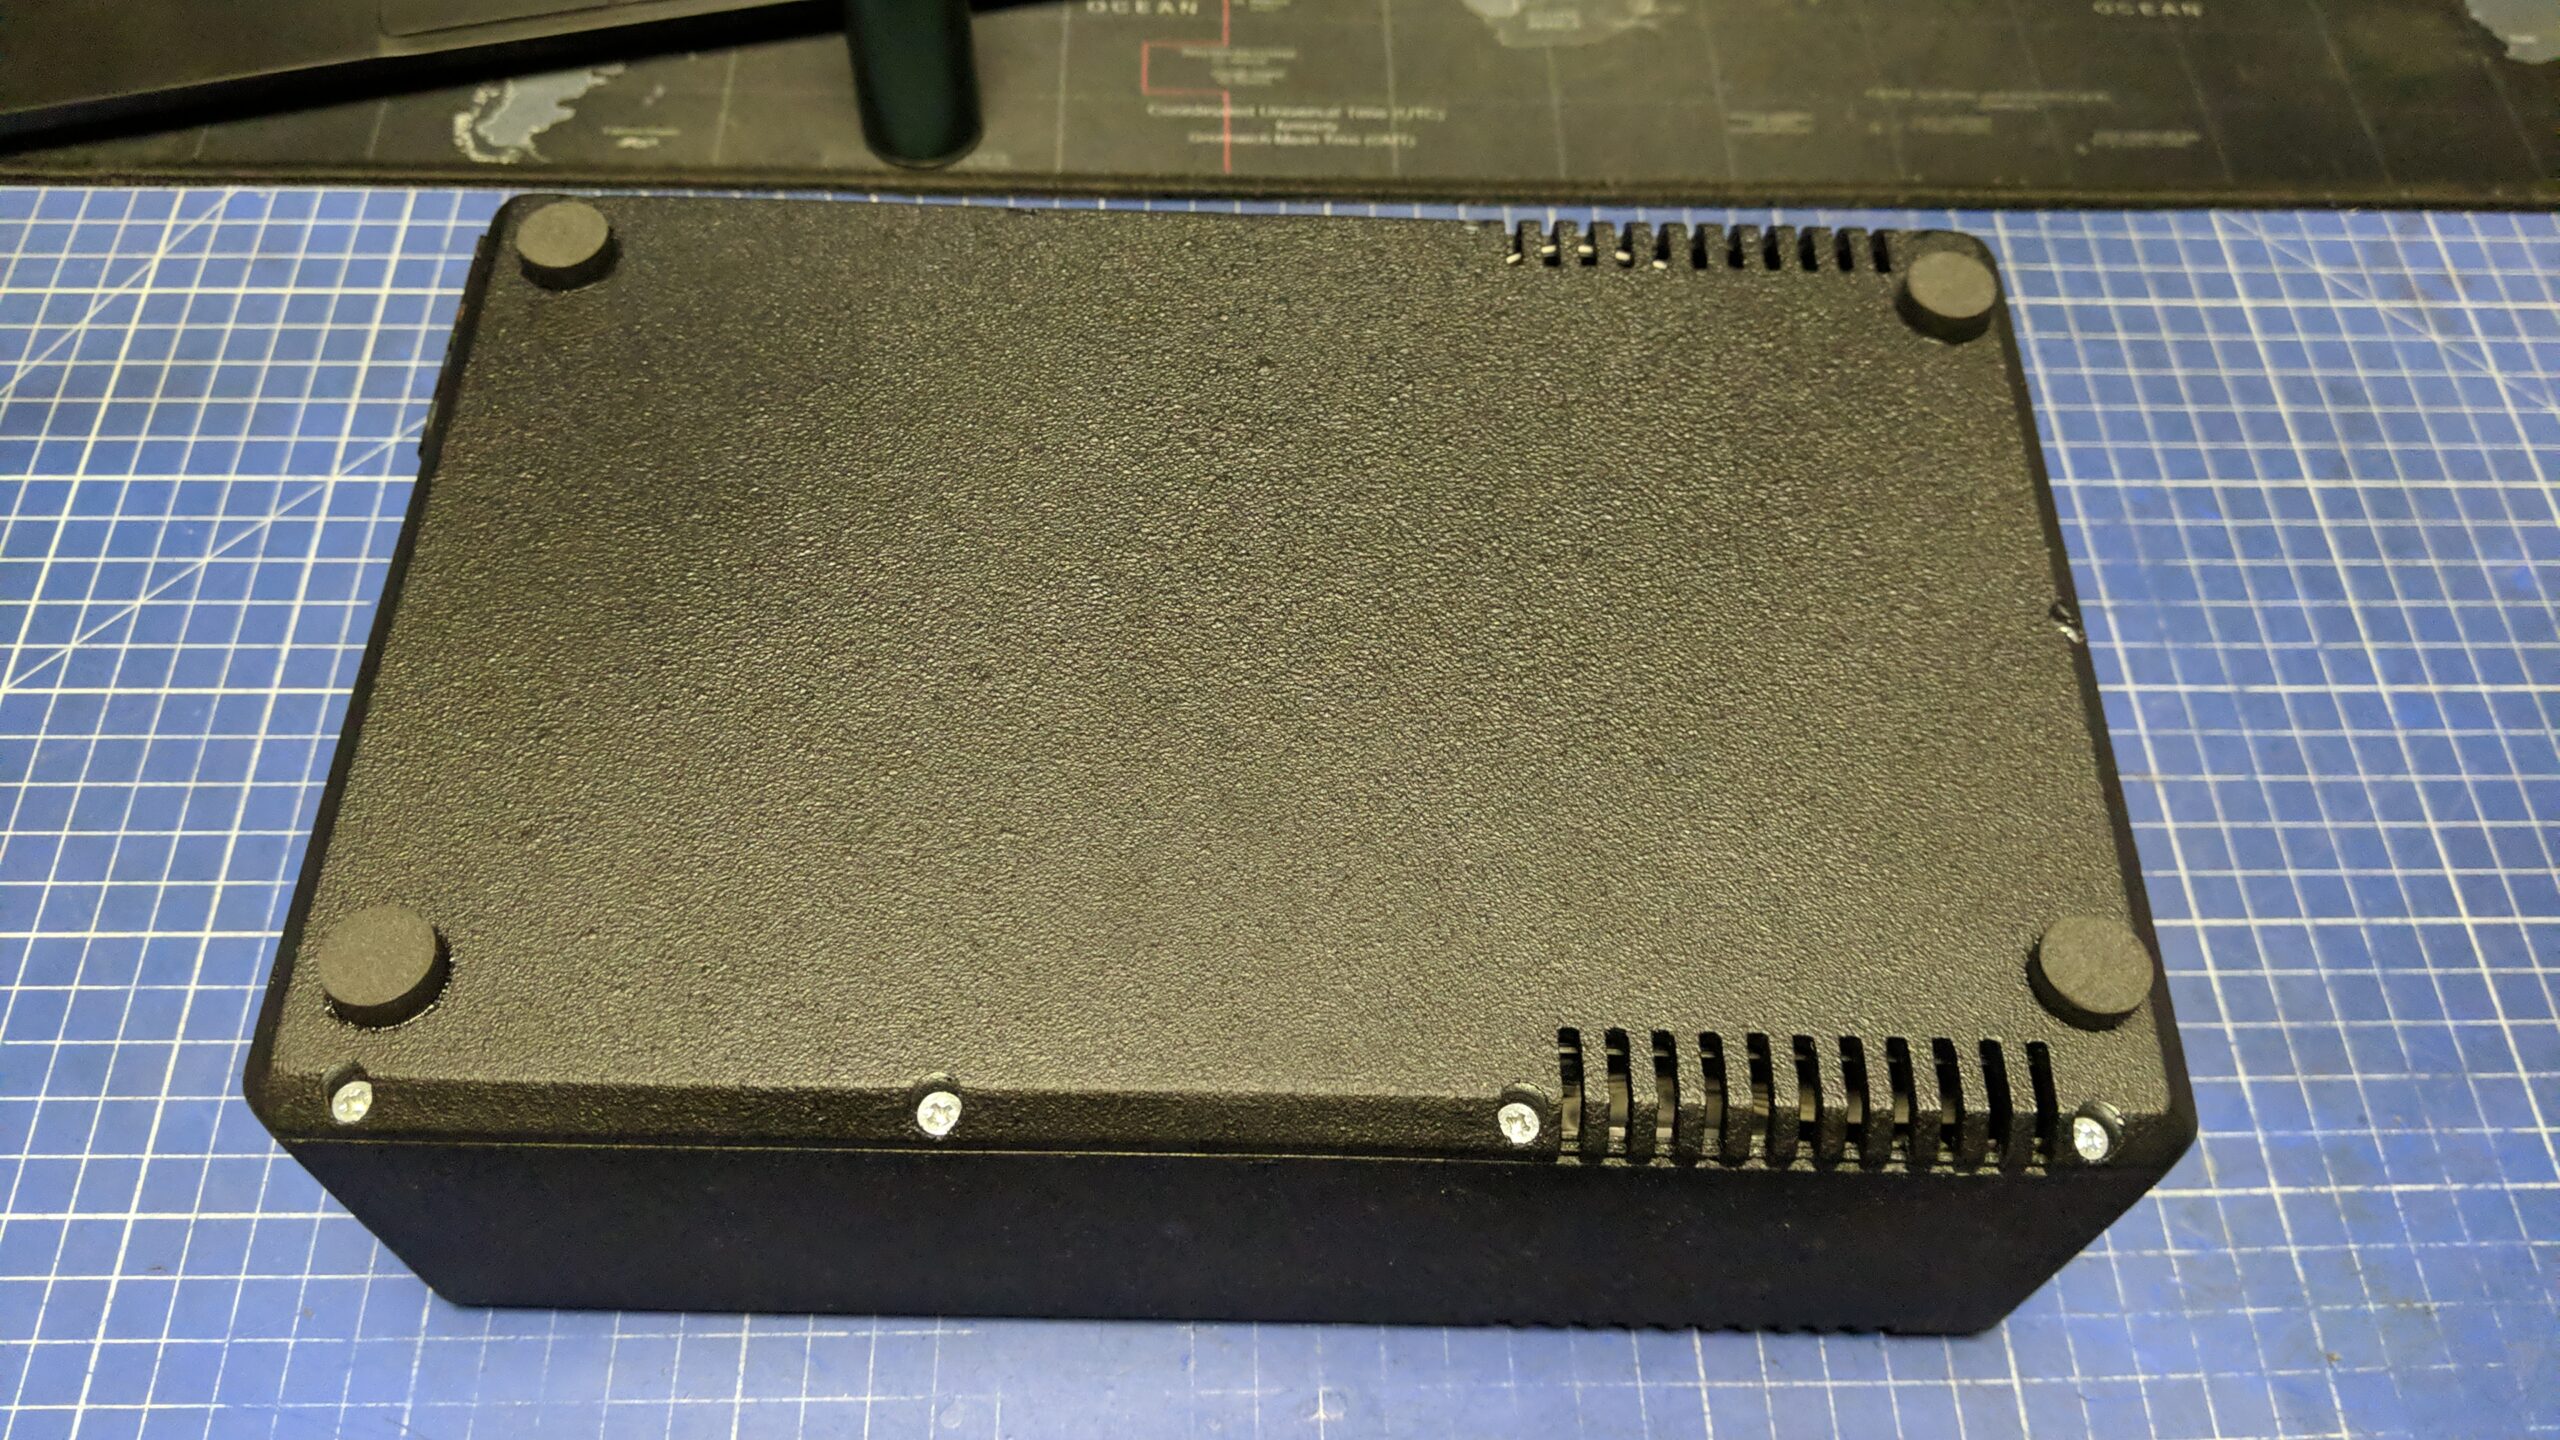
Drives and the outcome
All (white) drive front panels were spray-painted too.
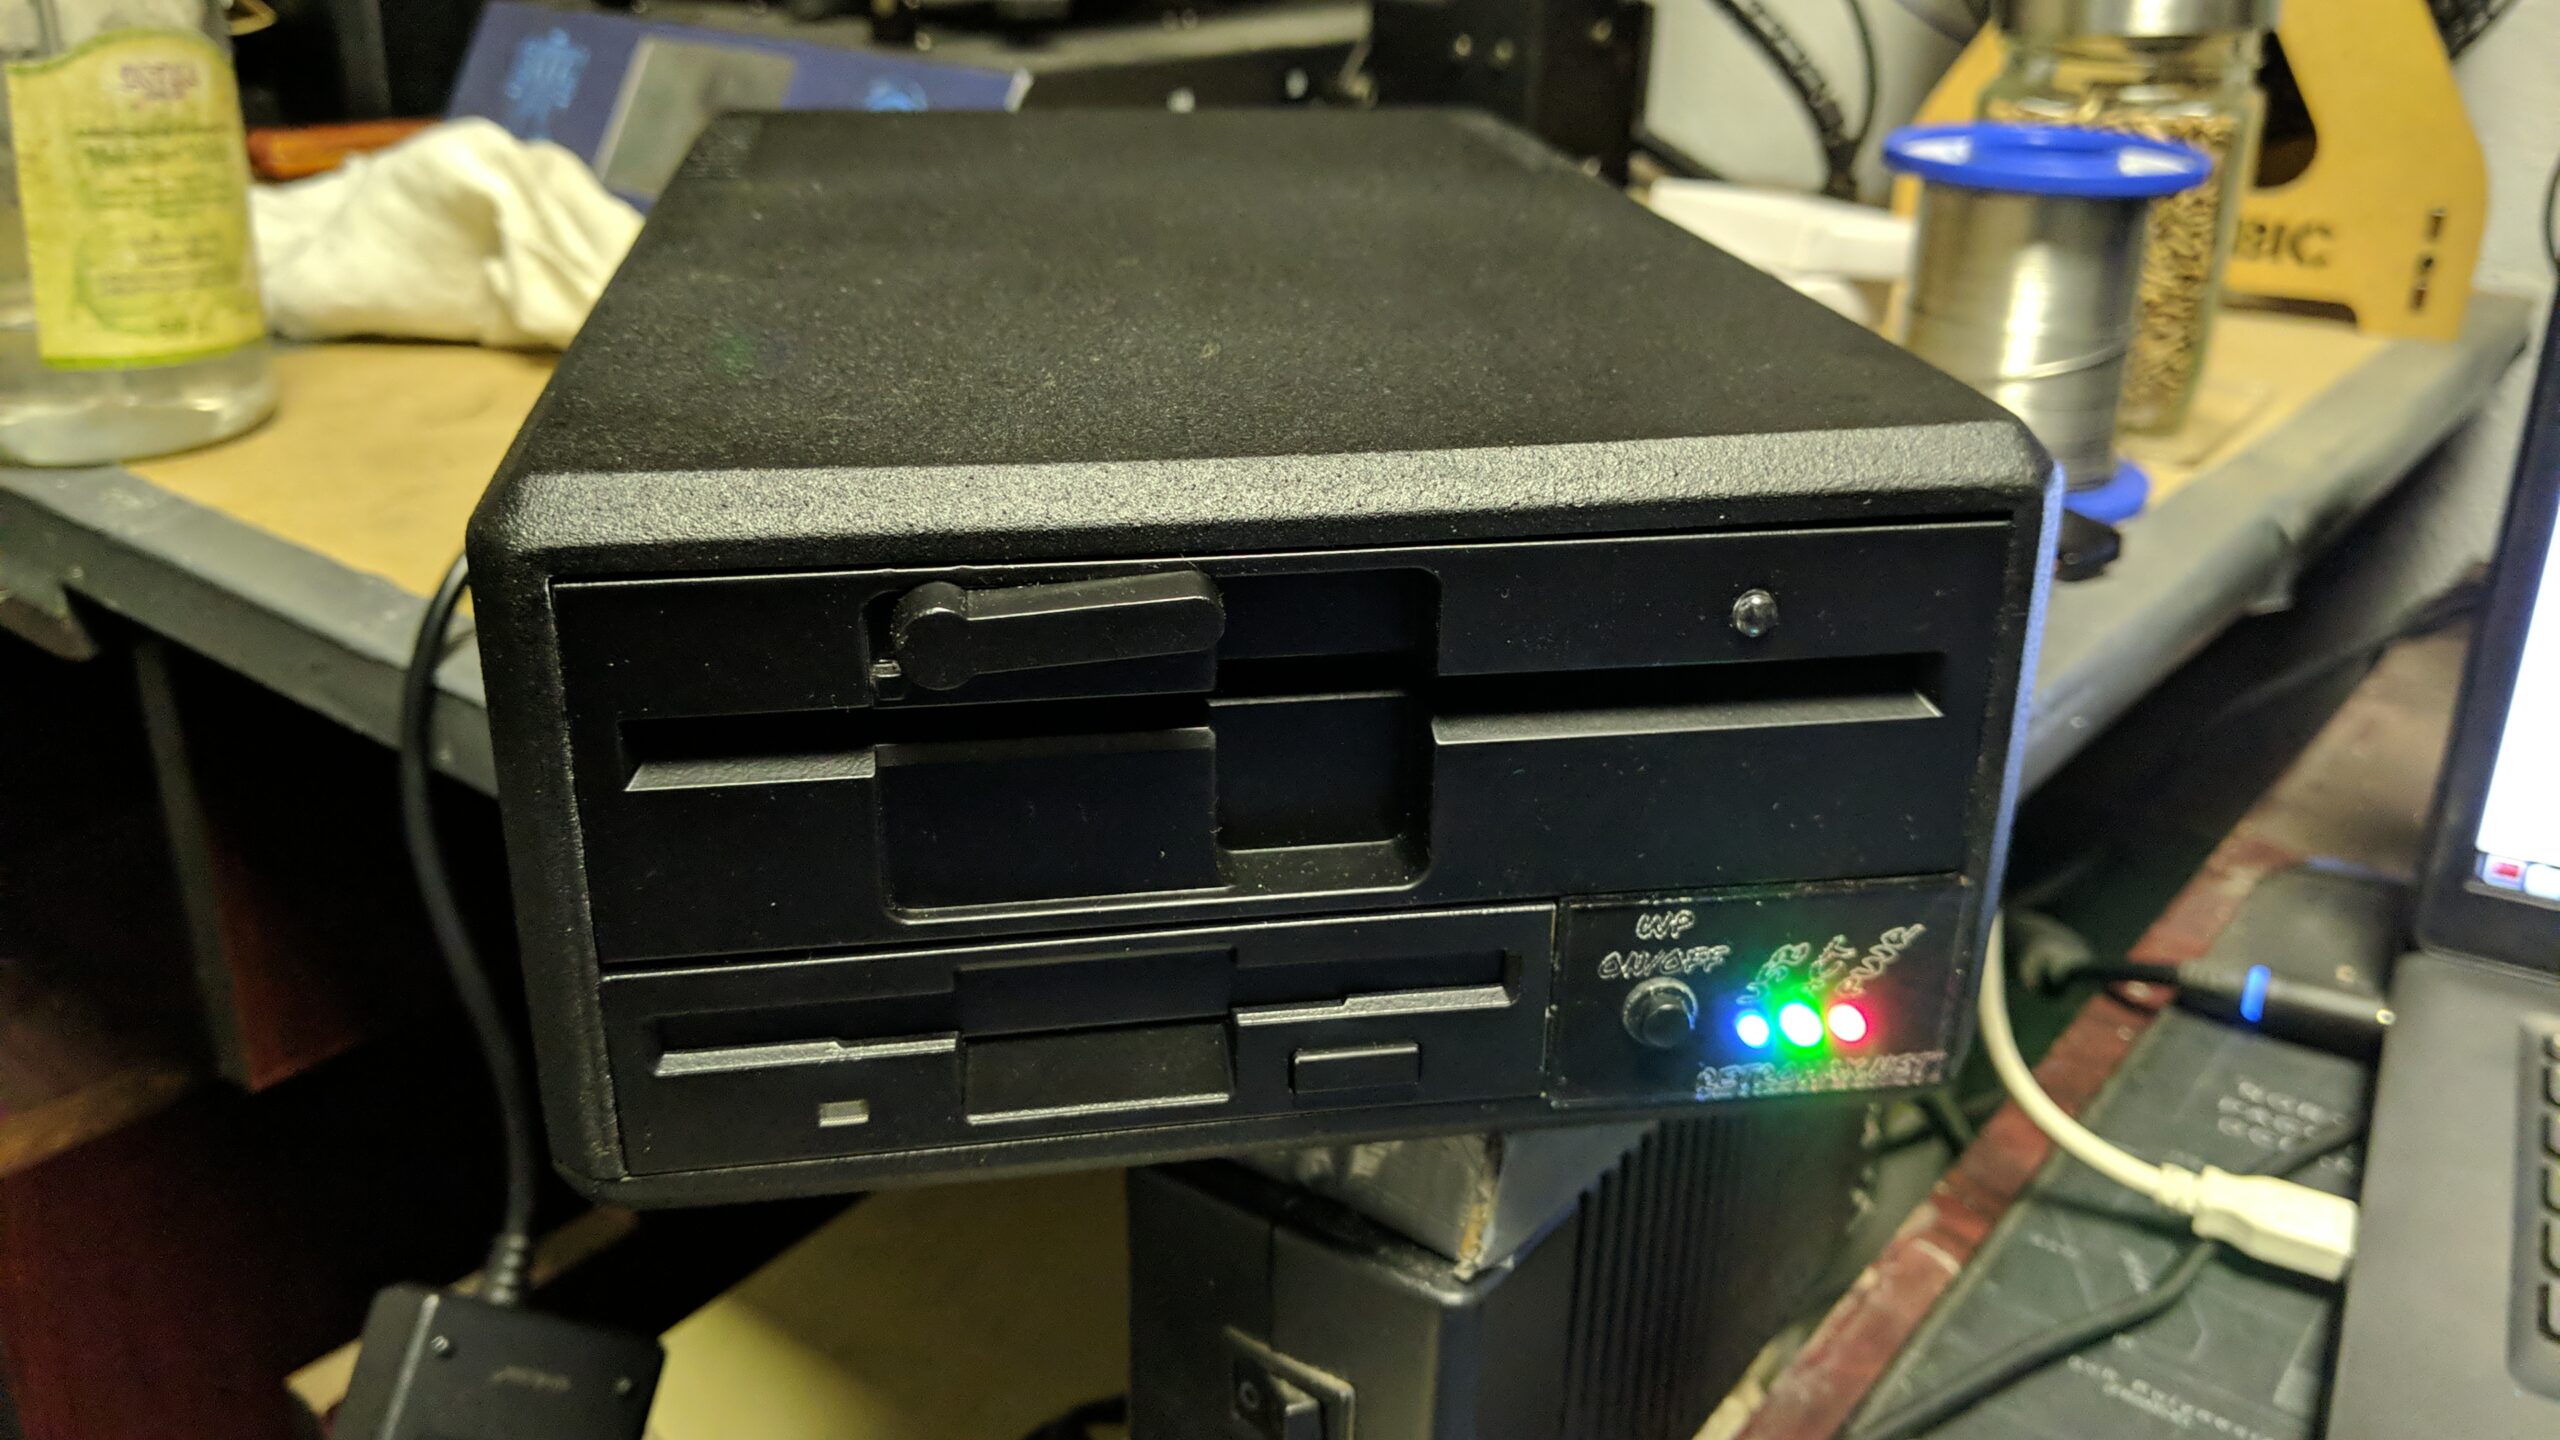
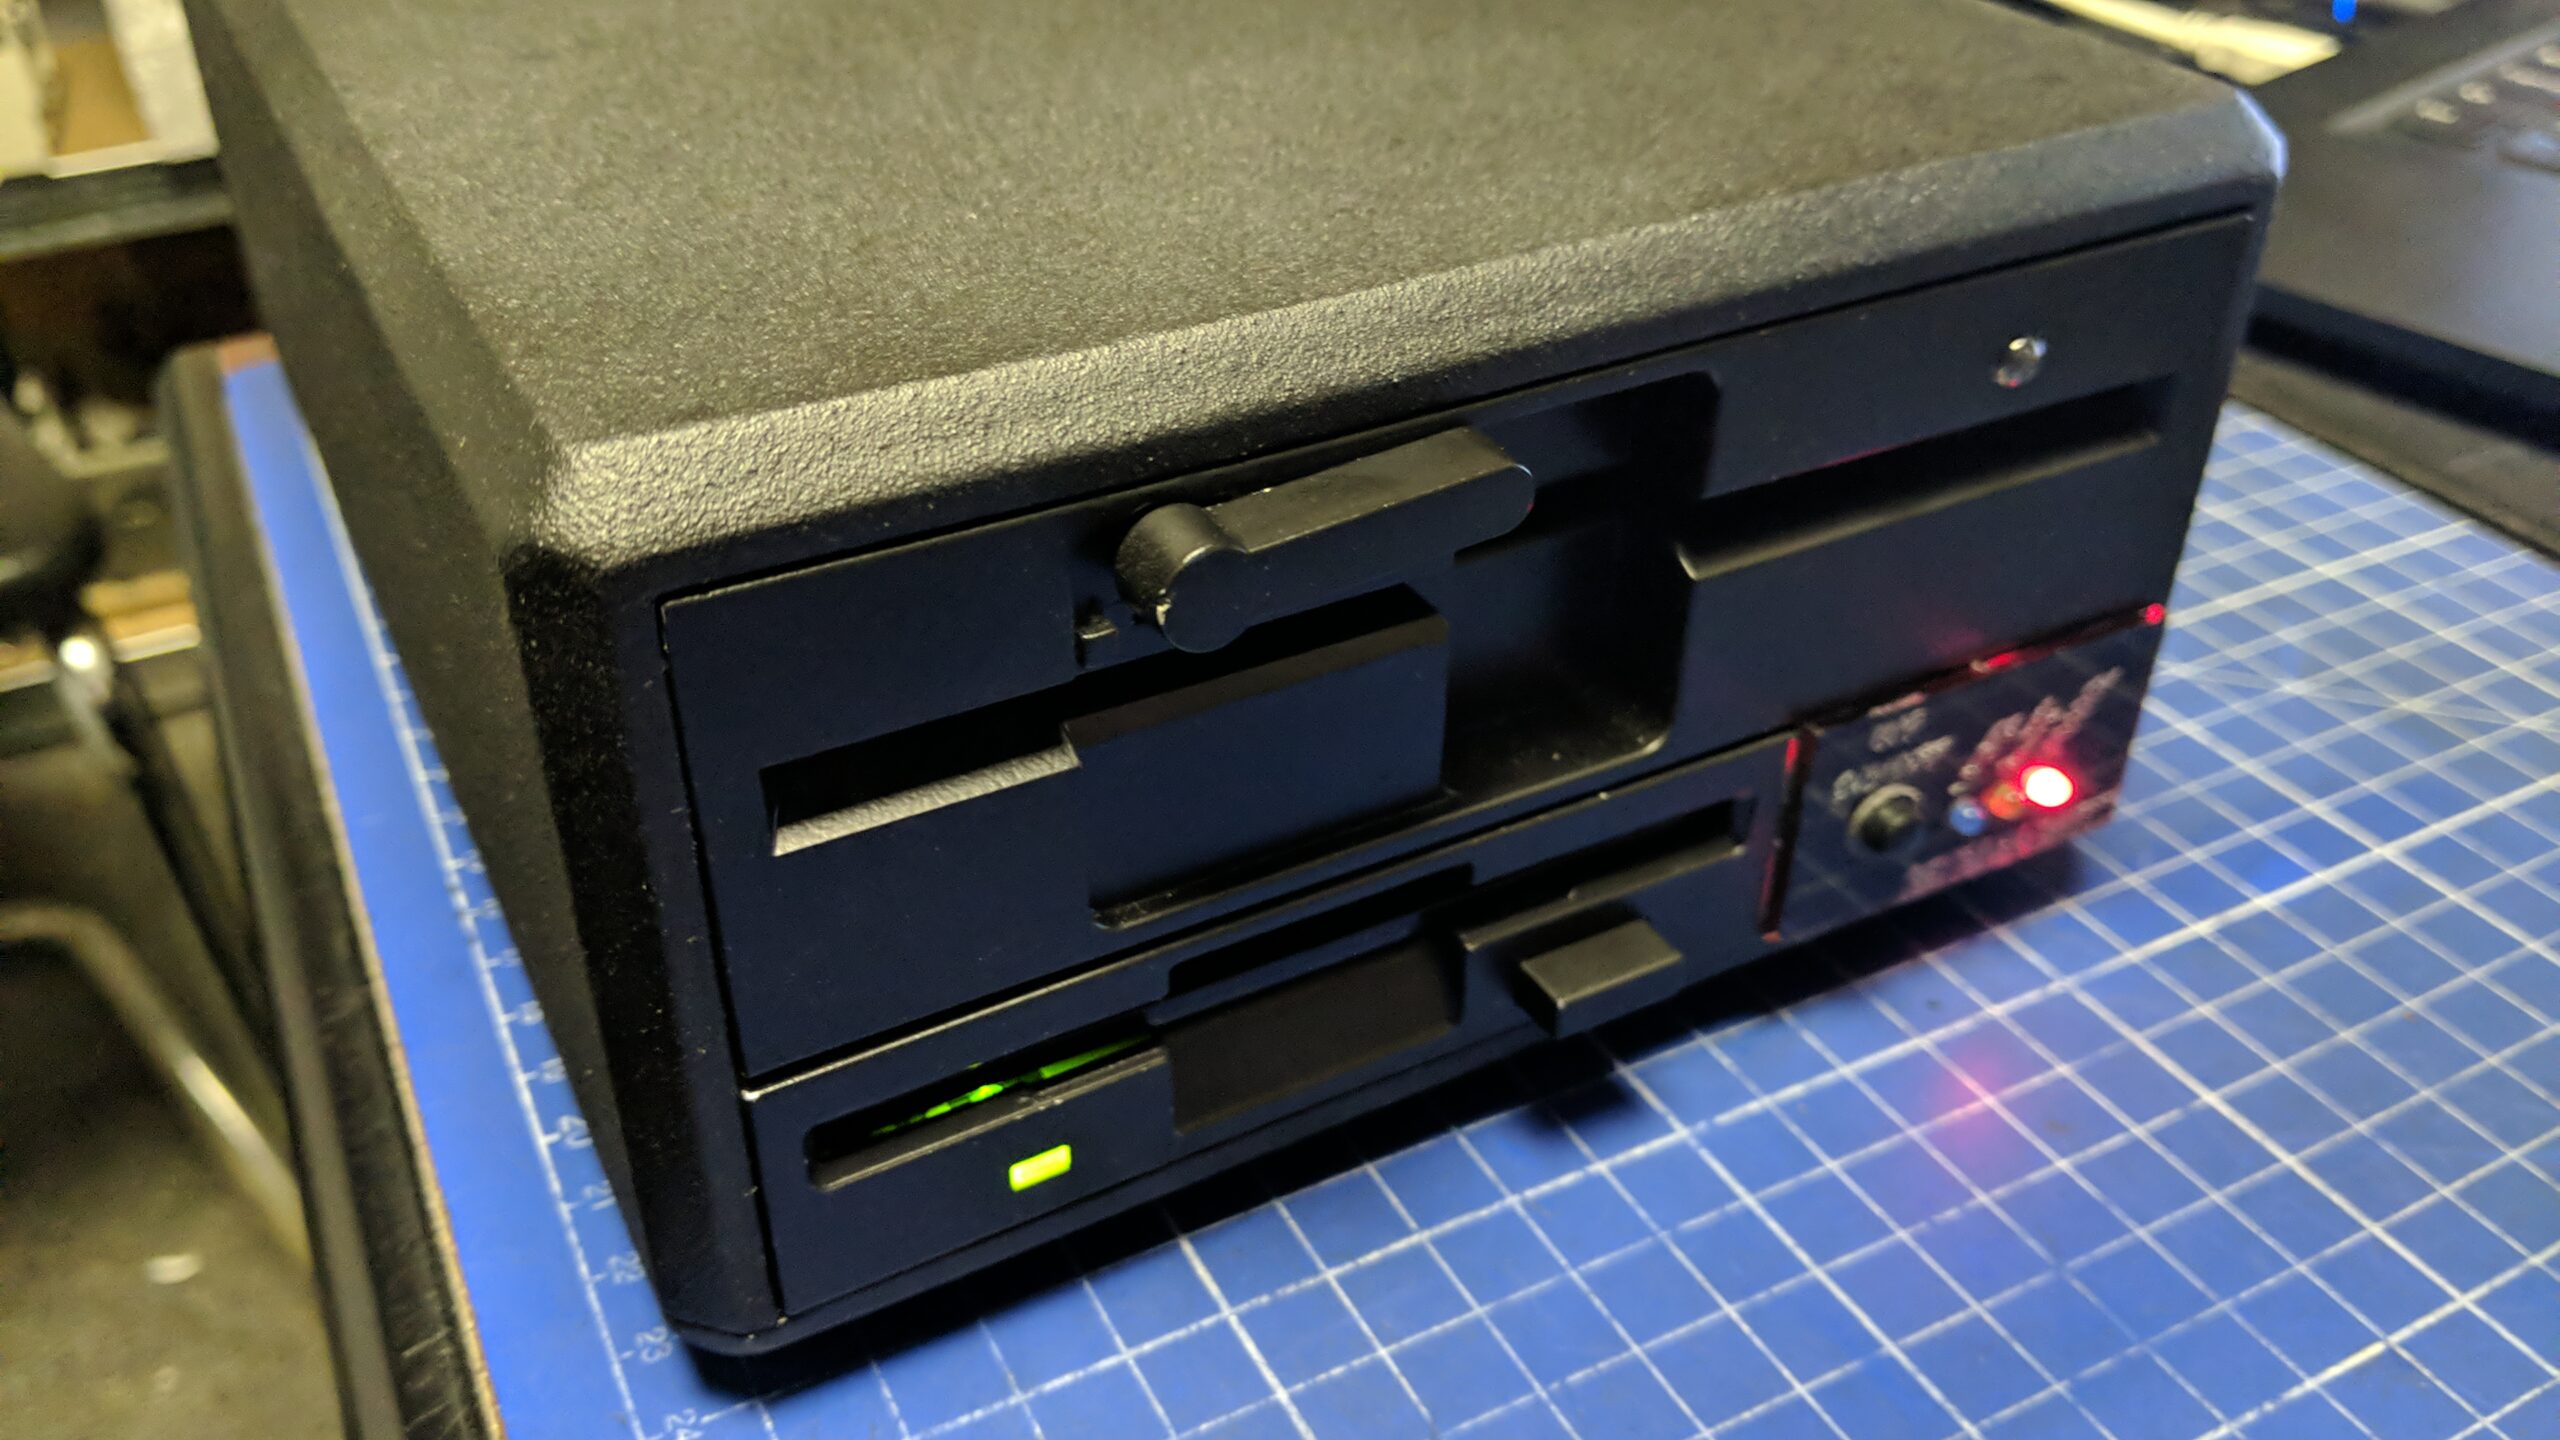
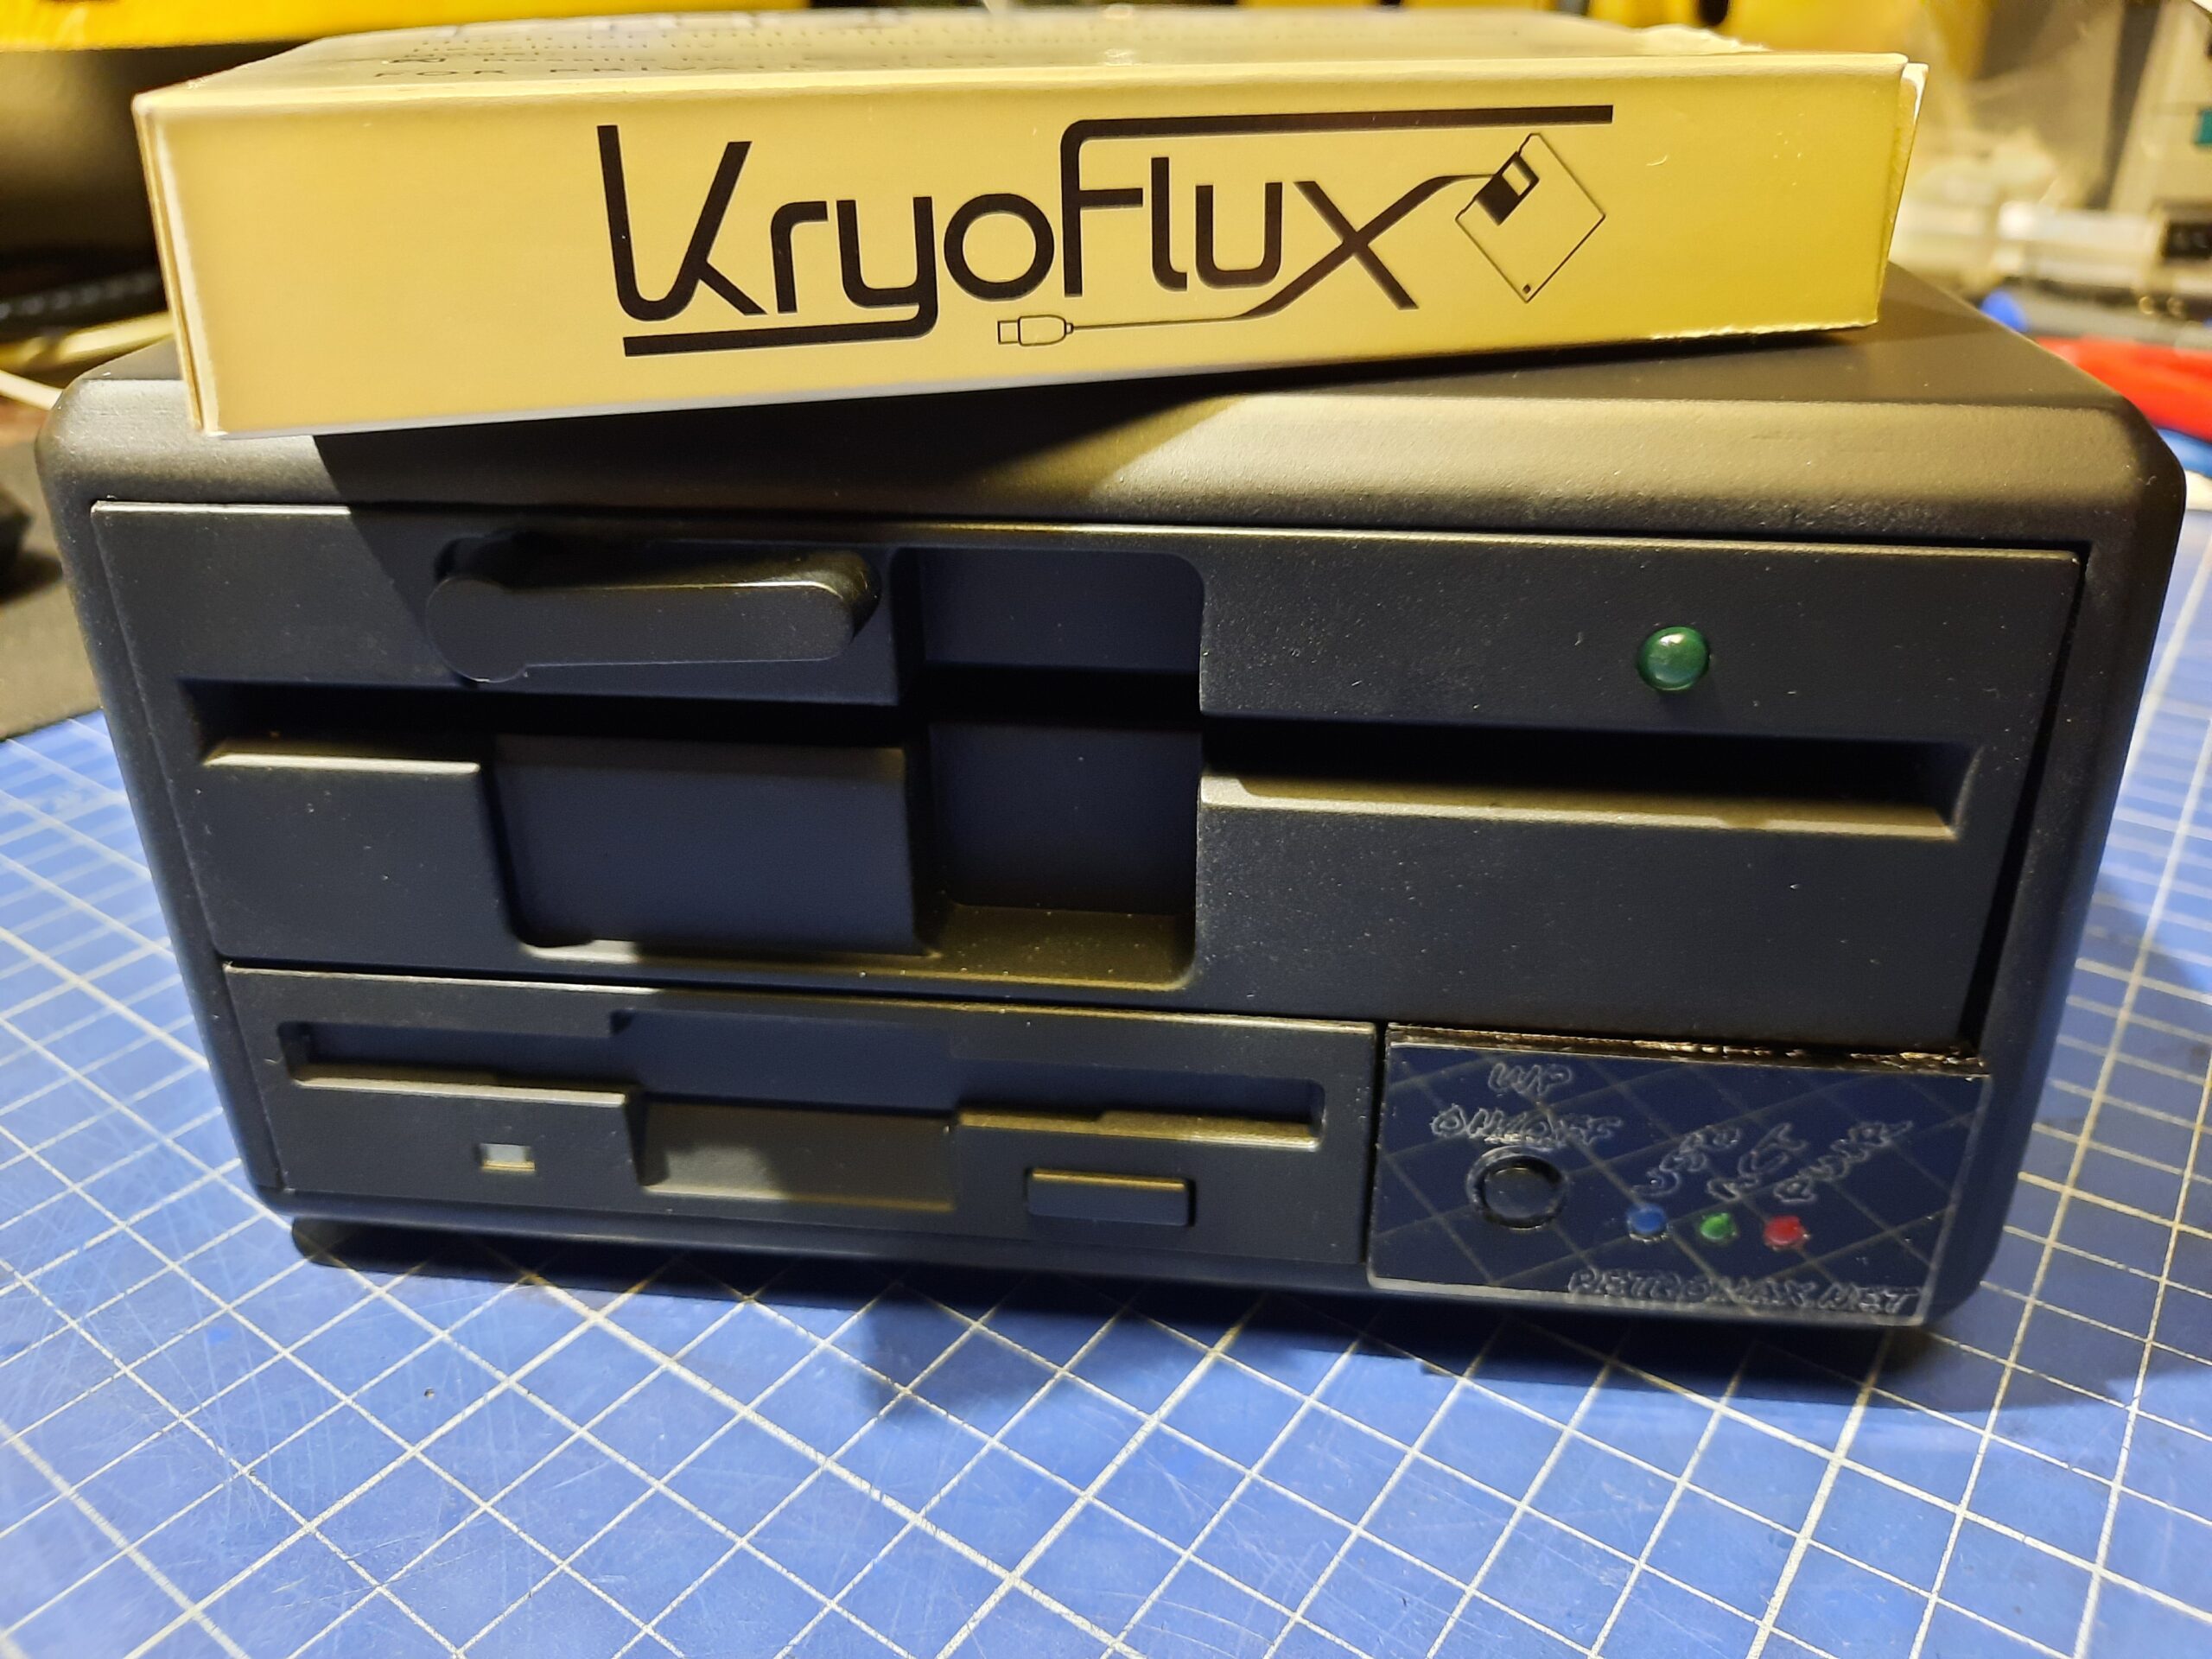
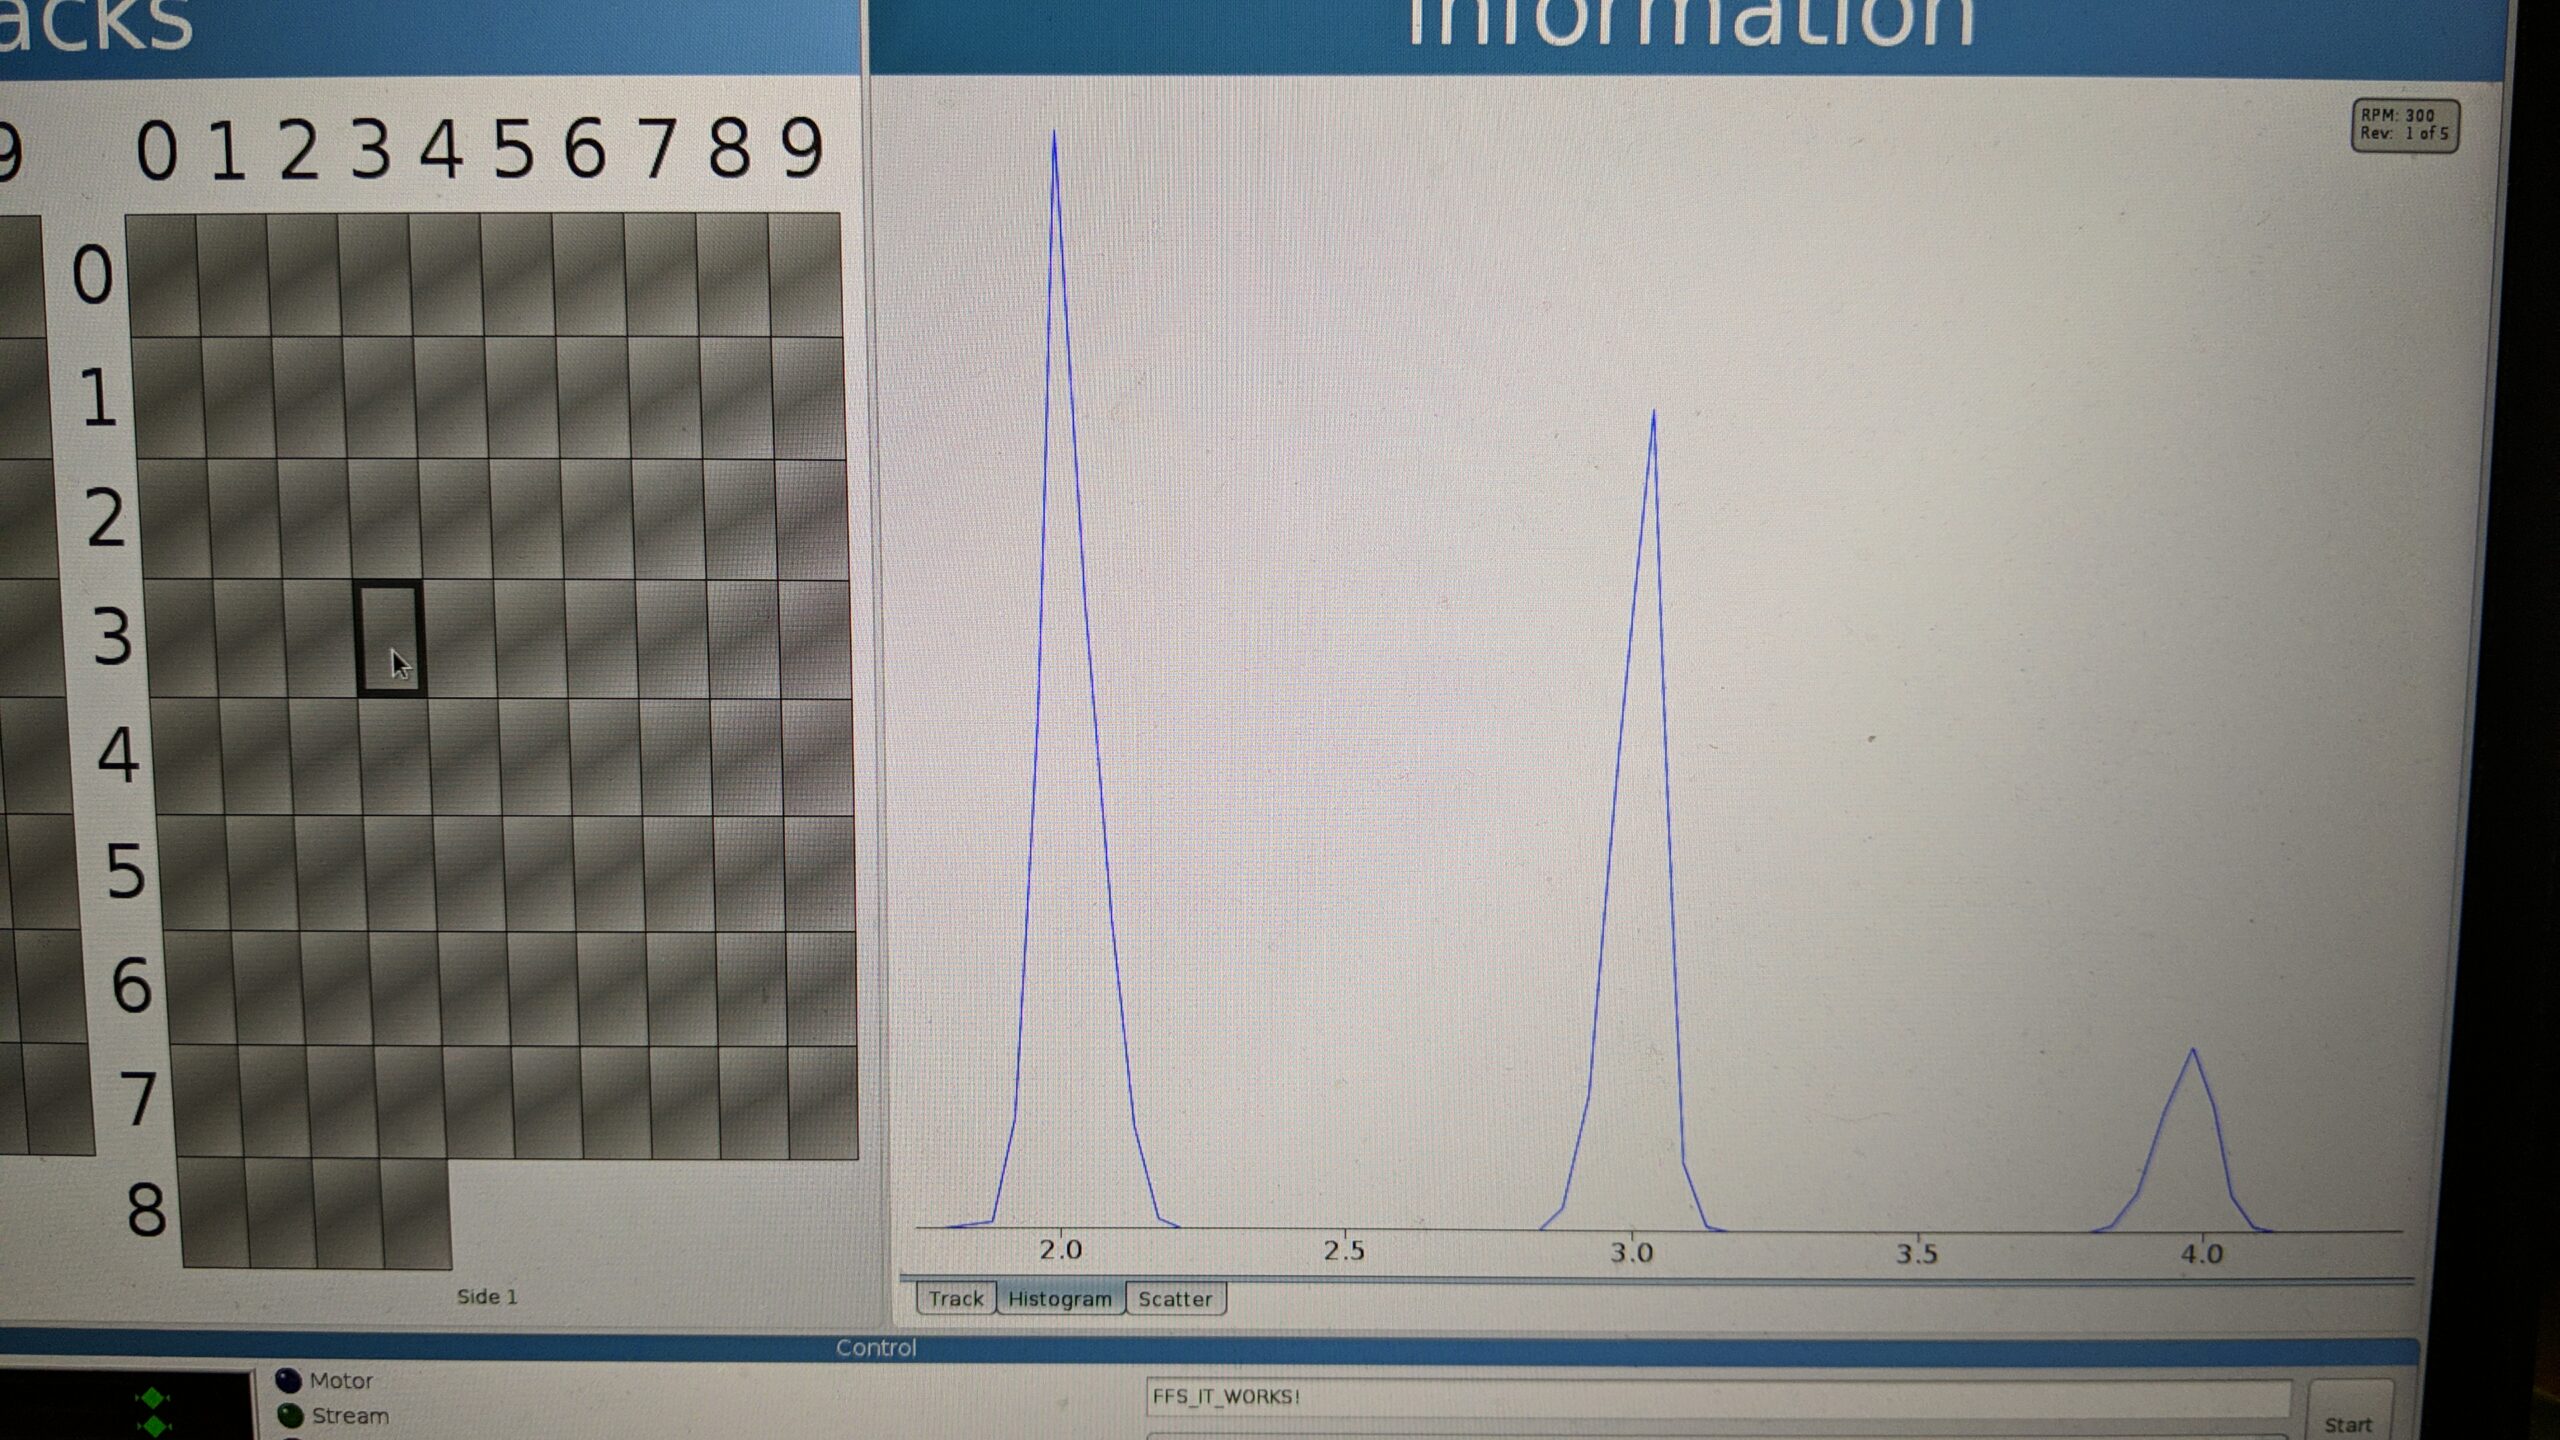
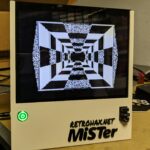
With everything assembled, I was finally able to run some tests! Great device!

The end
This is it. Two Kryoflux units are ready! Next time I plan to work with a Greaseweazel a bit 🙂


Beautiful and awesome, BIIIG job!
Thank you sir 😀
Oooo woooowwwww….
Jawdrop to the max
Thanks 🙂
Aaaaawesome!!!!!
Dzięki milordzie :>