… or always get the right tool for the job
Intro
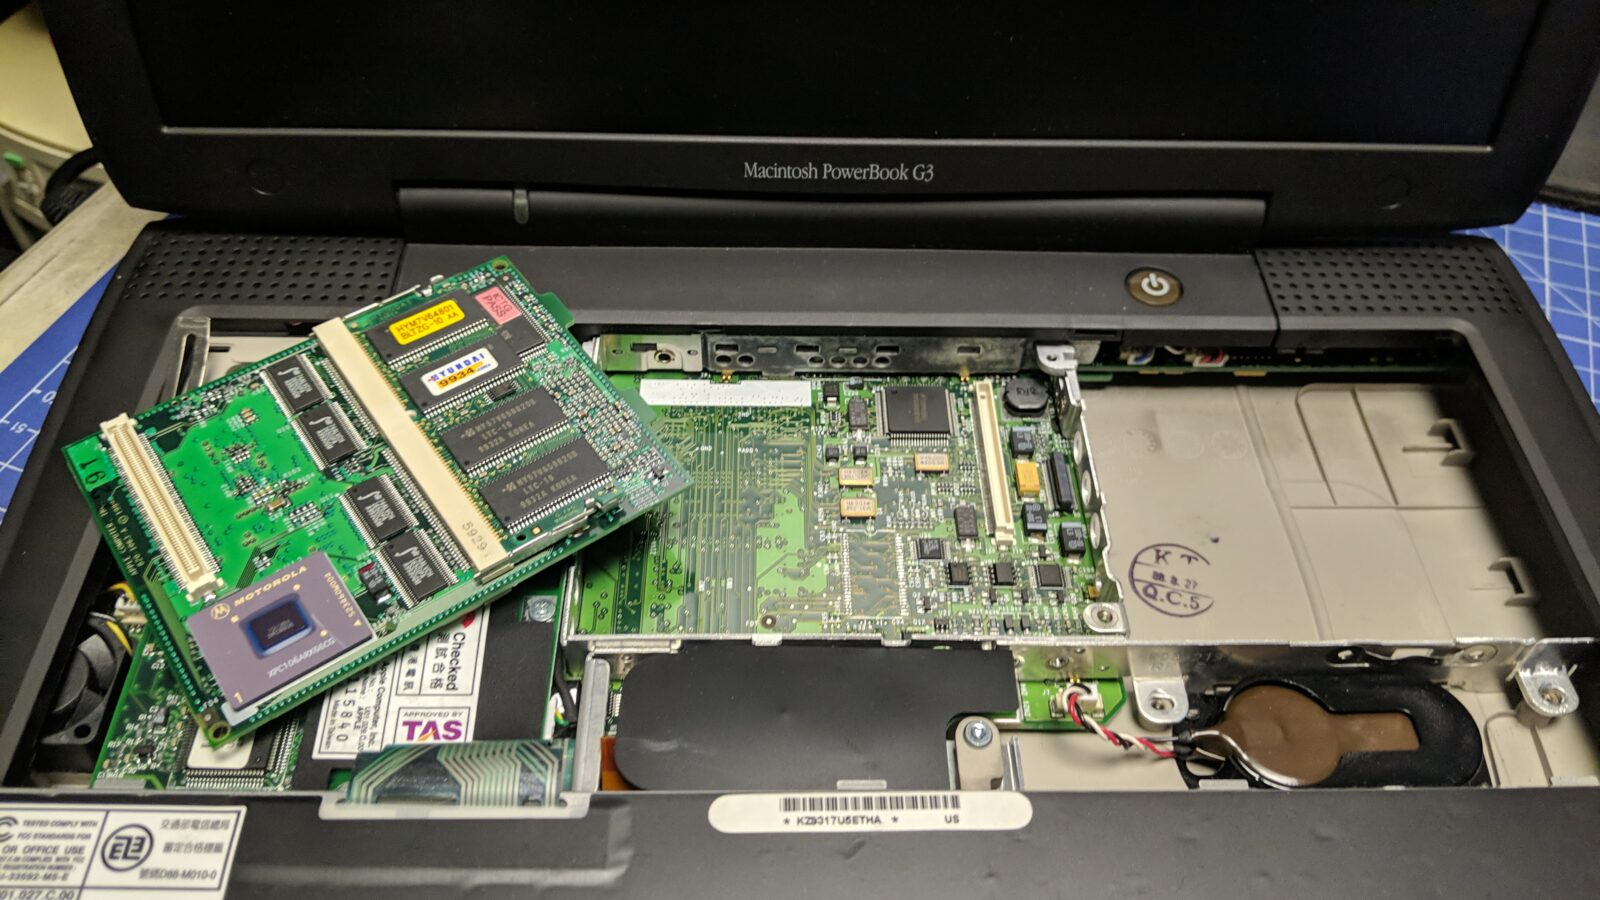
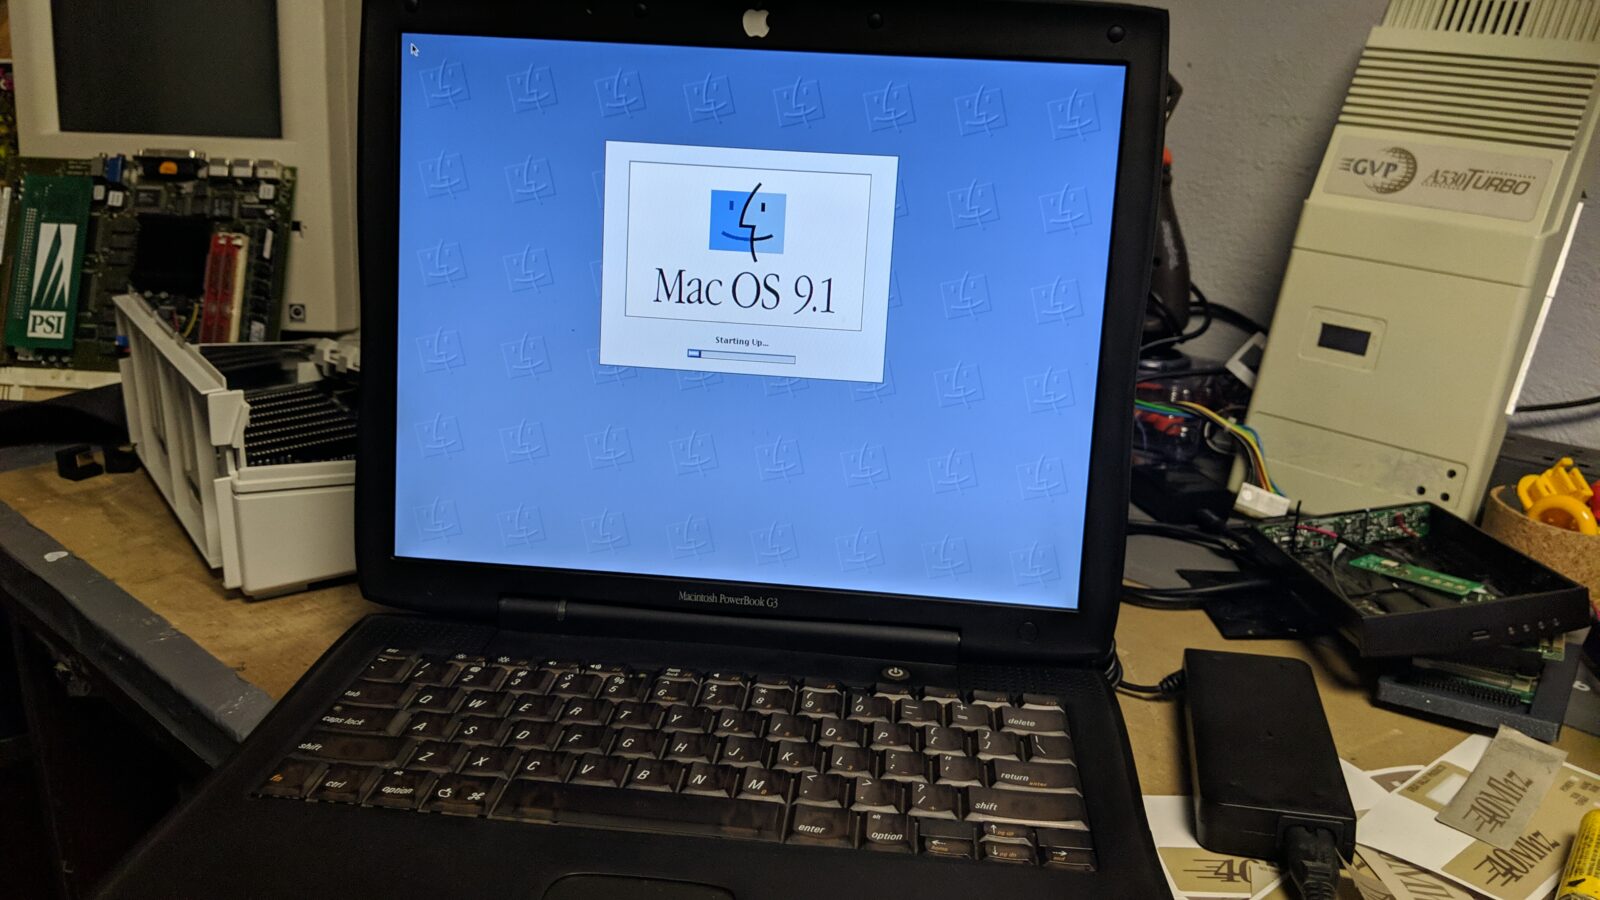
I have a Macintosh Powerbook G3 waiting in a queue for quite a while. It is the “Bronze” keyboard unit and a 3rd generation of Powerbook G3 – Lombard.
The machine was in excellent shape, although its battery cell died, so I figured I could attempt to make a new one and add some modern upgrades to it along the way.
The plan was to:
- clean the unit
- upgrade RAM to the maximum possible
- replace HDD with a CF card
- remake RTC battery
- remake main battery
Mods
I started with cleaning the unit but since the machine was in already good shape, I won’t cover this part.
Working with this machine is quite convenient as you can access everything by simply popping the hood, errr I mean keyboards 😀
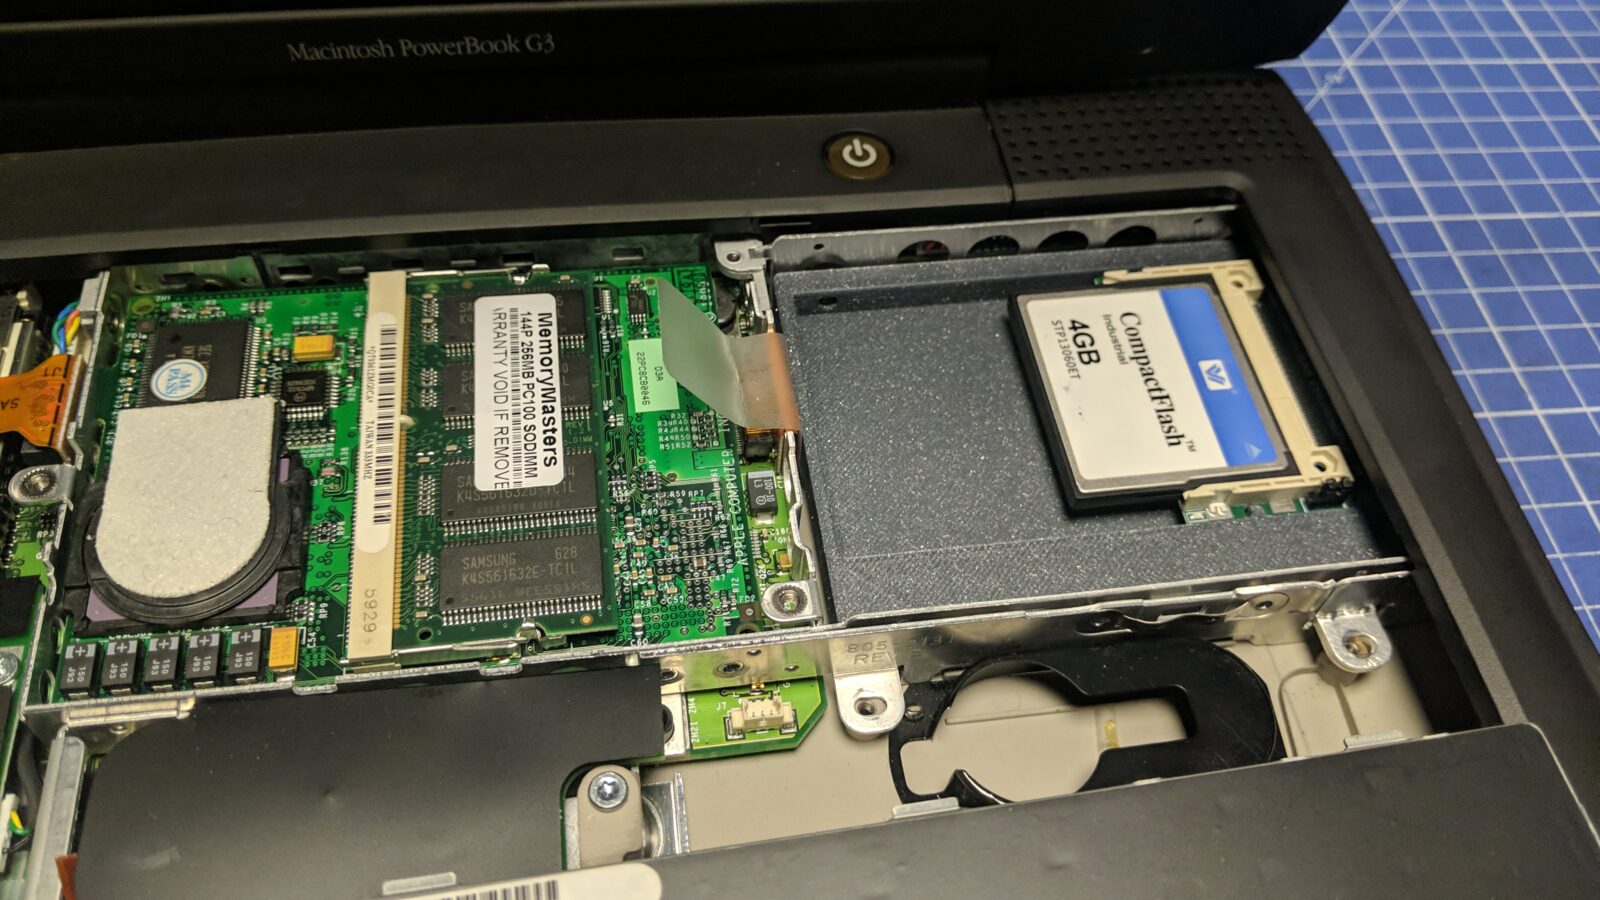
RAM
RAM sticks are located on the daughterboard along with the CPU so replacing it is a piece of cake.

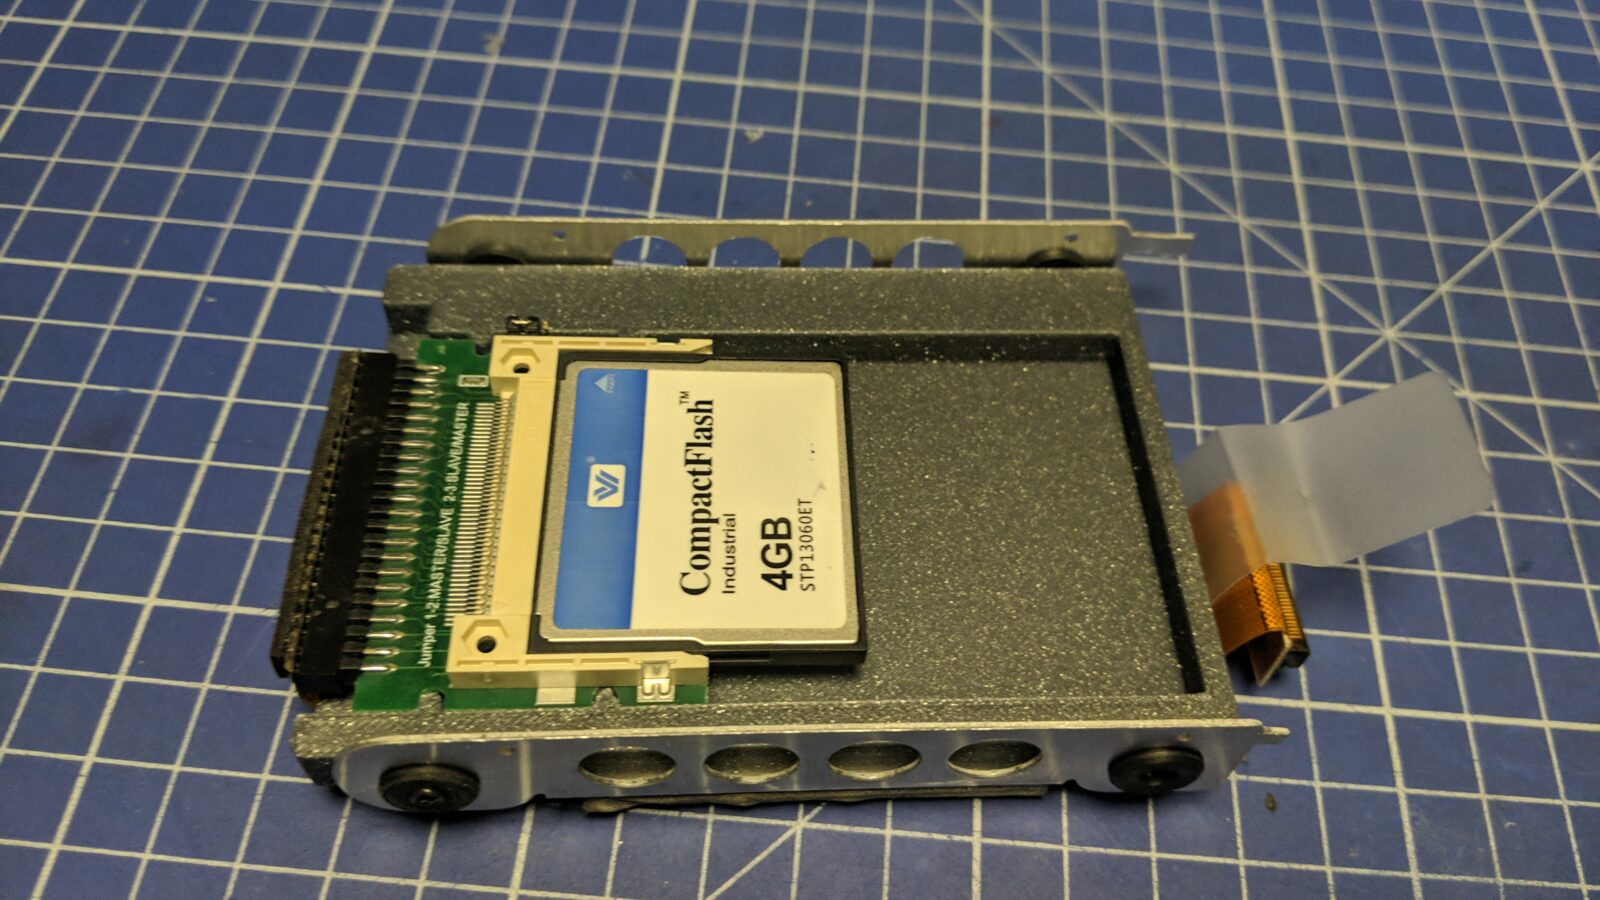
CF card
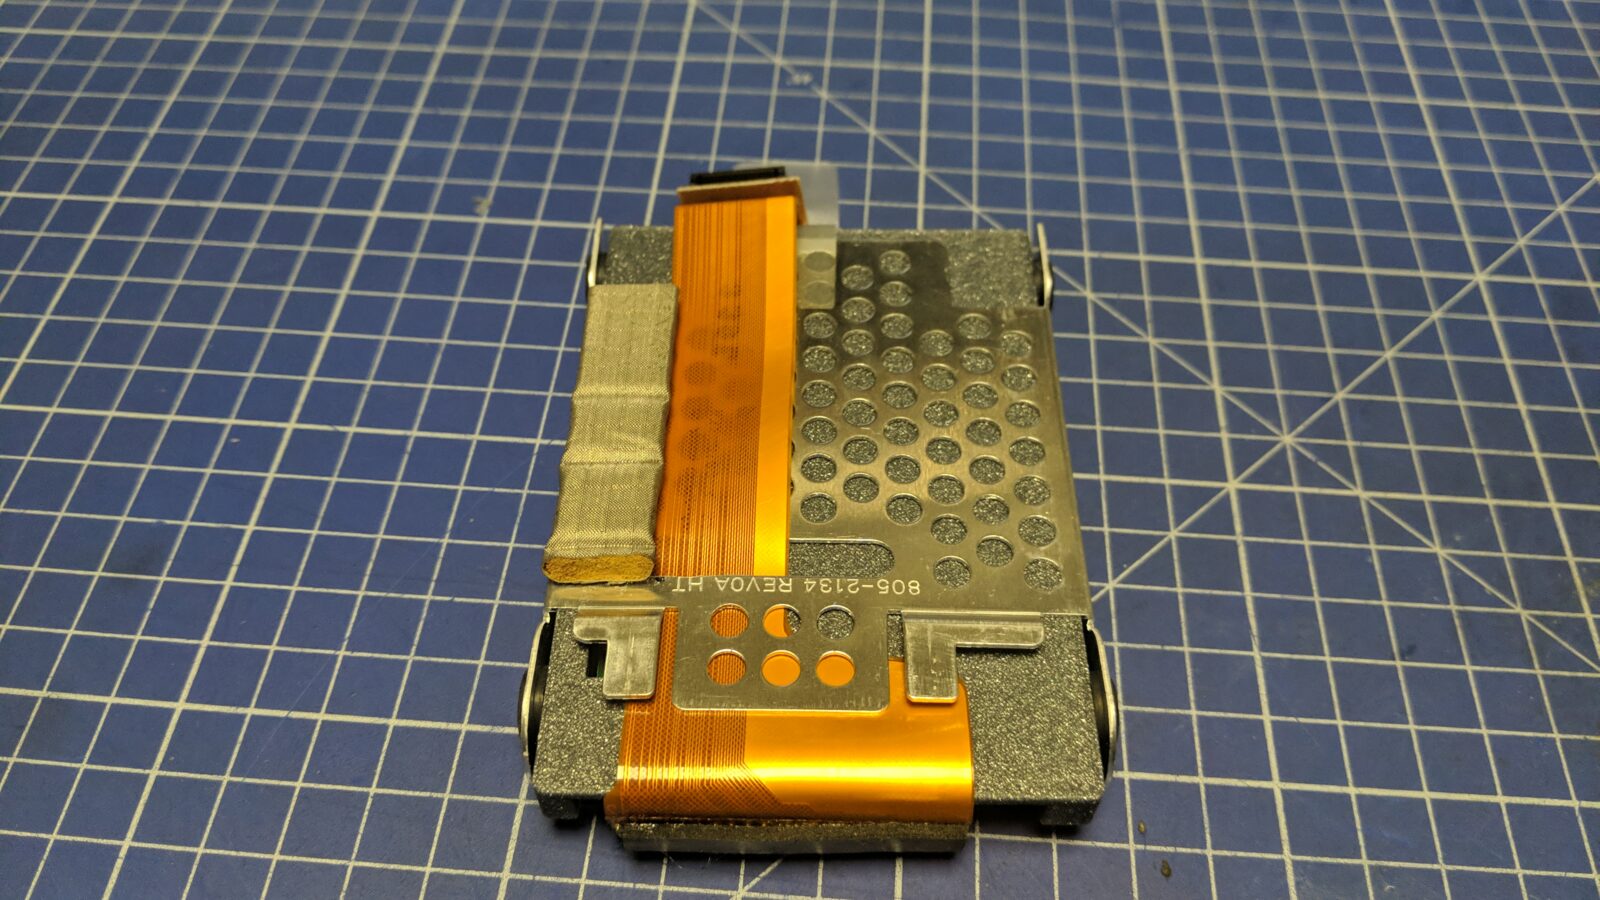
Next, I’ve 3D printed a tray for a CF card adapter to replace the HDD.
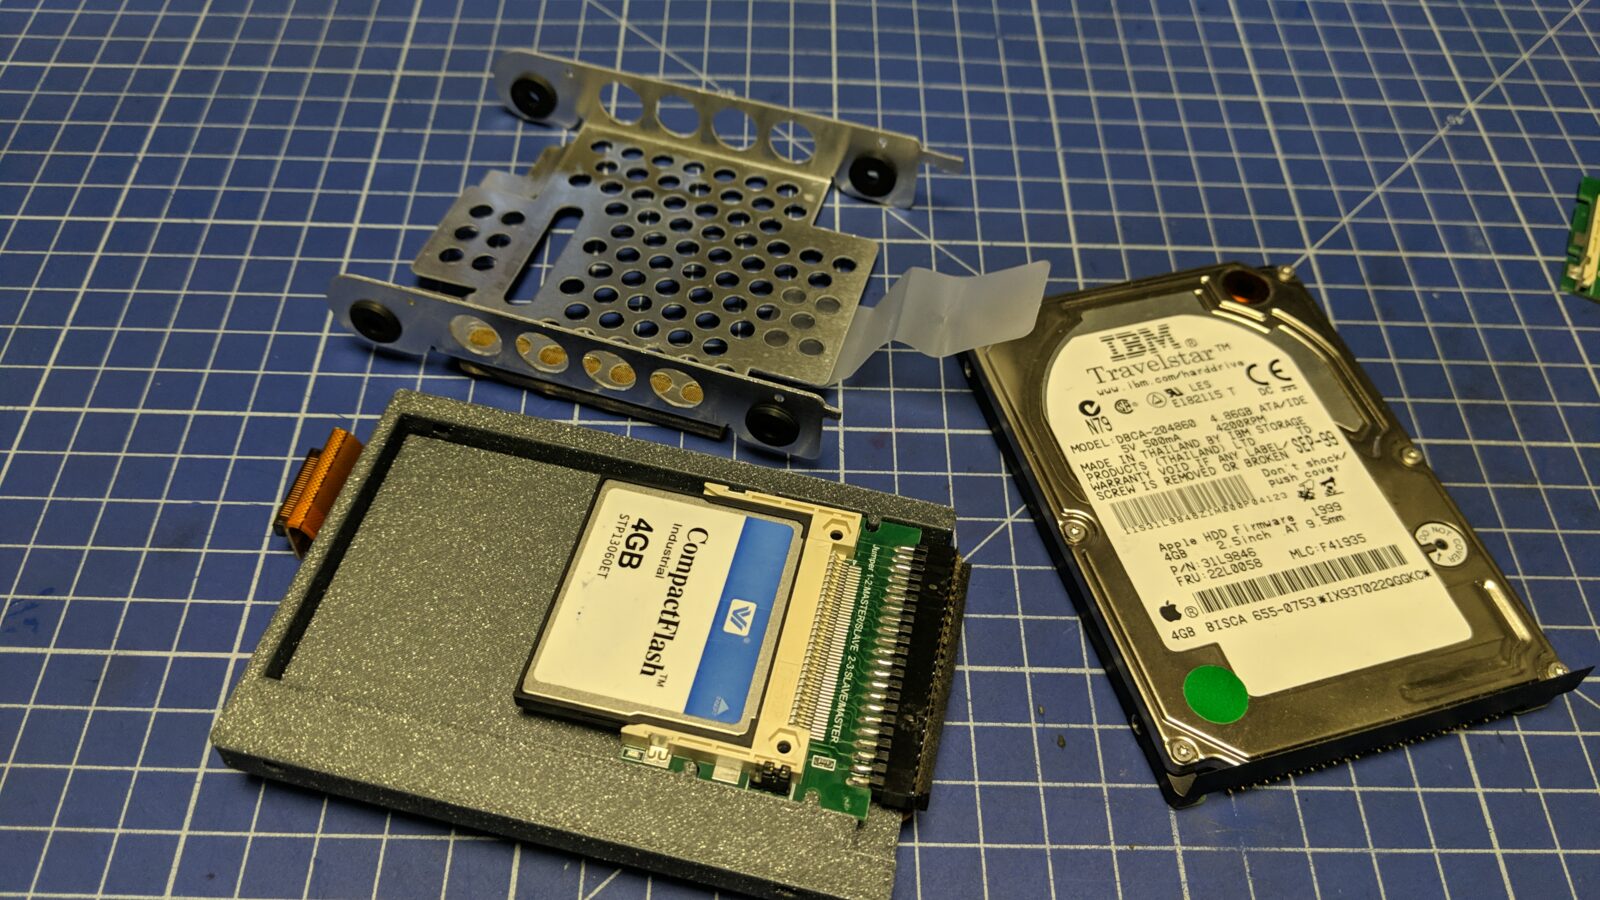
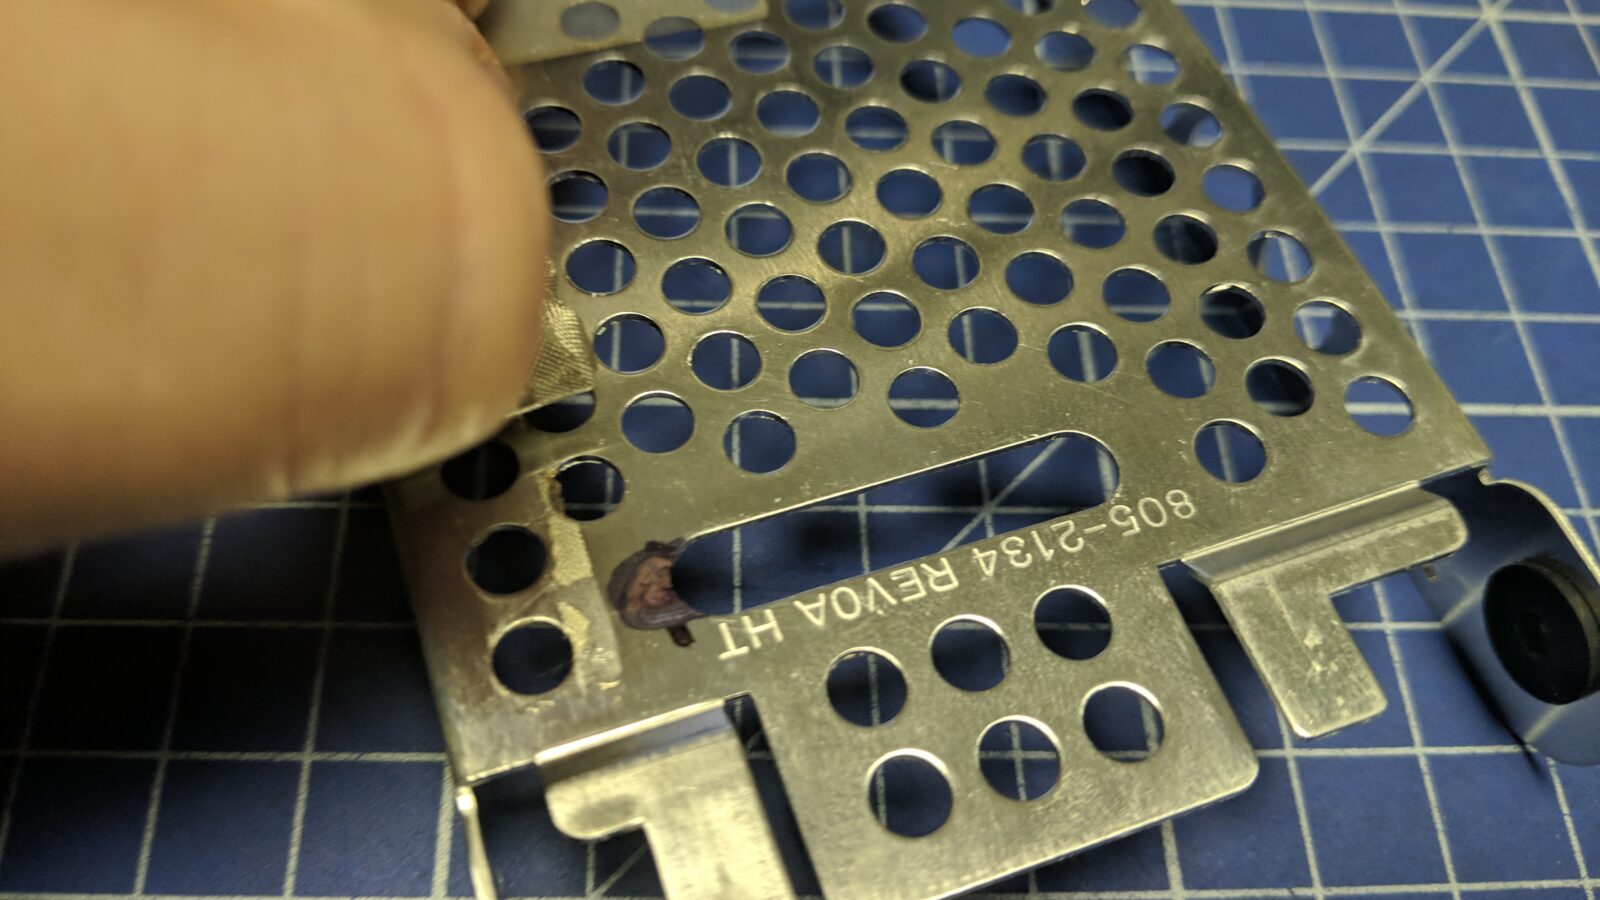
I had to widen a hole in the original metal tray so the flex ribbon wire would fit better.
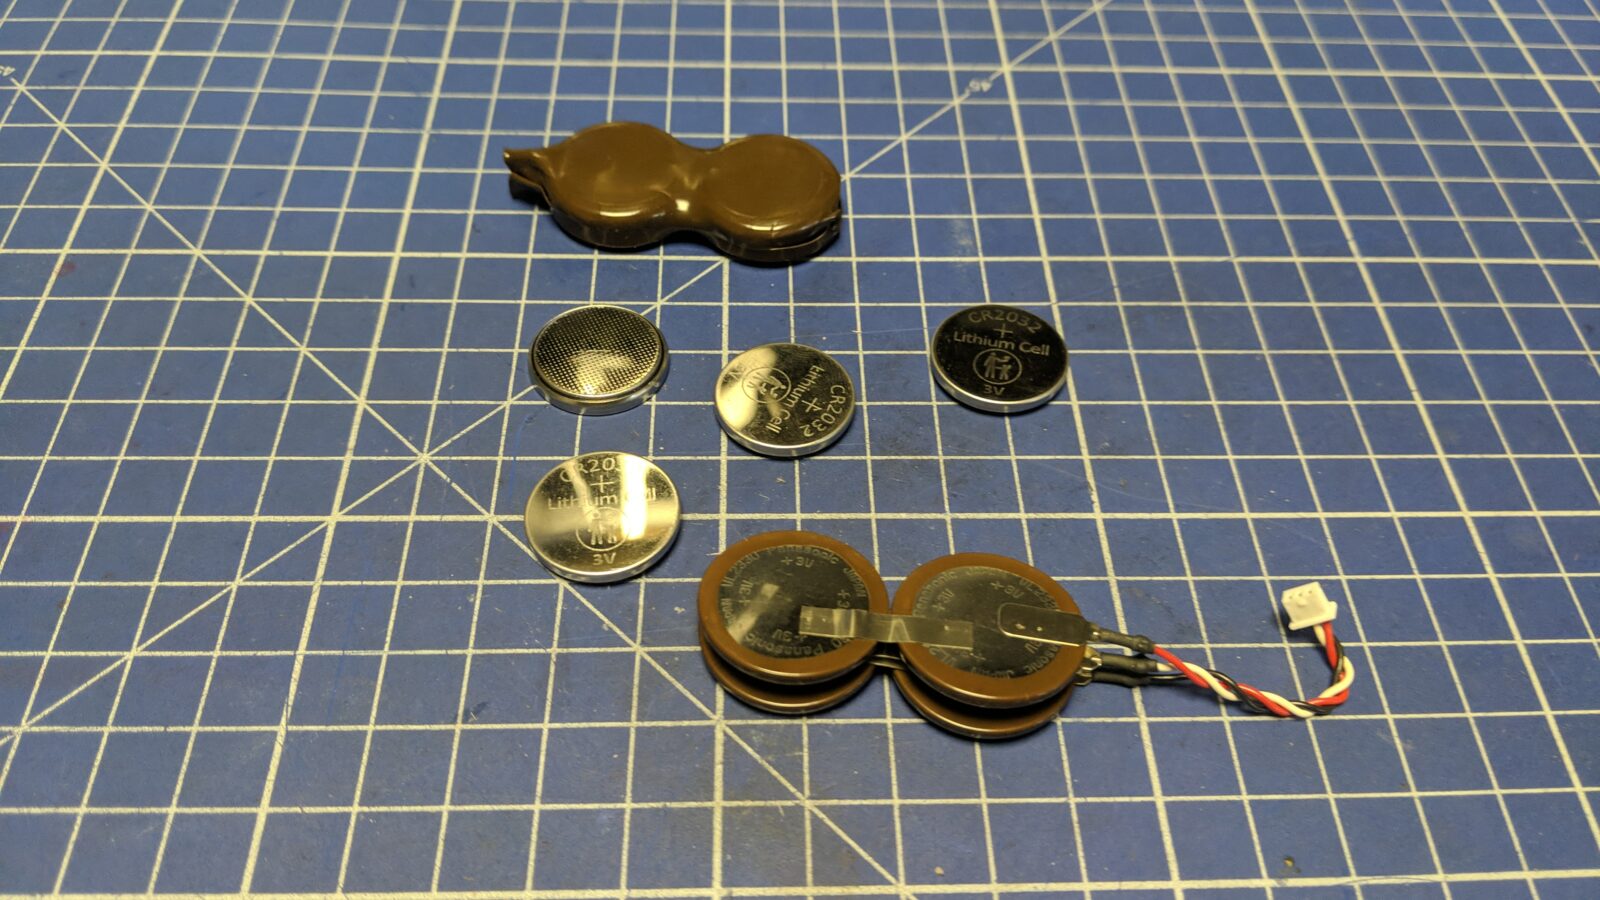
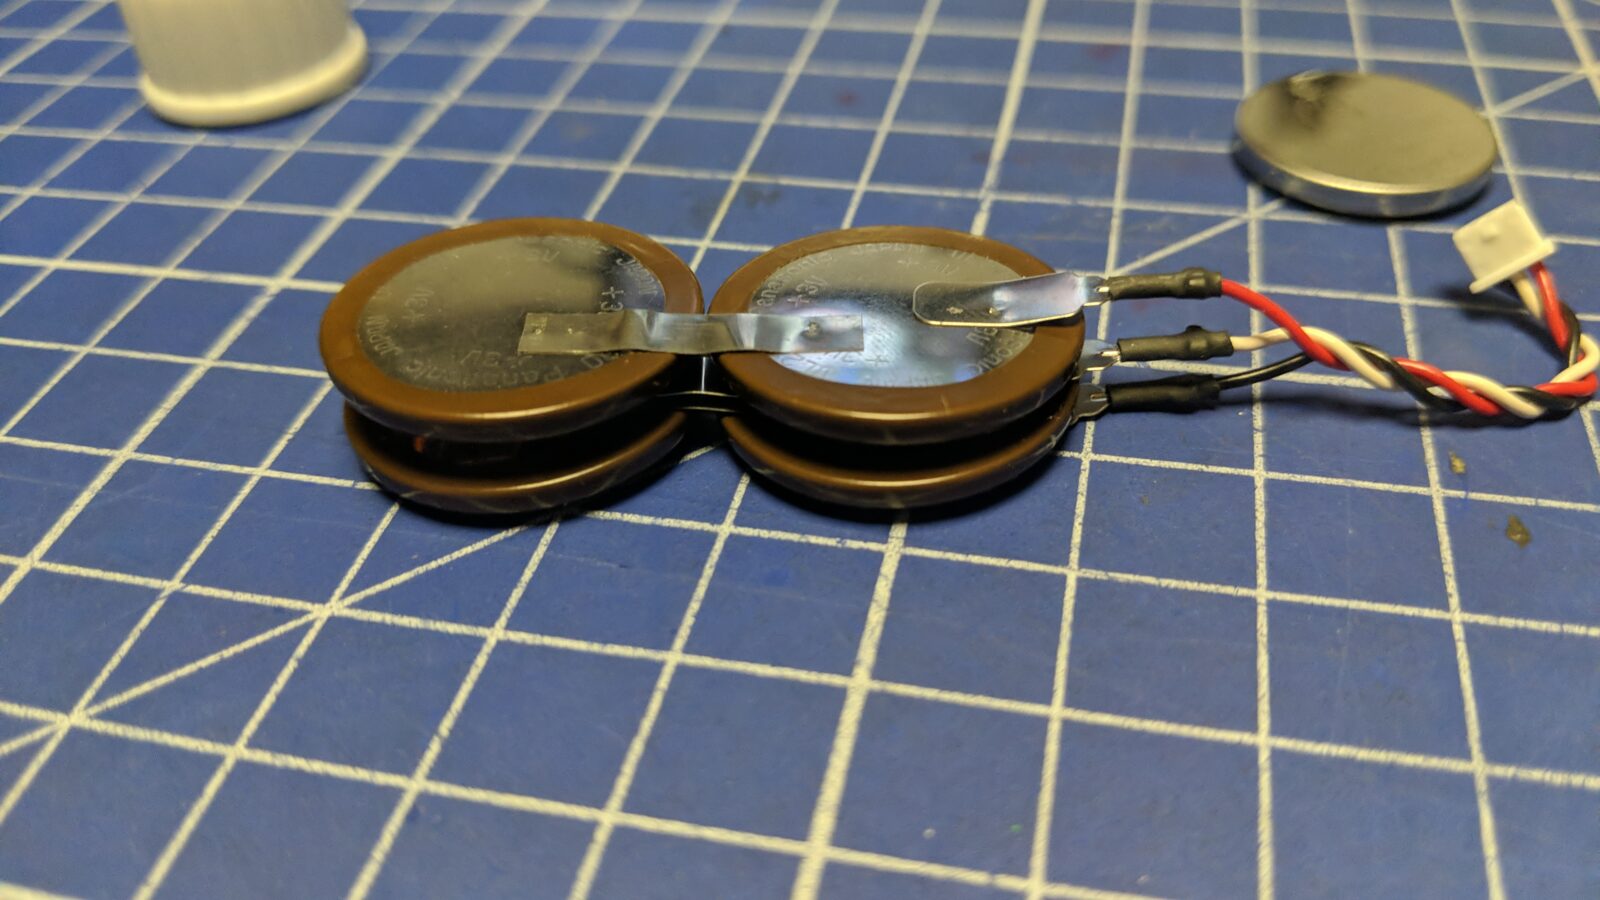
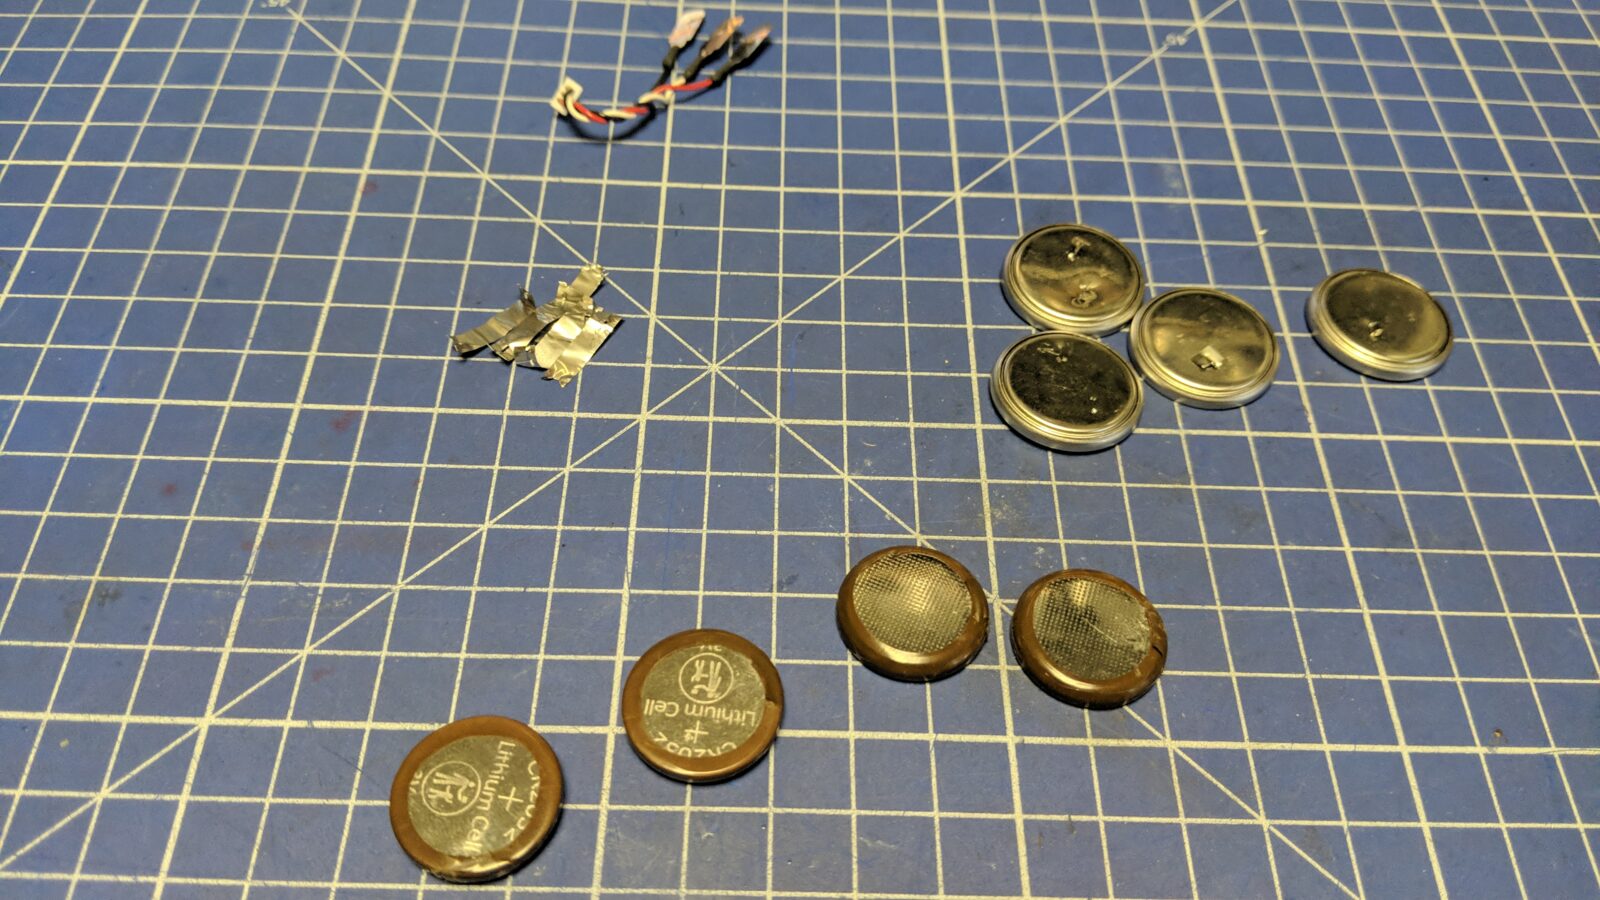
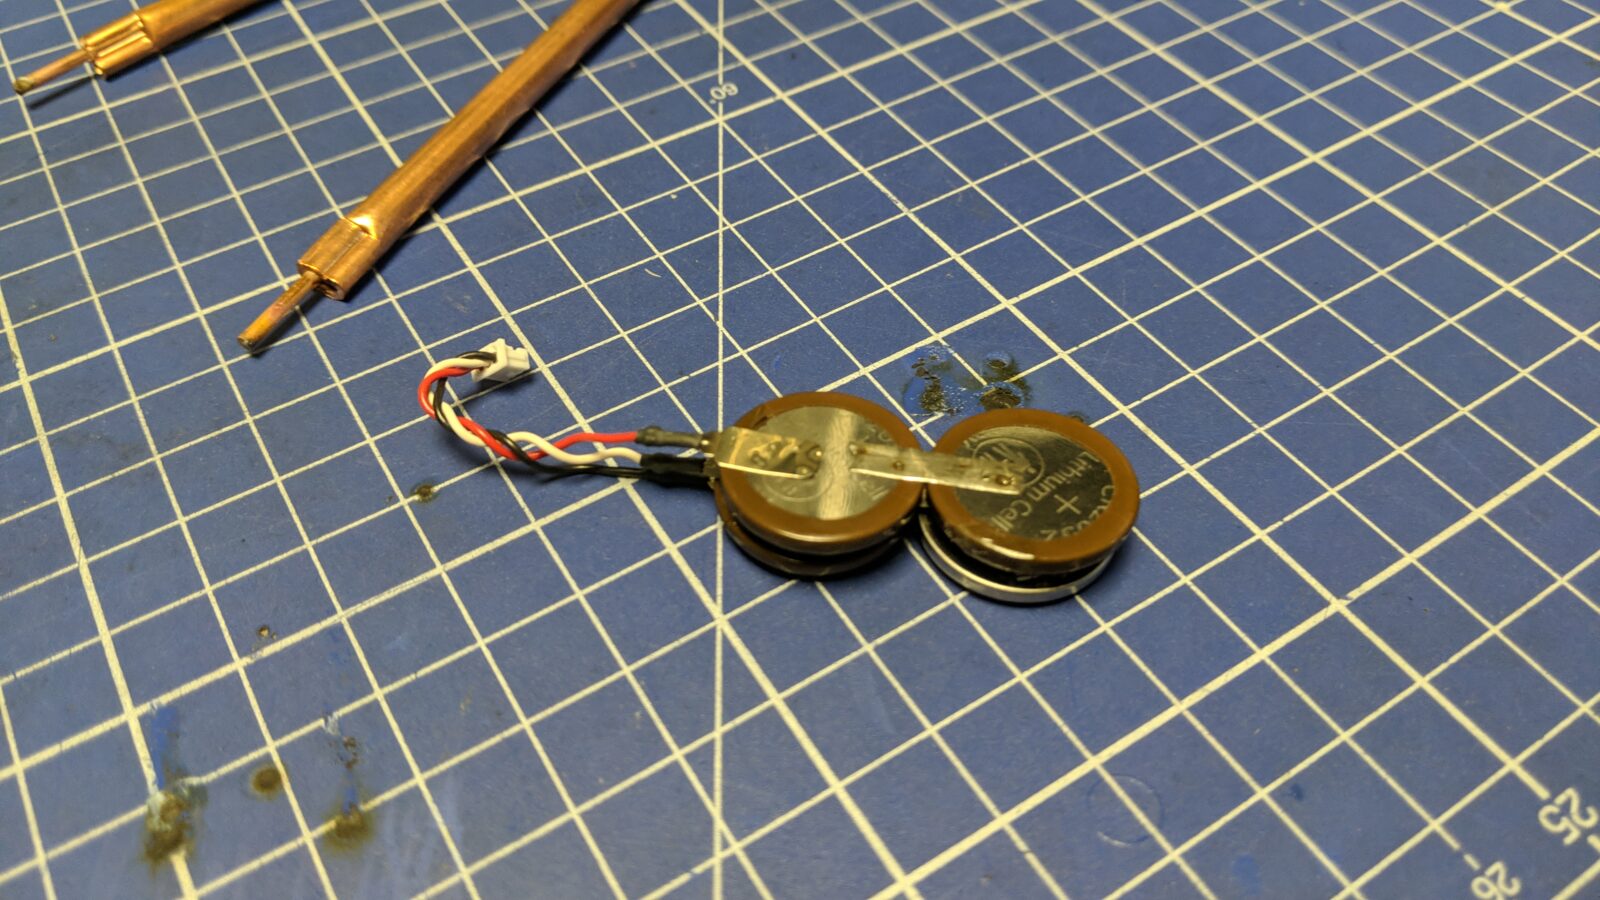
RTC battery
The original RTC battery is made out of four CR2032s, however, these are interconnected with spot-welded nickel stripes.
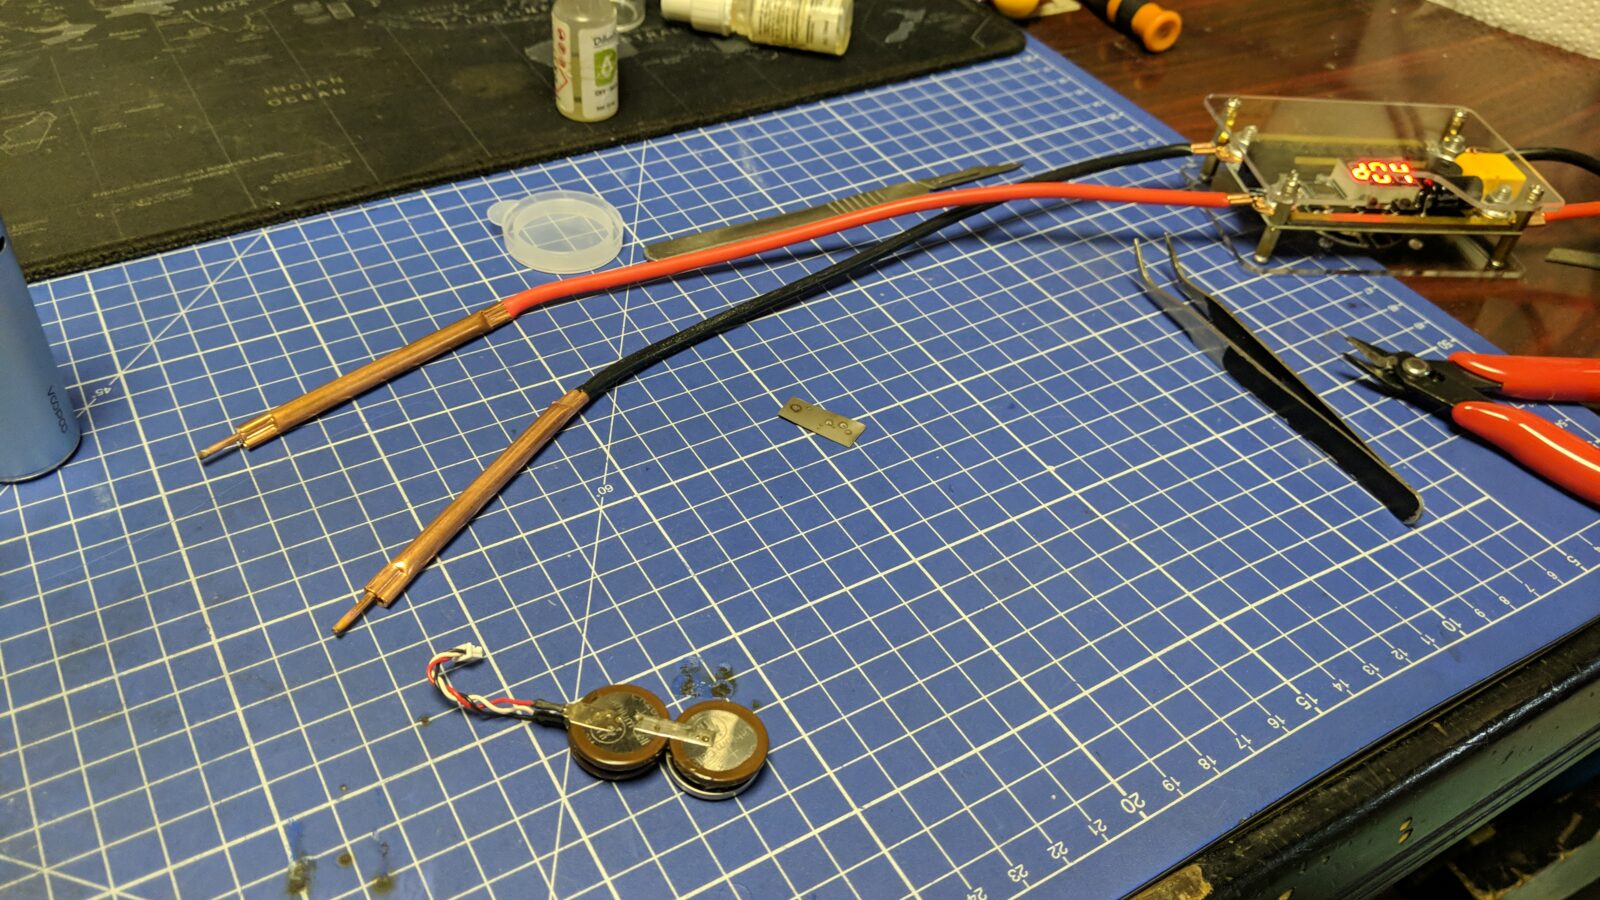
To recreate such a connection, I needed a spot welder. I bought a small and cheap Chinese spot welder but as it turned out a bit later, it only works for tiny jobs such as this. Anyway, this is how it looked.
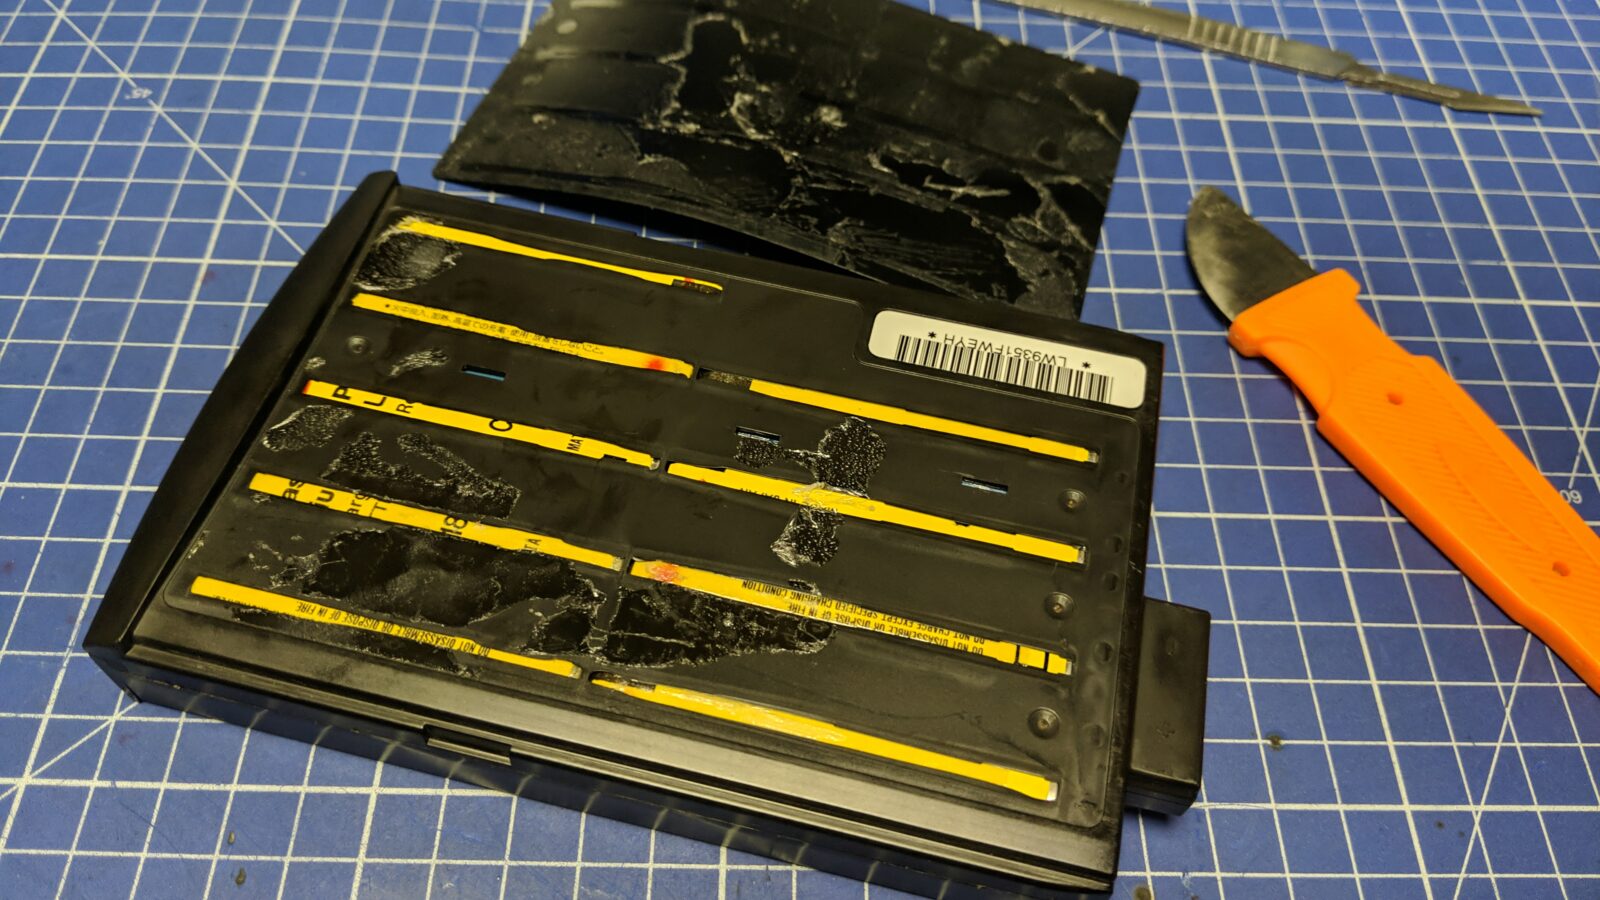
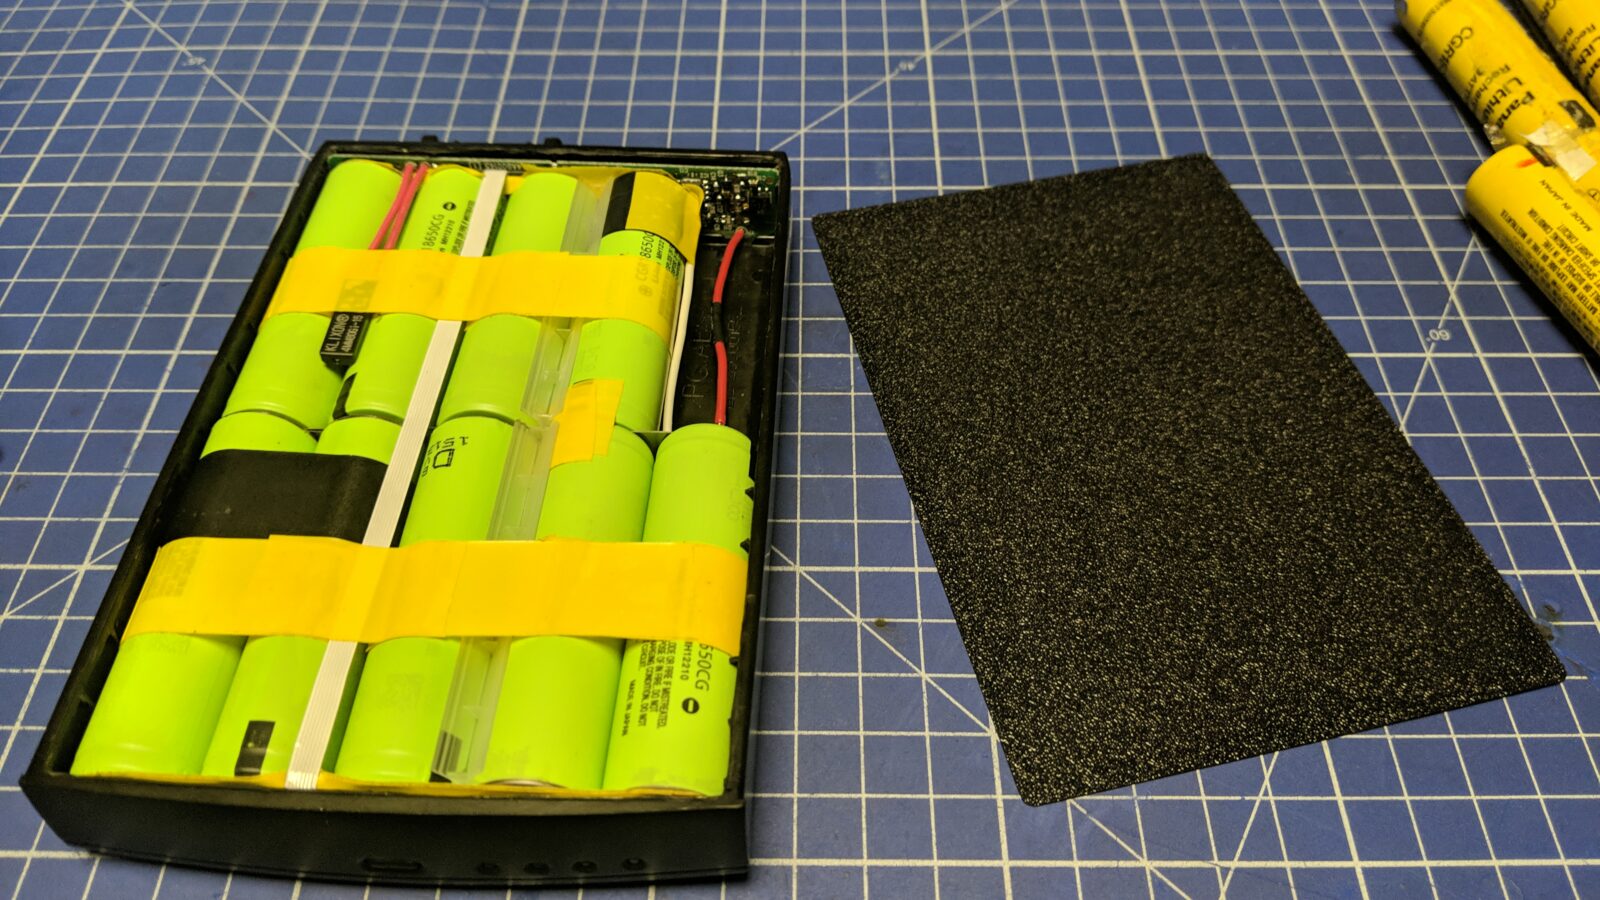
Main battery
After removing the top sticker, it was obvious that I had to do some cutting to get to the battery cells.
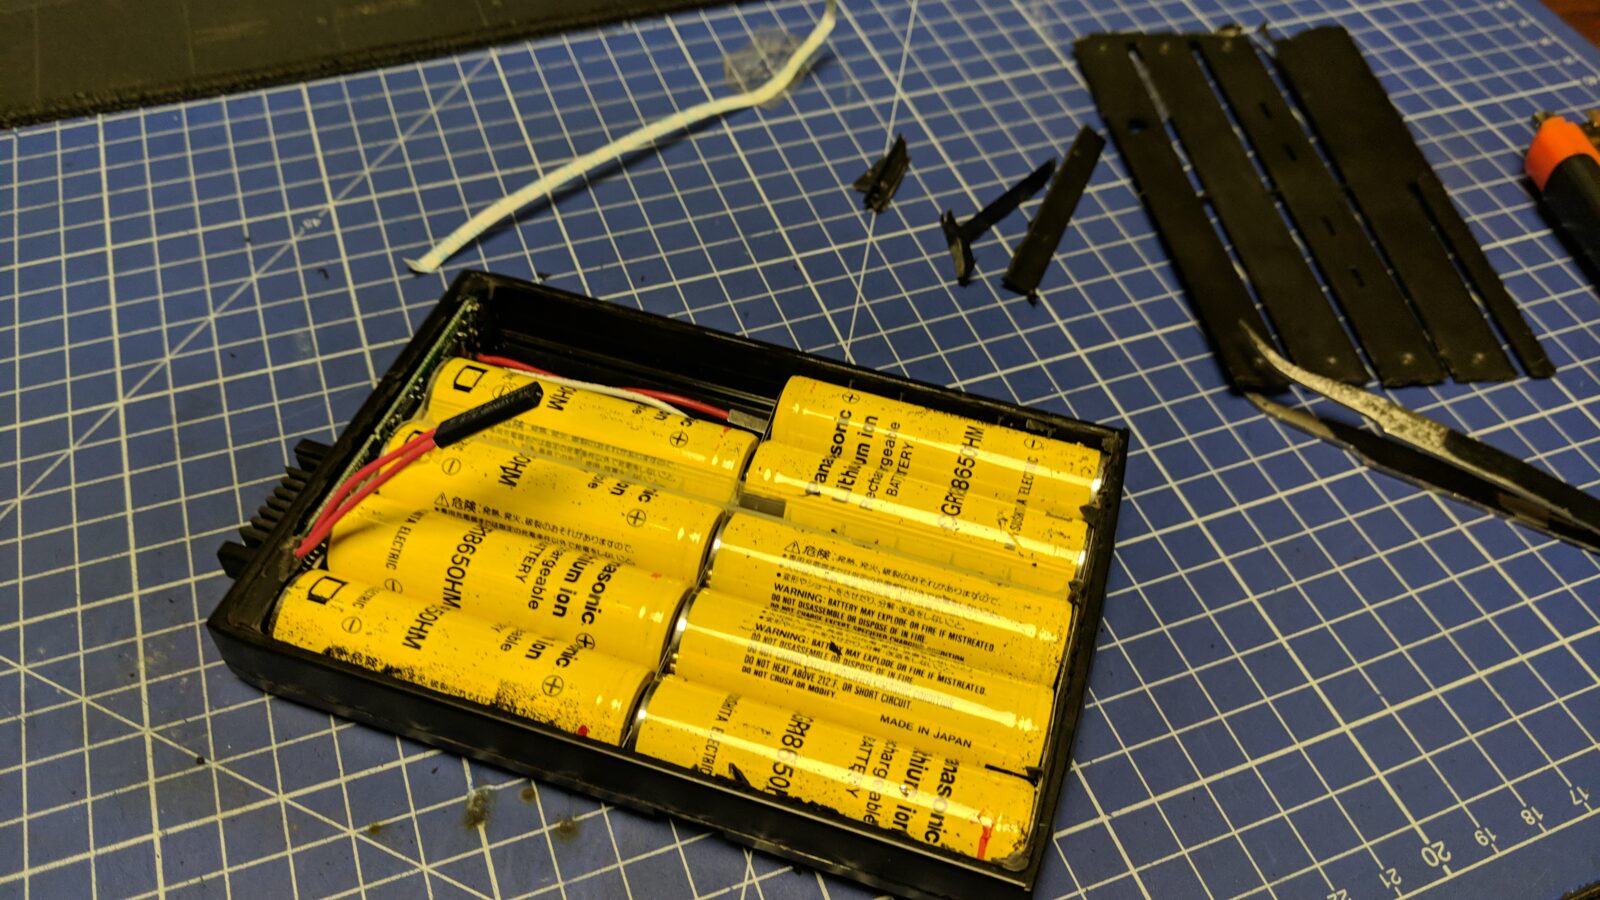
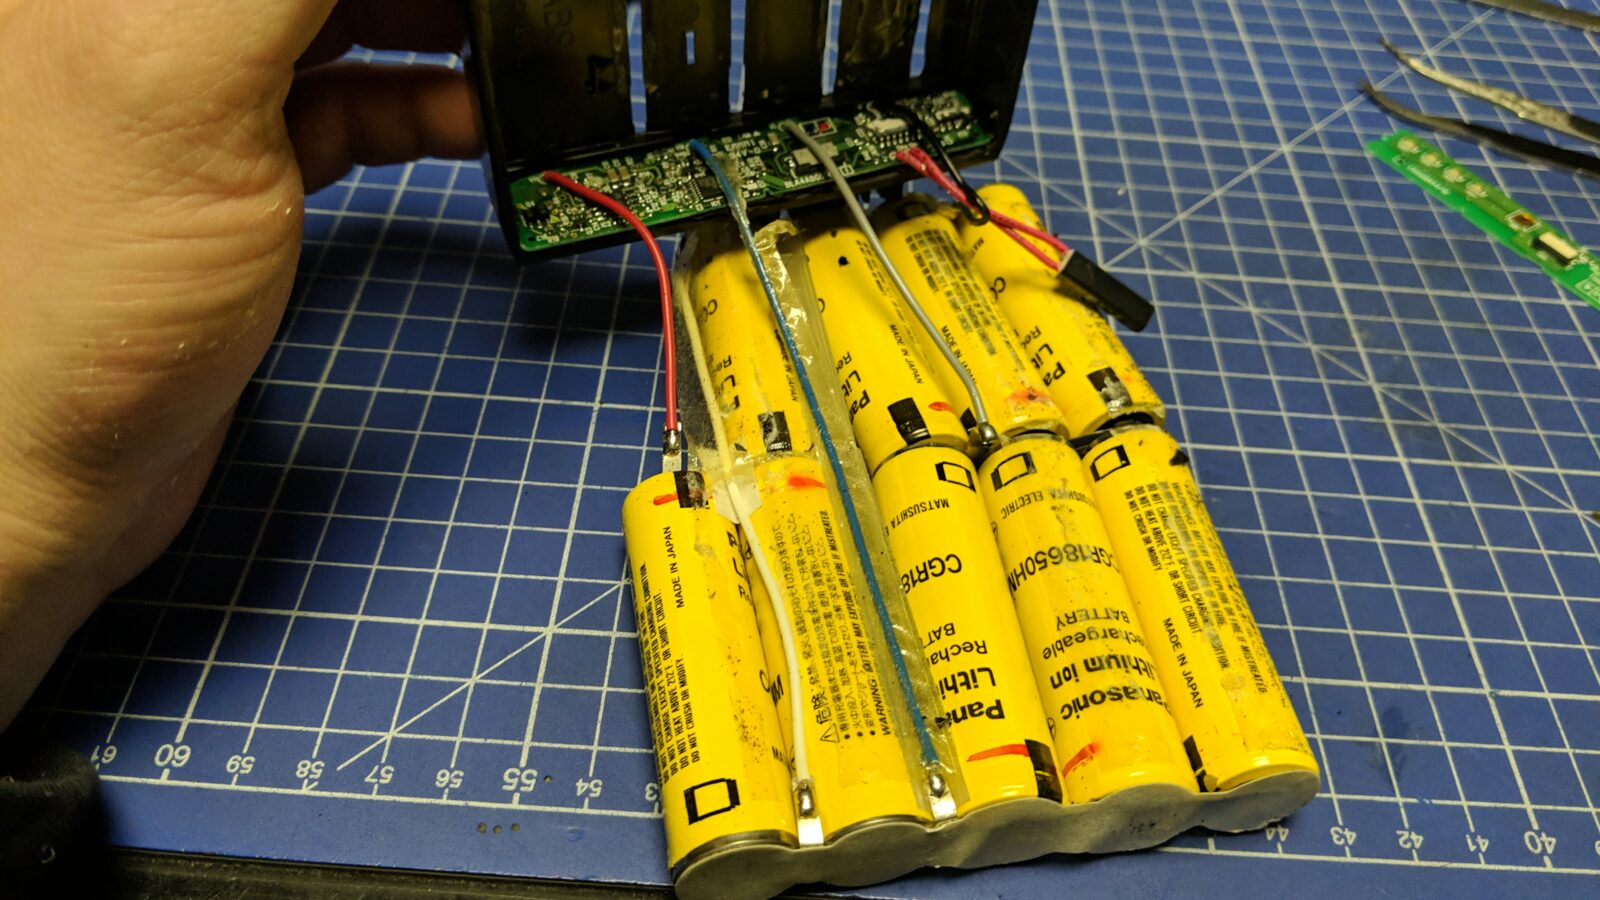
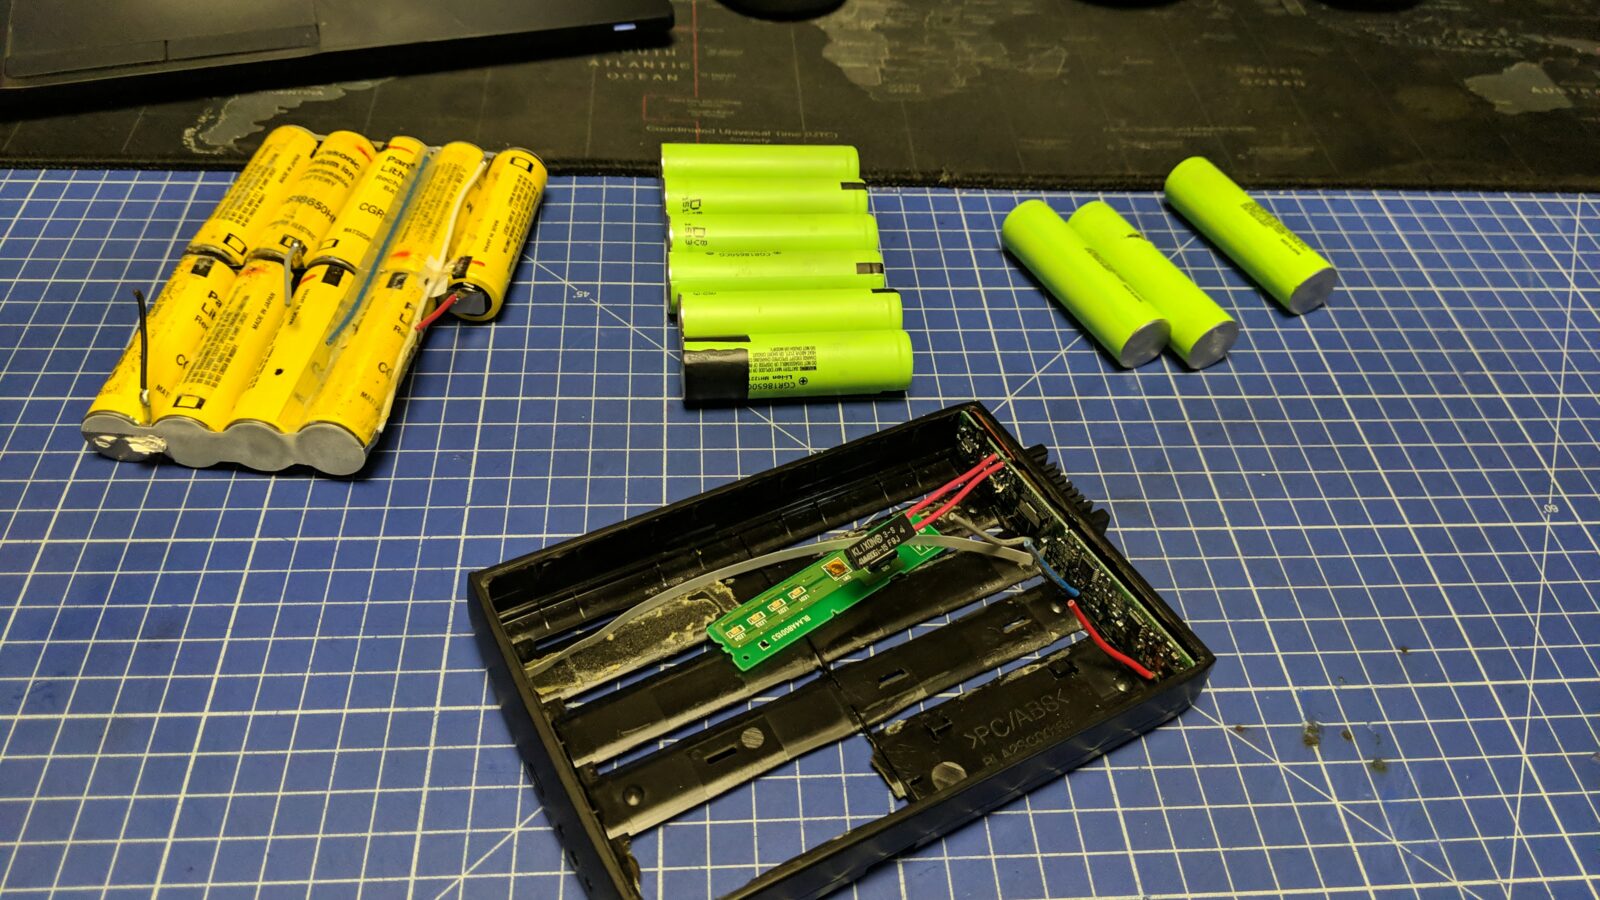
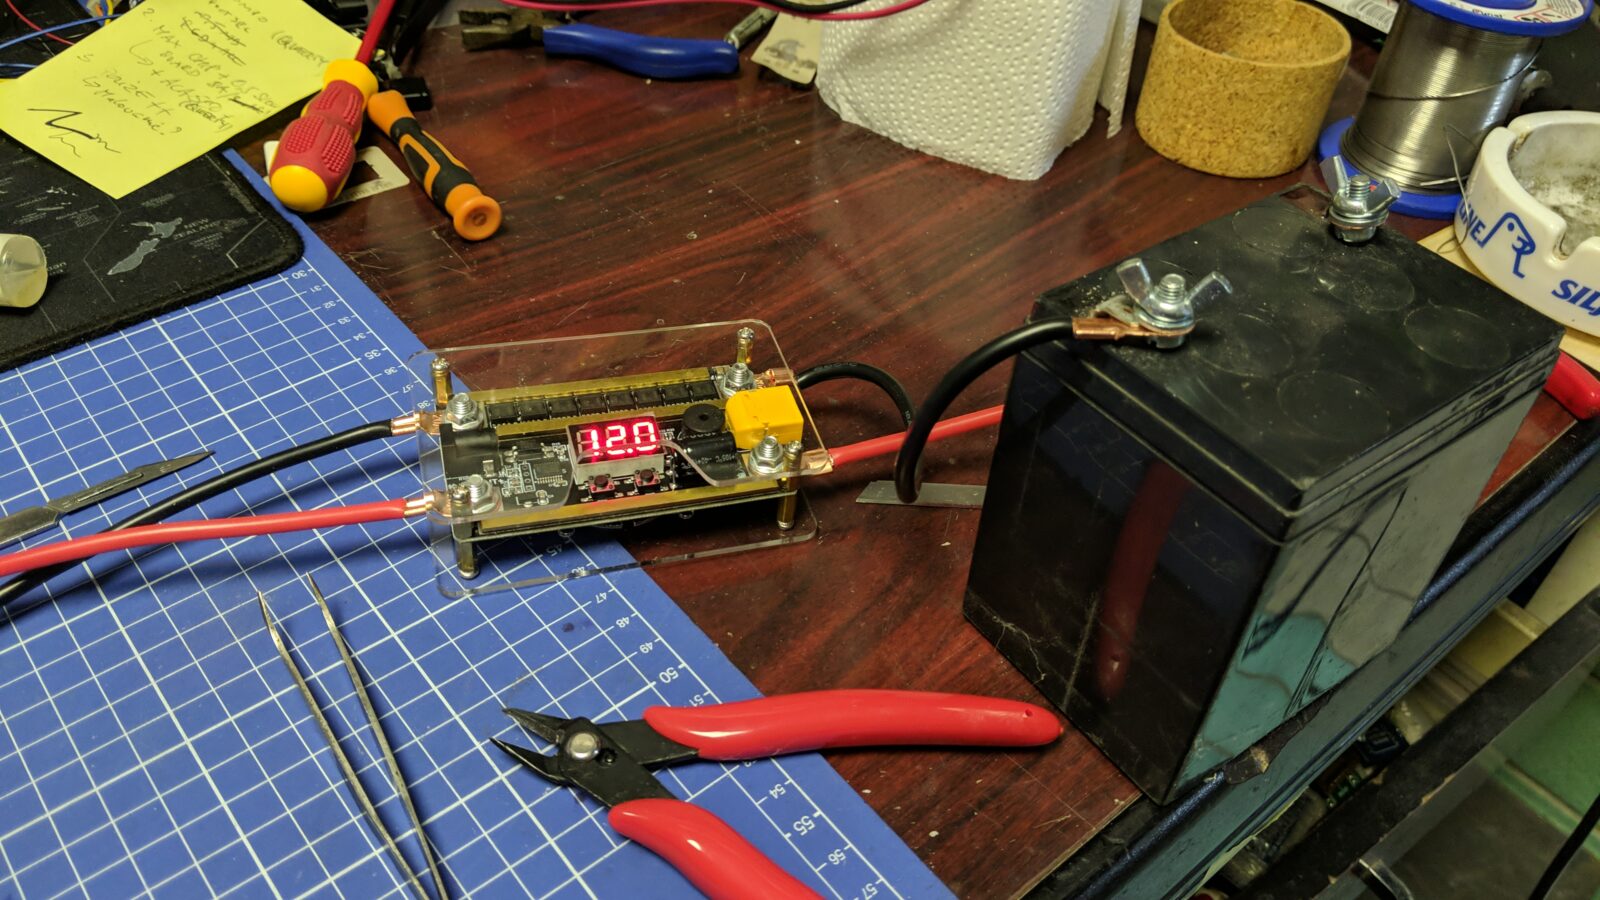
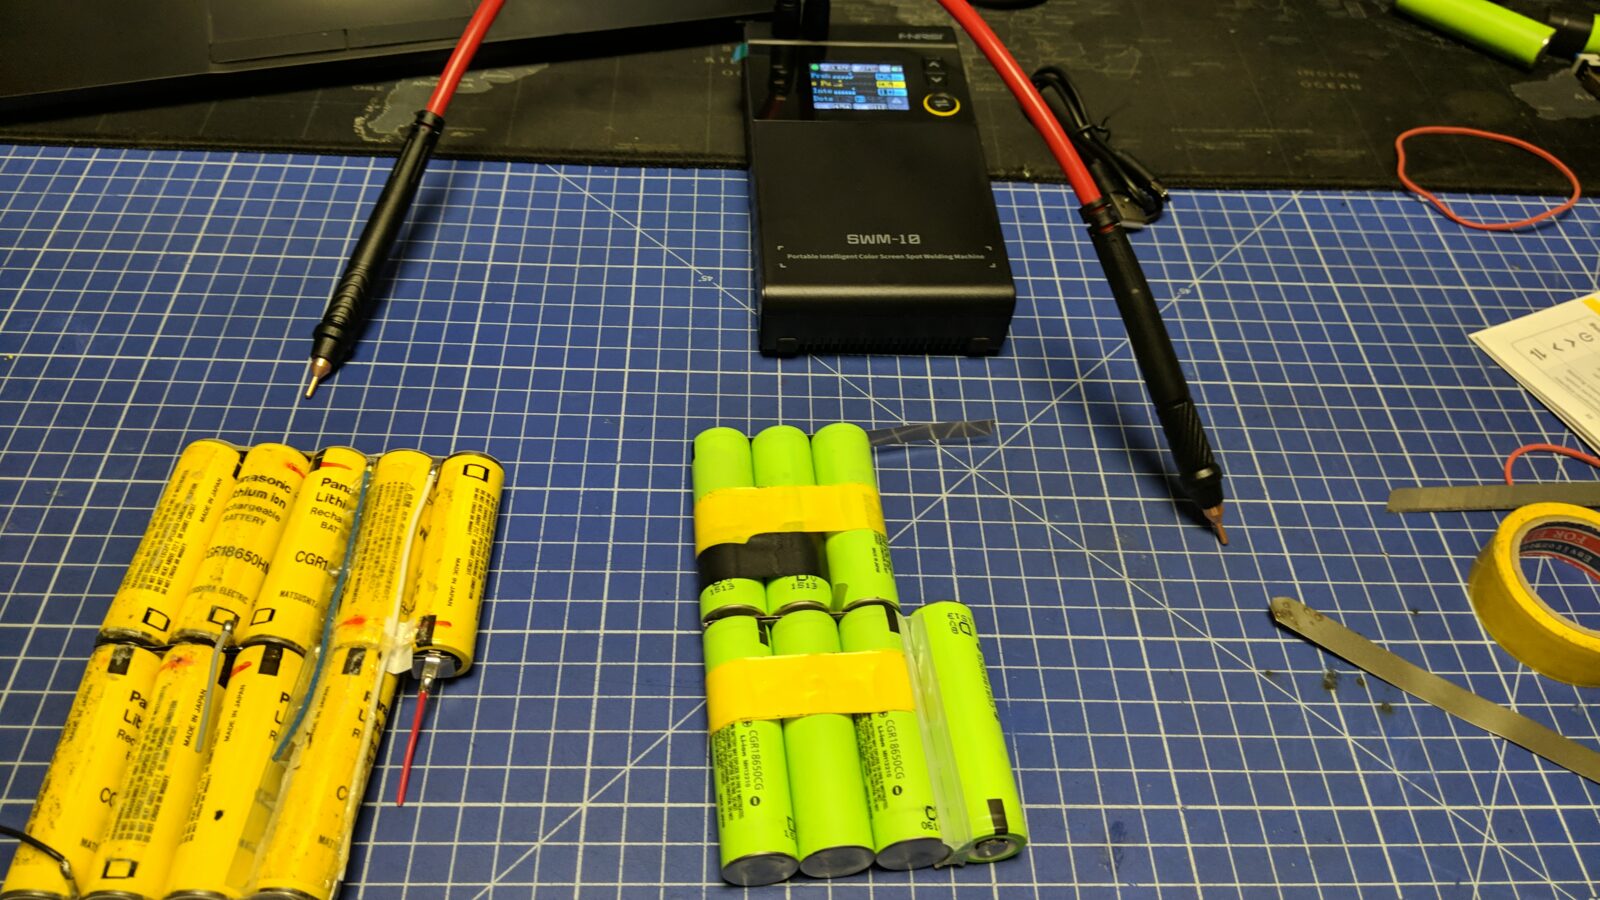
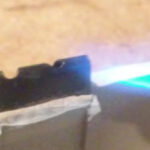
I’ve started to re-create the battery by connecting fresh 18500 cells with nickel stripes but I realized that the spot-welder that I had is way too weak to pull it off. I had to buy another one. This time though, I did some proper research 😀
The choice was made and I got this:
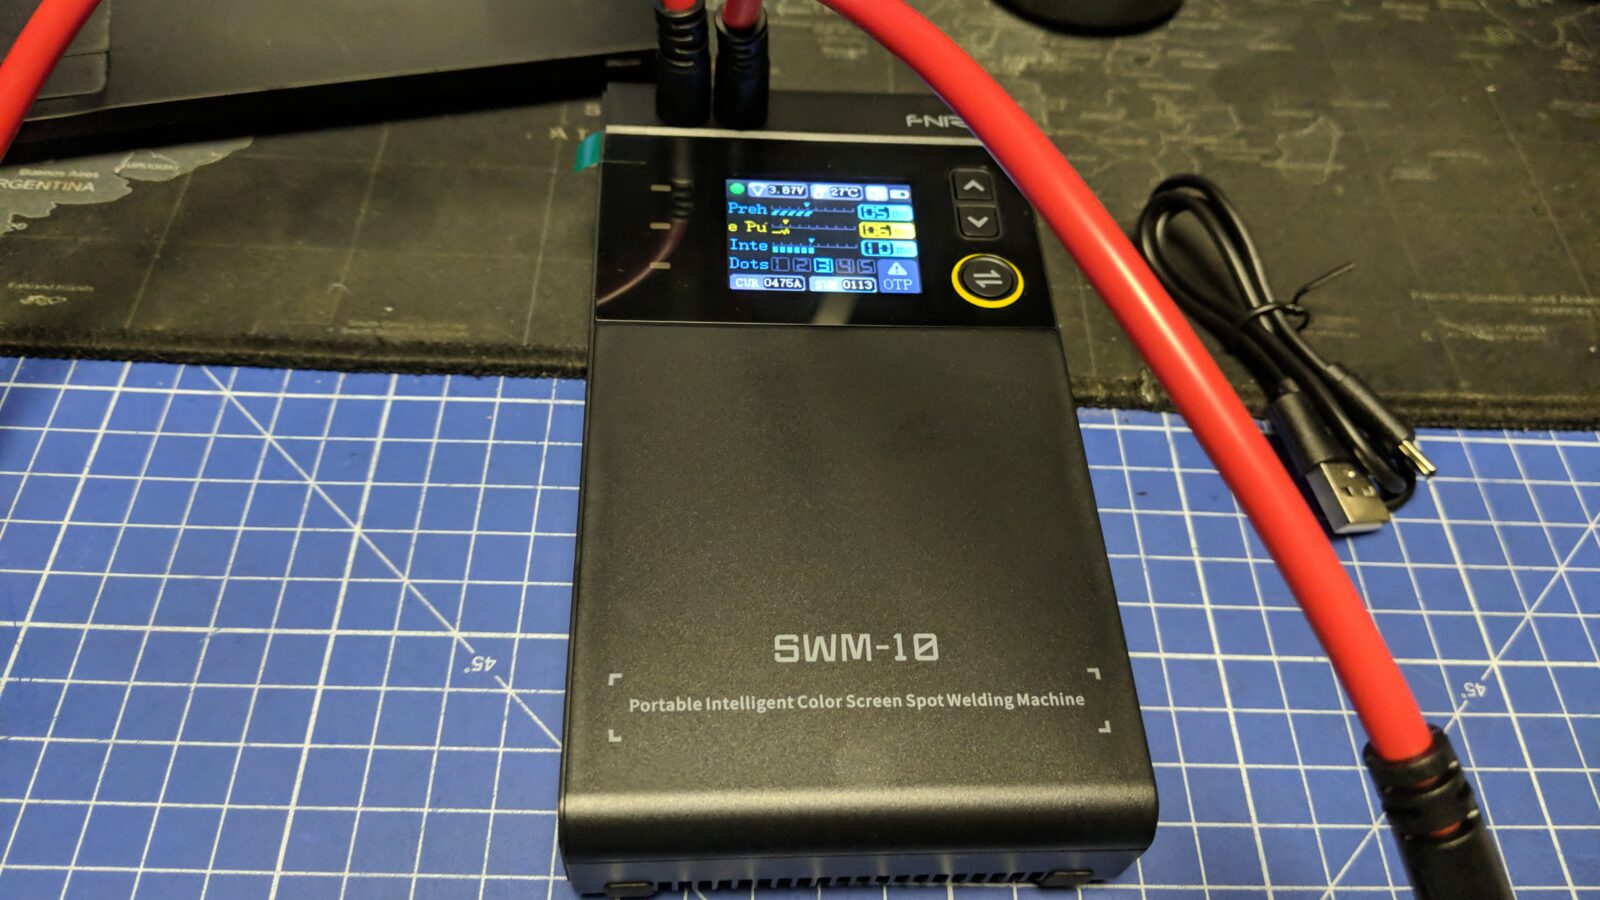
It is battery-powered and is charged via USB. Very nice and portable spot-welder which is perfect for my amateur work.
With the help of this new spot welder, I was able to connect all the fresh 18500s.
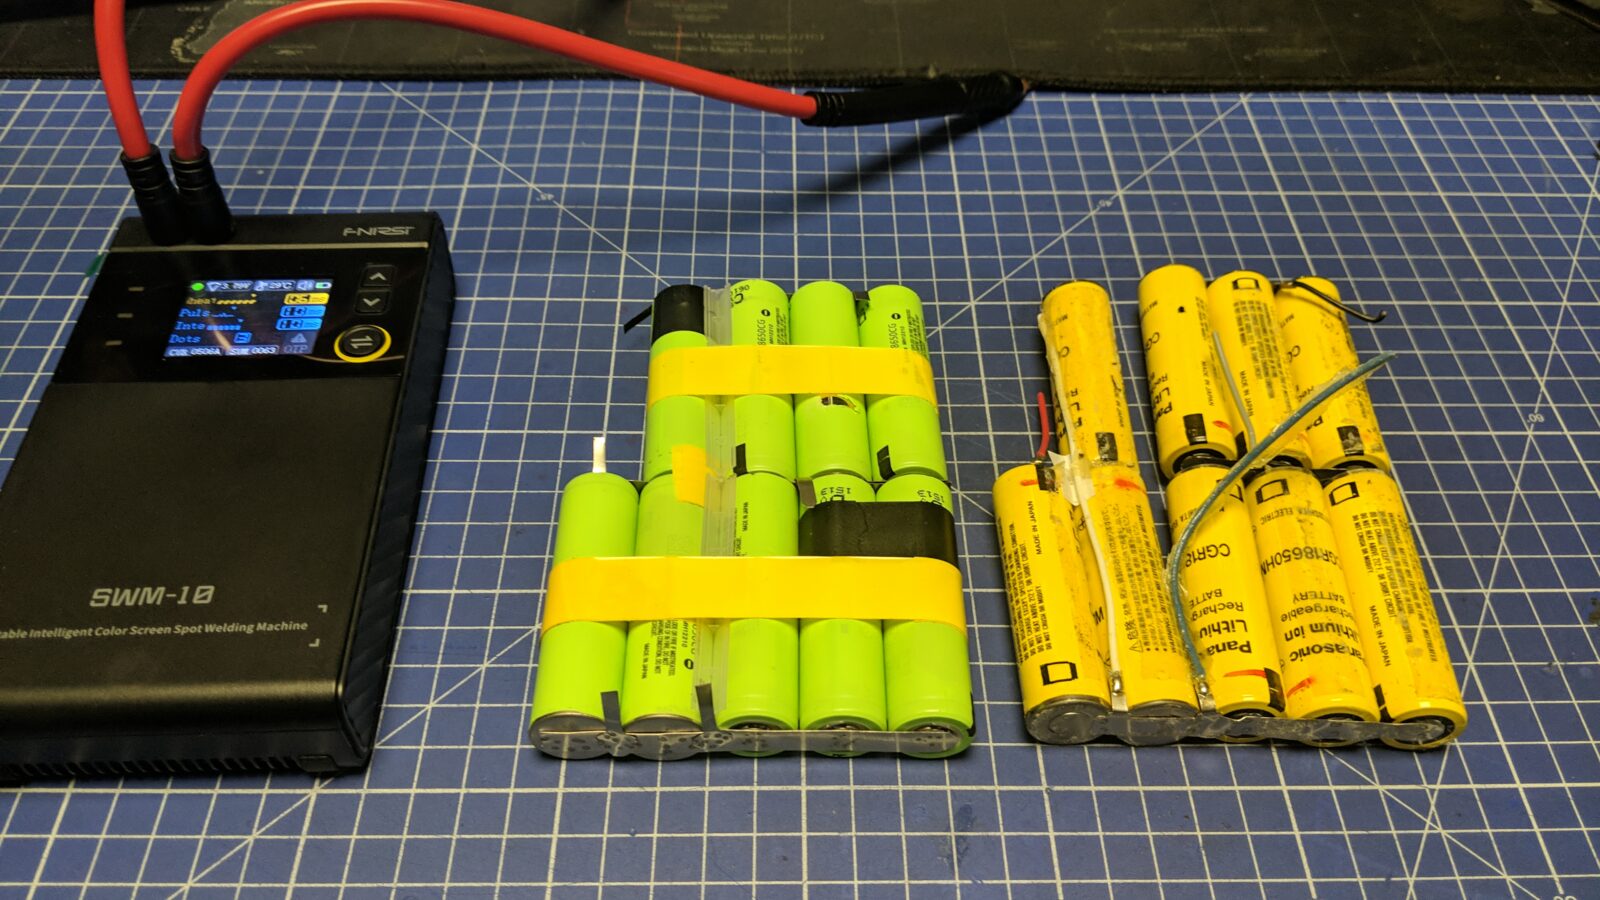
Once that tedious job was done, I packed it all together and covered it with a thin 3D-printed cover because the original covering sticker was distorted during removal.
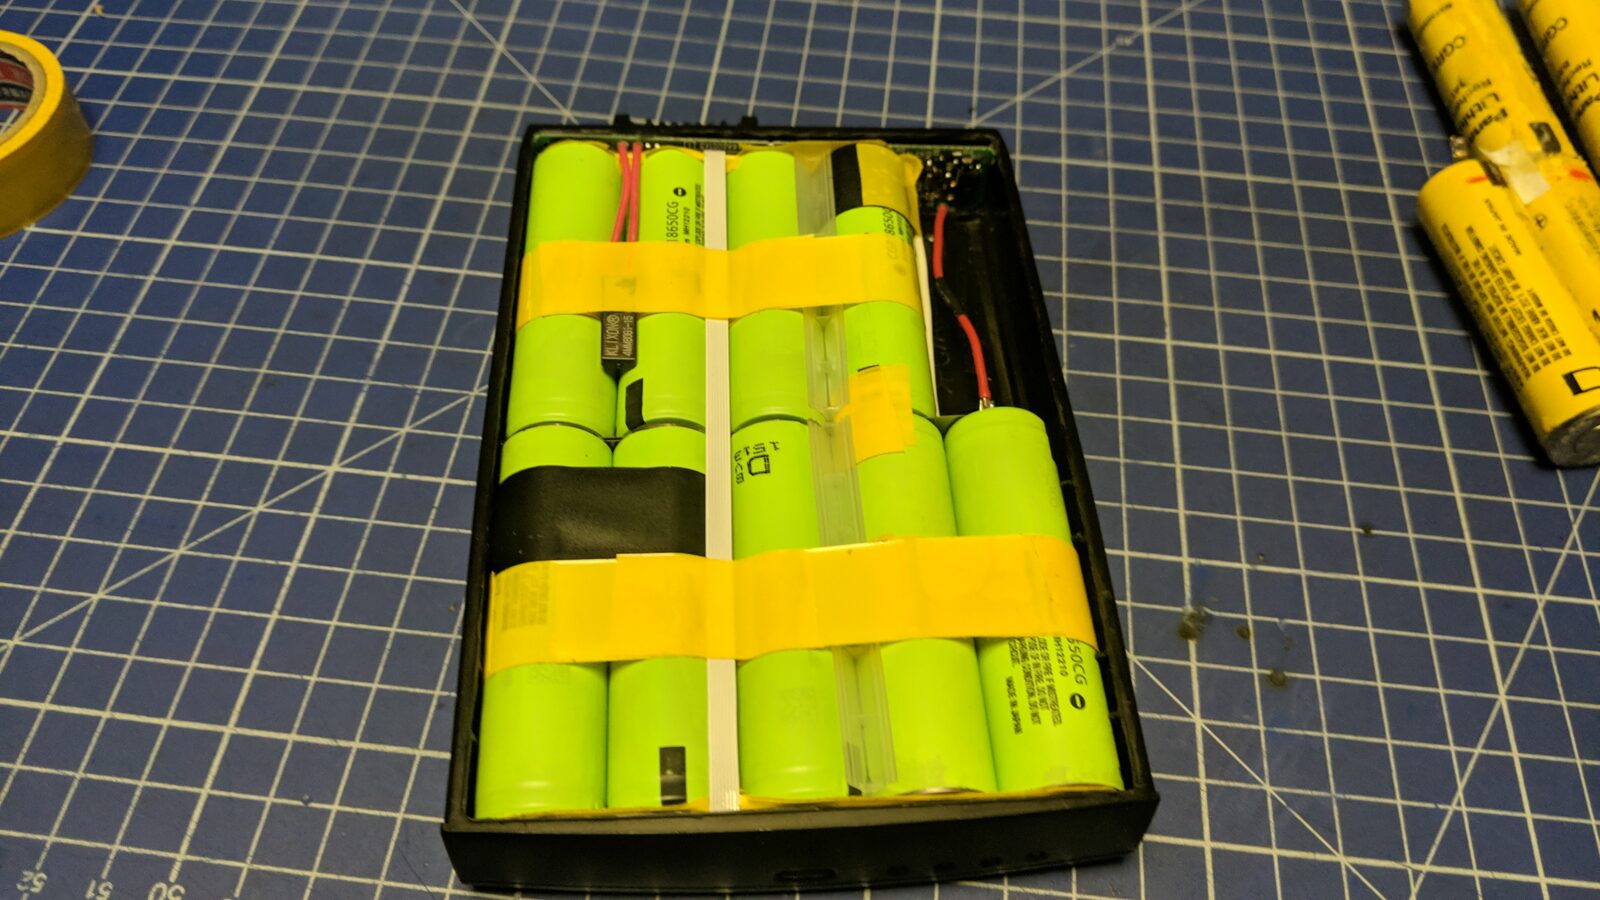
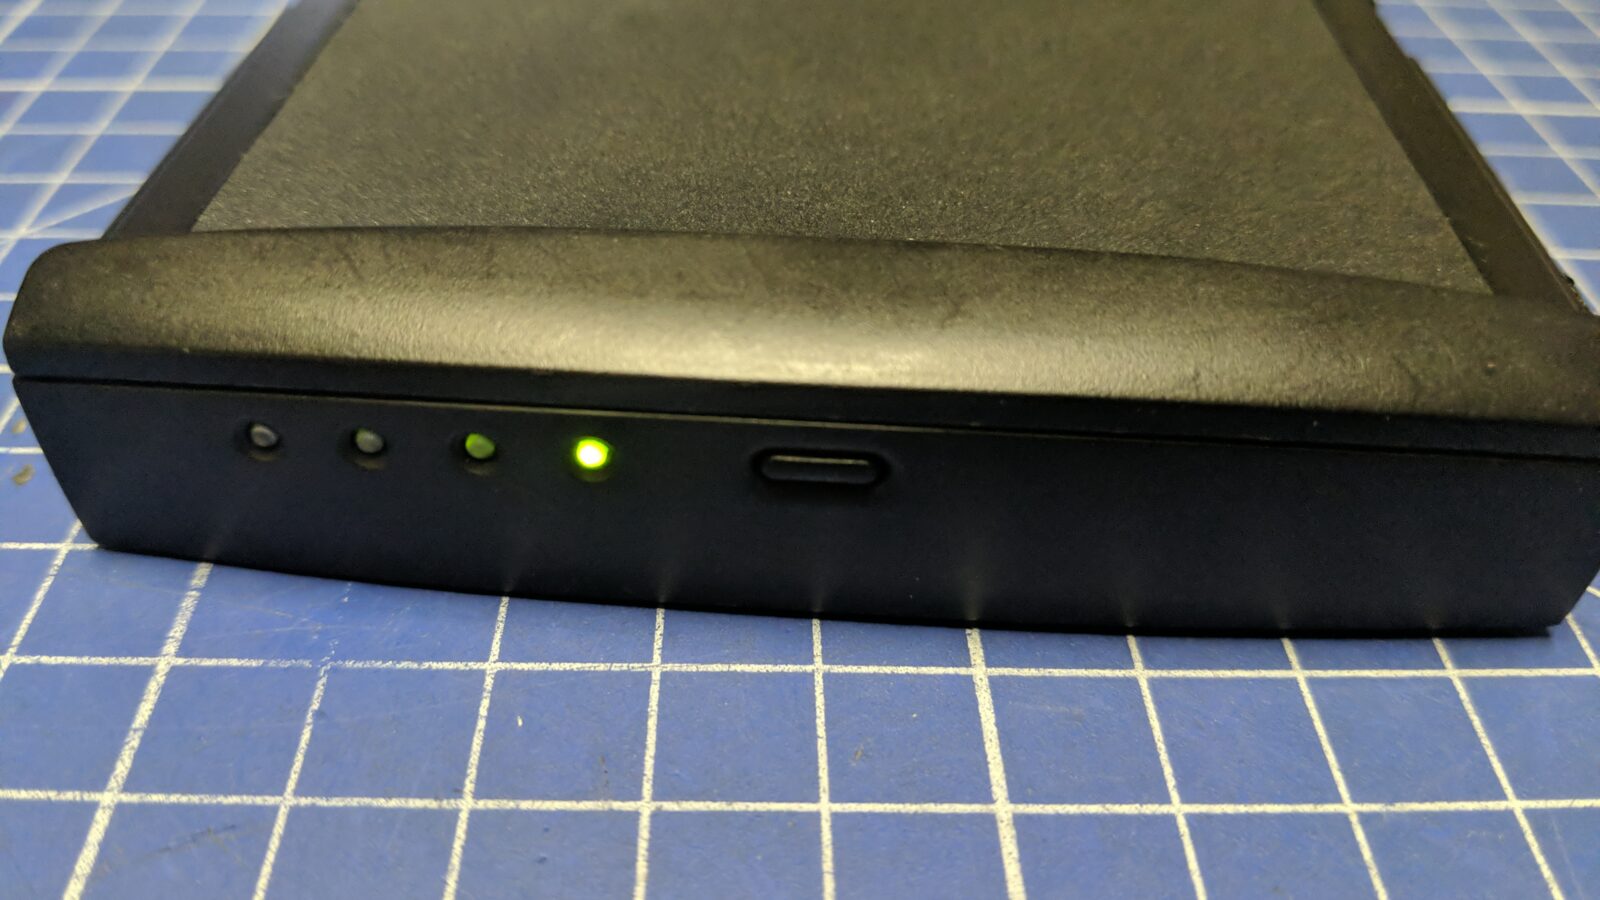
The battery charges well and the machine works on it for around 2.5 hours which is great!
However, next time, I will choose better quality 18500s to bump up working time even more.
Outro
This is it! Powerbook G3 is working again 😀
That’s all in this short post. Consider subscribing if you want to get an email notification about fresh blog posts.
See you in the next post 🙂


One thought on “#marchintosh – Macintosh PowerBook G3 battery remake”