… or 1.5x Mac Classic cuz I forgot to take pics :/
<Intro>

Heh, yeah, I am always pretty late to the party …
</intro>
The Apple heap
Last year, I’ve bought a heap of Apple machines for my client. Literally, tons of hardware to refurb/fix/upgrade.
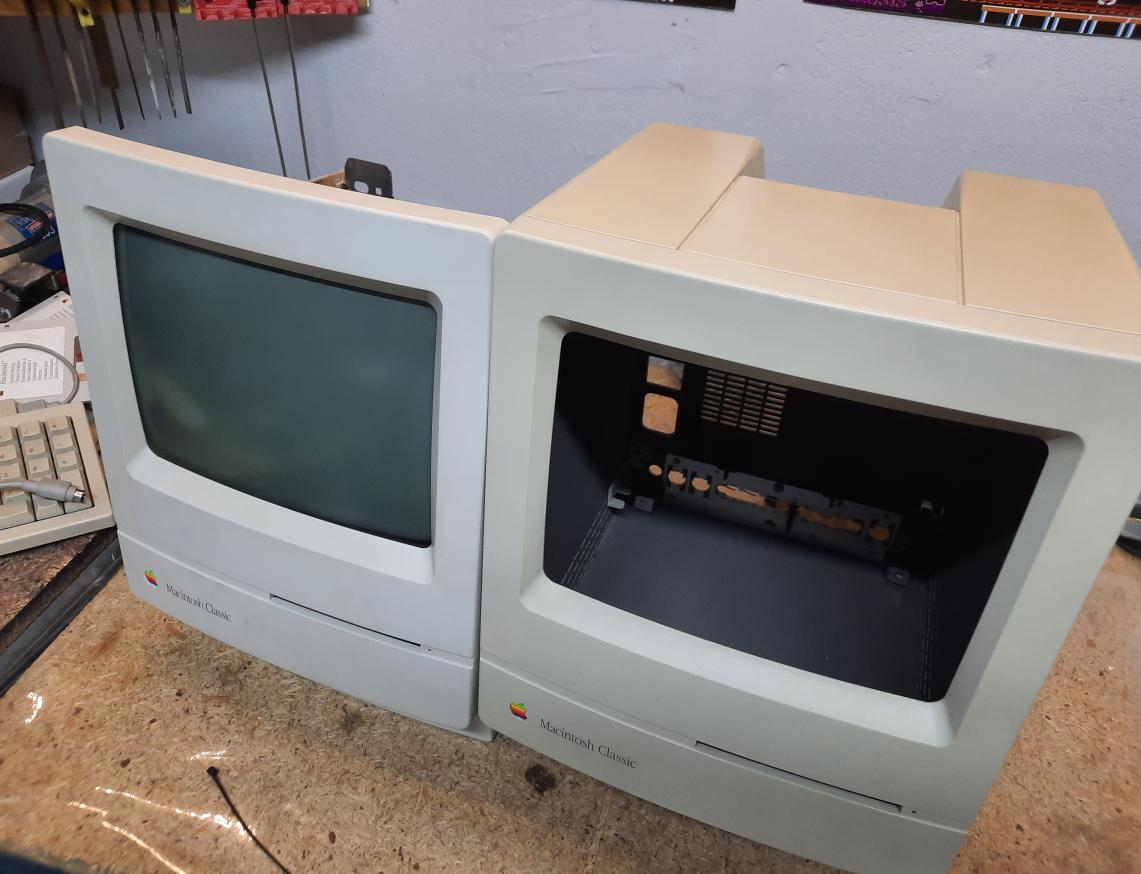
I am slowly crunching through it all and because it is (late) March, I decided to write a post about the first two machines that I’ve worked on – two Macintosh Classic. You can expect a full spectrum of Apple machine restorations on this blog in the future.
This blog post will be a mix of both machines being fixed simultaneously, plus I forgot to take a nice pic with both machines working next to each other. Actually, I didn’t take a lot of pics. Anyway, let’s get started!
The plan
The plan was pretty standard – RRU – Repair, Retr0bright, and Upgrade
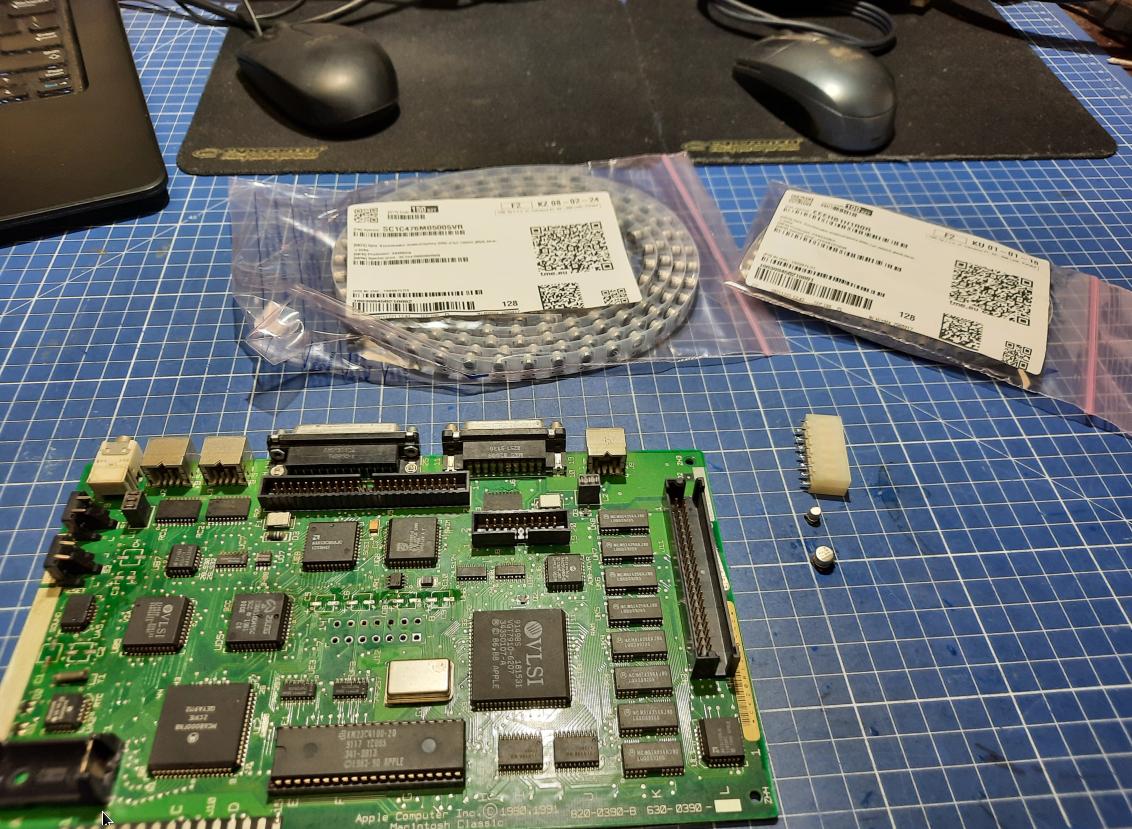
If it is about upgrades, after a quick research, a decision has been made to replace the original SCSI hard drive with an SD card module. In this case, BlueSCSI by Eric Helgeson. I also wanted to make these machines as quiet as possible so a fan replacement was on the replacement list as well as a brand-new RTC battery and new capacitors.
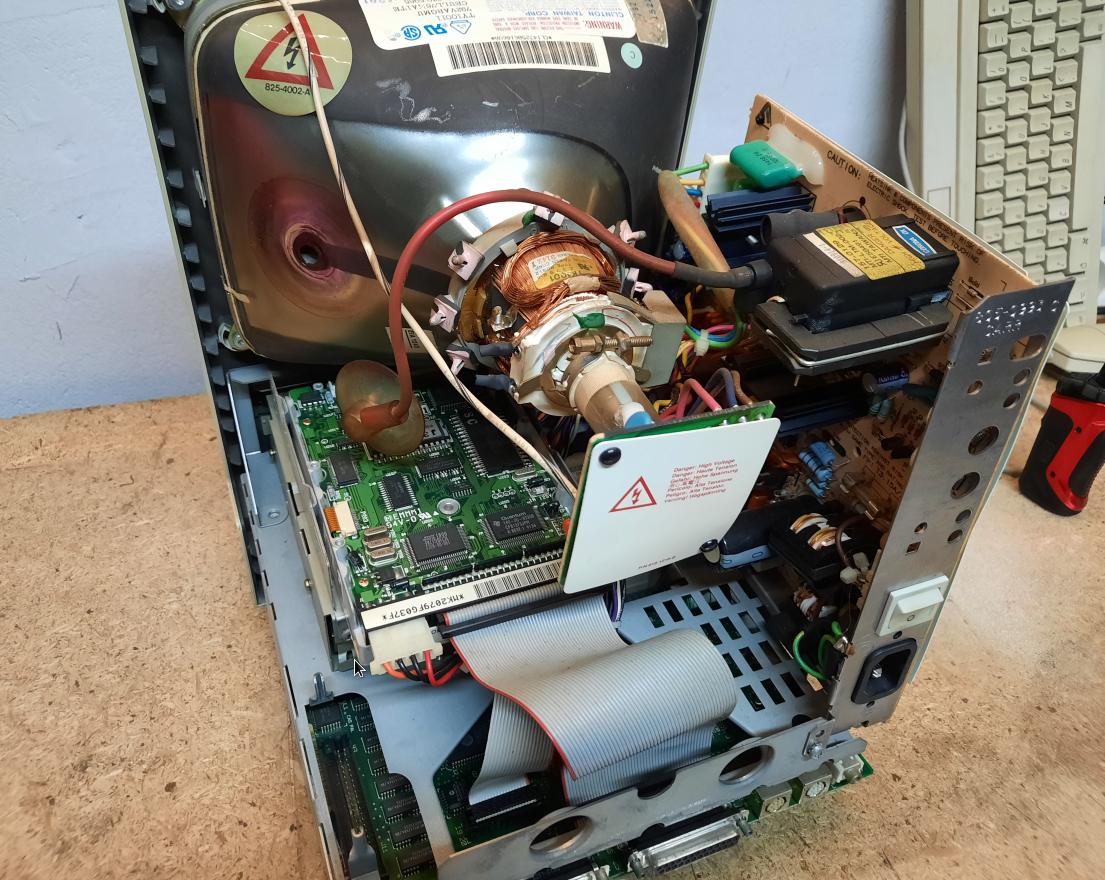
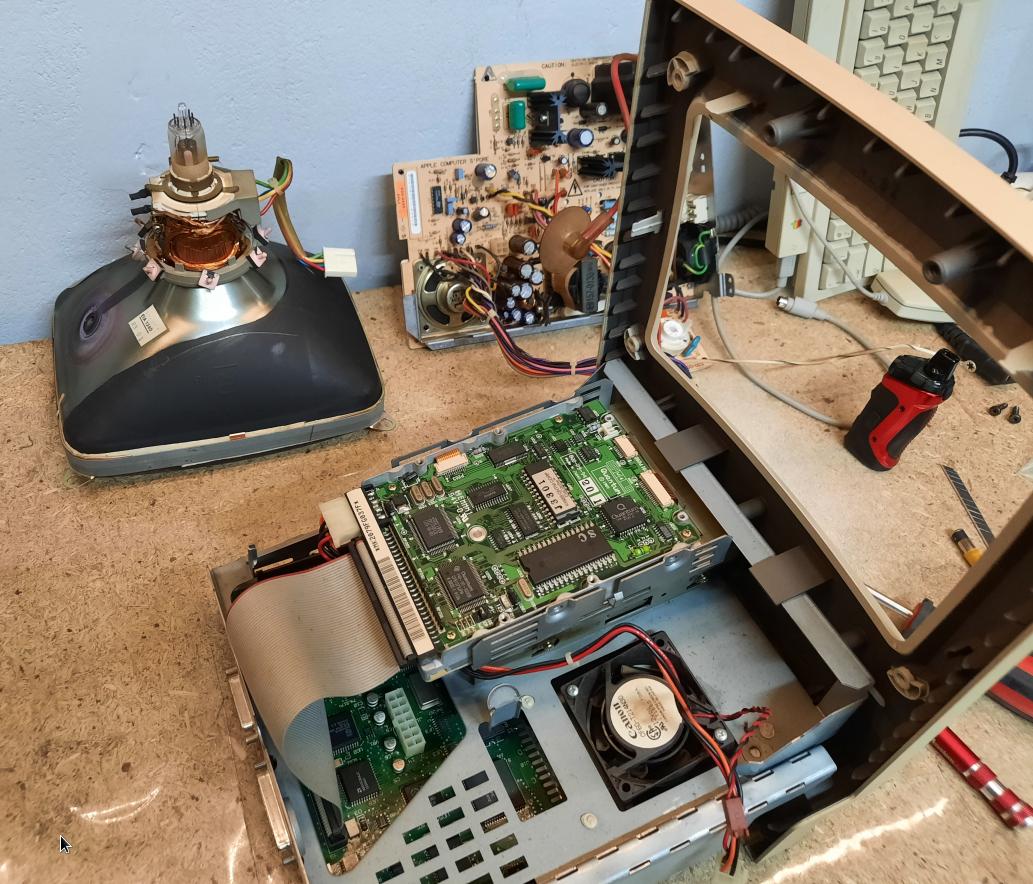
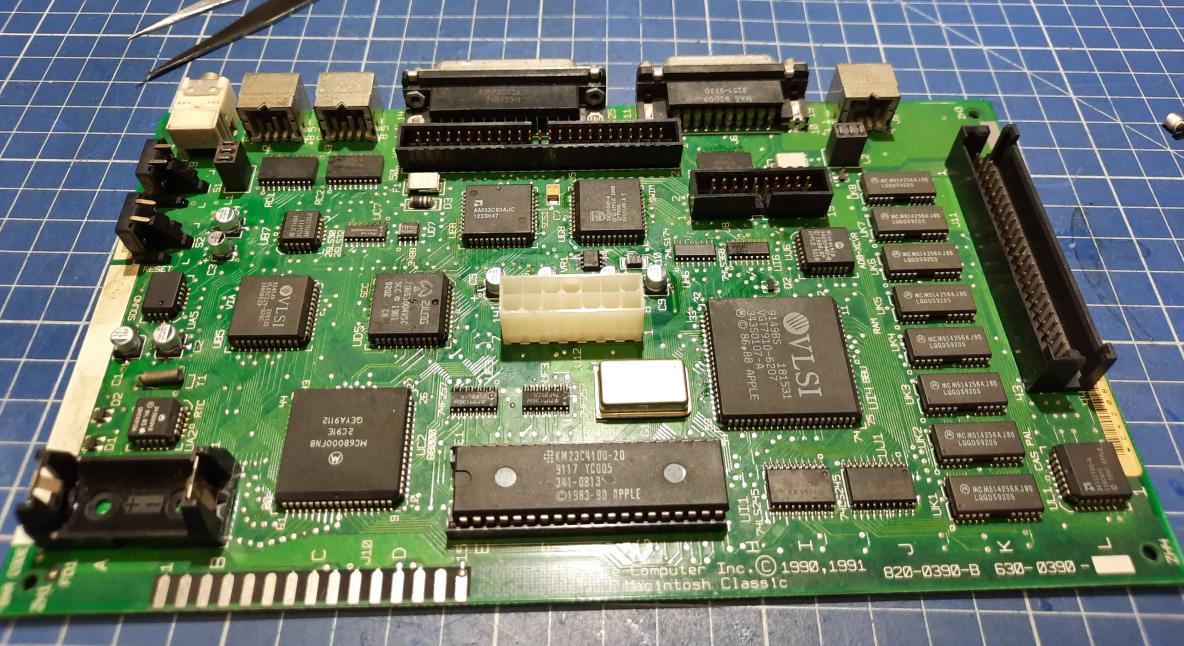
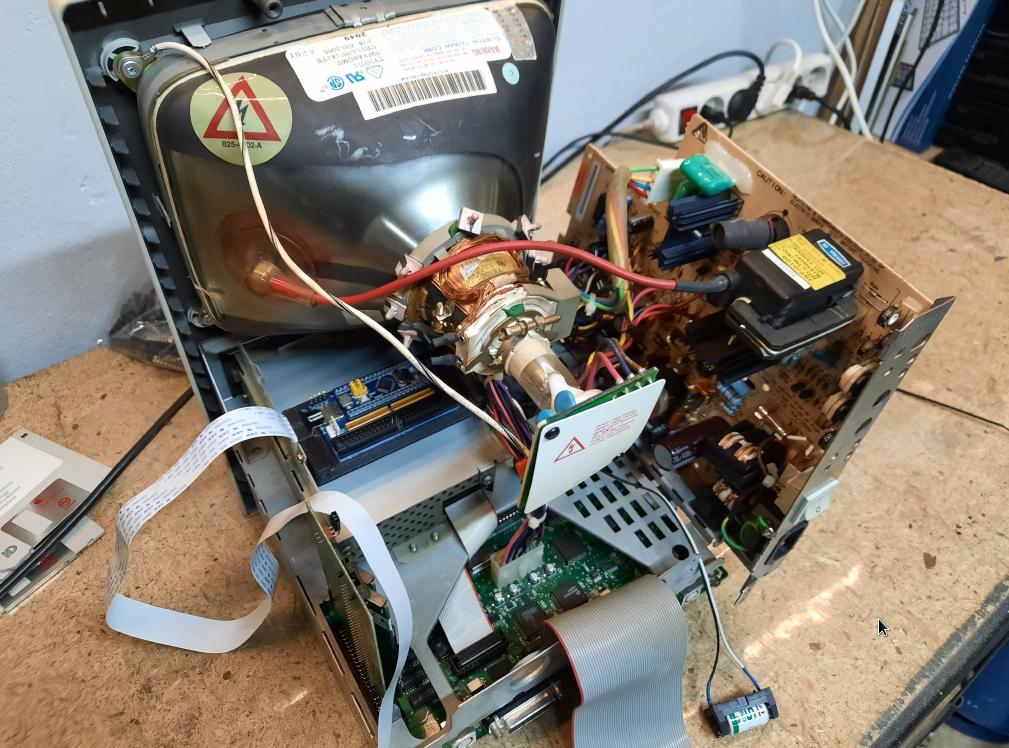
Overview and disassembly
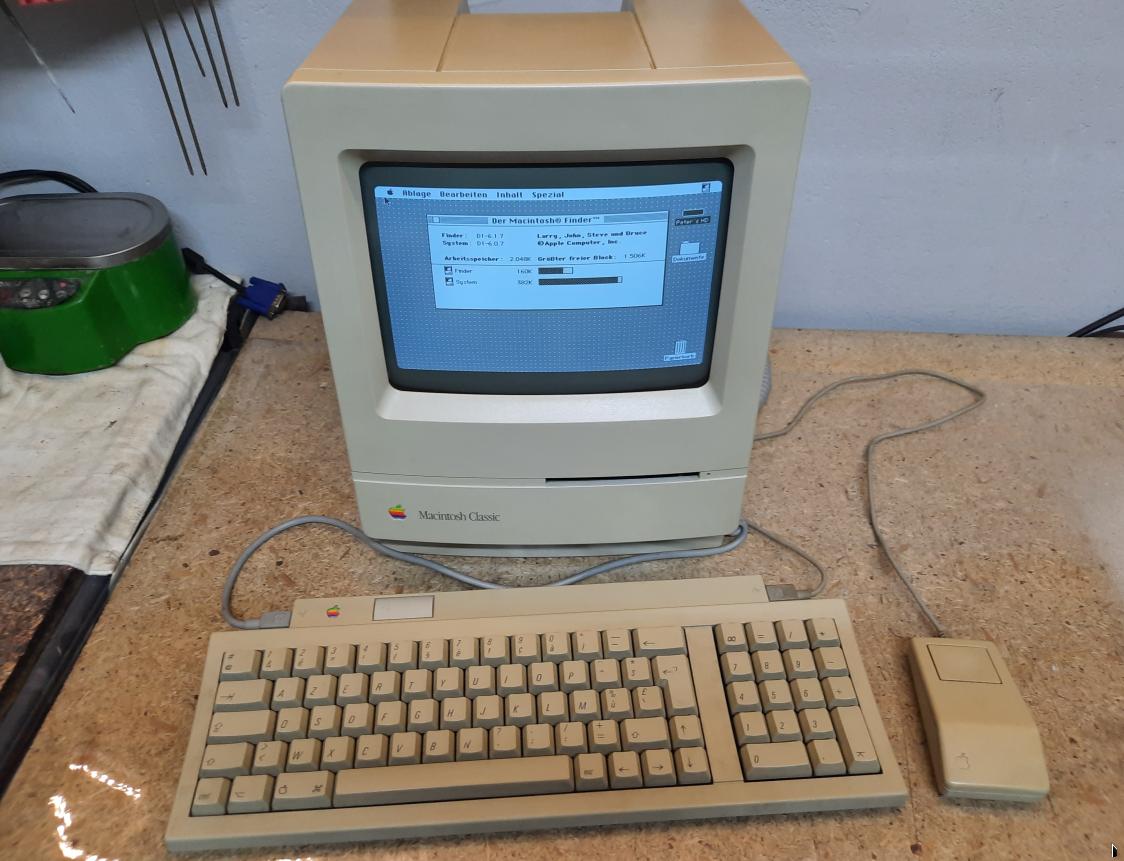
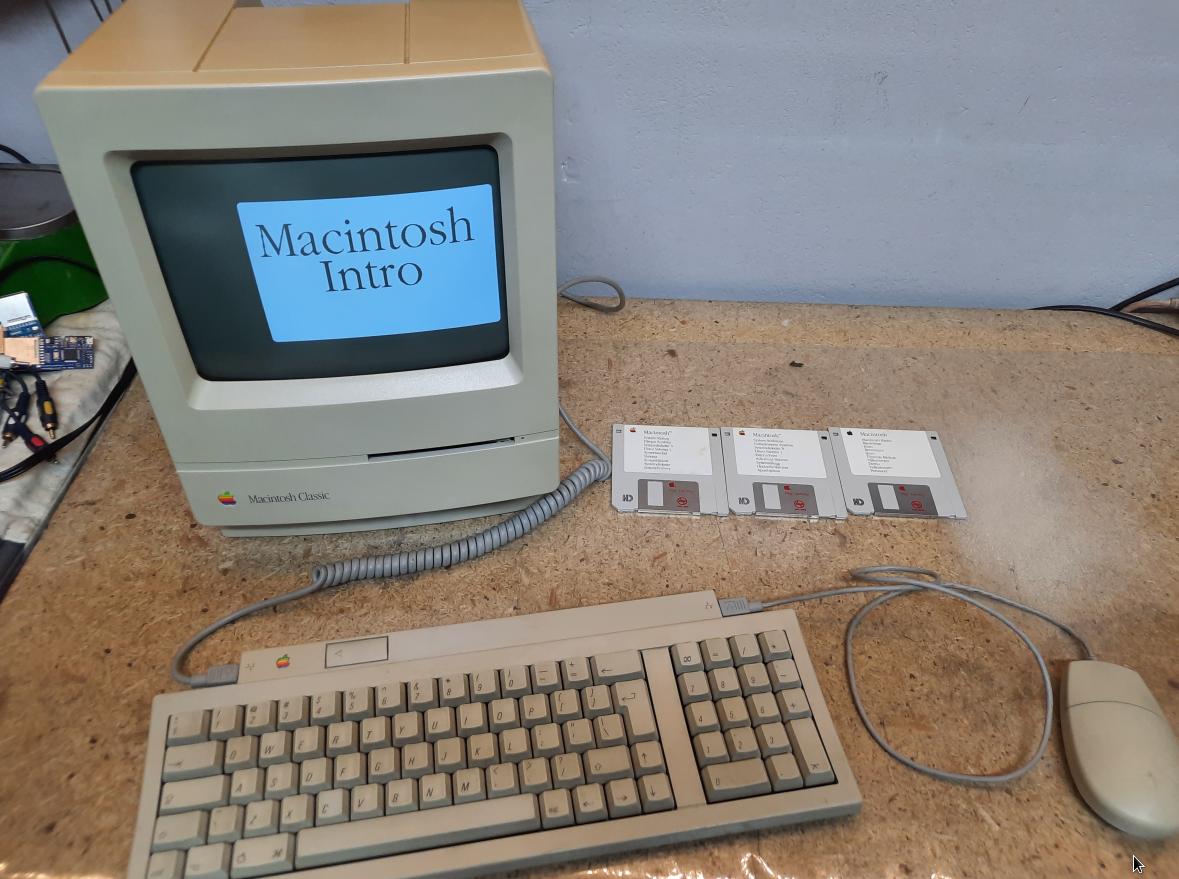
The first Mac was booting nicely but there were some issues with the audio. The other one didn’t boot to OS but I’ve managed to boot it using floppies.

Caps already spilled its contents :/
The job
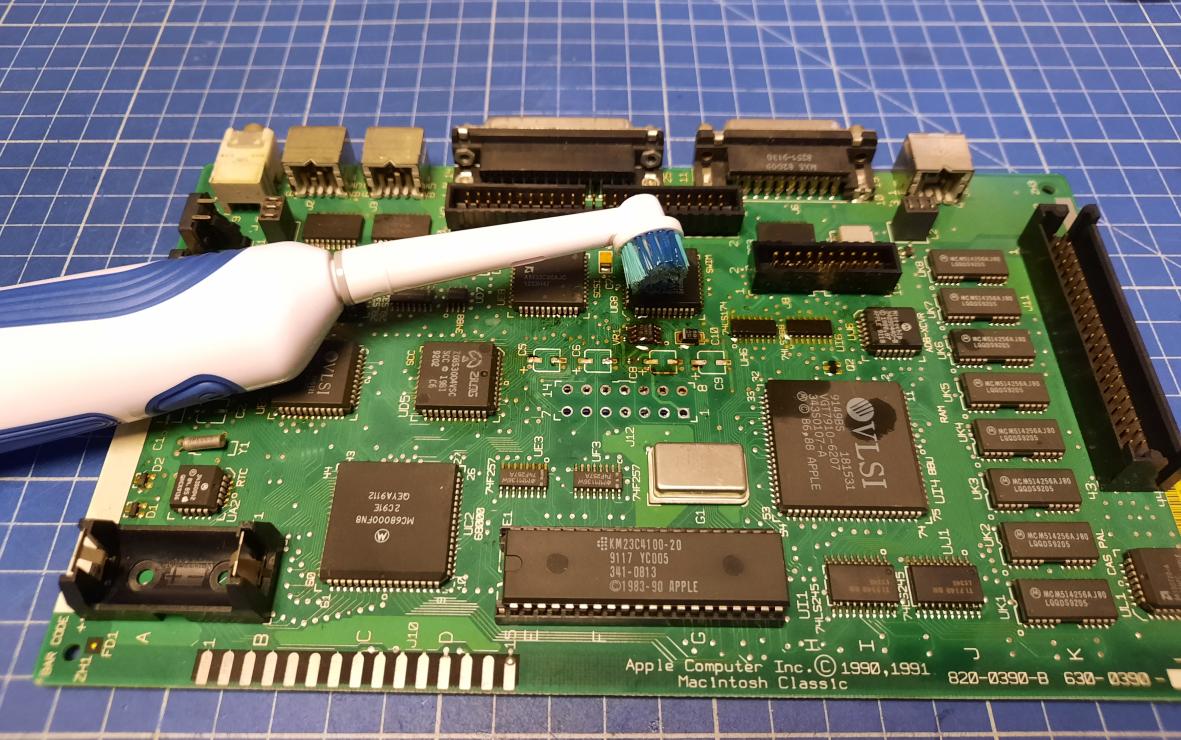
I’ve started with retr0brighting the case as it takes a lot of time and right after that started working on the logic board.

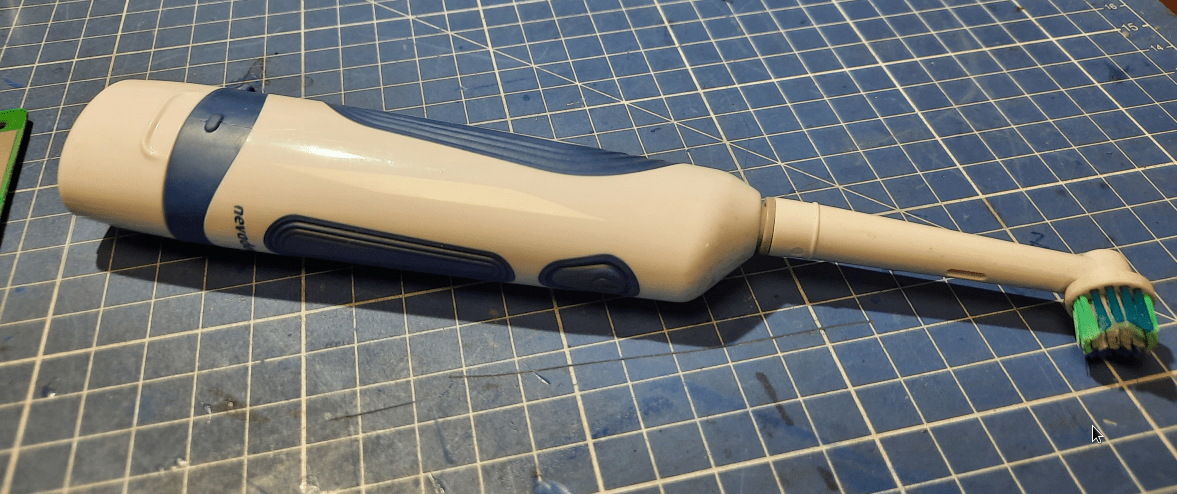
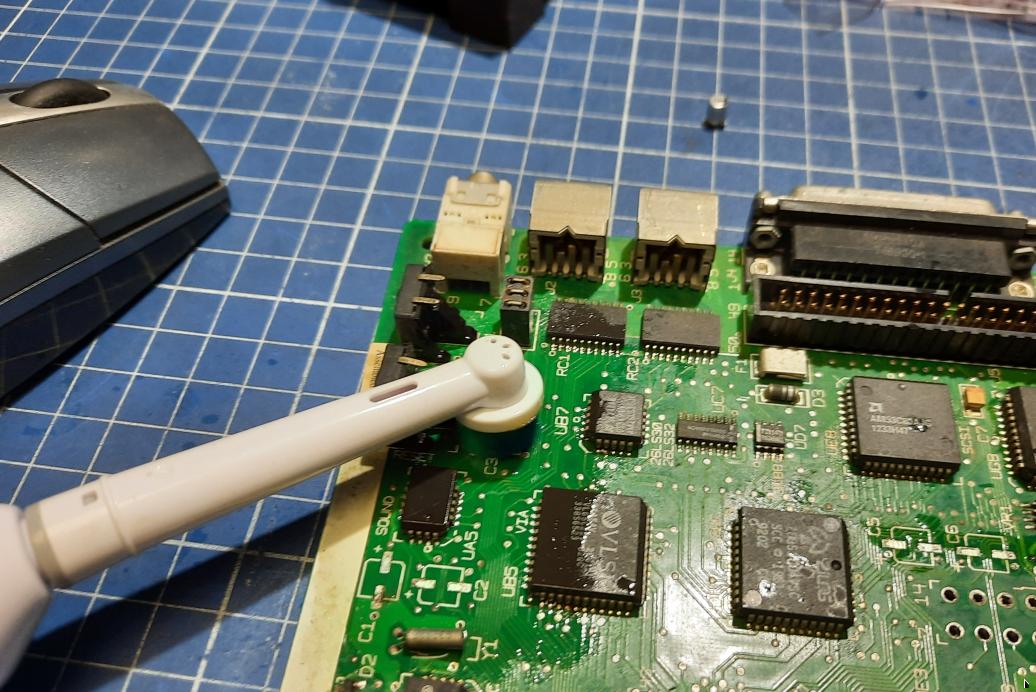
For the initial cleaning, I’ve used my 5 USD electric toothbrush + some IPA 🙂
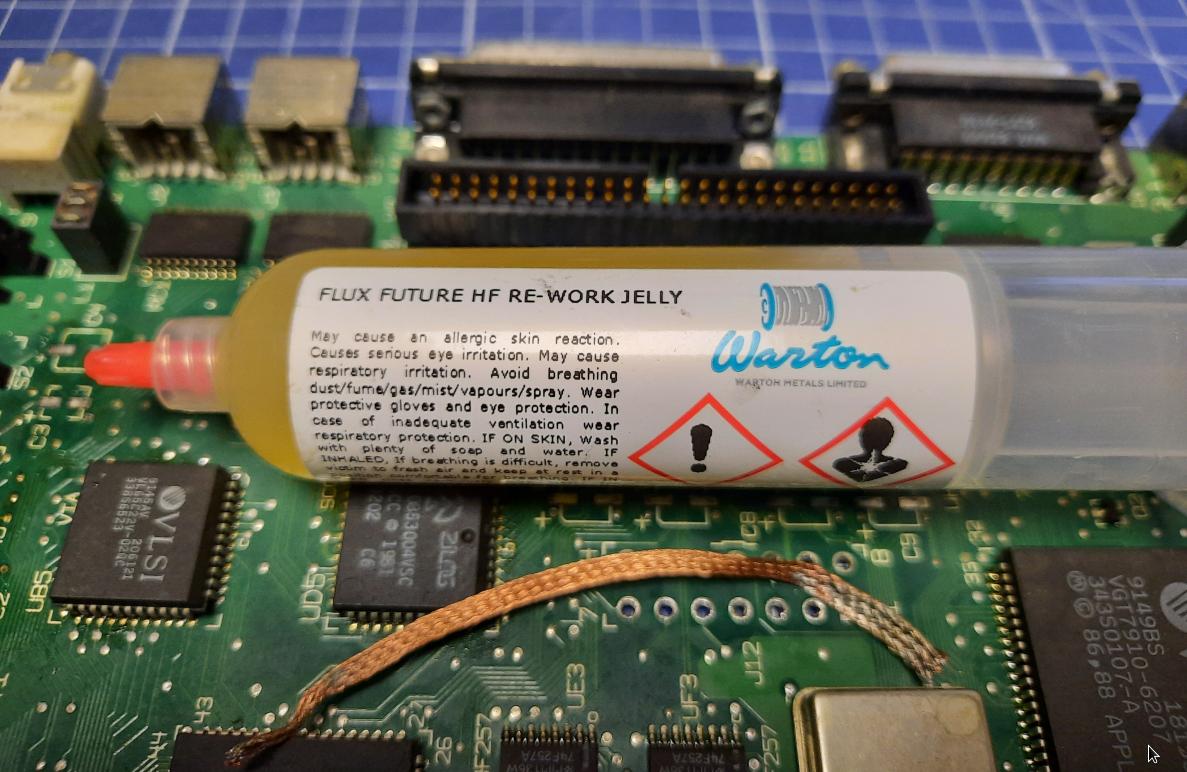
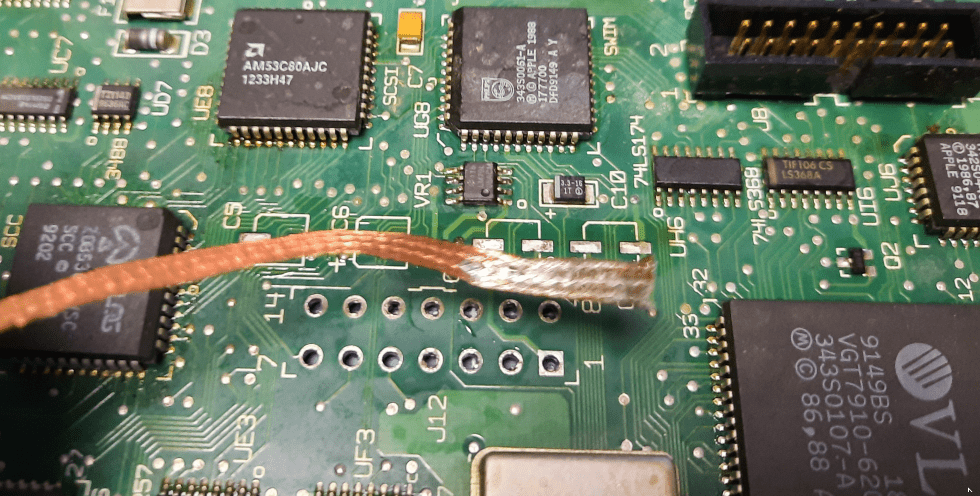
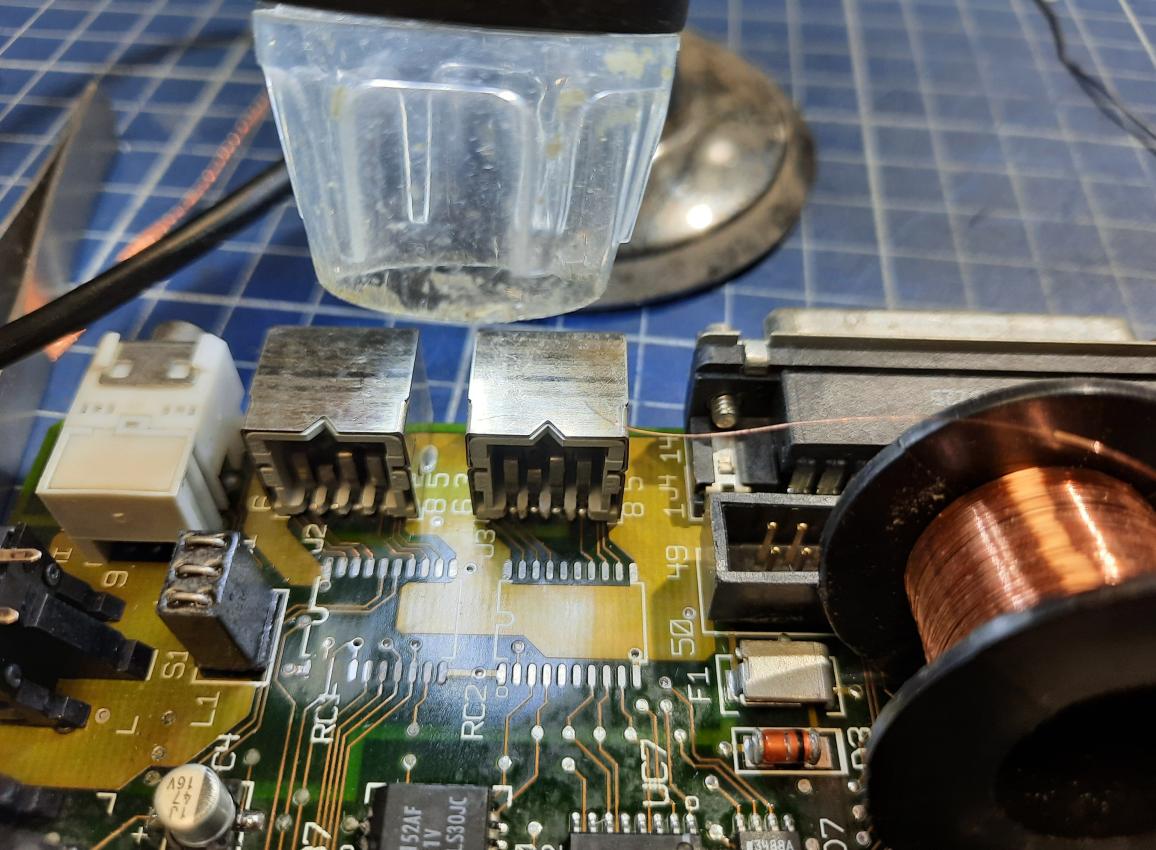
Copper braid along with some flux was used to remove old solder.
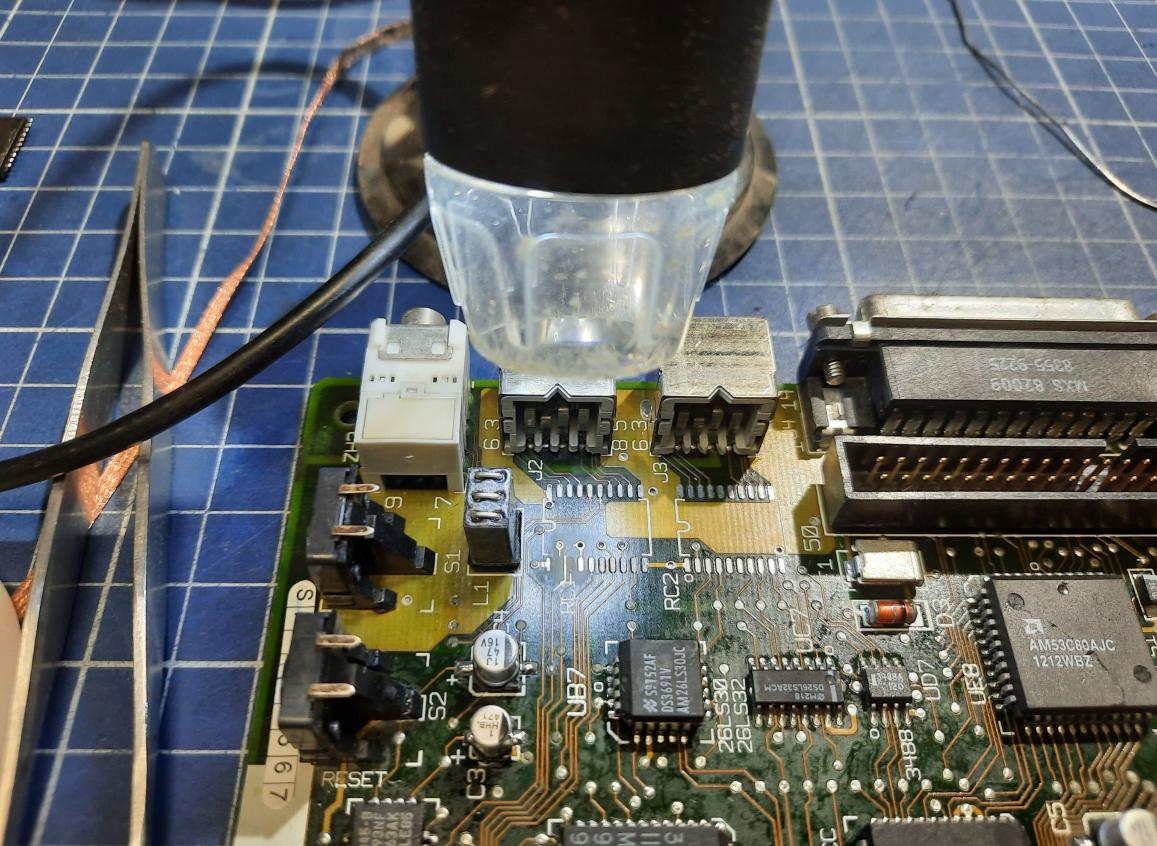
To clean the more stubborn corrosion, I am using a glass pen.

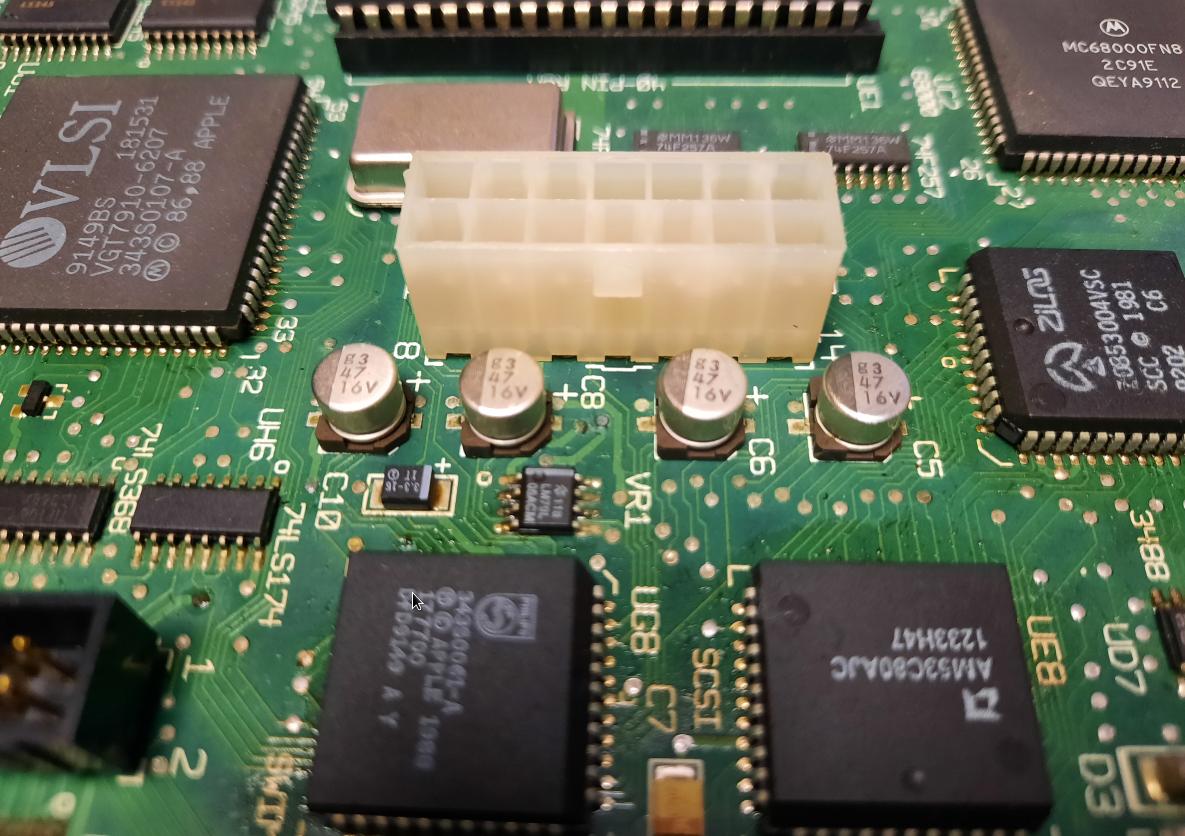
Aaaaaand … re-capped 🙂
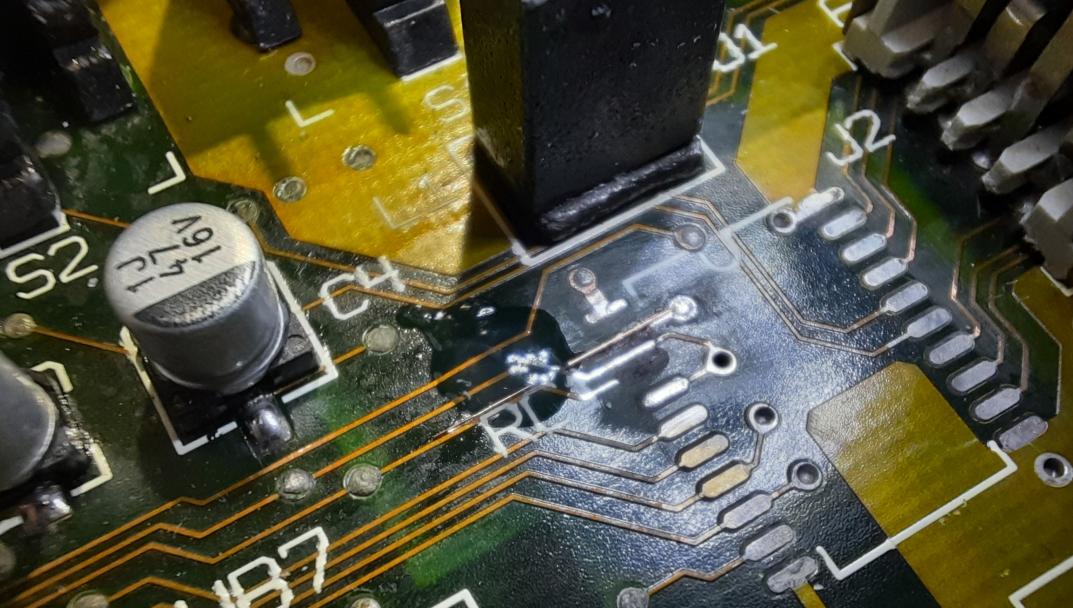
I also had to re-solder the sound chip as solder joints were heavily corroded by the electrolyte from caps.

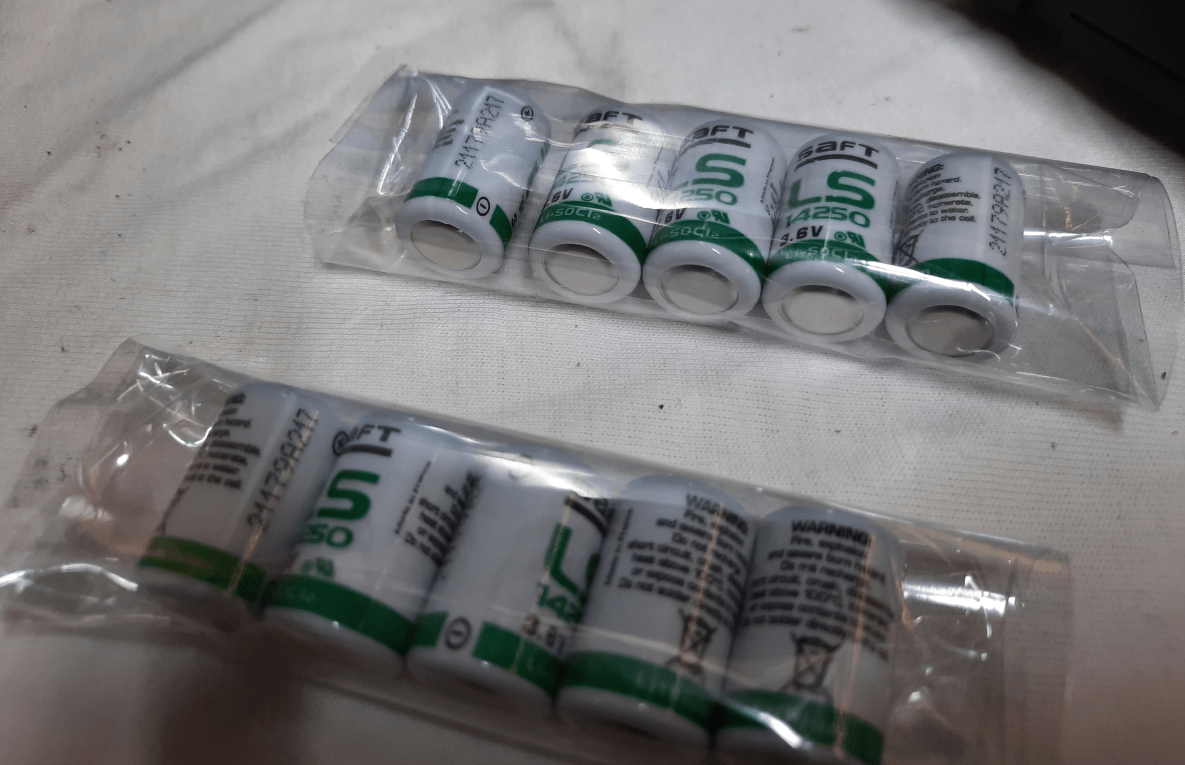
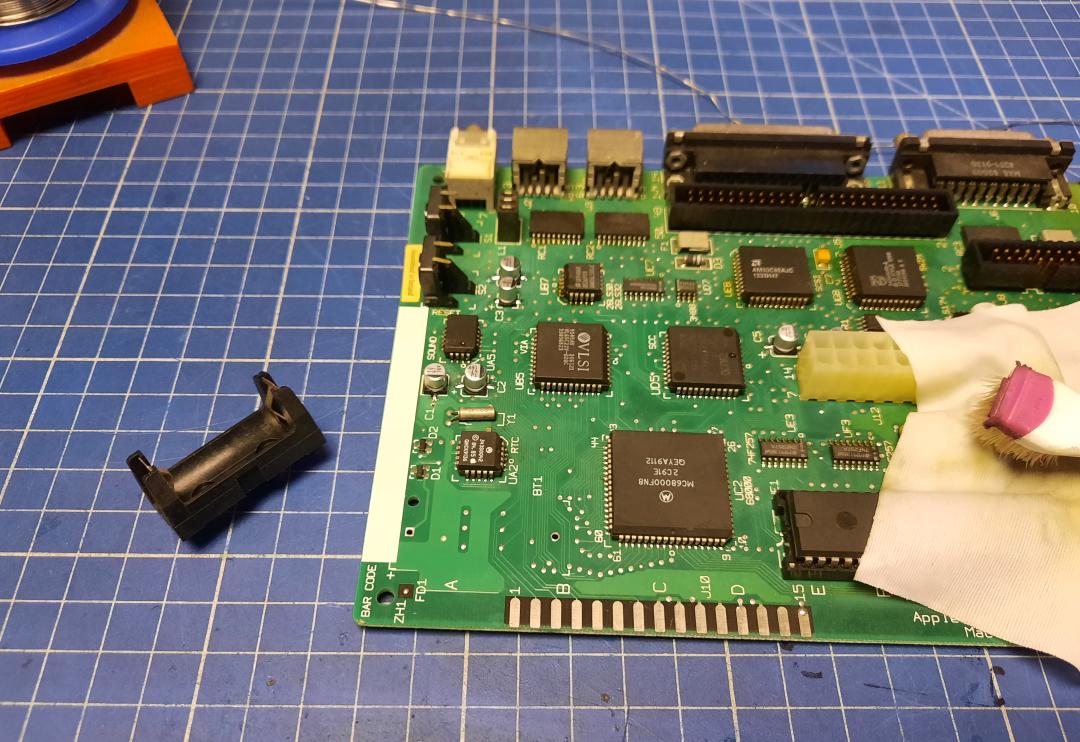
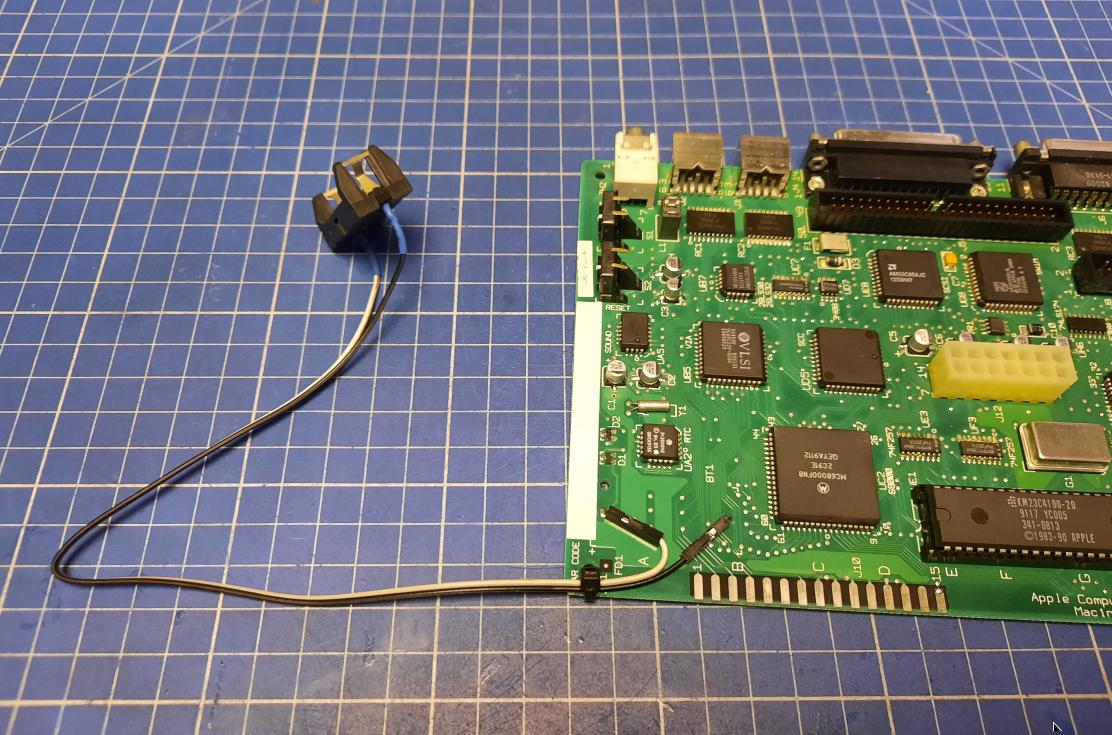
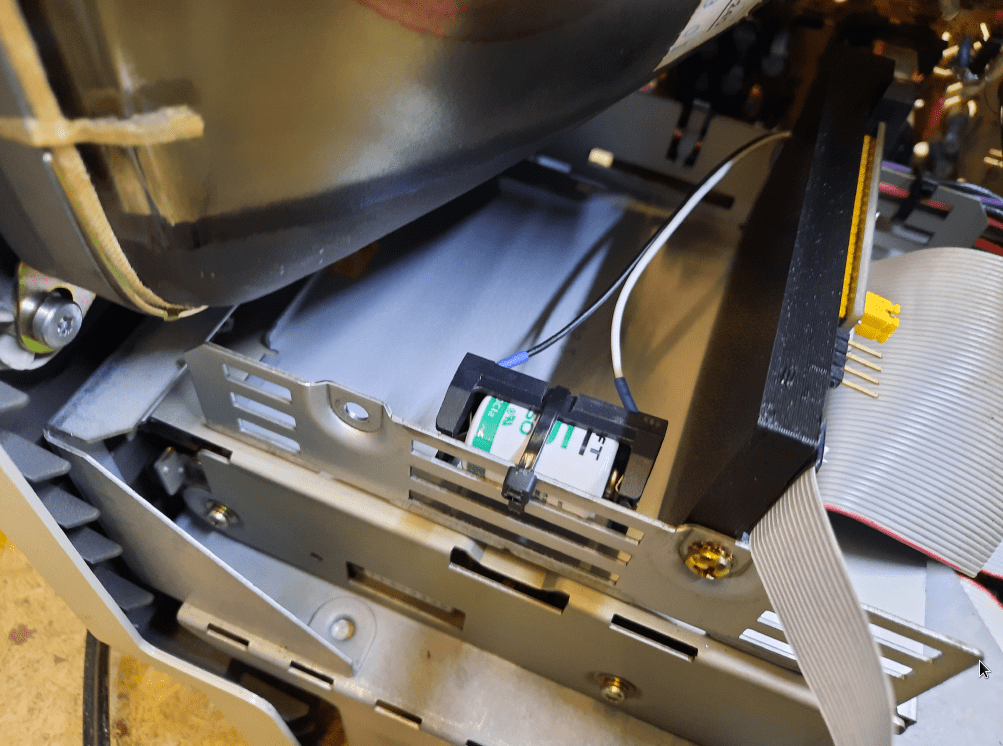
Brand new batteries arrived.
The original battery basket was about to be relocated using extension wires.
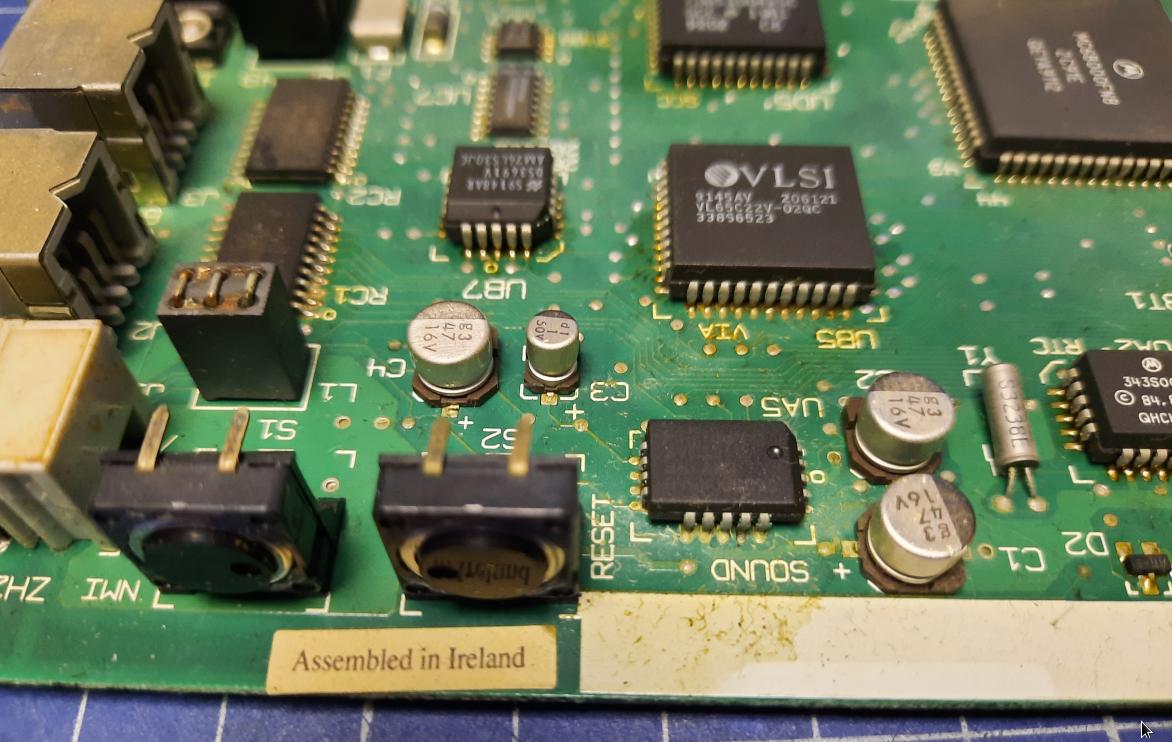
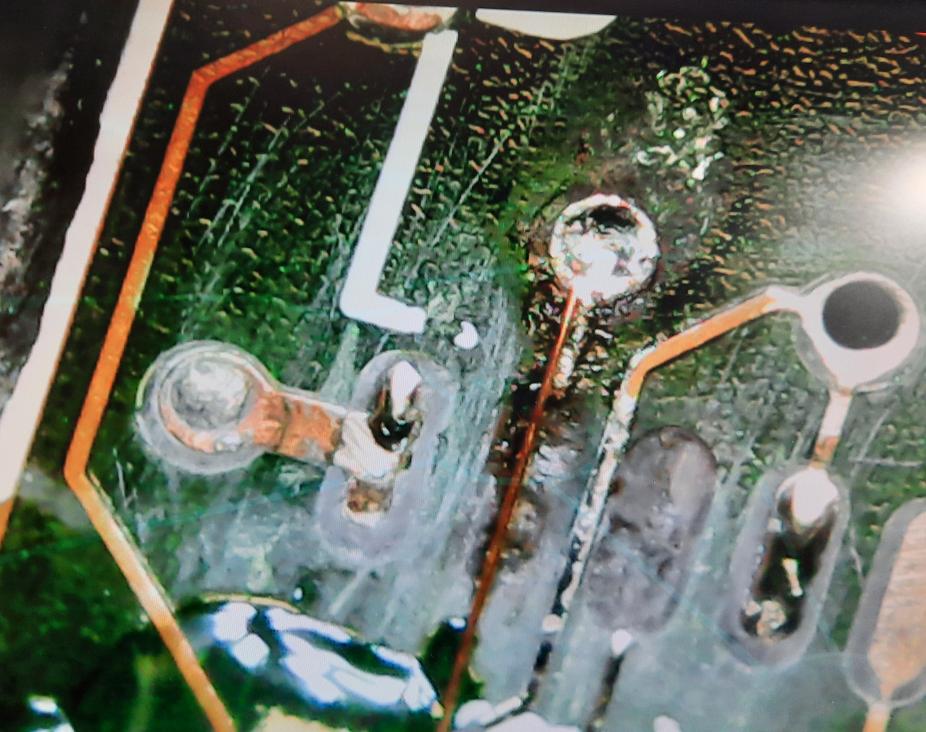
The logic board from the second Classic went through the same process but on top of that, it had some badly corroded traces. That had to be addressed.
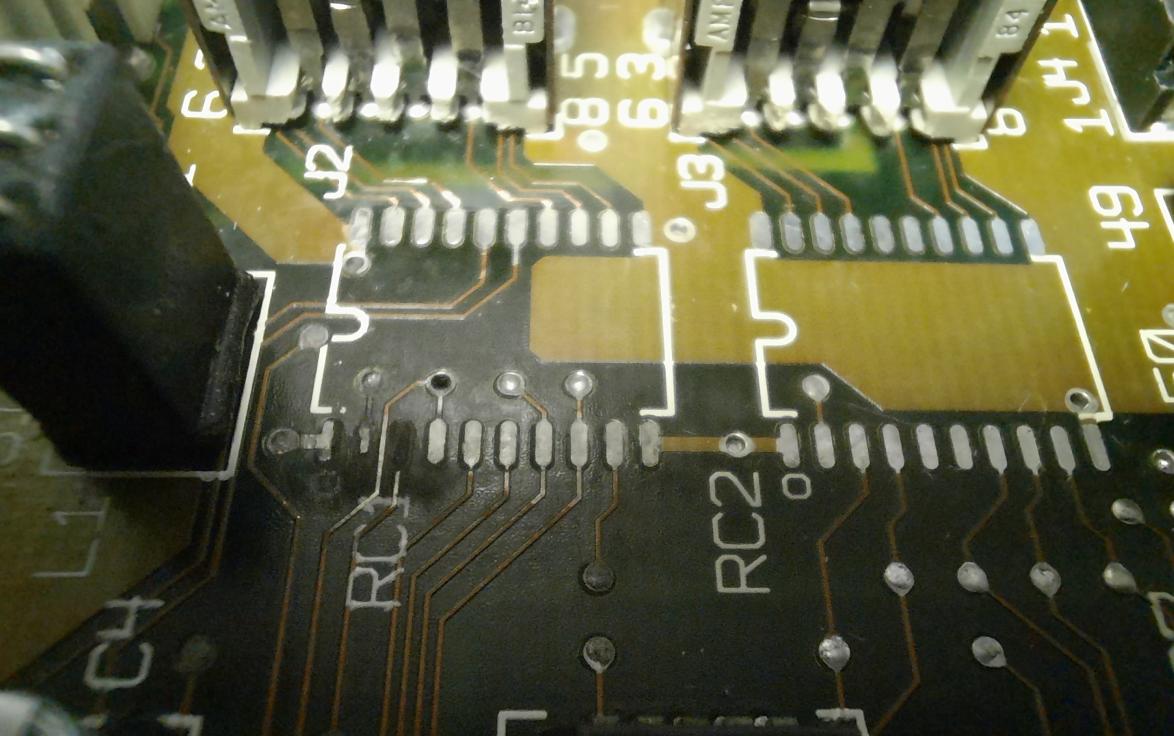
I’ve restored these traces with a very thin copper wire and secured it with UV resin that I usually use for 3D printing.
Meanwhile, the first case was retr0brigthed and the second was just before it. Below is a pic for comparison.
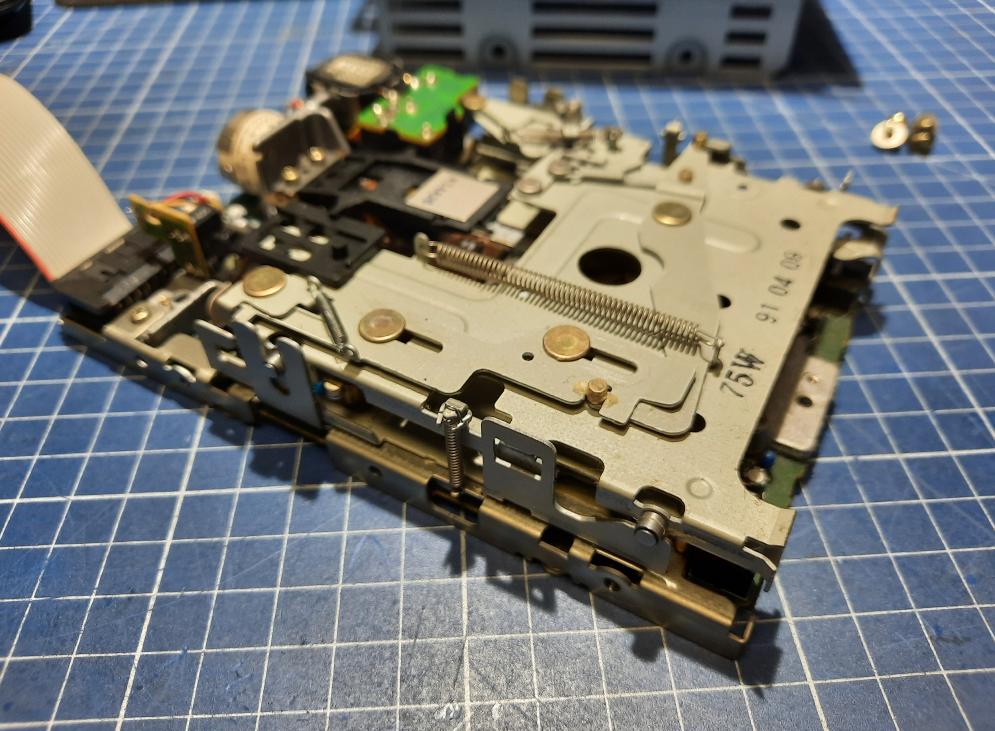
The floppy drive had a nice and refreshing SPA but the whole process deserves a separate post and will be covered in the future.
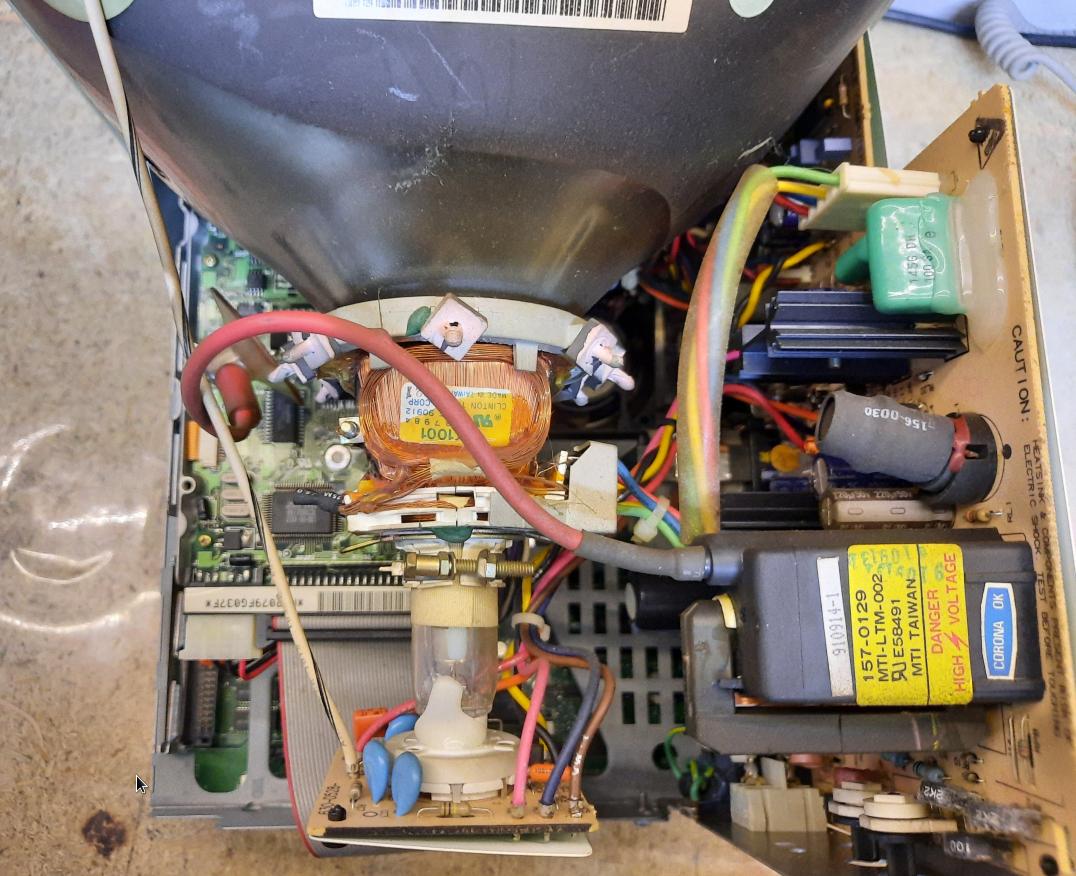
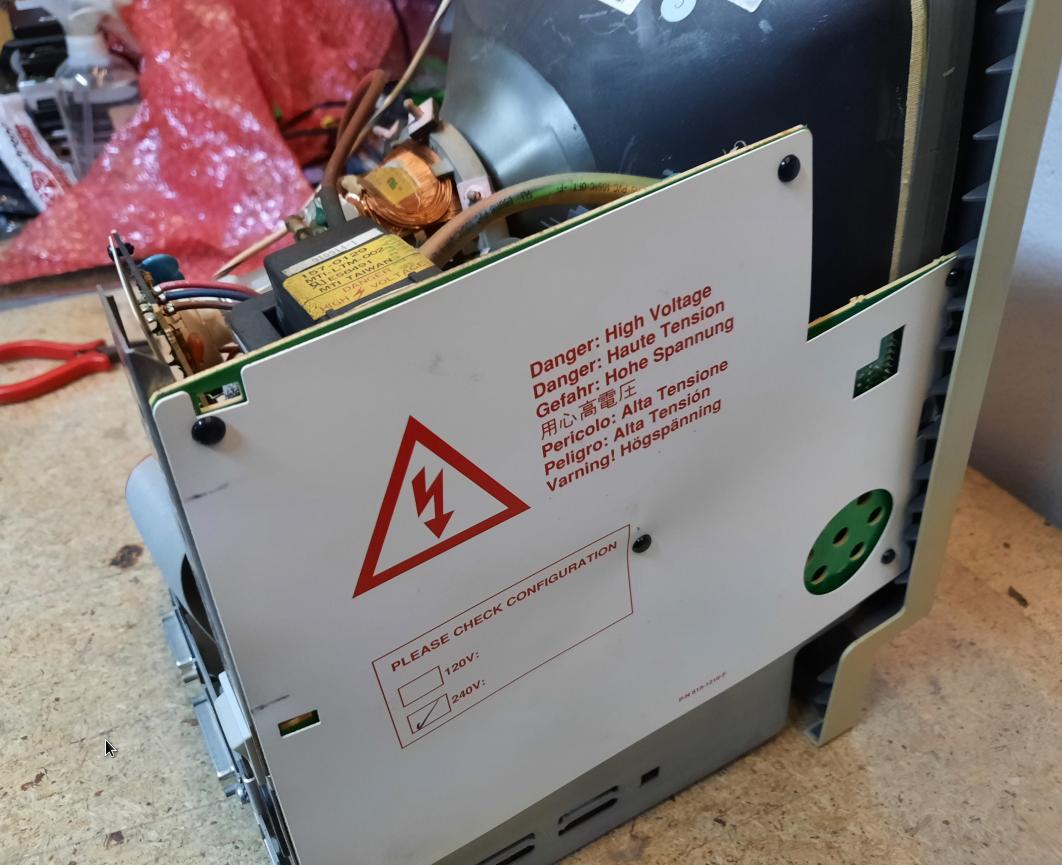
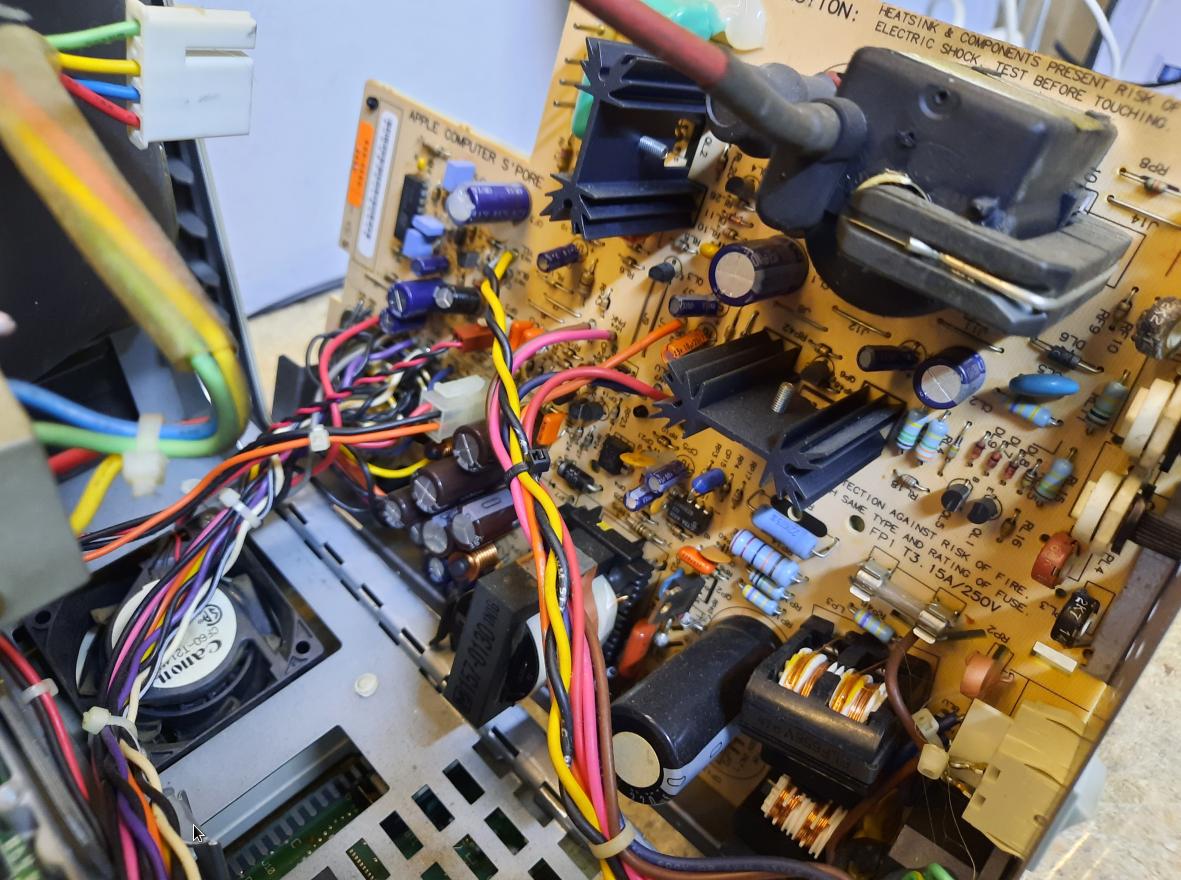
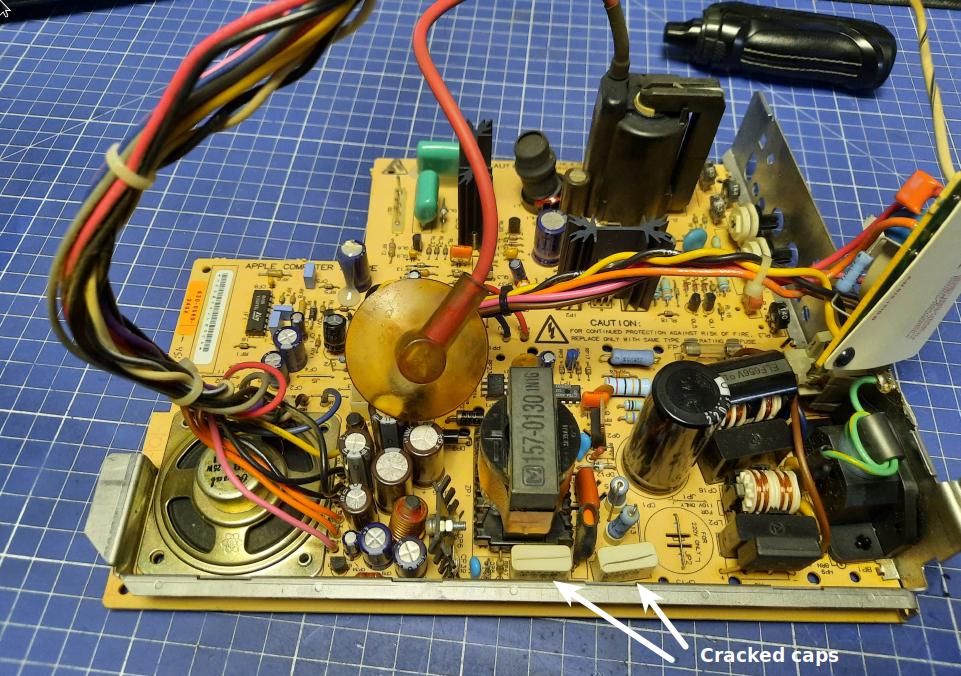
The PSU board
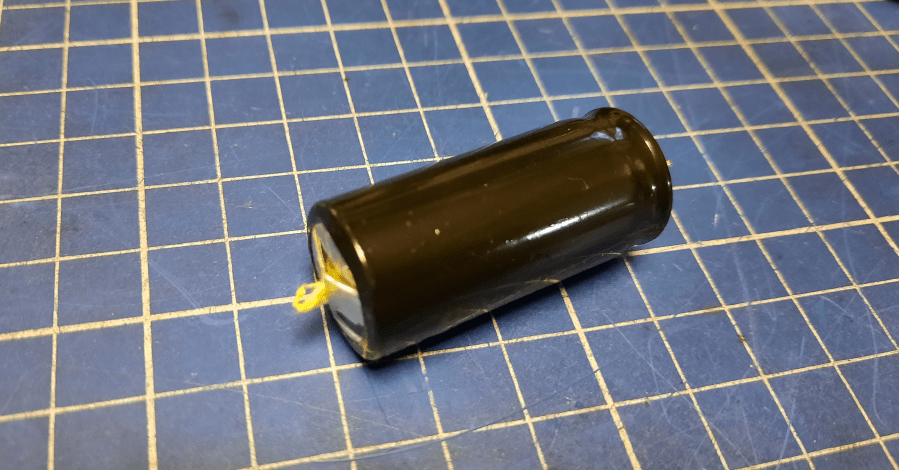
I’ve got a board re-capping KIT from Console5 so the PSU board received a full re-cap. I also replaced some cracked caps shown in the pic below.
After re-capping the PSU boards, I usually run a dry test, without anything connected to it just in case the wrong cap is used or the wrong polarity. I was so glad that I did it that way because a short whooooosh+magic smoke later it was clear that I used the wrong cap!
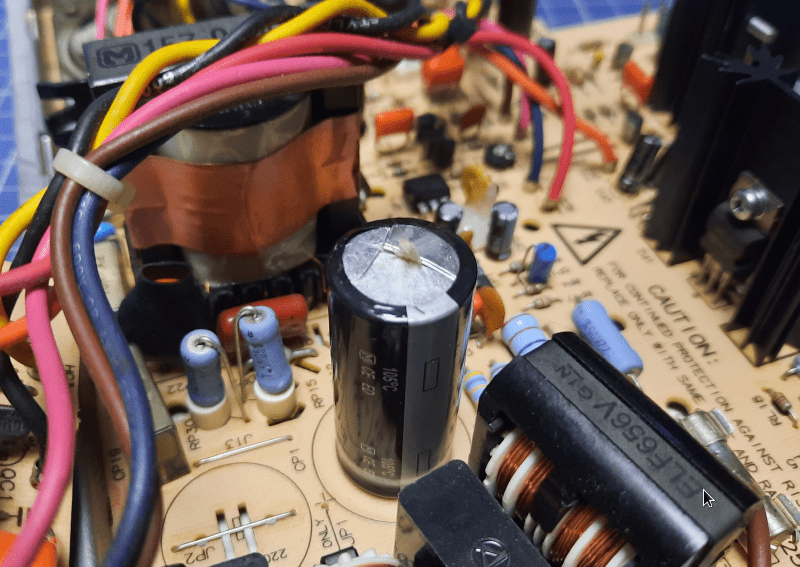
After replacing it with the correct cap it all went smoothly… phew 🙂
The other analog board went through a similar process but I’ve skipped the “magic smoke” part there 😉
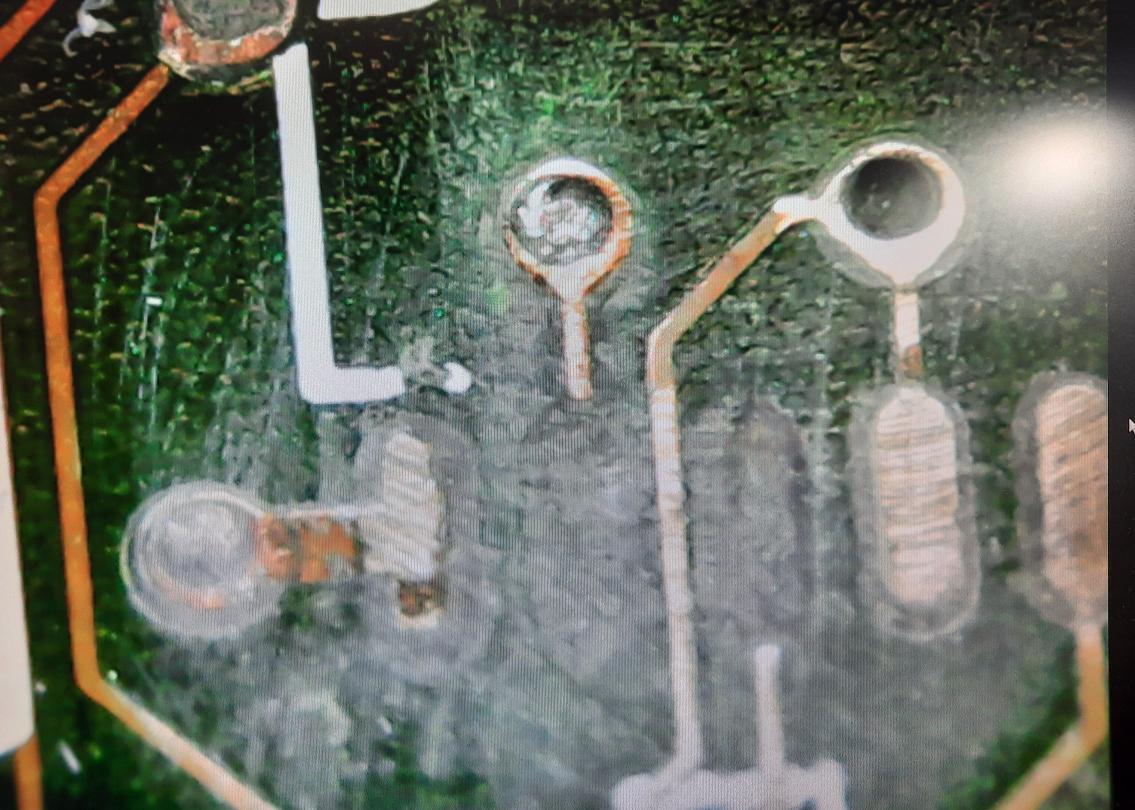
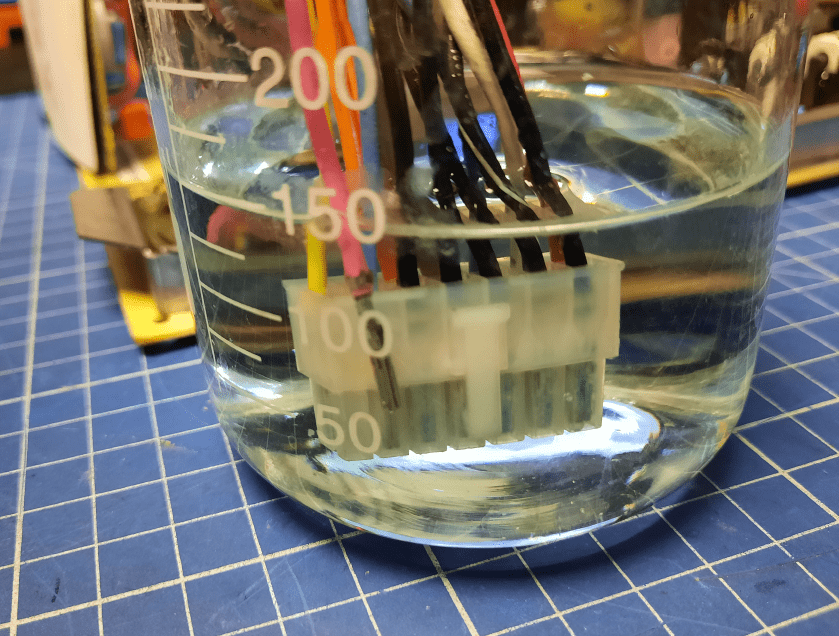
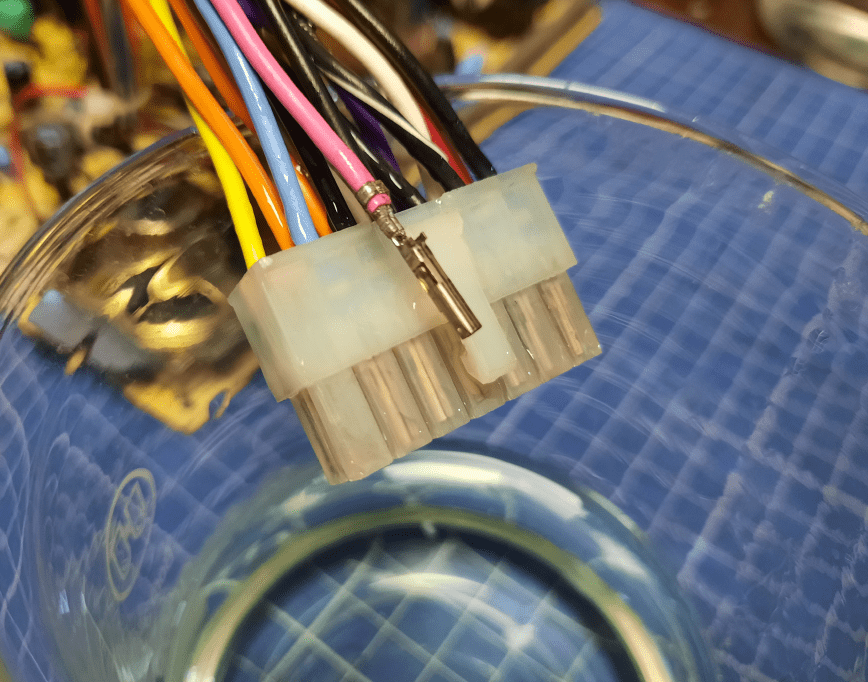
However, there was a lot of corrosion inside an output connector that had to be removed.
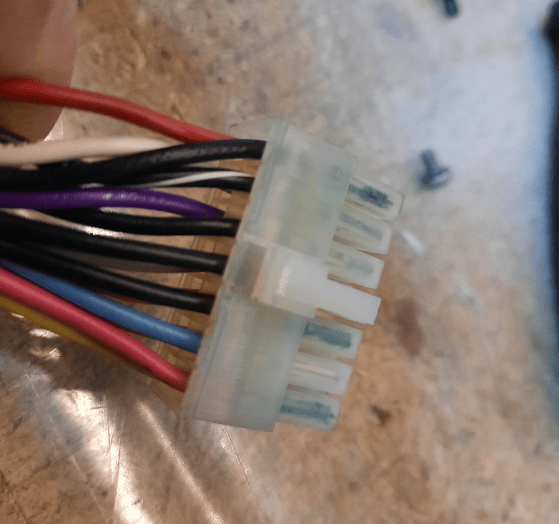
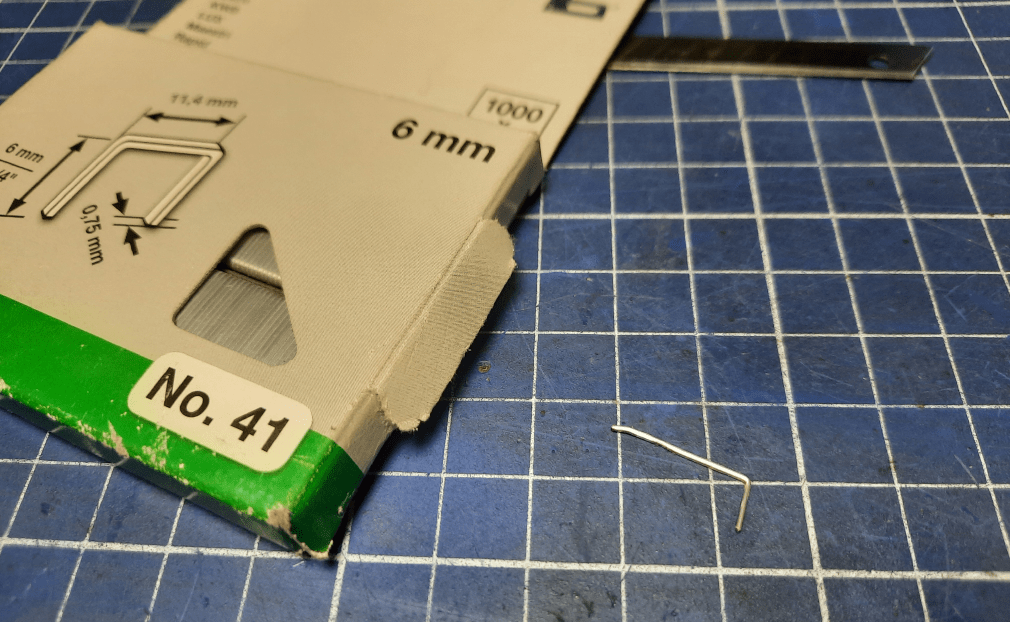
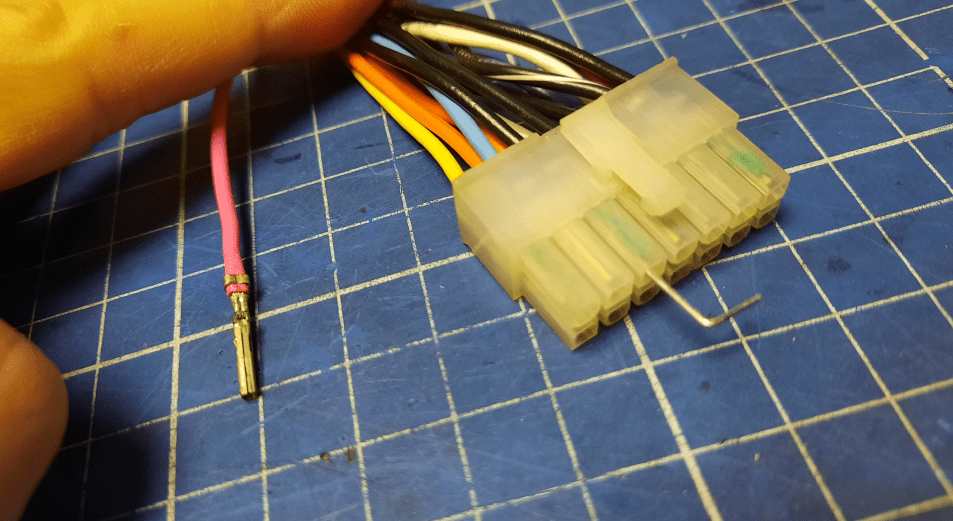
To clean up corrosion in hard-to-reach spots, I usually use diluted Hydrochloric acid – HCL. It very nicely cleans the corrosion away. With the help of a hacked staple, I’ve removed a single pin to have a direct look at the cleaning process.
Obviously, the connector was rinsed with water and IPA afterward.
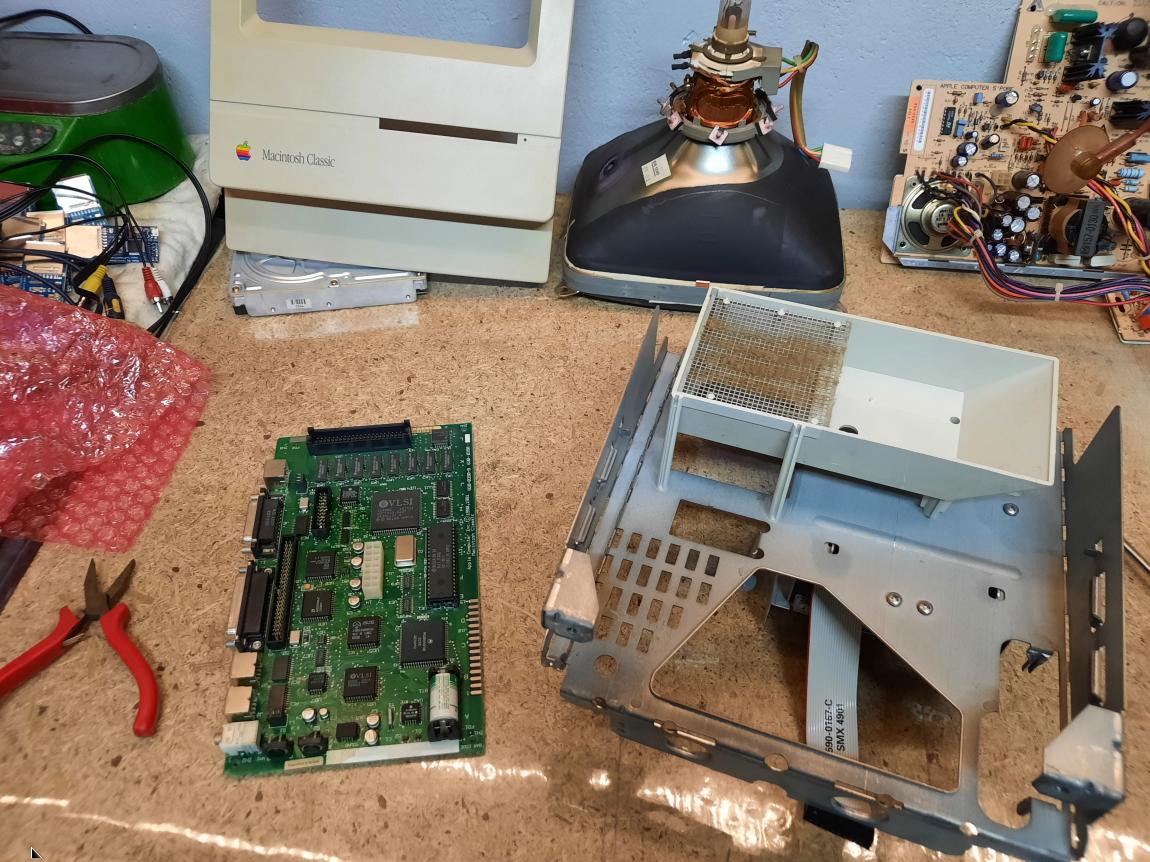
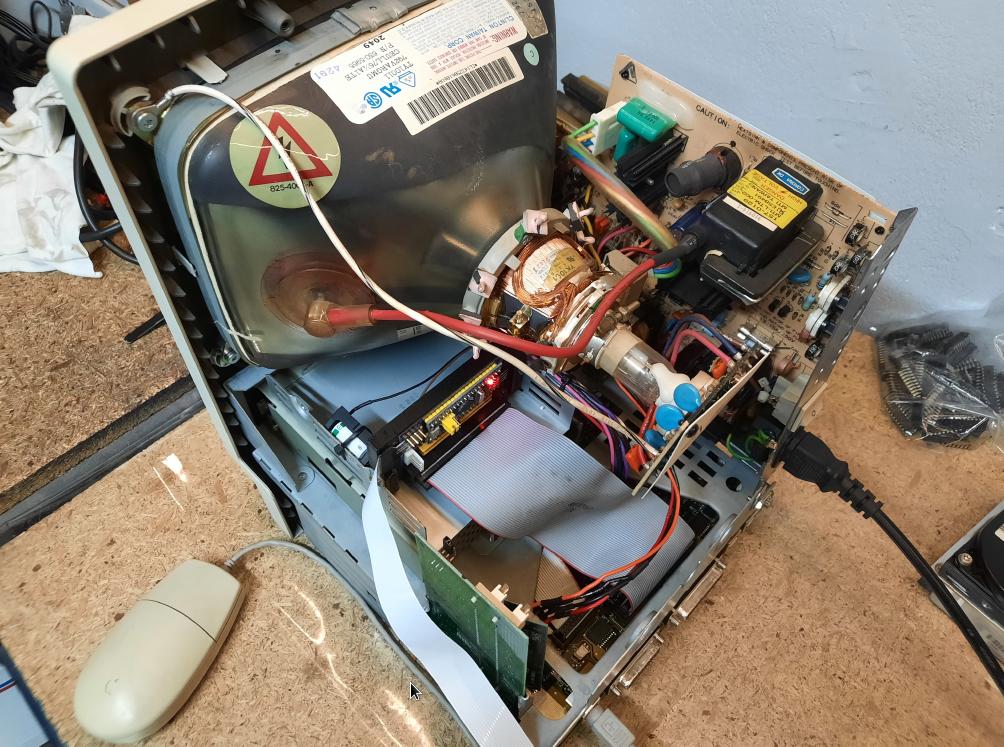
The BlueSCSI and the fan
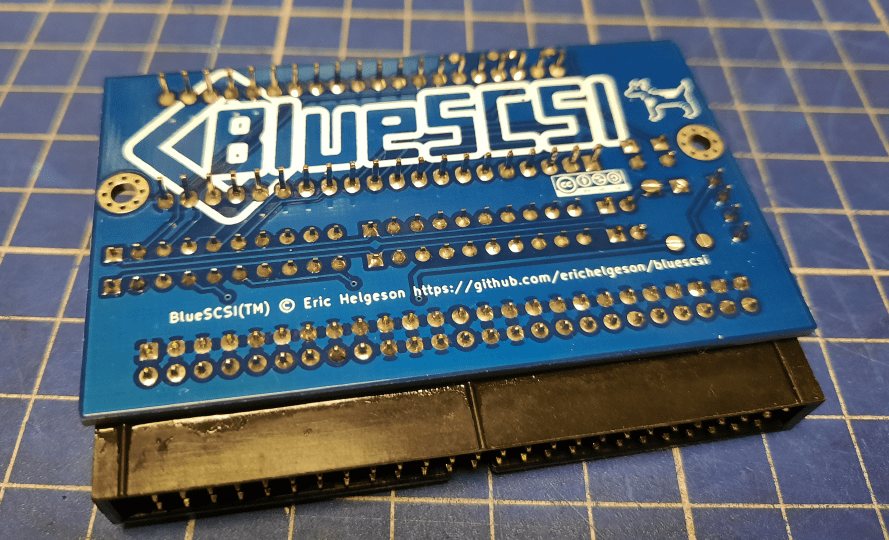
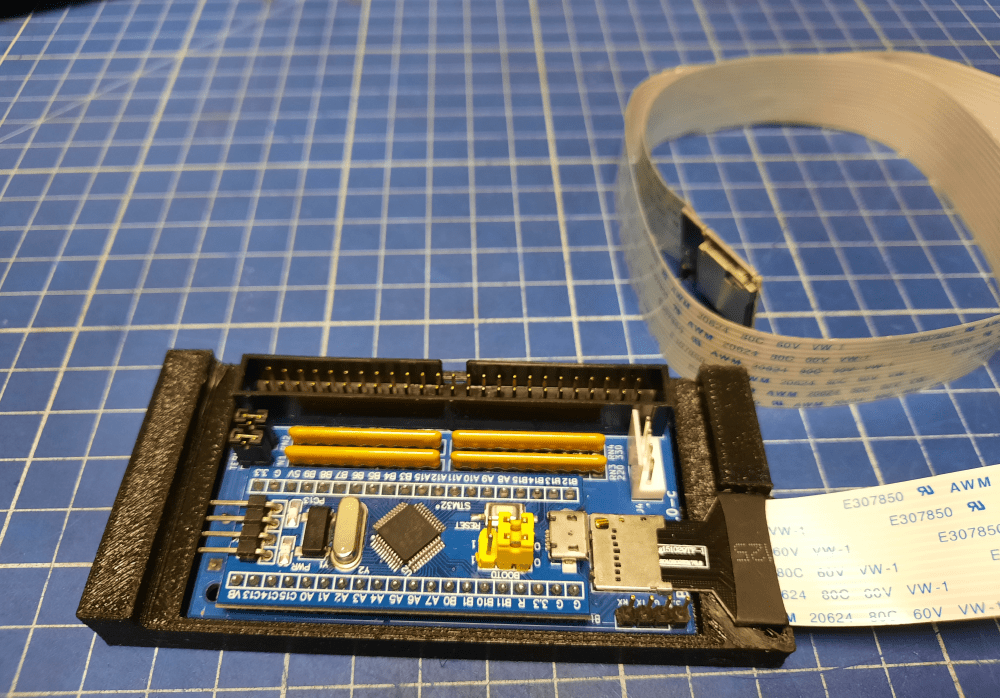
Next in line was the BlueSCSI module that replaces the original hard drive with an SD card.
I’ve got some assembled modules from a very nice gentleman who runs the Onegeekarmy retro gear store. The shop is EU based. Cheers Jean! 🙂
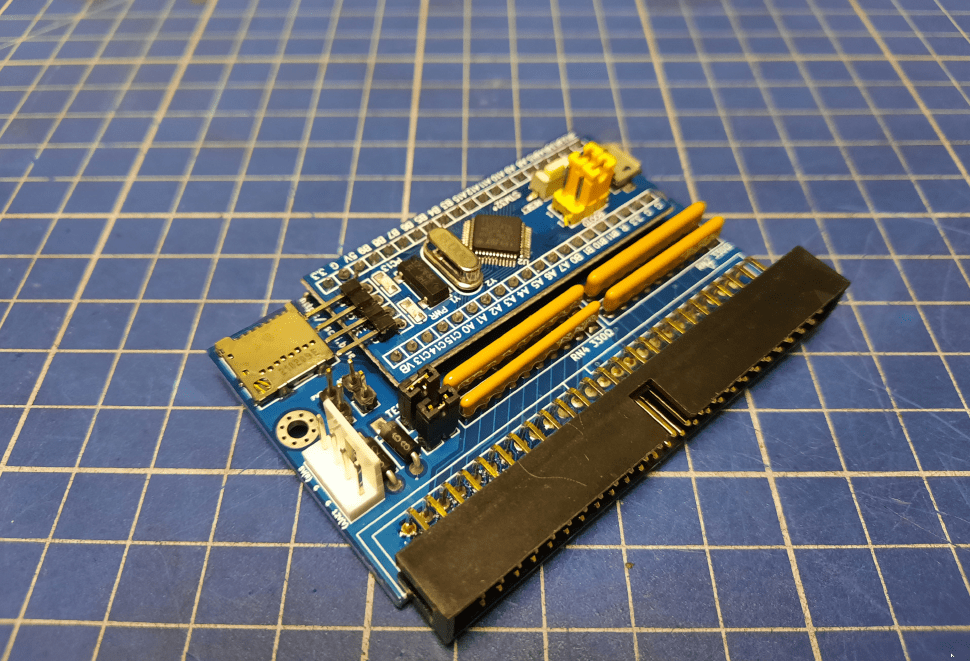
To mount a BlueSCSI adapter I had to 3D print a holder for it. I’ve got the STL file from Thingiverse.
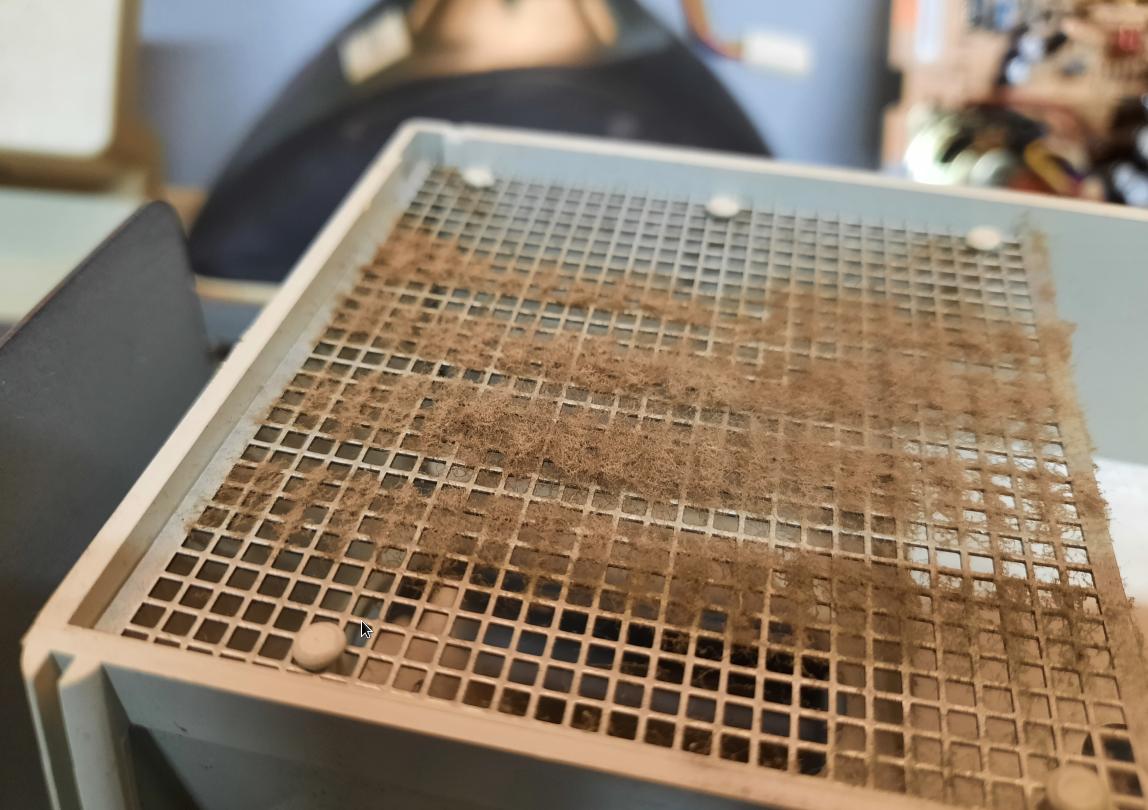
While it was printing, I replaced the original Cannon fan with the 60mm Zephyr Silentium one.
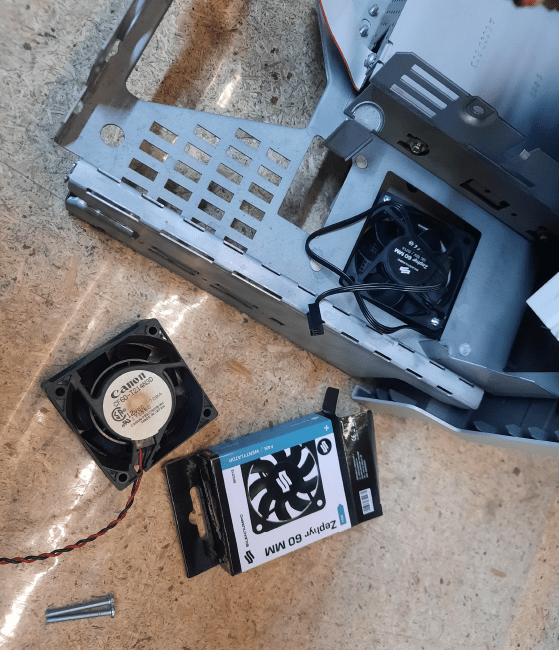
It runs very nicely and is silent. Yes, the floppy drive wasn’t fixed yet at that point 😉
Back to BlueSCSI – the PCB fits nicely into its new holder.
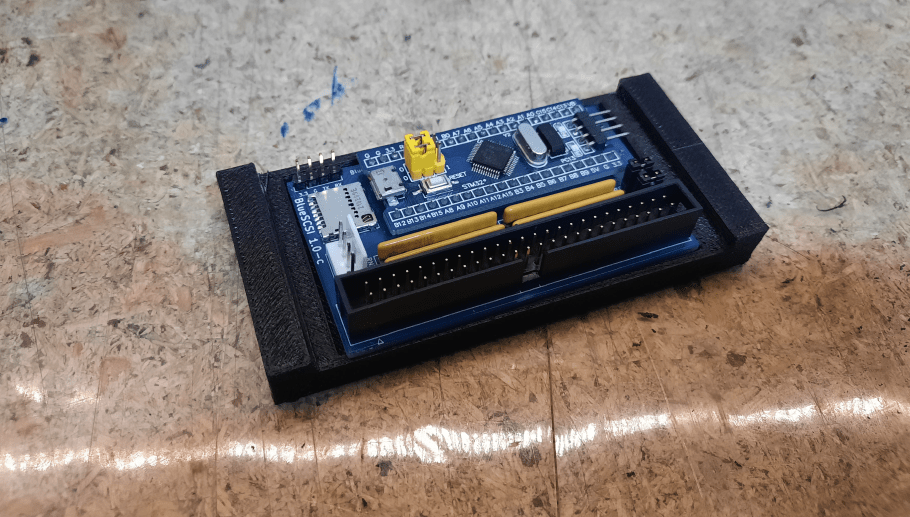
However, this revision of a PCB has an SD card slot mounted on the side so I had to tweak a printout to use a flexible SD card extender.
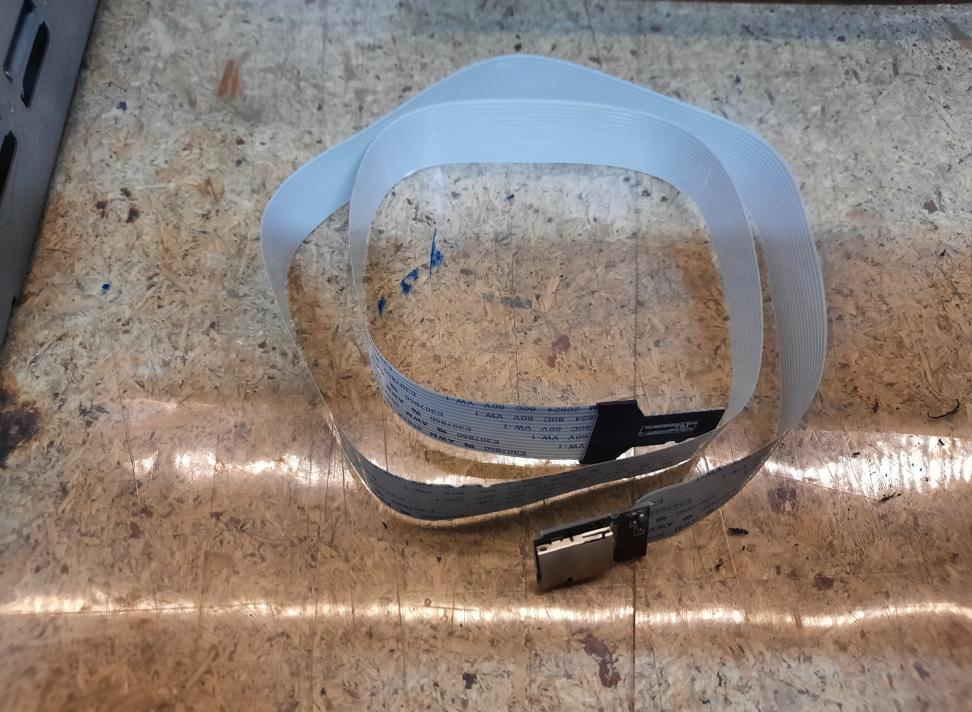
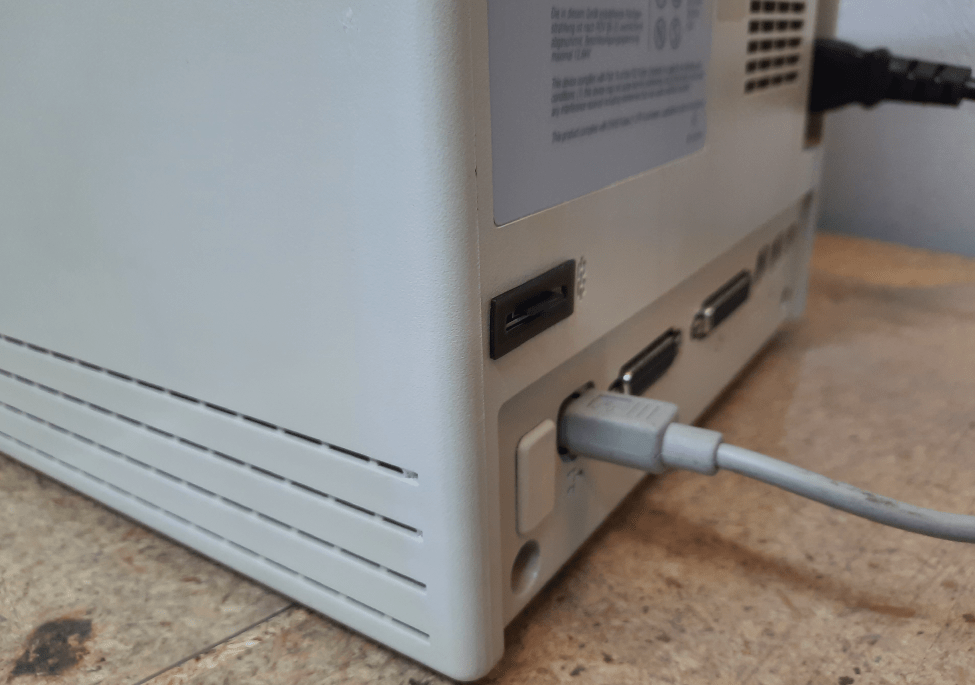
I’ve also designed and resin-printed a neat holder for the other end of the extender.
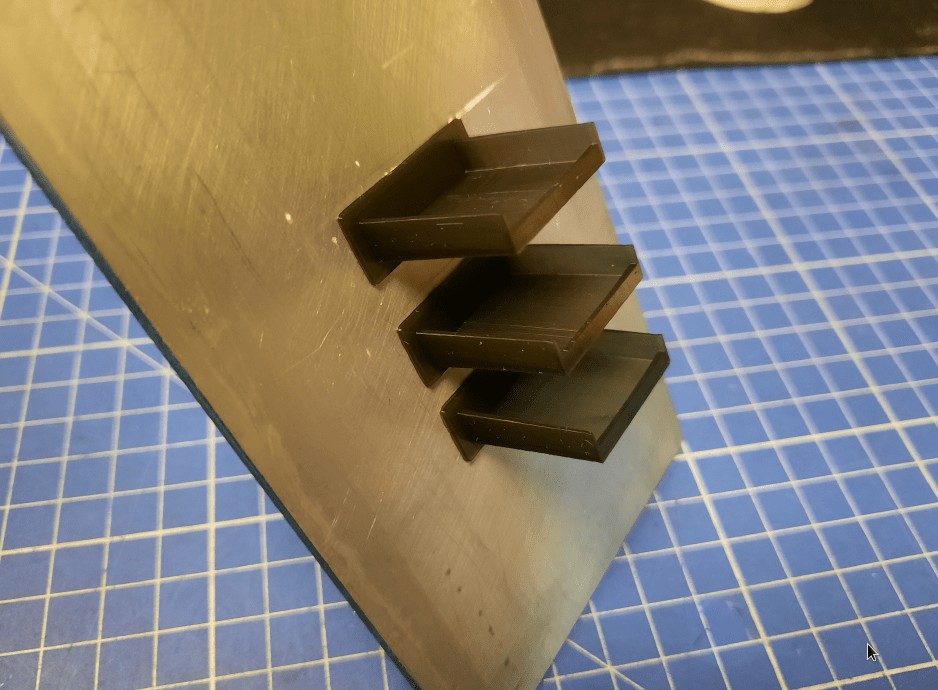
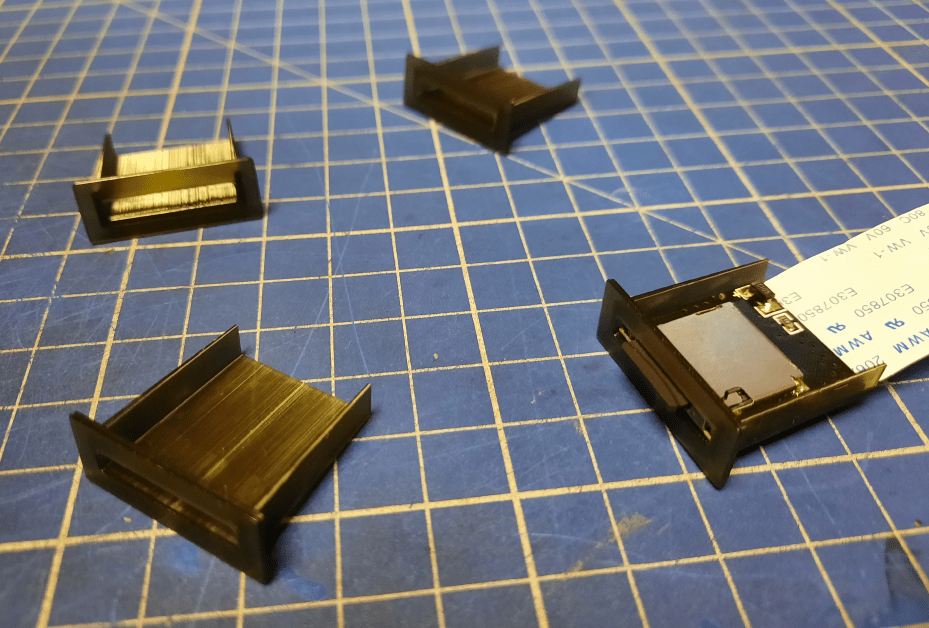
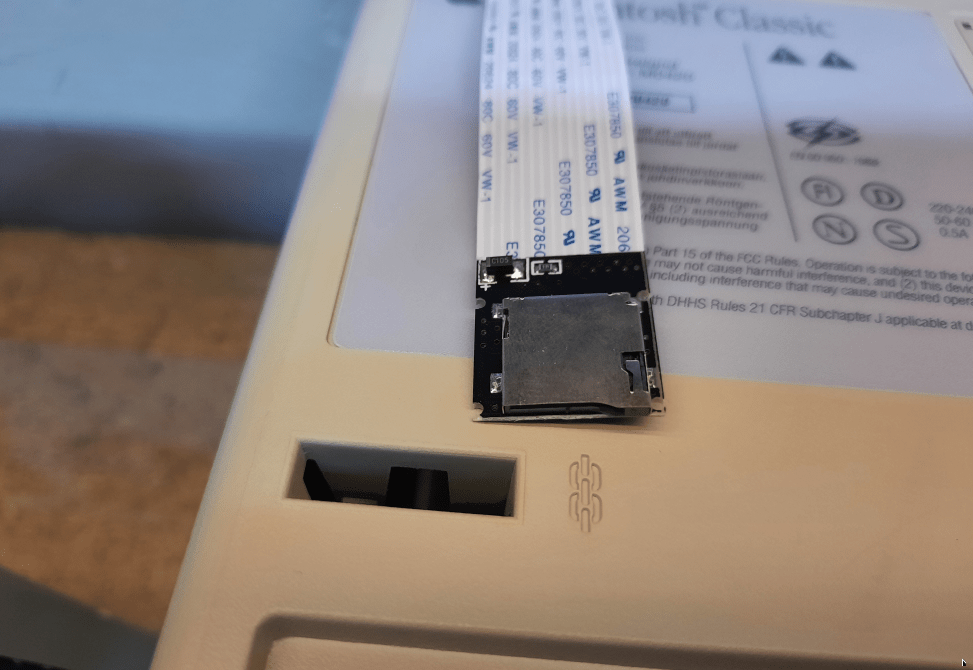
The idea was to put it on the back of the case as shown in the pics below.
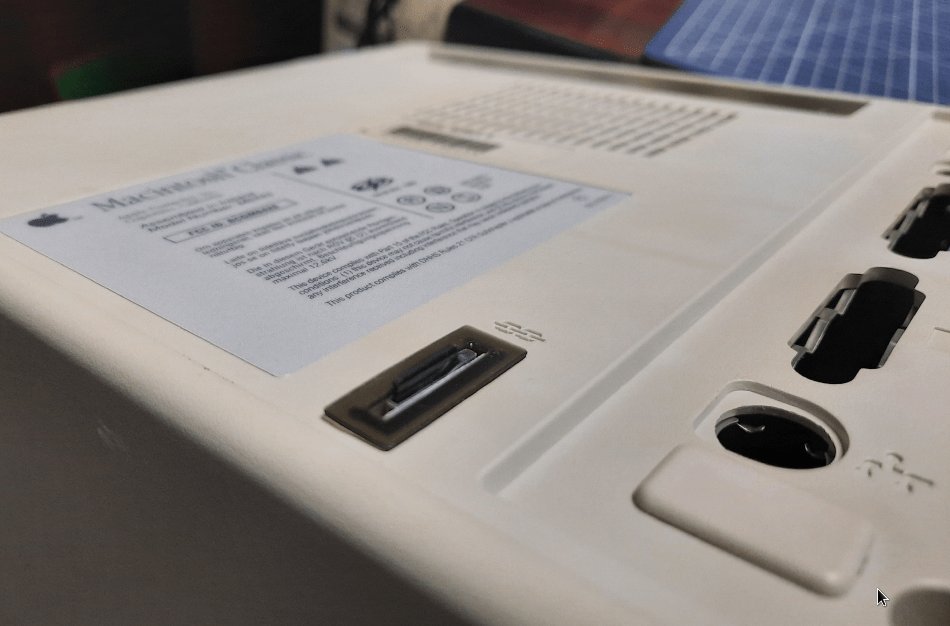
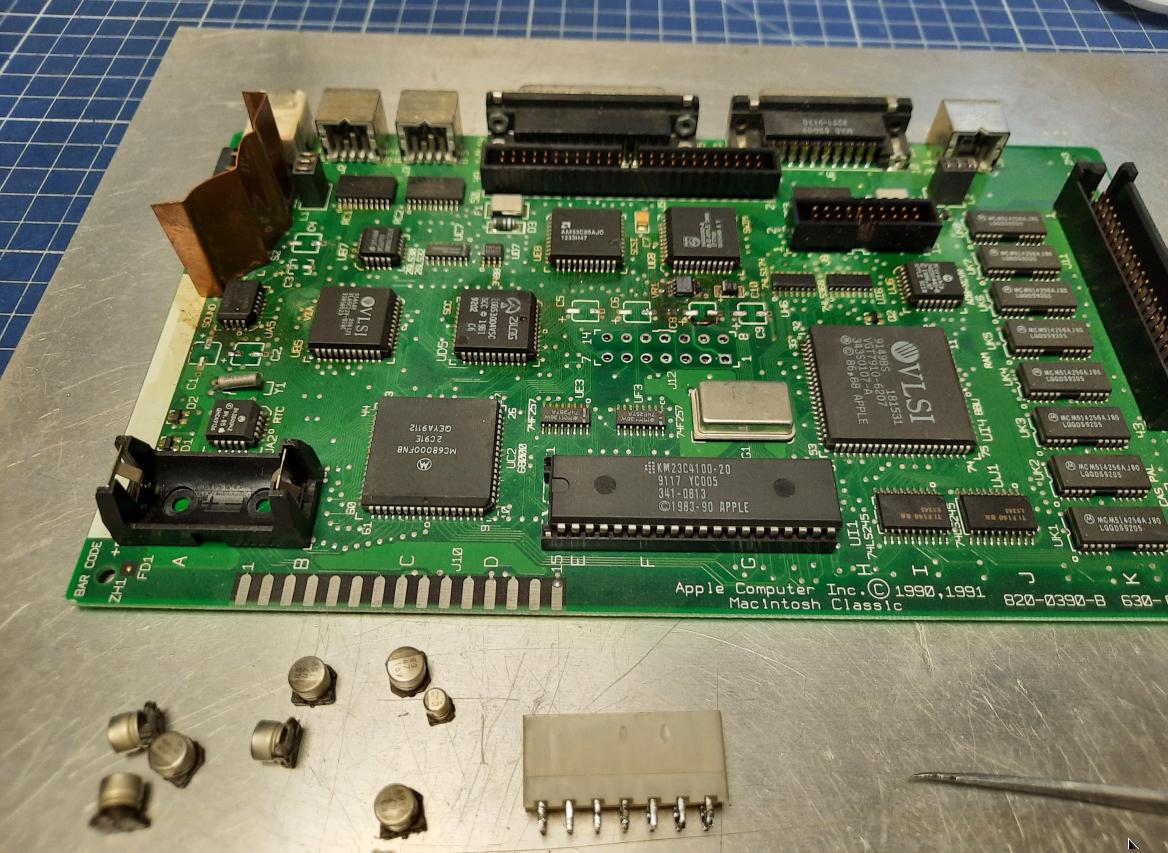
The assembly
With everything ready, I’ve started the assembly process.
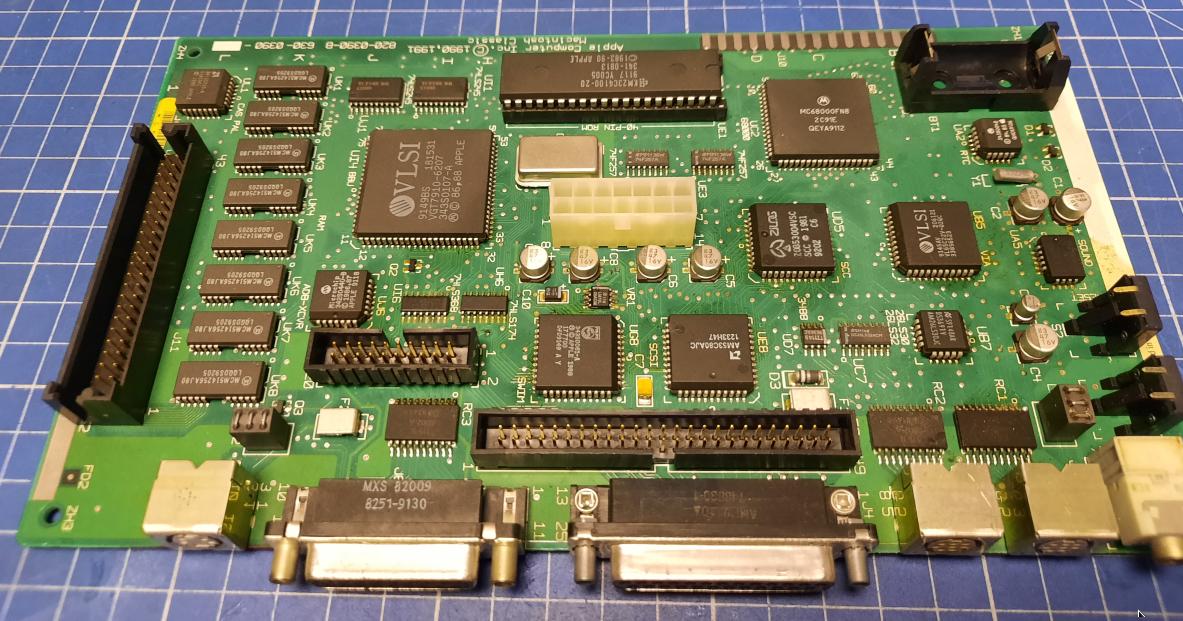
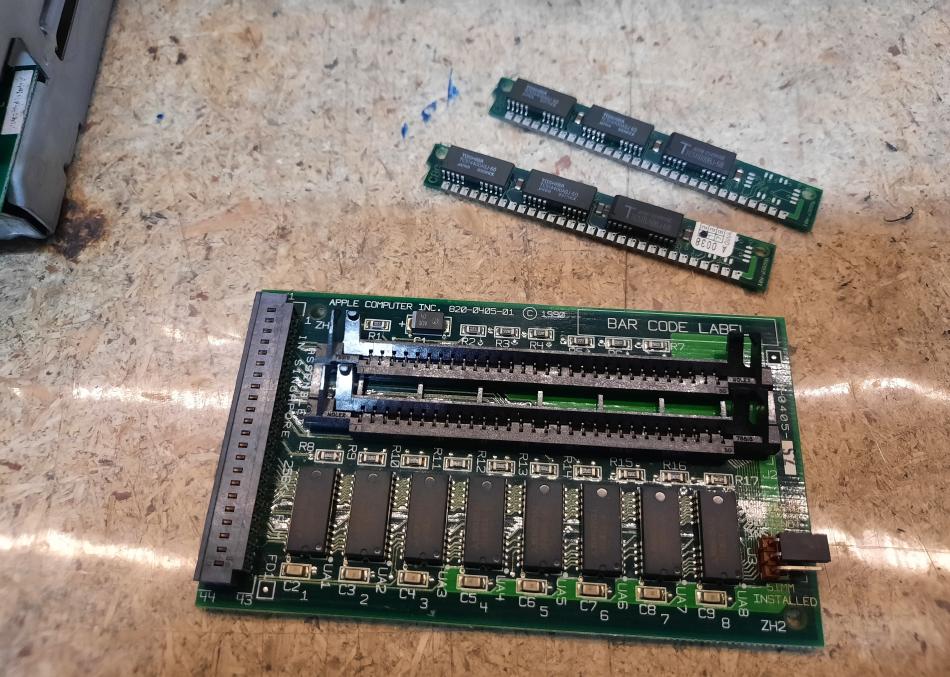
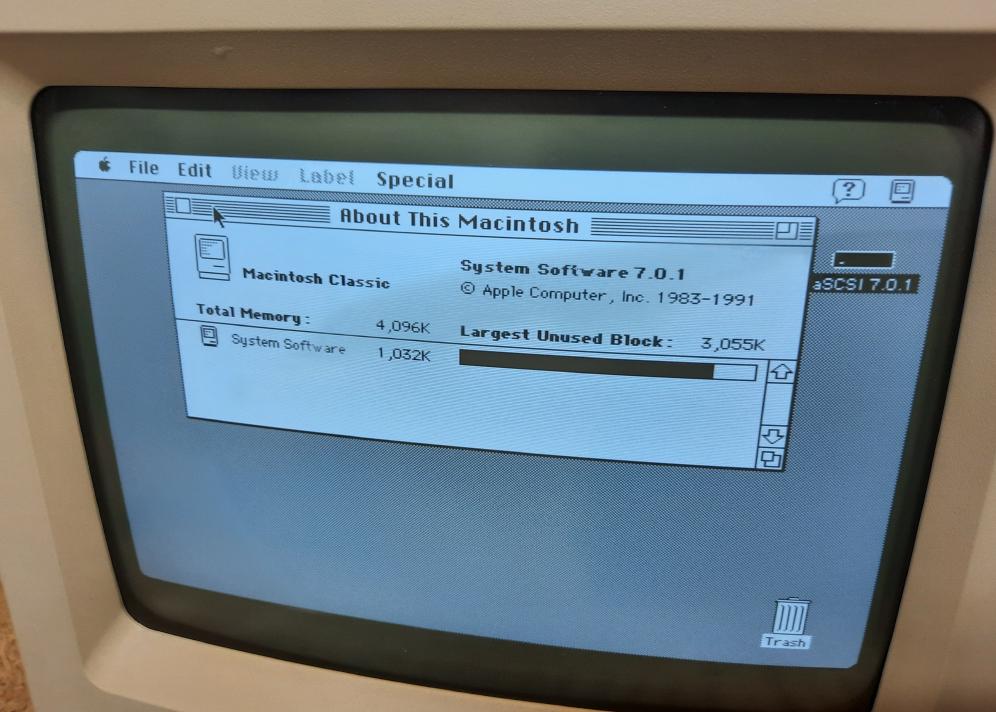
The RAM expansion card received additional RAM chips.
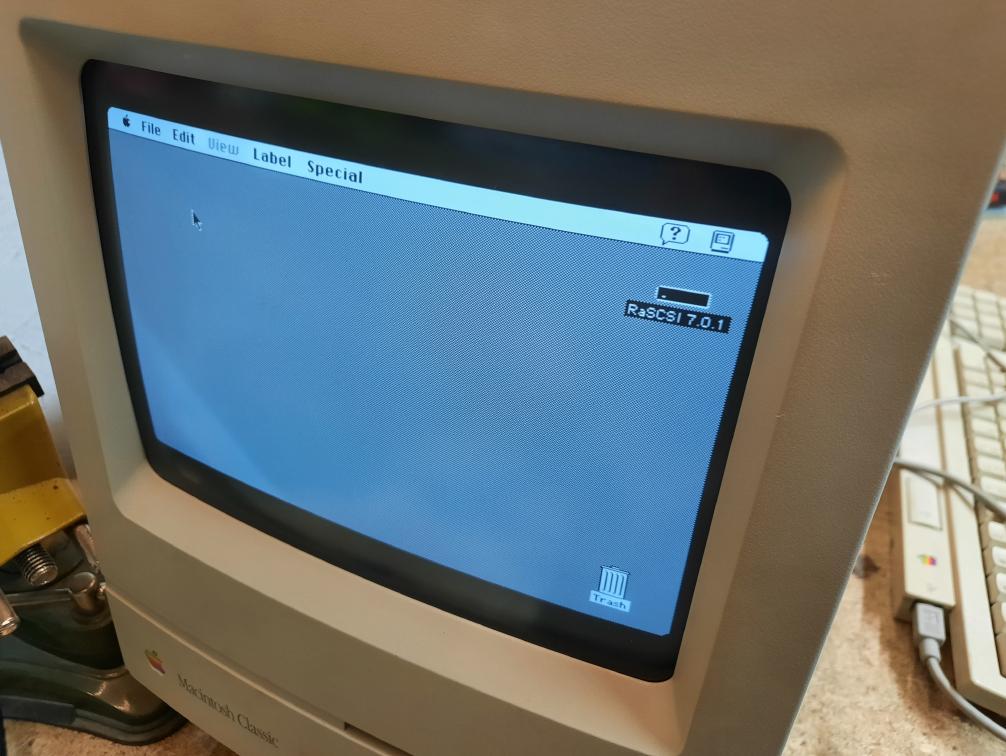
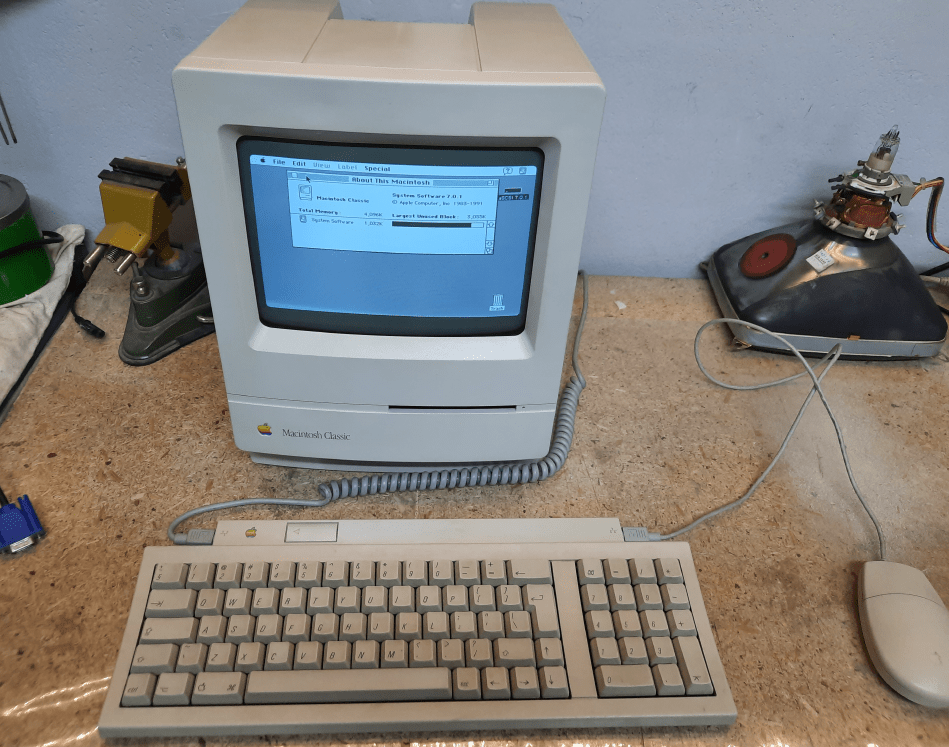
As I’ve mentioned earlier in this post, I didn’t take pics of both machines working so you have to believe me that both are fine and working. Stay tuned for more posts with Apple gear refurb jobs 😉
Outro
If you want to get the retro gear I am manufacturing or hardware modules, please visit shop -> https://retrohax.net/shop/
Please support my work by commenting here, and on my Facebook, Twitter, and other social media platforms.

How fast (and large) is the SD card vs an original SCSI HDD? …also what’s the max RAM you can have in a Mac Classic?
Hmm, somehow I missed your comment.
Well, the SD card I used is 16GB and it is fairly fast. BlueSCSI with a fresh firmware works like a charm. If it is about RAM, IIRC I’ve put there 4MB