… or dafaq is that gooey ?!
Intro
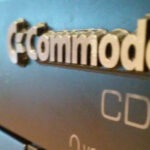
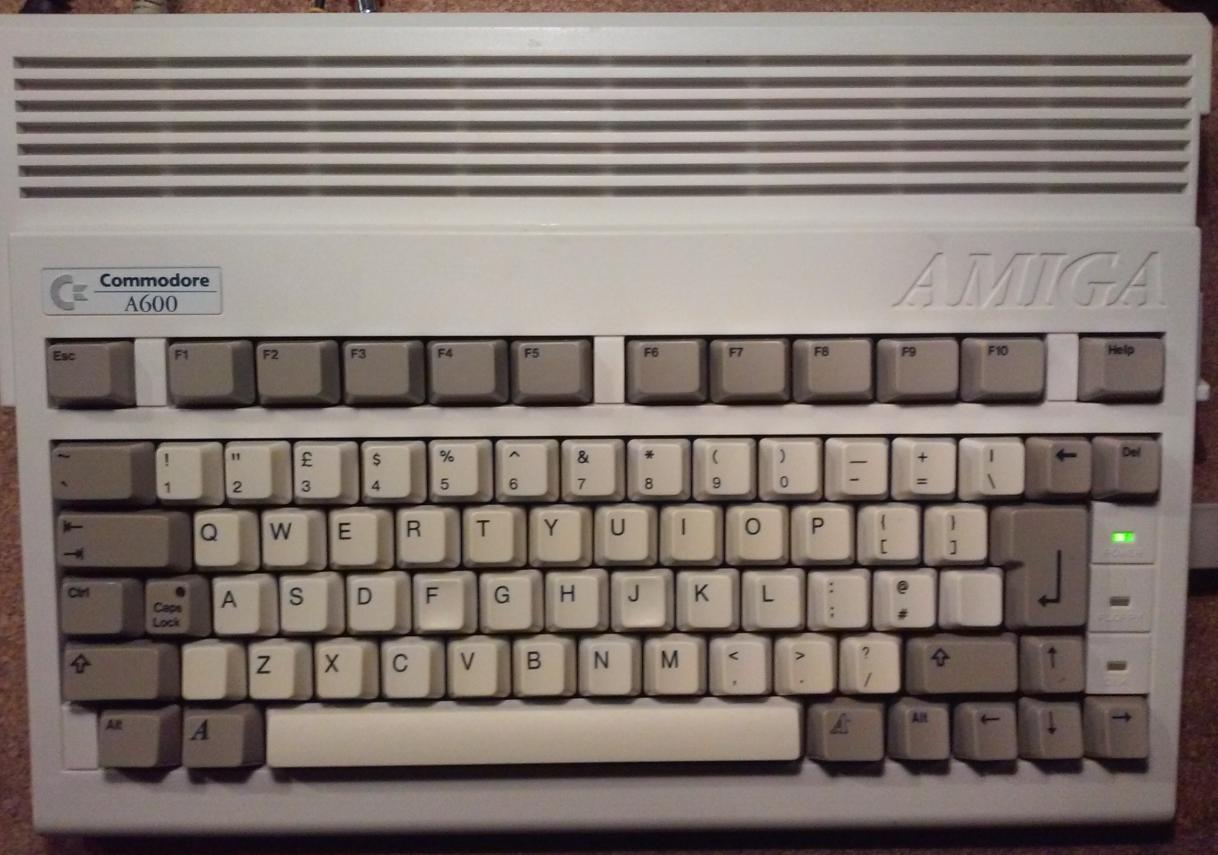
Some time ago mCCnEx of WantedTeam demoscene group, asked me to have a look at his Amiga 600. There was a major issue with a broken keyboard membrane but
I’ve described the membrane fixing process in one of my previous posts
What I didn’t describe, was some extra fixes that were introduced to this A600.
Gooey?
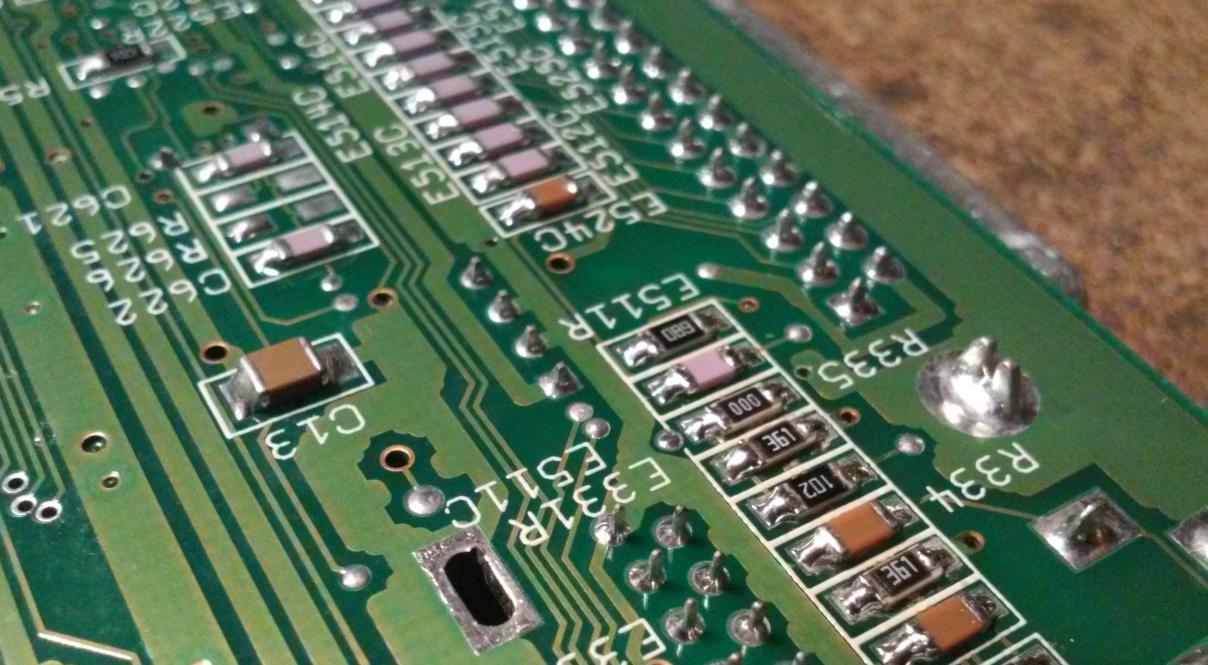
The first thing that struck me right after opening the A600 case was how dirty it was. It looked like It wasn’t cleaned properly after some repairs. Flux residue everywhere!
It also had a sign of corrosion induced by faulty capacitors. Amiga was working but it was definitely the last bell to replace caps and avoid future leakage.
Here are some pics of how it looked prior to work.

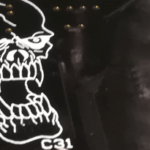
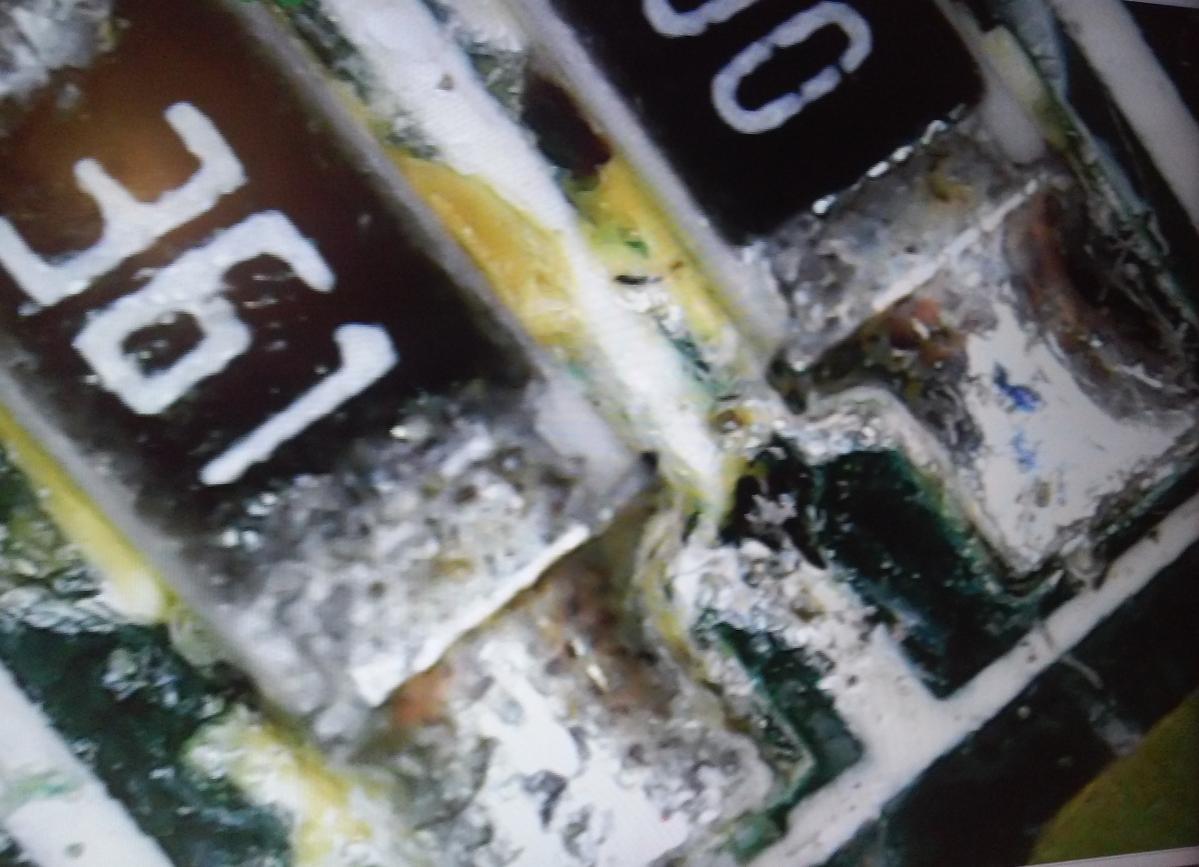
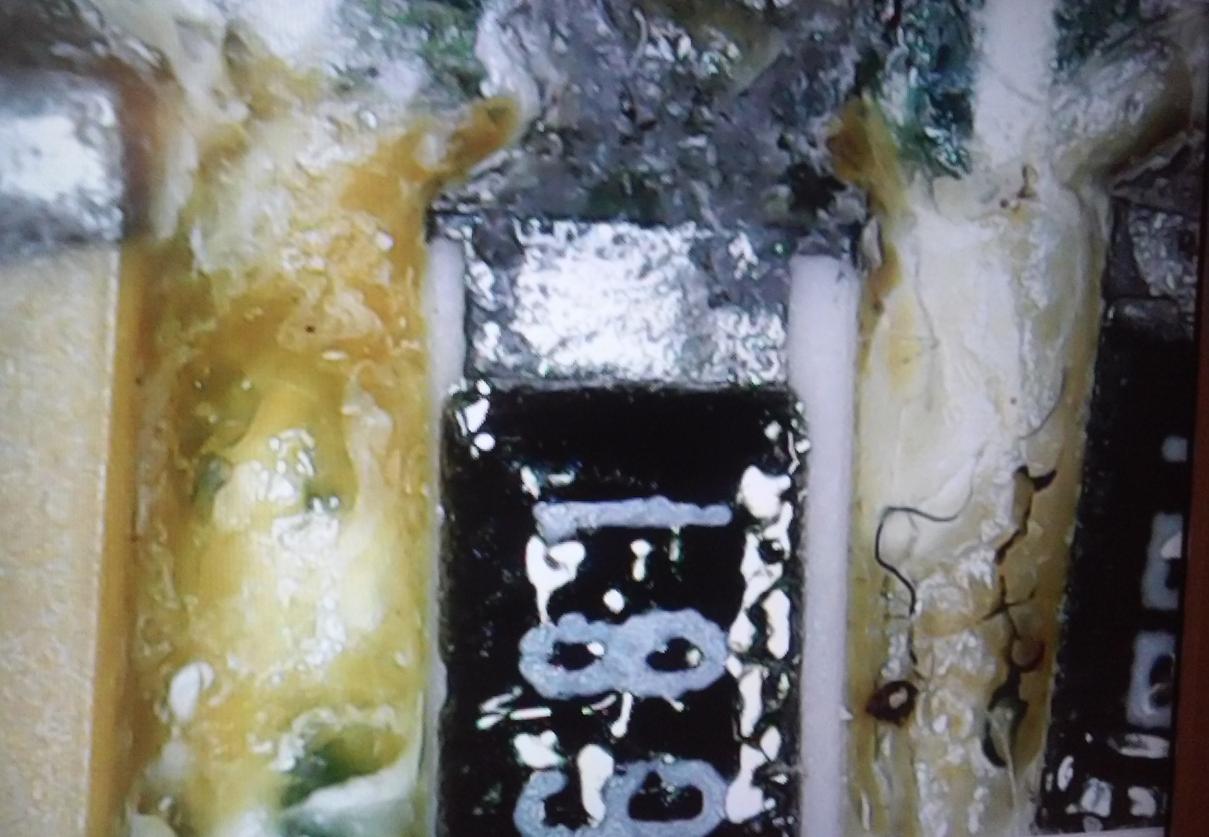
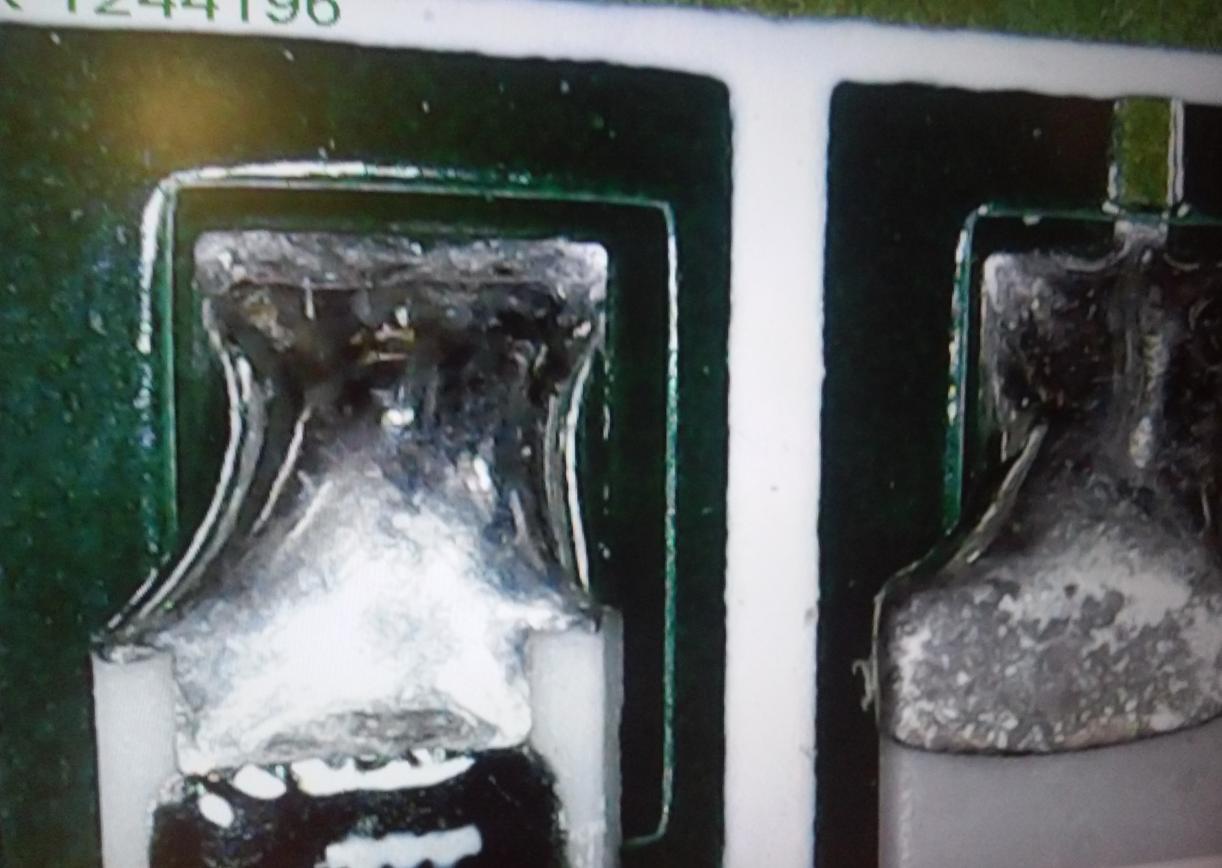
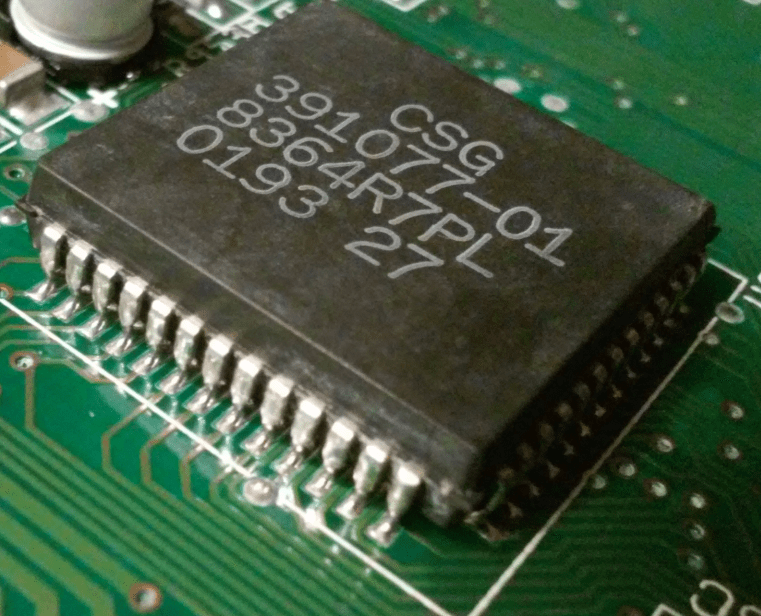
Hairy PAULA lolol
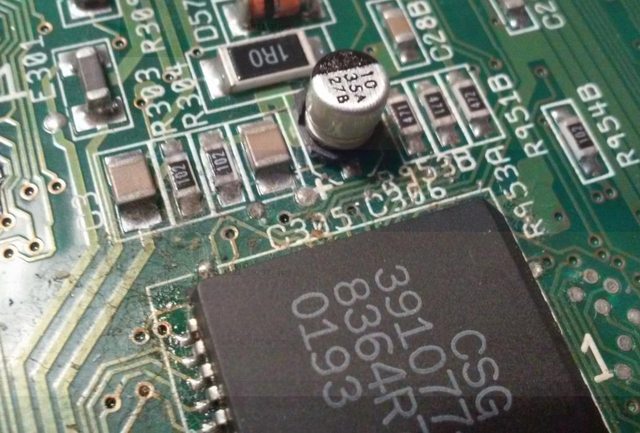
Hairy PAULA under the microscope


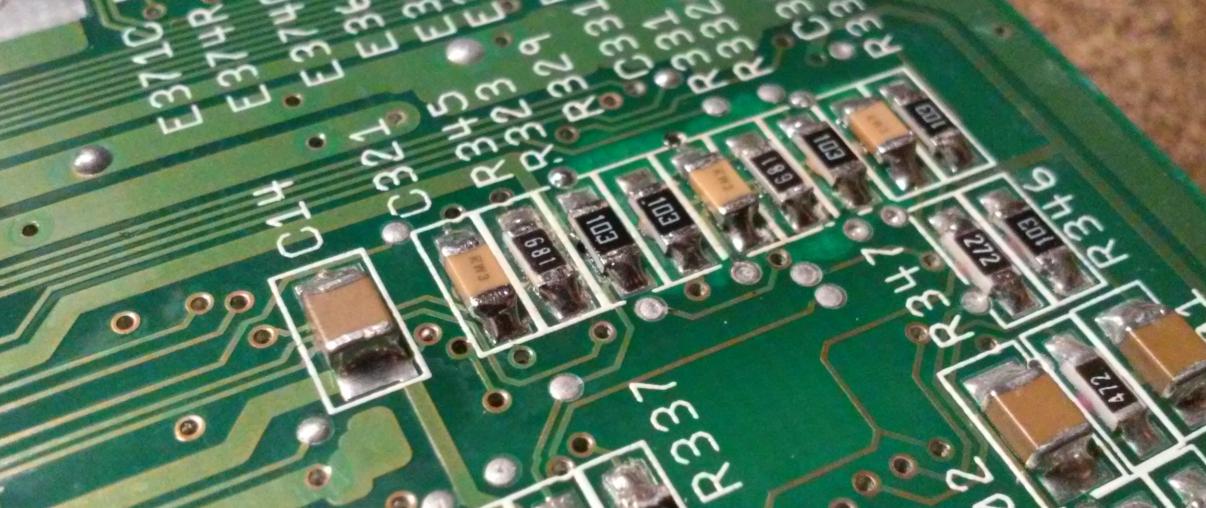
After unscrewing the motherboard from a case, it was even worse. There were a lot of weird-looking gooey next to various SMT components and lots of poorly resoldered joints.
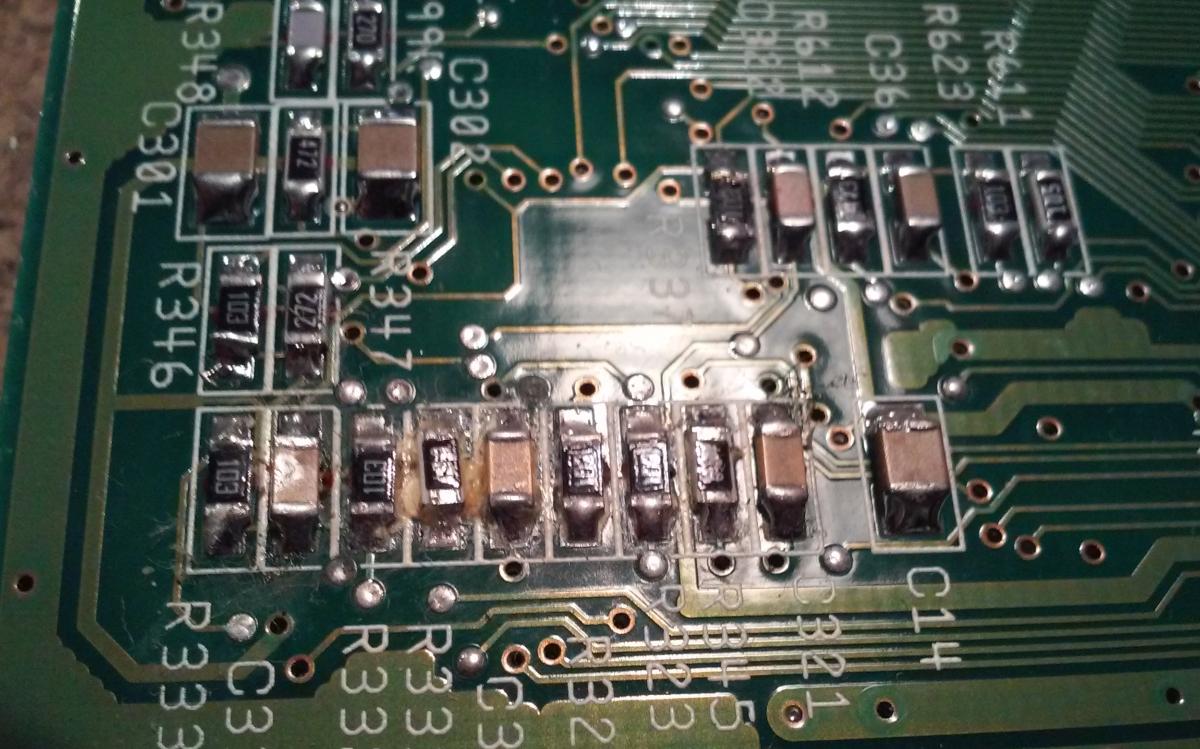

It looked kinda gruesome under a microscope, like an alien fungi attack lol
Cleaning and recapping
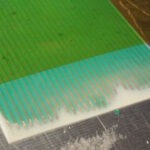
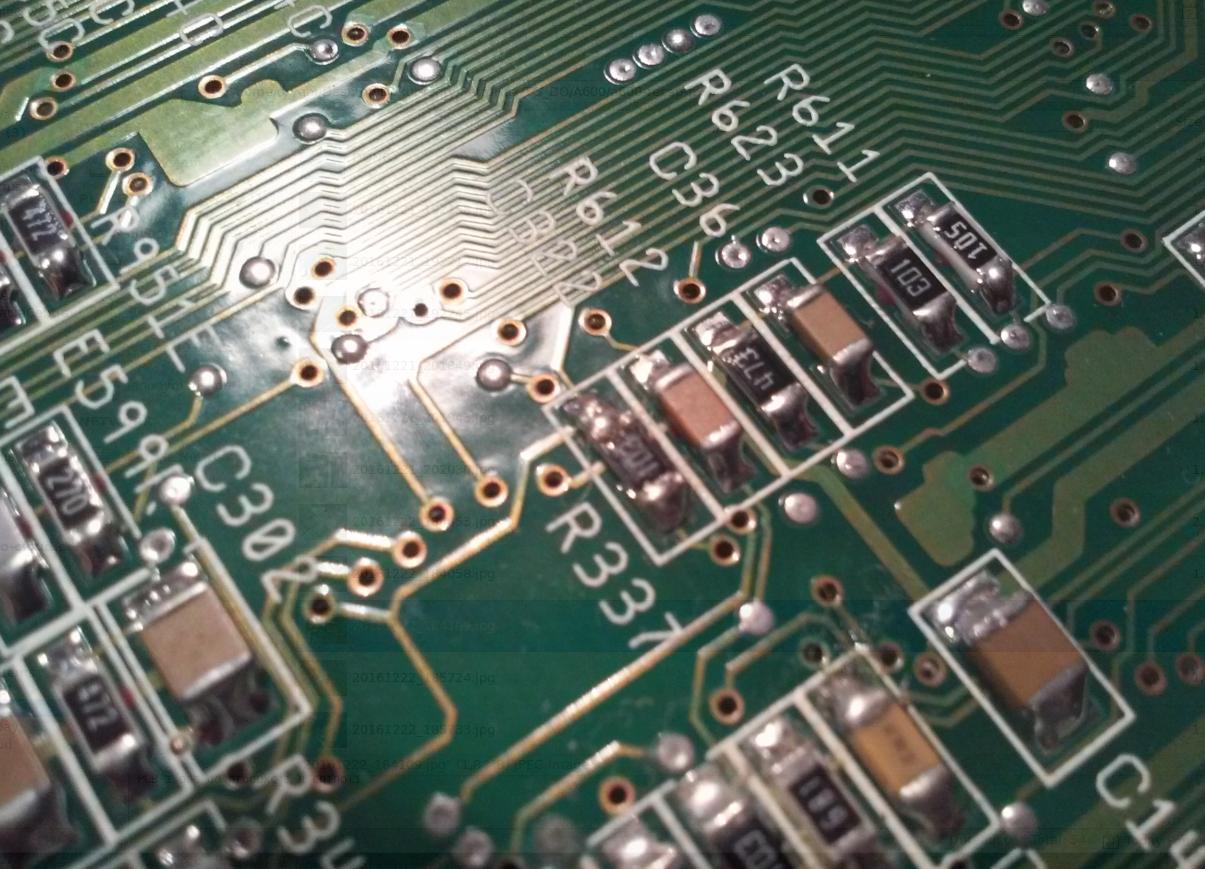
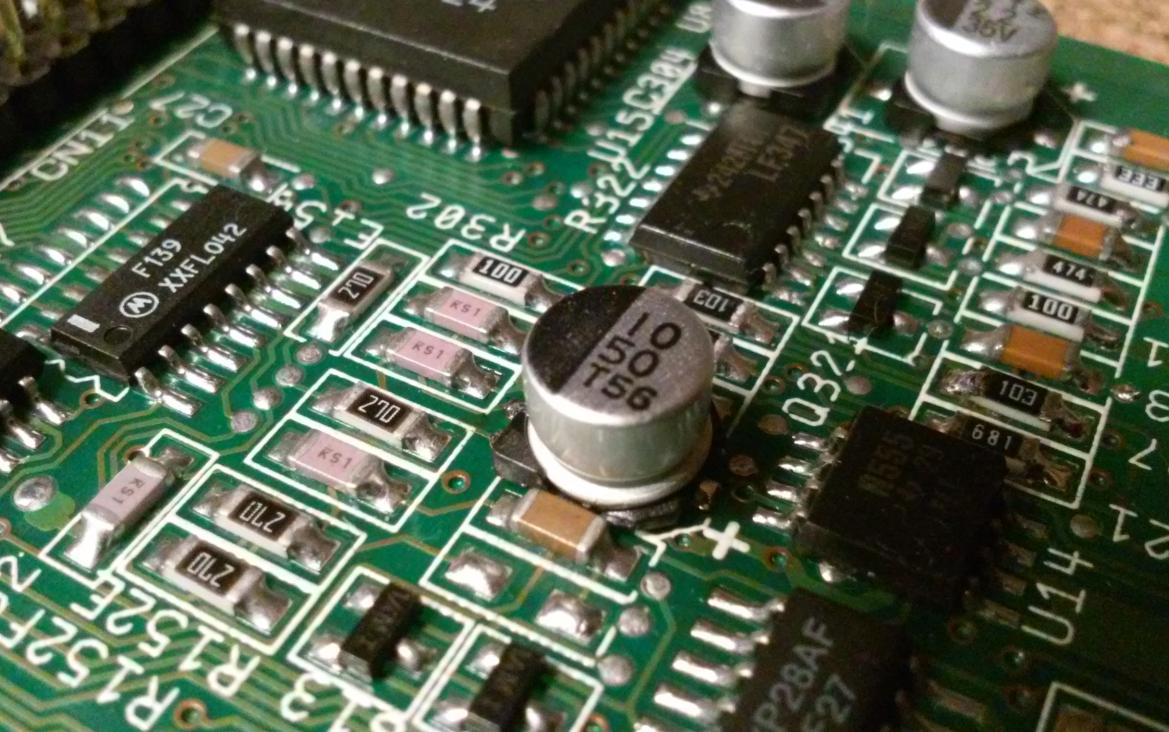
It turned out that “gooey” is easily removed with isopropyl alcohol. At this stage, I’ve also desoldered all suspected caps. In fact, nearly all electrolytic caps.
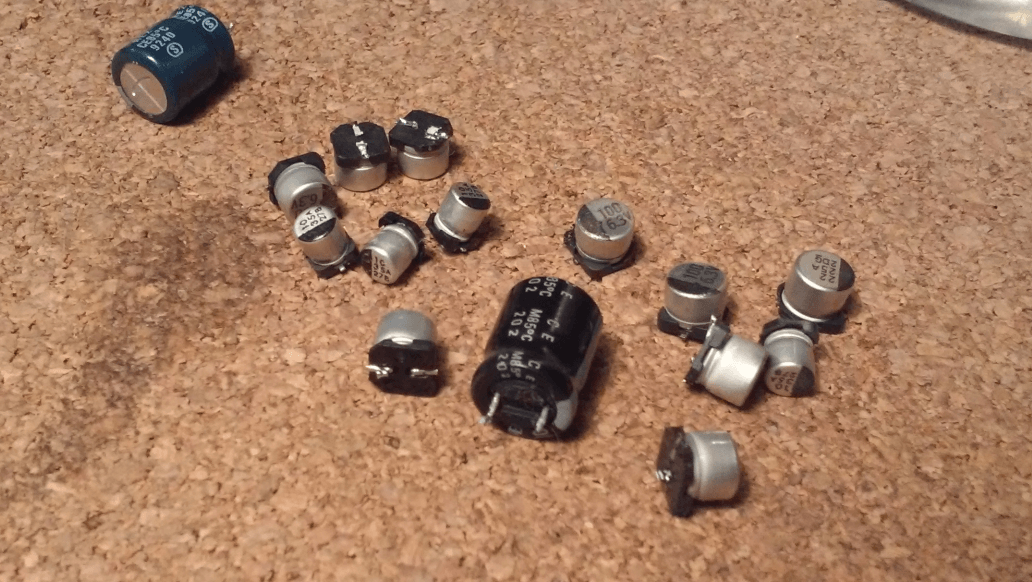
These five have already shown signs of leakage.

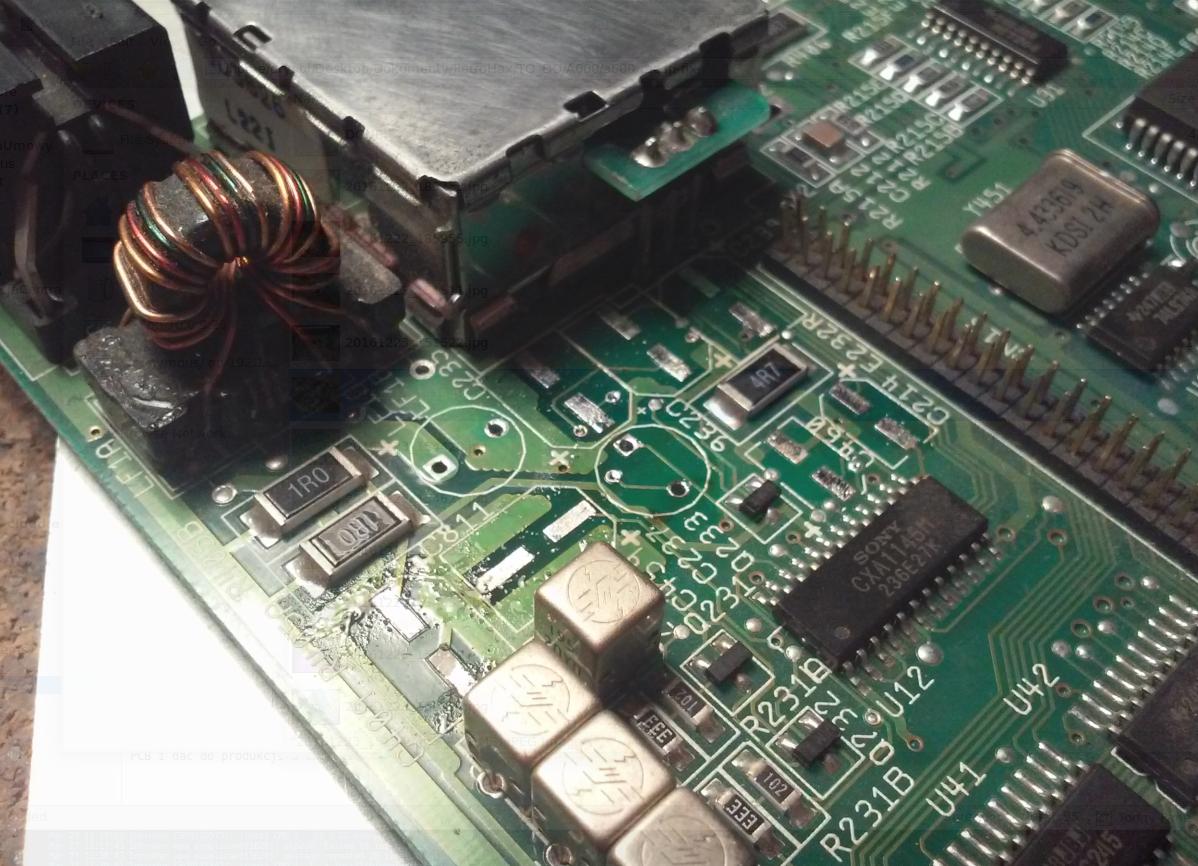
Few pics after cleaning and soldering on new caps.


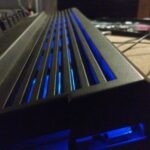
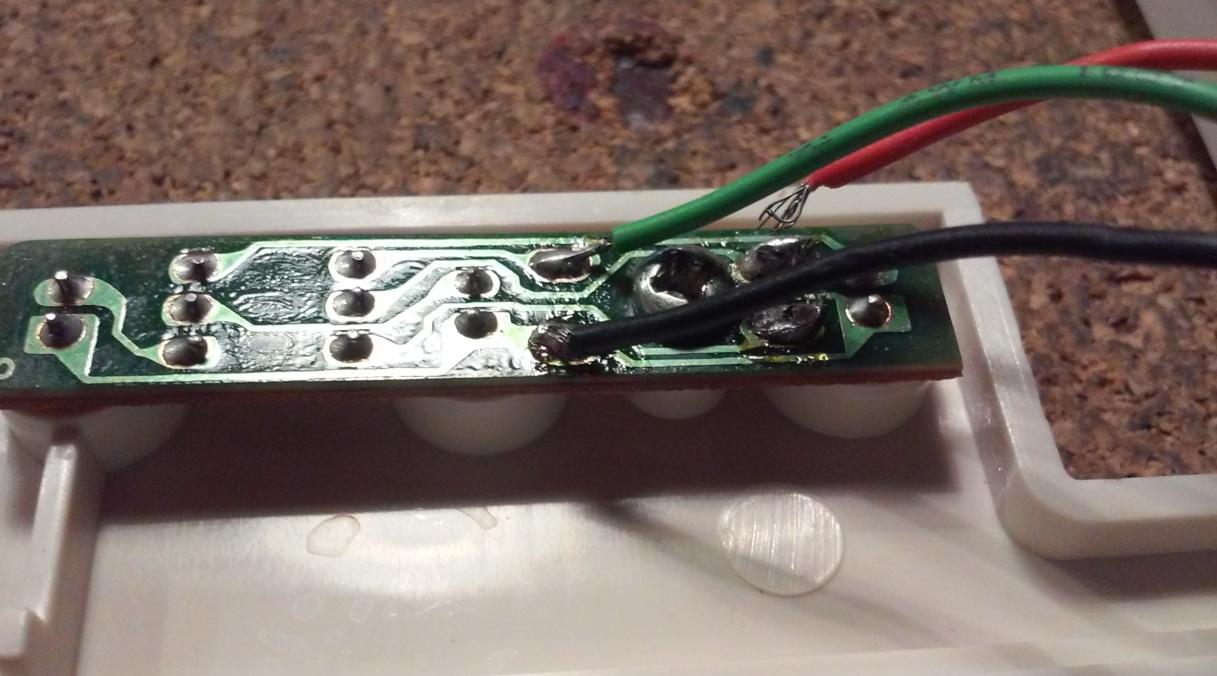
The LEDs panel had a minor problem that had to be corrected so fixing that pretty much finished the repair.
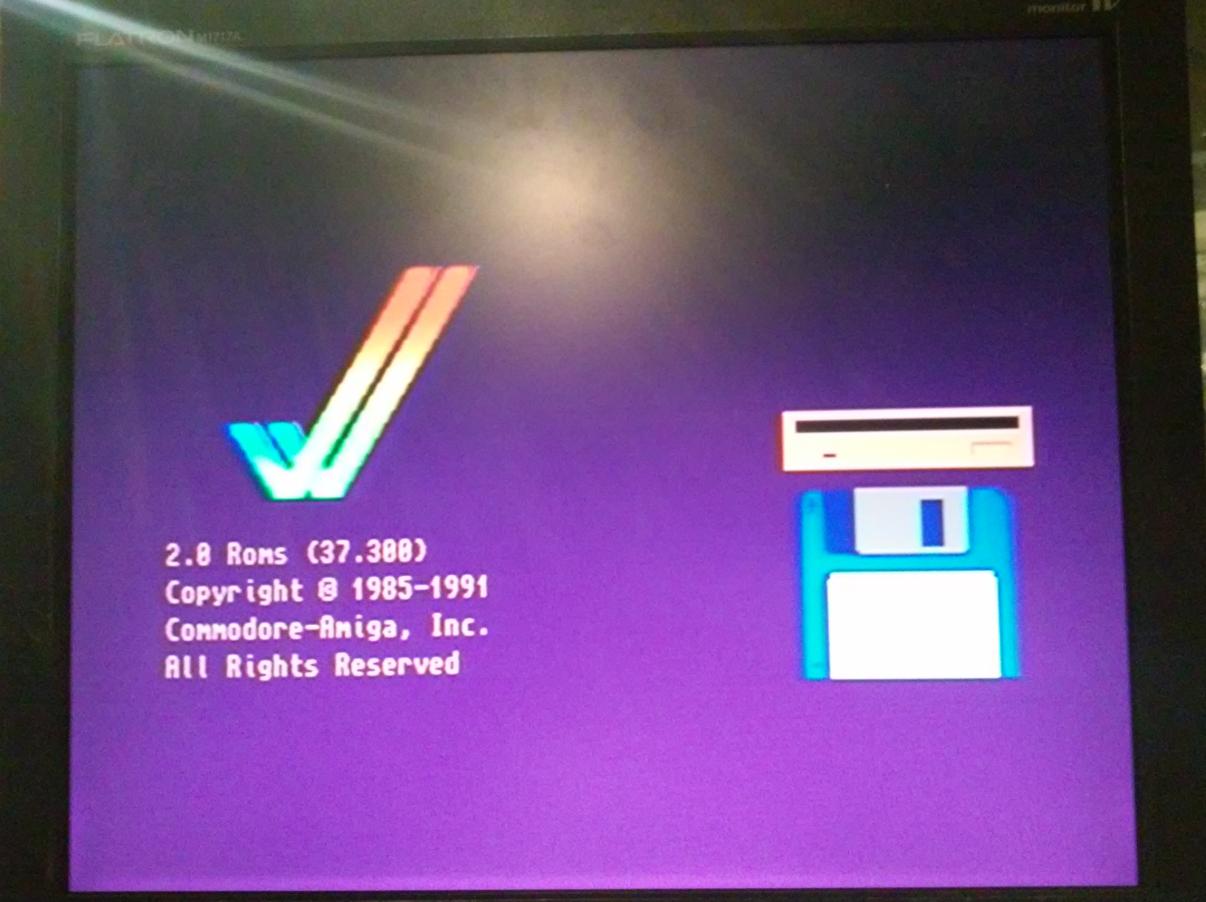
And VIOLA!
It all works nicely now 😀
Final keyboard tests.
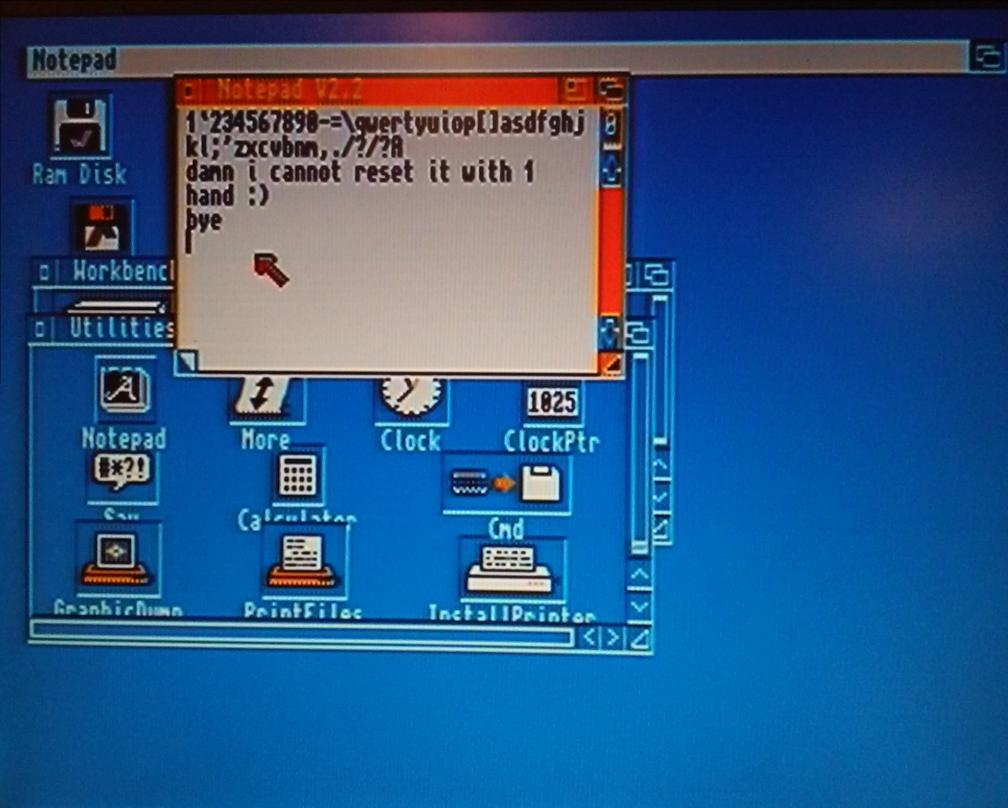
AMIGAAAAHHHHH !!!! 😀
That’s it for today. See ya next time 😉
OUTRO
If you want to get retro gear or hardware modules, please visit our shop
New products are being added every month.
Also, please support our work by spreading info about it.
Without your support, we simply cannot grow and we have a lot of new cool retro hardware (and more) products to come