… or projects overload again
<intro>

</intro>
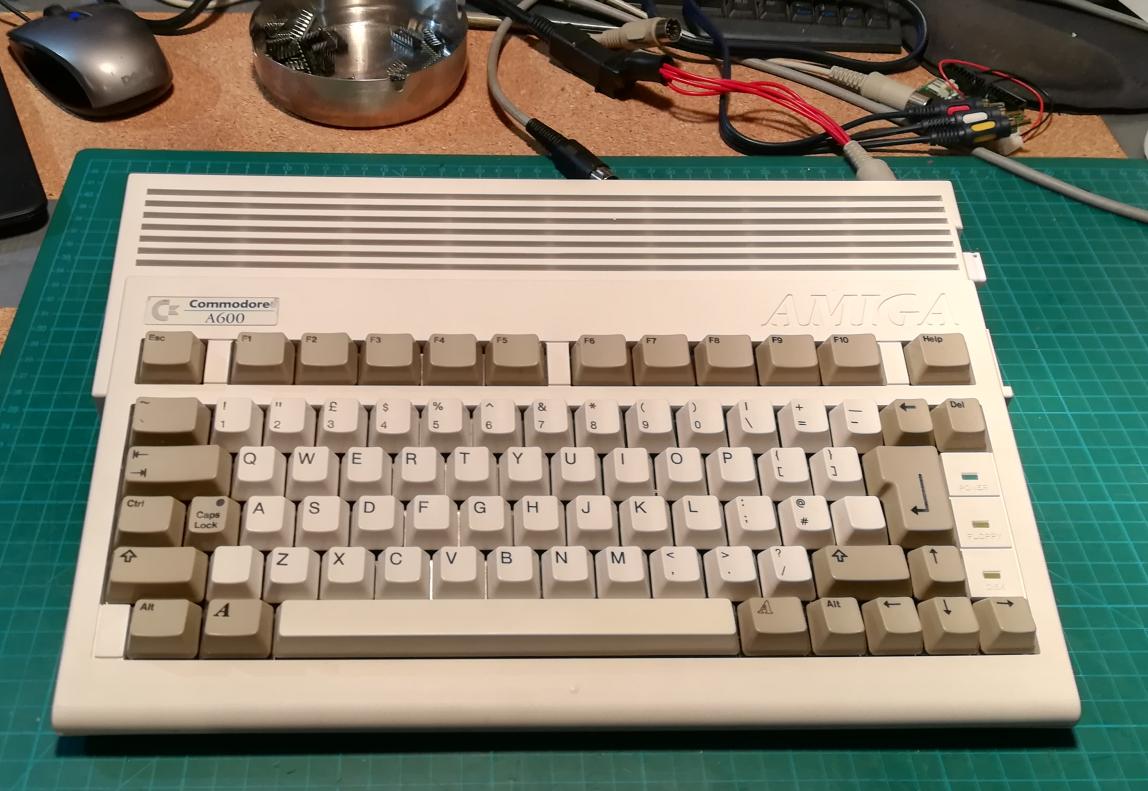
Over the past few months, I had an opportunity to repair and mod several Amiga 600. In this post, I’ll present some of the mods of these great computers along with some refurbishing.
3x Amiga 600
Let’s start with three times Amiga 600 repairs.
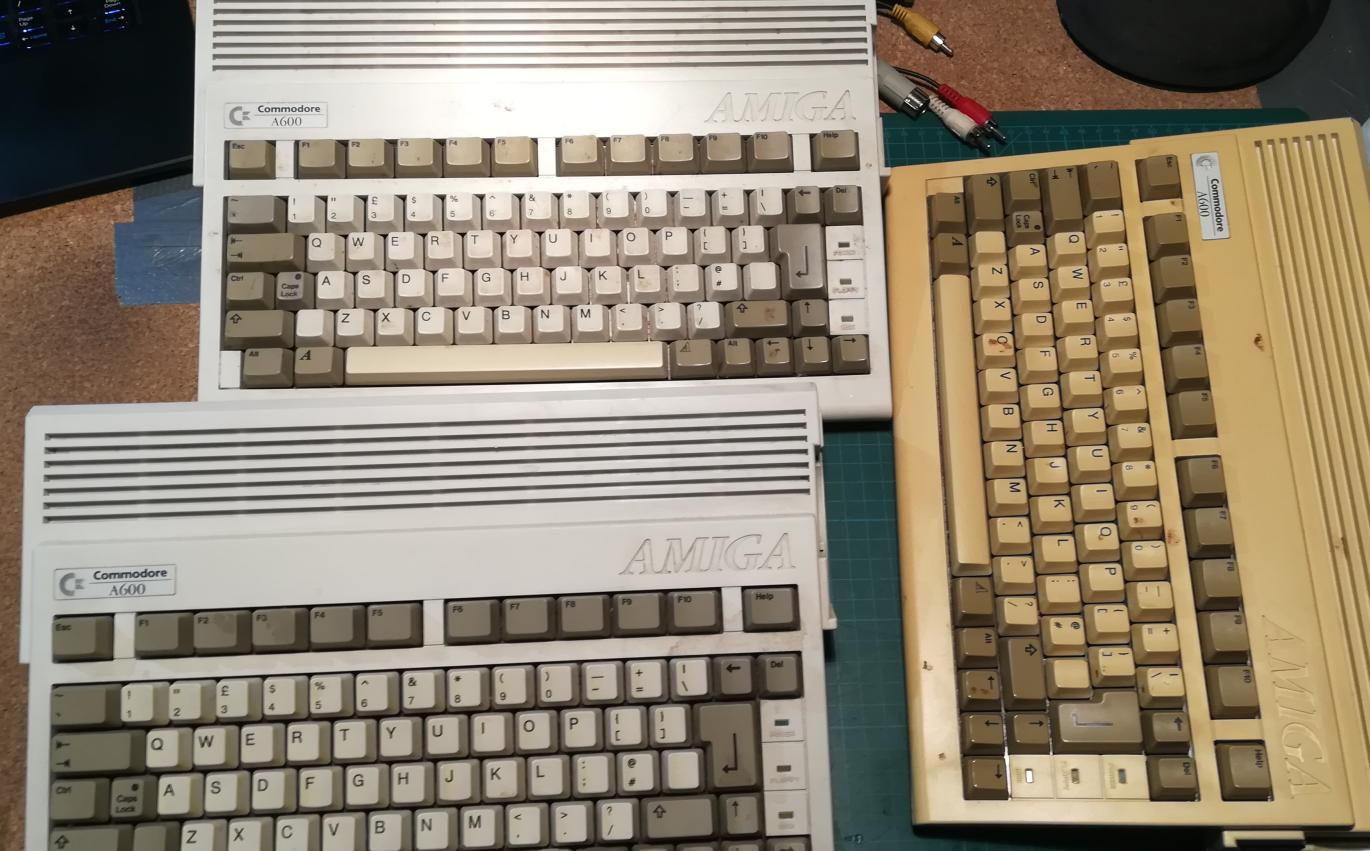
All three A600s were dead when I’ve tried to launch ’em. Usually, I disassemble computers and clean all components like the keyboard, case, and electronics. Eventually, I retr0bright ’em if there is a need to do it. Most importantly, in the case of A600s and A1200s, I also do a mandatory recap. This time it wasn’t different.
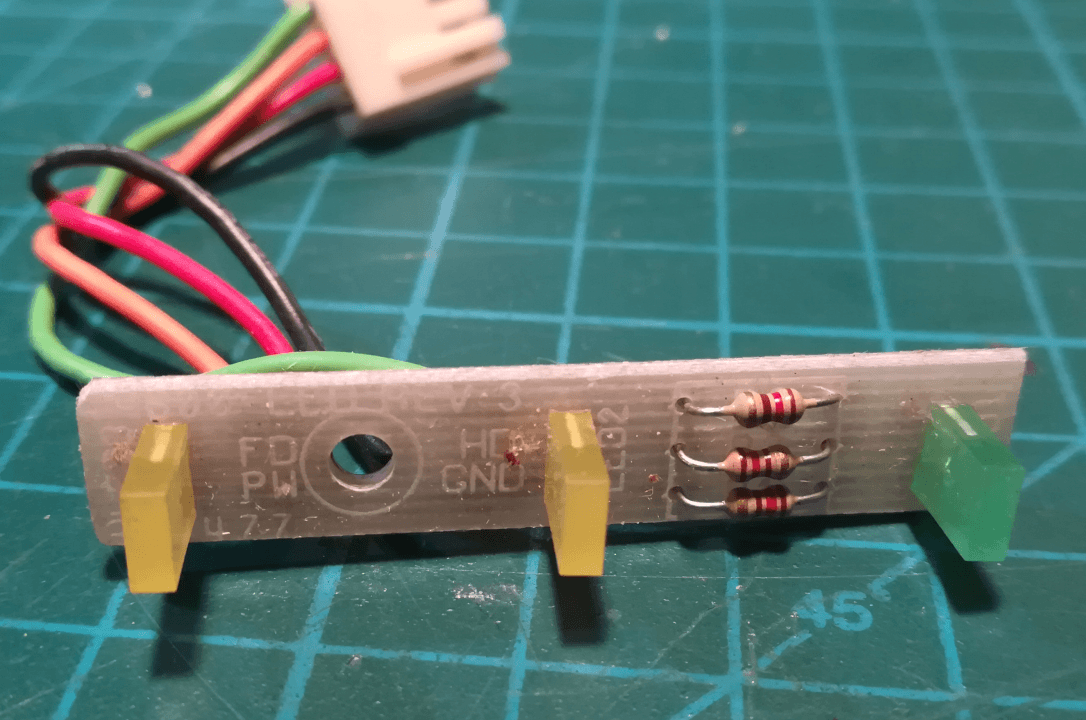
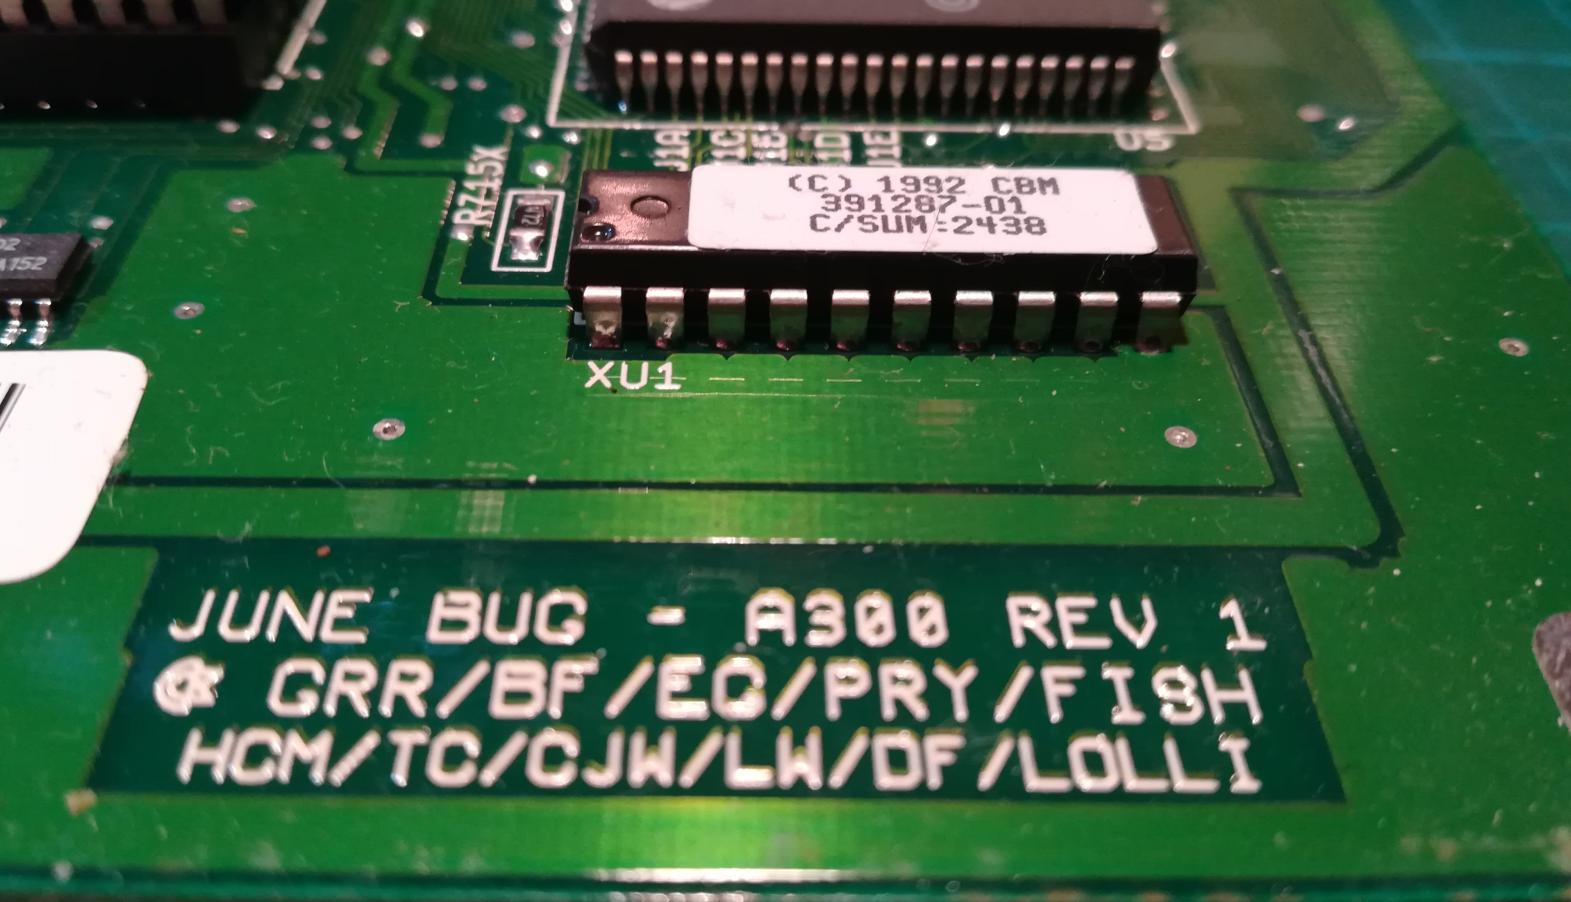
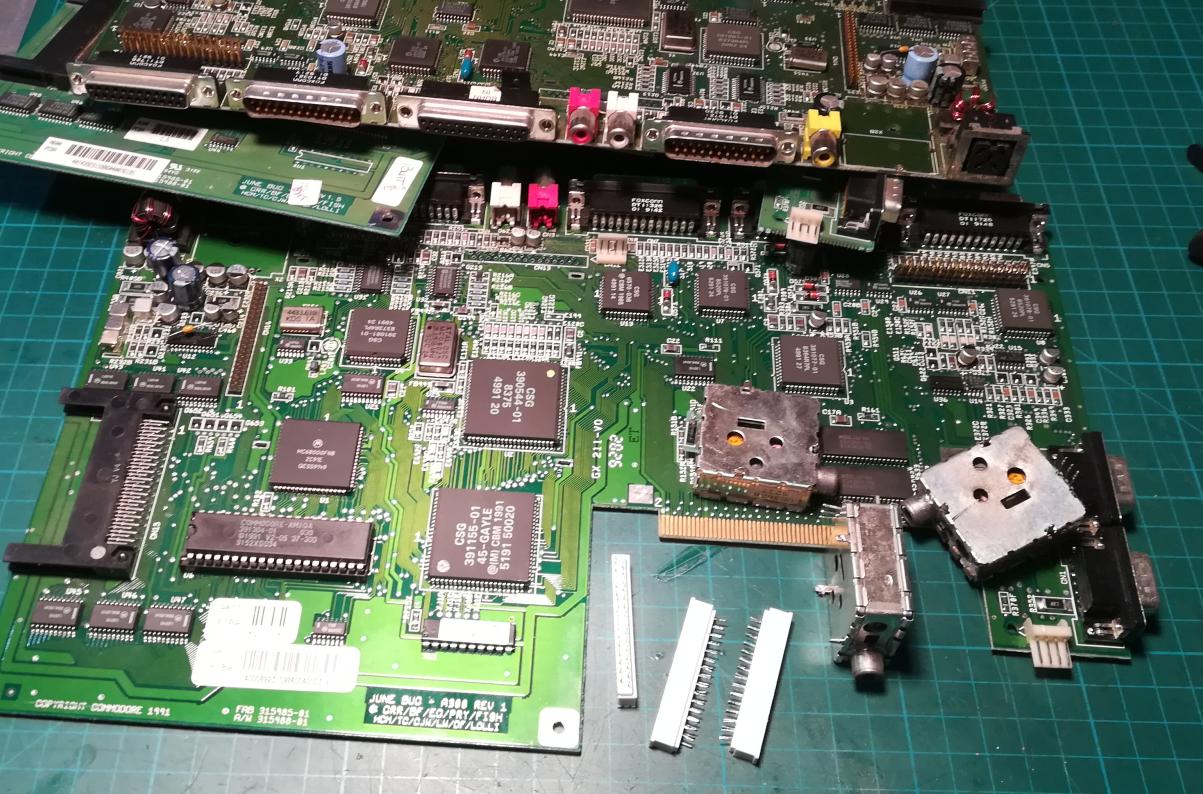
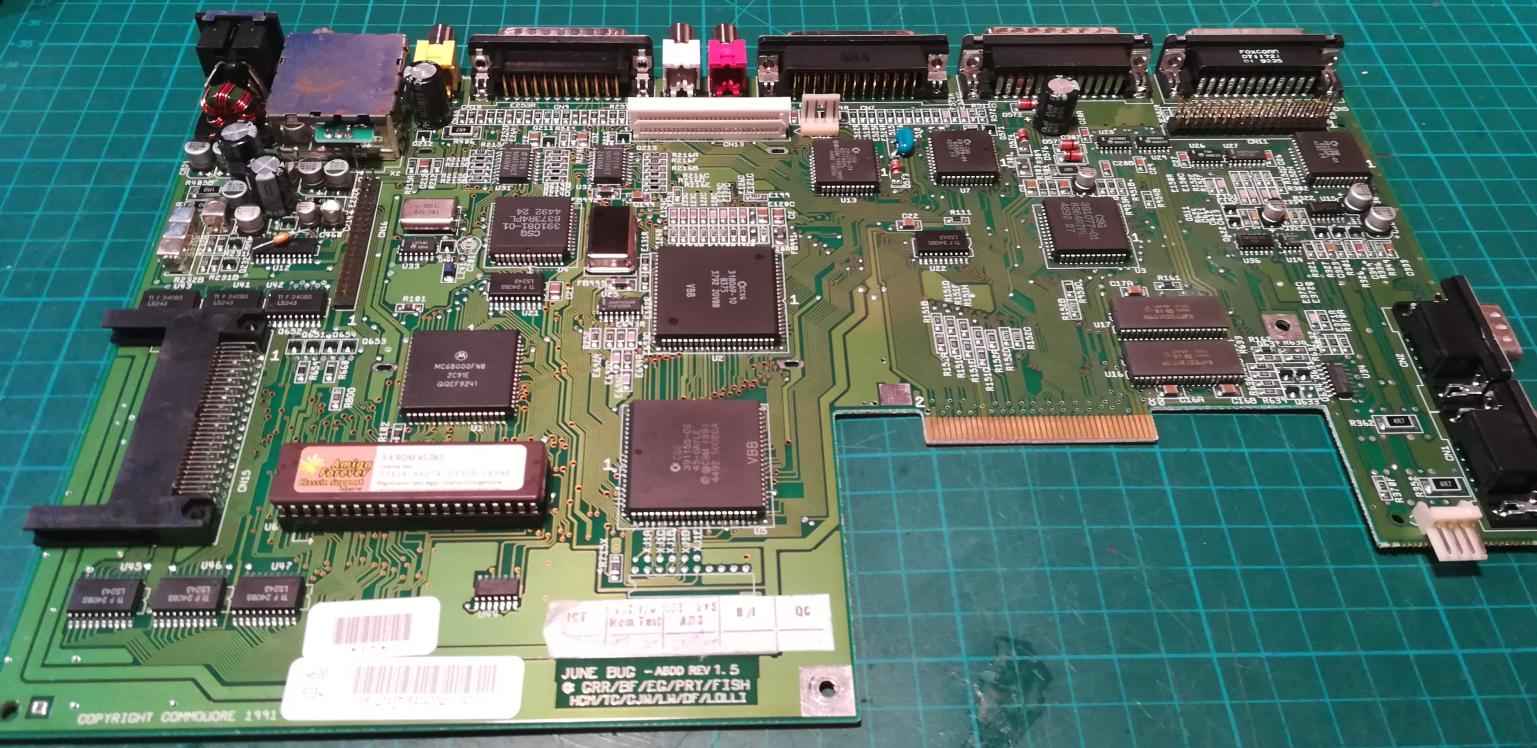
I was surprised to find a very early Amiga motherboard inside – A300 as David Pleasance described in his great book “Commodore The inside story”. It also had a bit different parts than the usual A600 like LED PCB without a solder mask.

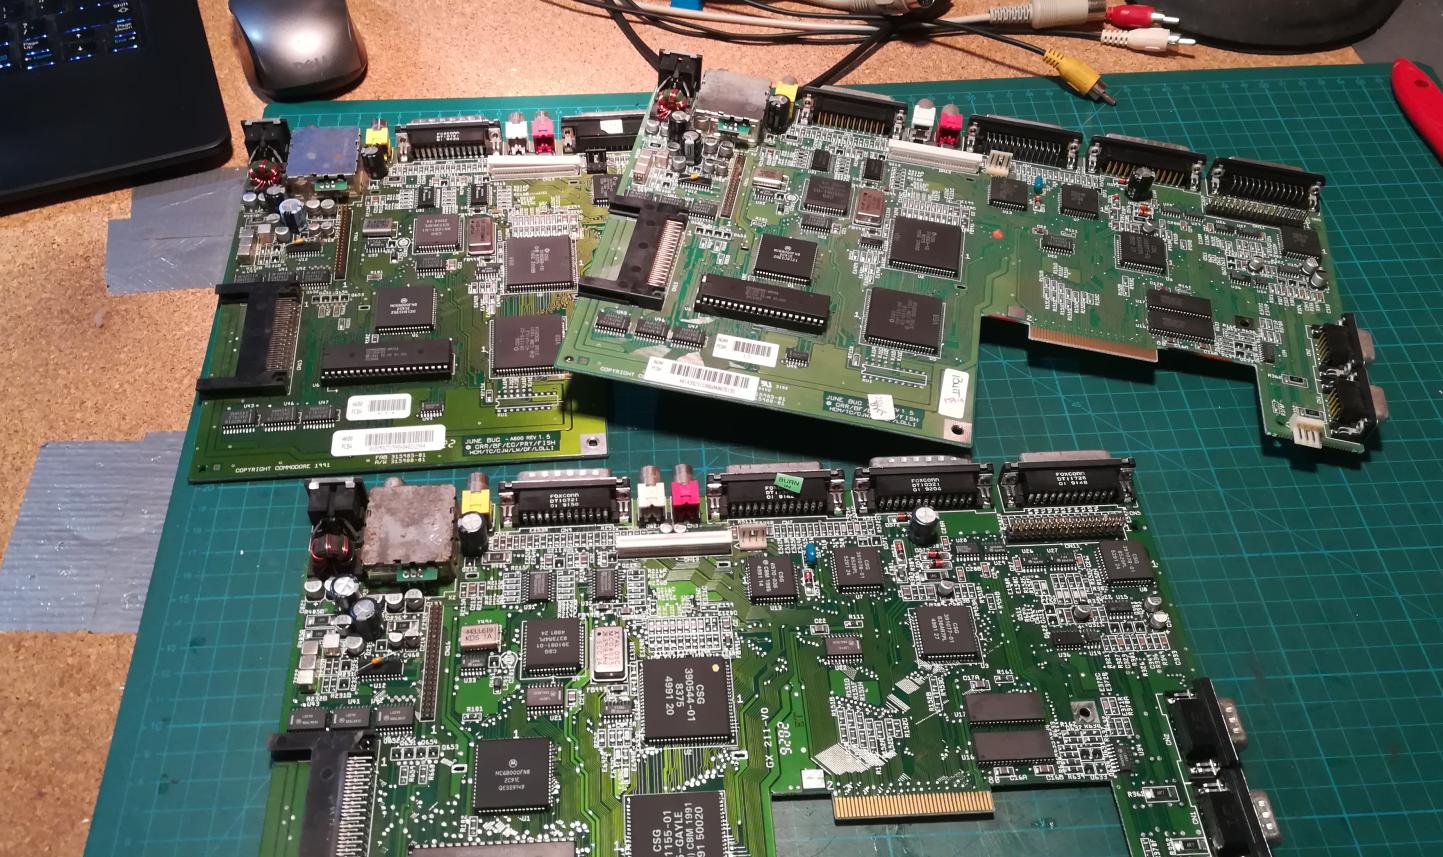
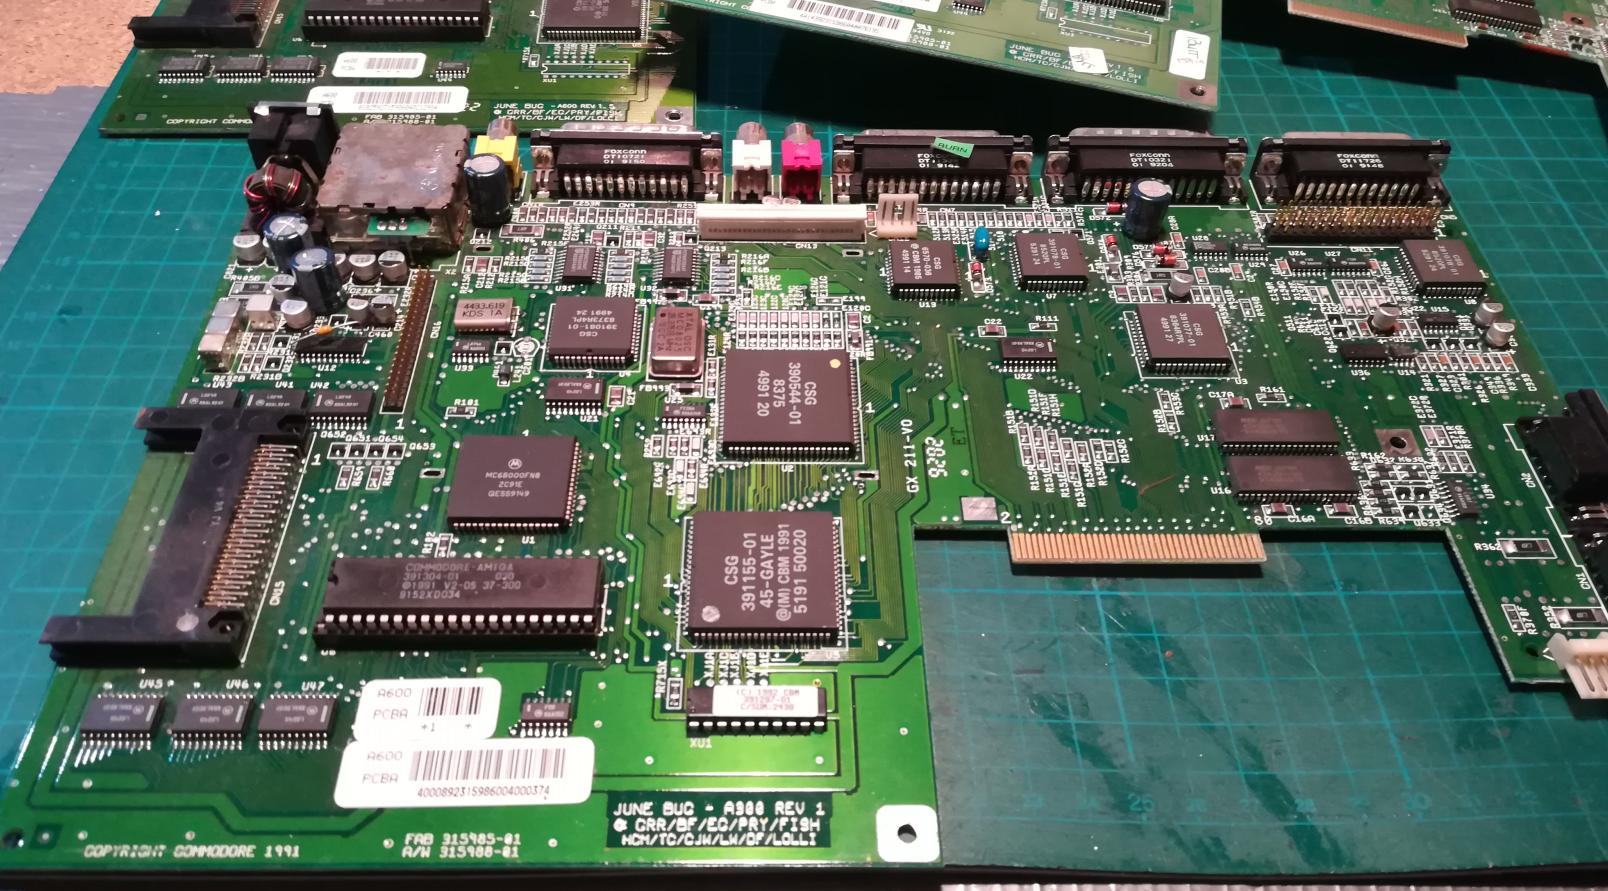
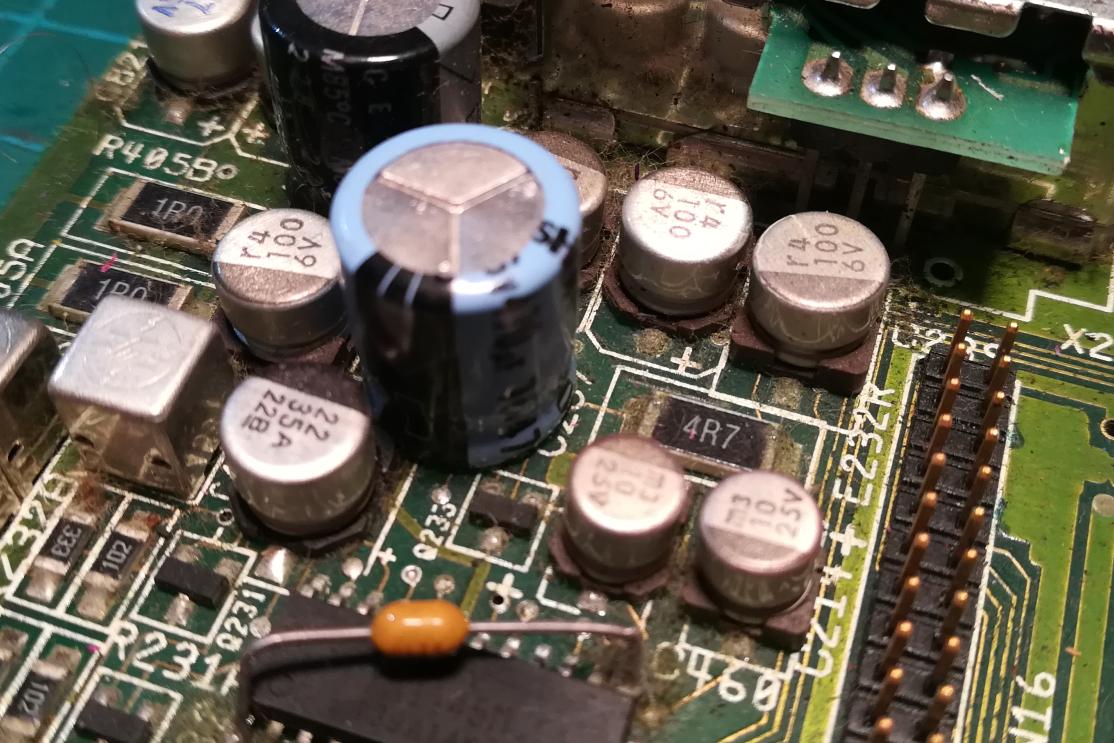
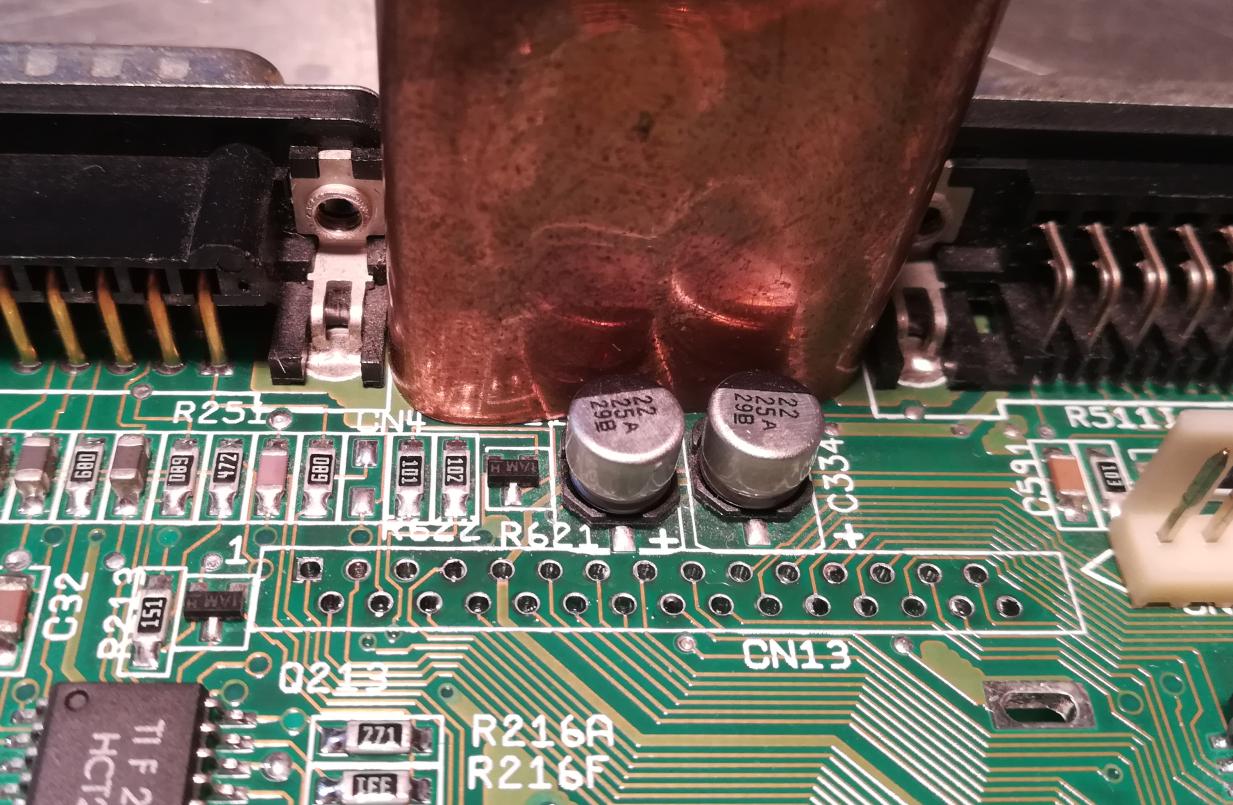
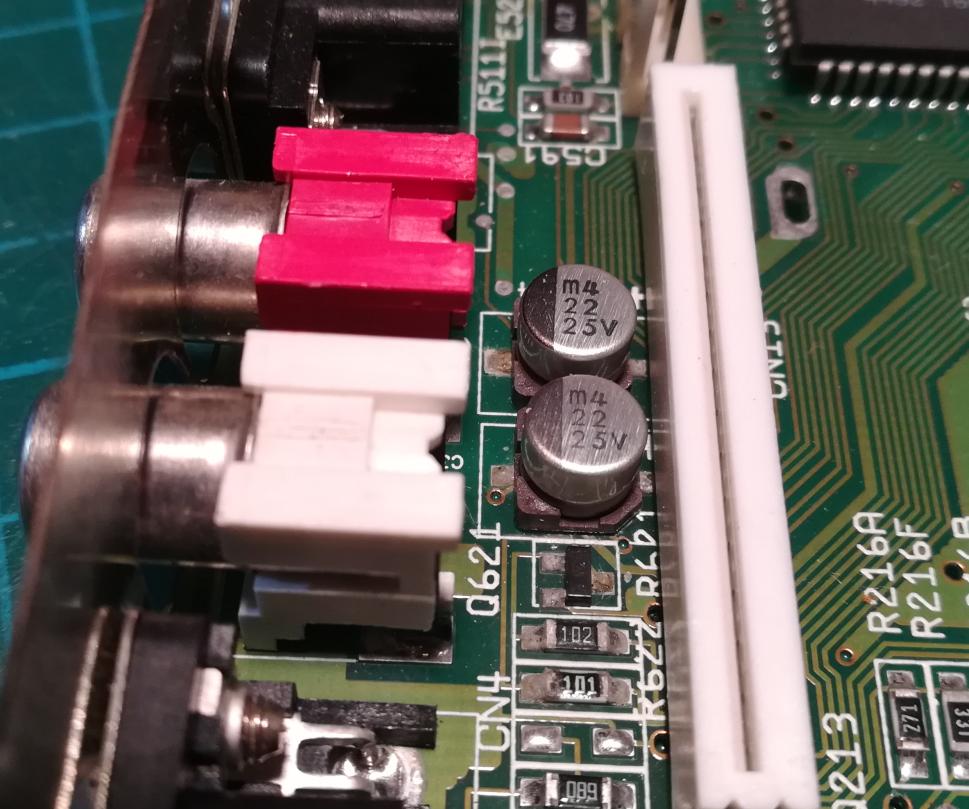
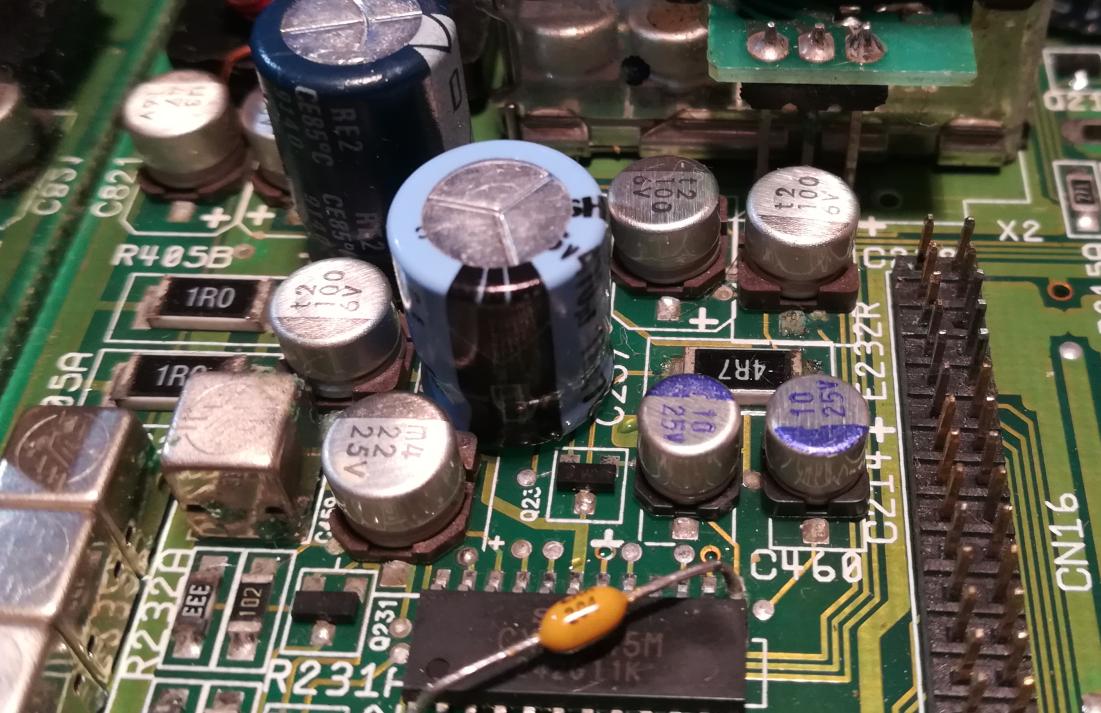
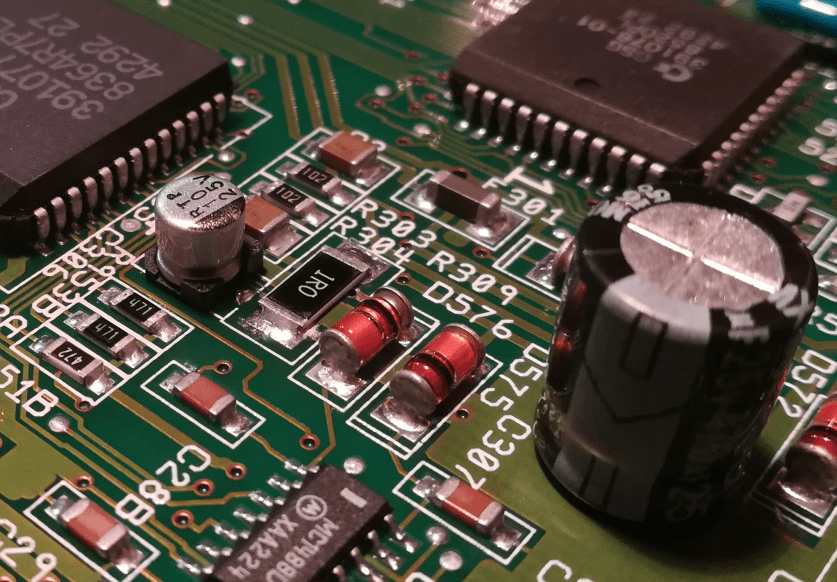
As you can see below, all solder joints surrounding old caps show that they leaked and started to damage boards.
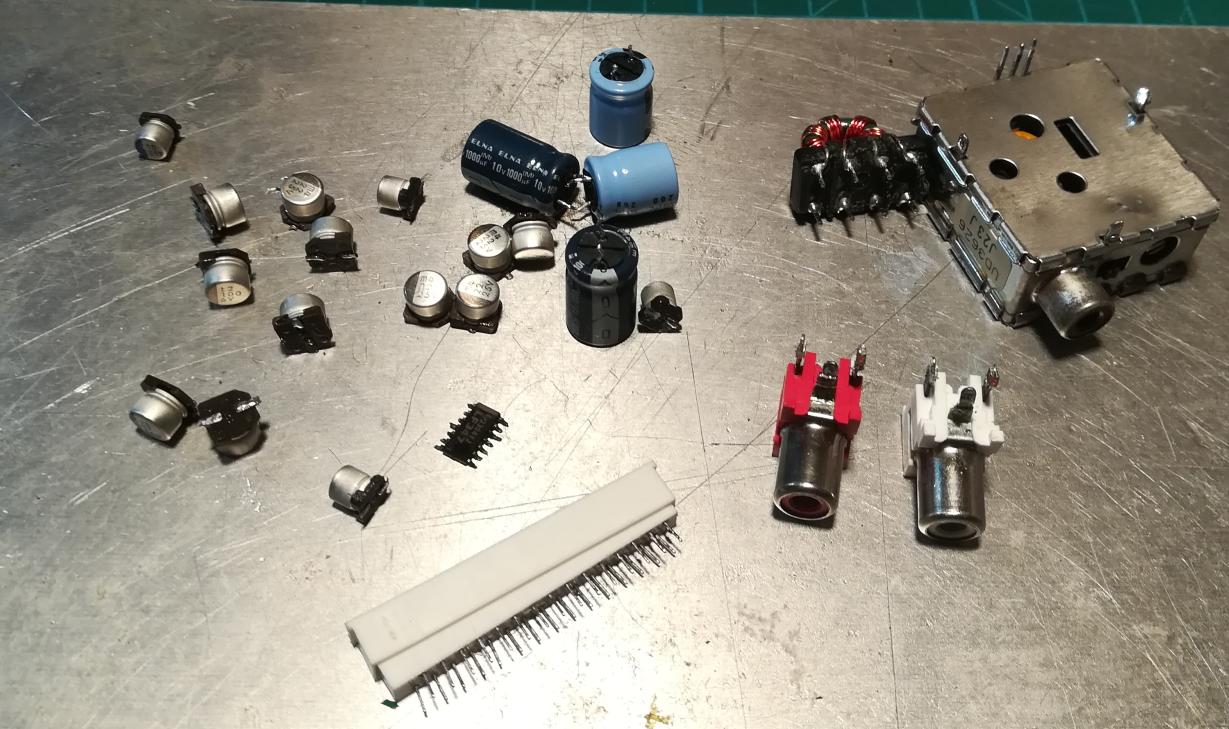
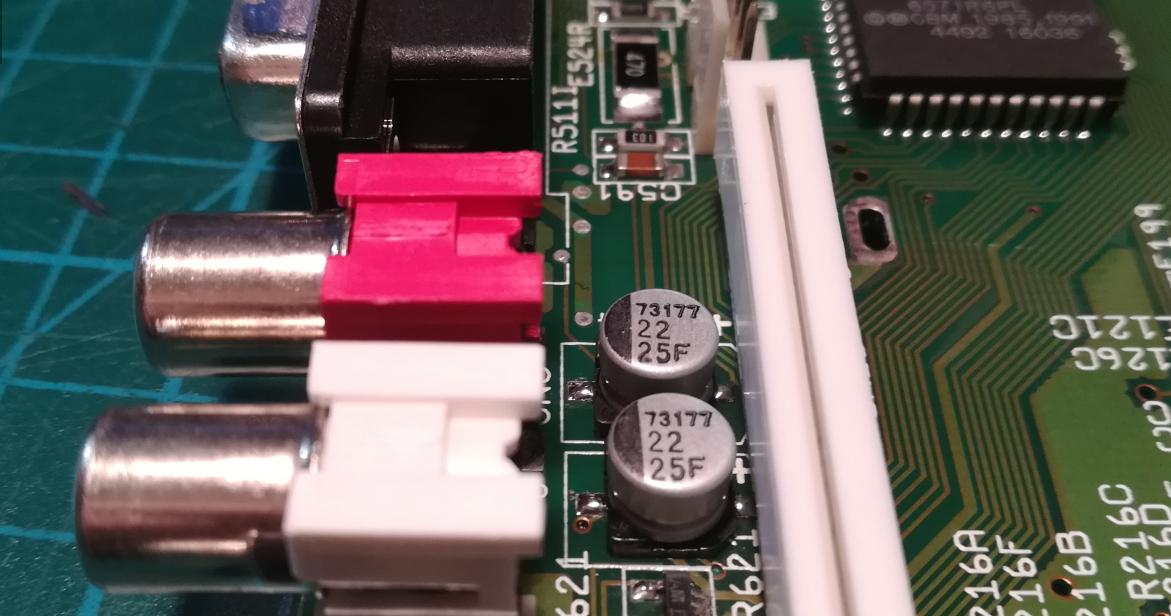
To prepare mobos for a recap, I had to desolder keyboard membrane ZIF connectors and RF modulators. This is what I usually do to prevent plastic parts from burning when using a hotair station. I’ve also used a copper sheet to shield CHINCH connectors from heat. Usually, I desolder CHINCH connectors but not this time.
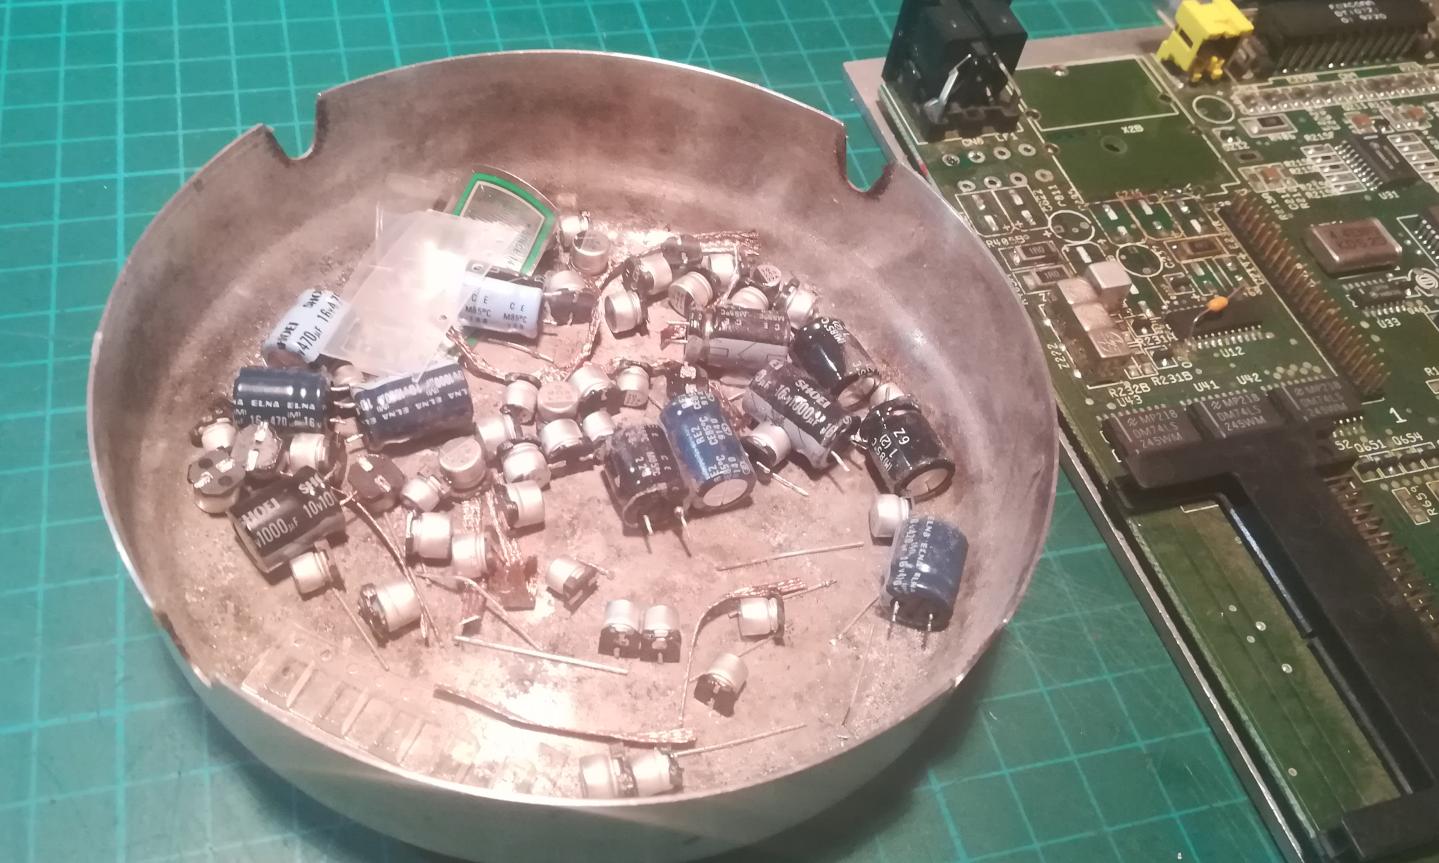
Old caps removed
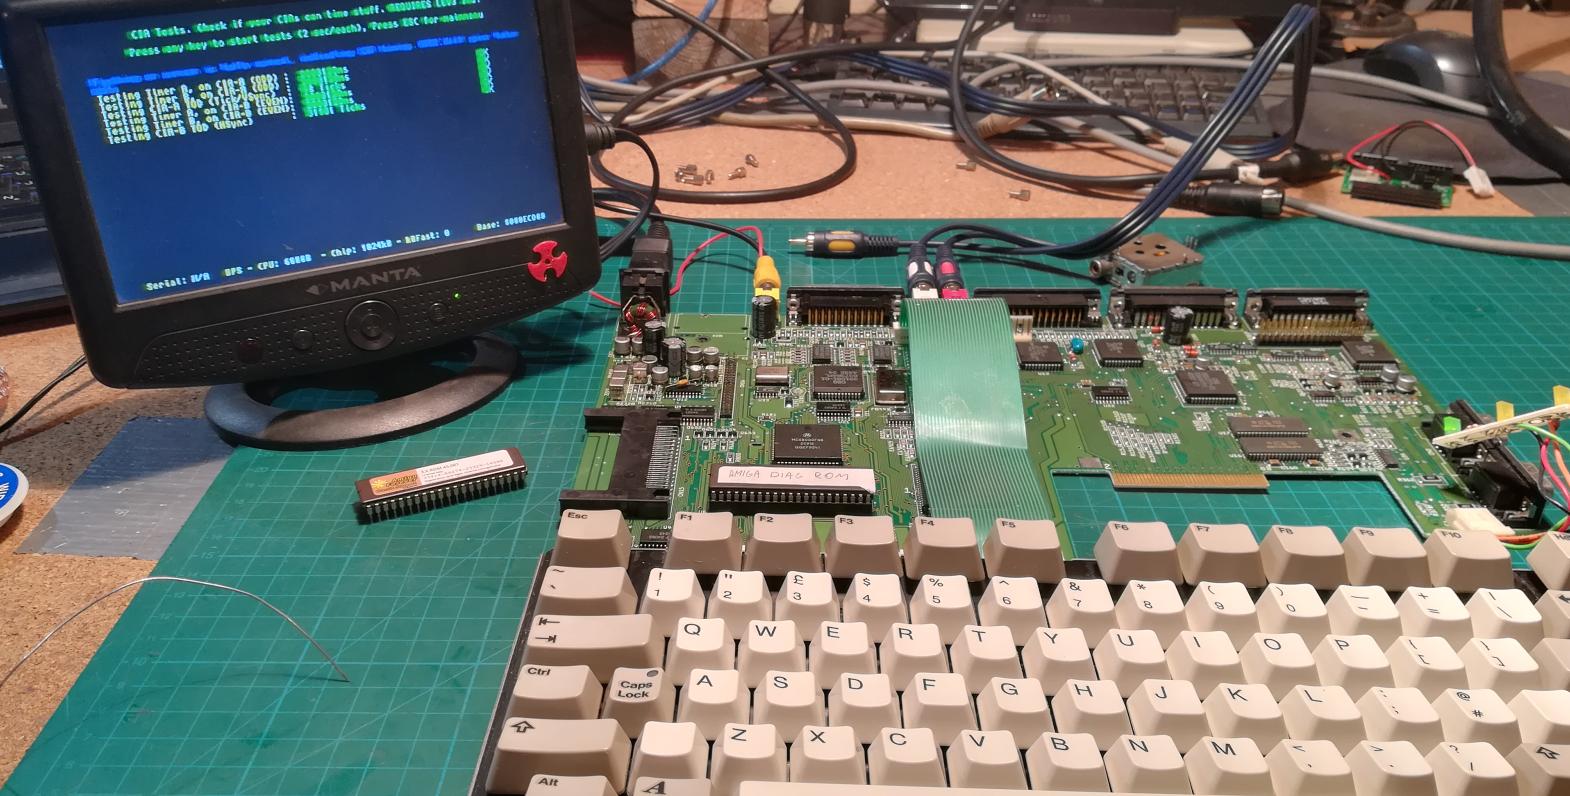
The first unit started to work right away after recapping. I’ve run all standard tests on it and it worked perfectly.
By the way, you can get Capacitor replacement KITs for A600 and A1200 on our webshop.

Tools that I usually use for tests are:
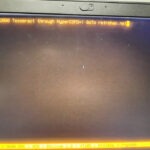
- Systest – by Keir Fraser. Now it is renamed Amiga Test Kit. THIS IS AN AMAZING TOOL!!! Seriously! many thanks to Keir for his tremendous work on this piece of code.
- Arte – by Sanity – if this demo runs without any random hangs then it is very good.
- Mental Hangover – by Scoopex – if this demo runs without problems then it is even better!
By the way, these old-school demos are extremely awesome!!!
Have a look 🙂
The second unit was a bit more problematic …
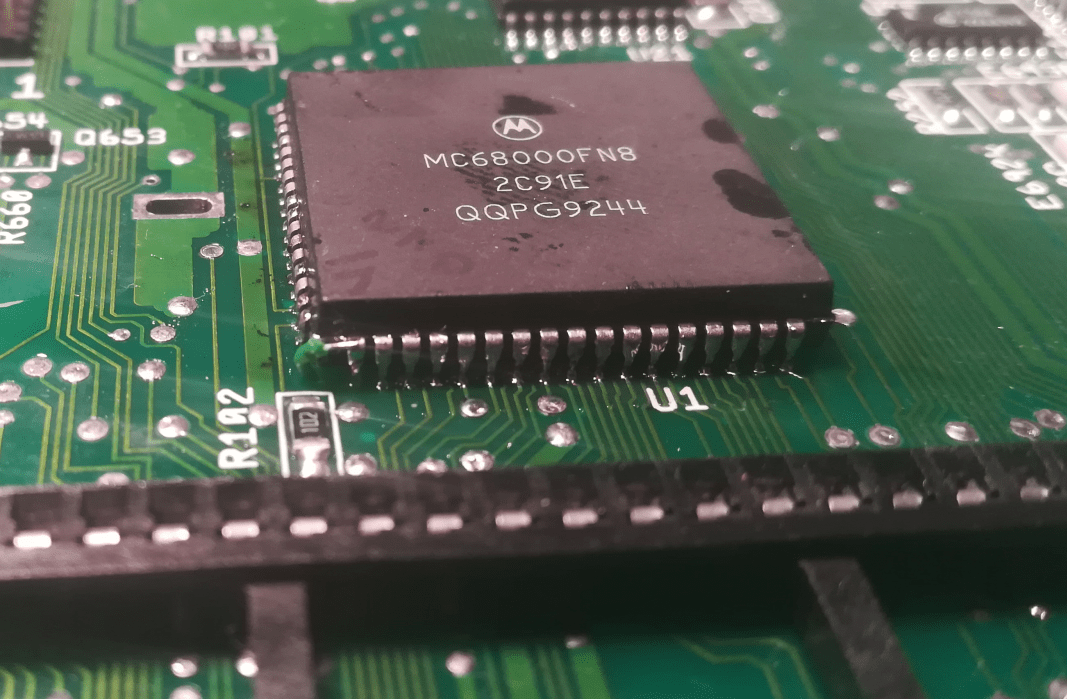
CPU problem
I’ve noticed that the CPU is getting seriously hot while a machine was turned on. I had a dead motherboard in my stash with a CPU, so obviously I’ve started the swapping procedure 🙂
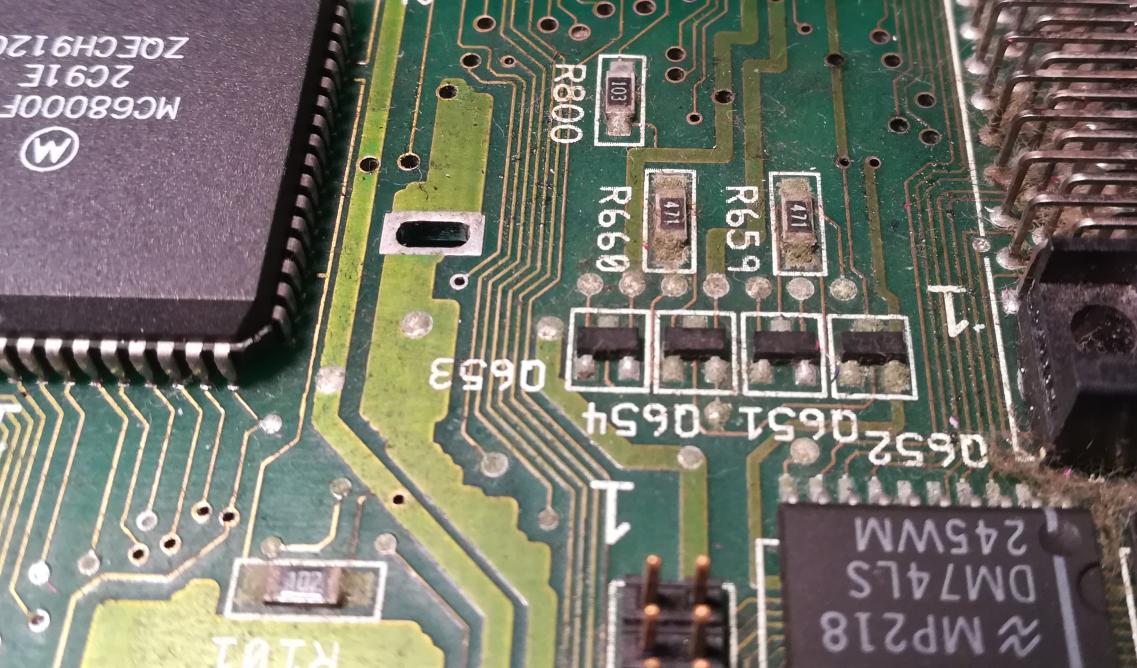
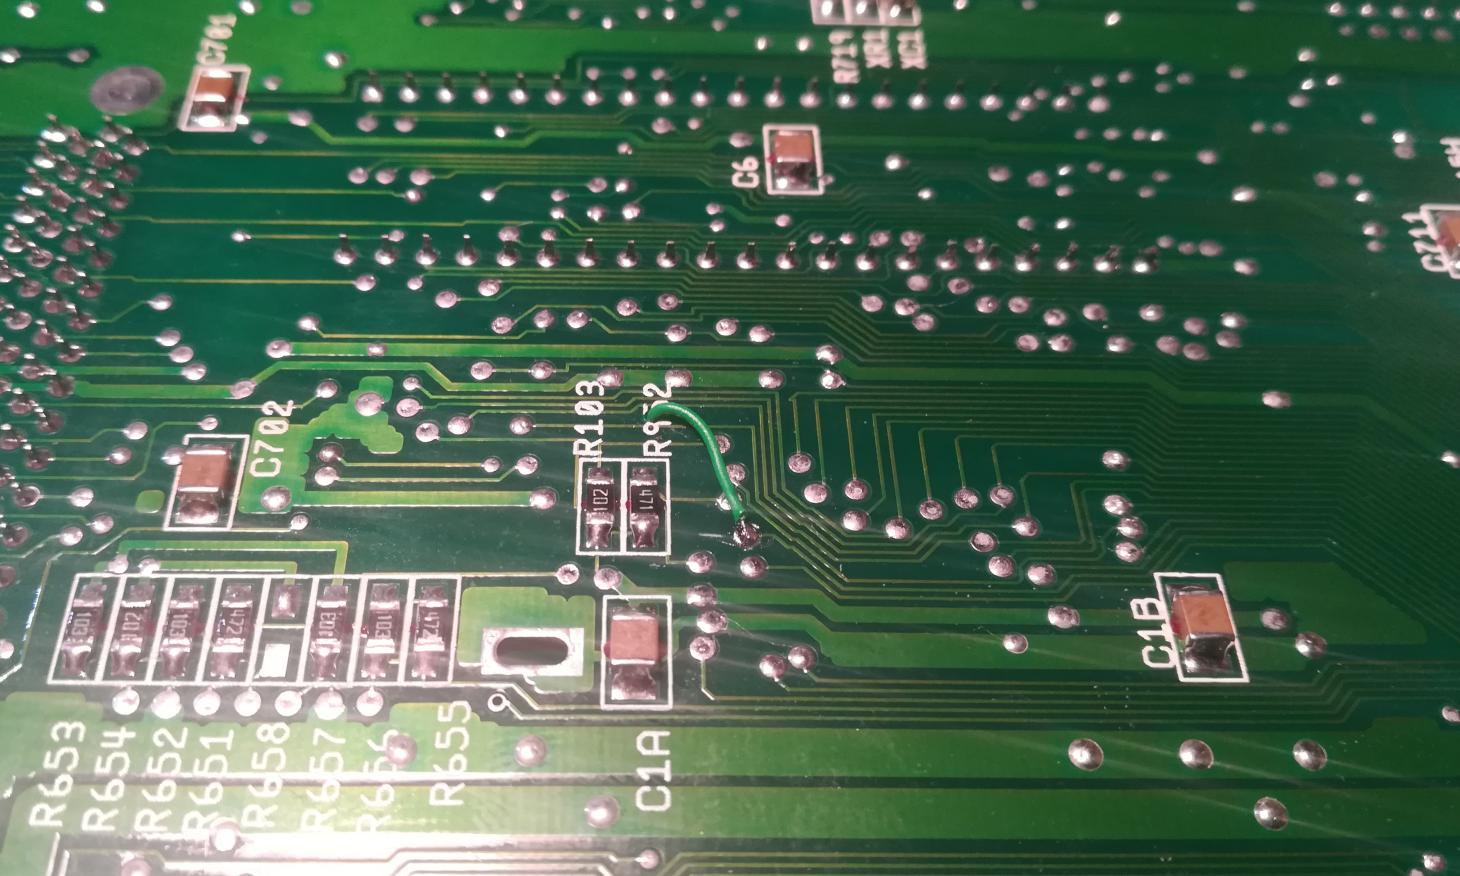
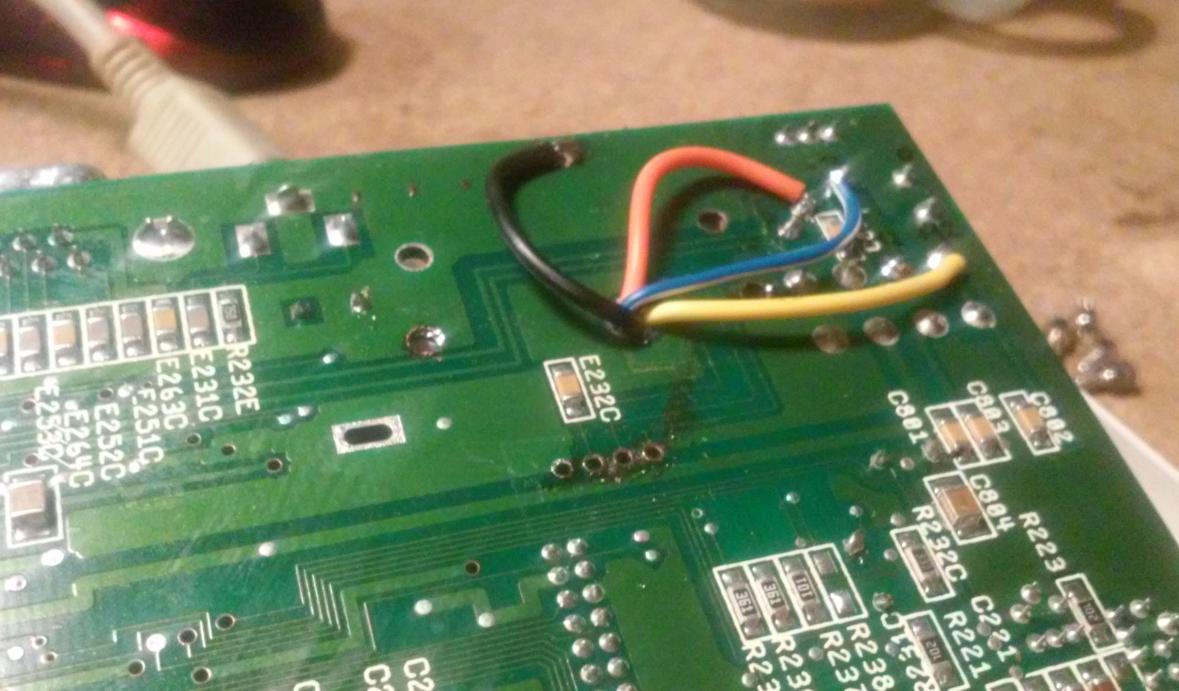
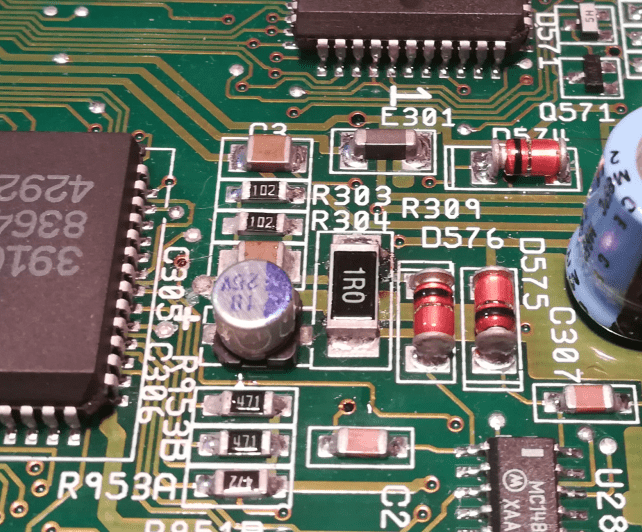
Unfortunately, I killed one of the solder pads during the process and that had to be fixed. Problem is that trace from this pad goes under a CPU.
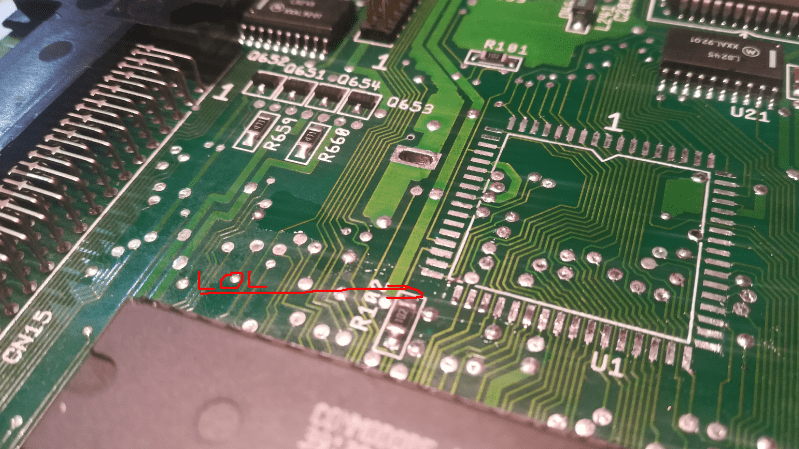
The idea was to trace how a trace goes (lol!) by holding a PCB against a strong light source.
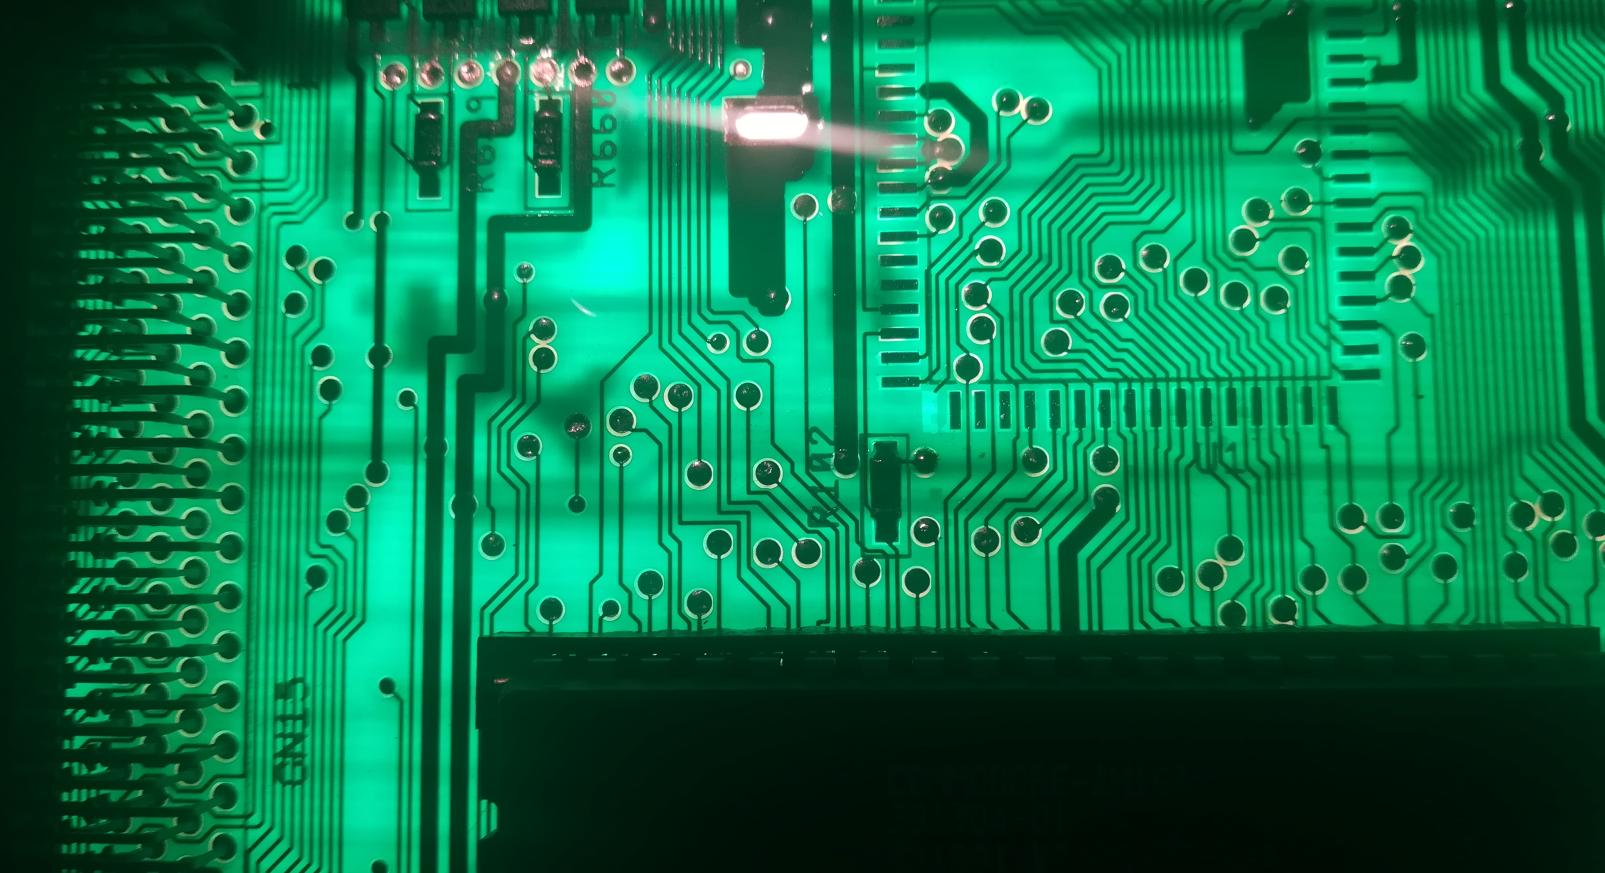
With the proper info, I was able to find a spot for drilling which resulted in a quick hack.
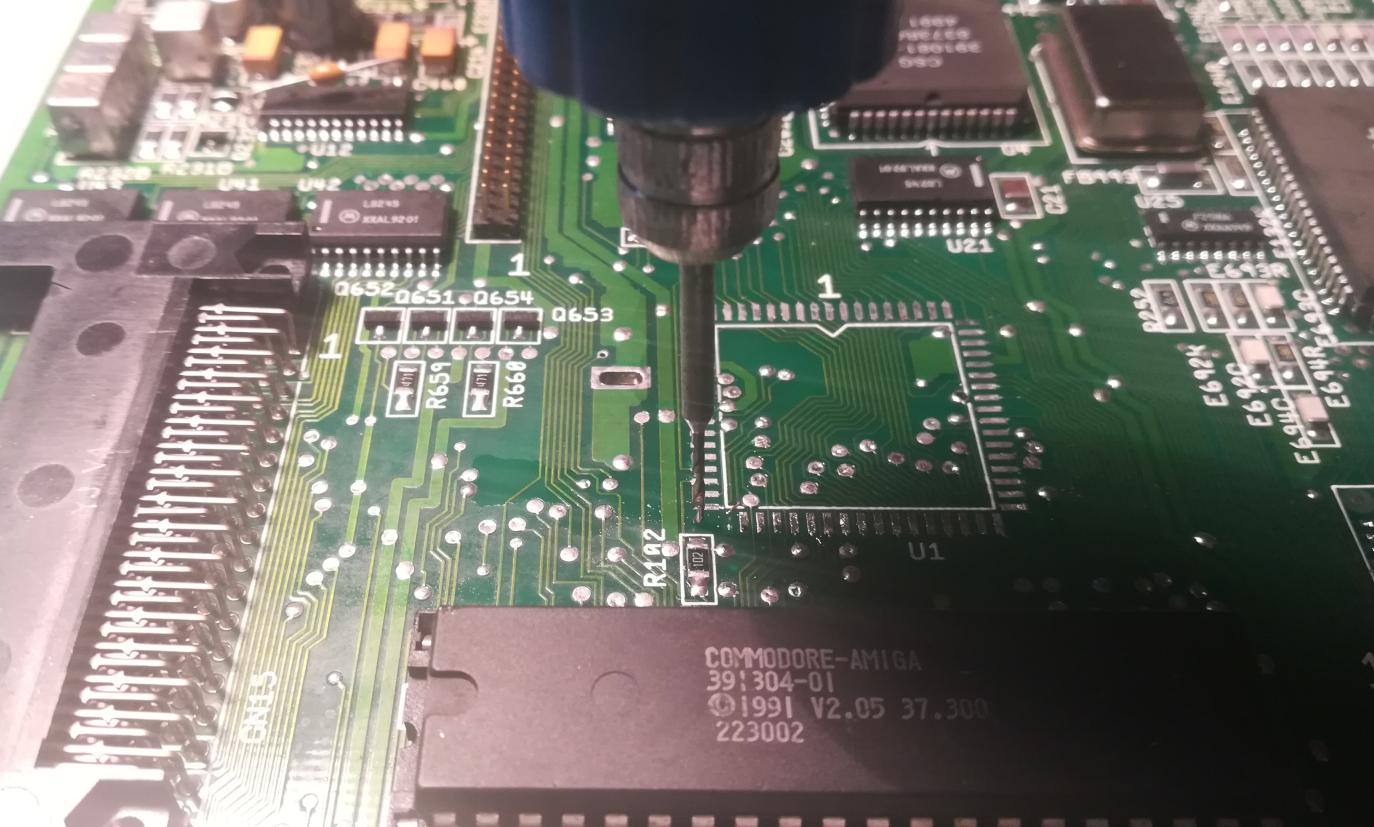
After a CPU swap, the second unit started to work correctly and passed all of my tests 😀
Unfortunately, the third motherboard (A300) wasn’t that easy, and to be honest it stayed unfixed because of a lack of spare parts. No worries though, I’ll fix it and it will be covered here on this blog 😀
S-Video mod
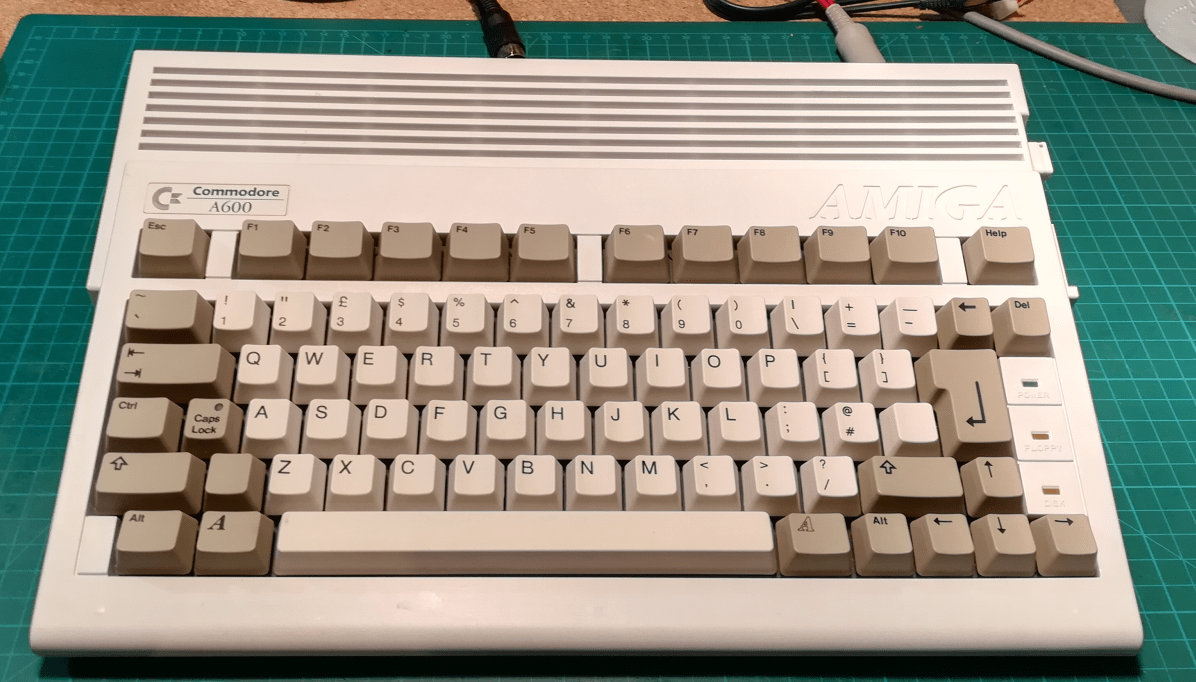
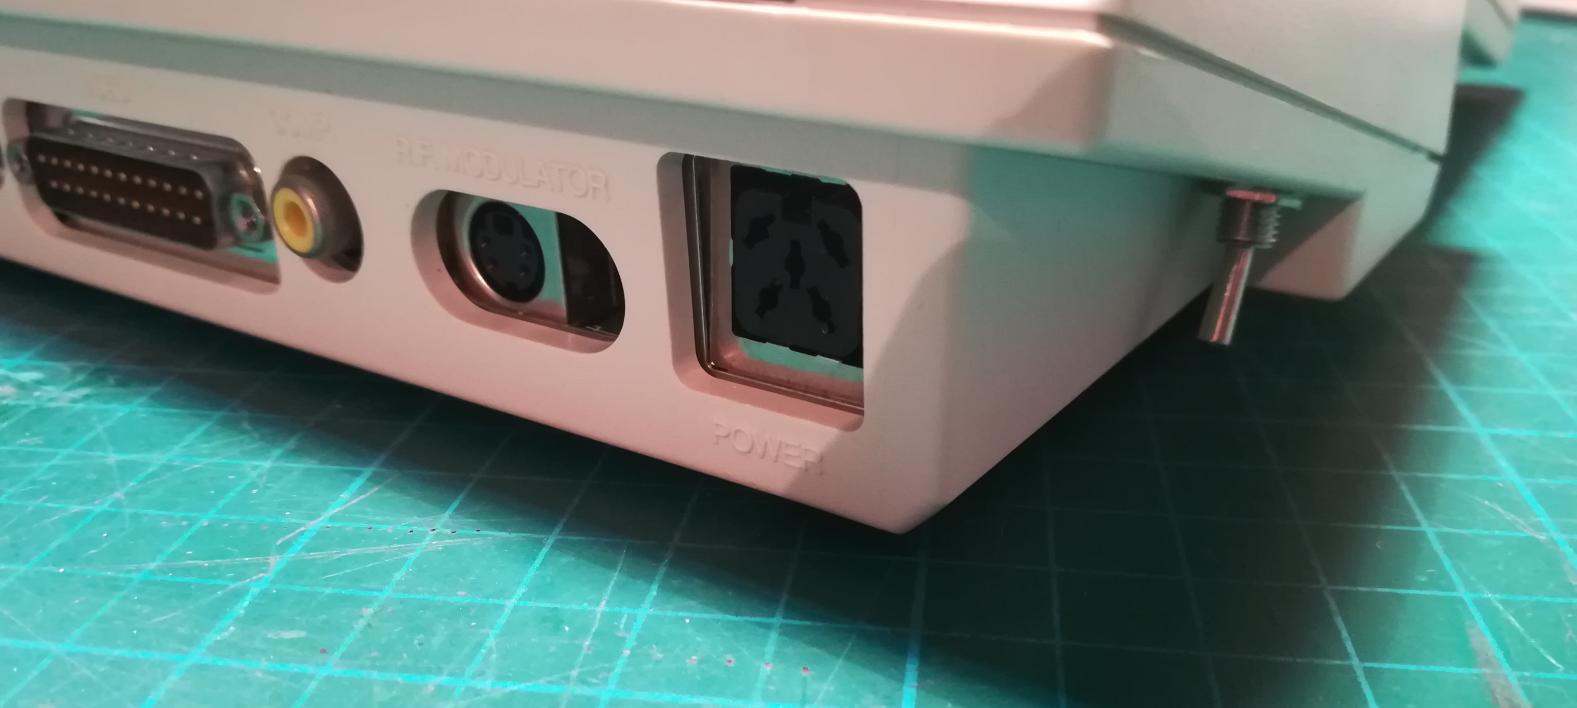
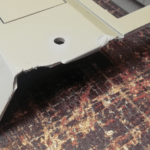
Anyway, let’s move on. The remaining two units were cleaned as usual. I’ve also installed an S-Video mod in place of the RF modulator which gives much better video output for those who don’t have SCART(as we have in Europe) besides, it just gives much better video output than composite.
This module is available in our store HERE
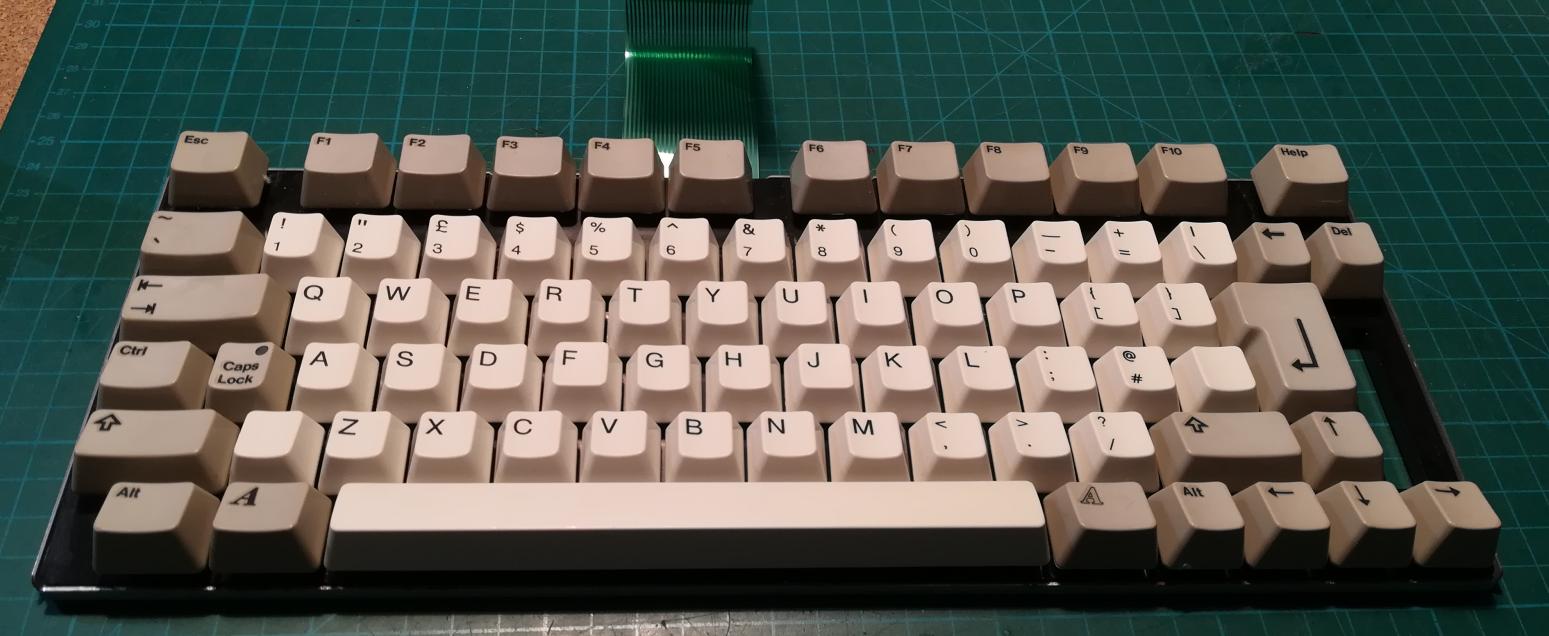
Both A600s also received brand new membranes that we also manufacture. You can get them HERE
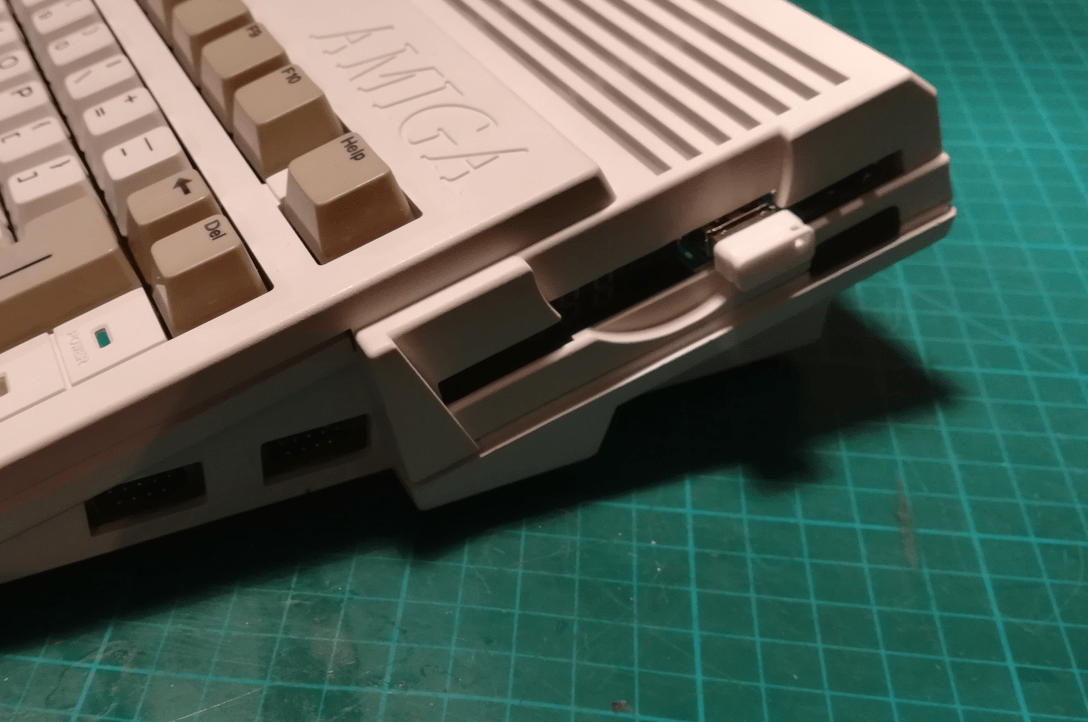
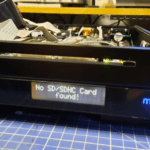
Another MOD was to install GOTEK with the latest FlashFloppy firmware. I’ve also installed a switch and dual KickStart ROM.
NMI (Non-maskable interrupt) switch MOD
The following mod was done a few months ago. It is the NMI switch. Sachy who is a good friend of mine asked me to mod his Amiga 600 and install an NMI switch in it. He needs it to crack… games ….err I mean research 🙂
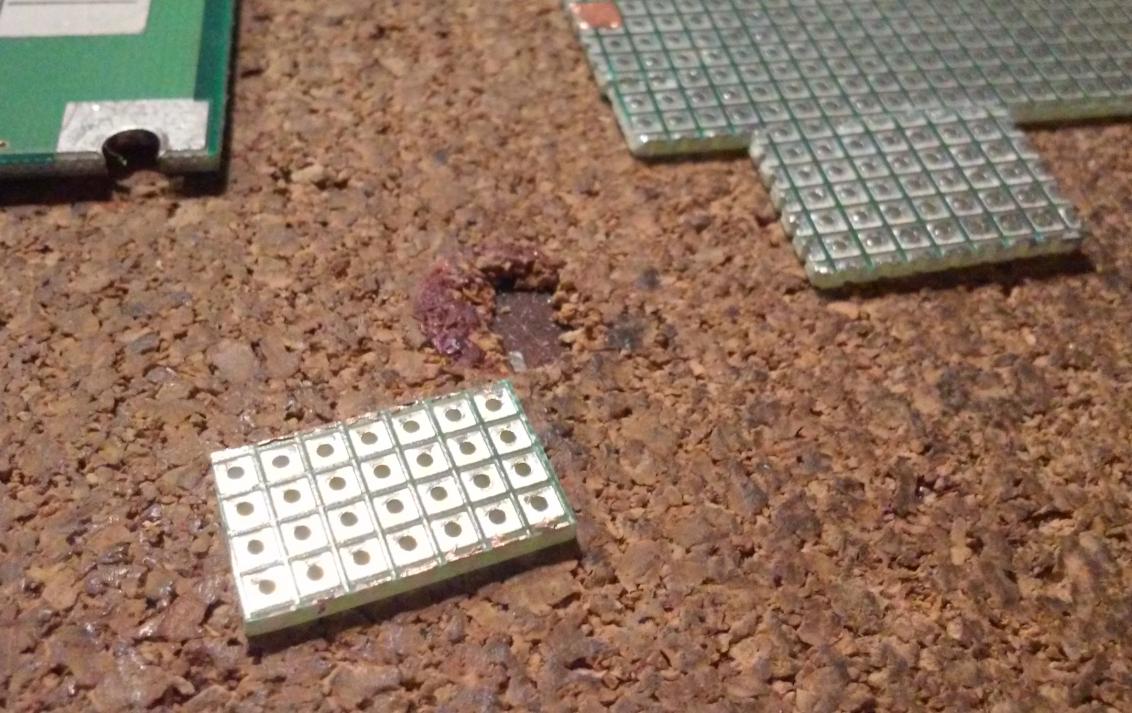
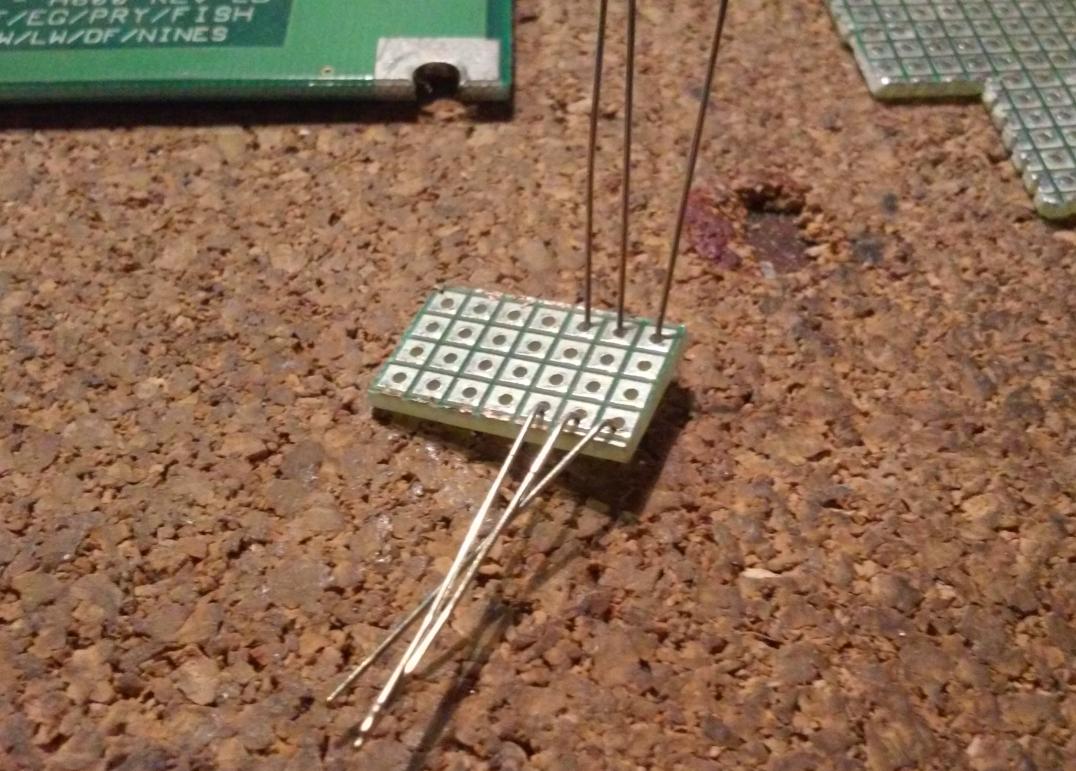
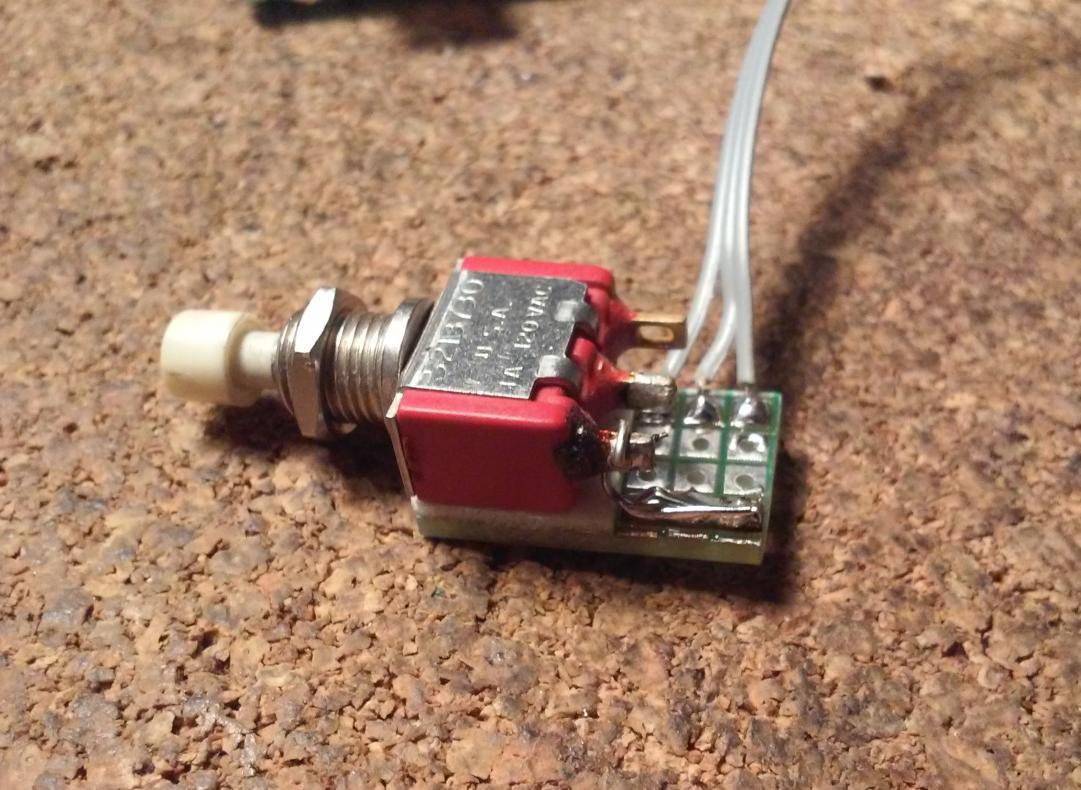
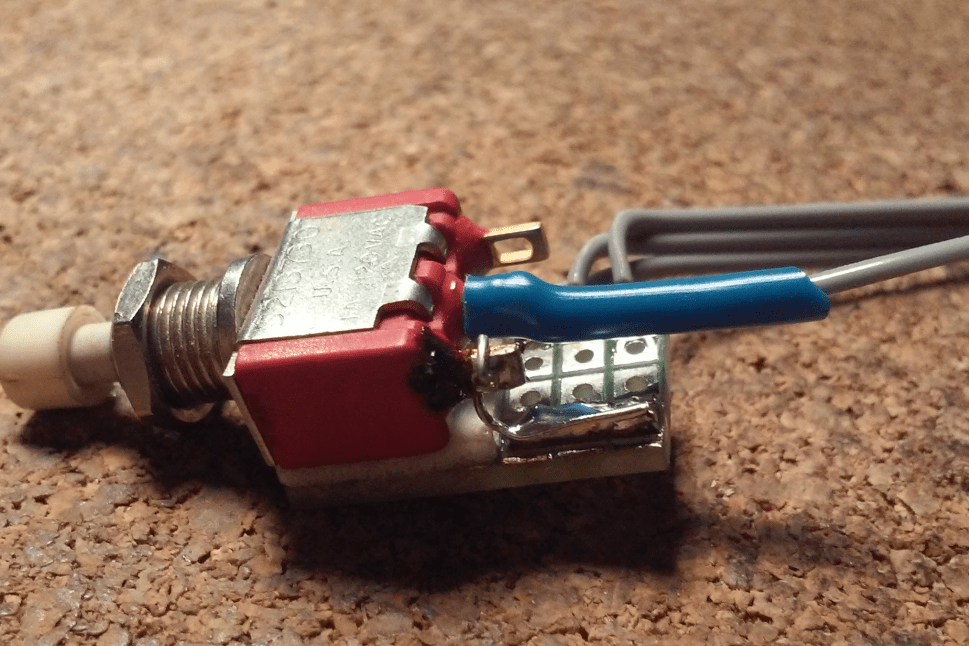
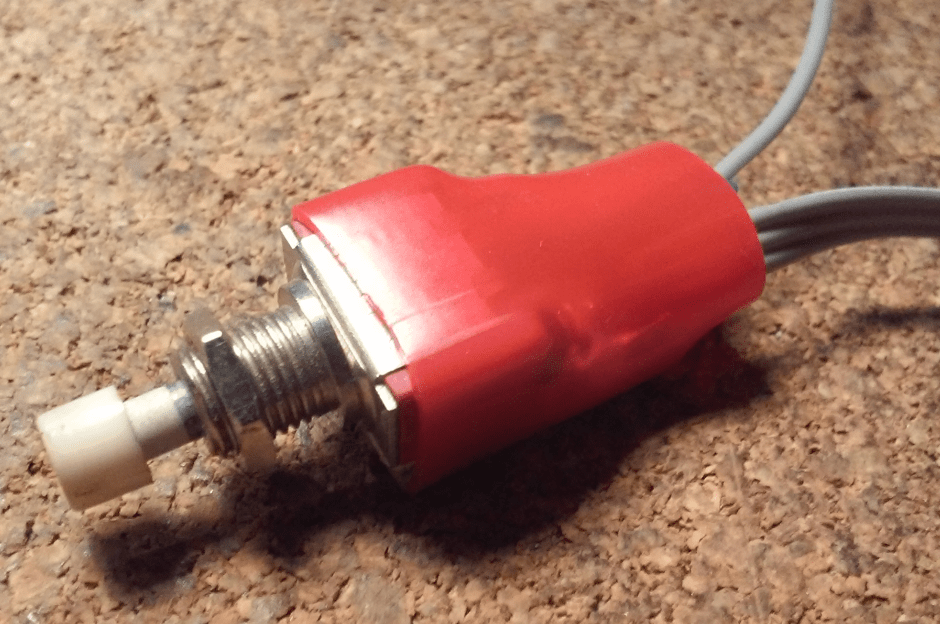
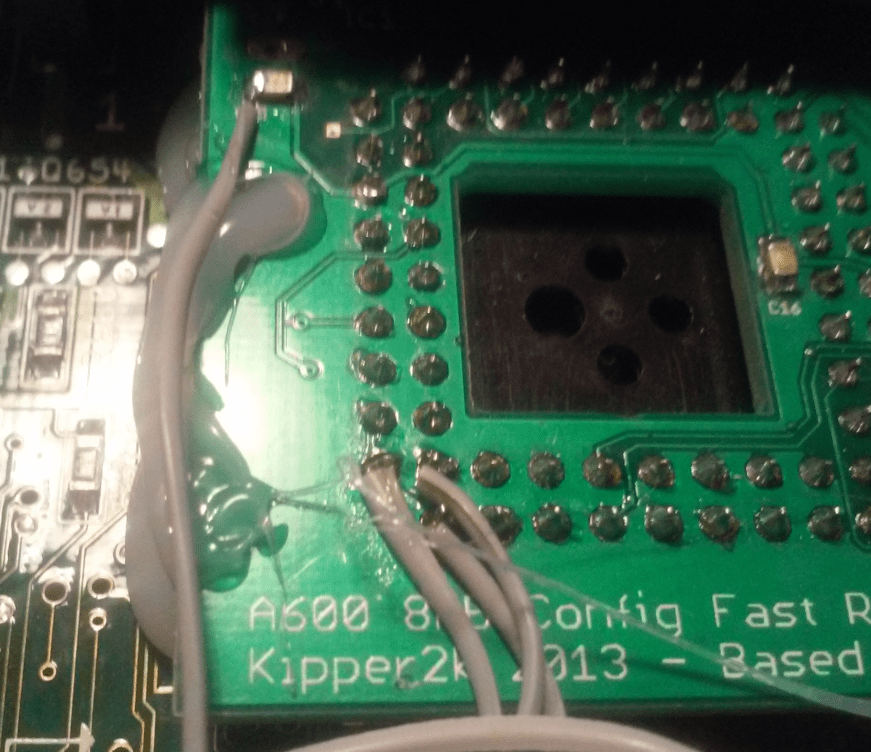
I’ve figured out that I can pull it off using a universal PCB and utilize a momentary switch with three diodes.
You can reverse eng. it yourself from this excellent article by ikod.se
Here is how I’ve assembled it.

PicoPSU mod
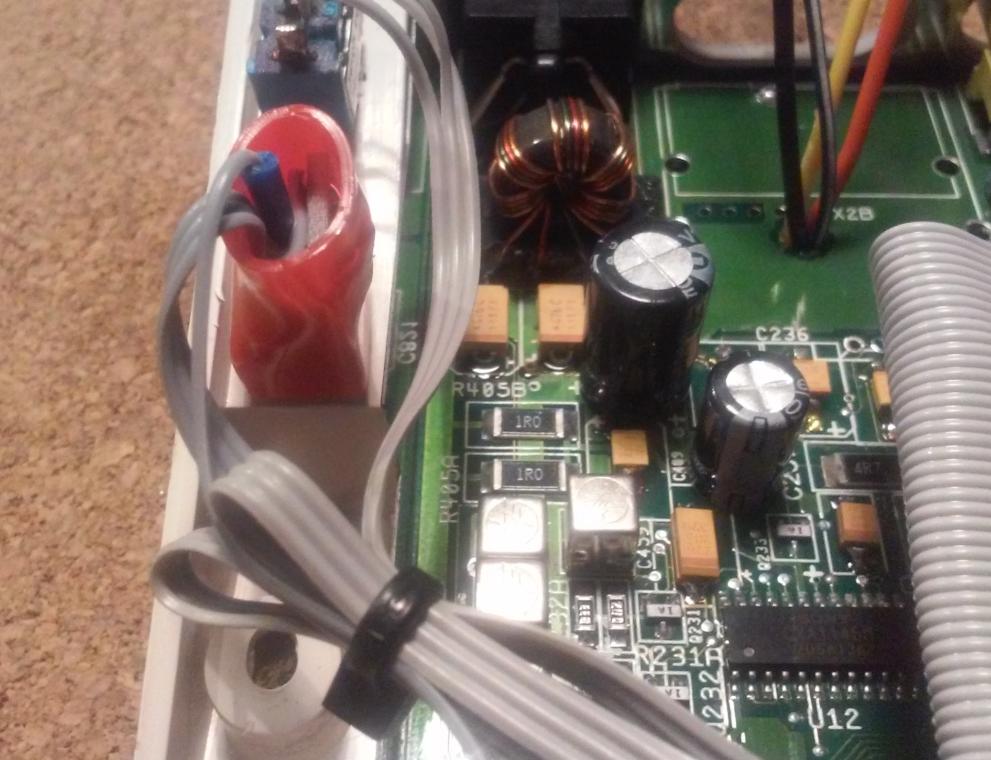
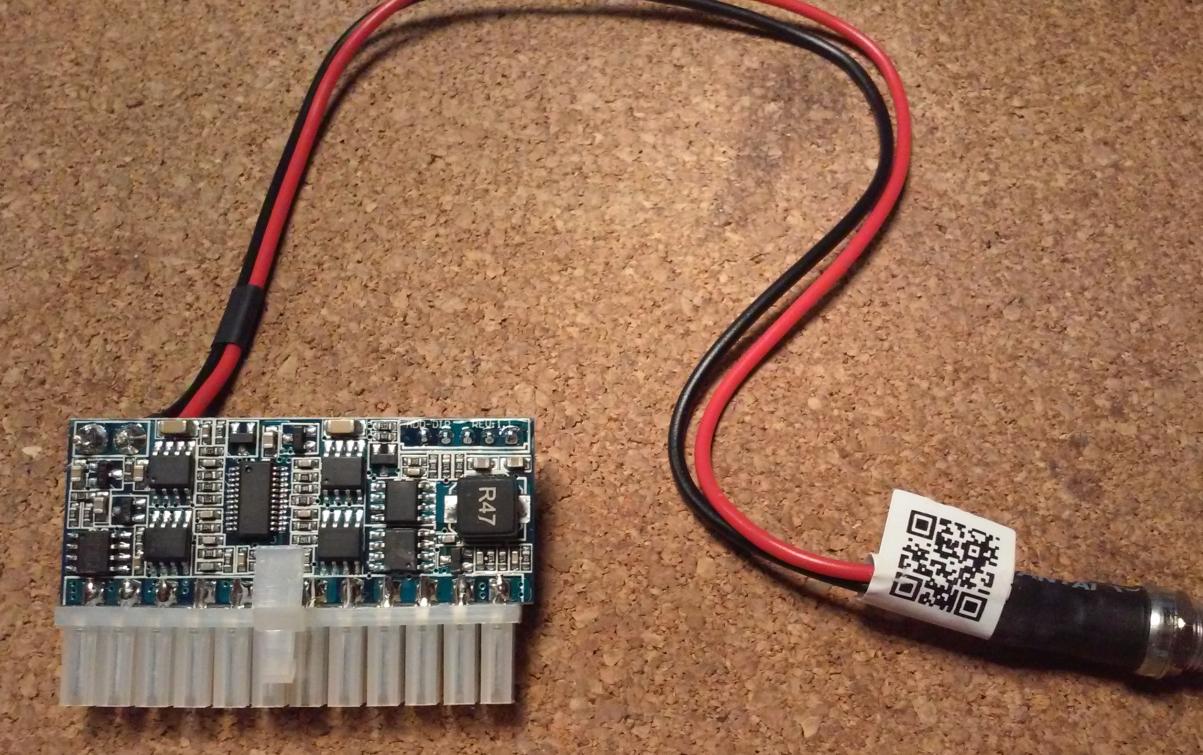
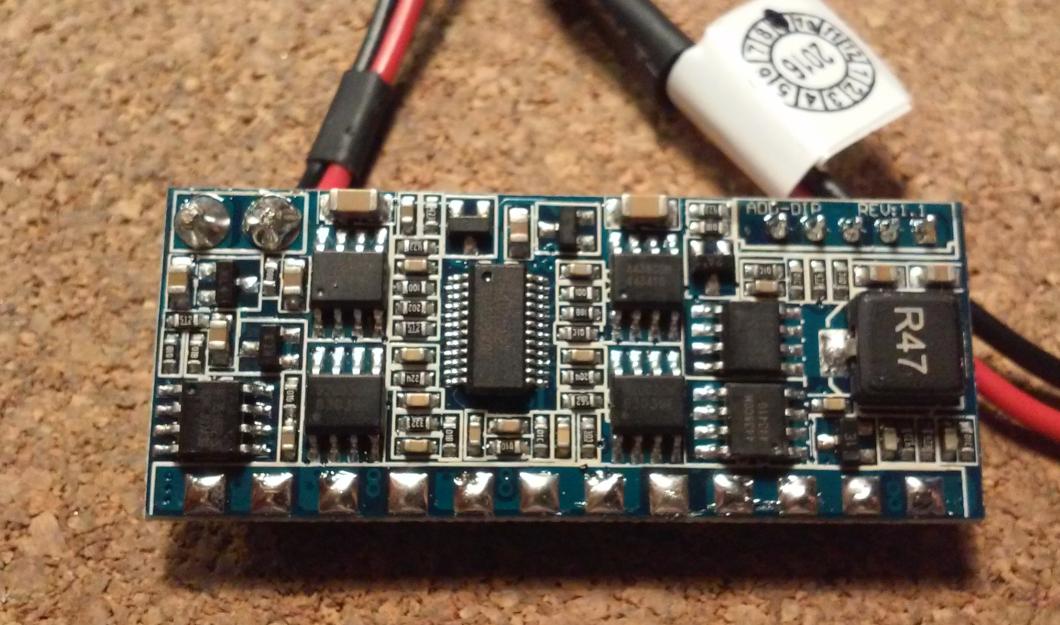
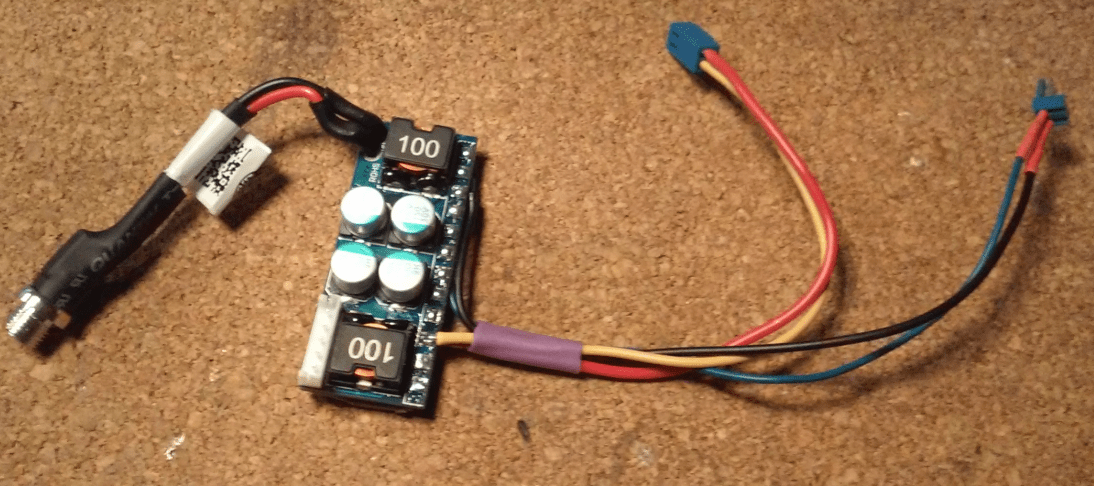
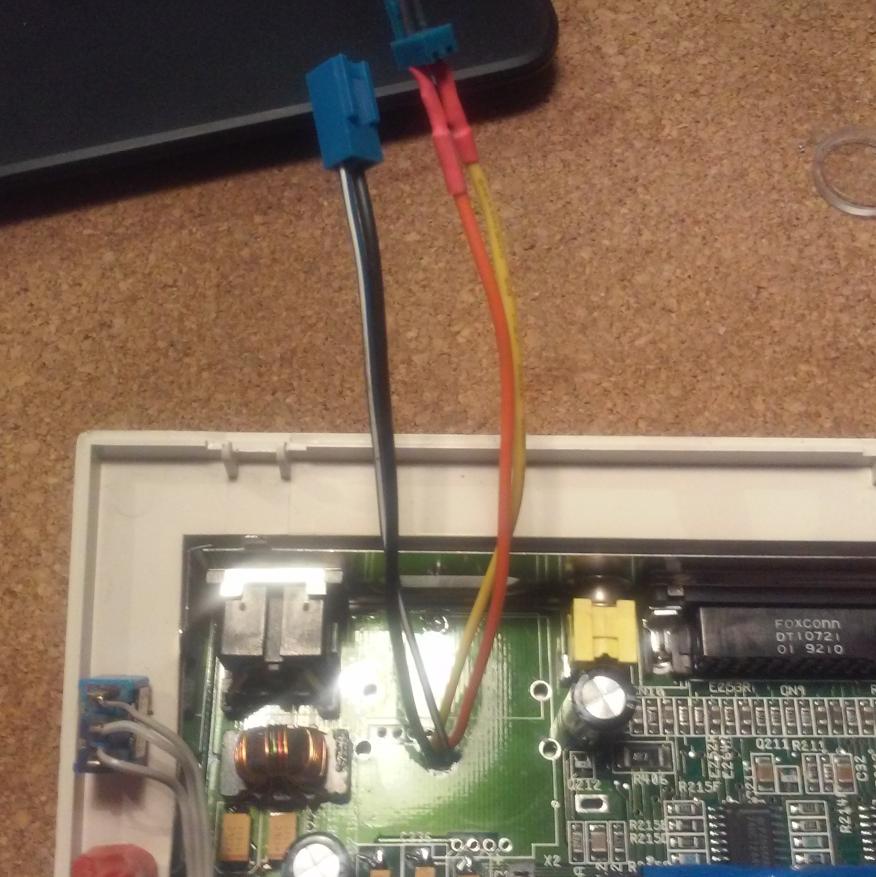
Sachy also asked me to install a PicoPSU inside his A600. He visits a lot of demo parties and he doesn’t want to carry a large Amiga PSU in his backpack. Amiga uses three voltages +5V, +12V, and -12V and these are easily obtainable from PicoPSU. I’ve removed the ATX plug for a start.
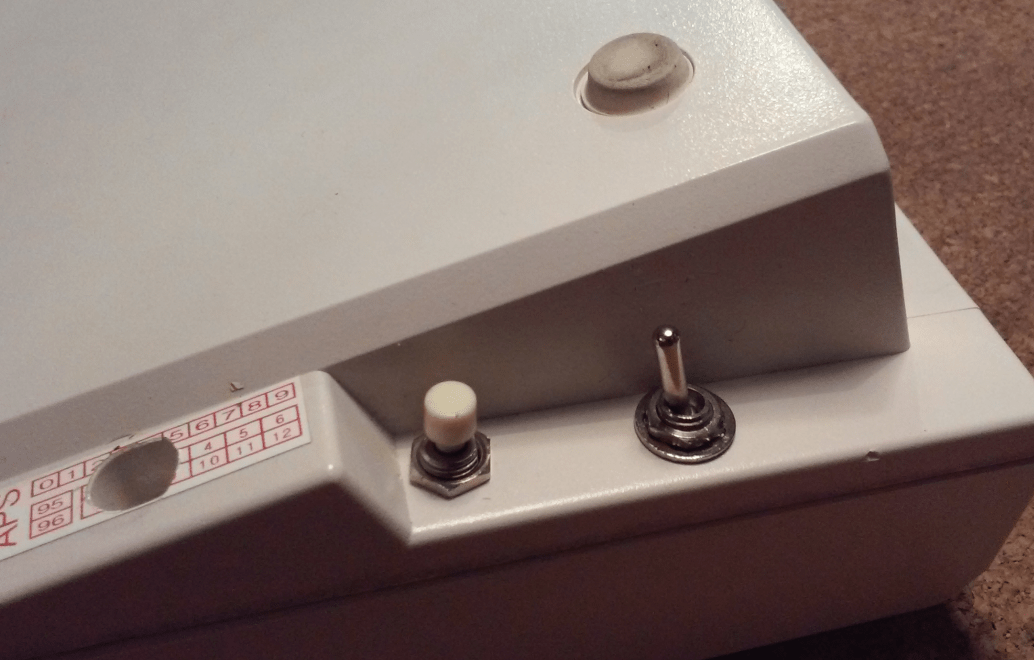
Then I soldered wires with connectors drilled a small hole in a case and installed it inside.
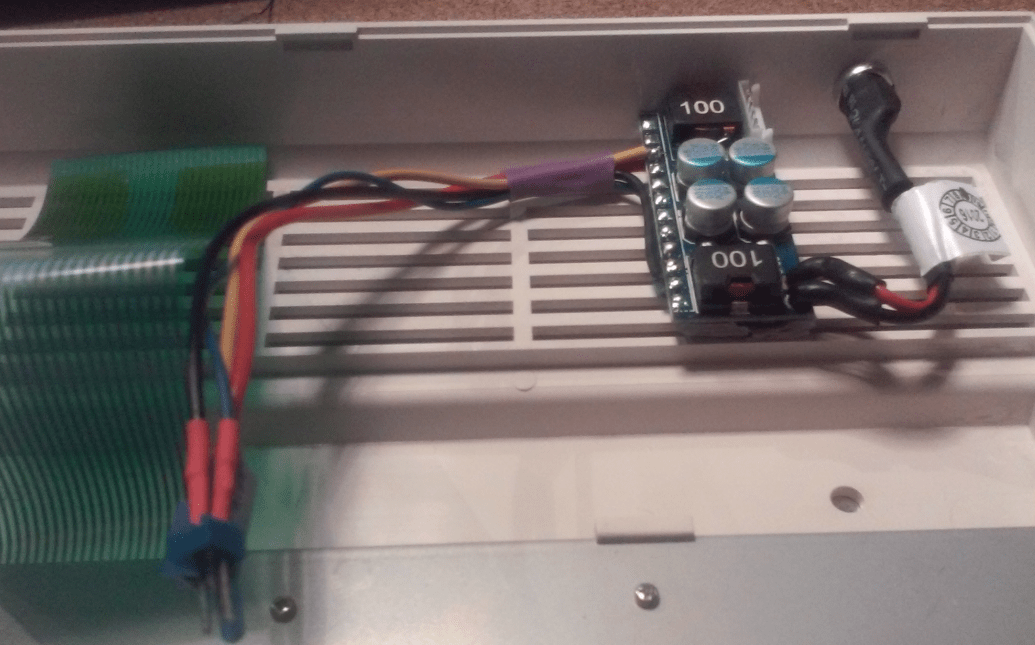
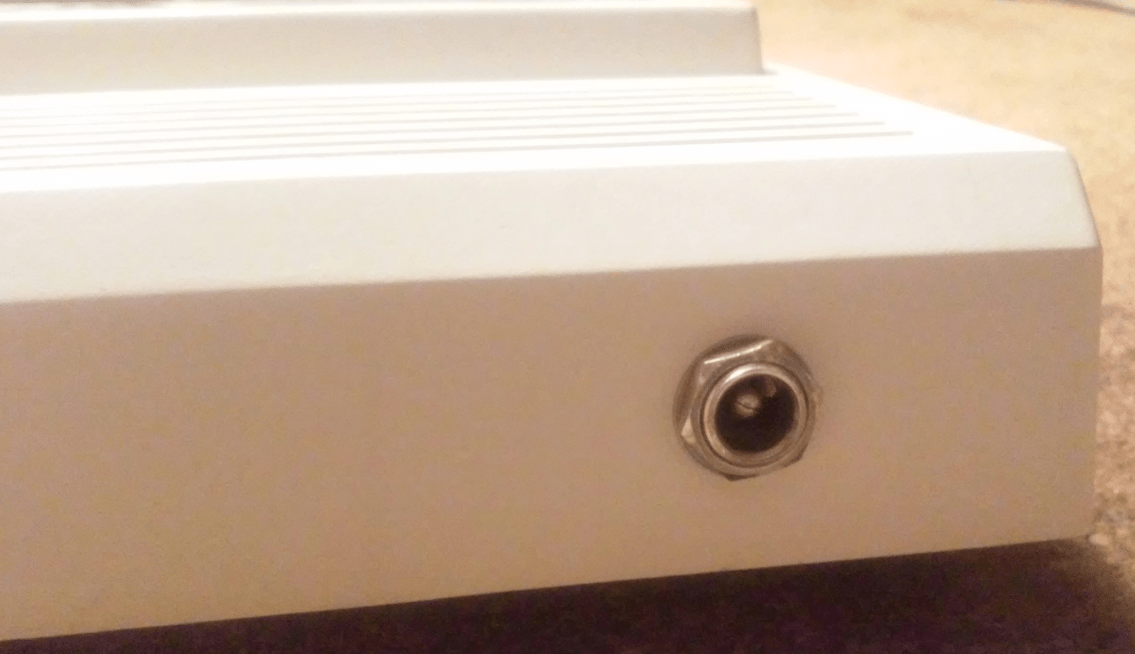
Since Sachy wanted an S-Video mod I could utilize a whole that is located under the RF modulator.
That’s it. Mod finished 🙂
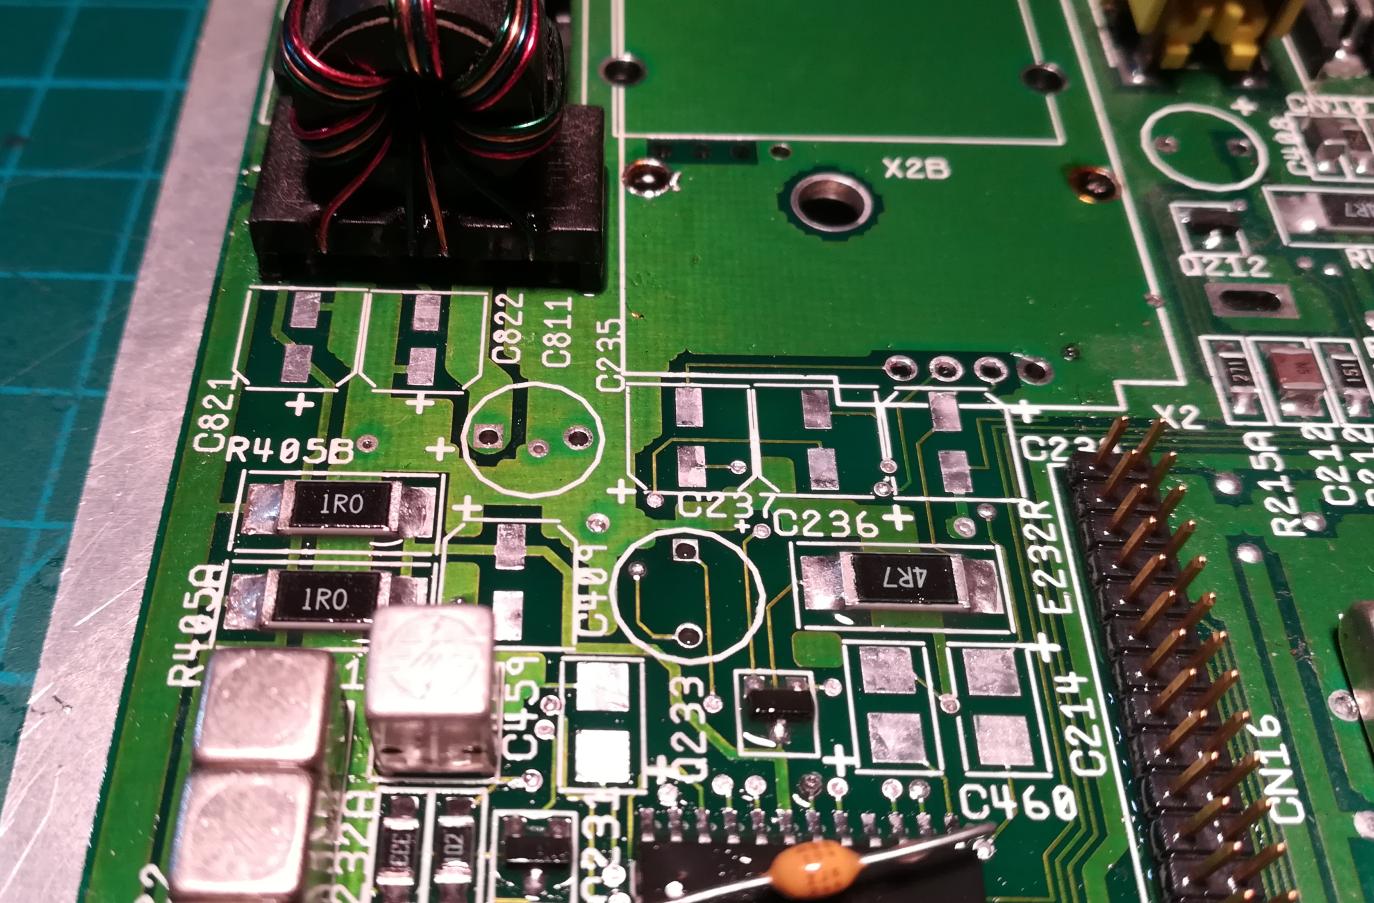
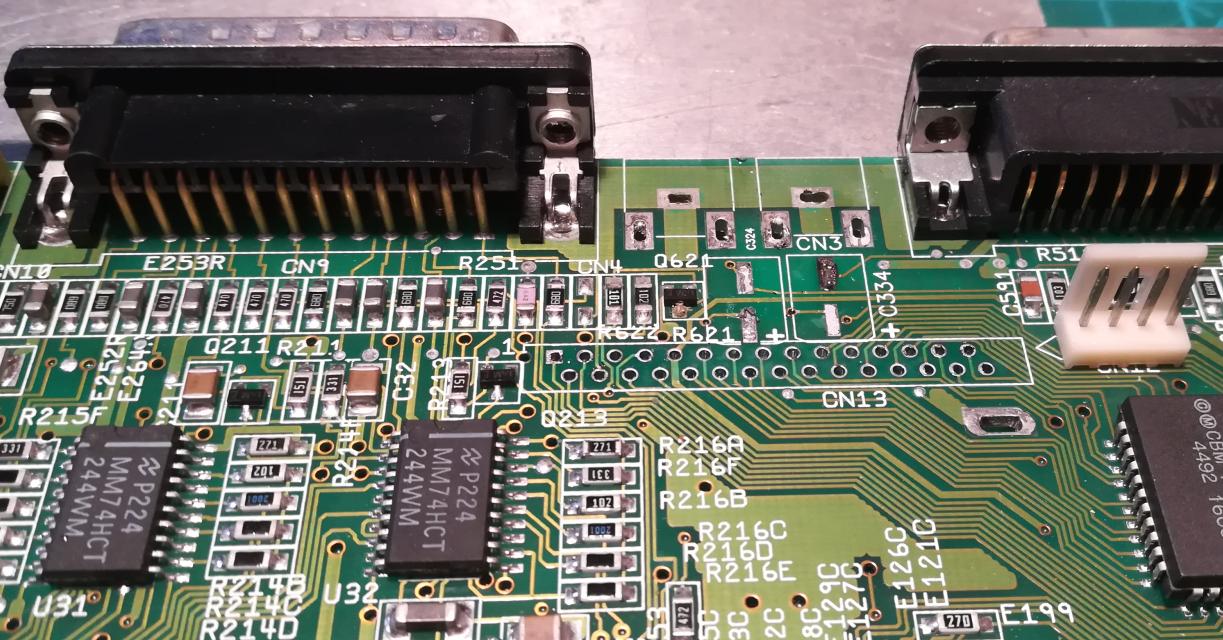
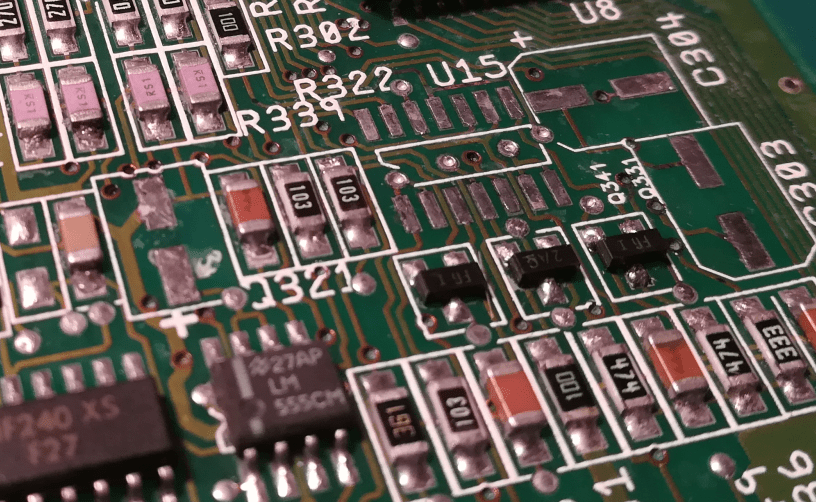
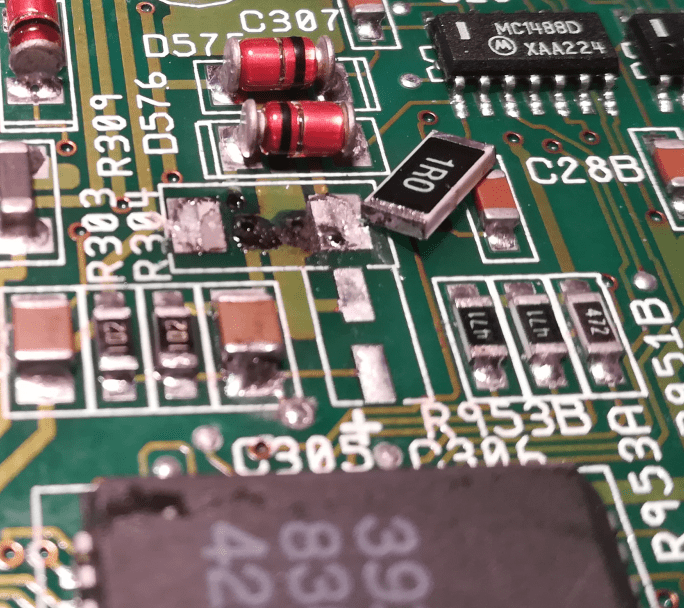
Joystick port resistor fix
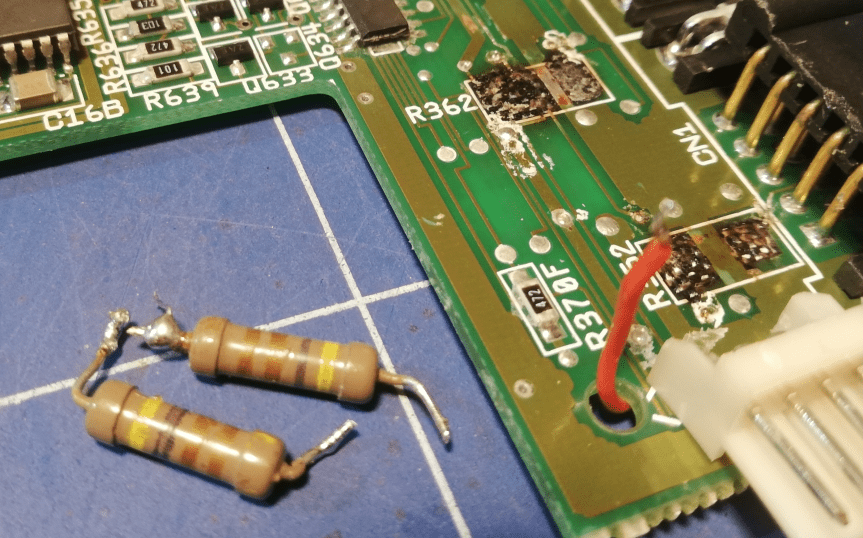
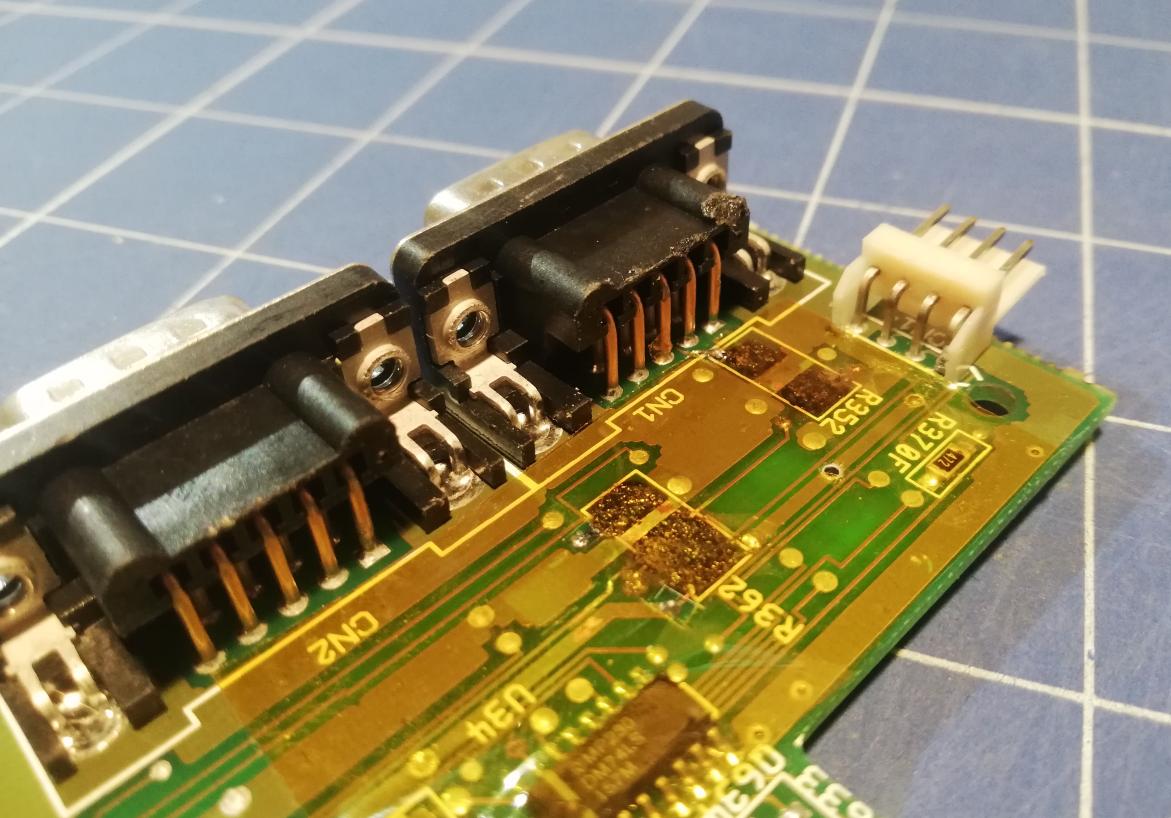
I bought an A600 from flea bay the other day and after opening it I noticed that it has THT resistors in place of the original SMD ones in the joystick ports area.
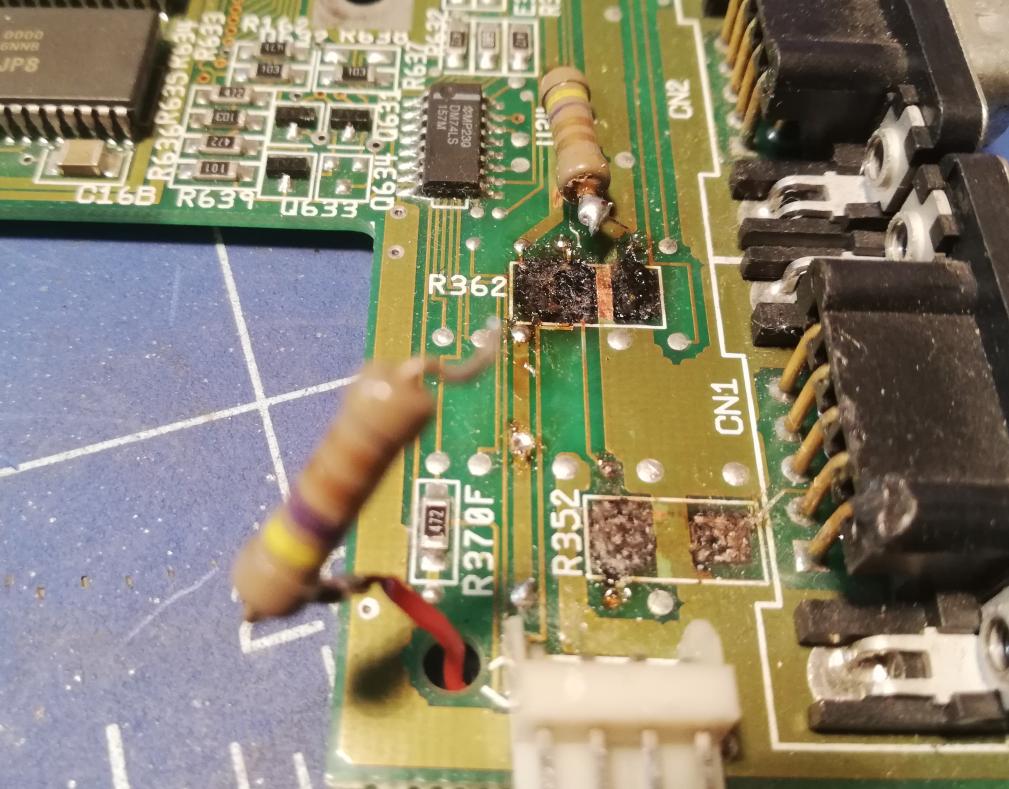
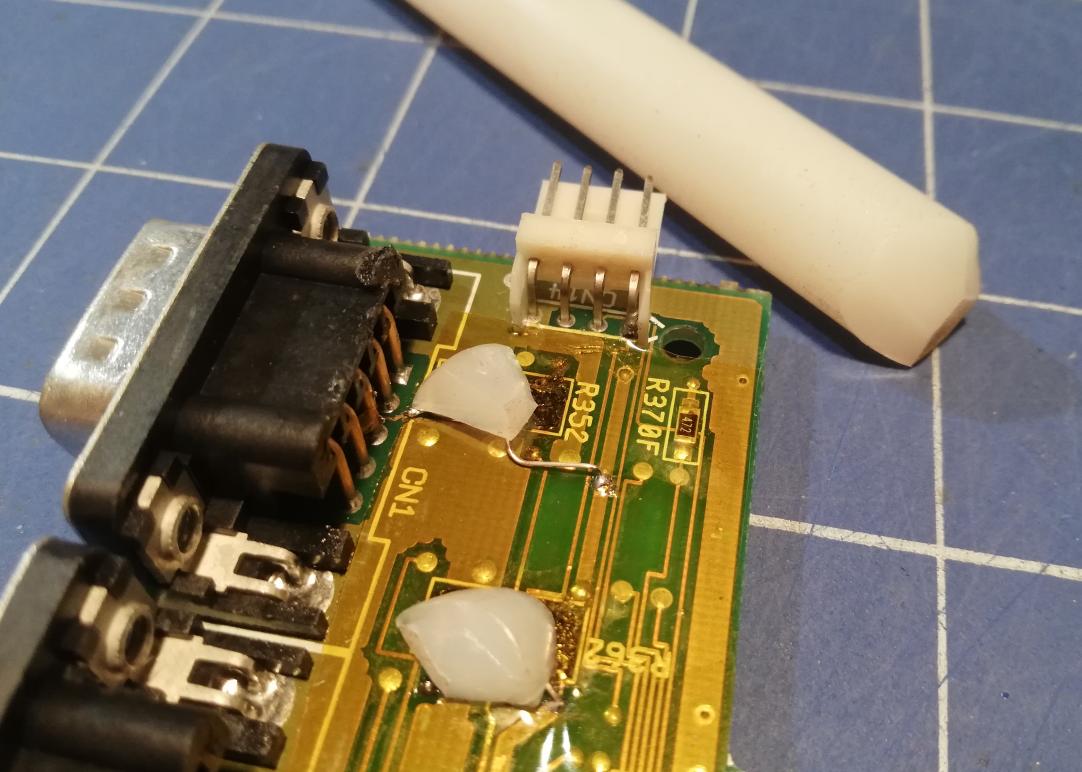
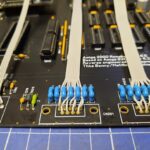
I decided to put SMD resistors back in place. First, I removed THT resistors and cleaned all debris. Then filled a burned area with cyano-acrylic glue.
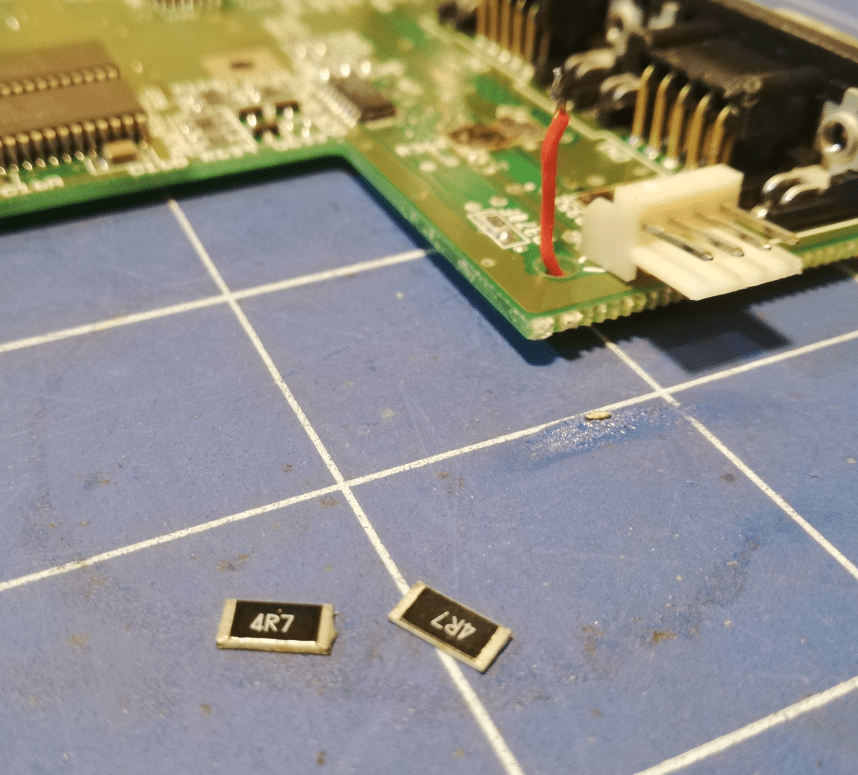
Next, I covered the whole area with Kapton tape and soldered SMD resistors.

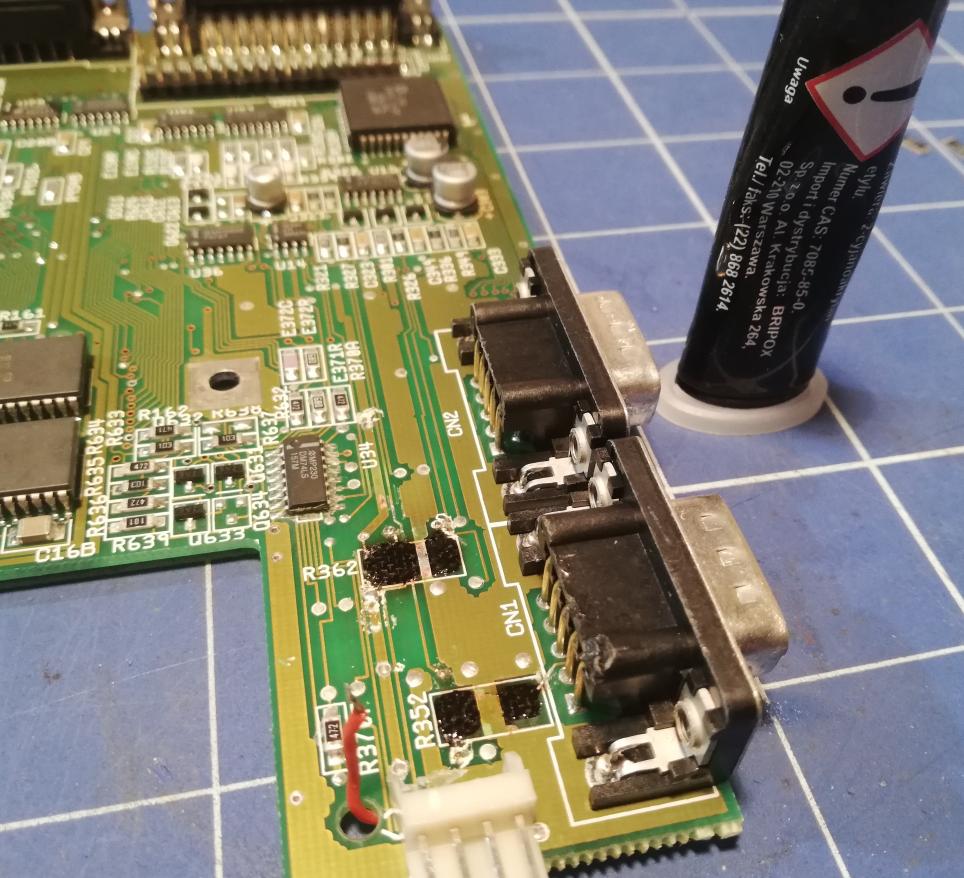
To further secure resistors in place, I cut two pieces of hot glue and treated them with a hot air gun.
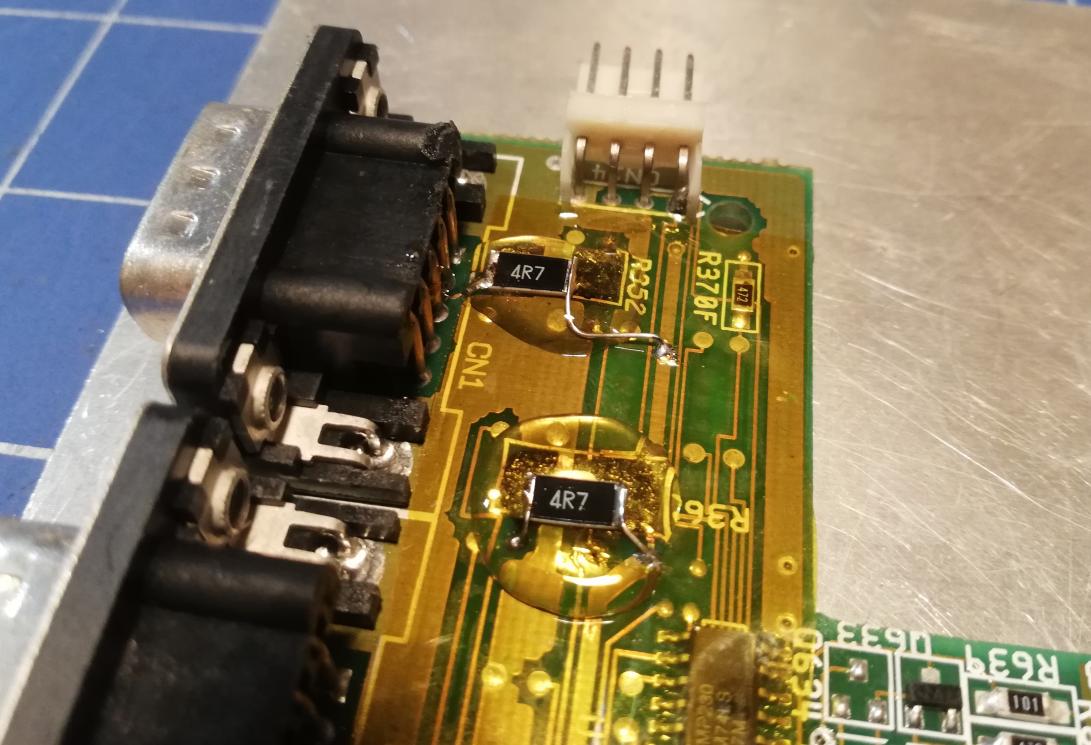
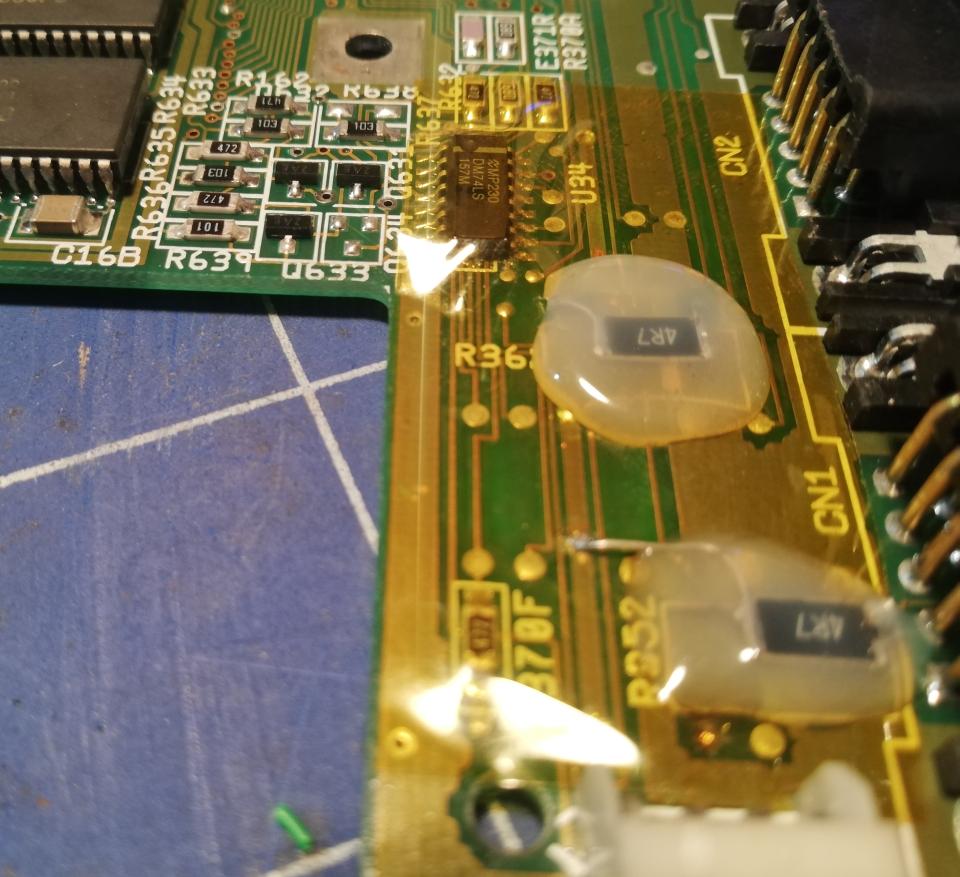
Fixed 🙂
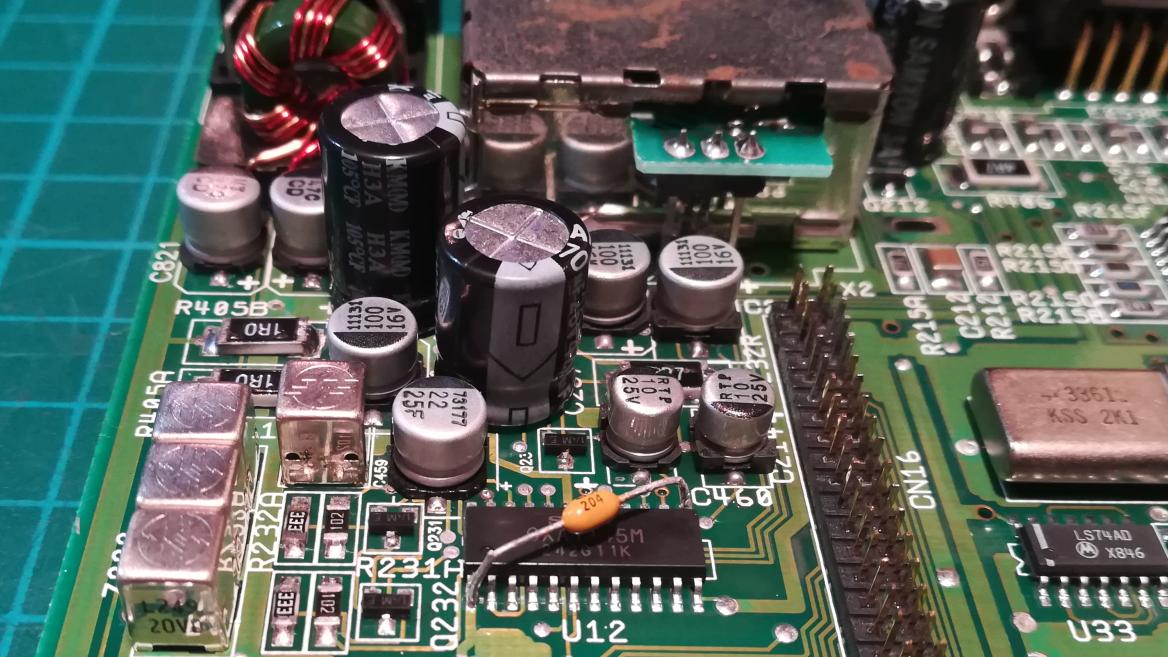
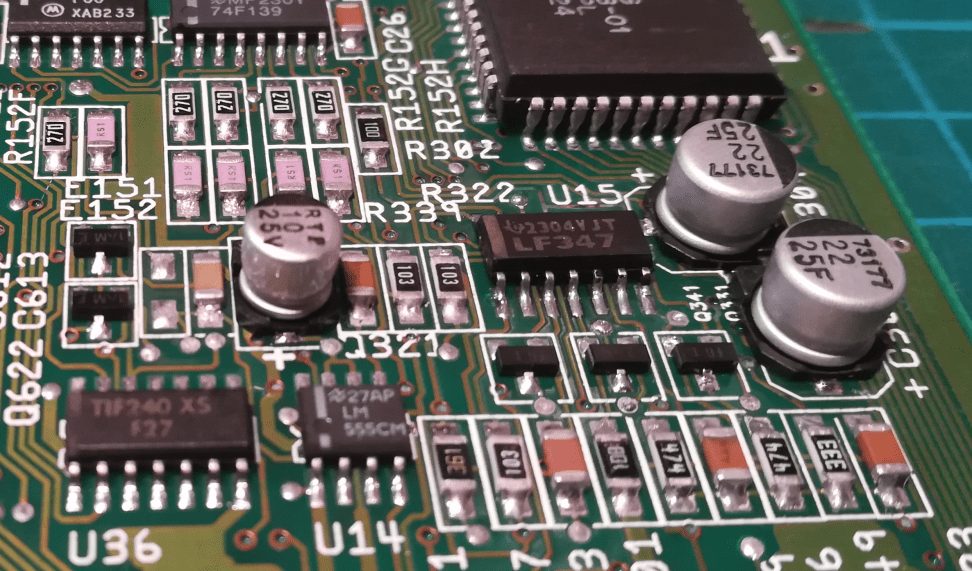
Full recap and fixes after leaked capacitors
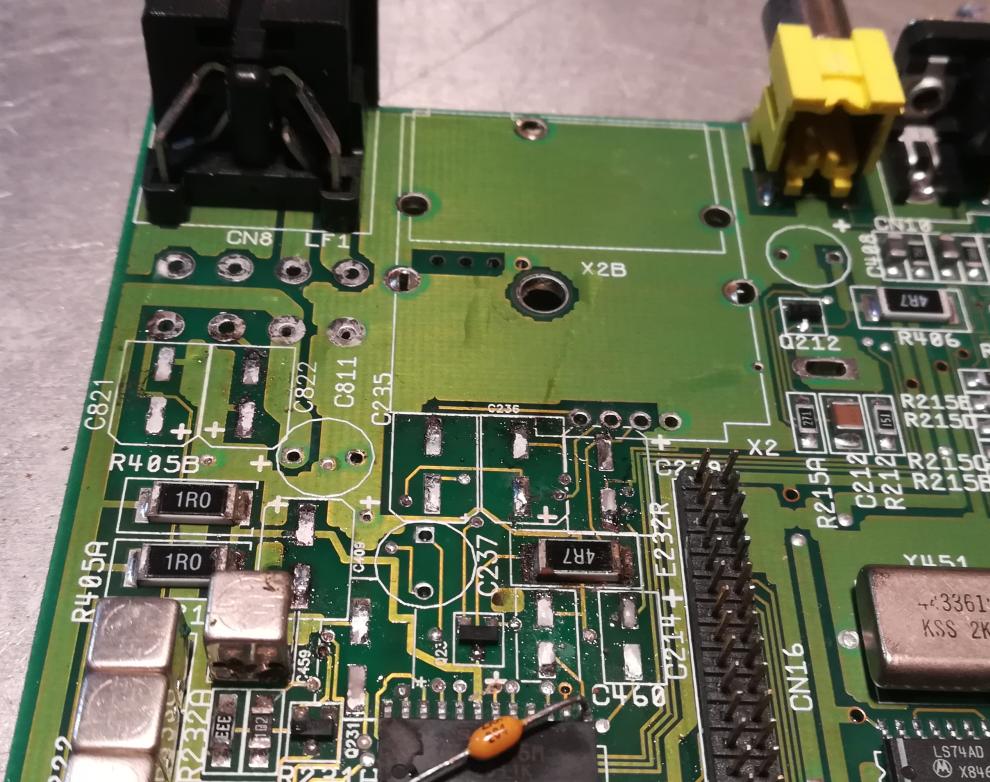
Tom who runs K&A+ magazine asked me to sort out his Amiga 600. He’d sent me a motherboard for fixing and a full recap. Here is how it looked before I started working on it.

Some pics after removing all old caps and other components.
Mandatory cleaning.
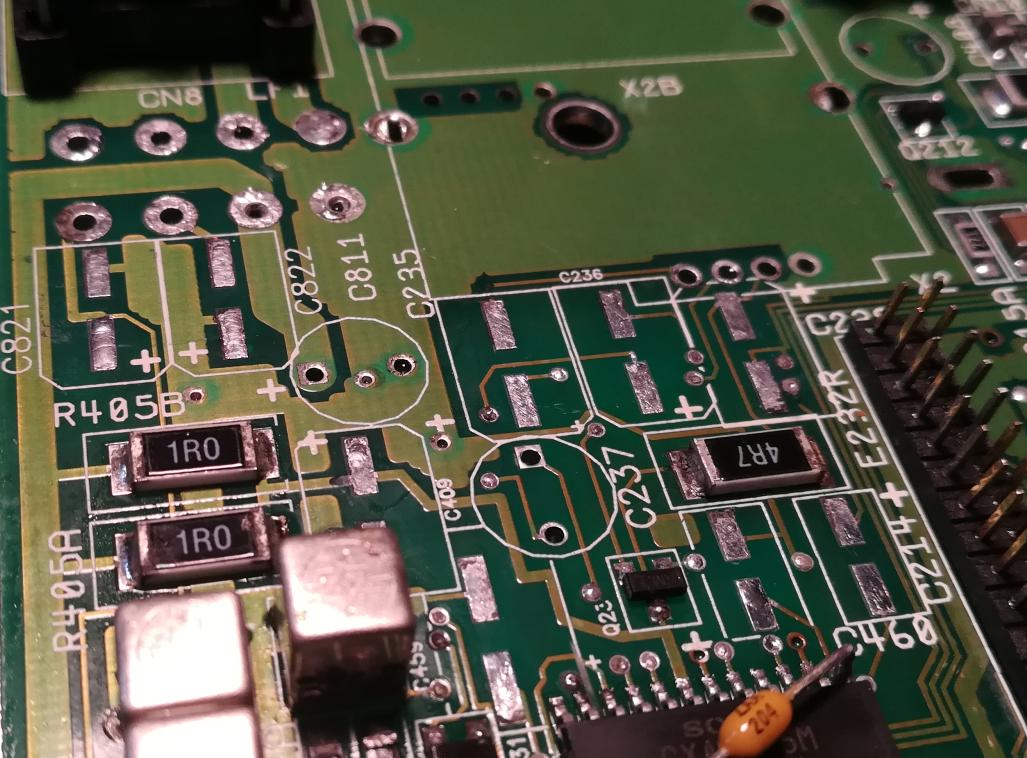
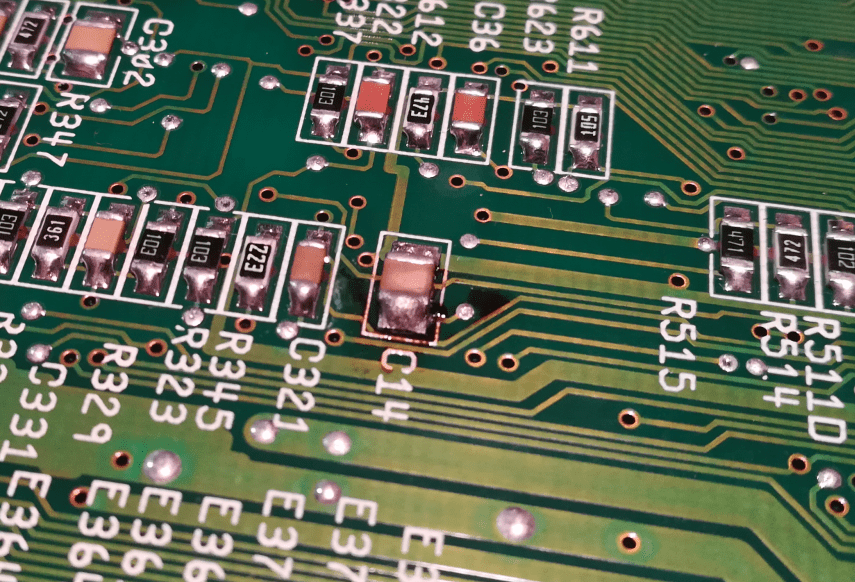
Below you can see quite an interesting failure. Liquid from a failed capacitor was sucked under a resistor and created a short circuit there. This kind of failure is nearly impossible to notice. That is also why I clean motherboards with leaked caps in an ultrasonic cleaner only after fully fixing ’em.

Ok, time to install all new capacitors.
You can get Capacitor replacement KITs for A600 and A1200 on our webshop.
That’s it for now. Stay tuned, more retro sauce is coming 😉
OUTRO
If you want to get retro gear or hardware modules, please visit our shop -> https://retrohax.net/shop/
Please support our work by commenting here and on our Facebook page
I am looking for more retro computers to repair so feel free to send me a machine that is dead. Moreover! Extreme cases are welcome 🙂

You did a successful job, nice content was prepared and shared publicly. Thank you very much for your effort and sharing.
Awesome post! Keep up the great work! 🙂