… or maybe this Amiga 2000 wasn’t that extreme after all
Intro
Amiga 2000 … Yeah, another story with a courier company in the background. I don’t consider this post “extreme” but still, it was quite a cool adventure to fix this machine.
My friend, Kamil who sells a lot of retro gear on eBay and is an official retrohax gear reseller, sent me an Amiga 2000. It was well packaged but somehow it turned like…

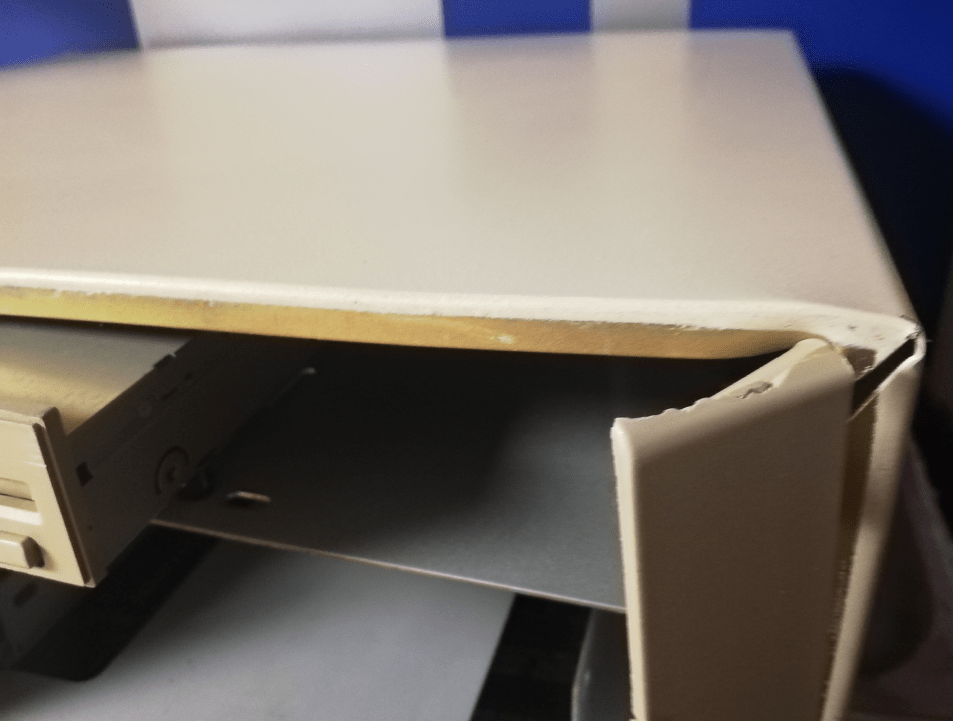
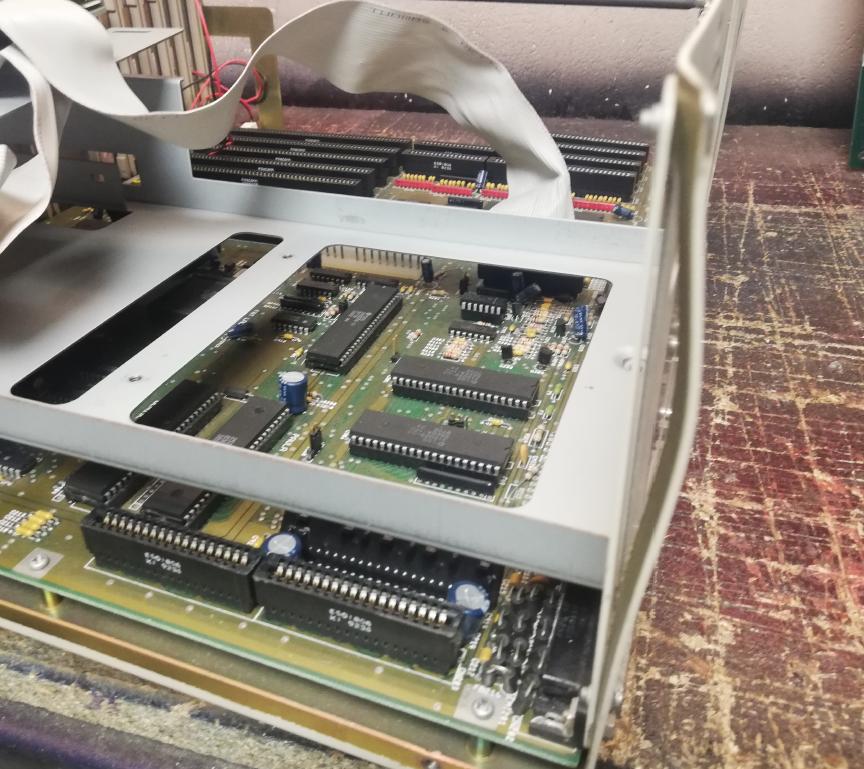
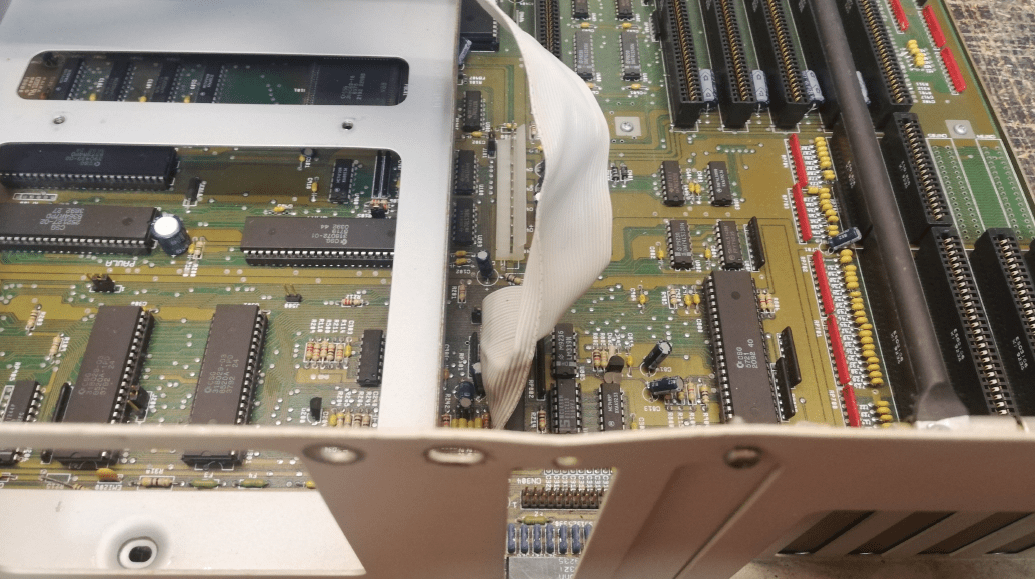
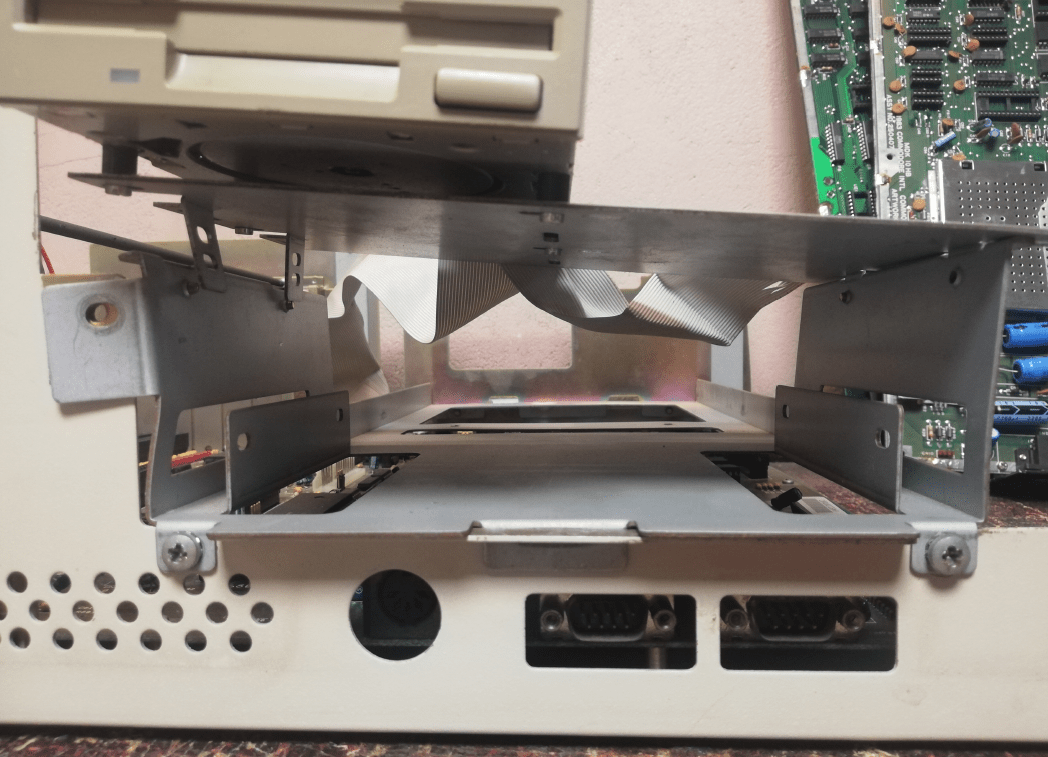
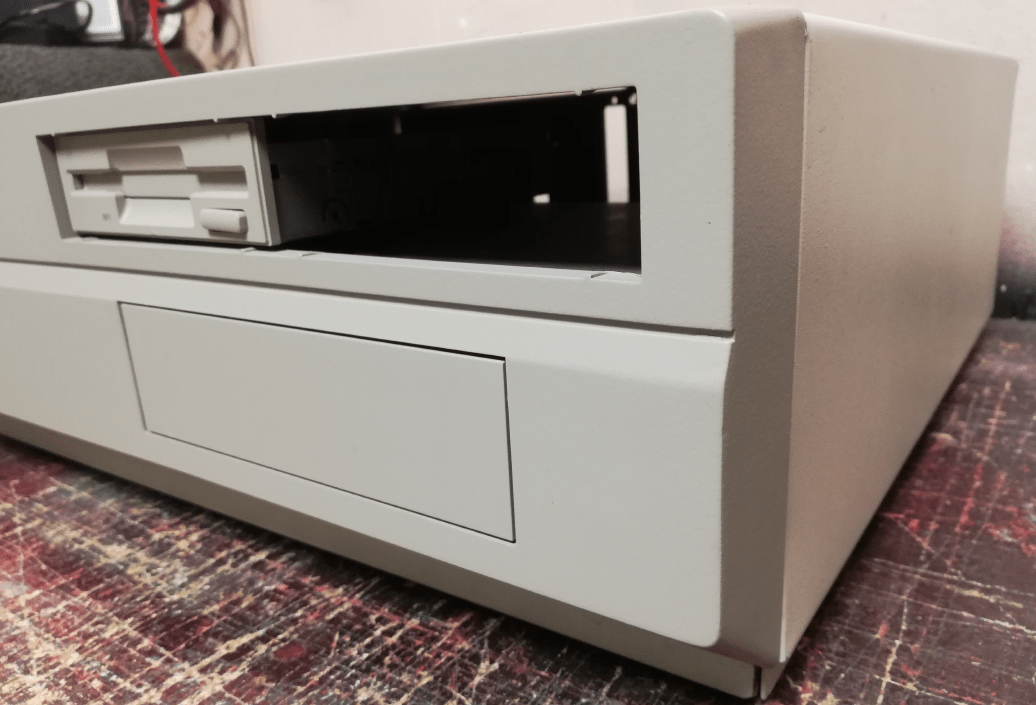
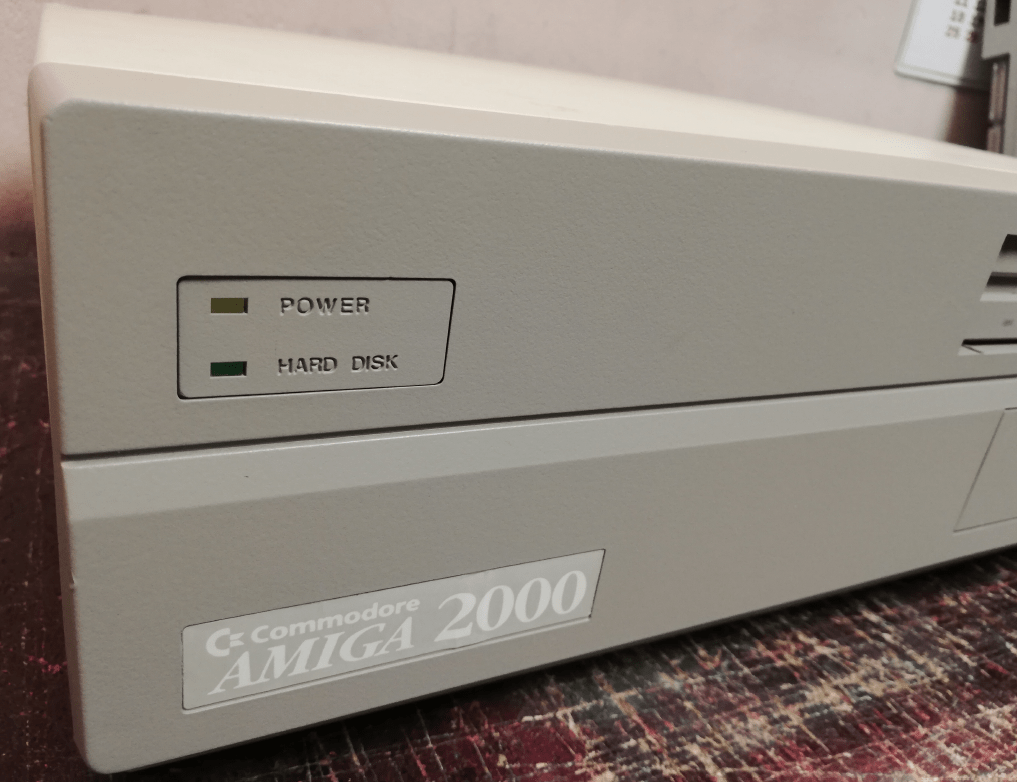
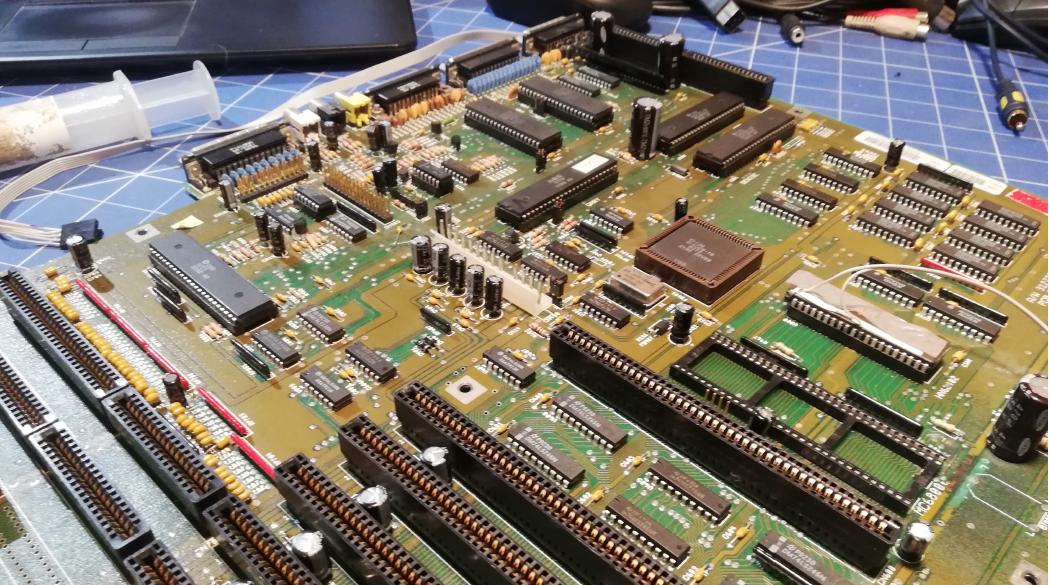
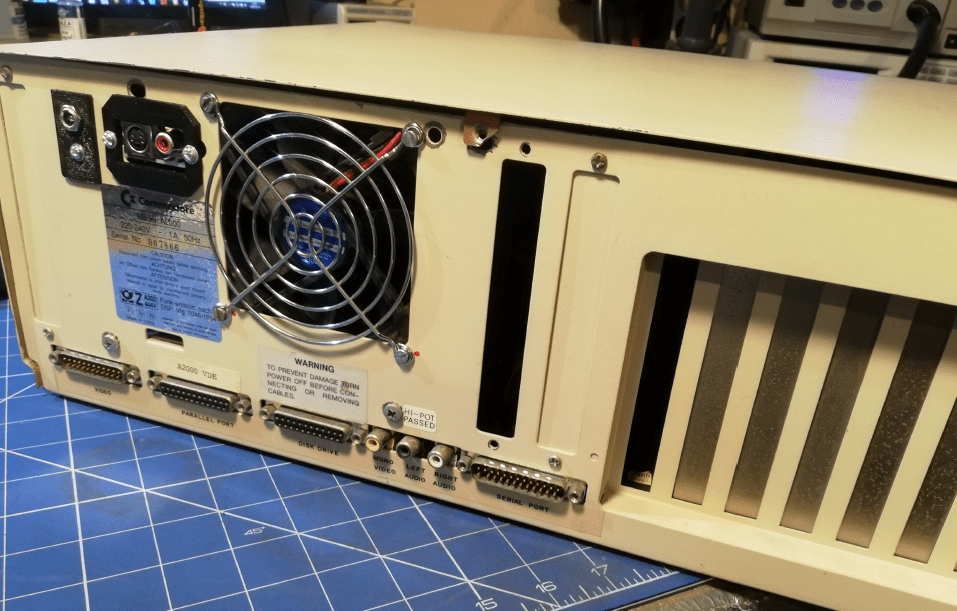
Long story short, it came in as shown in the following pics …

Refurb anyone?
To be honest, I was quite happy that it turned this way lol! This was my first A2000 ever and it was damaged in many ways so I am not even mad at the courier company 😀 Without a courier failure, there would be no posts like this 😀
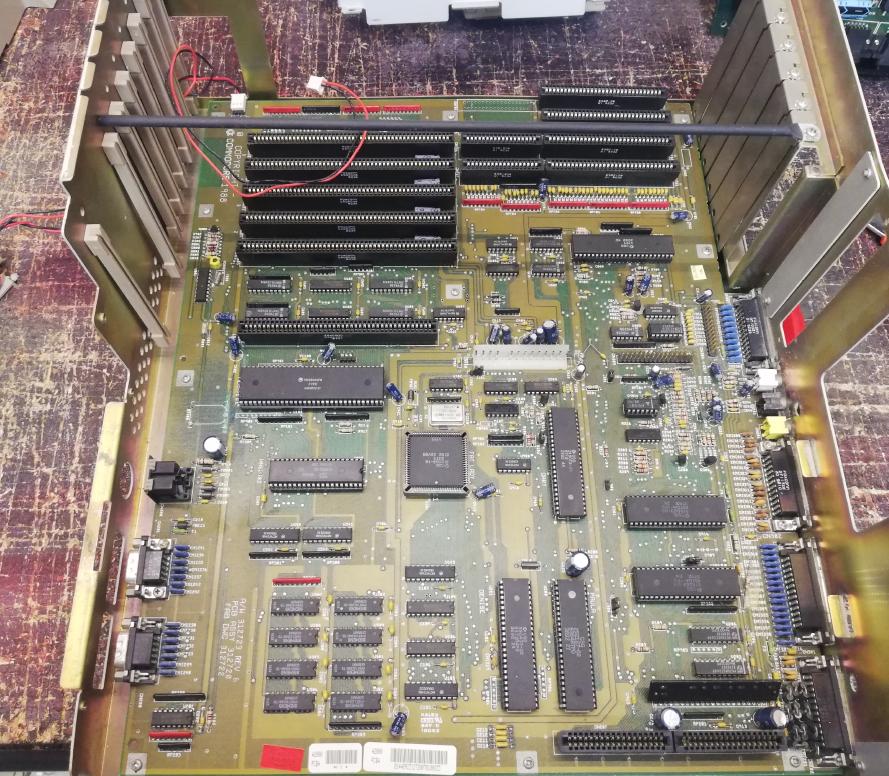
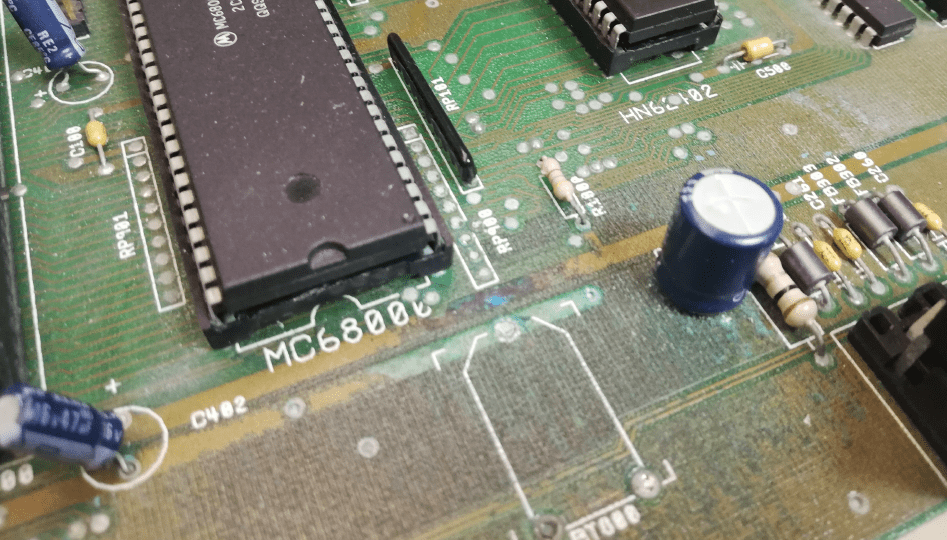
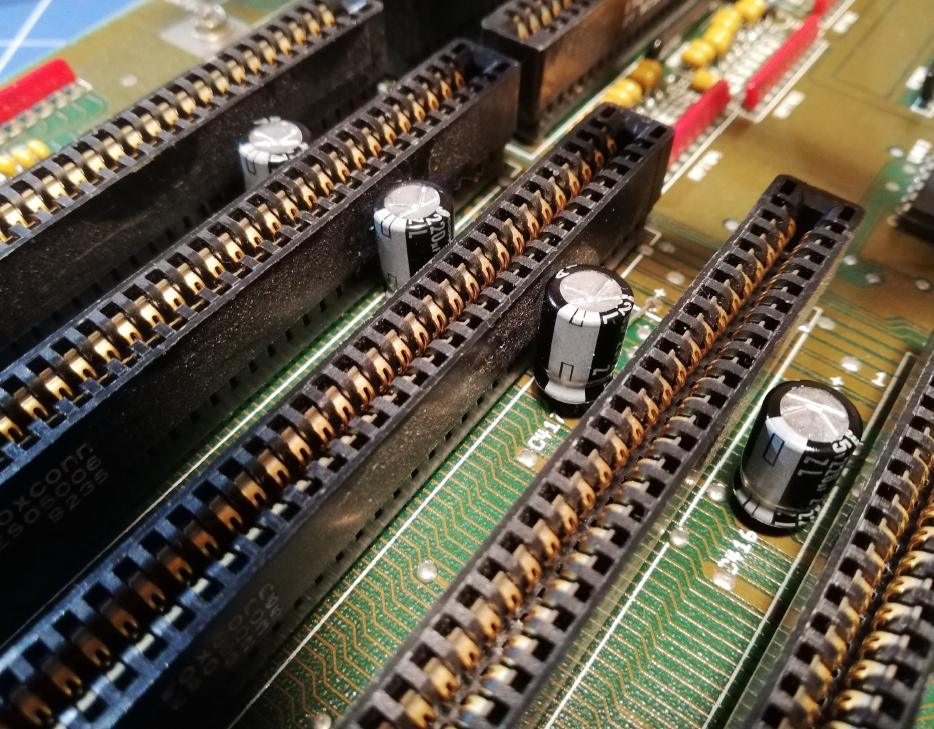
At first look, A2000 looked nice but it didn’t have a power supply so I couldn’t fully test it. However, a quick mobo inspection revealed potential problems.
Front panel
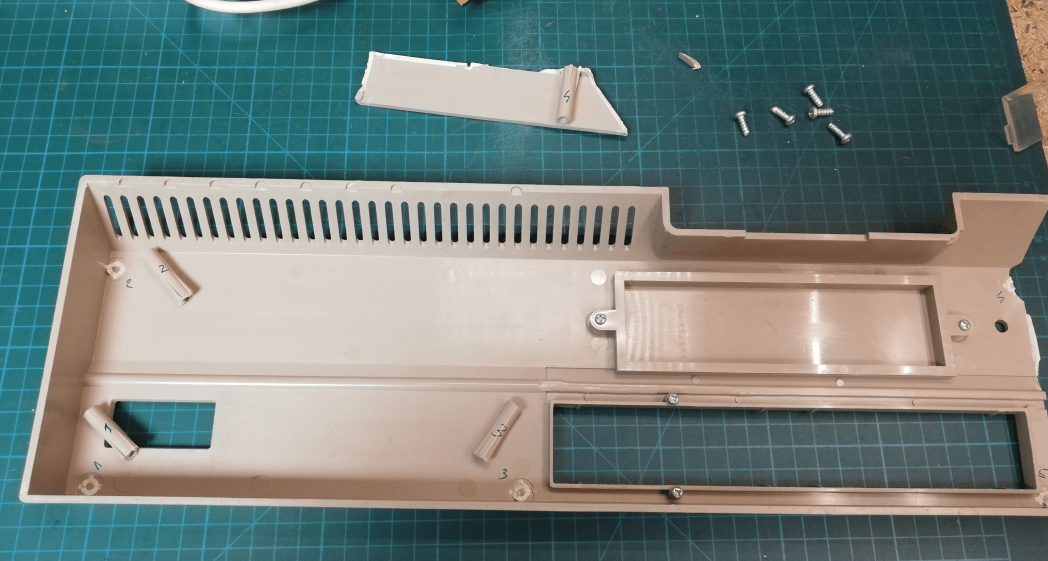
I will cover electronics fixes a bit later. For now, let us take a look at fixing the damage done to a case.
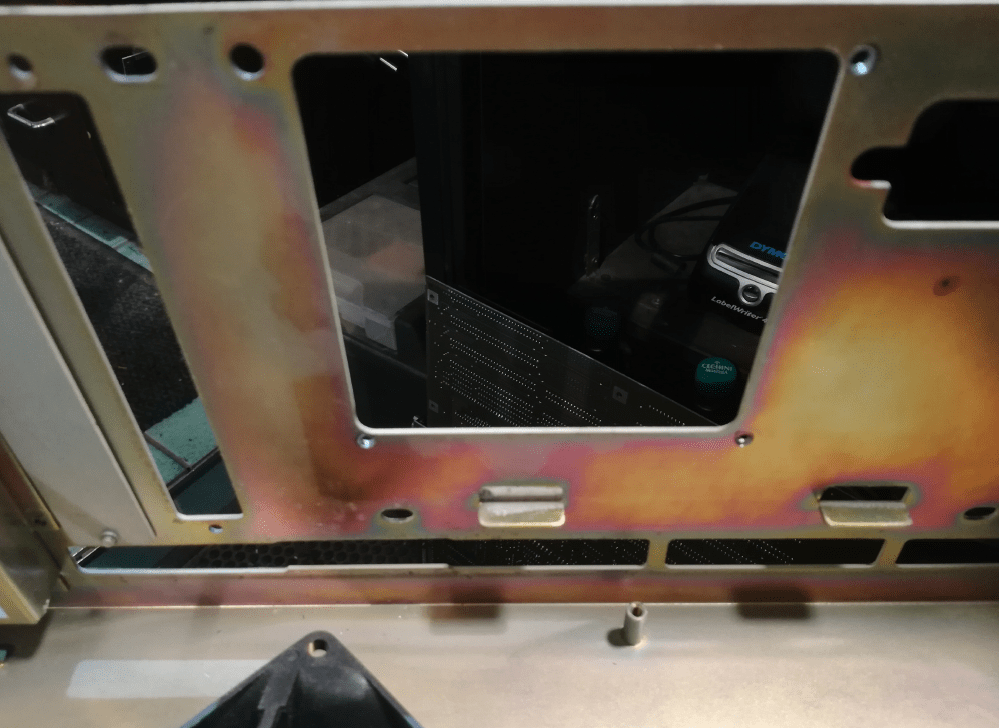
All metal parts were easily fixed by simple straightening techniques, so this is not the case of the truly poor case ;P
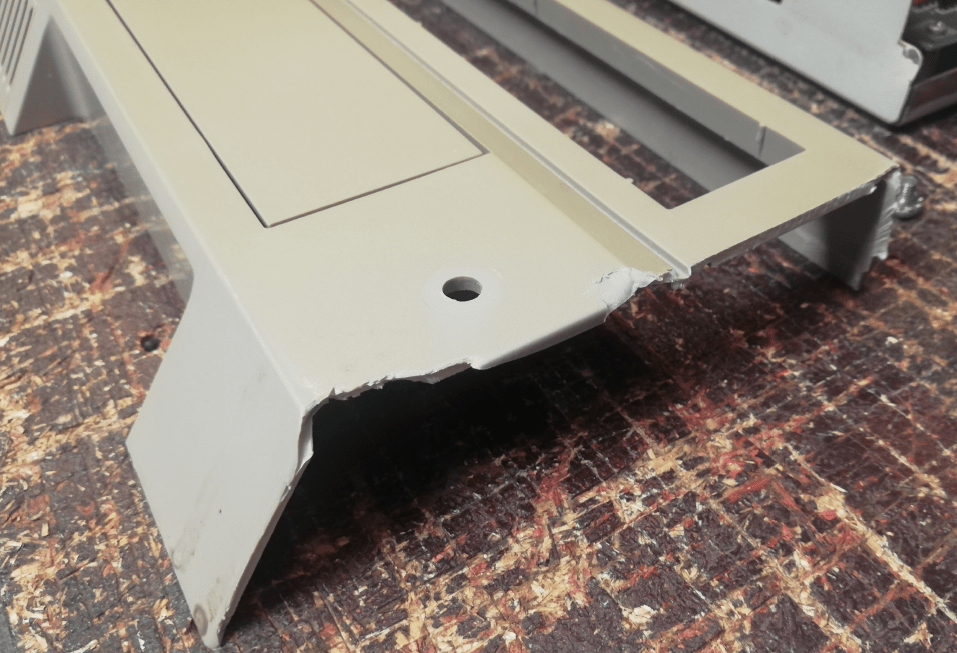
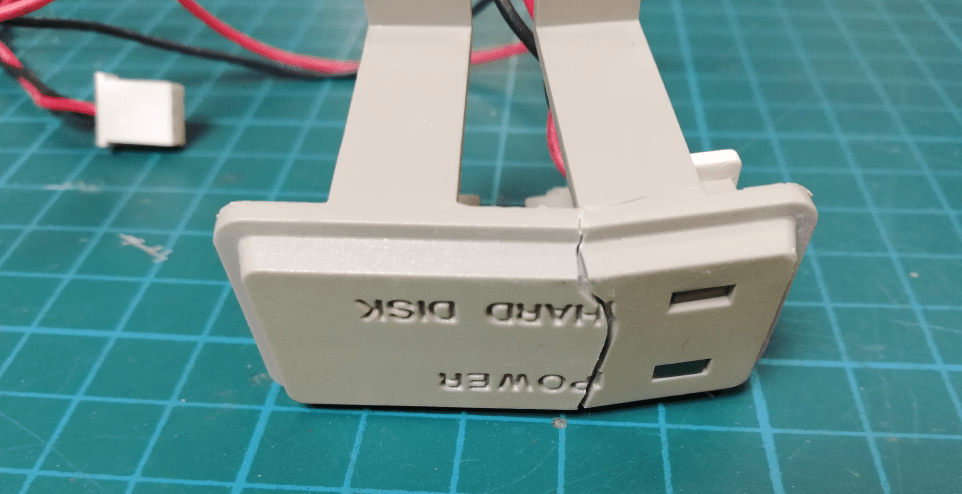
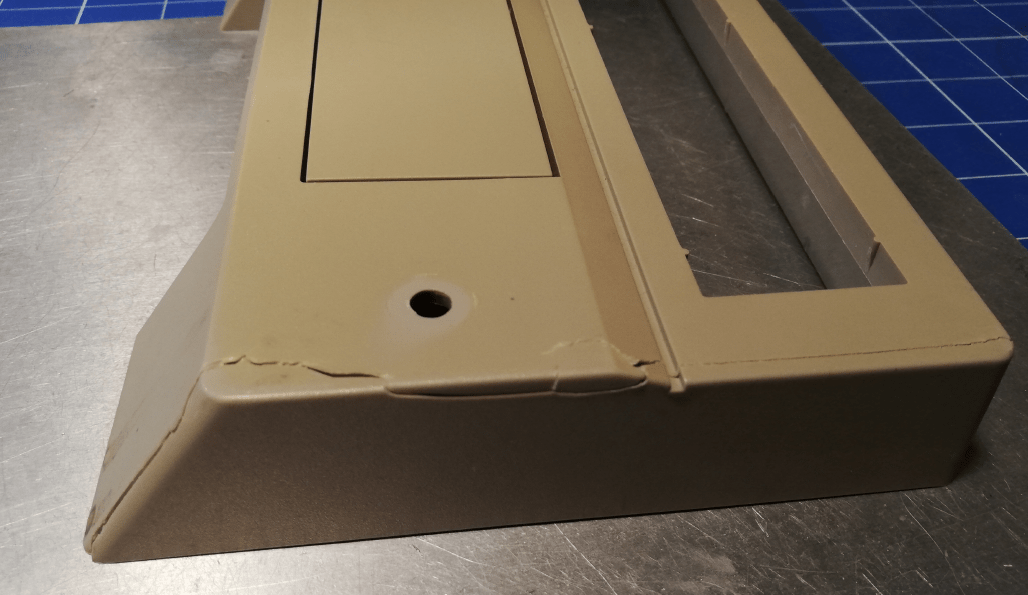
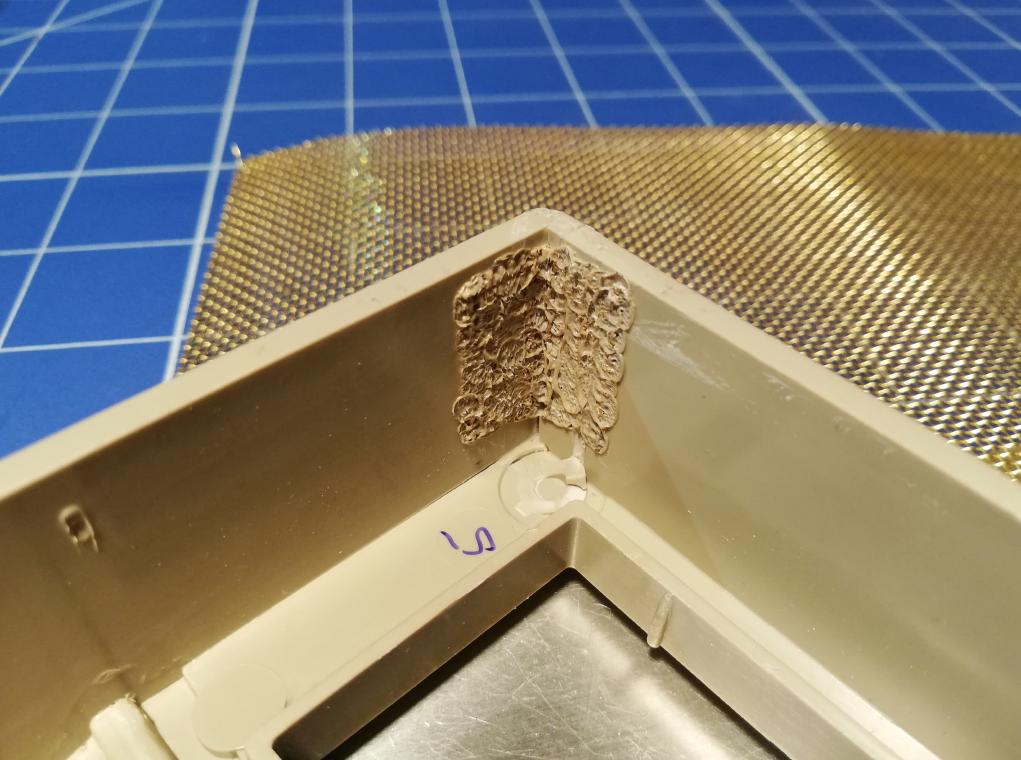
However, the front panel was in pretty poor shape and had to be addressed quickly. All screw studs were broken and it was missing a large chunk of plastic on one side.
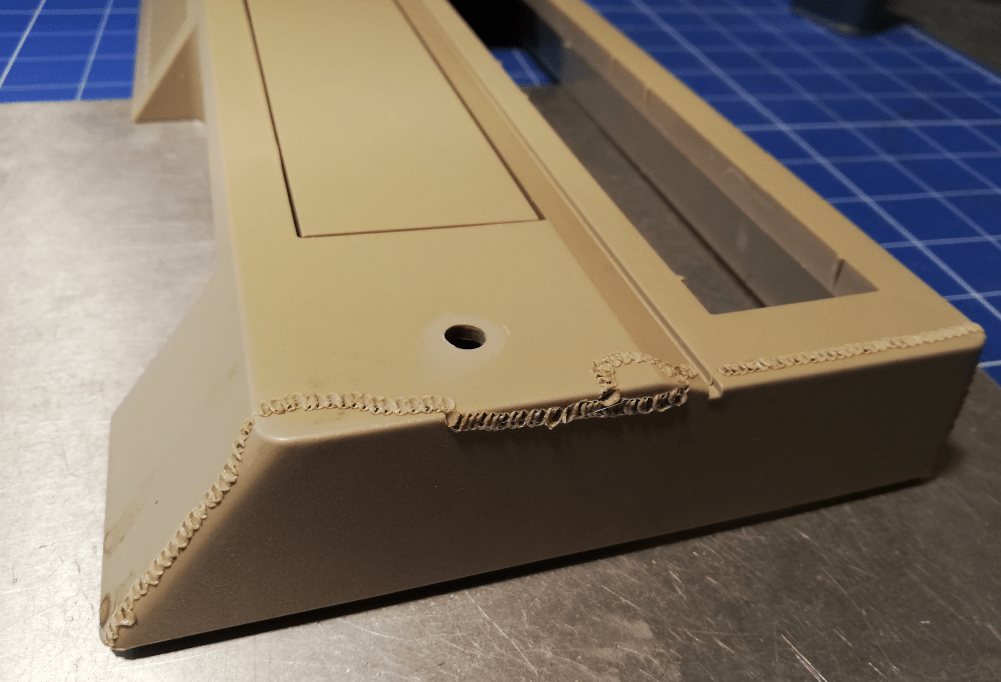
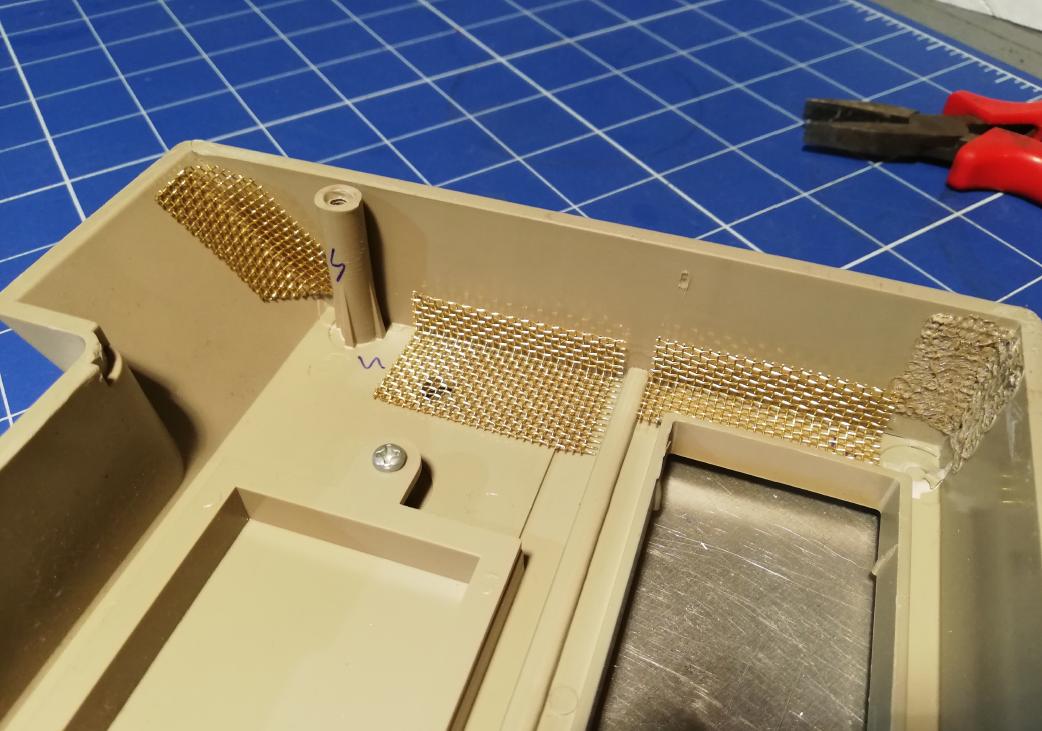
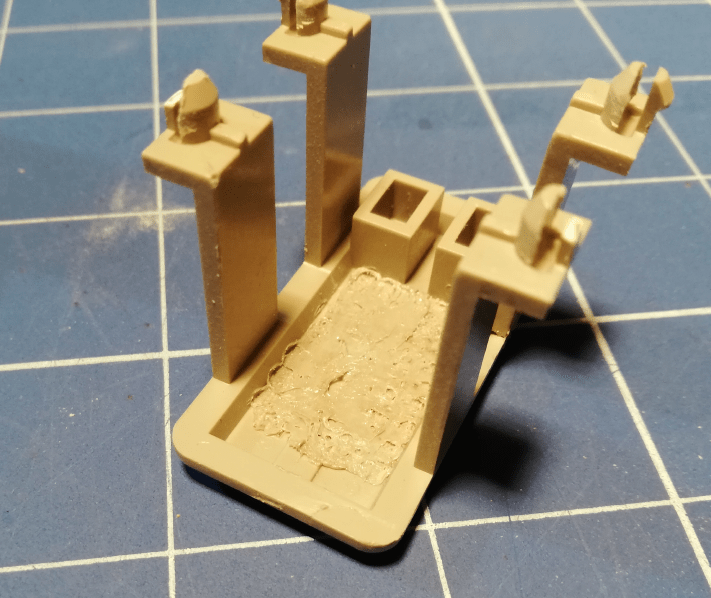
I’ve used my (current) standard method of plastic welding and reinforced it with a brass mesh. Later, such a detail can be finished with polyester putty. This is how a stitching process looks.
Initial plastic welding
Cutting brass mesh to a proper size
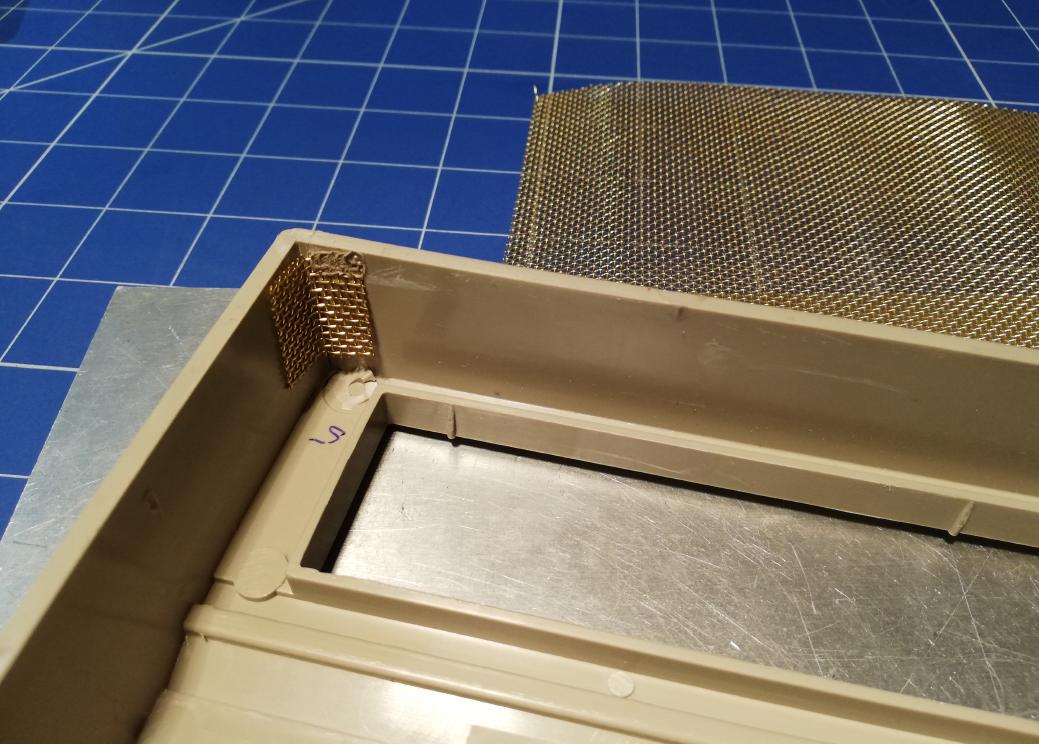
Welding in a brass mesh
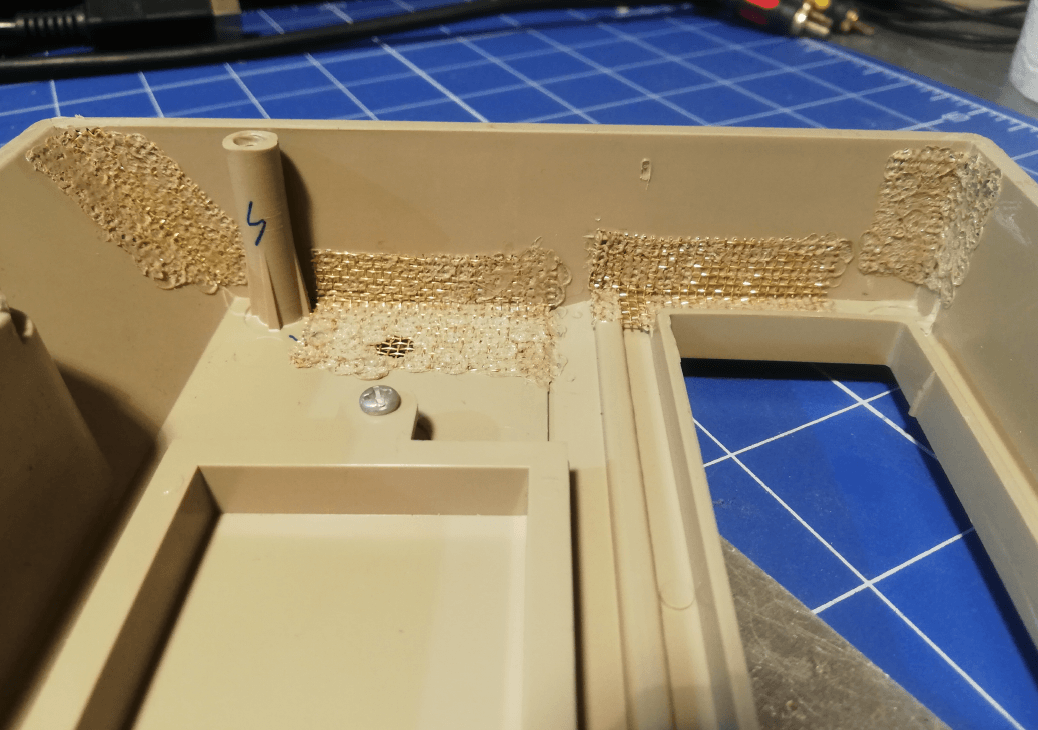
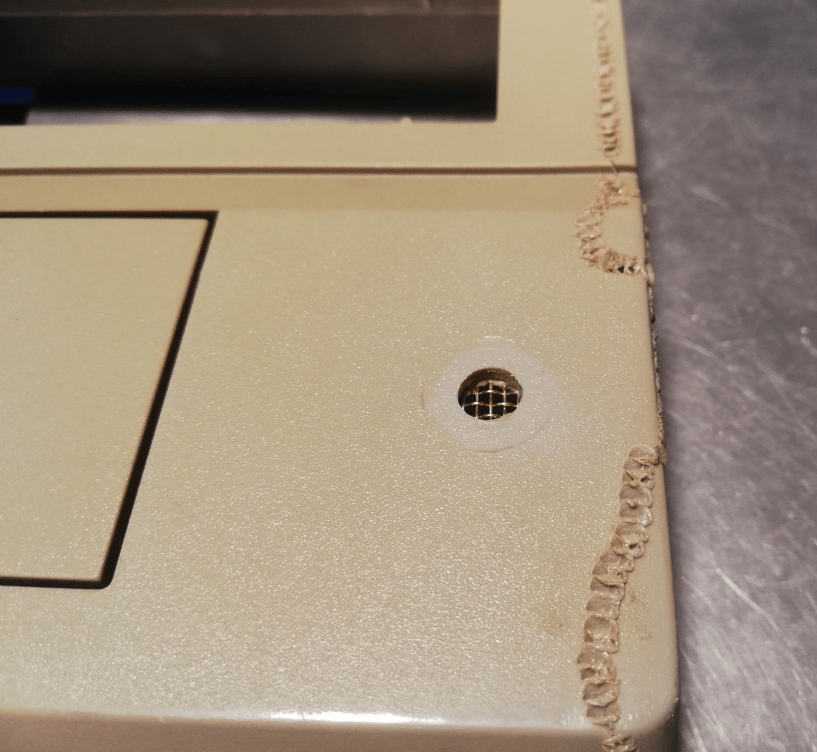
After the above, I had to sand off excess plastic left after welding and in the meantime fixed a LED stud.

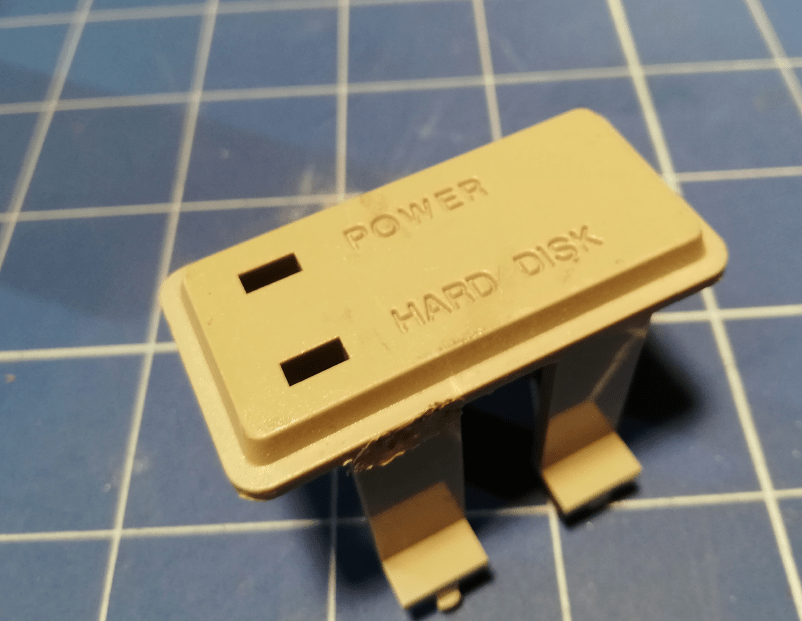
I’ve also filled a switch hole that was done by a previous user with a surplus of welded plastic.

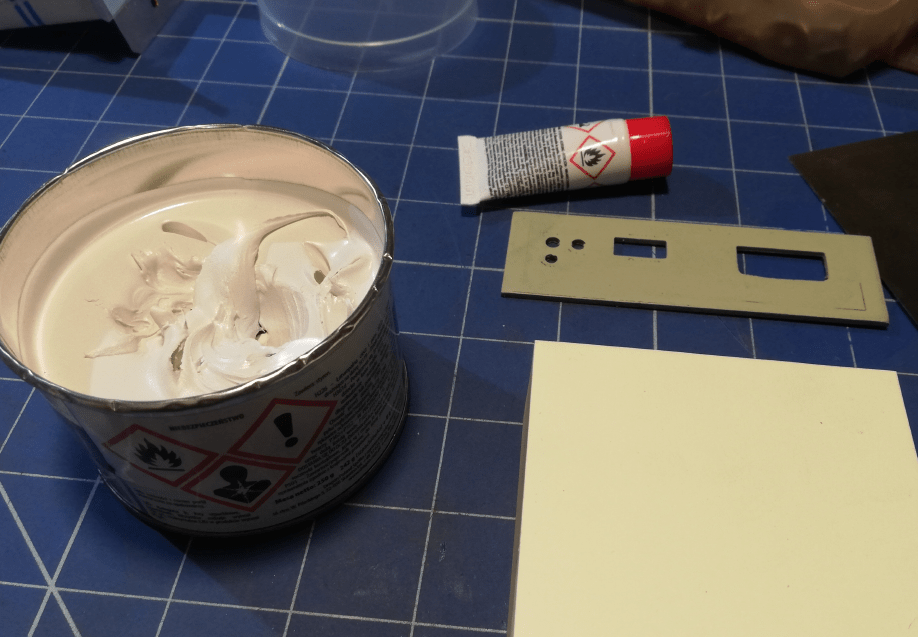
Next, I had to properly sand the excess plastic and apply polyester putty which had to be sanded off again.
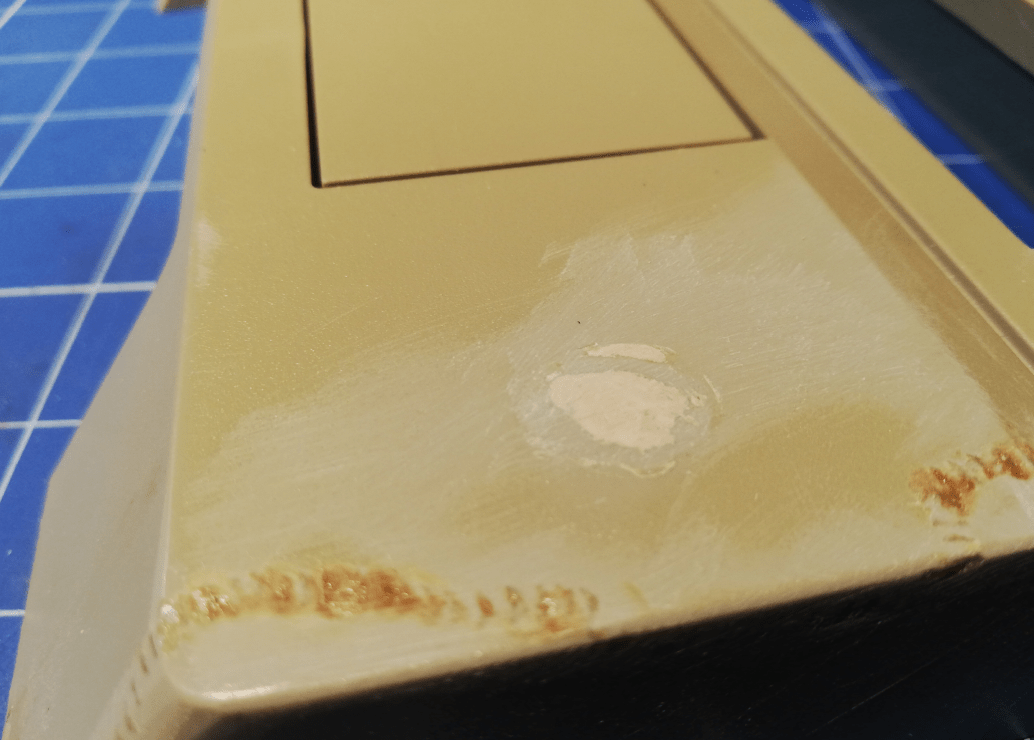
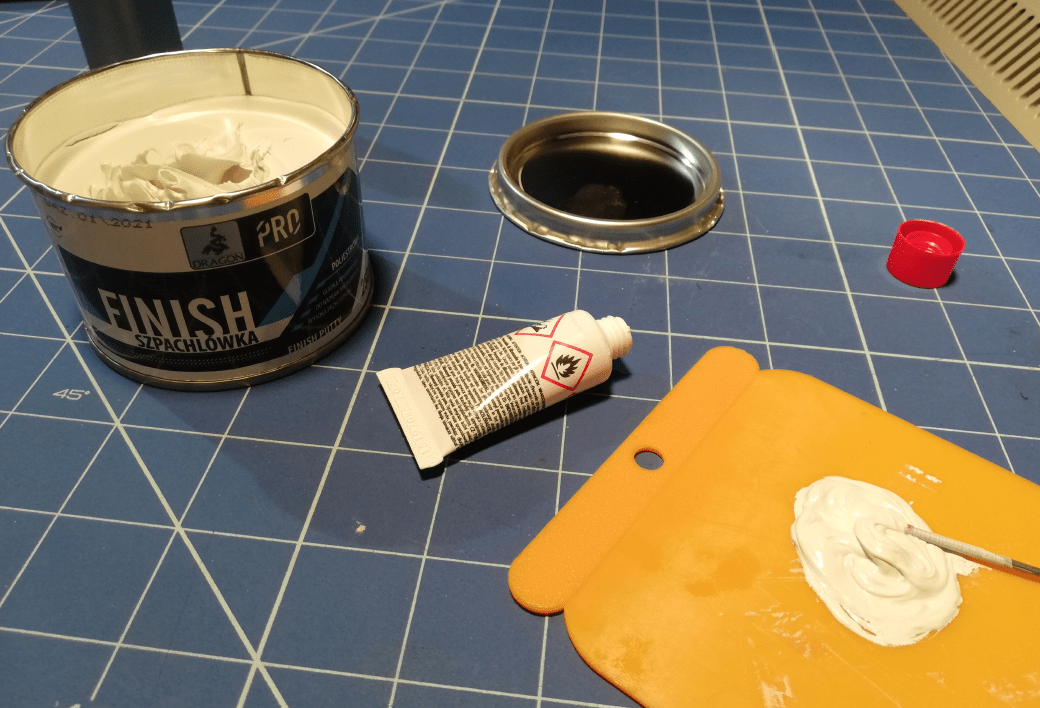
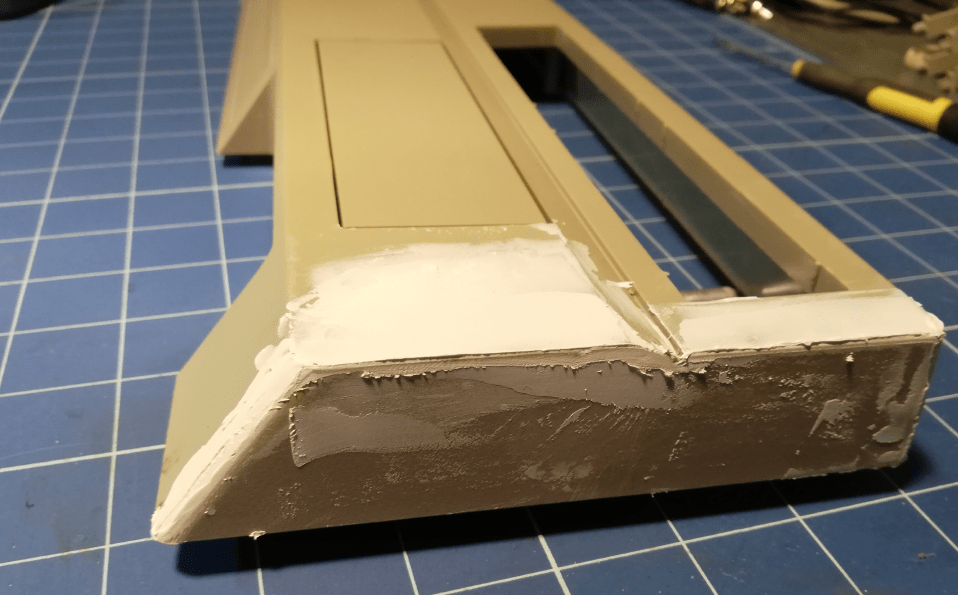
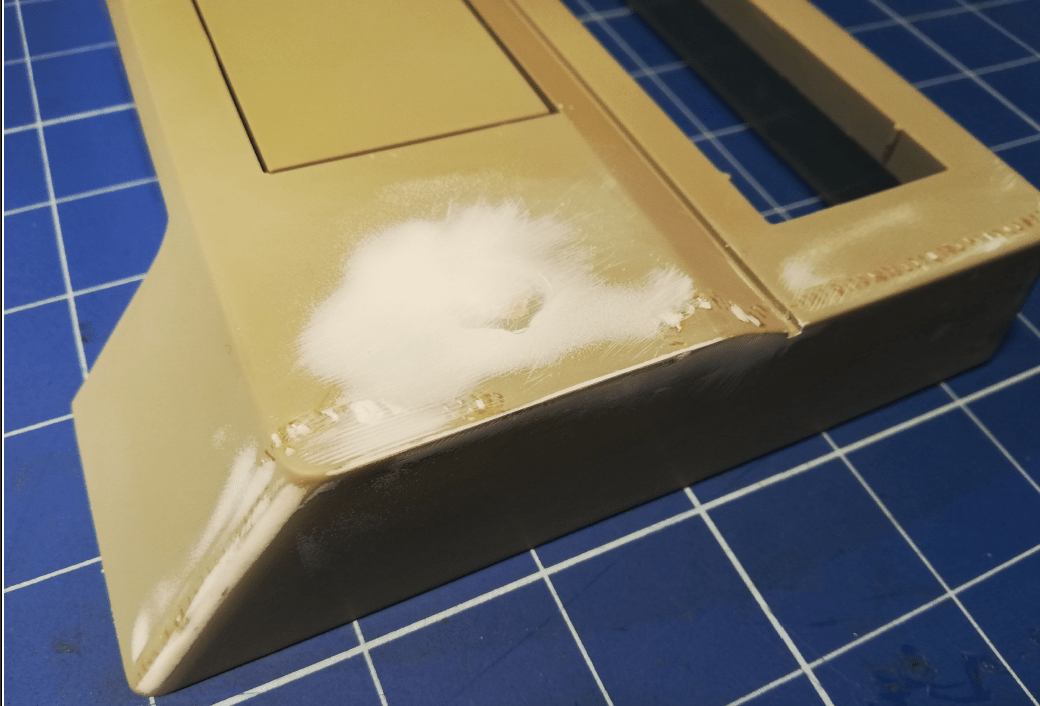
Some pics after applying spray putty. I use spray putty to cover minor problems and most importantly, to spot any irregularities so I can fix them before the final spray painting. Of course, the process is time-consuming and requires a bit of experience but it is worth learning.
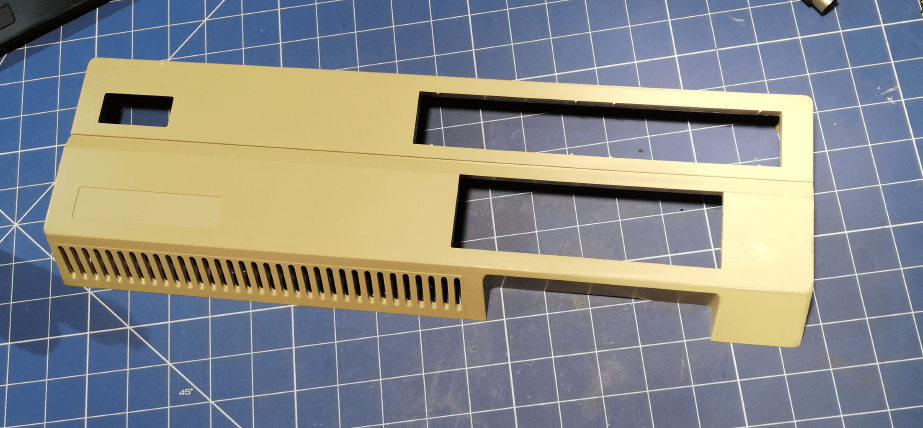
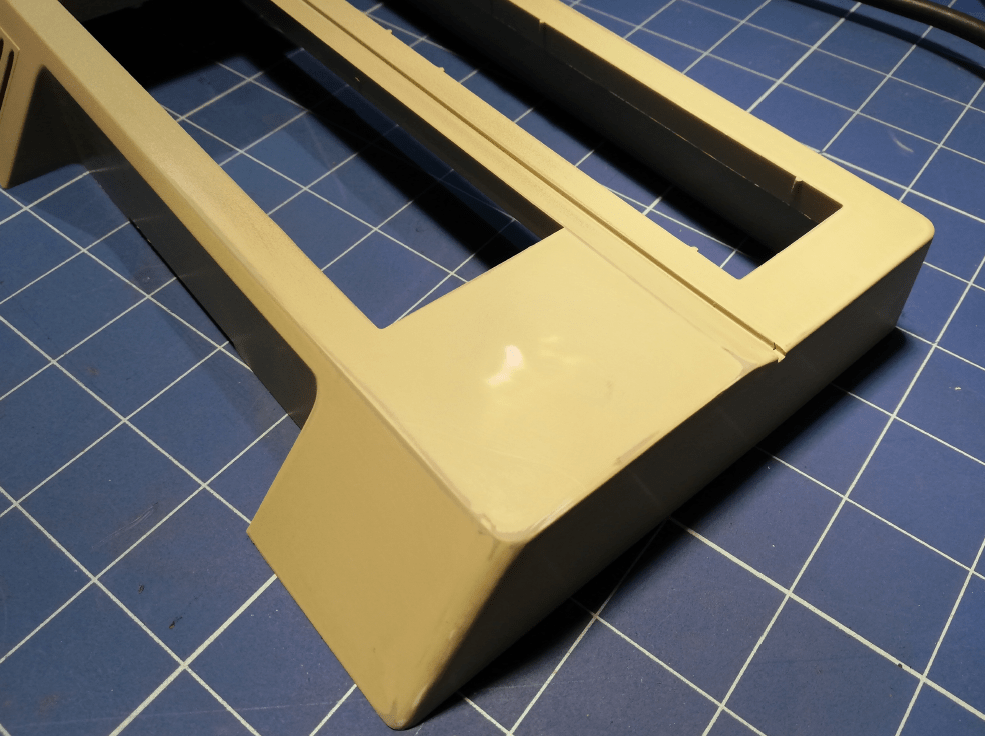
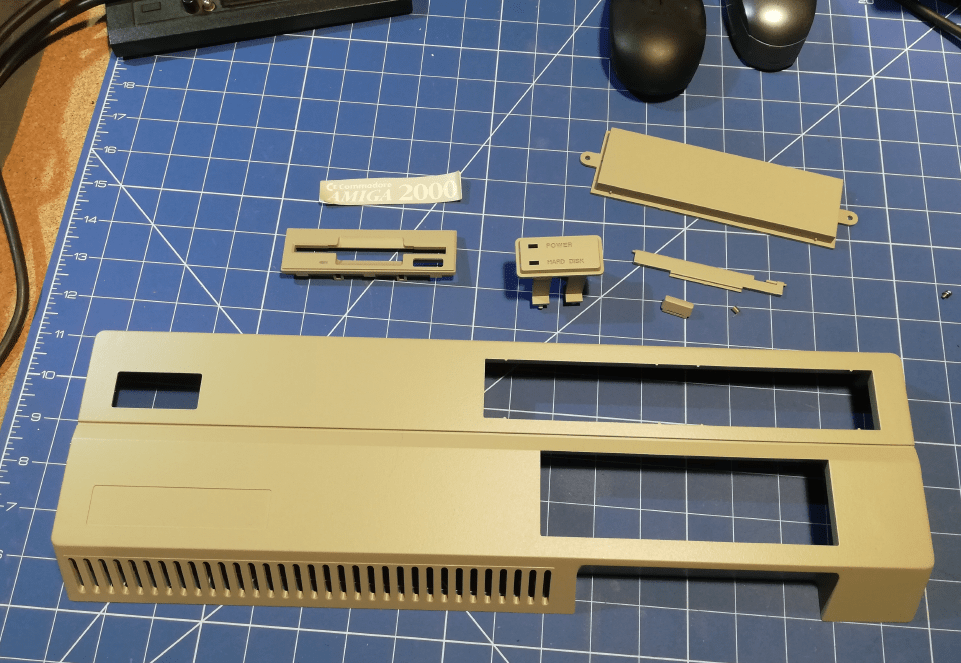
After the above lengthy process, I’ve applied two layers of custom-made – spectrography scanning method to match the exact color – spray paint.
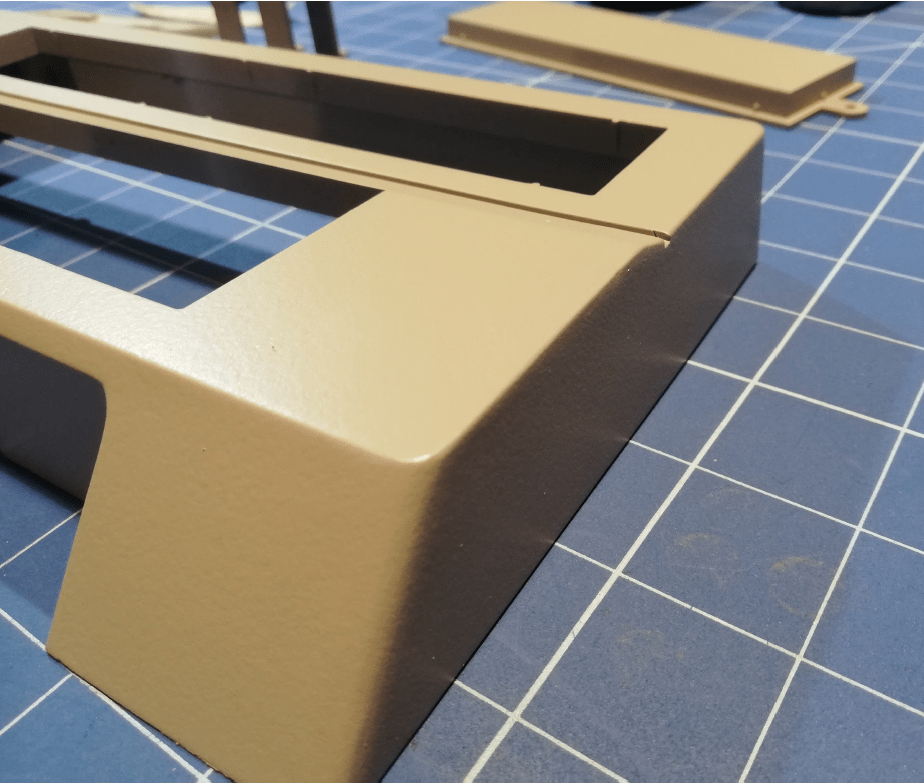

Testing if it all fits and aligns together.
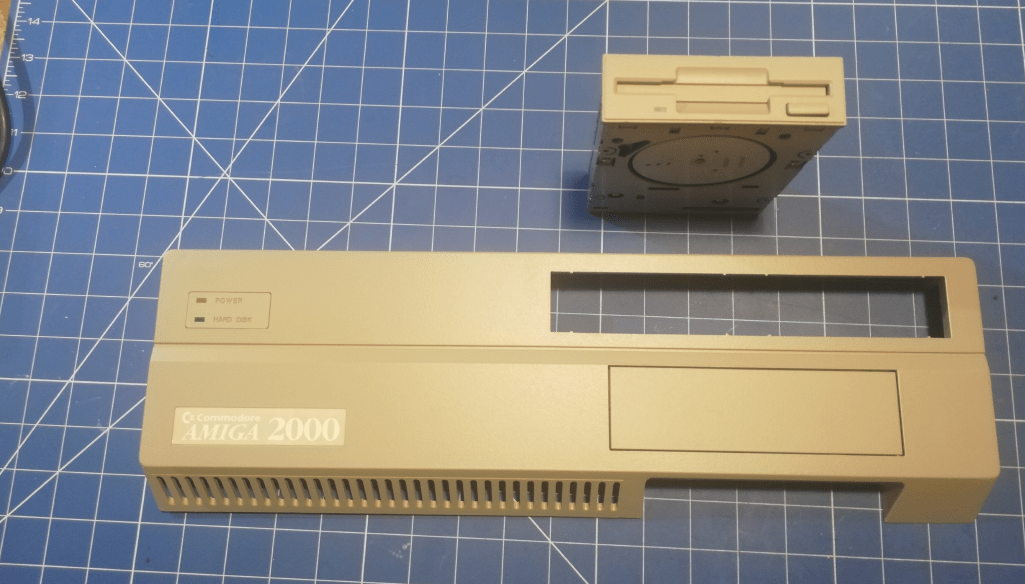
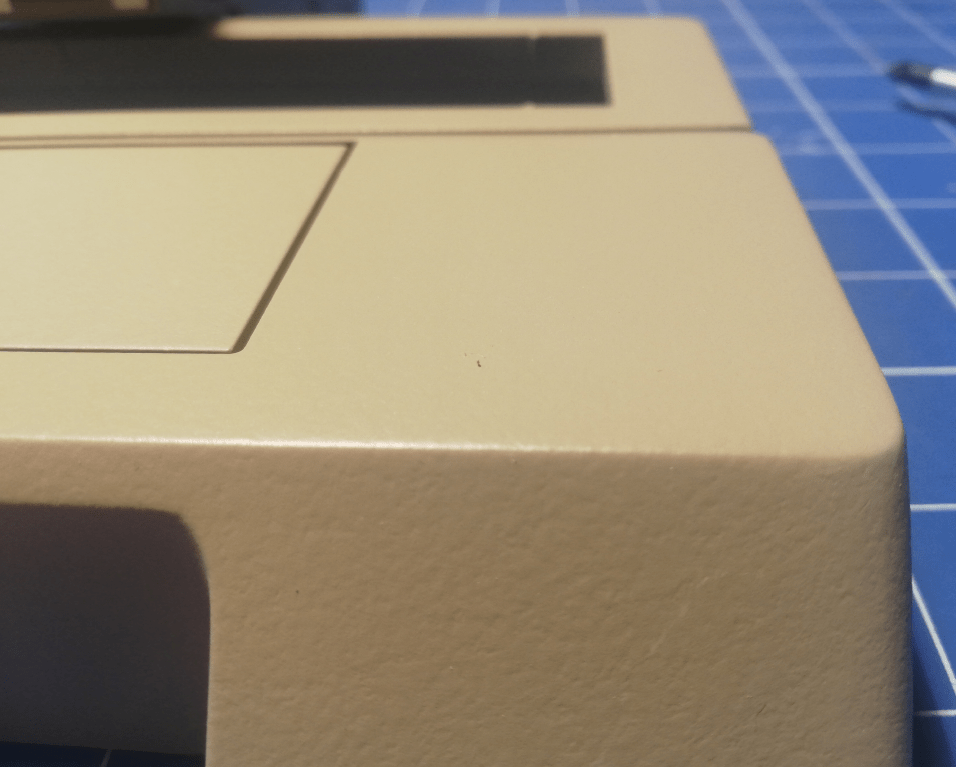
Everything painted.
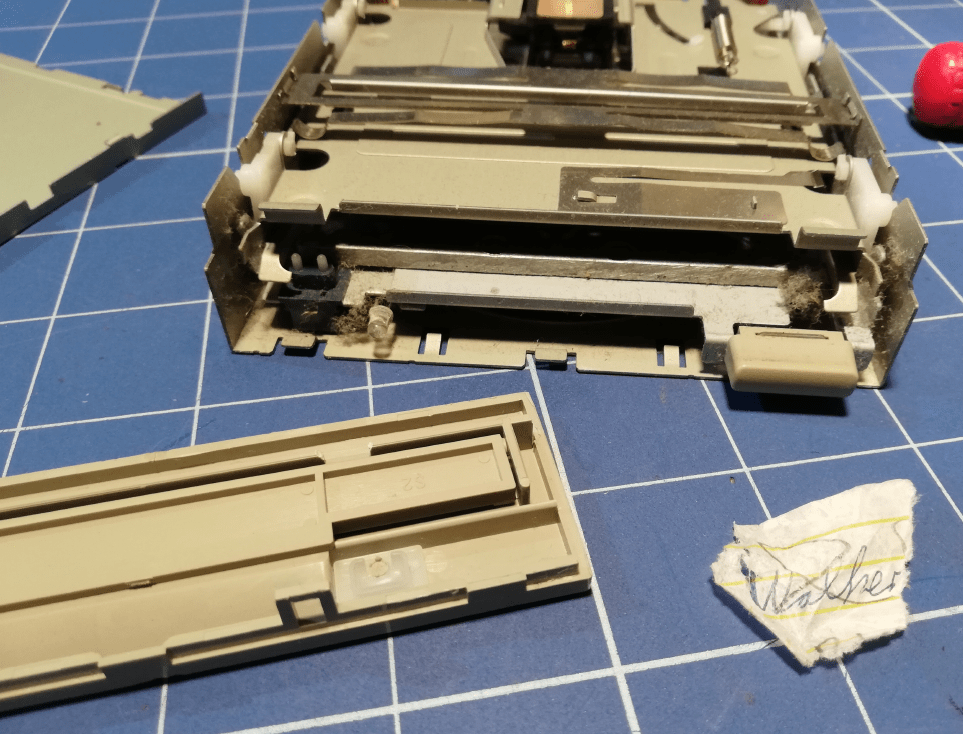
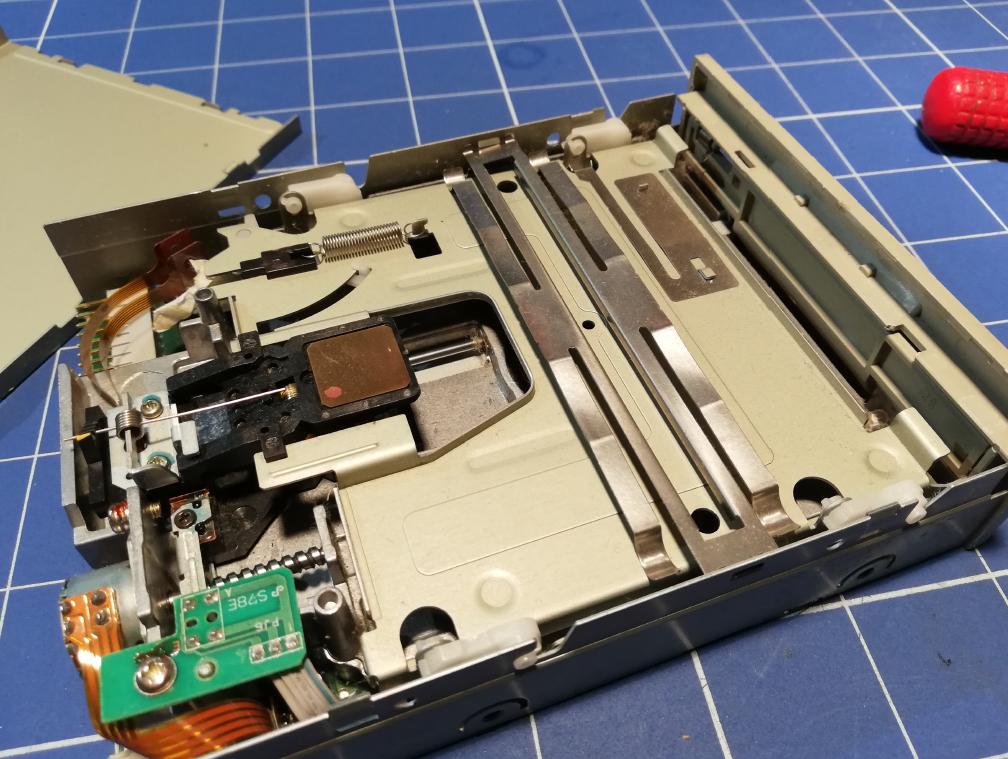
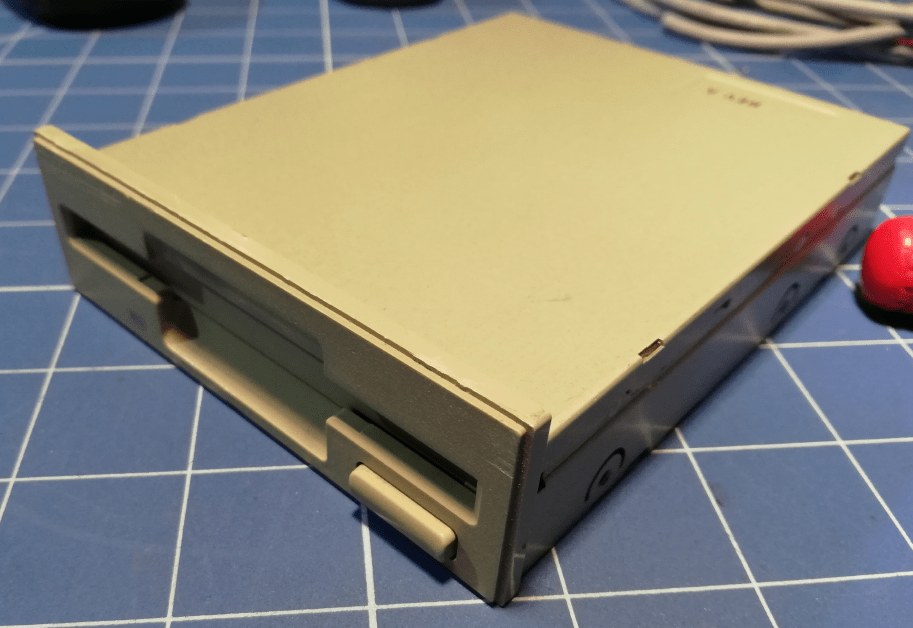
Floppy drive cleaning
Since the floppy drive was working without major issues, I’ve decided to give it a good cleaning. I’ve lolled a bit at a piece of paper that fell out of it 😀
No PSU? PicoPSU to the rescue!
The Amiga came in without the original power supply. I had to improvise a bit and figured out that PICO PSU should suffice since it has all the needed voltages.
Let’s see if it worked 😀
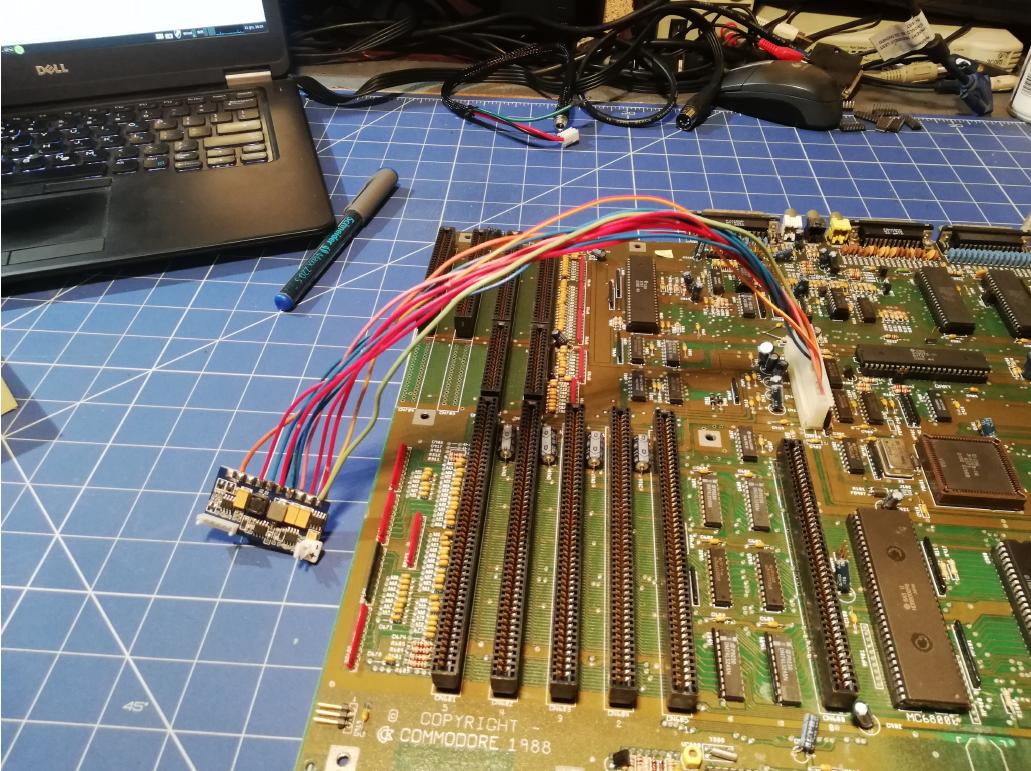
First of all, I’ve stripped off unnecessary connectors from PICO PSU itself, prepared wires with the proper copper amount, and ordered plugs with pins for crimping.
Fun fact – I’ve used wires from a 96′ Nissan Patrol wire harness. I’ve found out a long time ago that wire harness in cars has the proper copper thickness, due to potential fire hazards. Since then, I am trying to use such wires for PSU jobs.
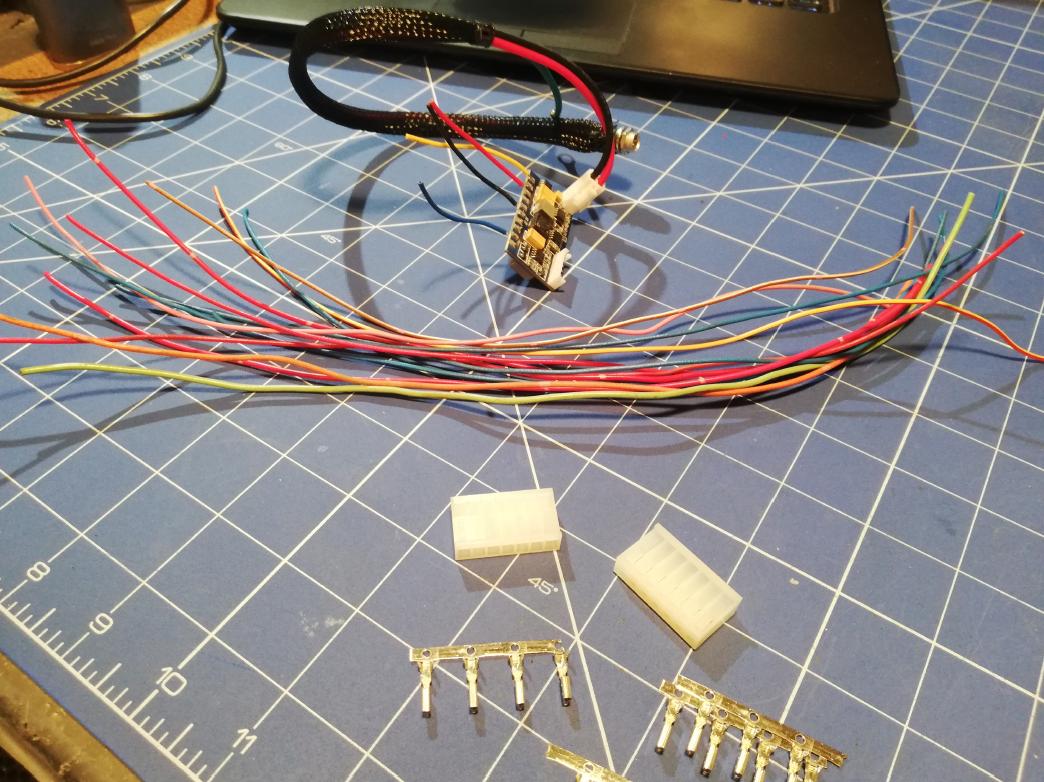
Wire crimping was a rather smooth job.
Here is how it all turned out.
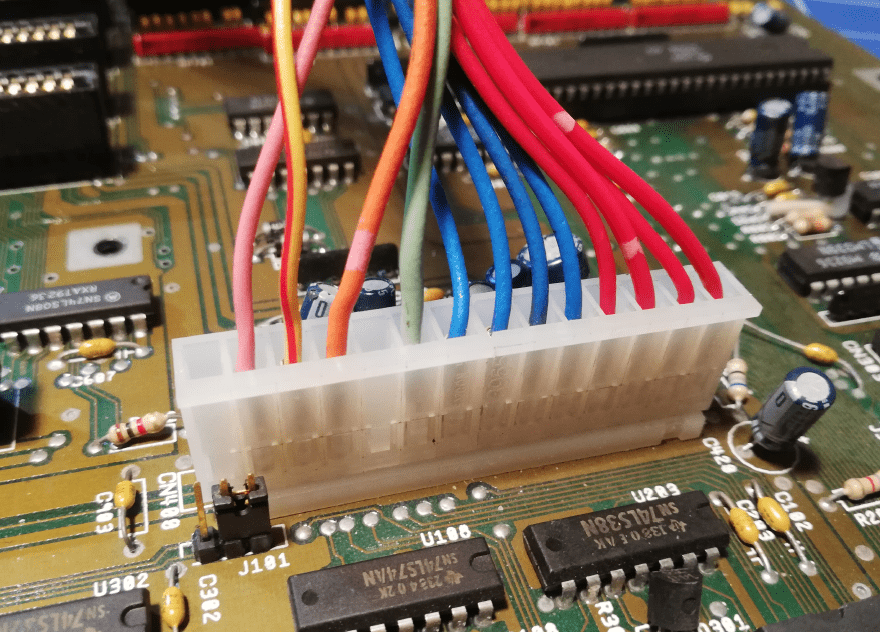
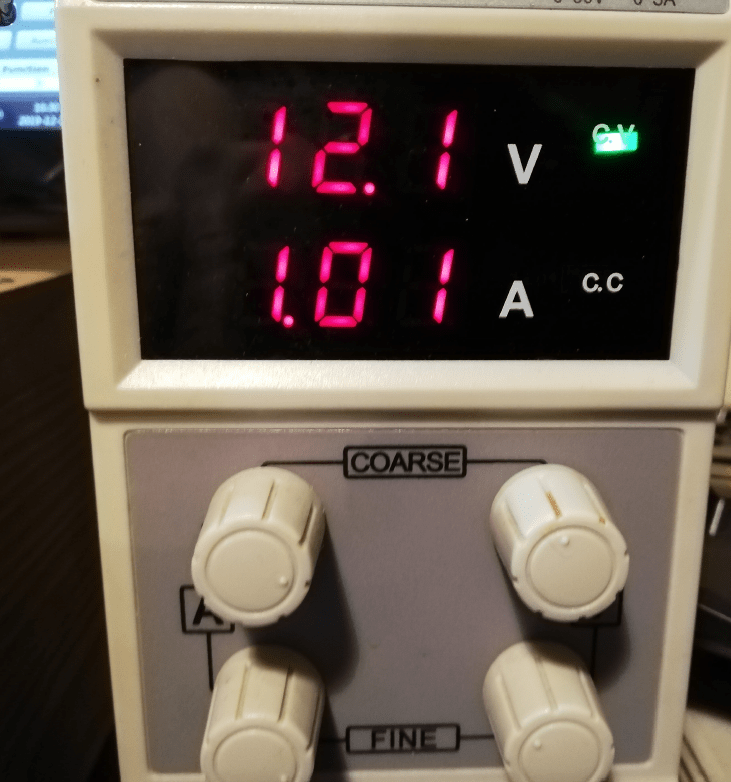
PICO PSU uses 12VDC as a supply voltage so I’ve hooked up my bench power supply to check how much current it draws after powering the Amiga motherboard.
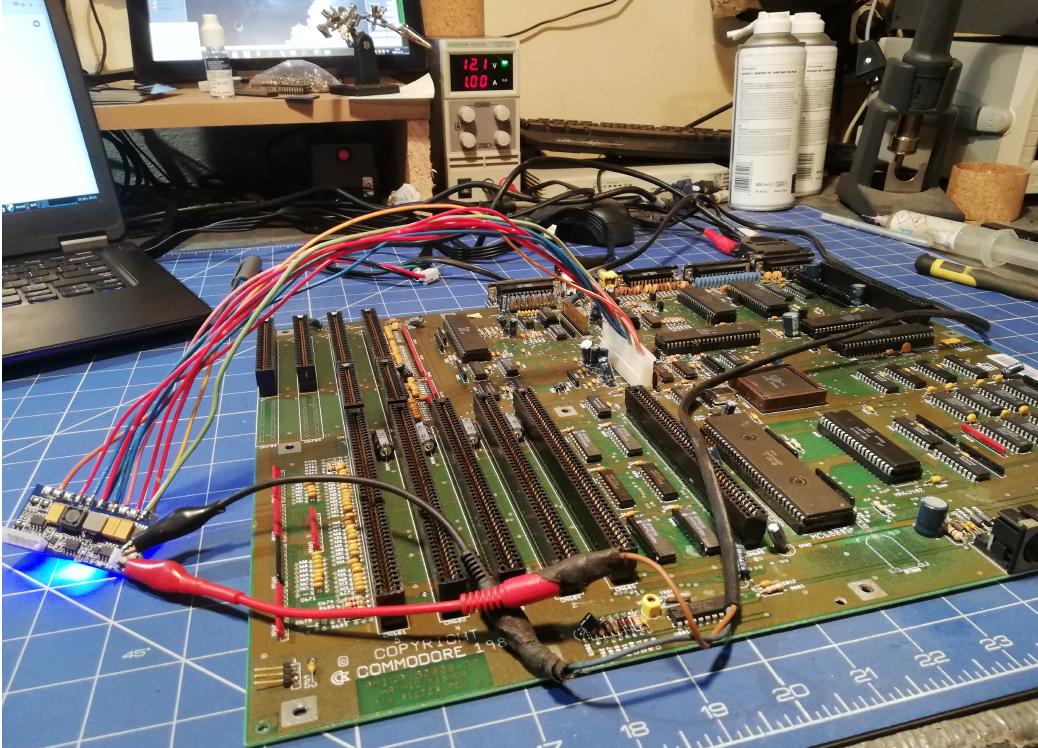
Testing and fixing
Once I hooked up PSU, I was able to run some tests. Unfortunately, Amiga wasn’t working as should.
This had to be addressed quickly 😉
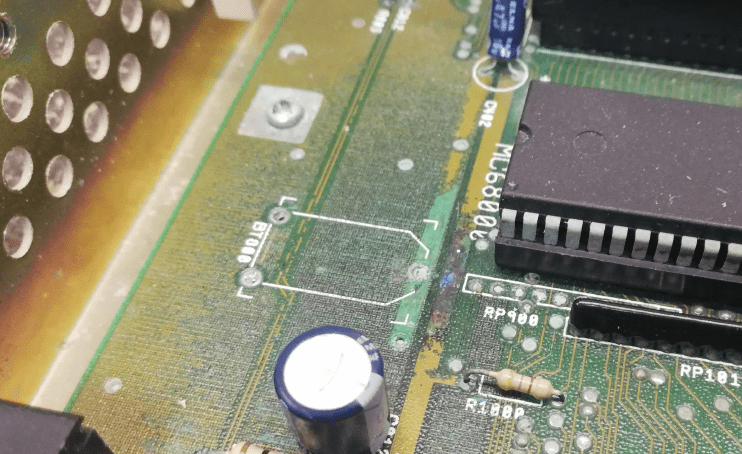
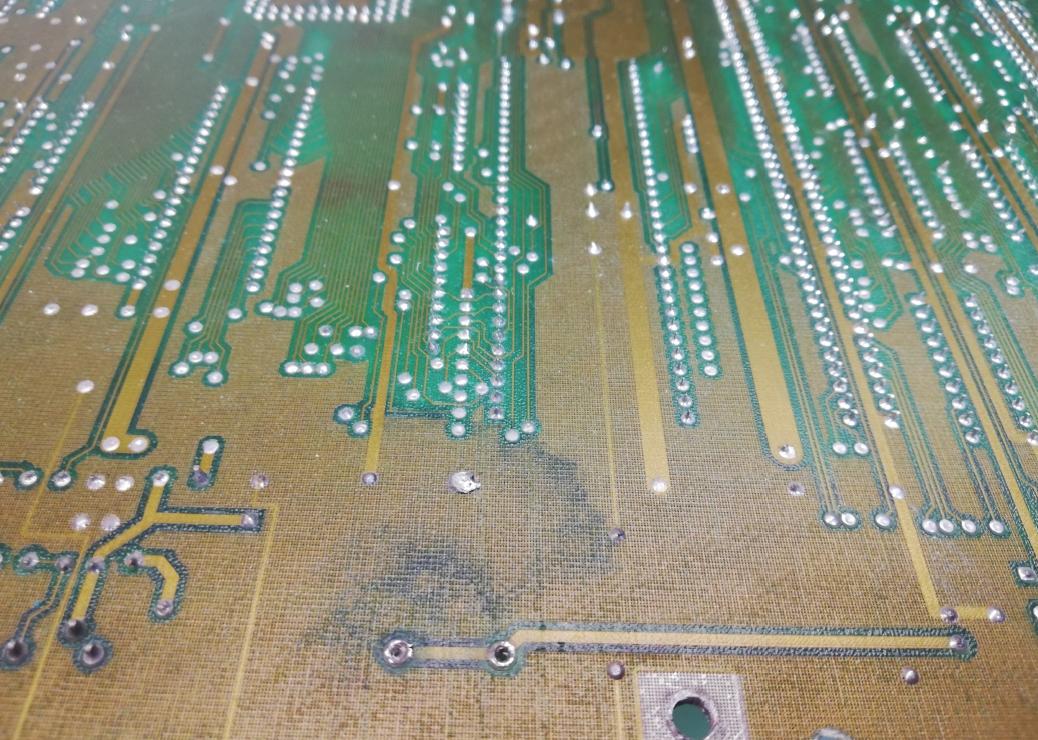
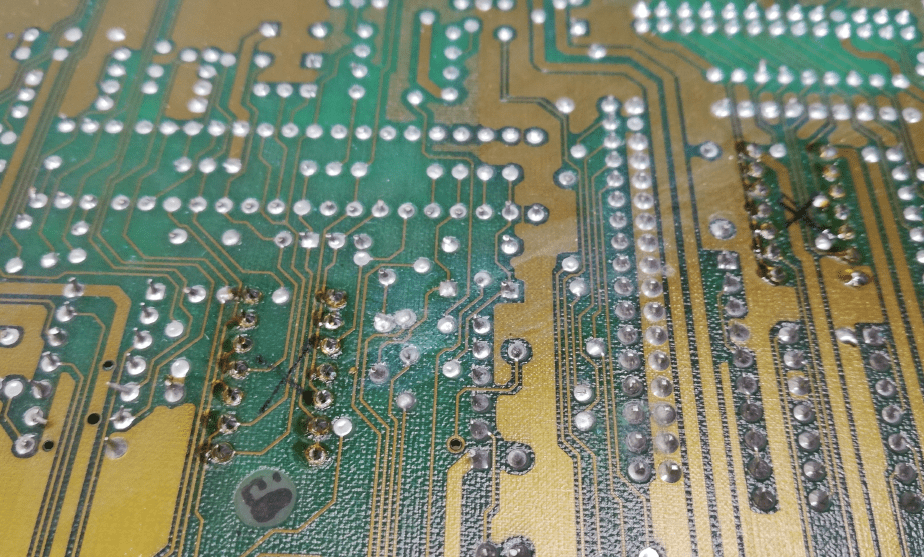
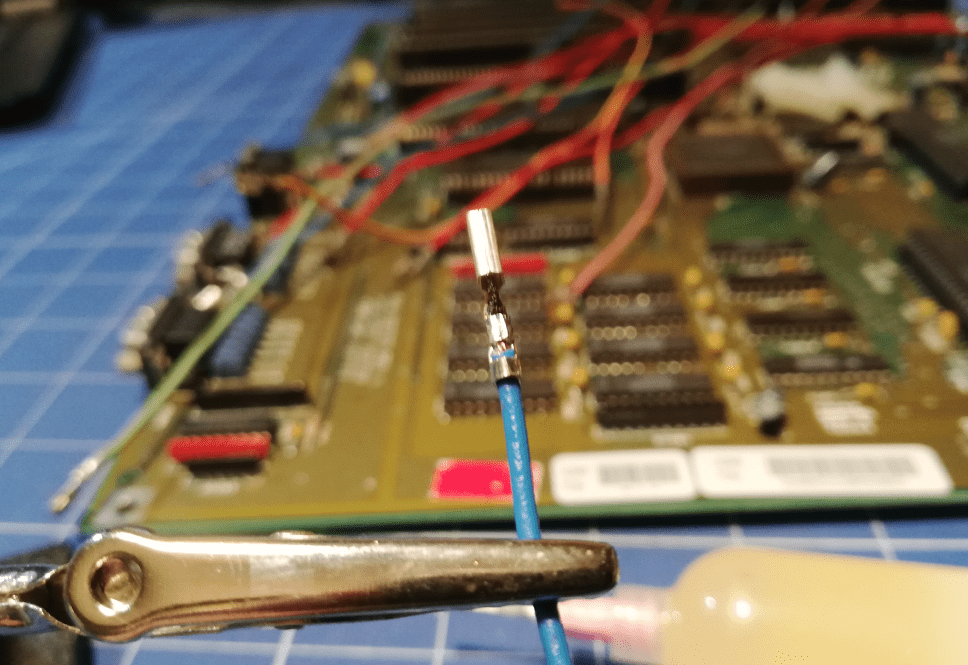
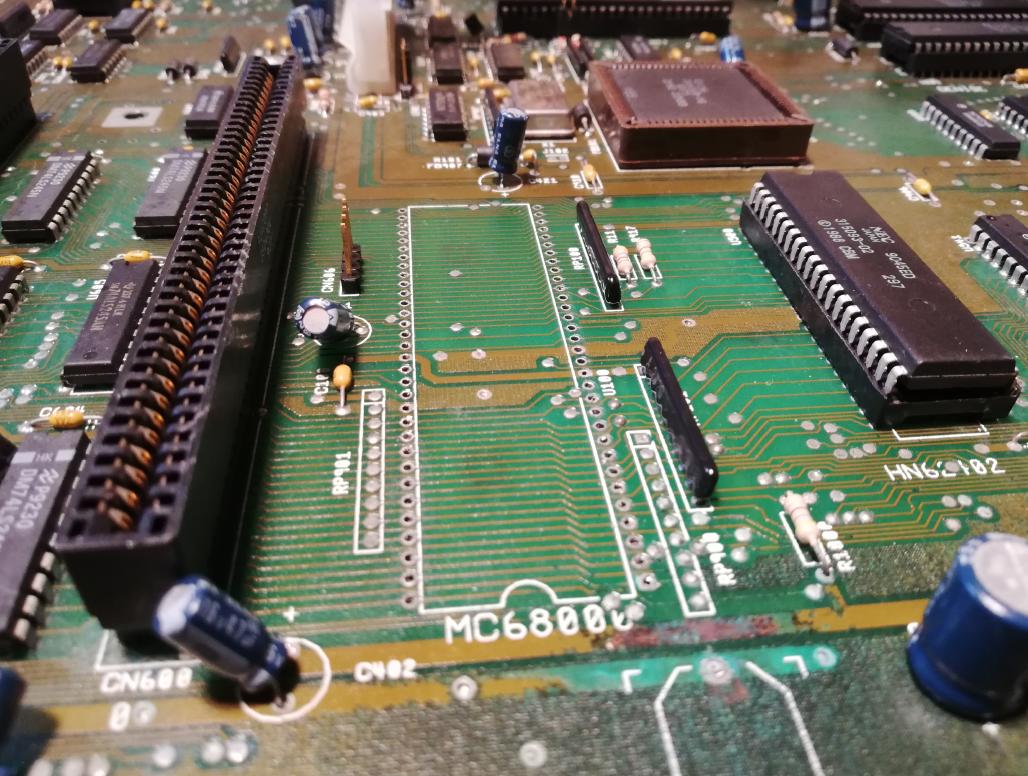
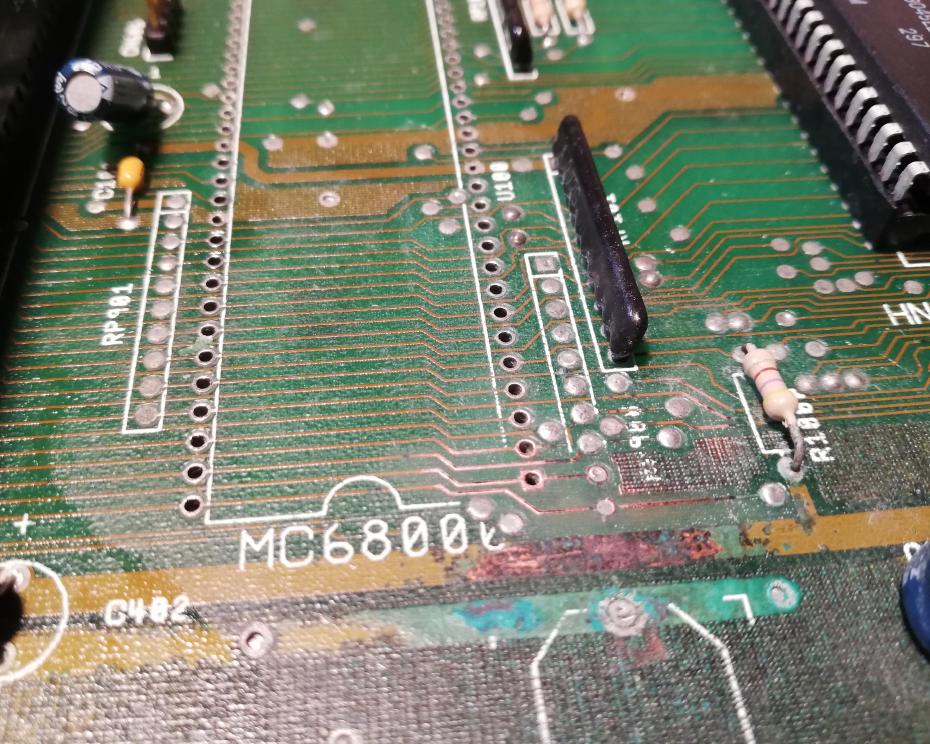
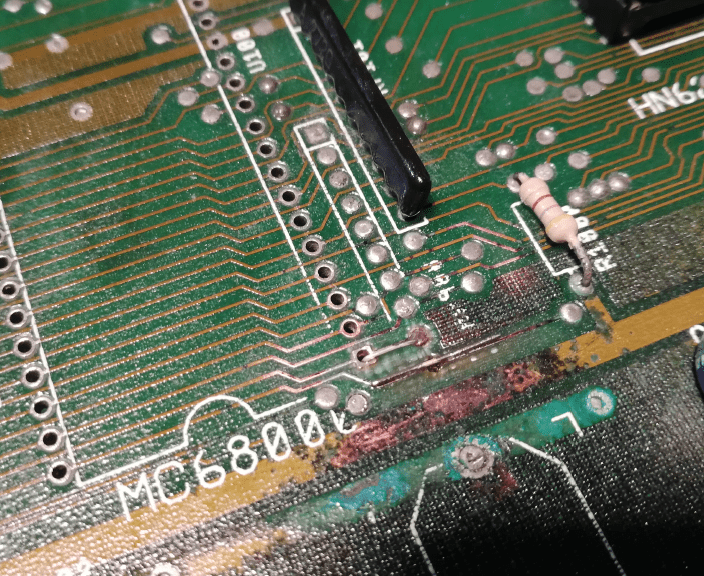
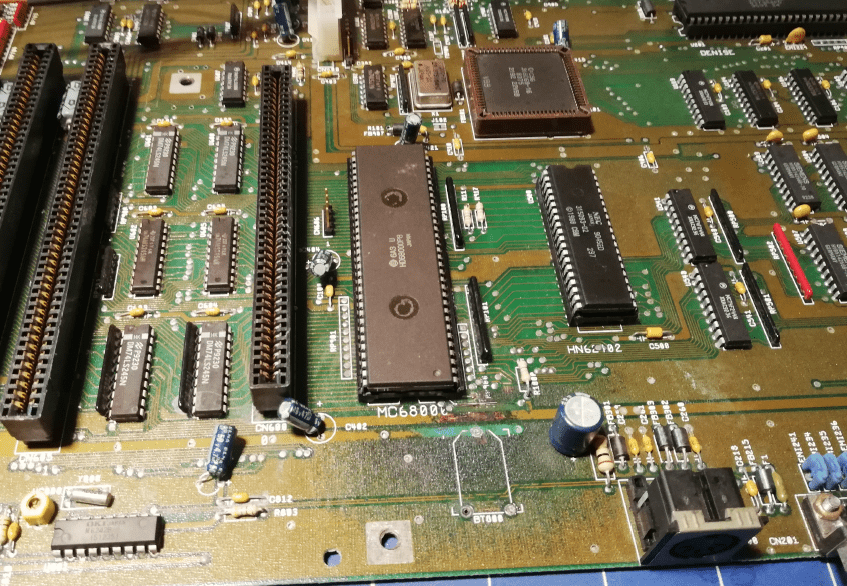
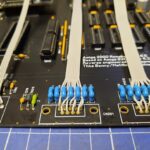
Usually, A2000s suffer from battery leaks near the CPU area. That often results in eaten traces. This particular machine was not an exception 🙂
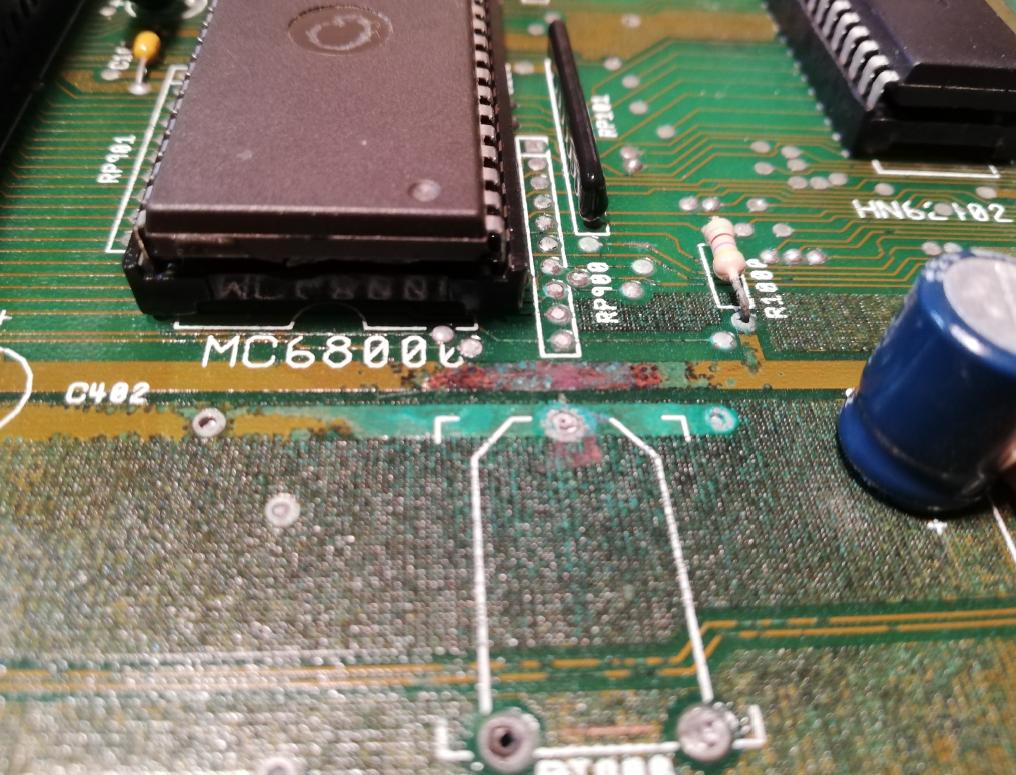
The fixing procedure was quite easy. All I had to do was de-solder the original socket, clean up corrosion, spot problems and fix ’em and finally install a brand new socket and move on to testing. Some traces had to be replaced with Kynar wires core. Some pics are below.
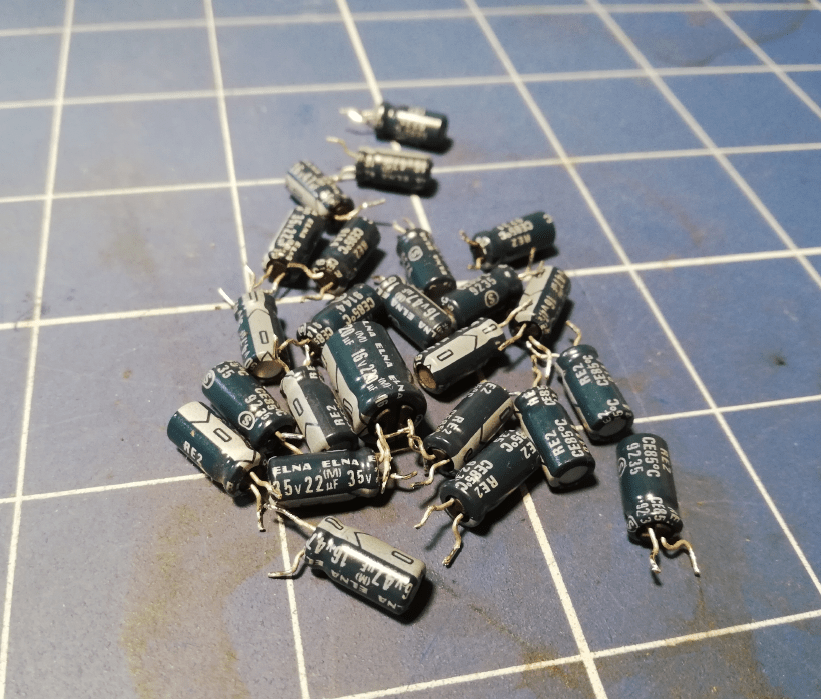
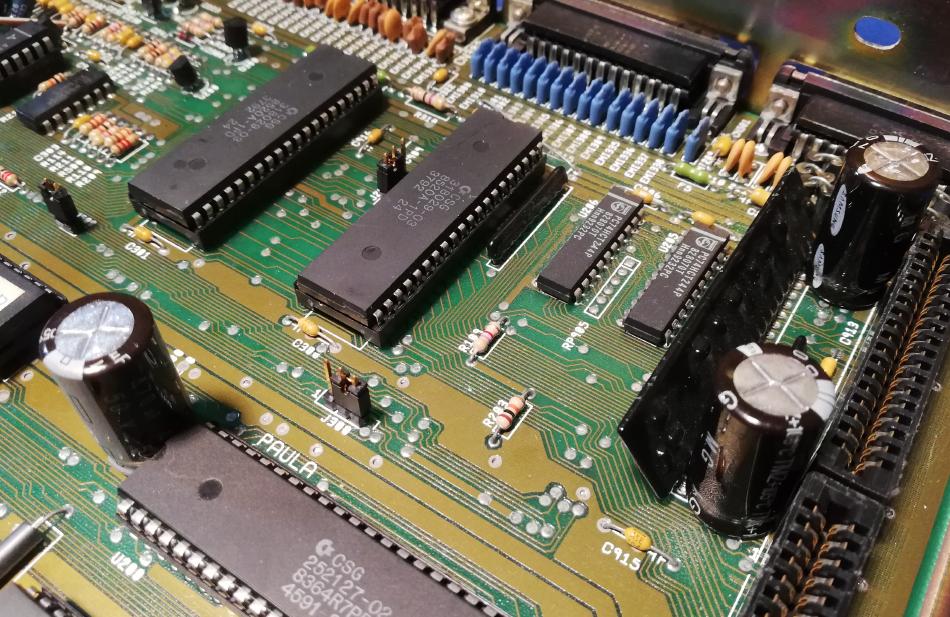
I’ve also replaced caps as surprisingly some were dried up.
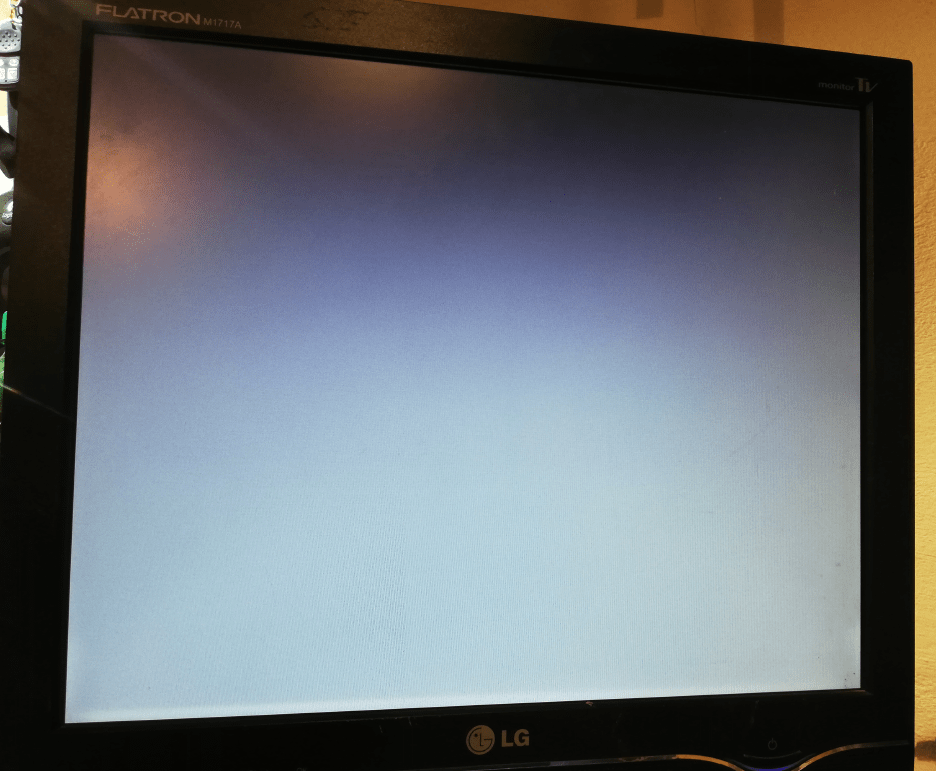
Moment of truth … and …
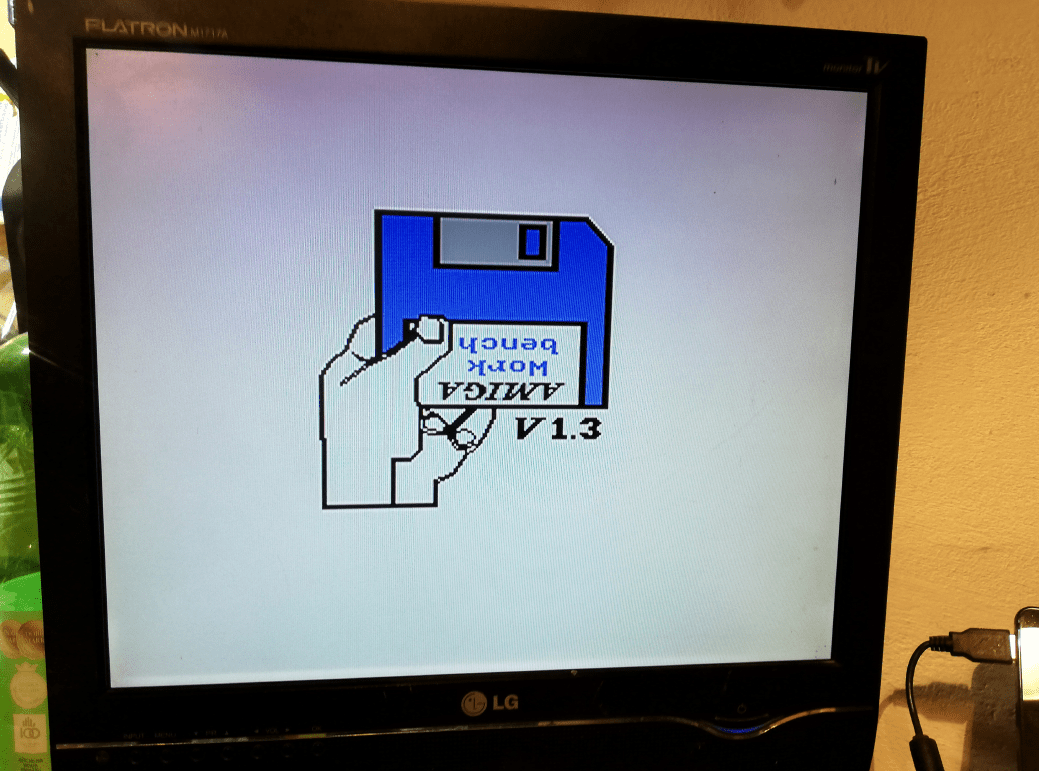
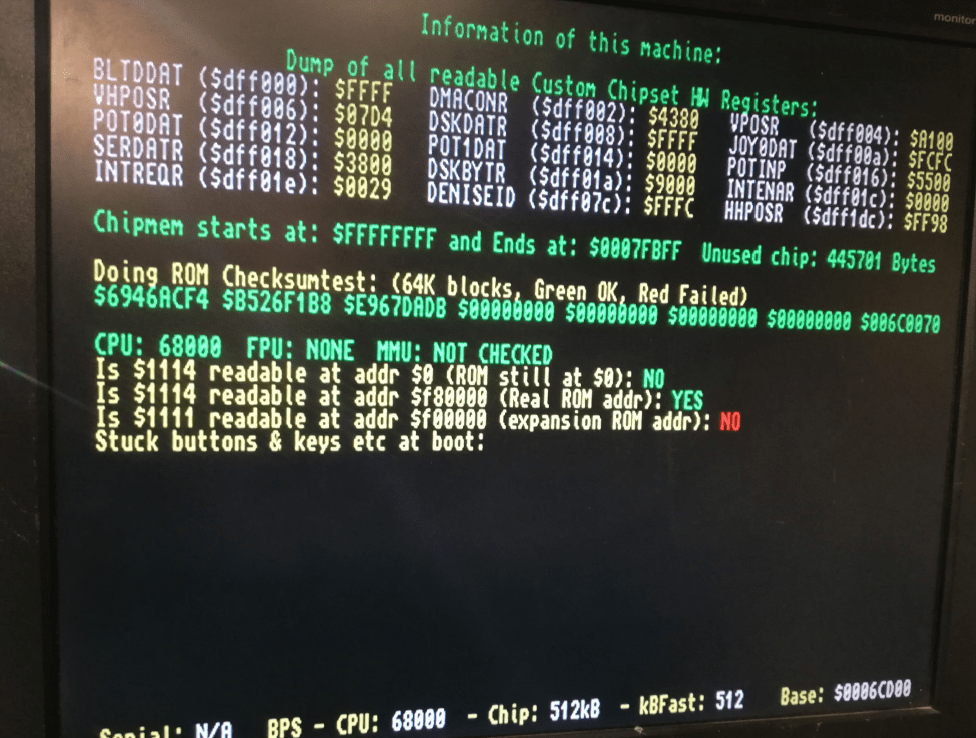
Moving on to excellent DiagROM by Chucky 🙂

Upgrades
I’ve thrown in some upgrades that I had on a shelf, however, while I am writing this (at least a year after the original job … yeah I know … lags) I already know that I will have some more cool gear for it, so stay tuned for PART 2.
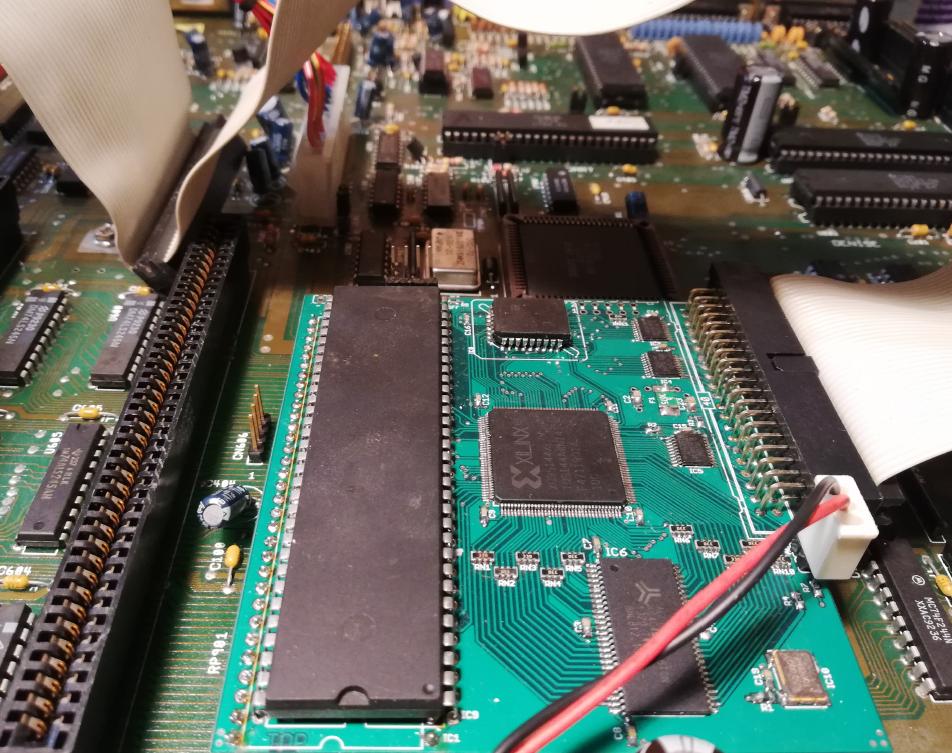
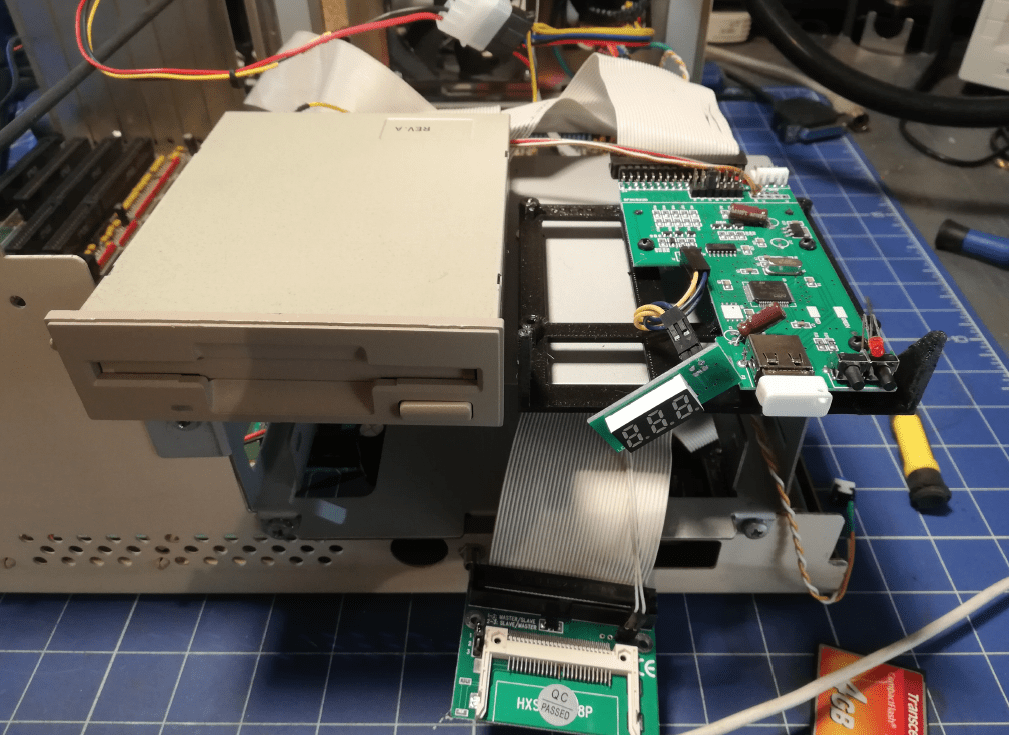
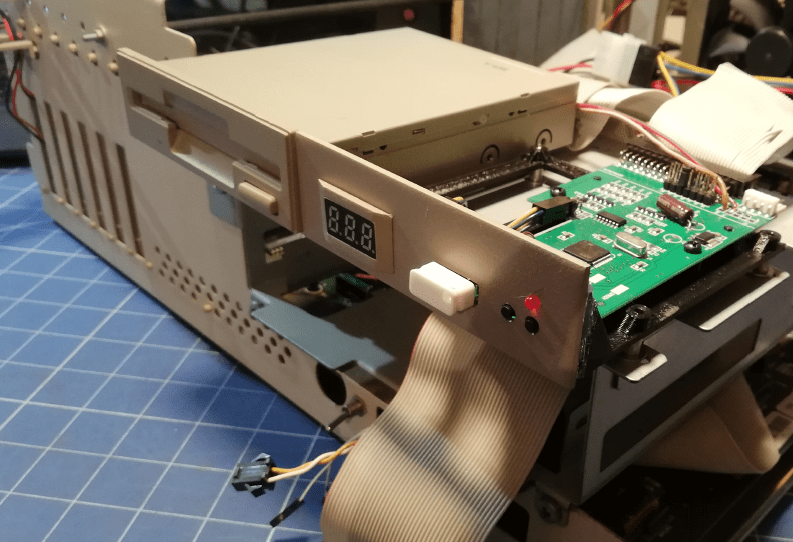
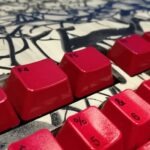
I’ve started with a pretty decent and cool IDE+RAM face that I had at hand – cheers MrTrinsic! 😀
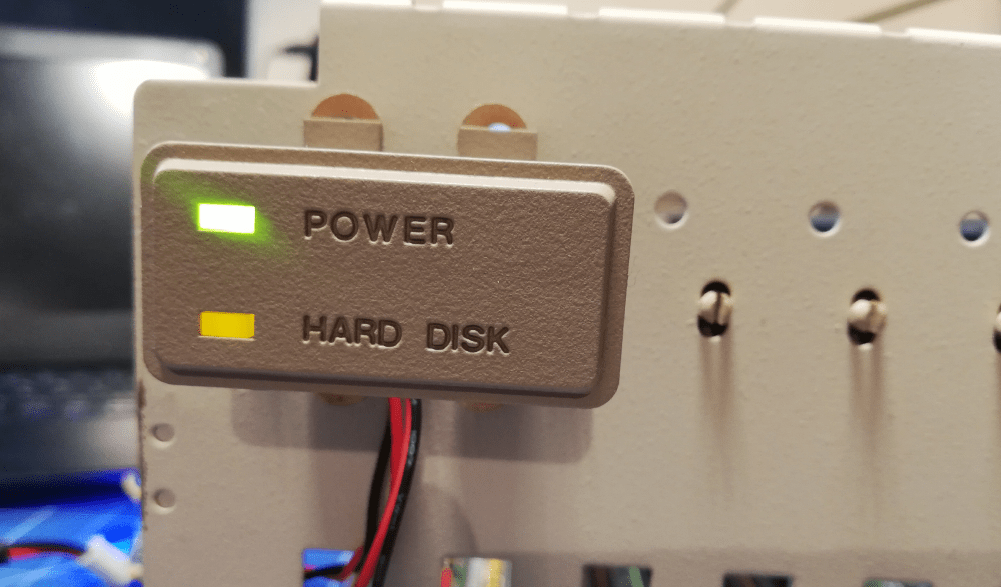
I’ve removed the original LED to connect it to an external one located on a front panel.
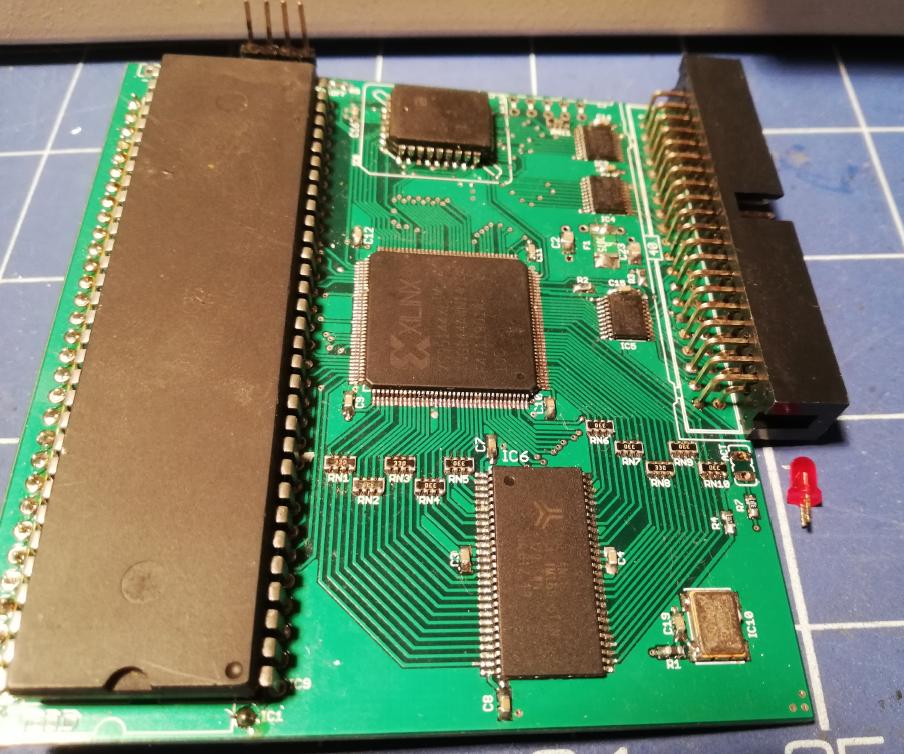
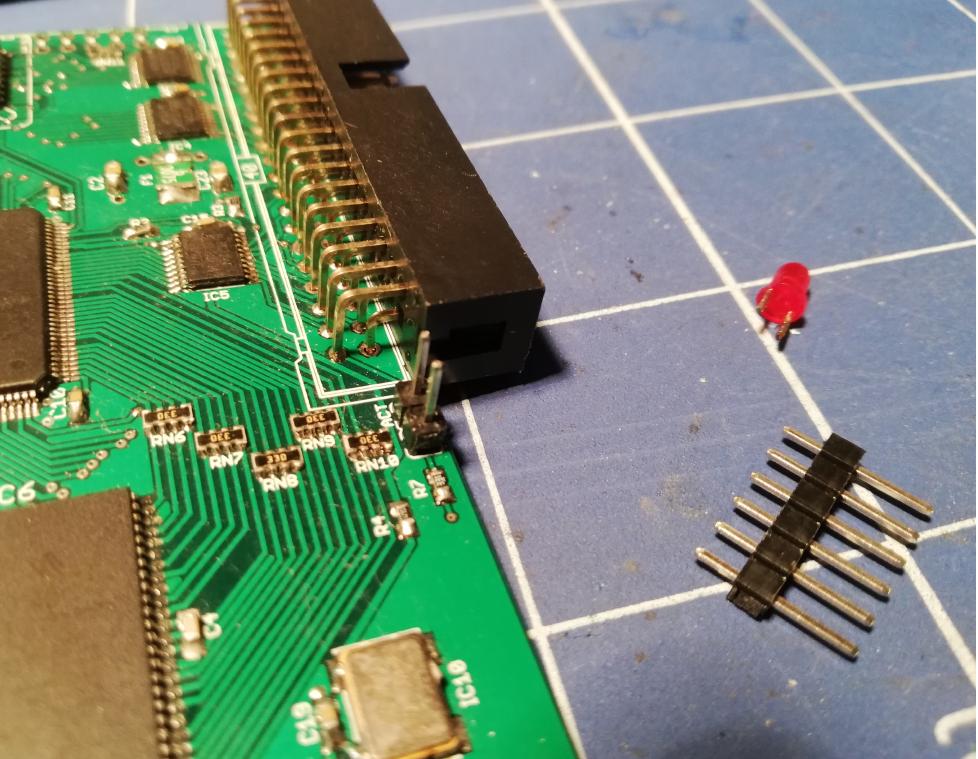
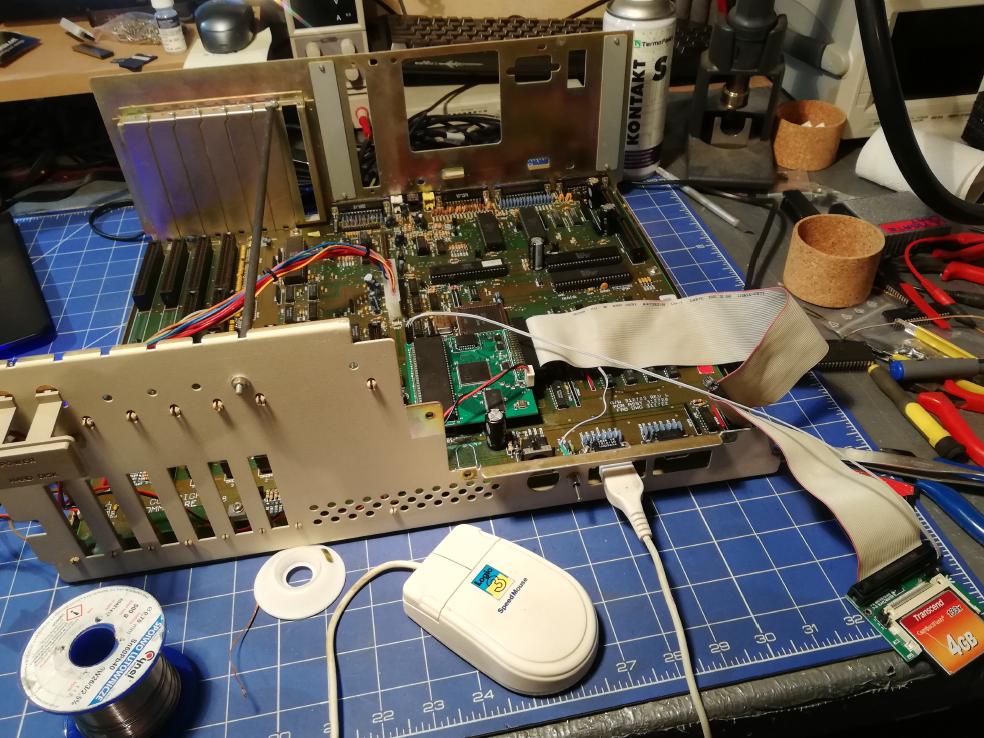
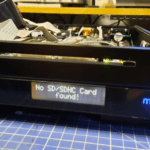
I went for the CF2IDE adapter since it is a way more up-to-date solution than using old and often failing IDE HDDs.
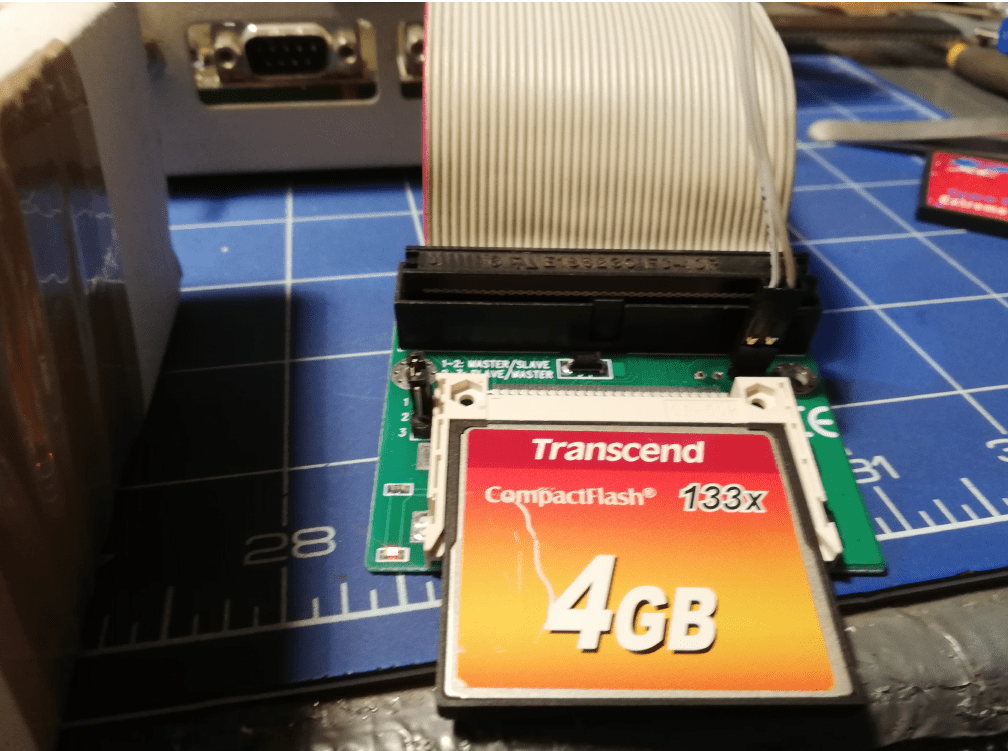
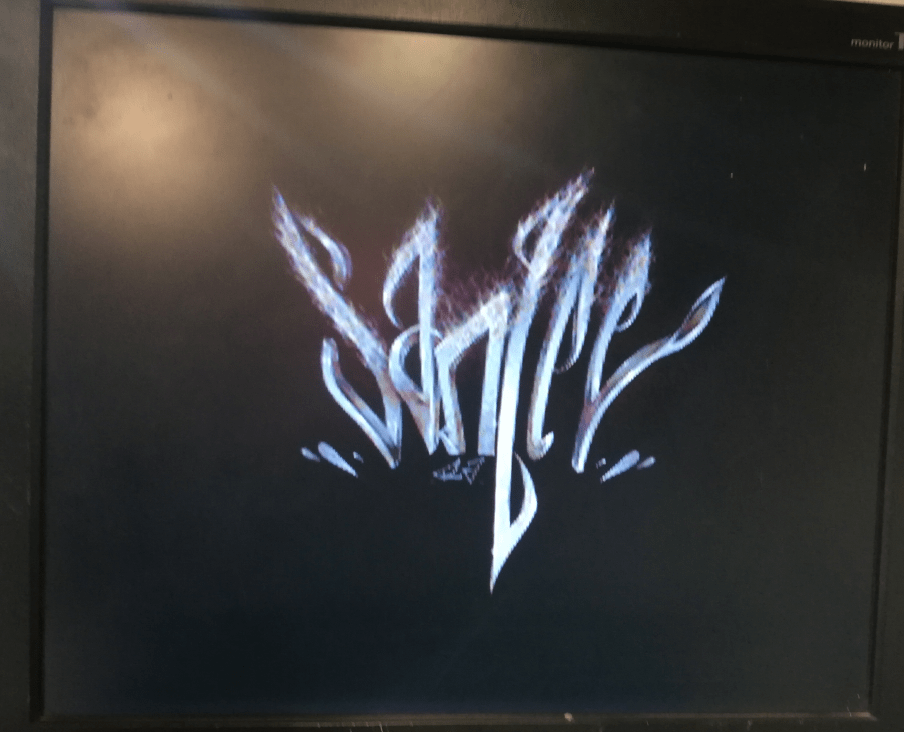
Sanity/Arte running from CF card. AMIGAAAAAAH!!!!!
After Cf2IDE tests, I’ve moved on to installing GOTEK with awesome FlashFloppy firmware as a second drive.
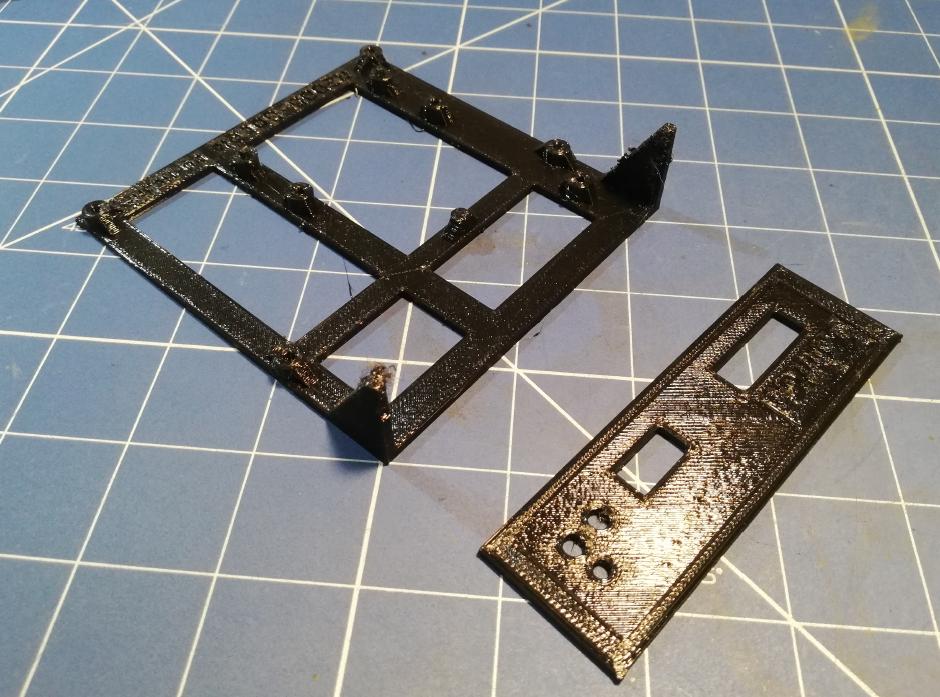
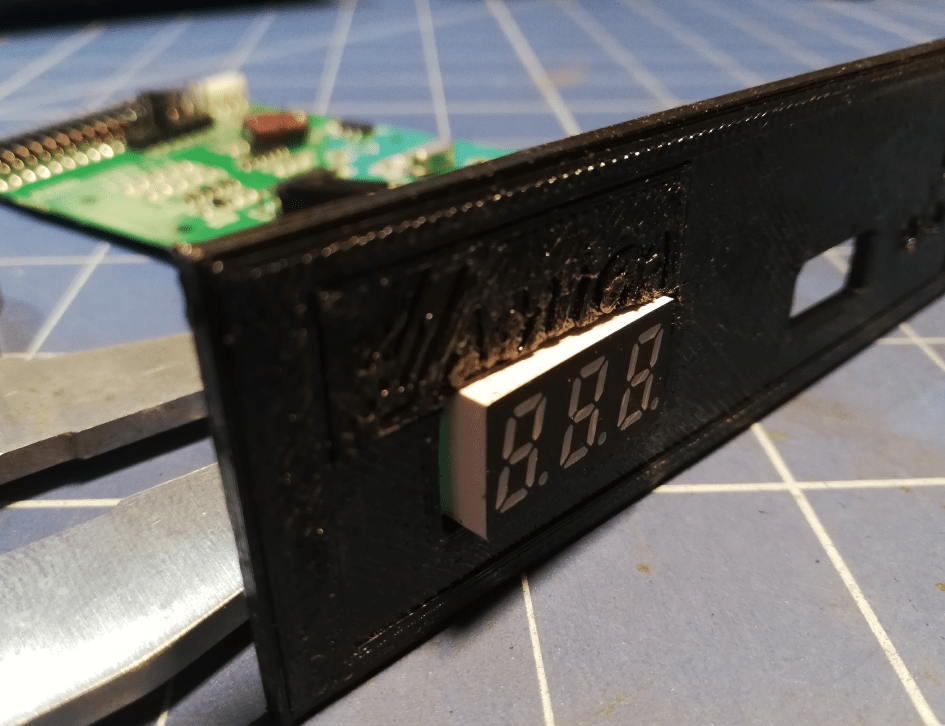
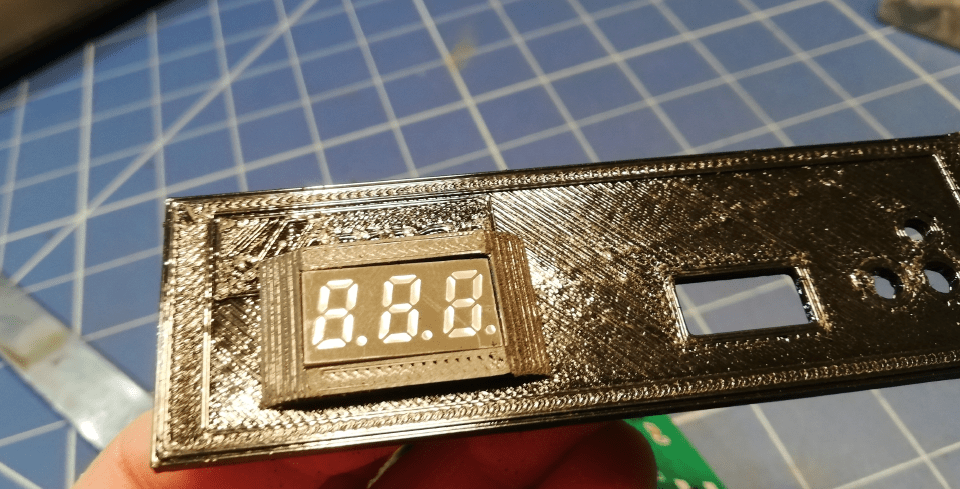
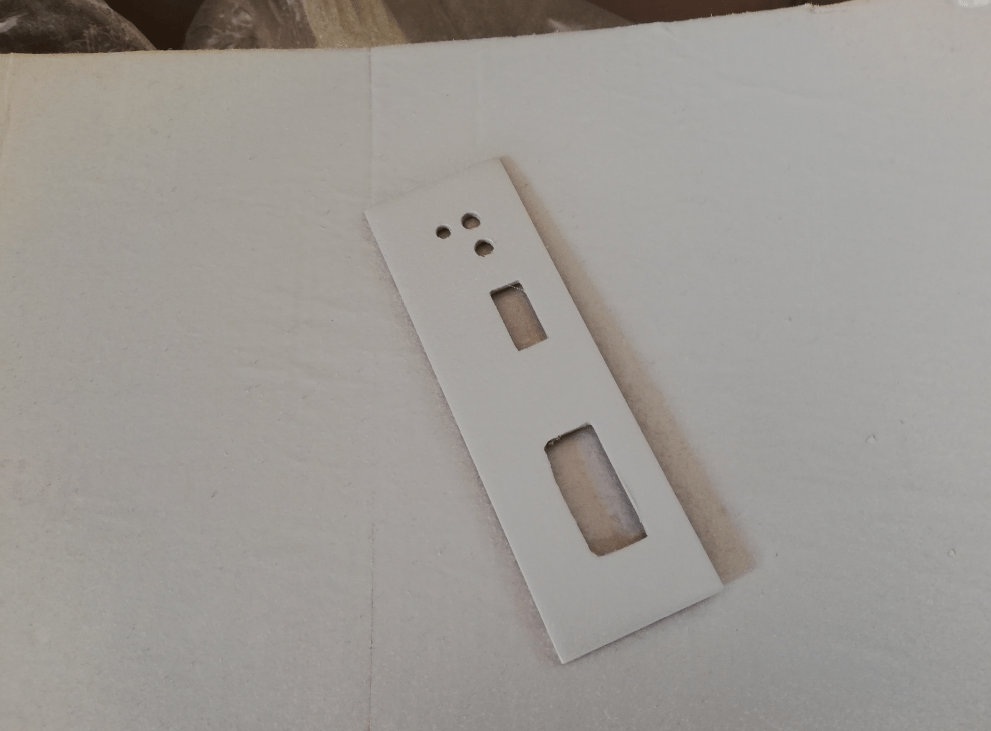
However, I’ve kinda failed with a 3D printed front panel. I’ve sanded it off and spray painted but it turned out too thin so I will be improving it in PART 2.

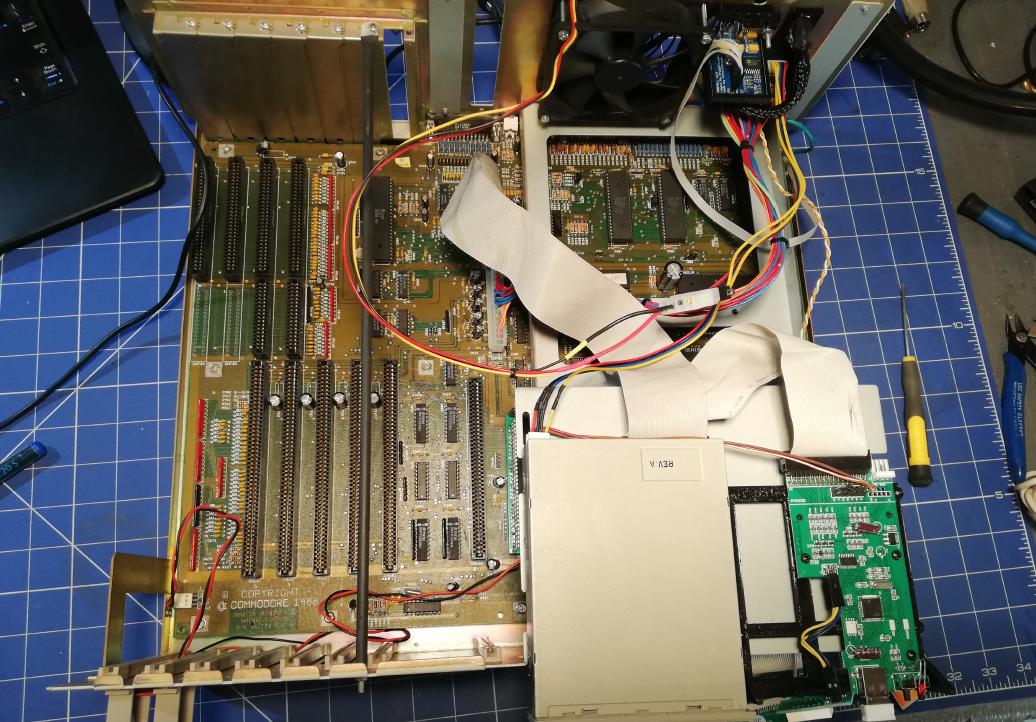
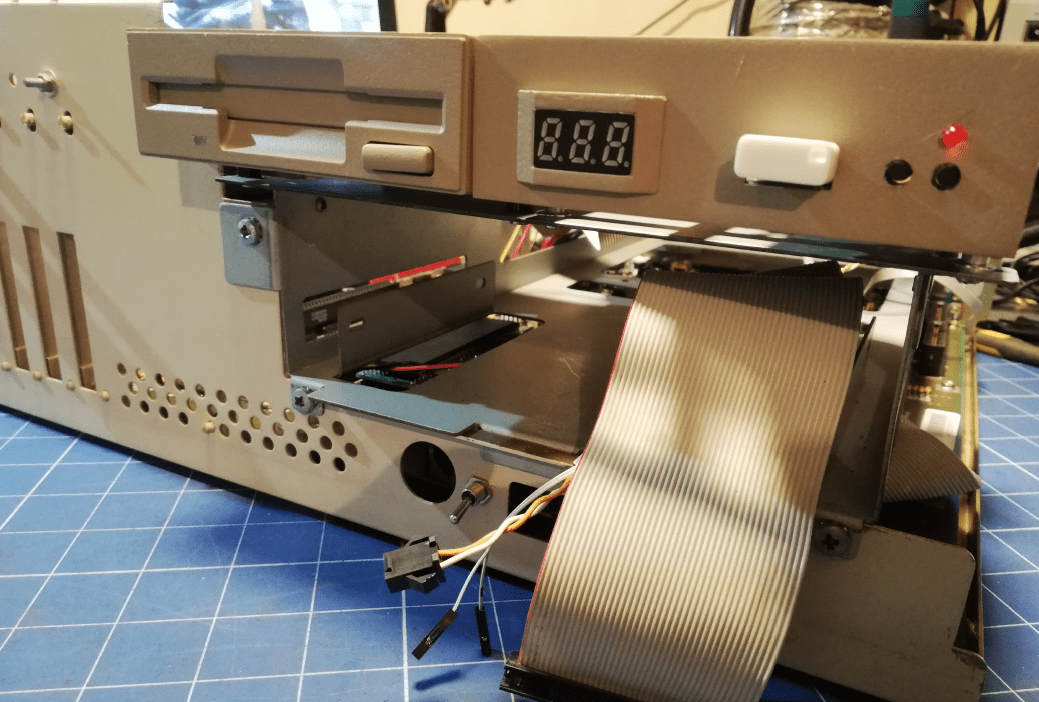
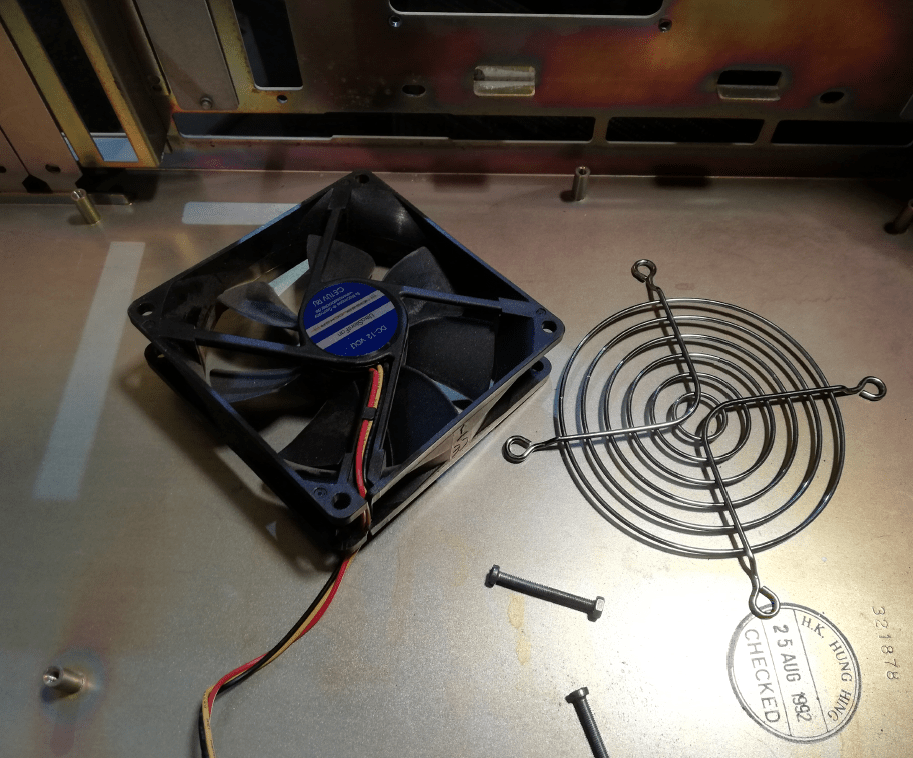
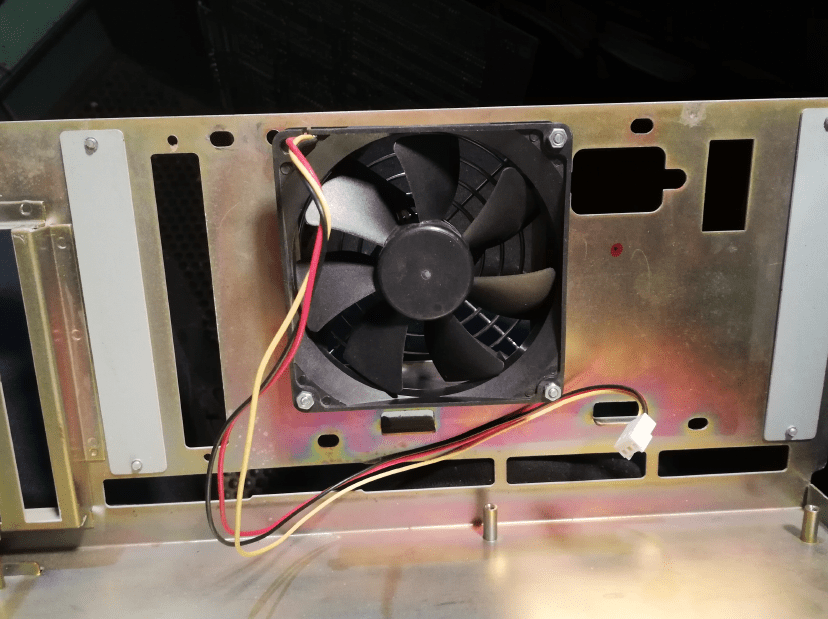
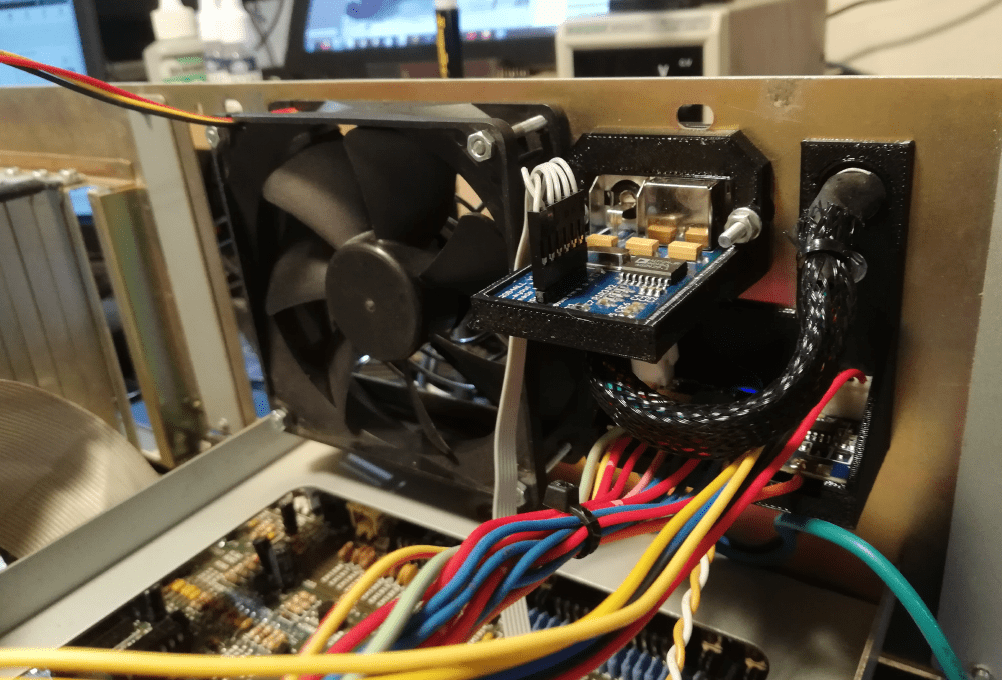
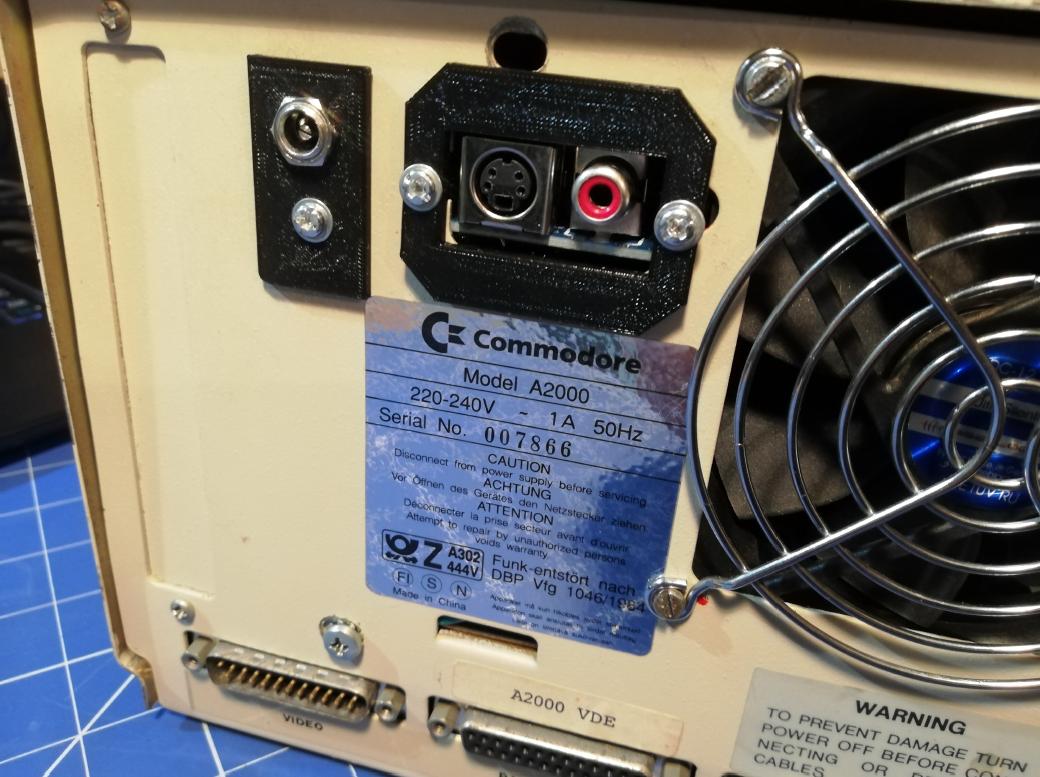
In the meantime, I’ve installed a cooling fan.

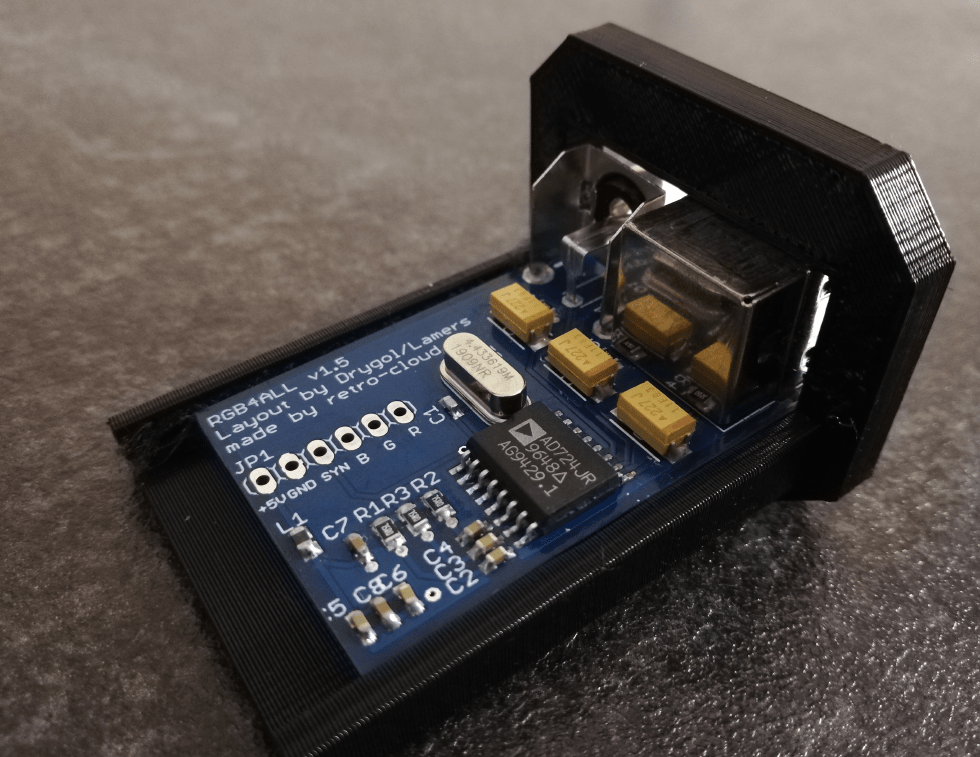
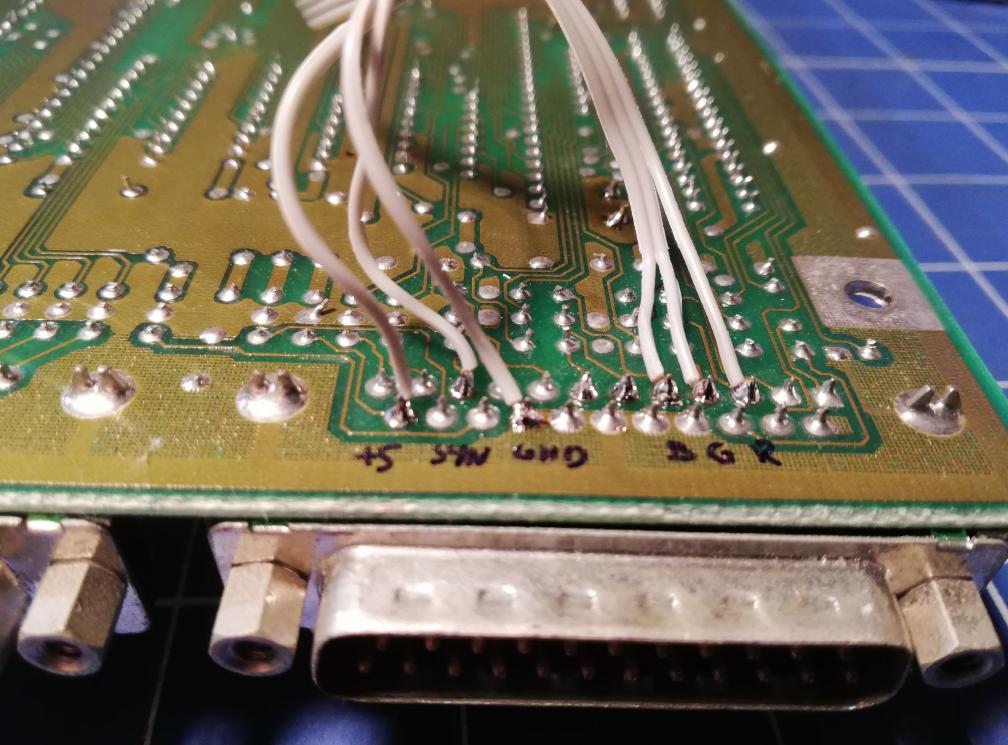
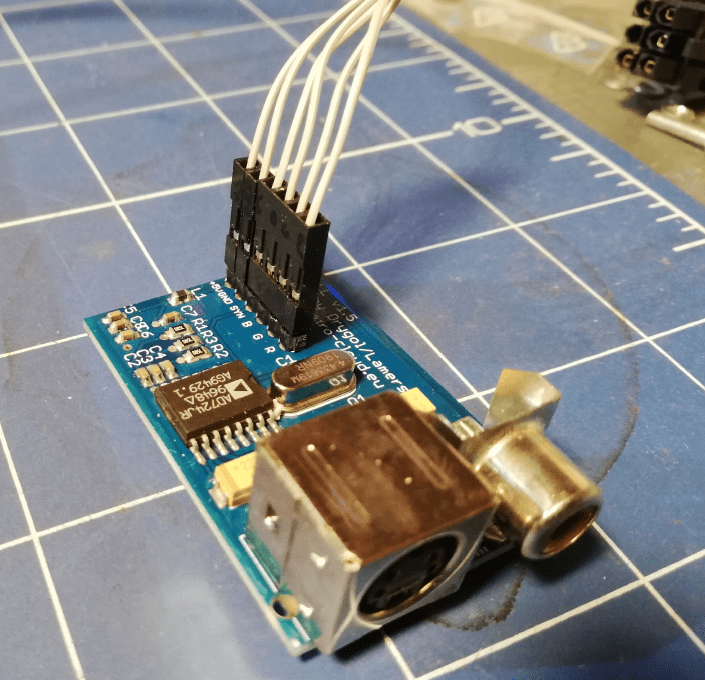
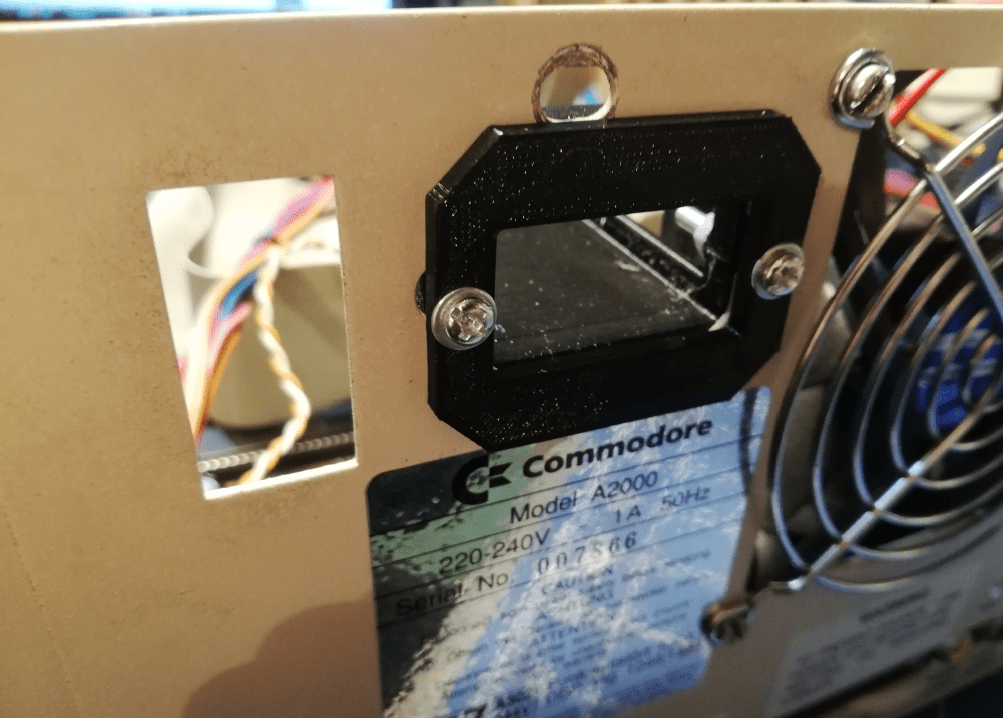
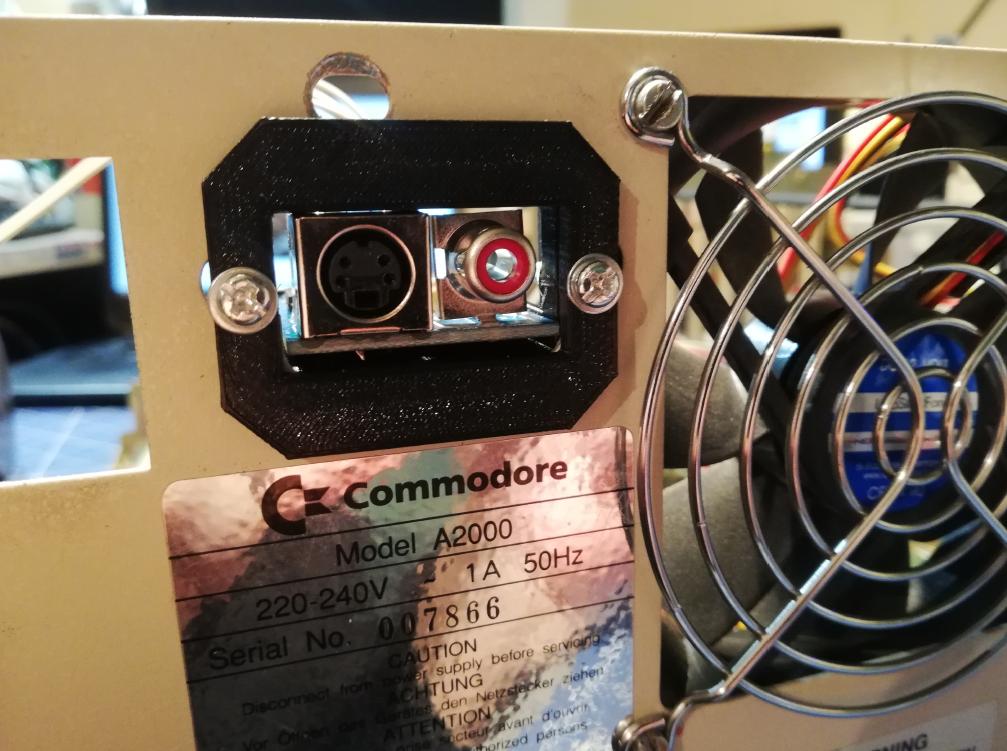
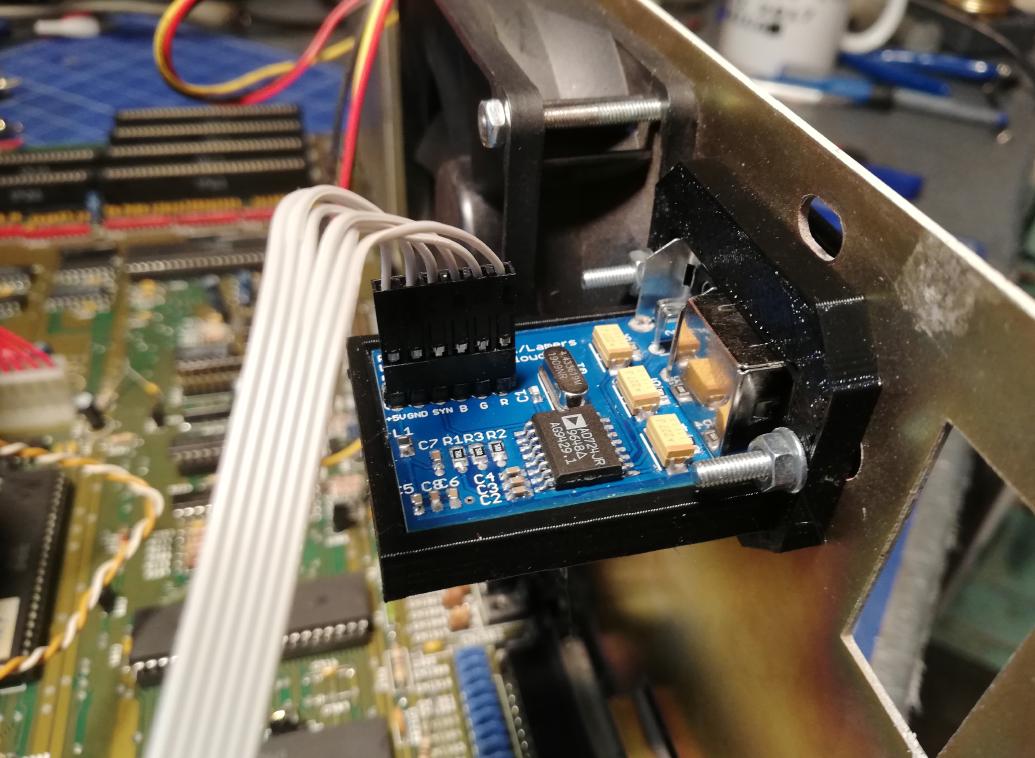
Next on the list was RGB4ALL as it outputs crisp S-Video and Color Composite – both are handy in my case.
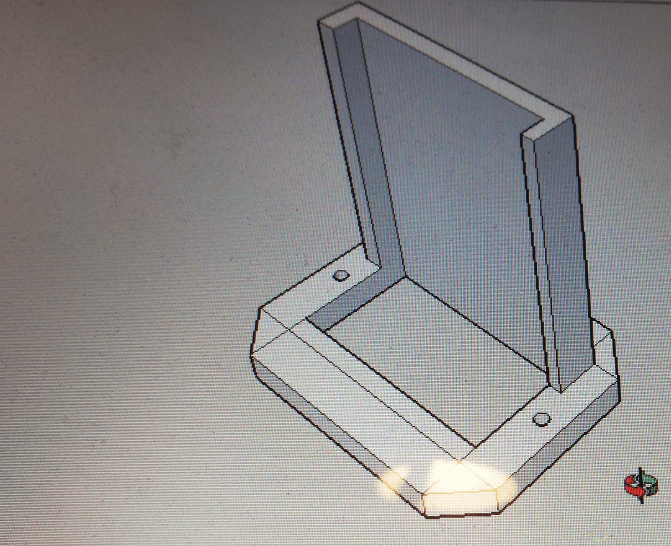
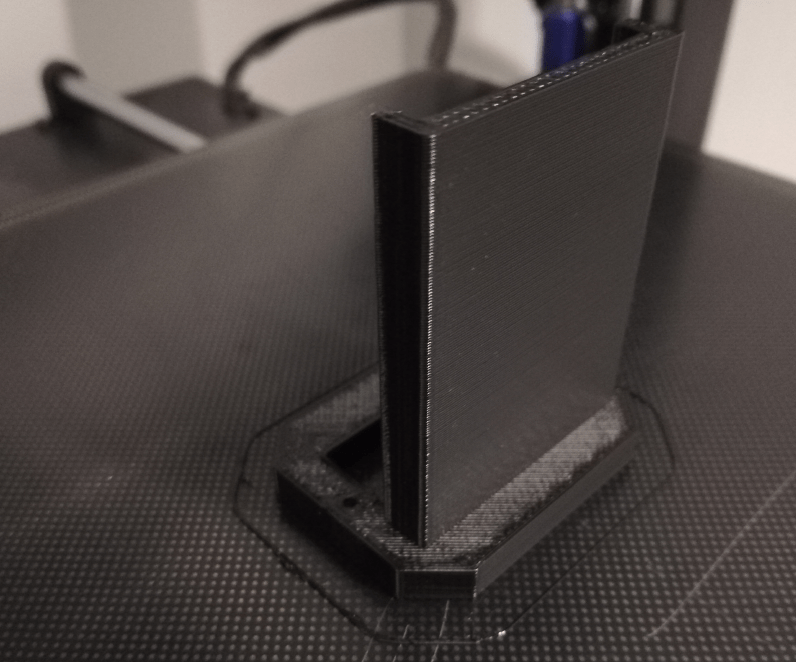
However, I had to design and 3D print some holders for it. Sometime later …
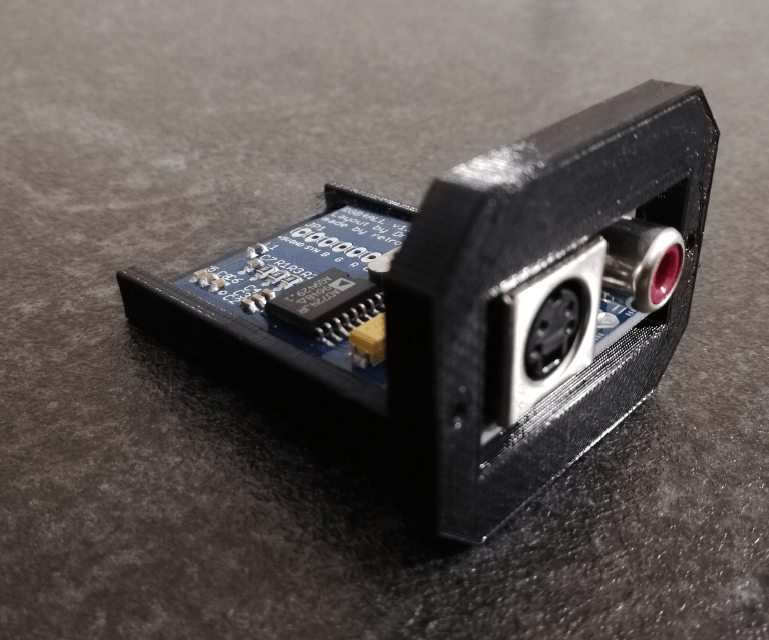
Color composite testing.

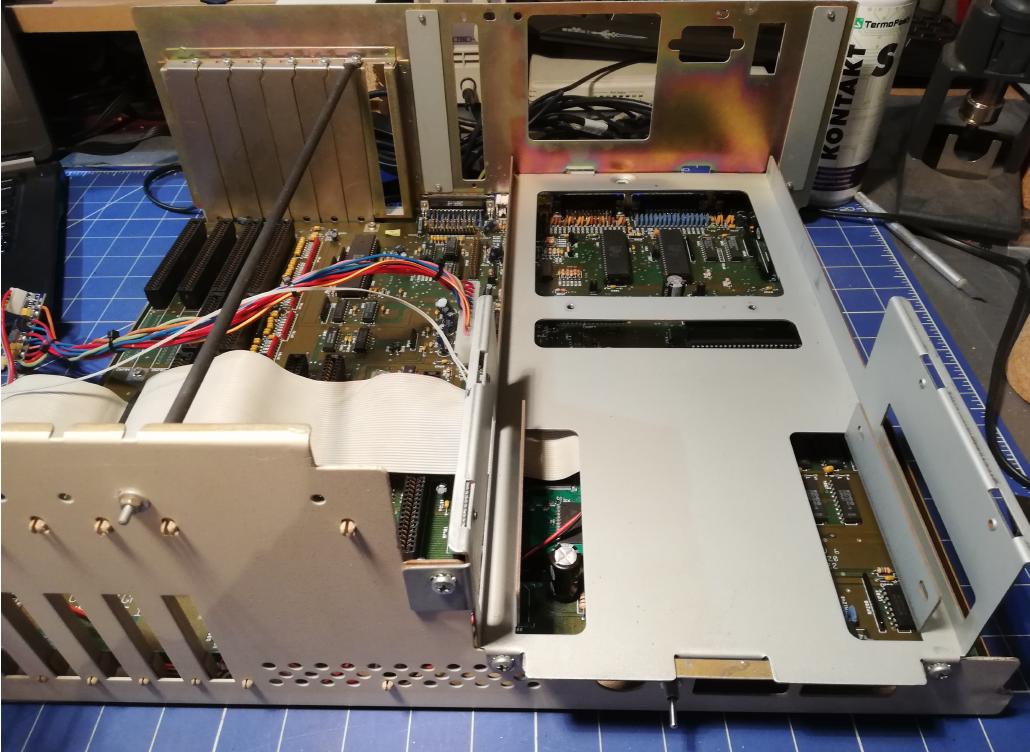
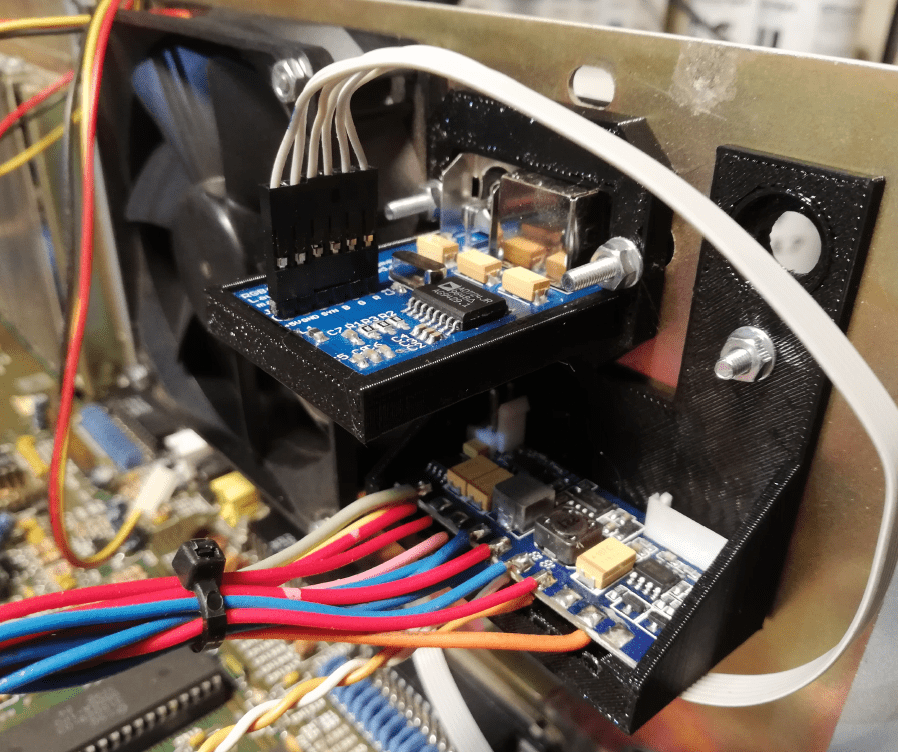
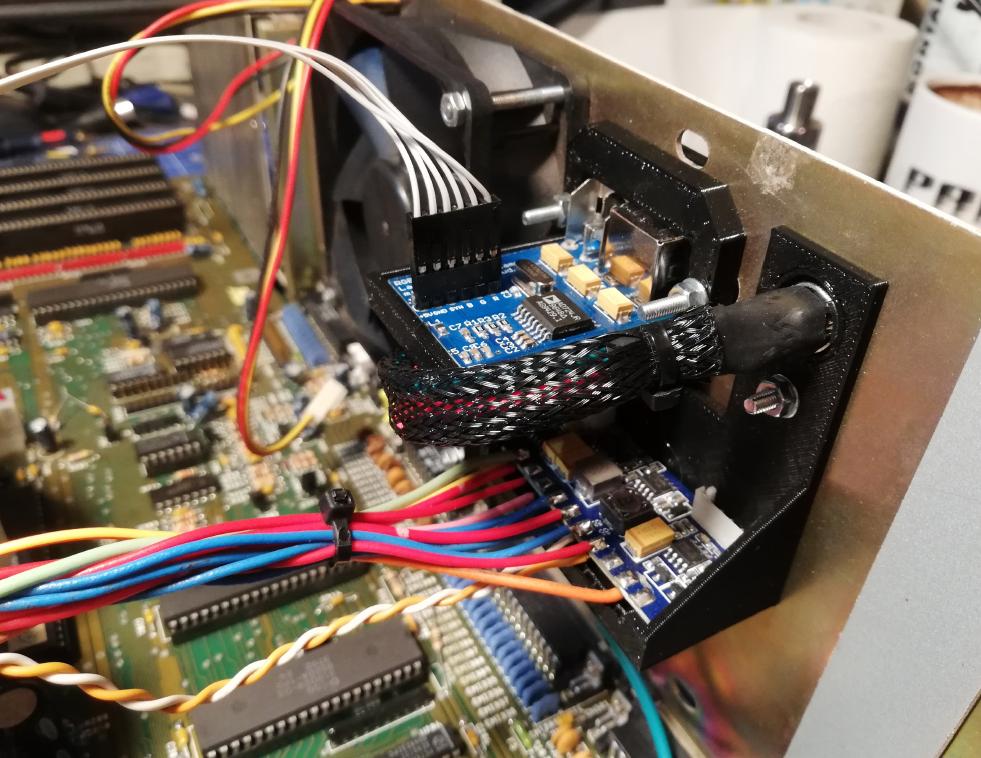
I had to tune the RGB4ALL holder design a bit so I’ve figured that I’ll design some more parts to support the PICO PSU connector and 3D print them all in a single run.
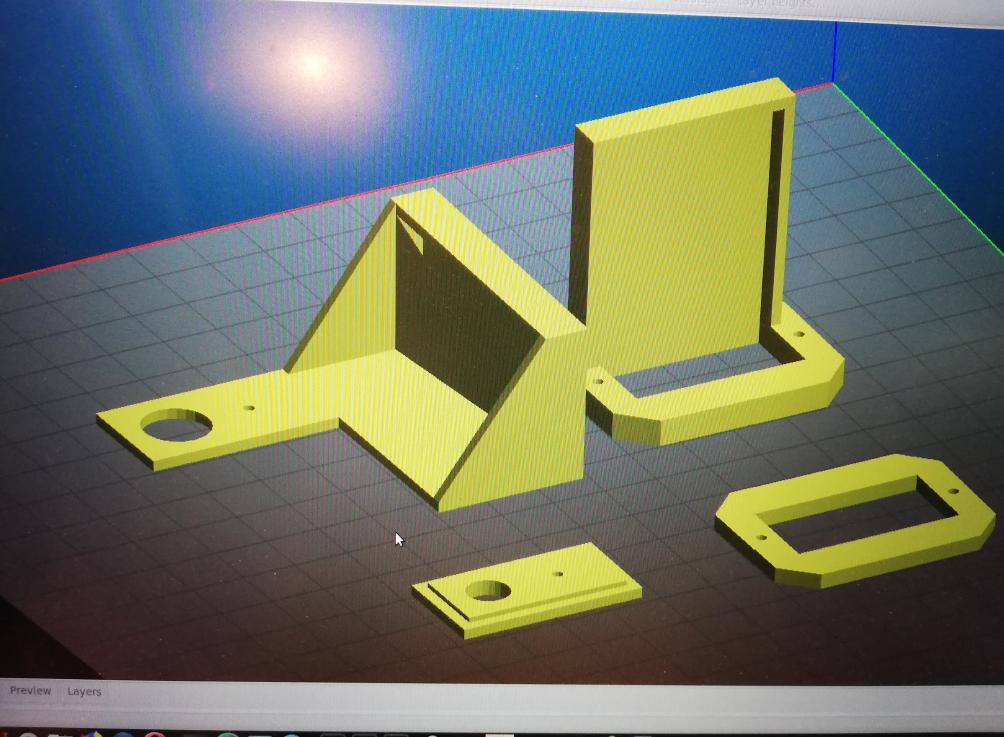
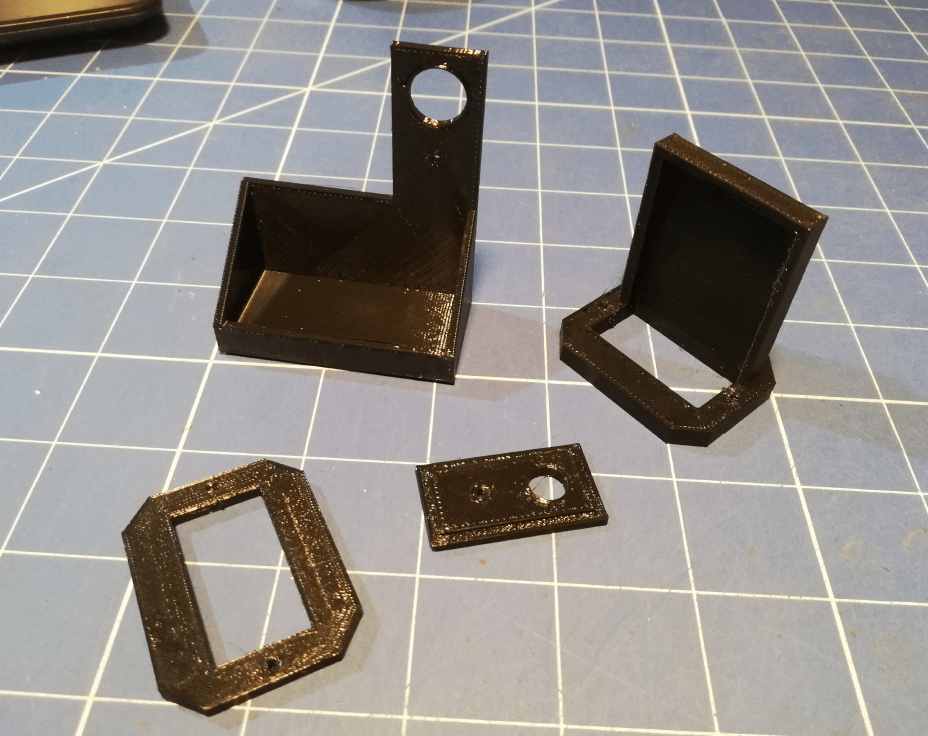
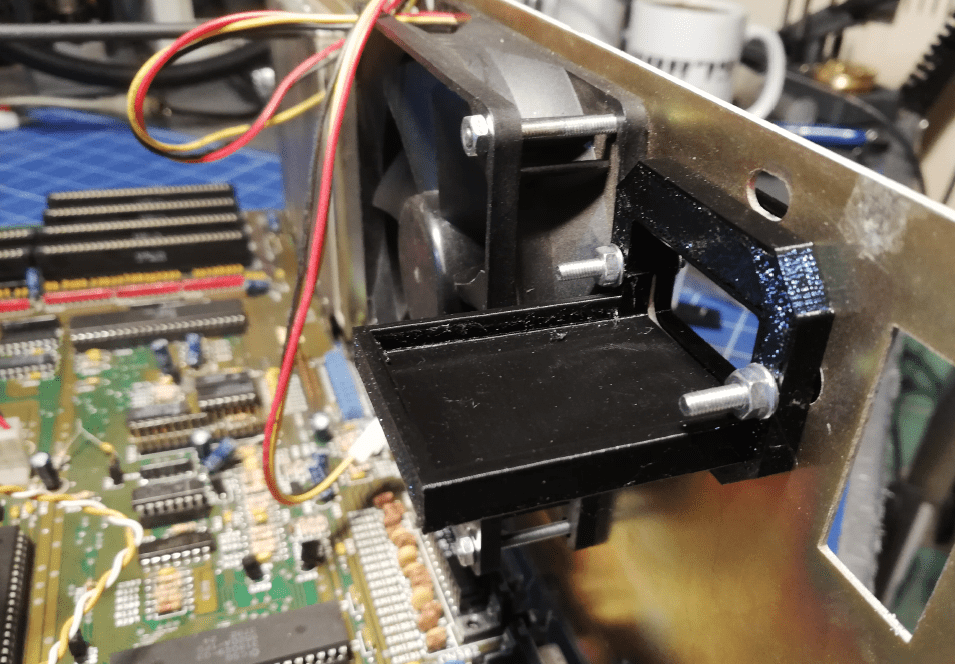
Installation time.

STL files ready for 3D printing are available to download HERE
I’ve also 3D printed a 5.25″ panel (to spare the original) and made holes in it for the CF card and crappy power button (PART 2 😉 but I’ve lost pics of it somehow.
Outcome
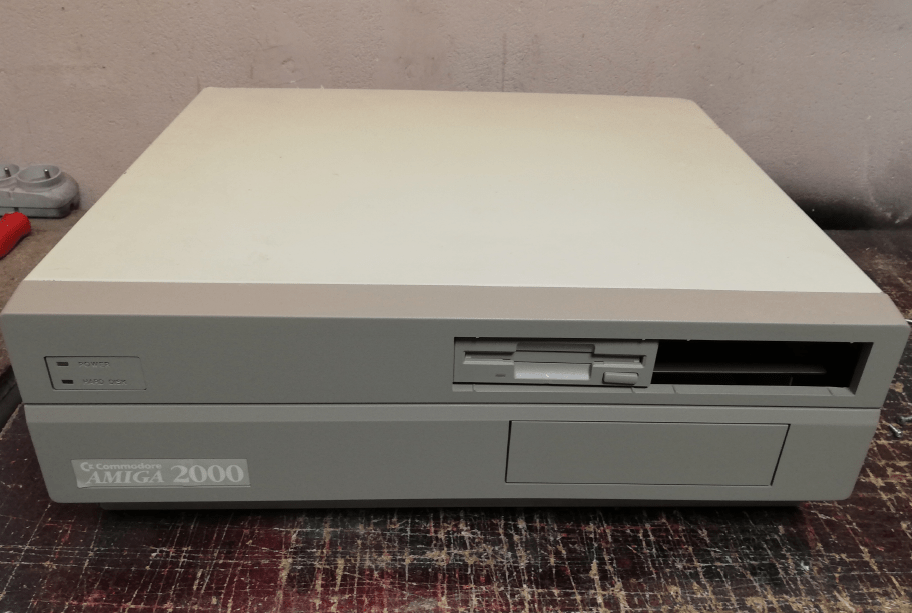
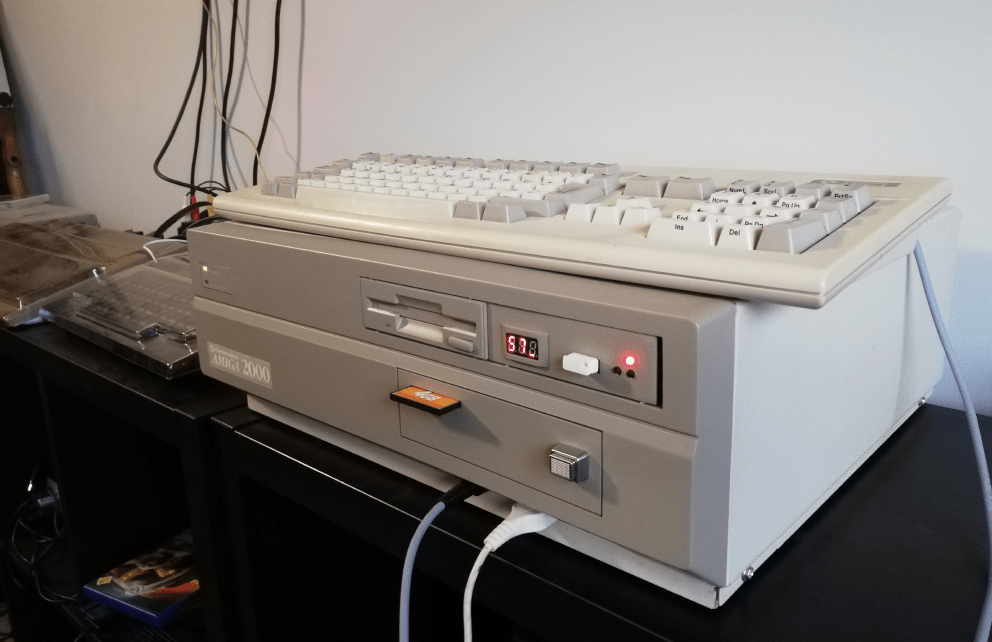
I am rather pleased with the results, however, I am aware that some things have to be corrected. In PART 2 I will describe upgrades to already done upgrades and more upgrades 😀 Plus tweaks that I’ve made over last year.
For now, pic of marvelous Amiga 2000 that works on my bench in 2021 🙂
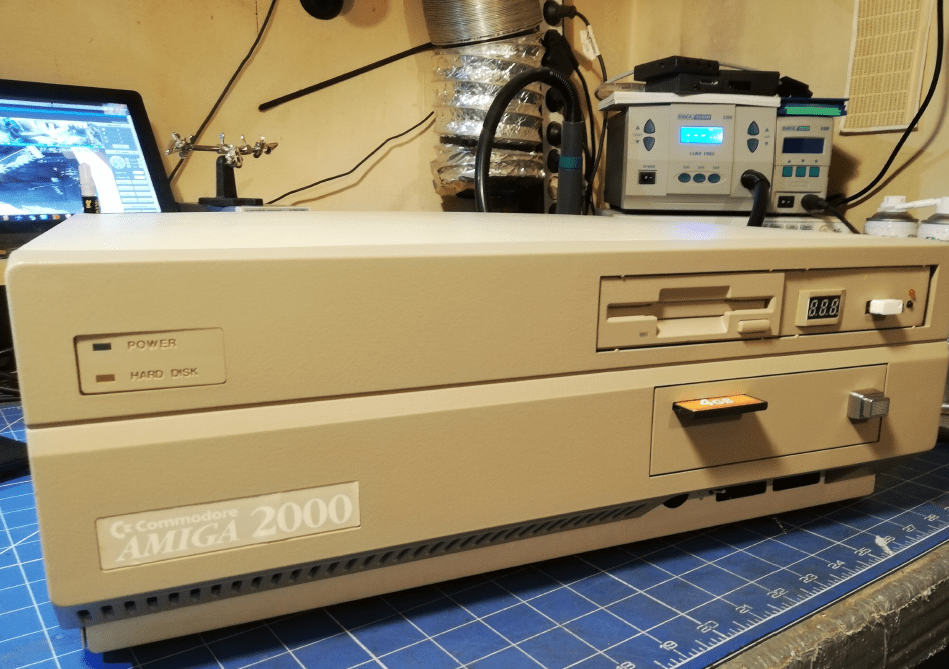
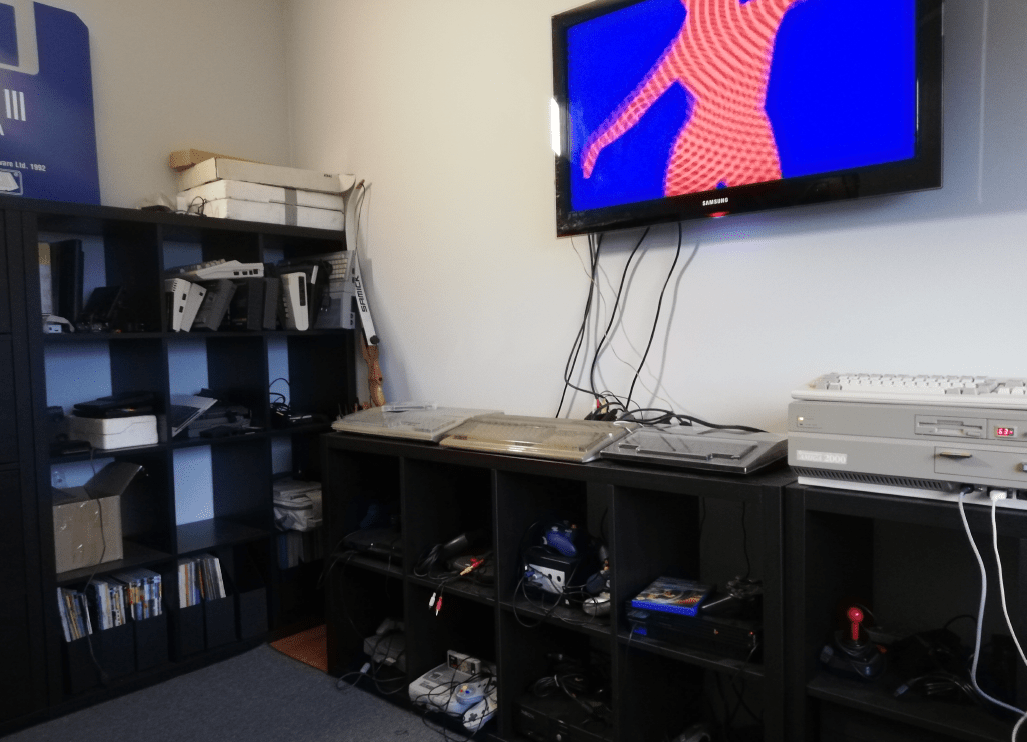
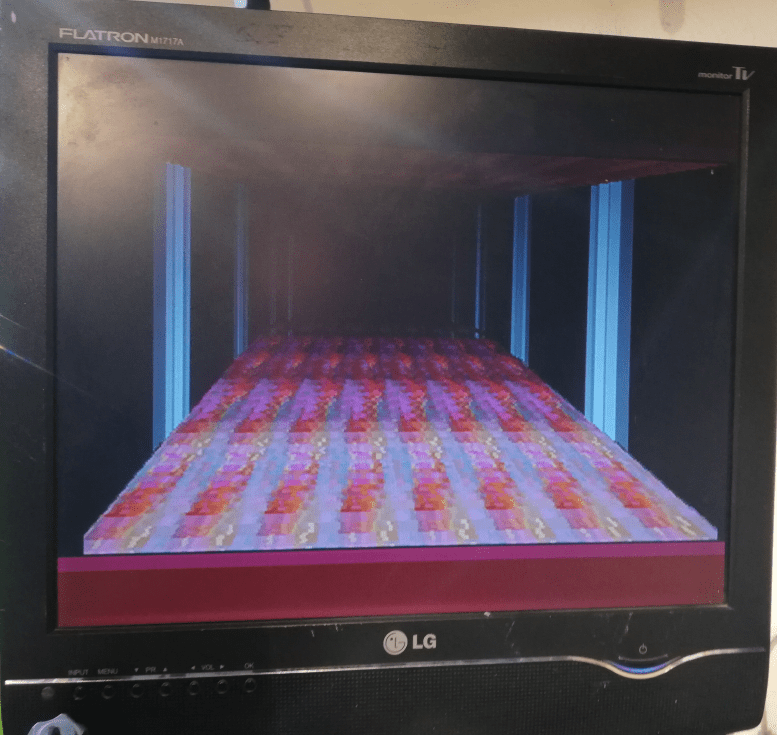
The last thing left was to run a mandatory State of the art demo by Spaceballs! 😀
Outro
If you want to get the retro gear I am manufacturing or hardware modules, please visit shop -> https://retrohax.net/shop/
Please support my work by commenting here and on our Facebook or Twitter pages.
If you want to donate a dead computer then drop me an email. Extreme cases are welcome. – Nobody donates anything. so don’t bother. Looks like only Youtubers get all goodies ;P
i swear FedEx/UPS does the same thing with all computers/electronic hardware!
Does anyone know the name (or source) of the power connector that the A2000 uses? Looking to make a custom cable.
Have a look at the BOM of the project, there is a direct link to Mouser. Links are in the first post IIRC
well done but “PVC Pipe weld” glue would have welded your cases together with only a small mark where the parts fused together. You didn’t need heat to do it.
Well, I’ve tested tons of solutions and lots of different glues and such approach was so far best. Will check a PVC glue but I am guessing it is acetone based and that won’t create such a strong bond.
where do you get the brash mesh from? I can’t seem to find anything around here in Canada.
Try searching on hobby stores where they build various reconstruction models. Hard to say how it is called in Canada as I am getting it here in EU locally.
I took a video of the guy delivering your Amiga, here it is.
https://www.youtube.com/watch?v=7YrpmZFixp0
drygol You are the Master!
If one of my retro machines ever have problems i will call You for the rescue 😀
By the way: The proverbial “3 grosze” from me as a hardcore Nissan Patrol user. The japanese copper used in these vehicles tends to crack and crumble with age. It may causing problems with conductivity also even if there is no visible damage at first glance…
I know what i’m talking about – i had to replace all cables in my ’98 little offroad monster, so fell warned 😉
Greetings from Upper Silesia 😉
I totally know what you mean! 😀 That’s why I had to replace wire harness in my ’96 Y60 😀 However, oxidation of that copper is mainly seen on an outside wiring. For my PSU fixing purposes, I’ve chosen a proper and nice parts of harness 😀
Cheers from northern Pomerania 😀
…. another phuntastic refurb job. Regards !!!!!
Thanks m8!
It is something wonderful, all carefully and well restored.
Thank you sir!
Superb job. Especially case fix.
Better than new!