… or hot-fixes surprise!
Story
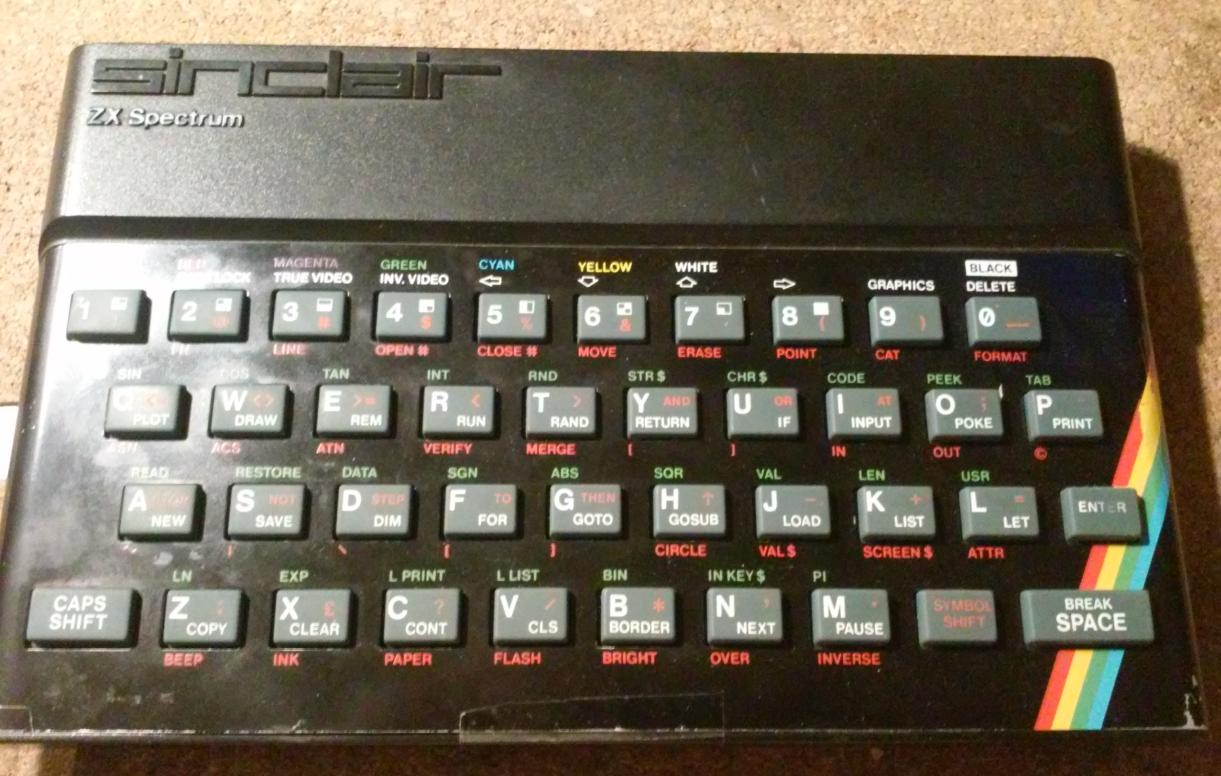
Recently, I received a broken ZX Spectrum 48k from a friend.
A nice looking unit that required a bit of work on the outside.
… and a lot on the inside … I’ll get to that in a minute but first, let me show you how it reacted after powering up.

Obviously, I had to disassemble it quickly to see what is the cause of such behavior and once I did that I WAS LIKE …

Issue 2
Instead of writing various descriptions, I’ll just post photos of what I’ve found inside …
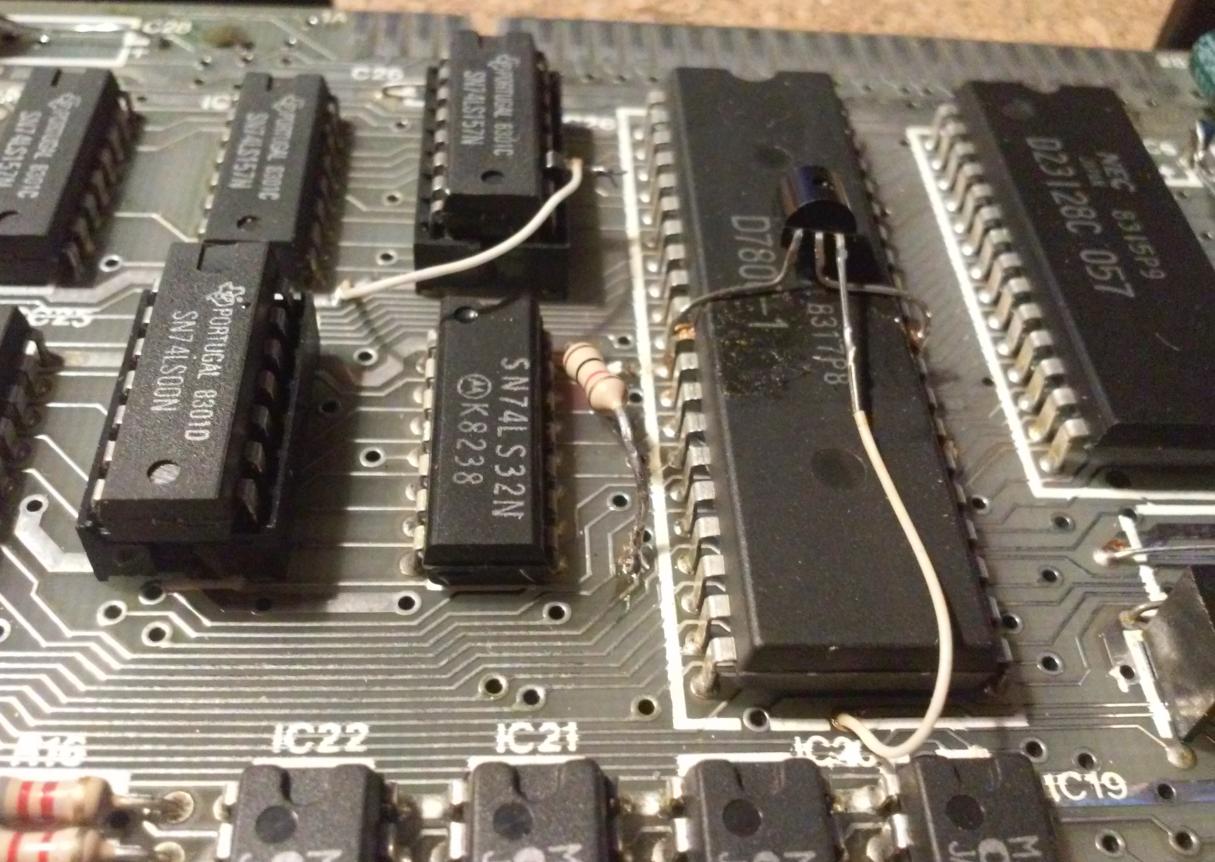


It was a bit thrilling I know but some words of explanation are needed.
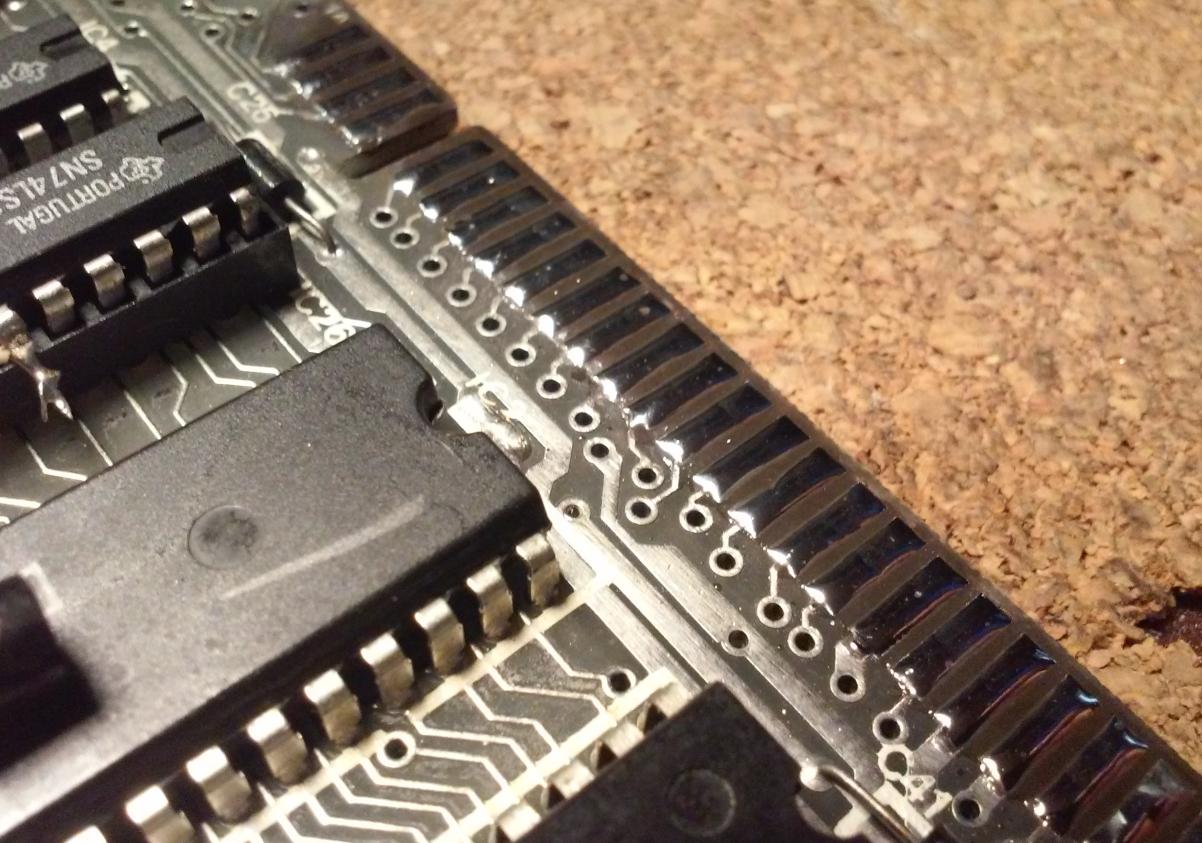
Obviously, this unit has quite a past but a lot of these quick fixes are made originally by Sinclair itself! I surely wasn’t aware of that.
For example, the transistor (TR6) soldered over the Z80 processor is a patch to fix a bug in the Issue 2 ULA.
However, some of the remaining repairs weren’t exactly first-class art as you saw in the pictures.
Anyway, I started by correcting all dodgy solder points, resoldering some parts, and cleaning in general.
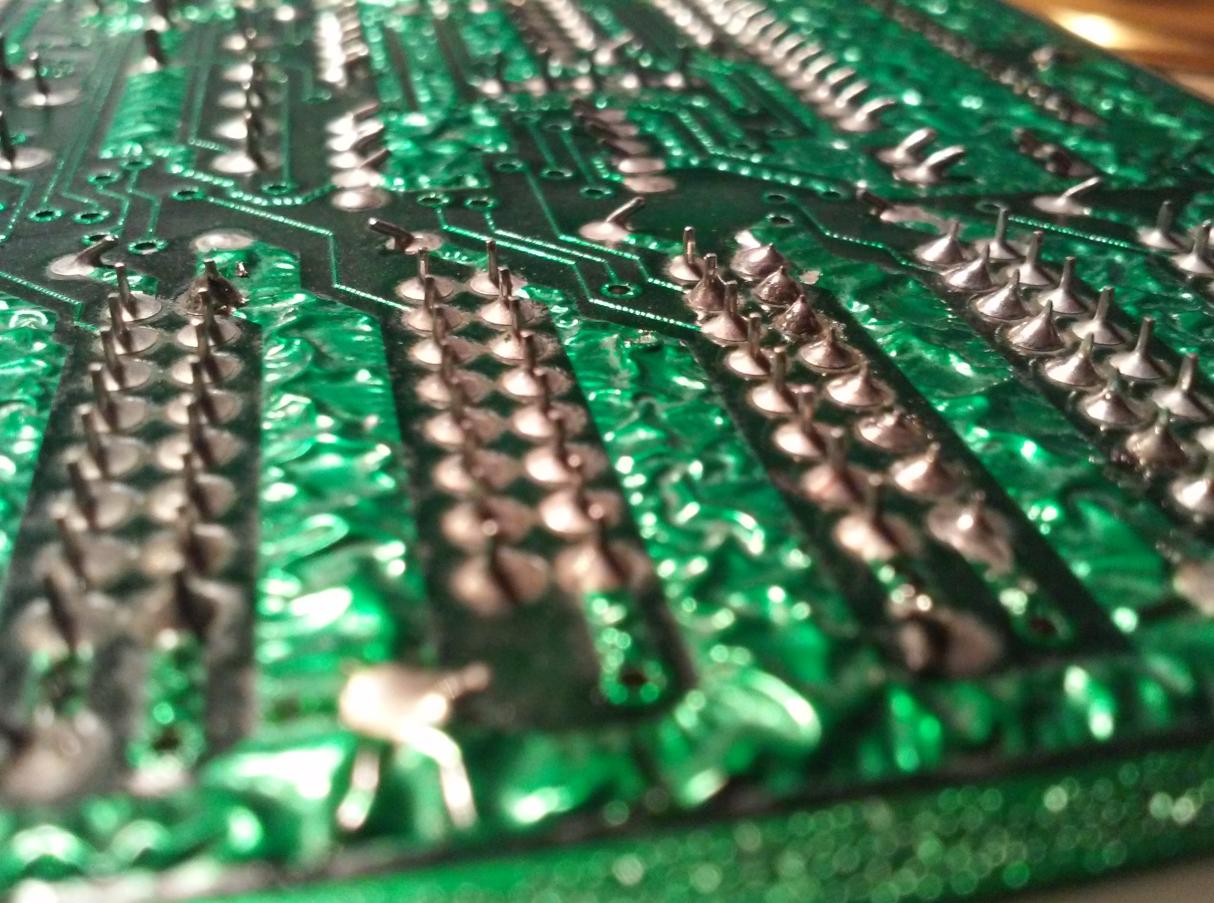
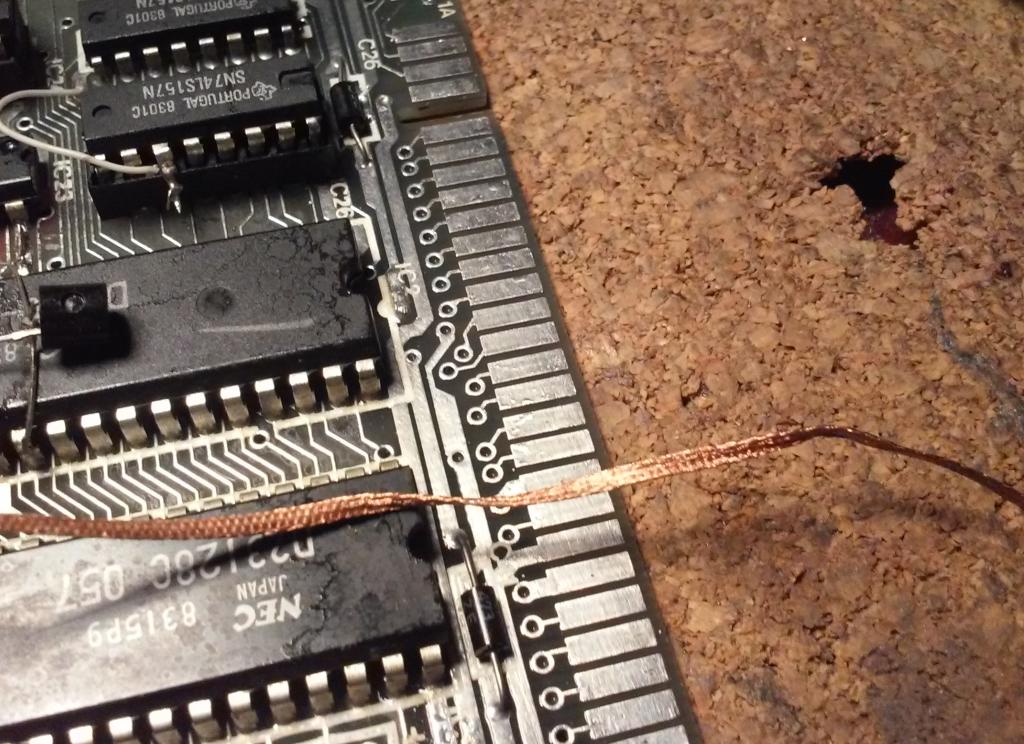
Some fixes turned out to be legit like the one below that repaired a broken trace. (after cleaning photo)

The fixes
I did small resoldering on that one 🙂
Also, that unit had a composite mod partially done. Partially, because it was missing a capacitor that in my humble opinion adds sharpness to video output (at least on my LCD TV). This whole mod was described in my previous post about ZX Spectrum 48k
Here is an outcome of the cleaning:

Once that was done, I could start to look for the actual problem.
Use a finger, Luke!
Riiiight, so that was quite an easy task 😀
What I did is a simple trick to test for a failed chip.
I only had to connect PSU and look for a hot chip (hot compared to the rest of the chips) with my own finger. “Fingering” term gets another meaning here LOL 😀
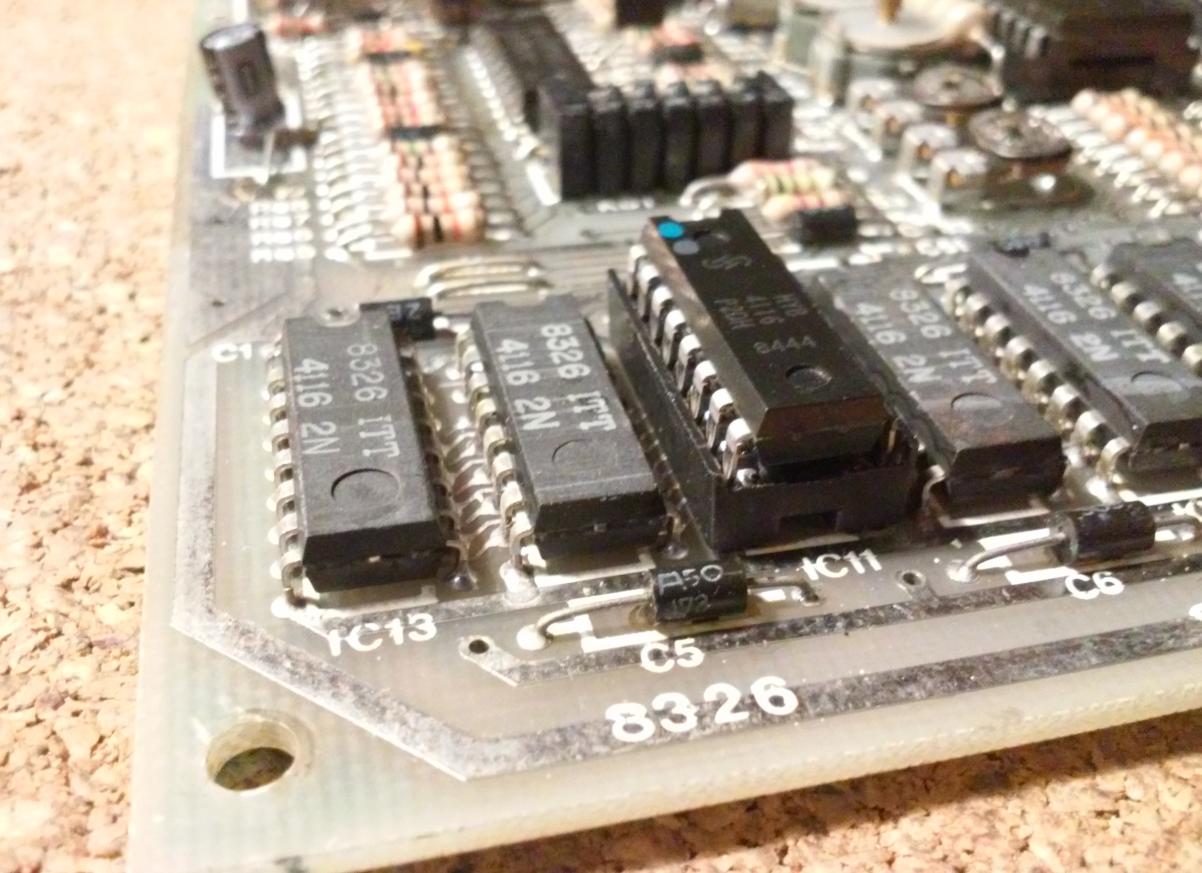
Anyway, one of the RAM chips was getting quite hot just after applying voltage. It was one of 4116 RAM chips for the lower 16K of memory (&4000 – &7FFF).
Obviously, that one had to be replaced. For convenience, I soldered on a socket to easily swap a chip in the future and installed a new chip in it.
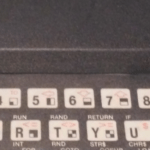
TADAAAAA !!!

That solved a problem and I was greeted with a nice and sharp-looking boot screen.
Keyboard membrane
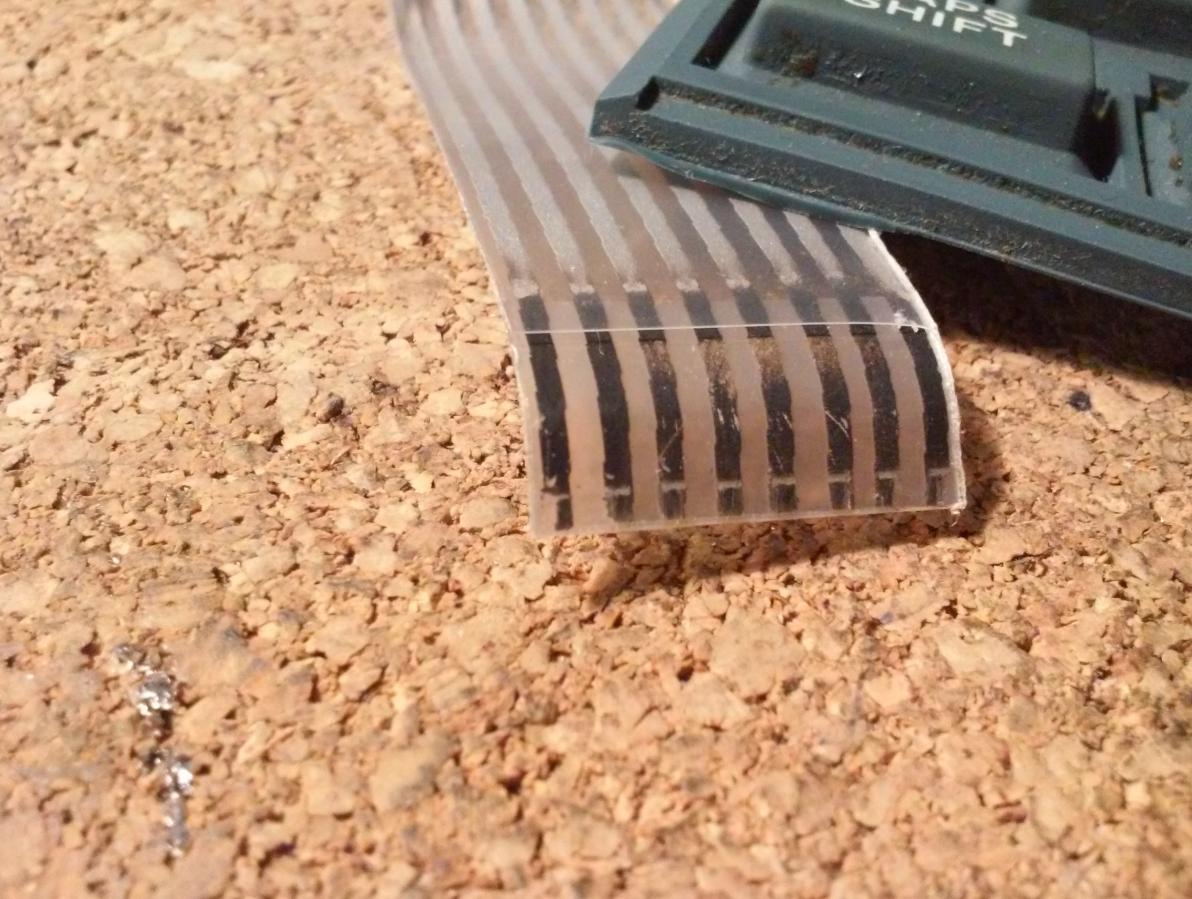
The next thing on the list was to fix worn-out keyboard membrane connectors.
When I disconnected it from the mainboard during disassembly it looked like this.
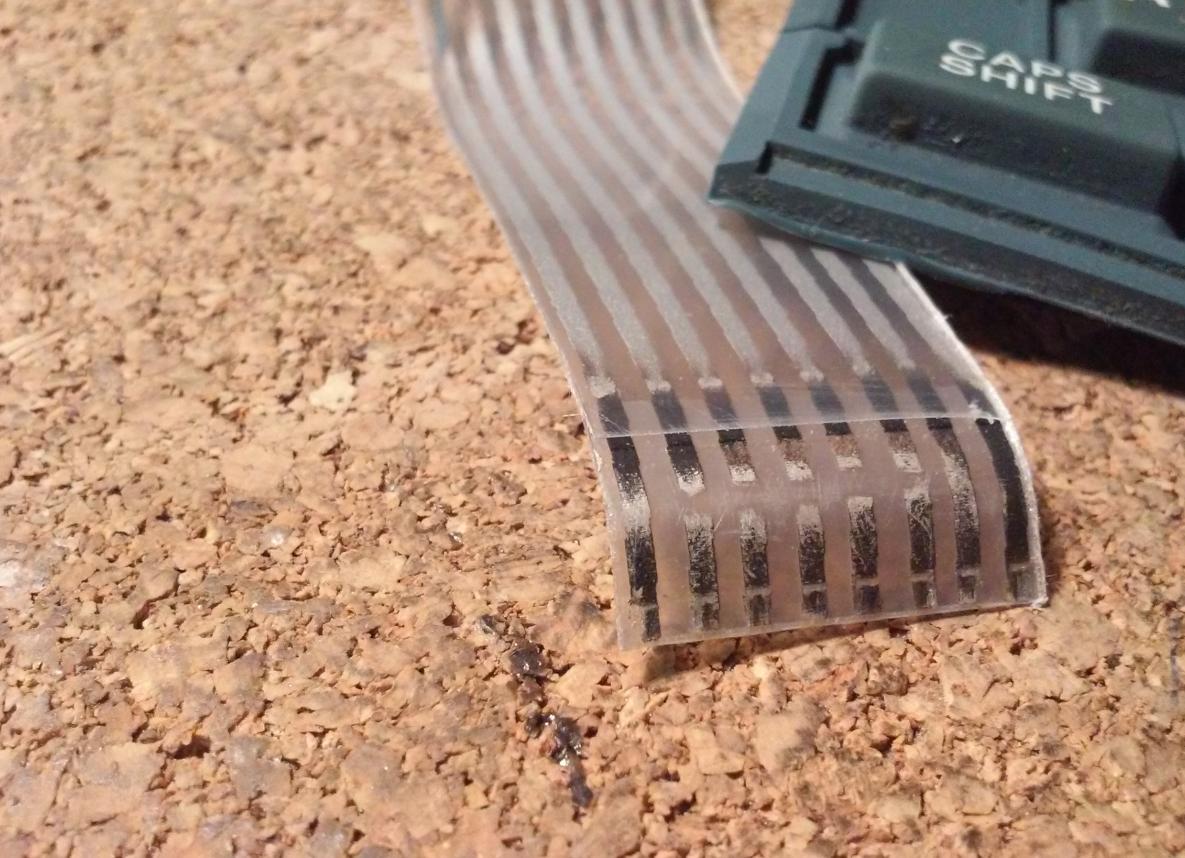
At first, I tried to very gently treat it with 1500-grade sanding paper and it resulted in an epic FAIL …
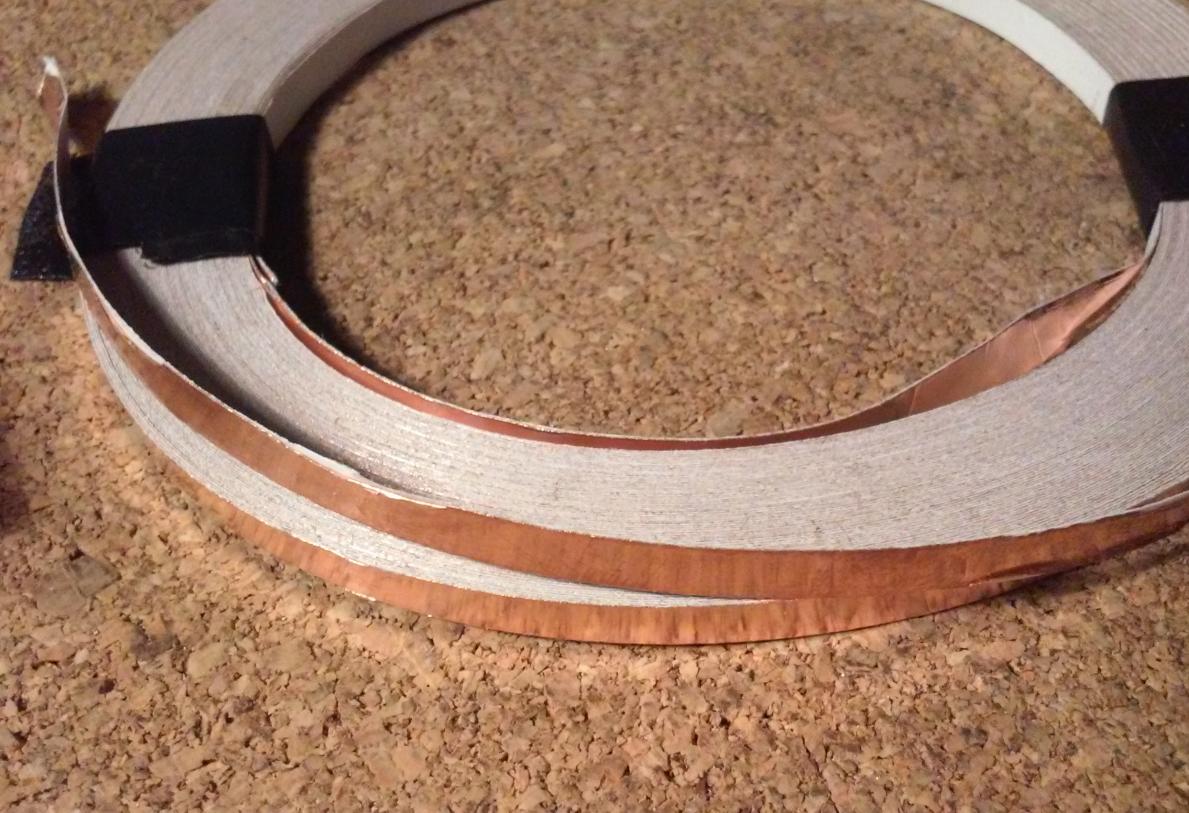
I wanted to use adhesive copper foil like the one below but that was a crappy idea and I left it.
Next idea was to use silver-based glue that was supposed to properly repair broken traces. Despite the fact that applying it is a pain in the butt (and I was trying really hard to work it out with an injection needle) it didn’t even connect to original traces properly after curing – that was failure number 2

After that, I knew the time has come, the time for a short break on a throne ;P
The solution came up instantly after the second ‘plaaap’ and I implemented it a few minutes later 😀
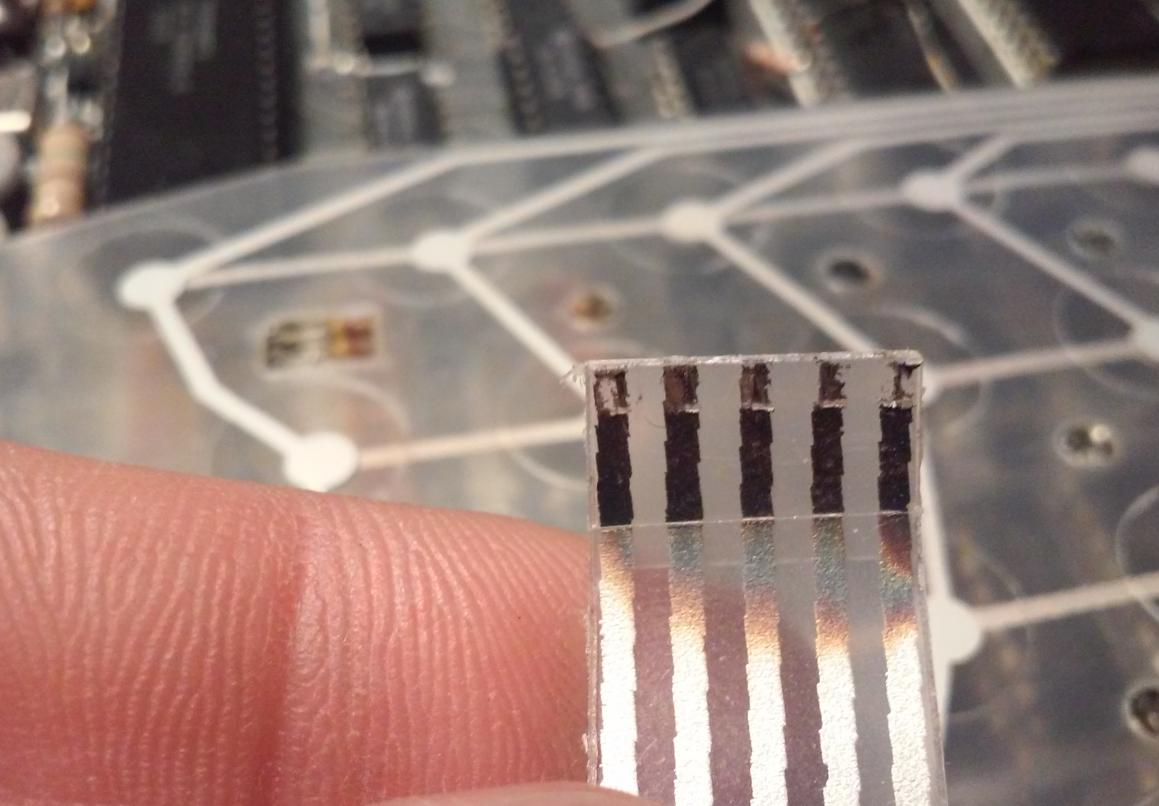
I’ve simply trimmed down the connector membrane and ended up with this.

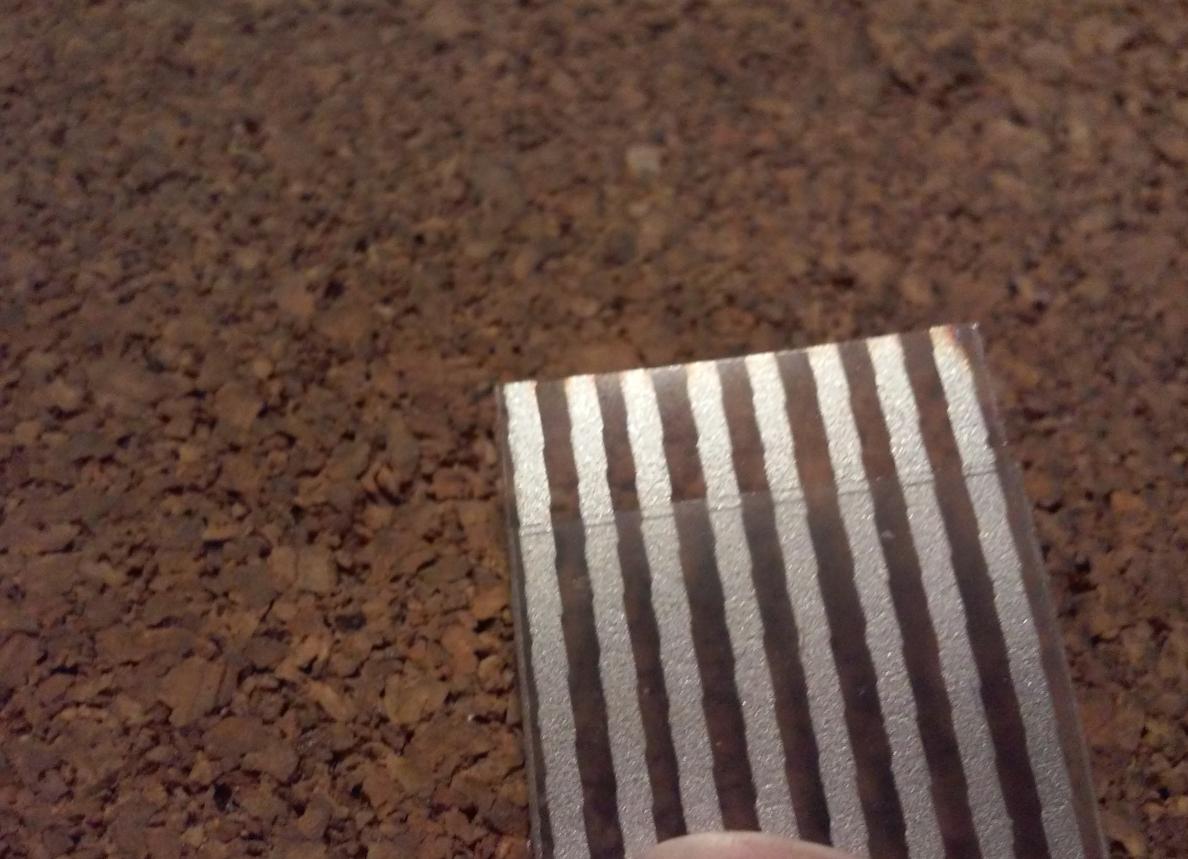
OK, another part is sorted. Now I had to refurbish a slightly worn-out edge connector. It had to be done because quite often expansions connected to it simply do not work. That is because of the too-thin silver-plated copper layer.
Originally it looked like this.
Solving it is really simple.
All you need is a solder wick and a proper sanding tool.
First, I had to clean an old oxidated layer. Personally, I use a rubber-based rotary tool like the one below. Rubber-based tools do not go too deep and nicely remove oxidated metal layers.

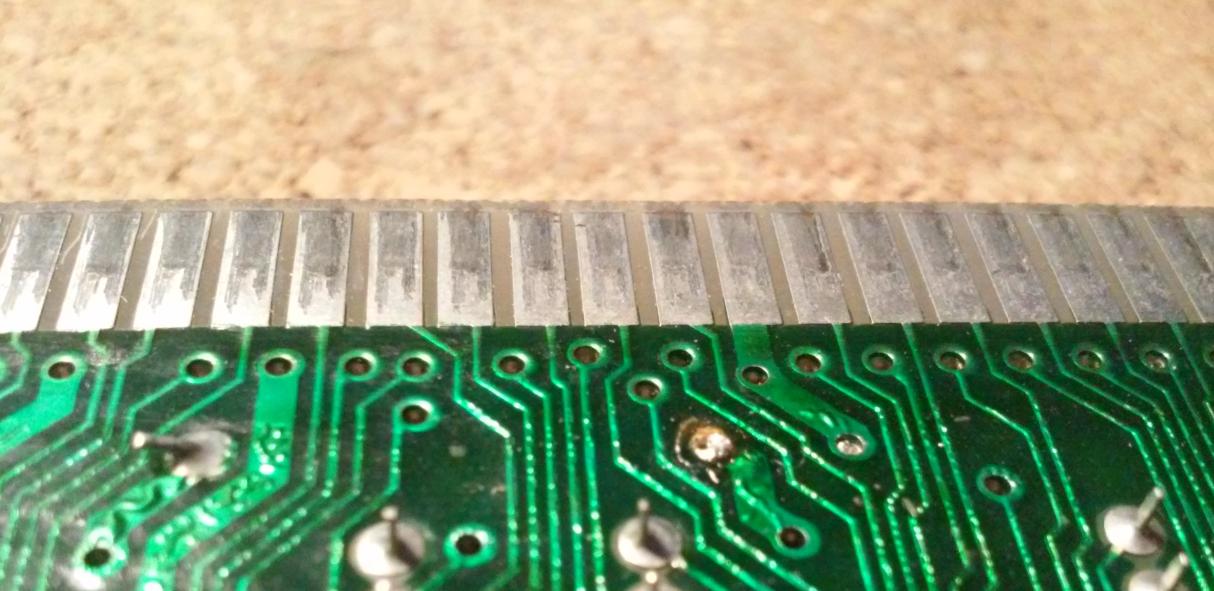
Here is a shot right after getting the job done
Now I could cover pads with solder.
…and use a soldering wick to finish it up.
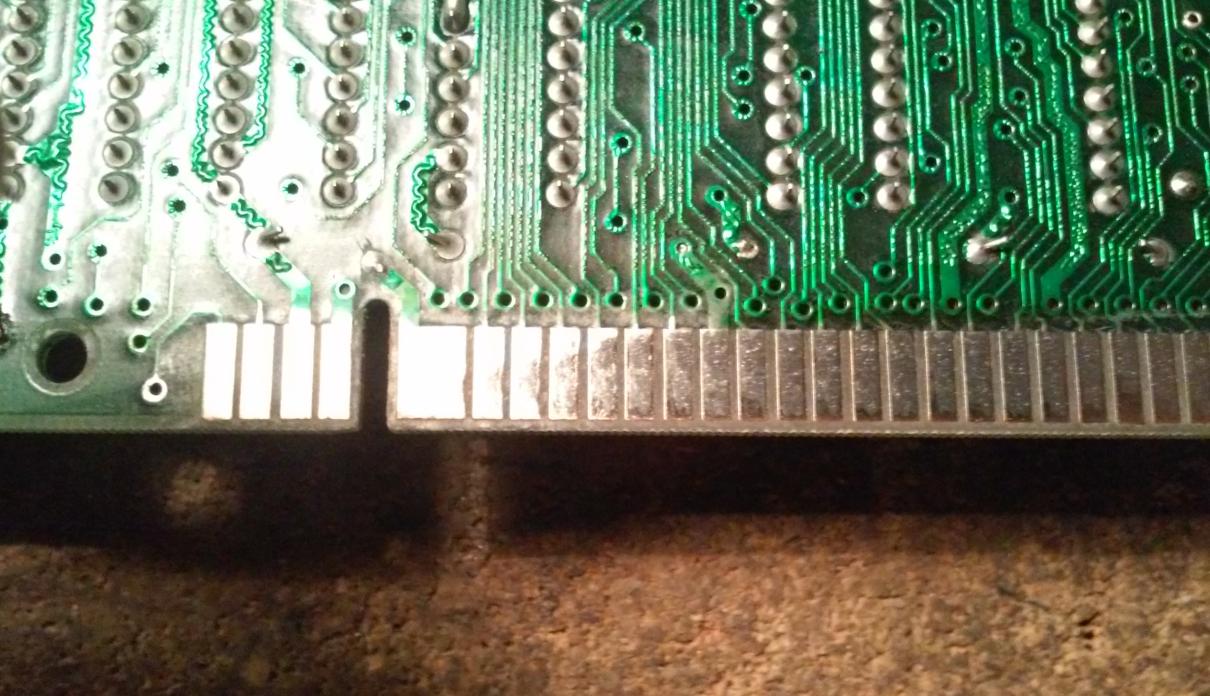
Here is an end result.

The keyboard panel
The last thing on the list was front panel cosmetics.
I’ve simply used a black marker pen to cover spots with missing paint.
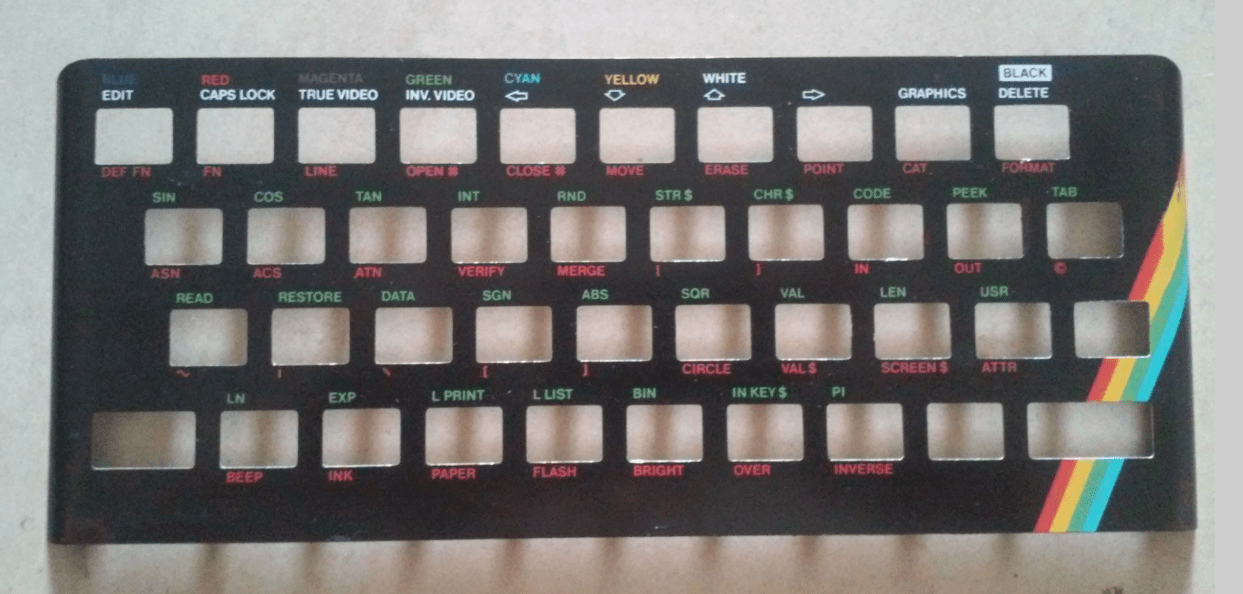
I’ve also added double-sided adhesive tape to conveniently mount the front panel on a Spectrum case.

That’s it! That was the last piece. You can see the final result below!
Another ZX Spectrum is back to life! hooray!

OUTRO
If you want to get retro gear or hardware modules, please visit our shop
New products are being added every month.
Also, please support our work by spreading info about it.
Without your support, we simply cannot grow and we have a lot of new cool retro hardware (and more) products to come 


One thought on “ZX Spectrum 48k – just another repair …”