… or just another story about mature hardware 😉
Intro
Yeah, I know, I didn’t write for quite a while. It was kind of hard due to prolonged holidays, job changing, online store opening – retro-cloud.eu, and a damn mold in my garage …
Anyway, I hope you’ll enjoy this short story about Speccy +3
Background story
Some time ago a friend of mine bought a very cool machine – ZX Spectrum +3
He asked me to do some refurbishing work on it, prepare video cables for it and spot and fix potential issues.
I was like – Hell YEAH! I’ve never played with Speccy +3 before, so why not ?!
The machine
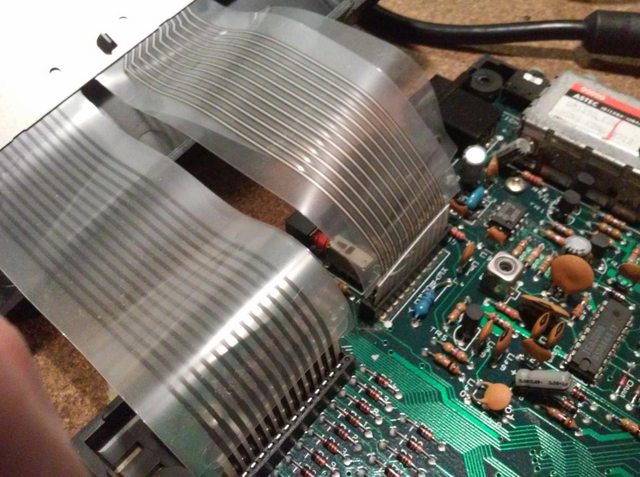
The machine itself has some bugs introduced in the manufacturing process. Same story as with Speccy +2. In general, a lot of speccy board revisions made by Amstrad have bugs and hardware issues. In this particular unit, I had a problem with “brooming” audio but first things first. Here is what this speccy looked like when it came to me 🙂
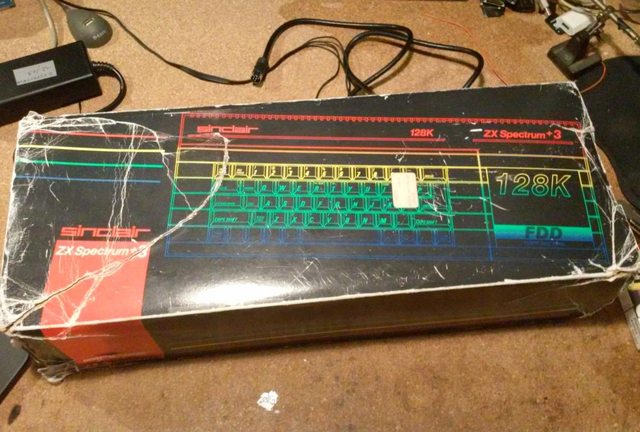
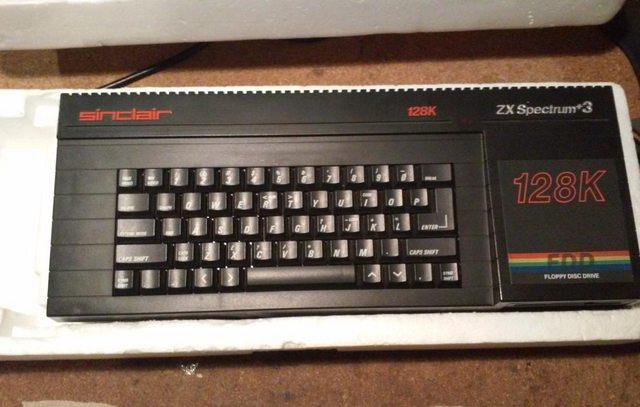
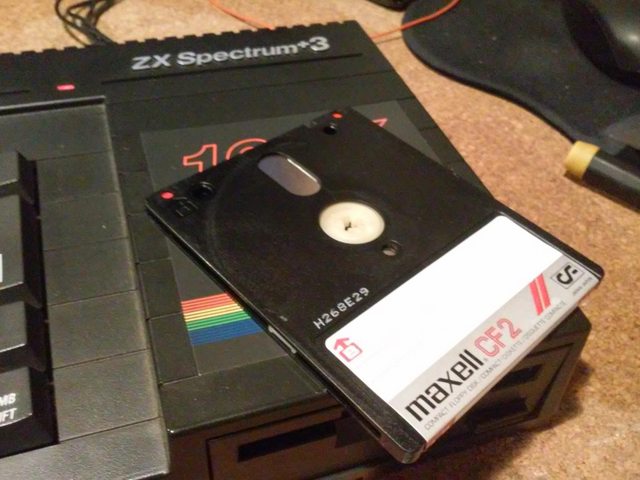
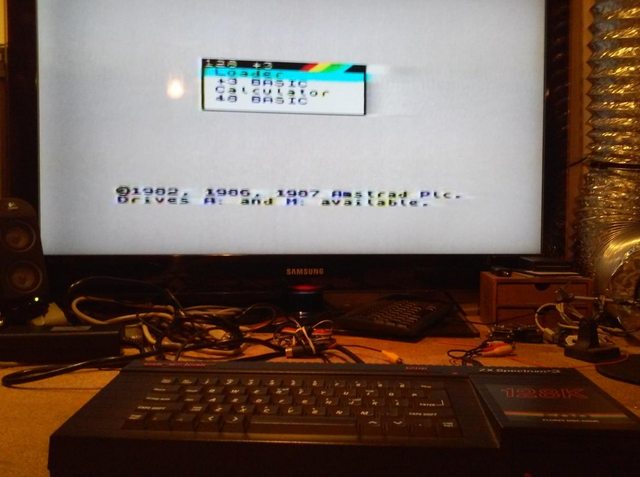
I didn’t have an RGB cable yet so I had to run some preliminary tests through RF cable – video output quality was defined by me as “crappolliooooiooio” 😀
RGB Cable
I’ve started with making a proper RGB cable to see if there are any issues with video output.
Unfortunately, I only had a DIN7 plug on a shelf and this particular Speccy needs a DIN8.
But hey! This is Retrohax! so things progressed quickly 😀
The plan was to drill a center hole in the DIN7 plug and insert a scavenged pin in it. Here is how I’ve done it.
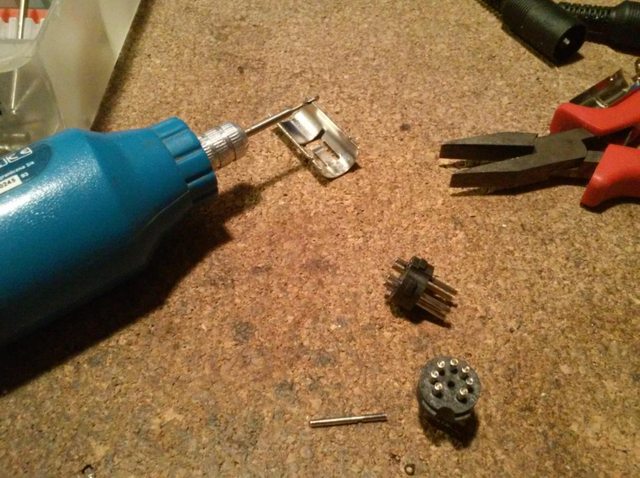
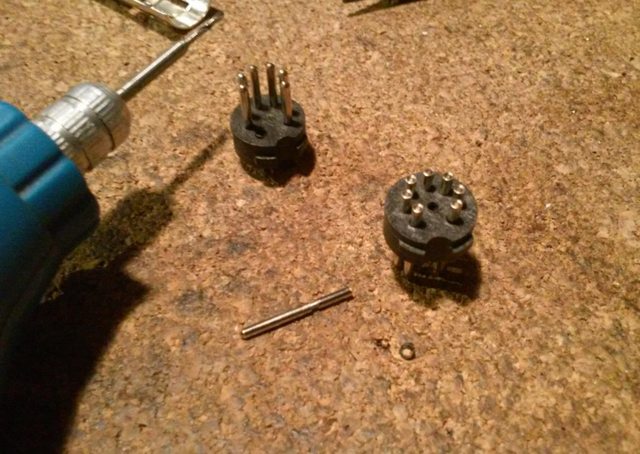
A vise was quite handy while inserting a pin 🙂
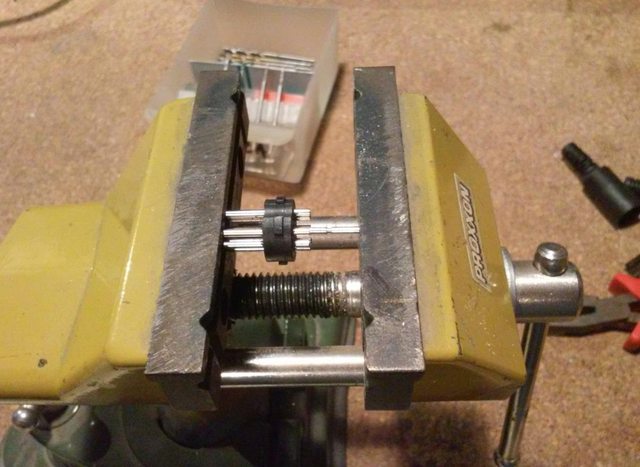
Tadaaa! DIN7 converted to DIN8 😀
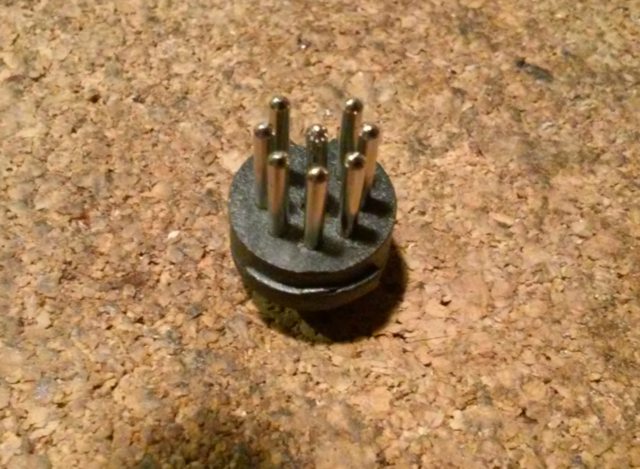
Soldering followed shortly 🙂
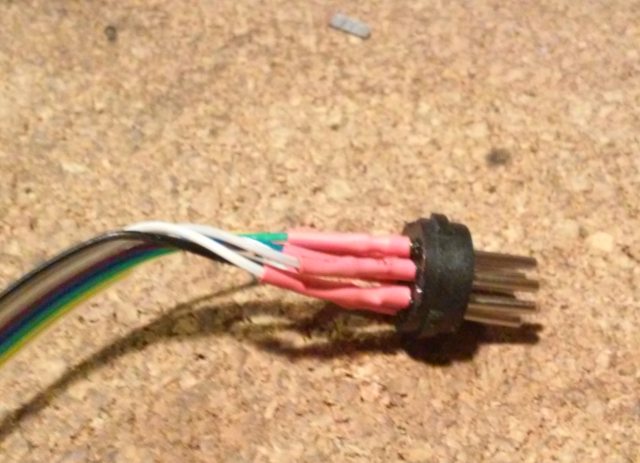
This is supposed to be a DIN8->SCART cable, so I’ve started working on the SCART plug on the other end.
To ease things up, I’ve joined all GND signals with a naked wire.
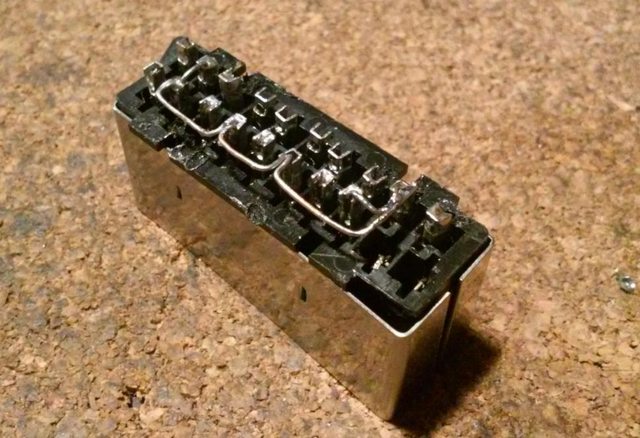
There are 3 resistors needed for RGB and another two for other signals so I’ve started adding ’em.
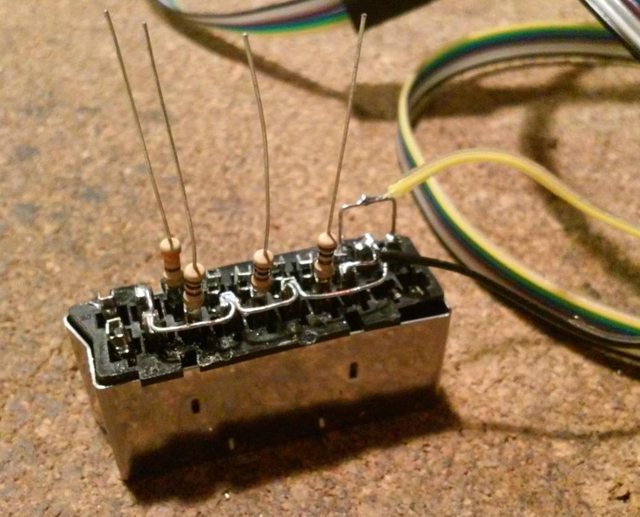
The next step was to solder all signal wires.
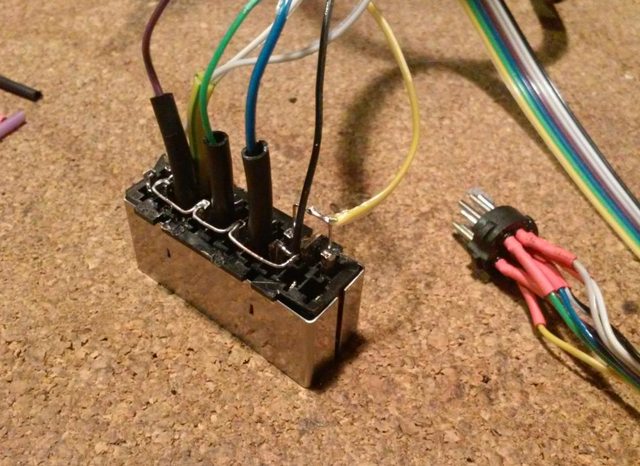
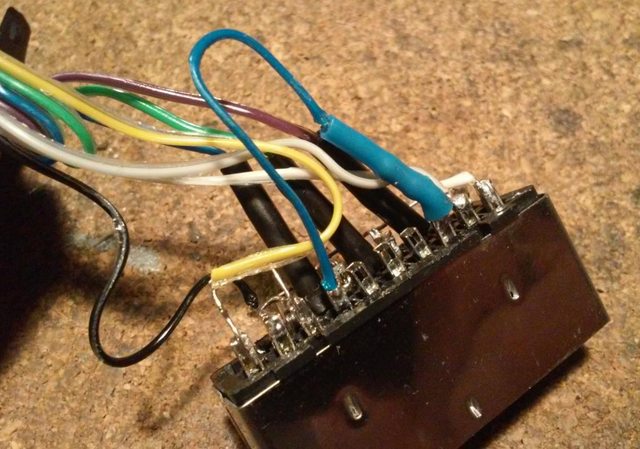
The outcome of the above work can be seen below. I was more than happy with the results.
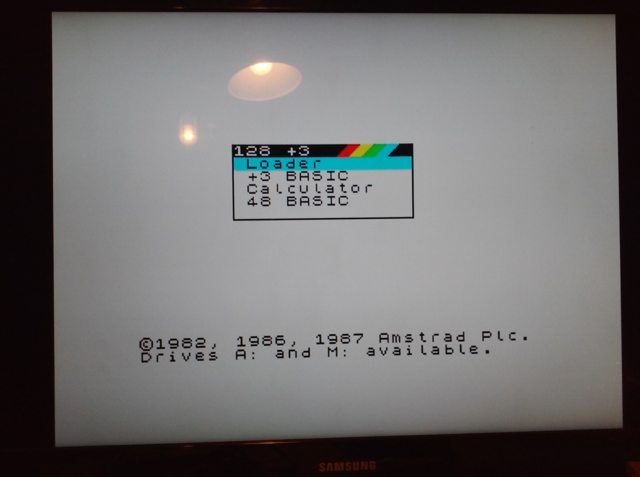
The video quality was freaking awesome!
Mainboard cleaning and mods
The next thing on my list was to clean up a motherboard and sort out any issues with it.
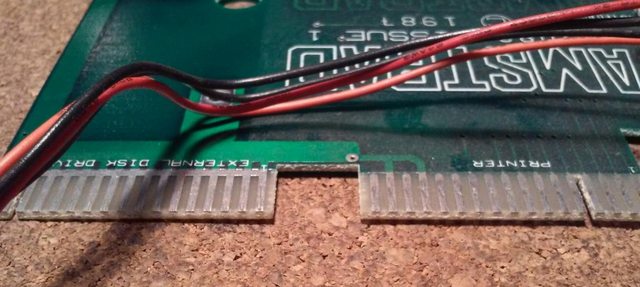
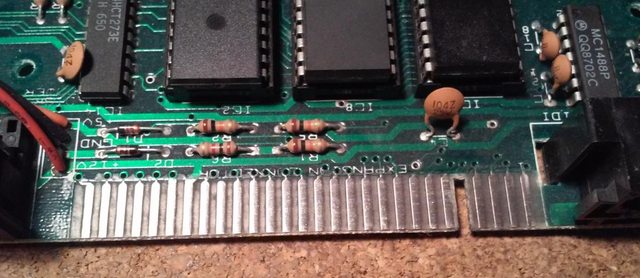
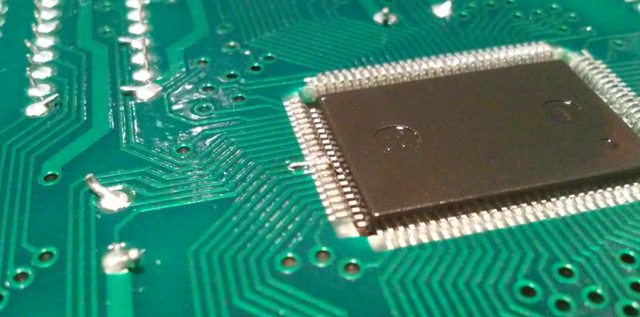
Here are some pics before I put my hands on it. There were quite a few unusual mods.
The job
Usual work followed – cleaning, resocketing, etc.
The case wasn’t really tired so it only required simple cleaning. However, Keyboard was a bit dusty and I took care of it 🙂
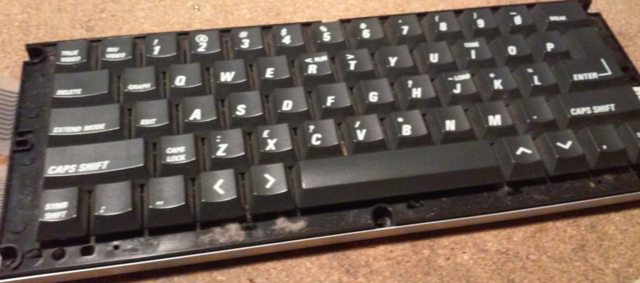
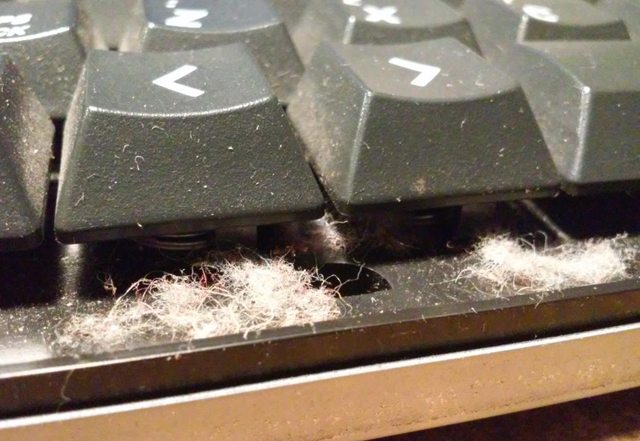
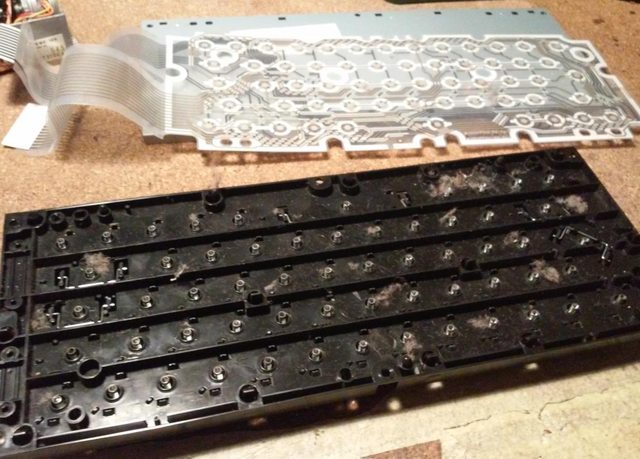
After a bit of work …
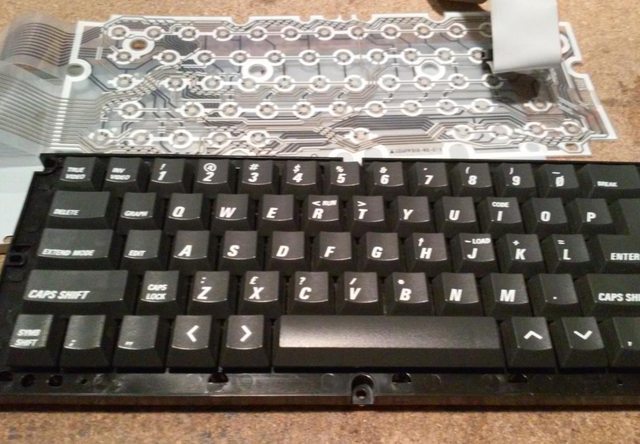
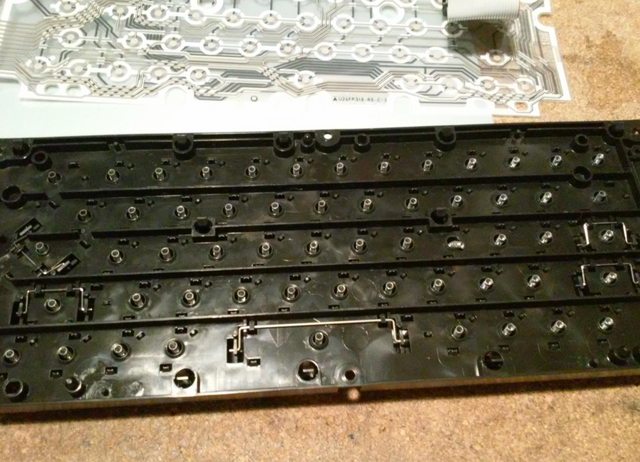
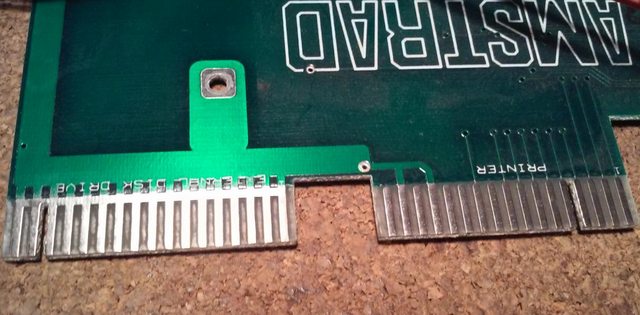
After cleaning, the board looked way better 😀
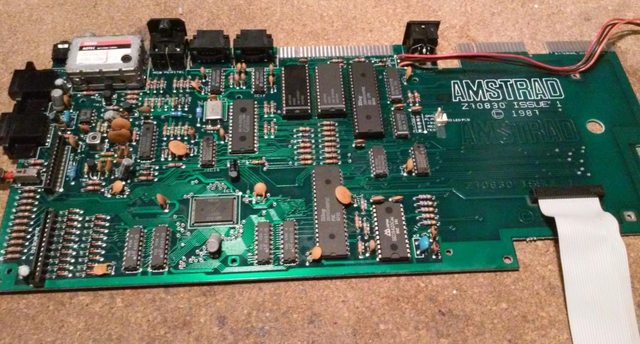
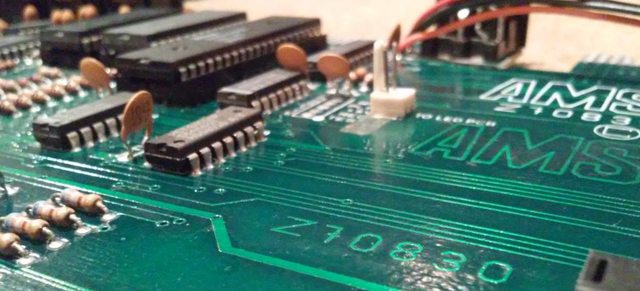
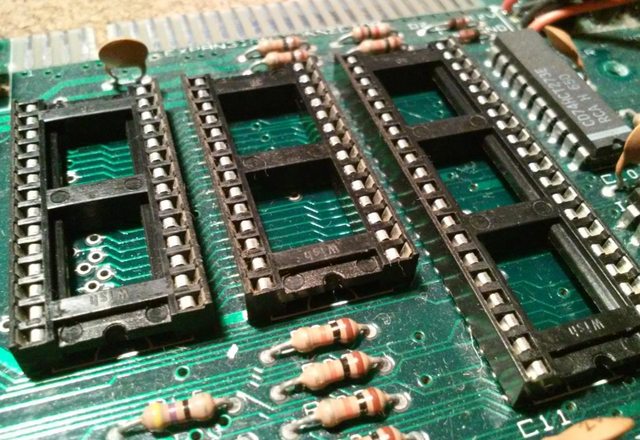
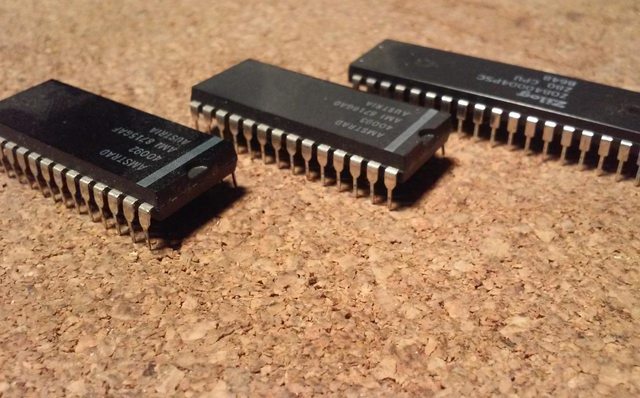
Before …
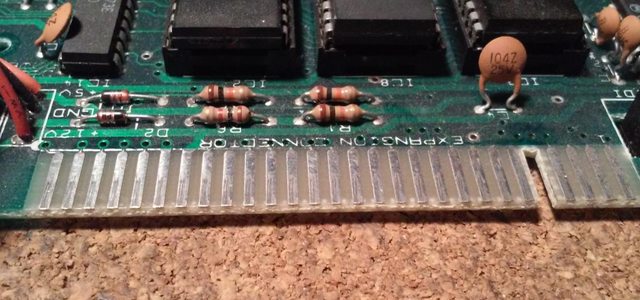
After …
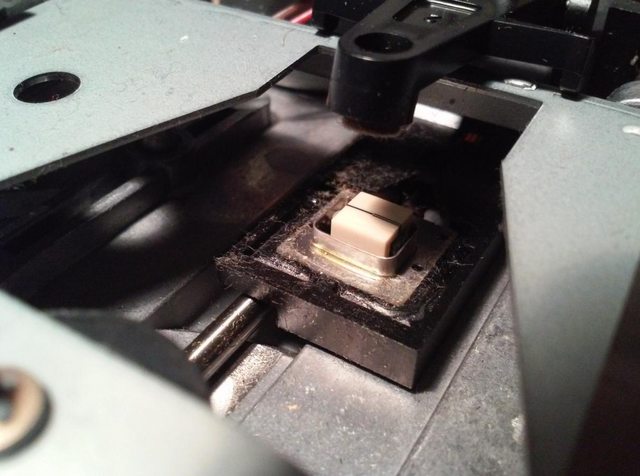
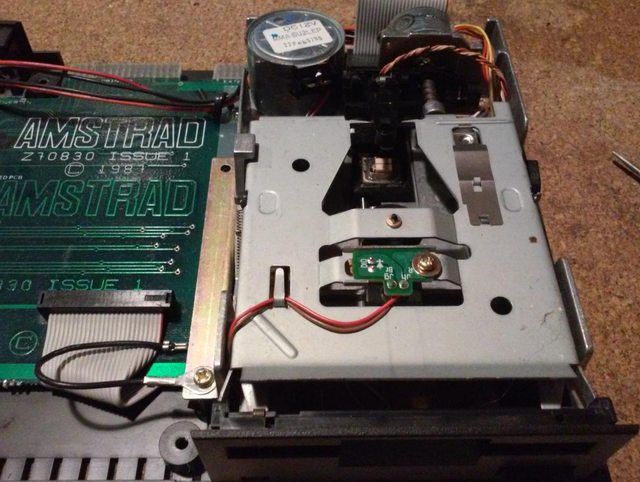
Floppy drive was a bit dusty too
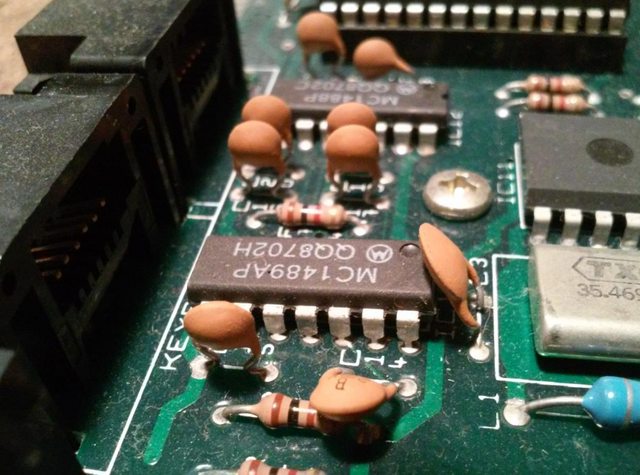
There was only one last piece of the whole puzzle left – fixing brooming audio. This problem and the fix for it are described on many forums and websites so I won’t go into details about it here. Instead, I’ll put some pics and a comparison video.
Pics were shot right after soldering and I forgot to take photos of it after cleaning it so flux, my marking points, and other residue are present on these pics.
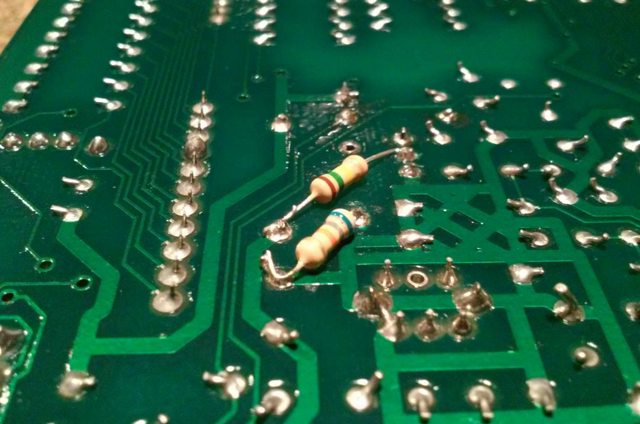
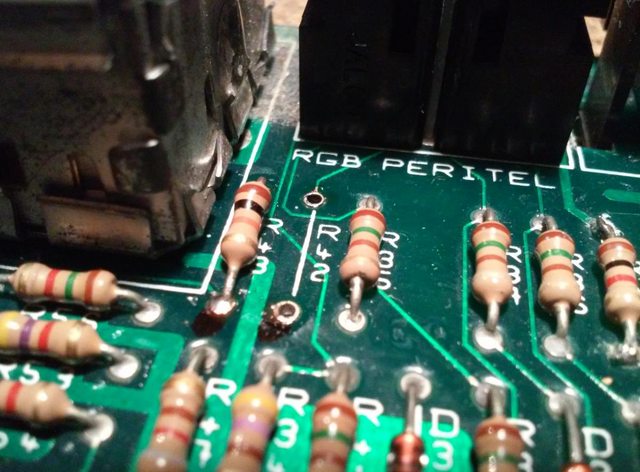
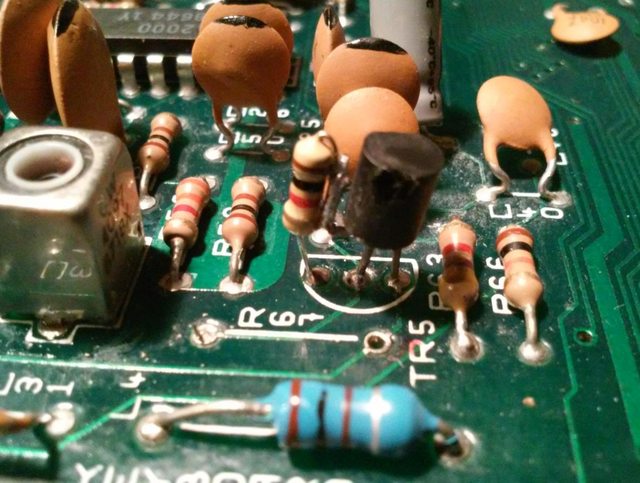
Below is a comparison video.
That’s it! 🙂
OUTRO
If you want to get retro gear or hardware modules, please visit our shop
New products are being added every month.
Also, please support our work by spreading info about it.
Without your support, we simply cannot grow and we have a lot of new cool retro hardware (and more) products to come

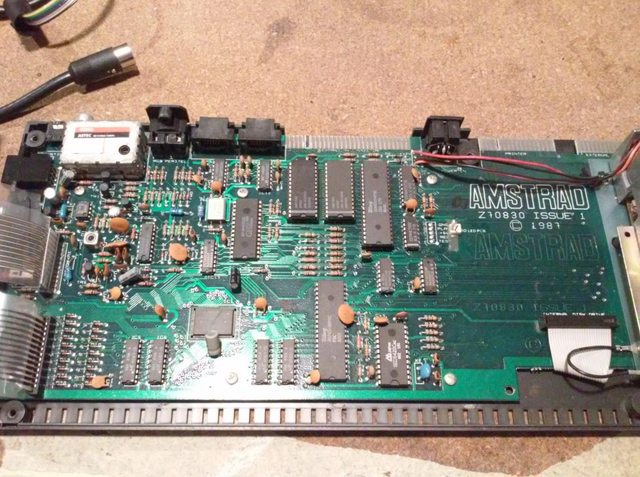
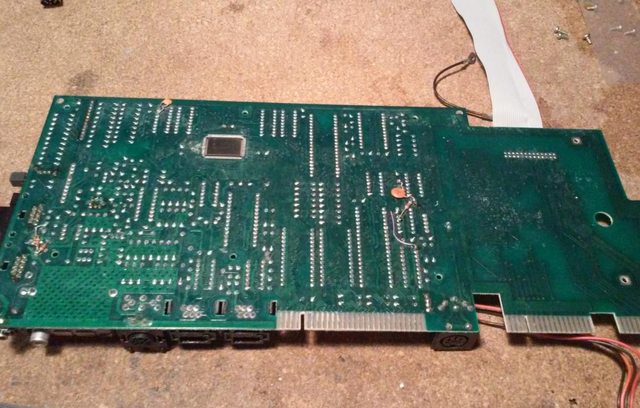
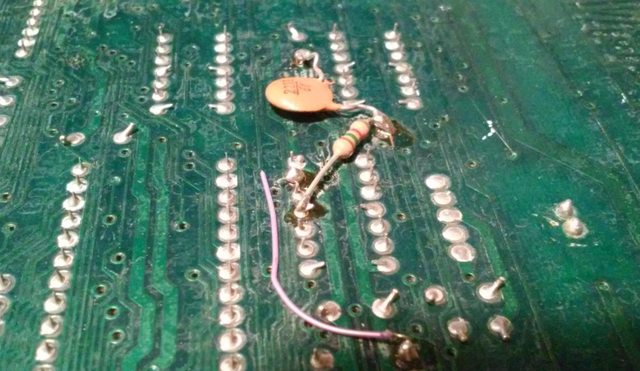
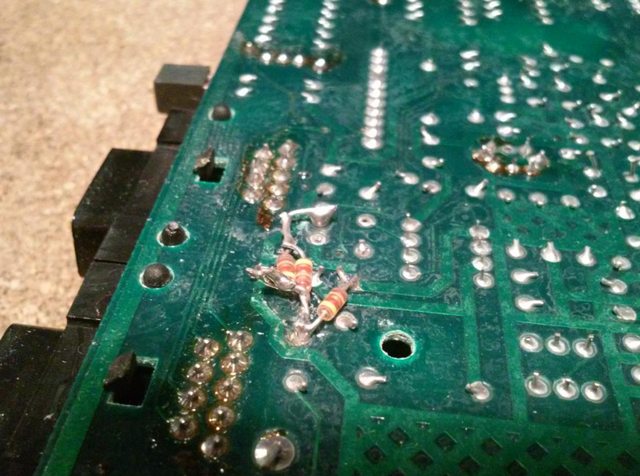
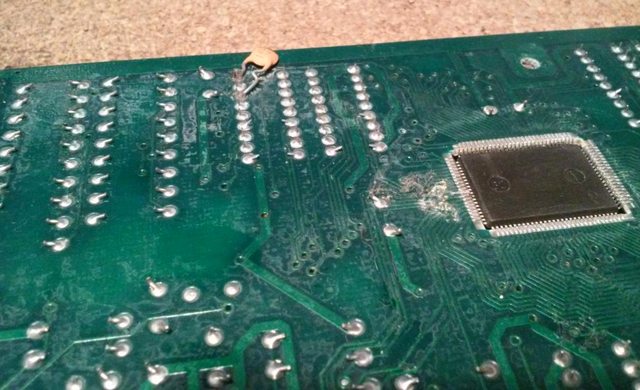
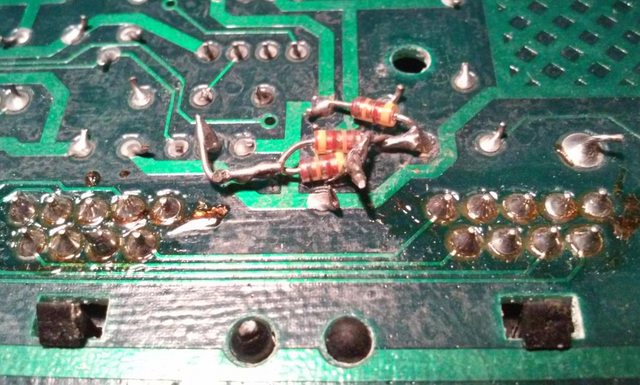
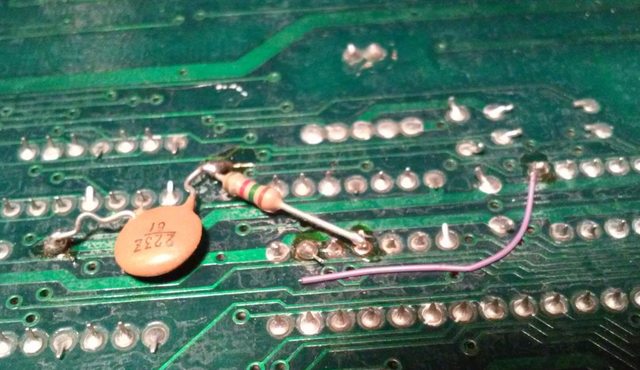
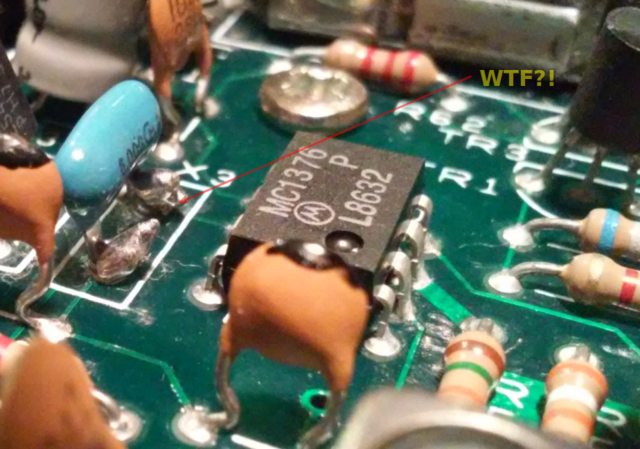
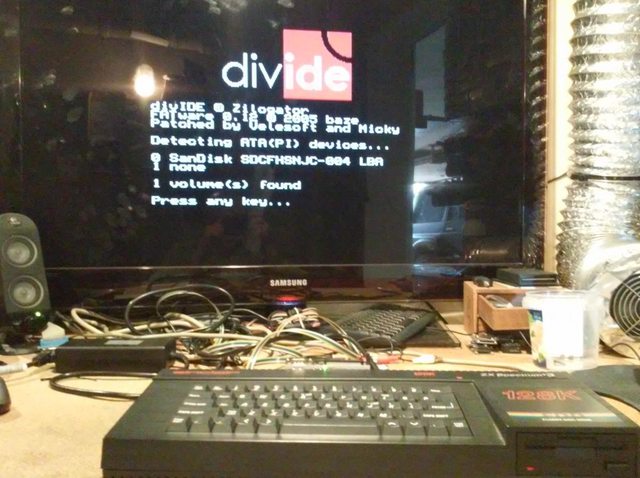



hello, finally i found someone that can help me. my +3 has a back motherboard as in picture OPdd2vp-1.jpg can you please tell me what is that fix, thanks in advance kind regards, joe.
Hey, I barely remember that one but first, please describe what the issue is? brooming sound?
hello drygol i hope you ok, thank you for your very quick answer, i am really curious about those diodes ceramic capacitors purple wire. what they do? I been googling for days trying to find pictures with the same mod as mine and you was the only one I could find. I am using the scart rgb cable the picture is ok I think the sound not ok but for know I am not worried about that. I am really curious about those components on the back side of the motherboard. I have exactly the same mod. thanks in advance, kind regards, joe.
Hi Jose, sorry for late reply, I had few days off 🙂
If it is about these components, these are factory made. I didn’t install them.