… or fail at securing your keycaps
INTRO
This time, a short post about my attempts to make a vacuum forming machine and how I’ve failed working on it lol.
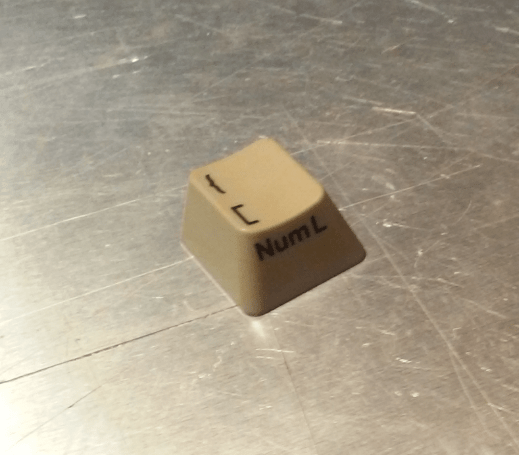
If you are a long-time blog reader, you might remember posts where I’ve painted keycaps with spray paint – Amiga 600 or C64. The process is far from perfect and is not reversible. This is when I’ve figured out a new (to me) method to secure keycaps and make ’em look cool in various projects that I am working on.
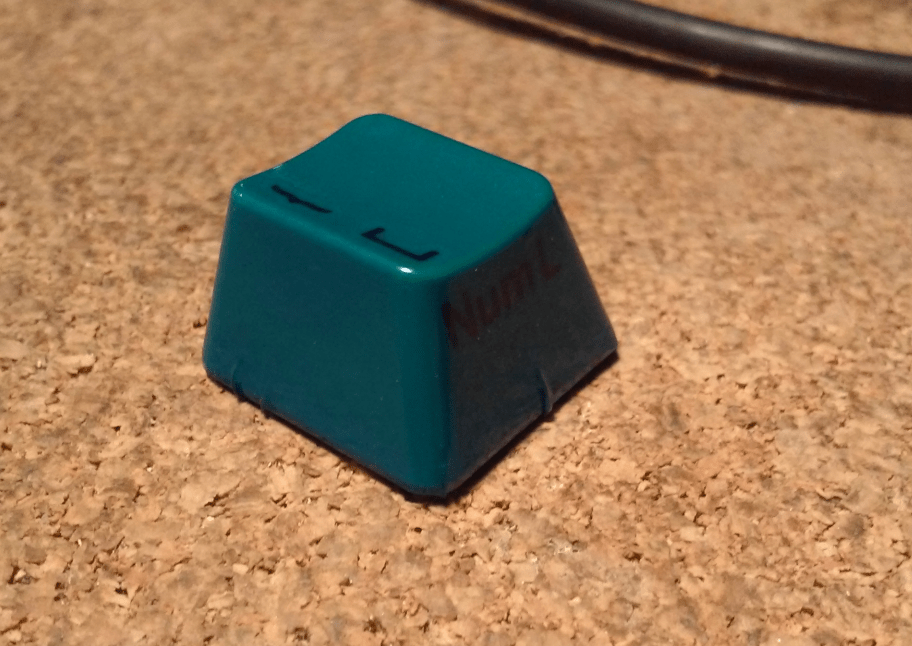
The idea was simple, to wrap keycaps in a thin plastic film of some sort. This would very nicely secure keycaps in various ways and could be reversed by simply peeling off the such wrapping.
I’ve ordered some vinyl foils and started experimenting. The result was promising, I just needed a more convenient way to do it.
The build
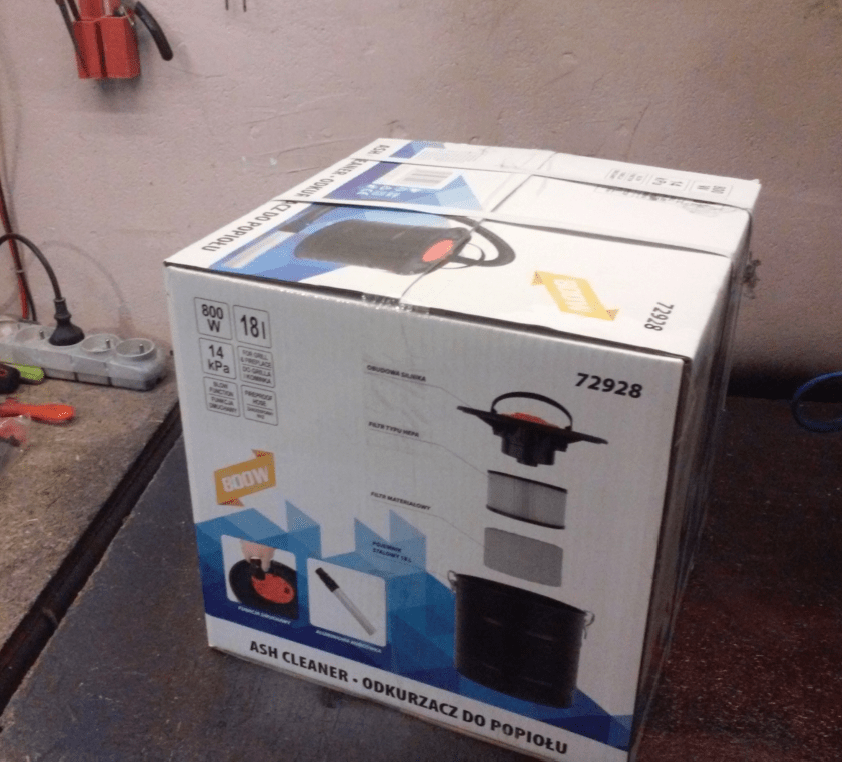
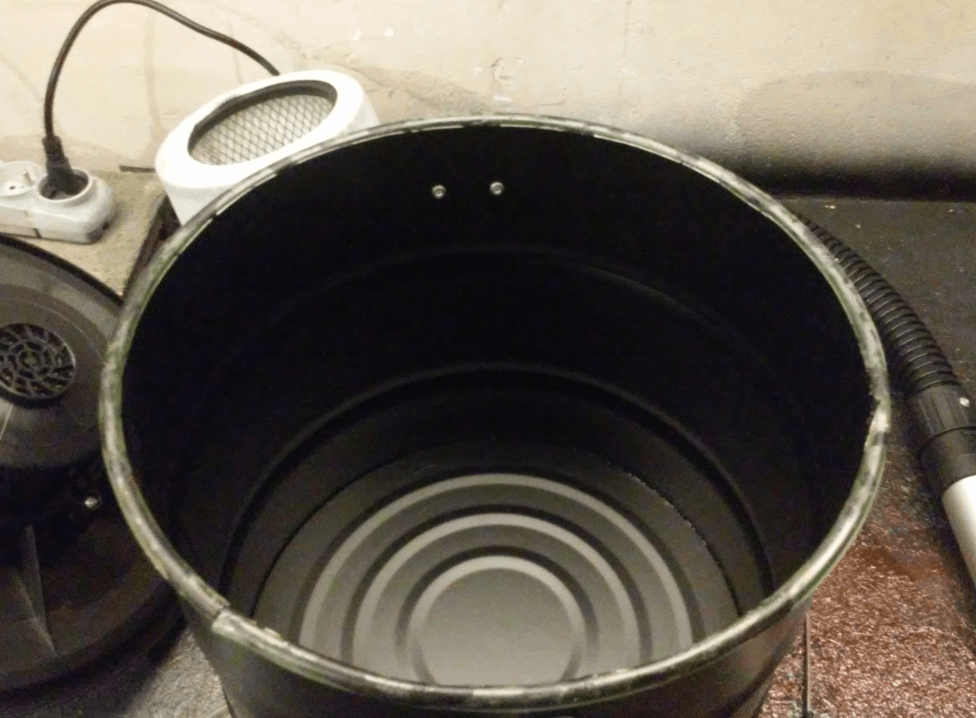
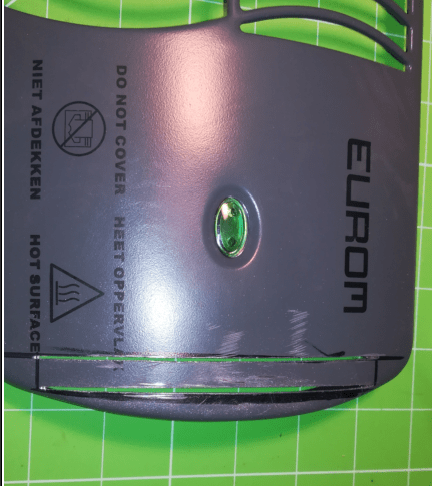
At first, I wanted to get a vacuum pump with a buffering vessel but I quickly abandoned that idea because I found a cheap and nice fireplace ash vacuum cleaner. I ordered it right away and started modding it.
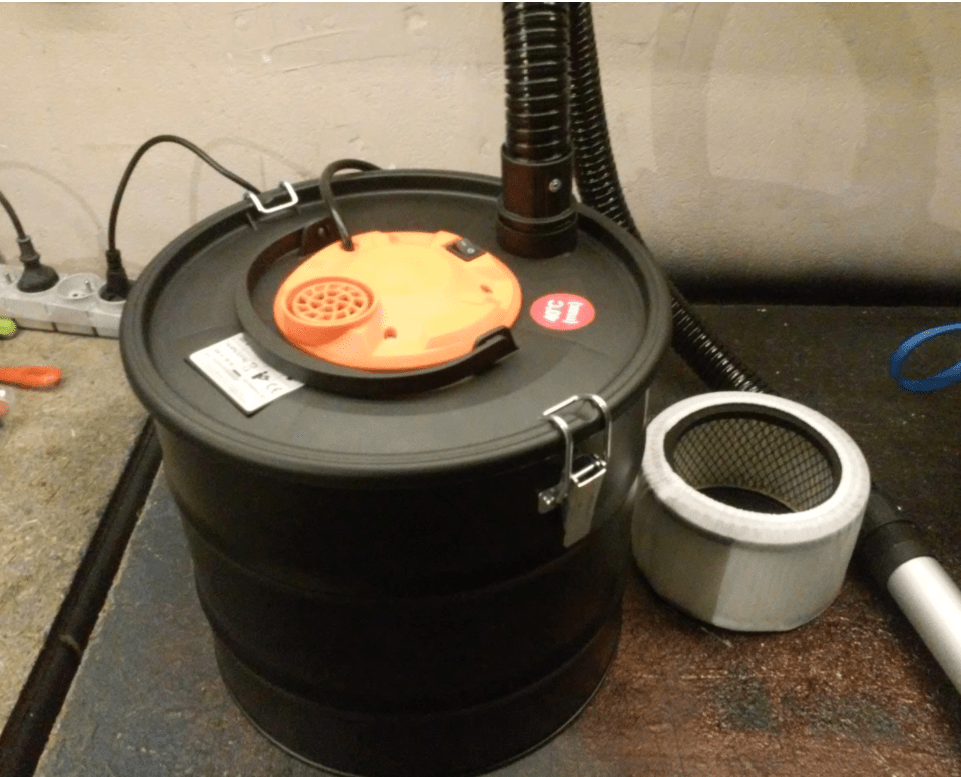
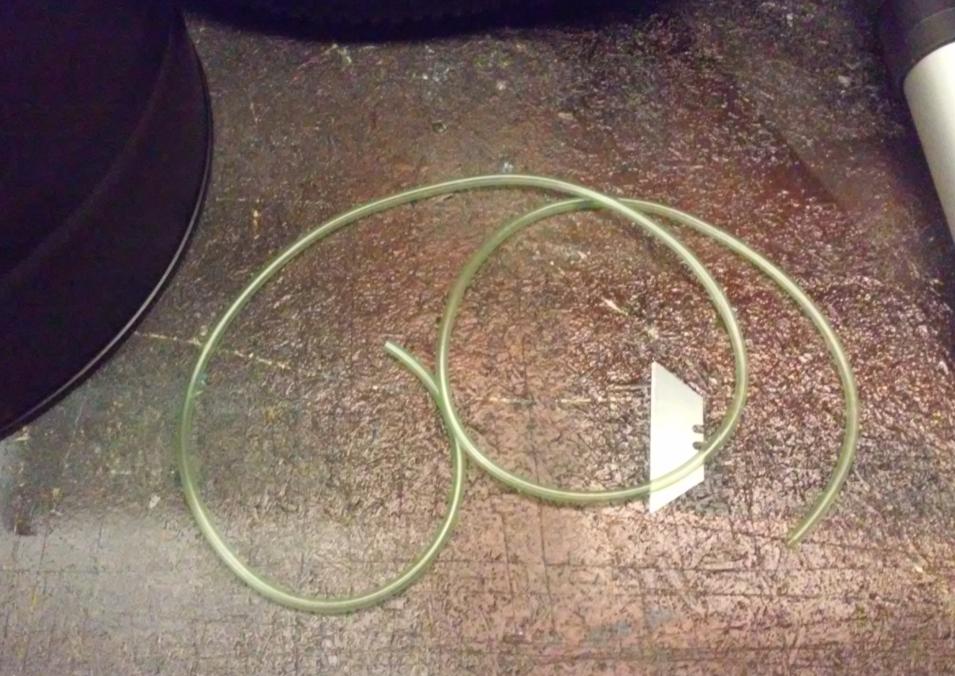
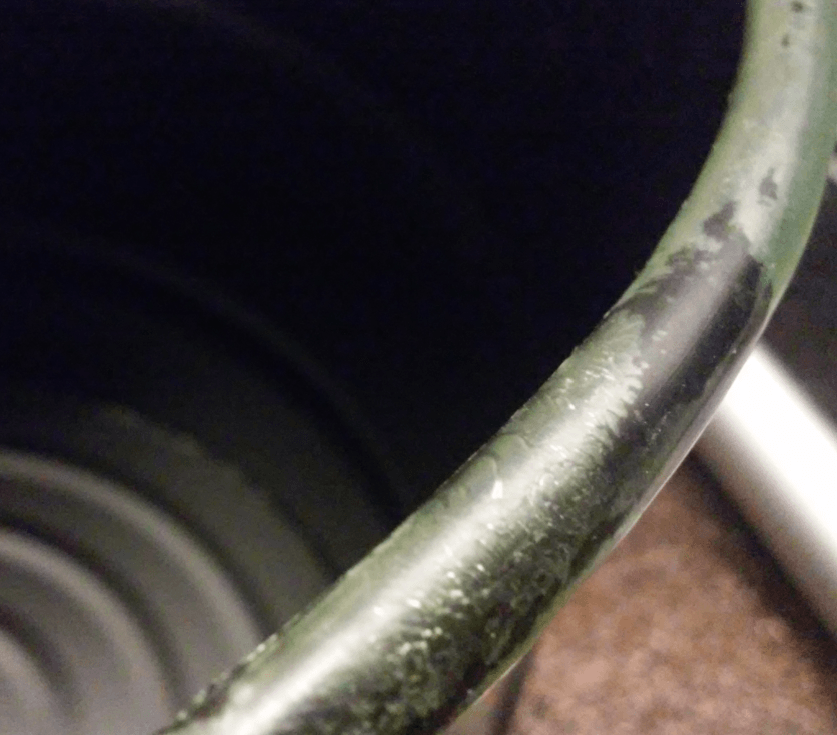
To get a tight seal, I cut a vinyl tube and secured it on the edge of the drum with glue.
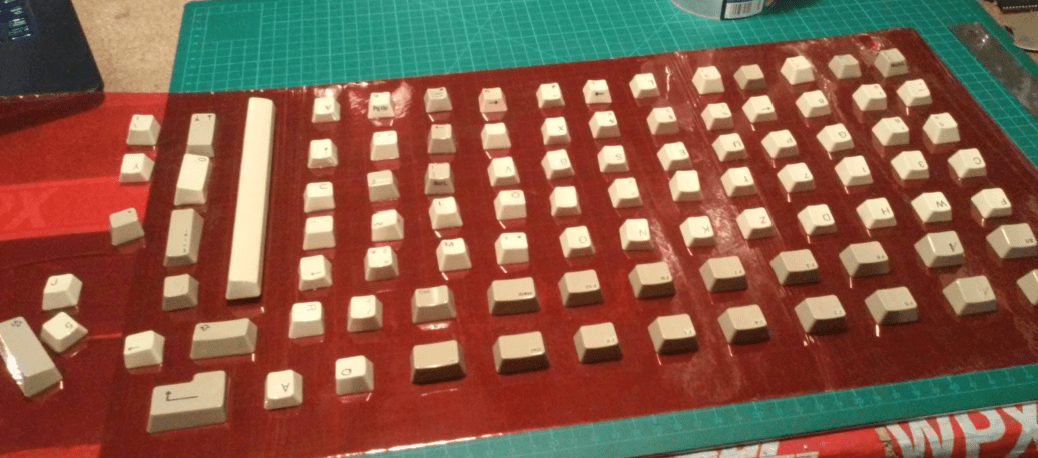
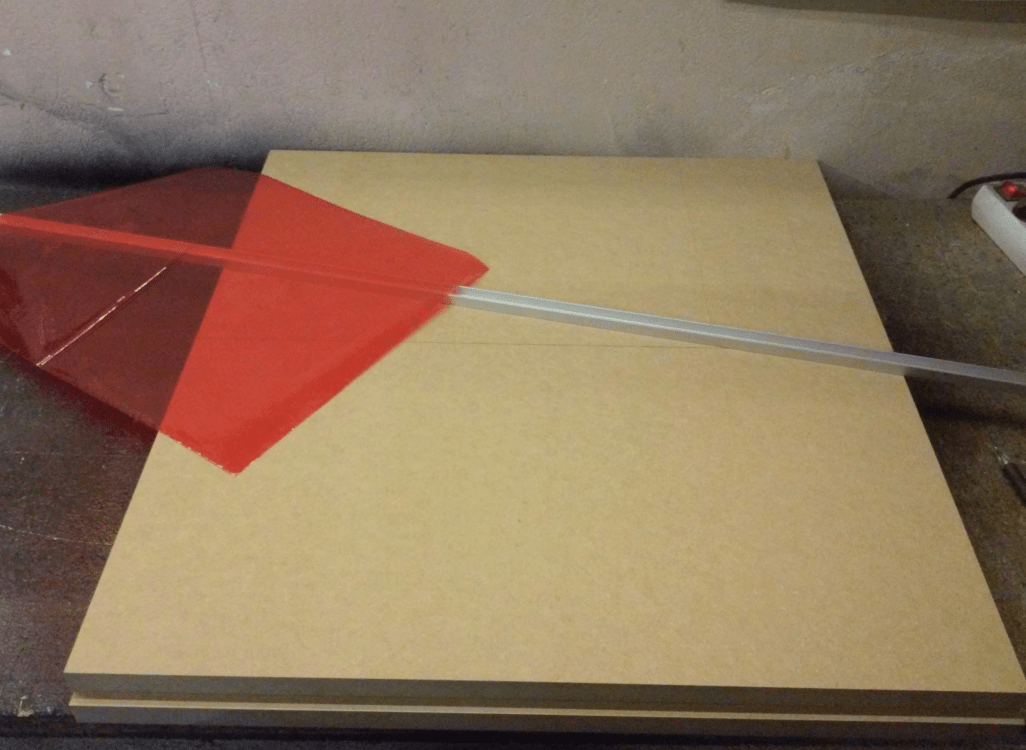
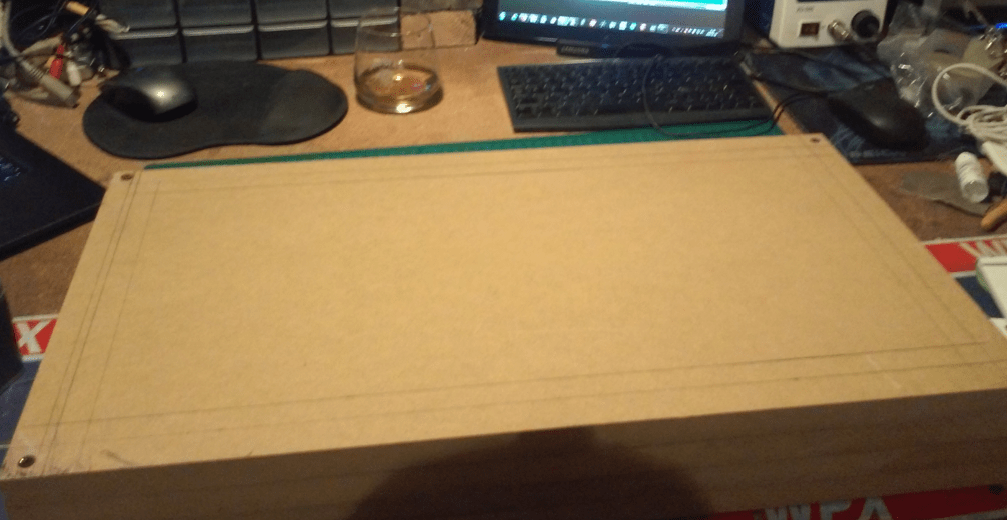
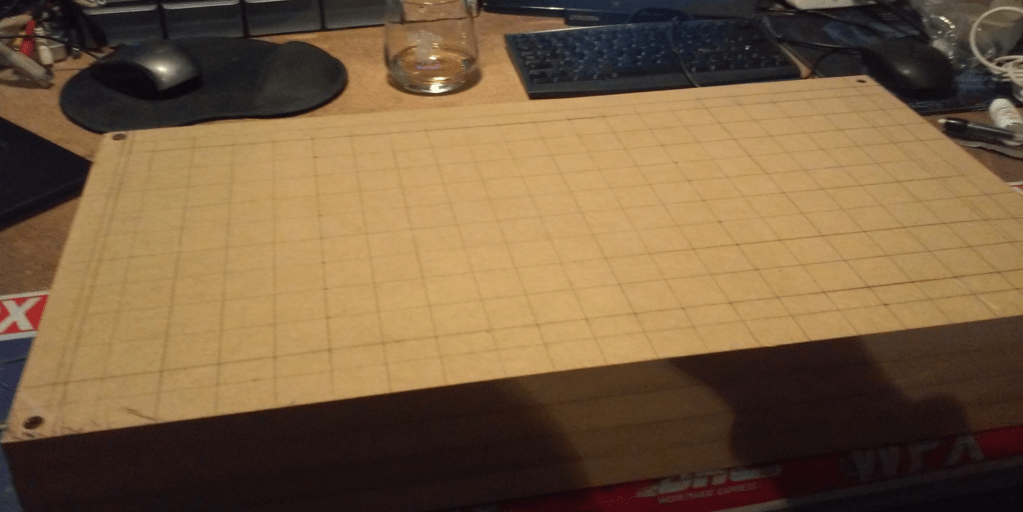
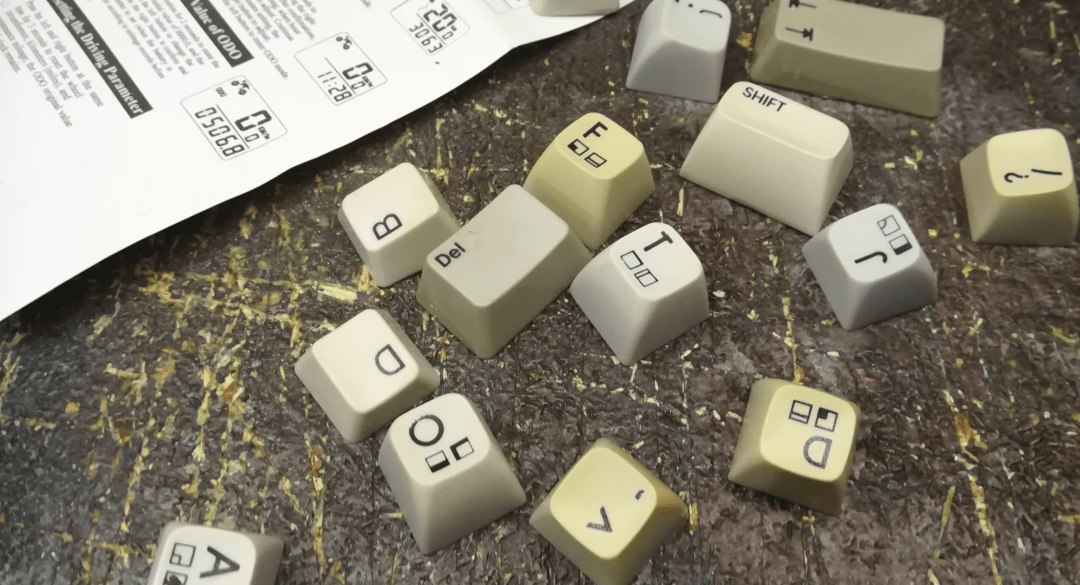
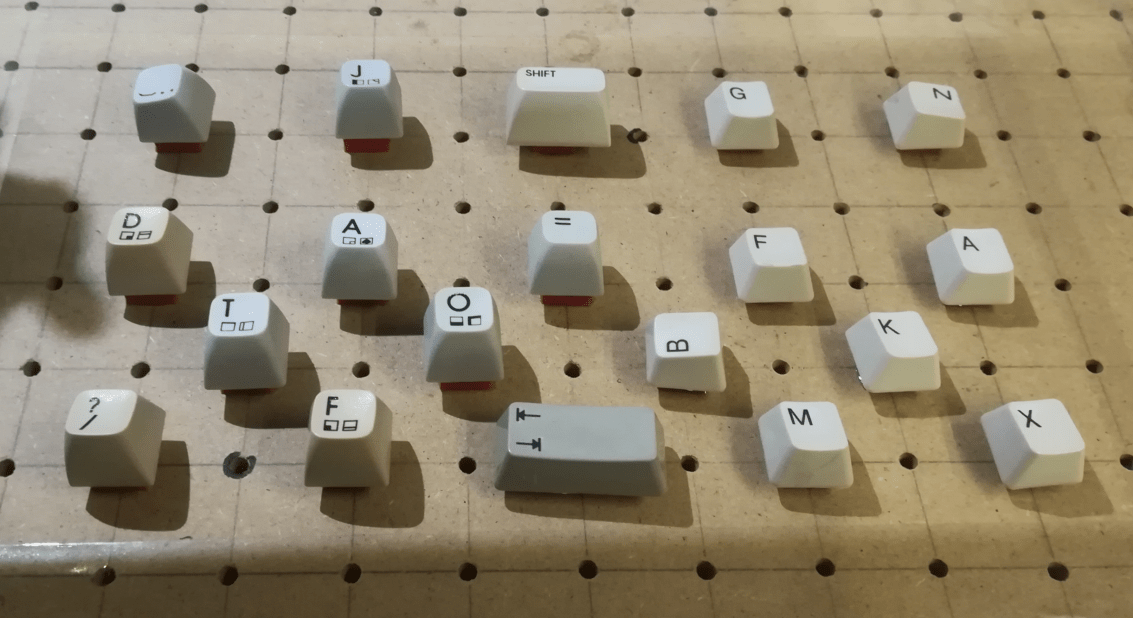
With that part ready, I could move on to making a vacuum table. First, I’ve run some measurements and tried to estimate a table size by simply putting a full Amiga 500 keycaps set on a piece of vinyl.
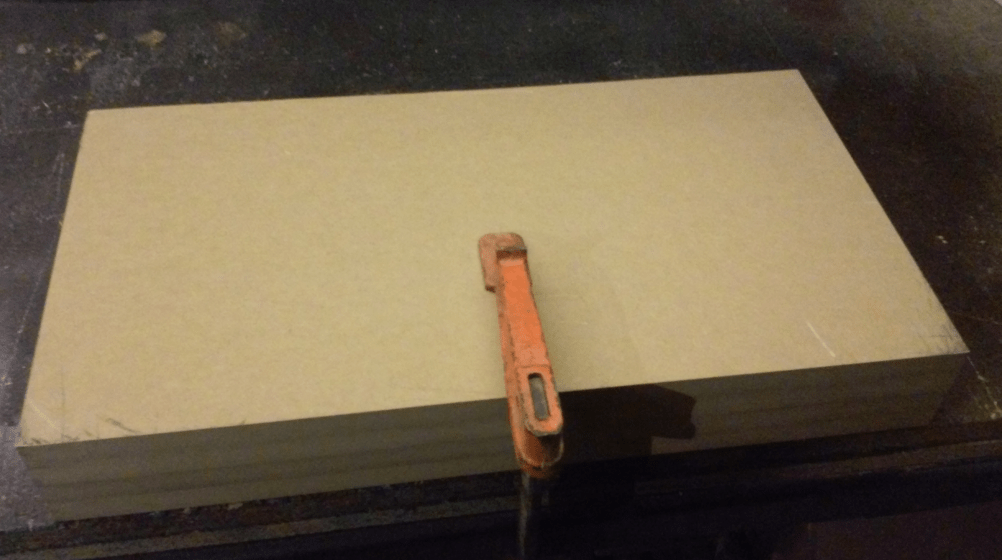
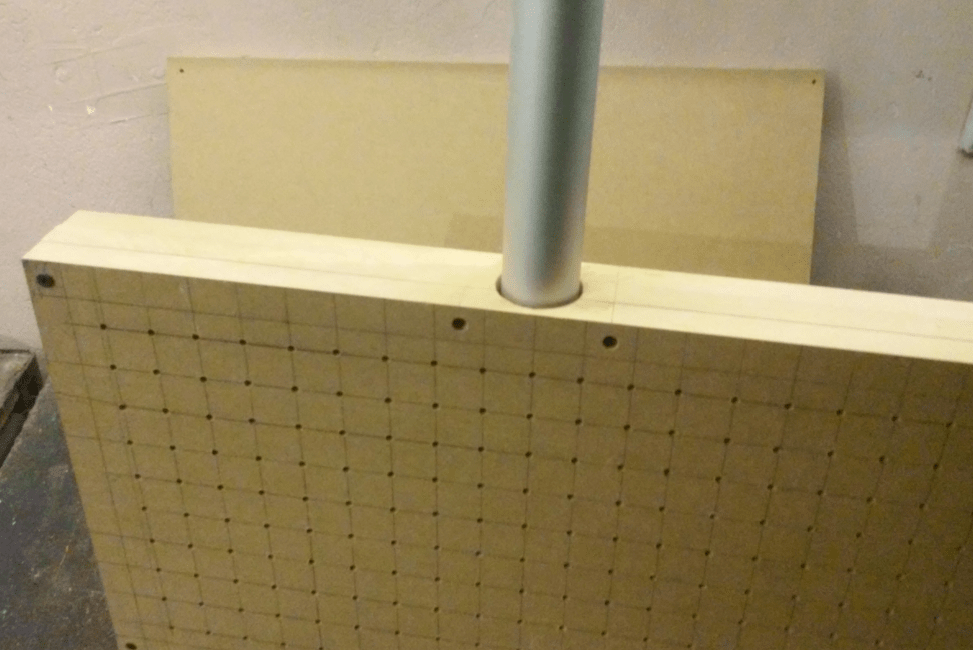
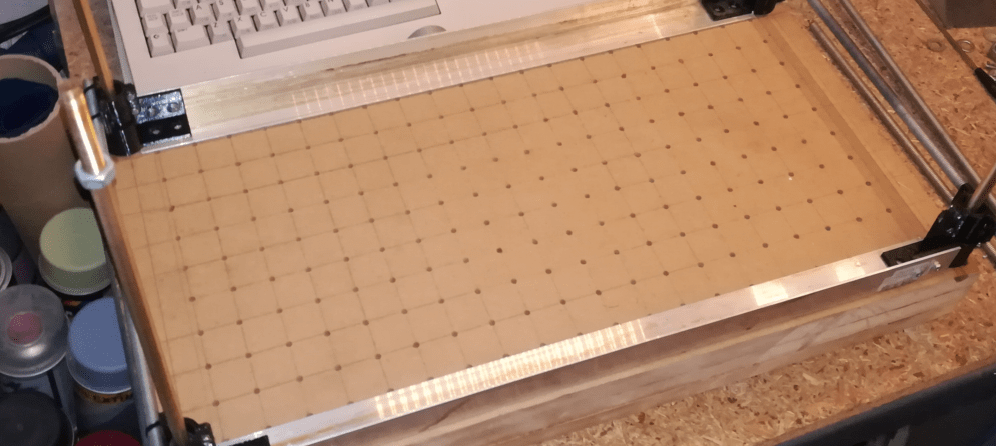
With the above ready I could order some MDF sheets and start working on them.
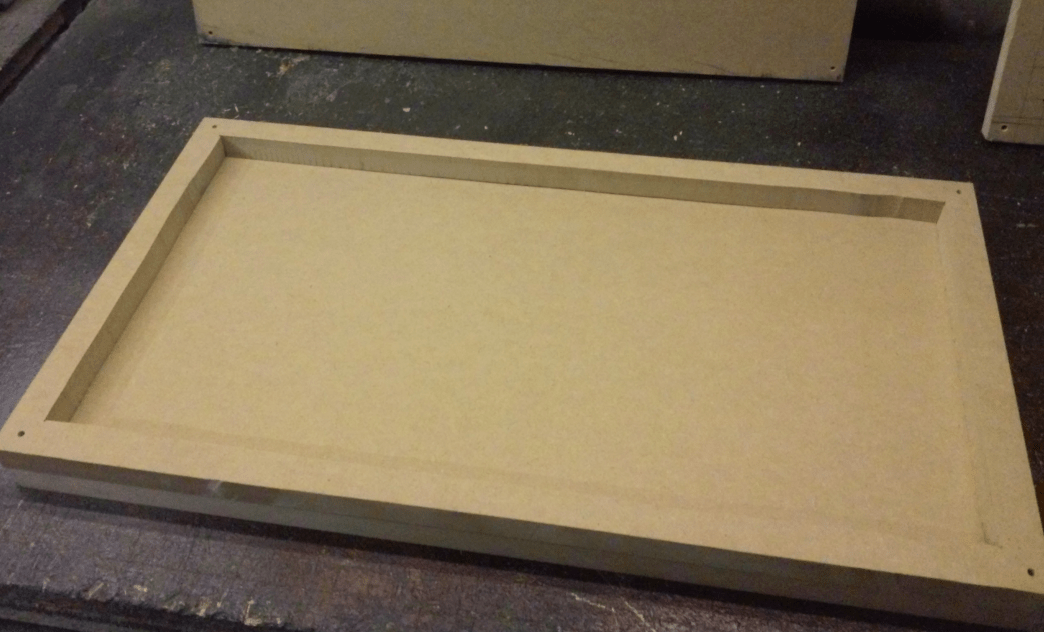
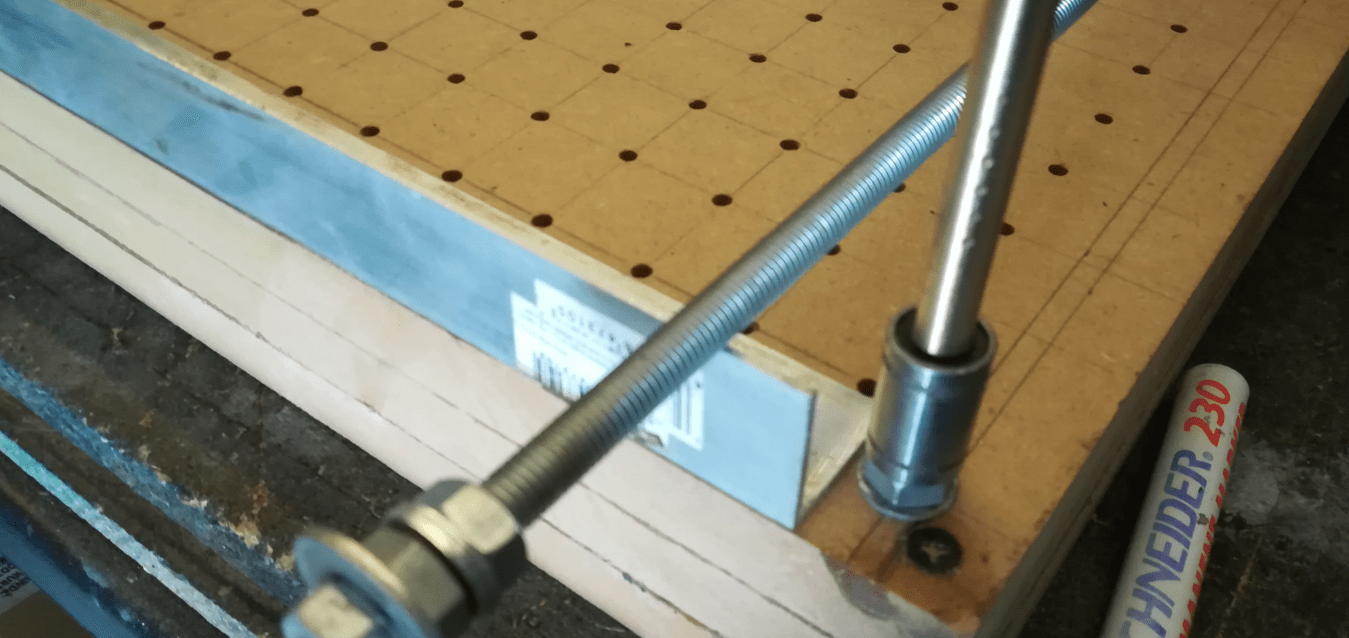
MDF layers were joined with an epoxy resin and screwed together.
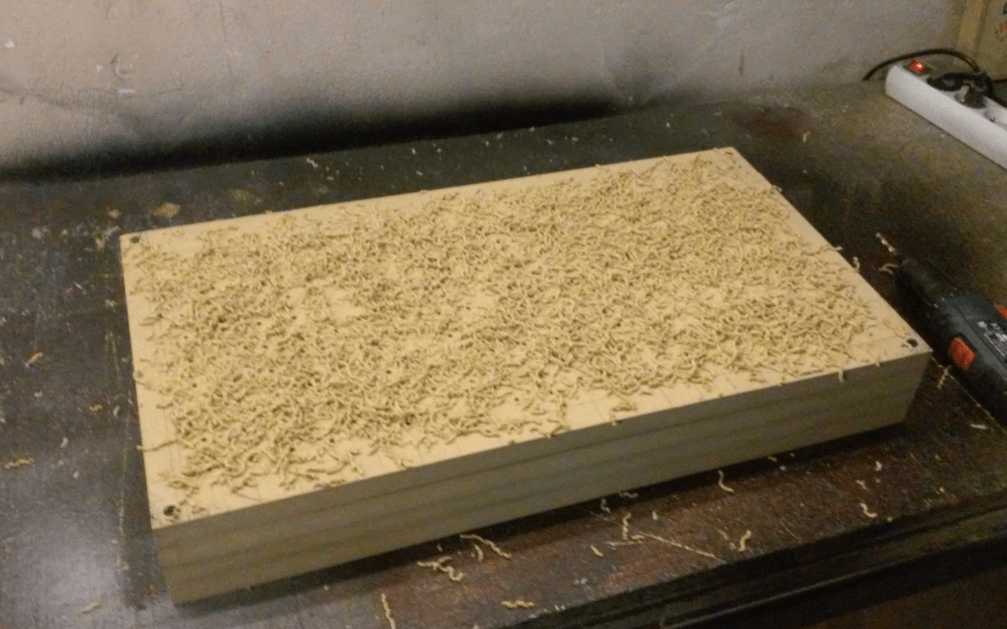
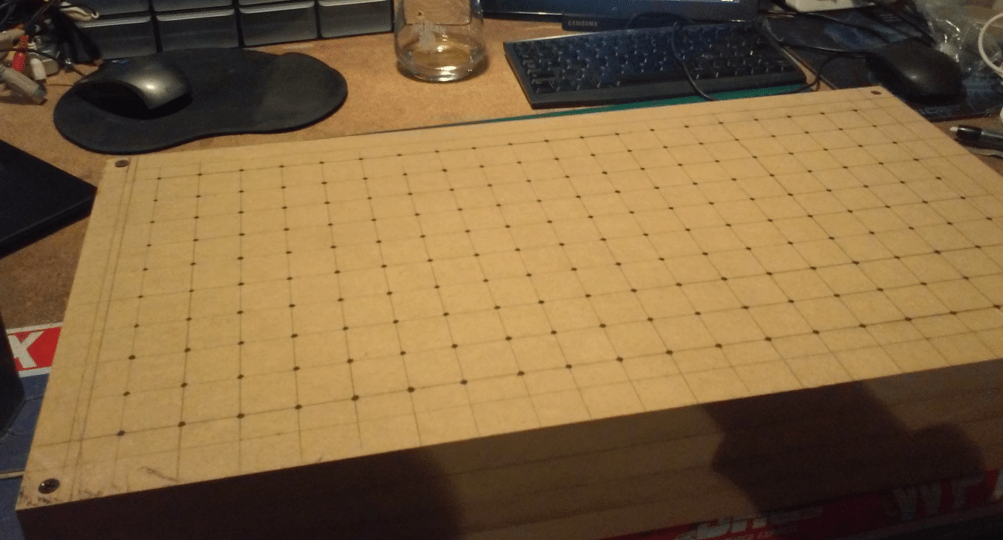
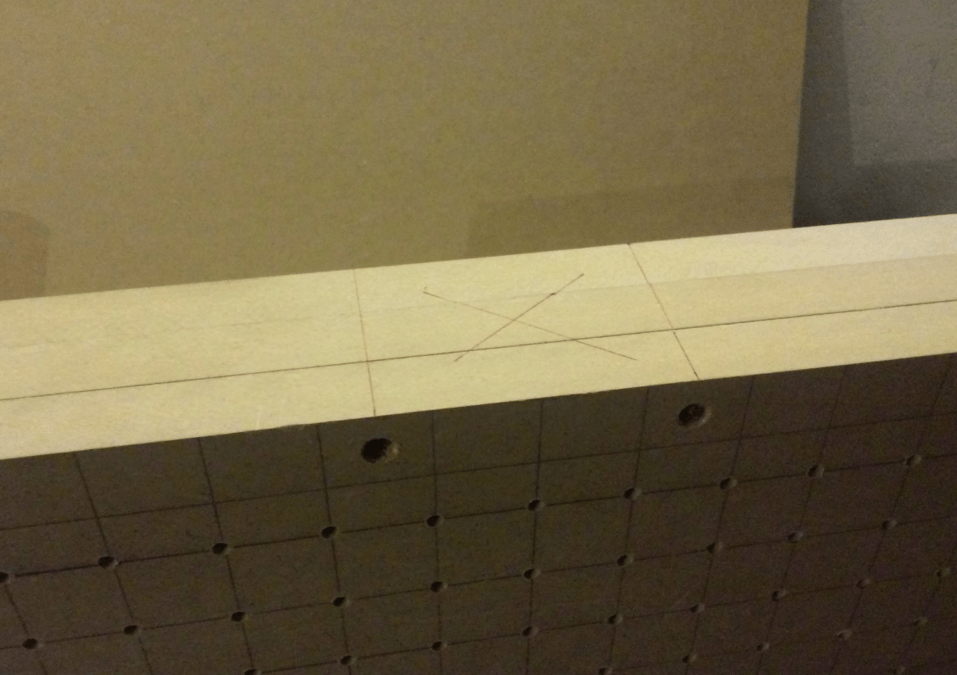
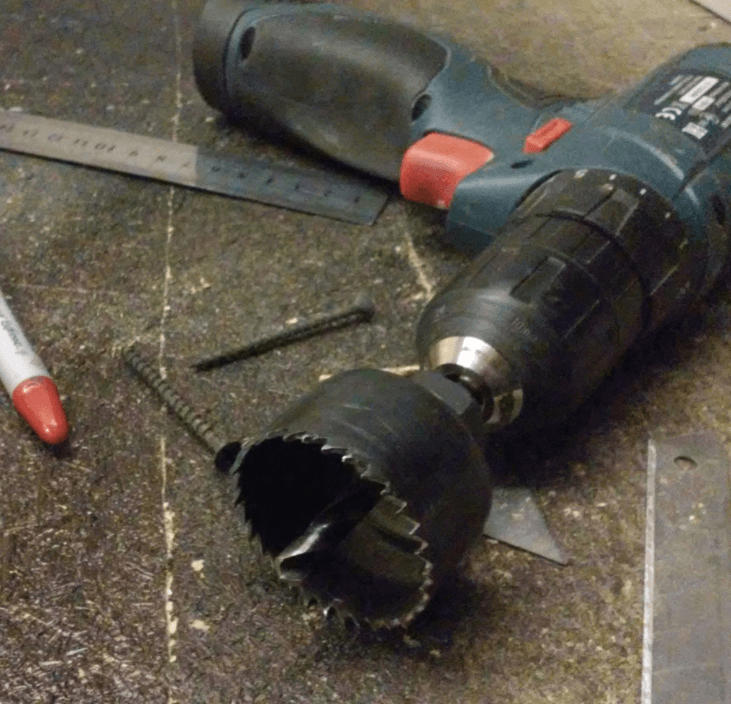
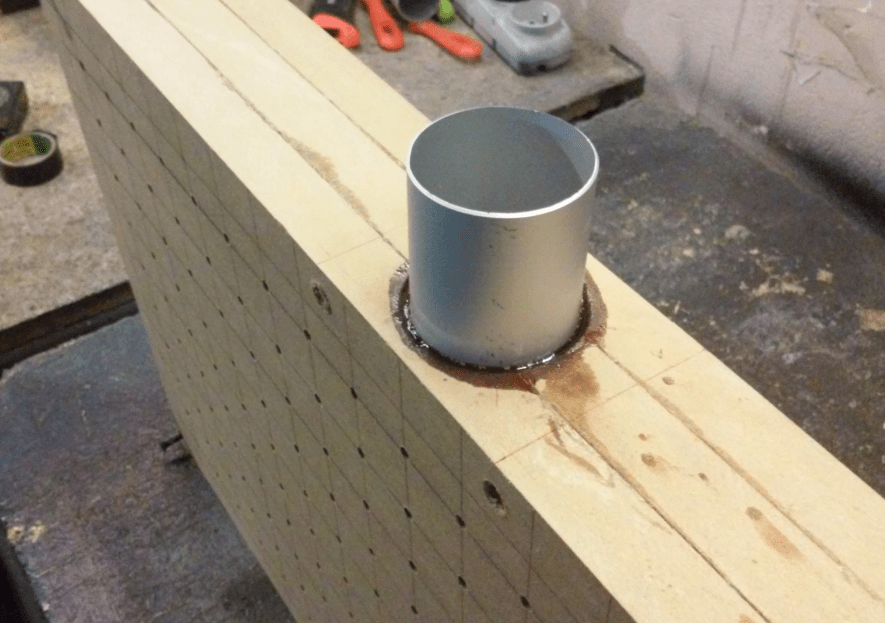
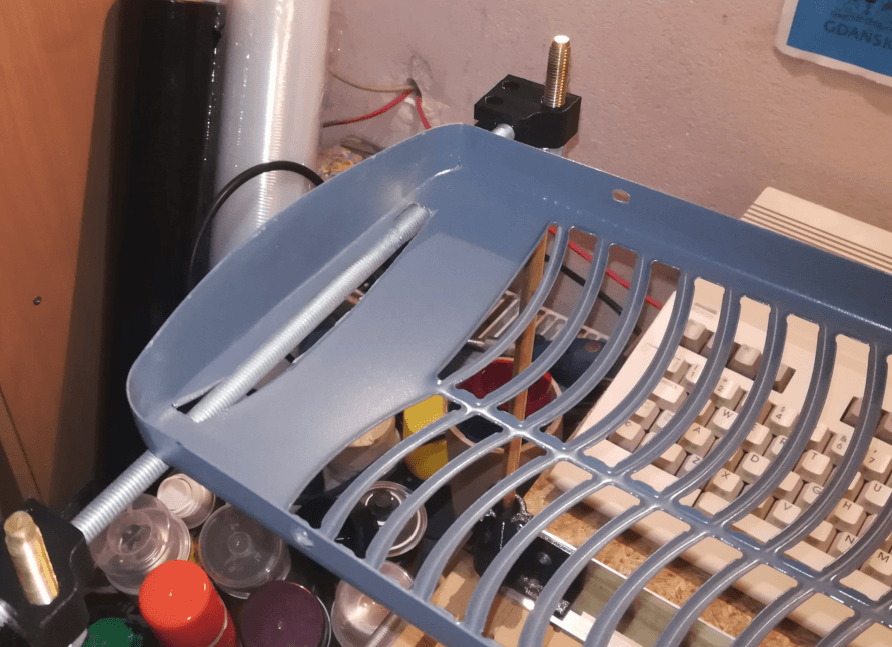
I’ve made a vacuum hose inlet out of an aluminum tube that I found in my garage, but I had to make a hole on the side first. I’ve again used an epoxy resin to secure it in place afterward.
Initial tests
Before moving forward, I’ve decided that I’ll run some tests of the table and the idea itself.
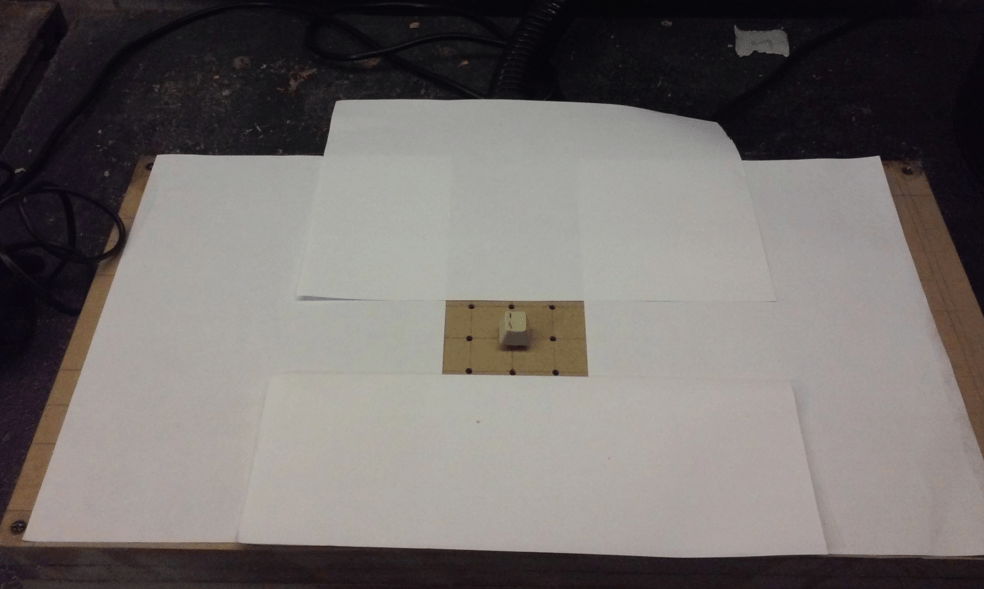
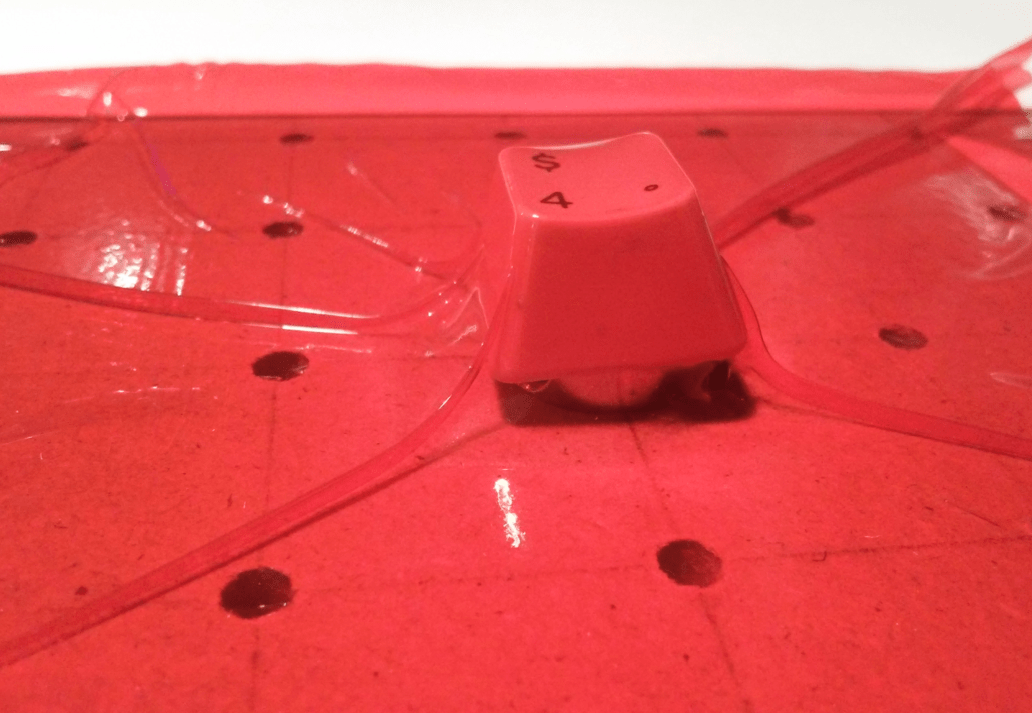
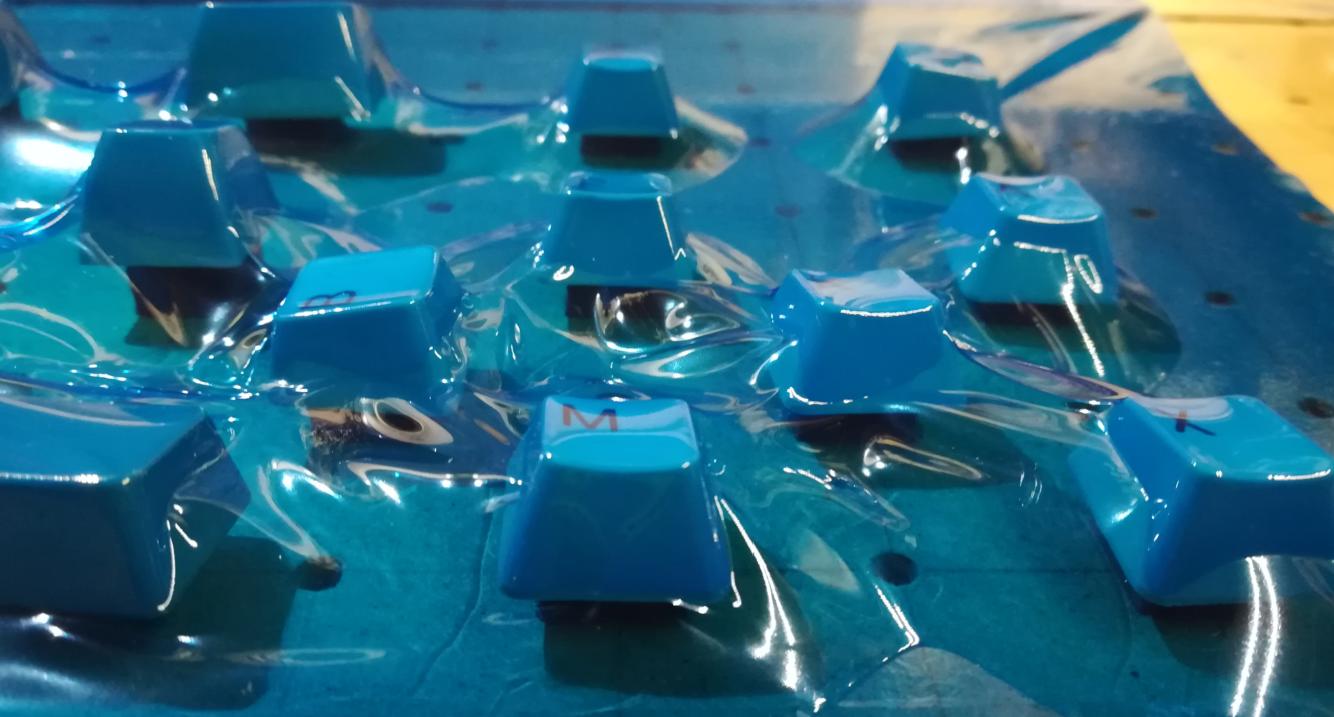
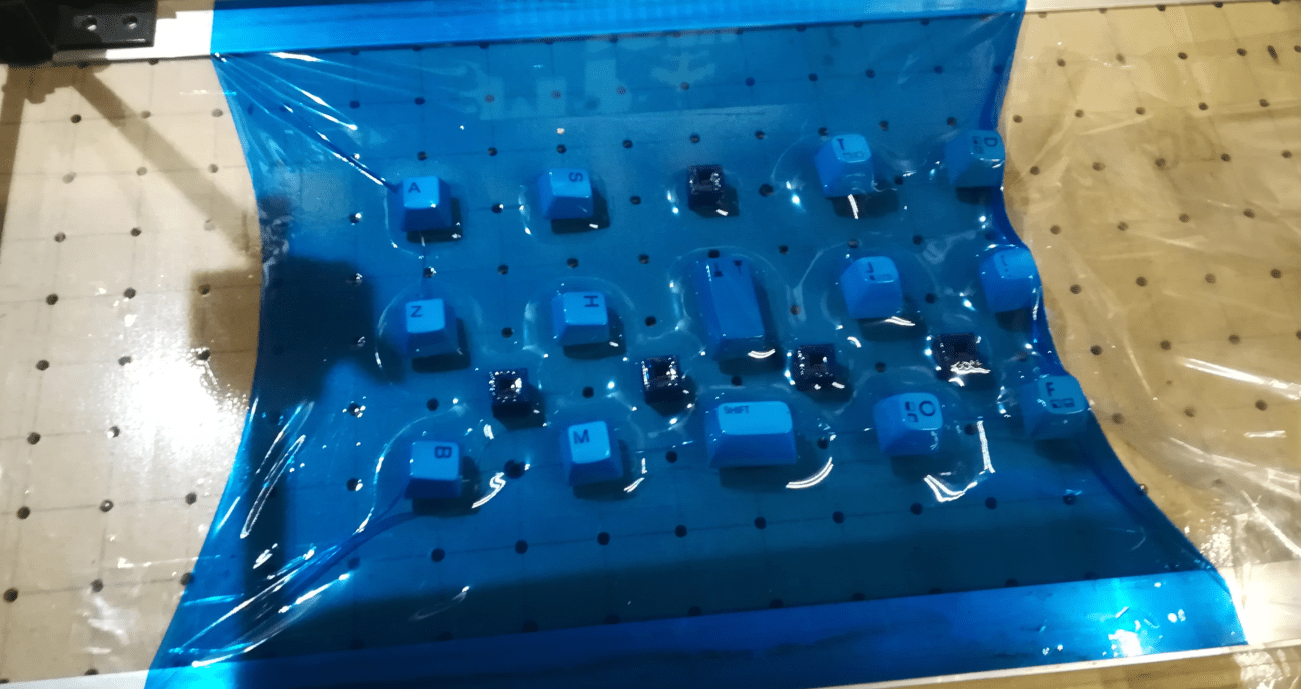
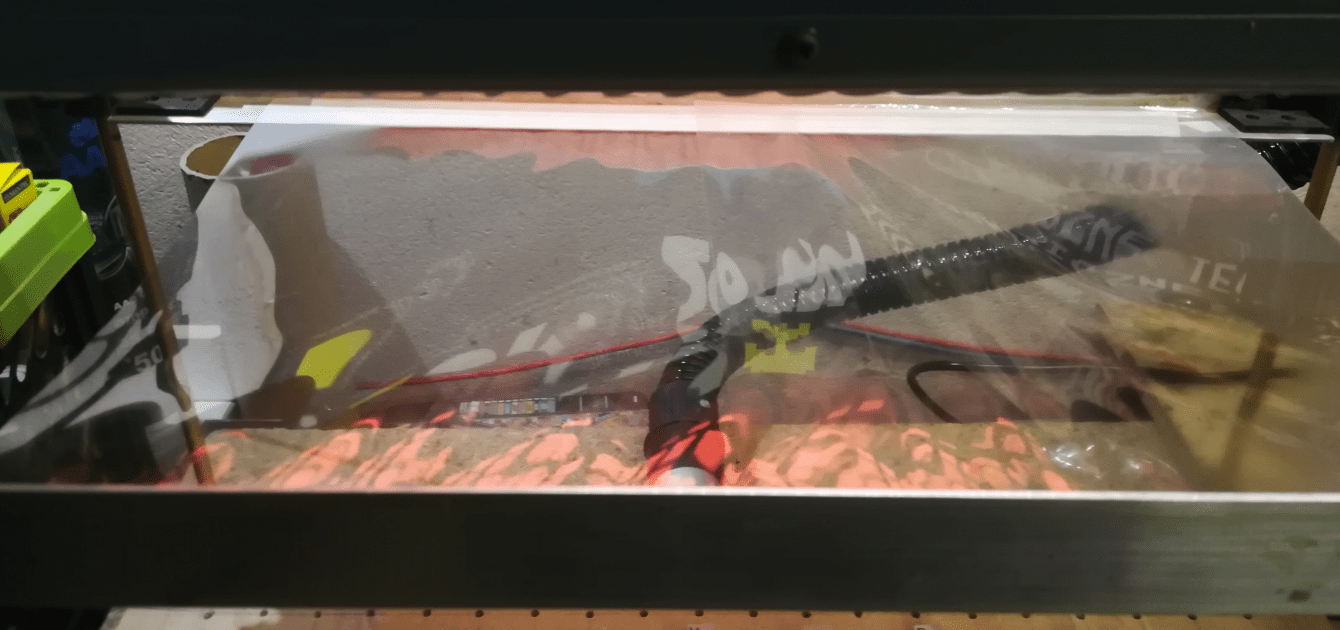
I’ve covered not used holes with printer paper and used a hotair gun to shrink vinyl around keycaps while the vacuum was on. This is how it looked.
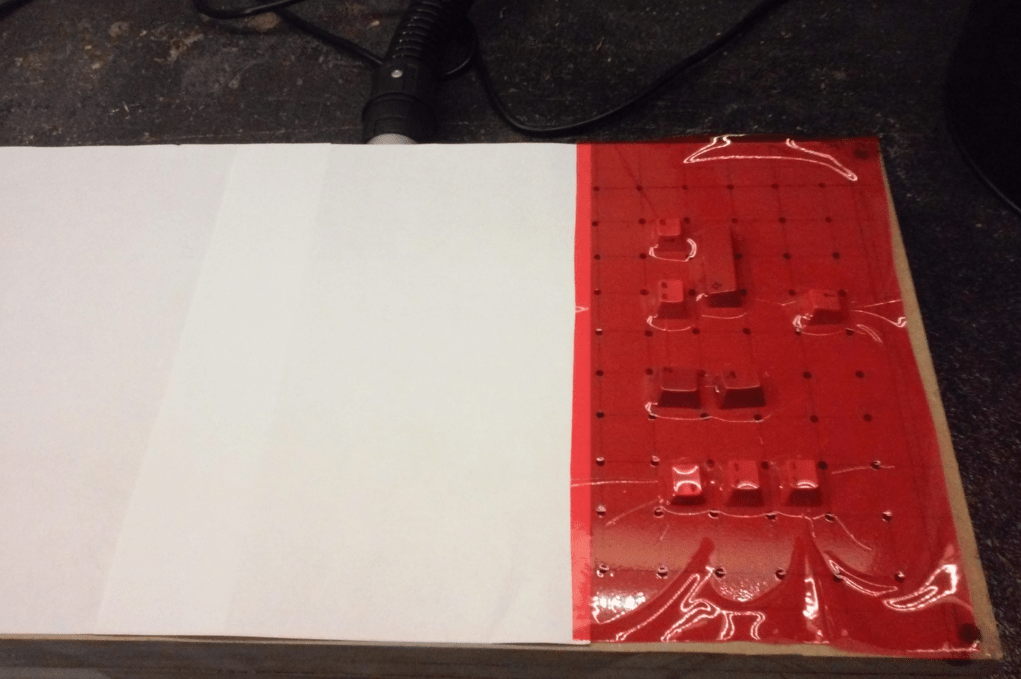
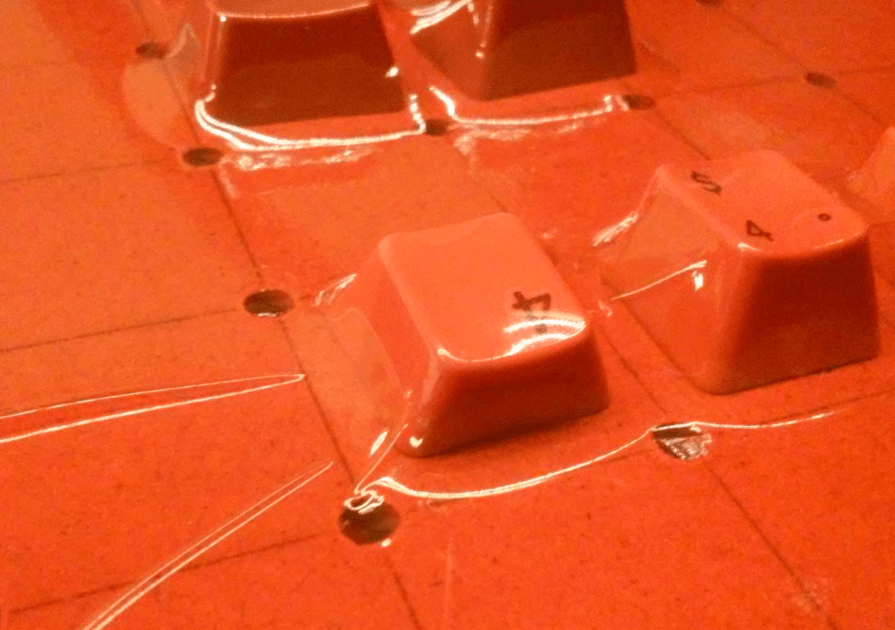
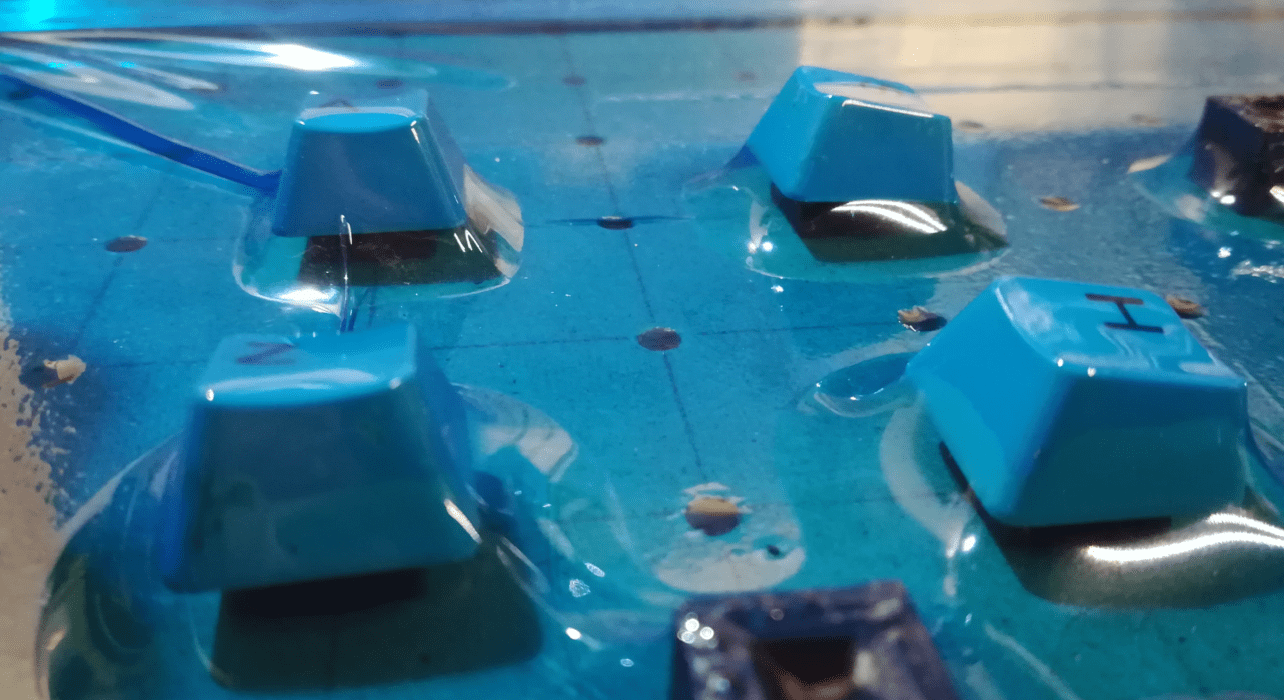
The first problem was easy to spot. Keycaps were not fully wrapped, so I’ve added a temporary standoff and tried again.
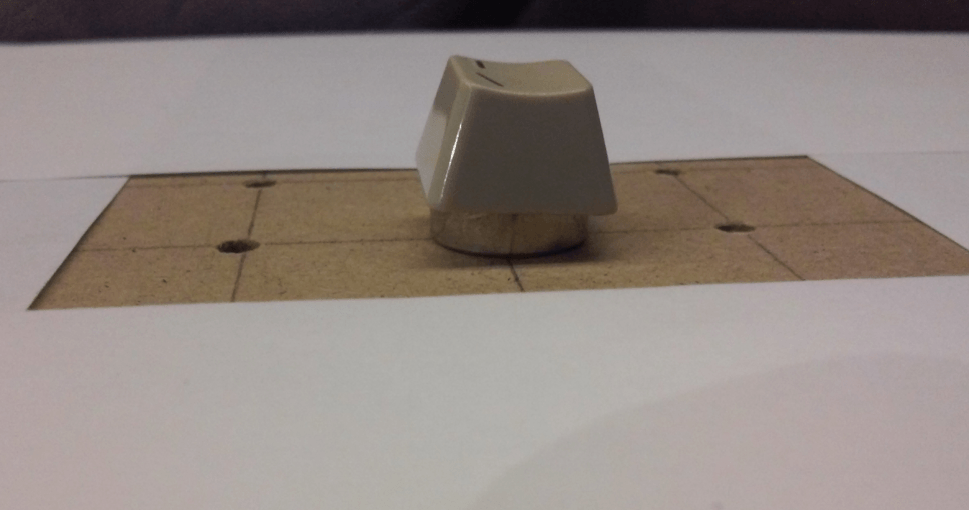
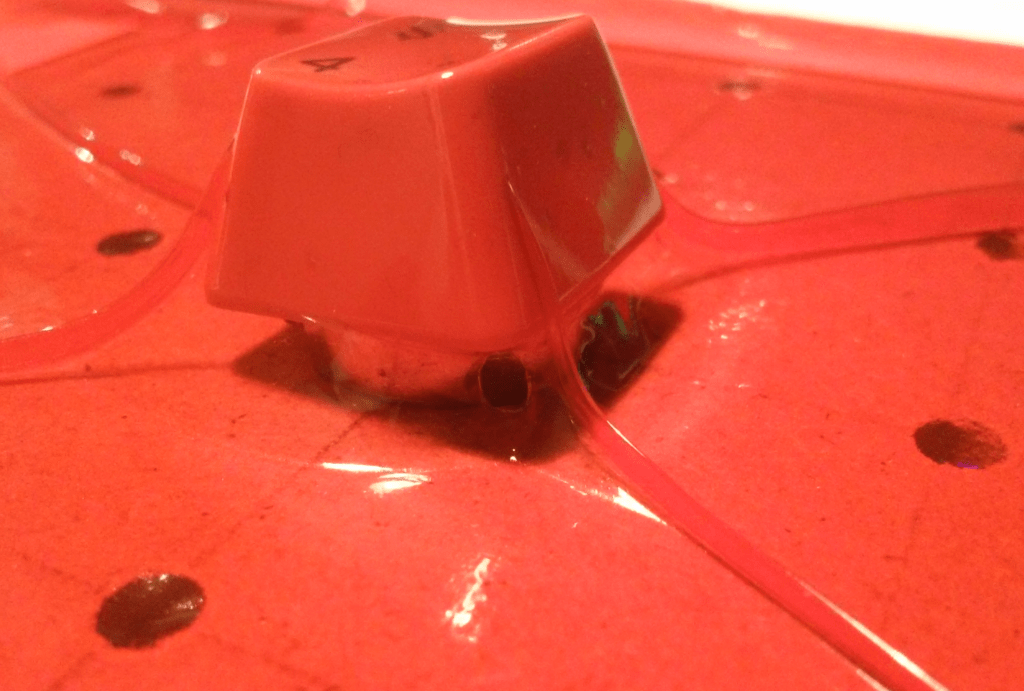
Better, but still required more work.
The frame
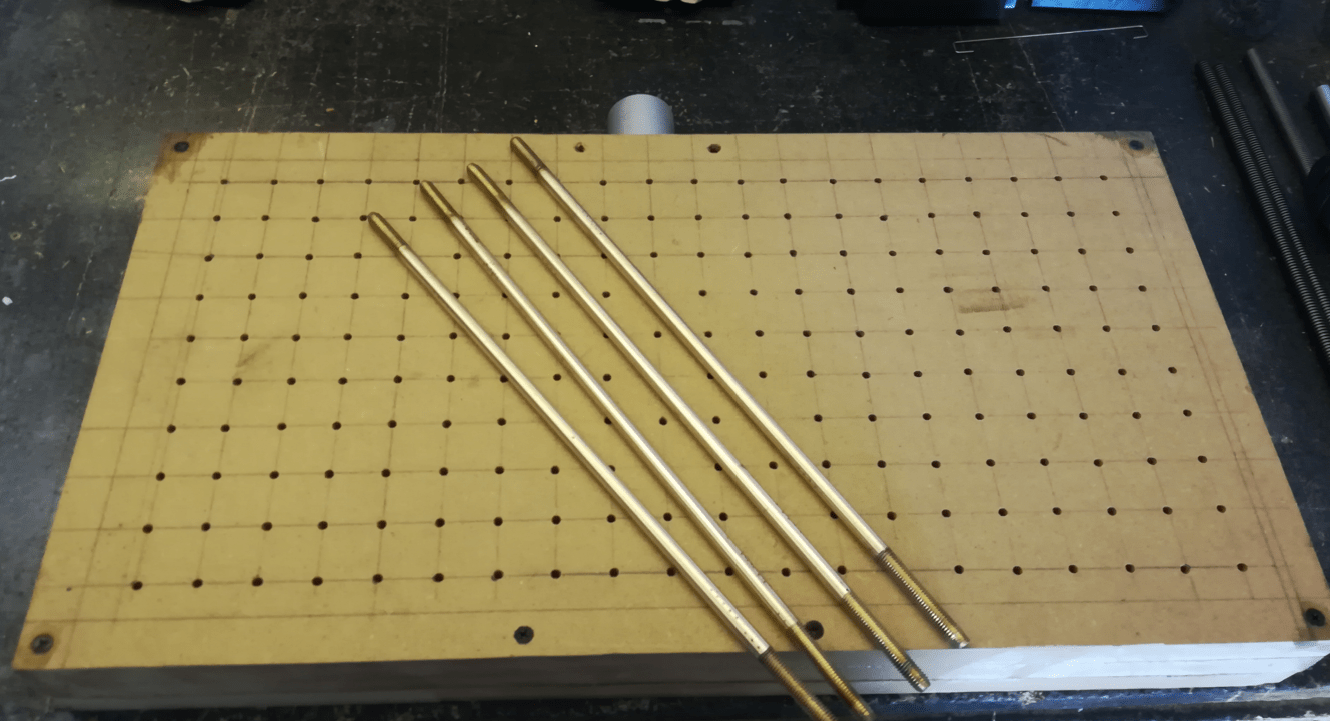
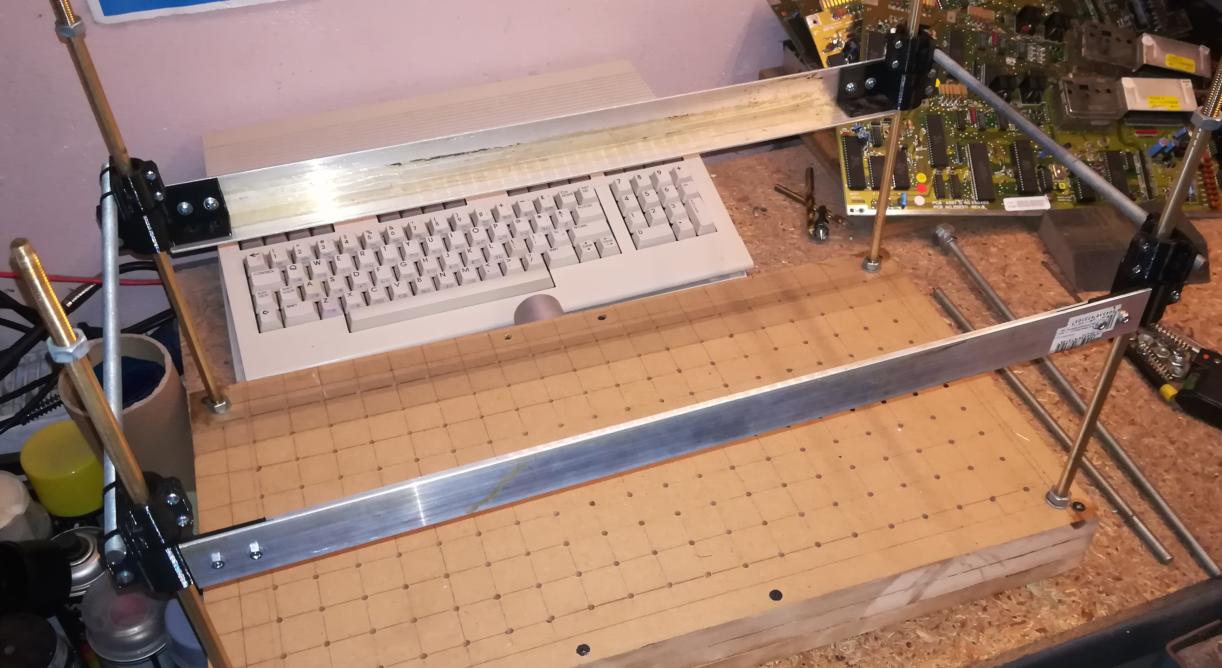
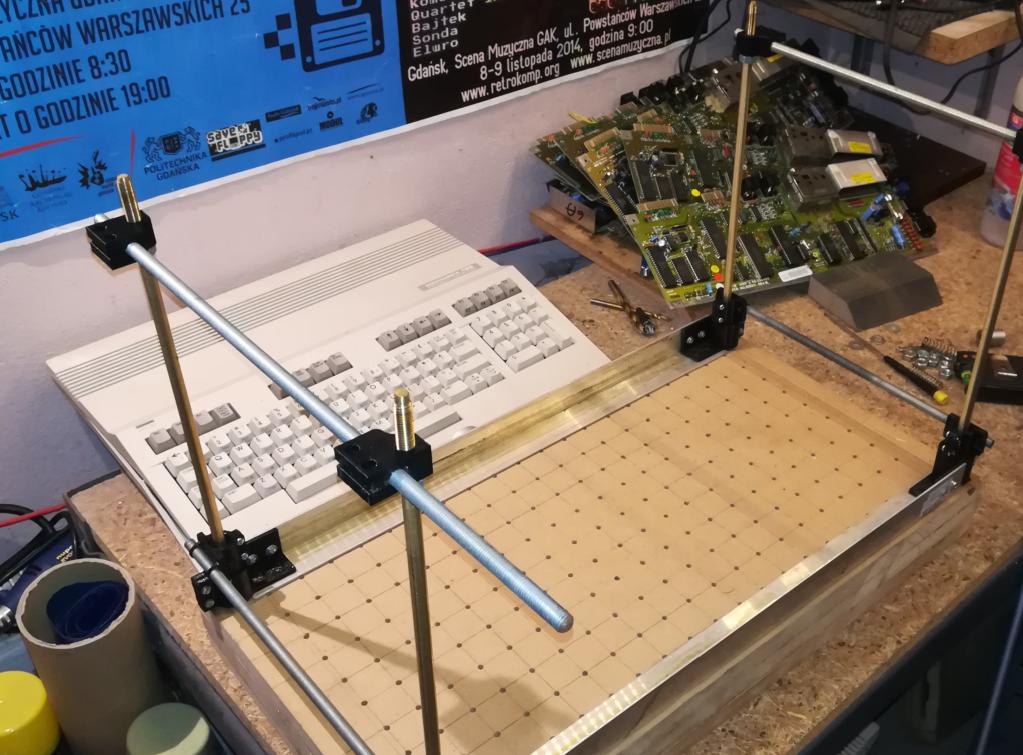
I’ve decided to move forward with the build and started working on a frame and a heating element mount.
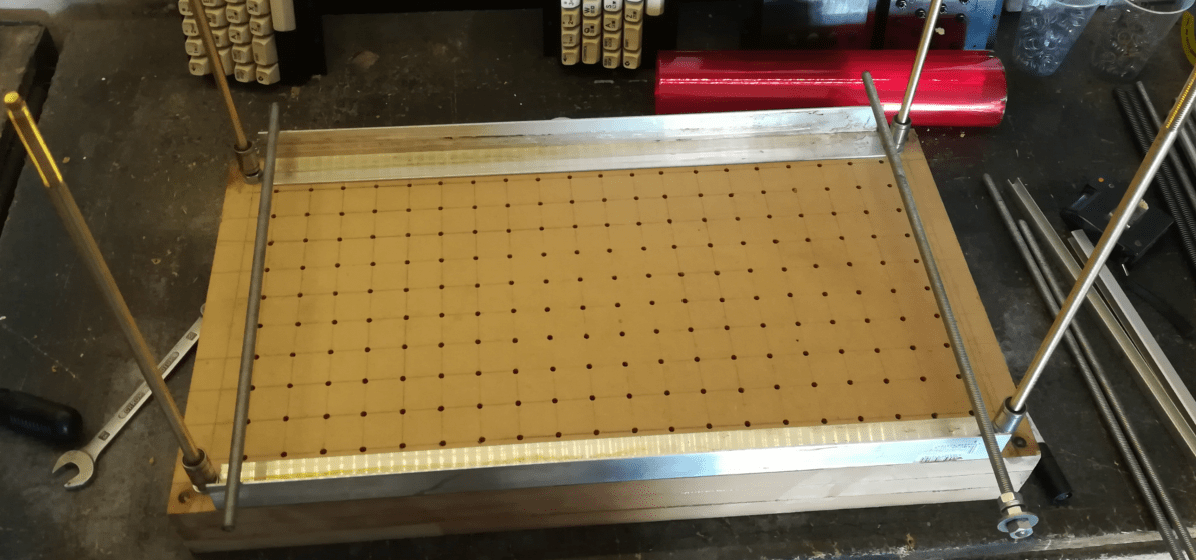
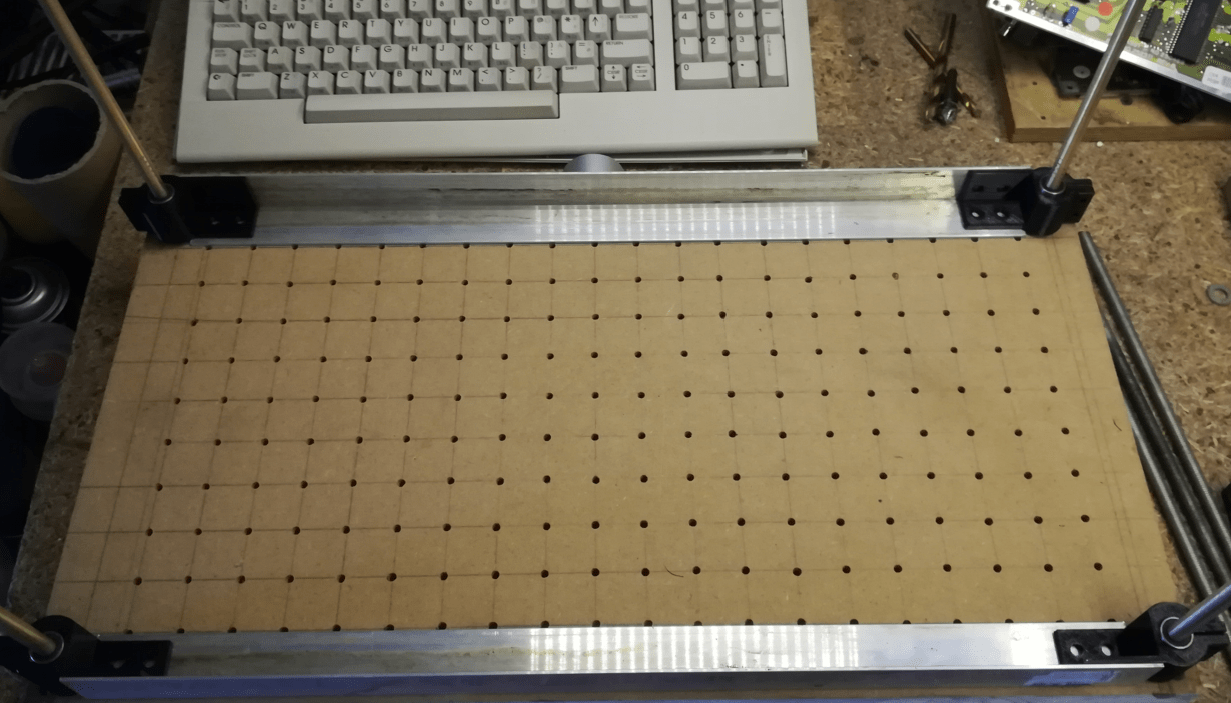
I’ve prepared four brass rods and screwed them to a table.
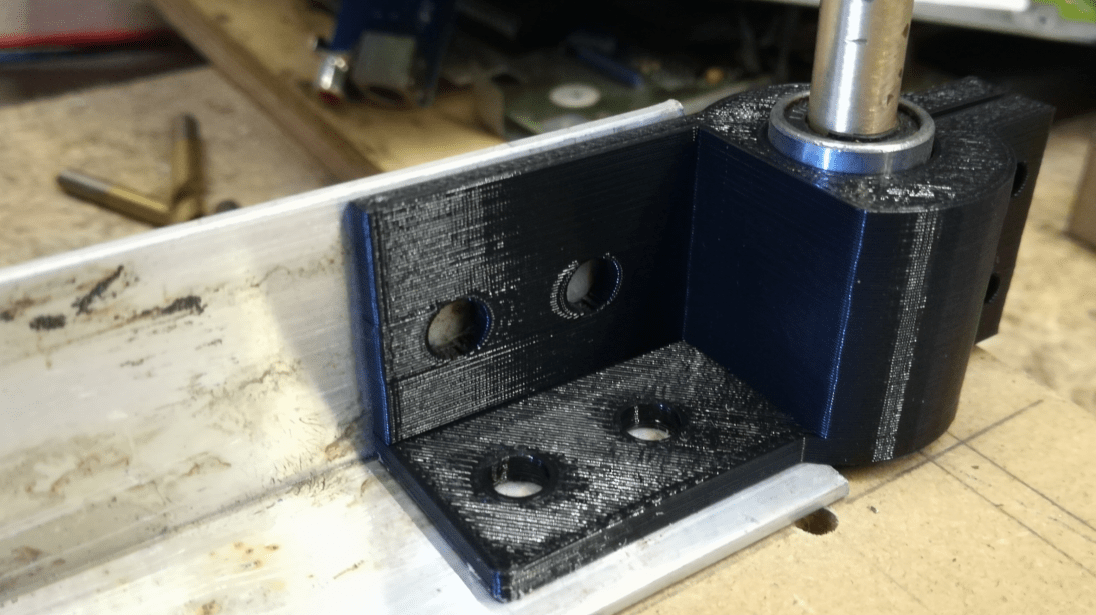
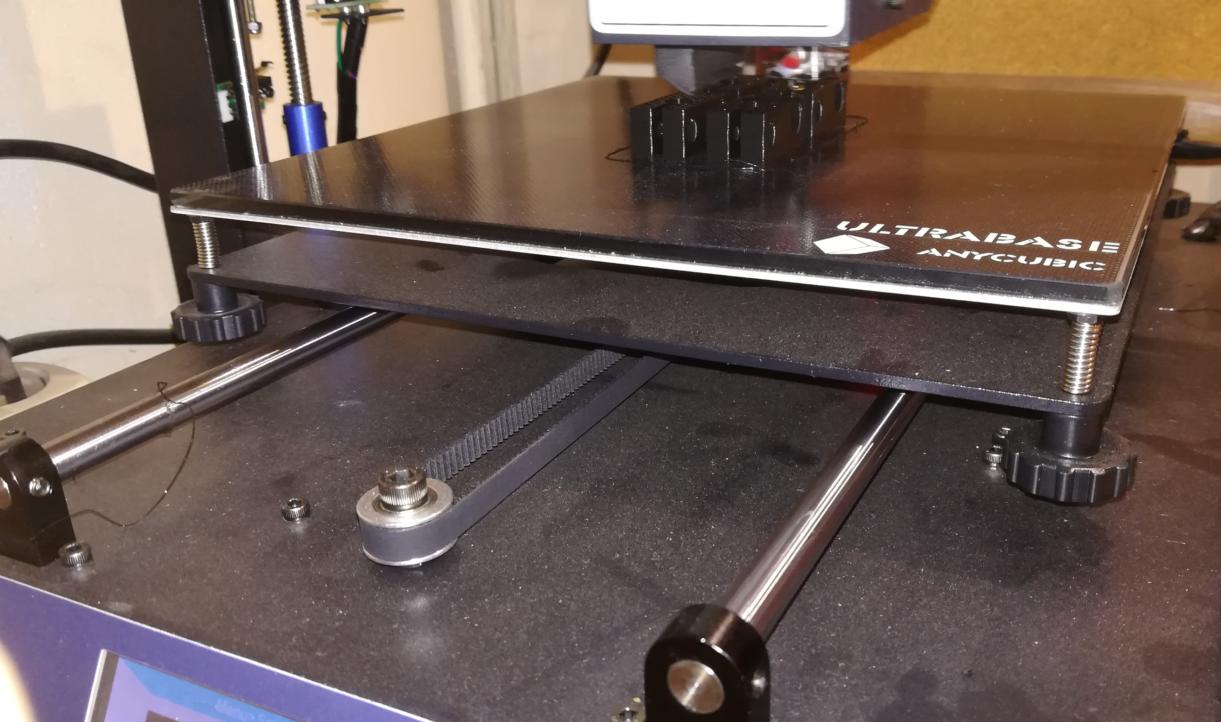
Linear bushing from my past 3D printer project was used to make a platform with plastic sheet mobile. I’ve also used extruded aluminum and some quickly designed 3D-printed brackets to make the platform. The rigidity of such a solution is very questionable, but I was too impatient and wanted to run some more tests on wrapping.

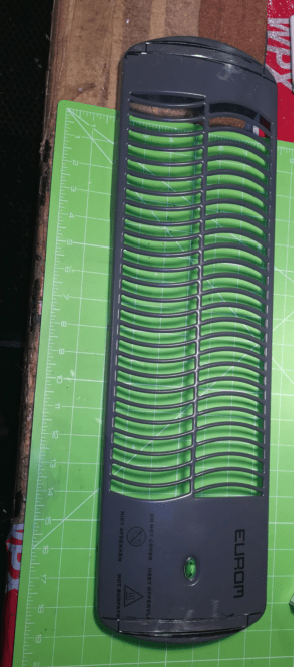
The heating element
I’ve found a cheap heater on eBay but I had to slightly modify its housing to fit my pathetic frame.

More tests
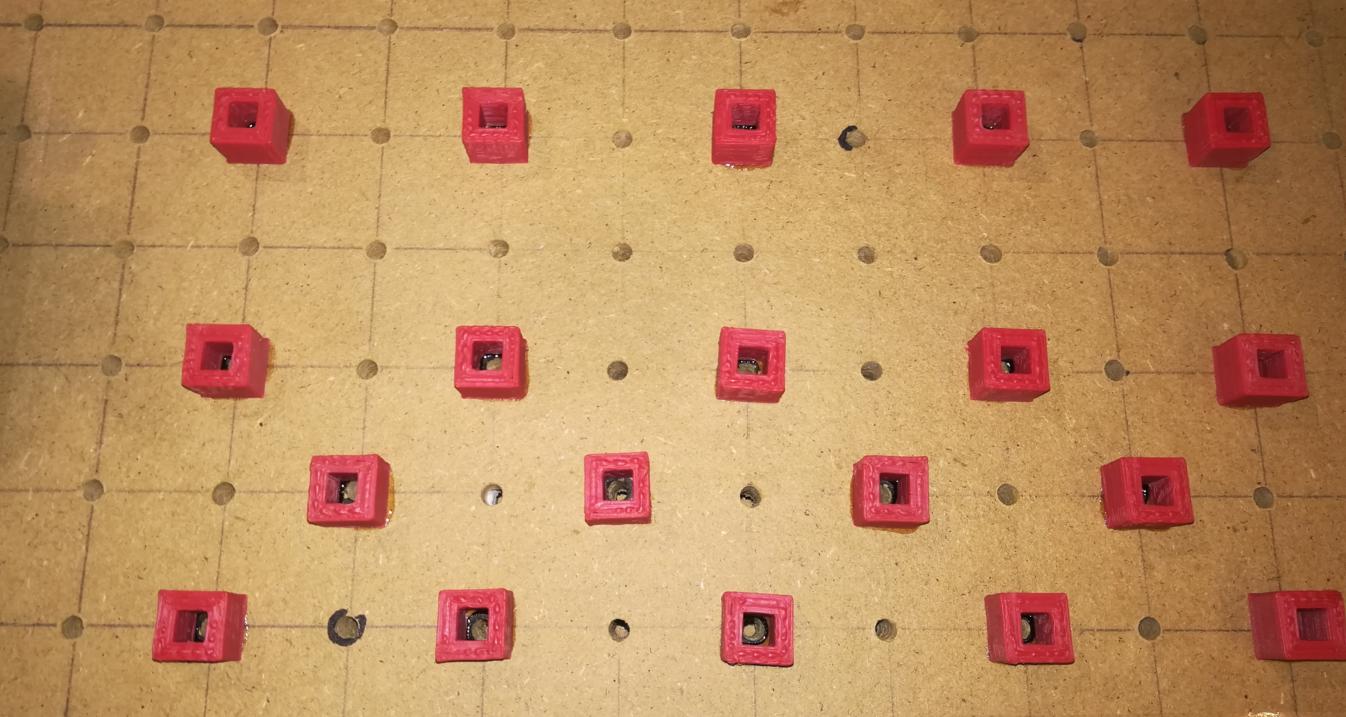
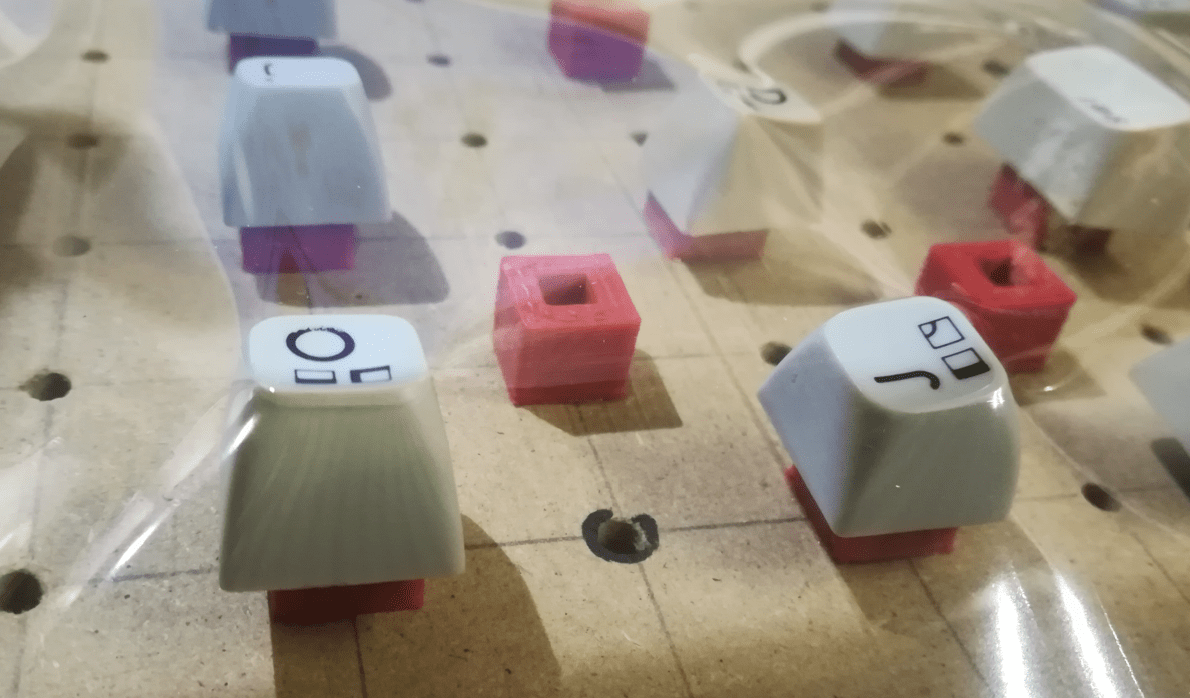
In the meantime, I’ve 3D printed some standoffs to put keycaps on them.
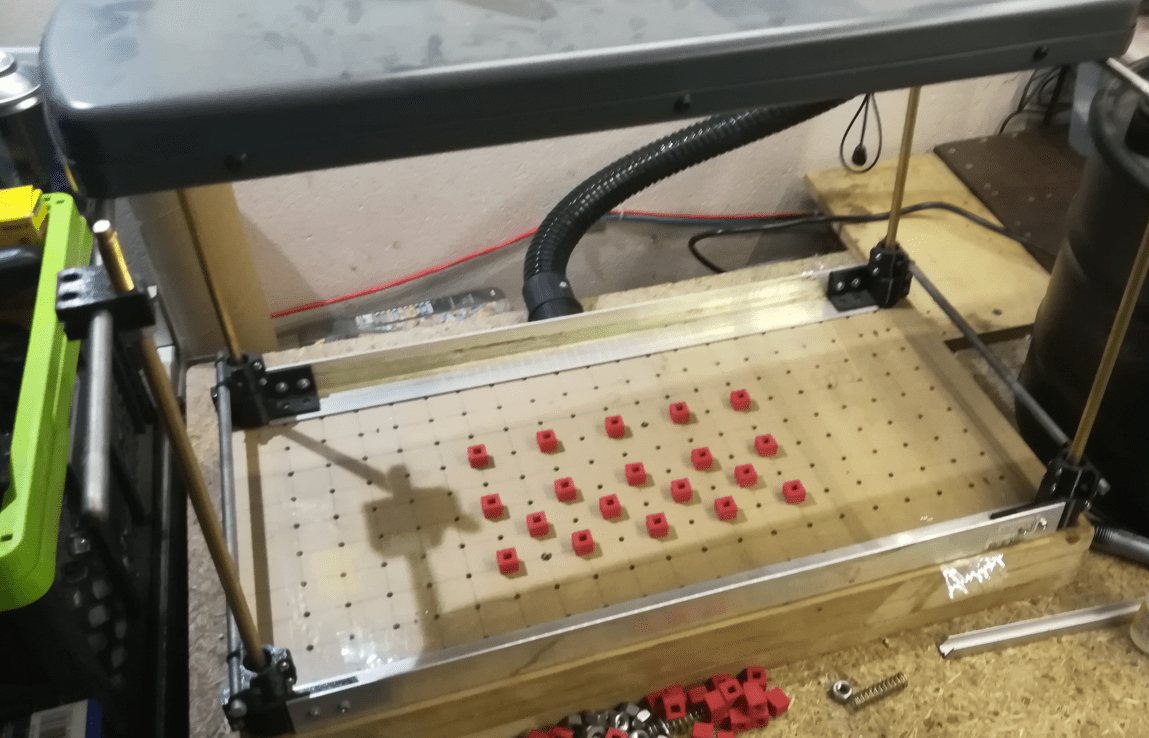
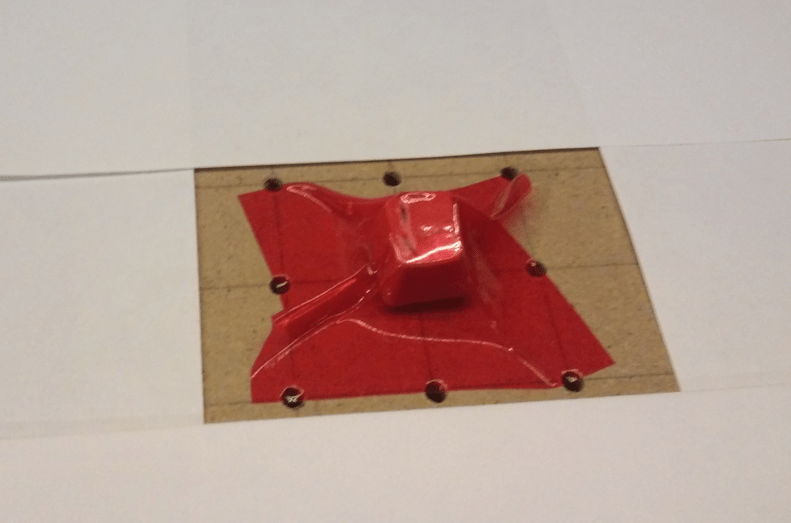
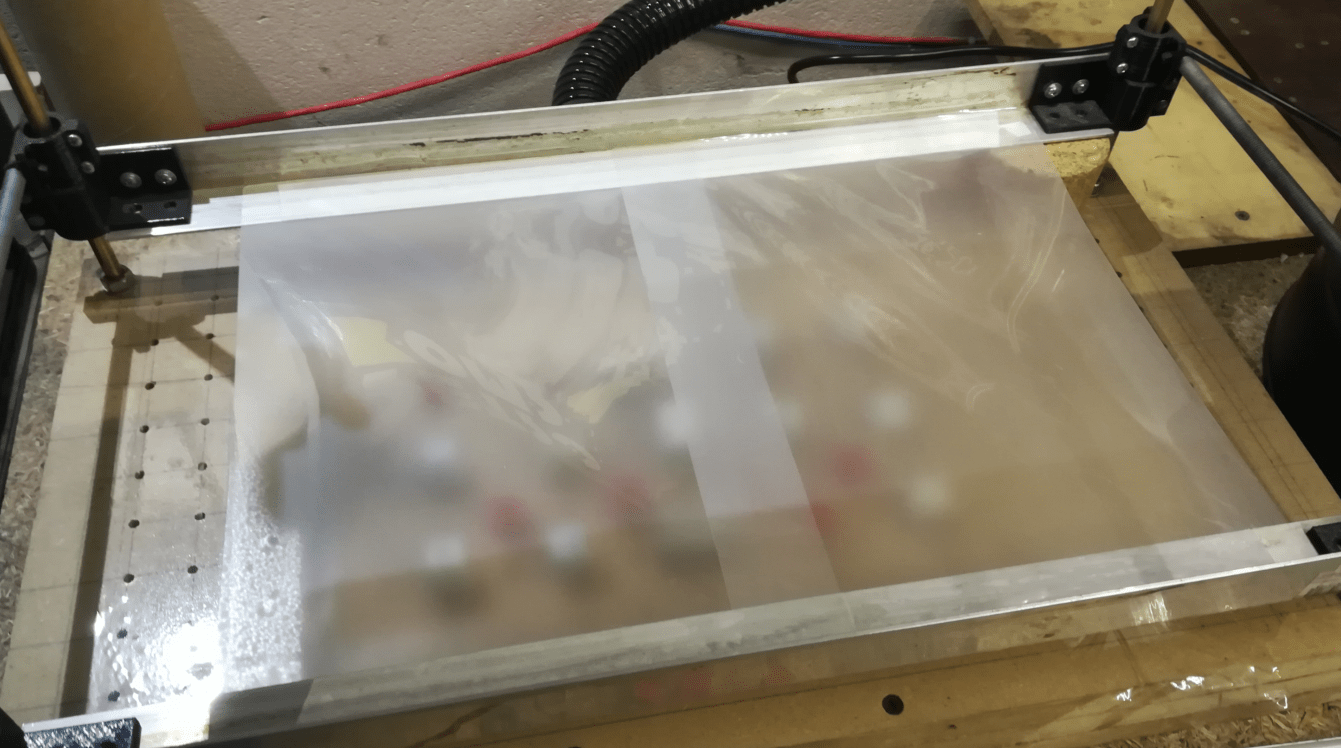
With the whole setup v1.0 ready, I’ve put on some keycaps and turned on the heating element.
I’ve used a thin vinyl wrap that is used commonly by the car tuning community to dim or change the color of tail lights in cars.
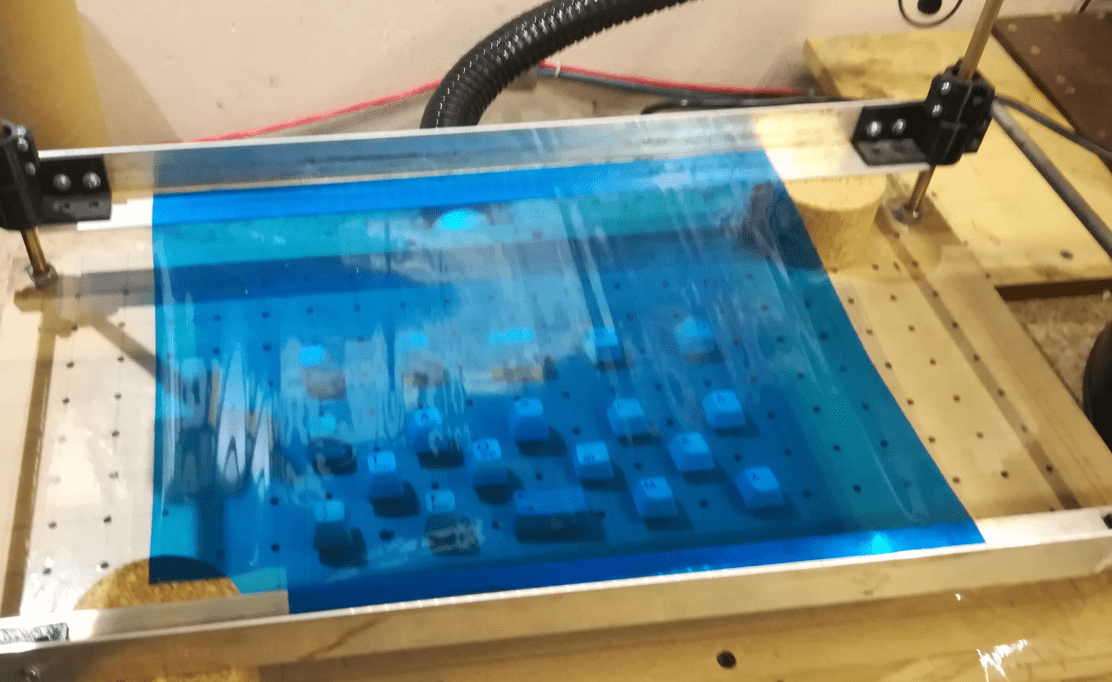
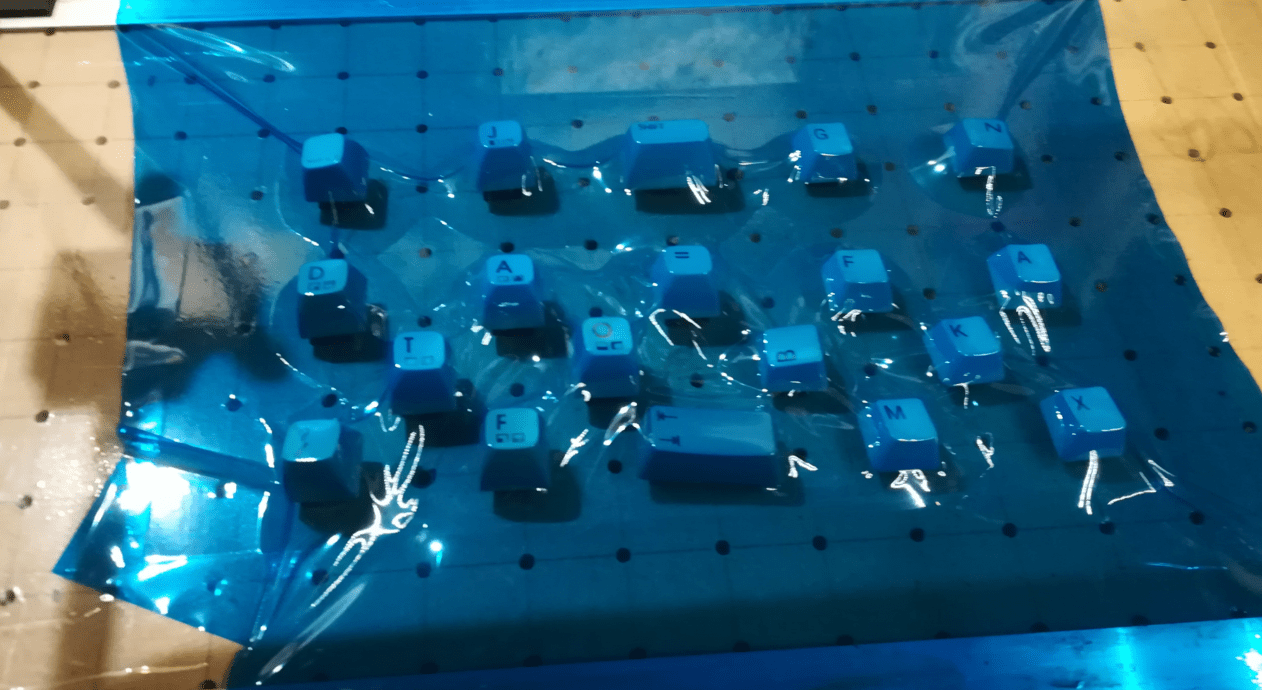
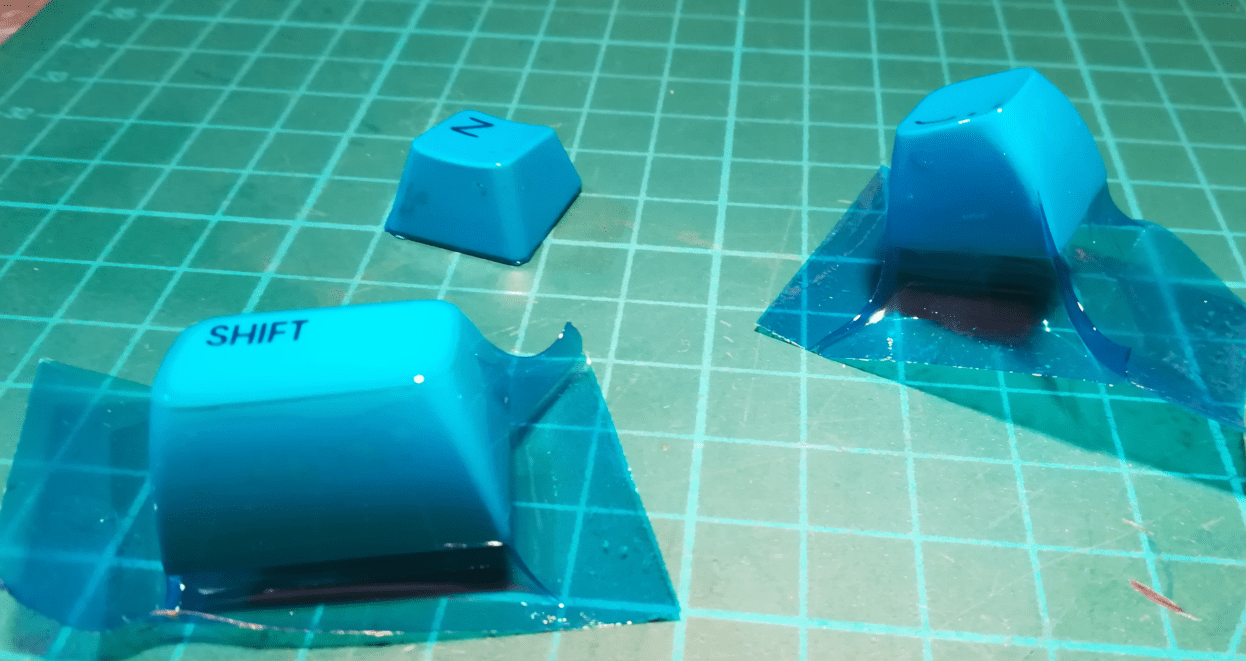
As I suspected, the outcome was a disaster 😀
I’ve also tried my luck with a laminating foil but that was a total failure too 😀
I’ve experimented a bit with distances but the results were still poor.


Summary
In general, the idea proved to be ok and I’ve learned a lot while working on this project, however, the machine requires a lot of work and improvements. Below are some problems that I’ve identified:
- The frame has to be more rigid – need to build a new frame
- The platform needs a proper lever
- The heating element in my case was too small and heated plastic sheets unevenly
- Research and tests with other plastic materials are required.
- The temperature sensor and controller have to be added
This project was put on hold and I might come back to it someday. If you have any suggestions, please write them in the comments section.
Outro
If you want to get retro gear or hardware modules, please visit our shop -> https://retrohax.net/shop/
Please support our work by commenting here and on our Facebook and Twitter pages.
If you want to donate a dead computer then drop me an email. Extreme cases are welcome
Thank you for sharing your journey in building a vacuum forming machine. Your detailed account of the process, including the challenges faced and lessons learned, provides valuable insights for fellow DIY enthusiasts. Despite encountering setbacks, your determination to experiment and improve is commendable. I appreciate your transparency in highlighting areas for future refinement. Looking forward to seeing how this project evolves and hoping for more insightful posts from you. Keep up the great work!
From ZetarVac
Thank you for warm words! this is not the en and I will be covering the full info on how I did it all. Thanks again sir! 😀
Can you elaborate more on the type of vinyl you’re using? I’d like to try this myself, as I do vacuum forming on a regular basis in my dental lab.
Suggestion: try a dental lab vacuum former. You’ll only be able to do a few keycaps at a time, but, the results might be better.
Thanks for the hint. I’ve just progressed a bit with this project though and will post results on the blog someday.