… or fungi are not always your friends
<Intro>

</intro>
Hau iz dat even possibal?!
Yikes! Yeah, I had to refurb my garage/lair this time.
It all started around 2017 when I was back from a short holiday. It was very warm and moist outside and once I opened my garage and drove a car inside I was like … dude! What’s that smell?!
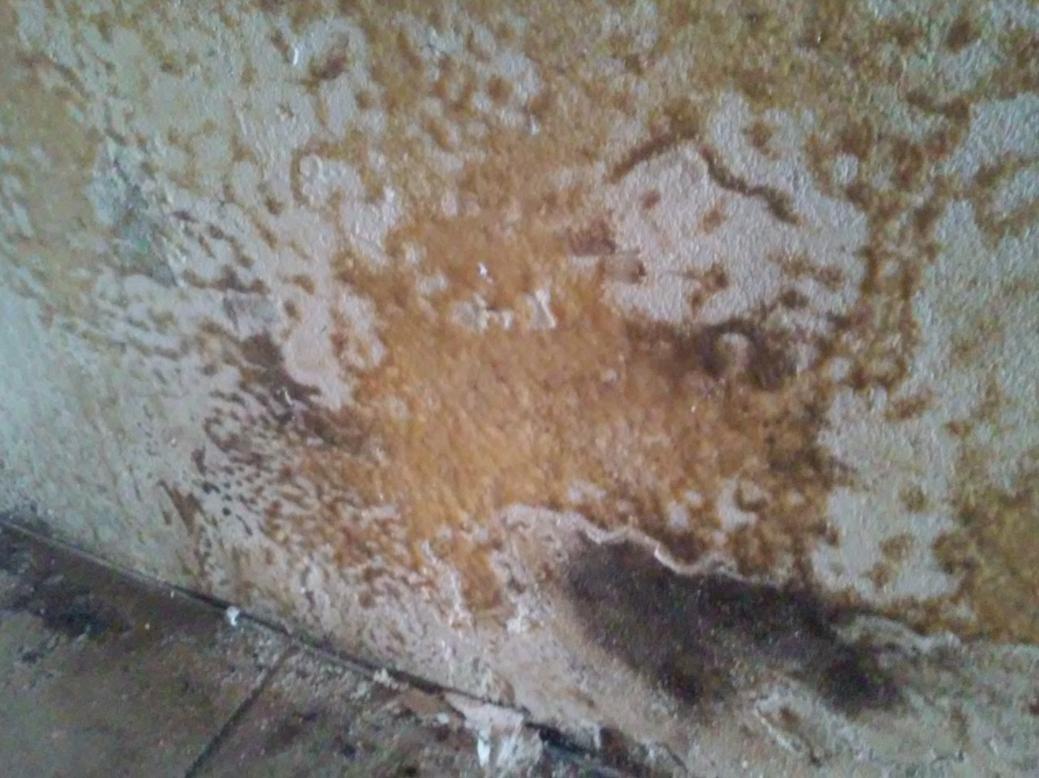
Turned out it was fungi build-up on an external wall…
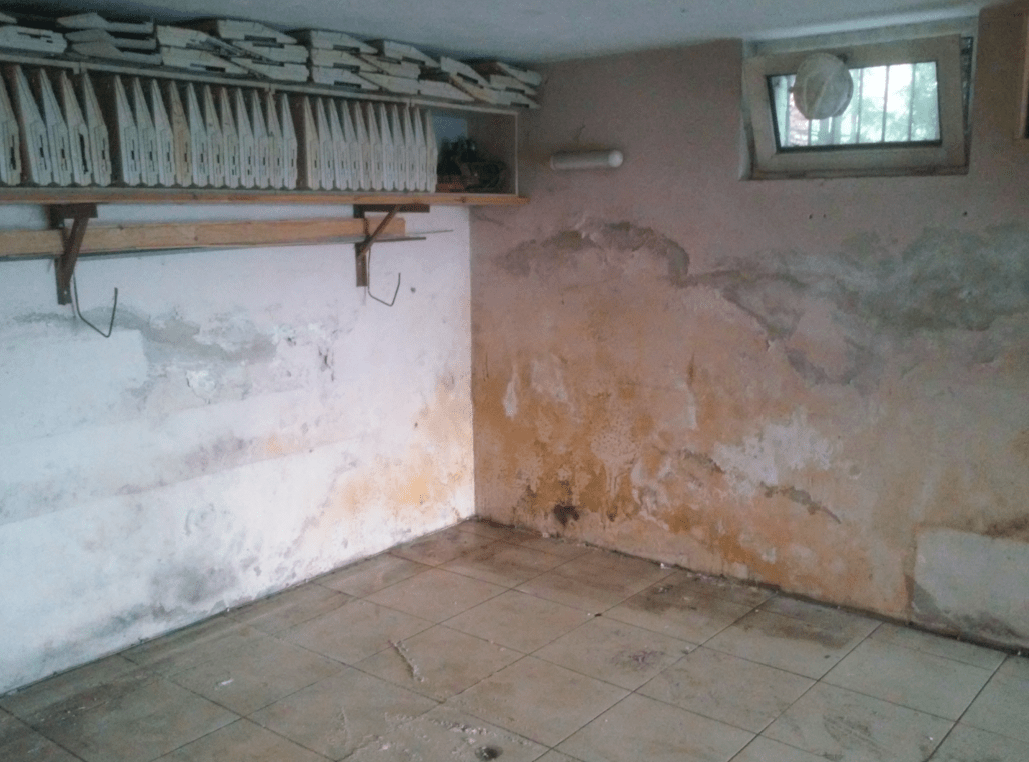
At first, it all looked like it was caused by moisture and bad ventilation as the garage was closed due to my absence.
I was super surprised that all that happened over a few days and wasn’t even visible before.
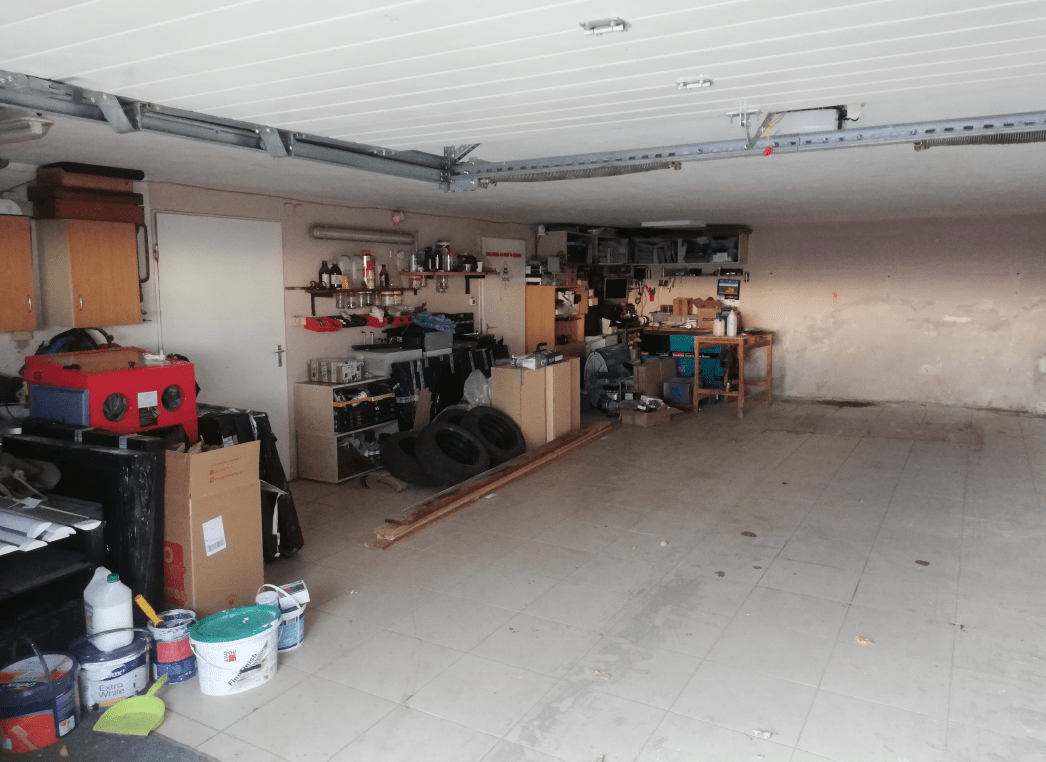
Initial work – 2017
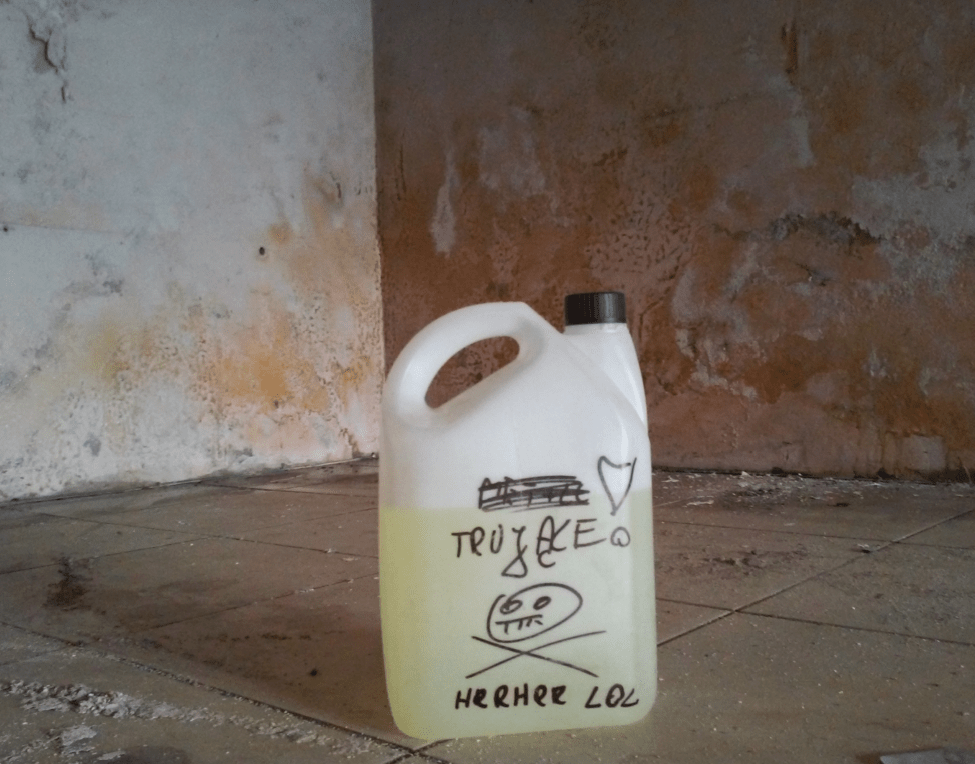
I’ve scraped all fungus that I could and later sprayed it all with poisonous Sodium Hypochlorite which is often used as a pool disinfectant.

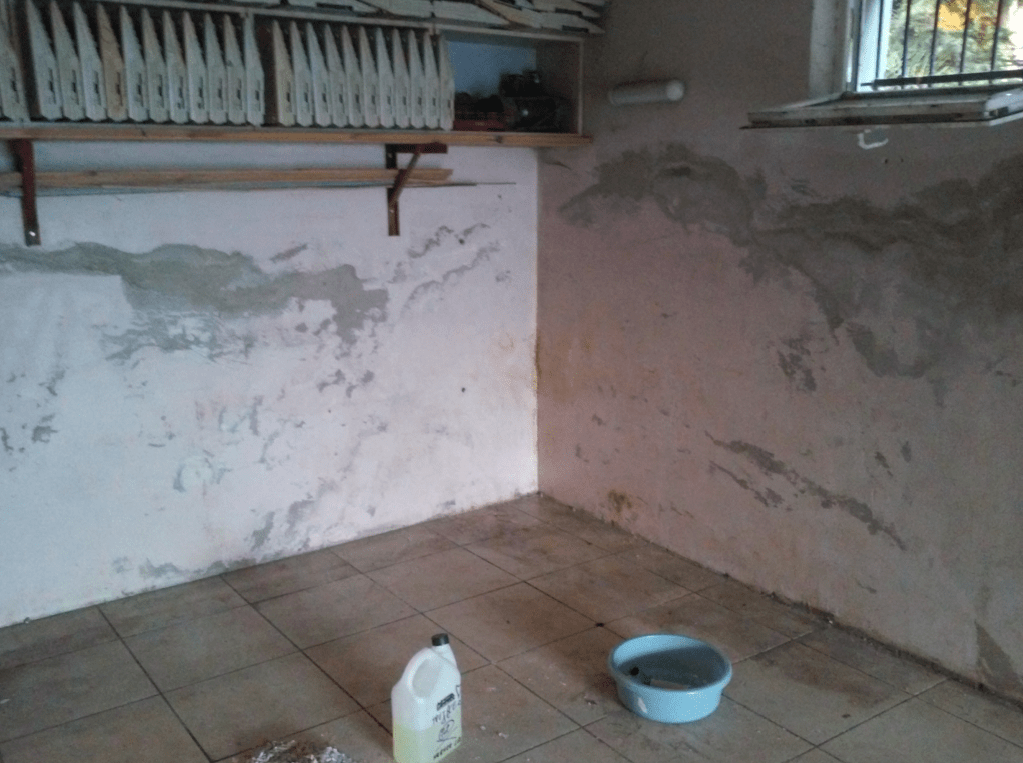
It took me a while to sort it all out but I already knew that this is a temporary solution. I suspected that wall hydro isolation was breached so walls were constantly wet hence the fungi outbreak. That was back in 2017 and it took me a while to sort everything out and prepare for a general refurb mostly to tons of hardware that I am storing in my garage.
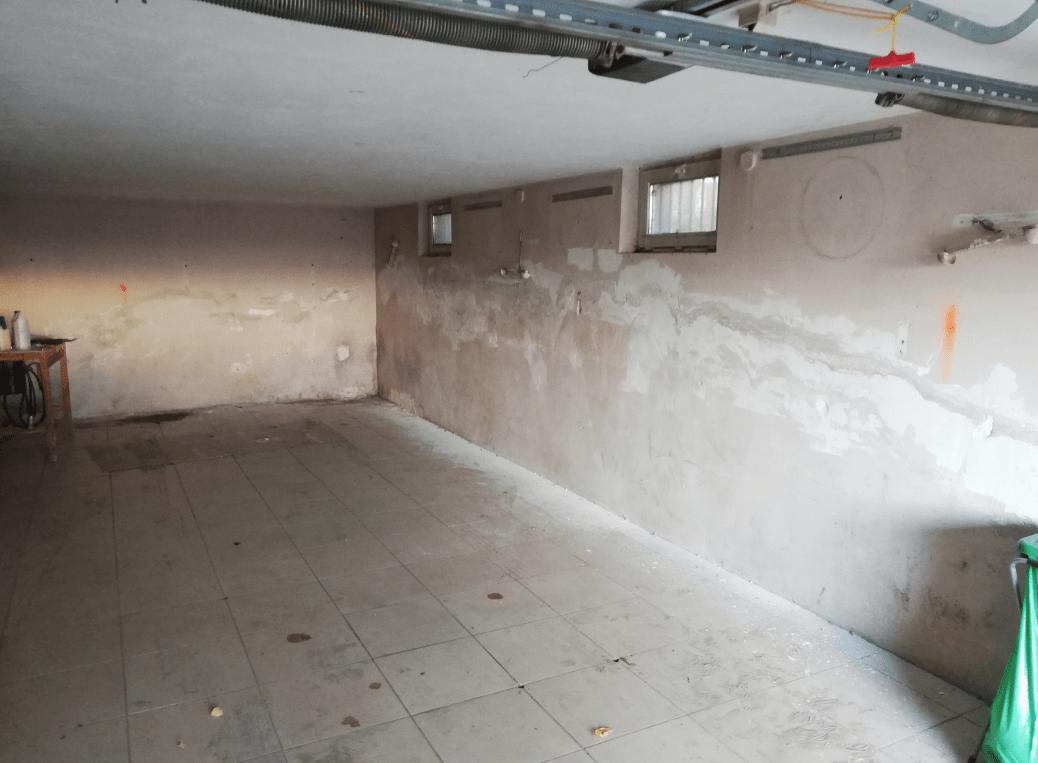
The main job – 2020
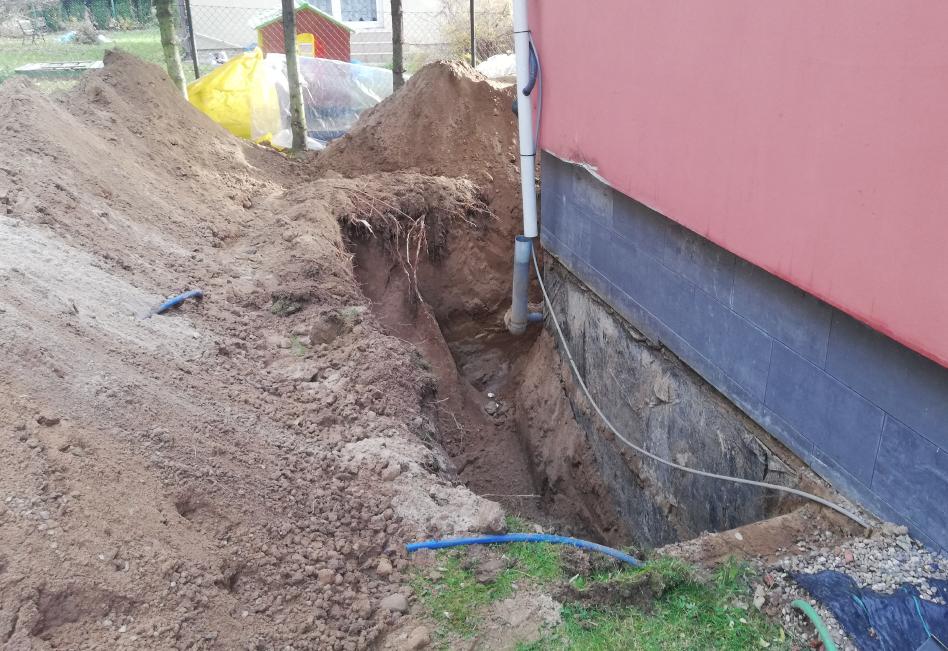
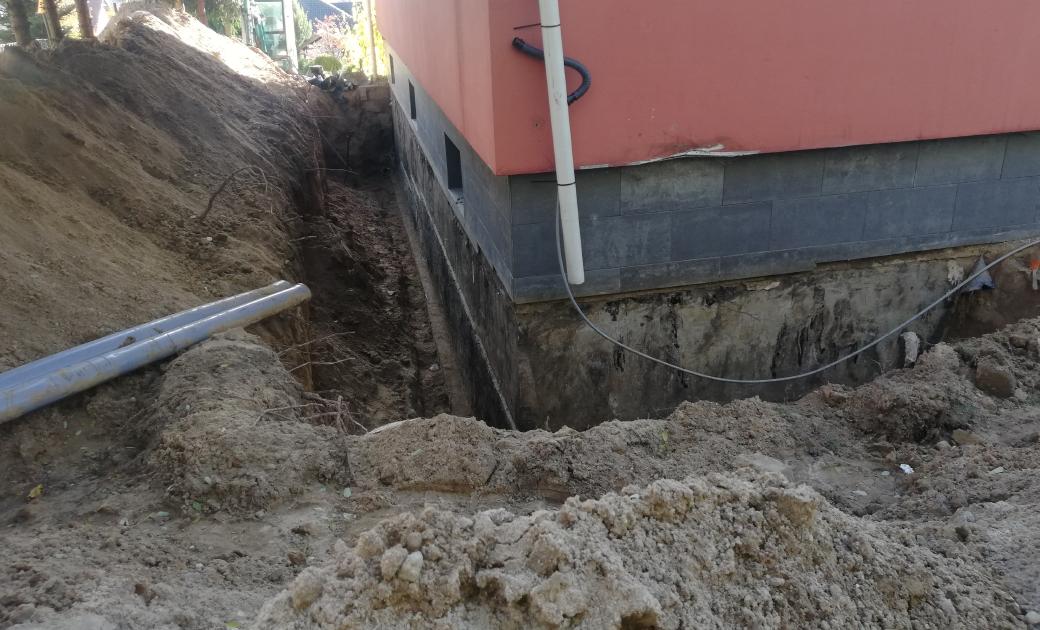
Finally, nearing the end of 2020 I was ready to start the main job. I had to start with wall excavation but the main problem was putting a mini excavator in place. It is a few years old building so there were grown trees around and other stuff that was a bit problematic to move/remove. I had to decide what to do and figured out that the mini excavator will be put on the worksite with a small crane. The great dig started. That was the easy part because an excavator operator was brilliant and managed to uncover the walls (over 2 meters deep) within 5 hours!
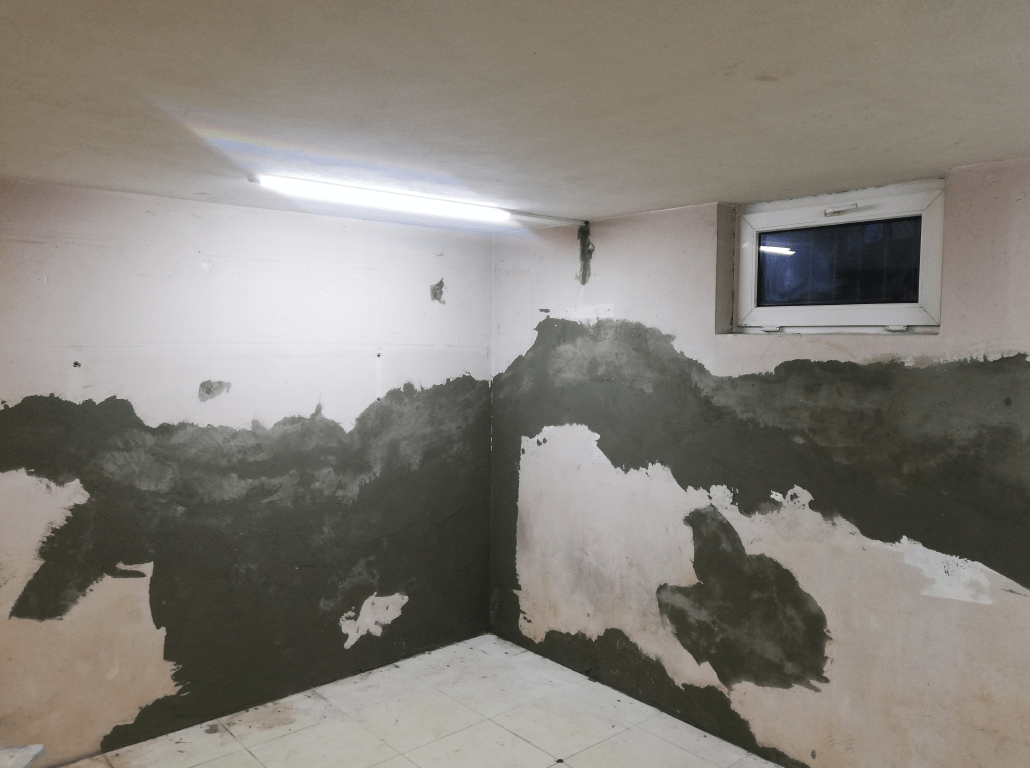
Here is the outcome.
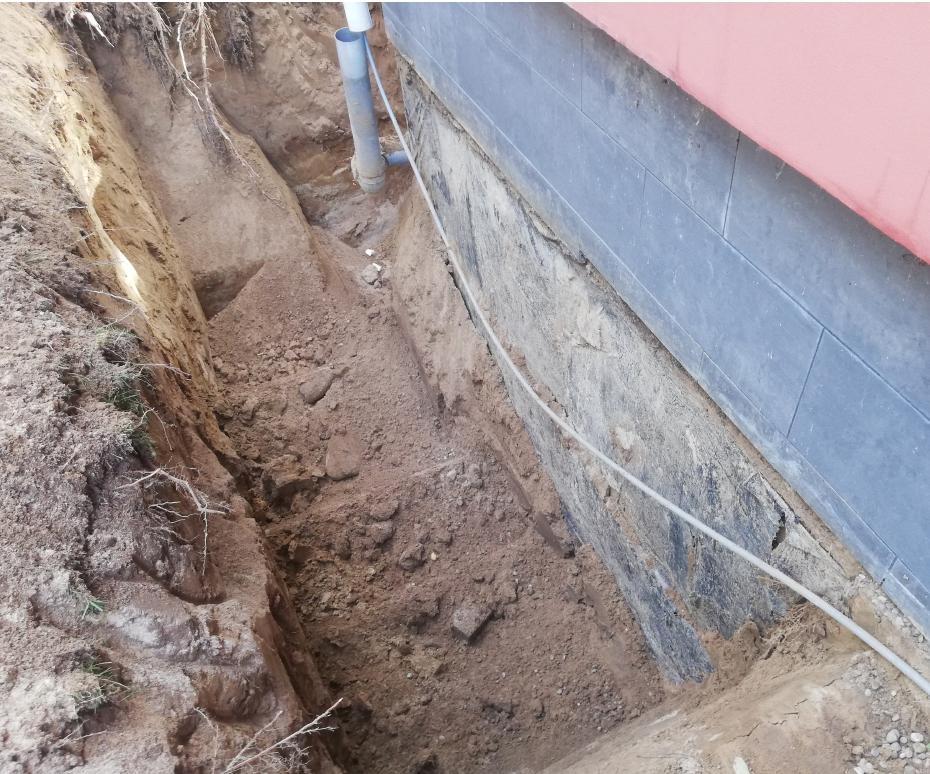
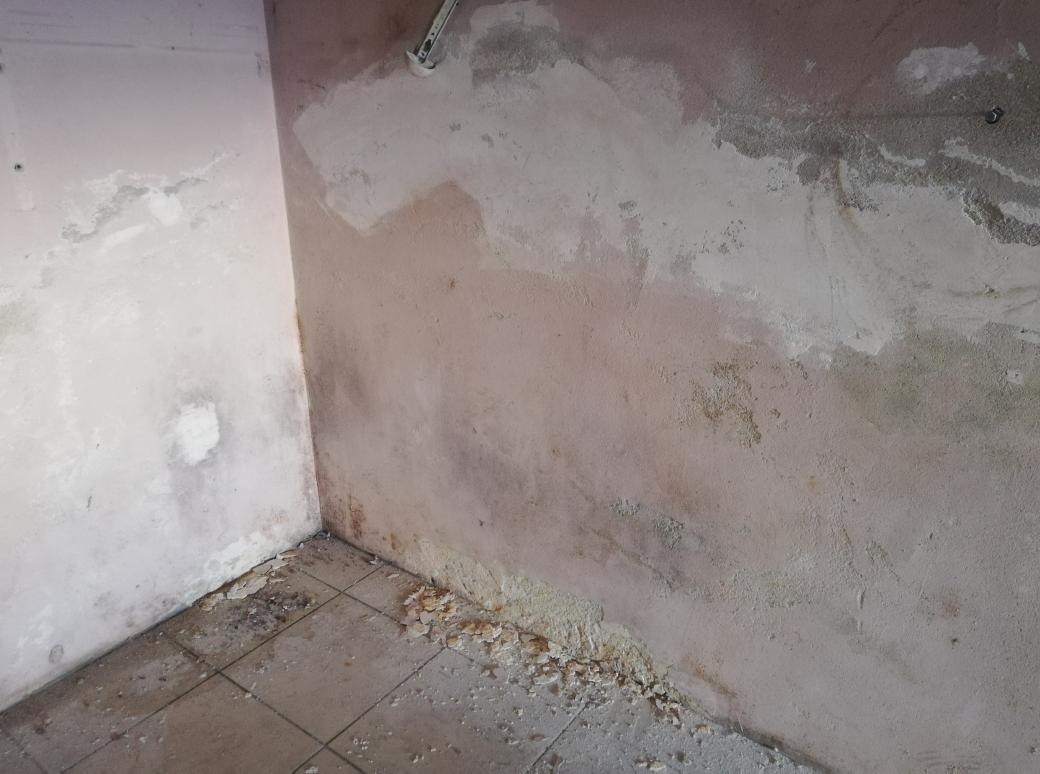
The fungus problem was instantly visible …
I gotta admit that fungus patterns look awesome! 😀

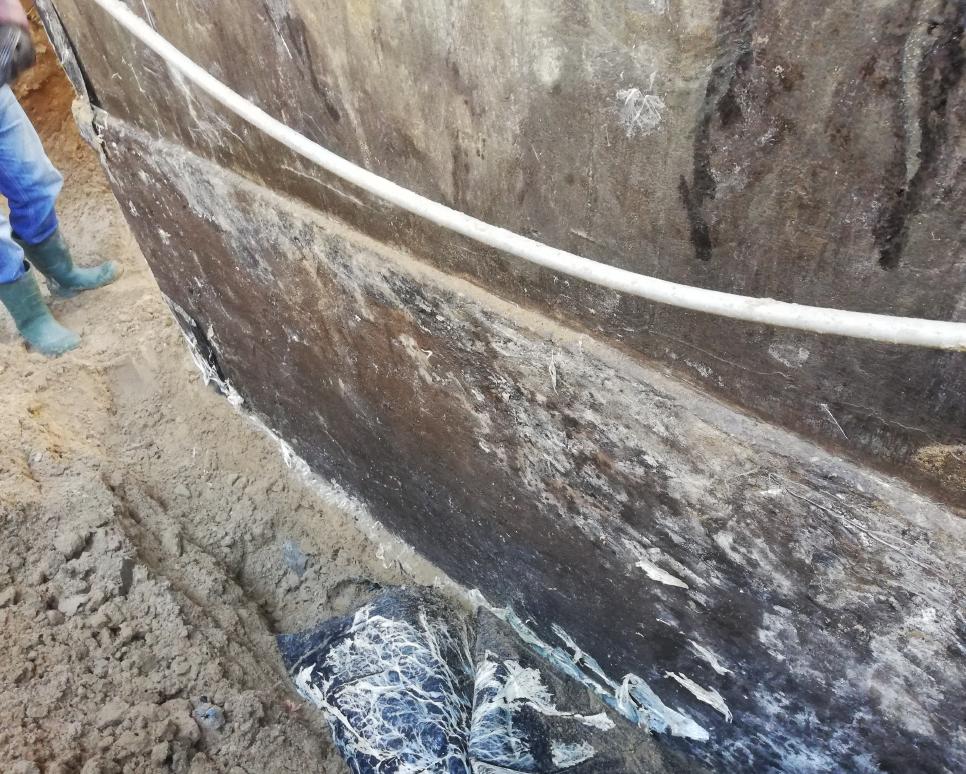
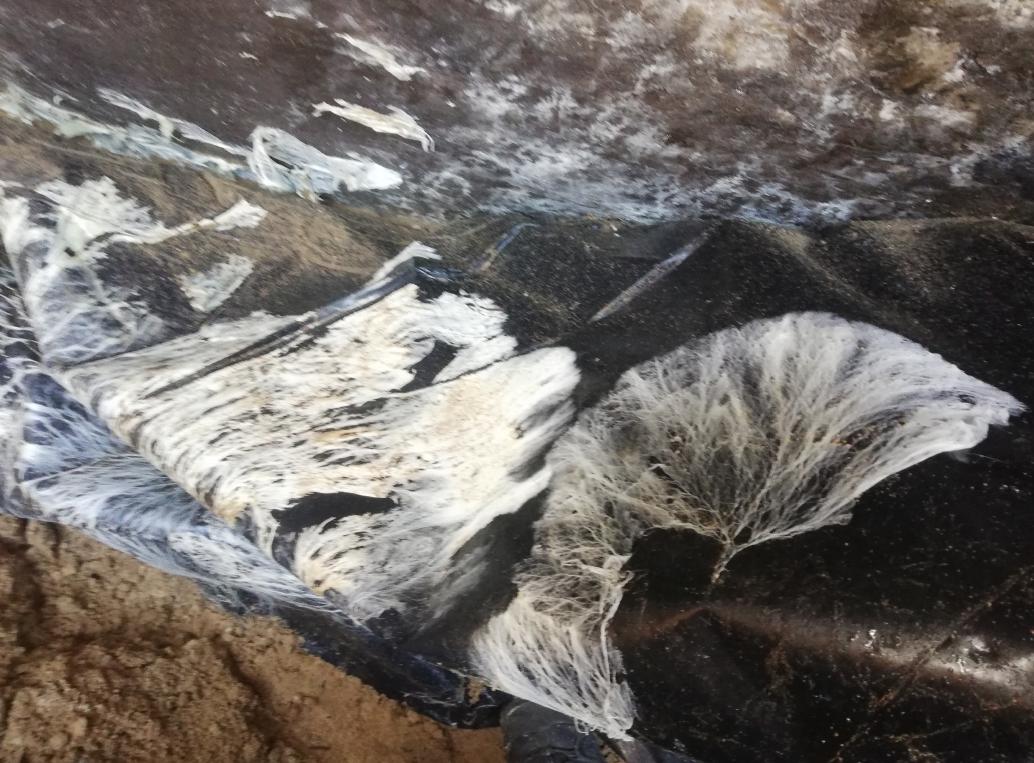
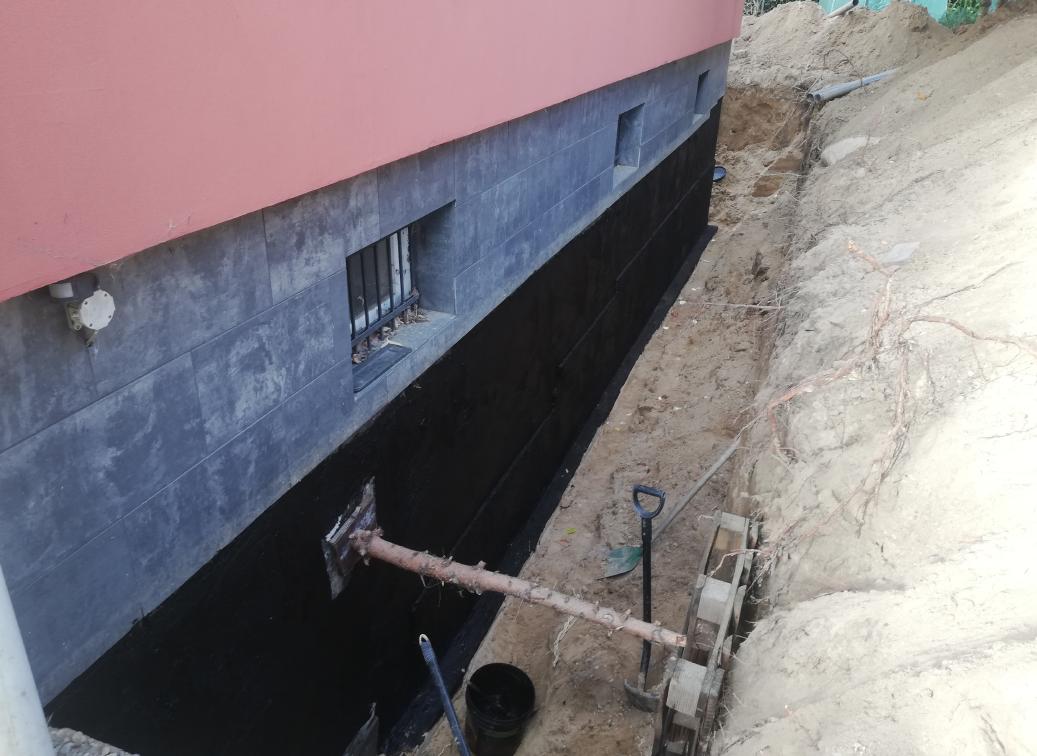
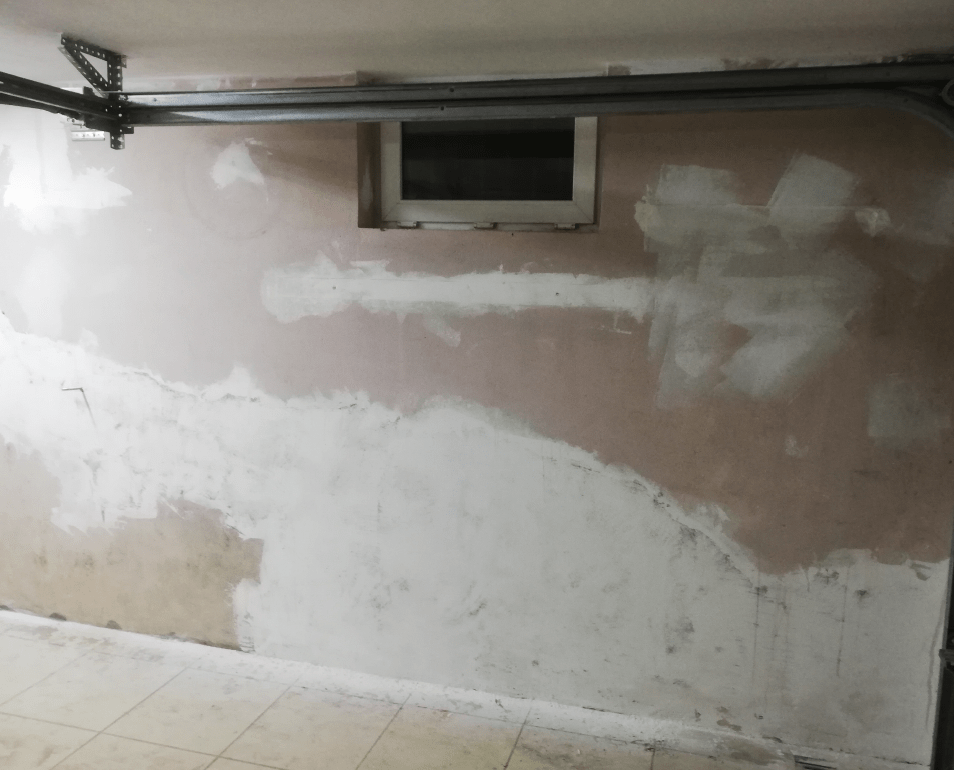
It turned out that the hydrosilation layer was poorly done from the very beginning which caused water build-up inside the wall and resulted in fungus years after. I’ve left it to dry for 2 days and in the meantime focused on gathering the required chemistry.
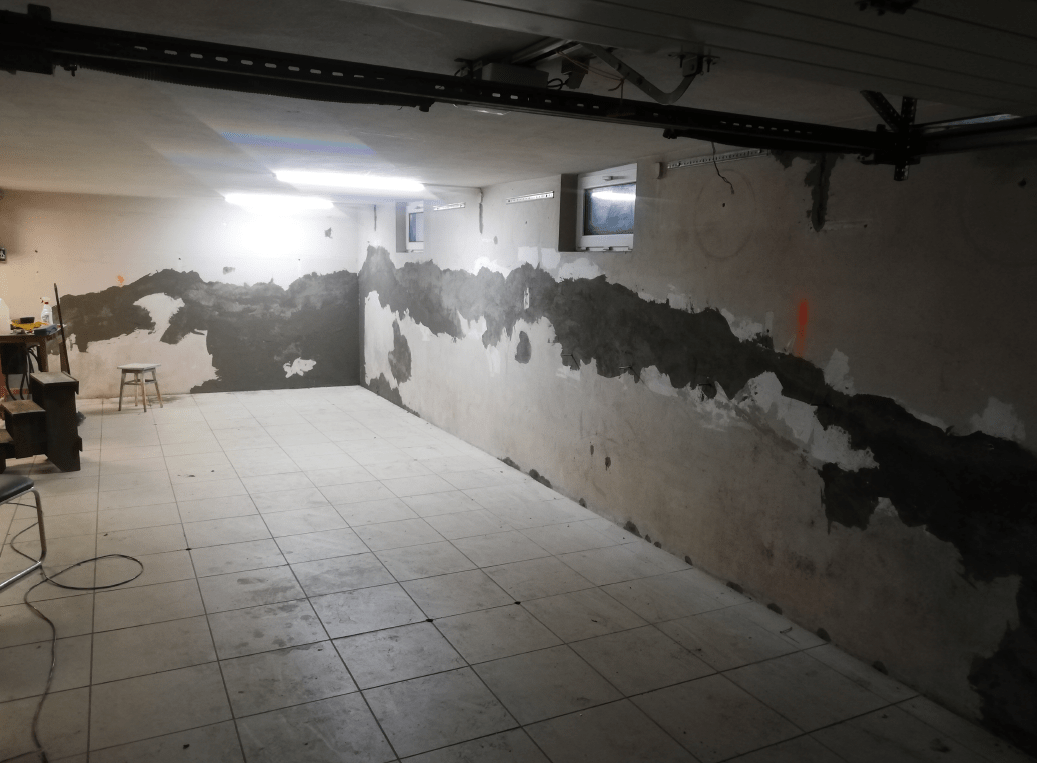
The next step was to apply a tar-based hydro isolation compound. That was an easy task which was followed by another layer of slightly different chemicals that would strengthen the initial layer.
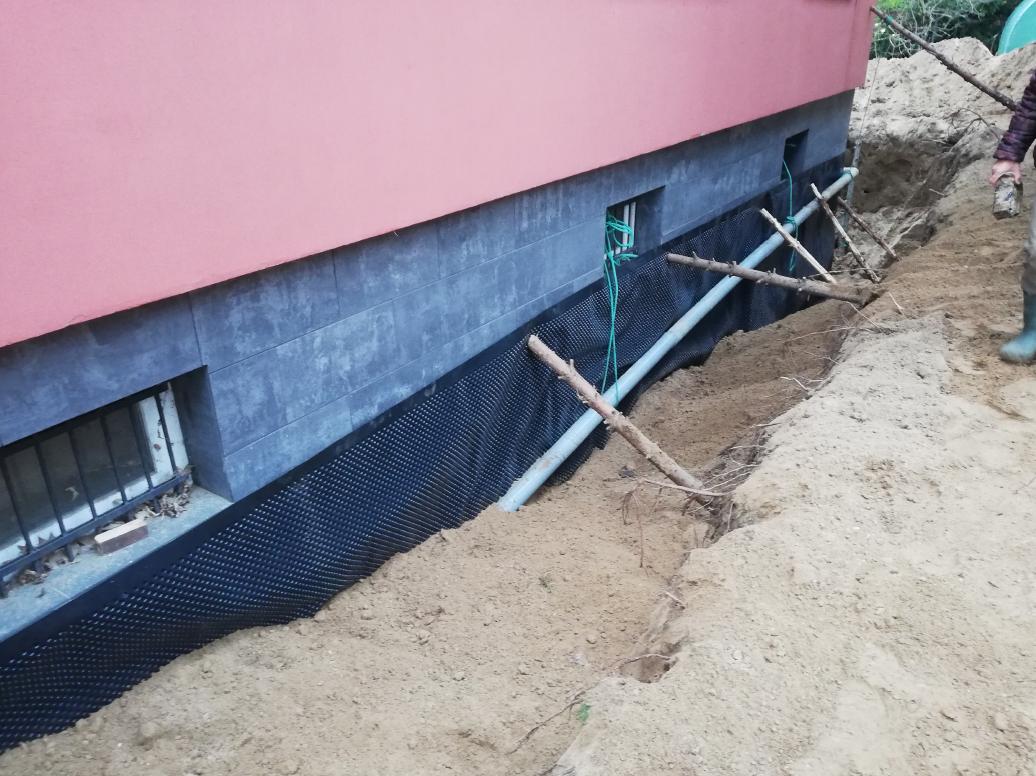
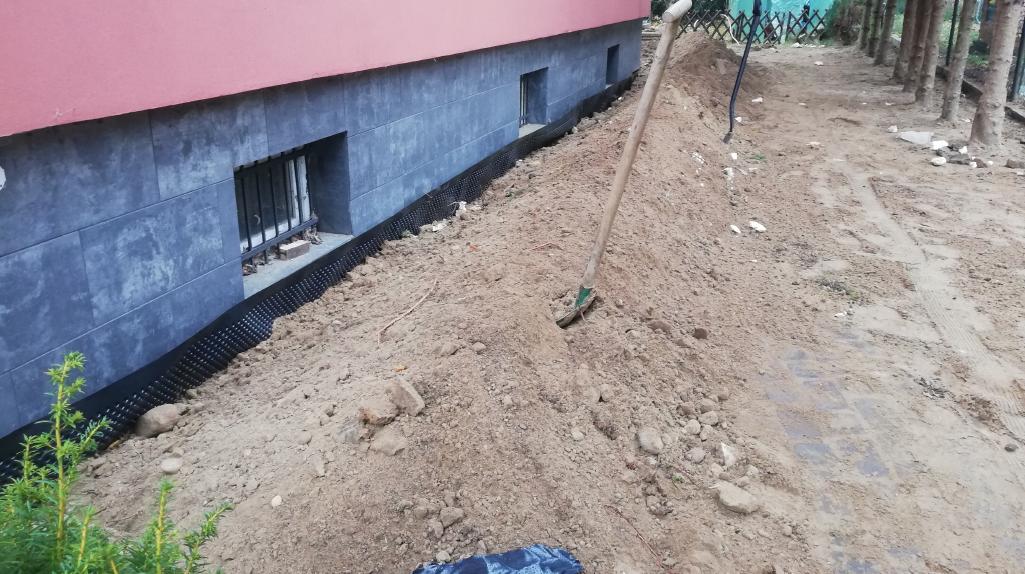
Once that was done, I added a thick polyethylene layer with a special geometry that allows the free flow of the air.
I’ve also corrected all the minor piping issues that were discovered along the way.

It took me around a week to put back the soil into place and to think of it was all dug out within 5 hours lol! 😀
I’ve left it for winter to kinda “sink in” and moved on with the internal part.
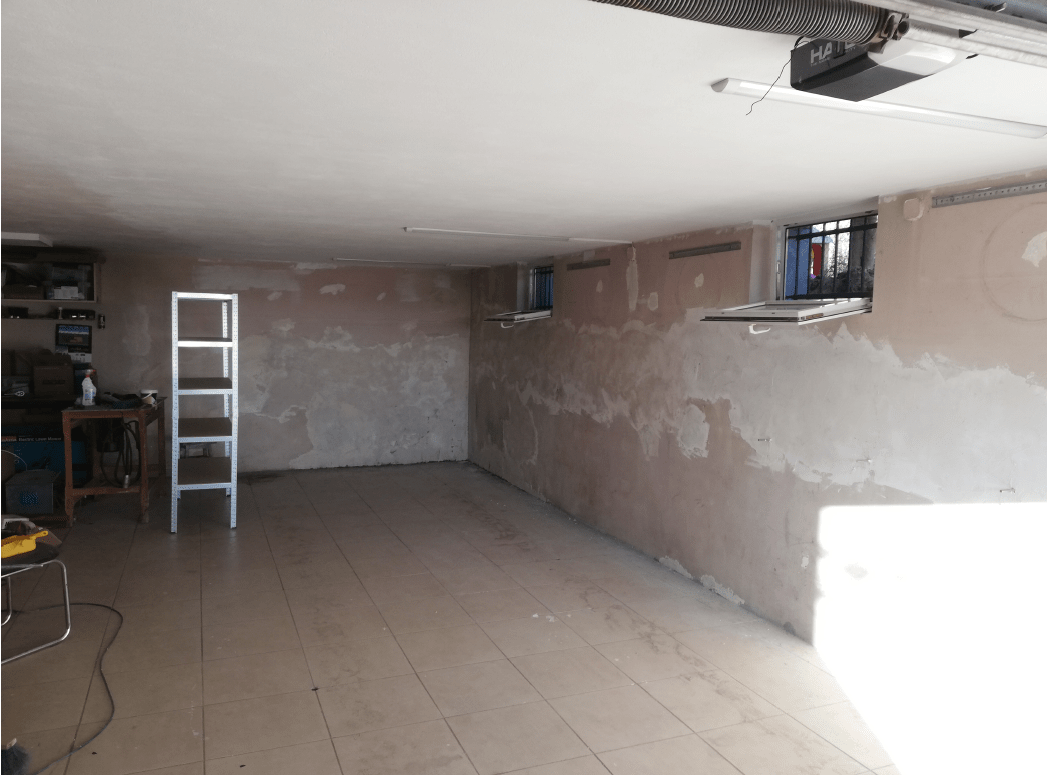
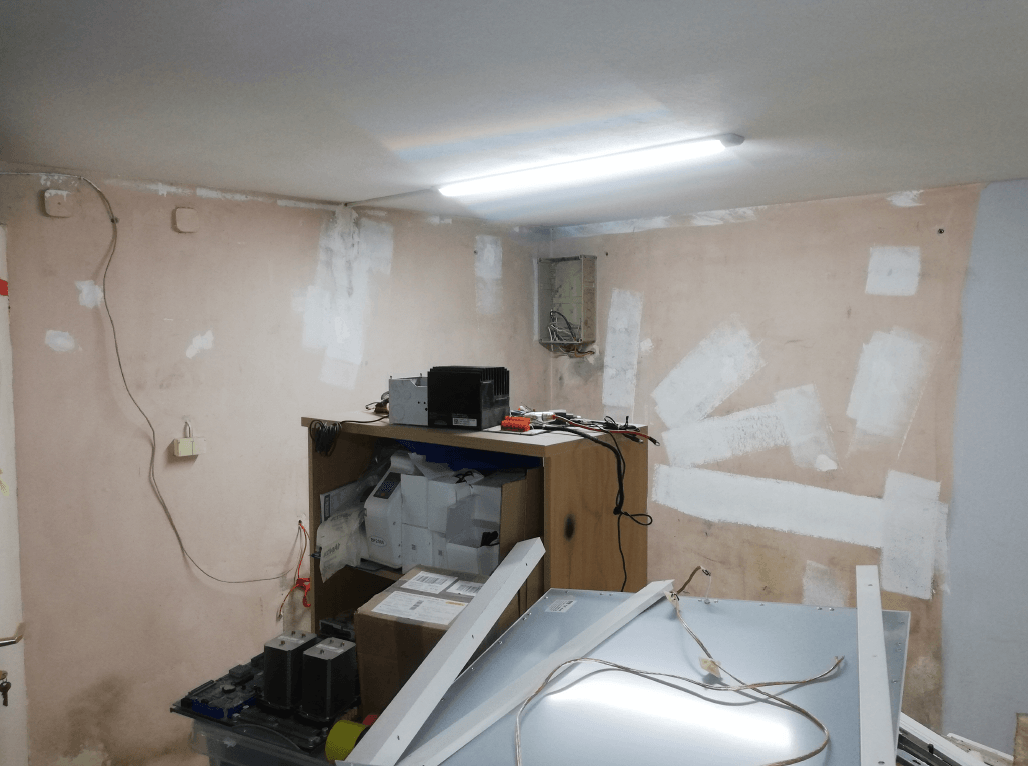
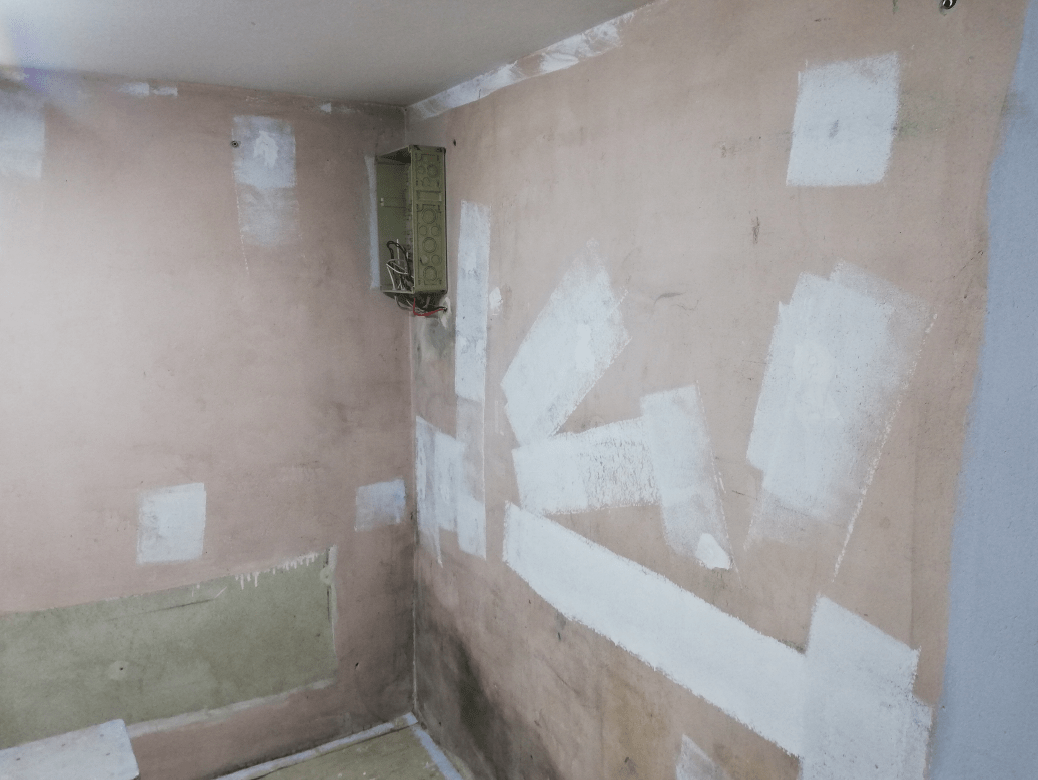
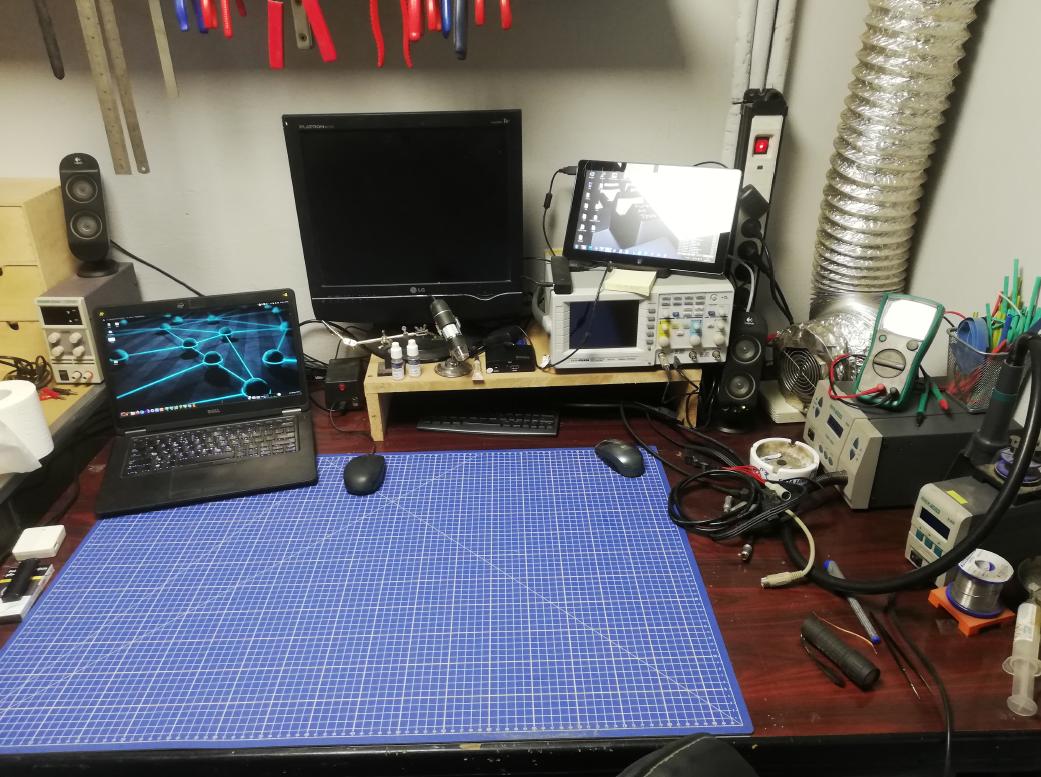
An inside
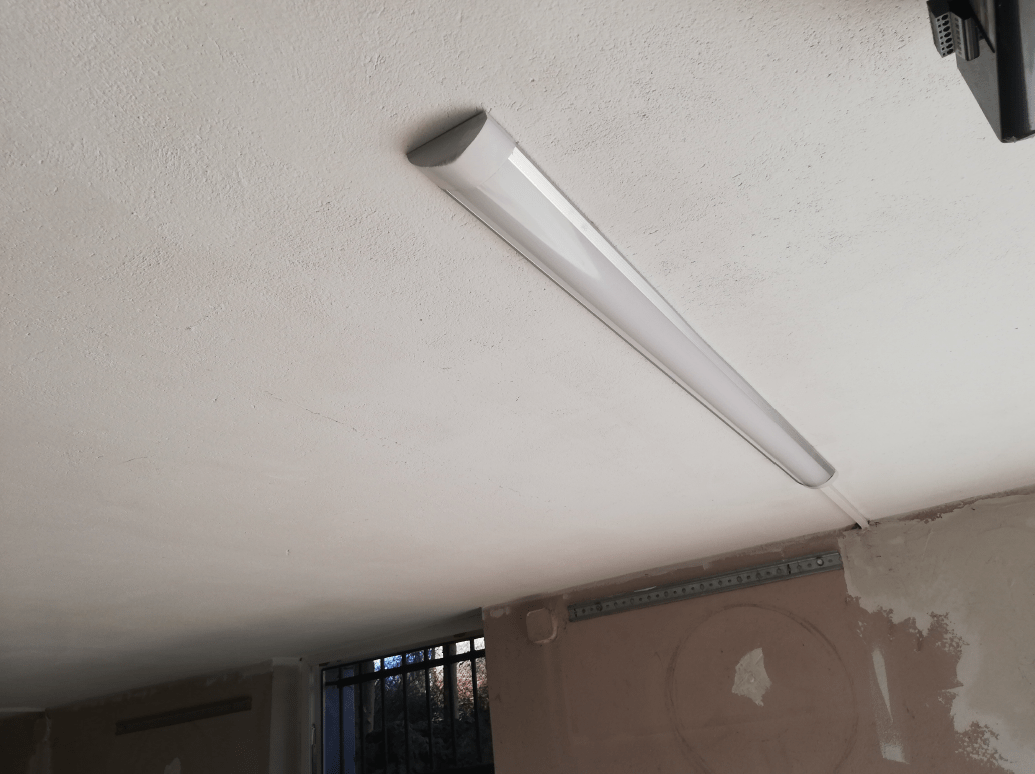
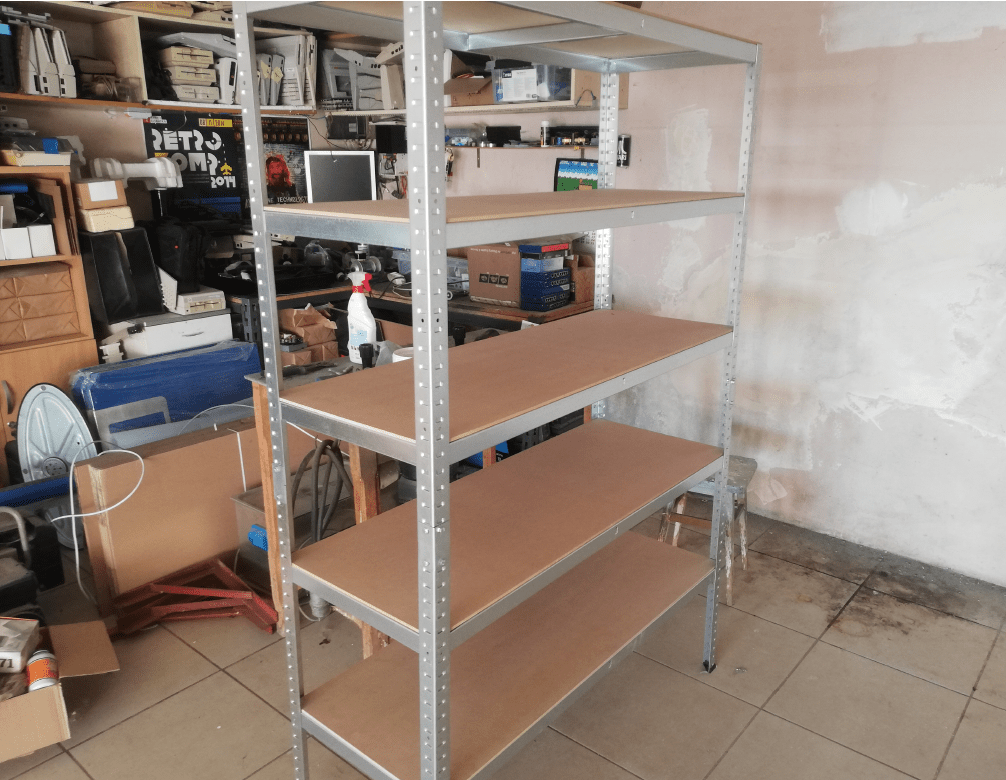
The plan was to repaint all walls, install new racks for gathered retro gear and reorganize workbenches. I also wanted to install new LED lights along with some other improvements.
To do that, I had to get rid of that weakened fungi plaster then rebuild it and prepare surfaces for painting.
Also, I had to do it all in parts as there were tons of stuff that had to stay inside. It was winter time after all.
I’ve started with the right side of my garage. This is how it was all done.
Yay! first LEDs are working 😀
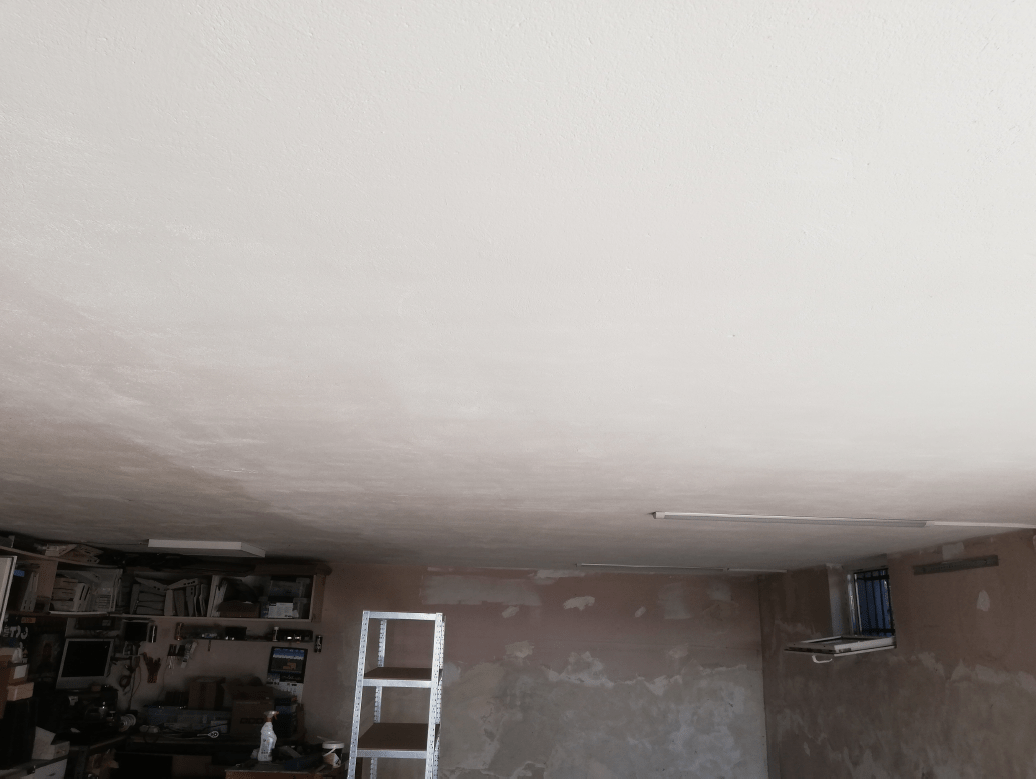
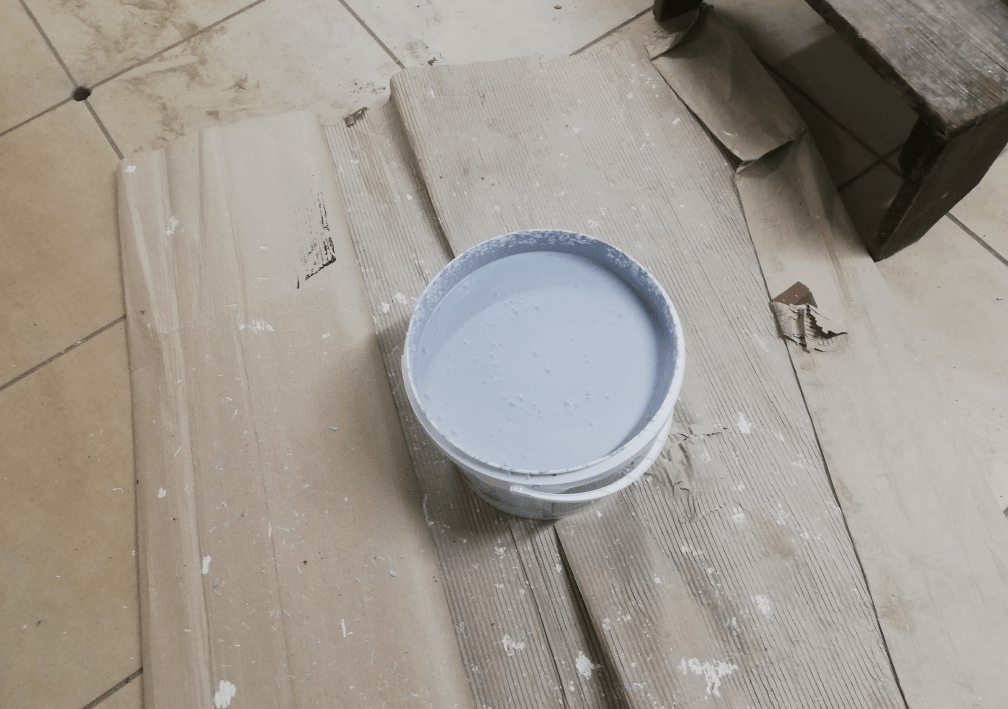
The first layer of paint was applied to the ceiling.
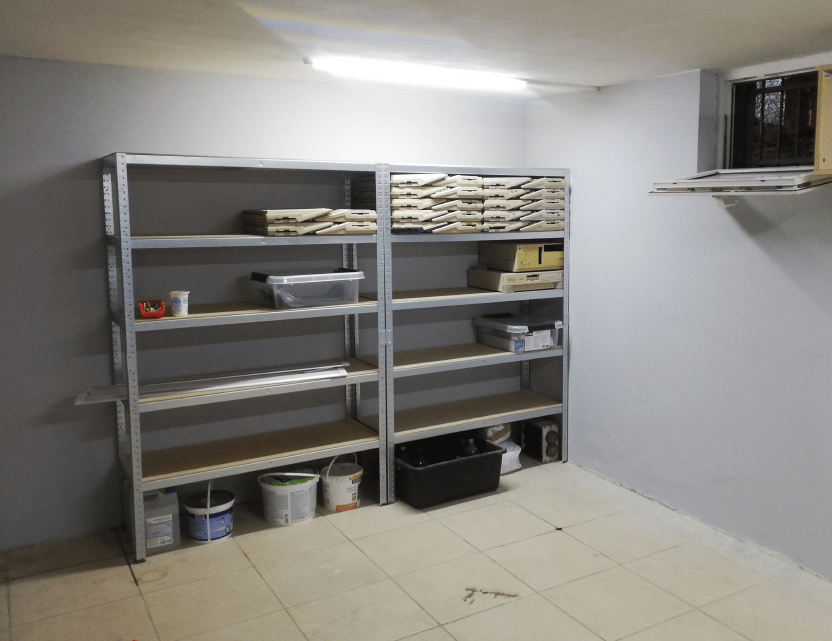
In the meantime, I’ve started to assemble new racks.
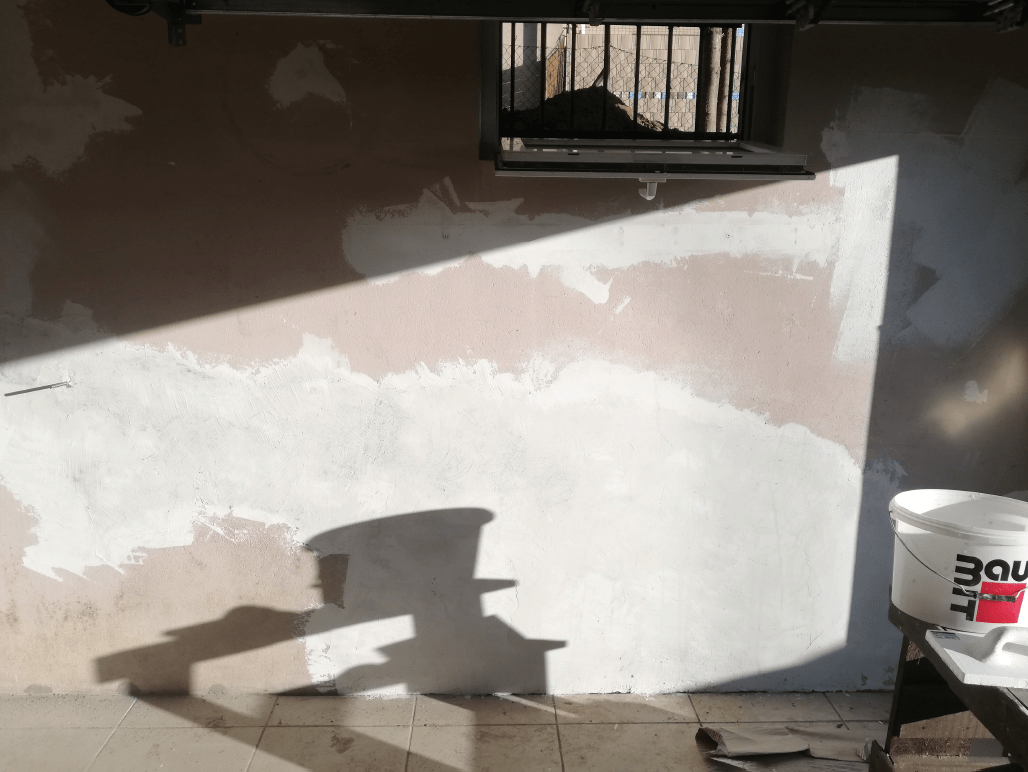
The final layer of chemistry was applied and was followed by the first layer of paint.
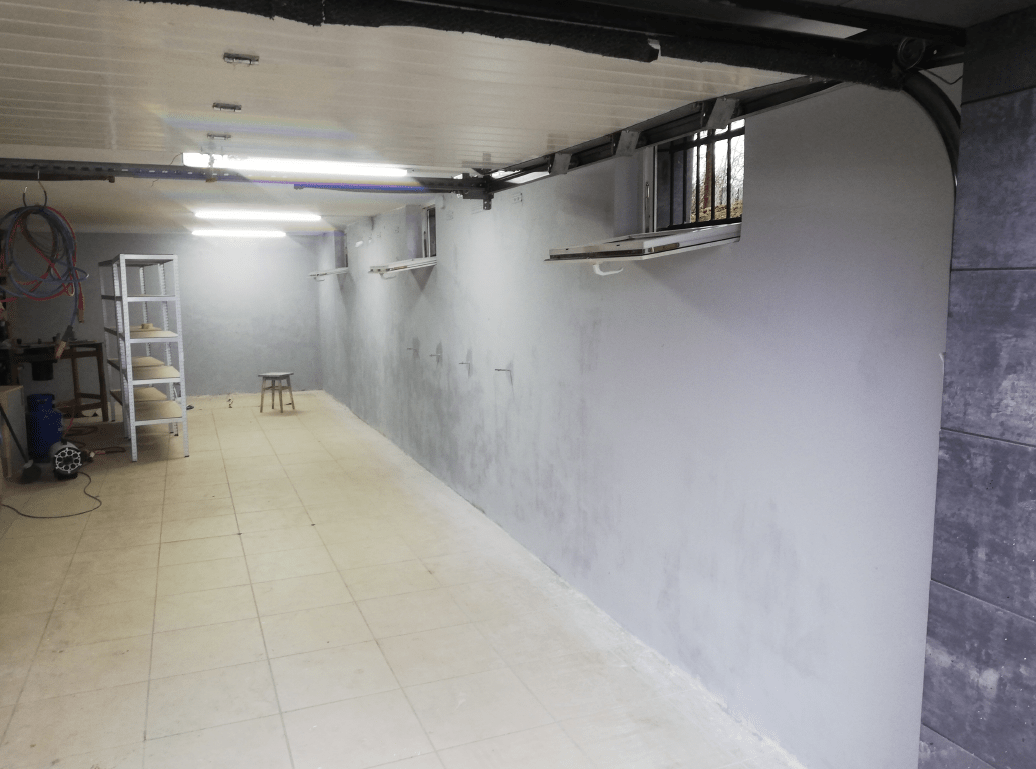
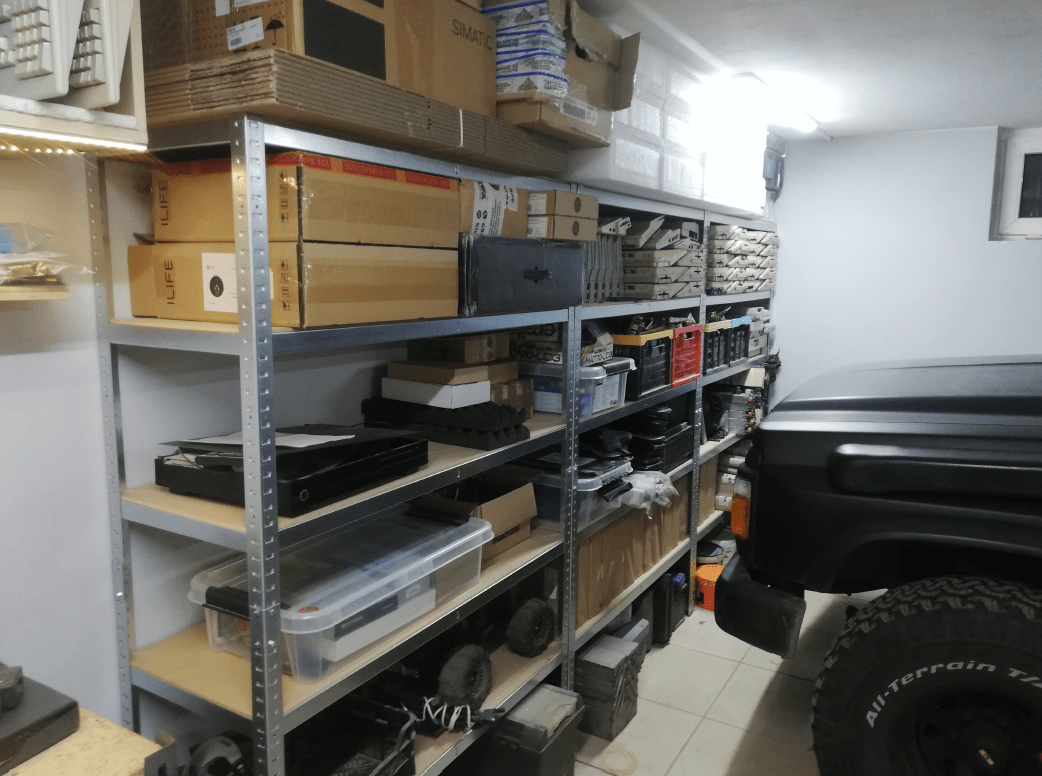
After the second layer of paint dried, I started to slowly install racks and other storage equipment.
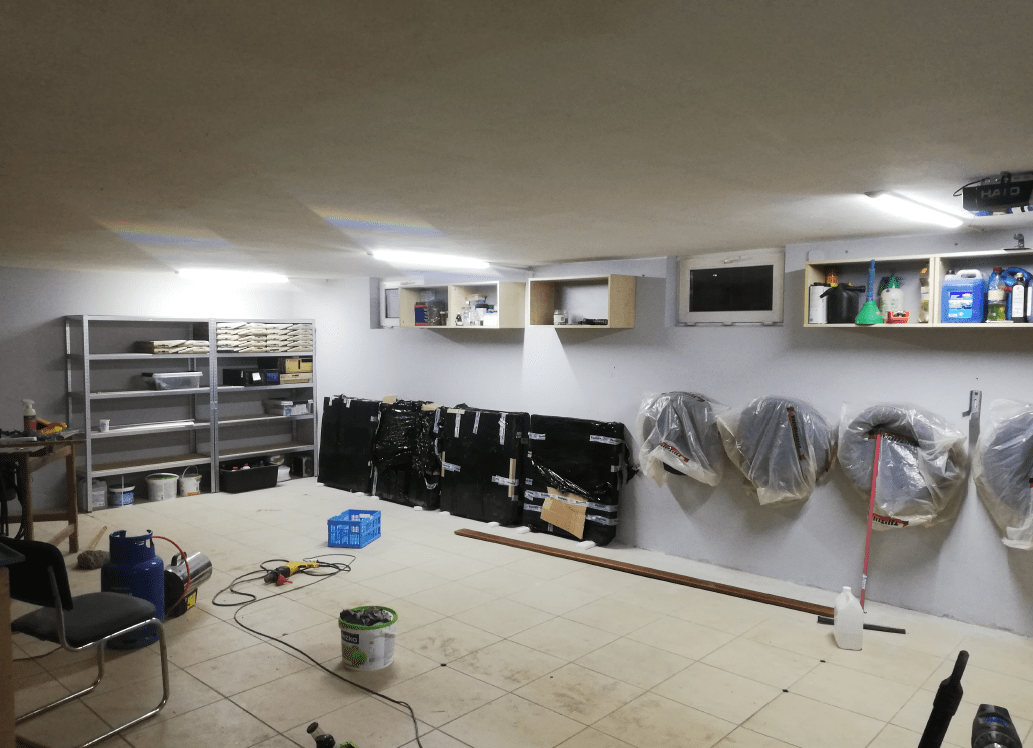
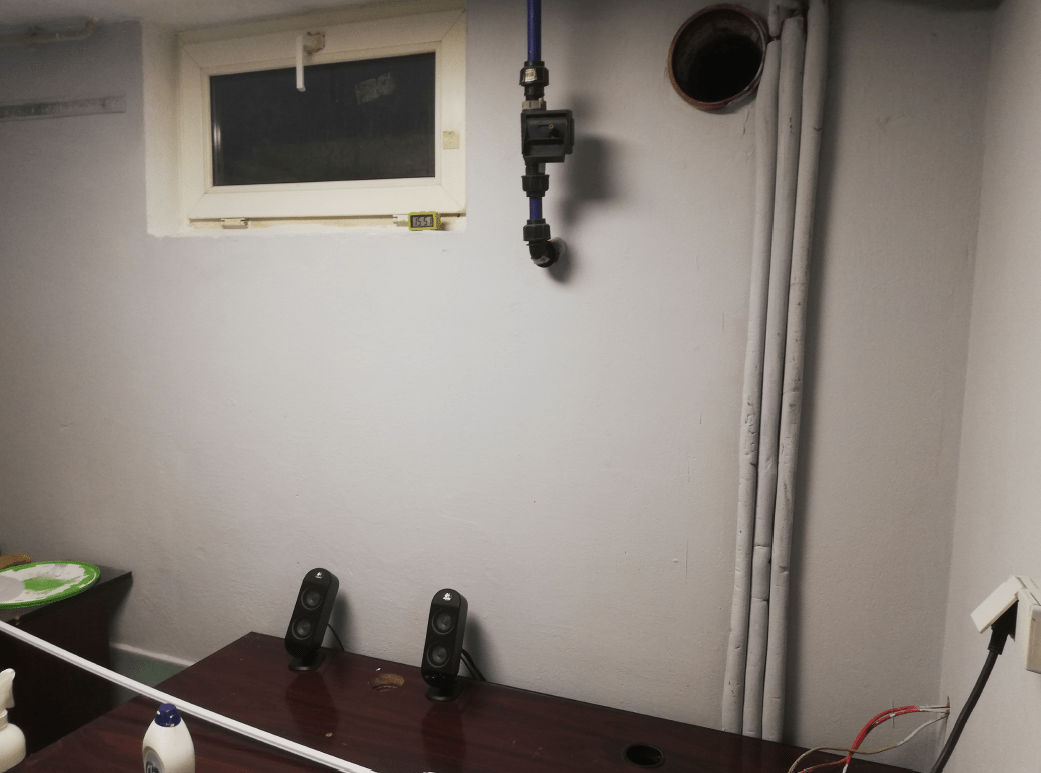
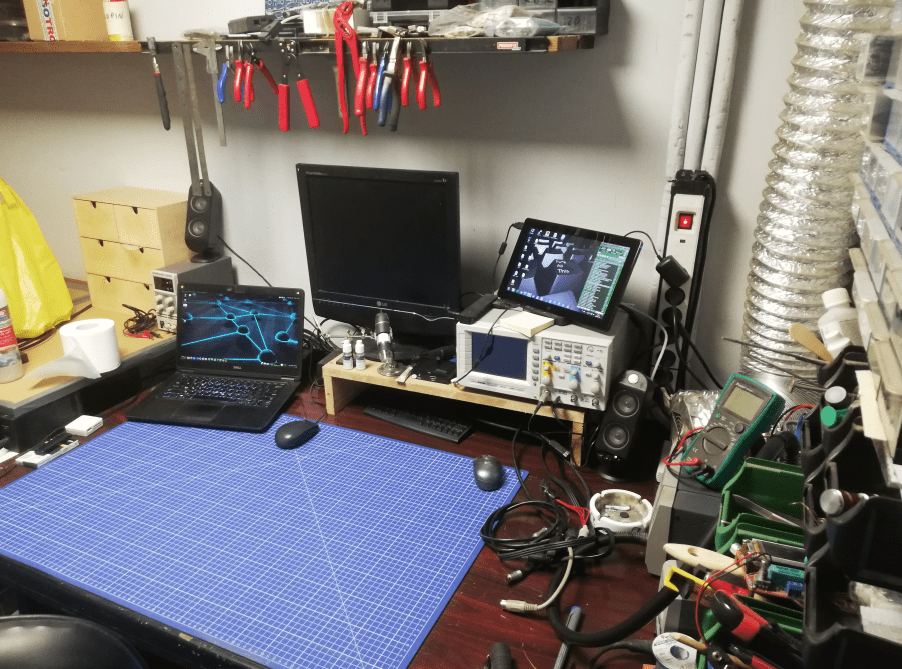
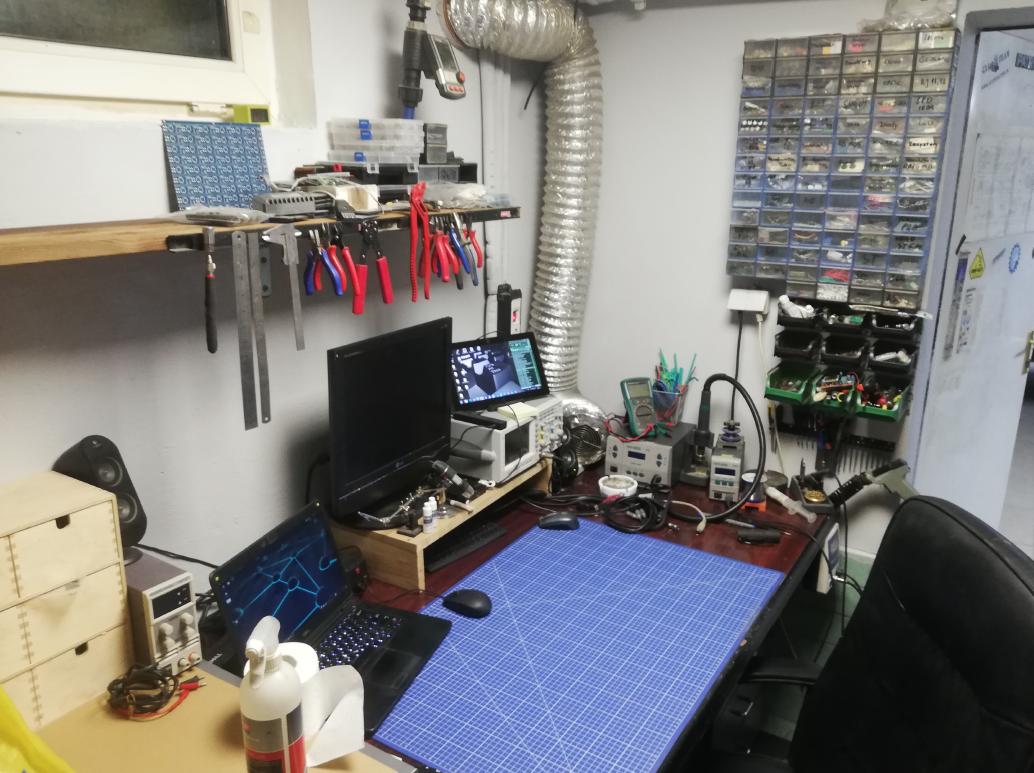
Time for the right corner of the garage where my workbench is.
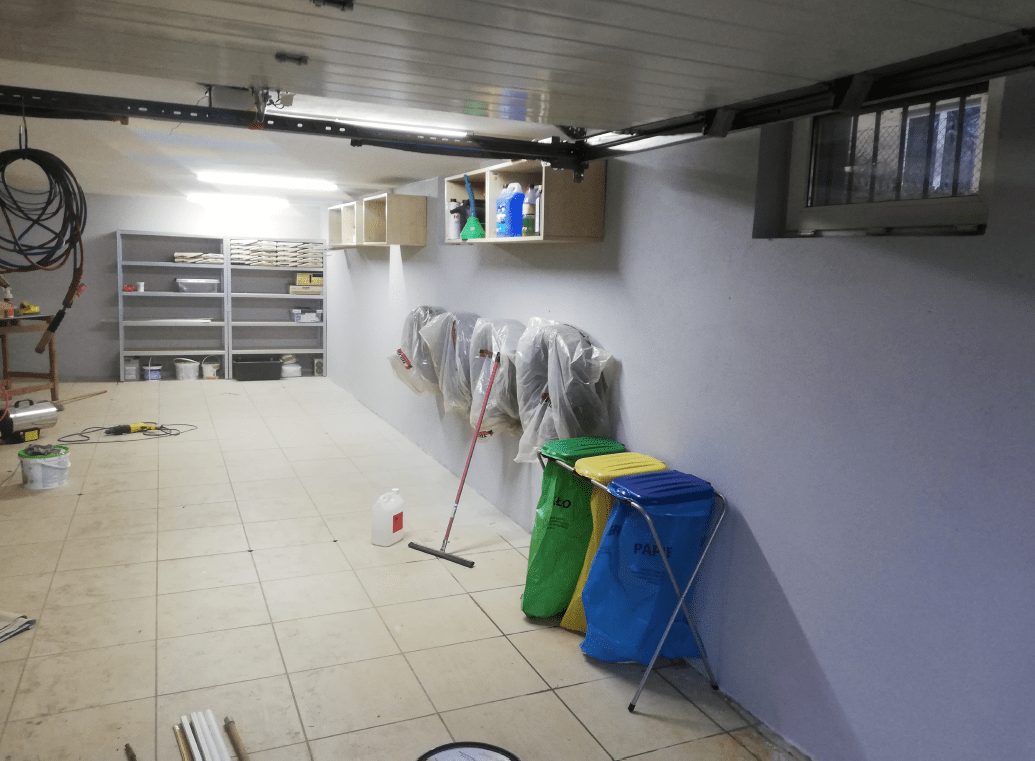
Left corner ready 🙂
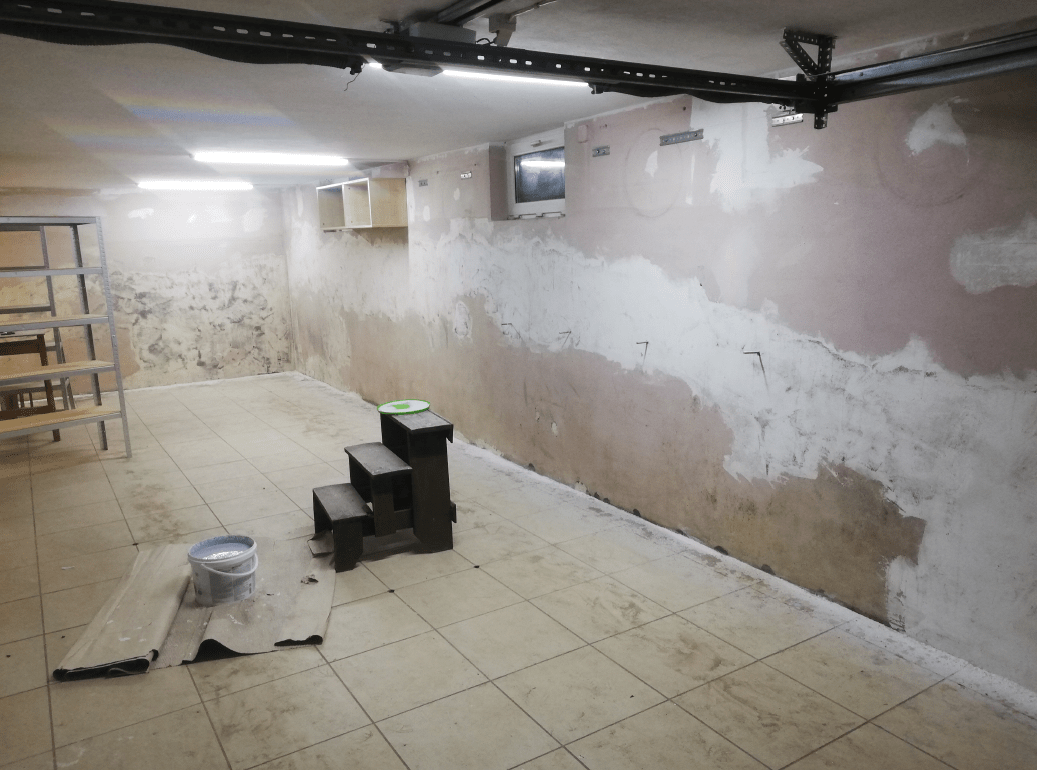
I’ve moved on with the rest of the garage but I didn’t shoot any interesting pics so I am skipping it.
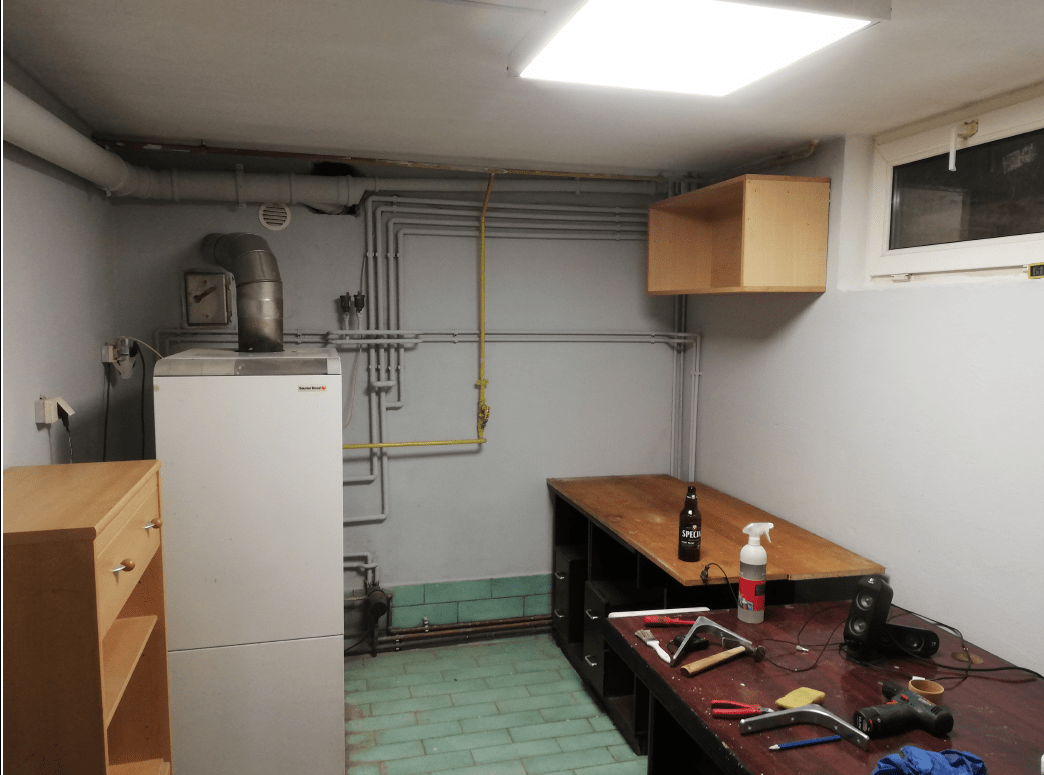
The cave
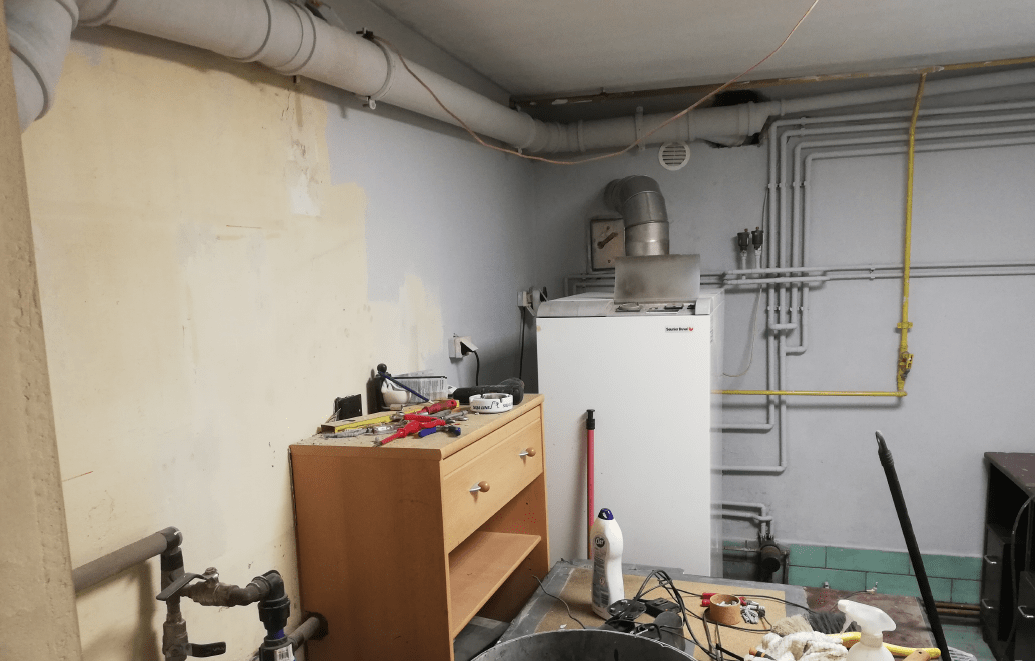
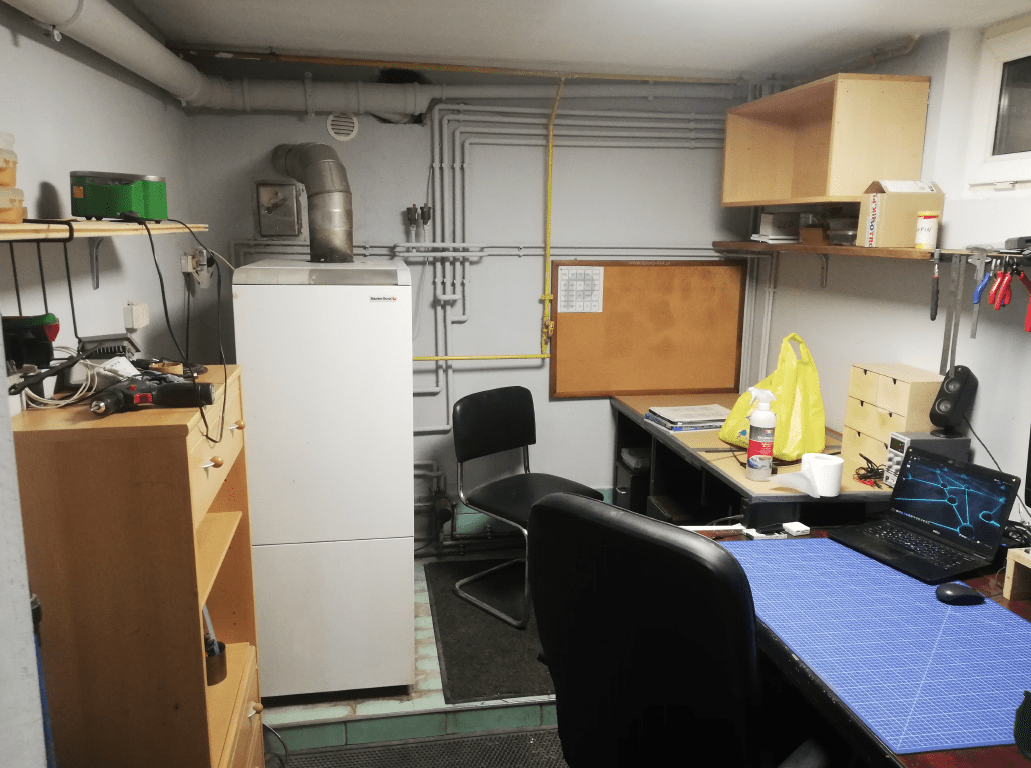
The next room that I needed to refresh was my cave where I sit and fix stuff. This is the room where the central heating oven is located and warms my ass during winter.
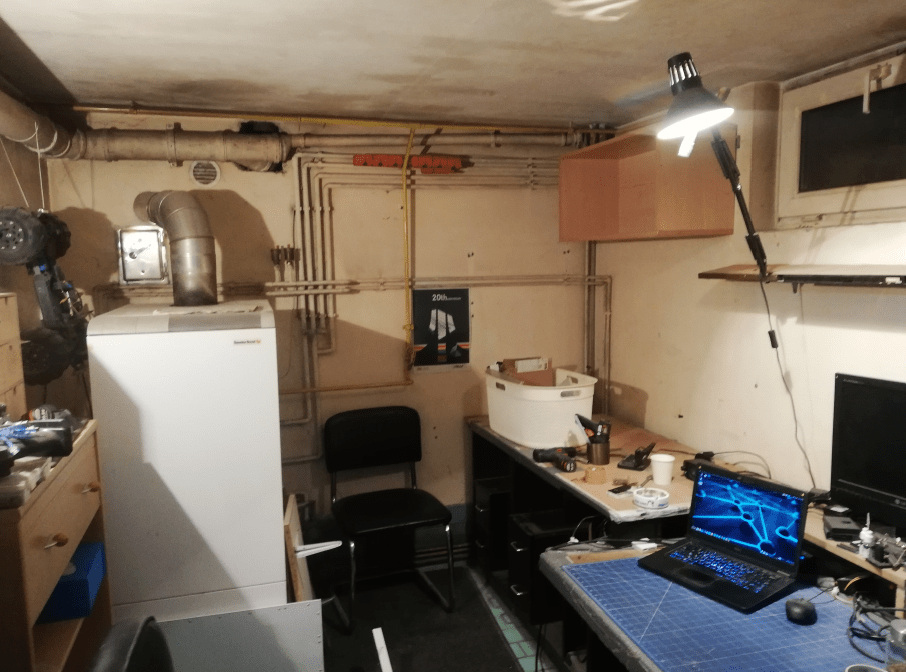
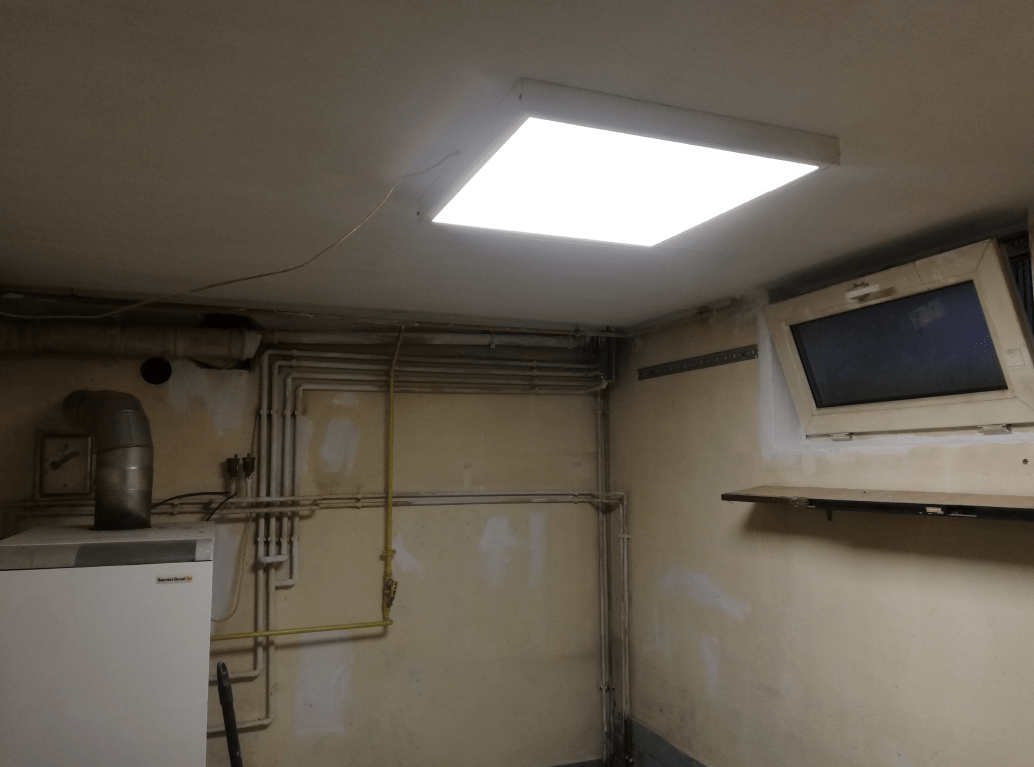
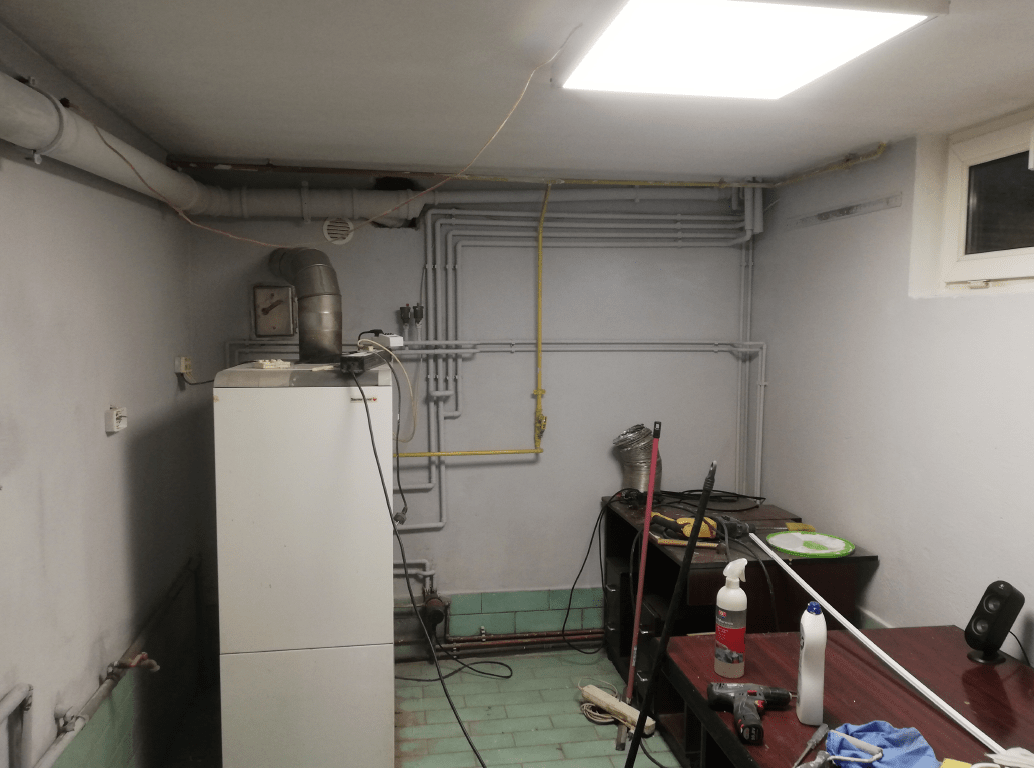
First, I installed a large LED panel and fixed old holes in all walls. That was followed by painting and setting up all gear.
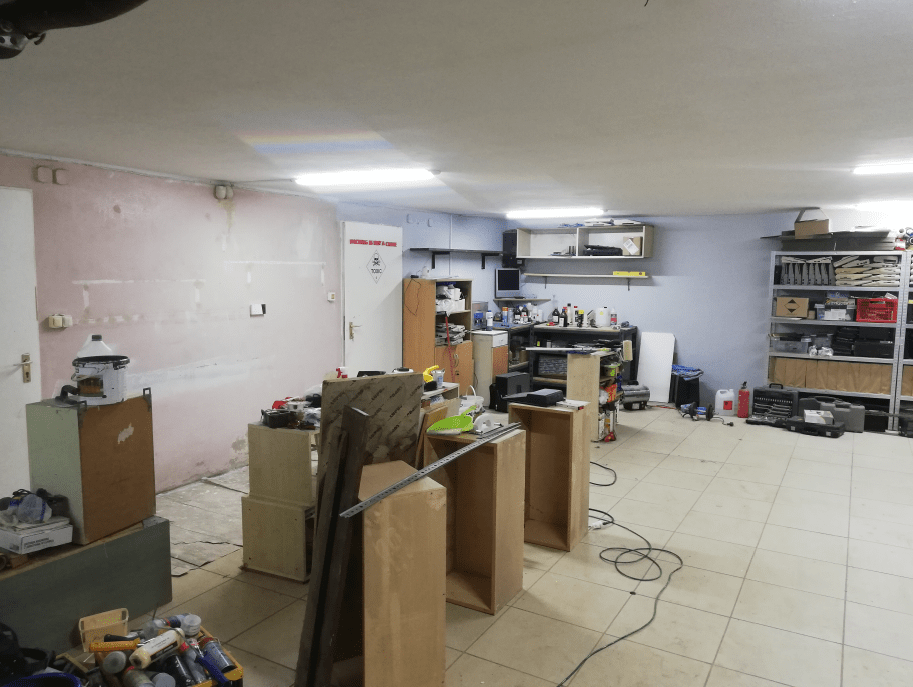
The grand finale
Once that was done, I could start organizing everything. That took quite a while and to be honest, I am still working on it lol 😀
Anyway, some final pics.

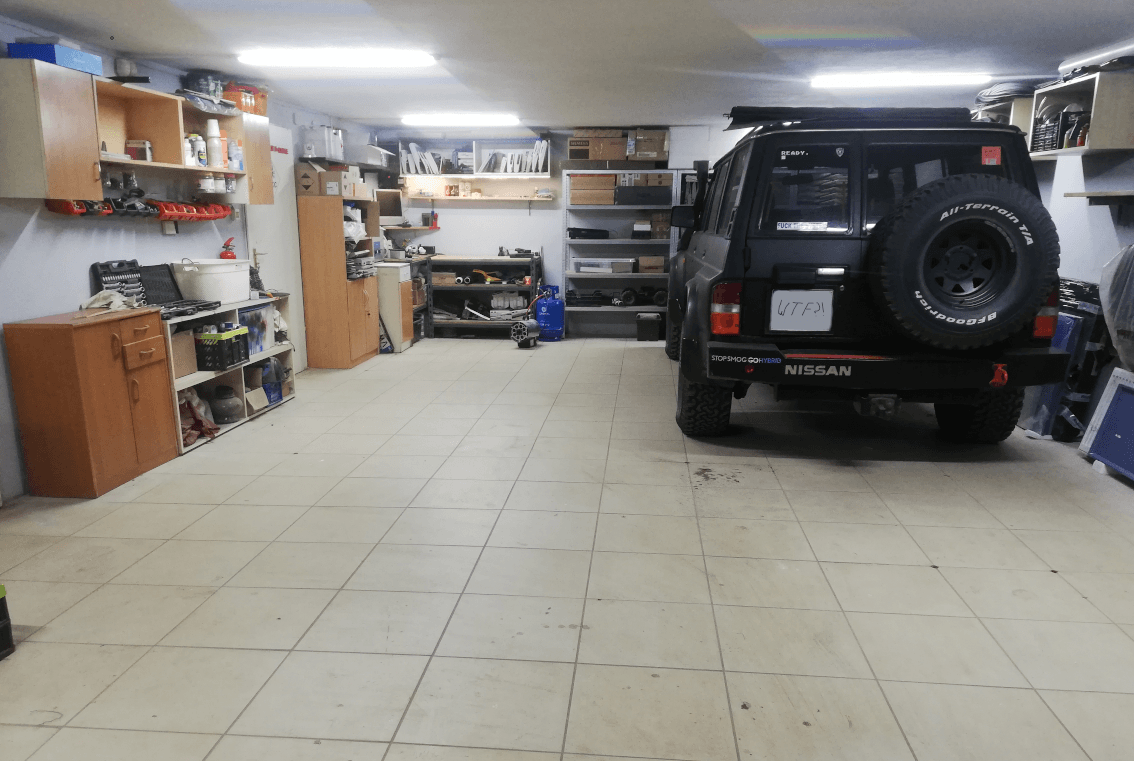
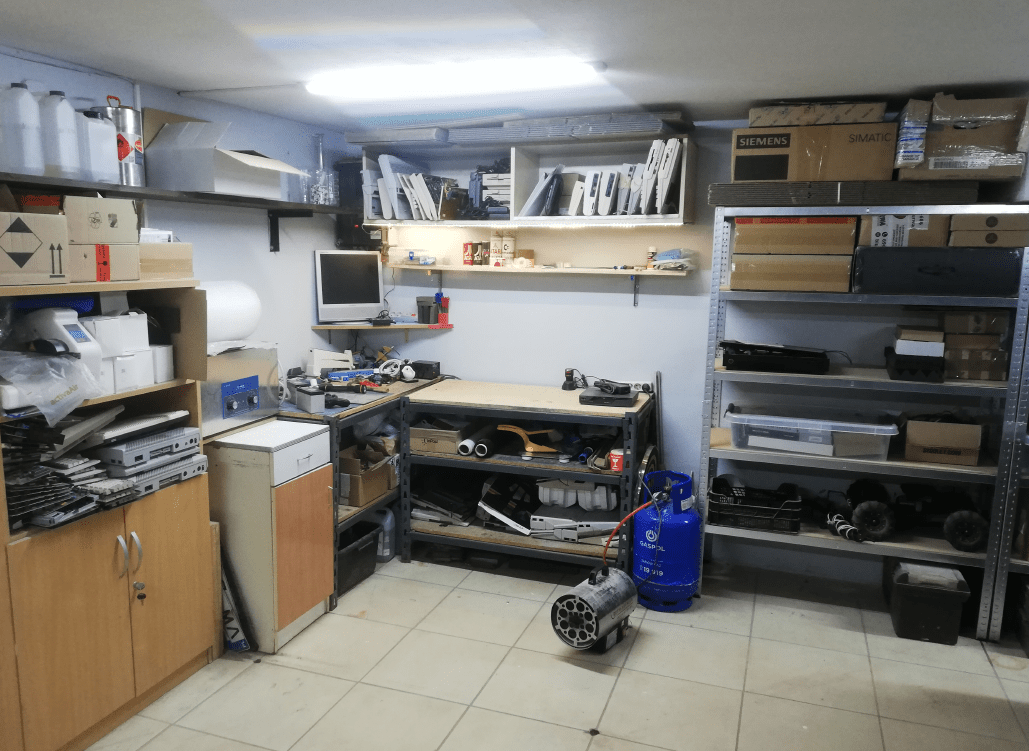
I am very happy with the final results. Most importantly, I got rid of that nasty fungus on the walls and till today it didn’t reappear which is great!
A lot has changed since then and like you’ve seen on my Twitter, I am overloaded with retro gear again lol 😀
Next level – building a larger garage 😀
Outro
If you want to get the retro gear I am manufacturing or hardware modules, please visit shop -> https://retrohax.net/shop/
Please support my work by commenting here and on our Facebook or Twitter pages.
If you want to donate a dead computer then drop me an email. Extreme cases are welcome. – Nobody donates anything. so don’t bother. Looks like only Youtubers get all goodies LOLOL ;P <– THIS IS NO LONGER TRUE! Cheers to guys from Brasil


Some time ago tried to treat cellar by ozone. Just turn on generator and leave it for few hours
Oh! that is actually a great idea! We will see how it all develops this winter. I will definitely test this if that fungi strikes back.
Awesome story. Great work, congrats! I know how tedious such kind of stuff is at home.
I had a blast browsing through the pics. Great to give your opponent some respect, like with the fungus pattern – just prior to killing it 😀 . The biggest fun was to spot all the retro-hardware in the moving racks. And the number plate of the car 😉 .
I must say I am a bit envious. Would love to have similar space for some hobby.
Thank you for such warm words sir! 😀
I’ll ping you via email on Monday 🙂