… or how I forgot to take all the pics again
Intro
Aaaaand we are back to Apple again 😀

It is March 2024 – This means another #Marchintosh blog post!
This time, however, I’ll be dealing with four Macs, SE Macs to be more specific.
Various flavors of SE Macs … to be even more specific 😀
Unfortunately, I didn’t take all of the pics during this refurb job, but I still have much to cover across all four machines, so no worries. Just keep in mind it is not all in chronological order.
Mind you, I often put a lot of pics that might look like these are not needed. I do that because I often get back to them to see how the machine was put together which is pretty handy for future jobs 🙂
The four SEs
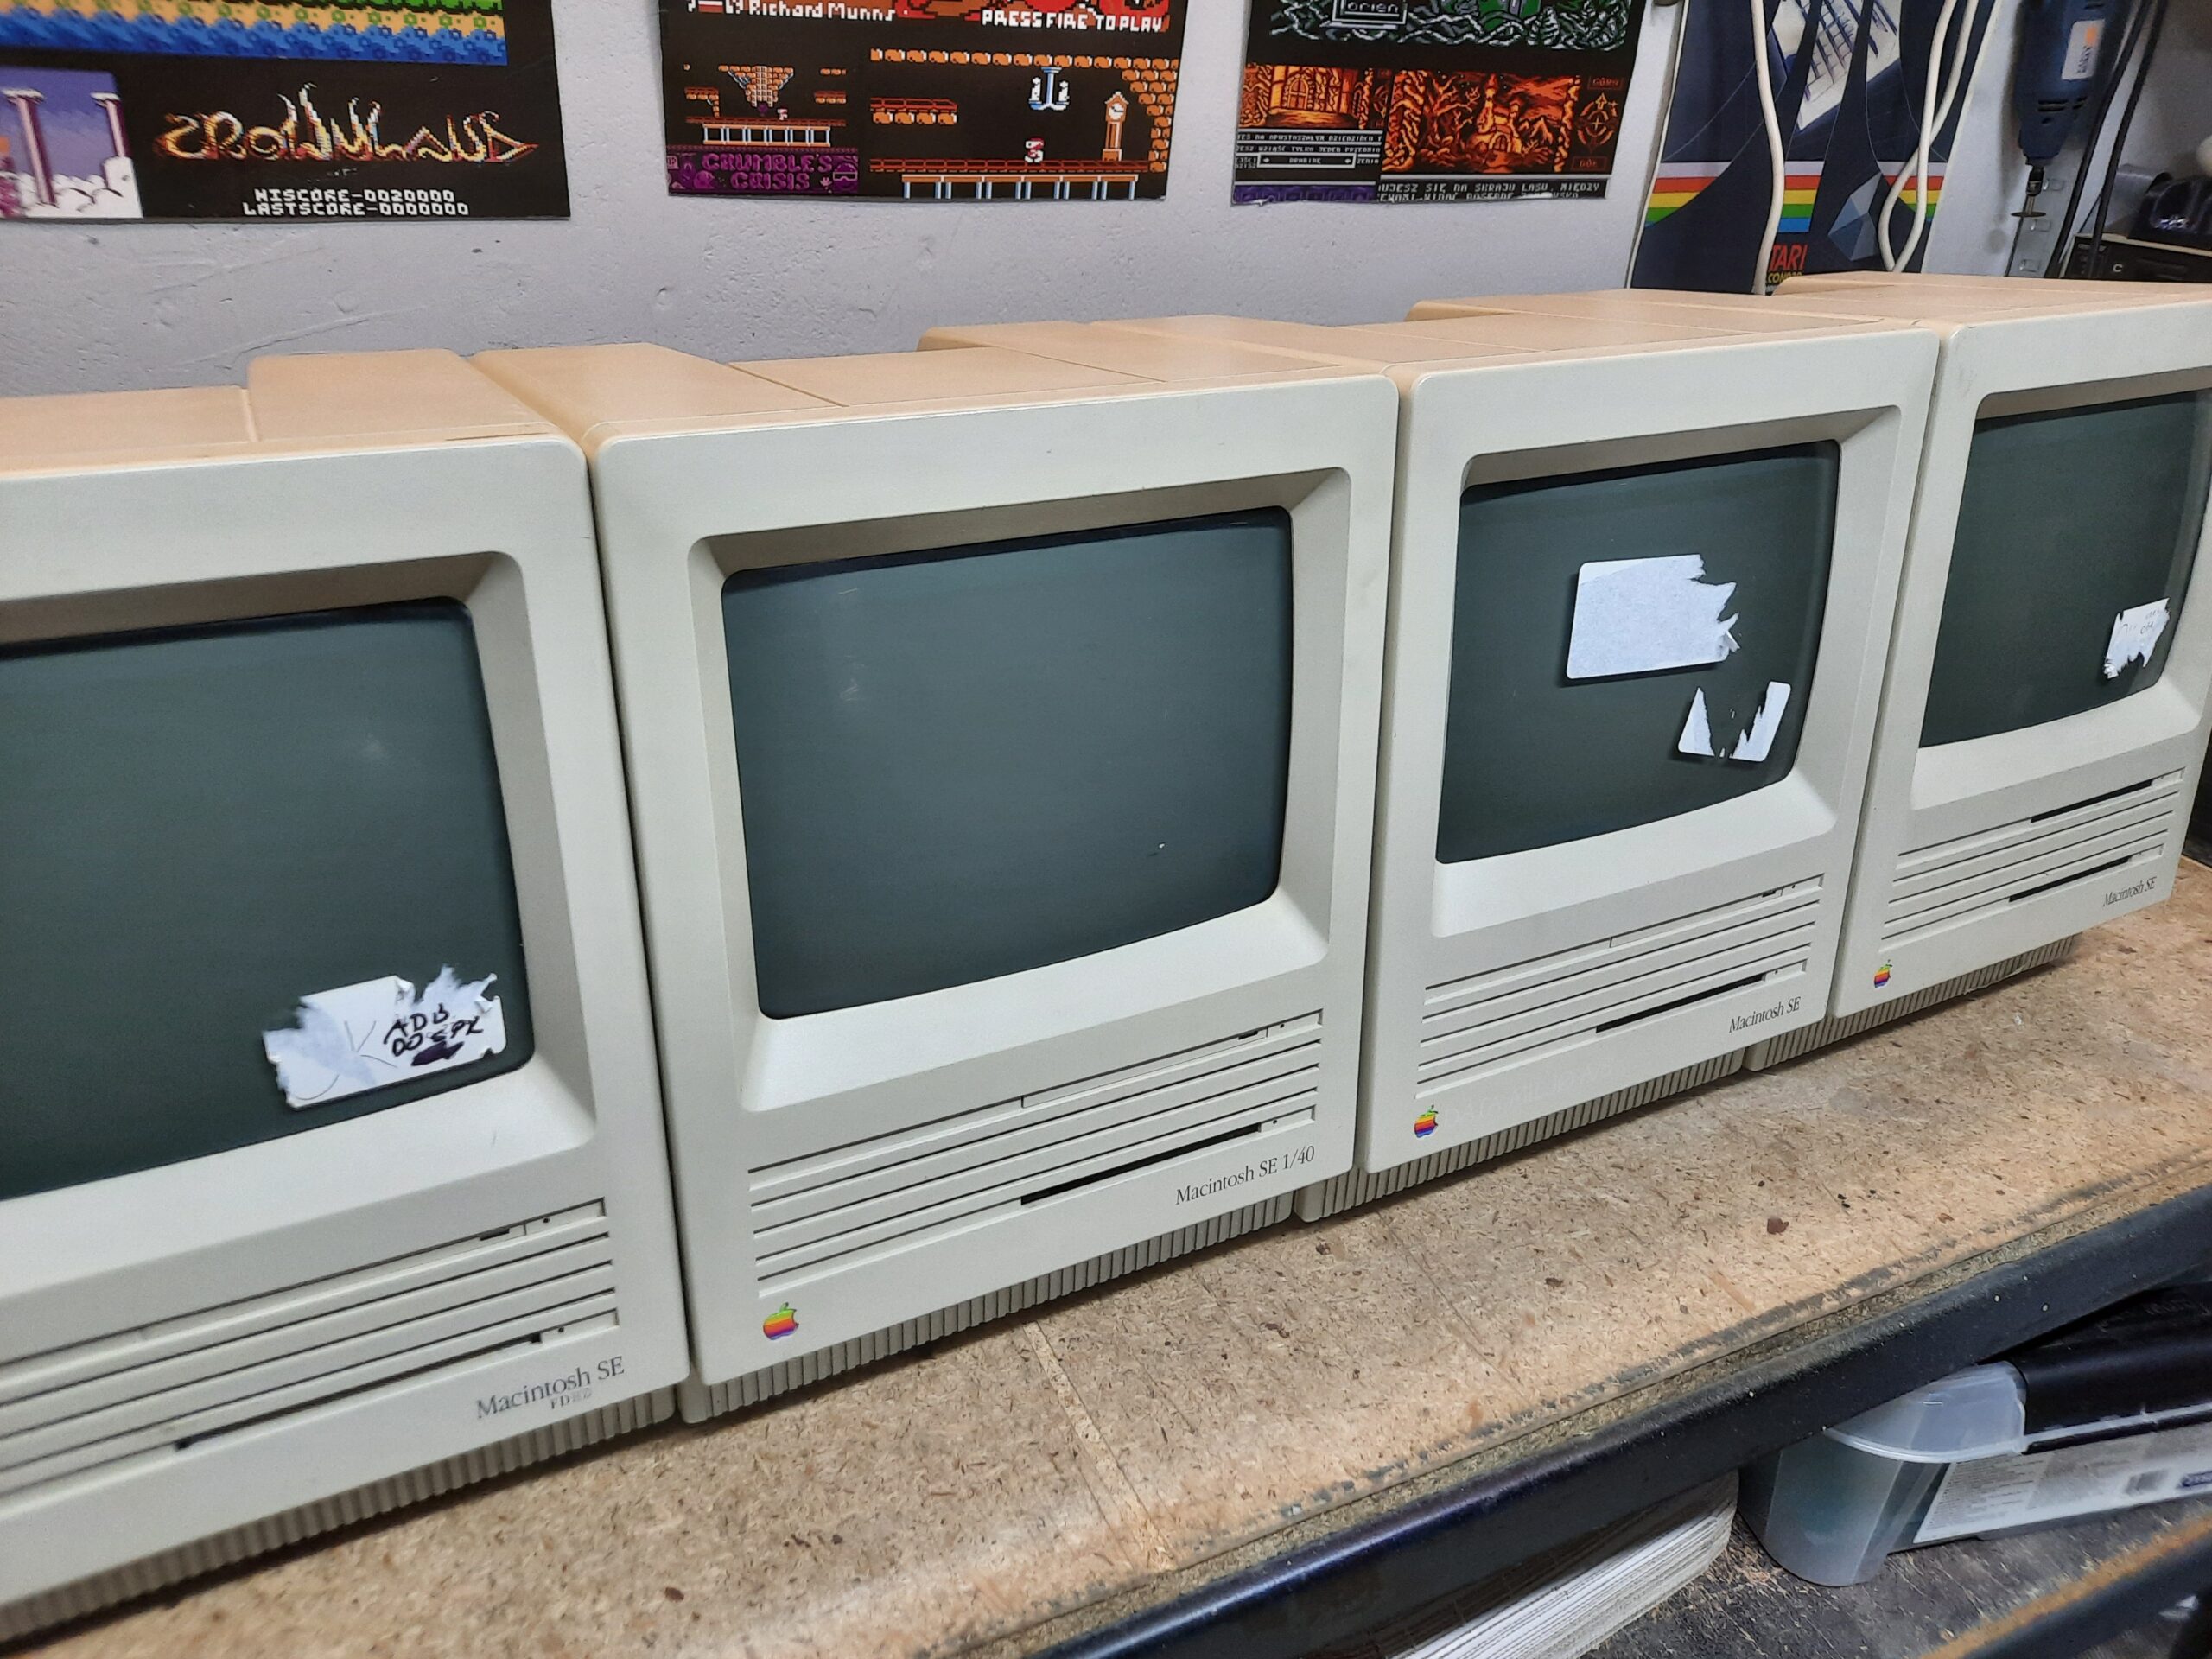
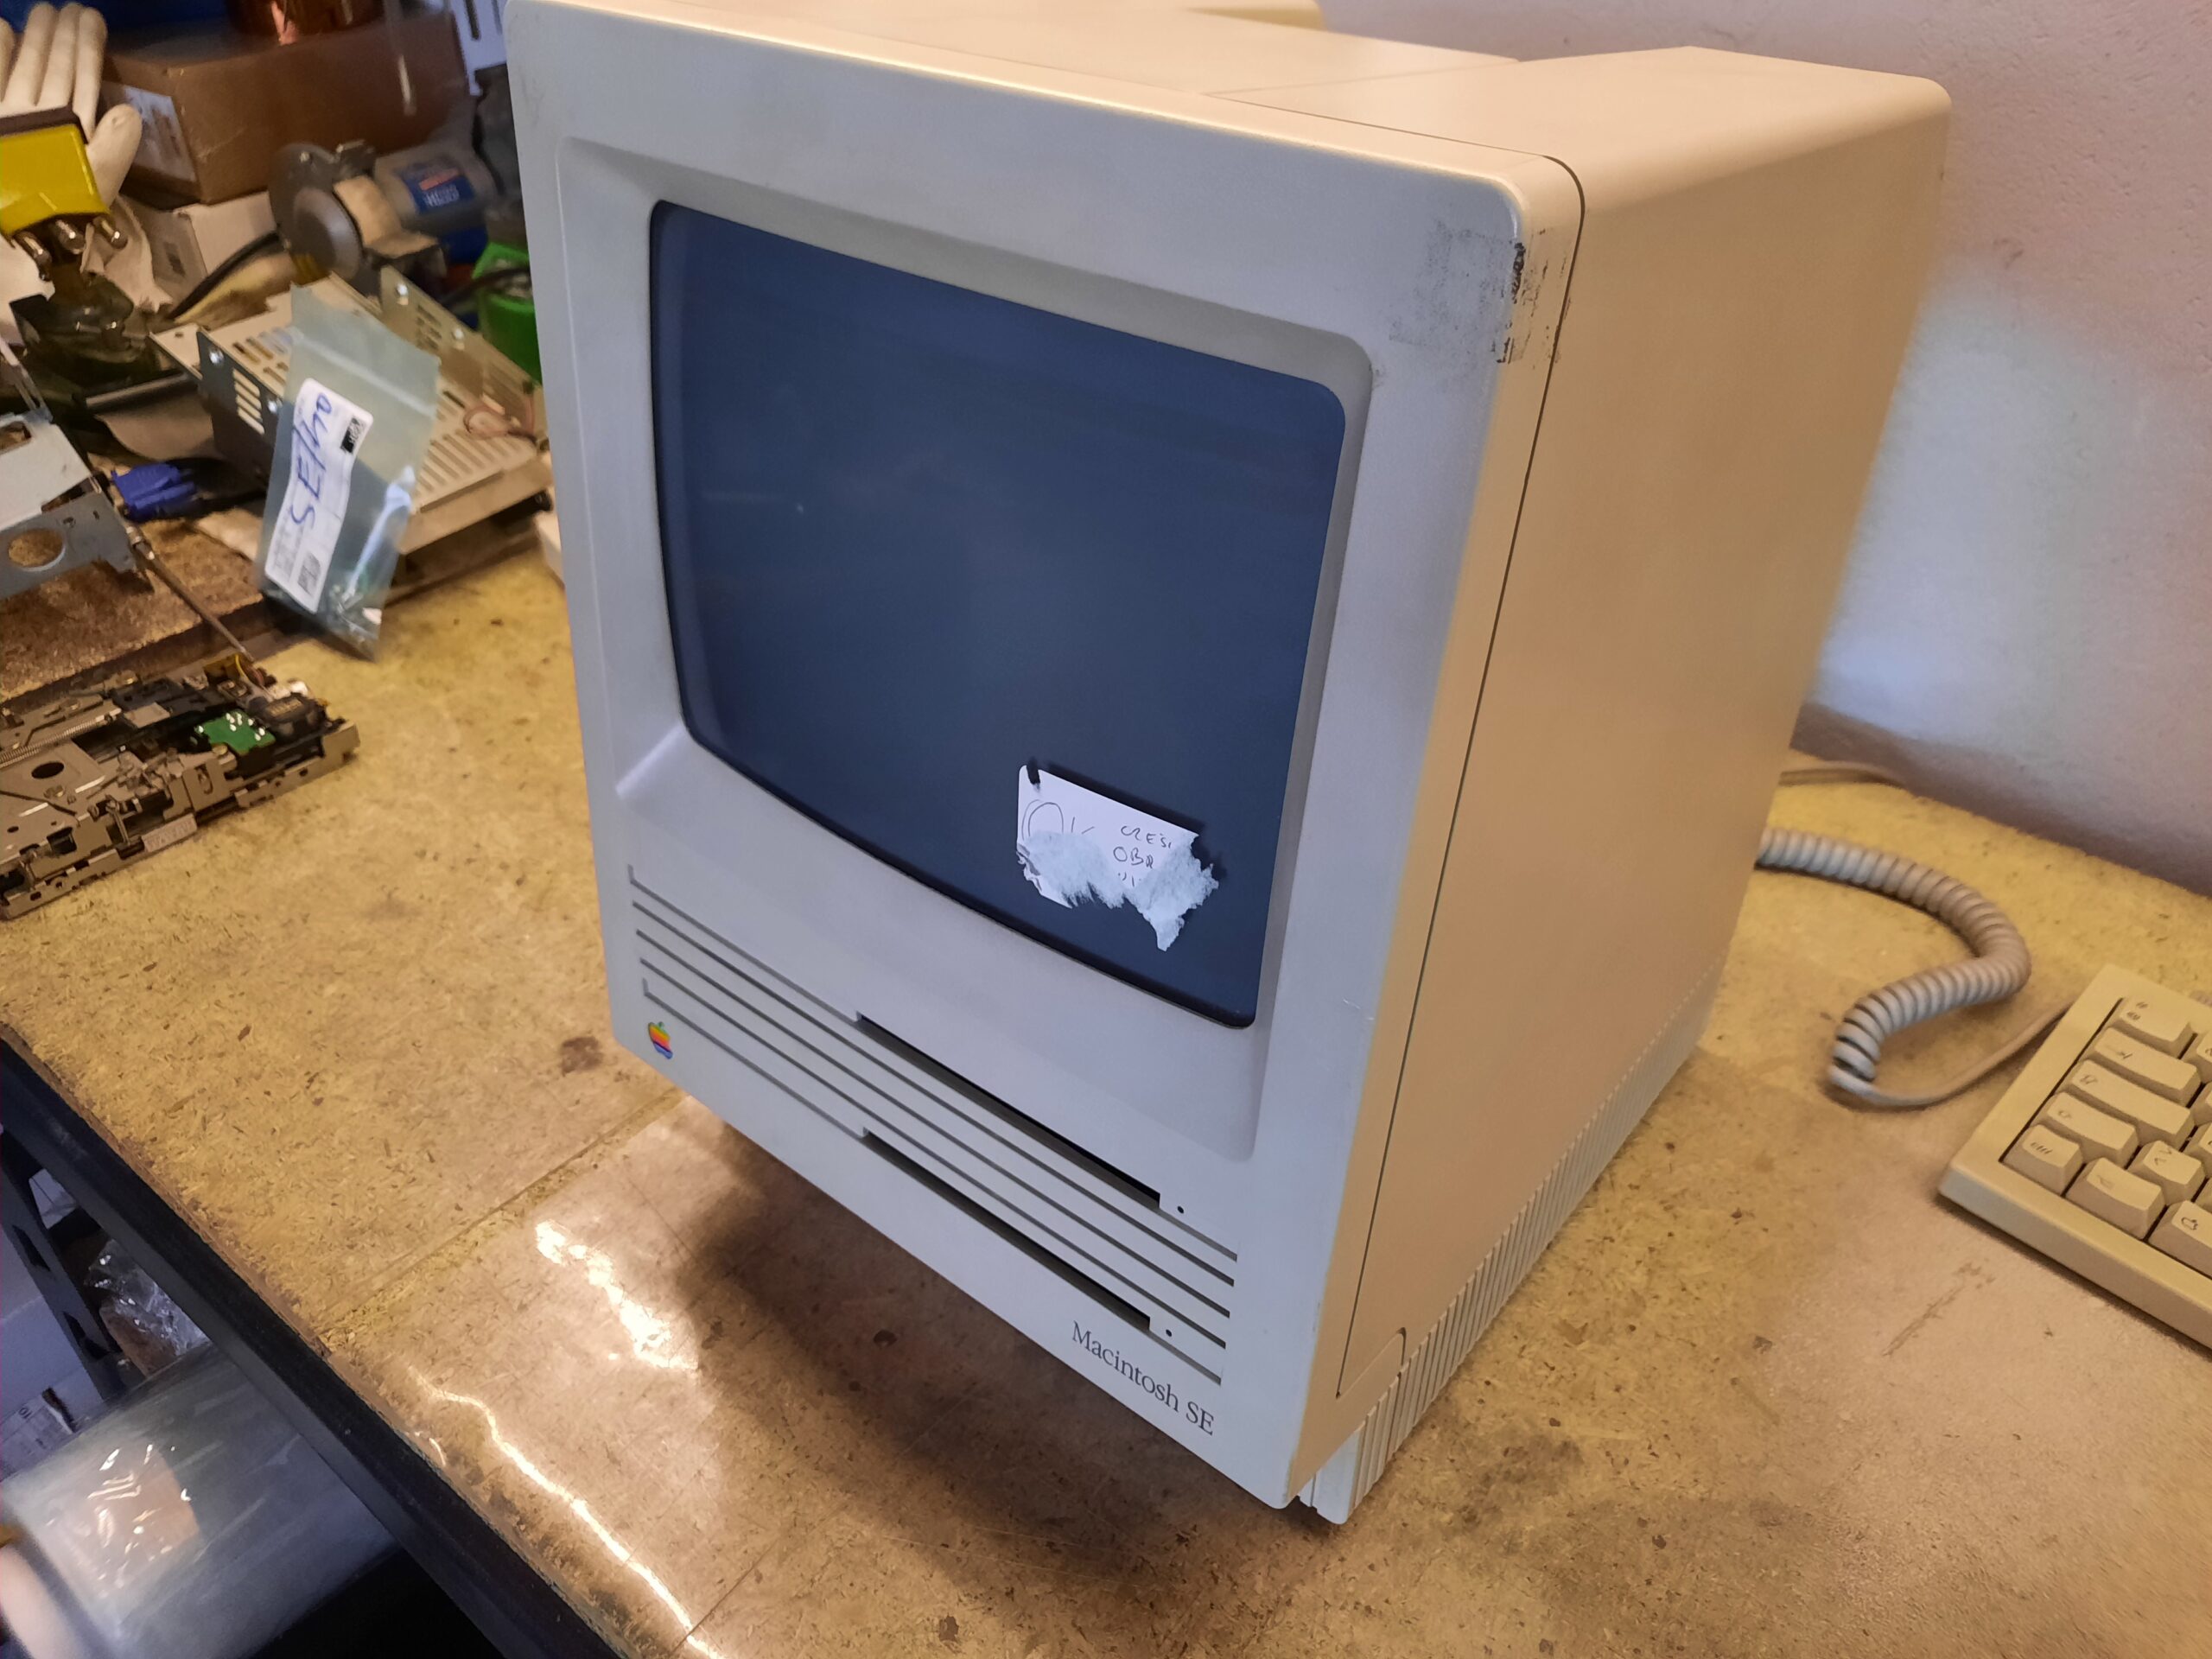
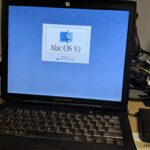
Last year, I was working on four Macintosh SE machines. Two were stock machines, one SE 1/40 and one FD/HD. The plan was to repair, re-cap, upgrade, and retr0bright – the usual procedure.
In general, they do not differ that much but let’s start with the opening pic.
Disassembly
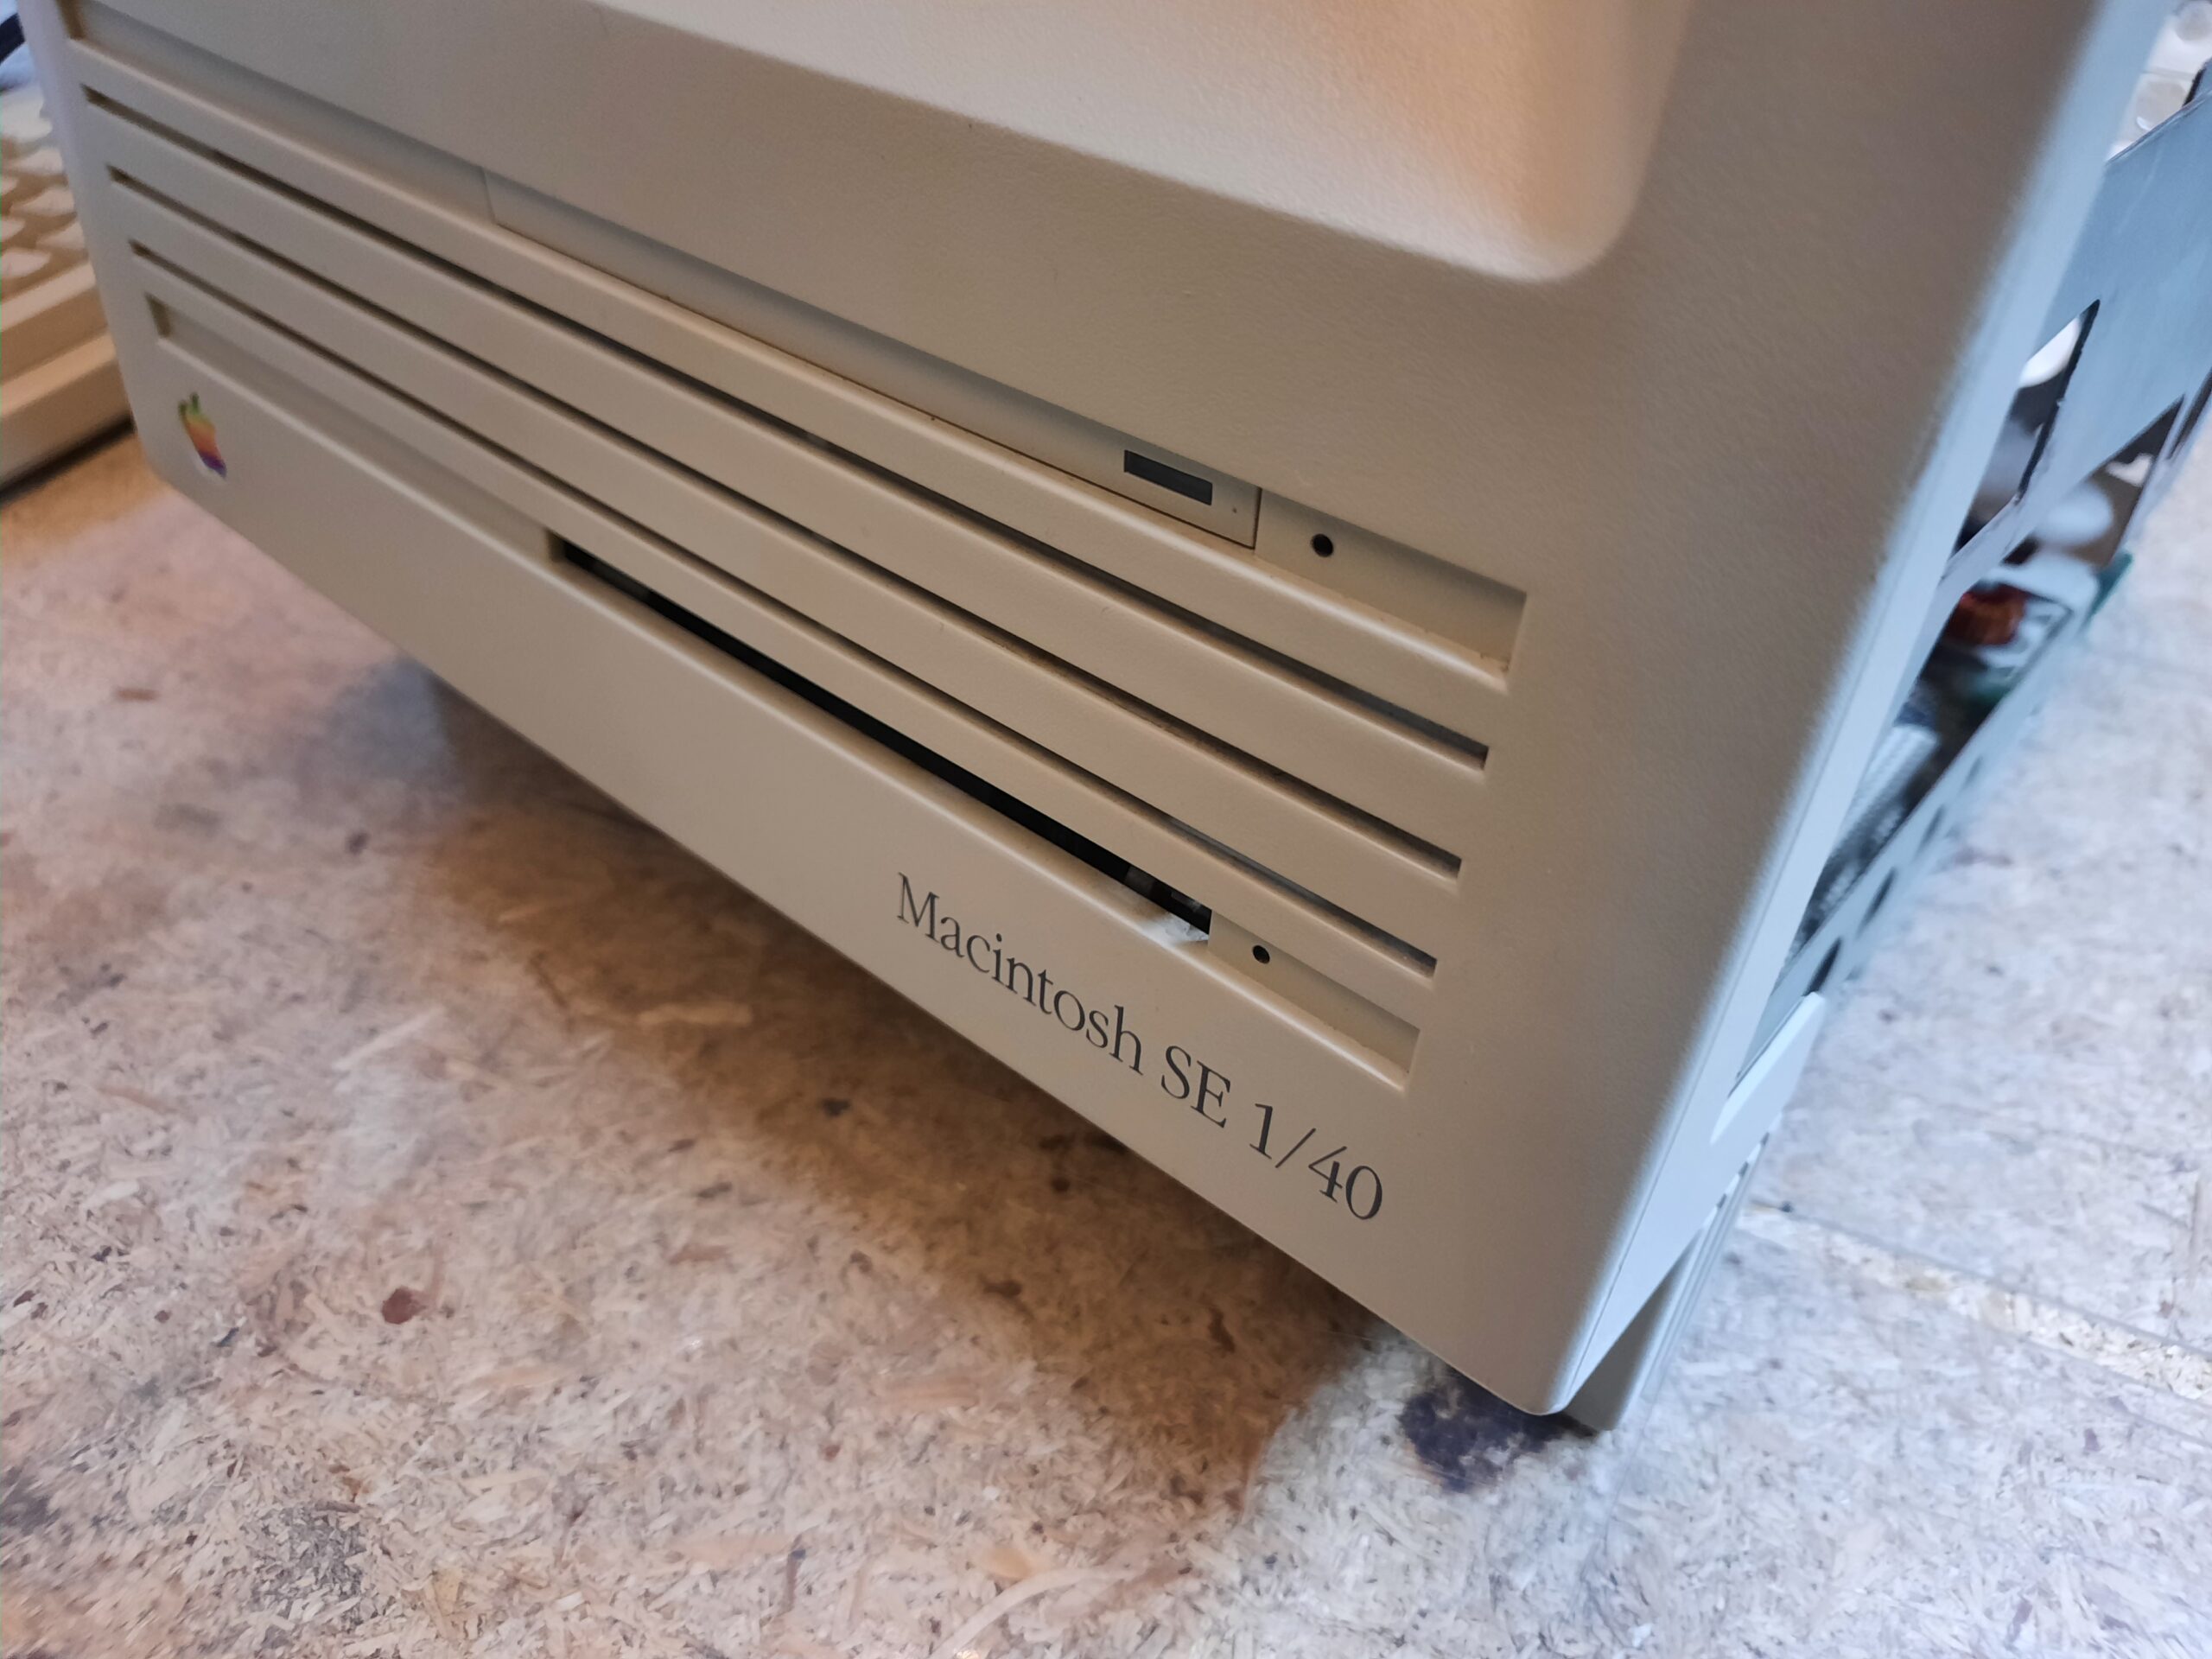
The first machine that I started working on was a Mac SE 1/40 but the remaining machines are pretty much the same
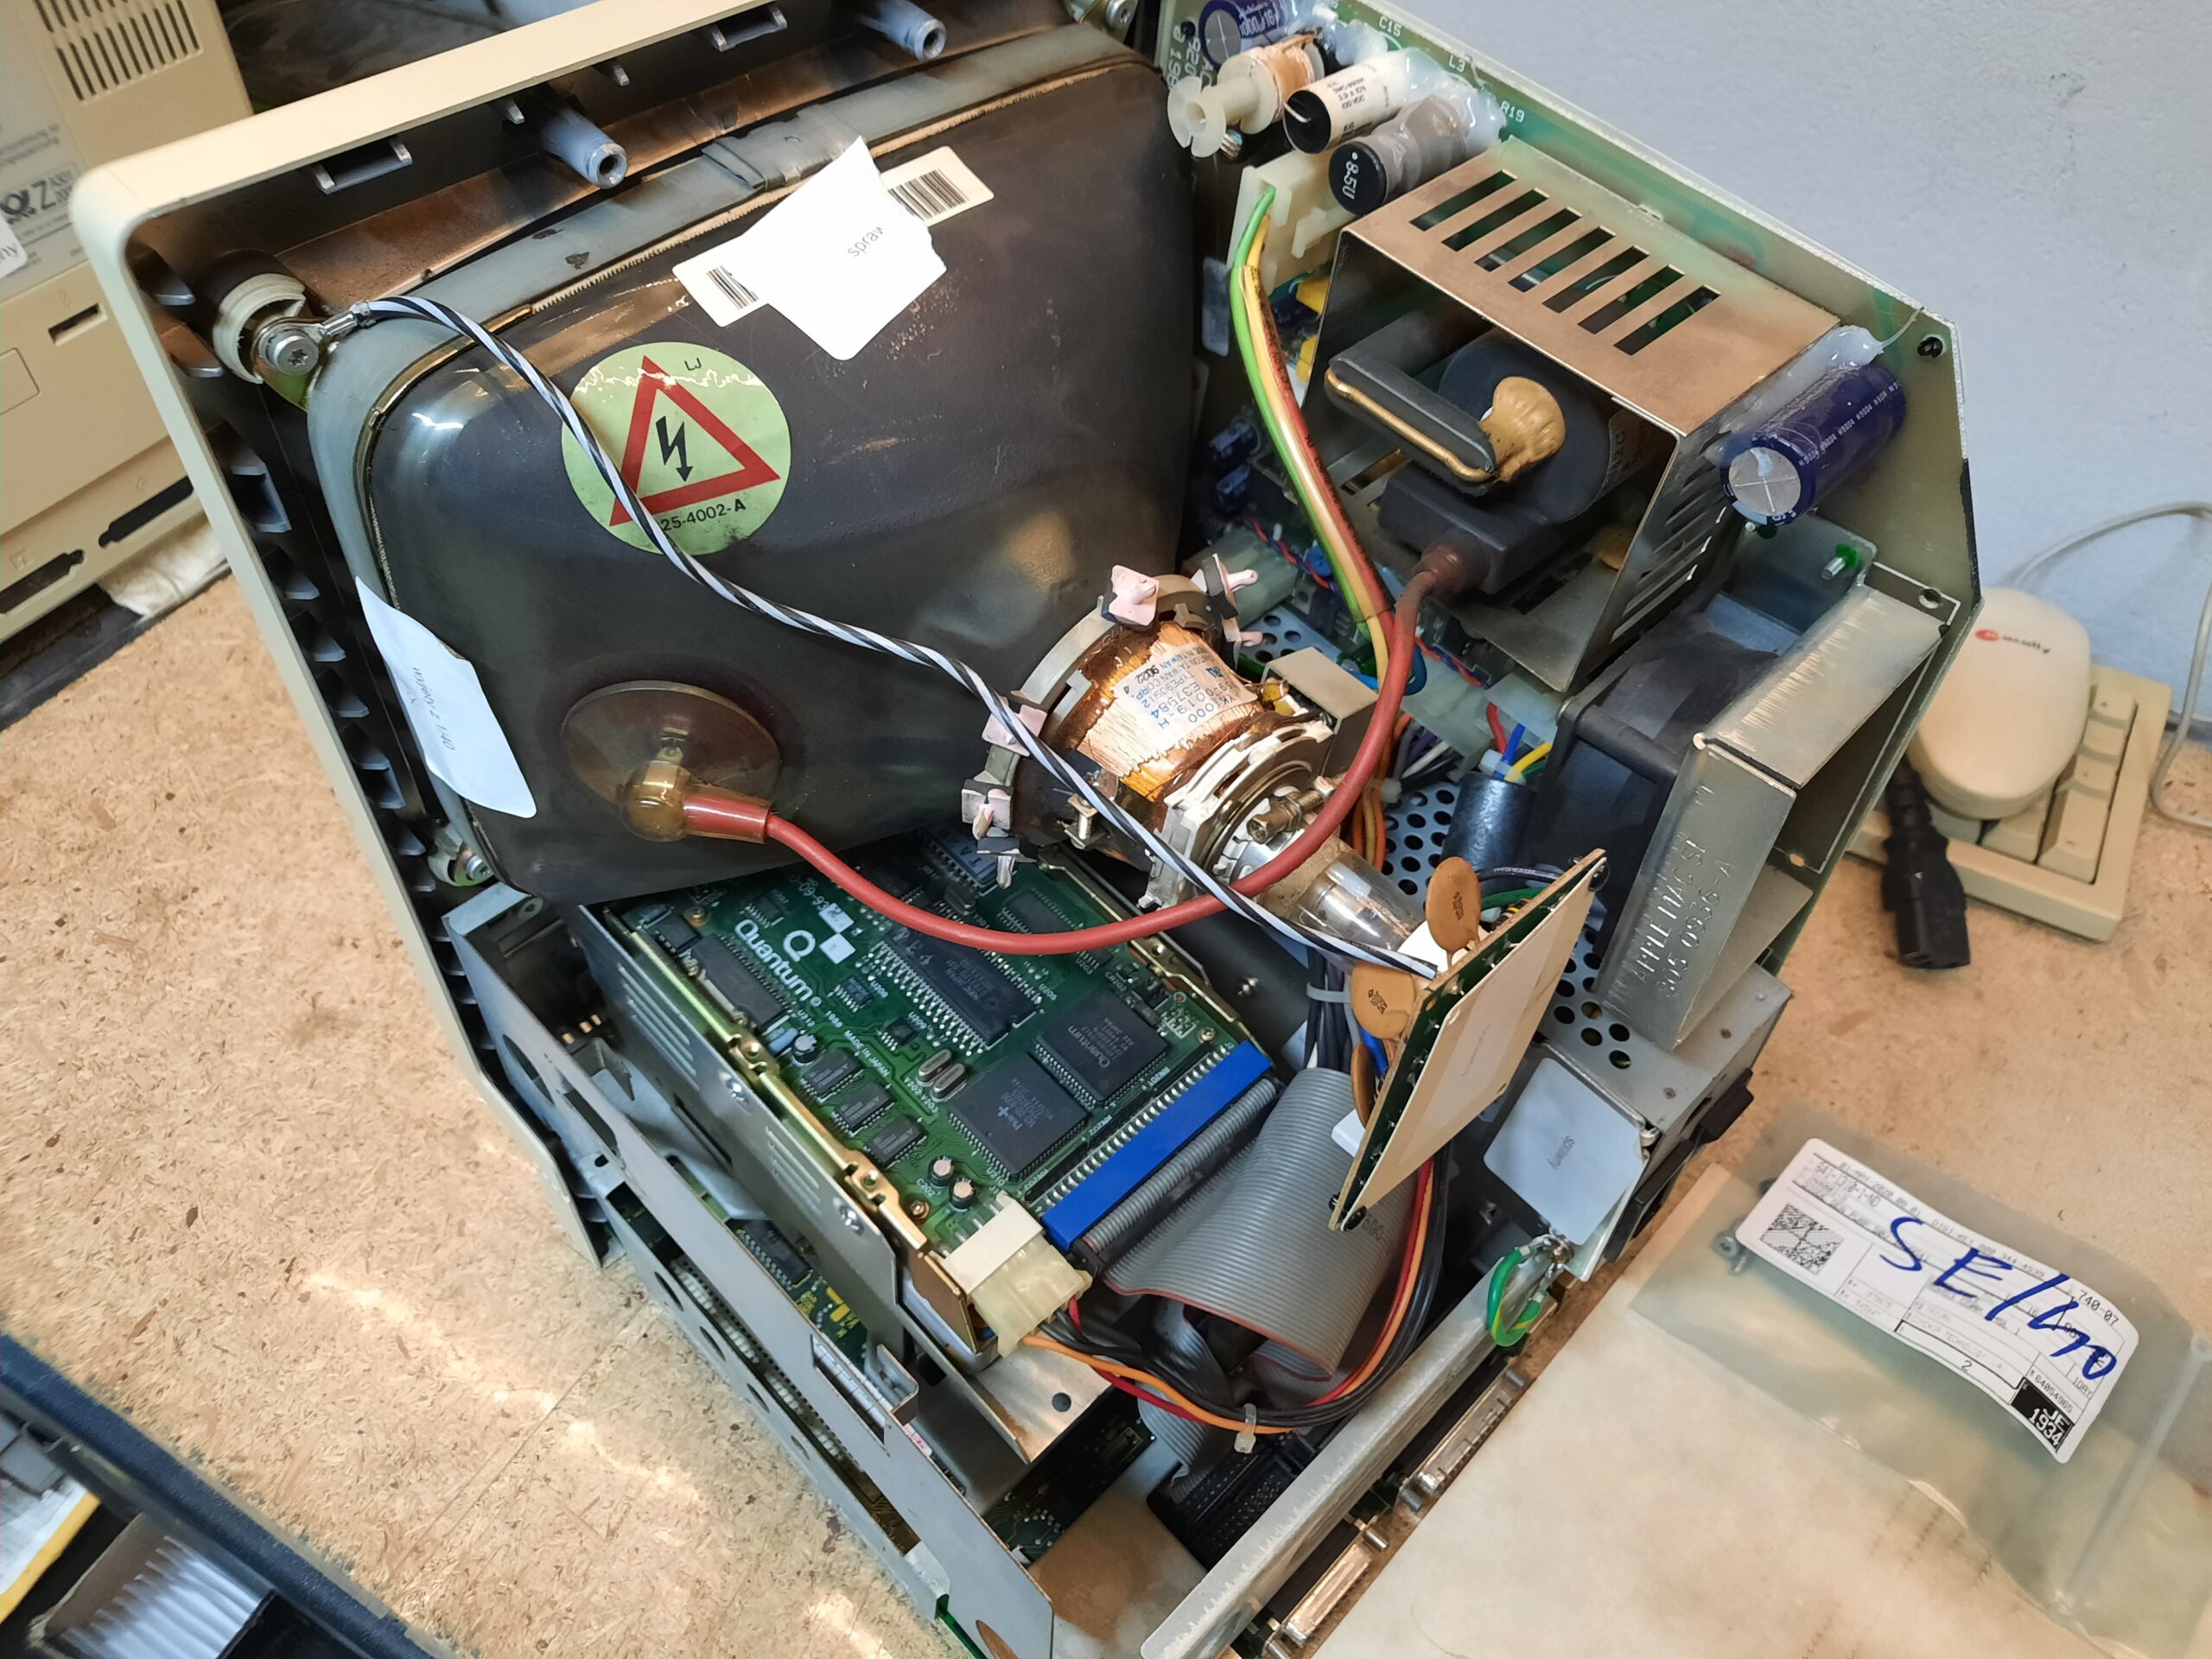
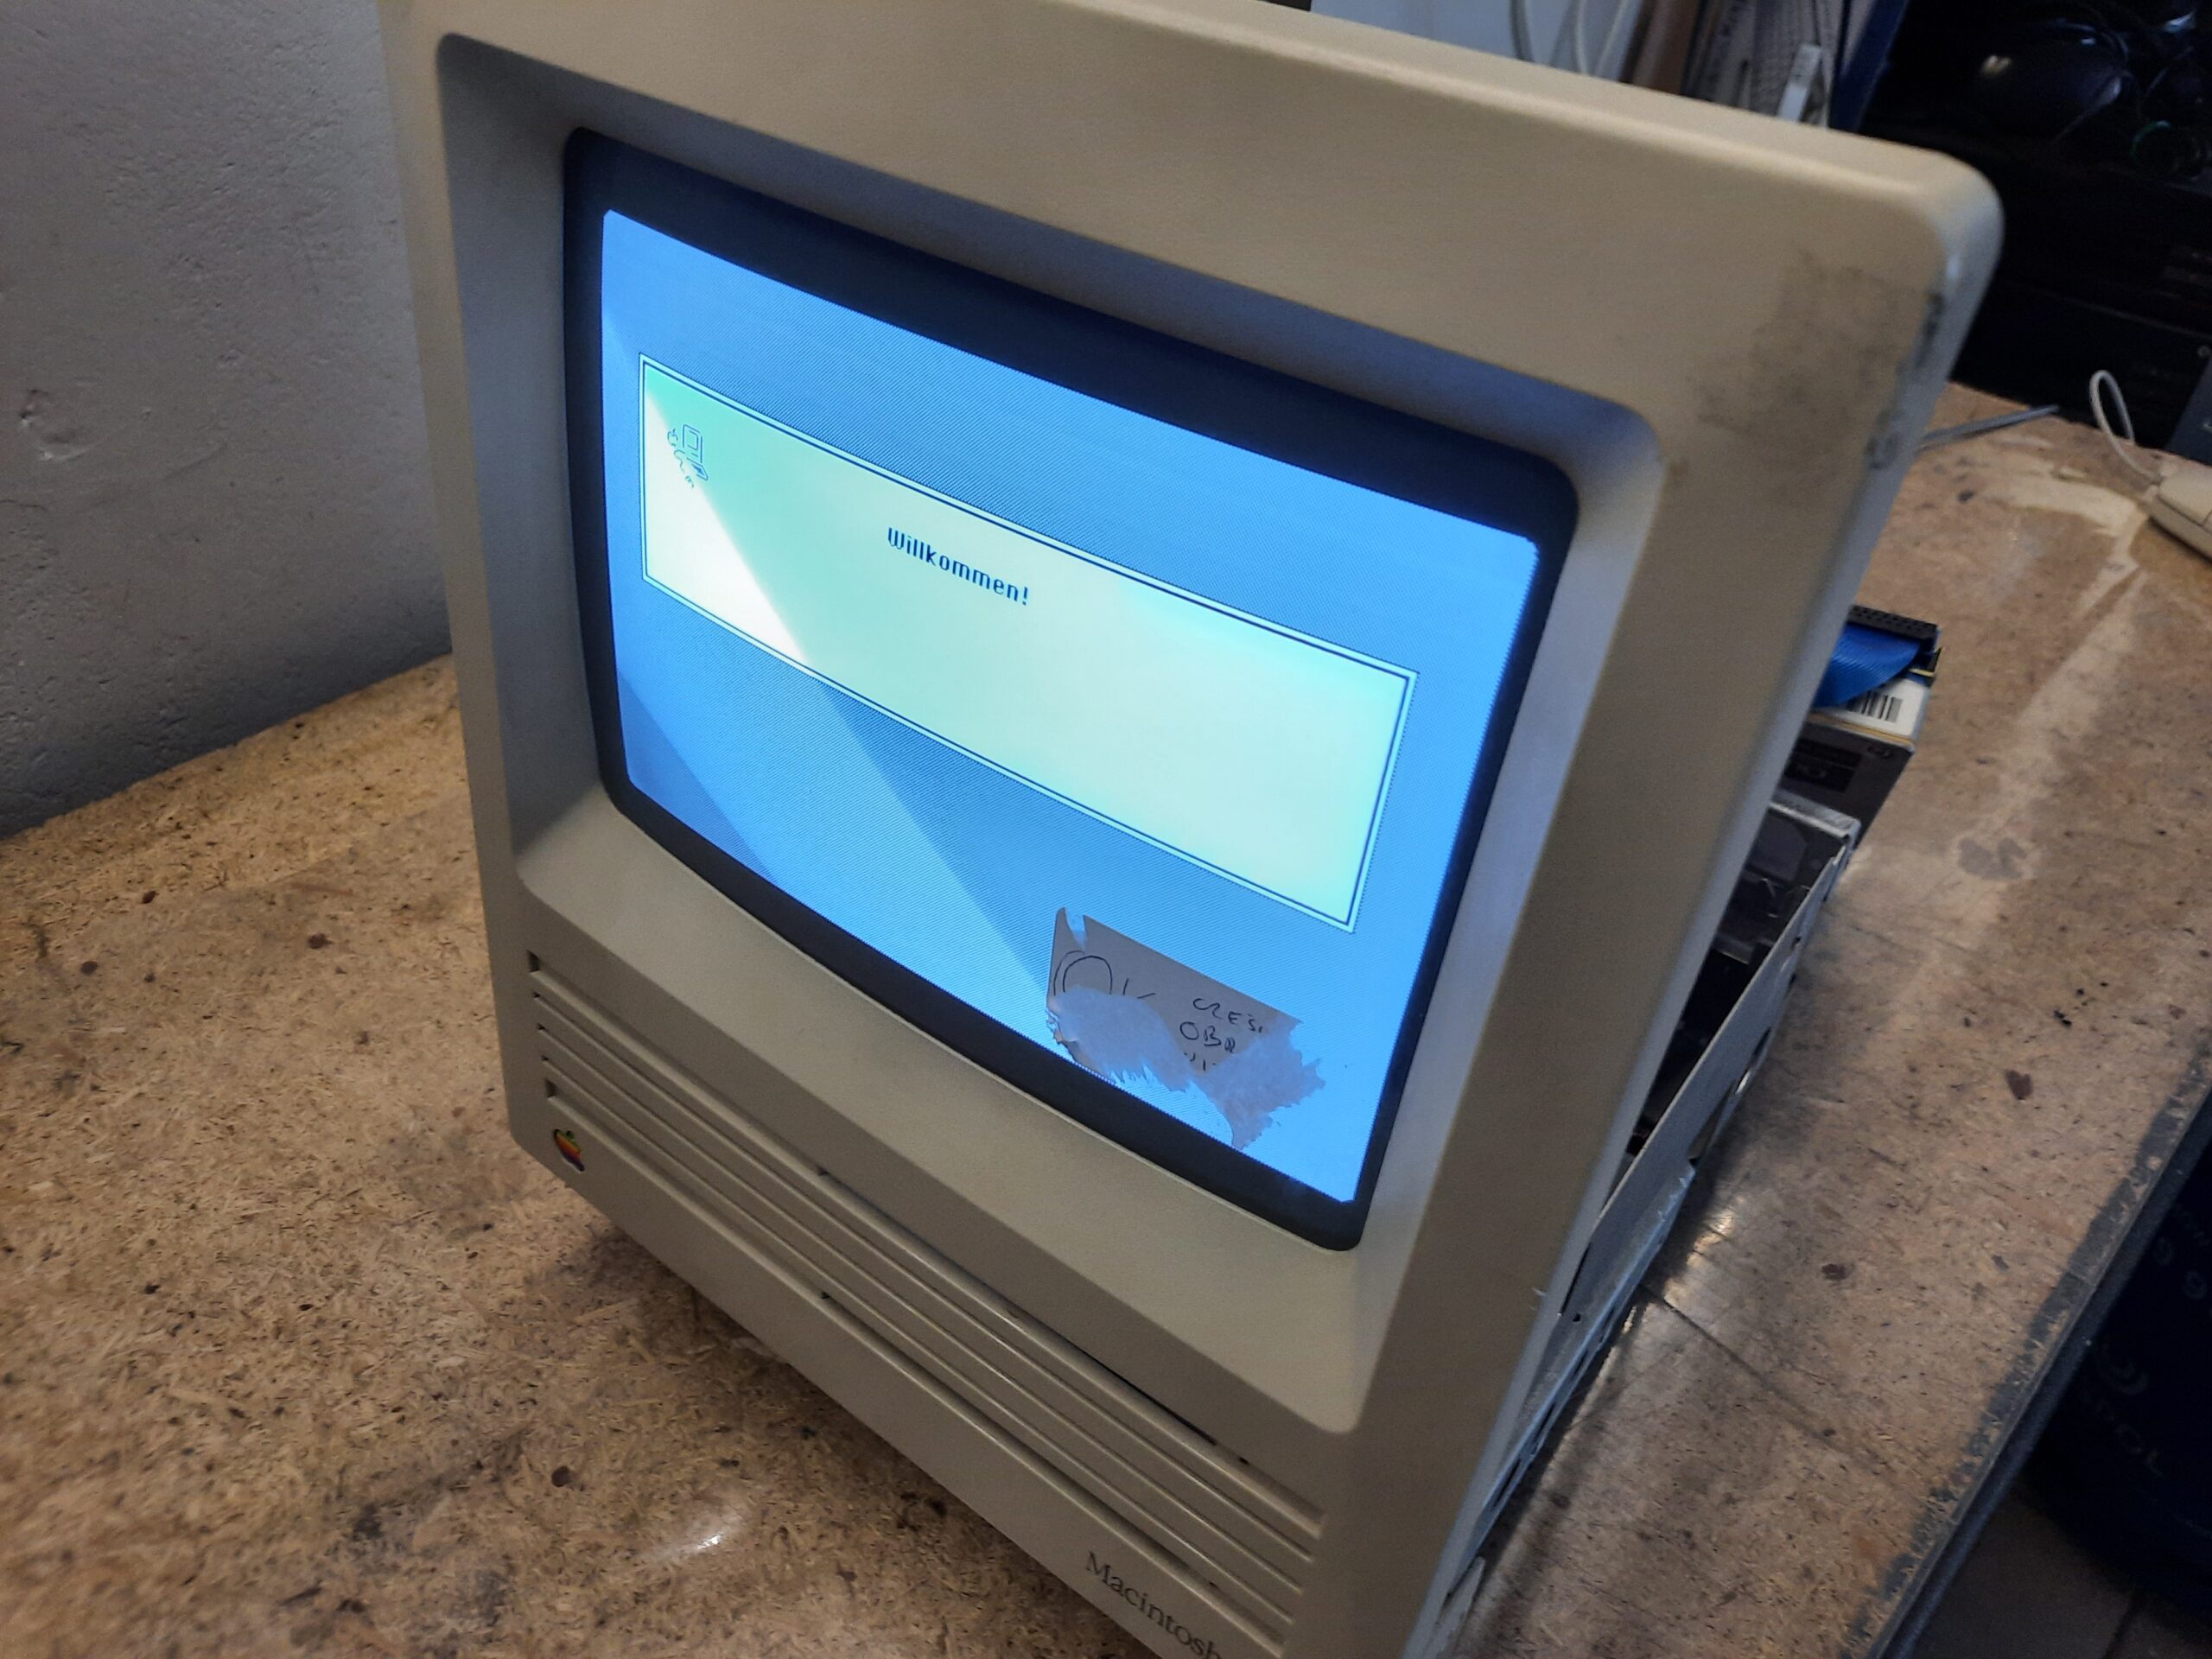
This is how it looked after opening.
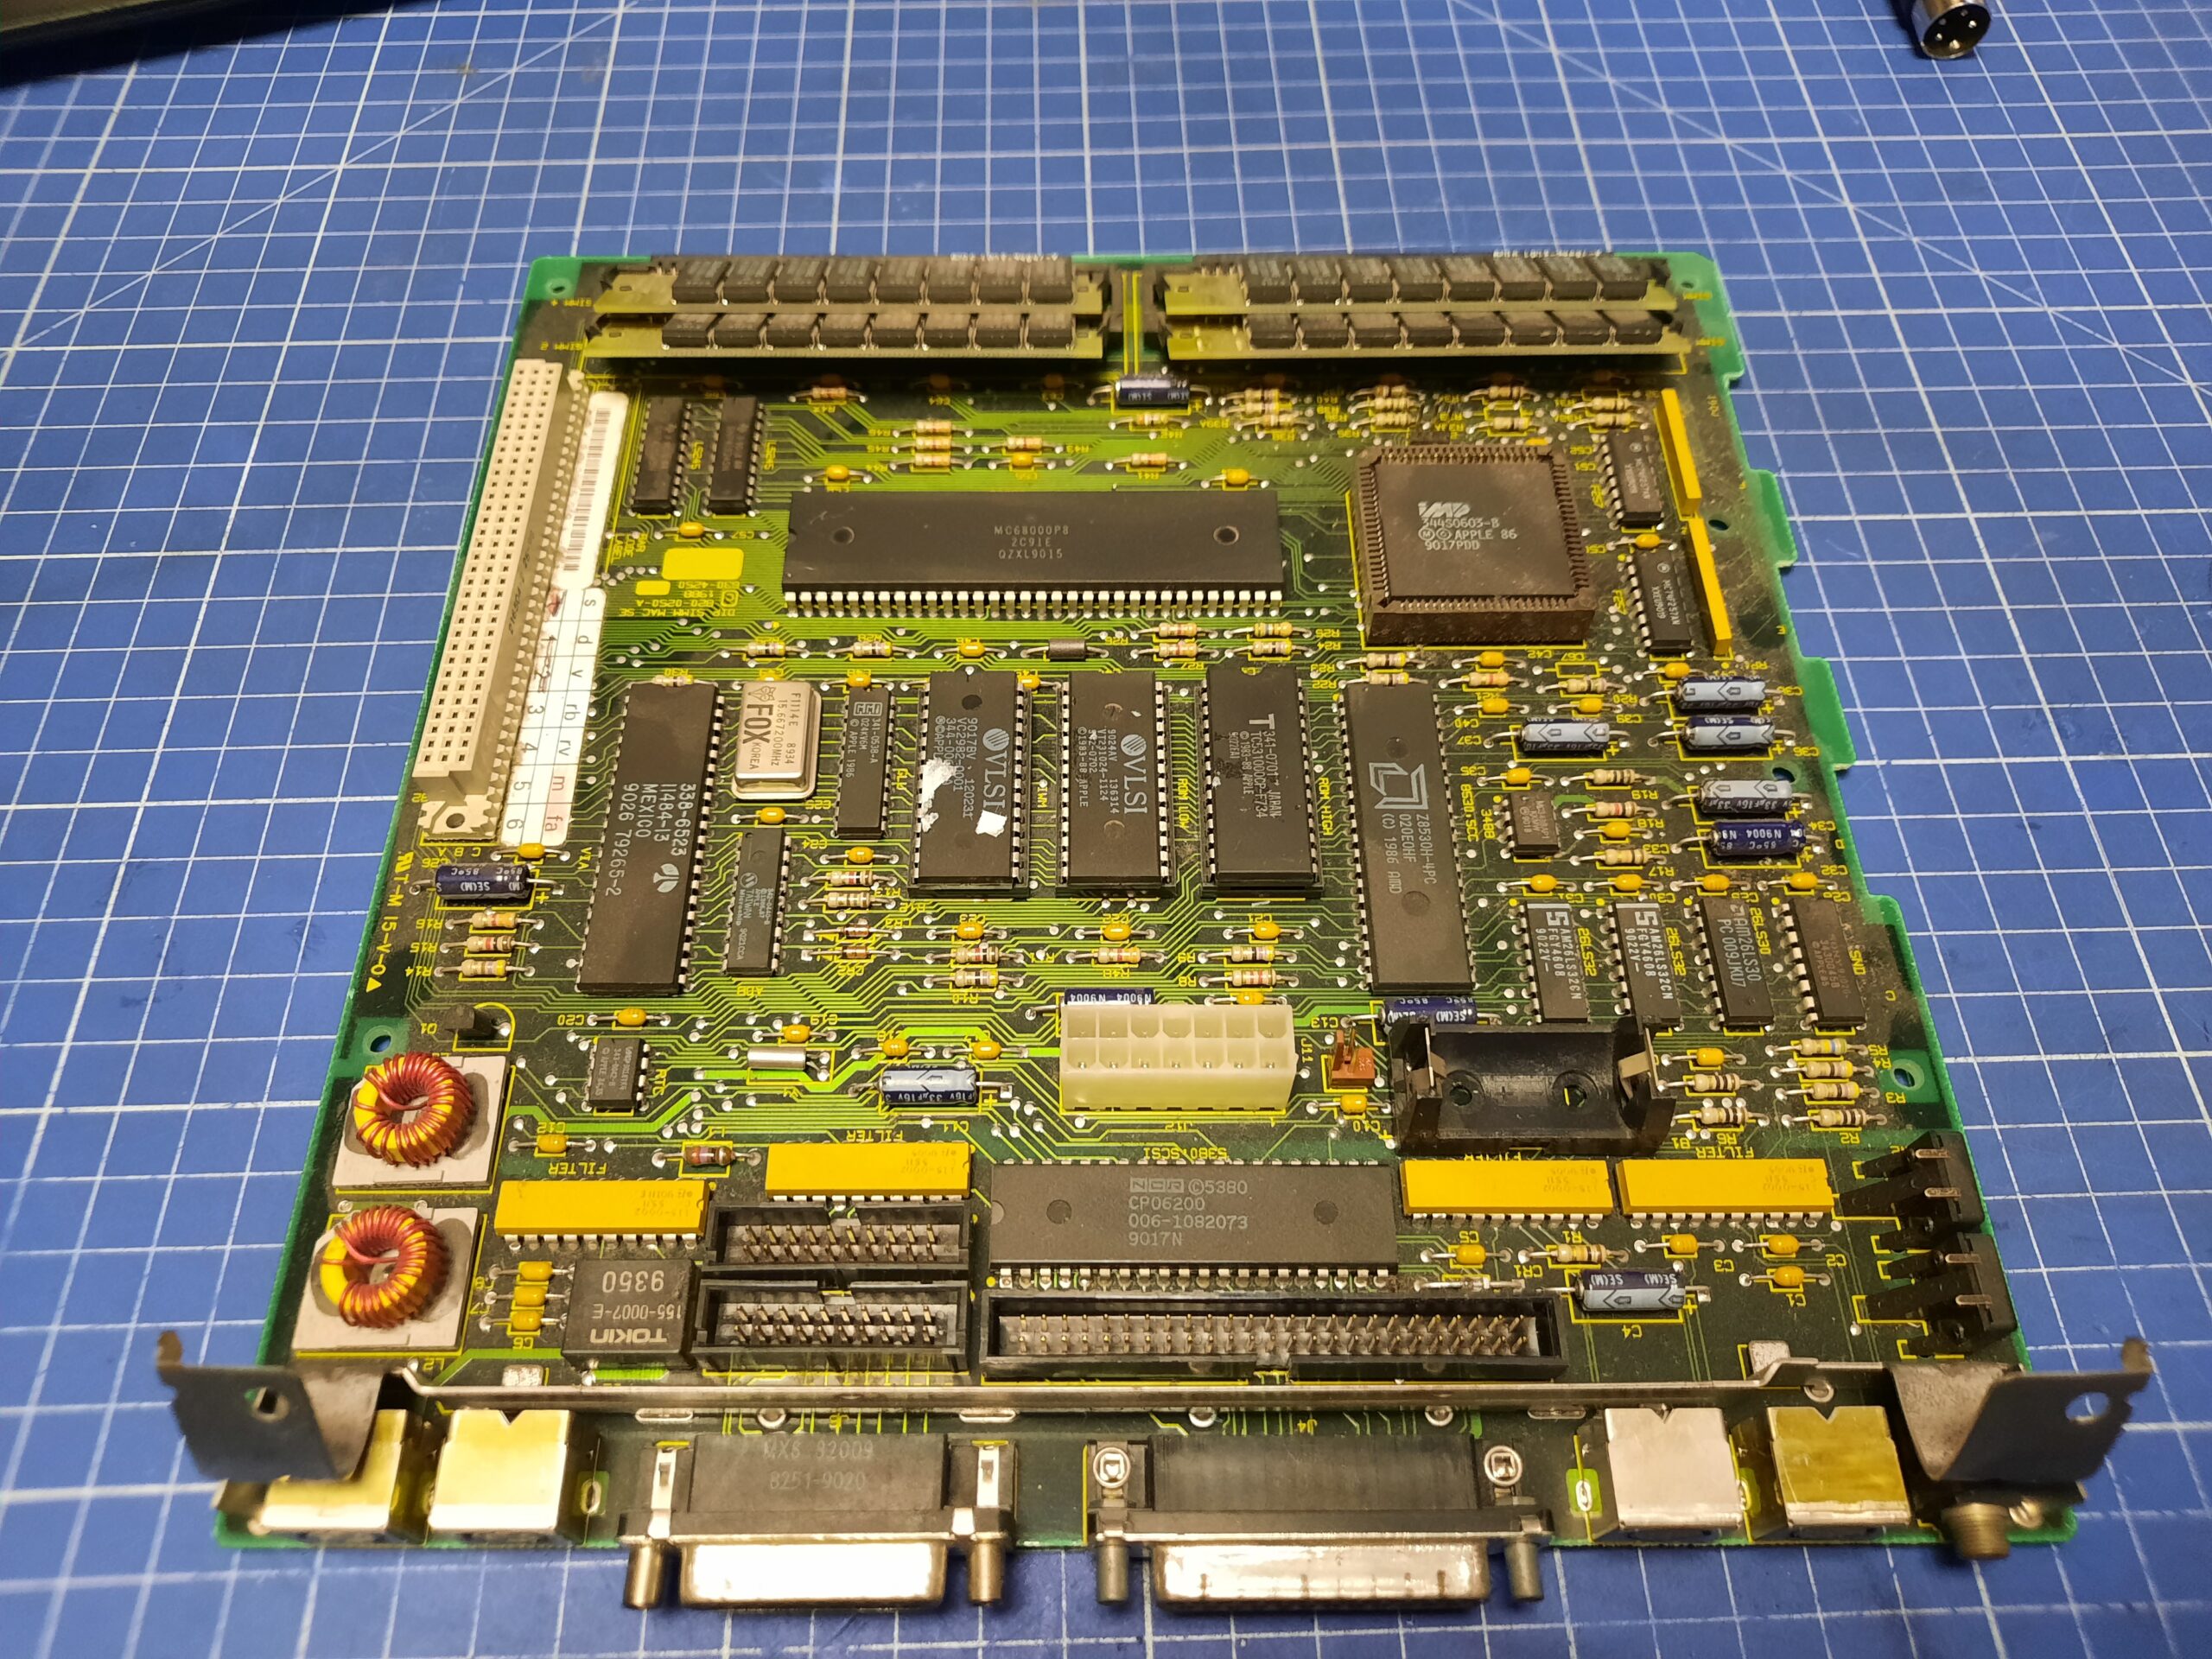
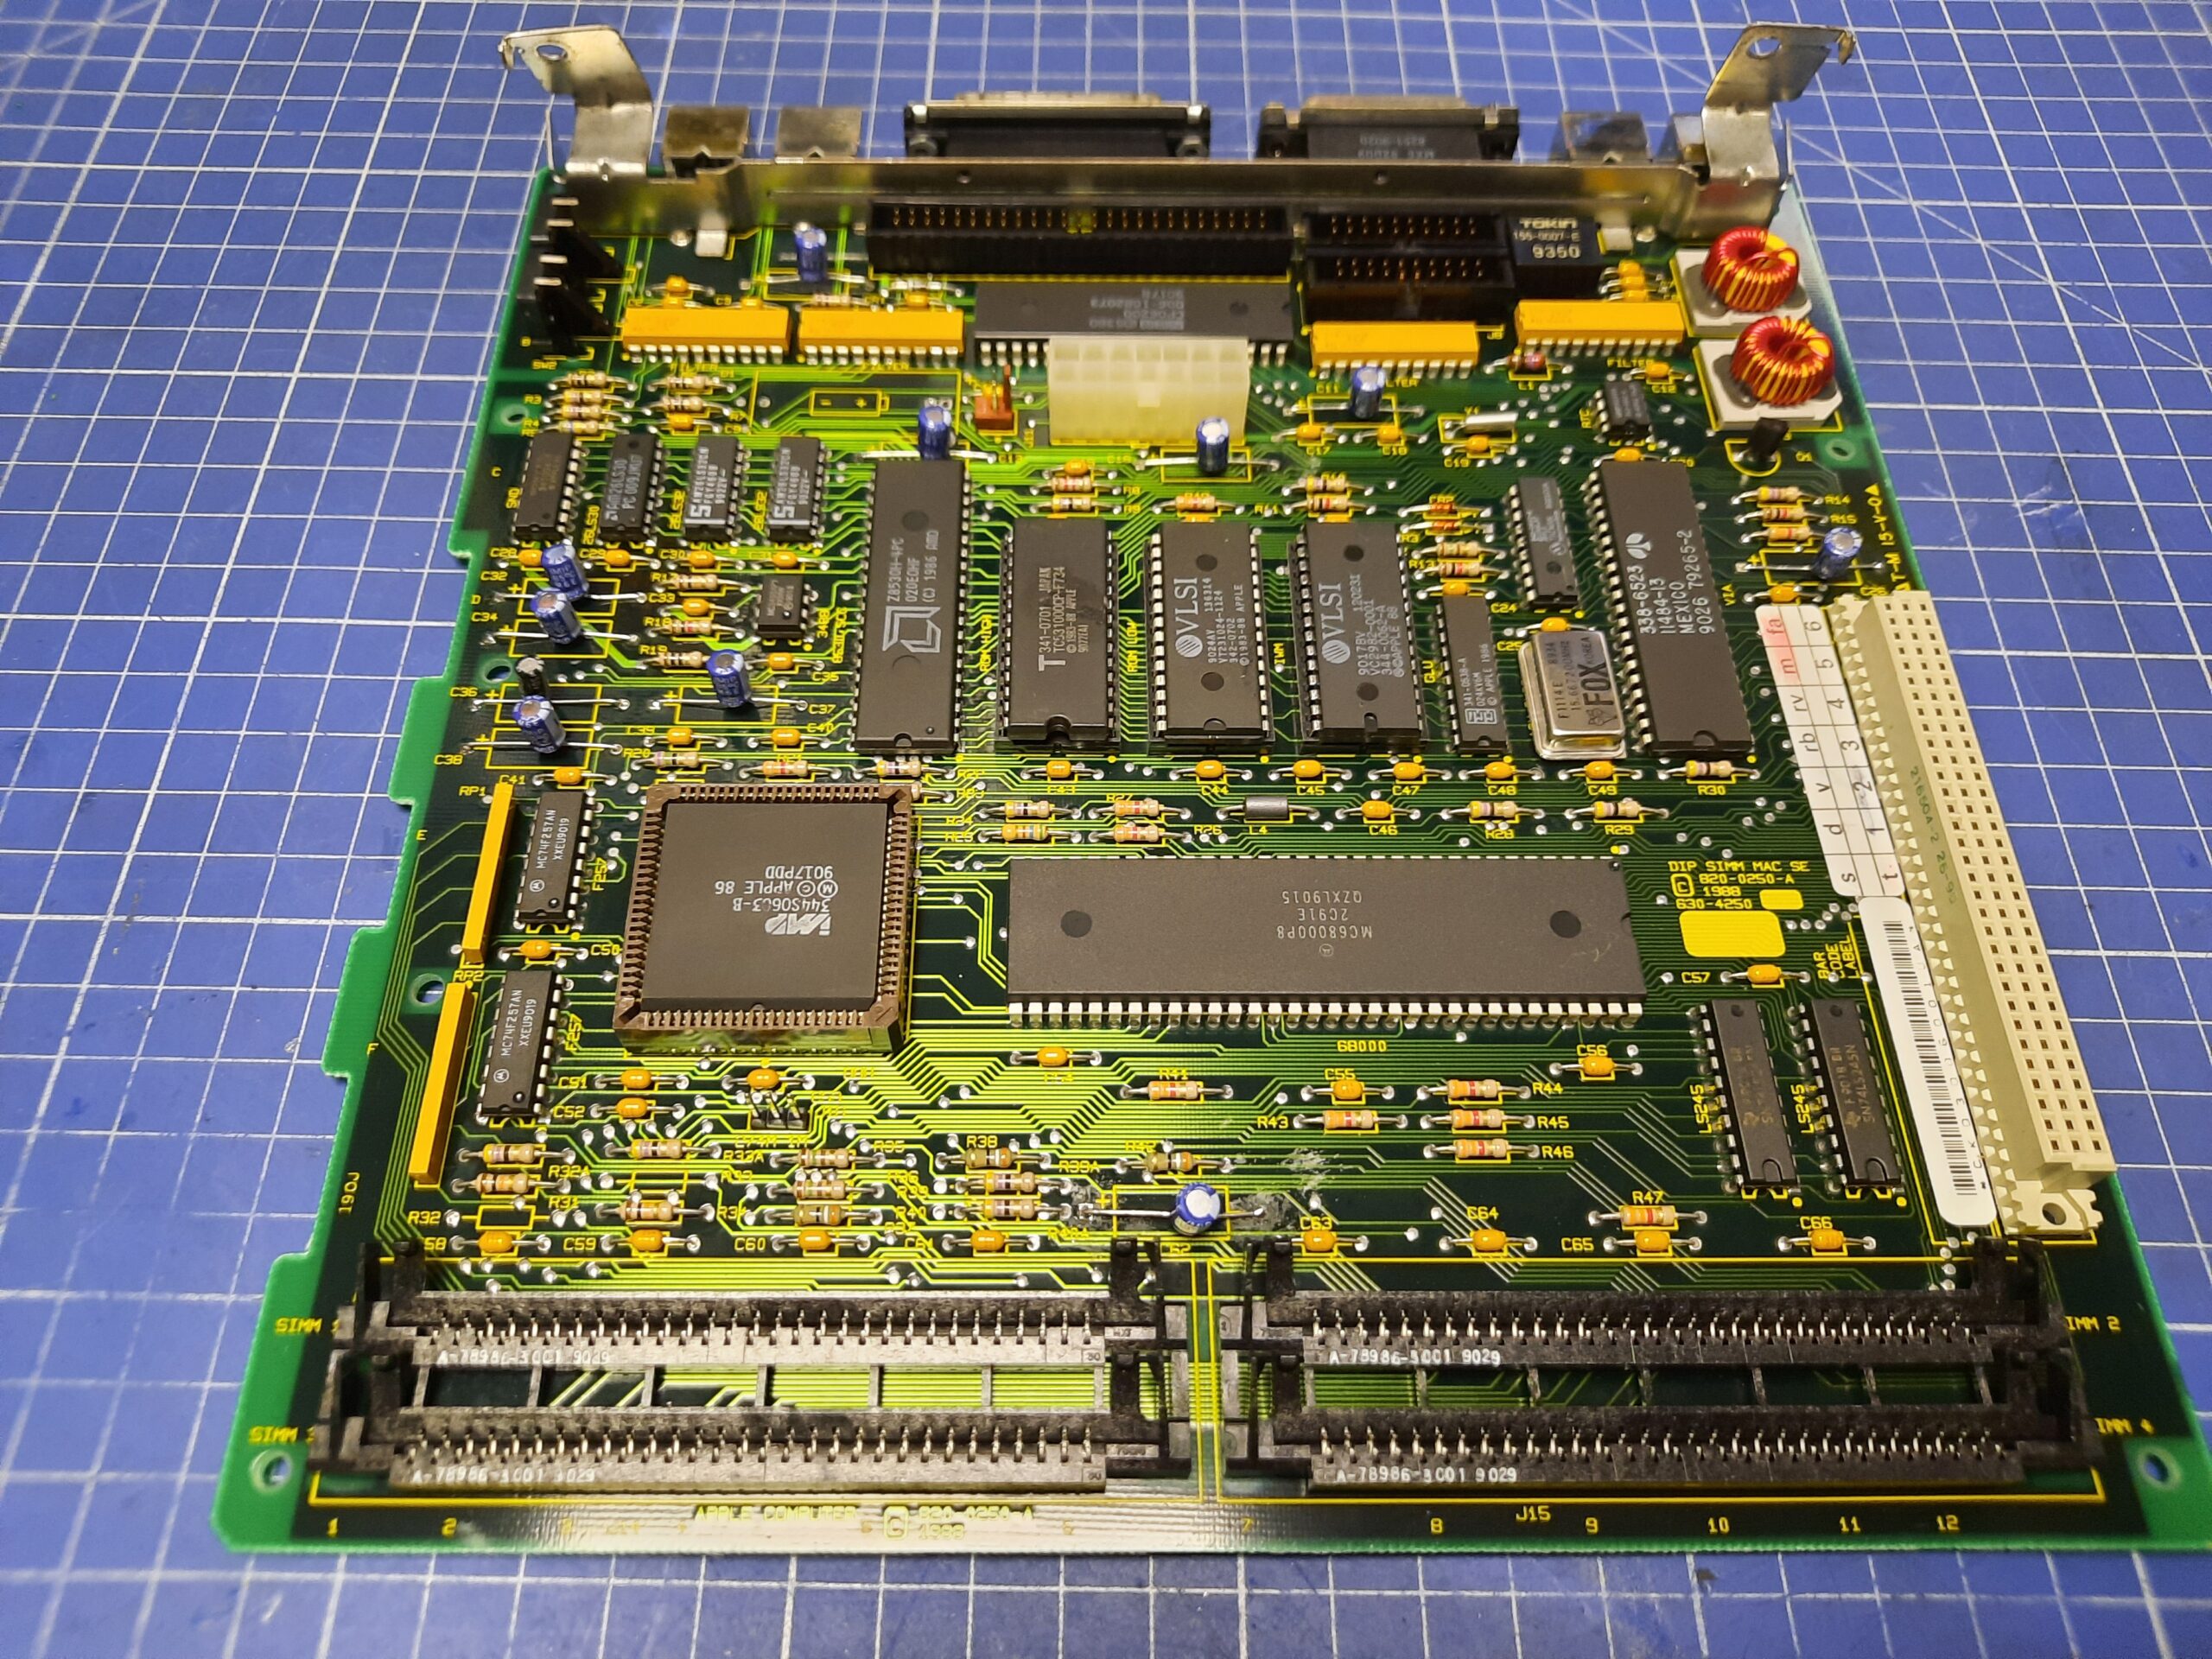
Re-cap
I didn’t have axial caps at hand so I used standard ones. Here is a mobo after re-capping and ultrasonic, cleaning bath.
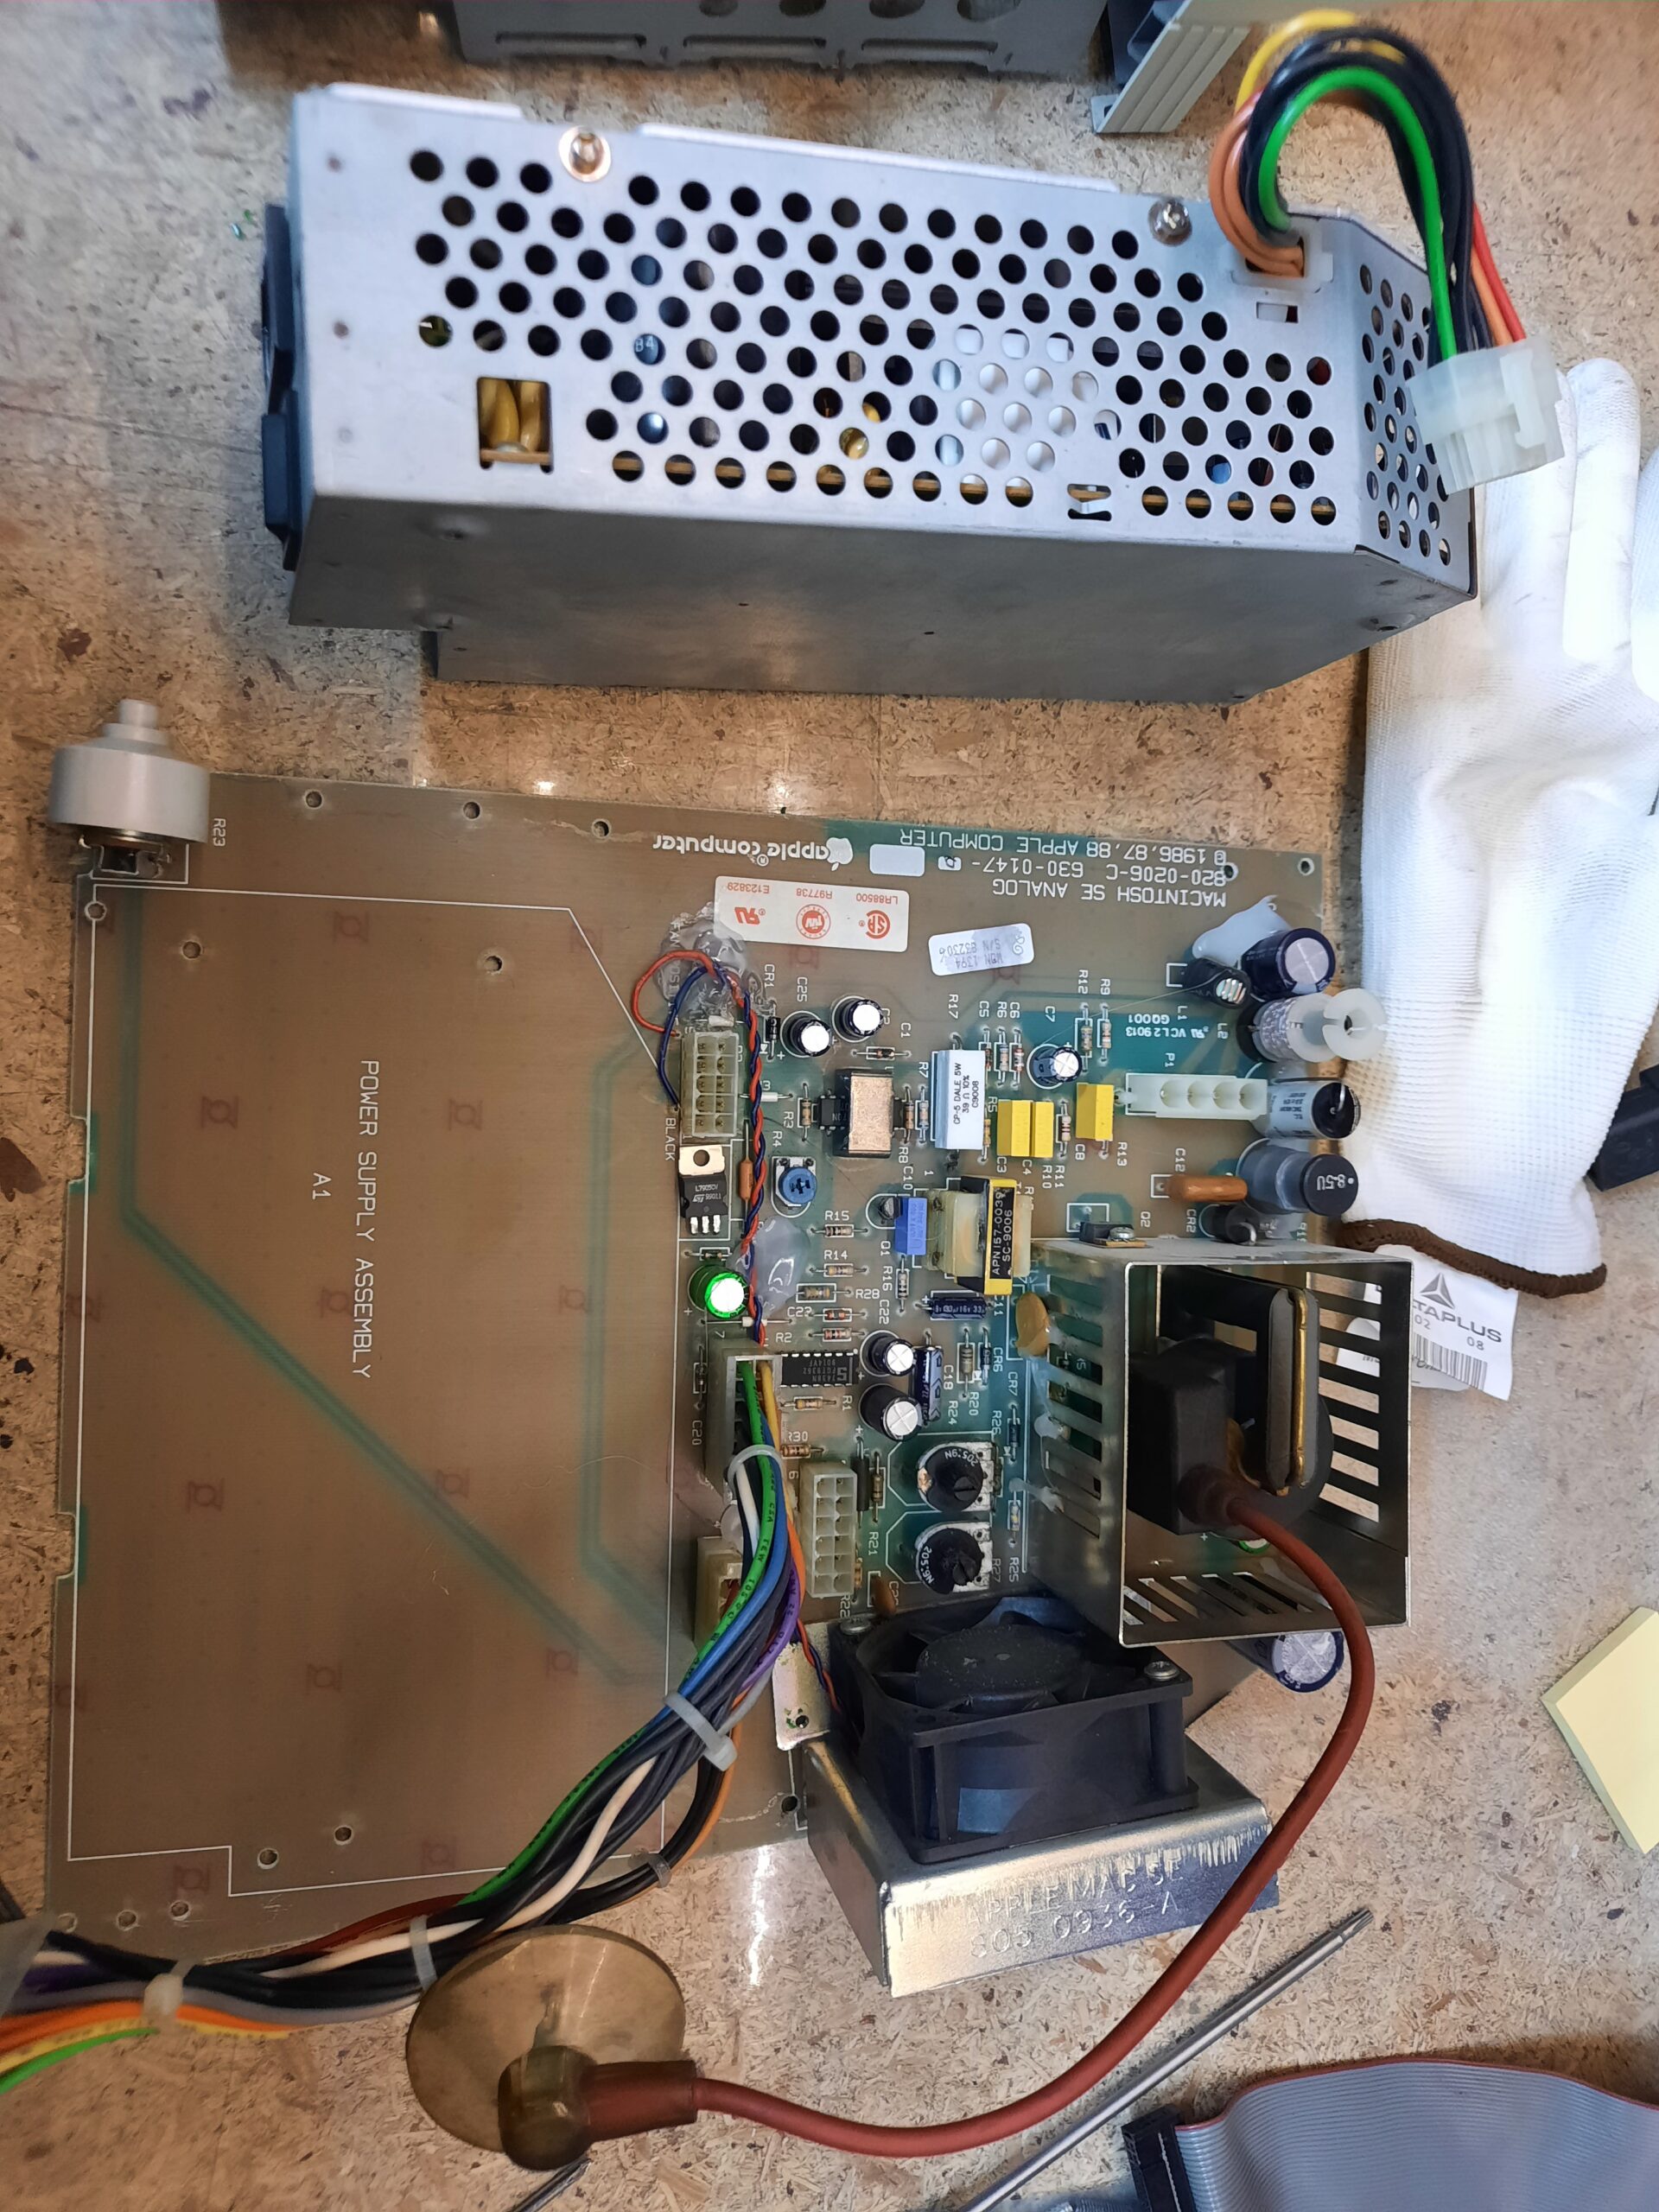
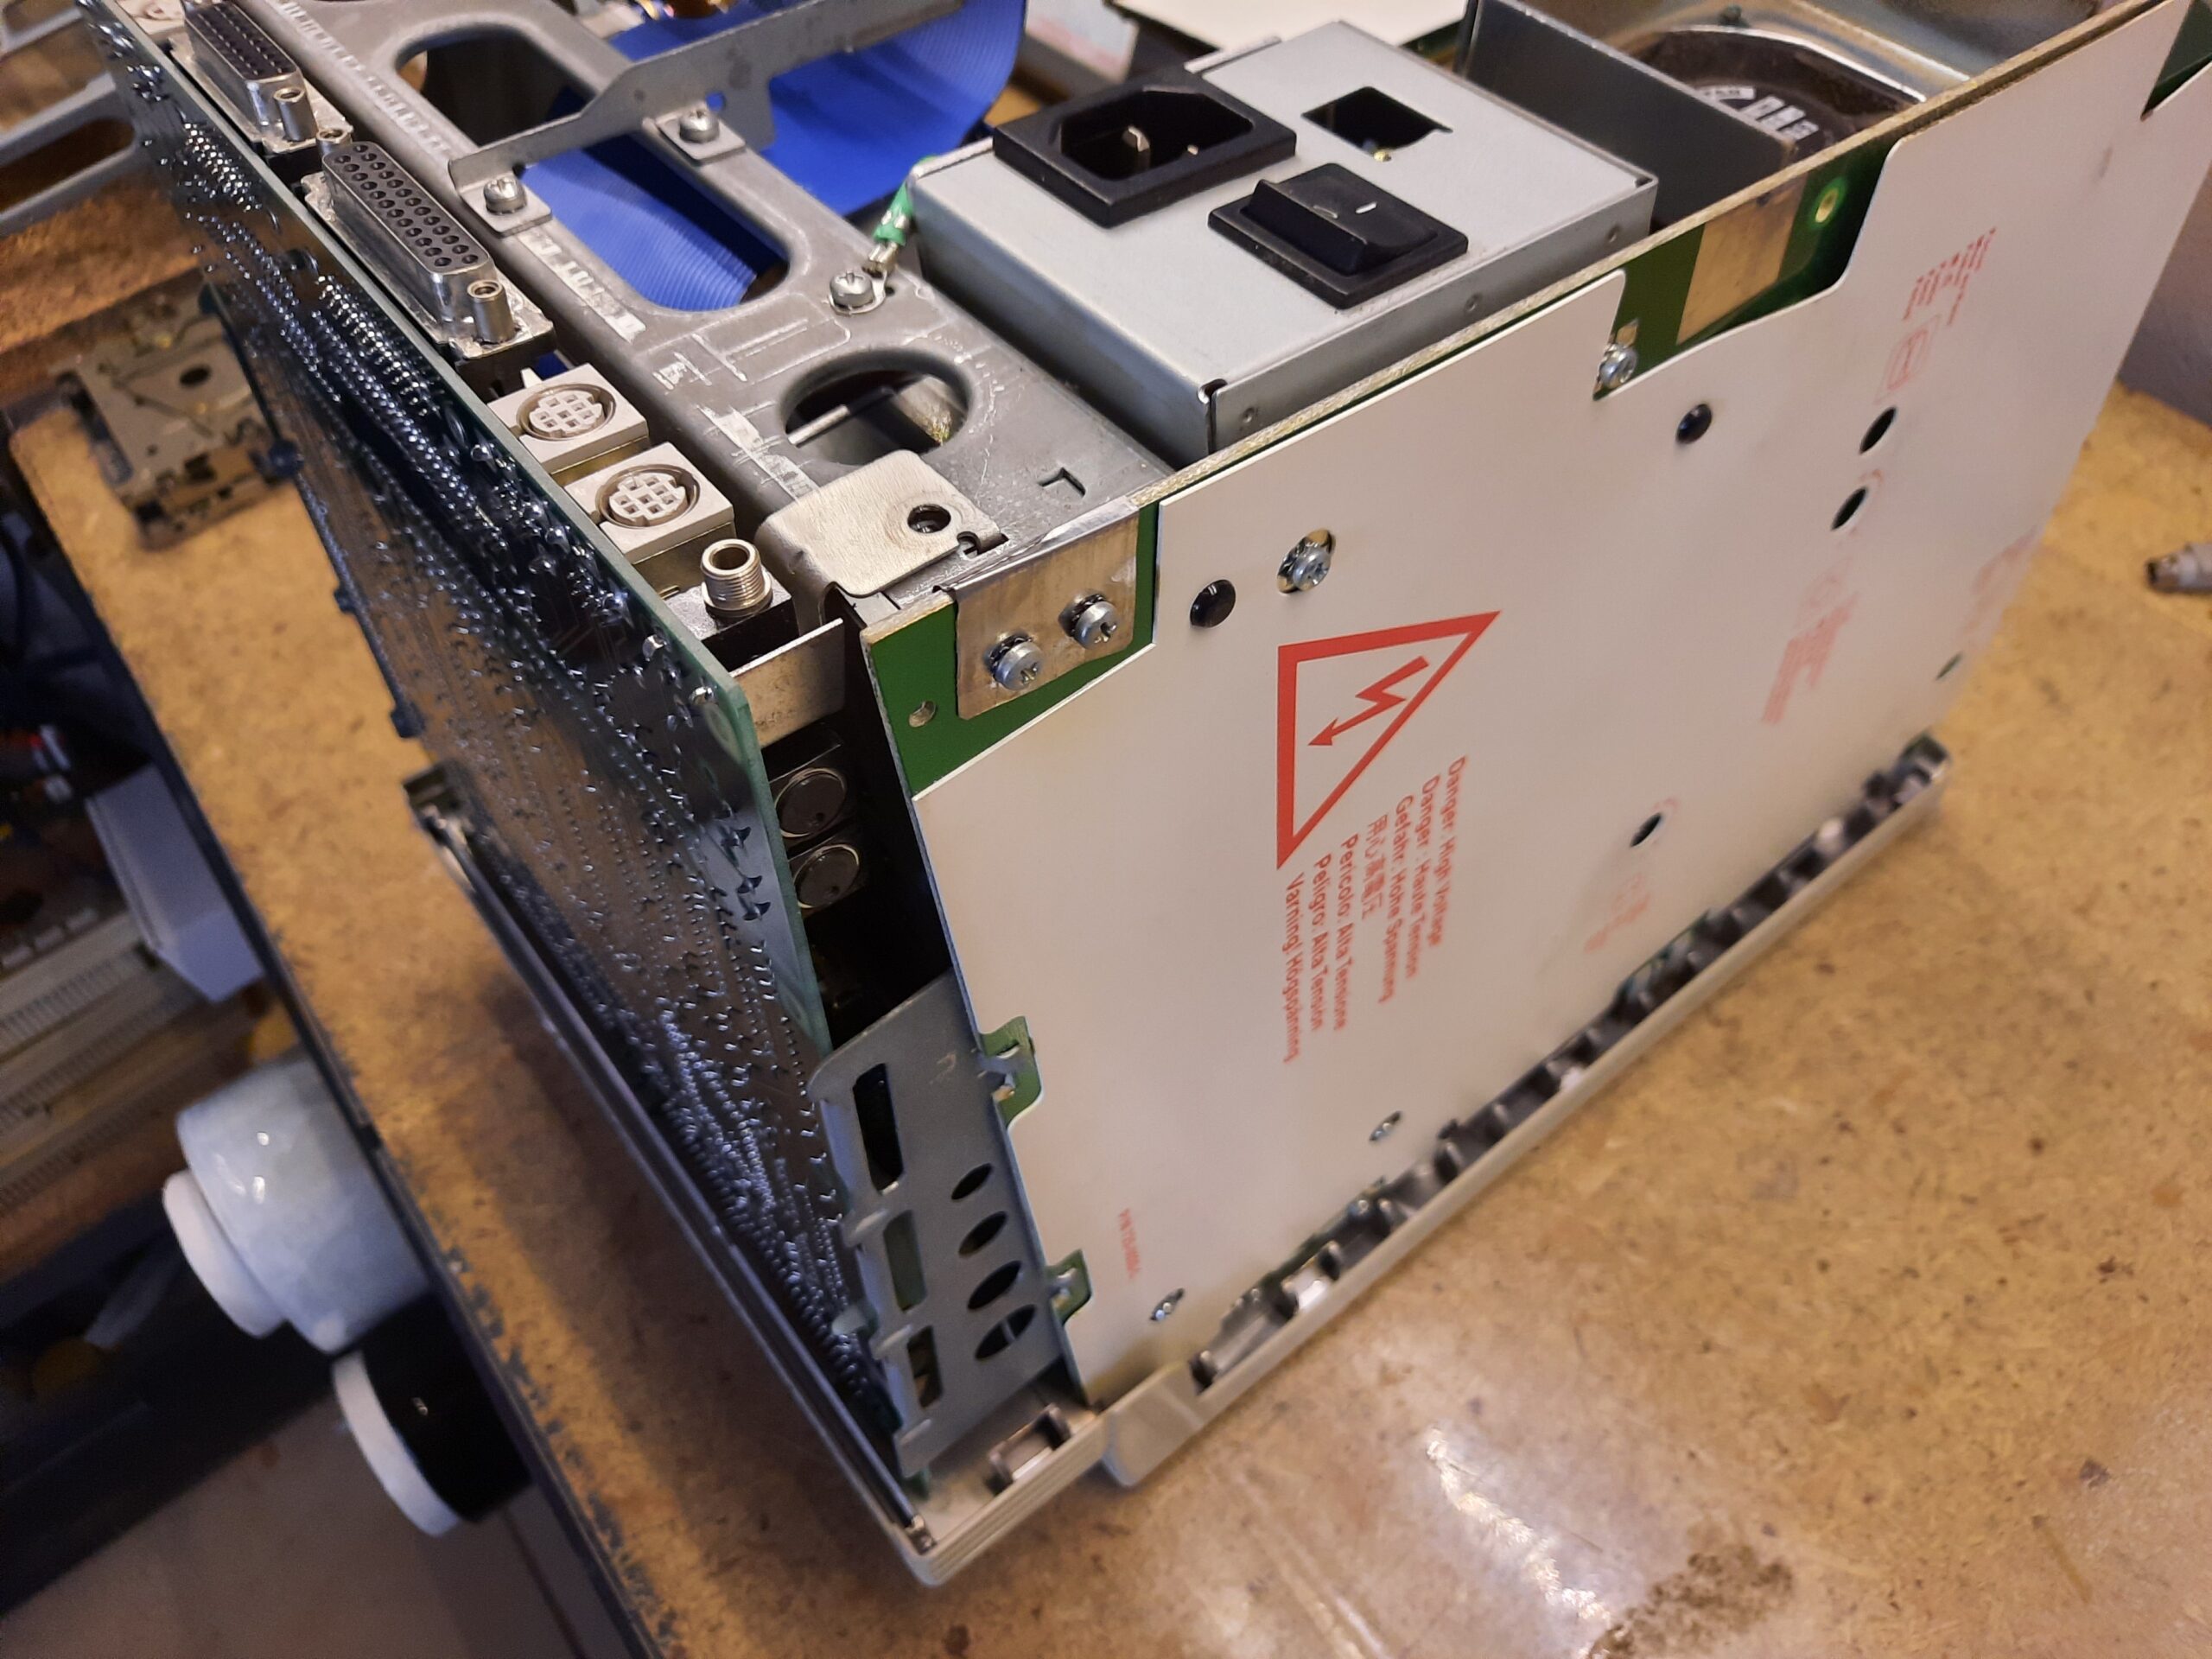
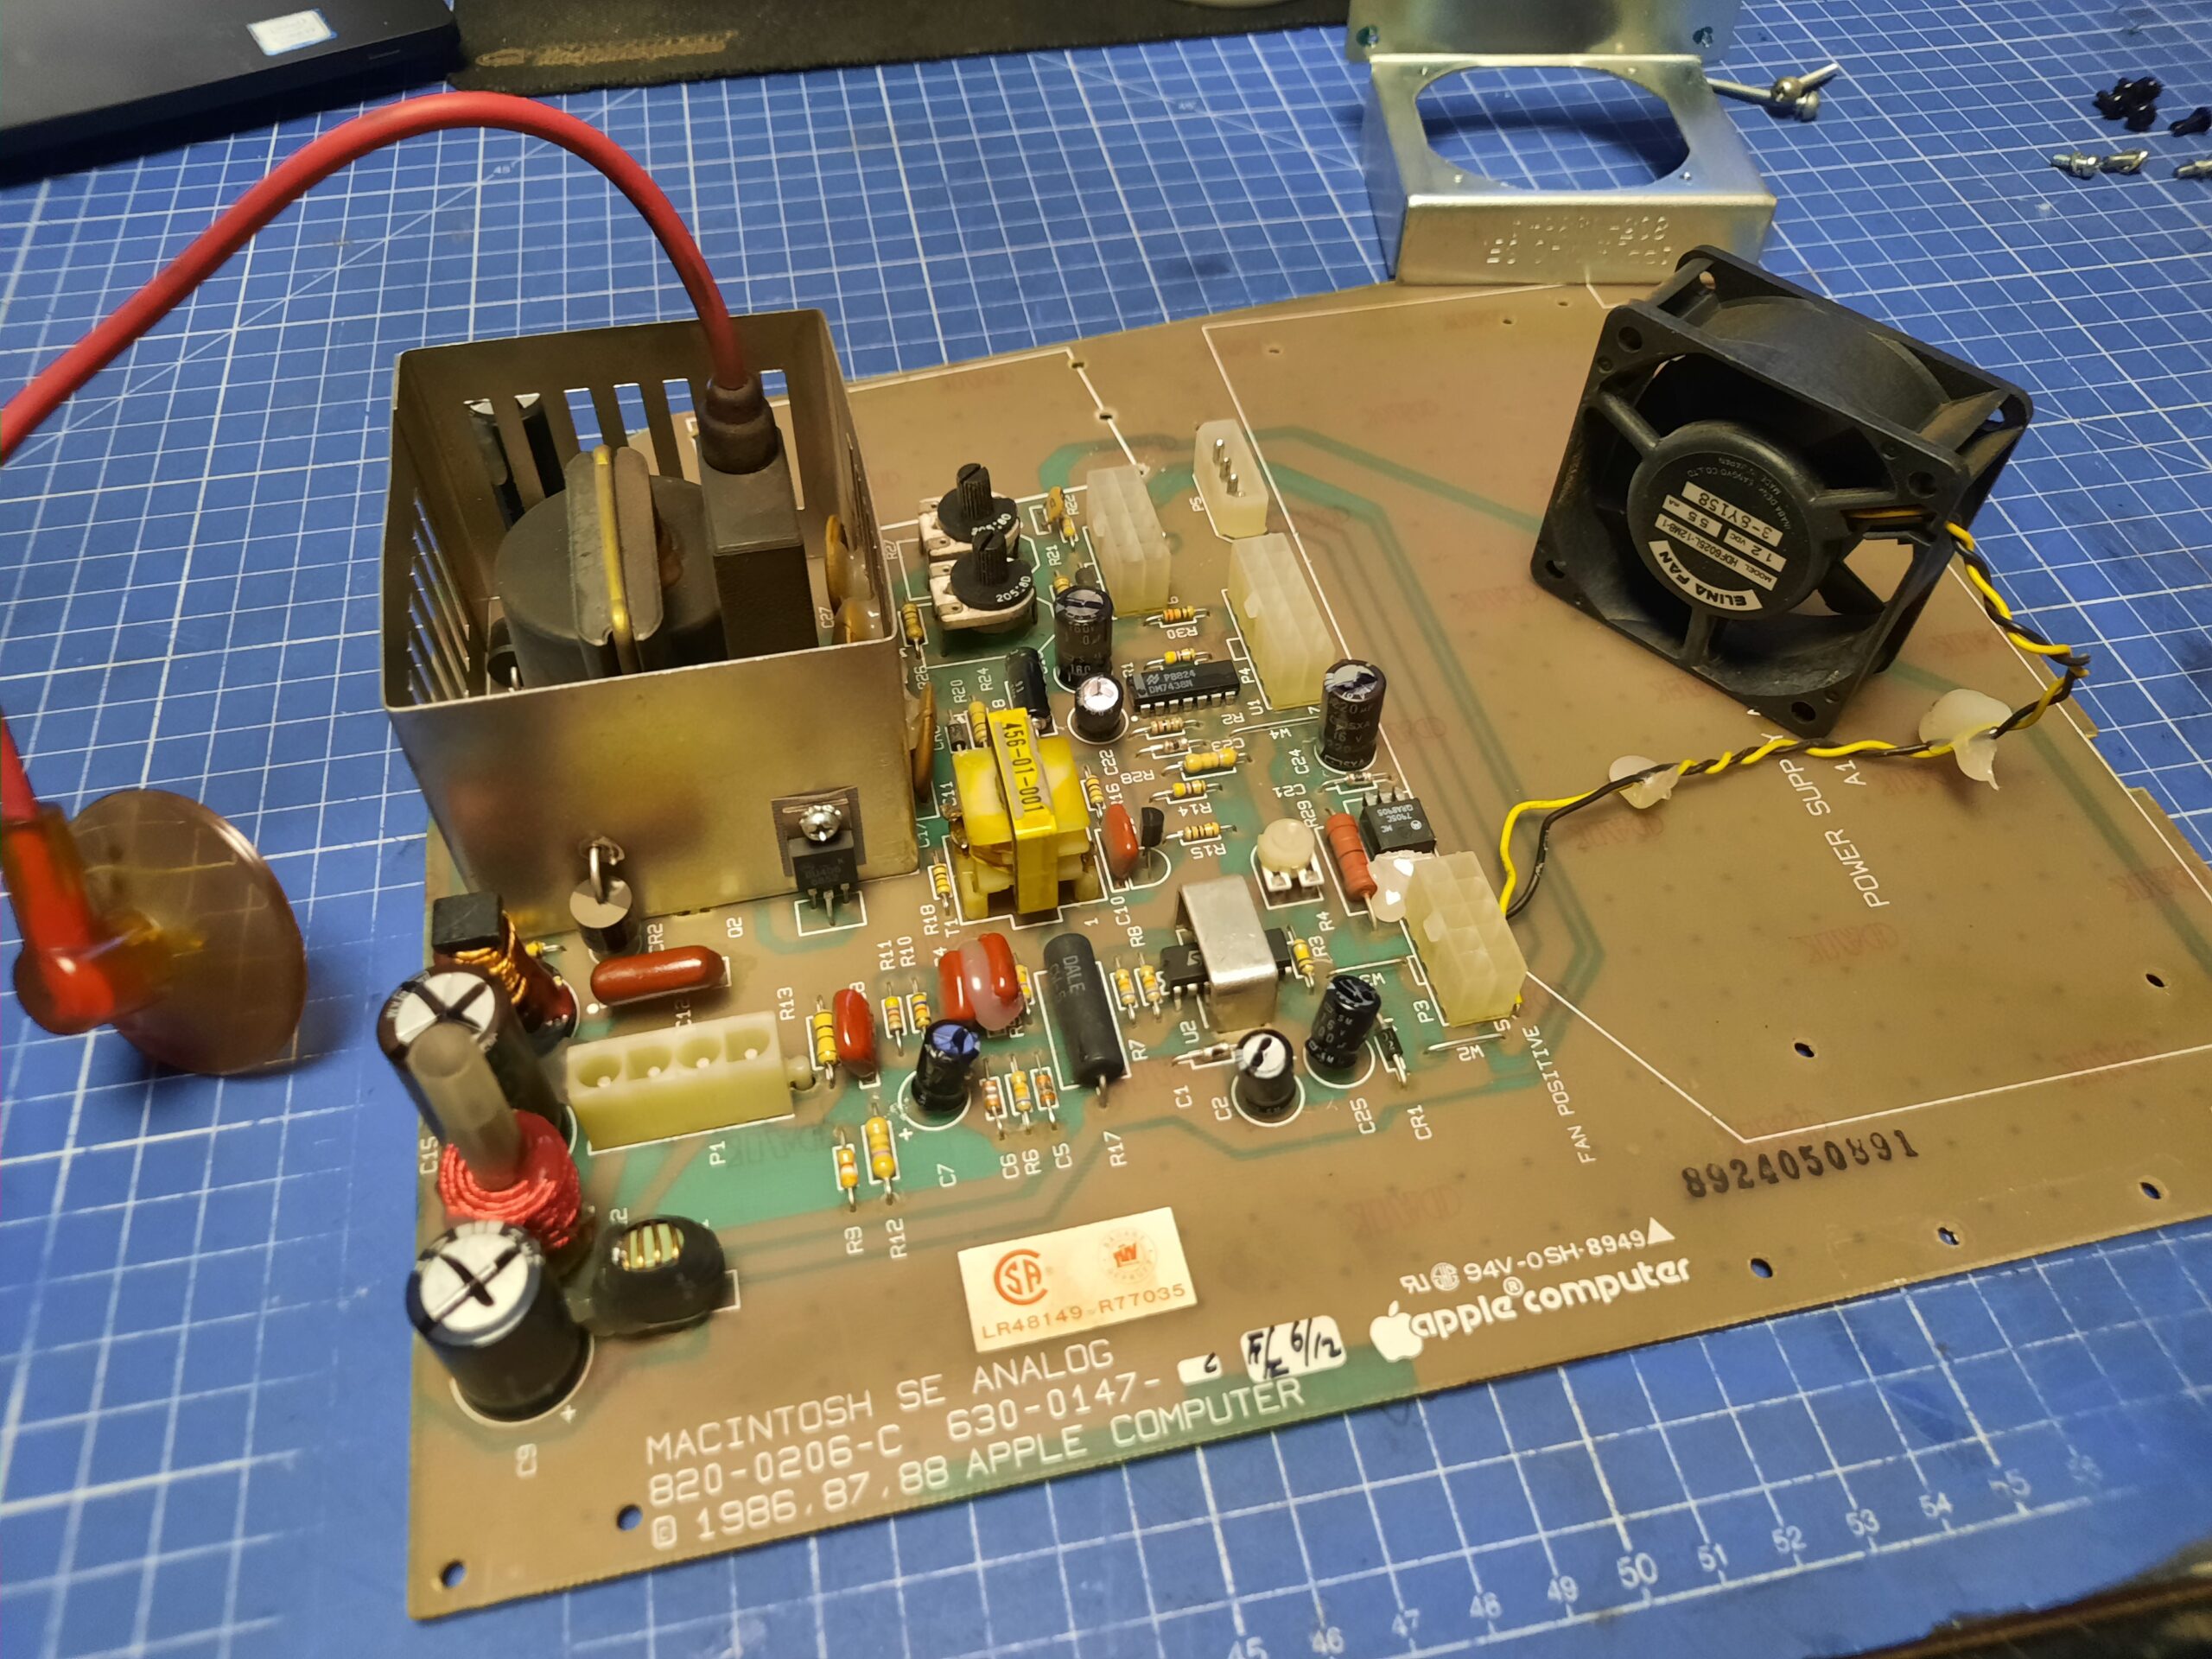
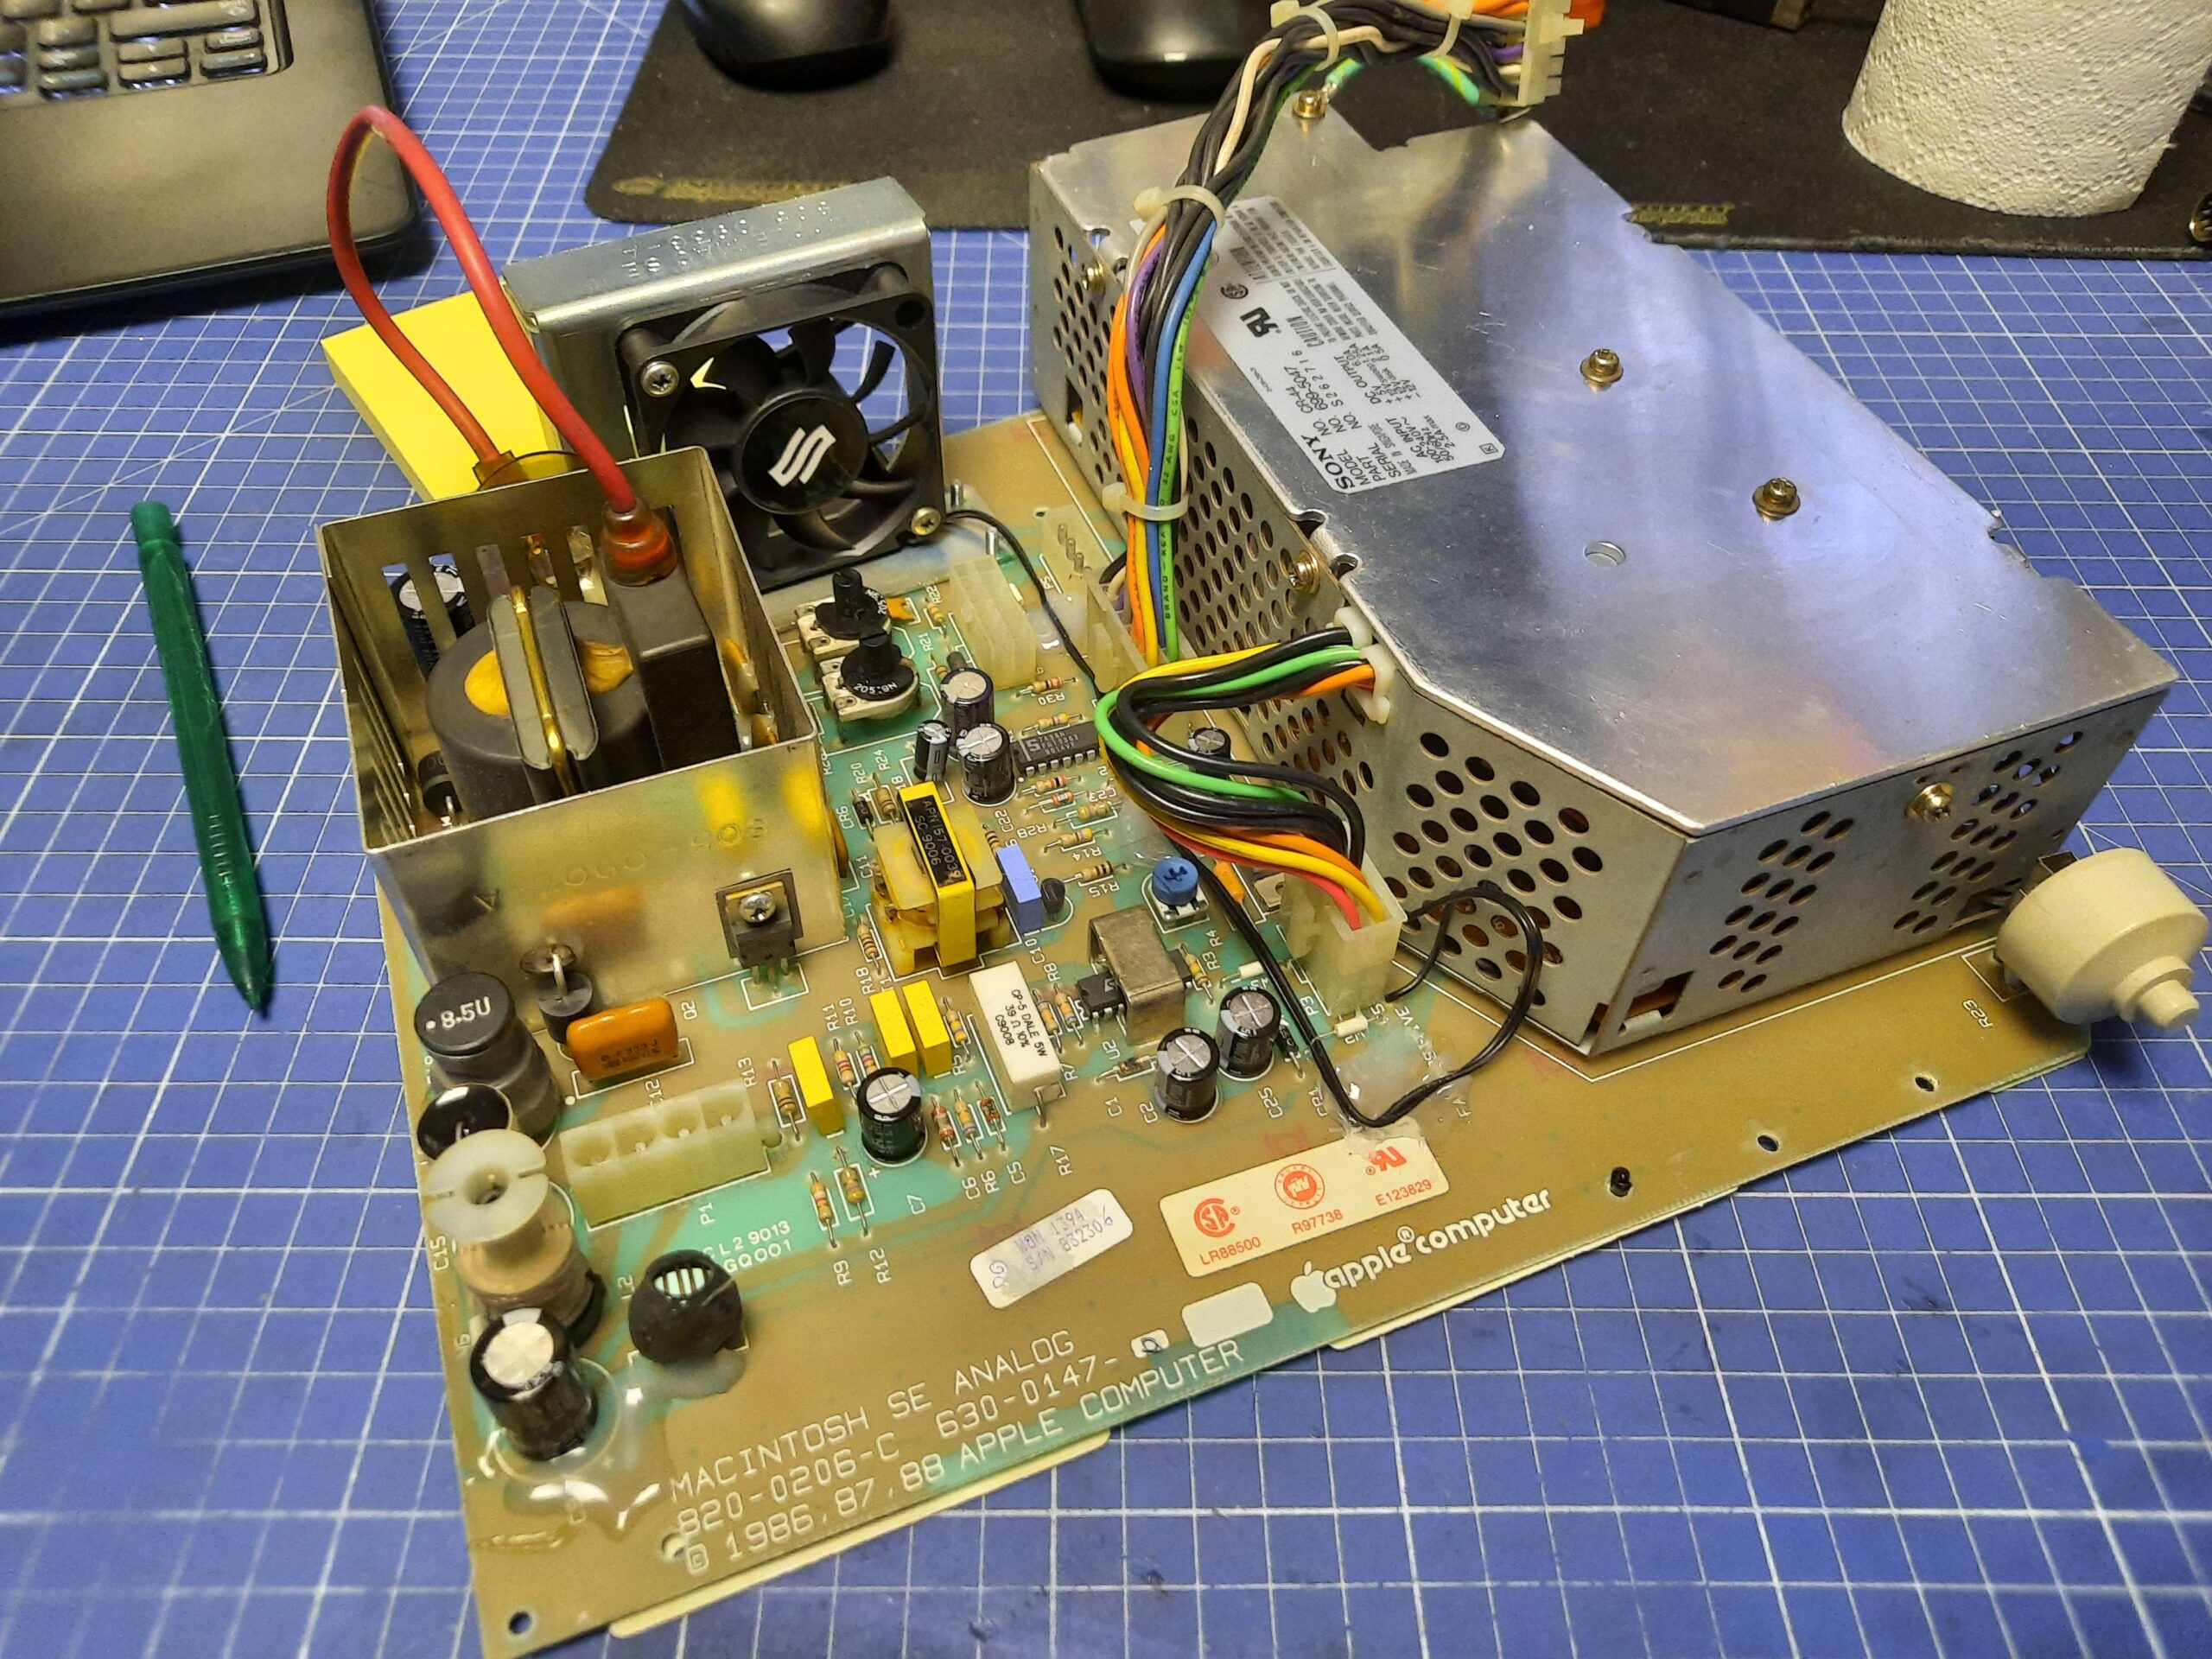
Next, I took care of a PSU. Mandatory re-capping this time.
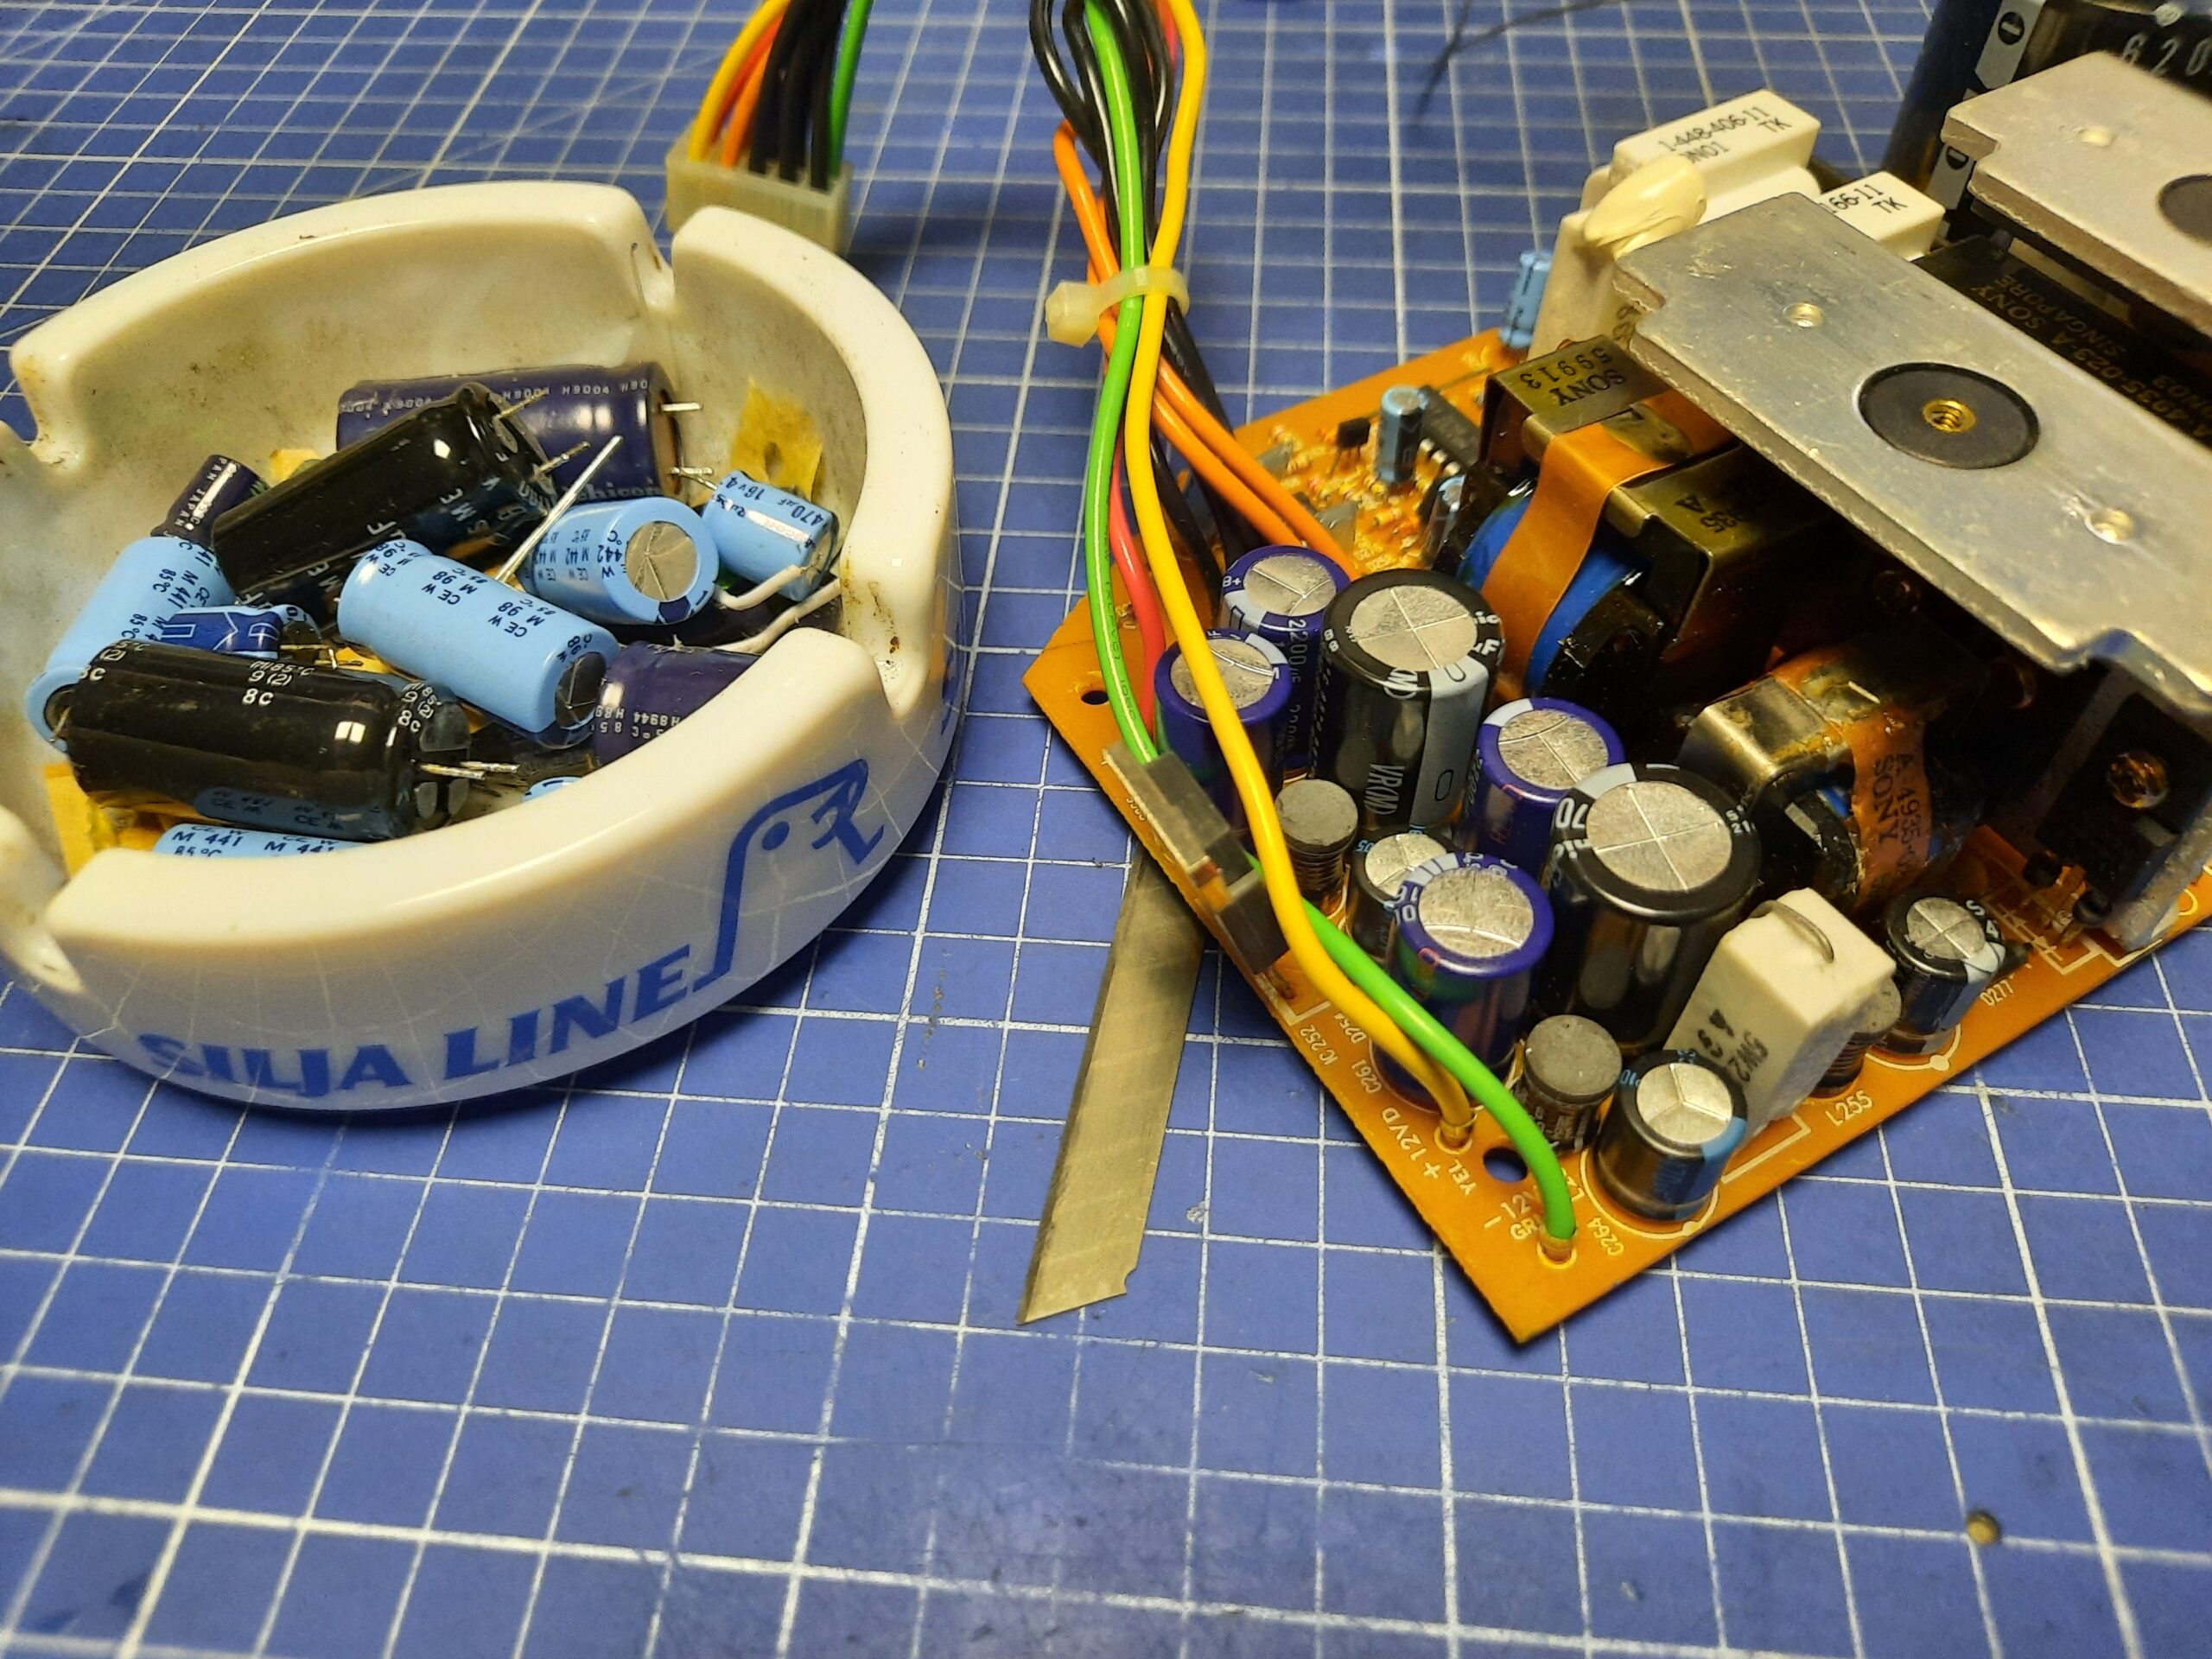
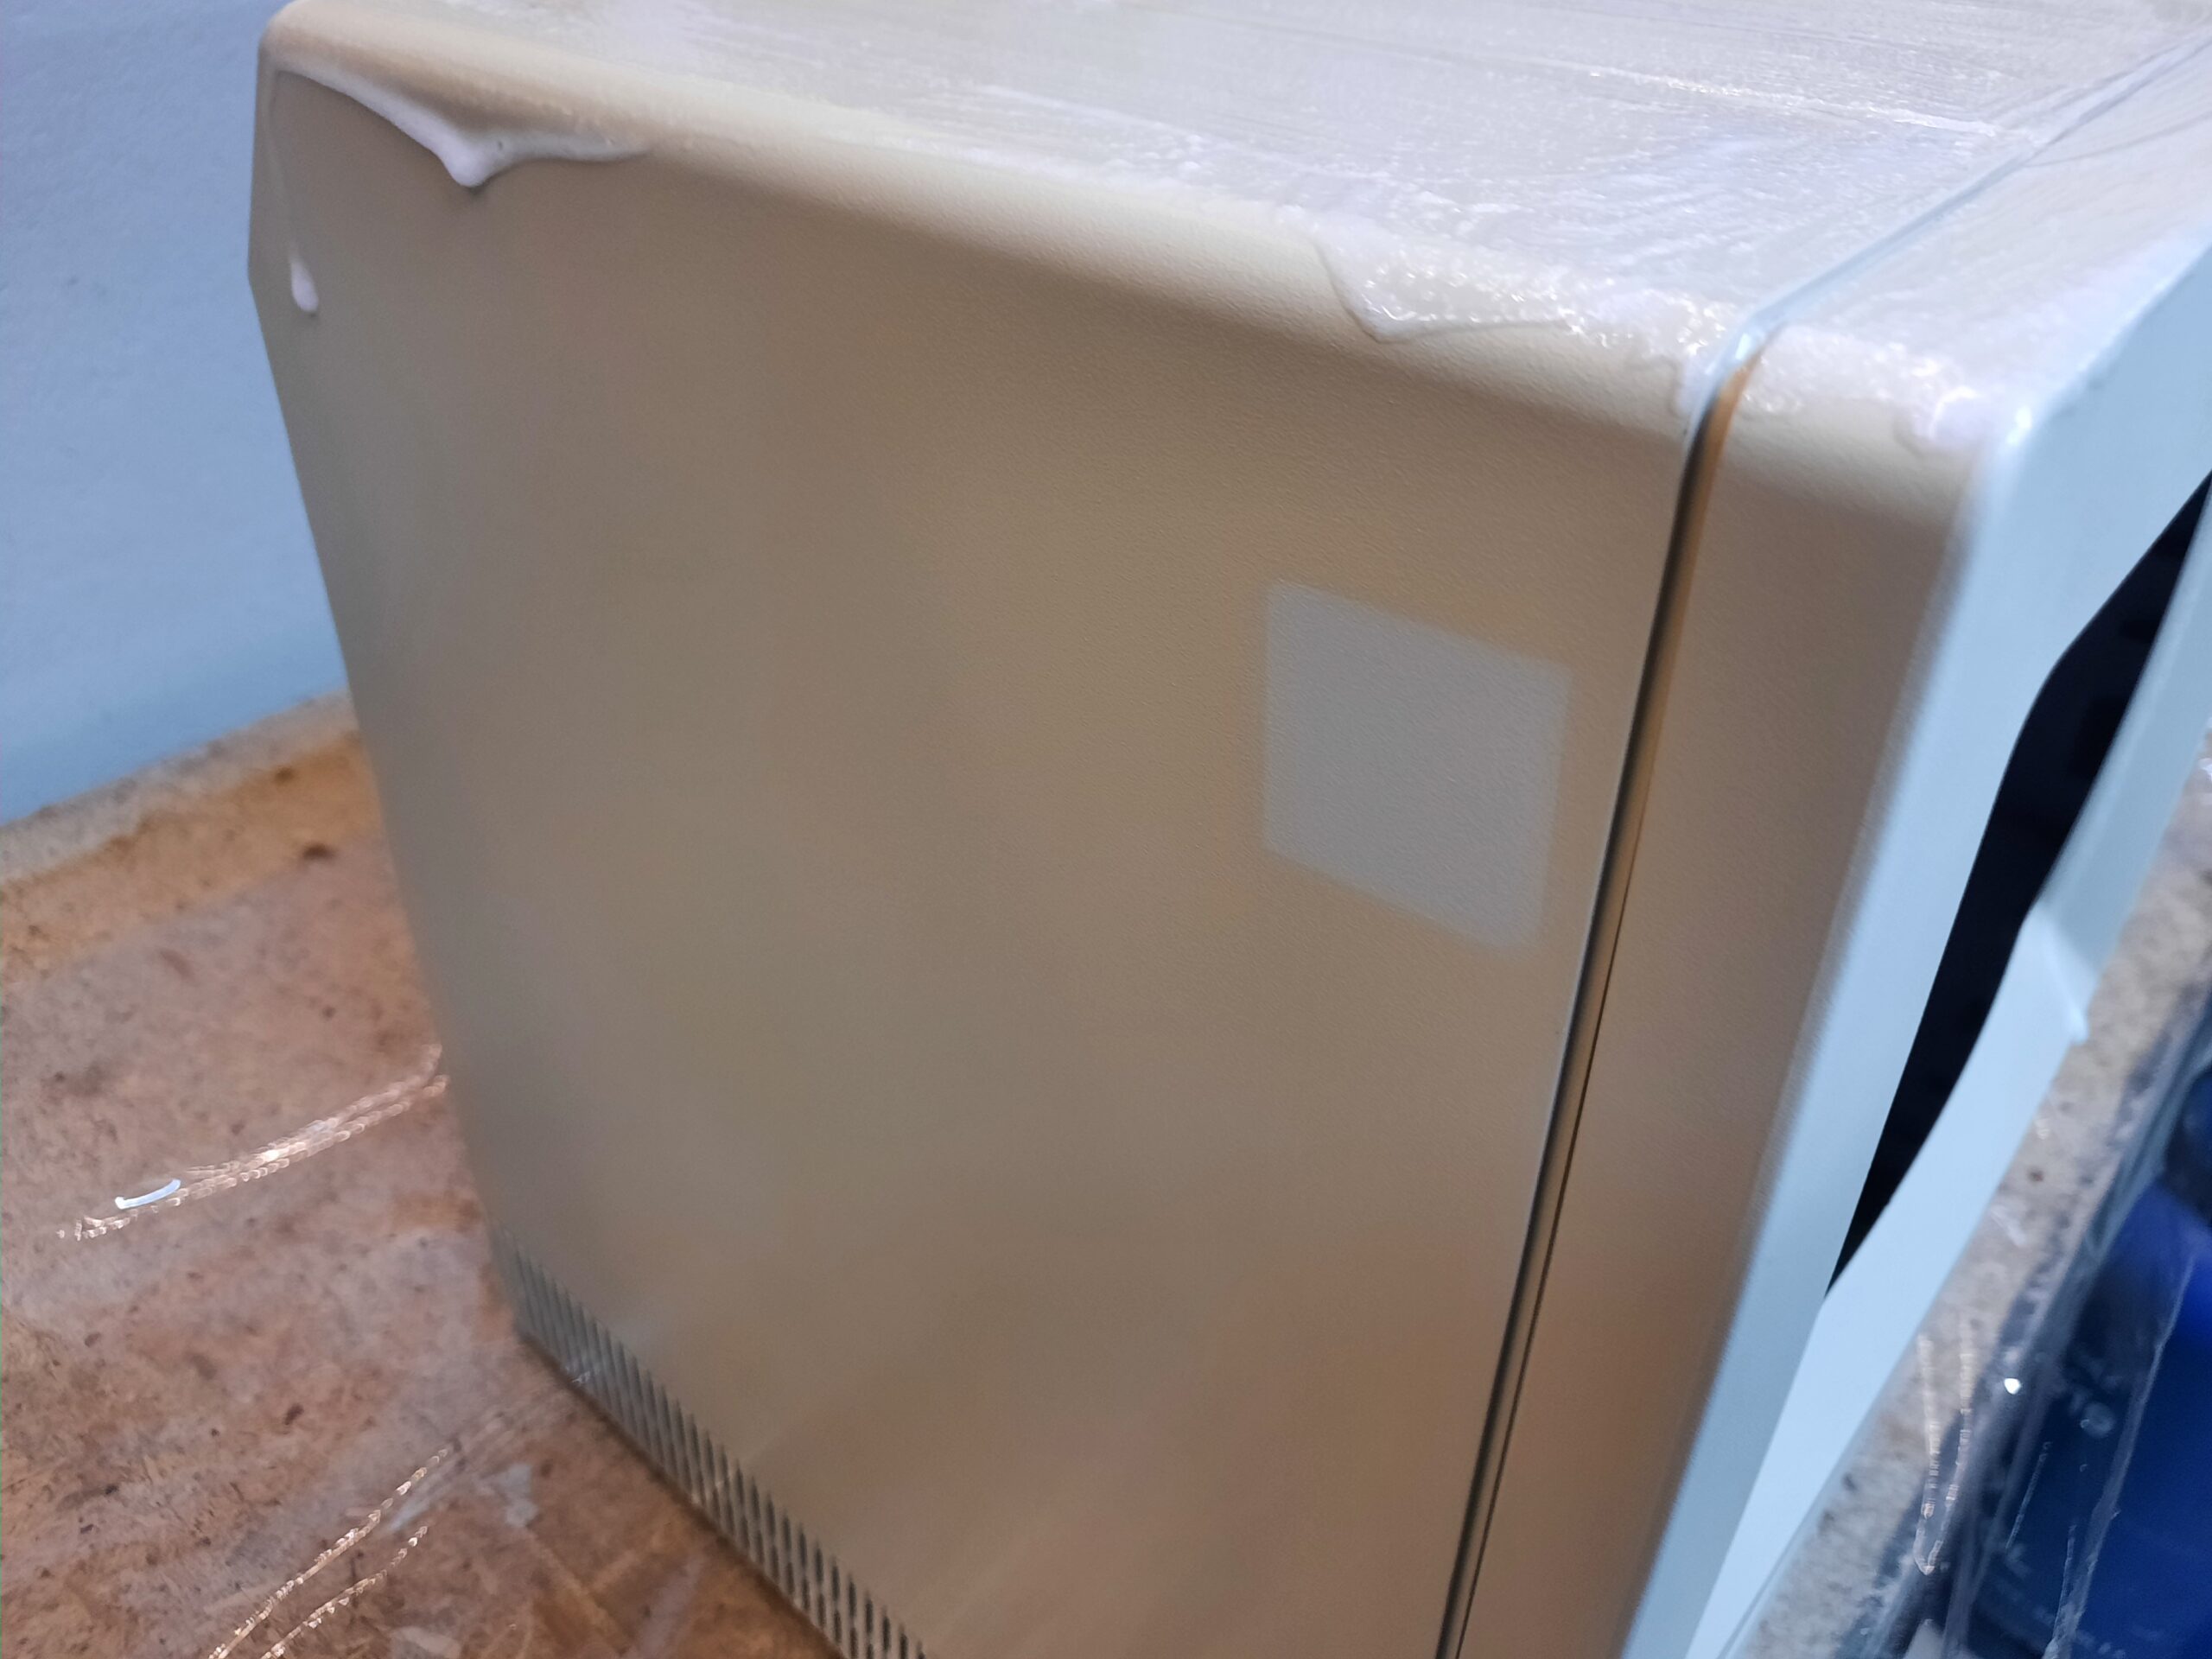
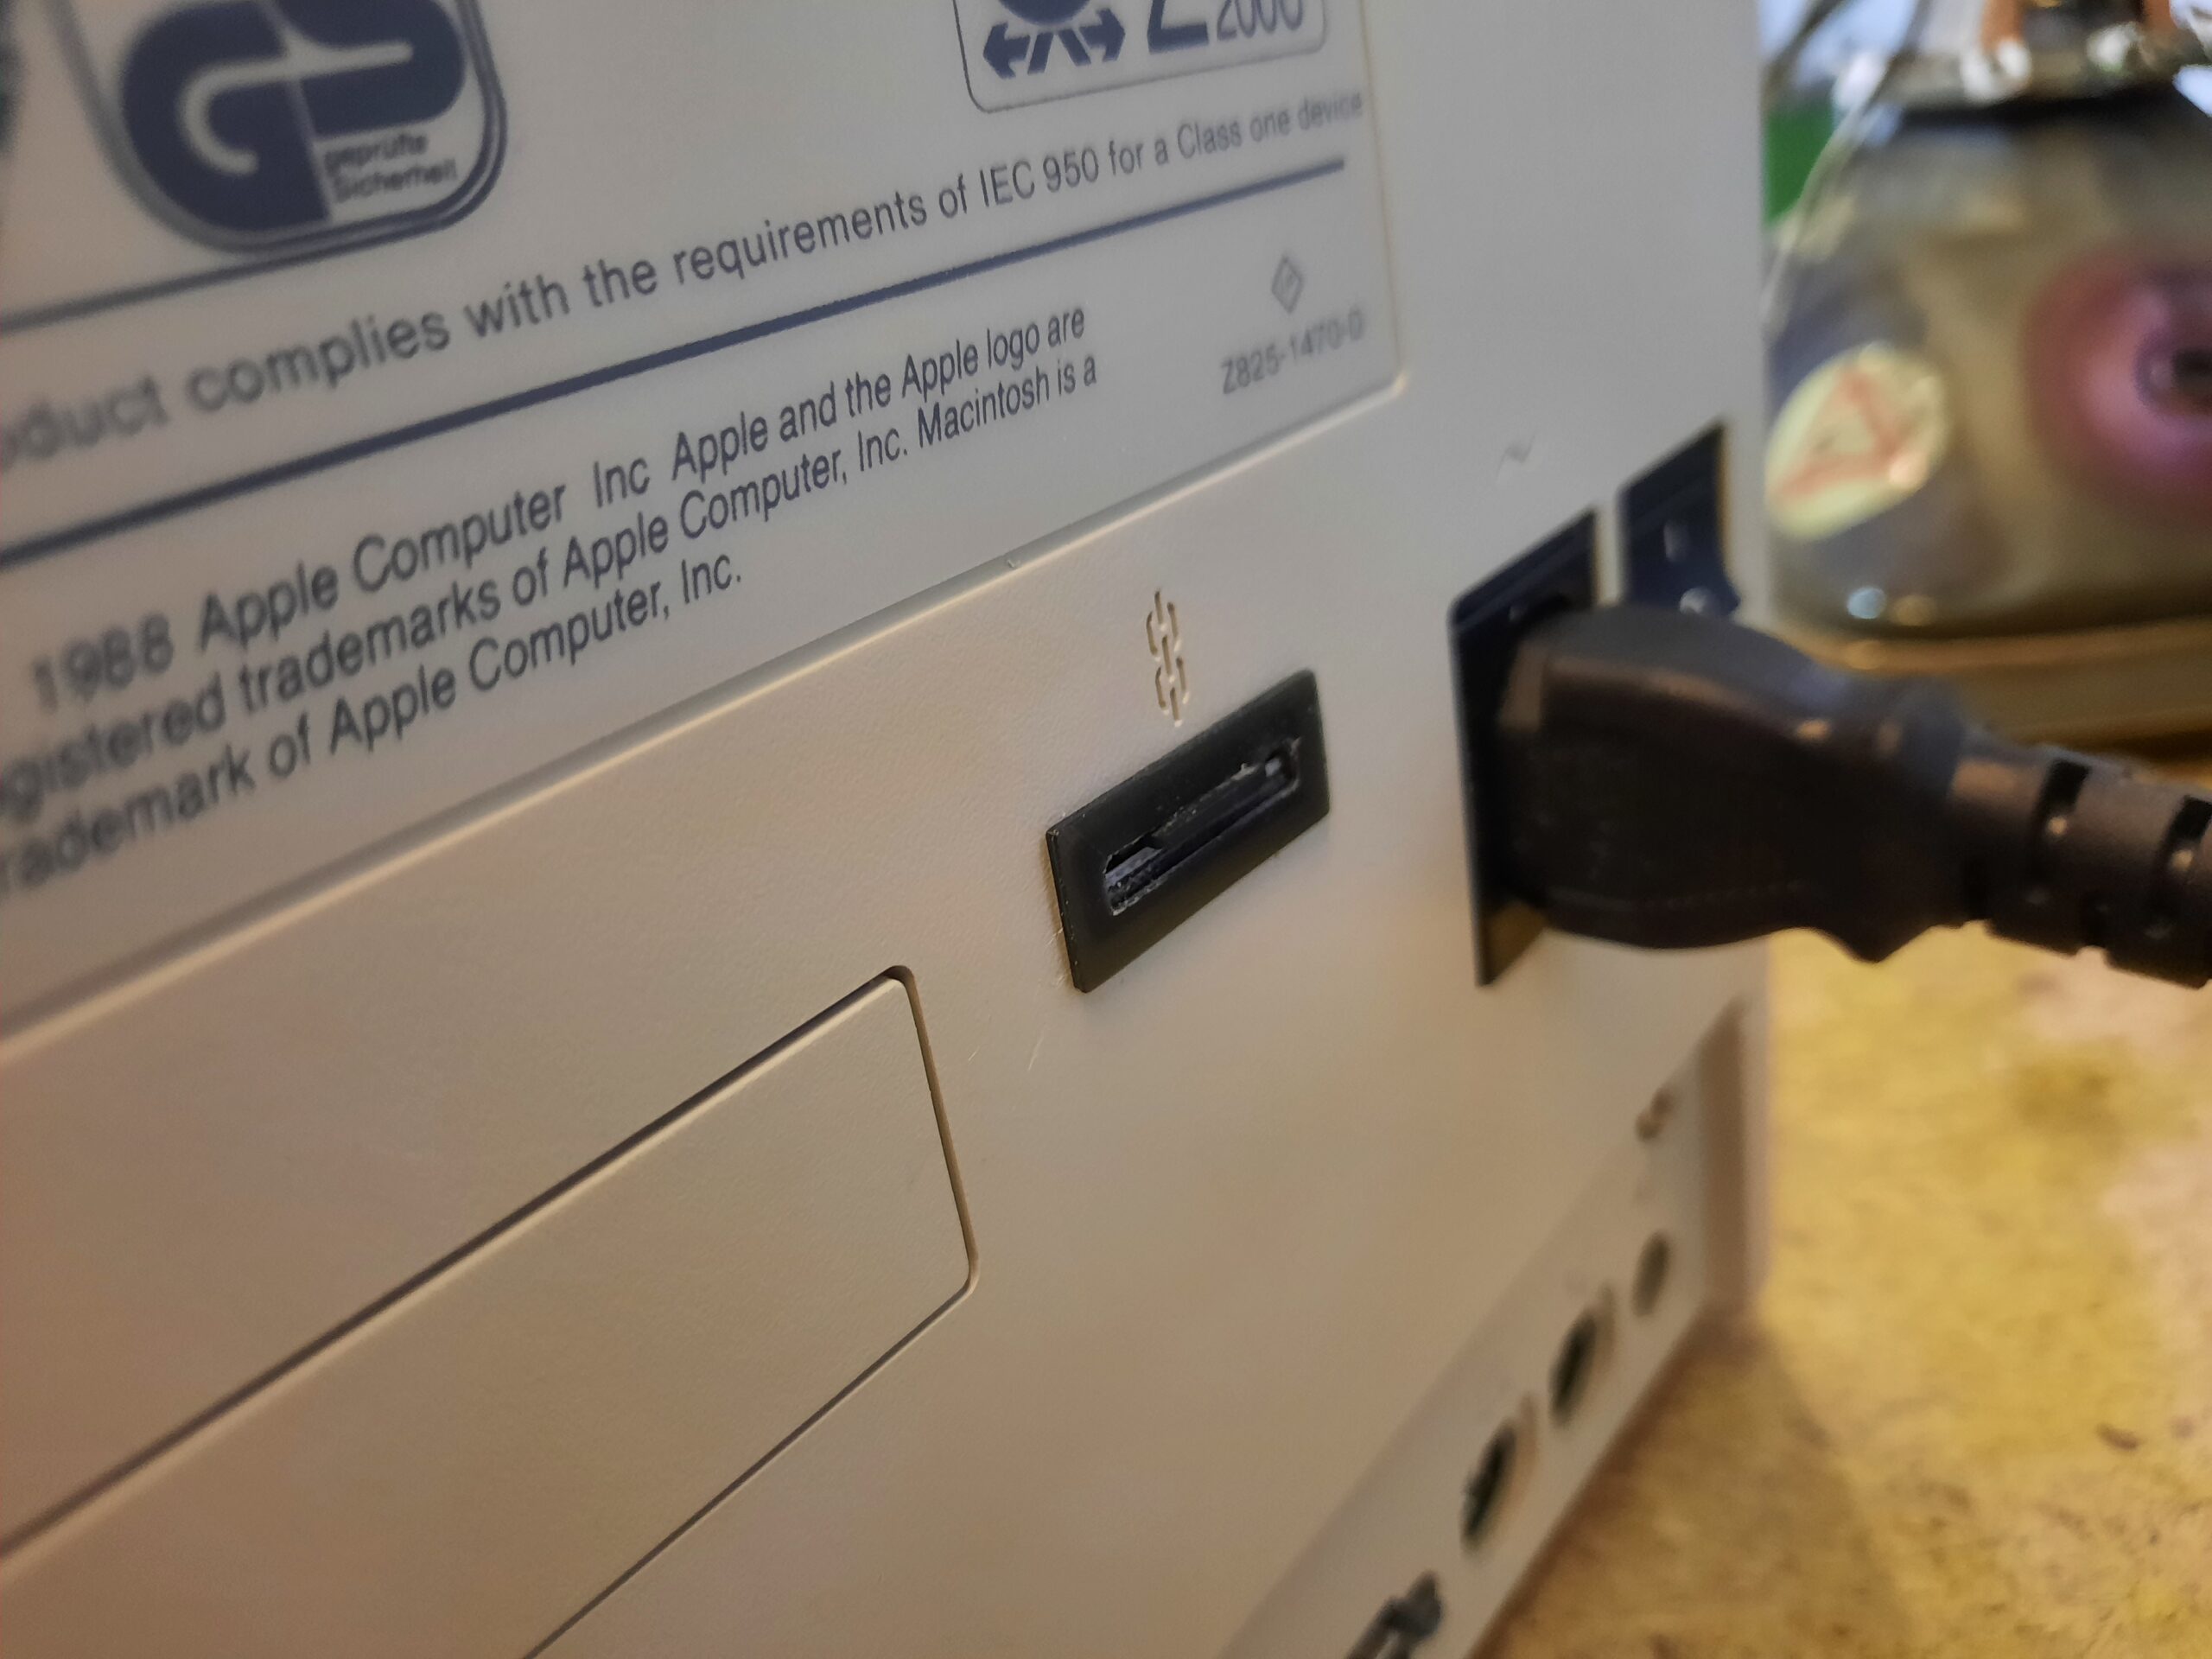
With internal parts fixed, I could start working on the case. It was rather yellowed so this had to be addressed.
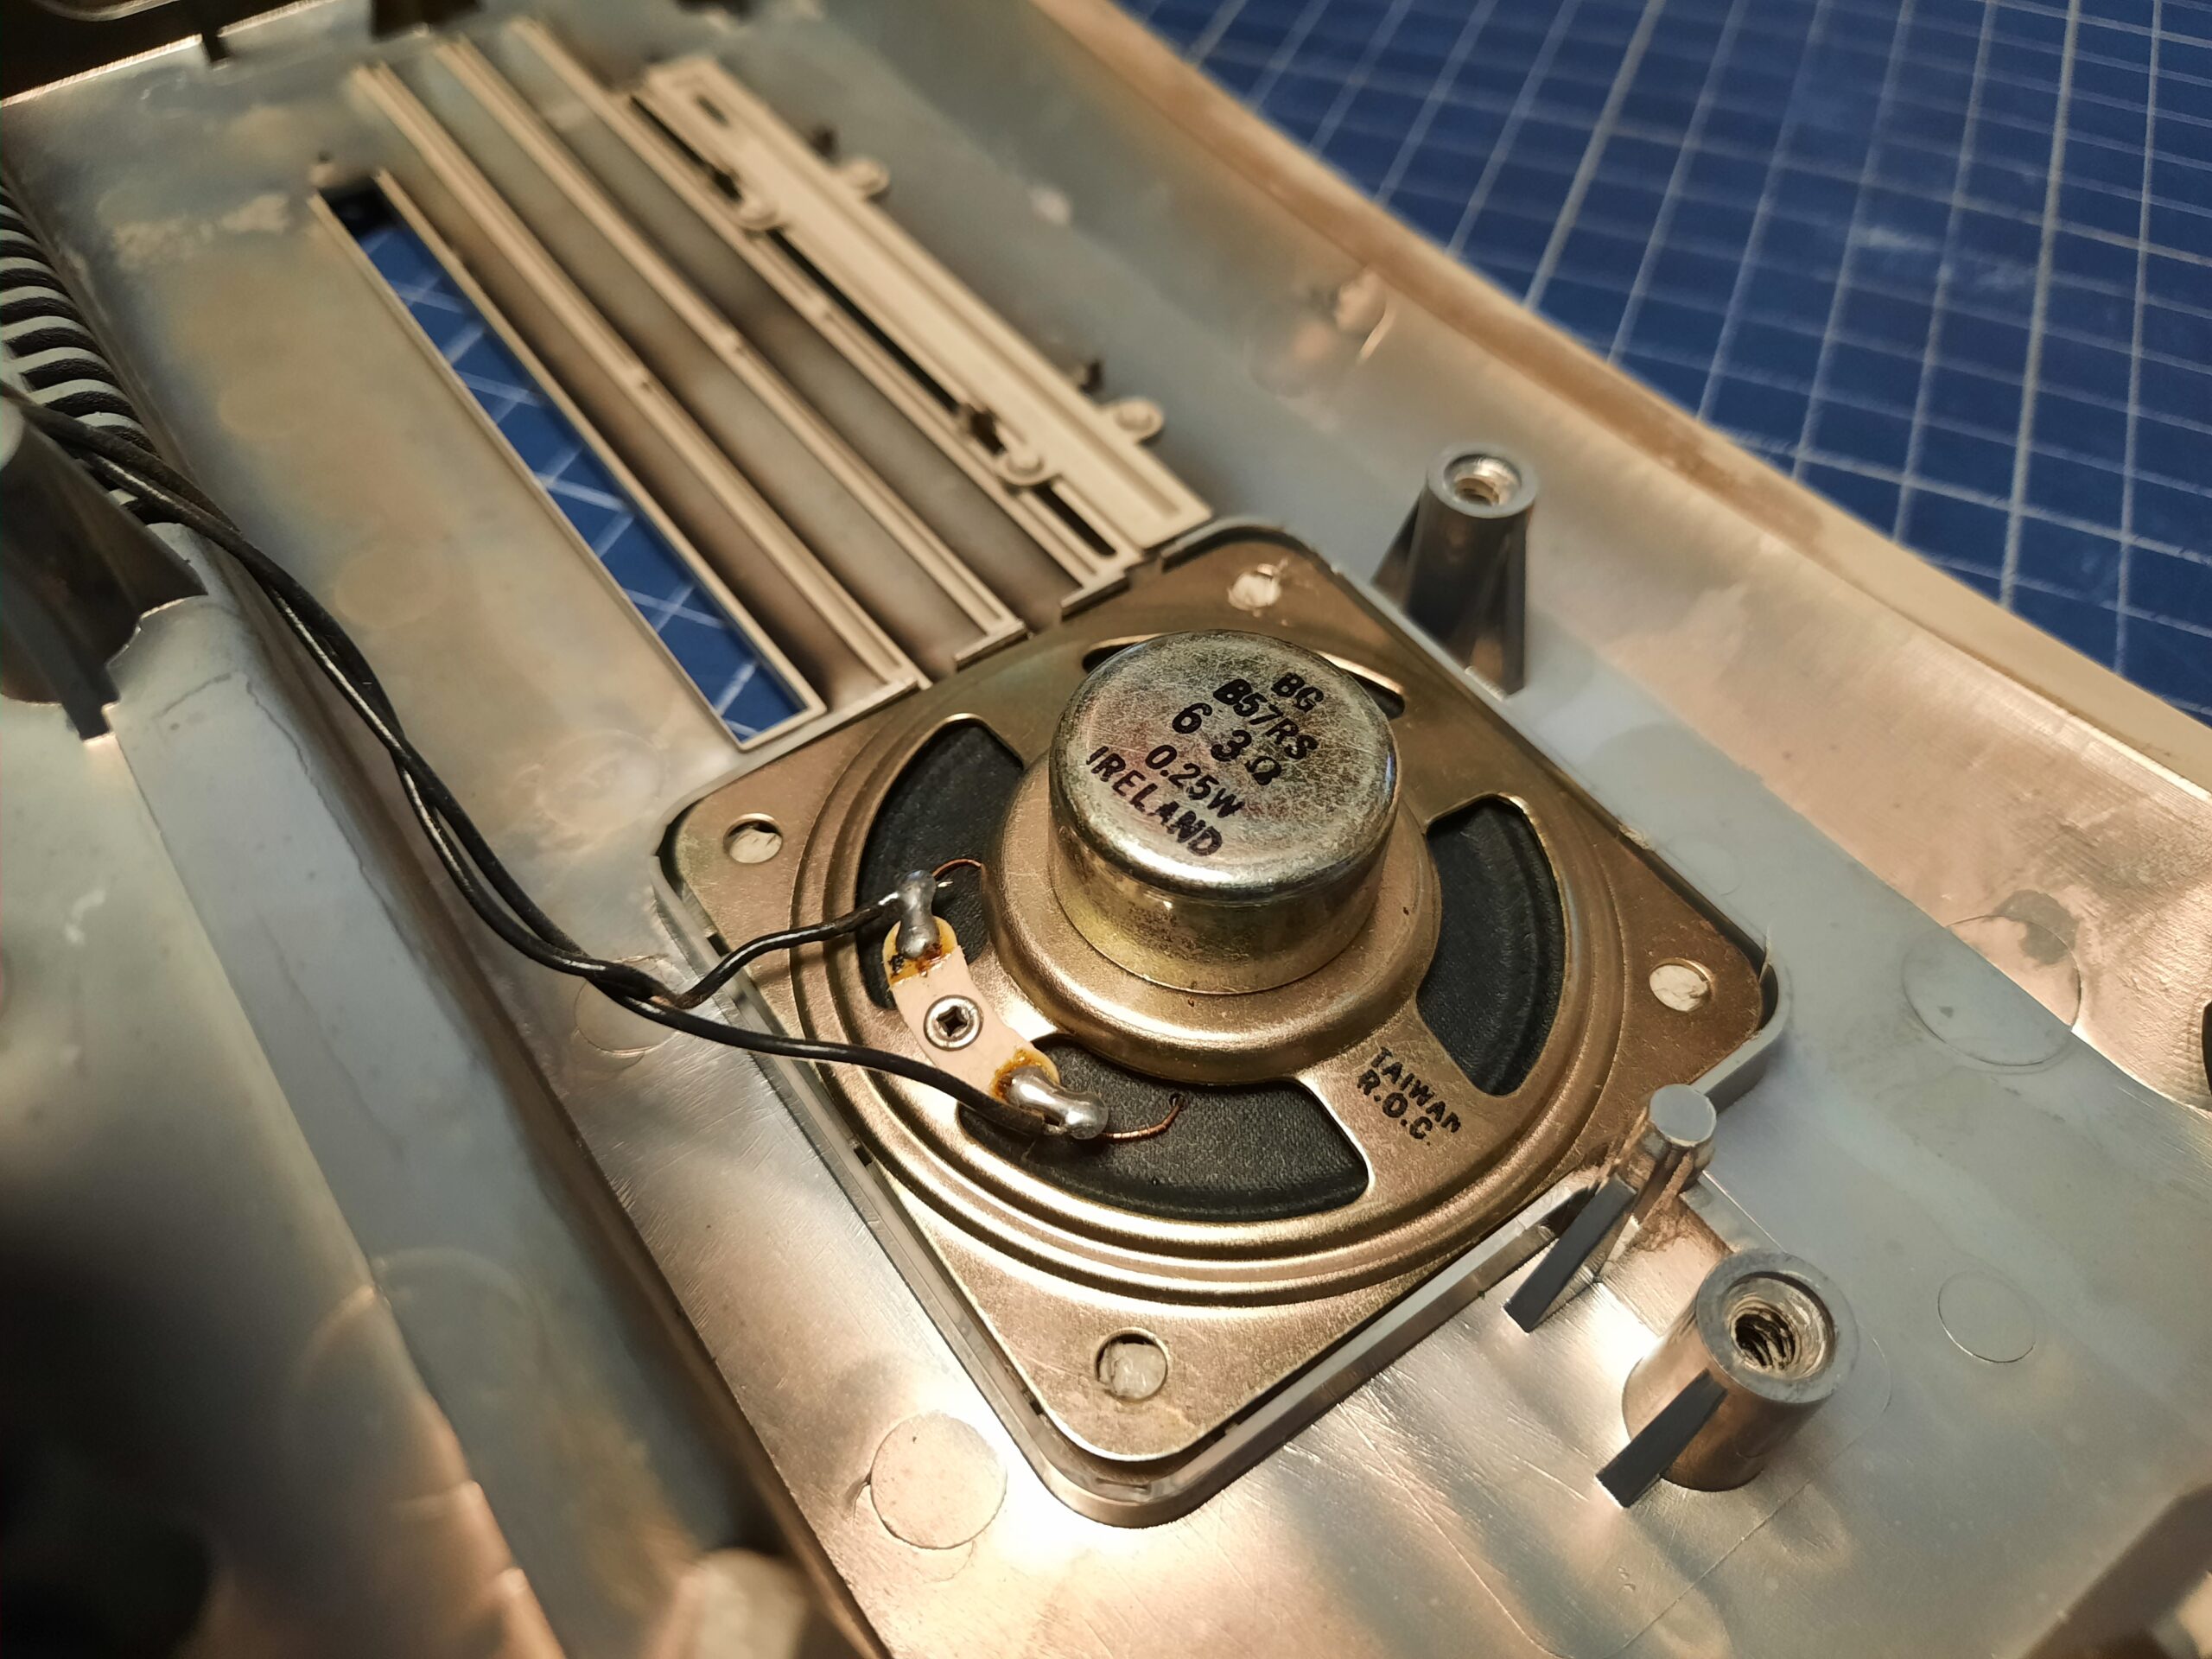
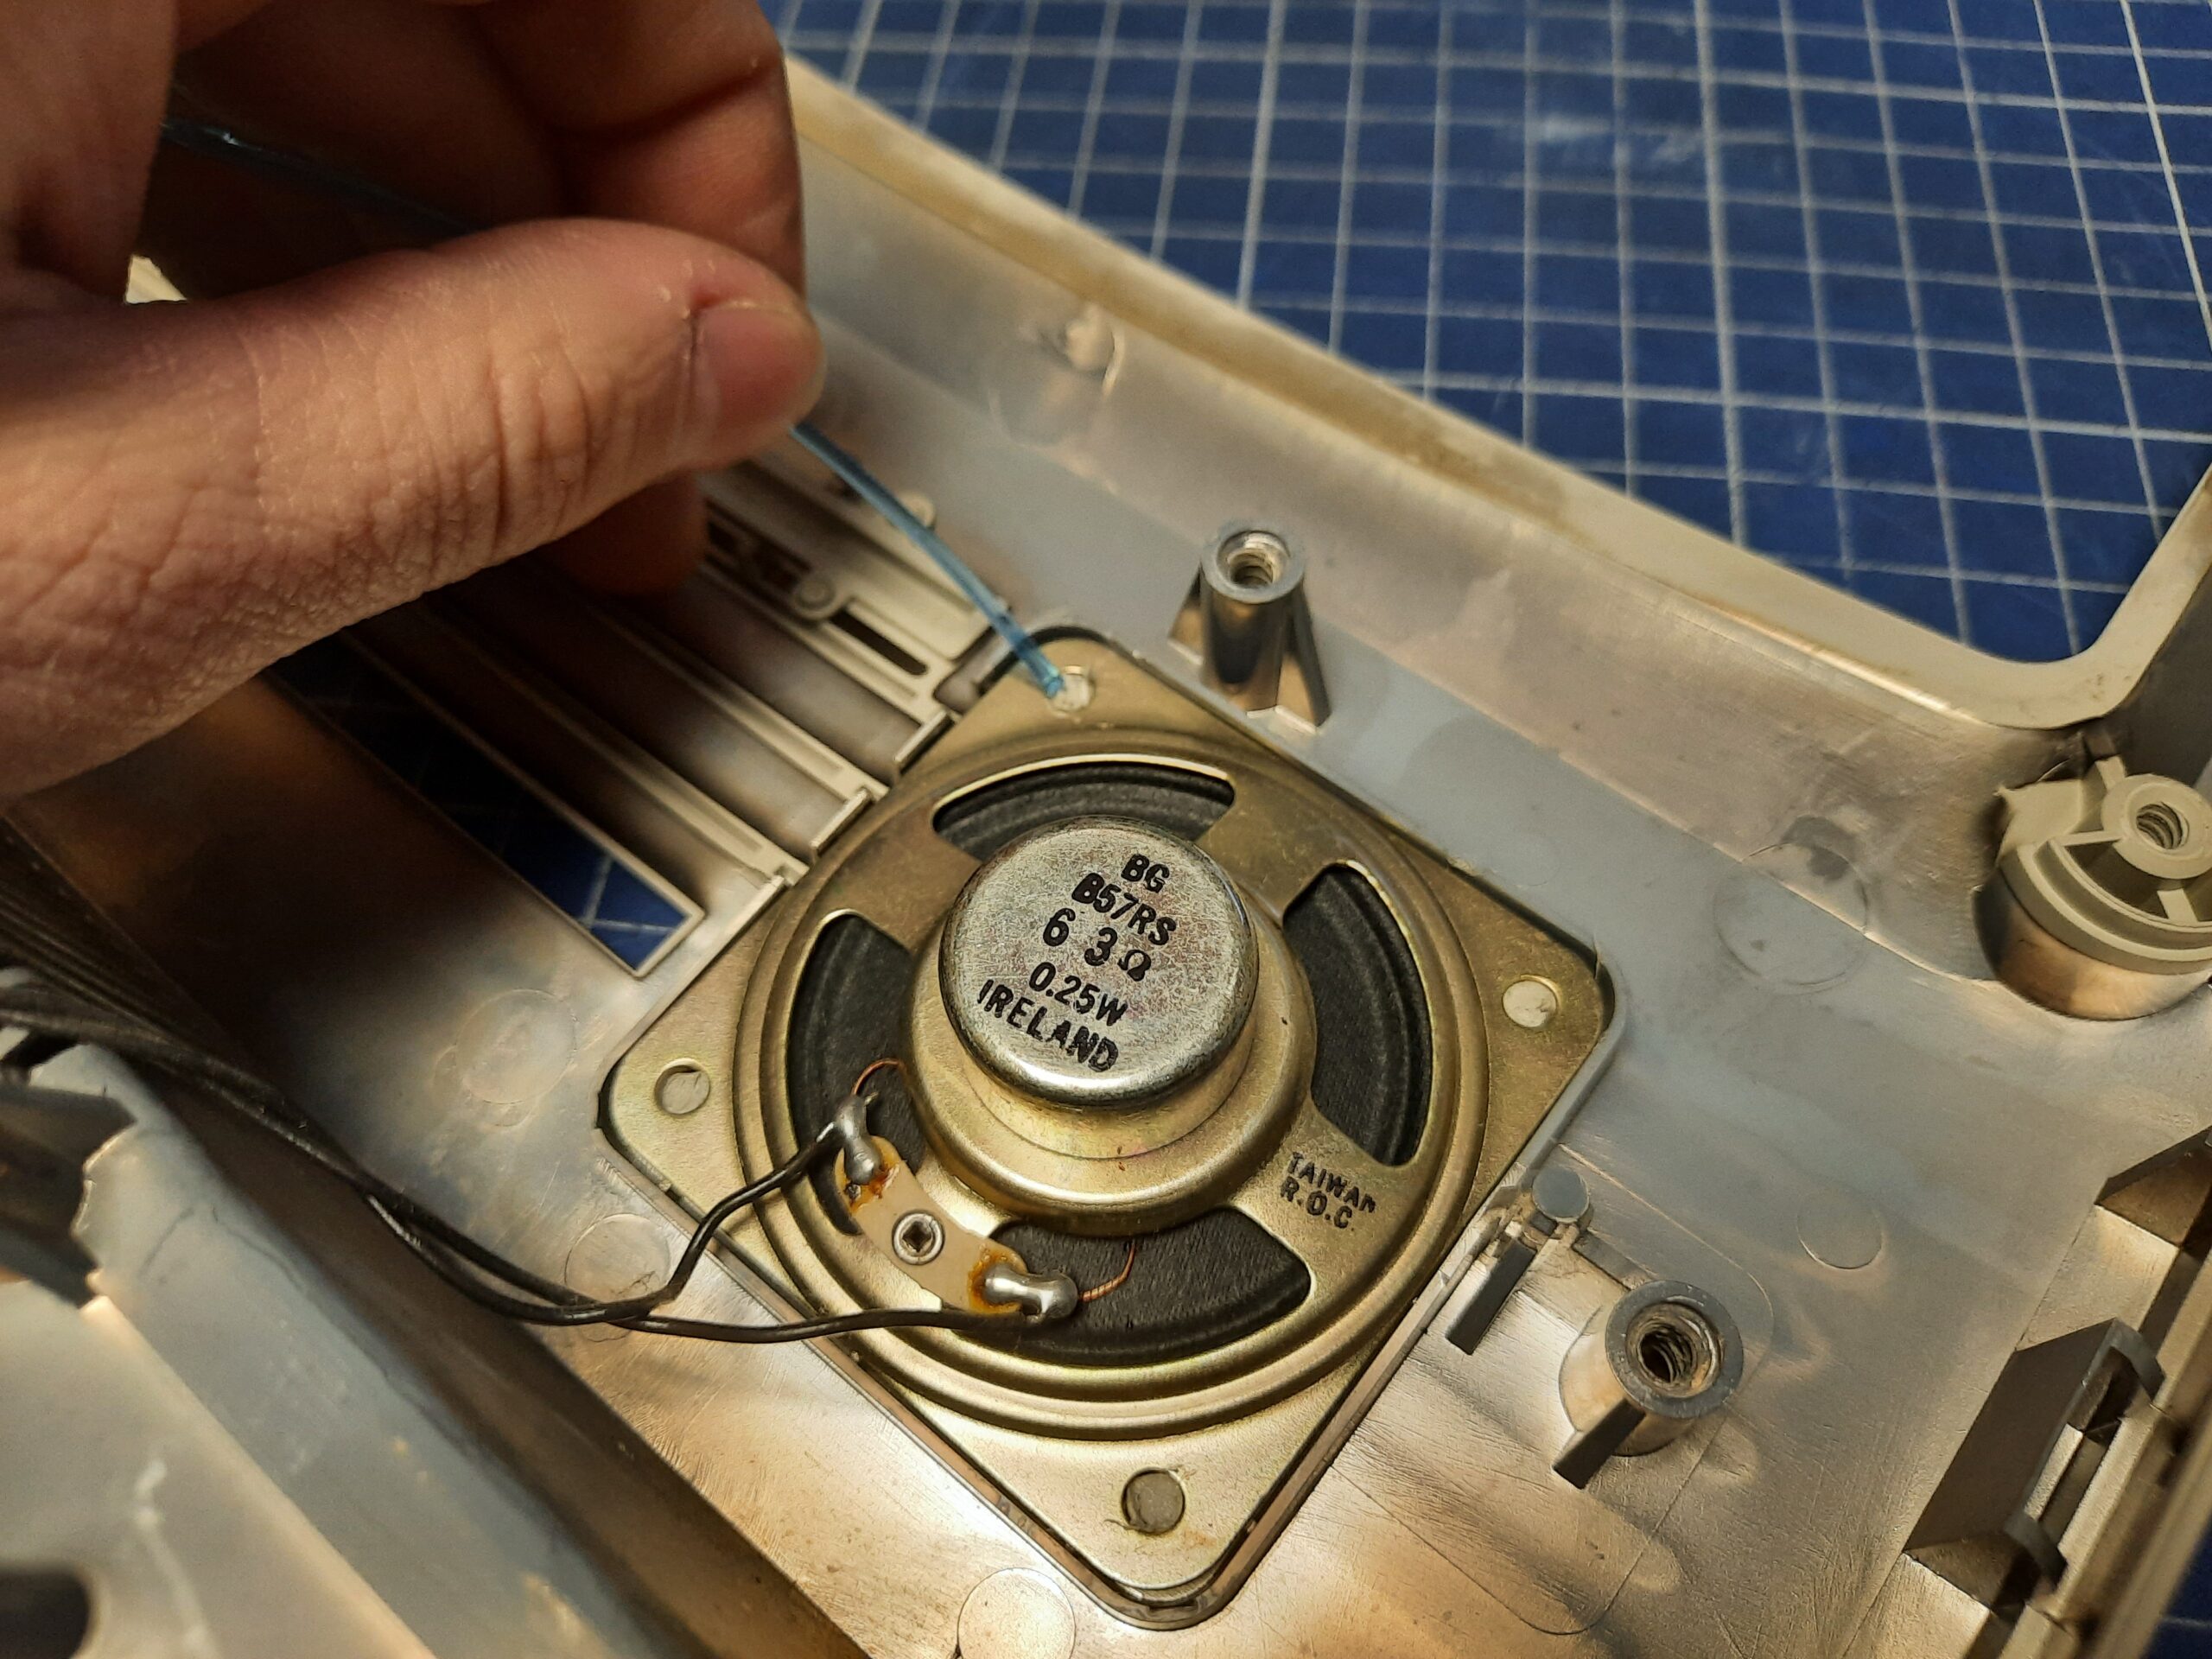
Before that, I had to remove the internal speaker which is held by molten plastic. I’ve used a soldering iron to remove the plastic.

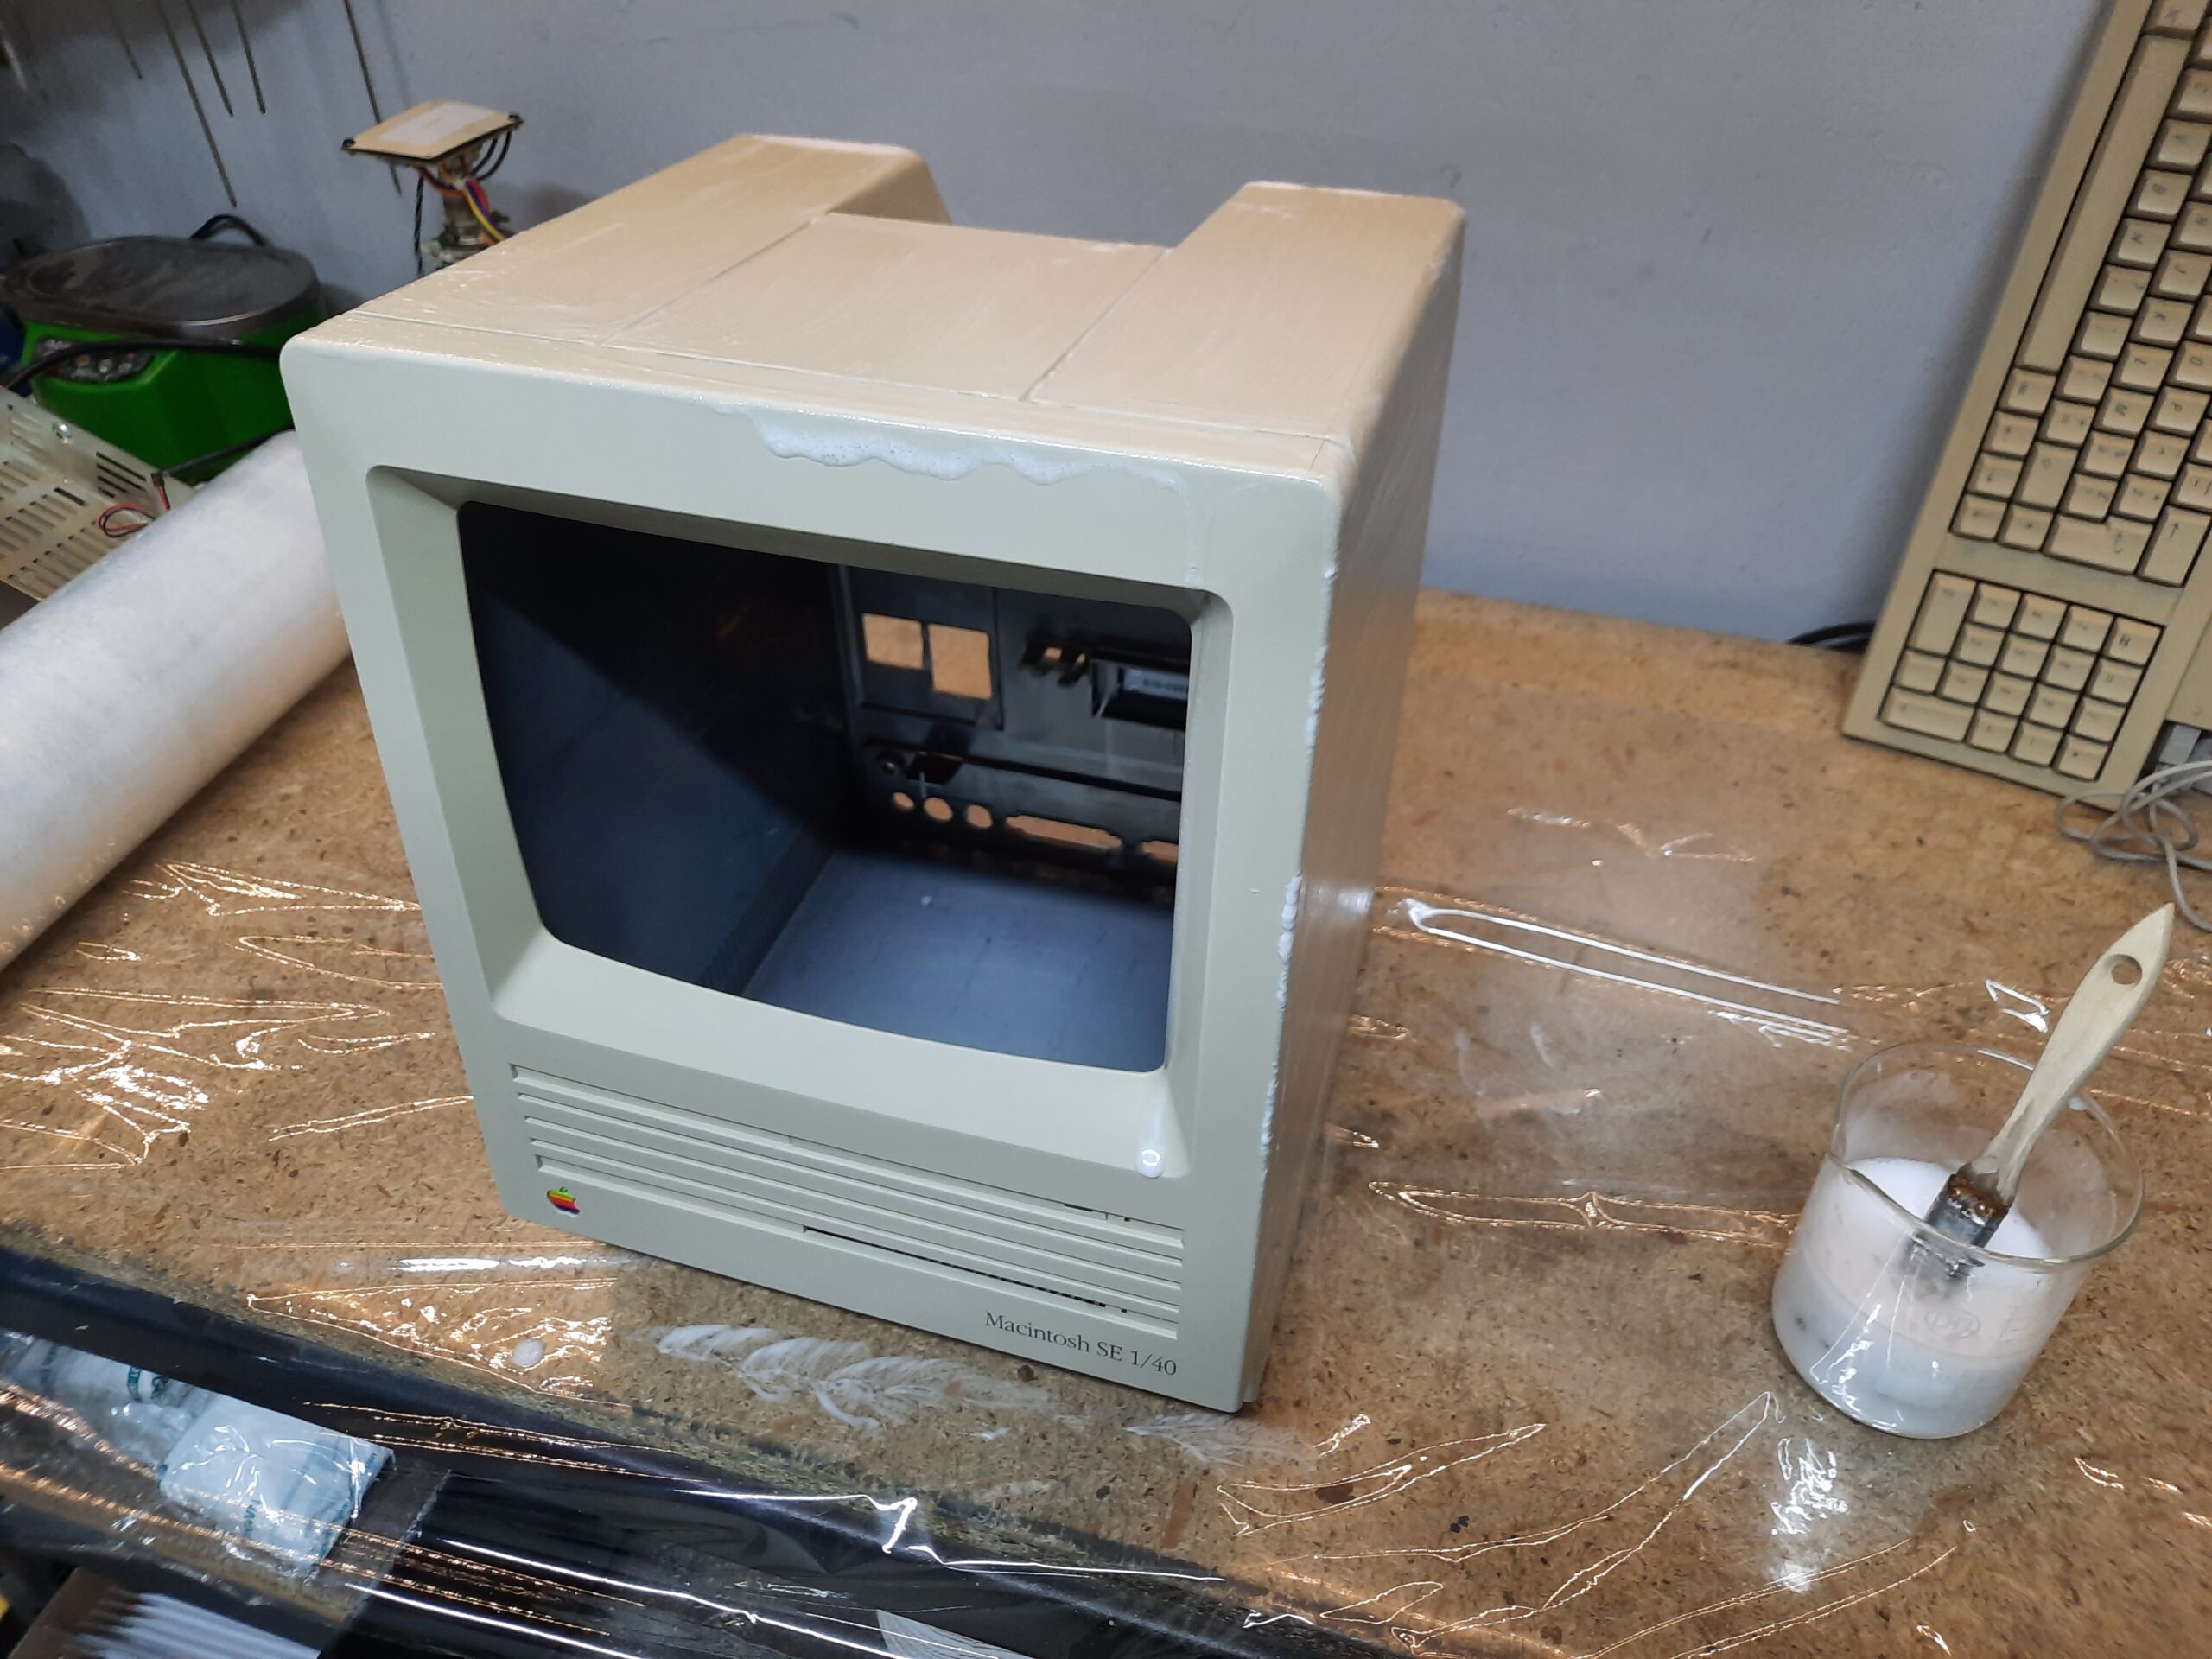
We will get back to it later after the retr0brighting is finished.
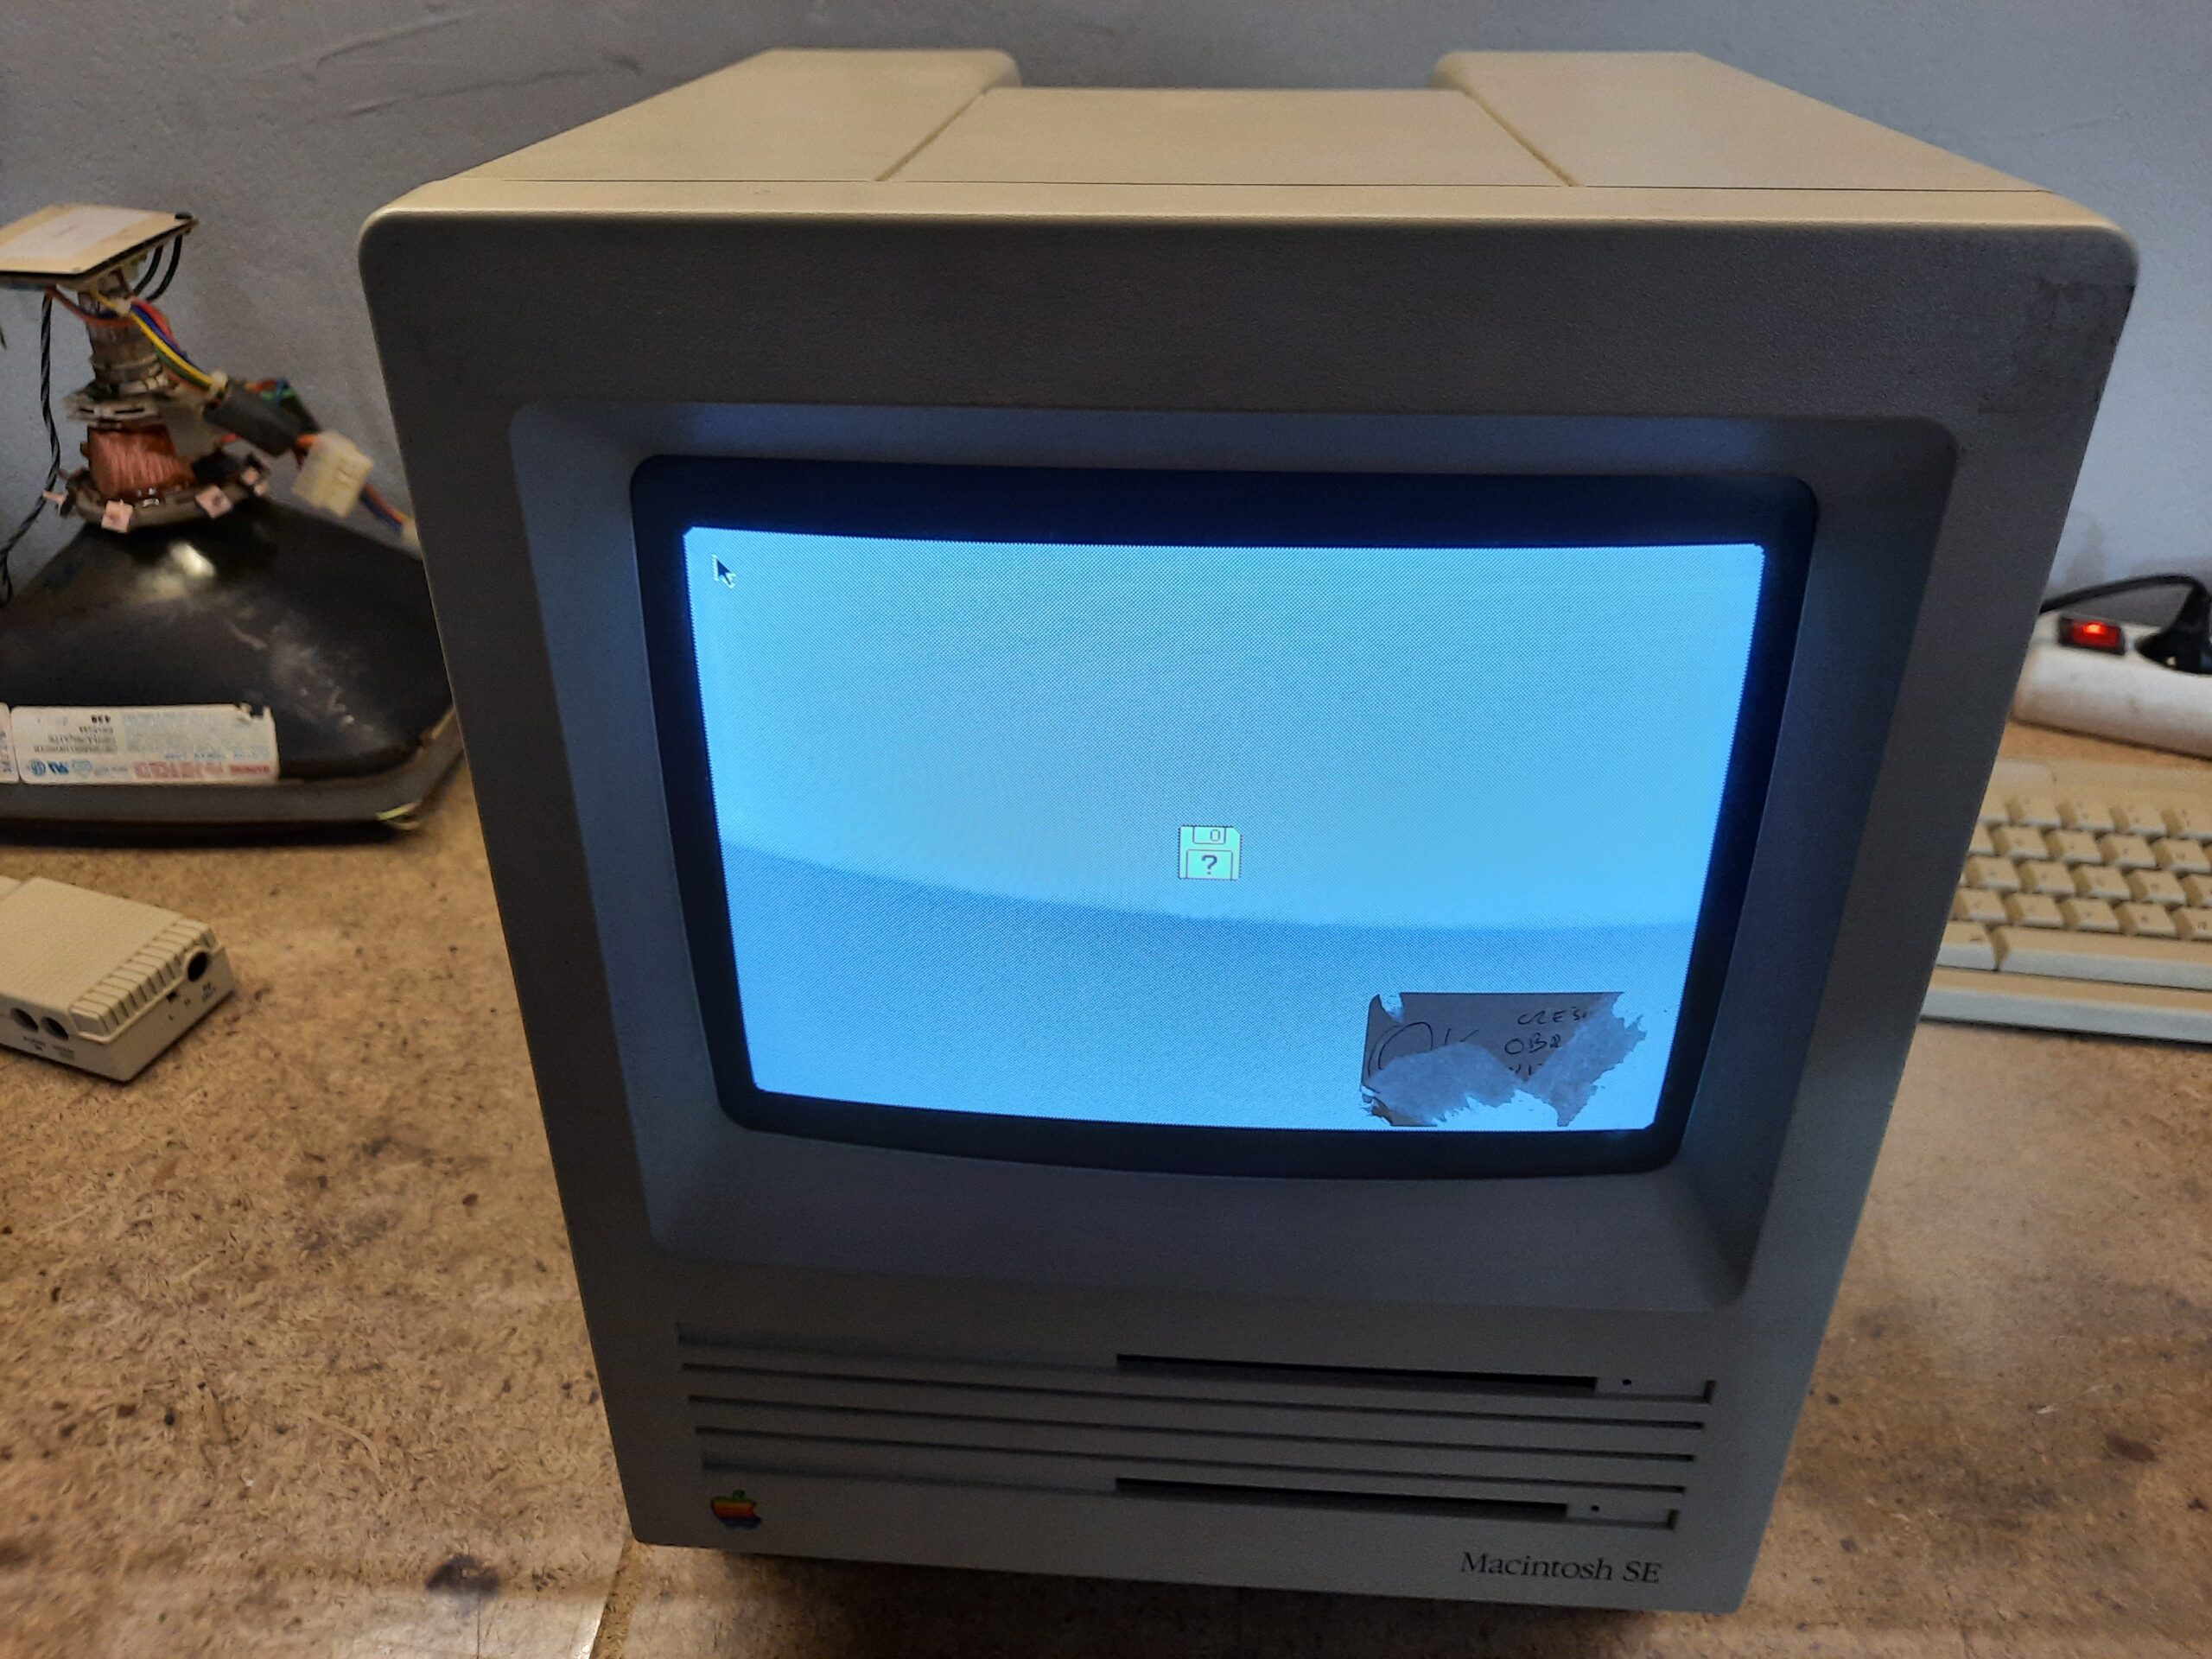
The next Mac was kinda working but didn’t boot to the OS. However, after connecting a different hard disk, it booted which told me that there was an issue with the hard drive.
Further disassembly followed.
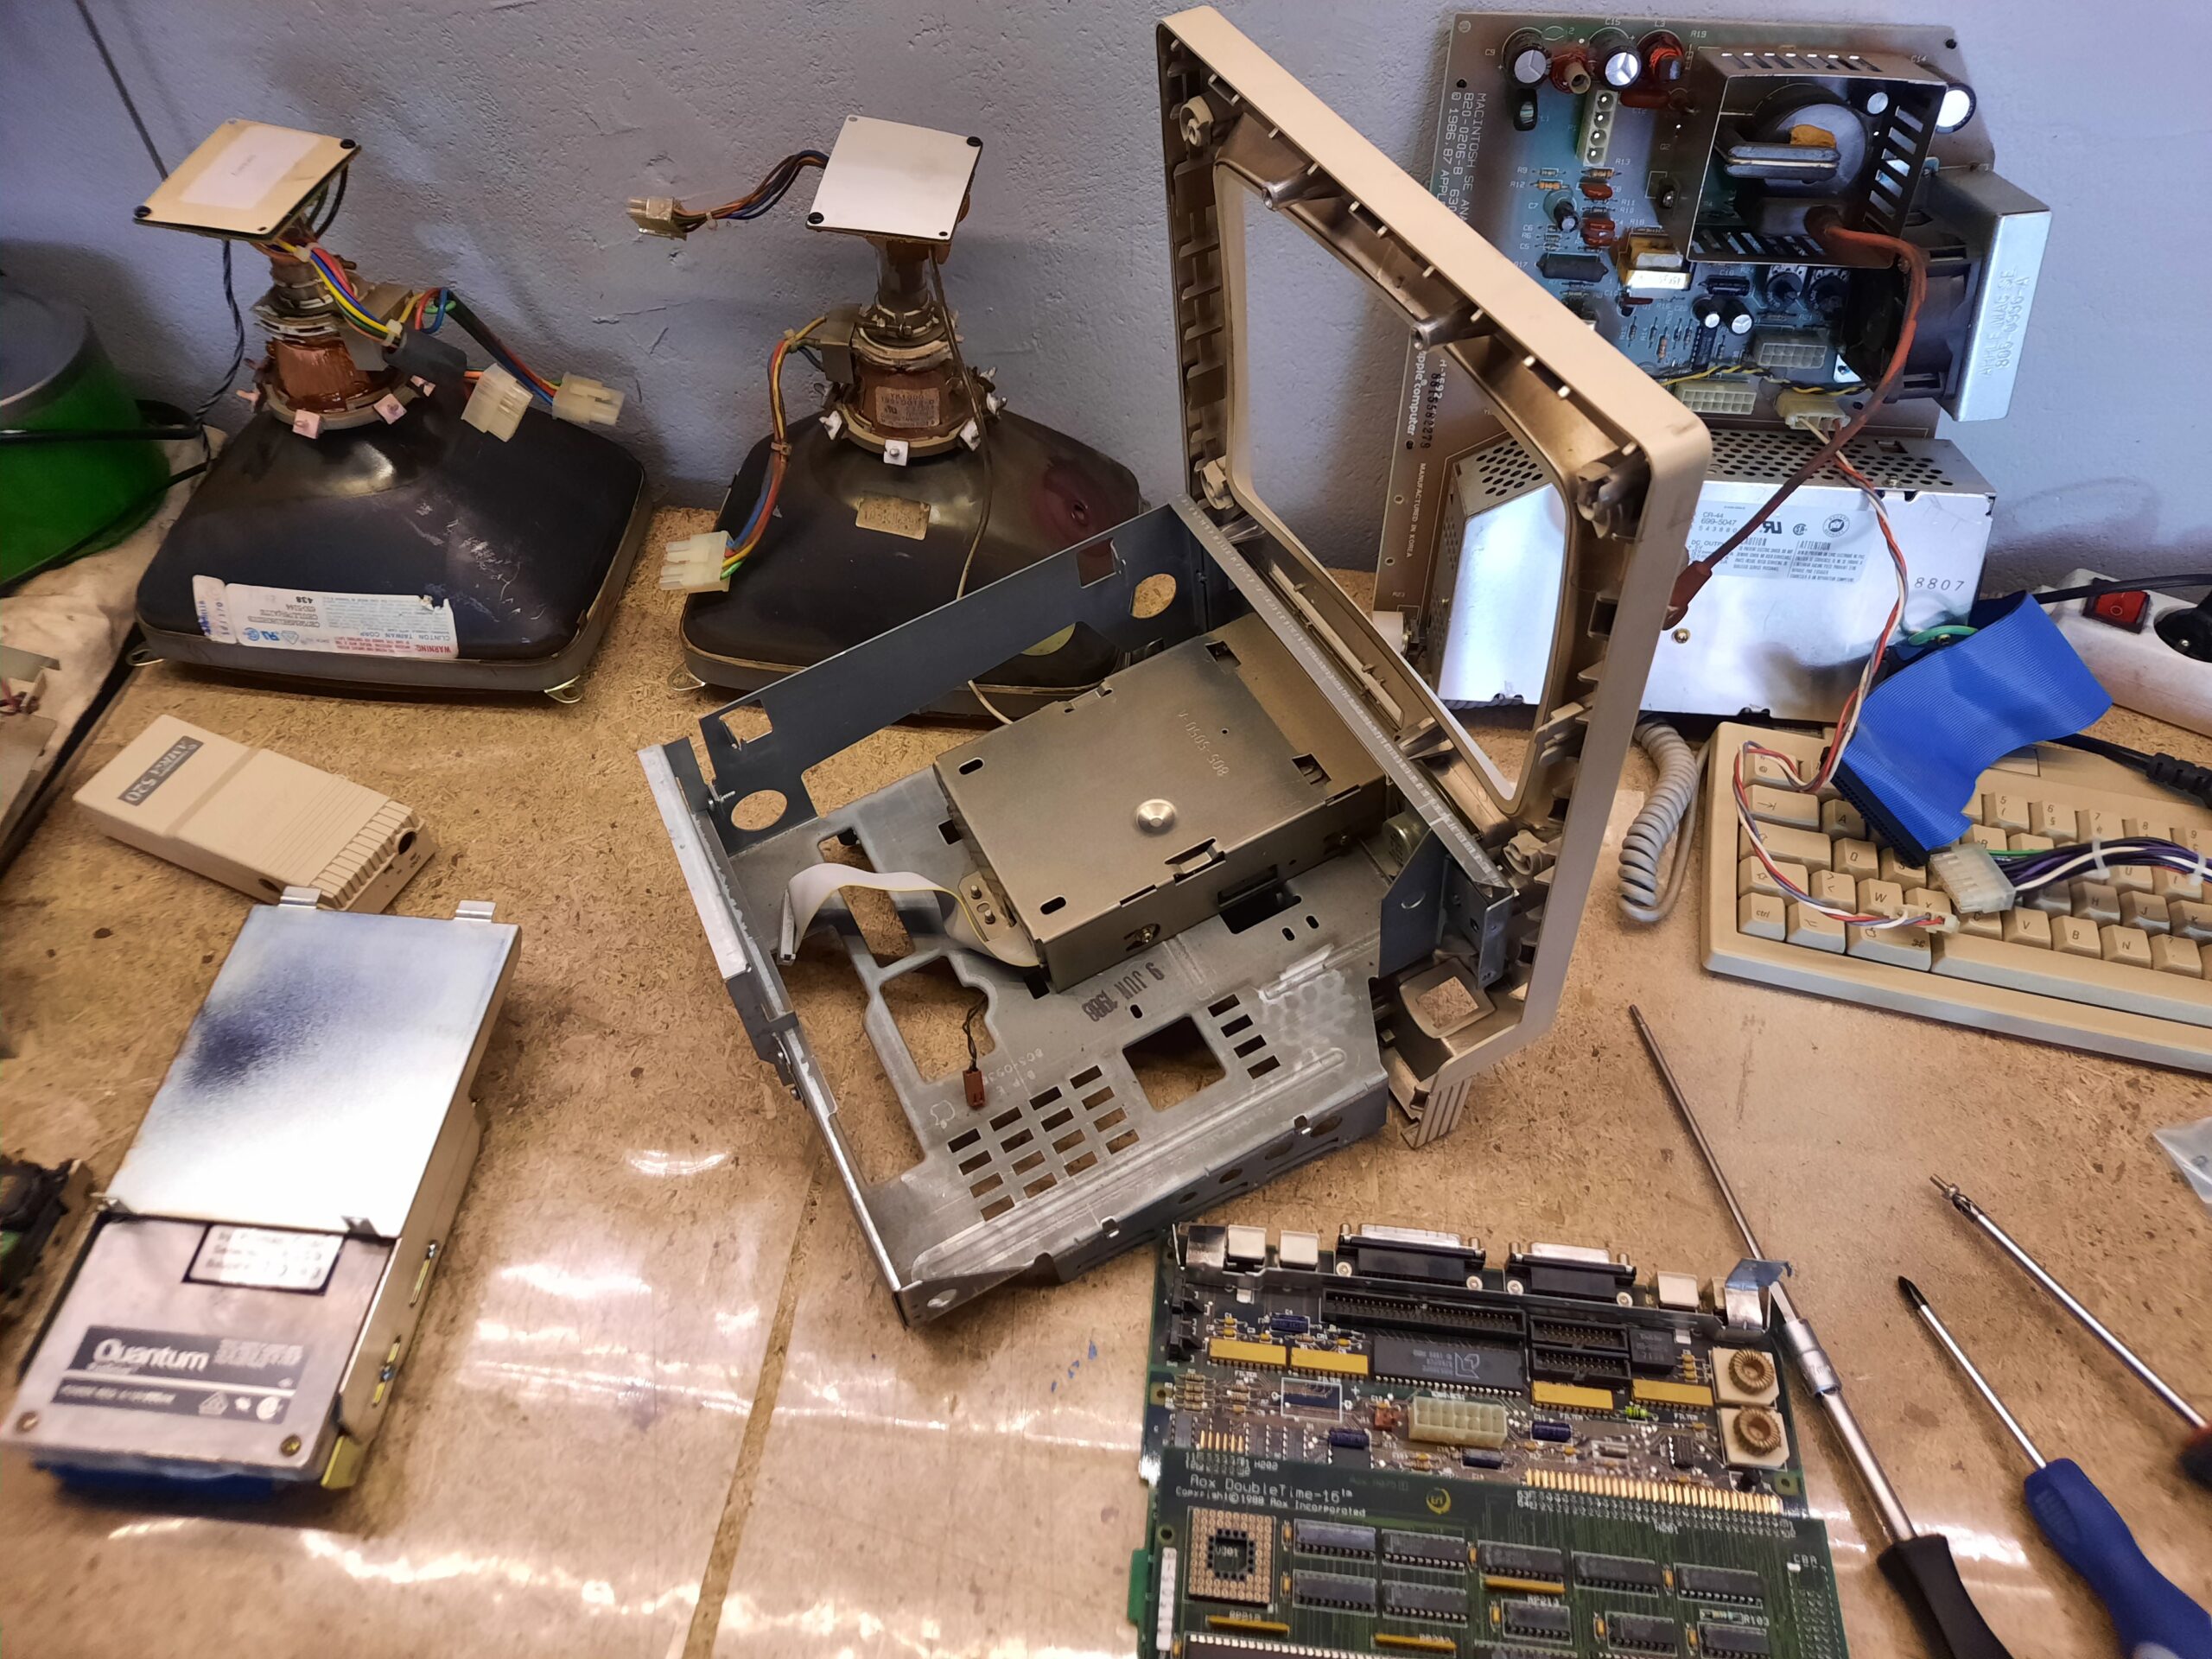
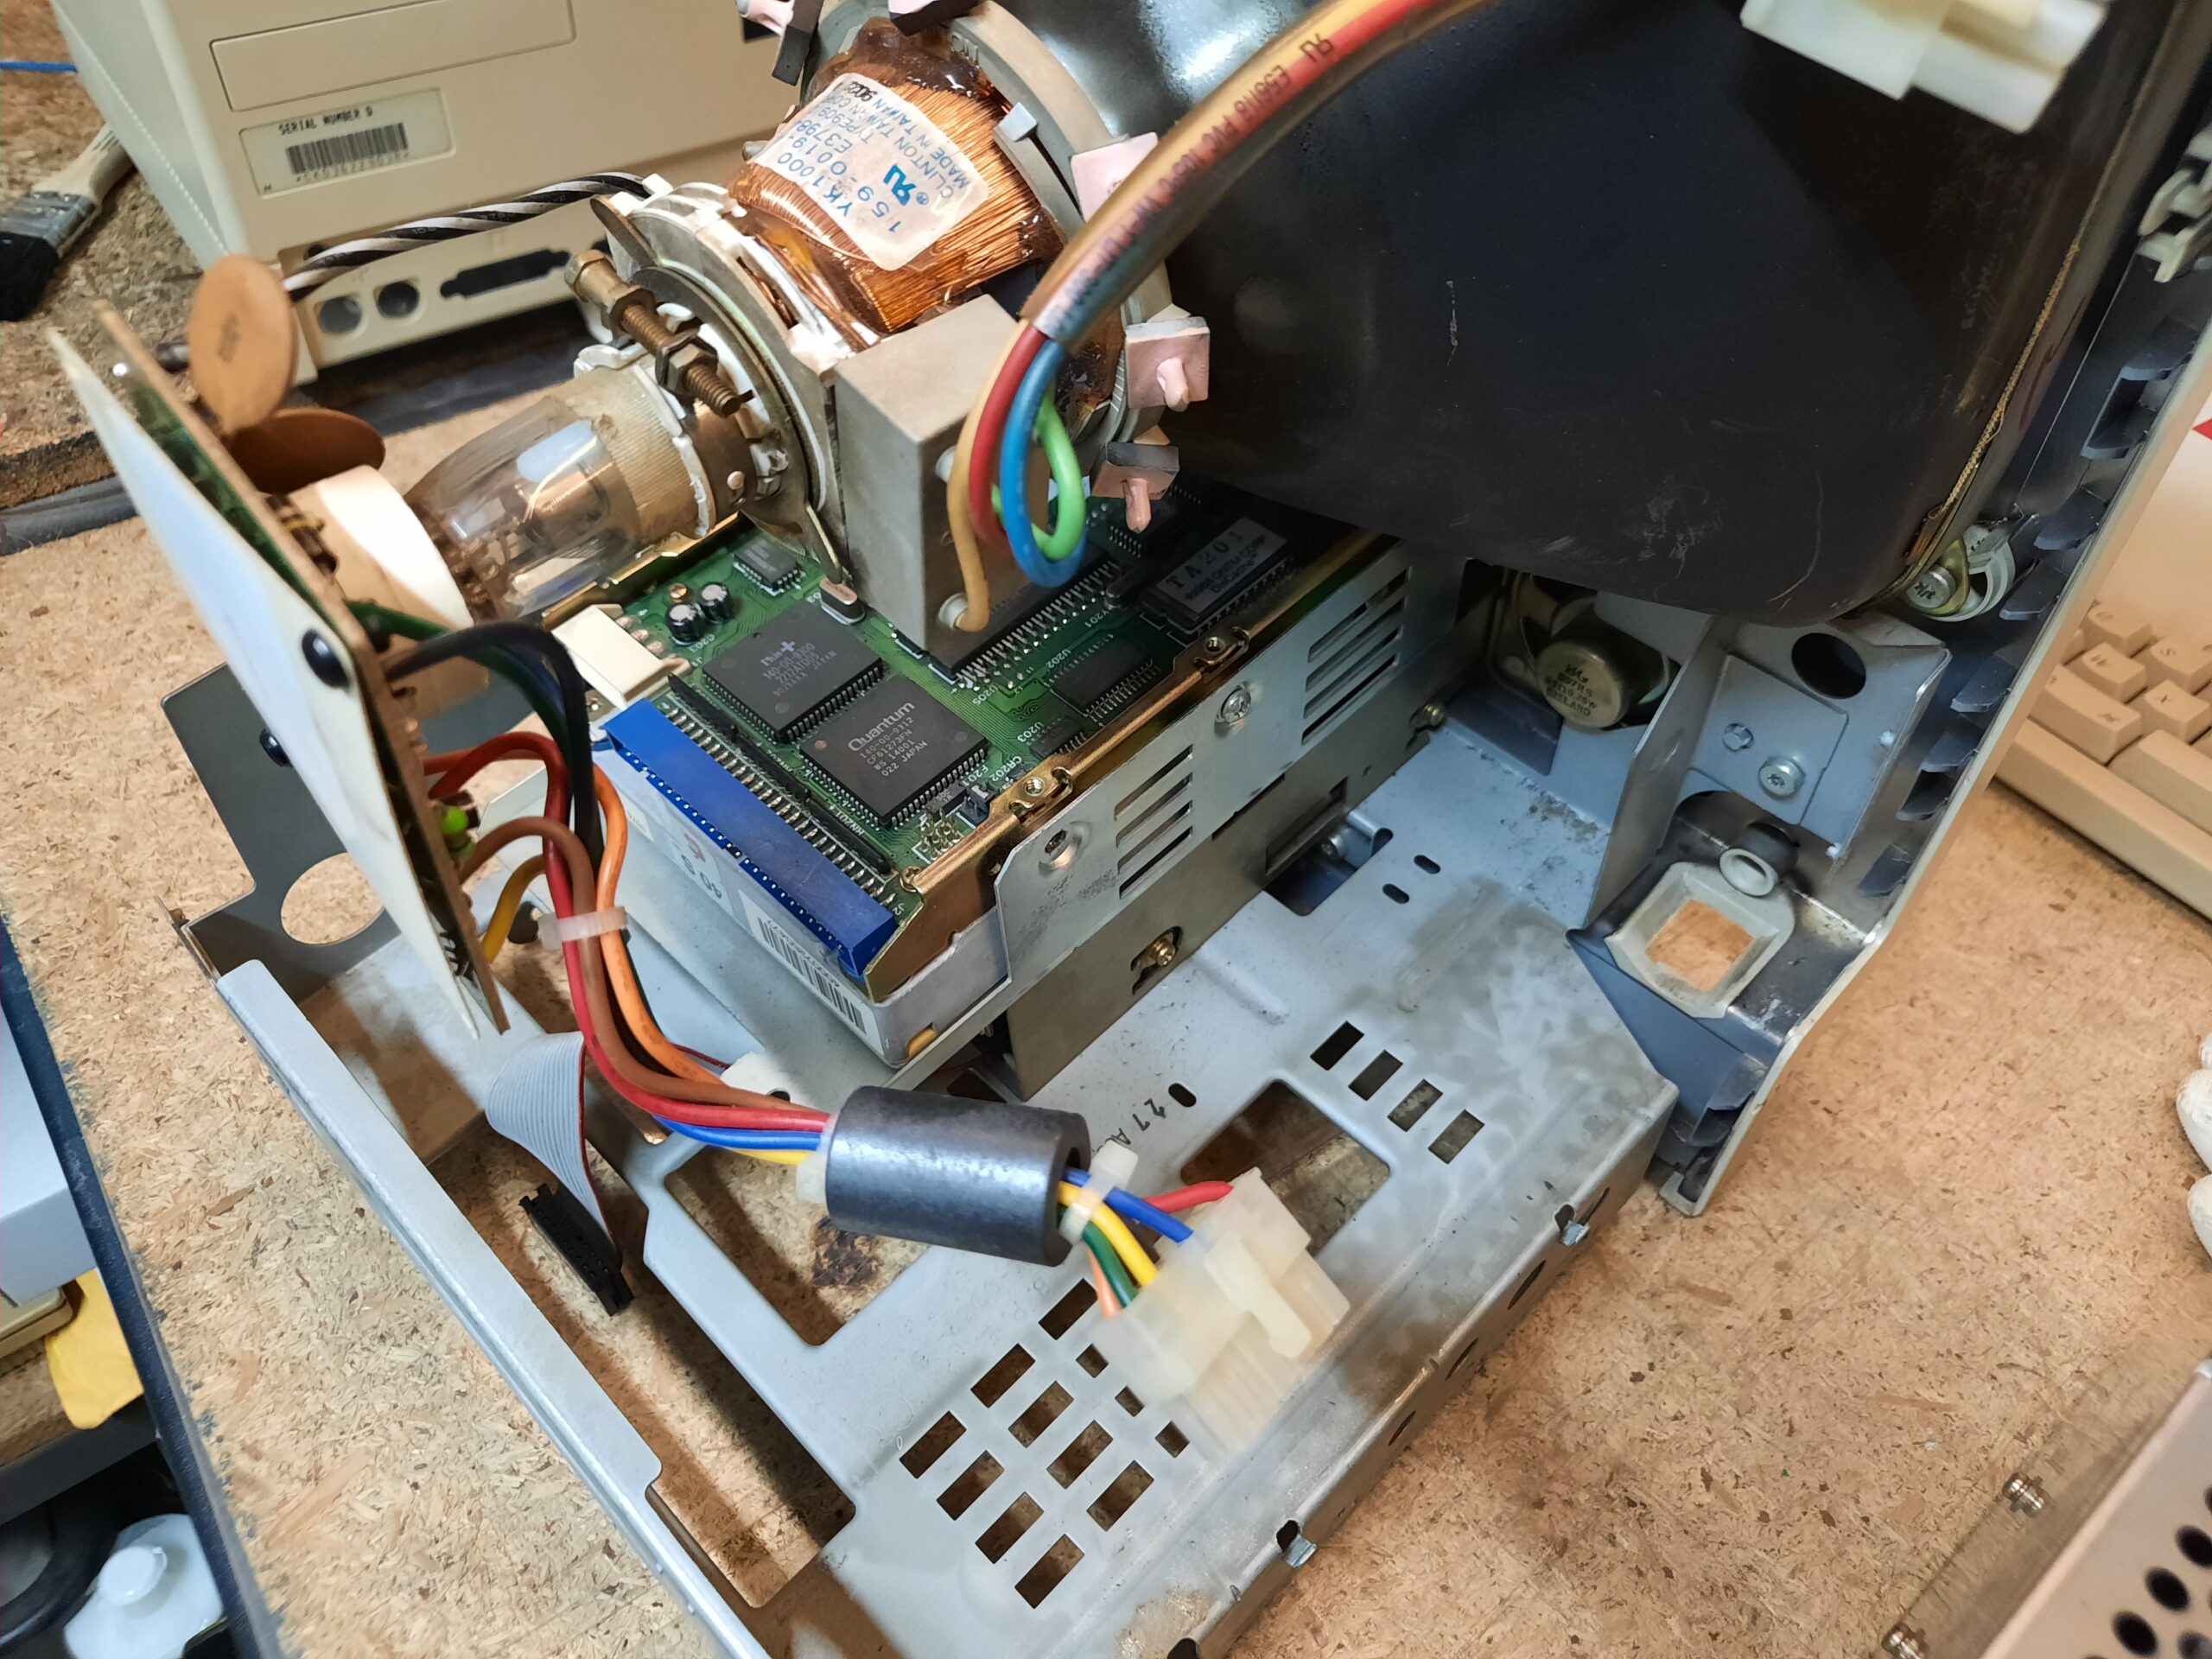
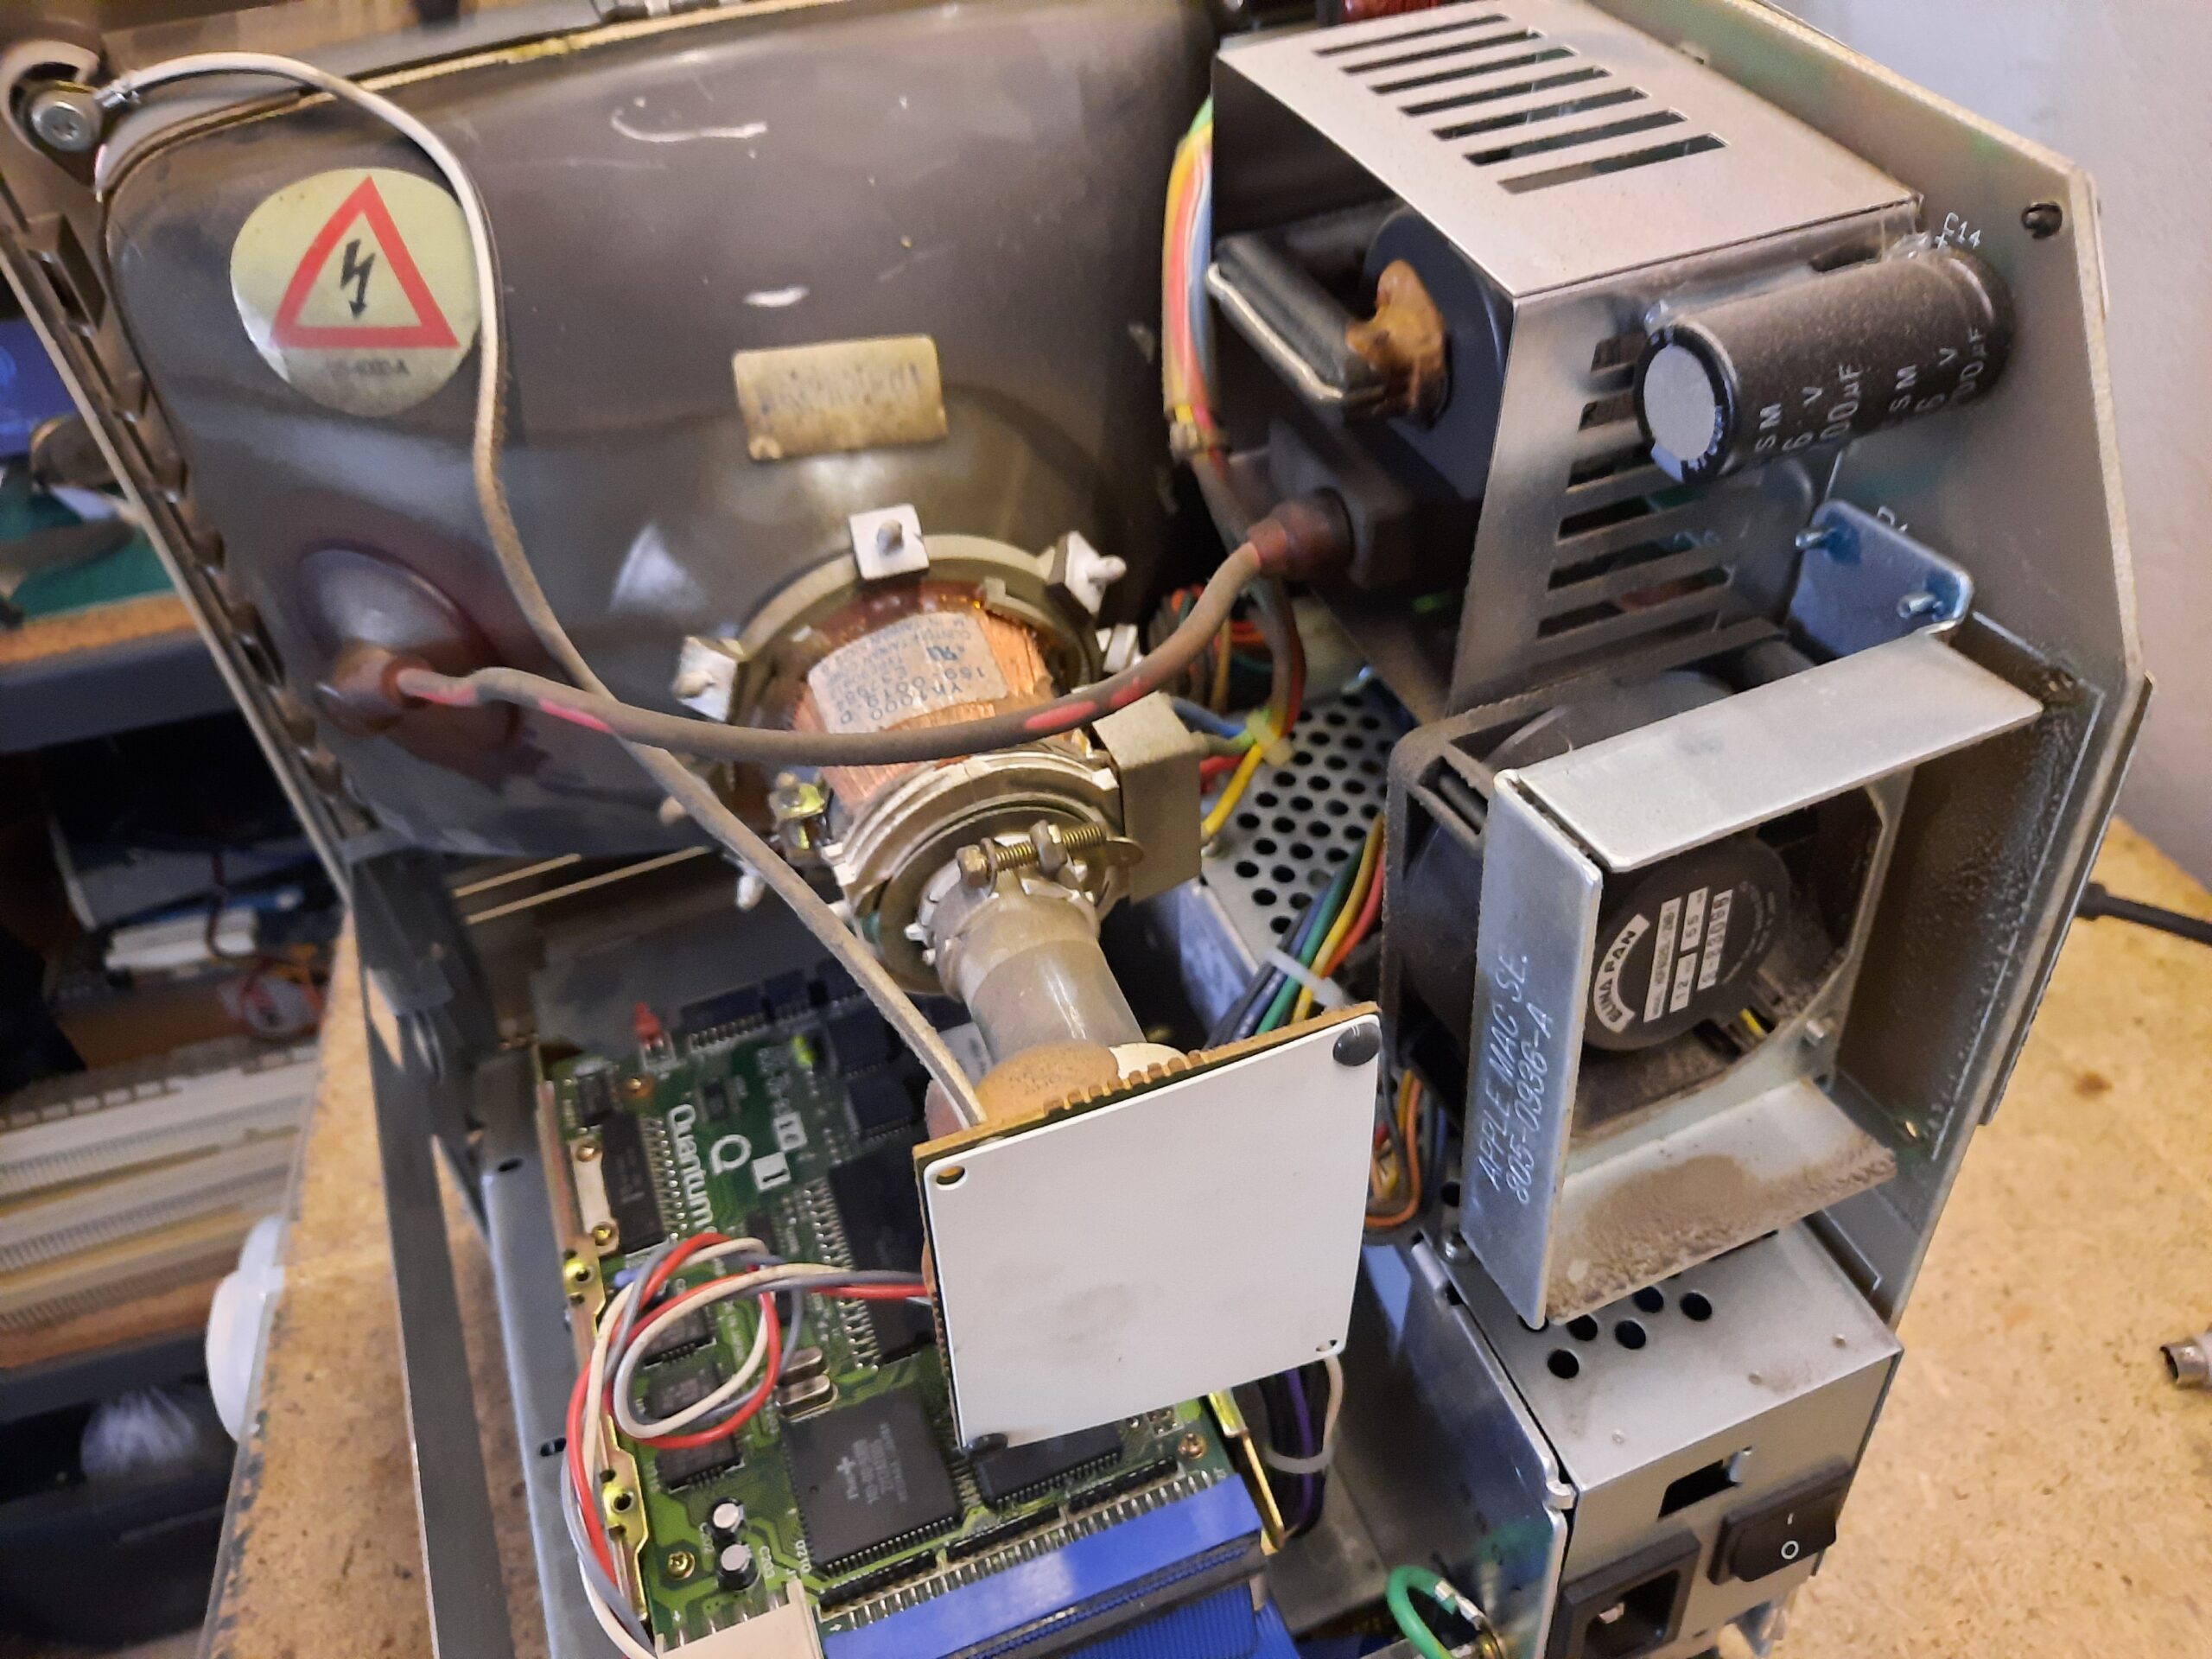
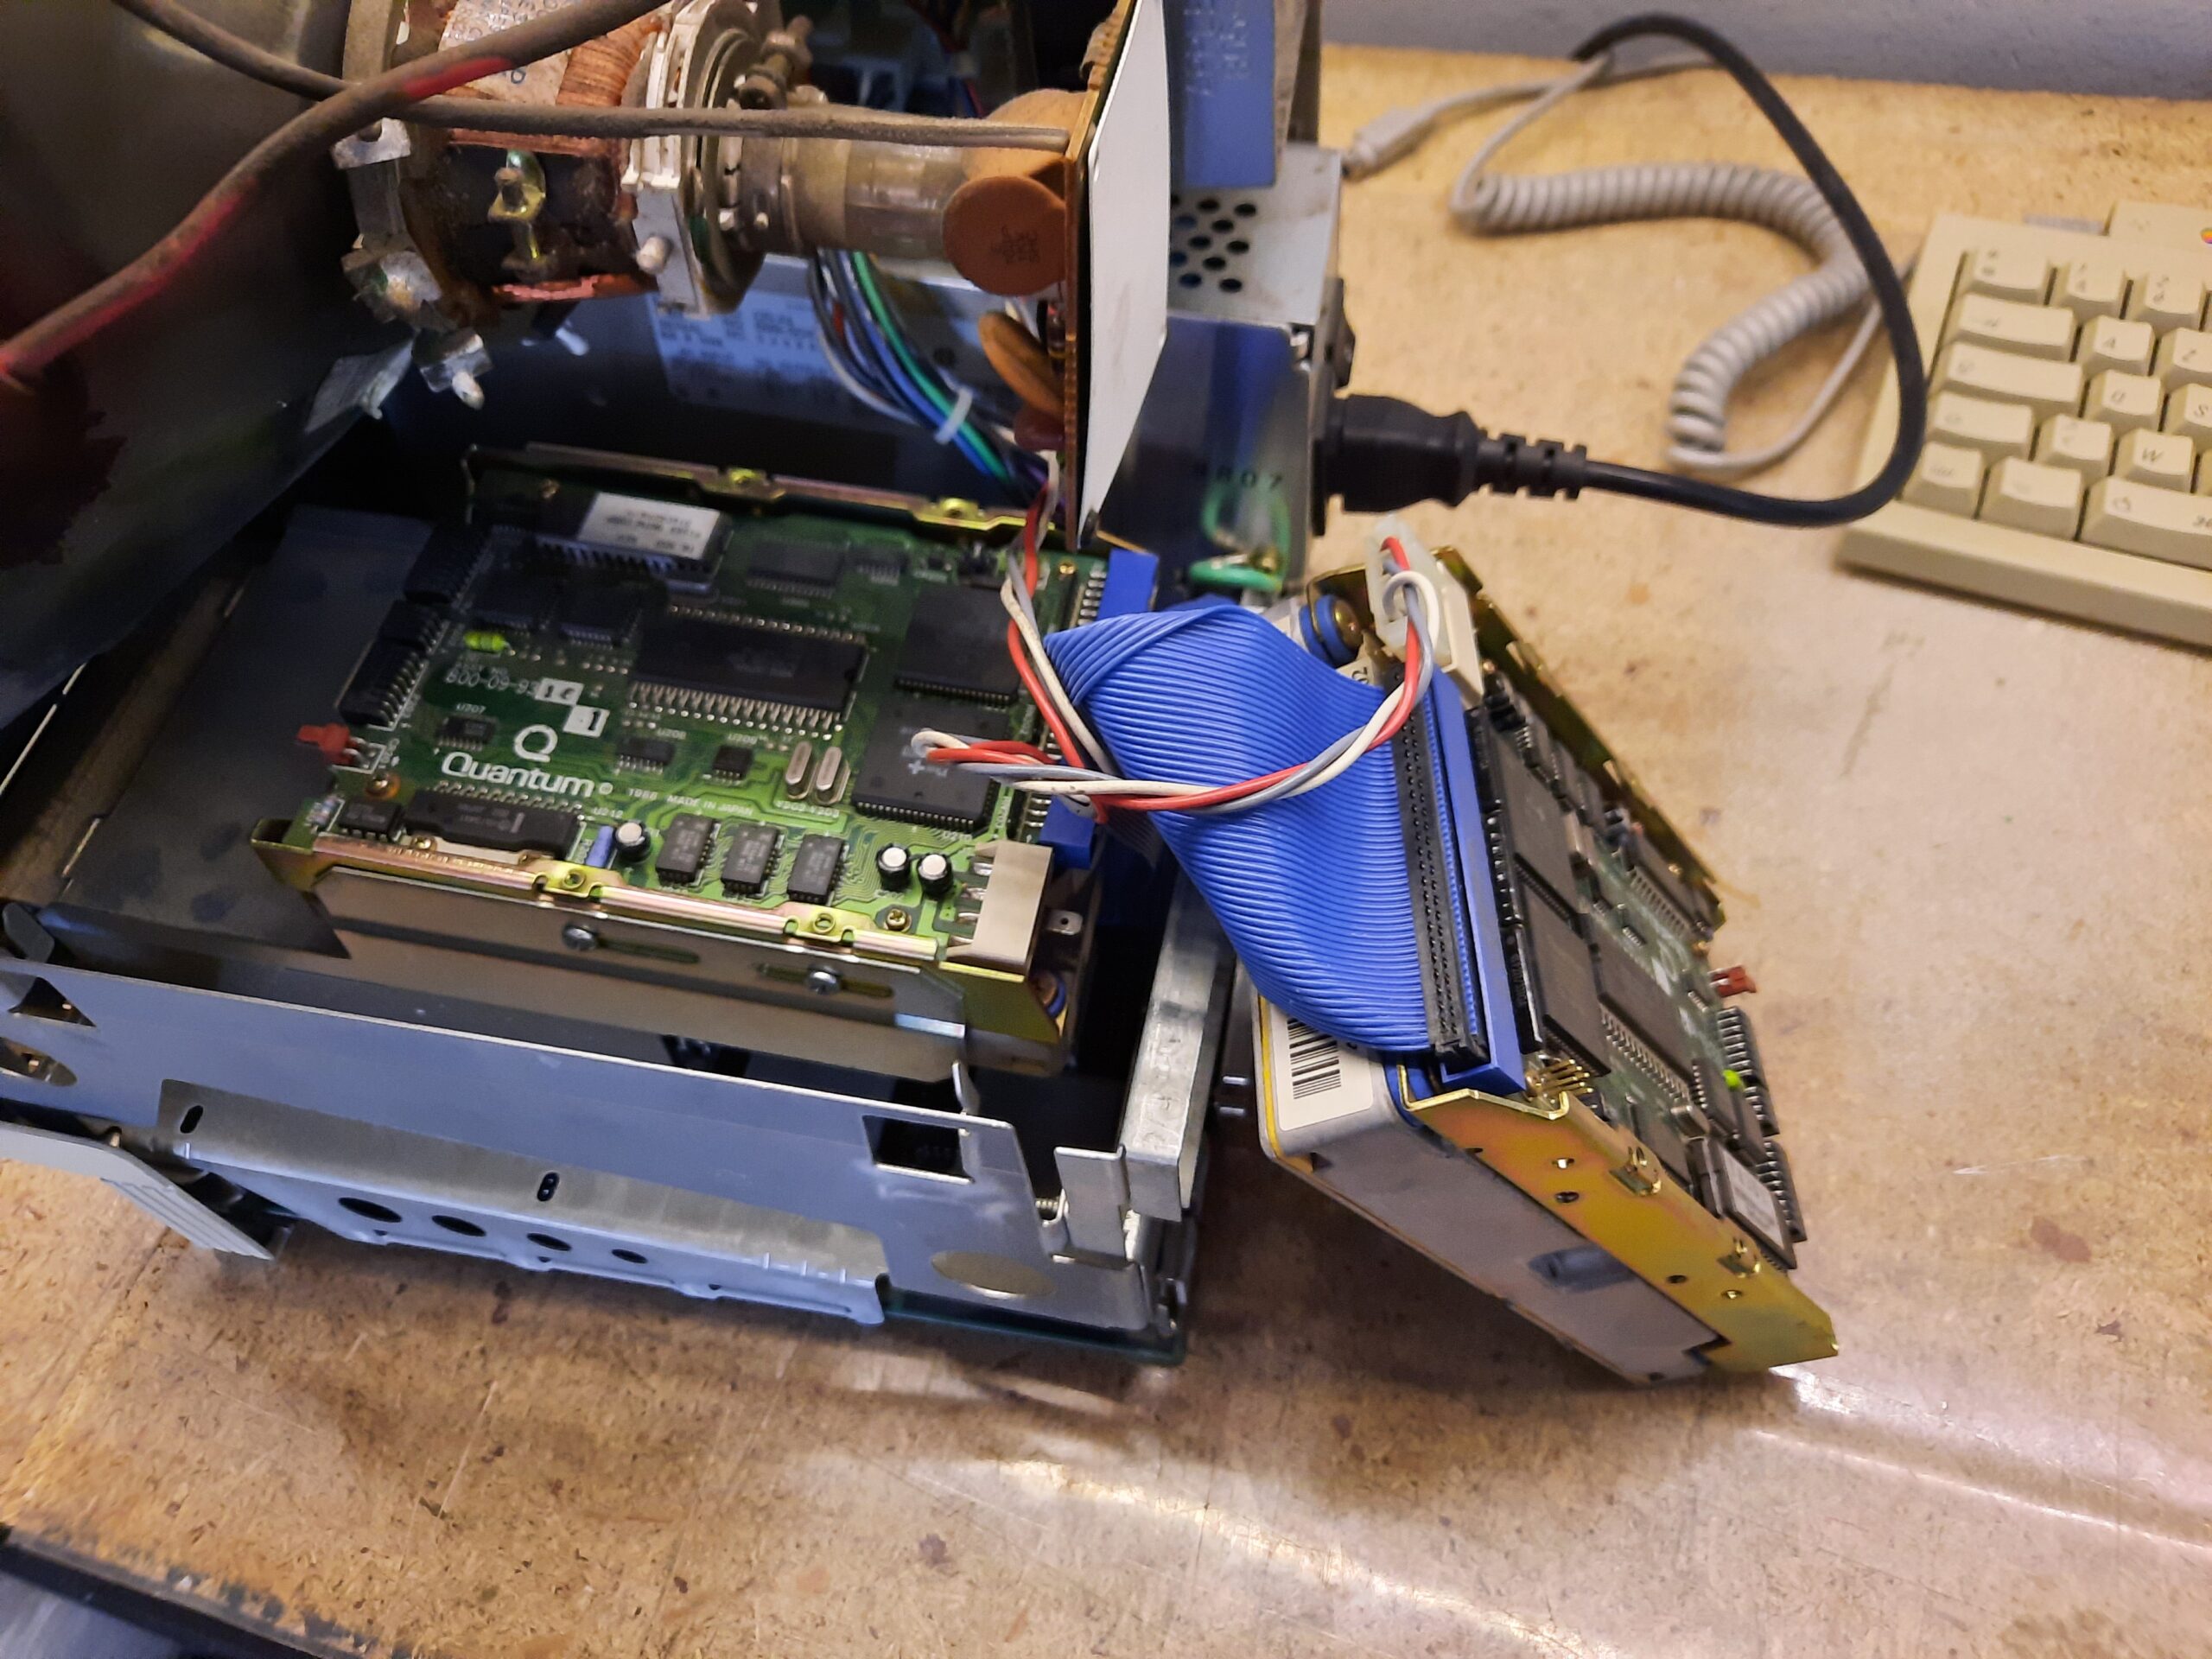
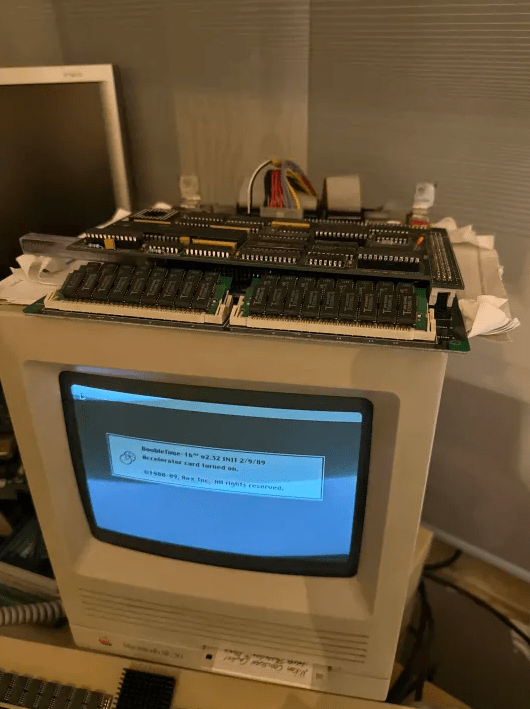
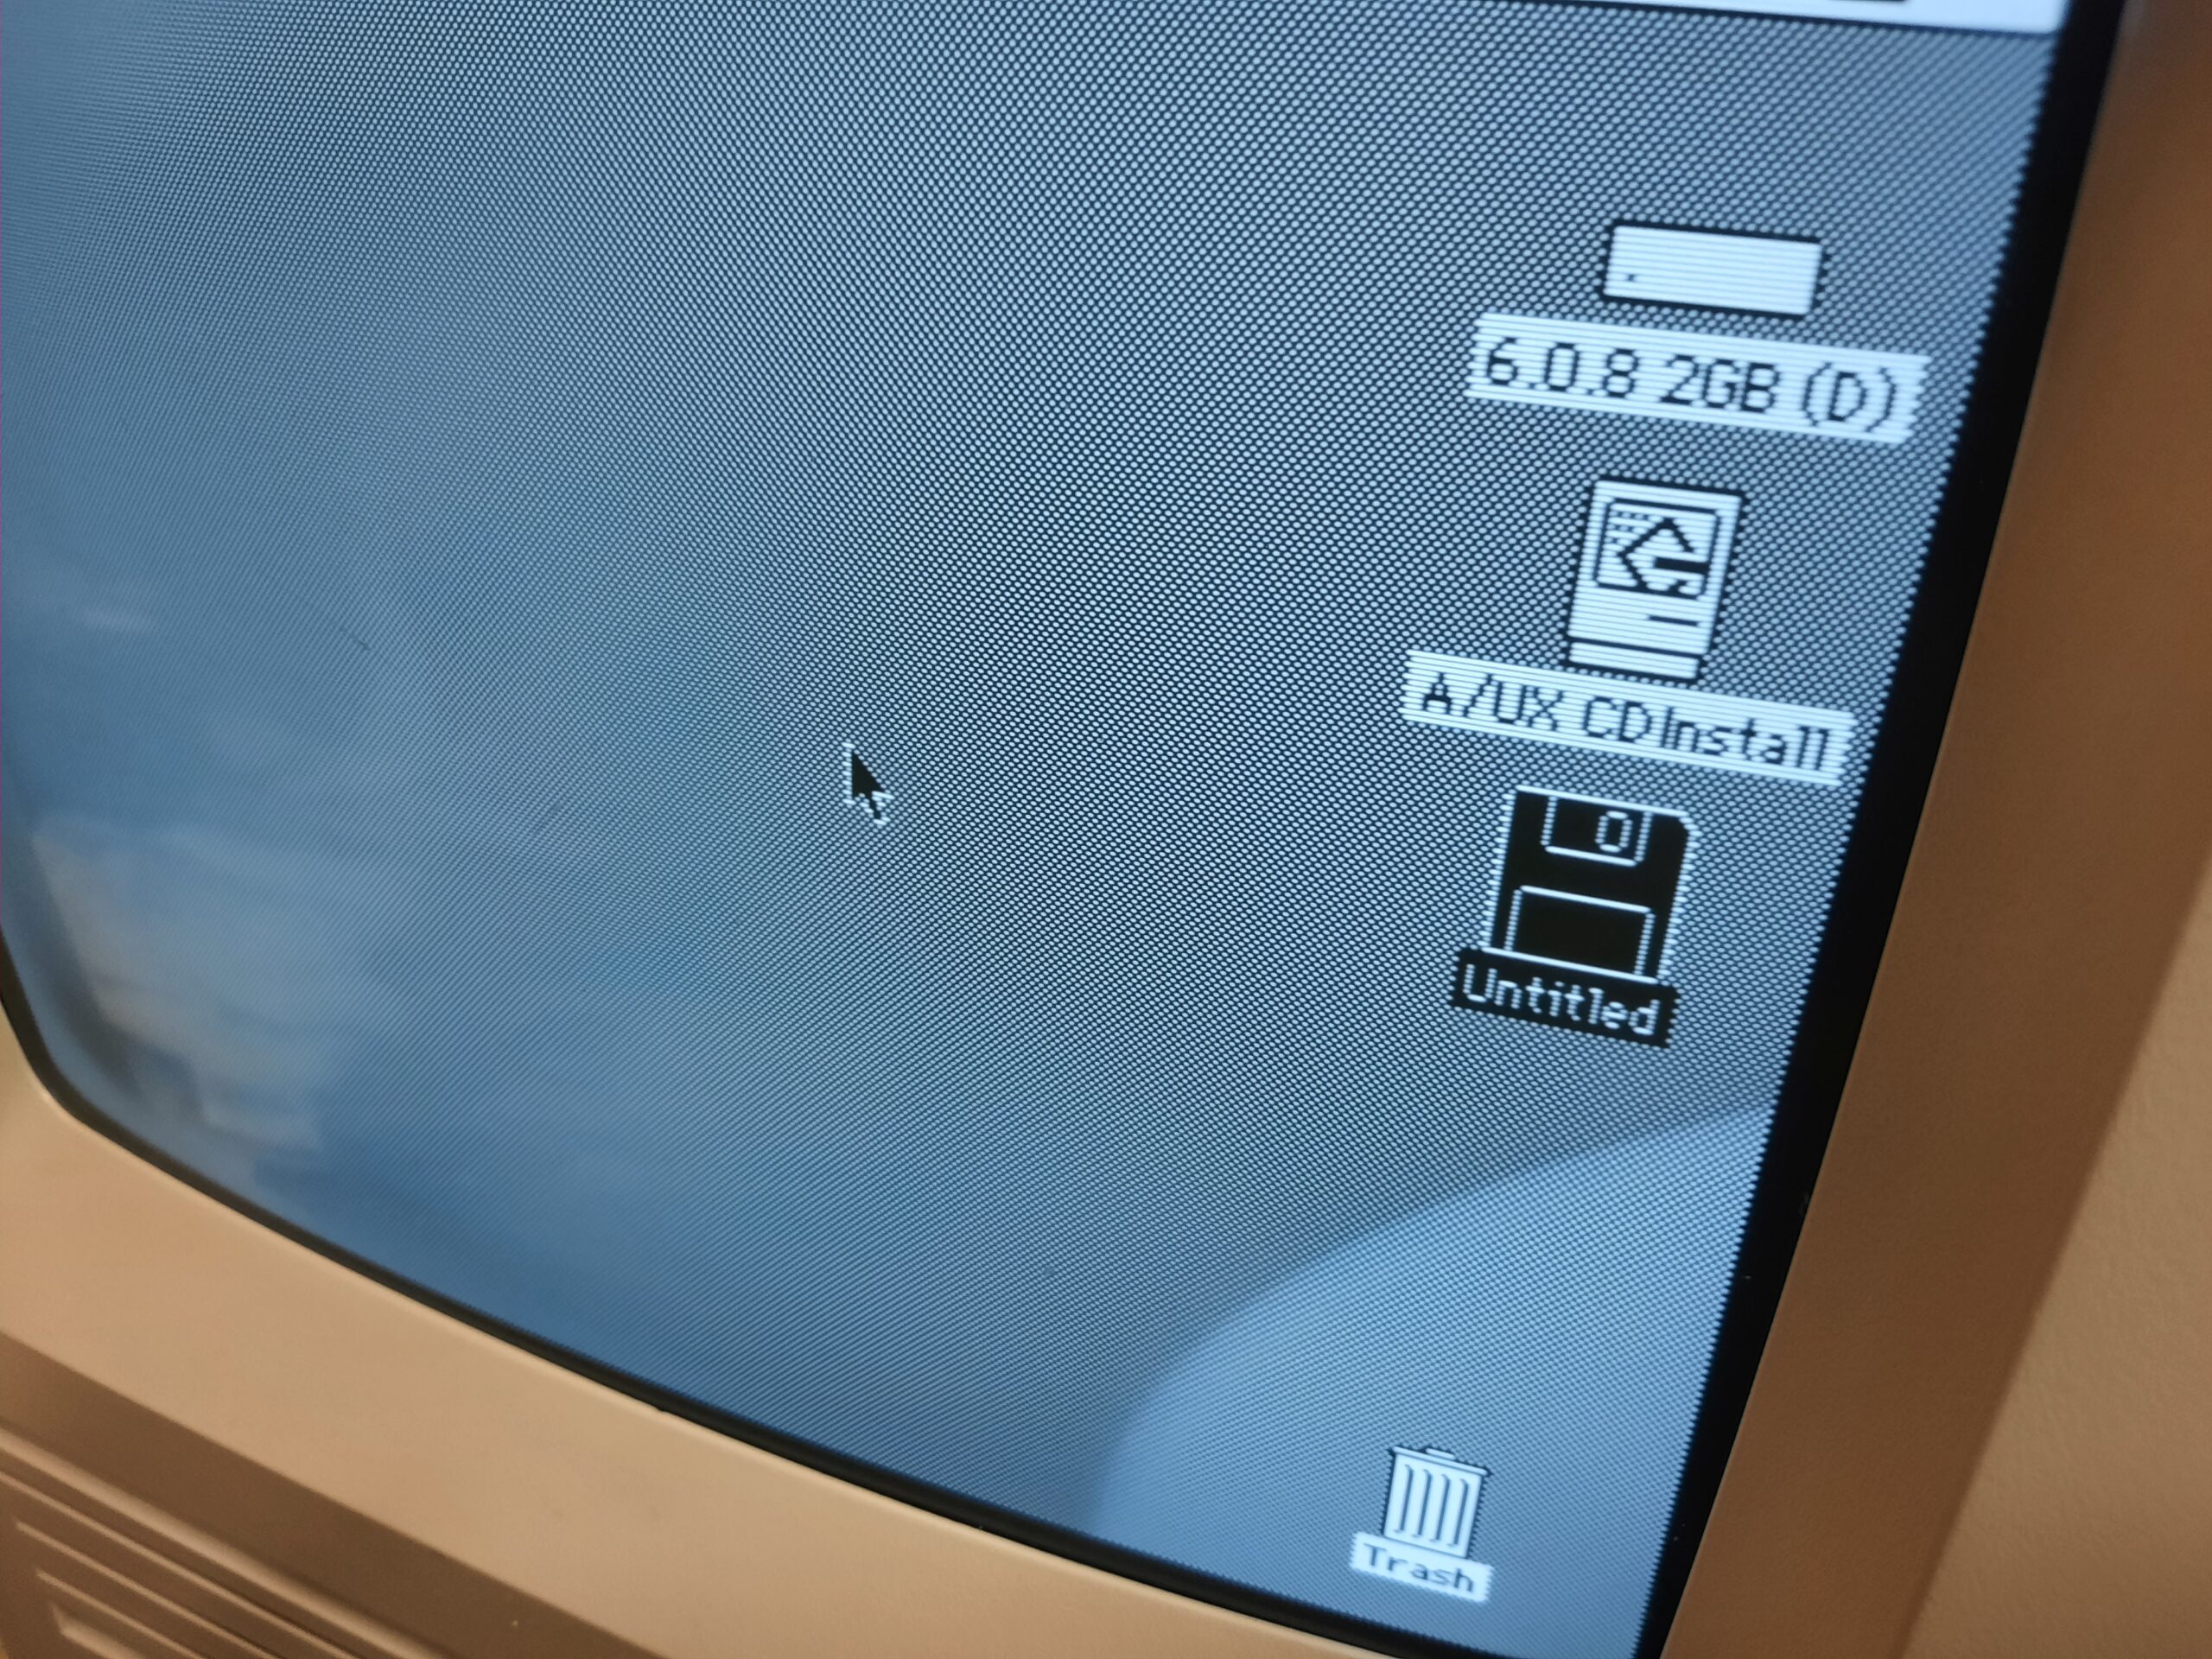
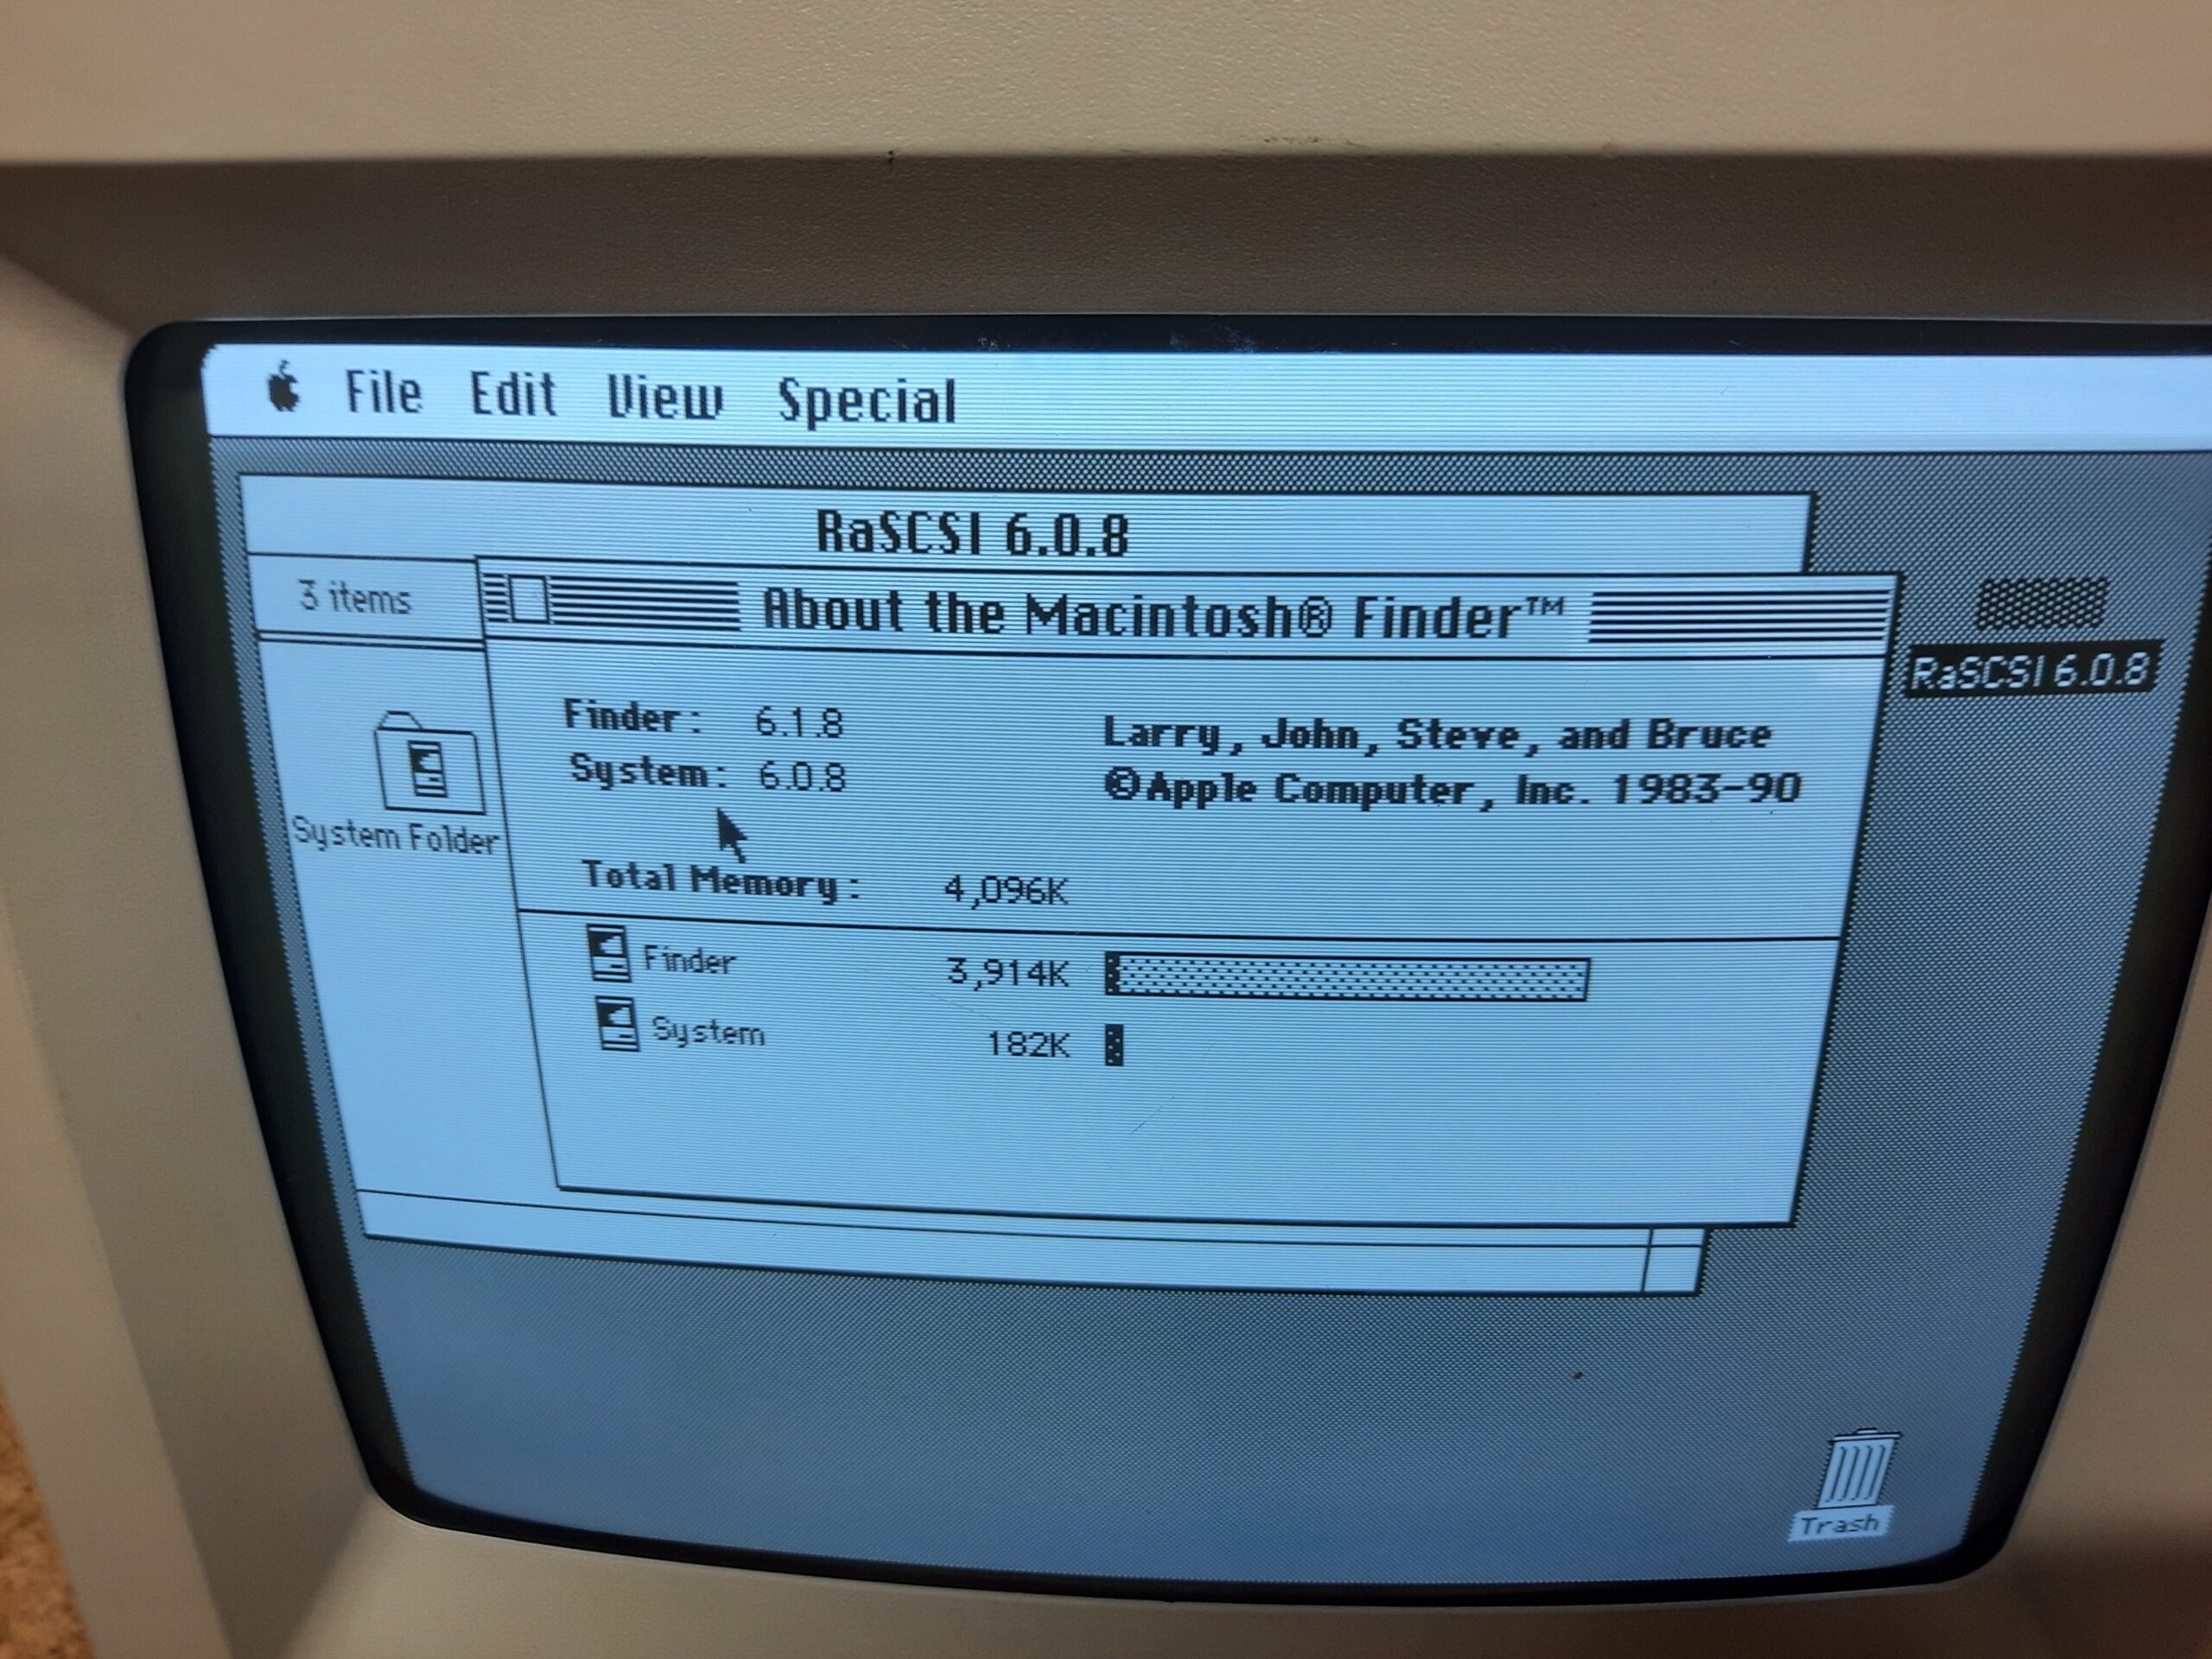
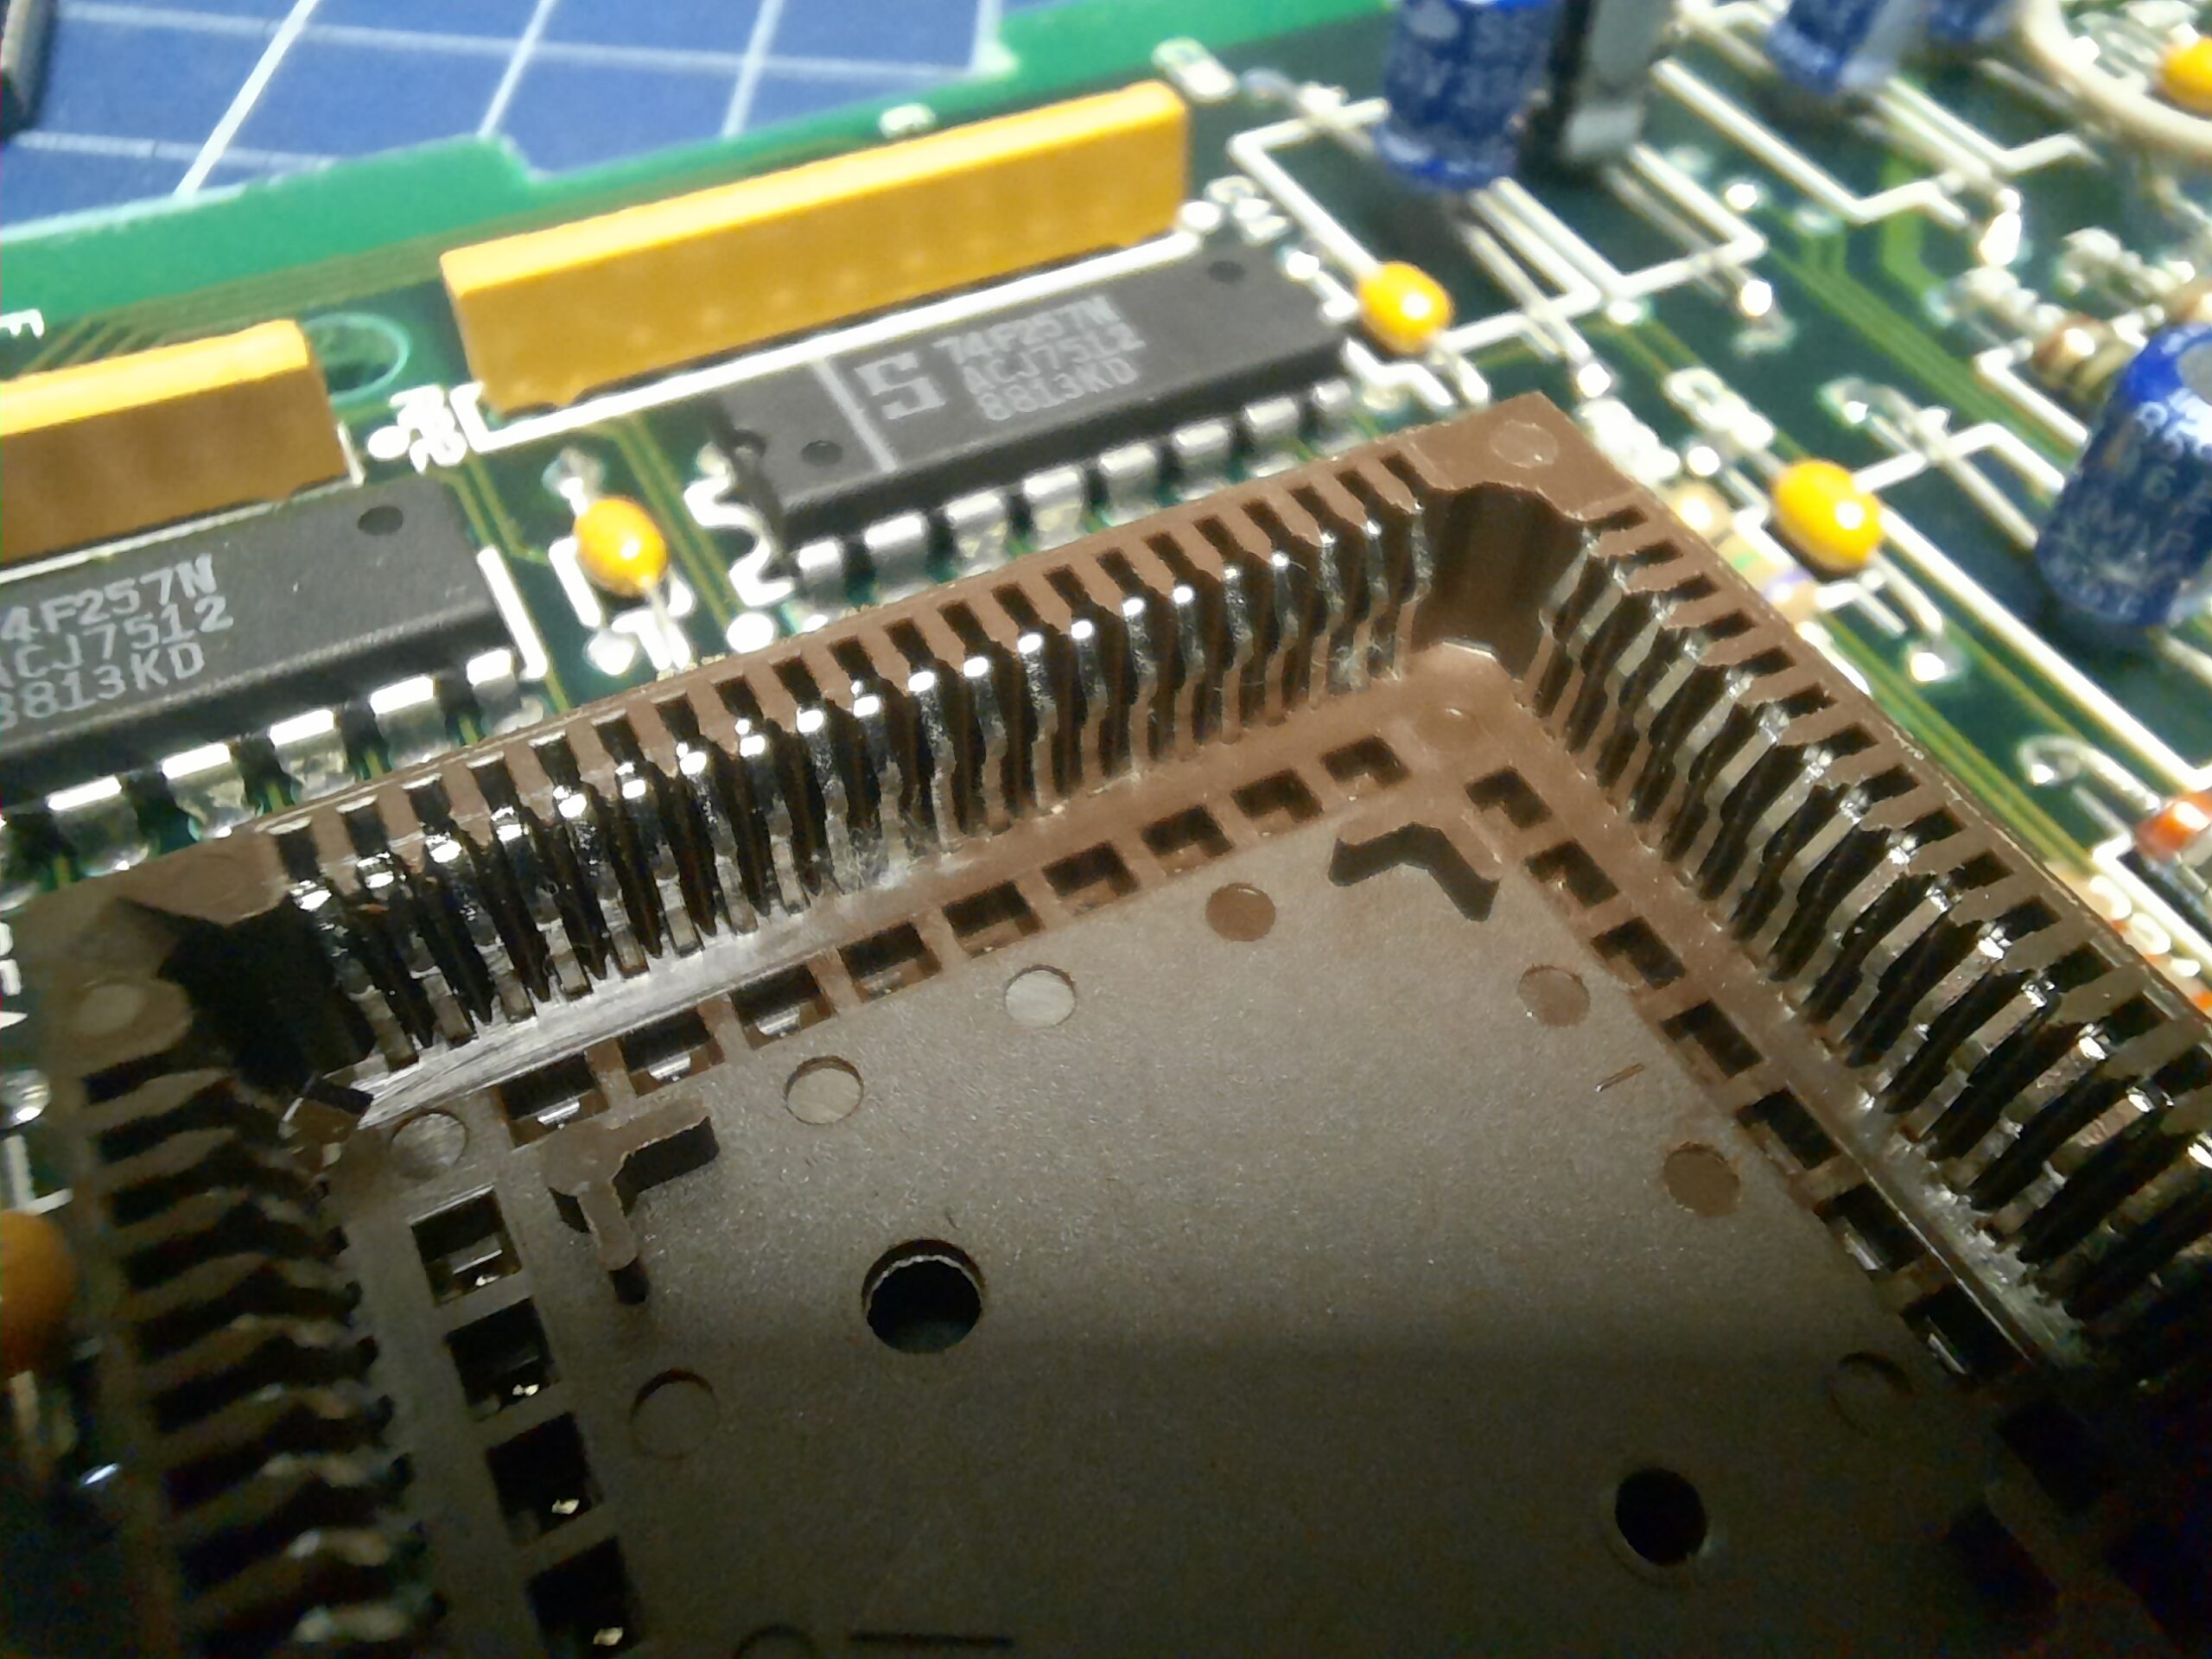
This is the moment I noticed the special card on top of the original MoBo – Aox DoubleTime-16 !! Nice find!
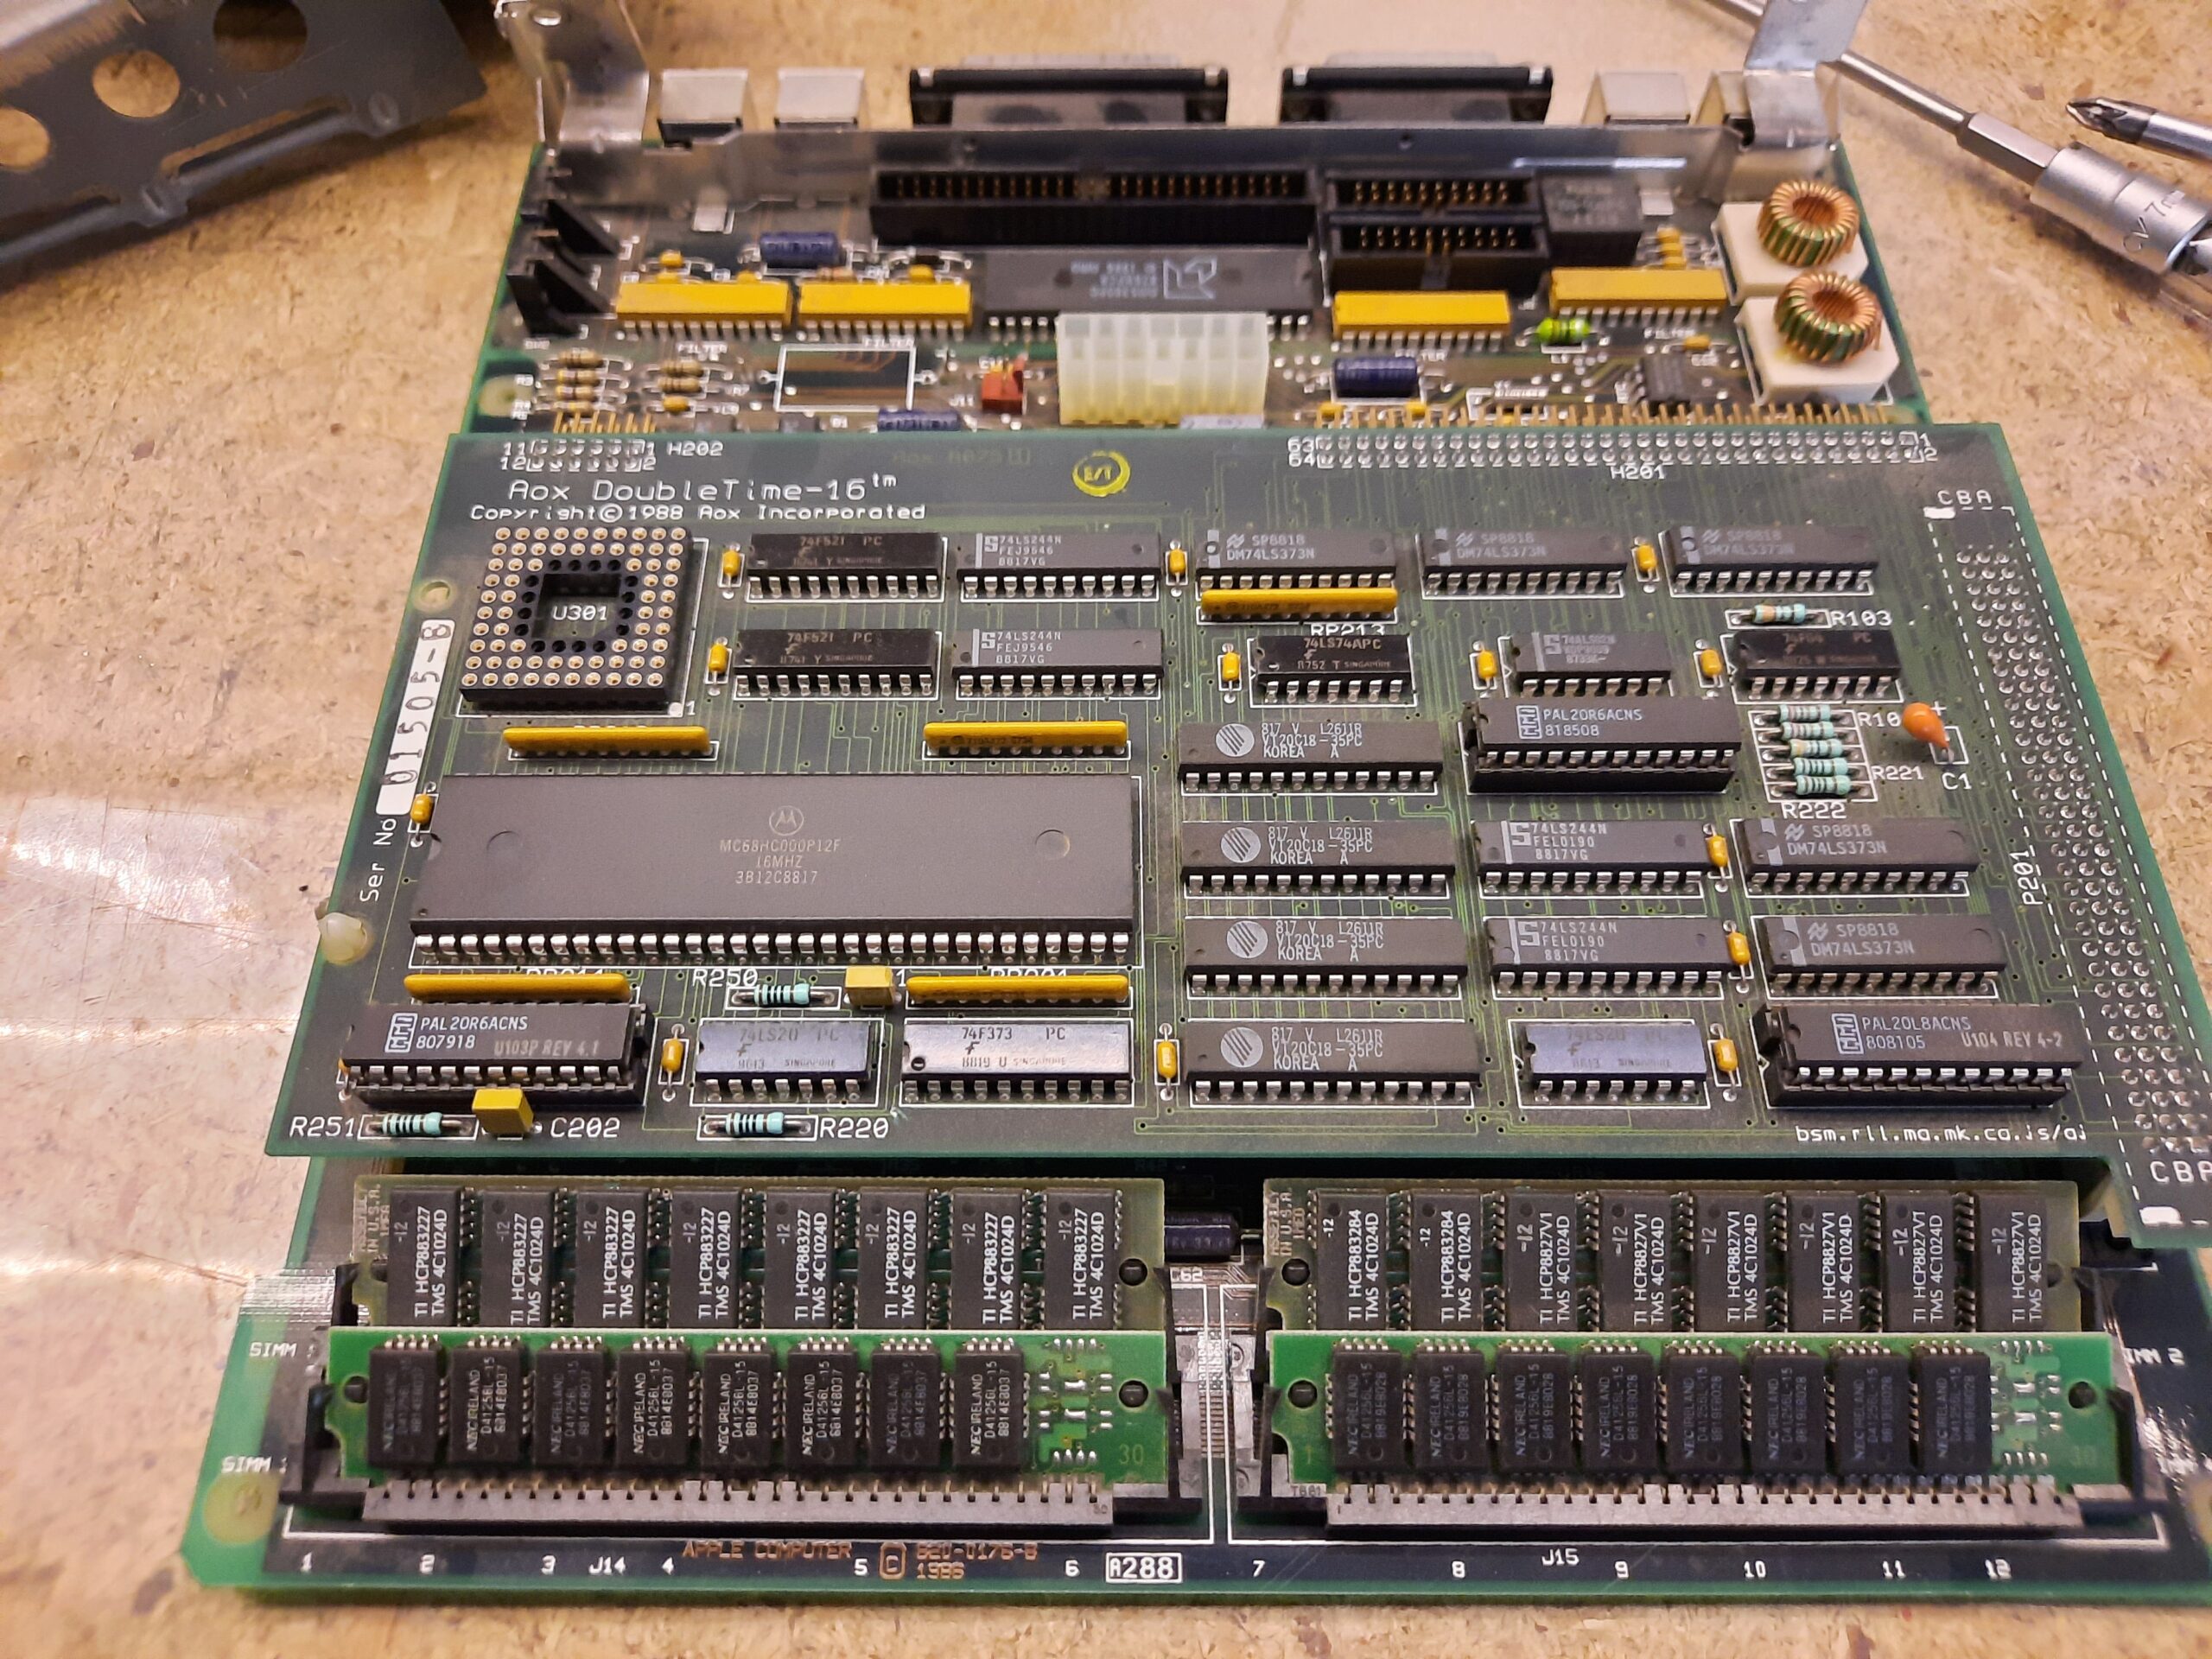
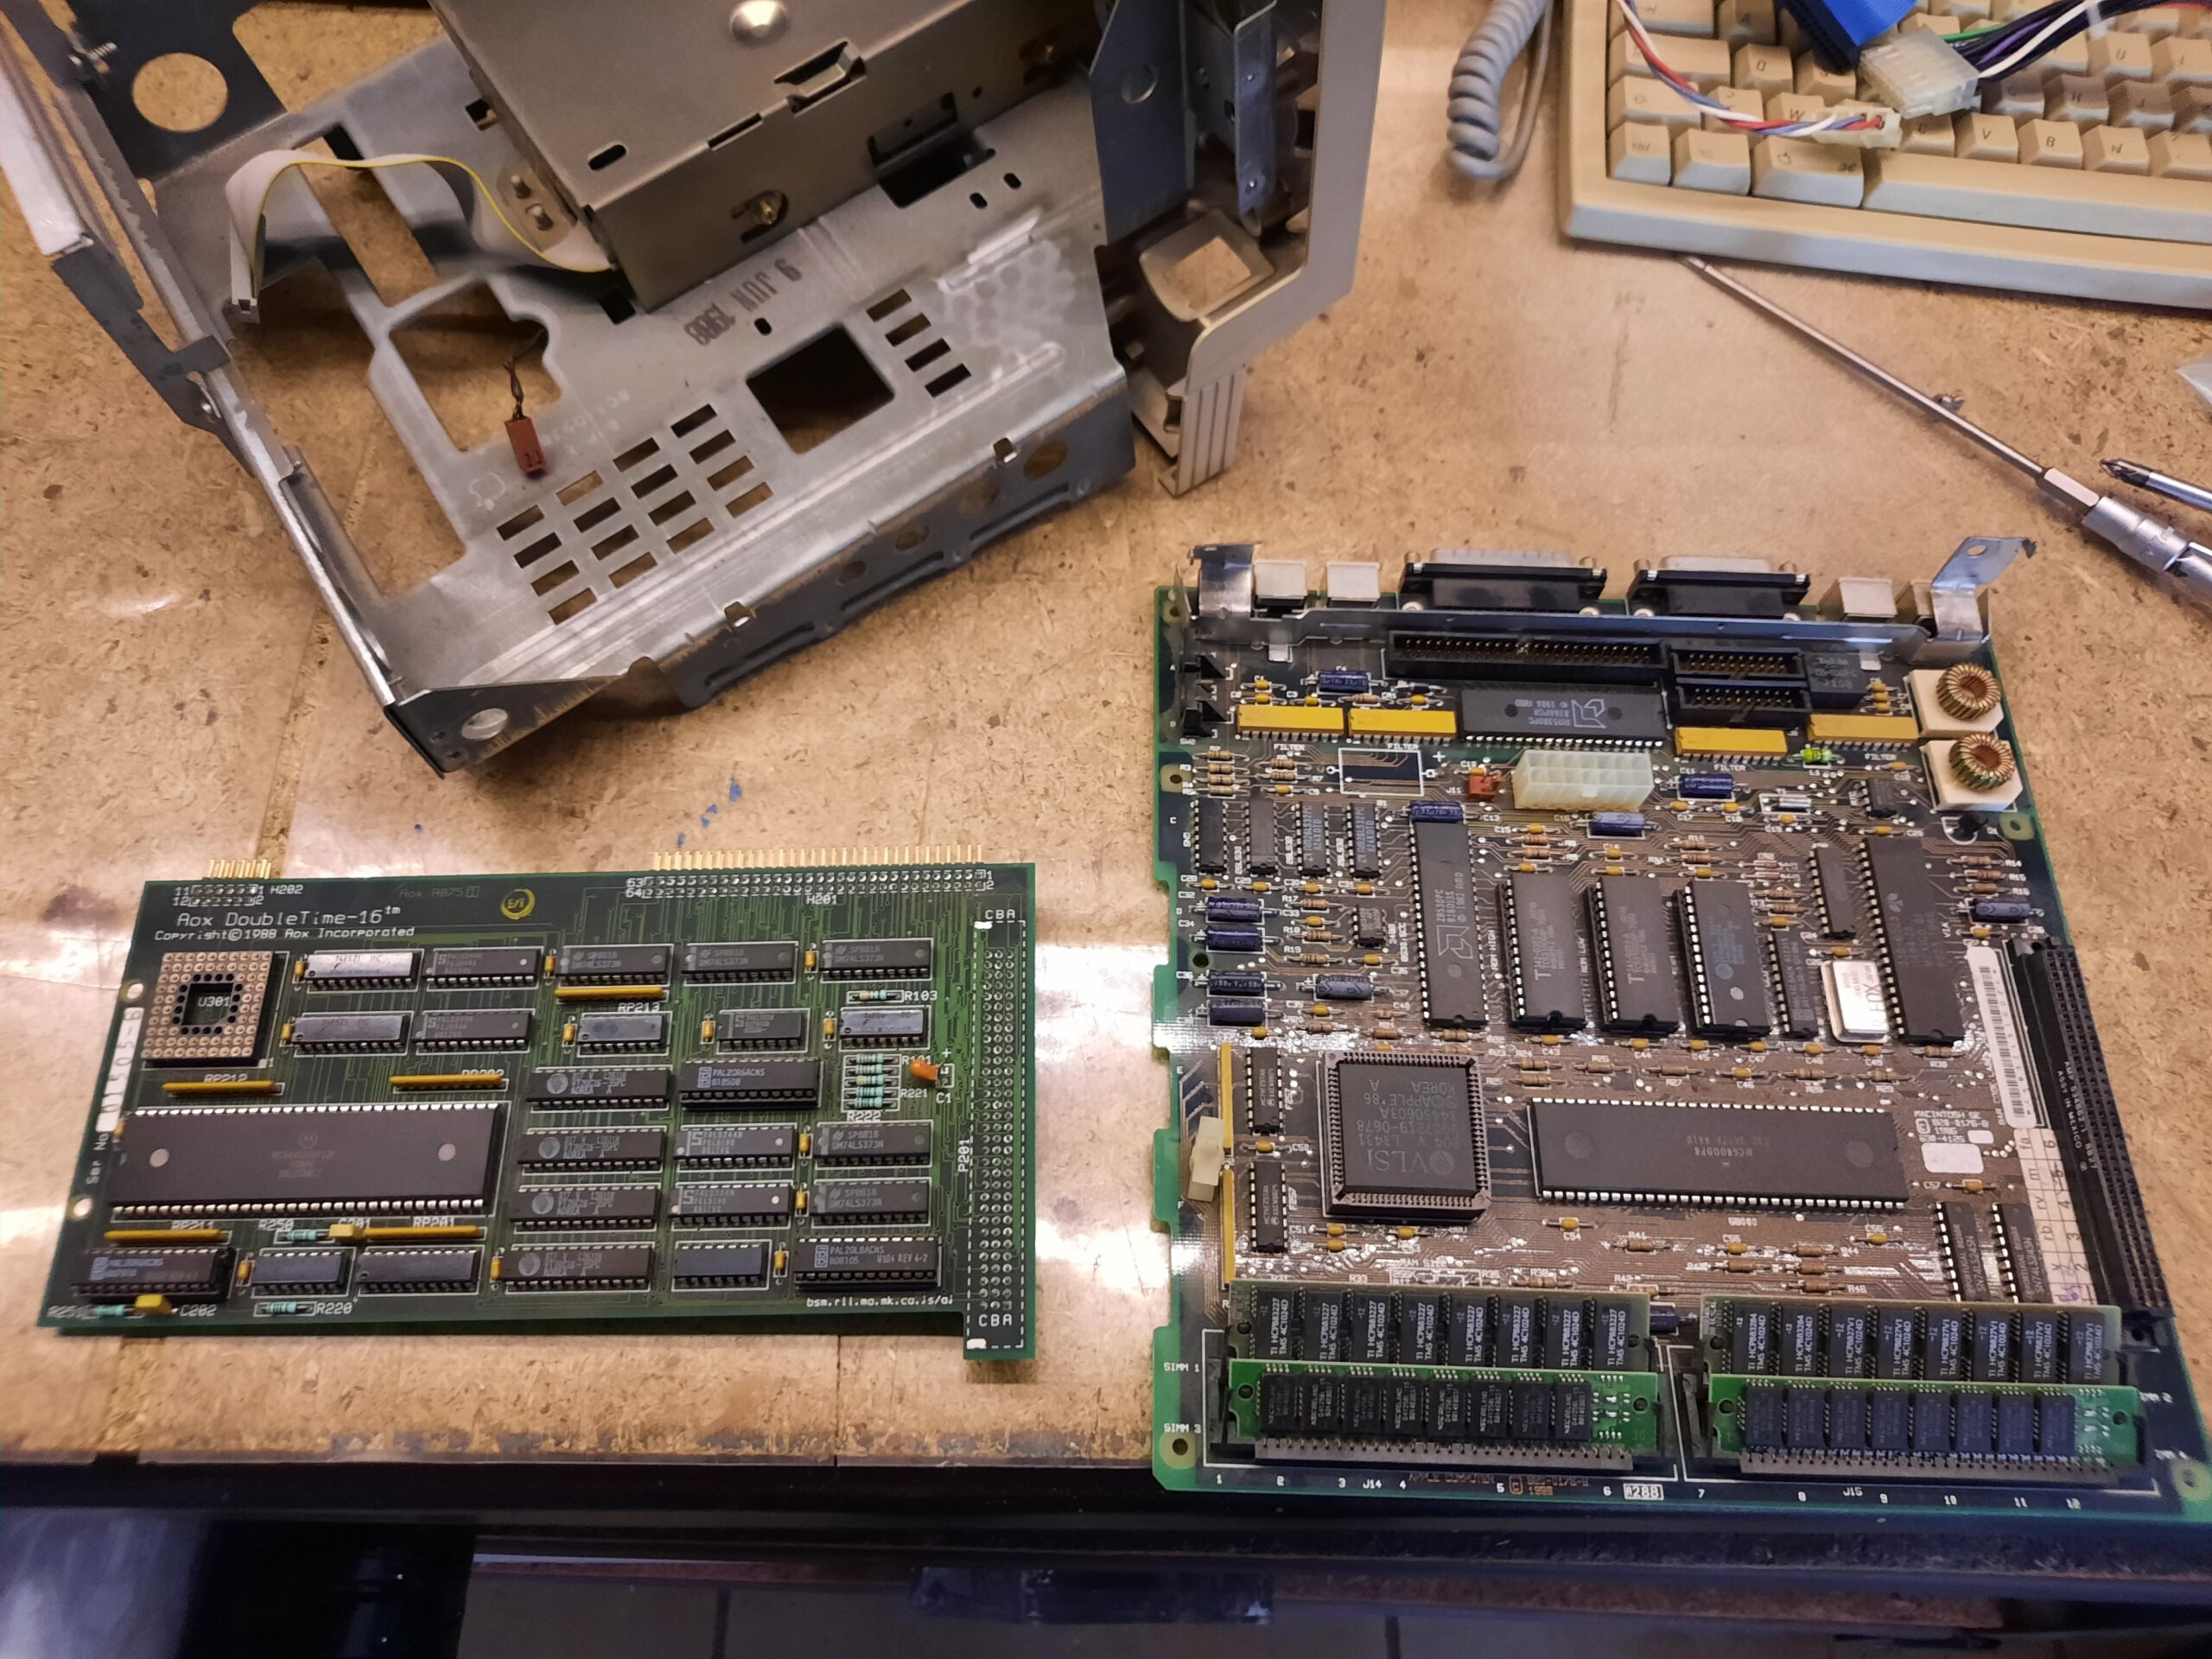
After talking to the owner of these Macs, we’ve established that fixing the hard drive is crucial, because, drivers for this card are very likely on it.
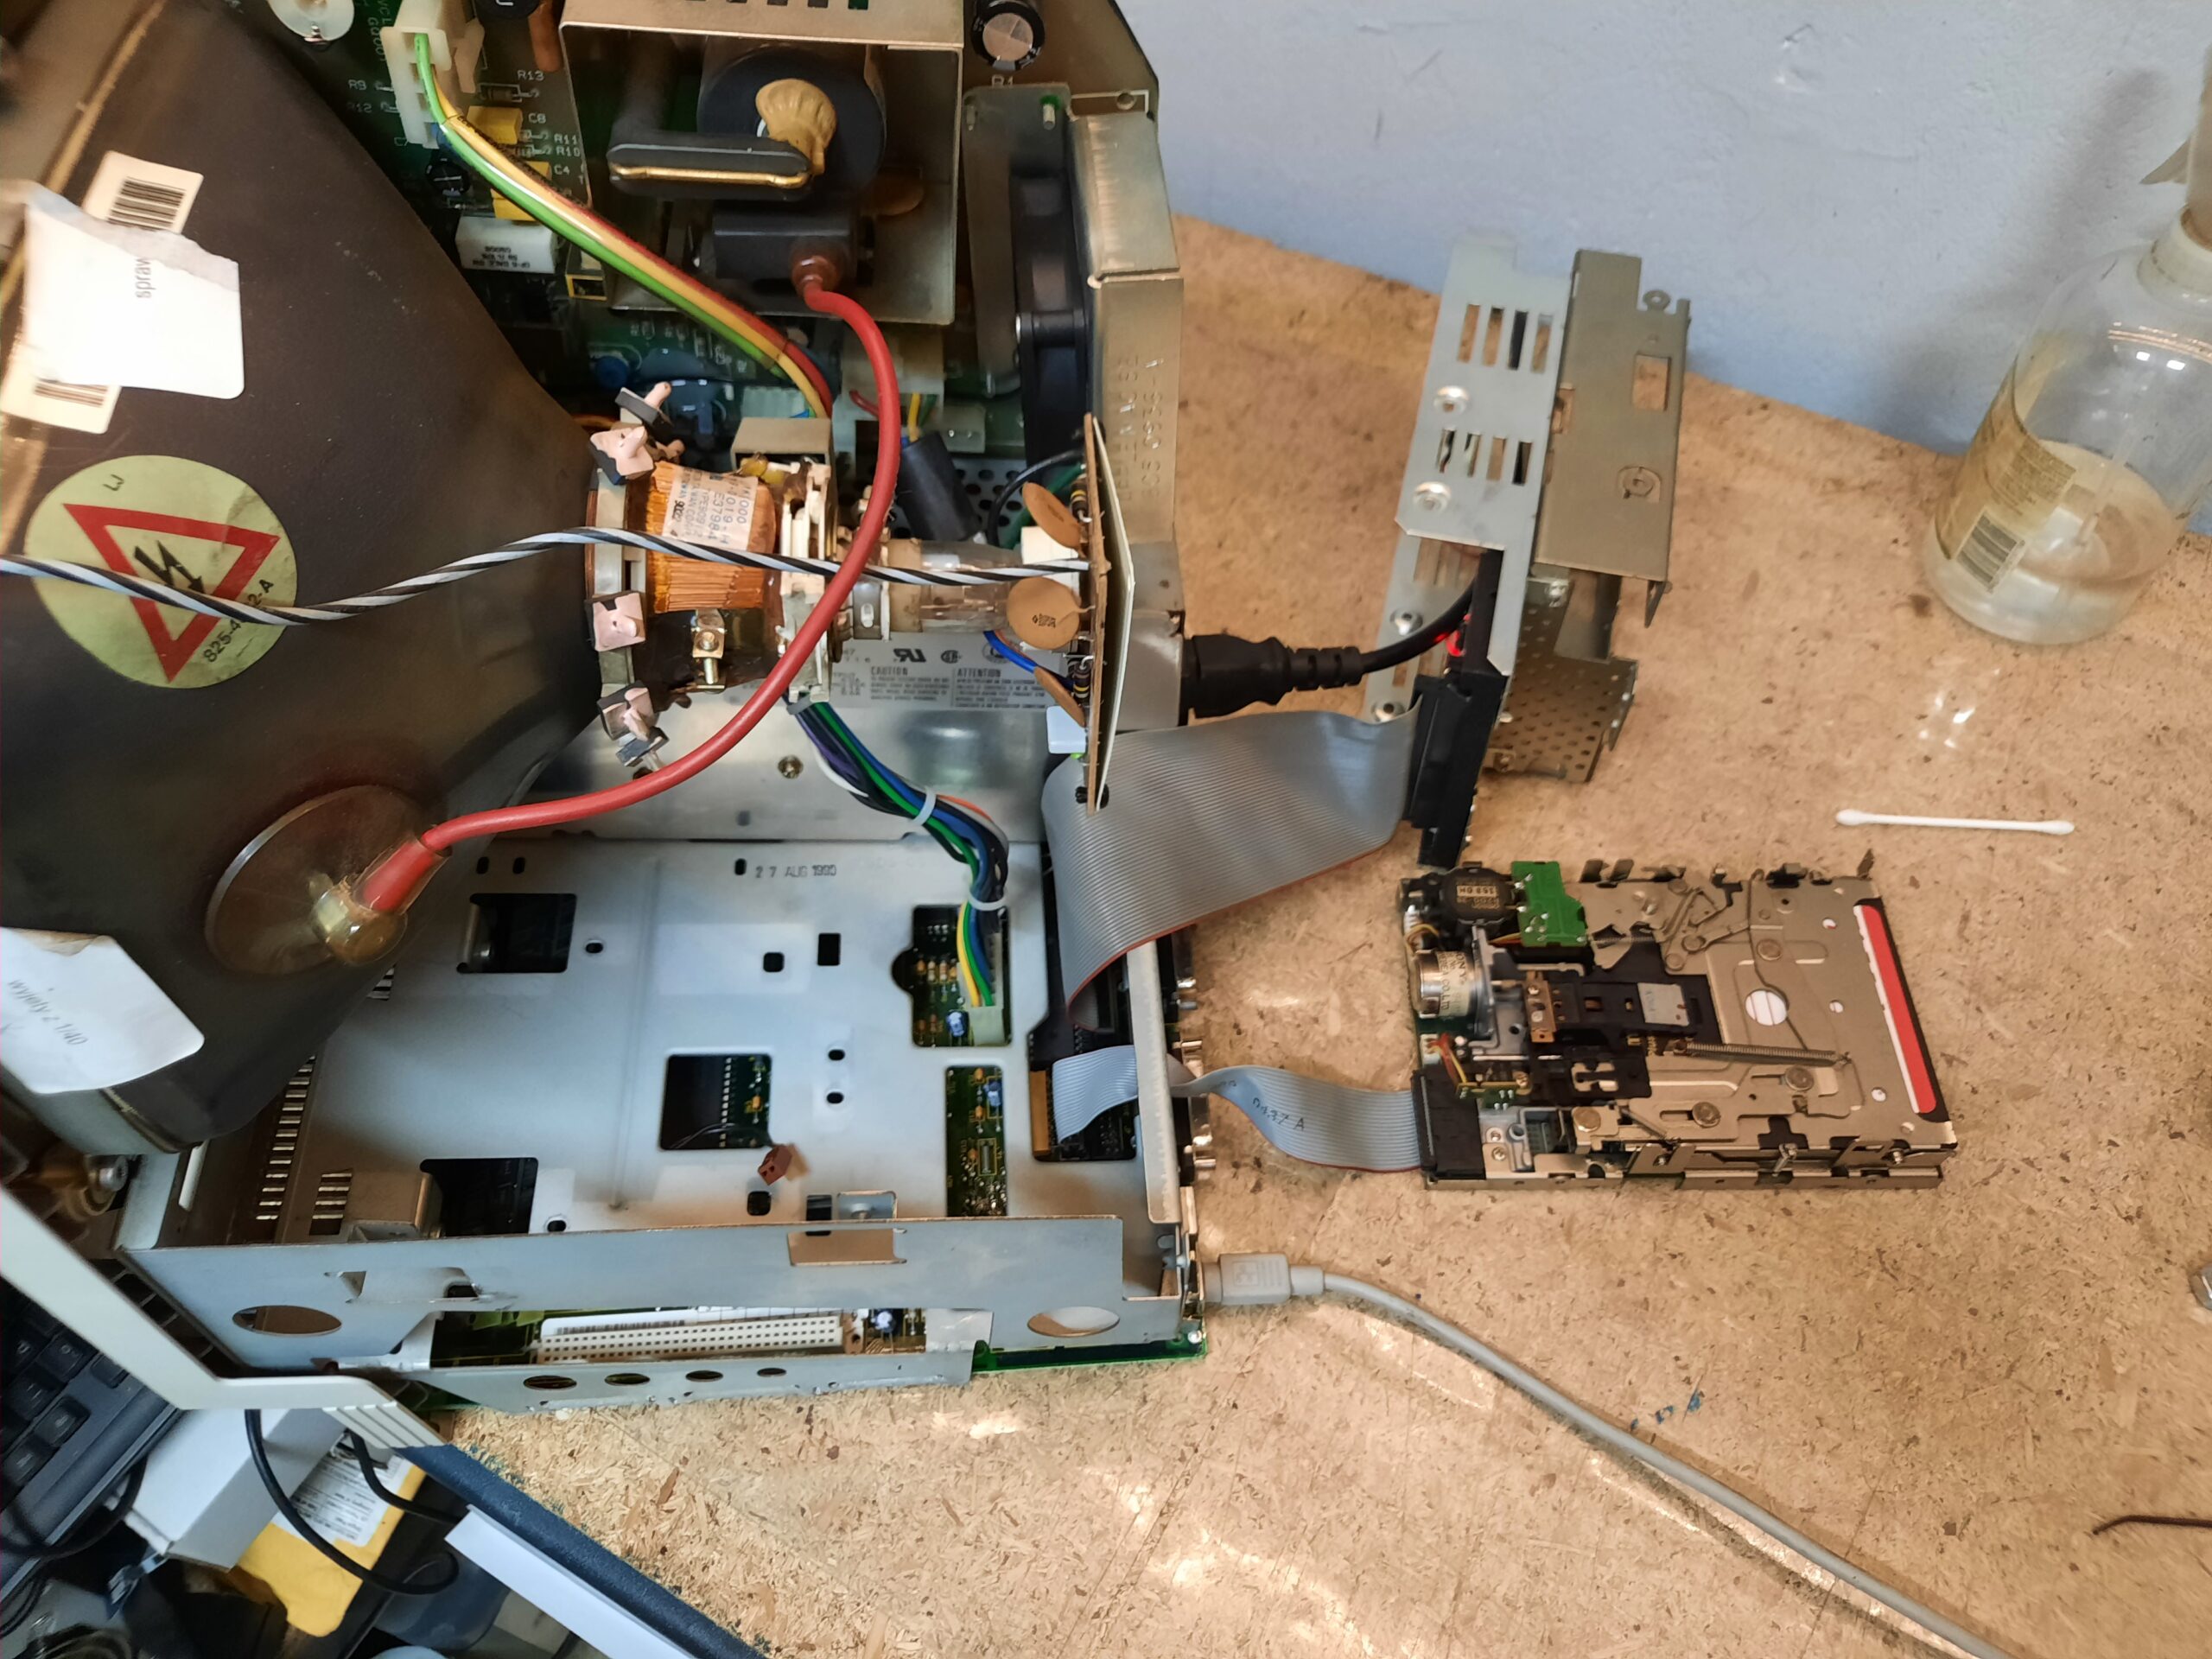
Hard drive story
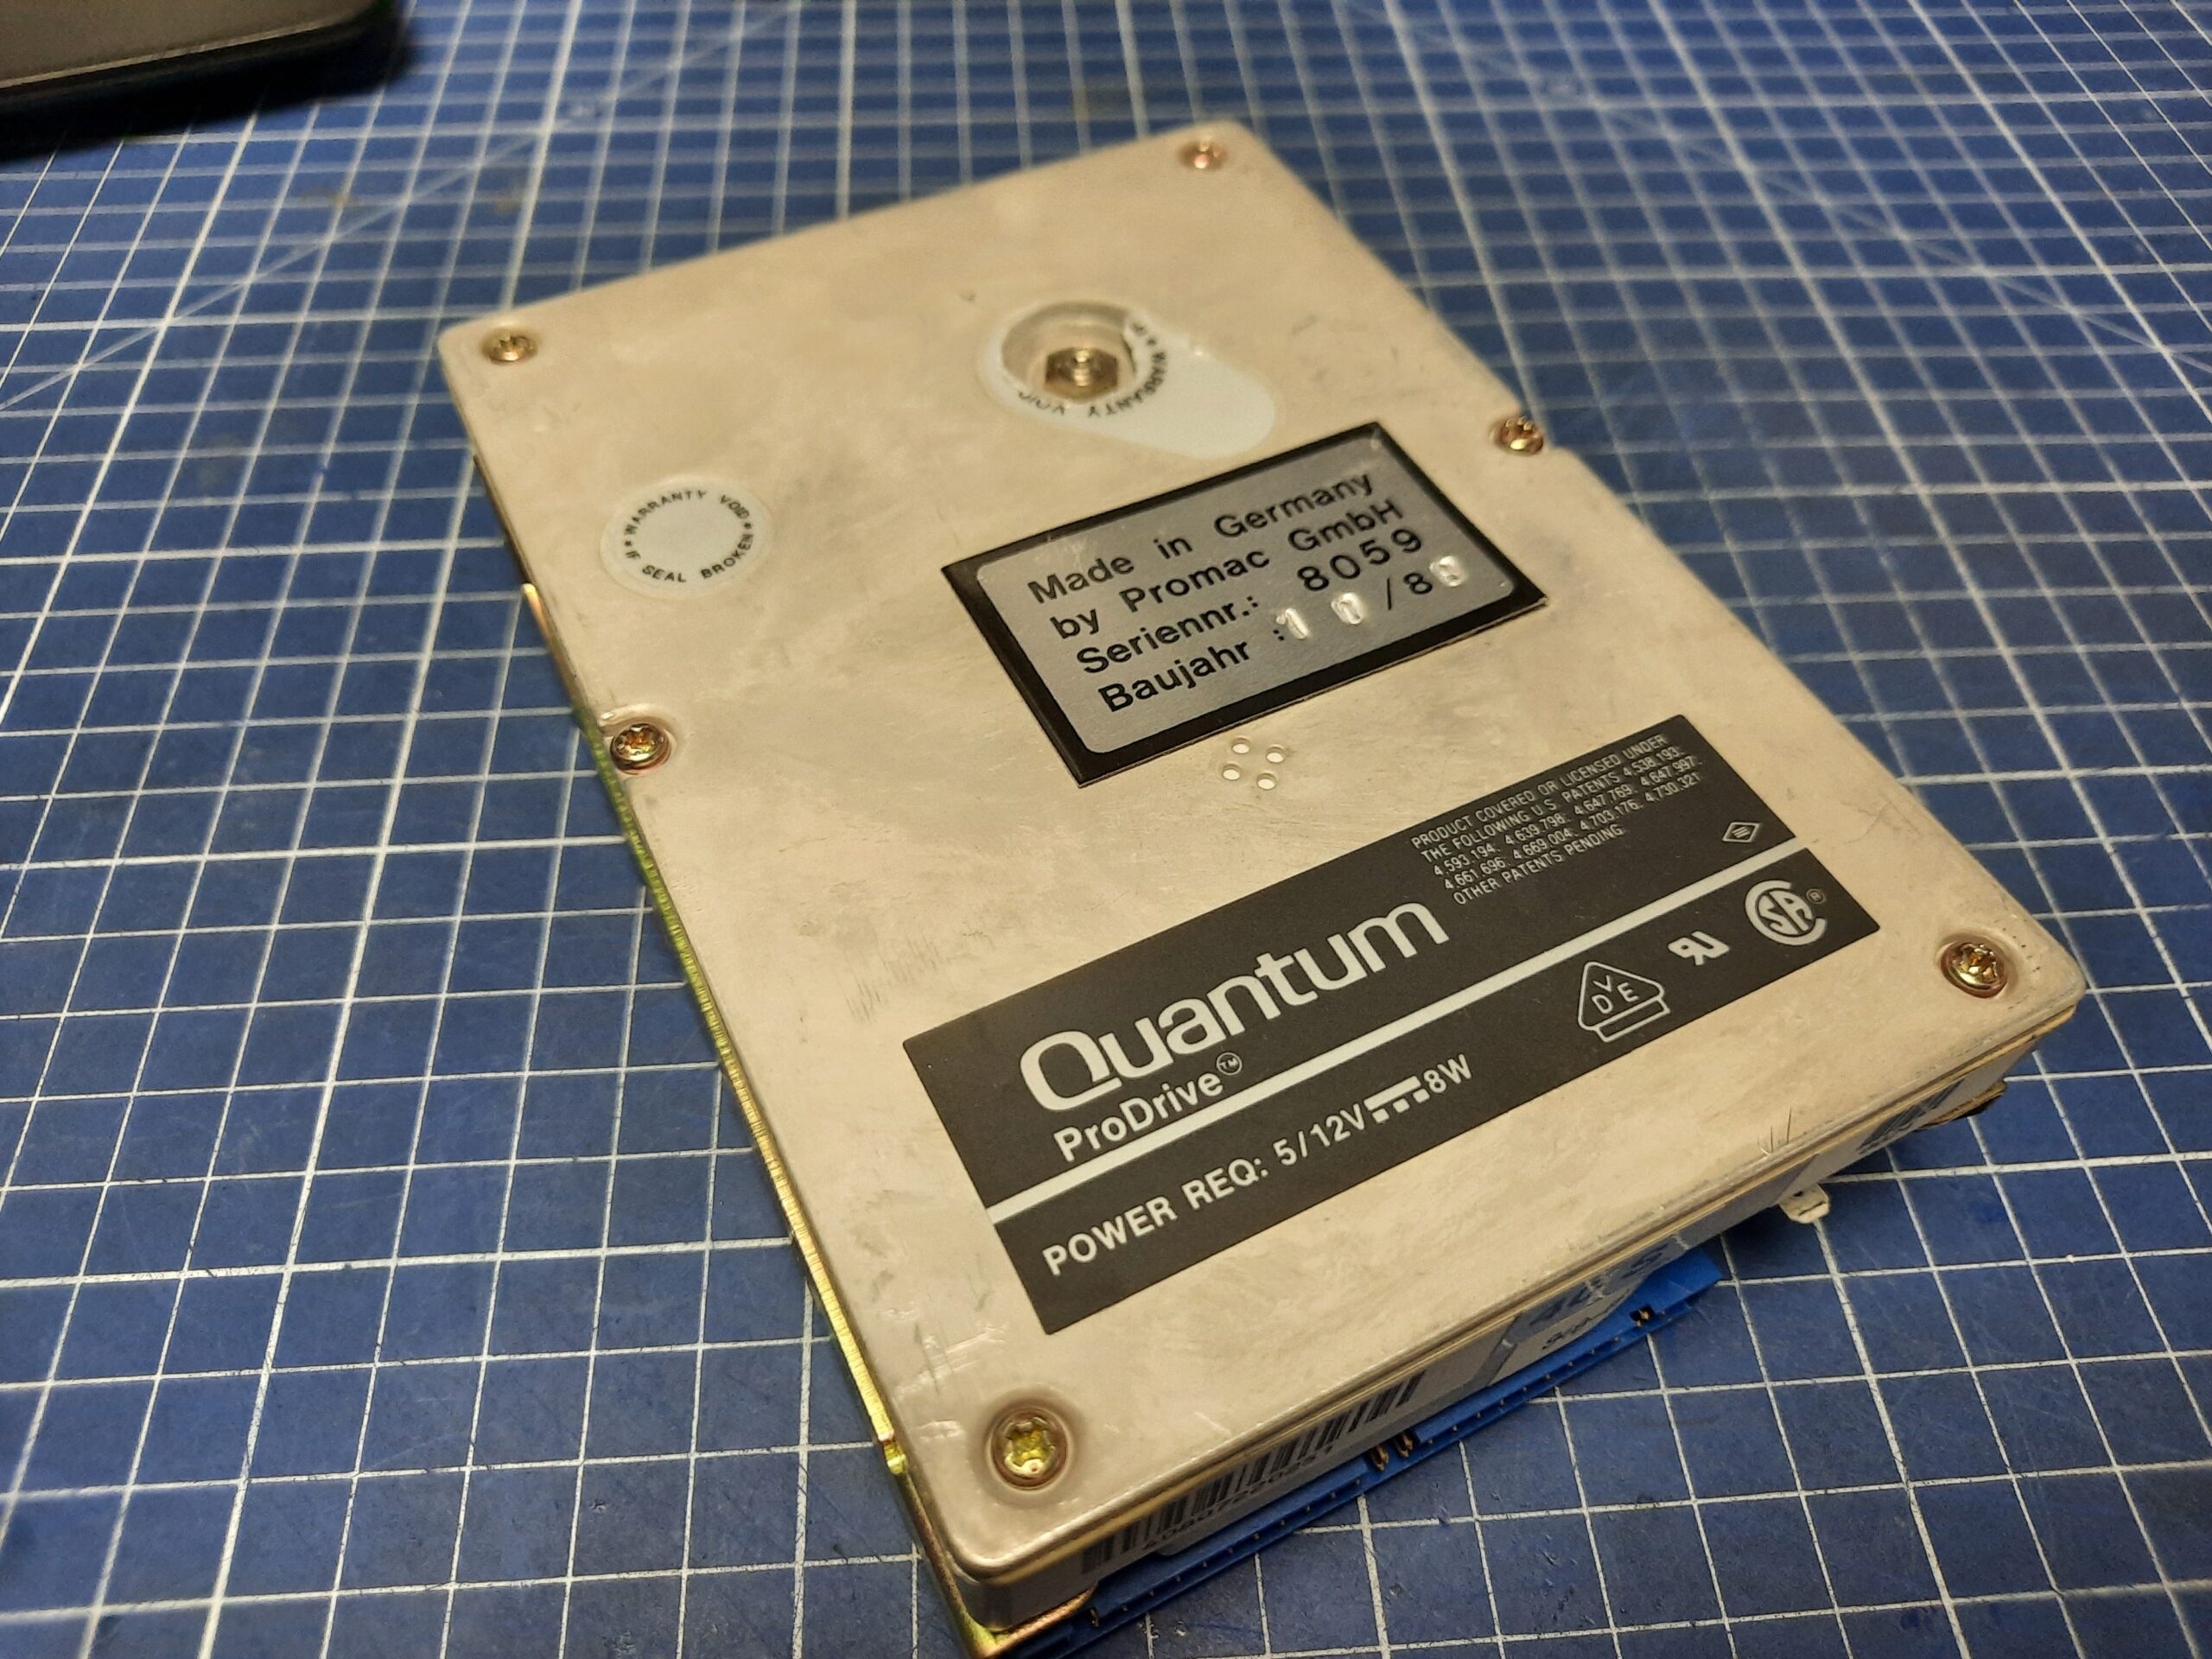
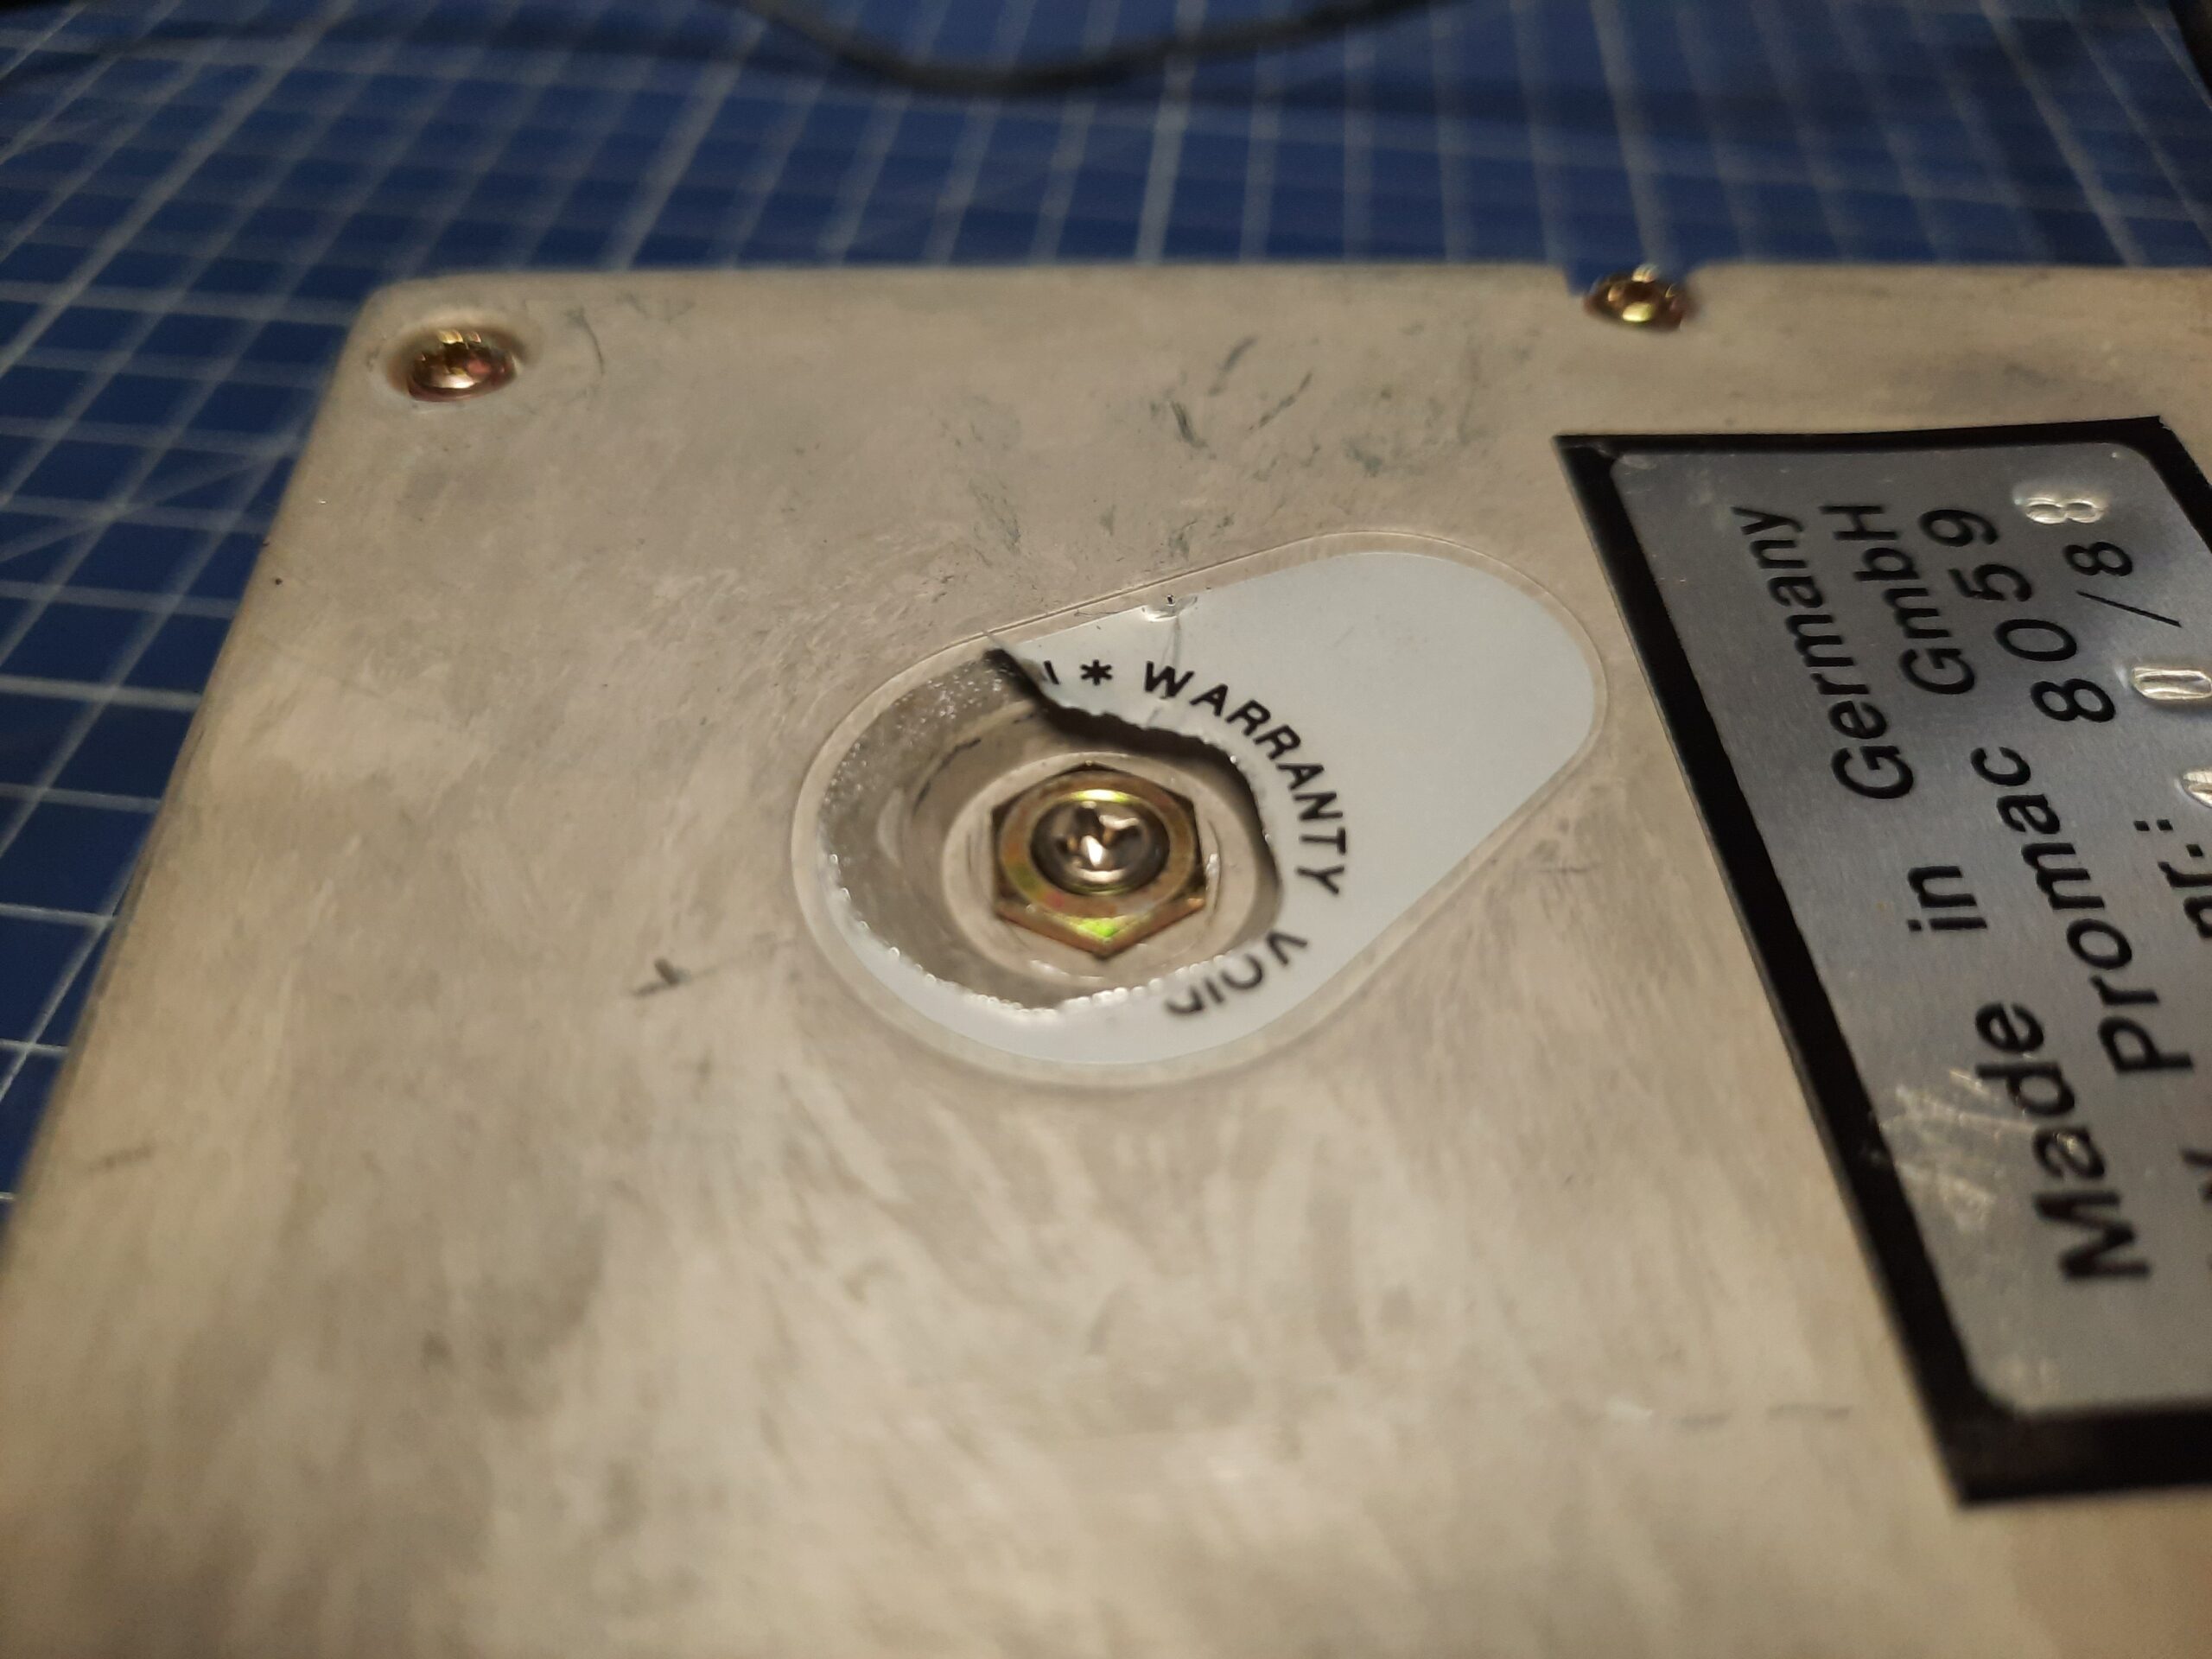
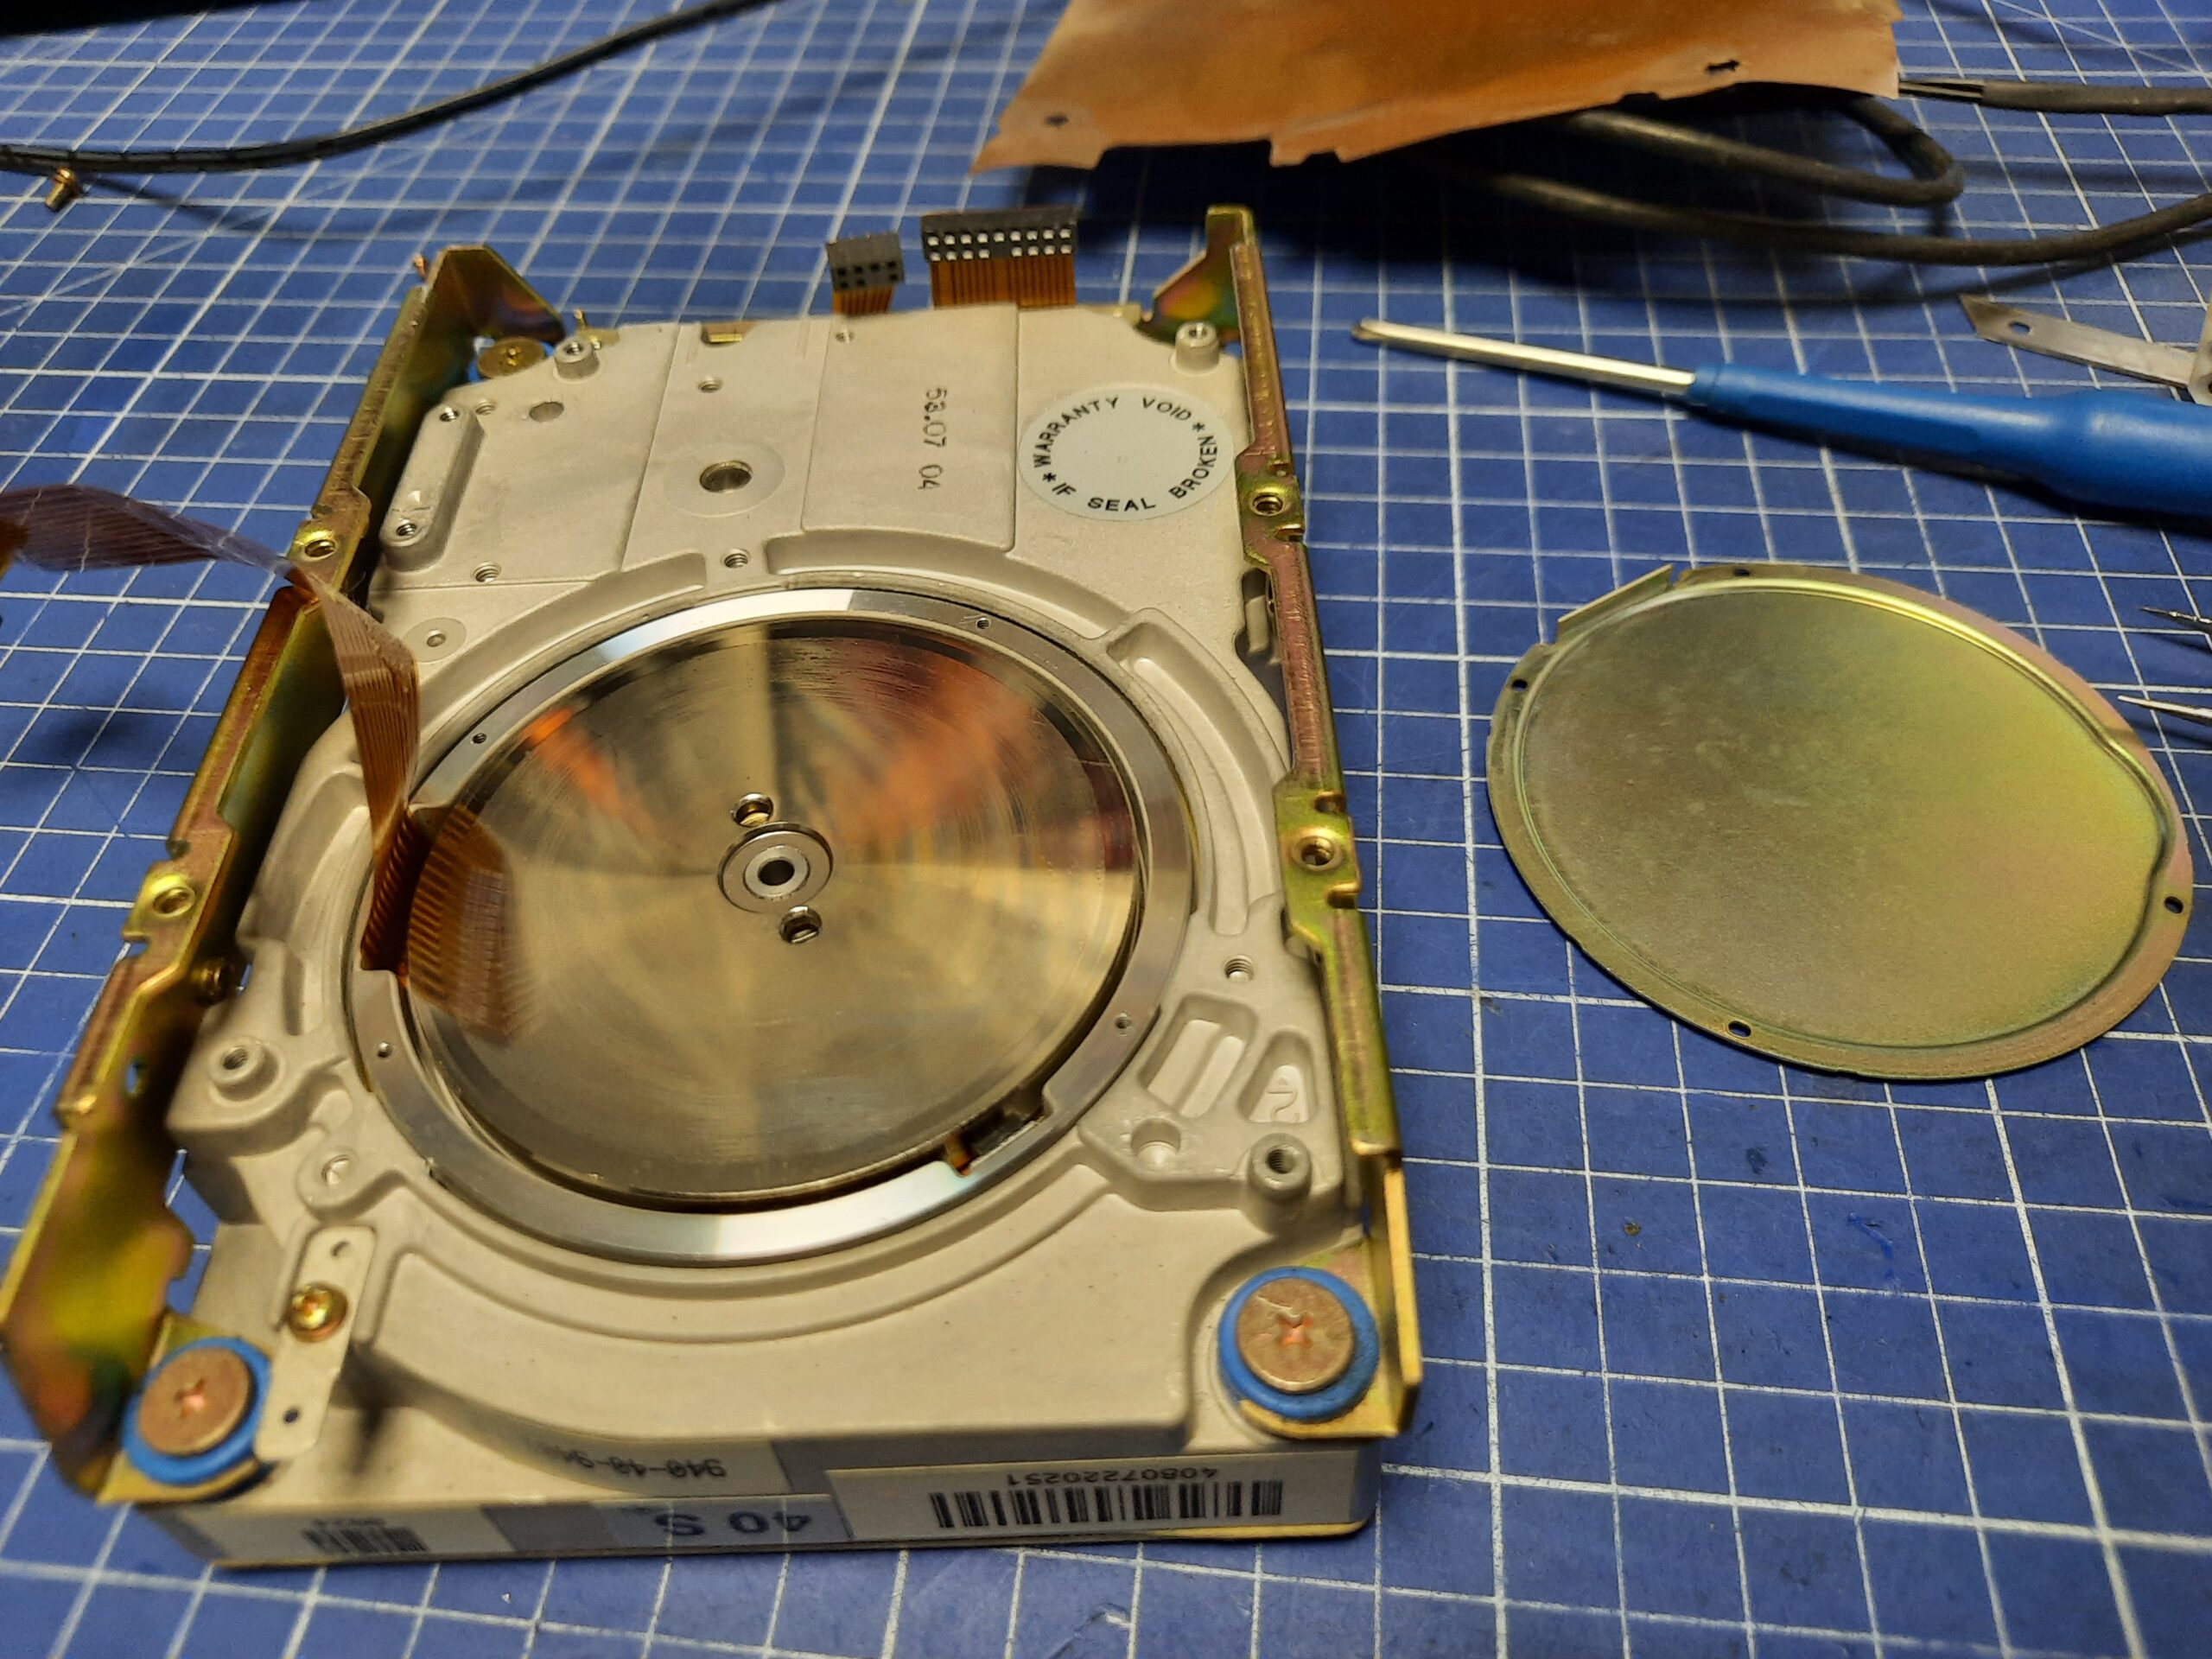
The faulty hard drive is a 40MB SCSI Quantum ProDrive. I started poking around with it.
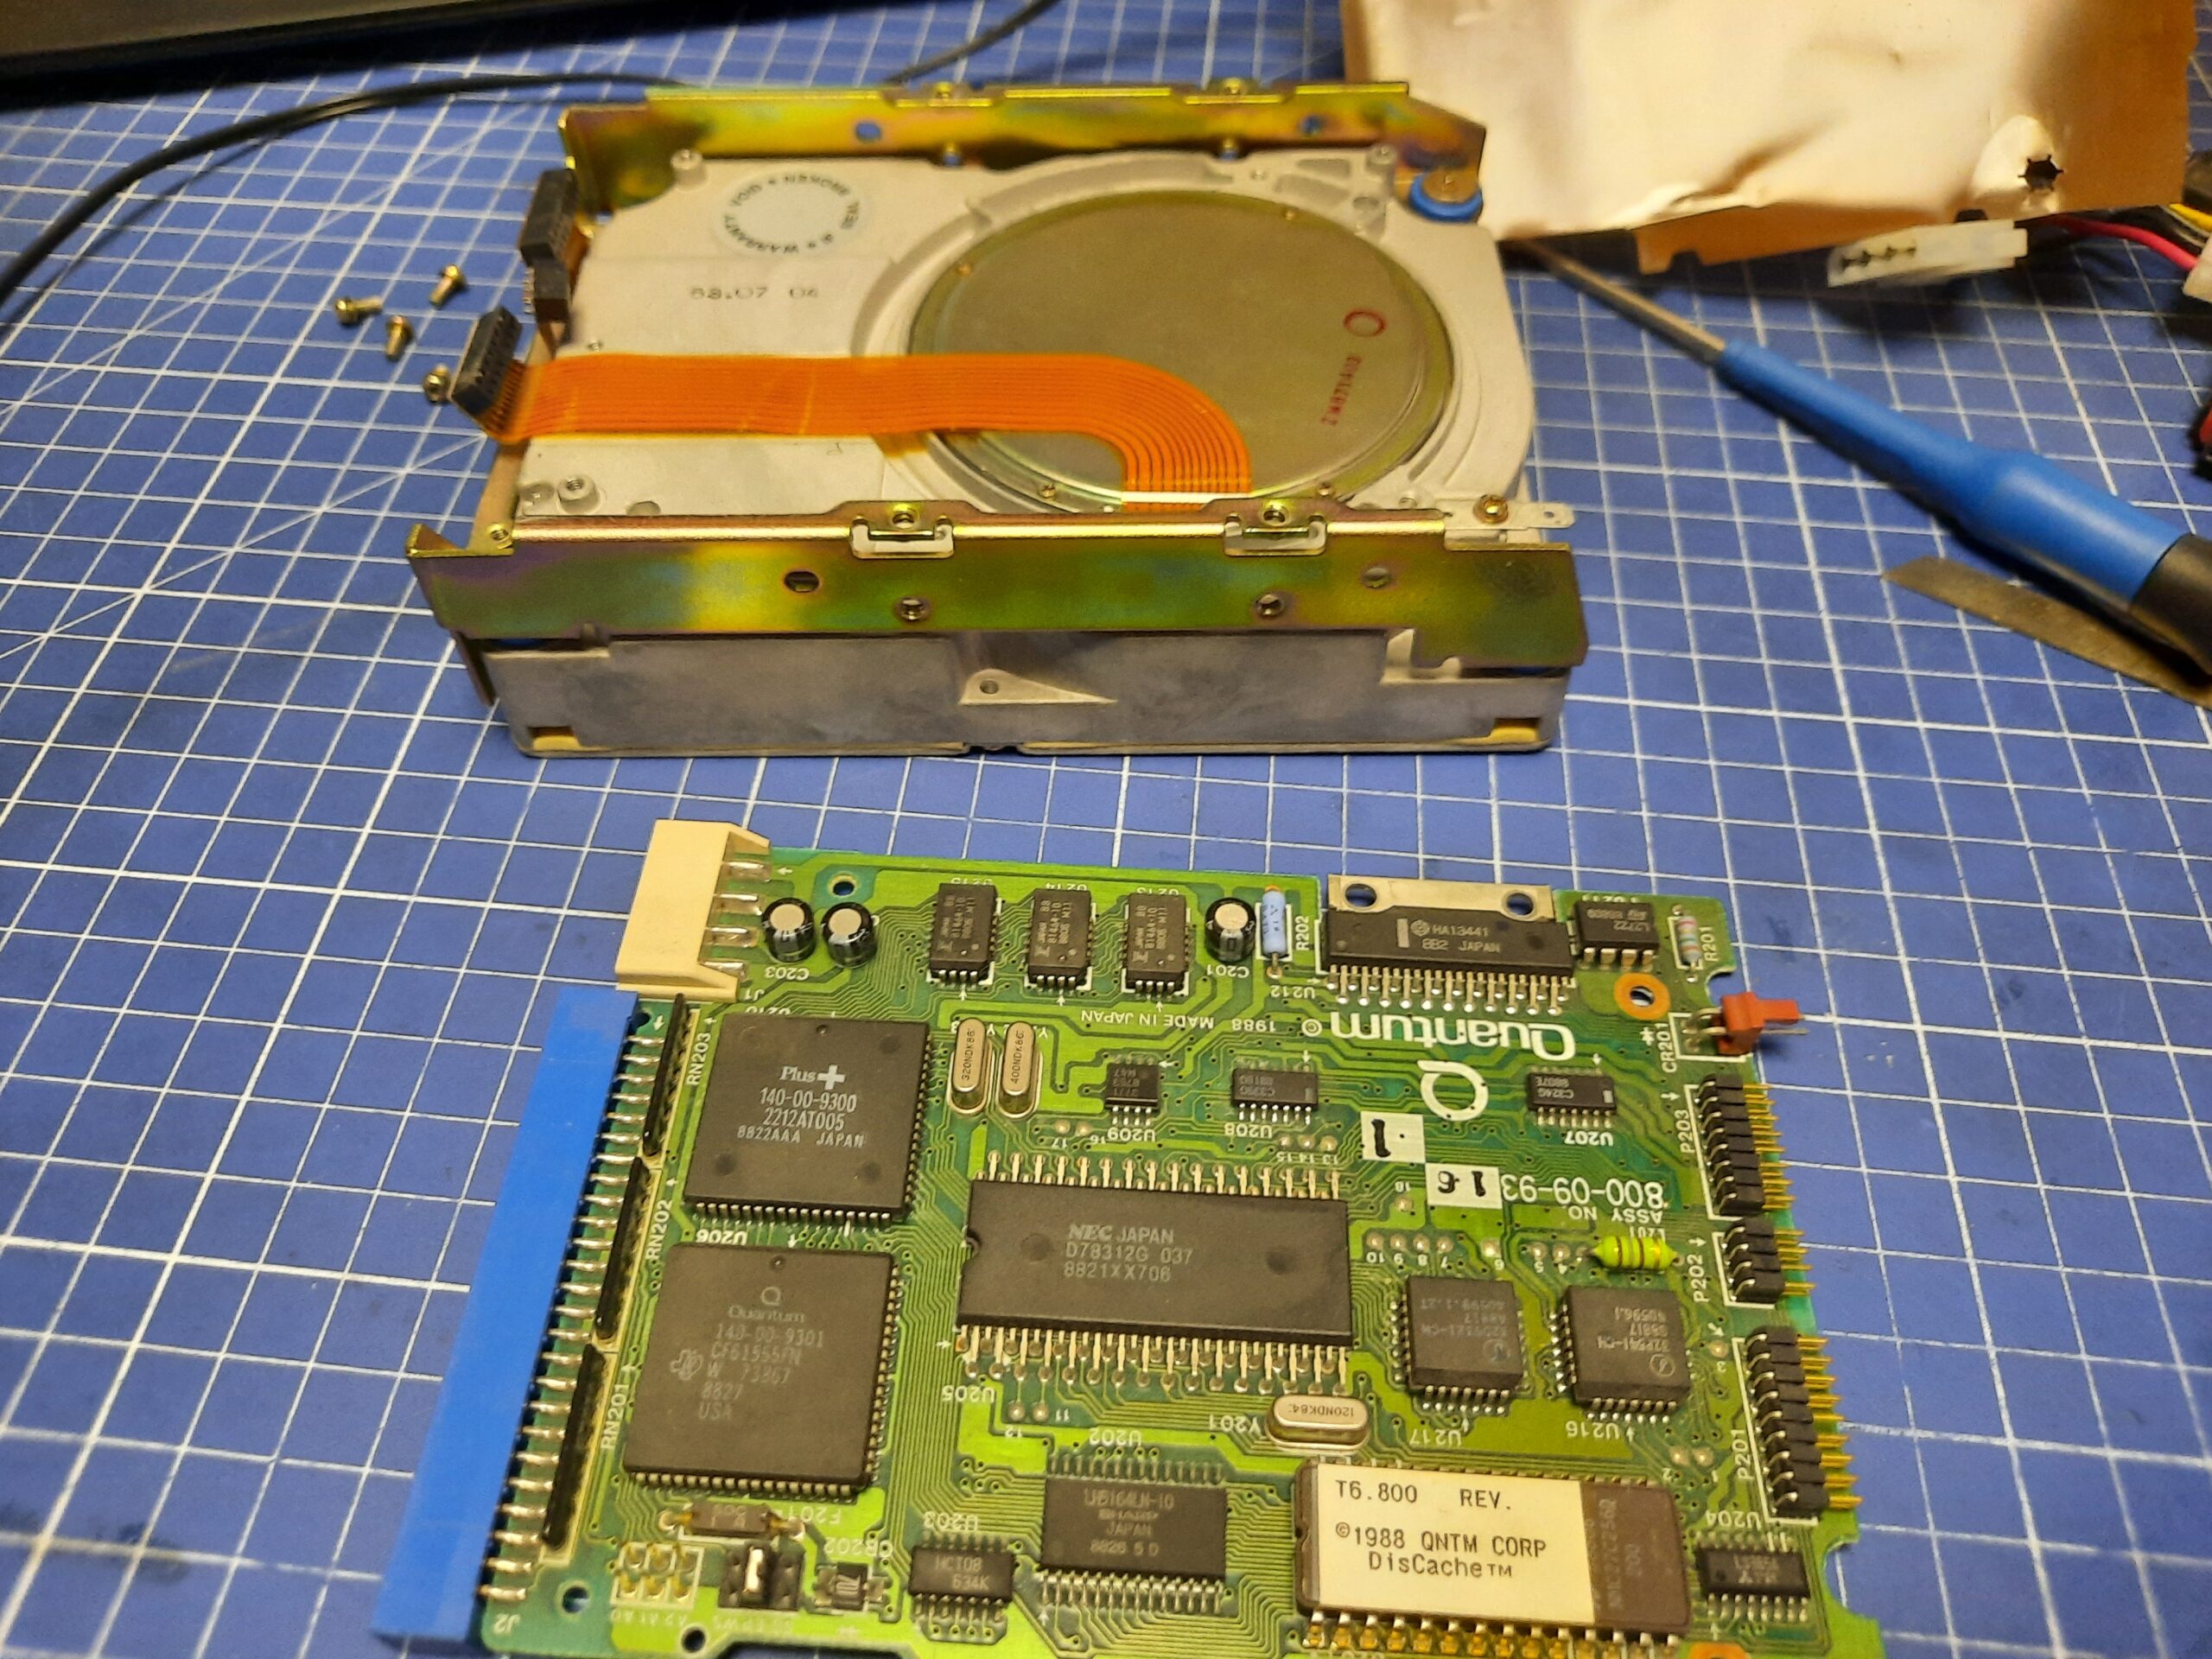
When I removed the metal cover, it turned out that the motor was simply stuck. It only required a gentle push and the discs started to move freely again! Yay!
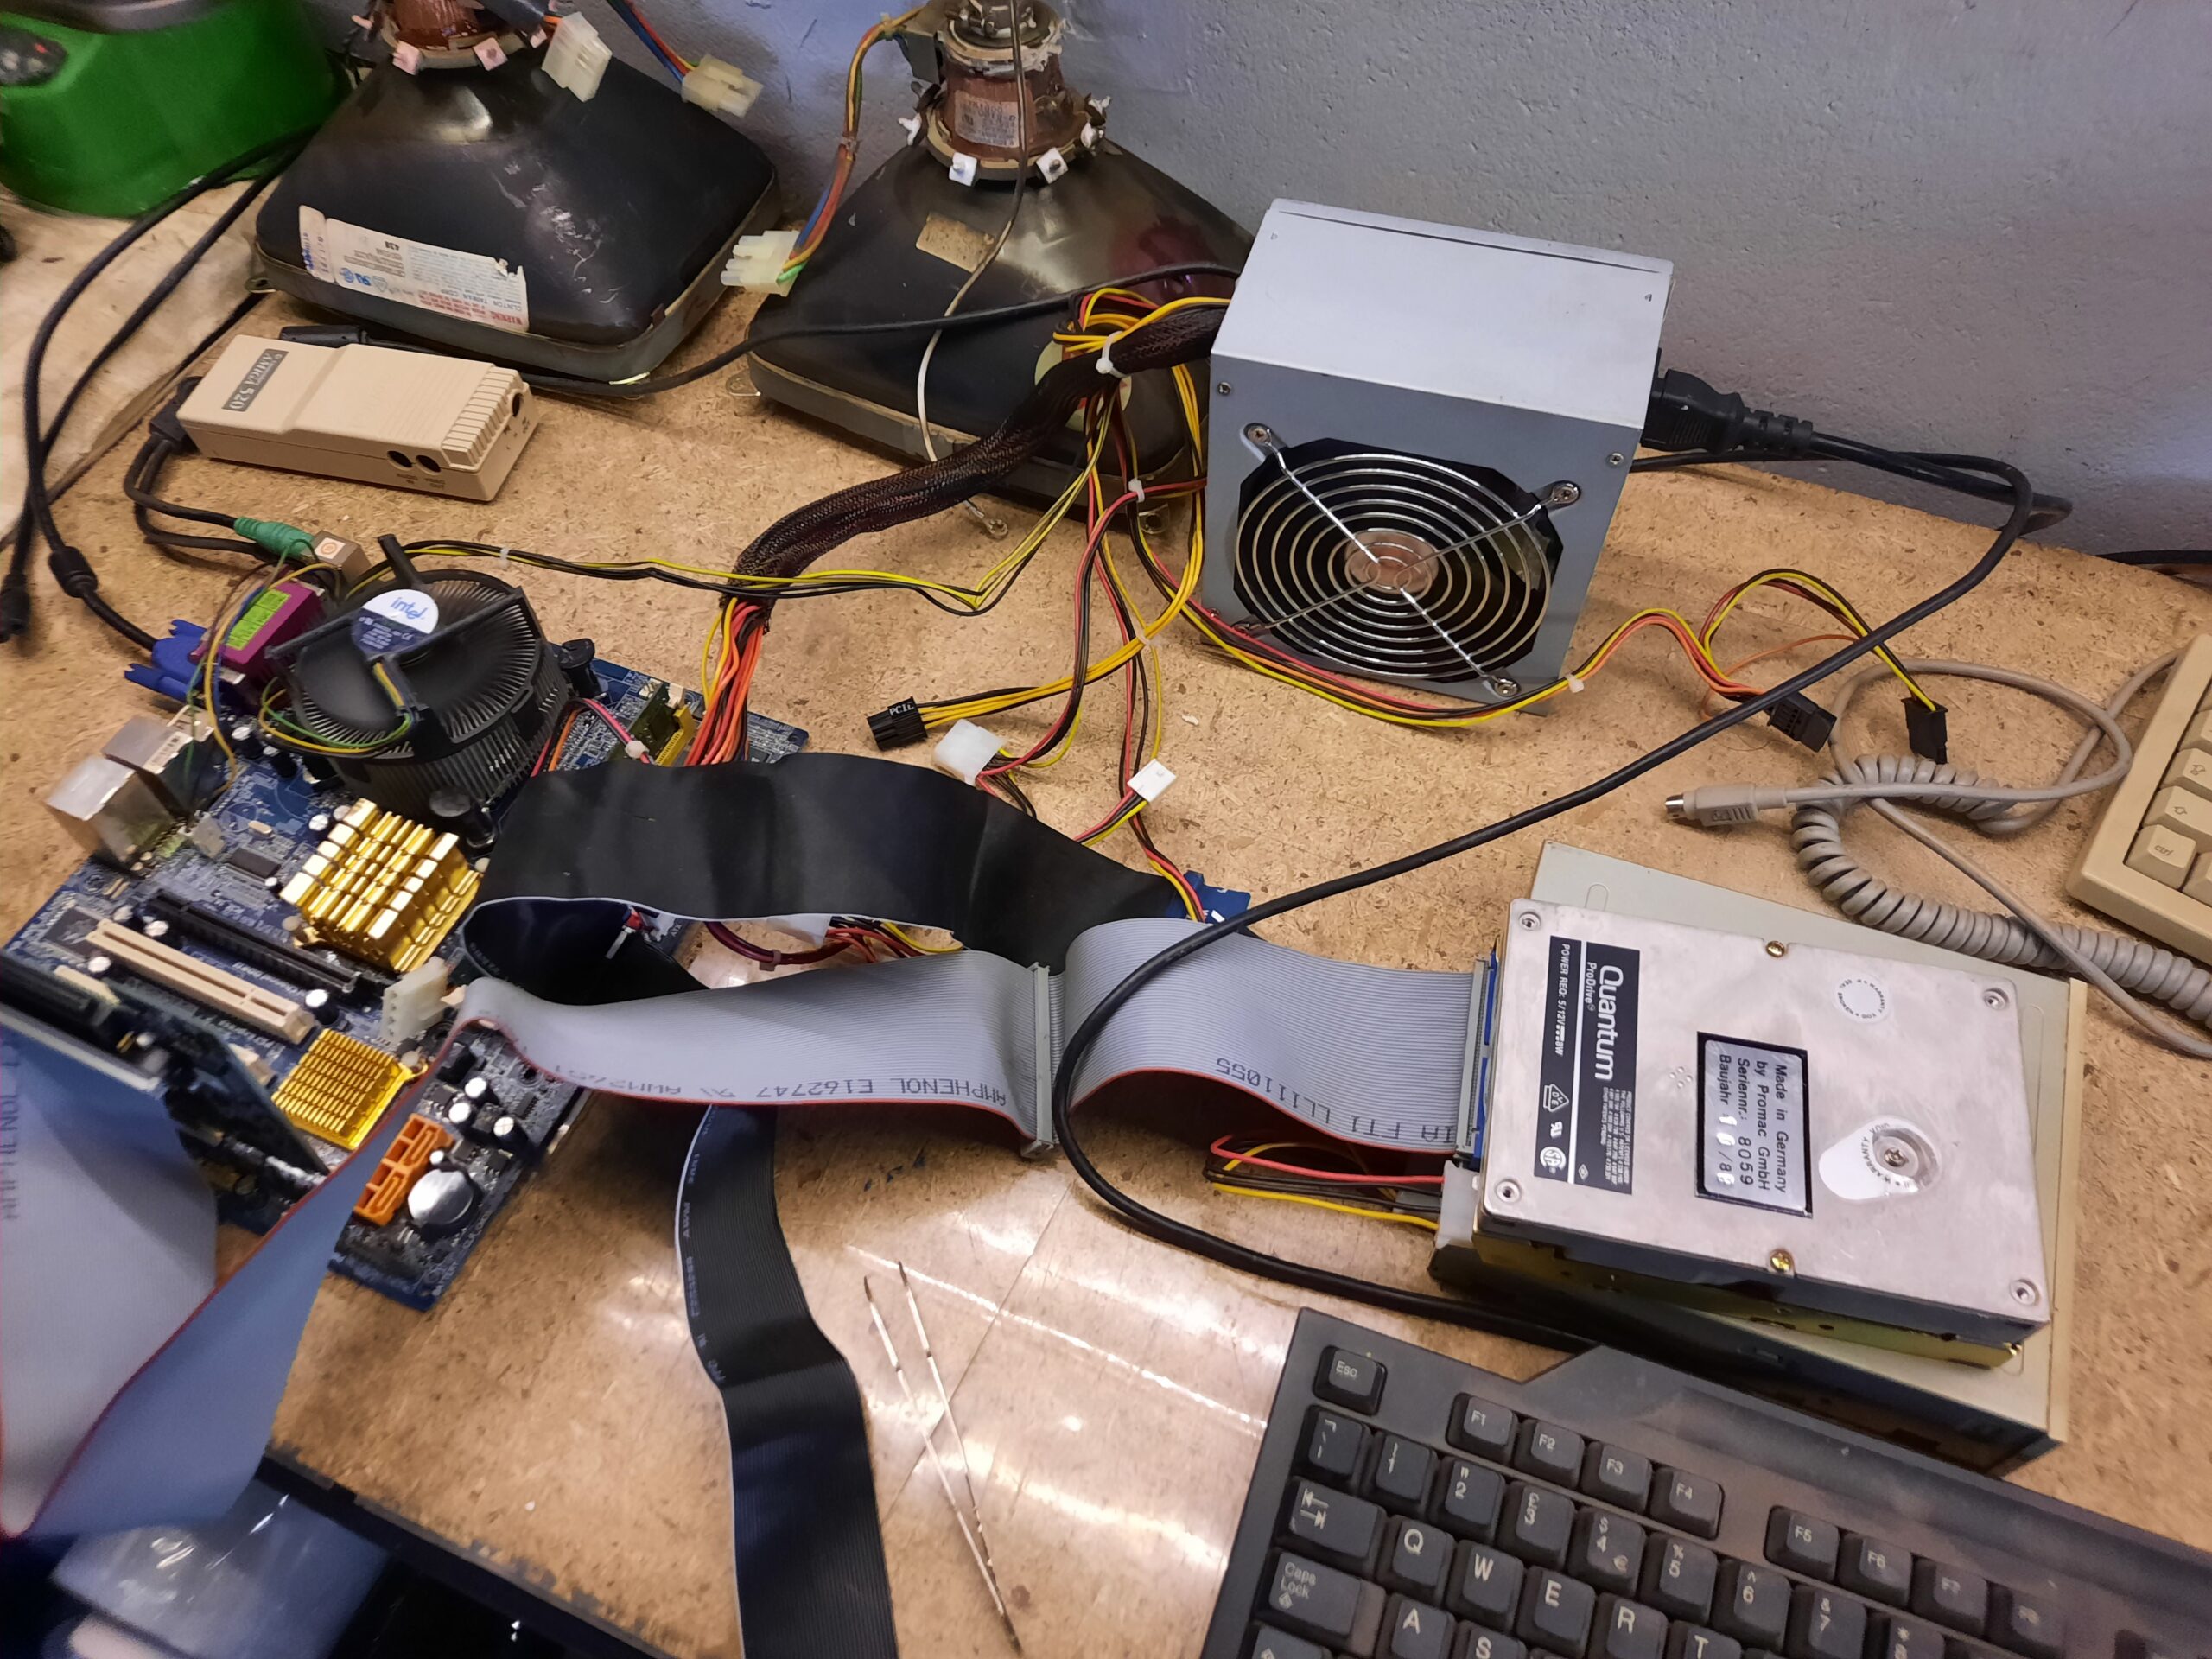
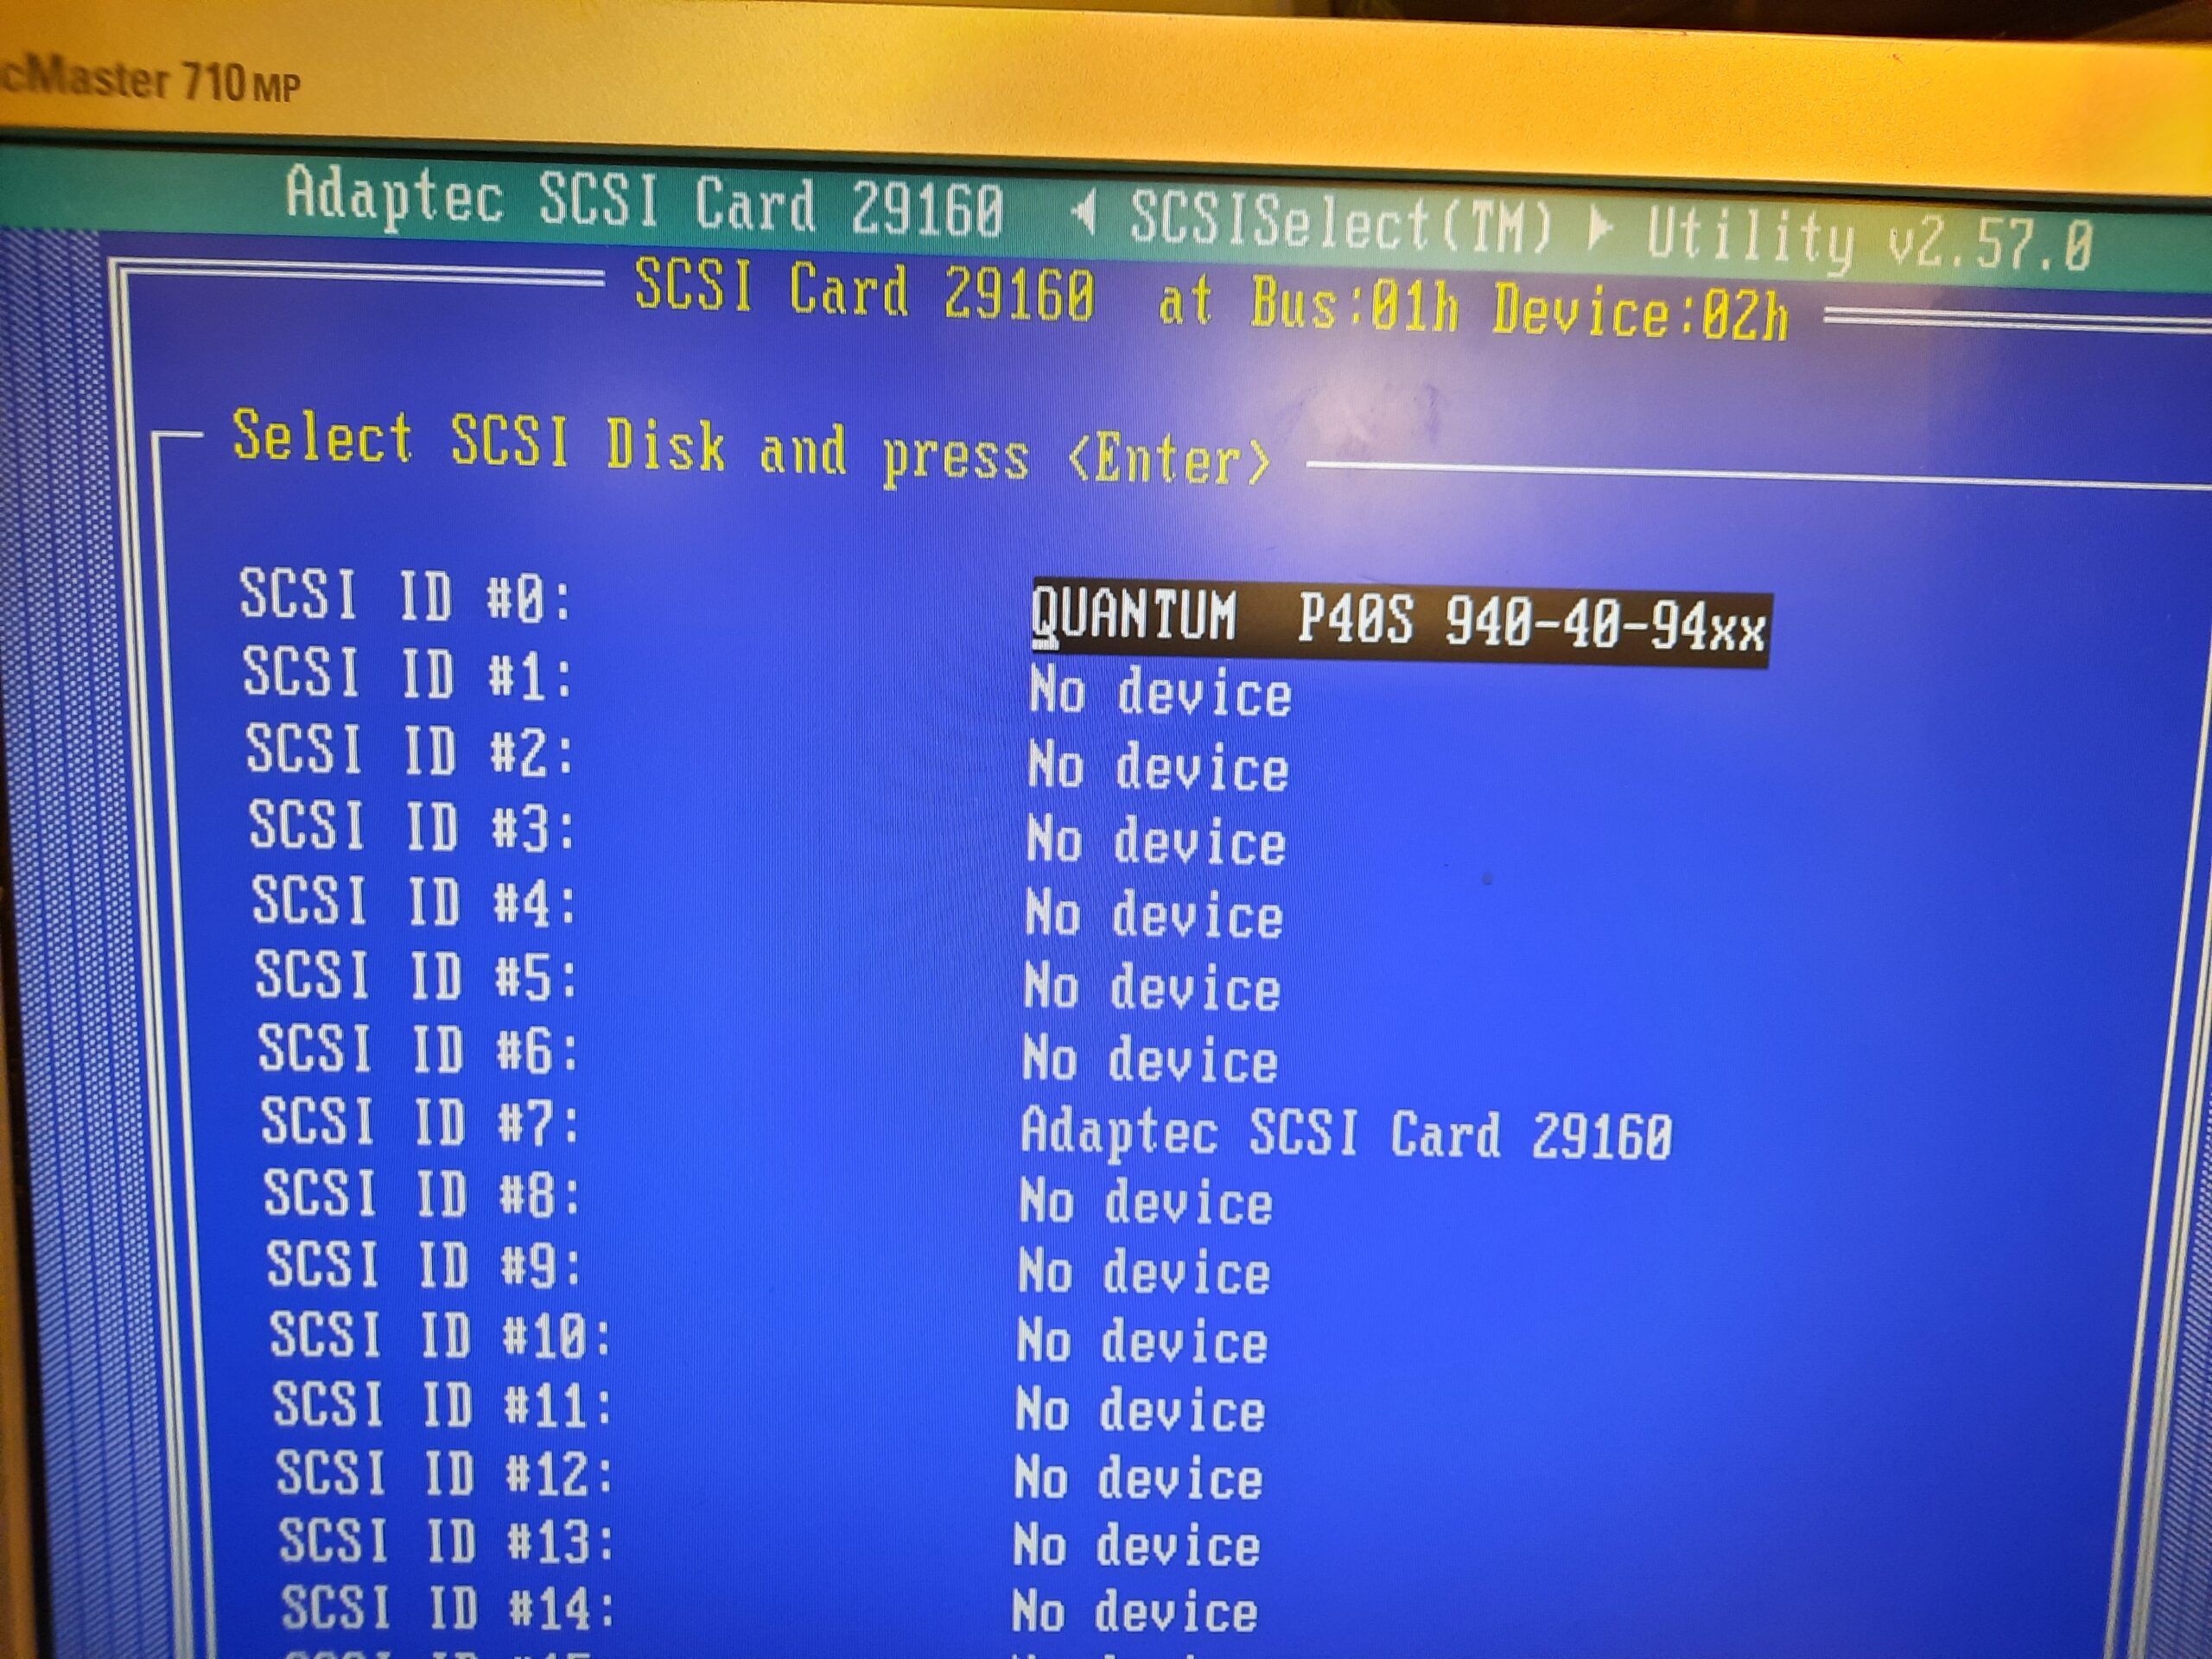
I’ve hooked it up to a PC with a SCSI controller and the drive was successfully detected by it. I then booted to a Linux where I could dump the whole disk into an image file.

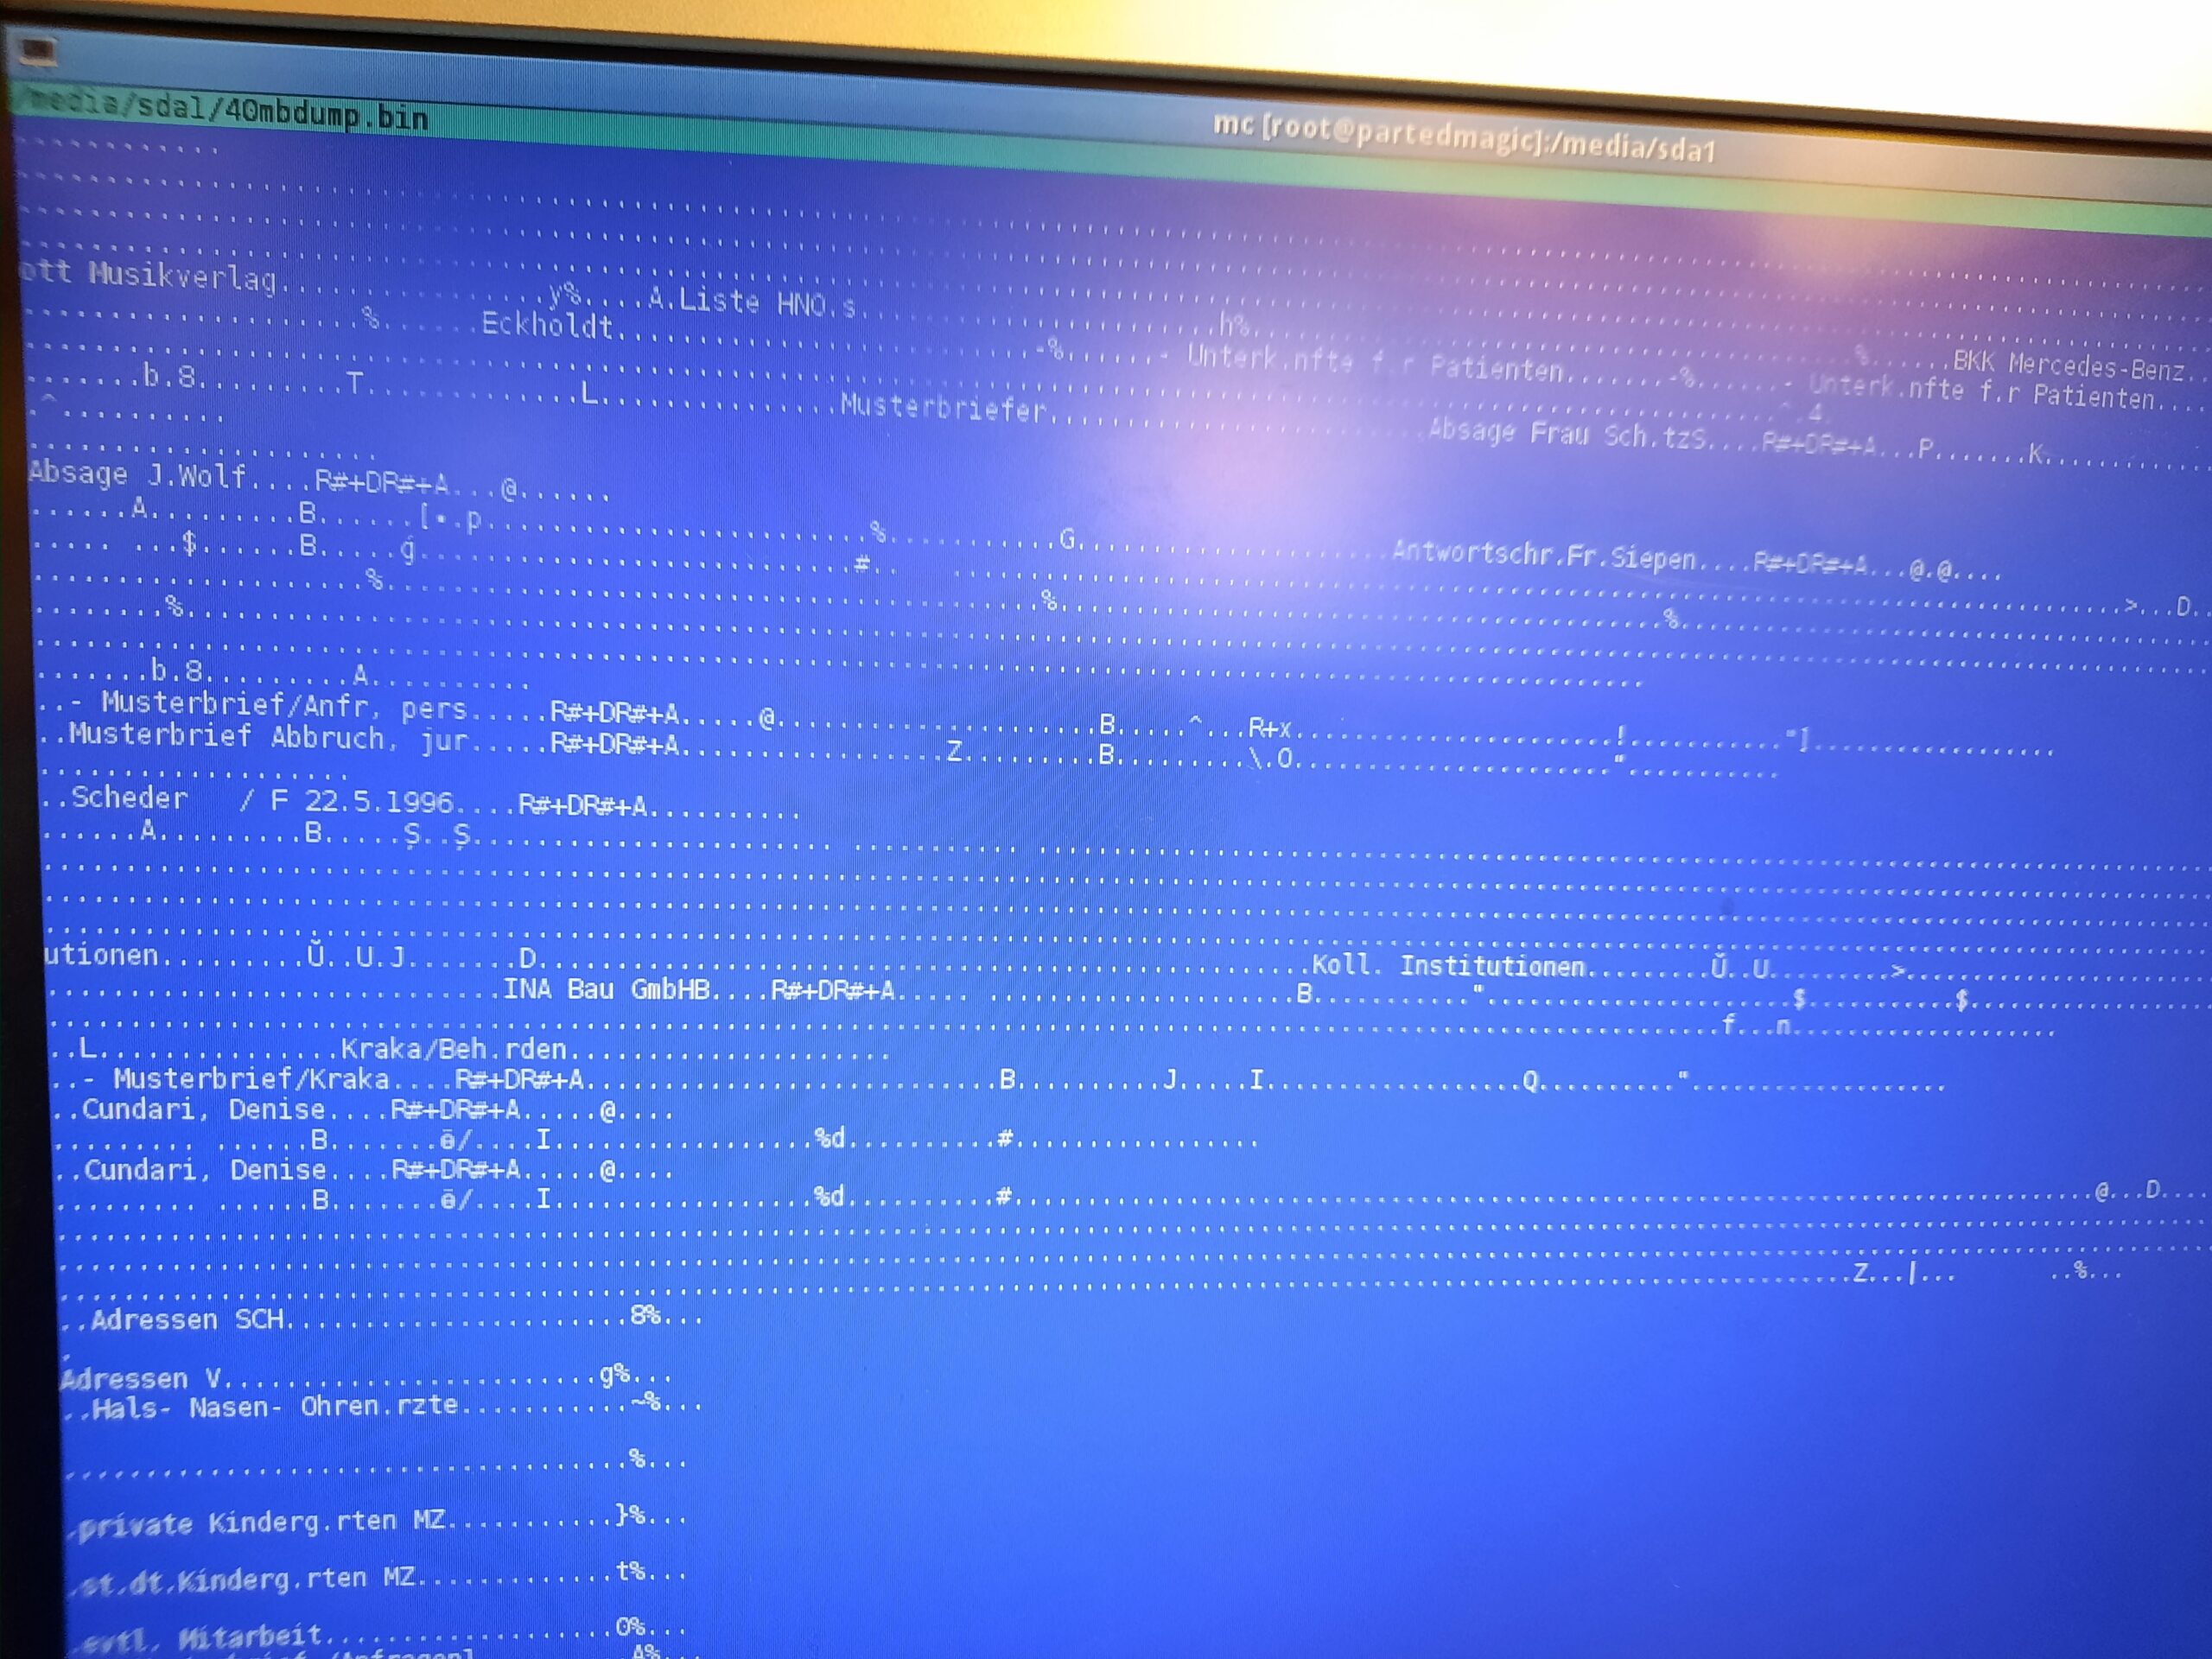
With the image, I could then hook it up to a Mac emulator and extract the drivers from there. Success!
-=-2025 UPDATE-=-2025 UPDATE-=-2025 UPDATE-=-2025 UPDATE-=-2025 UPDATE-=-2025 UPDATE-=-2025 UPDATE=-
Ok, so here is a small 2025 update. I did manage to dump the whole disk to an image and kept it for later – original idea of the owner of this Mac SE.
There is a bit more to that story. It turns out that drivers for this AOX accelerator card are no longer available anywhere these days. Nobody has drivers, in other words. Some time after publishing this blog post, Bolle, who is a Mac guru, contacted me in the comments section asking if I’ve managed to get the drivers out of the disk image. Well, I am lame if it is about Macs, but I did my best and found out that there are some files that could be drivers for that card inside the HDD image dump. However, I couldn’t run it under the Basilisk II and only managed to run it on a real MacCC. Since I don’t know much about the old Mac software, I didn’t extract the drivers…..so the mission was put on hold. Until today…
Today morning(07.10.2025), I was talking to the Mac SE owner (cheers W:), who asked me if I ever managed to sort it out. Well, a few minutes later, I replied to Bolle in the comments section, asking if he could contact me. It didn’t take long, and we were talking via IM. The image was shared, and Bolle sorted it out in no time. He’d managed to extract the drivers for AOX Doubletime 16 card!!! YAY!!!
Thanks to this teamwork, you now have drivers available on a Macintosh Garden.
https://macintoshgarden.org/apps/aox-doubletime-16-driver
BIG thanks to Bolle for sorting it all out! Thank you, sir!
-=-2025 UPDATE-=-2025 UPDATE-=-2025 UPDATE-=-2025 UPDATE-=-2025 UPDATE-=-2025 UPDATE-=-2025 UPDATE=-
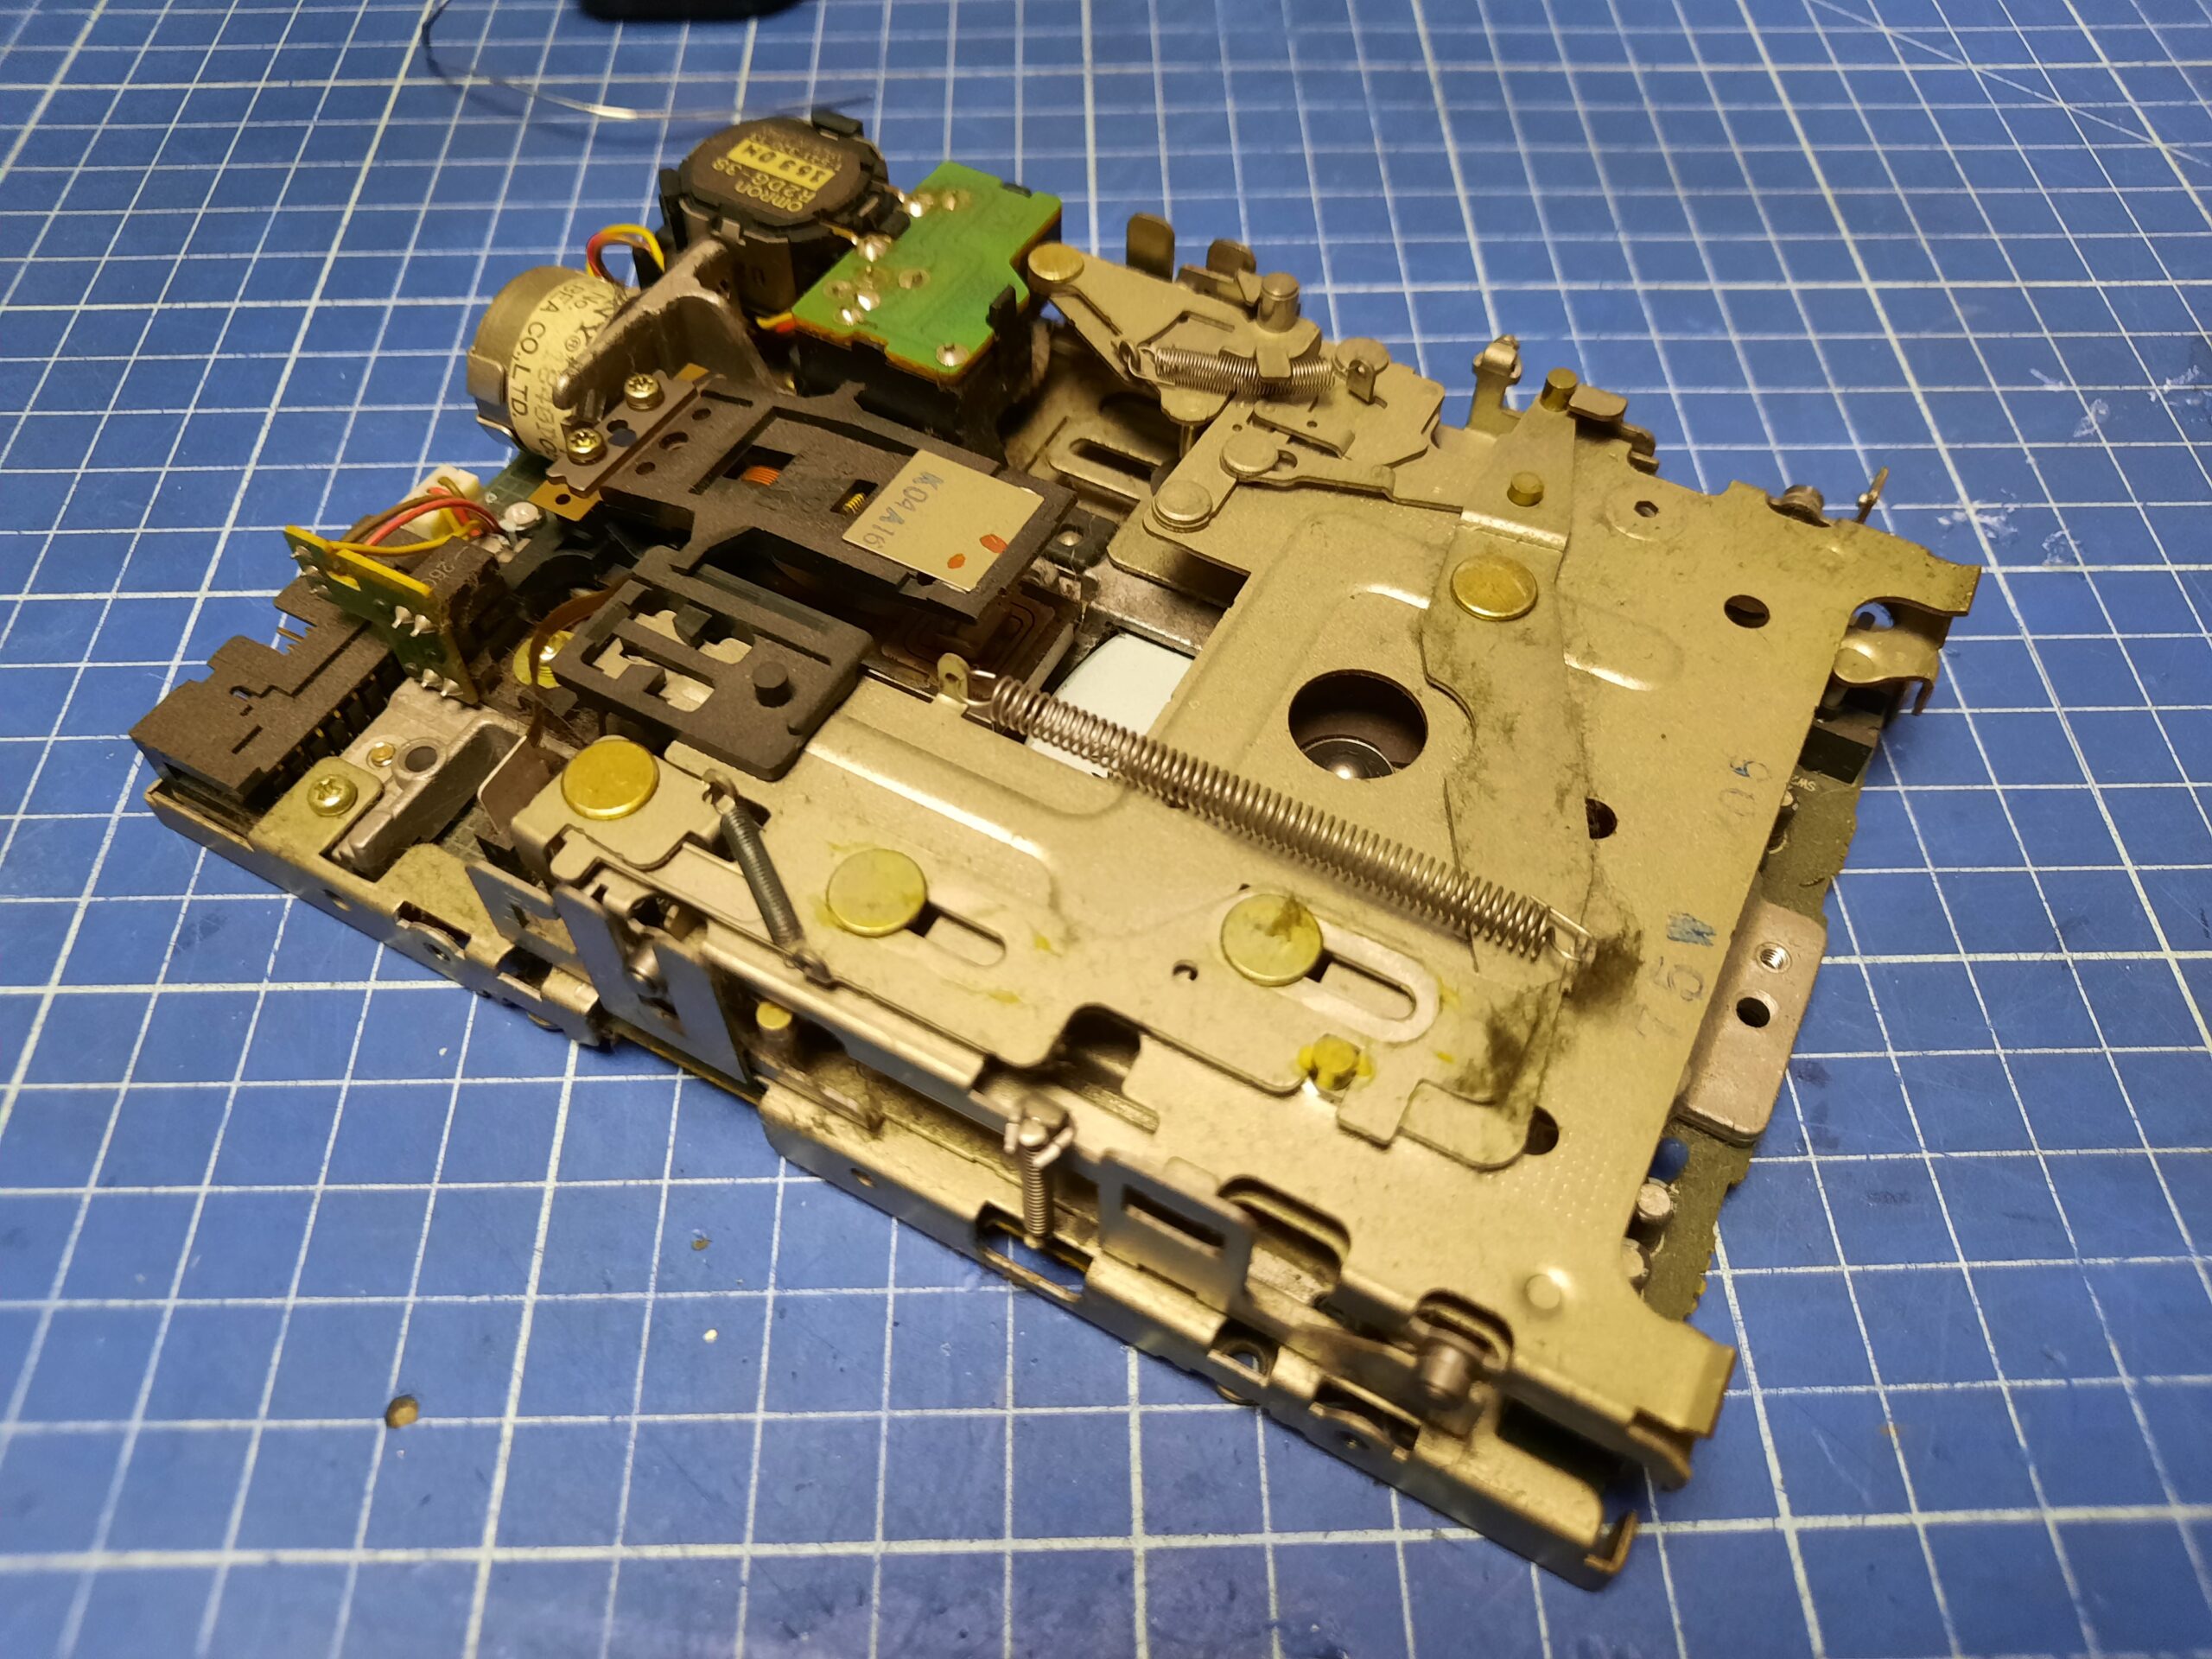
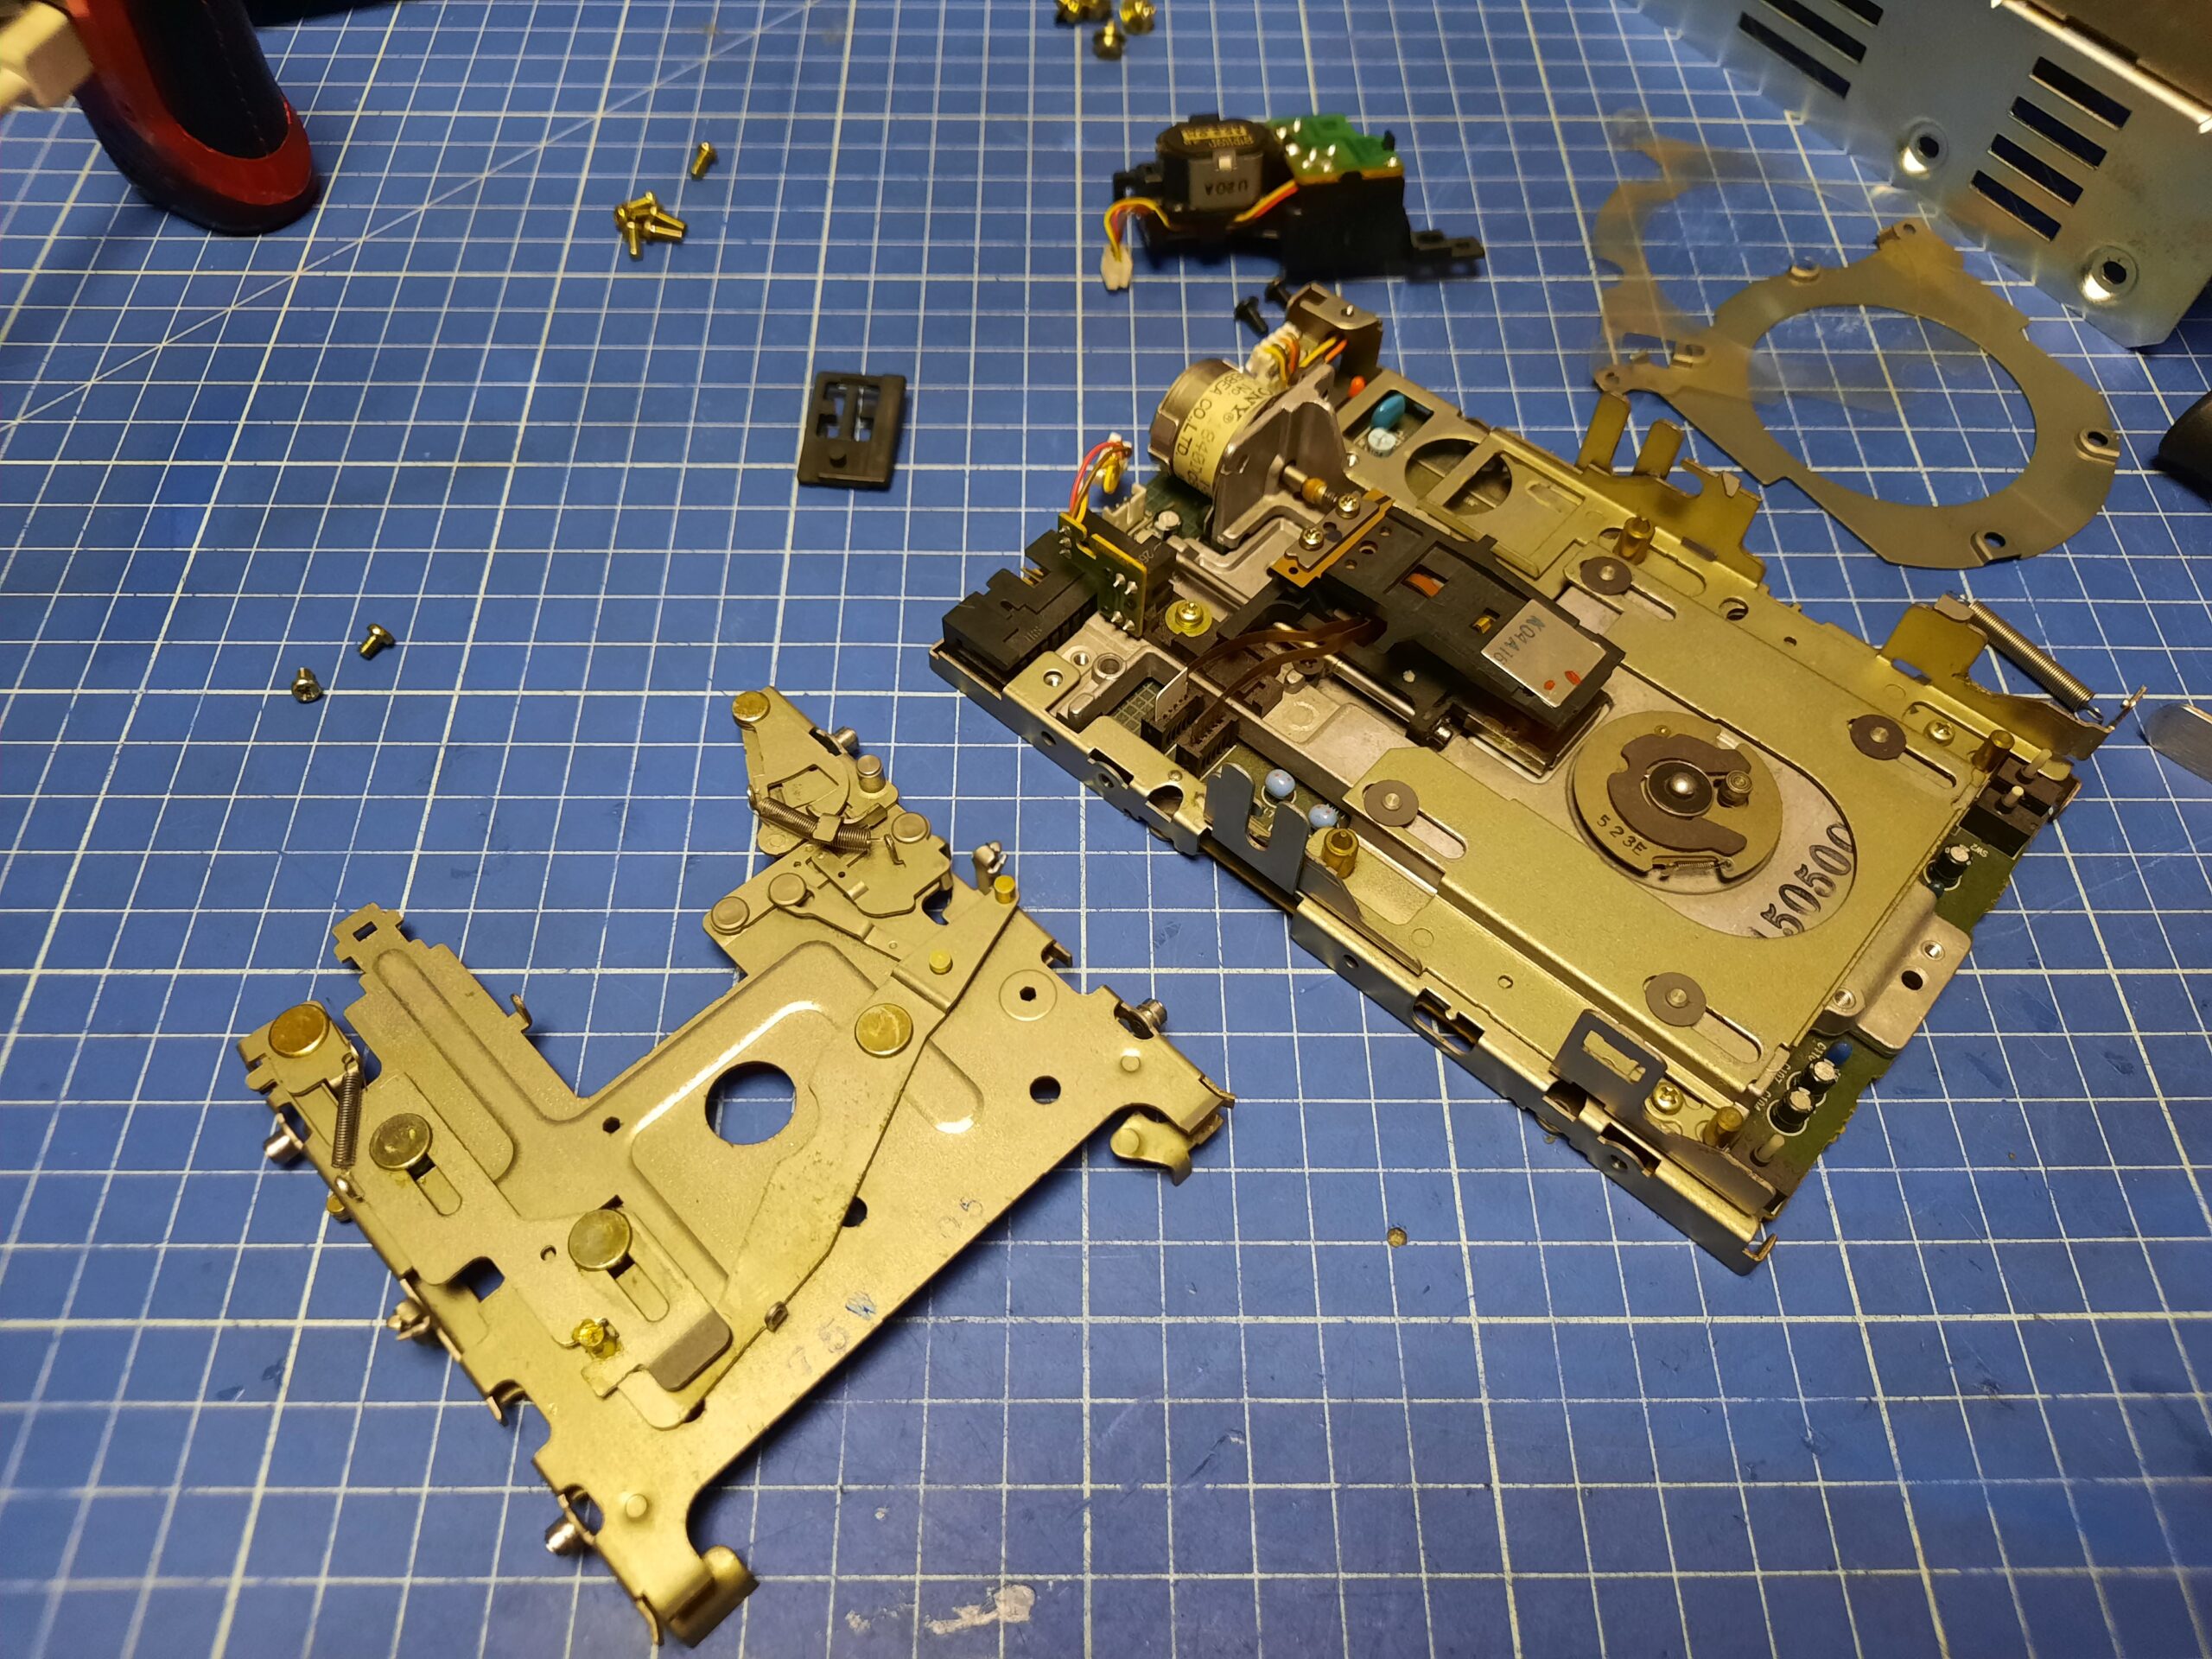
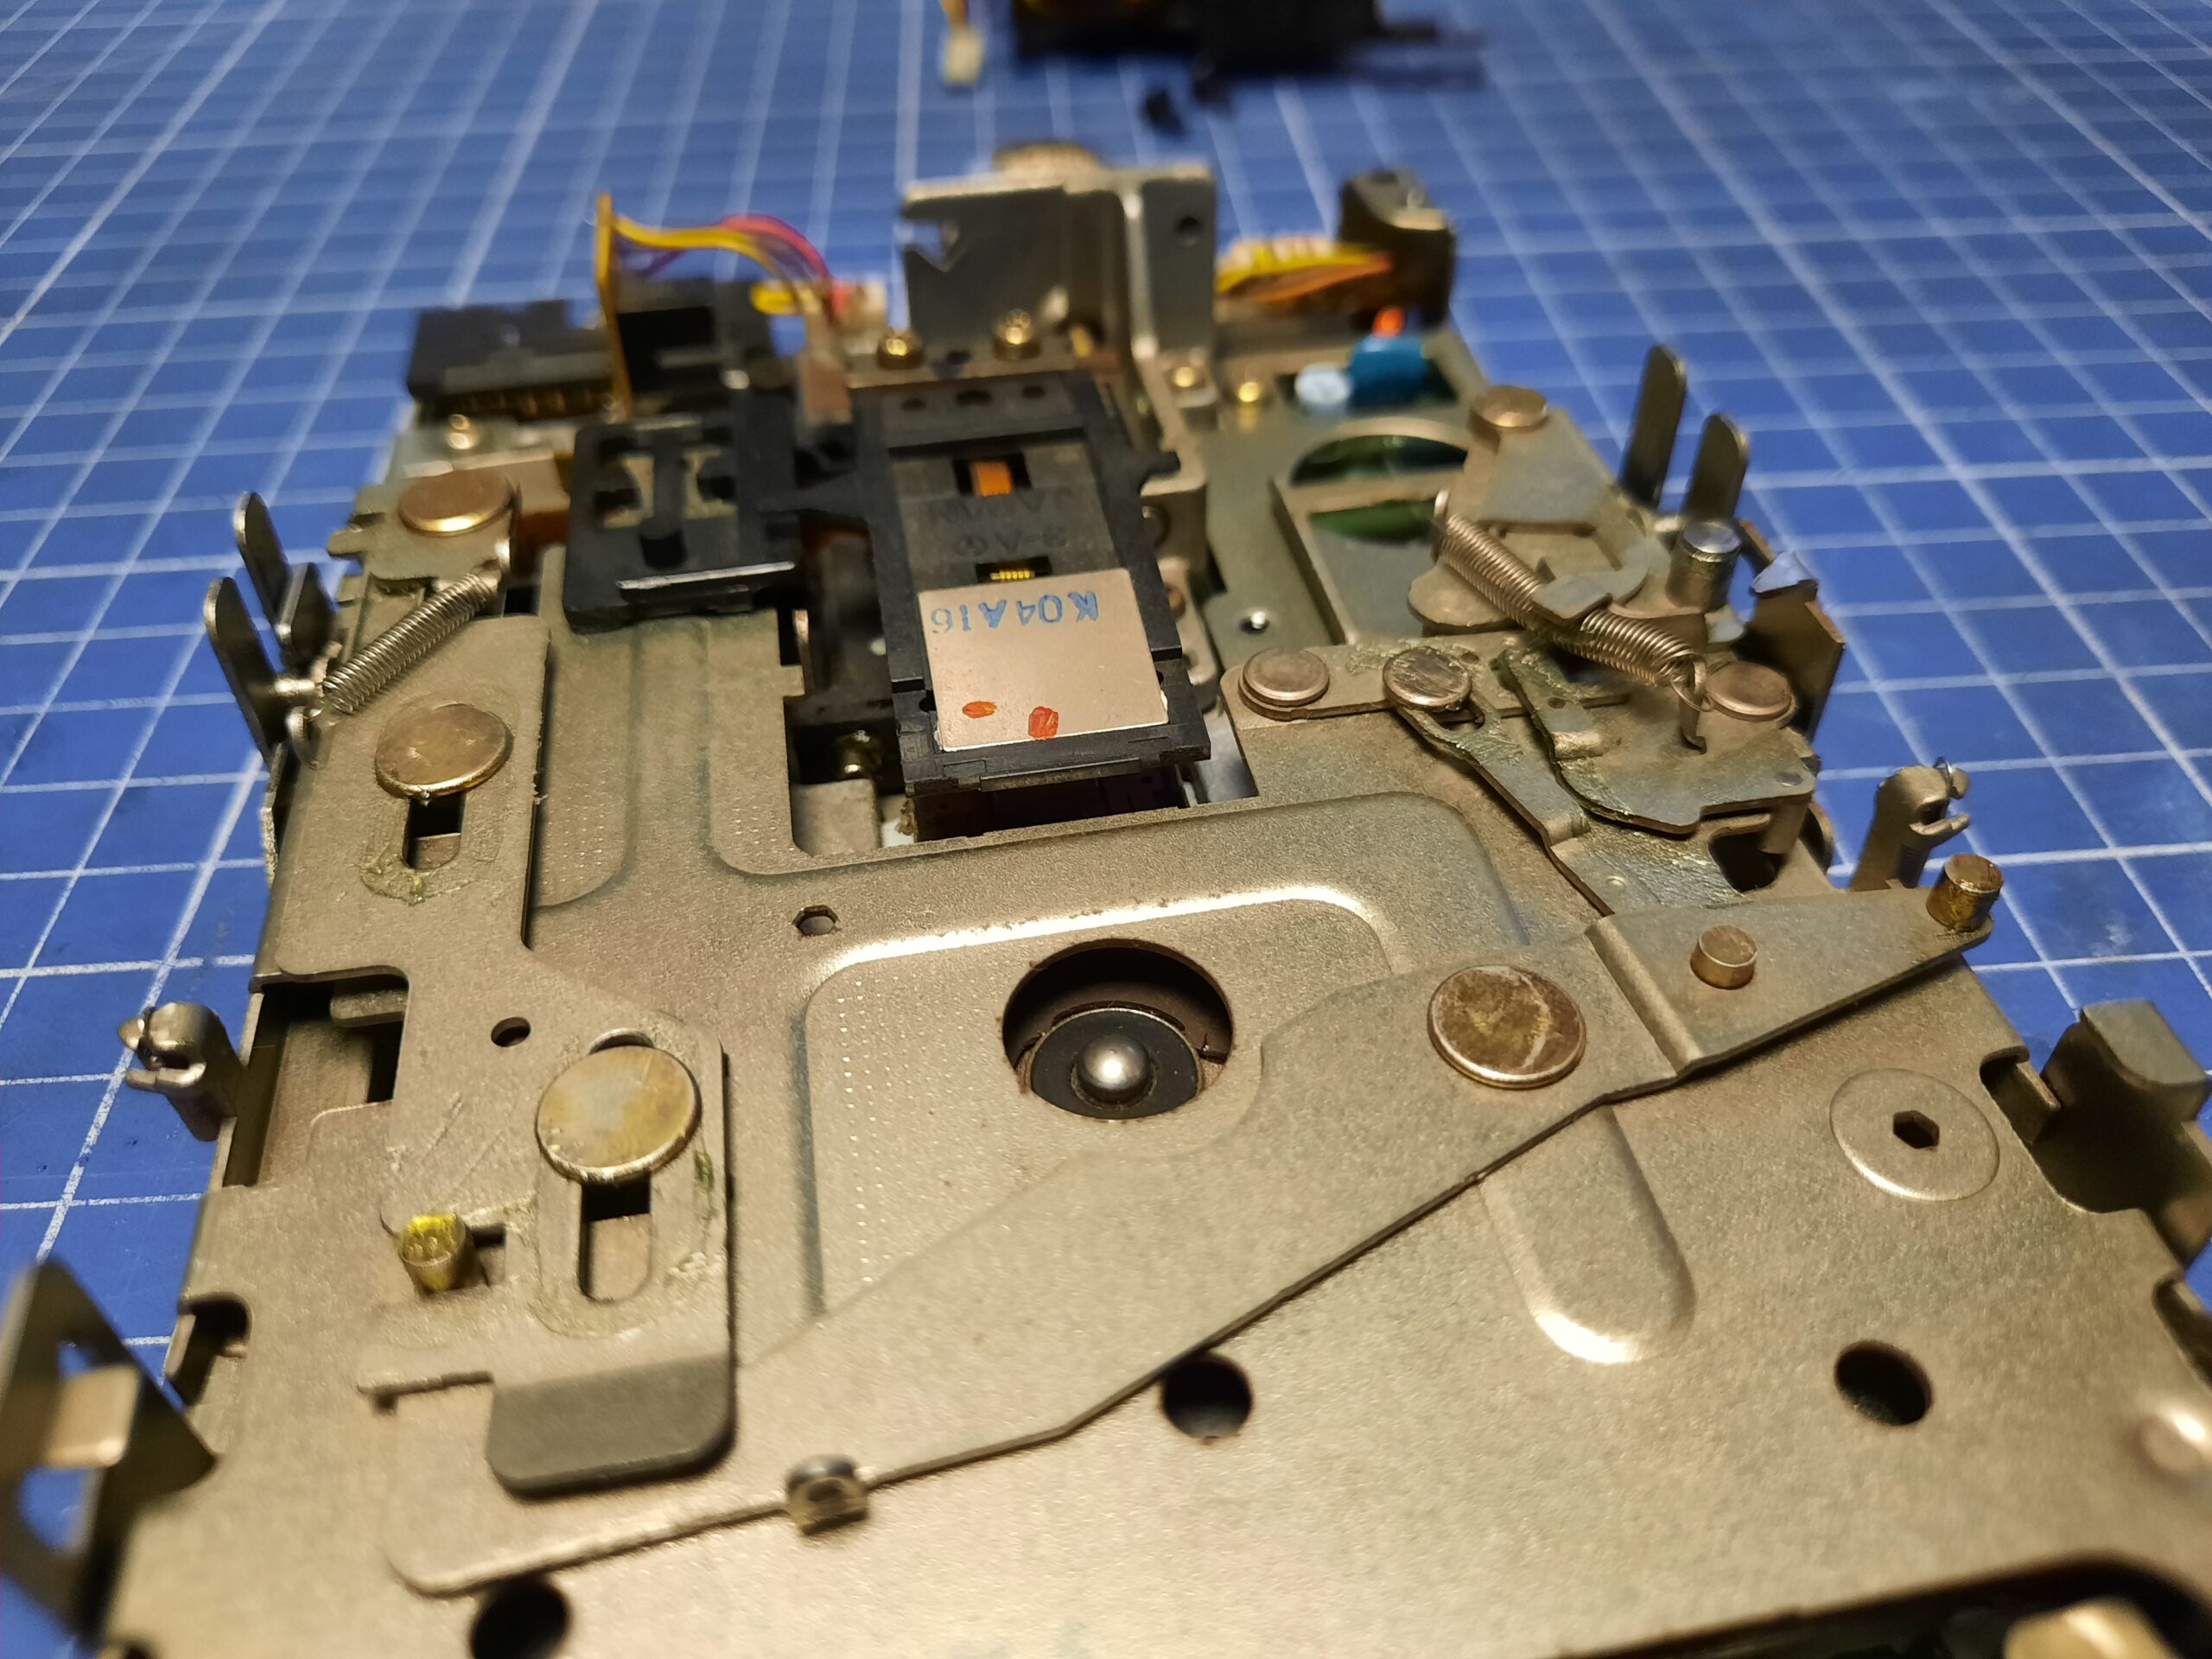
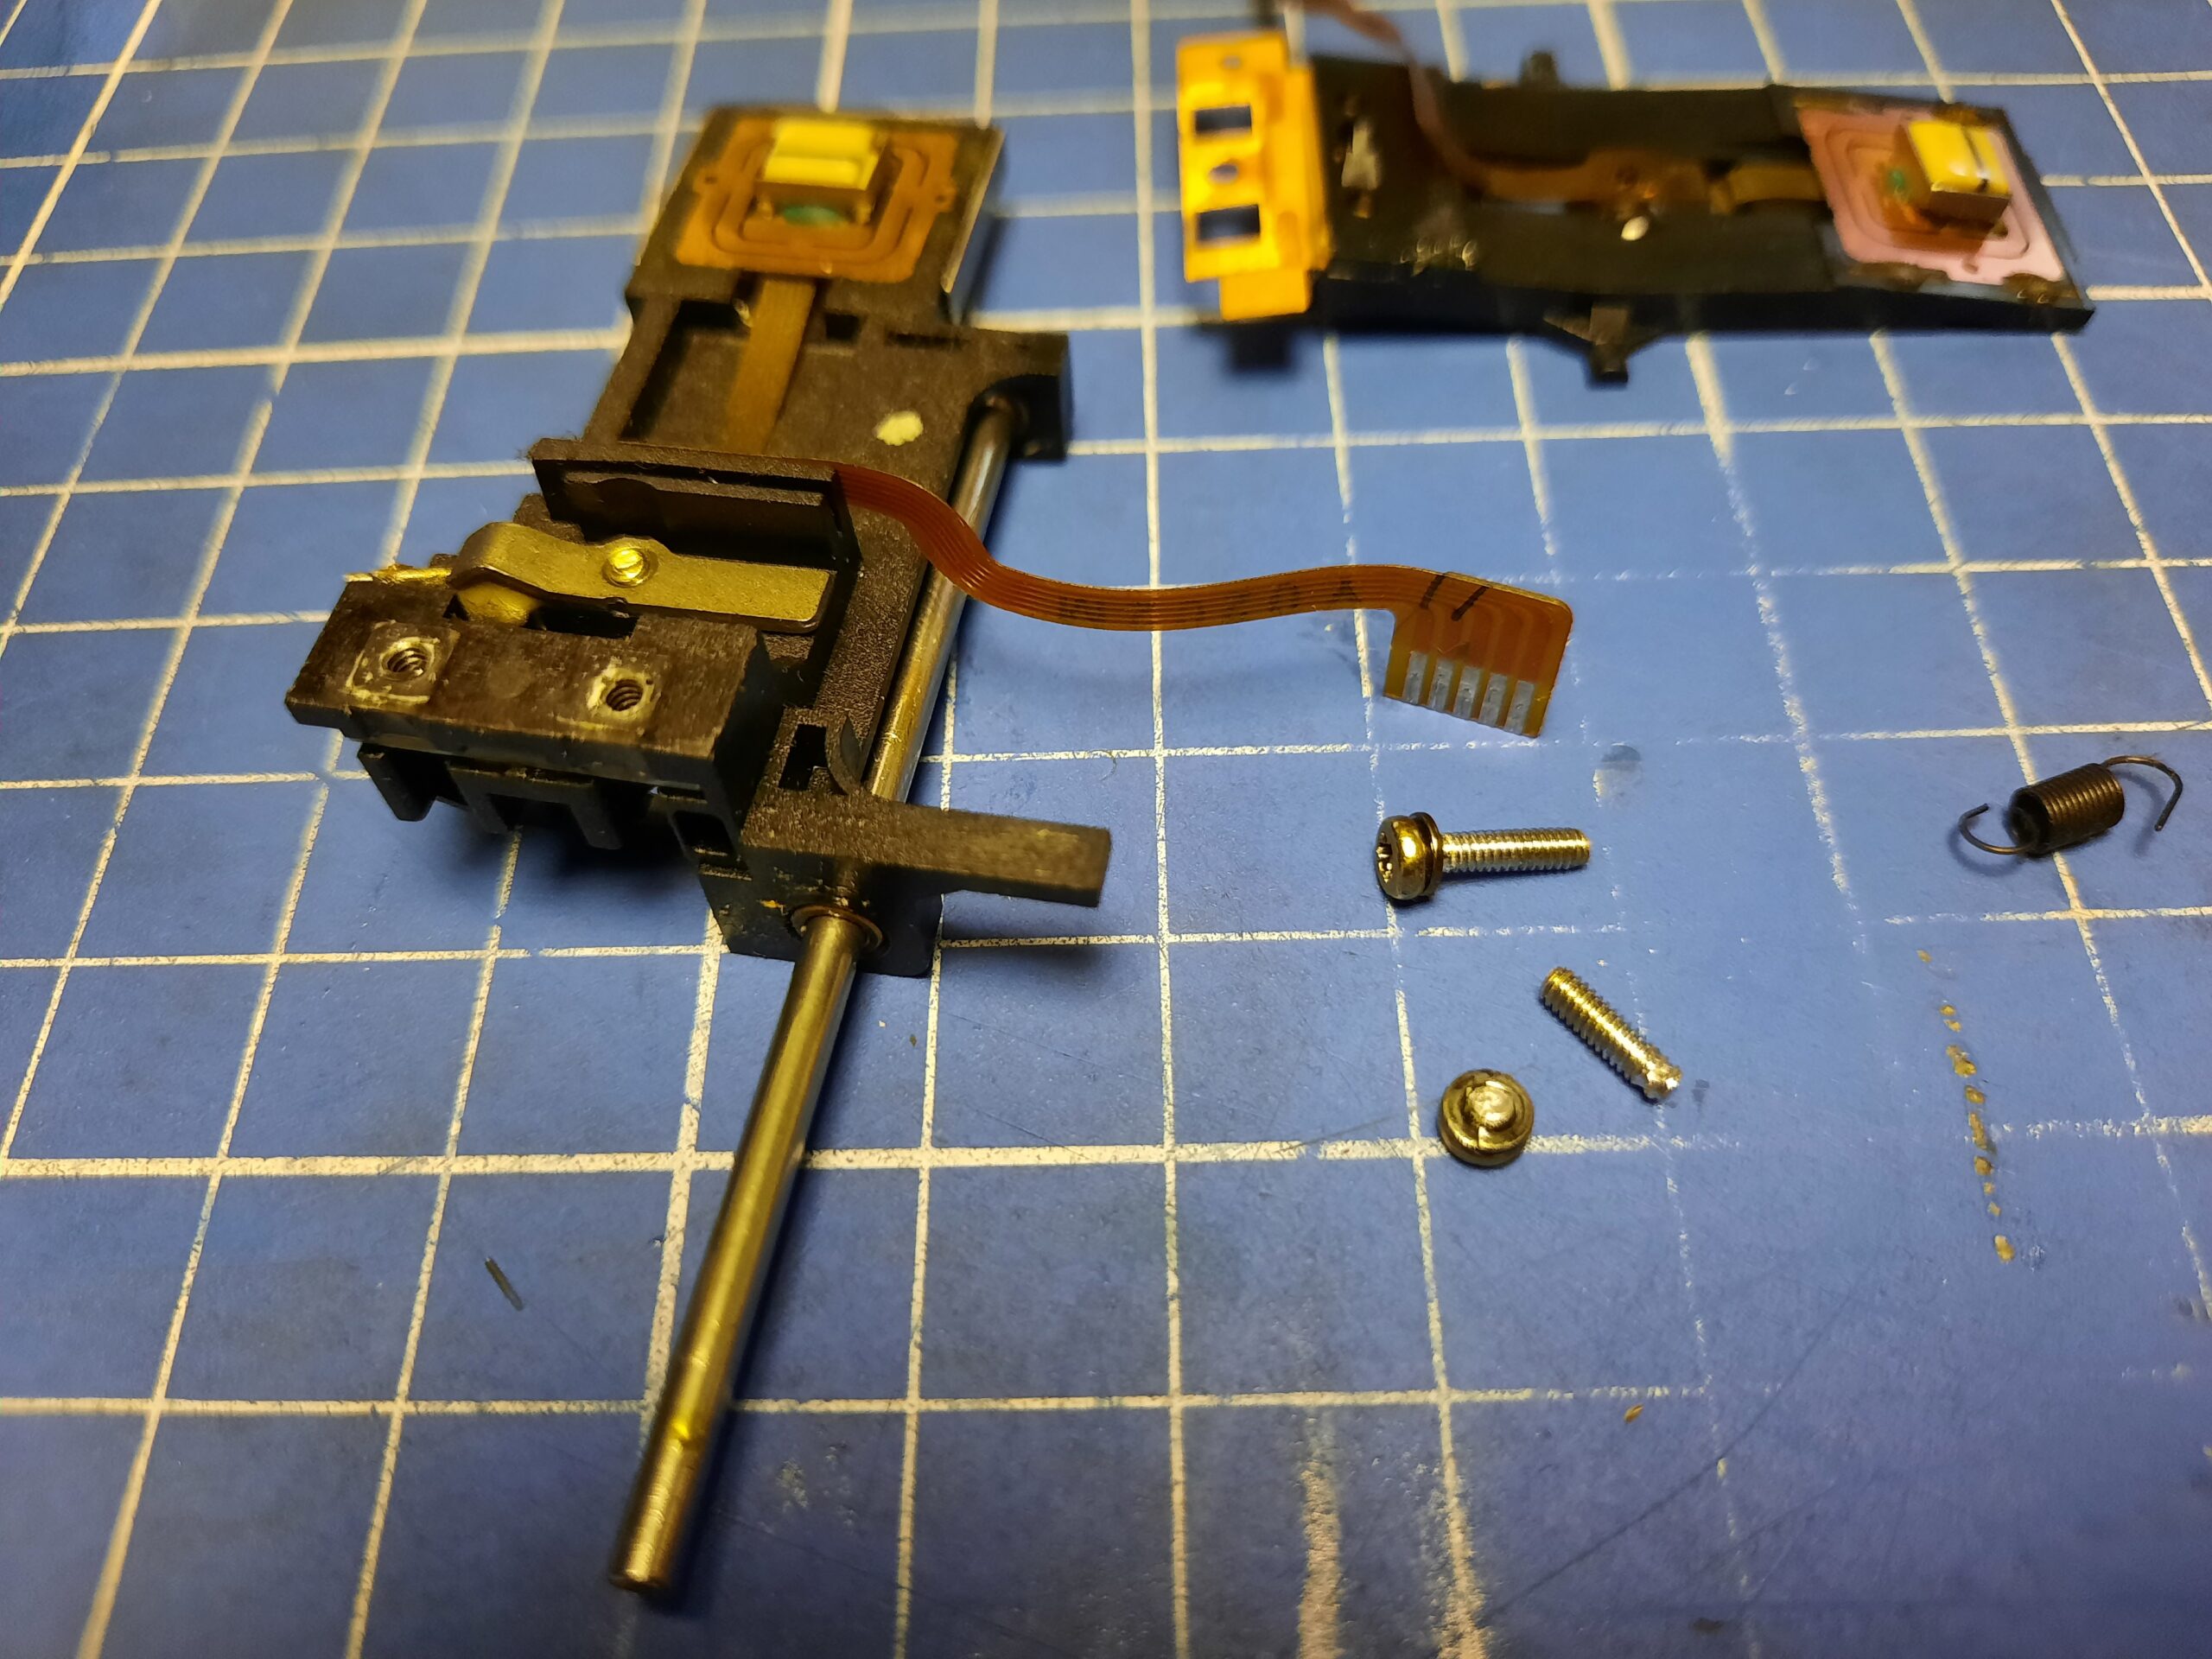
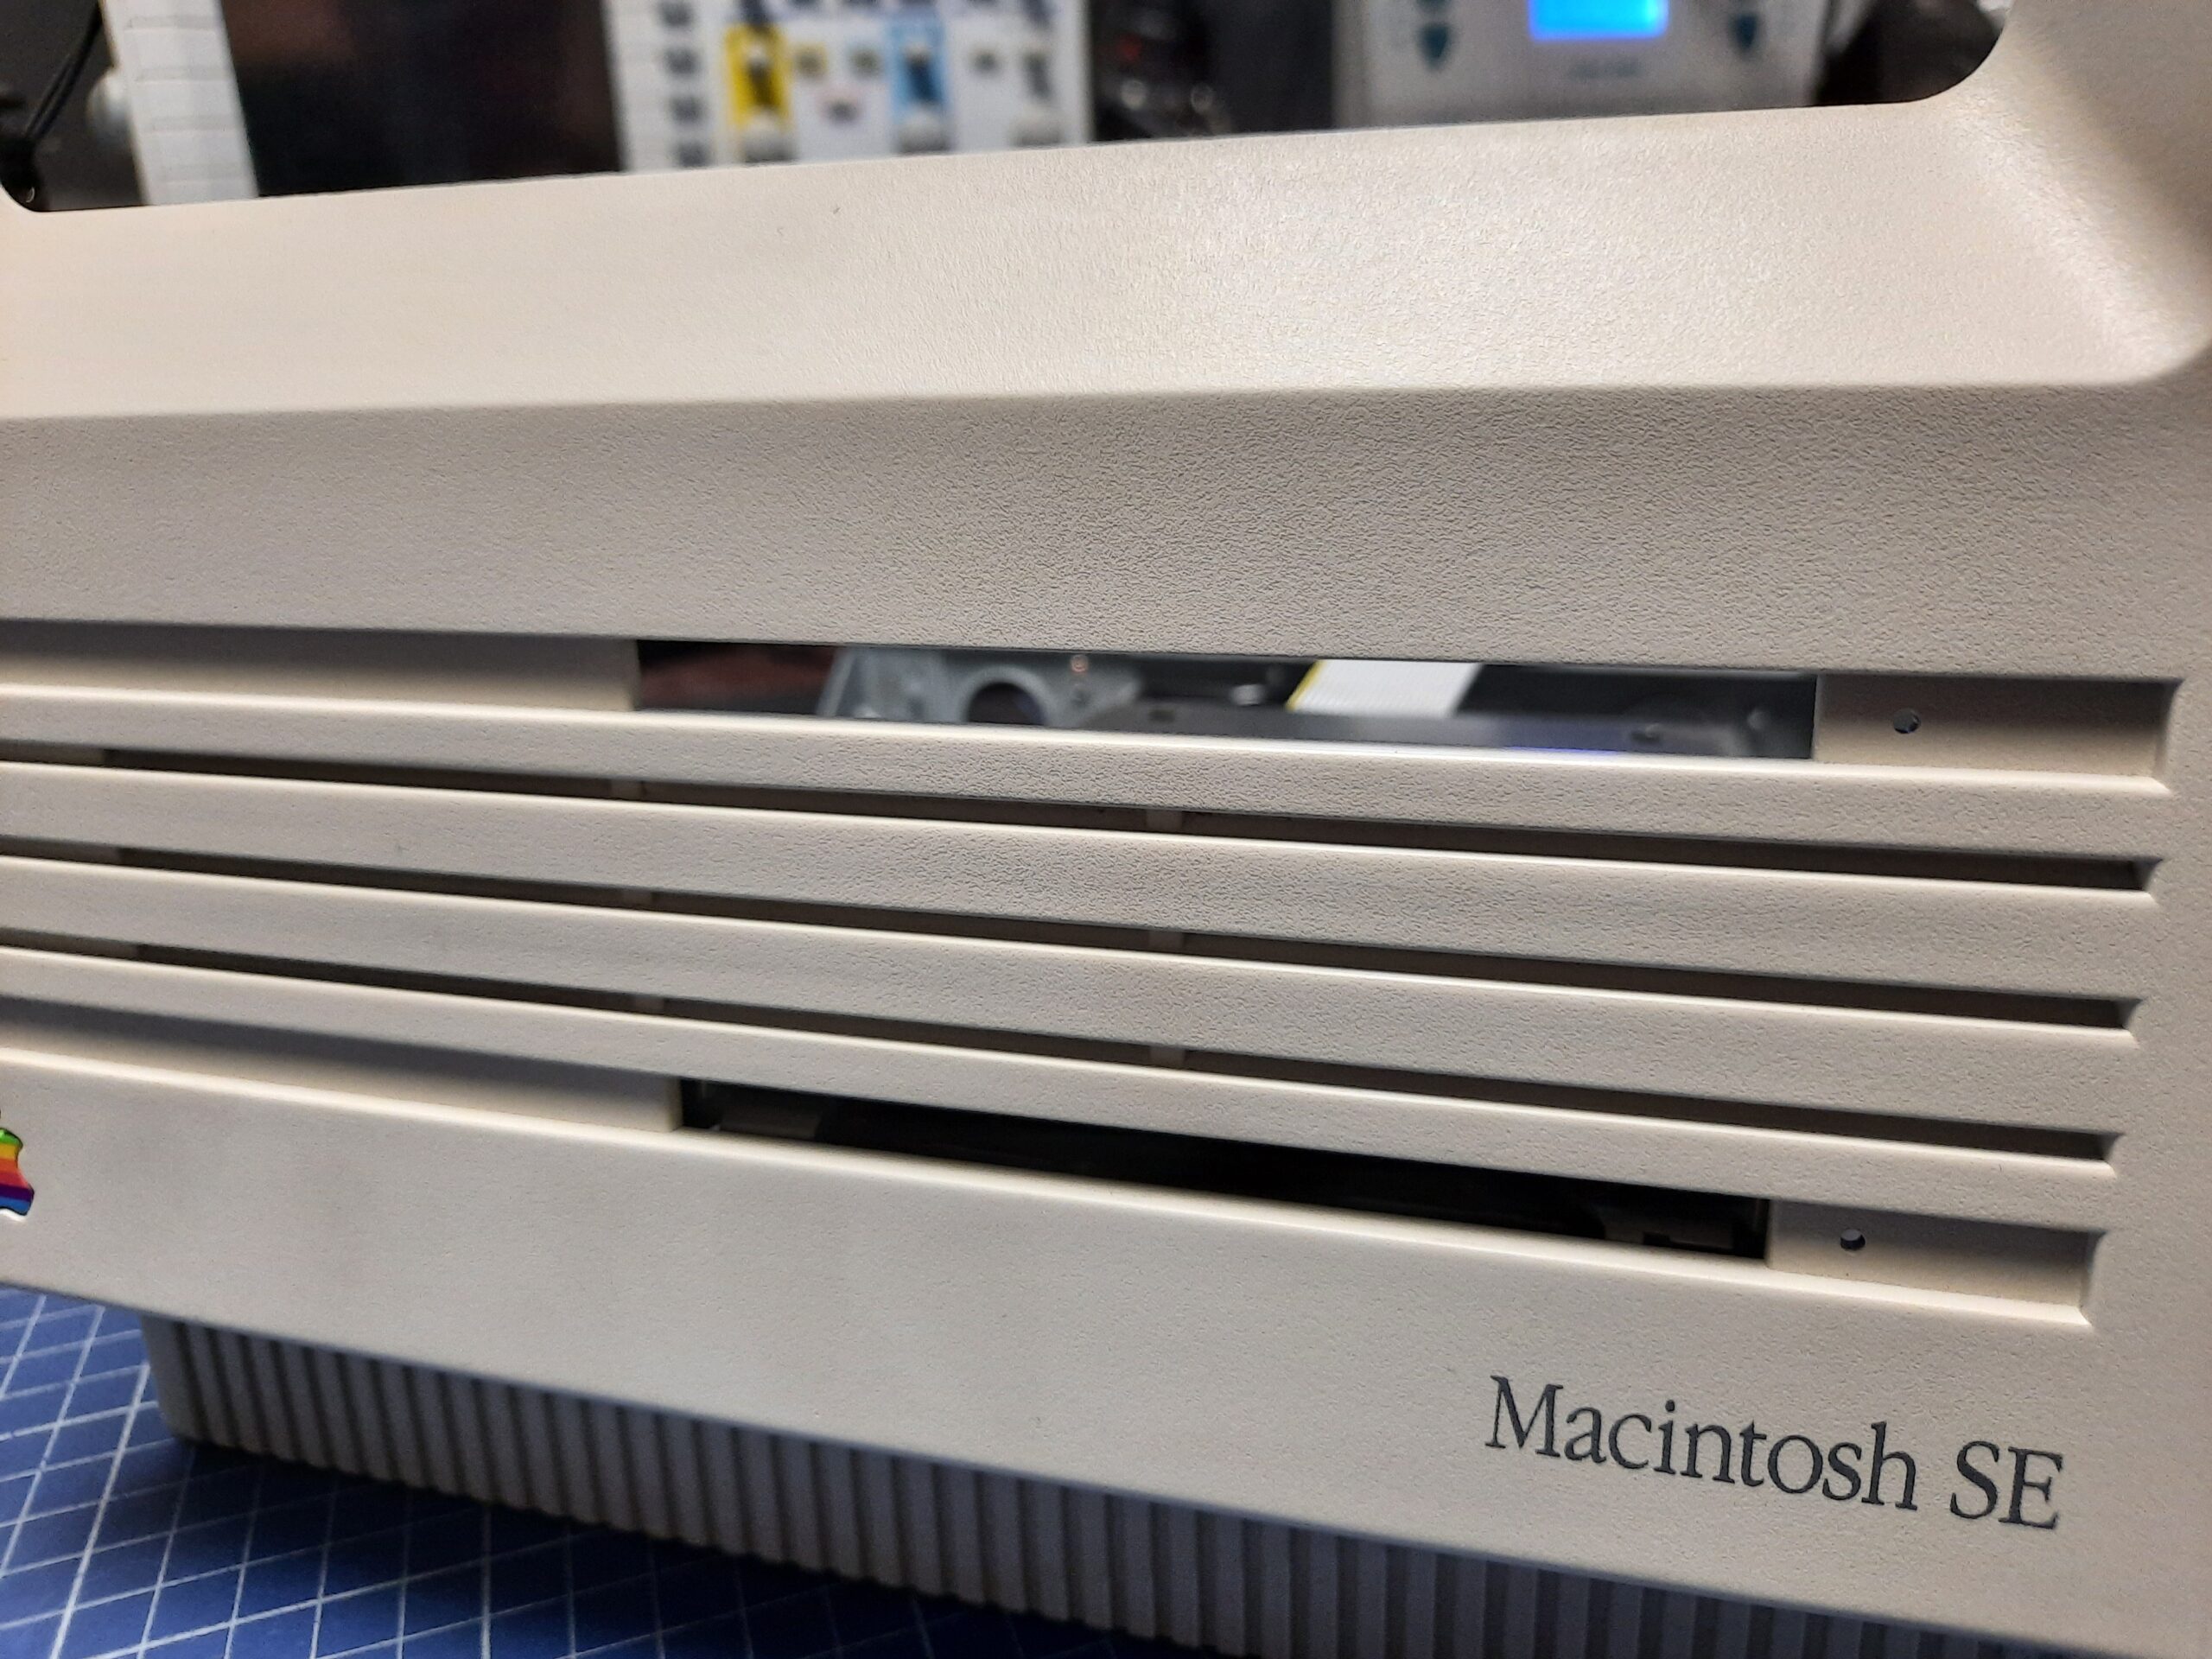
Floppy drives
Floppy drives in all machines were disassembled, cleaned, and tuned. One of the drives required a bit more work but more on that later. Let’s start with a working drive that requires only cleaning and lubricating.


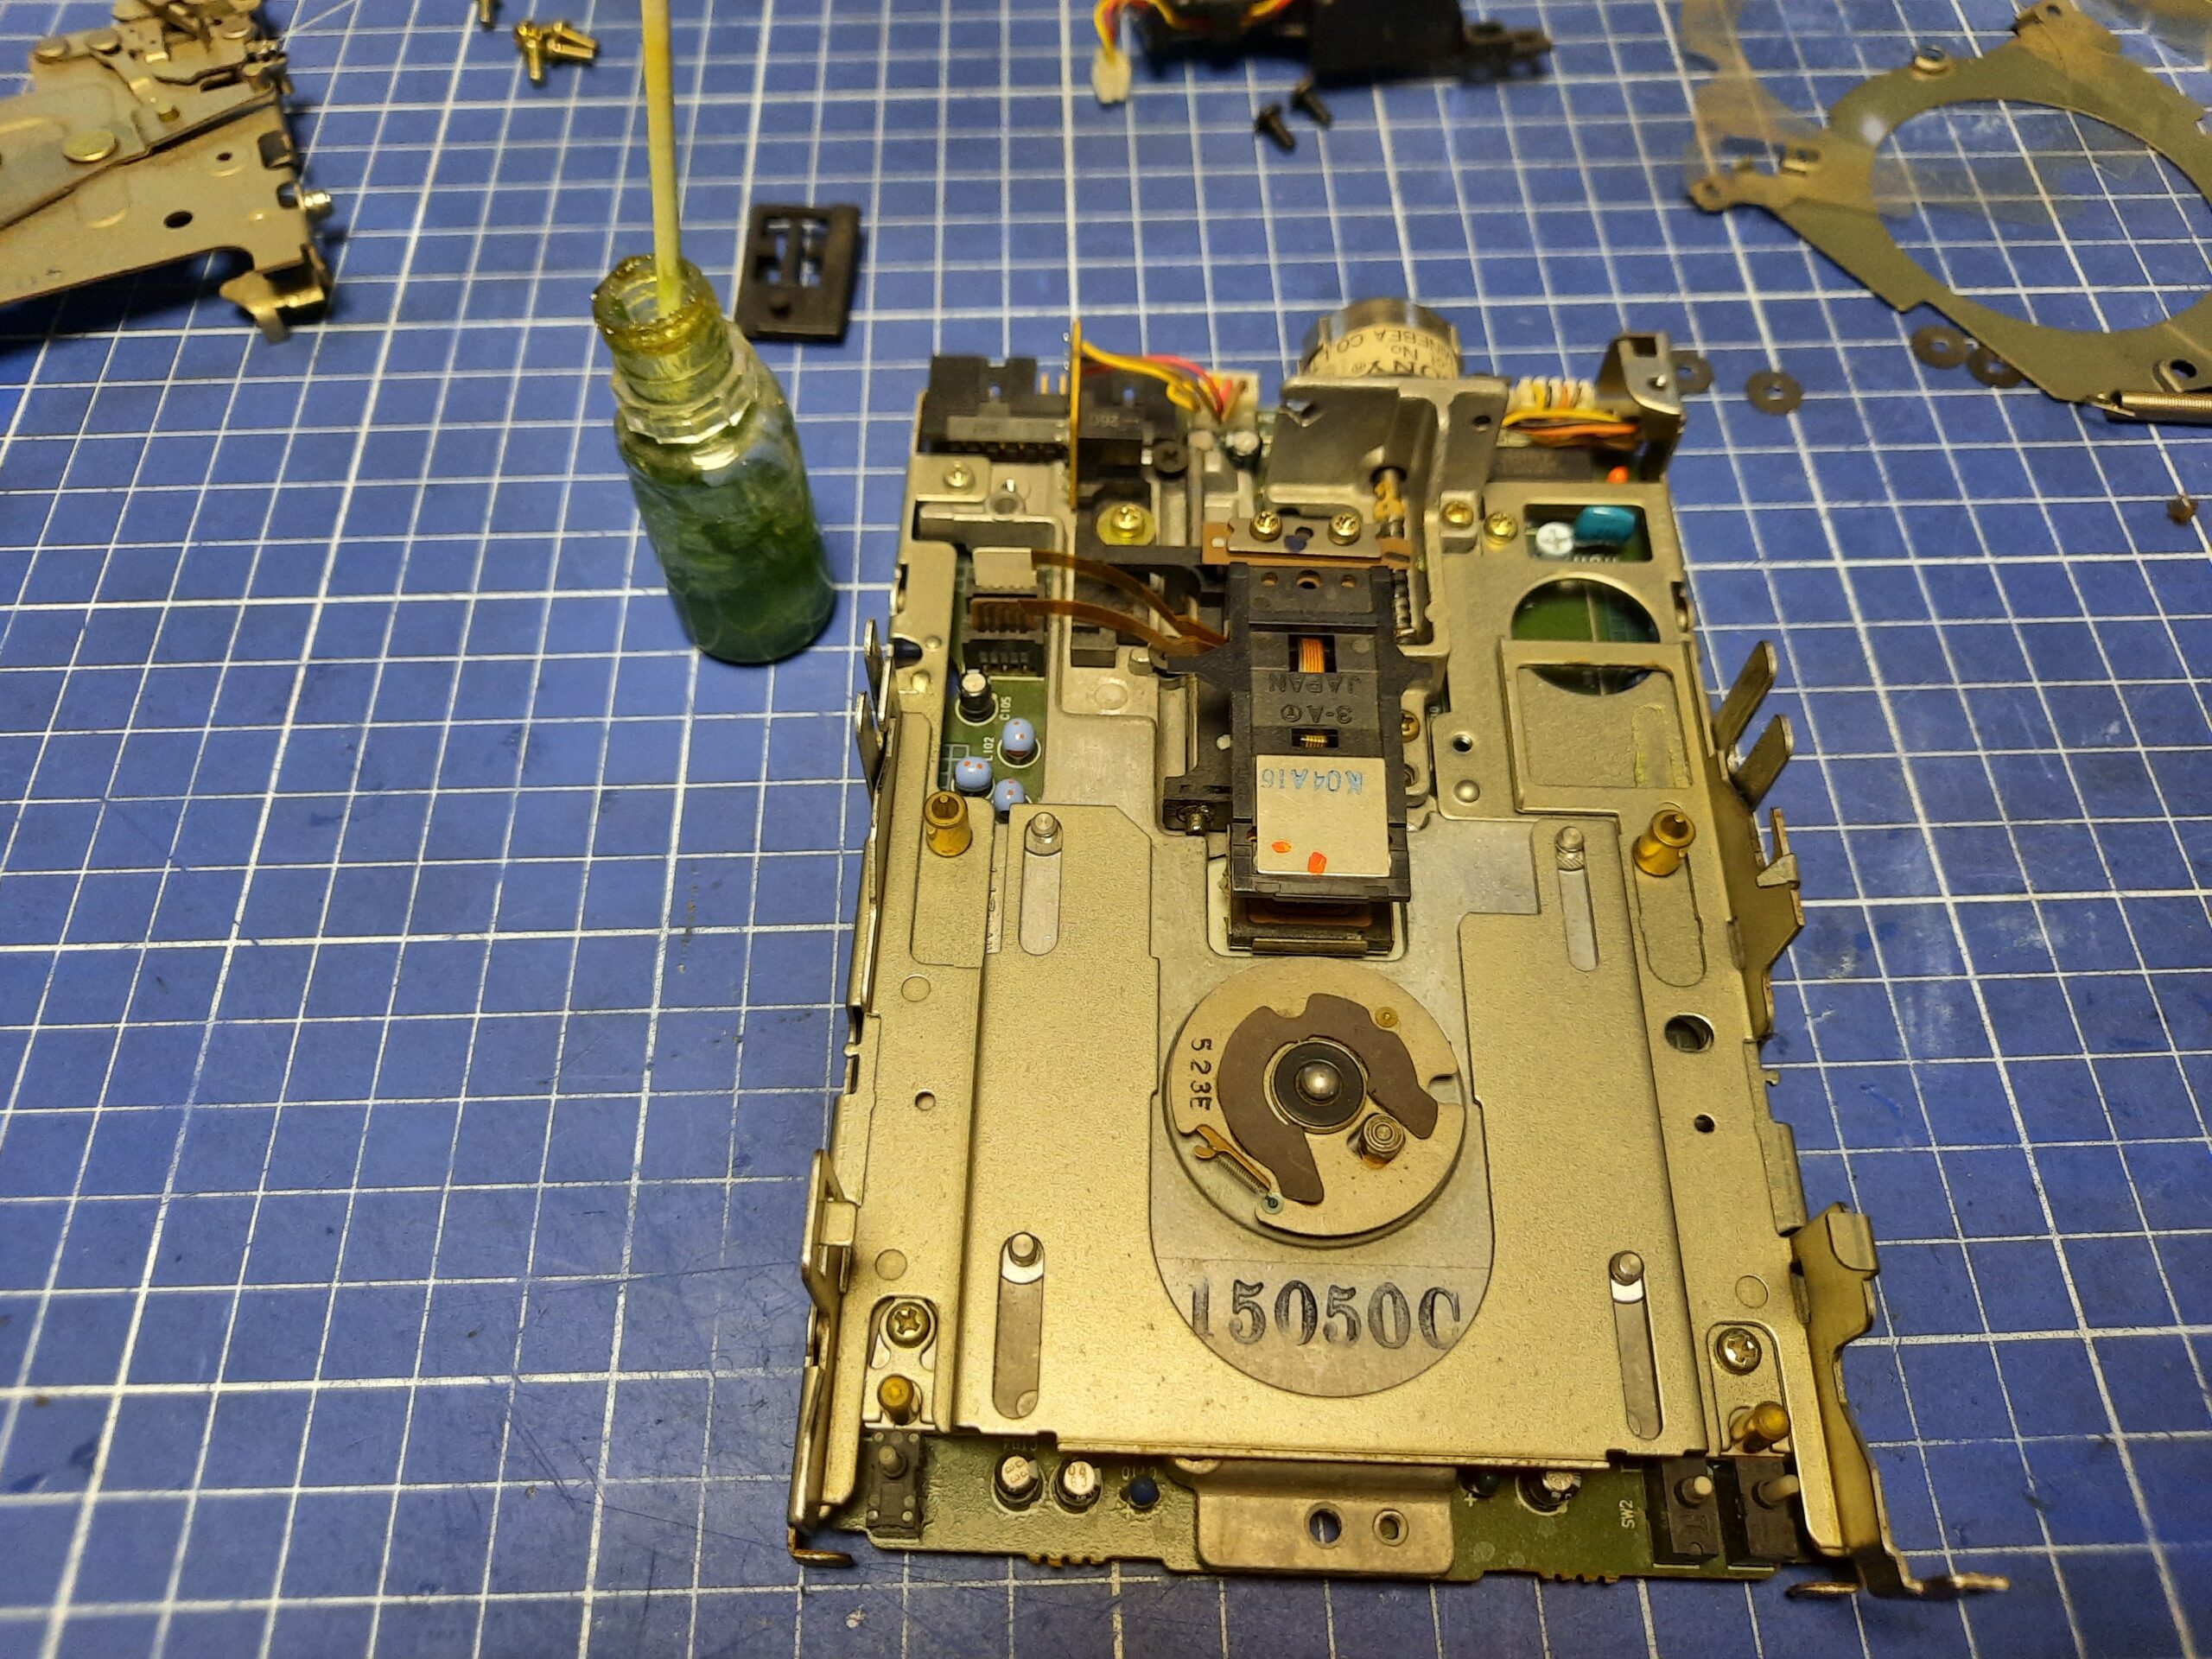
I am using a molybdenum-based MoS2 grease for everything.
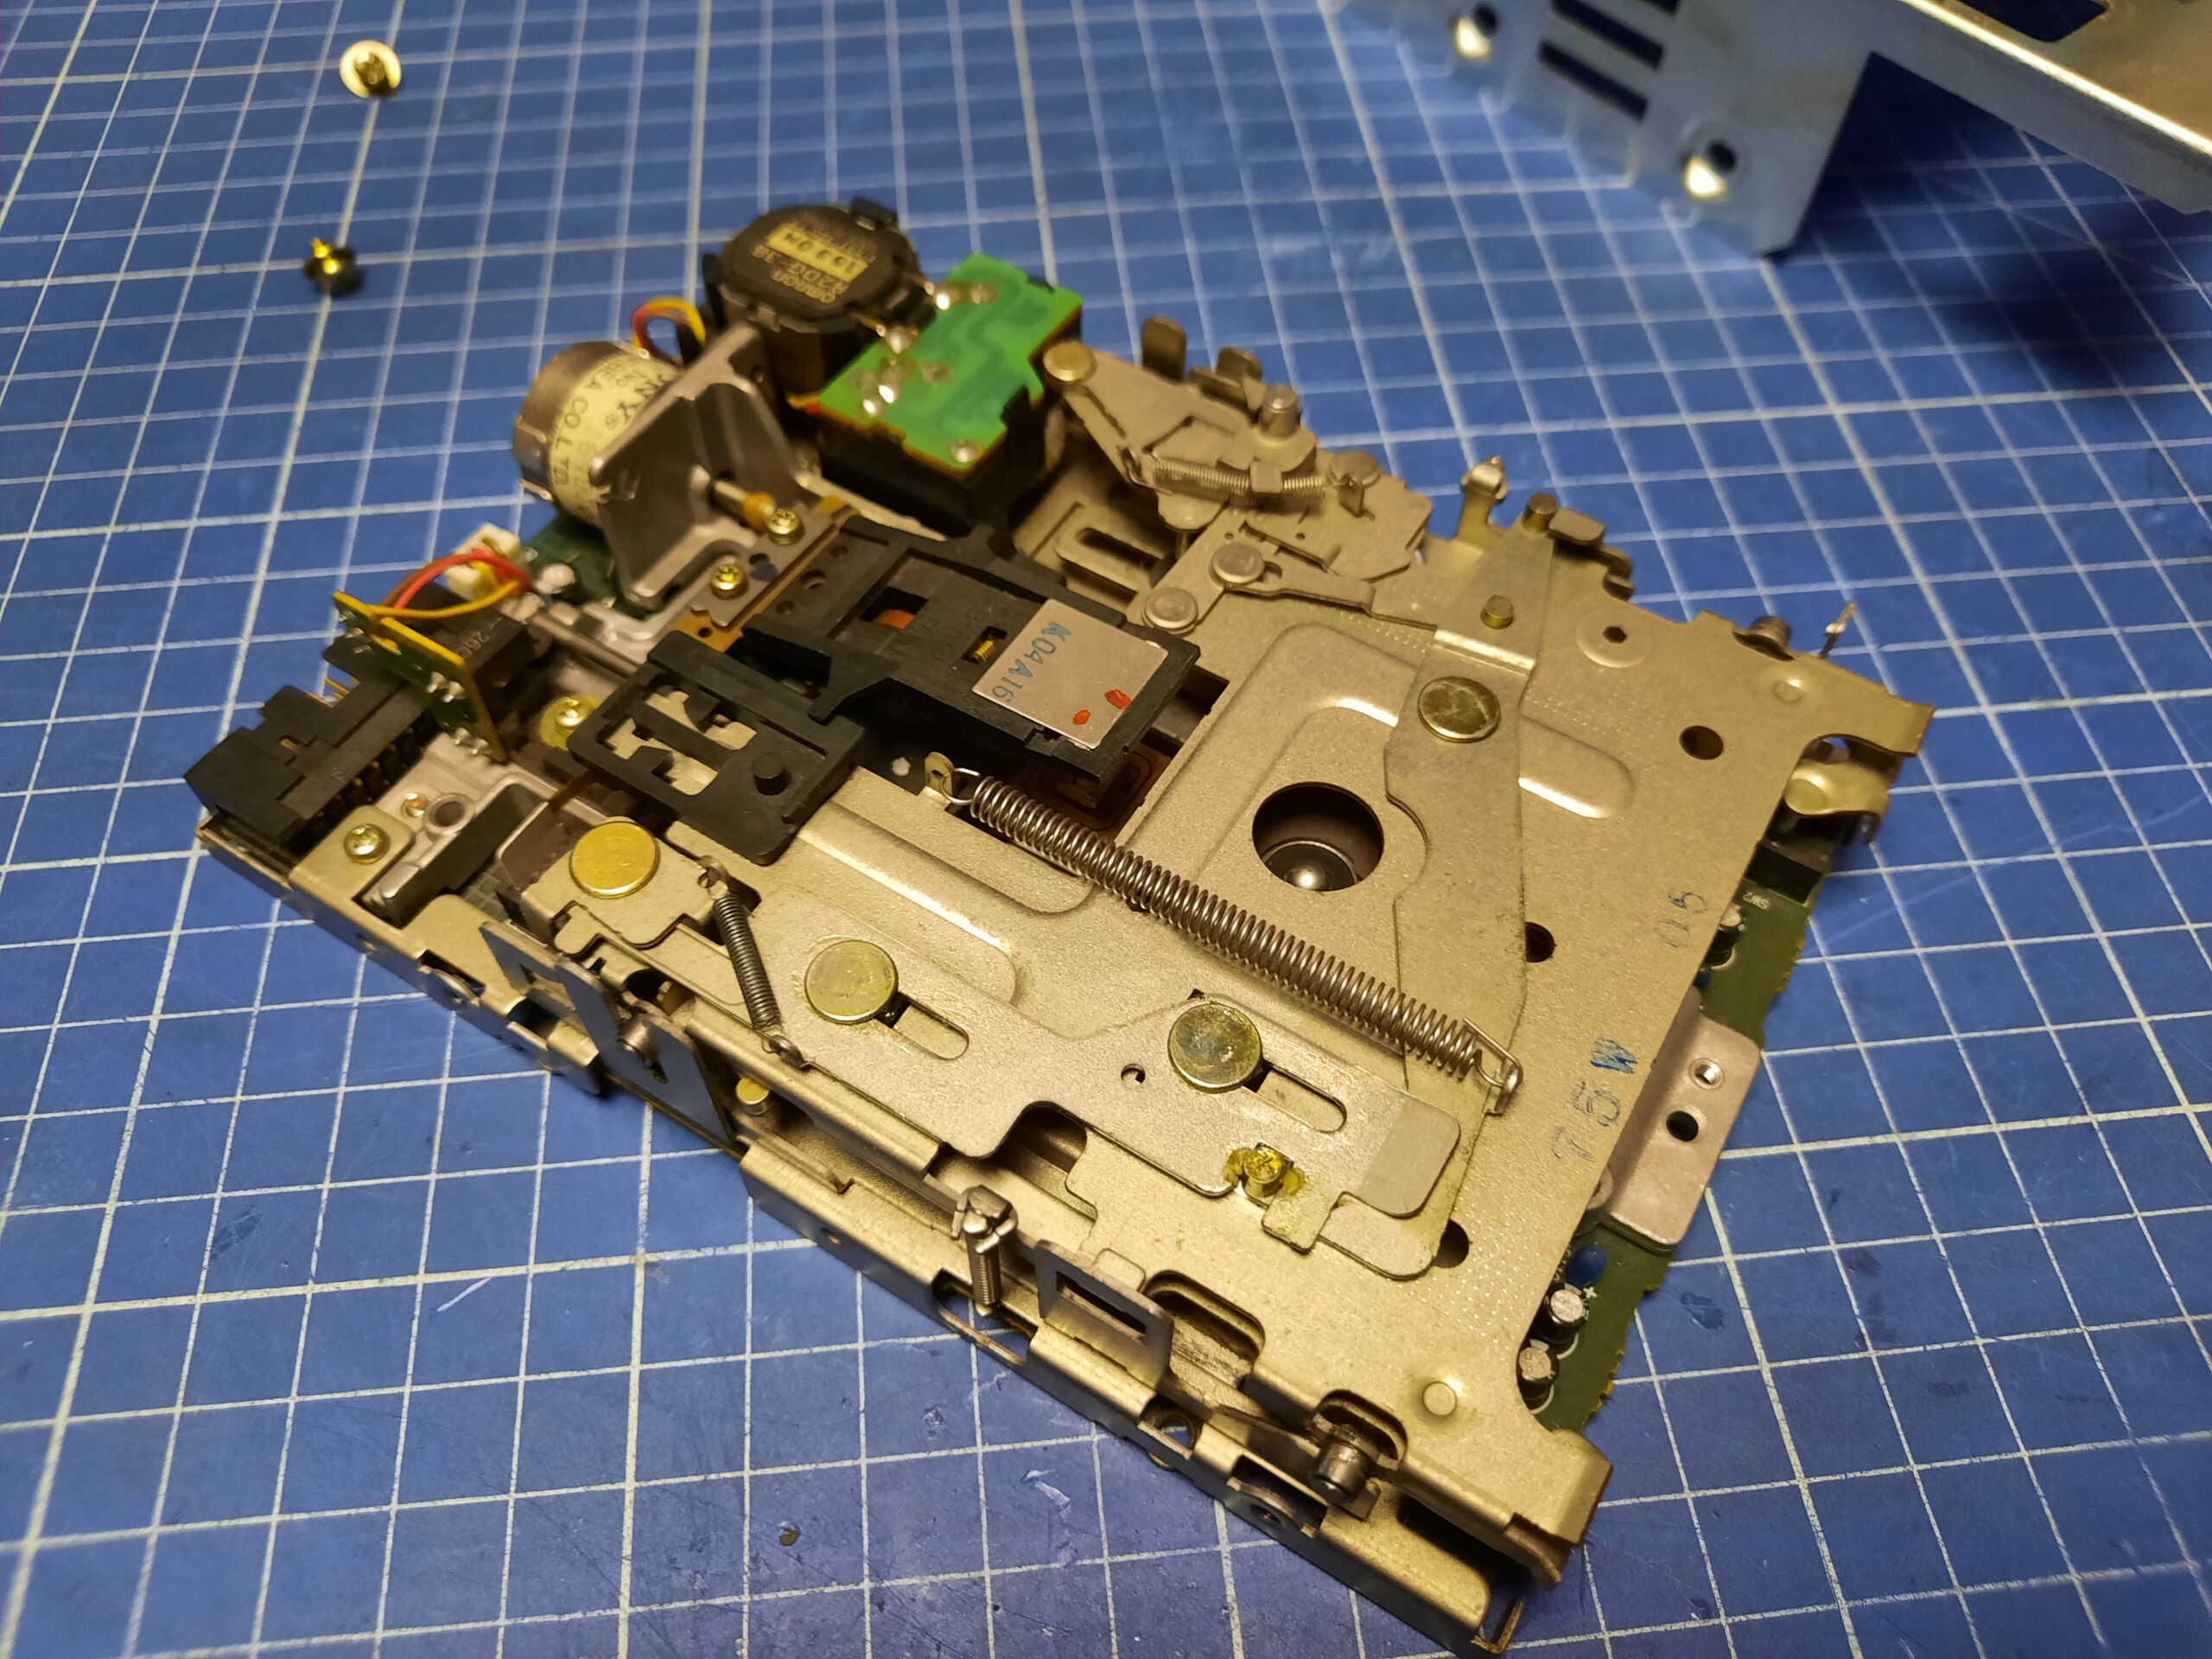
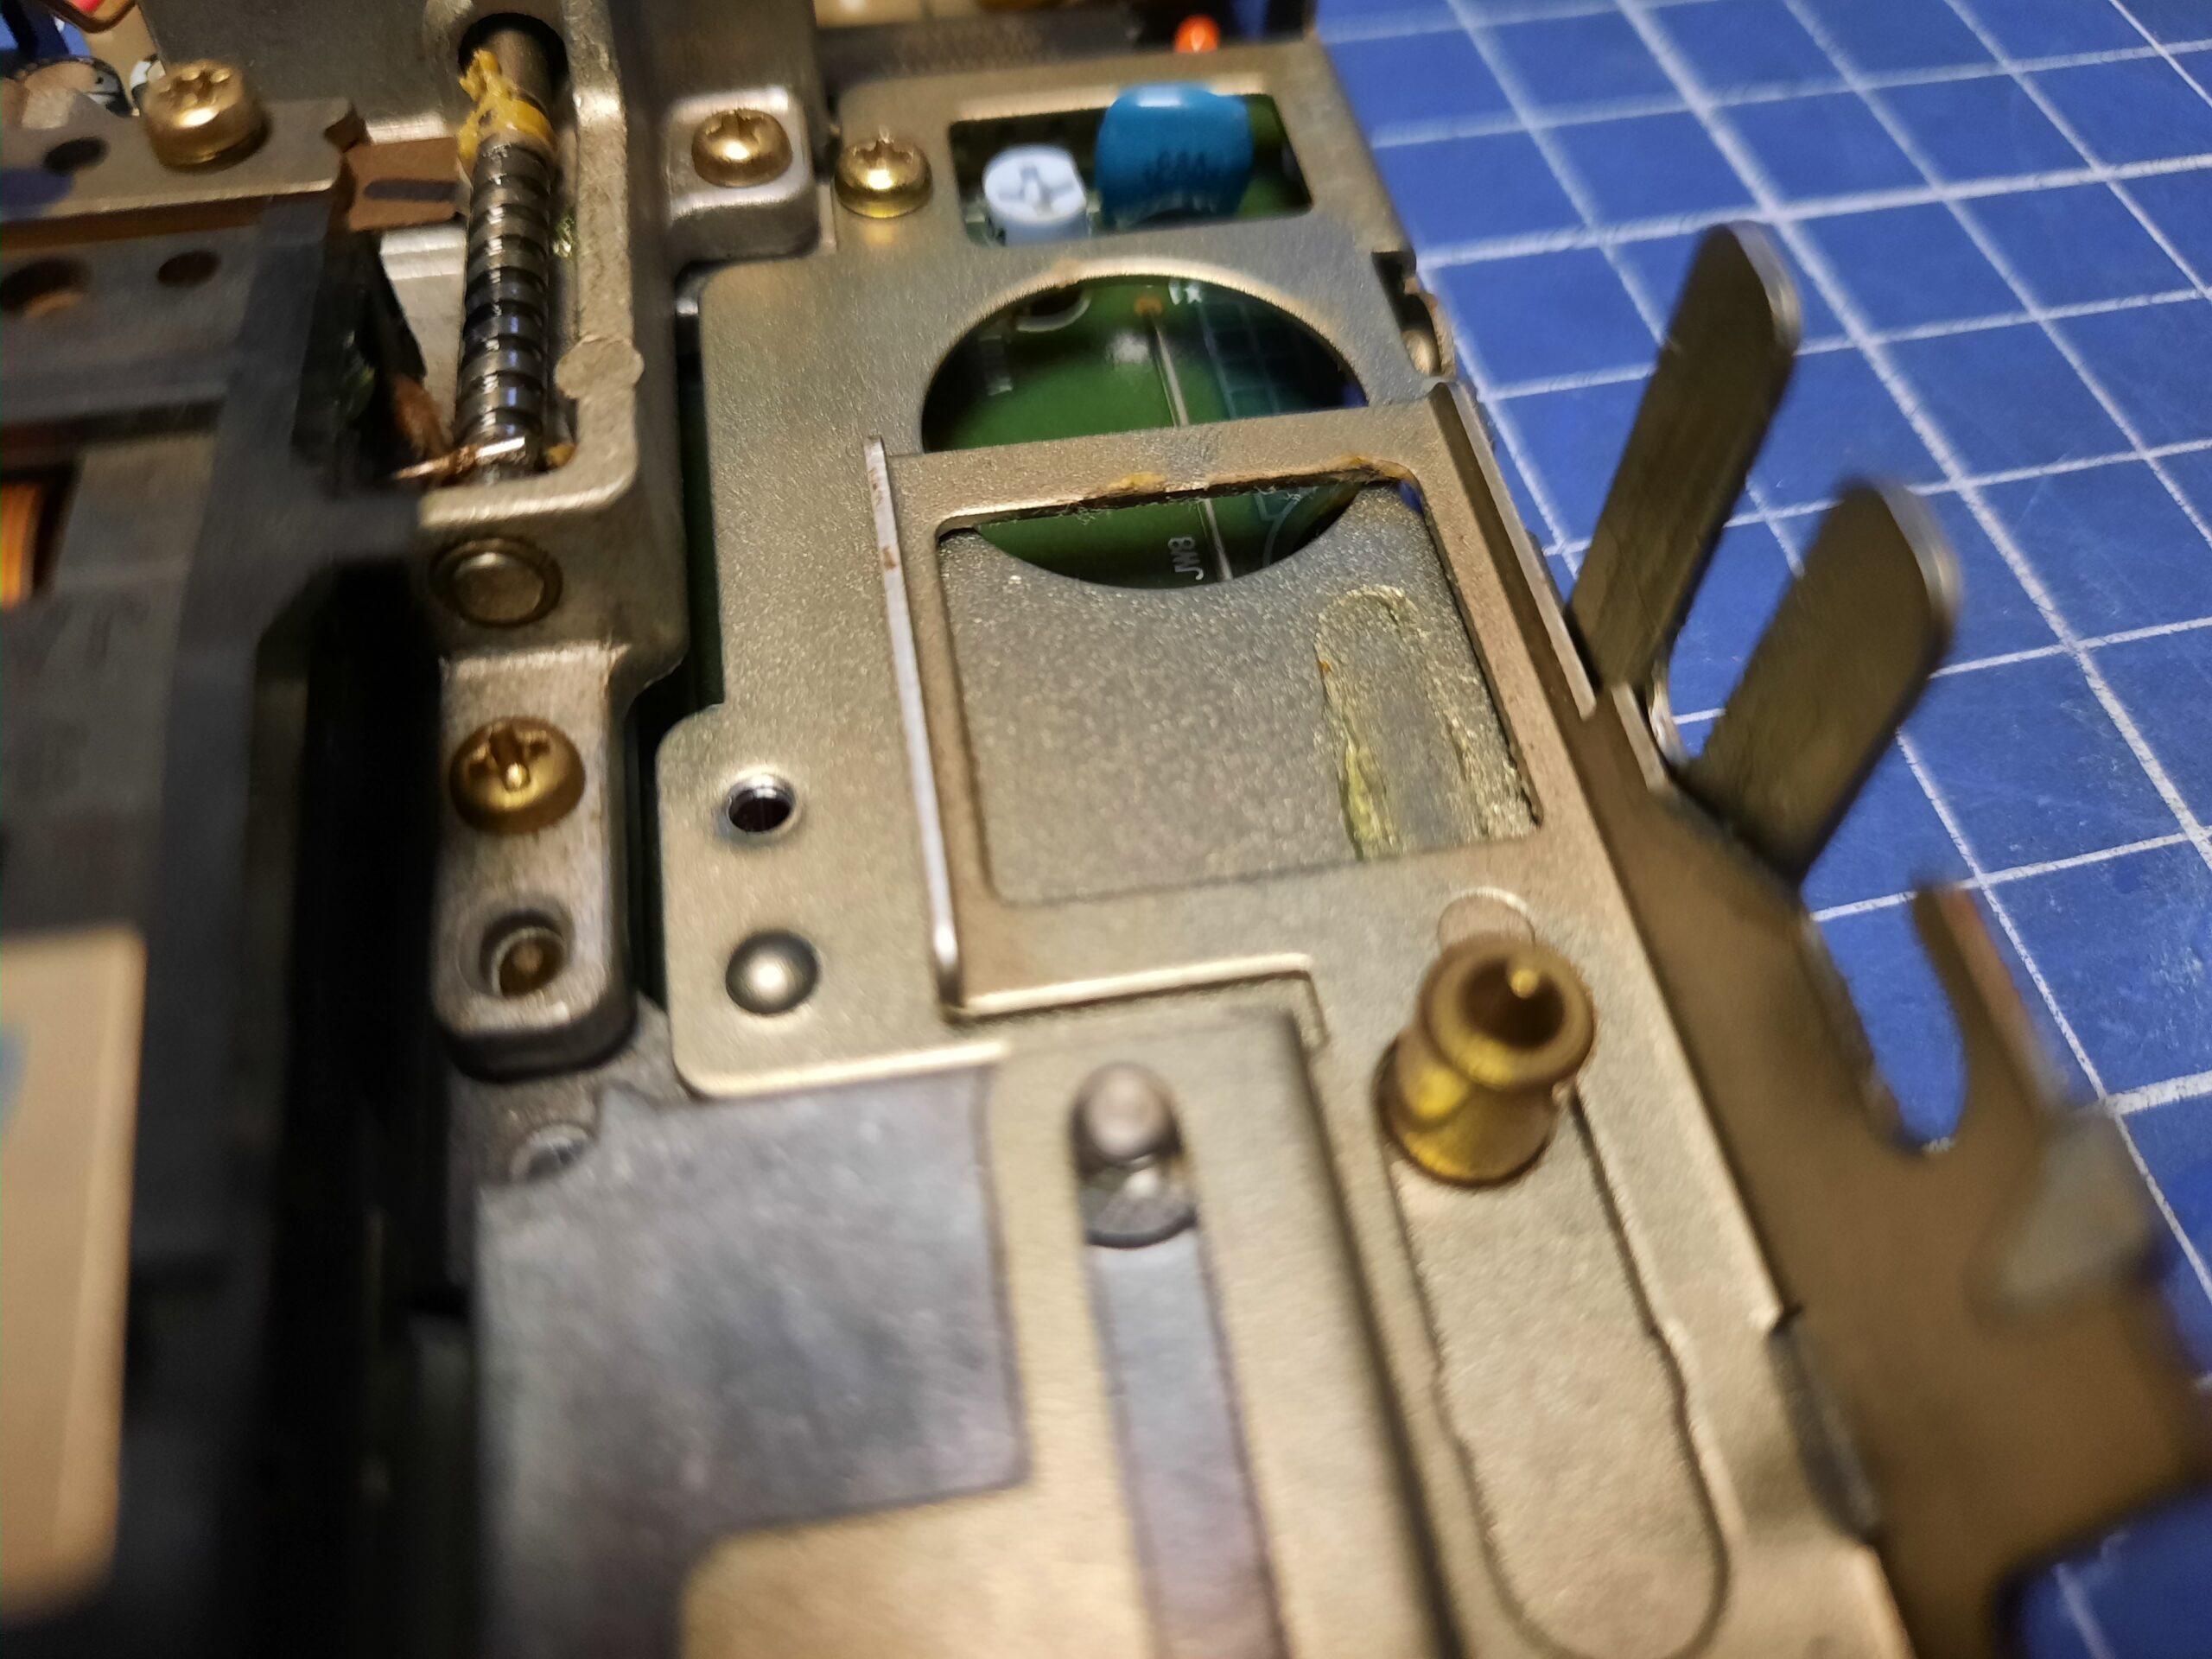
Now the harder part. There is a certain clearance needed between the drive head and the disk being read. If it is out of tune, it will not read and write floppies.
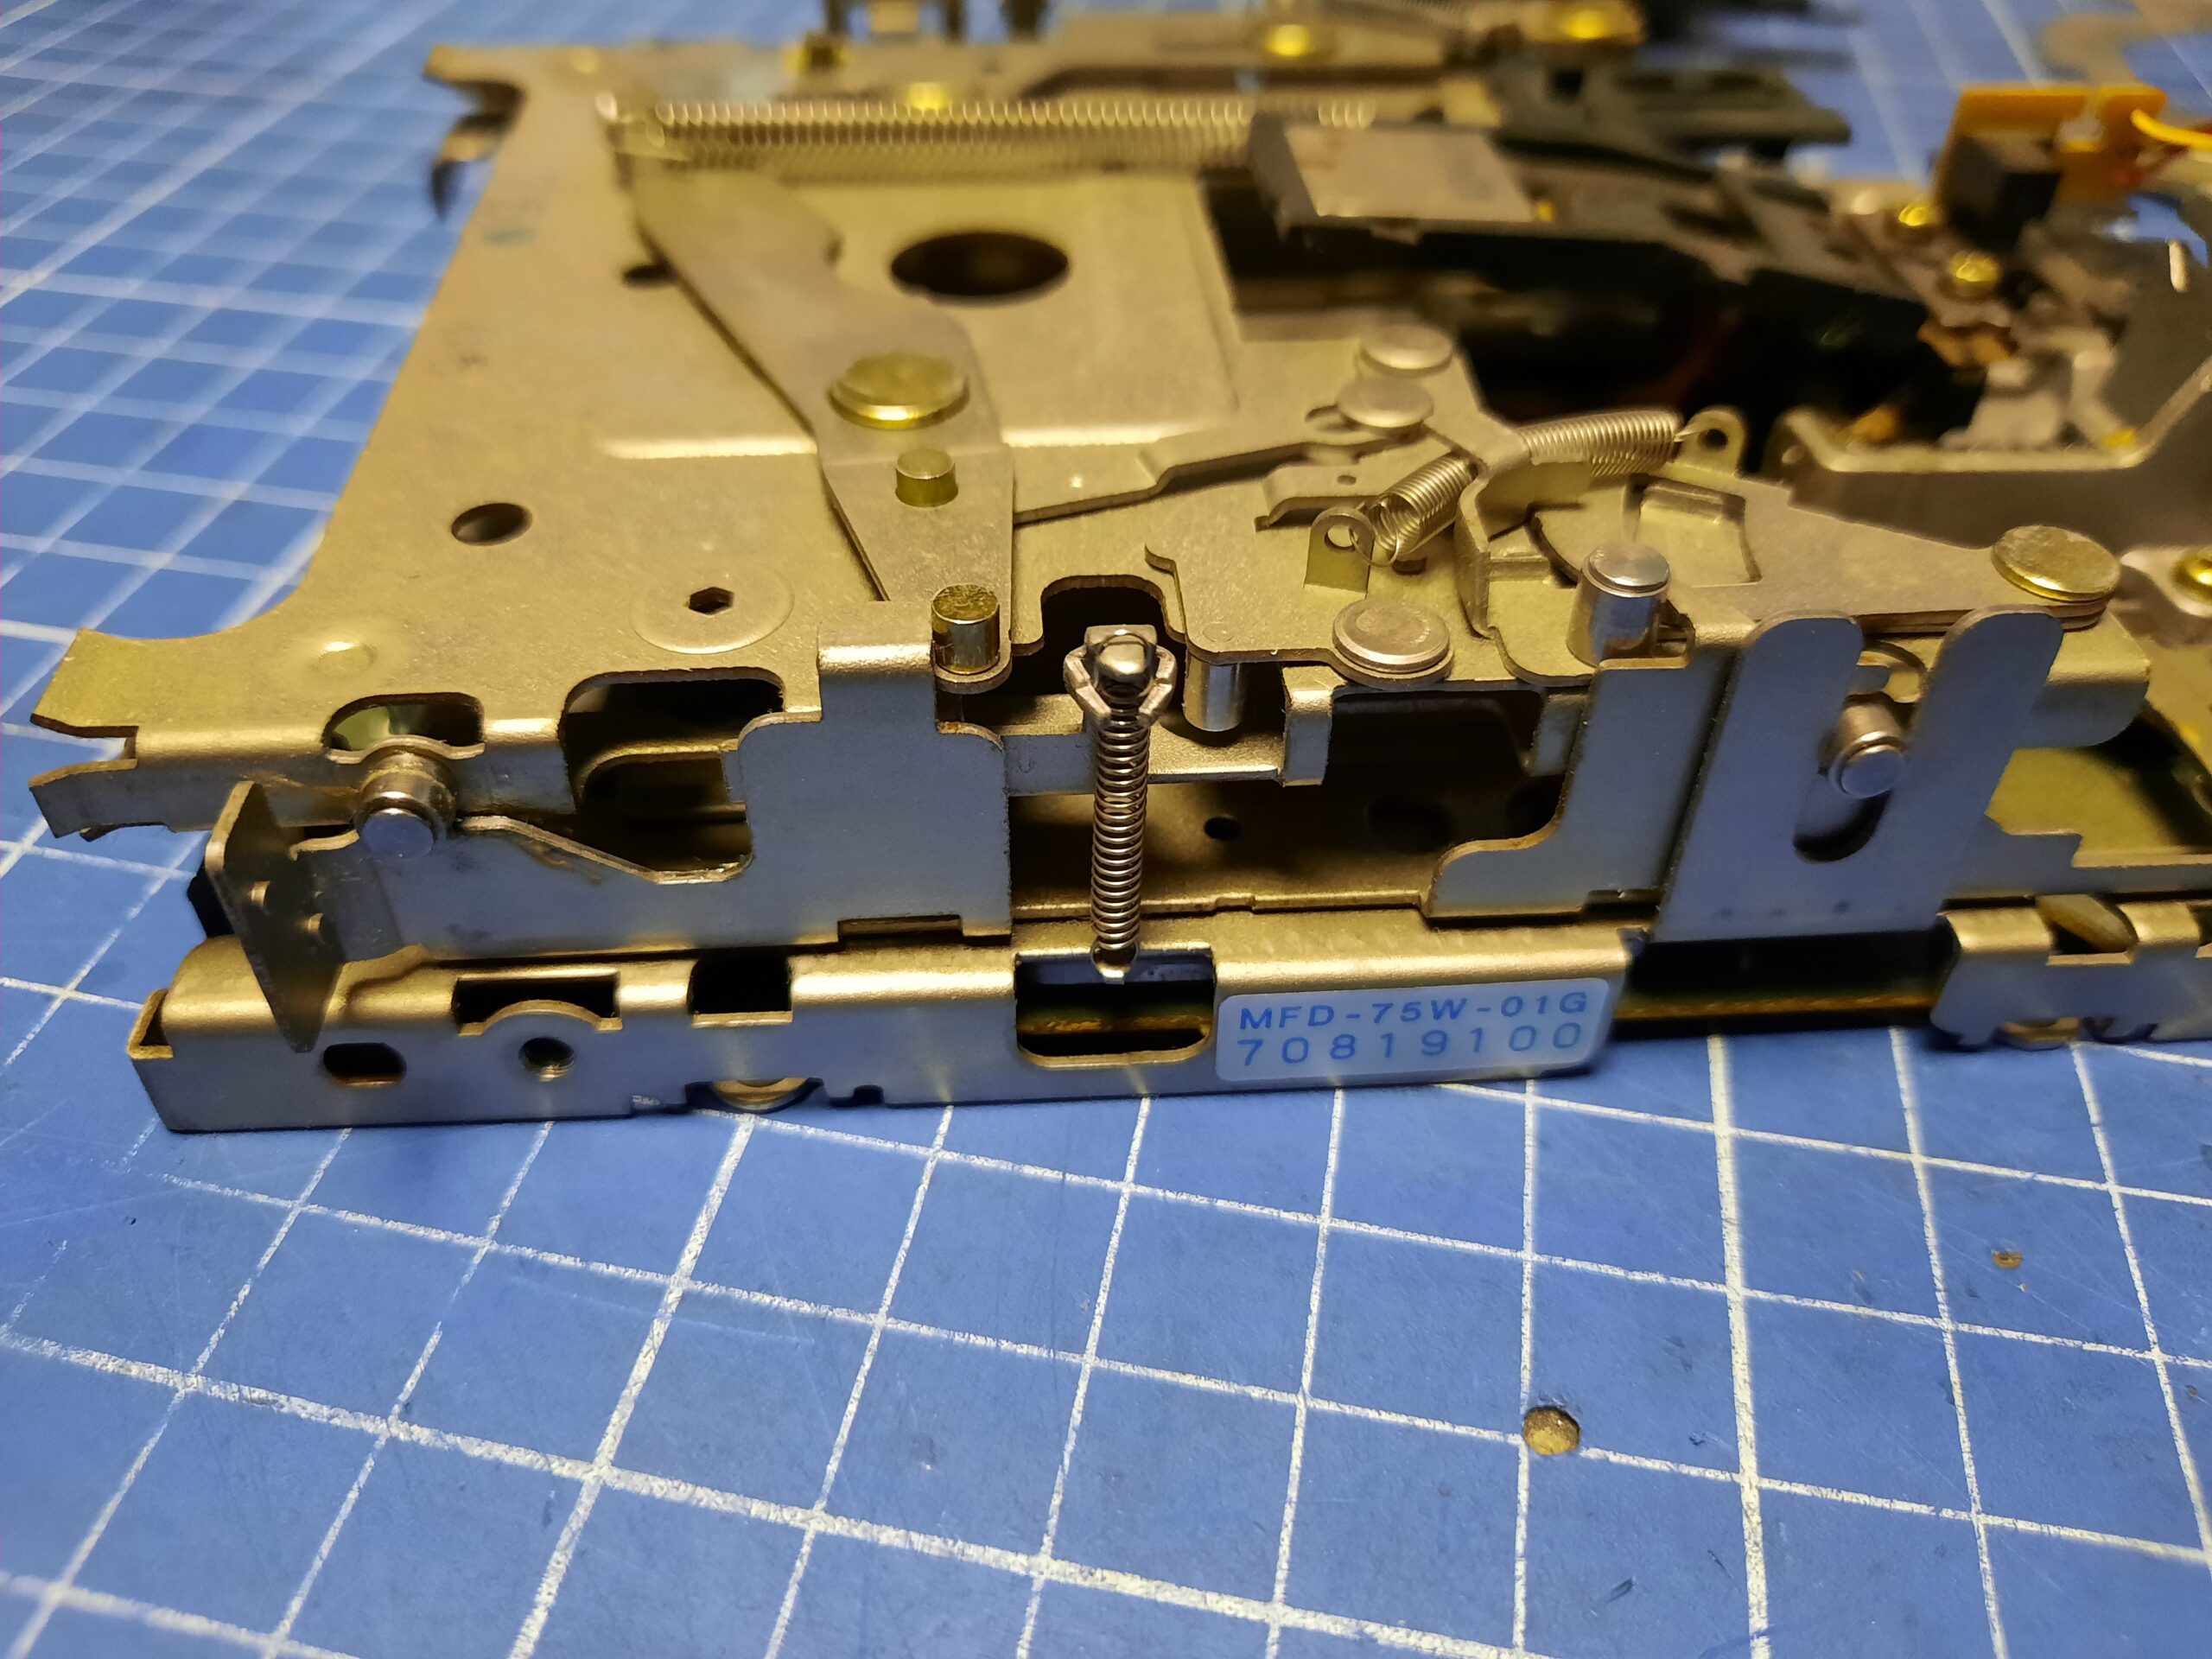
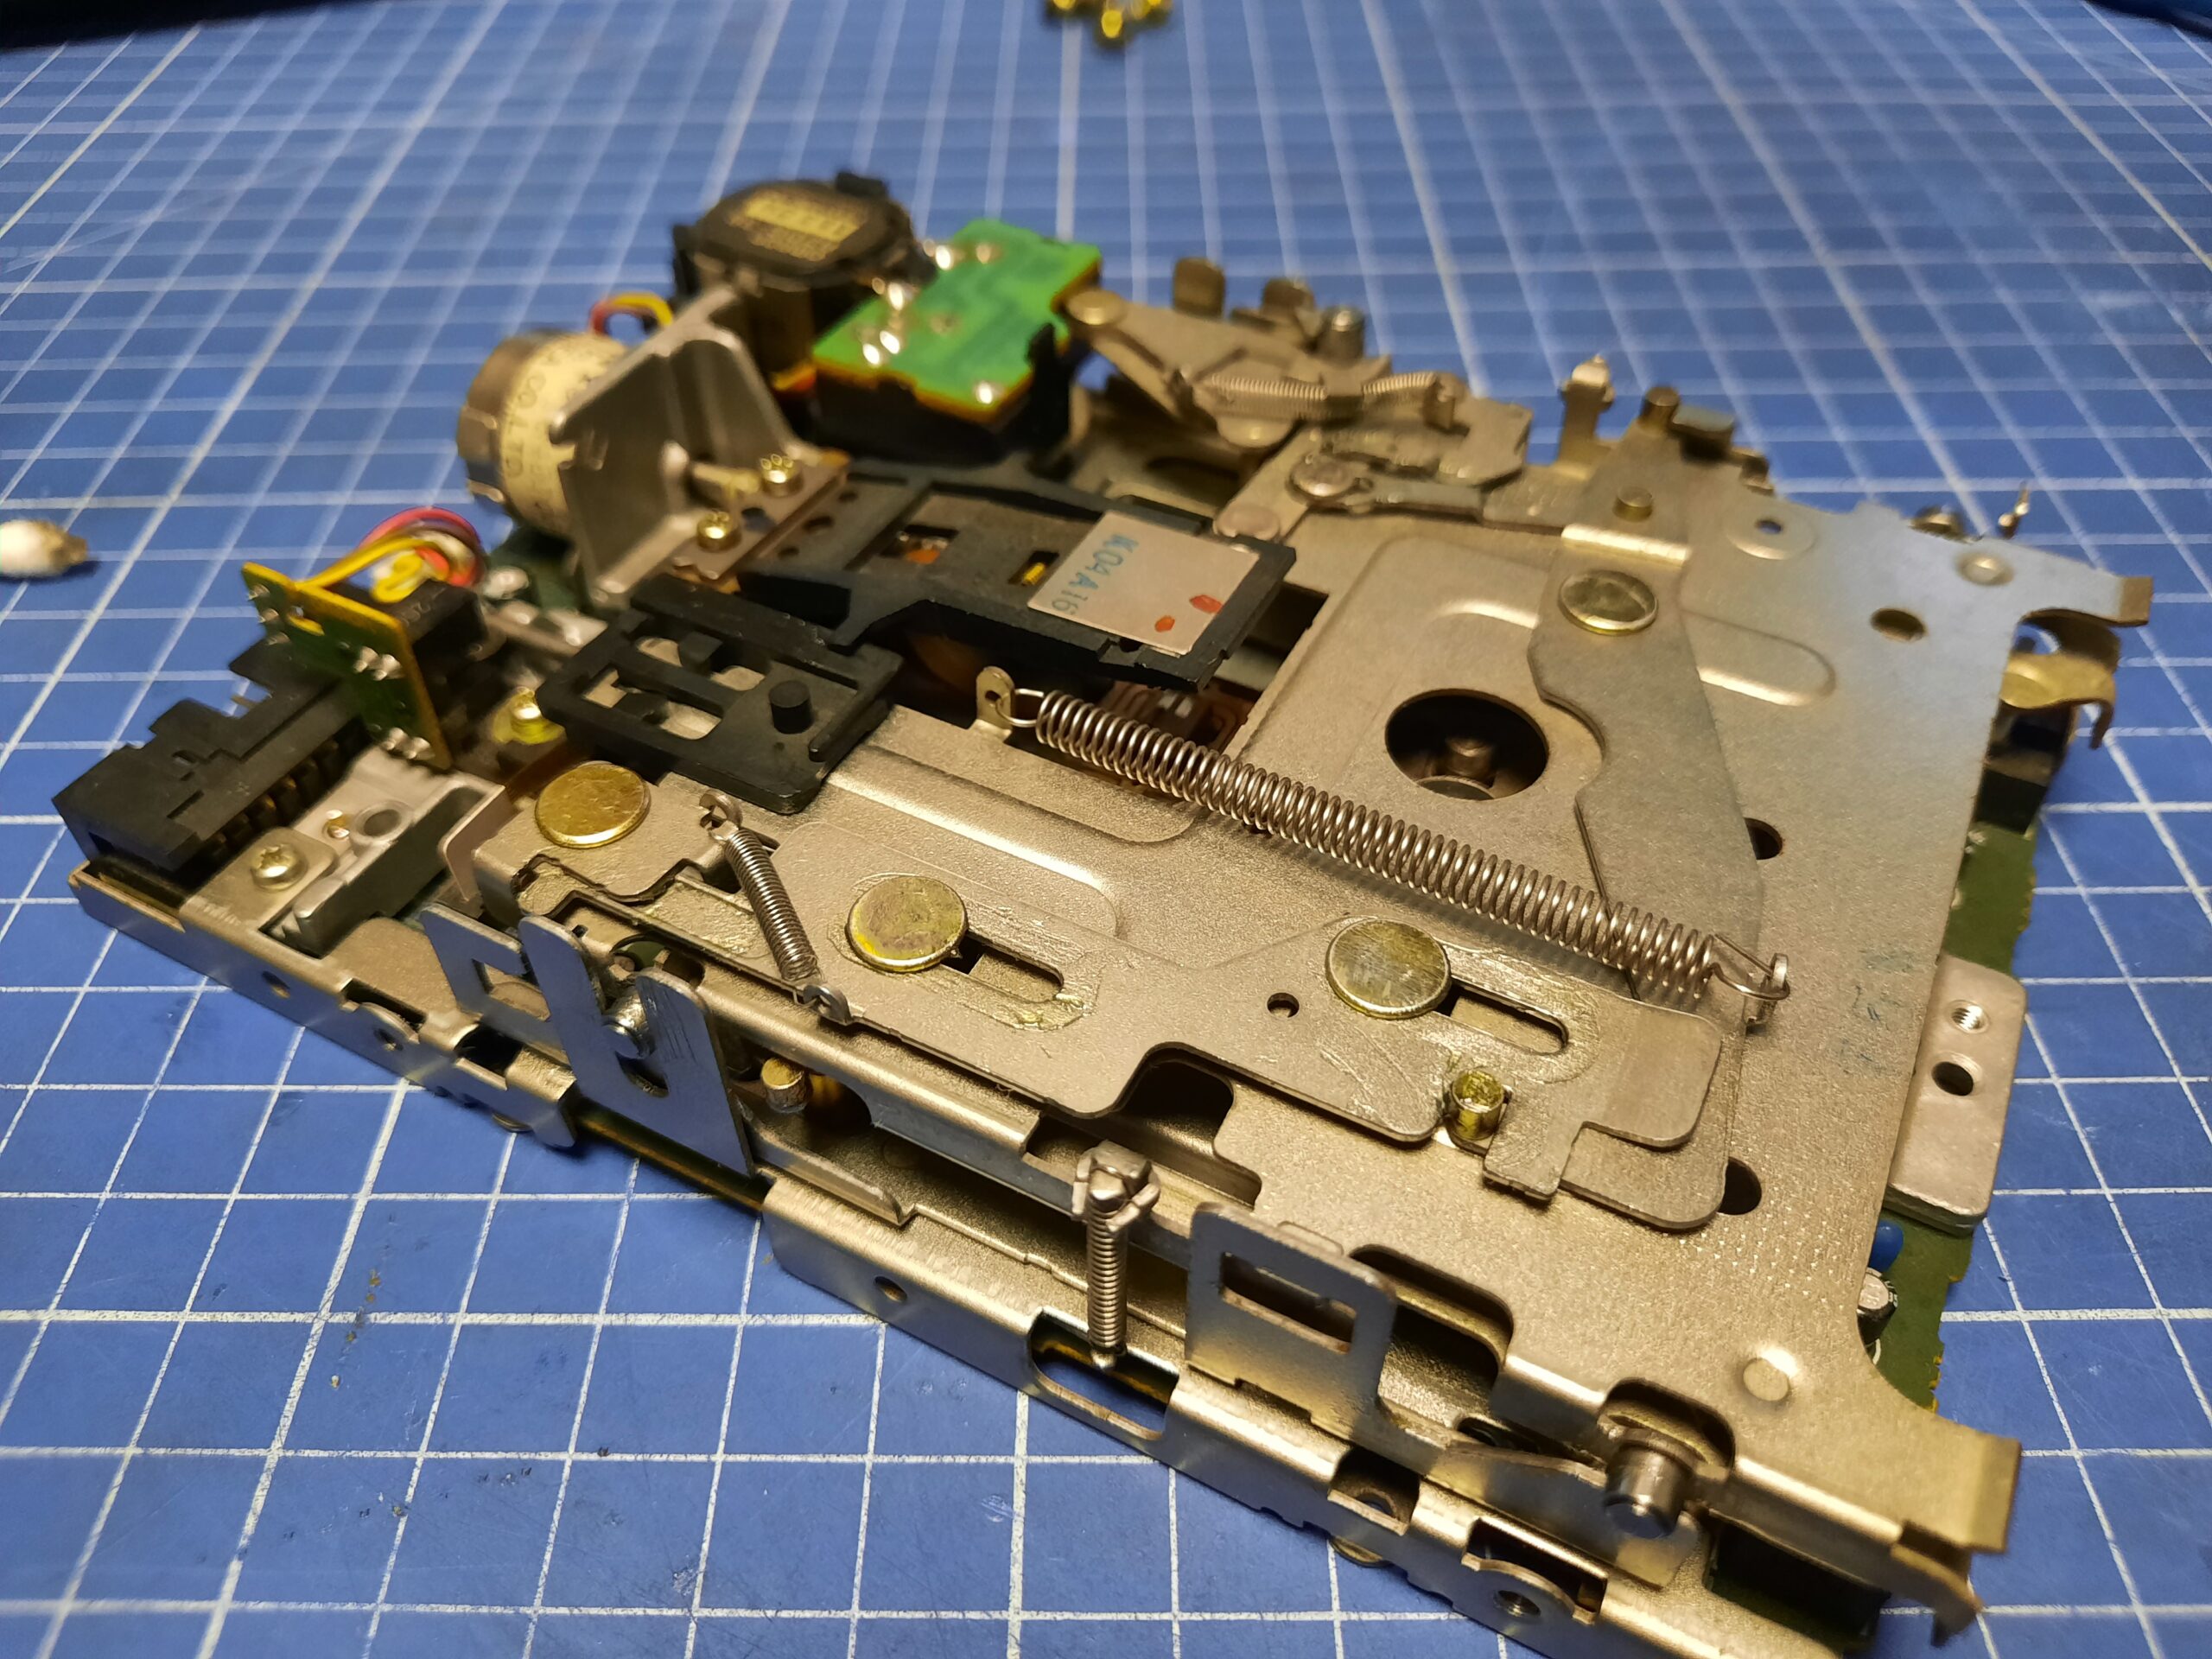
Here is the one that gave me a lot of trouble … unnecessary trouble as it turned out later.
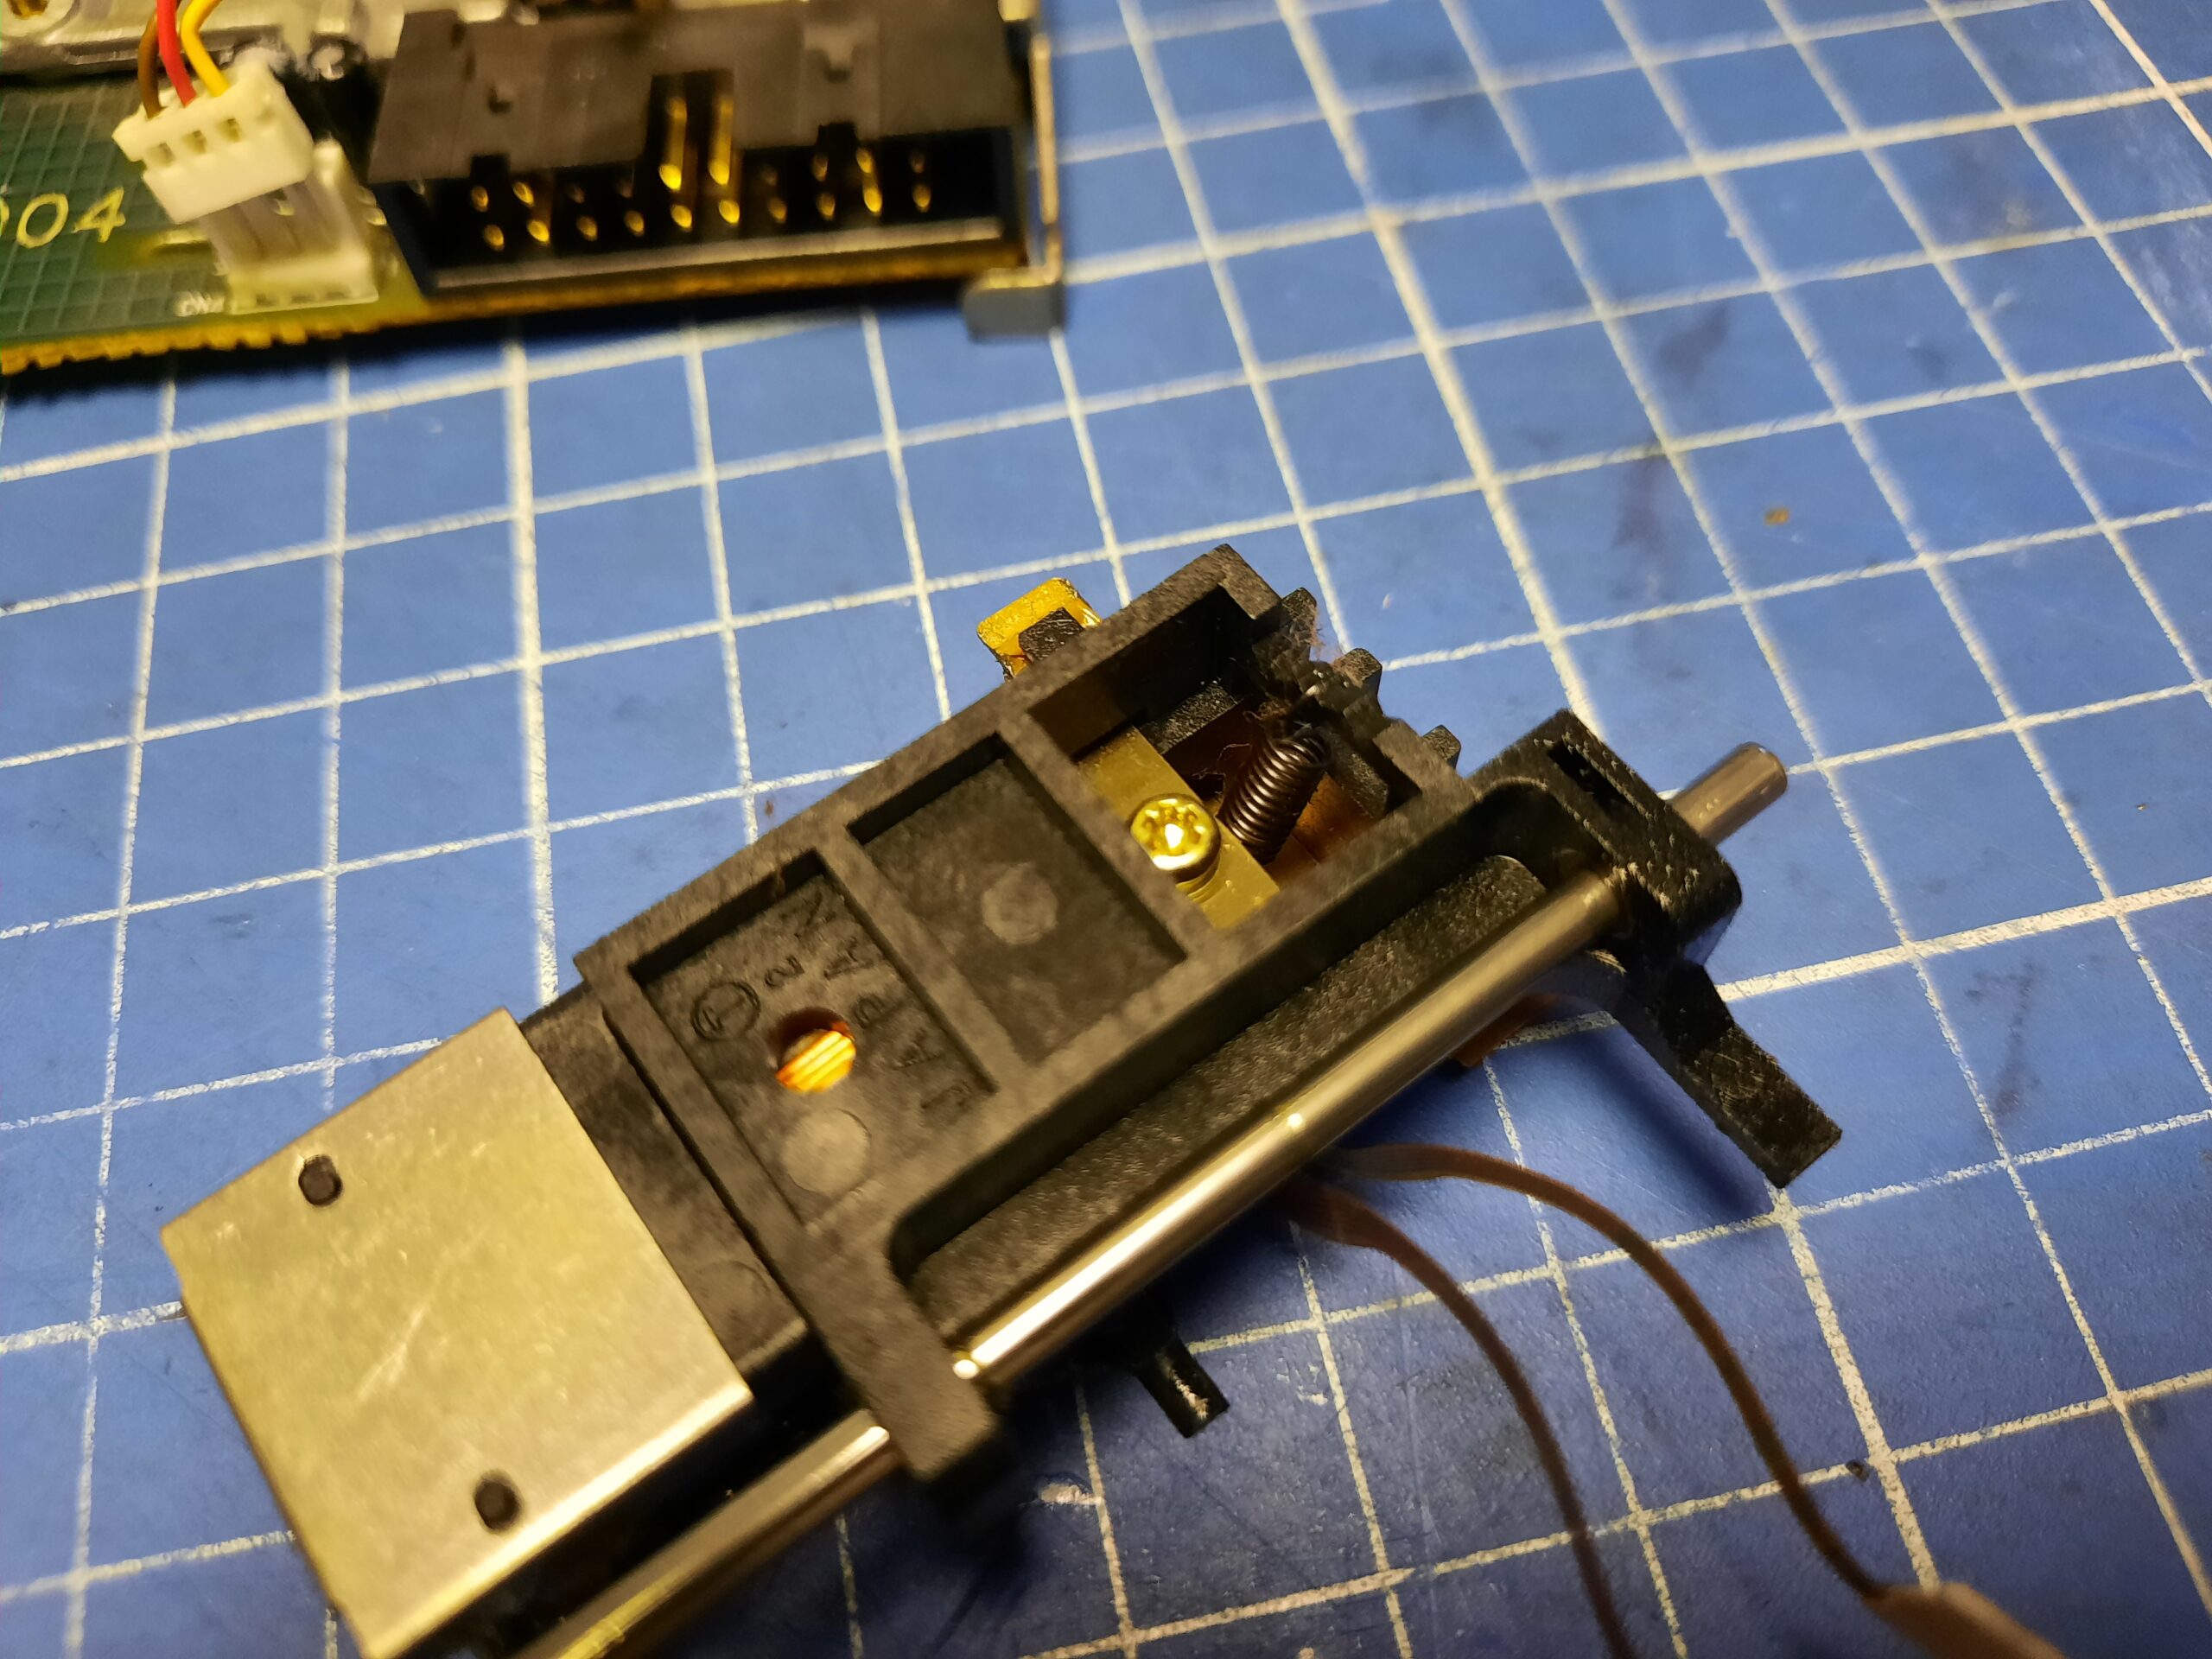
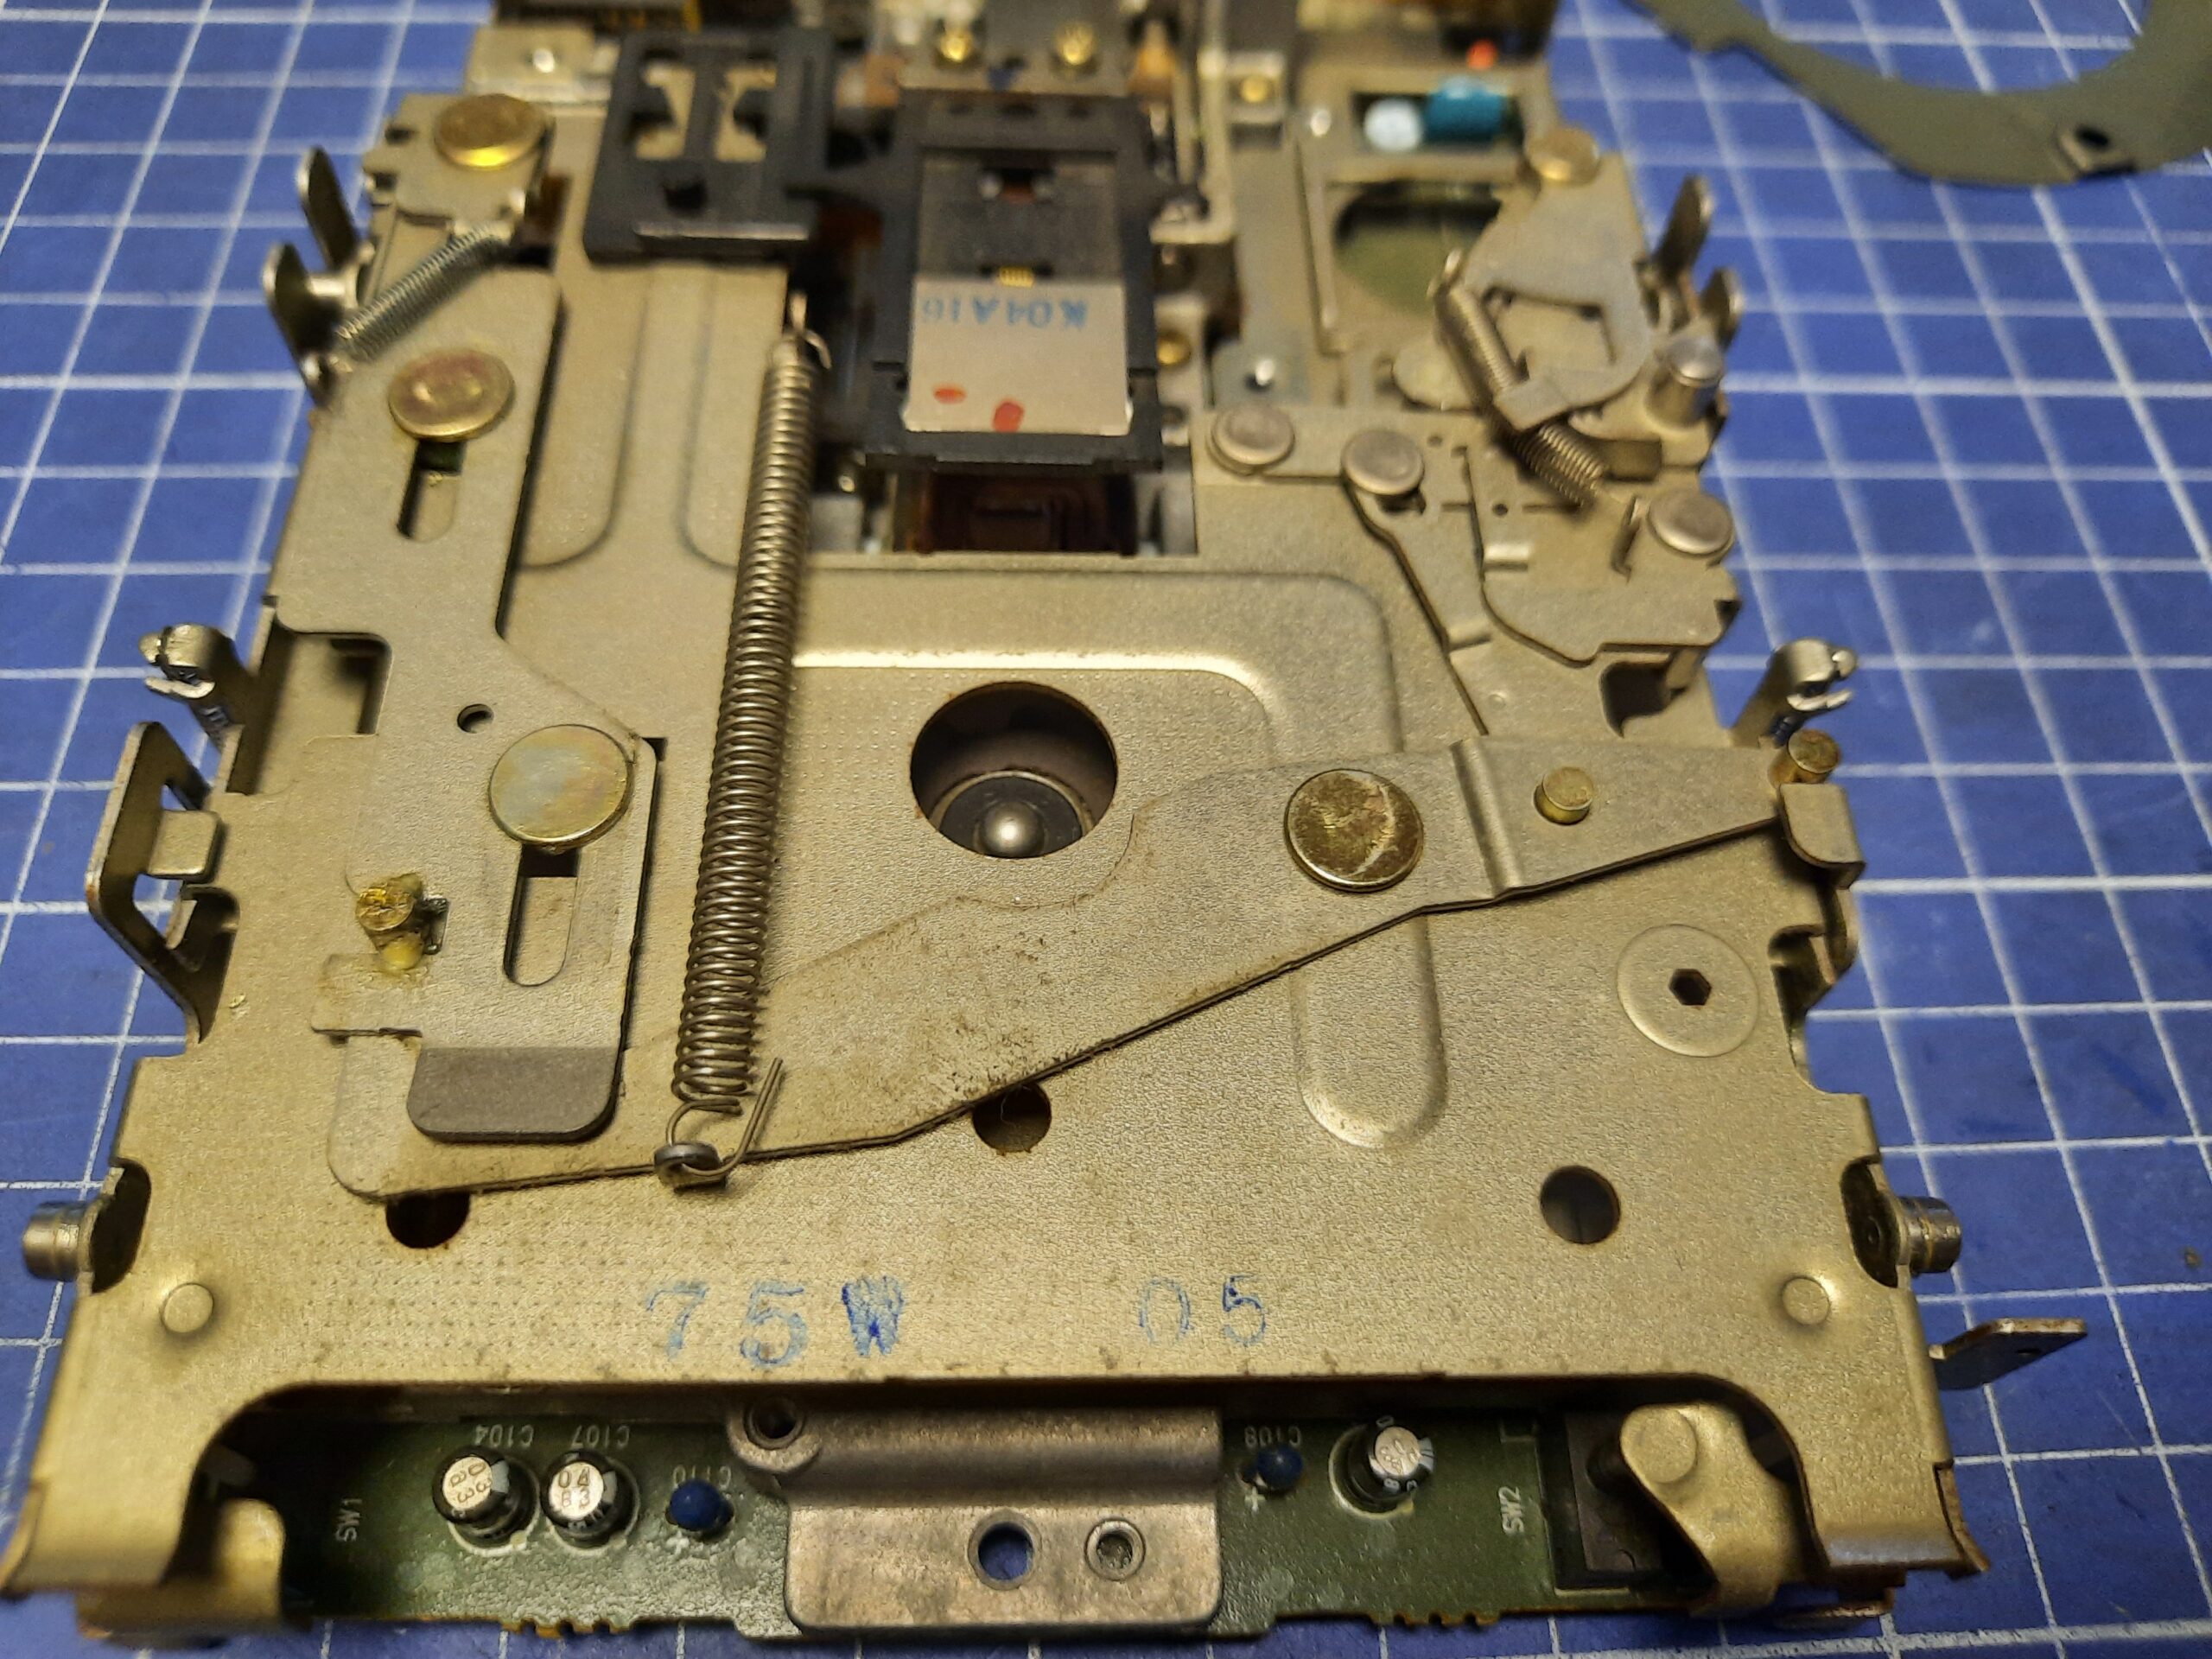
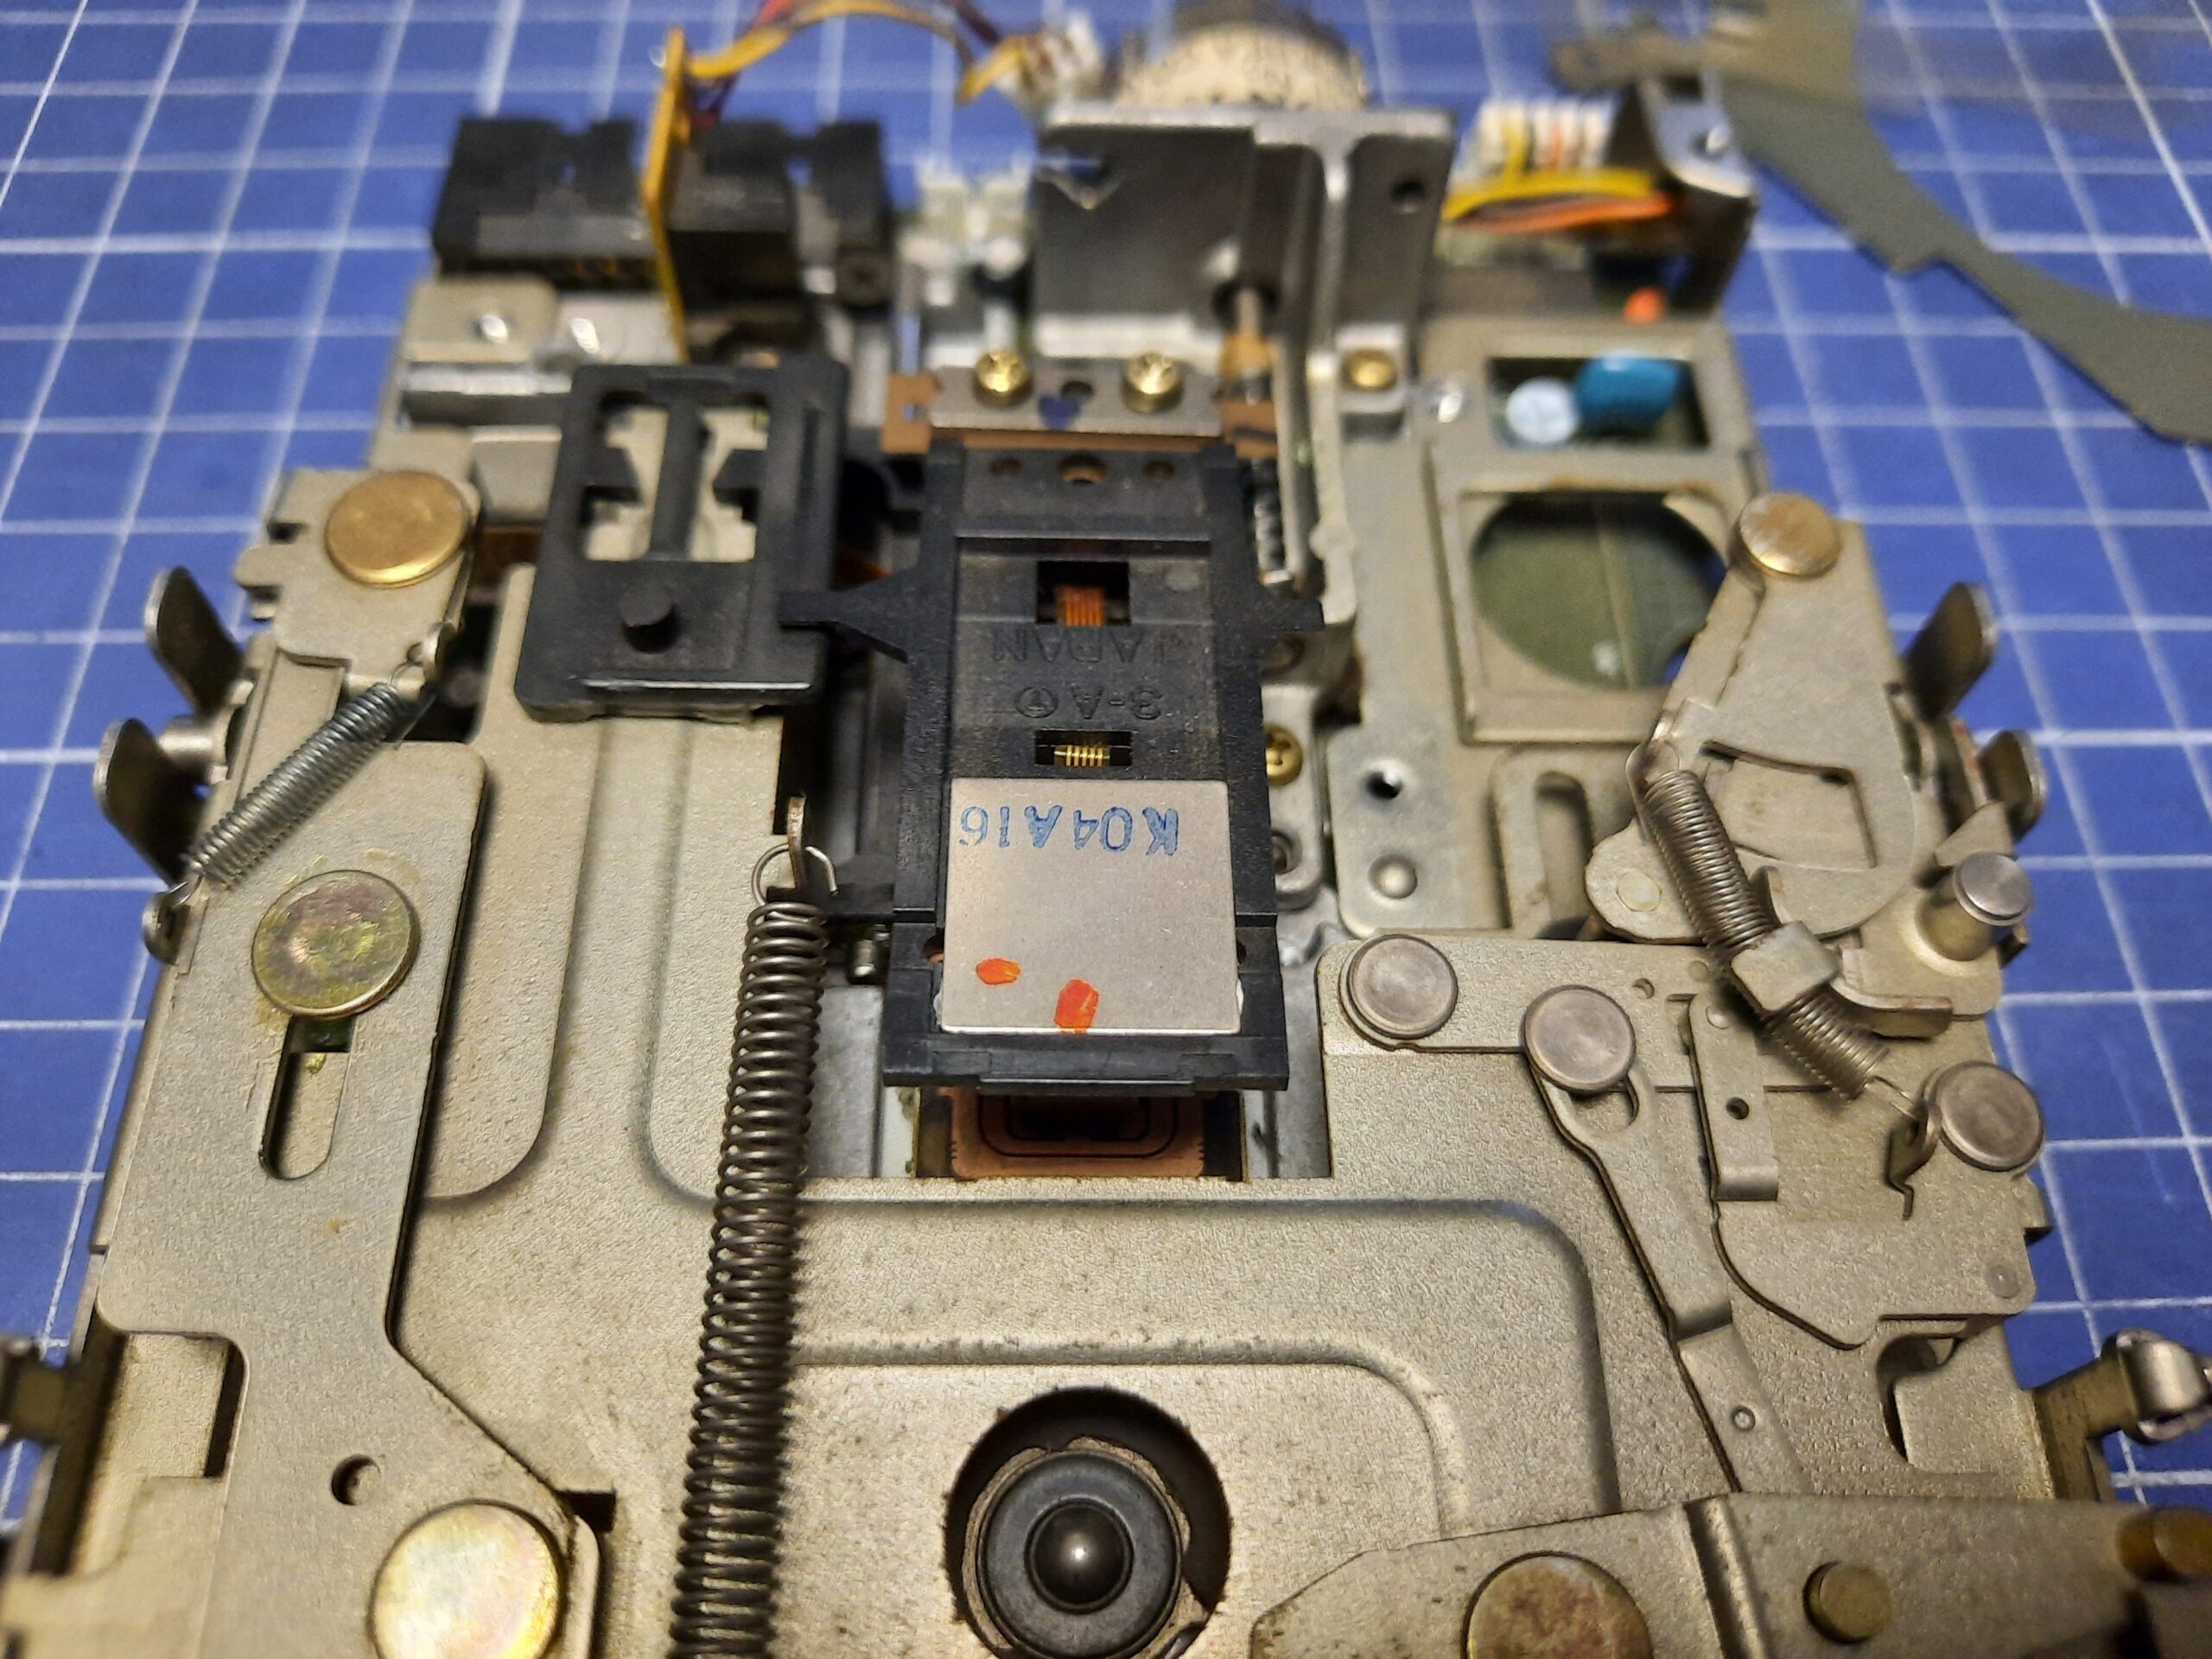
The head assembly has this stiff copper sheet of metal that holds the top part of the head and also puts some pressure upwards.
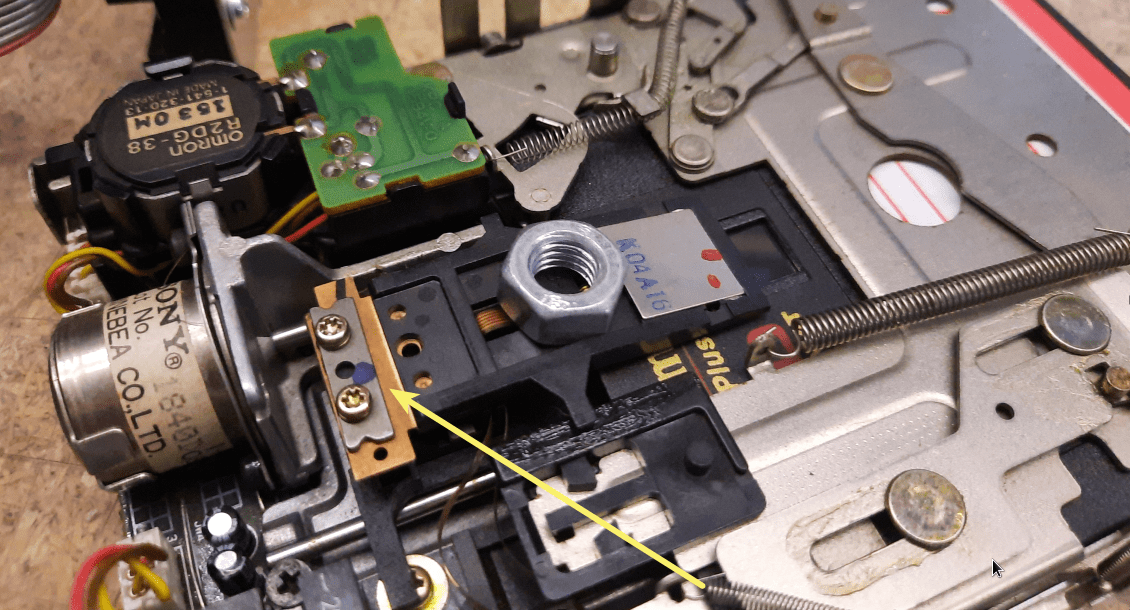
As a countering force, there is a spring on the back of the head assembly, that can be set to 3 different positions.
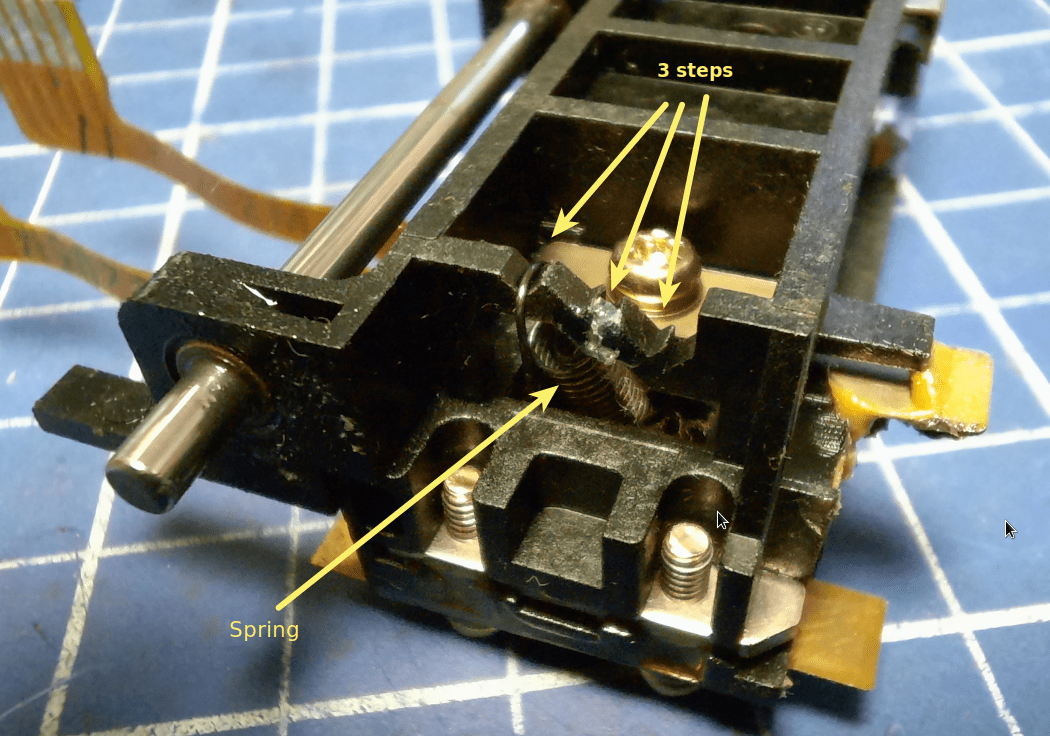
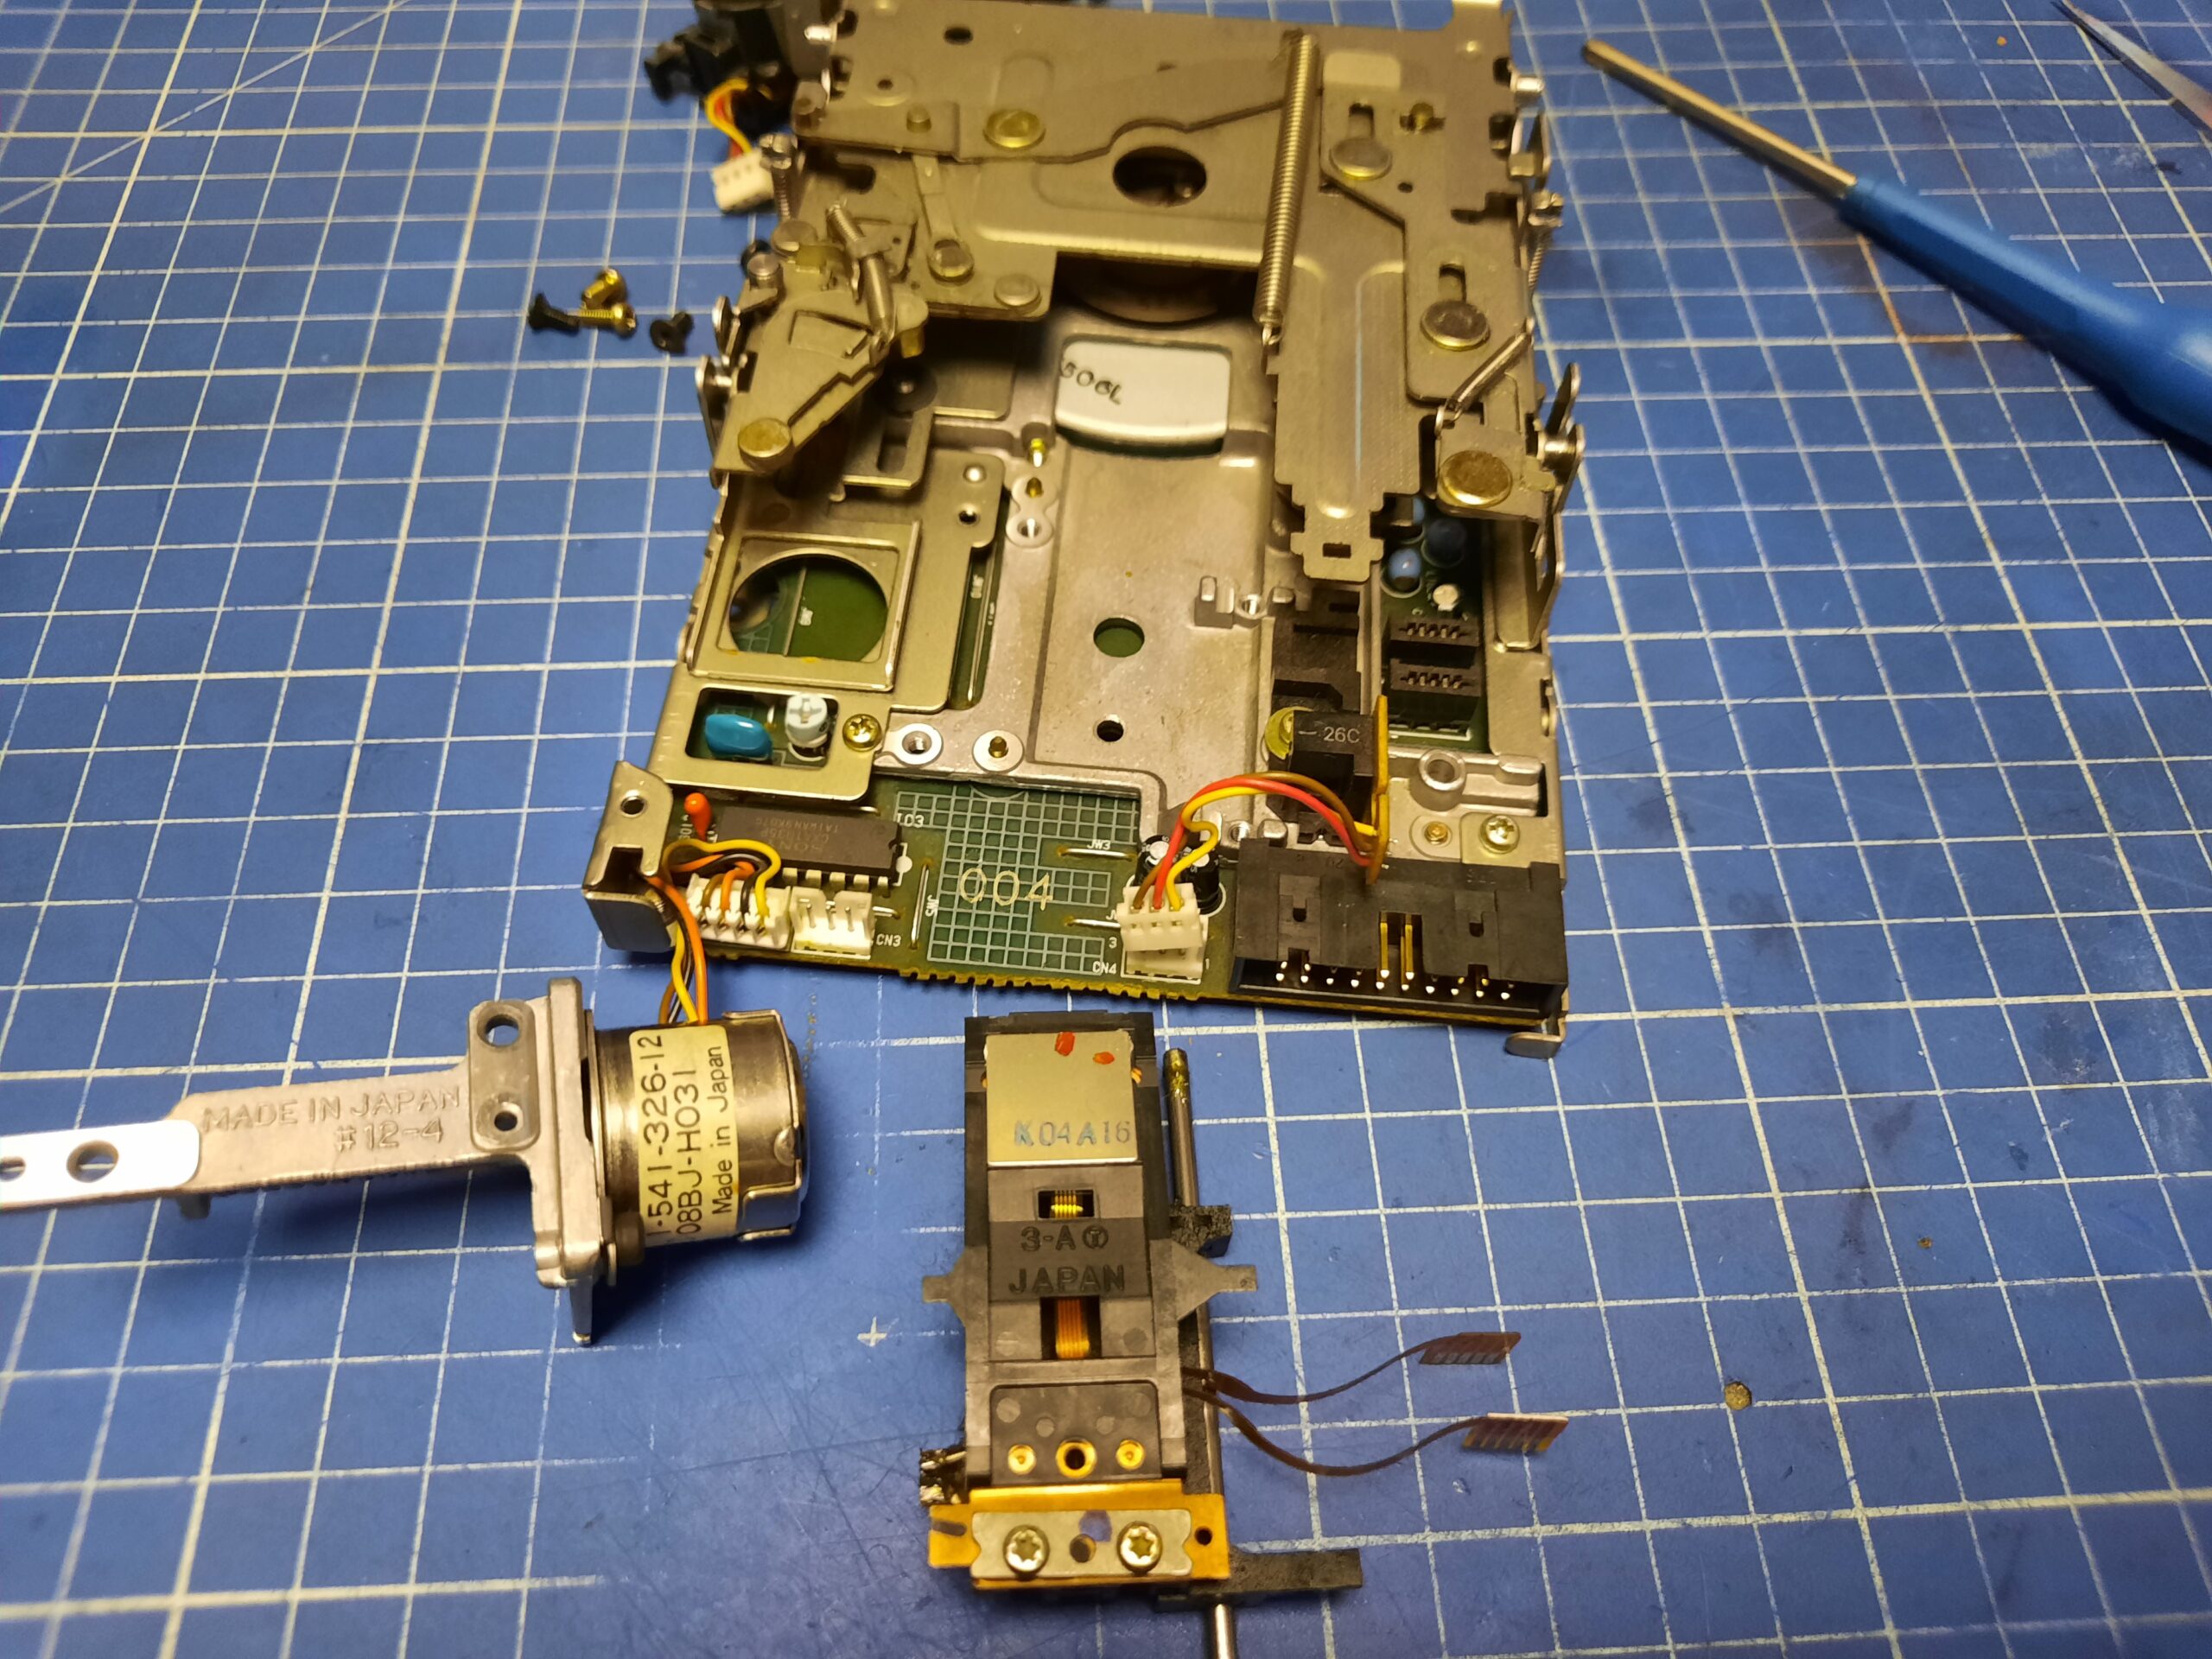
Setting the spring to the highest step wasn’t enough, so I decided to disassemble it further. This was a big mistake as one of the screw heads broke leaving me with a few hours of work to get the remaining part out.
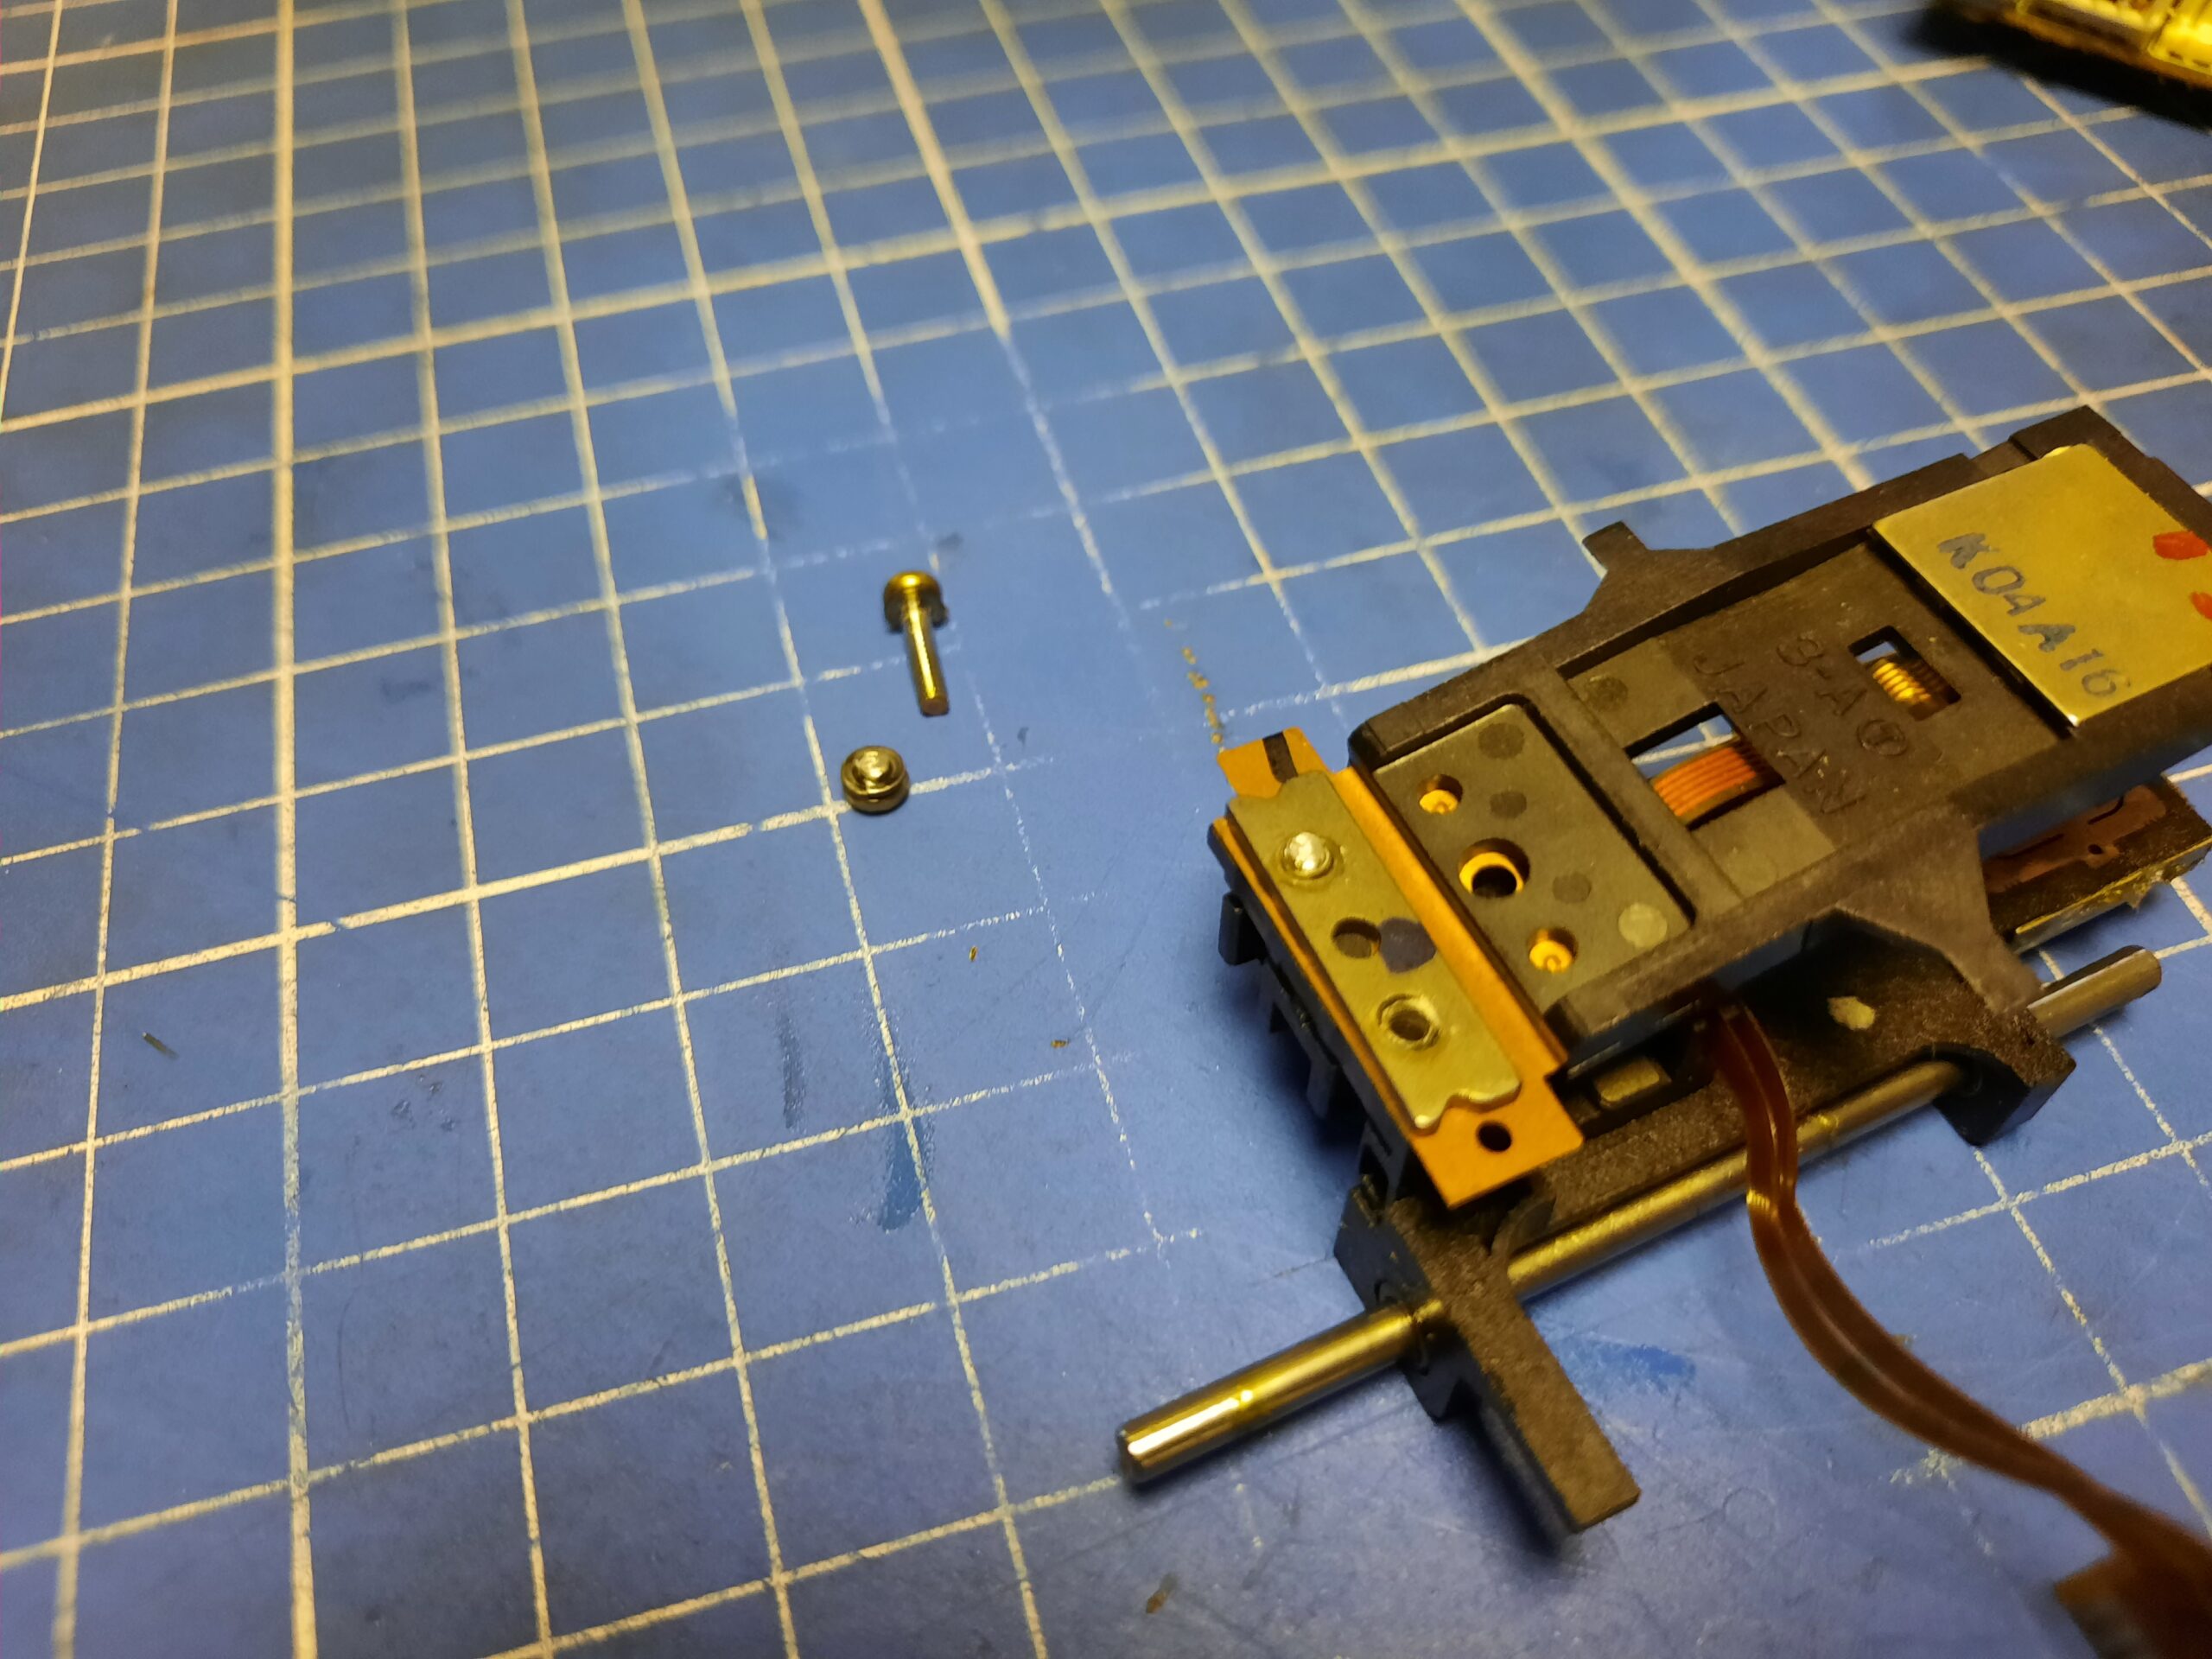
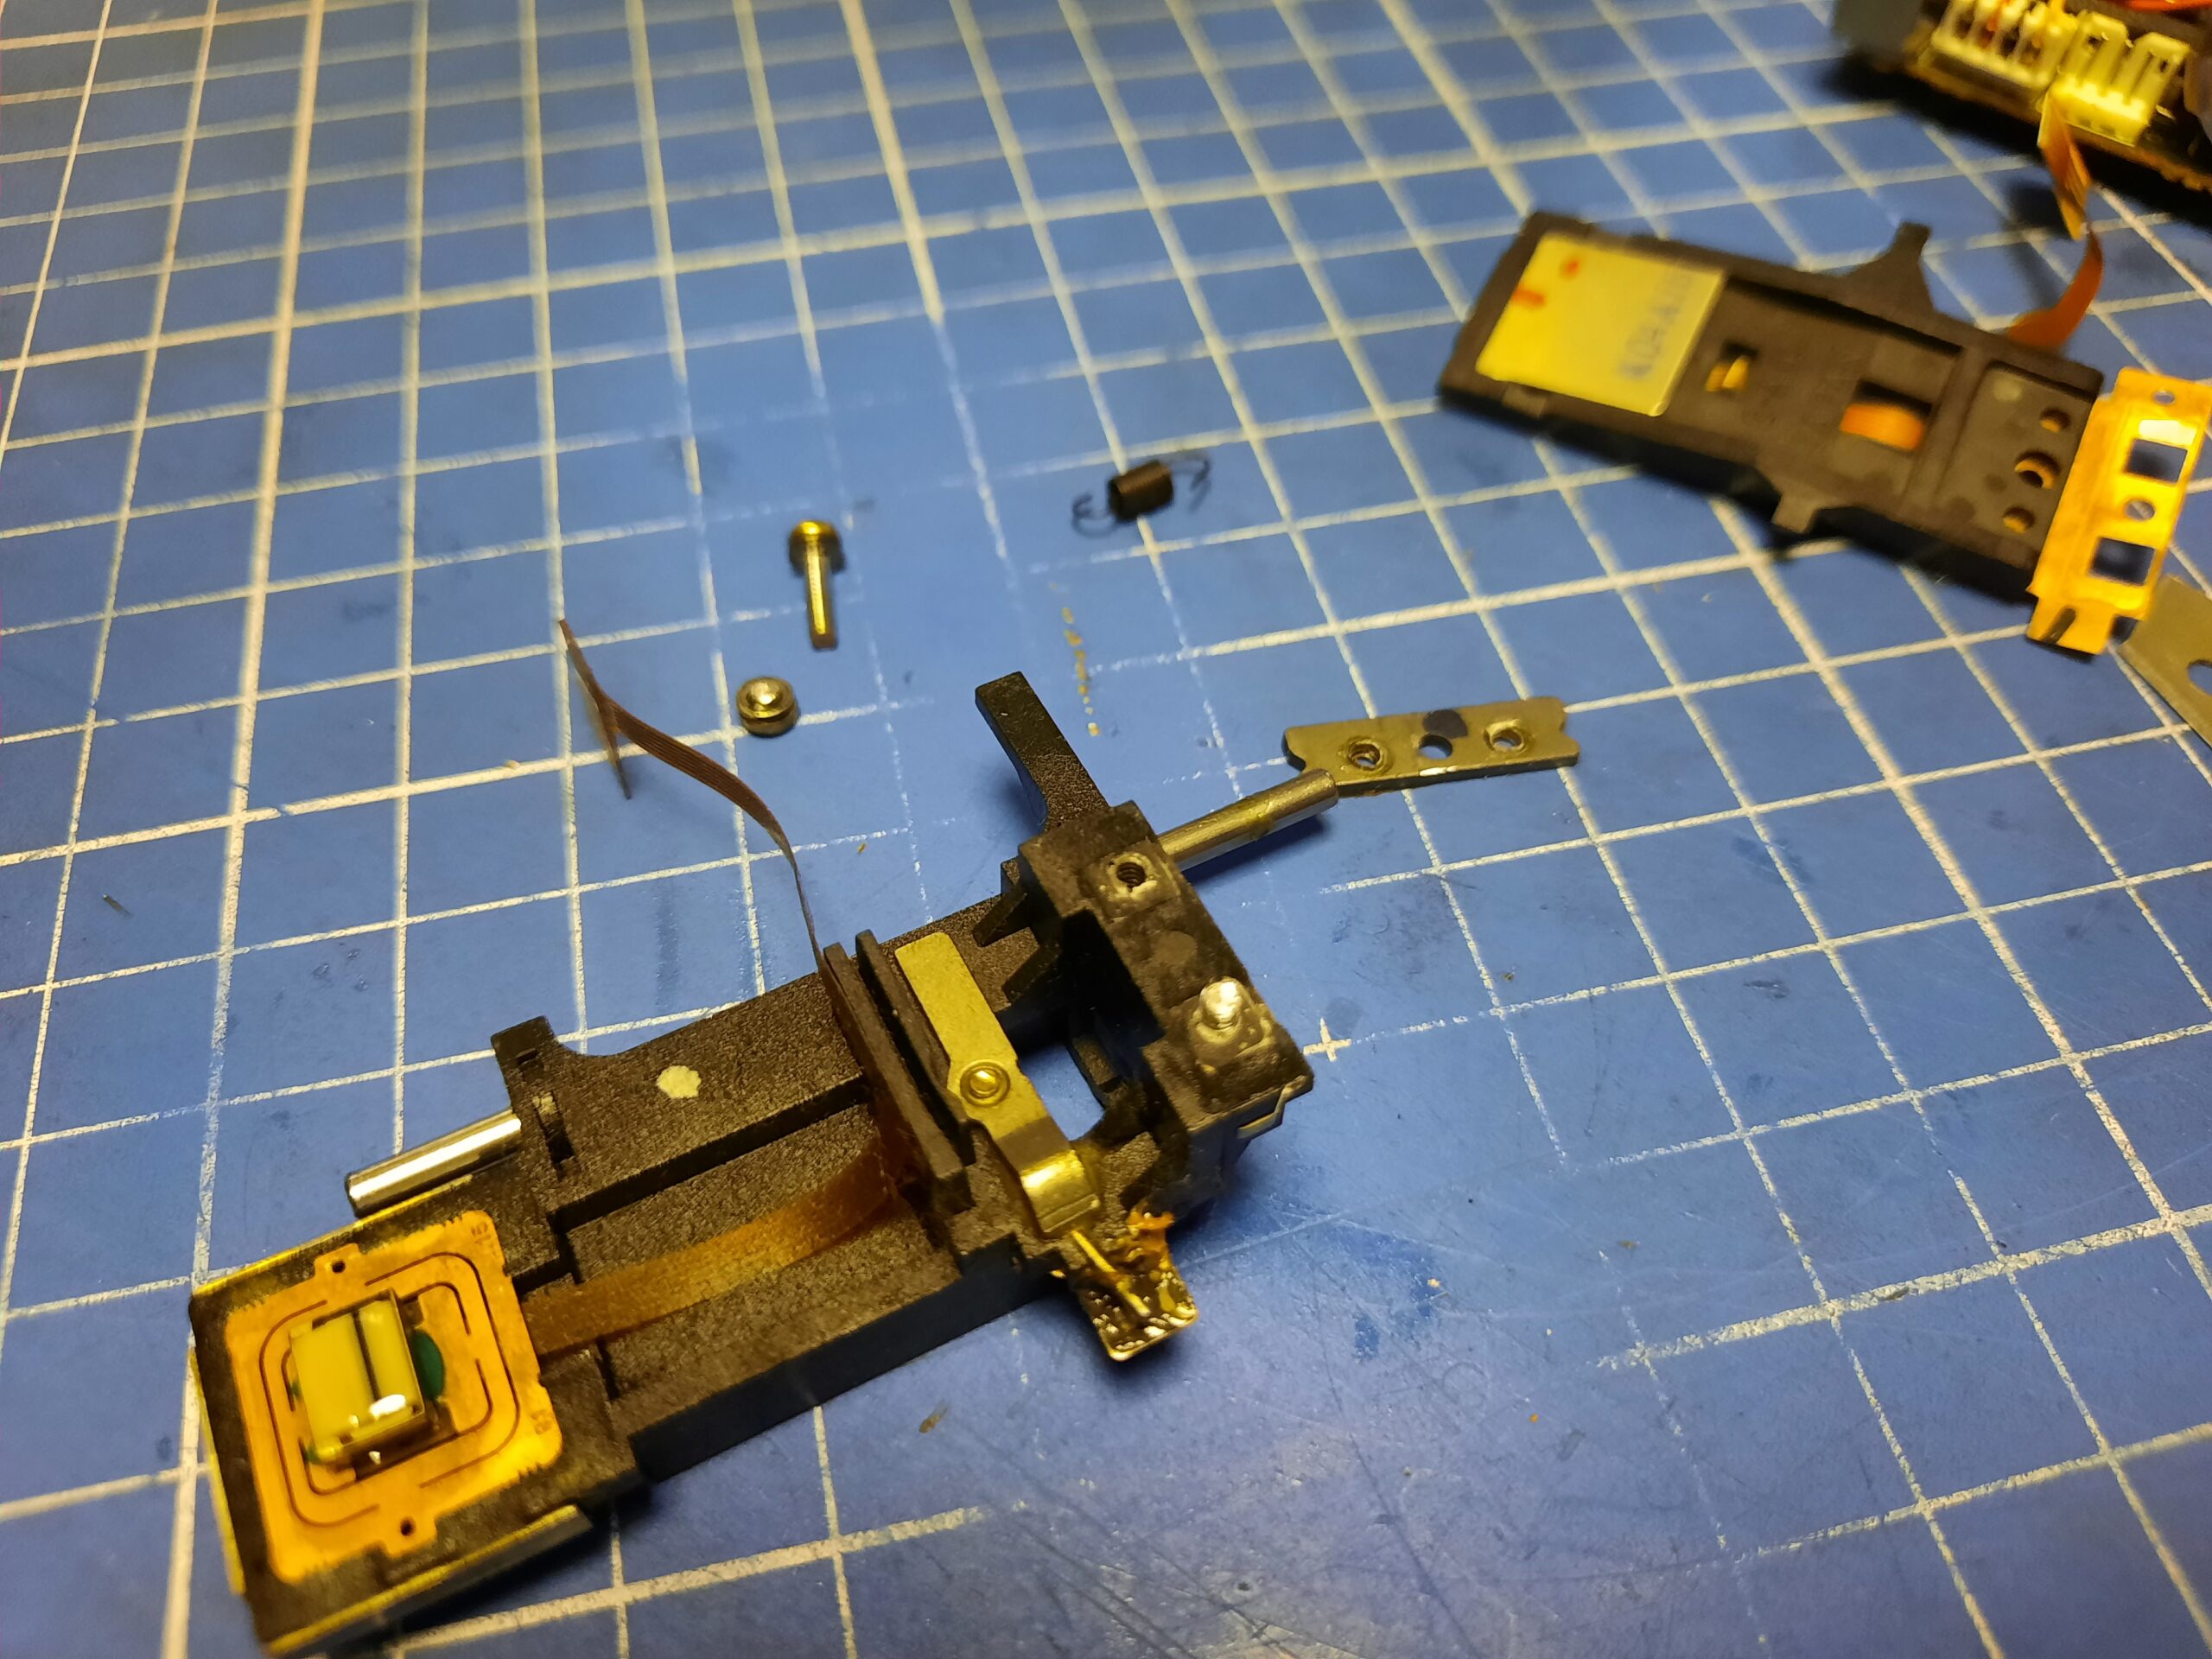
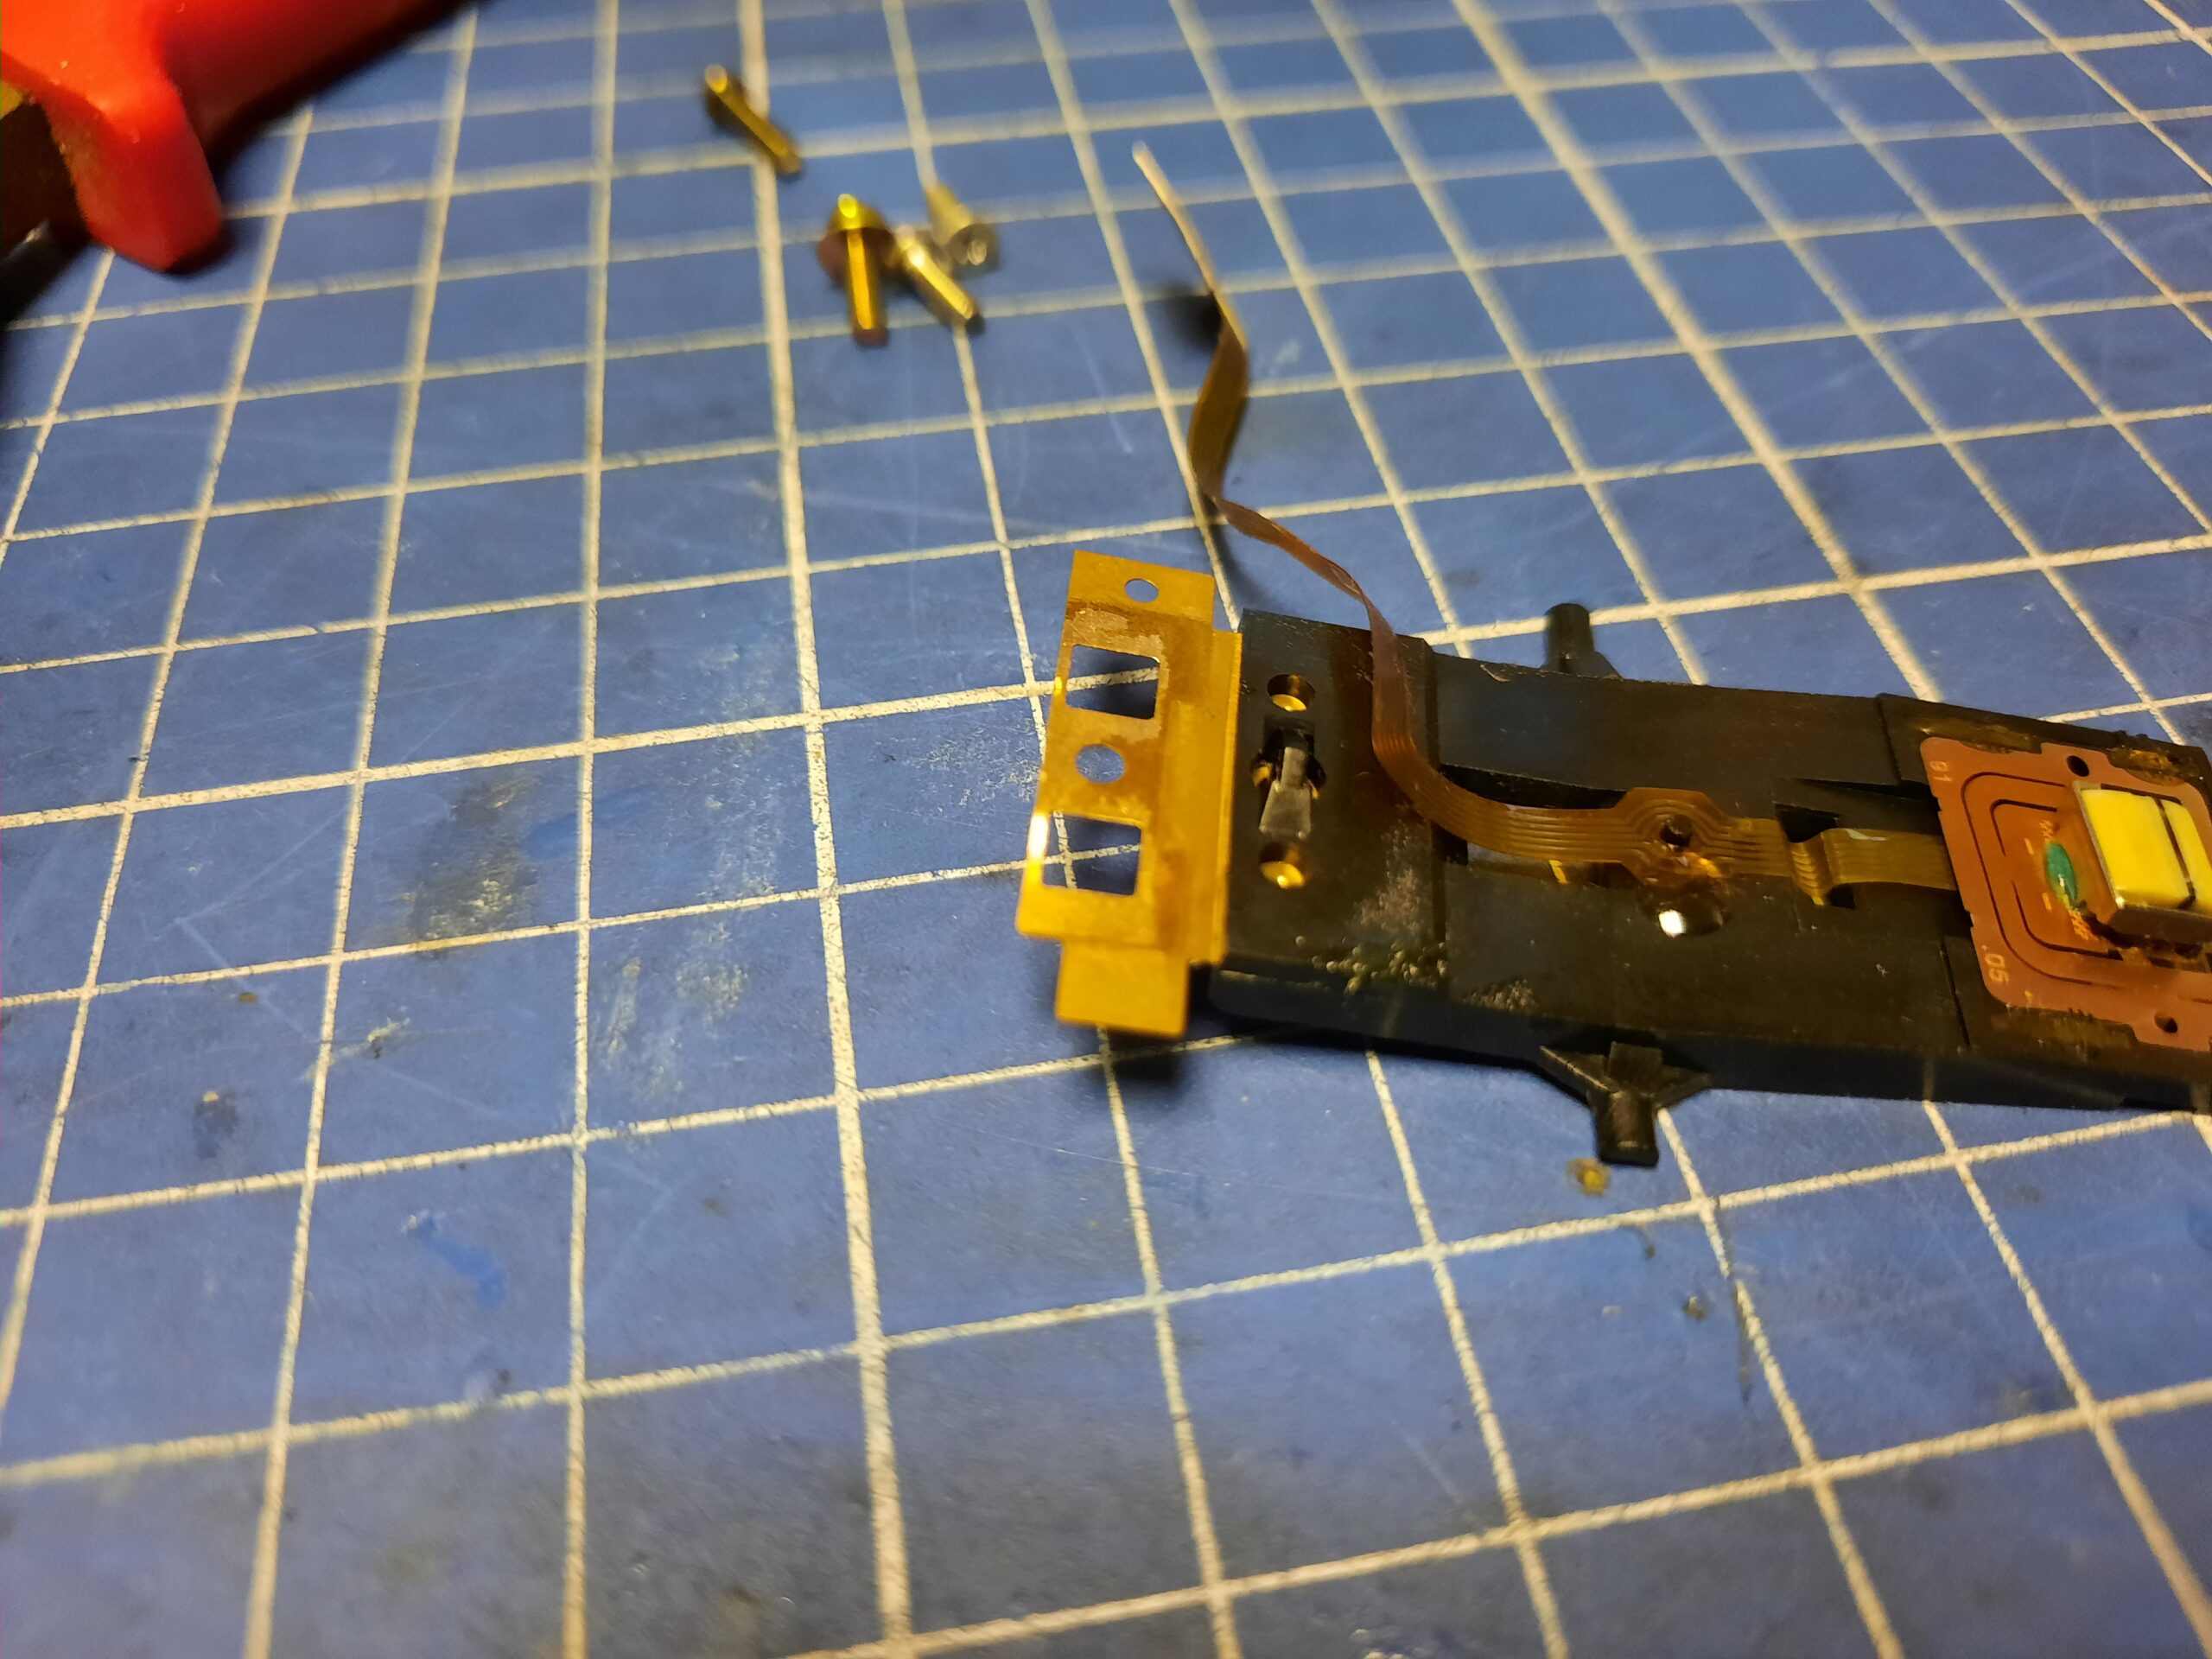
Now, what if I told you it can all be done without even removing the head? You just need decent pliers and properly bend that copper piece by grabbing the head … This is what I did to fix the remaining 3 drives.
After fixing that, I was able to bend a copper sheet so it put less pressure on a spring which finally resulted in a working drive.

PSUs
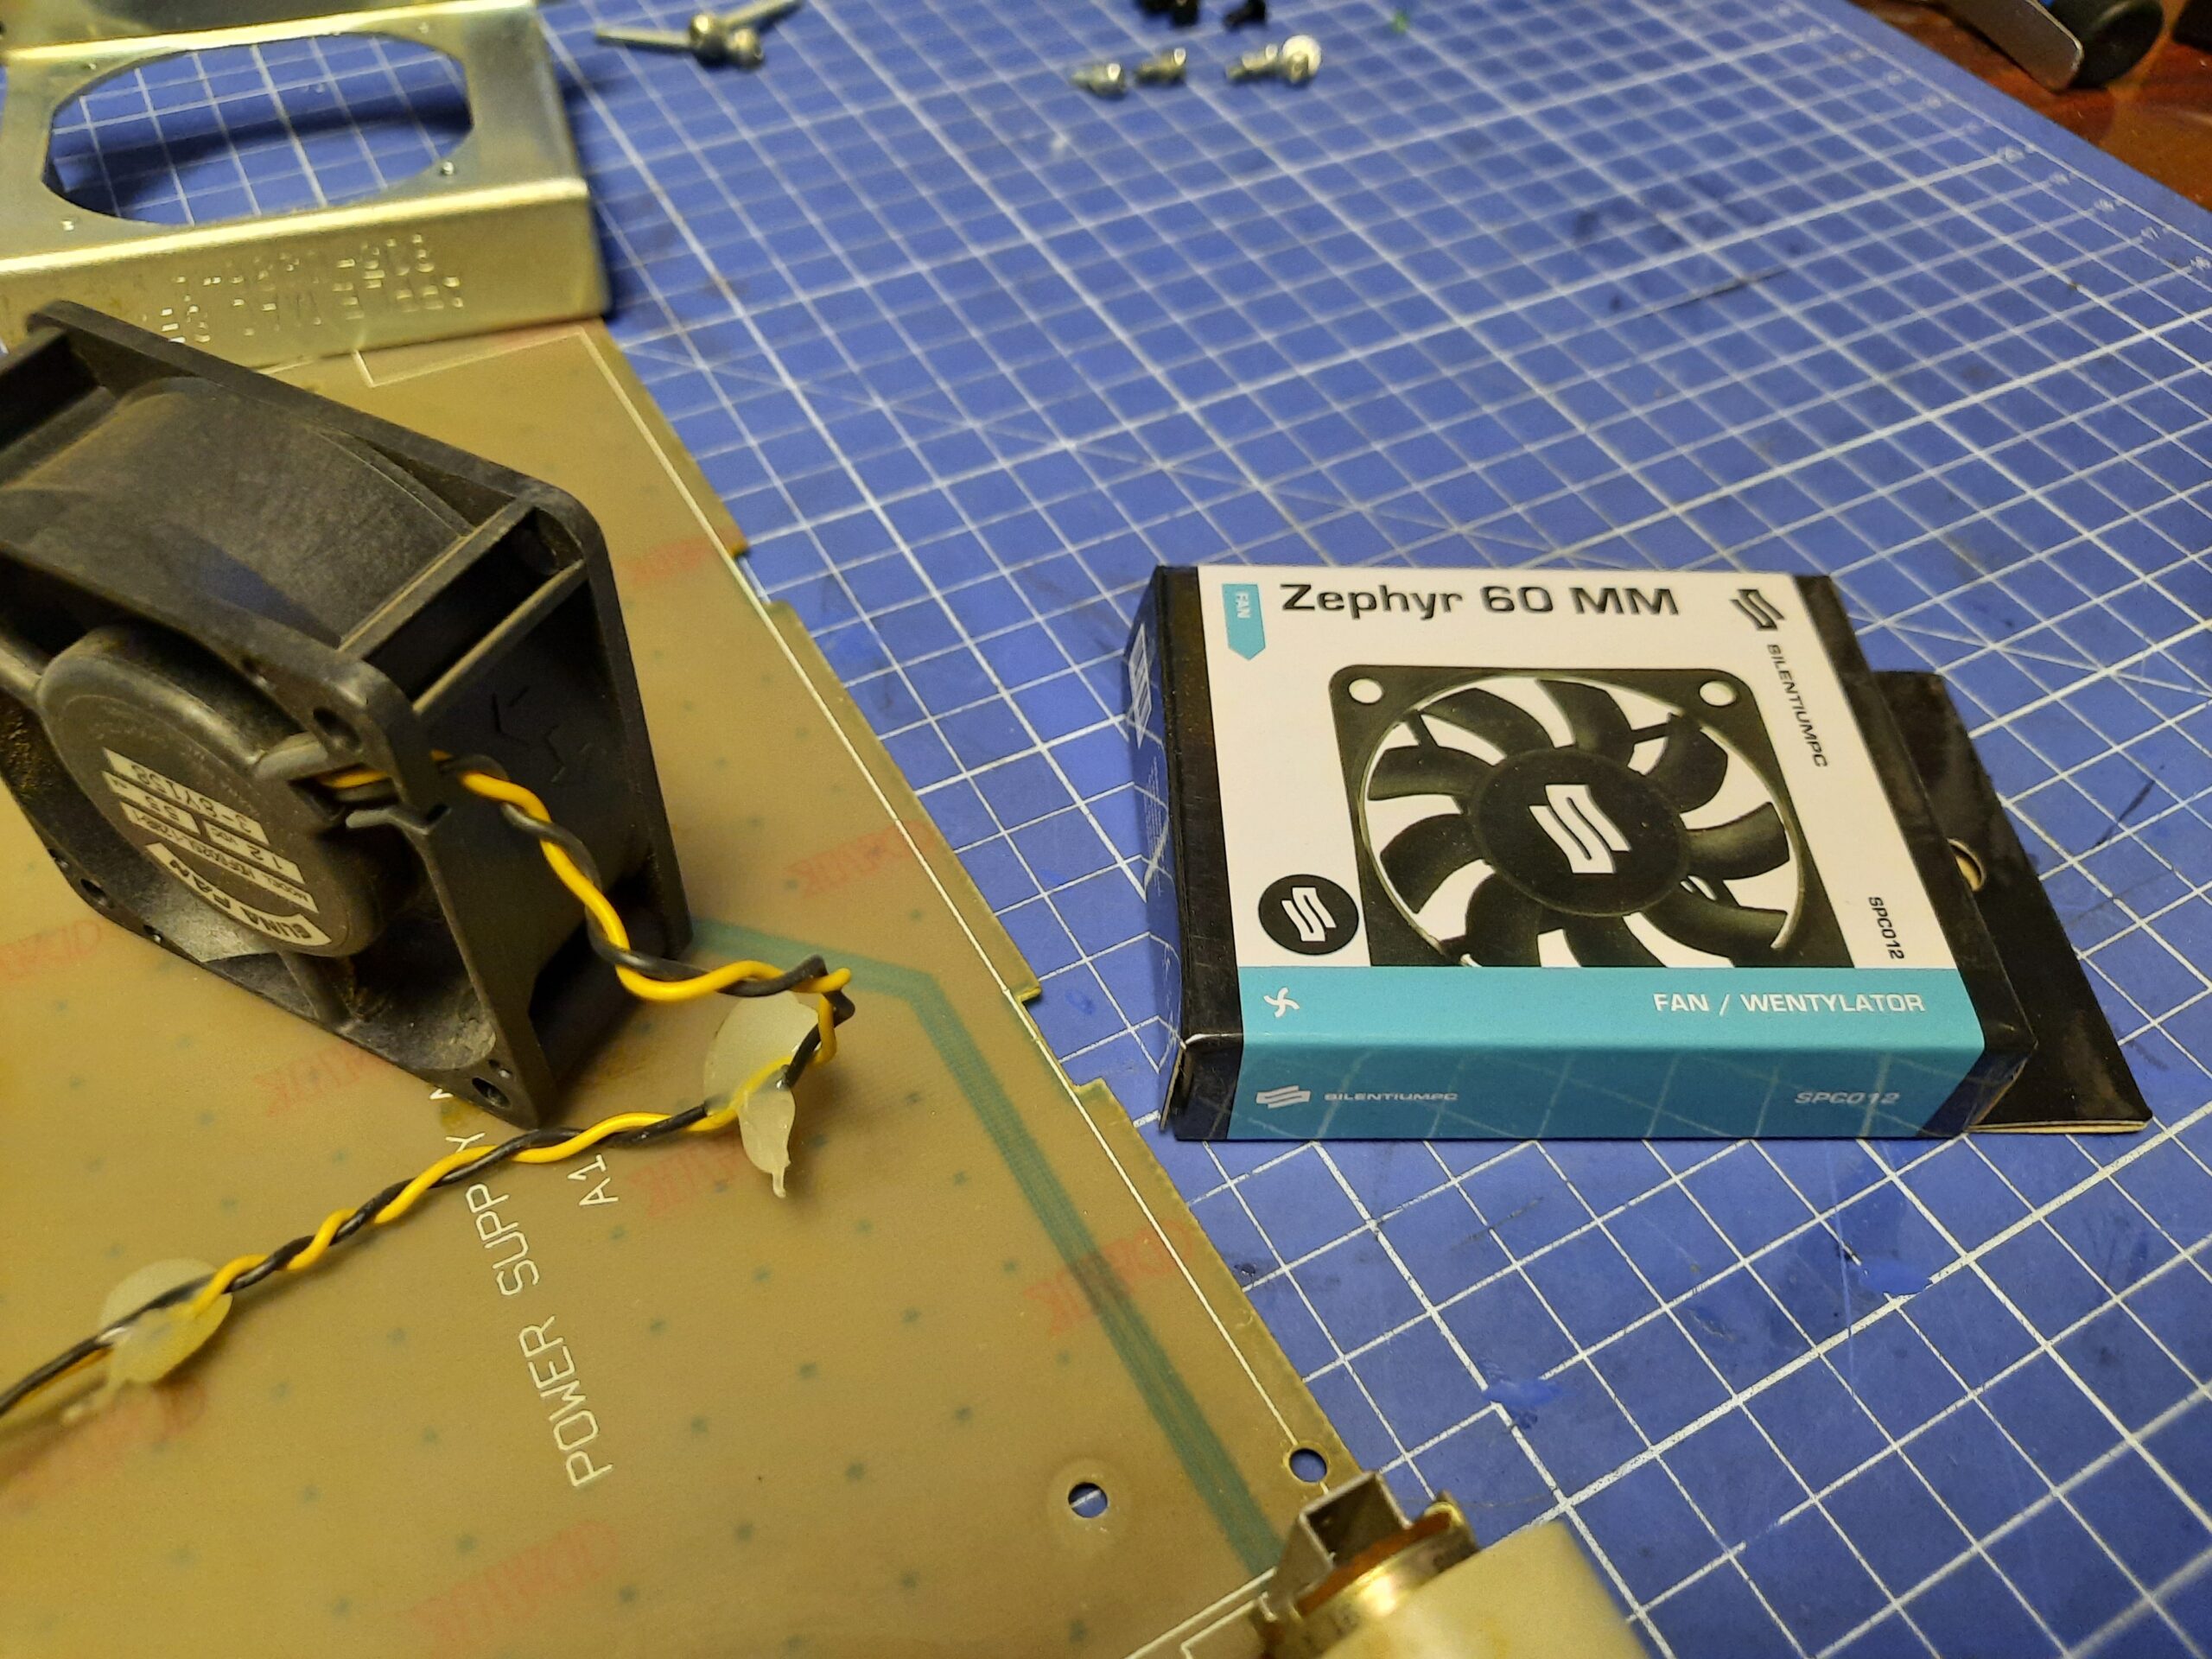
The idea for PSUs was to re-cap them all and replace the original fan with the more silent version.
That was quite an easy job as all PSUs were in working condition so I didn’t have to fix anything.
I’ve used a thinner version of 60mm Silentium fans and that only required rewiring.
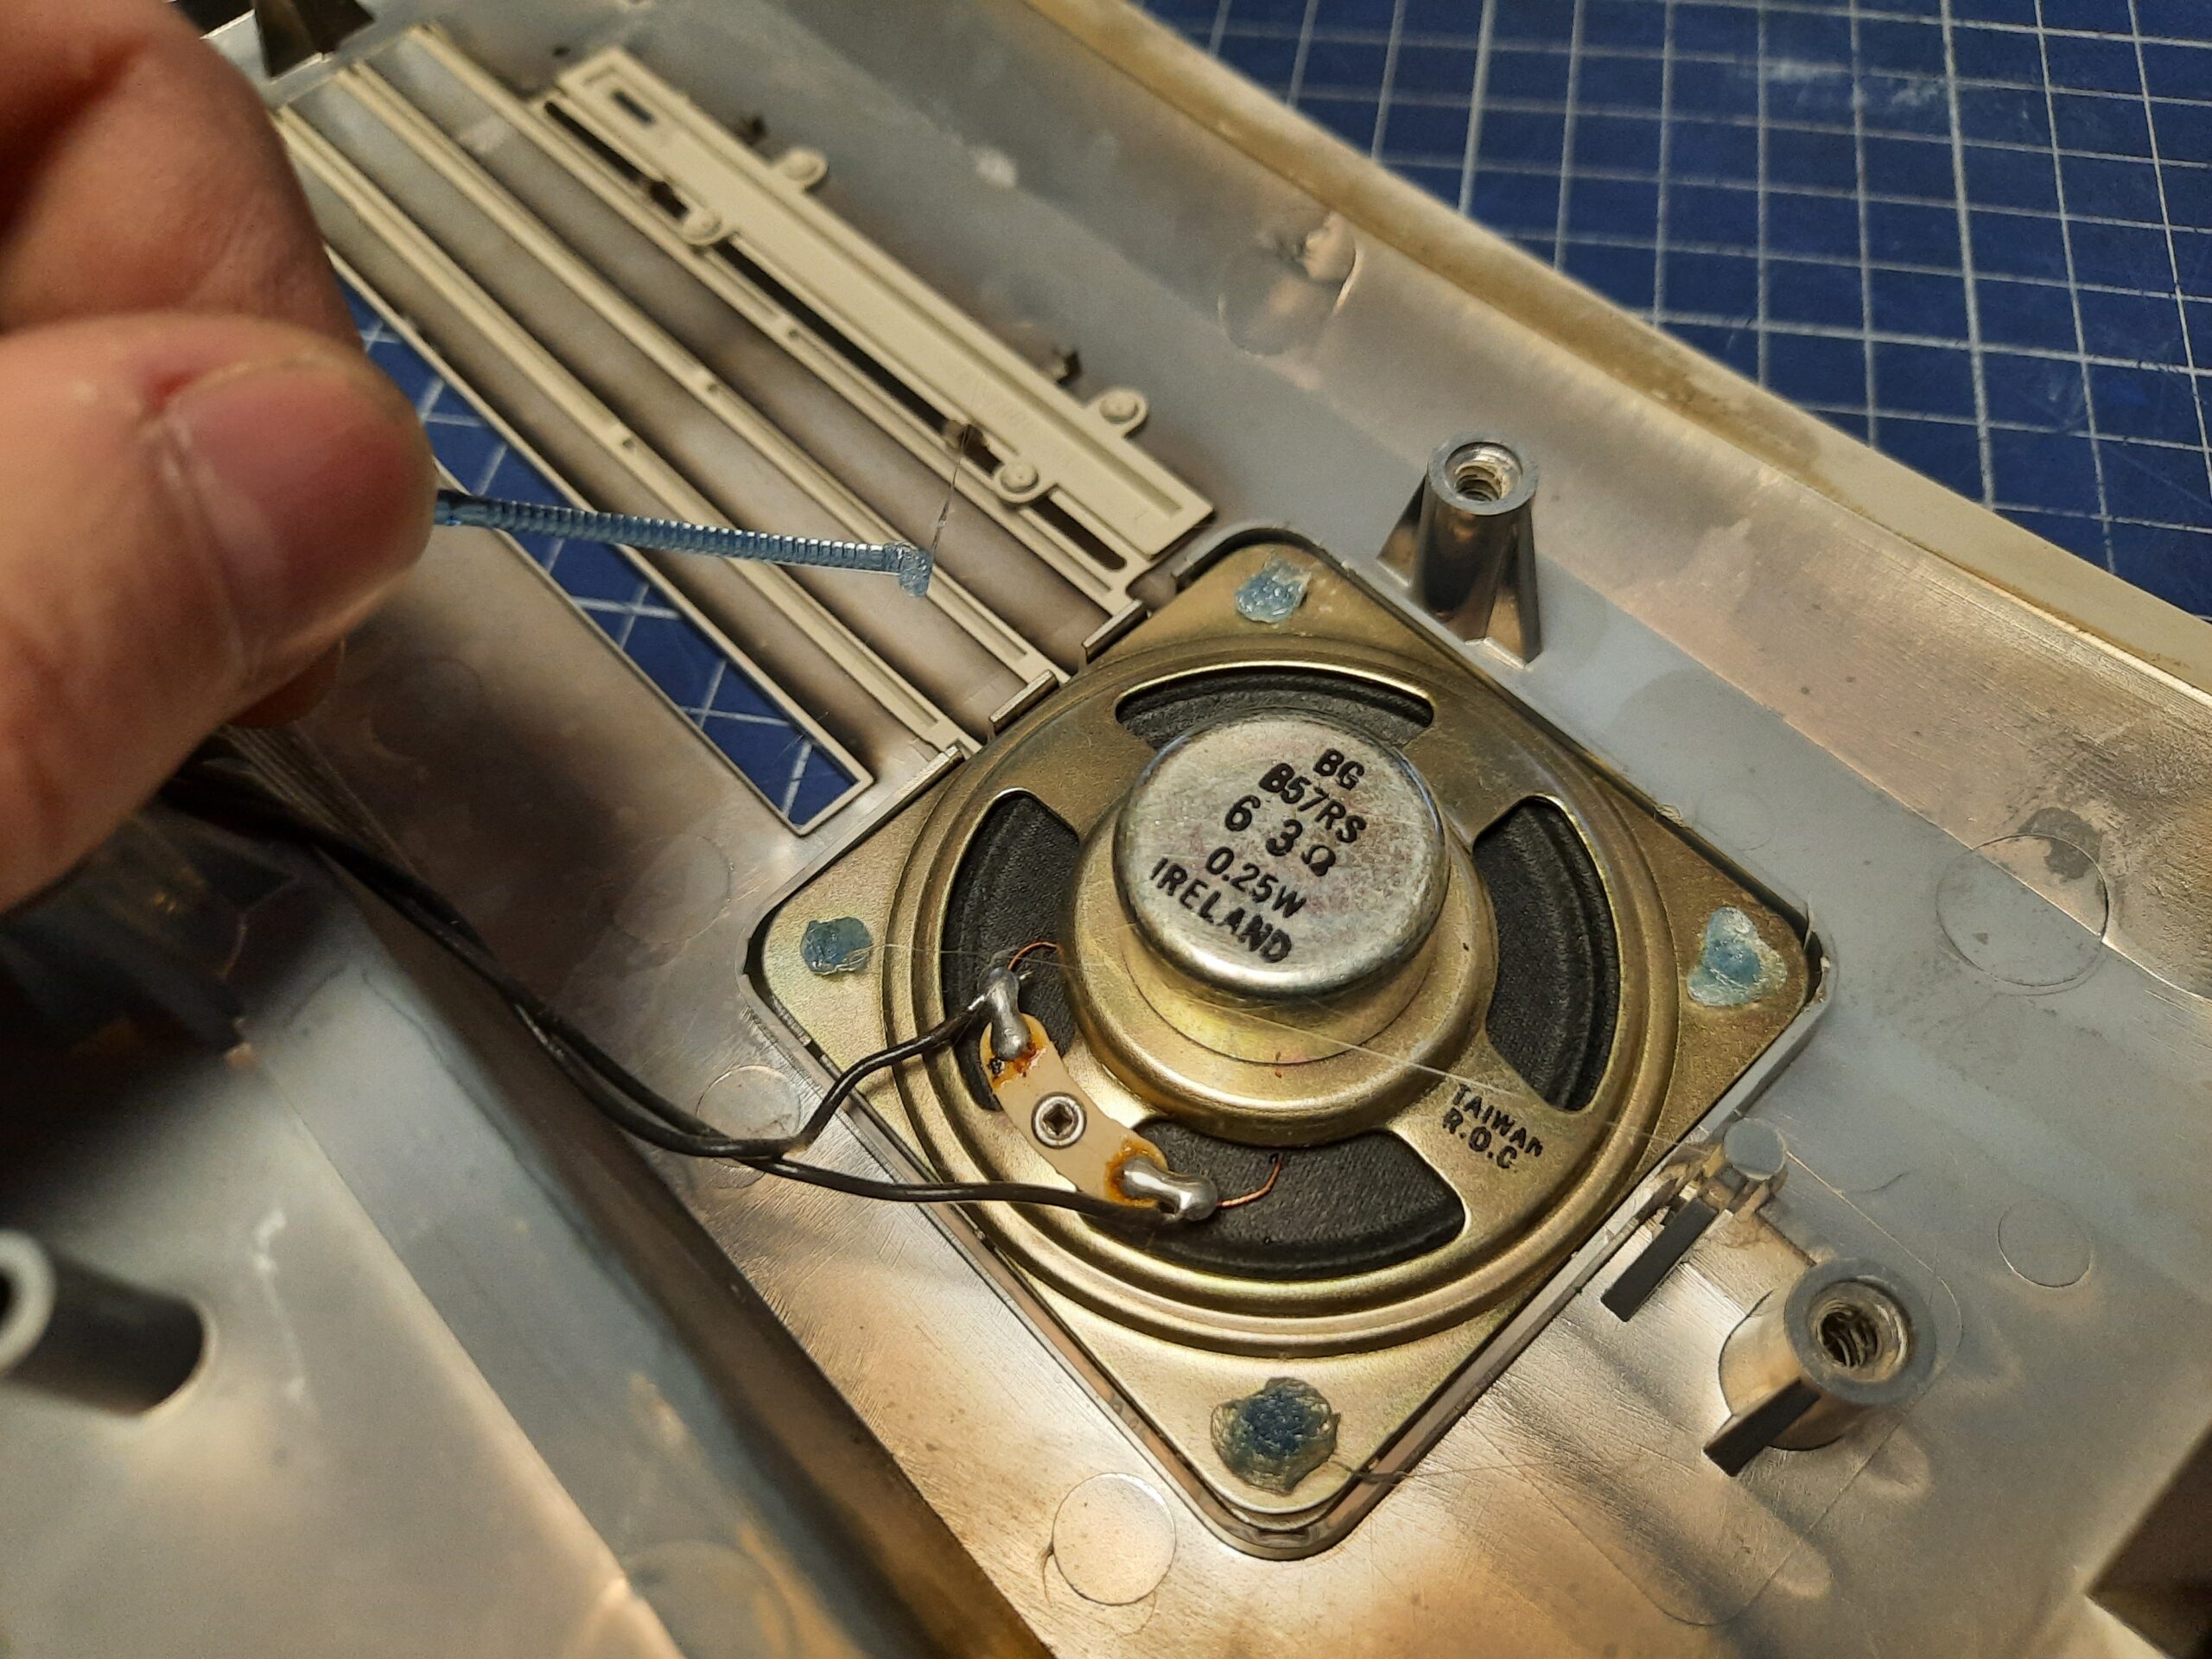
Speakers assembly
Below, is a quick hack that I’ve utilized to mount speakers back. I’ve melted a piece of PET-G 3D printing filament (it can be ABS too) to seal the speaker mounting hole as it was missing after the speaker was removed.
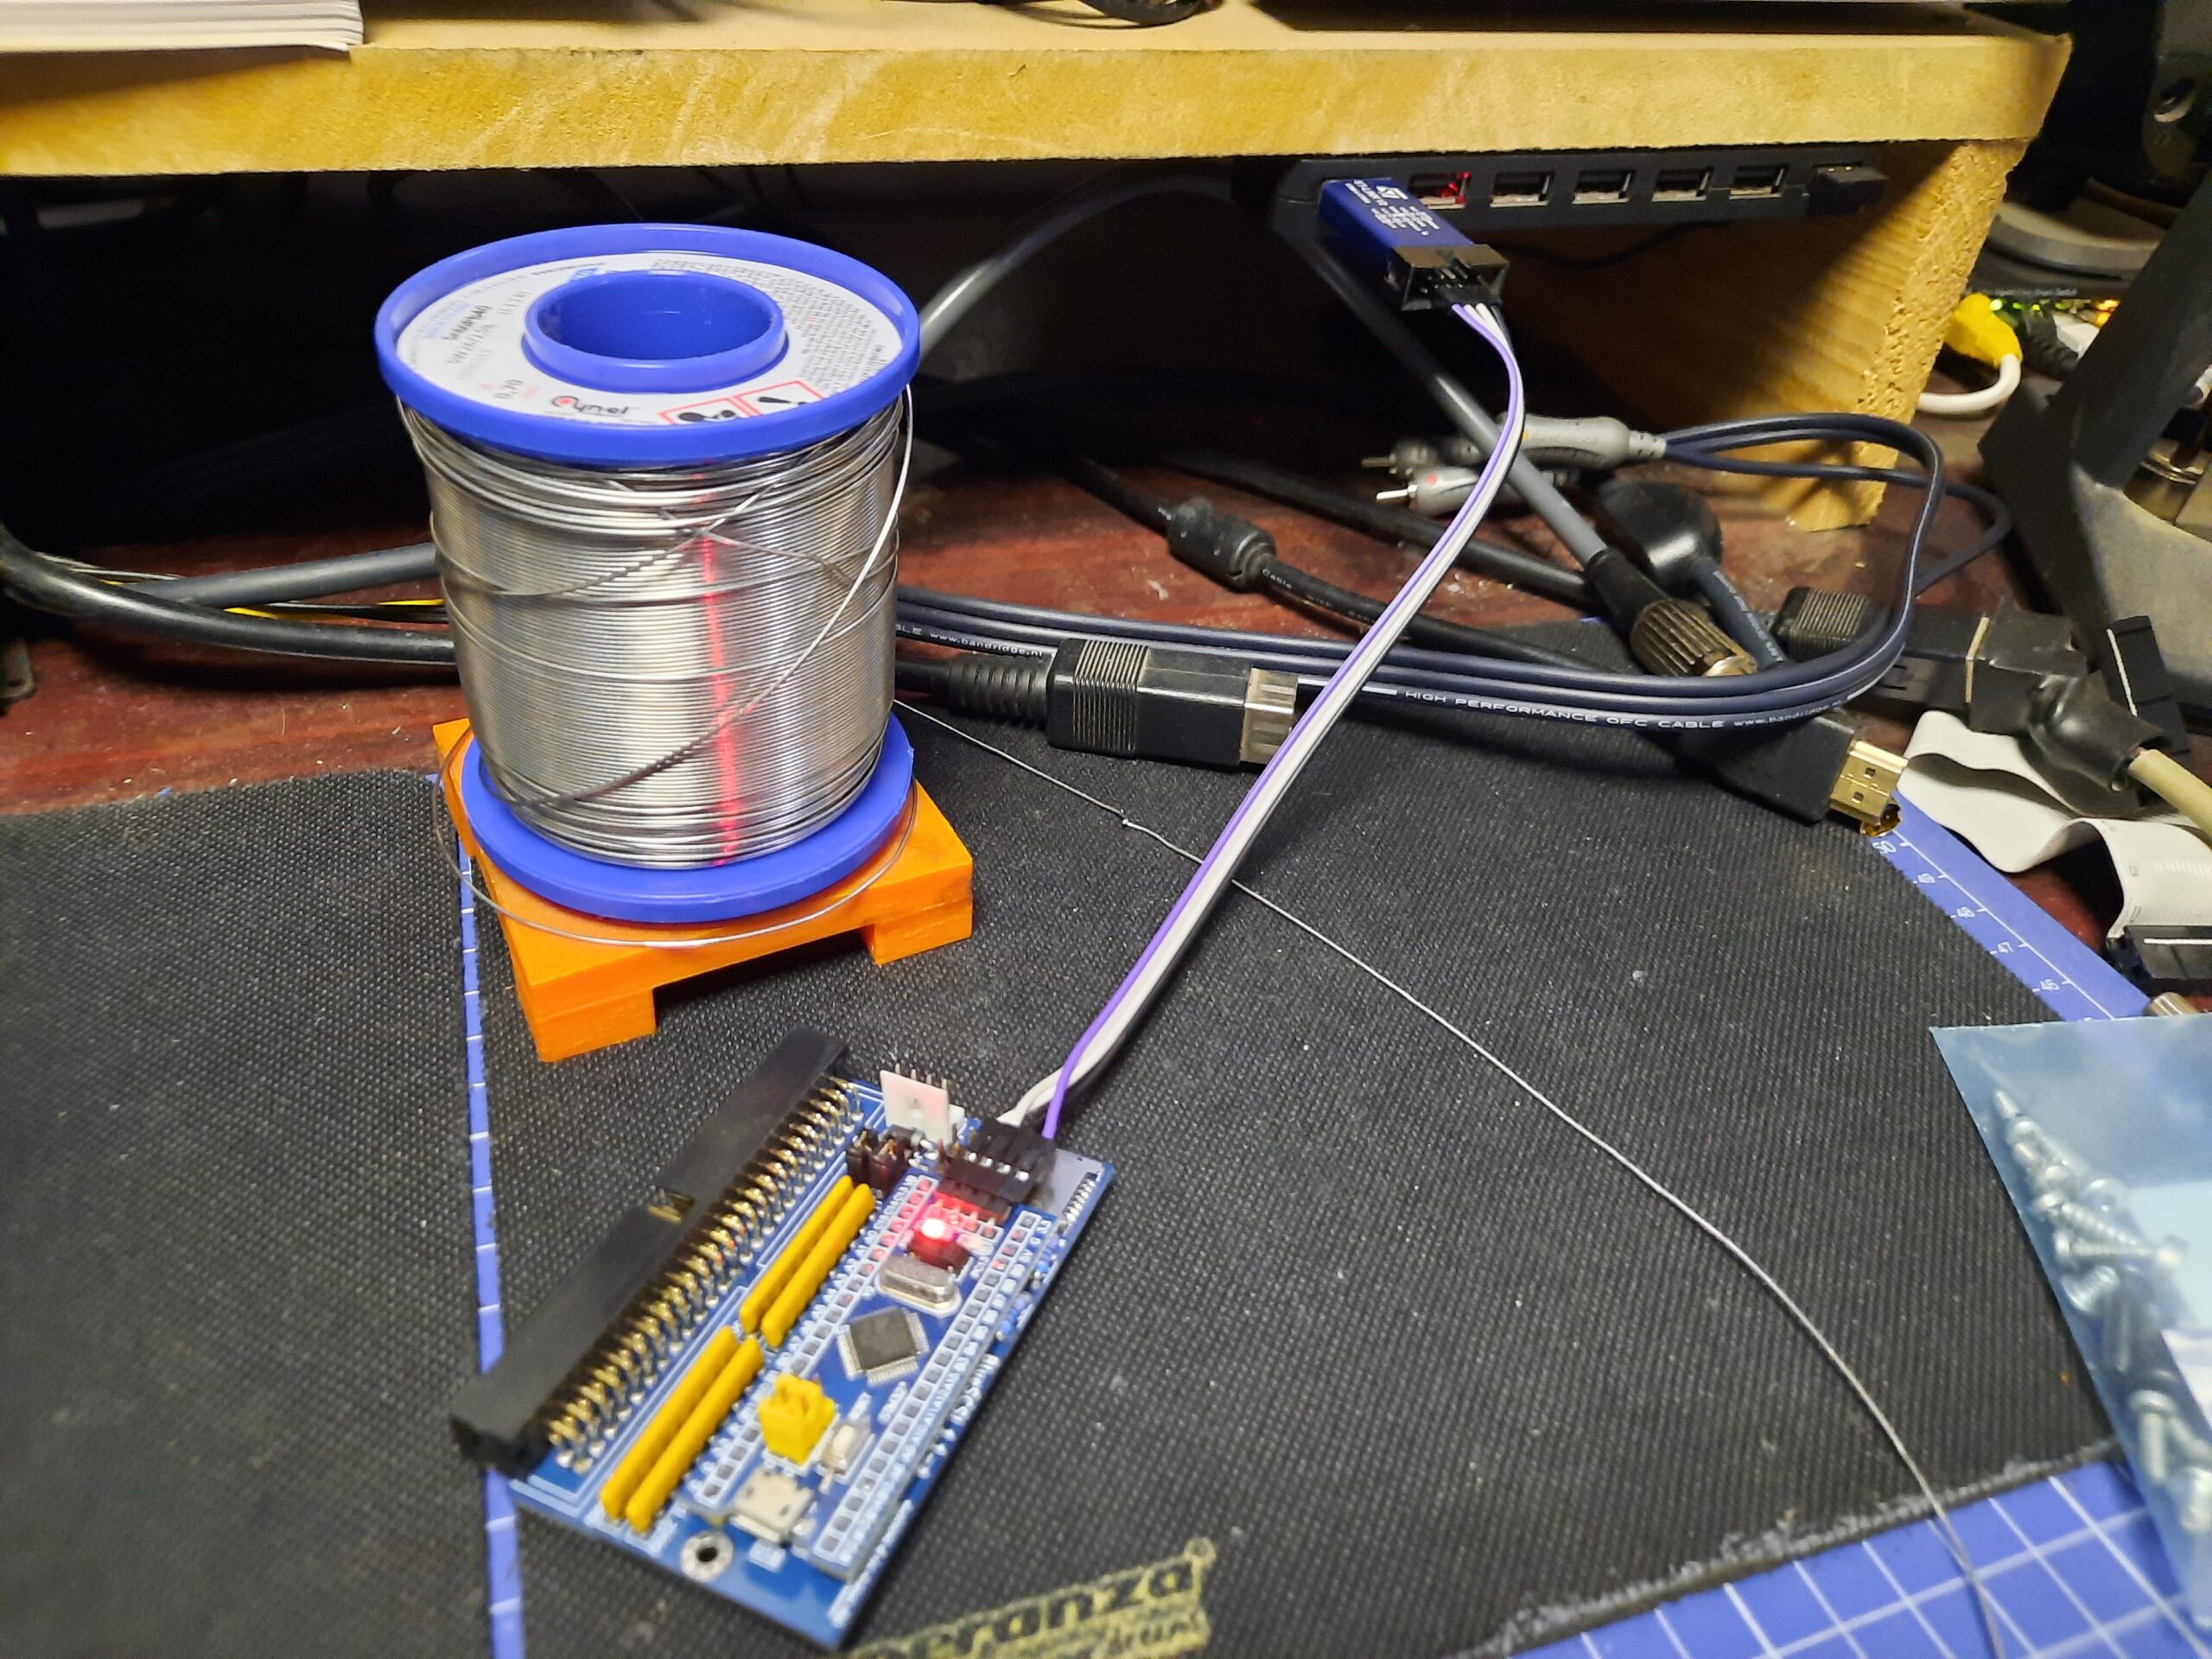
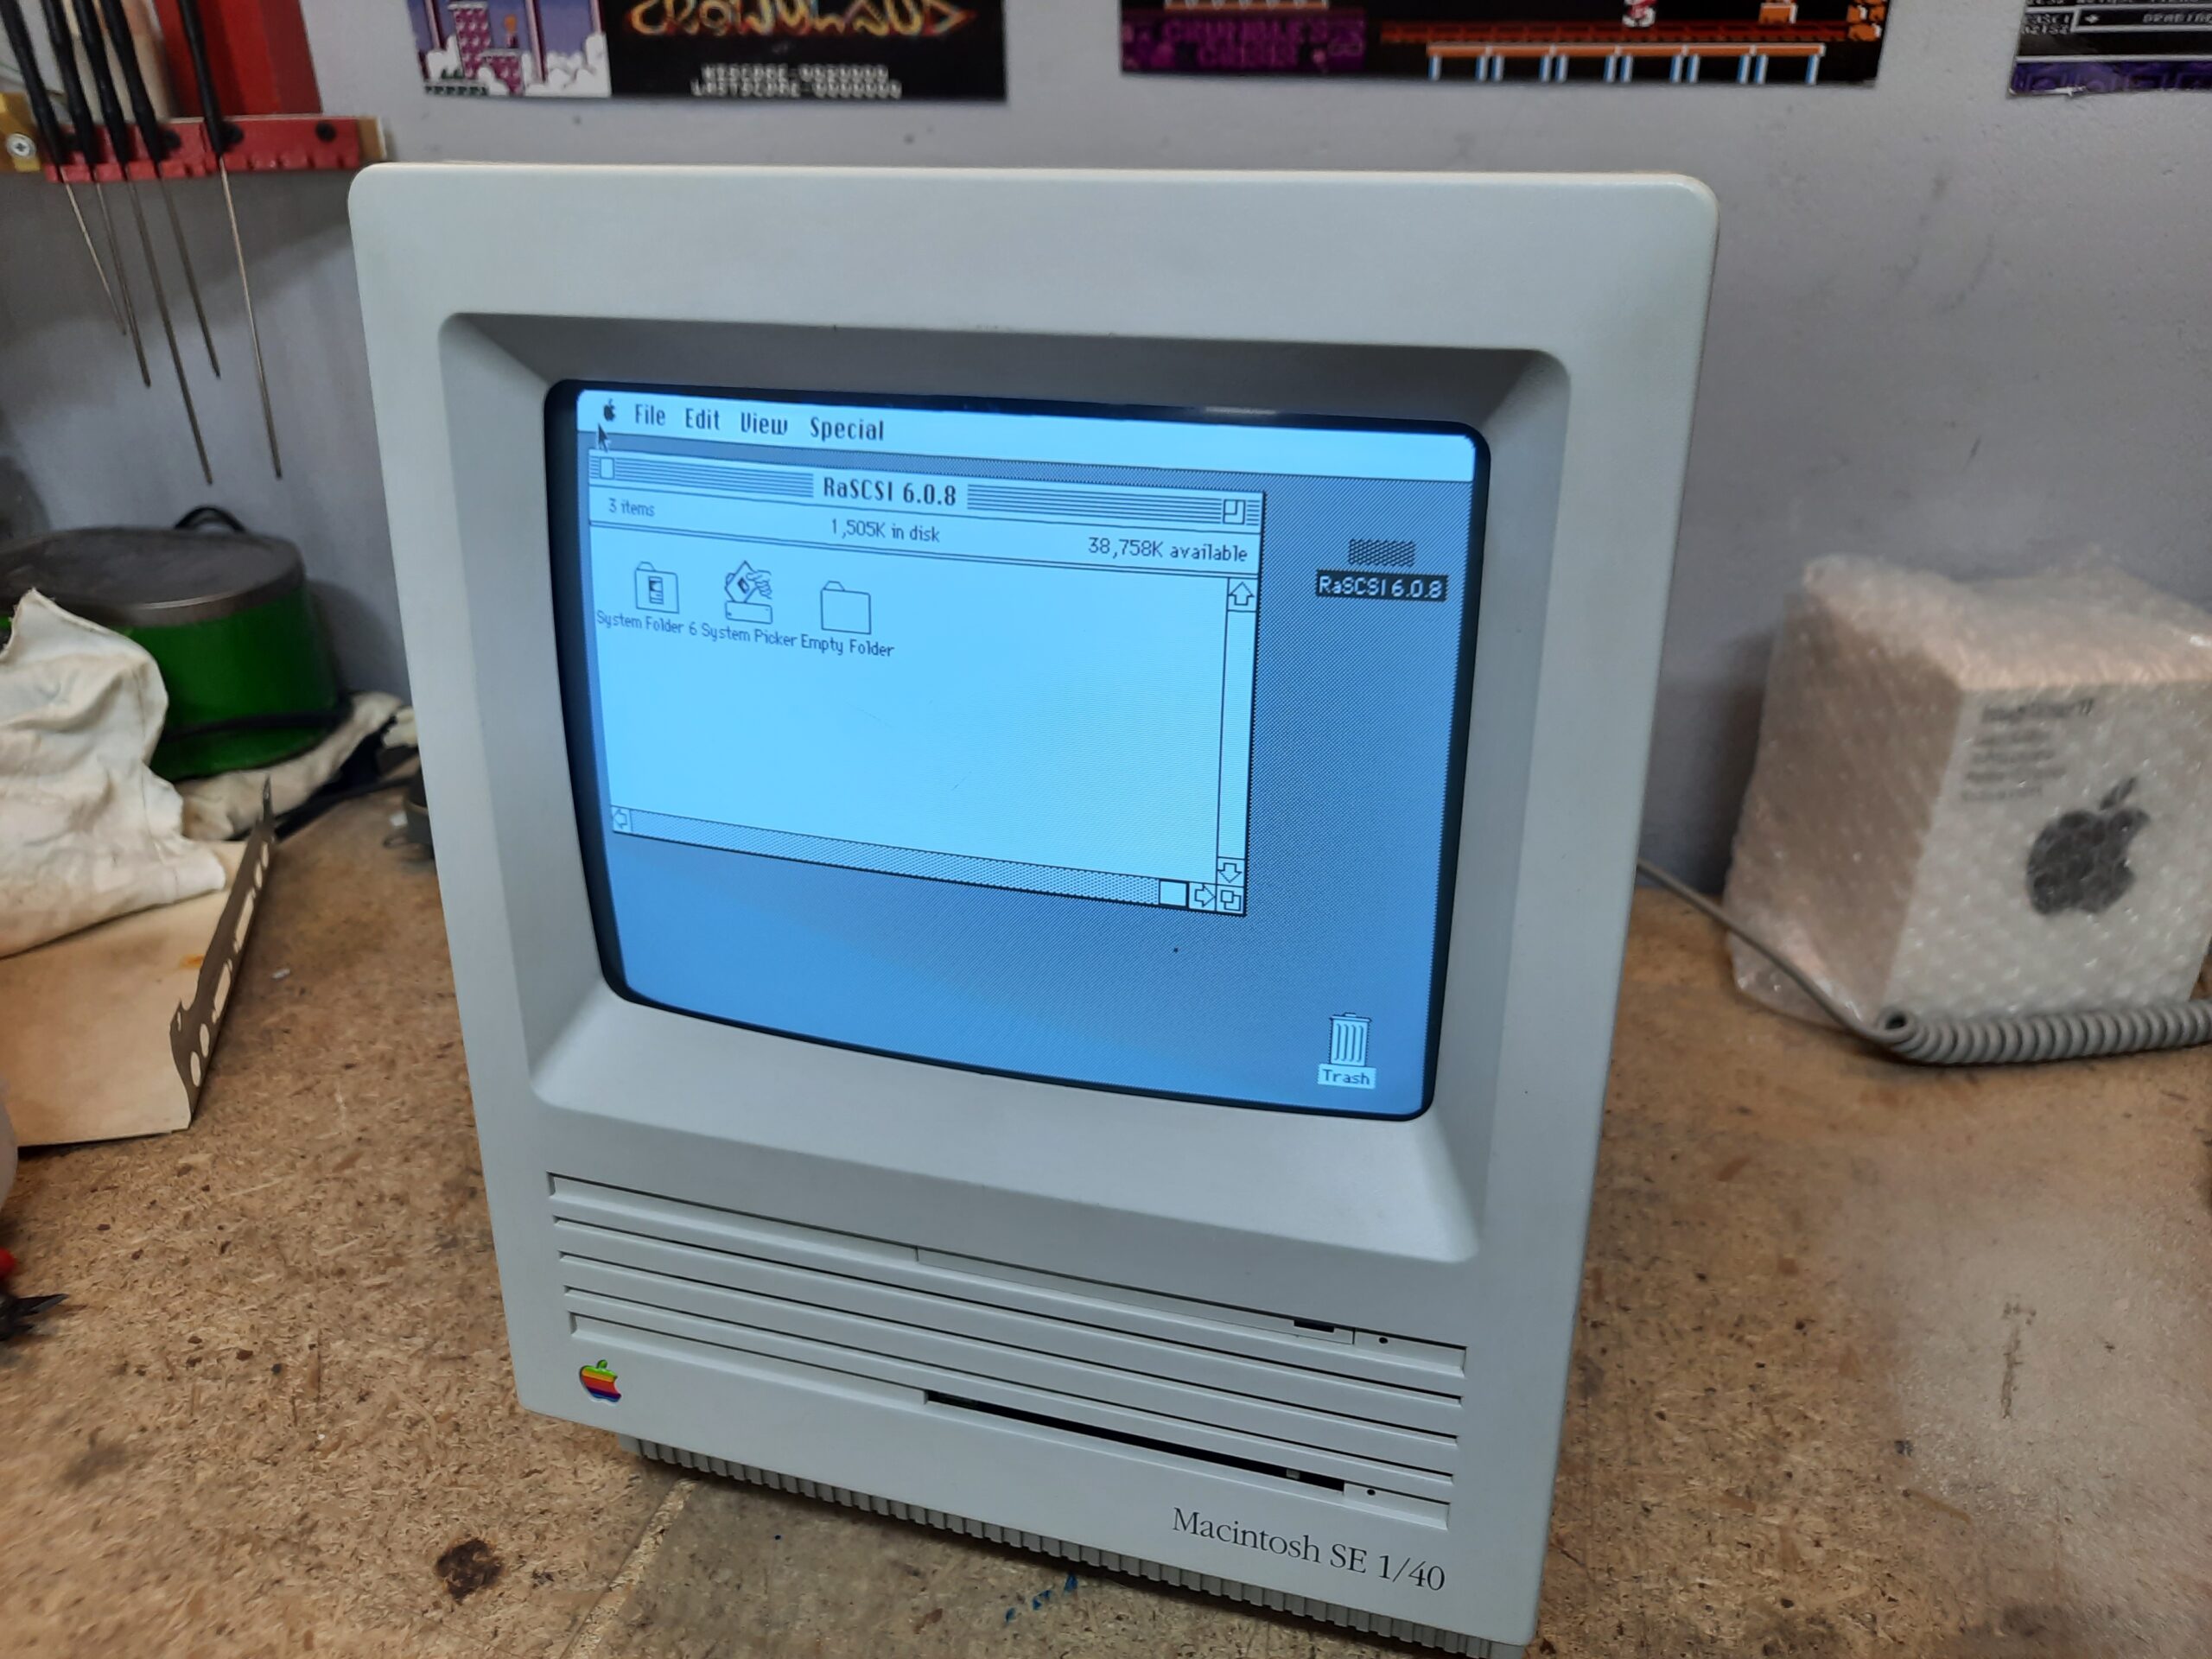
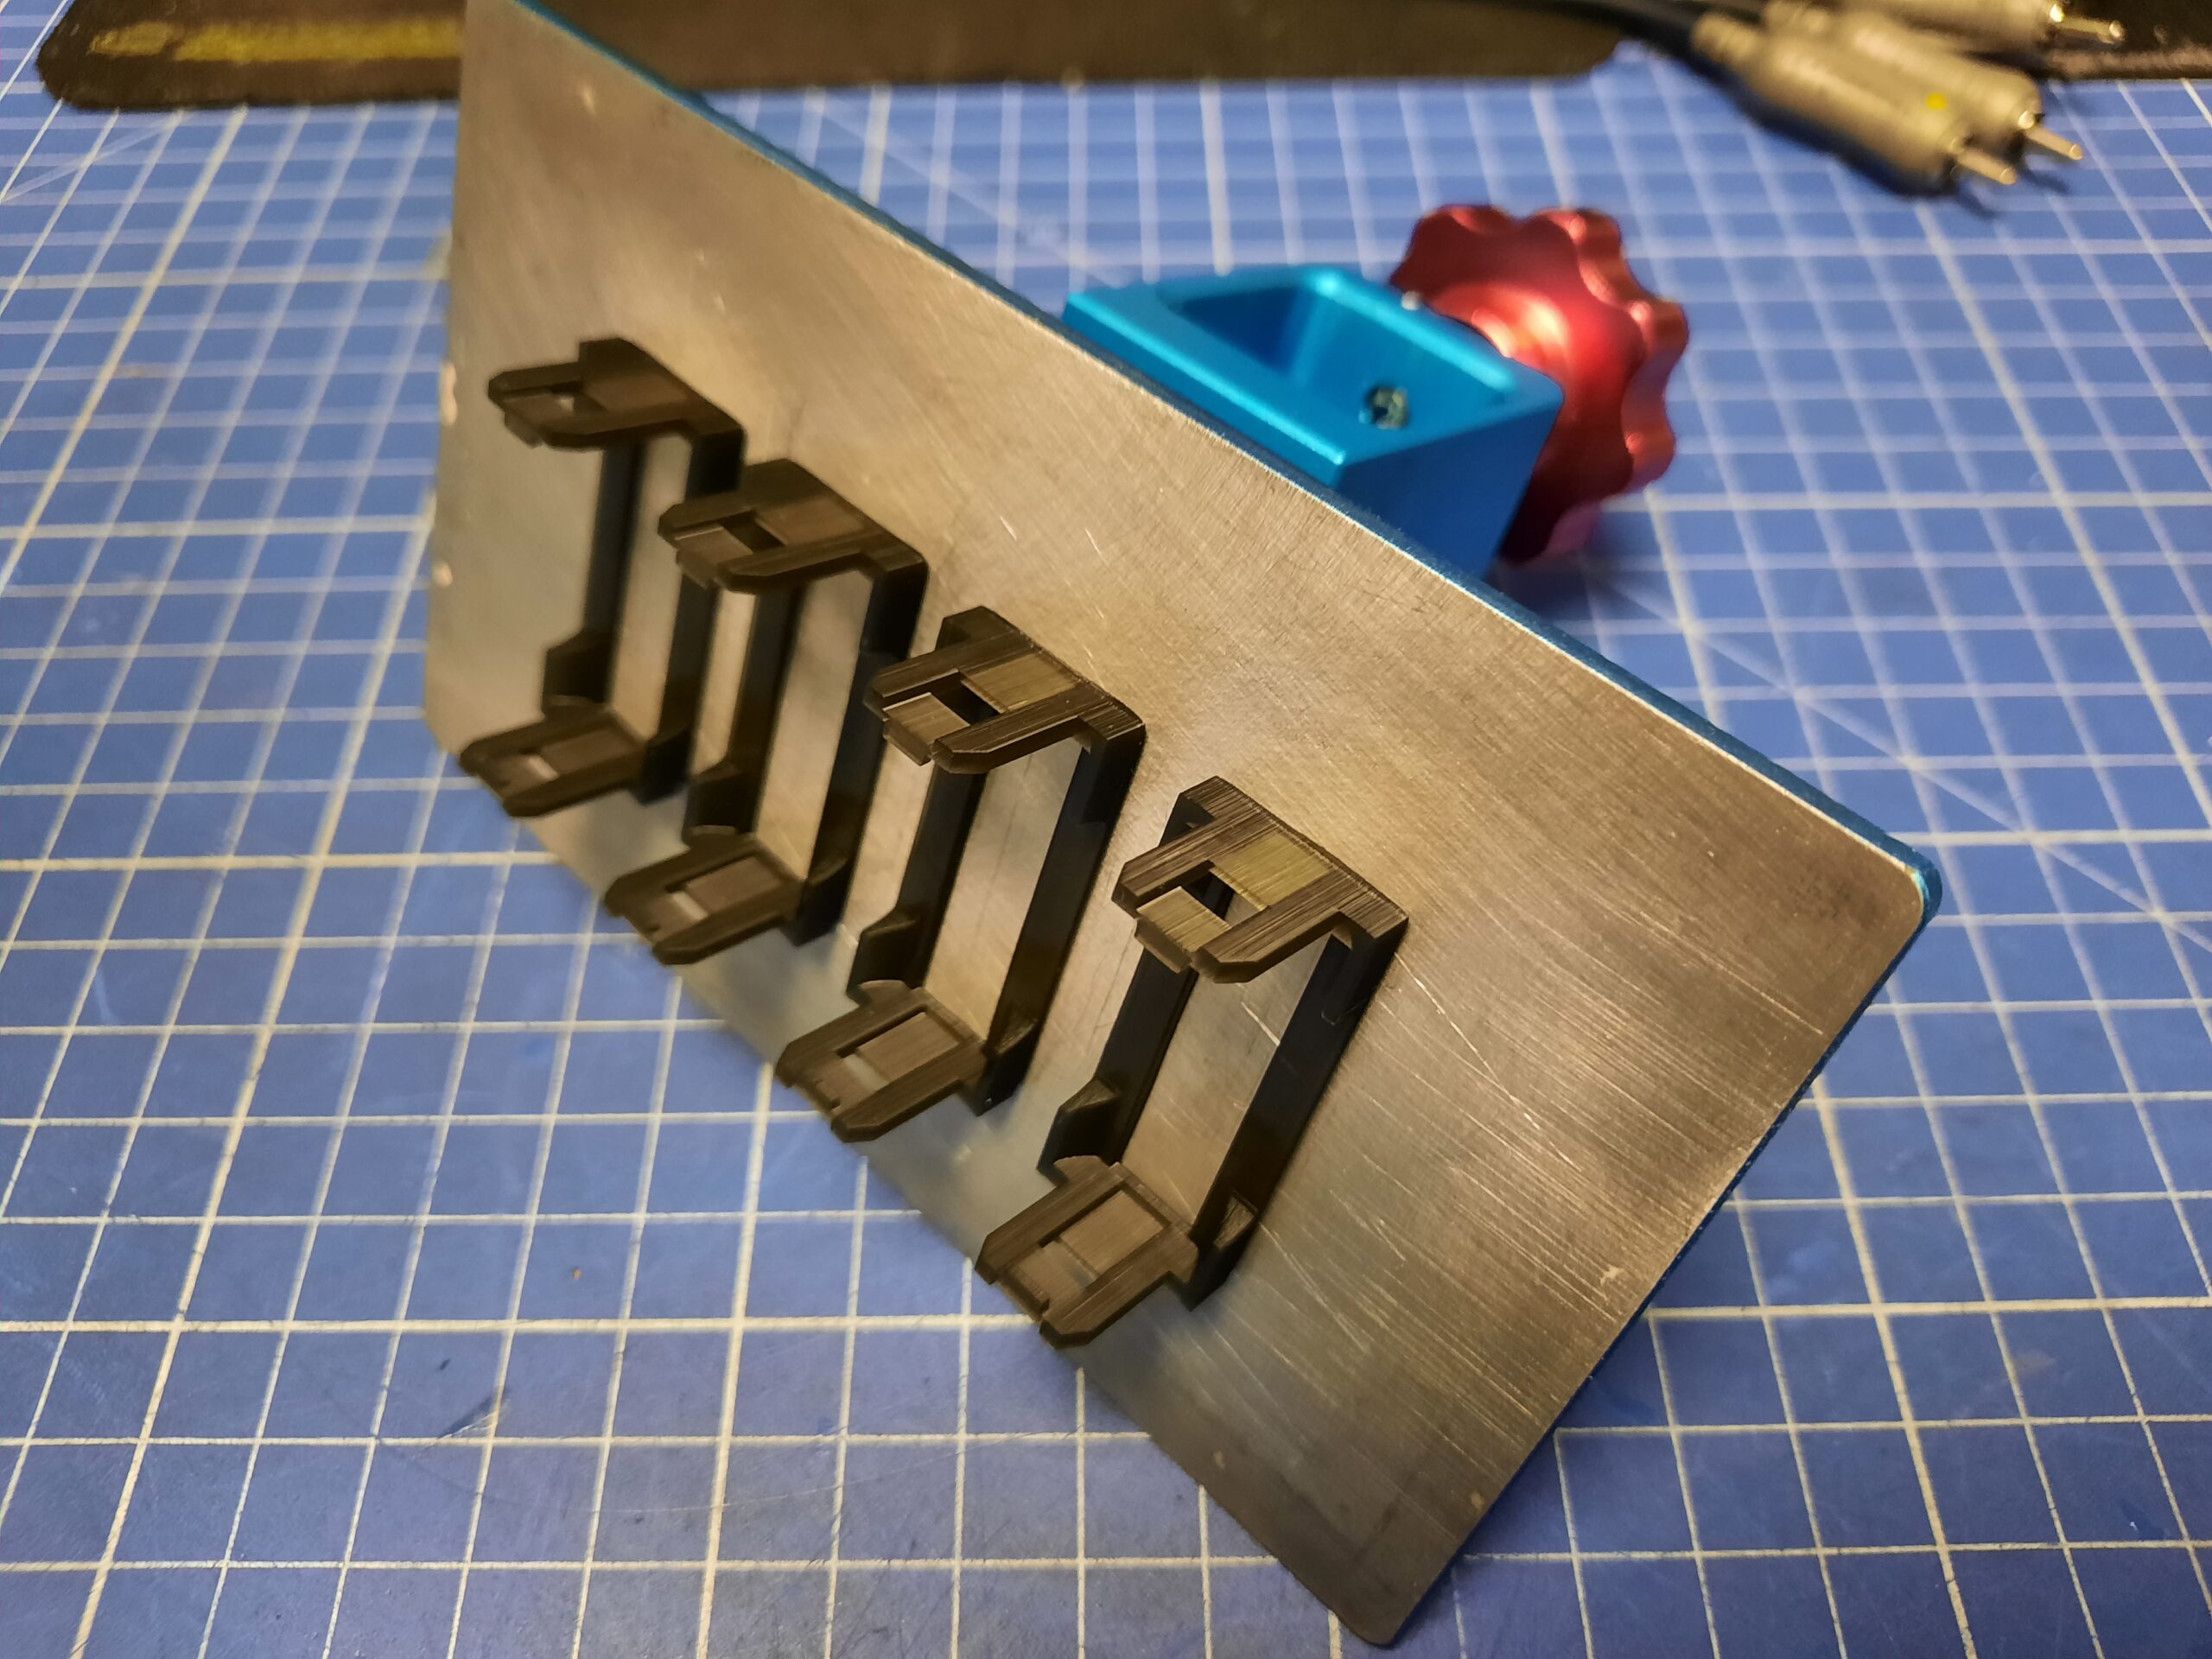
BlueSCSI
The plan was to replace the original HDDs with BlueSCSI which is an awesome device that allows to use SD card instead of a real hard drive. Back then, the Rpi PICO version wasn’t available yet.
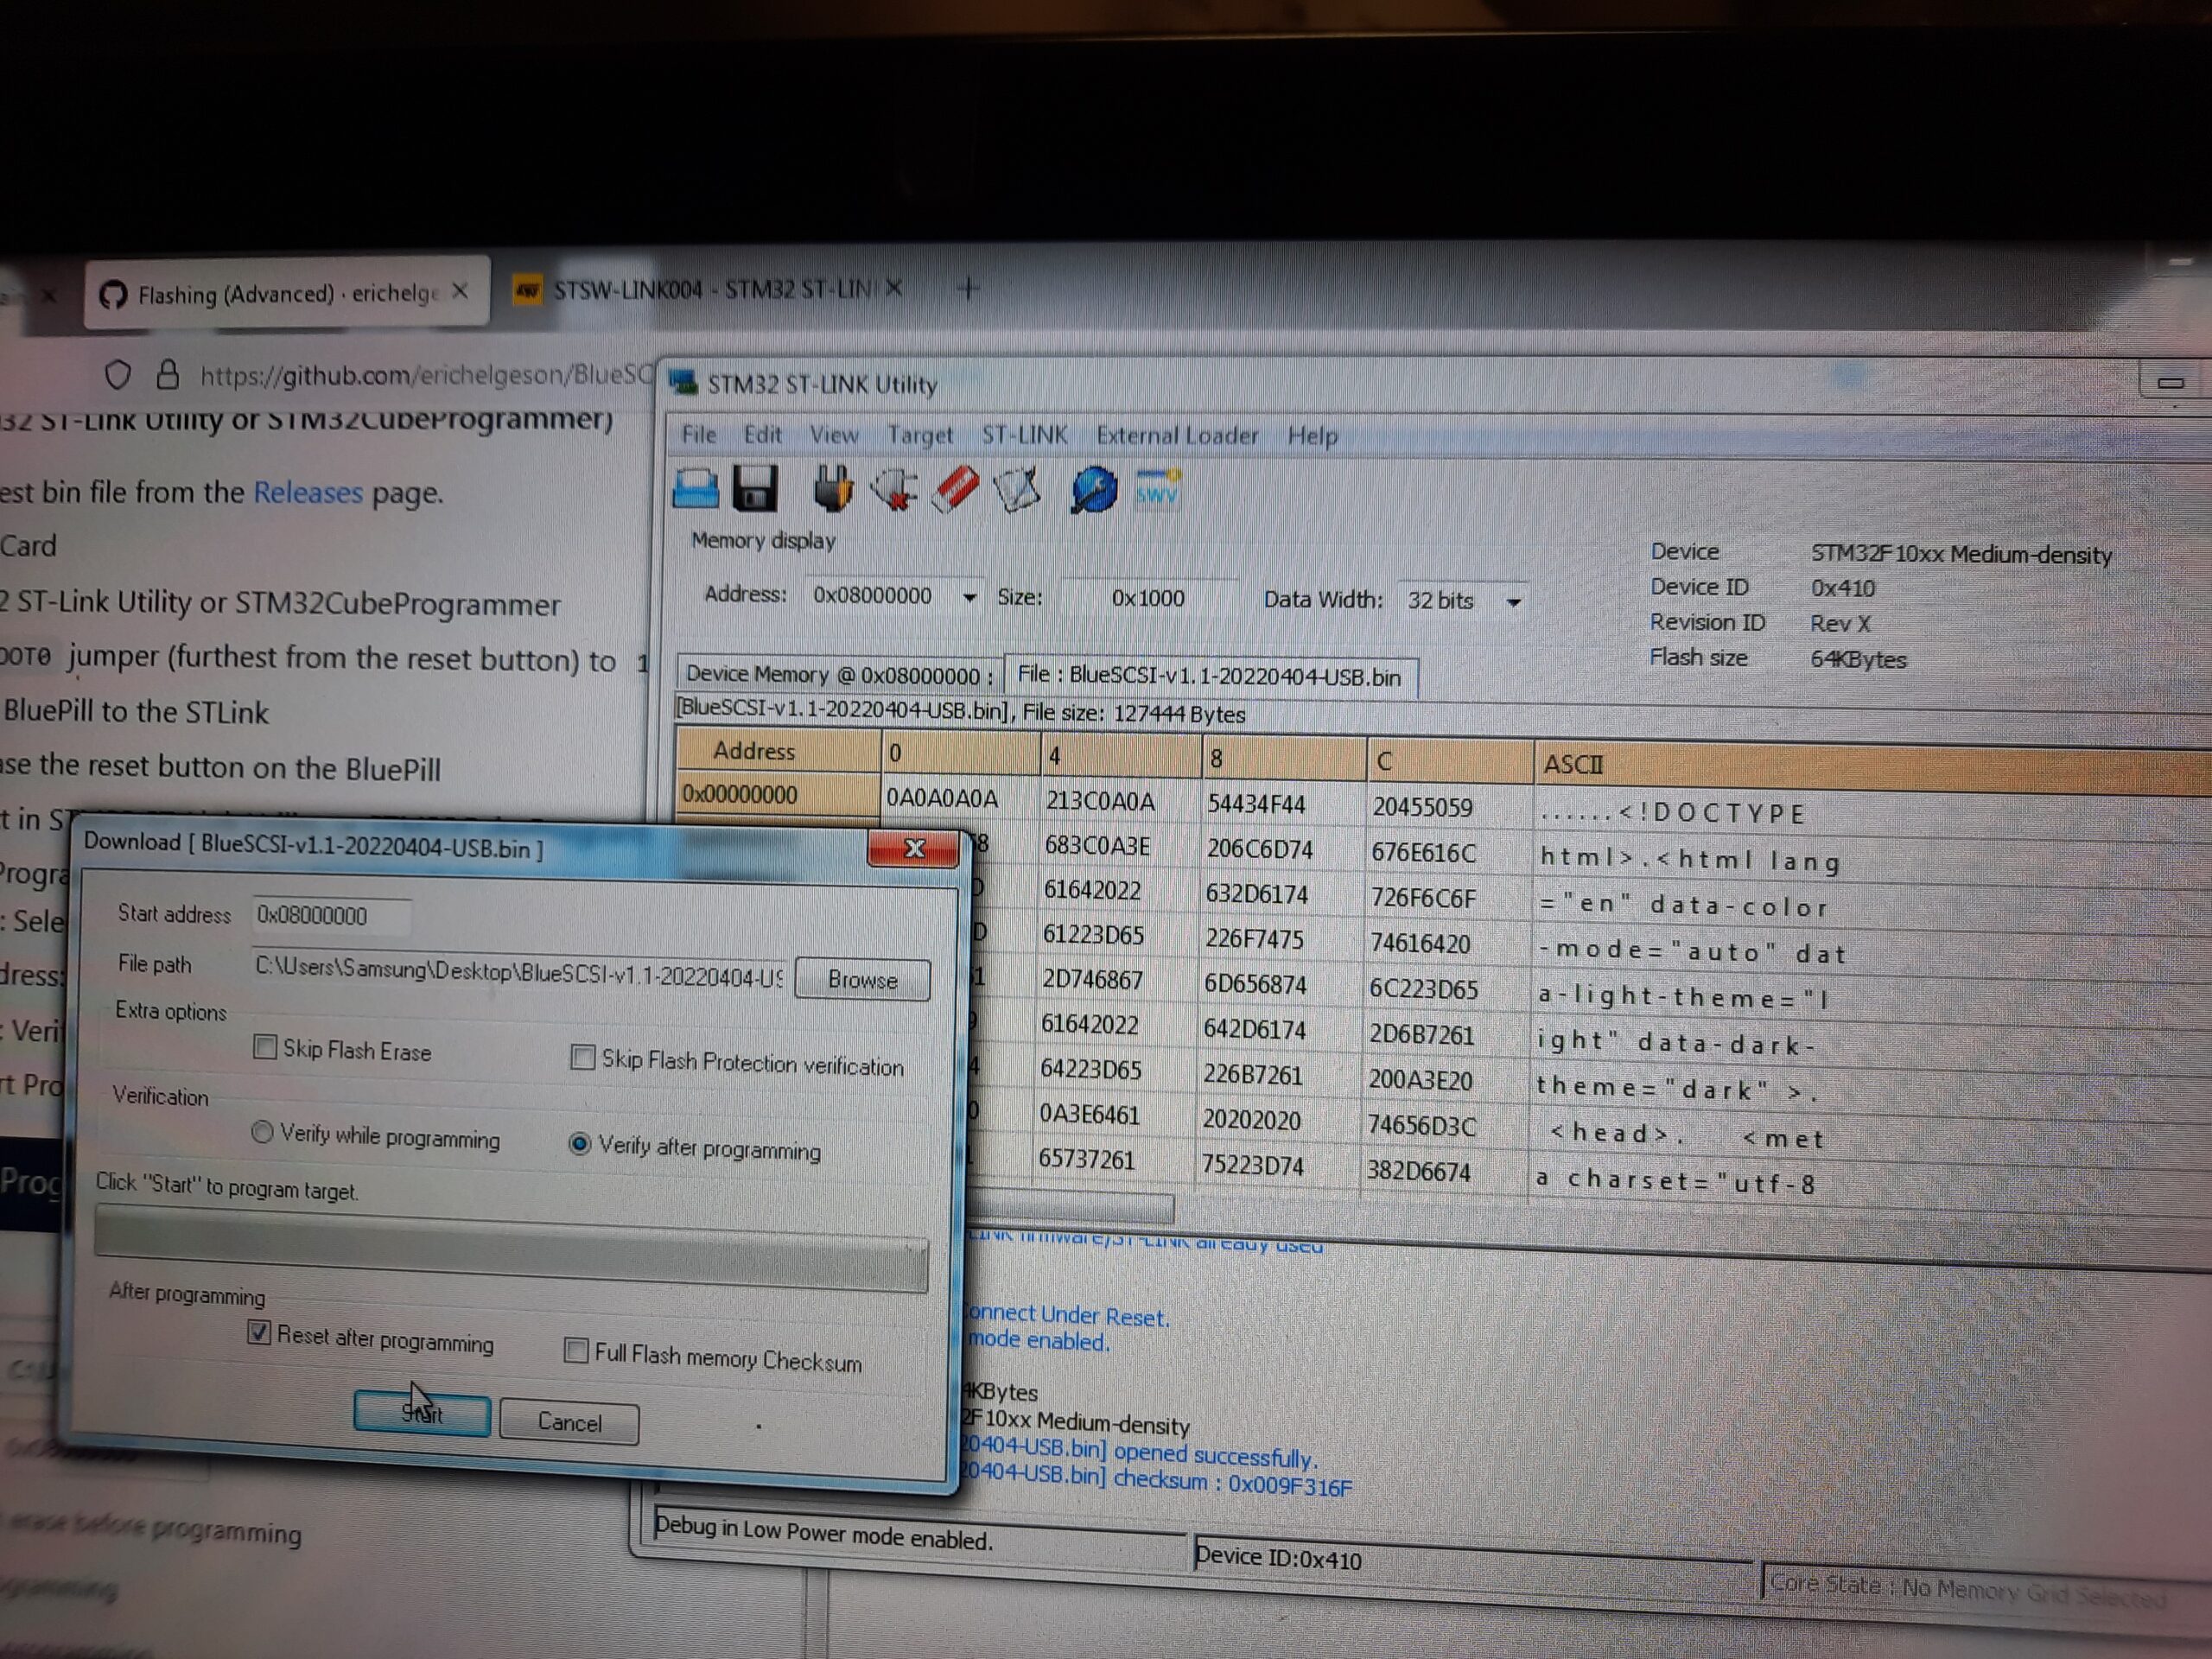
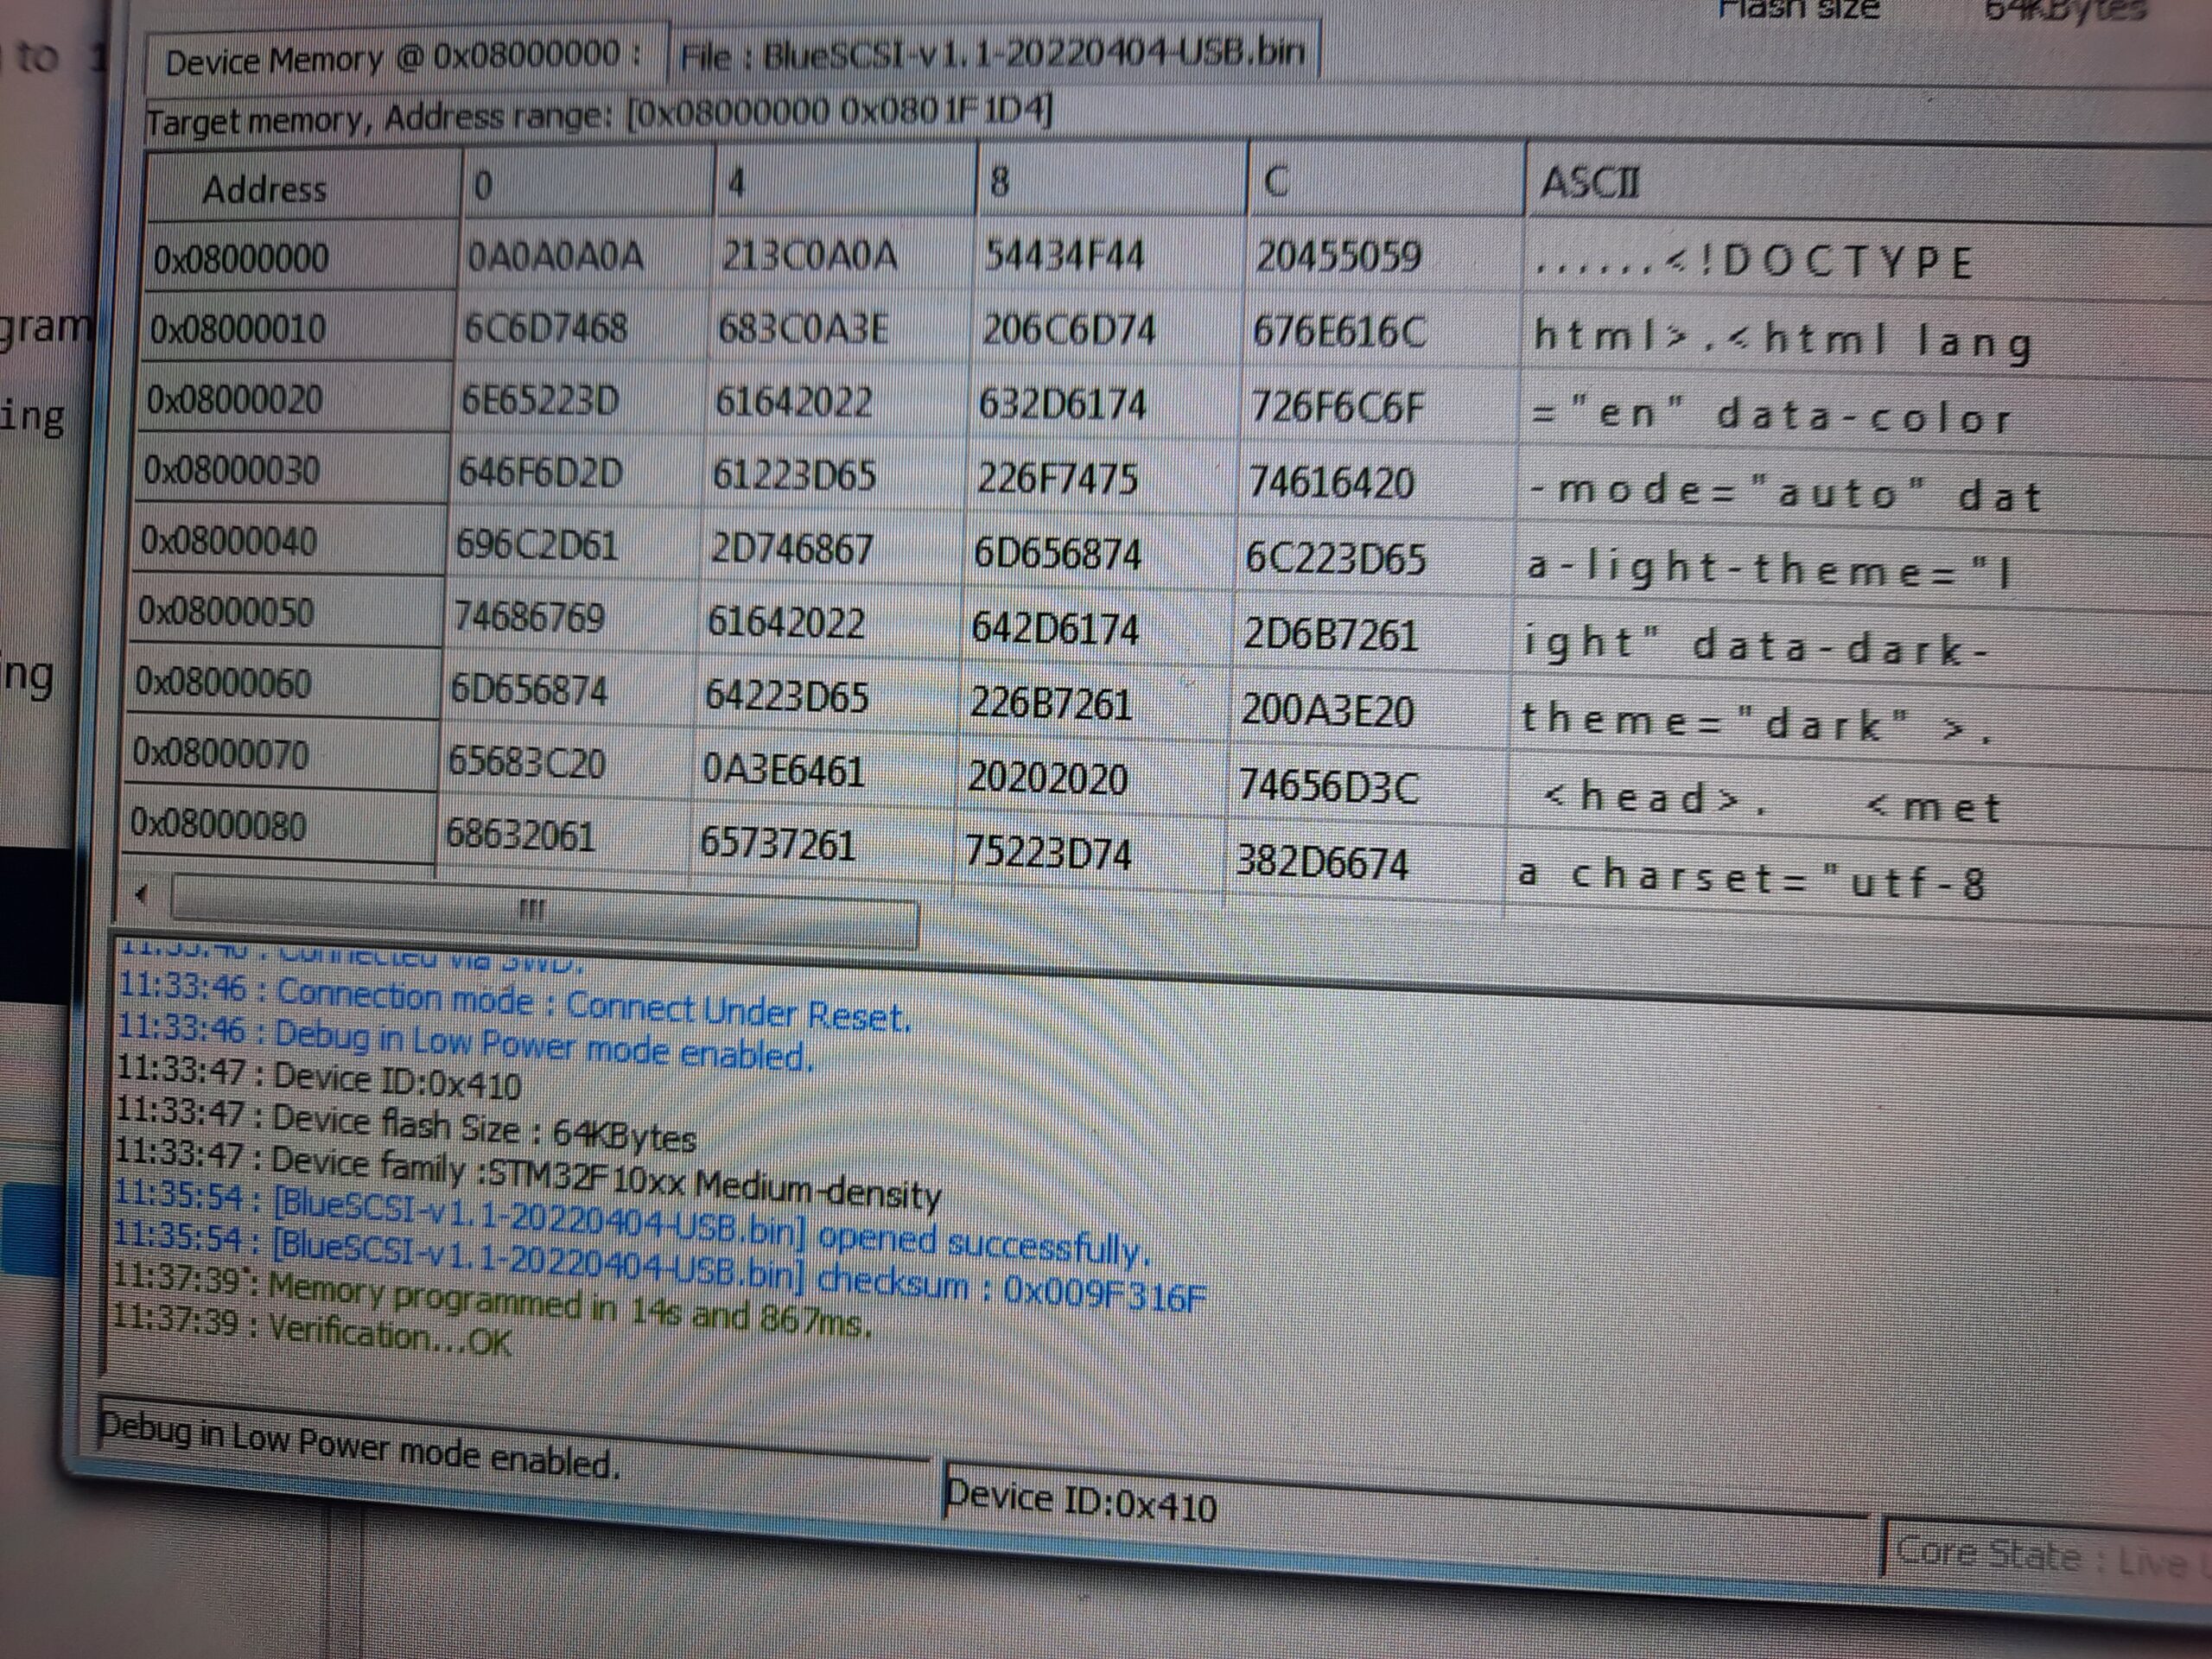
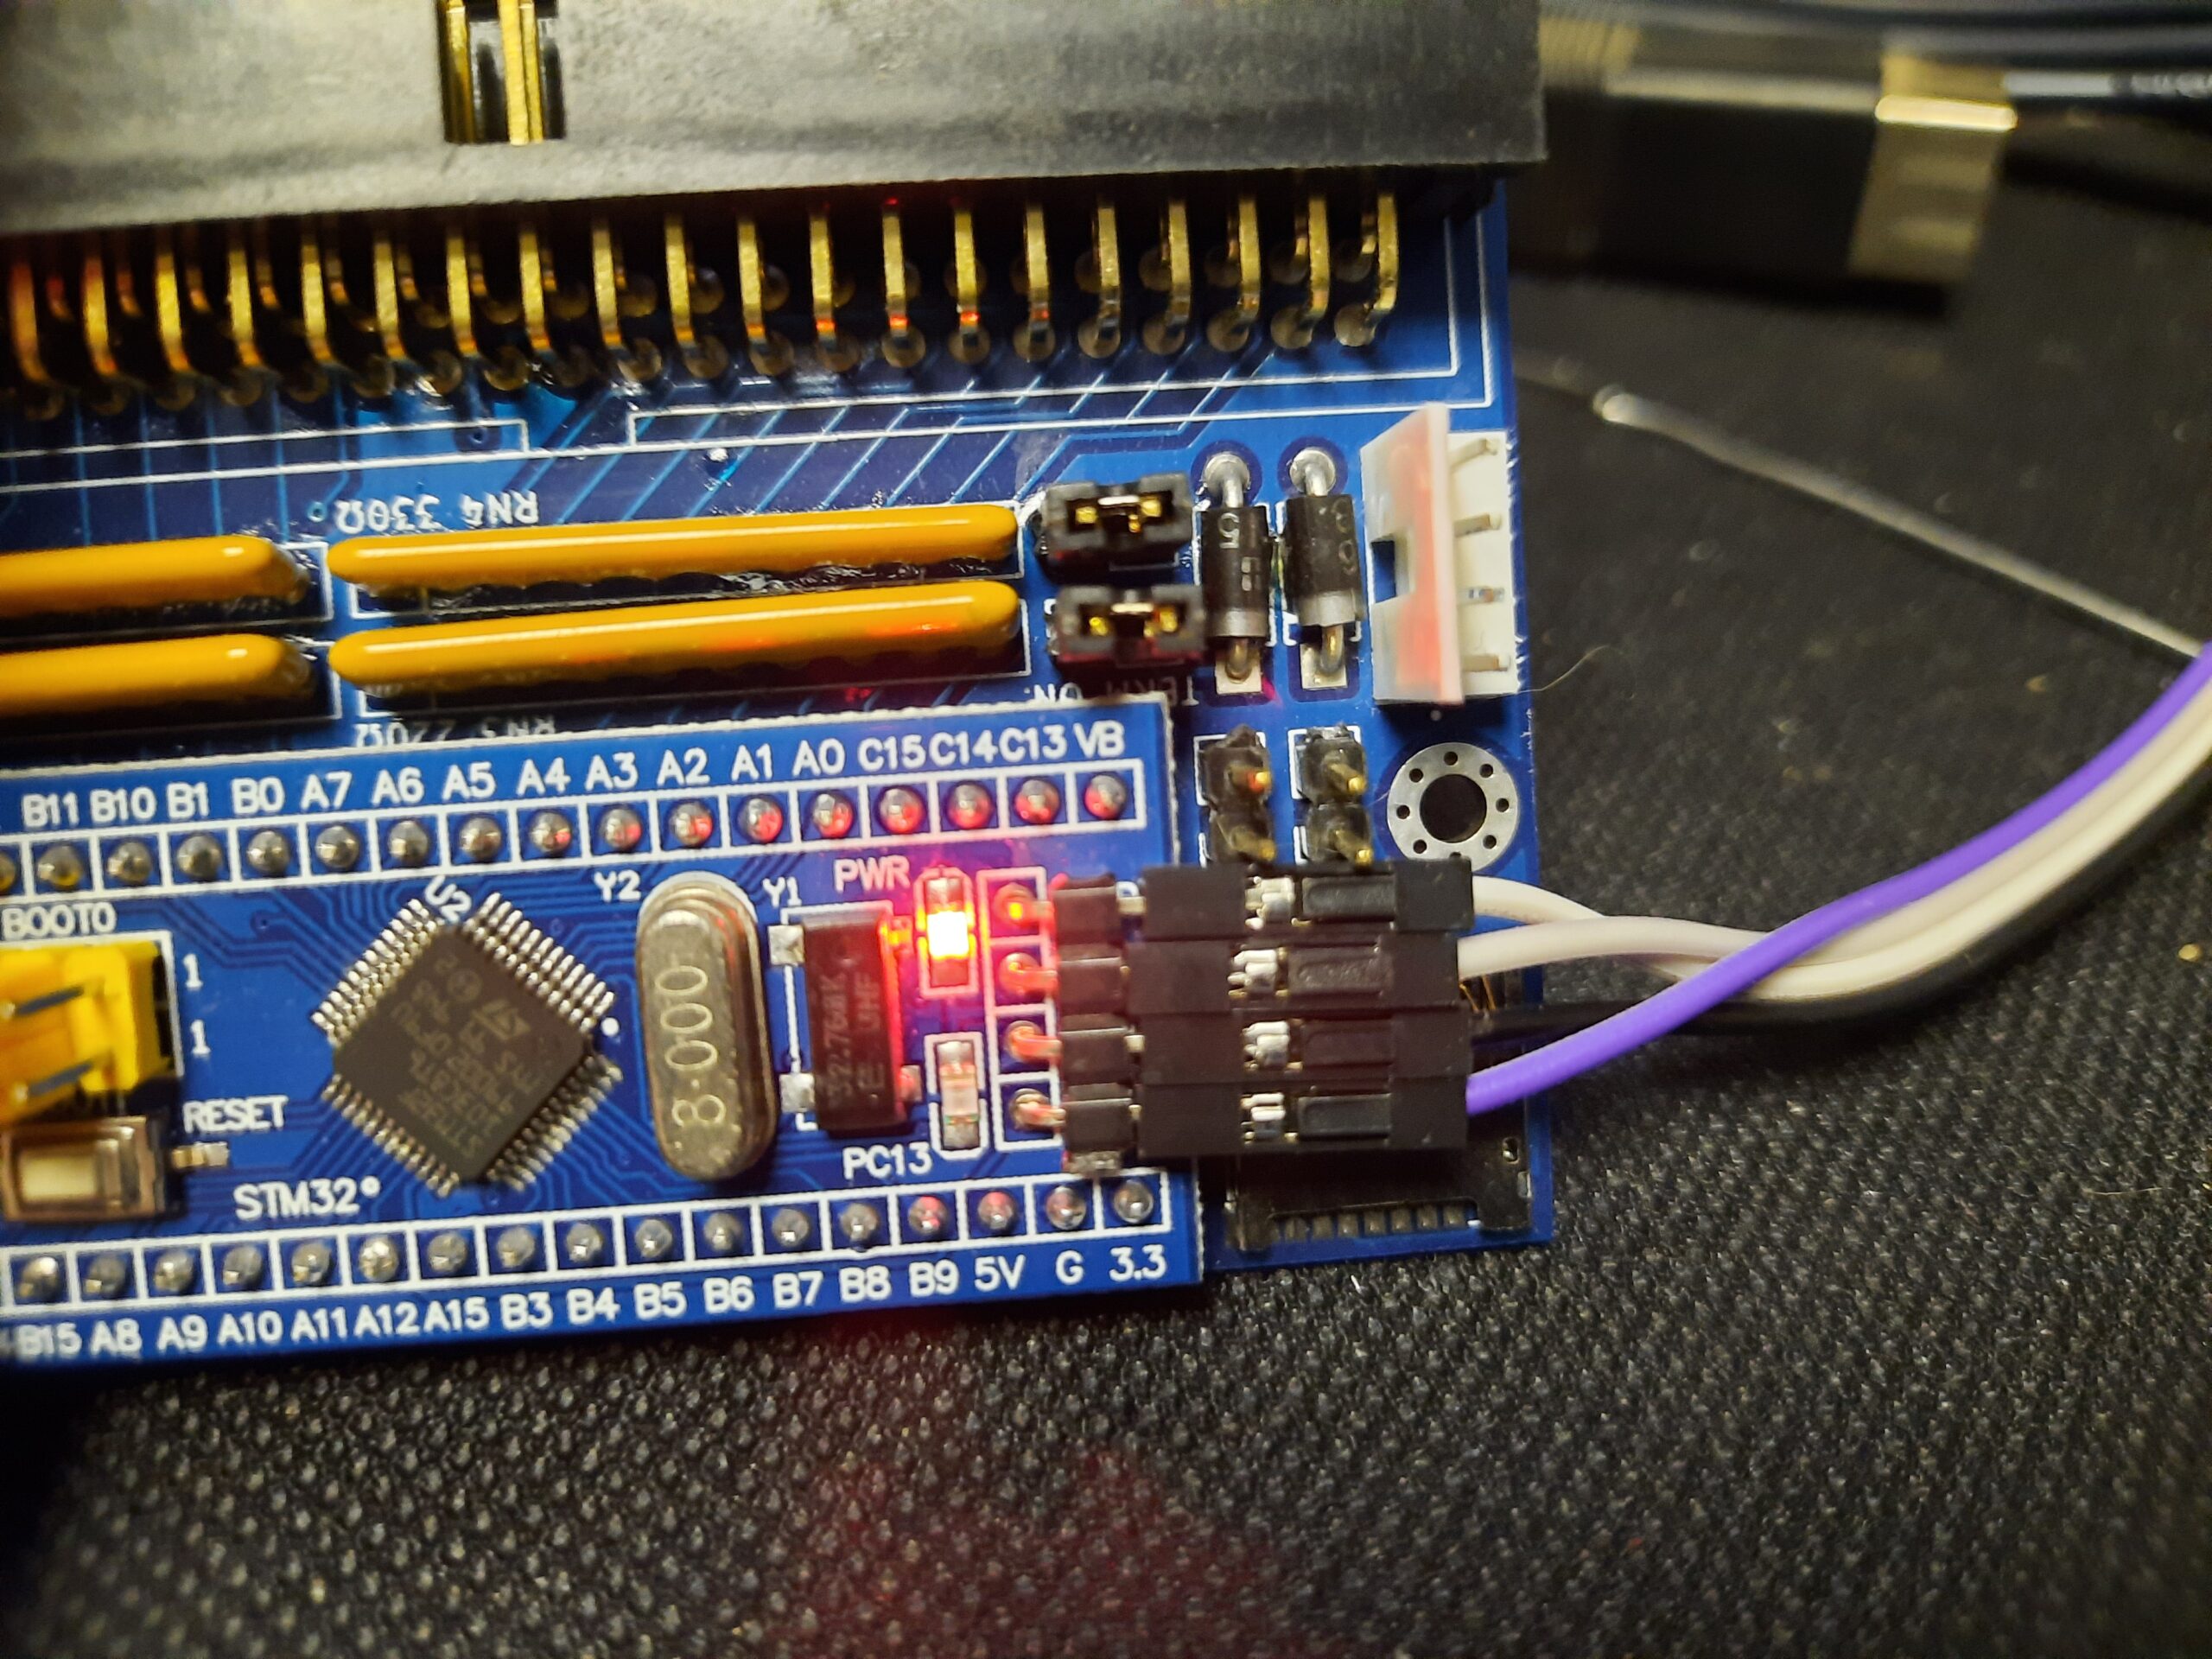
I’ve updated the firmware with the use of STM32 ST-Link utility, 3D printed brackets for it, and soldered on the external LED. The bracket I’ve used is available HERE
This is how it looked.
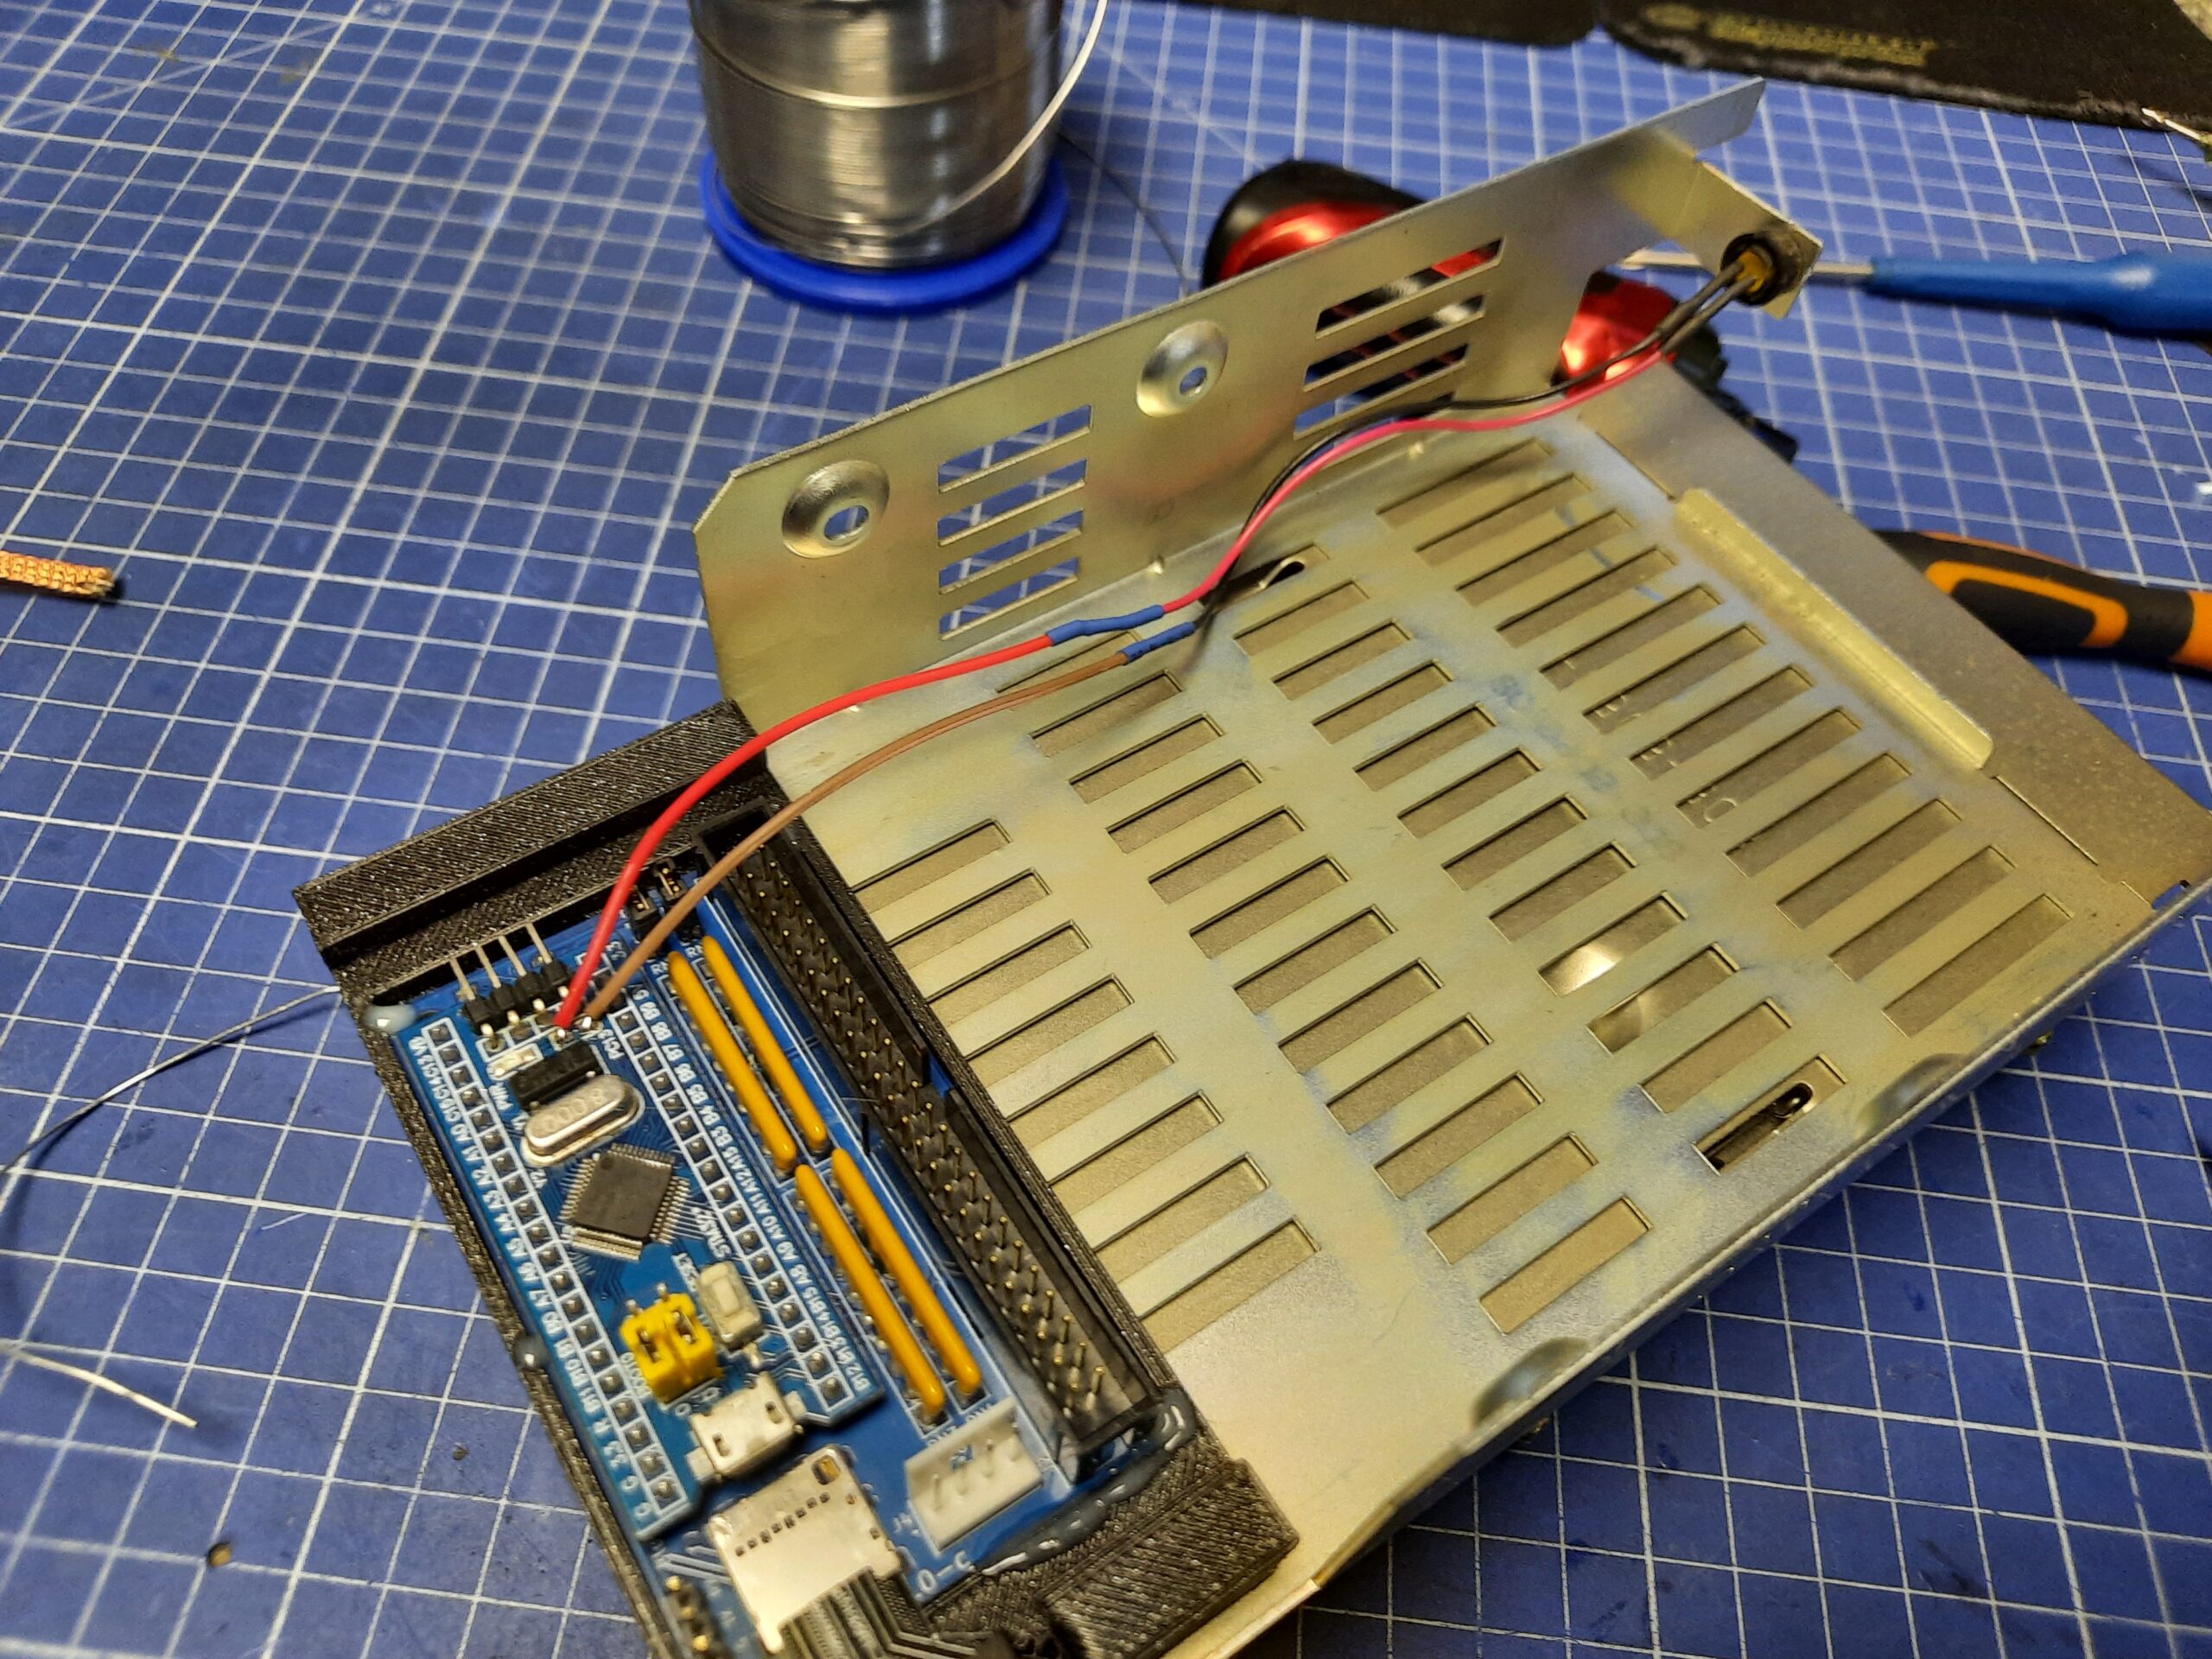
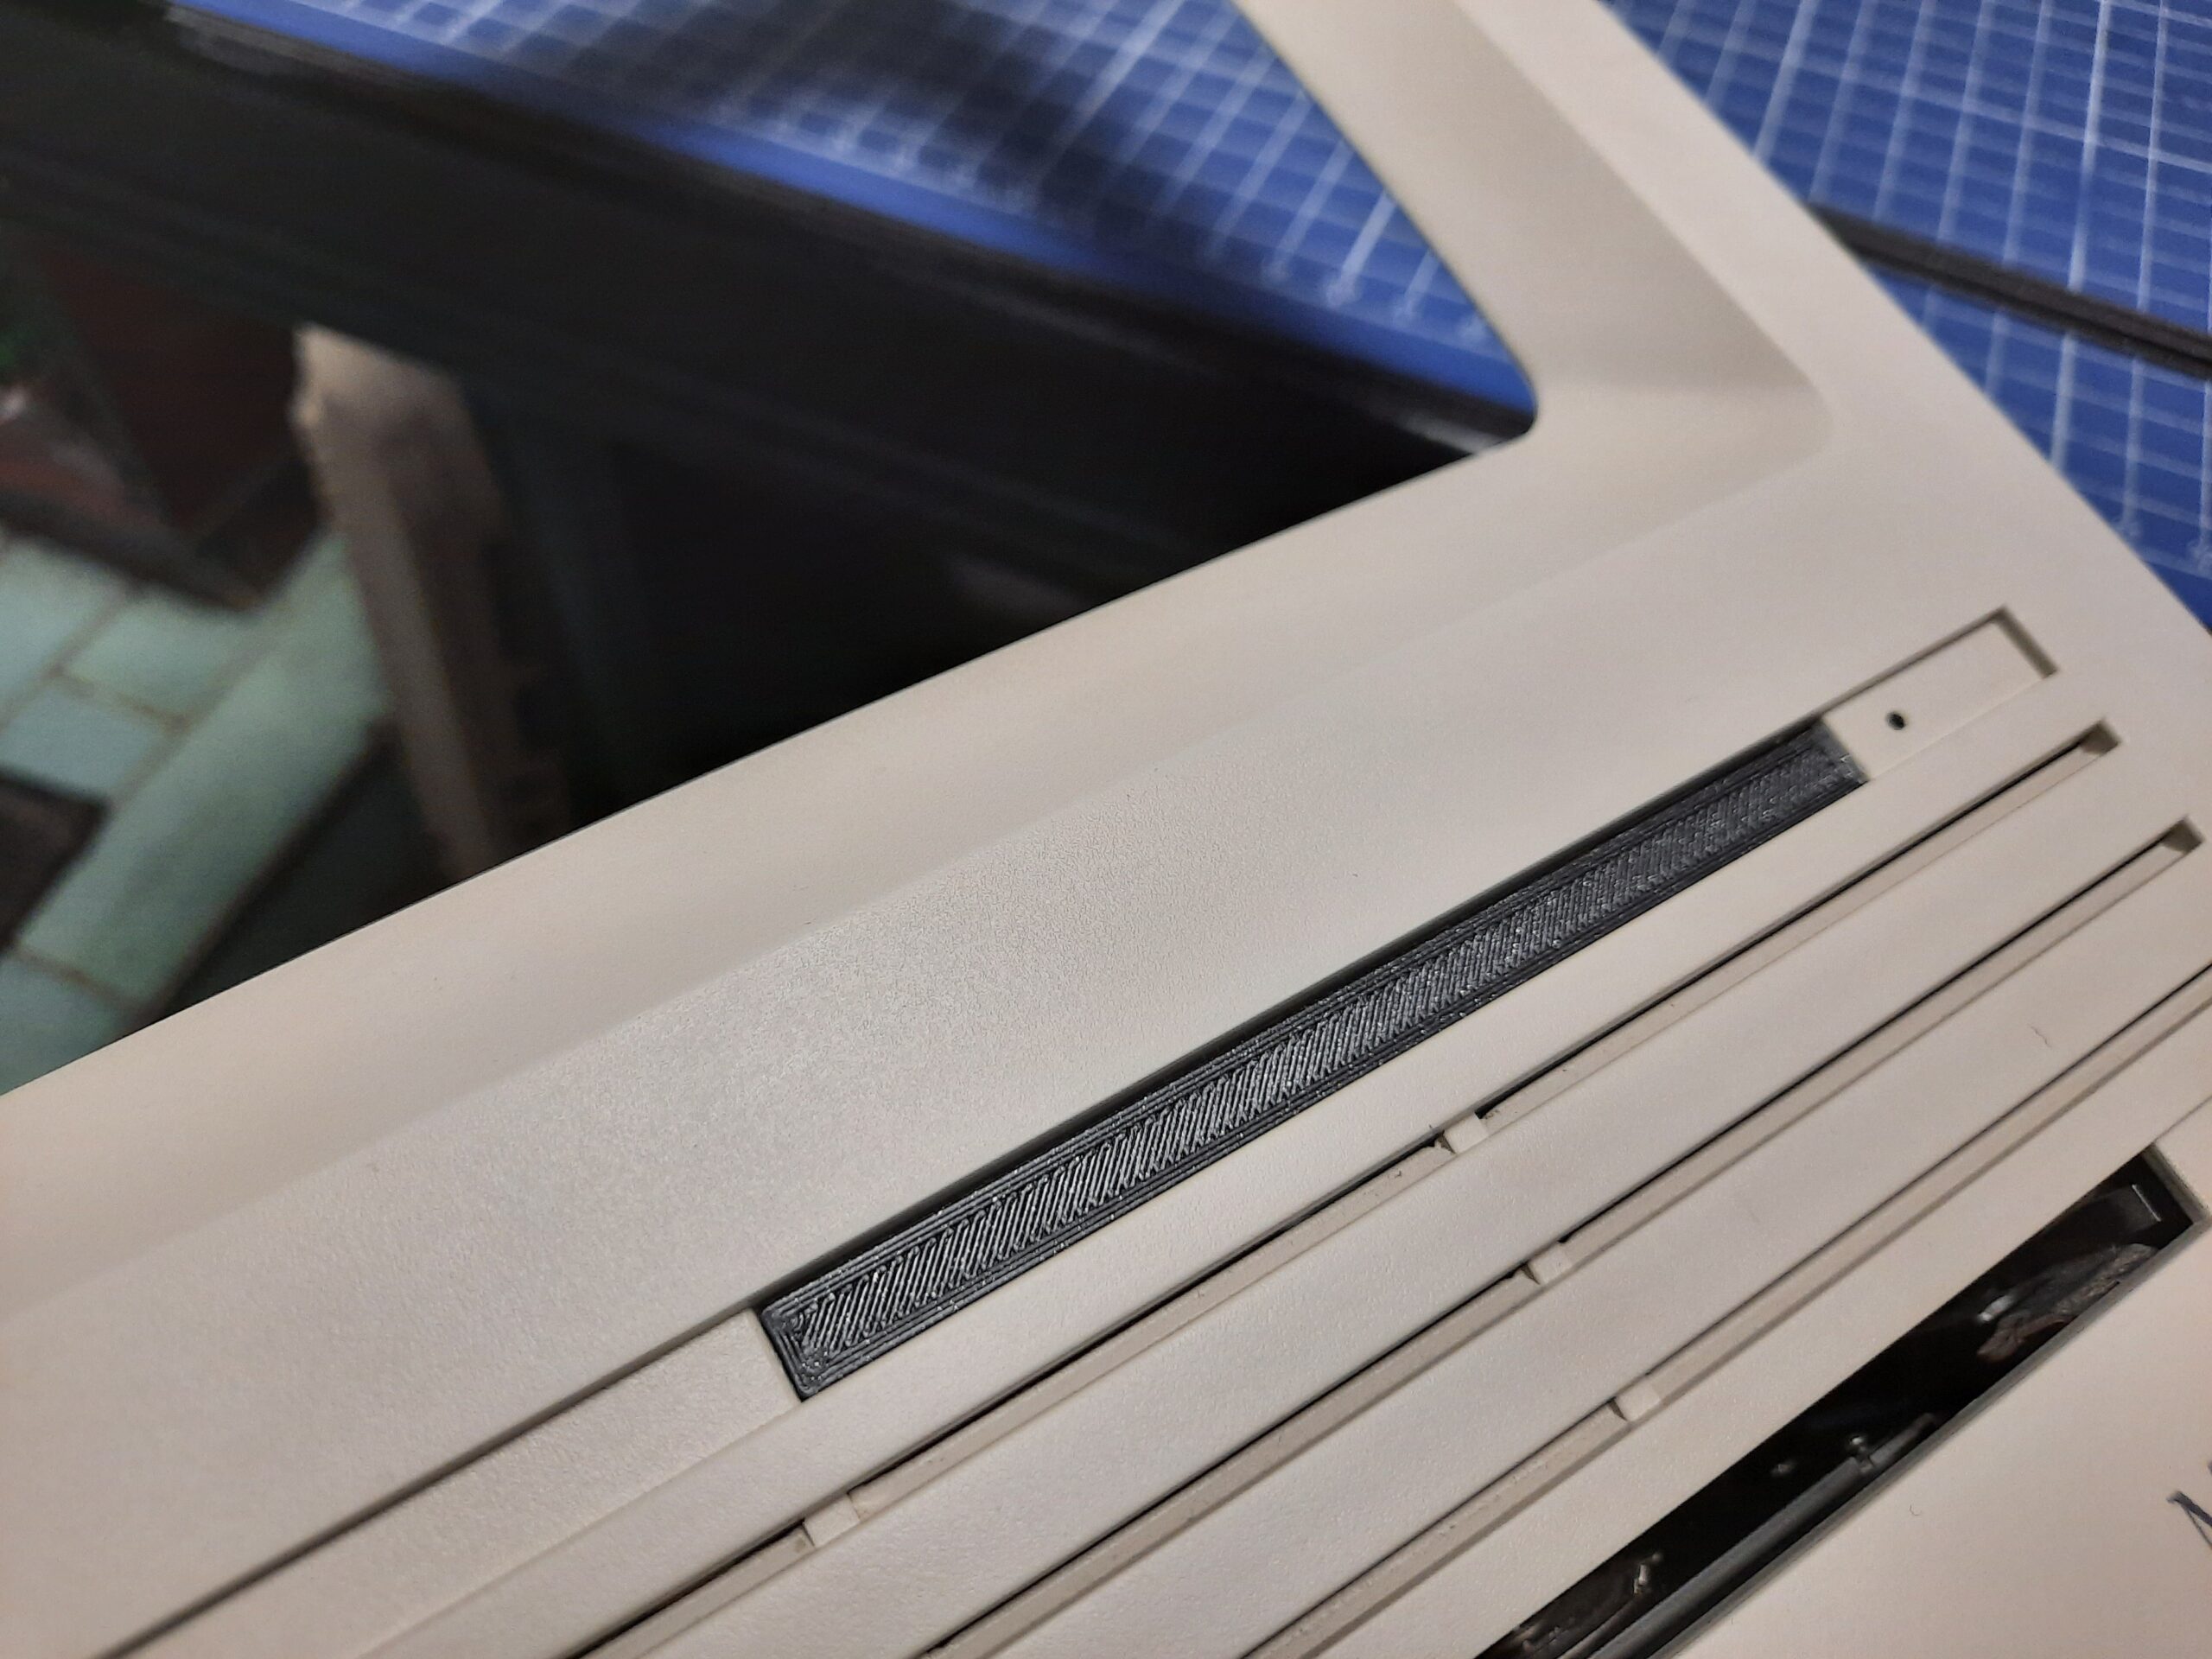
As a final piece, I’ve designed a bracket for an SD card extender that is exposed on the back of the machine for convenience.
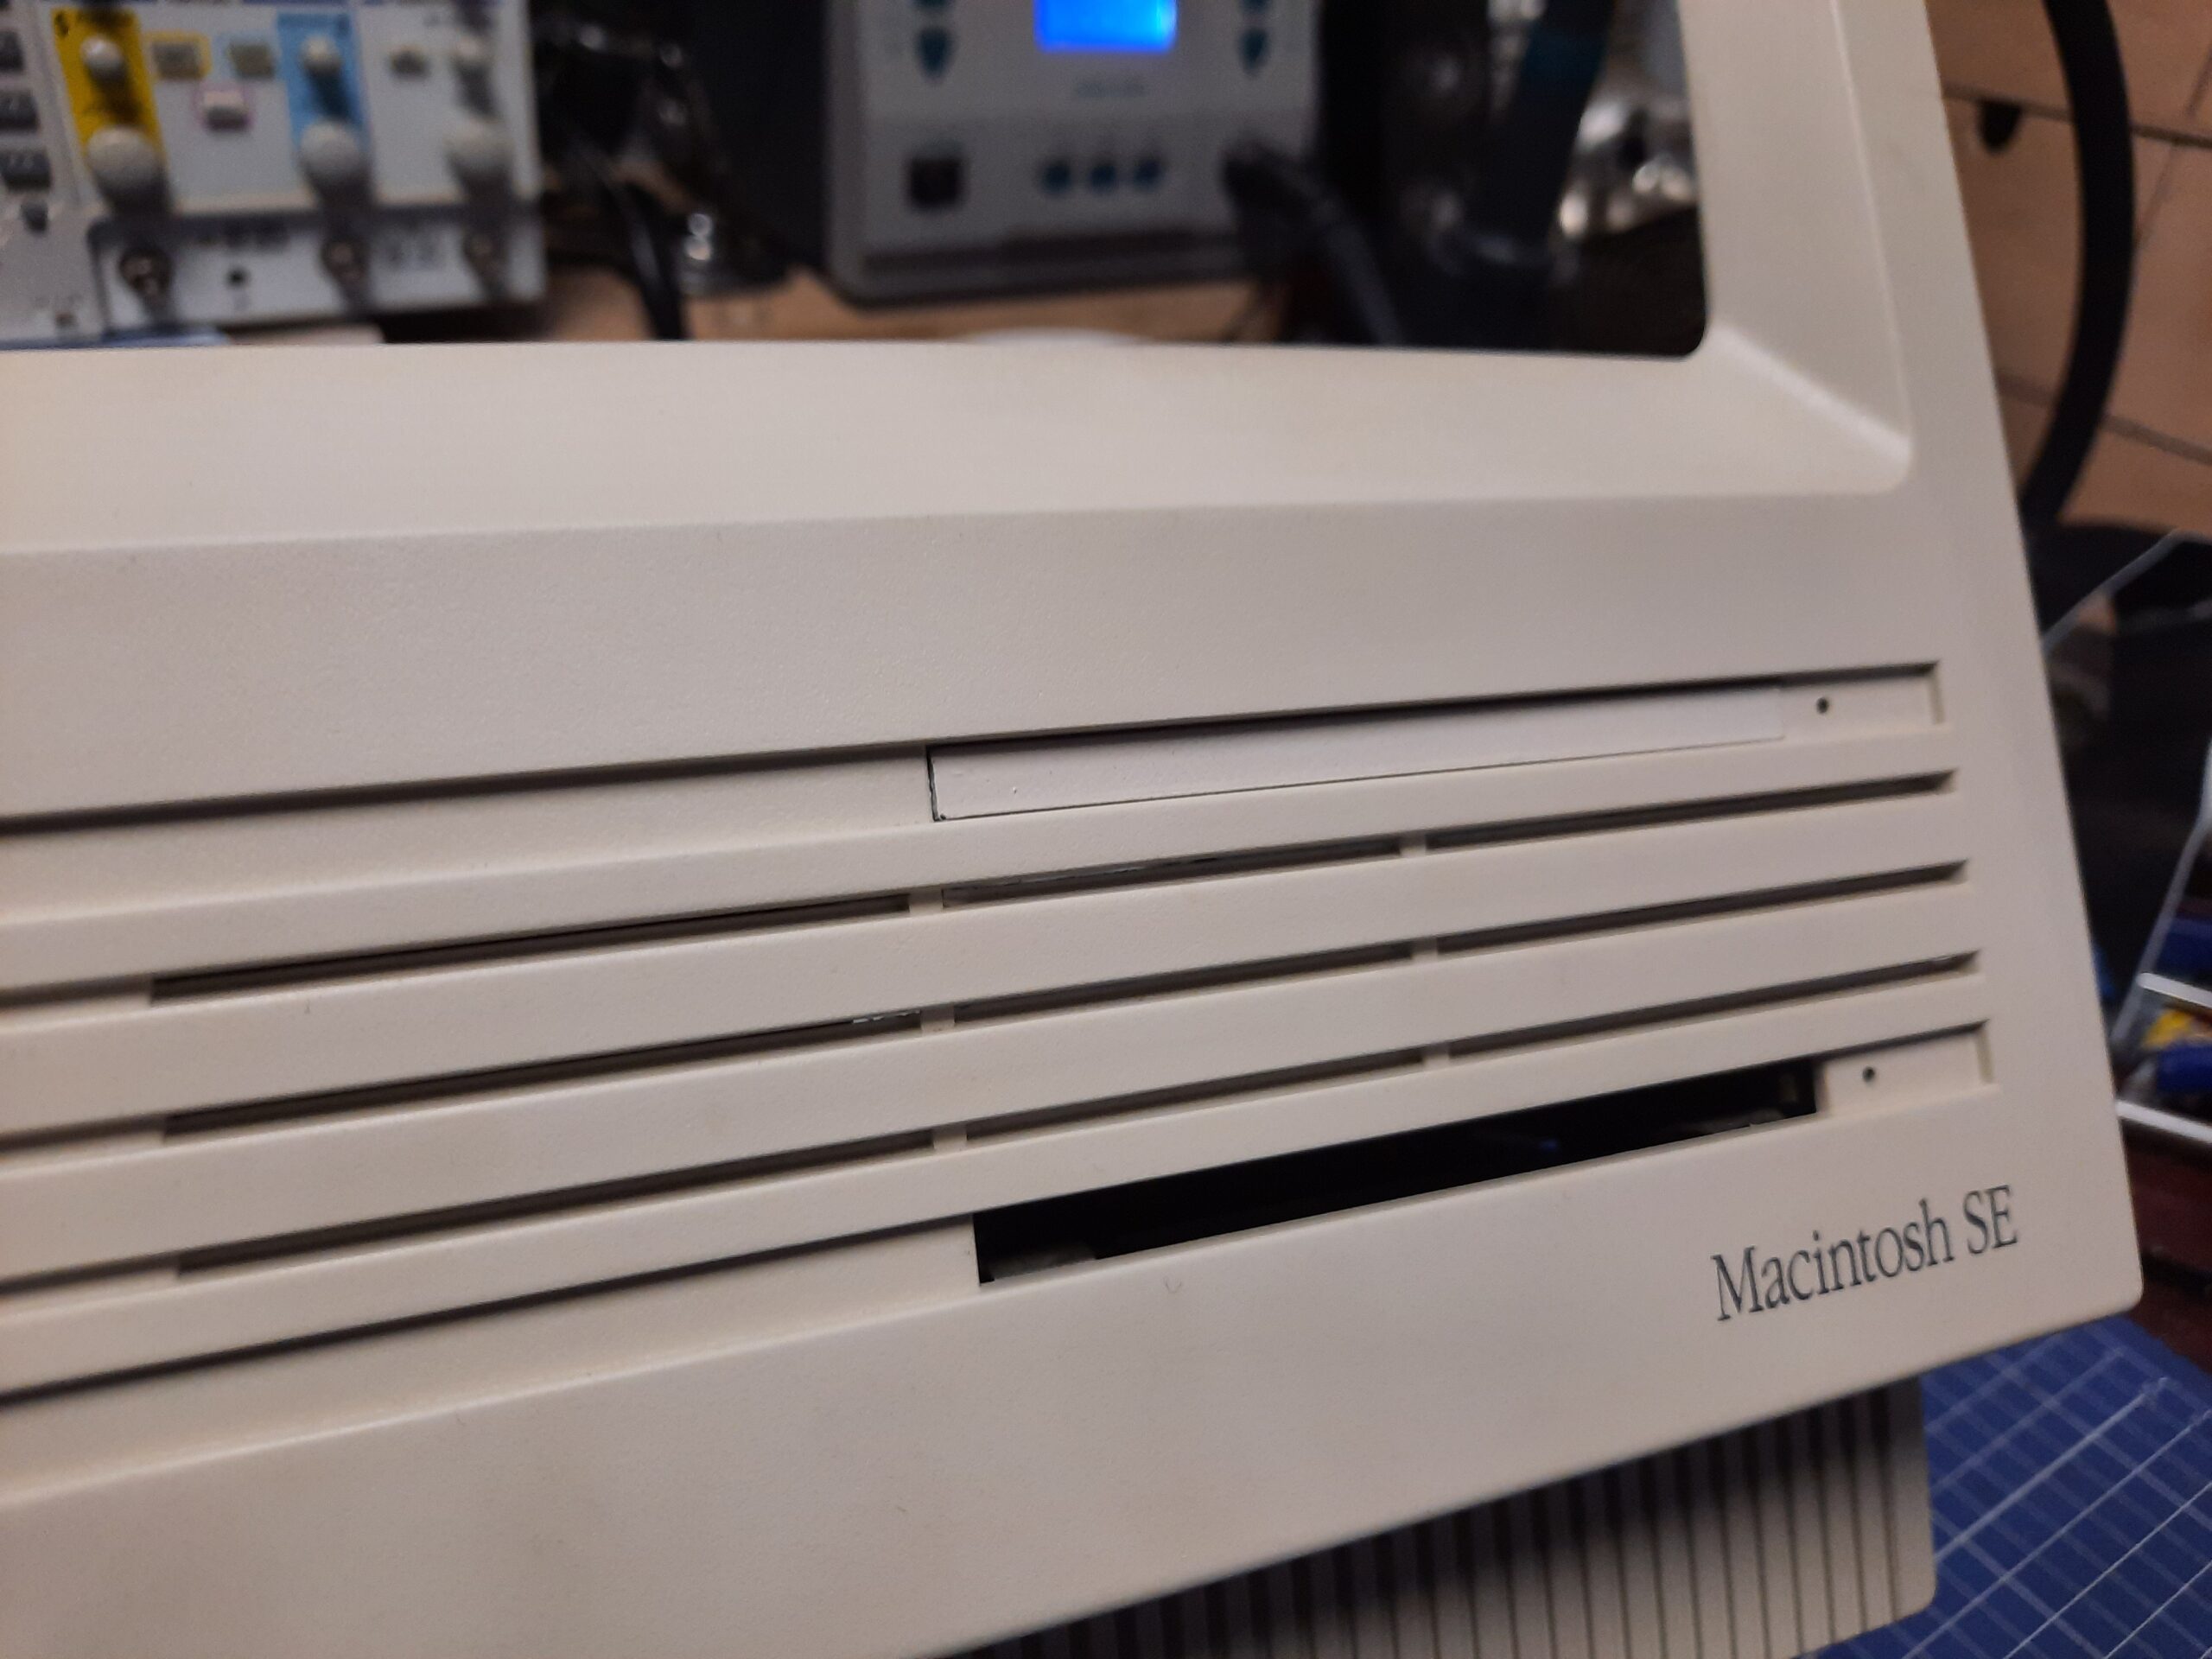
The second FDD dummy bracket
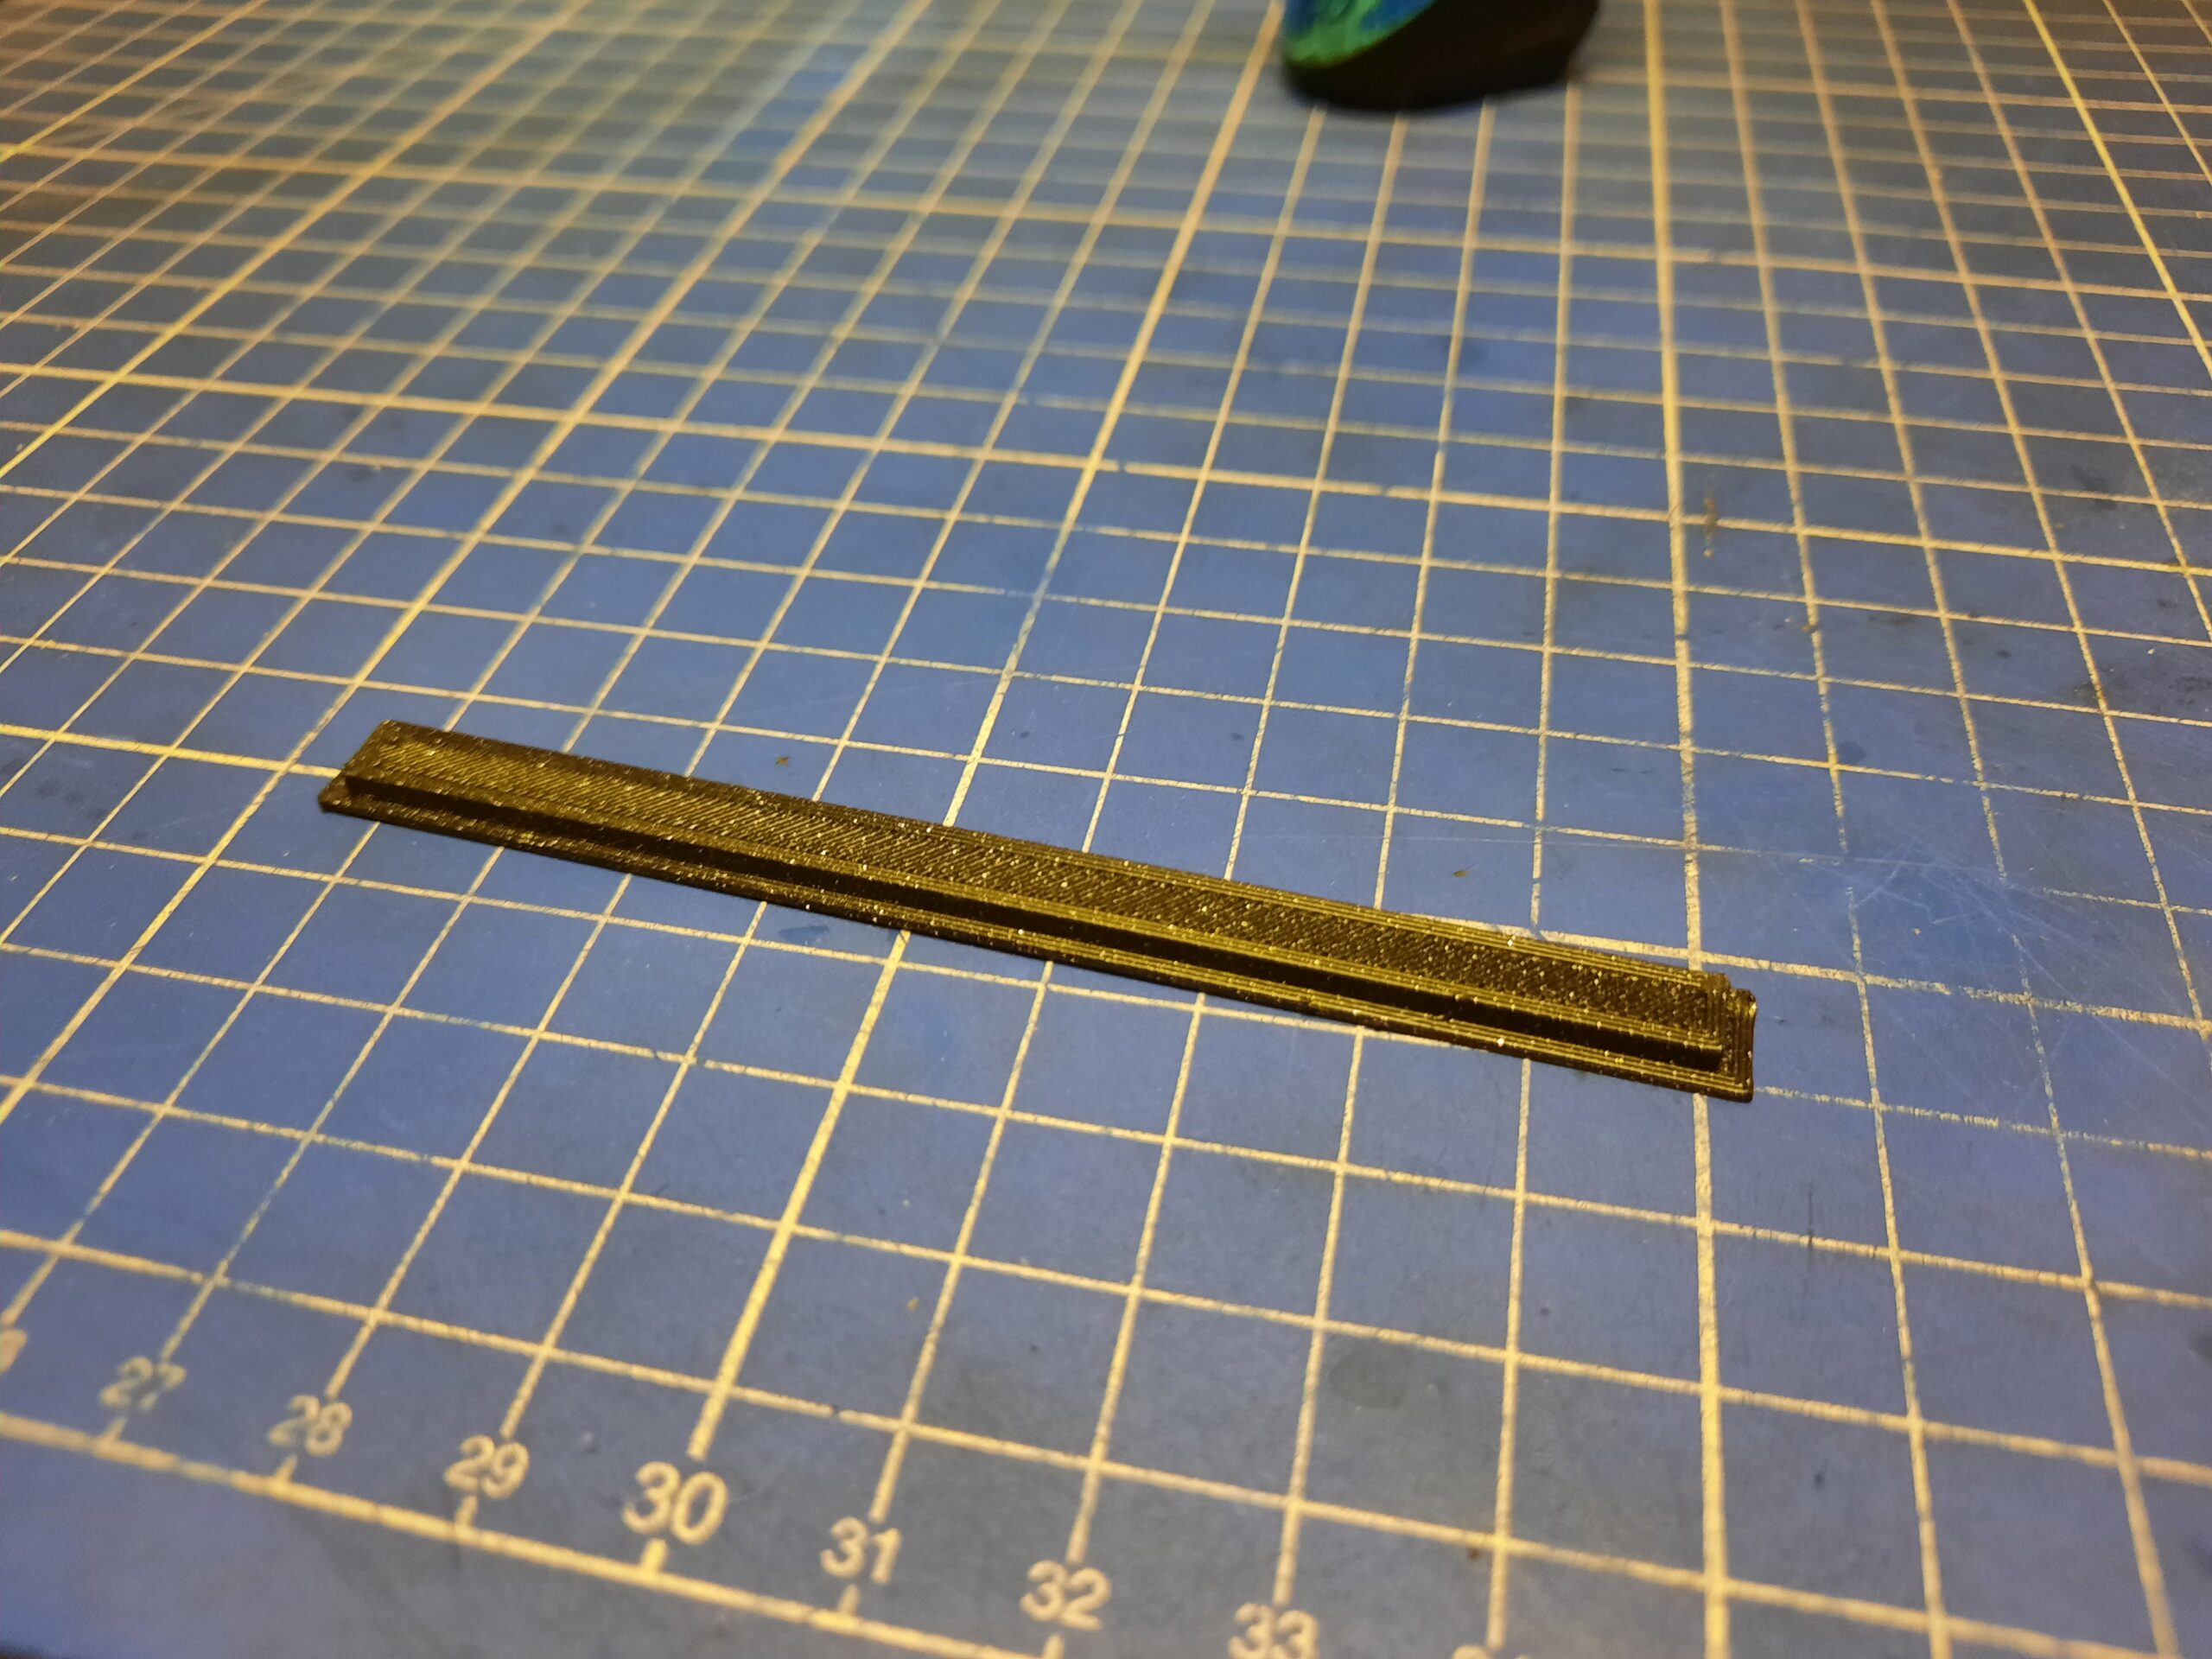
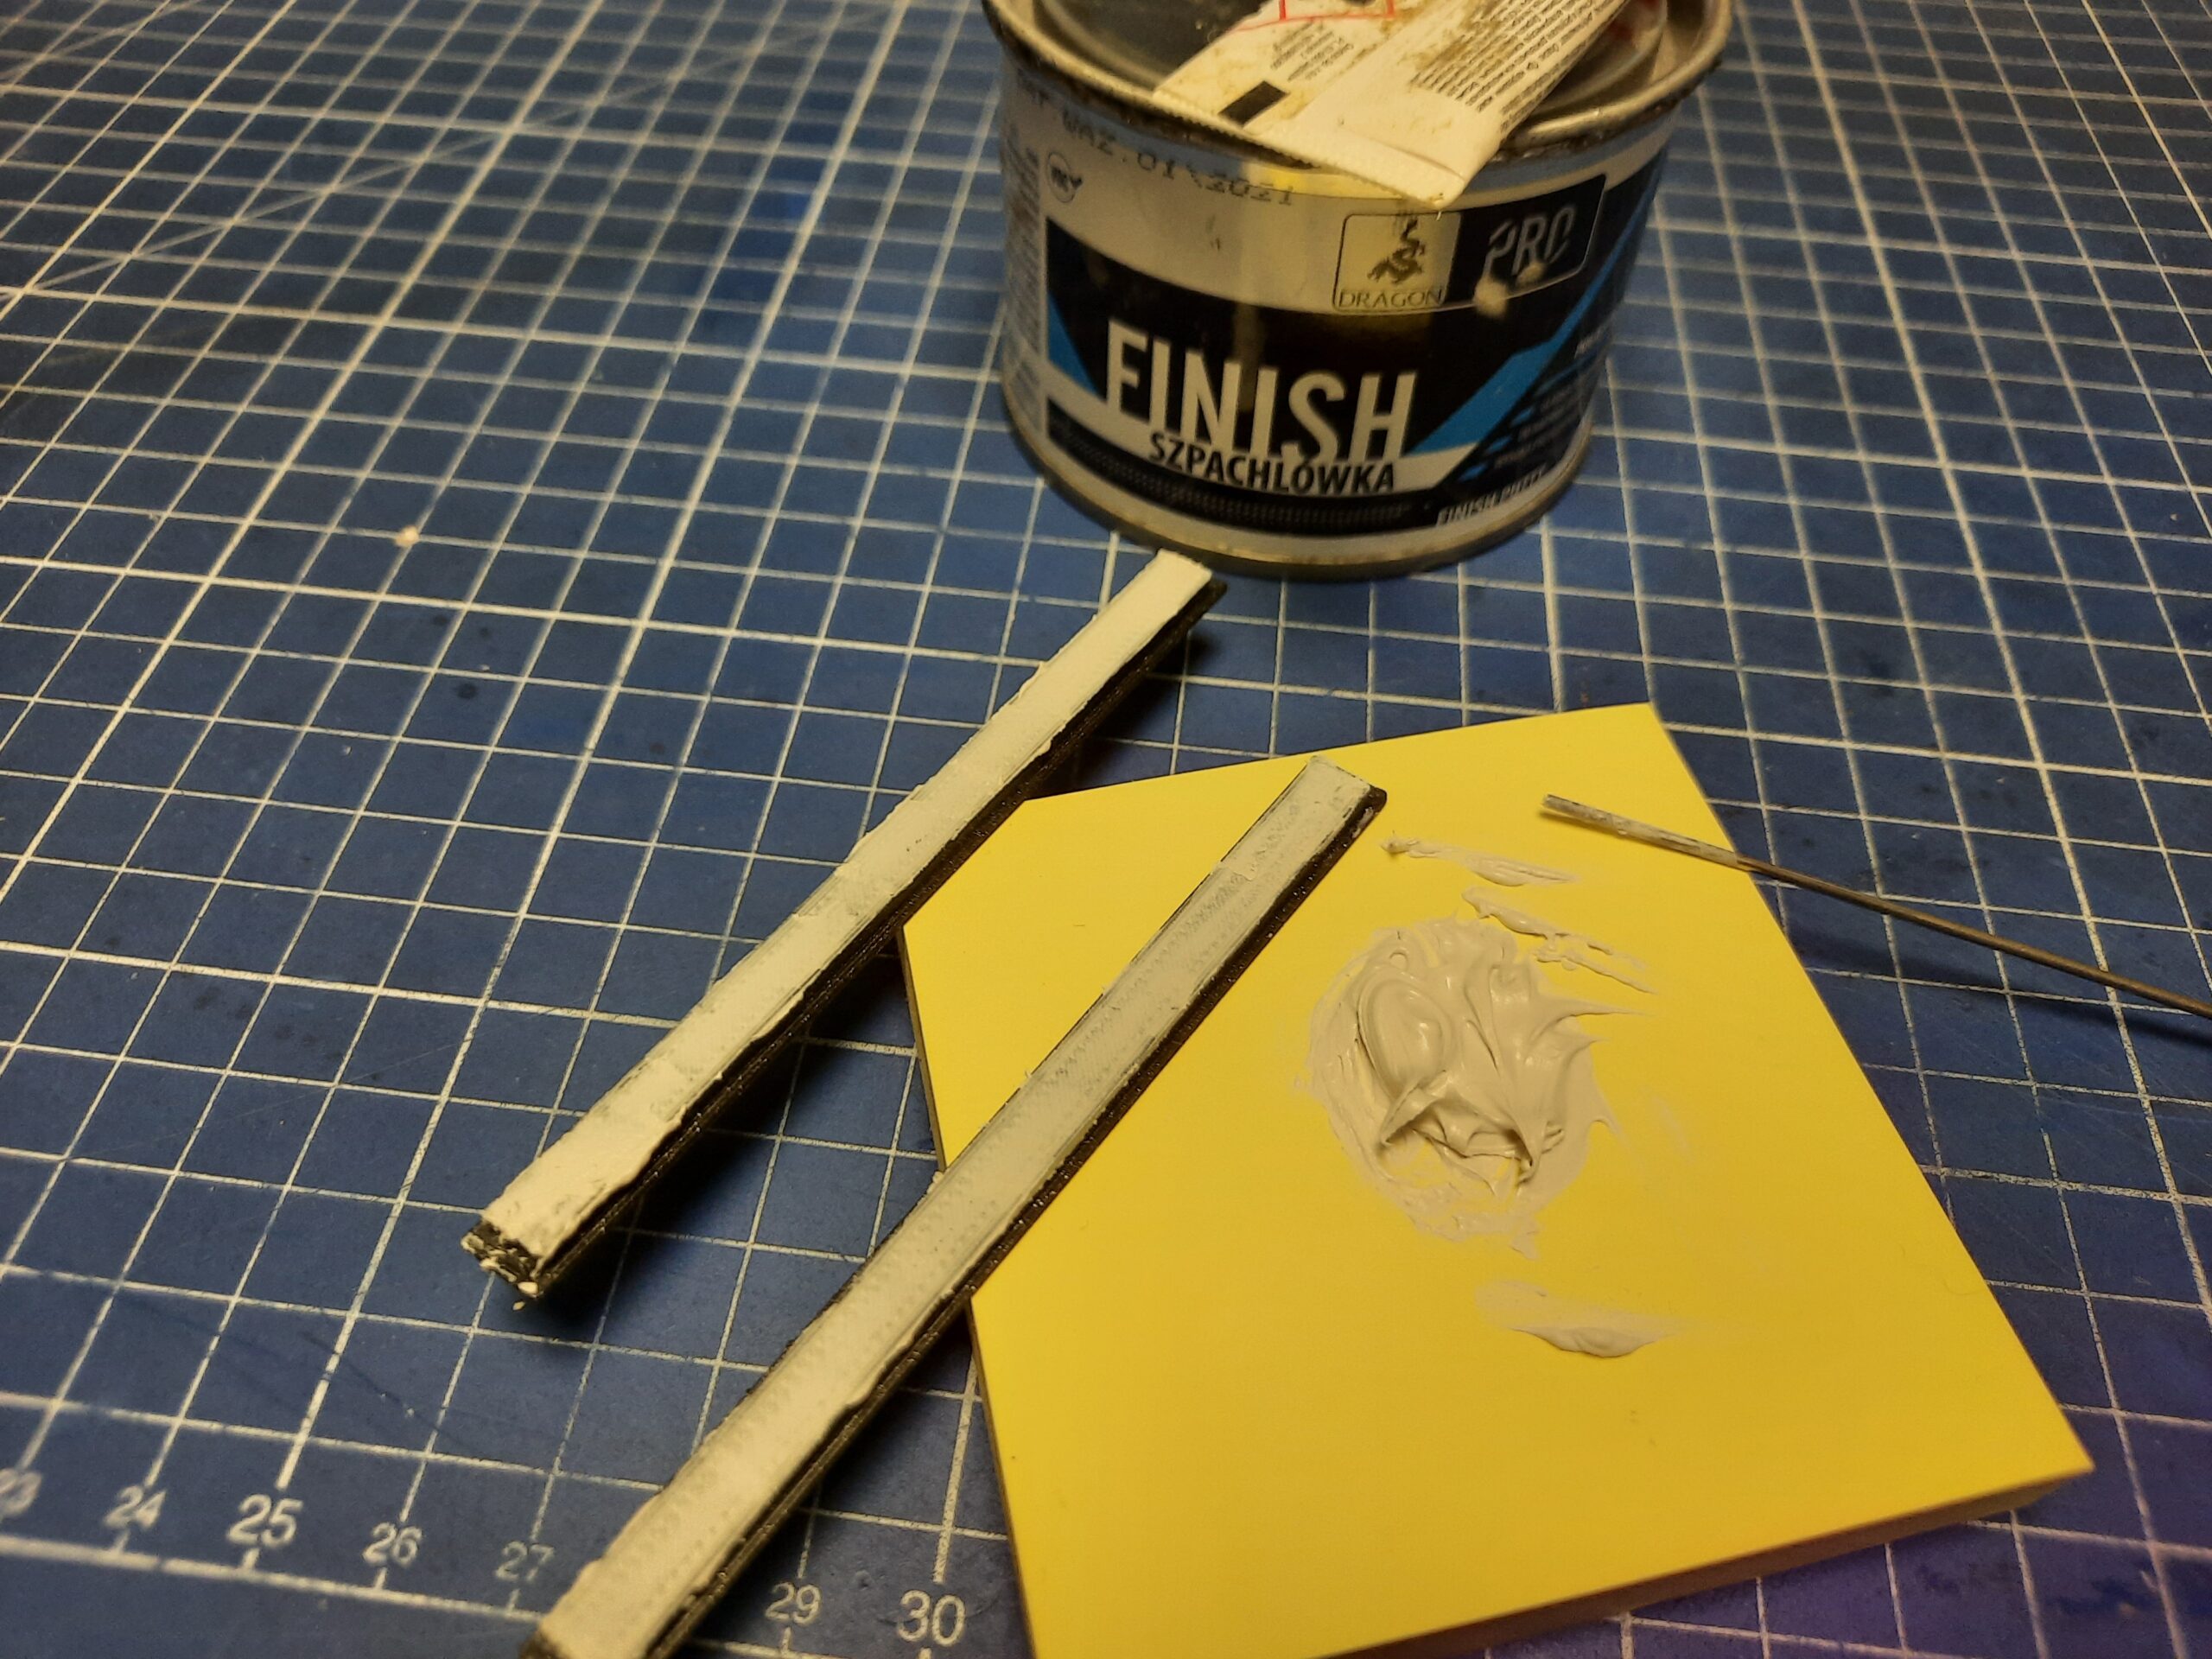
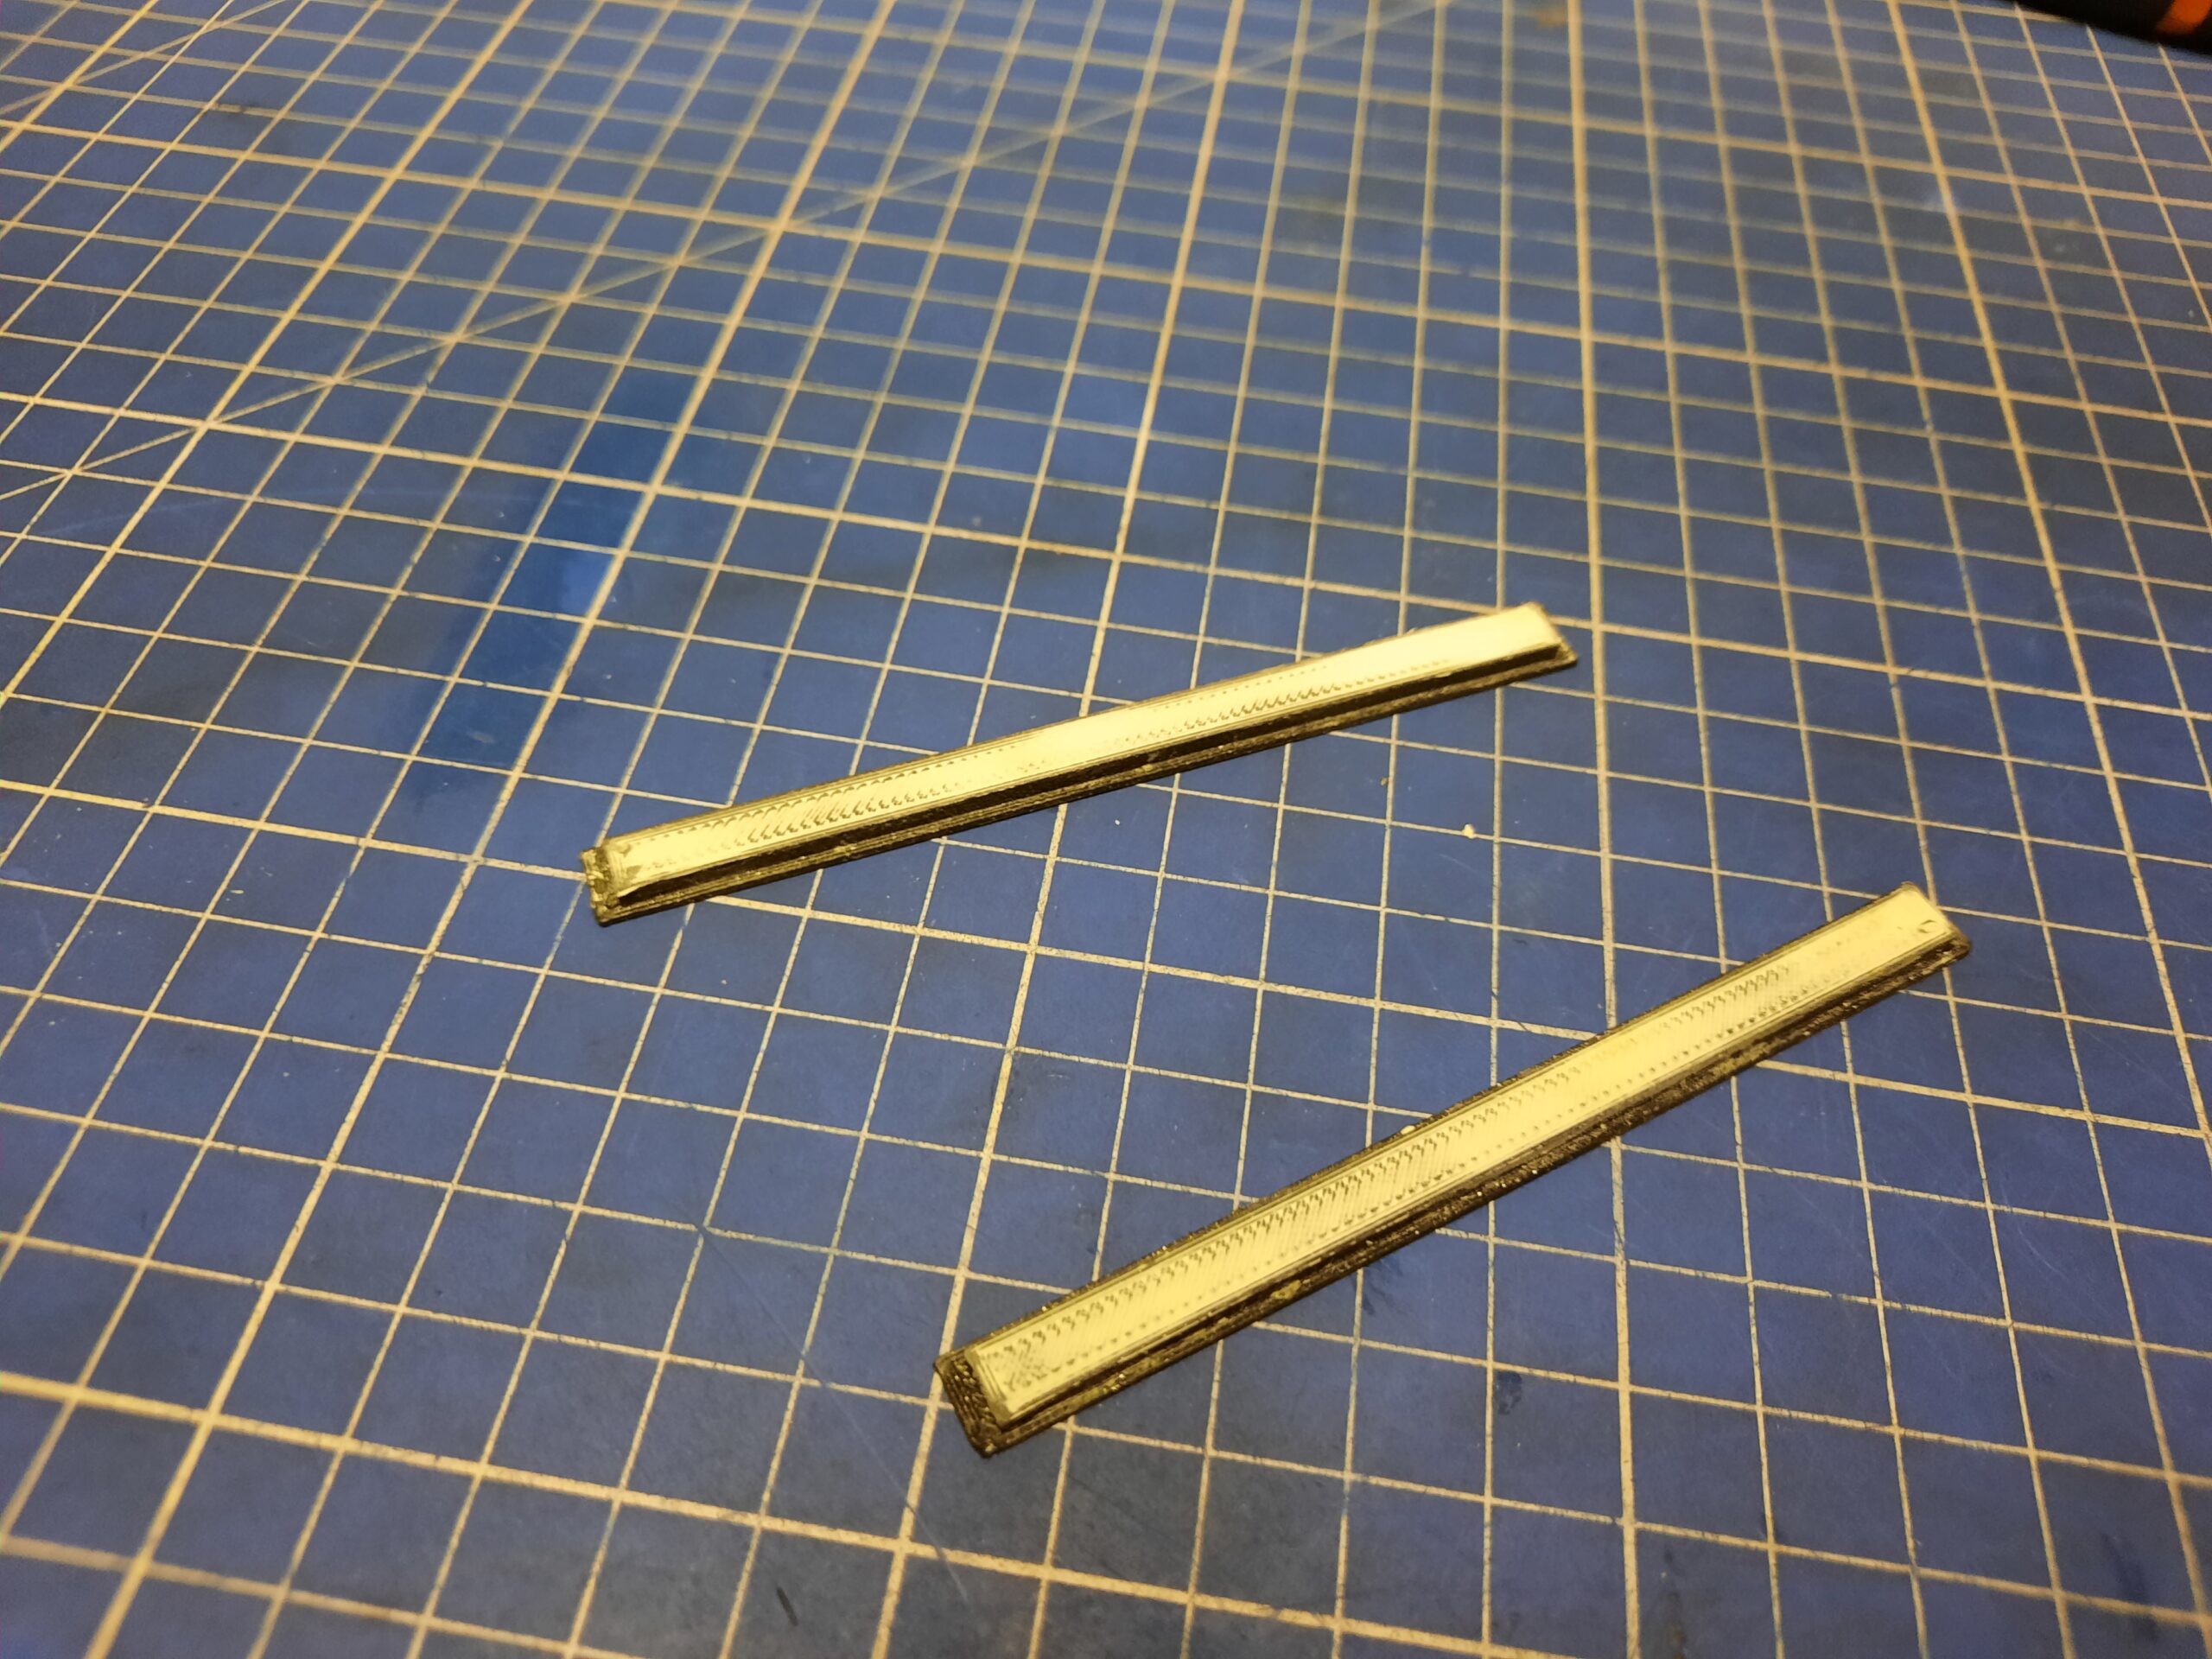
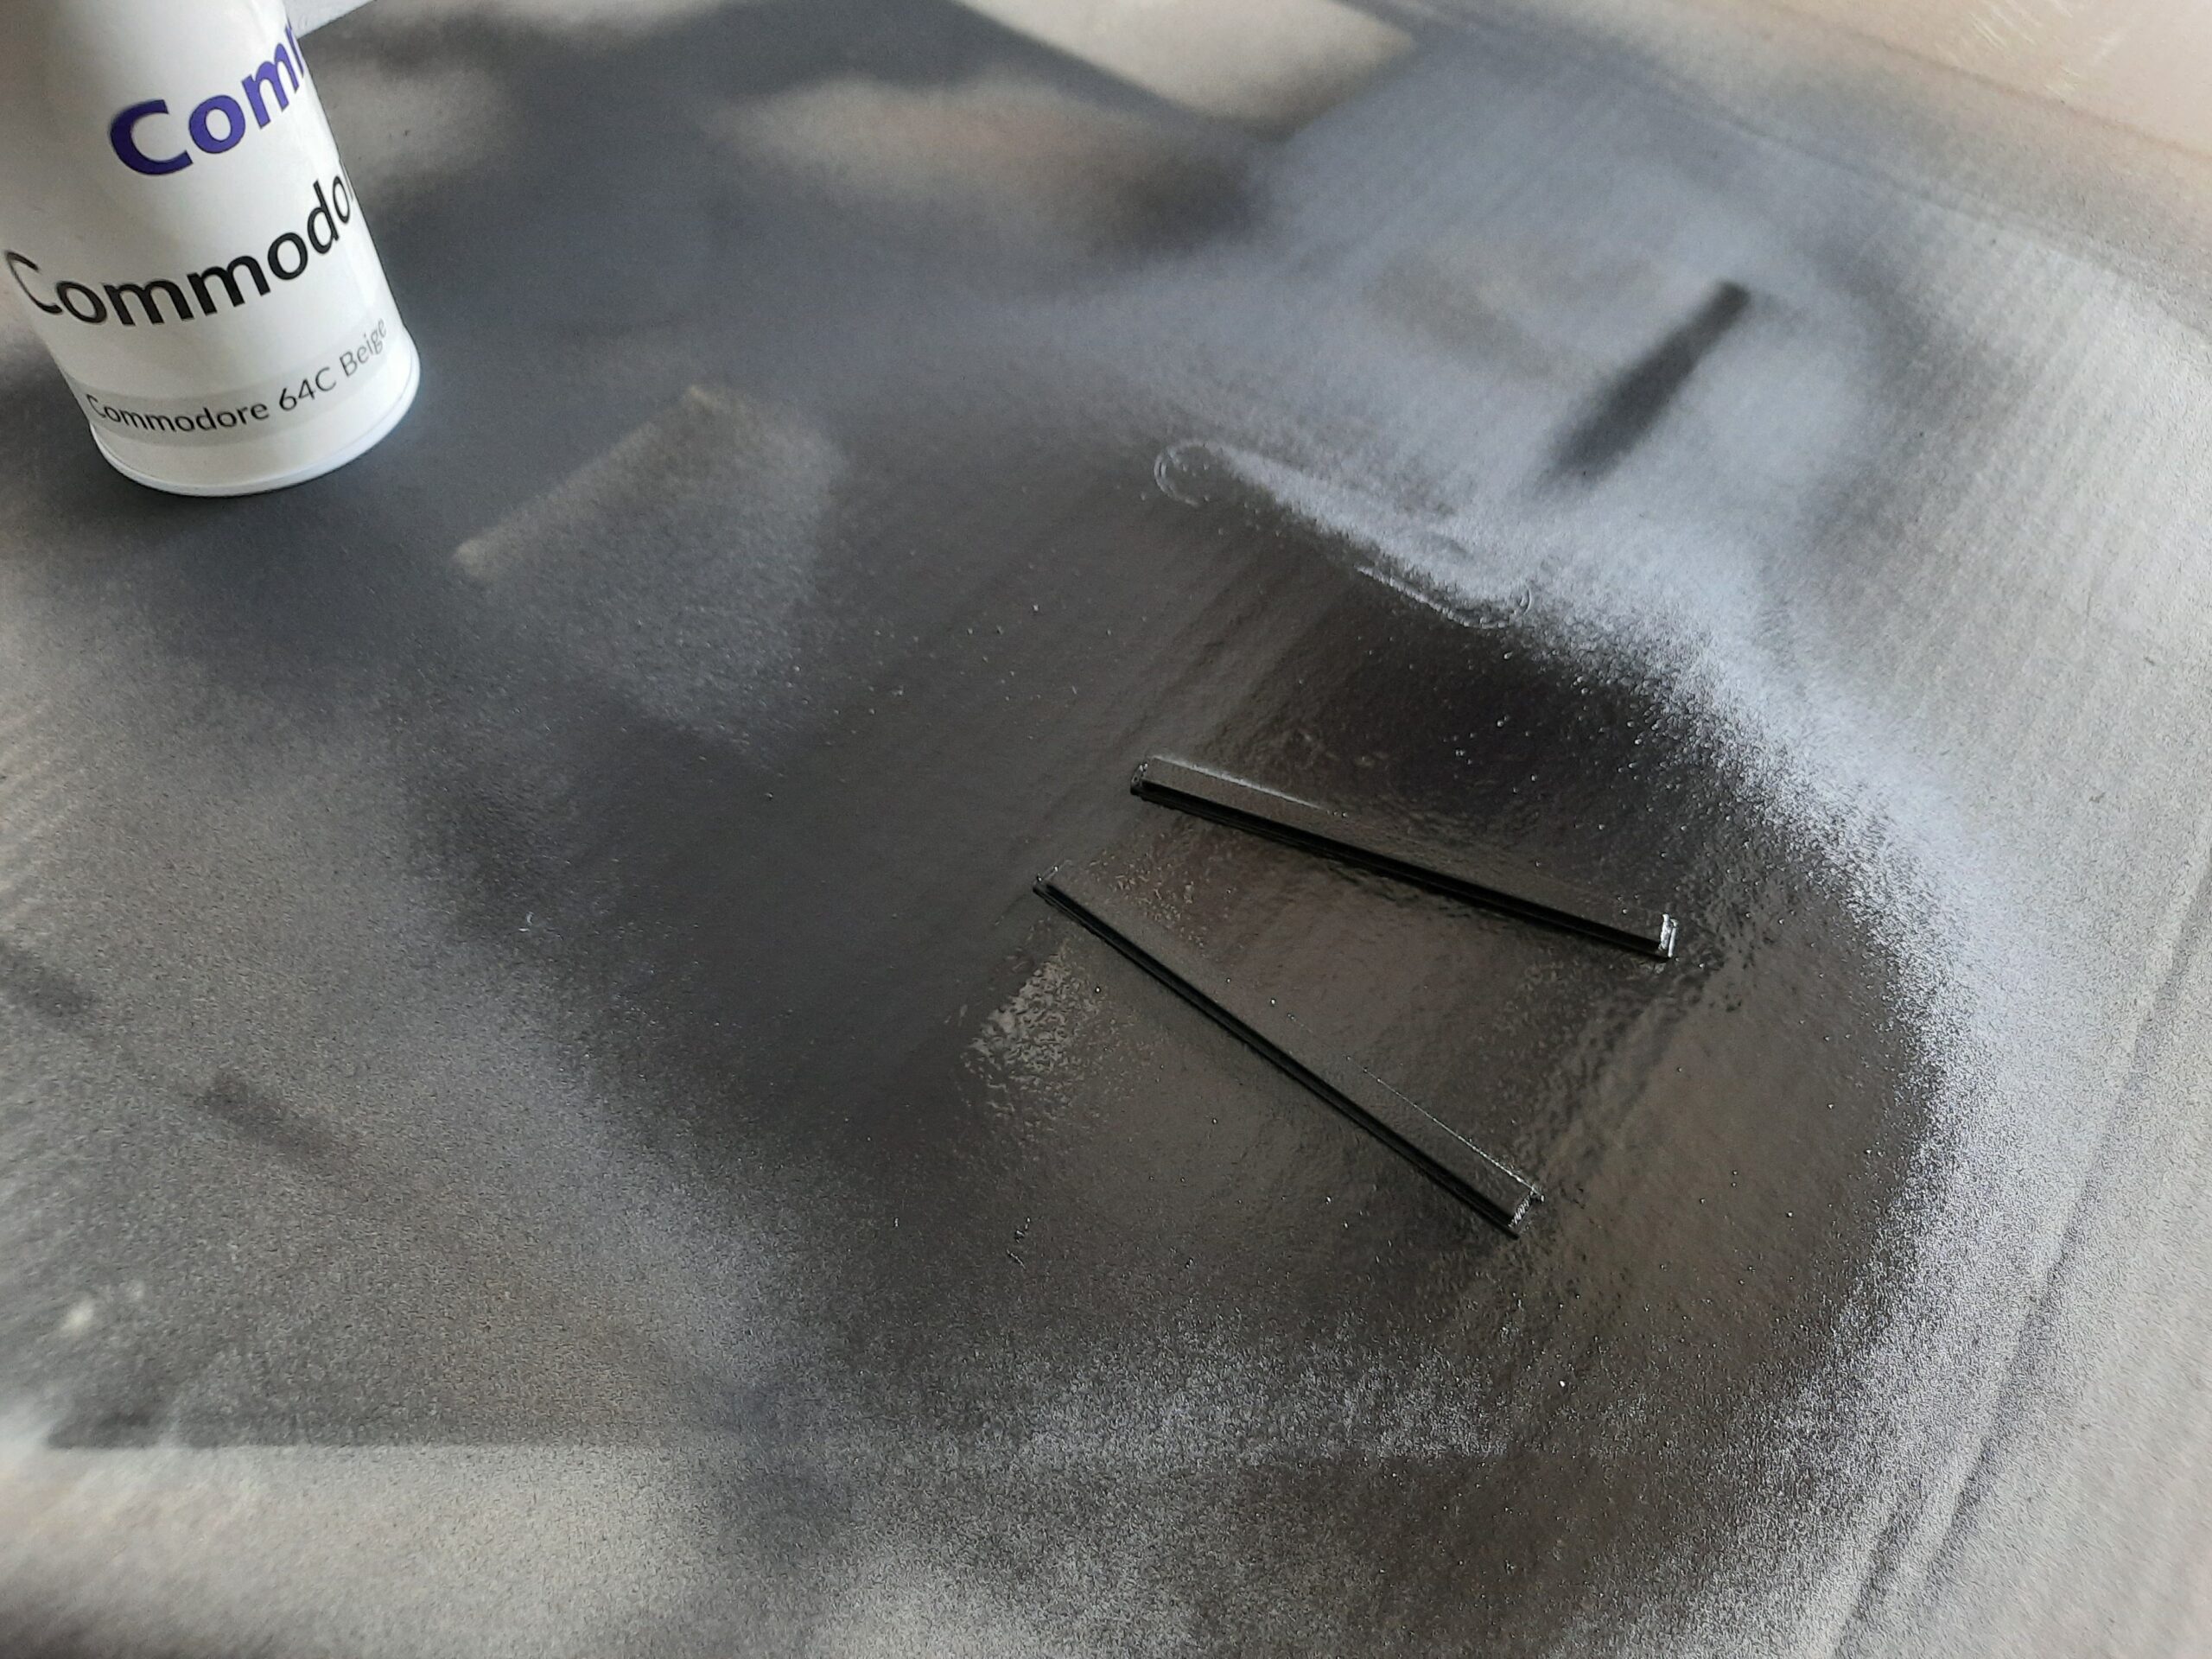
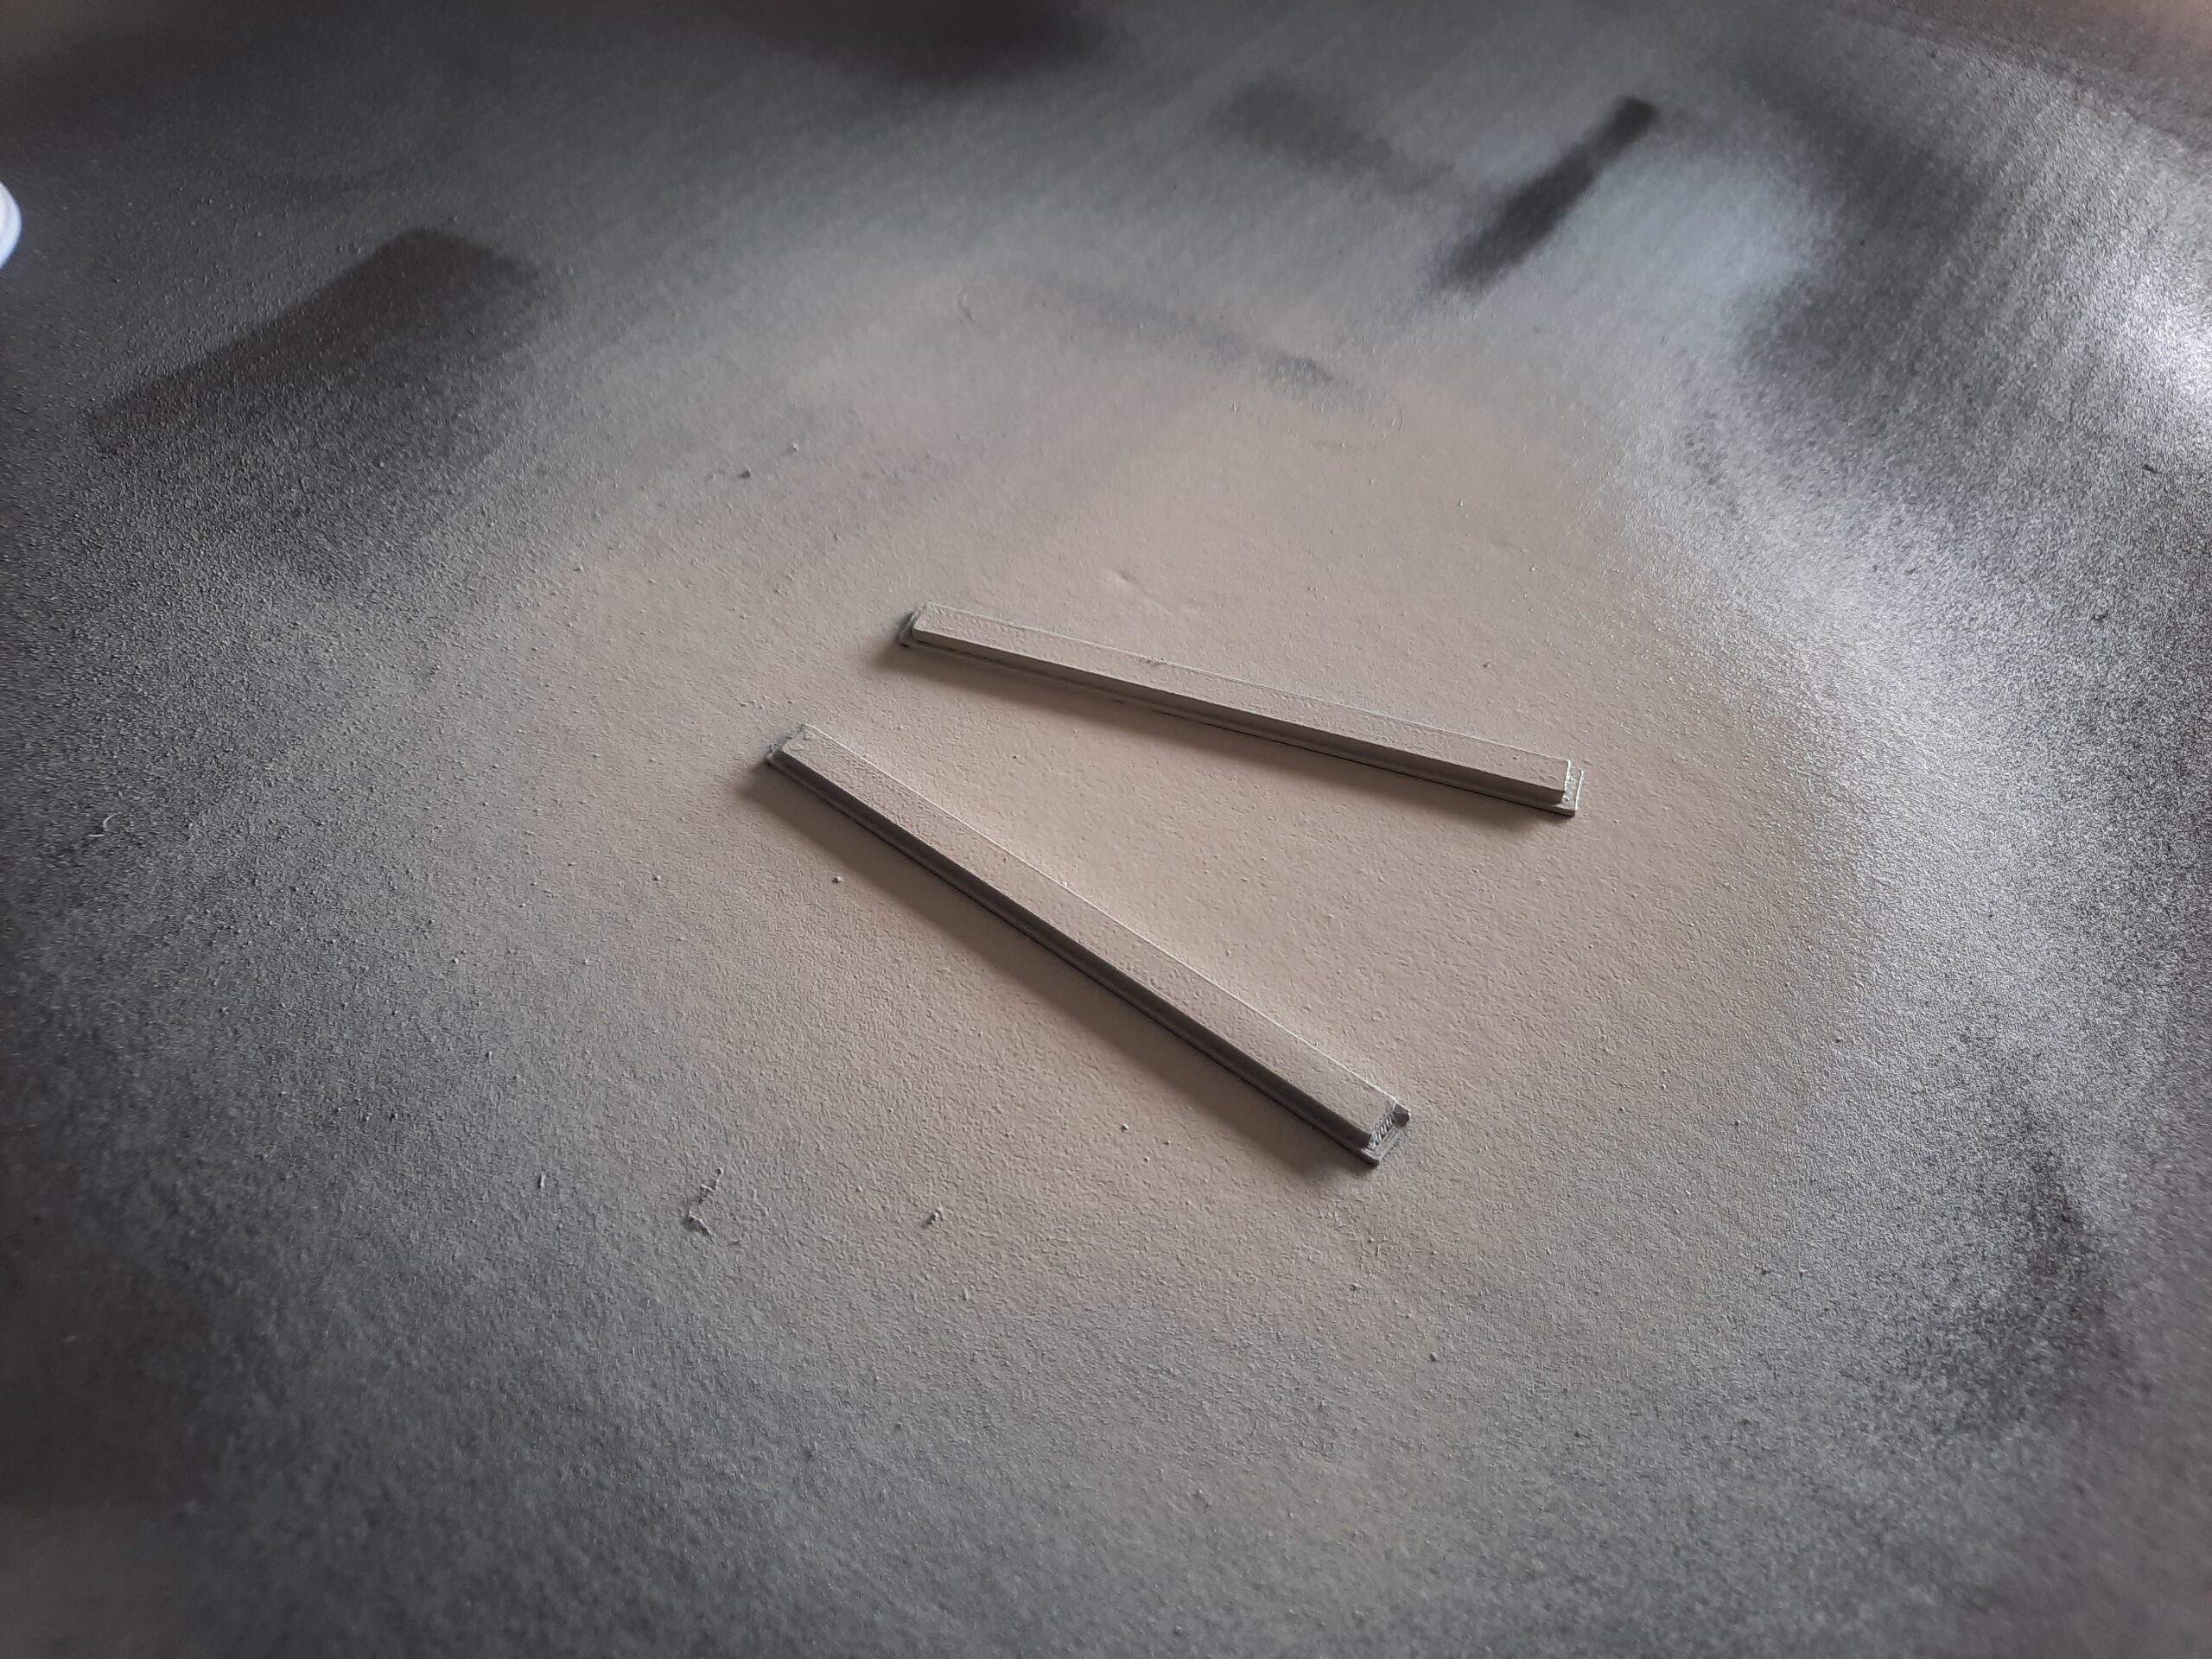
One of the SEs was missing a dummy front panel bracket for the second FDD. I decided to design it and 3D print it. The STL file is available for download at the bottom of the blog post.
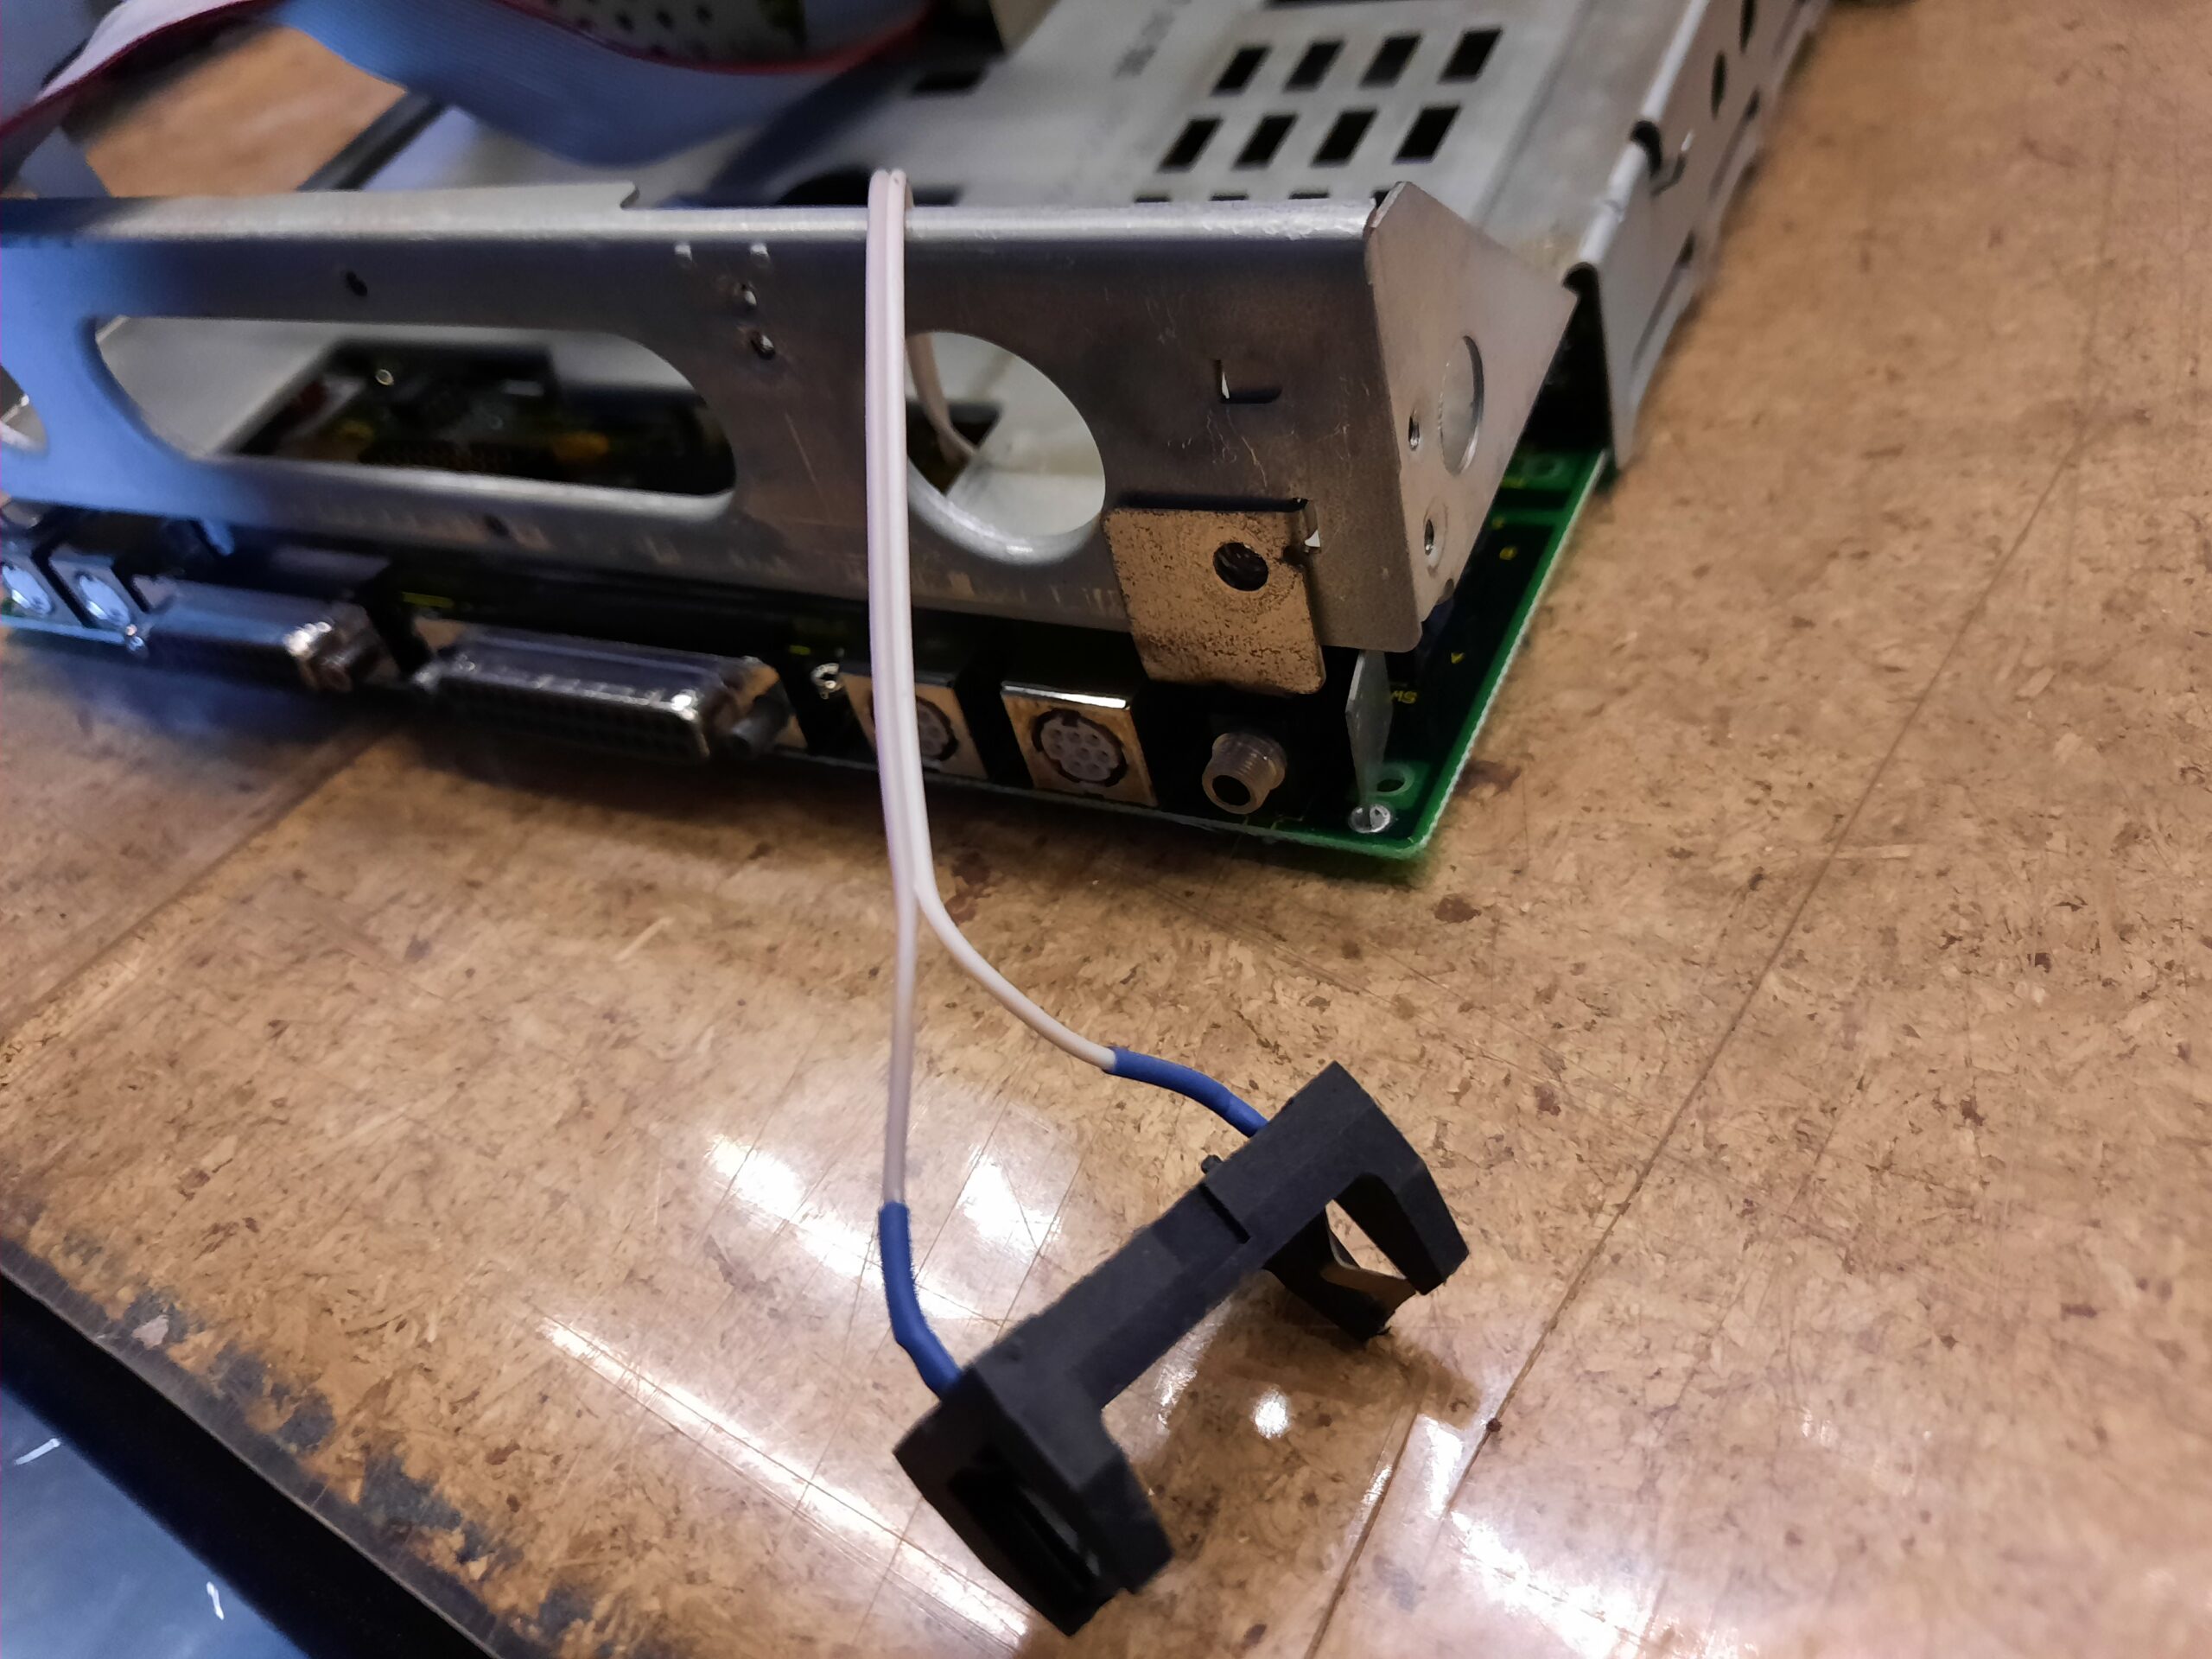
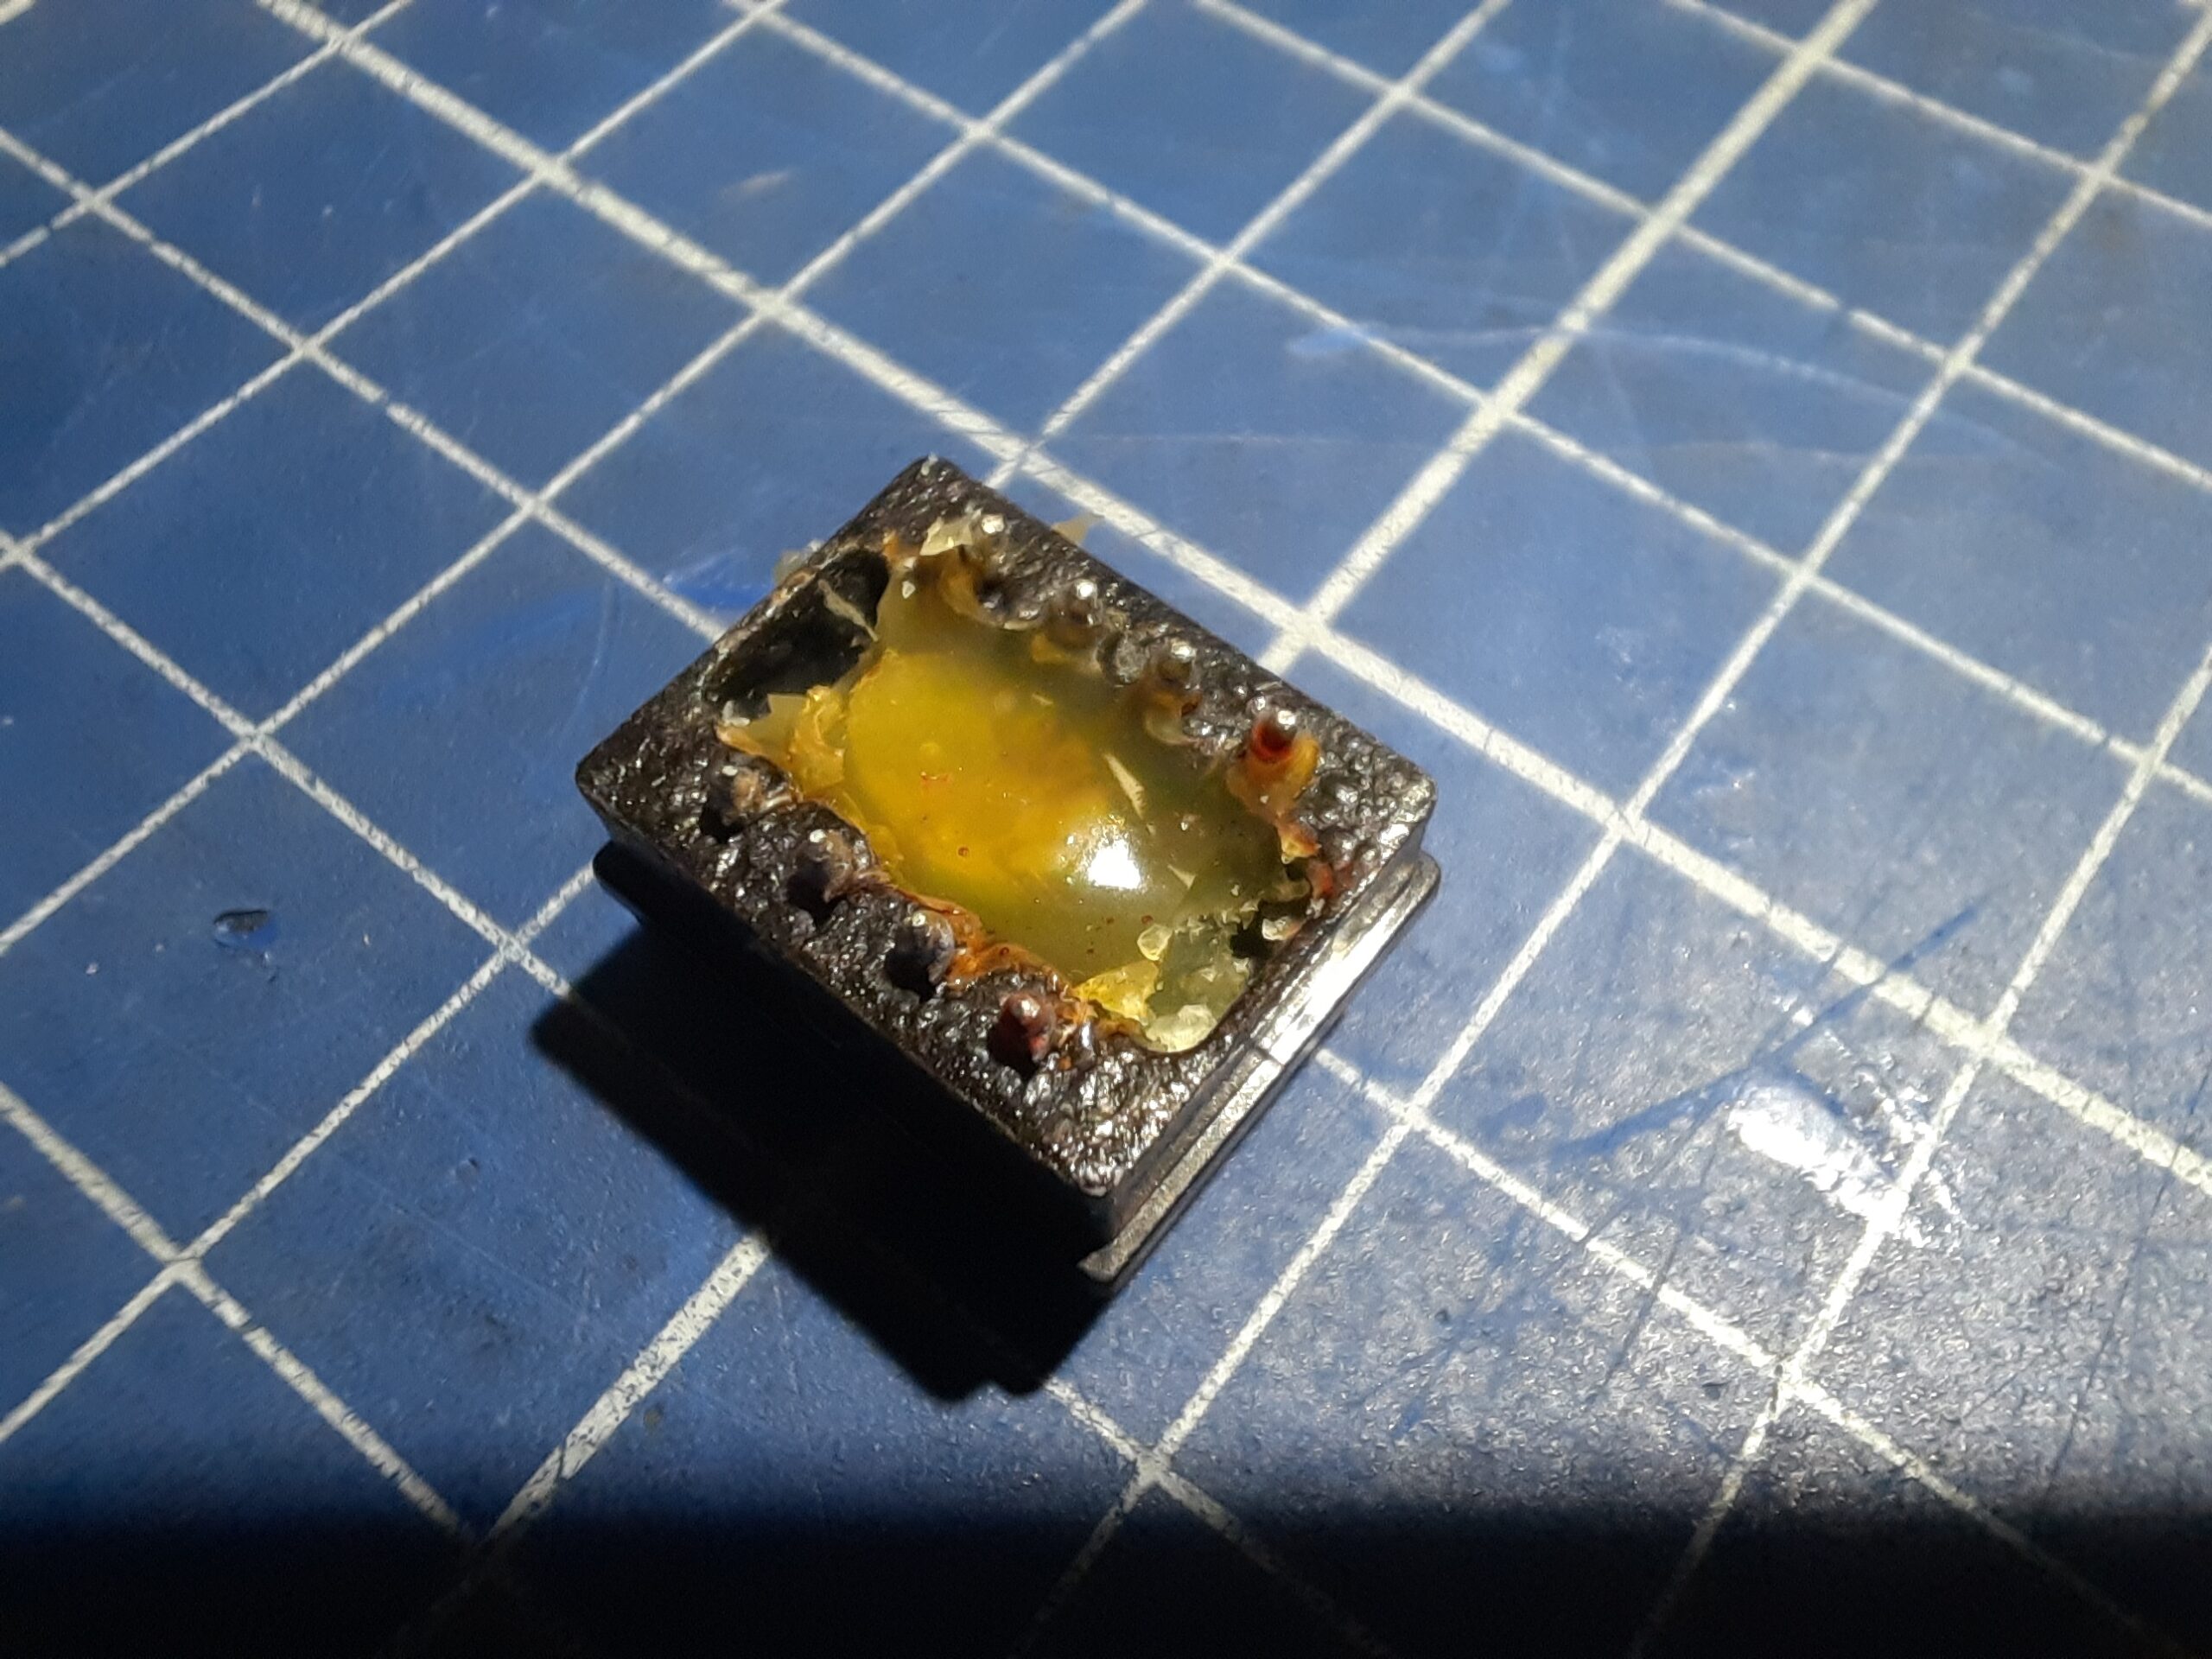
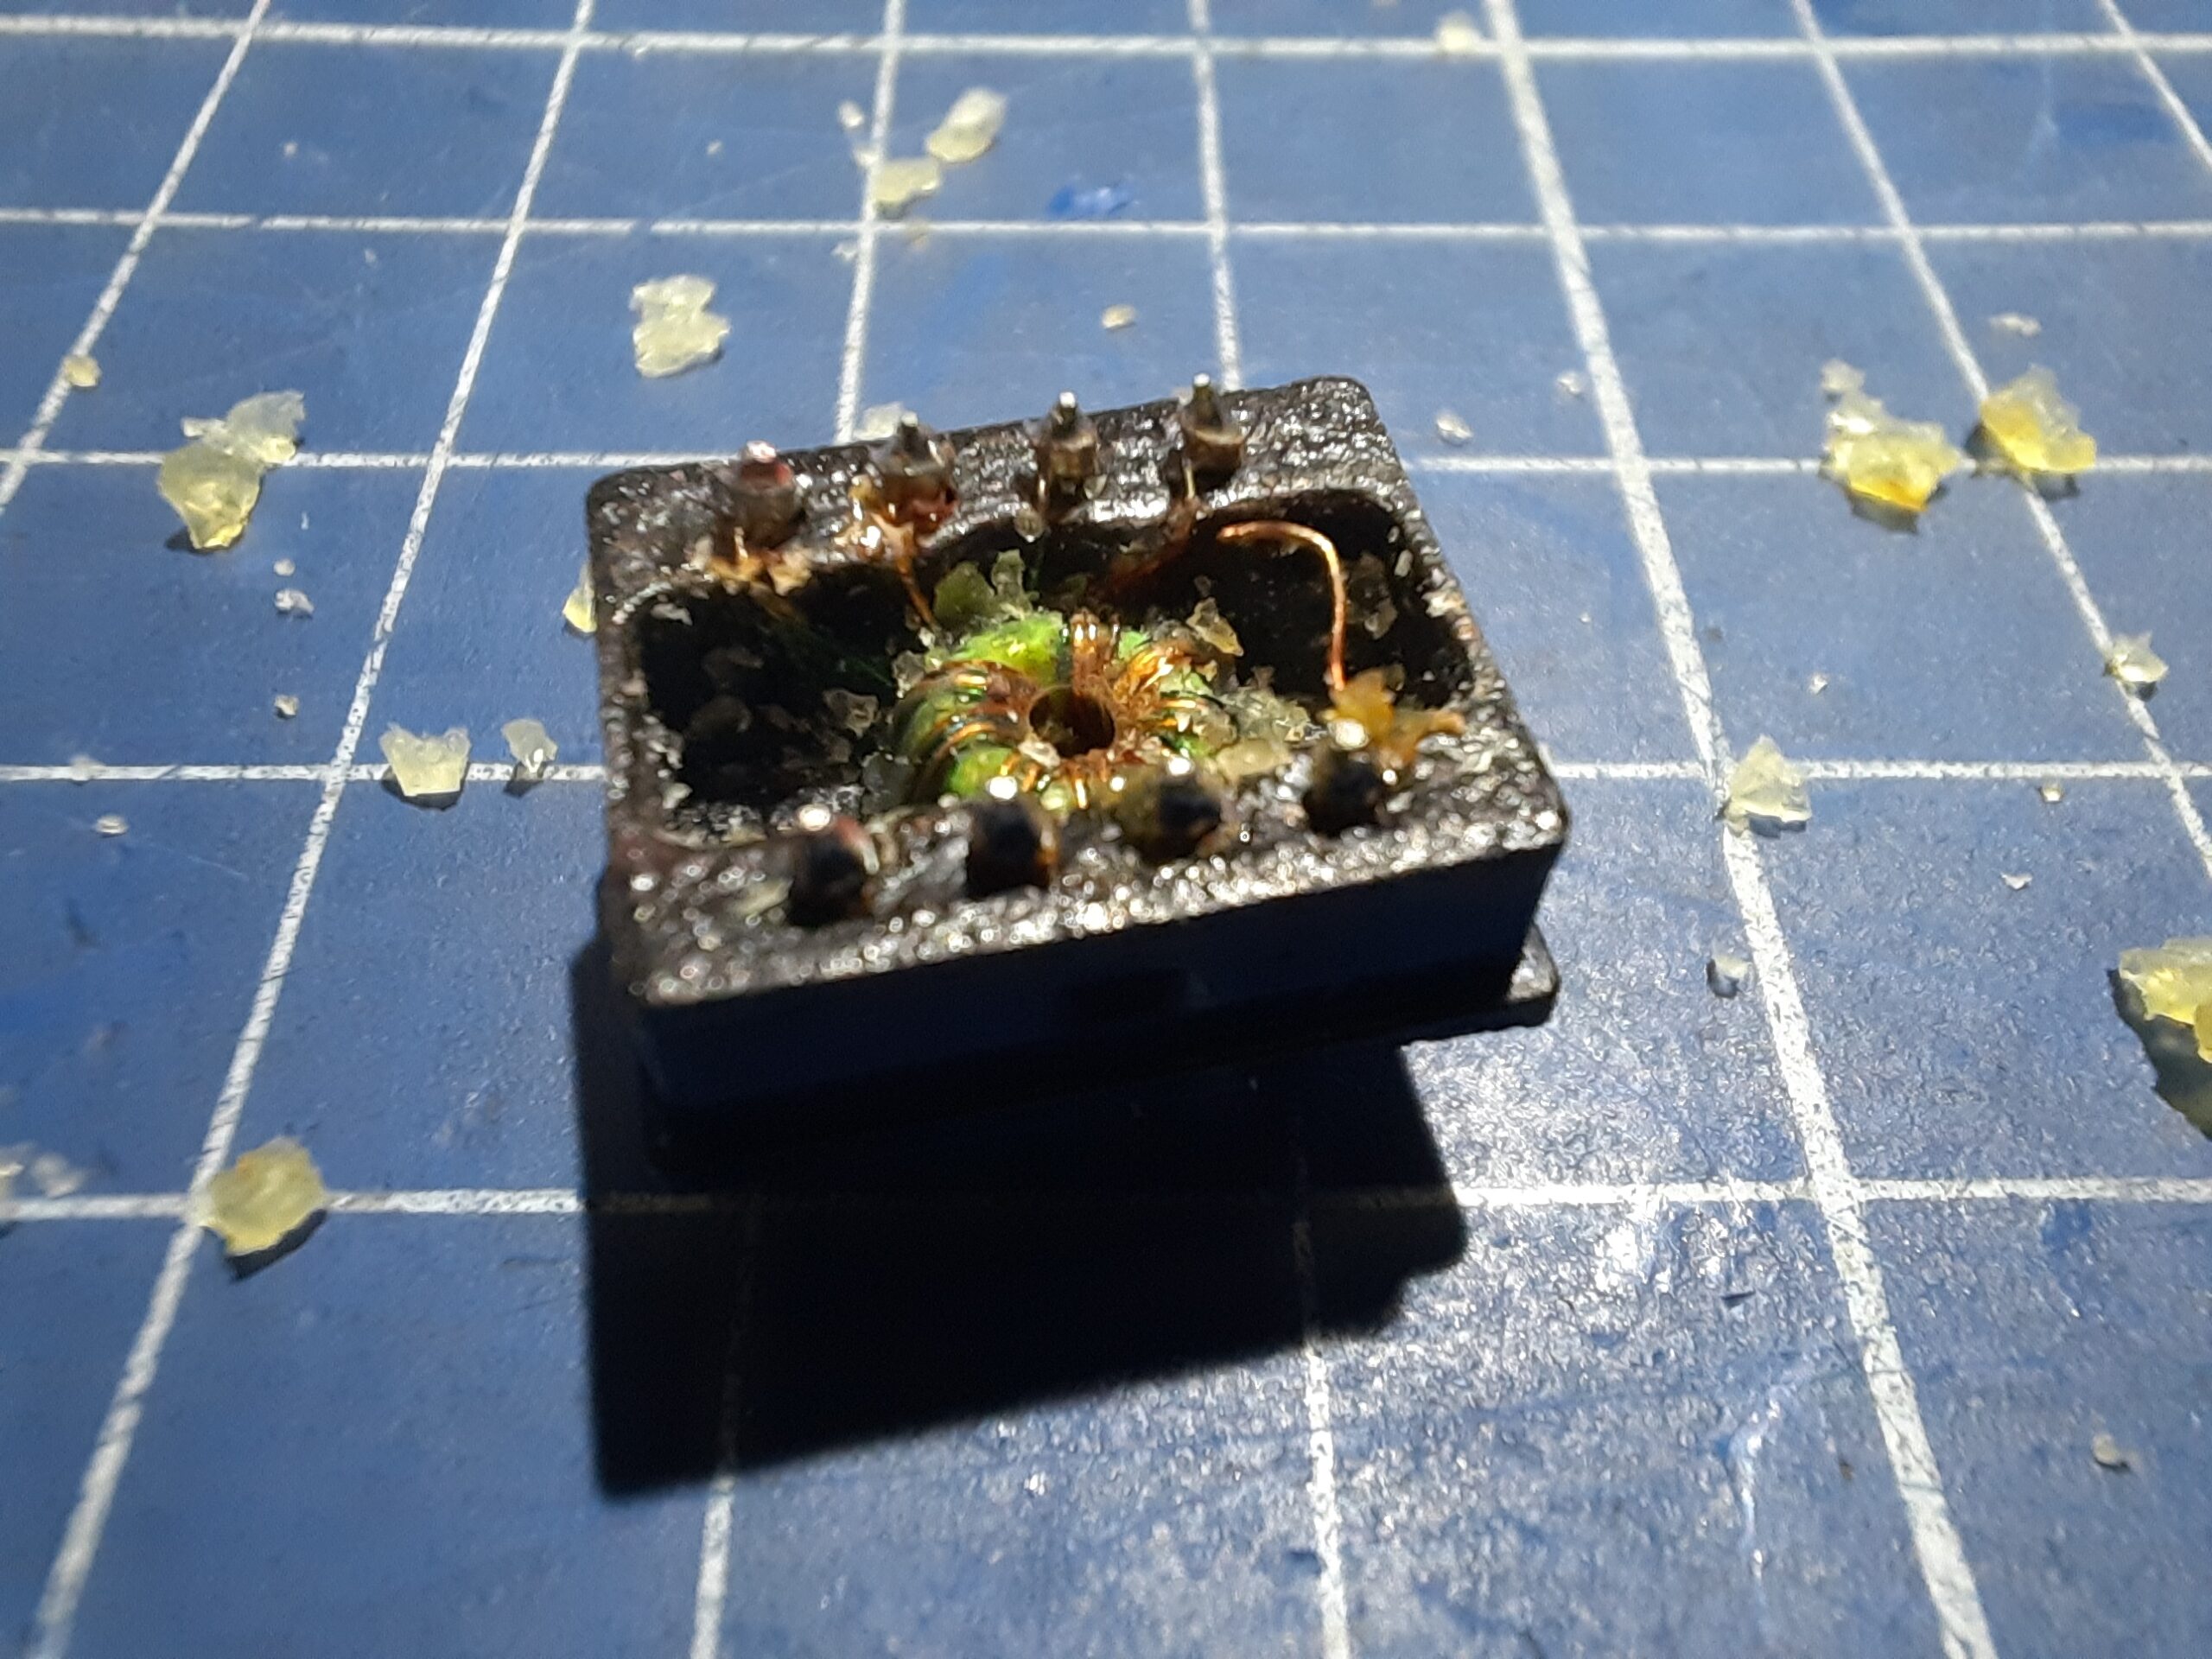
PRAM battery holder
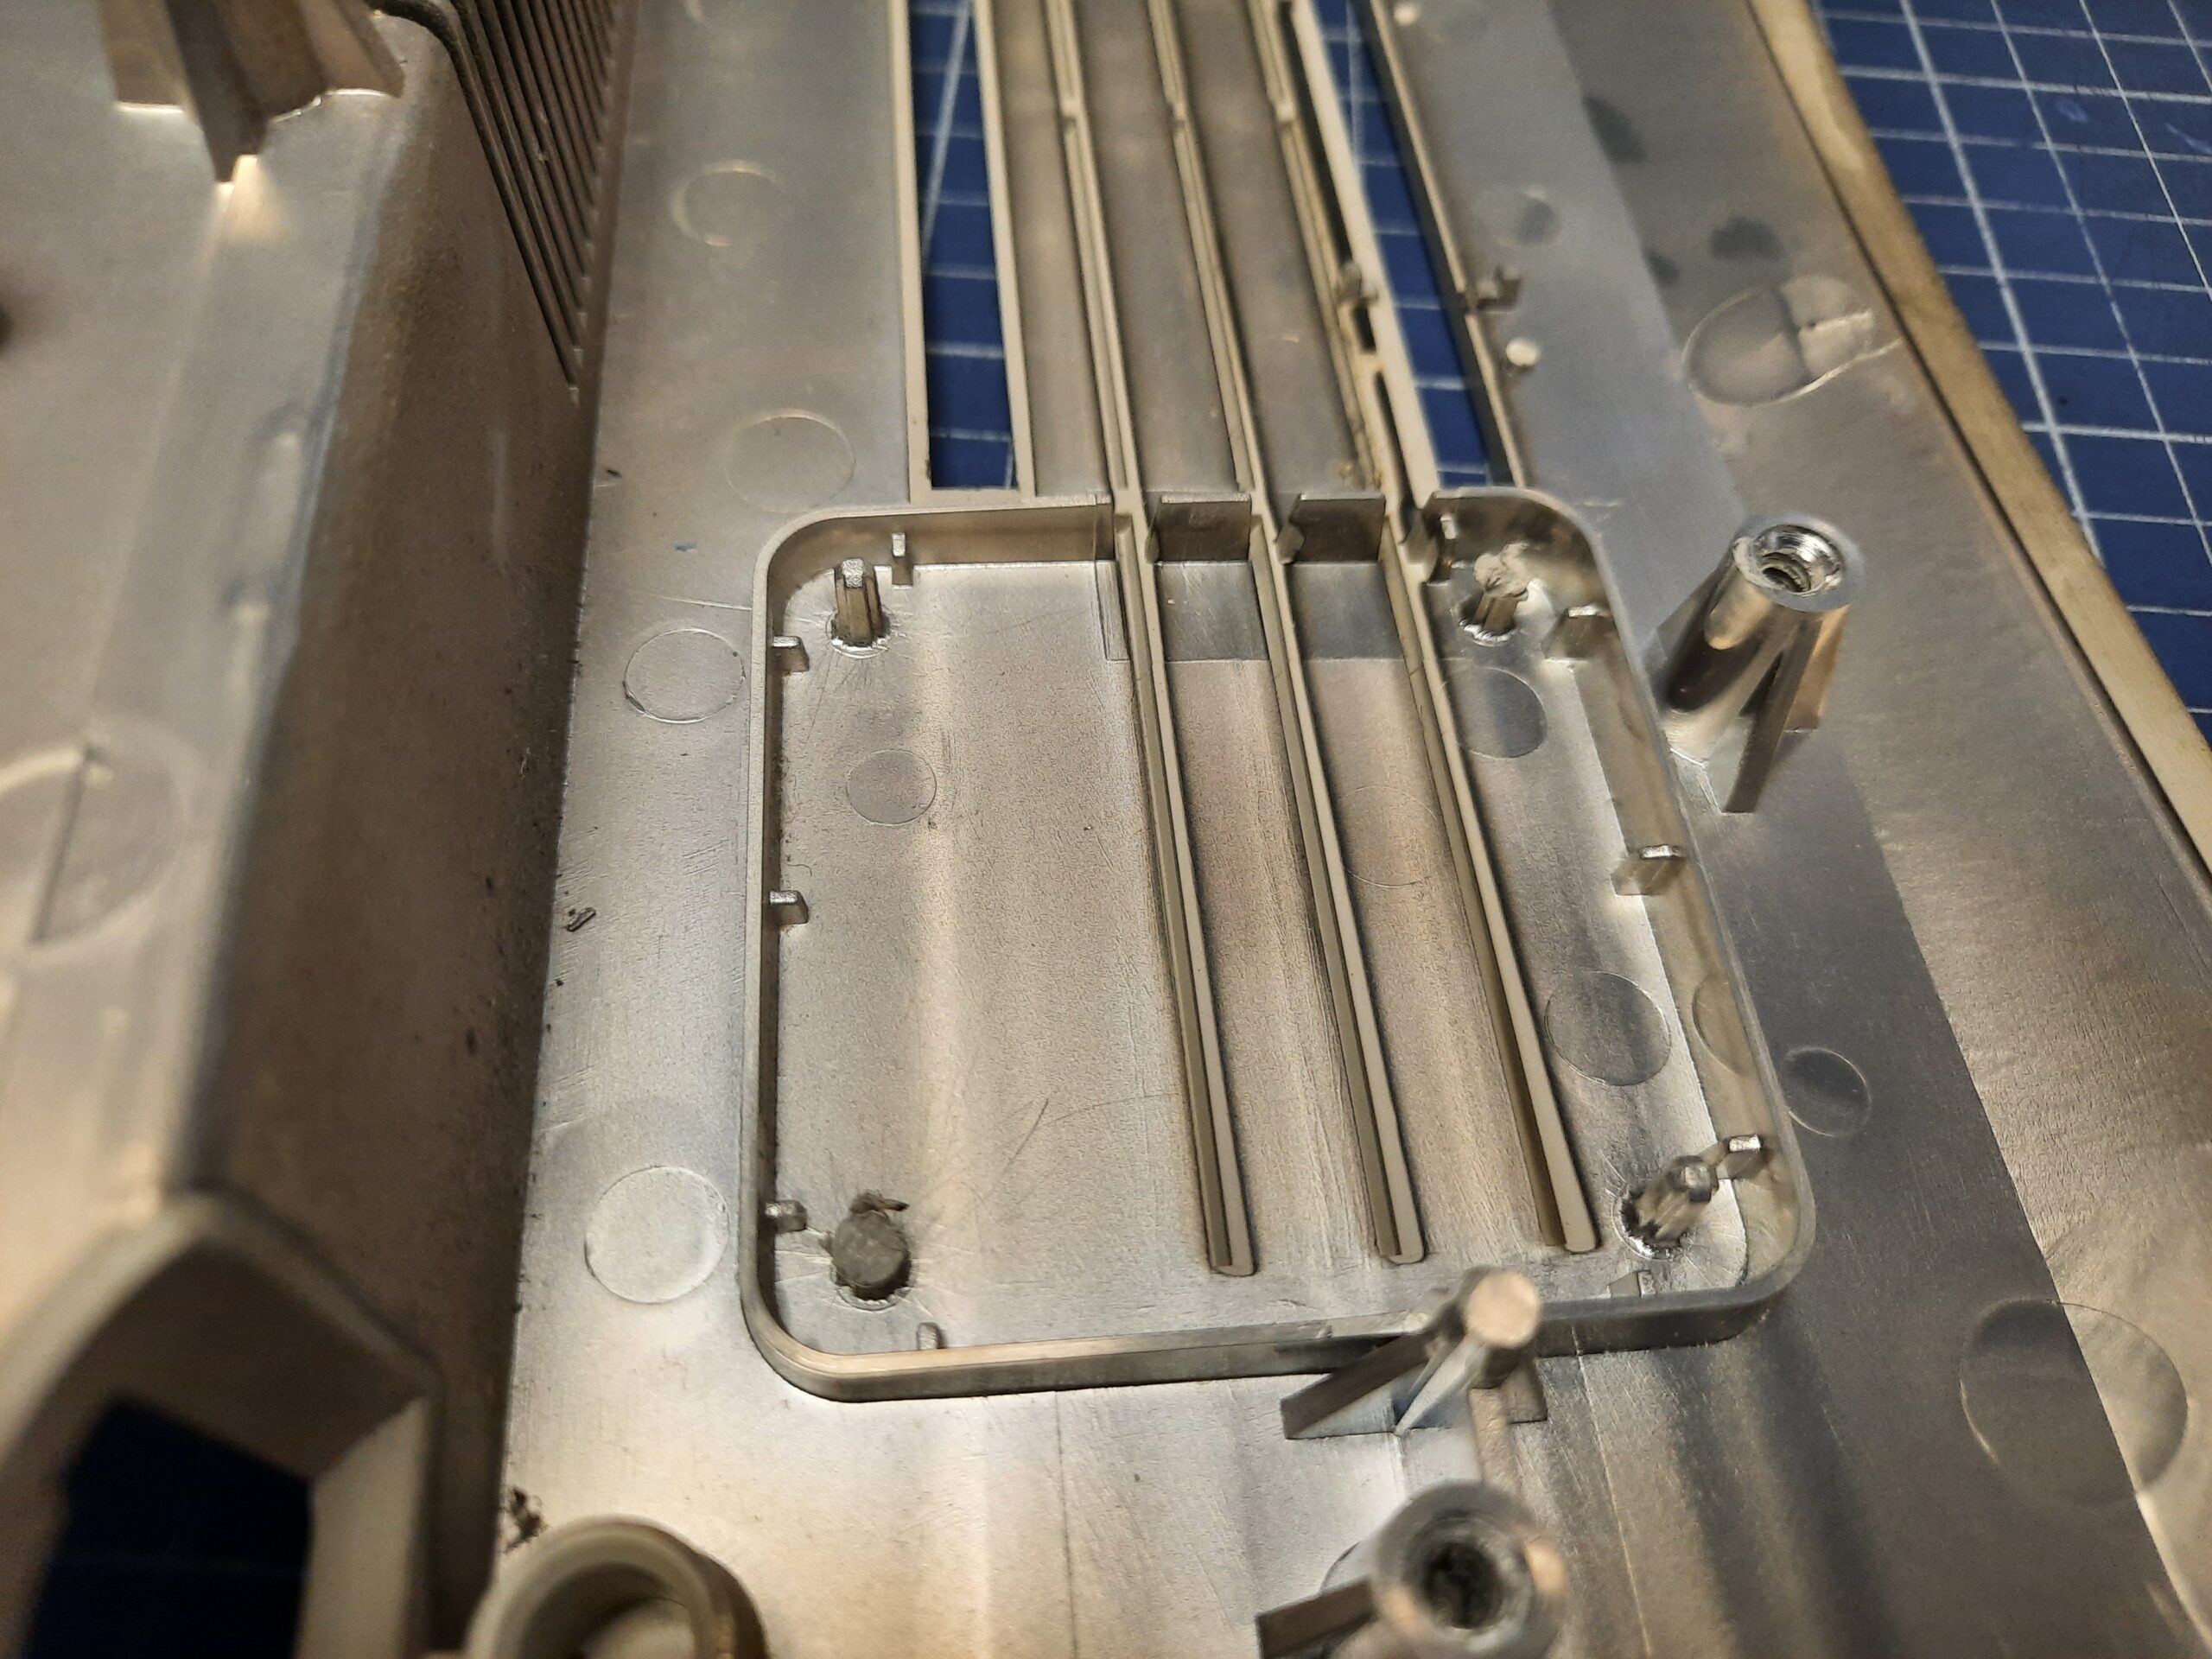
To avoid battery damage in the future, I decided to move a PRAM battery away from the motherboard. I simply used some wires soldered directly to the motherboard. The holder with a battery was then wrapped in a string bag and zip-tied to a chassis. However, two of the motherboards didn’t have the original brackets so I’ve 3D printed them out of UV resin and used copper sheets cut to the proper size as terminals.

Fixing minor motherboard issues
I am adding some interesting fixes descriptions as they might be handy while diagnosing future SEs.
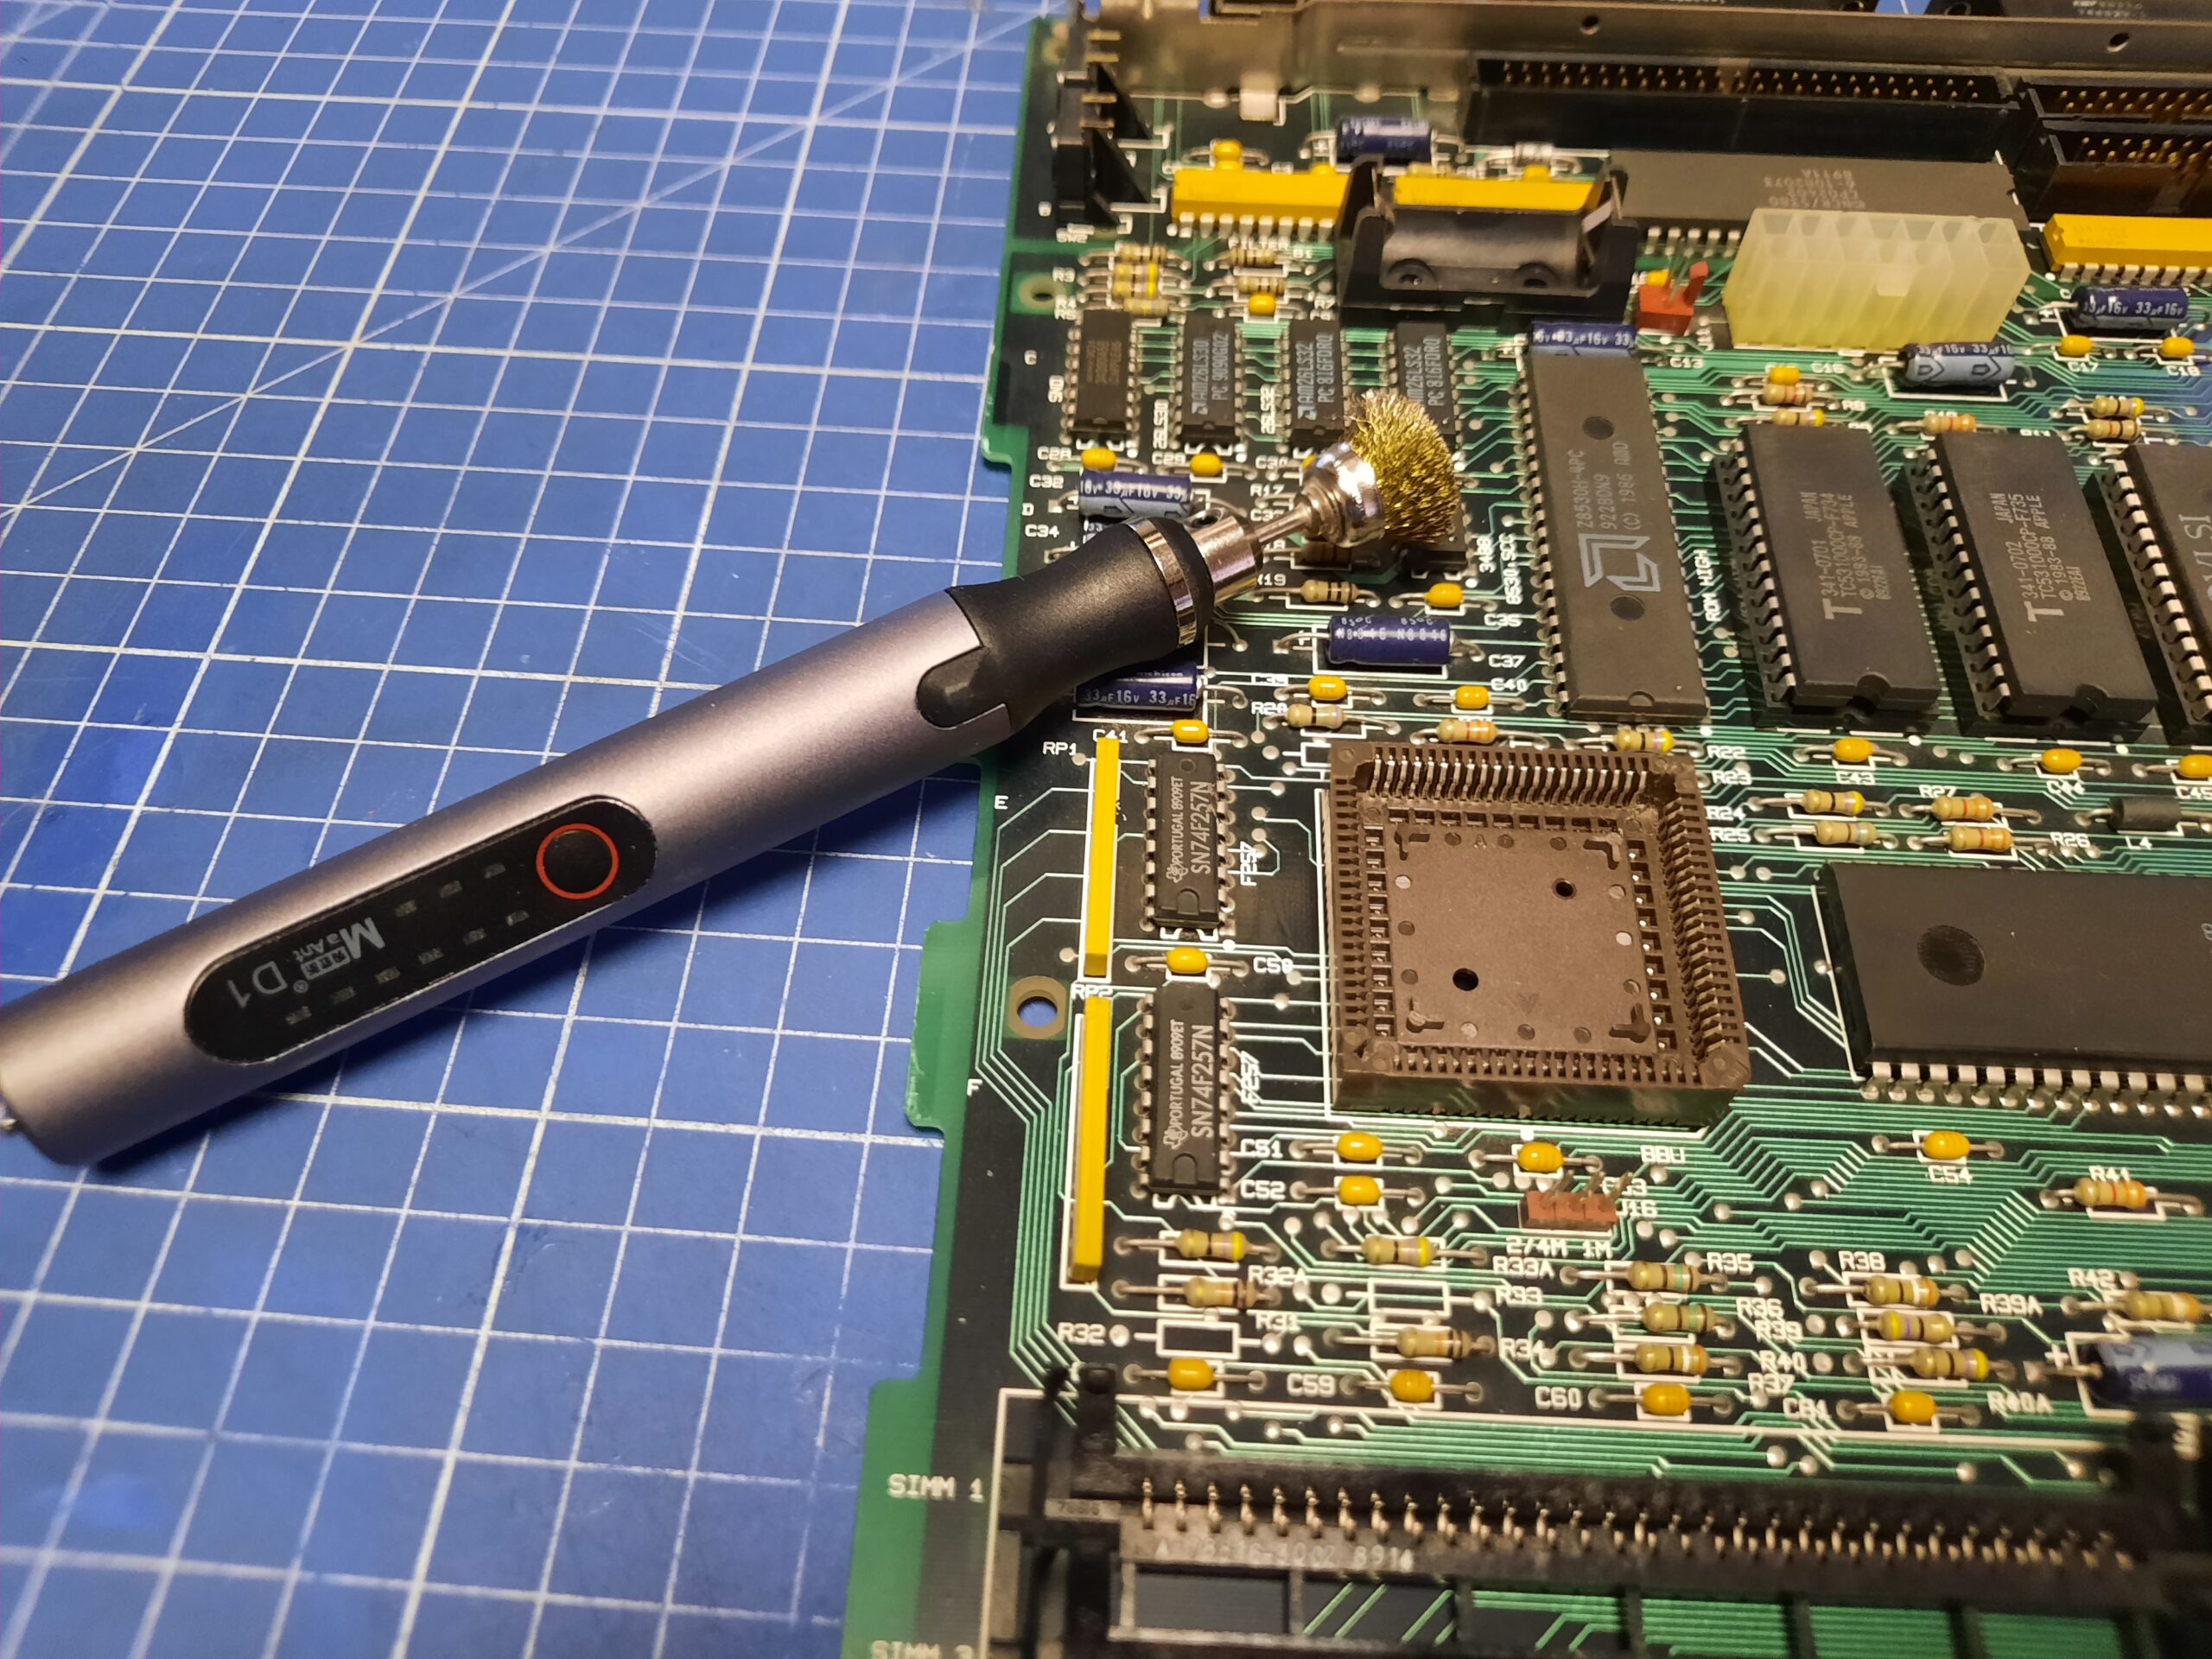
One of the motherboards was giving me weird results when connected.
After a while of fiddling, I found out it was nothing more than a dirty PLCC socket. I’ve used a rotary tool to clean all contacts.
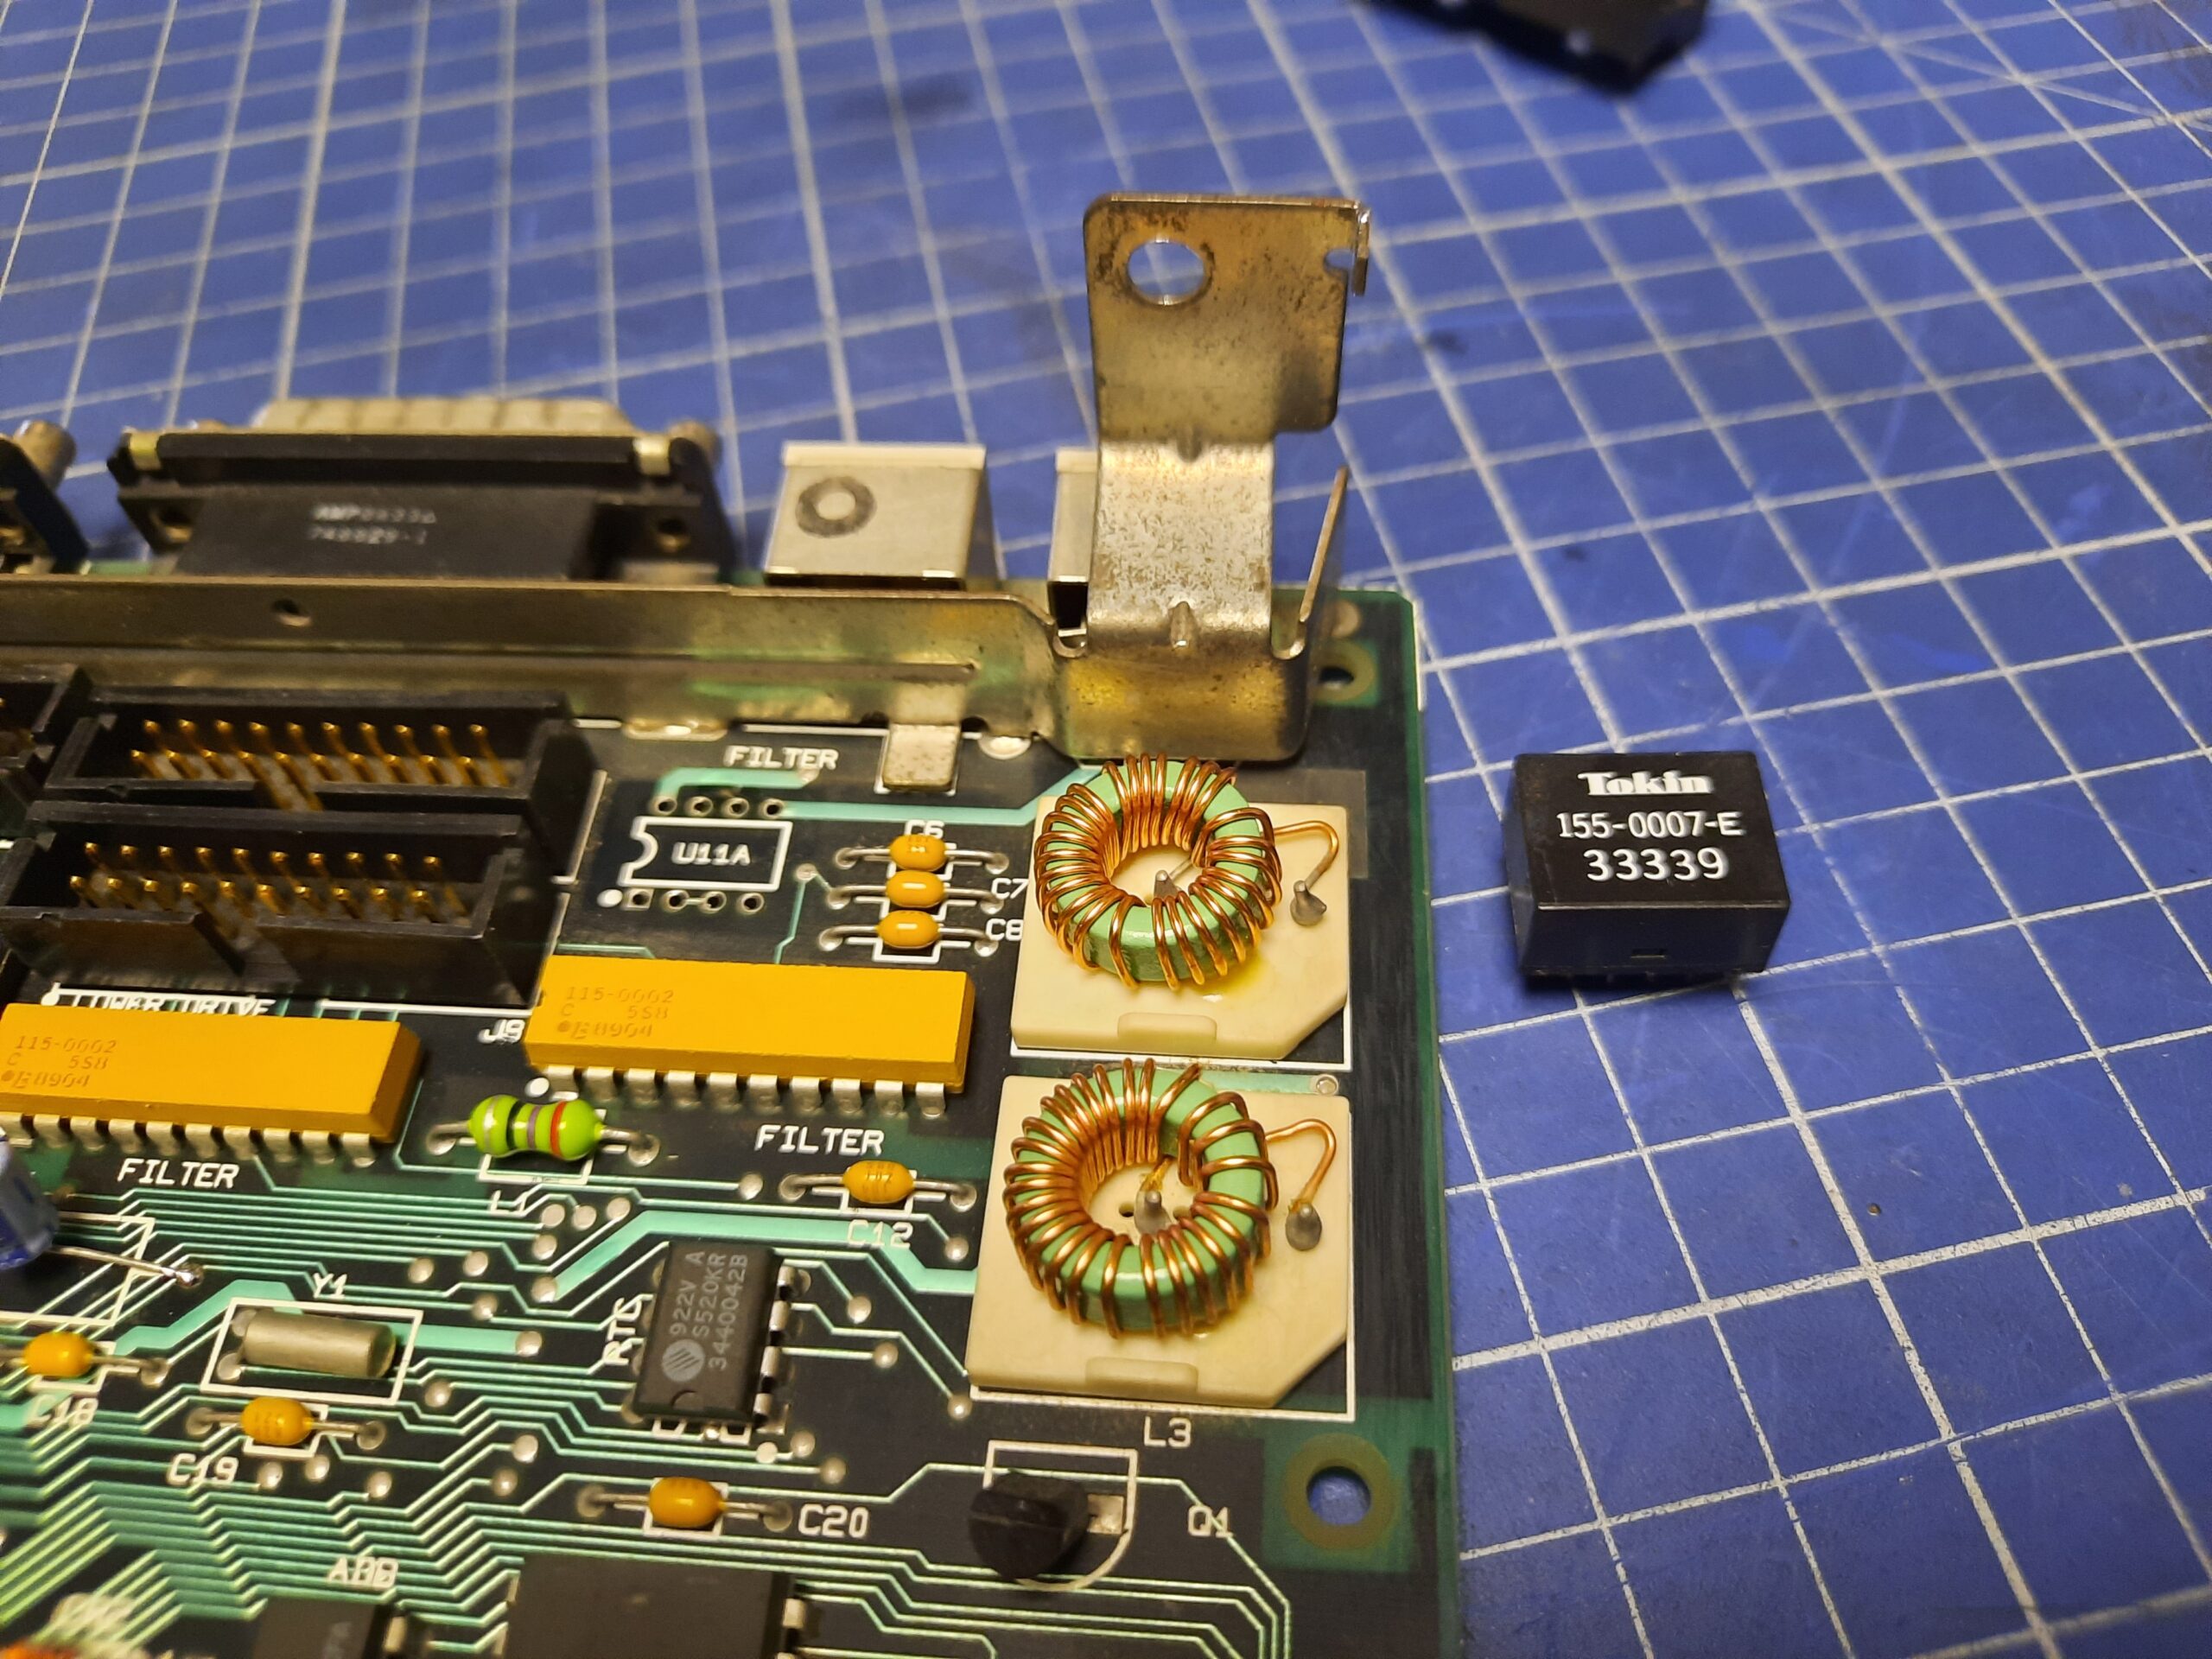
Another motherboard had some sort of KB issues and it was not responding to the keyboard/mouse at all. It turned out that one of the TOKIN filters introduced a break in a circuit. After a tedious gooey removal, I managed to solder it all back and the keyboard started working without a problem.
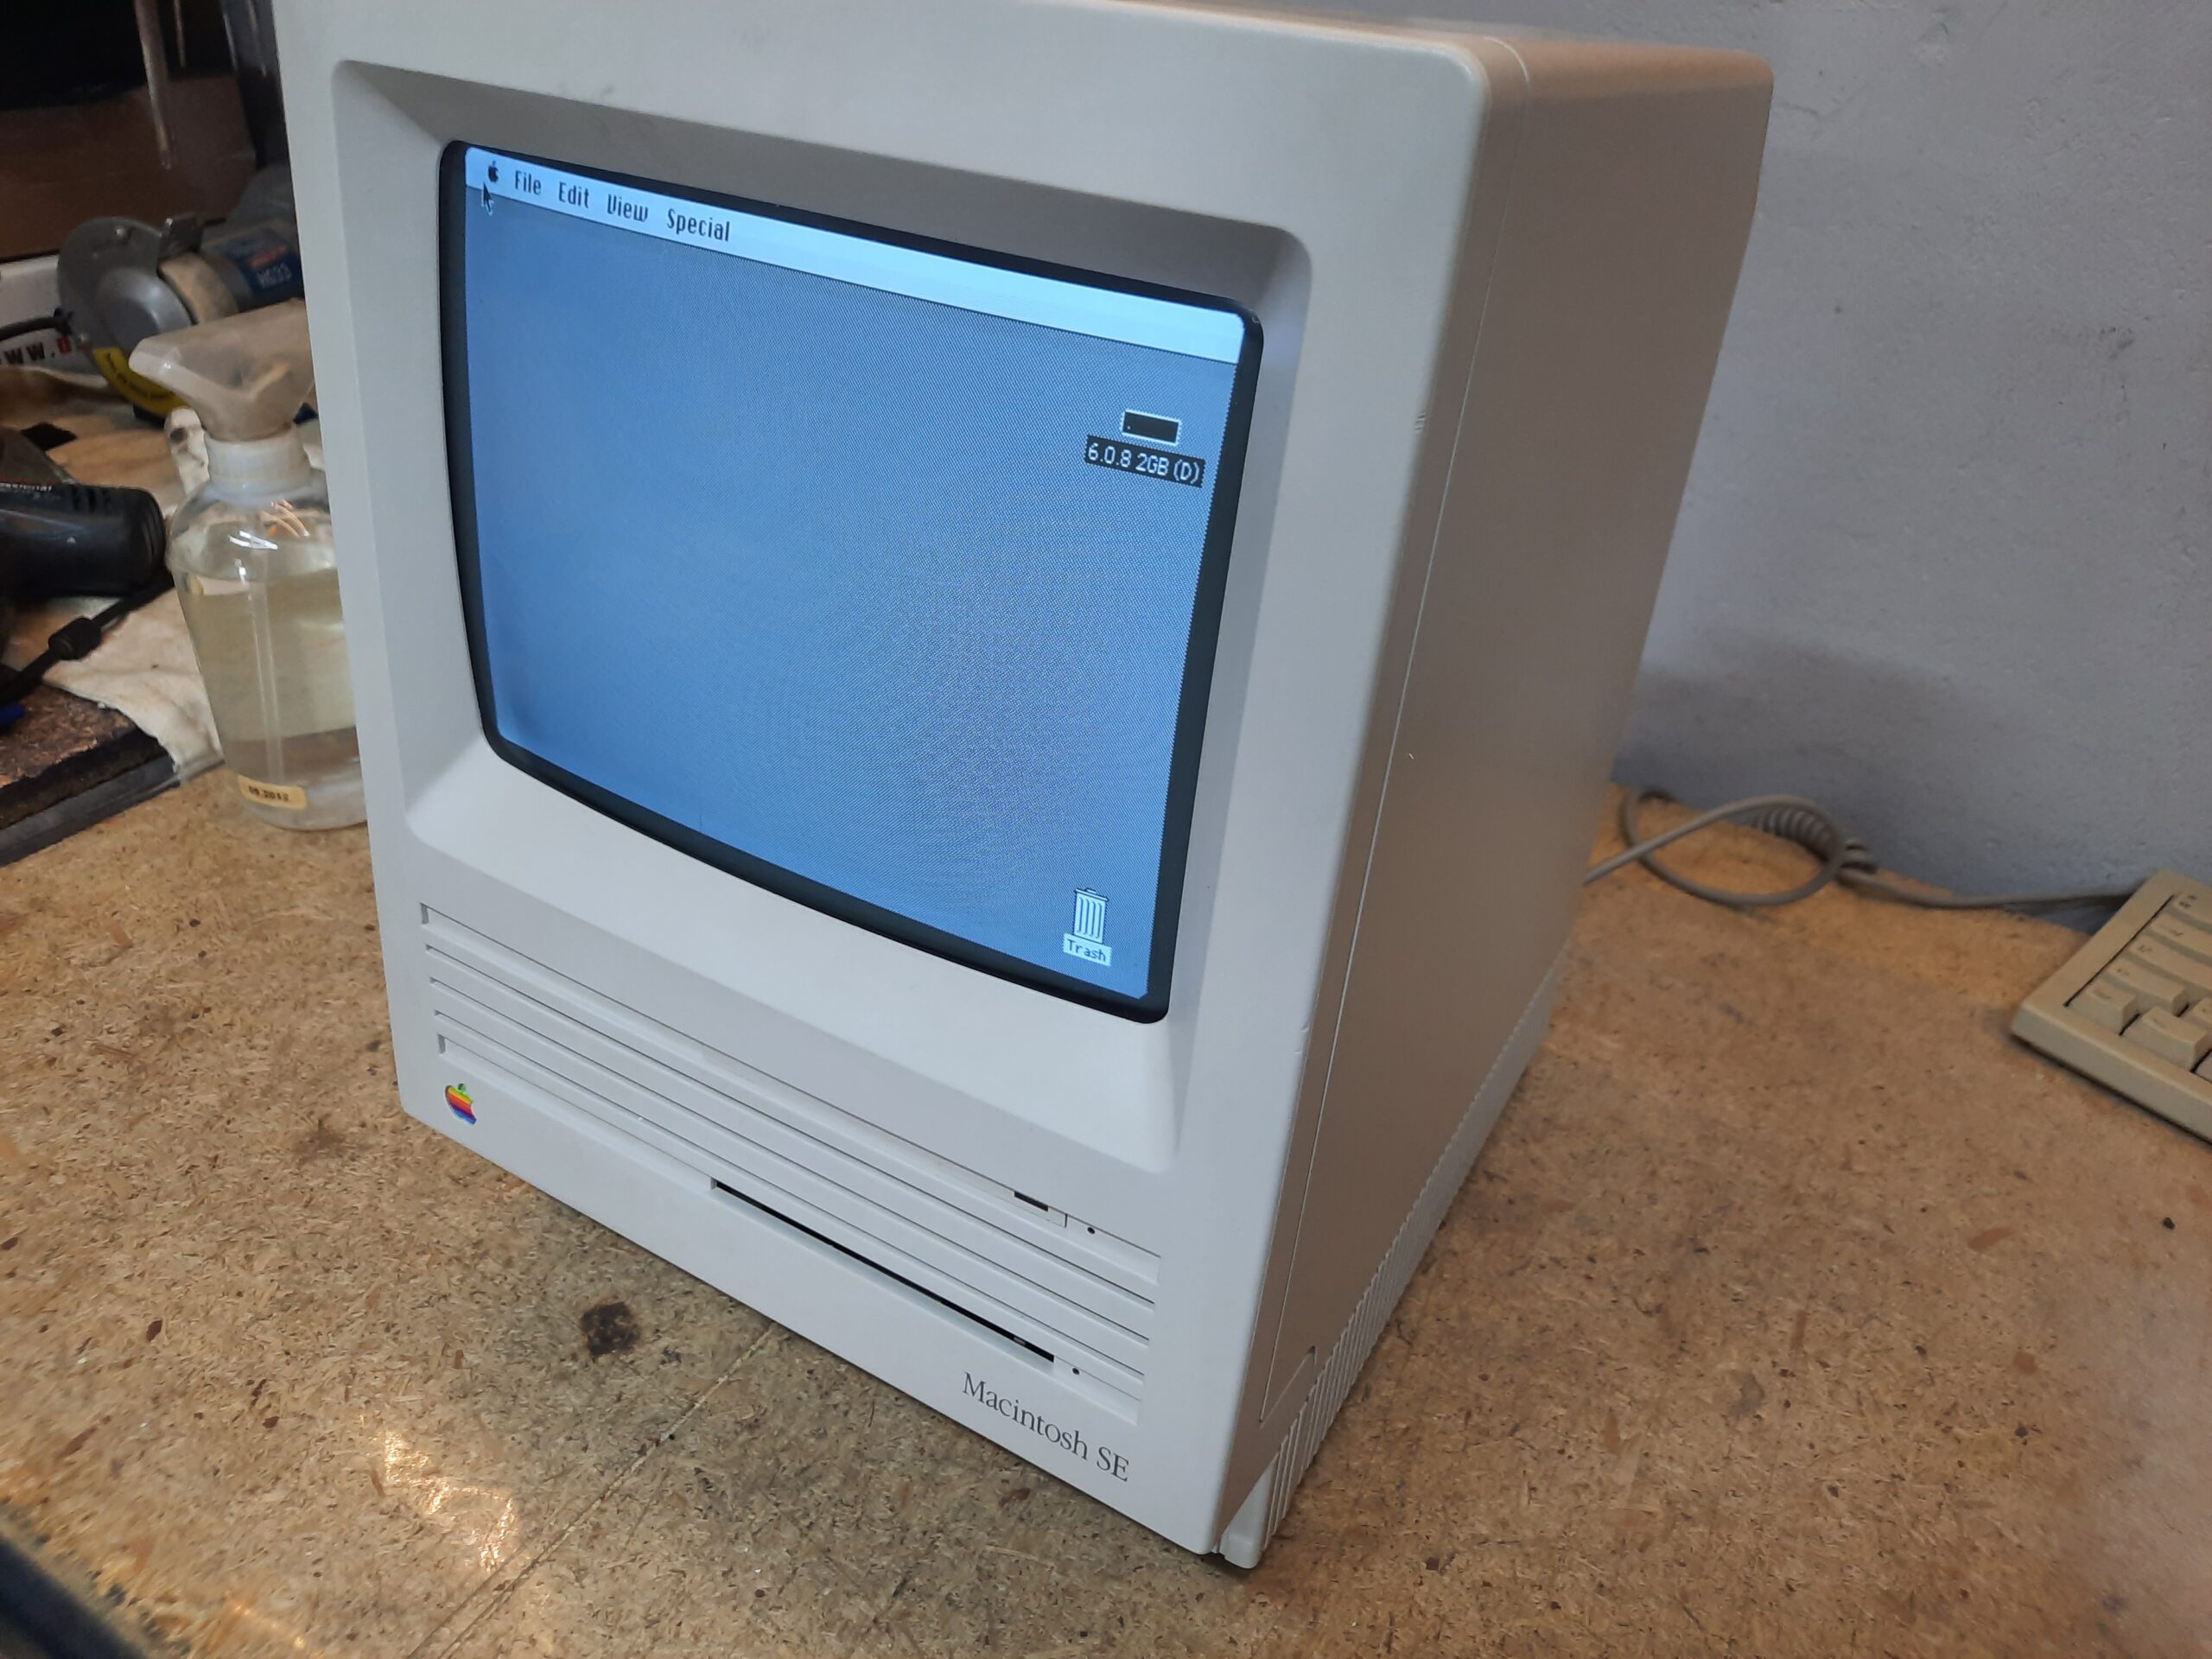
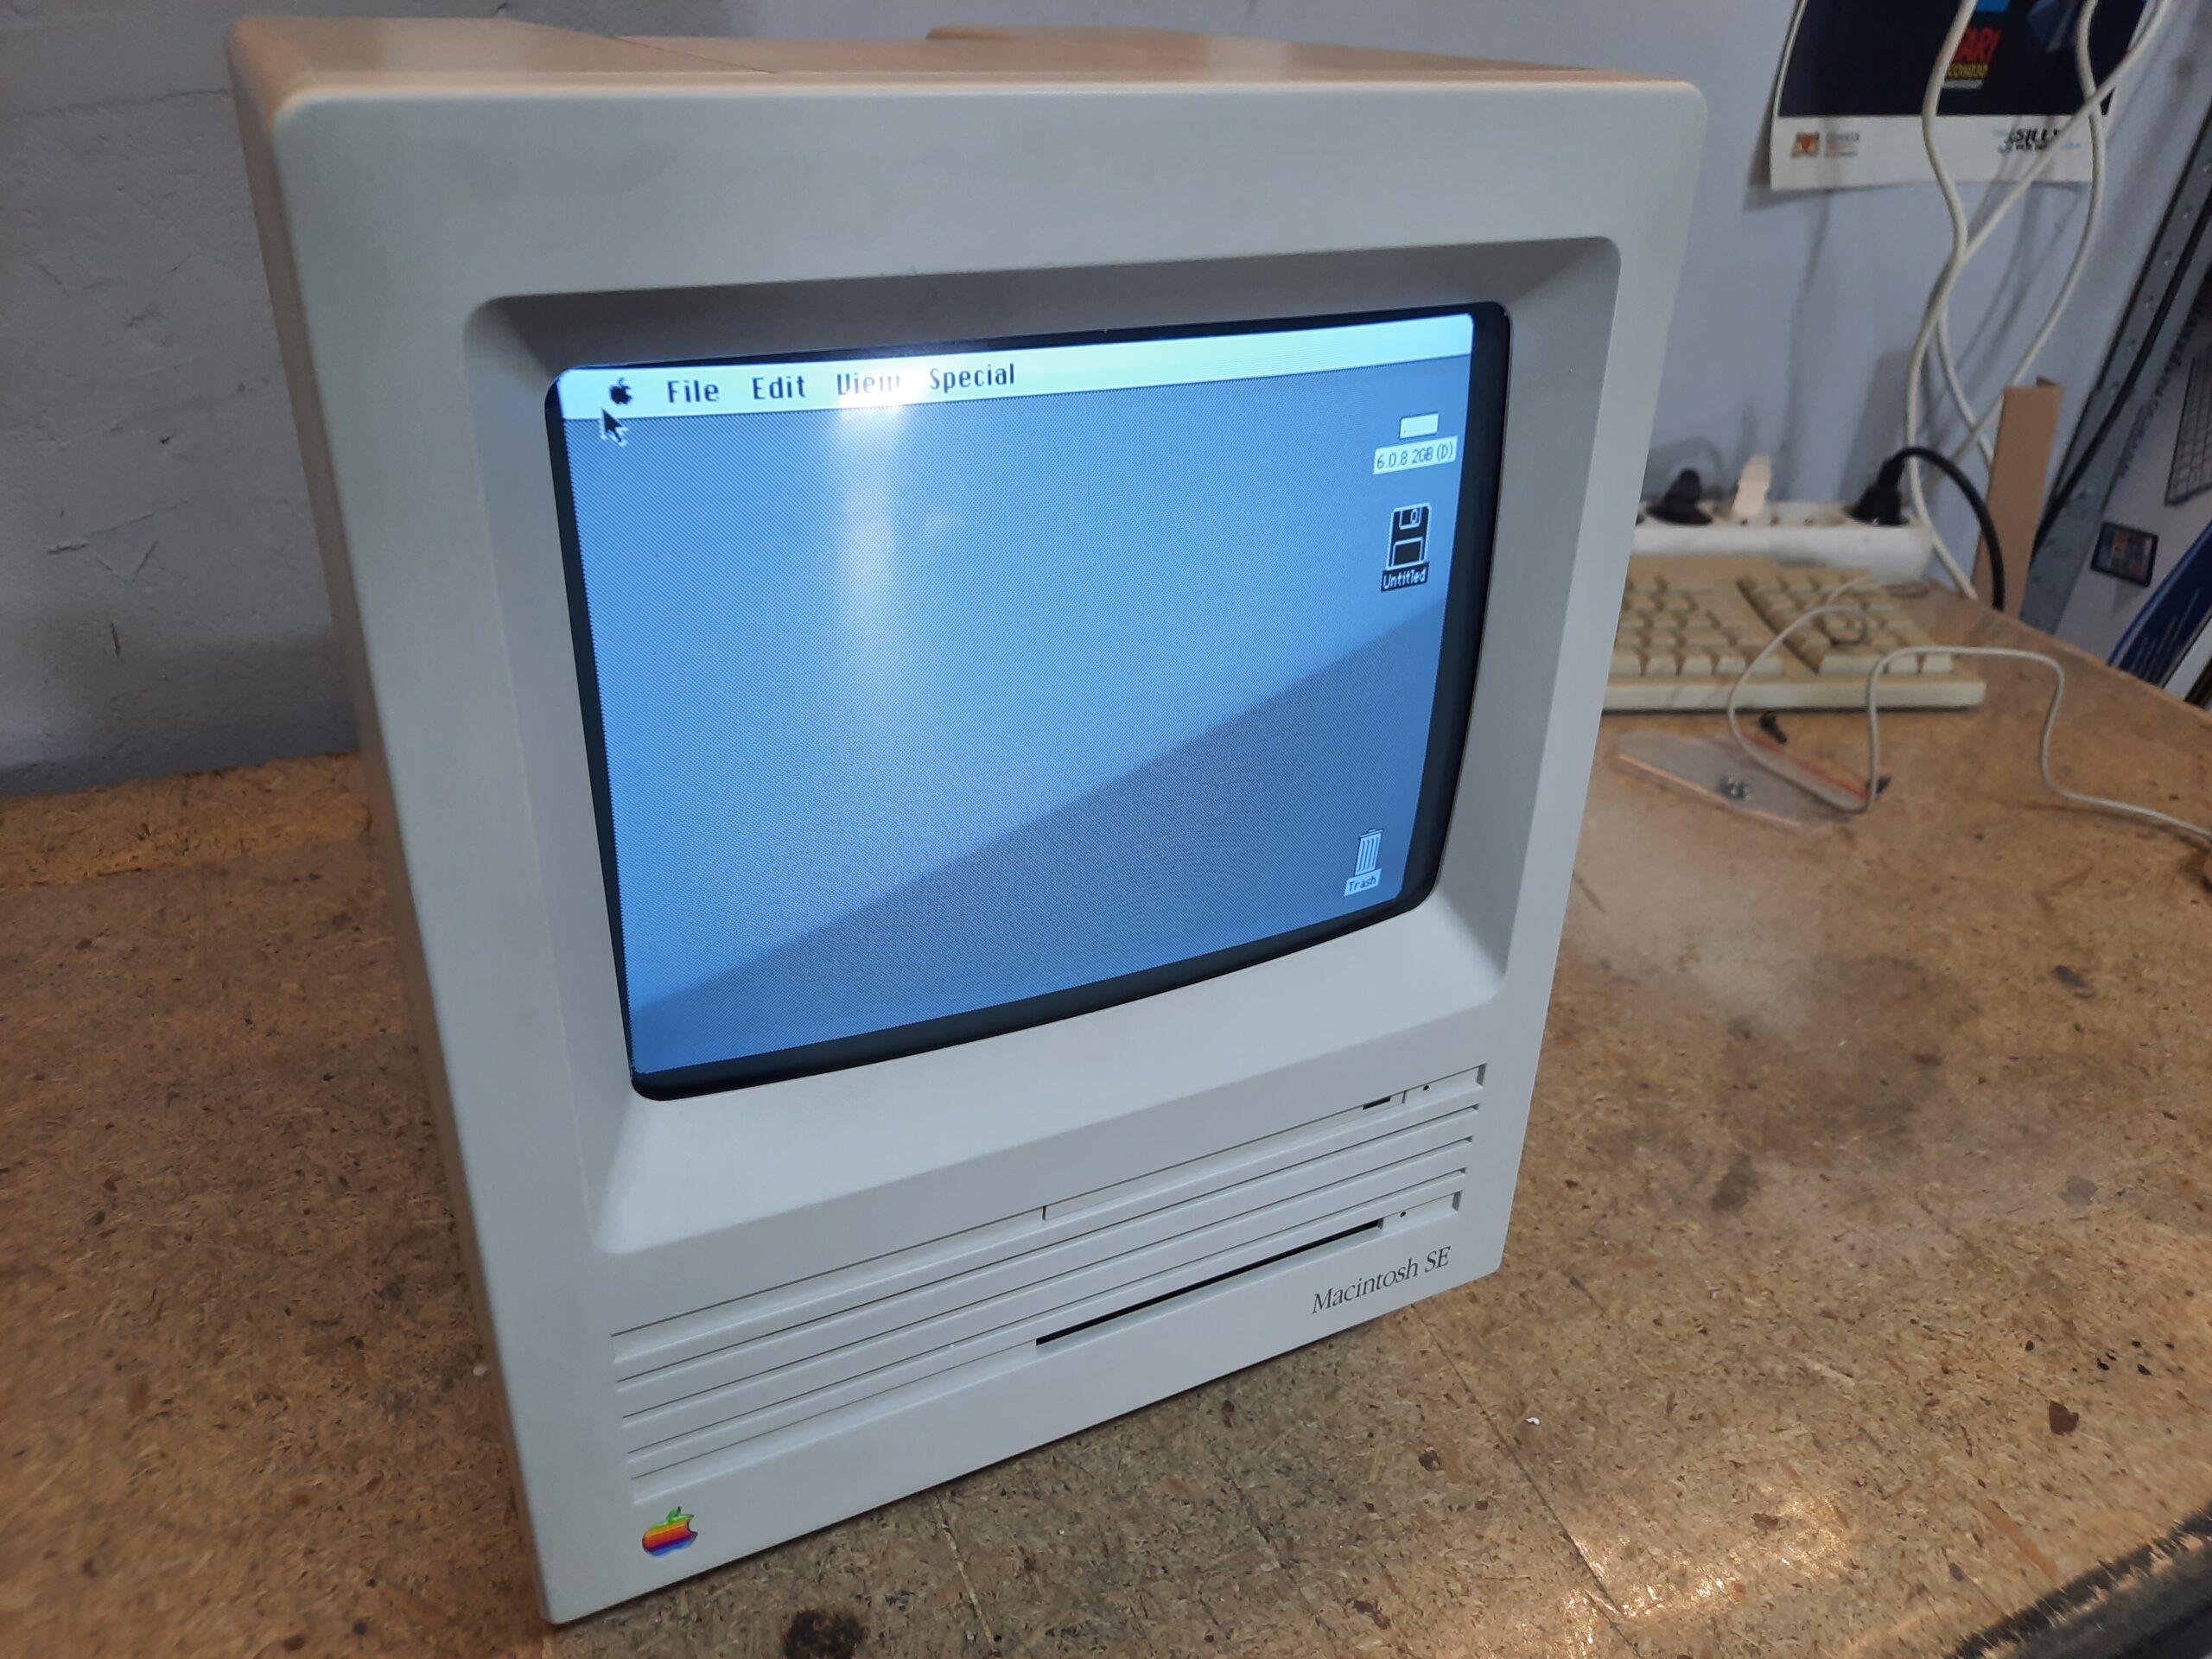
The end
After fine-tuning some CRT adjustments, all four machines were fixed and ready. I don’t have a pic of all four but here are the last two pics with stock SEs ready 🙂
This is my #MARCHintosh 2024 entry, I hope you liked it 🙂
DOWNLOADS


I just wanted to say a big thankyou to you and Bolle who have made it possible to now use this AOX Doubletime card possible after a over decade of chasing. It will help so many of us! Thankyou so much
No problem at all 🙂
I could’ve contacted Bolle earlier but totally forgot that this case is not closed yet.
I thoroughly enjoy reading restoration stories about these small factor Macintoshes. I love how dedicated you were to making them the best they could be, especially with the brackets made and the retro briting.
I think you were lucky with retrieving the data off that dead HDD, I’ve only one success story of reviving one. I think alot have melting head rest bumpers nowadays.
Would you consider archiving some of the drivers/ extensions for things like that AOX double time card? There is nothing archived for things like that.
What are the plans for these now?
Thank you sir! I’ve actually dumped the whole drive and maybe I still have that image. I need to check it though. The machines are a fraction of a large Apple machines batch that I have in a queue for my client. These particular SEs are already sent and being used nowadays by younger generation 🙂
Does that mean that these will be used by kids? That’s so cool if they are! I was surprised you managed to get those floppy drives working. I wasn’t aware about the spring tension and might look into this with the parts drives I have. Another failure that happens is a small gear breaking due to the plastic deteriorating with age.
That would be amazing if you found time to archive those extensions/drivers if you still have the image! Fingers crossed!
You mentioned this is a batch for a client; does that mean we can expect some more Macintosh write ups in the future?
That gear can be super easily 3D printed out of so called though resin. I am pretty sure I saw a model of it somewhere on the internetz.
If it is about Macs, I have LOADS of them in a queue and at least 4 posts to write about already done machines but writing blog posts goes pretty slowly.
Not only Macs, though. I am currently working on 3x Apple IIgs an some more Apple II an III later on. 24h is not enough lol 😀
Oh, and yes, these particular SEs are being used by kids right now as we write here 😀
How awesome is that!
Sounds like exciting content coming, so I’ve subscribed to follow!
Hmmm the AOX extension has been chased by many for years; hence my suggestion about archiving it ?
Regardless though, very happy I came across site and look forward to your future posts!
Ever got around to checking if you still have the files around? There’s 3 people I know (including myself) that have one of those AOX Doubletime cards but we’re all lacking the drivers.
Yes, I’ve found the drive image, but I need to extract it somehow from it. I won’t publish the whole drive image as there is someones data on it. Any hints on how to do it? BassiliskII?
Awesome, thanks for getting back.
Yes, Basilisk should be able to mount the drive image. From there you should be able to copy it your host machine through the shared drive.
The driver likely consists of an extension or control panel that’s residing in the System Folder somewhere.
Before copying it to the shared drive it should be compressed/packed to keep the resource fork intact. Stuffit, CompactPro or MacBinary are the usual tools of choice here.
Hmmm, it took me quite a while but I’ve managed to mount this image with hfstools under linux. However, I don’t see ANY files that relate to that card :/ I will investigate it more as weirdly, most of the files are 0 bytes large and I have no idea why.
Bolle, can you contact me via email? contactATretrohax.net?
I’m new to your blog.. Looking forward to more old school stuff.
No worries, I have, literally tons of hardware, to fix and cover here on the blog 🙂
Wunderbare Einsichten, dein Artikel hat Licht ins Dunkel gebracht.
Thank you!
Good stuff pete! ive been knee deep in some SE’s as well, quite a bit less lucky on the motherboards, leaks all over the place that eat even the via’s! takes ages to heat, poke through and re-solder / wire them back up. it makes a new motherboard look very attractive, we’ll have to give that a try!
Haha, no worries, I am going through similar hell with CCs.
#MARCHintosh entry done well! =) Great work!
Thanks! 😀
Fabulous work! As always ;D
I need to dig out my Amiga and C64 and finally give them a proper retro SPA at your wokshop 😀 😀 😀
Ehhh… There’s just not enough time.
Fantastyczna robota! Muszę odkopać moje Amigi, C64 i w końcu zrobić im porządne retro SPA u Ciebie 😀 😀 😀
Ehhh… Tylko czasu za mało.
Thank you for good words Sir!