… or lasers to the rescue!
Intro
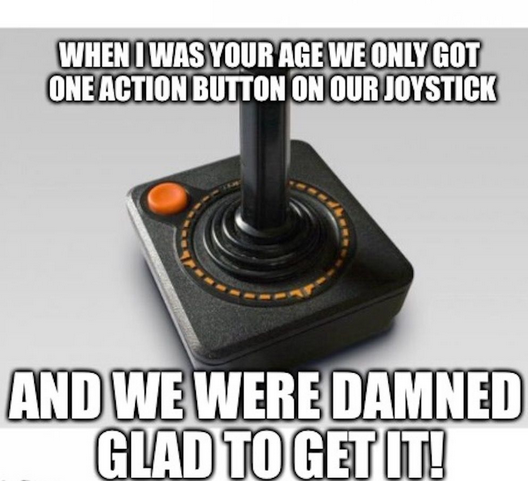
Well, today’s example is also old but has a little more than a single action button 🙂
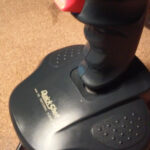
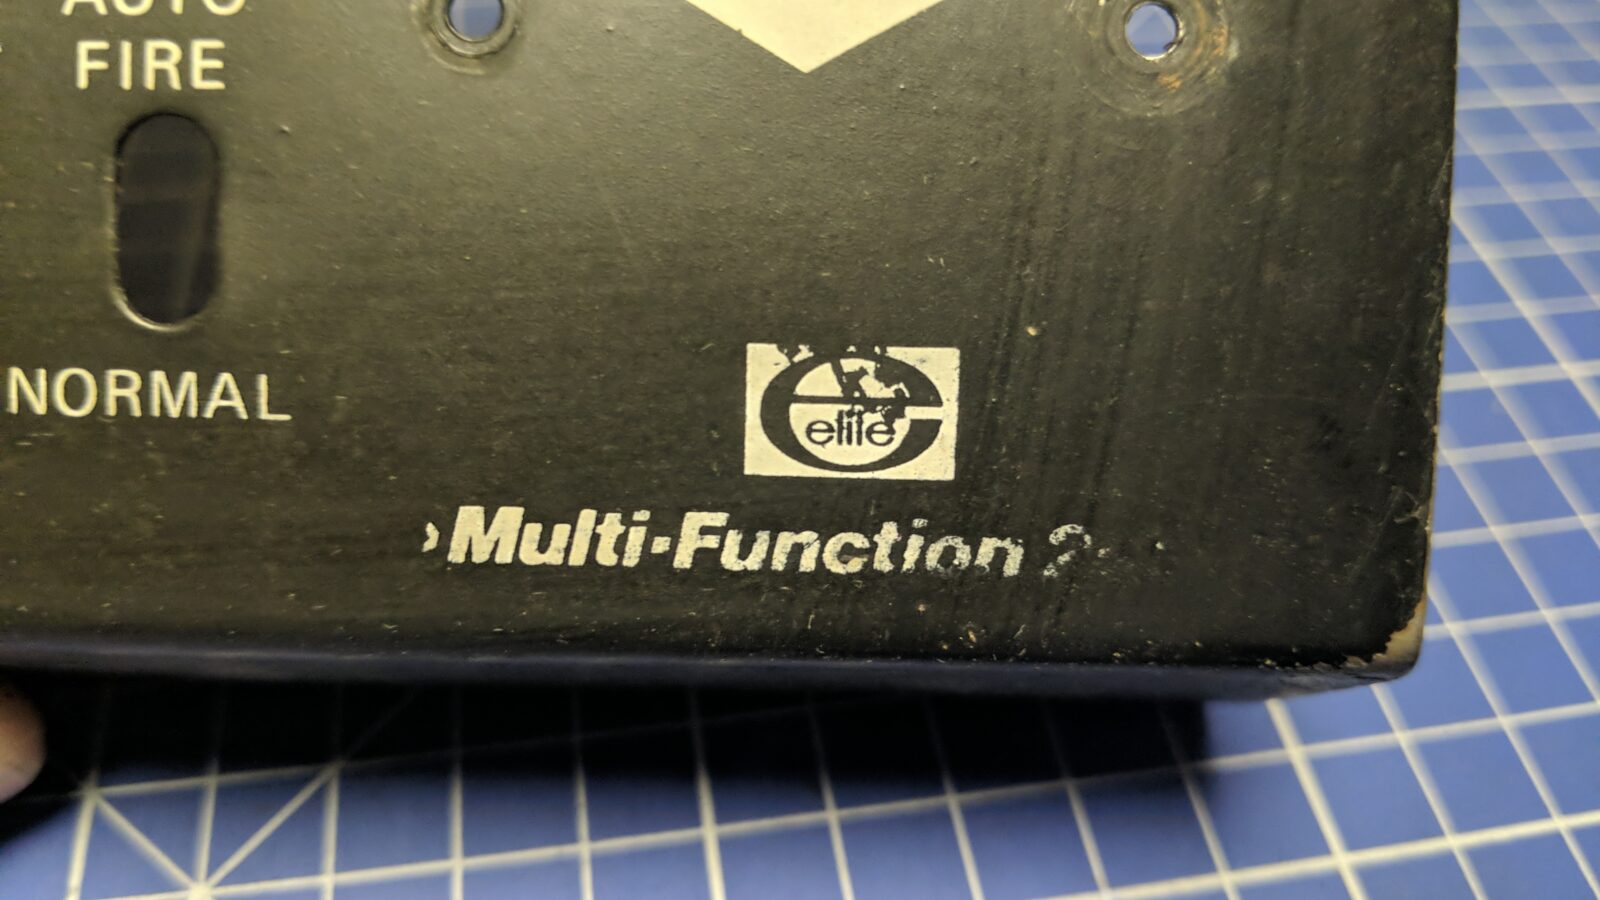
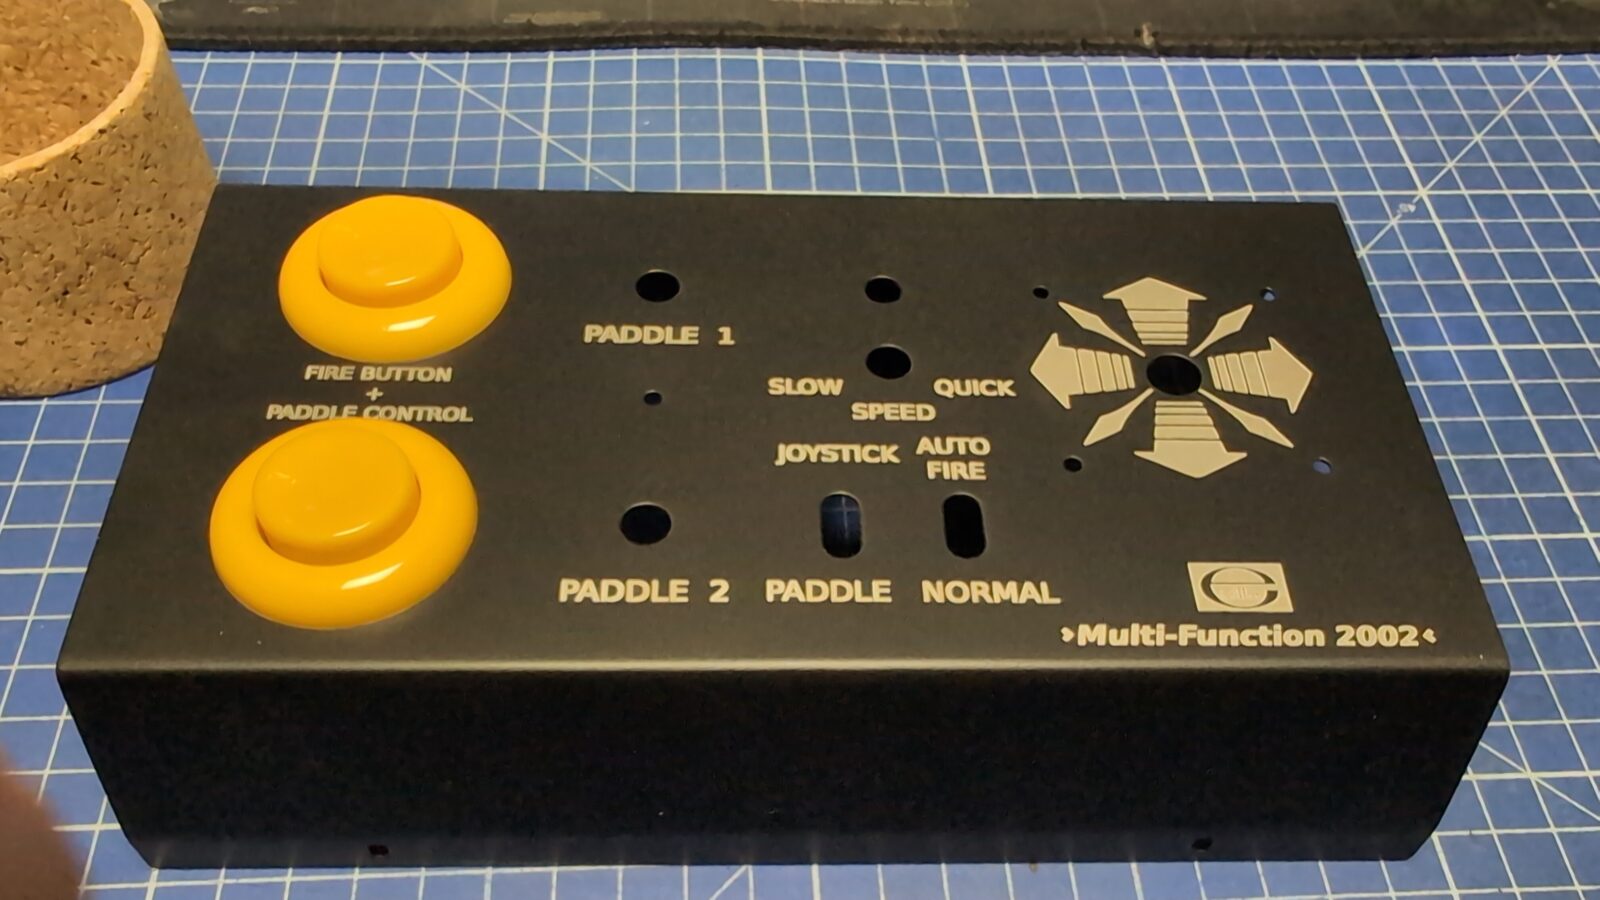
Today’s patient is this poor Elite Multifunction 2002 joystick that I had in a To-Do queue for quite a while.

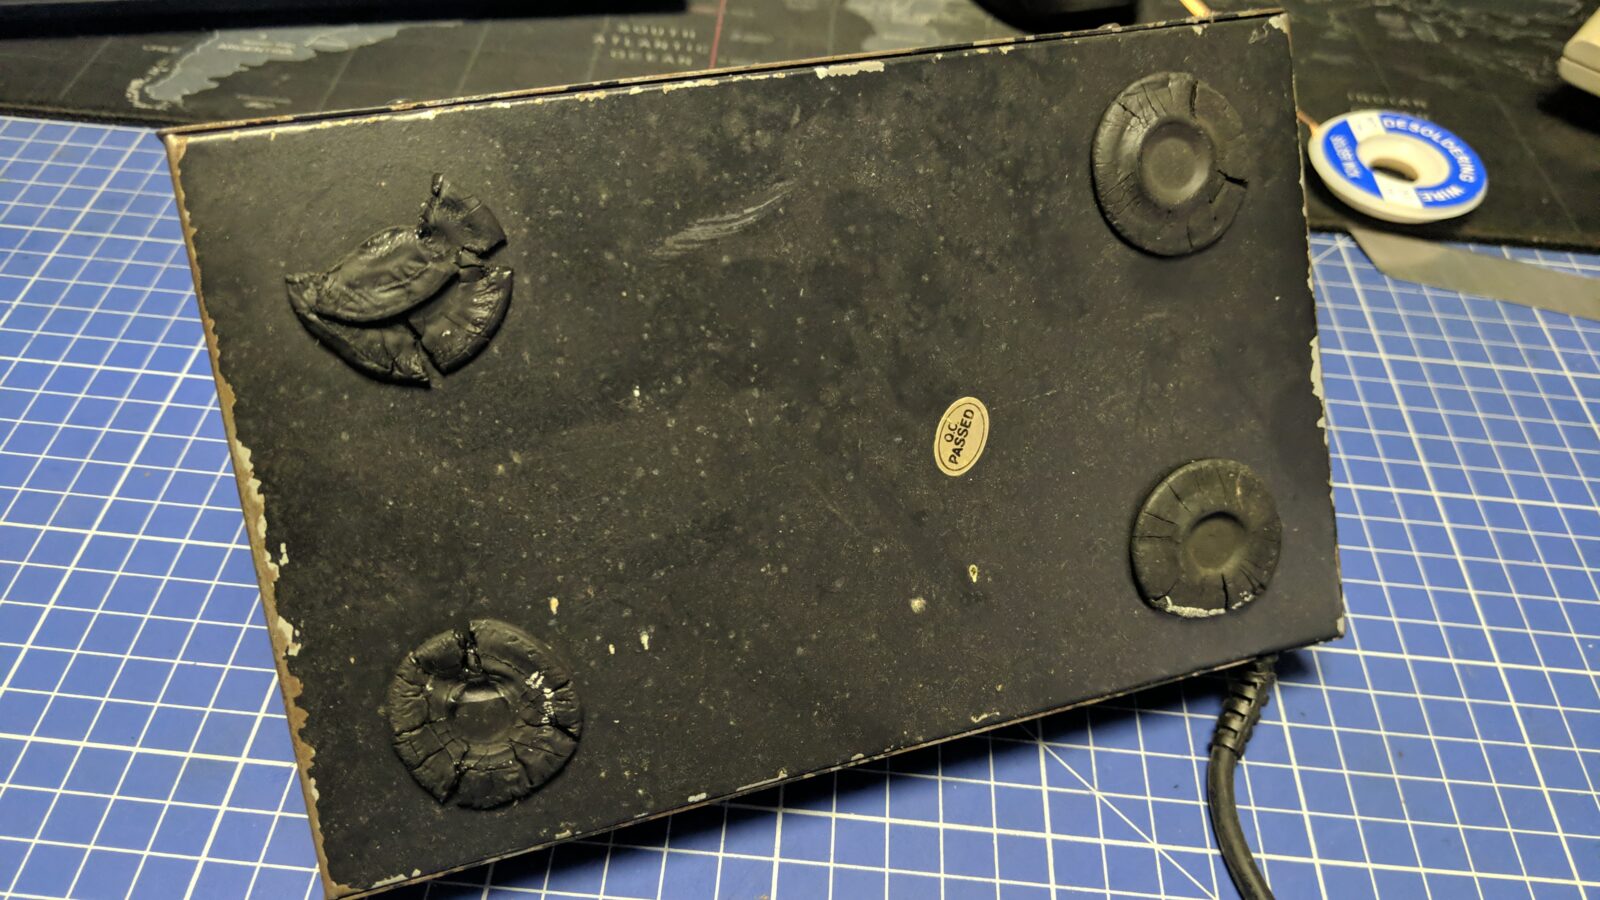
Disassembly
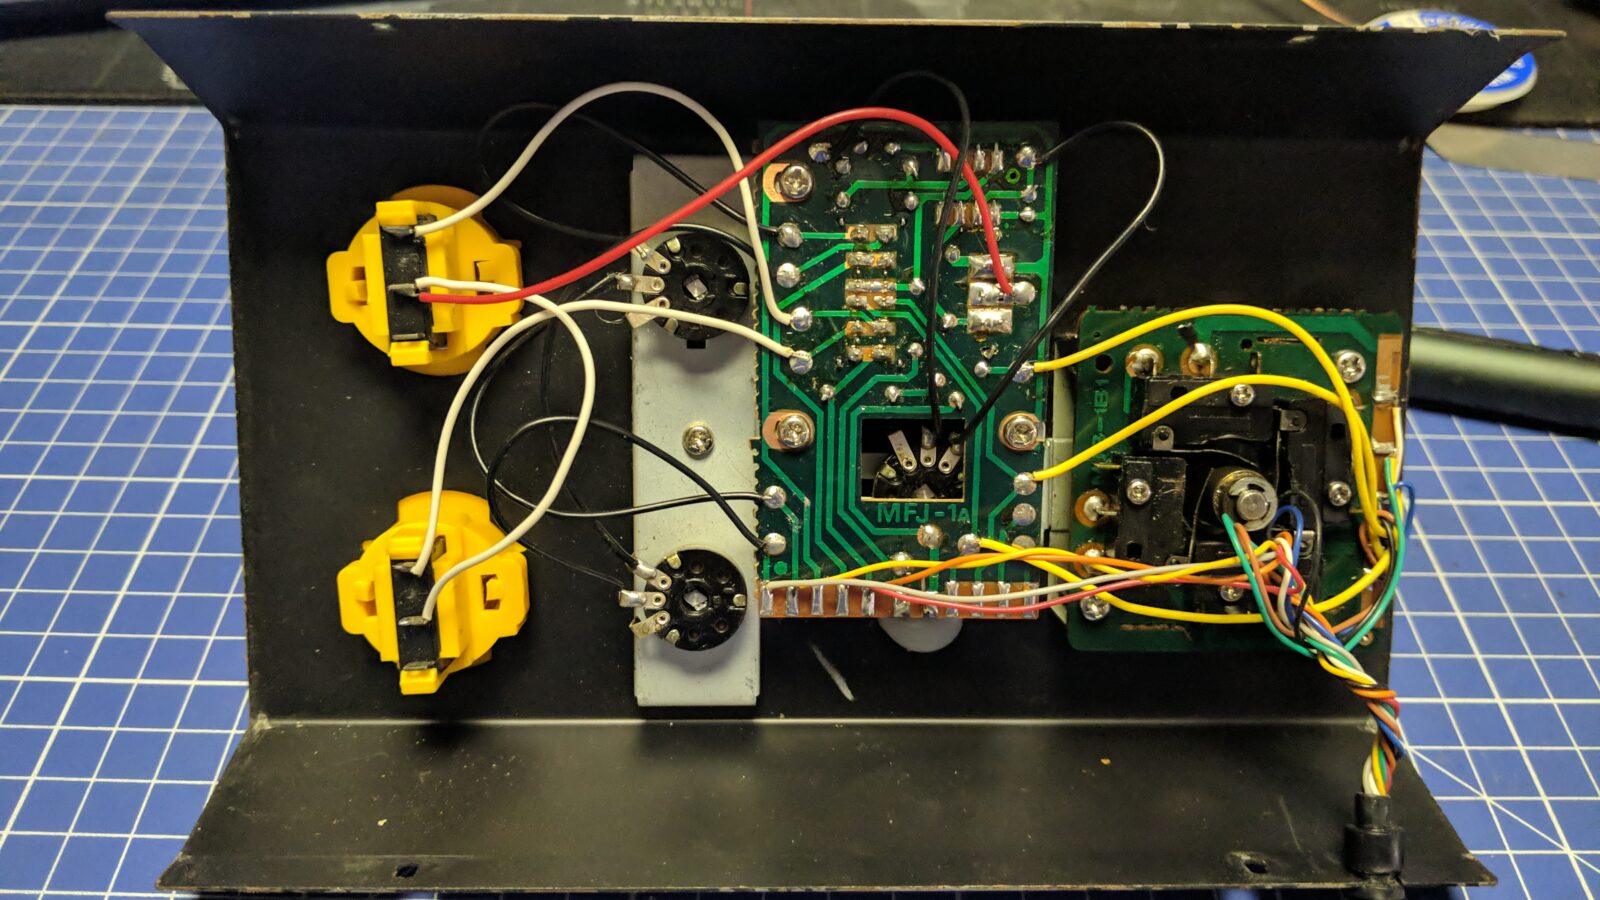
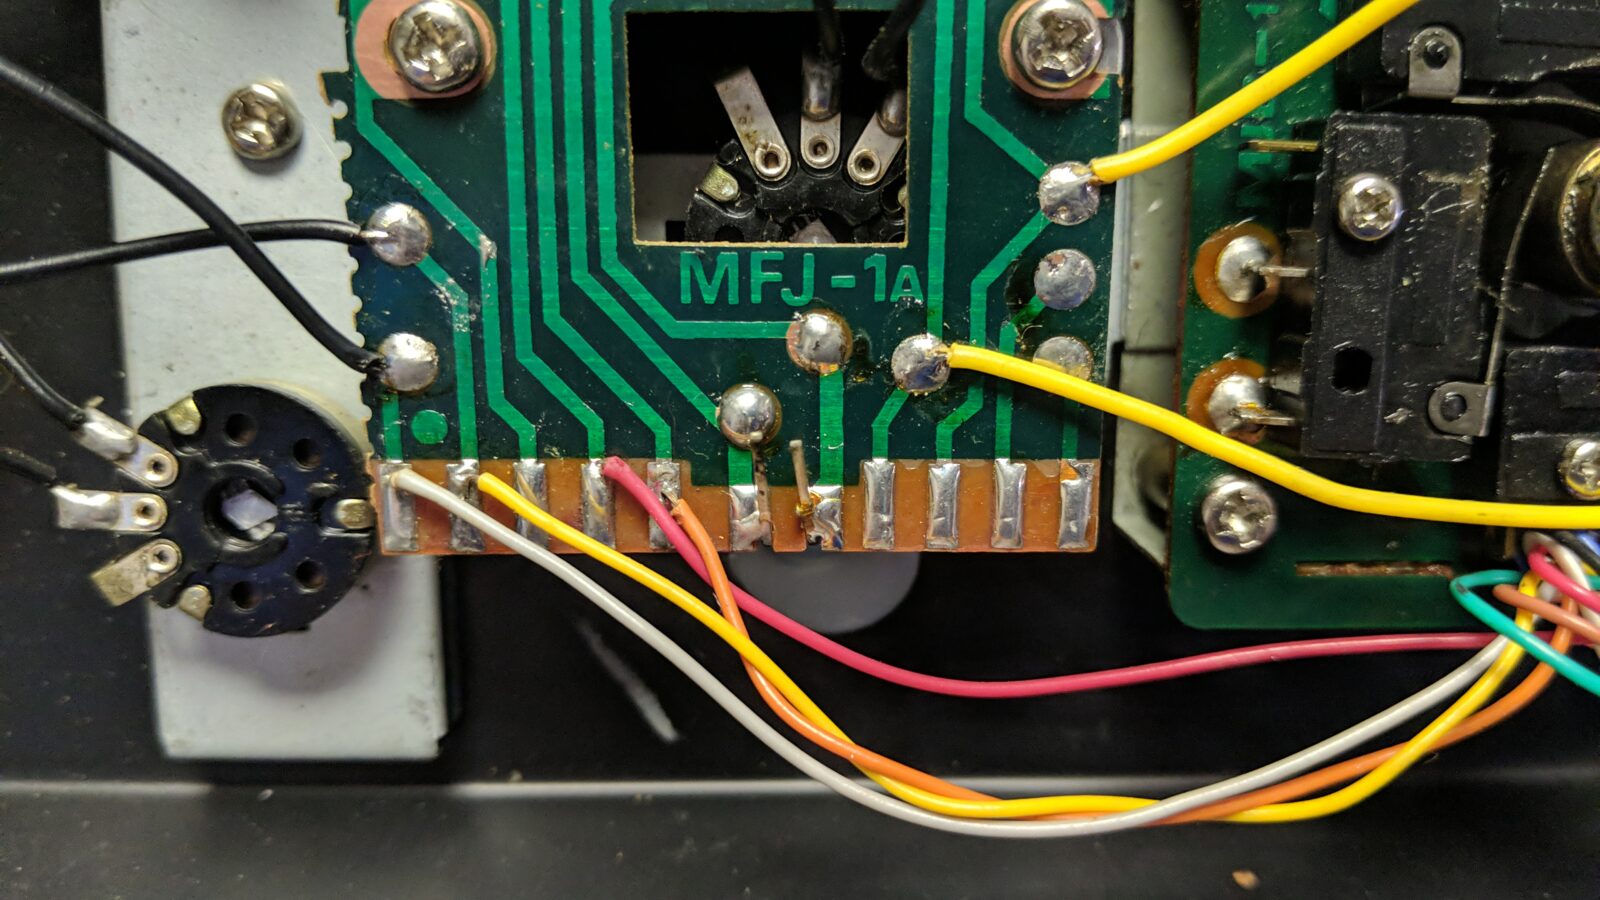
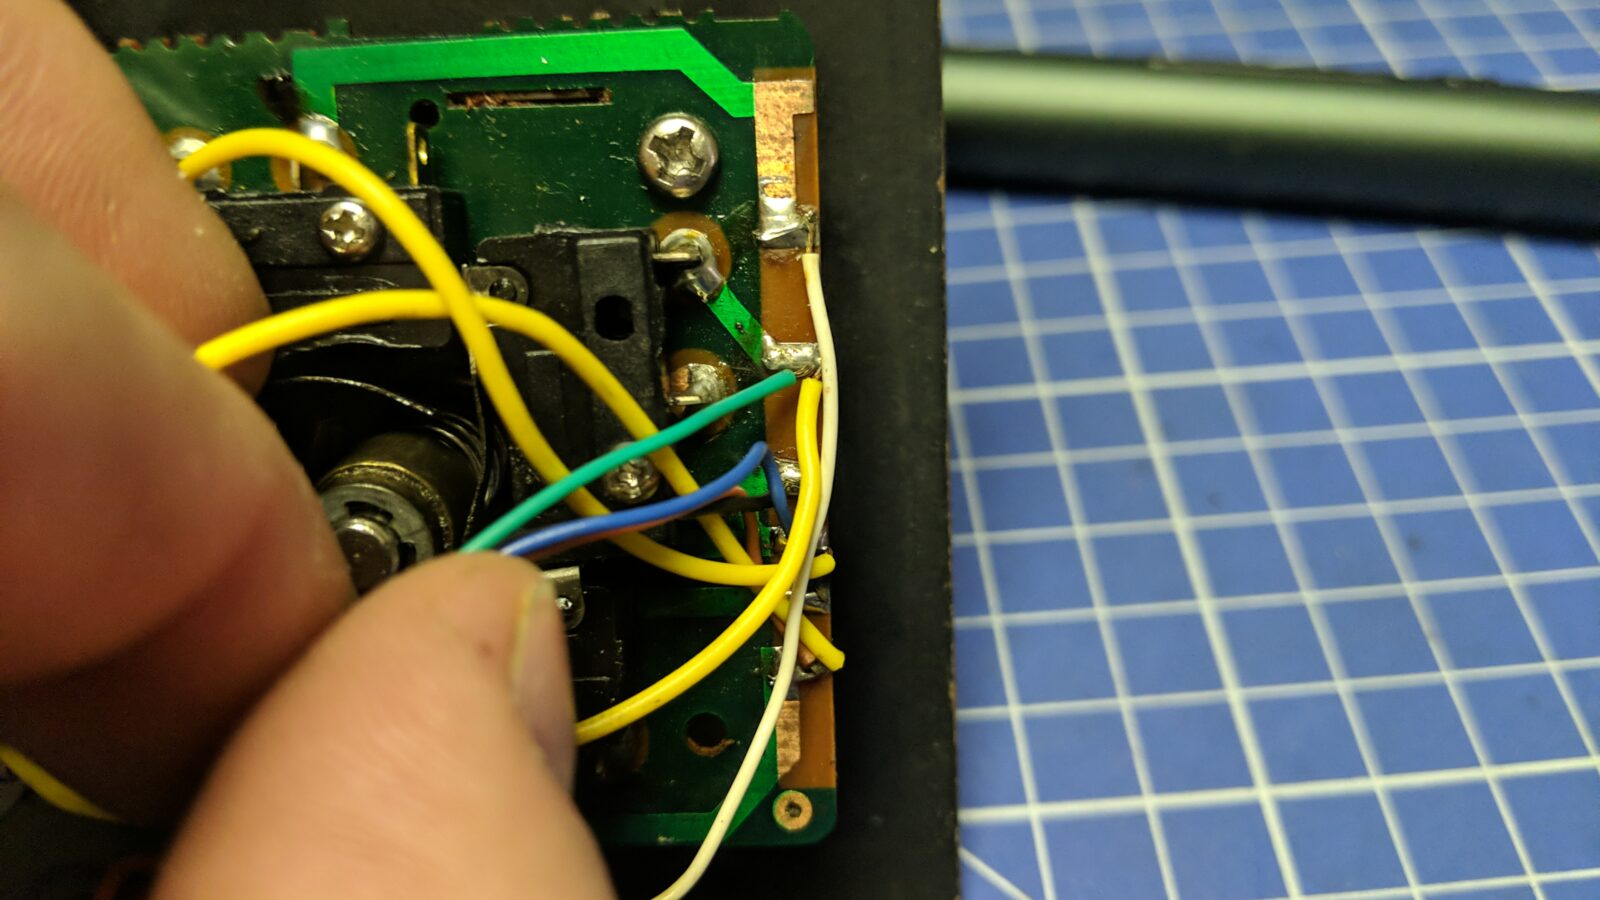
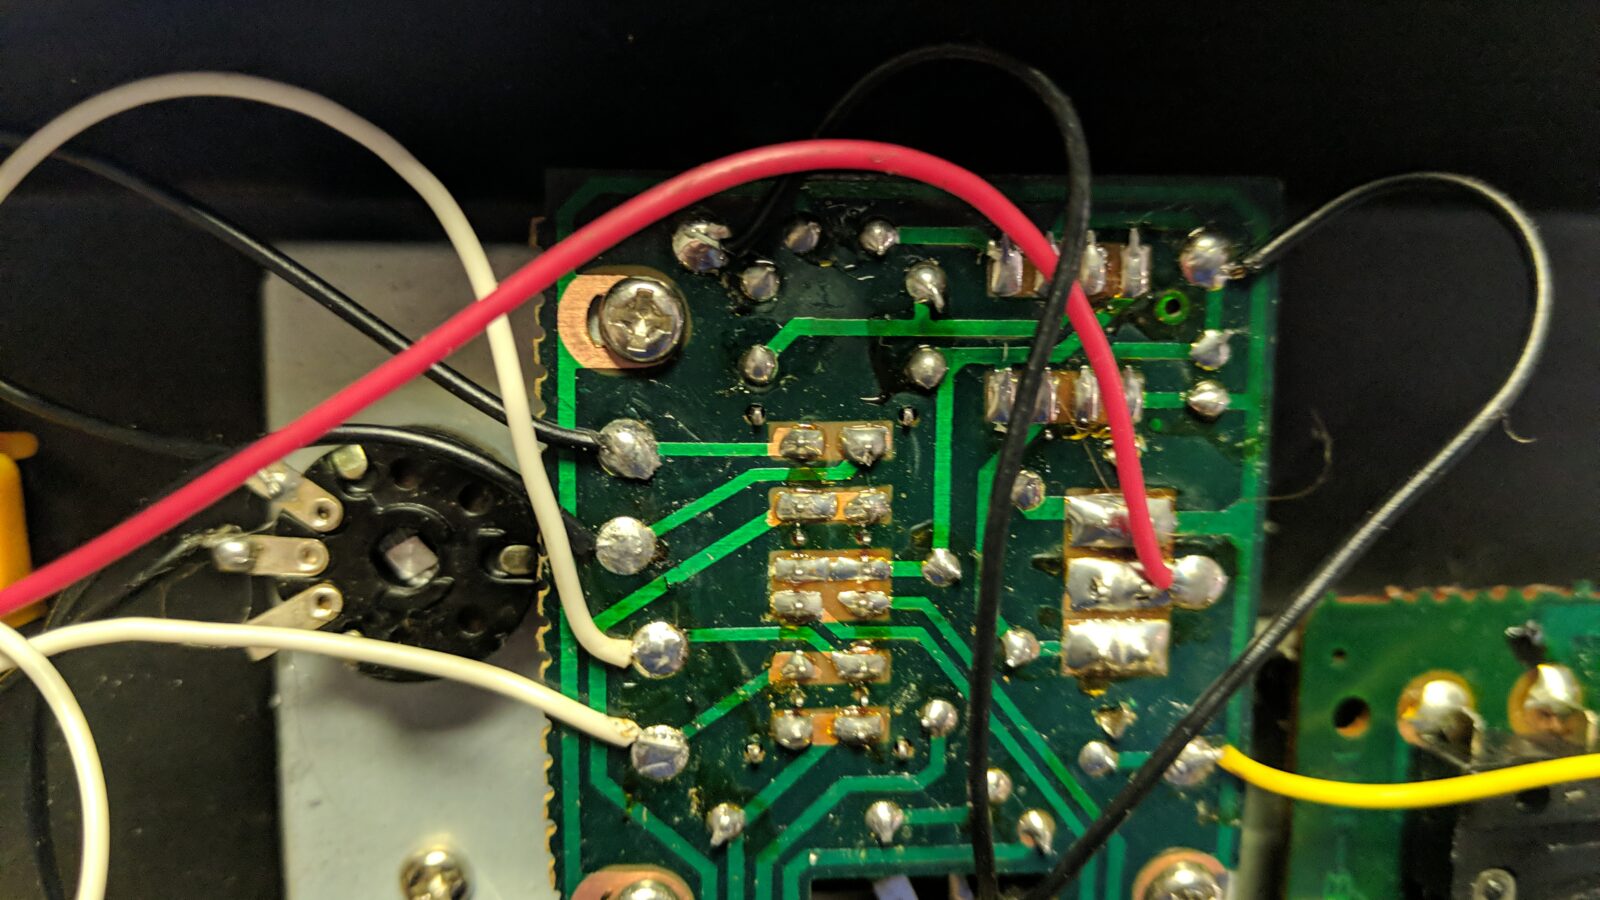
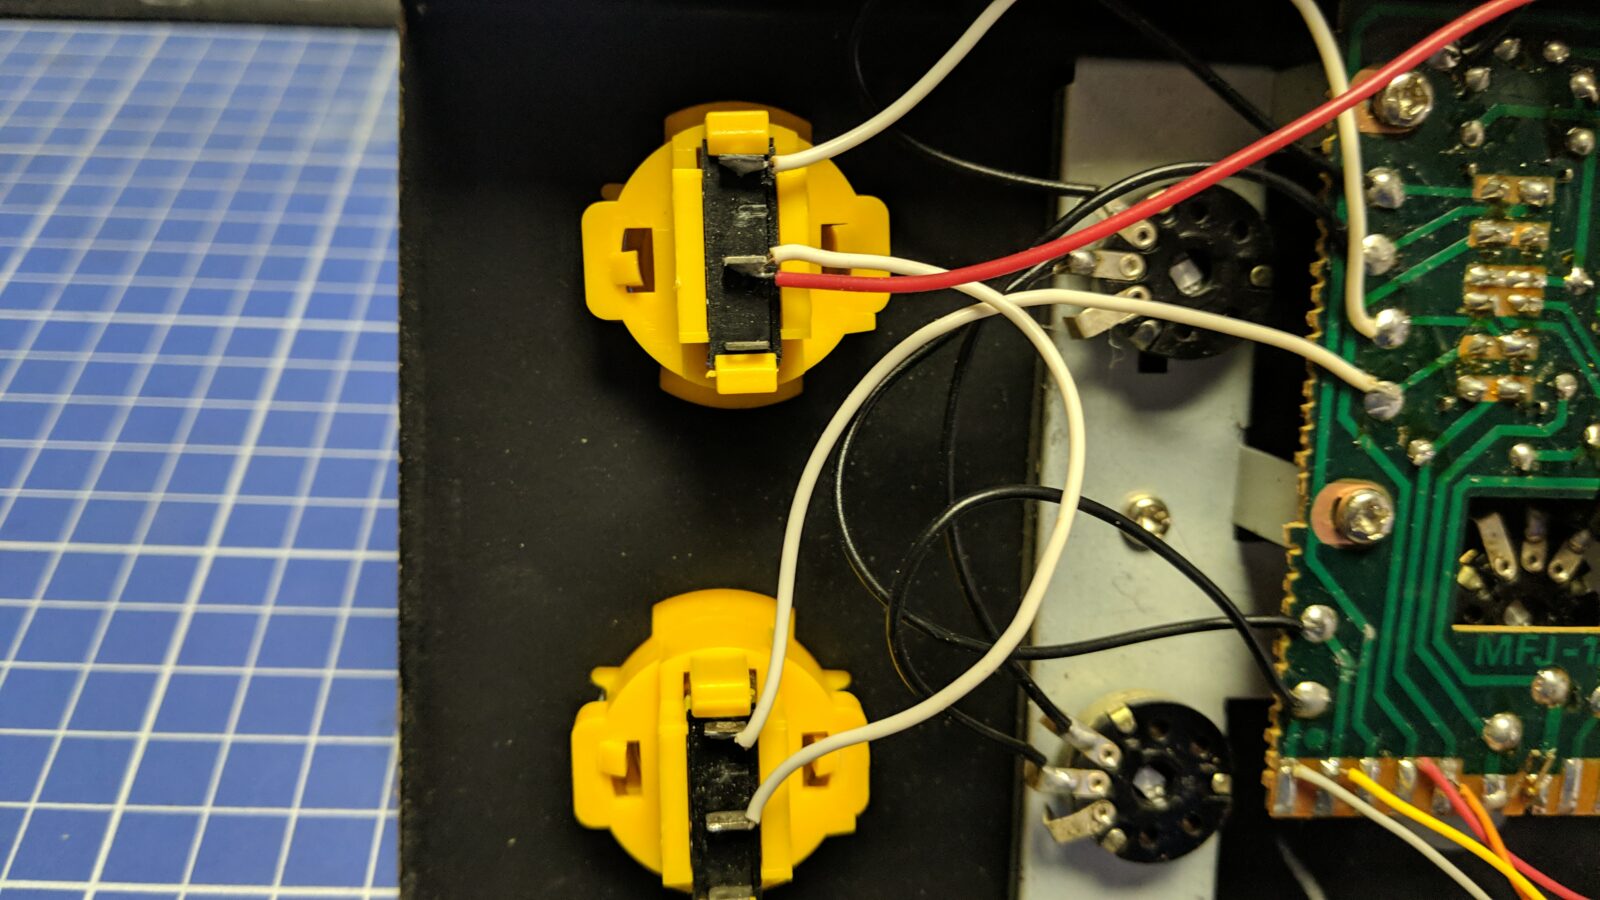
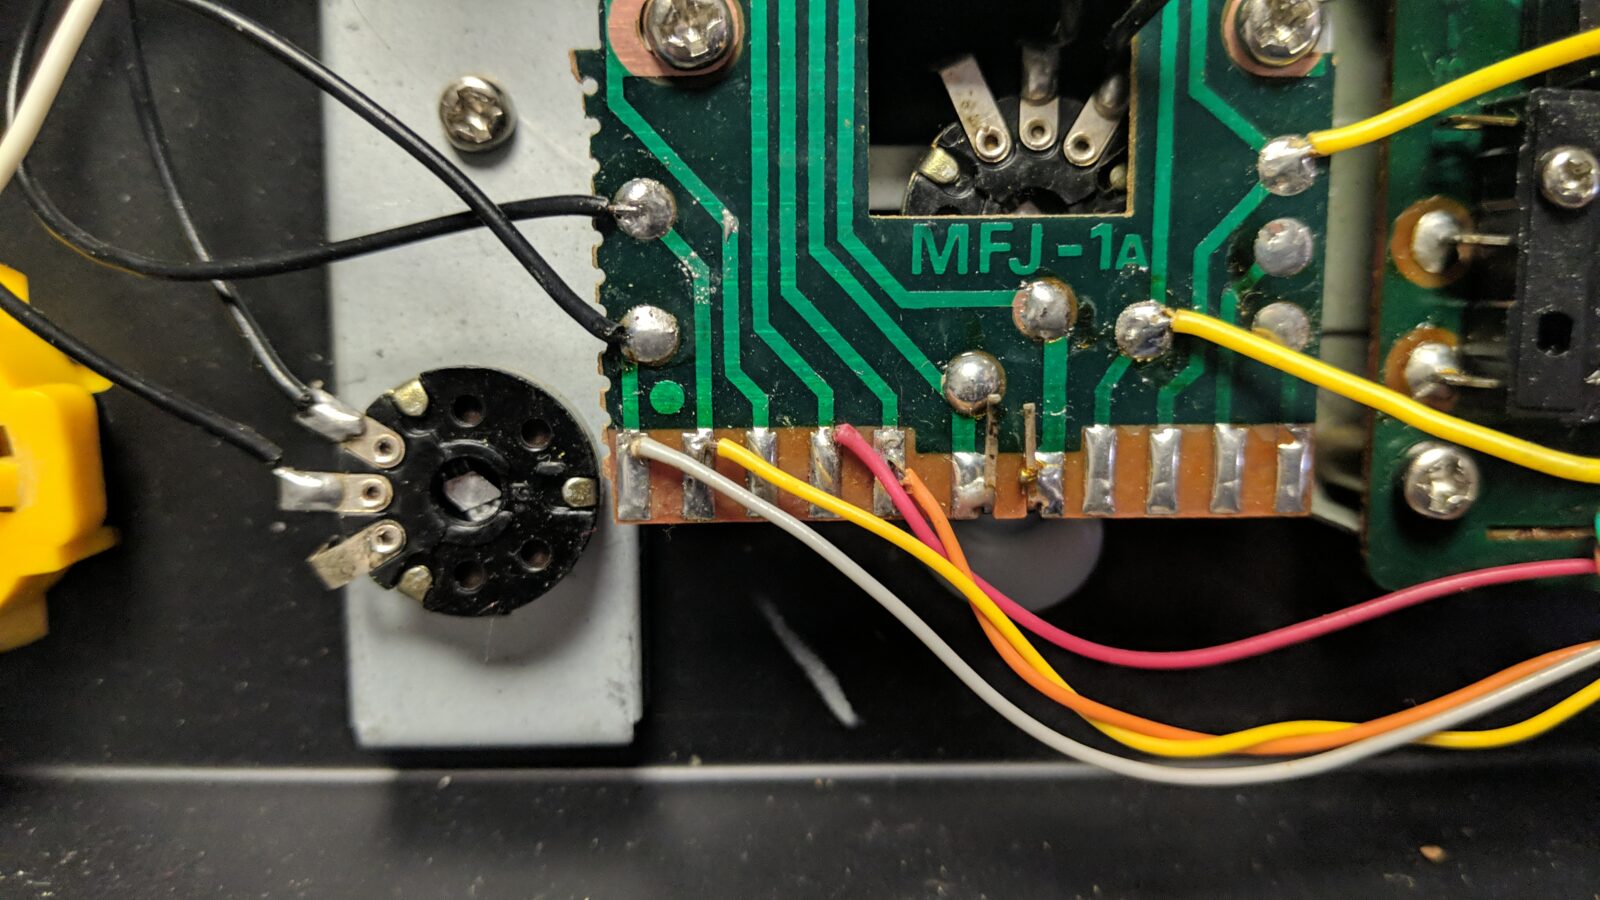
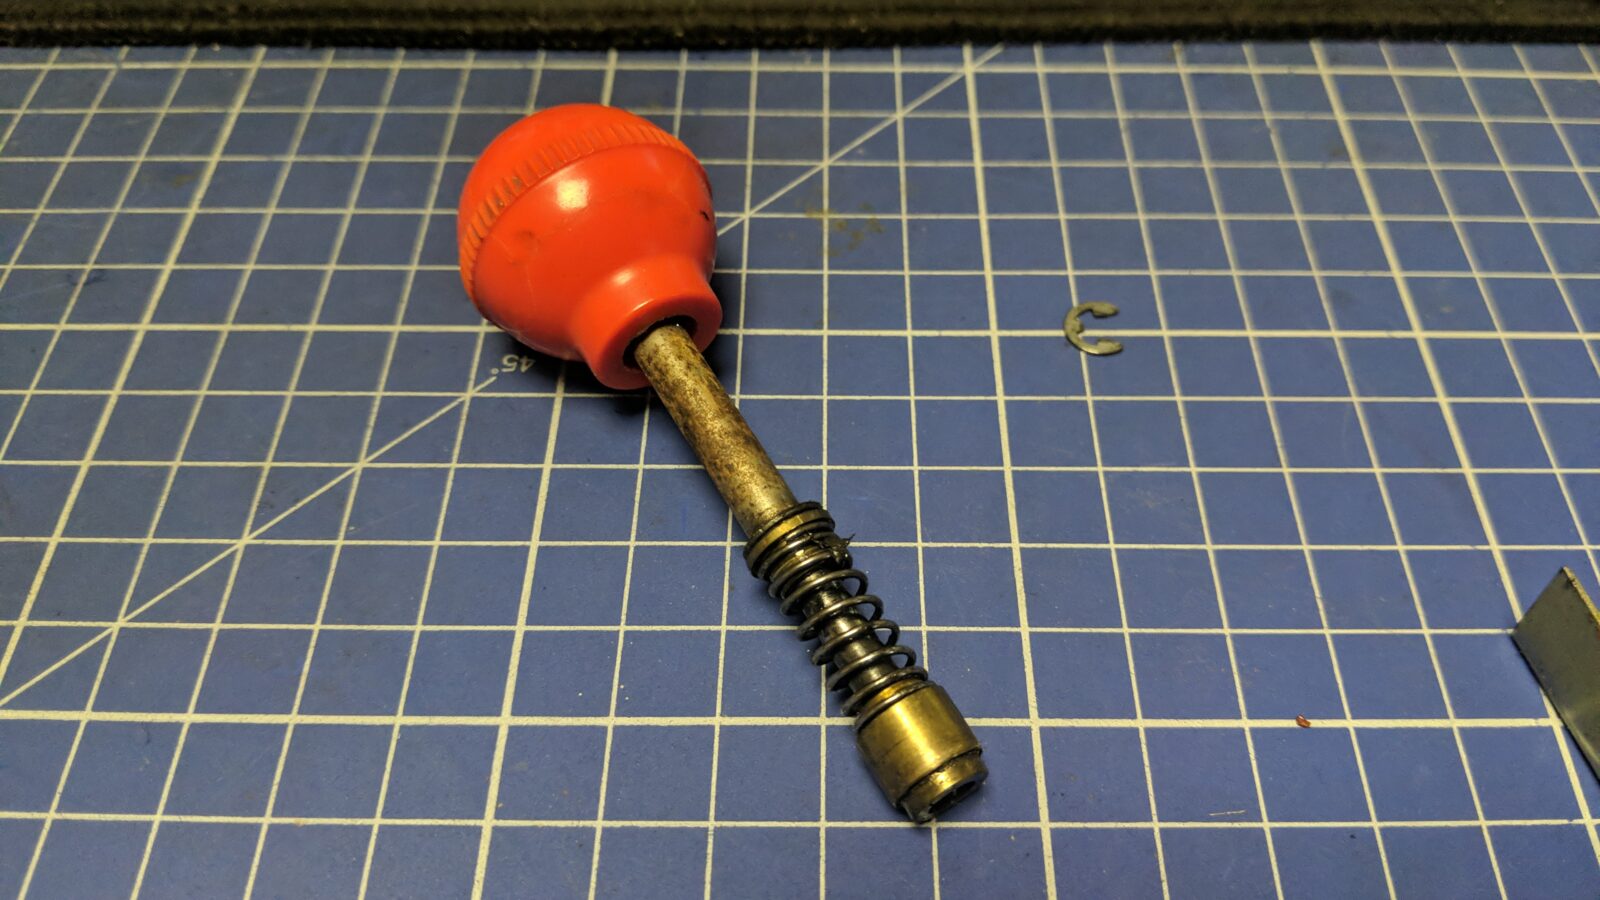
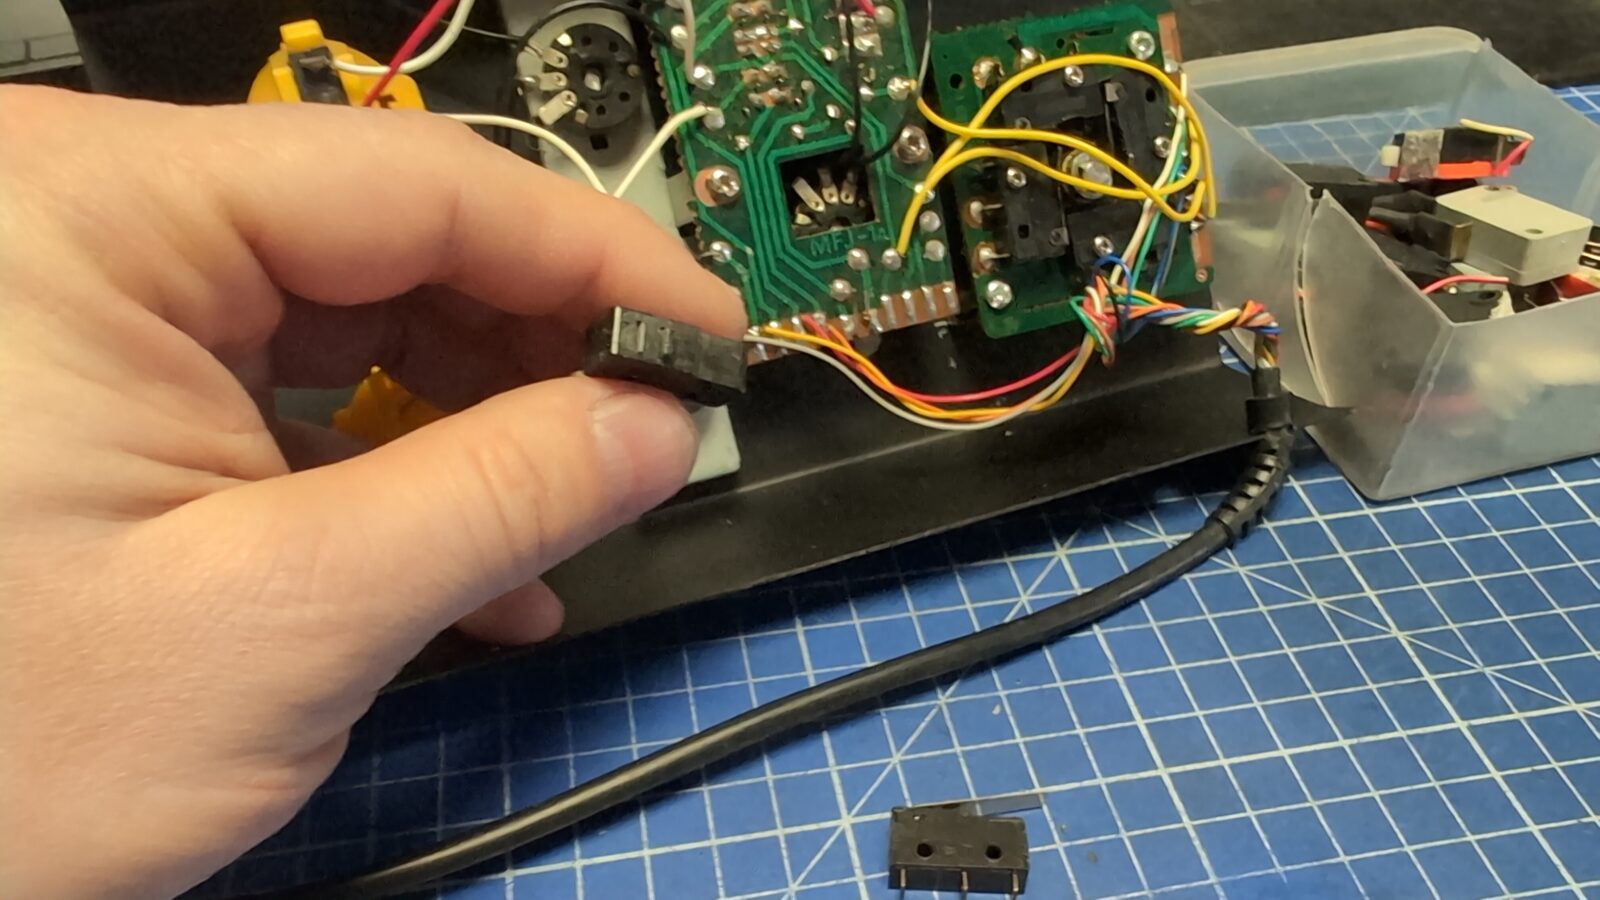
I’ve started disassembling it and took some pictures along the way for future reference, so if anyone has problems with wiring, it will be available here.
The vectors
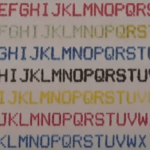
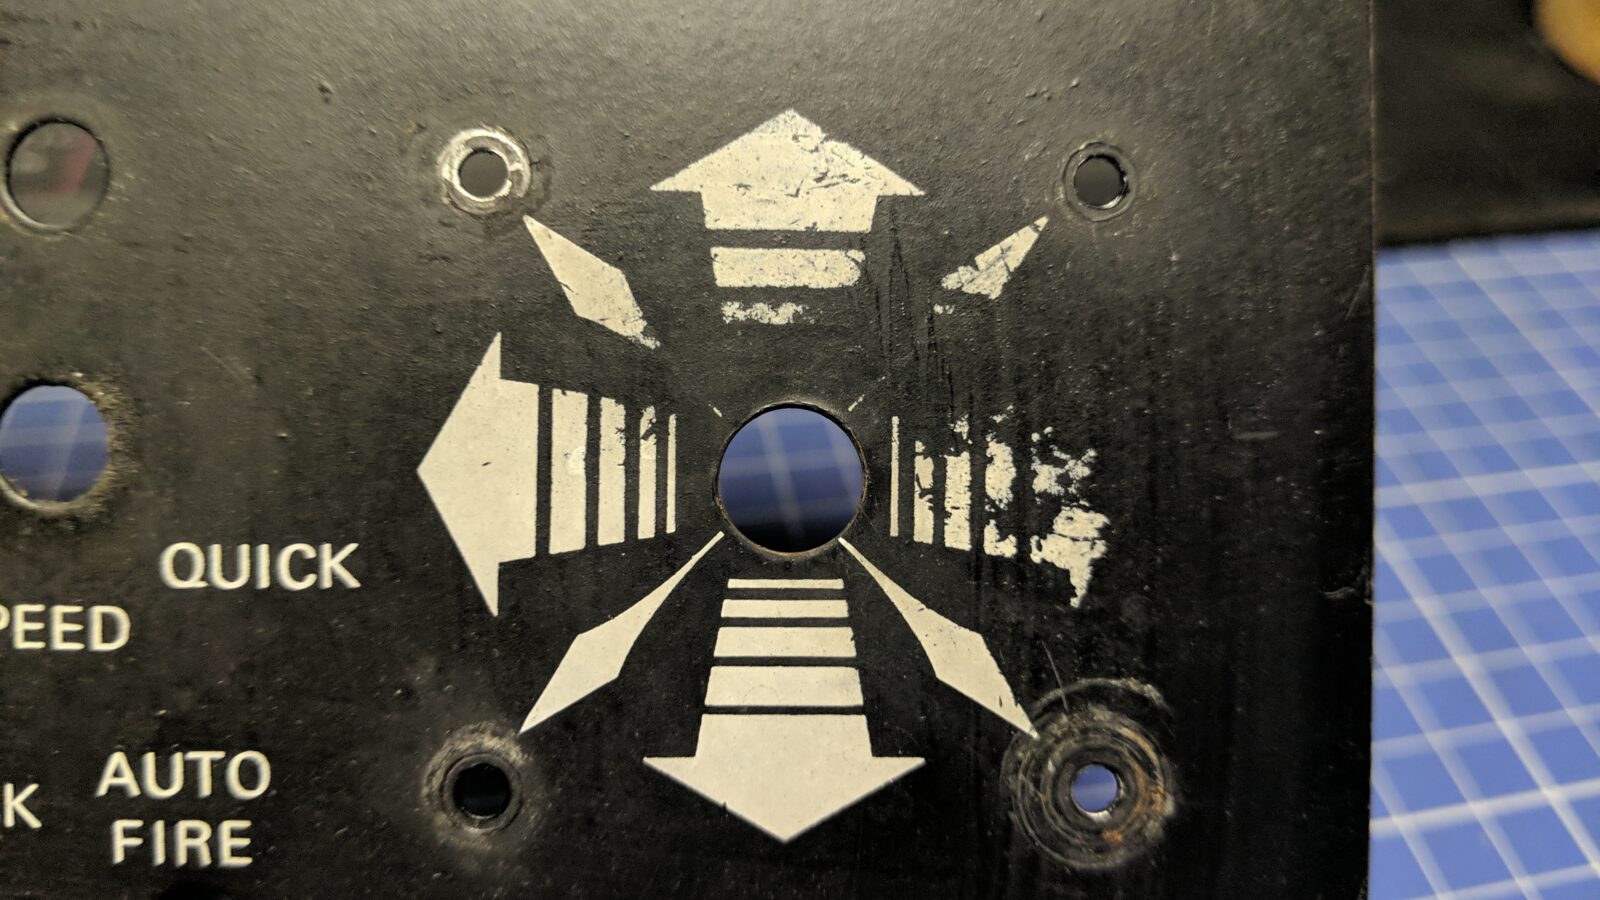
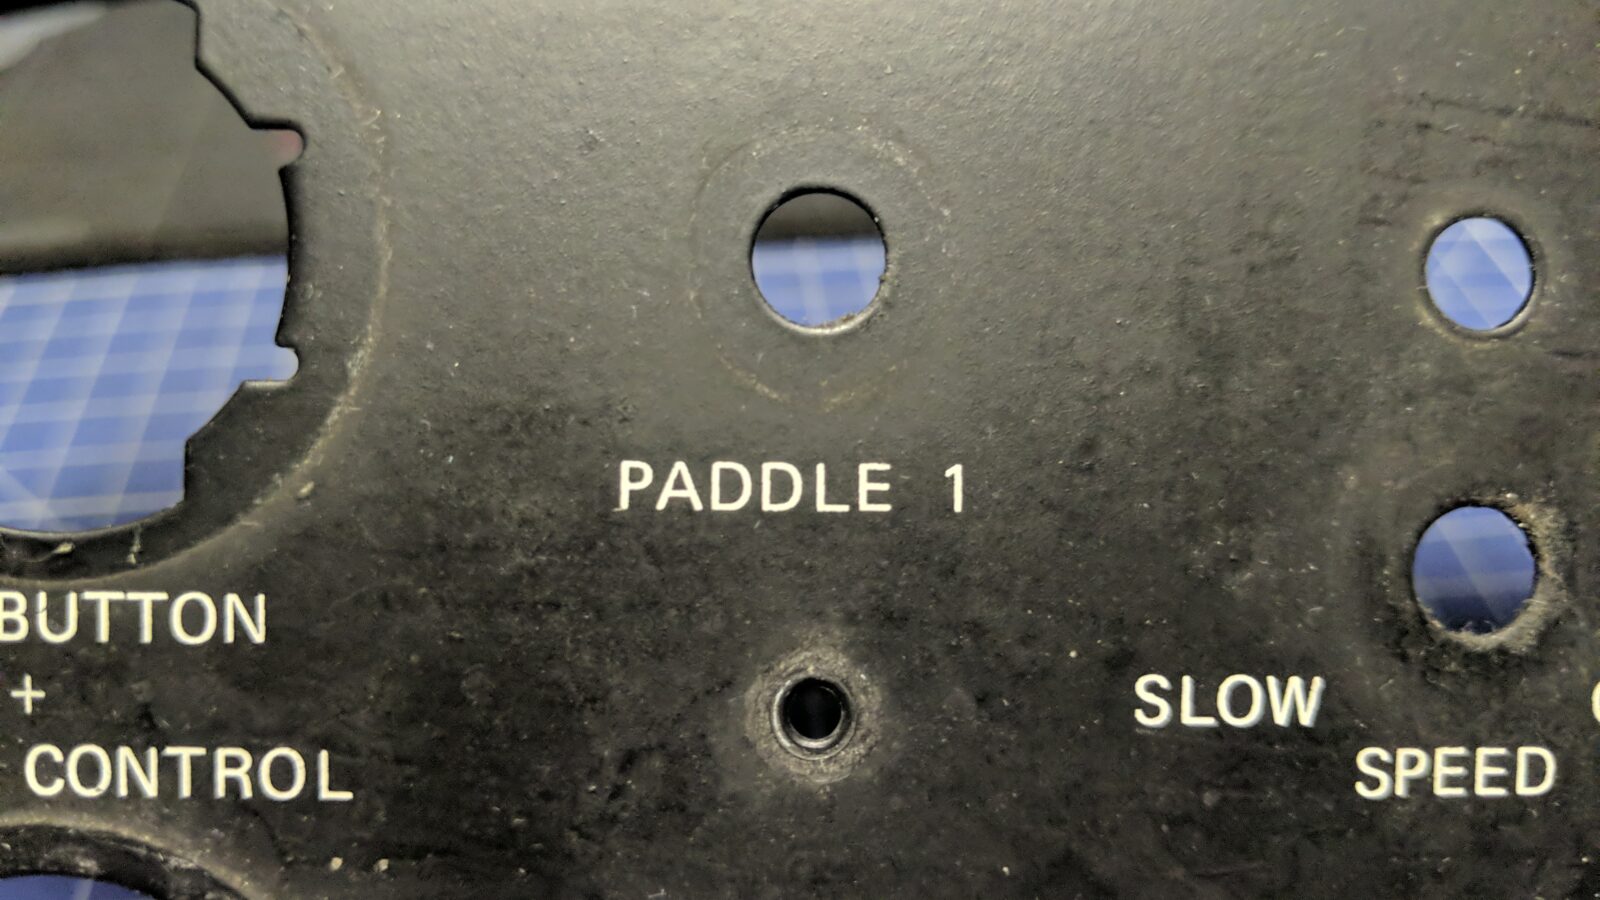
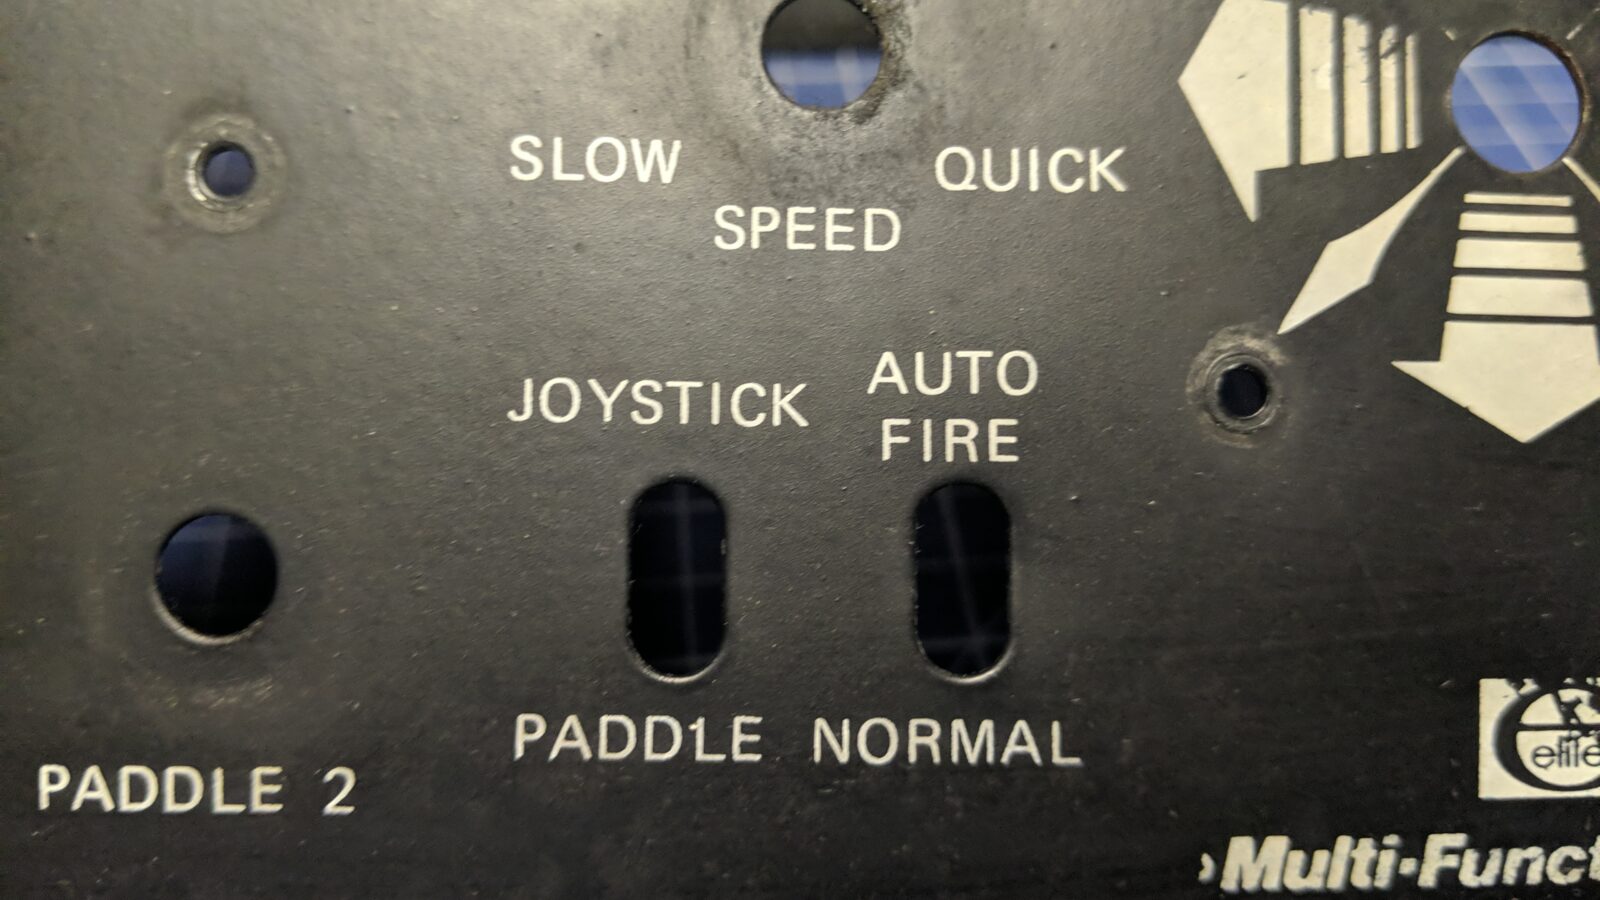
I had a few ideas on how to sort out the paint job, but I needed vector files for that. This is where the hardest part (at least for me back then) came in. First, I took some pics of the top part with all the lettering and stuff.


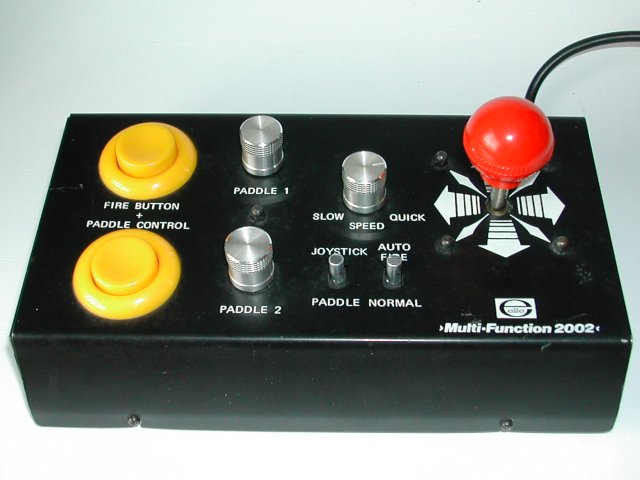
Then, I’ve looked up on the internetz how it should originally look.
Next move was to import those pics to GIMP (Opensource FTW! YAY!) and restore the missing parts of the paint.
(All files produced in this project are available to download – link at the bottom of the post)
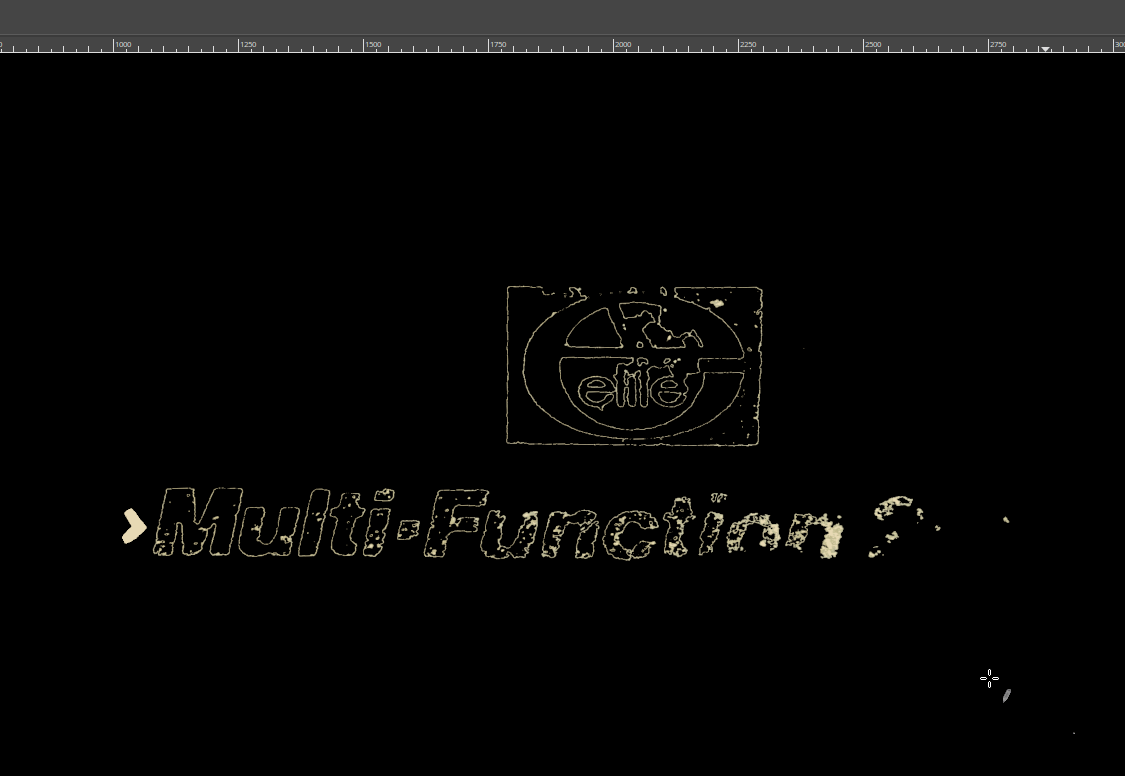

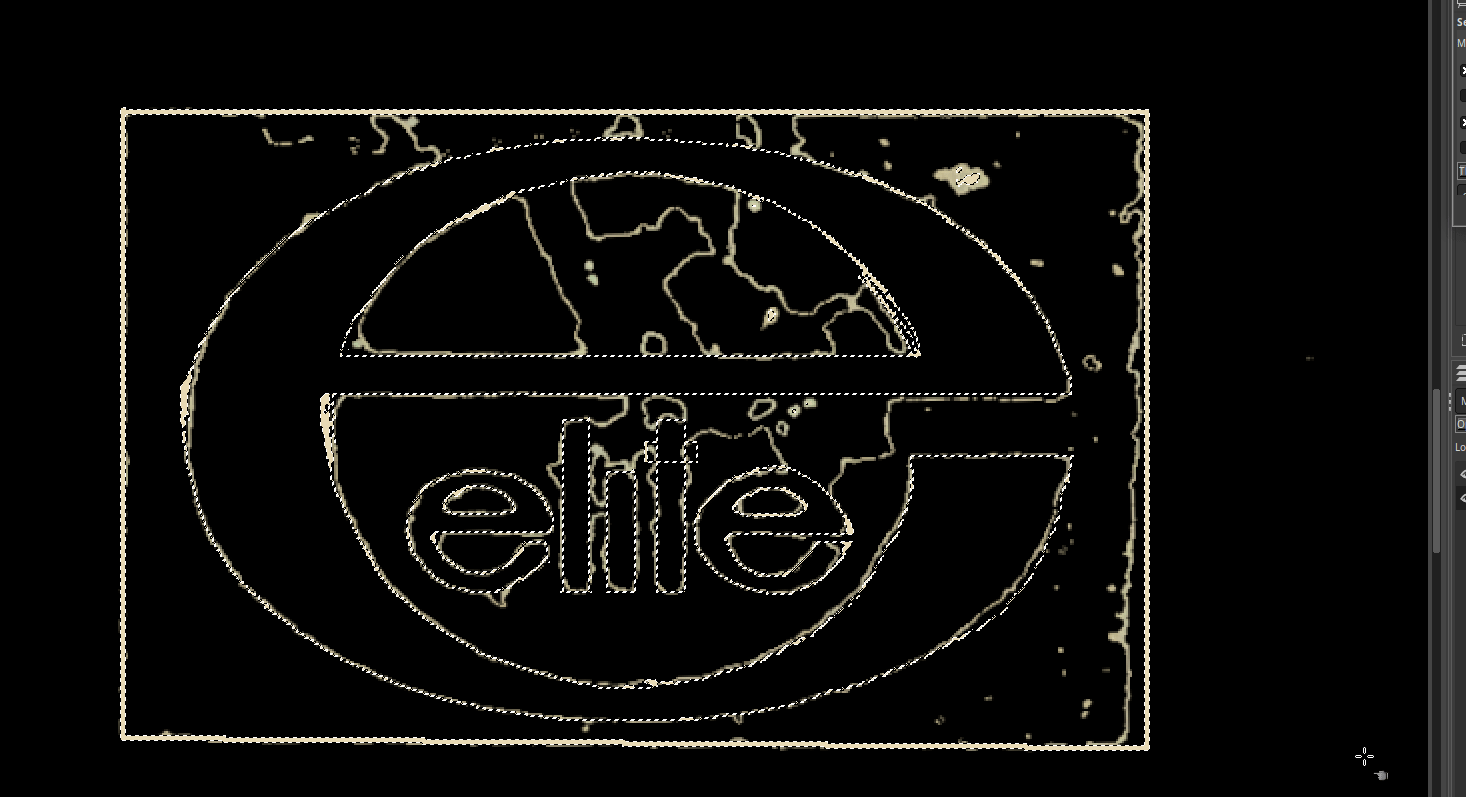

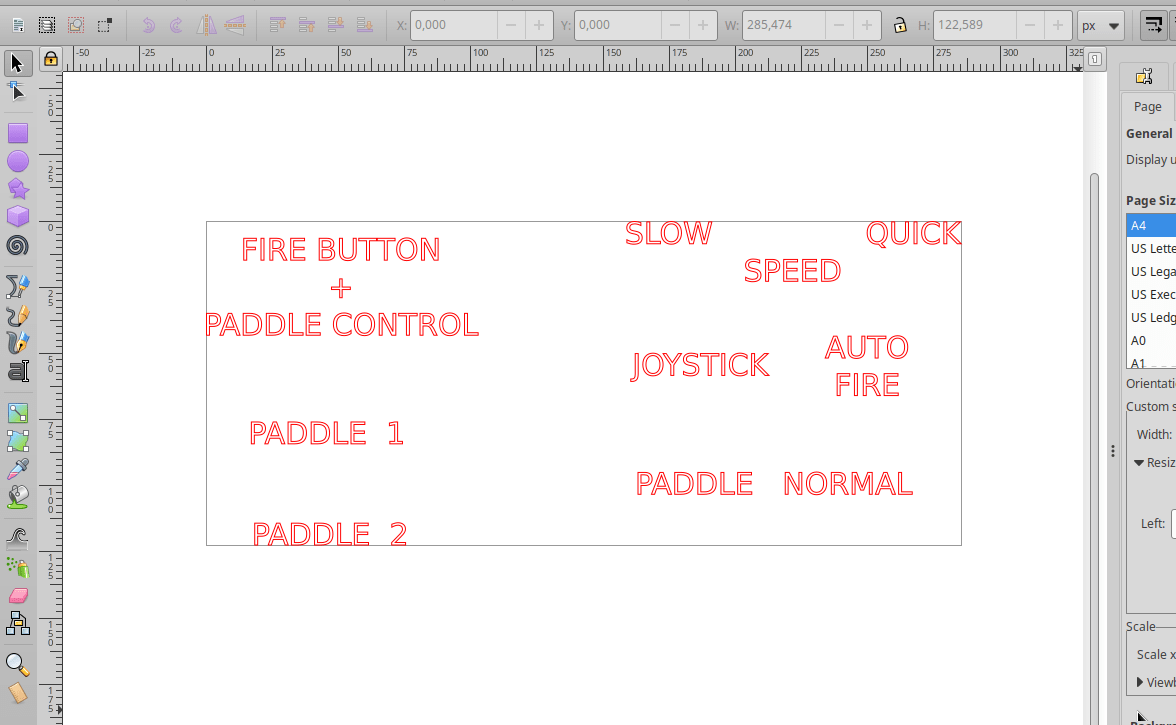
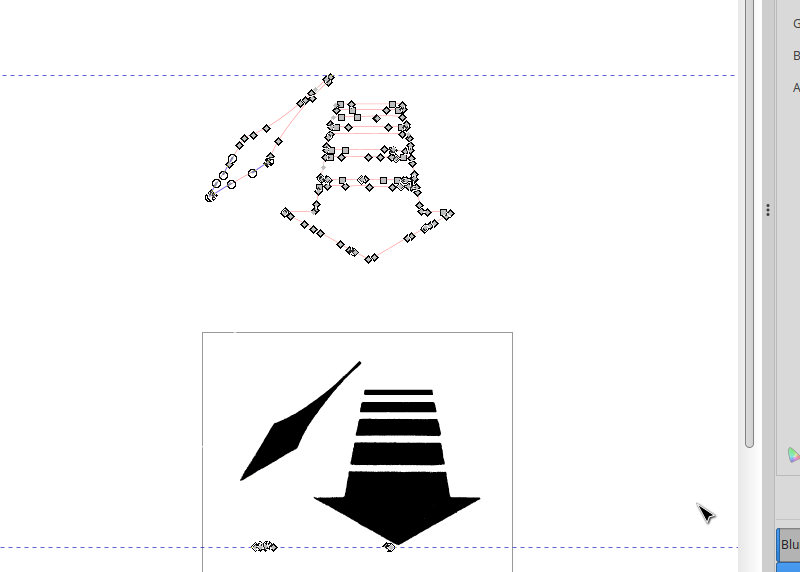
With that step done, I could now import the above image into Inkscape to the Inkscape do make a vector out of it for a 3D printer or laser. Ah, yeah, I forgot, Blender was also used for a brief moment during the process:D
Below are some screenshots taken while working on it.
Testing the methods
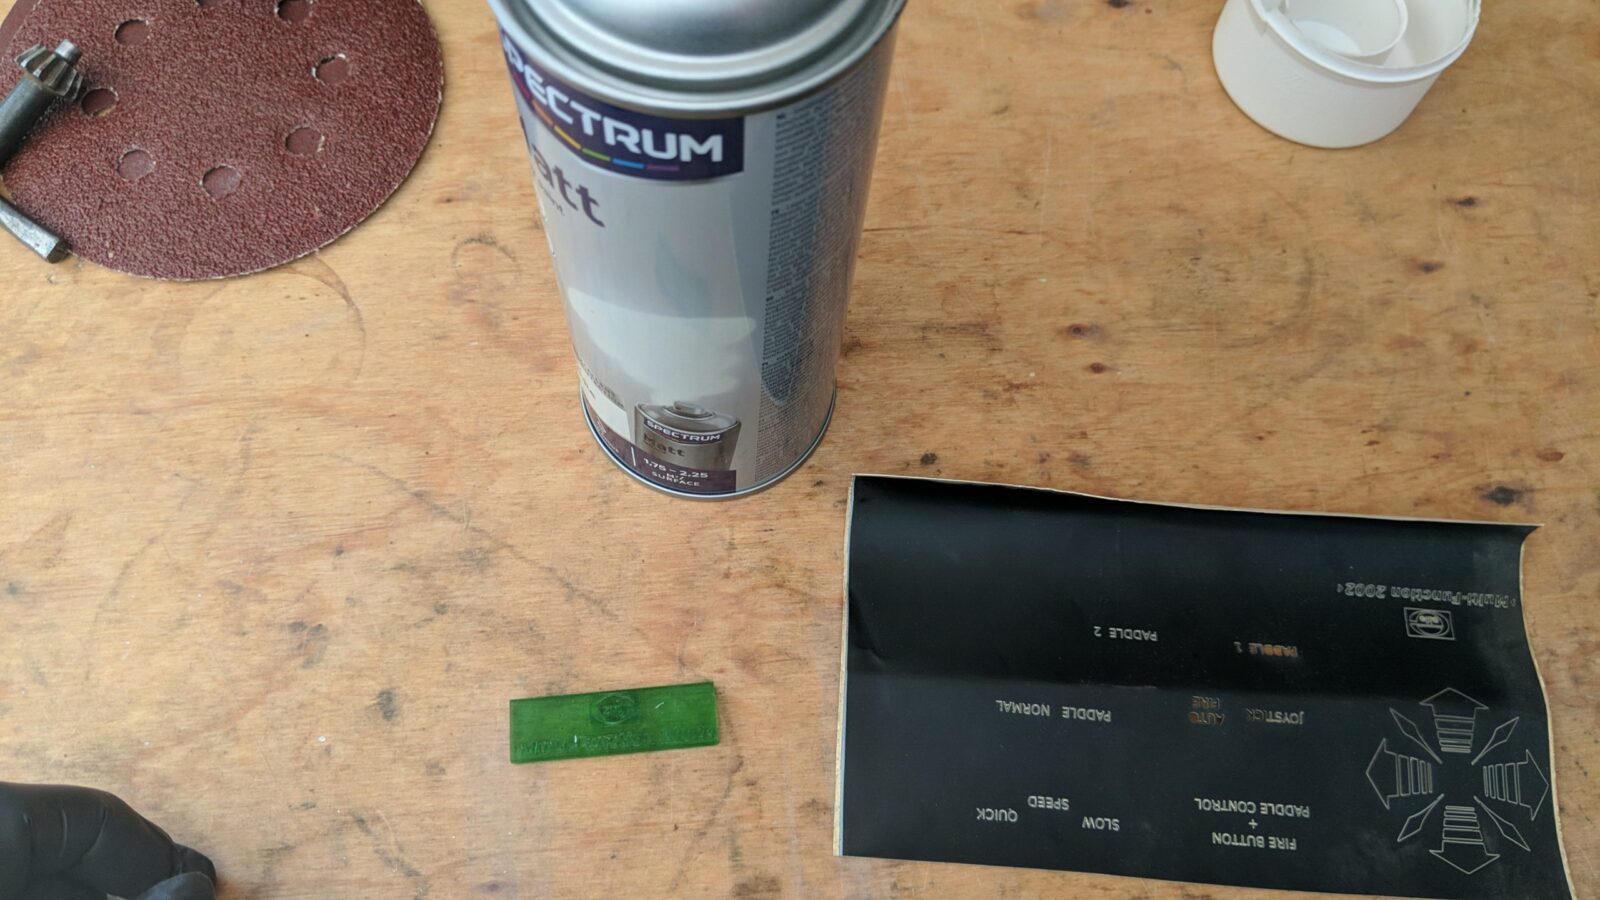
First idea was to laser cut a mask out of a vinyl sticker(bottom right), but it turned out that the letters were too small for that so I had to skip it.
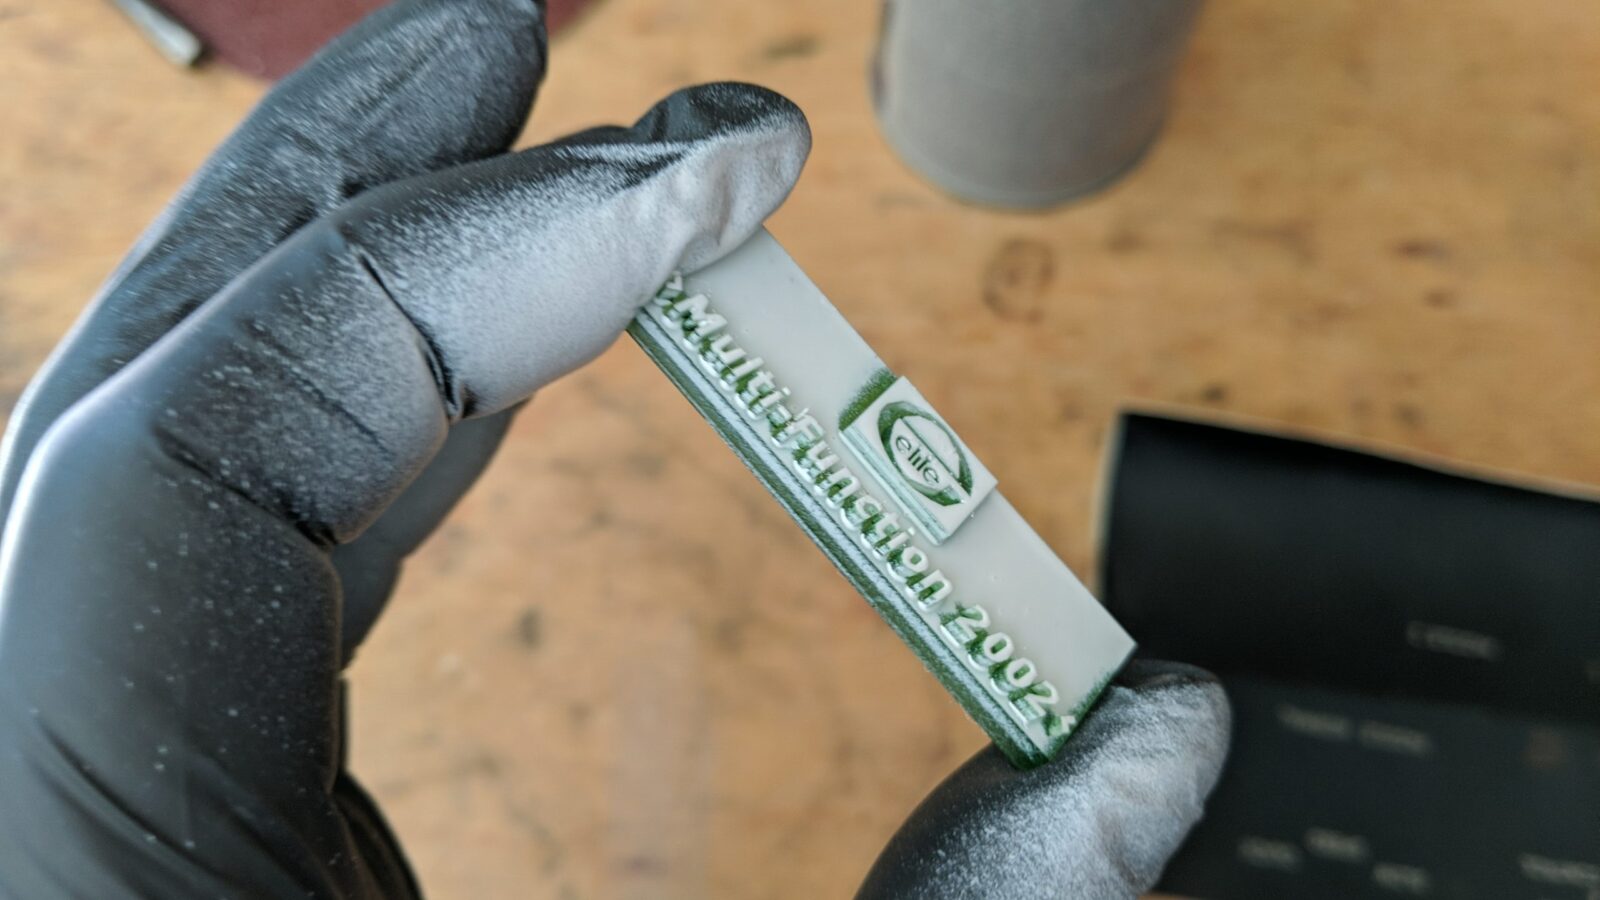
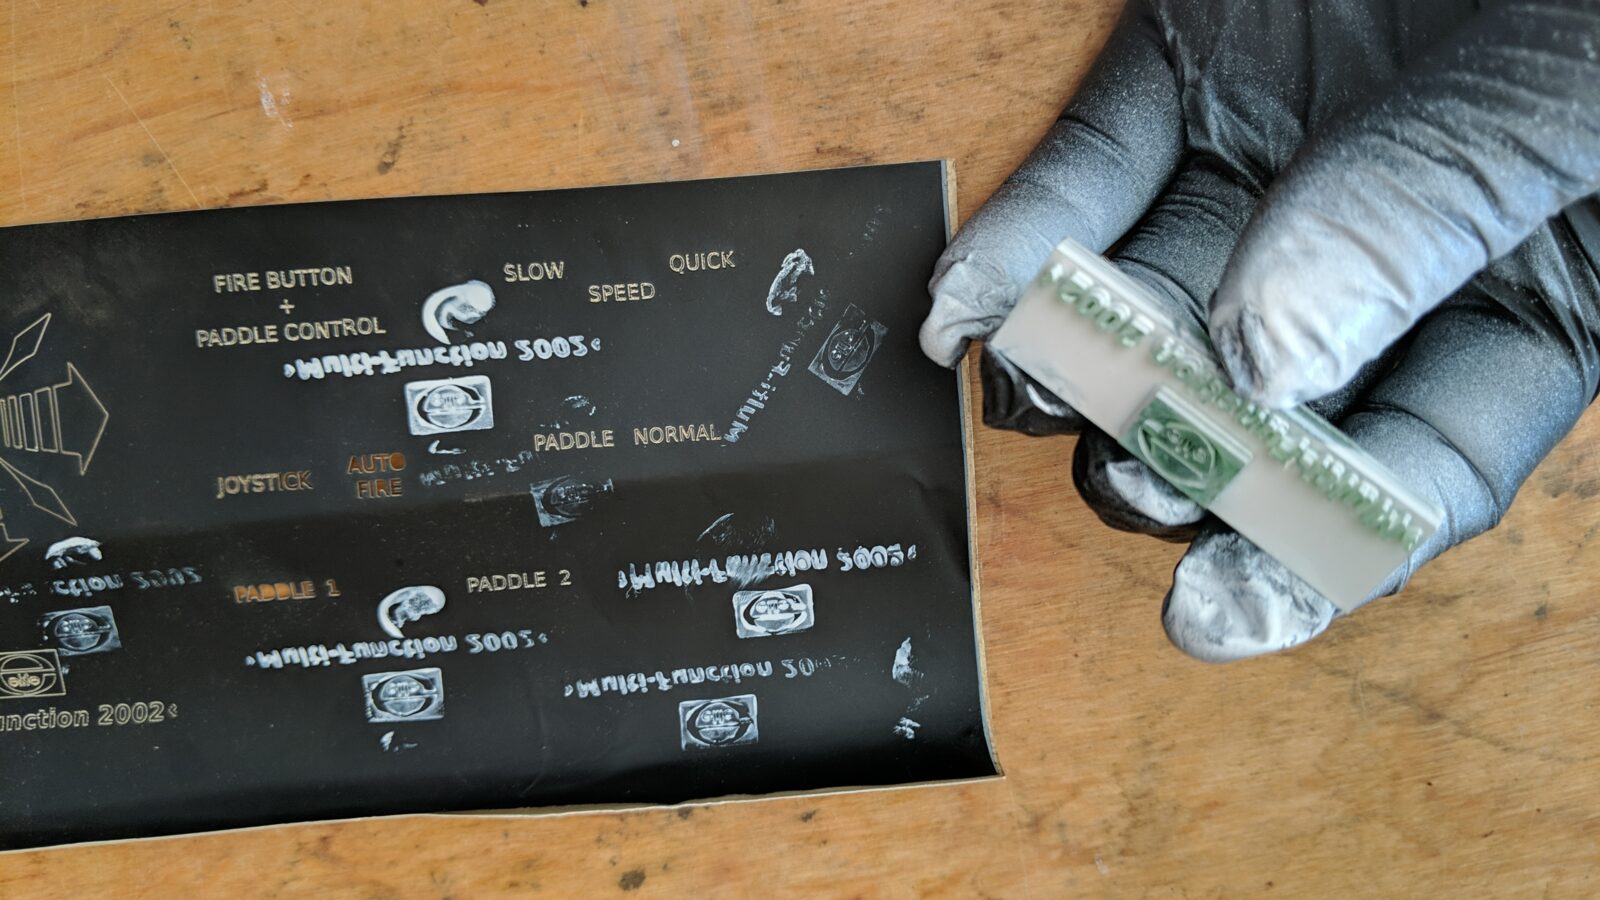
The seond idea that I wanted to test was to 3D print a stamp. This idea failed even more miserably.
Laser to the rescue!
Meanwhile, the freshly ordered xTool laser came in – xTool F1 Ultra.
This machine offers a nice and quick metal engraving. With all the vectors already sorted, I could give it a go and this thrid idea was spot on!
However, I had to preapre everything first.
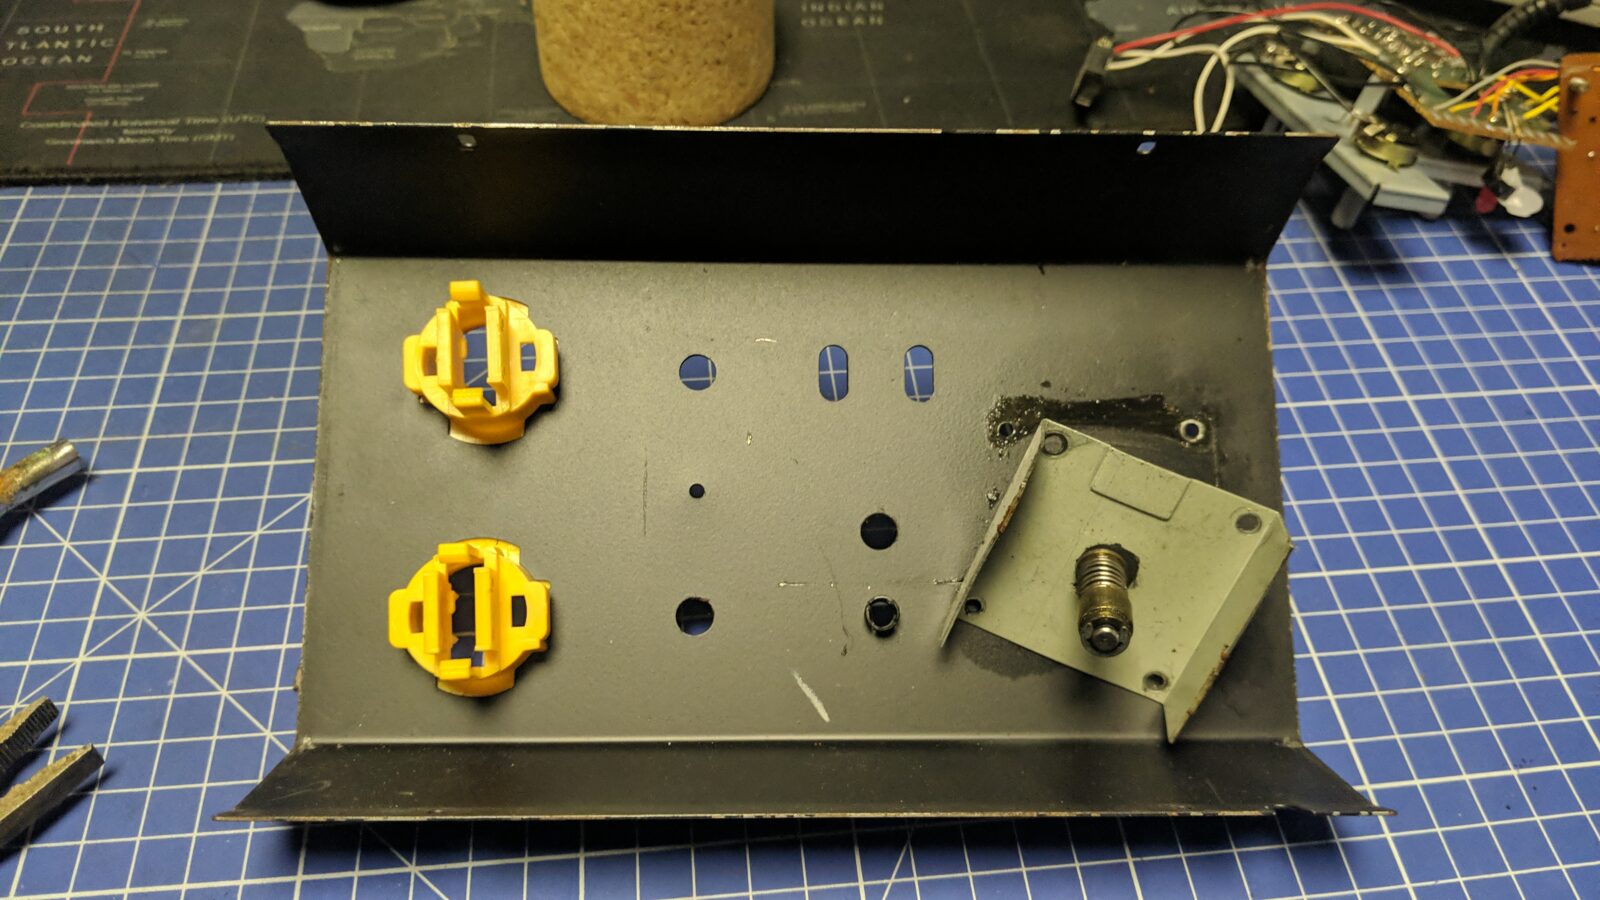
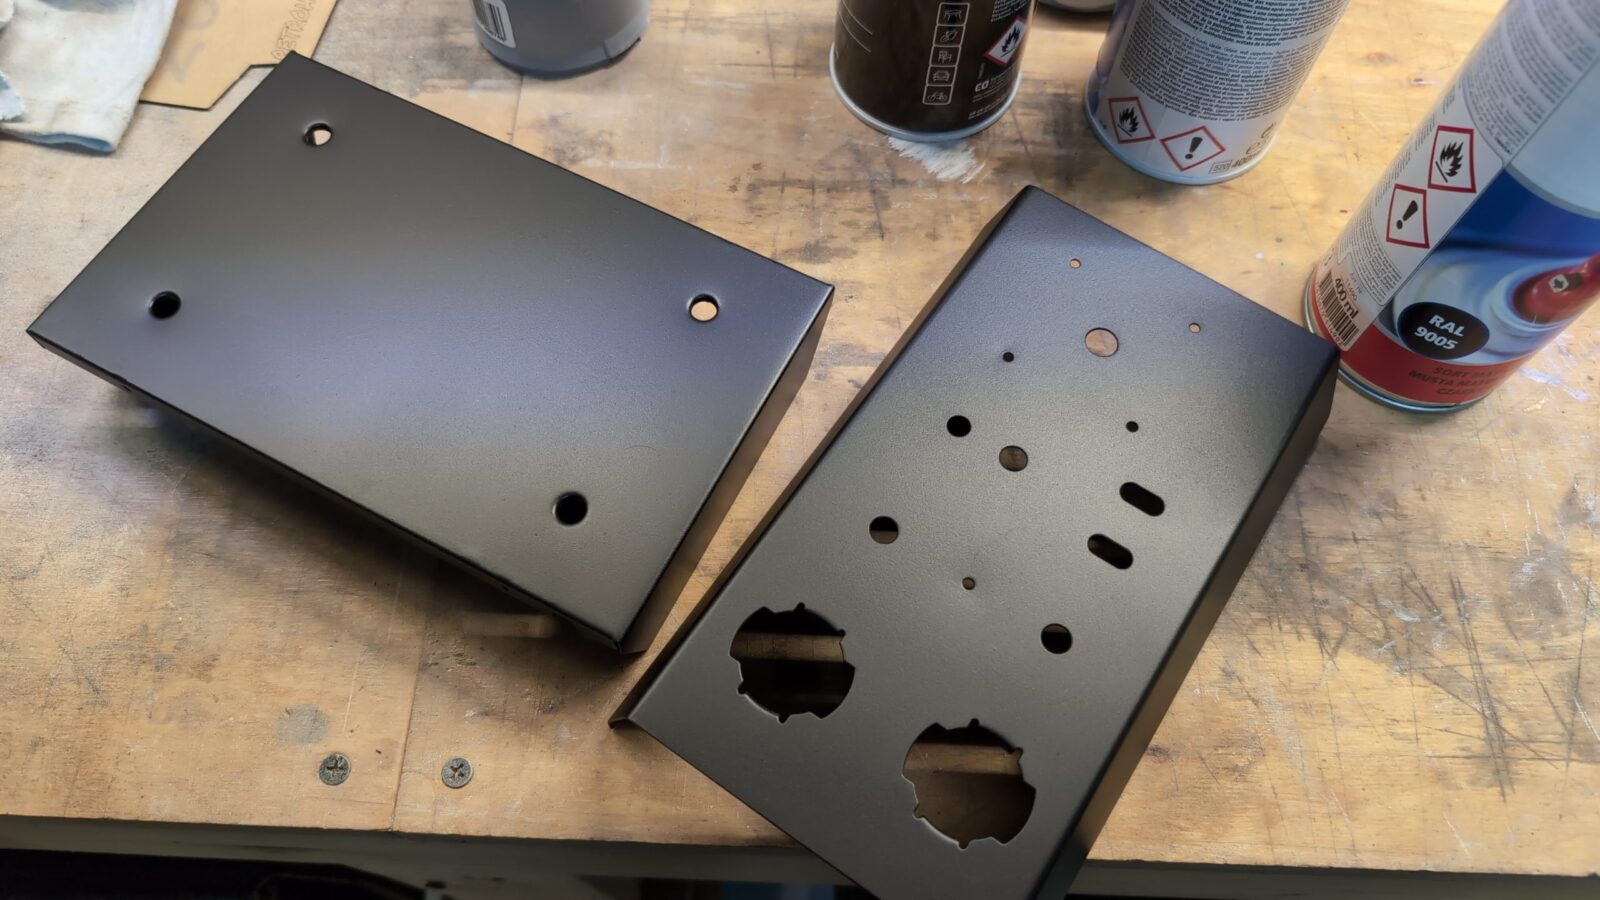
I started off with paint stripping. That part went smoothly.

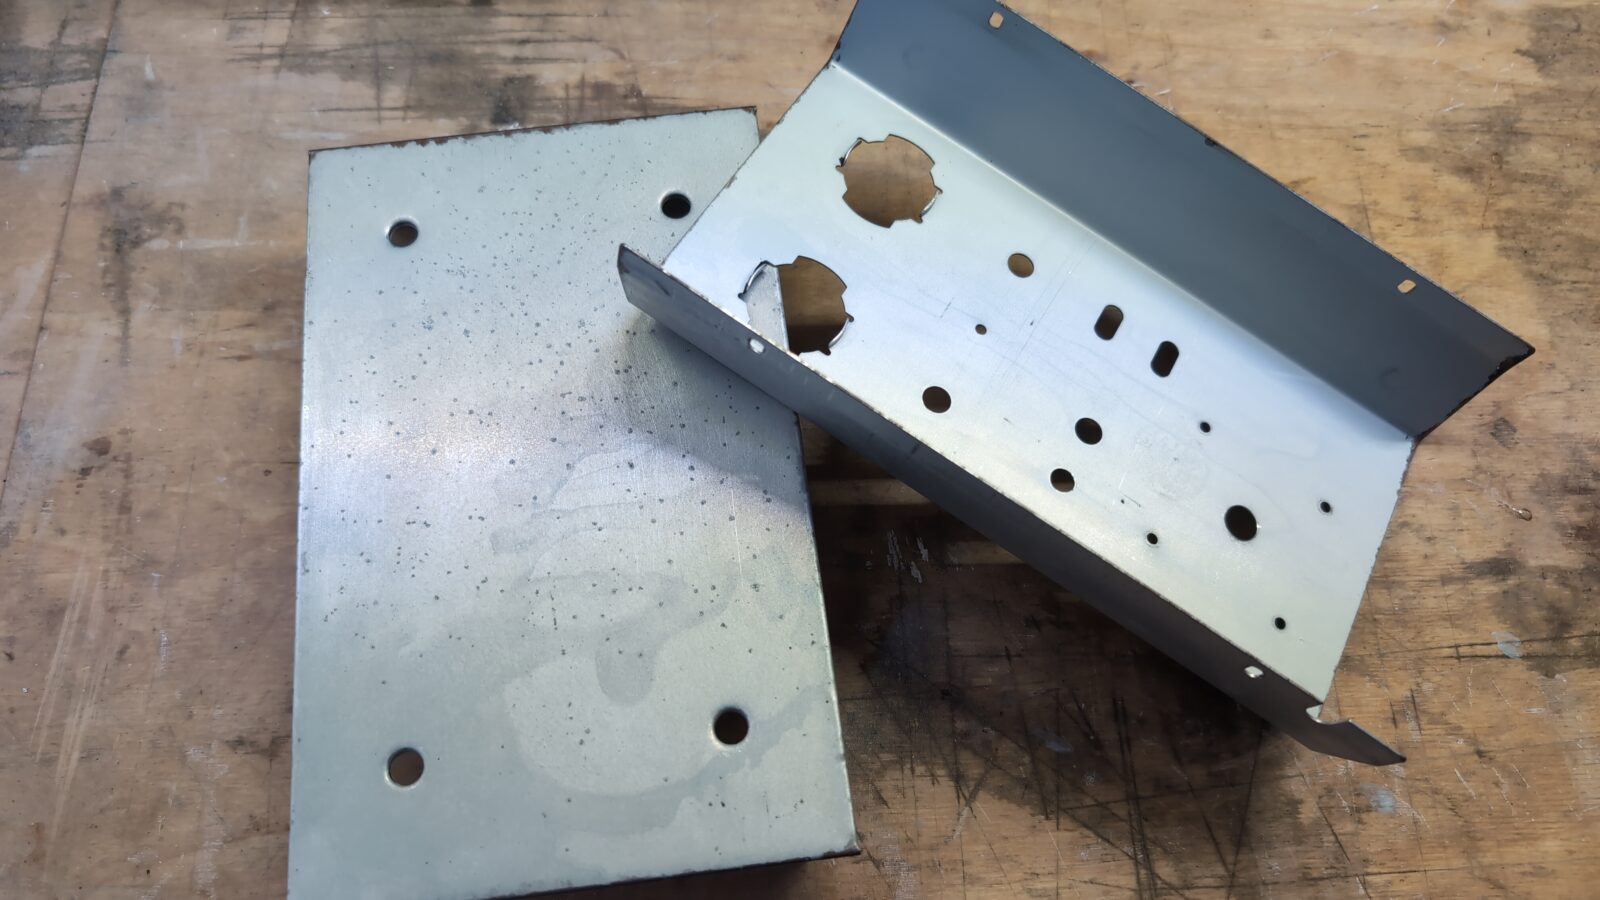
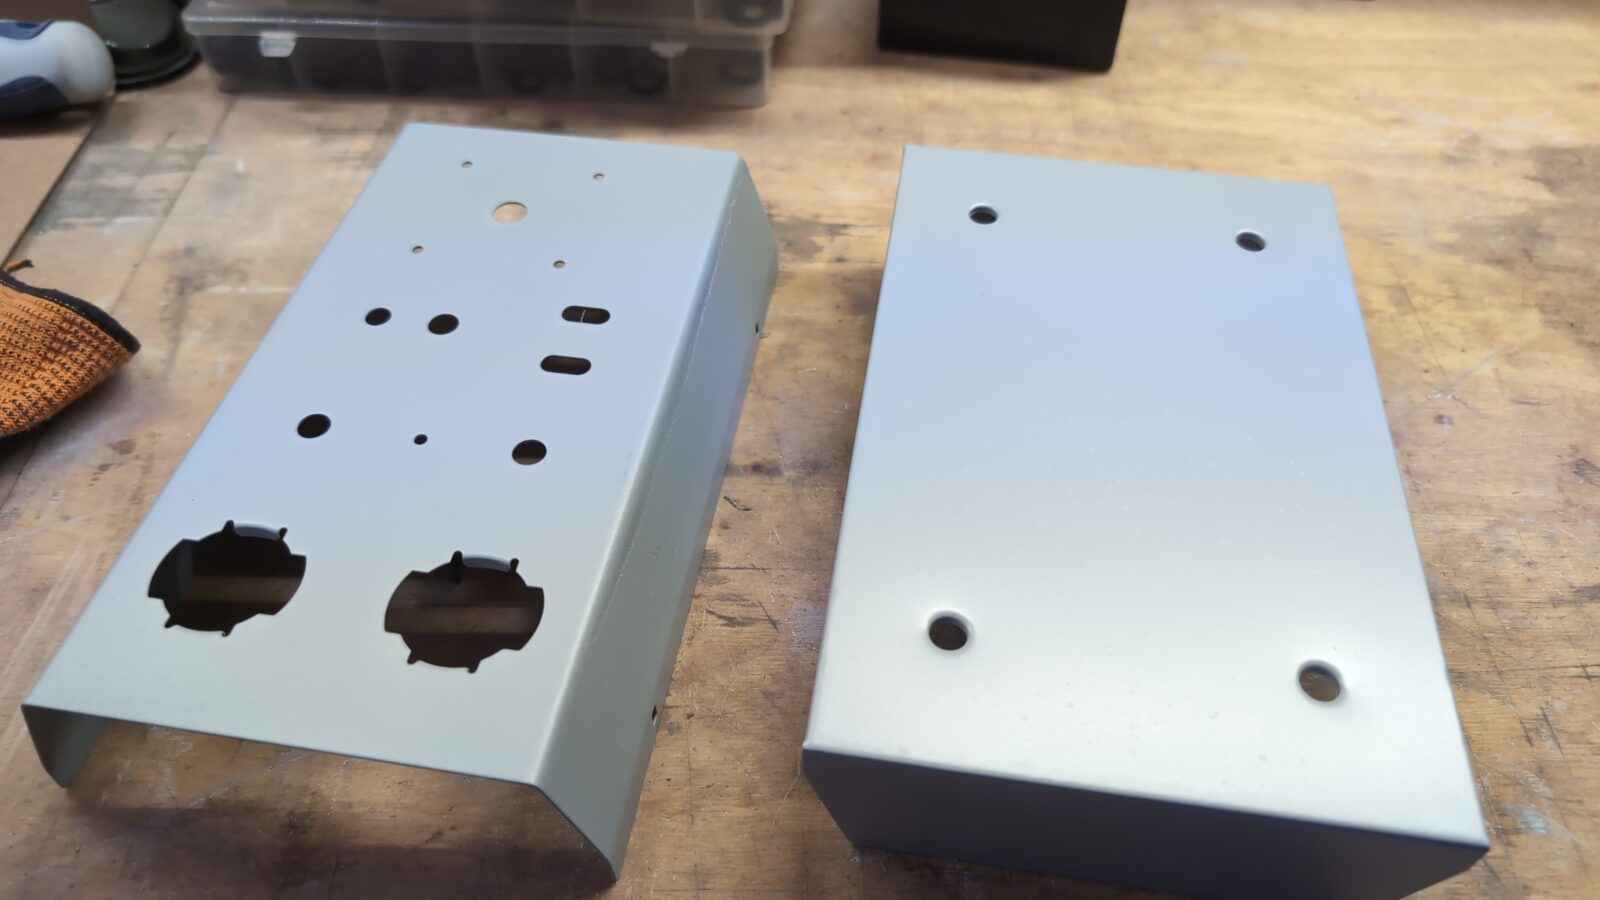
Witha bare metal in hand, I could sand off the rusty areas and apply undercoting followed by a black matt finish. Obviously, sanding every layer so it is all nice and even.
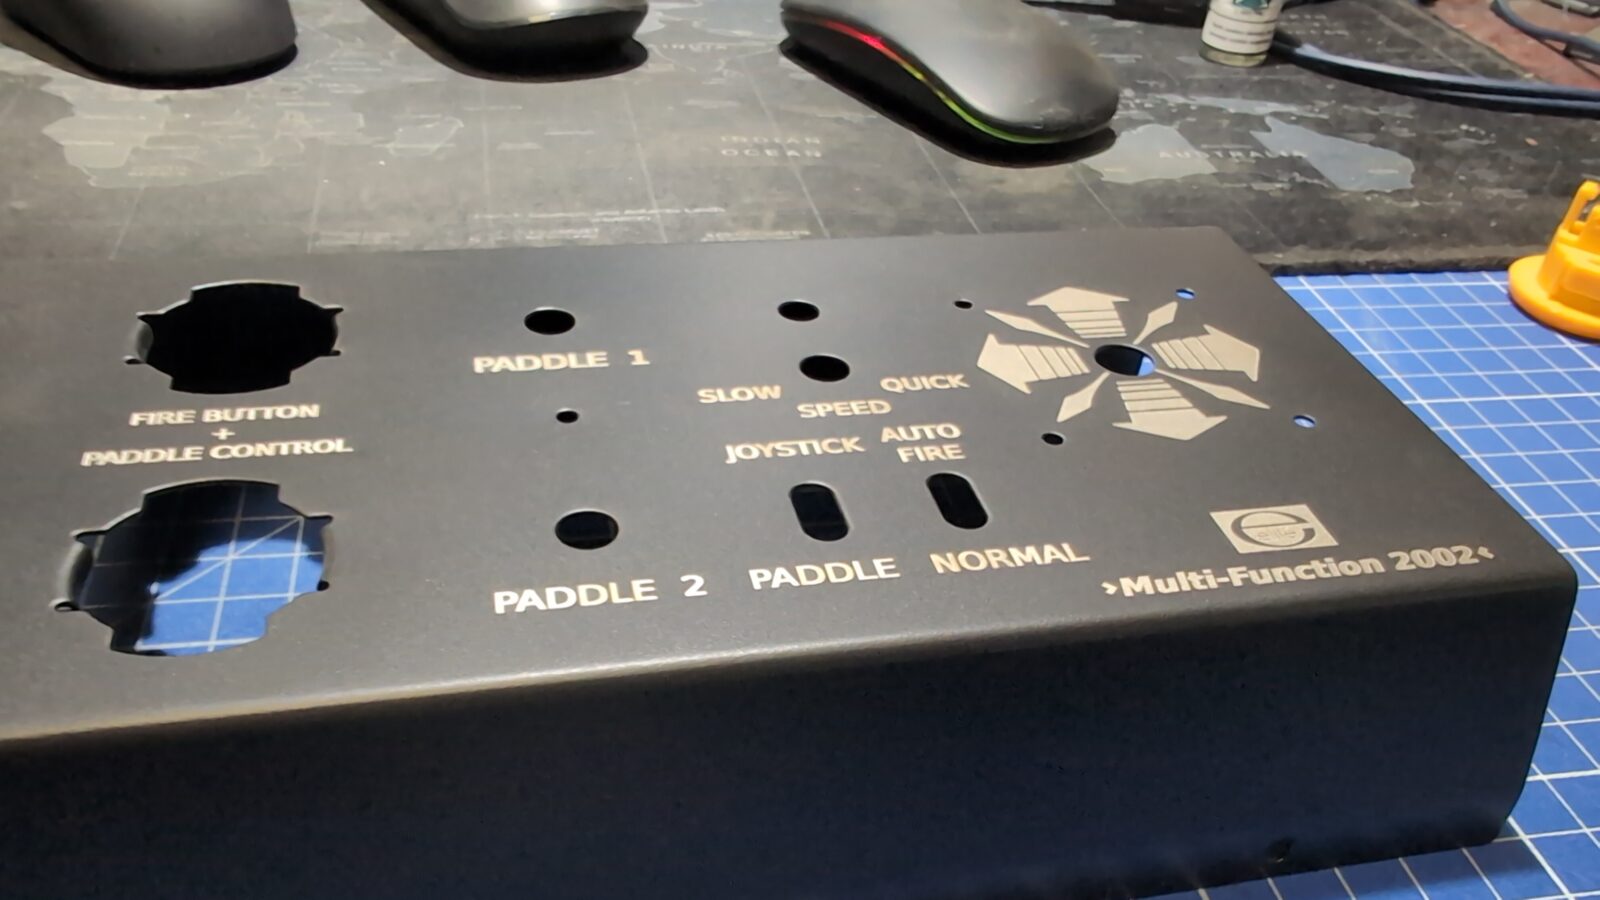
Laser time 😀 Below you can watch how it looked live.
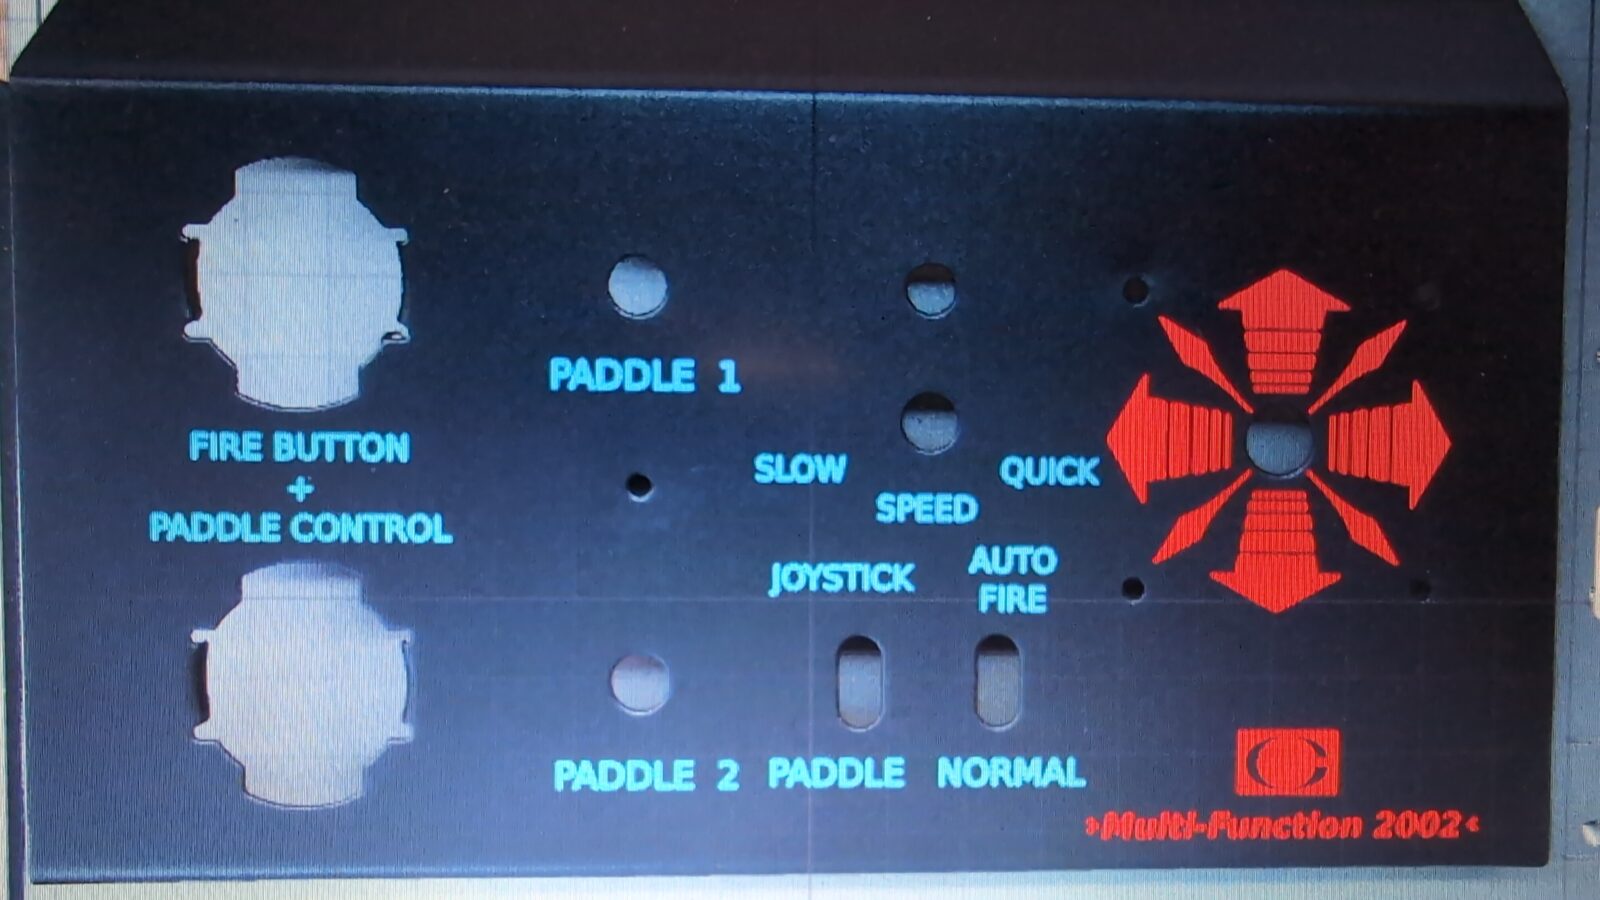
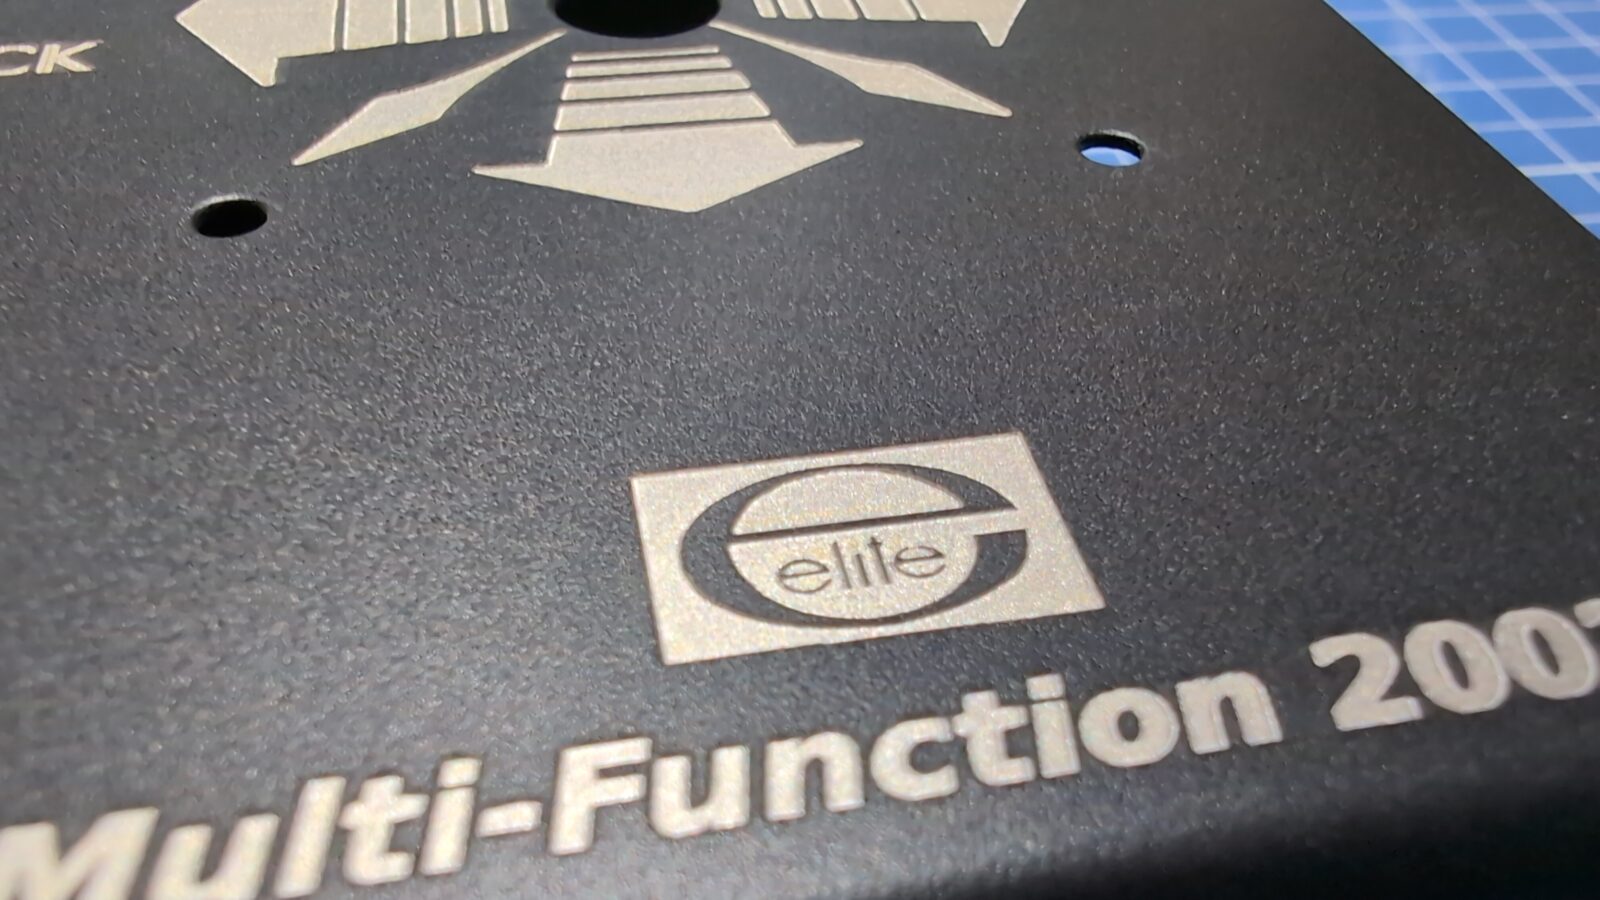
The outcome.

Assembling it all back
With the case engraved and finished, I could start putting it all back together.
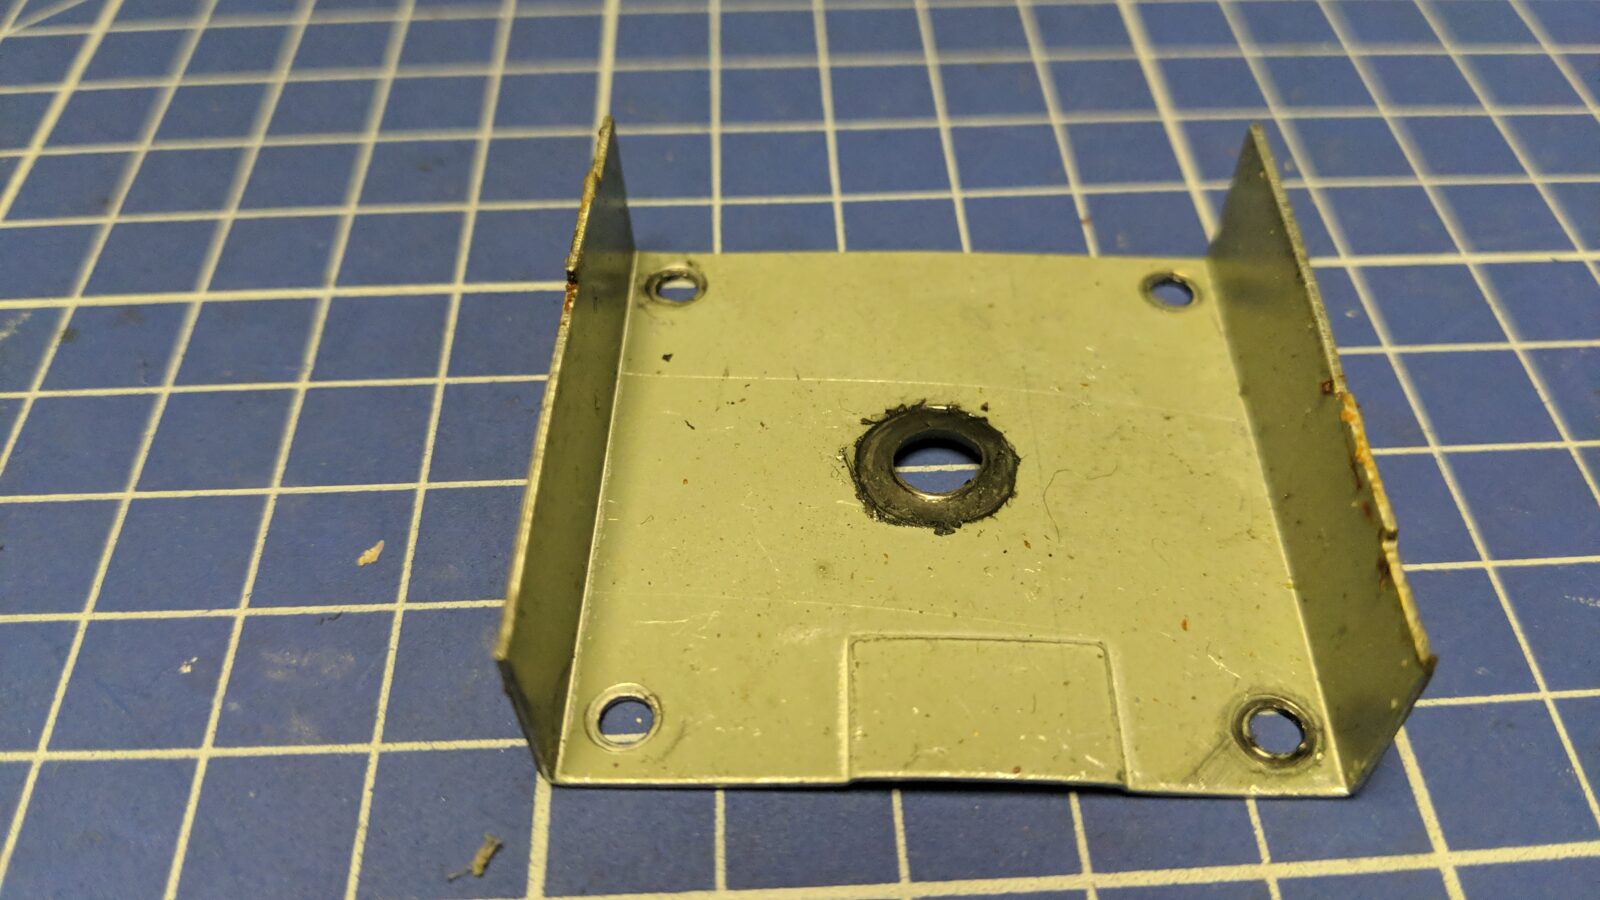
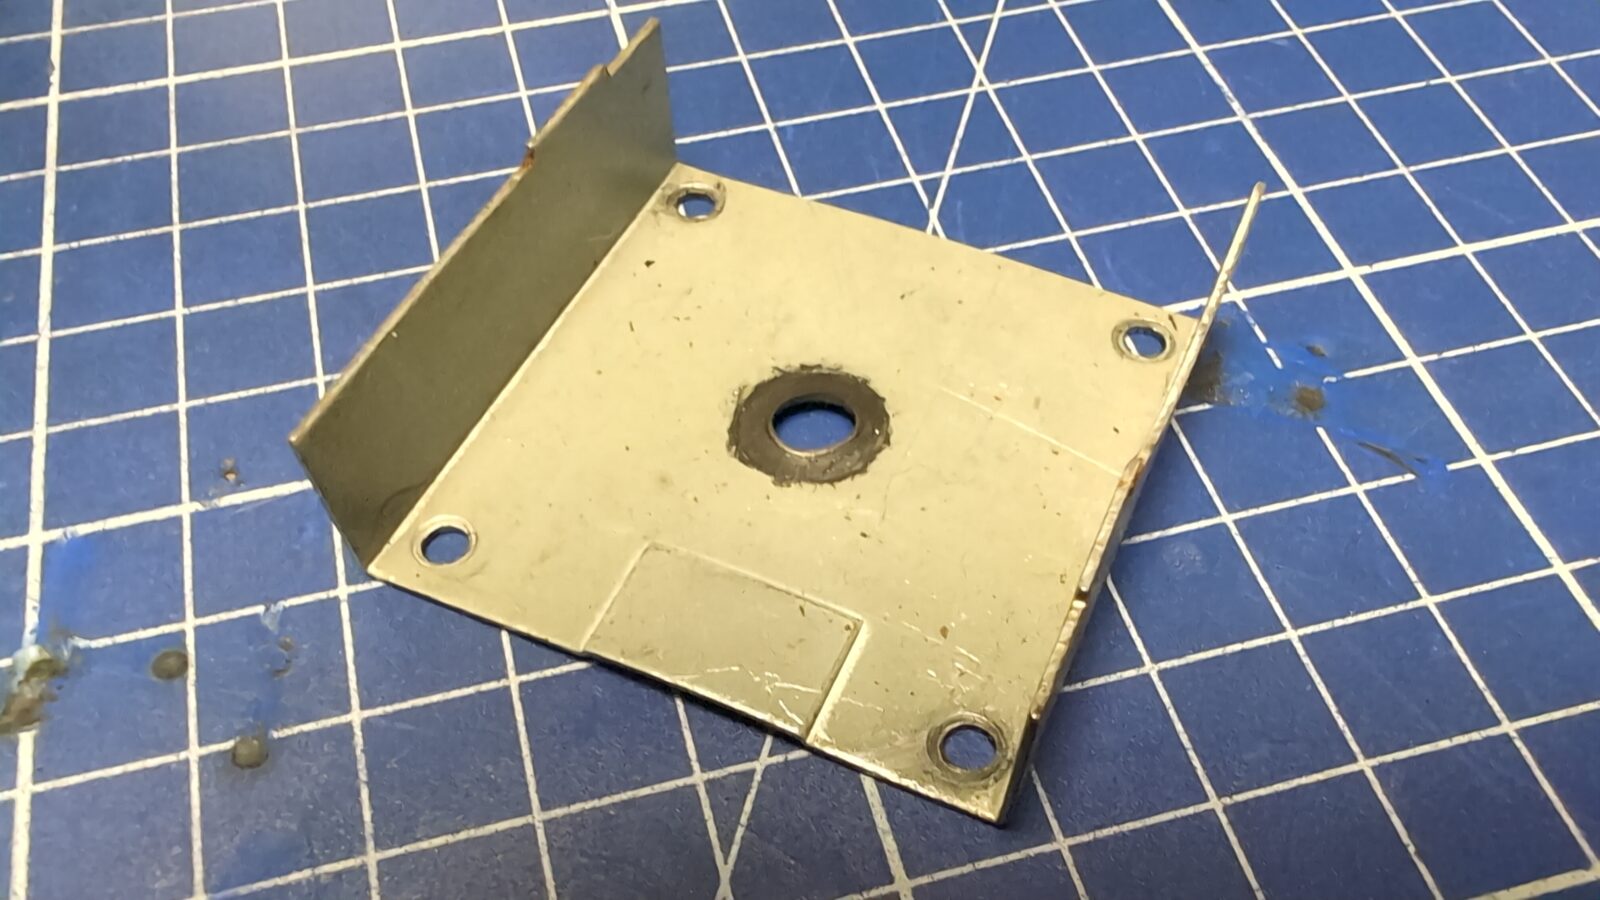
Sheet of metal that holds the actual joystick in place had to be straightned. Also, the actual joystick was cleaned and polished.


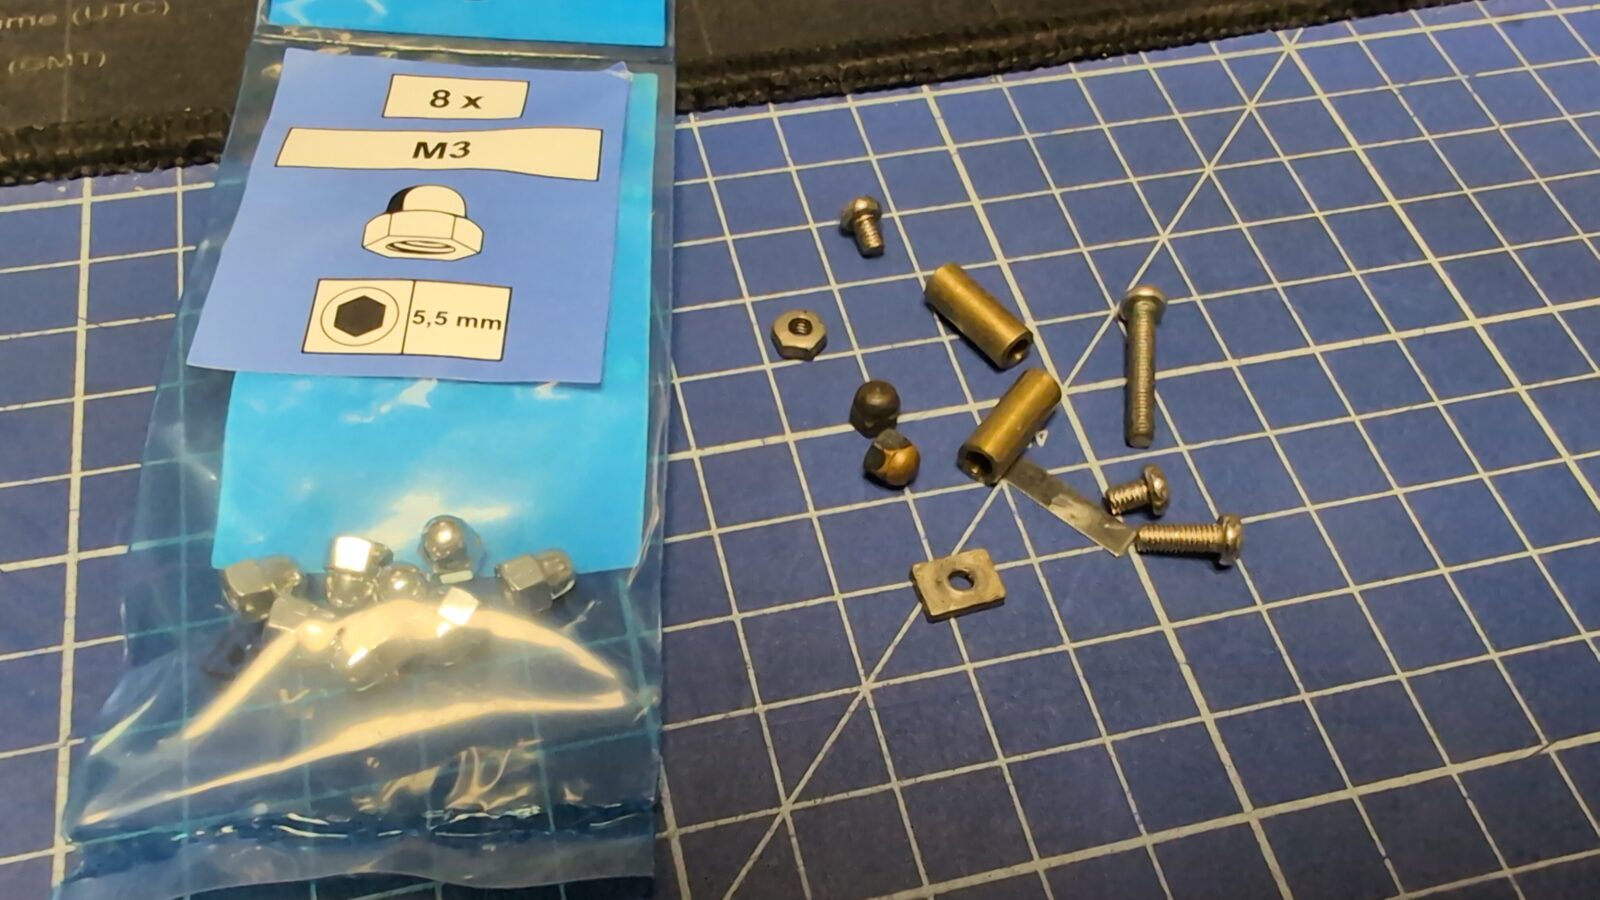
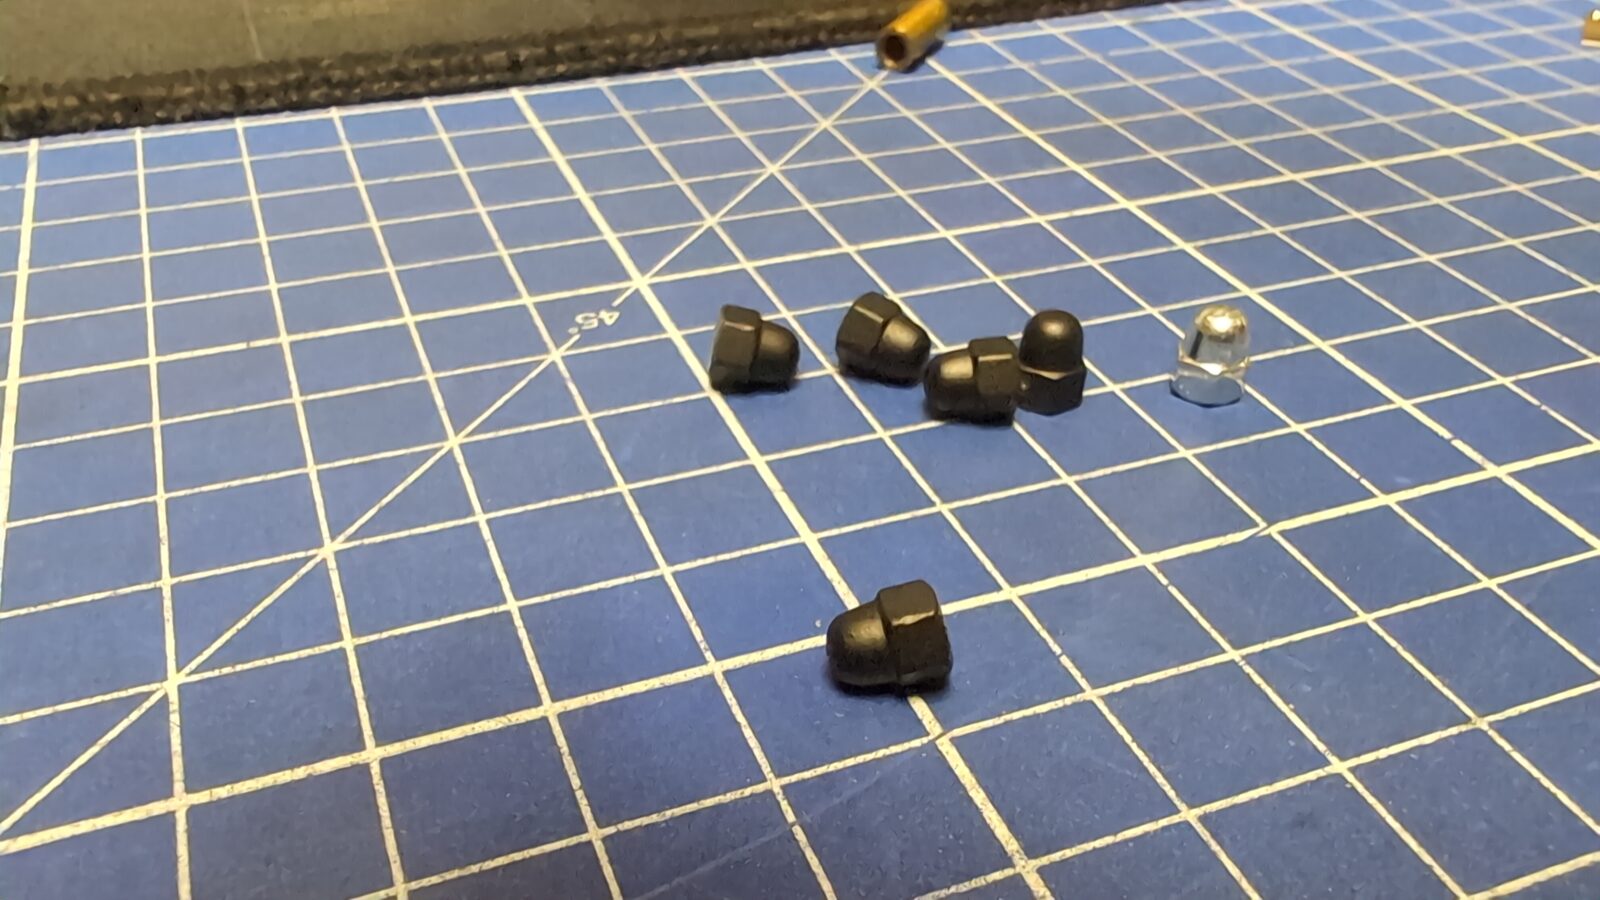
The top screws had to be replaced. I’ve found a good-enough replacement, painted and installed it.
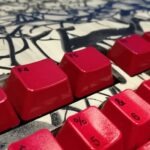
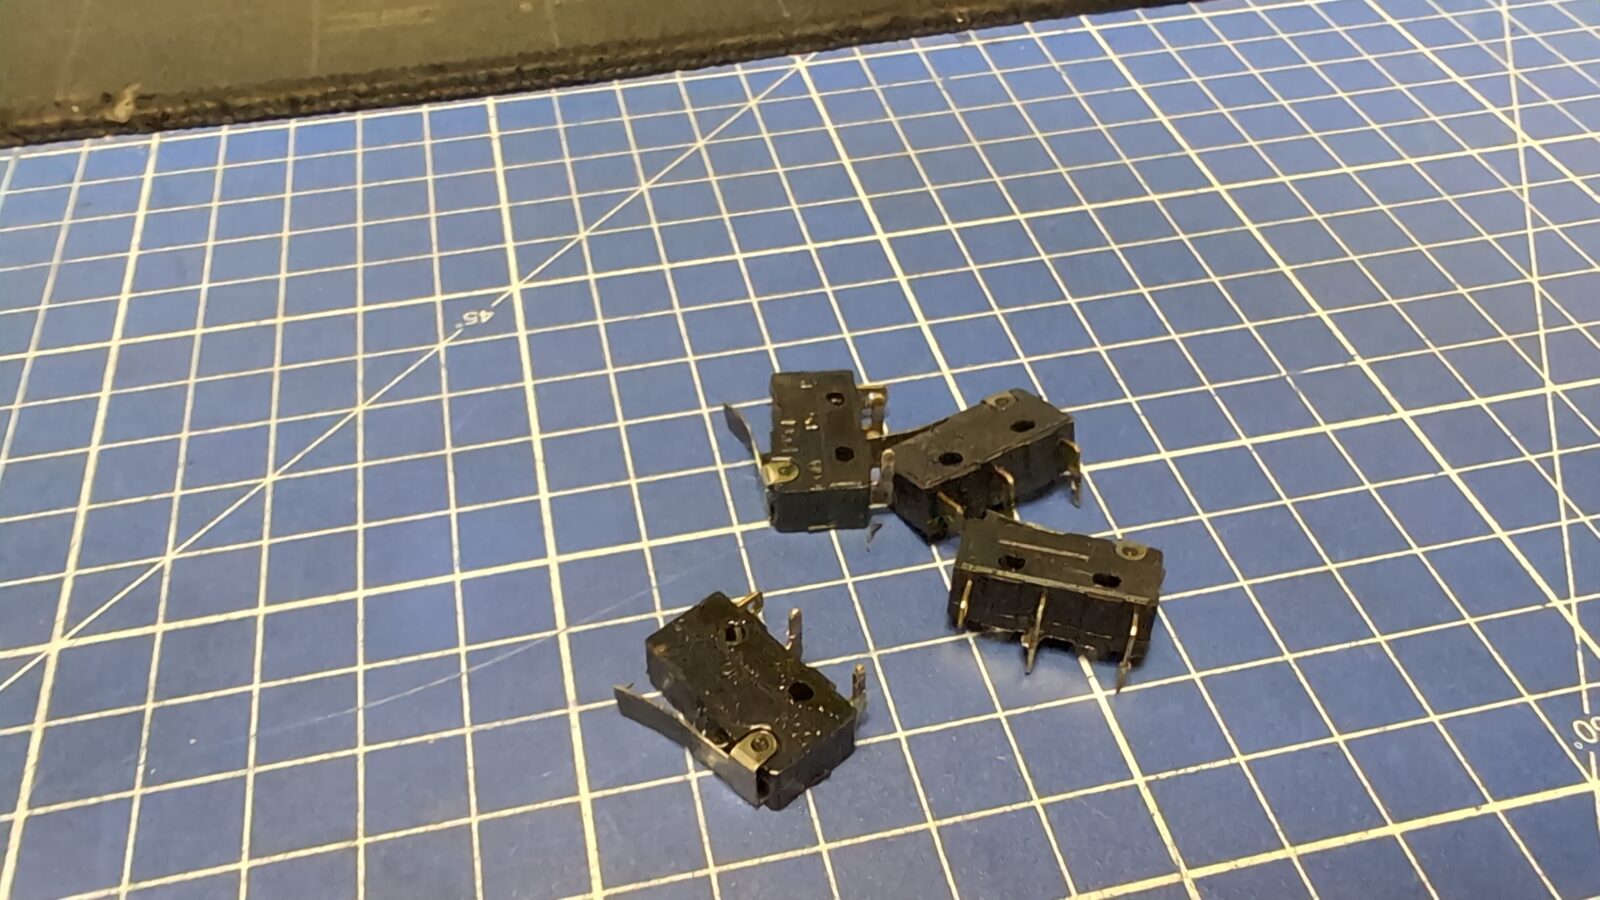
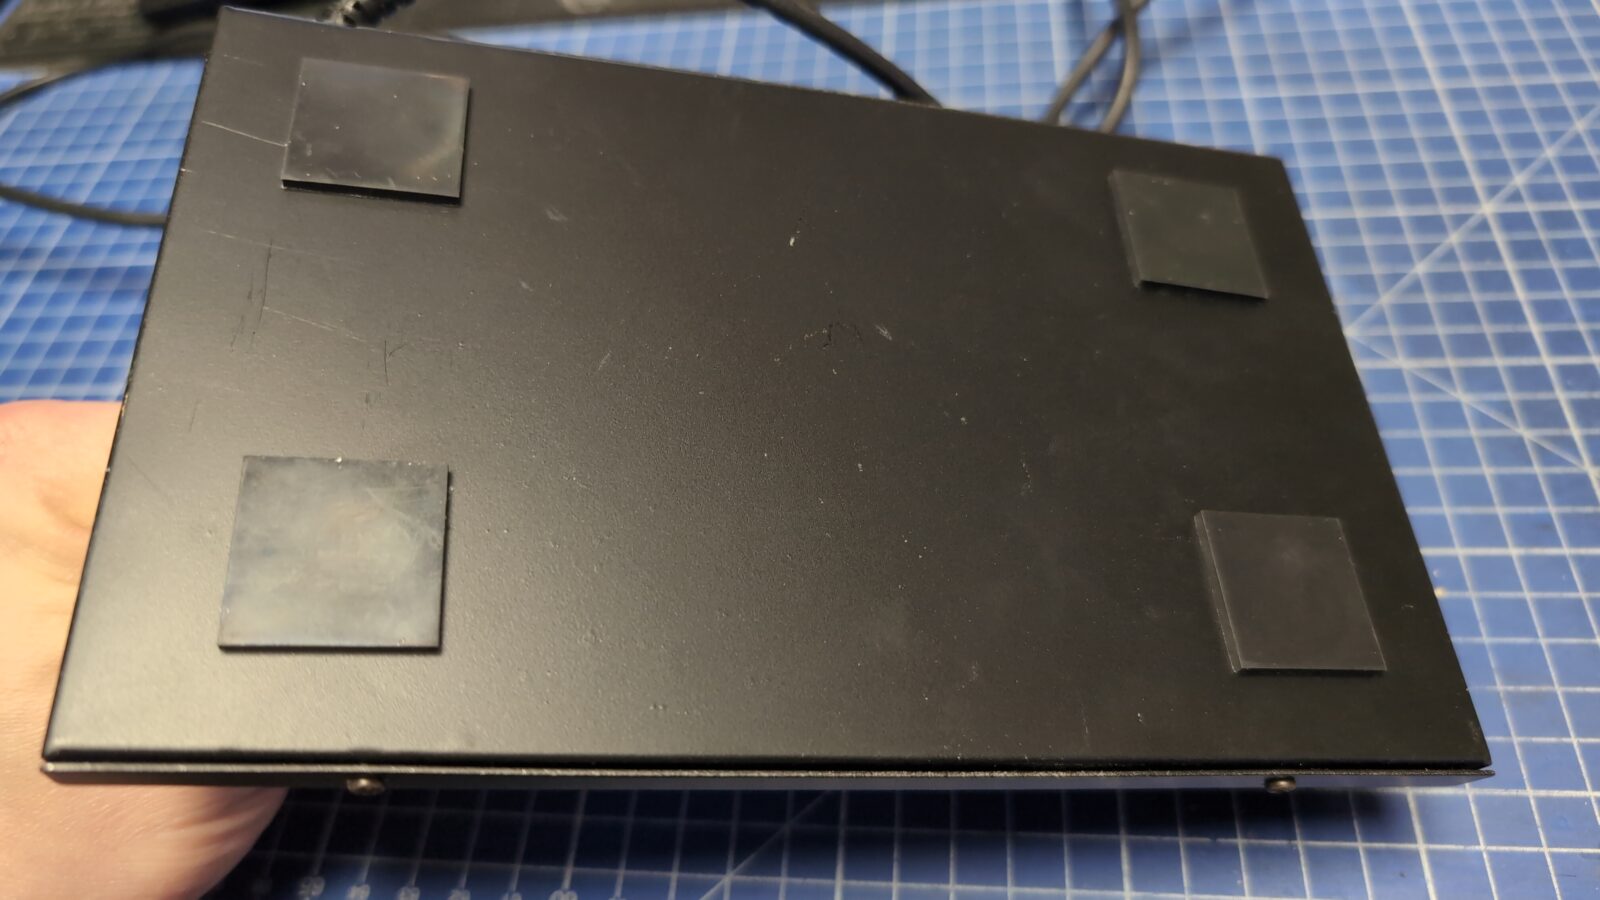
Next, I’ve installed brand new microswitches and as a final touch, put on some rubber pads on the bottom.
The grand finale
This is it. I am rather pleased with the outcome. Obviously, all the markings could be whiter but still, it looks better than at the beginning. Do you agree or not?
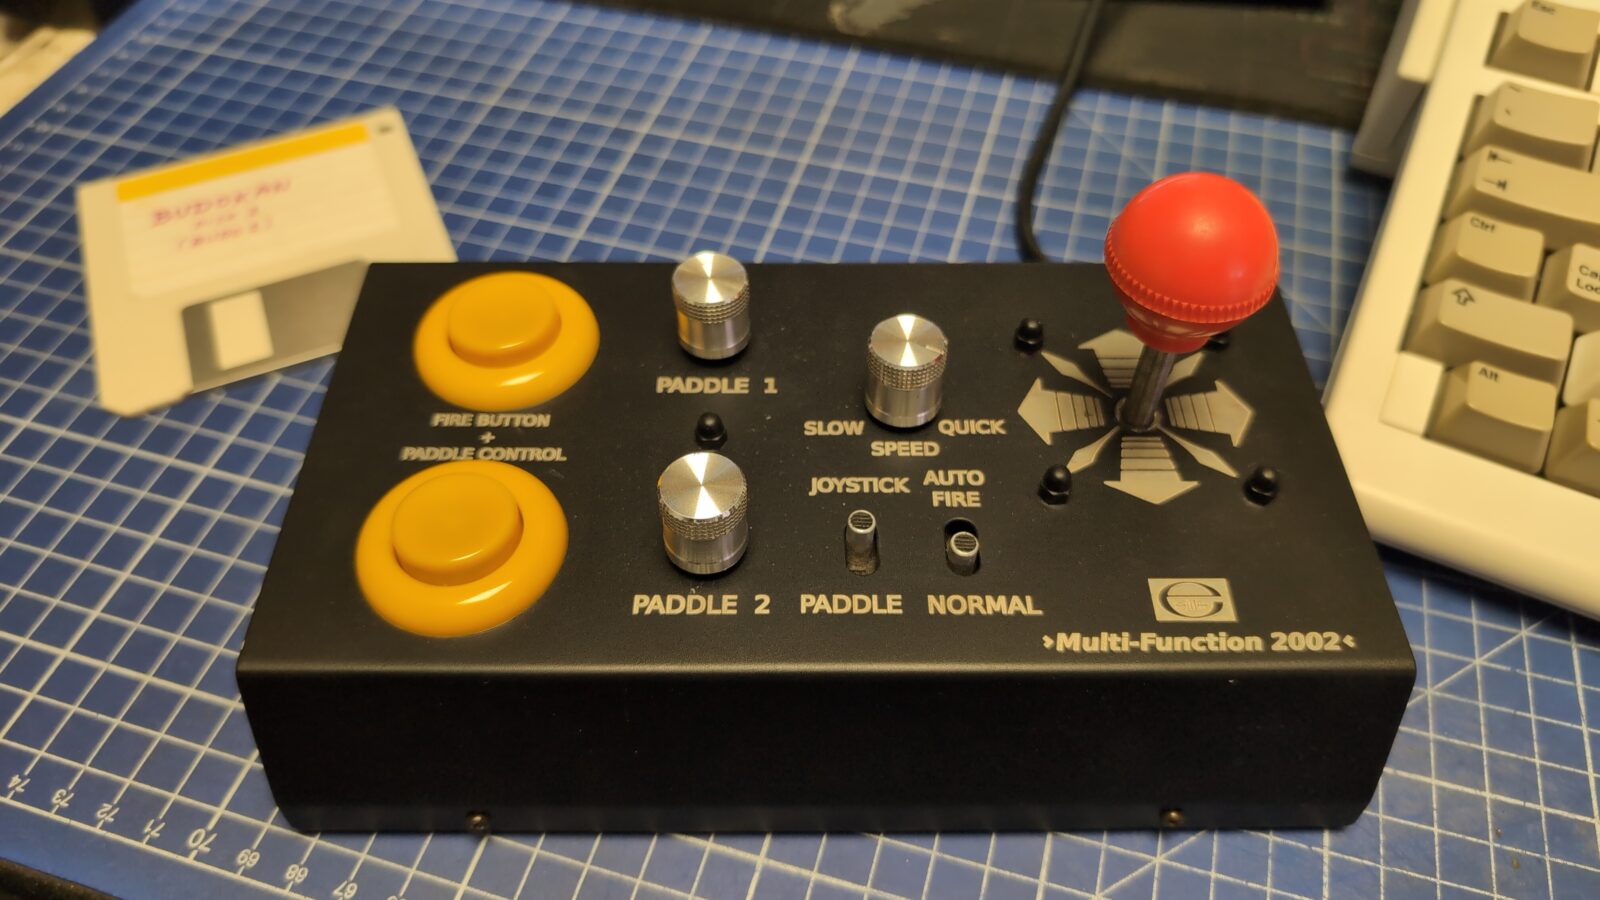
Now we can safely play Budokan 😀

Downloads for this project
Outro
See you in the next post 😀