…or sculpturing is not that bad for health ;P
Intro
Well, it just had to be this pic:)

The story
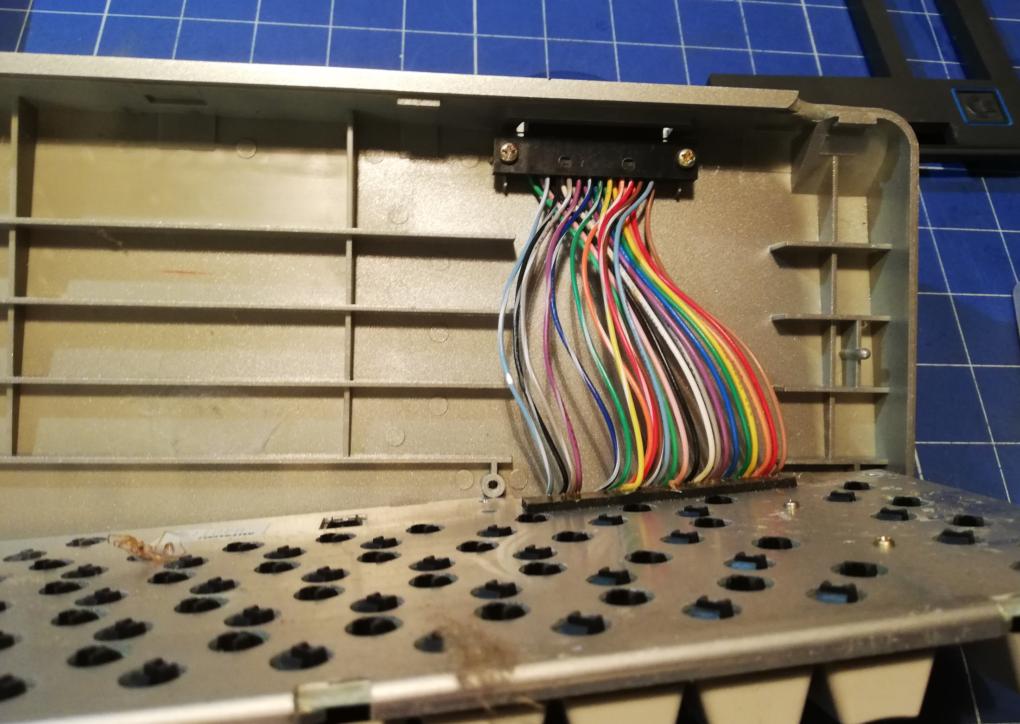
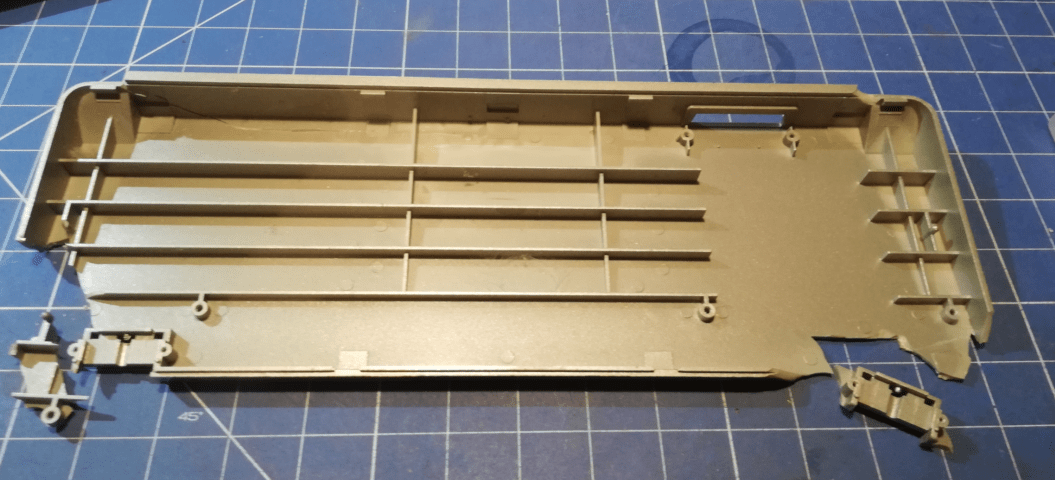
Some time ago, Carrion/Bonzai asked me to fix his SX-64 keyboard. I was like … hell yeah! … I’ve never worked on SX-64 gear. The problem was, at that moment I didn’t know what was wrong with that keyboard … until pics arrived
By the way, Carrion and Yugorin run an awesome website – c64portal.pl – The website is in Polish and contains lots of valuable info about Polish Commodore demoscene and Commodore in general. Both gentlemen are also the main guys behind the Moonshine Dragons party – currently, the largest C64 party in Poland.
Since I already agreed that I’ll fix it, there was no excuse. Carrion sent me that keyboard and the party has begun 🙂
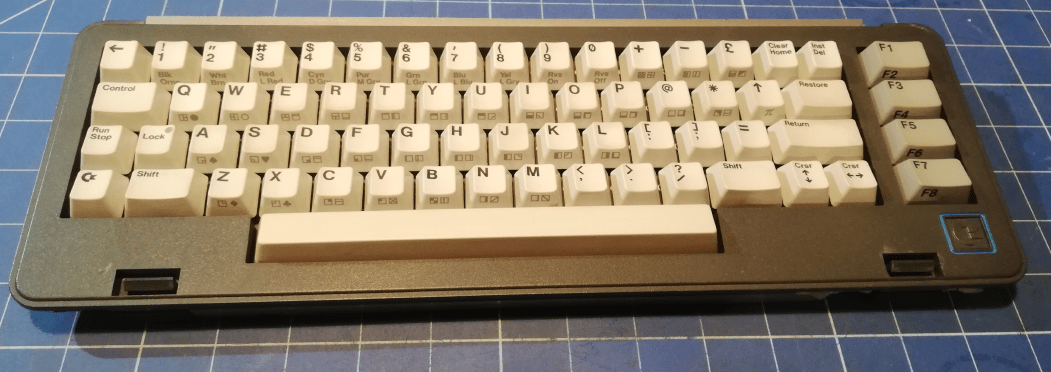

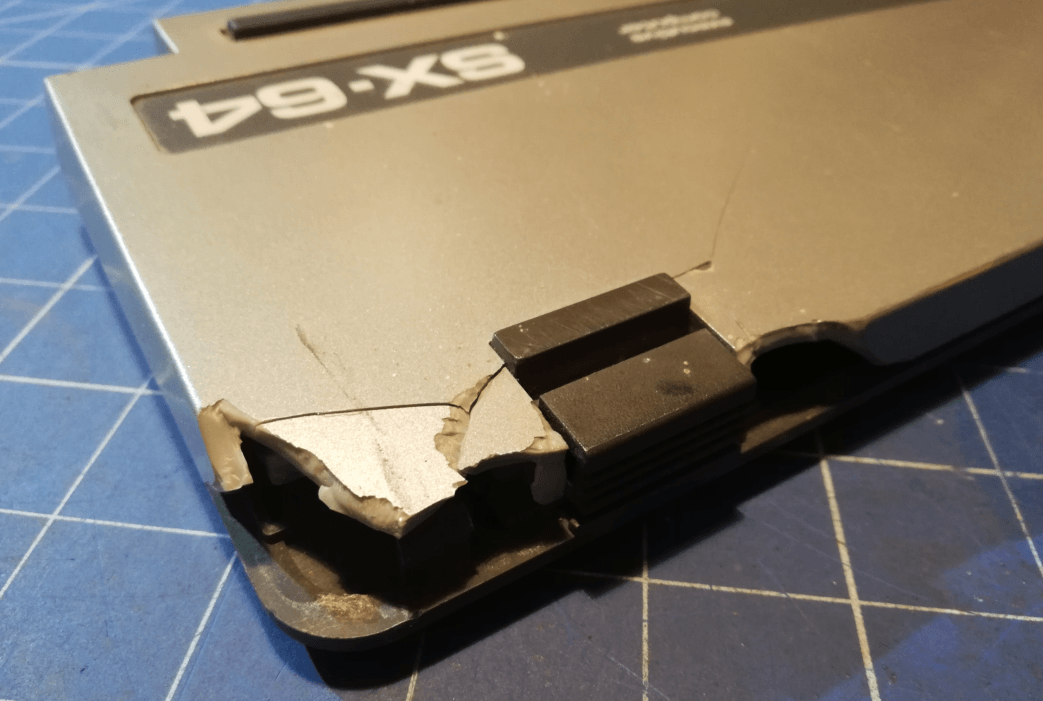
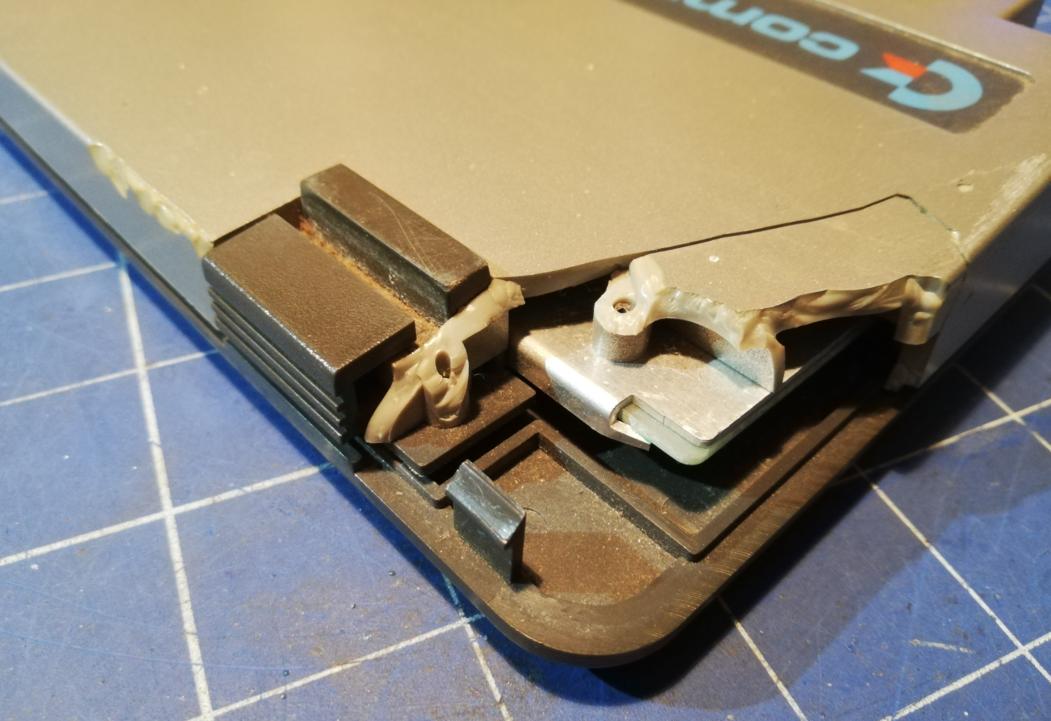
Disassembly
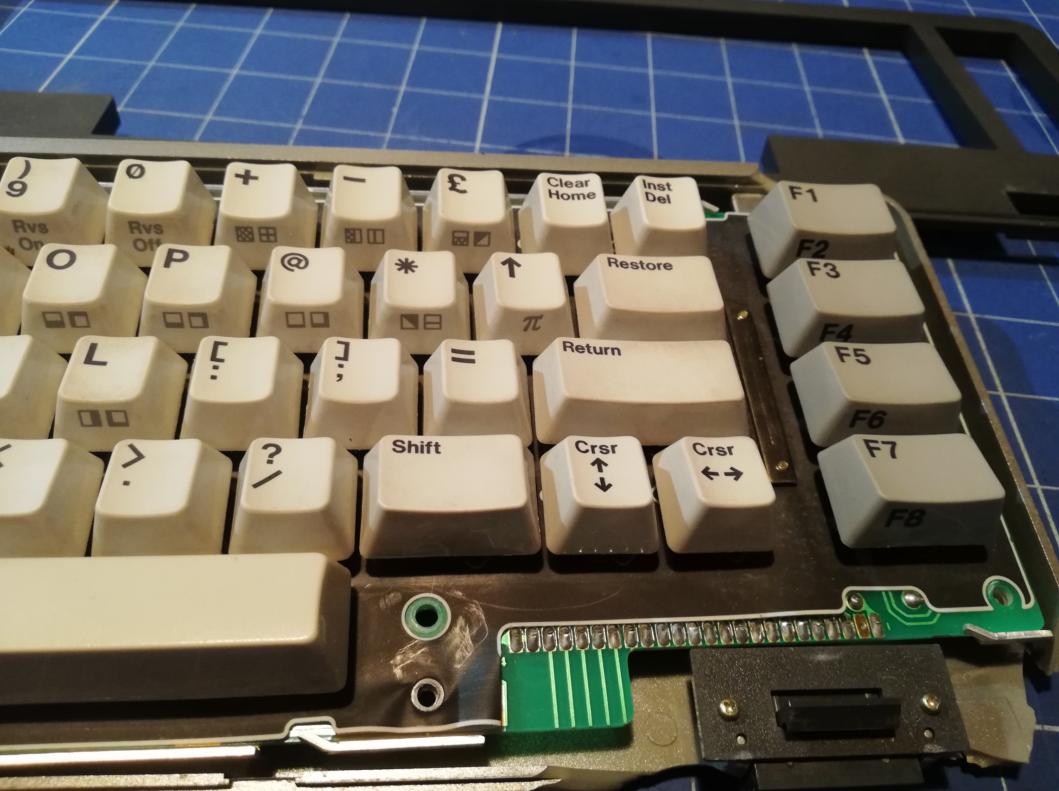
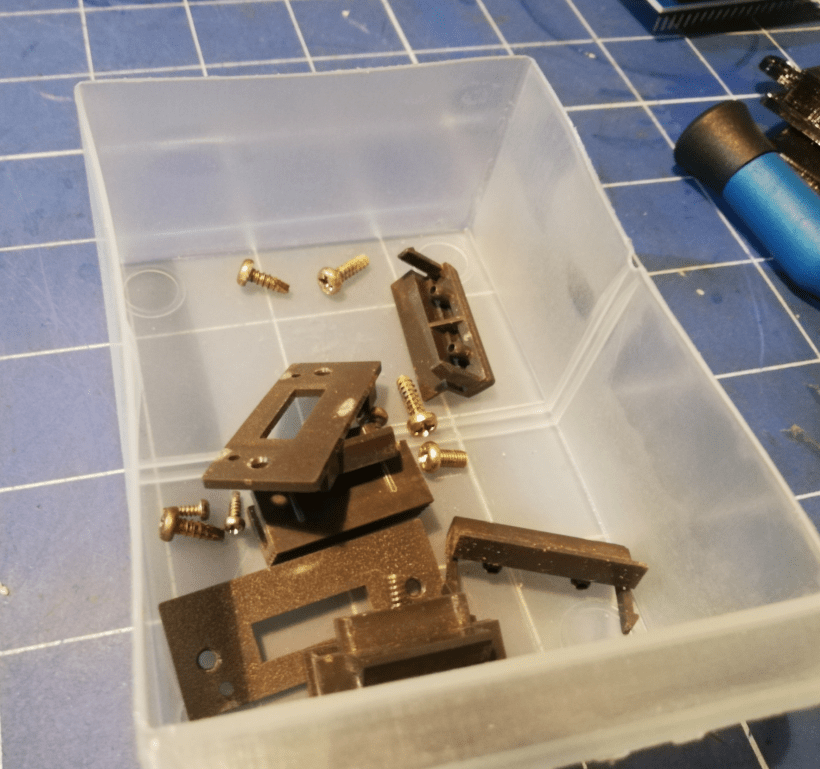
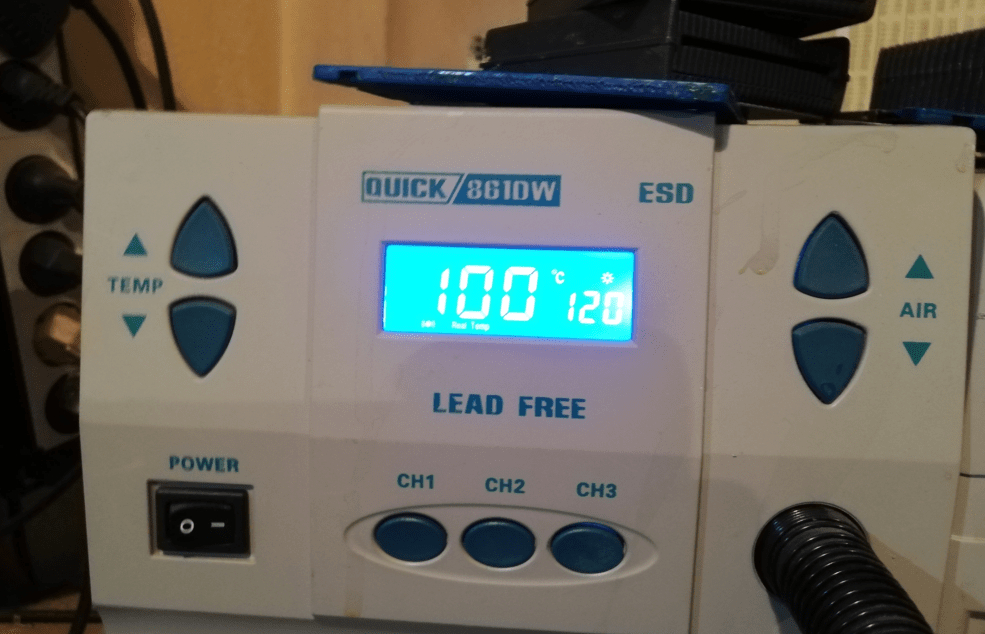
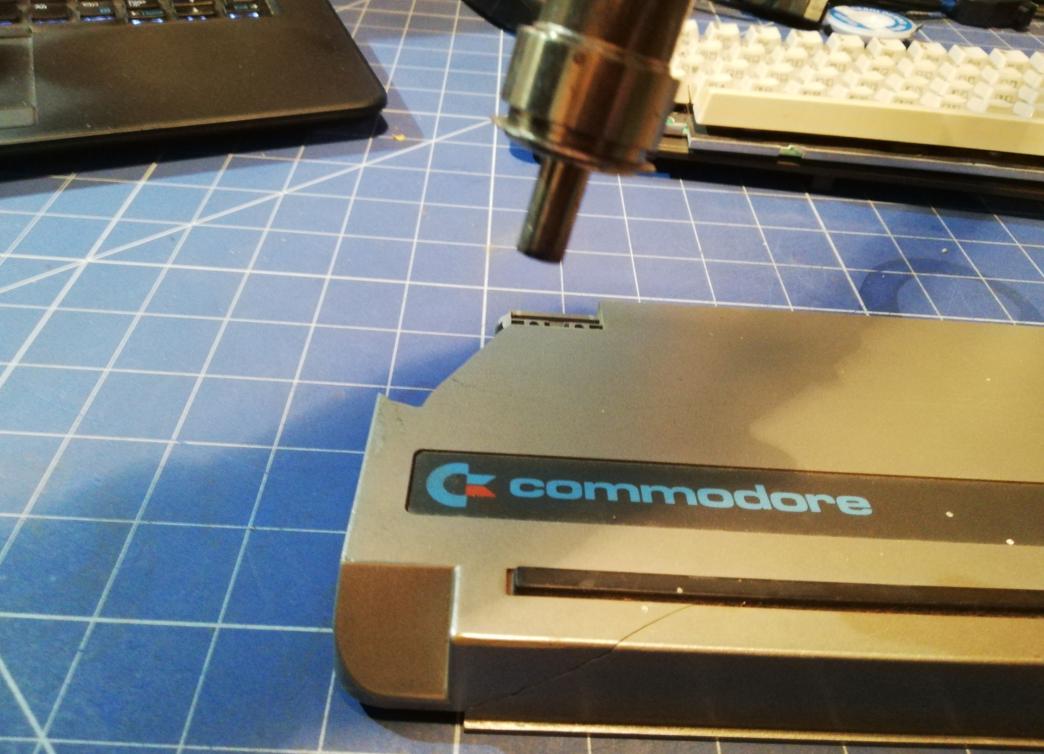
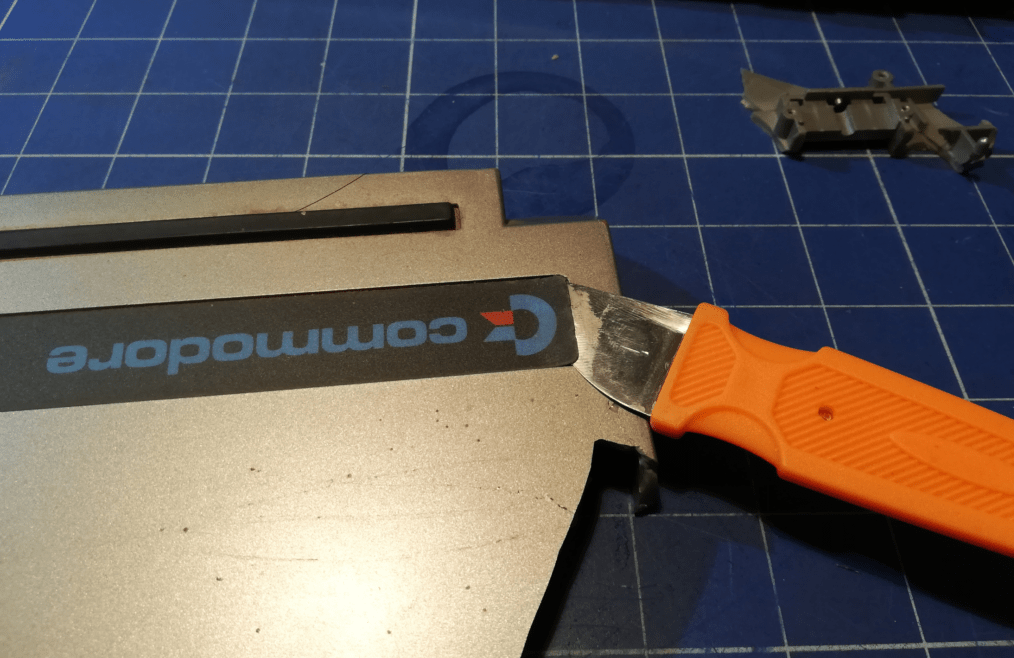
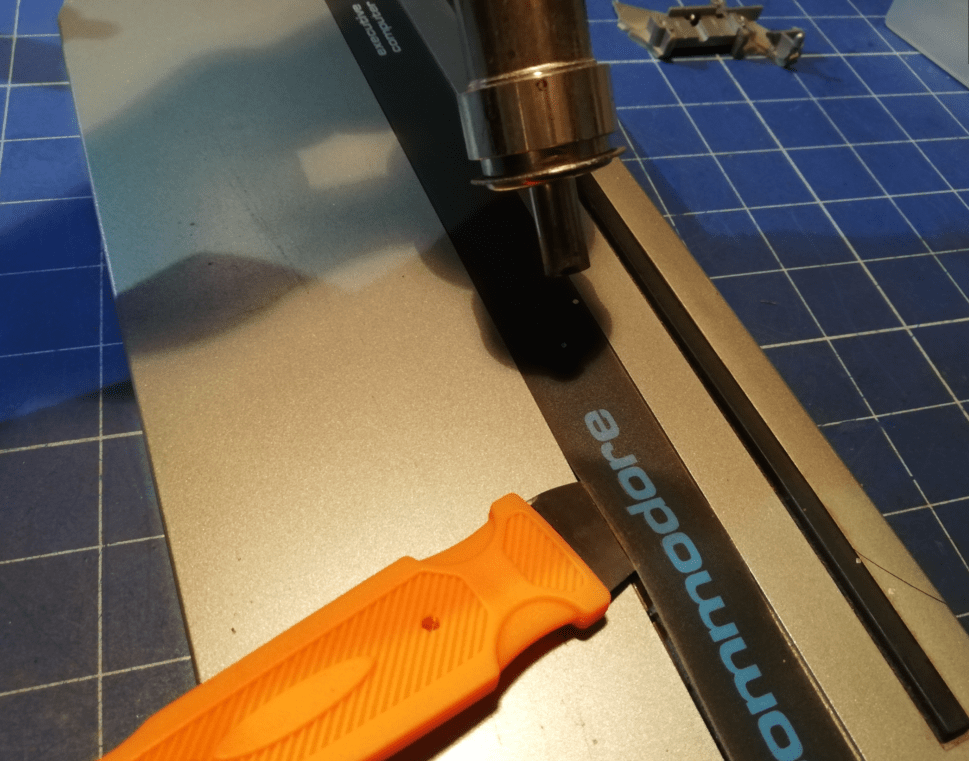
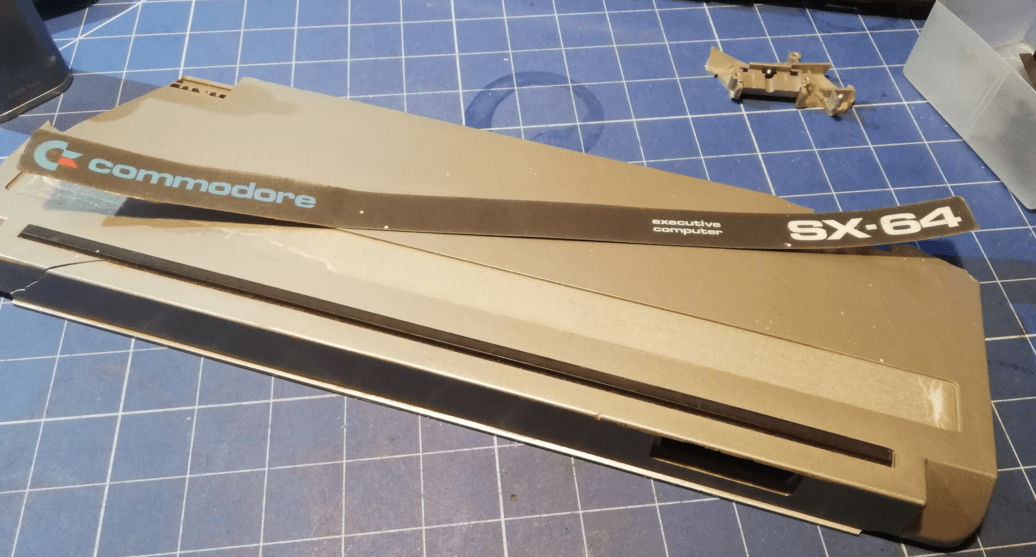
I had to remove the original stickers. That was done using a hotair gun set to 100 degrees C
Plastic welding and reinforcements
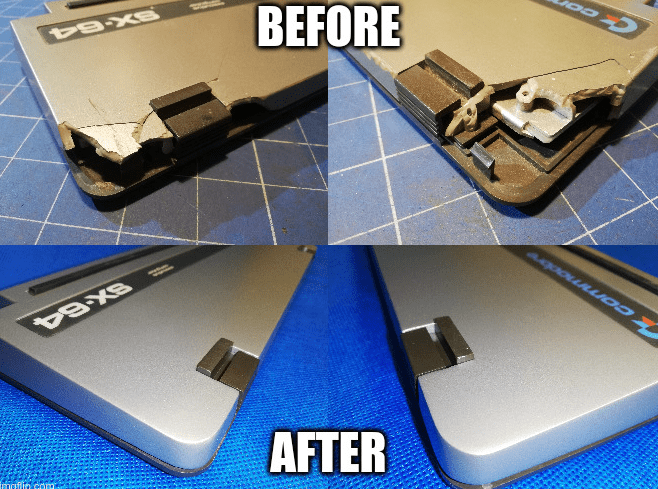
As it turned out, after close inspection, there were way more cracks than I thought.
All these cracks had to be addressed and reinforced – this is a lesson that I’ve learned after my Atari 800 XL refurb where joints were not stable enough and resulted in tiny cracks over time.
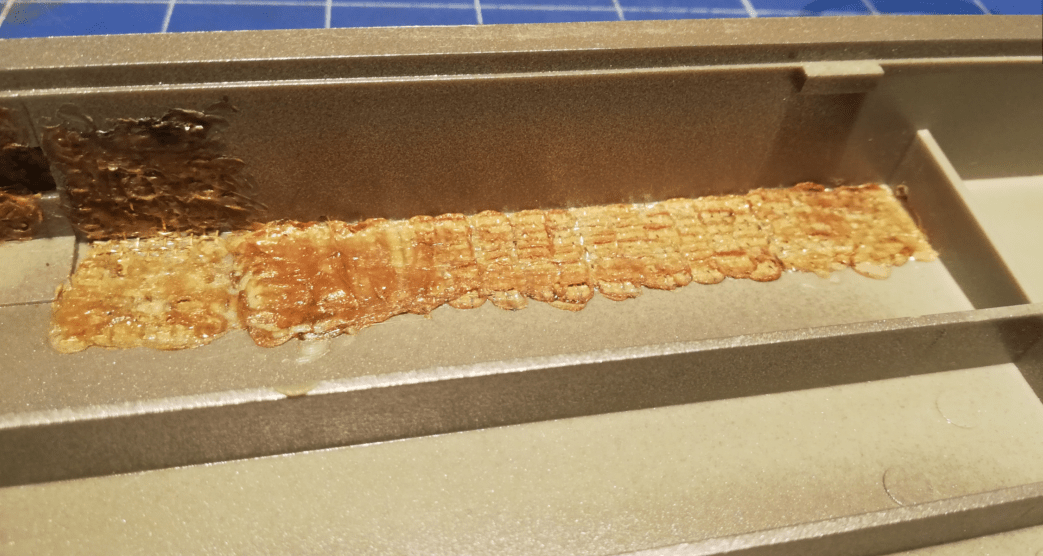
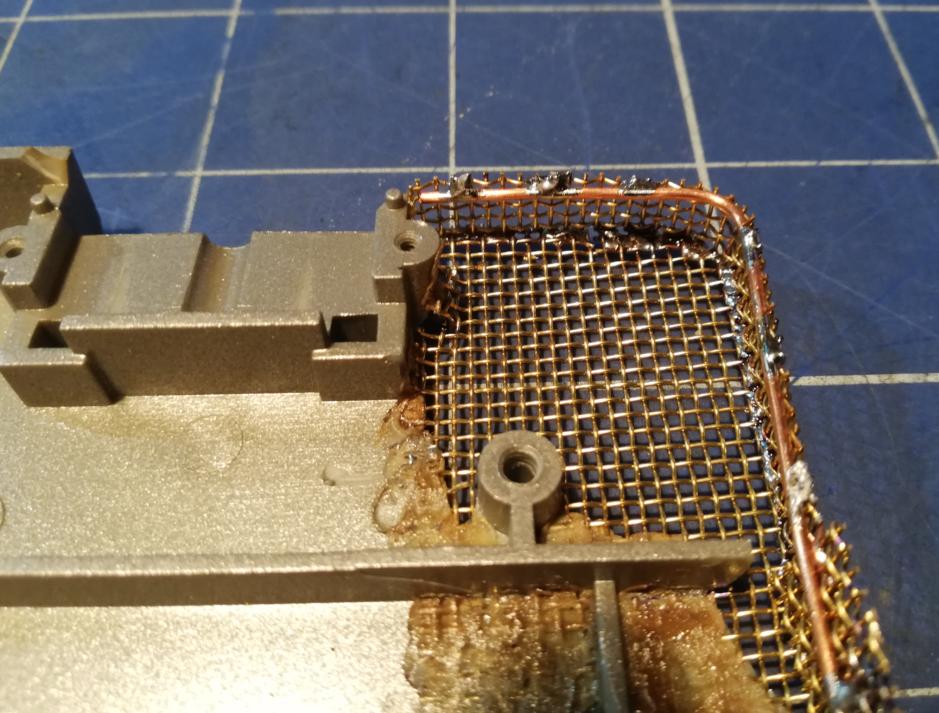
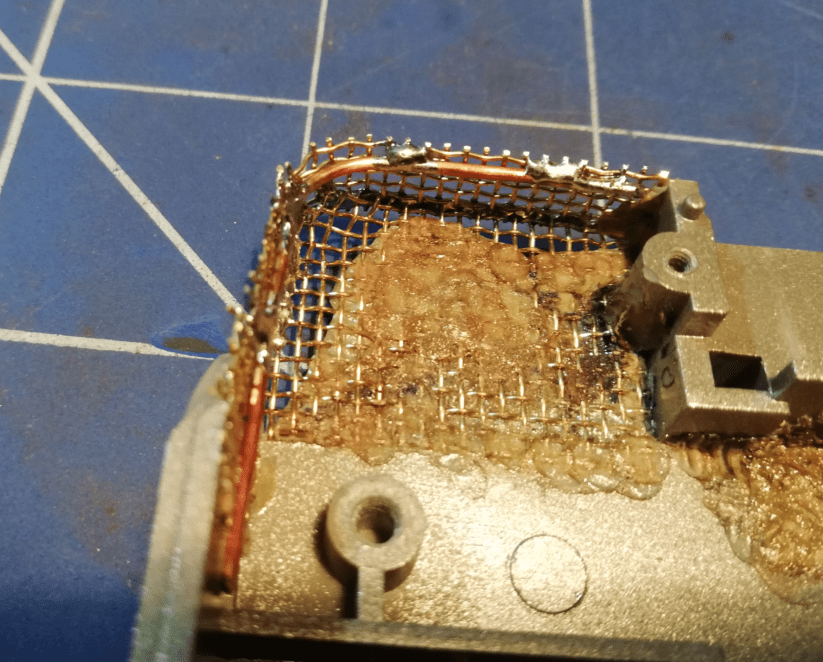
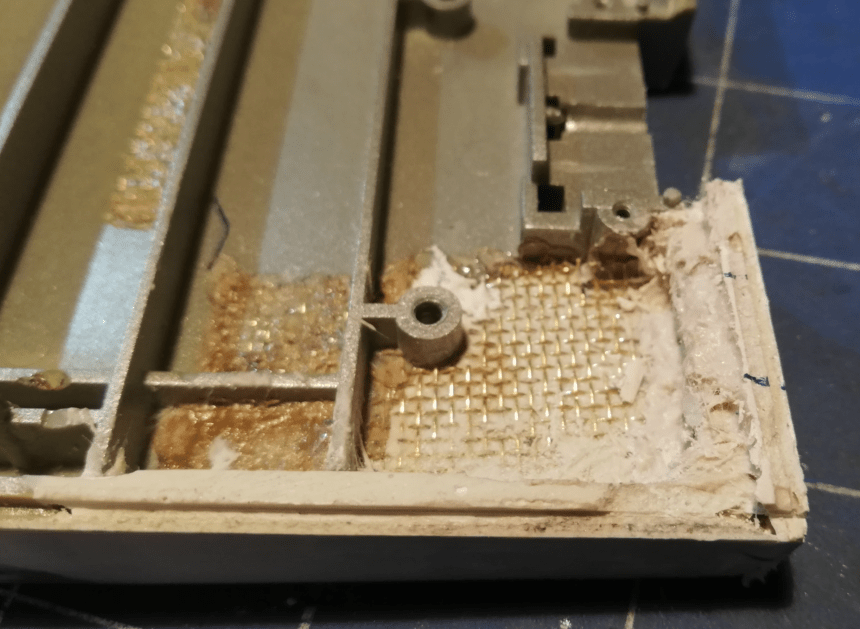
To achieve a proper result, I’ve welded in a brass mesh to serve as a reinforcement of cracked spots and as a base for resin-based compounds used later to rebuild missing plastic. The mesh had to be custom cut.
This is how the process looks.
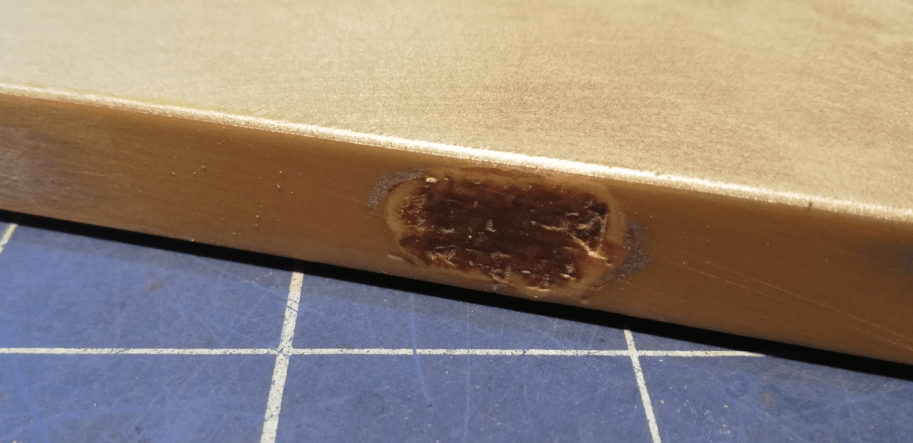
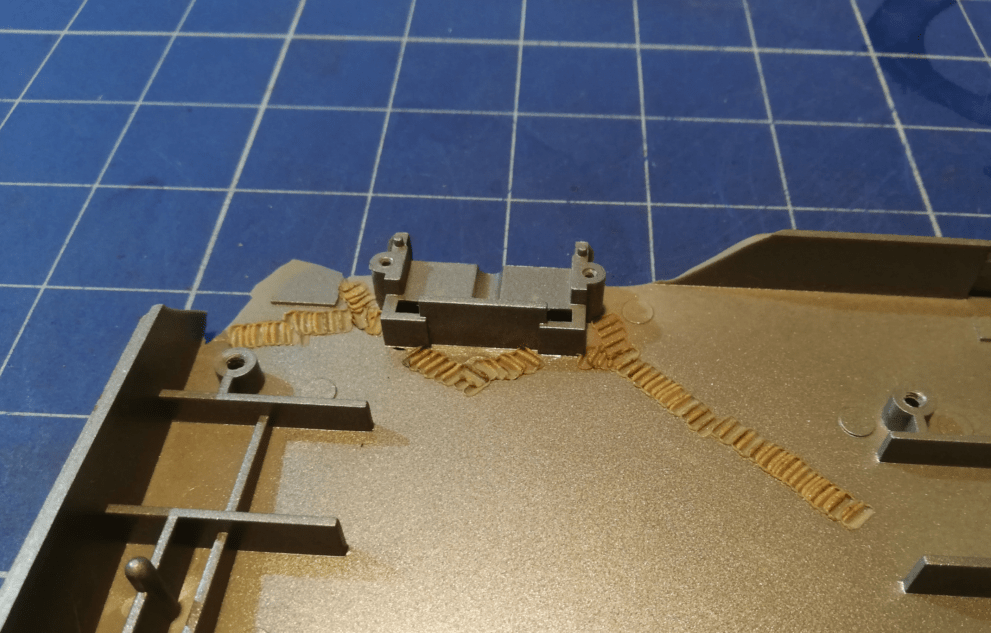
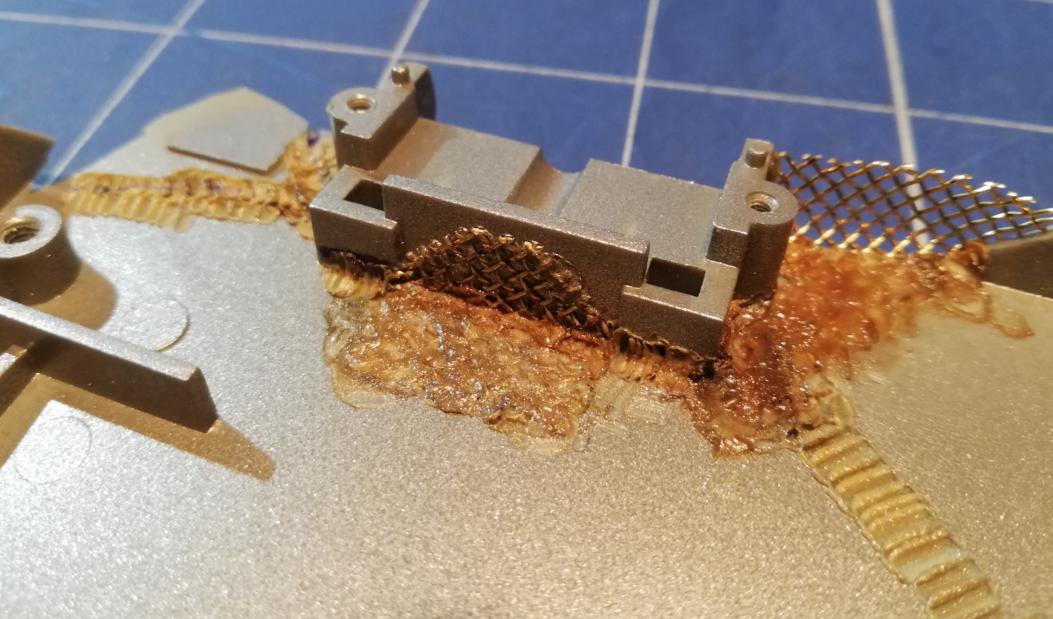
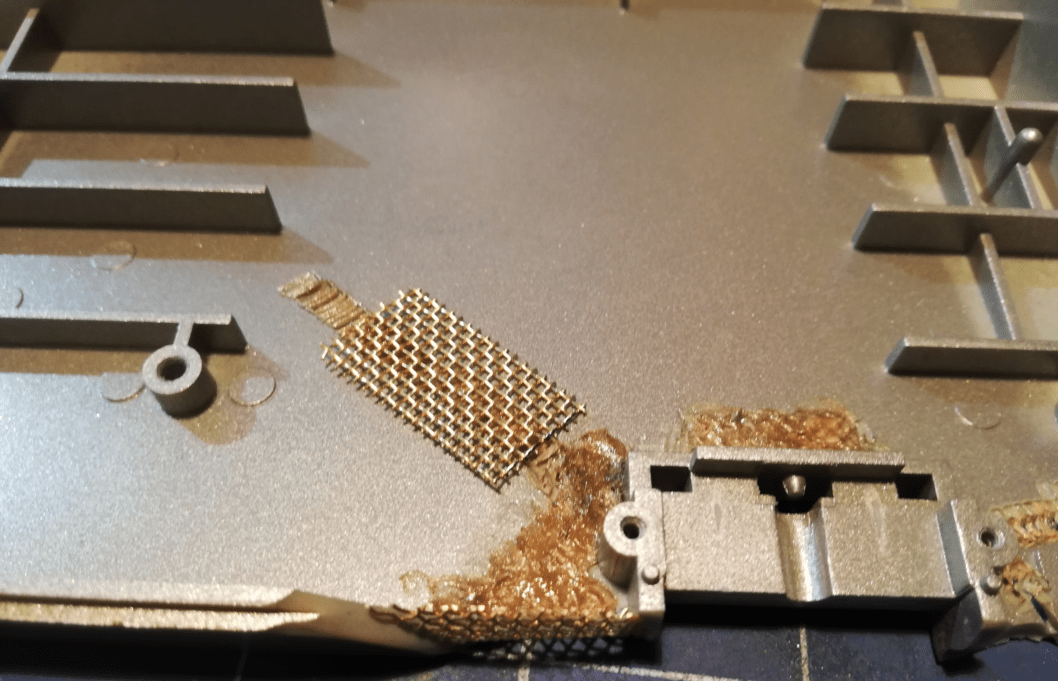
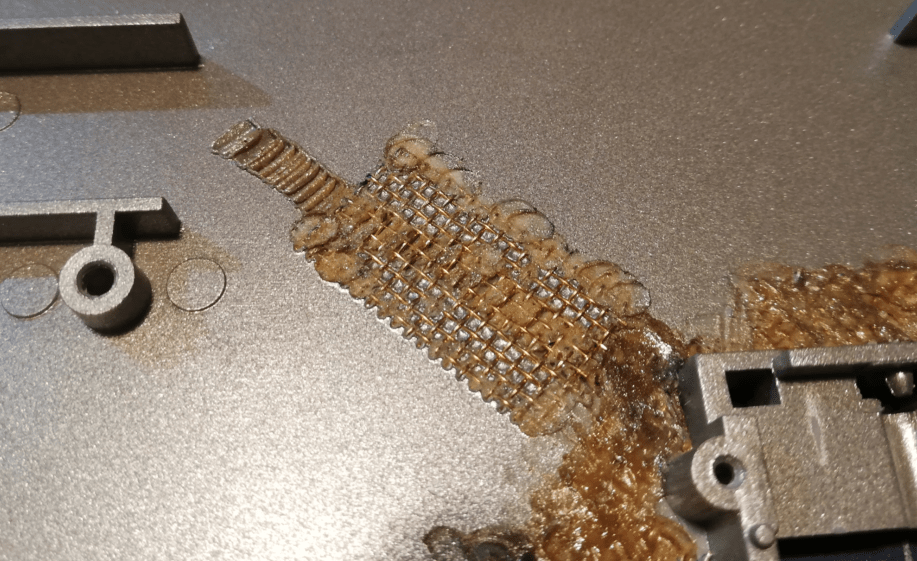
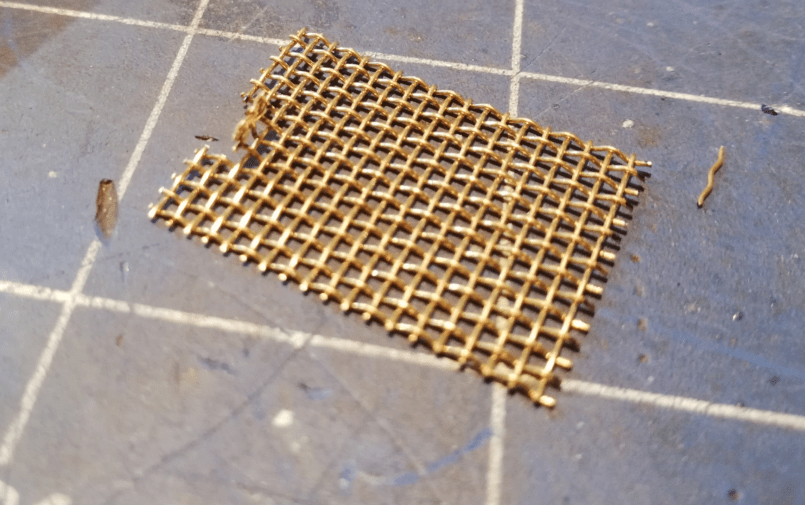
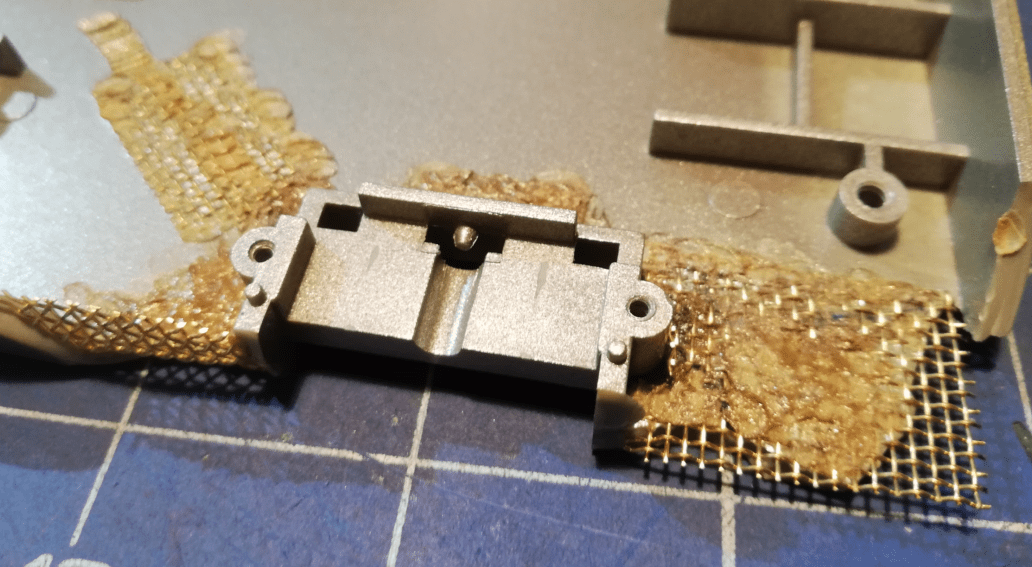
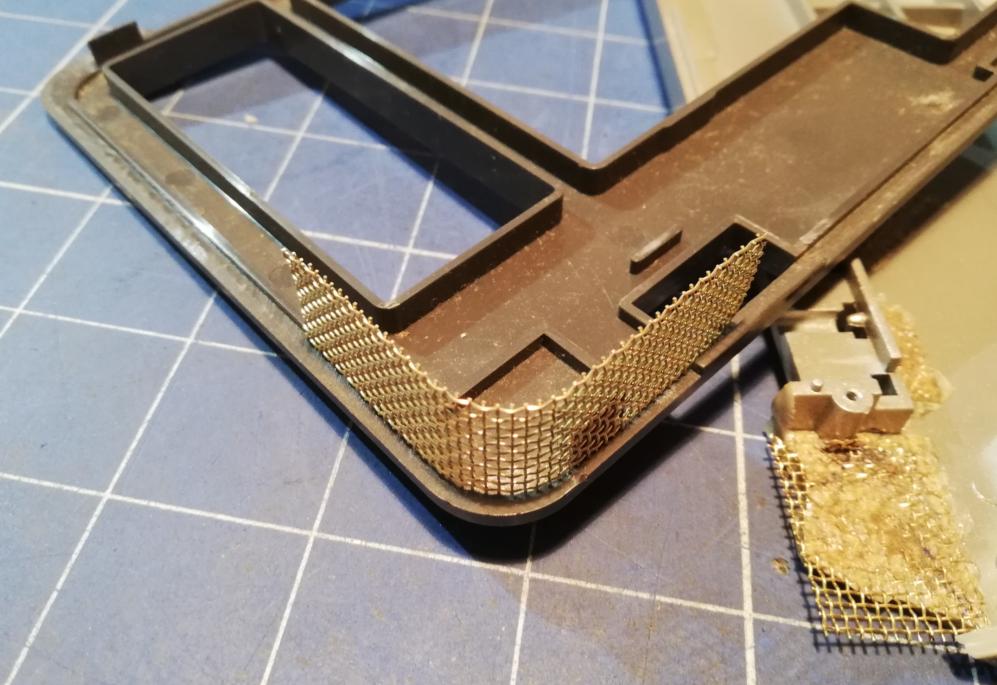
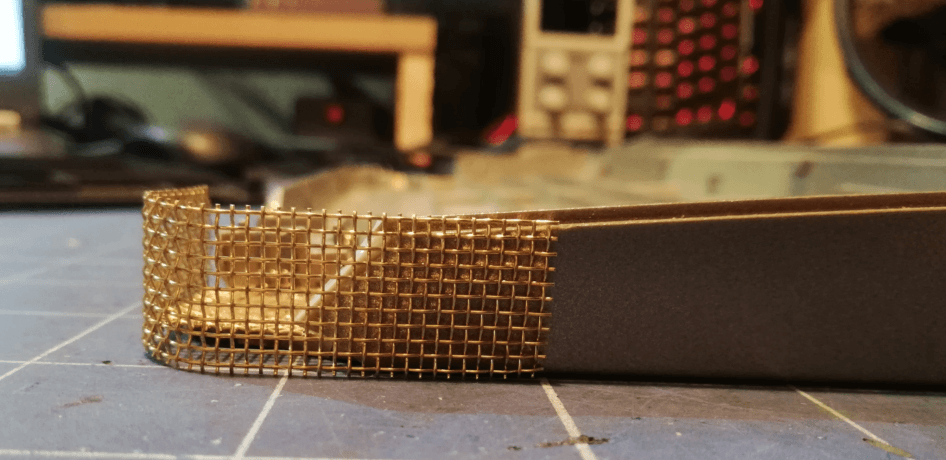
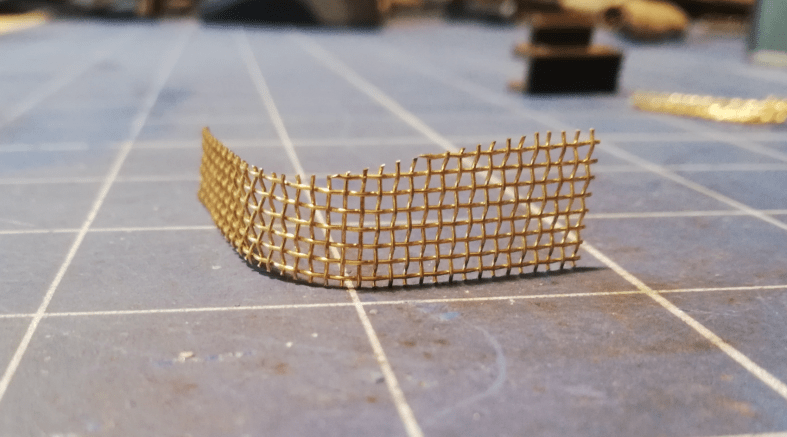
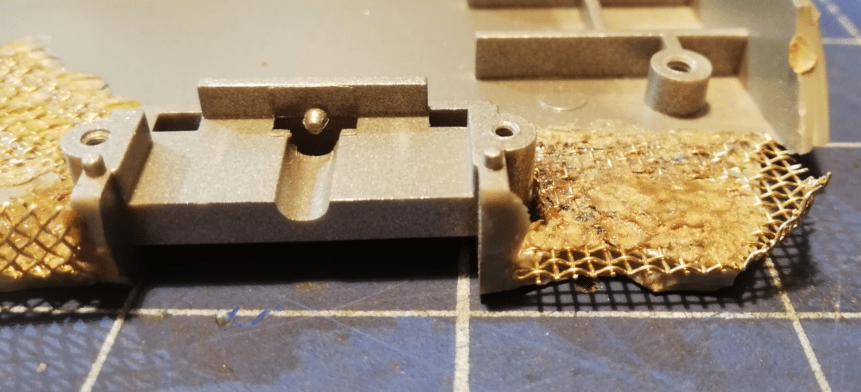
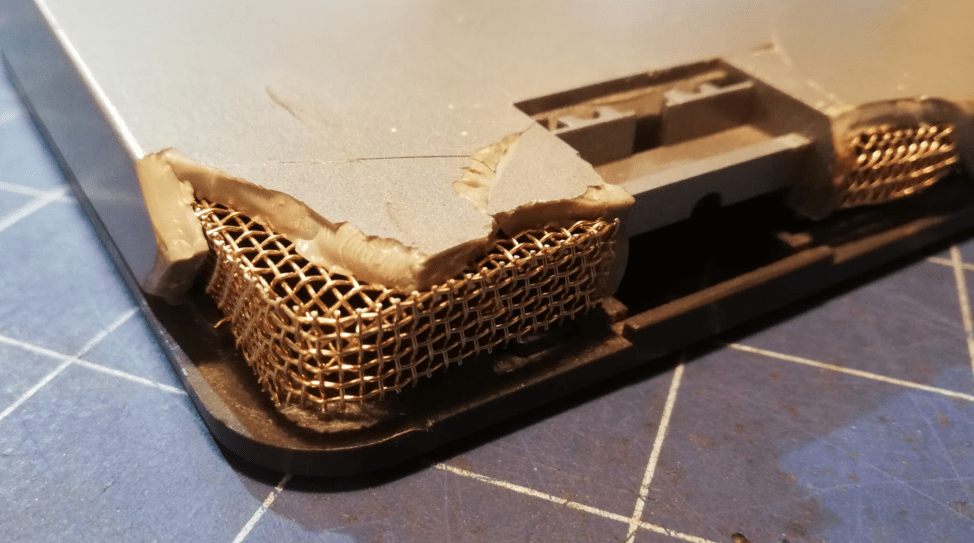
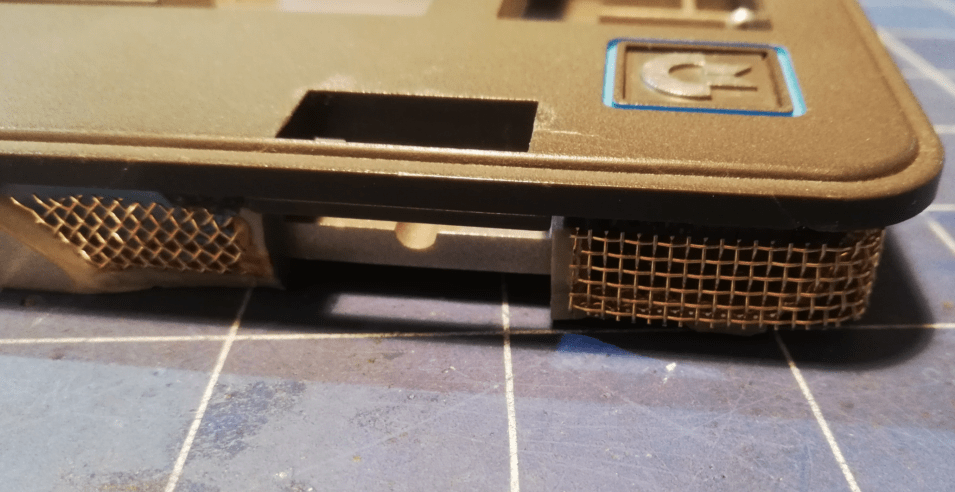
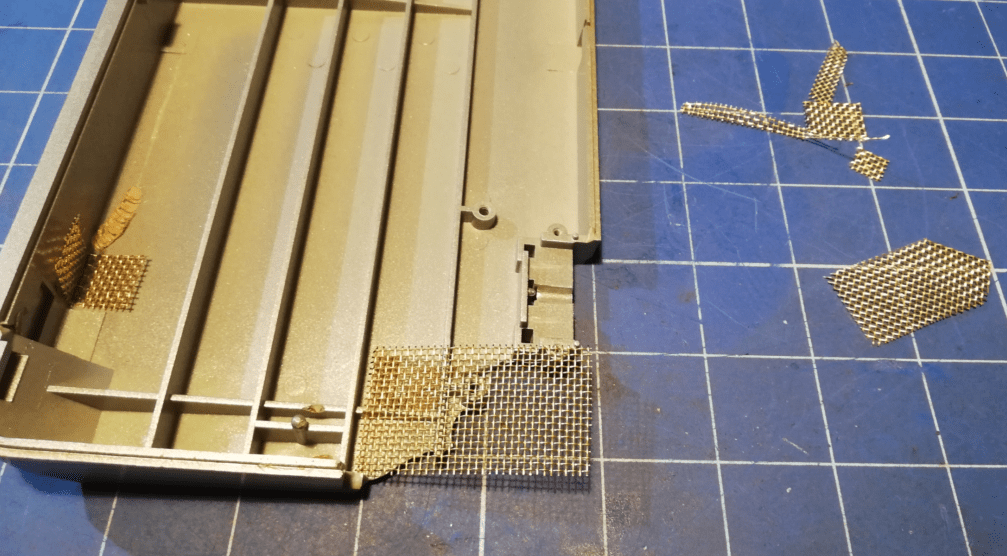
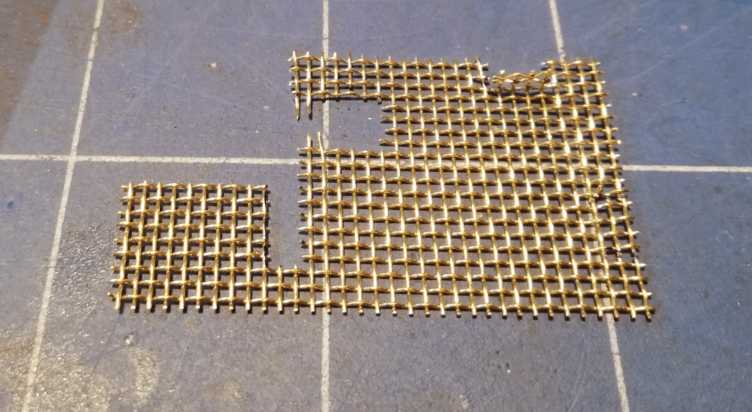
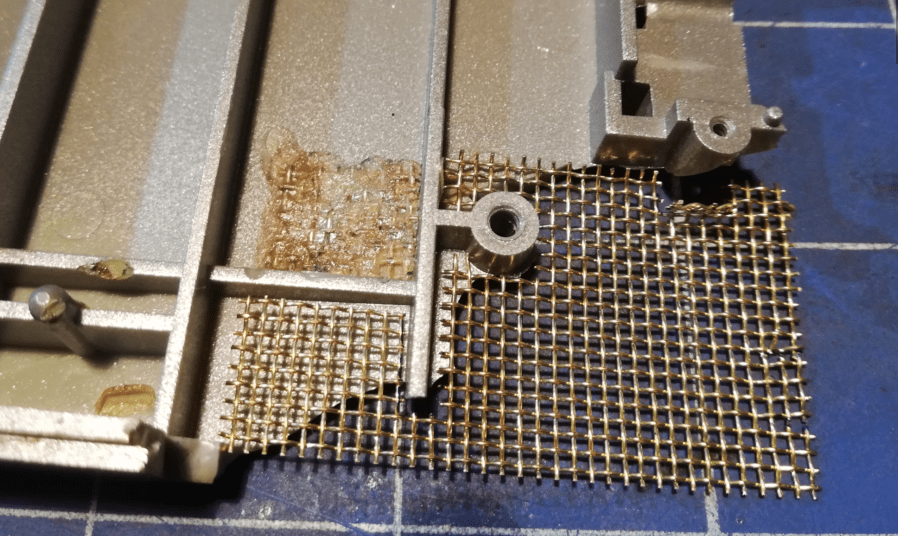
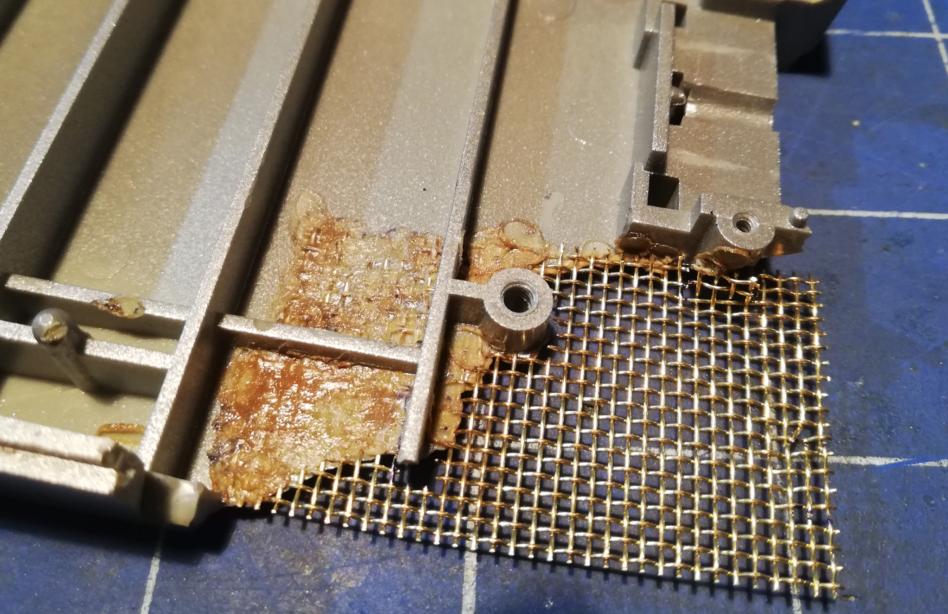
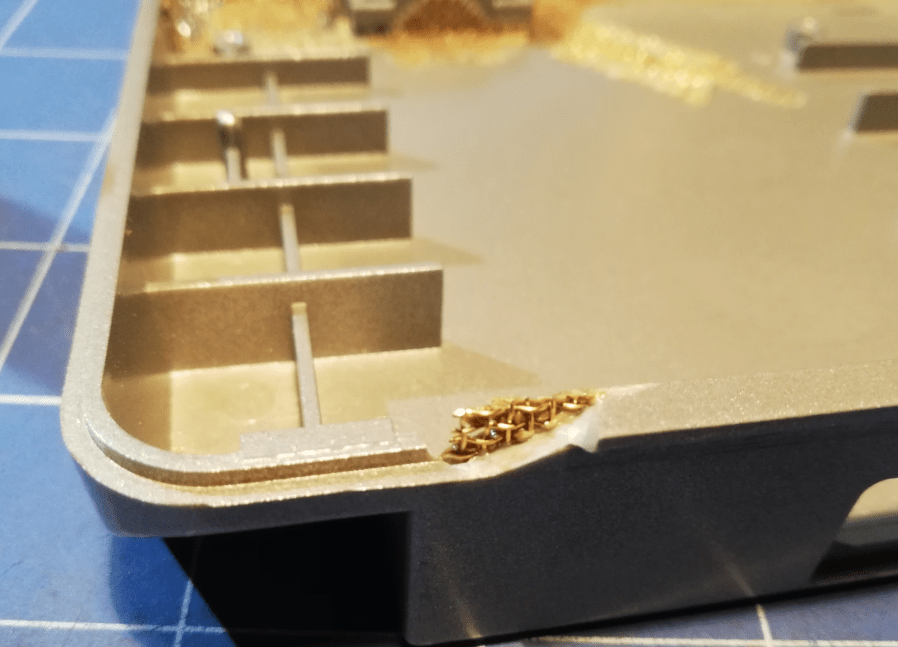
Once every piece was cut to a proper size, I soldered them together. I’ve also added a thicker copper wire to make the mesh stiffer and less prone to bending.
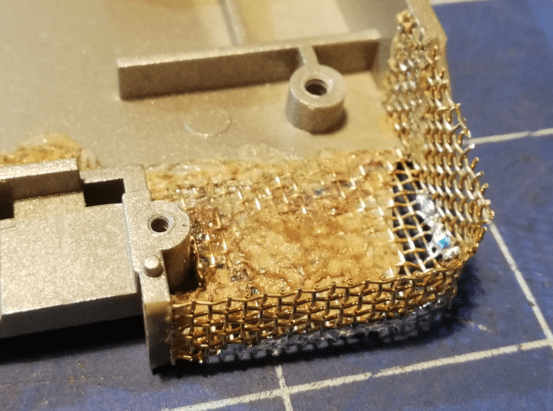
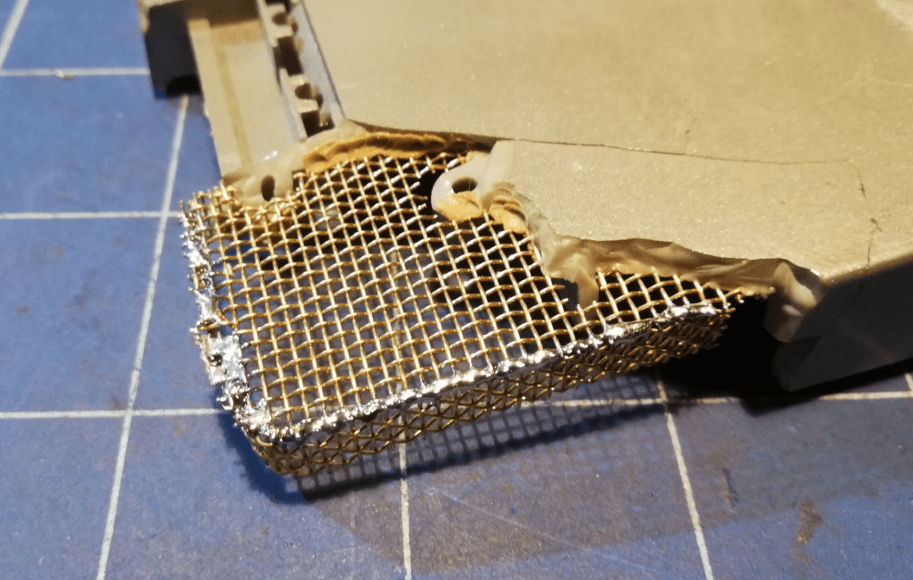
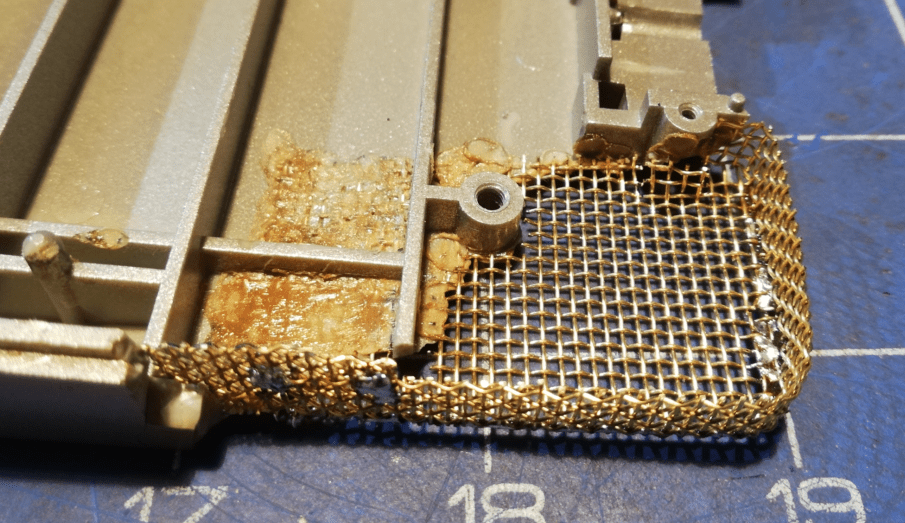
Rebuilding missing plastic
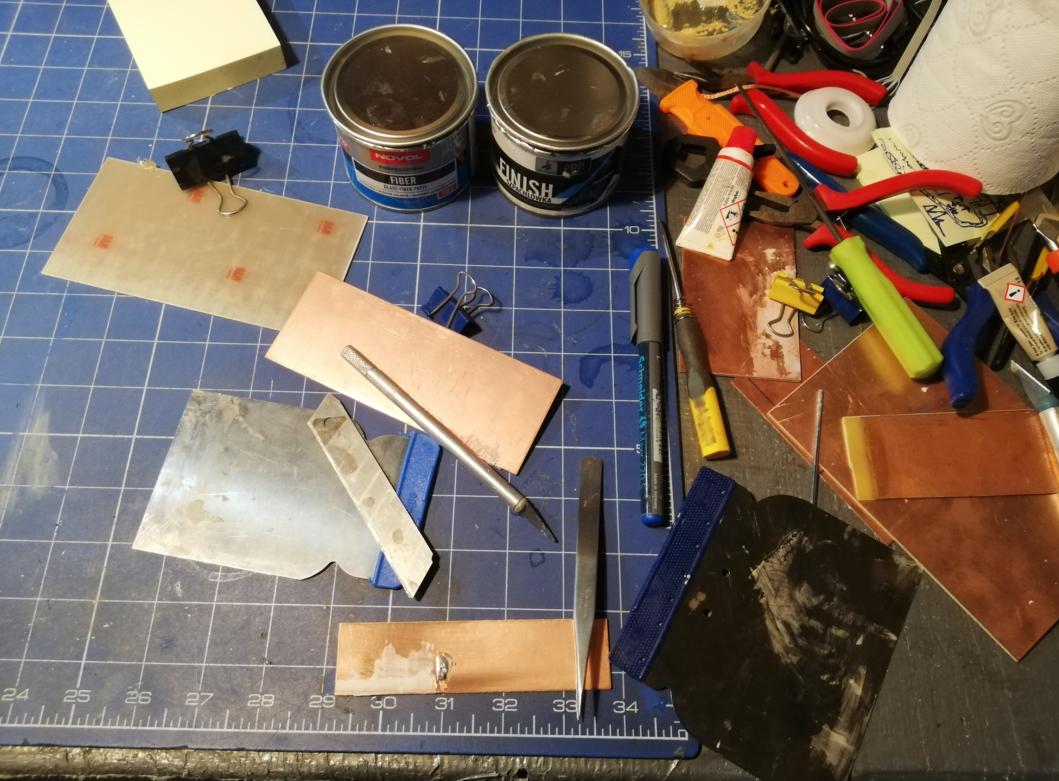
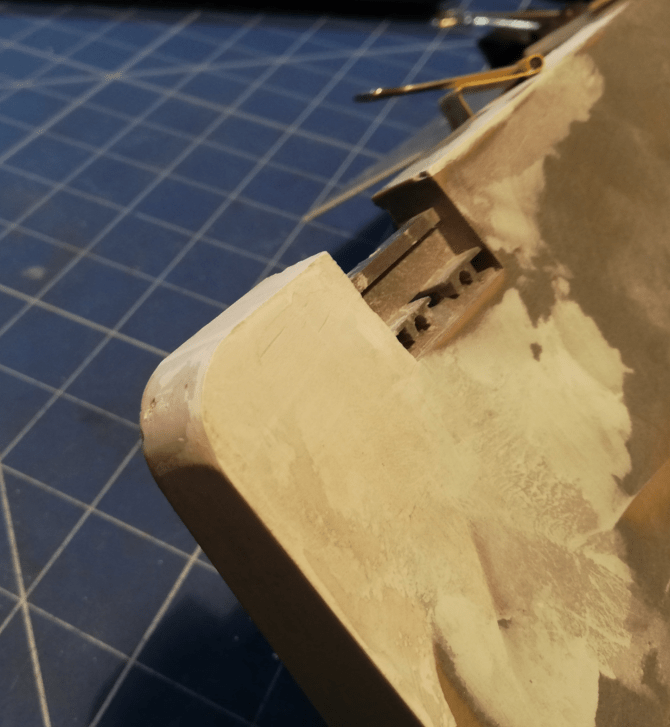
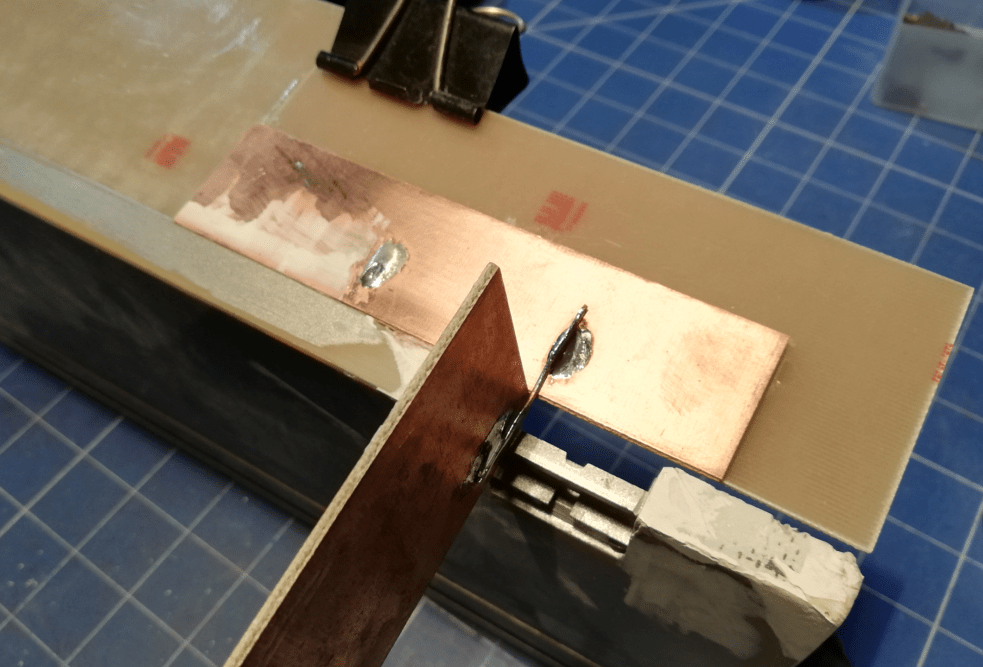
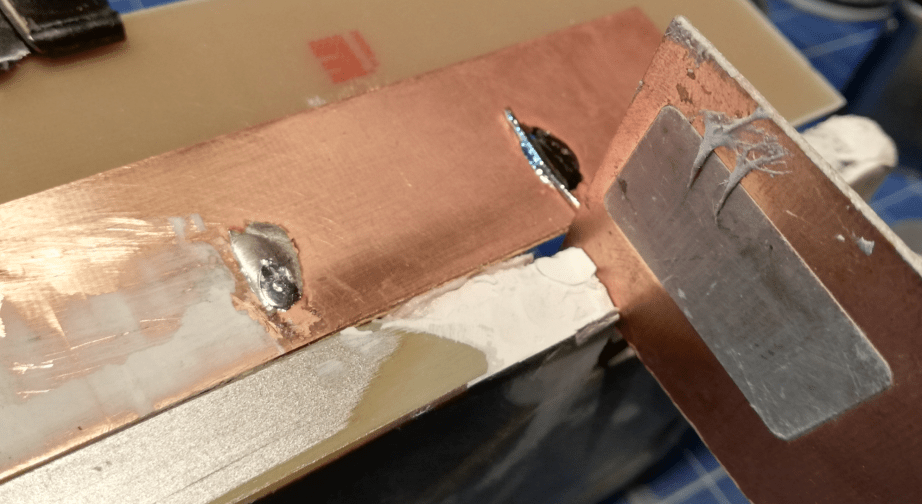
At this stage, I was ready to apply fiberglass putty. This is a quite messy process and looks kinda ugly. I’ve used some old PCB laminate to get every edge correctly positioned and as close to the original as possible. This part boils down to pretty much three things – putty application, sanding, laminate repositioning … putty application, sanding, laminate repositioning … etc., etc.
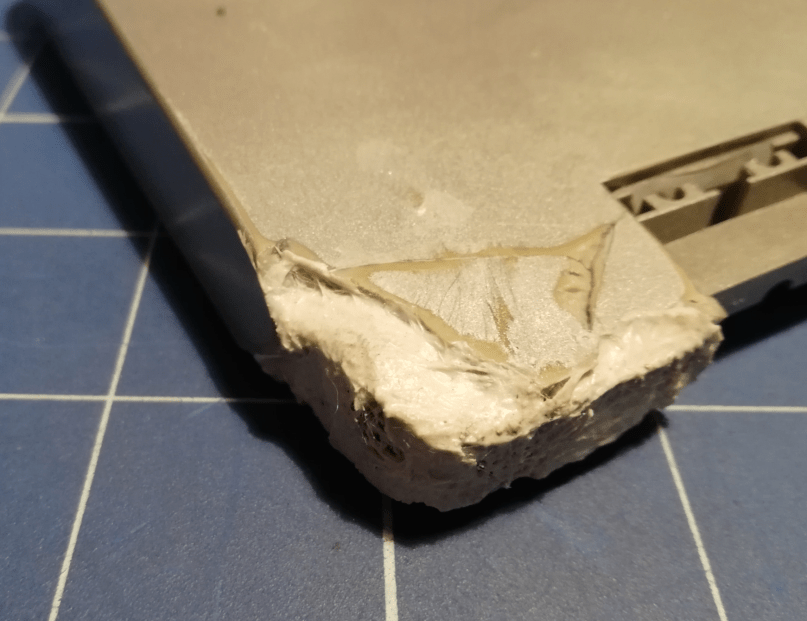
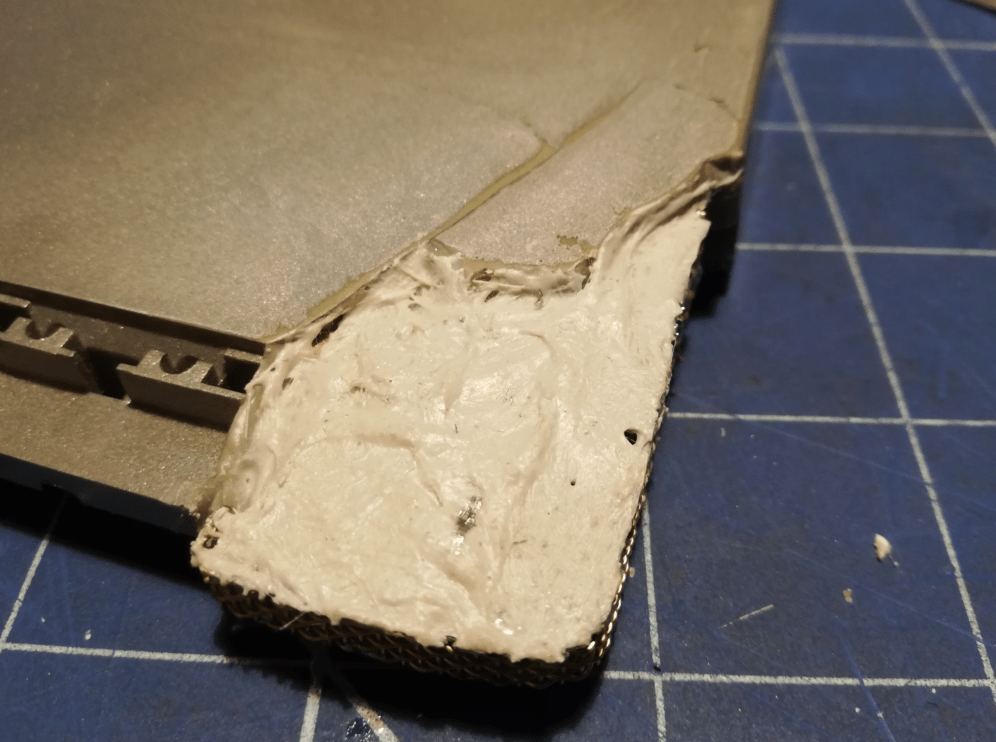
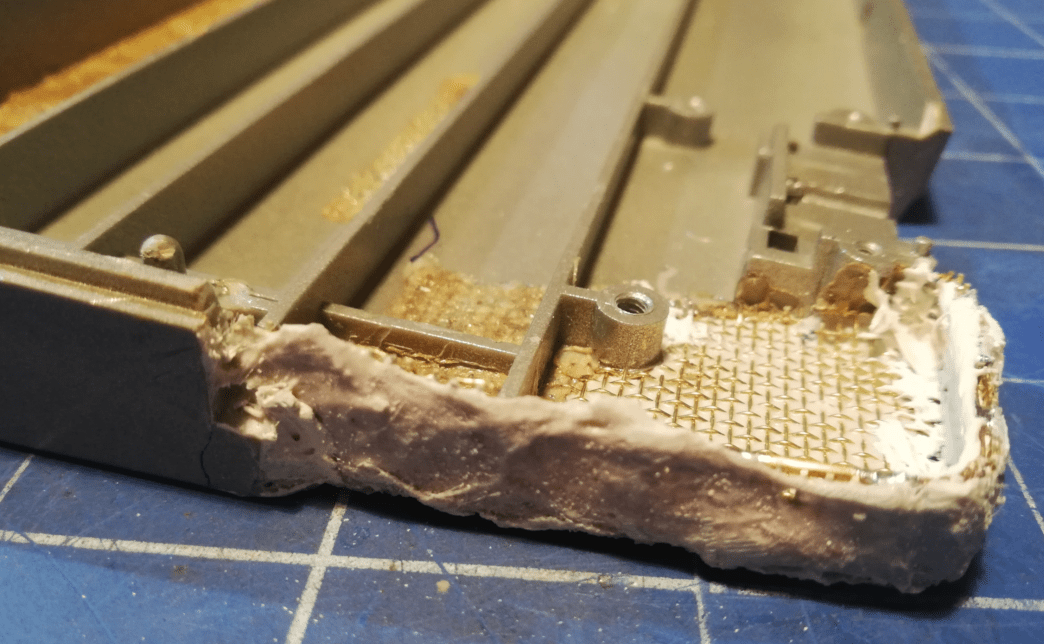
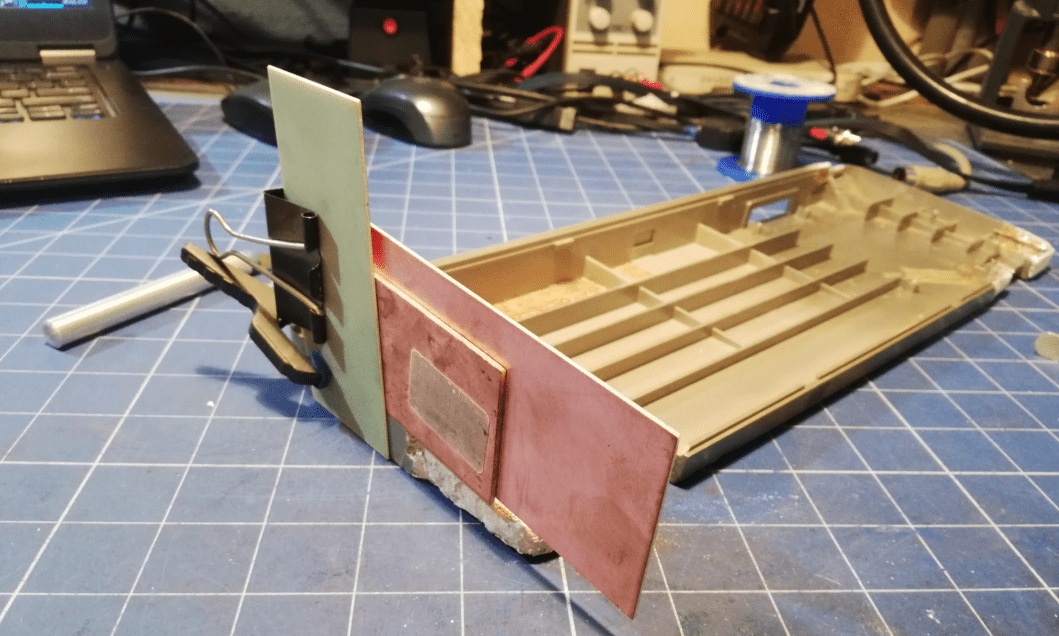
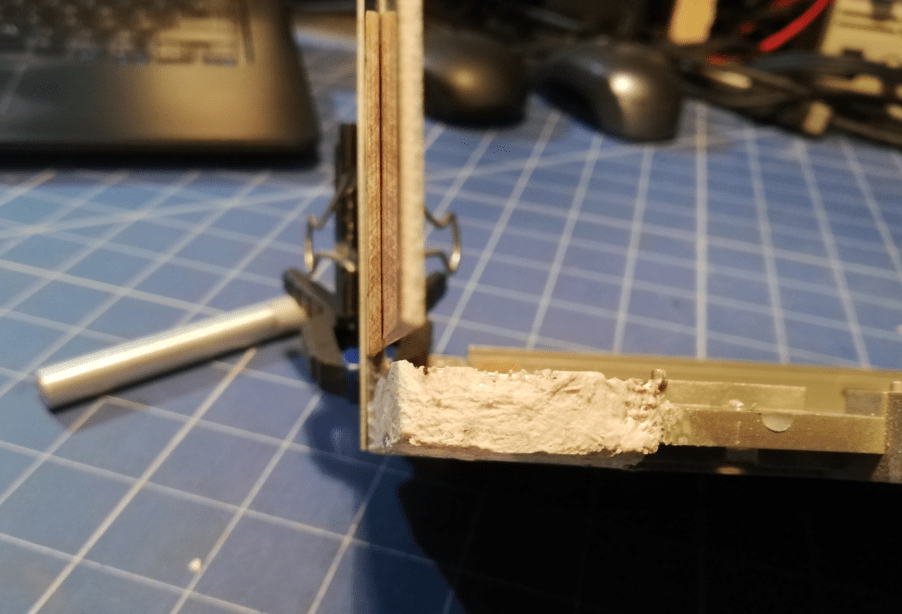
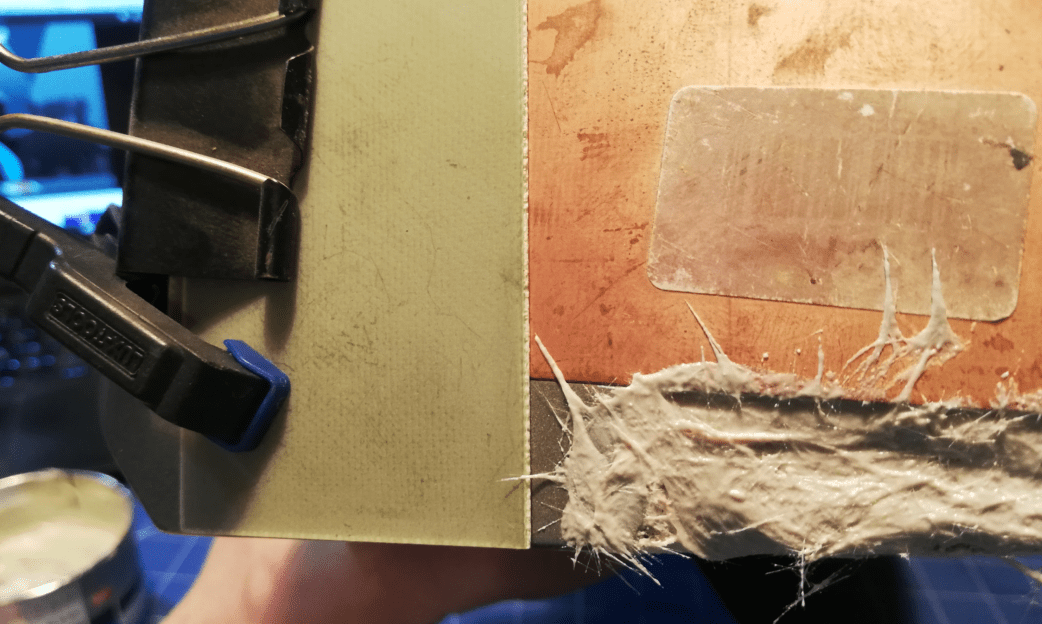
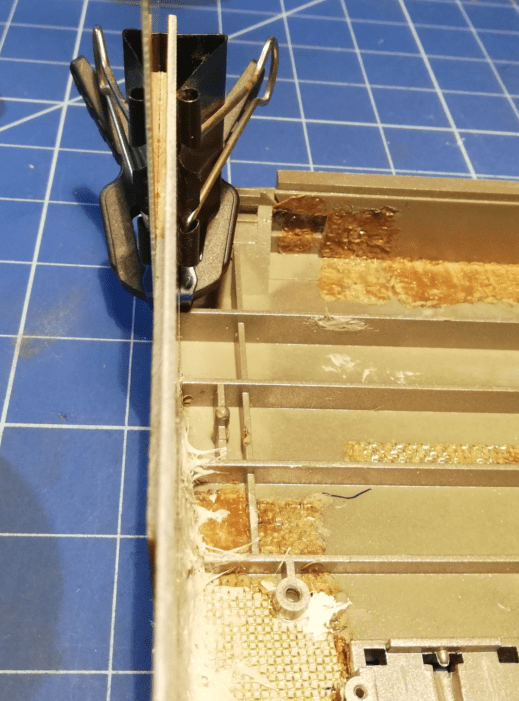
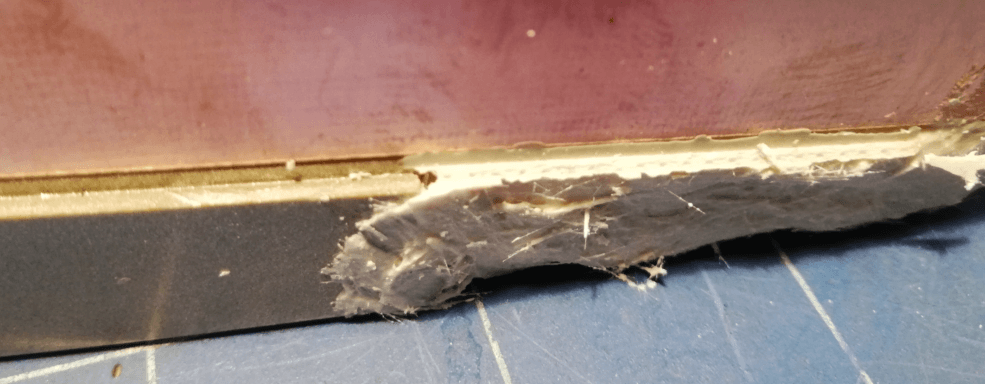
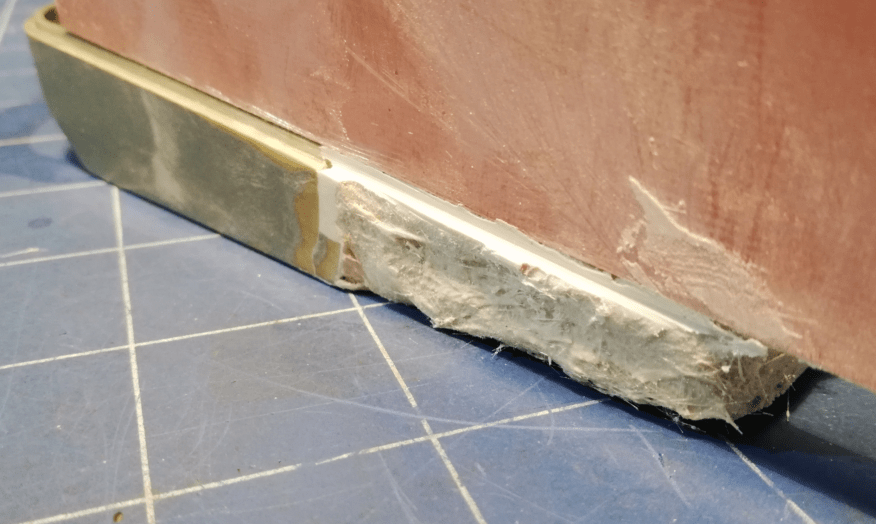
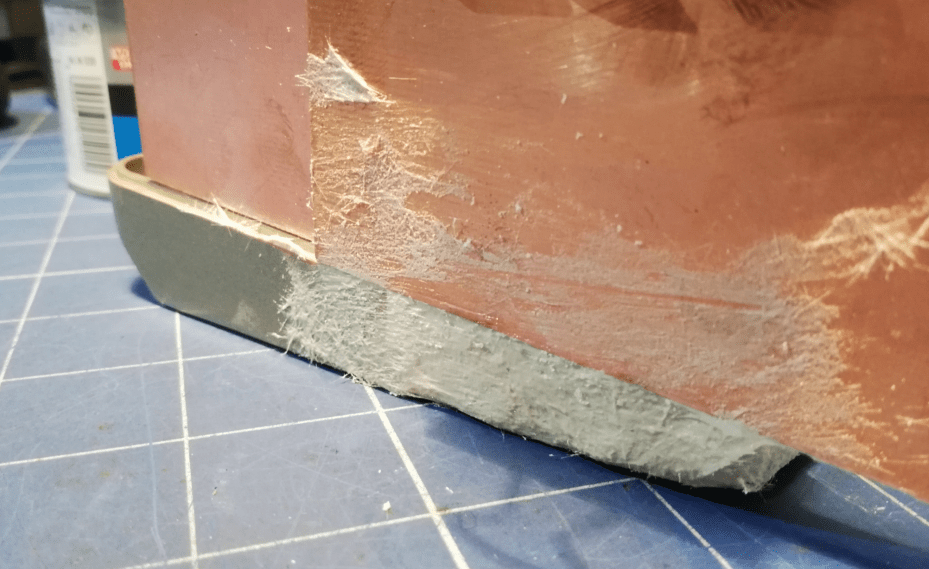
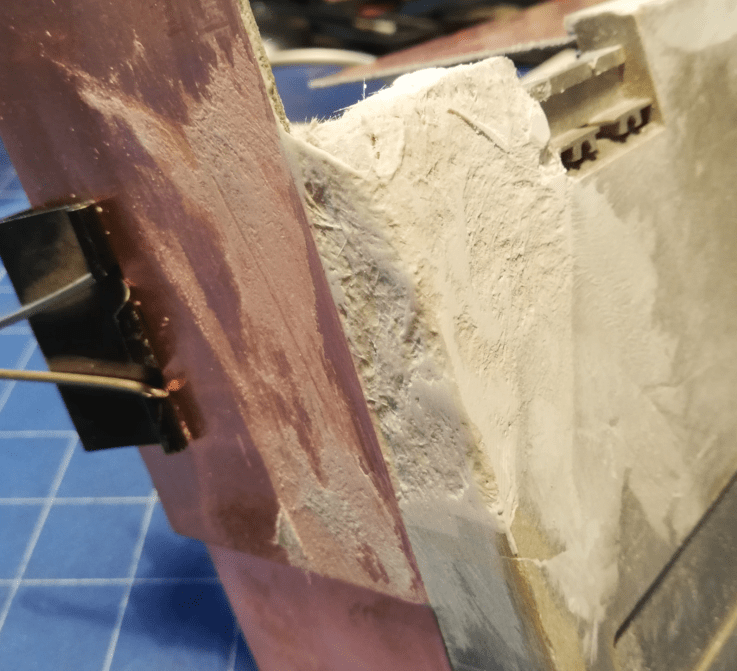
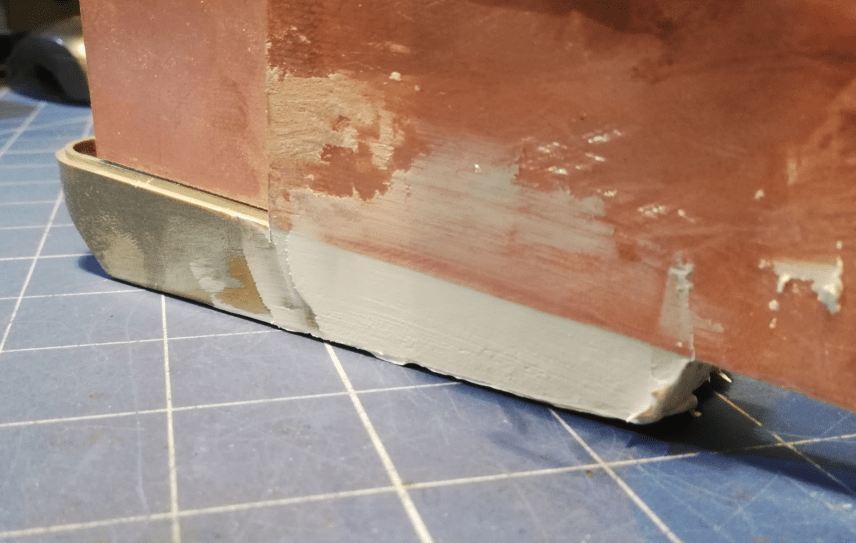
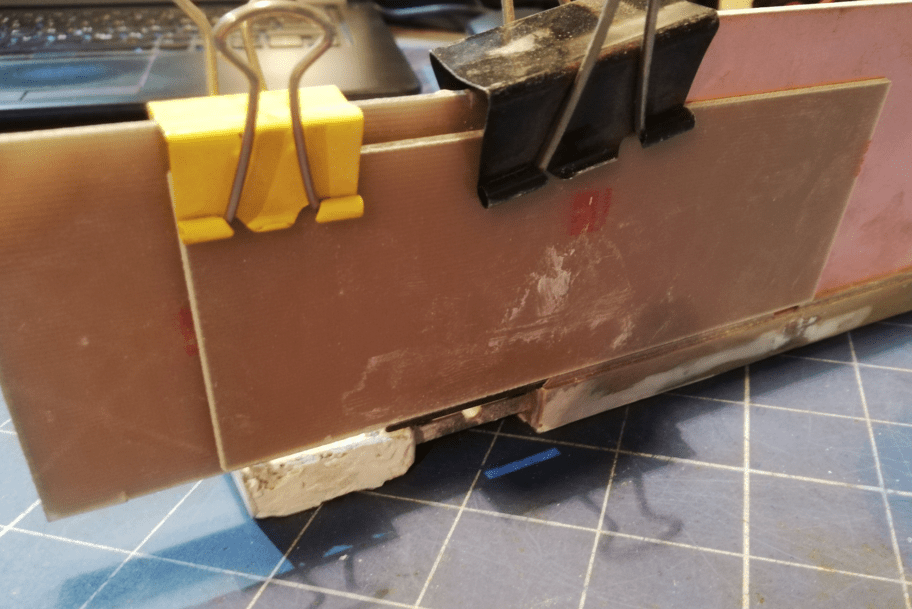
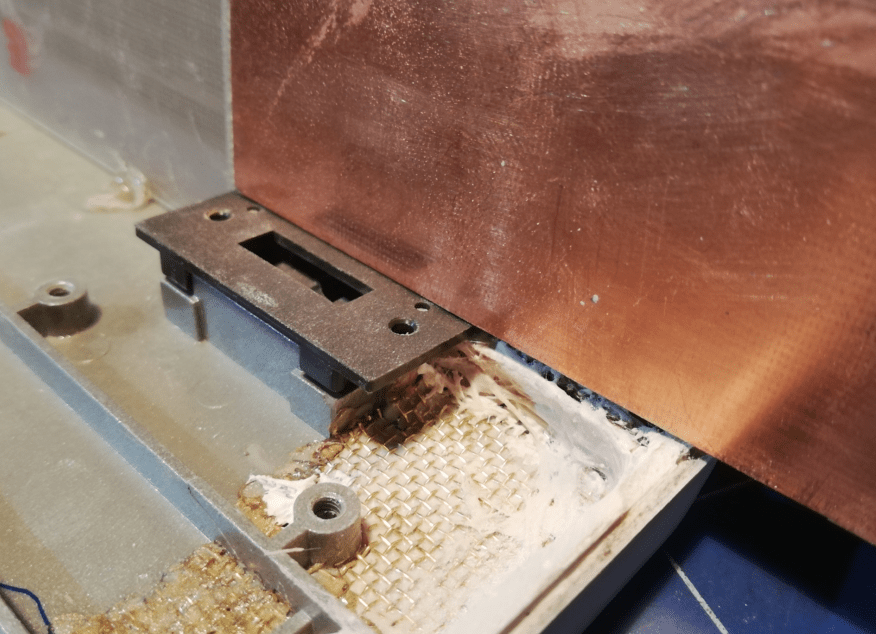
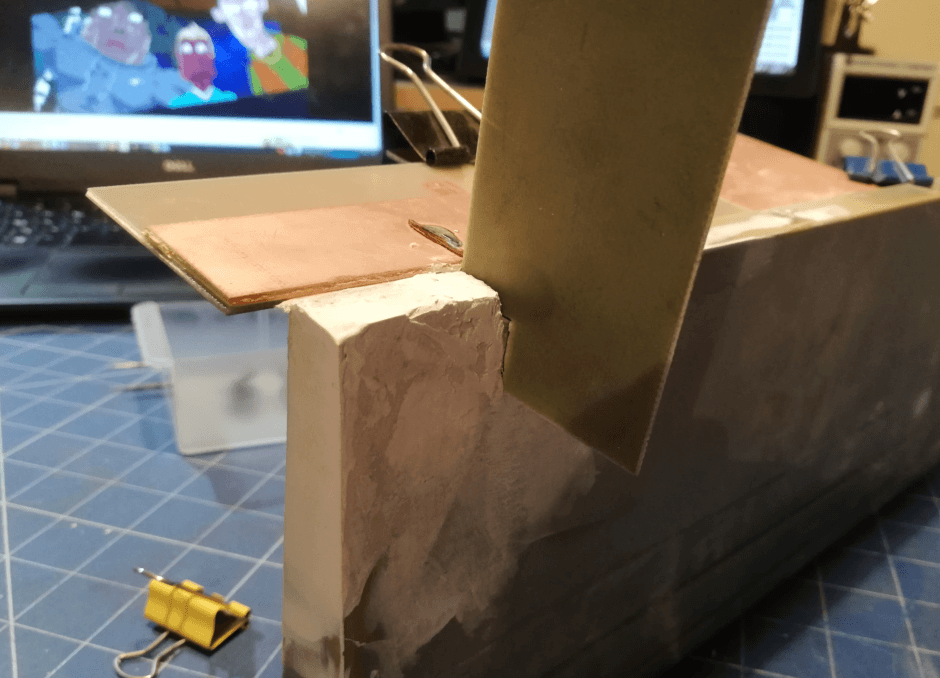
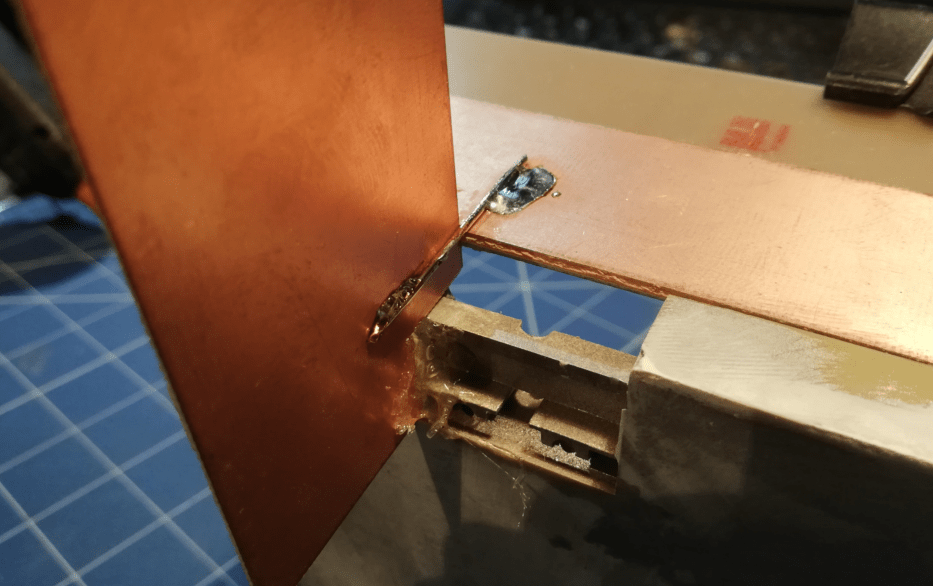
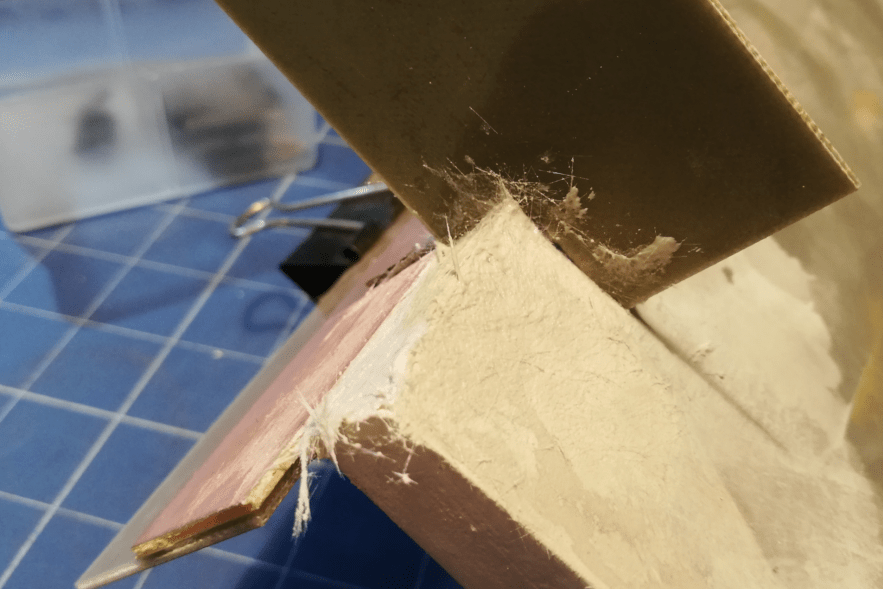
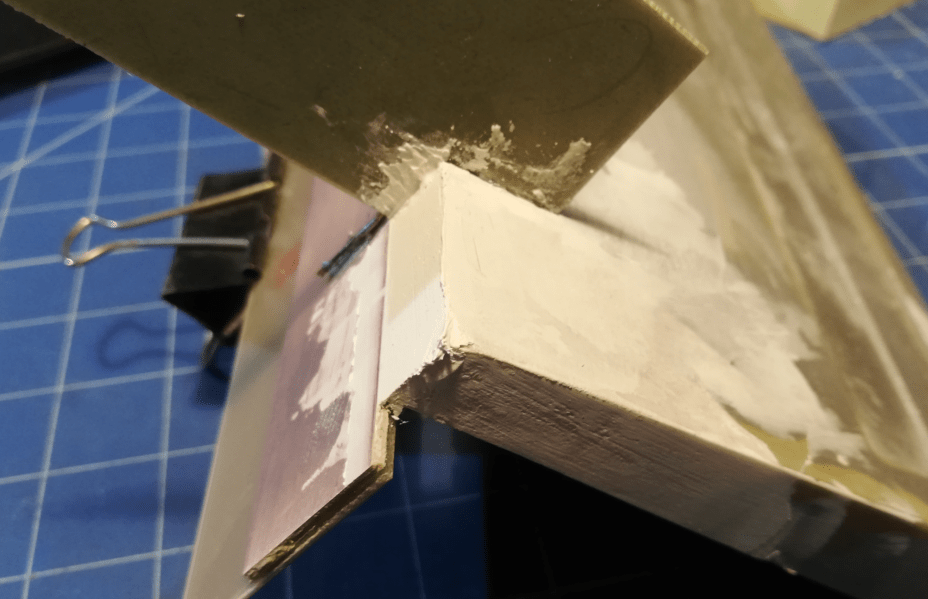
Some tools used during the process 🙂
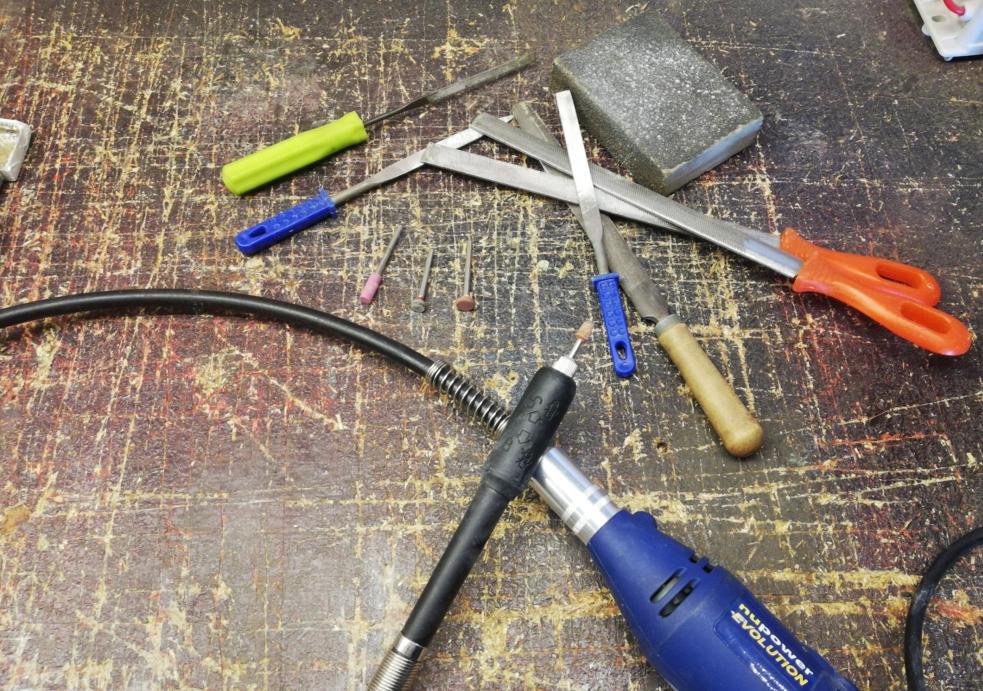
The first corner was nearly ready for the finishing touches. I only had to file it down to its original round shape. That was done with the help of files 🙂
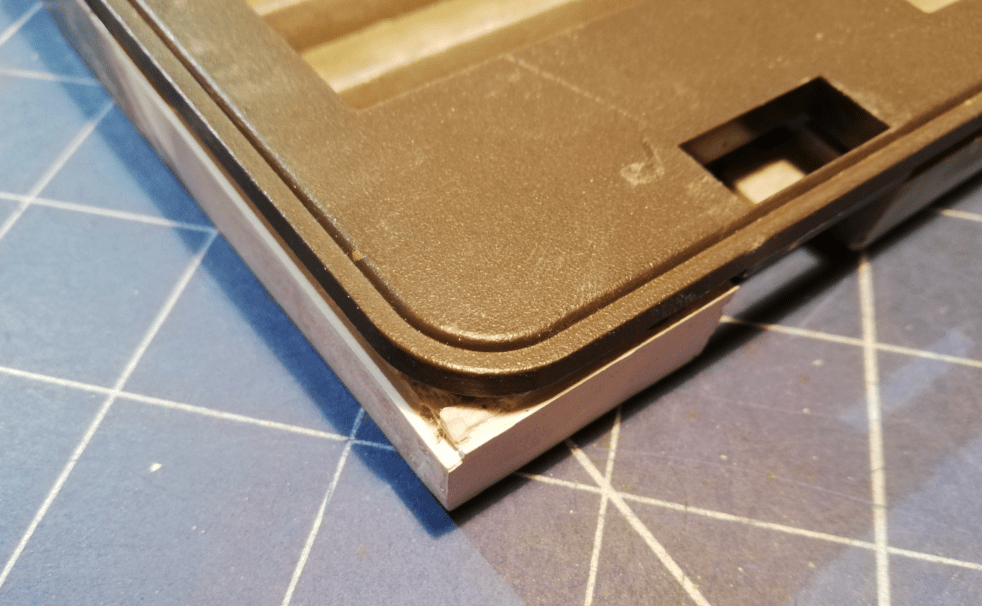
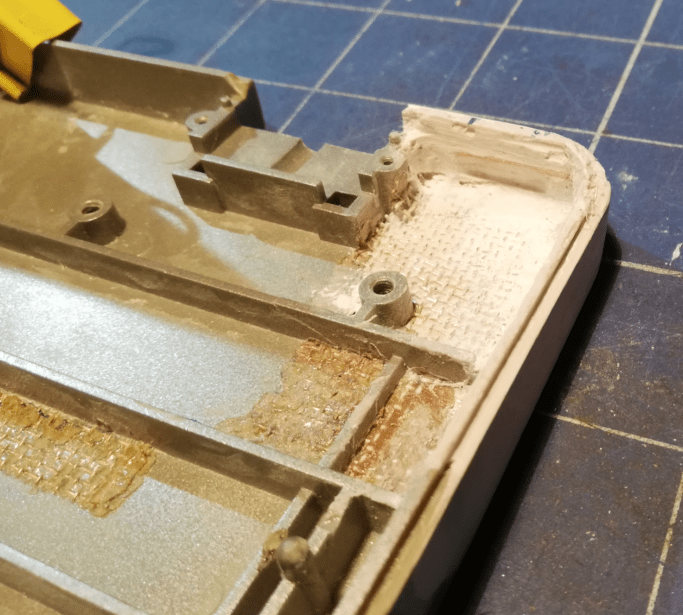
The second corner required even more work. I’ve used the same method again.
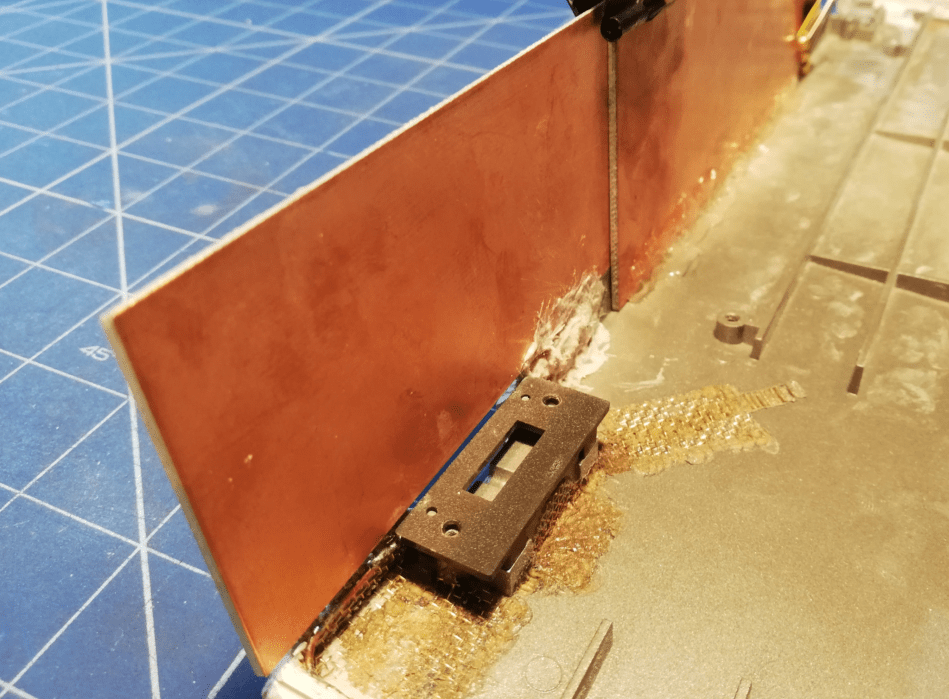
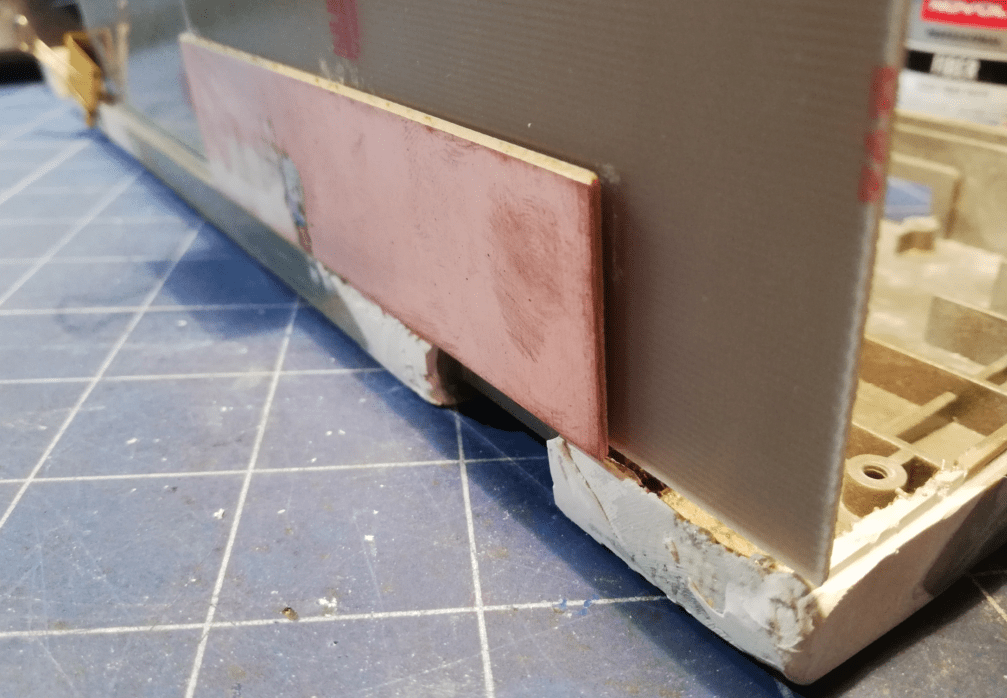
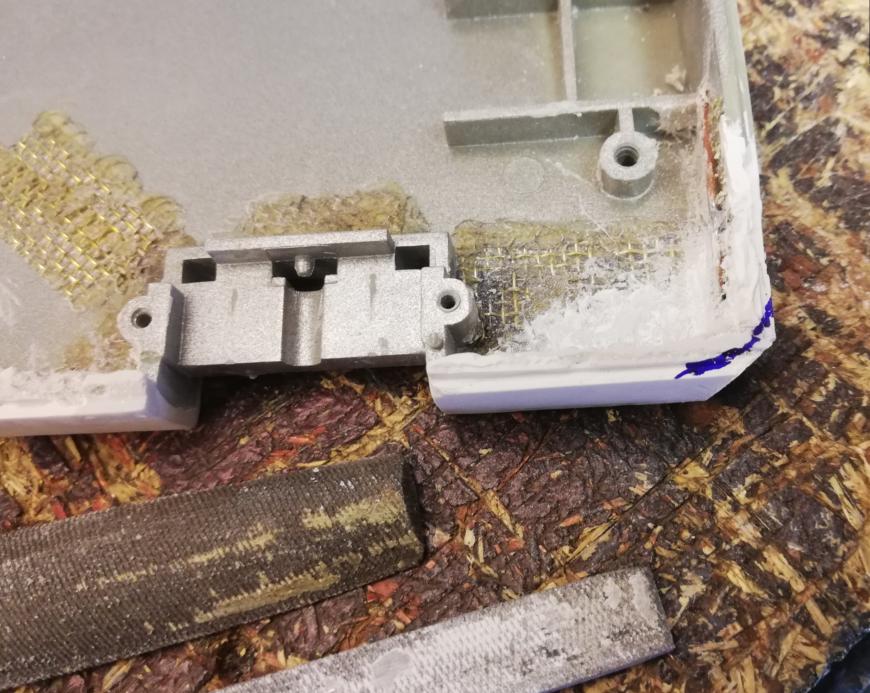
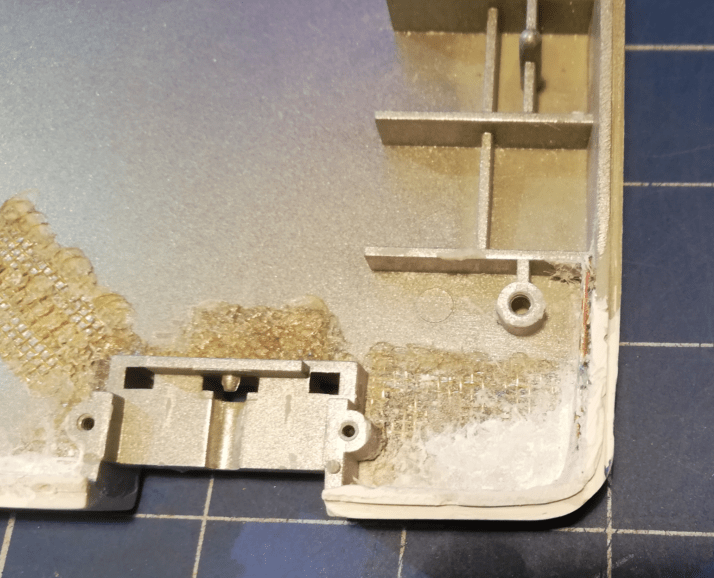
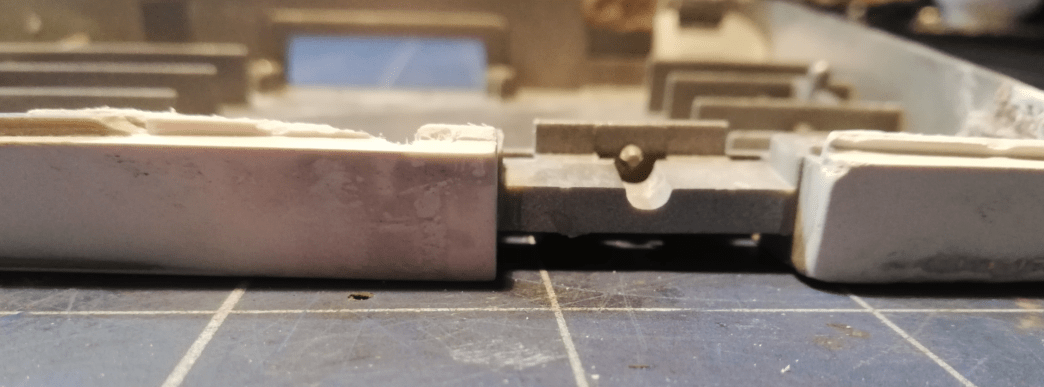
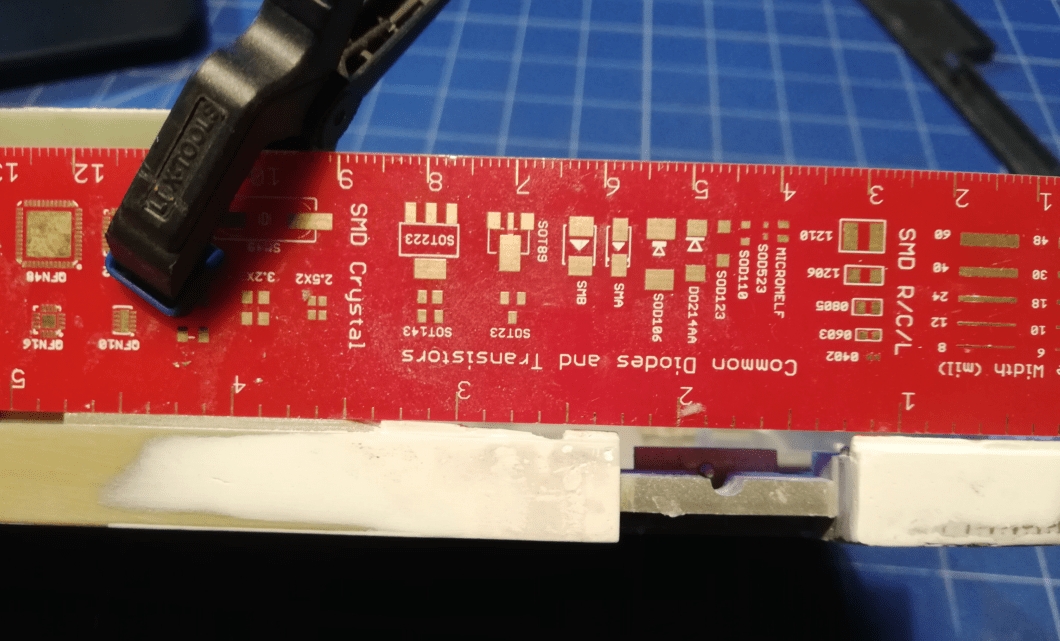
When I finally had a base rebuilt, I had to make clip sockets in their original places. To do that, I had to cut down a Dremel tool to a proper size.
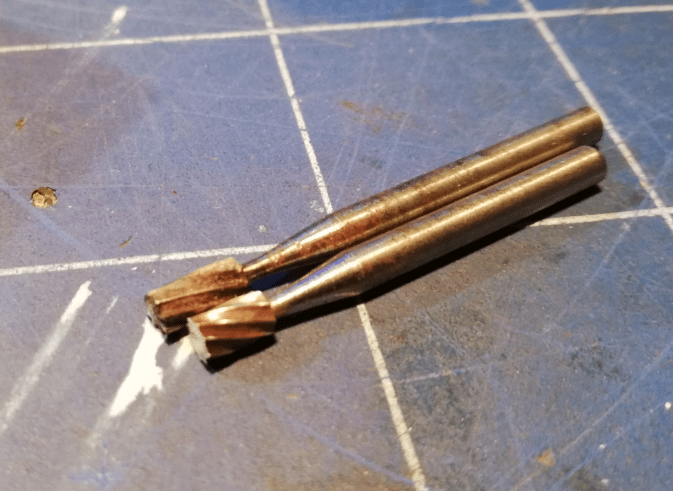
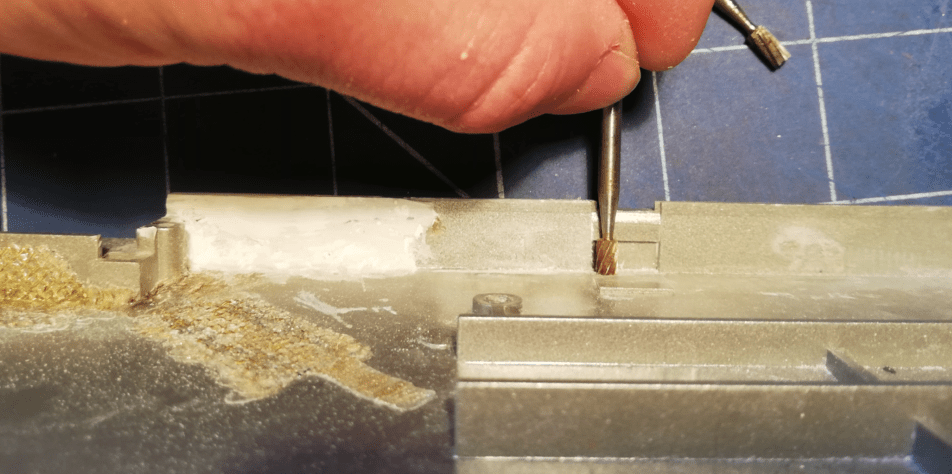
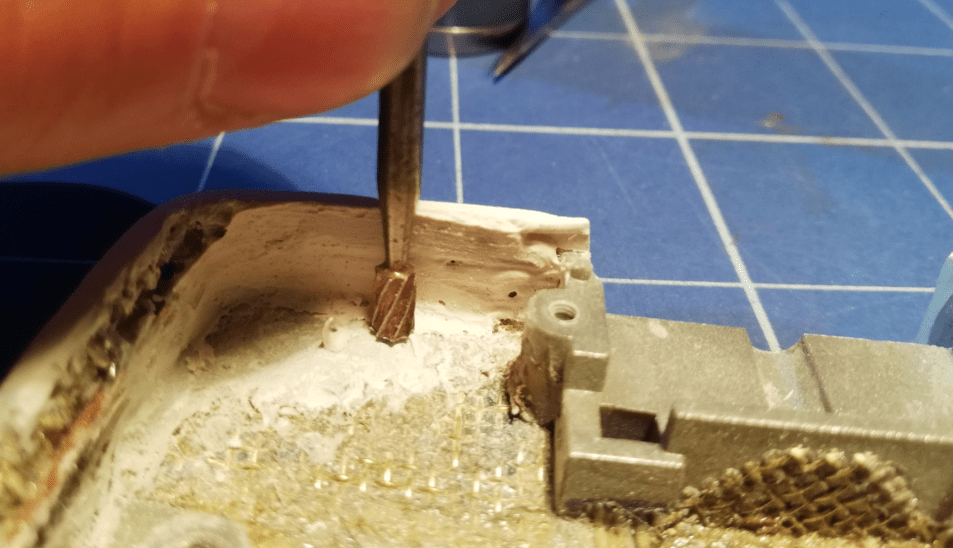
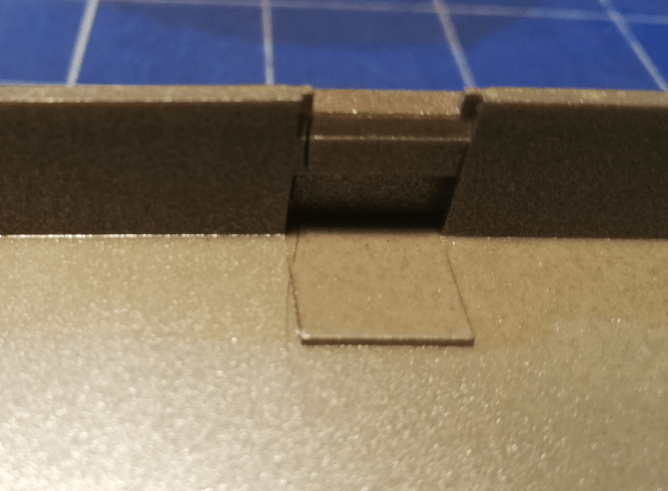
After making slots, I could start trying on the bottom part against the top. Unfortunately, one of the hooks snapped off during the process 🙁
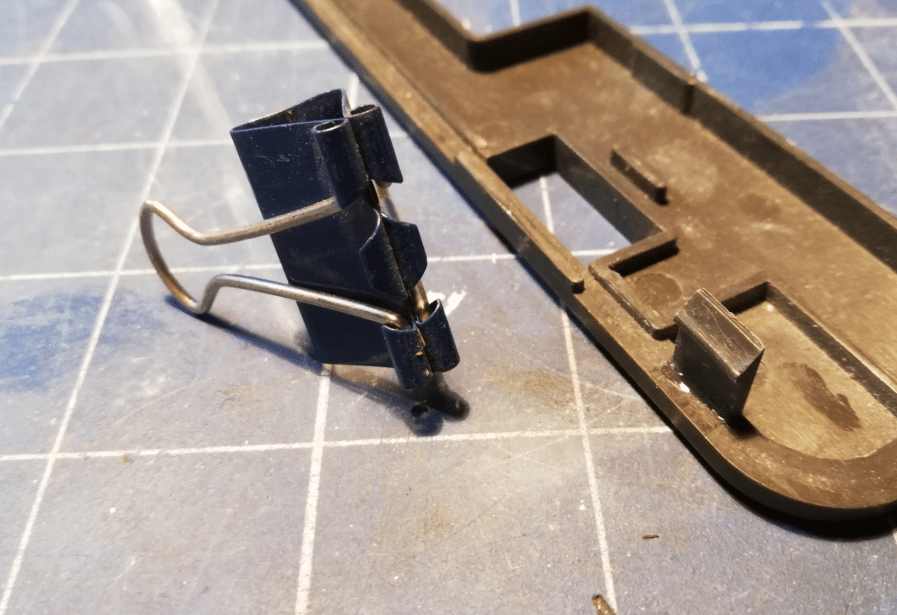
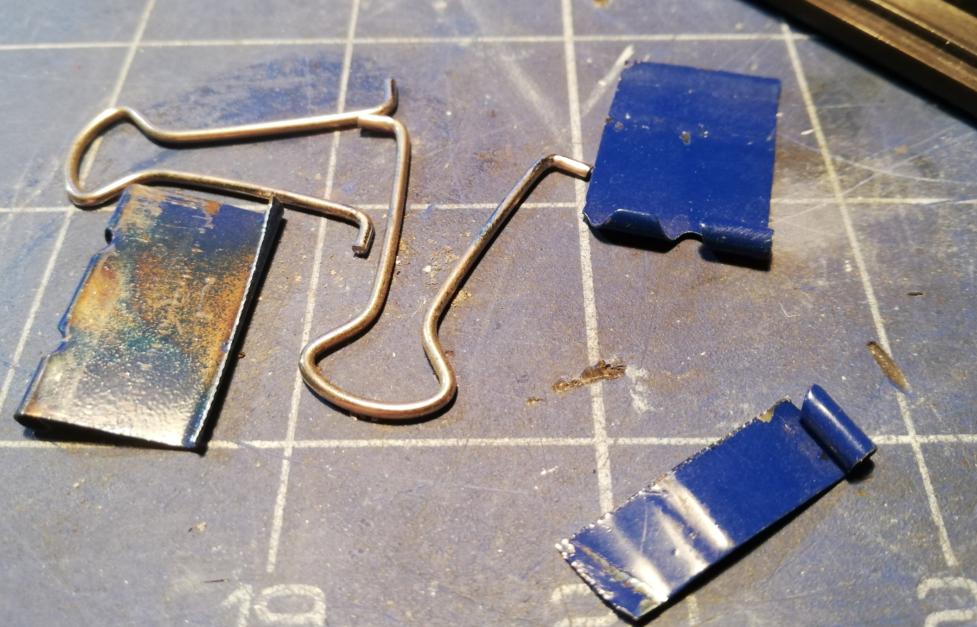
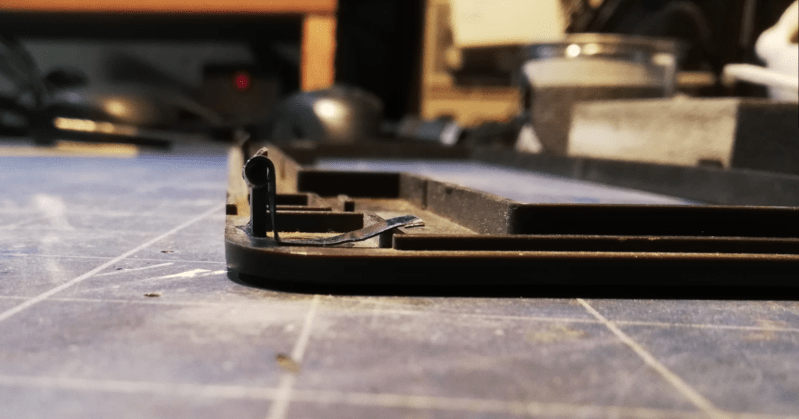
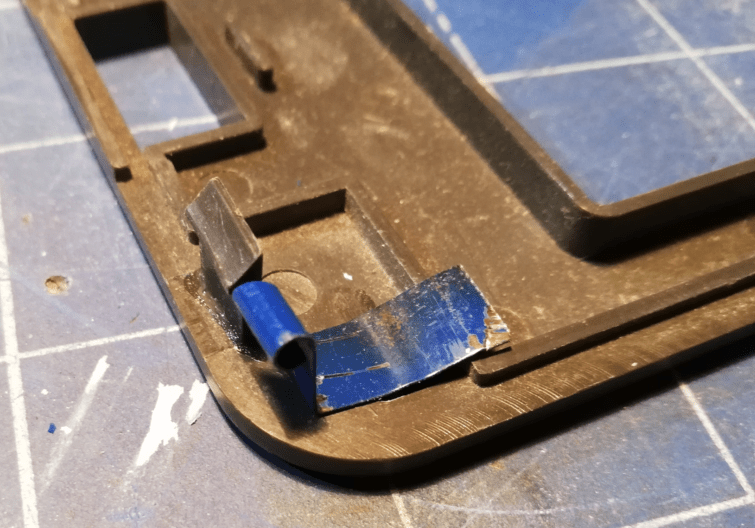
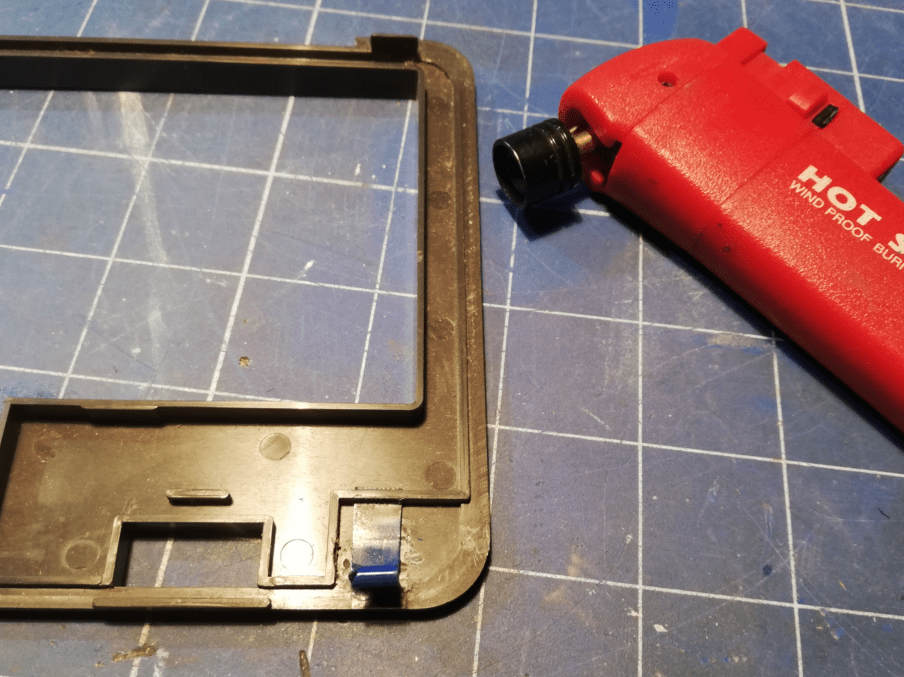
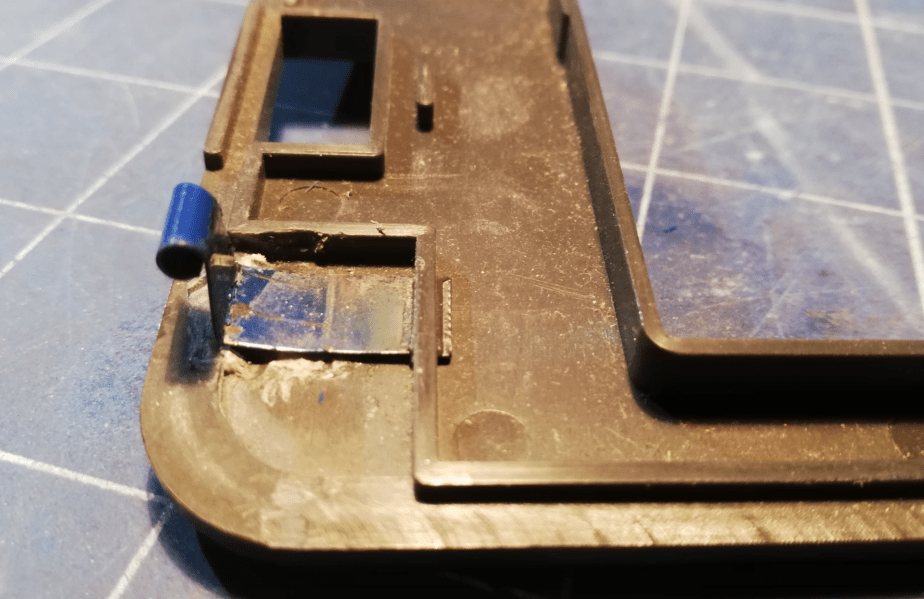
I had to fix it first. I’ve made it out of a metal paper clip that was cut down to size and welded in a top case.
Epoxy resin and finishing
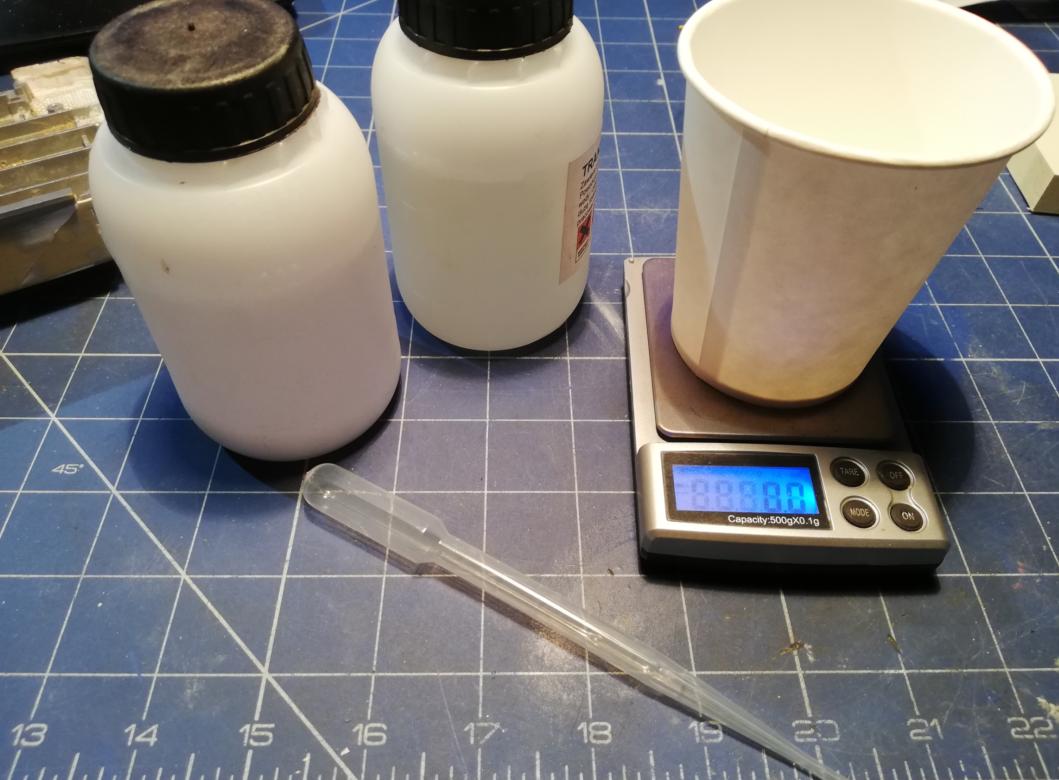
After all the above work was done, I mixed a cup of thin epoxy resin to fill in hard-to-access gaps and spots. It also helped to smoothen all uneven surfaces. The resin was applied to all spots with brass mesh with a plastic pipette.
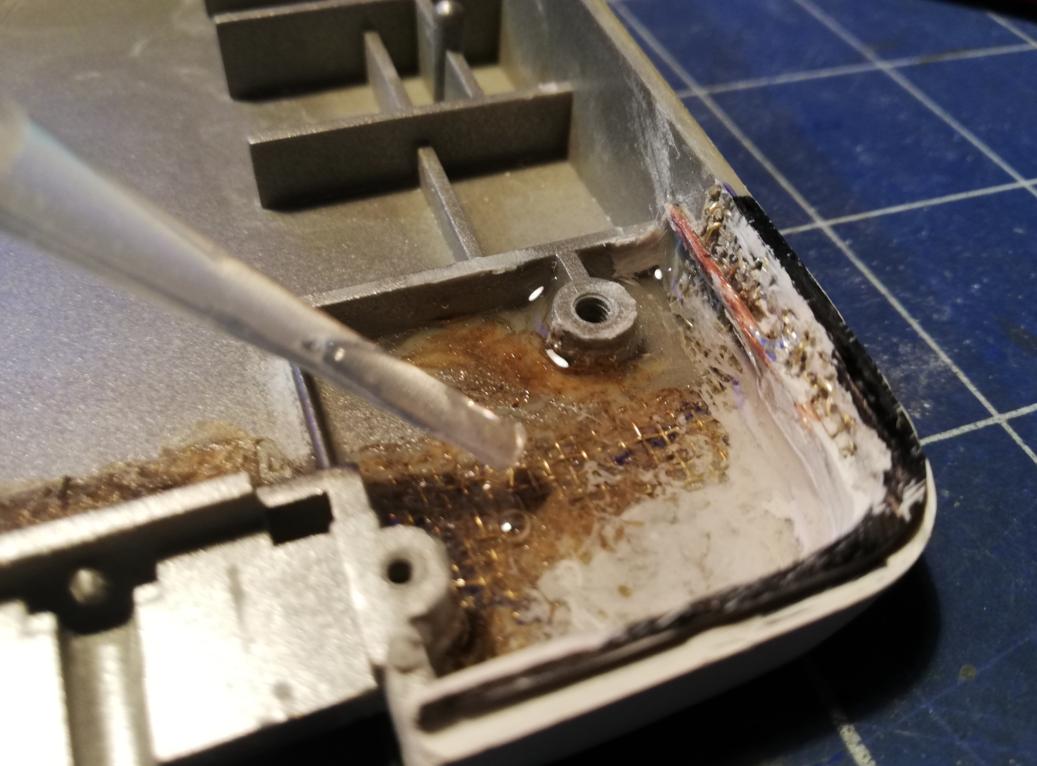
Once the resin cured, I applied a layer of spray putty which helped me to spot all minor mistakes and correct them with finishing putty and 400 grit sandpaper.
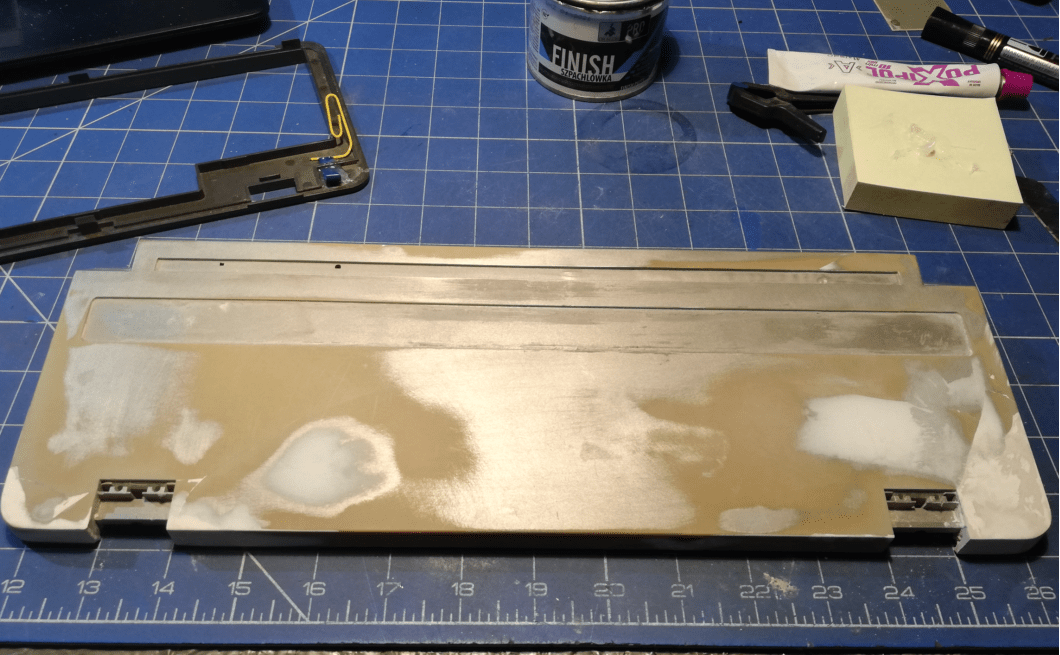
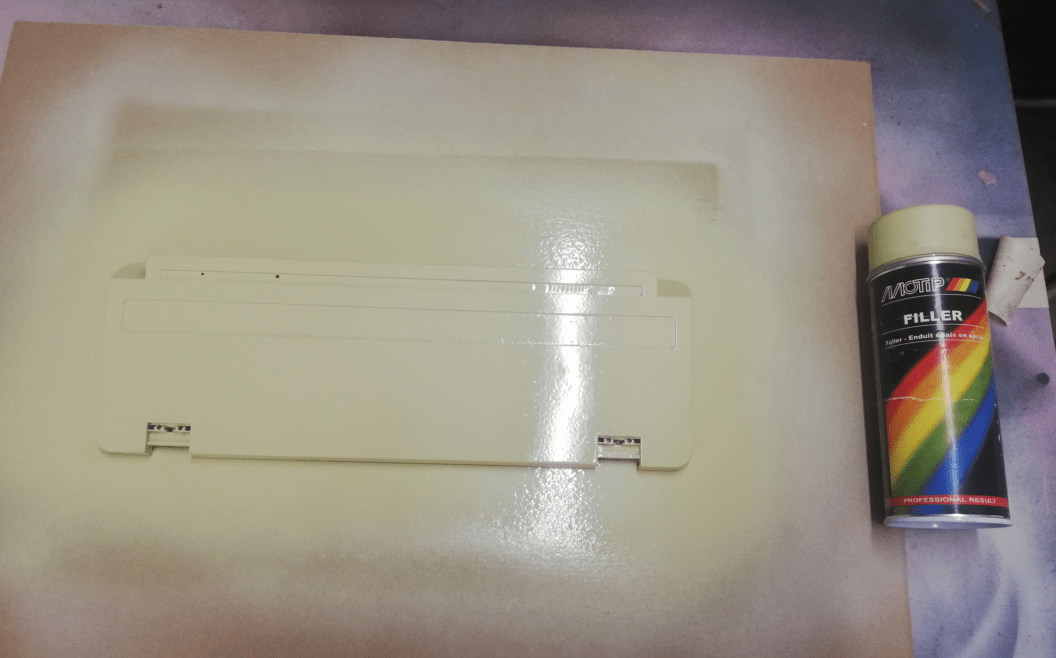
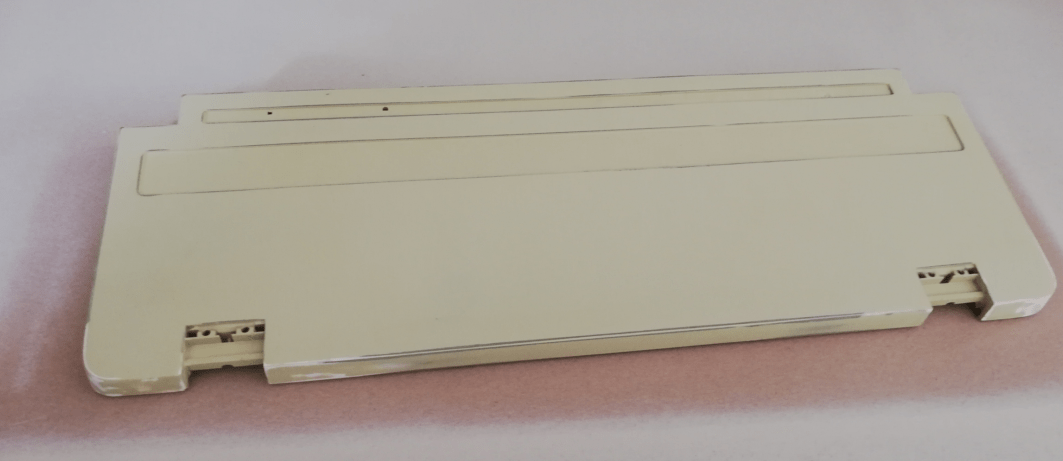
After another round of putty and sanding, I applied black undercoating which was then wet-sanded with 1000 grit this time.
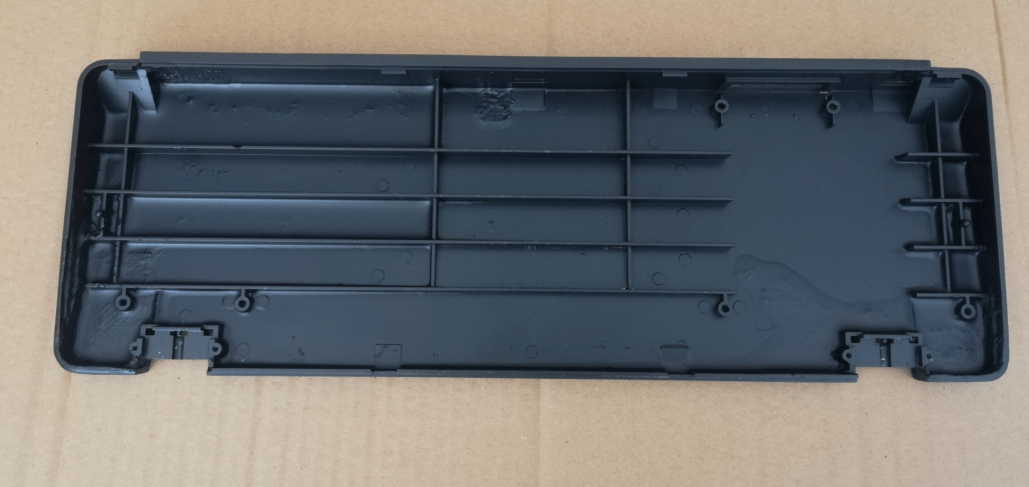
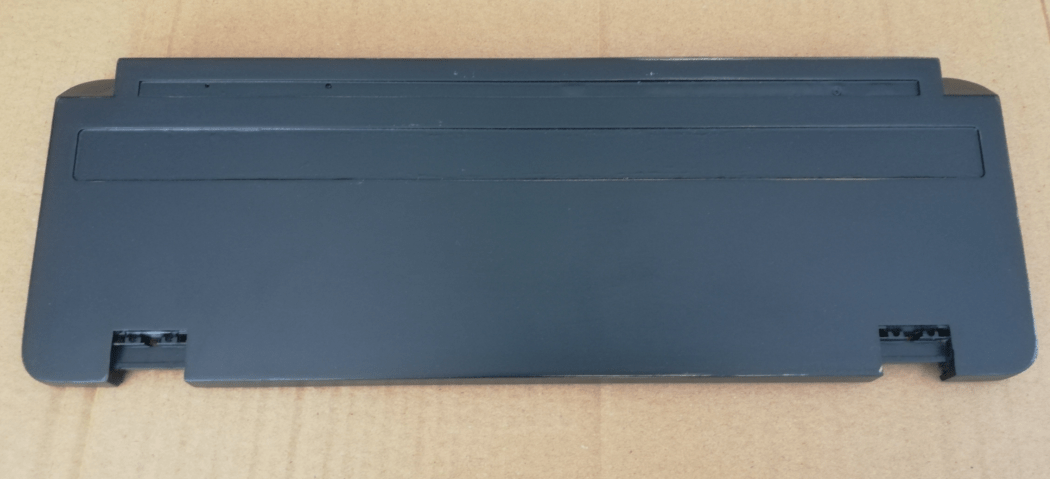
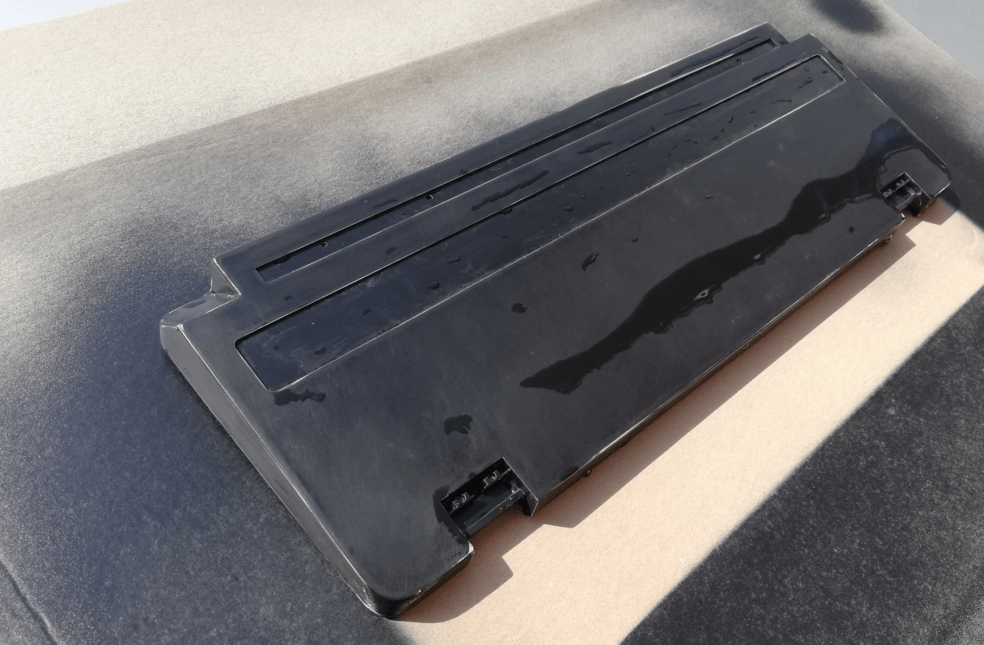
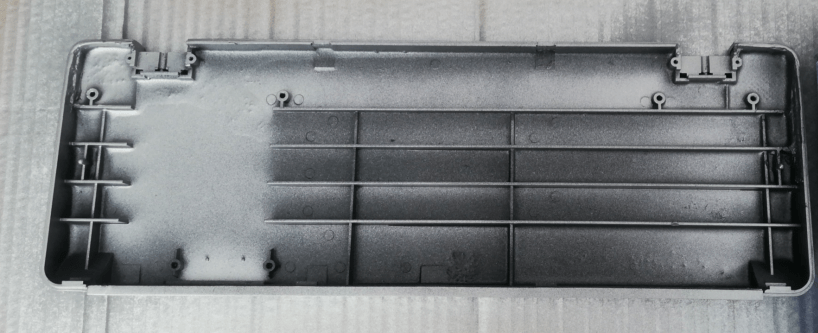
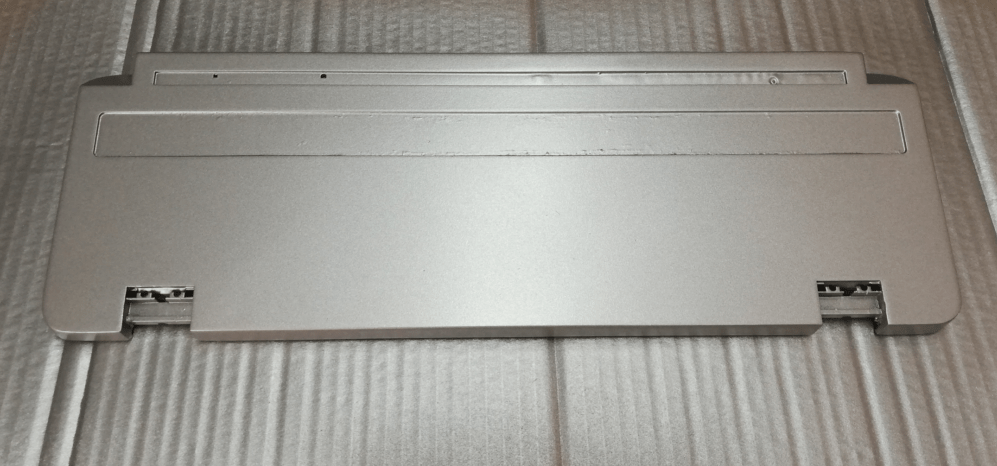
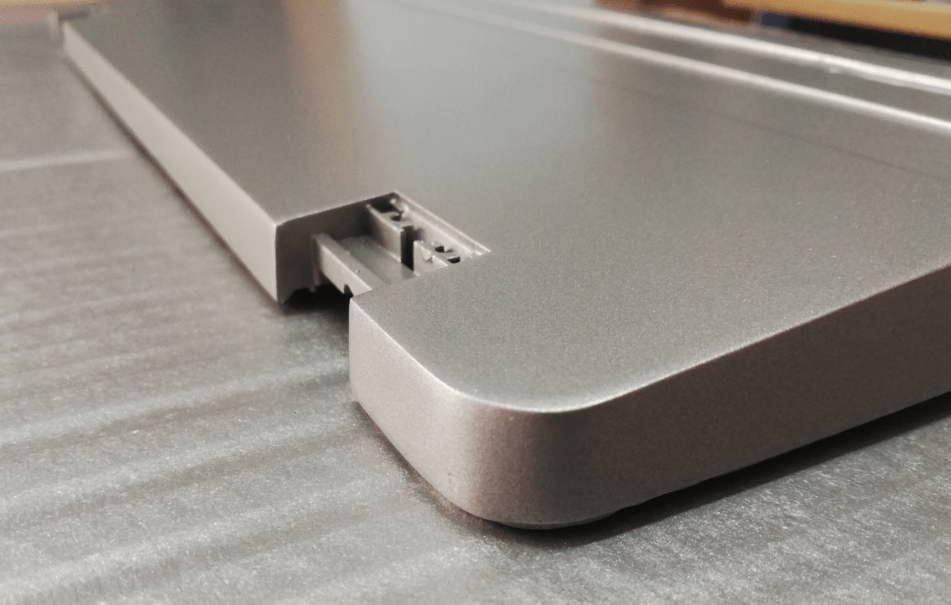
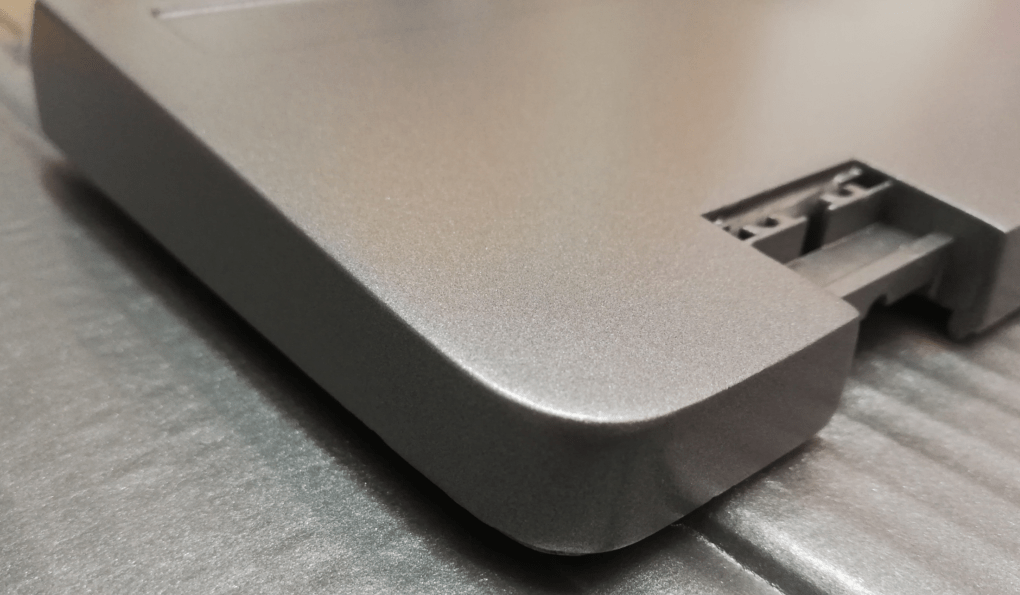
Finally, I could apply the last two layers of custom-made spray paint. This paint color exactly matches the original. These custom spray paints for various computers will be available on my webshop soon. The first series of spray paints will include the following colors:
- Atari XL Beige
- Atari XE/ST Gray
- Commodore 64C Beige
- Amiga 500 Beige
Badges and plastics
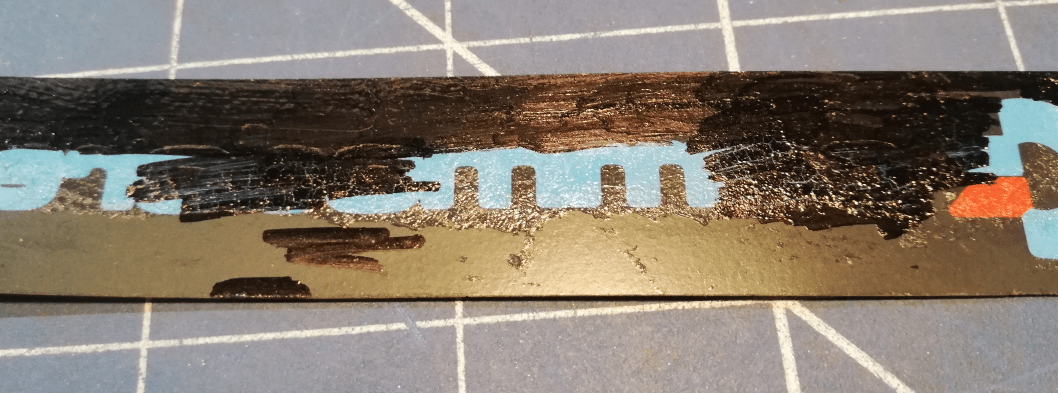
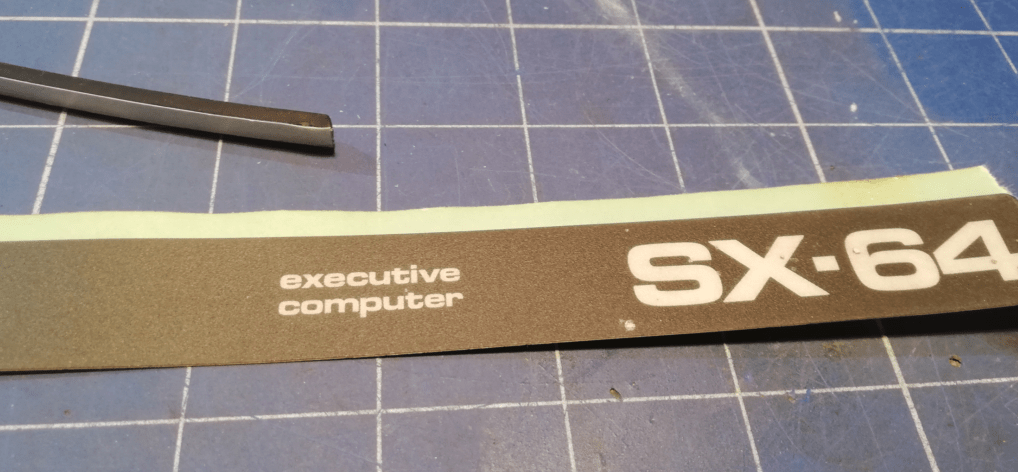
Due to its age, paint from a badge was chipped off during removal so I had to fix it. I’ve used a standard black marker to cover all these tiny spots. Later, I removed old glue from the rubber base and applied fresh double-sided adhesive tape on both the rubber and badge.


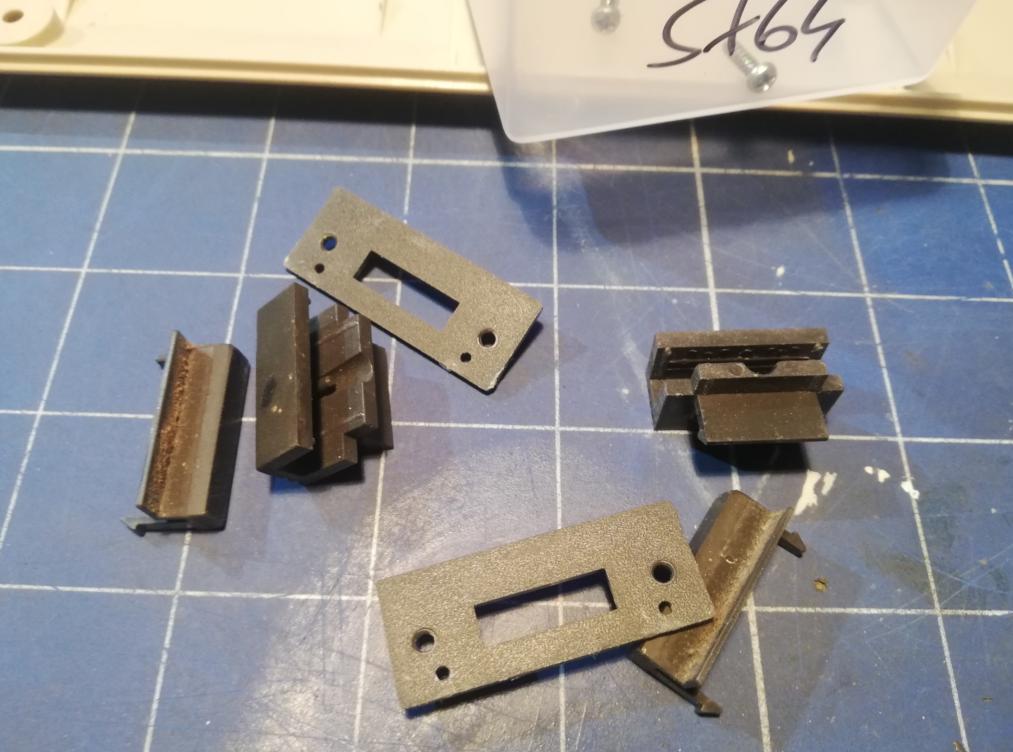
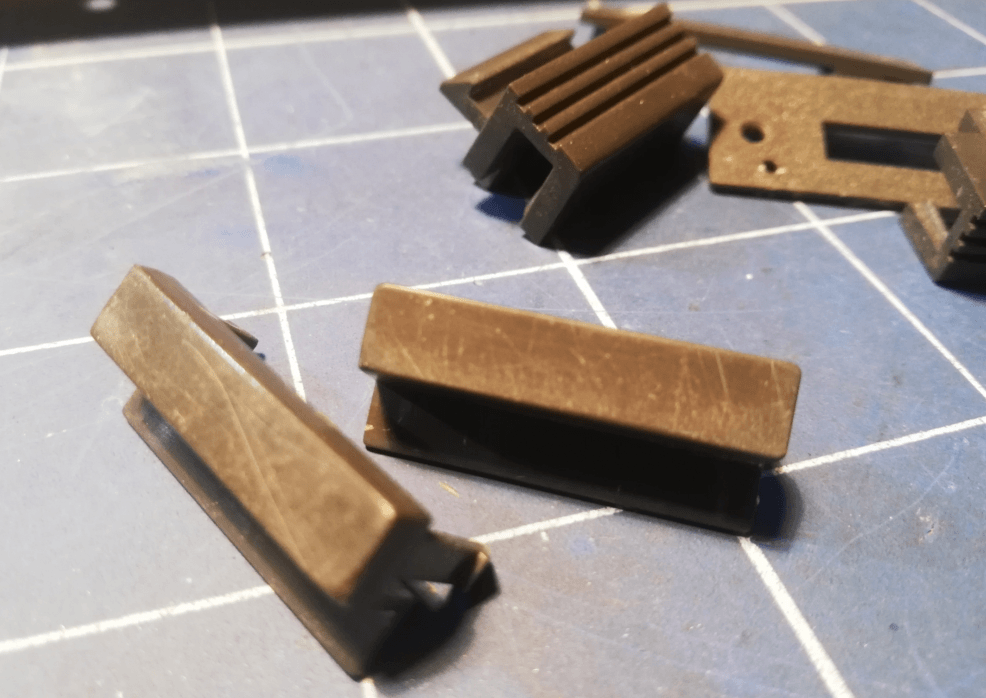
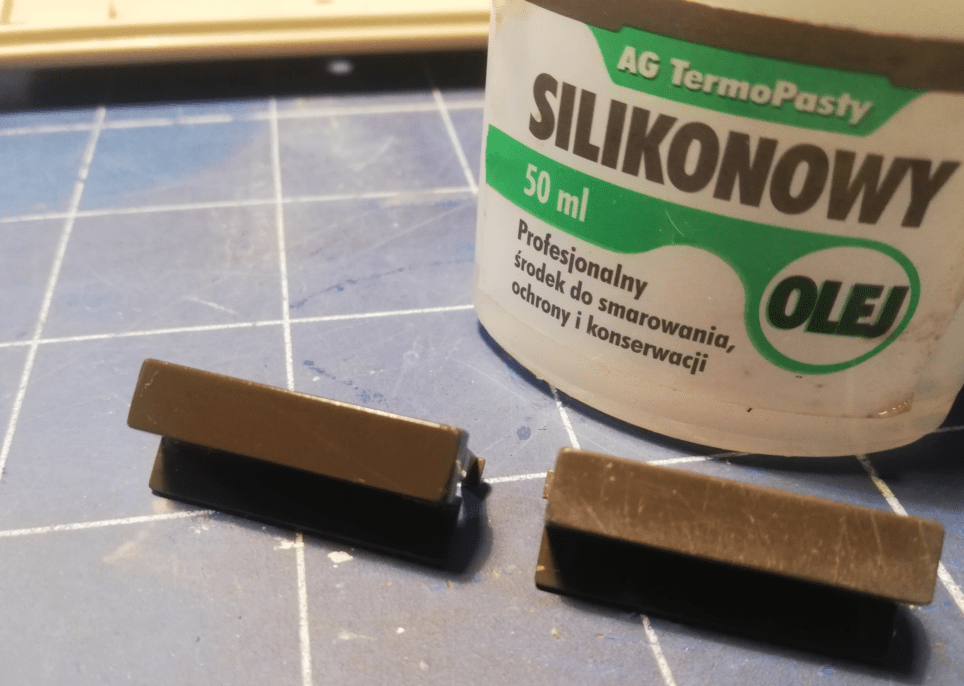
I also had to address other scratched plastic parts. That was easily fixed by applying a thin layer of silicone oil. That is my usual trick to bring back dark plastics to a nice look.
Keyboard cleaning
All keycaps had to be clean. This time, I had to remove every single keycap and clean it individually. It took a while to get it done properly but was mandatory.
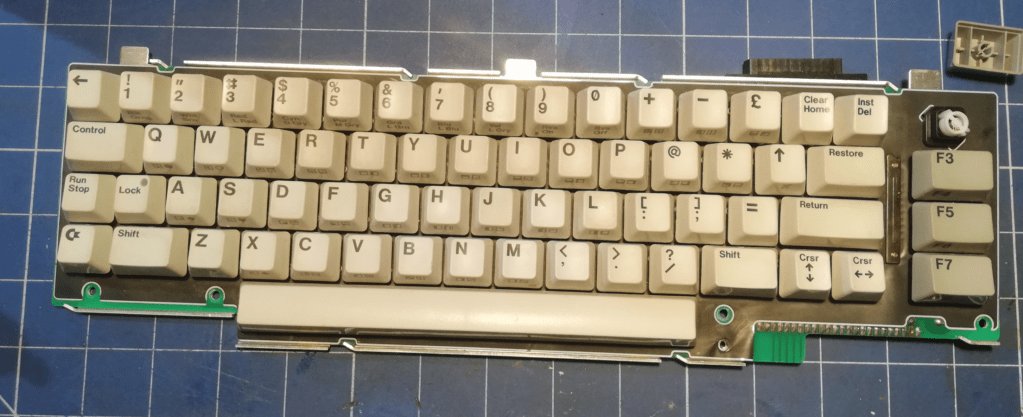
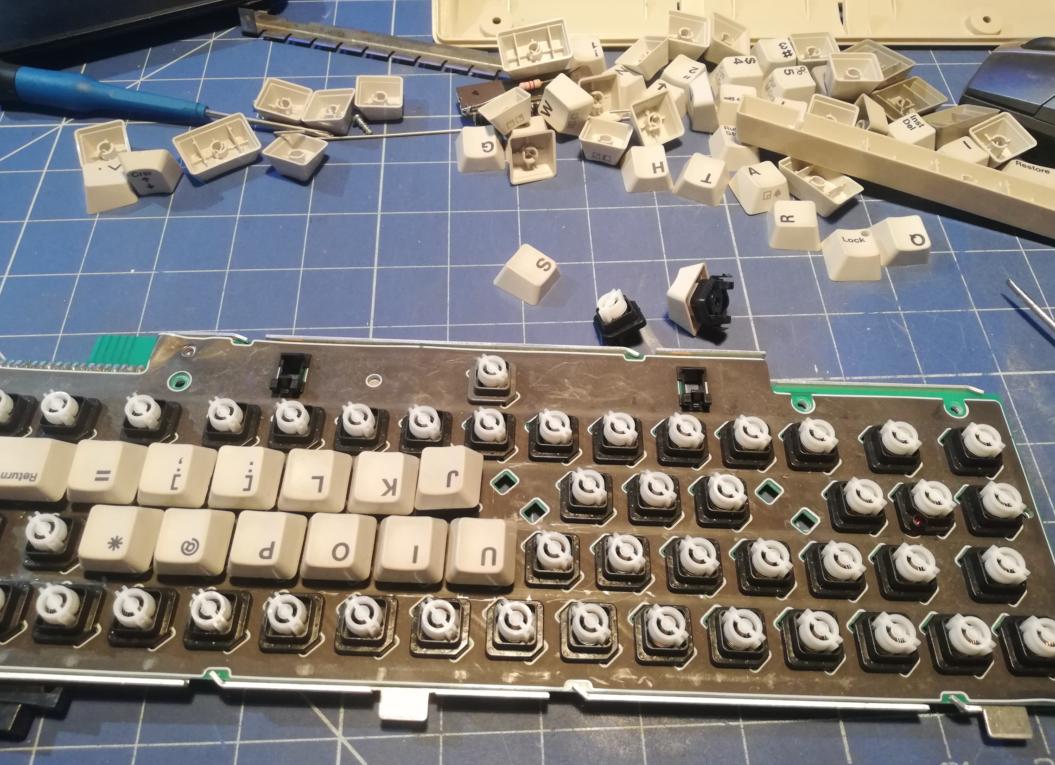
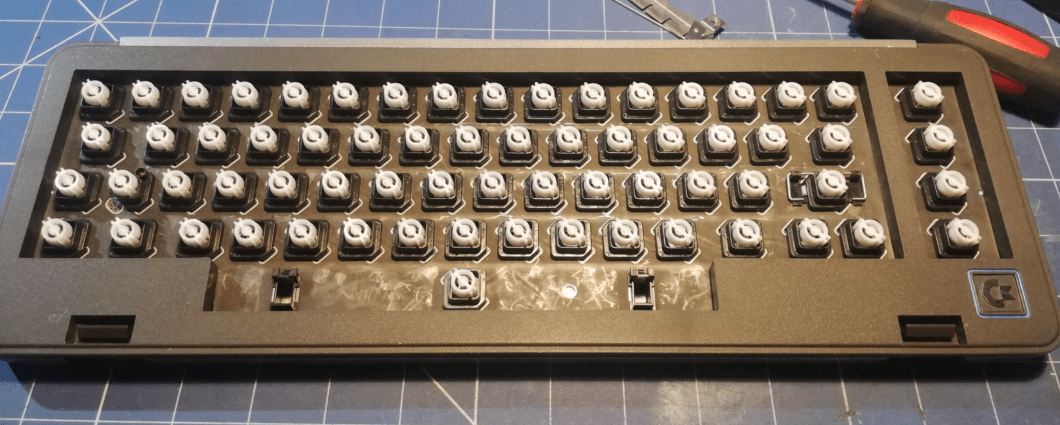
Don’t ask me why so late but this is the moment when I’ve realized there is a major failure :/
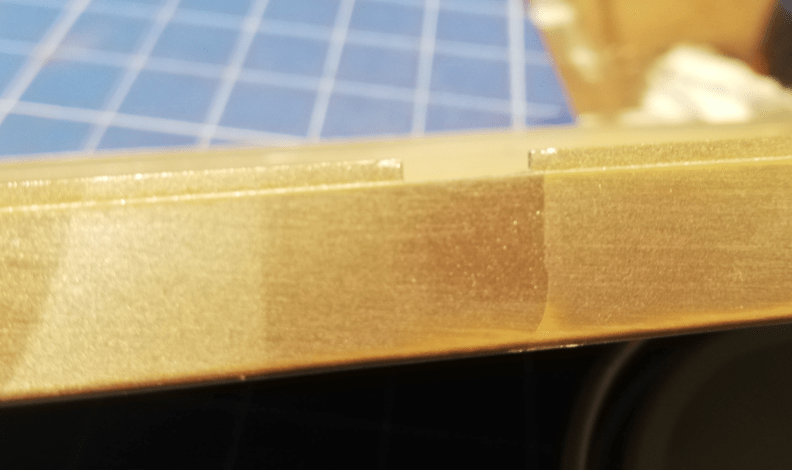
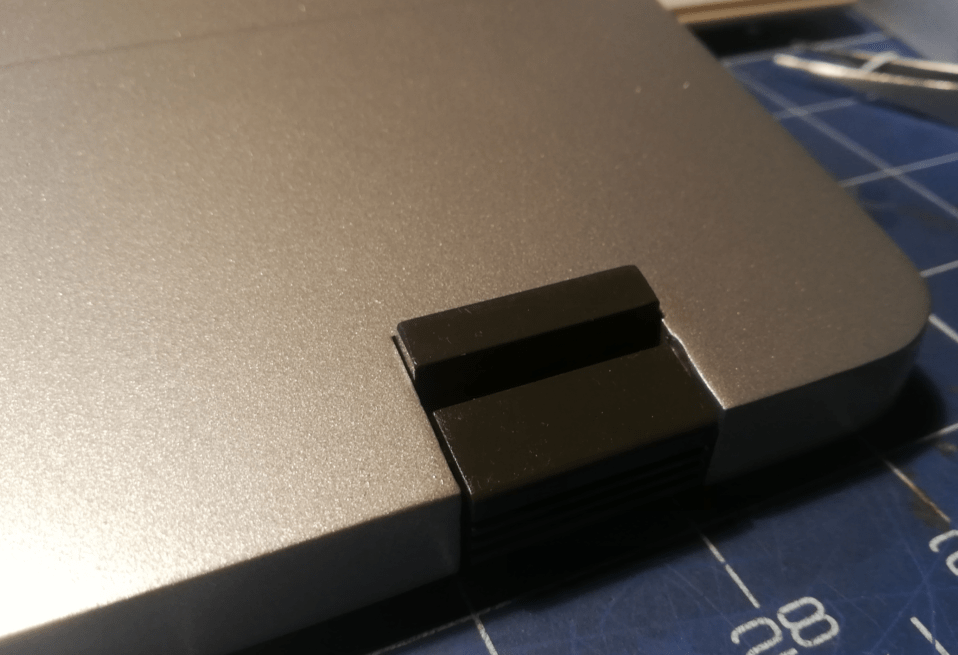
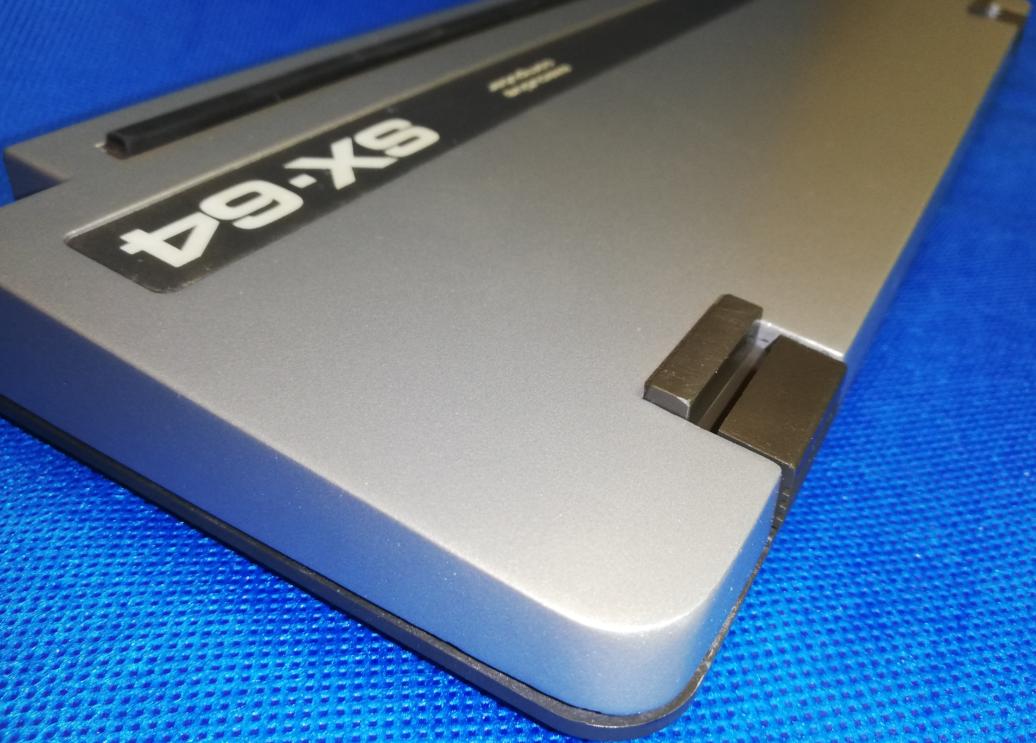
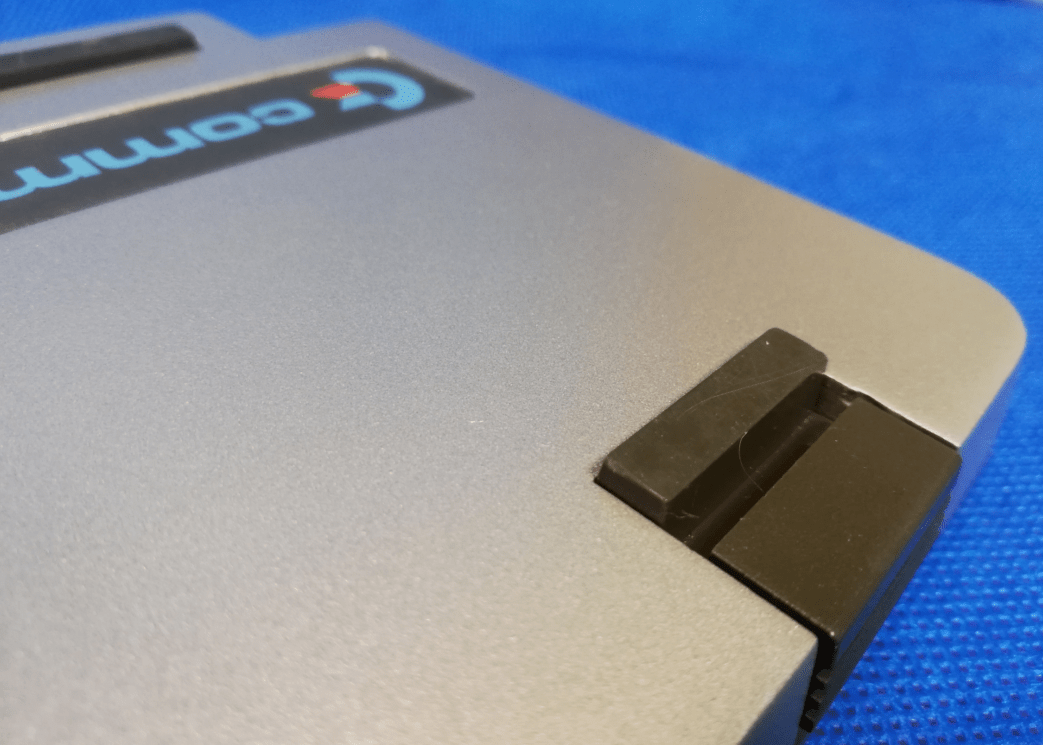
I’ve no idea why I didn’t spot it earlier. After assembly, it turned out that there is a small gap between parts. It is barely visible and only from a side of the case but I was pissed off at myself that I didn’t spot it and fix it before the case was painted.
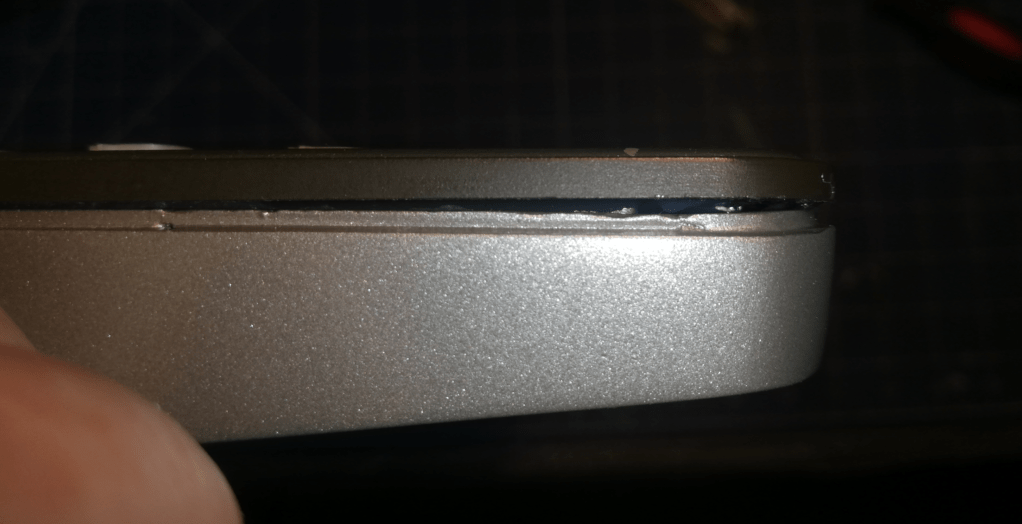
I didn’t have any spray paint left.
The grand finale
This restoration was rather time-consuming. It took more or less 15 workdays. This is because I had to wait for chemistry to fully cure before moving on to the next step.
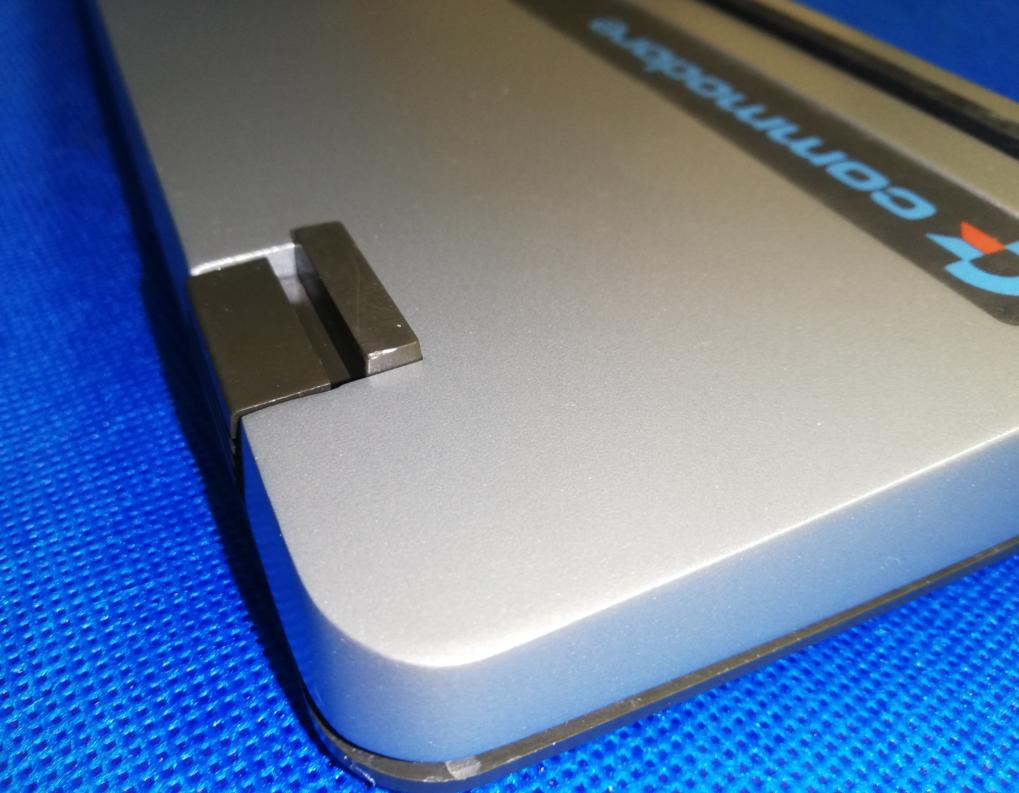
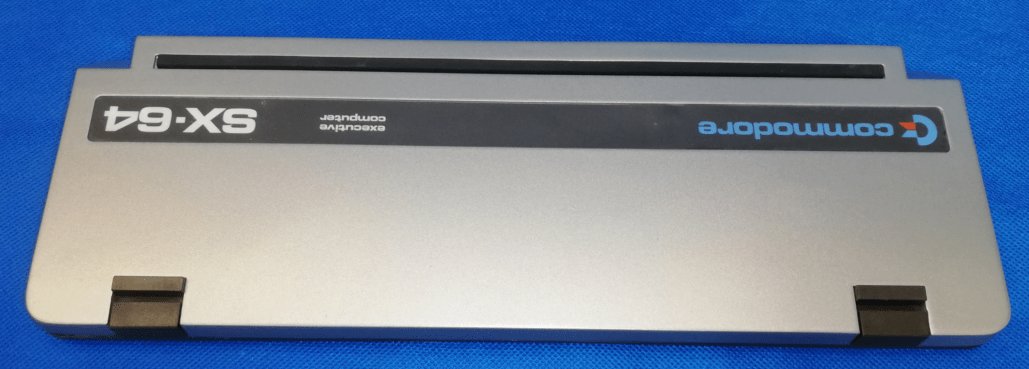
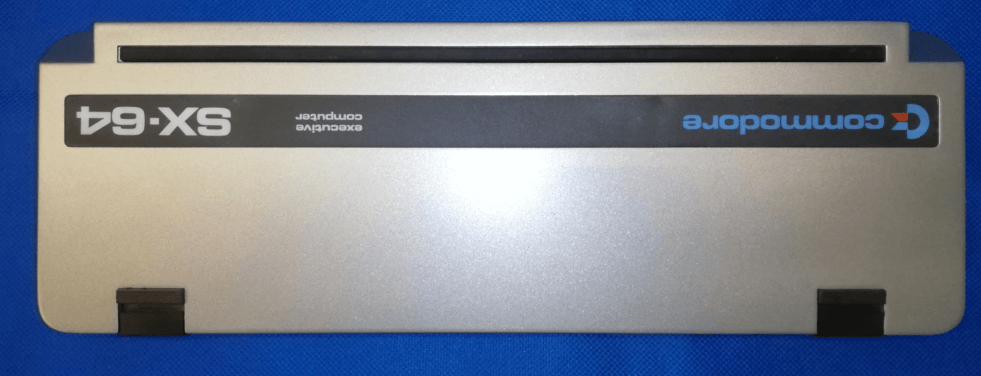
So here it is. Fully restored Commodore SX-64 keyboard for Carrion. Hopefully, he will like it 🙂
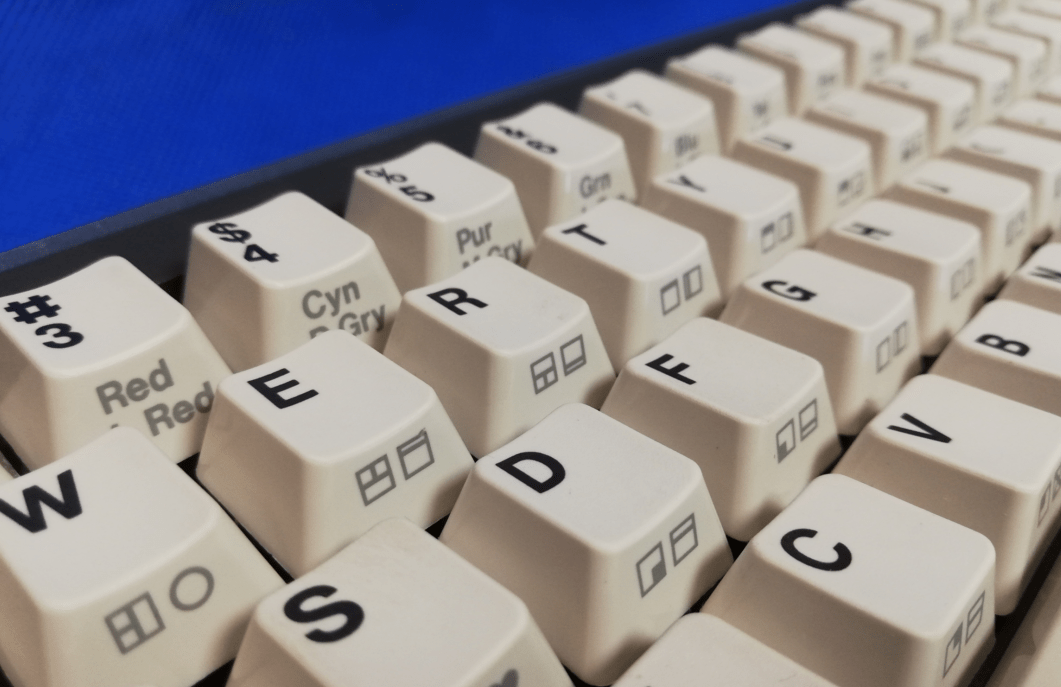
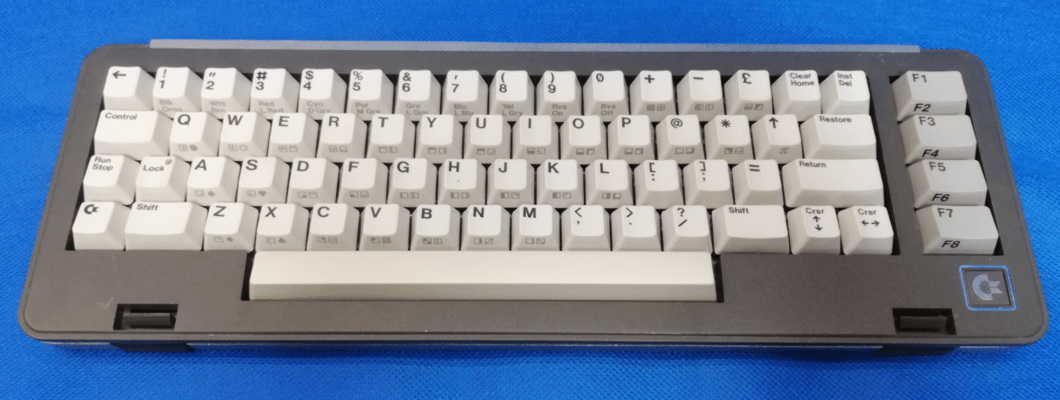
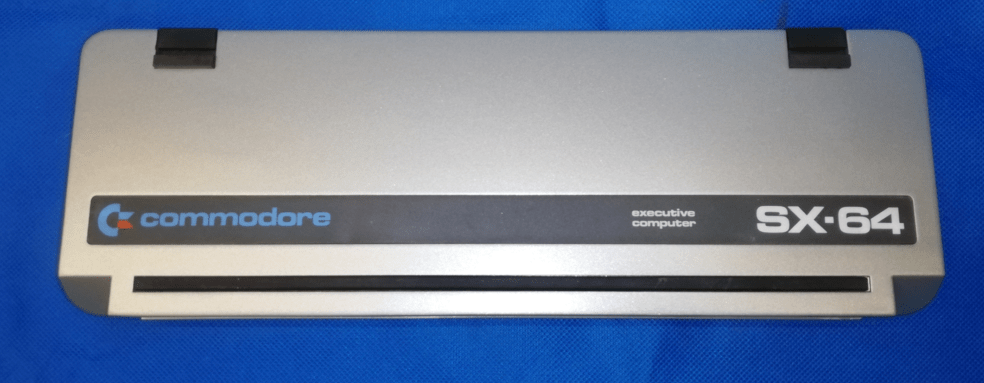
See you next time 🙂

Outro
If you want to get retro gear or hardware modules, please visit our shop -> https://retrohax.net/shop/
Please support our work by commenting here and on our Facebook and Twitter pages.
If you want to donate a dead computer then drop me an email. Extreme cases are welcome ?



Since you are not selling the paint could you please share the color codes?
well, I would love to but the problem is that it was custom-made with a computer-assisted method so I’ve no idea what color code it is
I wonder if I can get mine fixed. I received it today in the mail “SHREDDED!”??????
Please let me know if it is possible. I do have photos of the damage if you need to see them.
Sorry to hear that 🙁
I am not taking any new jobs currently. I have way too much in the queue.
I have a SX64 keyboard in similar shape – bought it online and it got destroyed in transit. I was just going to pull it apart and sell the keys, clips etc to try and get my money back on the purchase, but maybe I can fix it. Do you have details on the dark and light paint colours? I’m in Australia so will have to see if I can get them made up locally. Thanks for any help! I’m off to try and find brass mesh now! Cheers!
Ha! great to hear that another SX KB will be rescued 😀
So idea here is to go to a local car paint shop which has computer spectrography equipment and ask them to make a spray paint for you. It is quite expensive but the colour match should be perfect.
Mind blowing. Nothing less than mind blowing. Keep sharing, these are so interesting – and you’re doing vital work!
Thank you 🙂
Szacun ziom!
Art. Pure art. Thanks for documenting and sharing.
Thank you 🙂 Obviously, It could’ve been done better.
Extremely awesome job! Congrats!
Thanks 🙂
Wow, that’s some amazing work! Very well done and well documented!
Thank you 🙂
Unbelivable. Amazing job Drygol!
I can’t wait when the kbd arrives We will do some video to show how it looks like with the rest of the machine.
Thanks a lot. Man!
No problem sir! That was a cool adventure 🙂