… or do it till it’s done 😉
Alrighty righty! This is the second part of my six C64s restoration/upgrade project. The first part for all of you who didn’t see it is here
More on keyboards
In the beginning, I didn’t plan to write about keyboard caps whitening but I had to do it anyway, so why not show how it looked 🙂
I had five remaining keyboards to clean and whiten a bit so I decided to go an easy way this time.
Obviously, I had to unscrew tiny PCB screws. A quick cleaning with IPA helped to remove dust and other gunk.

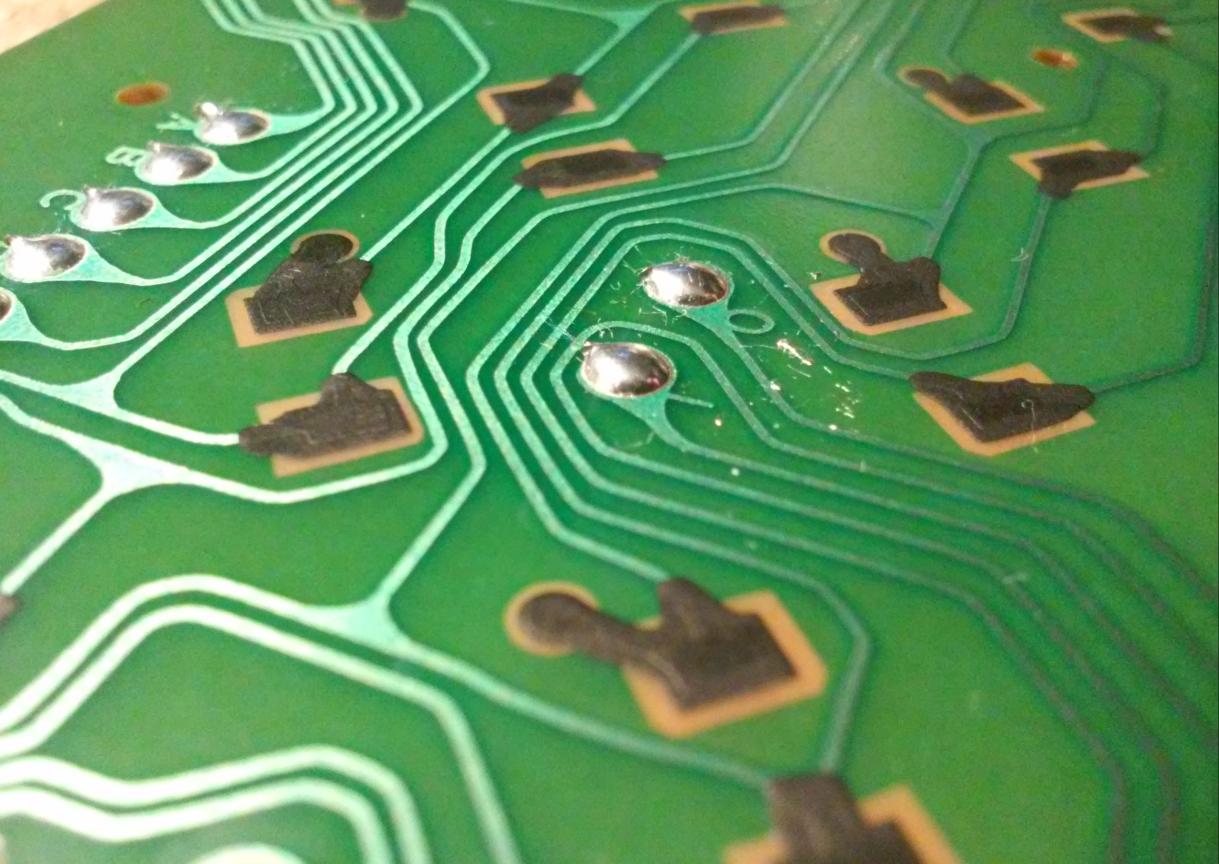
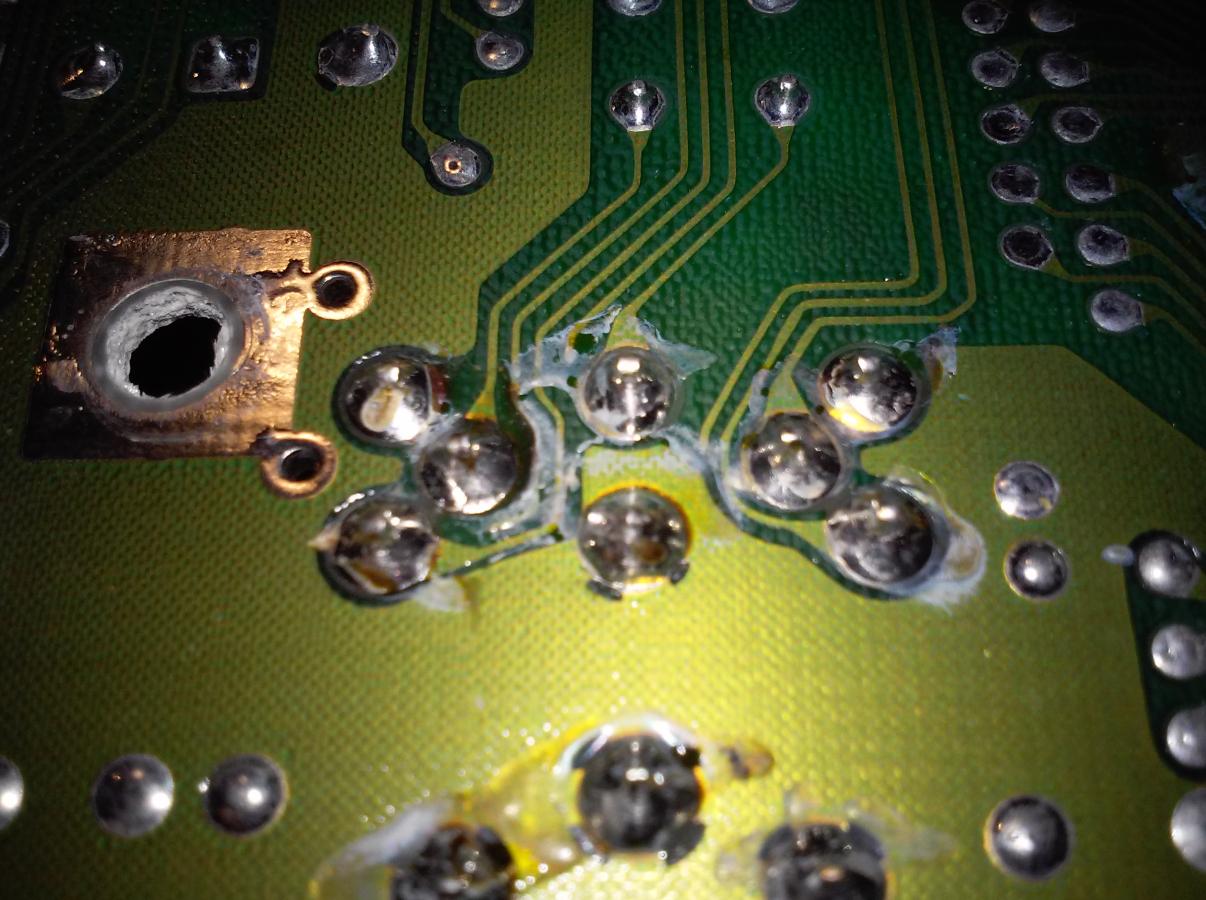
Nothing really complicated, however, there was one curio. On one of the PCBs, I’ve found crappy solder joints. It wouldn’t be a surprise on a high-voltage circuit but here? Looks like a factory-made error, so I’ve basically scraped it off and cleaned it with IPA.
That’s all about KB PCBs. Let’s move on to whitening.
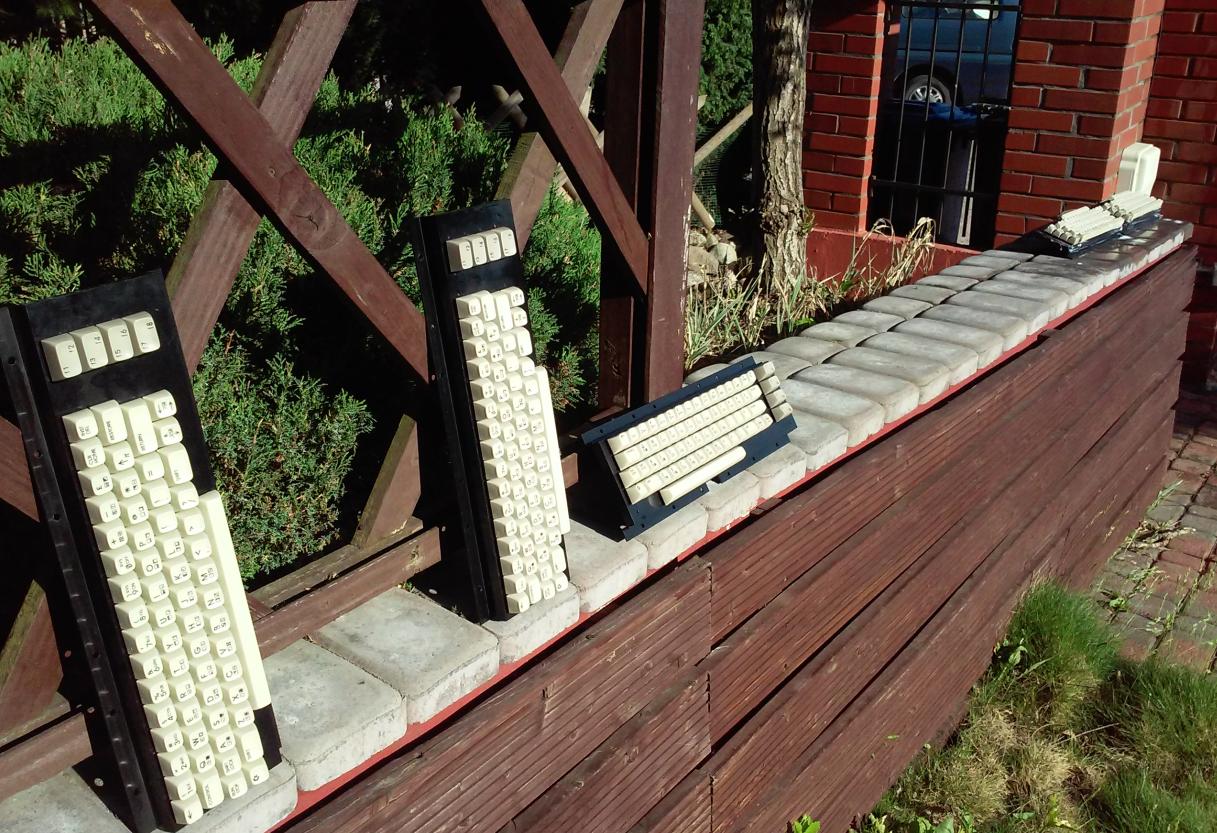
Here is a photo before I started.

Two of the keyboards are yellow-like nutrias teeth and one (the bottom one) is simply dirty. A detailed method of whitening was described in my previous post, however, there are three hints worth mentioning.
The first is to simply leave keycaps on a plastic frame and use a brush to apply whitening cream instead of doing every single keycap separately. That saves a lot of time. Here is a photo.
Suggestion
The second hint was posted in a comment section of my previous post about C64 refurbishing. Elwood89 (thanks, buddy!) suggested using the stretch wrap to eliminate excessive moist evaporation. I will have to try that approach someday.
And finally, the third hint is my new discovery.
I was doing keyboard whitening on Friday afternoon. Obviously, every Friday evening there is a lot happening …..

… most probably (I cannot confirm that for sure :D) that was a direct cause of completely forgetting about keyboards.
The next morning (well, it wasn’t morning exactly), I rushed (well, maybe not rushed) to see if my keyboards are totally messed up.
To my surprise, all was OK and even evenly whitened!
The only explanation that comes to my head is that morning dew sorted out a moisture evaporation problem for me. Also, the sun isn’t that strong in the morning so it all had a nice stable sunbath for quite a while. I’ll recheck that hypothesis again one day …. most probably Friday :>
Anyway, the bottom line is – DRINKING FRIDAYS FTW !!!

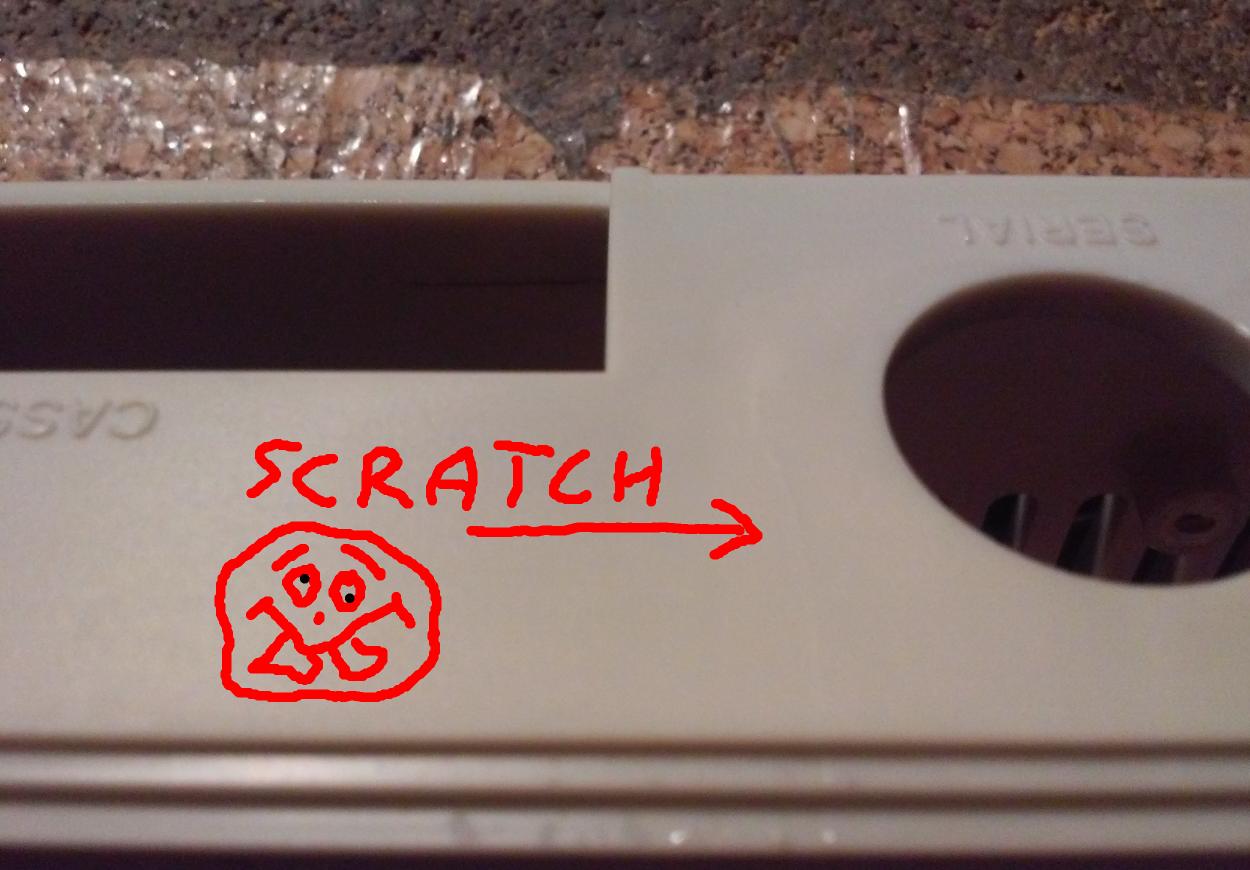
Case repairs
There were a few minor problems with cases that I had to fix before further mods.
Here you can see what I mean by that.
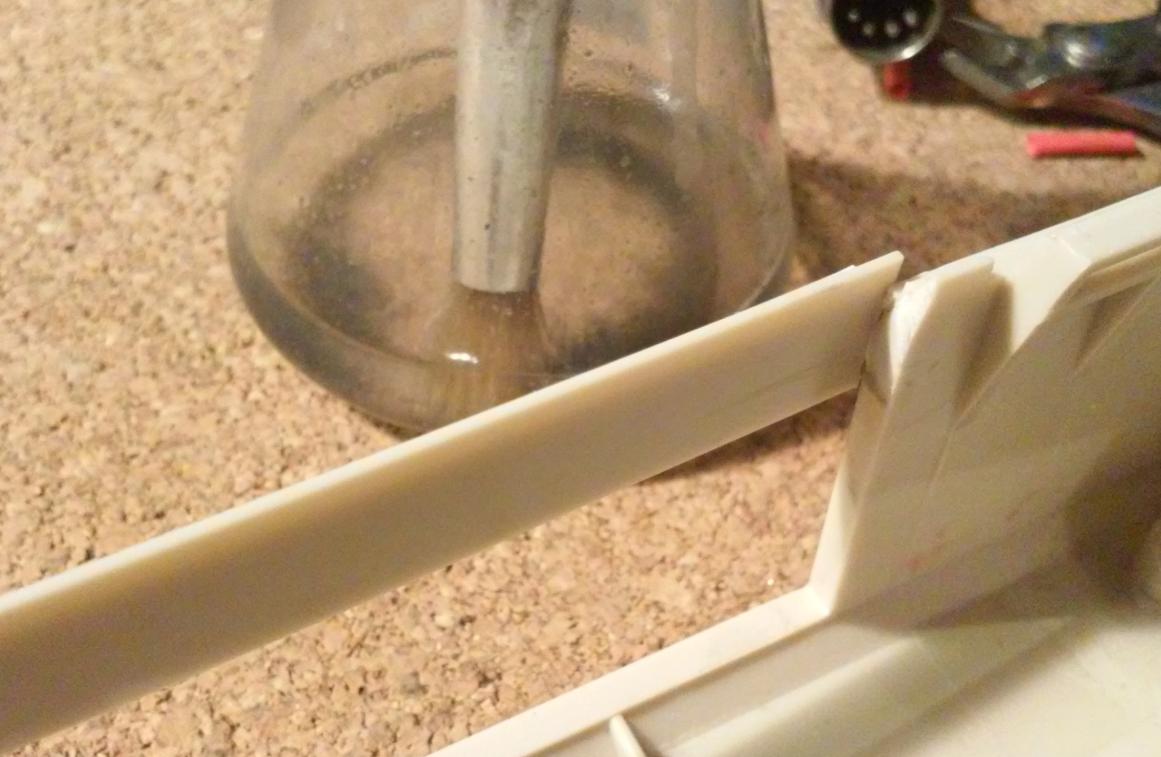
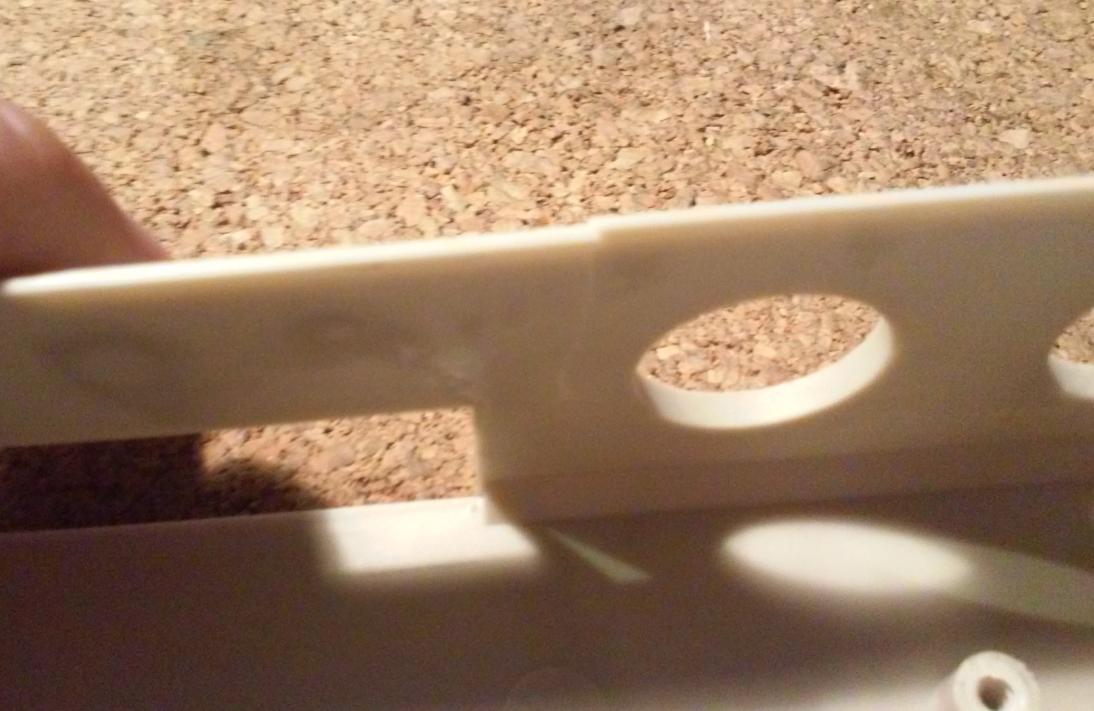
Fortunately, that was an easy fix. I only needed a bit of acetone and a small brush to apply it to broken surfaces. A while of holding broken pieces together in place resulted in getting a nearly invisible scratch.
PCB cleaning and minor repairs
All PCBs were in a decent state but required a bit of cleaning. There were only two electrical problems that I noticed, bet let’s start with cleaning first.
All PCBs were covered in old dust that had to be removed. I usually use an air compressor to remove it and after that, IPA with a paintbrush takes care of the rest.
All six PCBs cleaned:

I also use IPA with a toothbrush to all other gunk. In most cases, it cleans up easily.
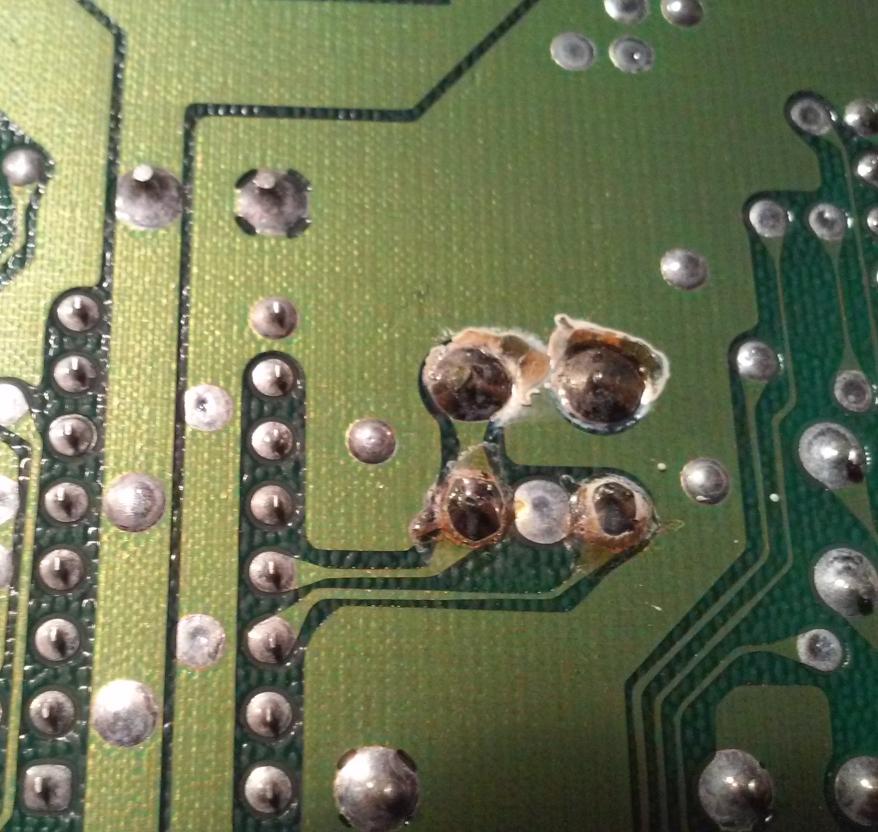
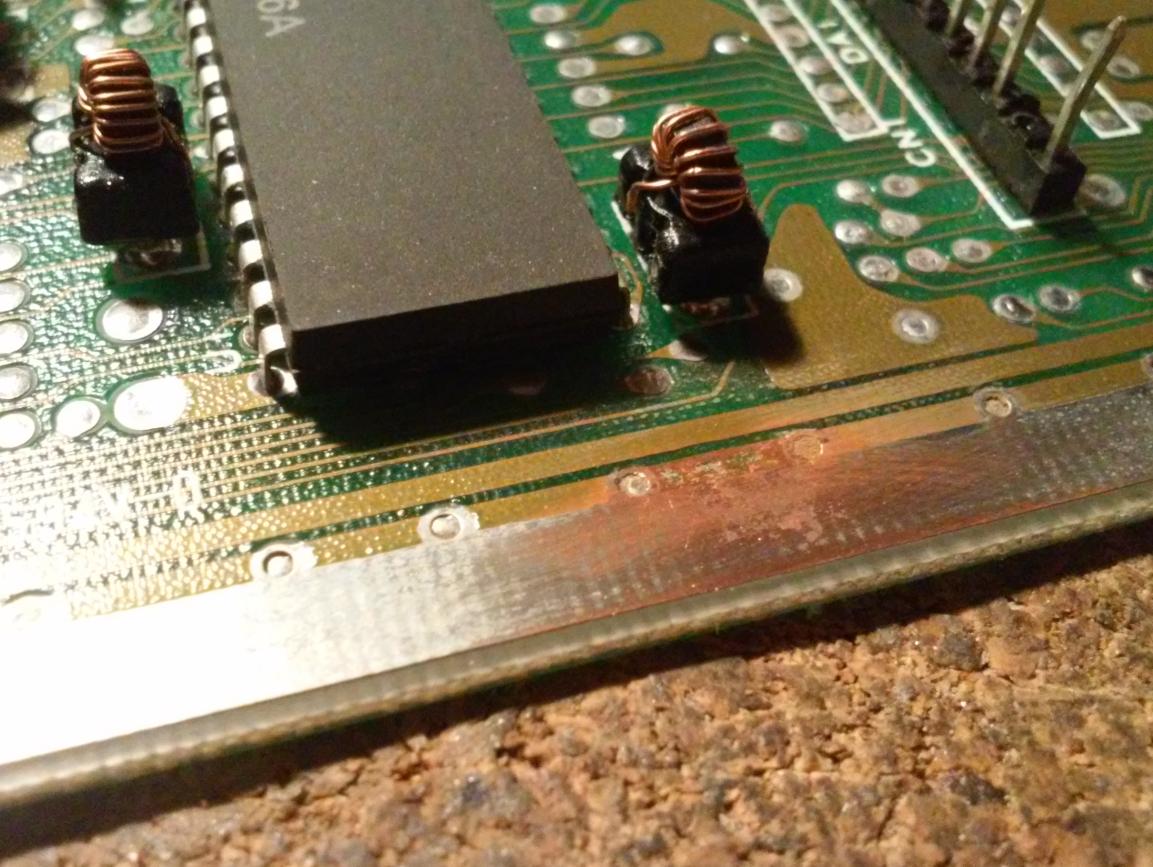
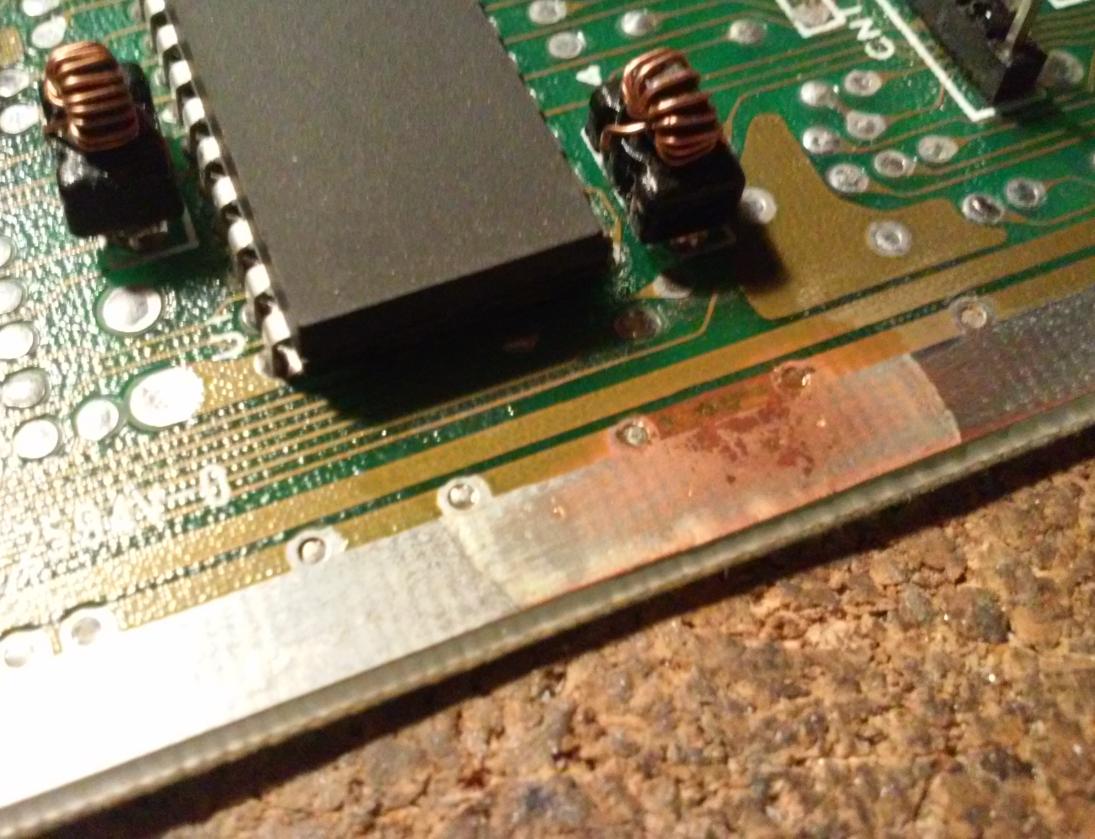
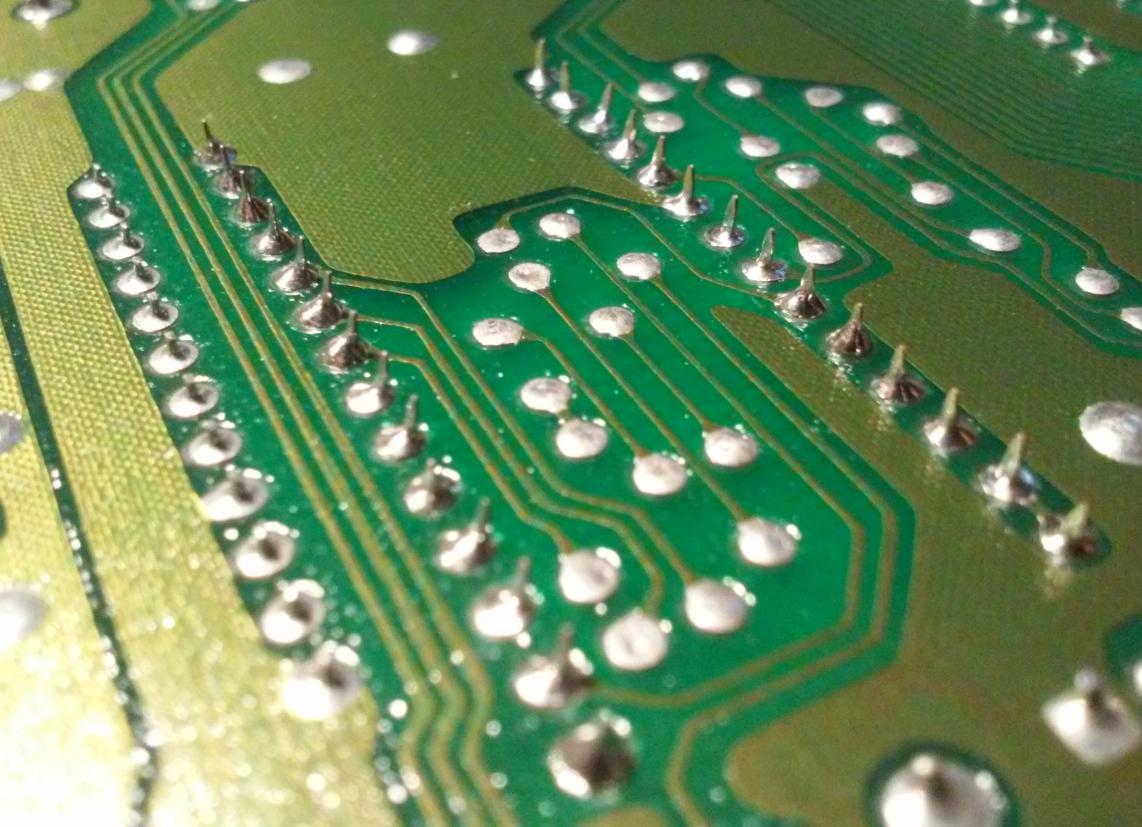
After cleaning, one of the PCBs, I noticed that a small area is slightly corroded.
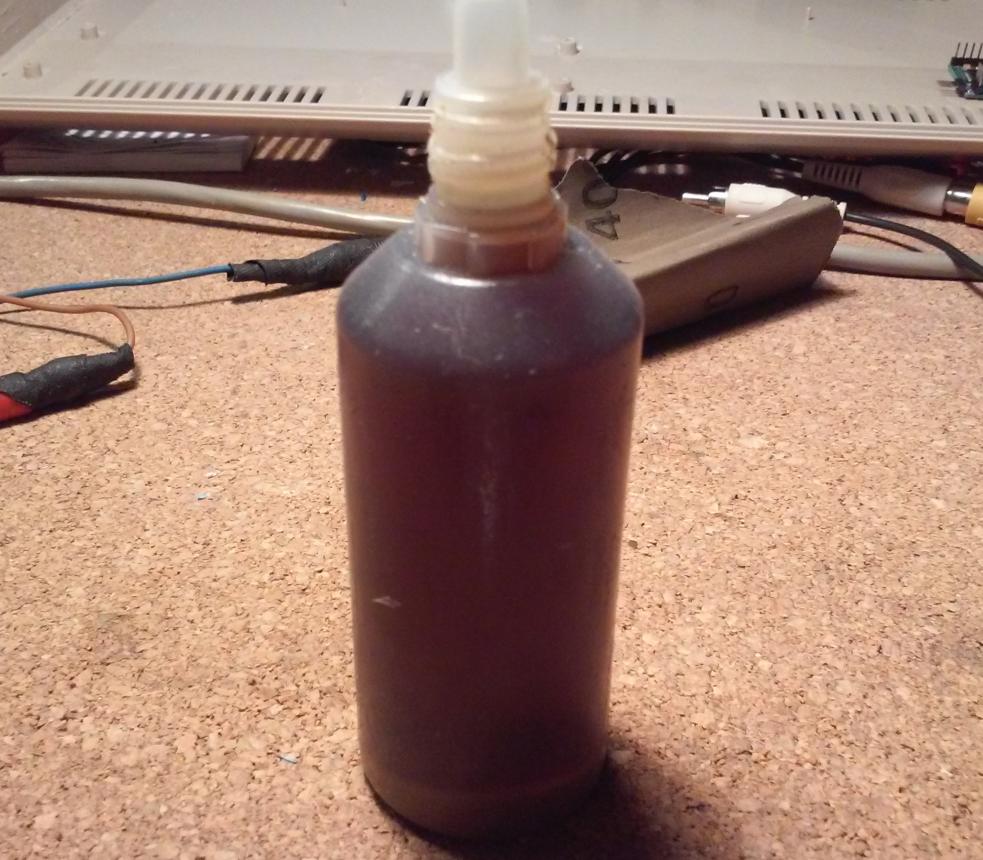
From the electrical point of view, it is not a problem since this area connects ground planes on both sides of PCB and there are still a lot of additional vias nearby that serve the same purpose. However, if that corrosion spreads further, it might start to be a problem. That’s why I scraped it off, sanded with grit 400 sandpaper, and covered it with rosin dissolved in IPA.
EDIT=CUT=EDIT=CUT=EDIT=CUT=EDIT=CUT=EDIT=CUT
Thanks to one of reddit.com users ( gjhgjh, thanks buddy ! ) I had an opportunity to learn something new. The idea of covering corrosion with rosin proved to be wrong. Here is a relevant thread
EDIT=CUT=EDIT=CUT=EDIT=CUT=EDIT=CUT=EDIT=CUT
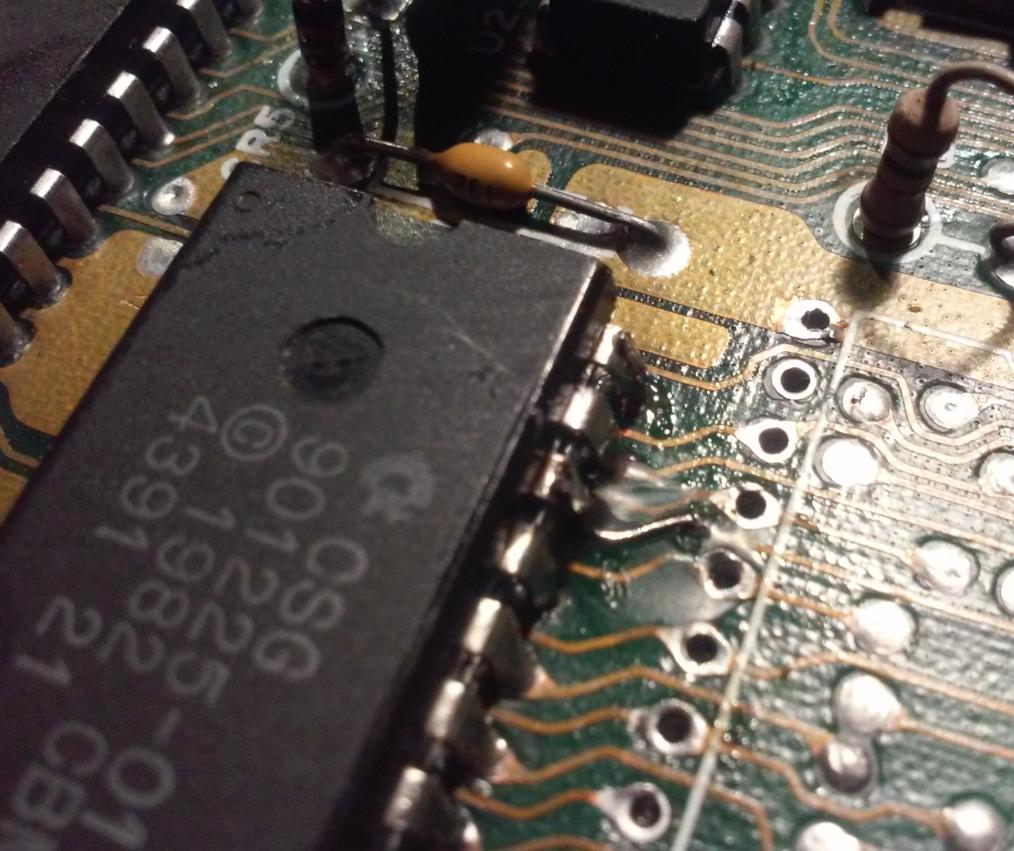
Another PCB
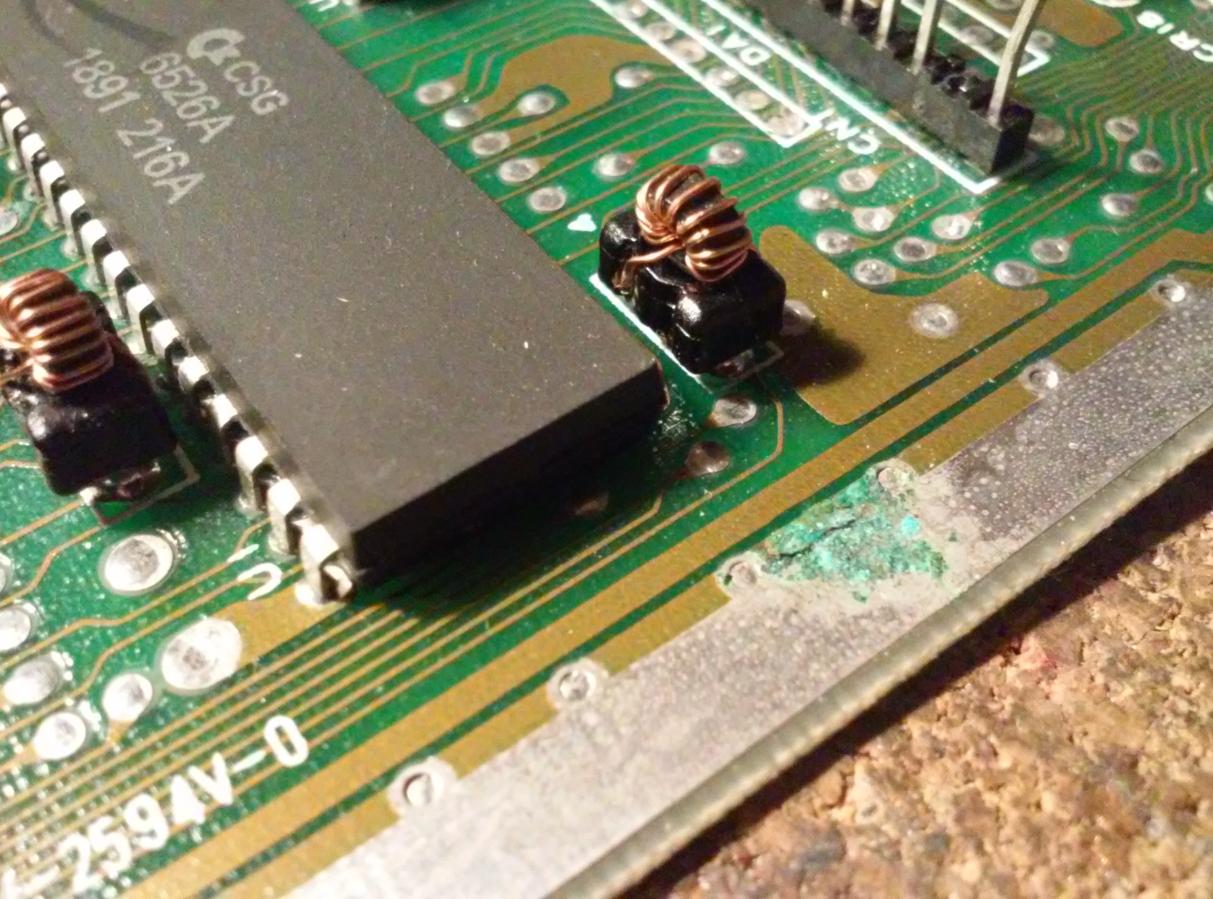
The second problem was with Character ROM. I’ve seen this kind of error in the past so I instantly knew that it is caused either by faulty IC (not likely in my case) or broken traces/contacts. A closer look revealed that someone desoldered this chip in the past. I did my best to desolder it carefully, however, it still looked quite hopeless.
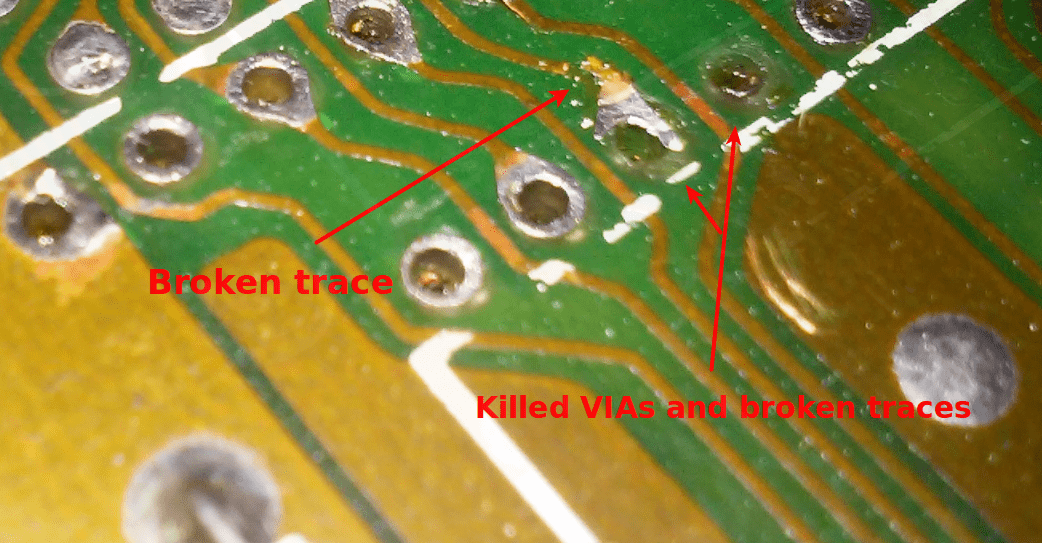
To fix missing VIAs I’ve simply scraped off a bit of solder mask and soldered a piece of wire through the damaged VIA. Unfortunately, I forgot to take a photo of this repair.
The broken trace was fixed in a similar way but this time, I soldered it to a remaining trace and directly to the IC pin. Maybe not the best-looking repair but it proved to work like a charm. :>
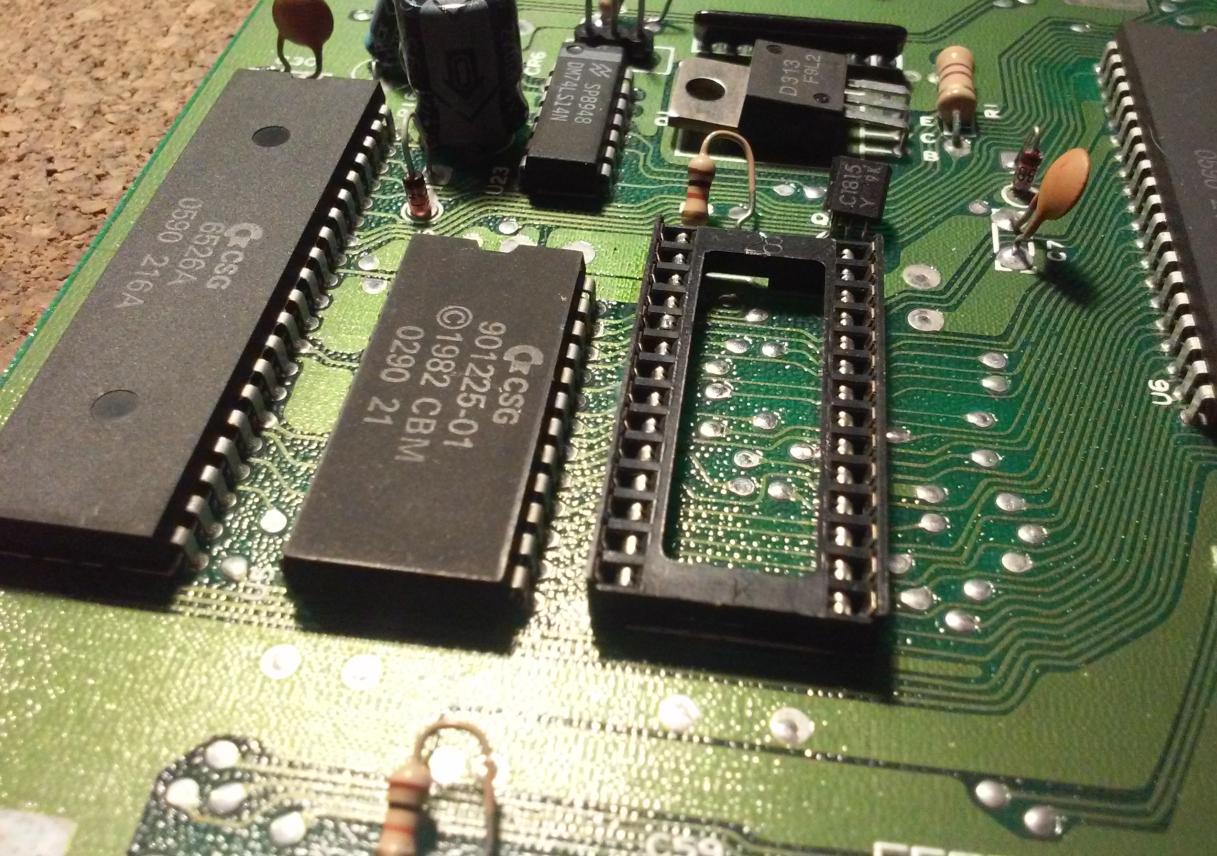
ROM Sockets
The next thing on the list was socket installation on all of six PCBs.
All required tools for this task are in the photo below.

There is no black magic here. Simple replacement task.

JiffyDOS
JiffyDOS is an awesome piece of software that is programmed directly onto ROM chips that replace the Kernal ROM chip. That is why I needed to install sockets in the first place.
JiffyDOS is widely available on the net where you can simply download it.
However, it is still a licensed product so stay legal and buy a license. More info here. You can get a license for it here
I wanted to do some minor changes to ROM images prior to burning it to flash ROM <– I dunno if it is legal, though.
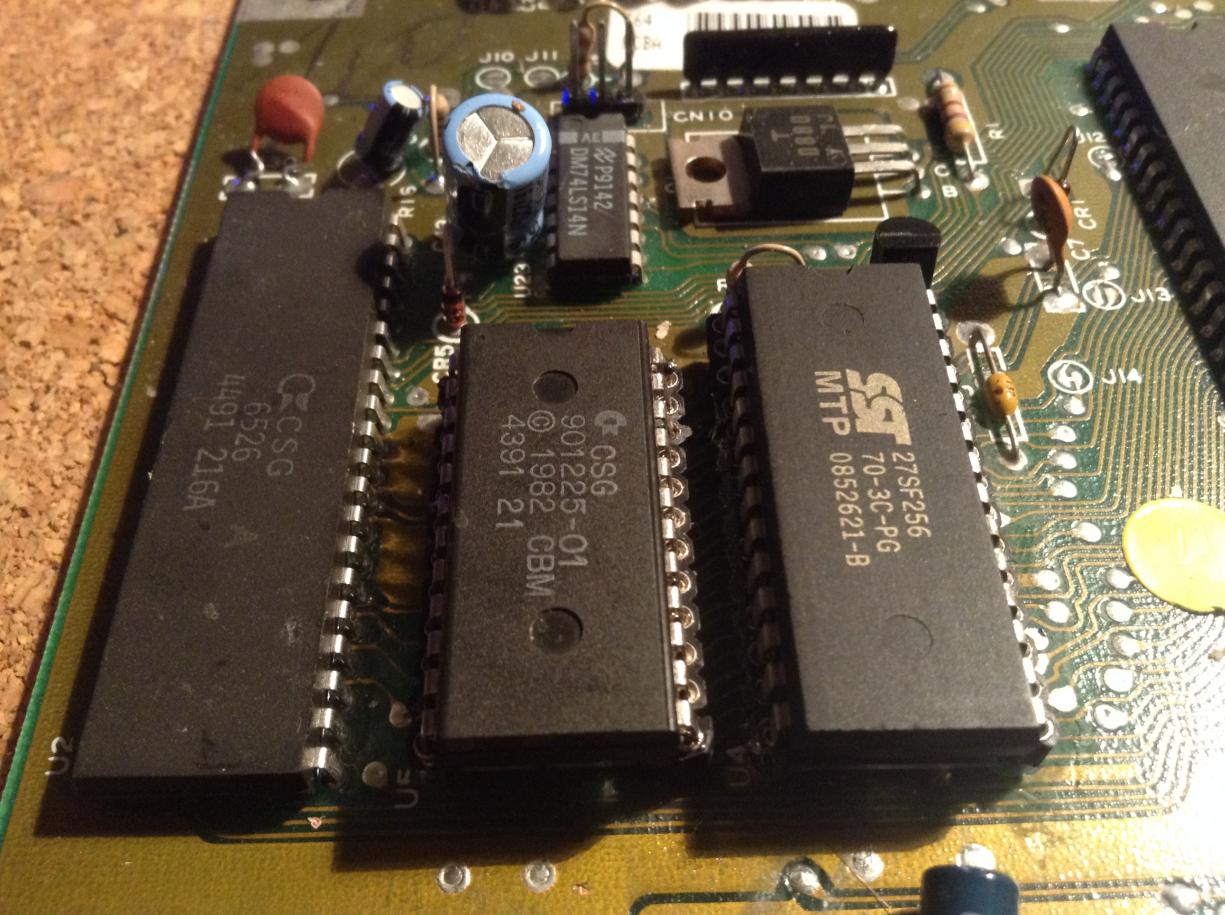
Aaaaha ! a flash ROM? dafaq ? how ? … yeah a flash ROM, SST27SF512 for example.
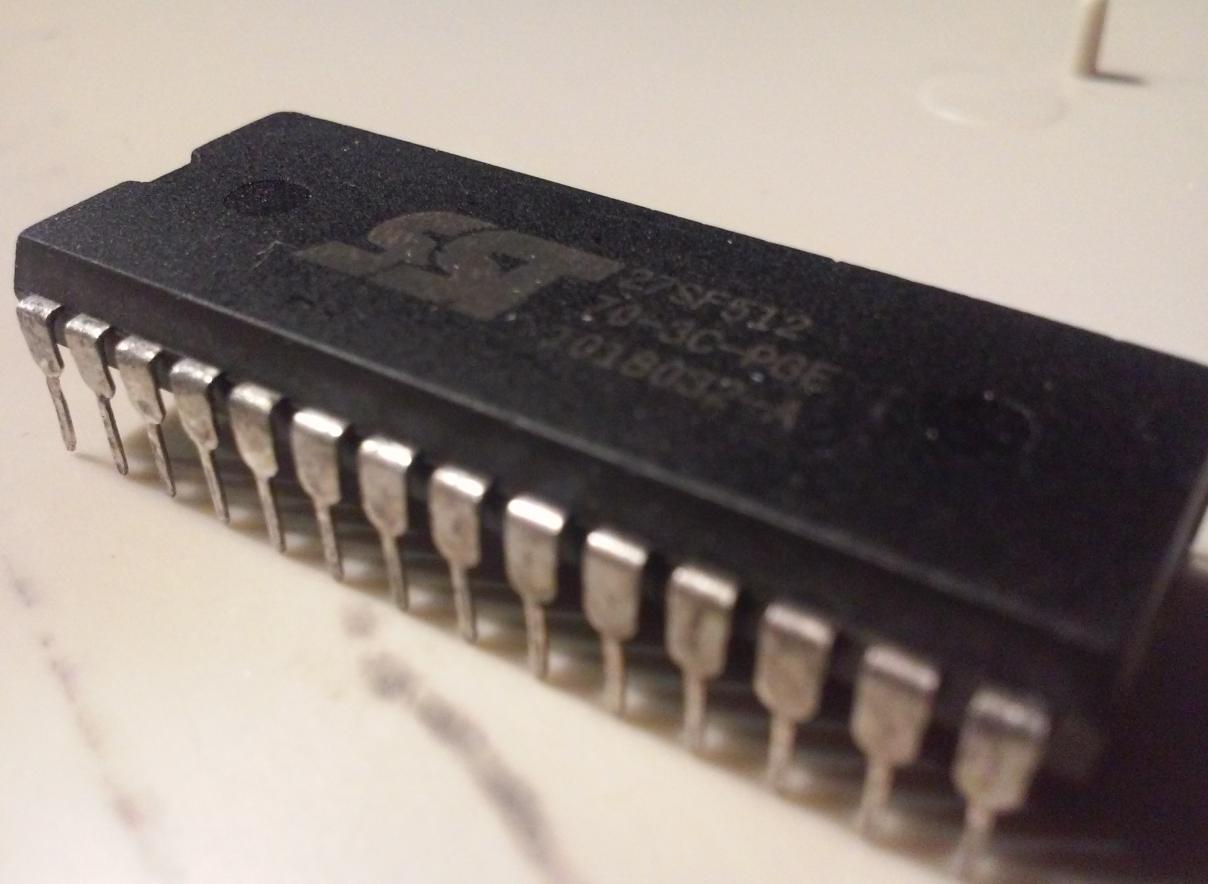
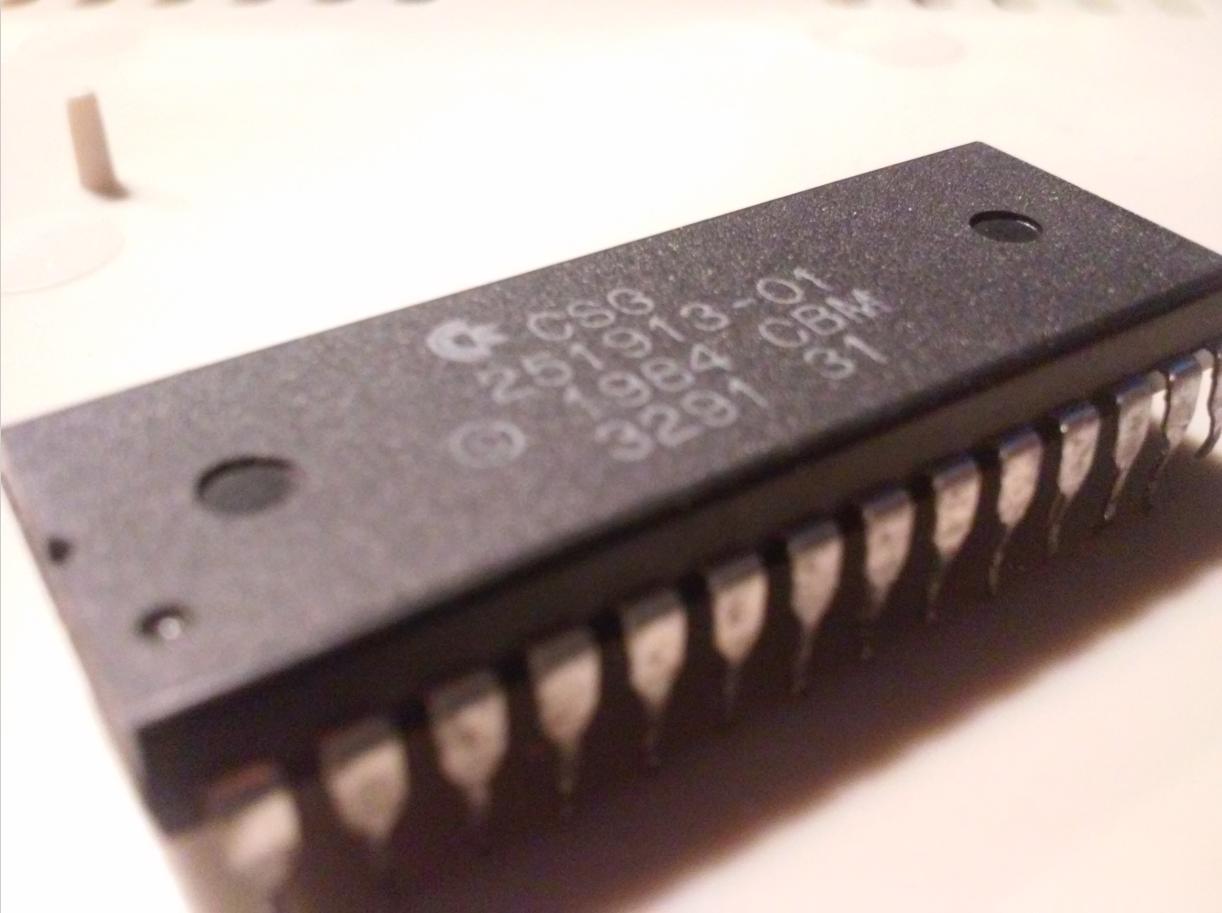
SST27SFxxx series is a nearly perfect replacement for the original 251913-01 chip. Using flash ROM is very convenient. You can simply flash it and in the case of an error easily repeat a process without using a UV lamp to reset a chip.
Here is an original IC
Burning flashROMs
All six motherboards that I have are pretty much identical. All of them have a 251913-01 chip which stores 8kB basic + 8kB kernal, so there are 16kB of data that has to be written on a destination flash ROM. JiffyDOS comes as an 8kB bin image so that part is sorted. However, 8kB of basic is also needed to get a complete 16kB bin image.
There are at least two ways to solve it. You can either dump 16kB of data from the original 251913-01 and cut it in half (with a dd cmd under Linux for example) so you will get an 8kB basic bin or you can browse the web for already dumped 8kB basic.
Then you can simply merge these two (8kB basic + 8kB JiffyDOS) images into one 16kB bin and flash it to IC.
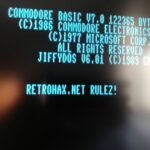
Prior to flashing a 27SF512 I did a few changes with a bin image in the hex editor and tested it under Vice which resulted in this 🙂

Also, keep in mind that for this to work, 16kB of data has to be flashed onto SST27SF512 with a C0000 offset. More info here
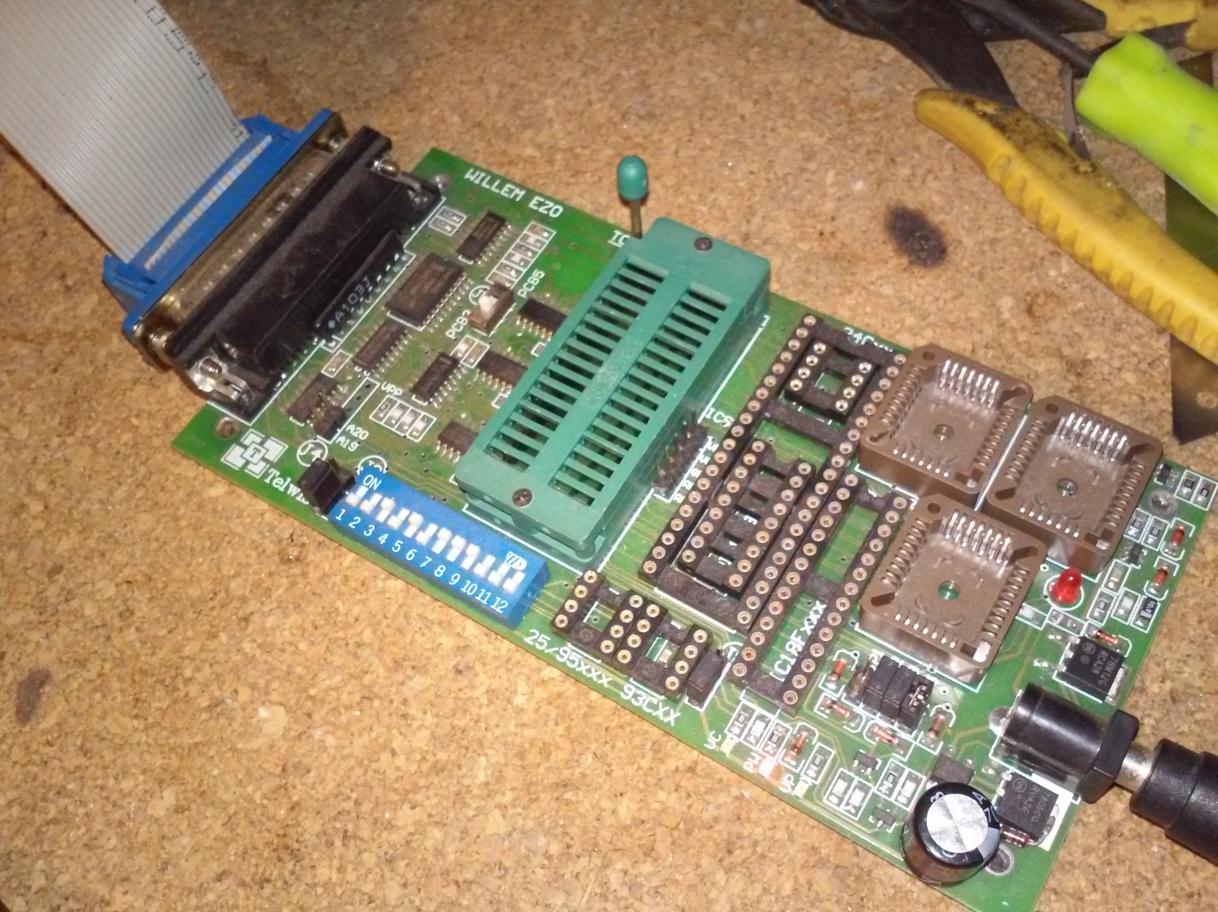
To program a flash ROM I usually use my crappy Willem EZO.
After all the above was done I could simply insert a programmed flash ROM into the socket and viola!
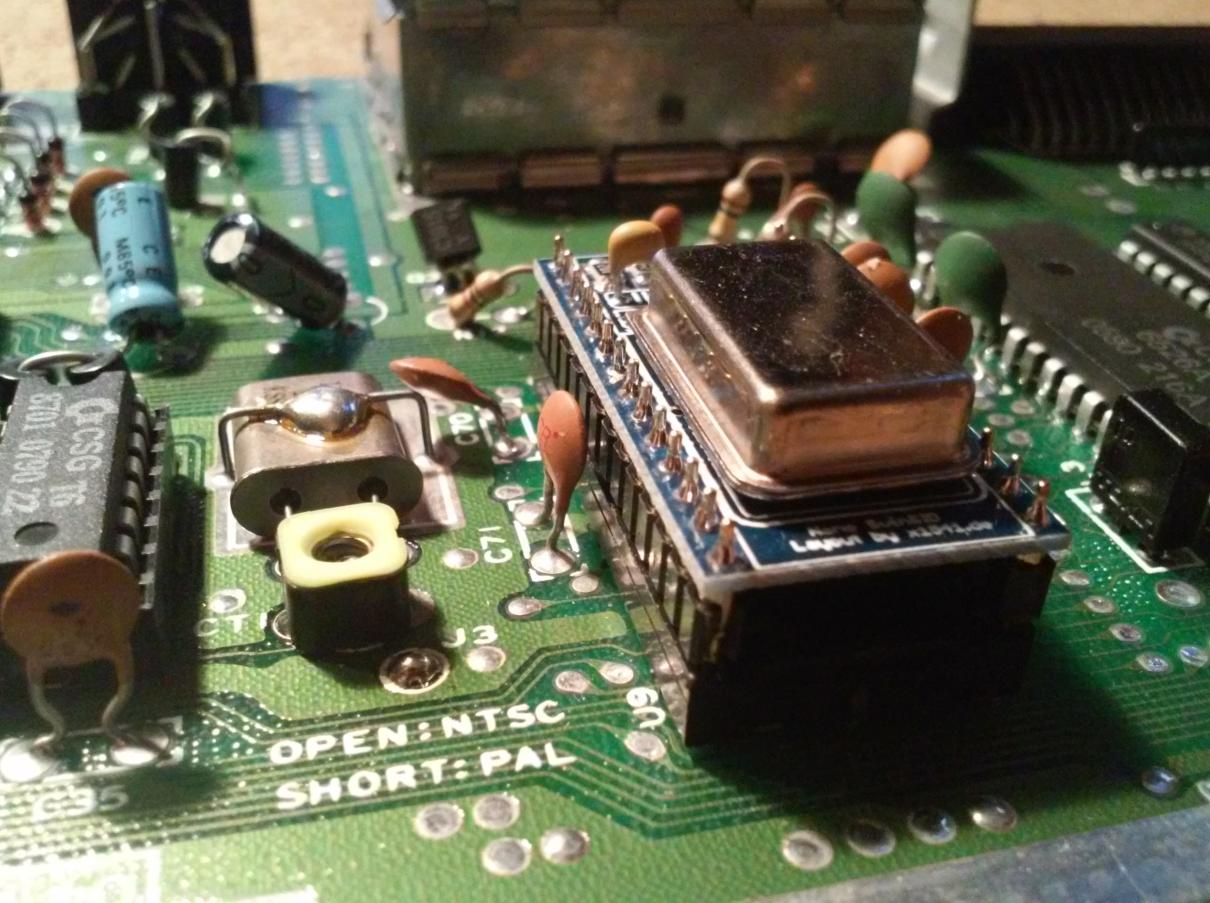
SwinSID NANO
That was actually the main reason for buying all four C64s, I mean missing SIDs.
I’ve built several SwinSIDs in past so It was just a matter of inserting it and testing – no flying hogs involved 😀
Still not the end …
… of a project. In part three I’ll cover SD2IEC installation, paint job, and final assembly of all C64s.
Till then, just have a look at the already finished C64 Version G 🙂
C64 -Version G finished from pit on Vimeo.
OUTRO
If you want to get retro gear or hardware modules, please visit our shop
New products are being added every month.
Also, please support our work by spreading info about it.
Without your support, we simply cannot grow and we have a lot of new cool retro hardware (and more) products to come