… or bringing six C64 back to life
The story
Beyond seven mountain ranges, beyond seven rivers, lived a little dog called Ricardo.

… but he ate too many tacos and died …
End of story
The real story
Last week I’ve bought a C64 … OK, OK I bought four of them.
All I knew before buying them, was that all machines were in an unknown state, without PSUs and missing SID chips. I’ve decided to not let them die like Ricardo.
I already have two, one C64 C and one C64 G, but since I was kinda busy lately, I didn’t have time to clean them and restore them to a proper state.
Six is a good number, therefore, I’ve commenced The Great Refurbishing!
Cleaning and brightening
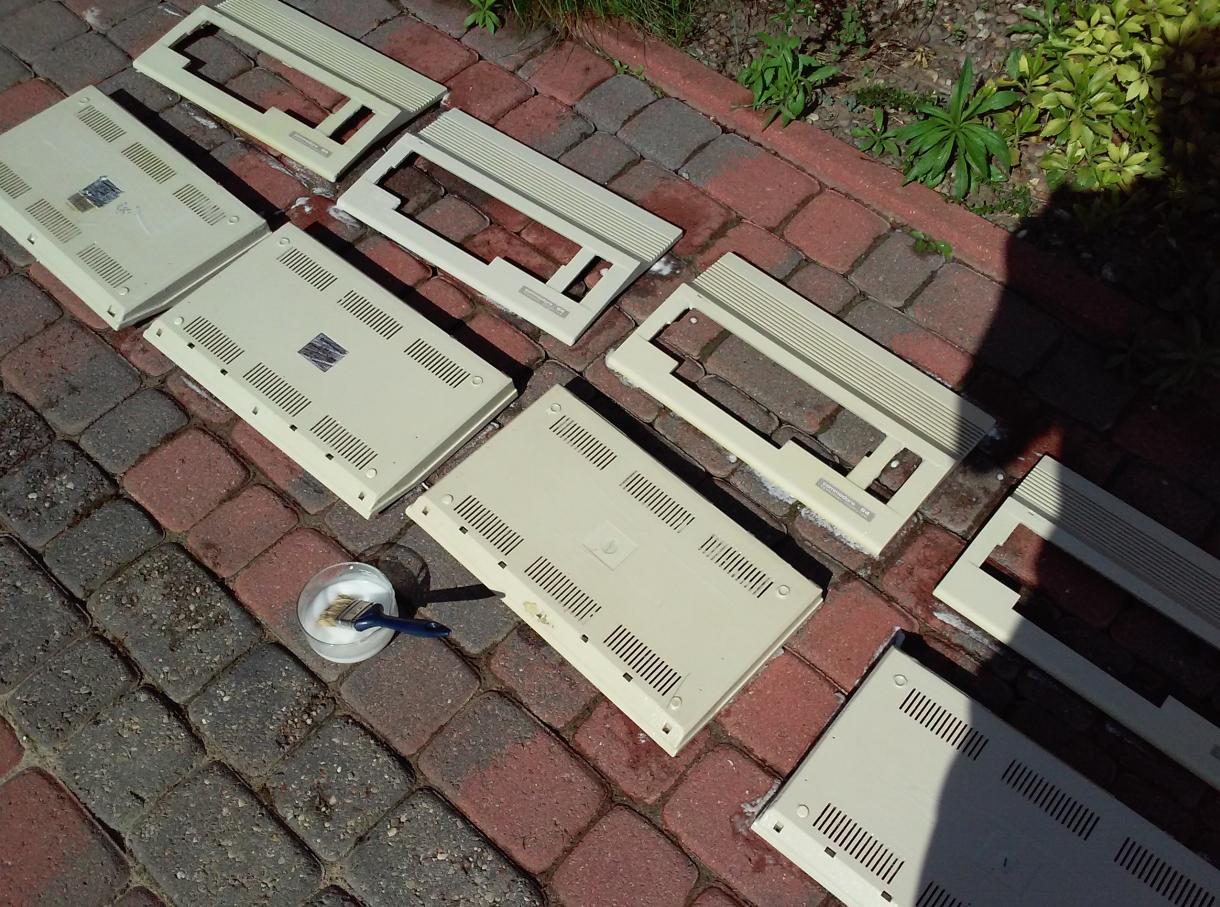
I’ve started off with disassembly and preliminary cleaning of cases to get rid of dust that was collected over the past years.
Old plastics, especially bright ABS tend to turn yellow as time passes.
Yellowing is caused by UV degradation of Tetrabromobisphenol A, in short TBBPA.
TBBPA is widely used as an additive and serves as a reactive flame retardant. Unfortunately, it degrades if exposed to direct sunlight for a longer period of time. As a result, our precious retro computers lose their original color and turn yellow like an after-party puke. Also, not so cool effect is that Bromine accumulates in a body and simply turns into an endocrine disruptor which is partly due to well know the reaction shown below – Halogen displacement
Since Bromine disrupts Thyroid function it might be a cause of various health problems – keep that in mind.
OK, OK, back to work.
Obviously, the required condition is a long sunny day to get proper UV exposure.

I could have used retr0brite to remove yellowing but I always prefer the DIY method if possible, which also in most cases is cheaper.
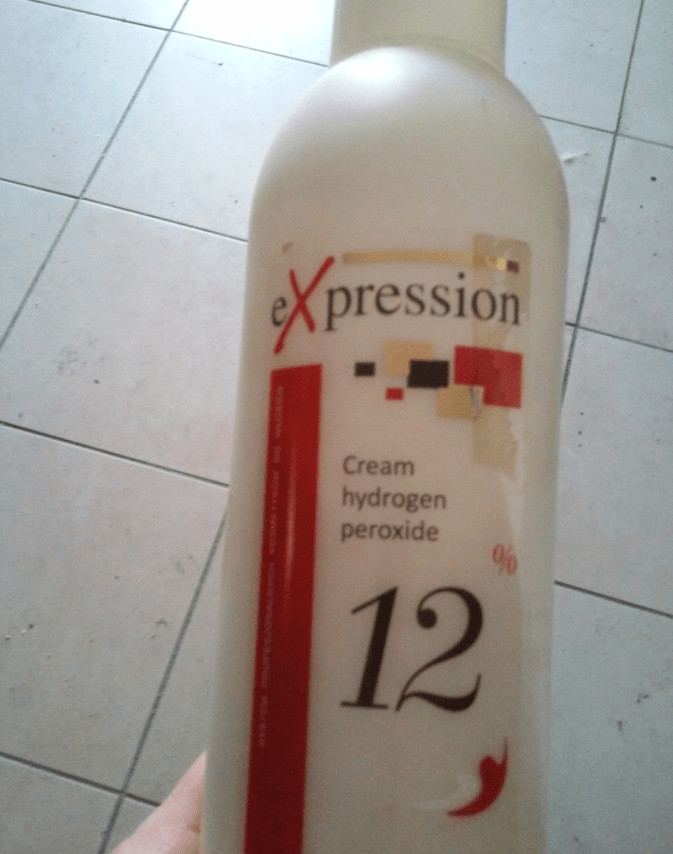
I’ve experimented a bit with this topic in the past and I’ve my own way of dealing with yellowing. I’ve found that 12% hair bleaching cream works best for me. It is super cheap – around 2$ per liter and is easy to work with.
WARNING – this is nasty stuff !! USE GLOVES !!
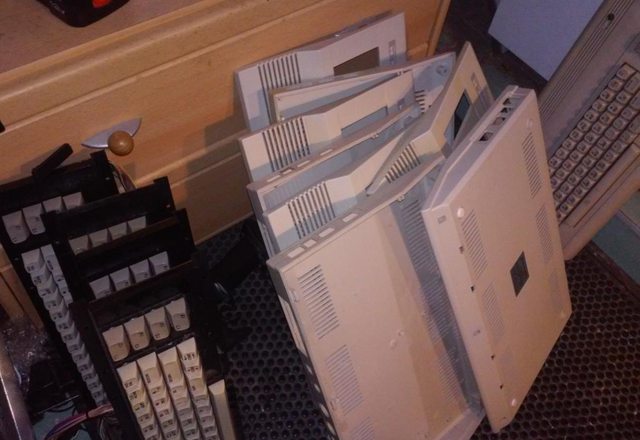
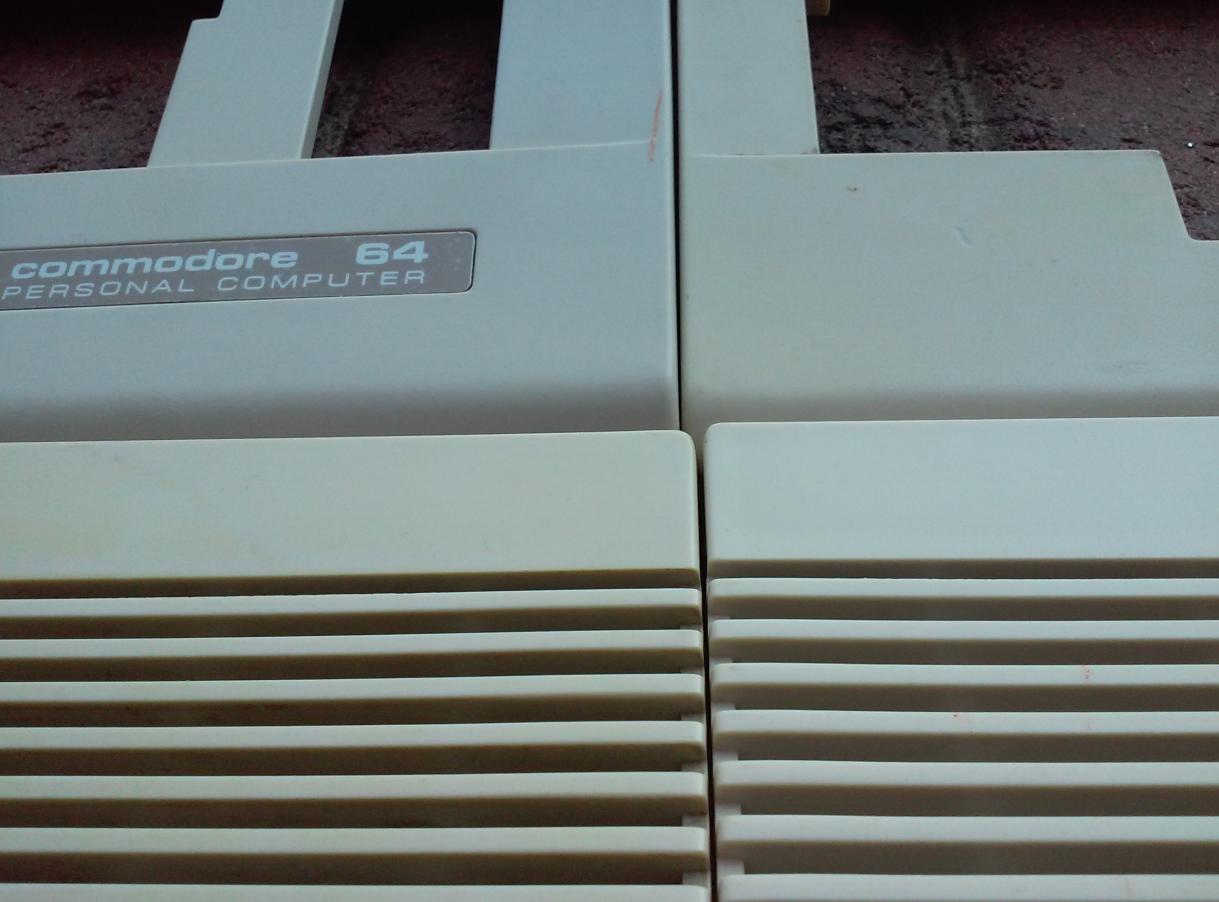
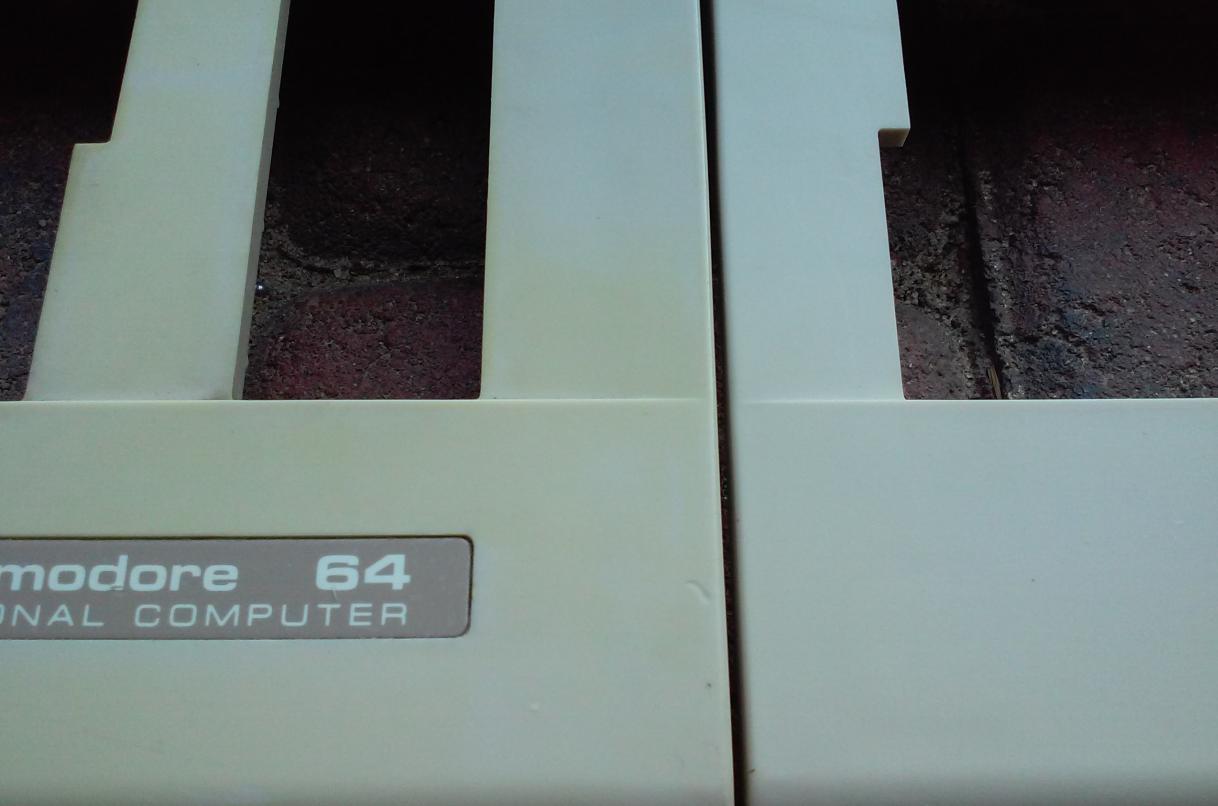
Here are a few shots of cases prior to brightening.

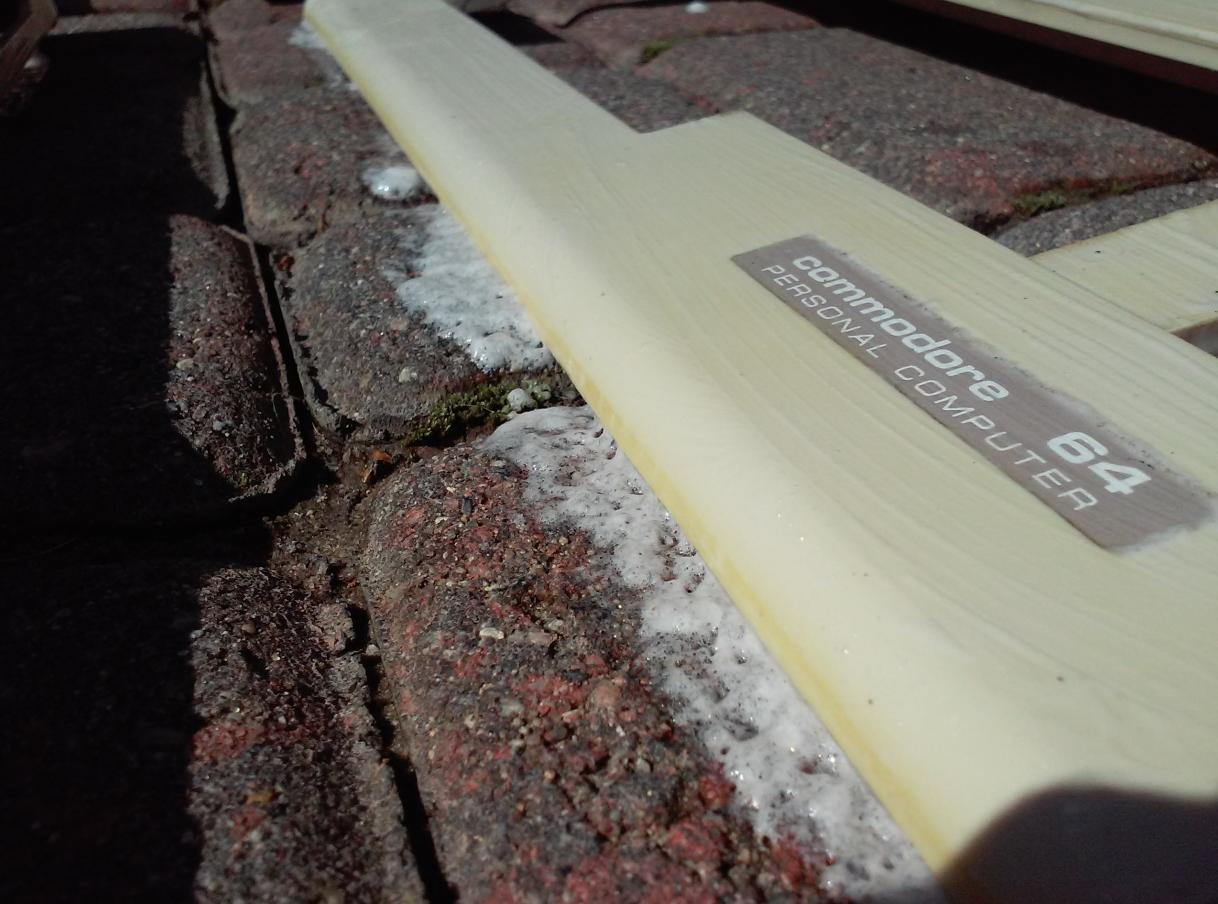
The first thing to do is to spray on a thin layer of water to help spread bleaching cream evenly
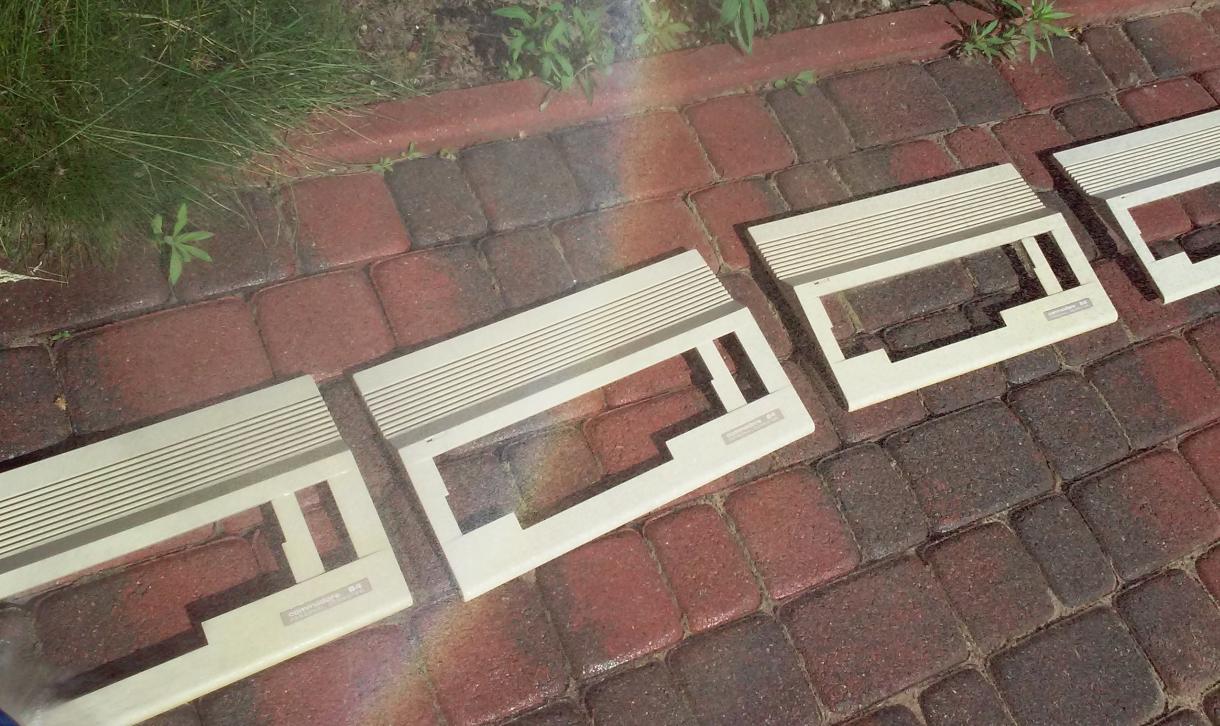
Then I simply took a brush and covered the cases with a cream.
Here are a few photos with close-ups.
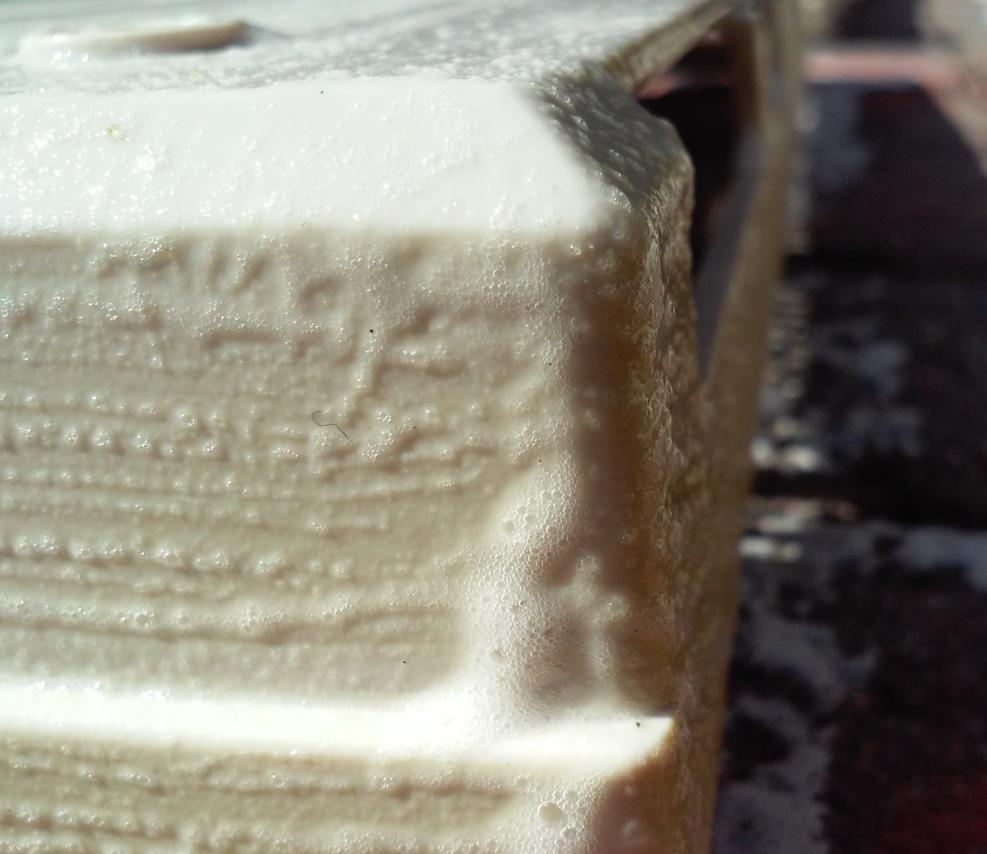
Now the important thing is to not let the cream dry out to avoid contrasting spots. I usually spray a fog of water on cases from time to time. I also apply another layer of bleaching cream every 30 minutes.
In my case, it took around 3 hours from start to finish.
Once that’s done, an excess of cream has to be removed with water, thoroughly brushed afterward, and left to dry.
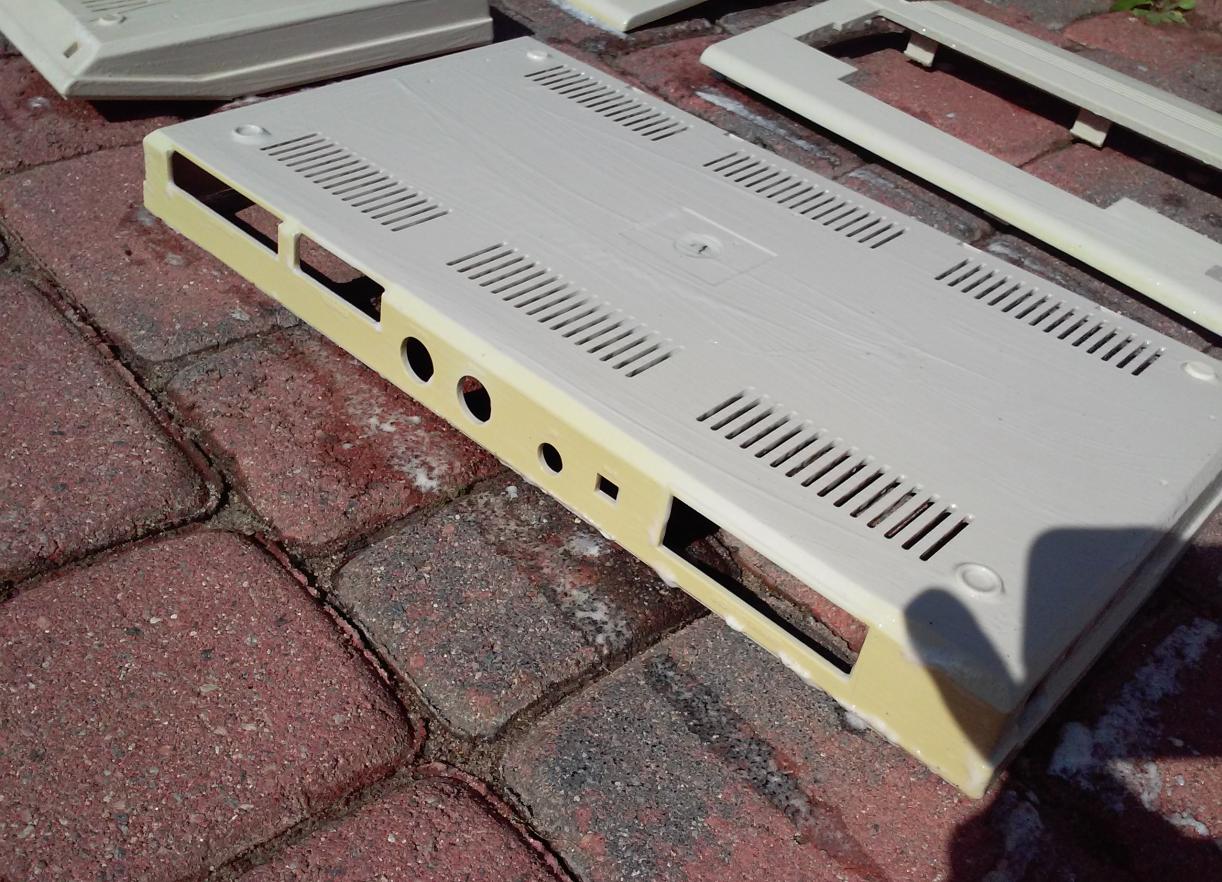
If you fail to keep a cream wet (like I did :D) You’ll end up with stains like this.

This is completely fine except for the fact that the whole process has to be replied to.
However, I didn’t bother since I’ve already decided to spray paint two of the worst cases.
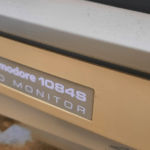
Below are the final results. I’ve included Amiga 520 modulator that hasn’t been treated with bleaching cream – just as a reference.


The keyboards
Keyboards are the next thing on a list.
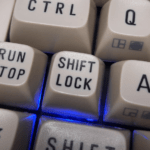
Two of my keyboards will have to go through the brightening process but since it is the same scenario as with cases, I’ll skip it here, but there is a time-saving HINT worth mentioning. Do not remove all keys for brightening, instead, unscrew PCB only and leave keys intact. It is a much quicker way than cleaning each individual key, but remember to dry it properly afterward with an air compressor. Also, remember that the ‘Shift Lock’ has to be dried.
However, if you wish to do it the hard way then you can take a similar approach to mine.
This keyboard on the photo below requires only cleaning and degreasing all sorts of crap collected over the years.
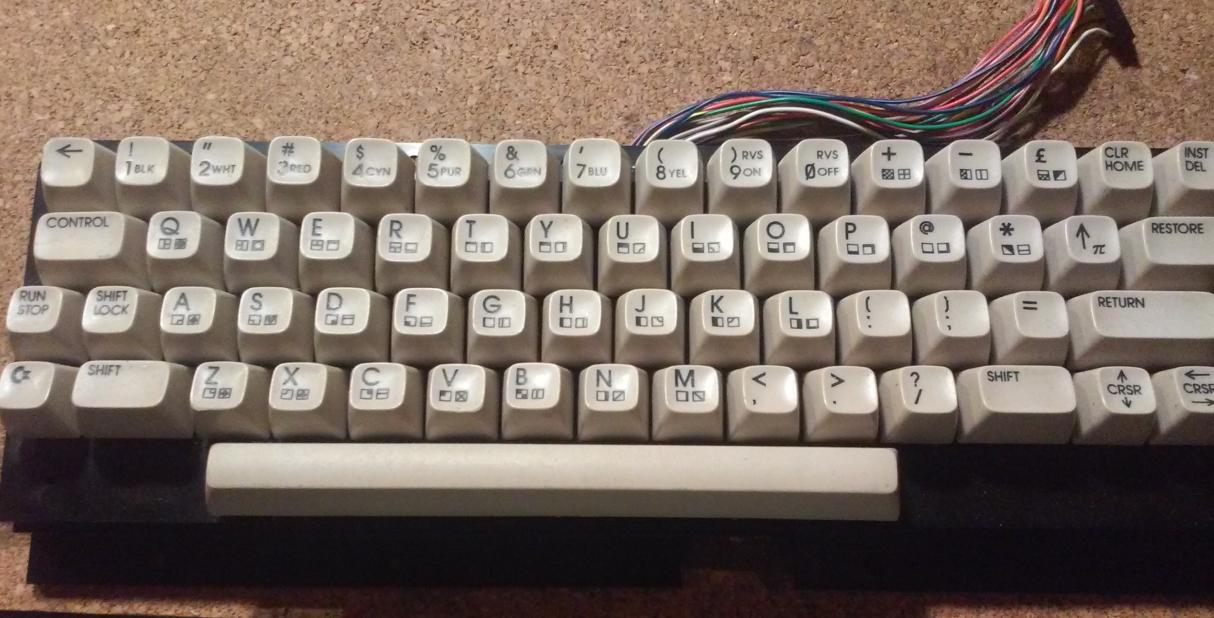
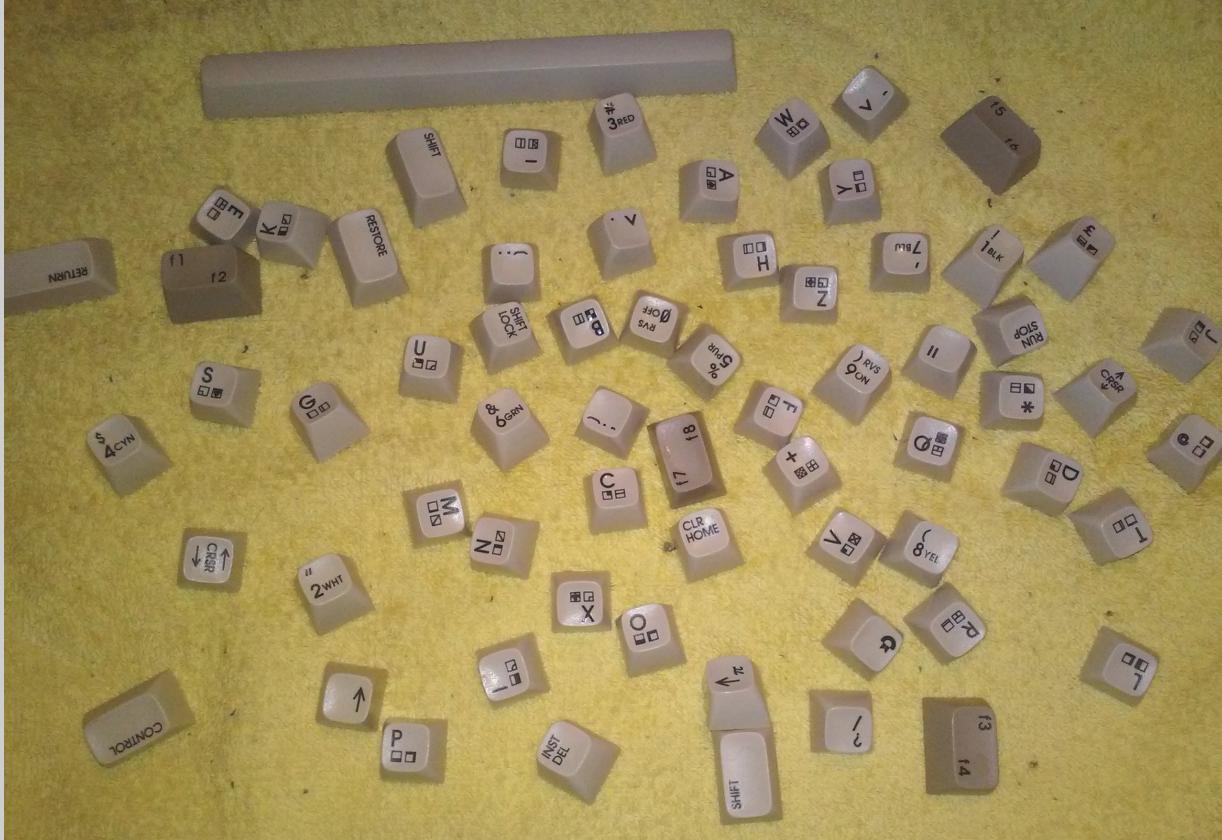
Usually, I completely disassemble a keyboard and throw keycaps into a solution of Sodium Hydroxide as I did during the Amiga 600TDP project
WARNING – Sodium Hydroxide is very corrosive … but cheap as well 😀

After 15 minutes of a bath in NaOH, I rinsed it with water several times and brushed off the remaining muck, then left it for drying.
Here is how it looks after re-assembly.

Minimizing the yellowing effect
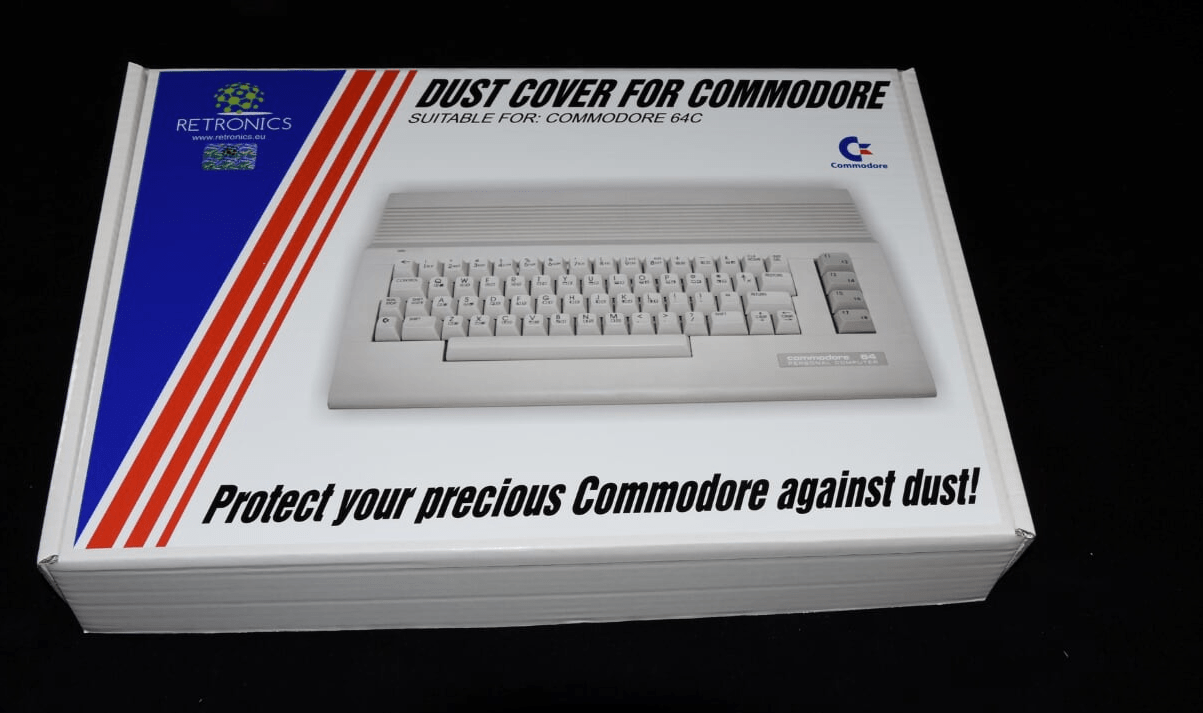
To minimize a yellowing effect you can simply use plastic covers.
Personally, I buy covers from Retronics – they are nicely made and quite cheap

End of part one
This is it for now. In the next part, I’ll cover PCB repairs, SD2IEC, and SwinSID Nano installation and case painting. Stay tuned 🙂
OUTRO
If you want to get retro gear or hardware modules, please visit our shop
New products are being added every month.
Also, please support our work by spreading info about it.
Without your support, we simply cannot grow and we have a lot of new cool retro hardware (and more) products to come