… or how to get an Amiga from a taxi driver
Getting A600
This is a kinda funny story.
Some time ago, I and some friends, had a drinking session in my garage.
The Party scenario didn’t change much recently so it ended up as usual …
Folks called for cabs and slowly went home. The next day, I called Johny to ask if he is feeling alright after booze overload. How surprised I was when he told me that he is OK and last night he bought an Amiga 600 …. from a taxi driver.
I LOLed heavily on that one!
However, Johny already had an A600 so he asked me if I want to buy it from him. That is how I became a happy A600 owner.
Fixing it
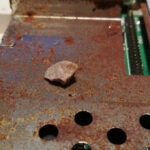
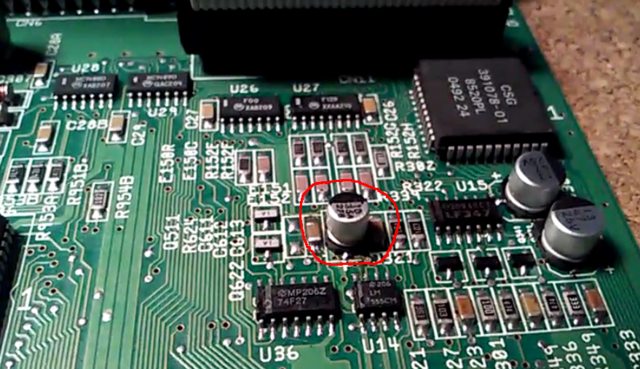
Unfortunately, it turned out that Amiga is not booting so I had to fix it first. Visual inspection revealed typical fault – leaked and dried-out electrolytic capacitors. That is a classic problem with older Amiga mainboards.
After a bit of cleaning, I soldered on tantalum caps instead of electrolytic simply because I had’em in my drawer.
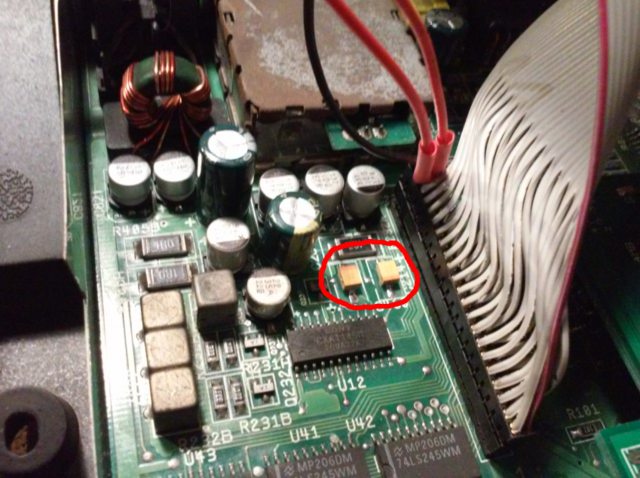
I’ve also noticed another dried-out cap so I’ve removed it and put a new one instead. Also, I’ve replaced a few other caps just to make sure it won’t fail too soon.
That was an easy fix and Amiga 600 was alive again. Here is a video of it.
Amiga 600 mobo – freshly fixed 😉 from pit on Vimeo.
Hardware mods
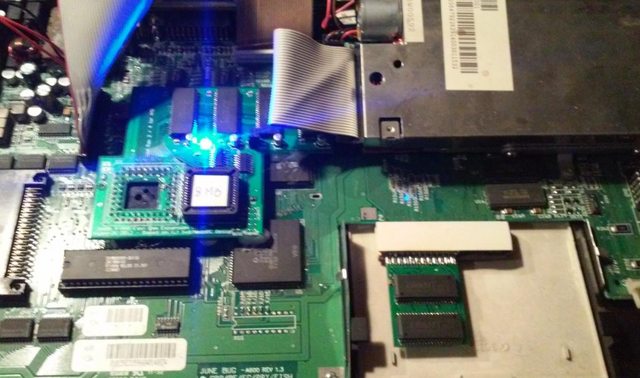
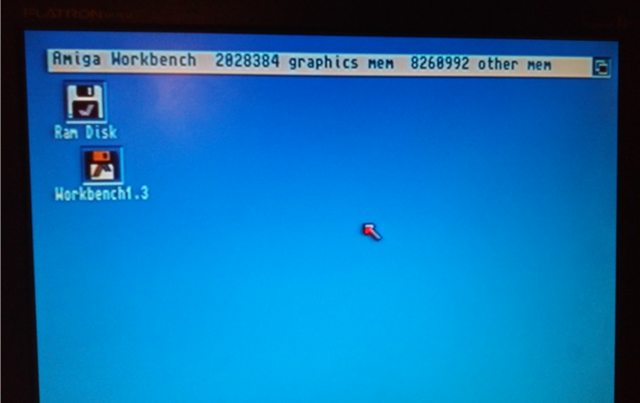
Stock A600 has only 1MB of ChipRAM which is not enough to run most of the demoscene stuff nowadays so I’ve installed two RAM expansions. One is connected through an expansion connector gives me an additional 1MB of ChipRAM and a second is laid directly on a CPU and gives 8MB of FastRAM.
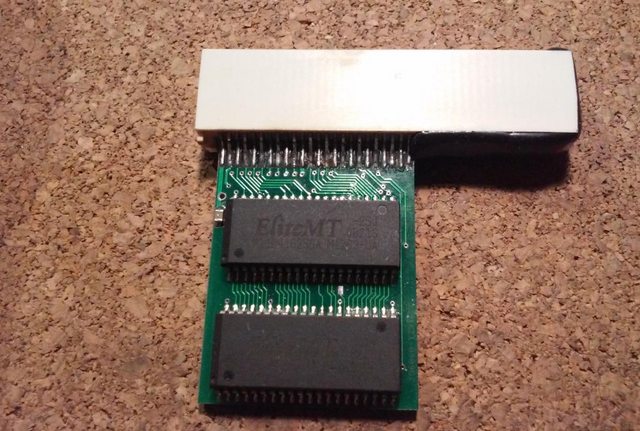
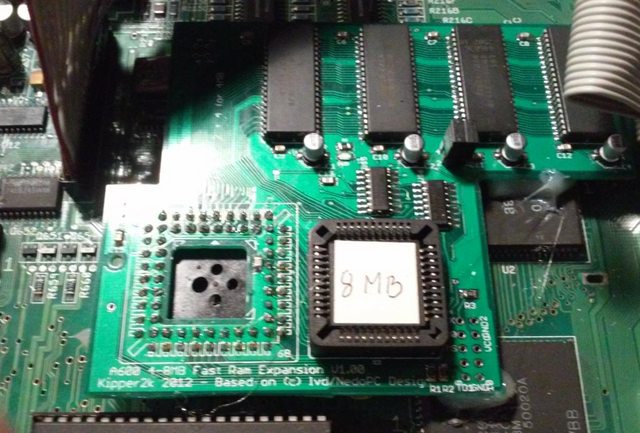
Here are photos of both expansions installed and working.
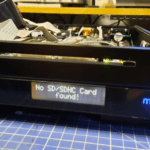
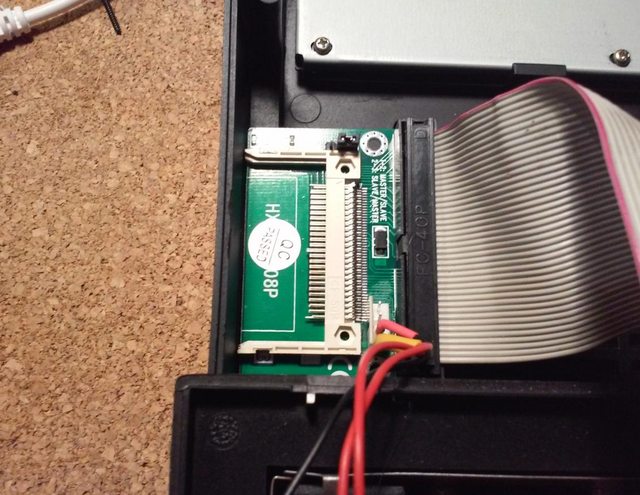
The next thing that required a bit of work was to install a Compact Flash card slot and connect it to the mainboard via a ribbon cable.
I’ve used a standard CF2IDE adapter which is small and fits inside a case without any problems. Cutting a slot wasn’t a big deal. I simply took some measurements, drilled a few starting holes, and filed the rest of the plastic to get a rectangular shape.
Here is an outcome.
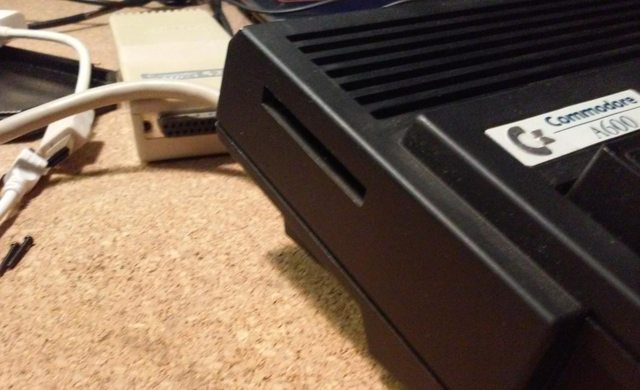
And here is how it looks from the inside.
Case mods
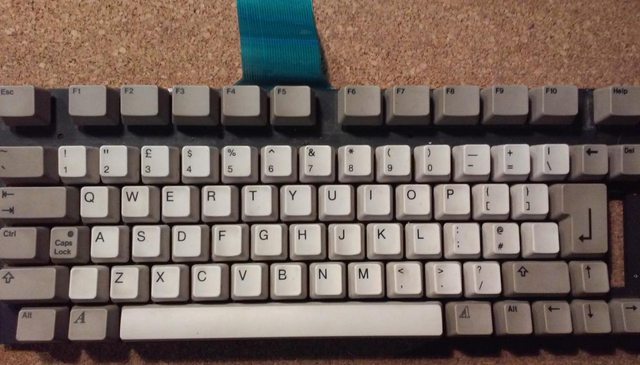
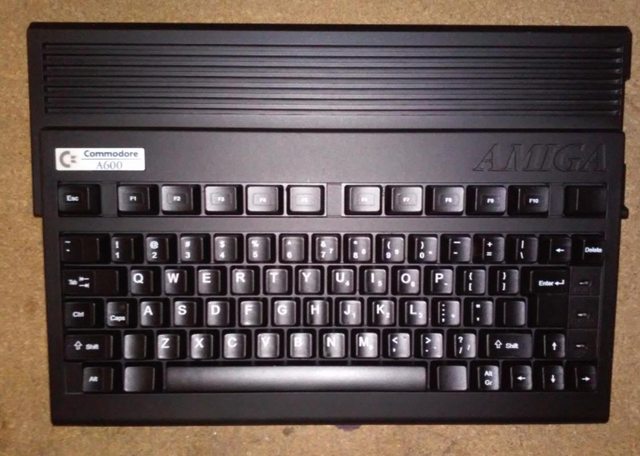
Since it is Amiga 600TDP – The Dark Project, obviously I’ve needed to paint the whole case and figure out how to get a black keyboard.
Getting a black keyboard proved to be quite challenging.
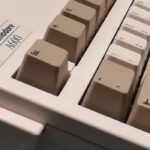
Here is a photo before I painted it:
I’ve started with removing keycaps and washing them in a solution of Sodium Hydroxide – WARNING – very corrosive stuff, handle it carefully. Then I had to rinse it with water several times to get rid of the remaining NaOH. That did the trick and completely degreased keycaps so that after drying I could spray the first layer of my favorite Black Matt Motip car paint. After 20 minutes the second layer of paint was sprayed on and I left it for the rest of a day.
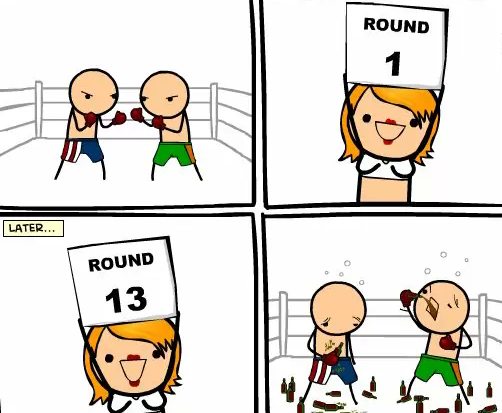
Meanwhile on internet:

KB stickers
Well, not exactly above but while browsing the web I’ve found nice keyboard stickers. This kind of sticker is usually sold to people who somehow ended up with a wrong or worn-out laptop keyboard. I contacted a guy who was selling it and asked for black stickers and a few minutes later I had it ordered. The package came in fast, so I could continue modding.
In order to stick single stickers nice and even on keycaps I had to spray on a layer of household window cleaner. Doing so gives you time to position a sticker properly on the keycap before it sticks forever. Of course, it takes a while till it dries but it is a preferred way of getting it done. The final step was to apply one or two layers of transparent car paint to make sure that the letters on the stickers will not wear out too quickly.
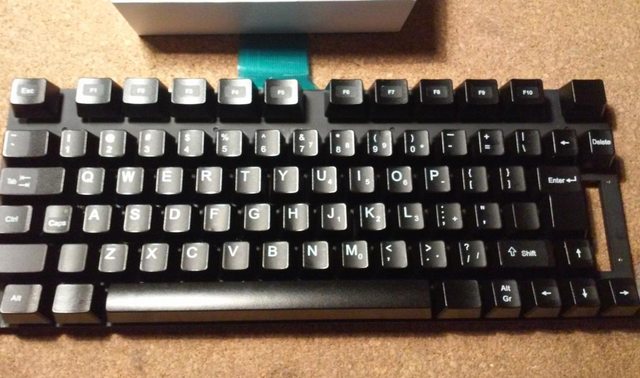
As you can see there is no AMIGA sign sticker in these sets, however, I am still in contact with the manufacturer and I am planning to get properly sized stickers with full Amiga keyboard keys cloned. Stay tuned …
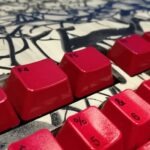
Here is the final result.
Painting a case was a piece of cake after I did the keyboard.
I’ve just used the same Black Matt Motip car paint and sprayed on two layers of it. I’ve also exchanged original LEDs with super bright blue ones, although I’ll have to dim it a bit in the future.
Here are videos that I shot while running tests.
Amiga 600TDP – work in progress from pit on Vimeo.
Dark Amiga 600 project – work in progress from pit on Vimeo.
At this point, I thought that the project is finished but it would be quite lame wouldn’t it? :>
Further case mods
Those blue LEDs gave me an idea to make a sort of backlight inside a case that would add a wicked glow to A600.
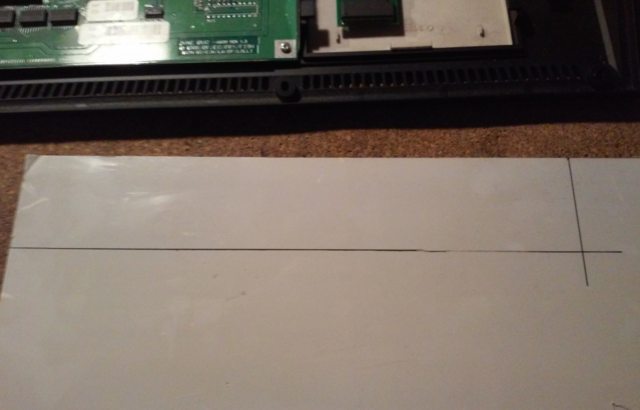
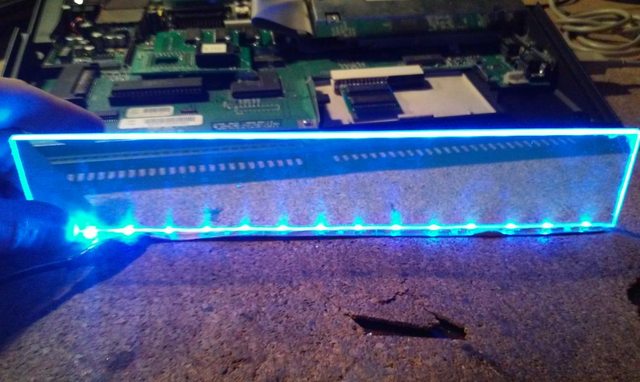
So, I quickly grabbed a sheet of 3mm thick polycarbonate and trimmed it to the desired shape.
The idea was to highlight polycarbonate with a set of blue LEDs. I used LED stripes that I had around. Exactly this one.
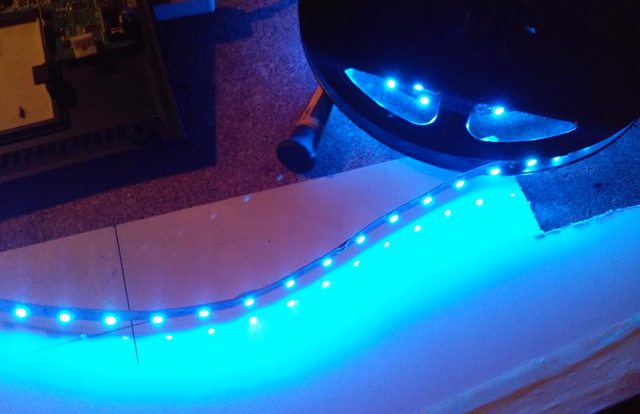
The first tests gave a promising effect.
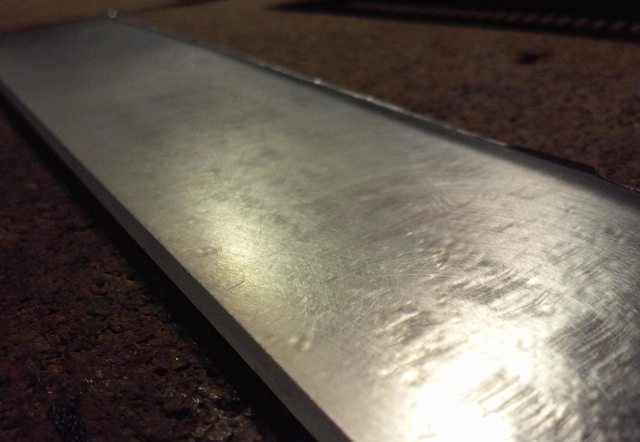
In the next step, I taped on silver tape to get a reflection bonus.

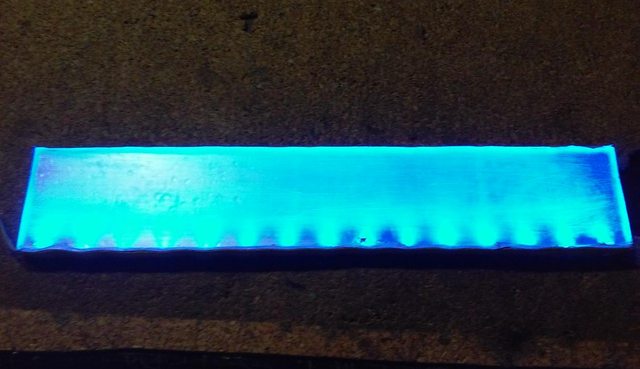
Then I sanded the other side to get a nice matt effect that would scatter light evenly.
This is what I ended up with
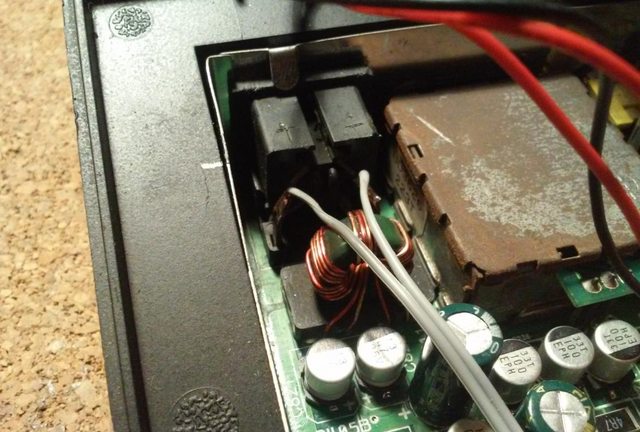
Ok, that part was done, but I needed a power source. Luckily these LED stipes require 12V so I simply hooked cables to the backside of a power socket.
Now, everything was ready and working so I put on a top case on aaaaaaaaaaaaaaaand ……. < PLEASE INSERT LOUD CURSING HERE >
…and I’ve learned that measurement is a very important step 🙂
3mm is way too thick to fit inside because FDD leaves nearly no space.
Rework
OK, fair enough. This time, I grabbed 1 mm thick polycarbonate and did the whole process again from scratch.
Again, everything was ready so I put on a top case on aaaaaaaaaaaaand ………
< PLEASE INSERT LOUD CURSING HERE BUT ALSO ADD ‘various stuff flying’ NOISES >
1 mm was still too thick so no luck here. I had to completely change my not-so-cunning plan.
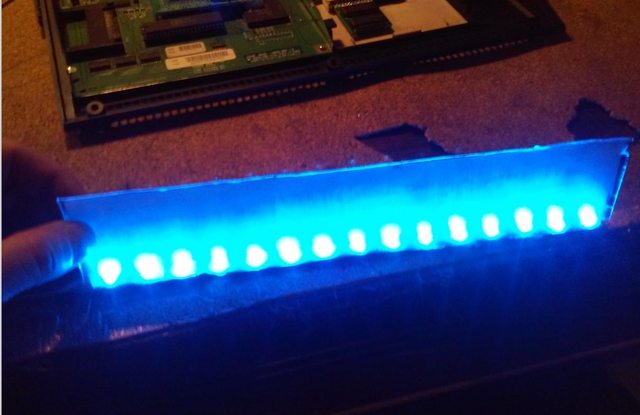
The new idea involved parts of an LCD monitor. LCD monitors have a set of diffraction lenses and a few other layers that help to scatter light. I had a few of these around.
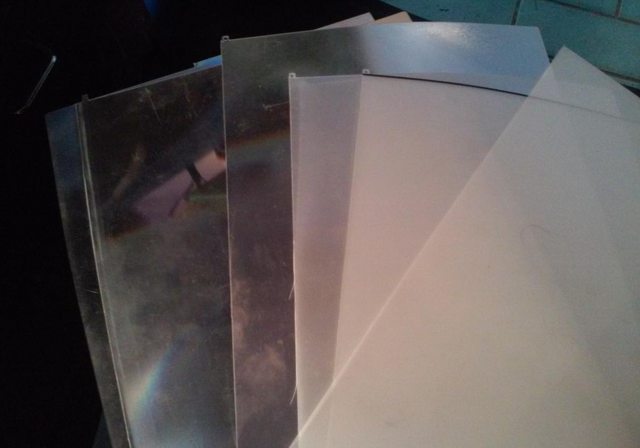
I’ve started experimenting to get the desired effect. It took quite a while but I finally got it sorted out. I’ve used 3 layers to get it sorted out – 1 magnifying layer and 2 blurry white layers. The interesting thing is that looking at it from the inside shows nearly no light scattered. A bit of trimming and gluing it together resulted in this:
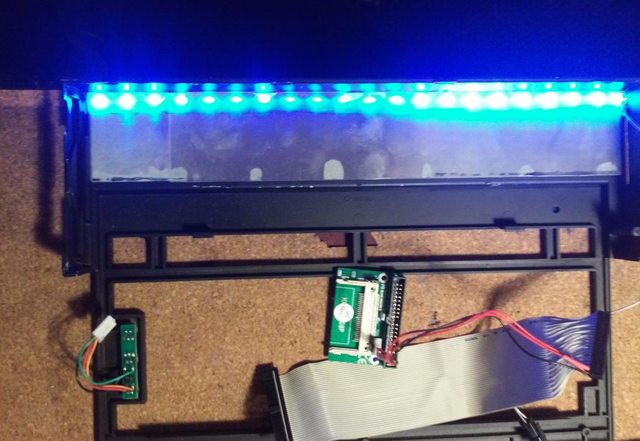
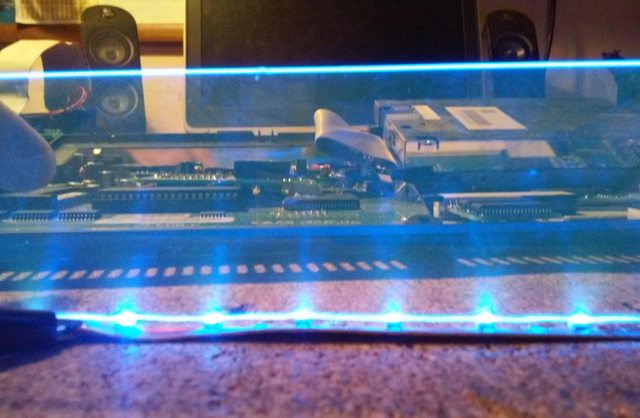
So yeah, now it worked and I could assemble a case without a problem.
You can watch the final effect here
Amiga 600TDP – The Dark Project from pit on Vimeo.

OUTRO
If you want to get retro gear or hardware modules, please visit our shop
New products are being added every month.
Also, please support our work by spreading info about it.
Without your support, we simply cannot grow and we have a lot of new cool retro hardware (and more) products to come