… or a glossy keyboard attack!
No STORY this time
That’s right!, a short and pure restoration of a cool C64 Breadbin that was presumably dug out of some sort of dungeon lol.
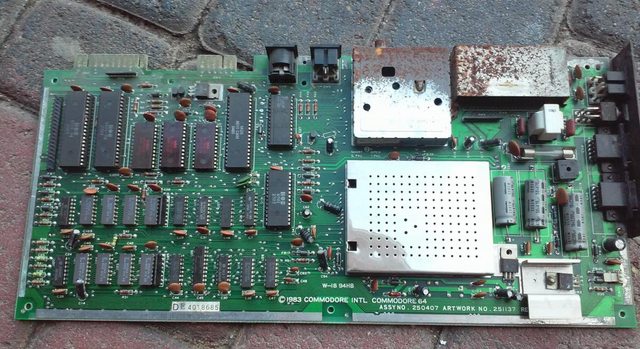
PCB straight from dungeon keepers collection
Restoration
I did some experiments with whitening on the sun …
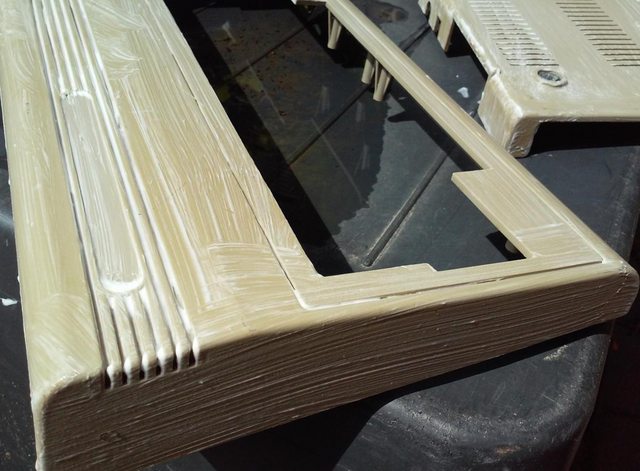
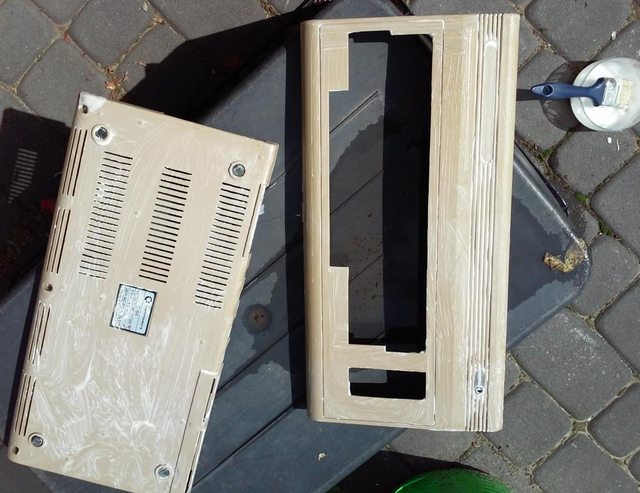
… and with my own new chemical method, however, the best effects I achieved with lately discovered method – which I call PDWPE lol!
PDWPE stands for Prolonged Dark Warm Perhydrol Exposure method <– hell yeah! I always wanted to create my own acronym 😀
That method was described in my previous post along with various hax.
The original gray color came back but I didn’t use this case in the end – it was broken and I didn’t have time to fix it. Instead, I’ve put PCB in a slightly yellowed one, but a still cool case.
Anyway, Let’s move on. I had to desolder a few parts to refurbish ’em properly.
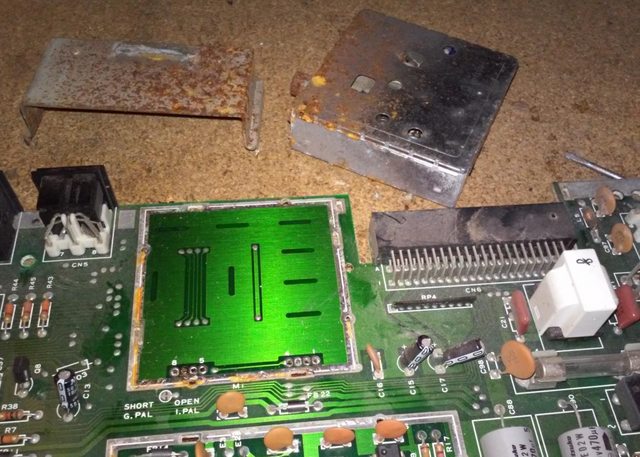
That also helped to clean the entire PCB better.
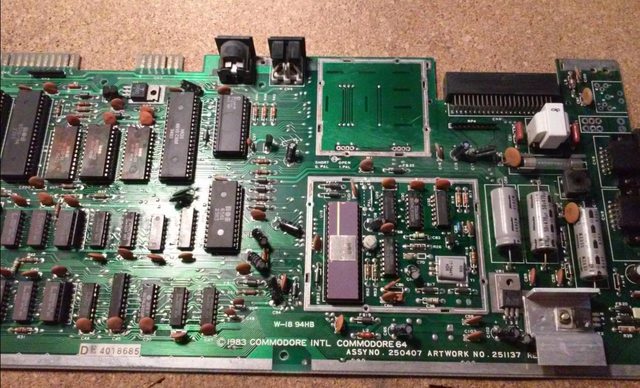
After a bit of sanding and brushing:
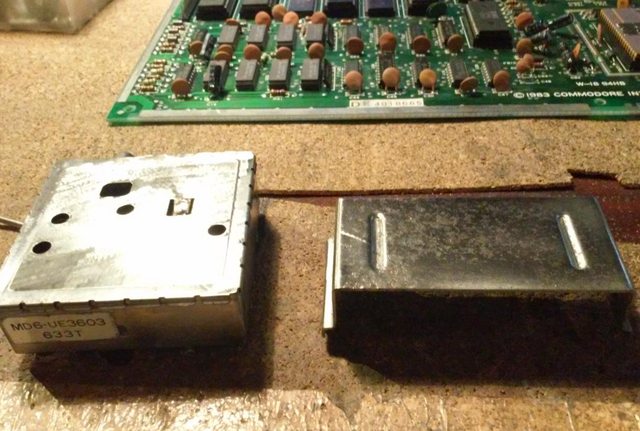
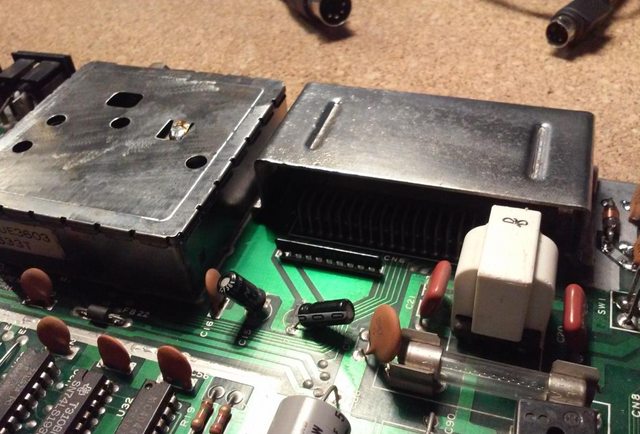
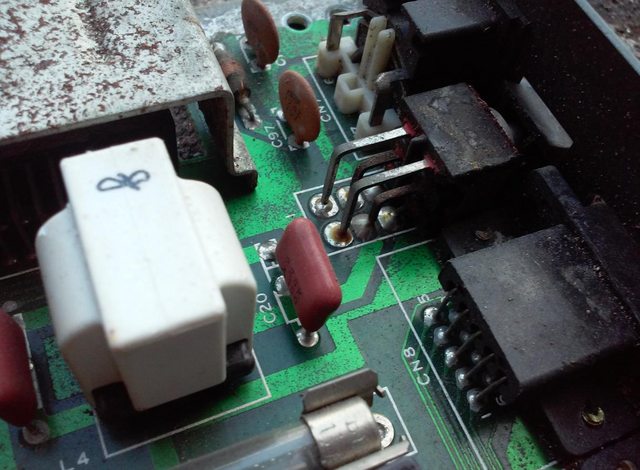
Connectors were a bit …. rusty too
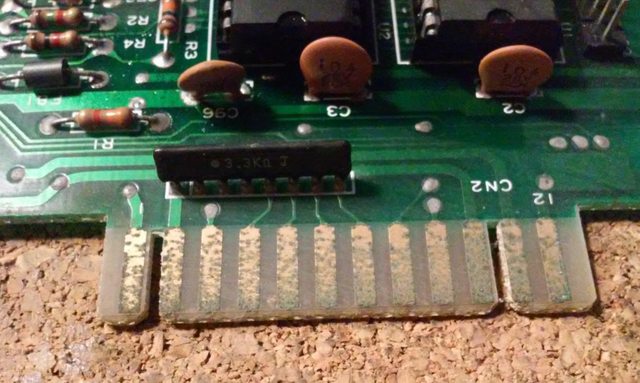
After a bit of work:
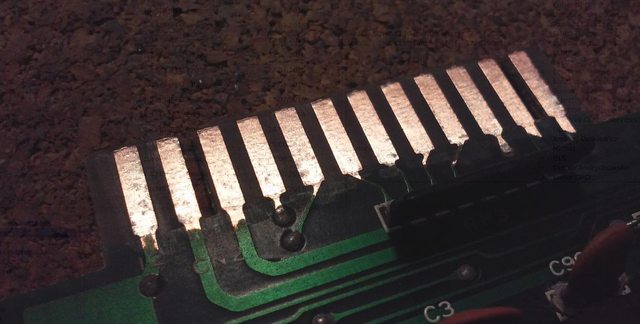
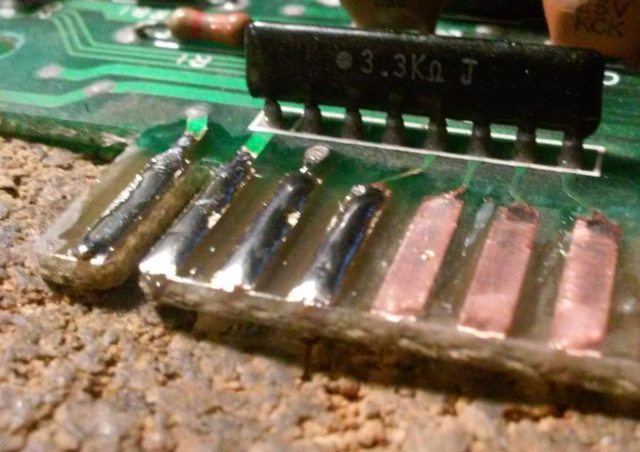
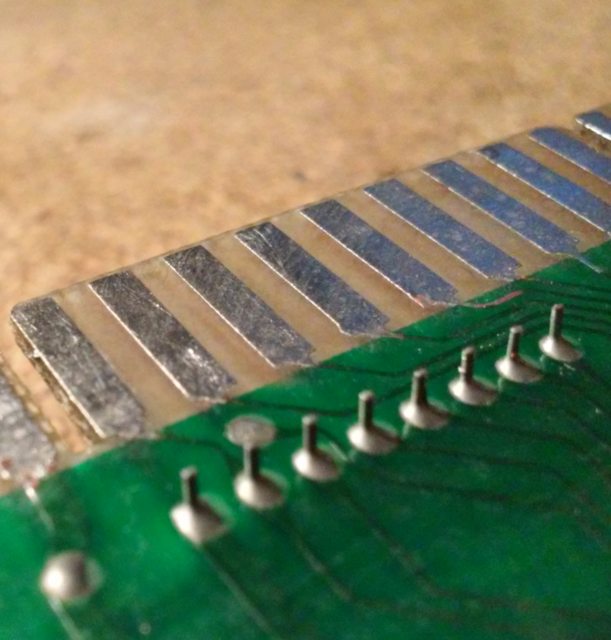
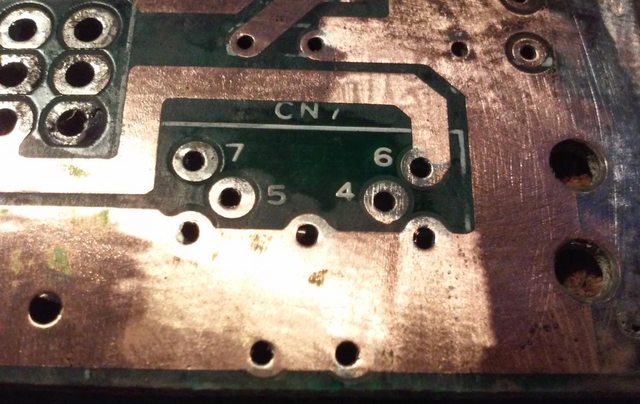
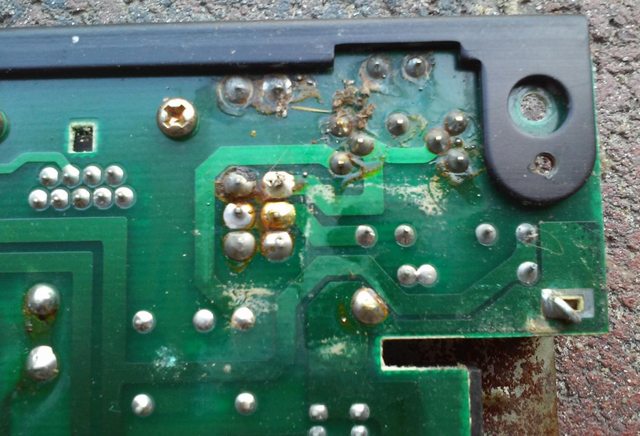
There was also a lot of corrosion under the power socket and power button.
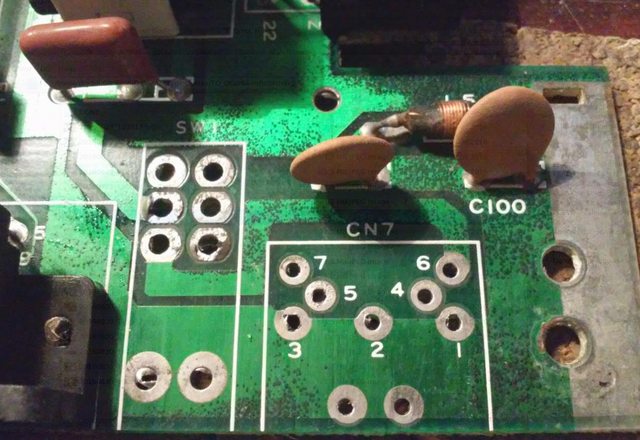
I’ve fixed it like in a CPC job
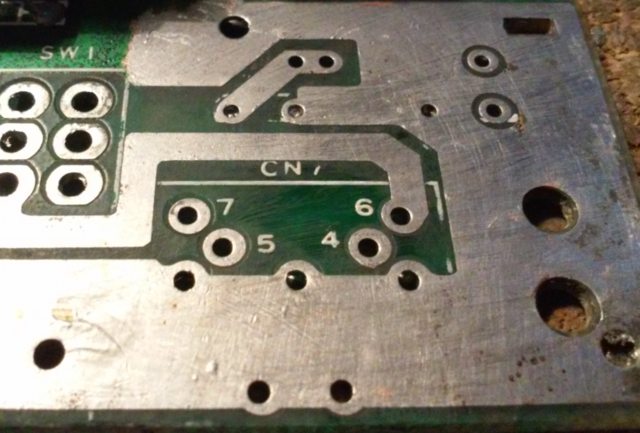
Keyboard
Once PCB was fixed and the case ready I could start working with keyboard fixes. Obviously to allow me to type like a PRO 🙂
First I had to clean ’em all. Obviously, all keys lost their original shine.
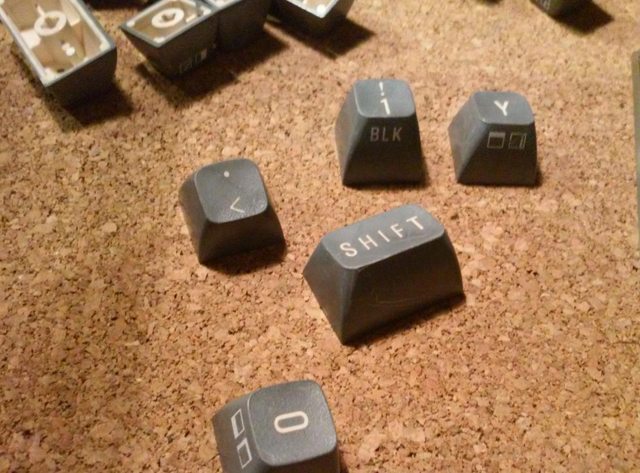
Fortunately, this time I was prepared for this :>
A quick acetone vapor bath fixed that issue.
(bottom ones are already fixed )
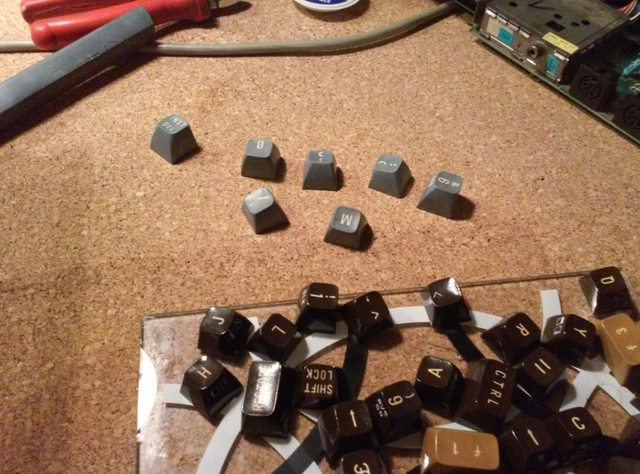
I still had a problem with several broken keycap posts.
I’ve fixed it with short 3mm screws that I’ve put in place of broken posts. I’ve simply heated up screws with a gas torch and kinda melted them on tops of plastic posts.
Then, I gently tapped keycaps with a 3 mm screw.
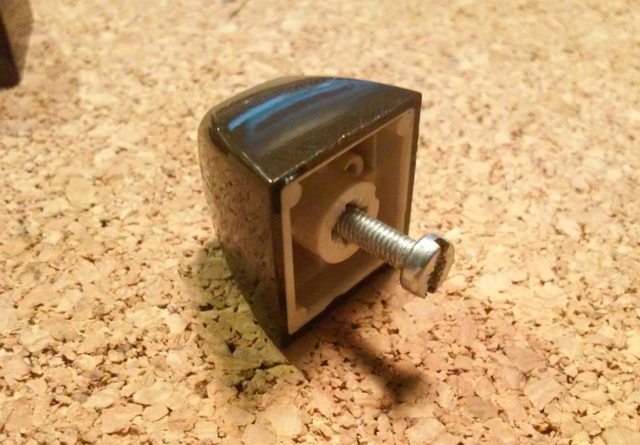
After that, I was able to screw keycaps on.
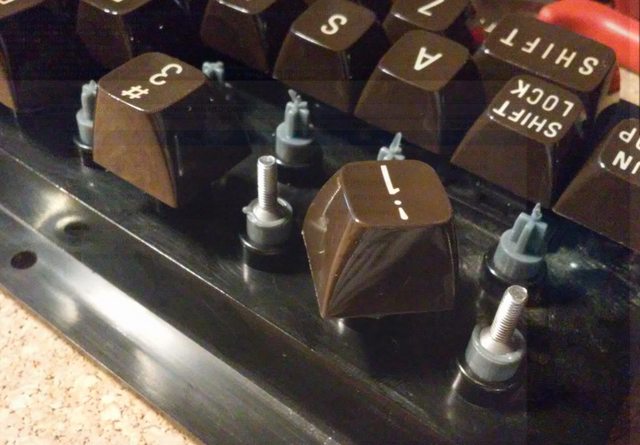
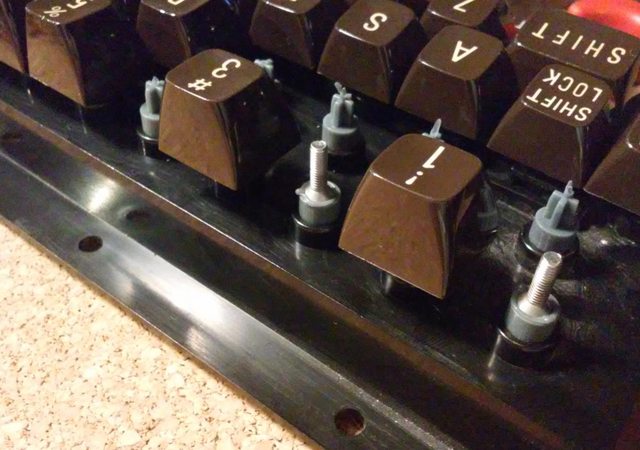
There is a small problem with the above photos. I couldn’t screw on keycaps that are next to each other, so I’ve solved it by swapping locations of original posts with my hacked ones to match the following configuration.
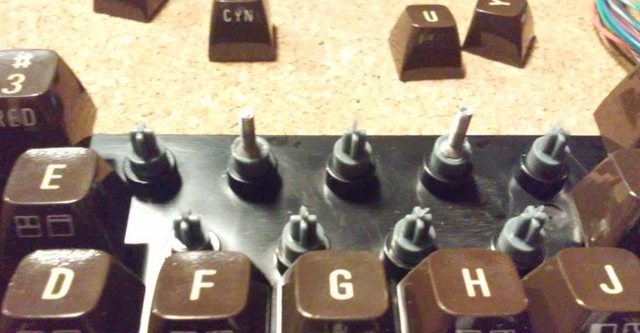
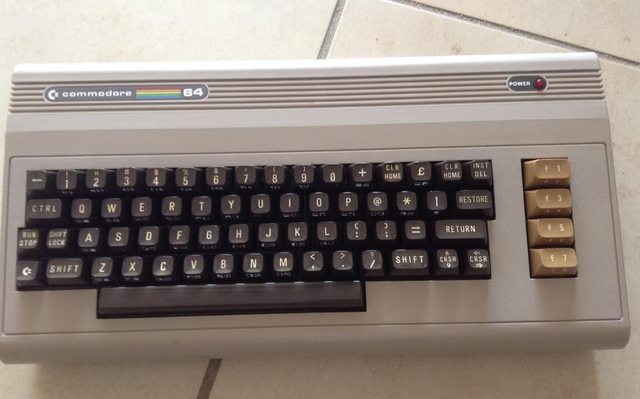
Final result with all keycaps in place.
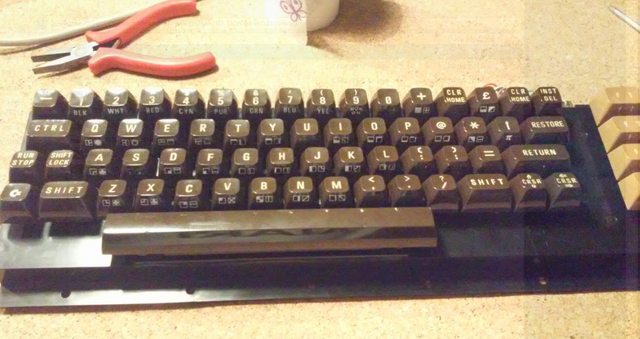
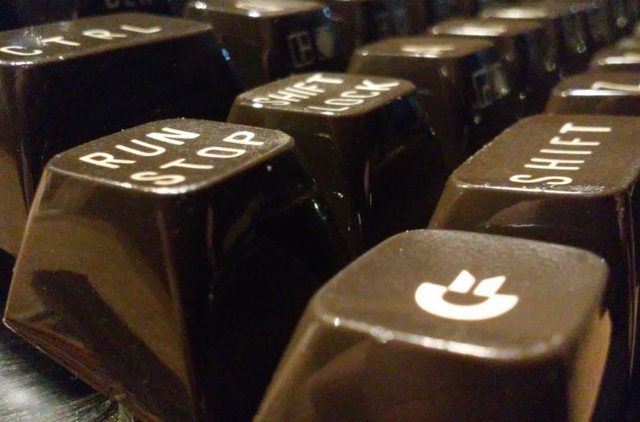
Final assembly
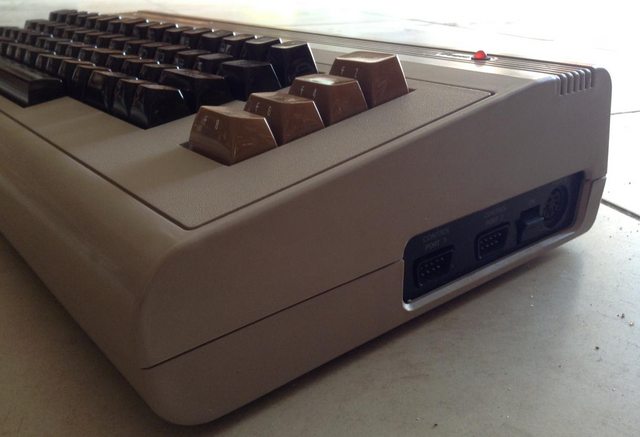
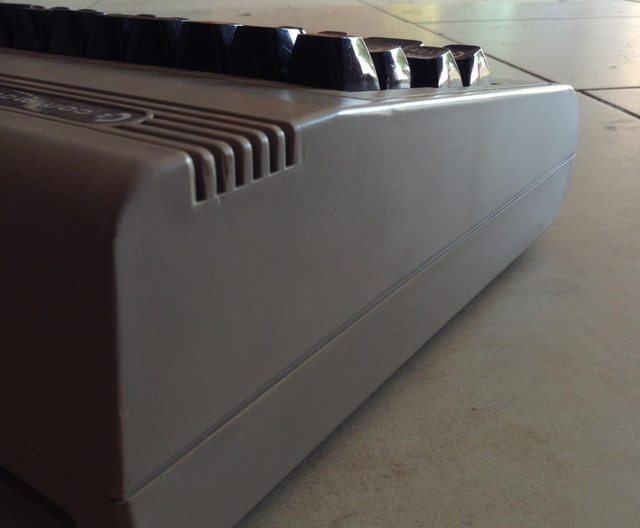
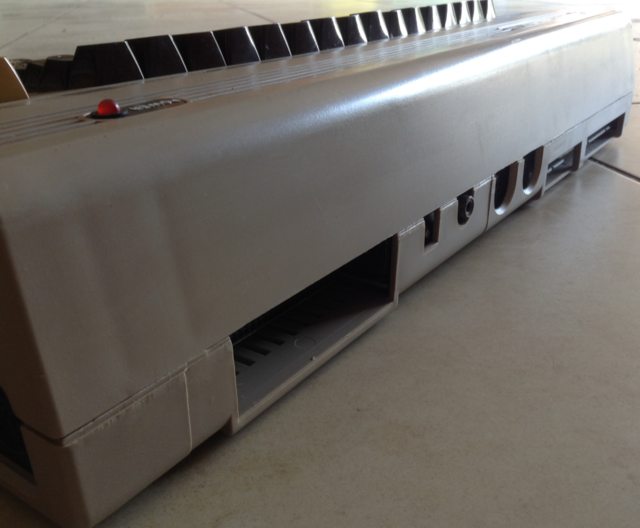
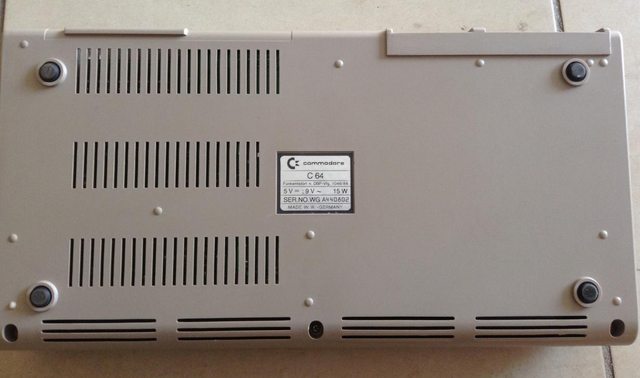
Below are photos of the finished unit 😉
I hope you like it 🙂

OUTRO
If you want to get retro gear or hardware modules, please visit our shop
New products are being added every month.
Also, please support our work by spreading info about it.
Without your support, we simply cannot grow and we have a lot of new cool retro hardware (and more) products to come


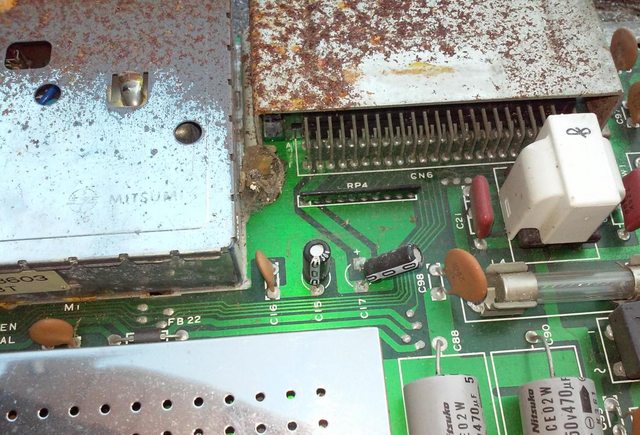





I am looking for a modulator diagram of what is in the picture (because it broke down) – MD6-UE3603
Oh, I didn’t include an RF modulator pic in that blog post.