… or how the shipping company did it again.
Intro
I’ve never had 16 bit Atari computer, therefore, I am a complete noob if it is about the ST series.
These machines are still rather cheap so I decided that whenever an occasion comes, I’ll simply buy them.
One day (most probably Friday ;>), after having a few shots of liquid, which looks like brominated water ( but it’s not :> )
while I was happily doing < INSERT WHATEVER HERE >, I noticed a new message on my IM. It was a message from my fellow demo scene group member, Szeryf of Lamers (DemoScene group). Szeryf was browsing a popular bidding portal and found an interesting ‘buy-now’ offer. It was Atari 1040 STe with a monochrome SM124 monitor. The price wasn’t extremely encouraging but .. remember that “brominated water” that I mentioned a while ago? …it has special properties, I can tell you that :> It simply solves problems with decision-making. 3.2565 seconds later I was a happy owner of Atari 1040 STe and waiting for delivery.
Delivery
So the problem was that I wasn’t at home when the package arrived.
I simply got a call from a shipping company. They asked if they can leave my package at my neighbor, just next door. Of course, I agreed.
Once I got back, I rushed to my neighbor to pick up my package.
… and it looked like this
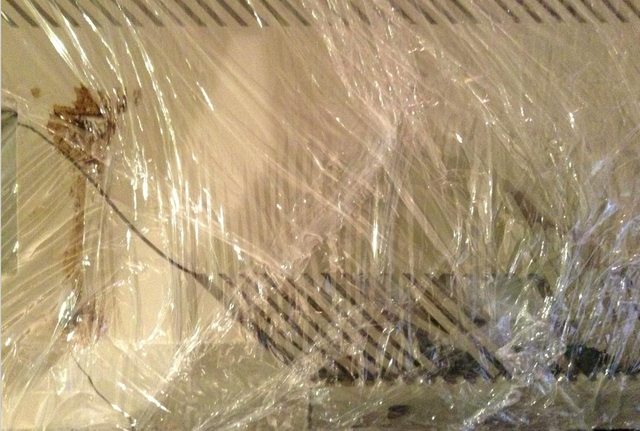
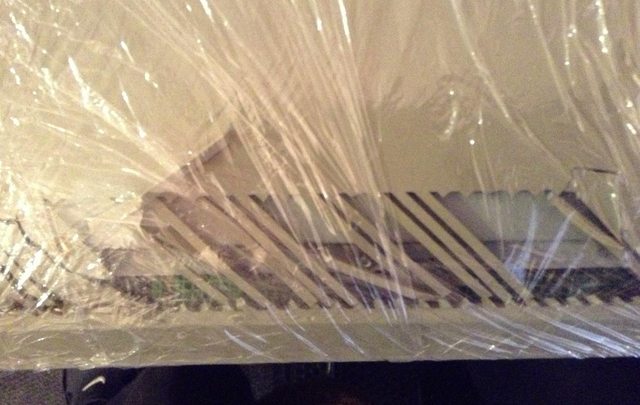
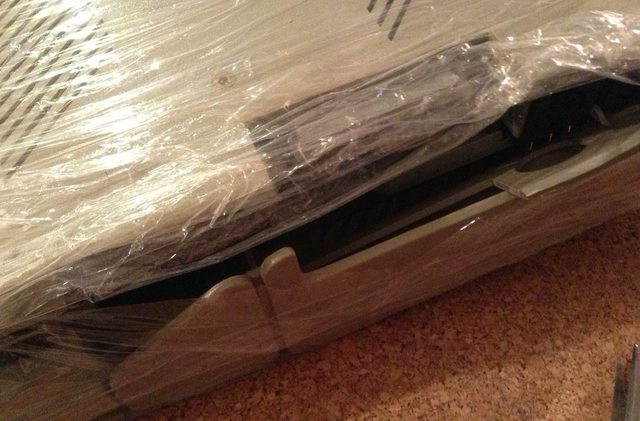
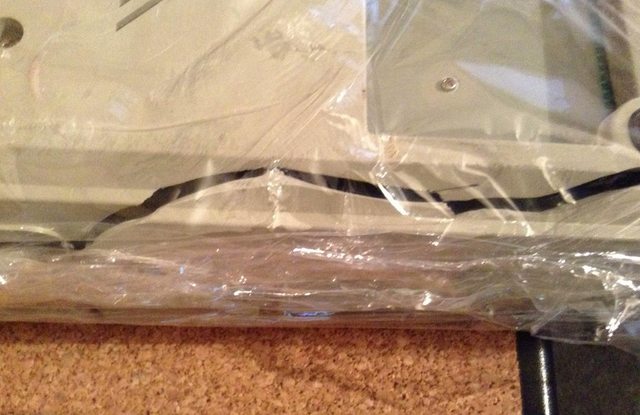
I was like…

But hey! It was a working machine, after all, 😀
Atari 1040 STE Puzzle Project – The Beginning from pit on Vimeo.
The great rebuild
Thankfully, the guy who sold it to me wrapped the whole thing in a stretch wrap, so, when I put all pieces on a table, I figured that only a few pieces are missing.
The Atari case is made of ABS. The important fact is that it reacts with acetone very well. This is crucial because when acetone dissolves ABS, it creates a sort of glue out of the pieces you are trying to bind. Using it solves color problems and creates a strong bind as opposed to cyano-acrylate that would make it brittle like fake titties on an airplane ;P
Piece by piece, I was slowly putting it all back.
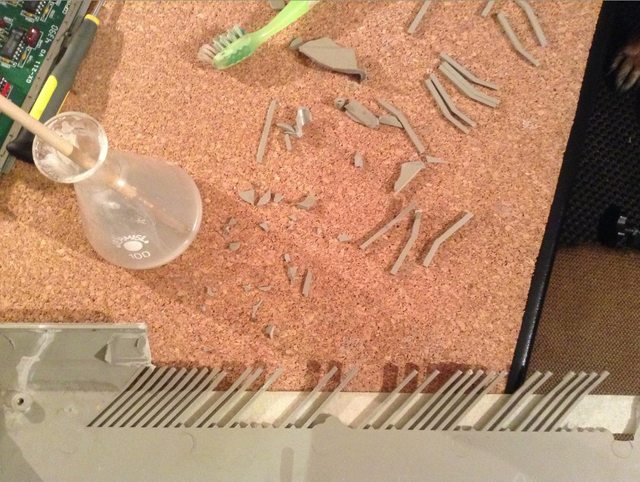
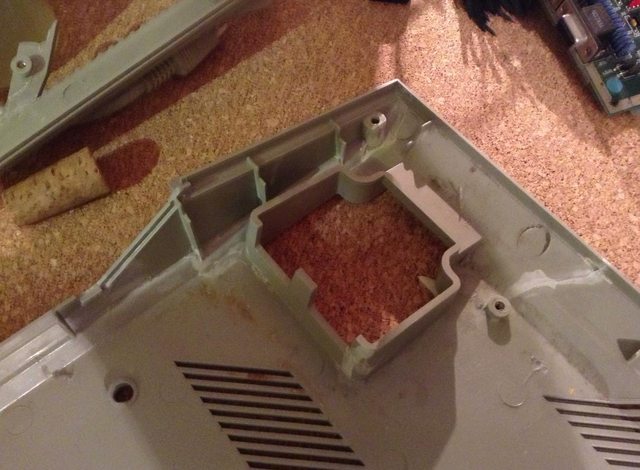
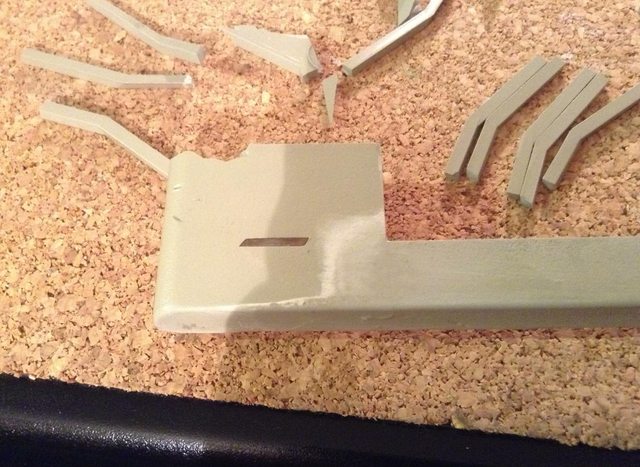
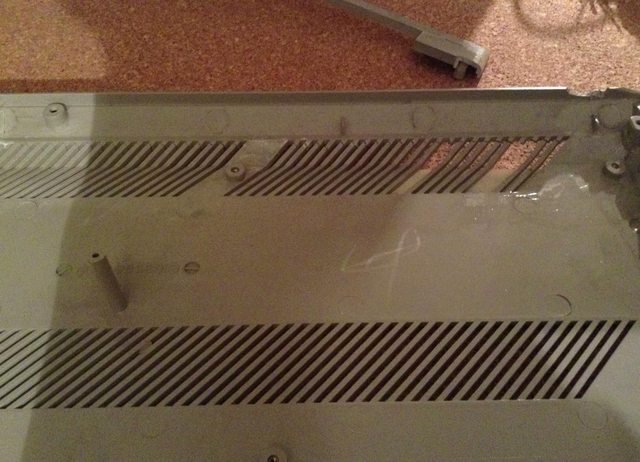
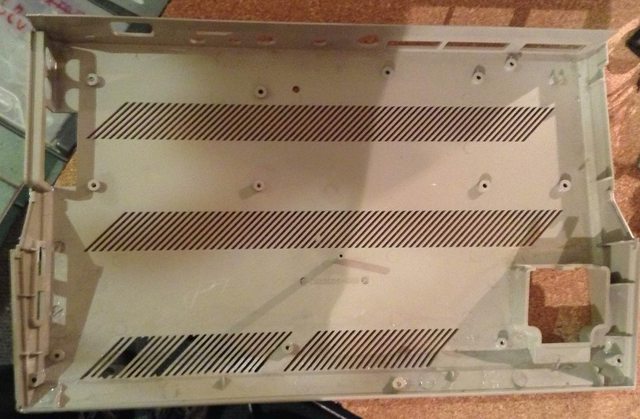
This is the lower part of the case pretty much fixed (still missing a few pieces)
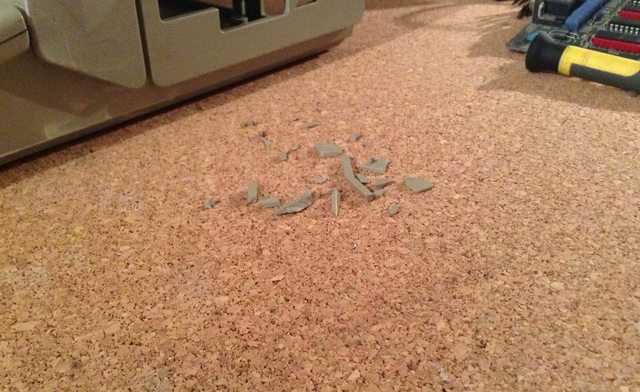
Here is a photo of the pieces that are left.
I’ve used it in various places that needed a filling.
Finally got it done
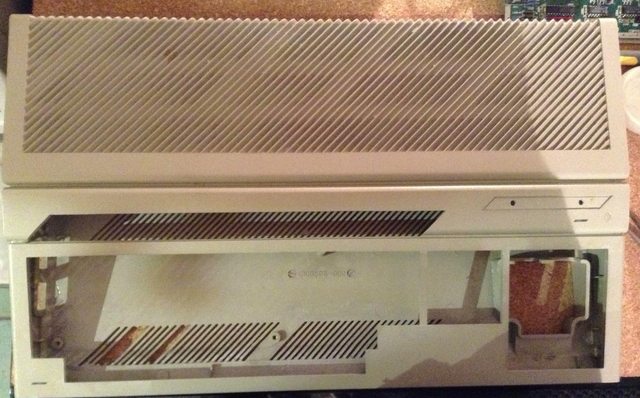
Applying putty and sanding …. finishing in general
So I finally got it glued all together but I still needed to apply putty to smooth out cracks. The photo below shows how it looked just after applying putty.
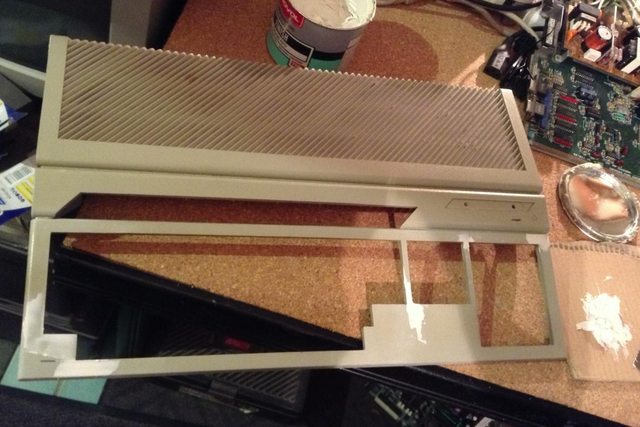
After a bit of sanding, it was ready to spray on a layer of undercoating.
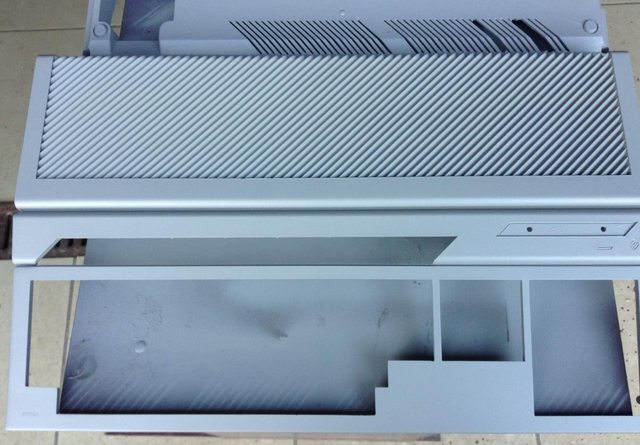
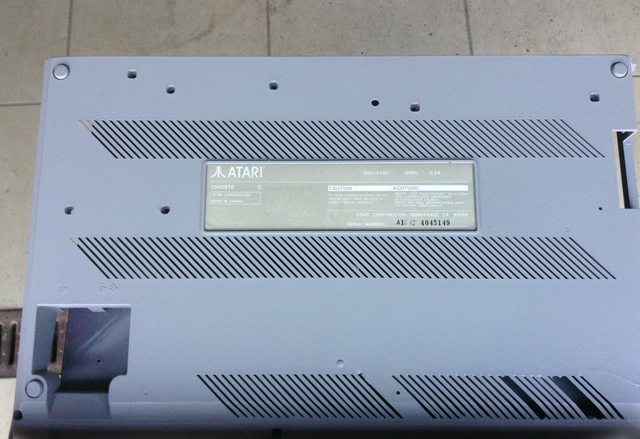
It turned out, that the undercoating that I had in my garage nearly fits the color of the original Atari, plus it leaves a nice touch of matt.
The next task was to clean up a keyboard. I’ve skipped chemical whitening this time. I was just too impatient so F-keys are still yellowish.
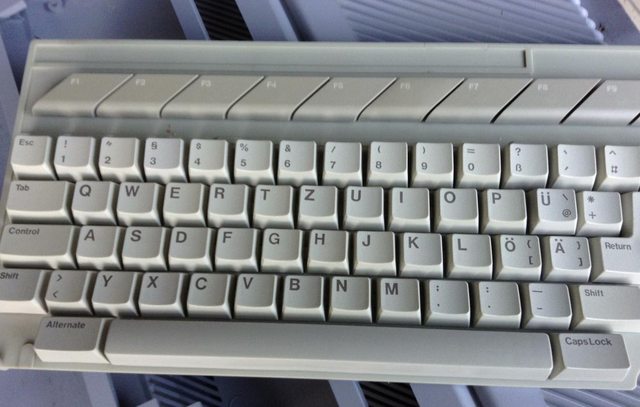
Also, there are a few accessories worth mentioning.
I’ve got these sweeties from Lotharek of course
The first one is a cased version of Ultra Satan.
Great device. It adds support for SD/MMC card storage.
BIG thanks to Bart030 for setting up SD card Image!
Link: http://lotharek.pl/product.php?pid=94
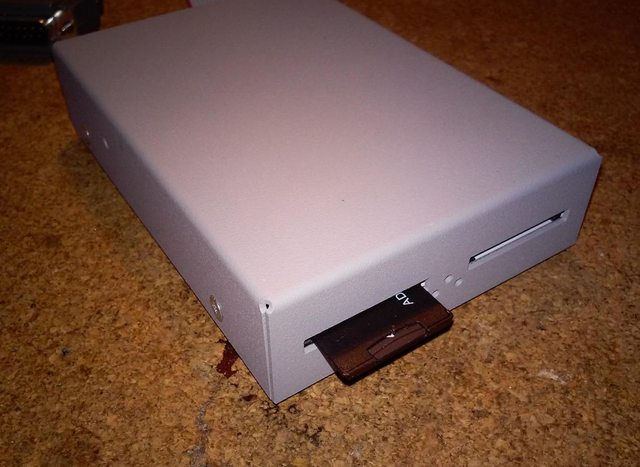
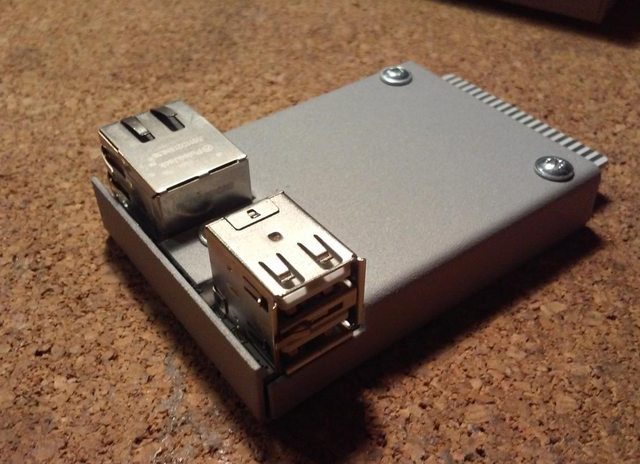
The second is NetUSBee. A device that adds Ethernet support and 2 USB ports.
Link: http://lotharek.pl/product.php?pid=73
Mission complete!
So yeah, that was sort of a rebuild. No worries, when the shipping company does it again- You can always fix it! and it’s fun!
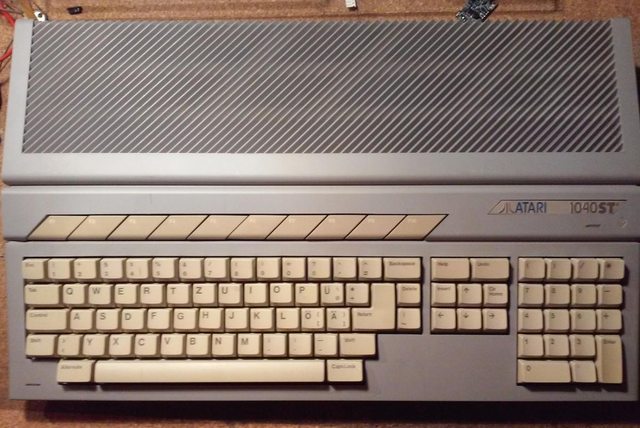
After assembly, It looks like this.
(yeah, I know, I’ve gotta fix these F-keys 😉 )
And works like this
Atari 1040 STe Puzzle Project is finally finished from pit on Vimeo.
OUTRO
If you want to get retro gear or hardware modules, please visit our shop
New products are being added every month.
Also, please support our work by spreading info about it.
Without your support, we simply cannot grow and we have a lot of new cool retro hardware (and more) products to come 🙂


Amazing job at rebuilding it!
Could you tell me what exactly you used to paint it? I need to fix my ST, after a failed retrobrighting!