… or back to orchard :>
Intro
Instead of a regular BAD APPLE, catch a slightly different approach to it :>
This story is about the Apple II only, but I’ve had quite a journey over the past few months while fixing “everything Apple II”. More posts are coming about Apple IIe, Apple IIGS, and Apple peripherals in general.
Anyway, today I will write about three units that I worked on some time ago.
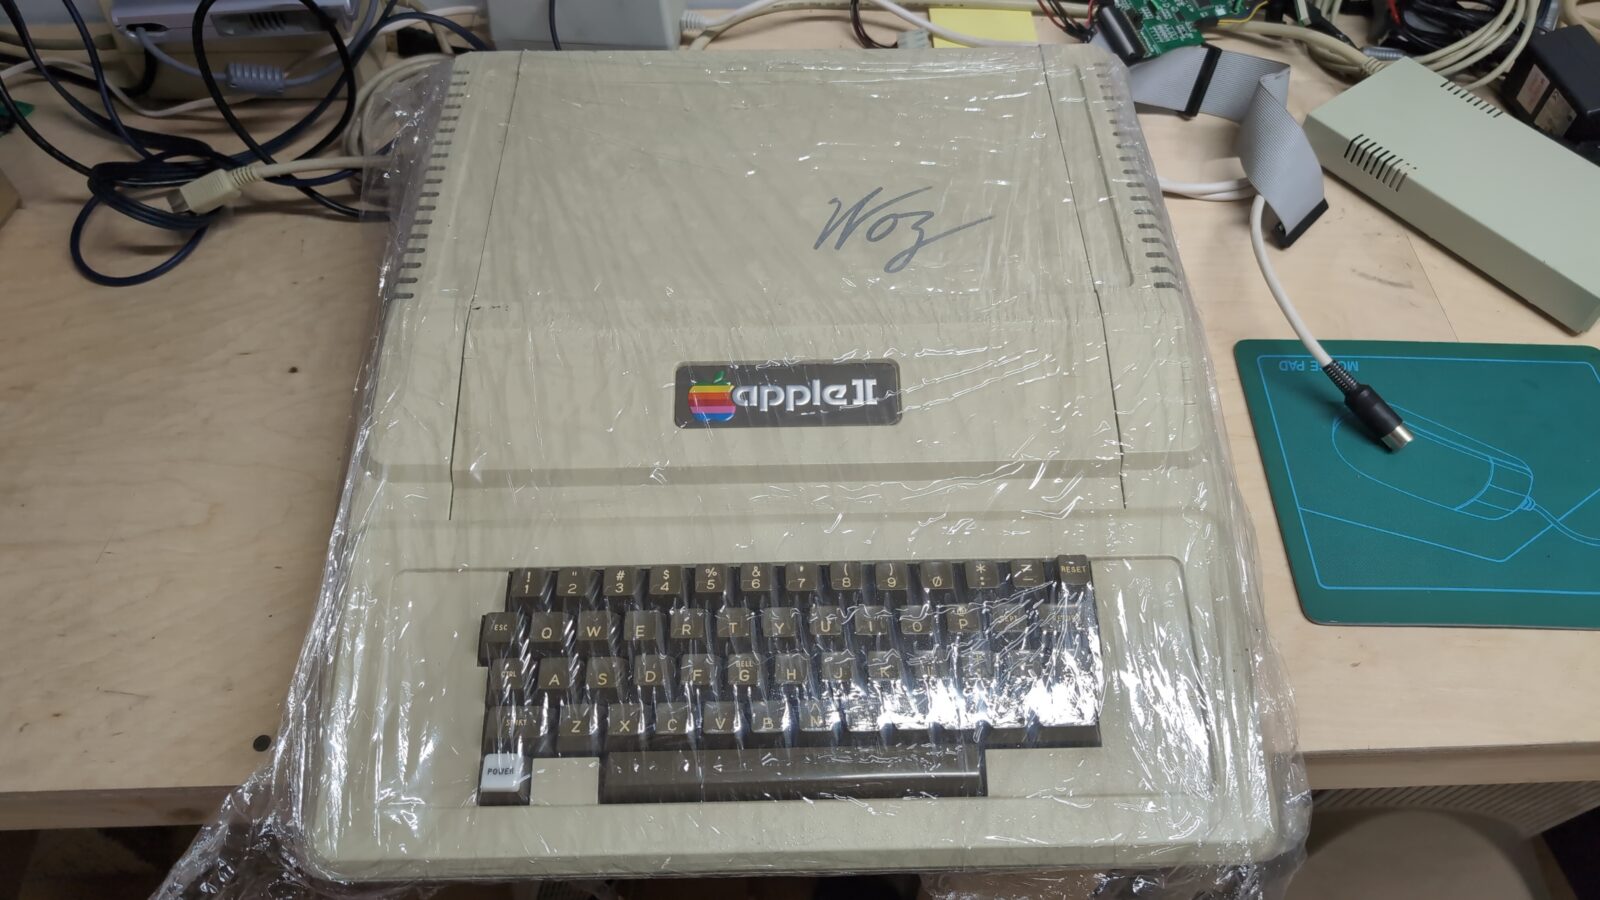
There is one regular Apple II, a second special, as it was touched by Woz himself, and a third, a Bell & Howell, which is kinda rare, from what I’ve heard.
The plan for all of the above machines was simple. Refurbish it to stock condition. No fancy upgrades this time.
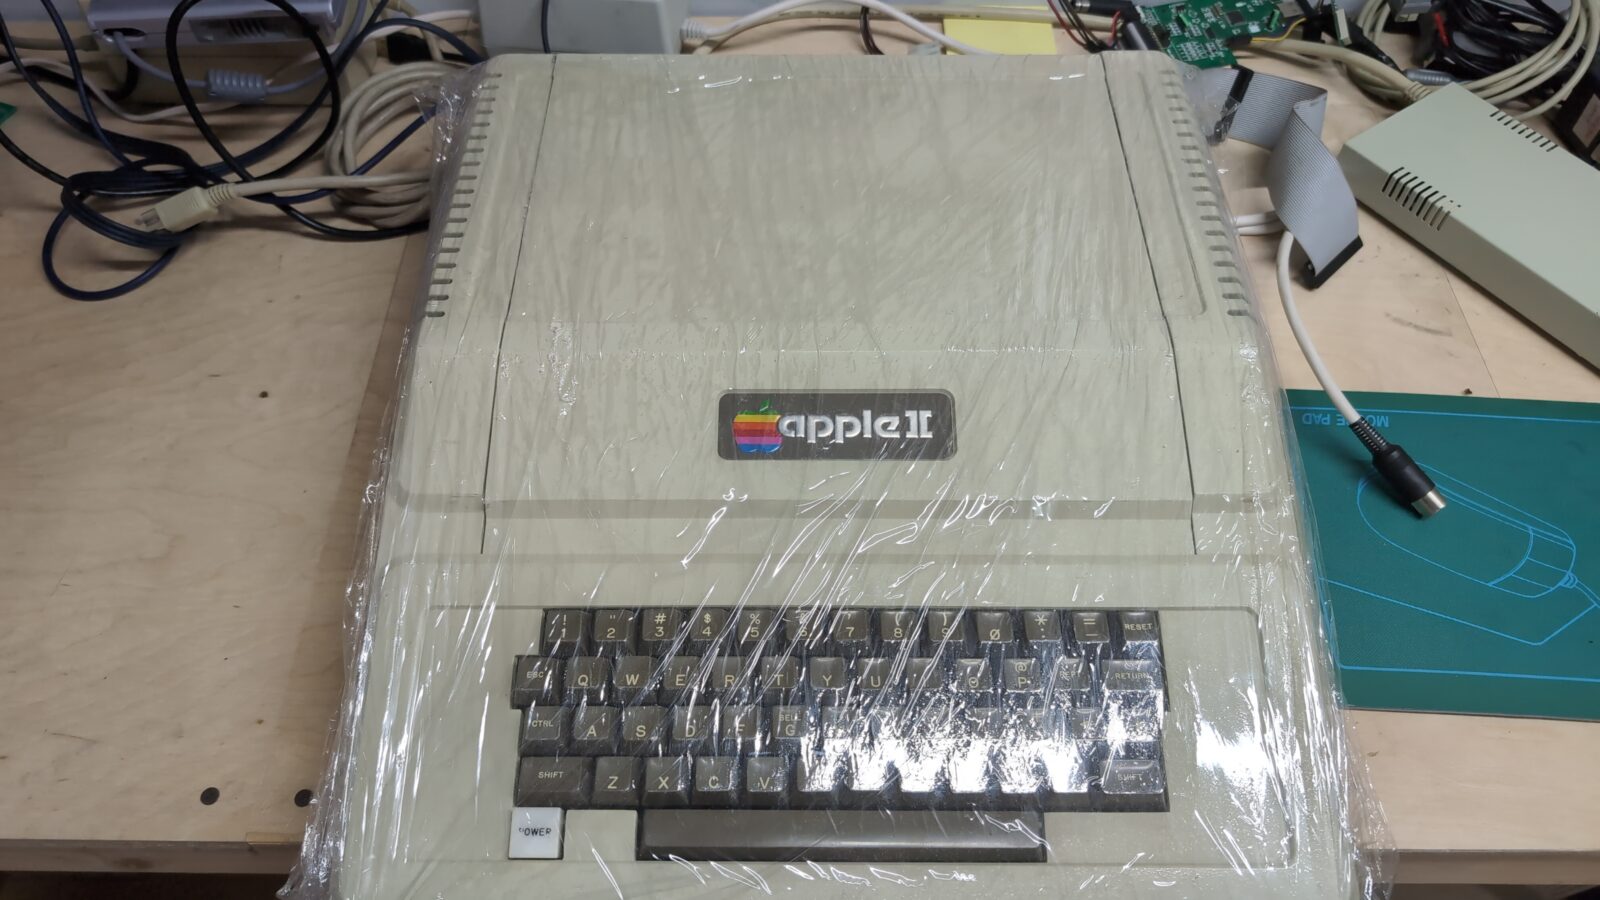
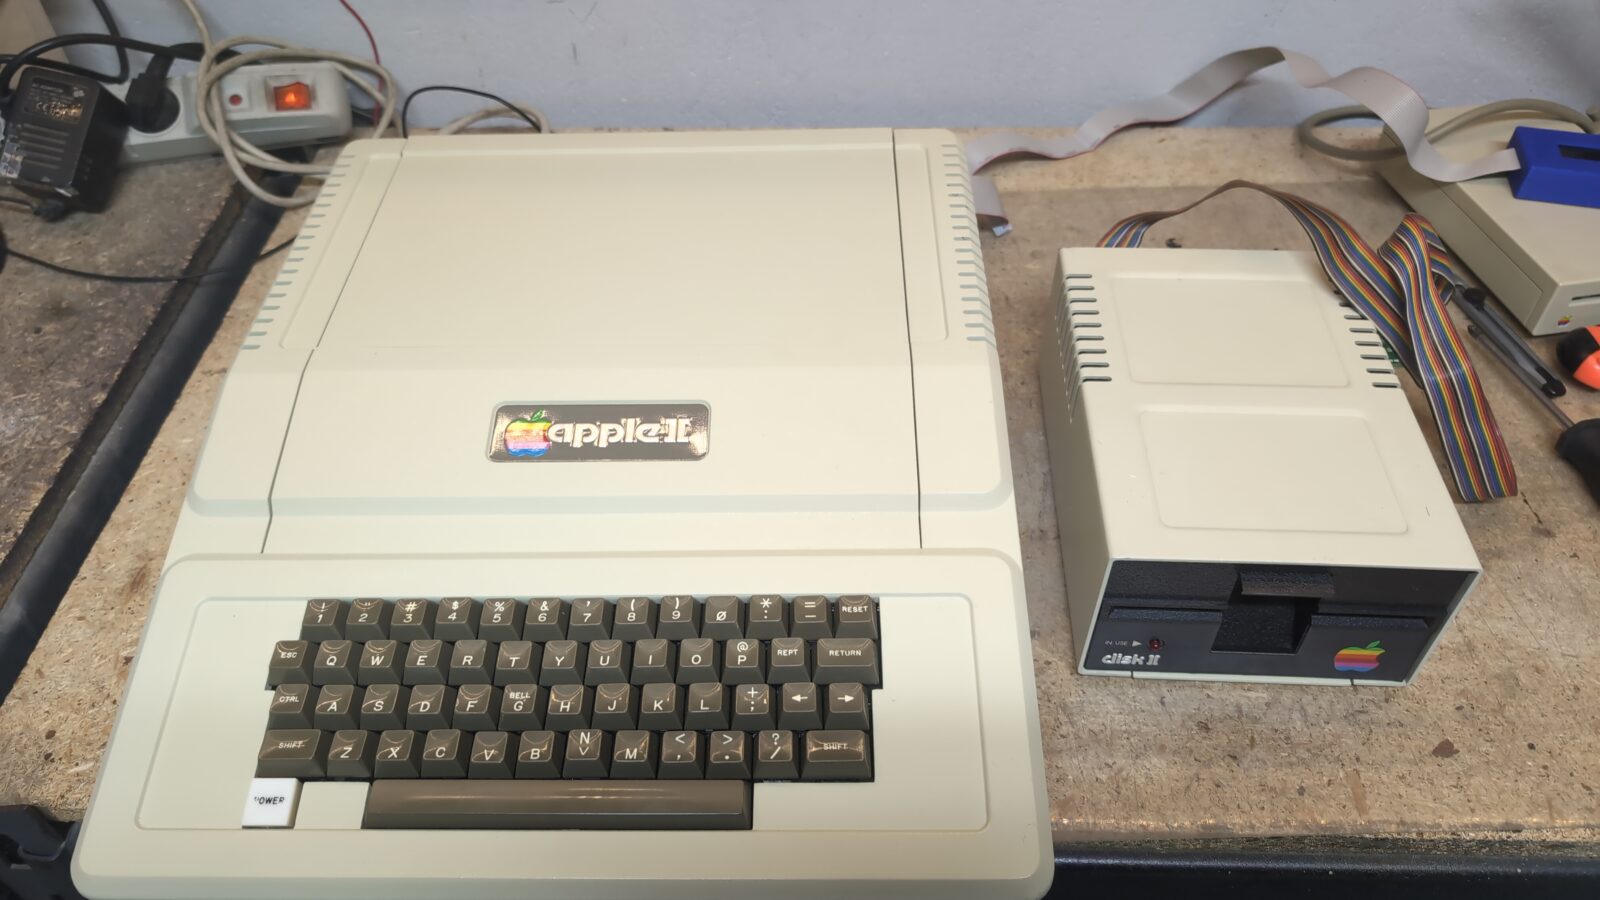
The first unit
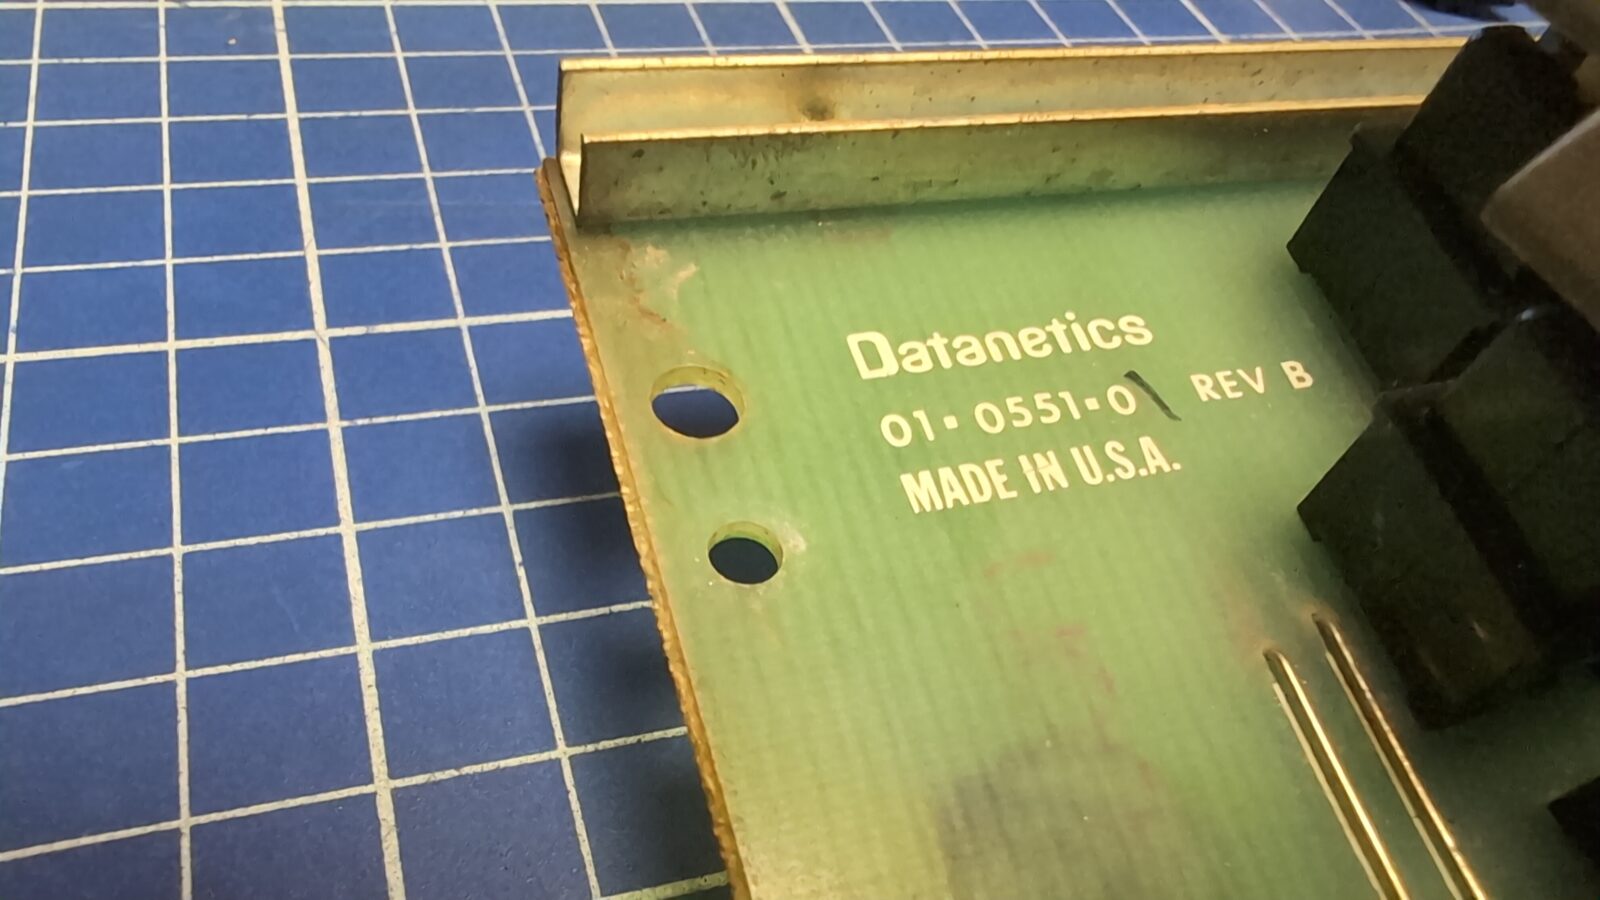
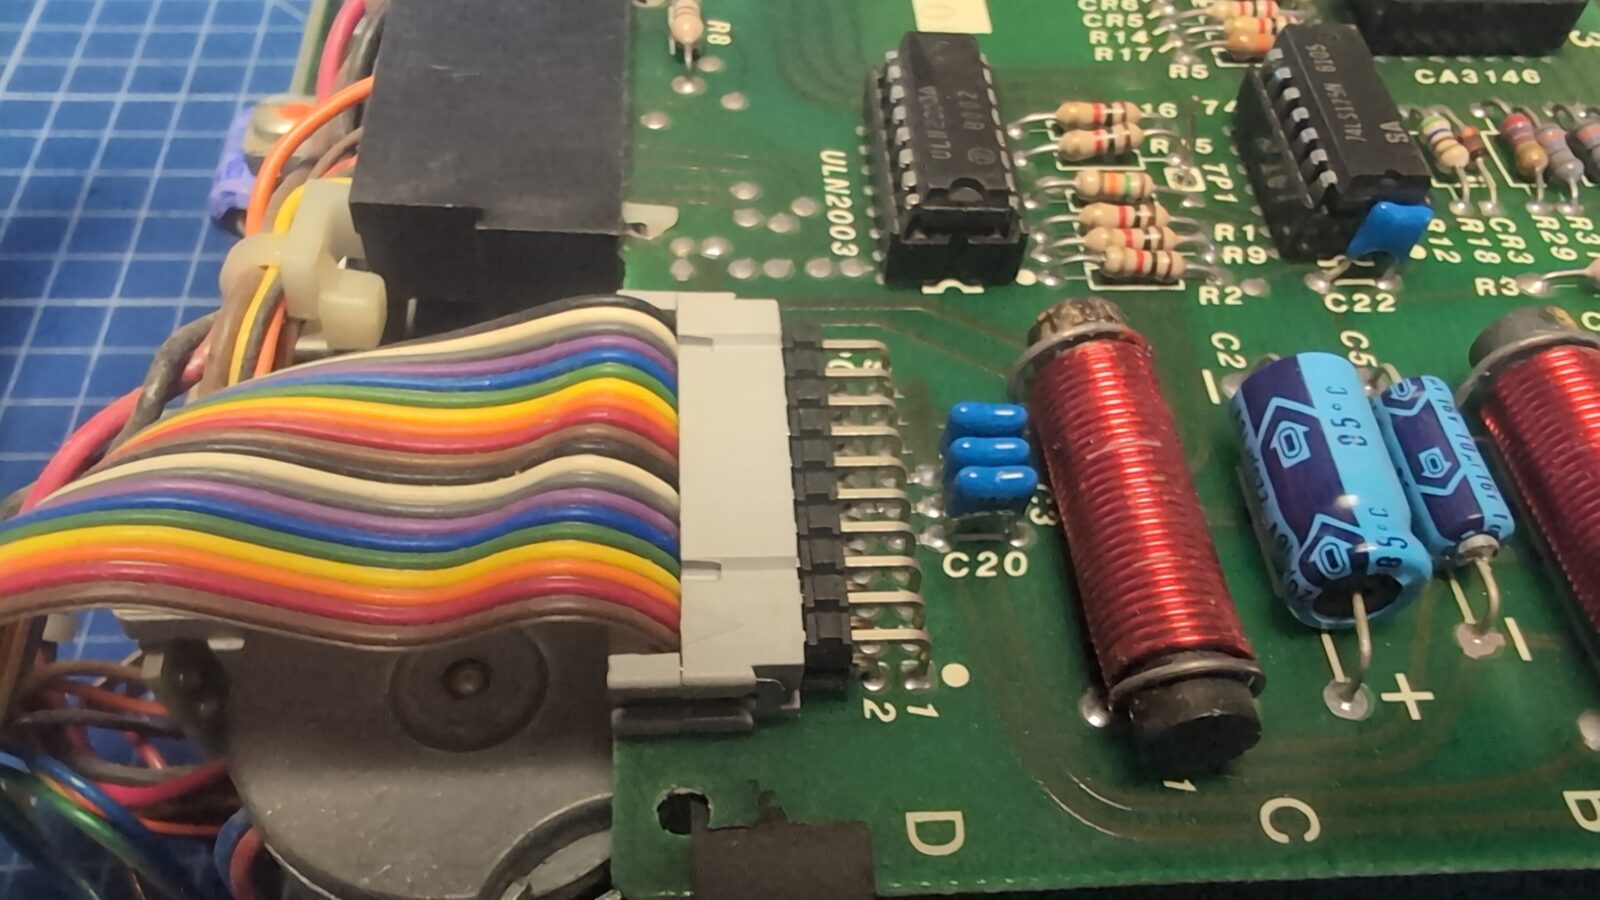
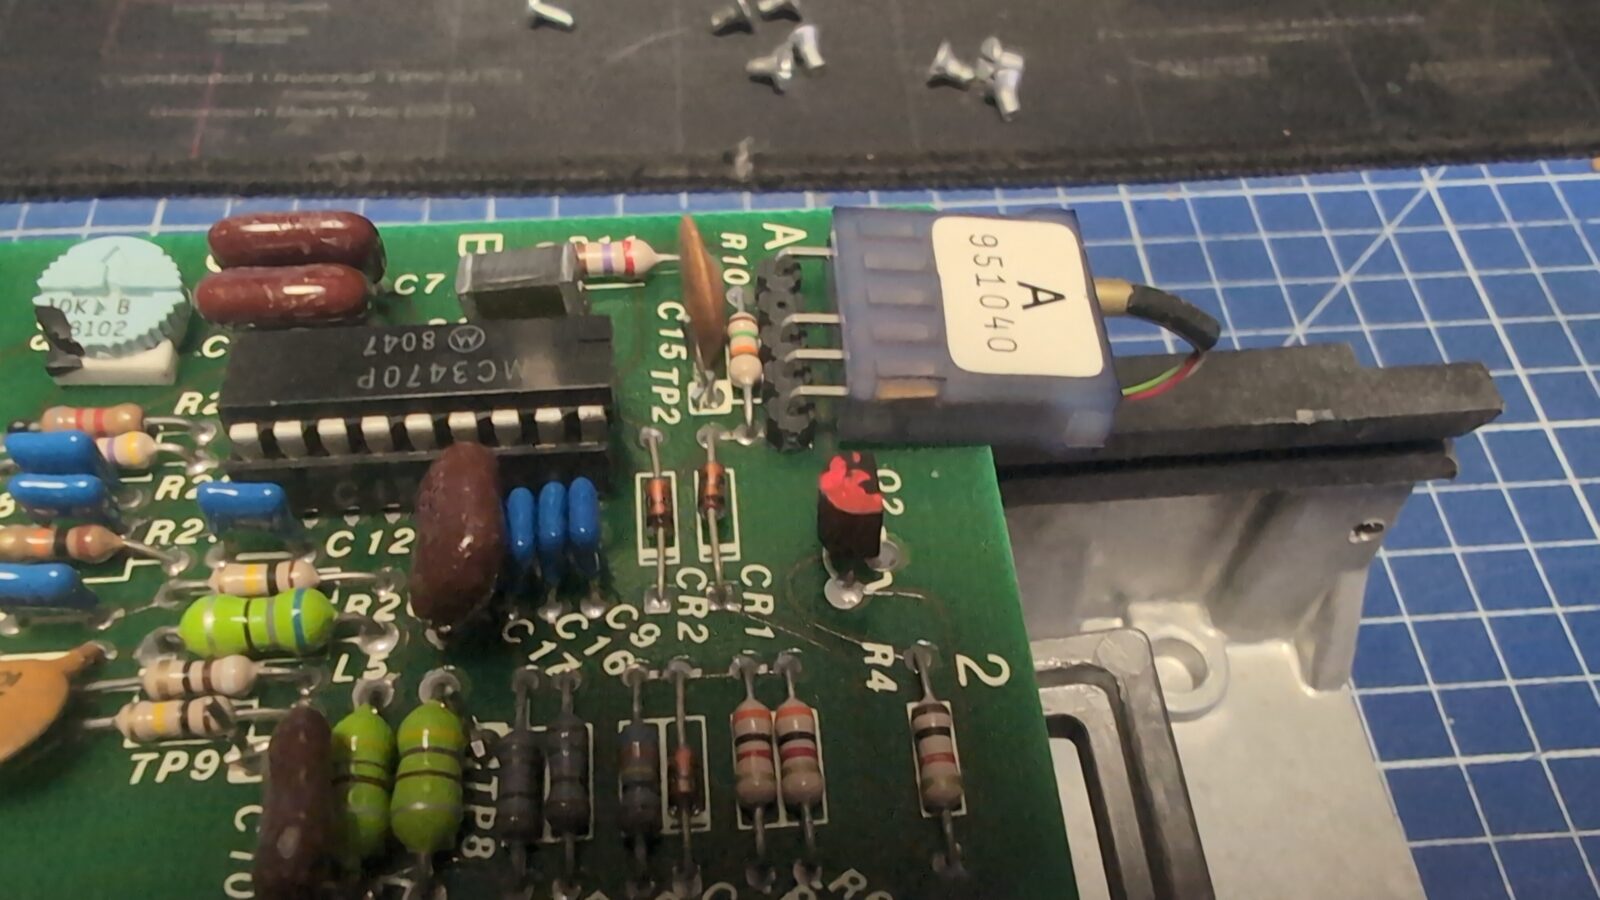
As you might’ve already noticed, I am taking a lot of pictures for future reference. It is always good to have a look at those pics if you happen to work on another, similar machine. Actually, this is why this blog was created :>
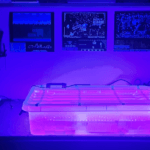
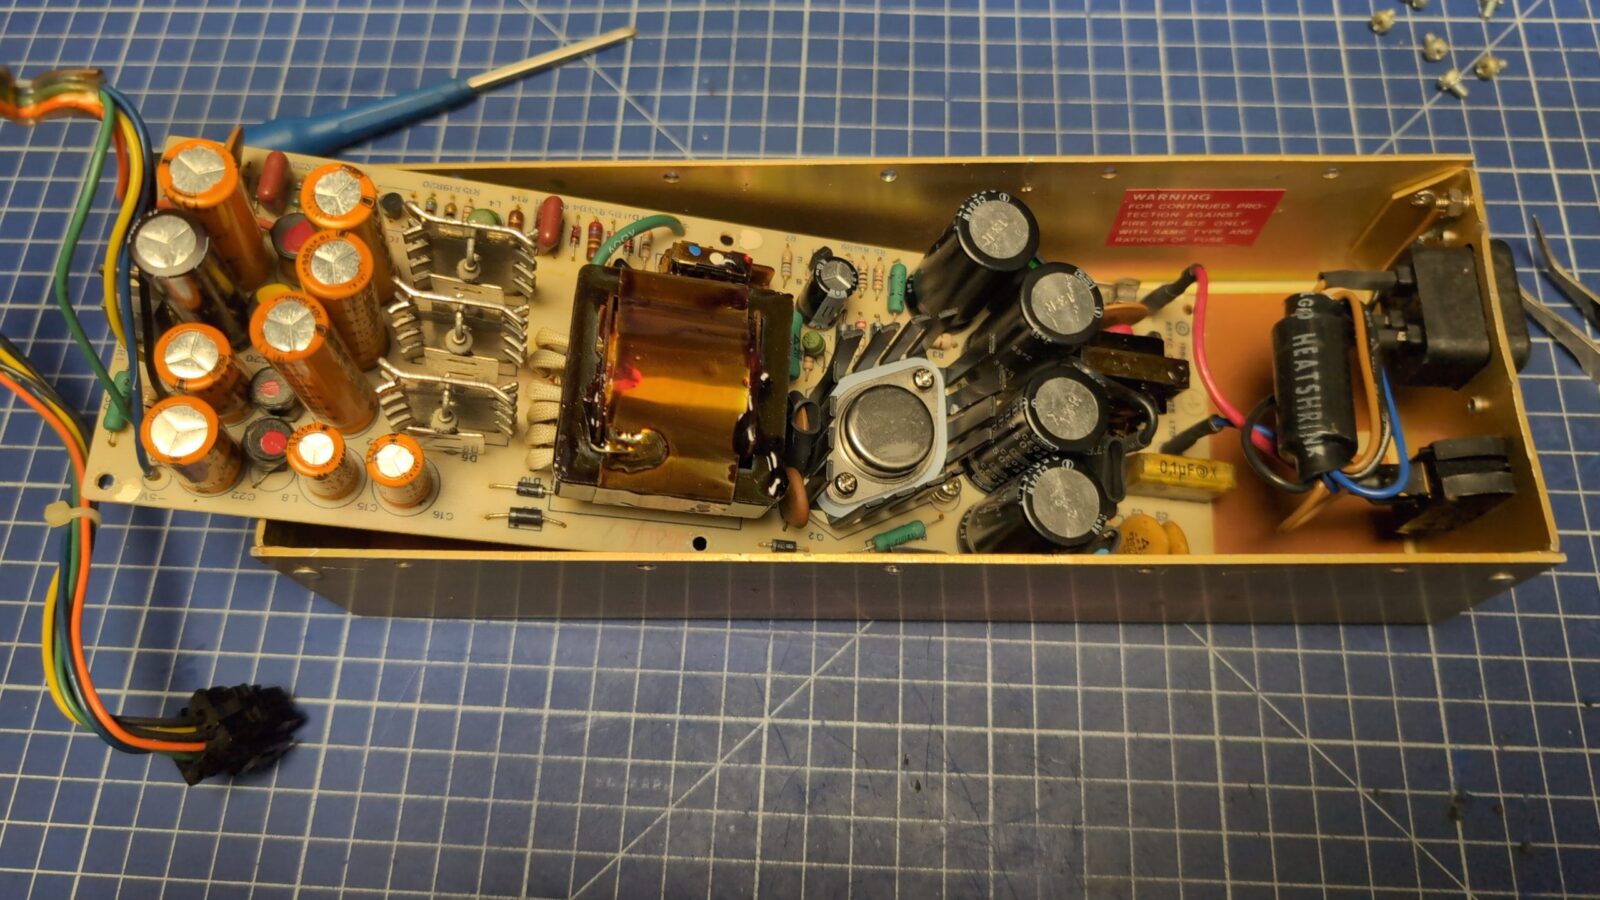
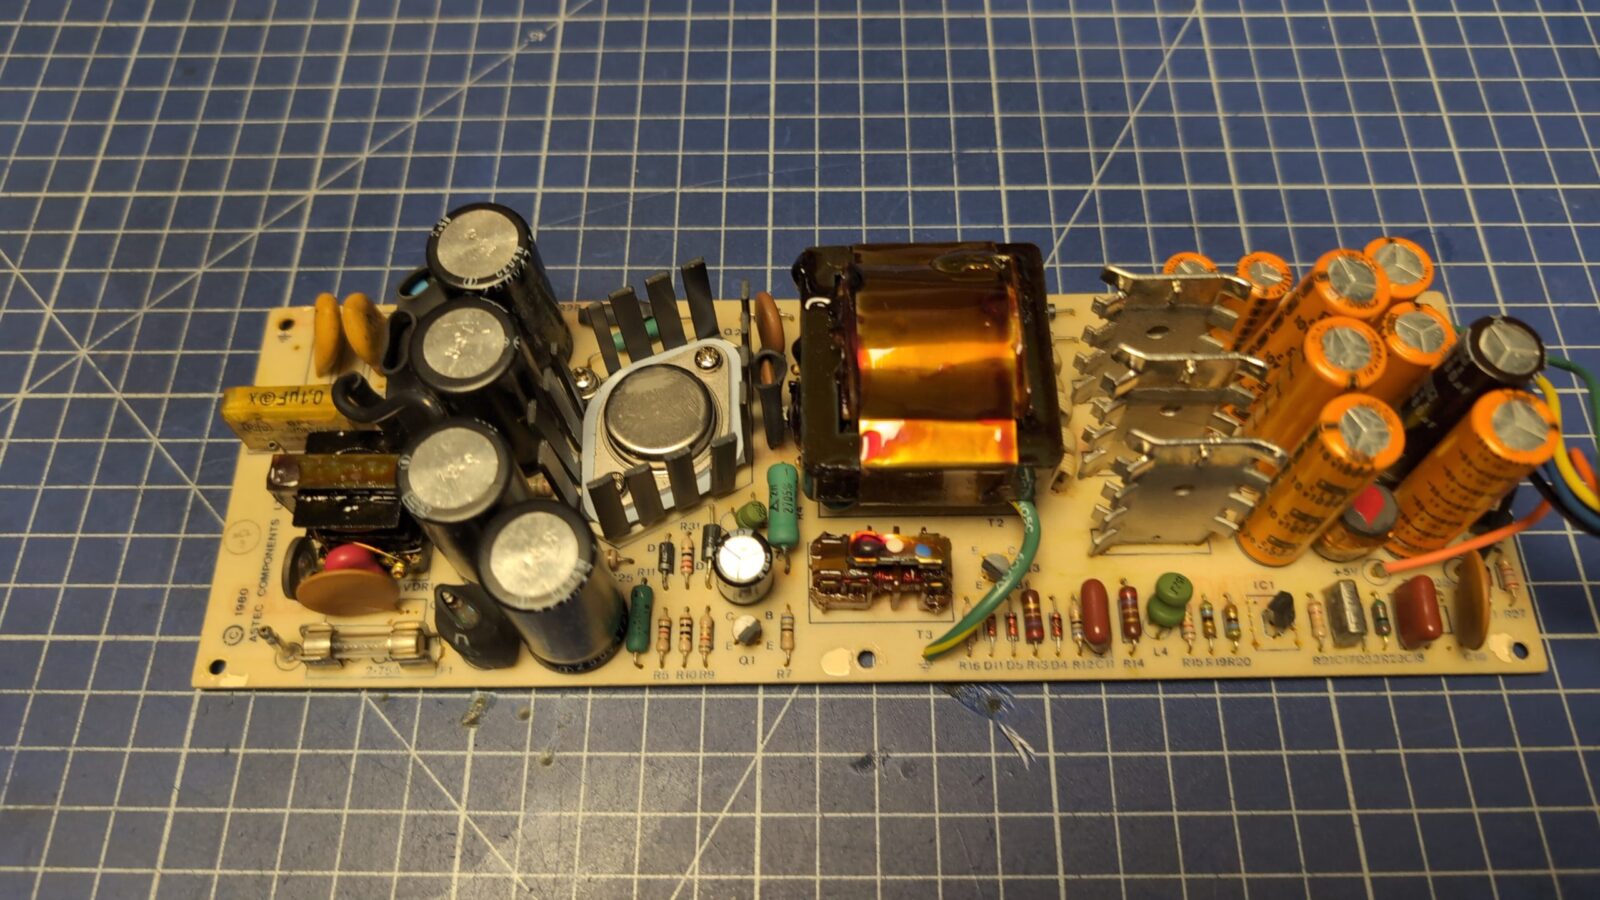
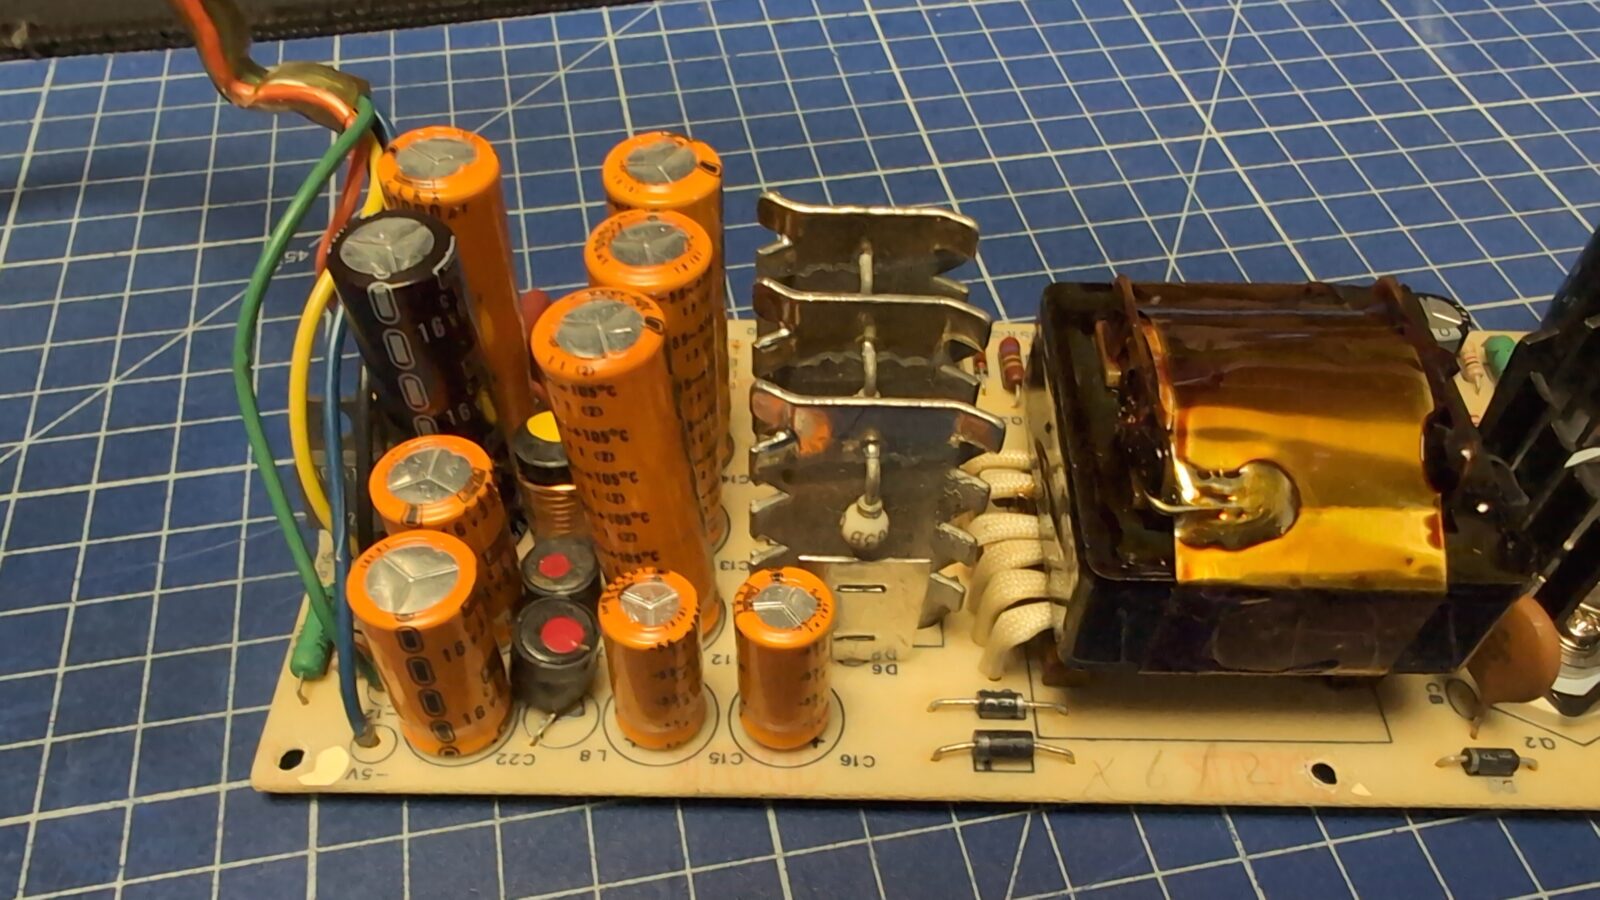
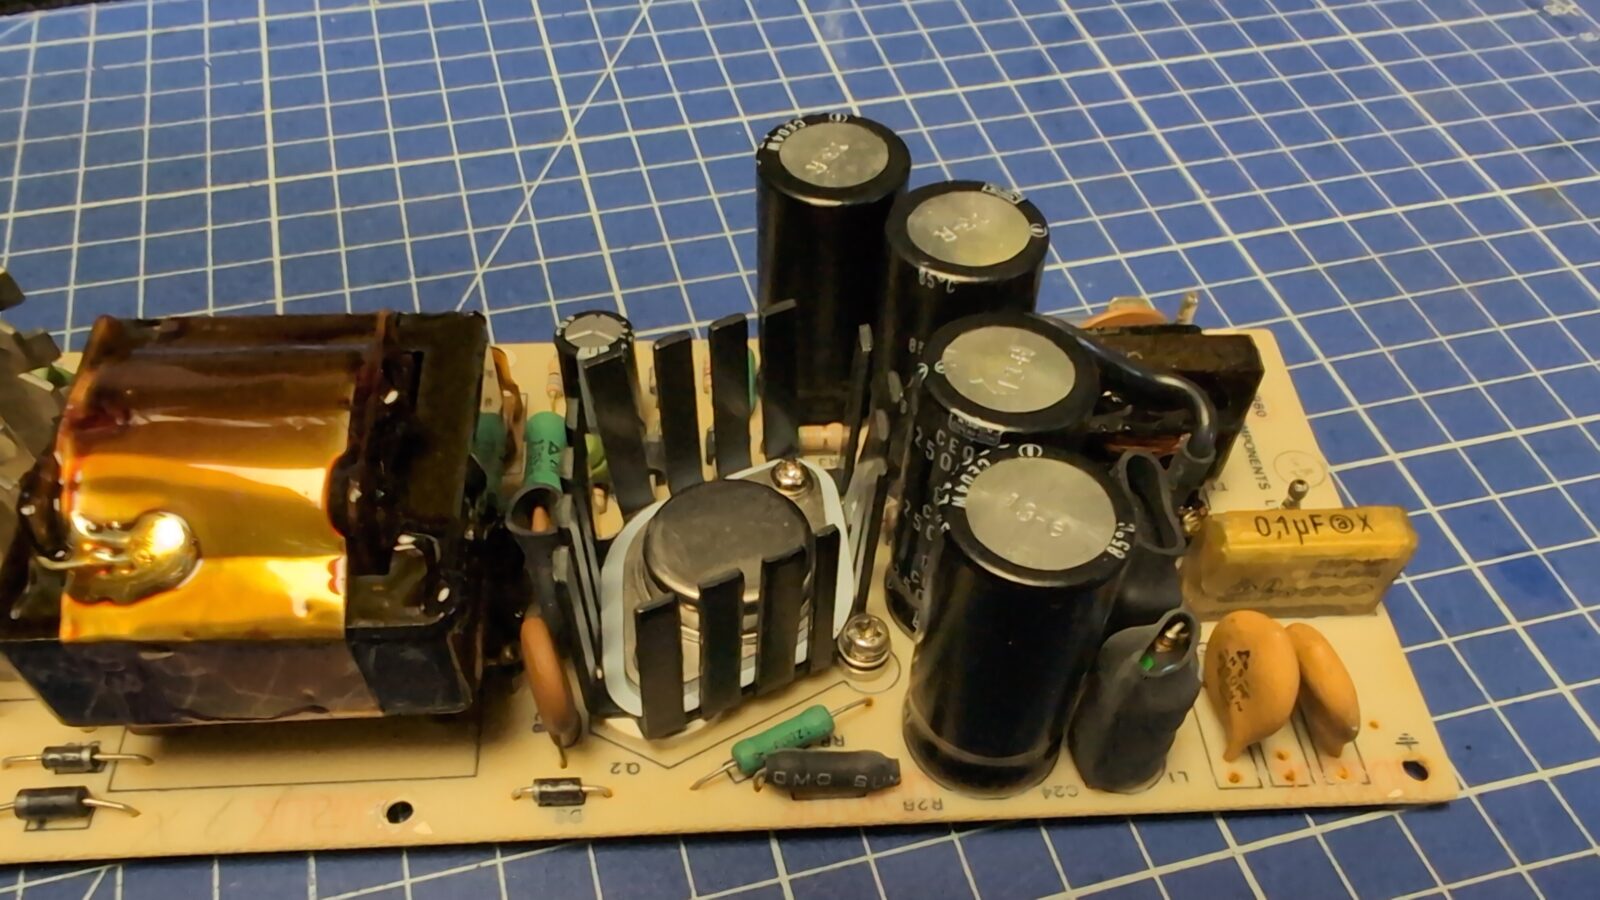
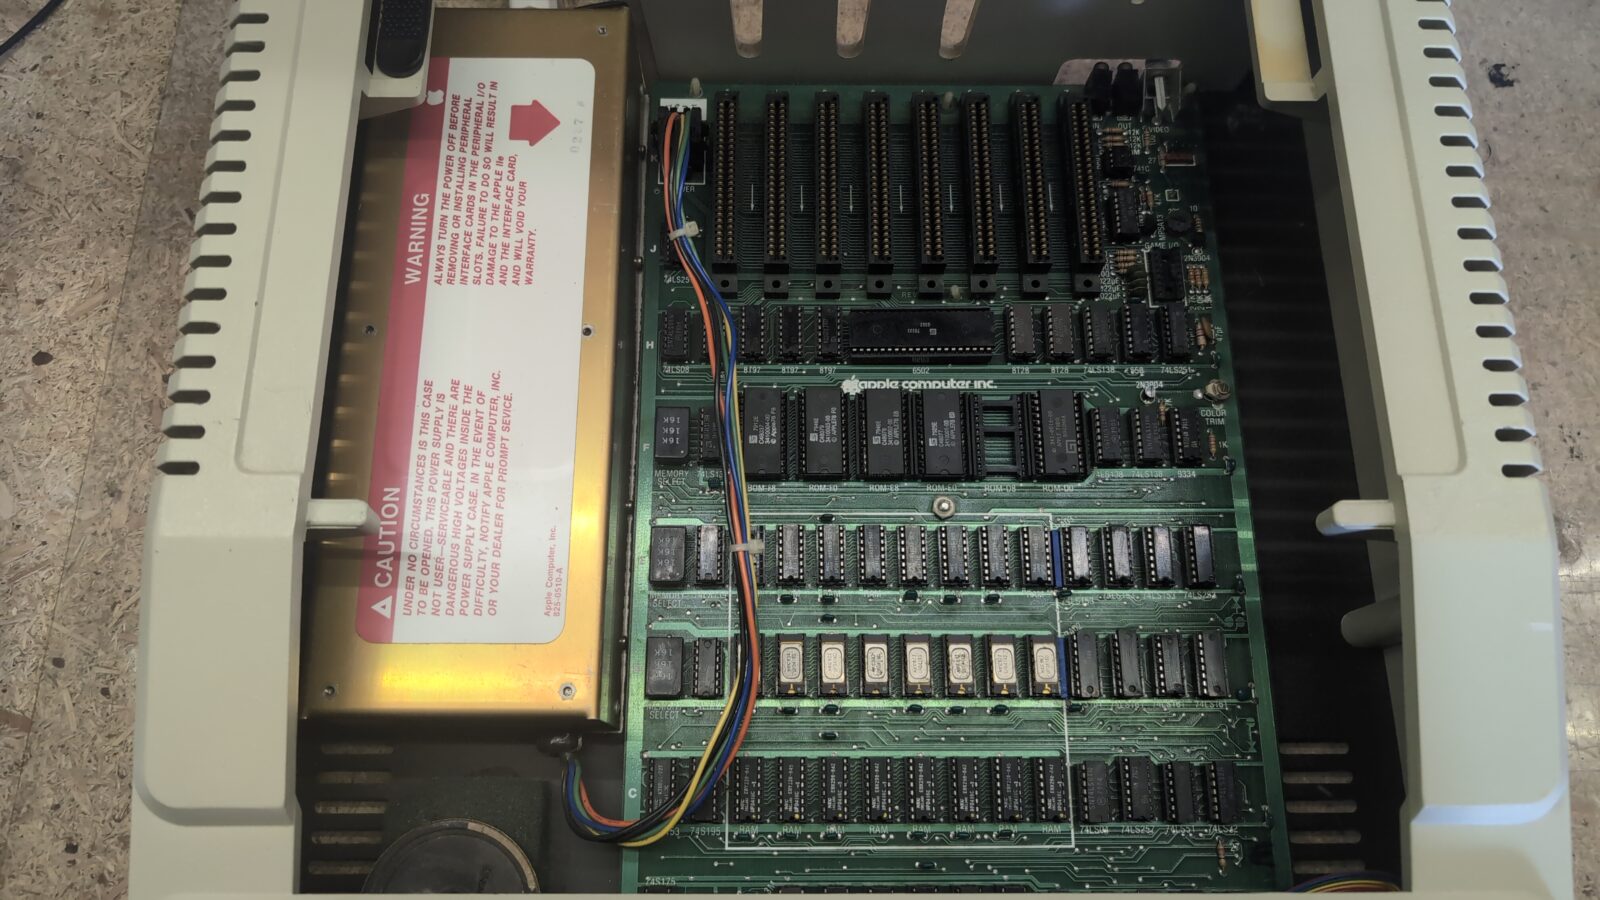
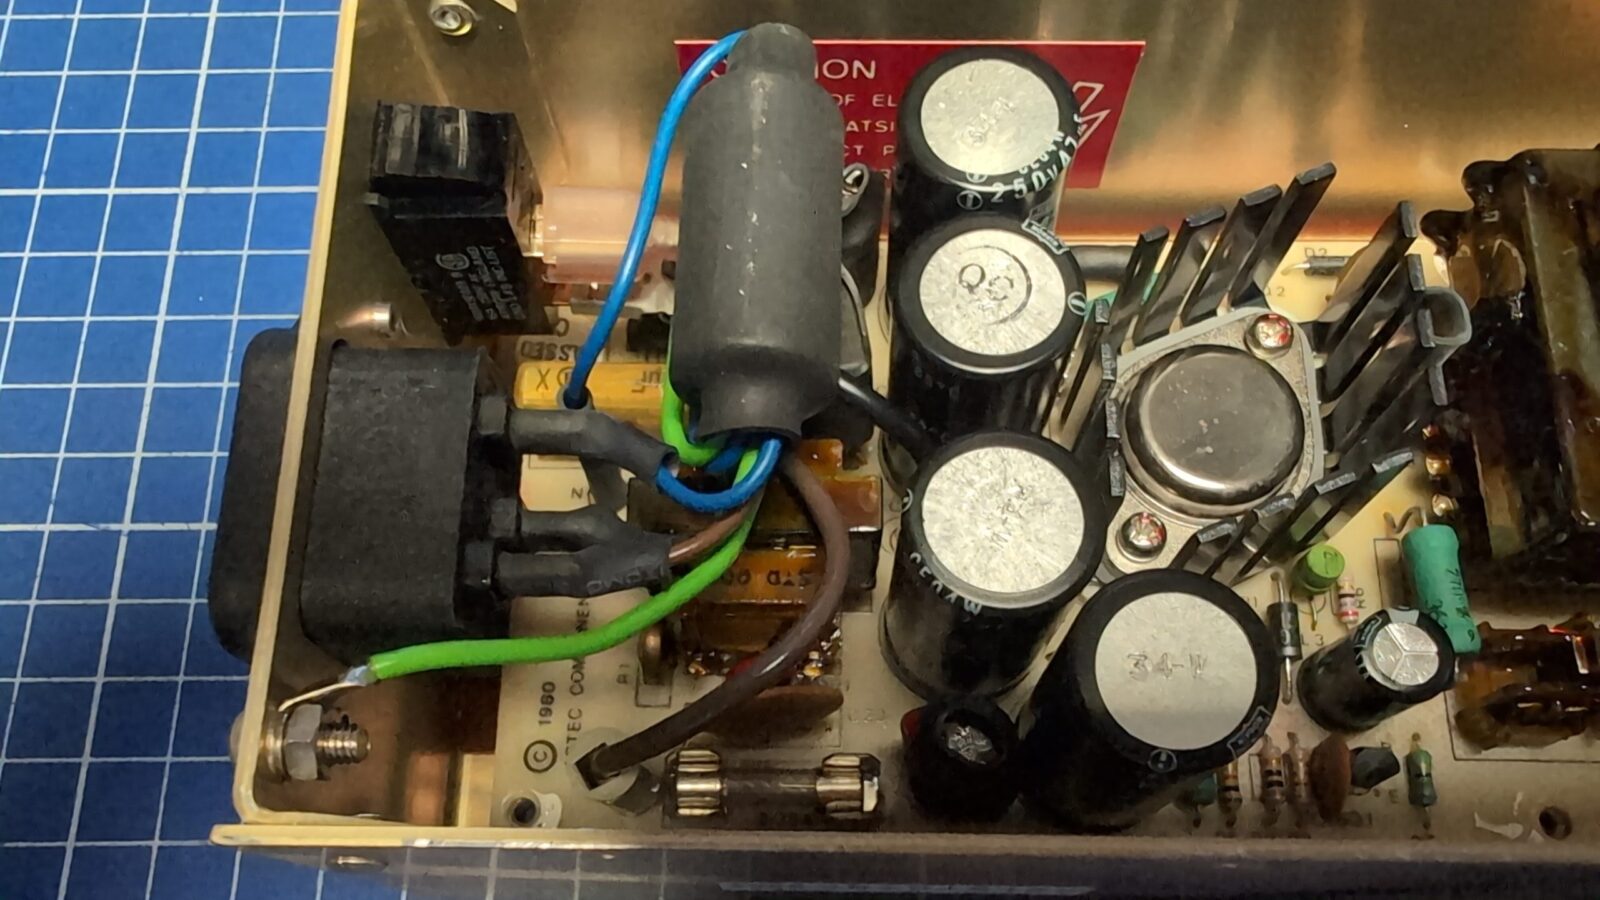
In the Apple II series of machines, before turning on the machine, it is mandatory to re-cap the PSUs. Most of the time, regular electrolytic caps will still work, but all those RIFA caps are mostly fractured or blown out. I didn’t cover the PSU re-cap in this blog post, but I always do a full re-cap of all RIFA caps and electrolytic caps as well. The pics below, as I’ve mentioned, are just for future reference.
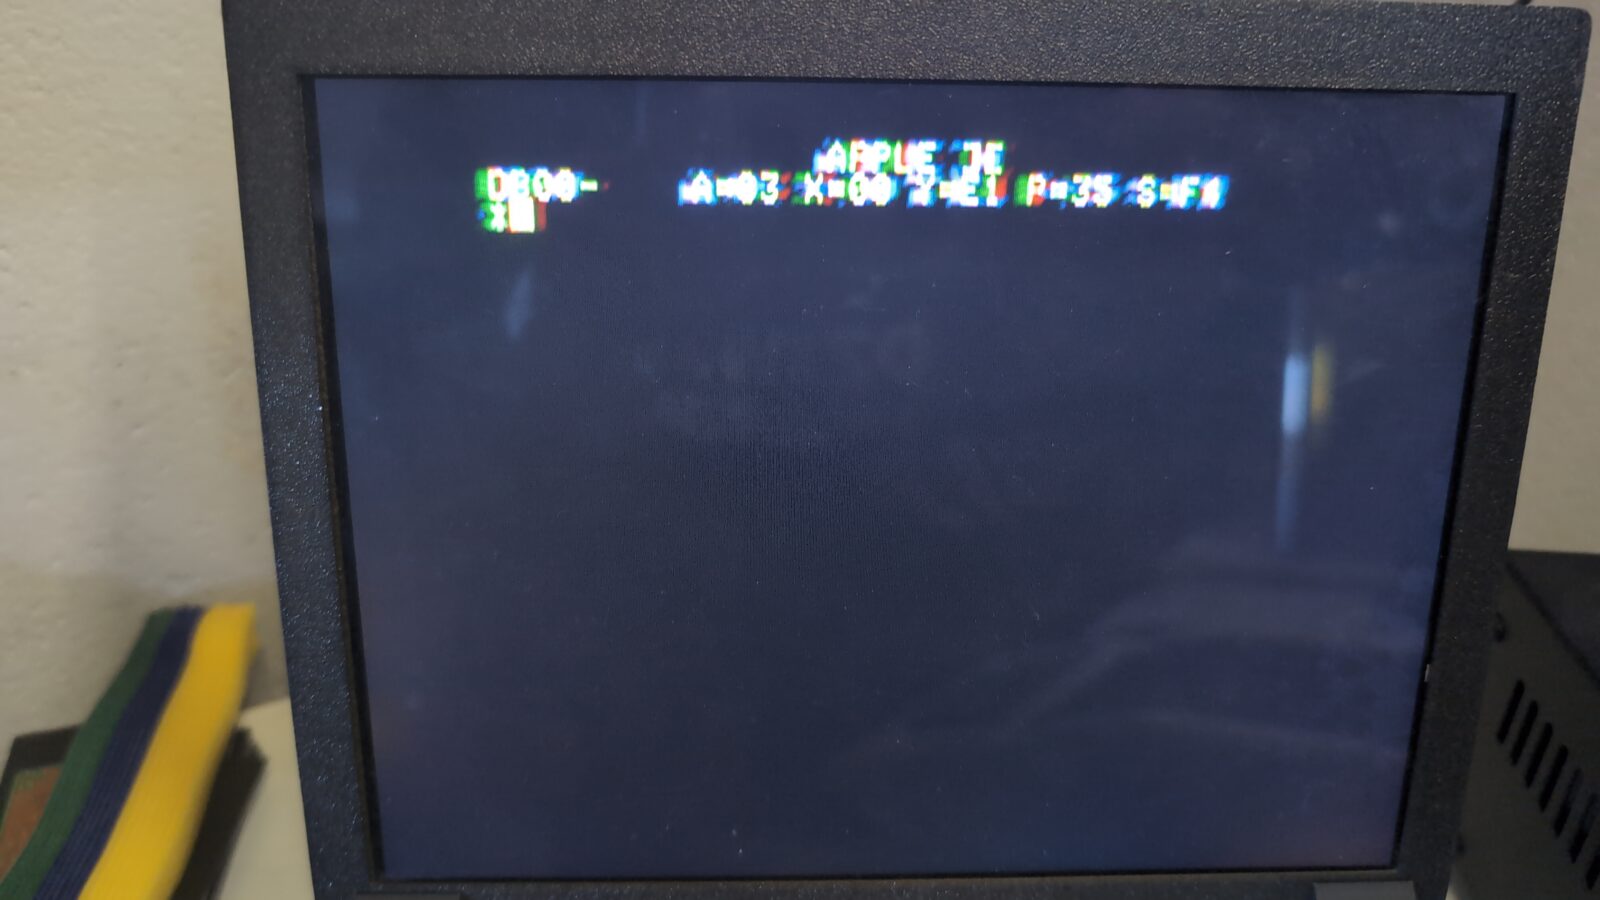
After re-capping, the machine turned out to be alive, although it confused me a bit by spitting out some weird info. Turns out this is normal for some Apple II machines with early ROMs. Another thing worth noticing is that my iPad screen didn’t correctly recognize a video mode, which resulted in weird ghosting.
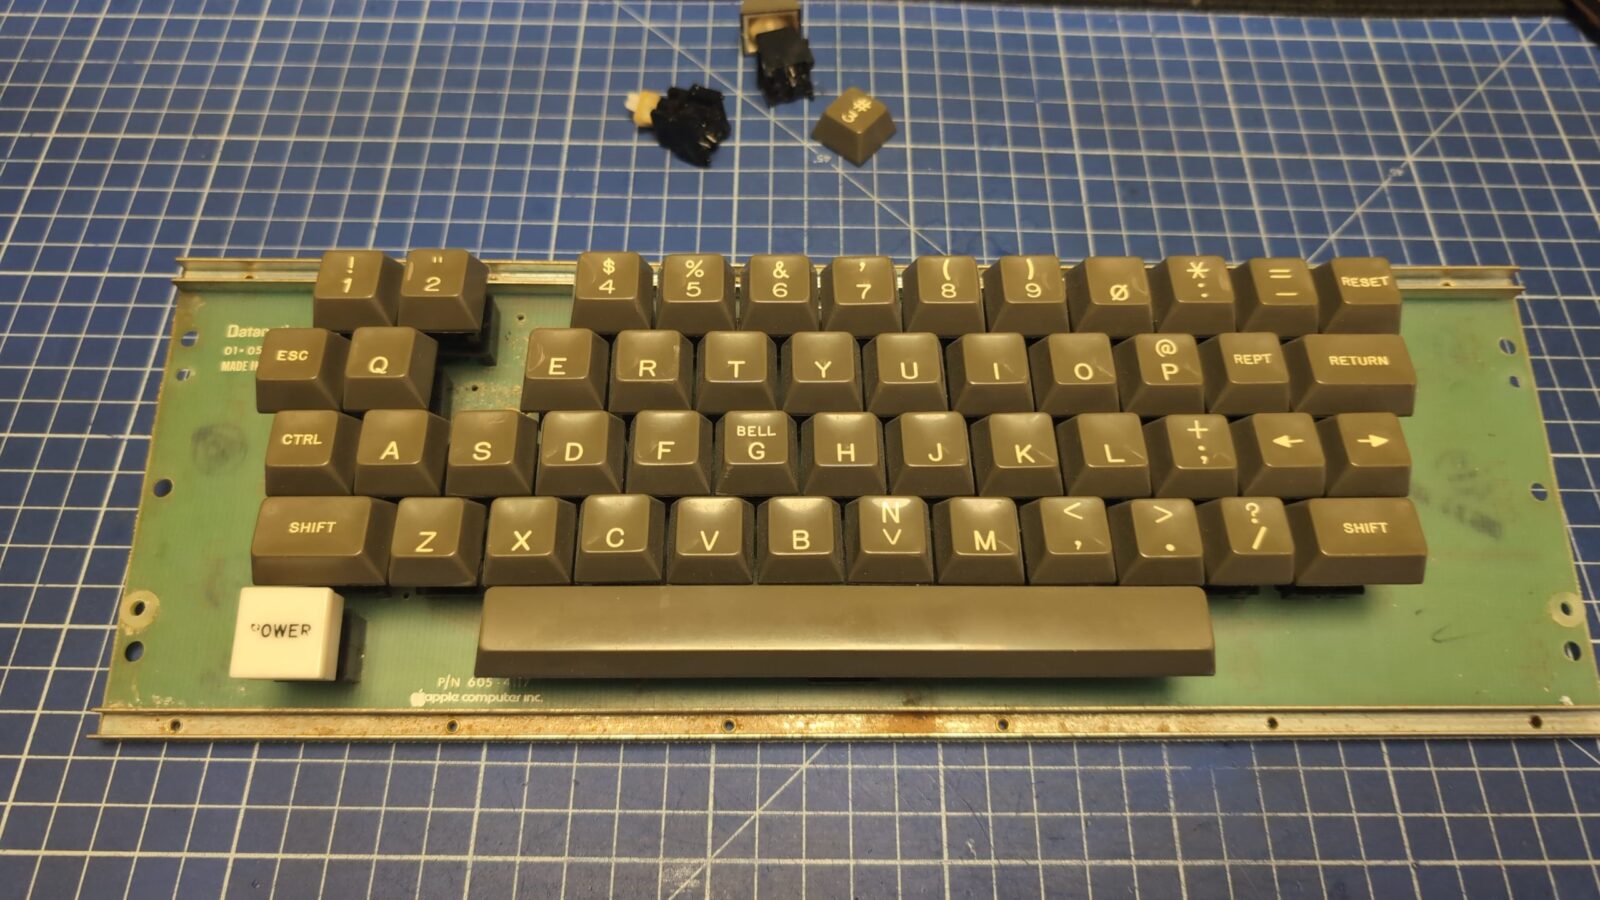
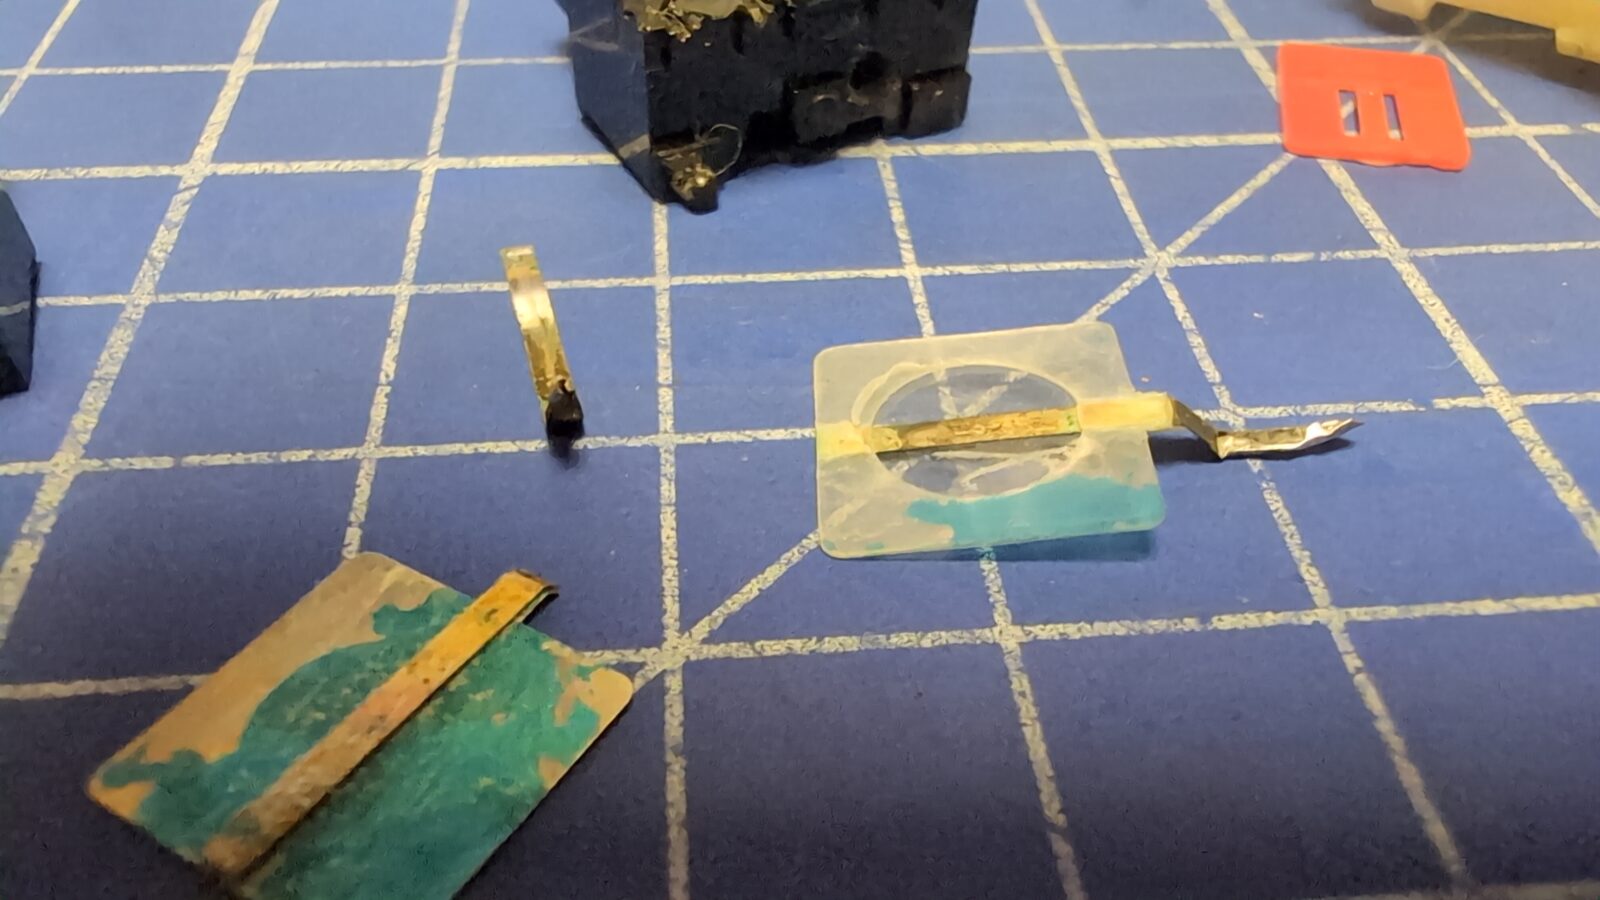
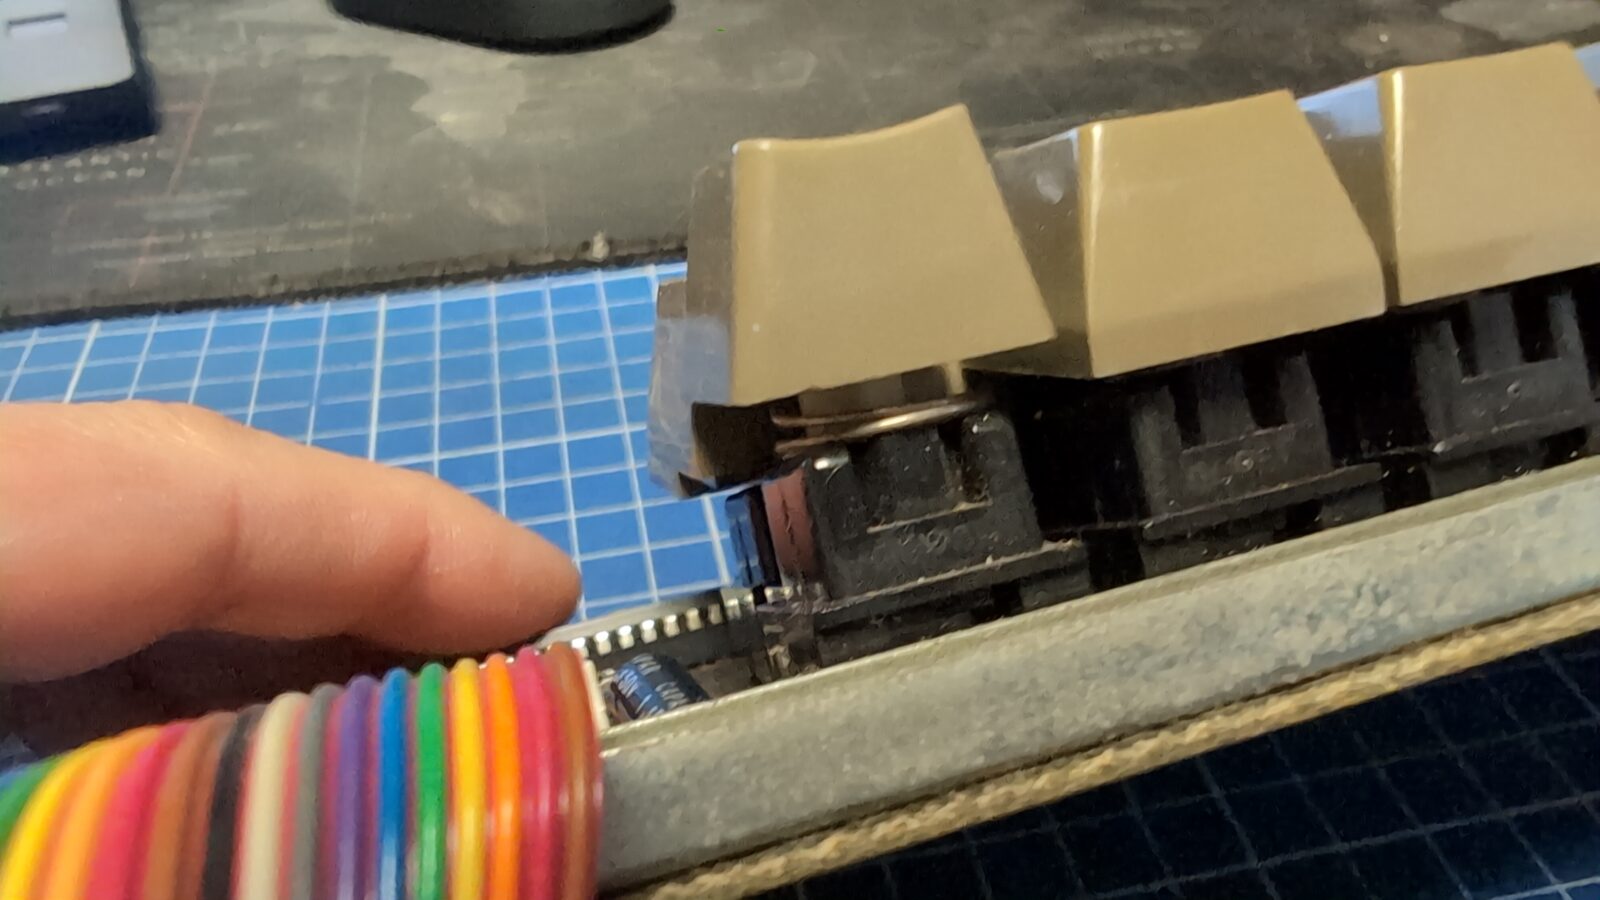
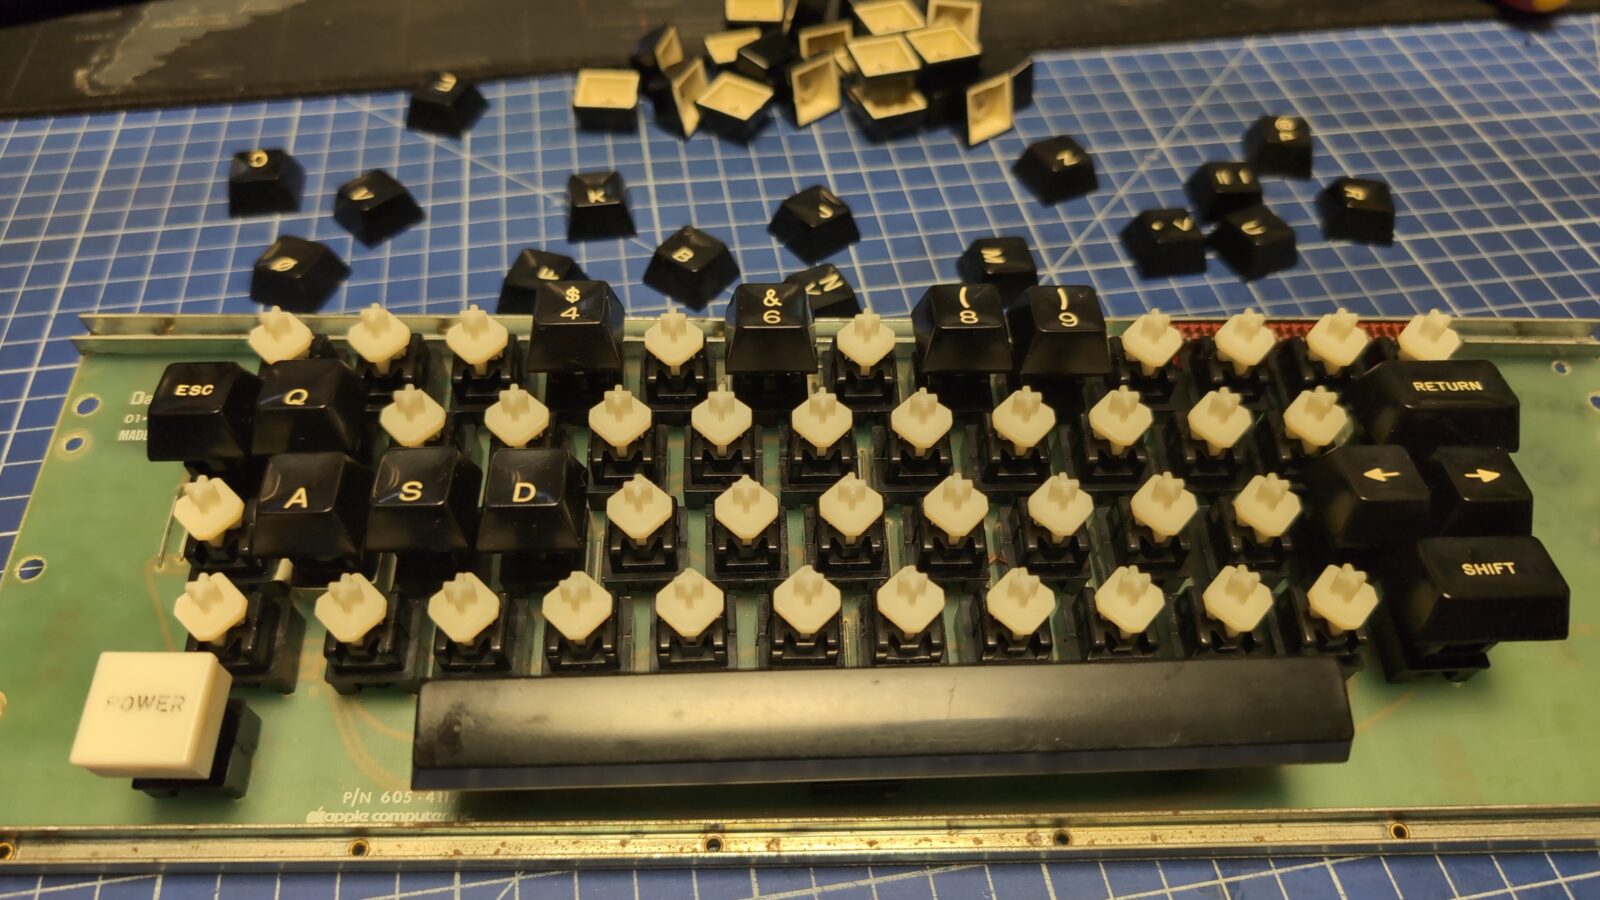
Next, the keyboard had to be addressed. Some keys didn’t work, so I assumed that the connectors inside tarnished over time.
At first, I had planned to disassemble and clean them up as I usually do, but I kinda hit a wall as I couldn’t disassemble those switches. Lemme know in comments if these switches can be disassembled without destroying them. Pics show that this is doable, but it looks like switches were bound with the help of an ultrasonic binder.
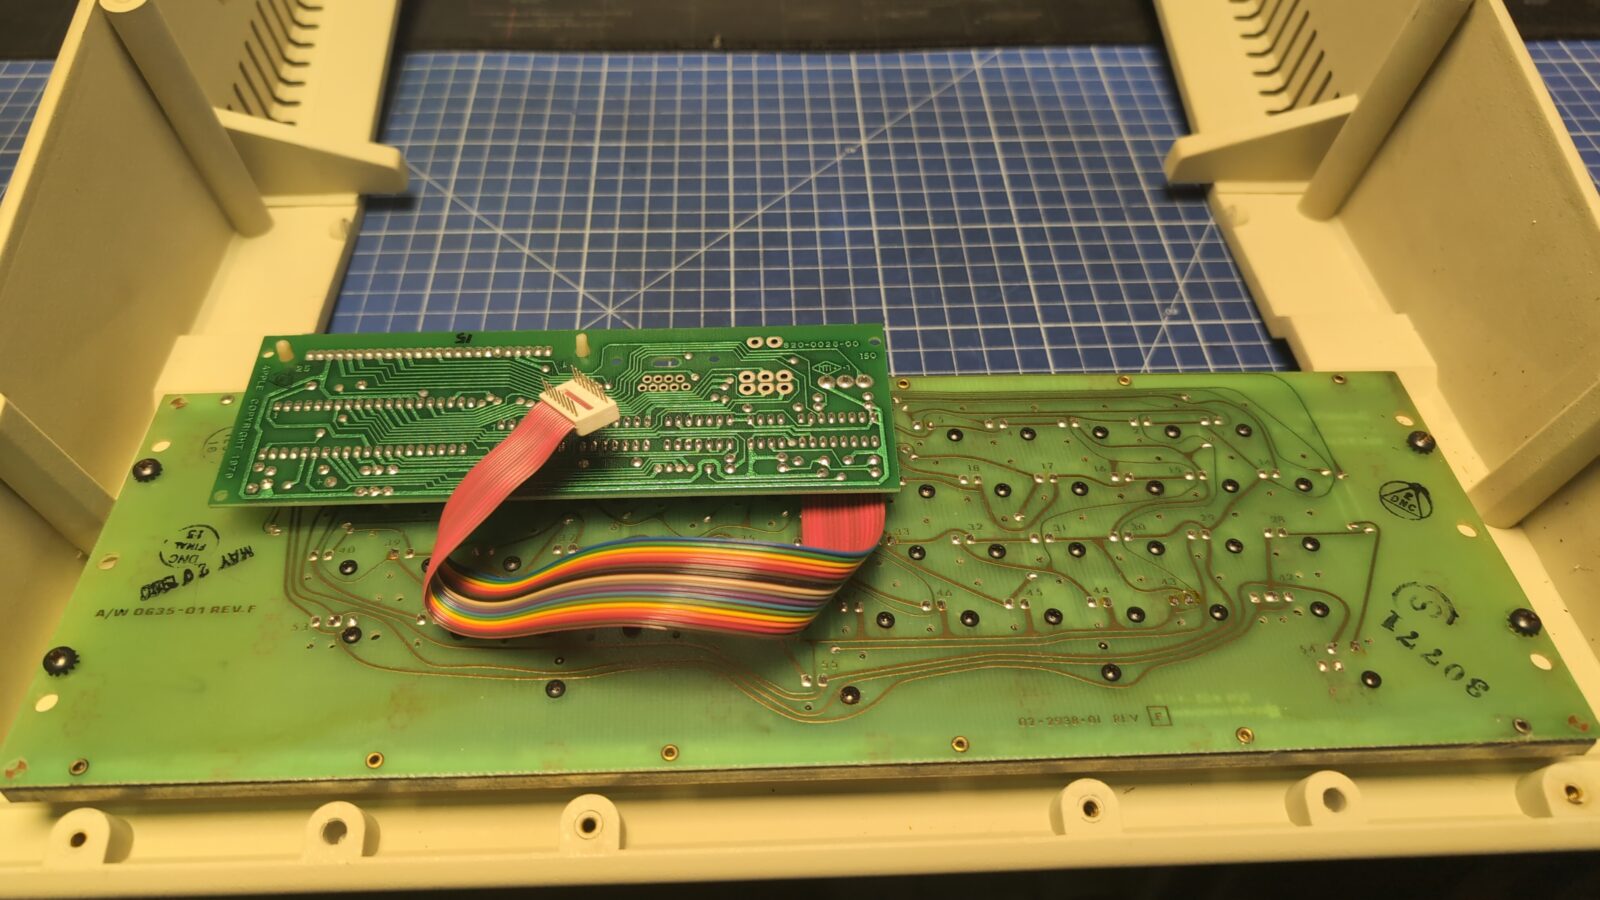
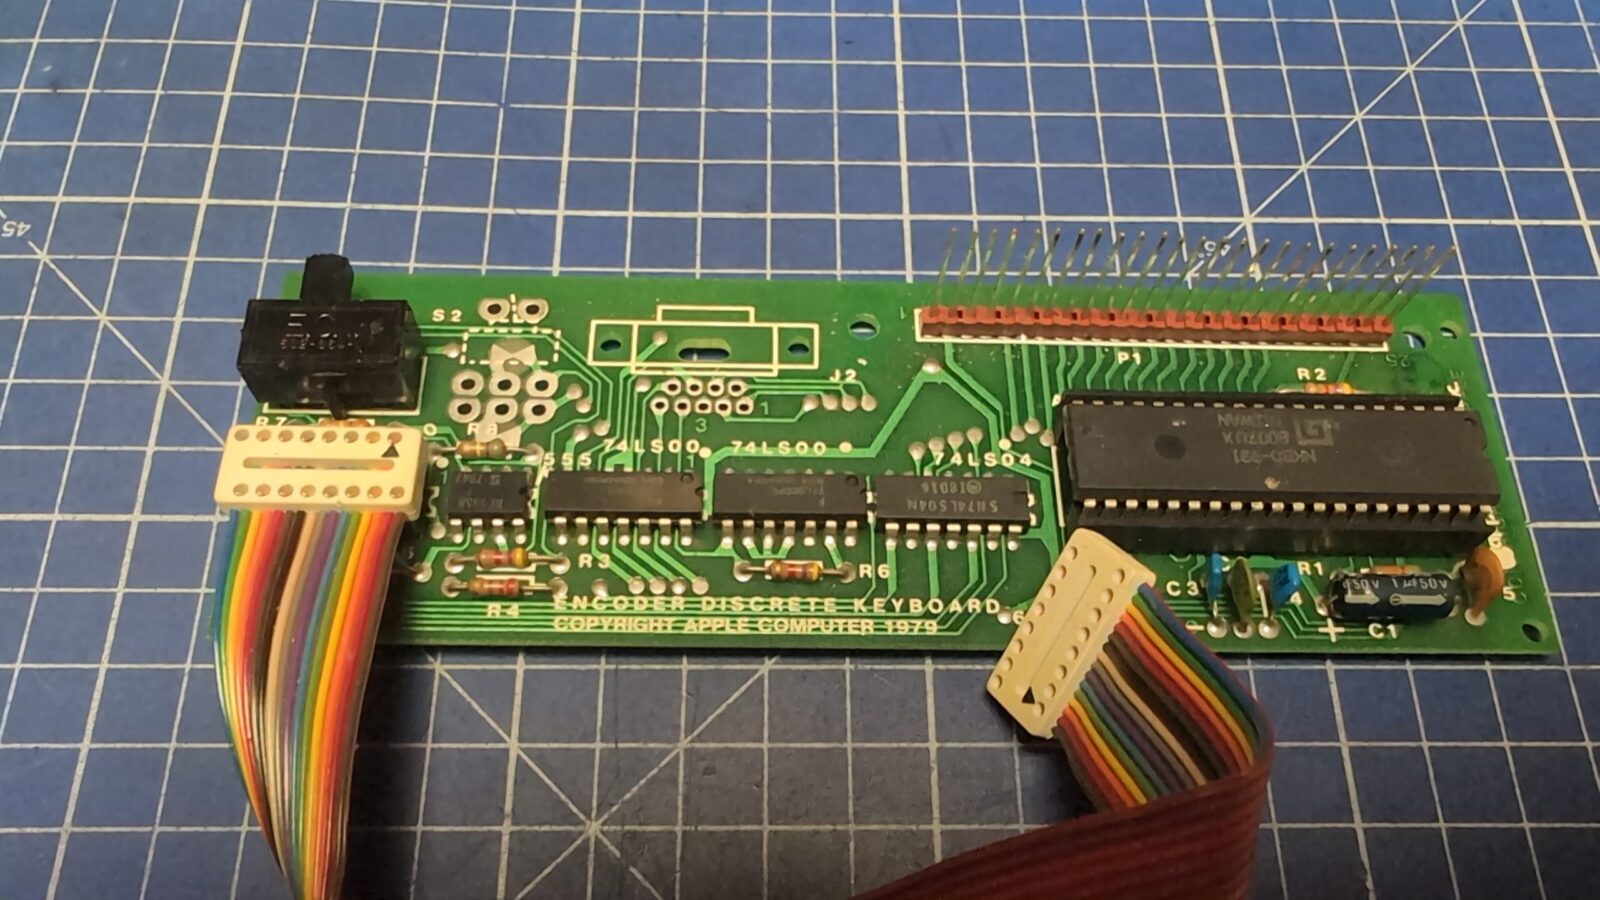
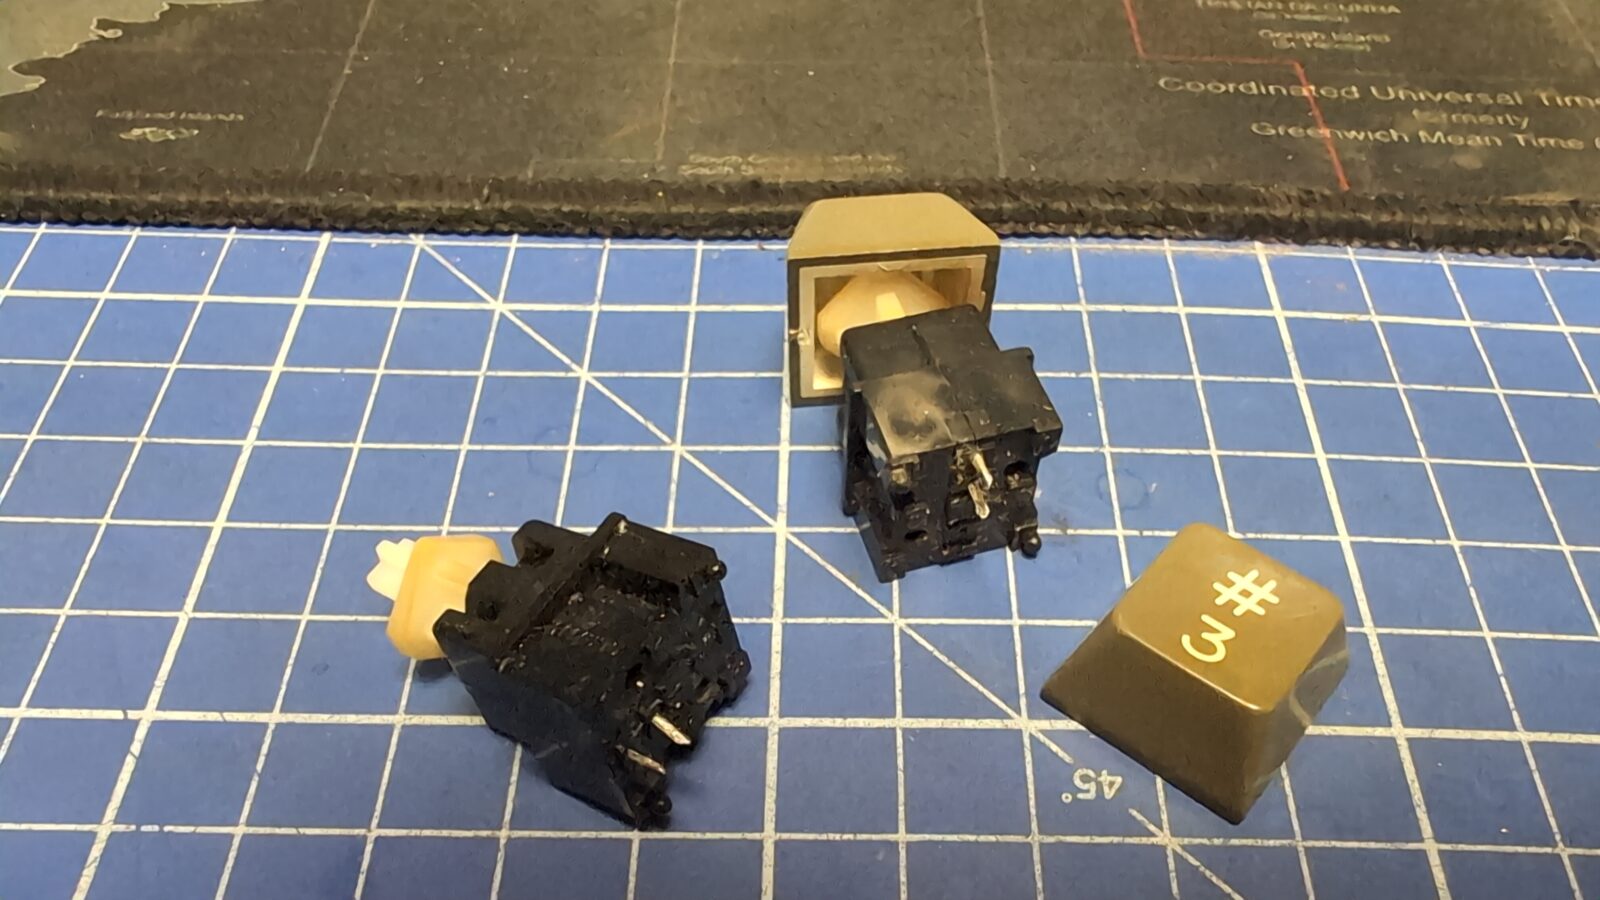
I’ve managed to pry open some switches(with visible damage to the plastics), and indeed, these were heavily tarnished.
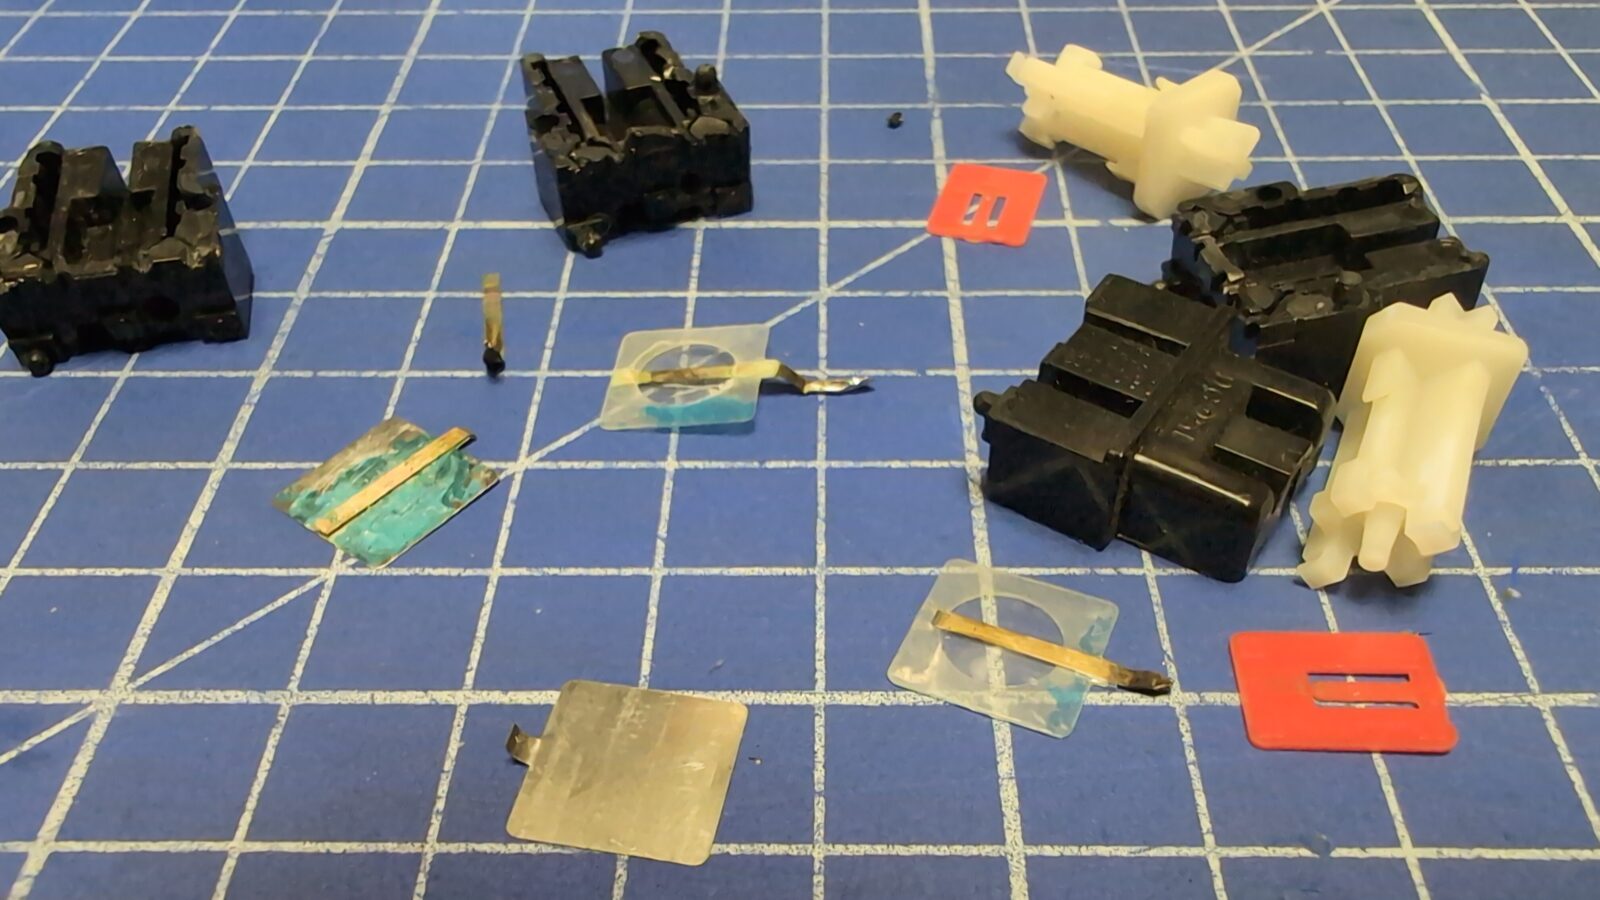
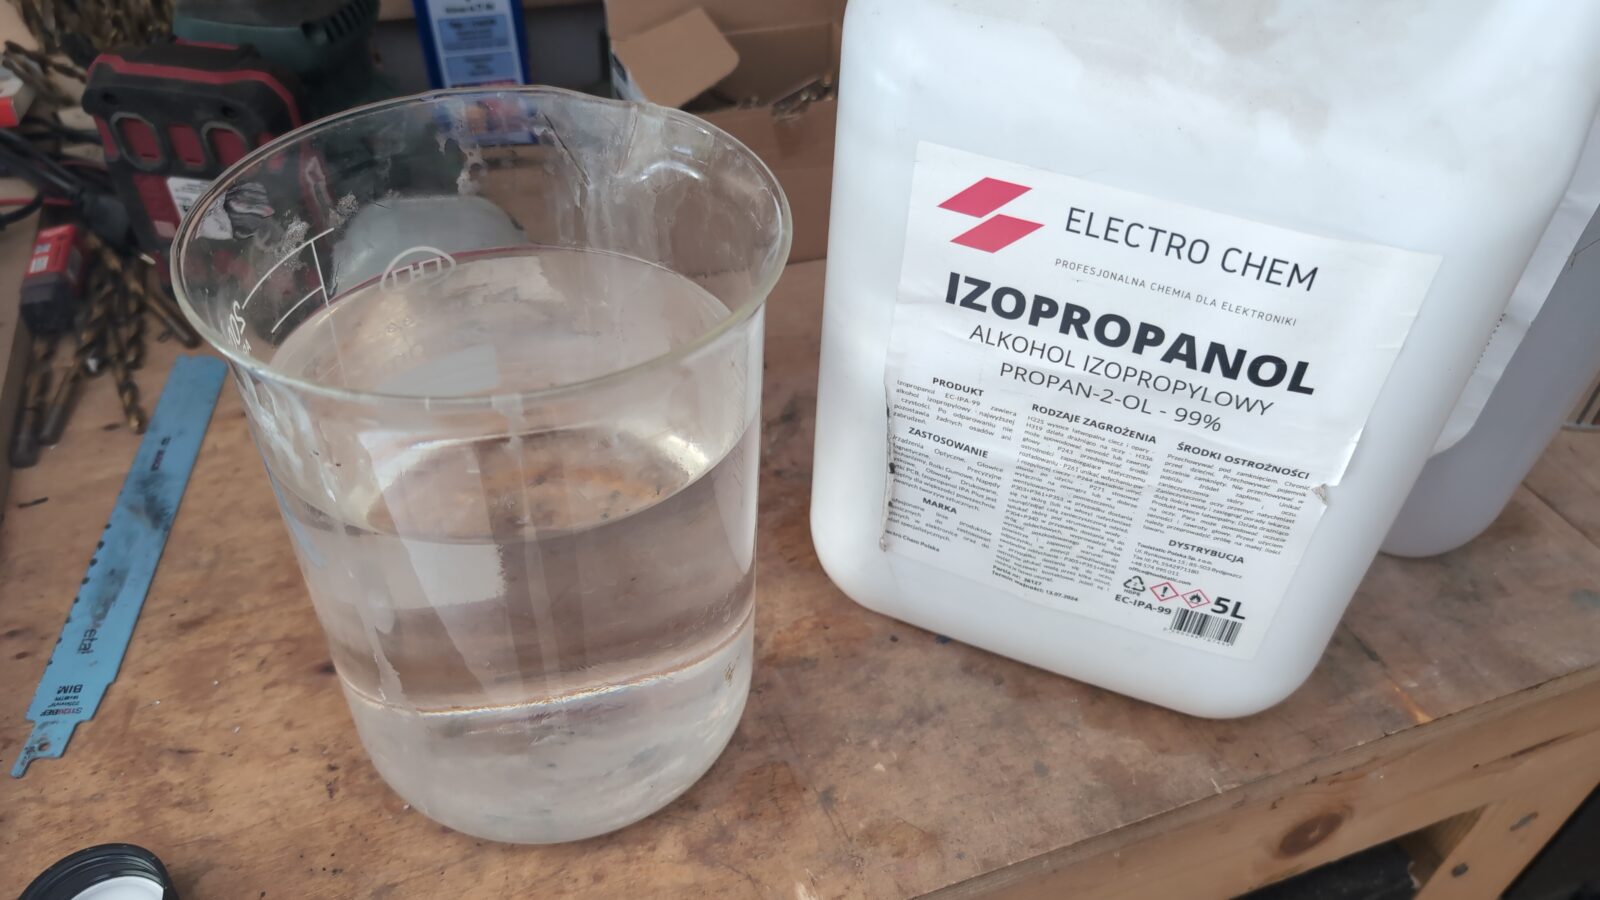
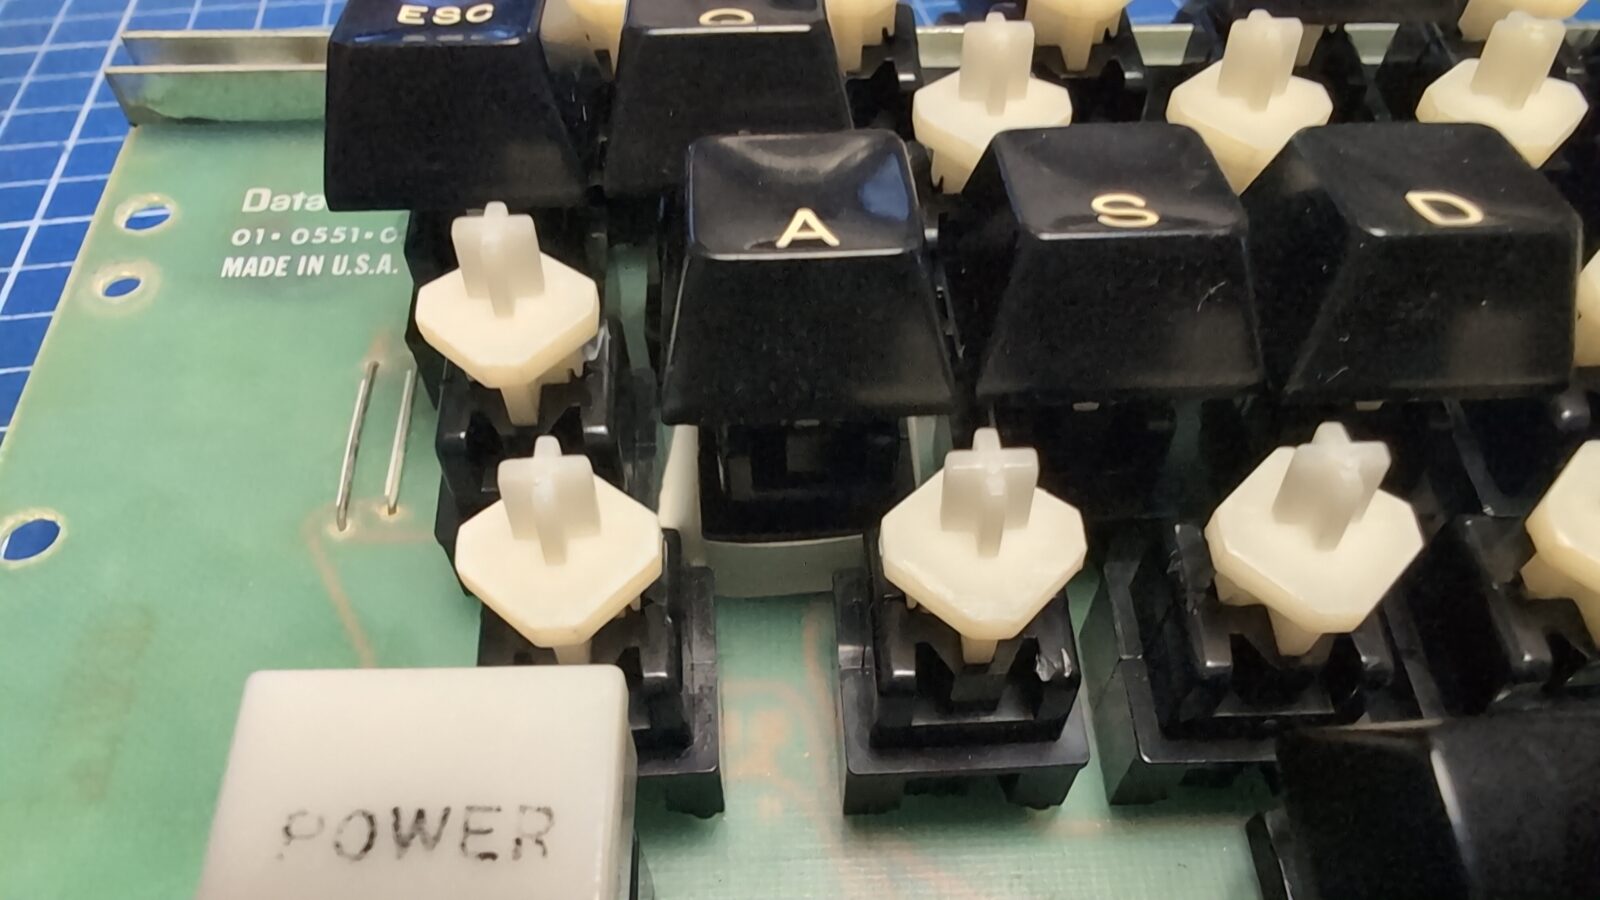
Because I couldn’t easily open those switches and inspect them, I decided to give ’em a good batch in IPA, and to my surprise, it worked 🙂

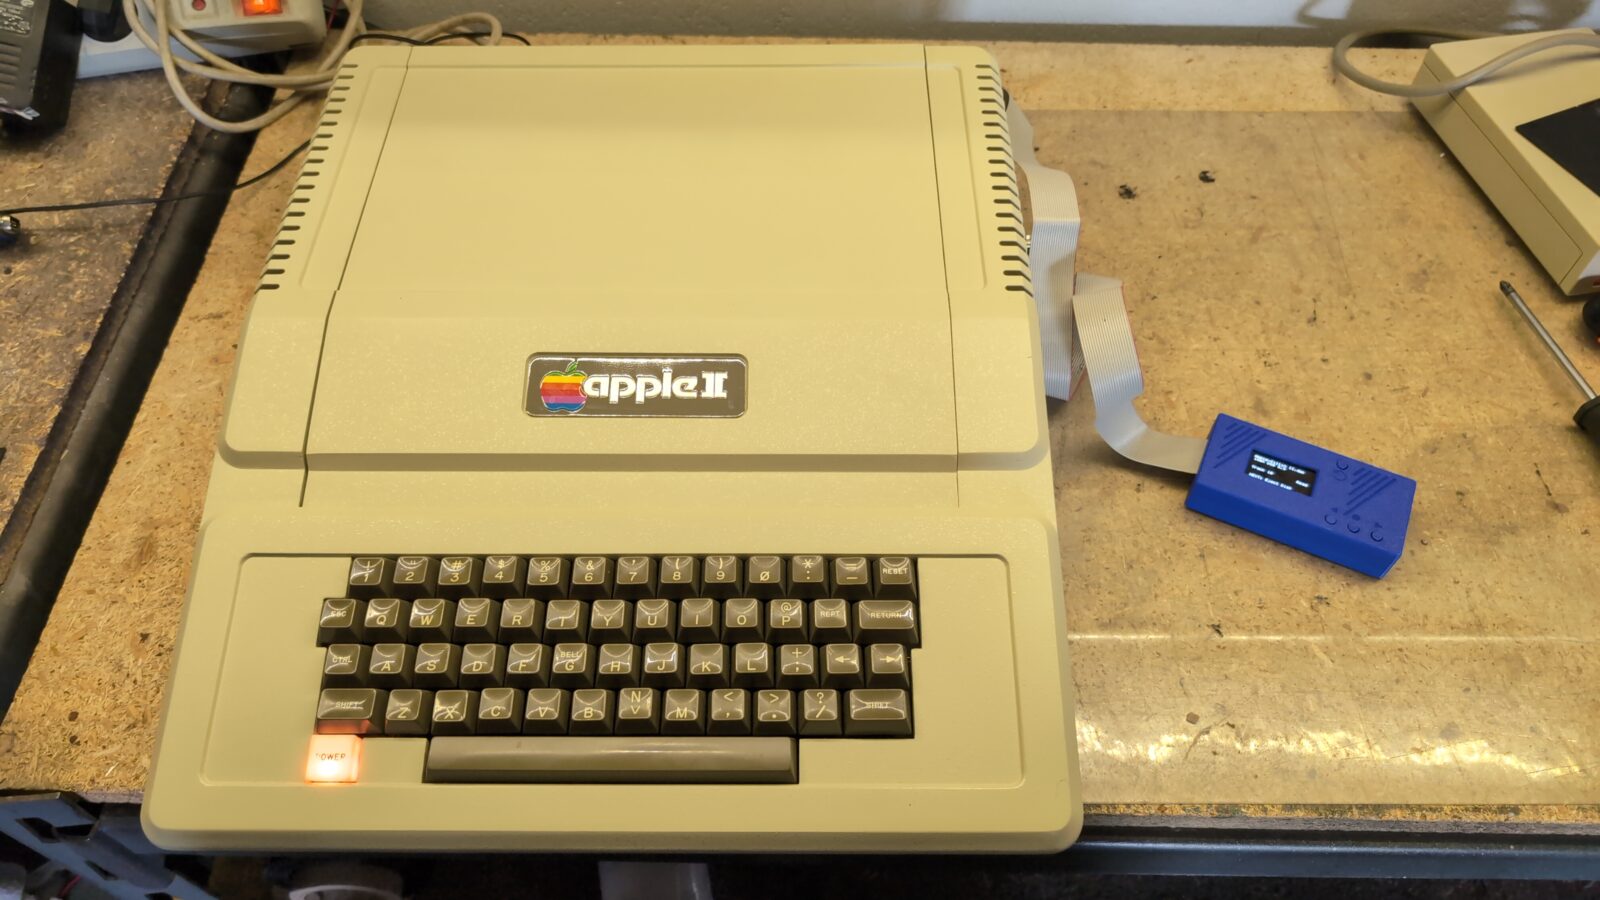
With the keyboard fixed, I could assemble and test the unit by connecting an awesome FloppyEMU by BMoW. Probably the most universal device to load stuff on retro Apple machines.
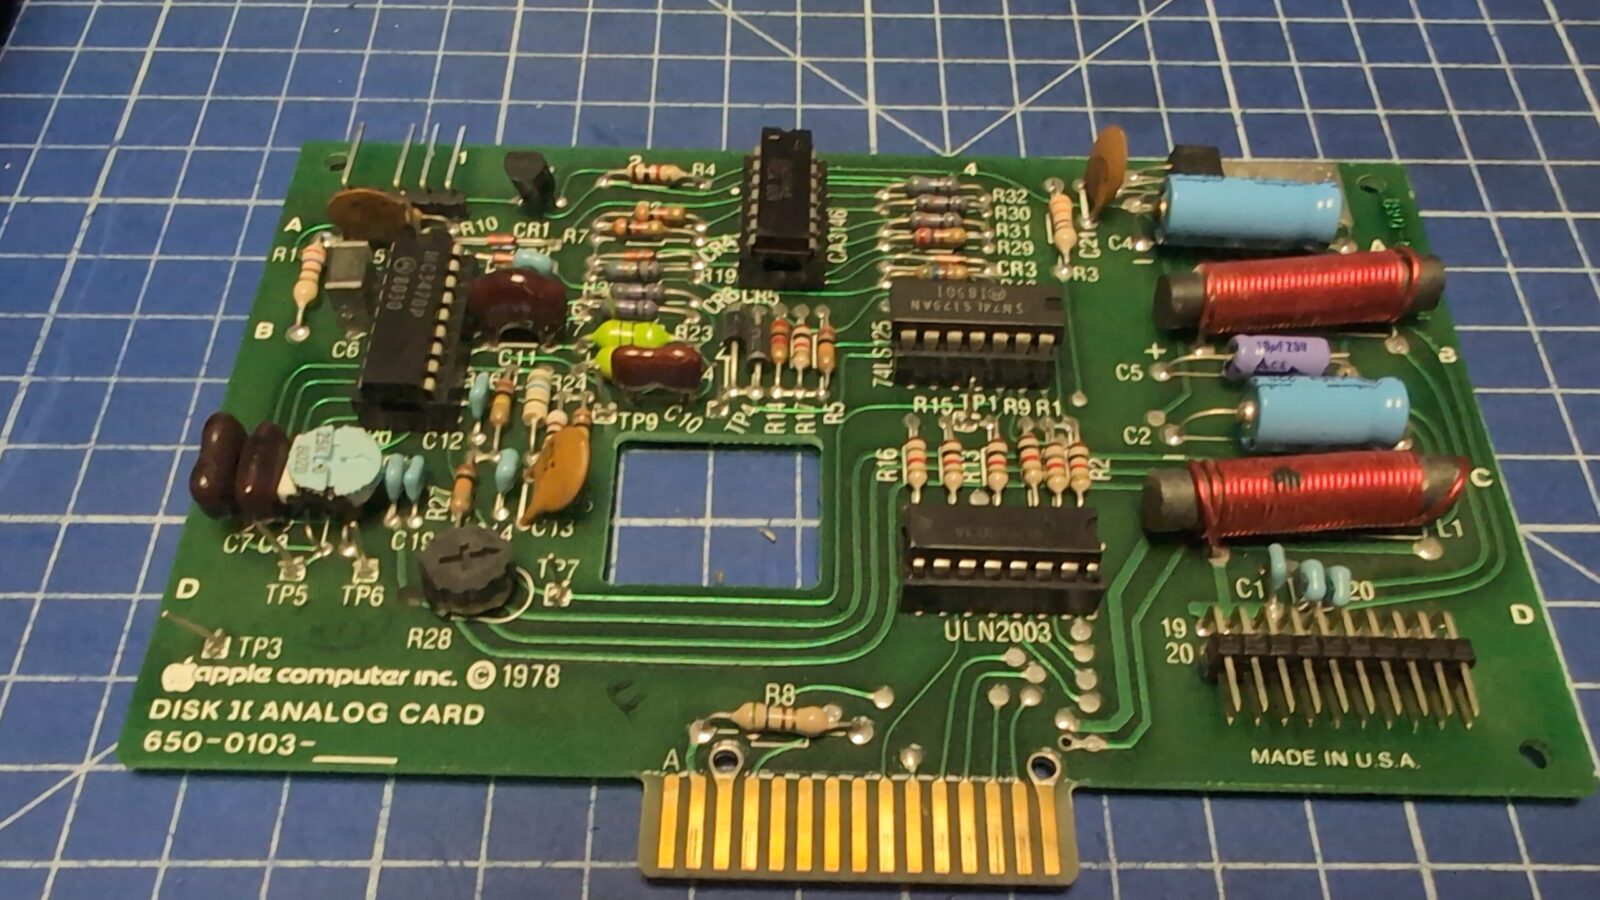
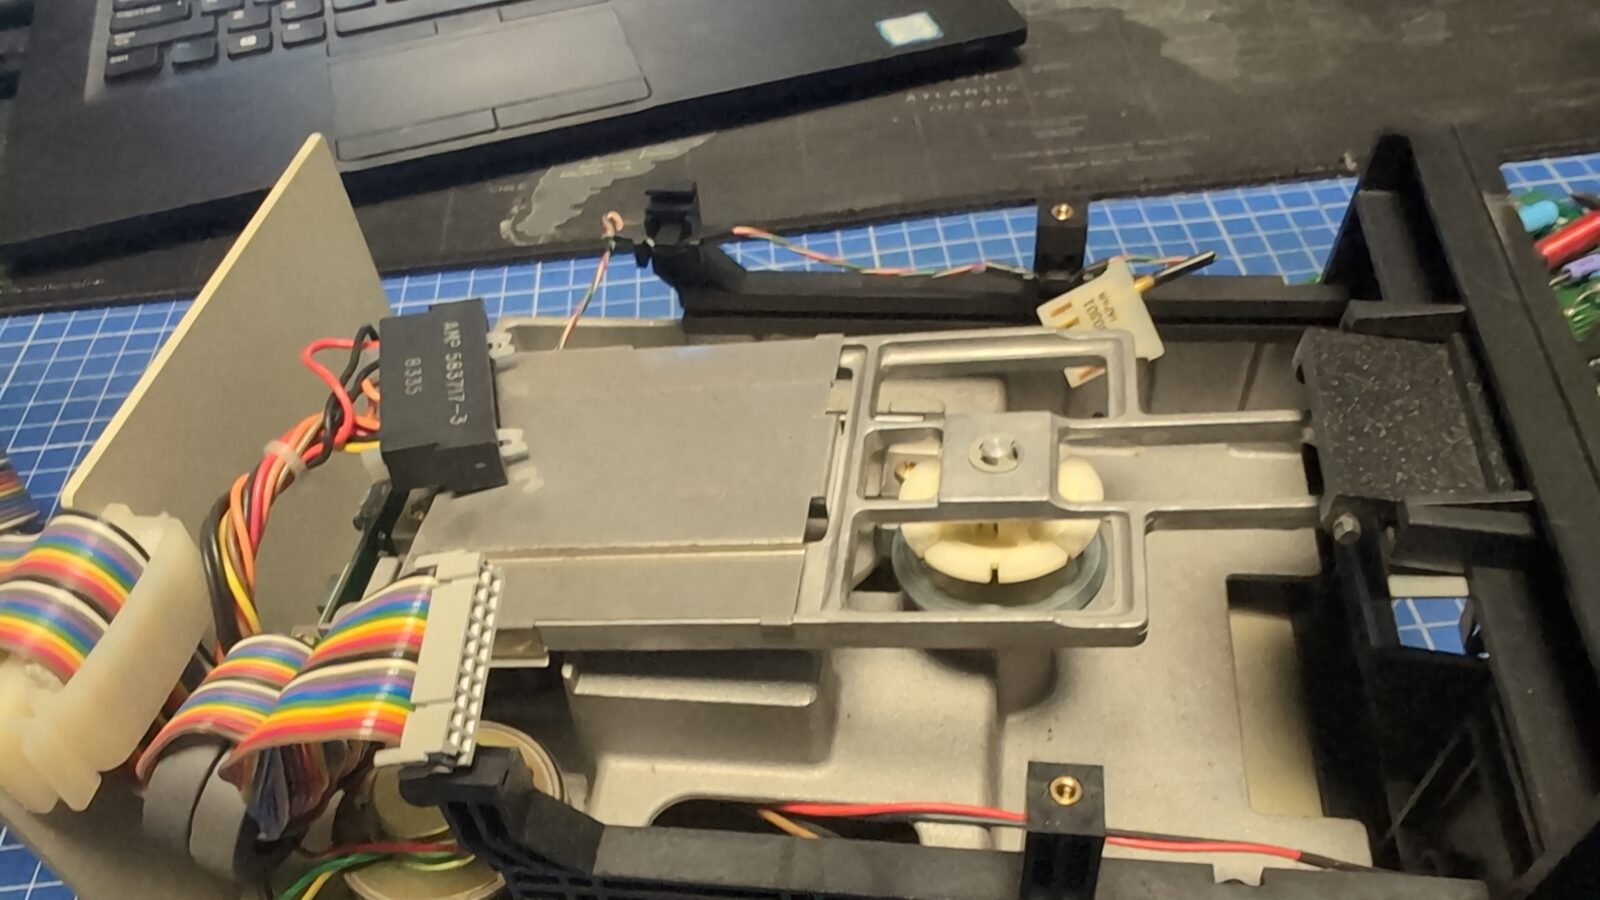
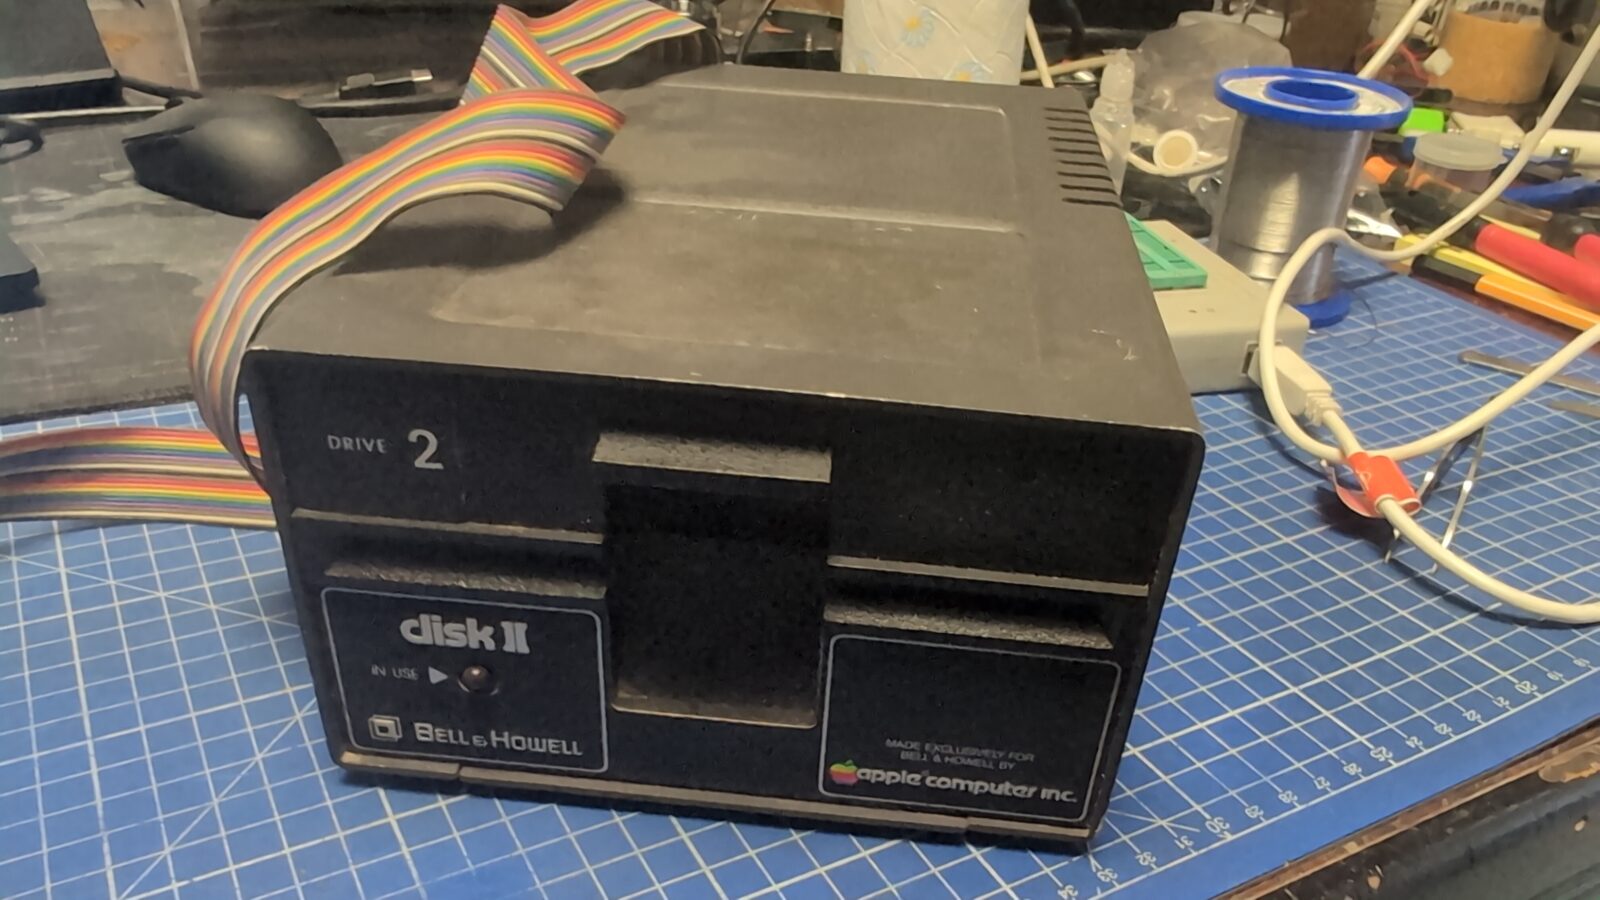
Next, I’ve serviced a Disk II drive. Standard job, like cleaning, lubricating, etc.

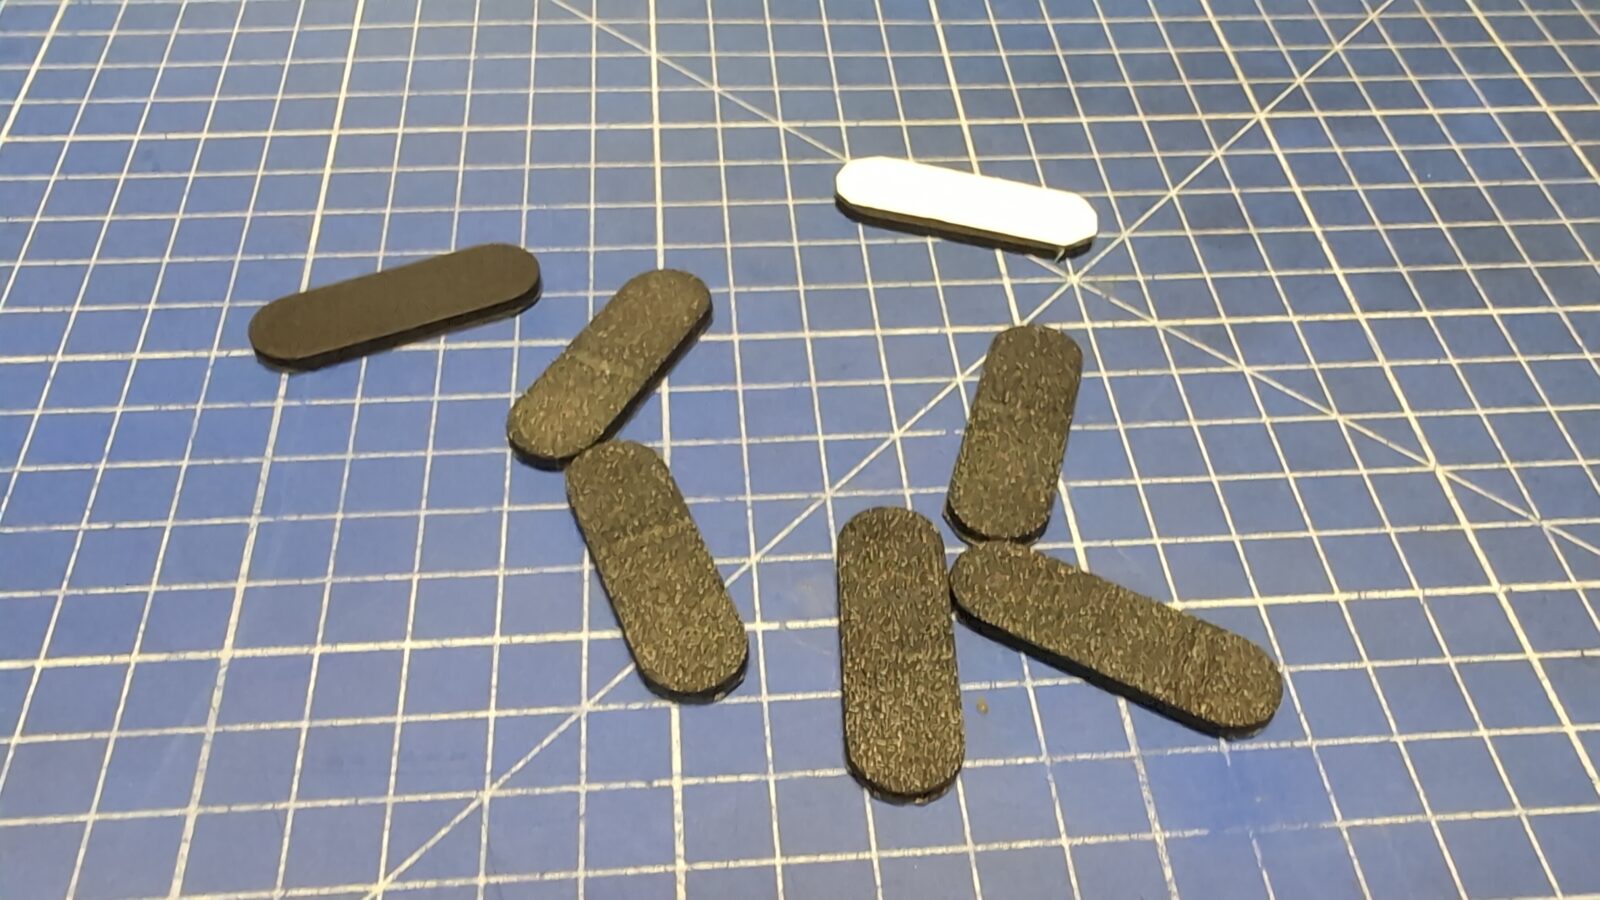
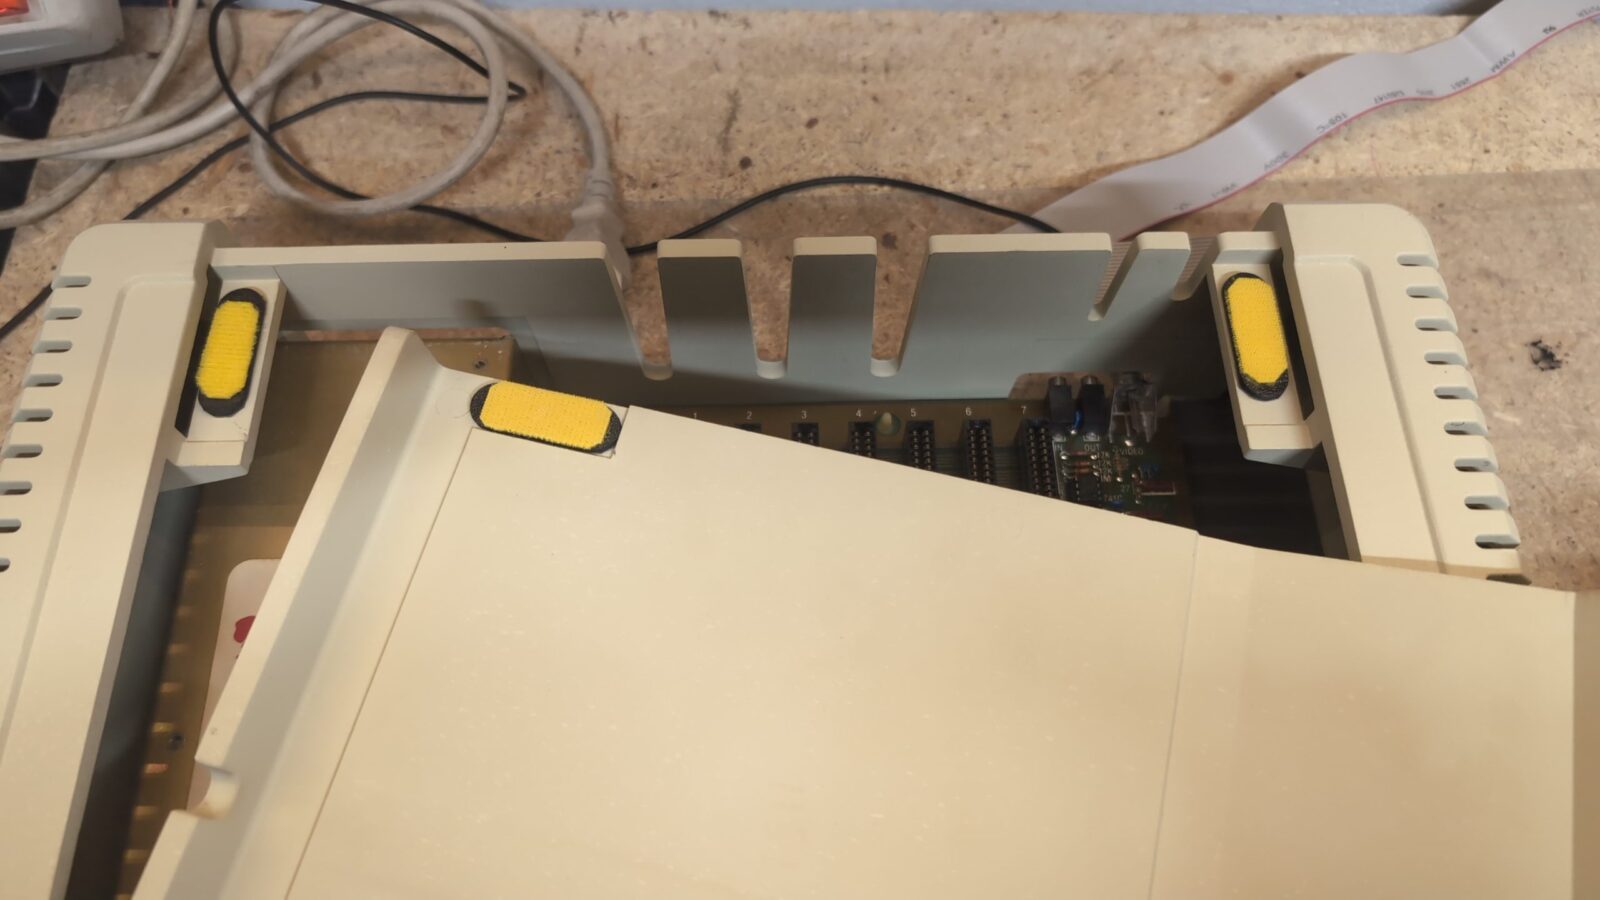
Lastly, I’ve 3D printed some top cover holders, which on one side had a double-sided adhesive tape, and on the other, a Velcro tape.
The first unit is sorted out.
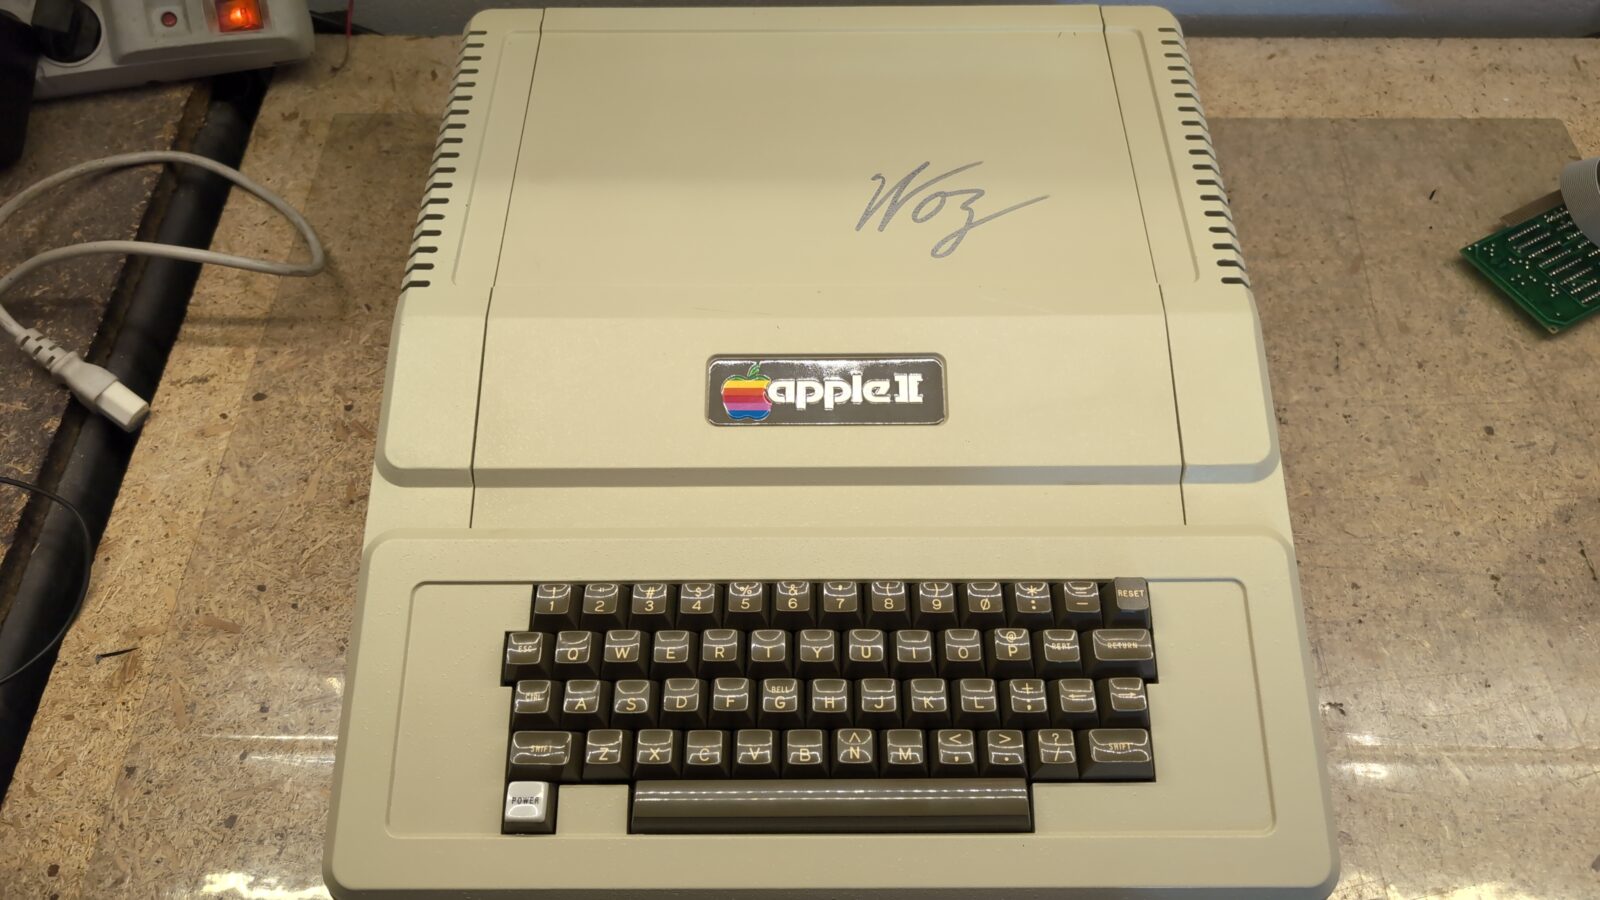
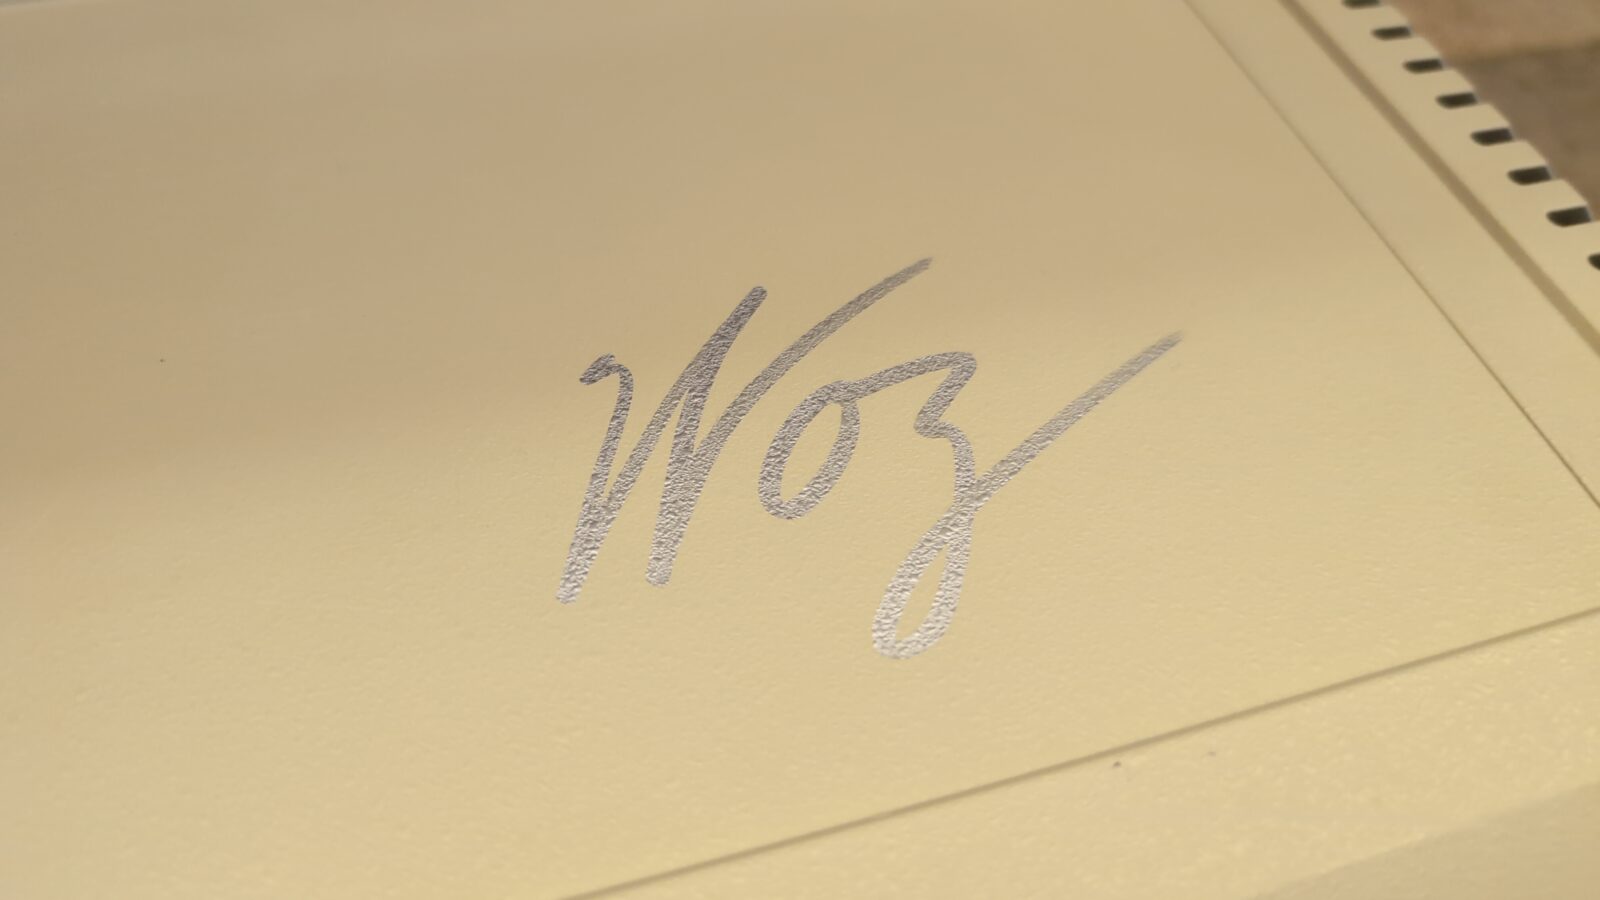
The second machine – WOZ
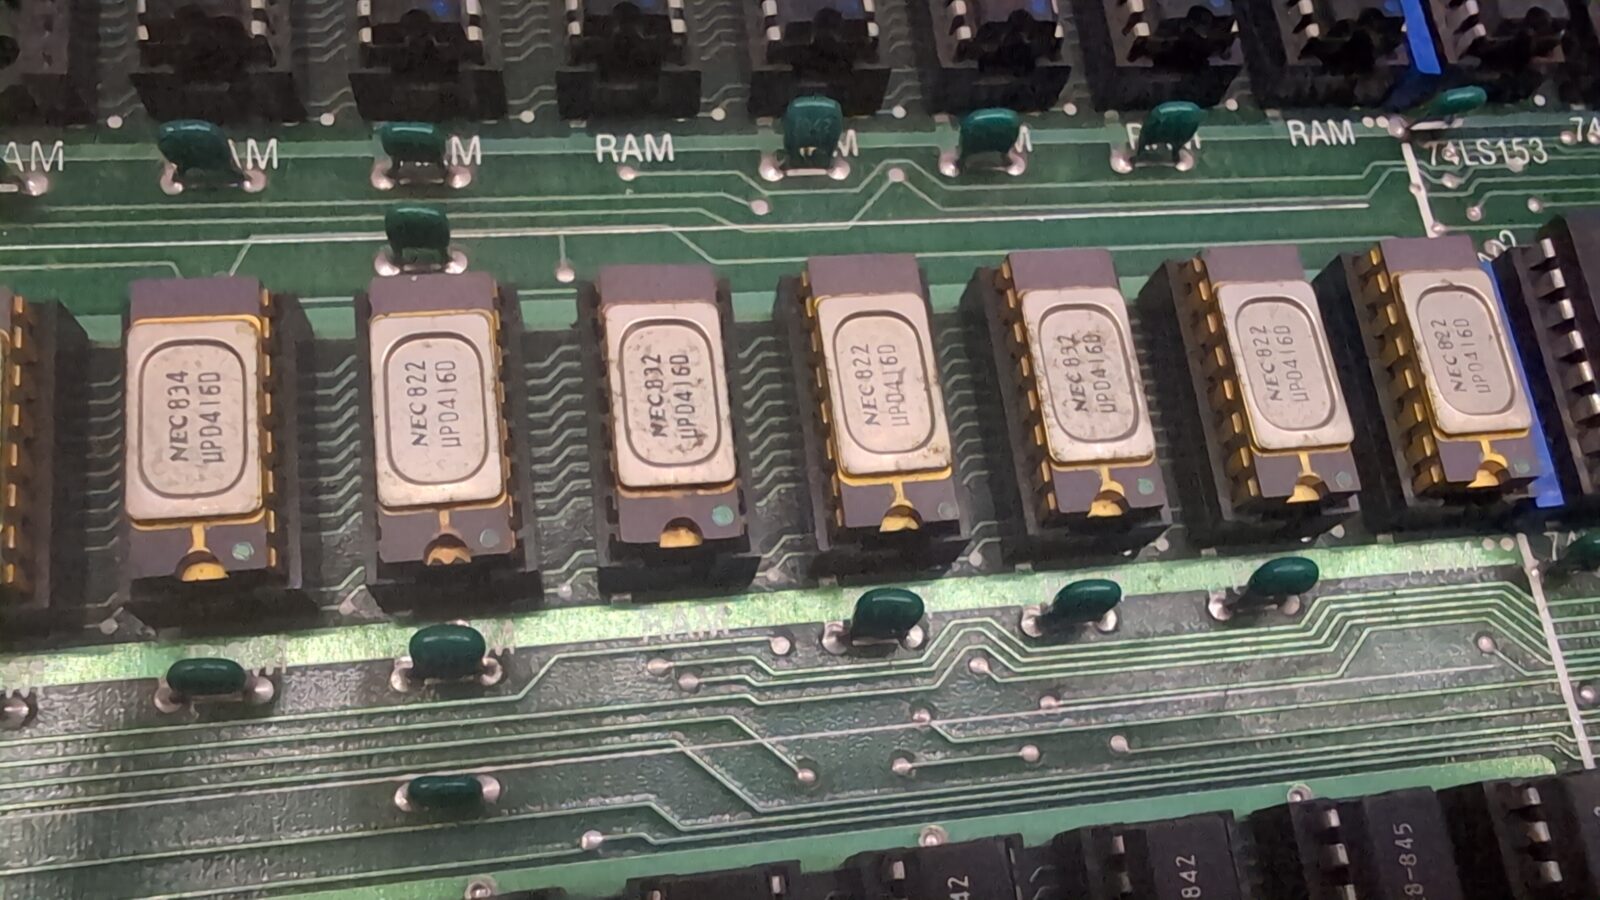
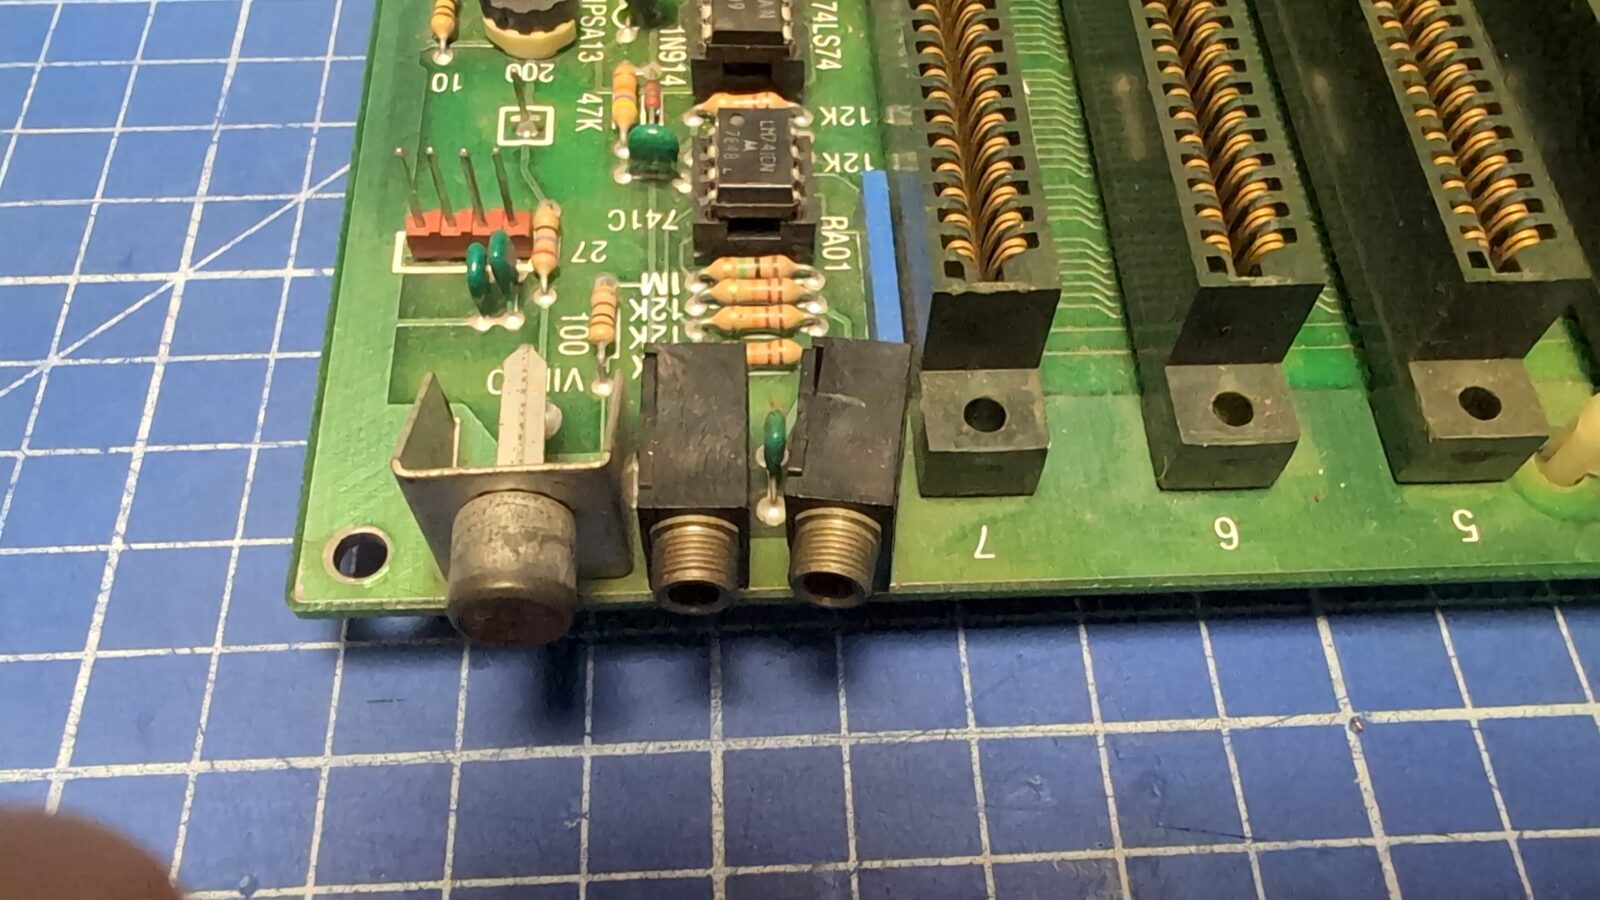
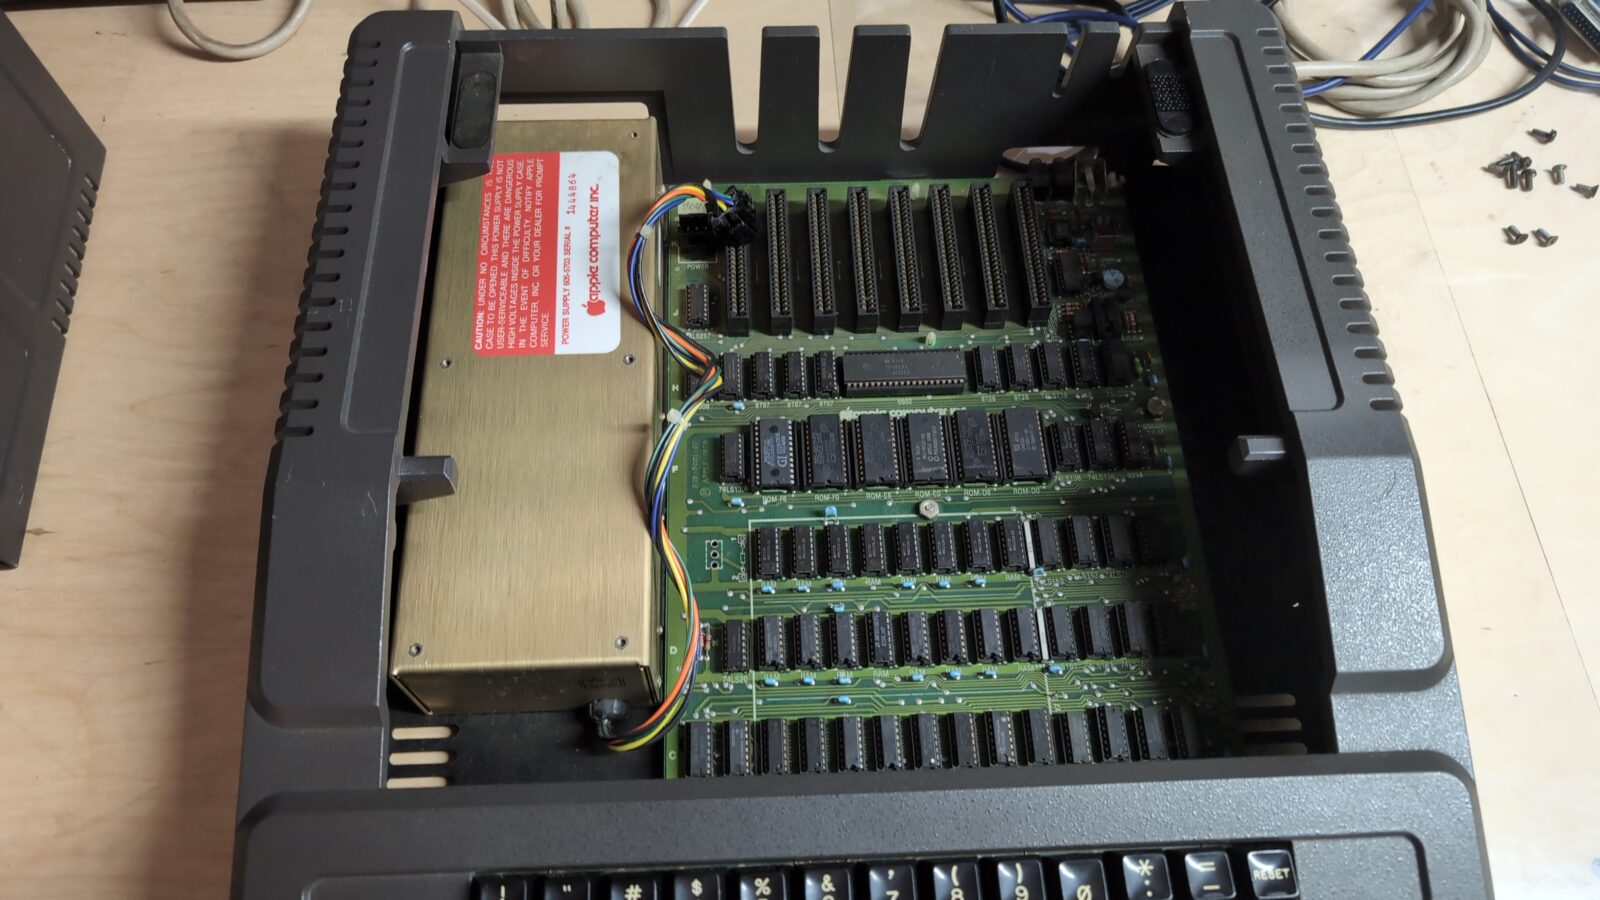
This Apple II required pretty much the same treatment as the first unit, with some other minor fixes. I’ve only put some pics of those fixes and some motherboard pics for future reference.

Some connectors were a bit bent and required cleaning. An easy fix with a rotary steel brush and a set of pliers.
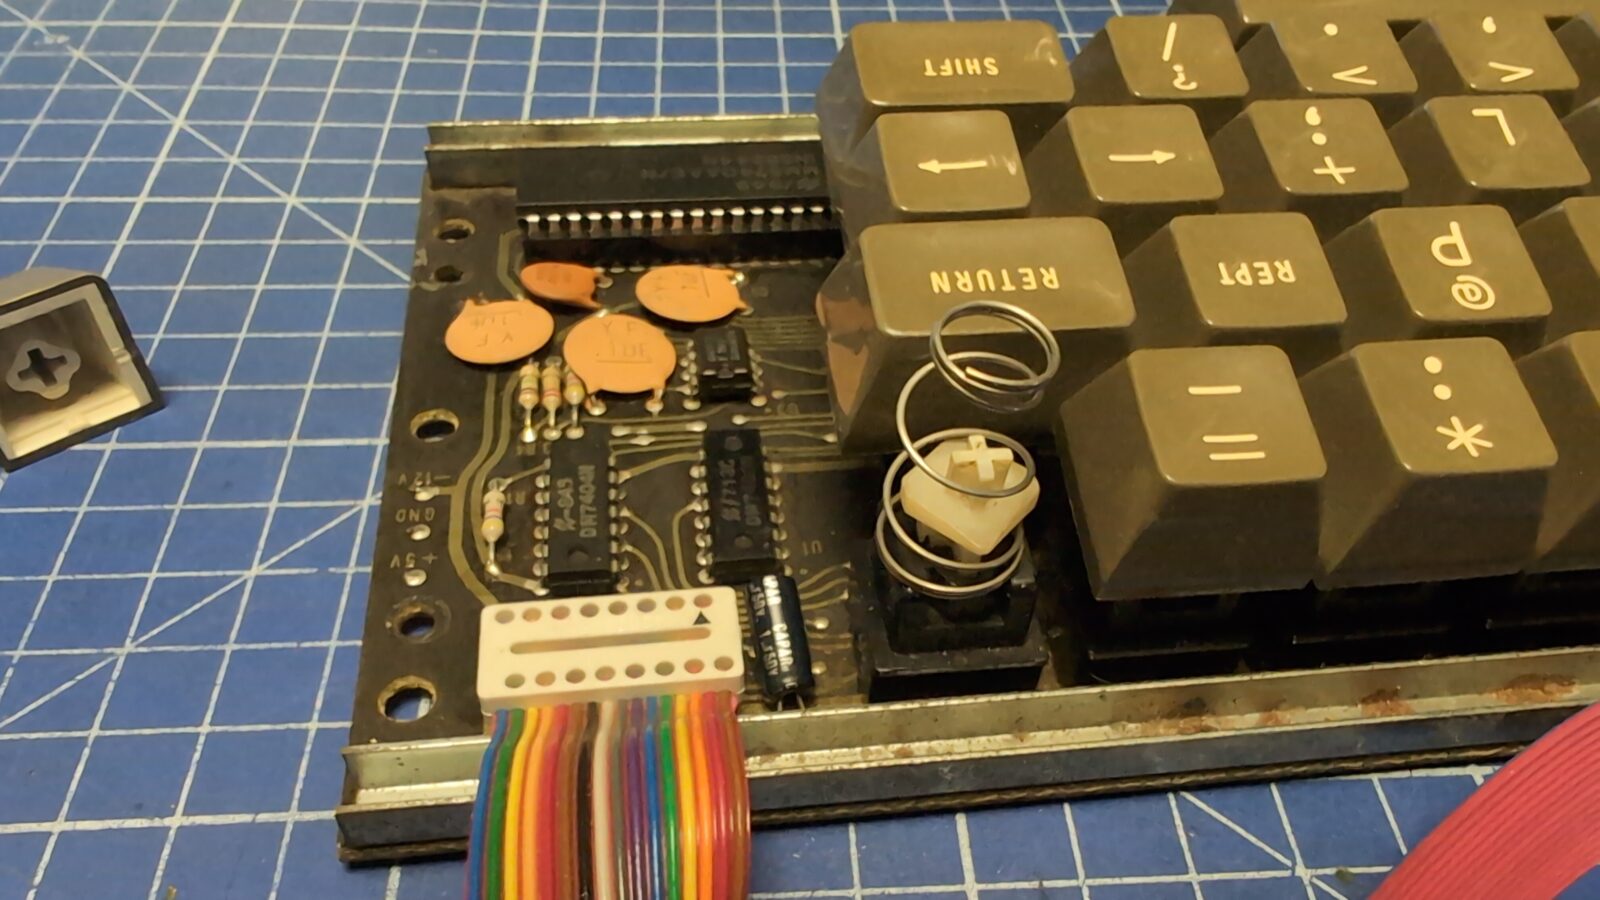
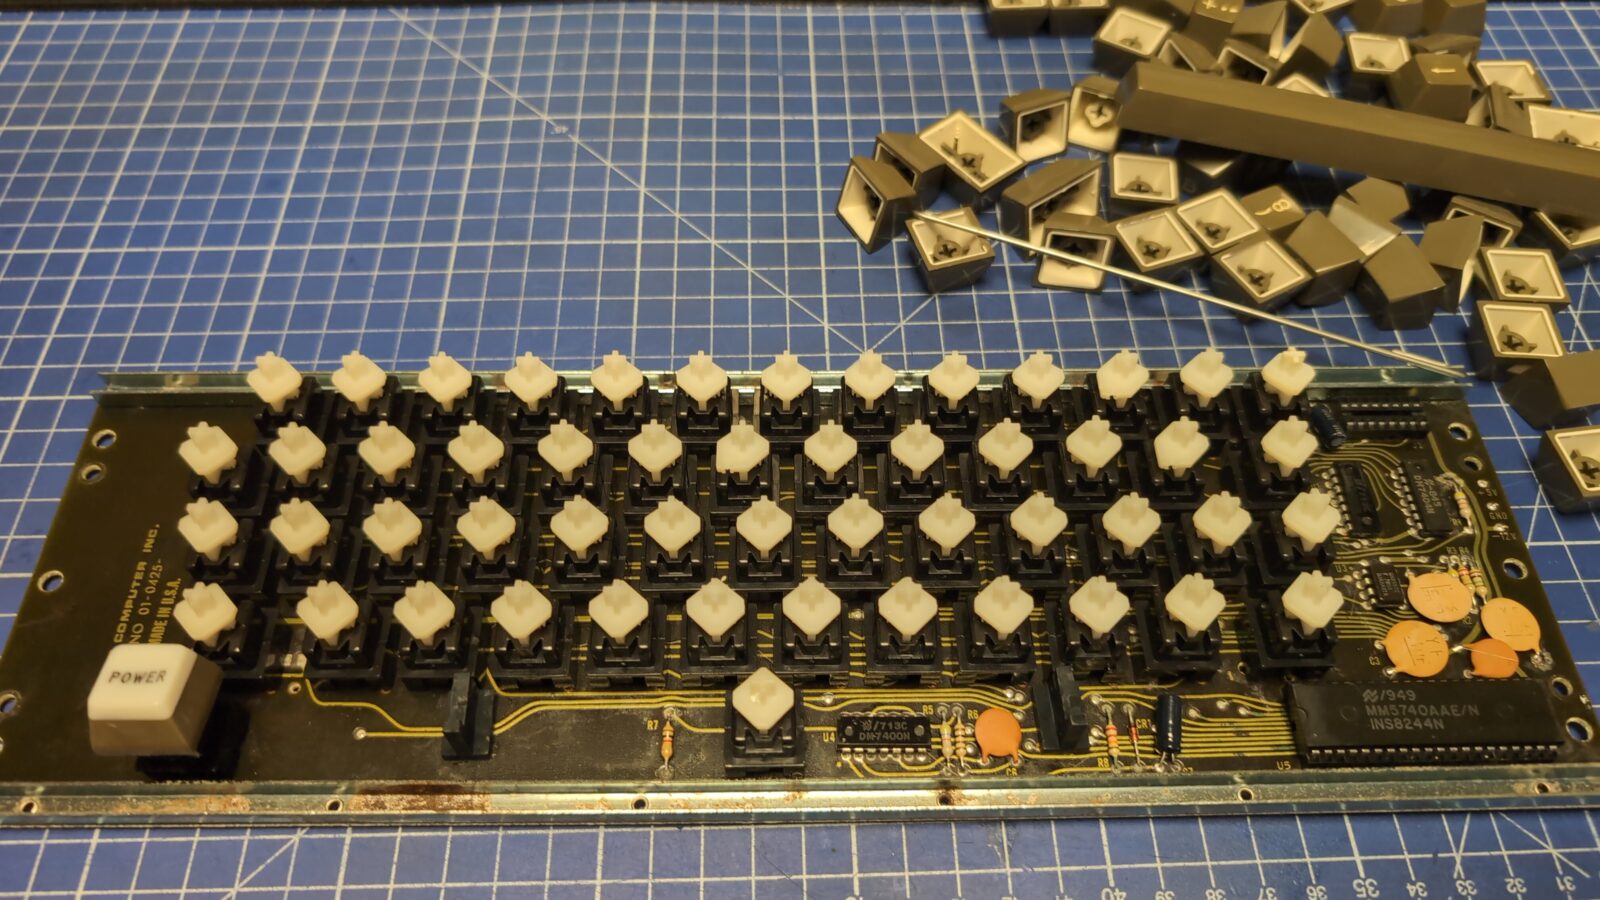
The keyboard used a weird spring under one of the keys. That spring had to go. Apart from that, it only required general cleaning and testing.
The second unit ready 🙂
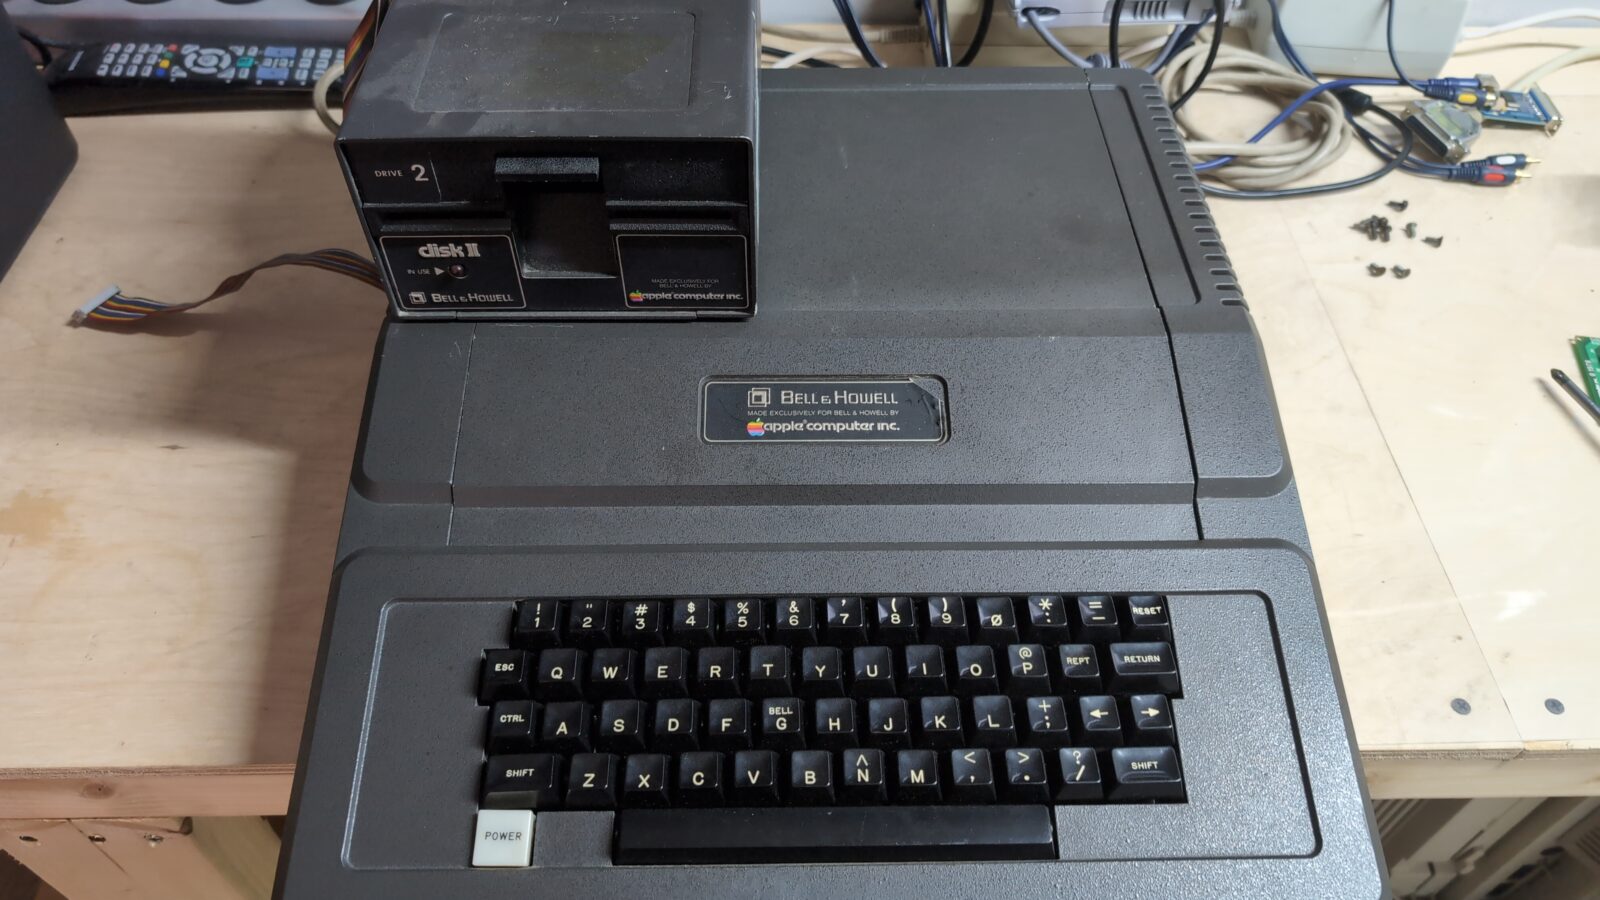
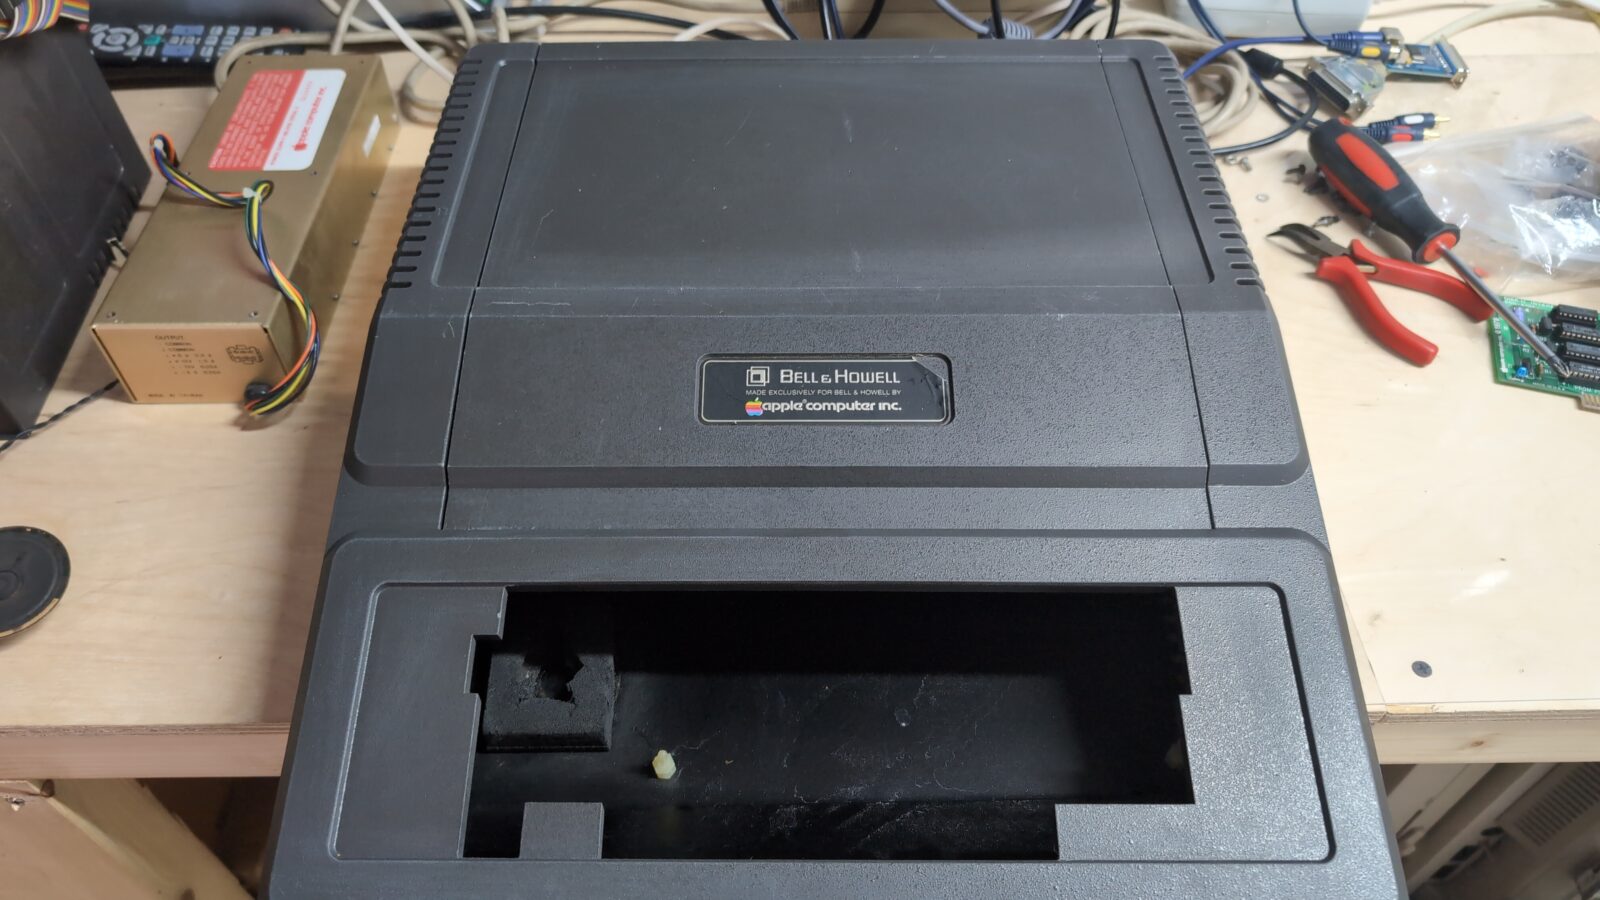
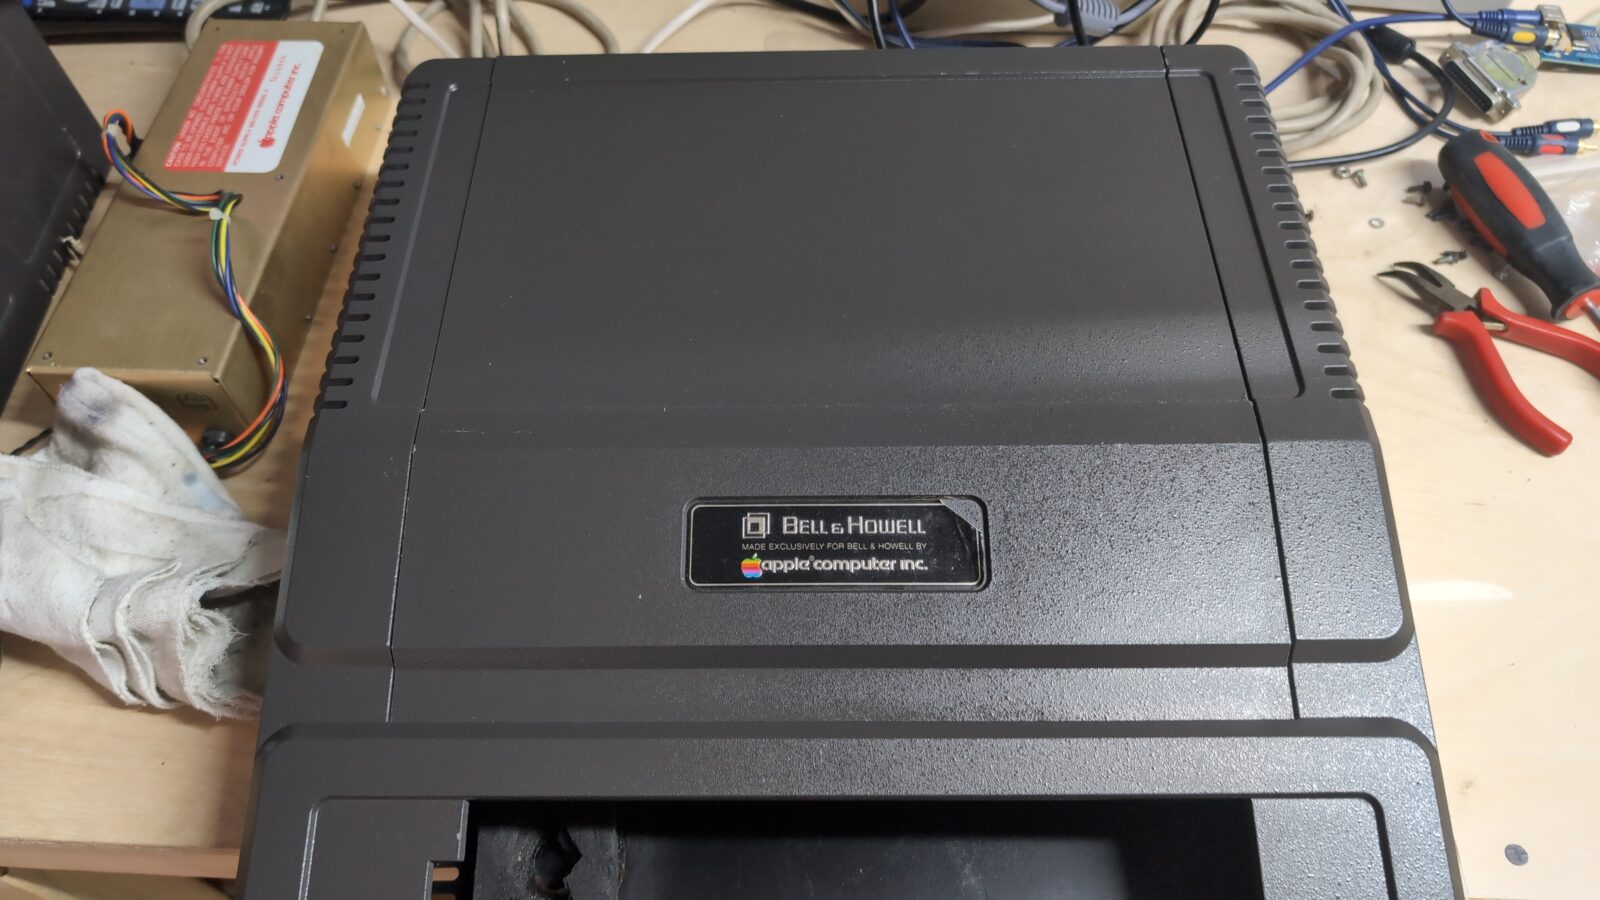
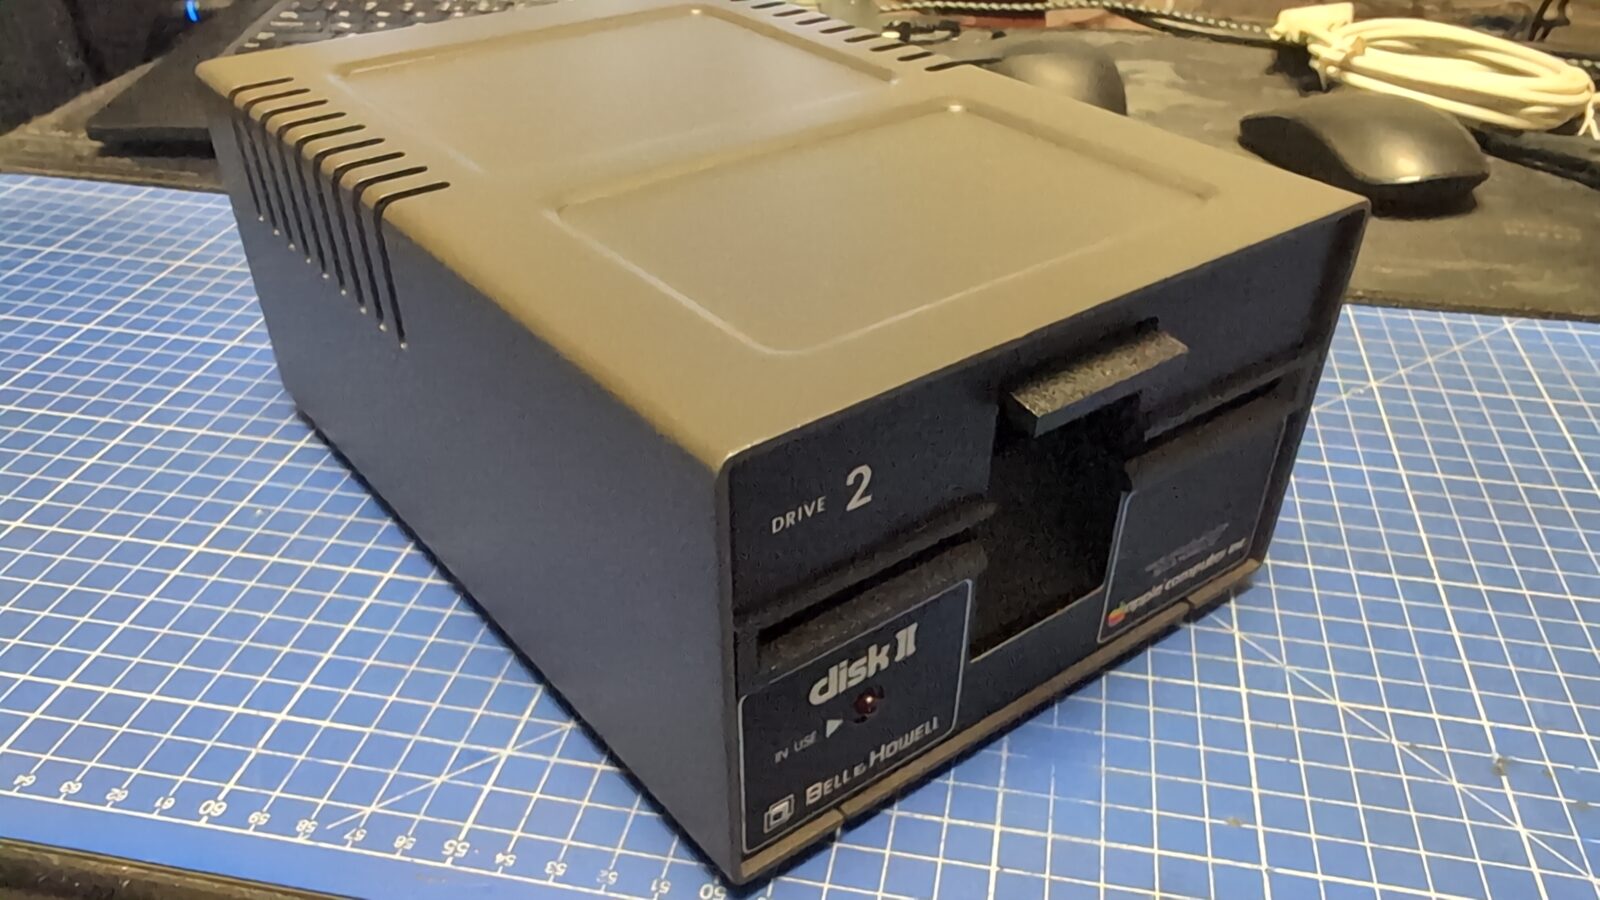
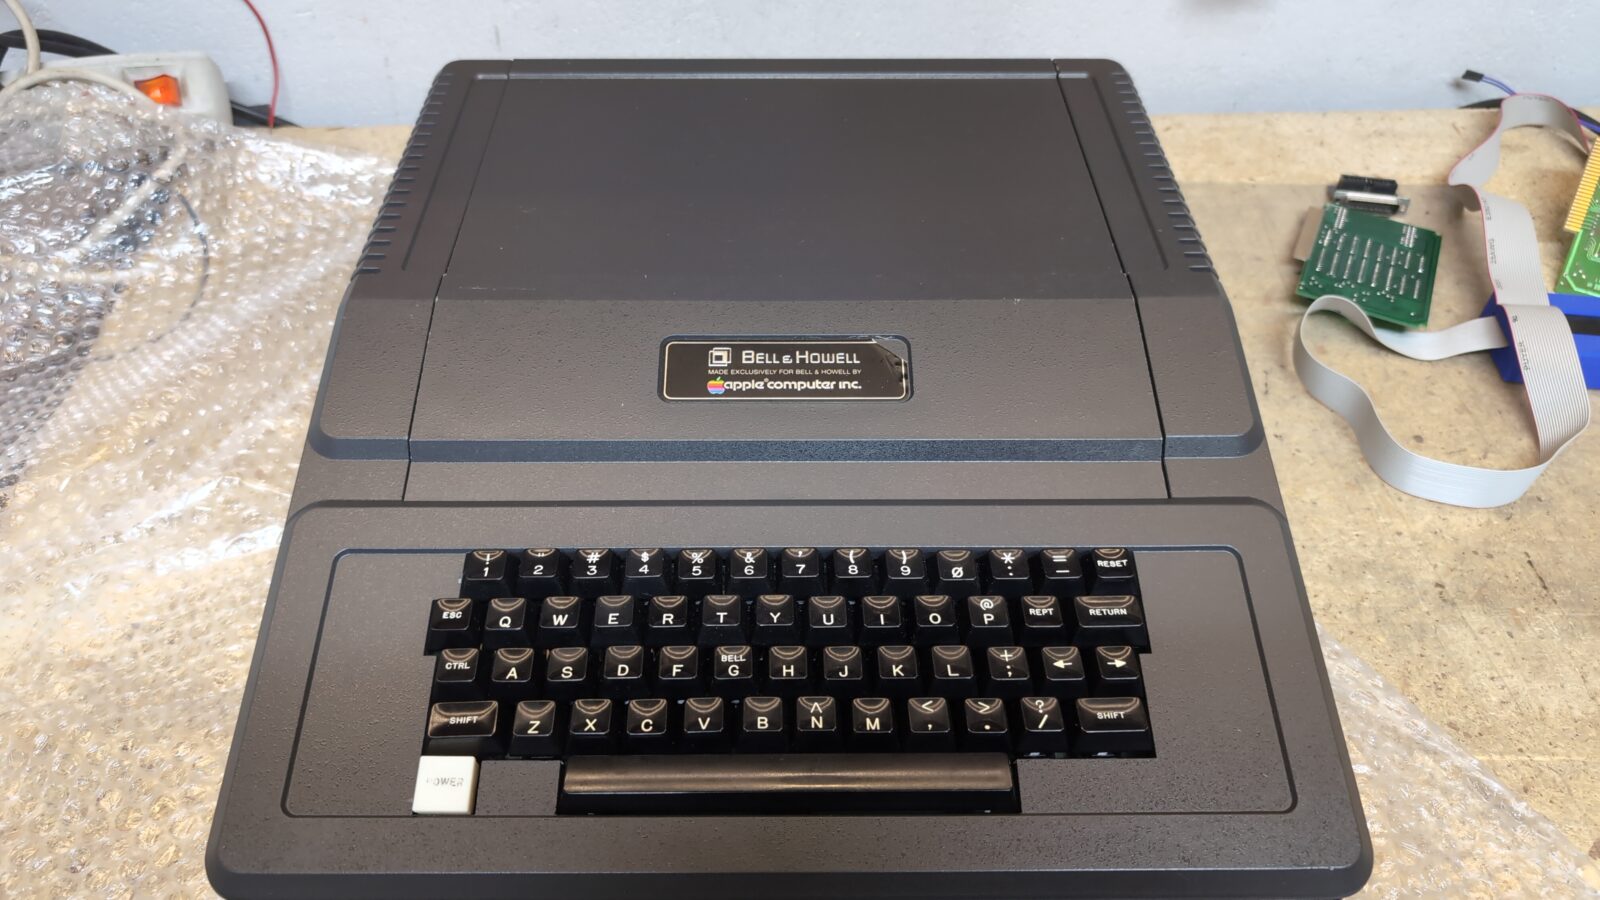
The third machine – Bell&Howell
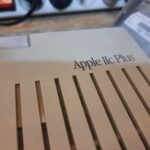
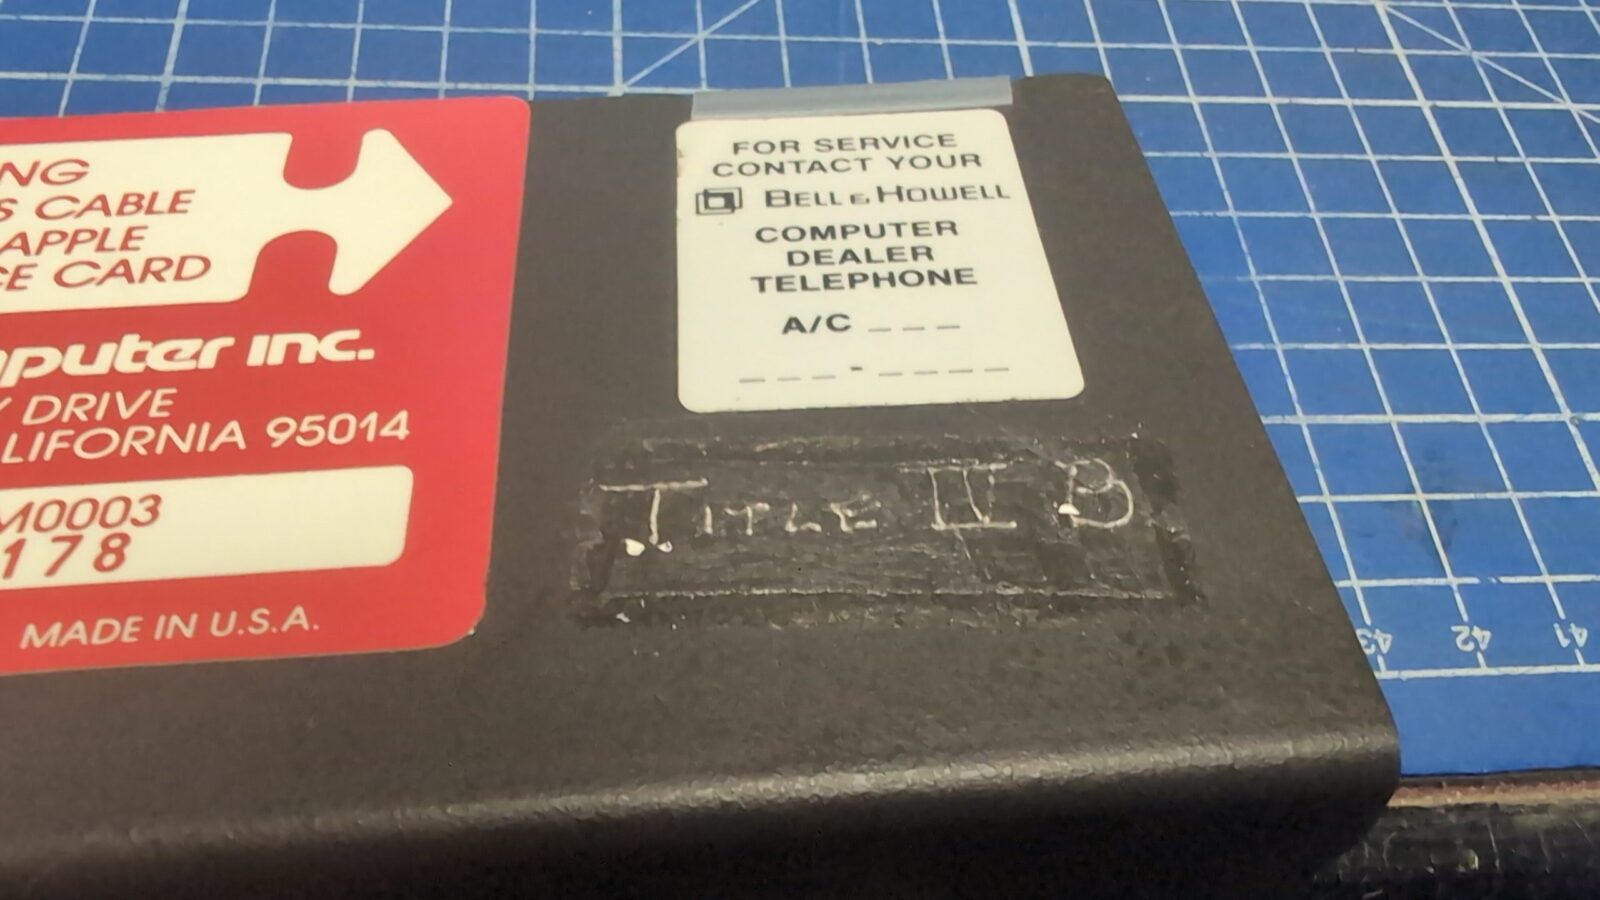
The Bell&Howell series is an Apple II Plus machine, and this particular unit required a bit more work.
I’ve got this Apple along with a Disk II drive, which also needed a bit of work. Let’s begin with the computer itself.
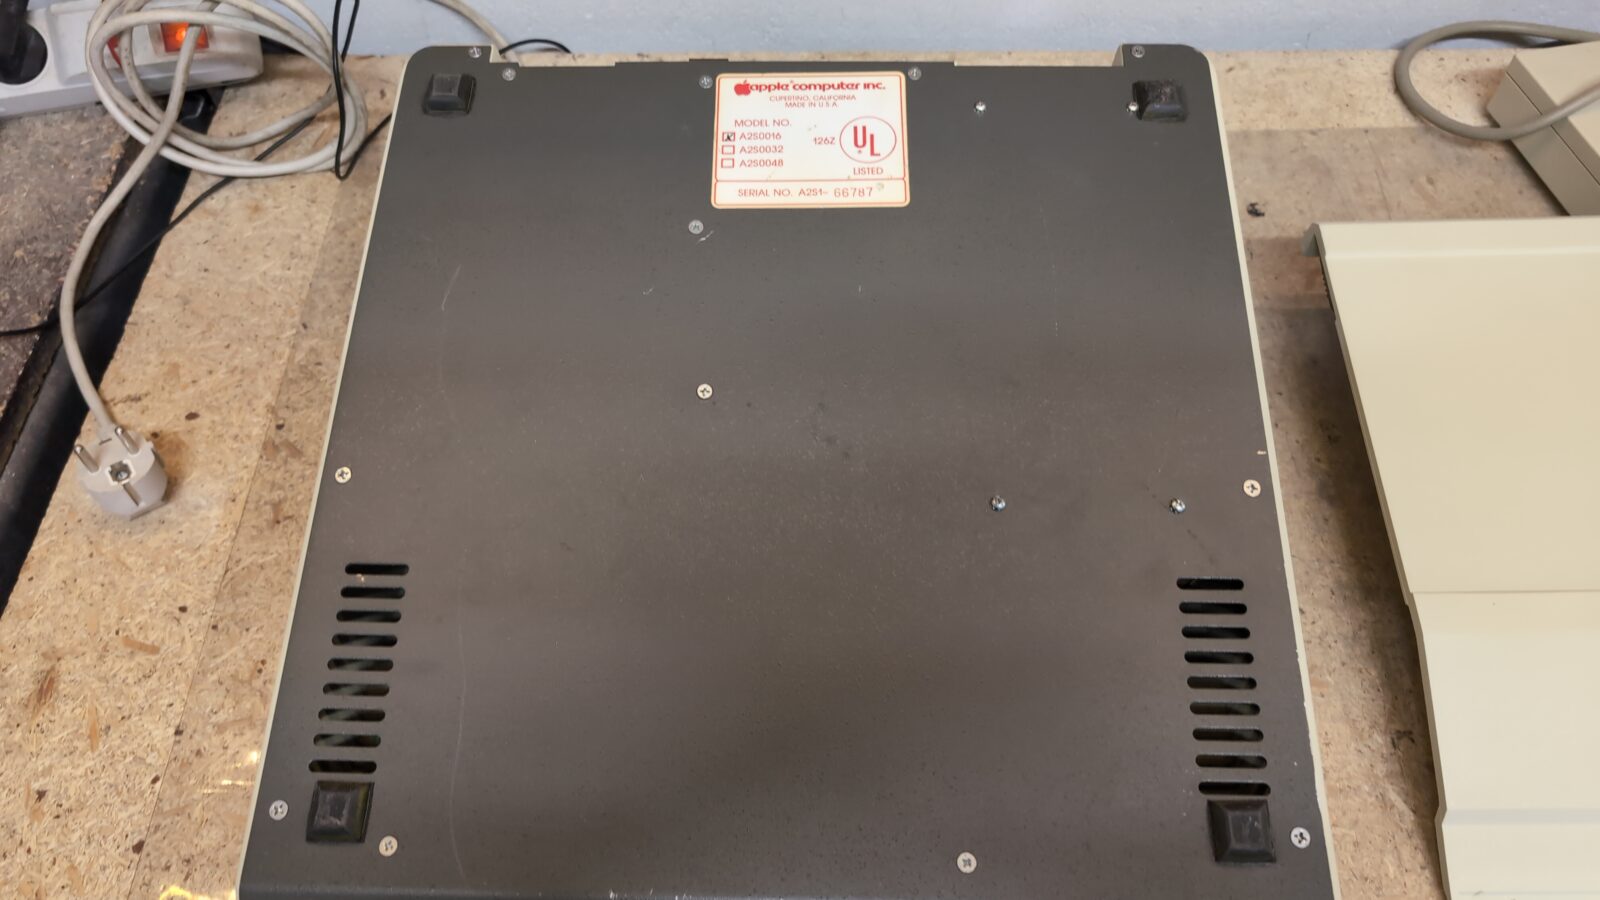
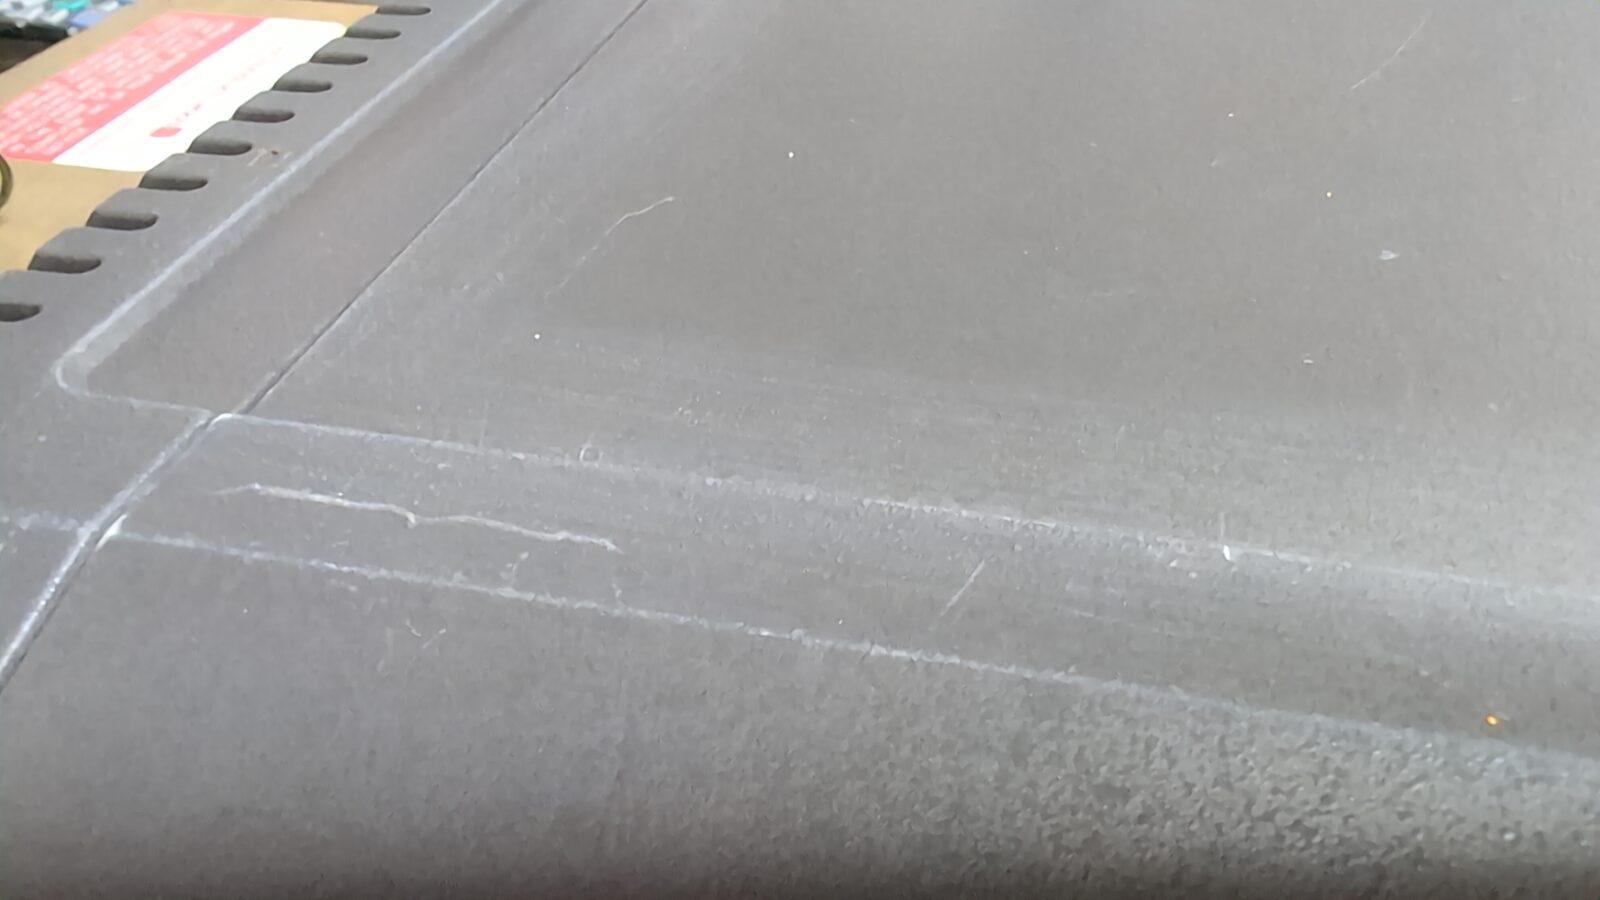
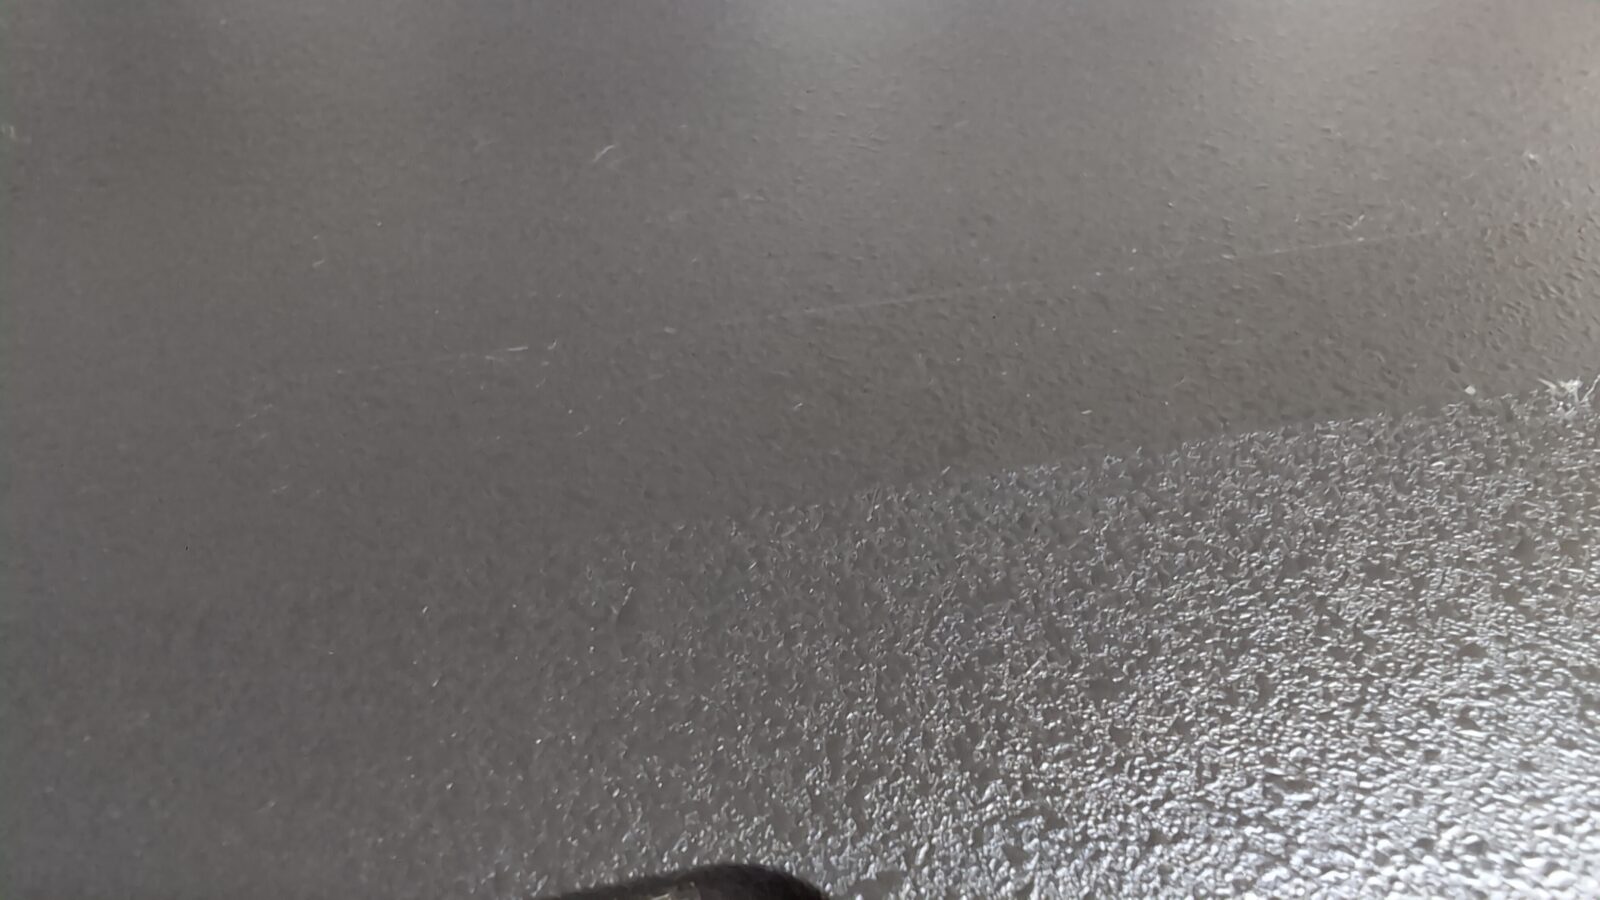
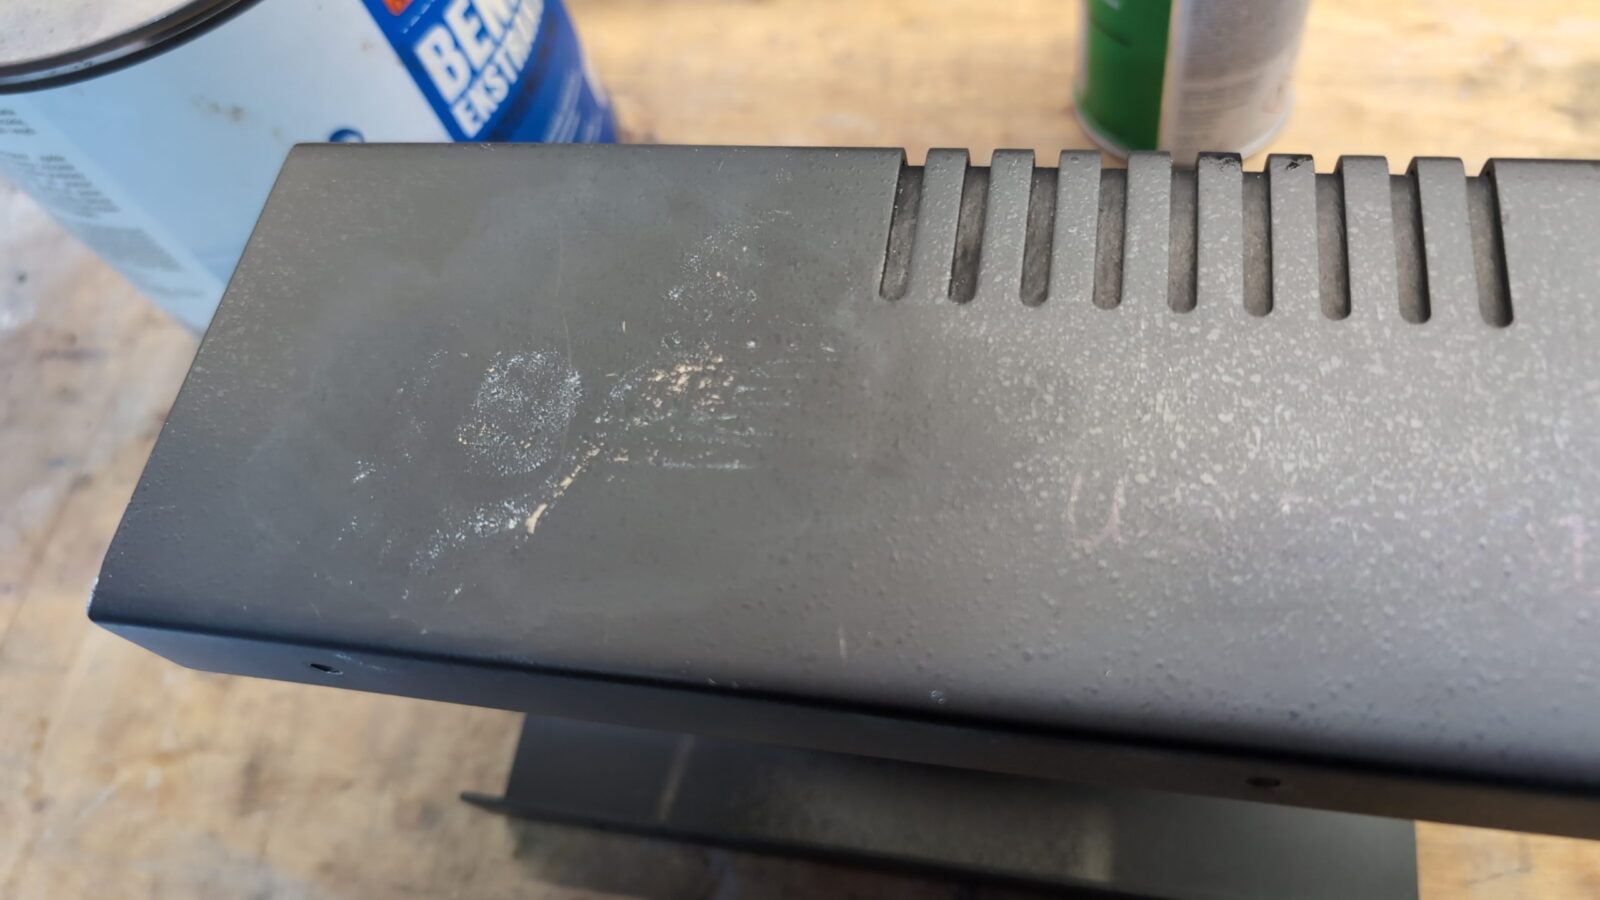
The case was scratched here and there, so after cleaning it thoroughly, I treated it with mineral oil.
After that, I’ve recapped a PSU and cleaned the keyboard.
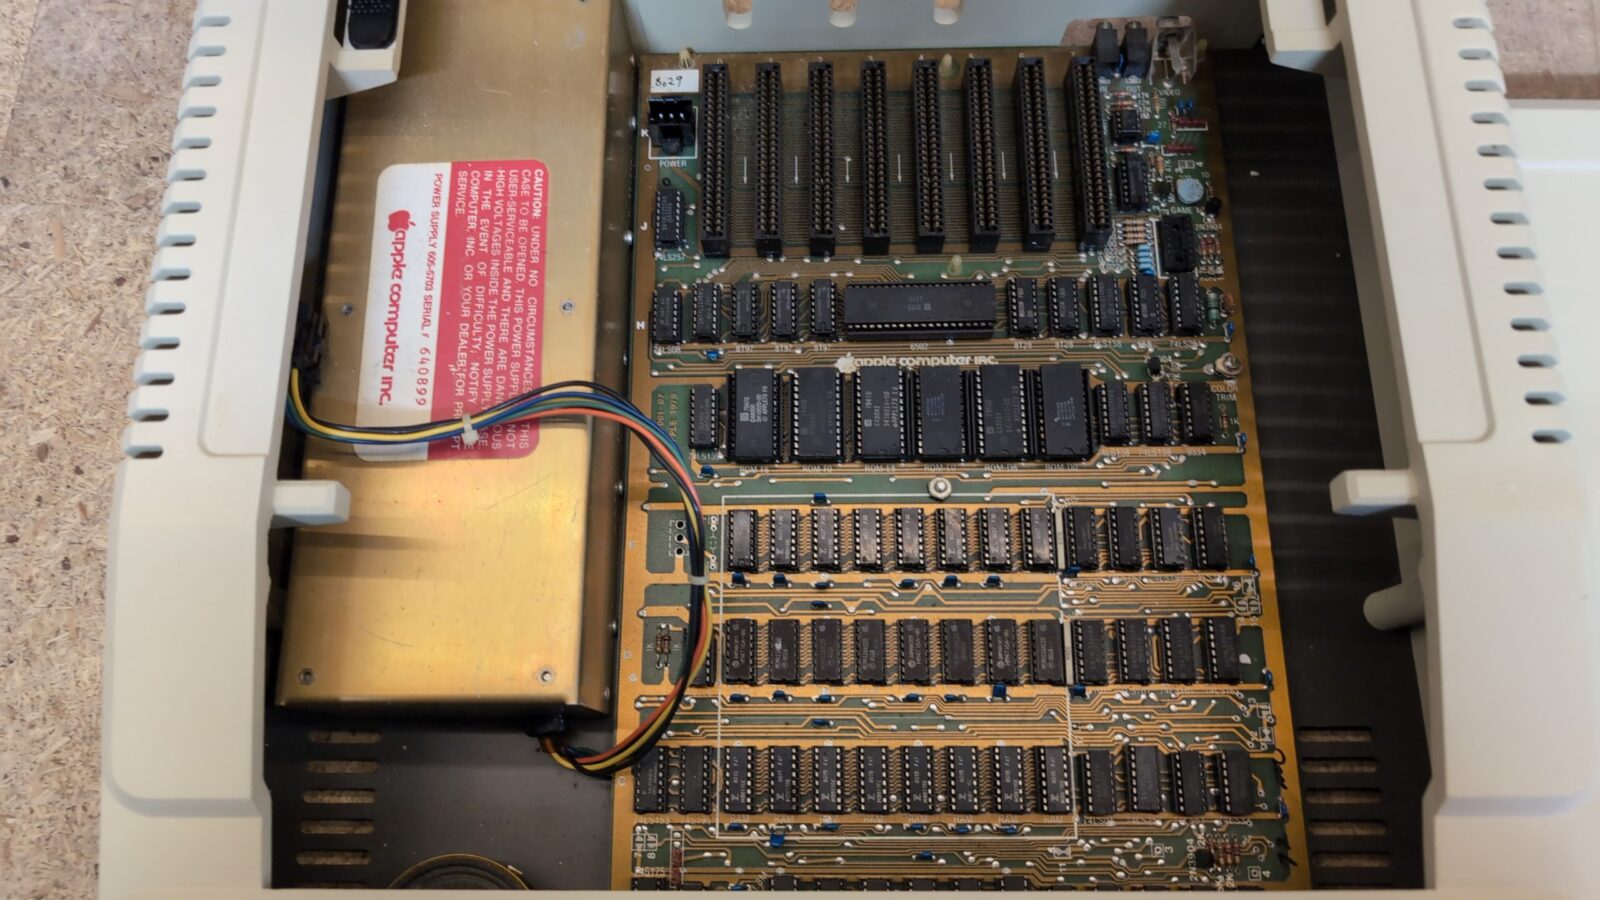
With the PSU recapped, I could now test the motherboard, keyboard, and the Disk II drive.
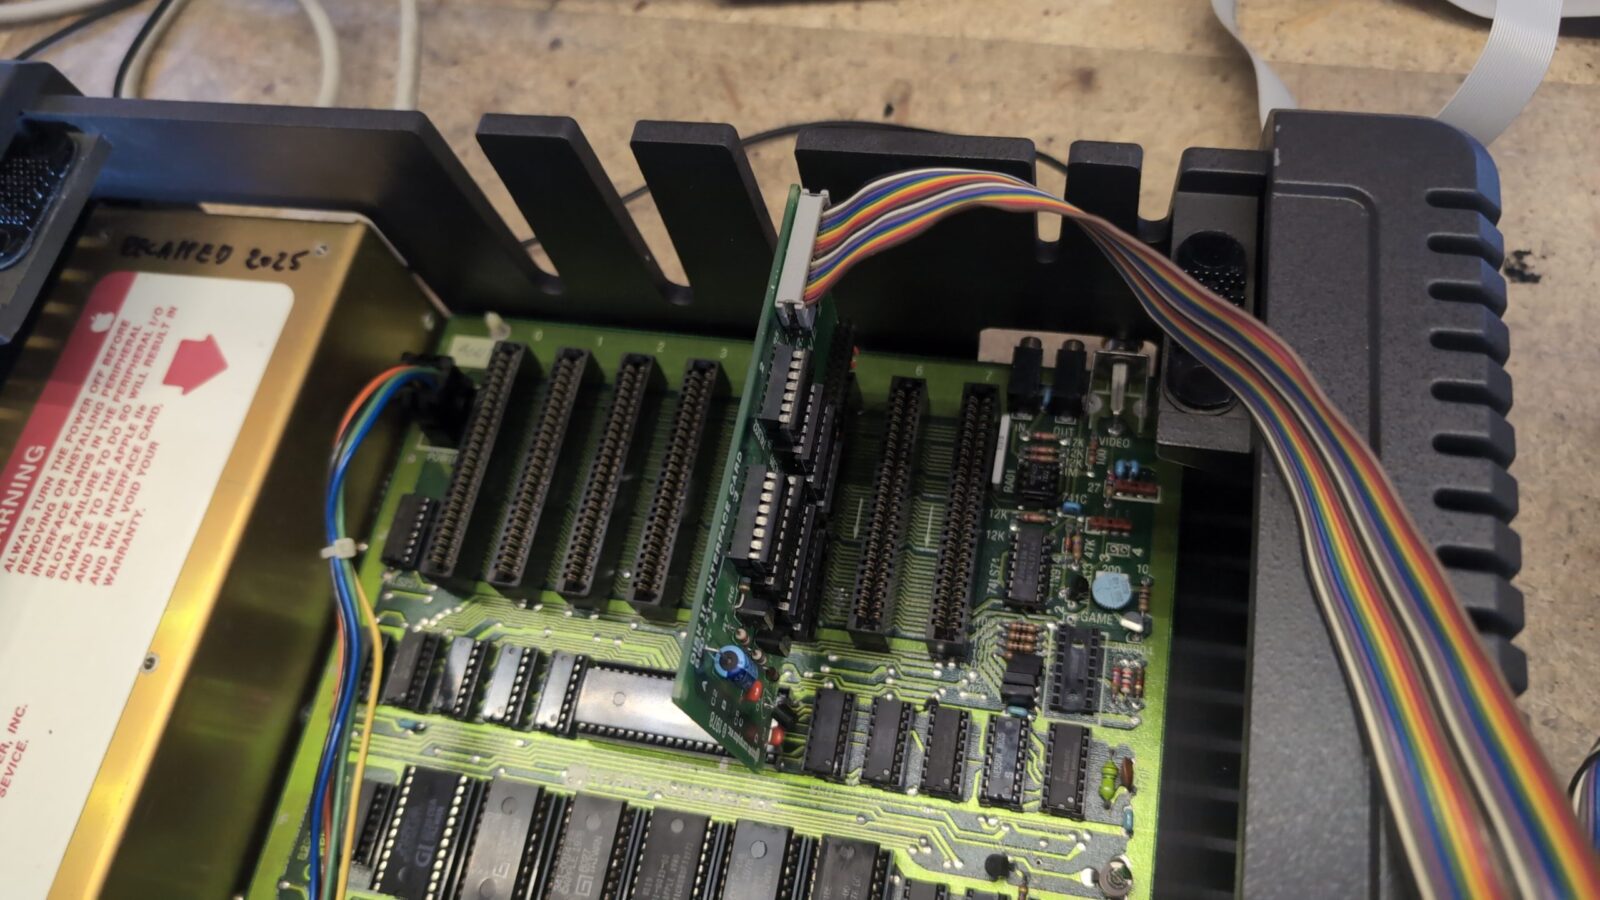
To test it, I’ve used the Disk II interface and immediately got stuck on a problem. Simply, the drive wasn’t recognised at all.
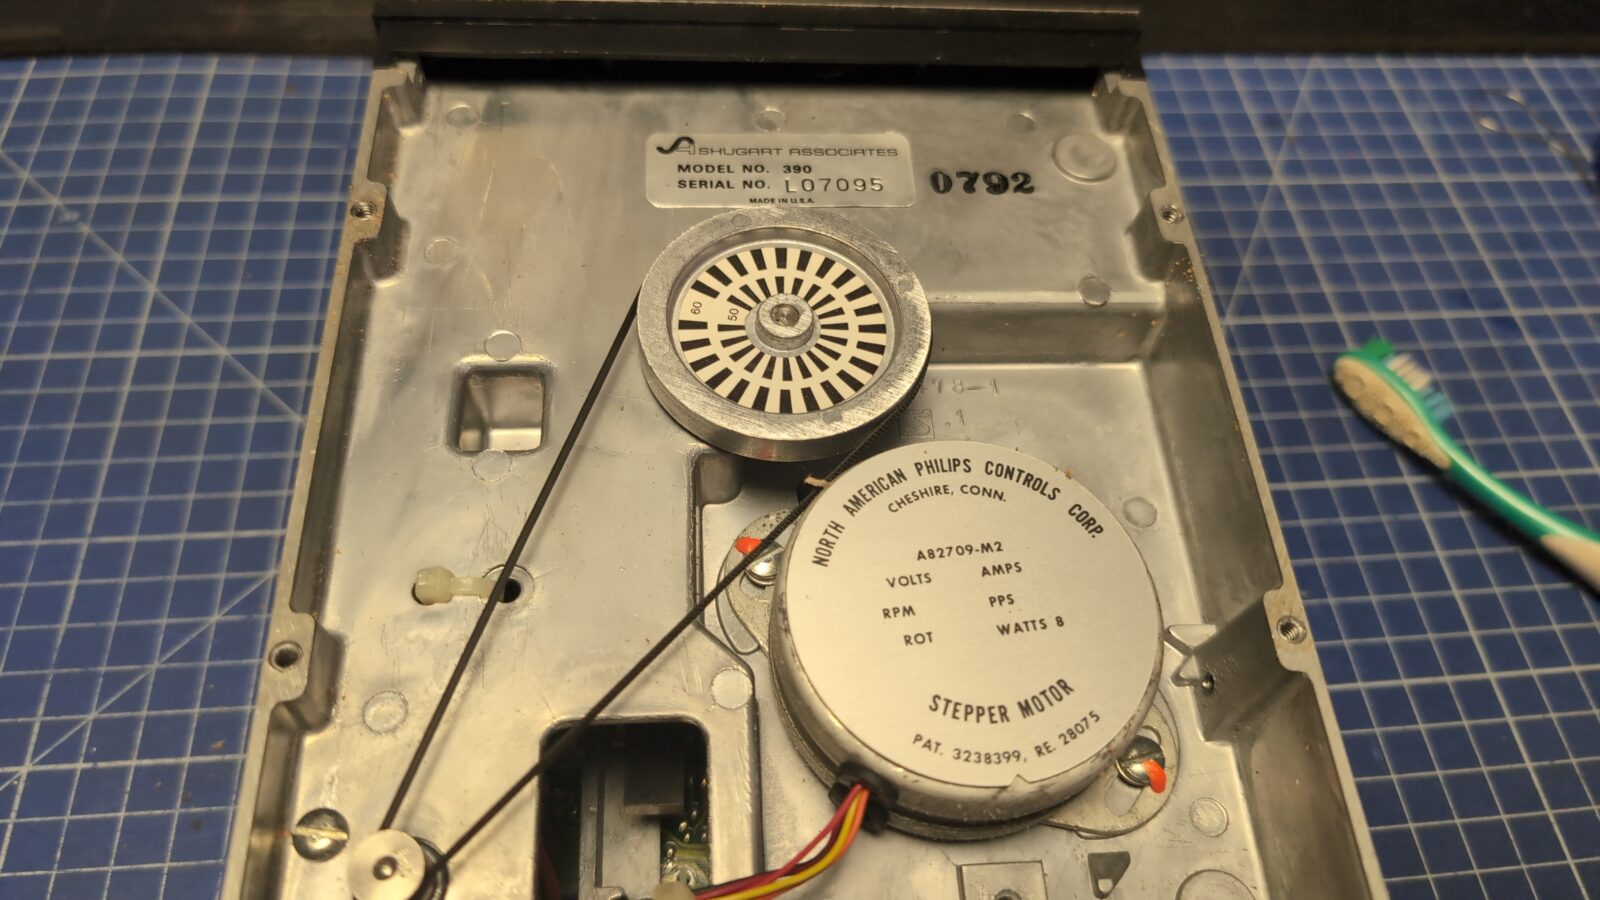
Obviously, I moved on to servicing the drive first.
Some pics for future reference.

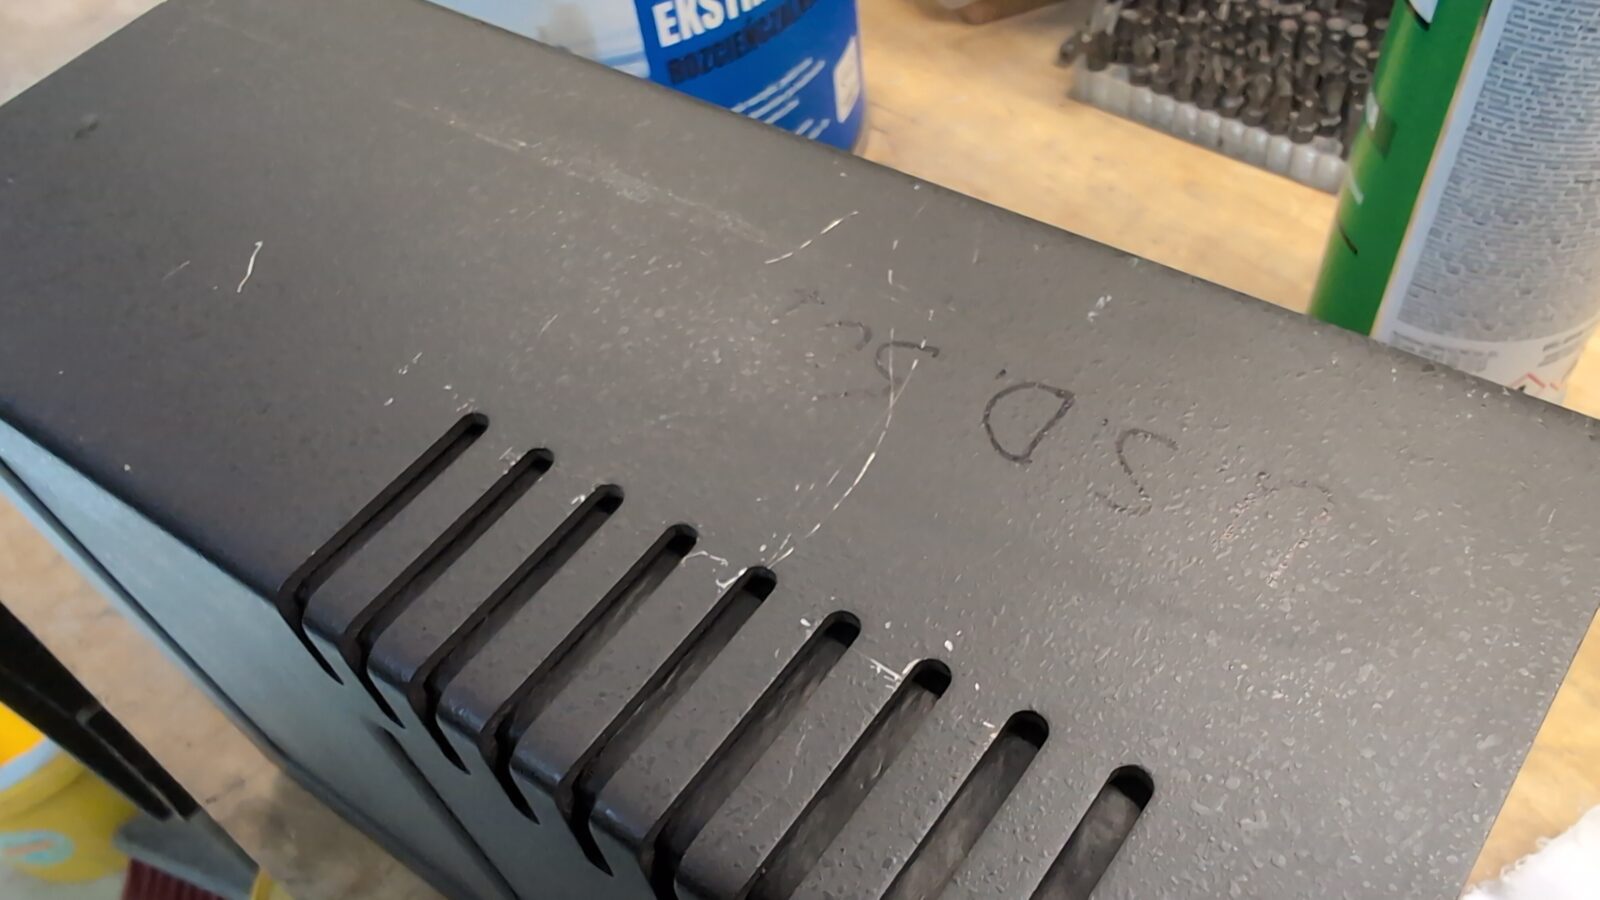
I’ve tried to remove the white logo and was pretty close to removing it, but it was very stubborn, and I decided I will paint it with a matching color.
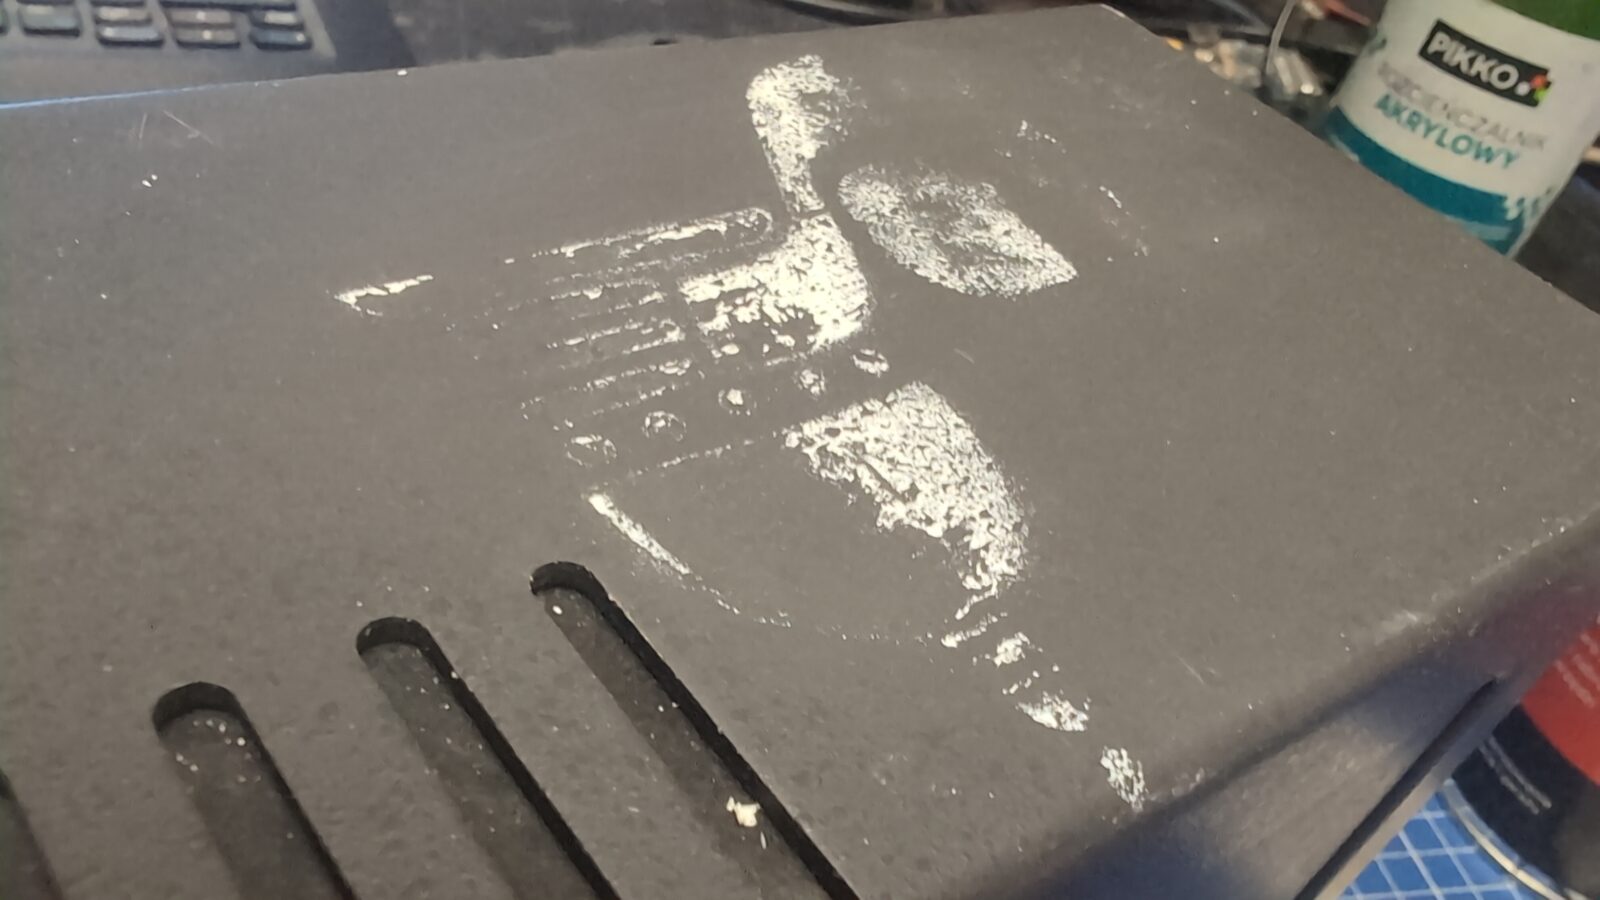
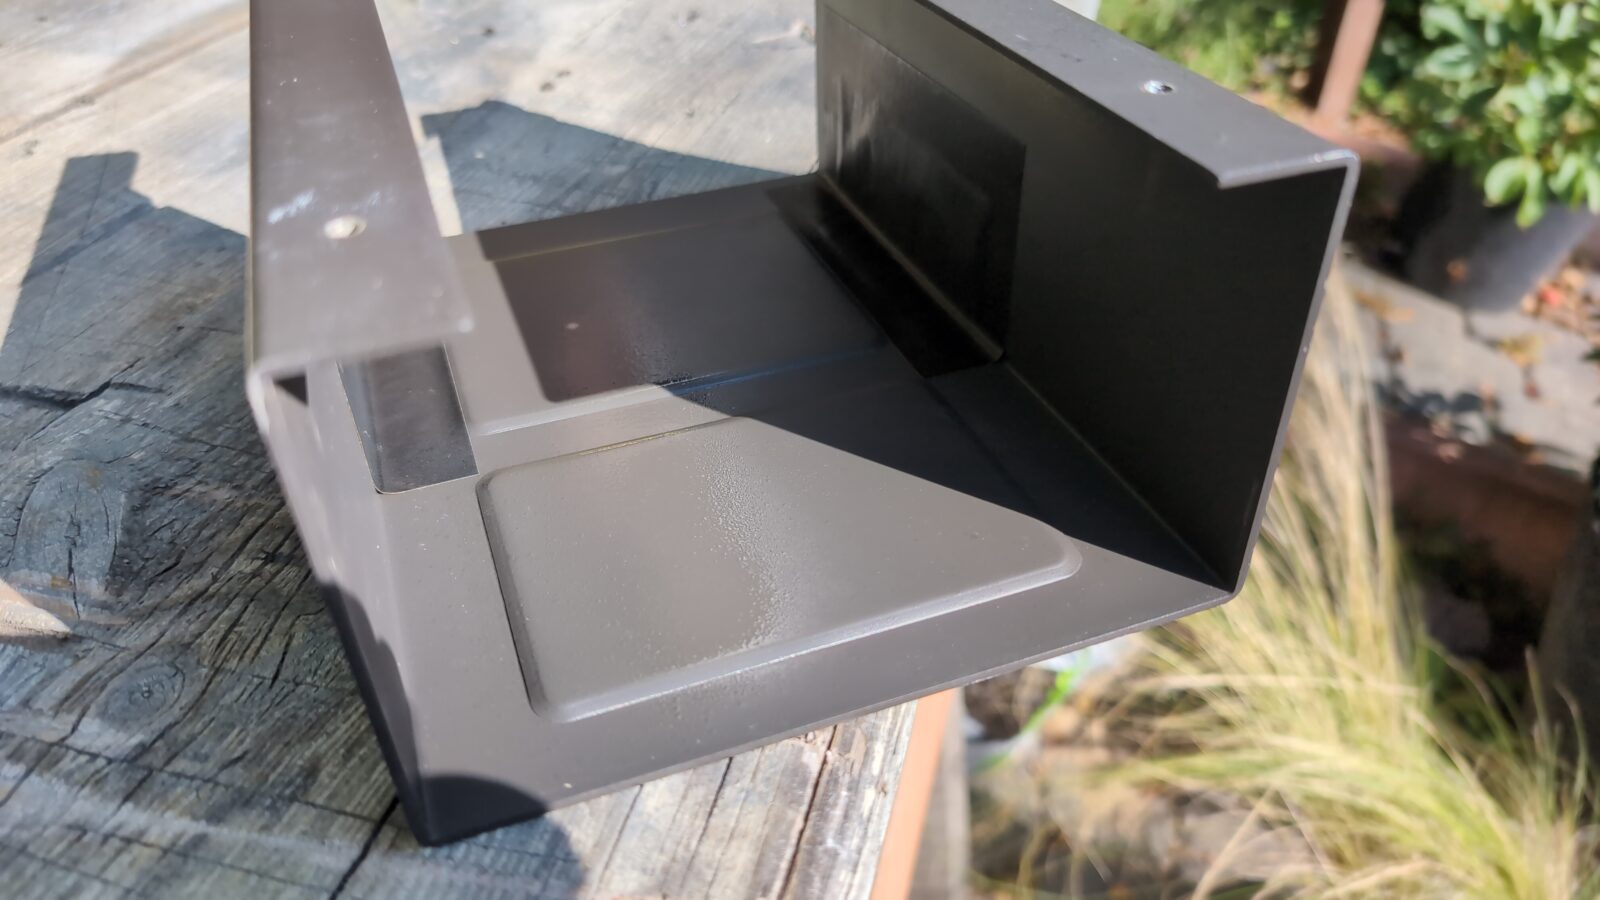
Color match testing on the inside.
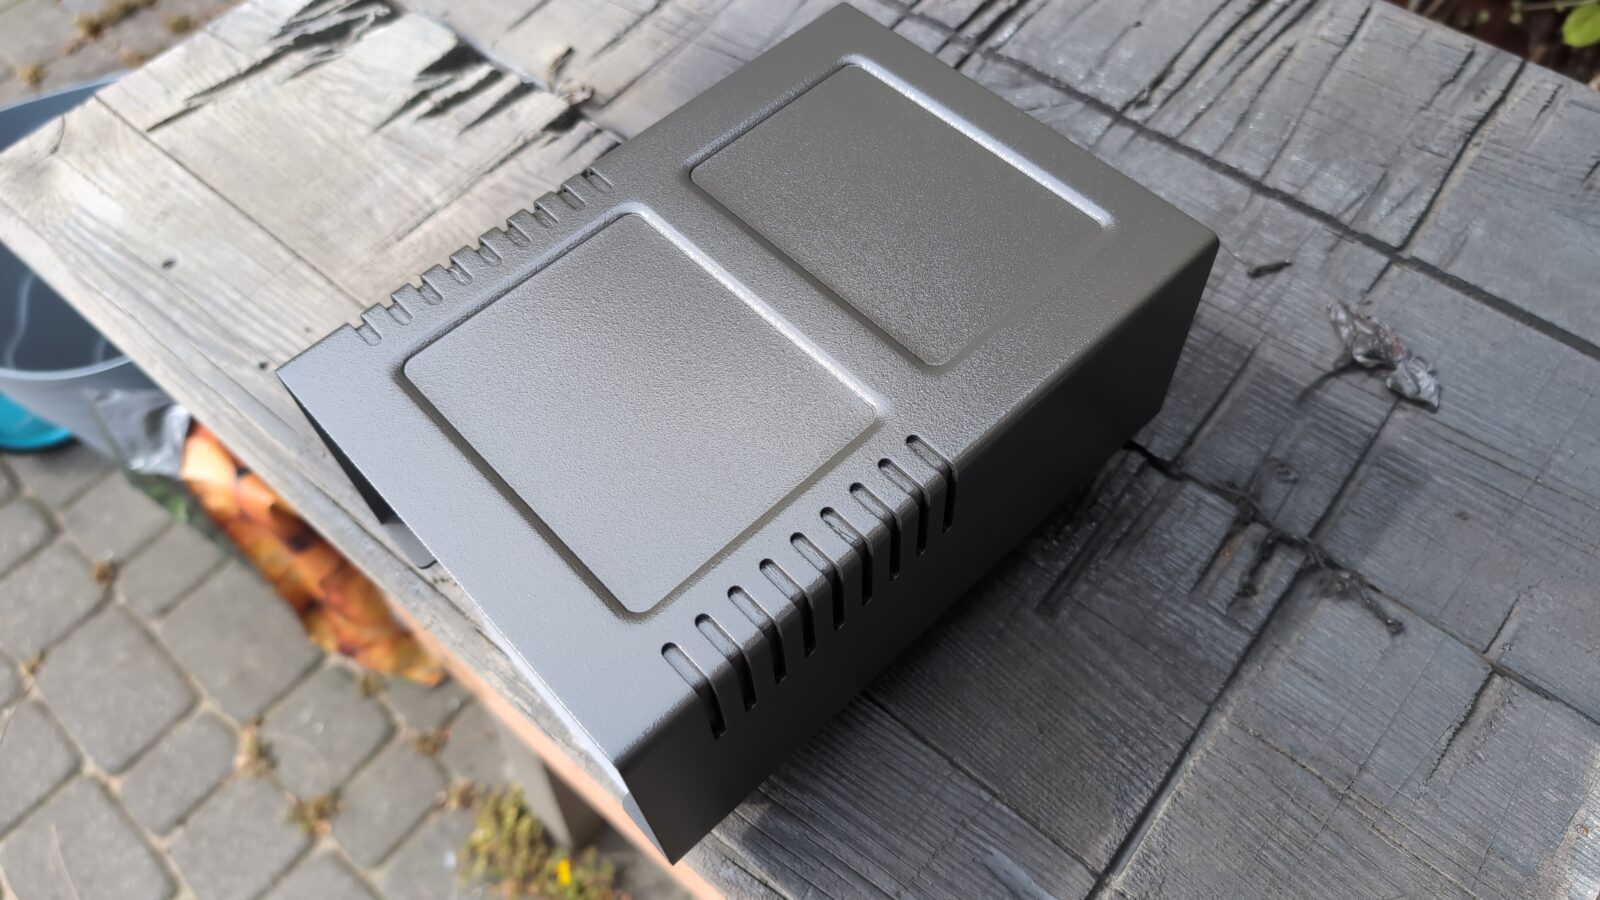
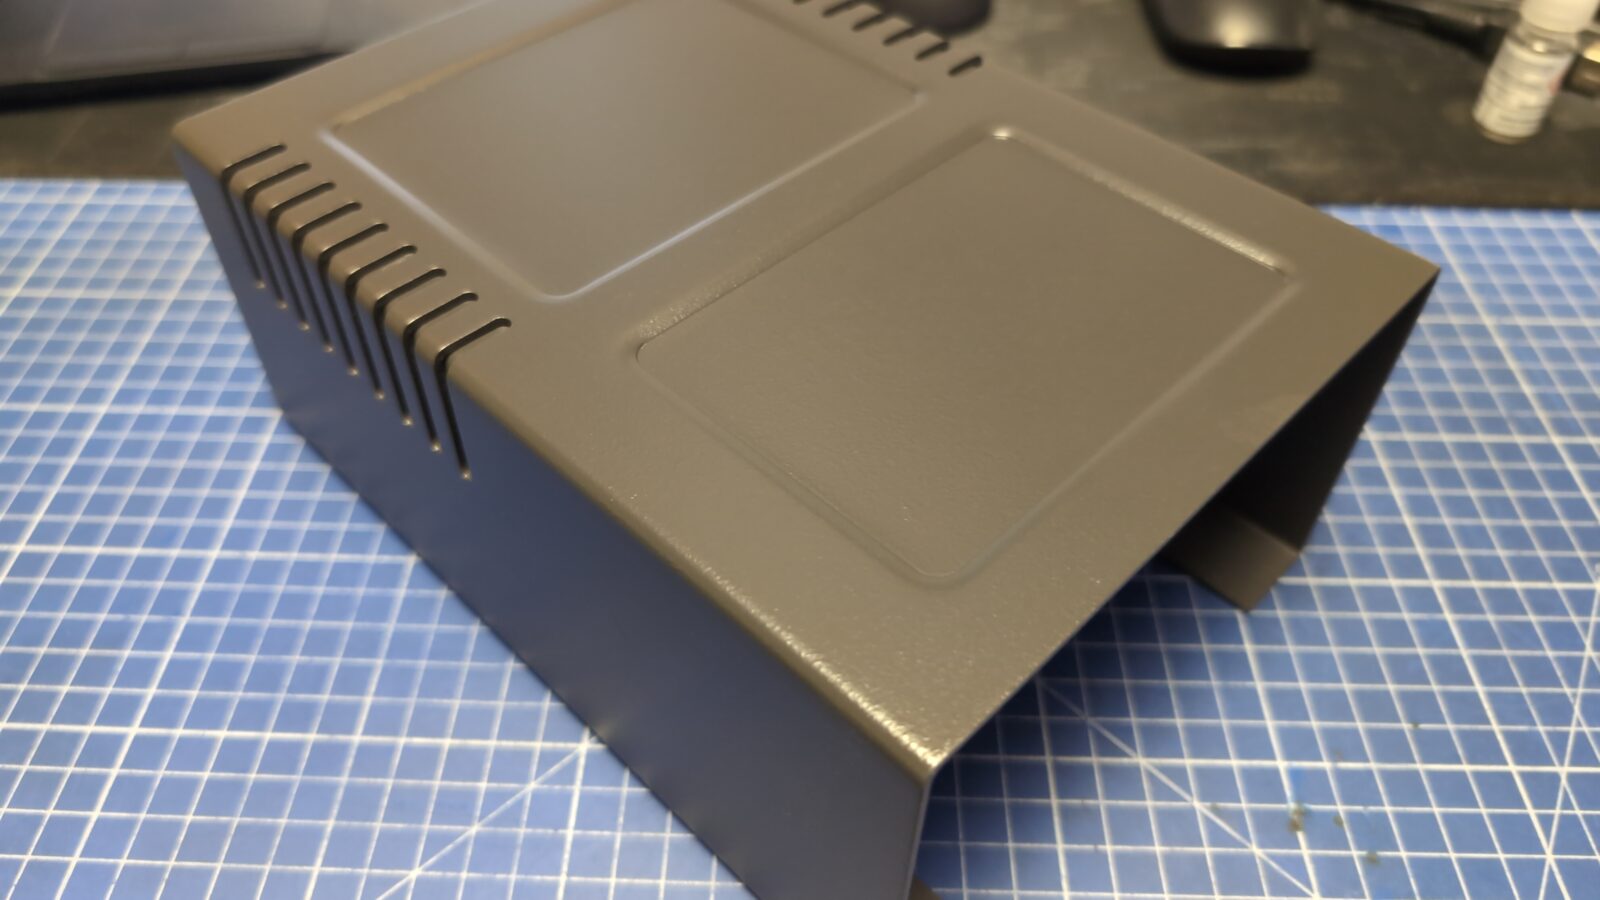
Final paint layer.
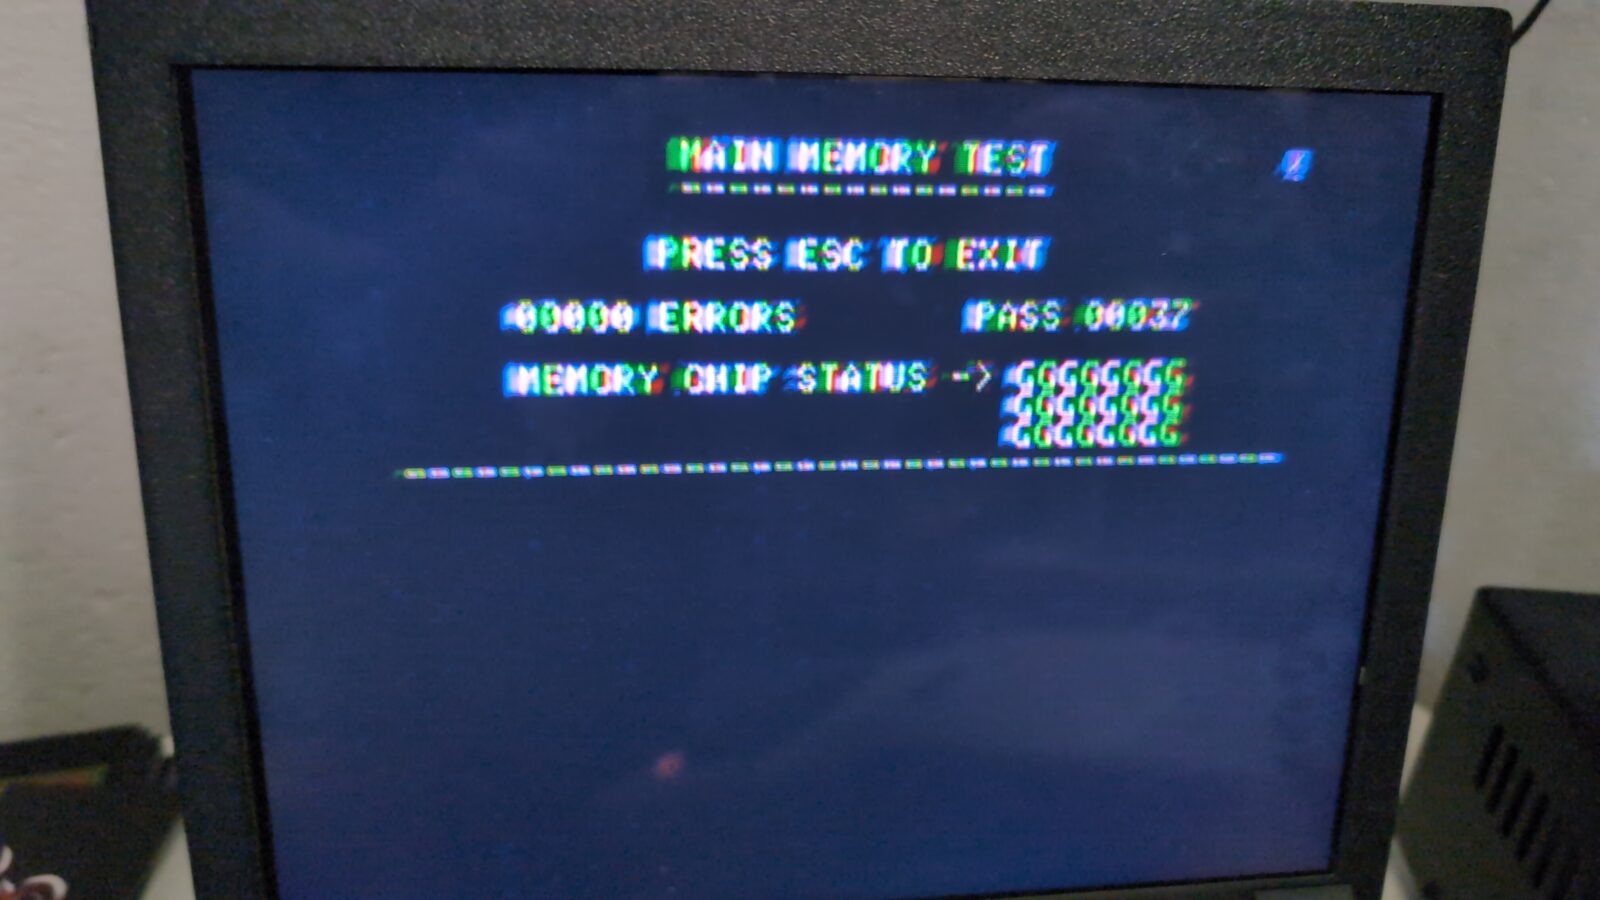
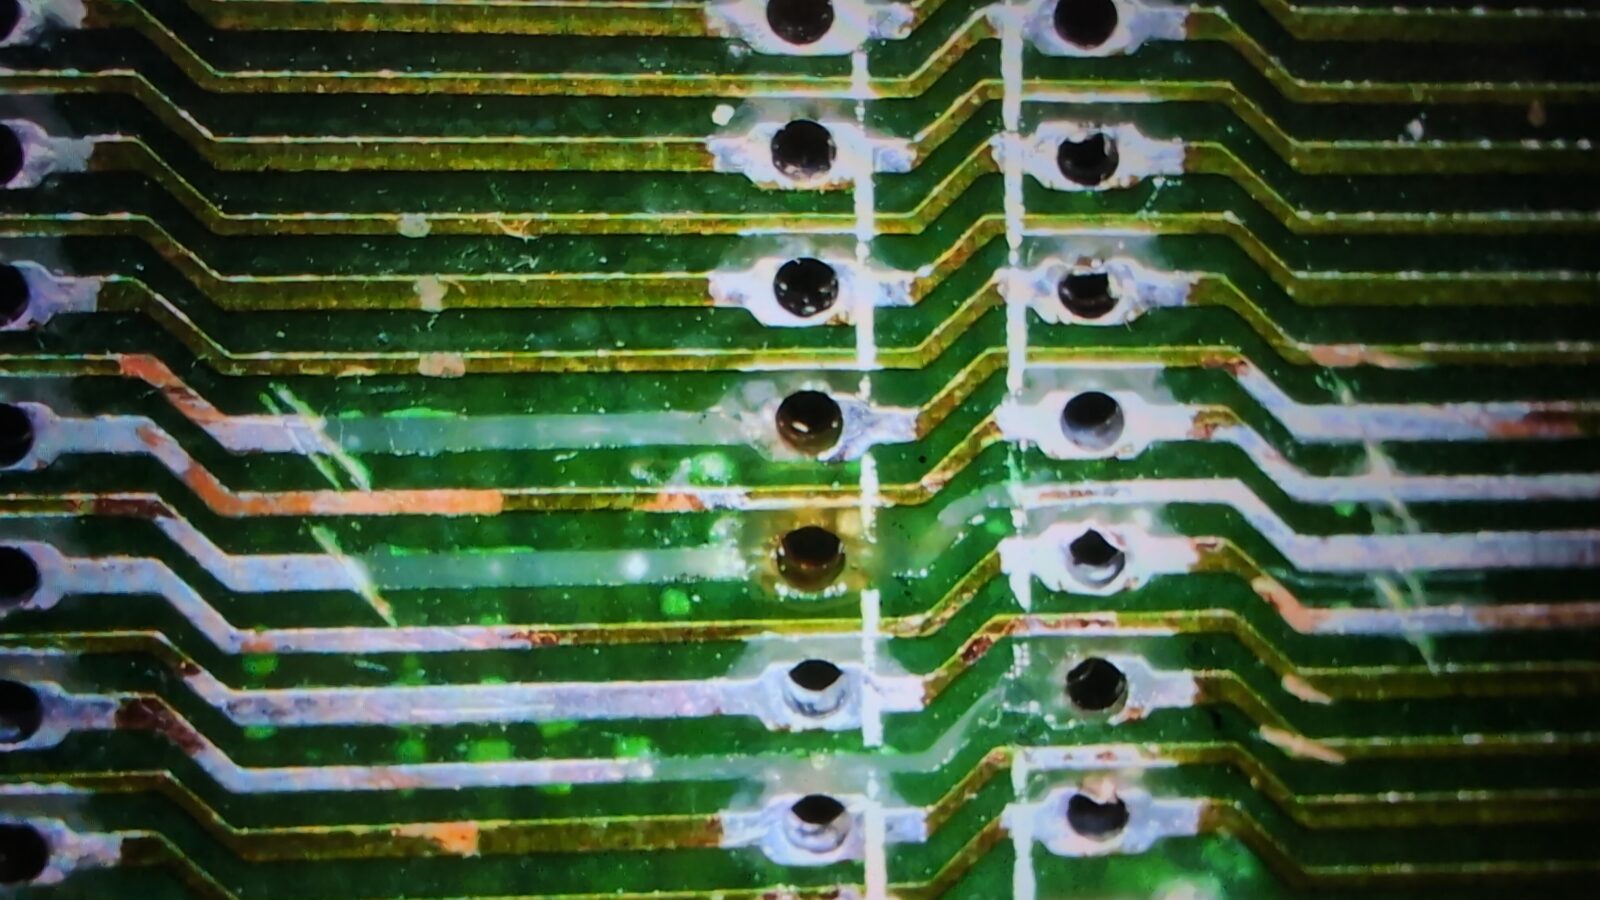
Now, I could re-run some tests, and unfortunately, it still didn’t work. However, this time I’ve finally spotted the real cause.
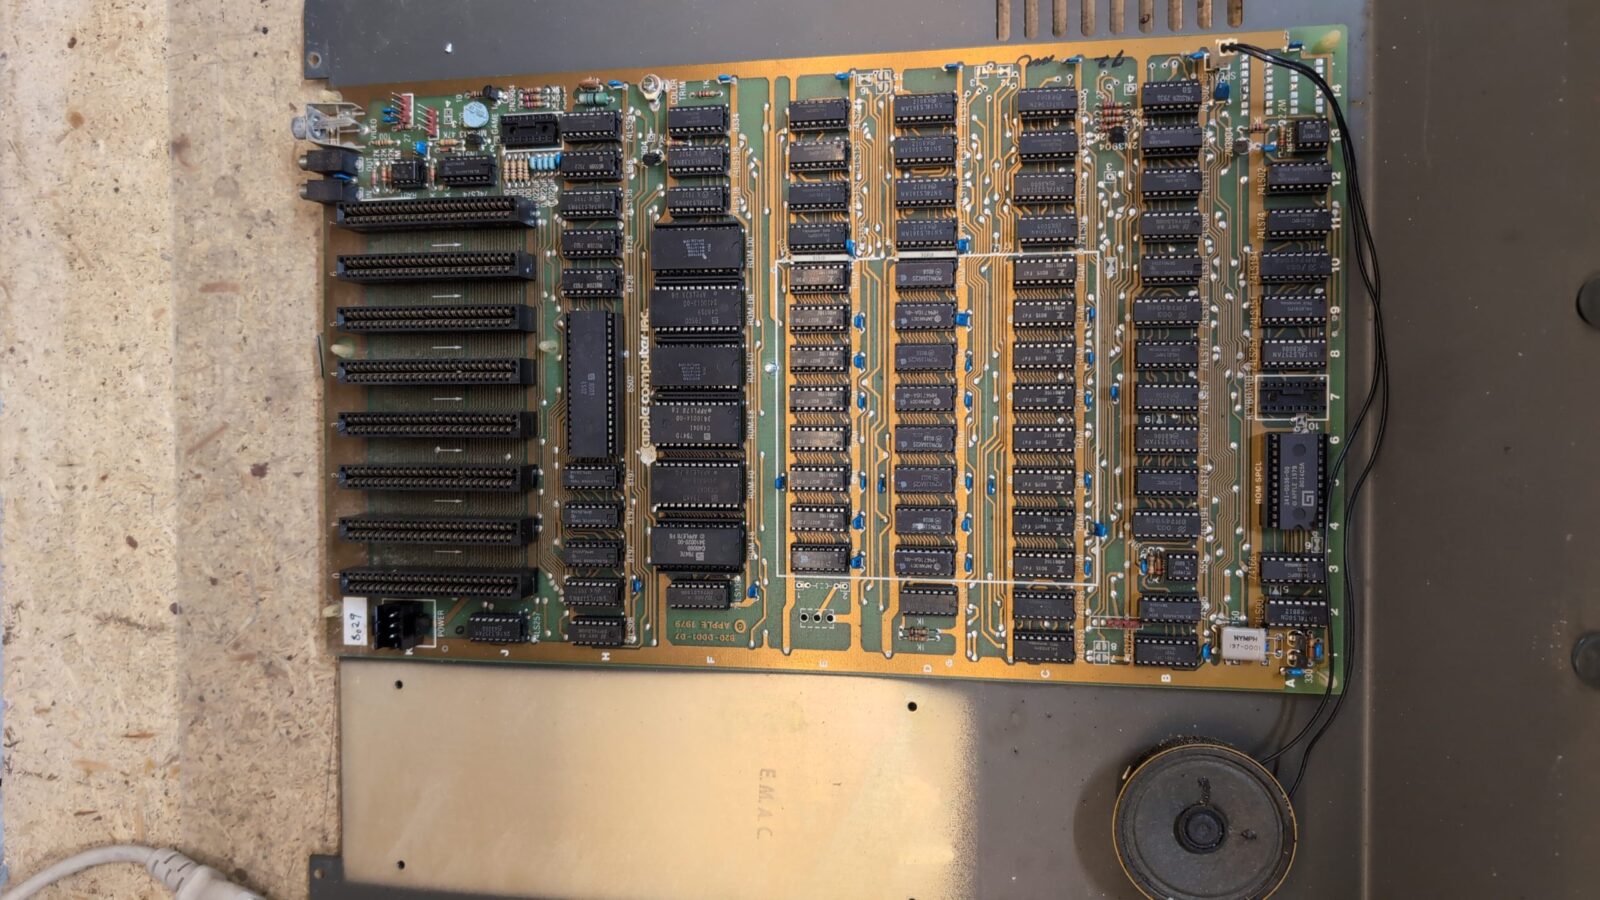
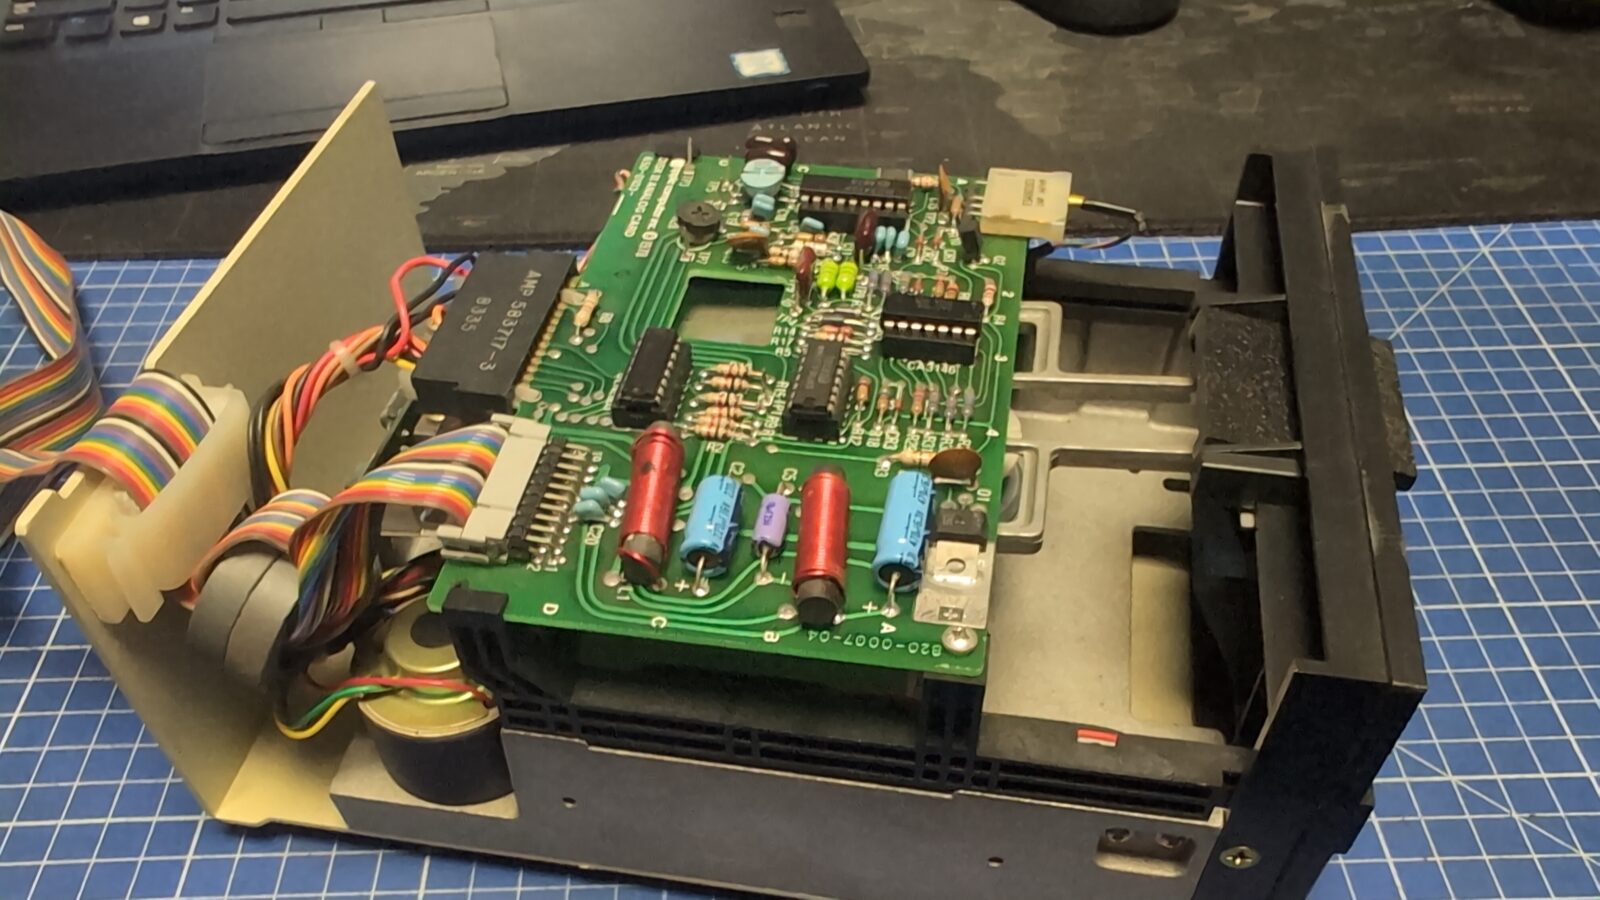
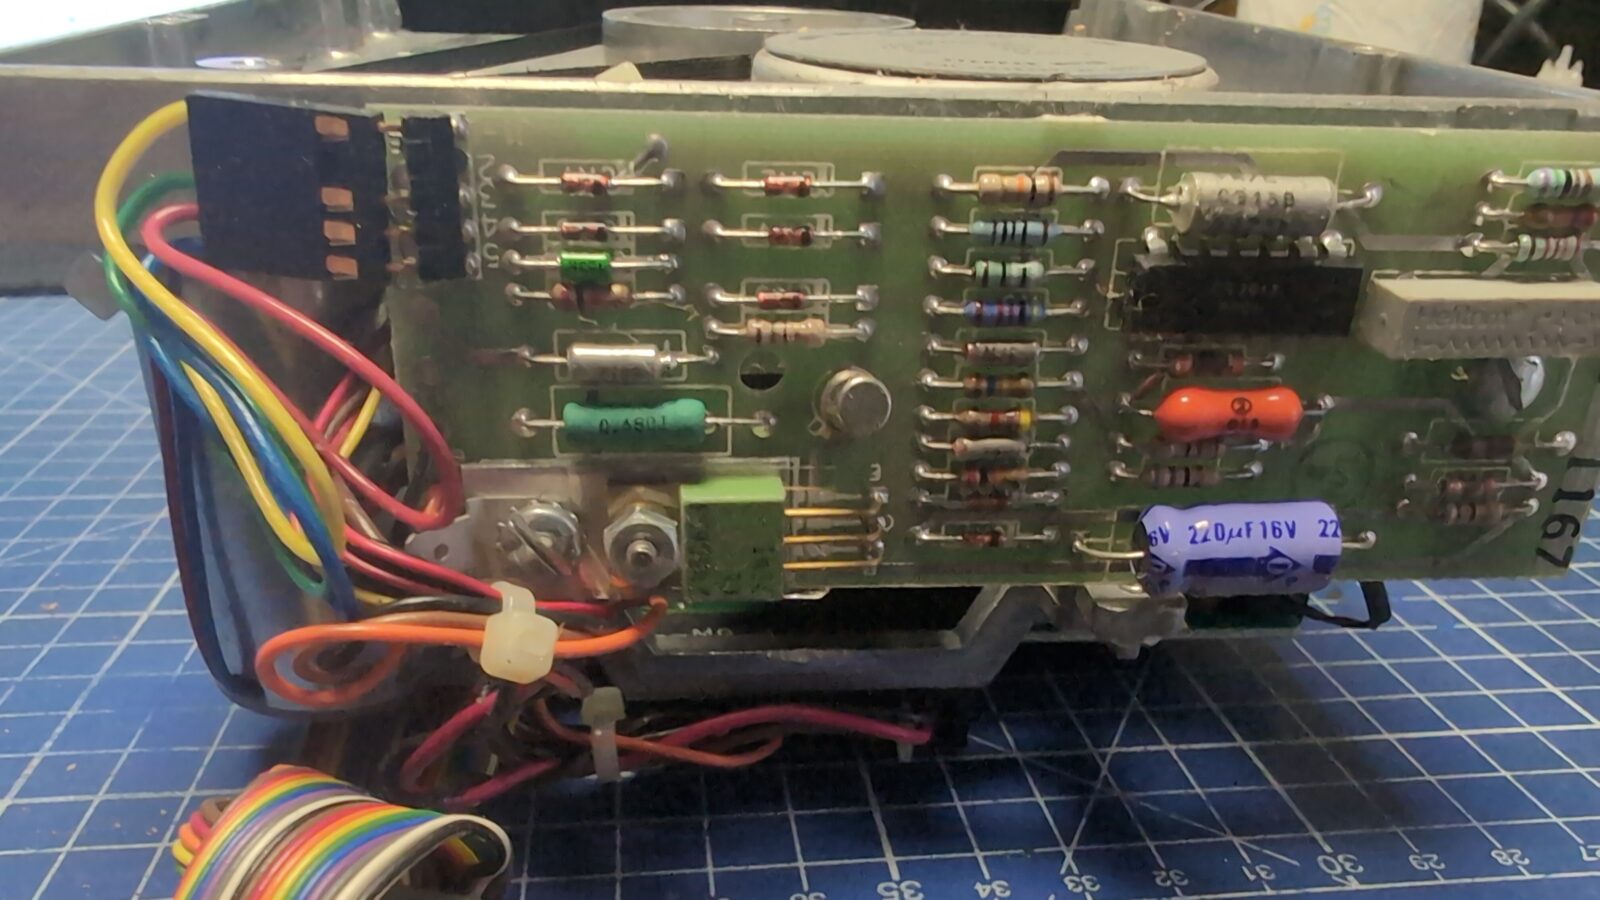
Traces between card clots were cut and had to be fixed.
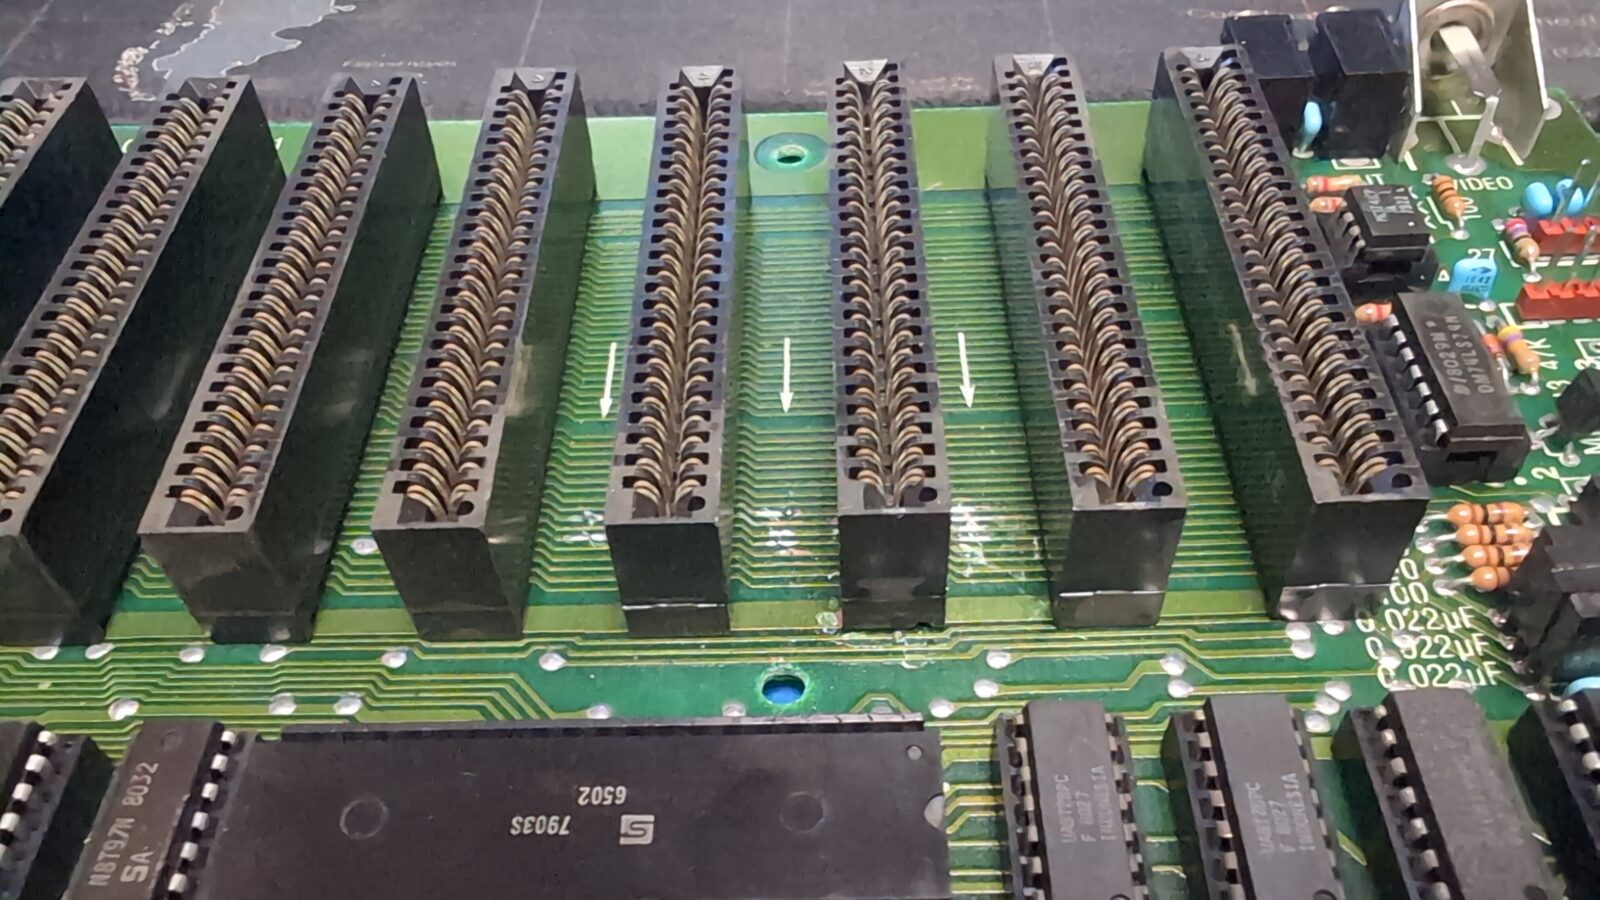
I’ve desoldered the card sockets and started fixing it. I’ve used a thin wire to restore these traces.
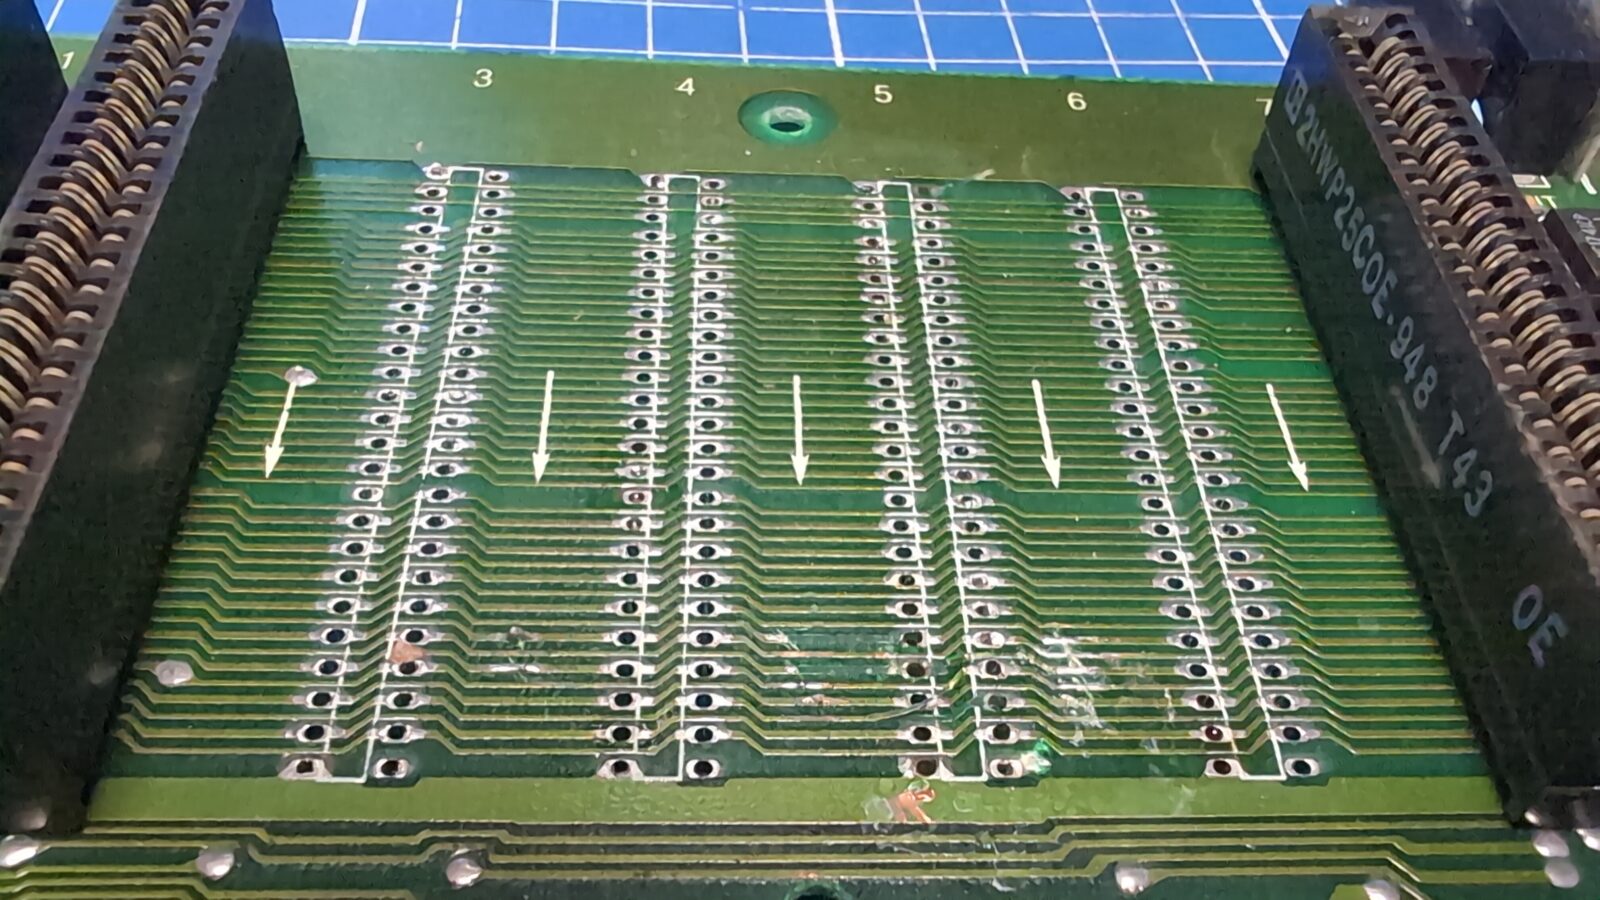
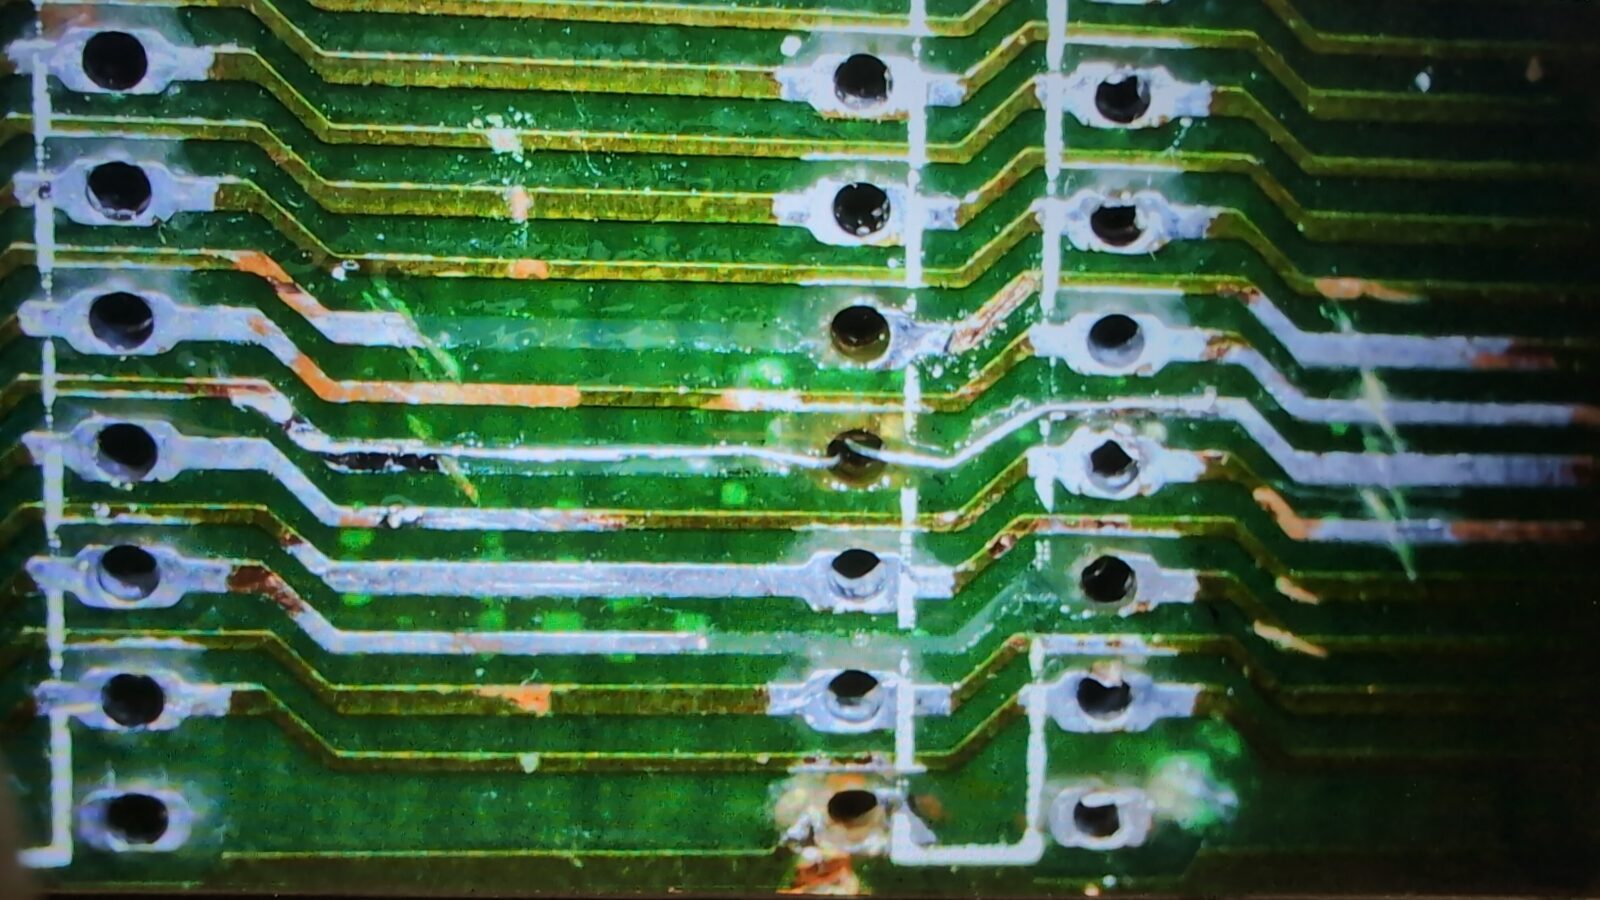
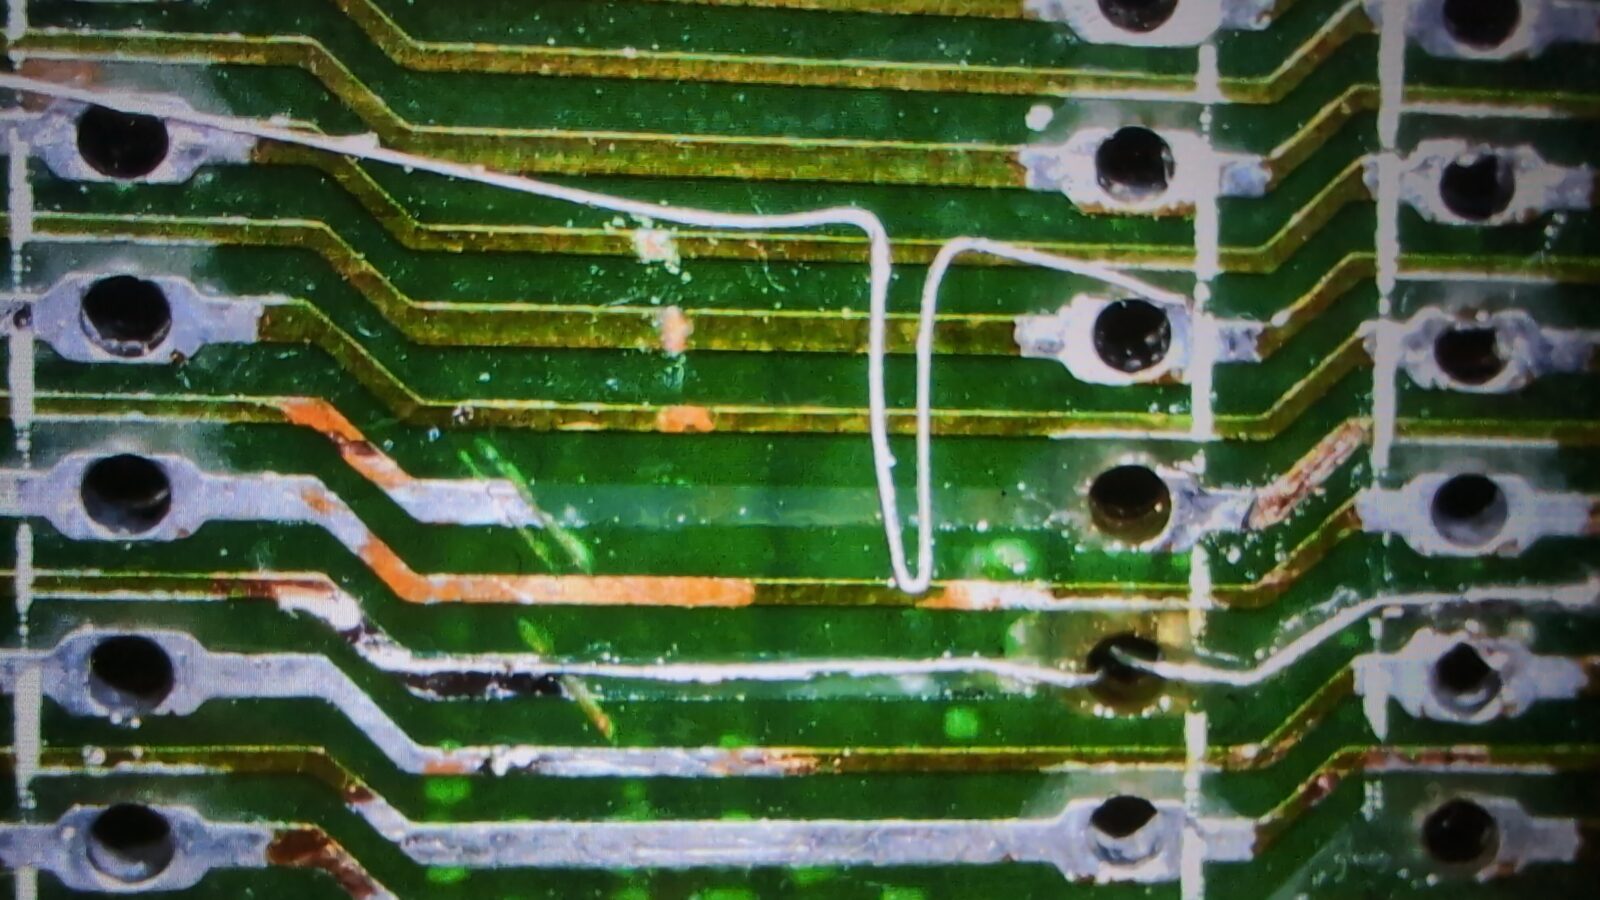
After soldering it all back, the machine started to work flawlessly.
Here is a final pic of an assembled Apple II Plus – Bell&Howell edition
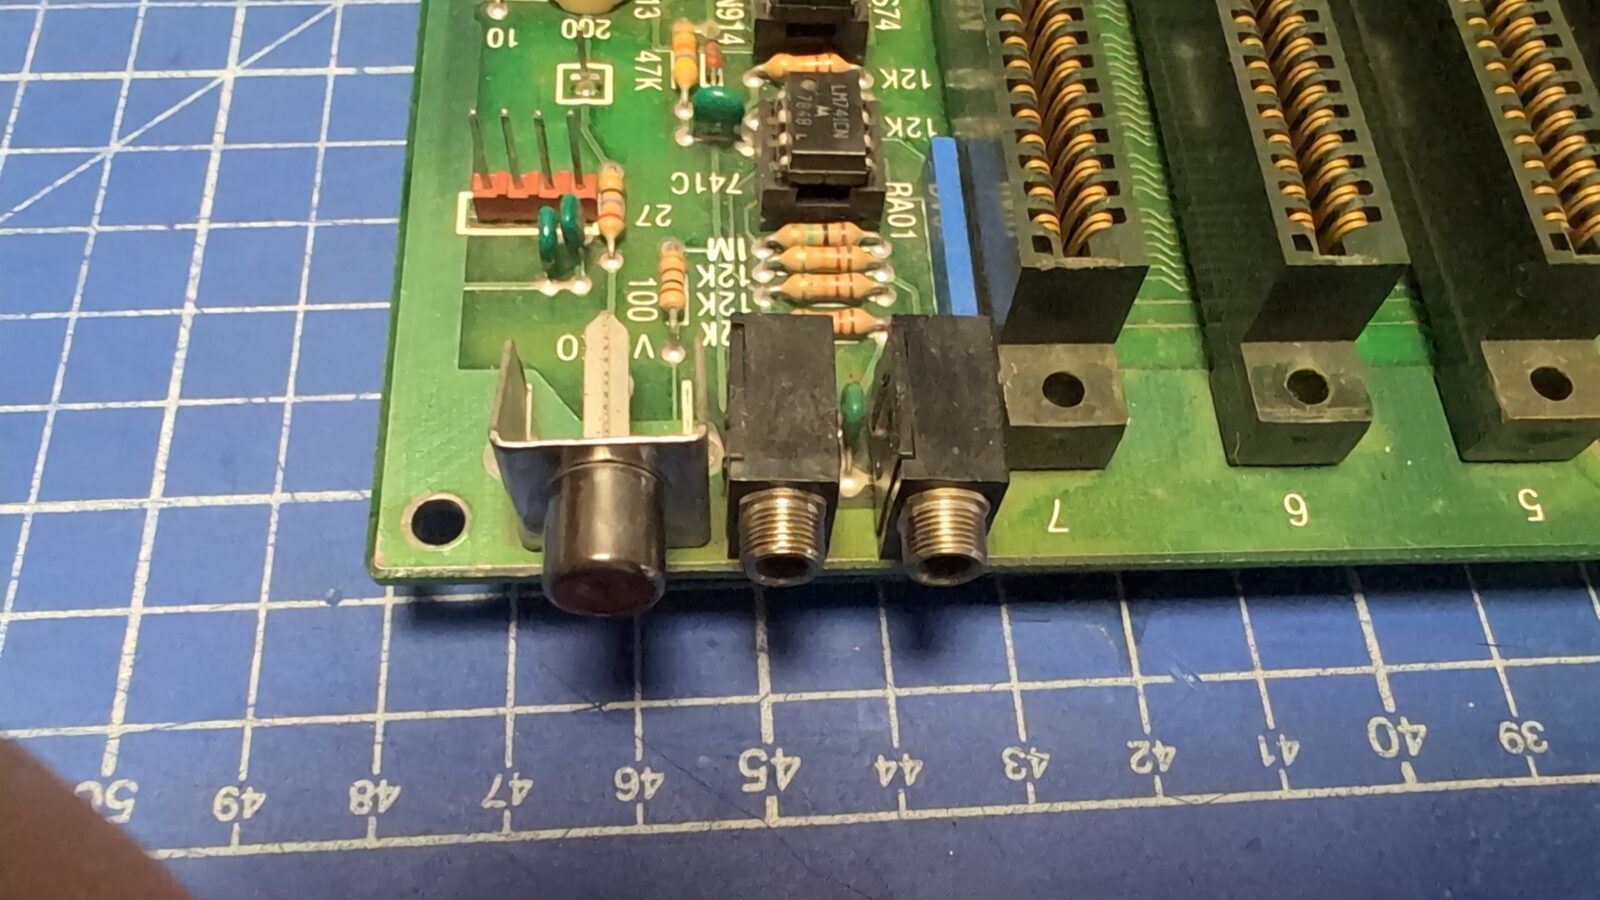
Expansions
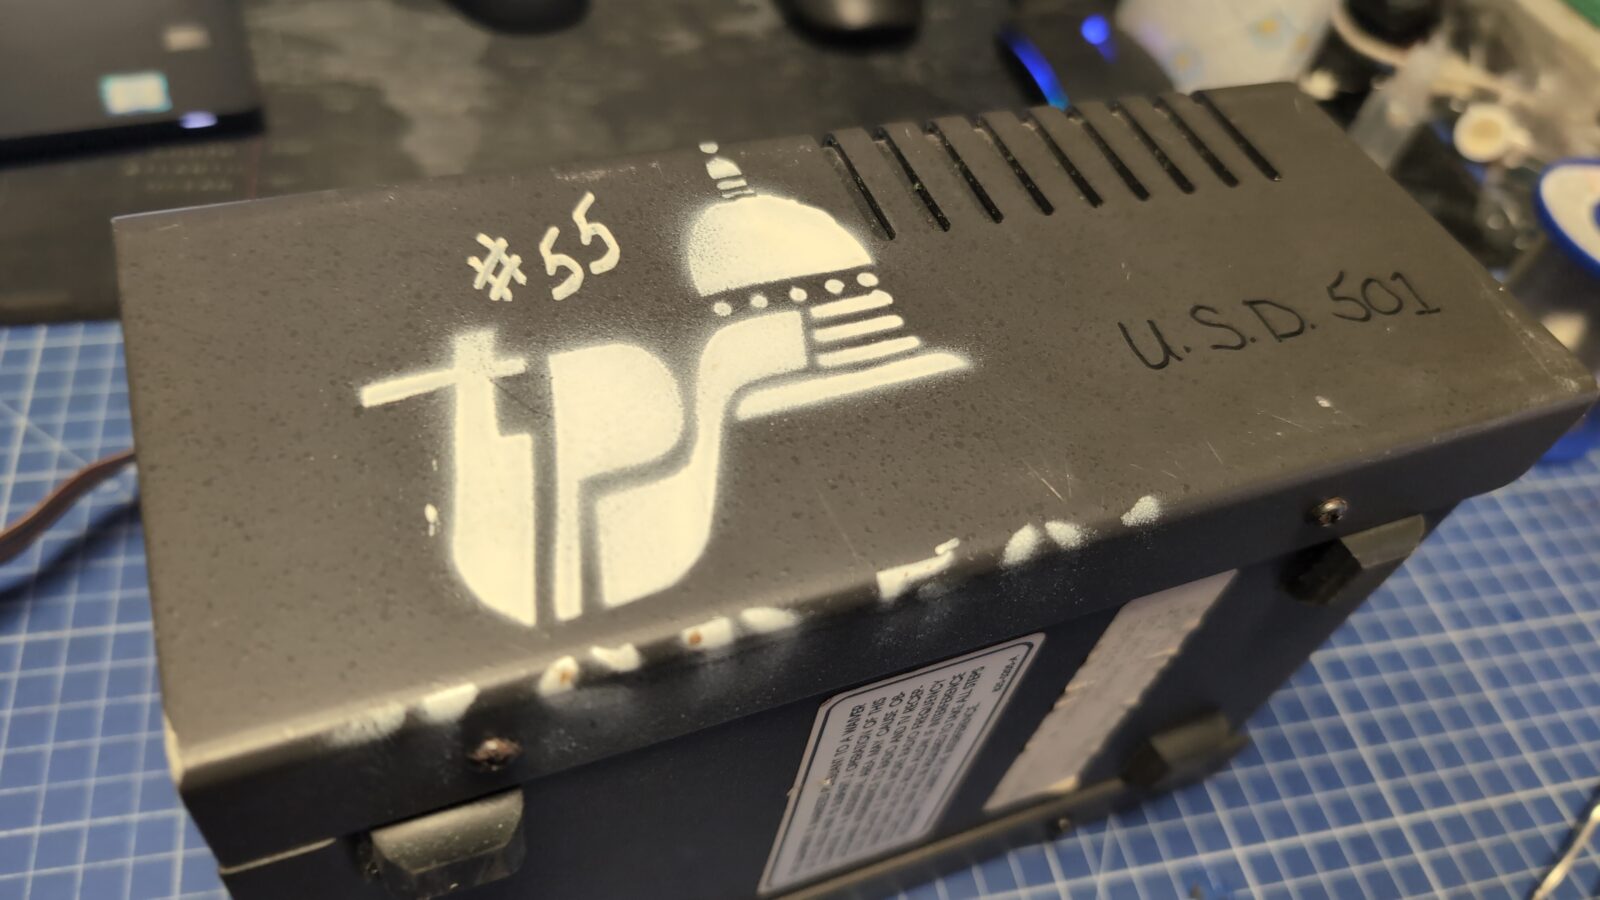
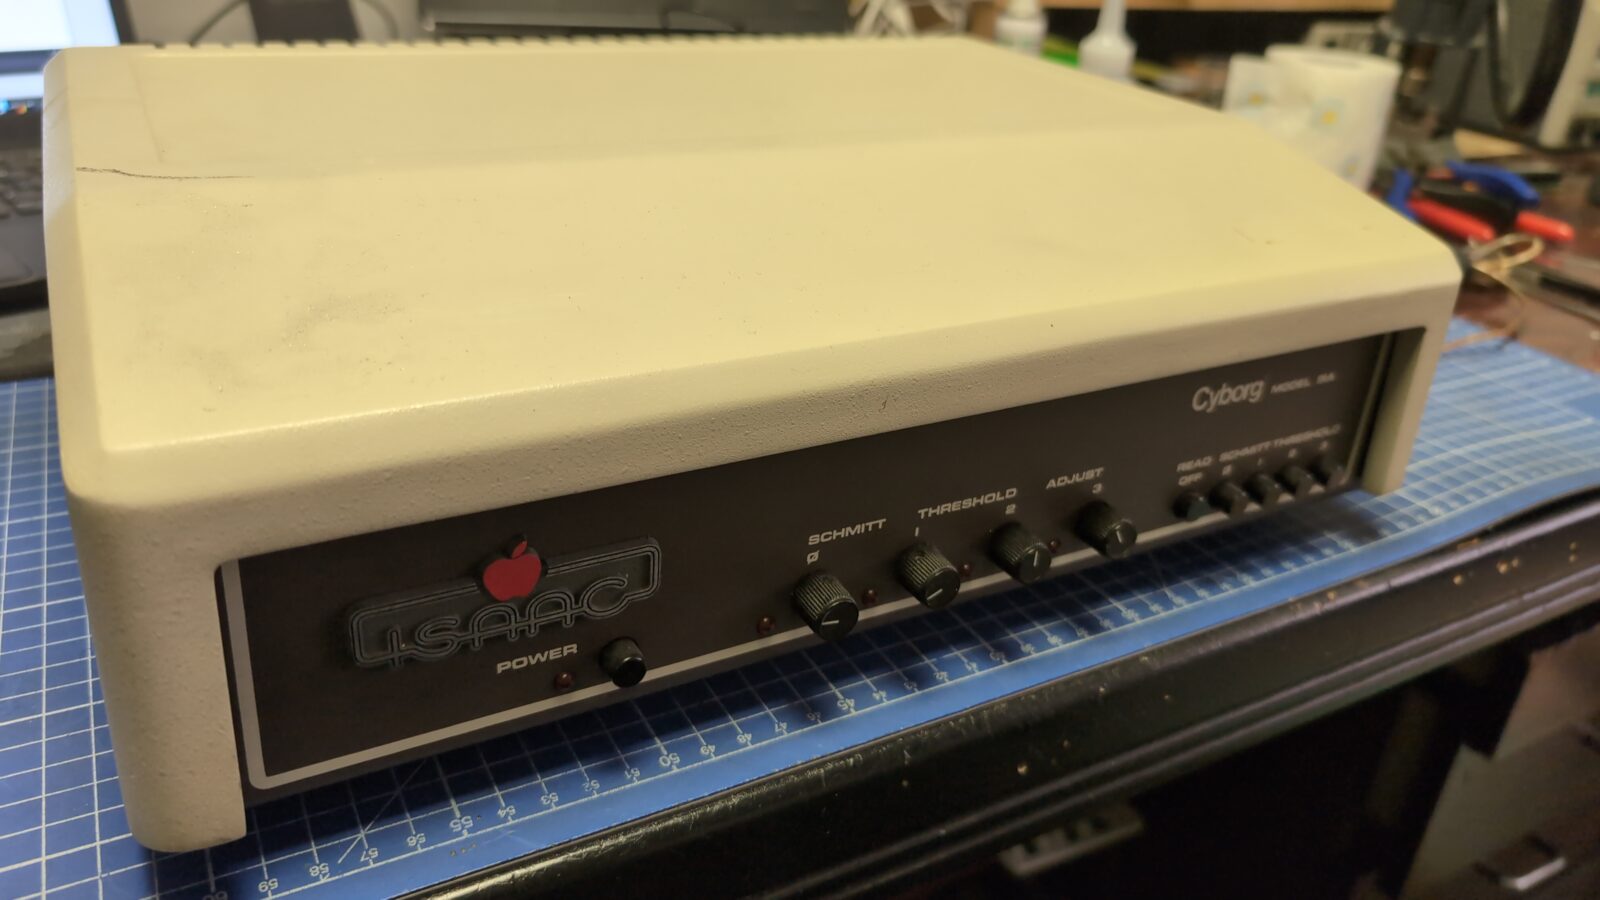
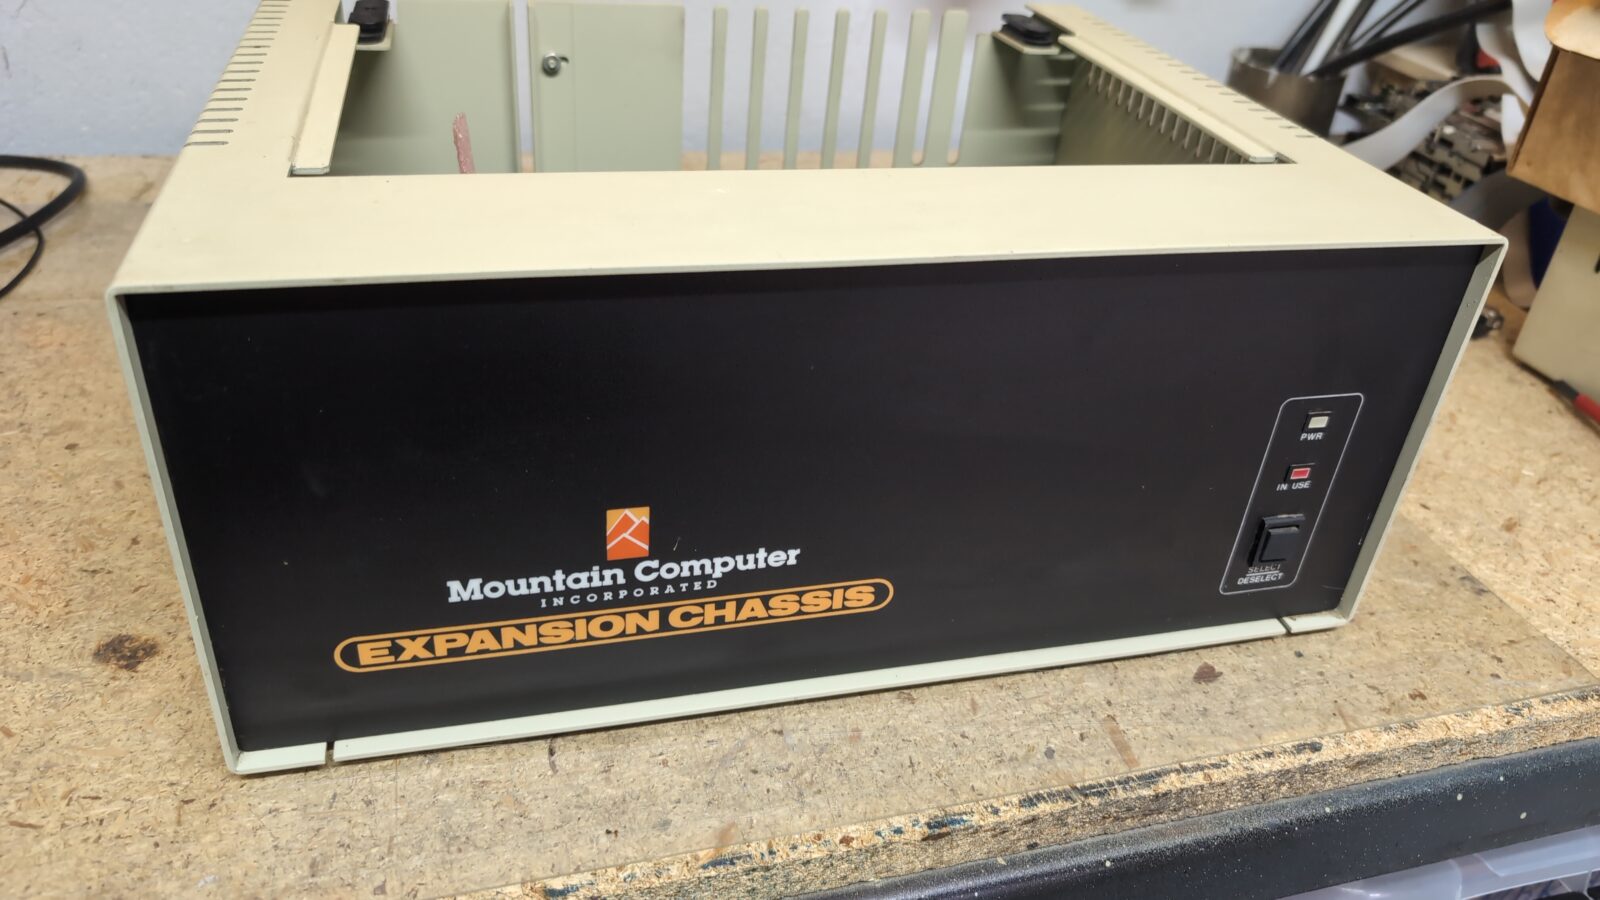
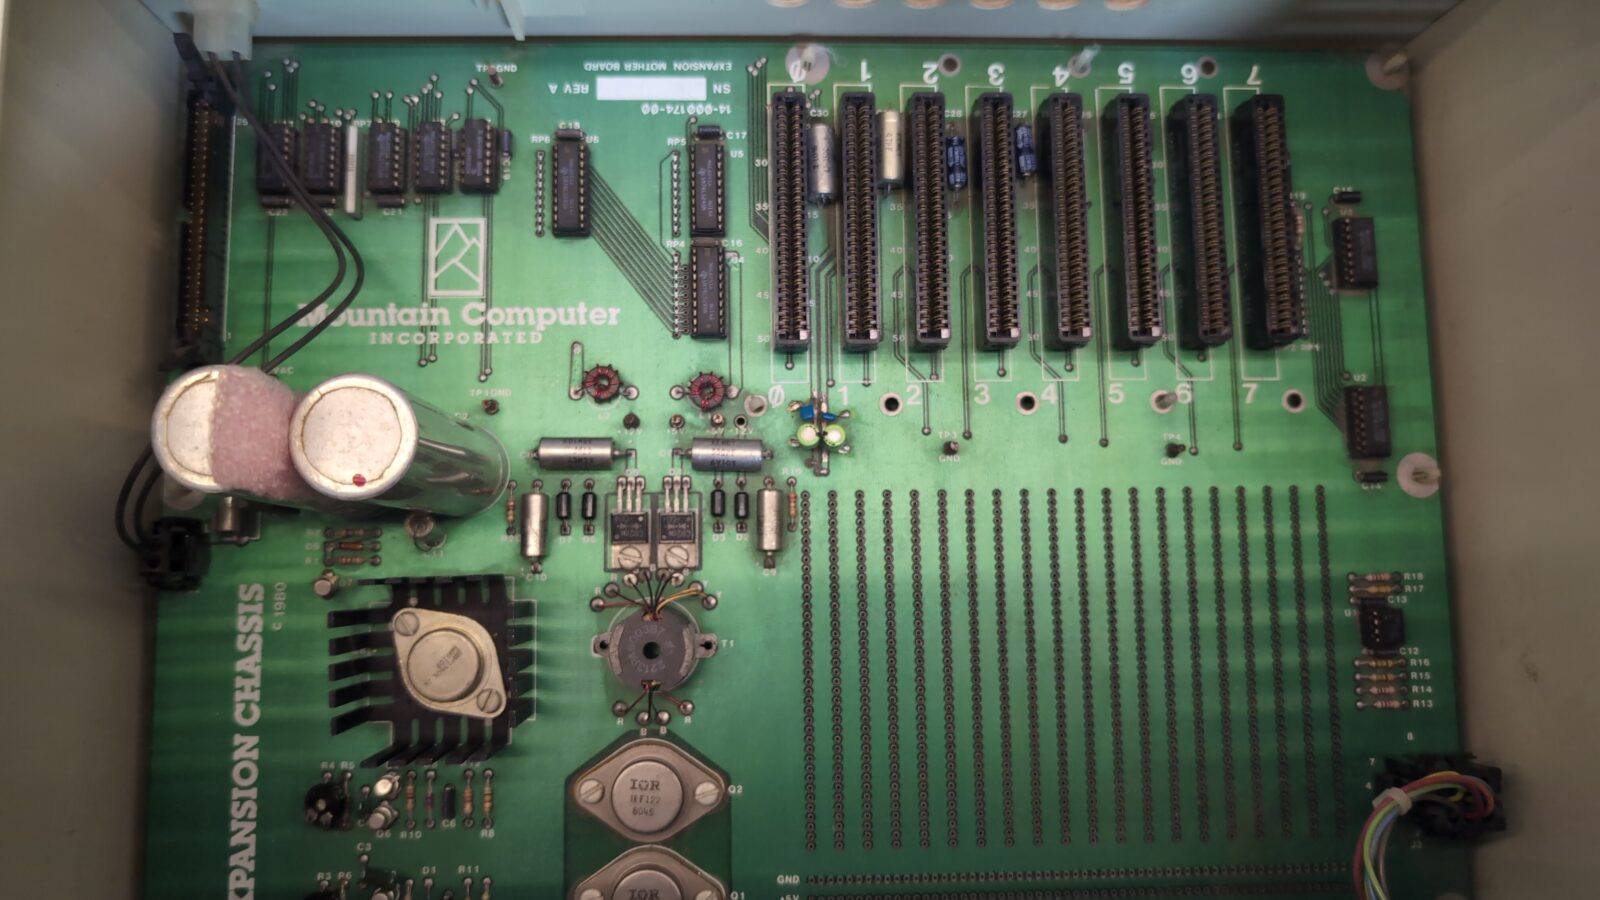
Apart from the above machines, I’ve also cleaned and prepared two interesting Apple II expansions.
I didn’t play with these expansions, only cleaning and PSU testing, but I’ll throw a few pics to document how it looks.
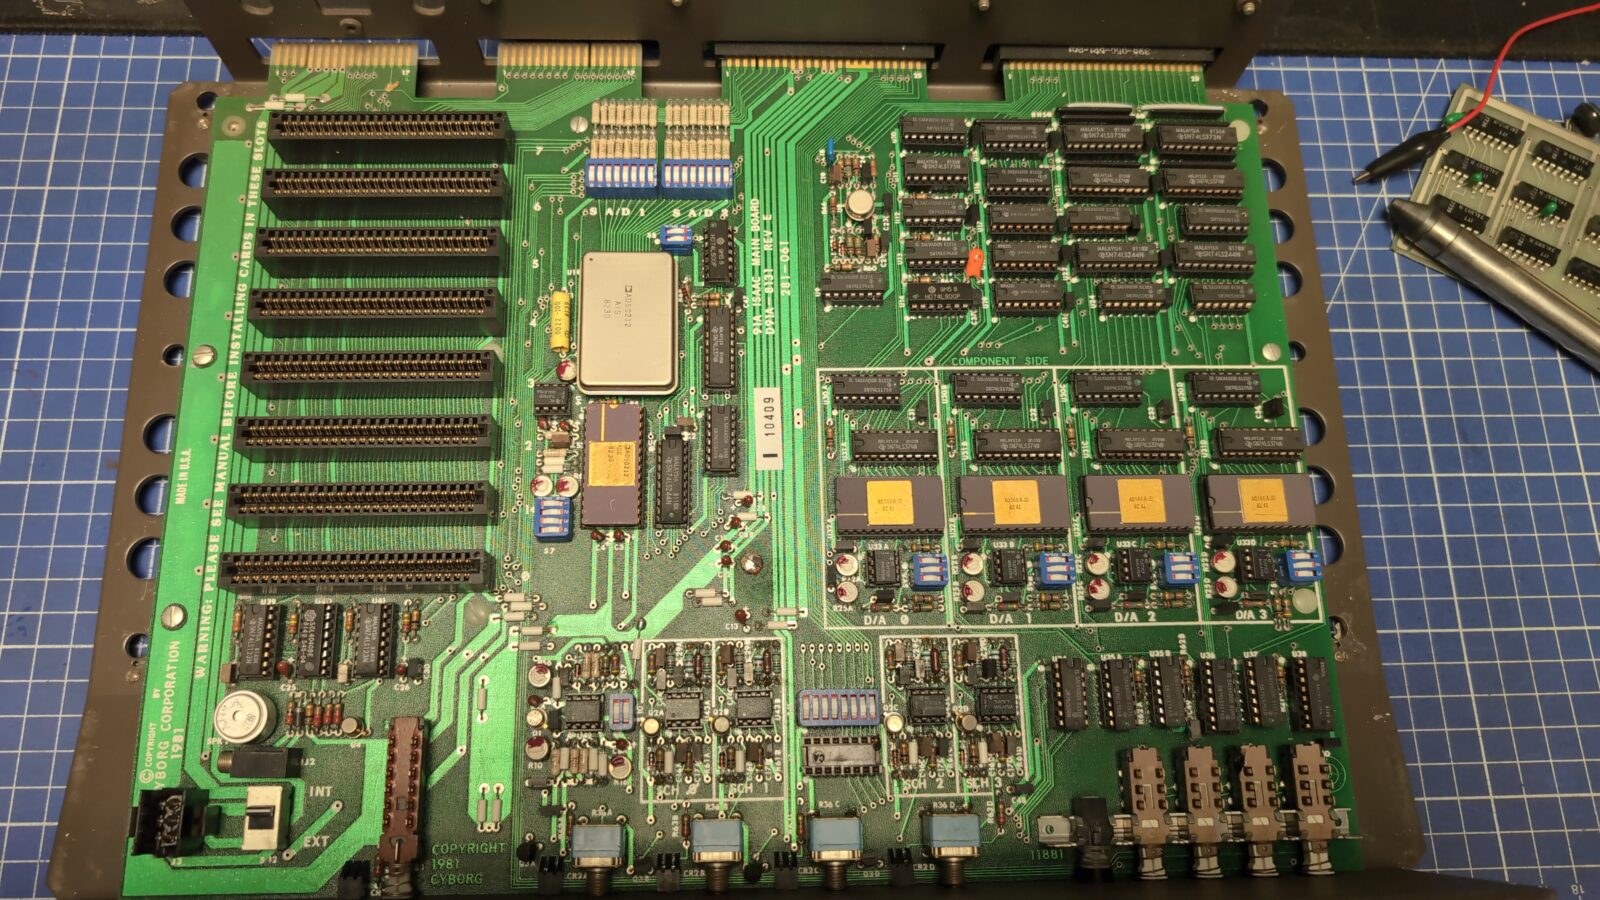
Mountain Computer Hardware Expansion Chassis
The end
This is it for now. There are still quite a few Apple II units that I have to cover on this blog, but this is for another post :>