… or my first dive into Apple II
Intro
There are tons of computer equipment in the “to sort out” queue. This “to sort out” means restoration but often upgrades and modding. Today, I will cover refurbishing, upgrading, and modding, this time based on the Apple IIc example. Some of my friends know I’ve bought a large collection of Apple gear for my client. I’ve got it all from Paweł (cheers mate!:) who used to be a diehard collectior and had nice gems in his collection. All of these machines will be covered in this blog in future posts. Actually, some were covered already.
Restoring dot-matrix printer ribbon cartridges
#Marchintosh – 2x Macintosh Classic
Let’s start with Apple IIc restoration
This time I will be working on two machines and some peripherals. The post will be a bit chaotic as I’ve worked on it all simultaneously. However, in general, it can be divided into the following parts:
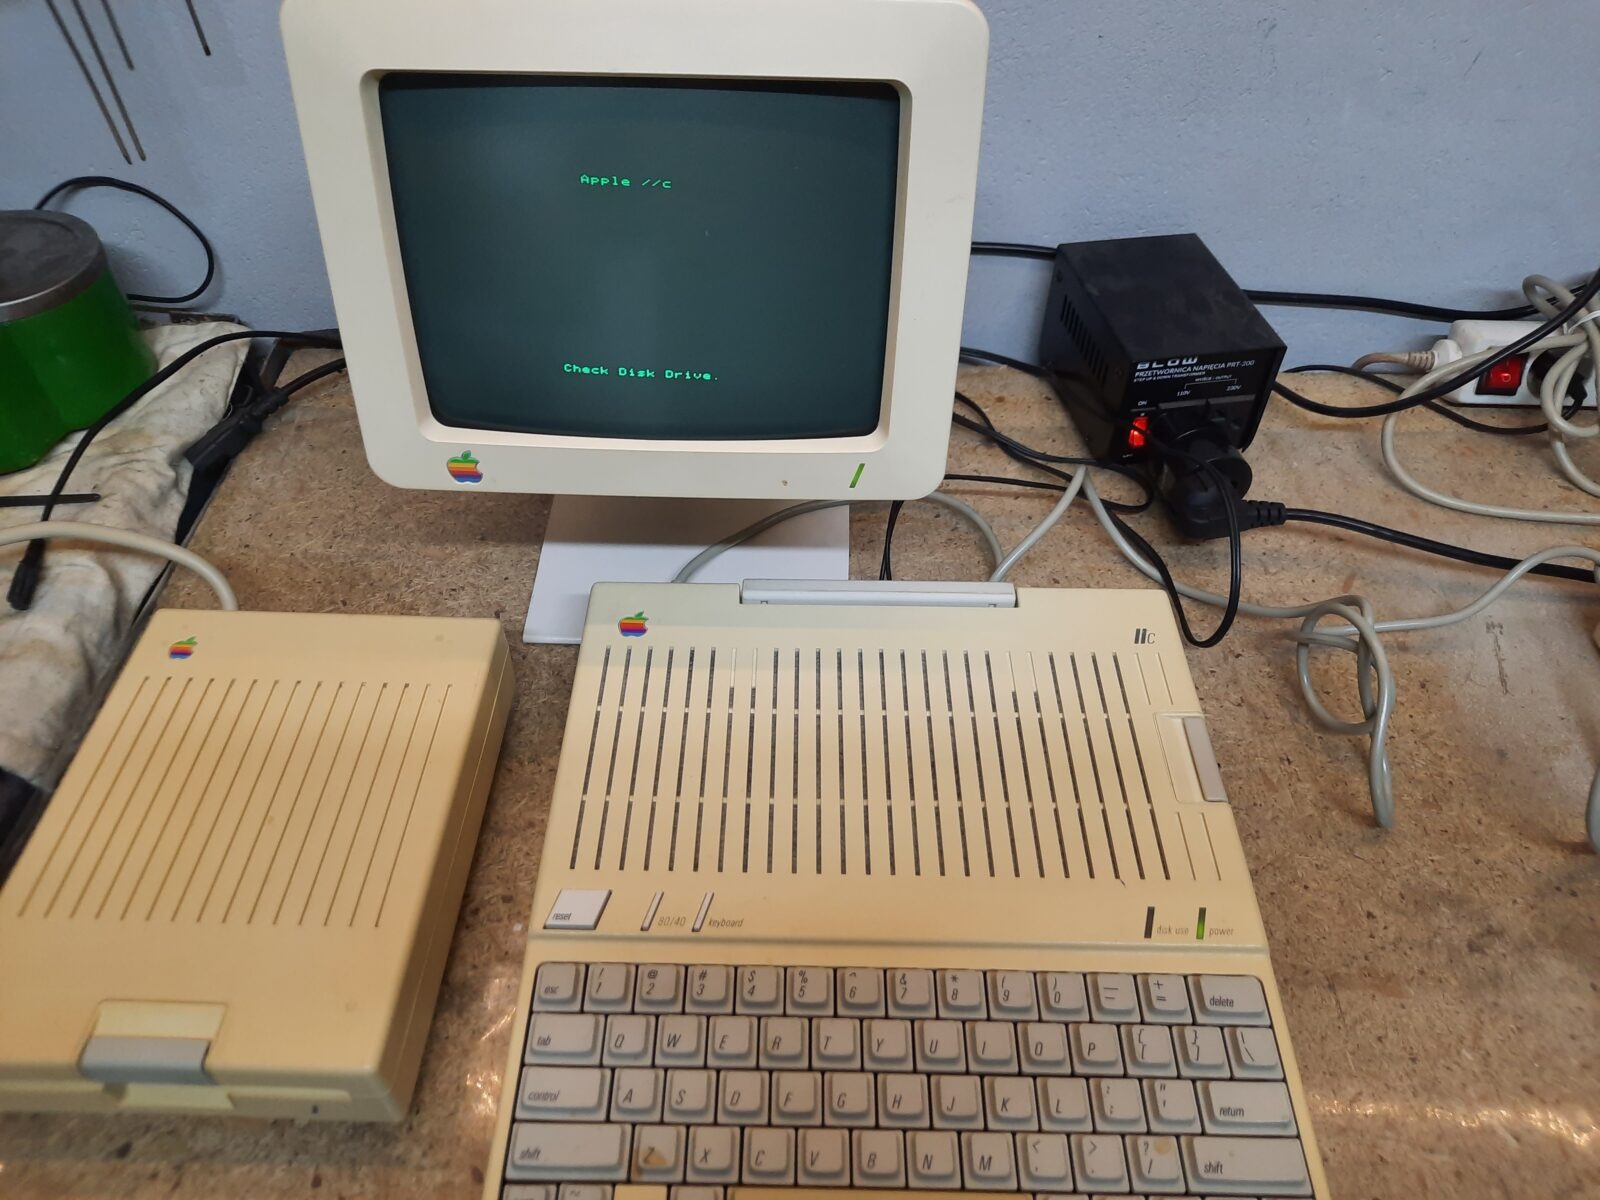
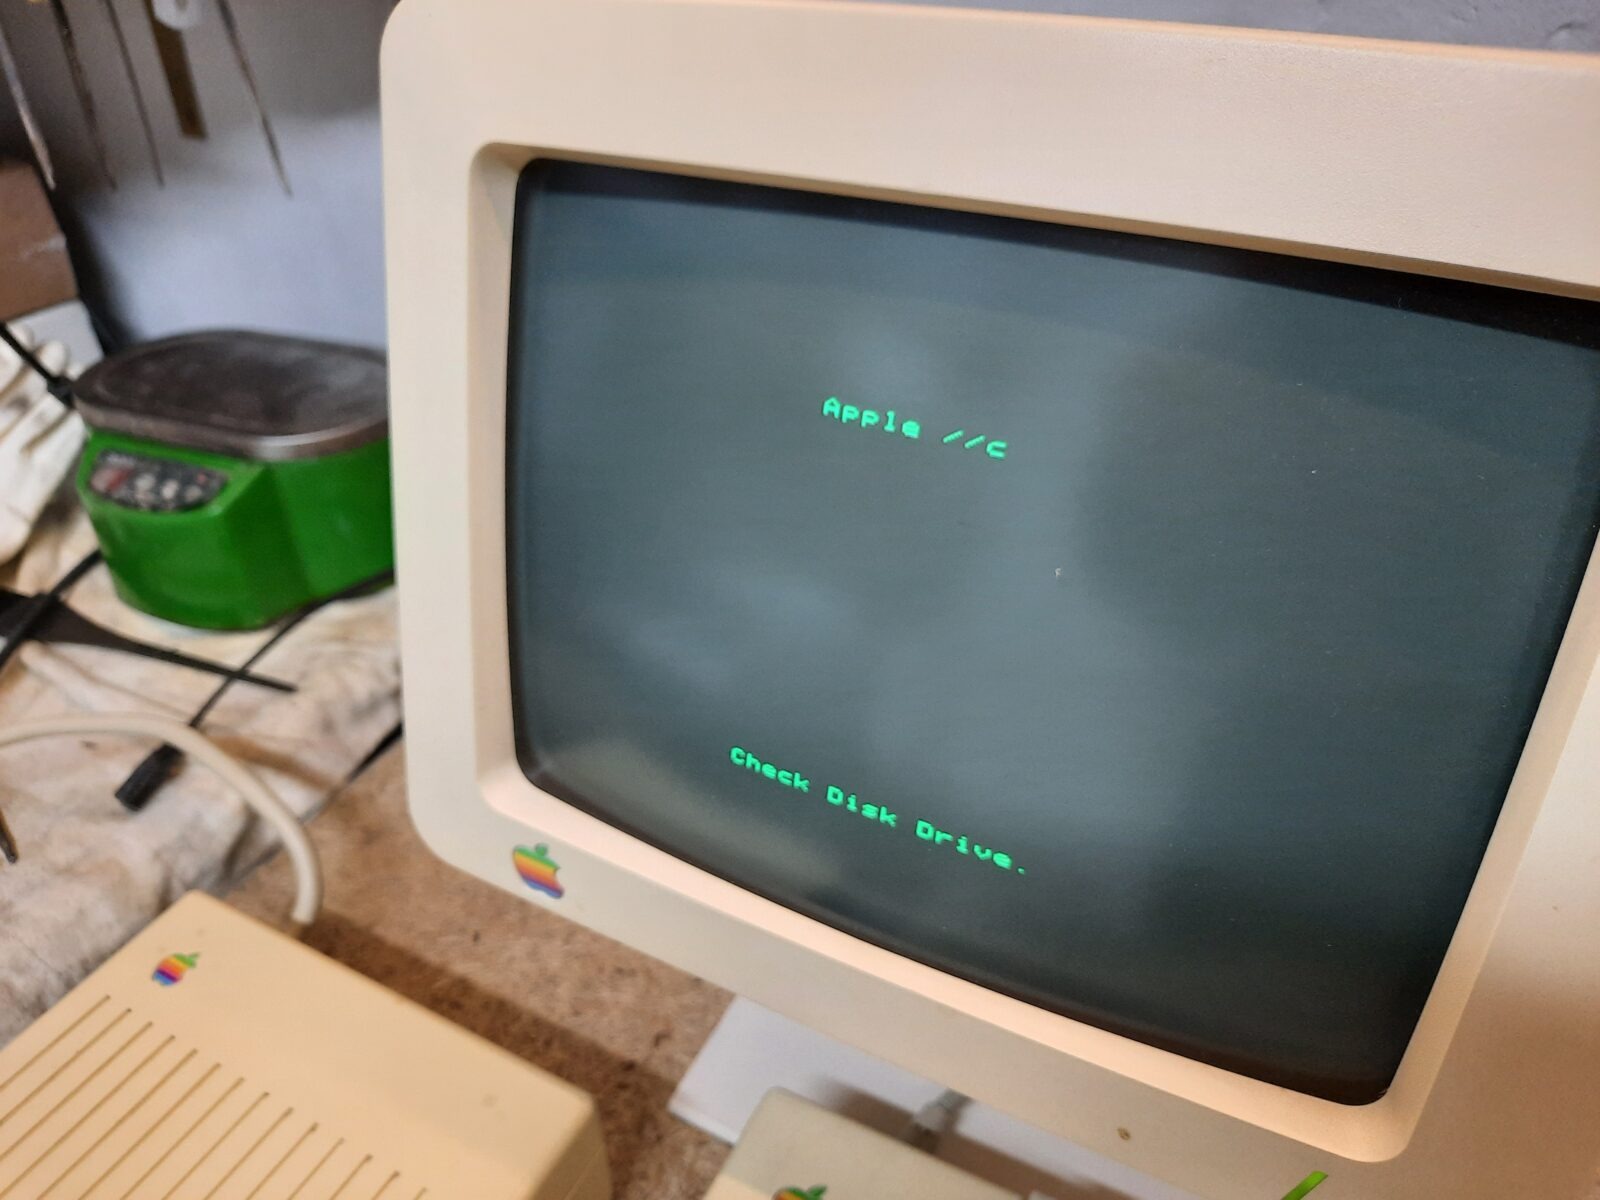
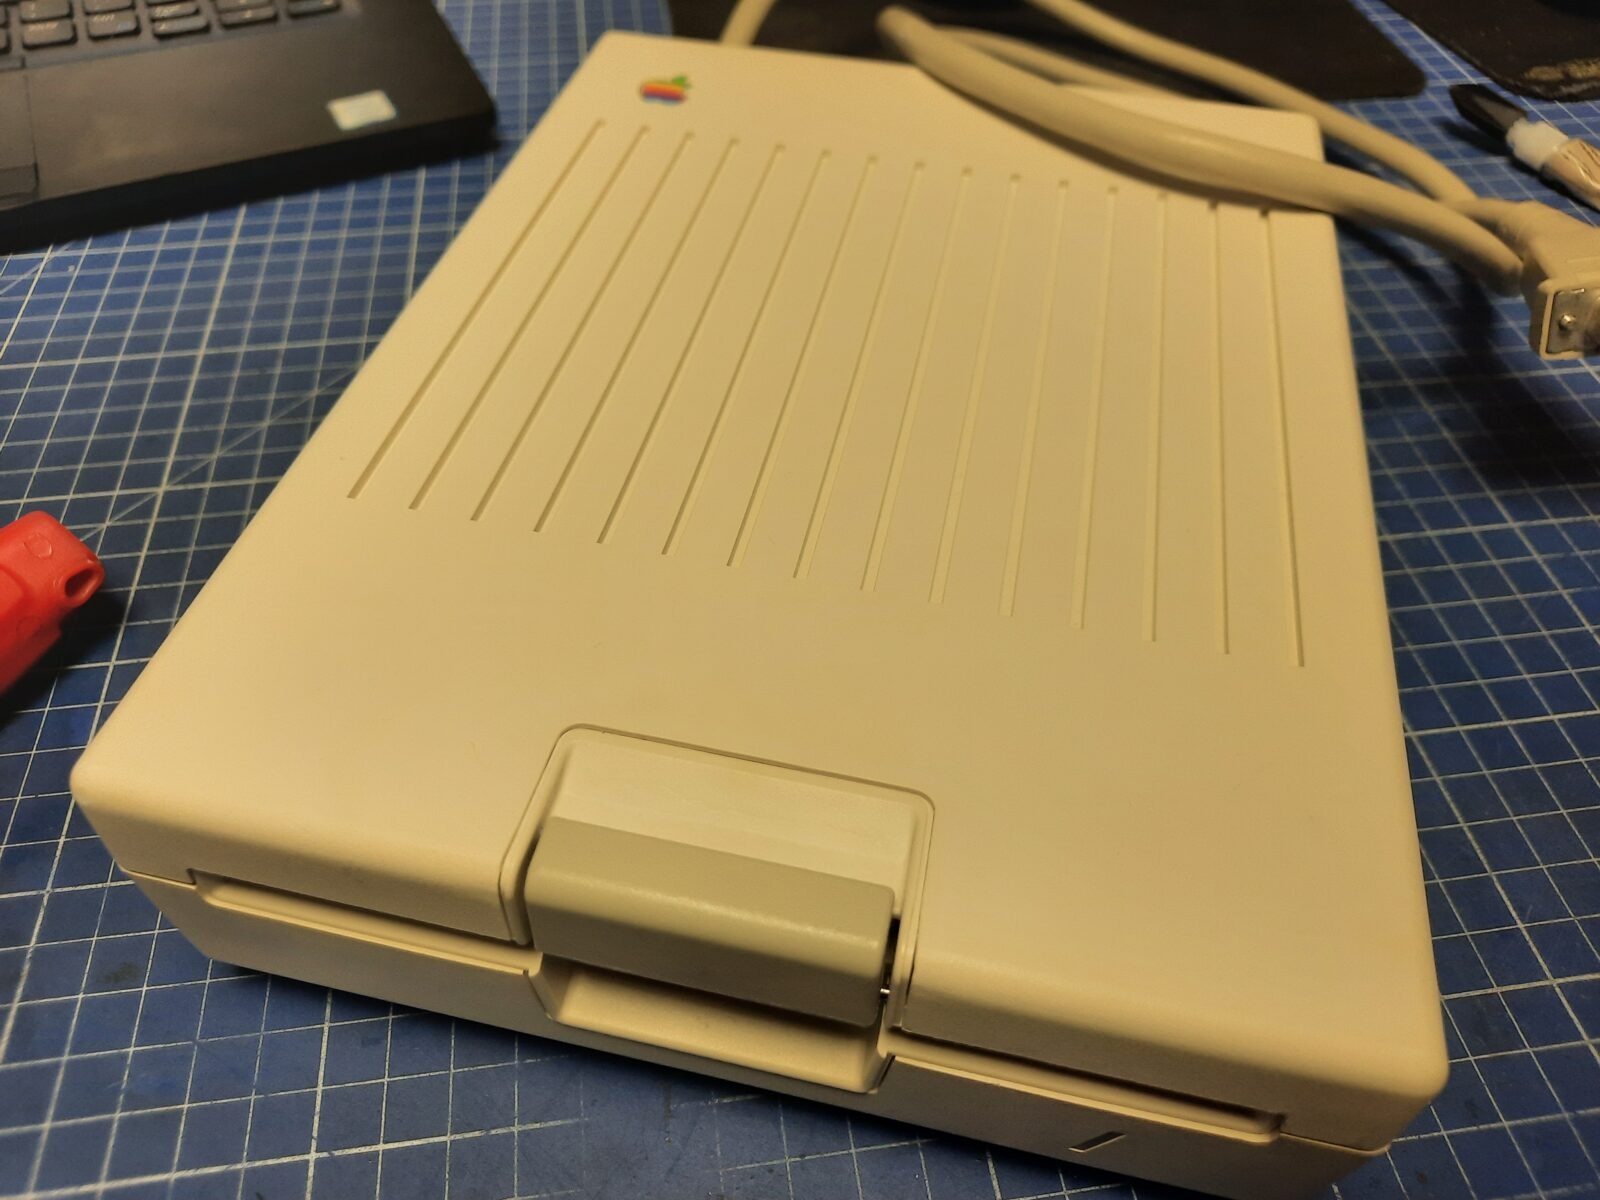
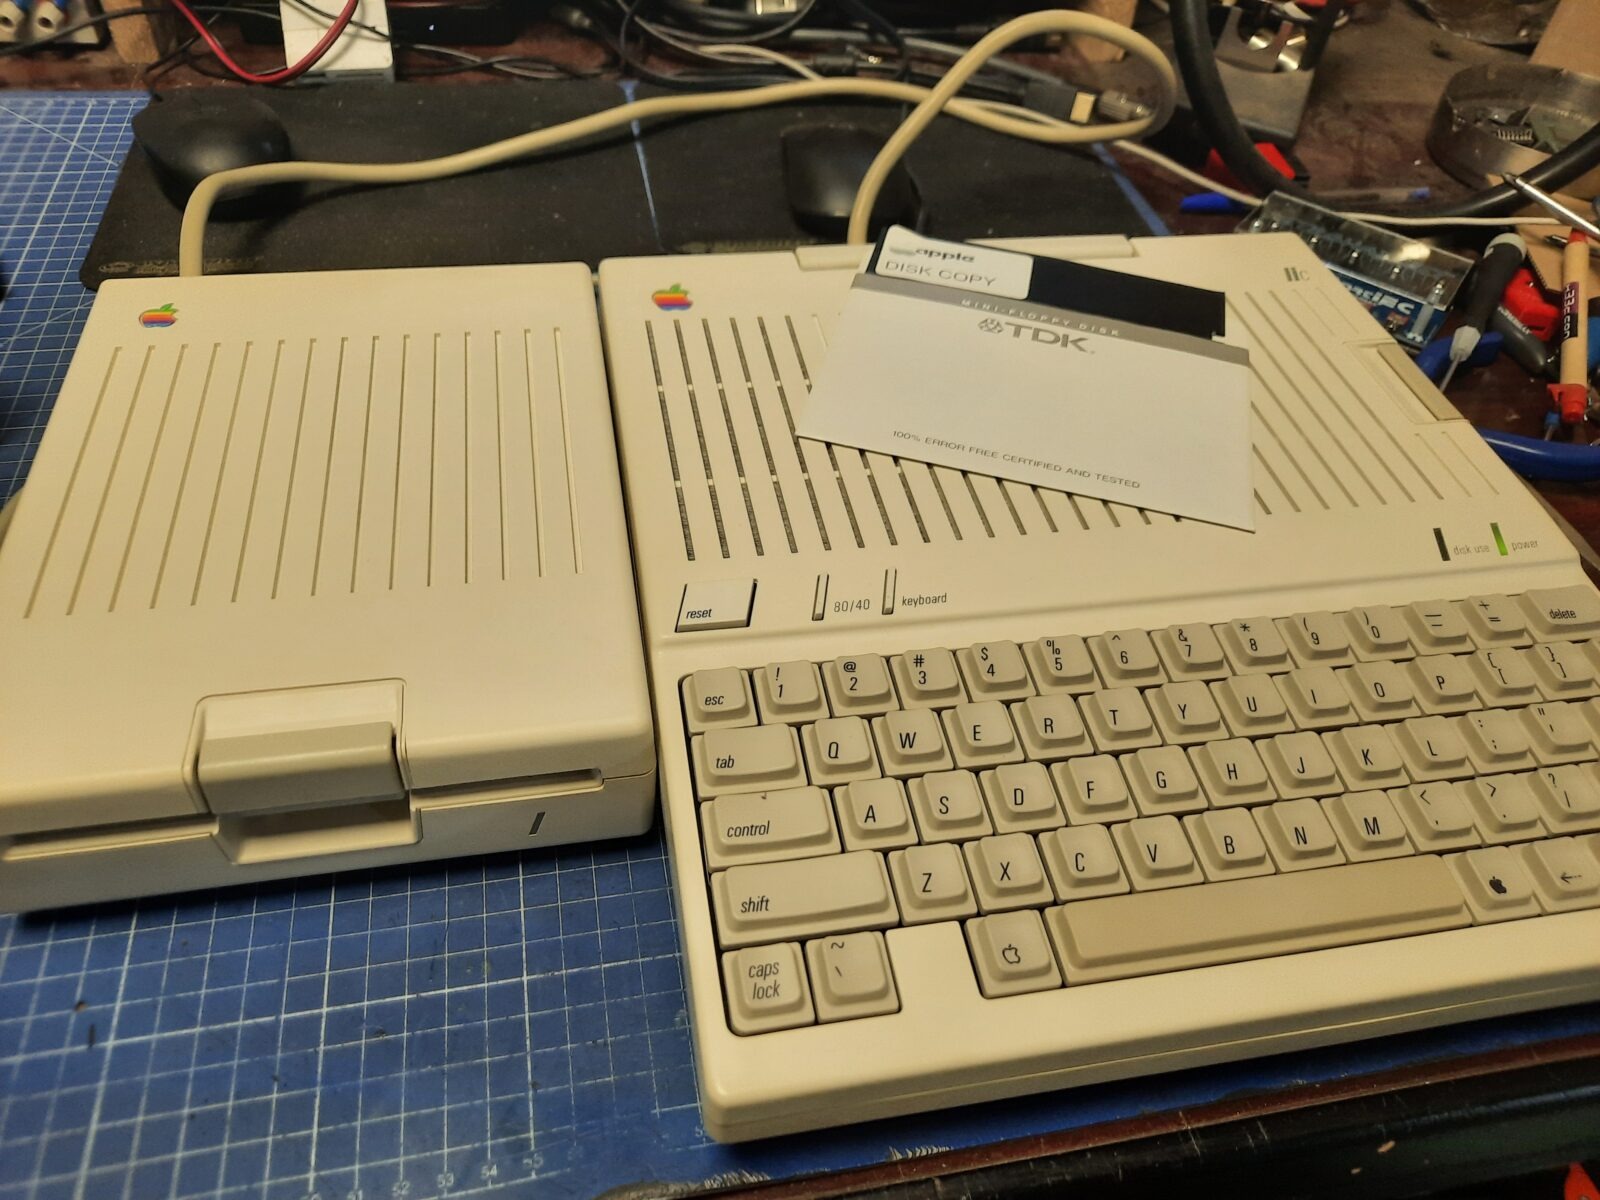
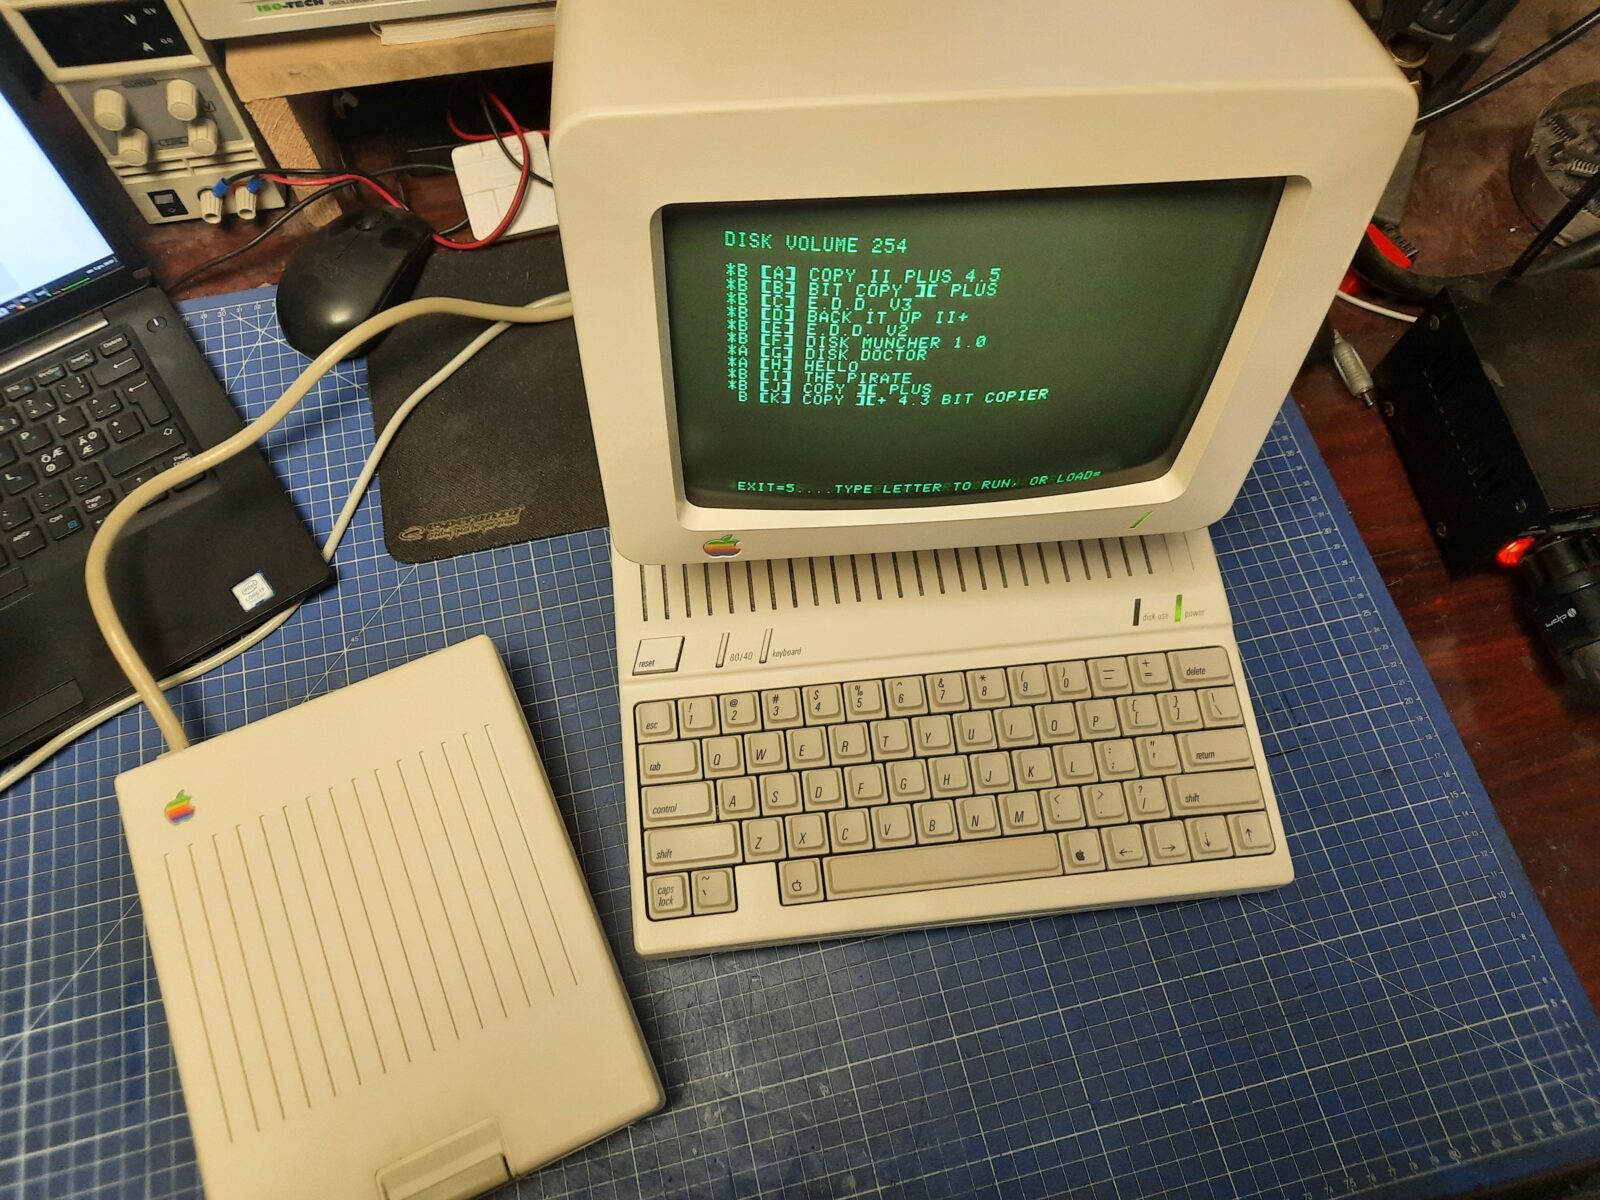
- Stock Apple IIc + CRT monitor + external 5.25 drive
- Modded Apple IIc +LCD
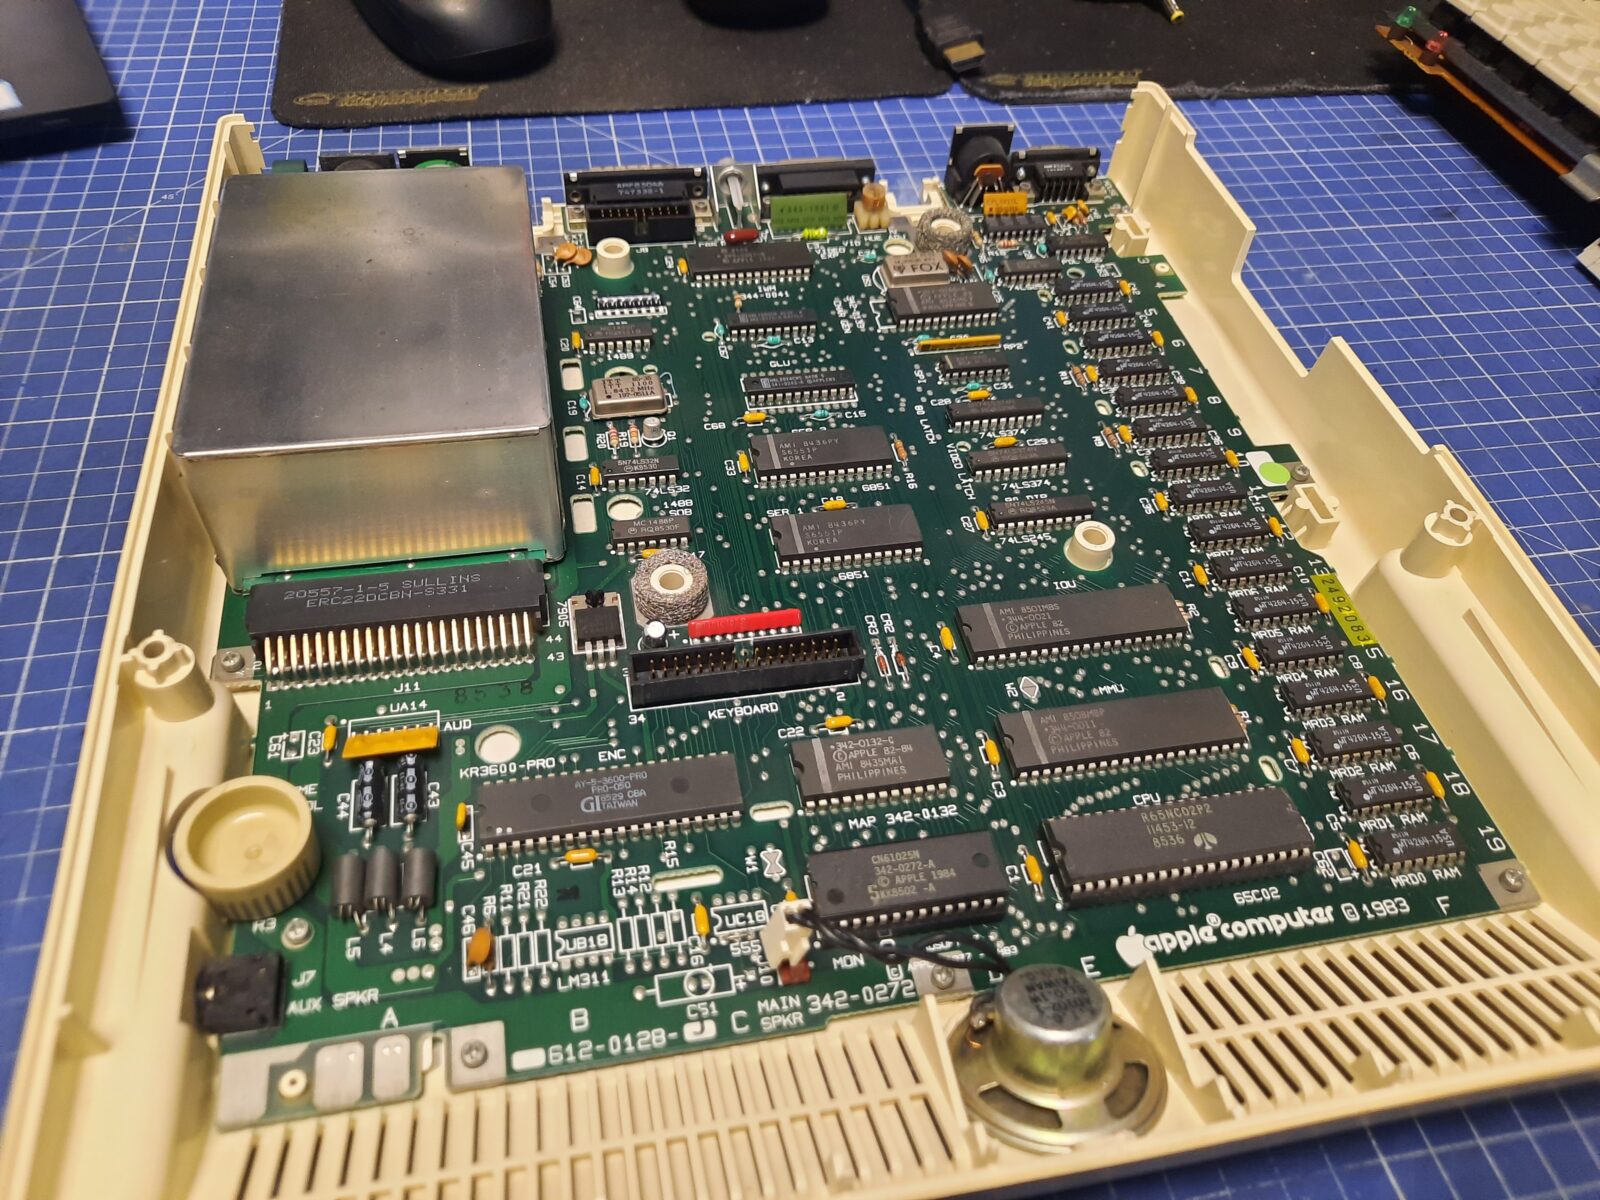
1. Apple IIc + CRT + external 5.25 drive
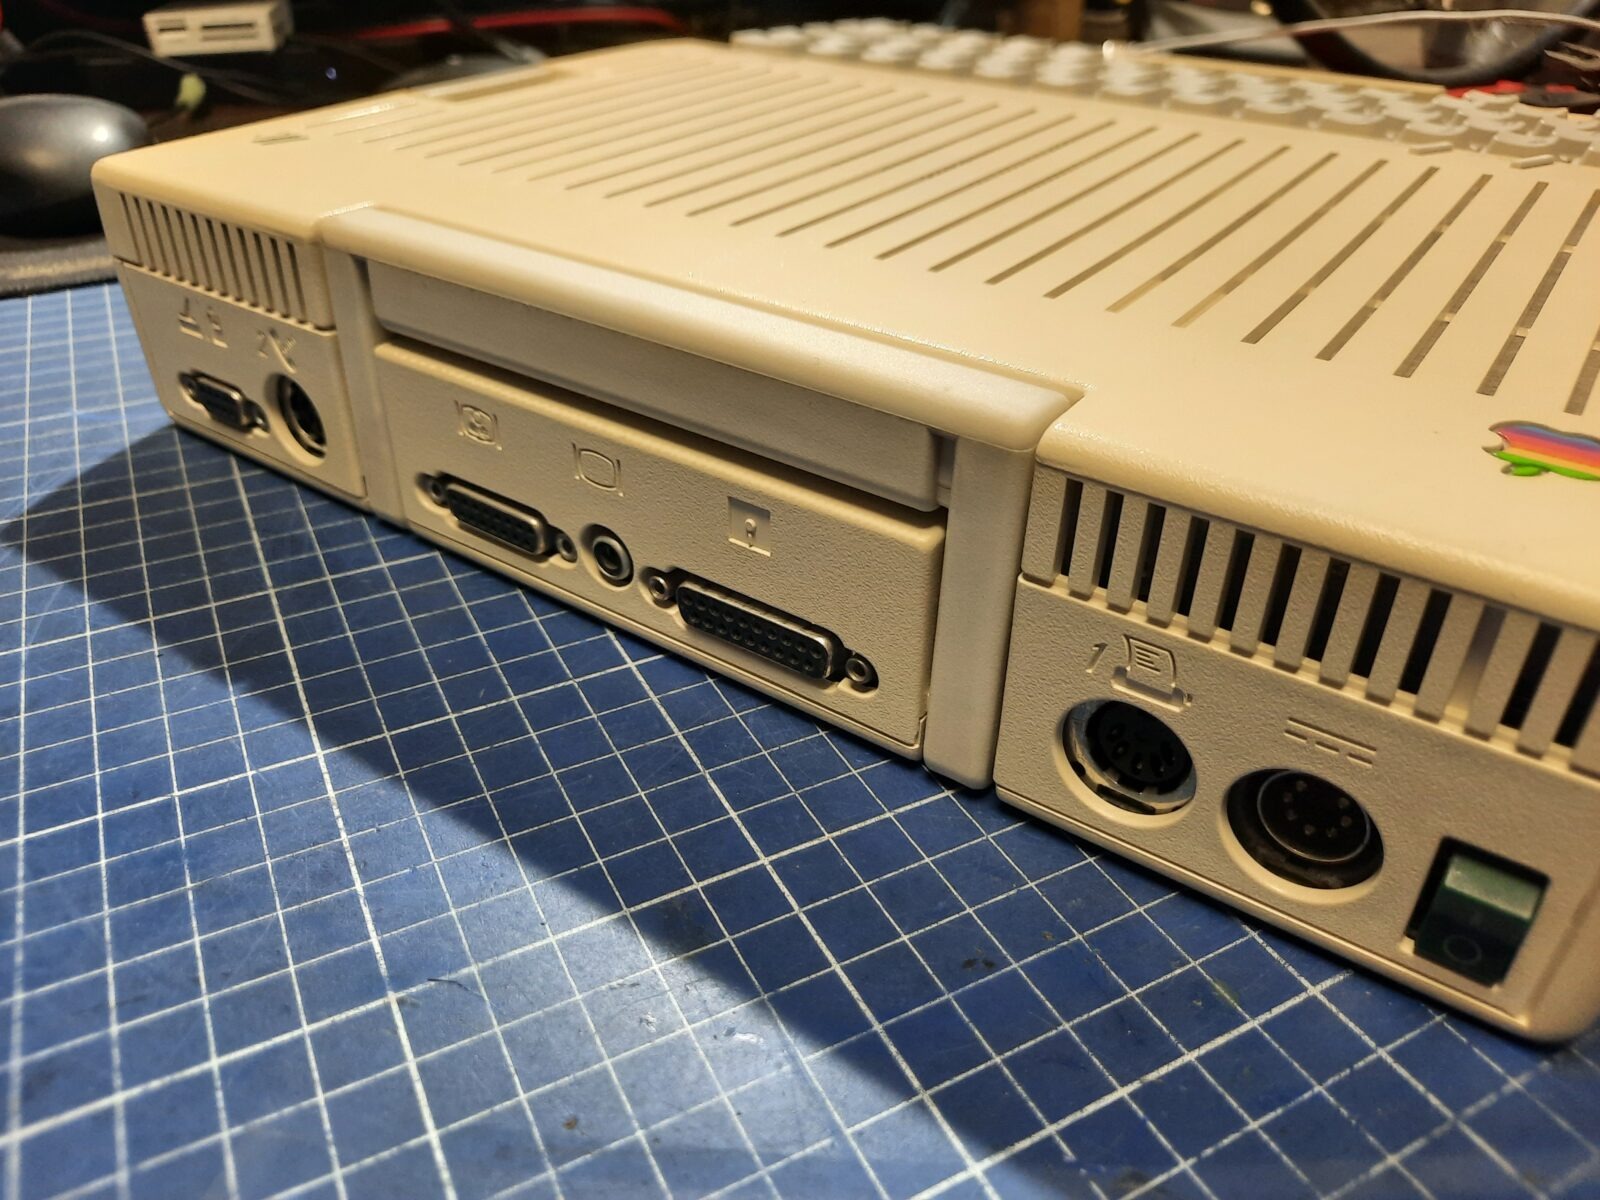
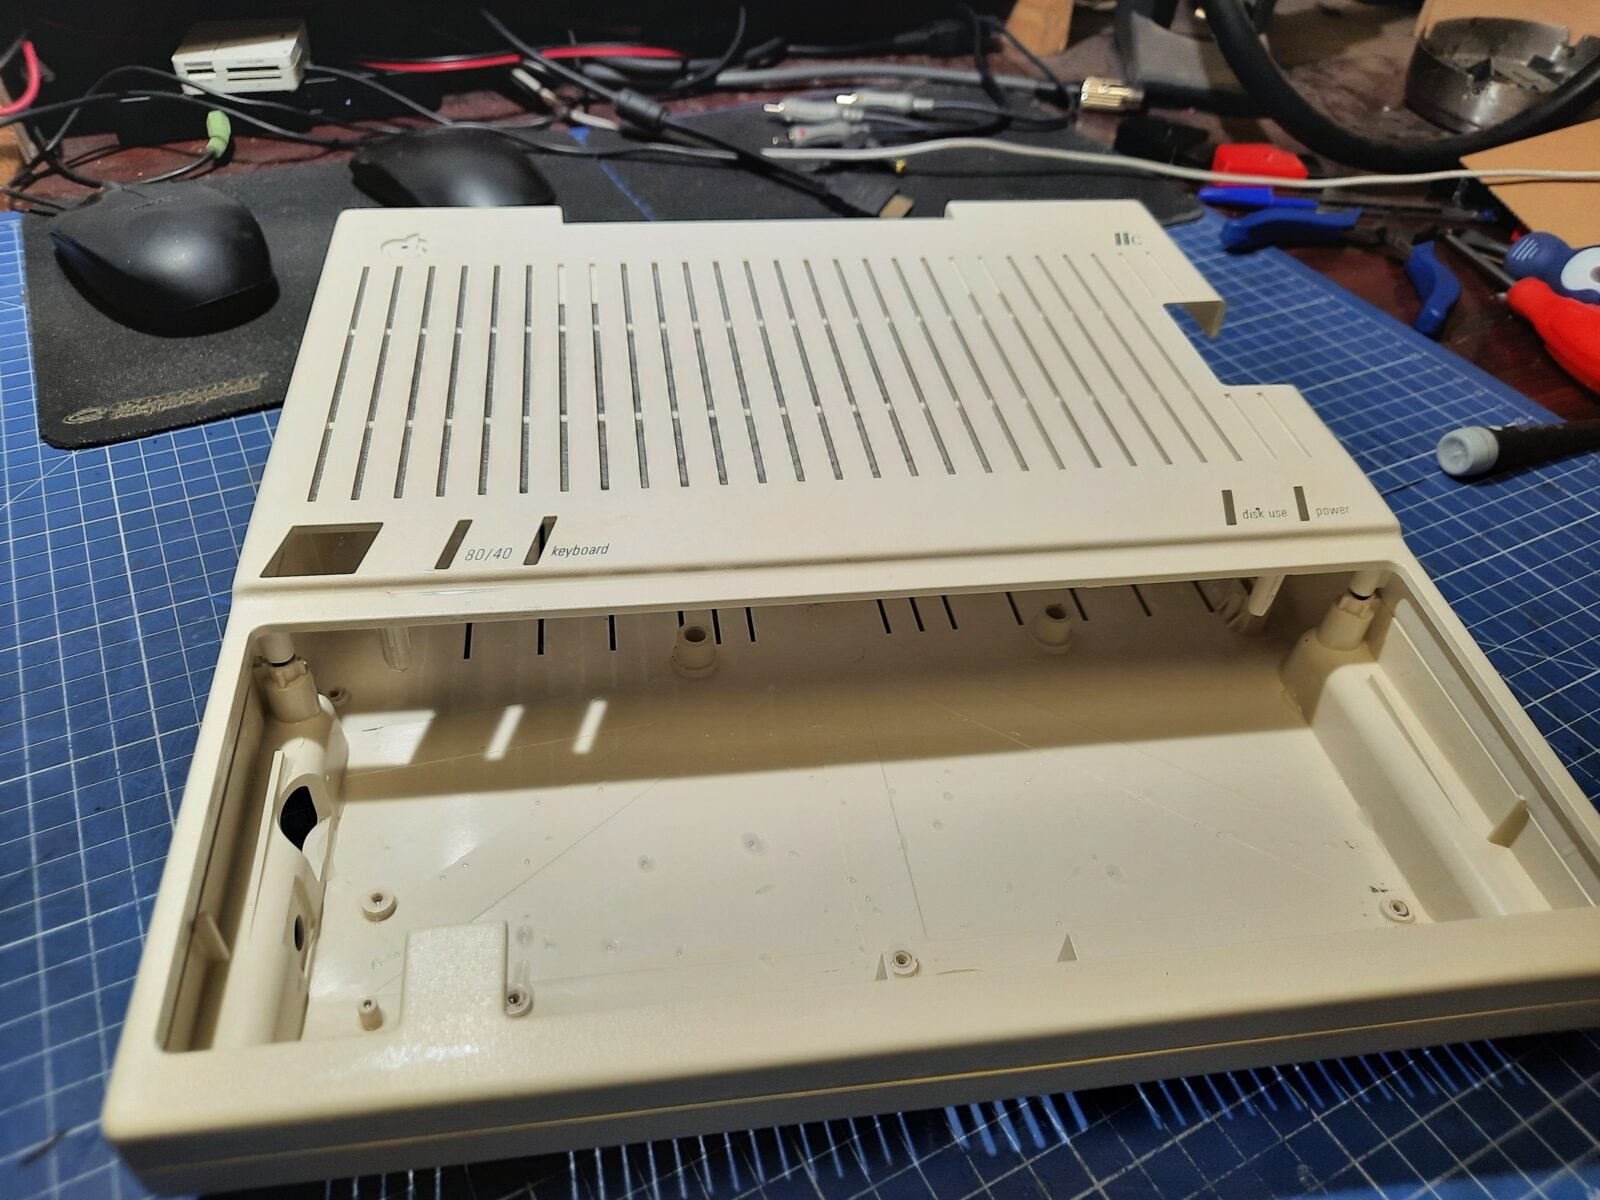
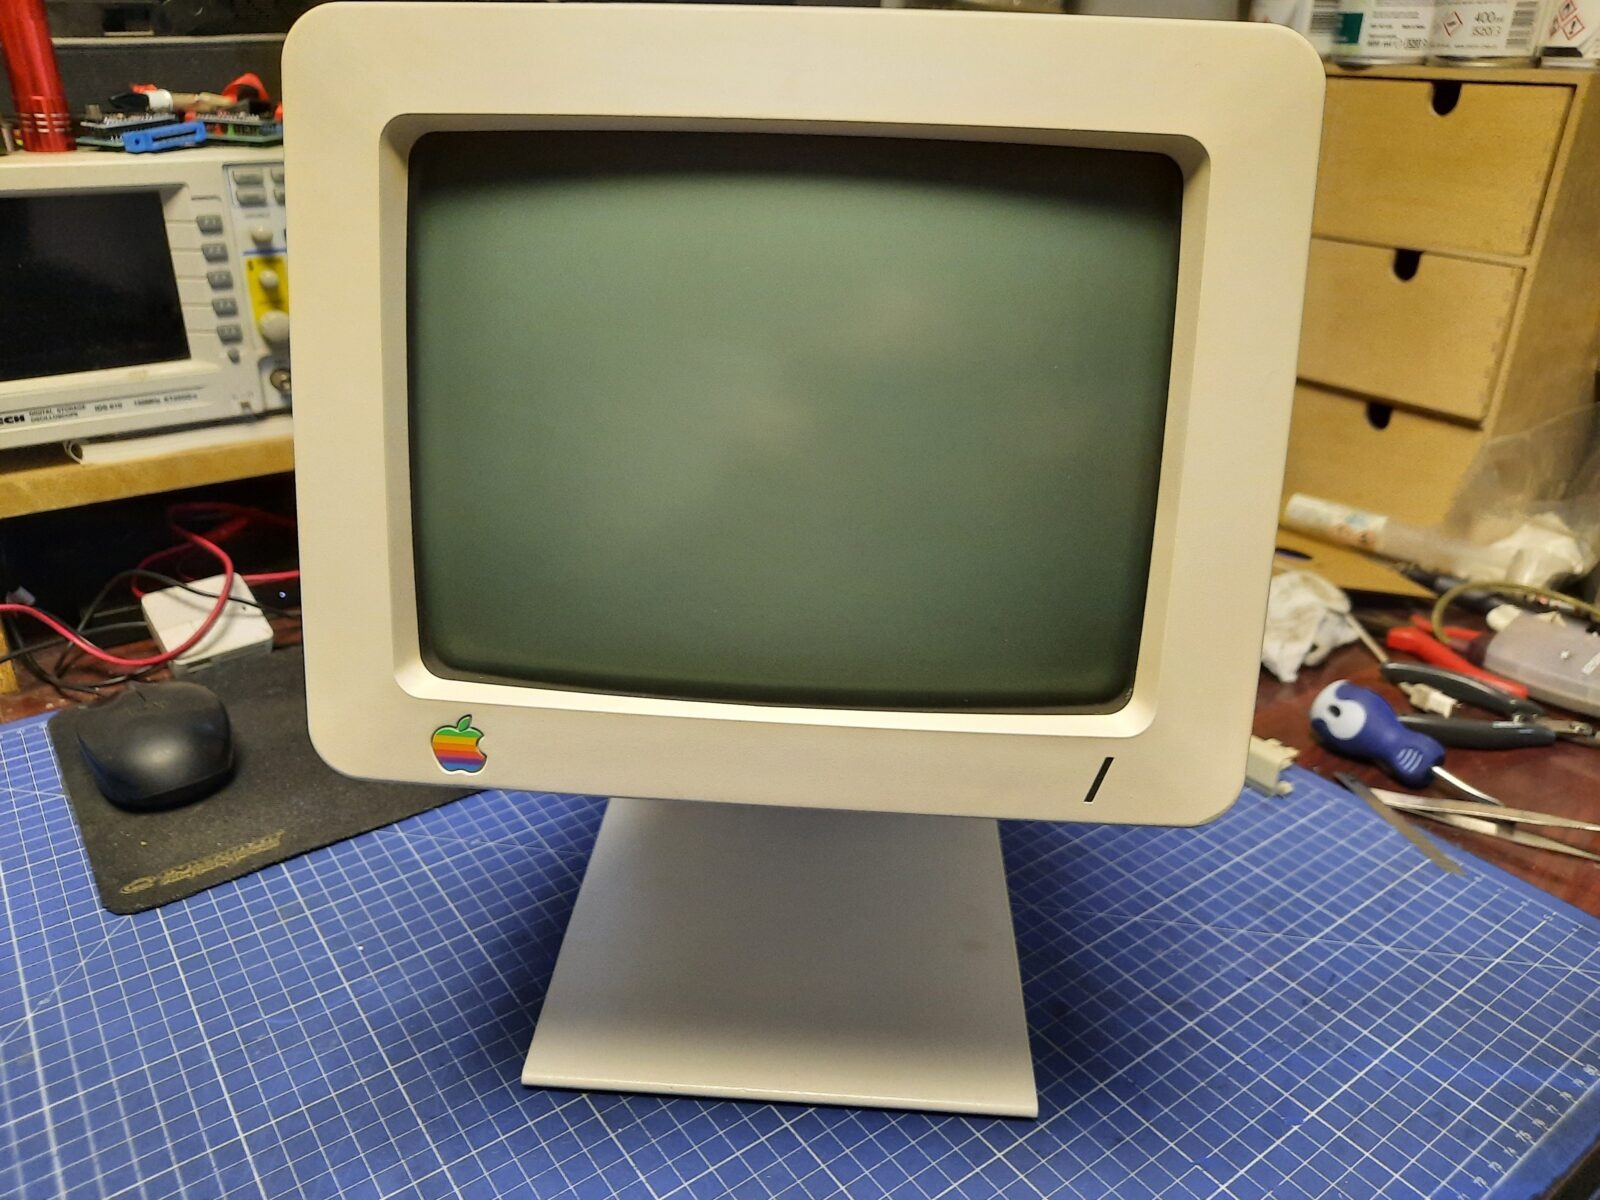
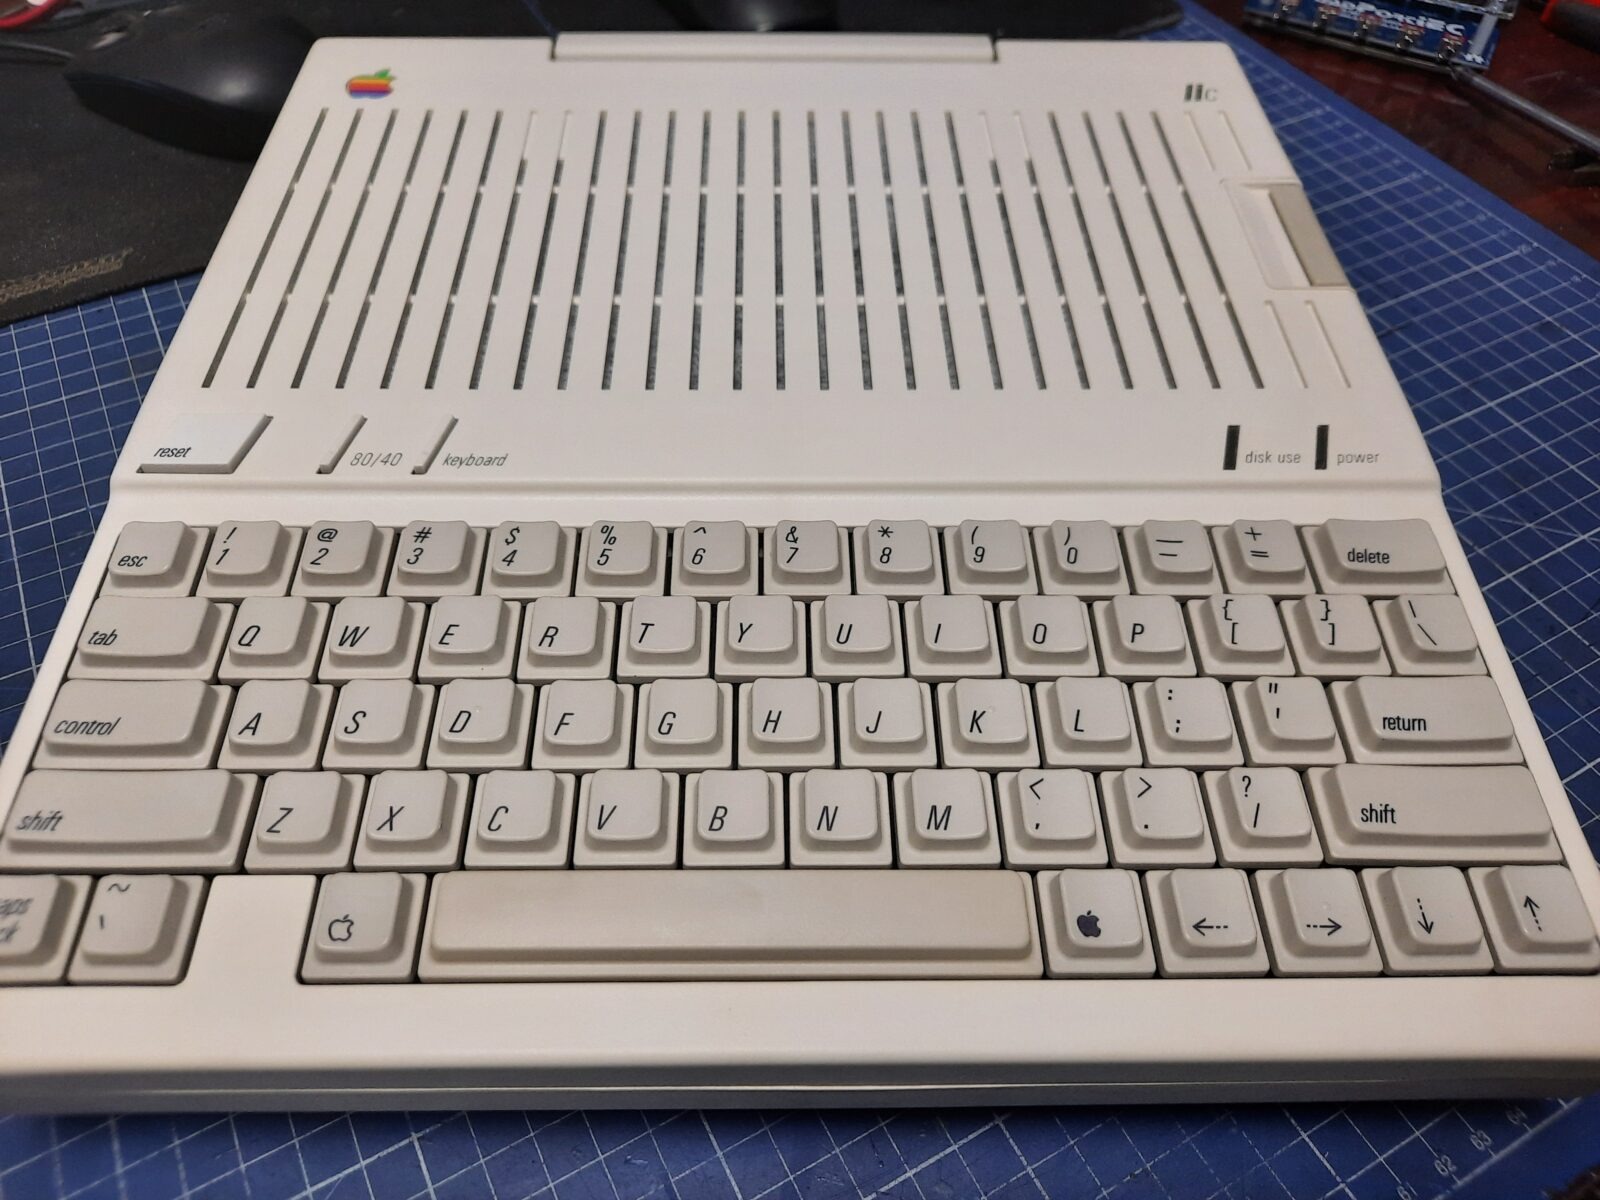
The machine was in good shape and working order so the idea for this unit was to refurbish, service, and retr0bright it but leave it in stock condition.
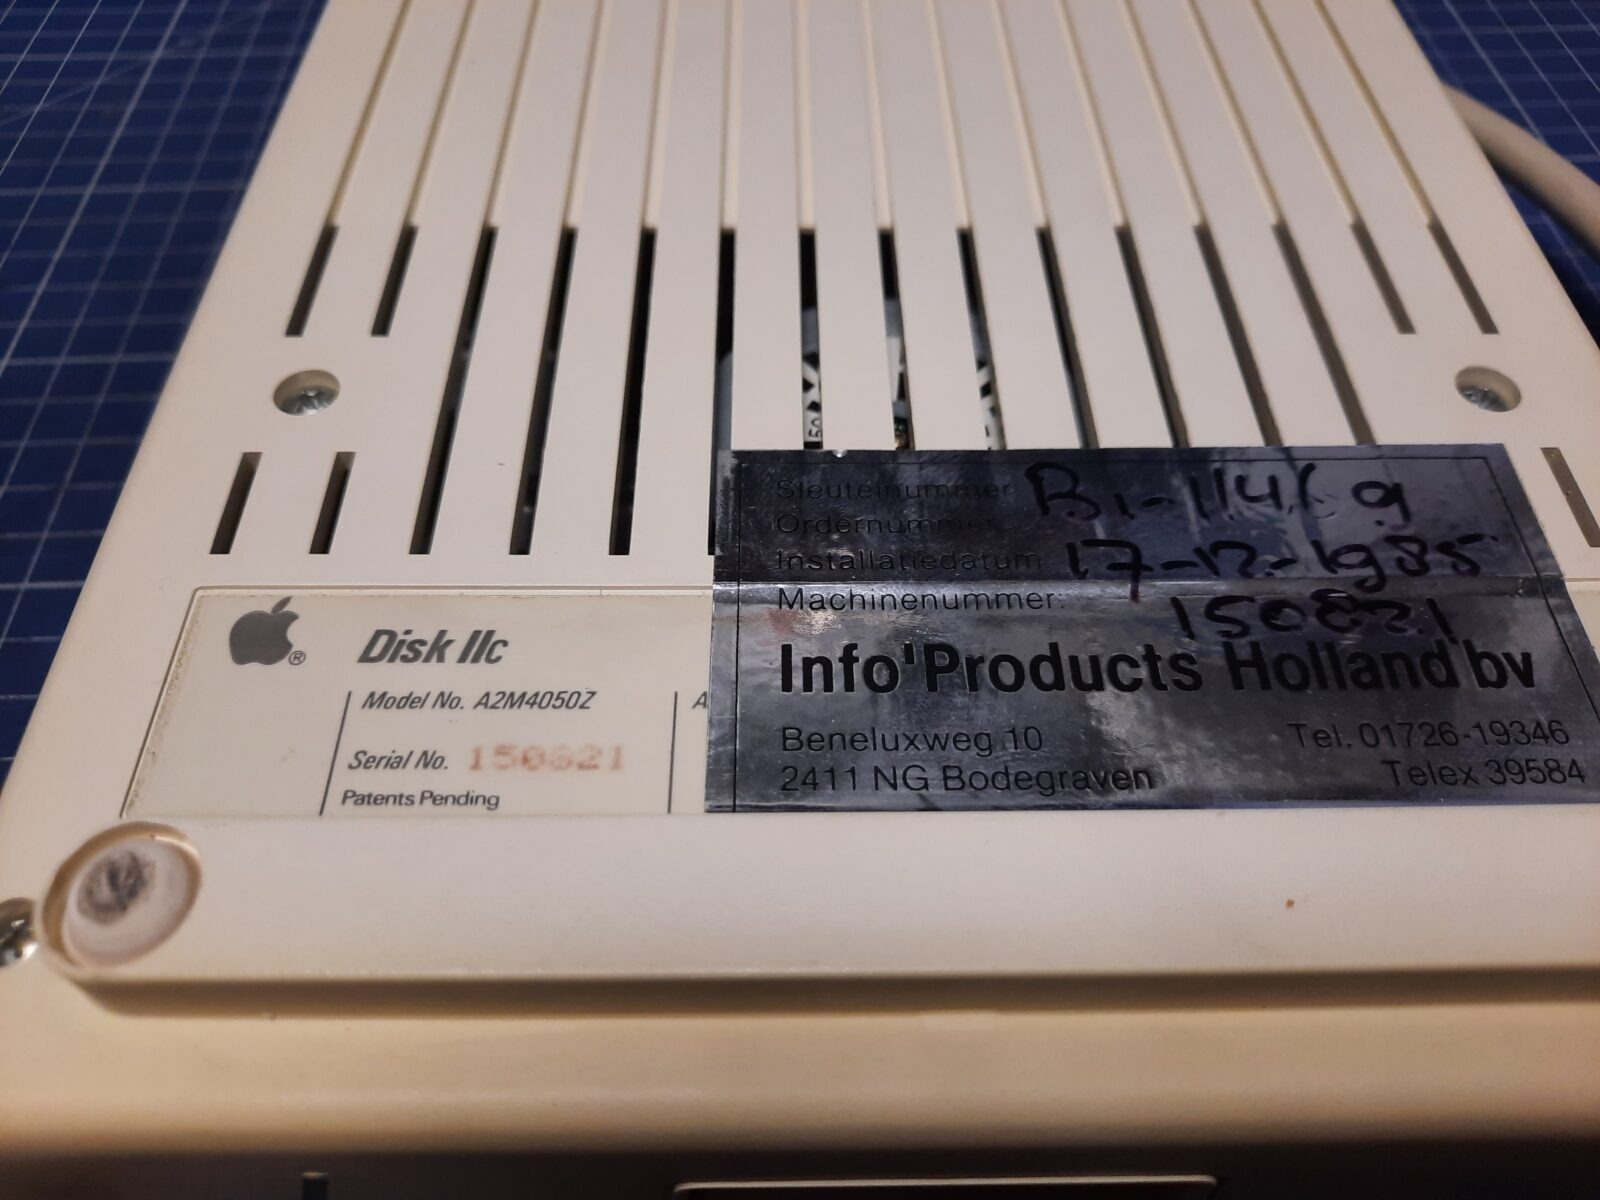
Here is how it looked.


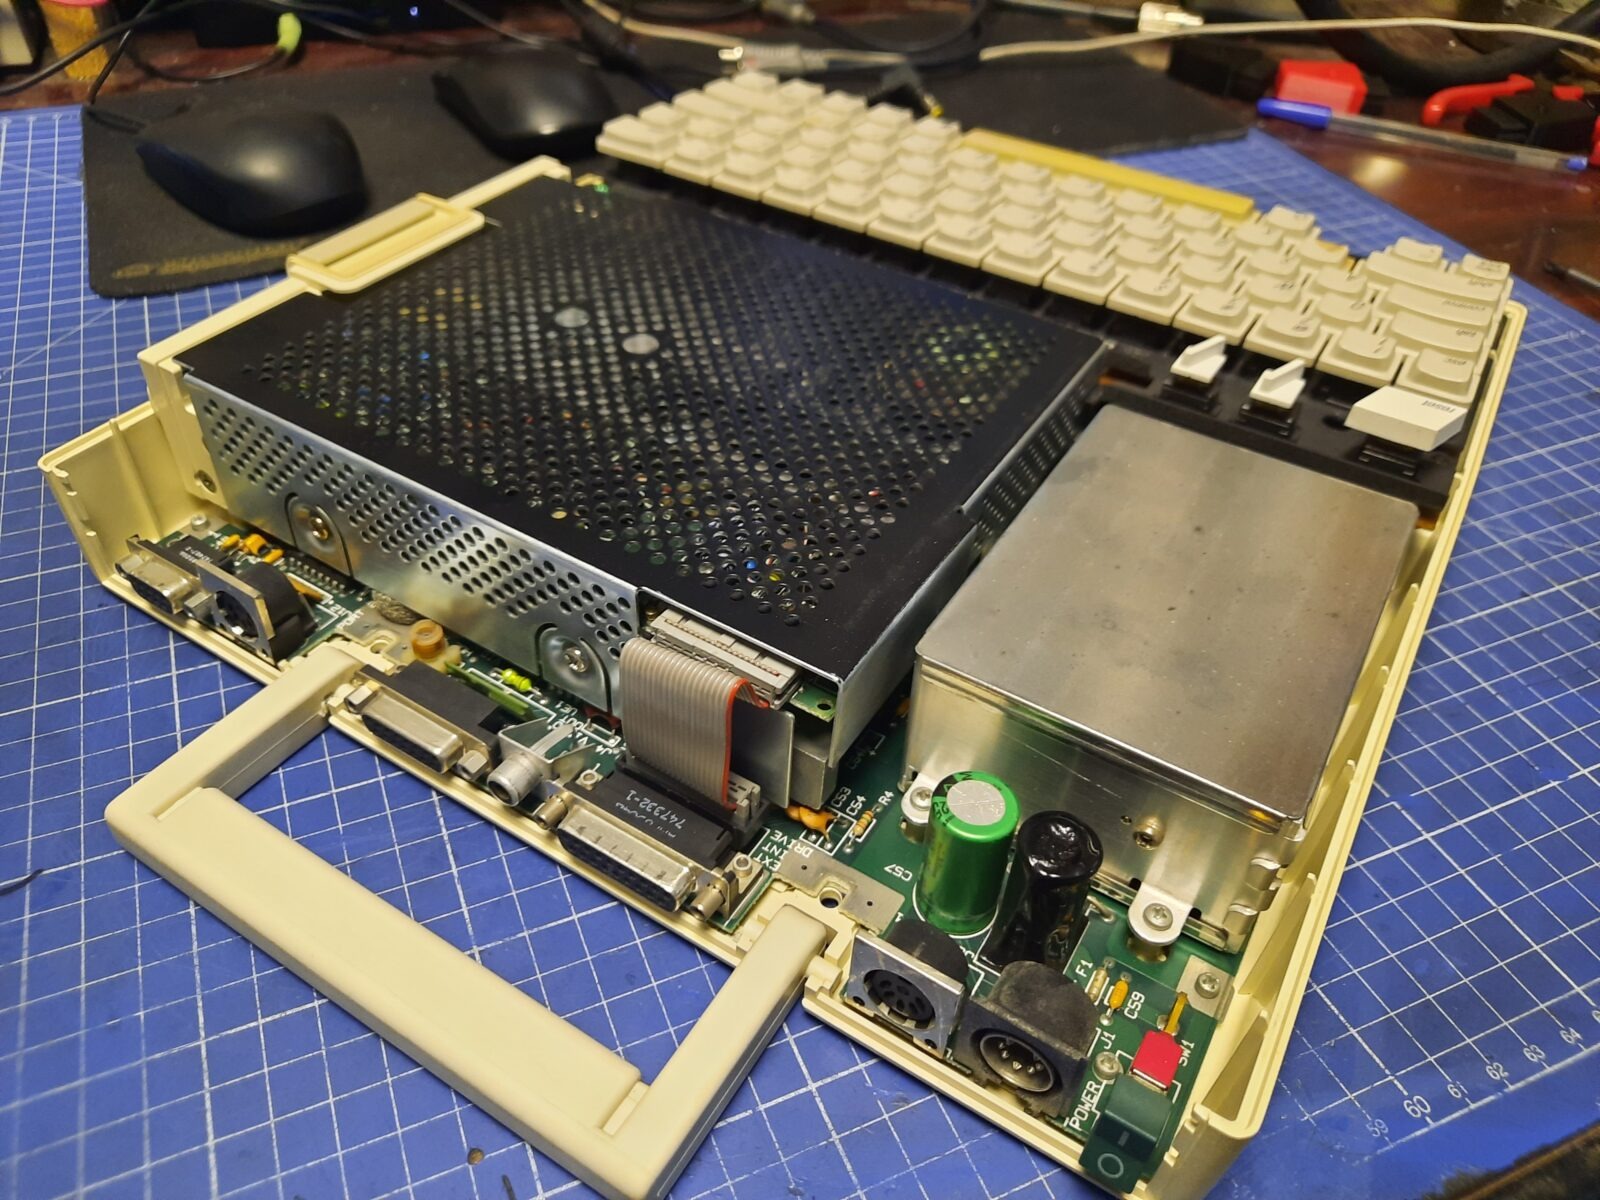
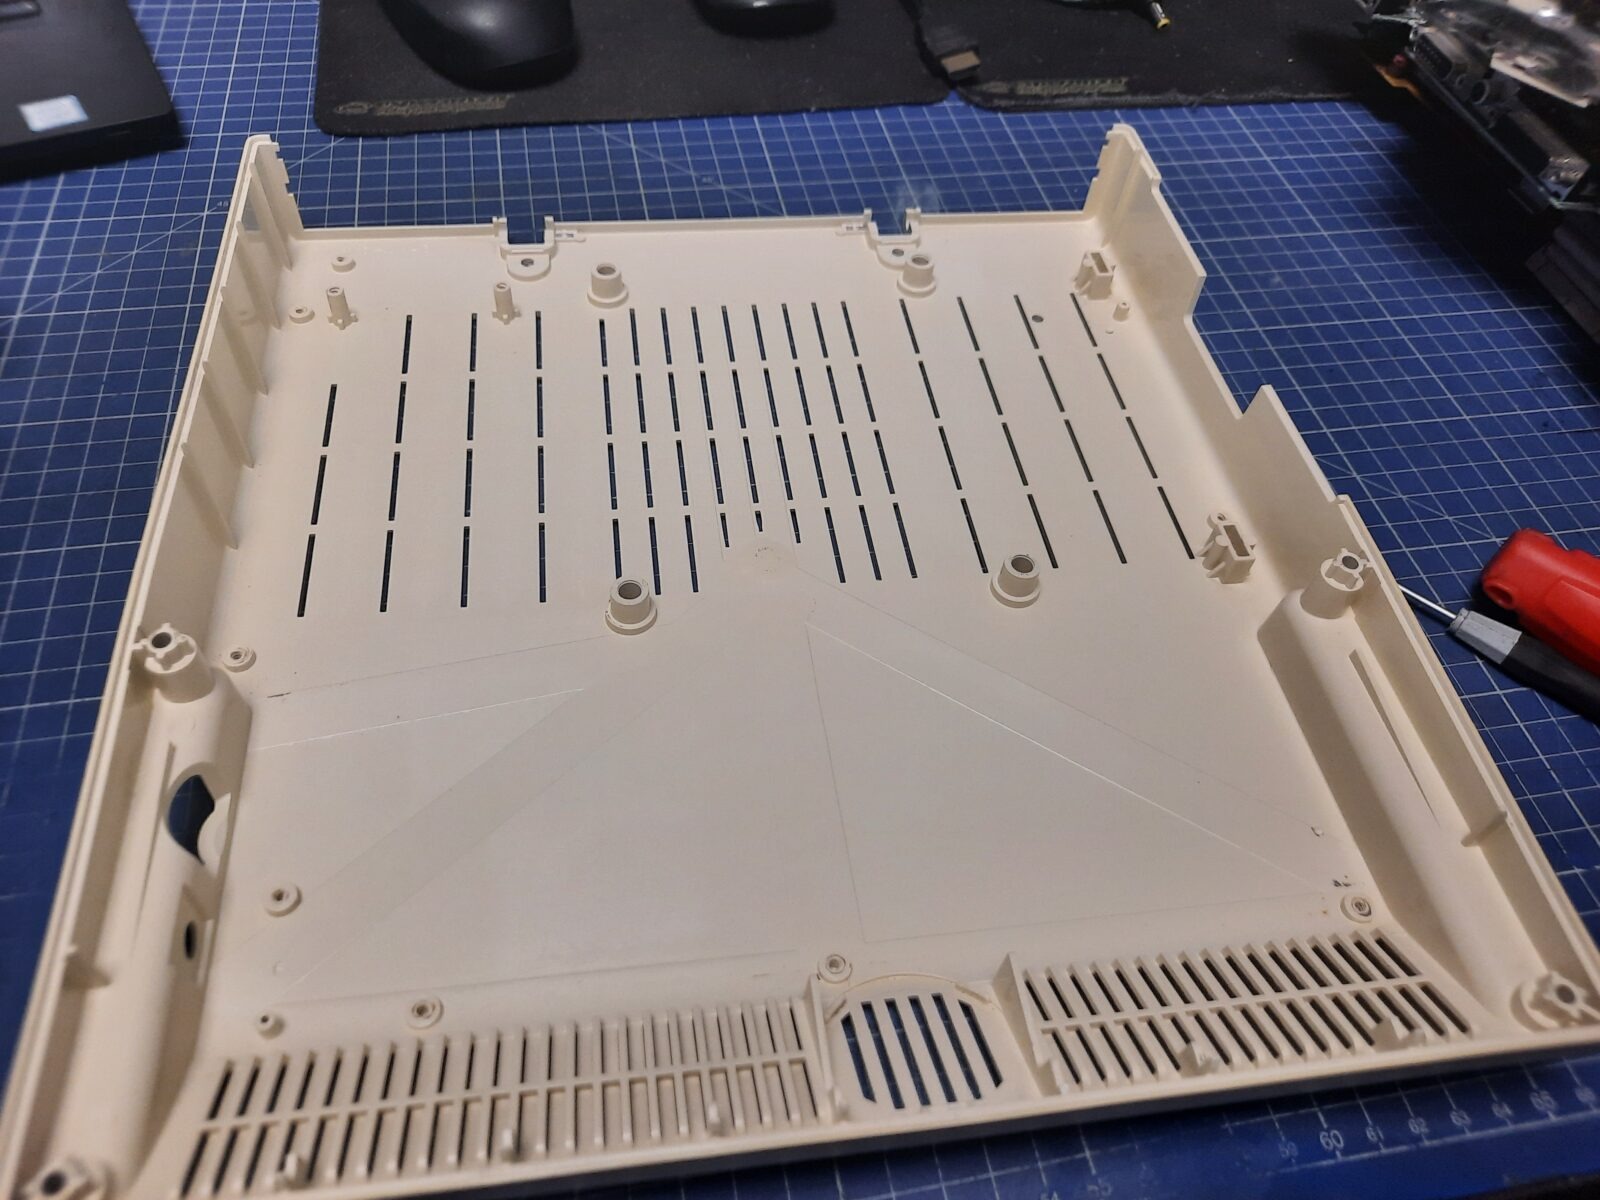
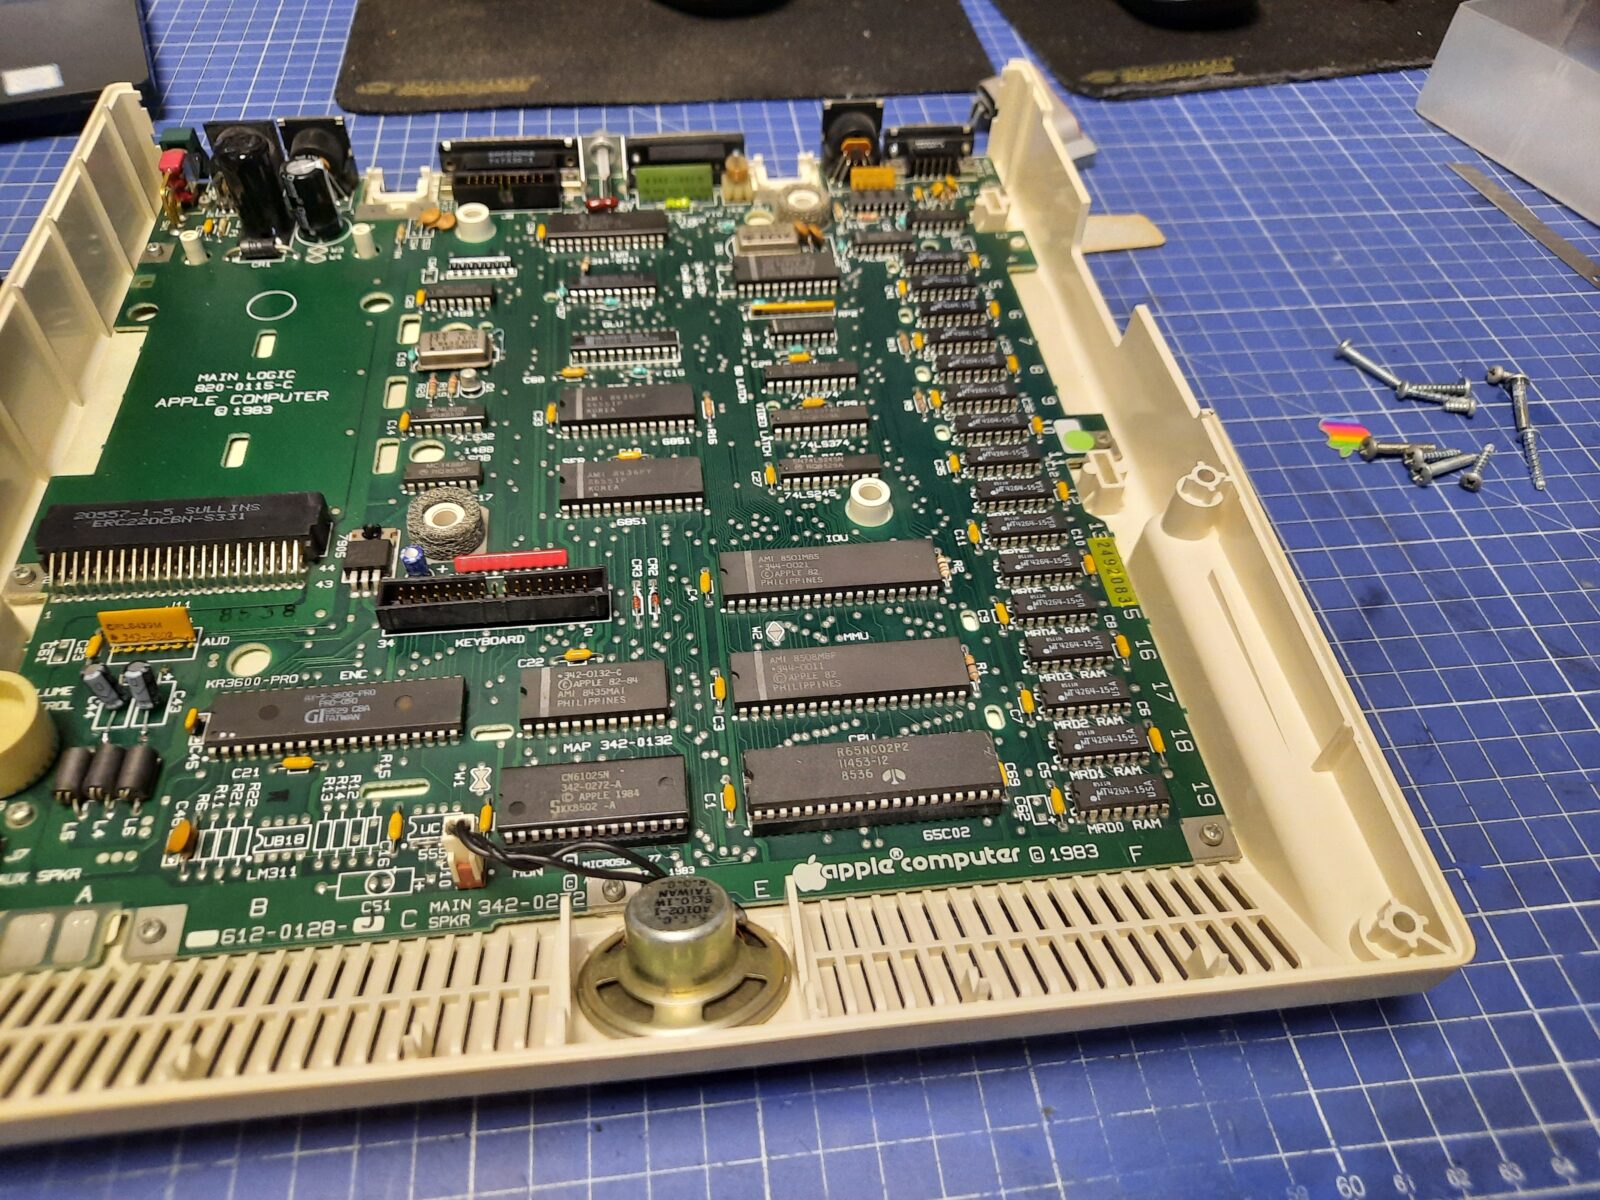
Disassembly
Usual disassembly followed.

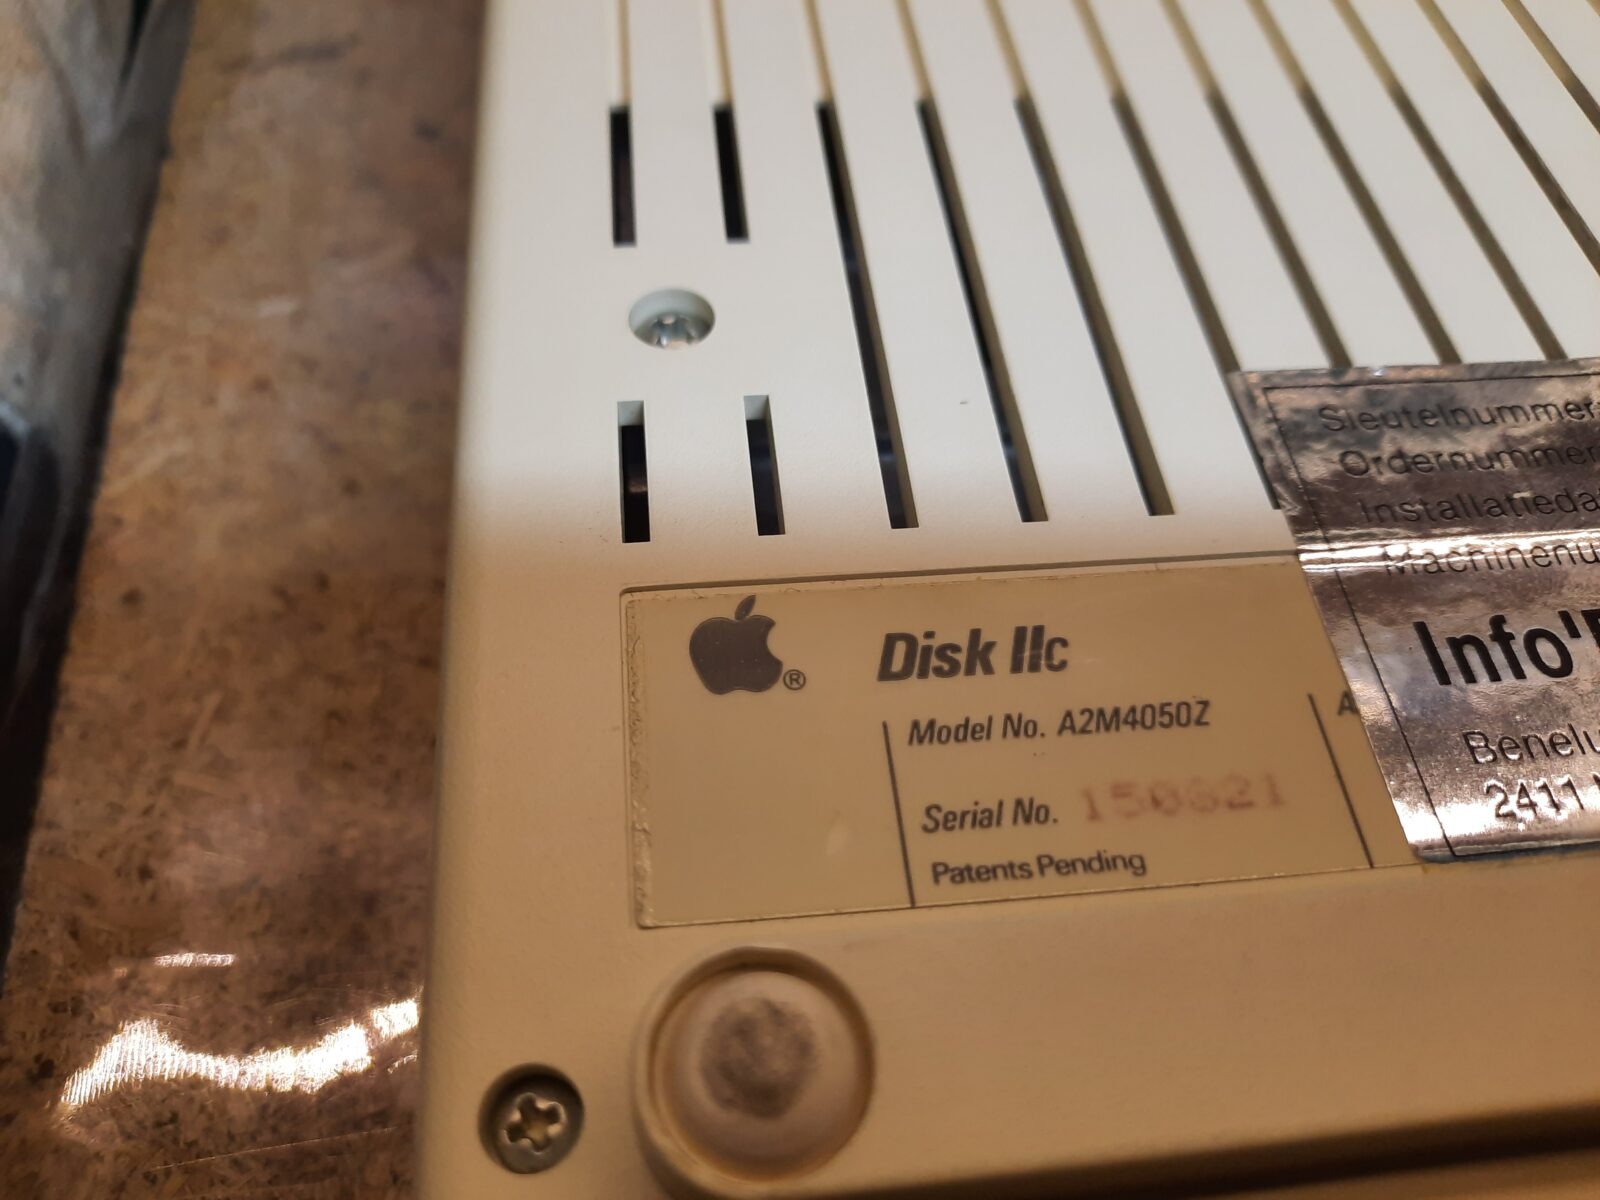
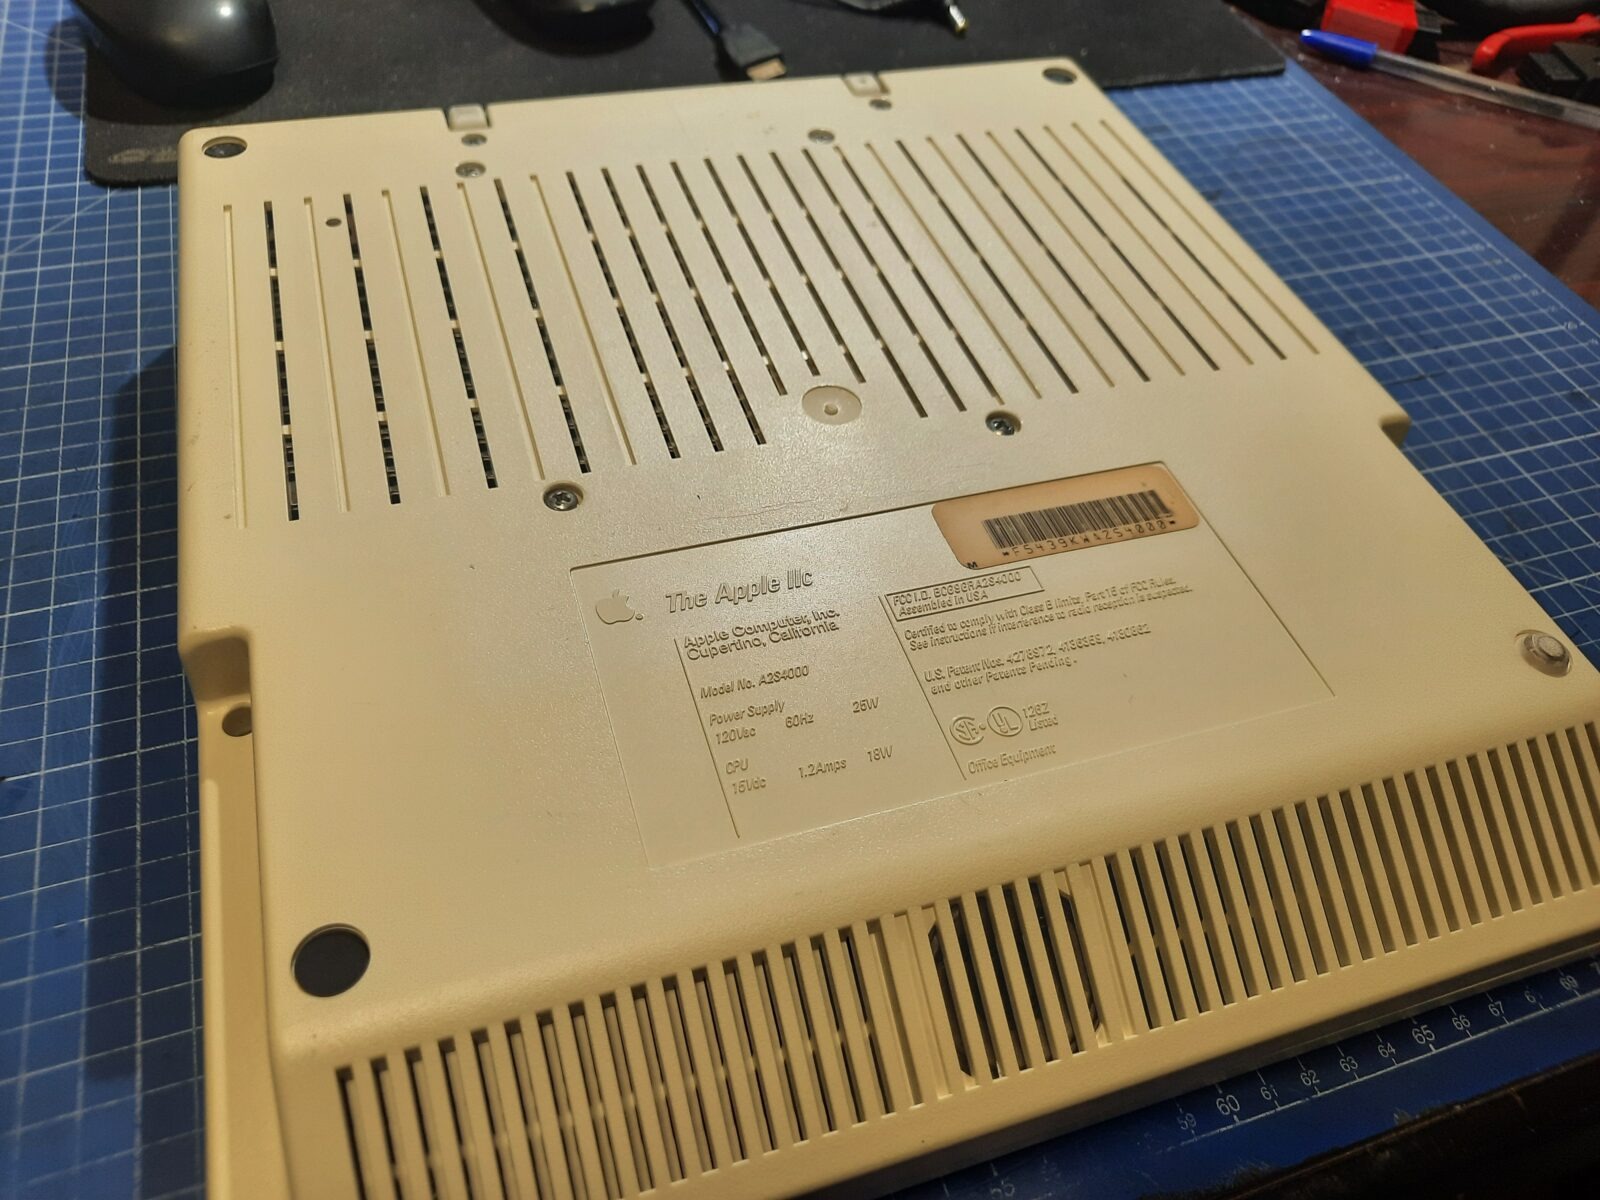
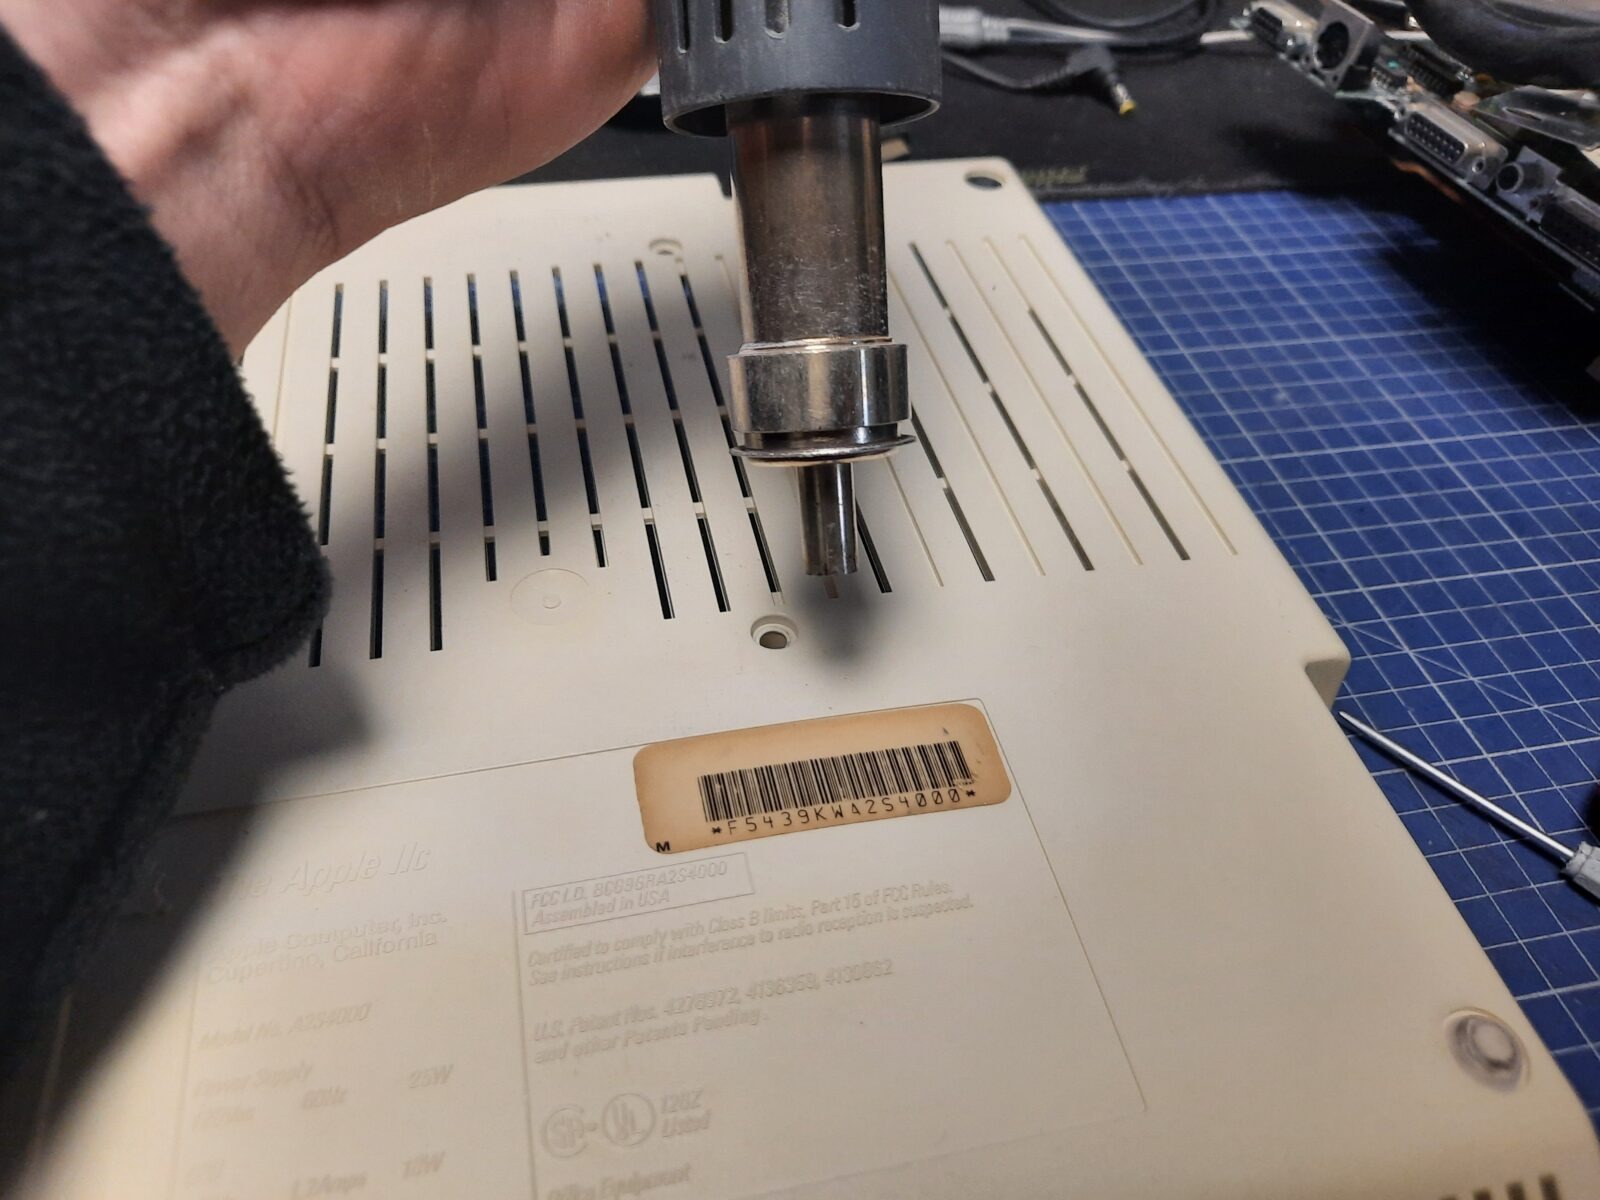
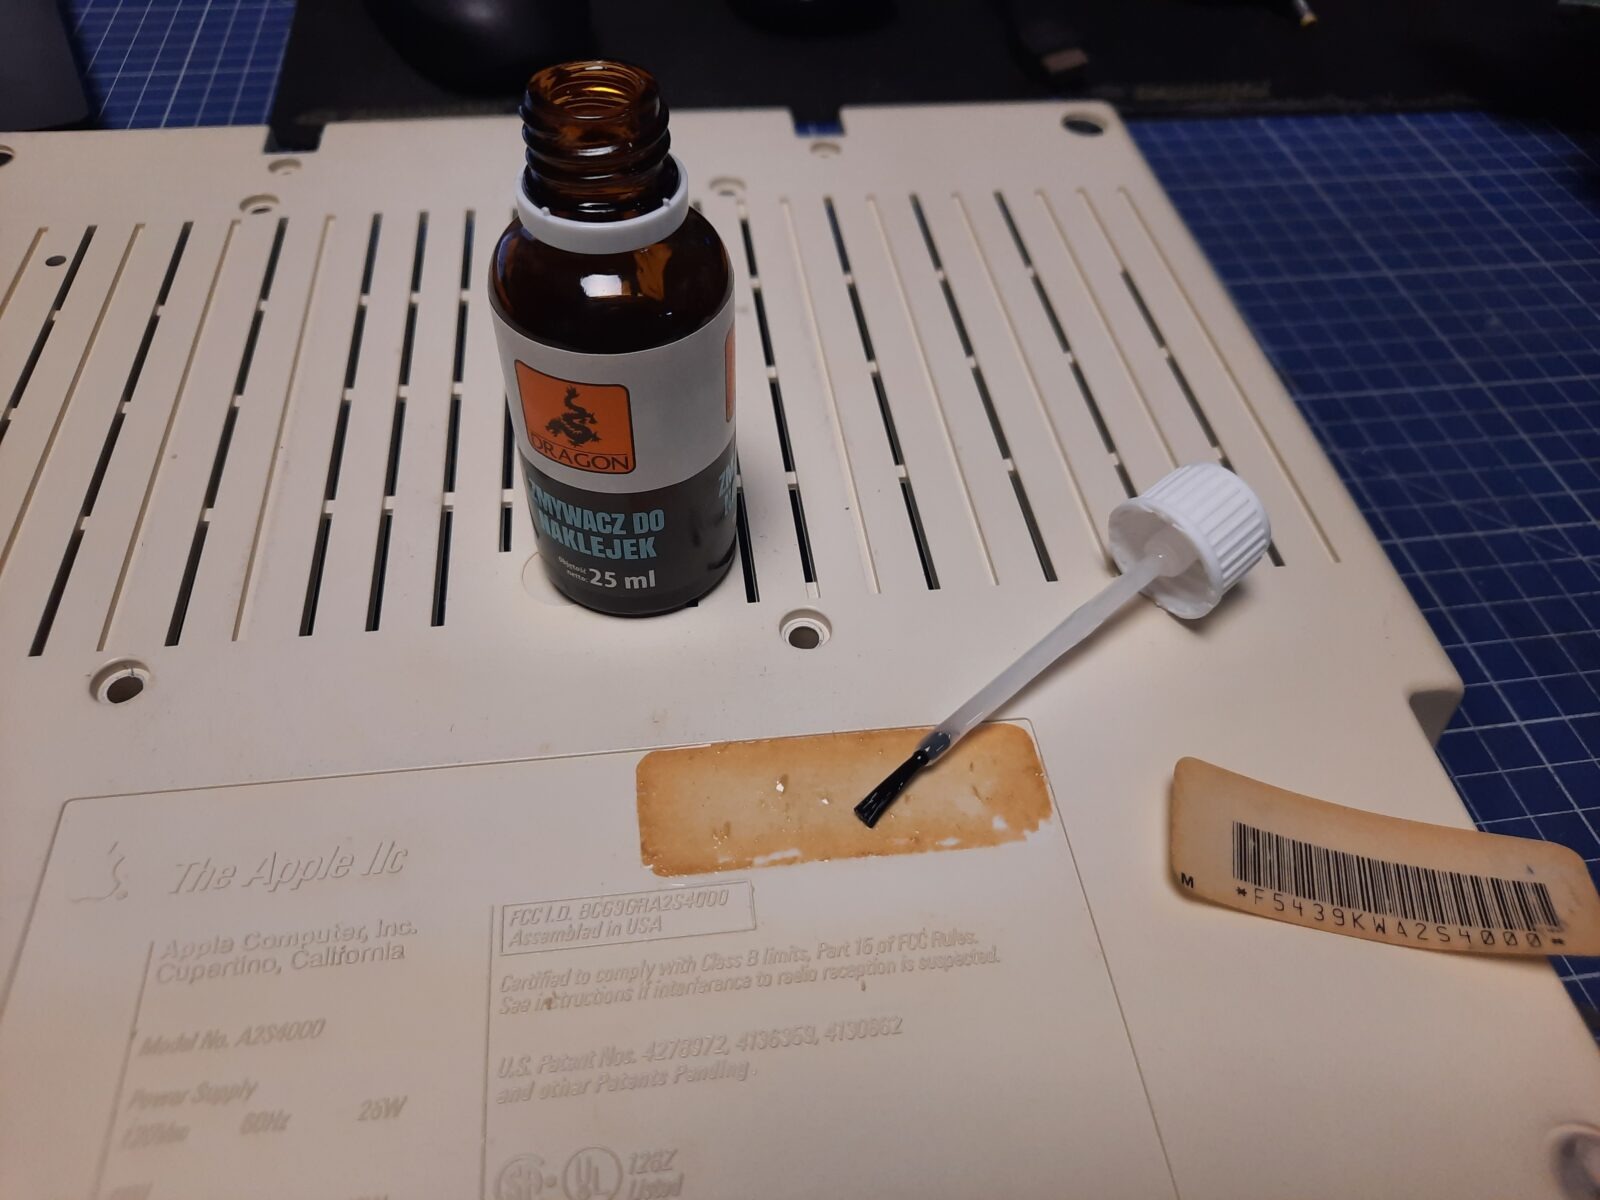
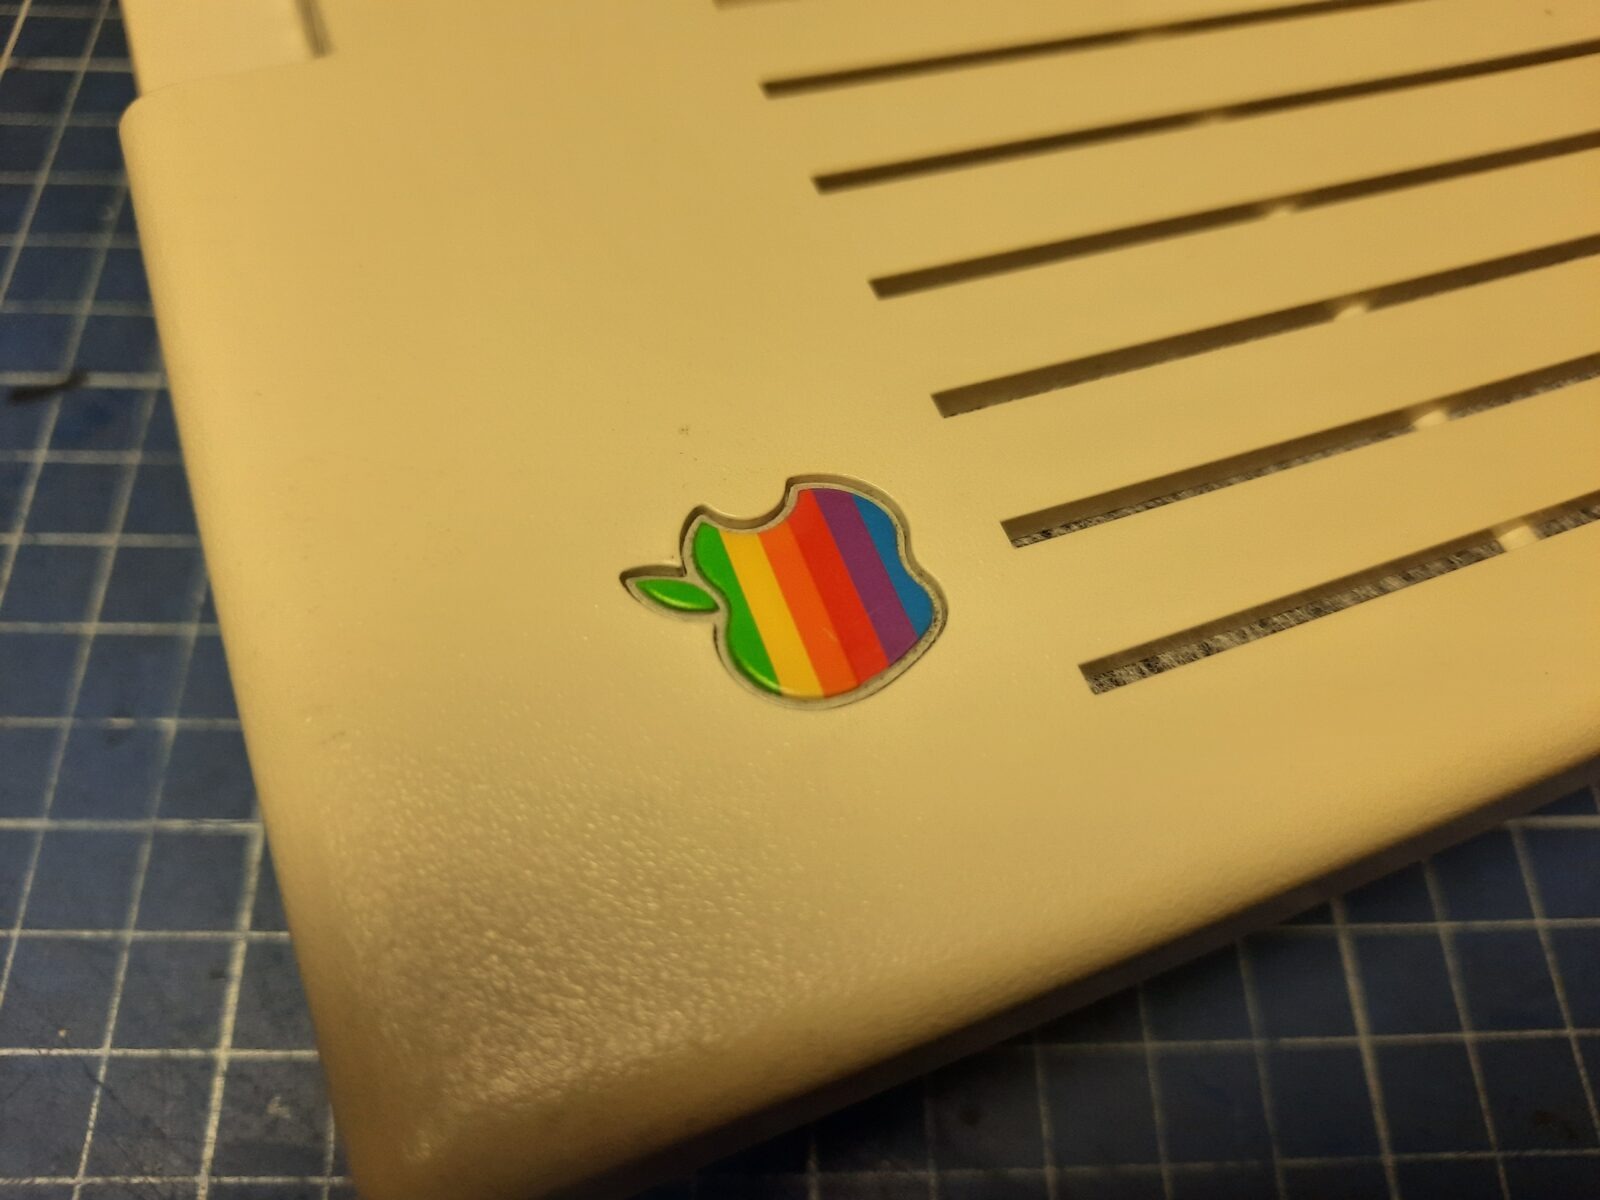
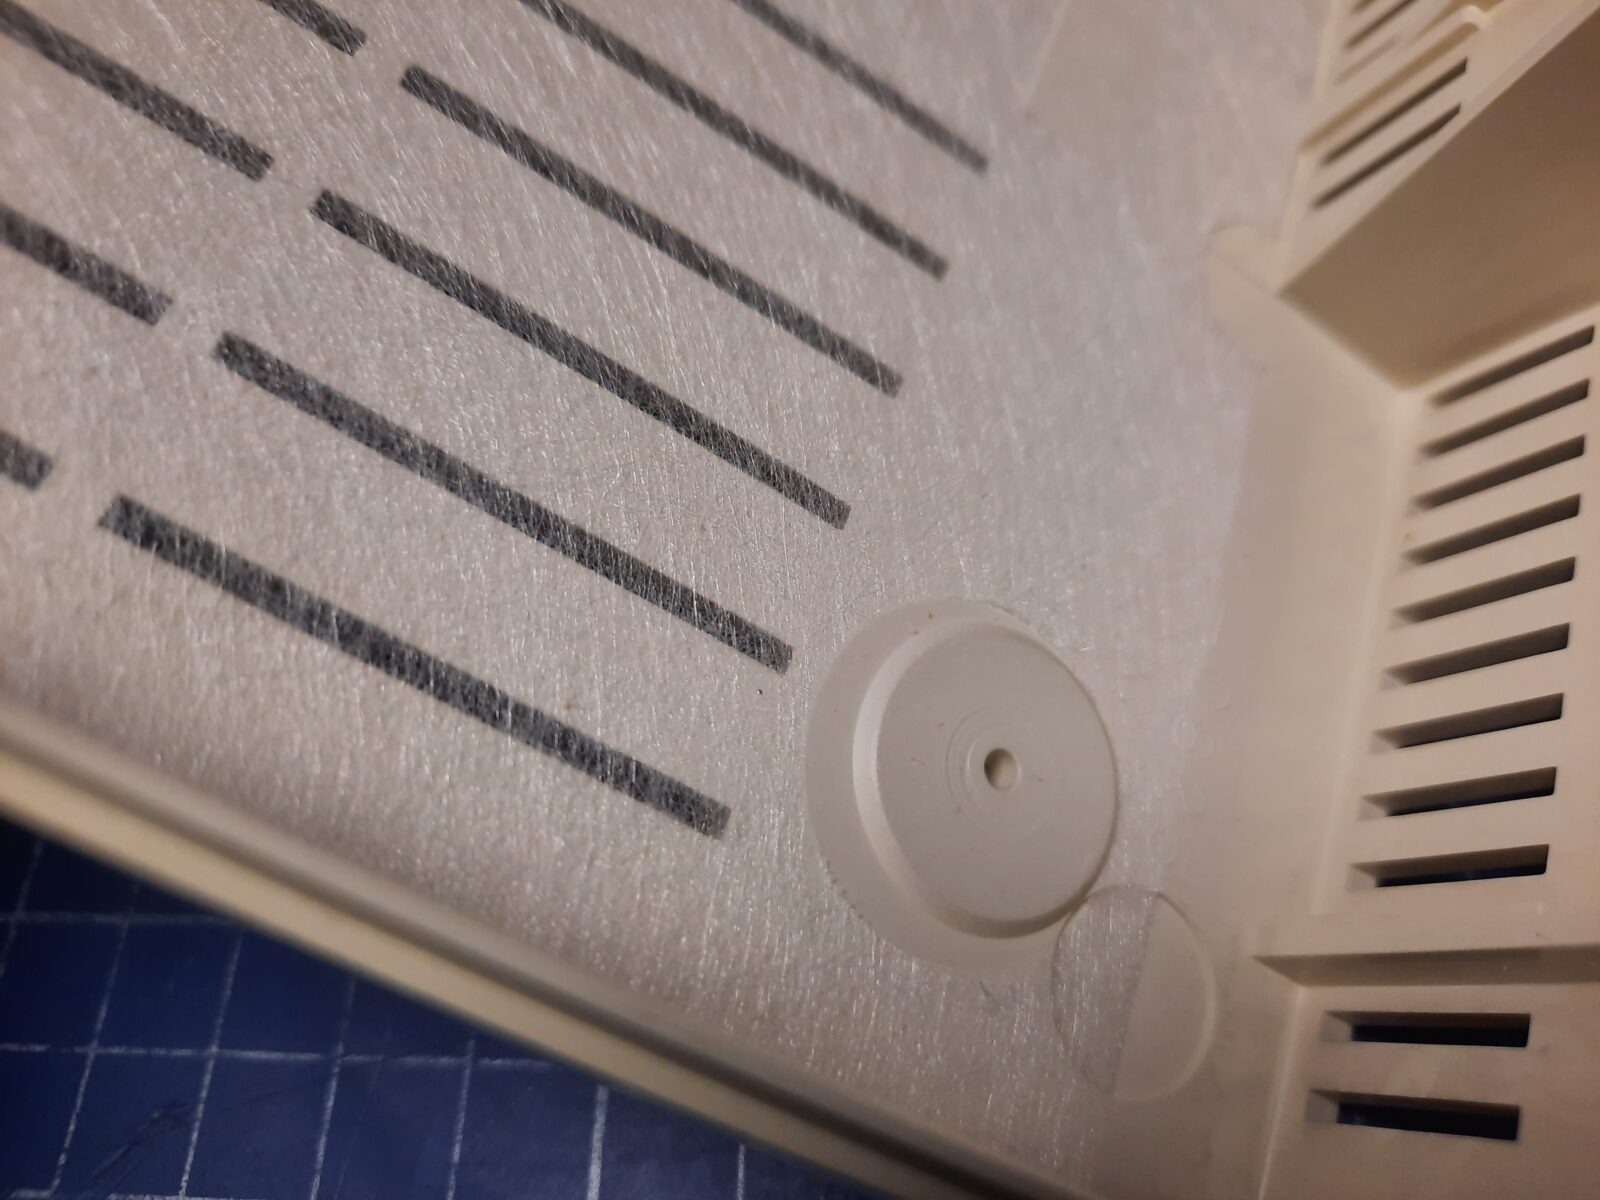
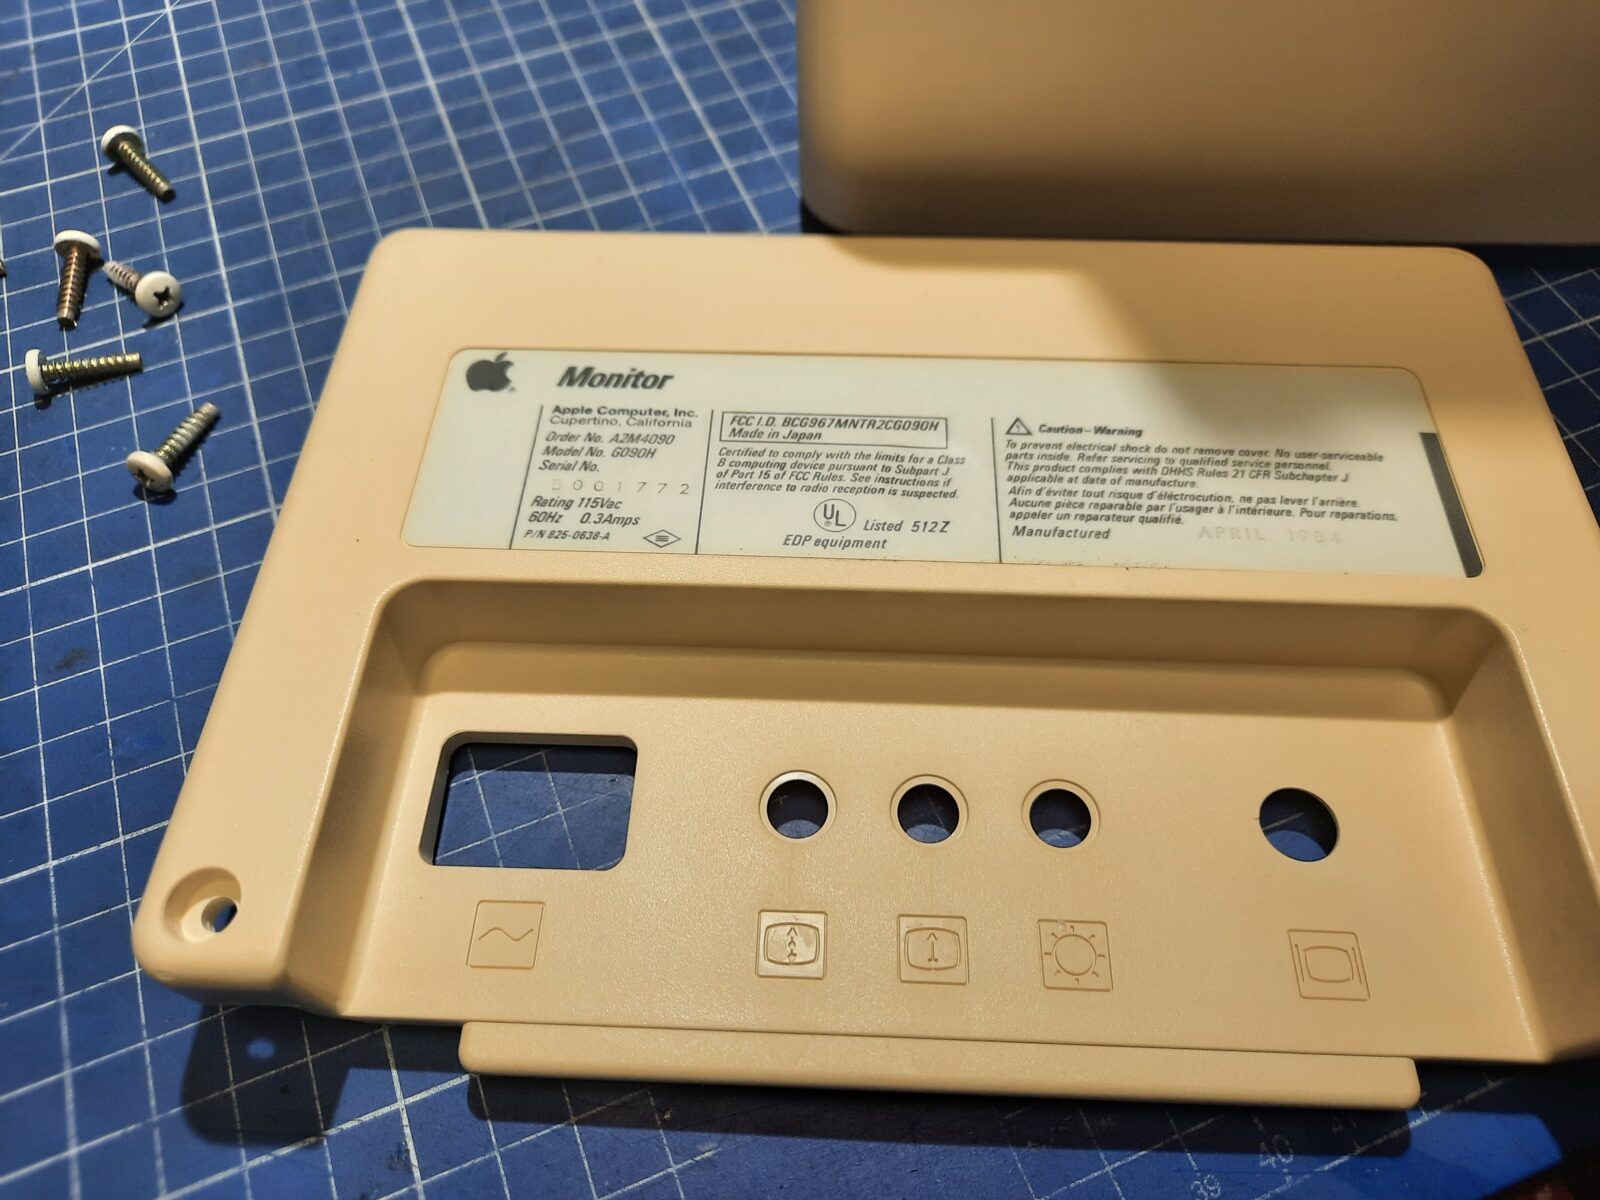
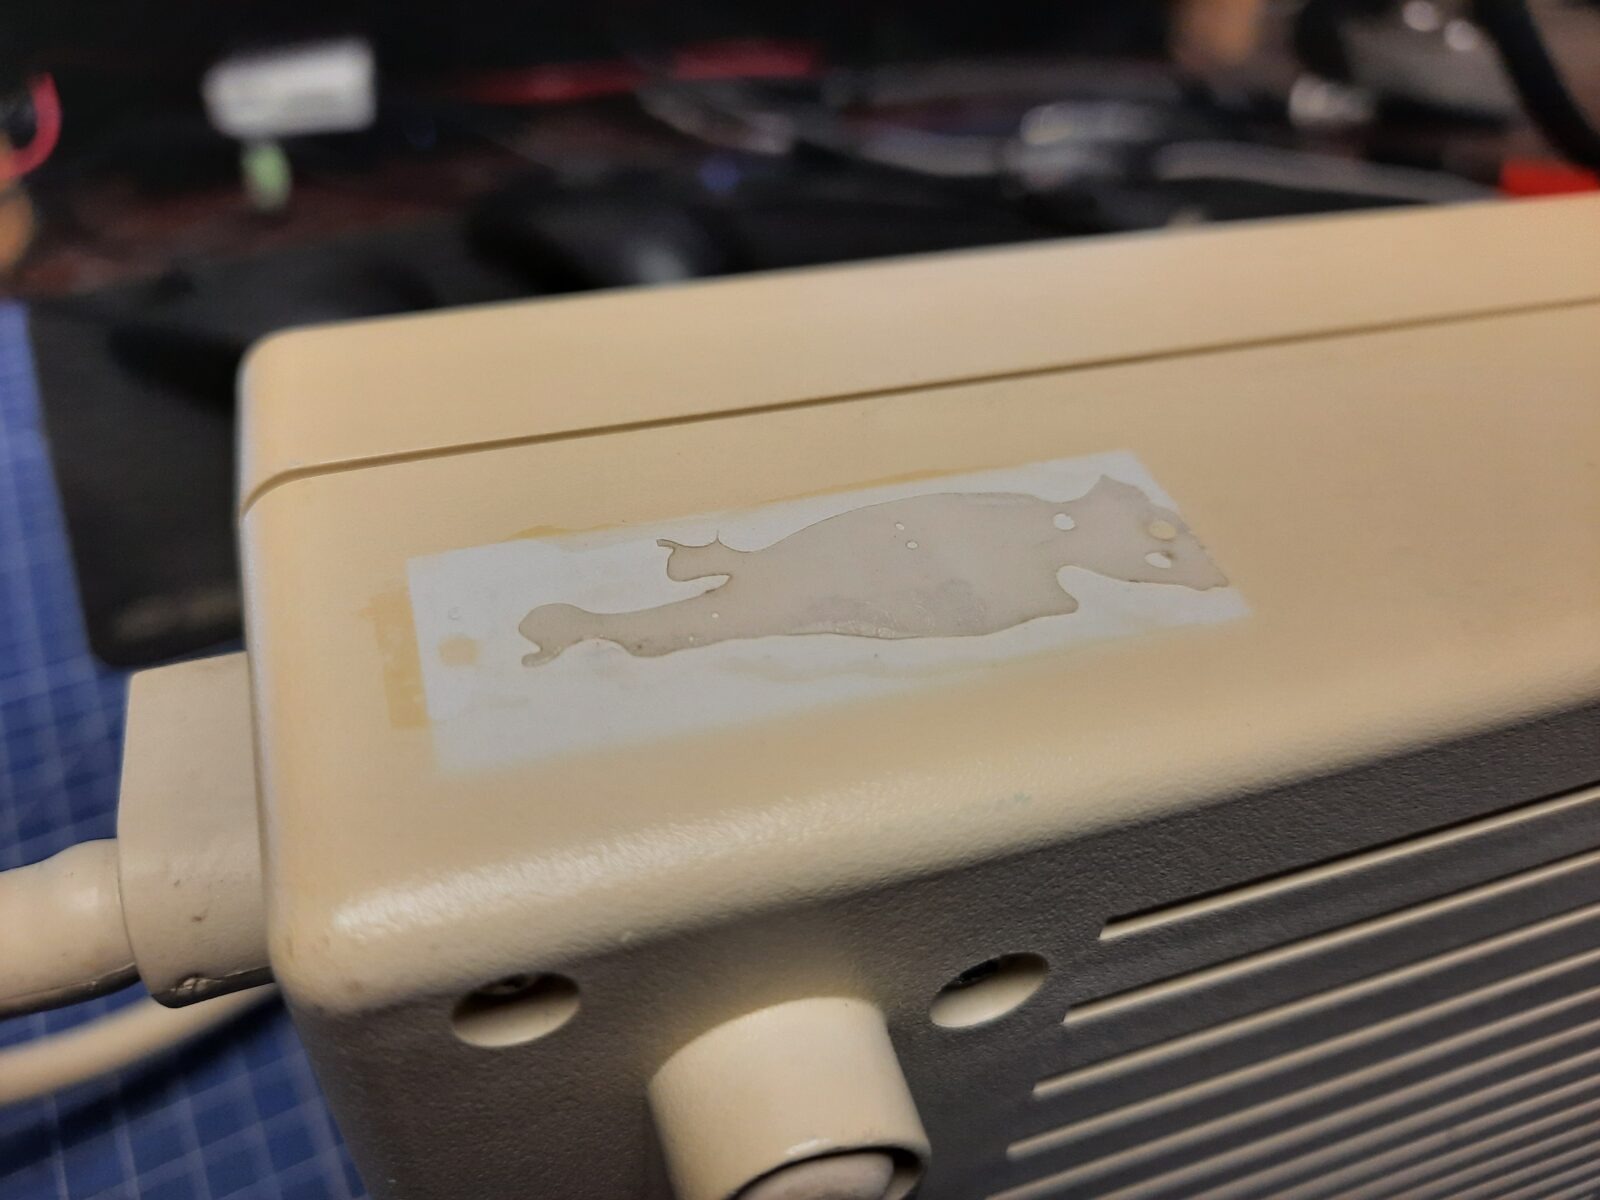
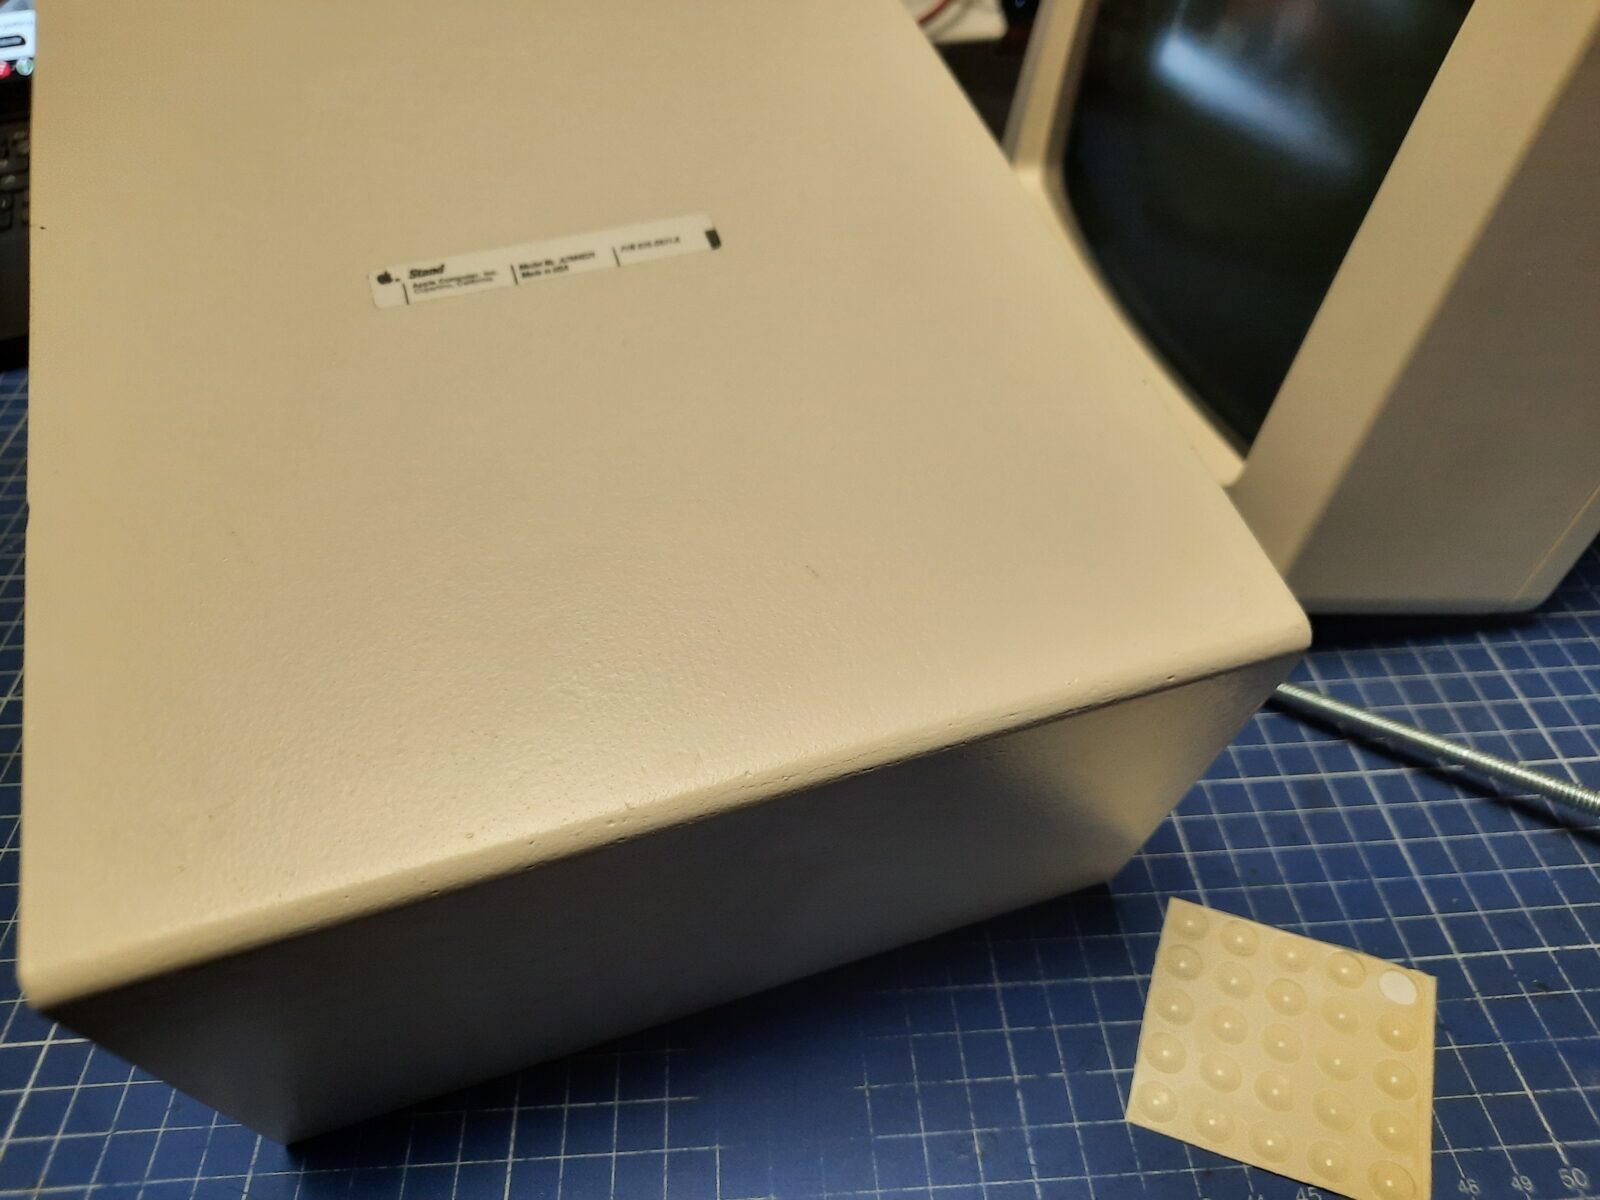
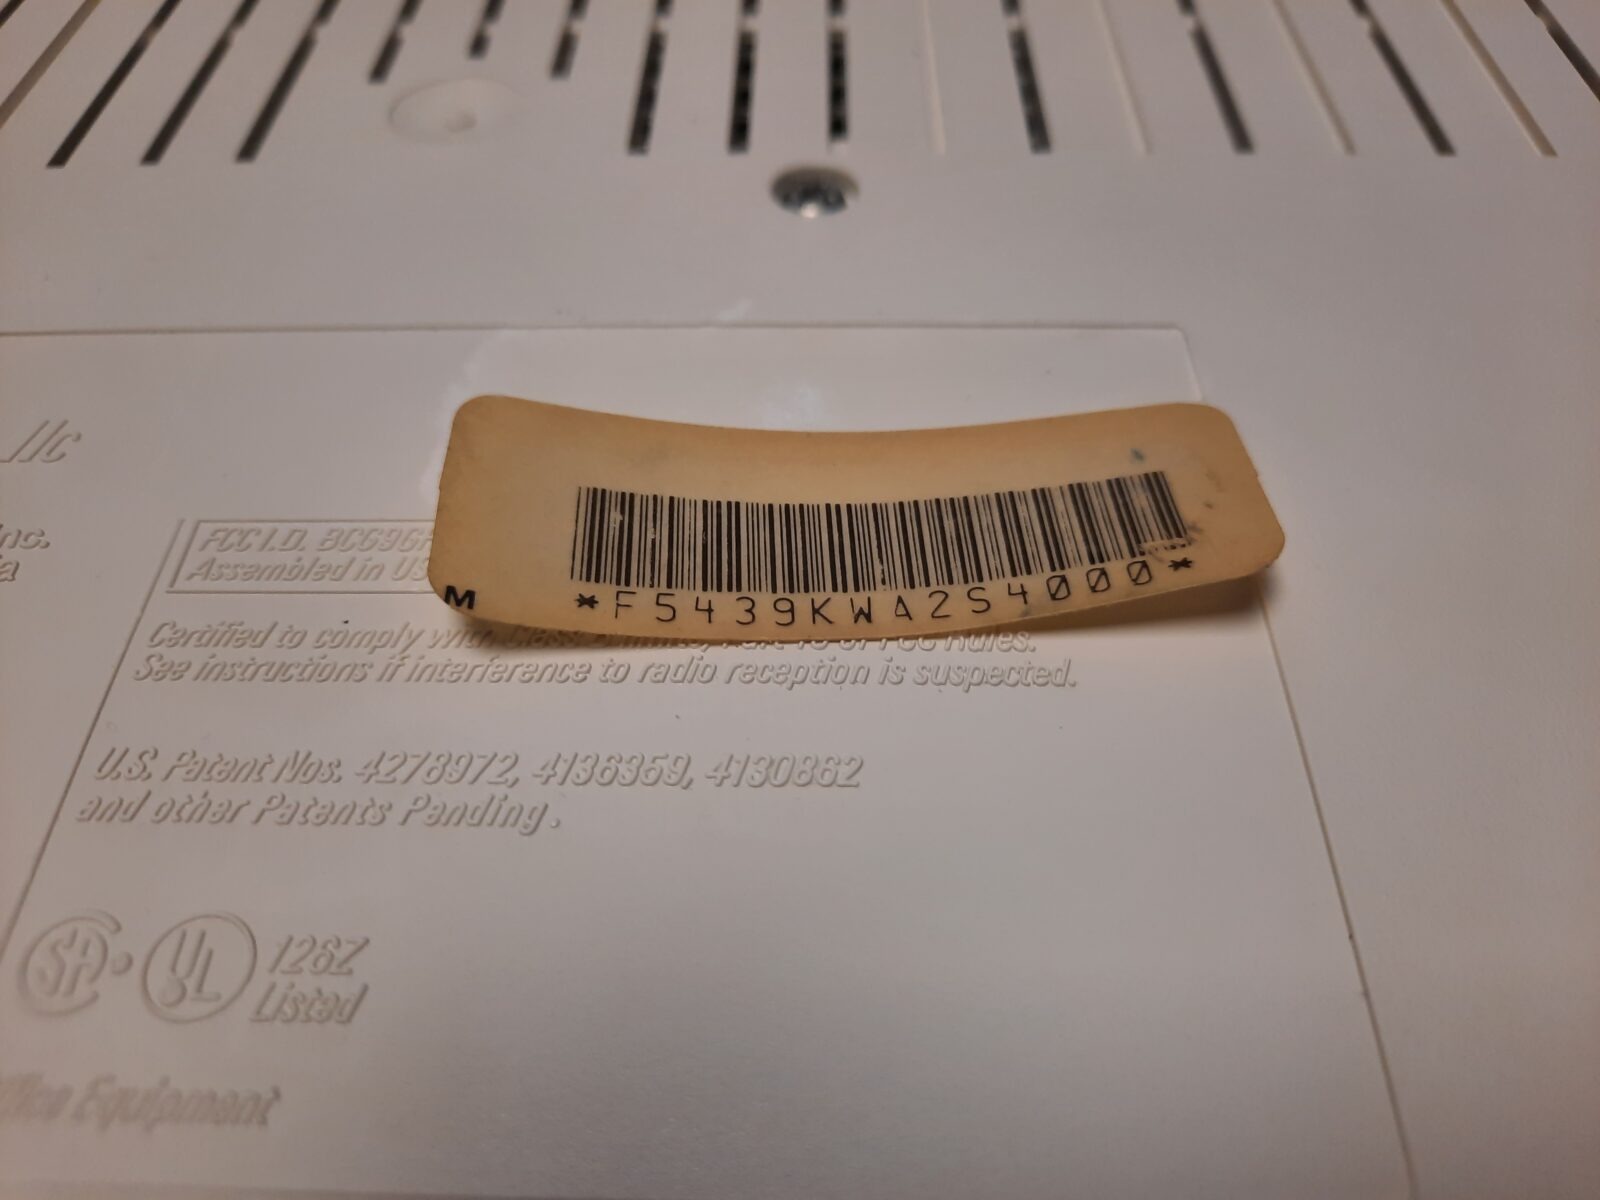
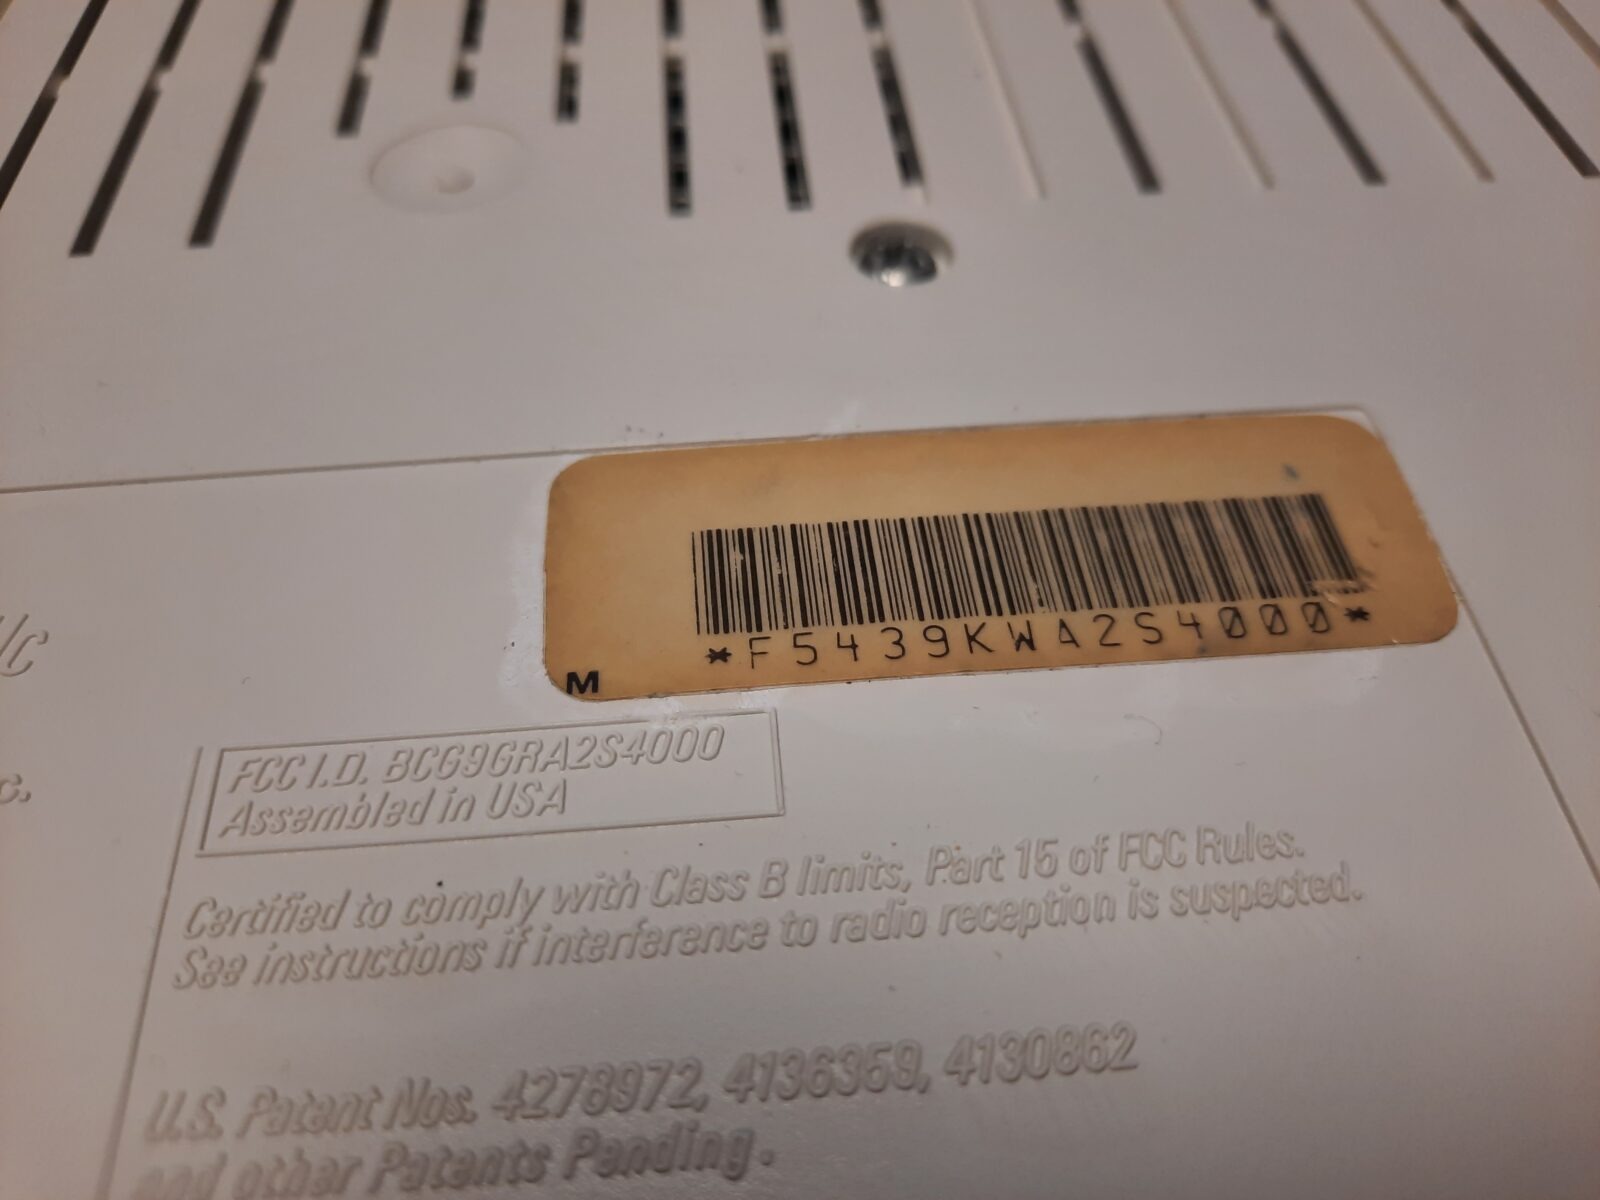
I wanted to preserve the original sticker. I’ve used a hot-air gun to remove and some chemistry to remove the old glue.
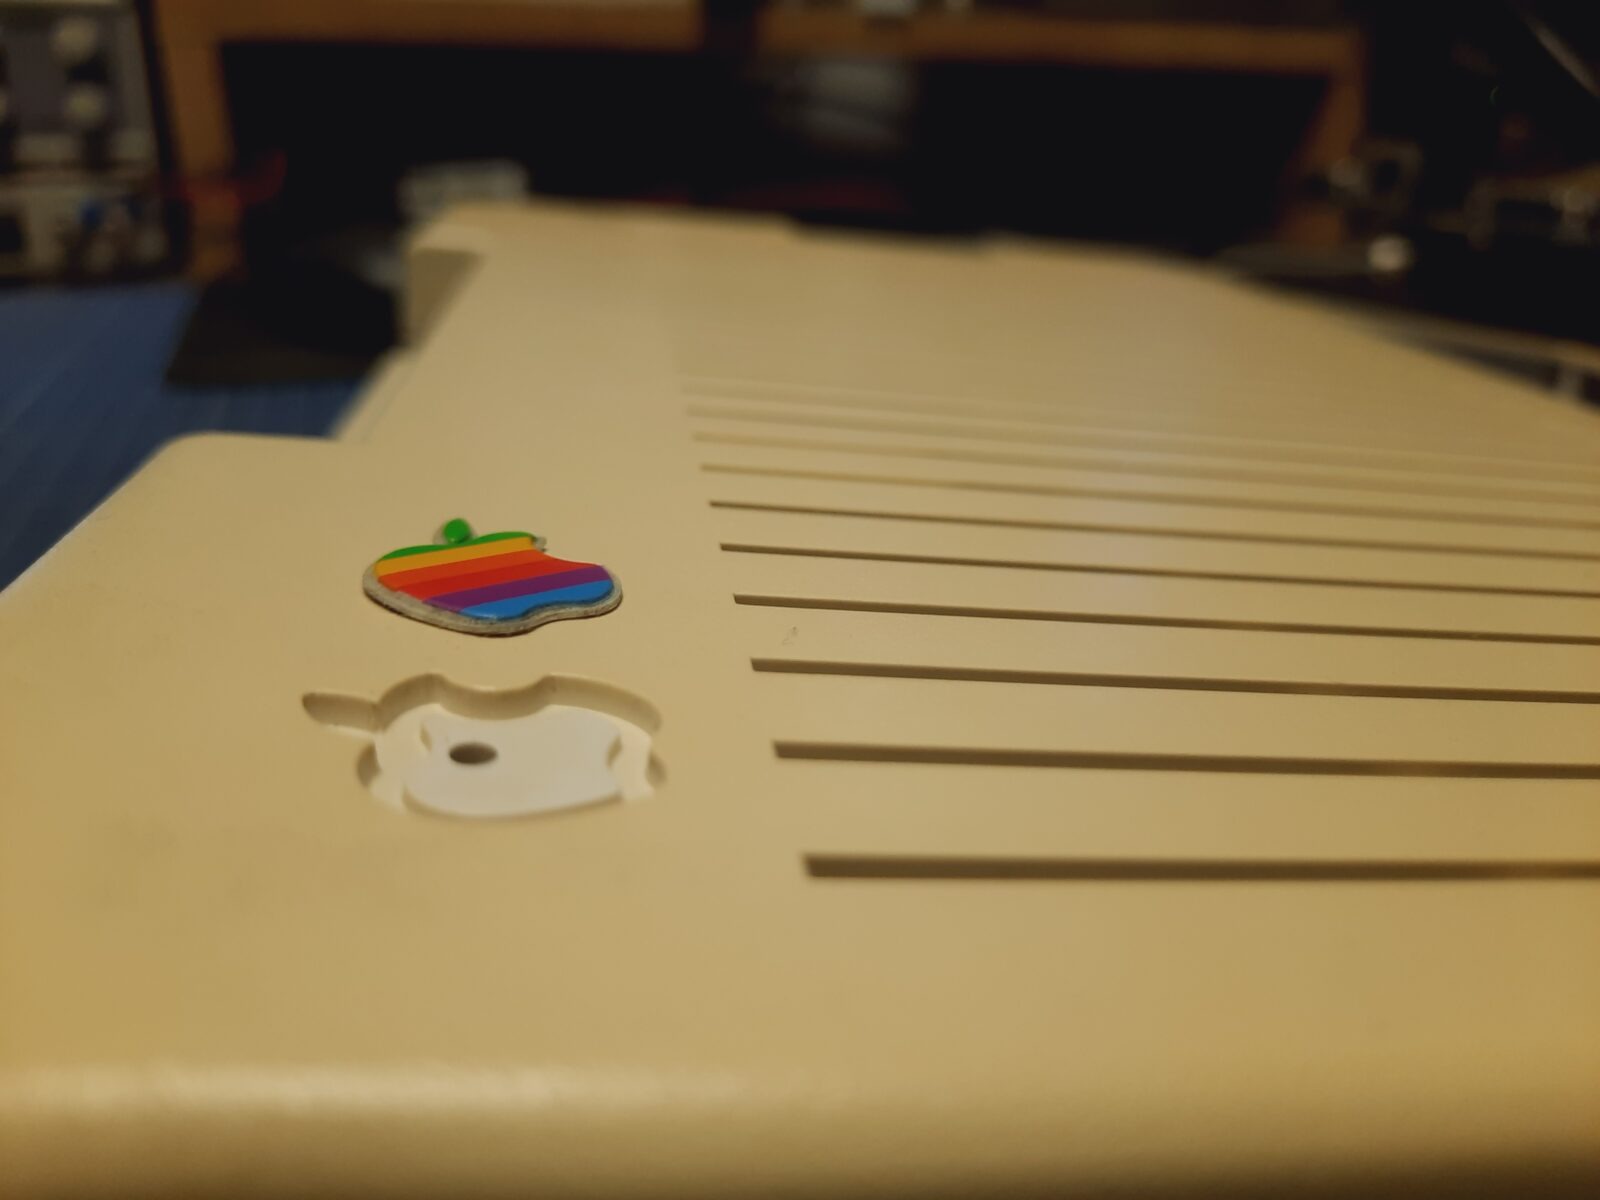
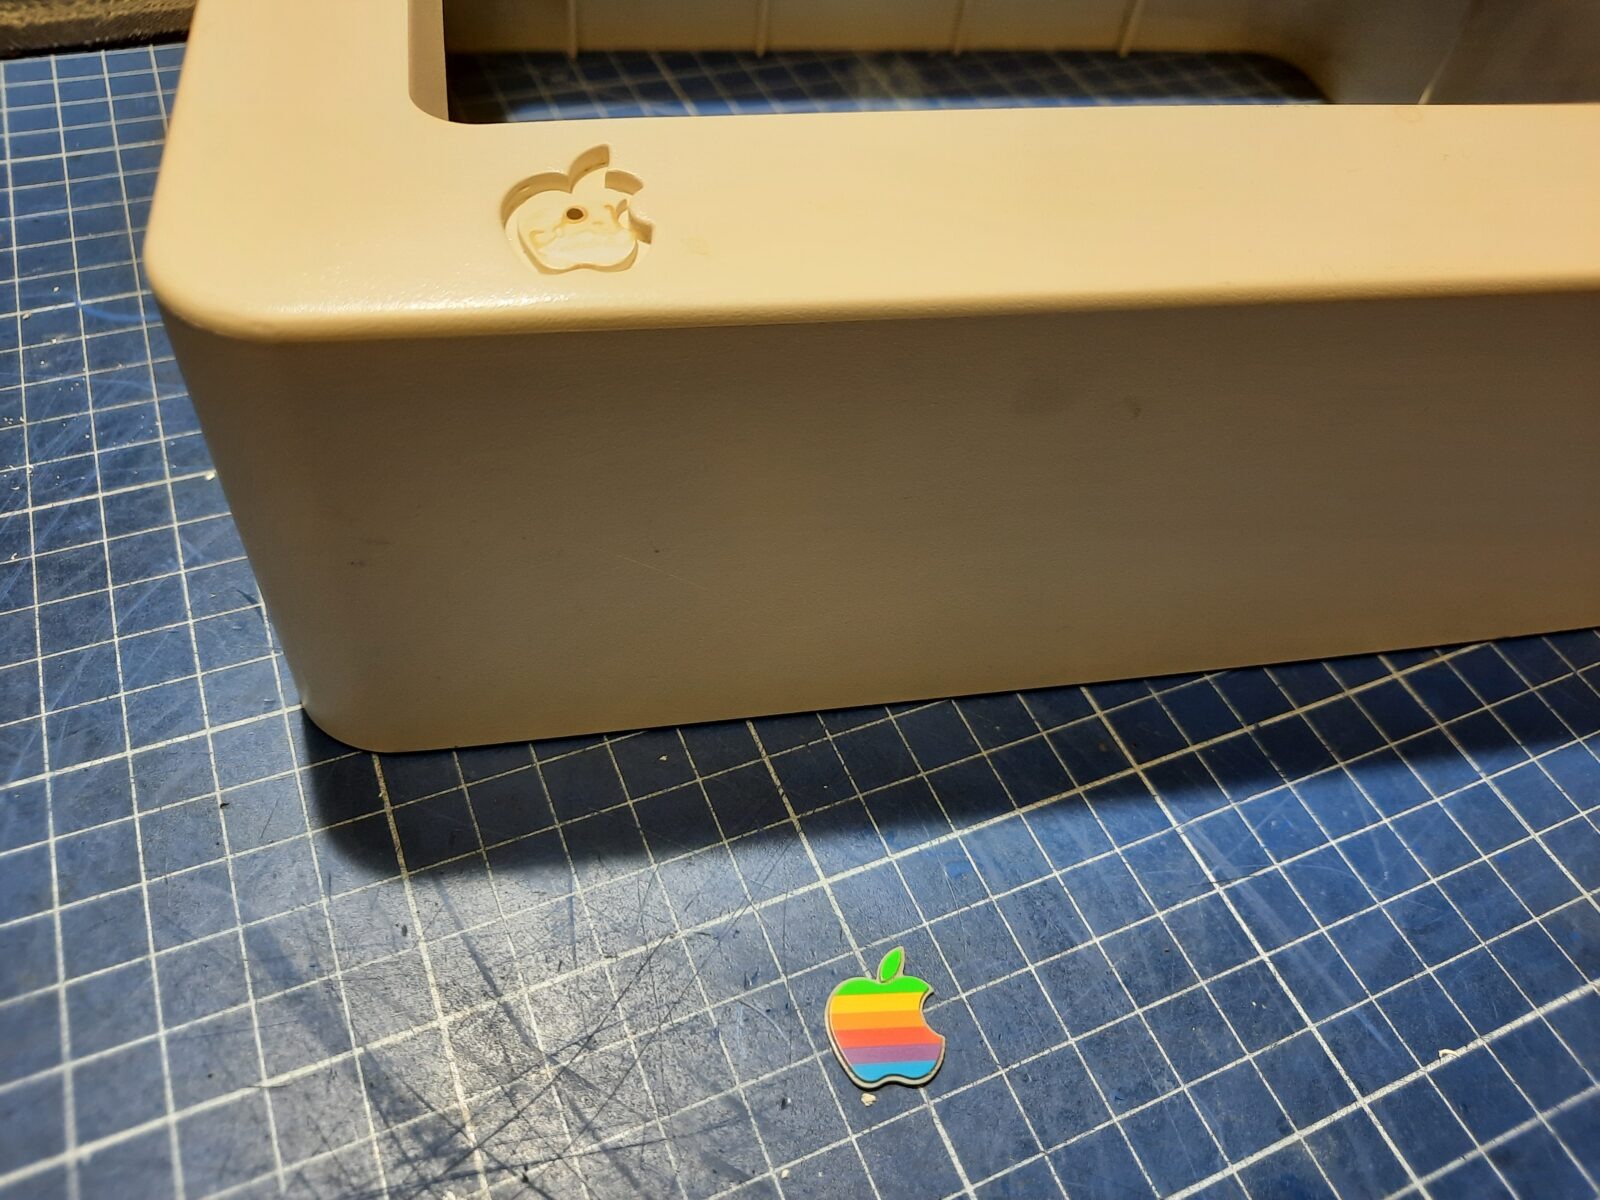
The Apple logo is easily removed by heating it a bit and pushing it out from the inside through a small hole.
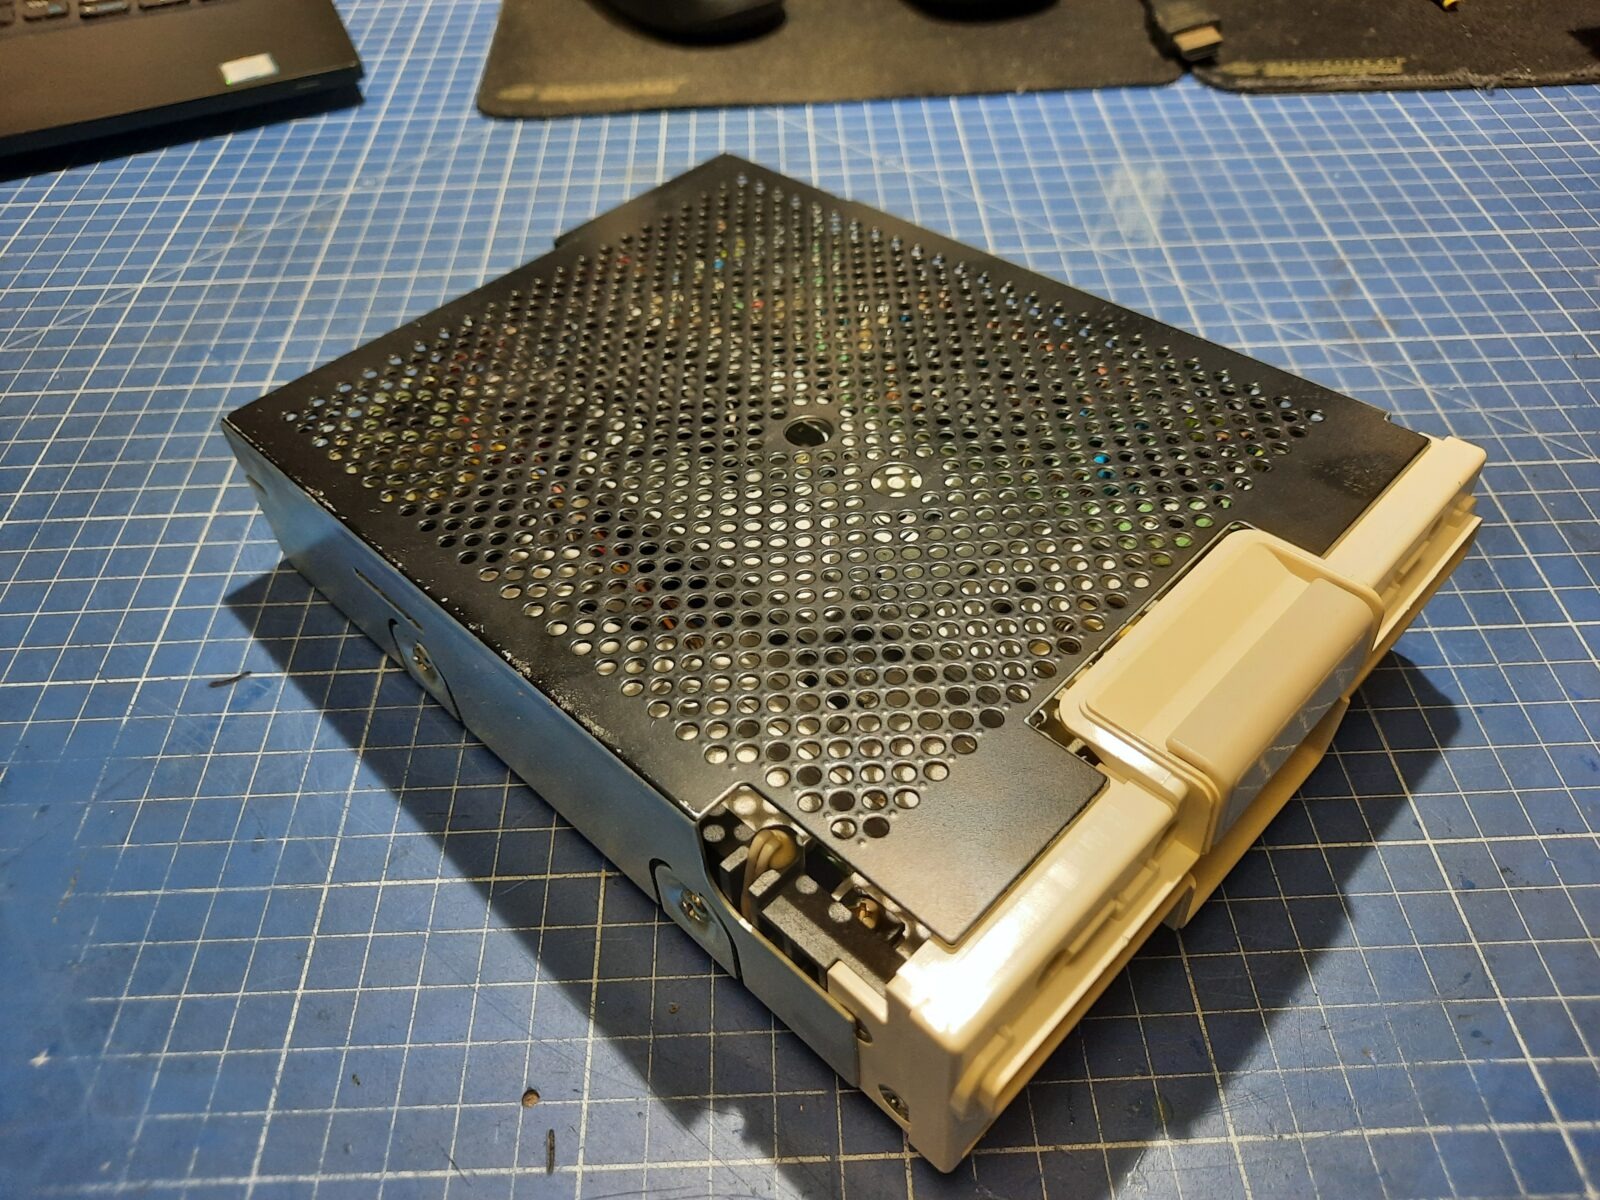
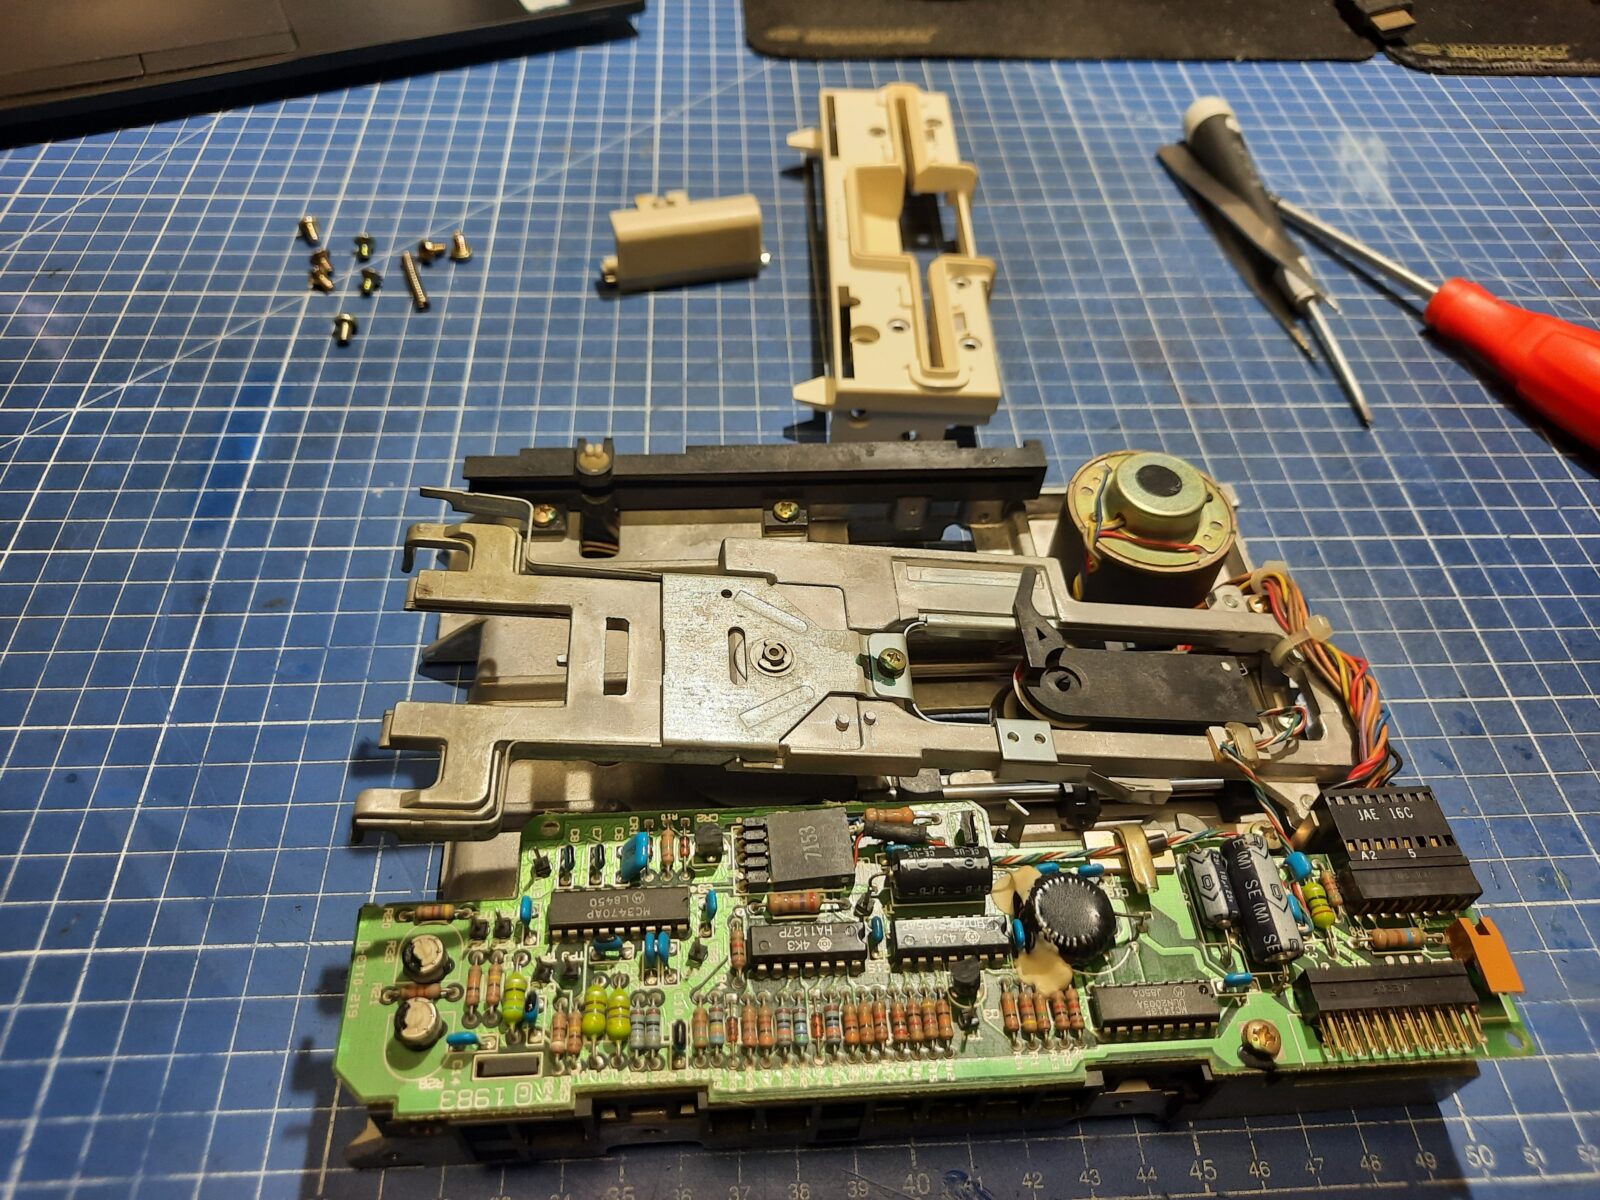
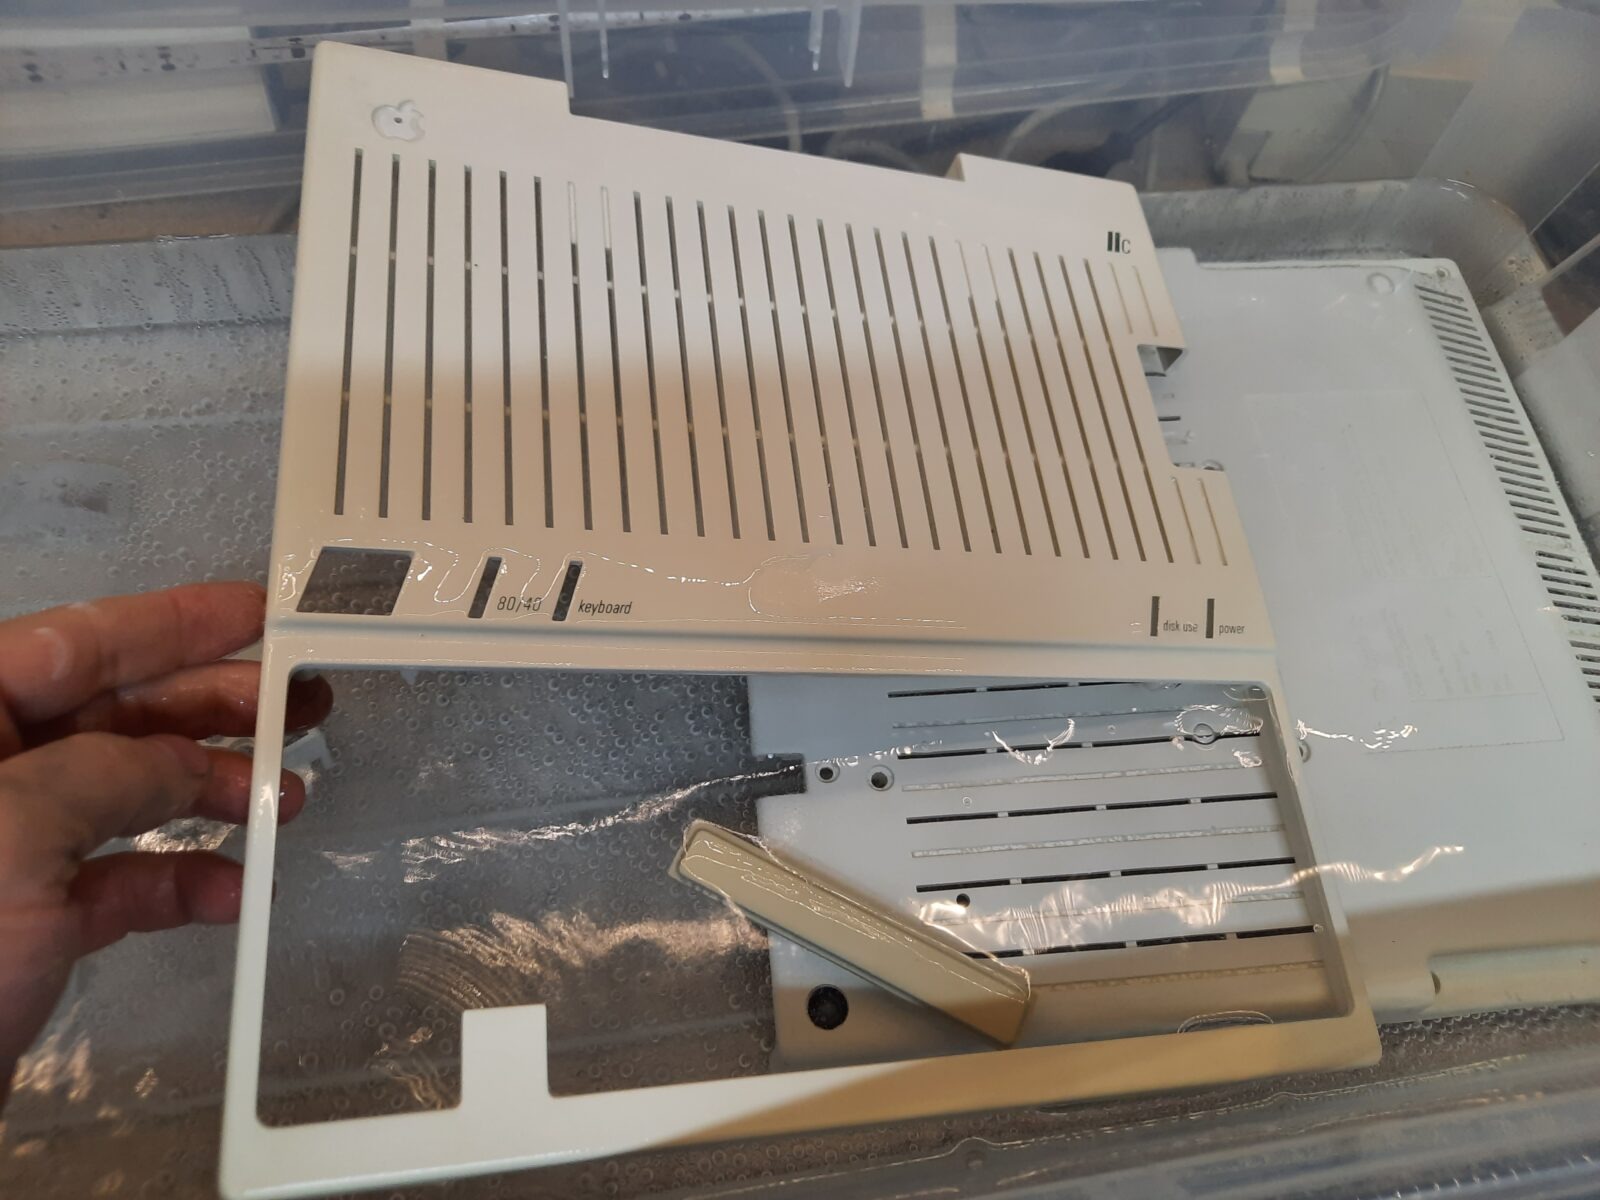
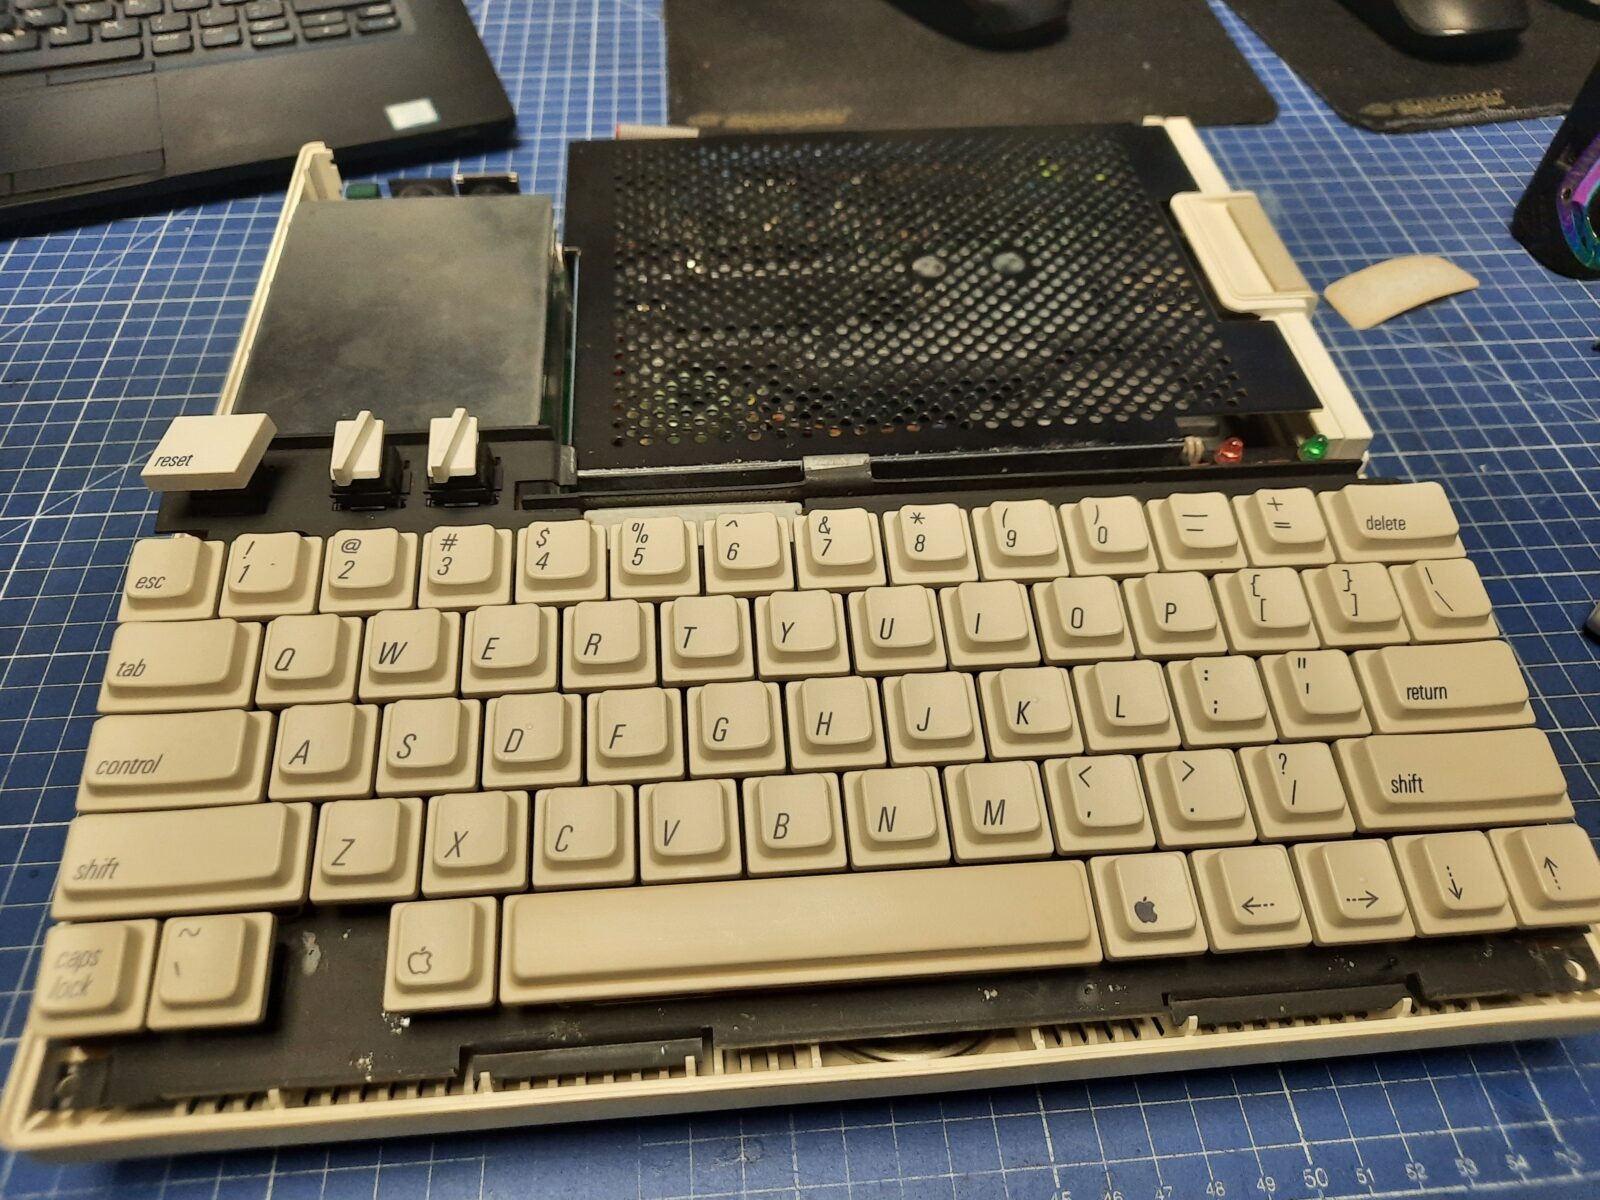
Next, the floppy drive was disassembled and serviced. The front panel was removed, cleaned, and prepared for retr0brighting.
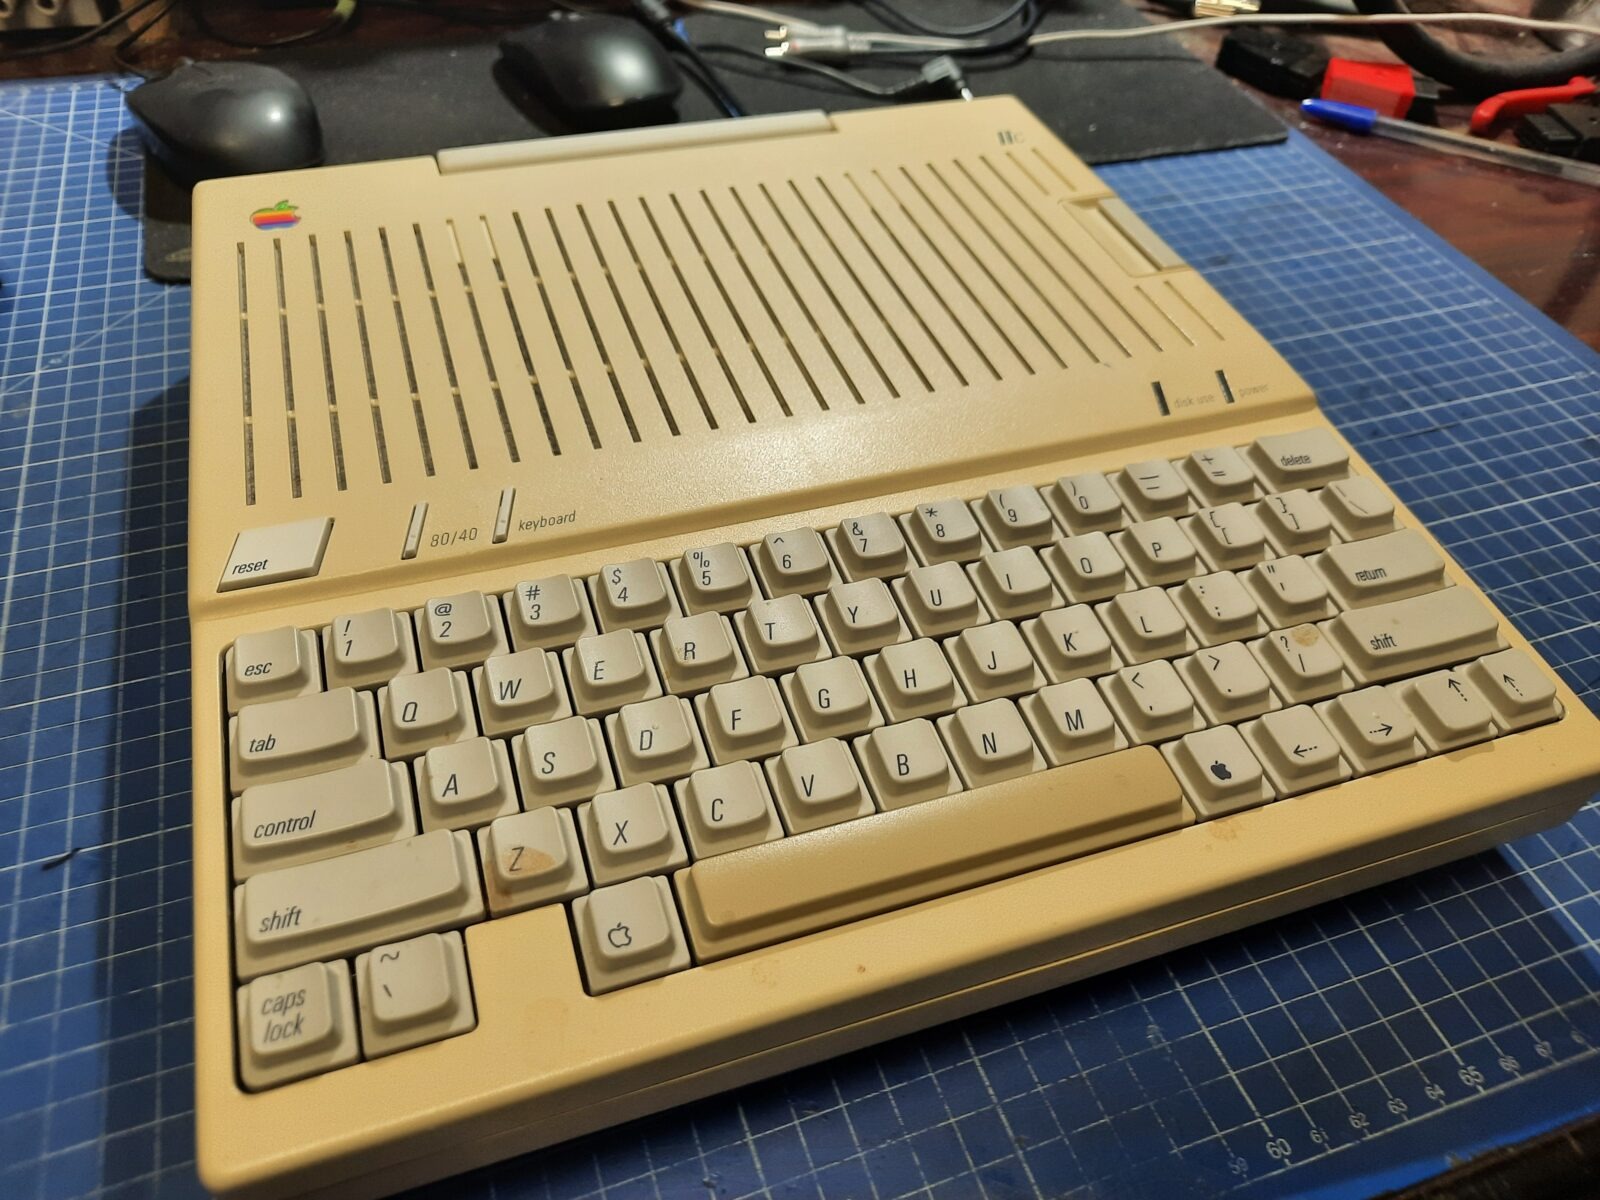
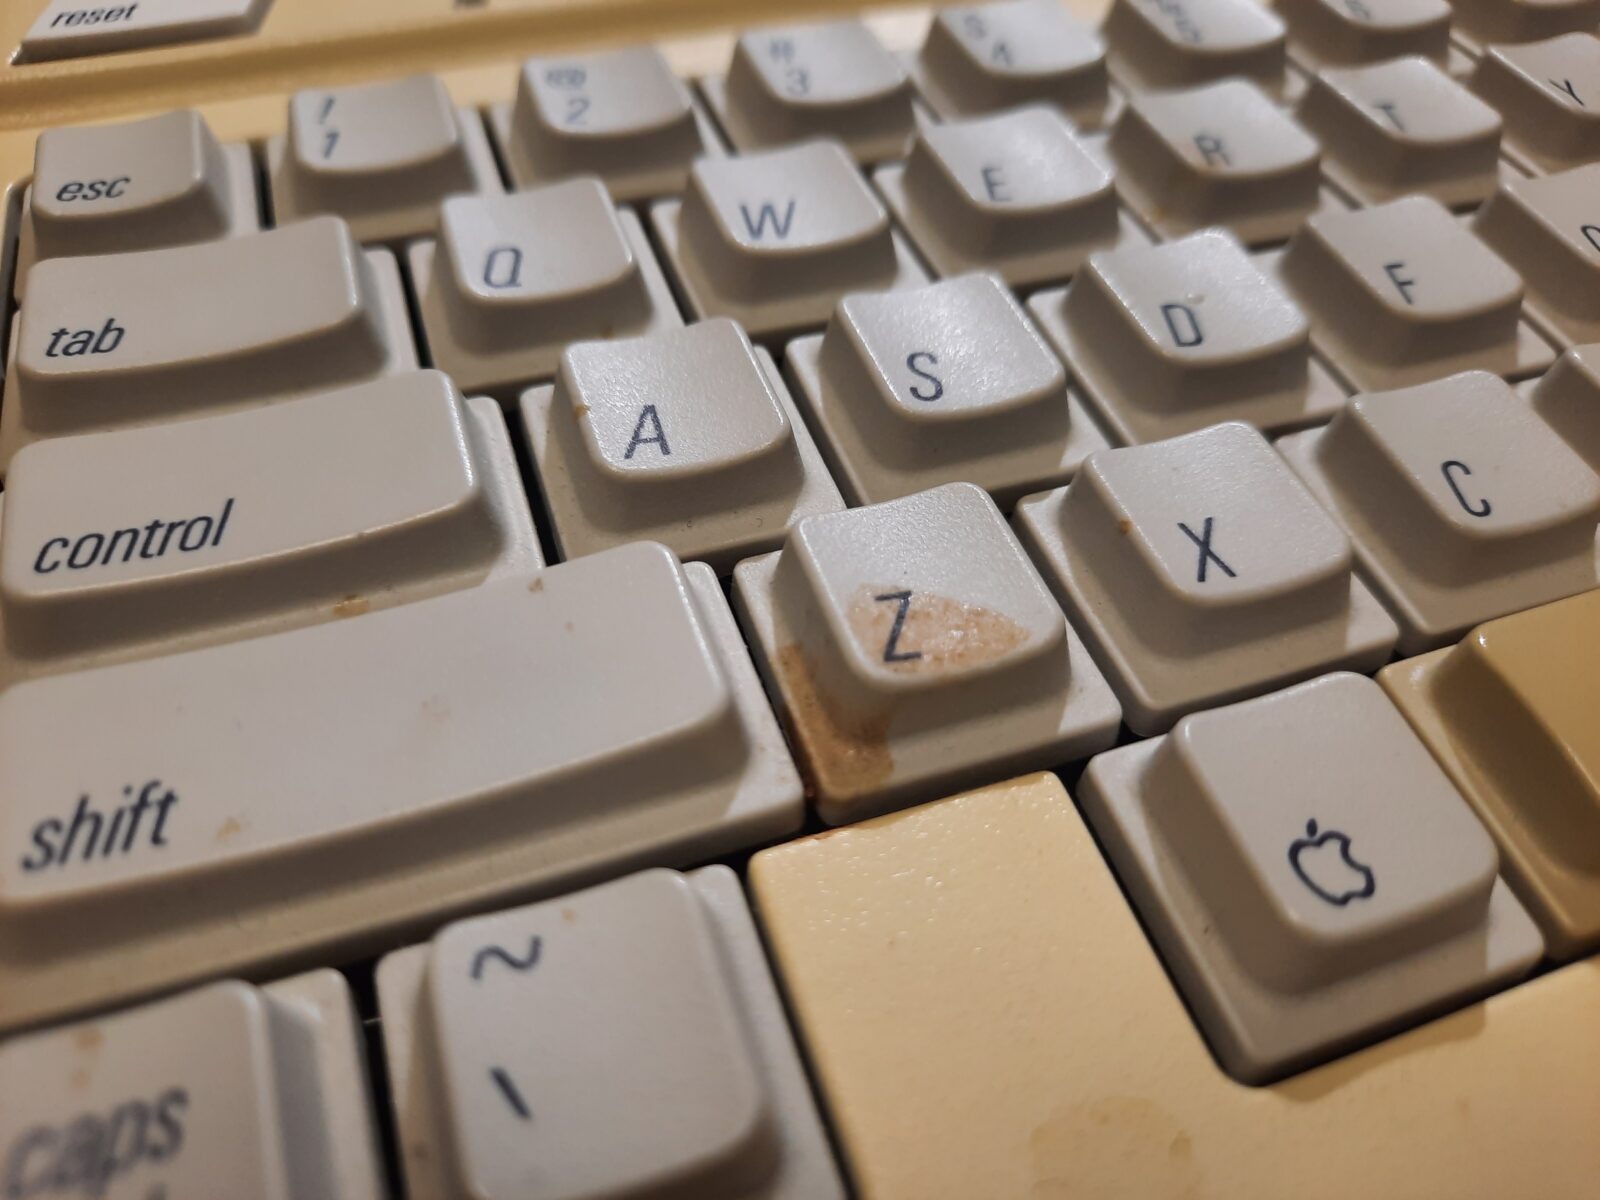
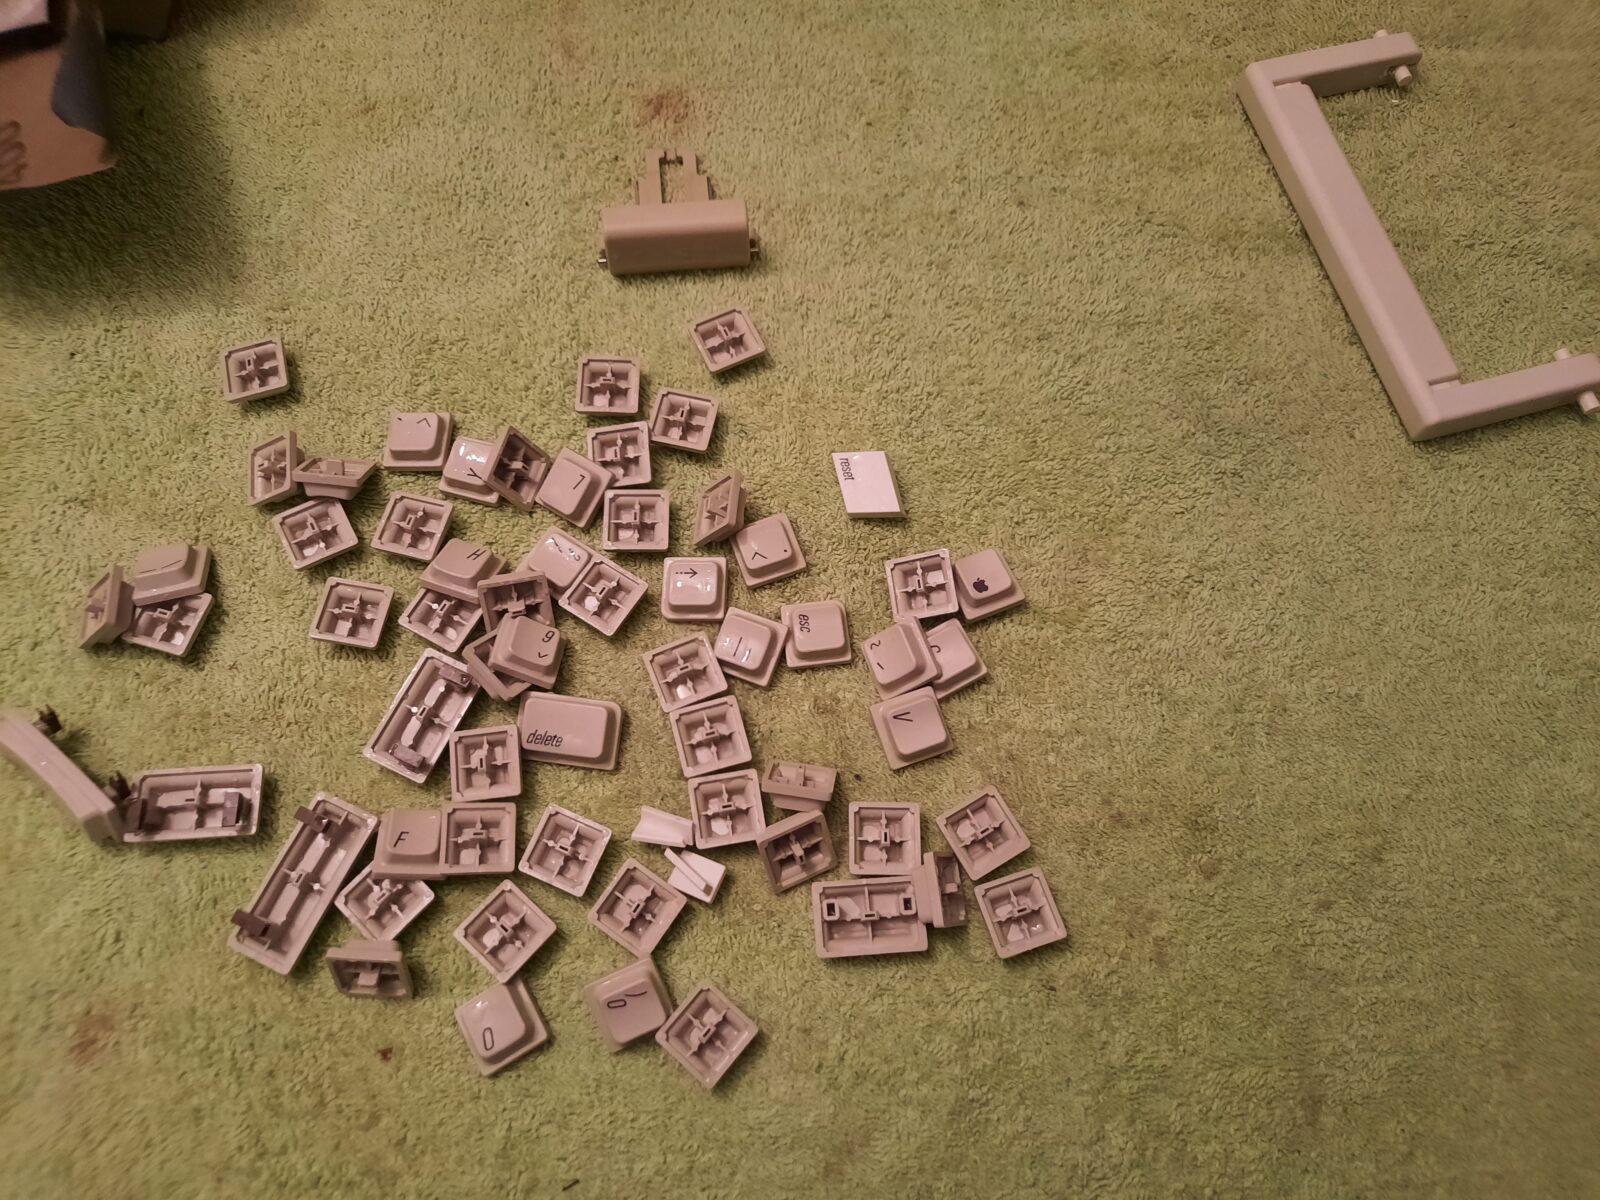
Sorting out the keyboard was pretty straightforward. I usually retr0bright keycaps by submerging them in peroxide.
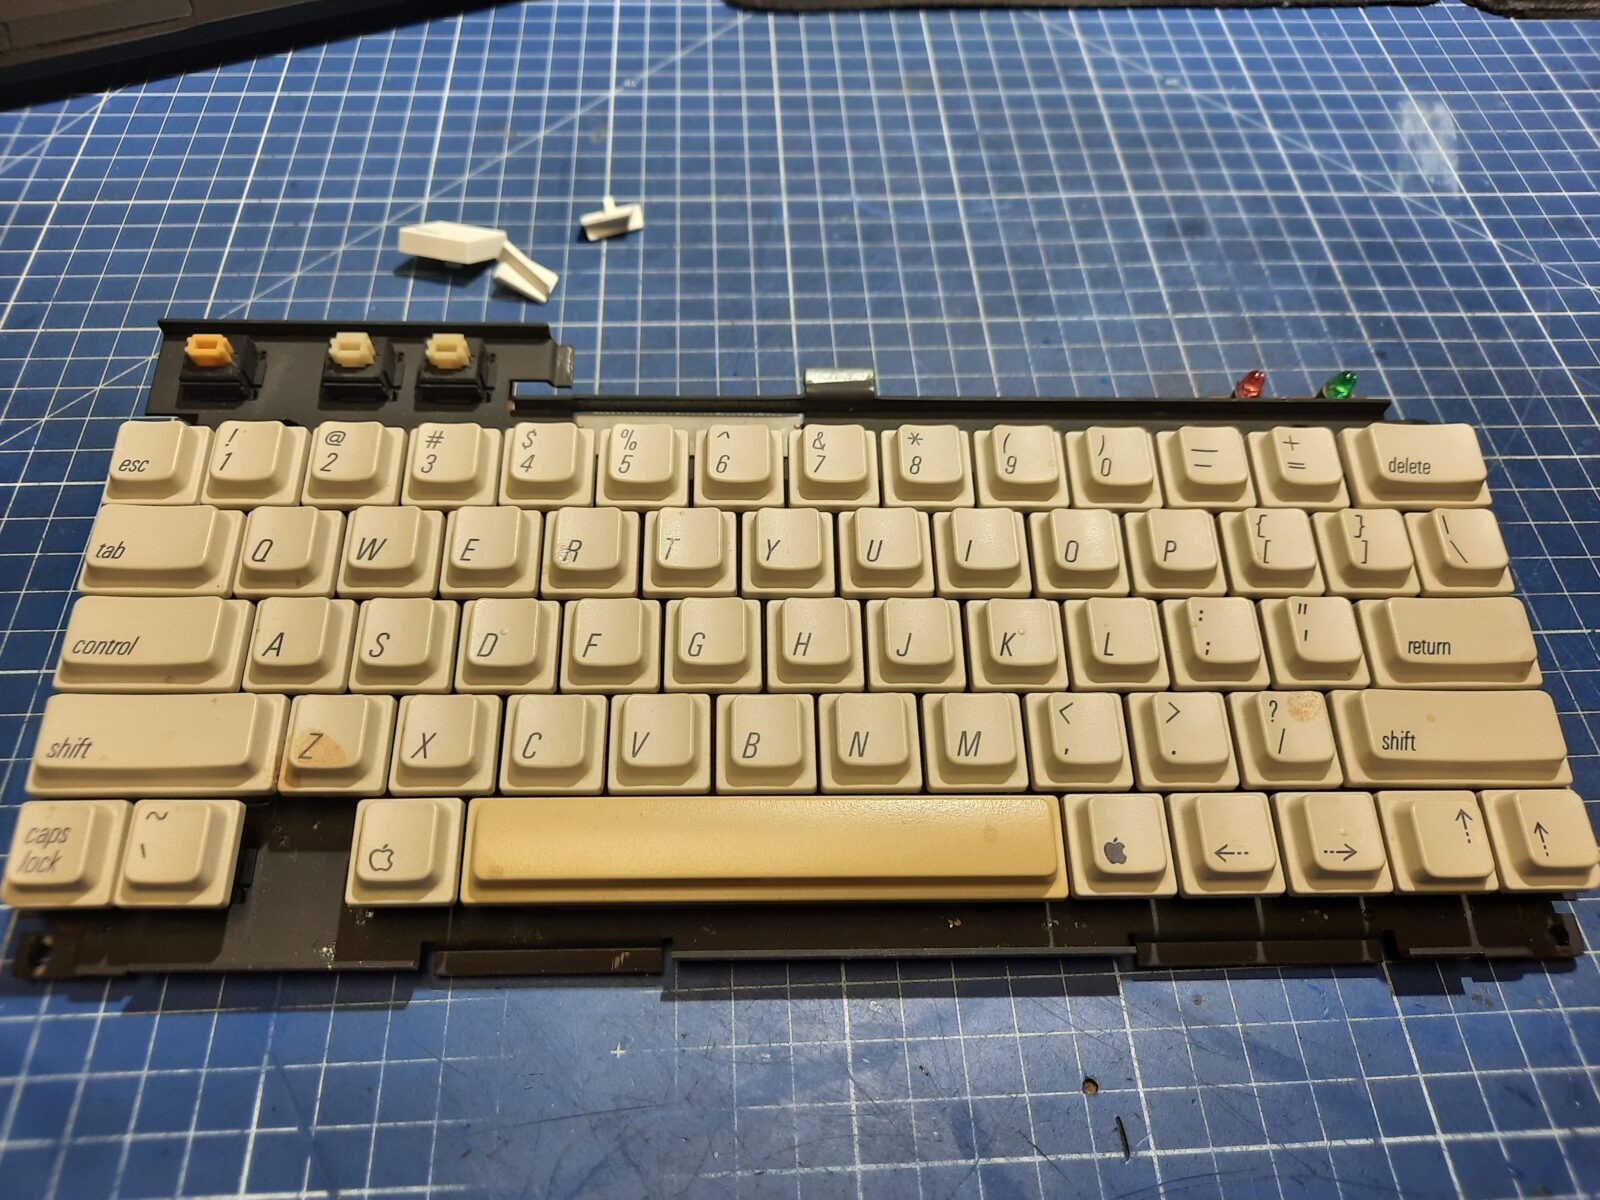
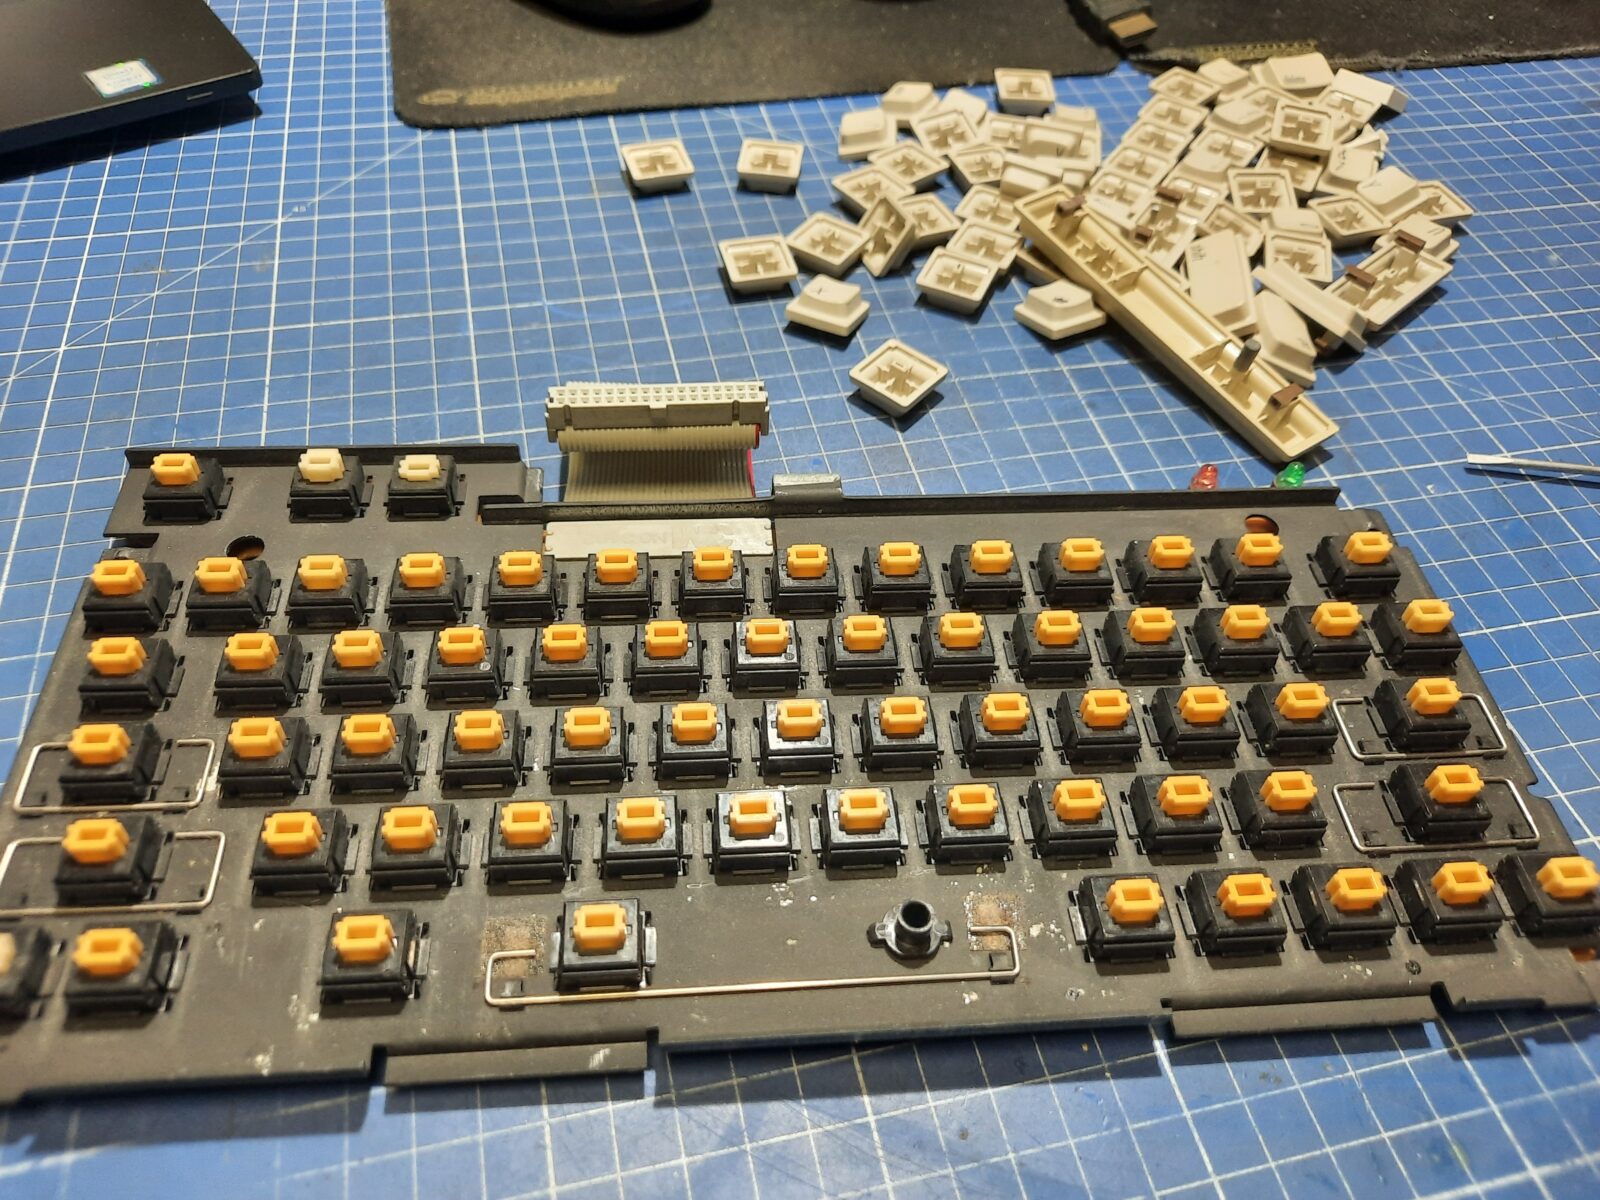
Below is a pic of already sorted-out keycaps.
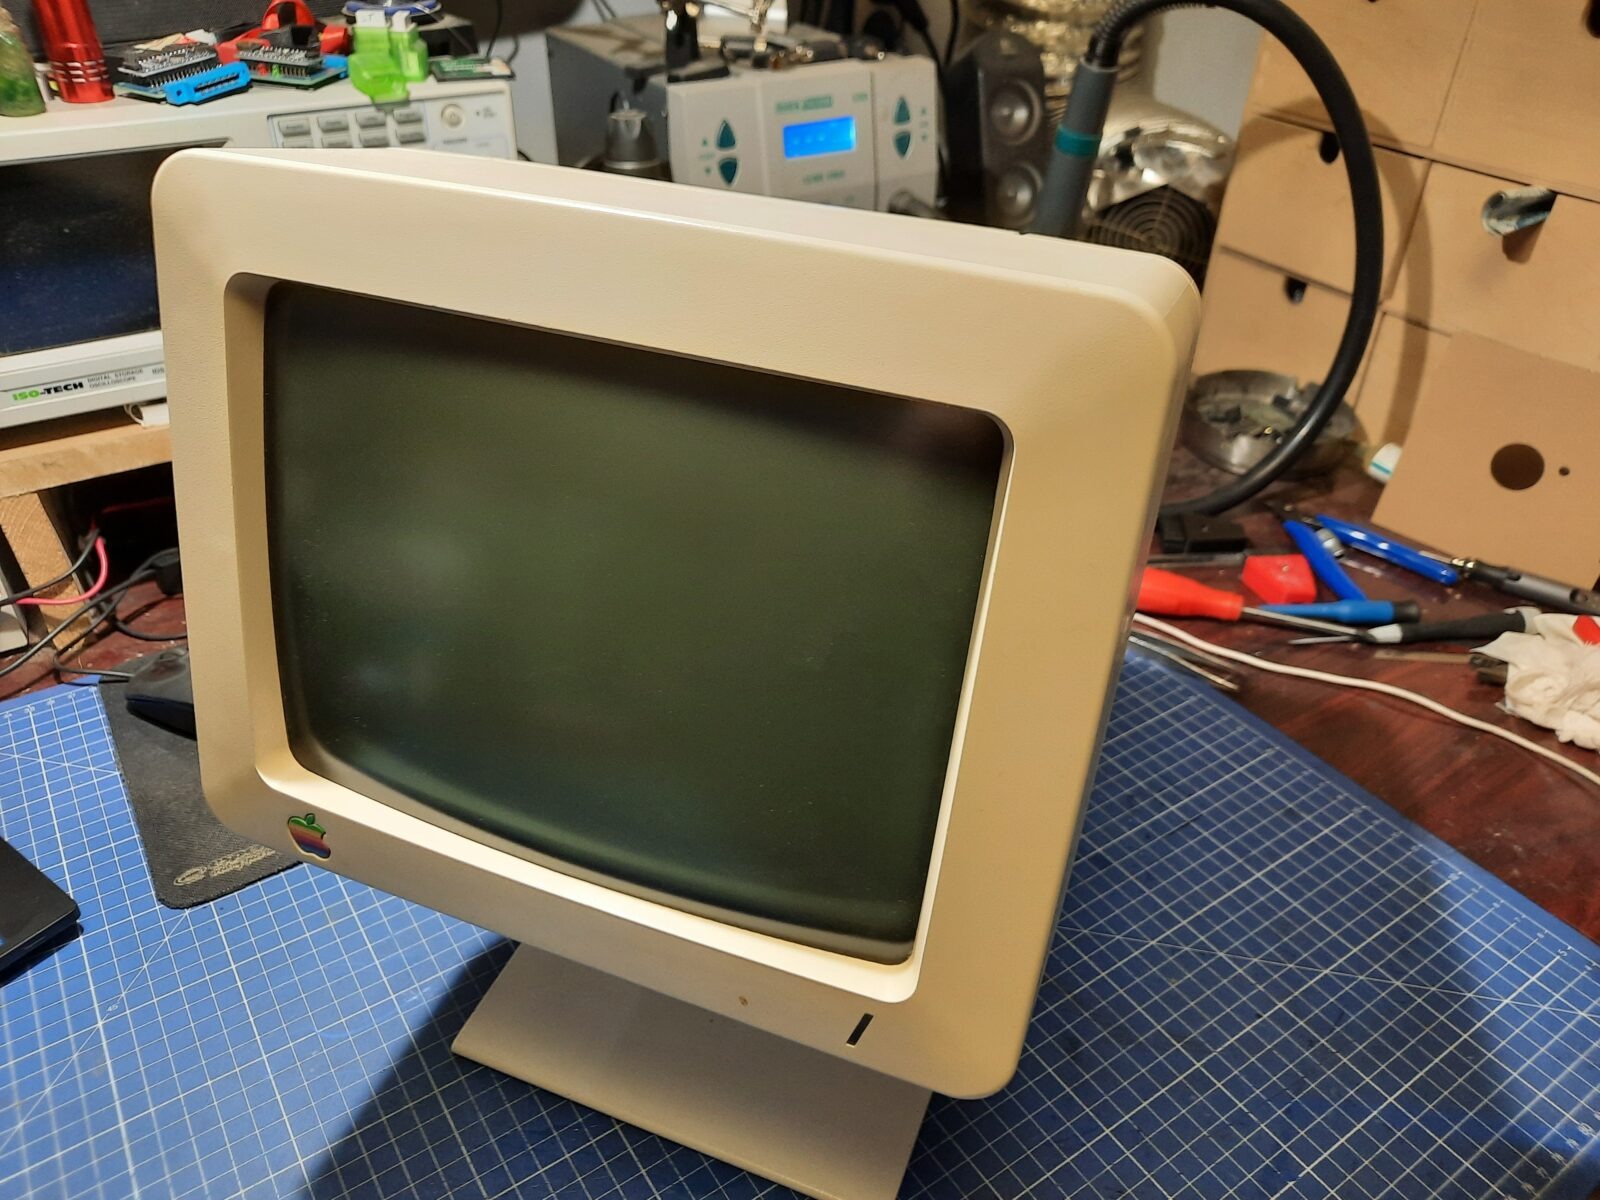
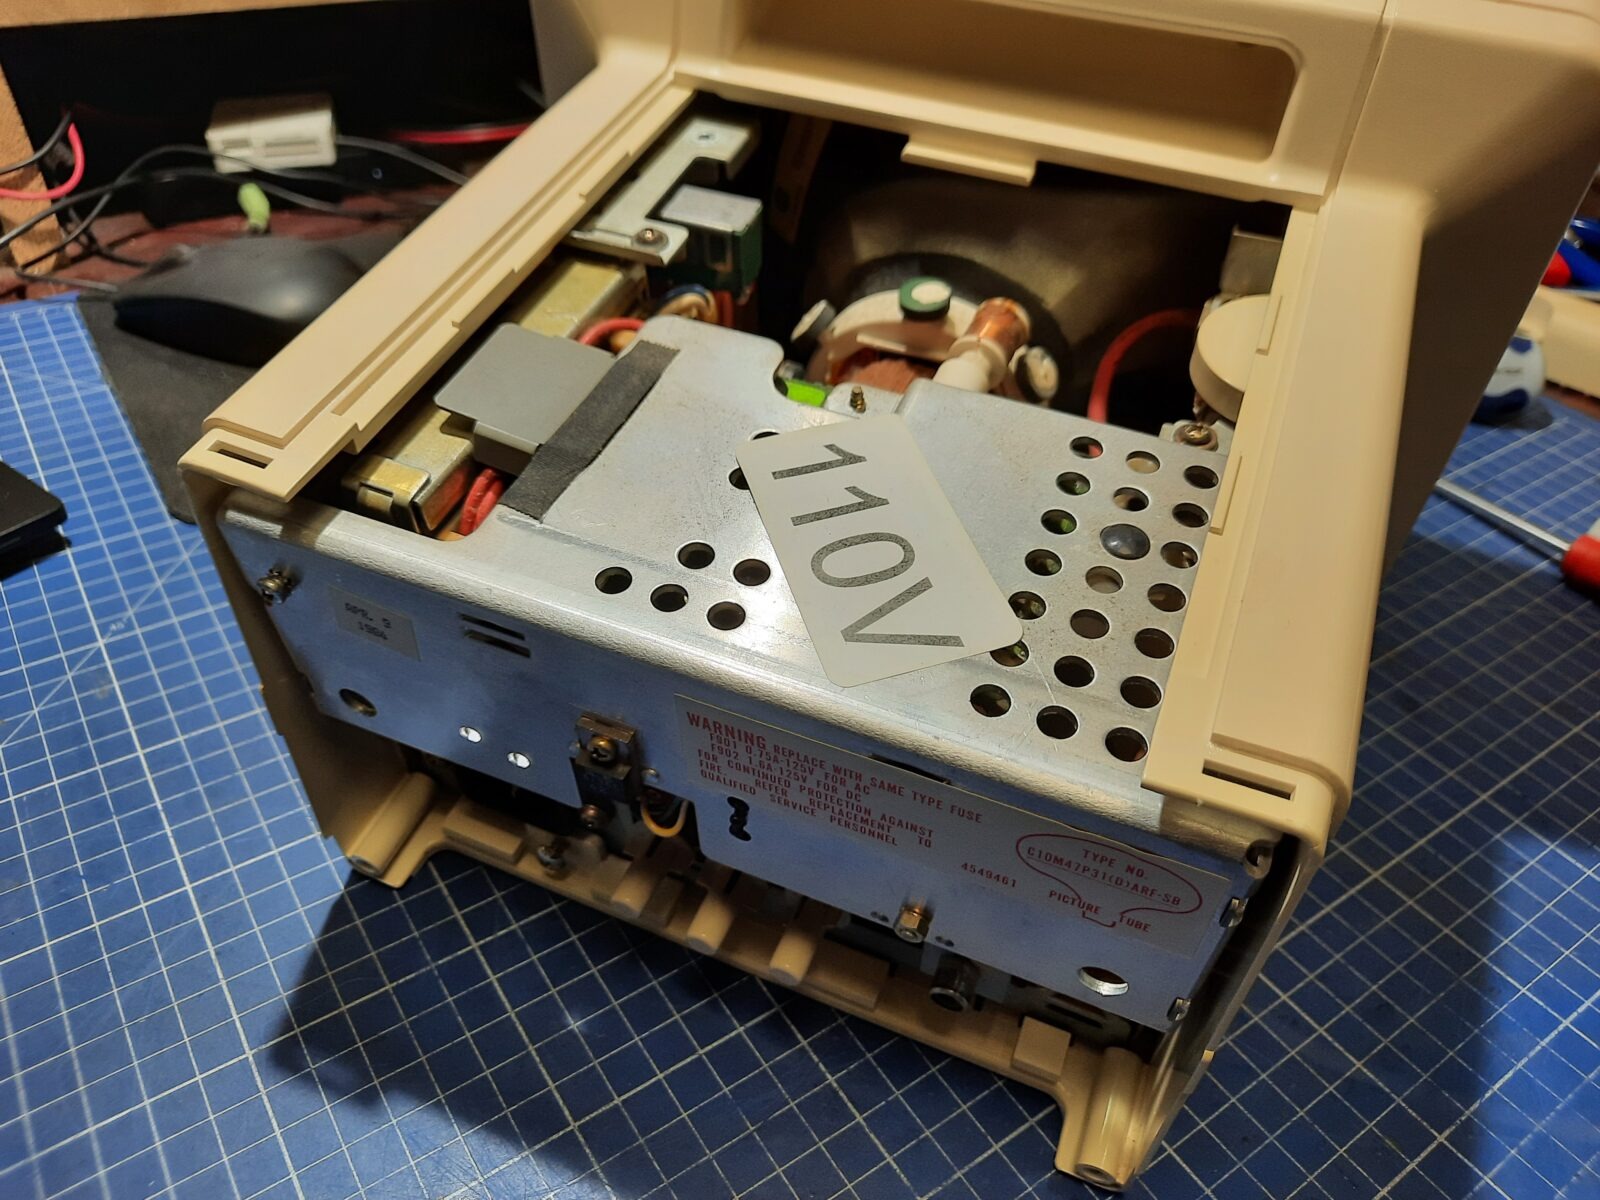
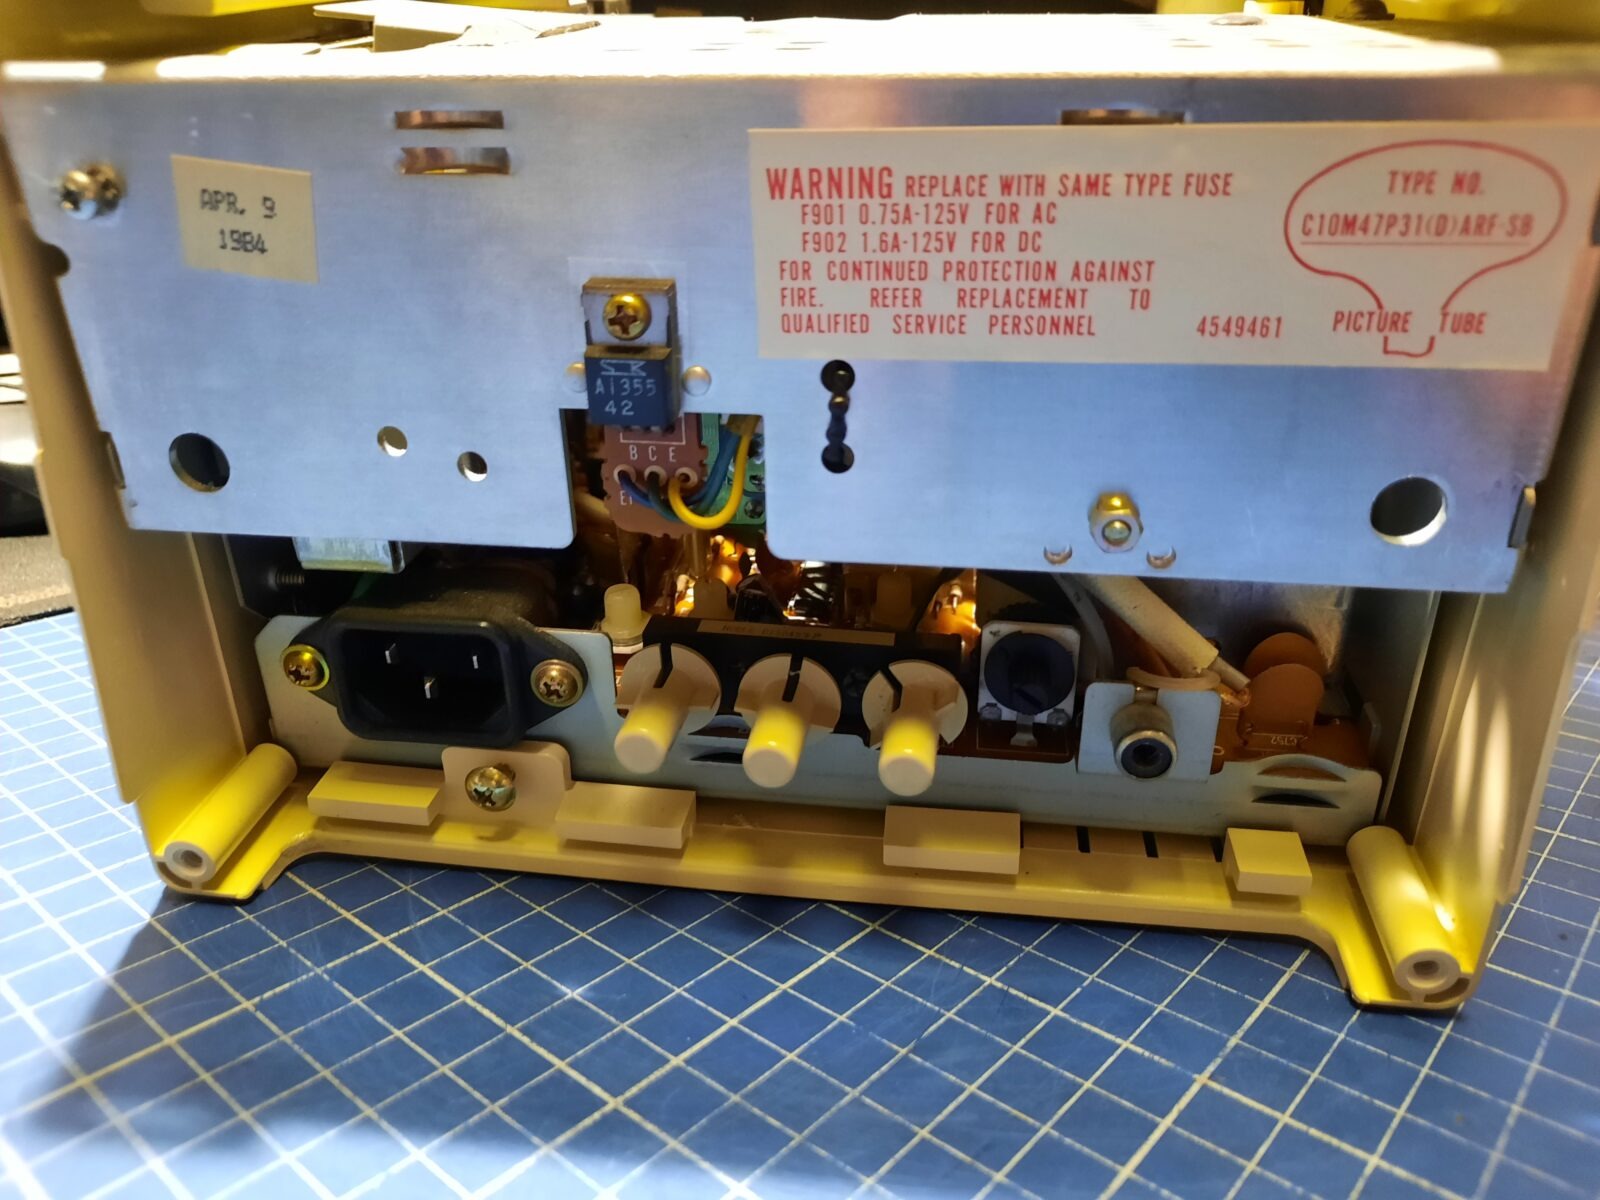
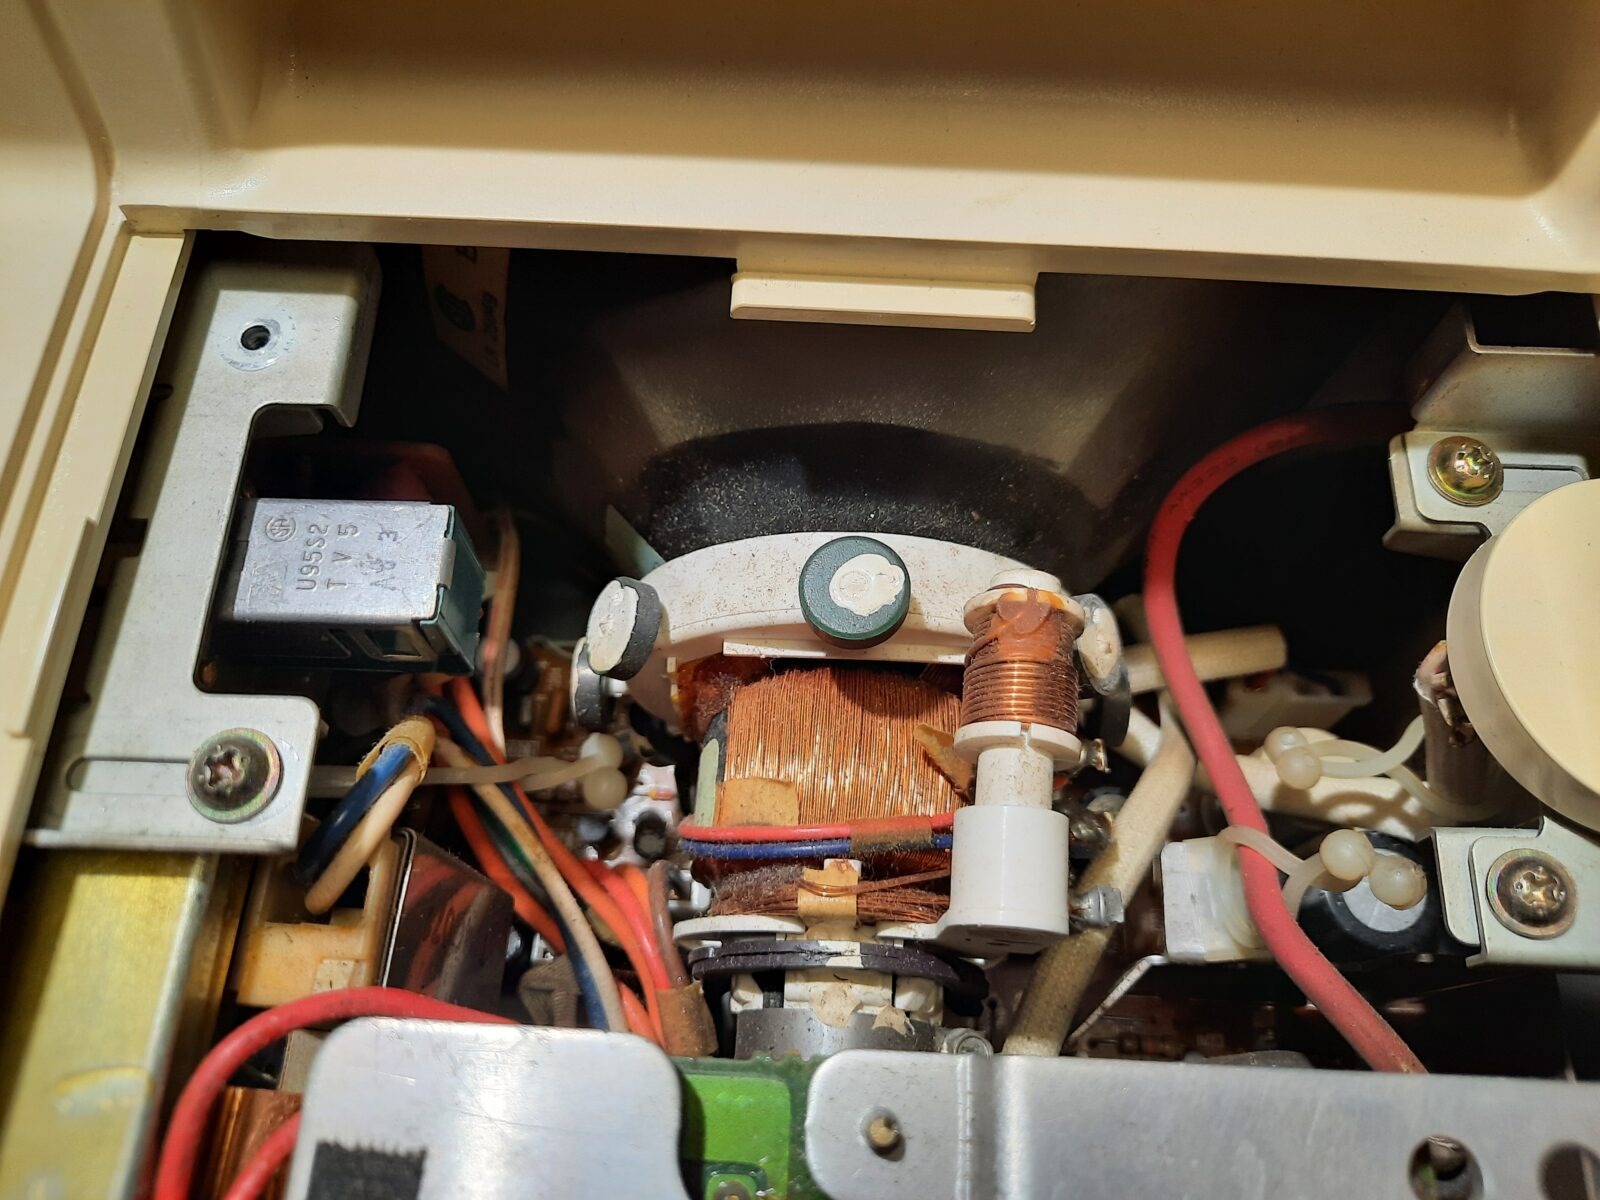
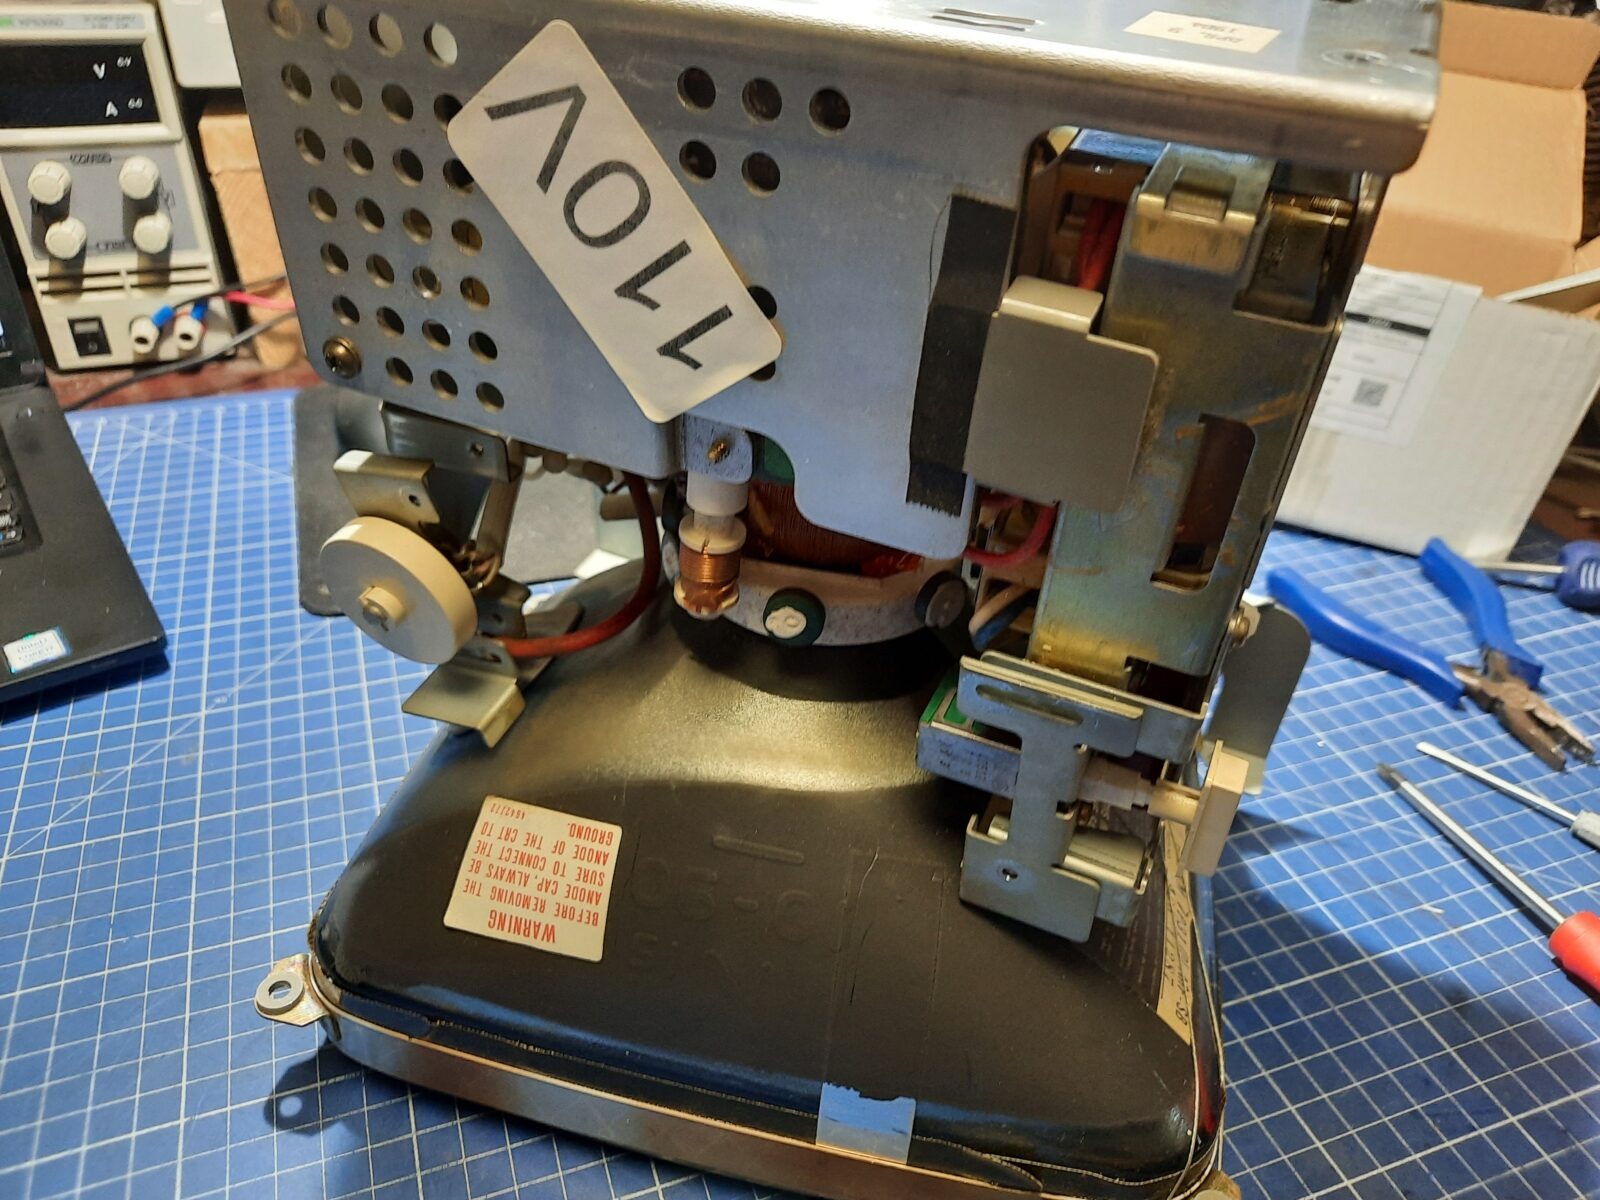
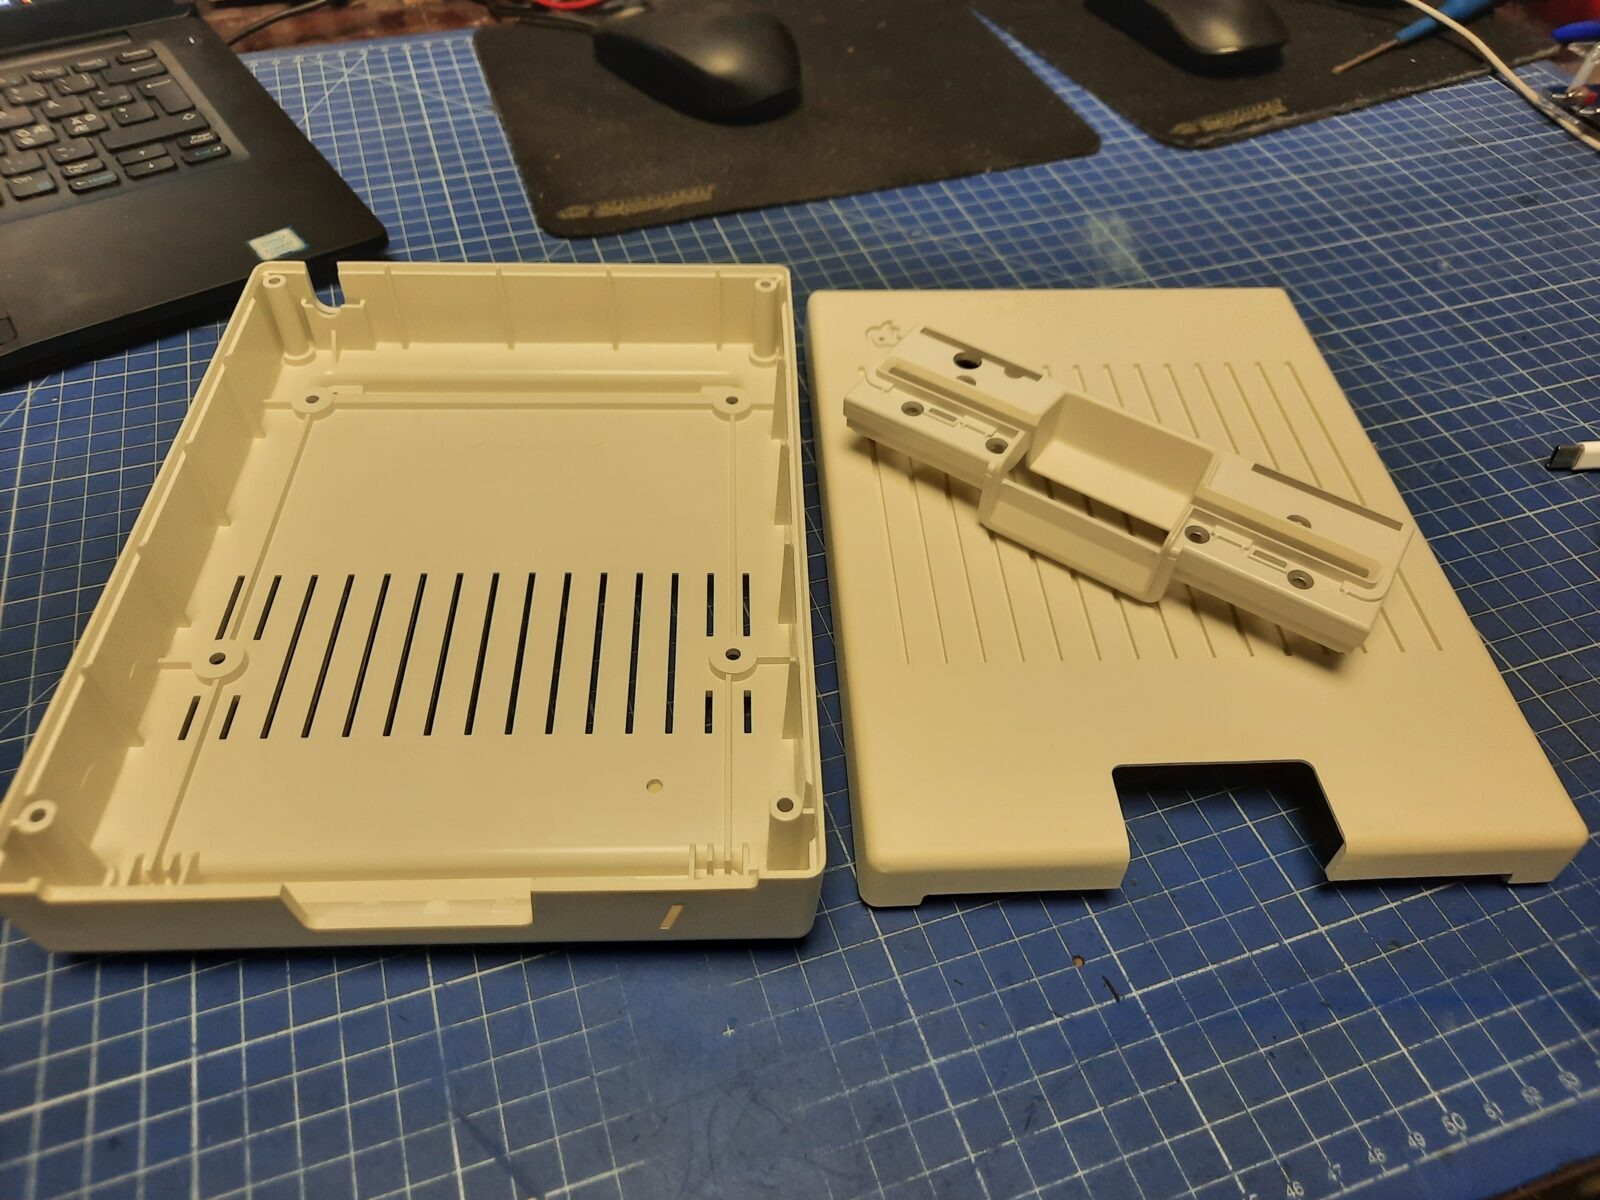
CRT
Right after KB, I started working on a CRT. I had to prepare it for retr0brighting.
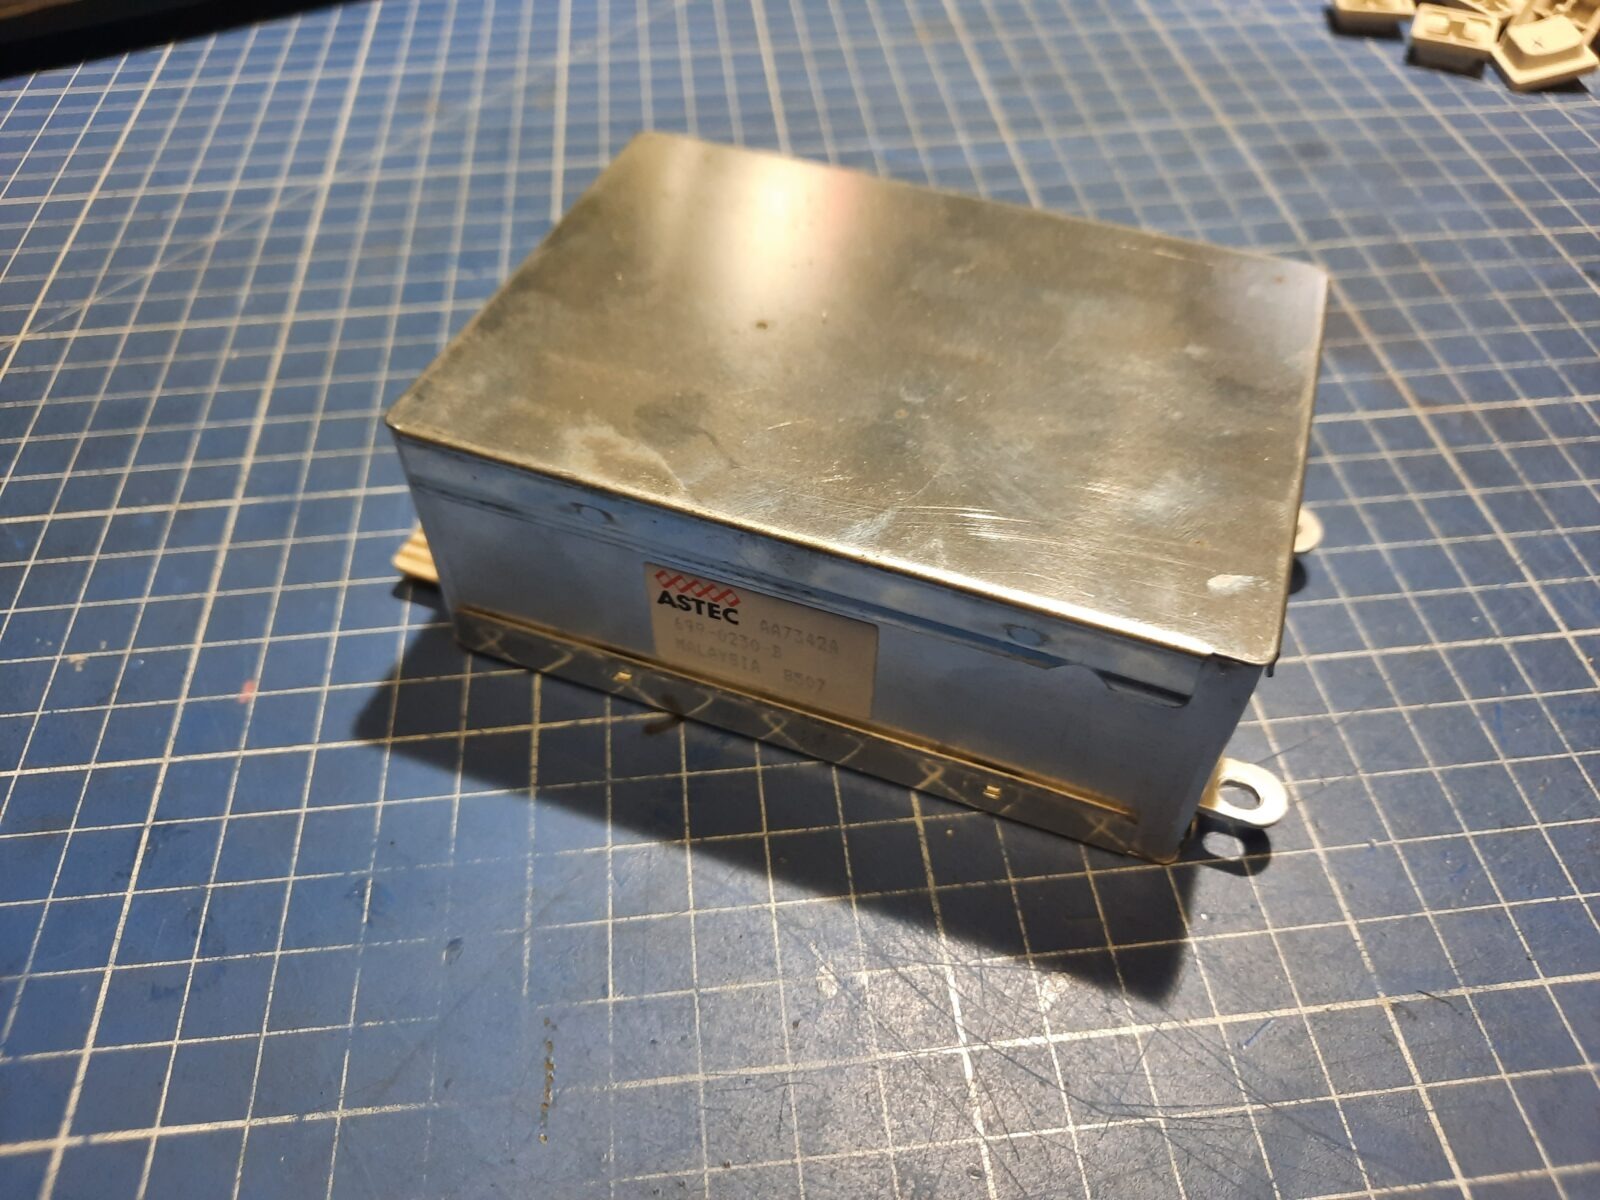
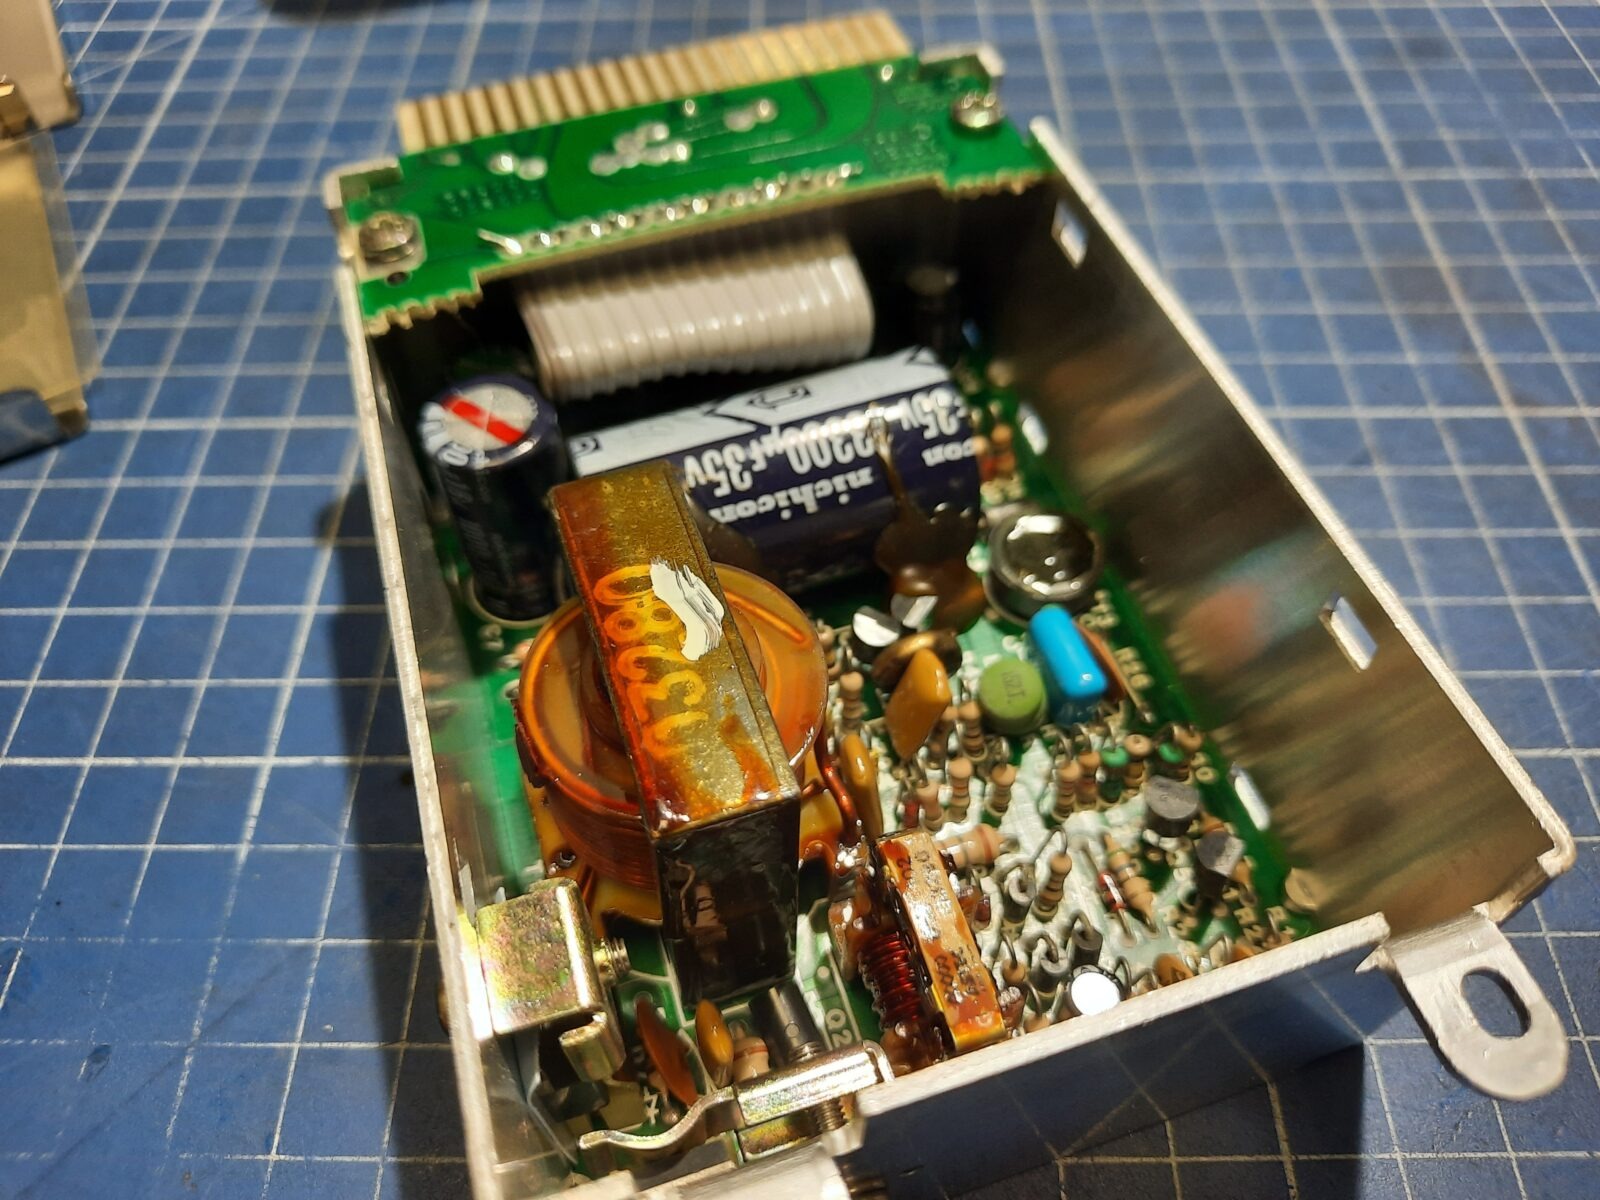
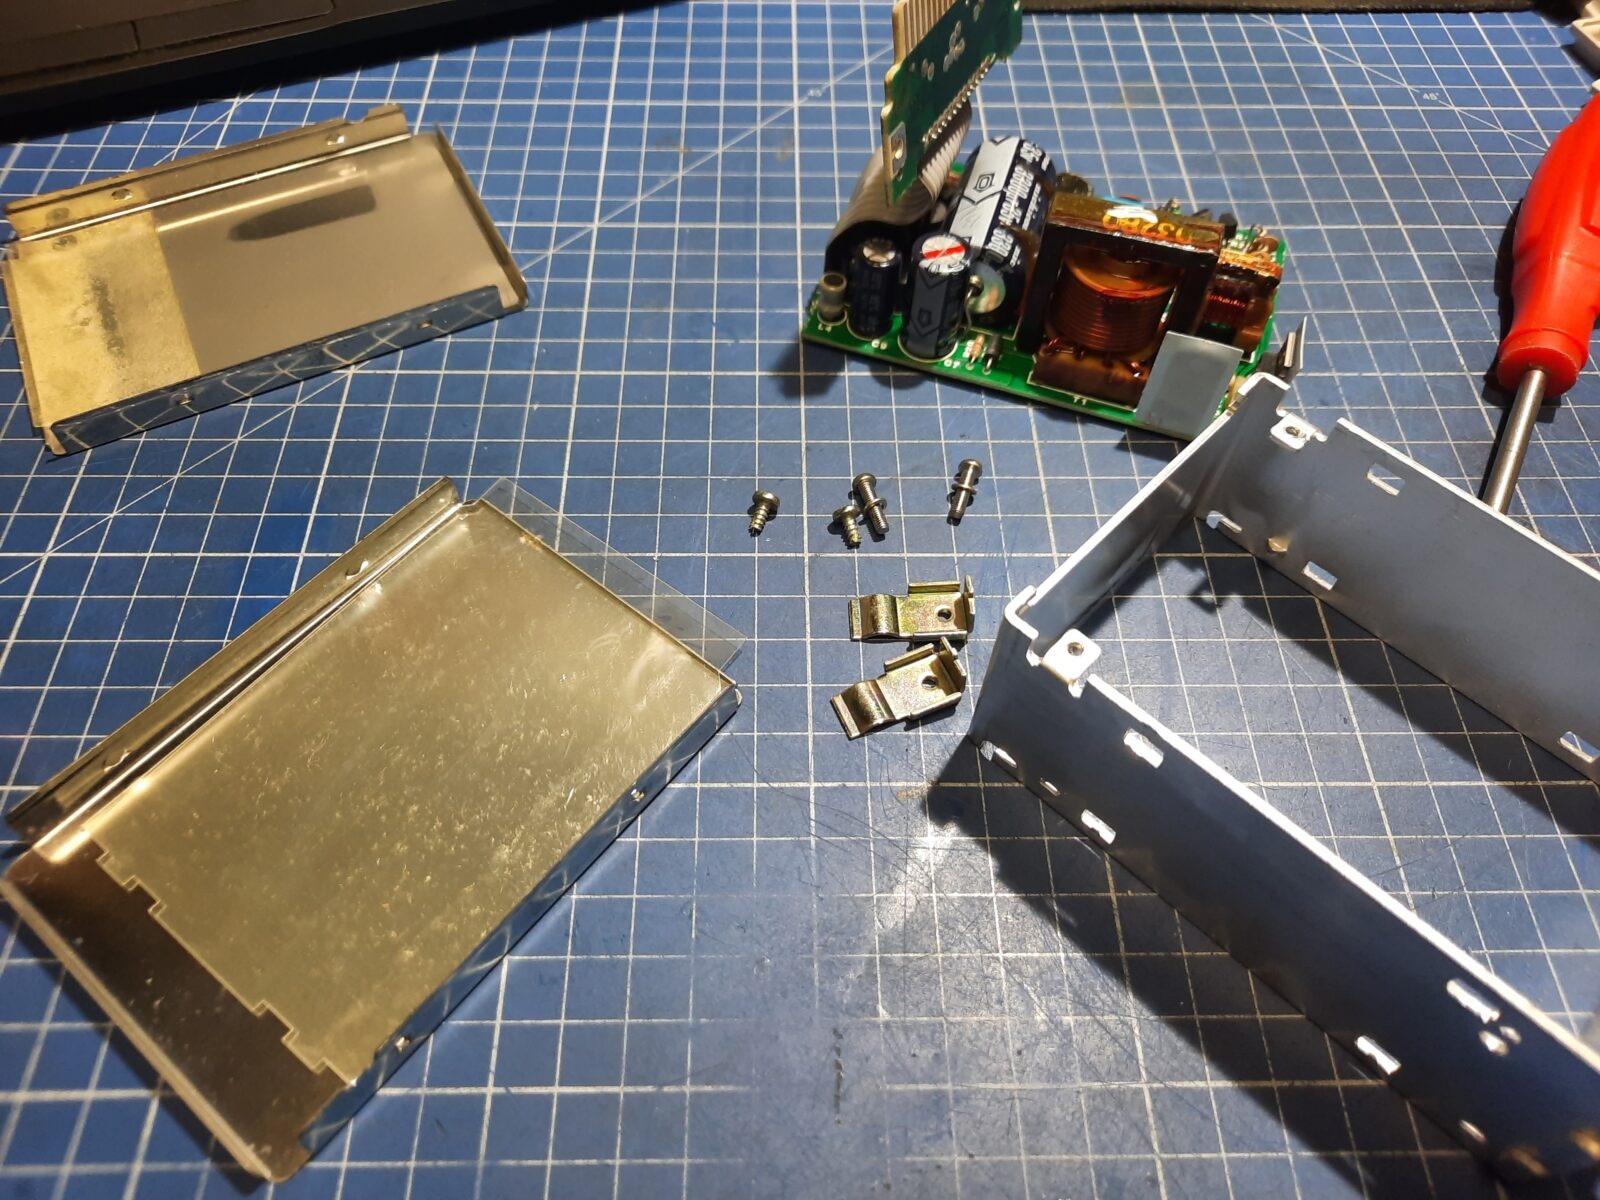
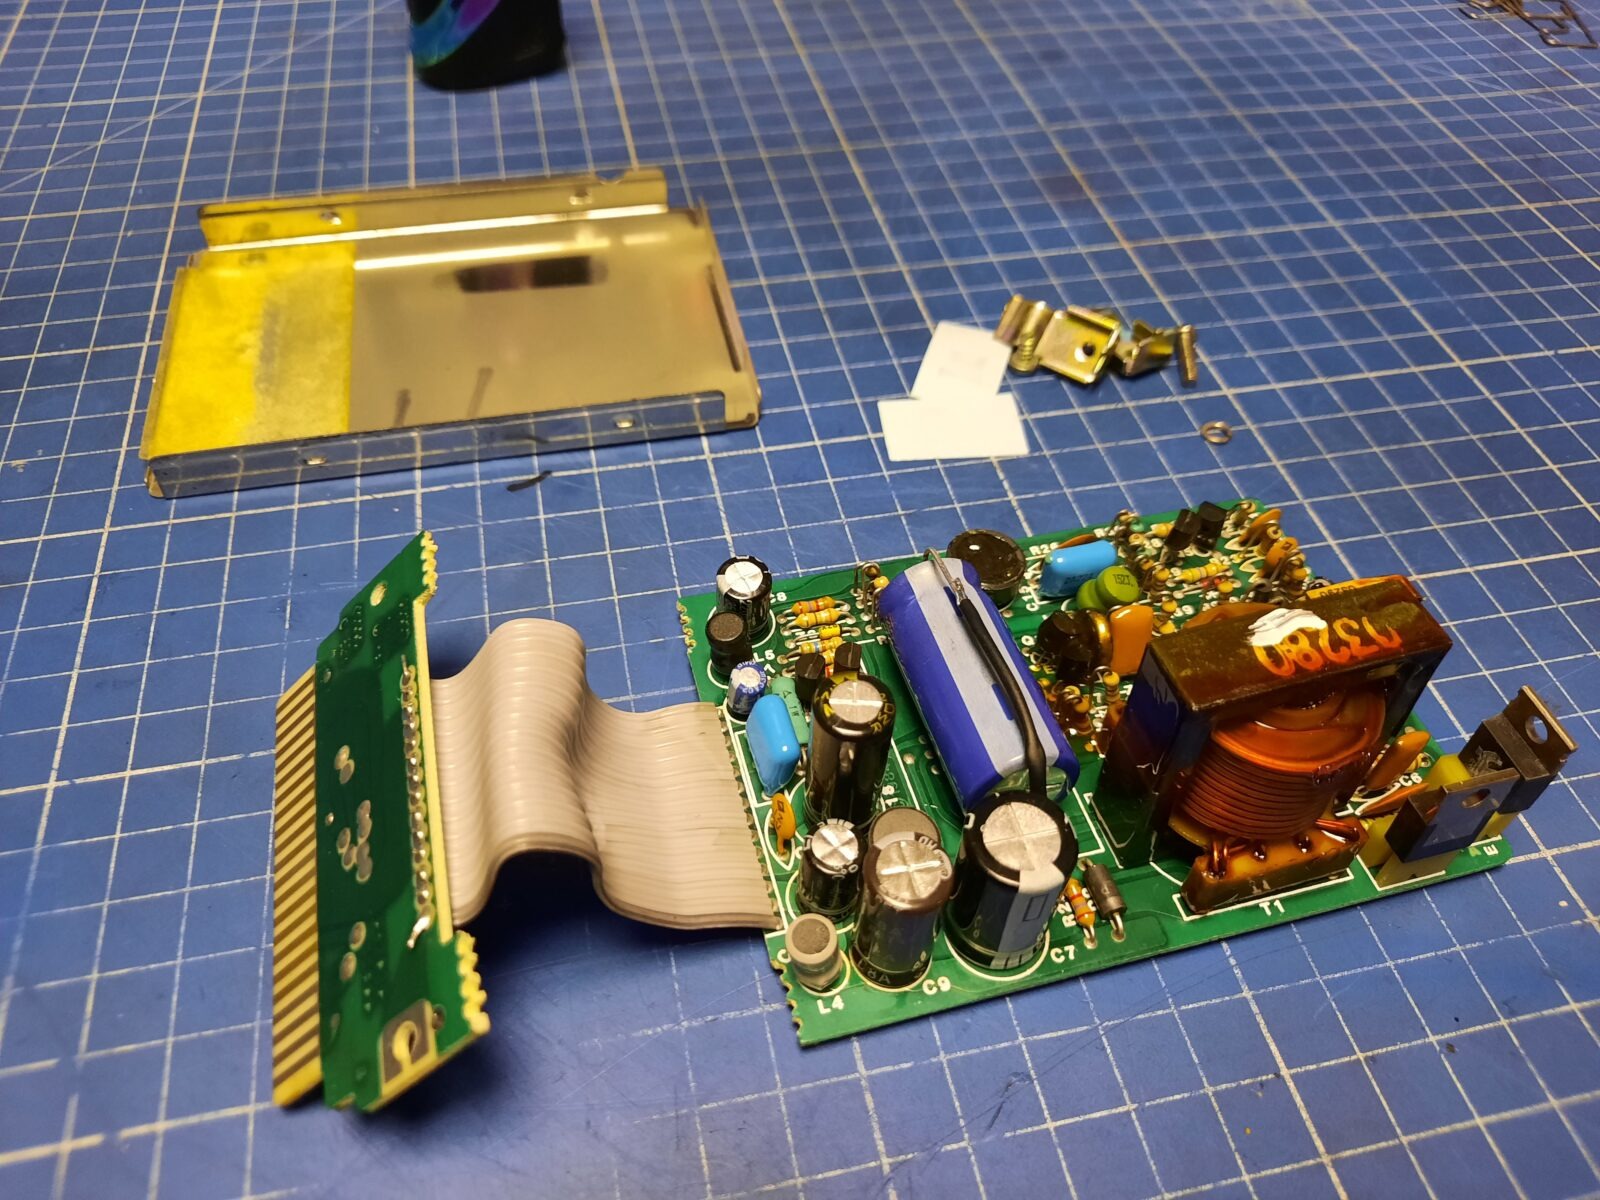
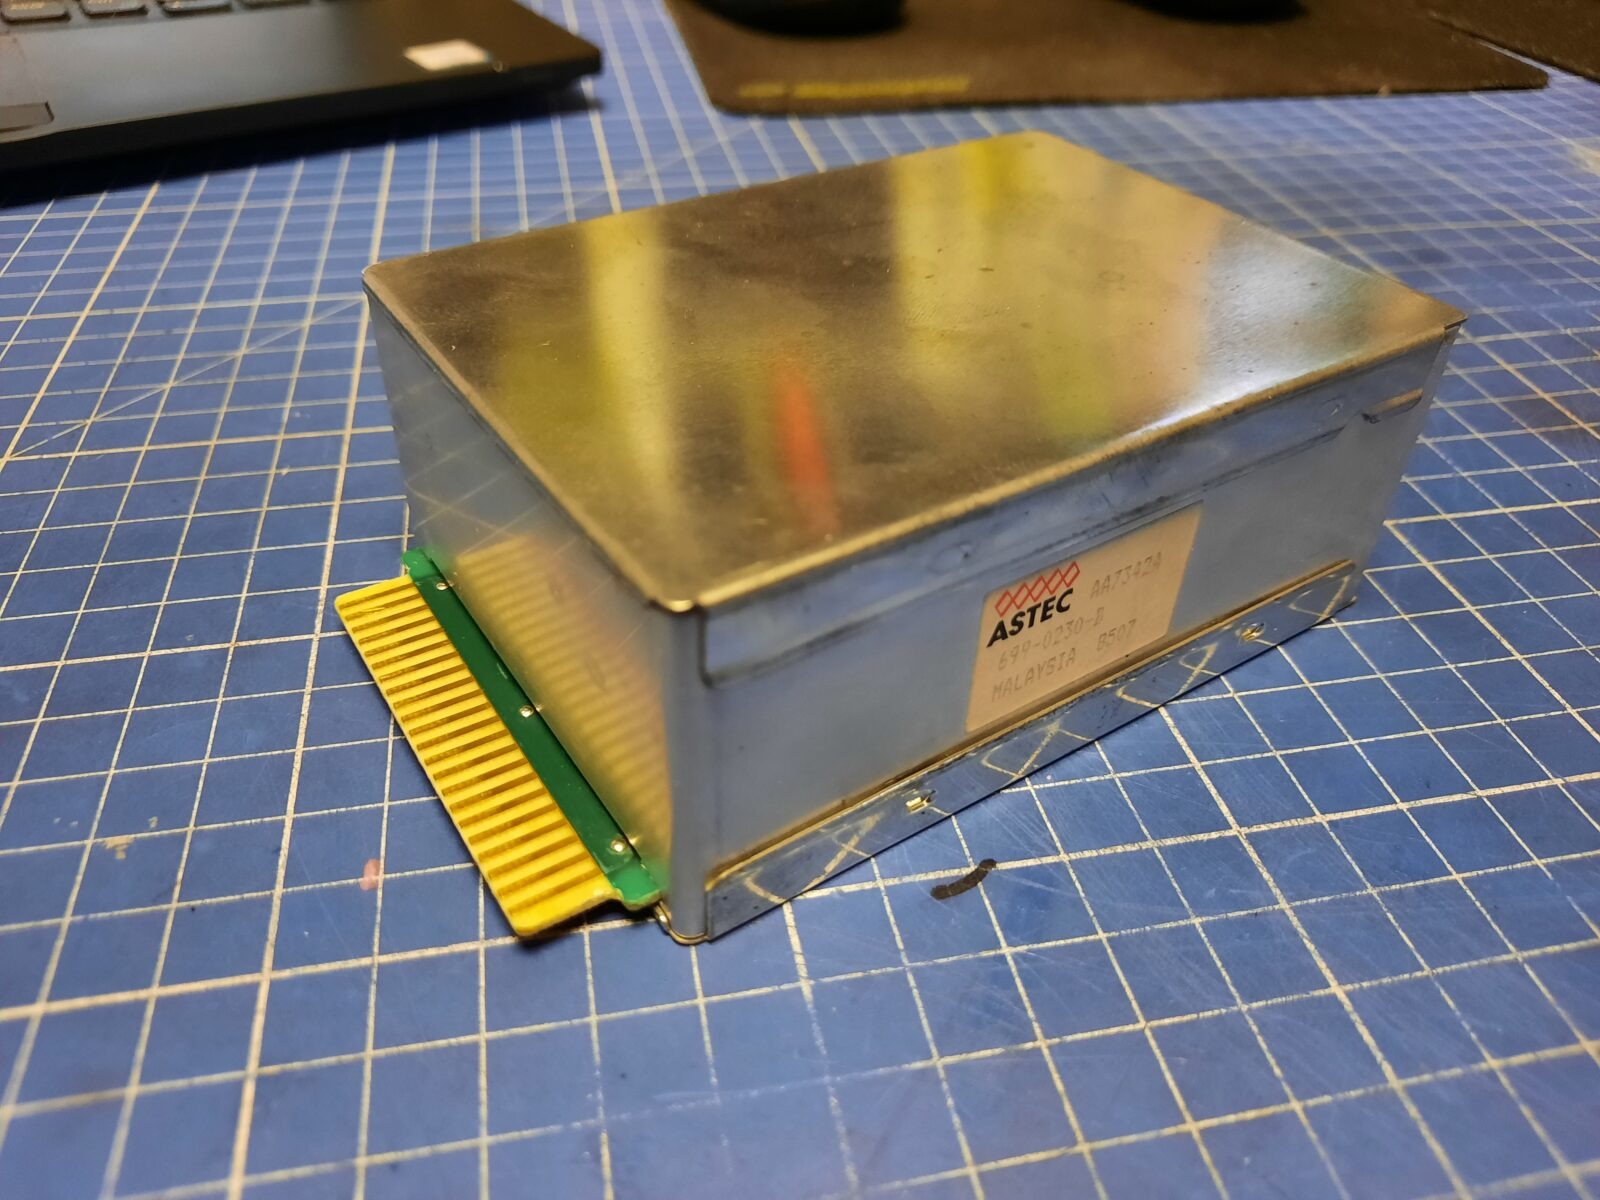
Internal PSU
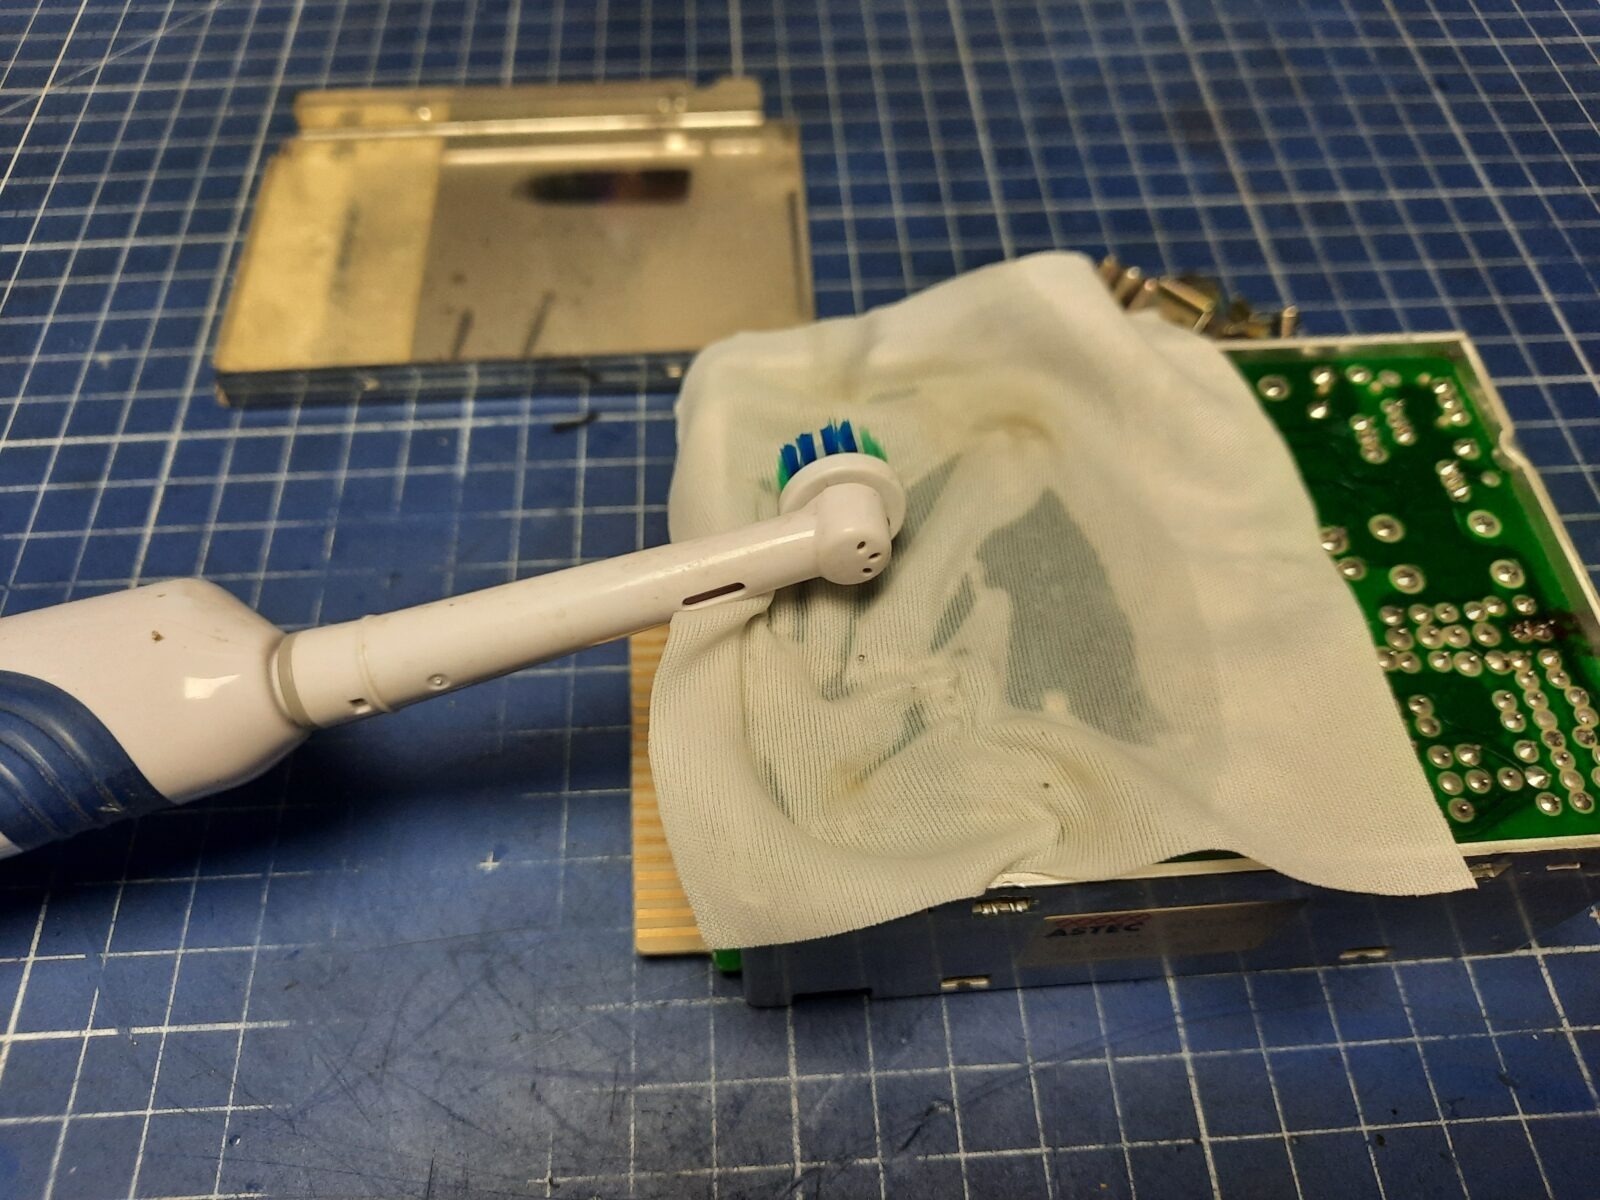
In this step, I also disassembled and re-capped the internal PSU. Obviously, only the failing caps were replaced.
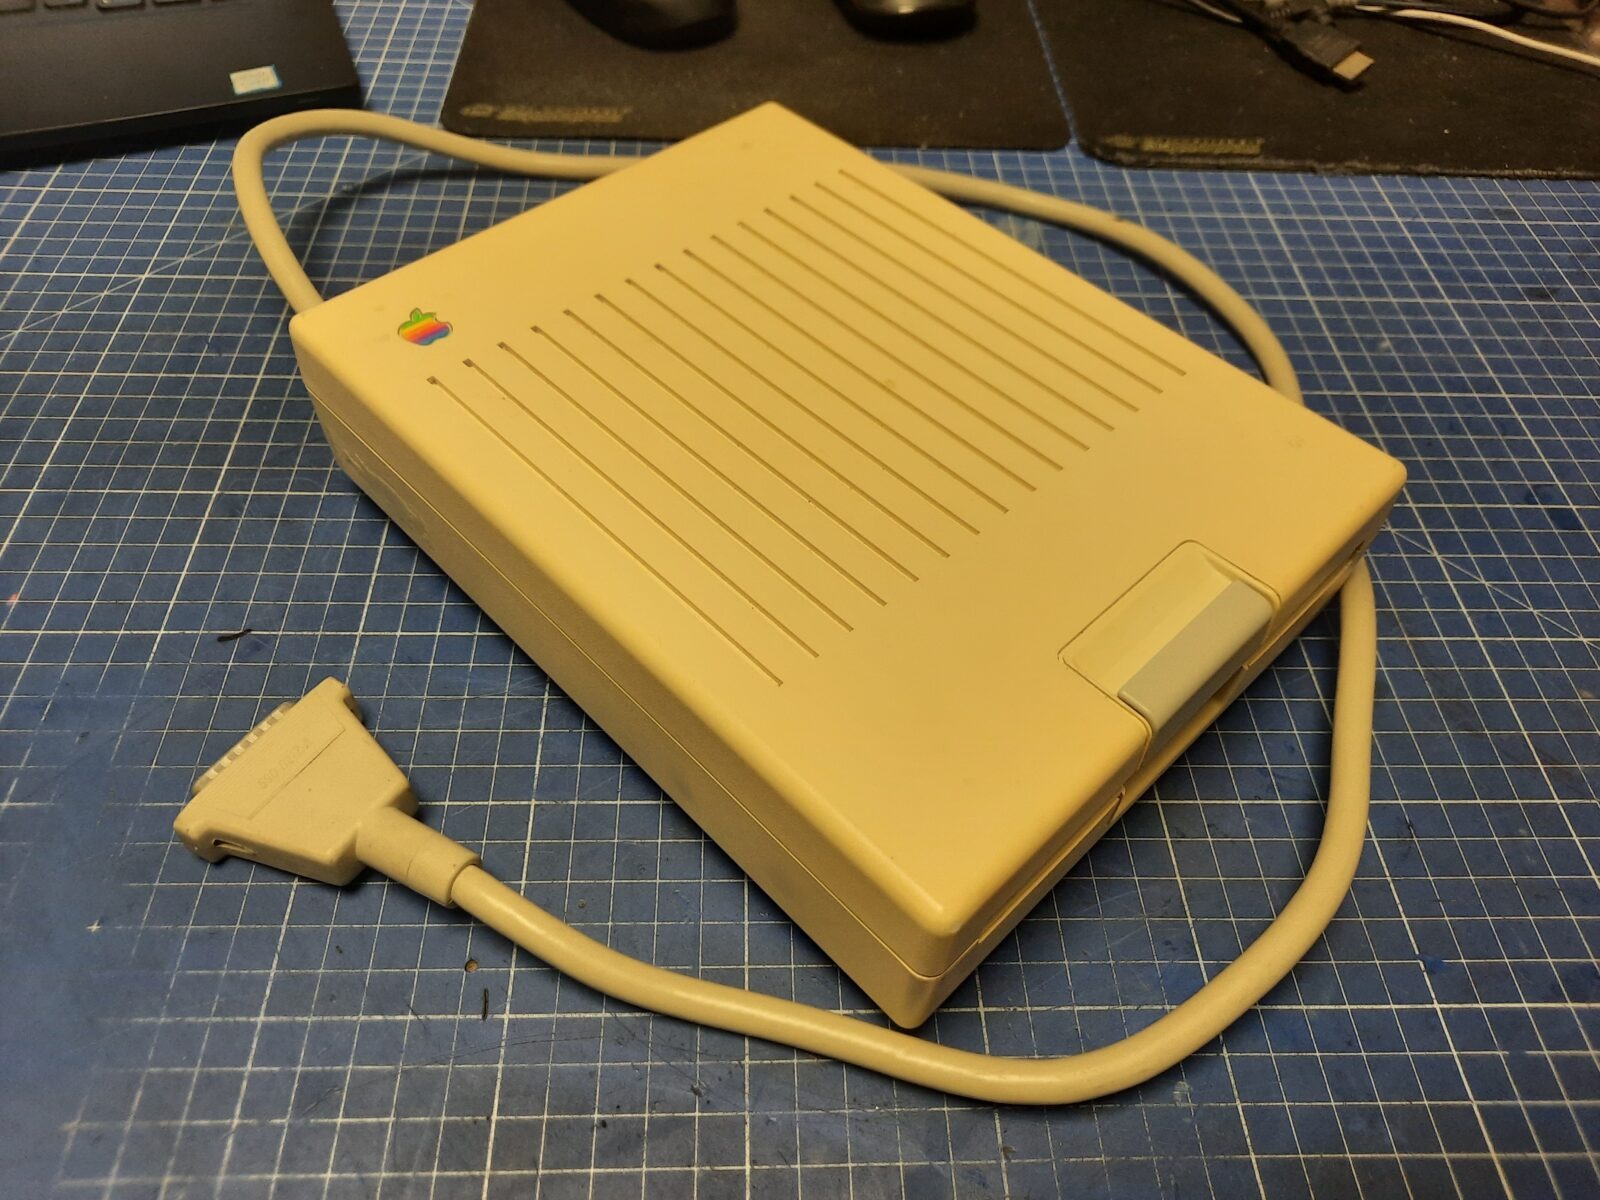
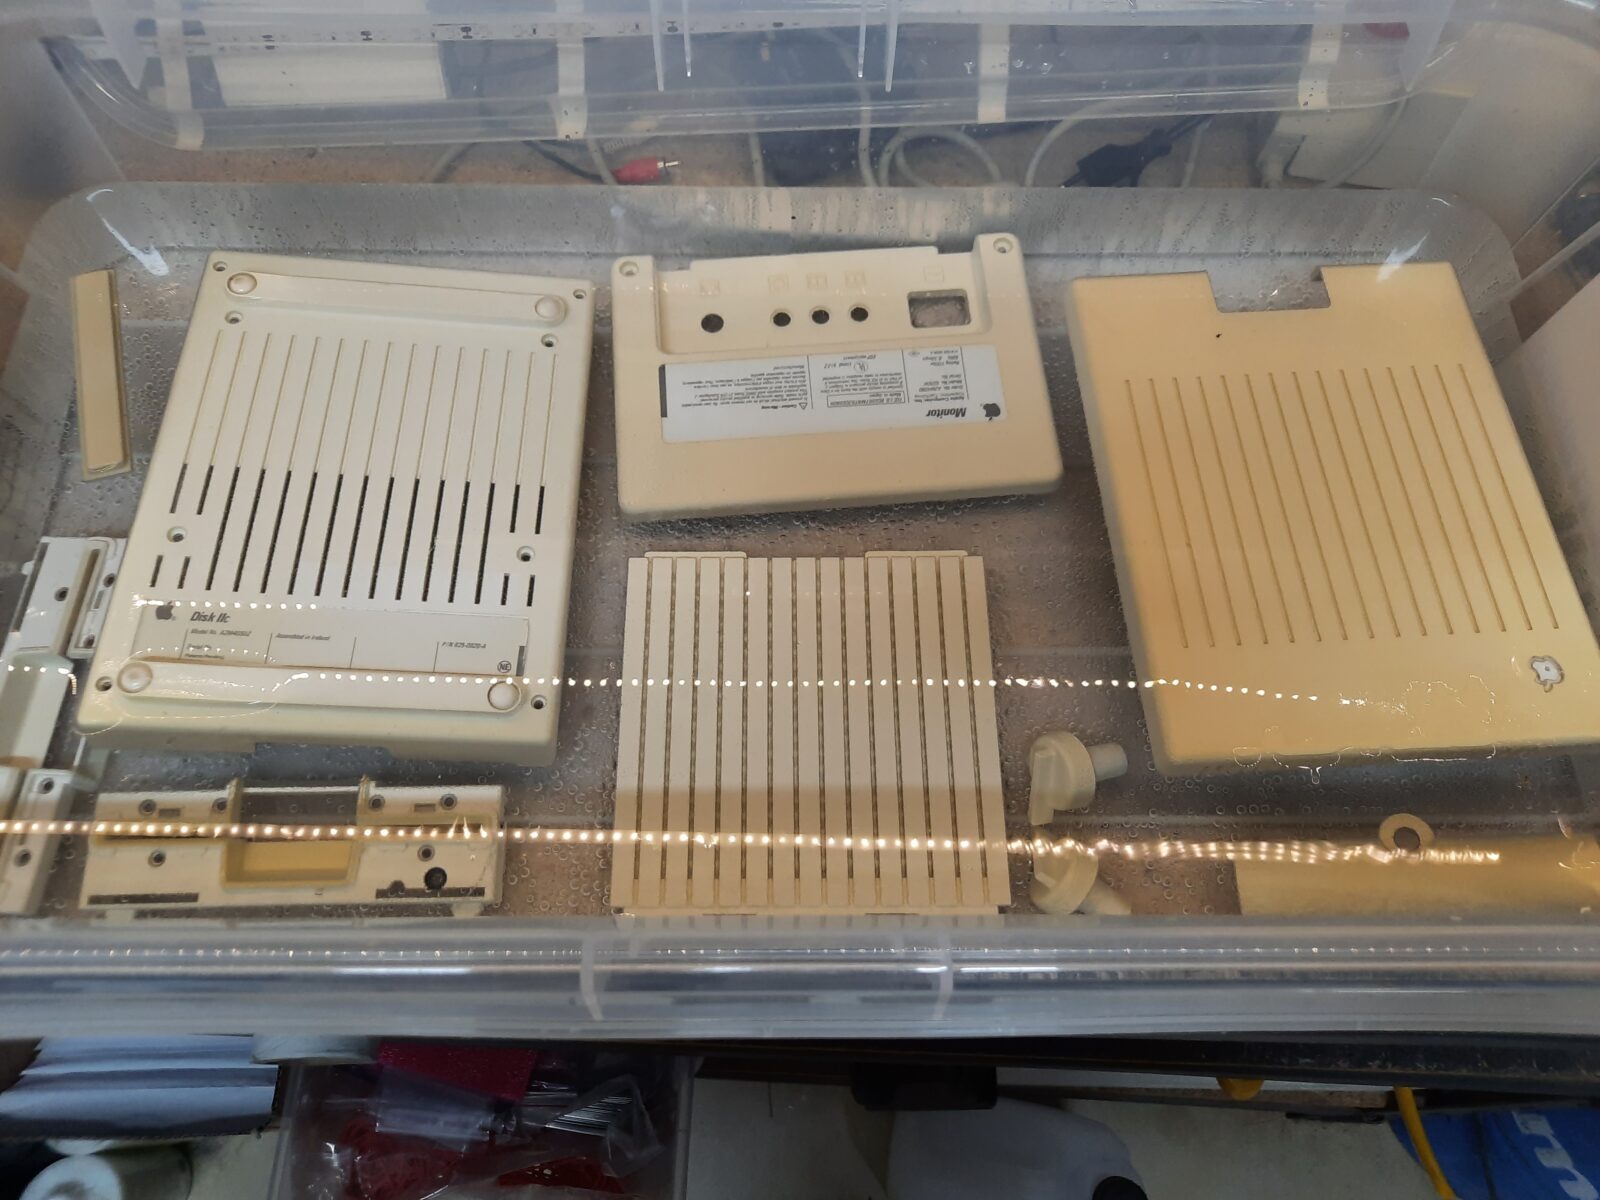
The external floppy was disassembled and prepared for retr0brighting too. I had to remove some gunk first, though.
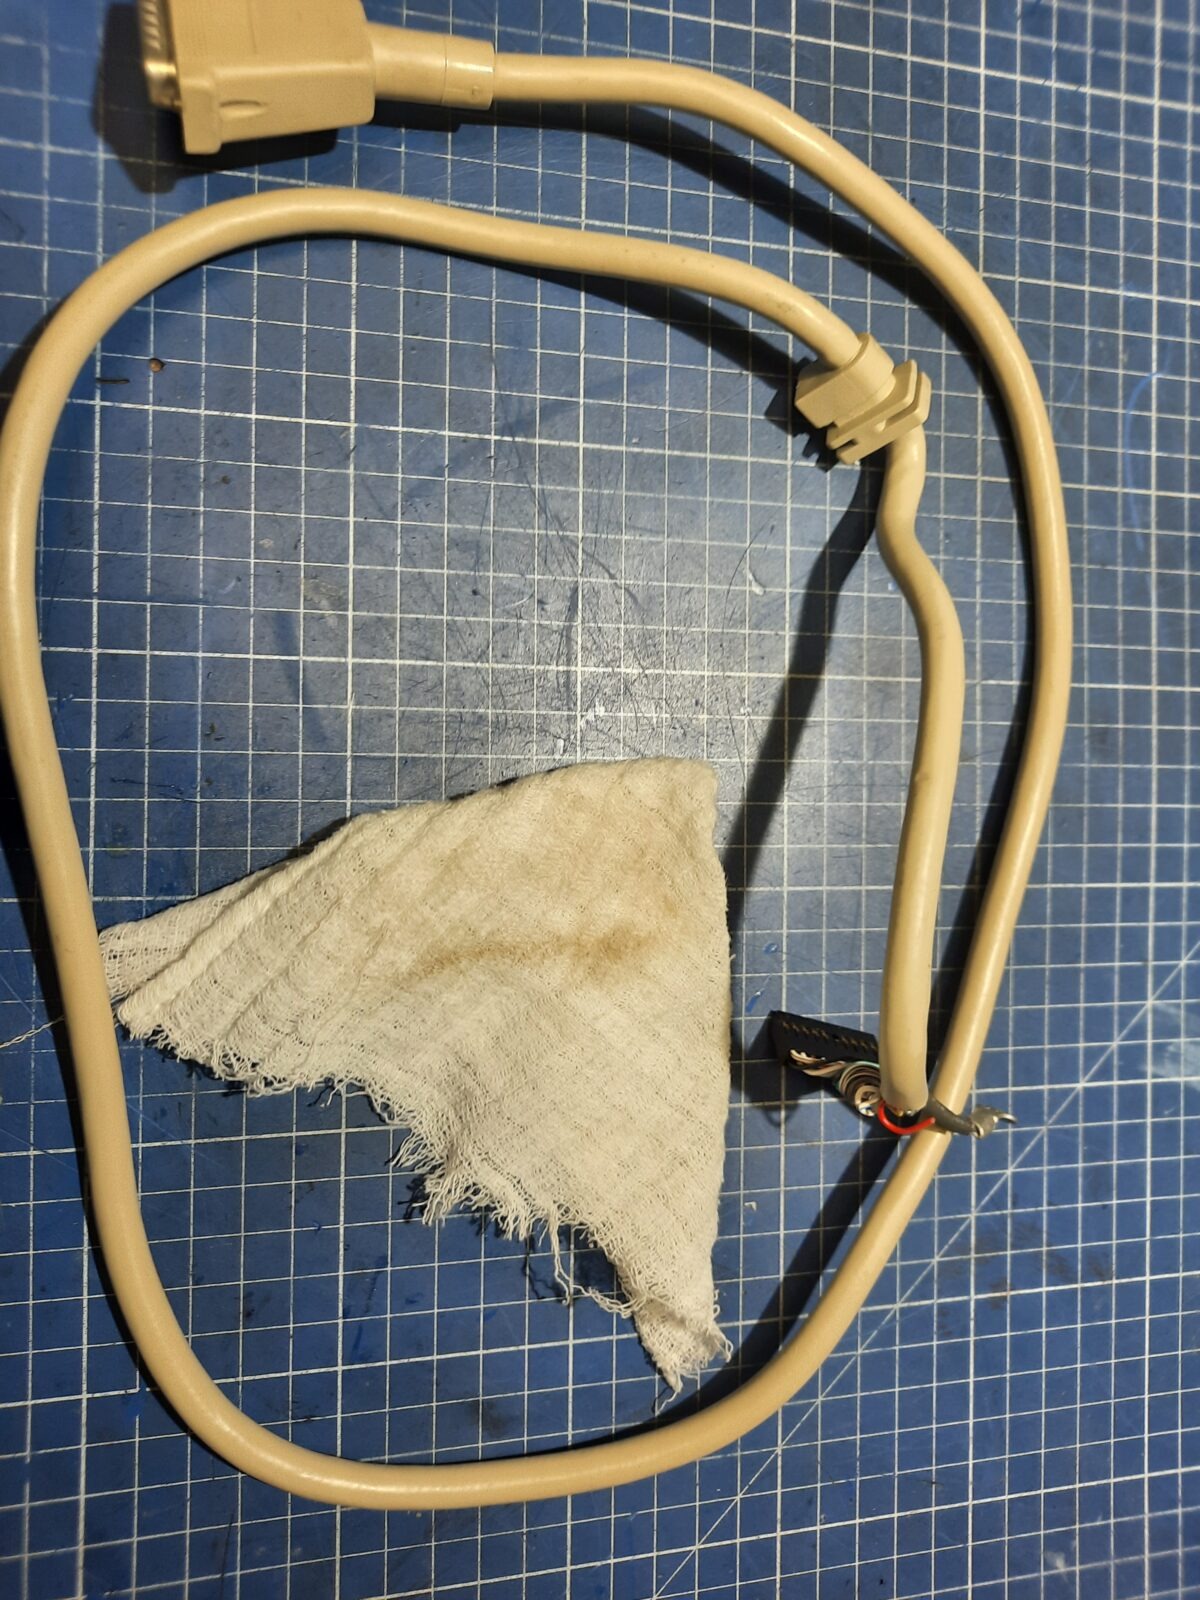
Cleaning the cables is also important 🙂
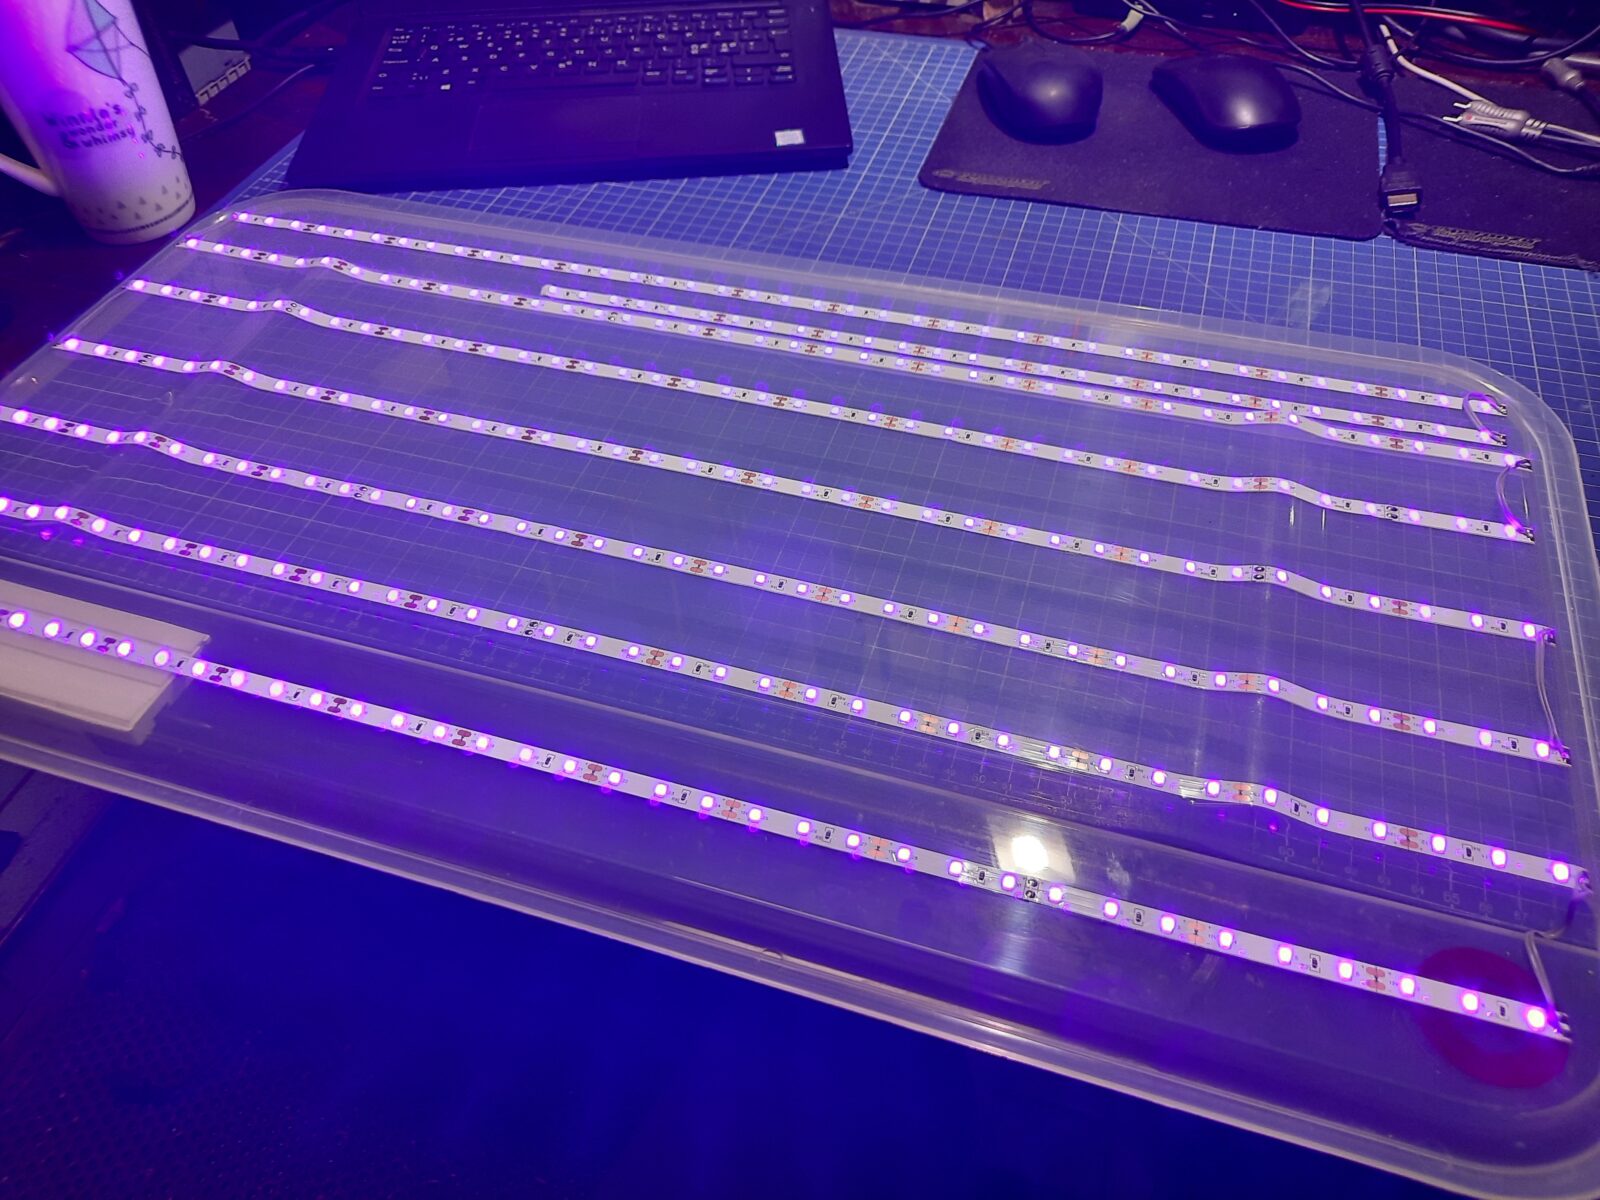
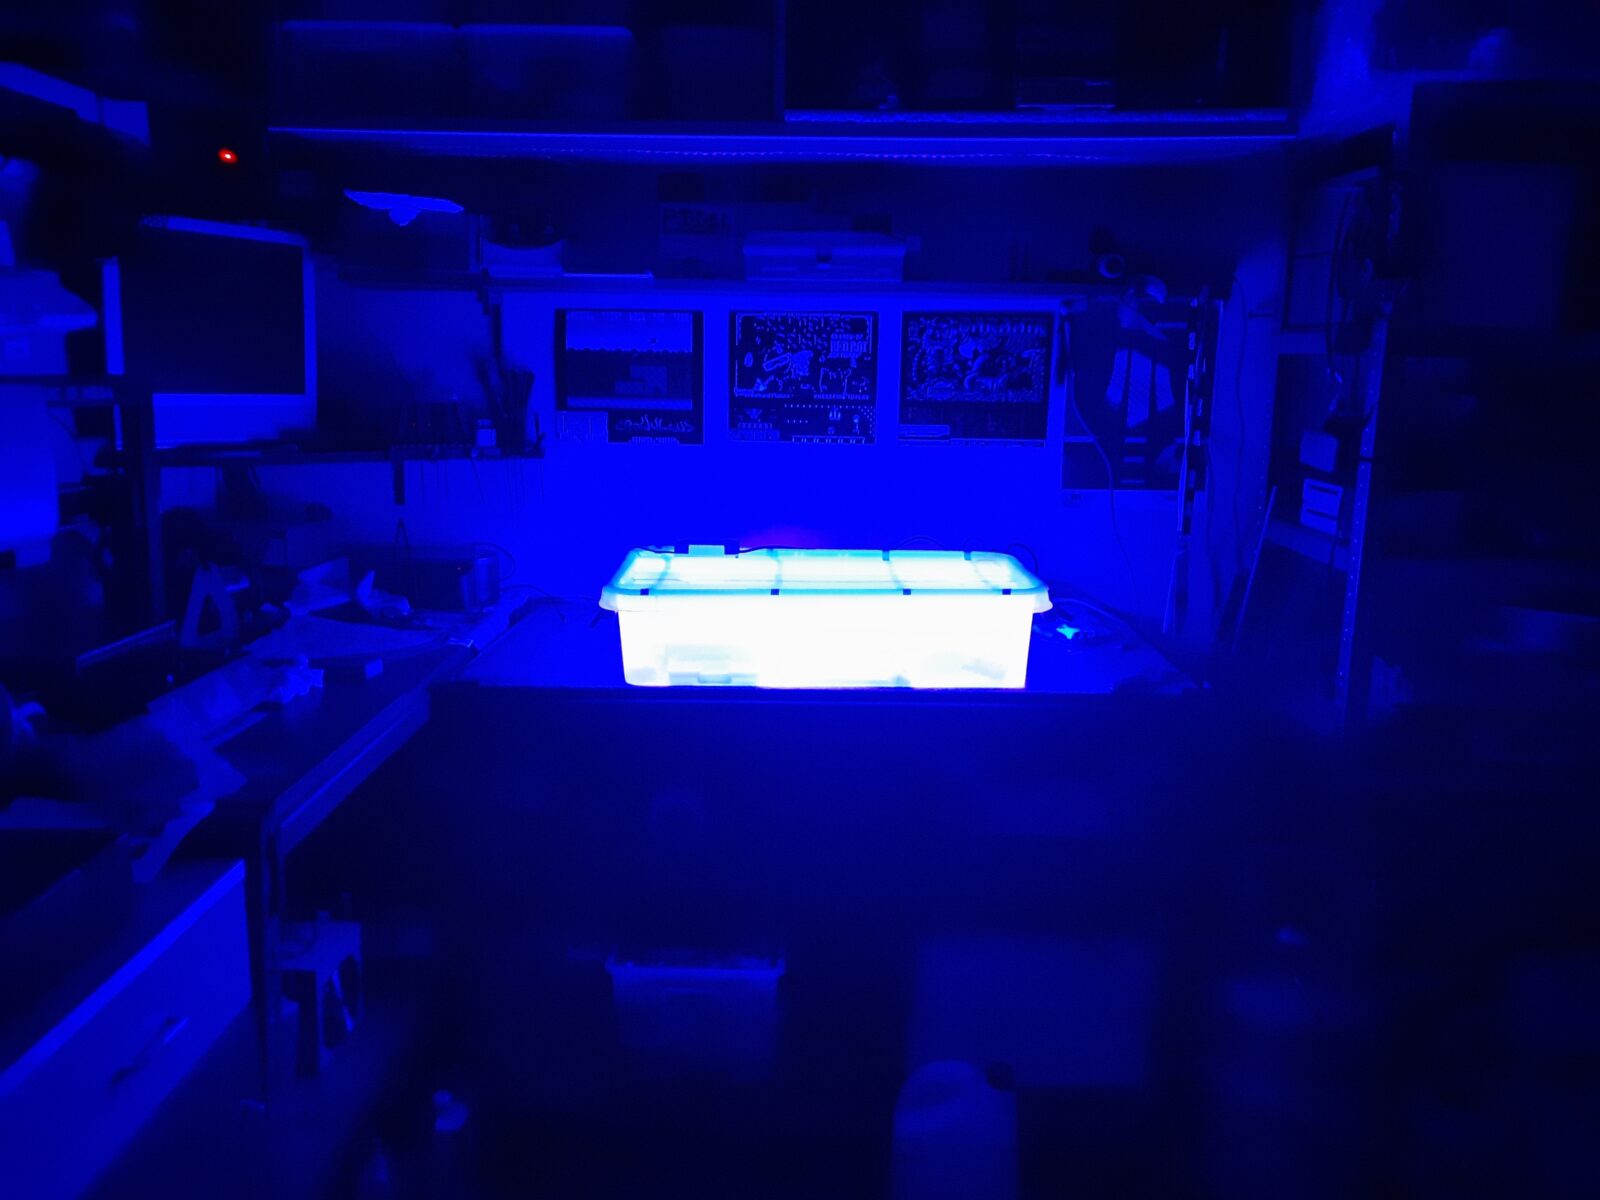
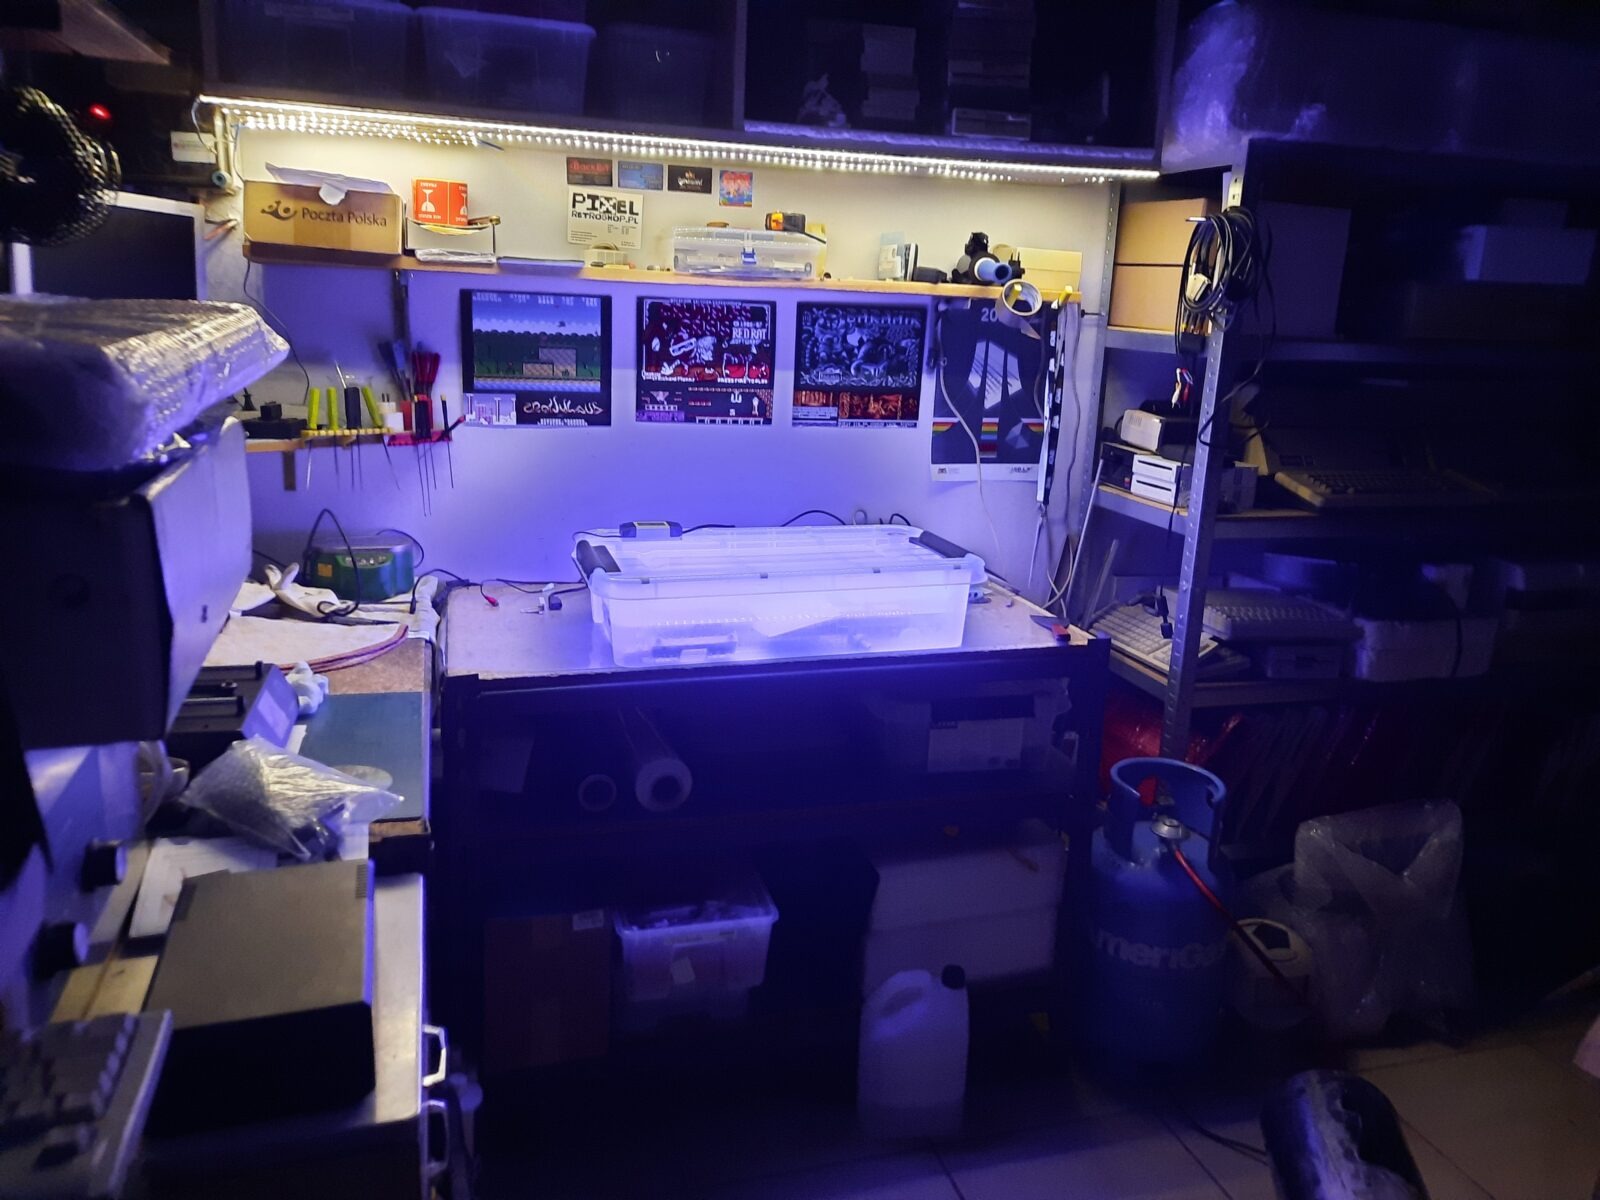
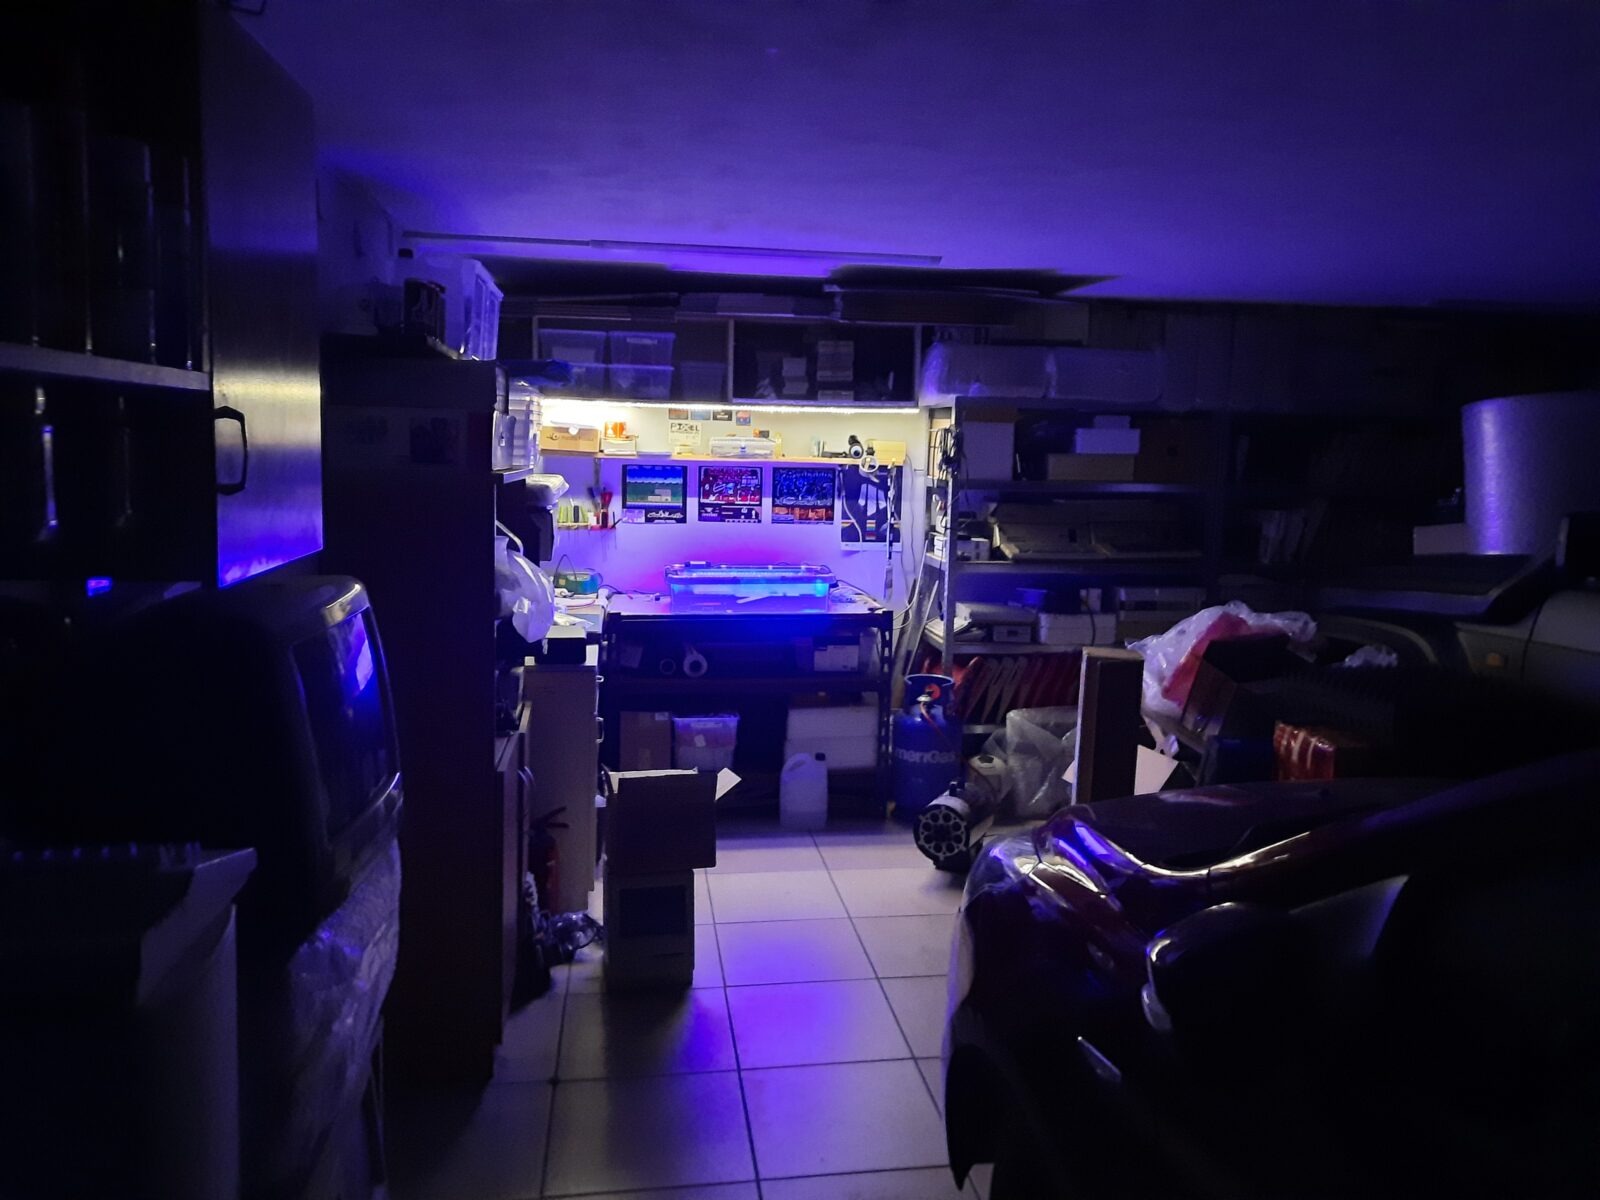
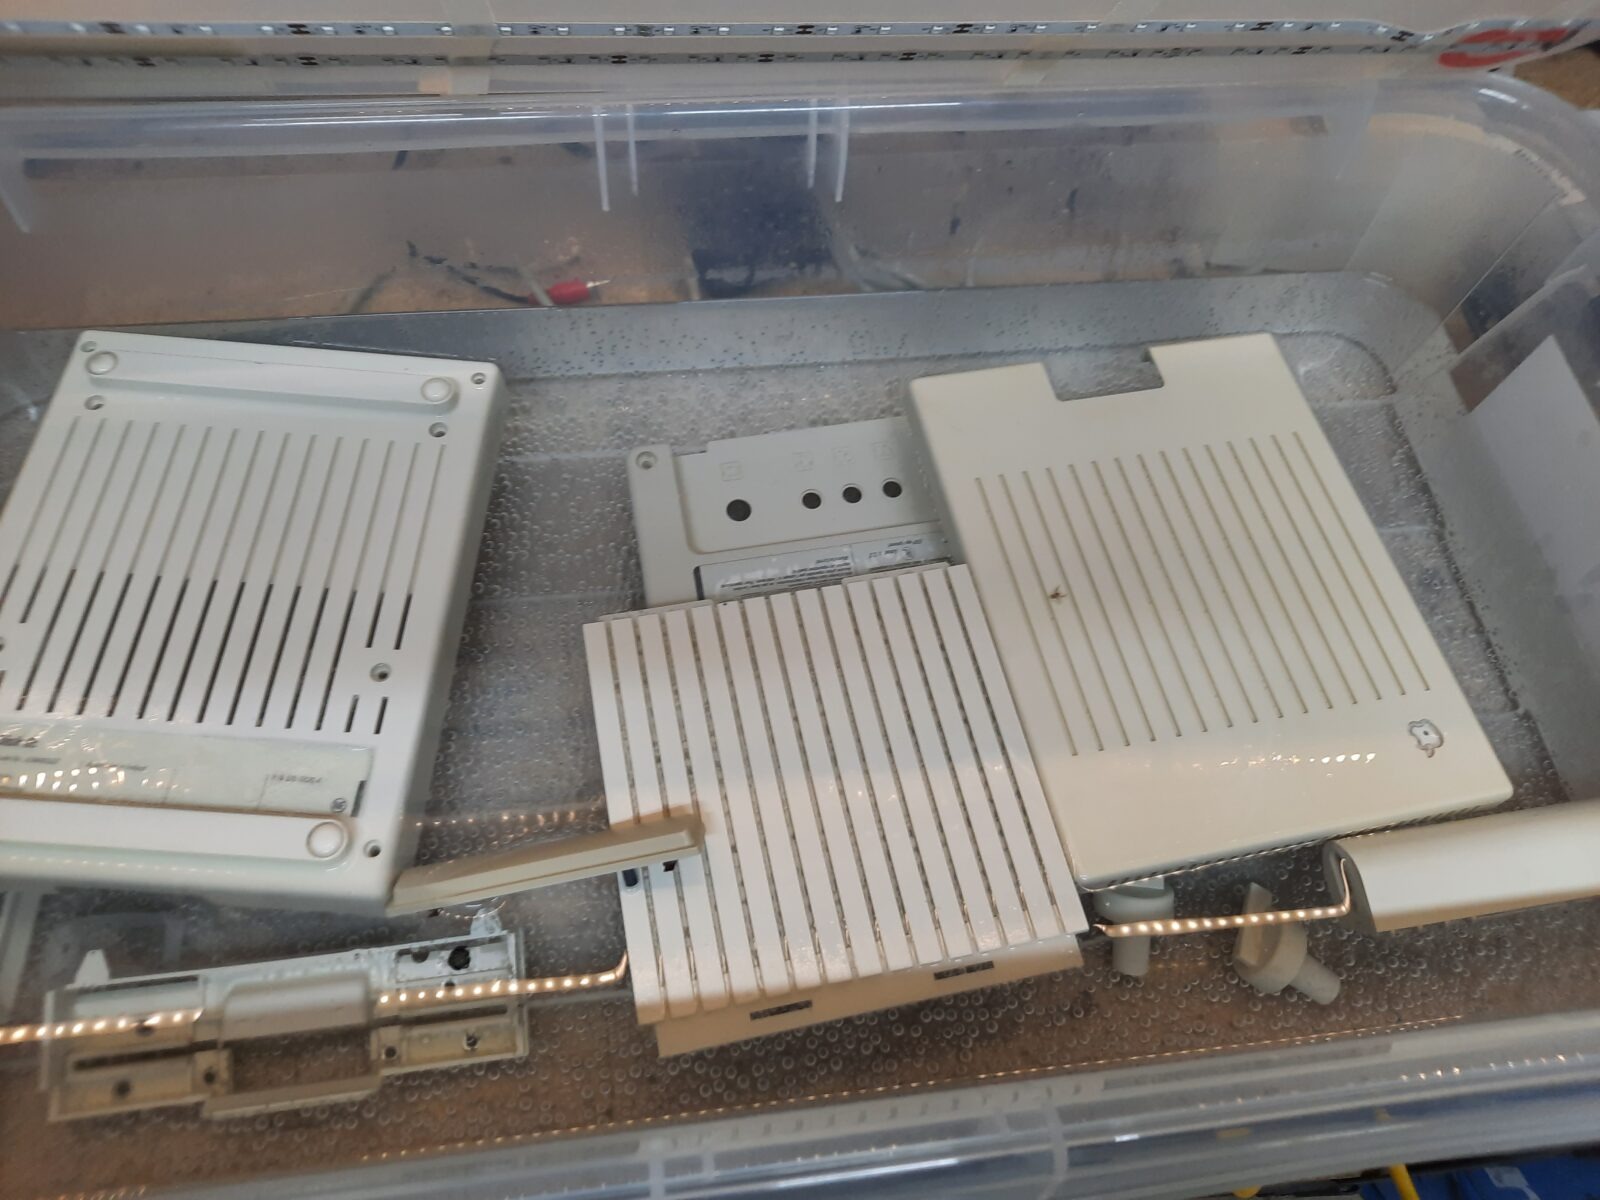
The UV reactor
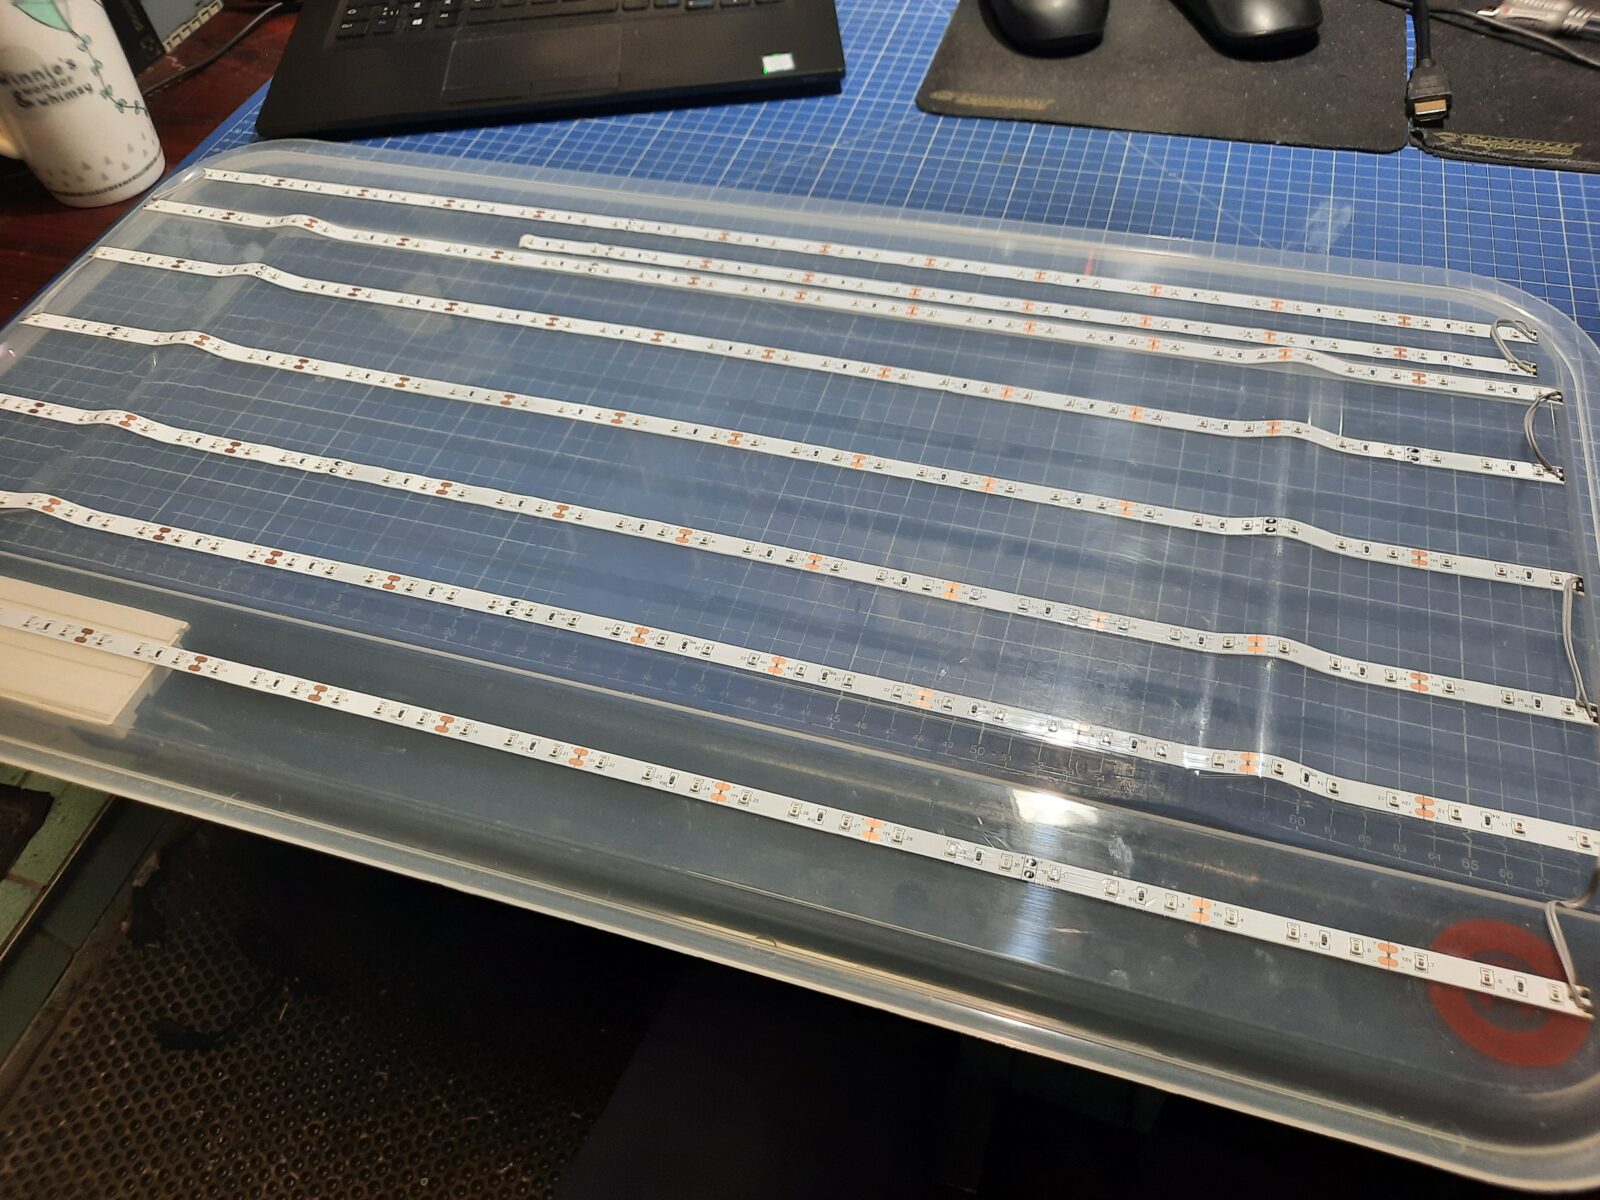
I was working on it in mid-December (not much sun around) and badly wanted to test the submerging method with a freshly got 12% peroxide for retr0brightging. I’ve figured out I can make a UV reactor since I had a stripe of UV LEDs on the shelf. The idea behind this is already old as many folks on YT did stuff like that way before me. In other words, nothing fancy.
I chose a s standard PE box for that. Here is how I did that.
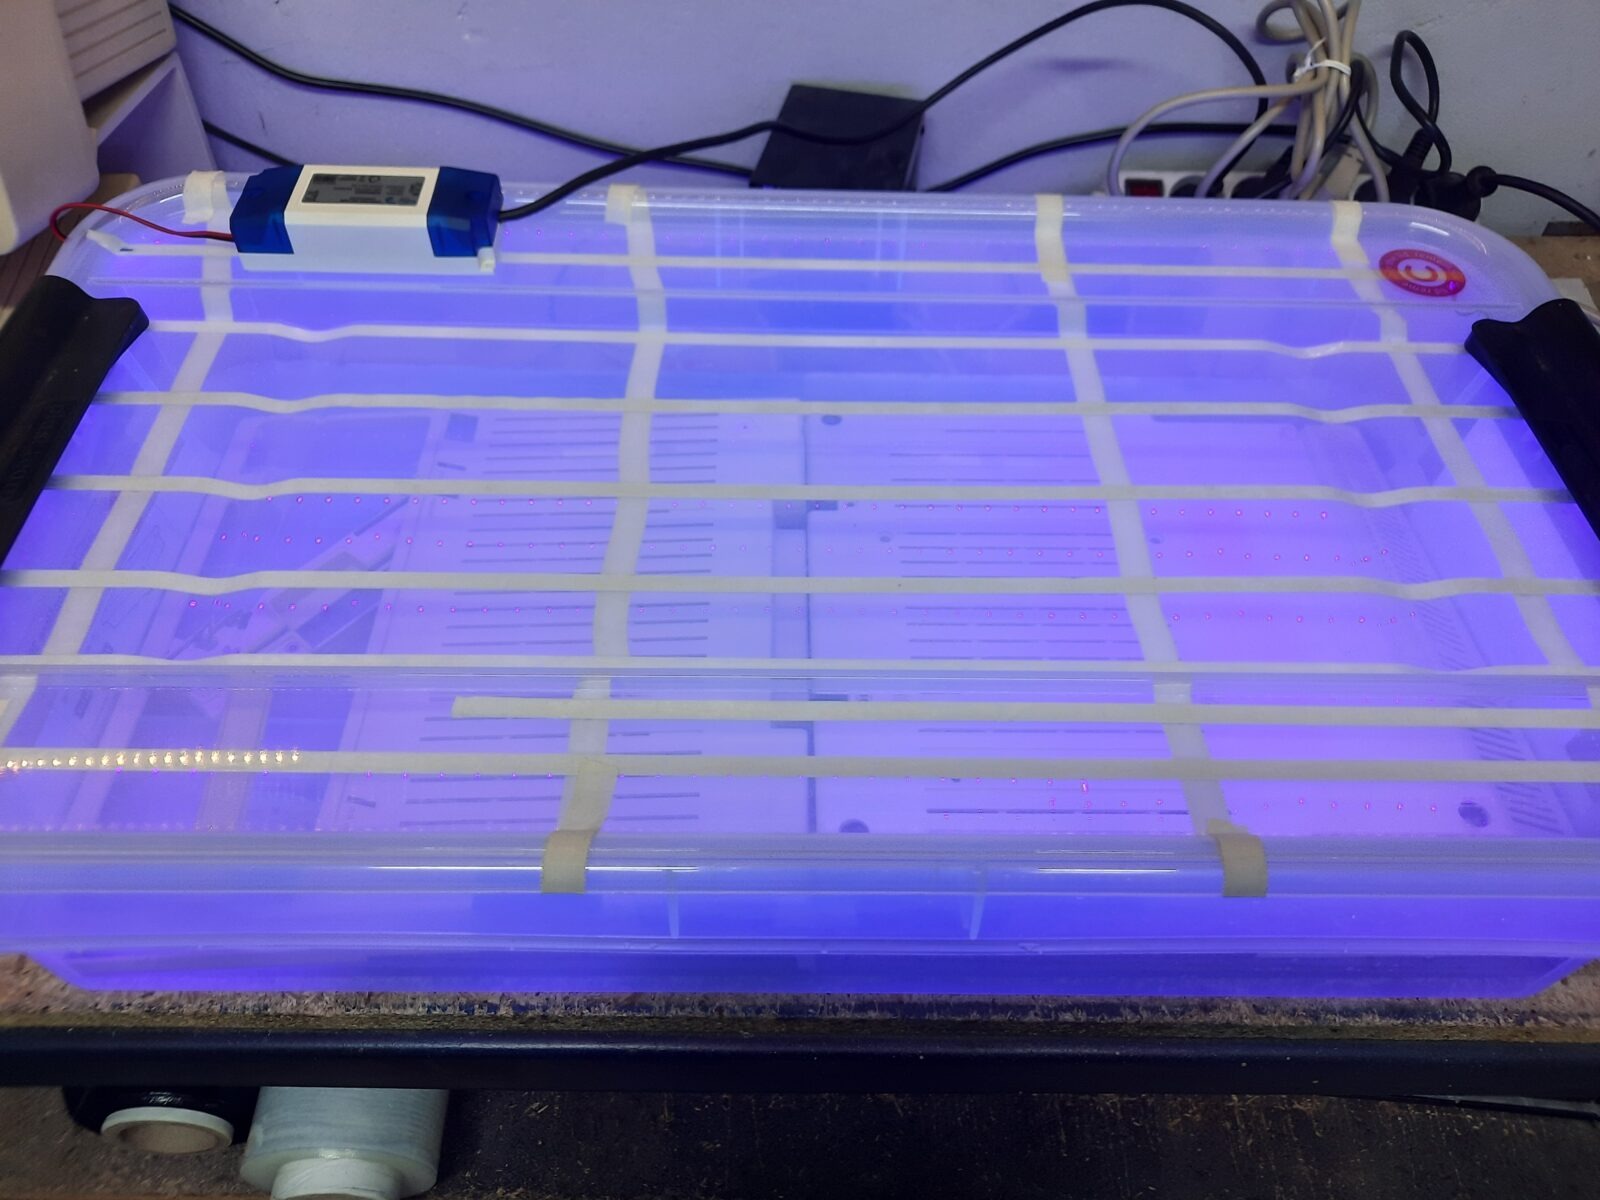
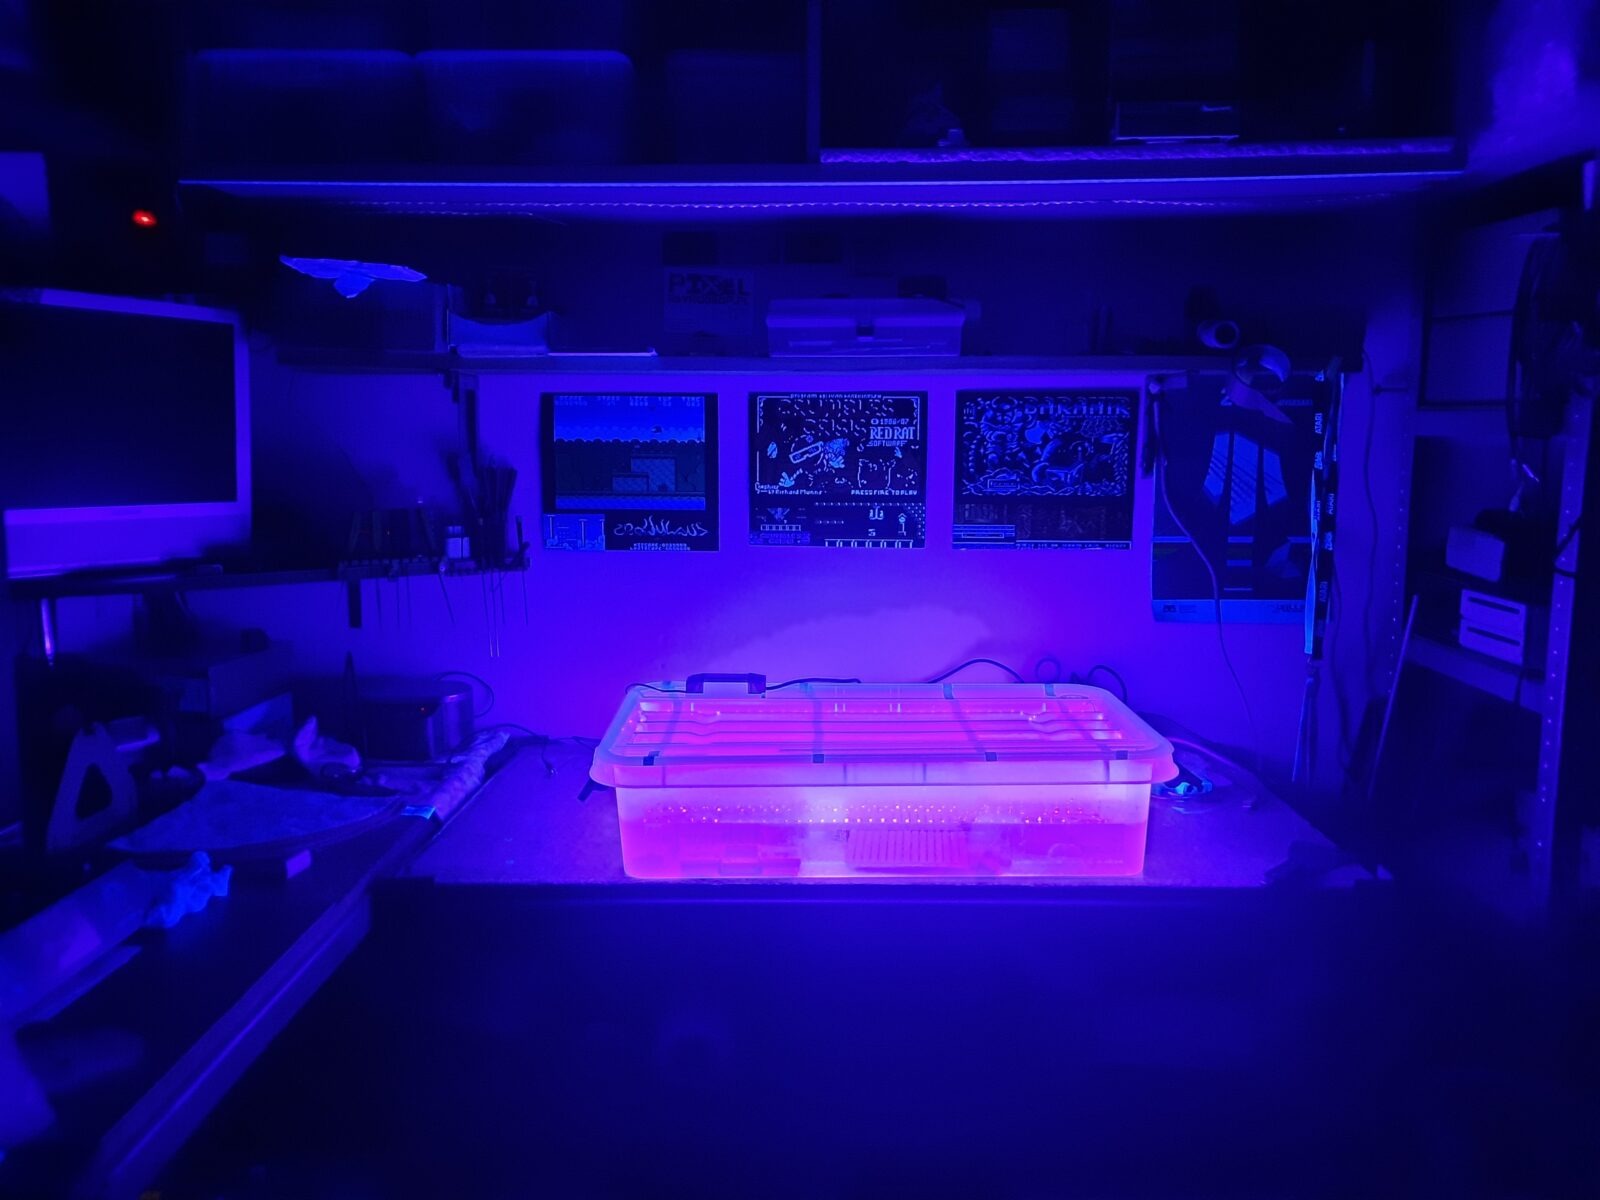
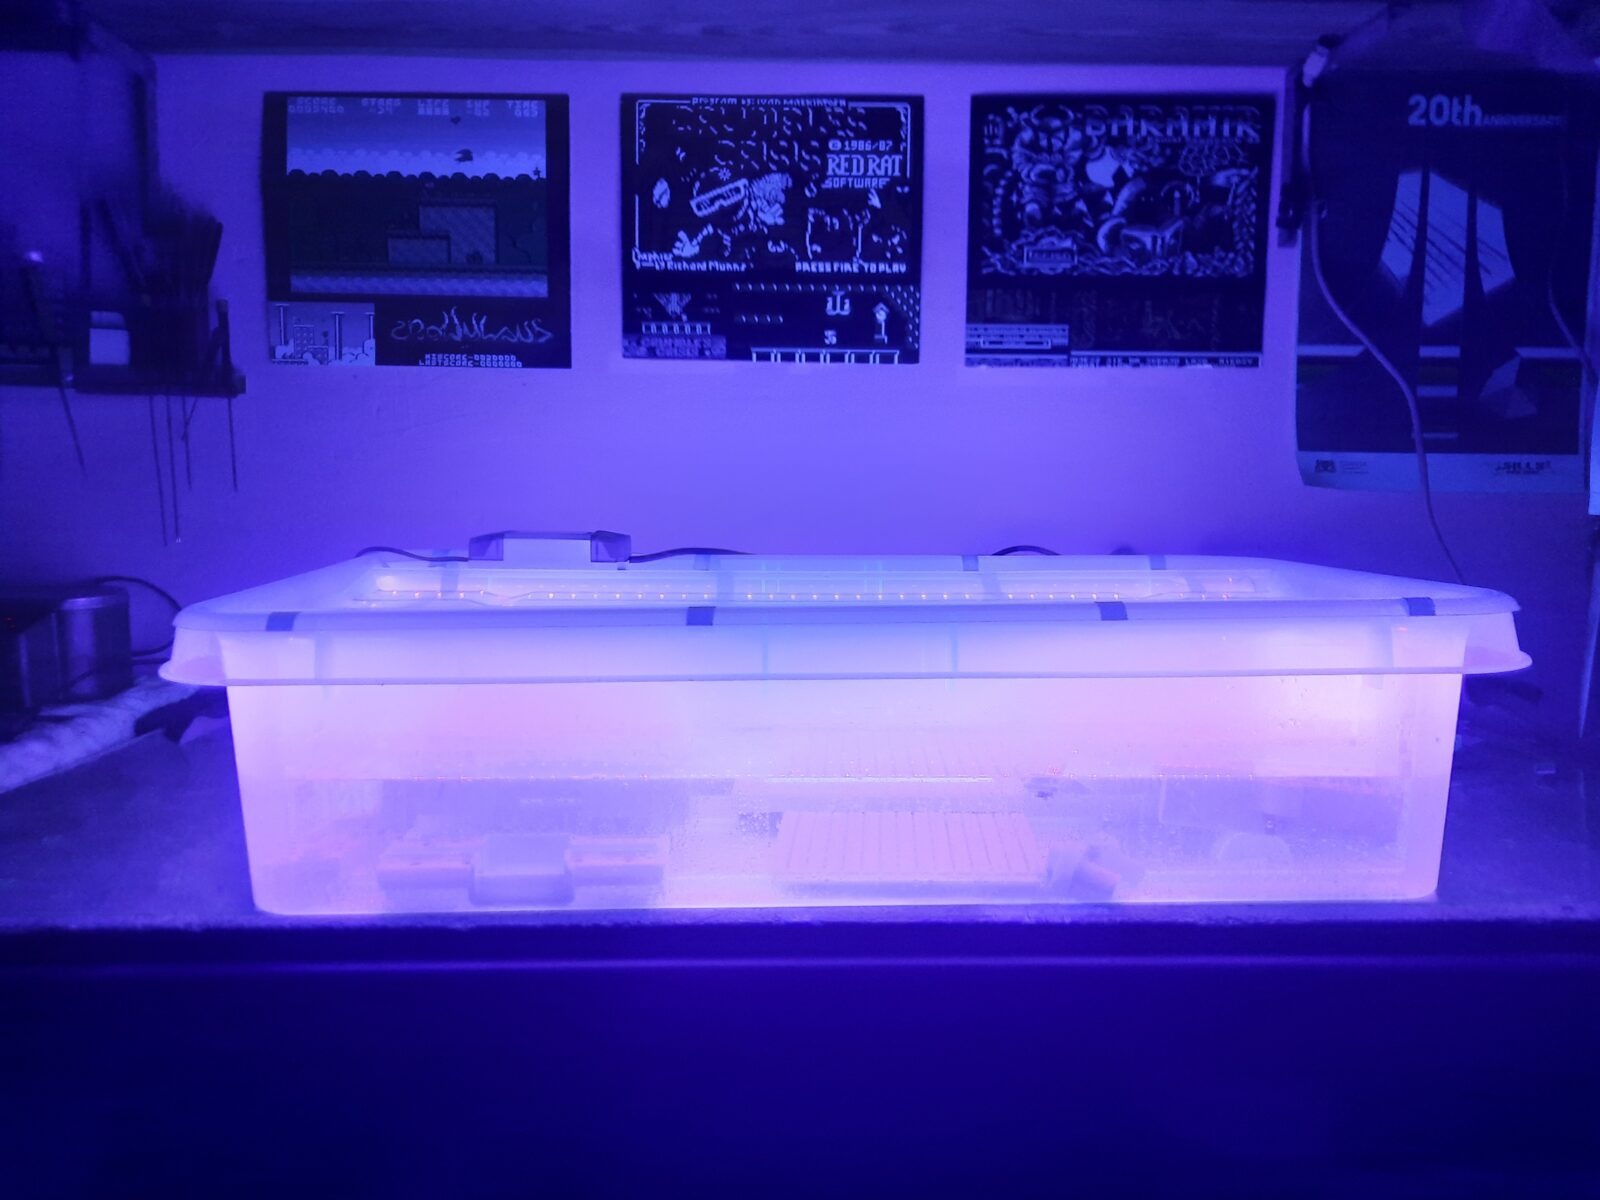
Turned out that this method is quite nice but has some disadvantages. Firstly, it works rather quickly – 12 hours was more than enough to cure medium yellowing. Secondly, it works evenly! this is important because it prevents the “marble” effect on plastics like in the grey Atari. All of the guys who attempted to retr0bright the grey Atari case, know what I mean 😉
However, this method is expensive as you need a lot of peroxide and it also loses its retro0brighting properties fast because of the large evaporation area.
Results below.
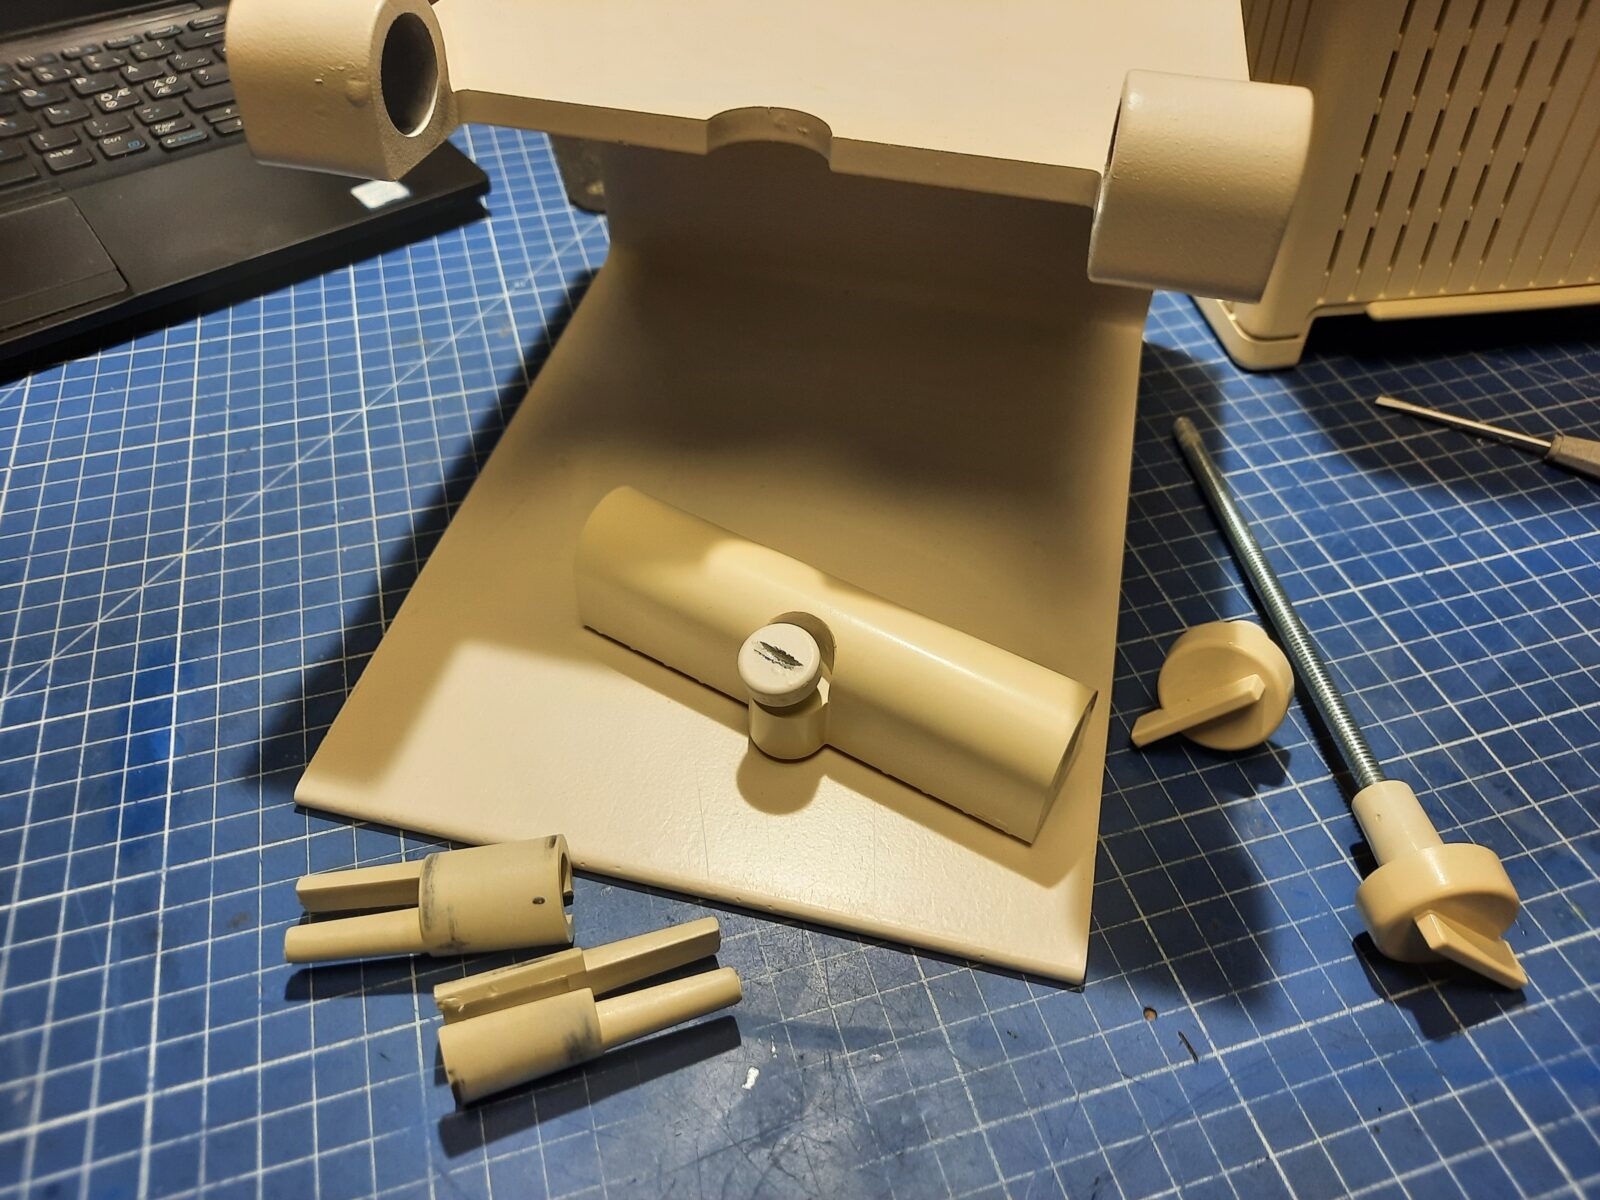
Assembly time!
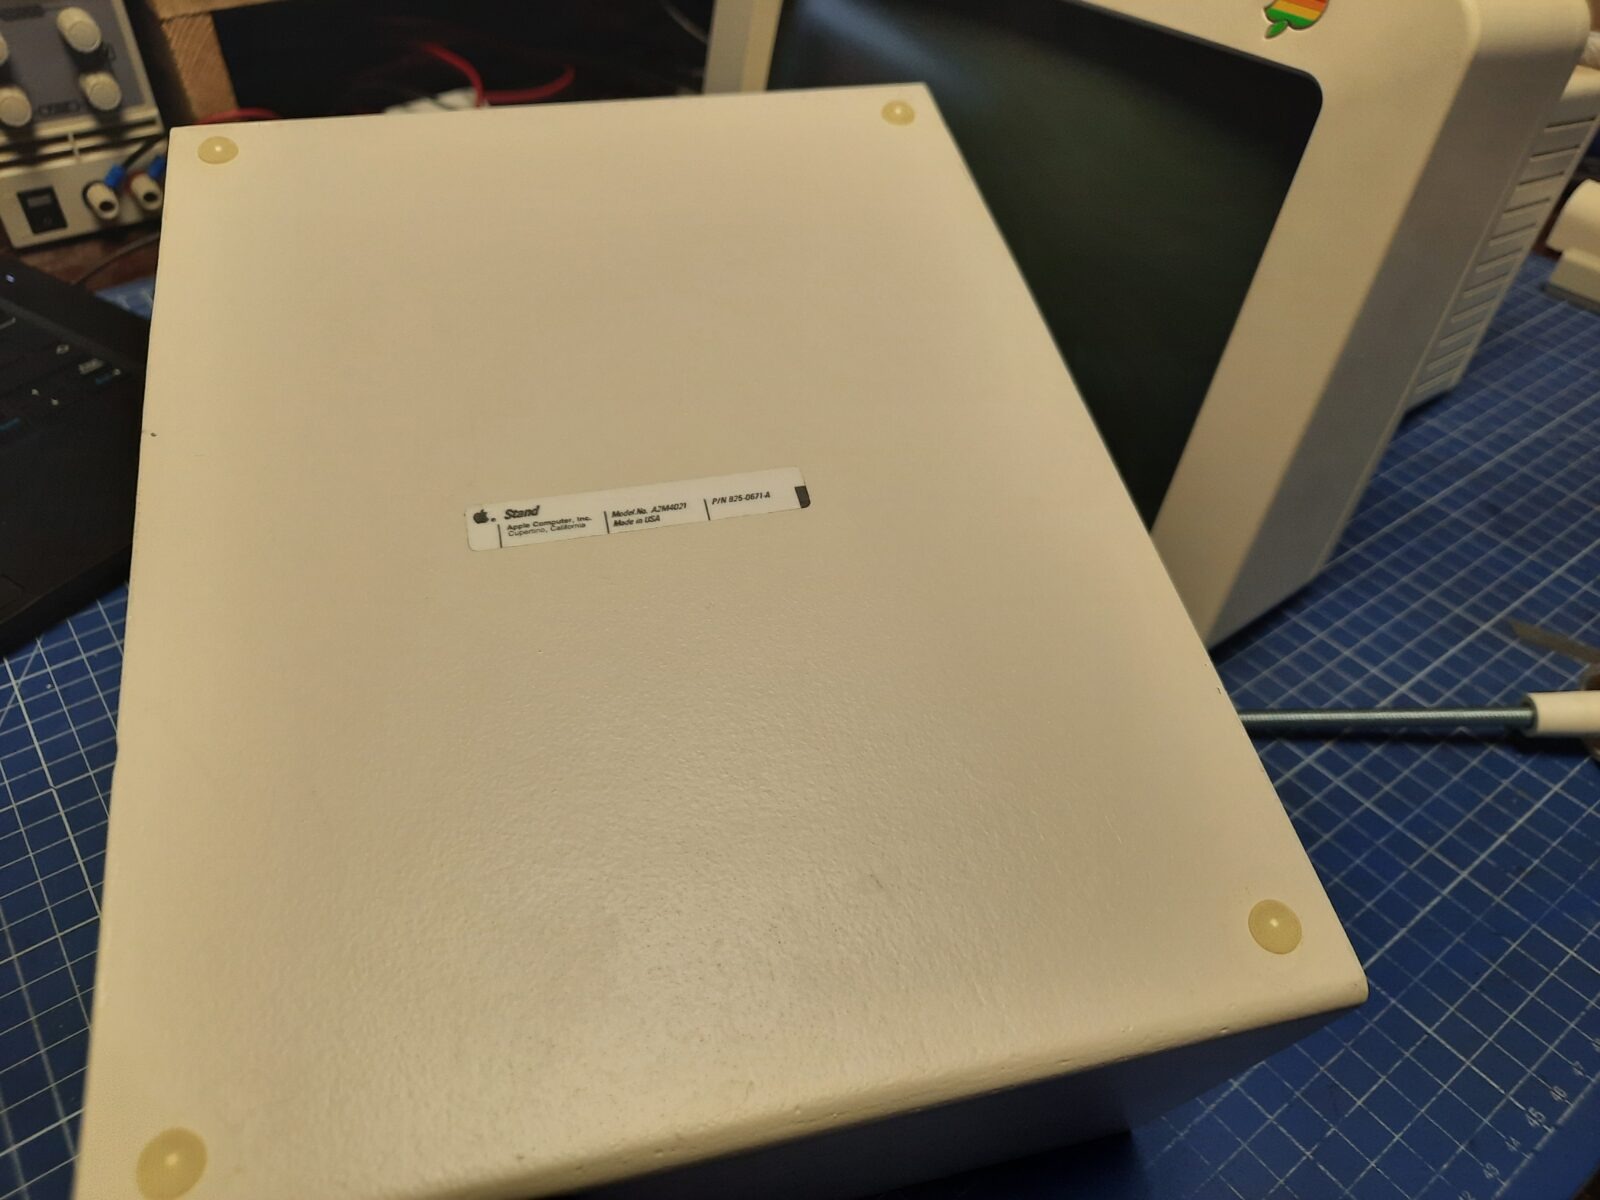
Right after assembling a CRT, I figured I could add some rubber stands to a metal stand lol 😀
This is exactly what I did 🙂
The floppy drive was next.
The rest of the computer followed.
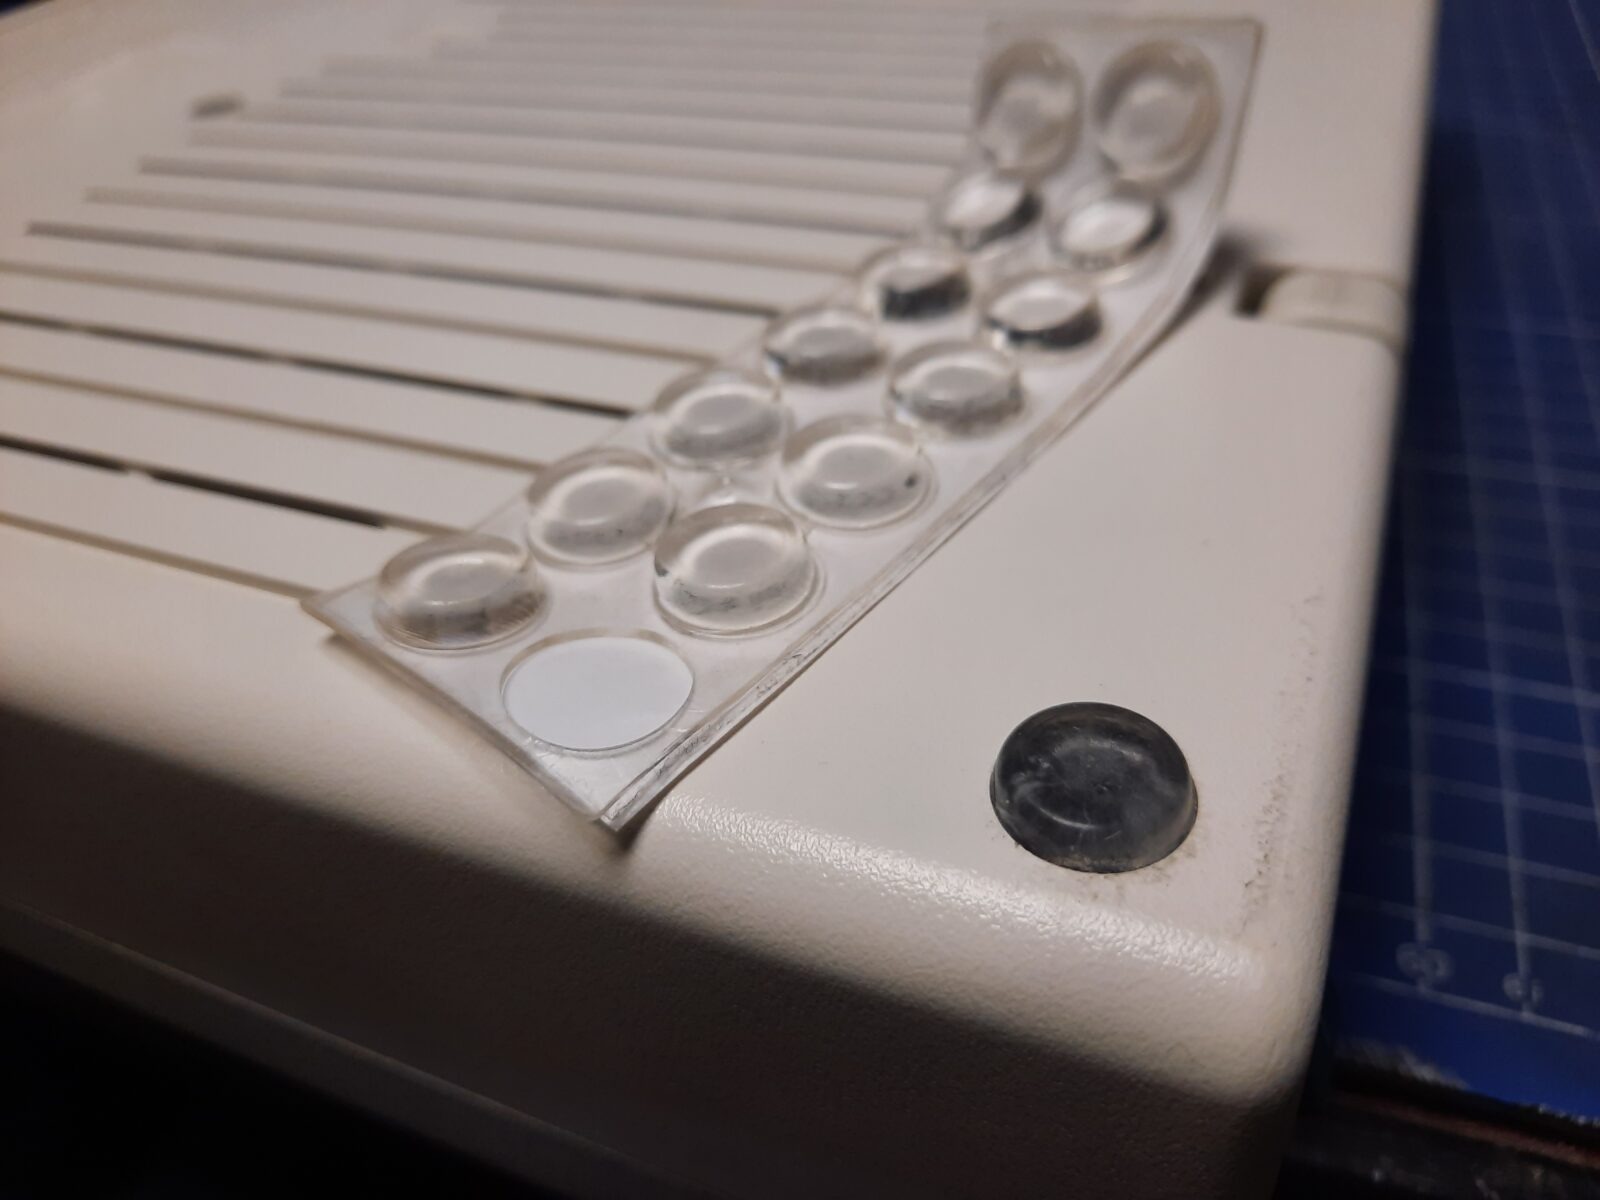
Missing pad spots were filled with replacements.
And finally, THE ORIGINAL STICKER 😀
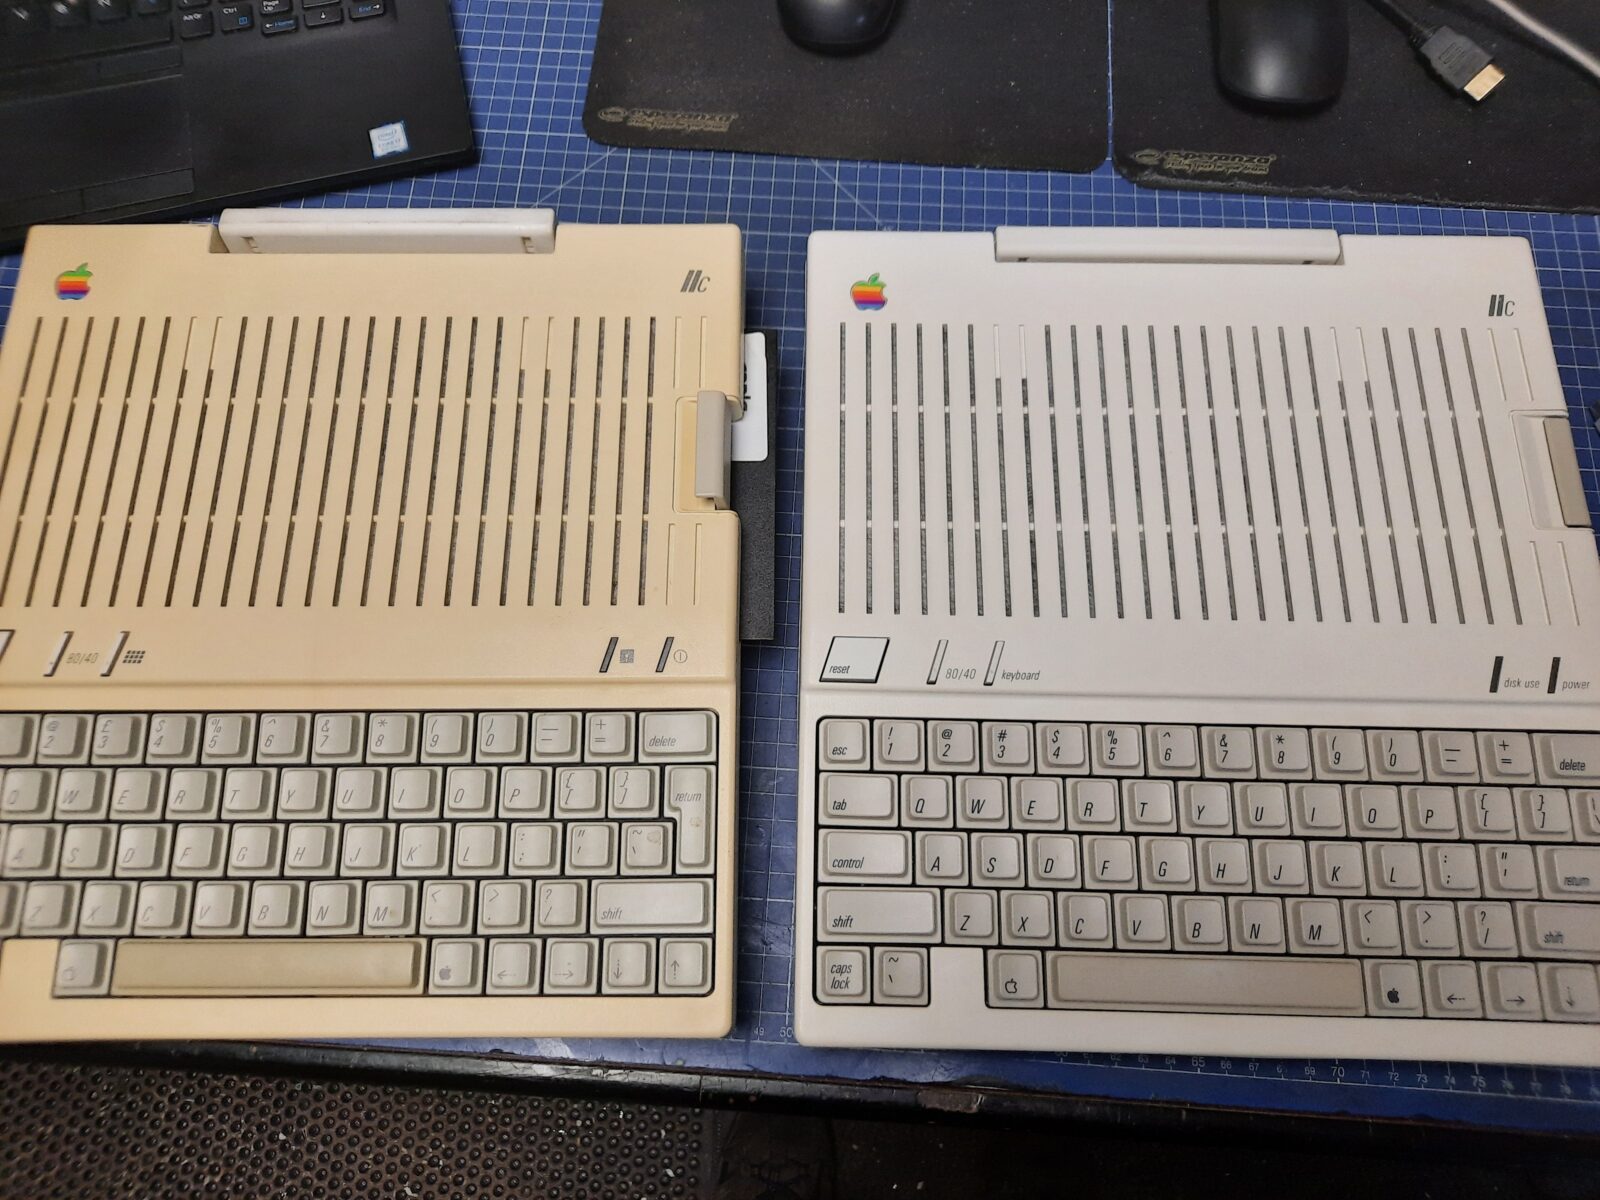
Finally, the first machine is ready 🙂
For comparison, next to the untreated IIc.
I do have an issue with CRT though. It is slightly tilted and I think it is because of the missing magnet on the back of it. If anyone has an idea how to fix it, please let me know in the comments section.

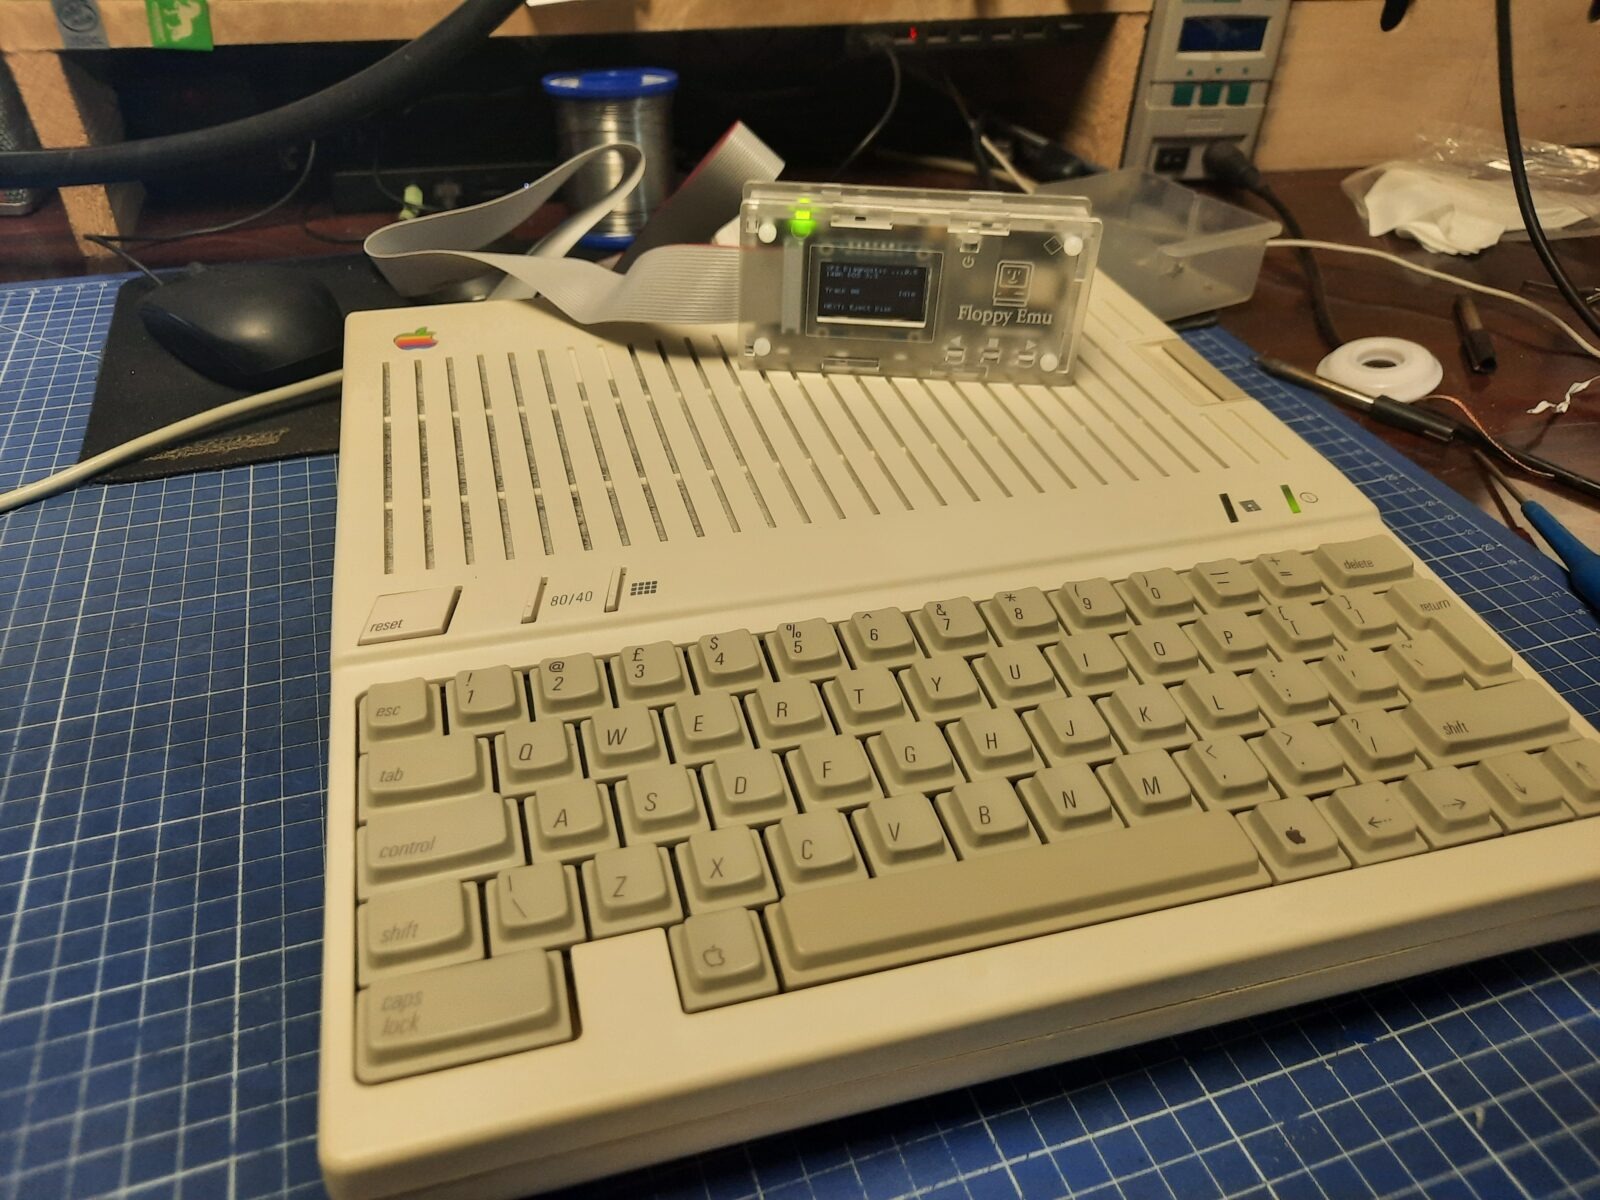
2. Modded Apple IIc +LCD
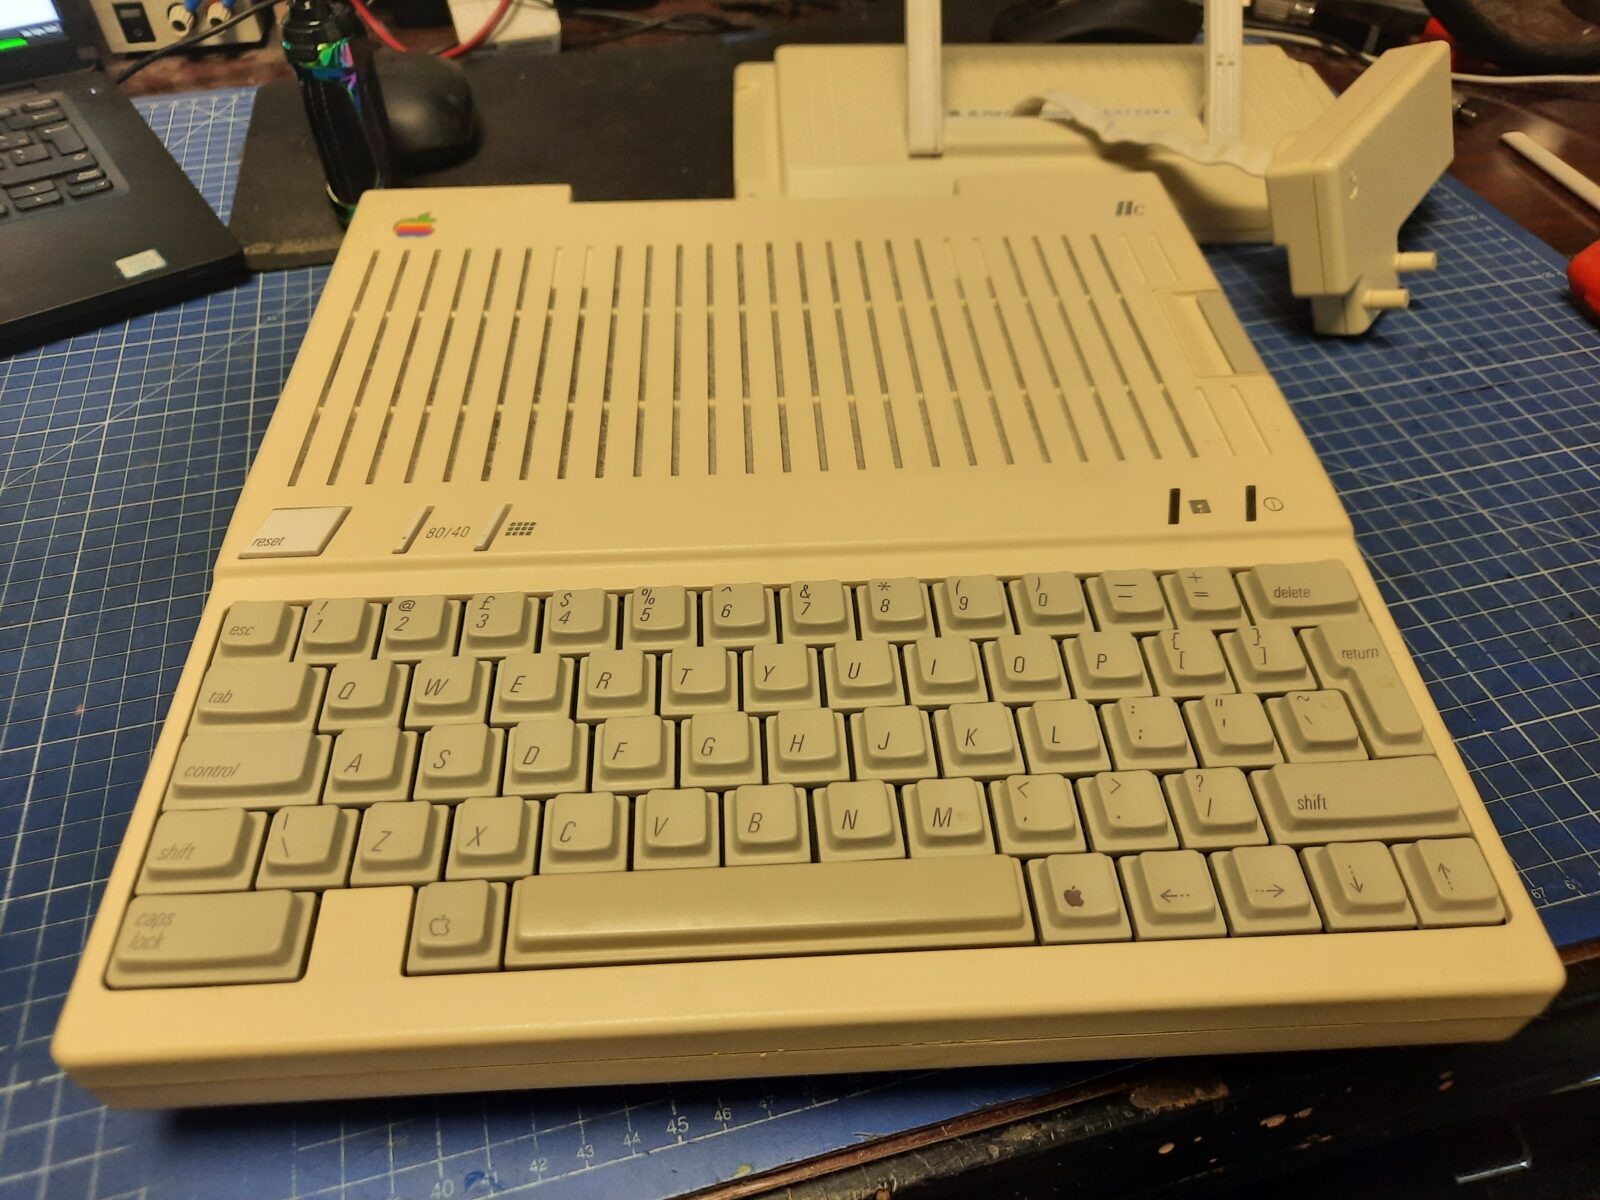
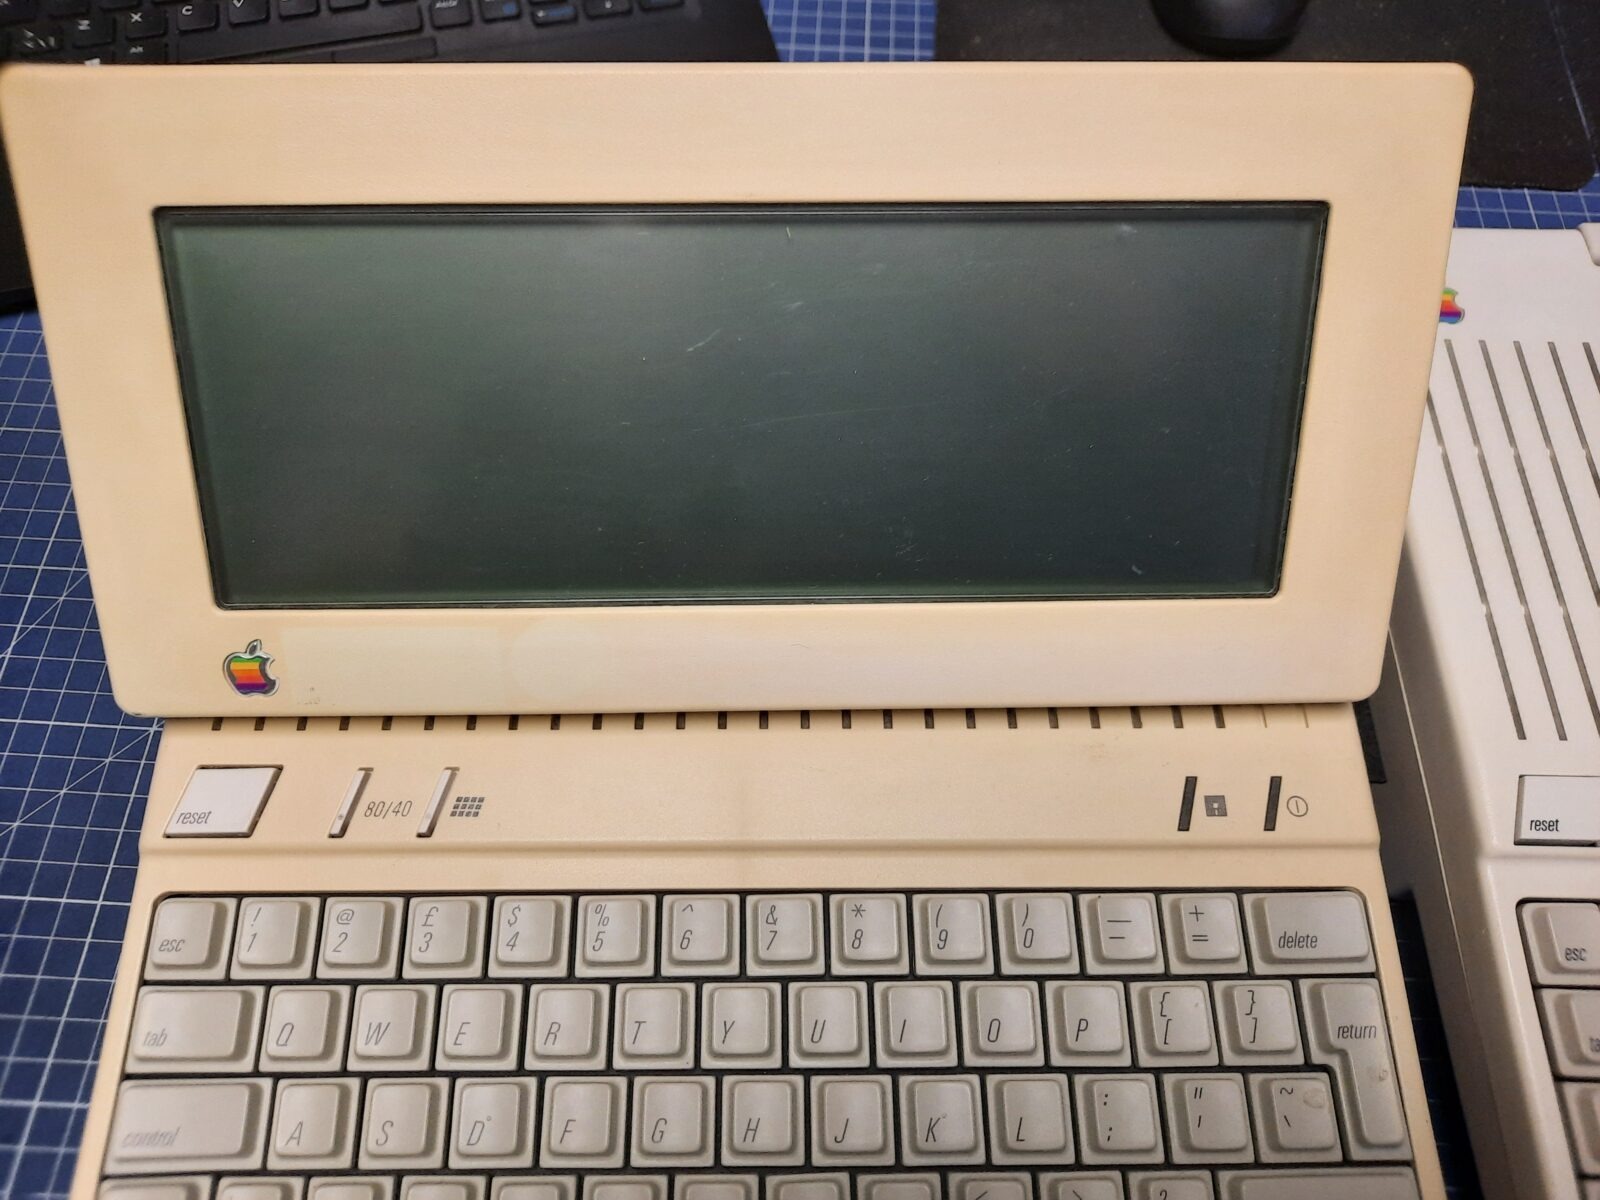
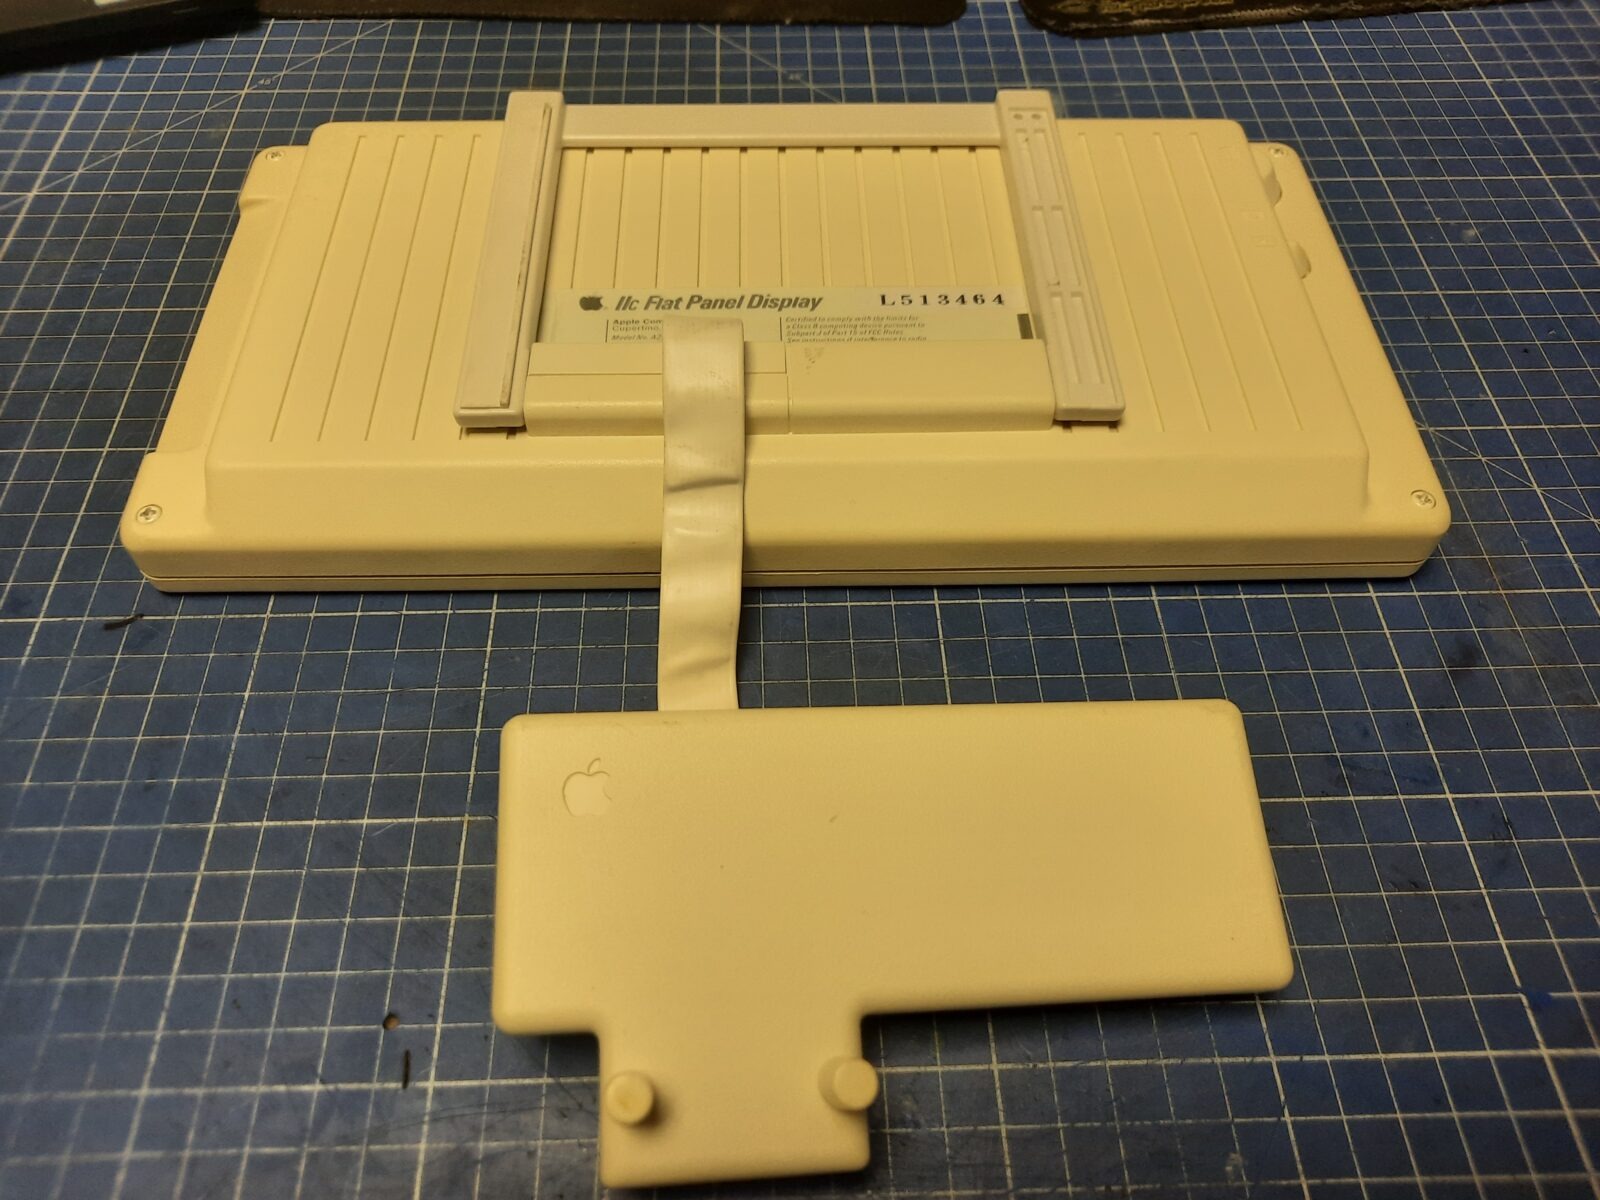
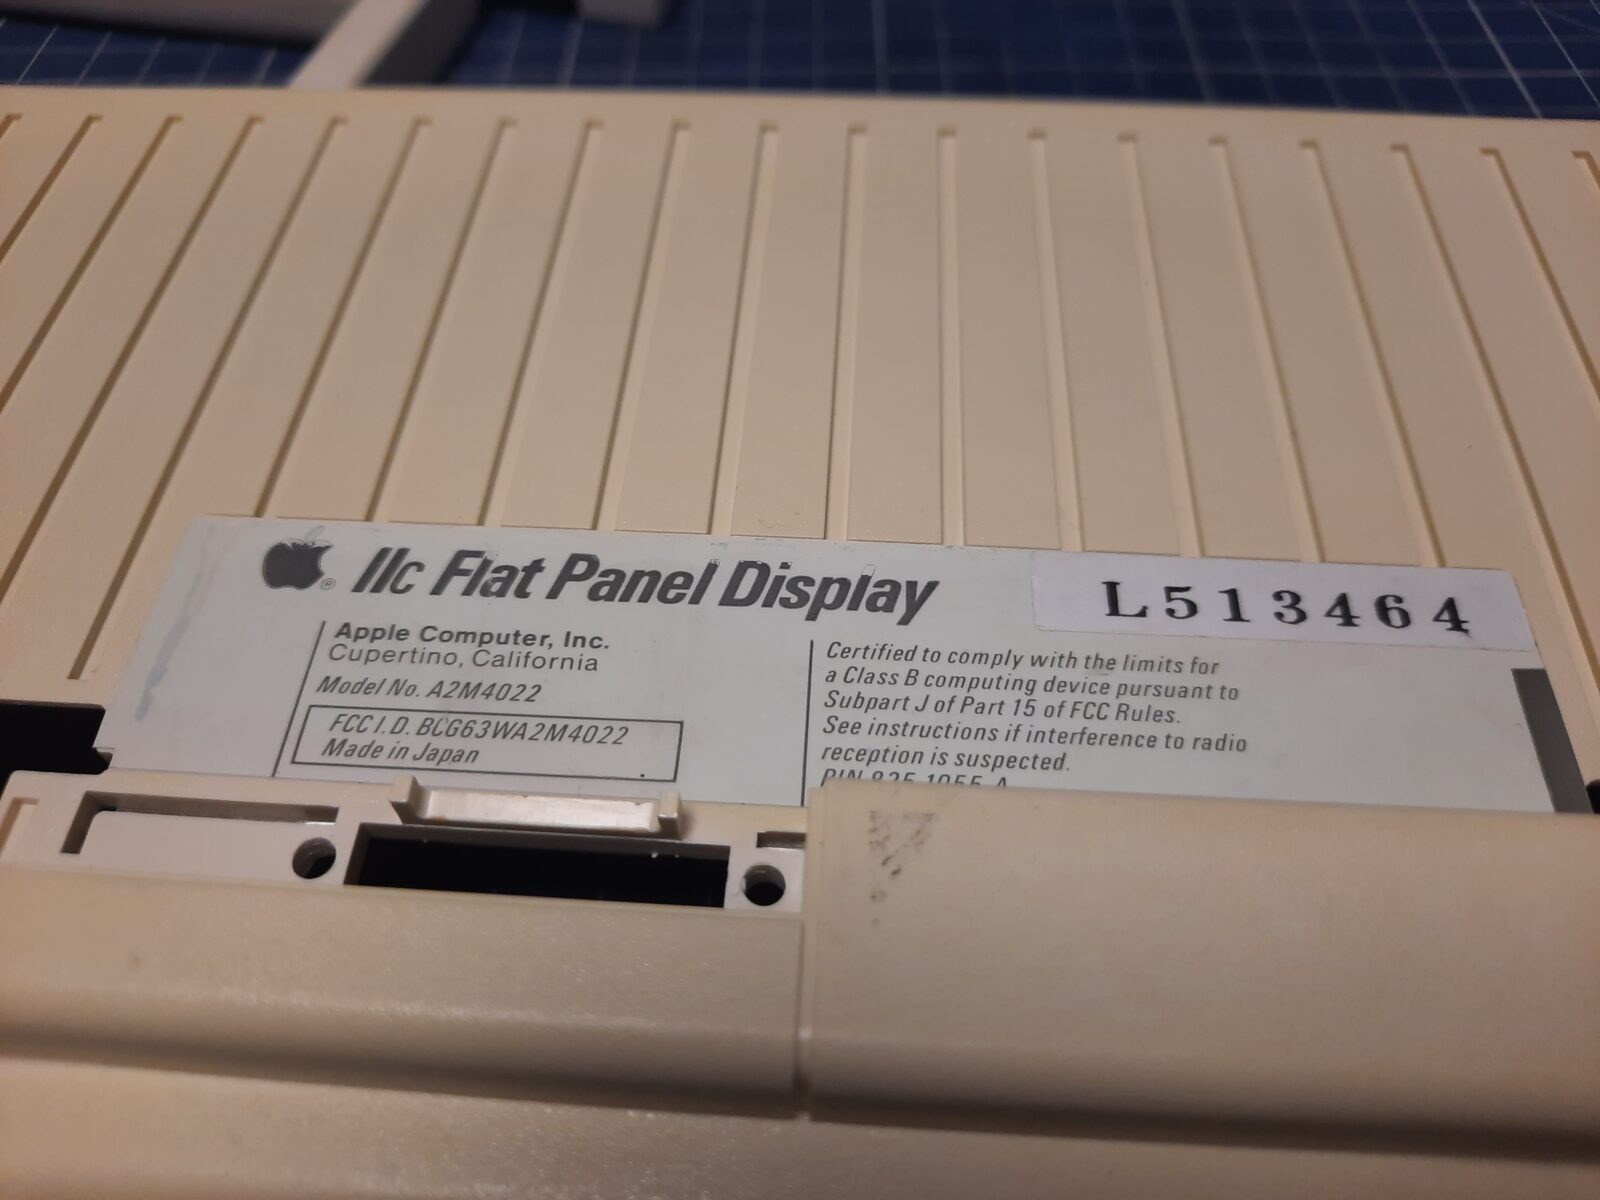
Okay, time to take care of the second machine. The second IIc came in with a rare IIc Flat Panel Display.
The idea was to restore it and upgrade it with some cool and modern mods. Also, I will skip the cleaning and retr0brighting as it is pretty much the same process as with the previous machine. Instead, I’ll focus on mods and more interesting fixes that were not covered above.
It is heavily yellowed and has some weird bulge on the bottom but it works!

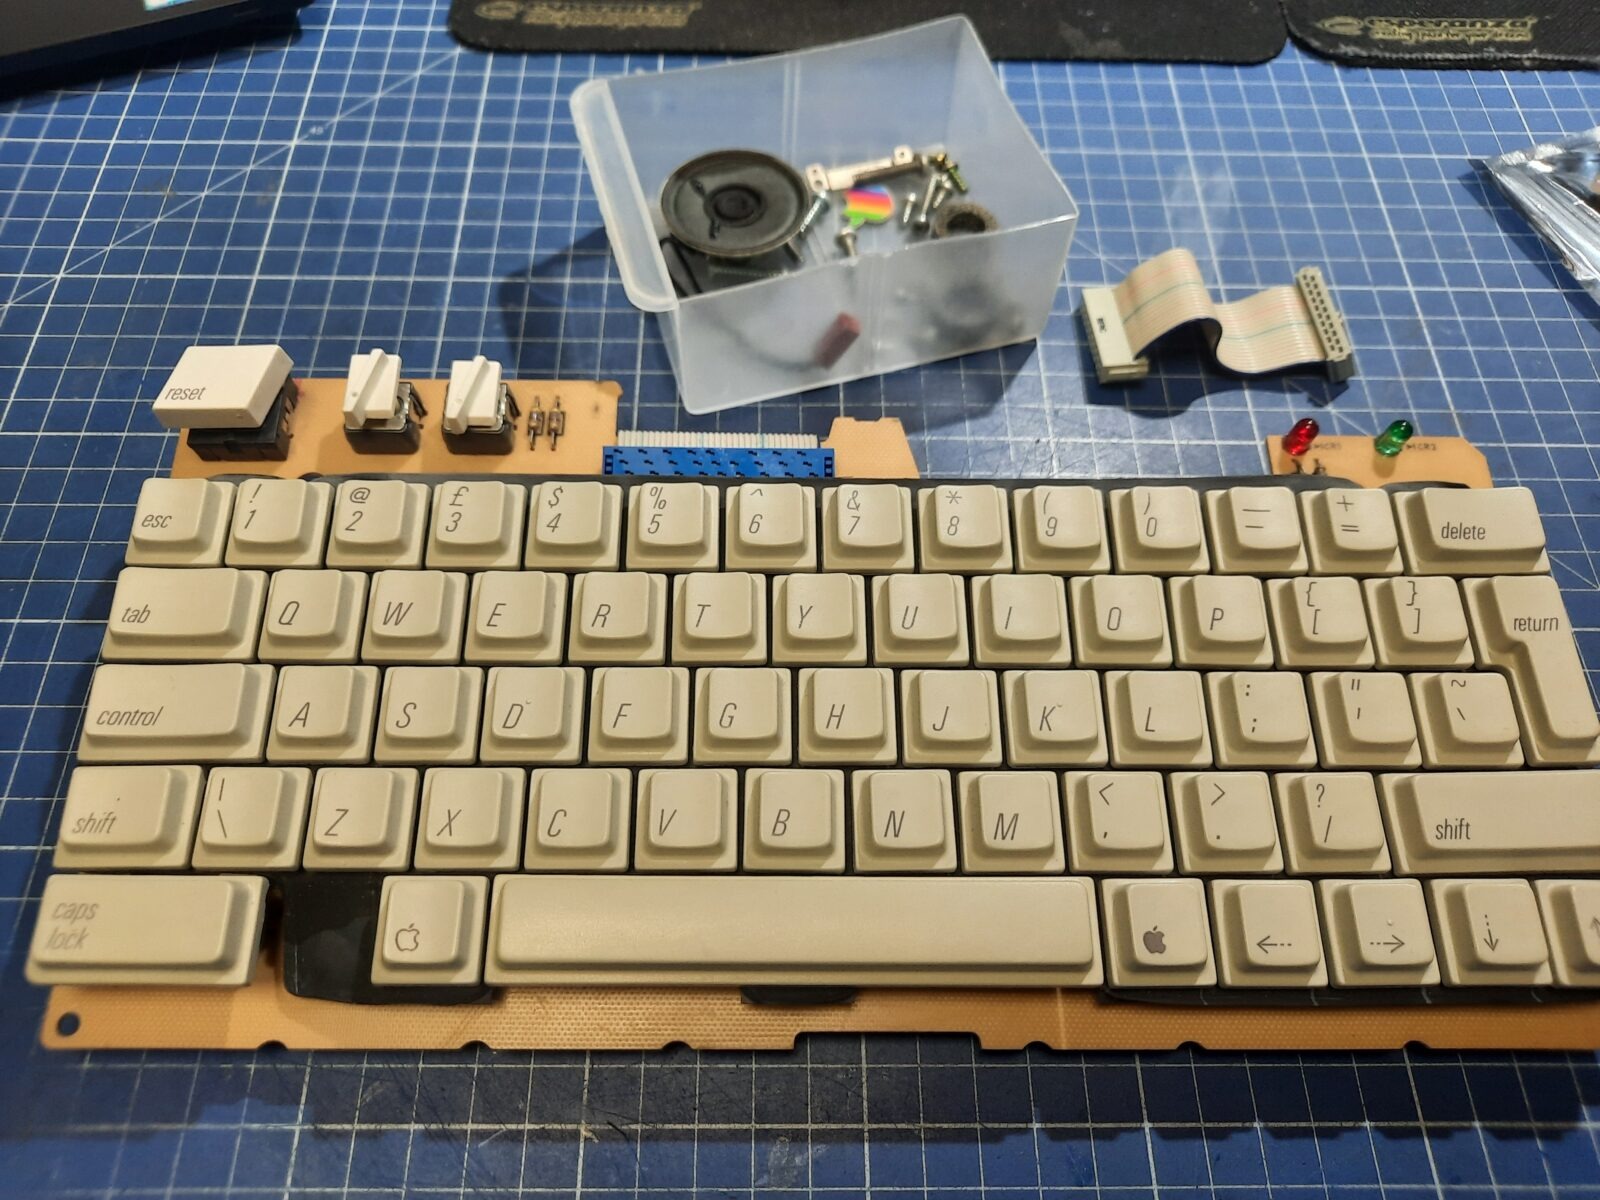
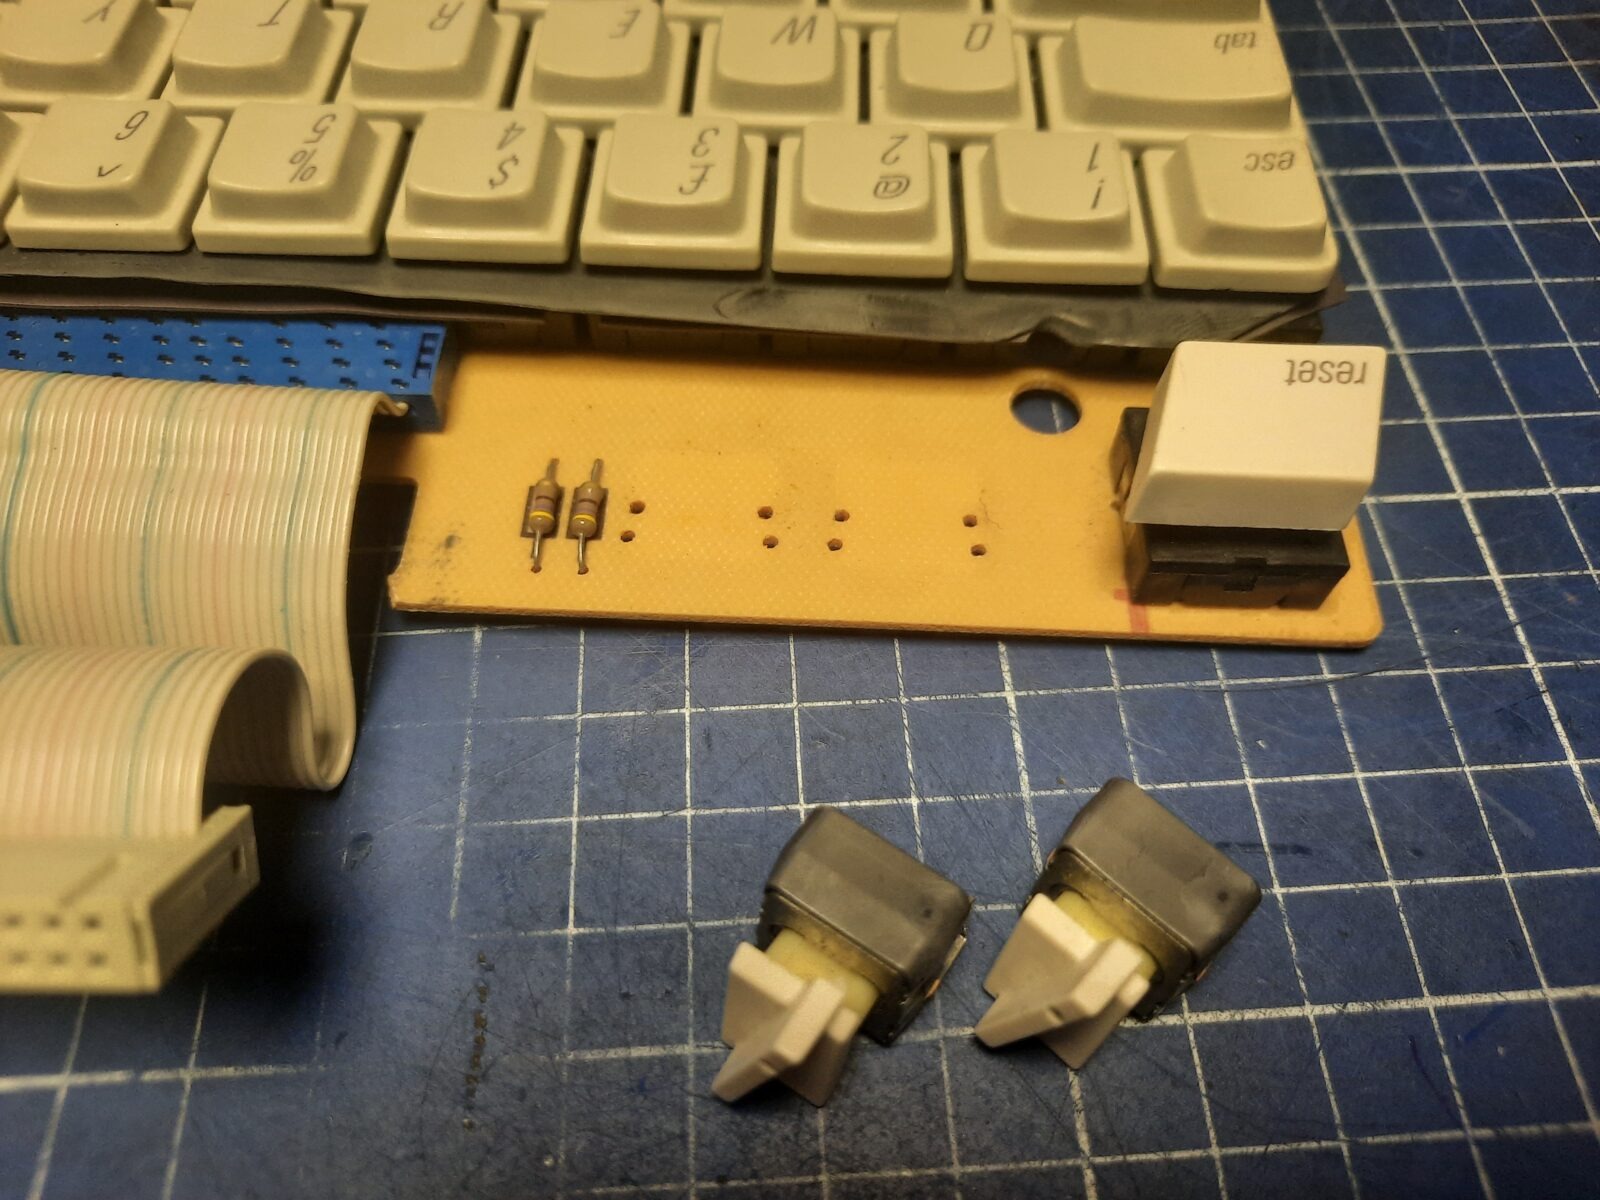
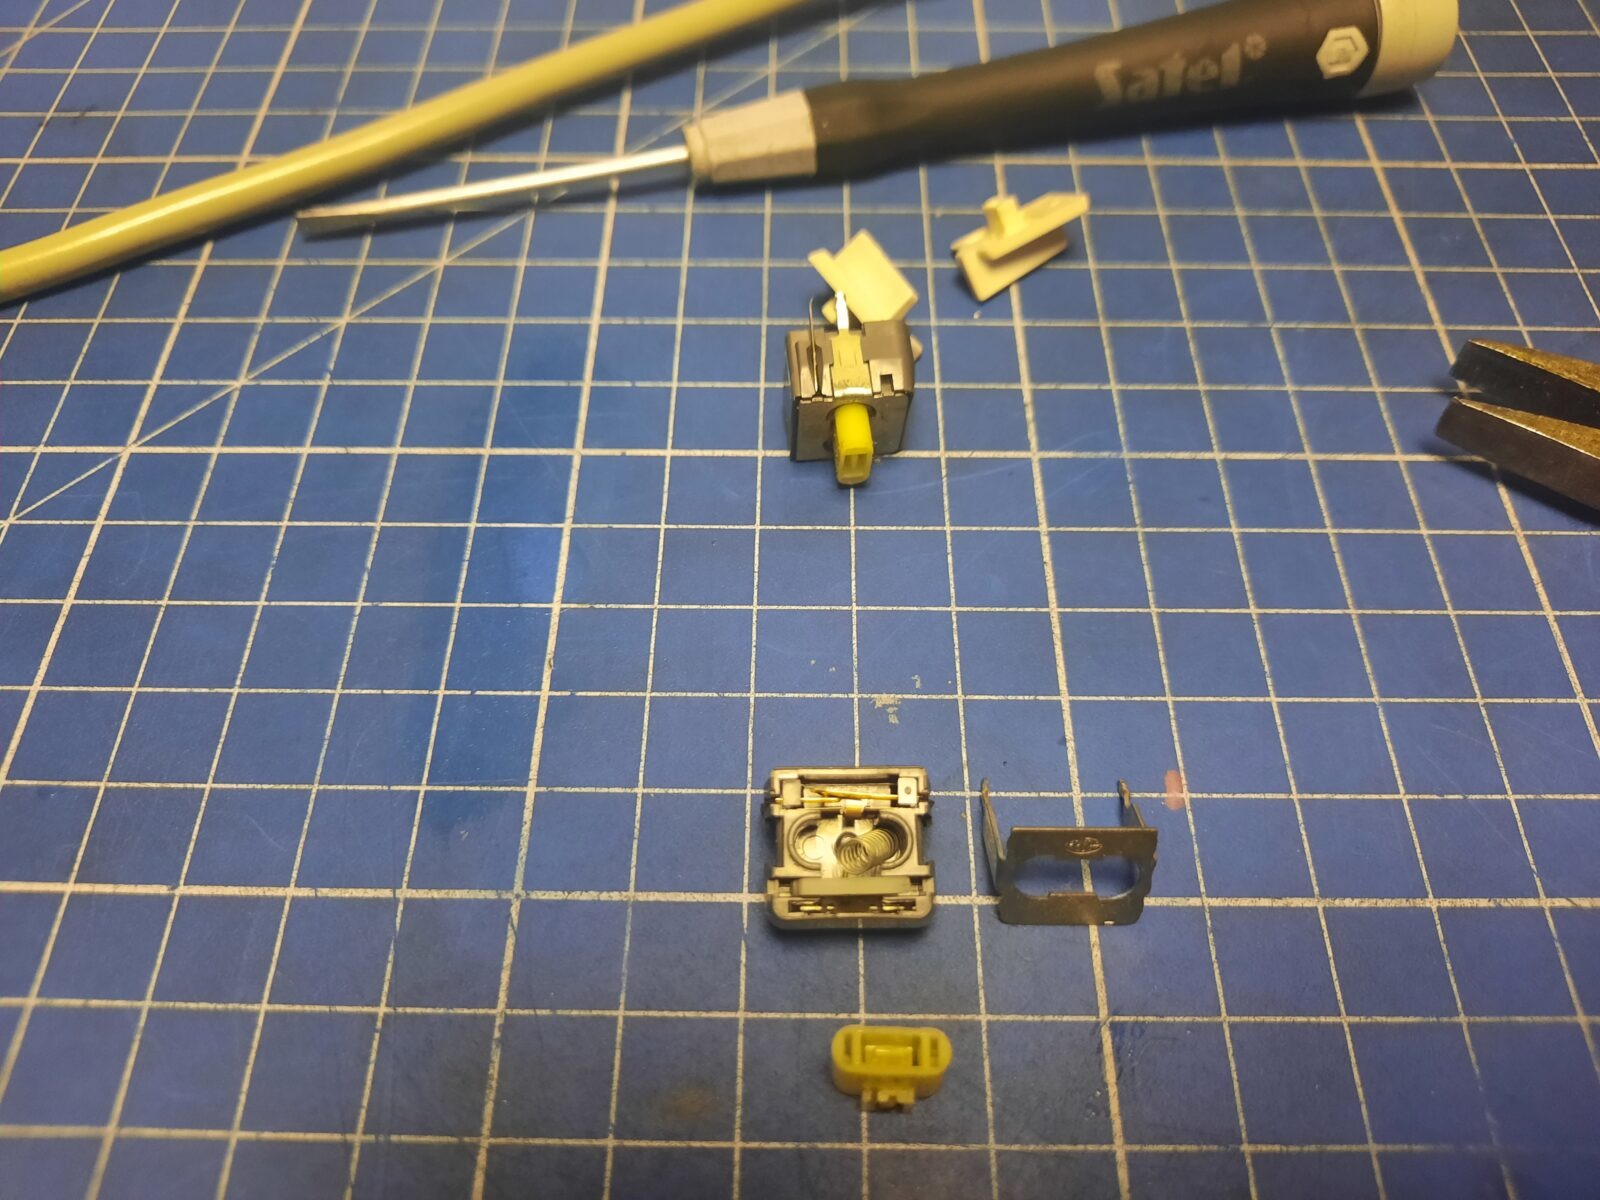
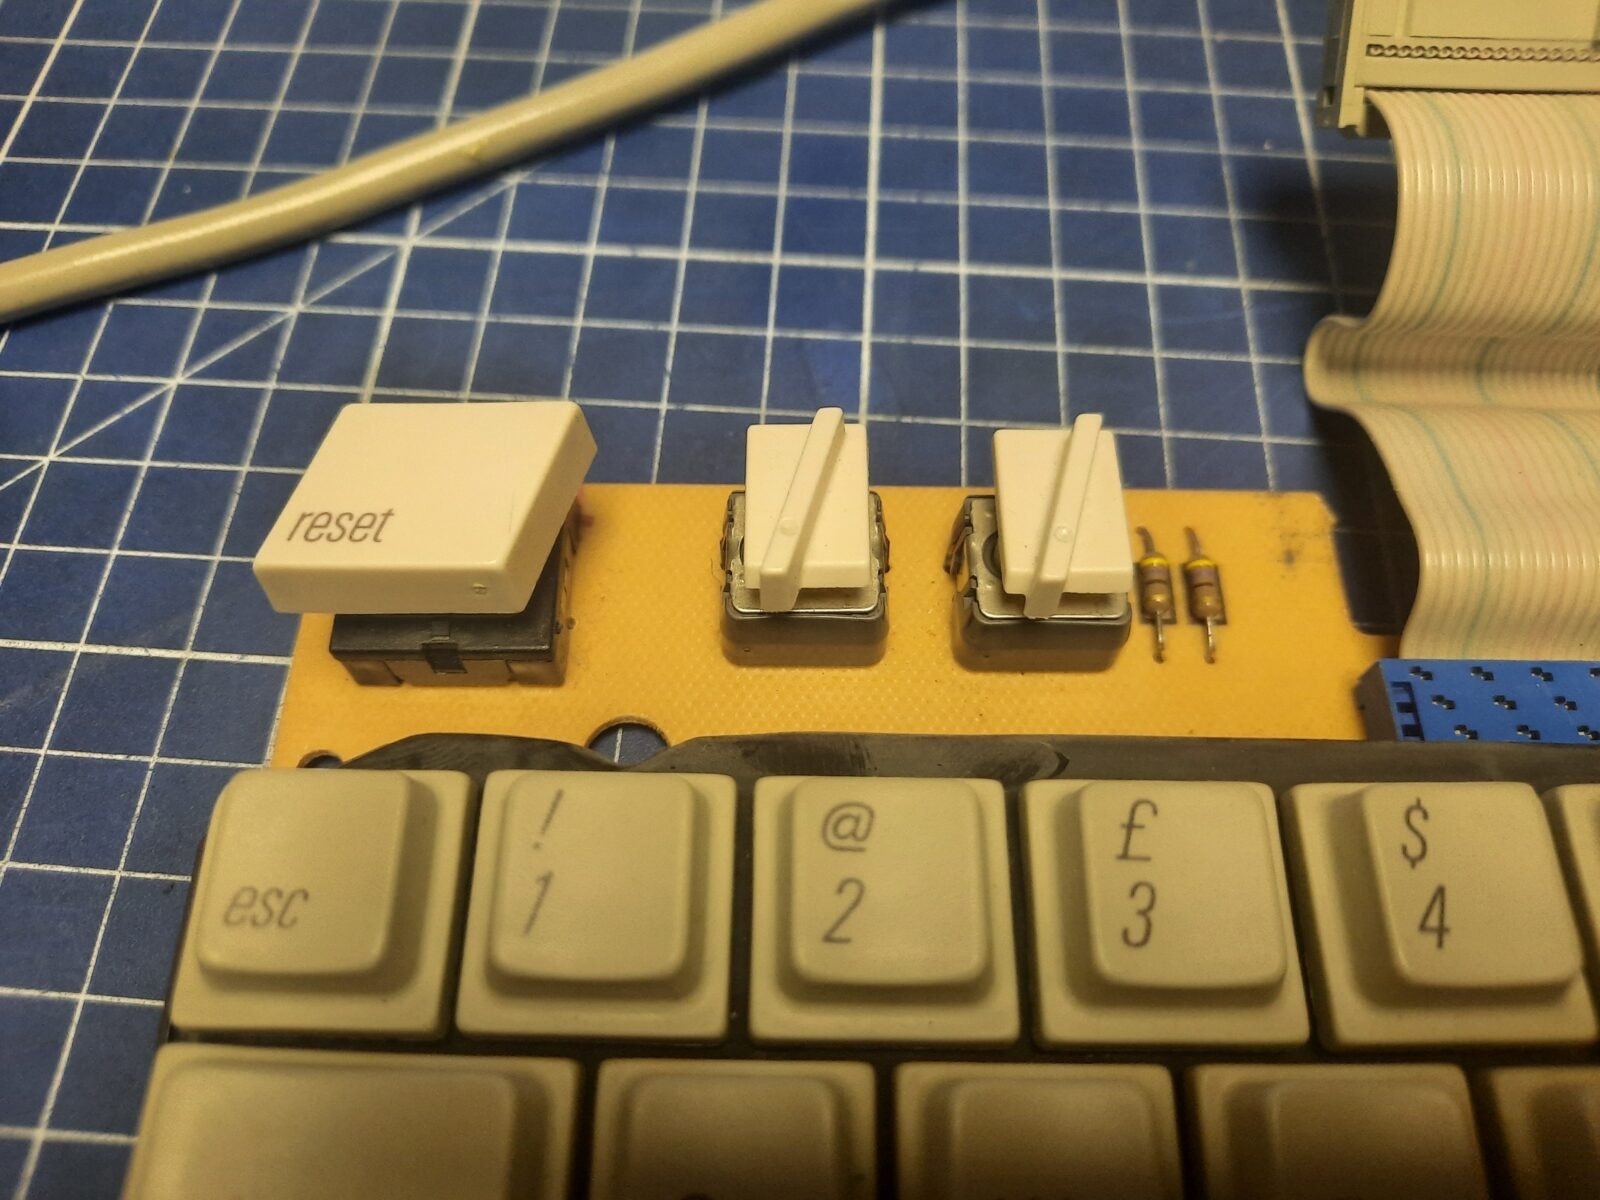
Keyboard switch fixes
After running some tests, I discovered that two switches were not working.
These switches can be disassembled so I’ve desoldered and fixed both 🙂
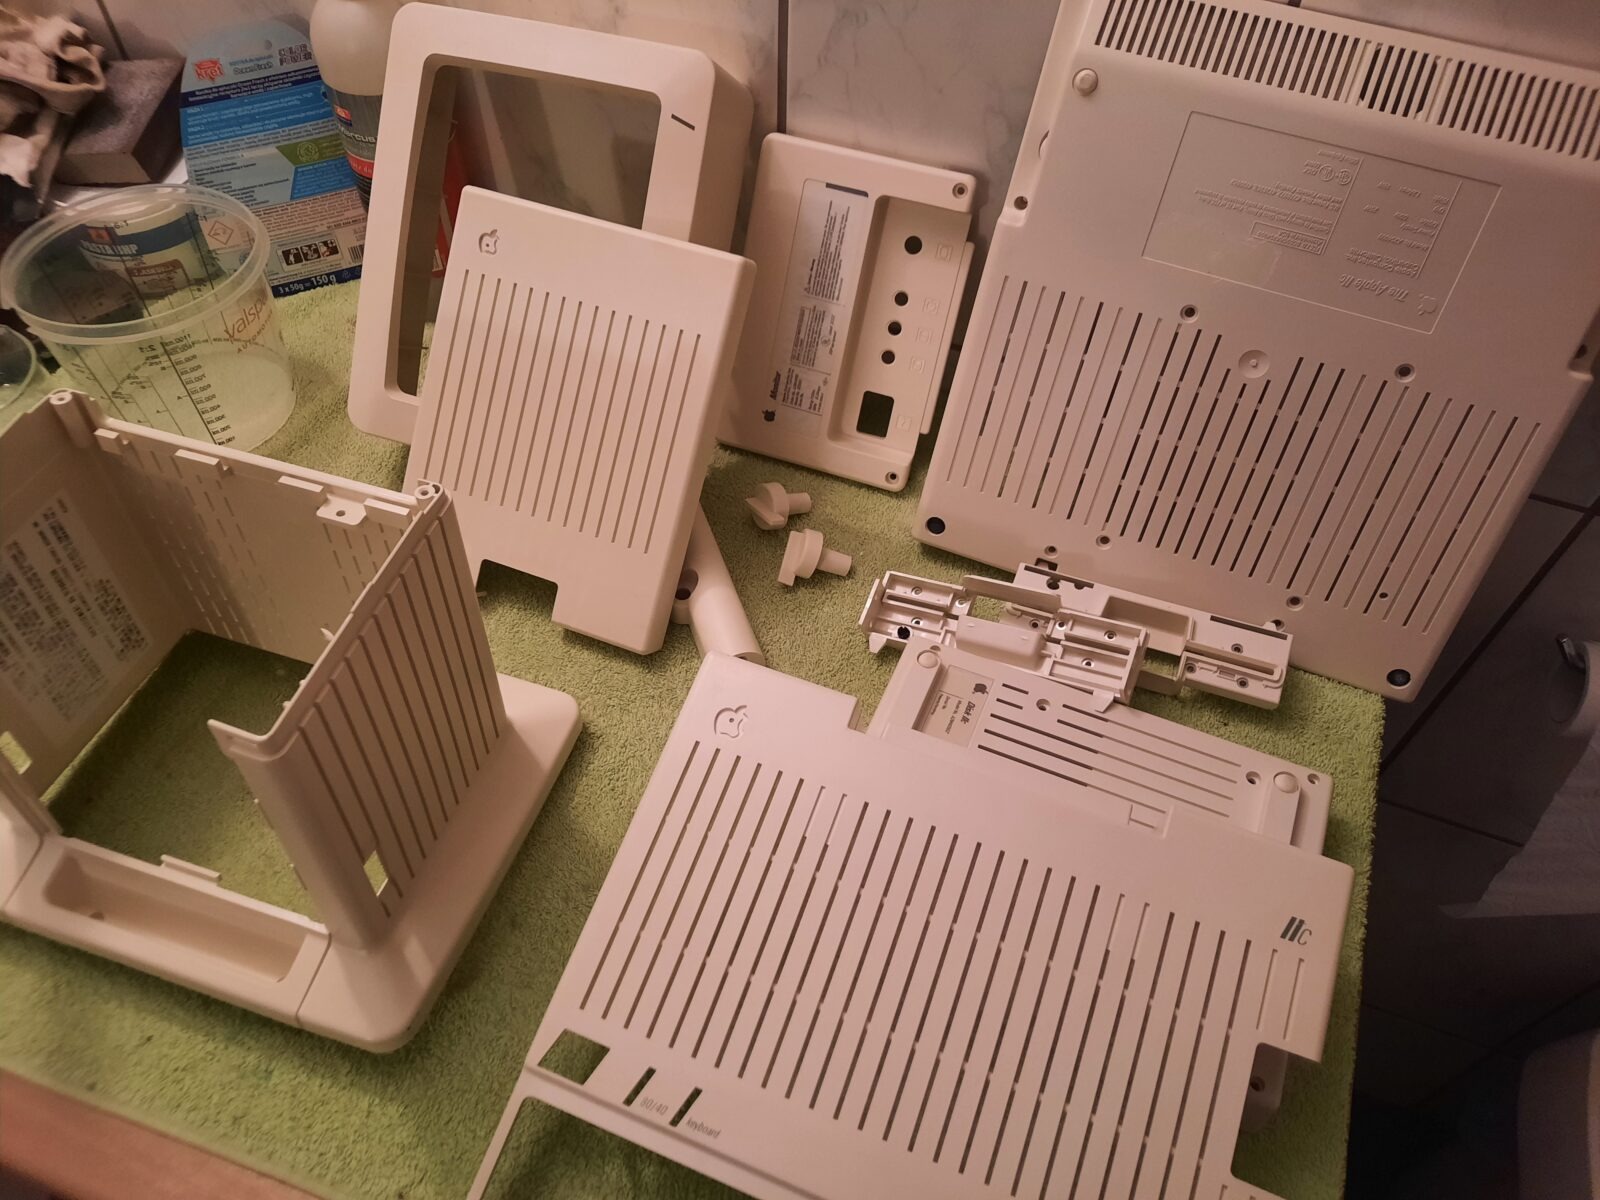
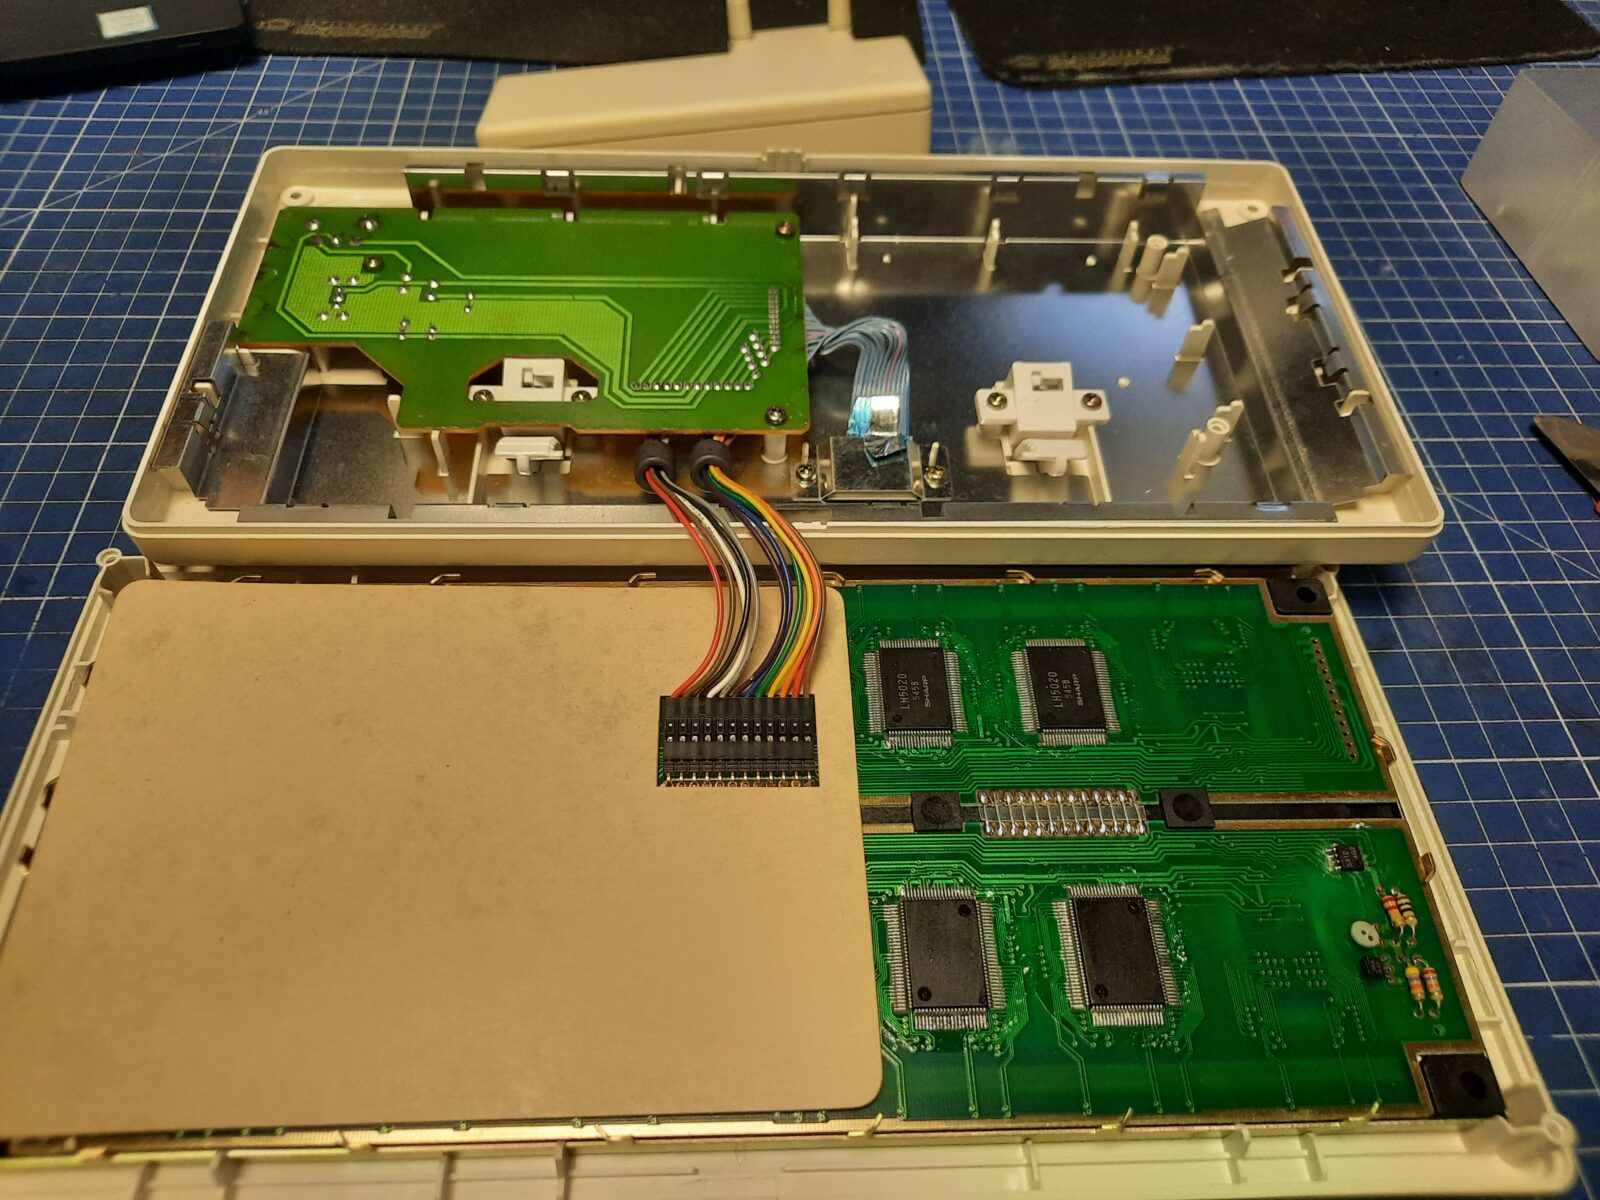
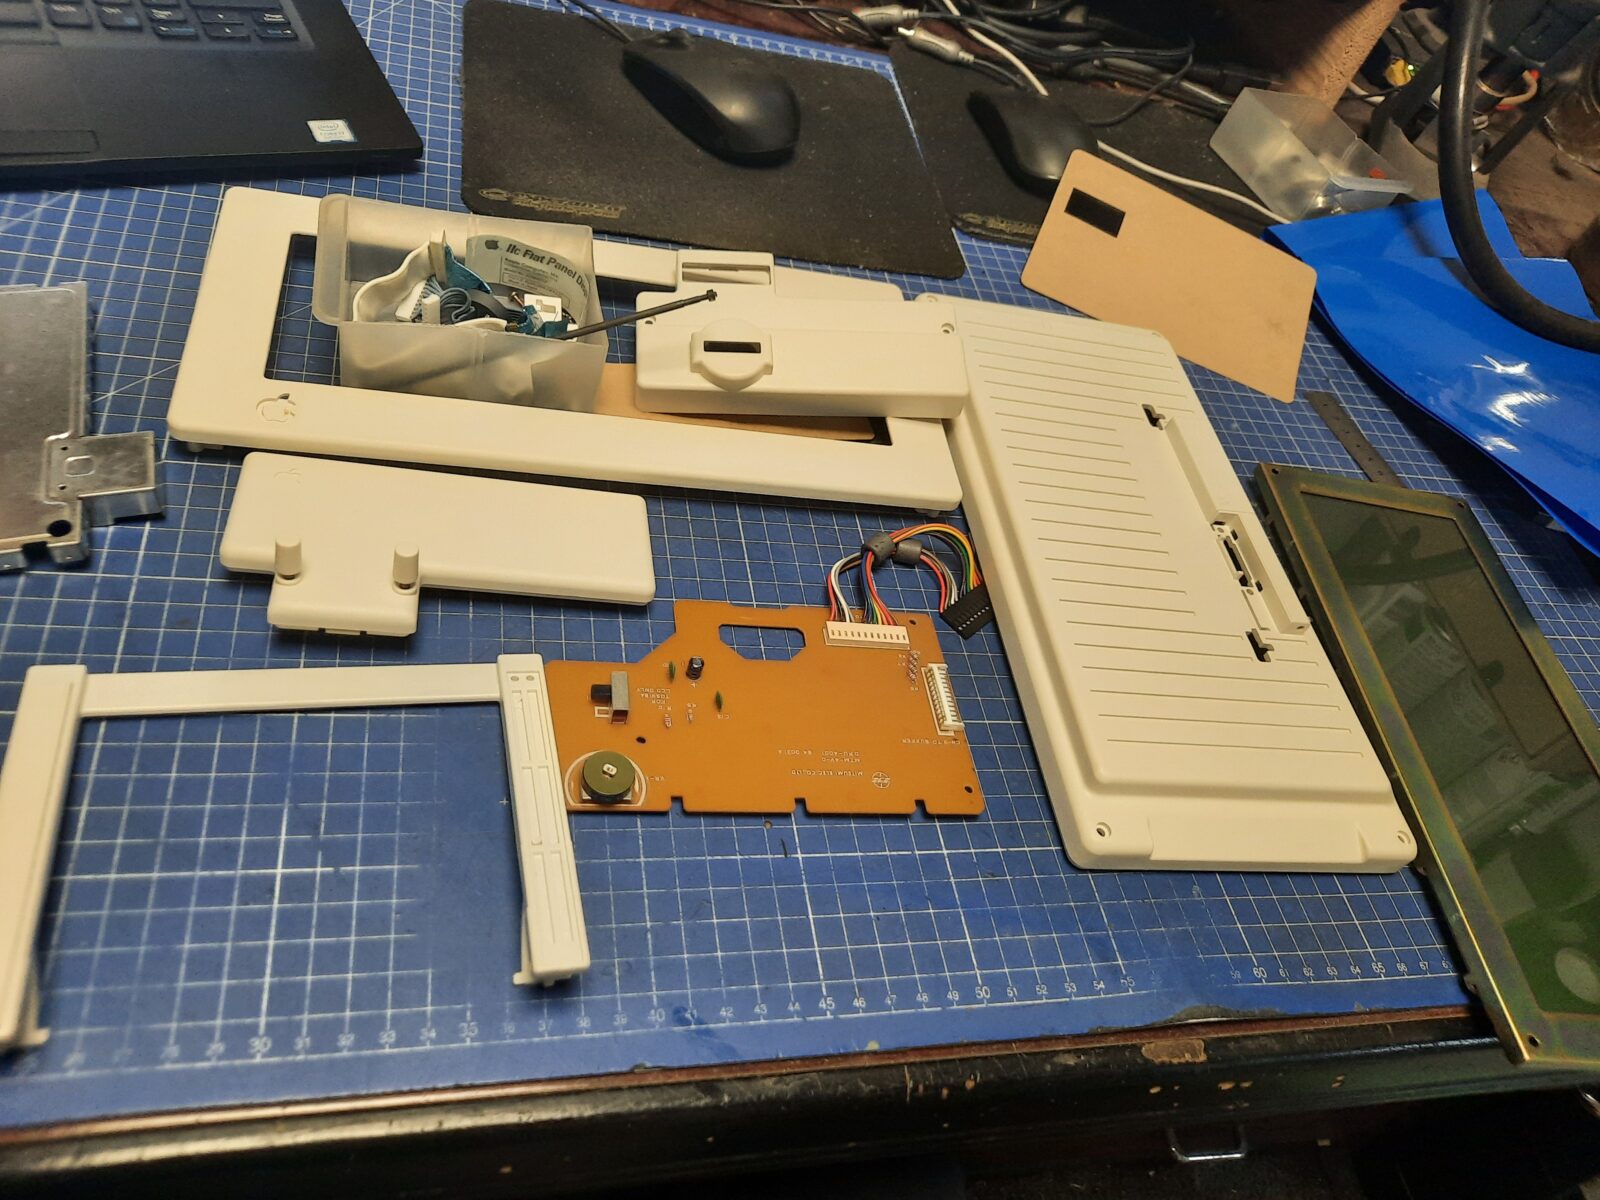
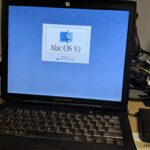
Flat panel
Flat-panel LCD needed a decent cleaning and retr0brighting.
Here is how it looked.
Okay, ready to be assembled.
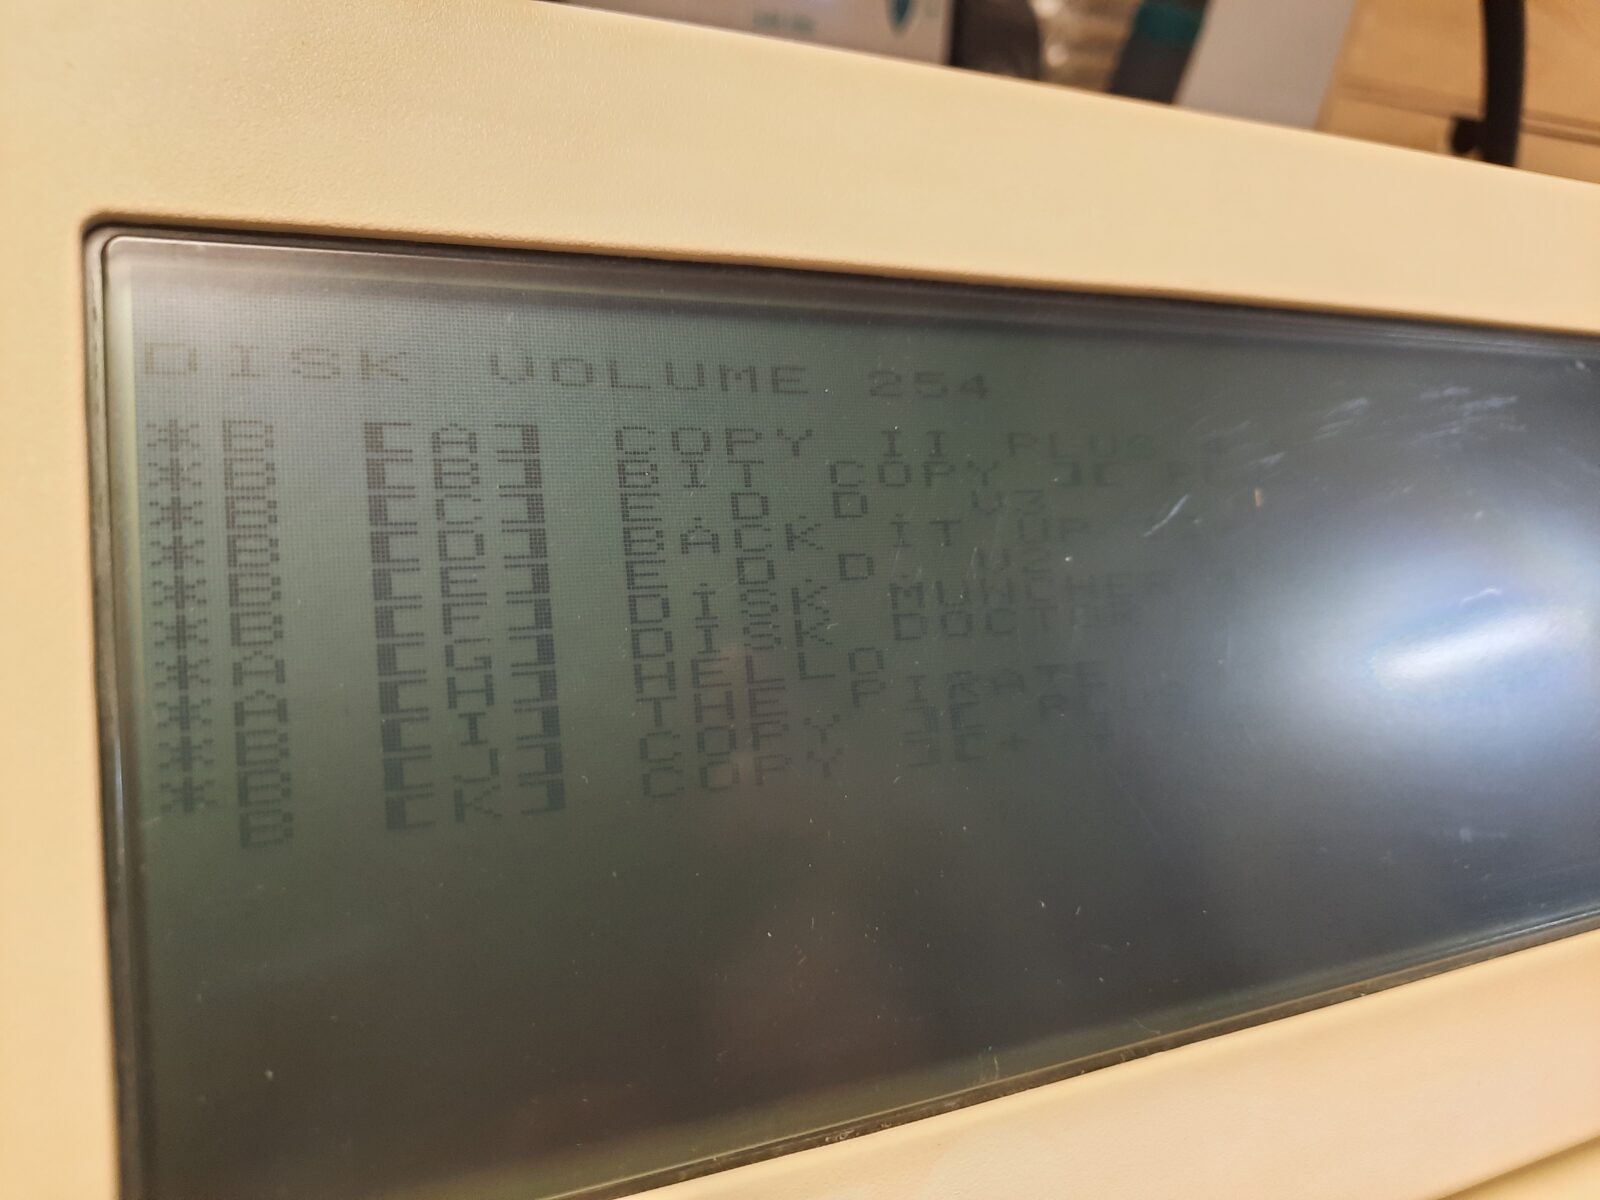
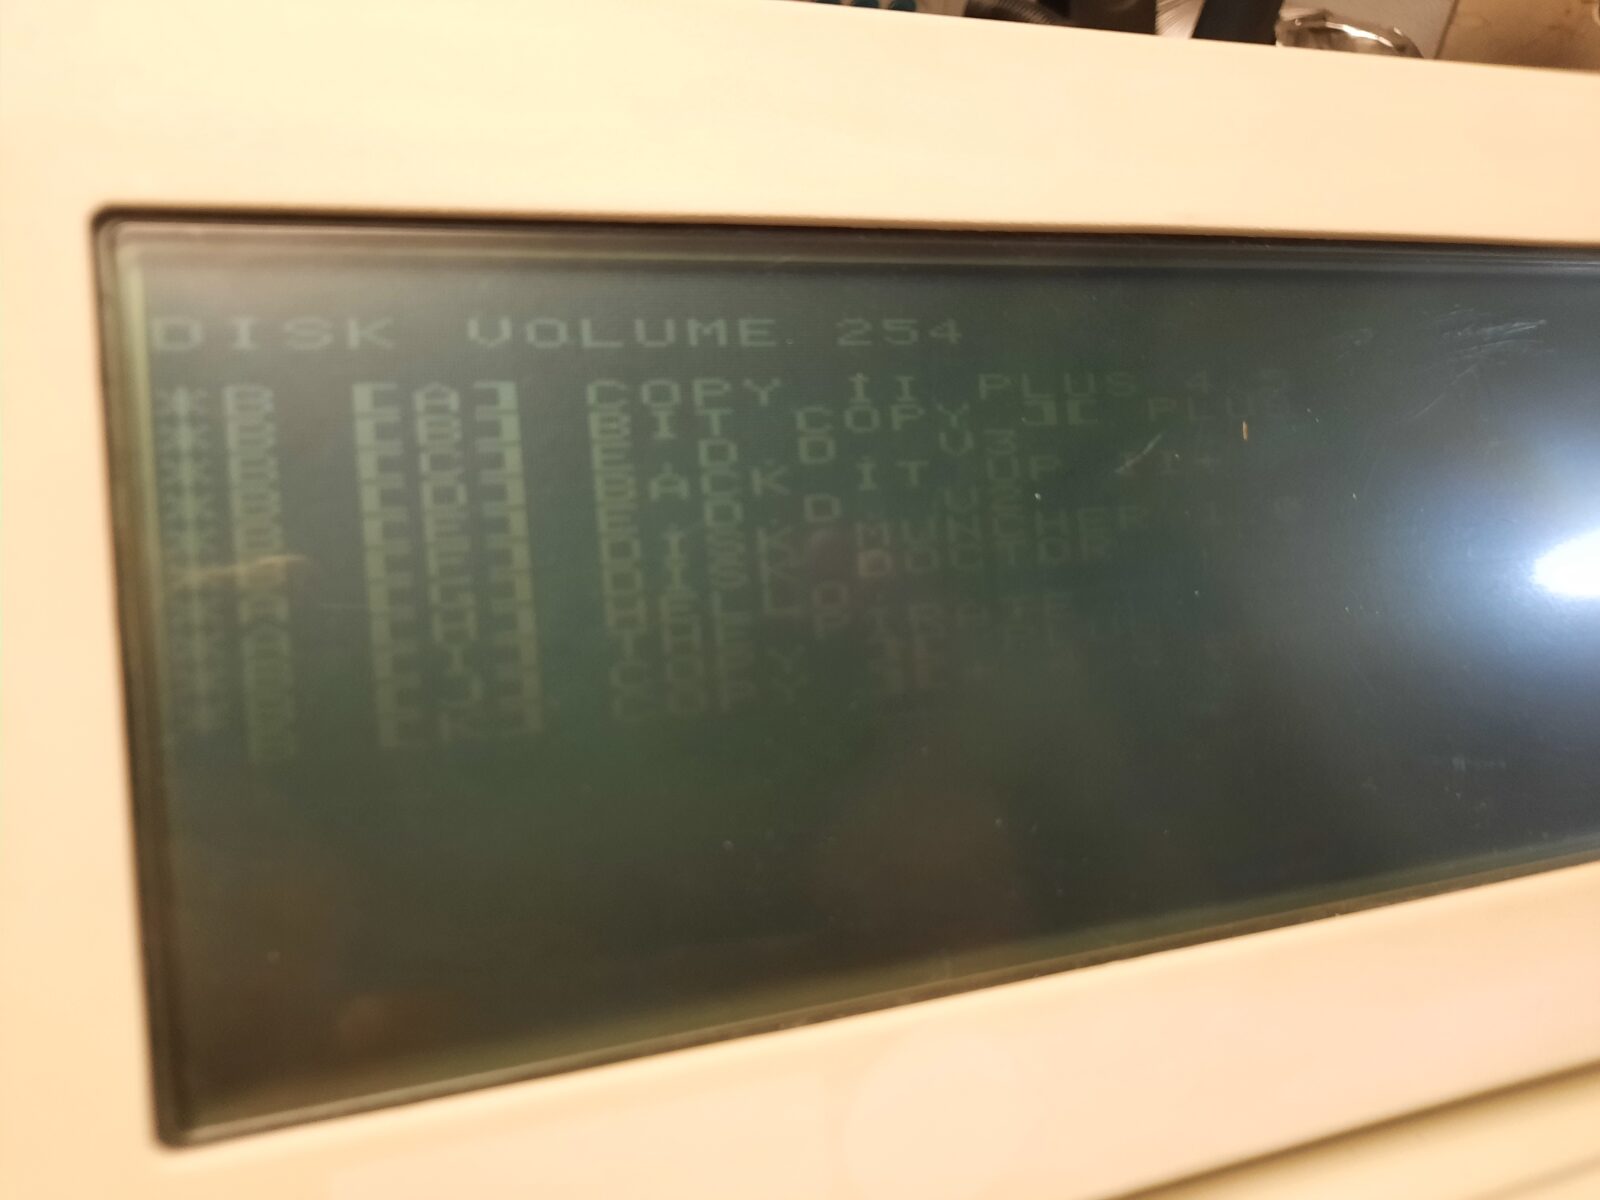
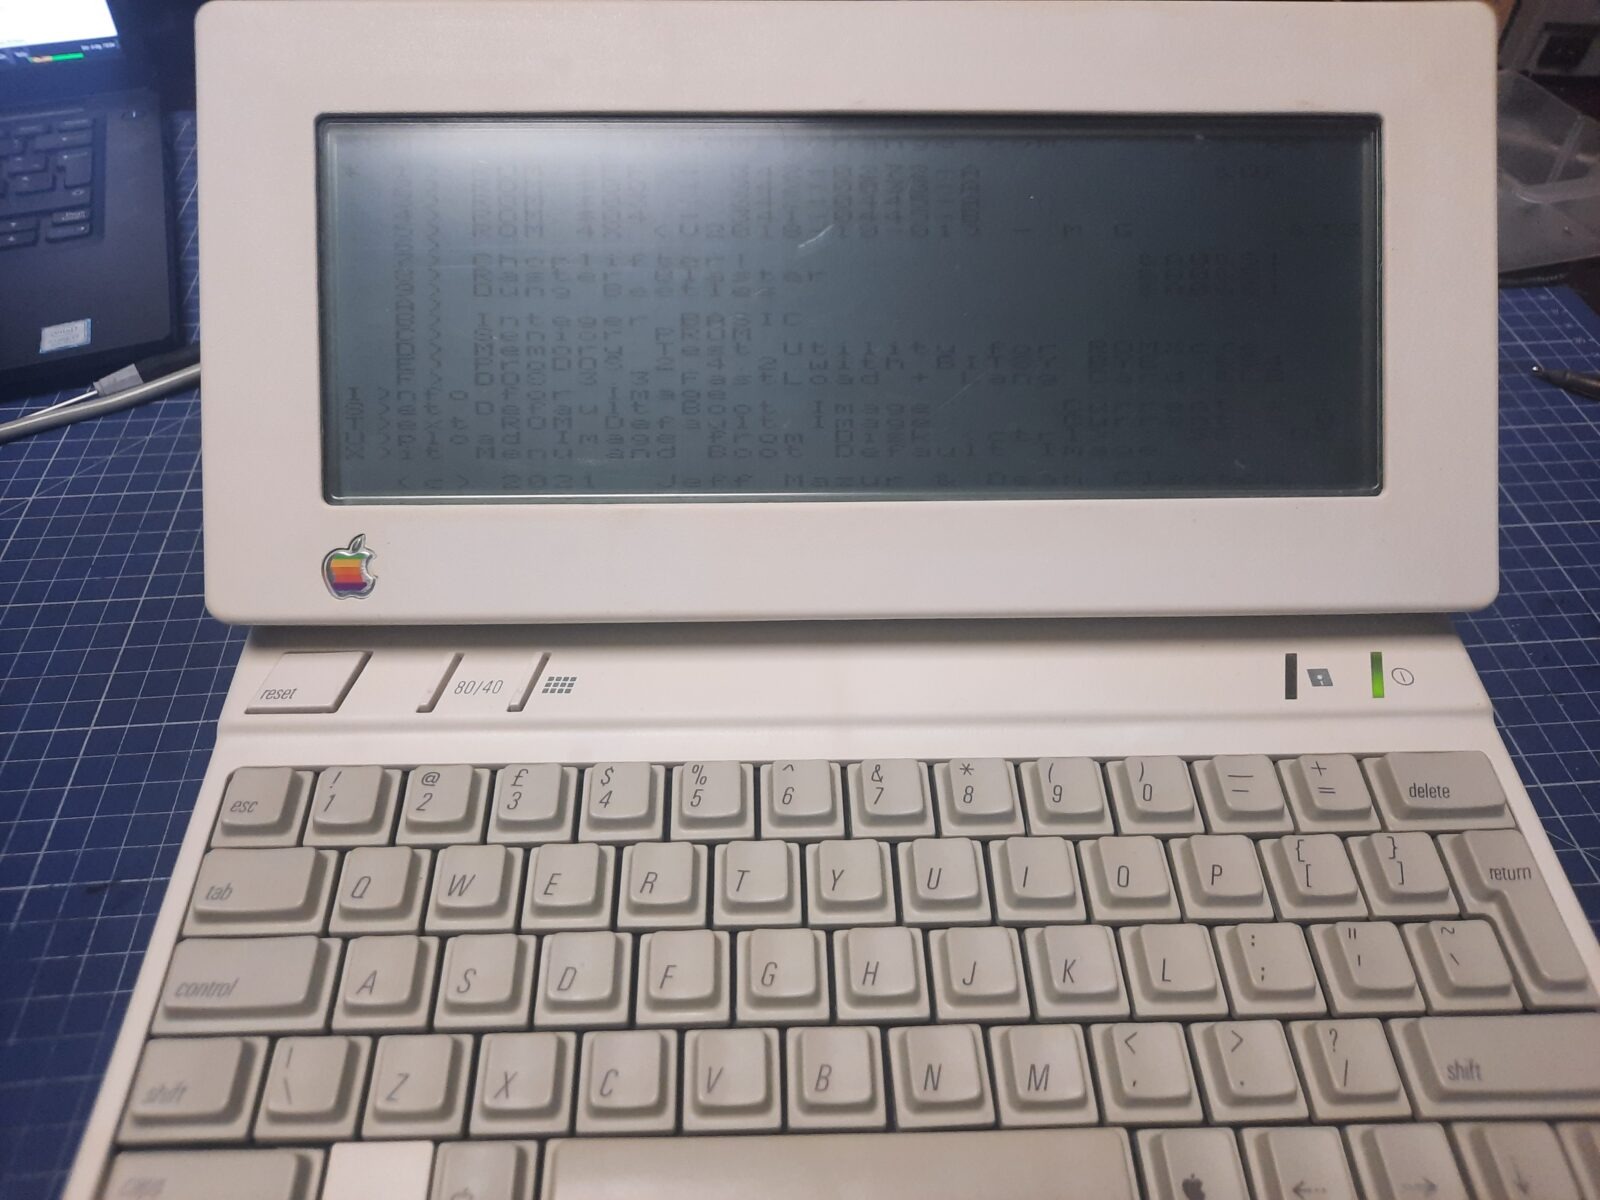
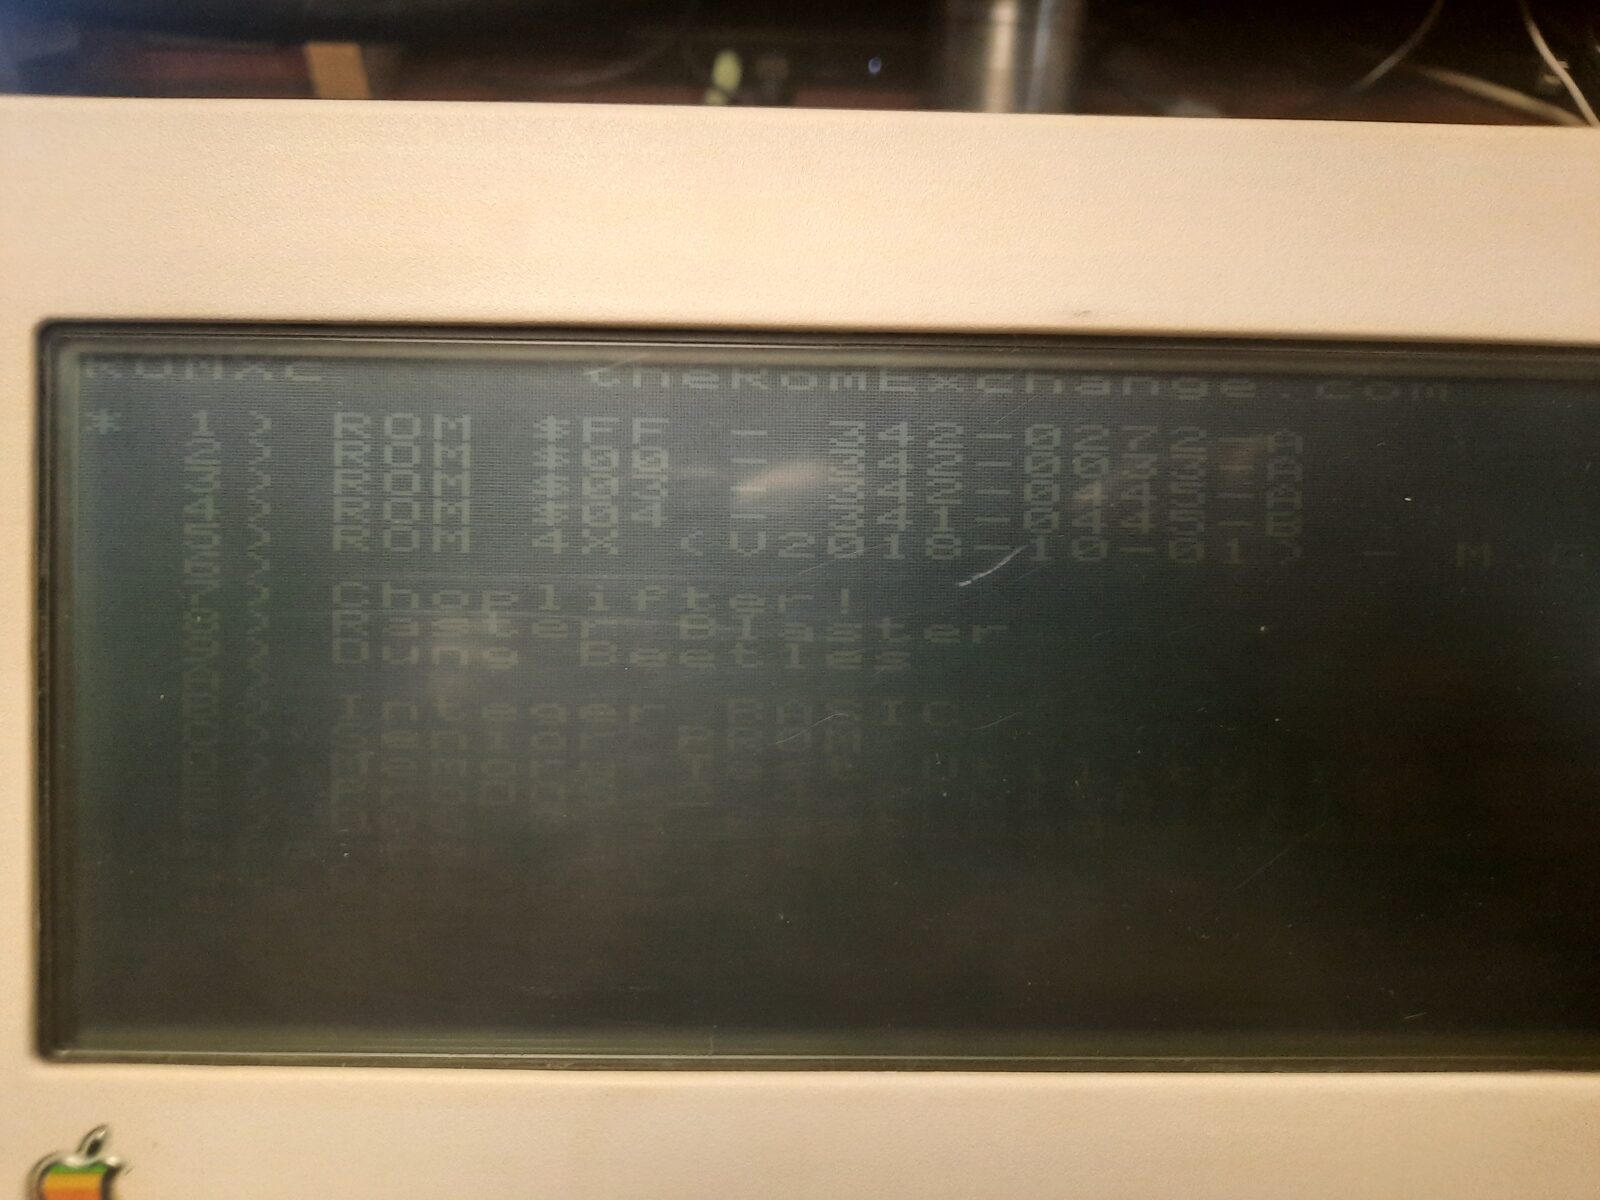
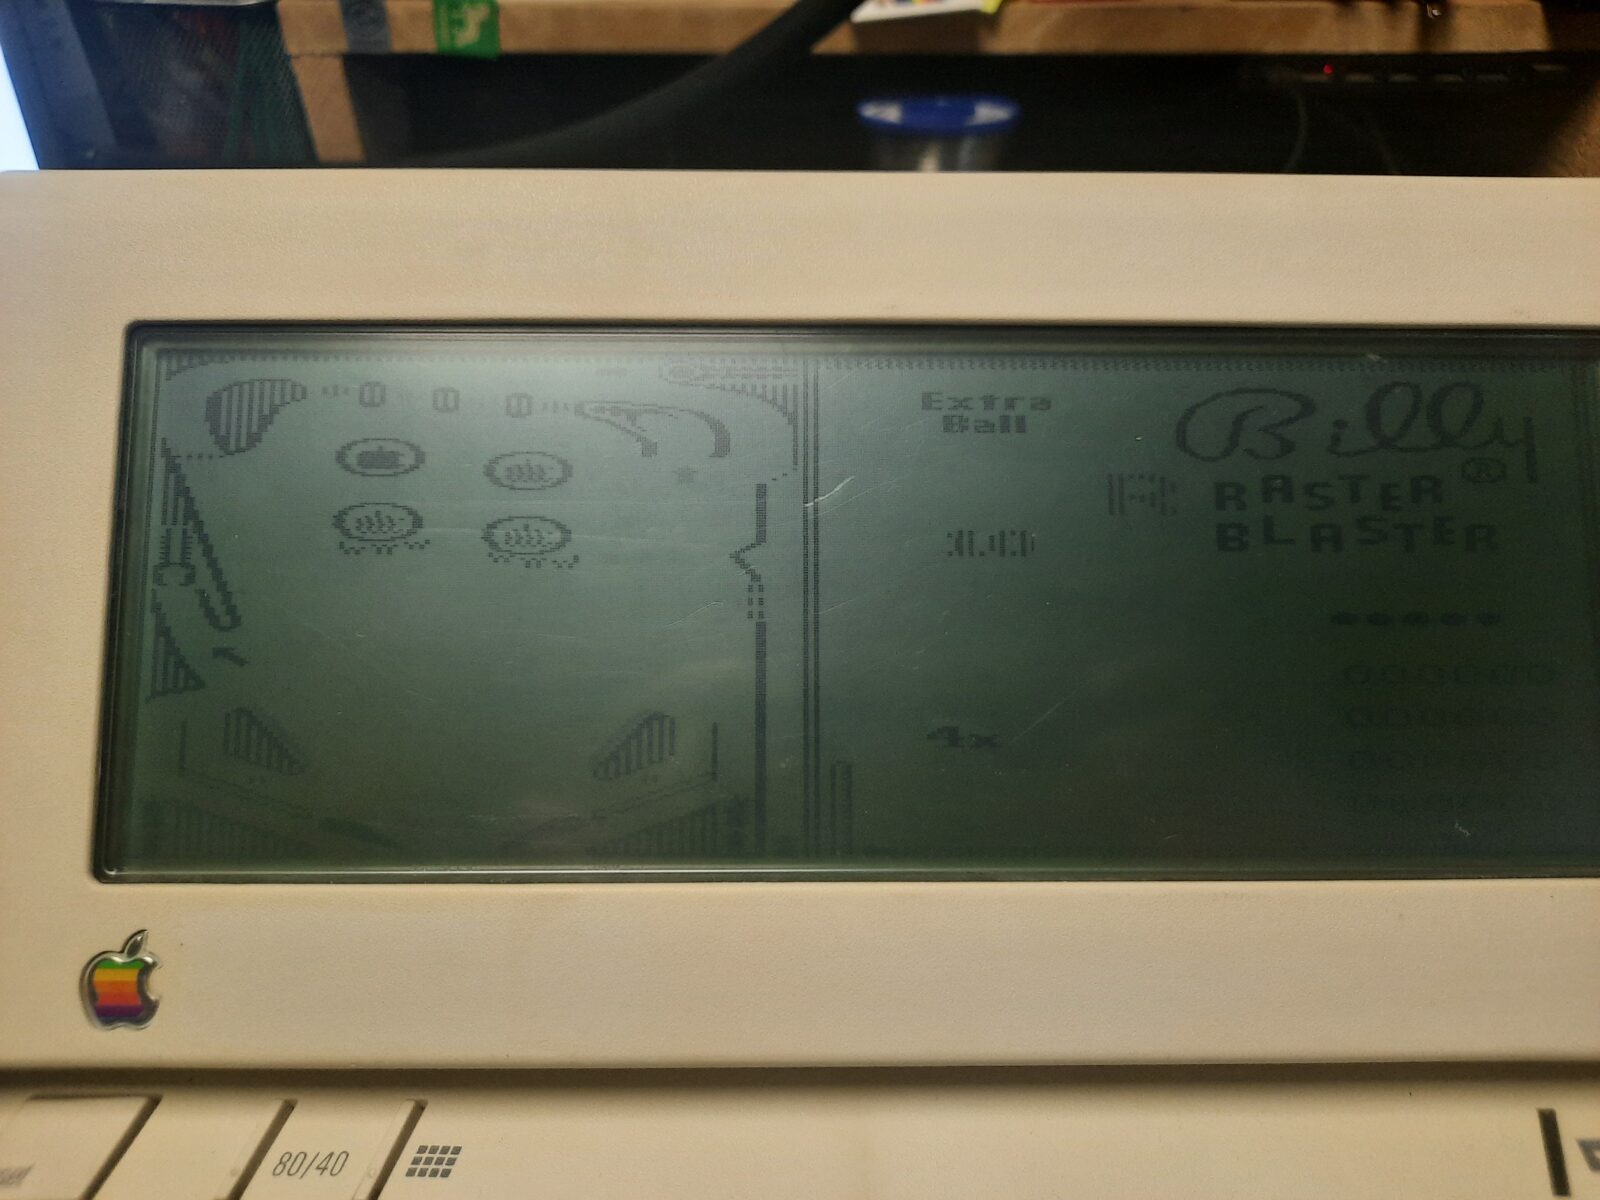
This is how it works.
Mods
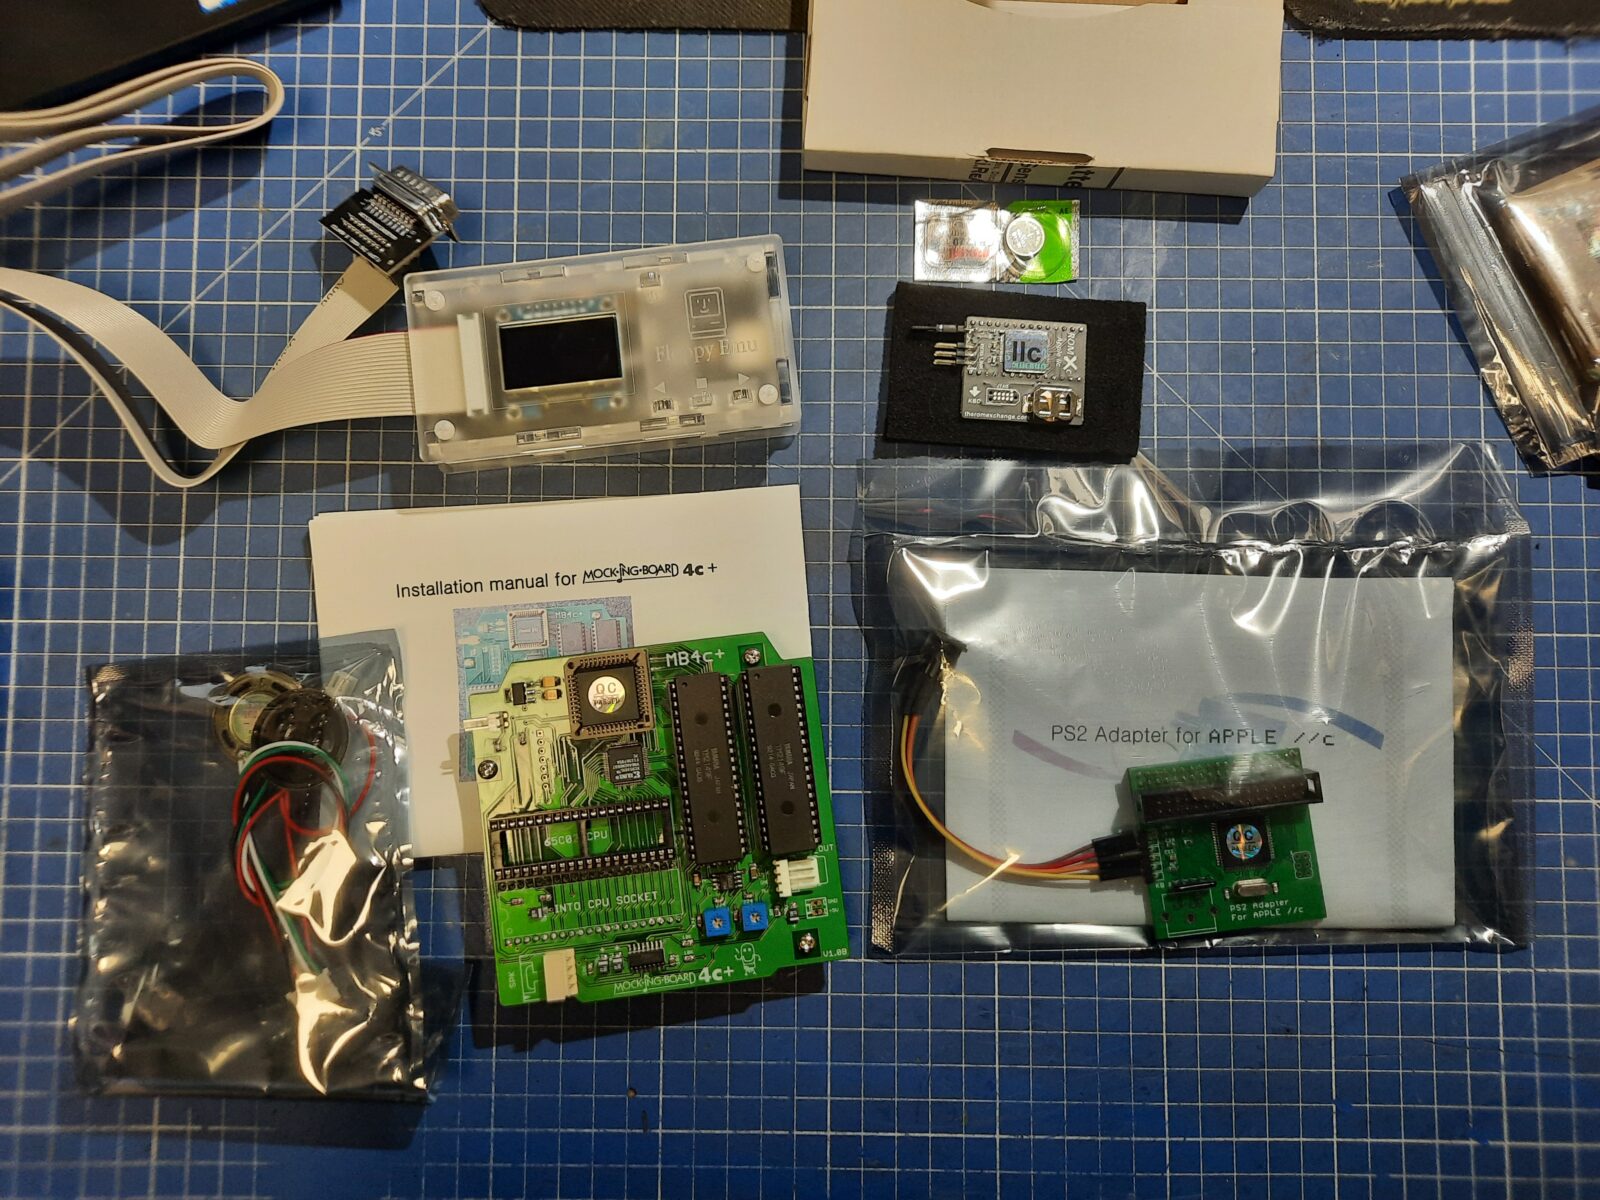
Meanwhile, all of the ordered mods came in.
I’ve ordered:
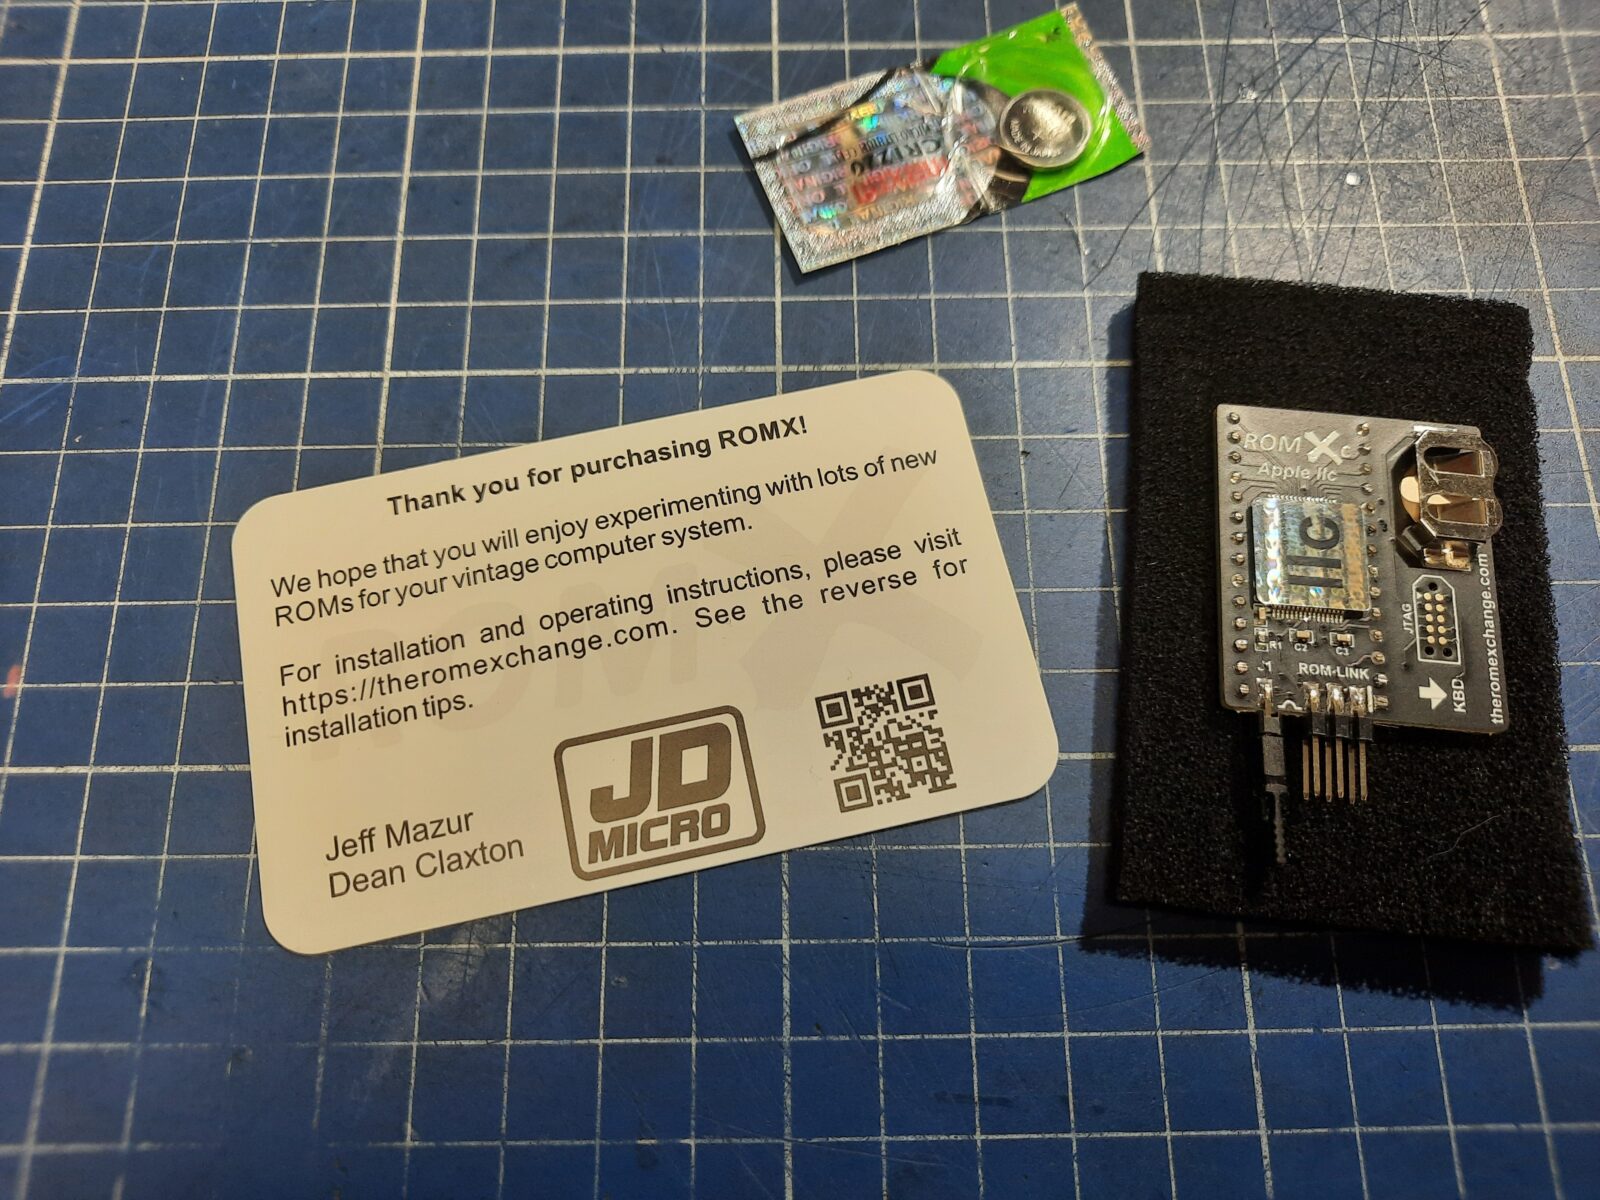
- ROMx for IIc from theromexchange.com
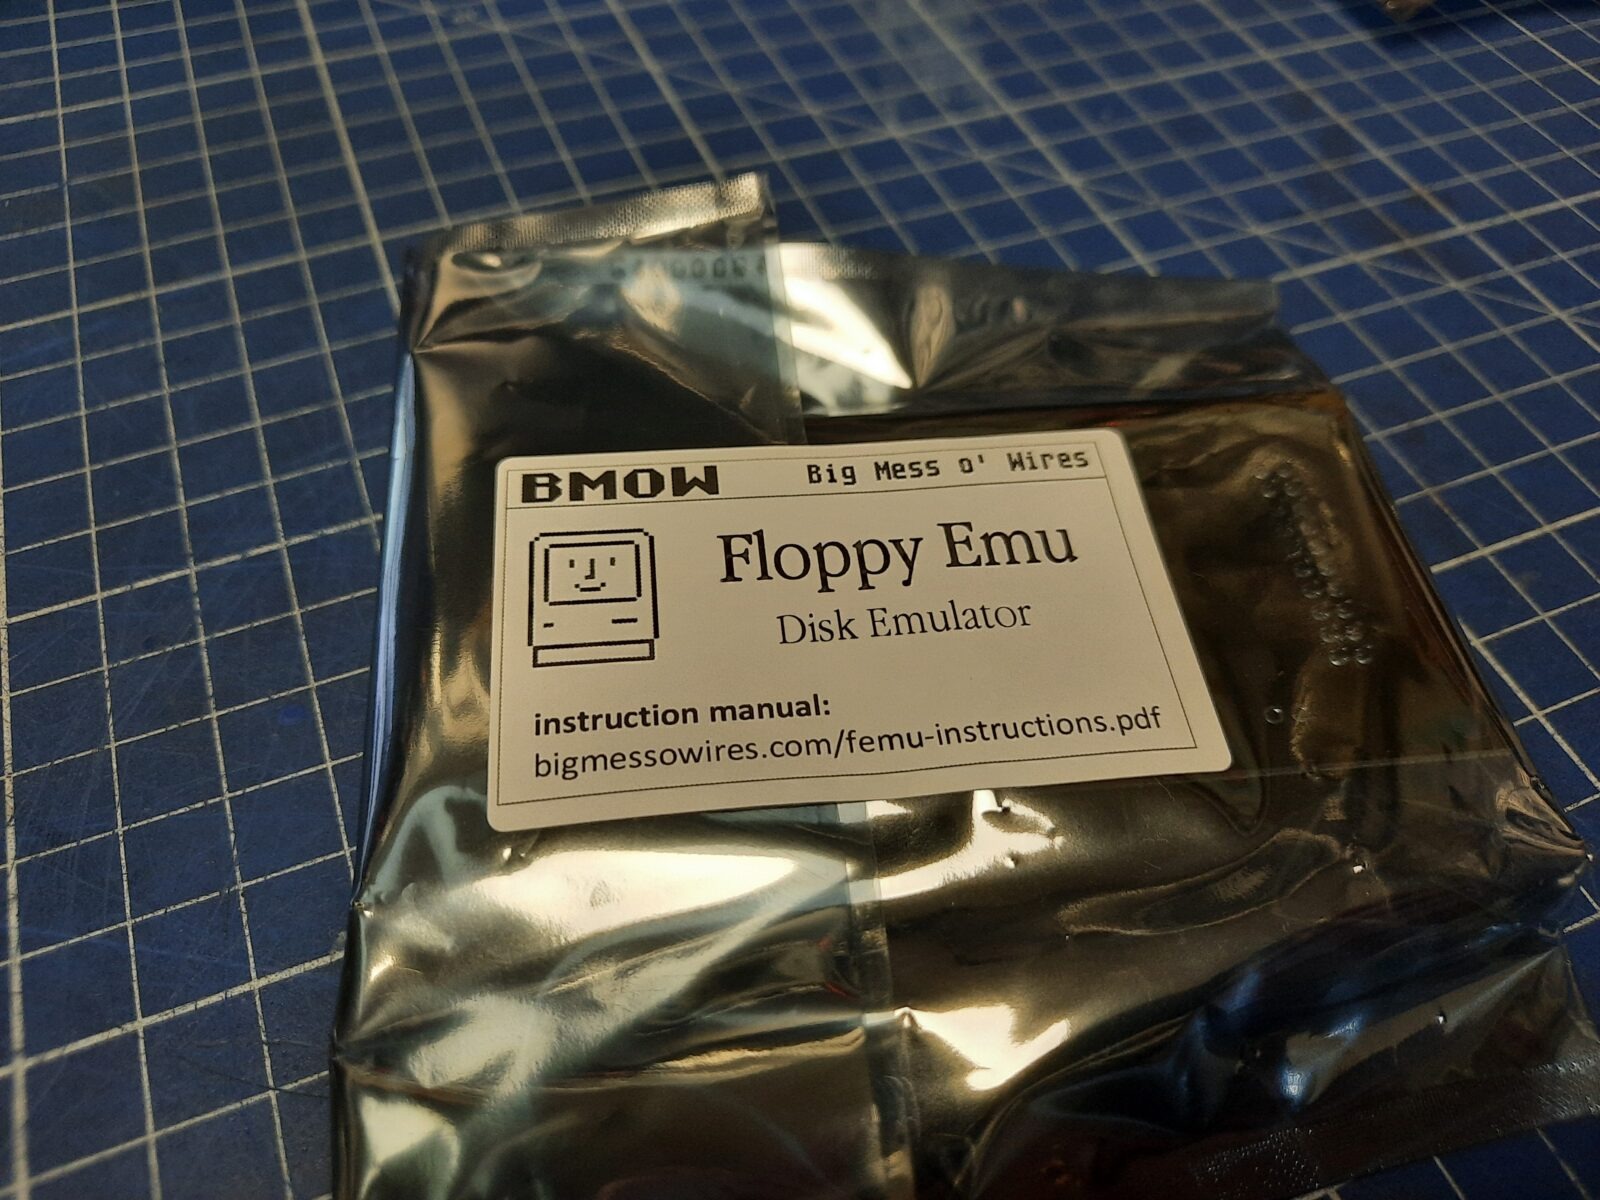
- Floppy EMU from bigmessowires.com
- PS/2 Adapter for IIc – eBay
- Mockingboard 4c and 4c+(I’ll explain it later:) – eBay
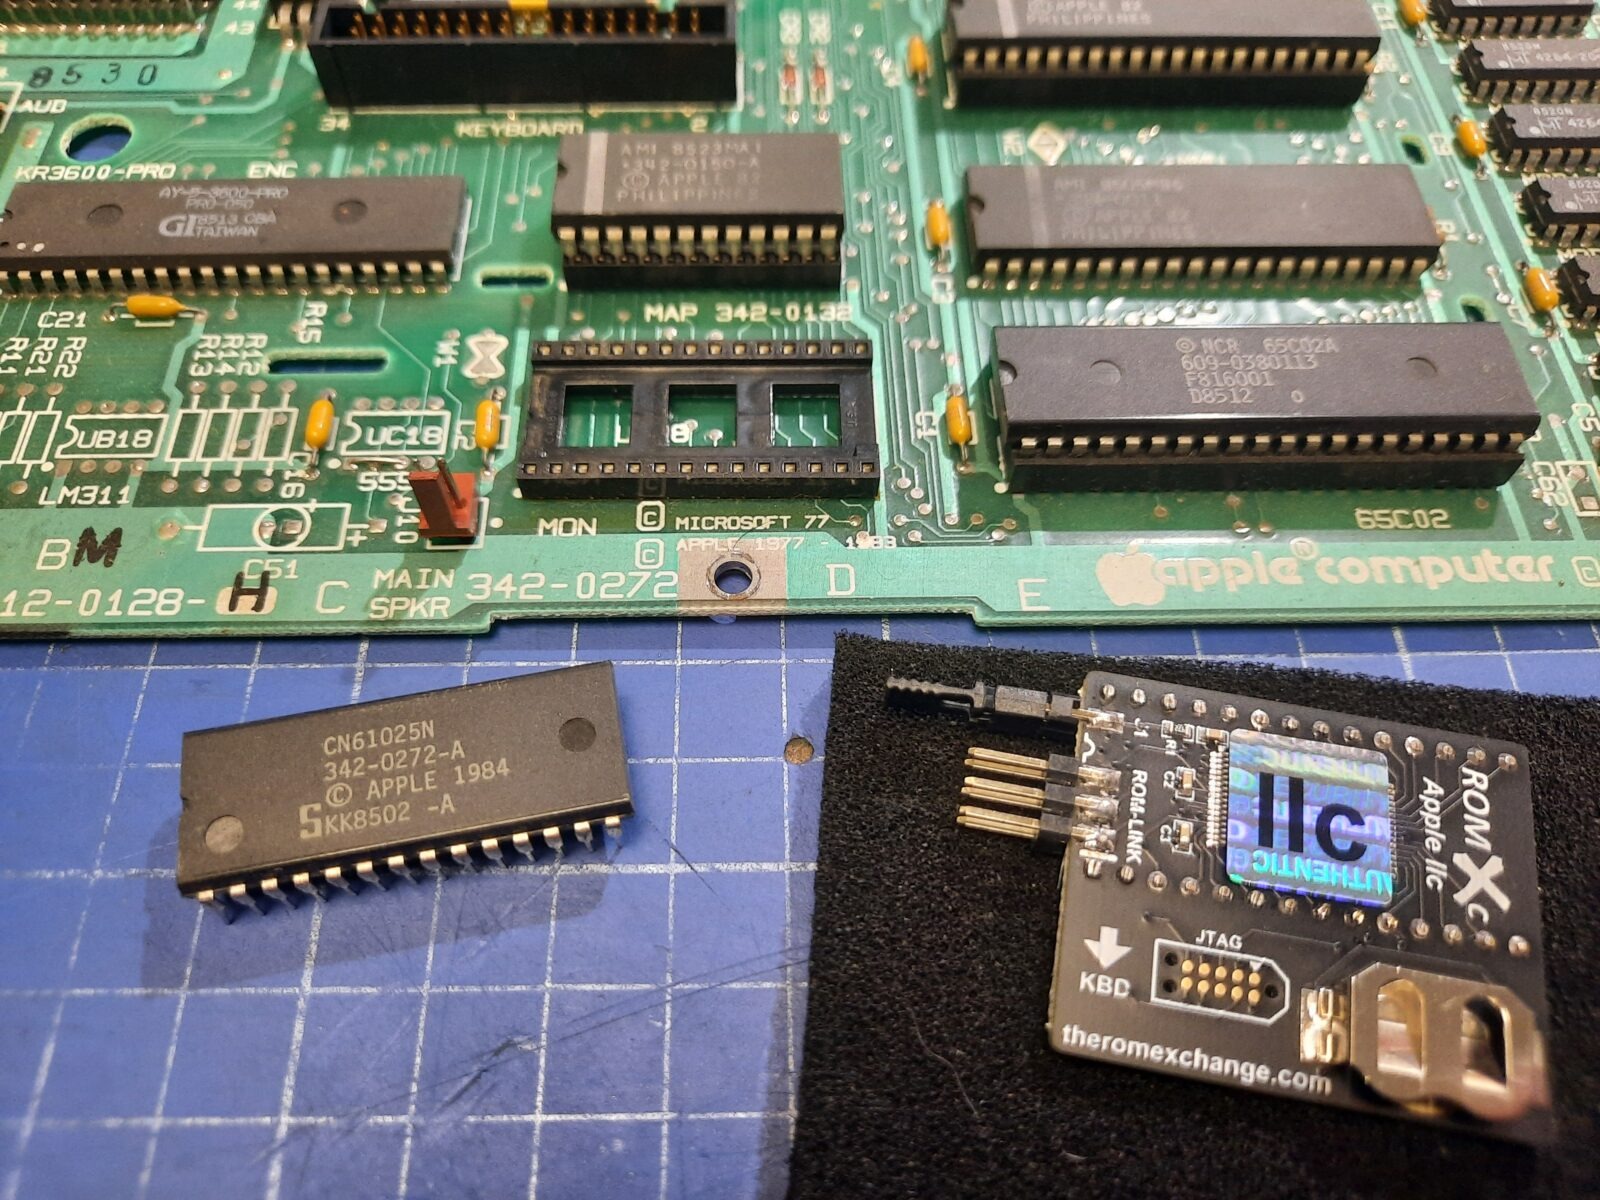
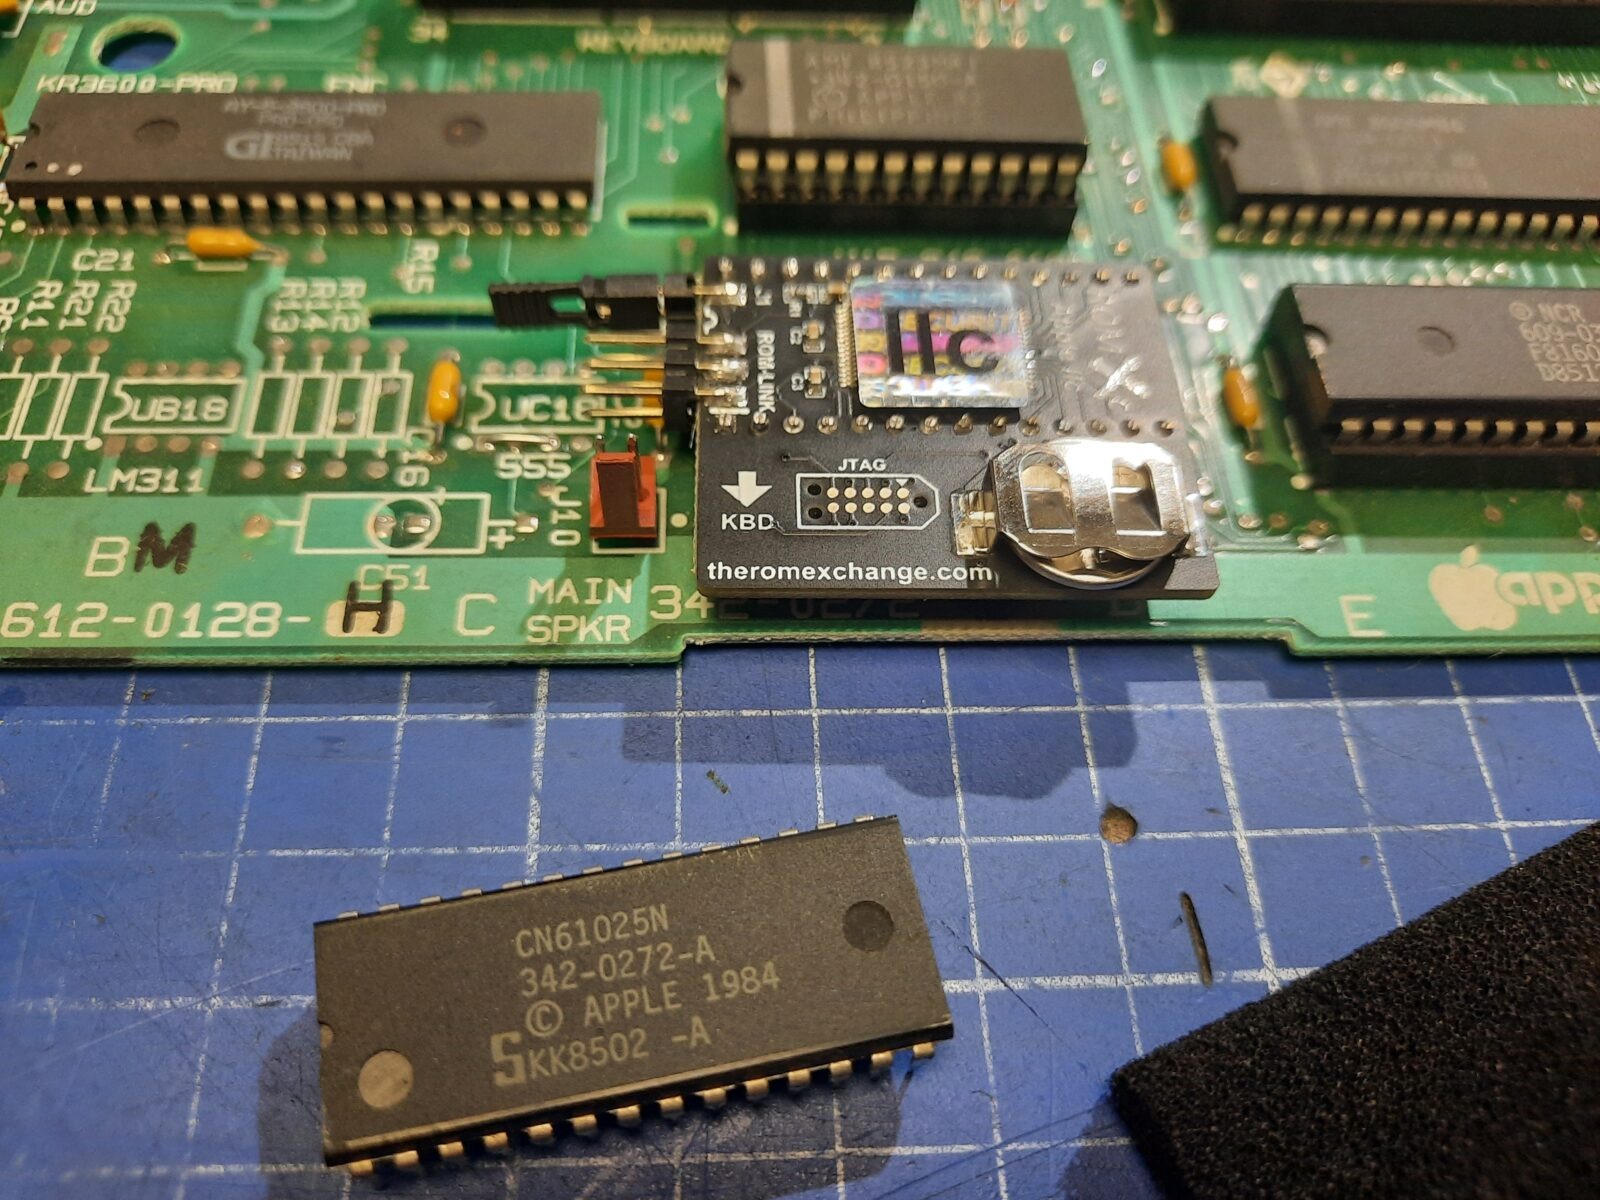
ROMx
The ROMx installation is really straightforward. You simply replace the original ROM chip with it and install a battery.
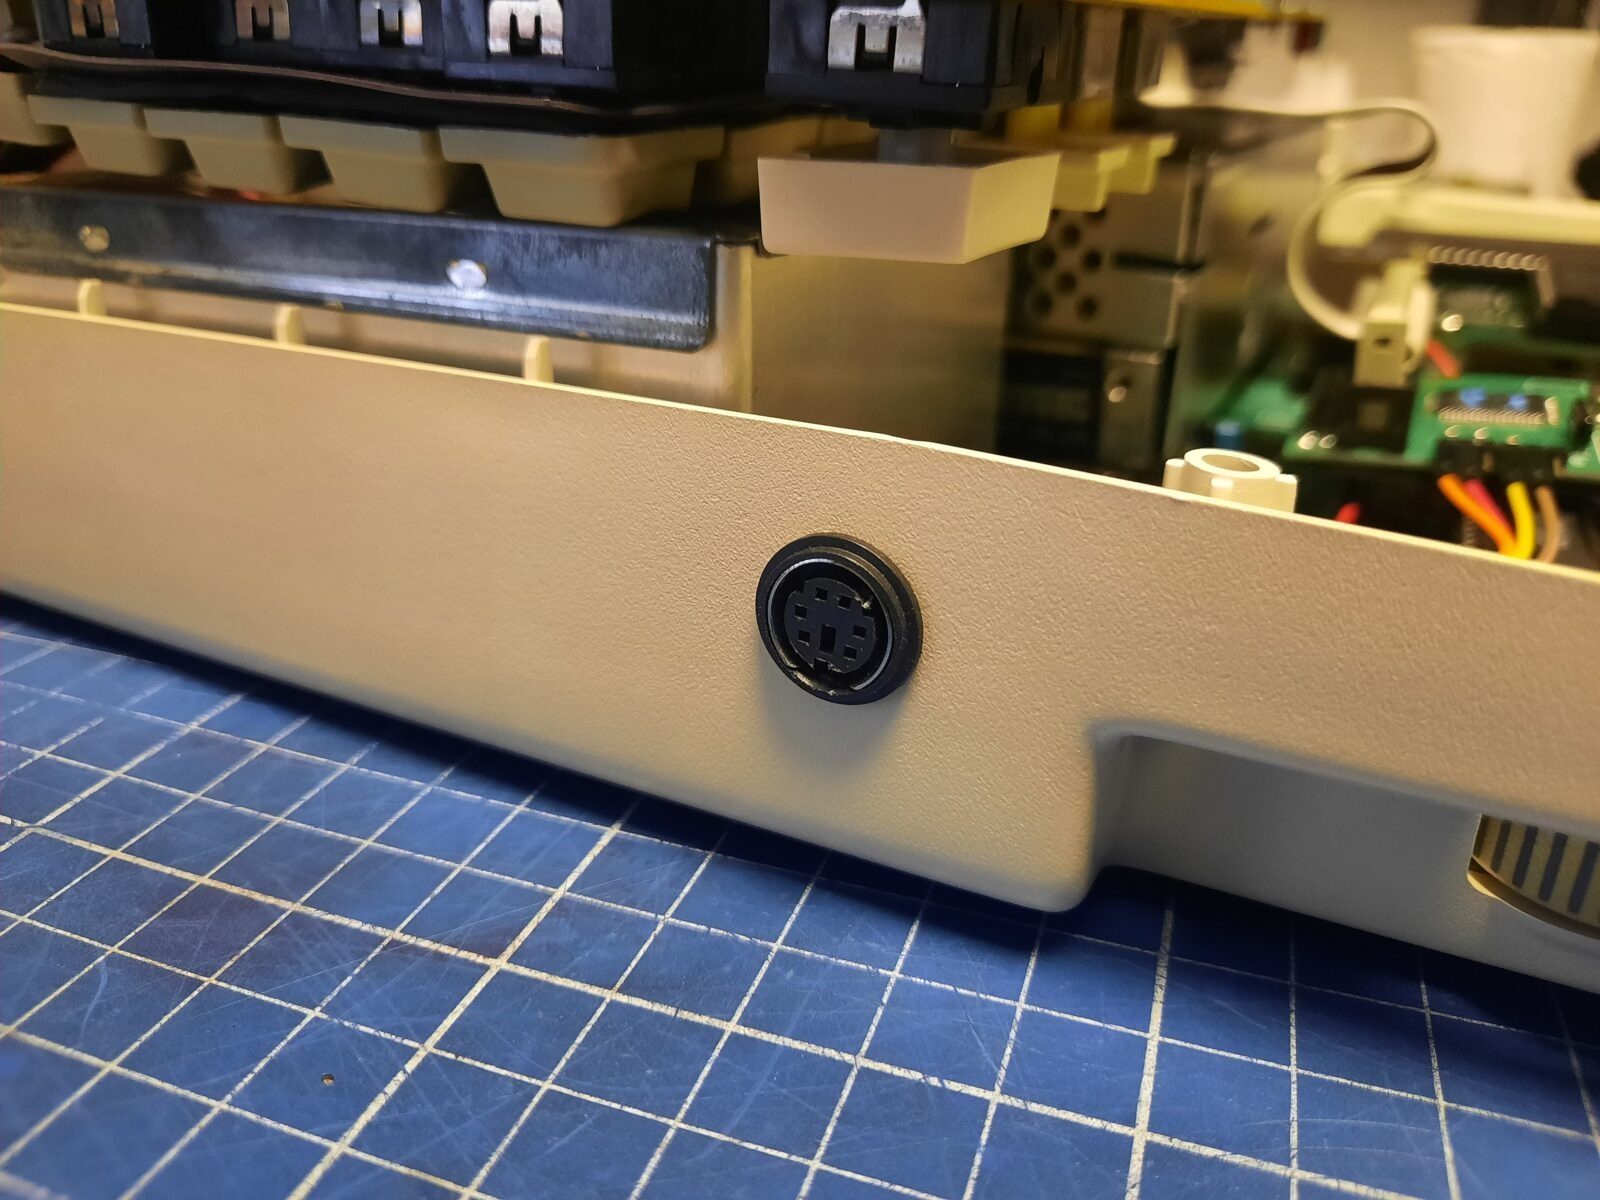
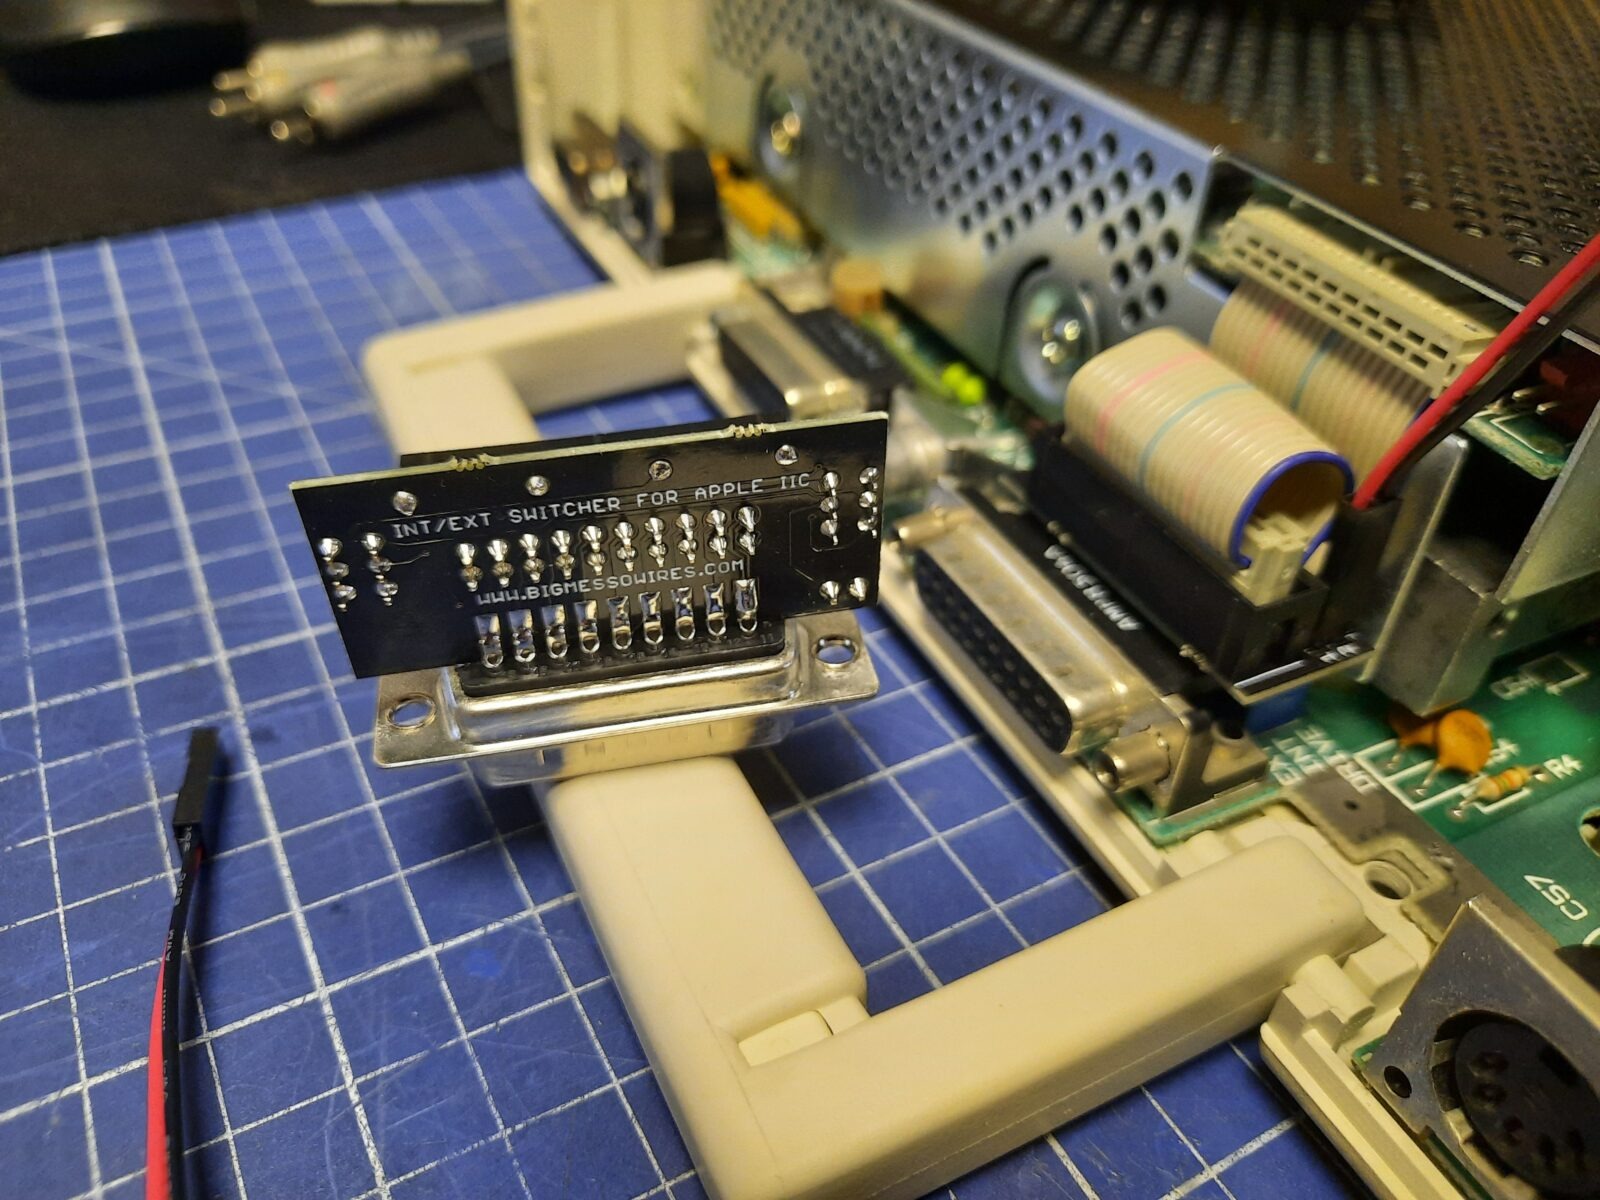
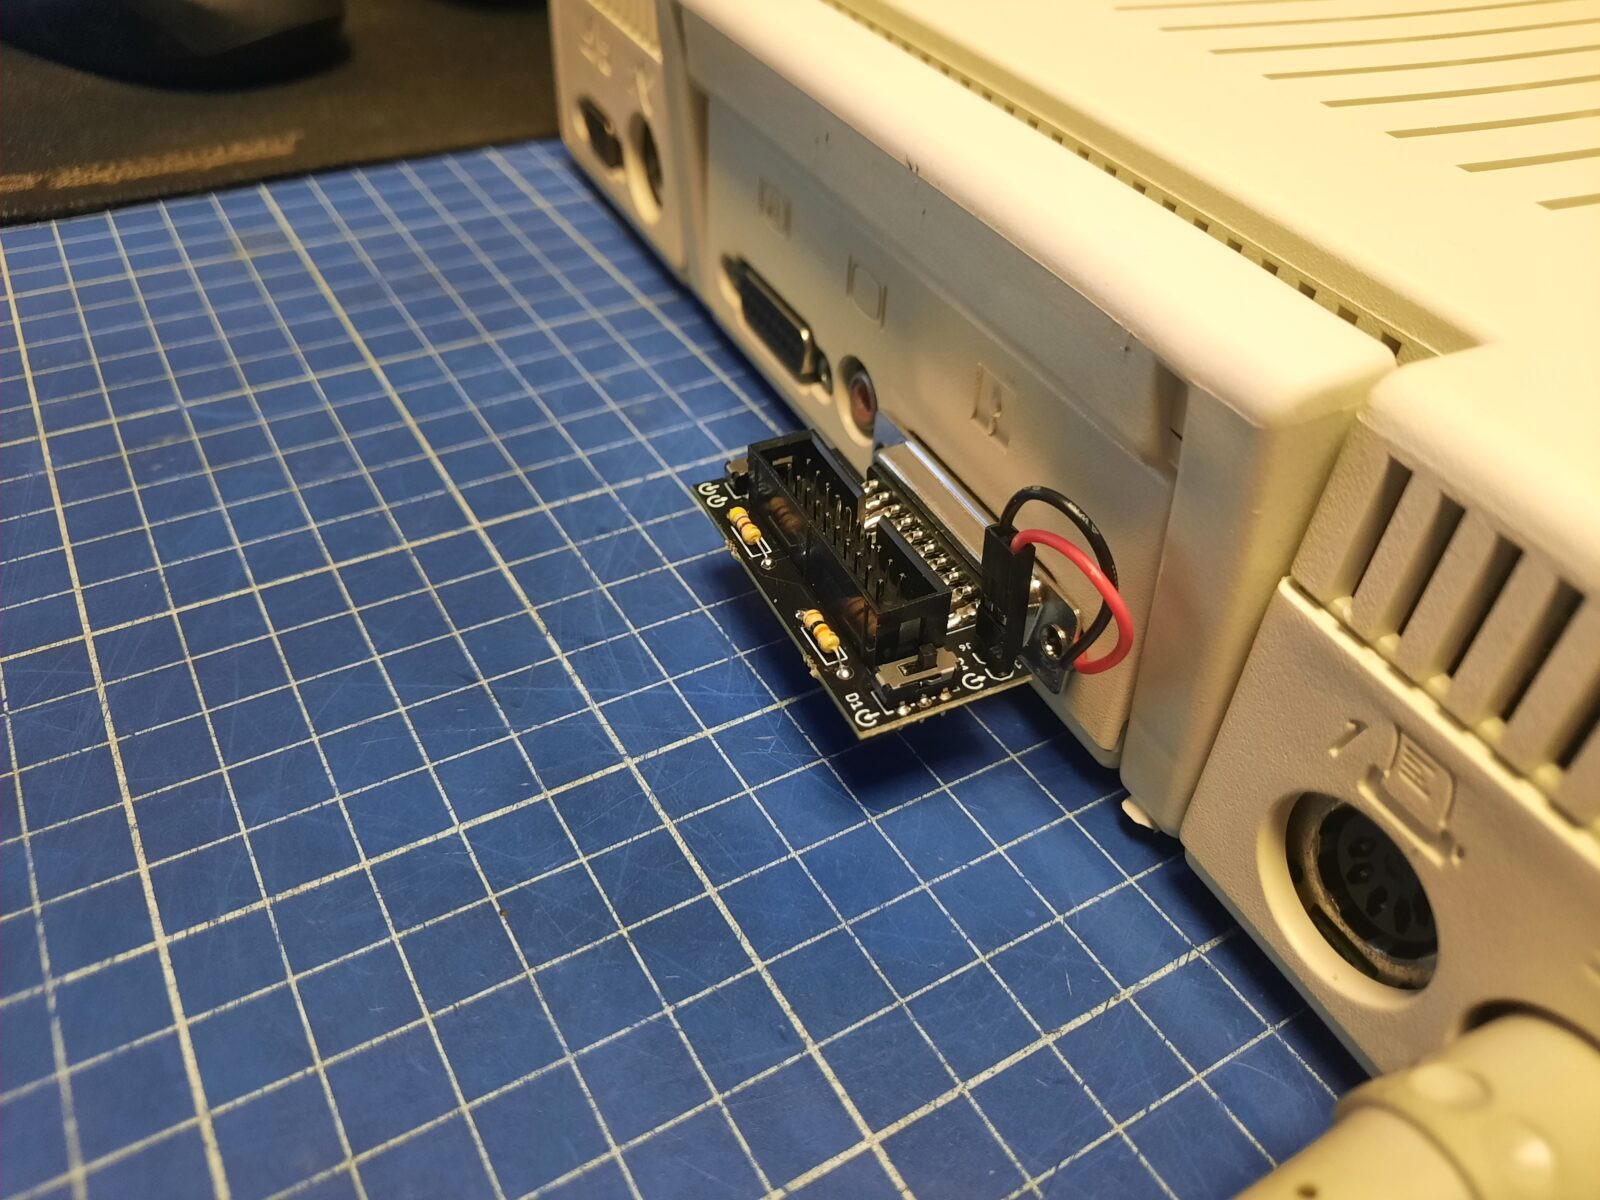
PS/2 adapter and Mockingboard 4c
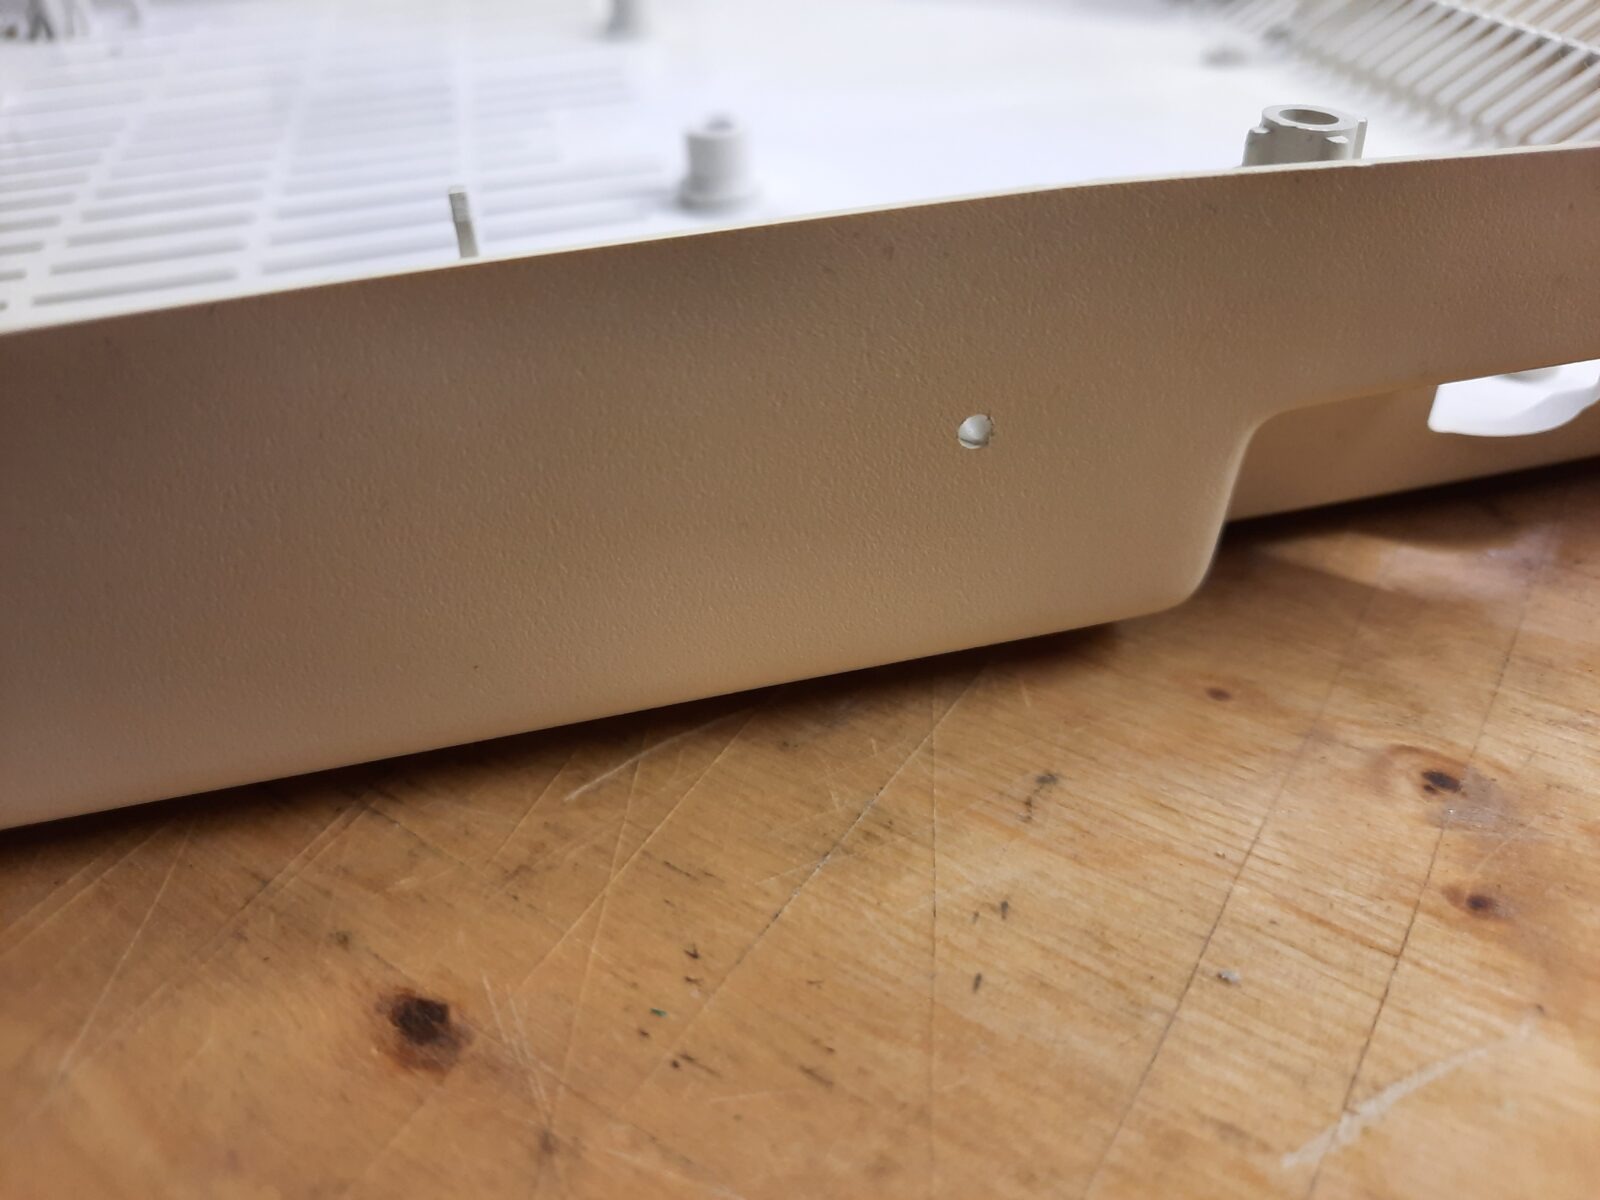
In order to install a PS/2 socket, I had to drill a pilot hole on the side of IIc and widen it with a 12mm tool.
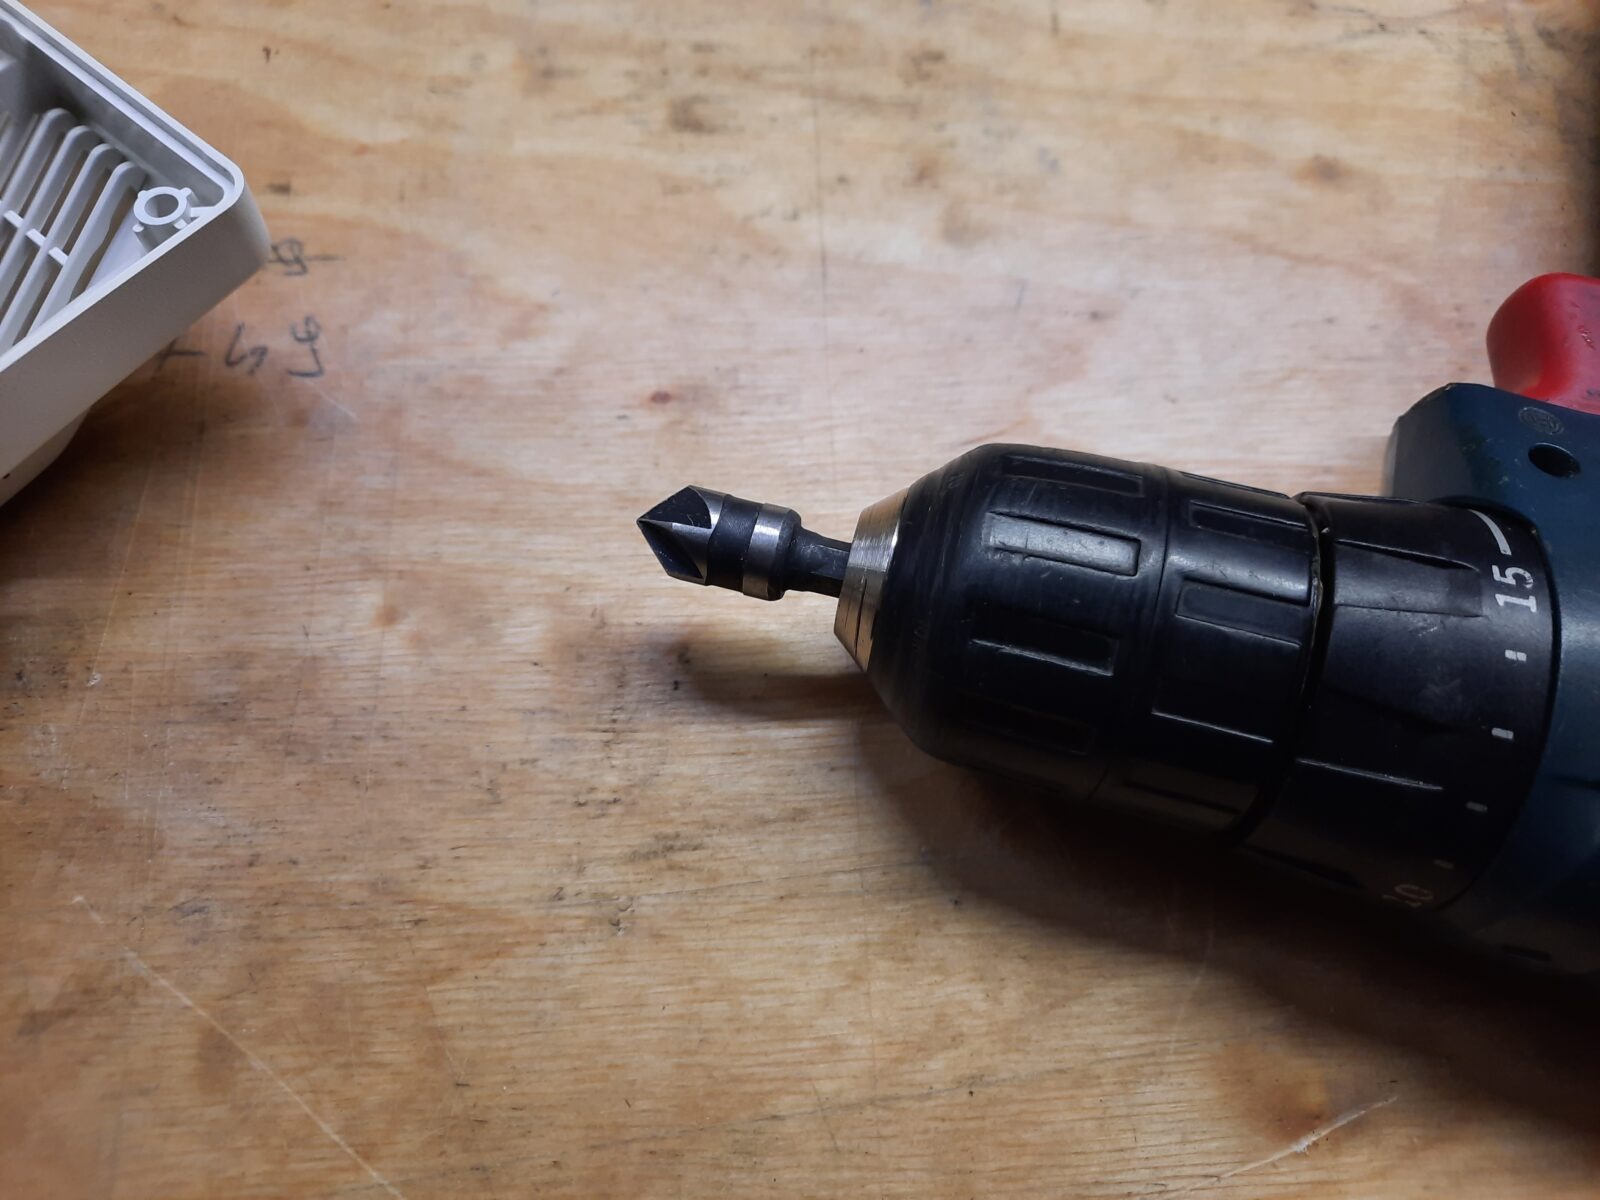
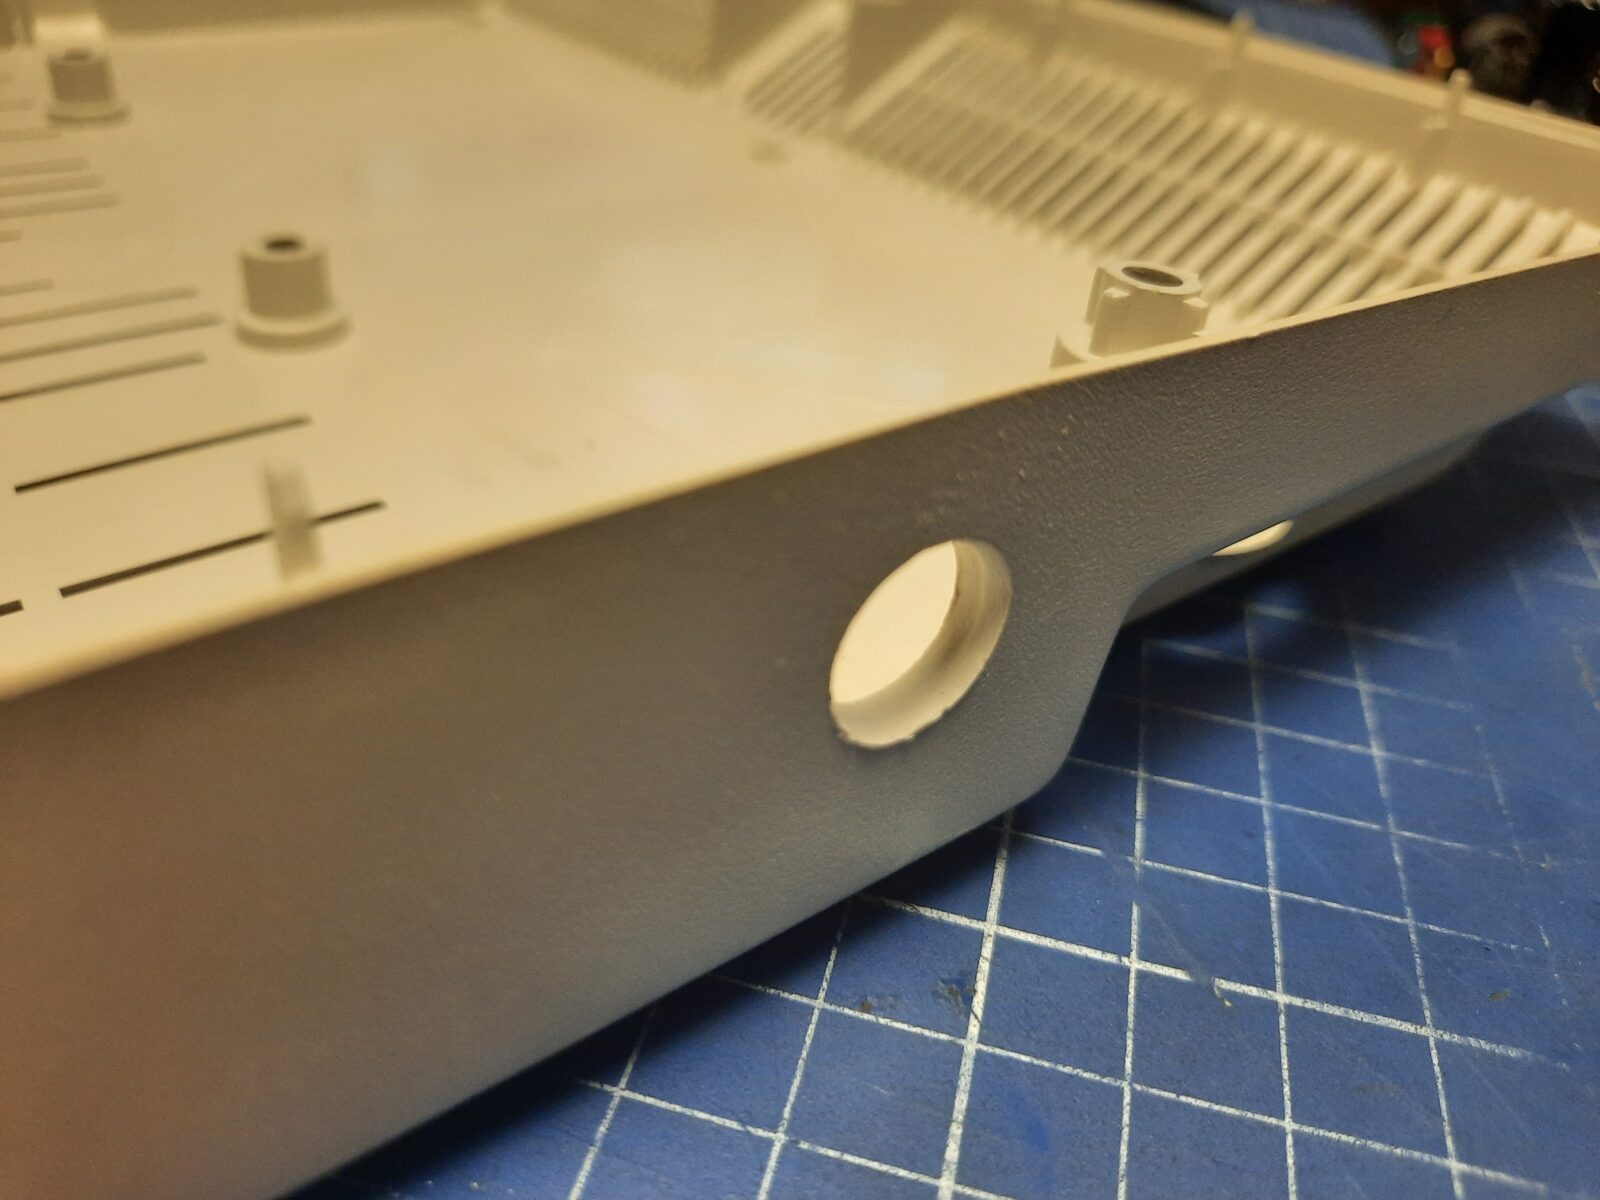
The installation is also straightforward and nicely explained in the manuals.
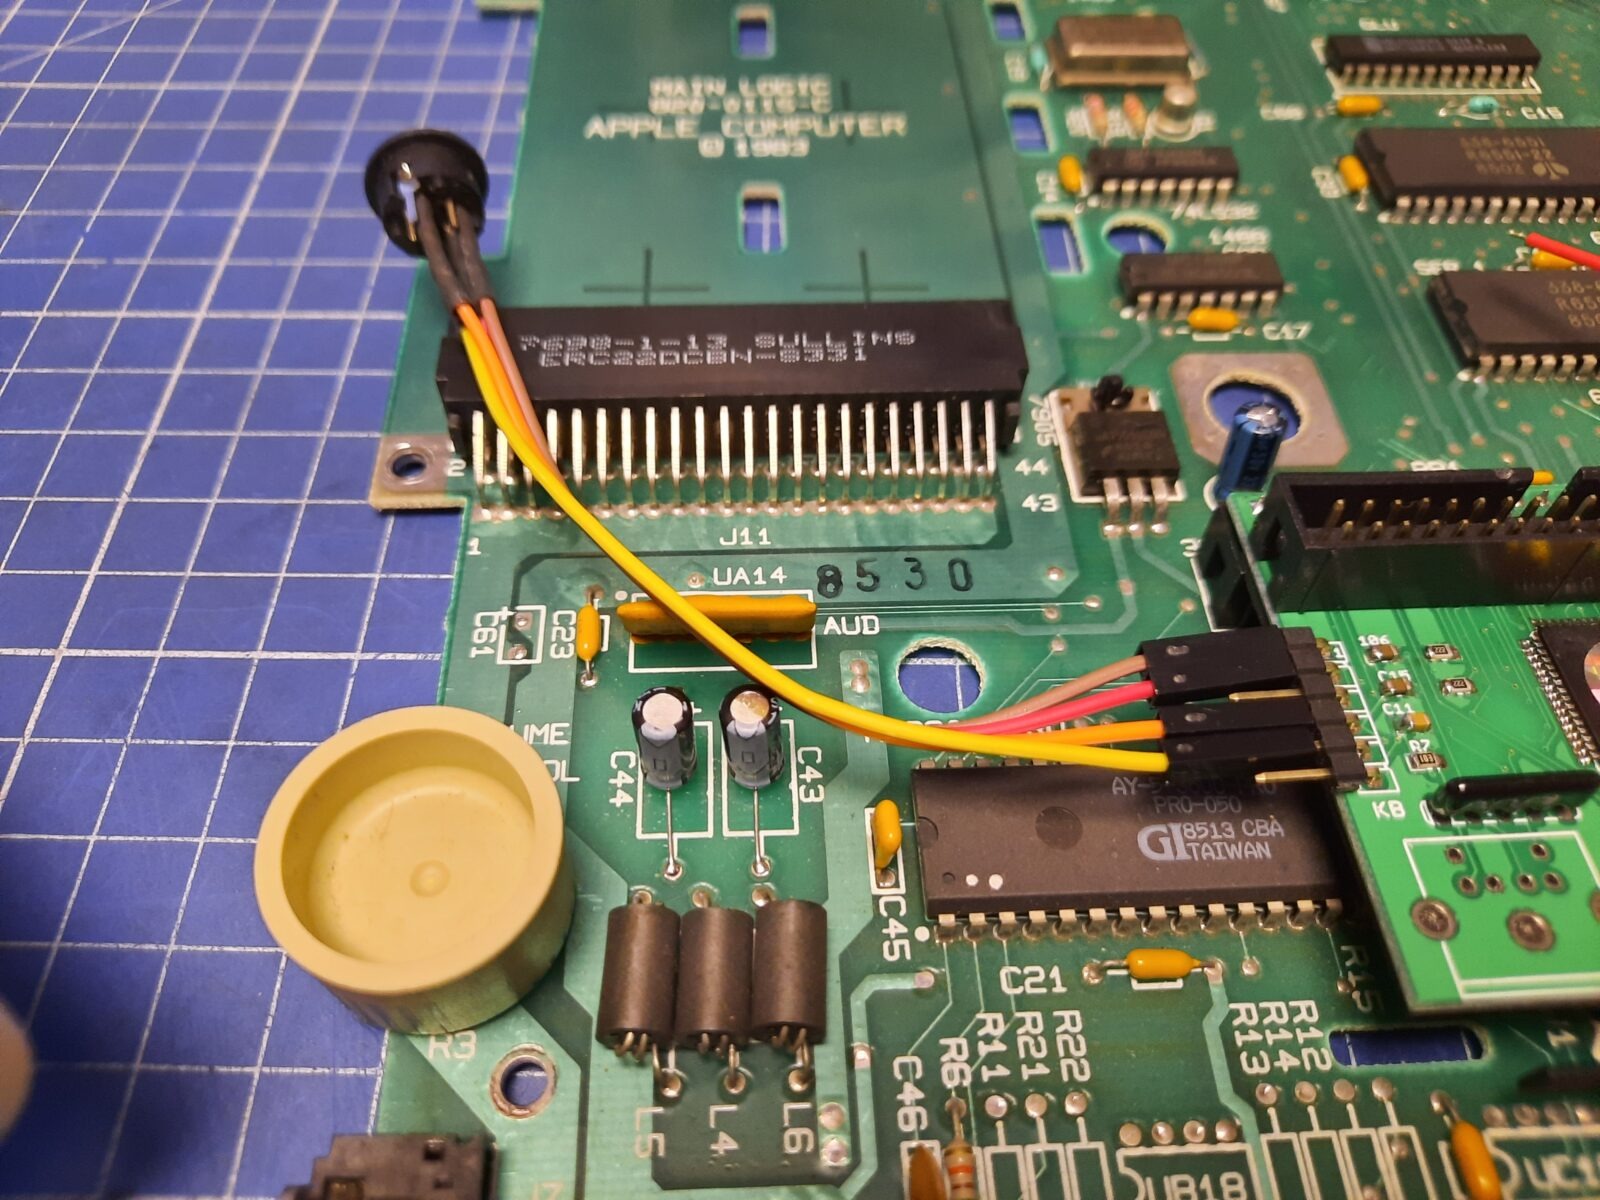
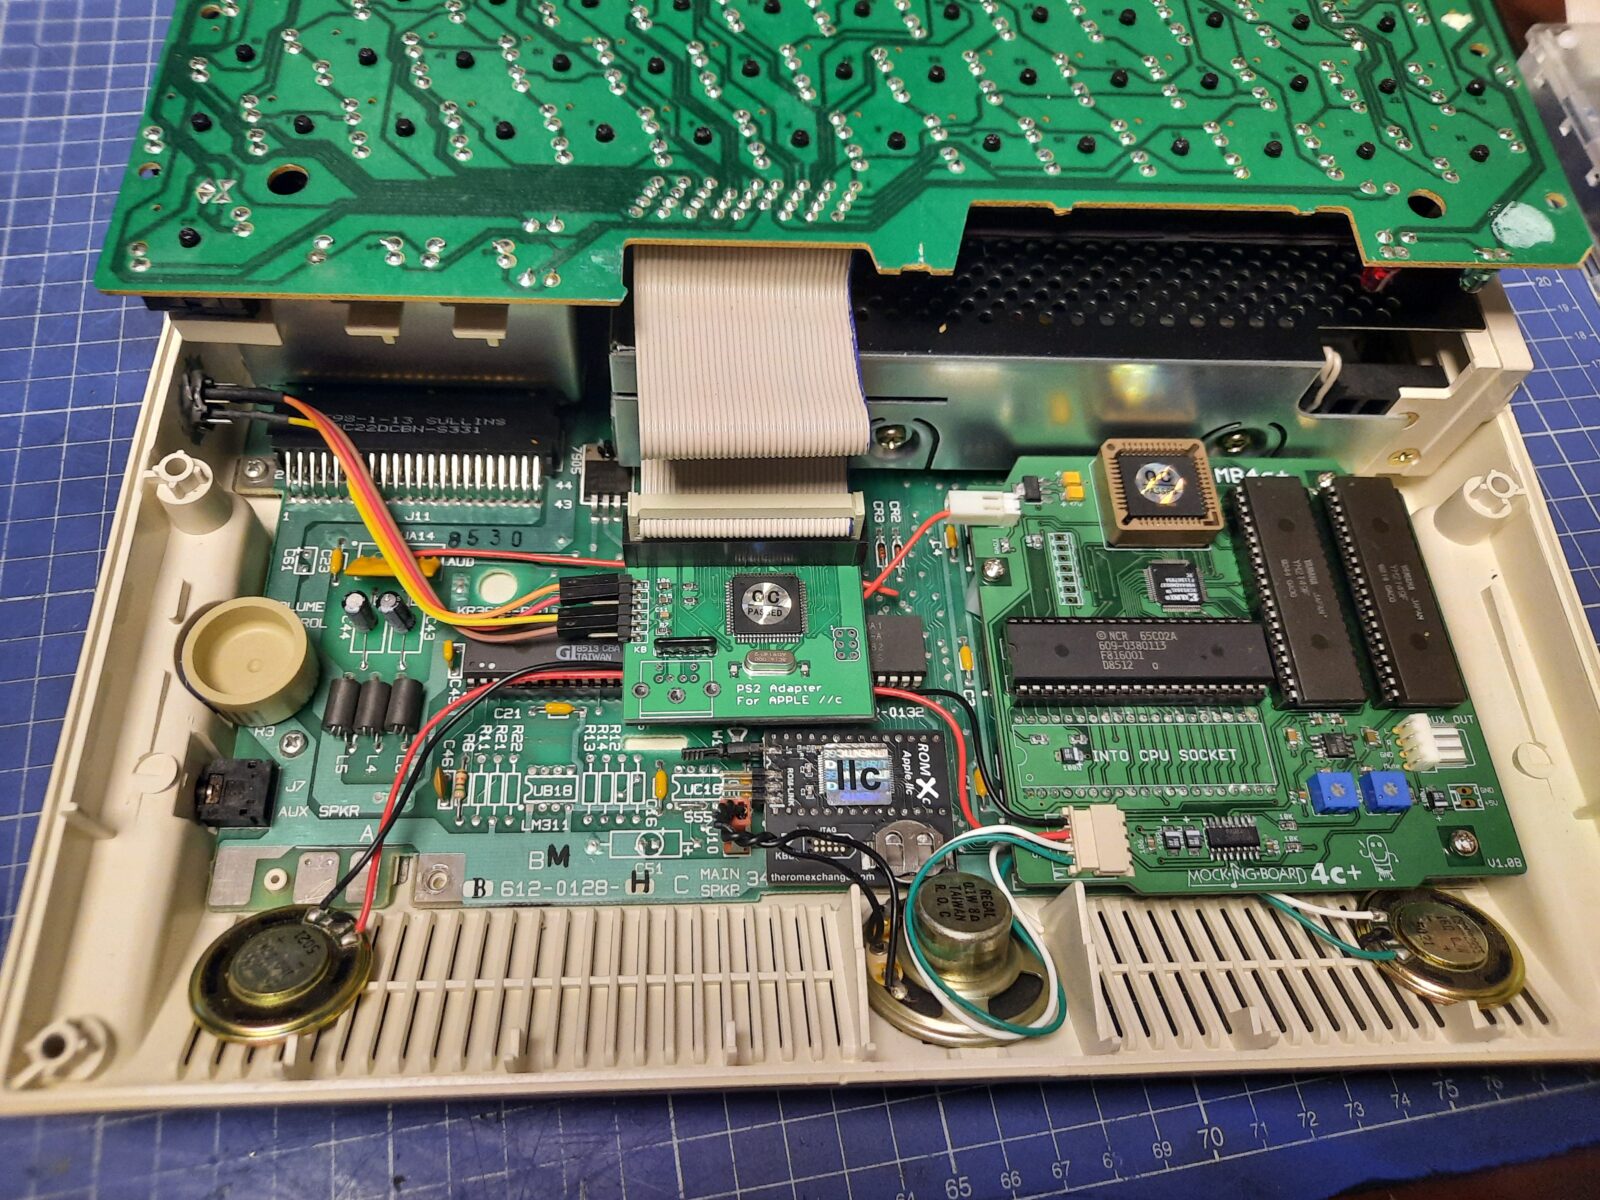
I had a major fuckup with the Mockingboard 😀
As I’ve written above, I’ve ordered two Mockingboards, one for IIc and the other for IIc+ that I will be writing about in the future blog post. I’ve no idea how, but somehow I’ve swapped them so the pic below has the wrong one installed 😉
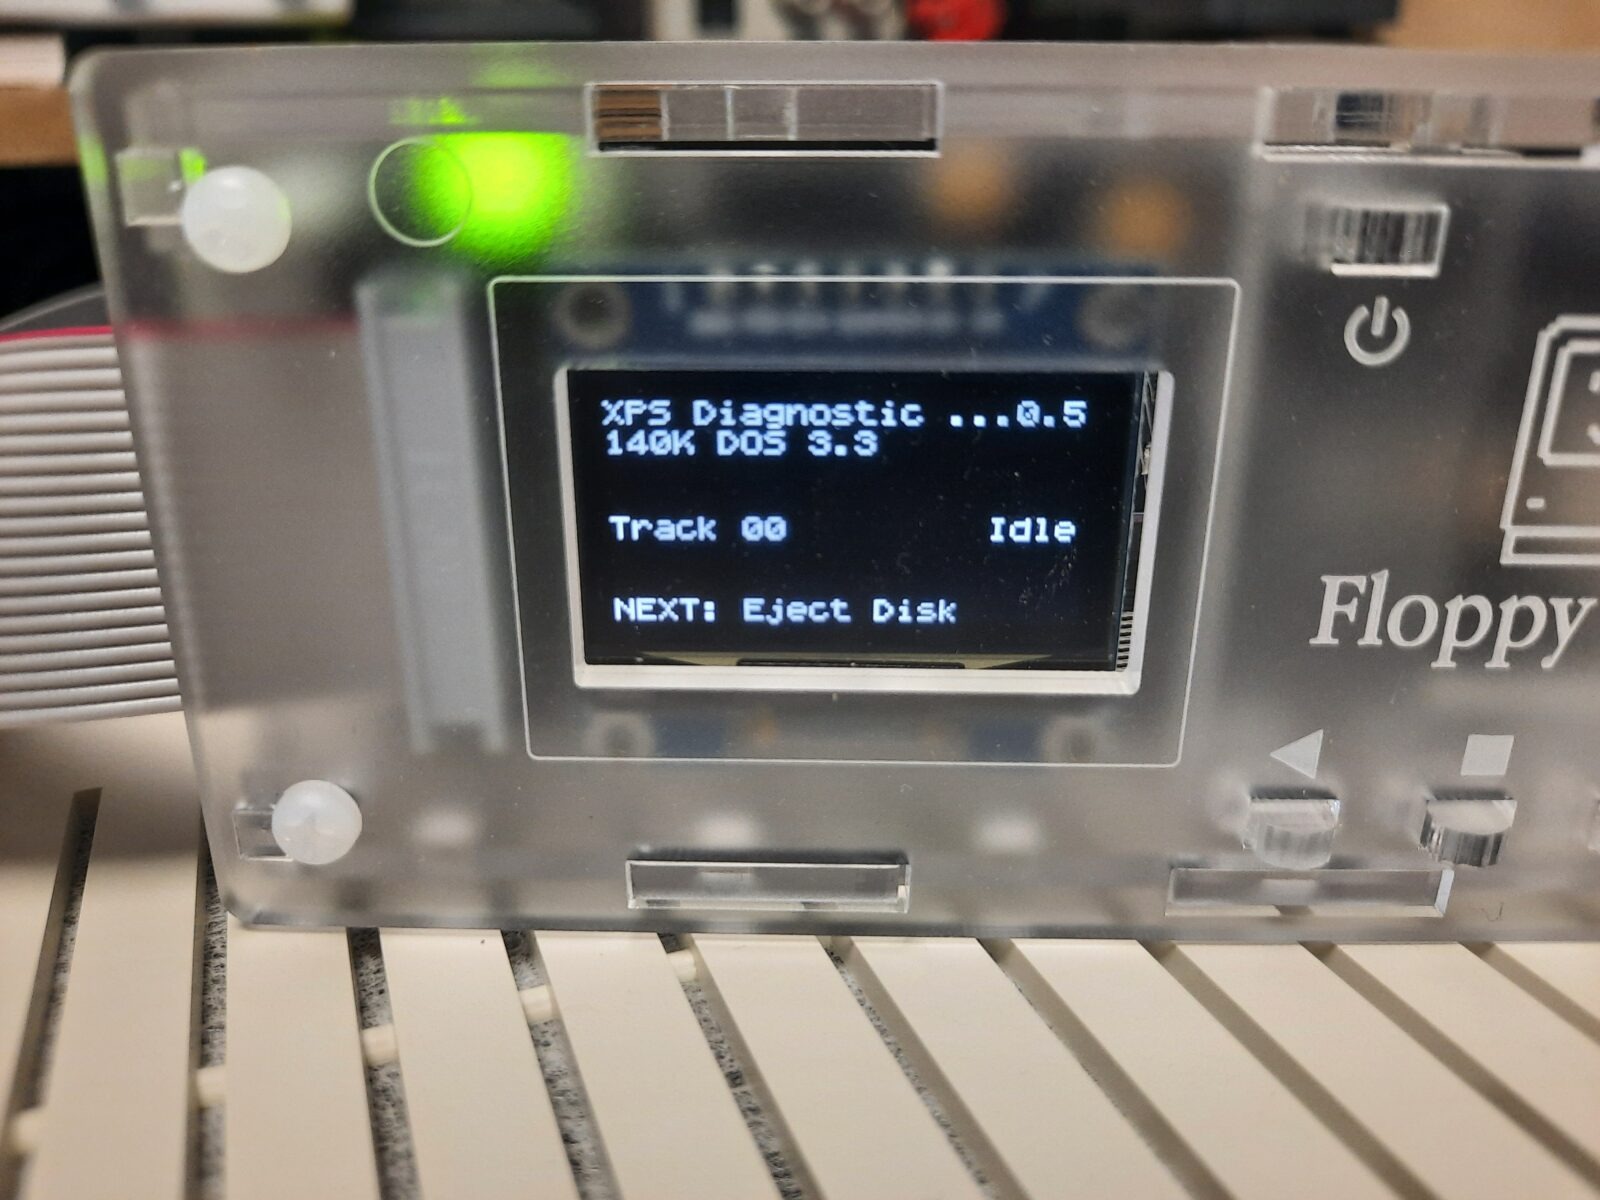
Floppy EMU
The Floppy EMU came in as a KIT. I had to assemble the laser-cut acrylic case.
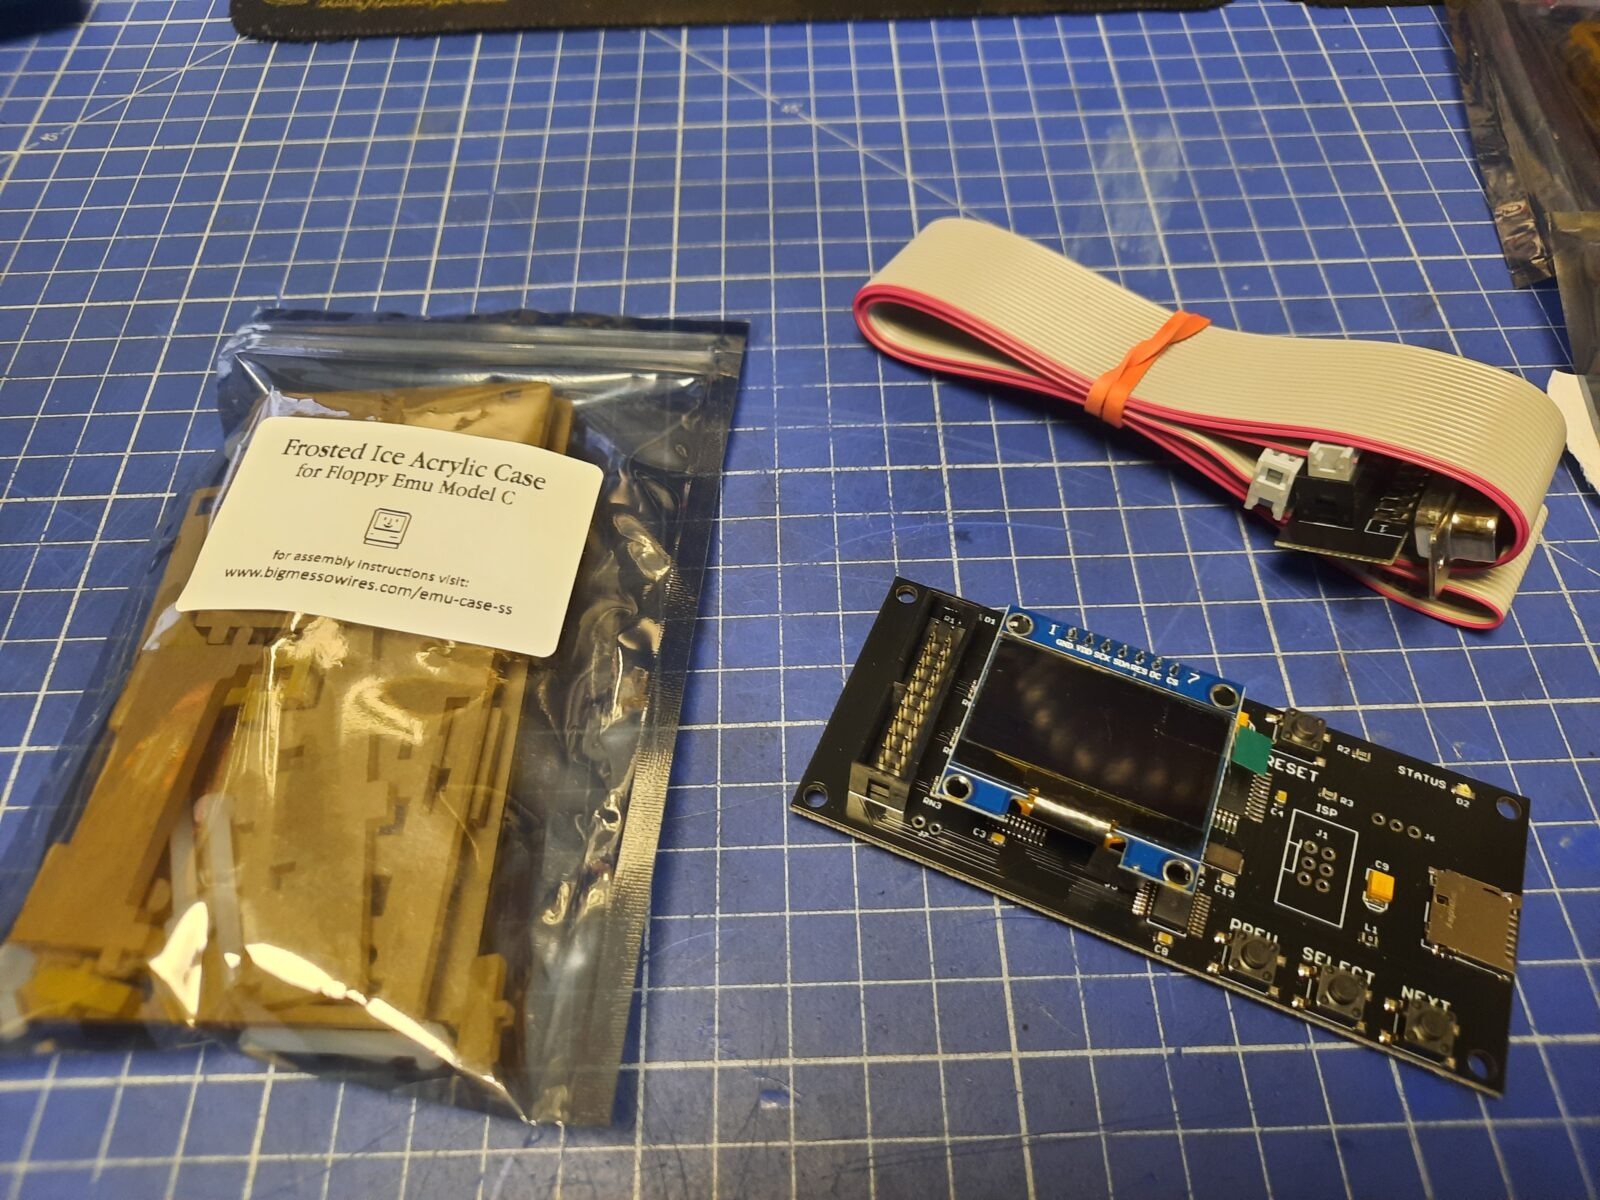
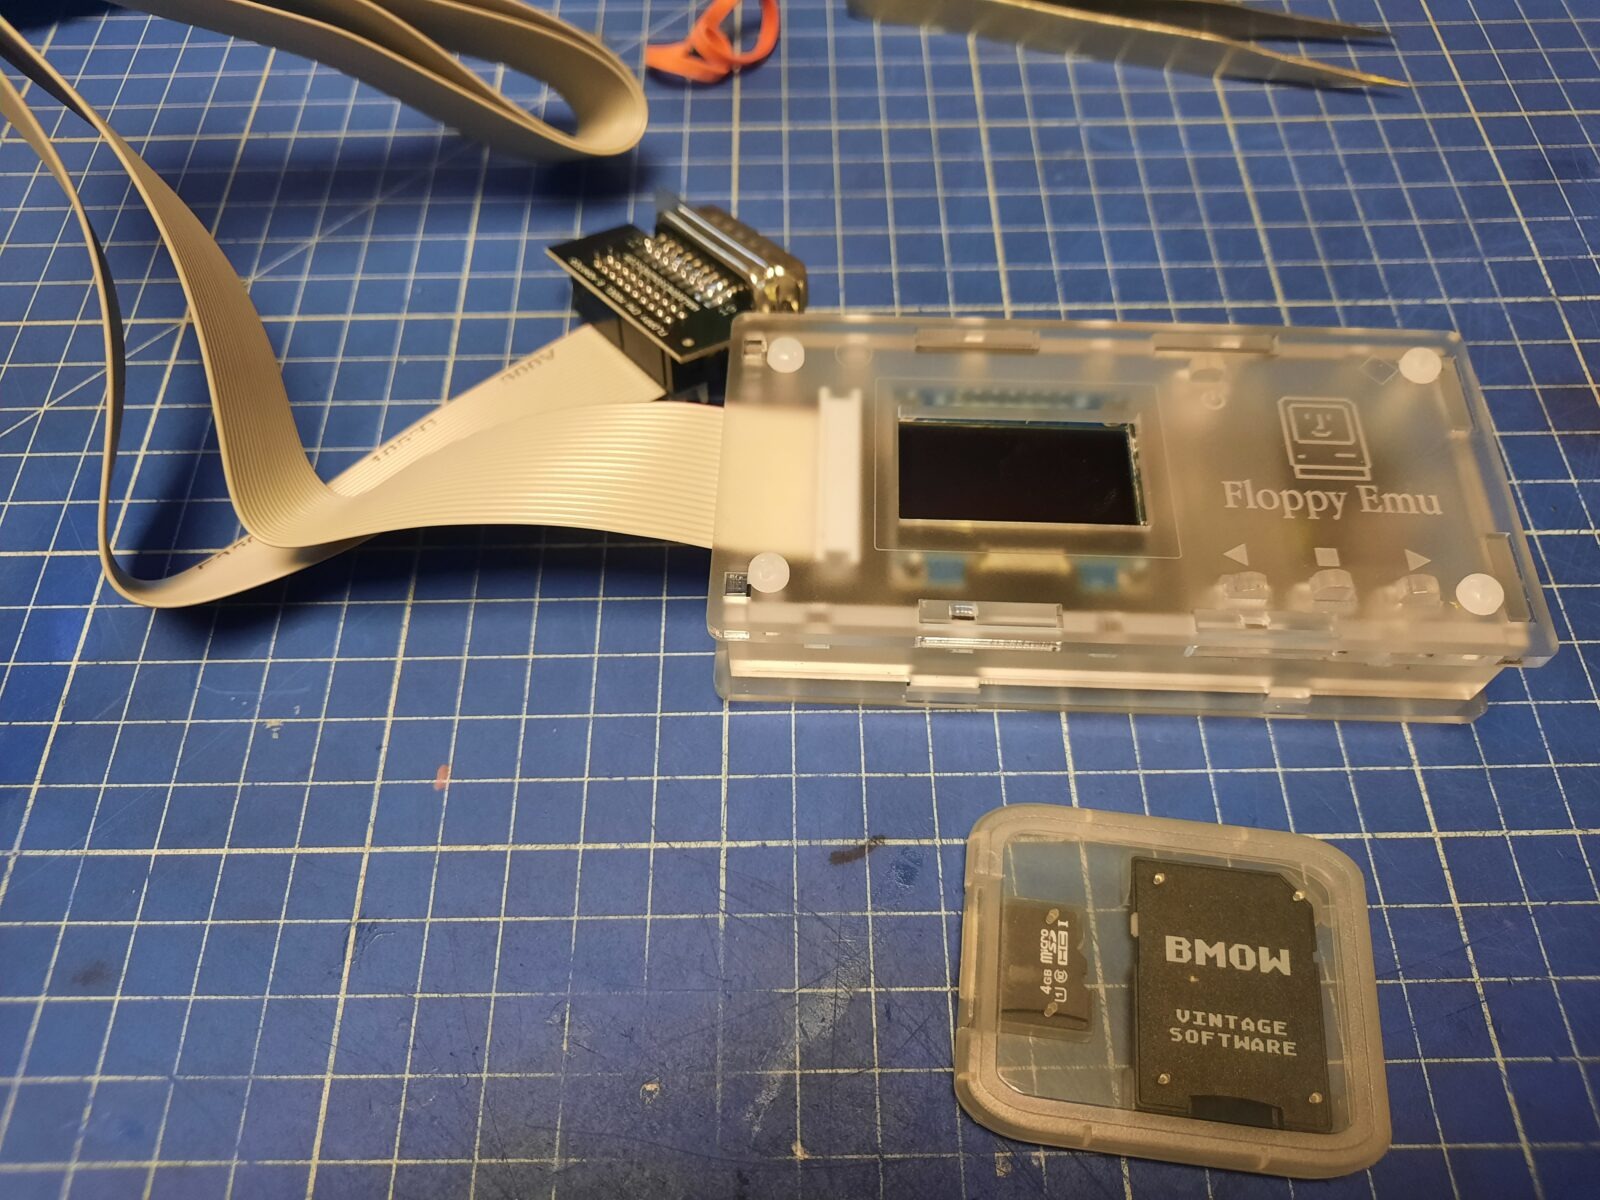
It comes with two adapters so drives can be conveniently switched.
This is it. The second machine is ready!
Outro
Please support my work by spreading the word about my work or simply commenting here or on my Facebook, Twitter, Reddit, and other social media platforms.
If you want to get the retro gear I am manufacturing or hardware modules, please visit shop -> https://retrohax.net/shop/ Don’t bother with a shop anymore. I am closing it. More on this, in future posts.


You did not mention how to Remove or Reinstall the SPEAKER before/after RetroBright. I pried out mine with a tiny flathead screwdriver nearest the top tab, but how did you get your speaker back in without breaking any of the 3 tabs? (I am talking about the stock speaker here.)
Separately from that, regarding the two Mockingboard speakers, how did you secure those? Your photo shows the two speakers just sitting on the bottom case plastic. I didn’t see any glue or wire ties holding them down. I have a Mockingboard IIc as well but haven’t installed it yet.
Hi JDW!
Oh wow, I didn’t expect that you are reading my lame blog posts 😀
First of all, thank you for providing so much great info about Apple stuff on your YT channel!
Regarding your question about speaker, It was quite a while ago so I am not 100% sure but I think I’ve used two flathead screwdrivers to pry it and simply popped out. I will be working on another IIc and will focus on describing removal process then.
If it is about two new speakers from mockingboard, these actually secured with a tiny drops of cyanoacrylic glue. It is worth to mention that you can et cyanoacrylic glue in various forms – meaning viscosity. Most of ’em is very thin but you can also get dense ones too. I’ve used the dense one and applied it with a needle – tiny drop in few spots
Thank you for your kind reply!
So you are basically recommending a thick “superglue” to secure the two Mockingboard speakers. I had been thinking “hot glue” might work, but a thick superglue would be less messy and less visible too. One person I saw somewhere online used wire ties to secure his Mockingboard speakers.
Separately from that, I was able to get my stock speaker out by carefully prying with a small flathead inserted near the top plastic tab. It eventually popped out. But getting it back into the case was fraught with trouble. One guy on YouTube showed himself bending the bottom two tabs with needle-nose pliers, and a few people had privately told me about that too. But when I tried it, one of the tabs broke off. I knew that would happen even before I tried it because whenever you bent something back and forth, be it plastic or even metal, it breaks. I ended up adding hot glue to keep the speaker in place.
I’m now filming a video now about the MacEffects CLEAR CASE for the IIc, which is what prompted my original query to you. Thanks for the reply and for your excellent Blog!
do you have an idea where I can found for the apple iic keyboard a new rubber mat (the mat under the keys) ?
Check out this website https://applerescueofdenver.com/products-page/apple-ii/shop-by-model-apple-iic/apple-iic-keyboard-parts/
Hi. Dont you thing it could be nice idea to cover UV box with aluminium foil? Foil could keep light “inside”. Is this getting worm? I’d like to built that box.
Yeah, some folks do that but this method works for me too.
Ok. Thanks. Will do this with foil. I dont like uv light ?
Wrap parts in kitchen foil it will keep peroxide wet all the time.
Yup, I used stretch foil method for years. You can spot it in my older blog posts very often. This reactor method is a bit superior.
Yeah. You right. I folowed Your blog long time and probably i get this knowlege from here. Hahaha.
For those LCD’s, i have successfully replaced polarizer film this film get’s lazy over the decades resulting in unsharp images, peeling the top layer off and replacing it with a new layer of (correctly aligned) polarizer film usually gives you that crispness back
for the CRT, you can rotate the yoke to align the image, loosen the neck screw and add a little lubricant on the rubber wedges so you can rotate it X degrees to straighten the image. with a green screen this is not very risky, with a color CRT its much more tricky.
Time to build some baths! thanks for sharing sir! great job!
Oh! great idea! thank you for that Sir!
So the “rotten Apples” are yummy again now? Cool! 😉