… or how to reanimate a dead breadbin case
Photo of the week
Just have a look at what I’ve got recently 😀
A Commodore 64 that worked on the submarine vessel ;P
The Plan
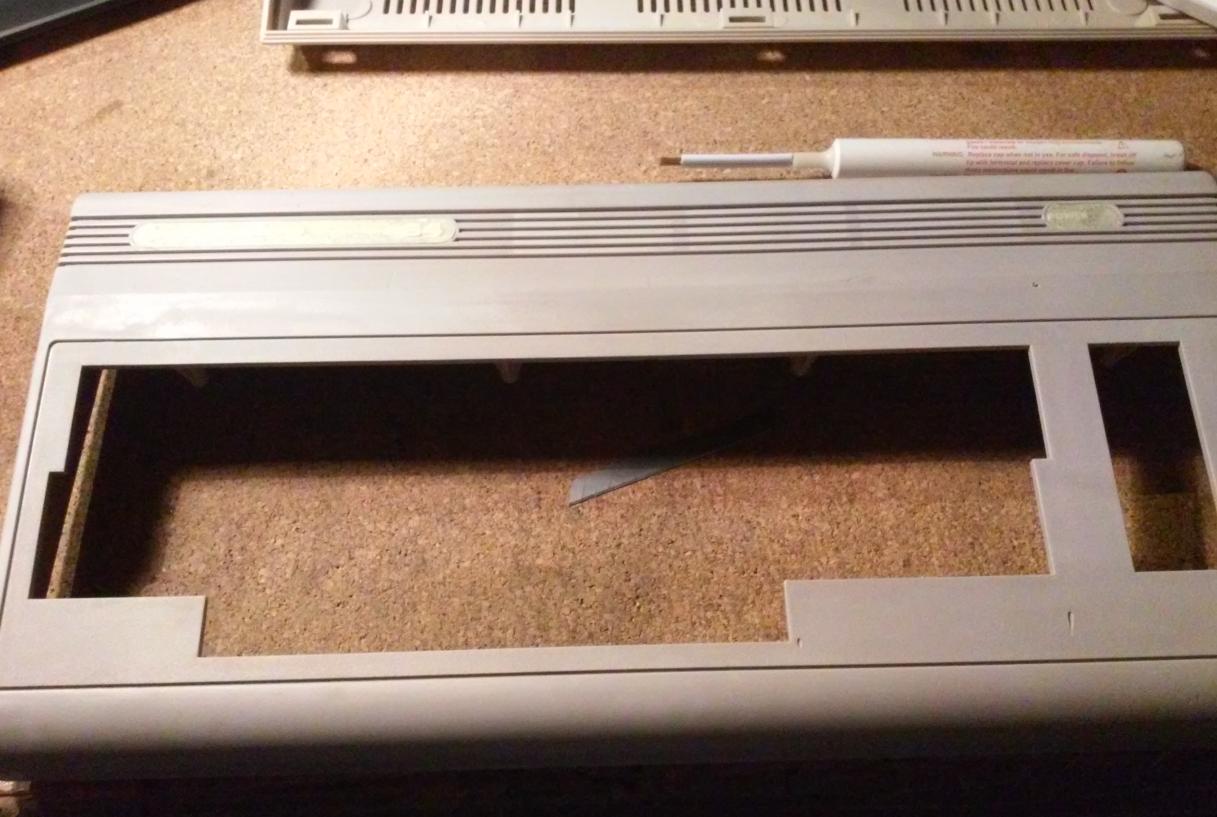
I was doing some cleaning some time ago and I found a breadbin case. Unfortunately, it was sorta fatigued. At nearly the same time, I’ve finally managed to repair a breadbin motherboard – 2504007 rev successfully. Let me start from the beginning.
The plan was to repair an old case, supply it with the proper keyboard, and insert a freshly fixed motherboard in it.
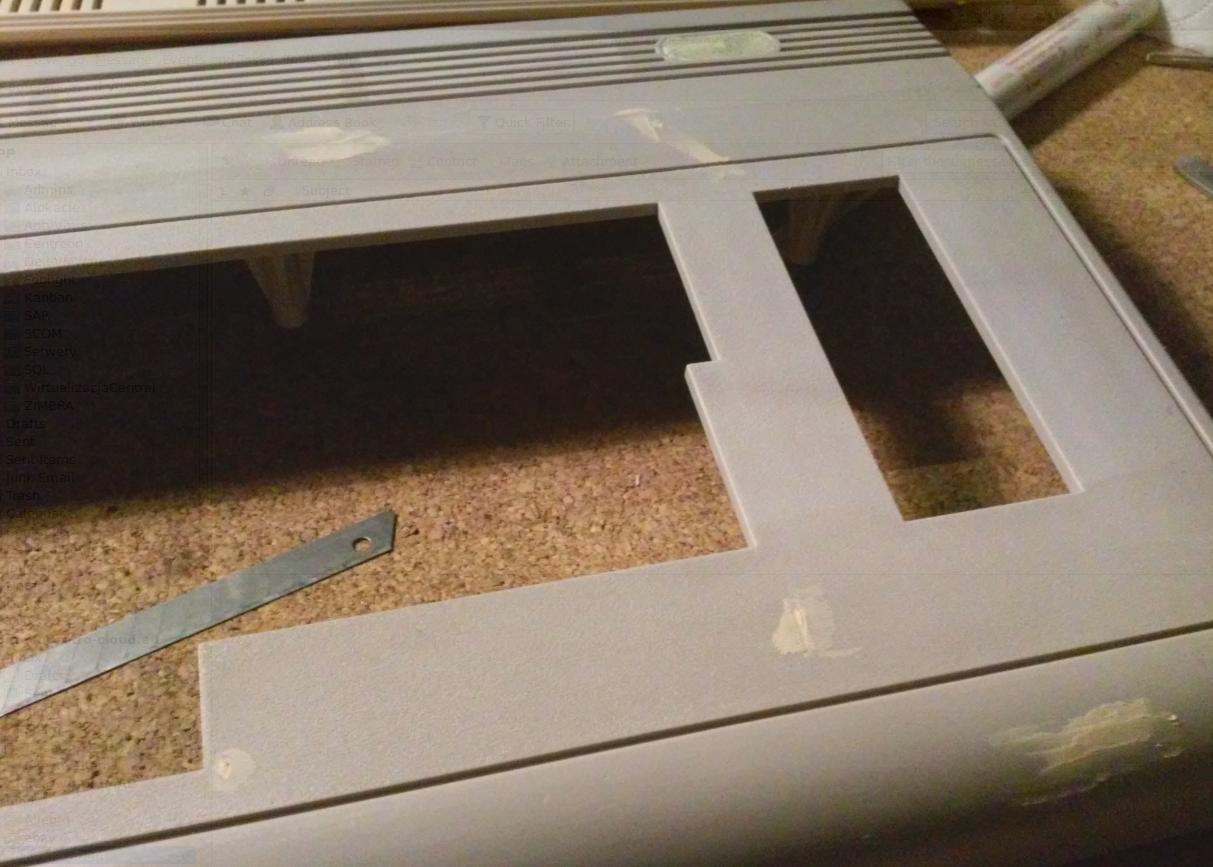
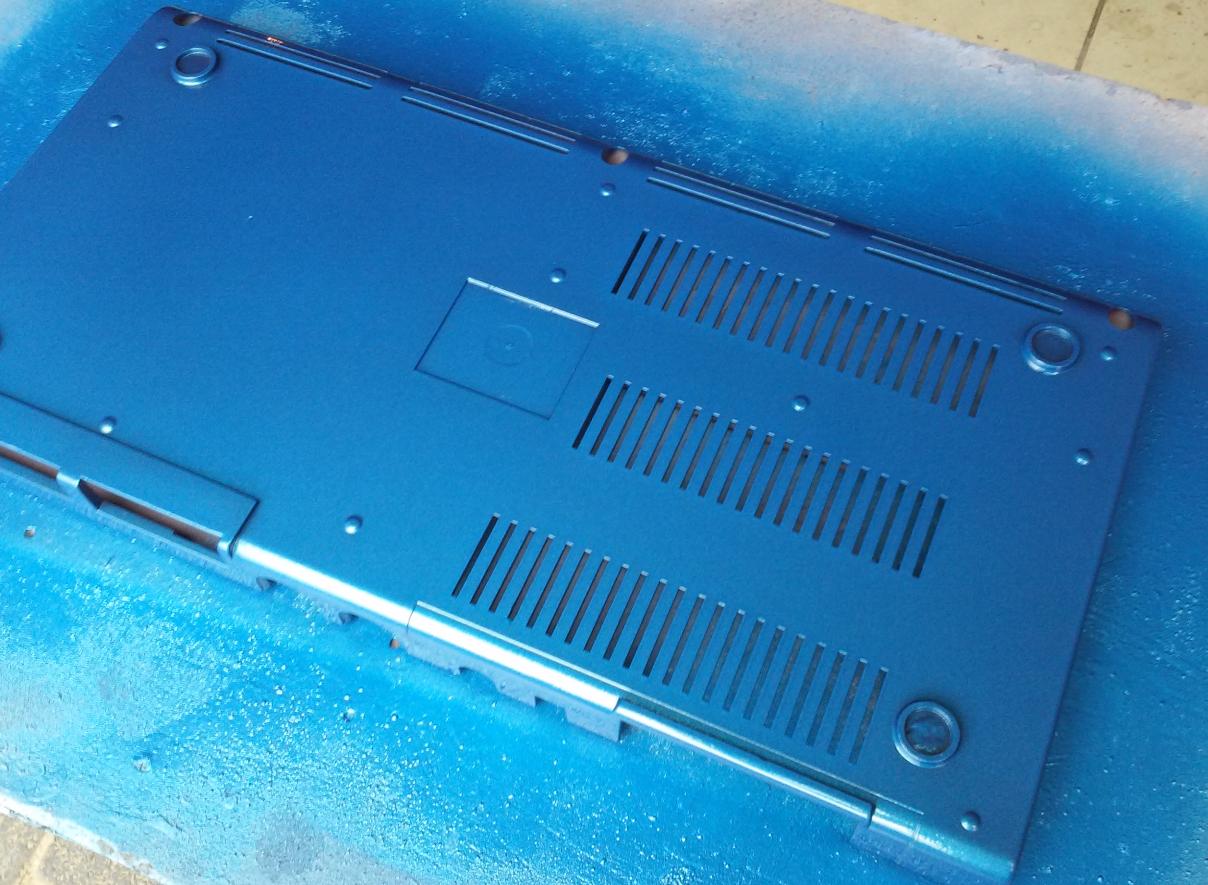
Breadbin case fixes
Here is how it looked after a thorough cleaning.
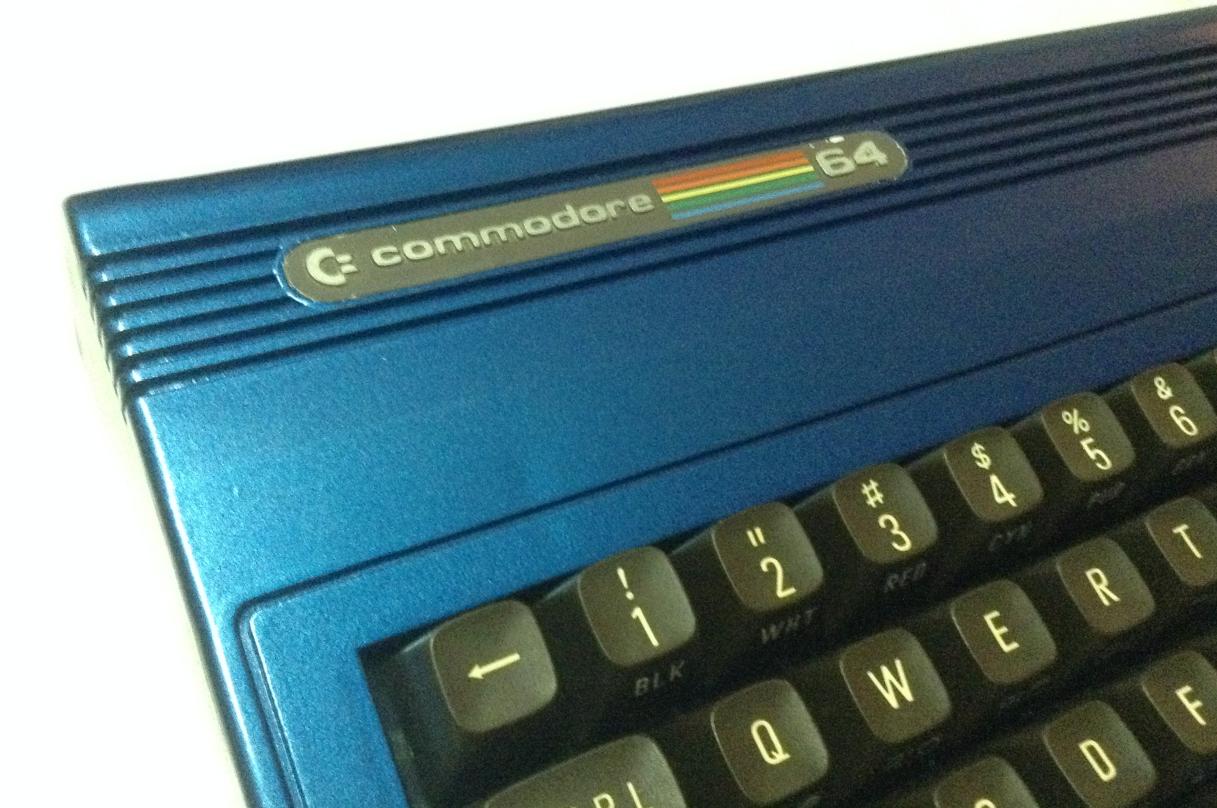
I’ve also covered all badges with protective tape to prepare them for upcoming work.

I’ve started mixing putty ingredients and started applying the first layer.


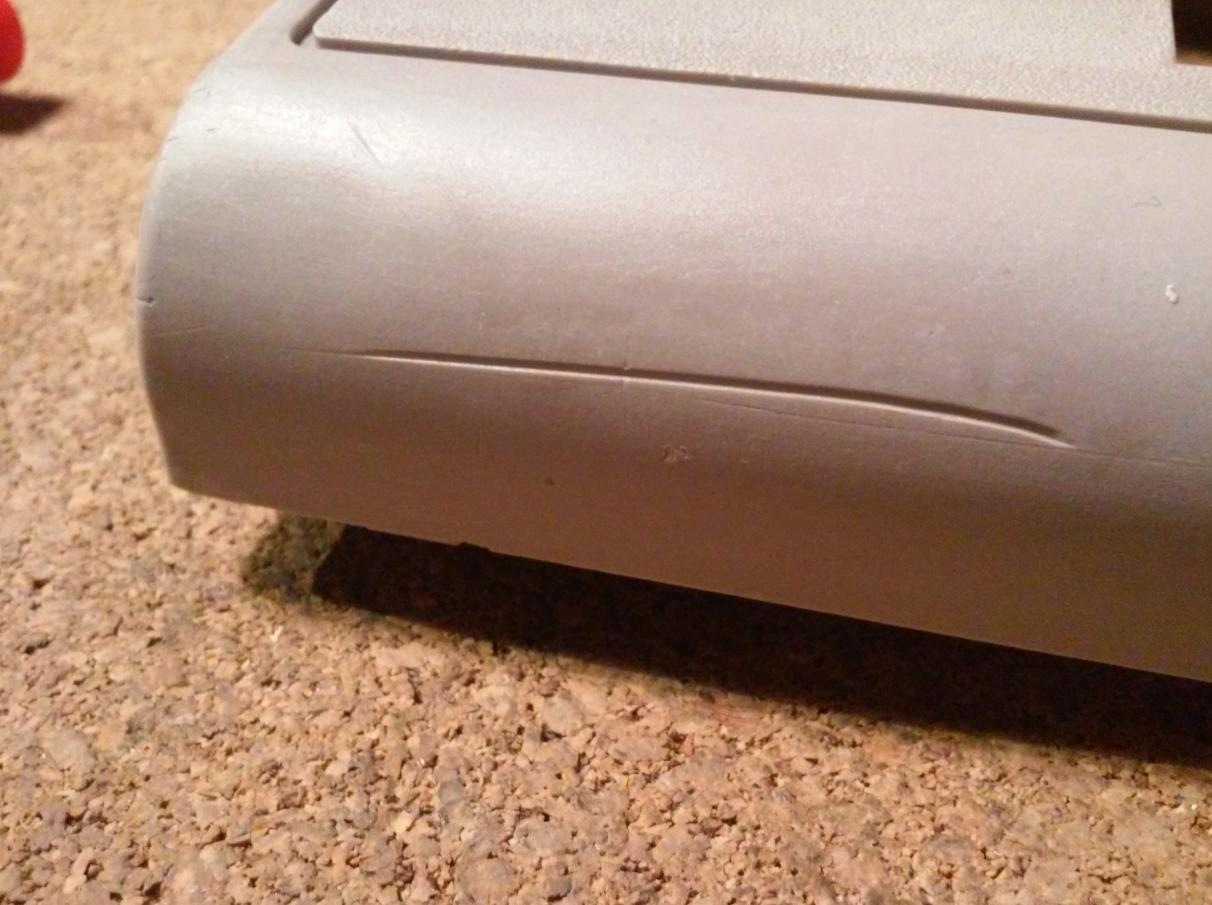
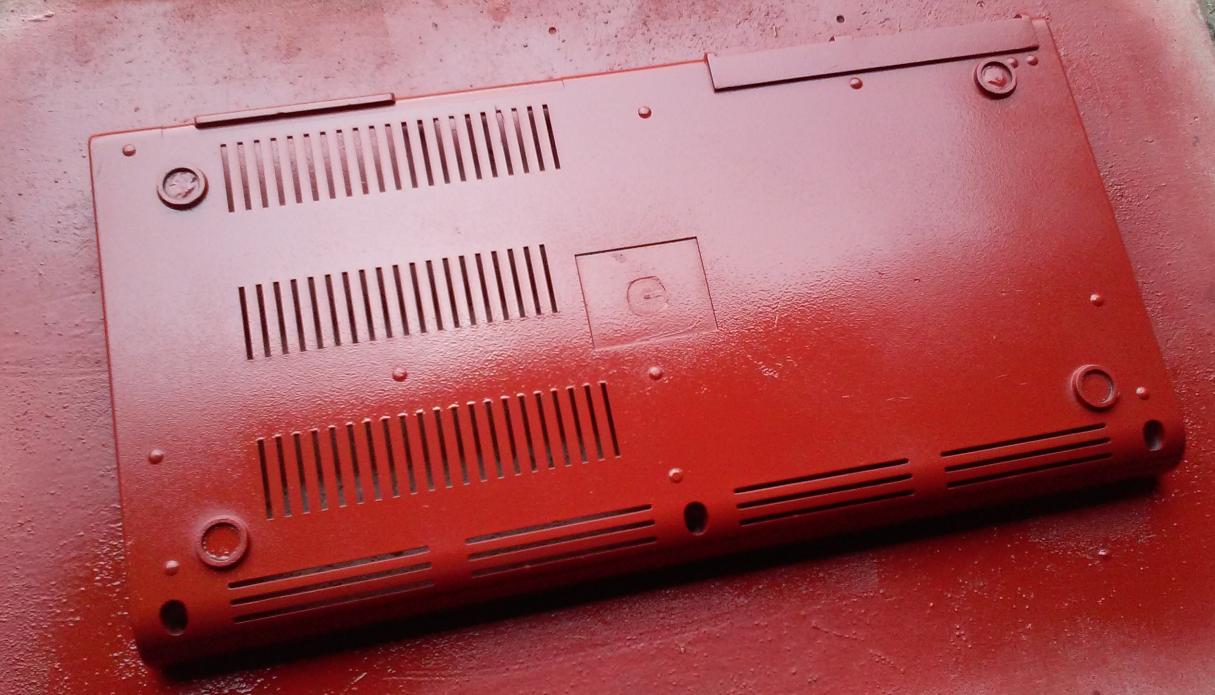
The bottom part wasn’t in that bad shape so while waiting for the putty to fully cure, I started to apply undercoating spray paint.
I’ve sanded a putty once it was cured.
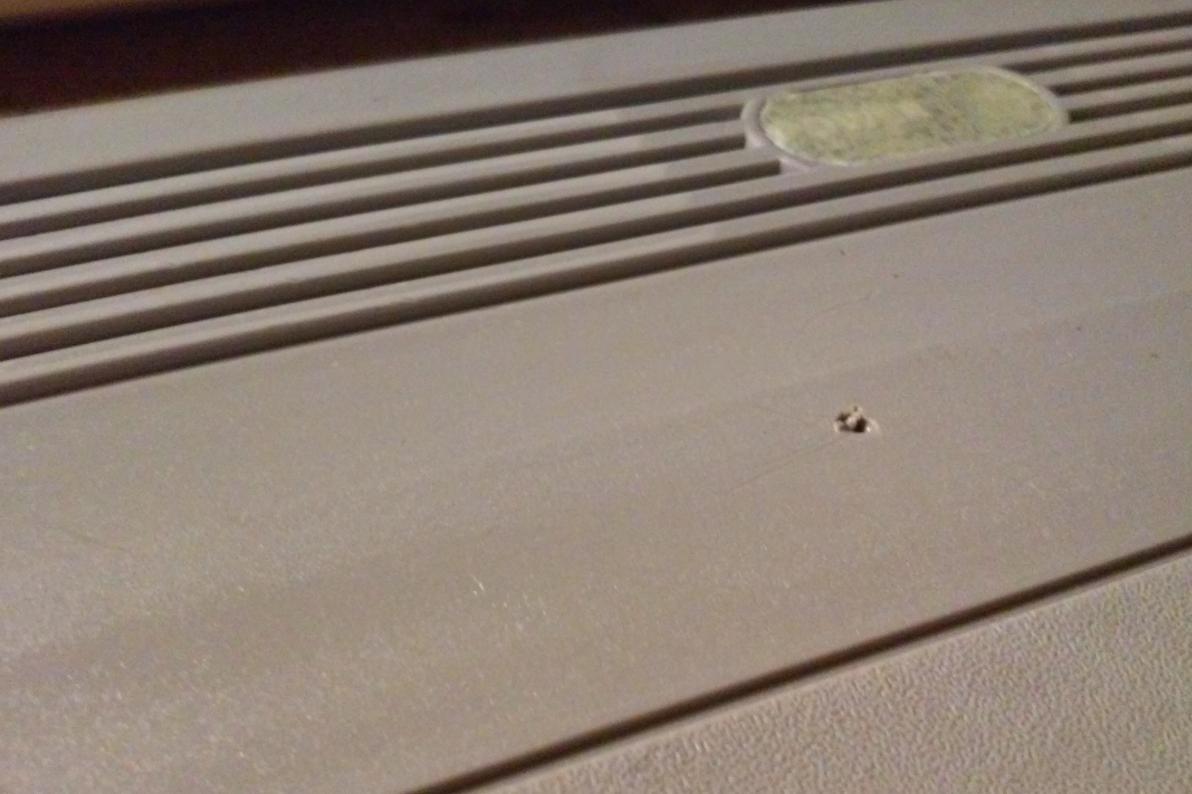
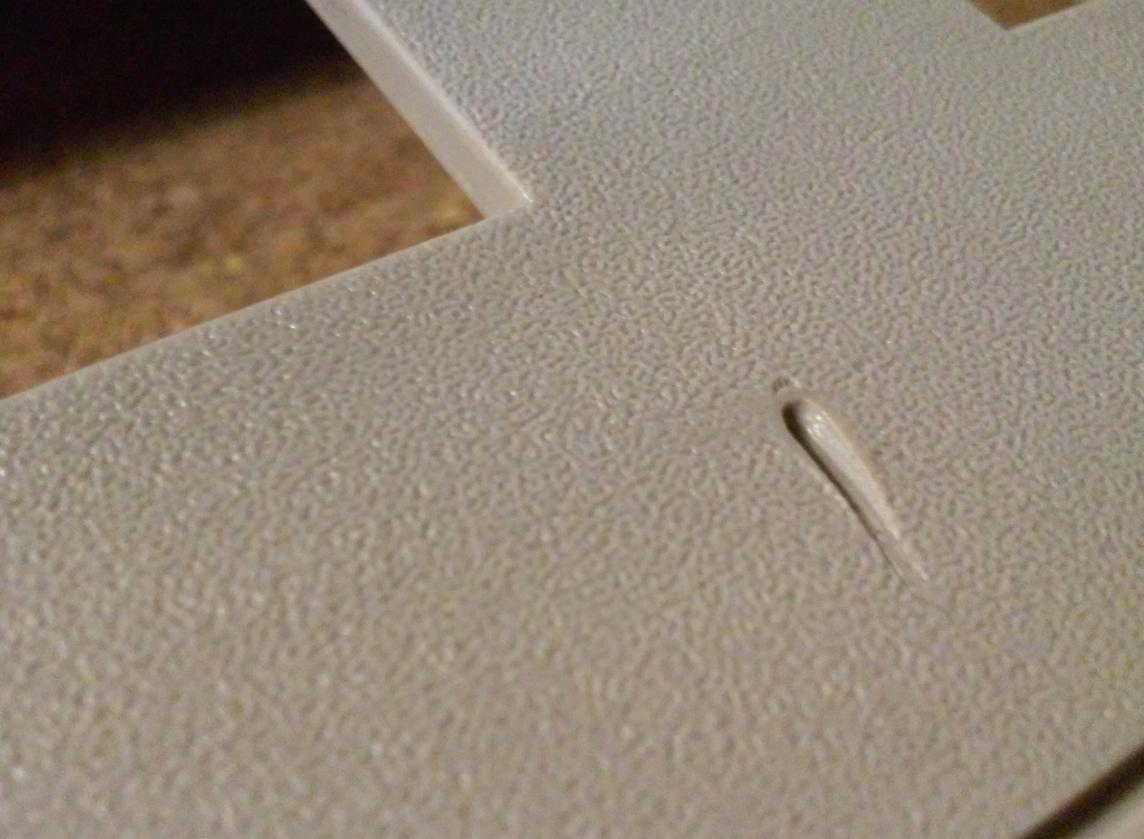
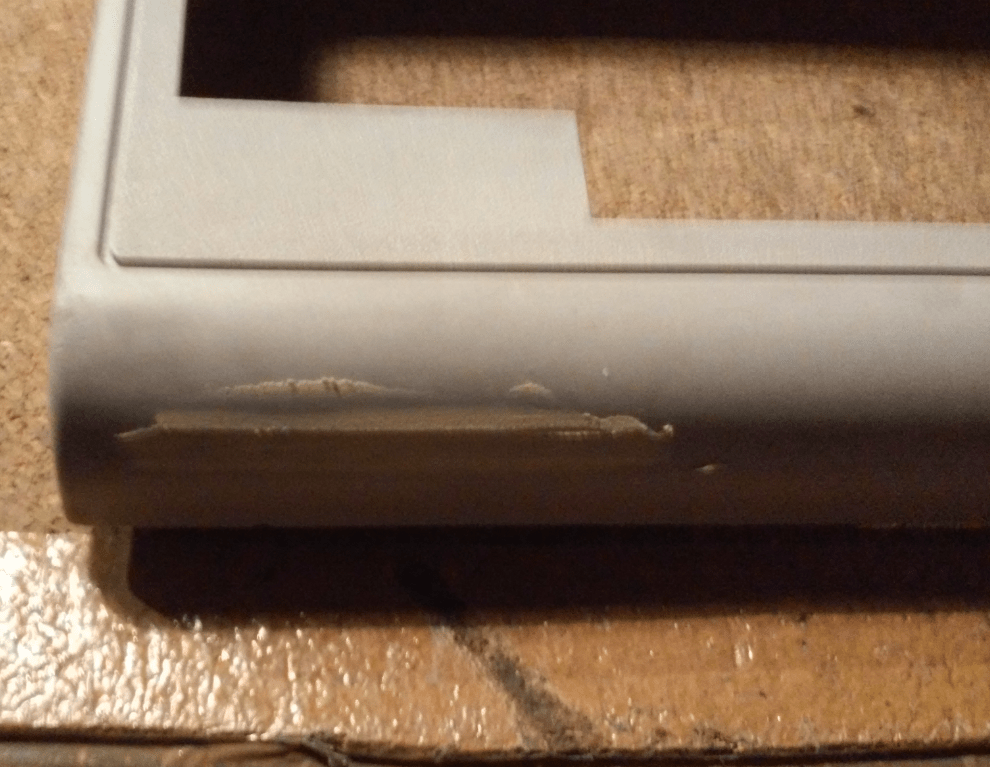
I didn’t bother to fix minor imperfections since another layer of putty (spray) was planned.


The next step was to apply spray putty, wait until it’s dry and sand it again afterward – repeat if needed. That fixed all minor scratches and filled small holes.
Here is a shot after doing the first round of the above process.


In the meantime, the bottom part dried and was ready for spraying with a layer of blue paint 😉
First layer.

Second layer.
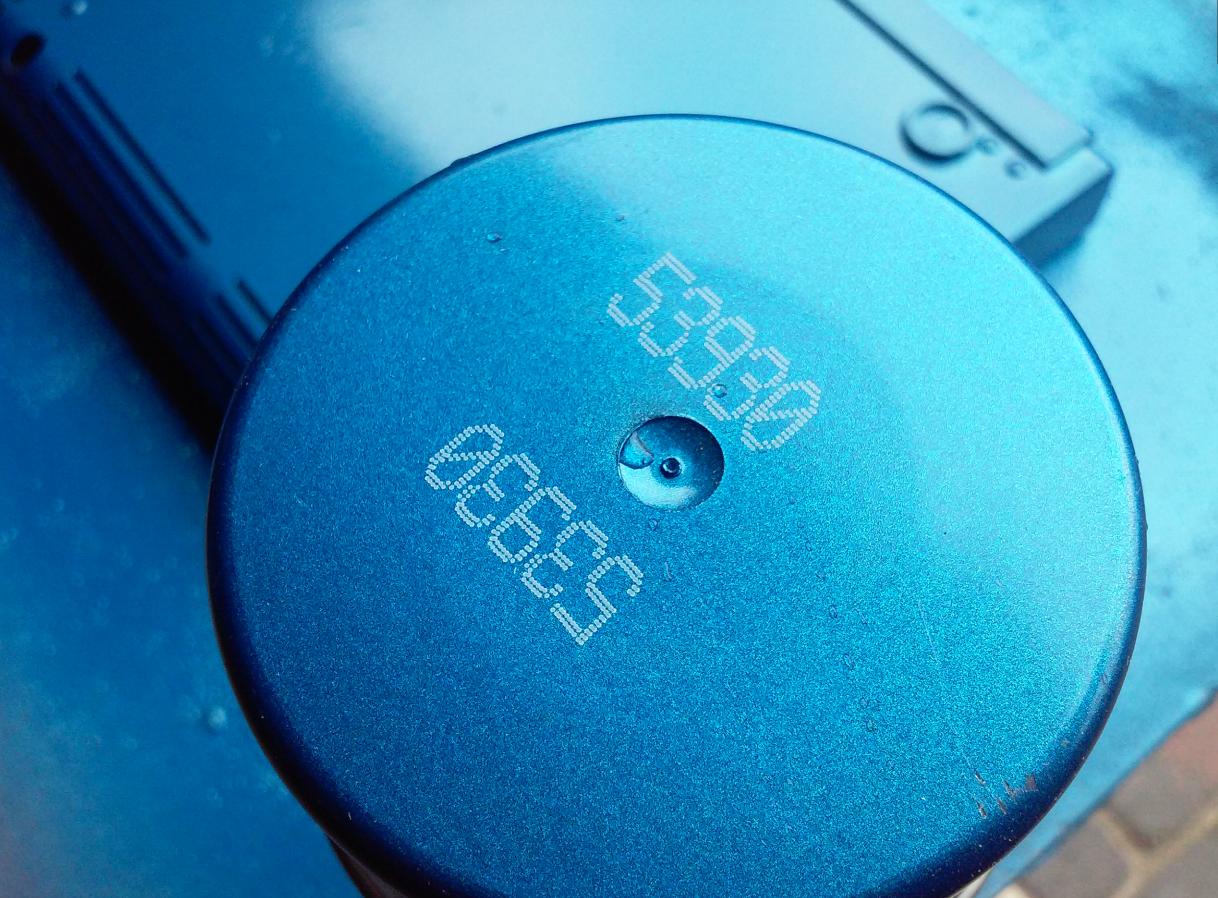
Here is a paint that I’ve used.

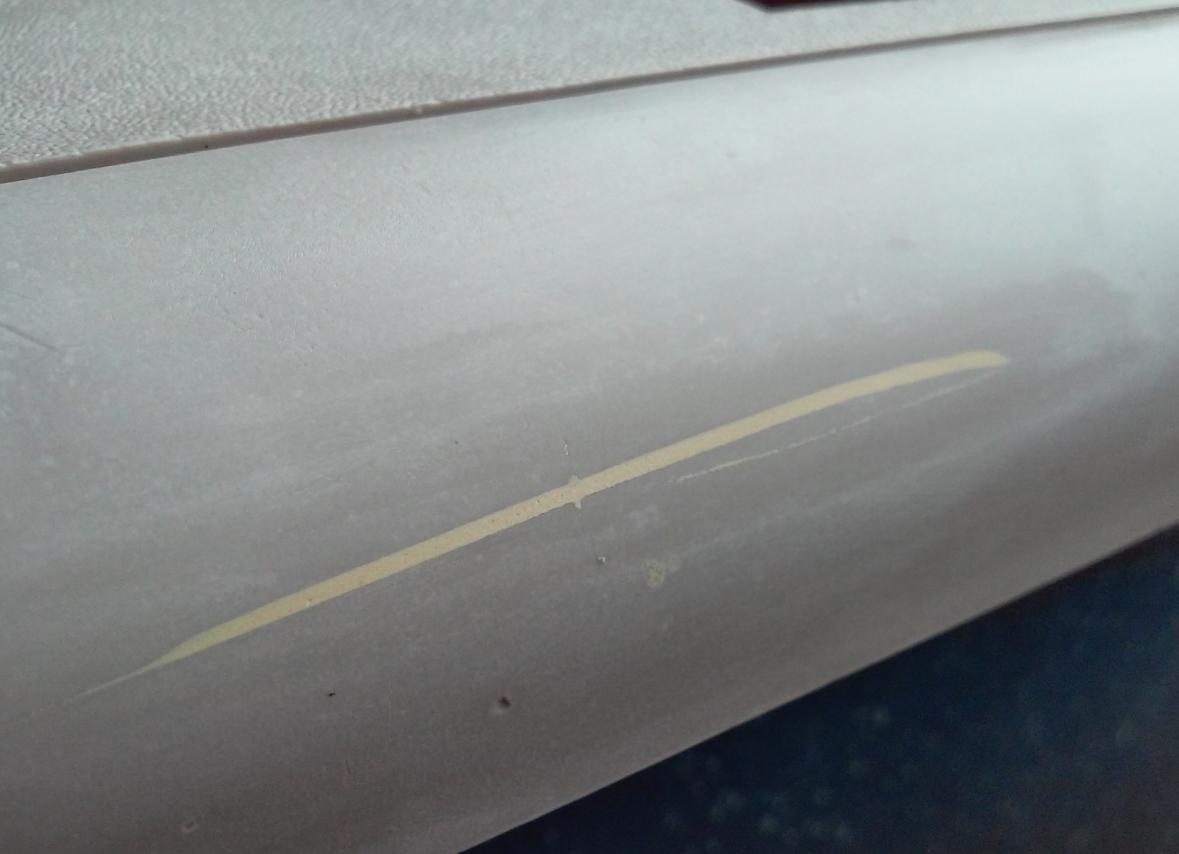
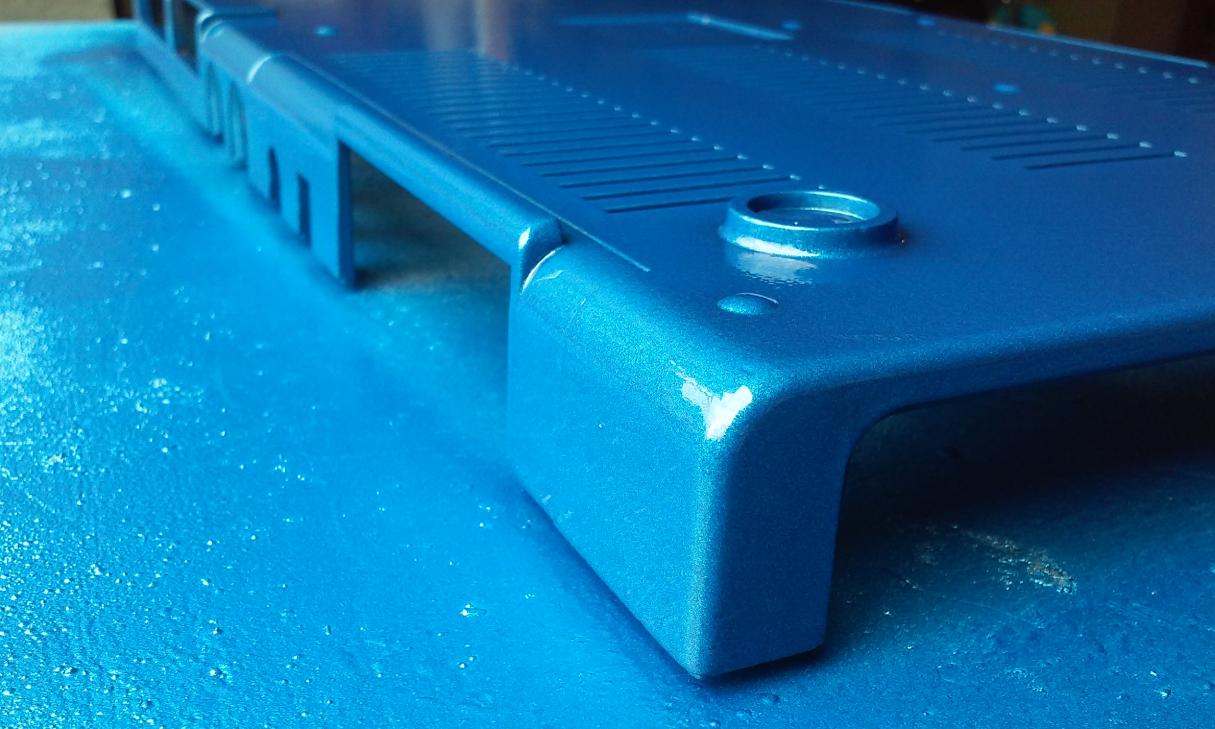
After a while, I also painted the top part but had a minor problem with a little bastard …

More fixes
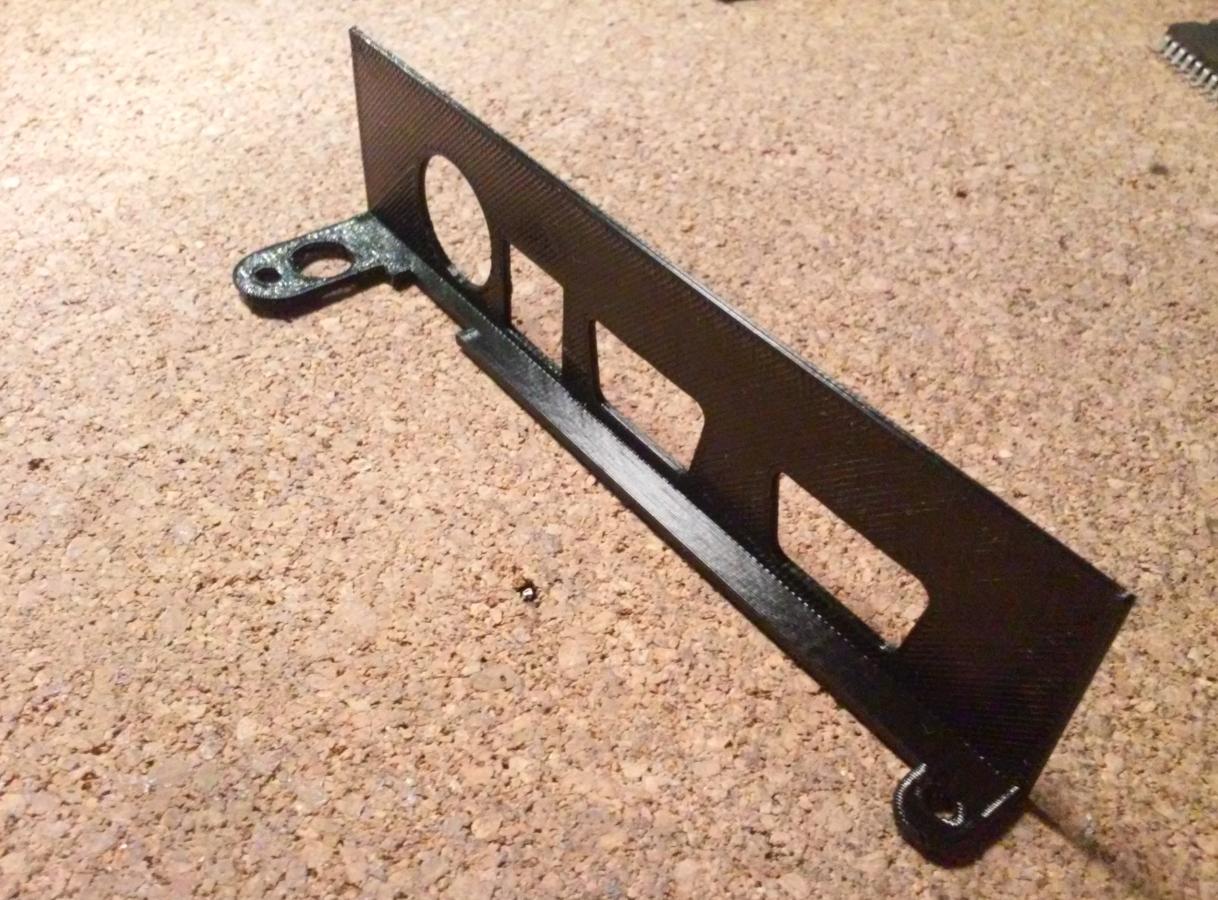
Another thing that had to be done was to 3D print a replacement connector plate model that I’ve found on Thingiverse –> Model here
Some failed 3D prints later … 😉
When freshly sprayed paint dried I noticed that the bottom part is missing mounting brackets. Grrrr, I should have spotted that earlier.
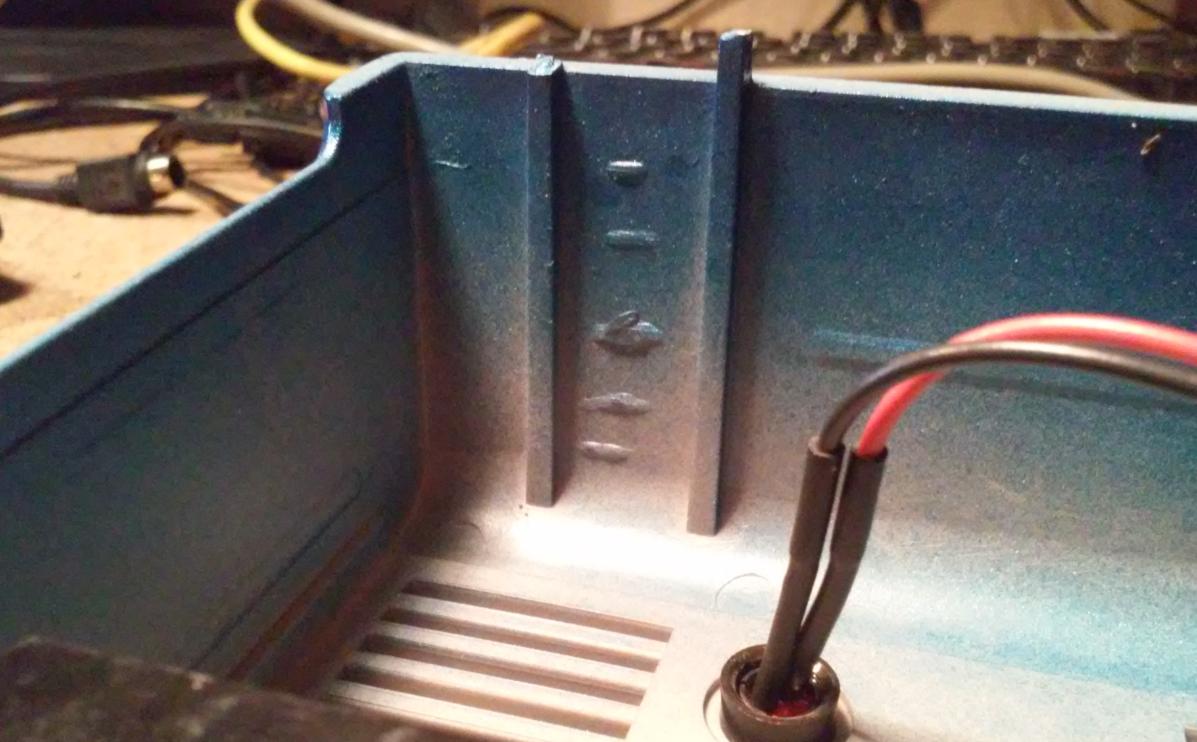
Anyway, the idea of how to fix it was born instantly.
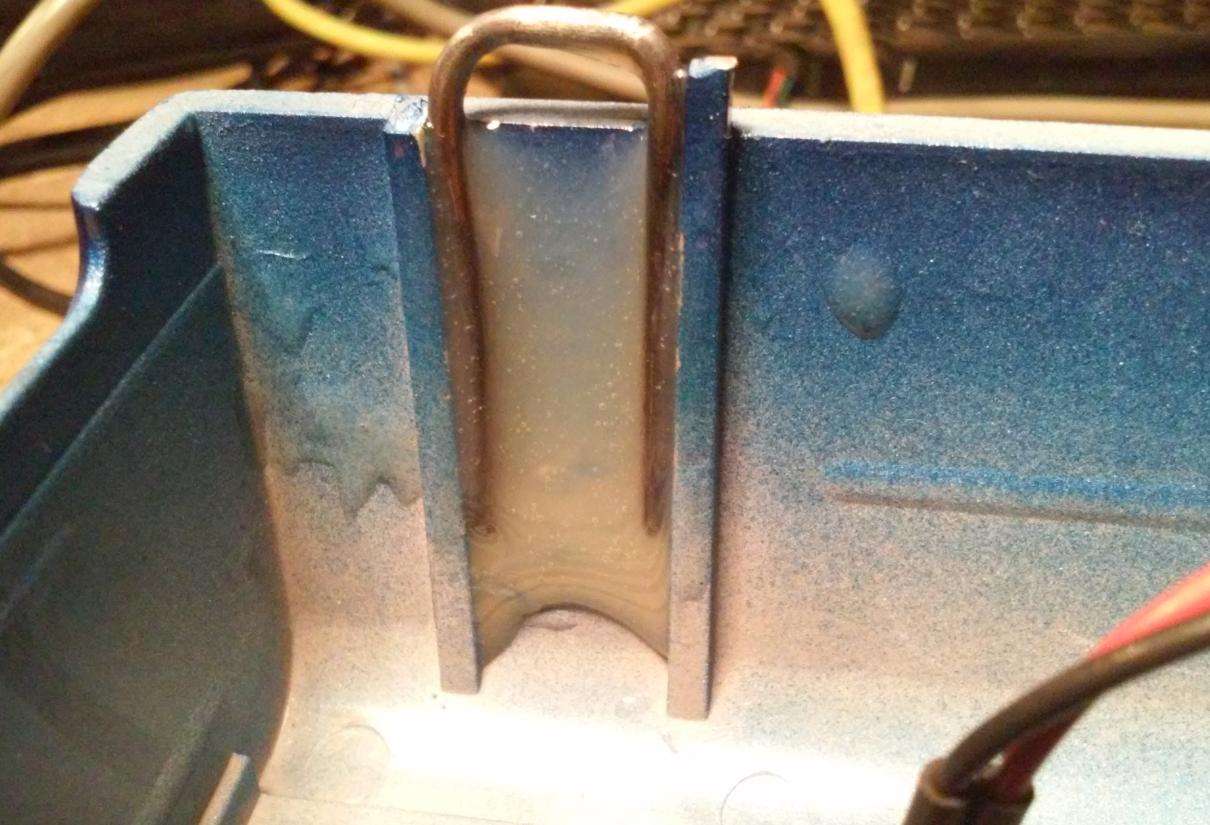
I’ve bent a steel wire, so it resembled a bracket.


Epoxy resin was used to hold it in place.
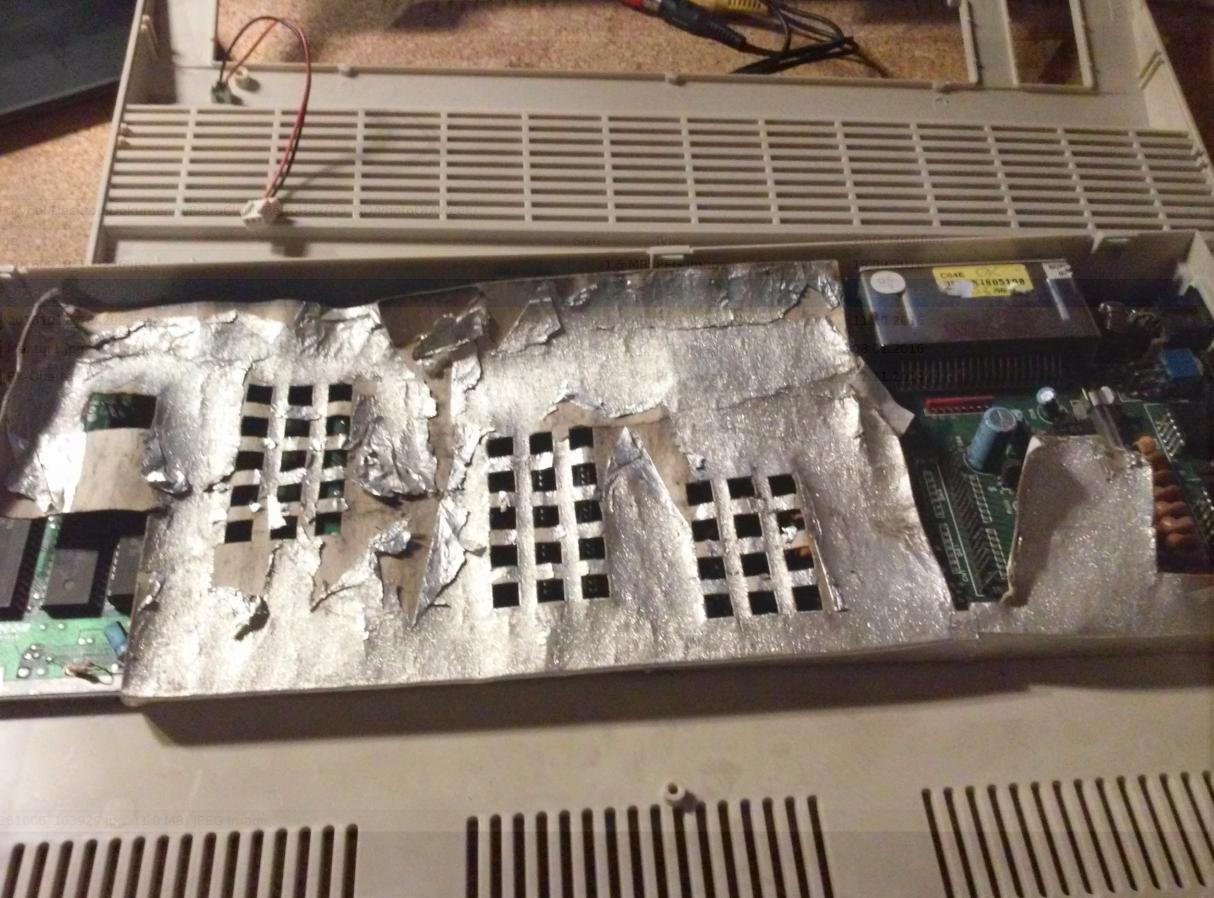
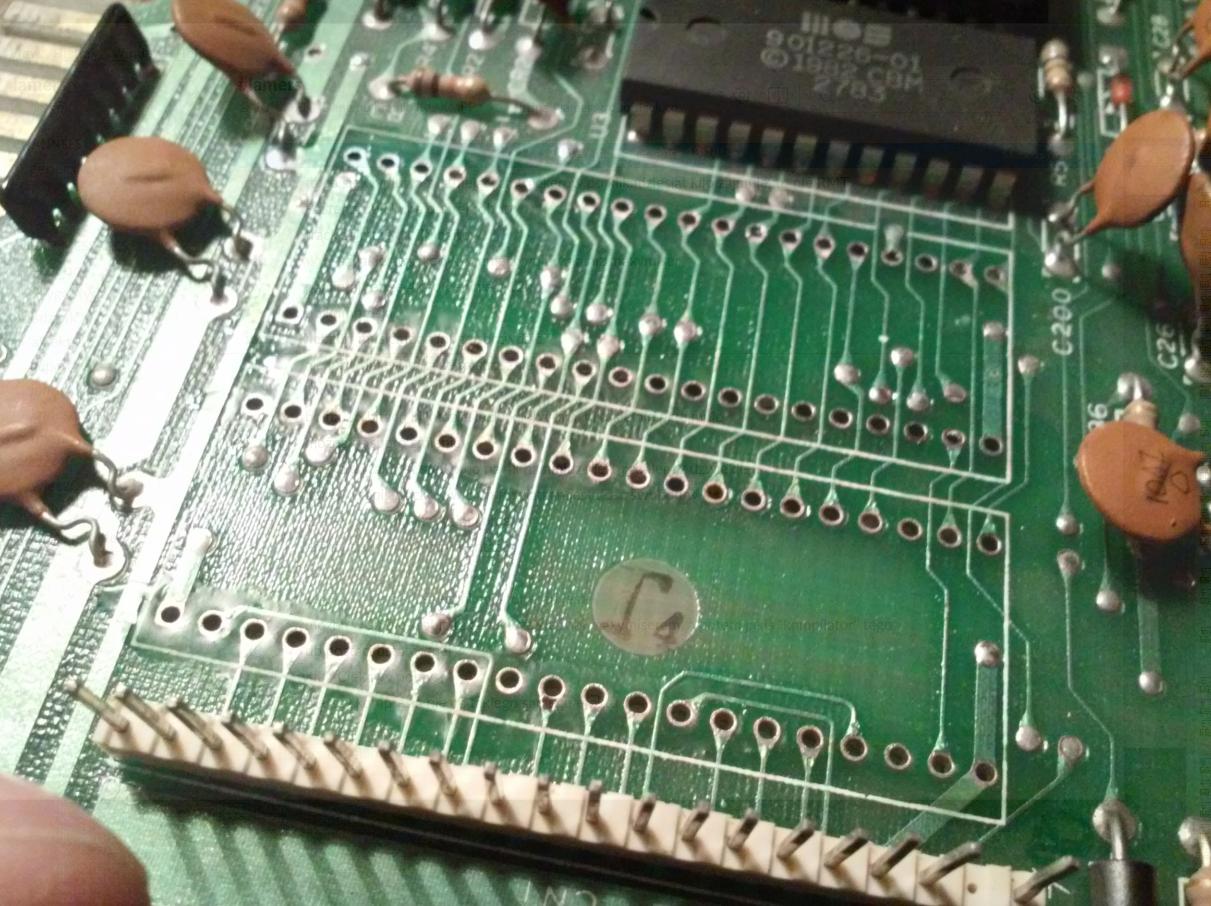
Motherboard fixes
The motherboard that I’ve got was pretty much dead.
Quick diag tests followed and I already knew that
PLA chip and both CIA chips are fried.
At that time I was only aware that PLA chips often fail.
However, I didn’t know what is the exact cause. Quick google explained a lot.
Here is a relevant article
Anyway, my original PLA was fried and I didn’t have a replacement. Me and Johny/Lamers tested EpromPLA the other day but we’ve killed it in the process 😀
However, I still had a PCB for it. I’ve come up with an idea to put a binary PLA dump on a flash chip – SST27C512.

….. aaaaand it worked! 😀
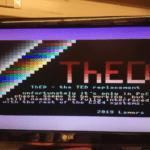
C64 booted successfully so I quickly replaced CIA chips and was ready for some testing.
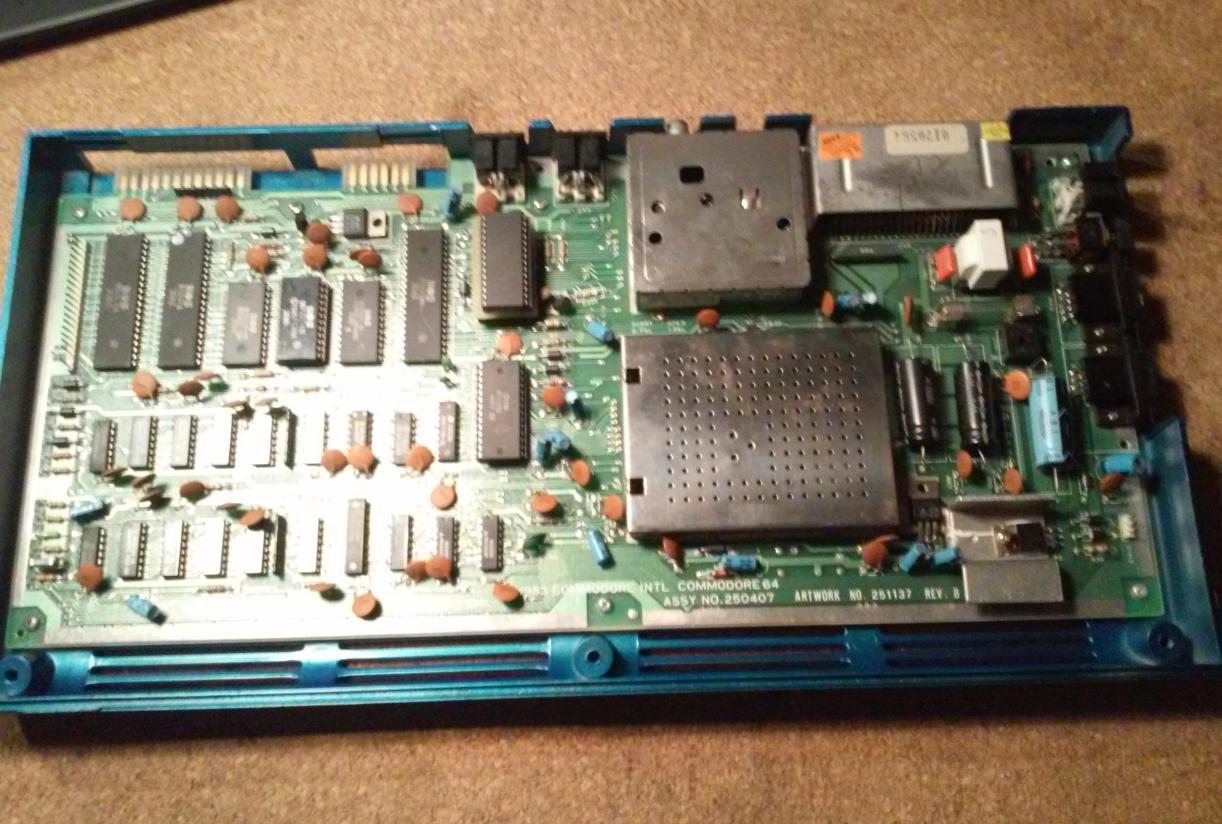
FlashROM PLA might not work with every software/cartridge but it surely works with SD2IEC and loads most of the games and software just fine.
Final results
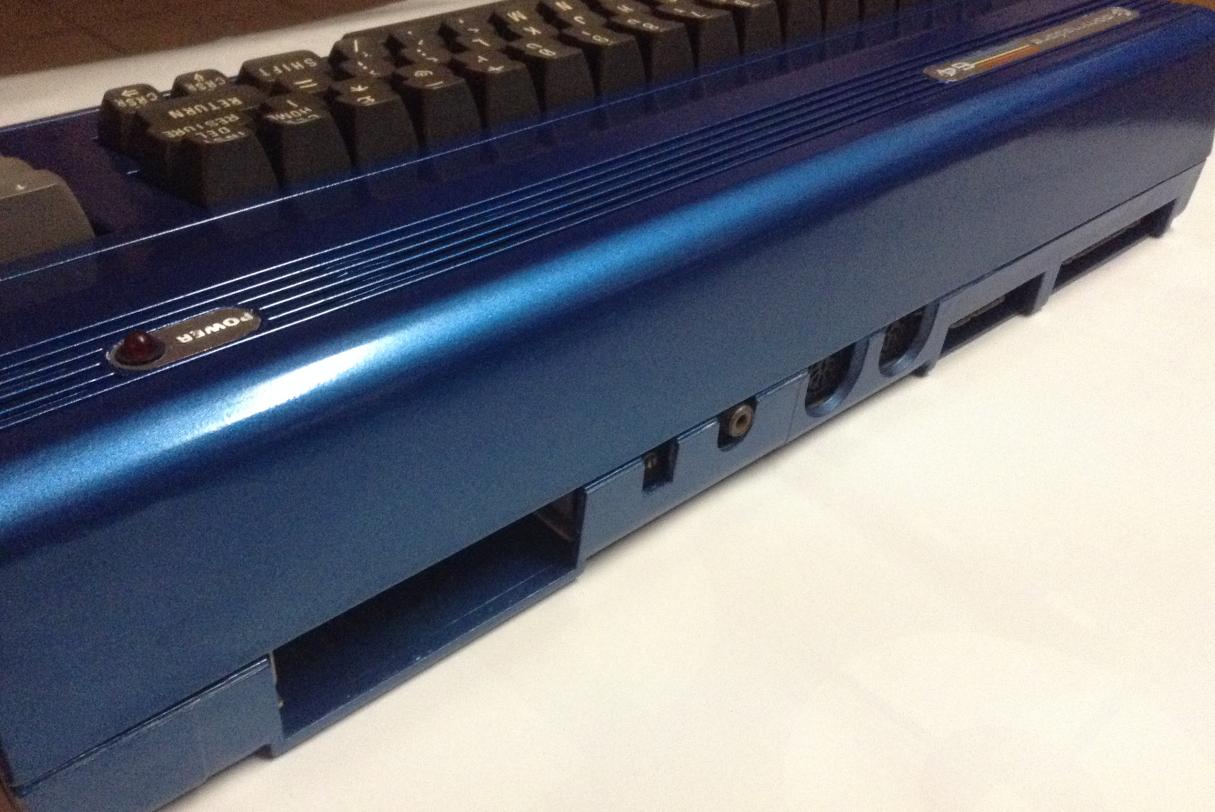
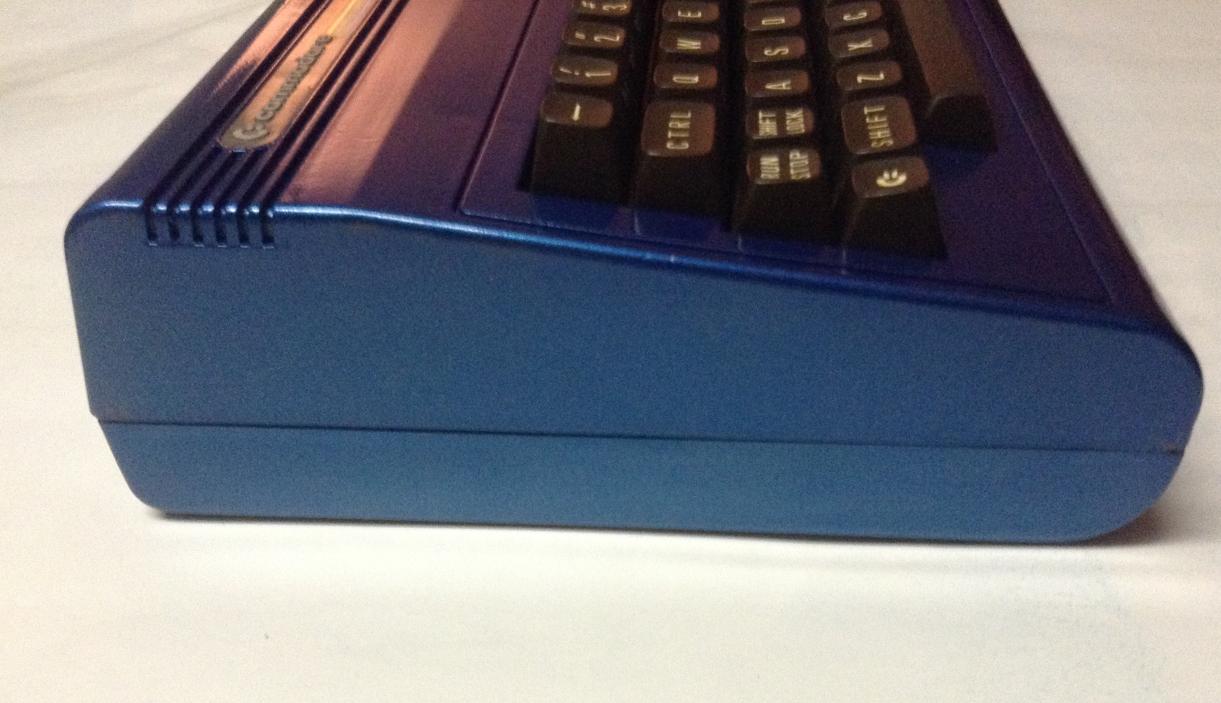

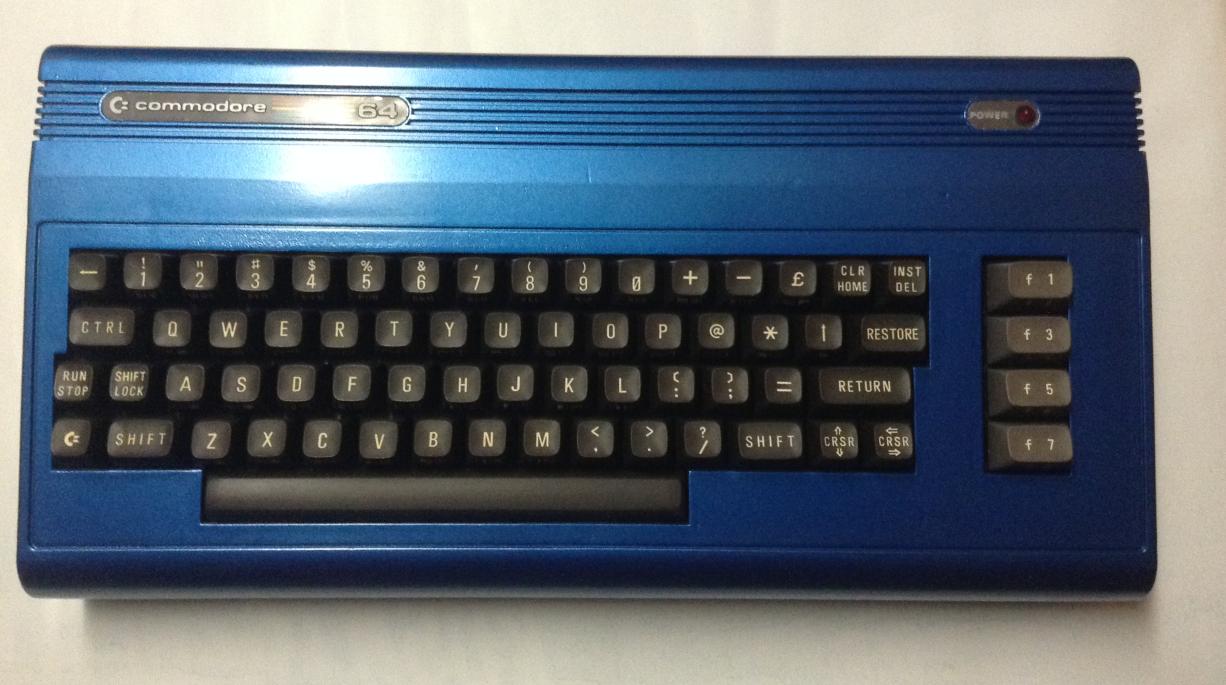
That’s it. New builds are coming 😉
OUTRO
If you want to get retro gear or hardware modules, please visit our shop
New products are being added every month.
Also, please support our work by spreading info about it.
Without your support, we simply cannot grow and we have a lot of new cool retro hardware (and more) products to come