… or Batman forever … forever
Short story
Recently, I’ve decided that I need to buy a larger Hard Drive lol …
/Short story
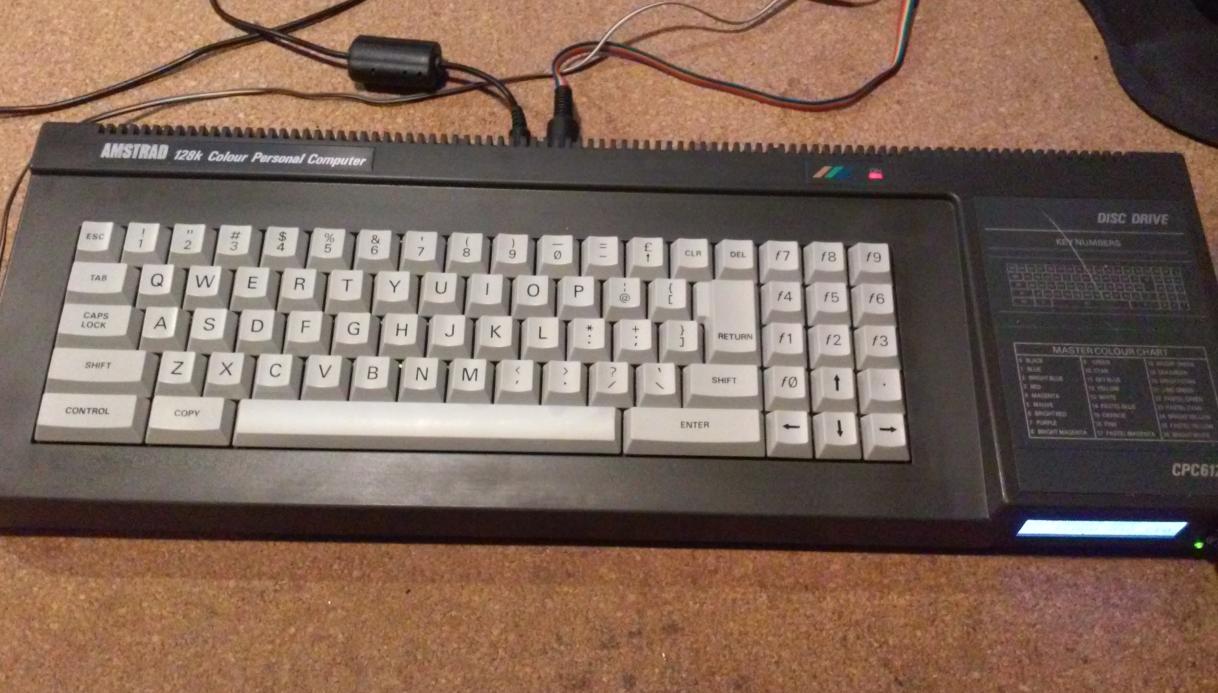
CPC 6128
I always wanted to put my hands on Amstrad CPC 6128.
It was kinda exotic in my country back in the day.
Today, we have bidding portals and INTERNETZ so getting one is not a problem.
I found a cool-looking unit on eBay … and before I decided that I’ll buy it … left mouse button clicked somehow. I have NO IDEA how that could happen! Who could have clicked it ?!!

A couple of days later … I was like … YAY! I have it! 😀 Below are some pics of it


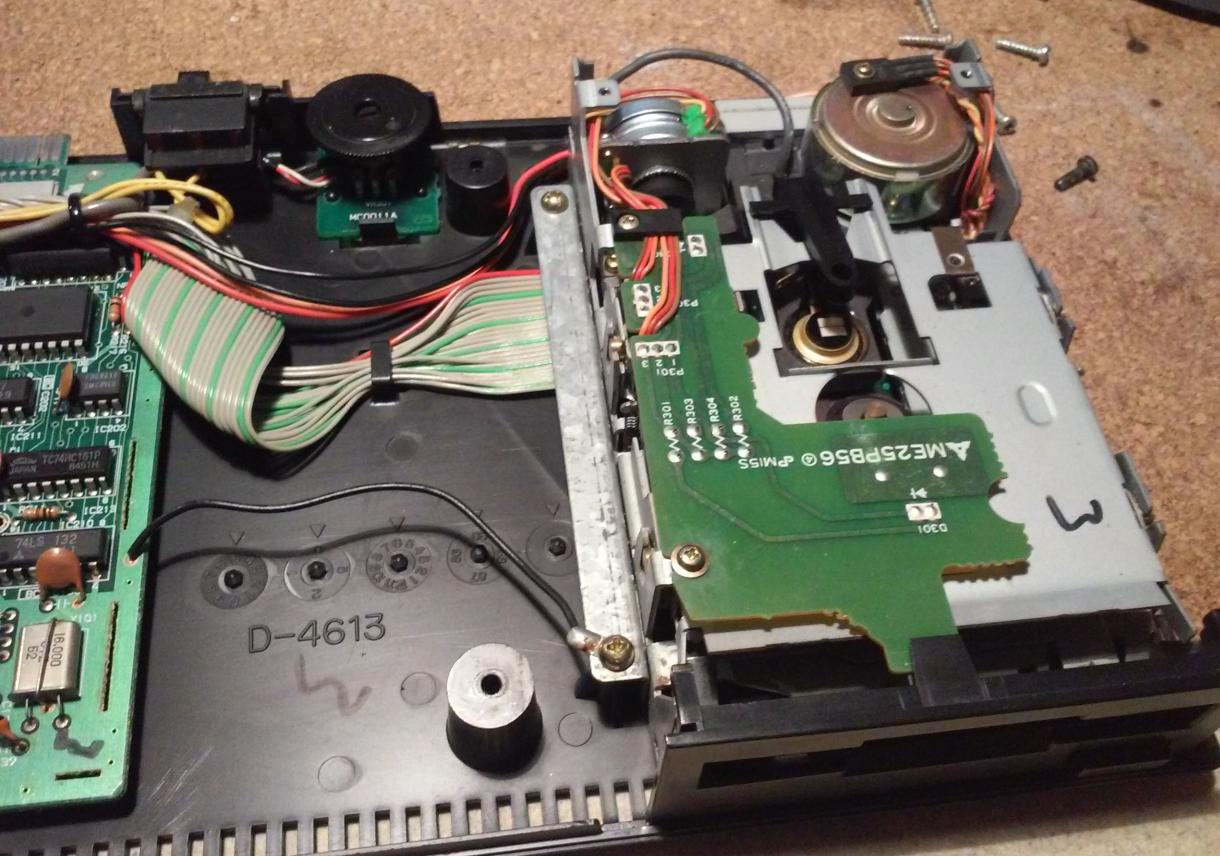
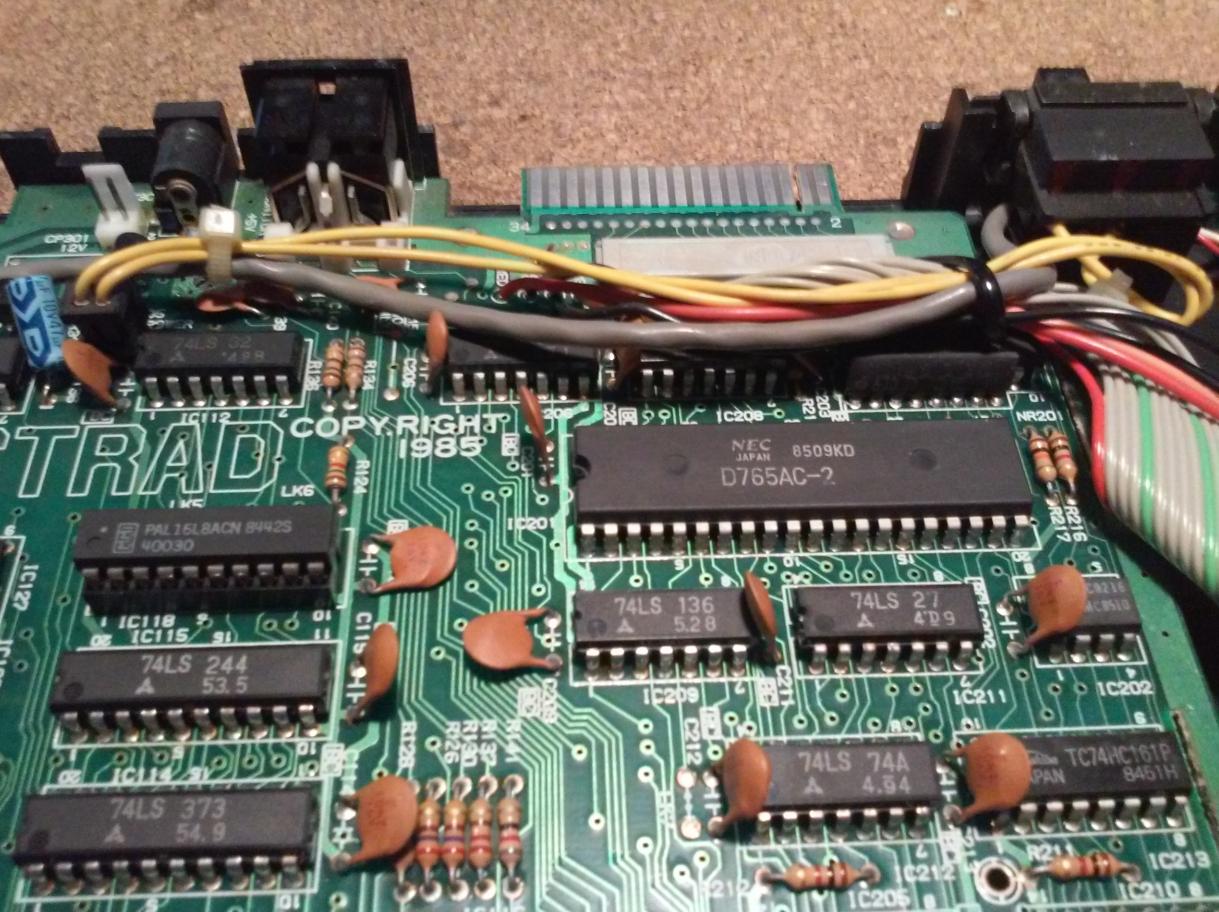
… and pics of an inside


The Plan
The plan was to clean this unit as usual and start playing with it but since I didn’t have any 3-inch floppy disks to load software from I had to change that plan a bit.
I had a spare HxC on the shelf – Cheers Lotharek 😀
HxC is a great device that emulates floppy drives – MORE INFO
The Plan evolved quickly:
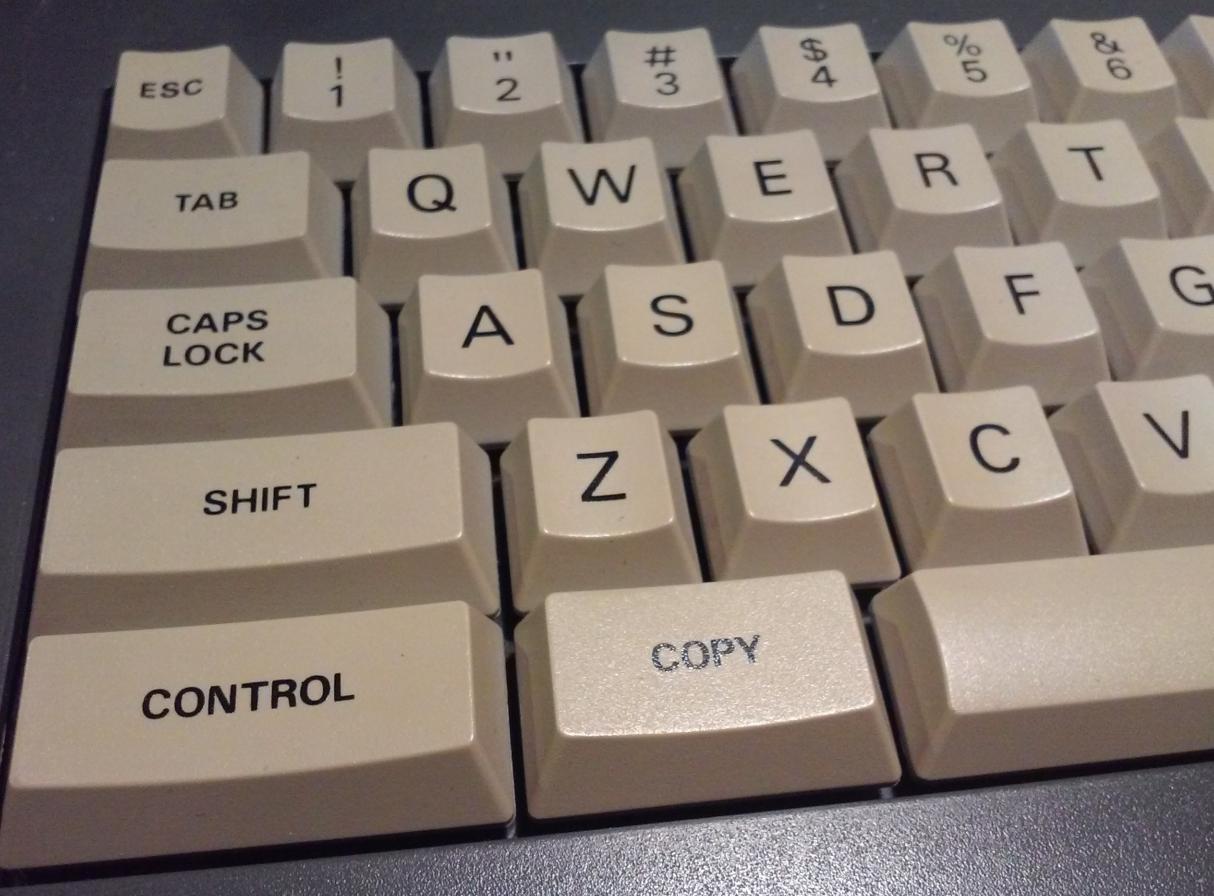
- Clean a unit, whiten all keycaps, etc.
- Swap original floppy drive with HxC
- Burn DualROM and install a switch for it
- Design and 3D print a front panel
- Run Batman Forever DEMO 😀
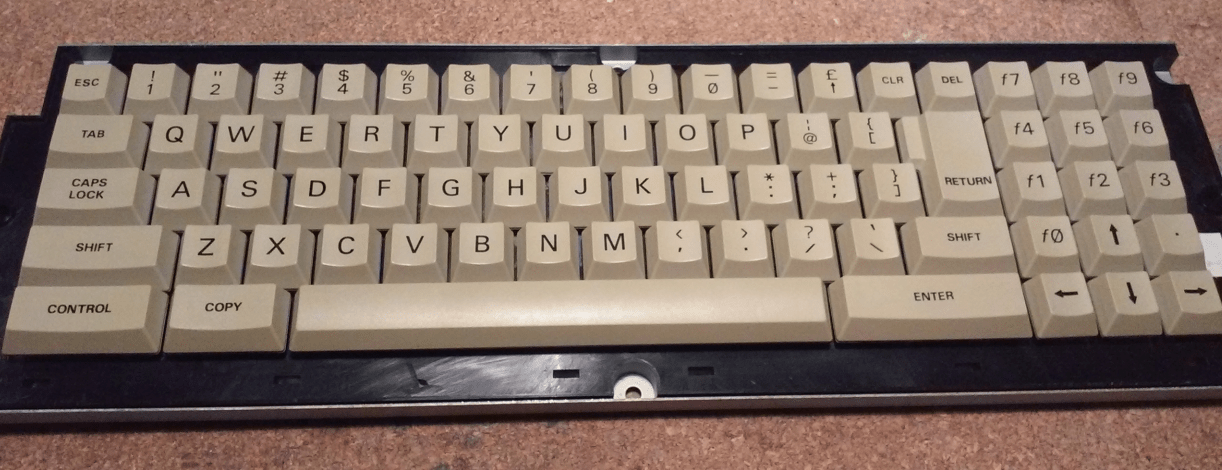
Cleaning
This Amstrad’s case was in very good condition so it only required good washing.
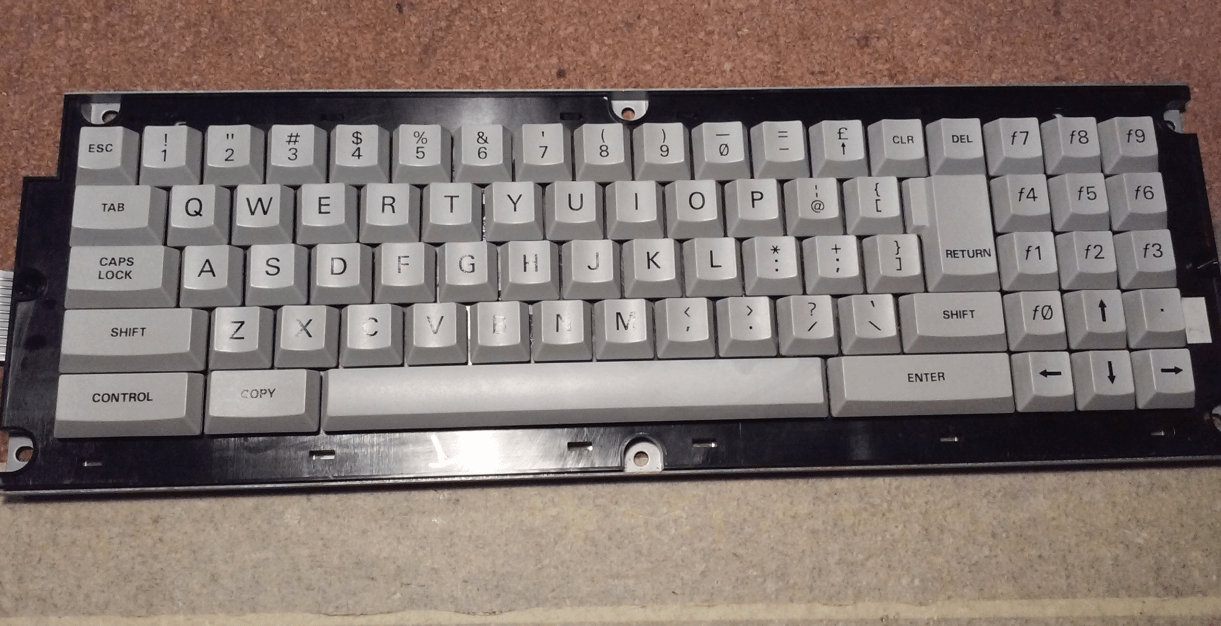
However, keycaps needed a solid de-yellowing treatment.
Unstocking a stock HxC
Stock HxC straight from Lotharek 😉
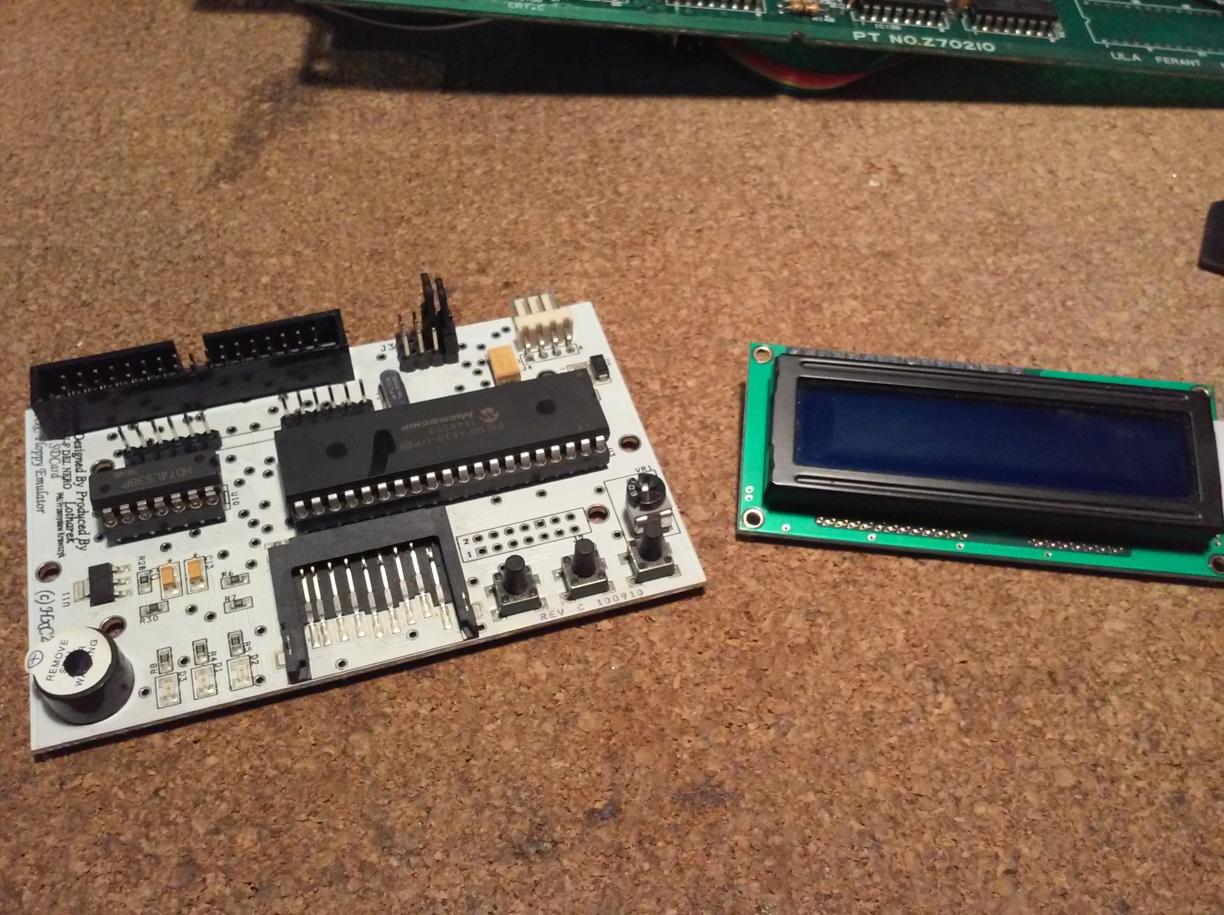
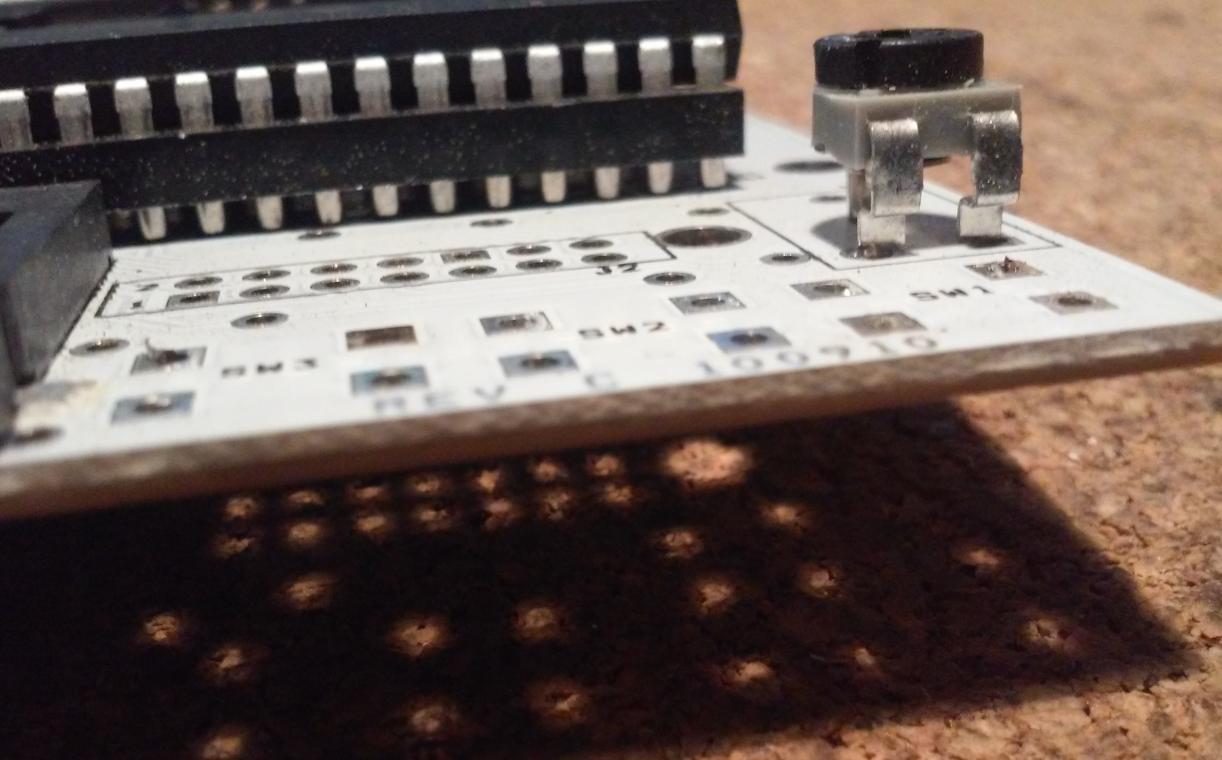
I wanted to put tact switches, LEDs, and LCD on a front panel so I had to modify it slightly which simply involved desoldering all of ’em.

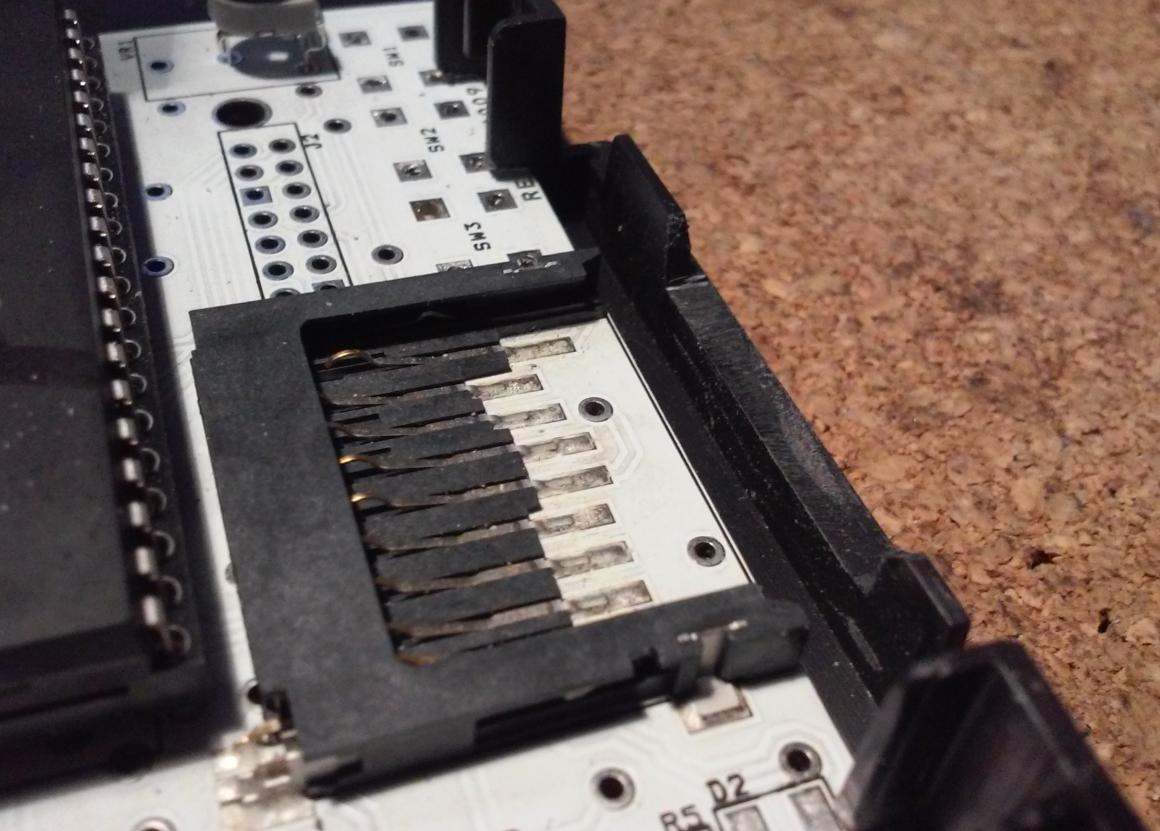
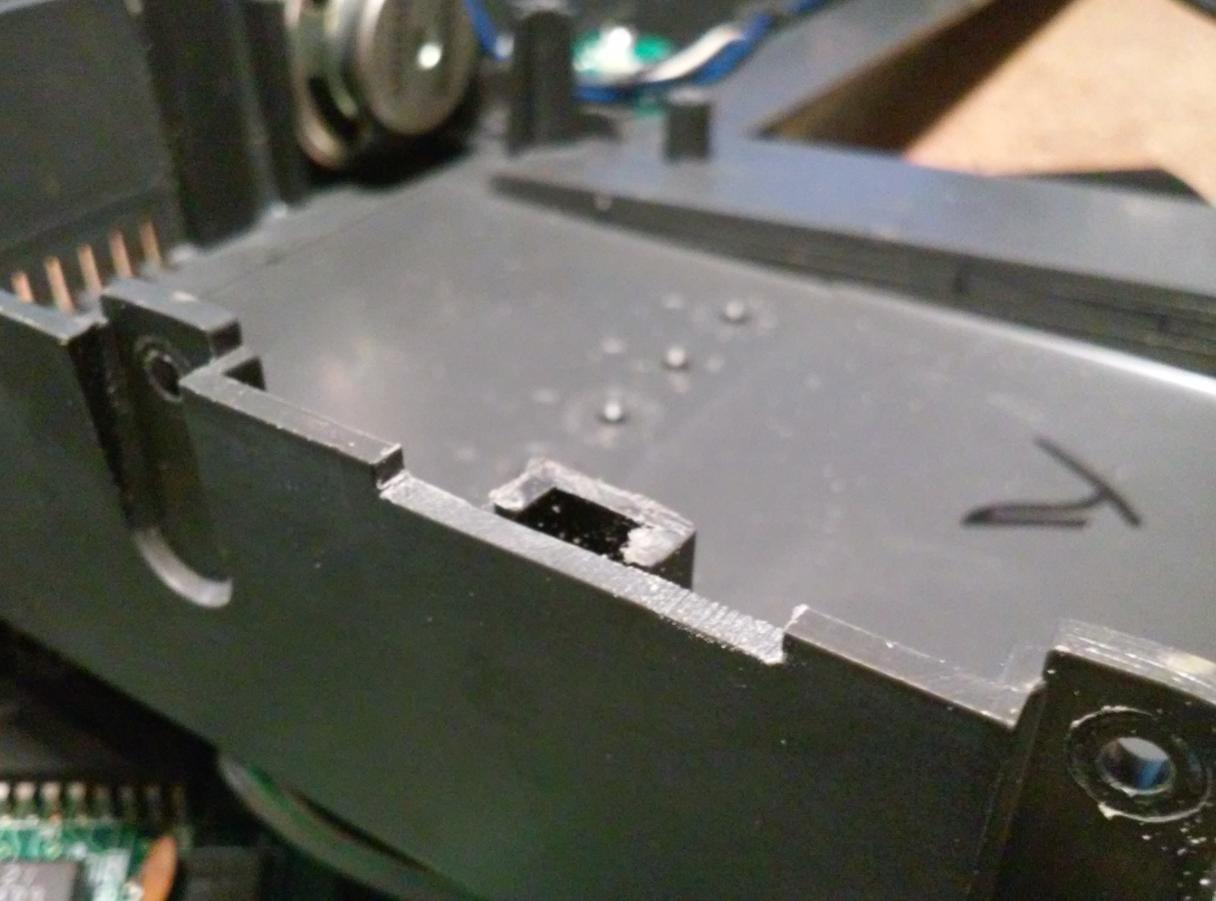
I did a slight trimming of a case just enough to create a slot for an SD card.

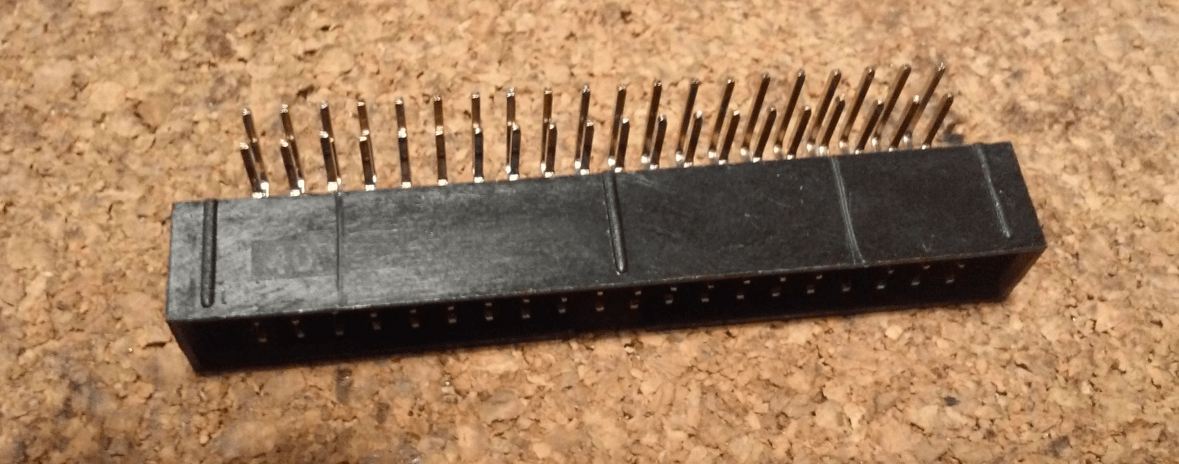
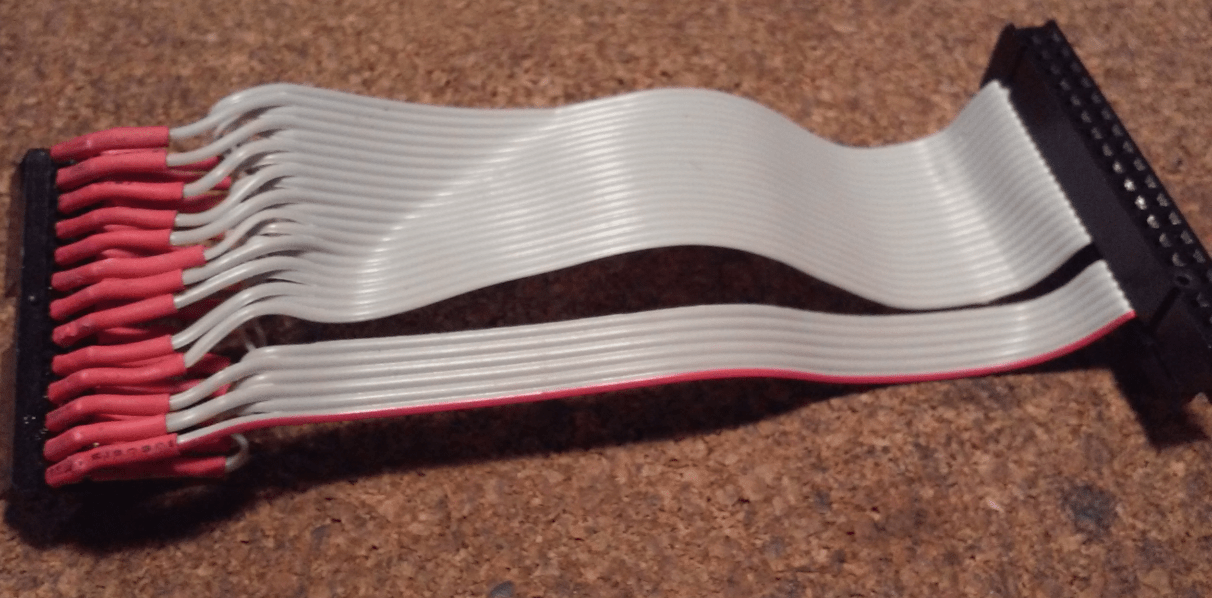
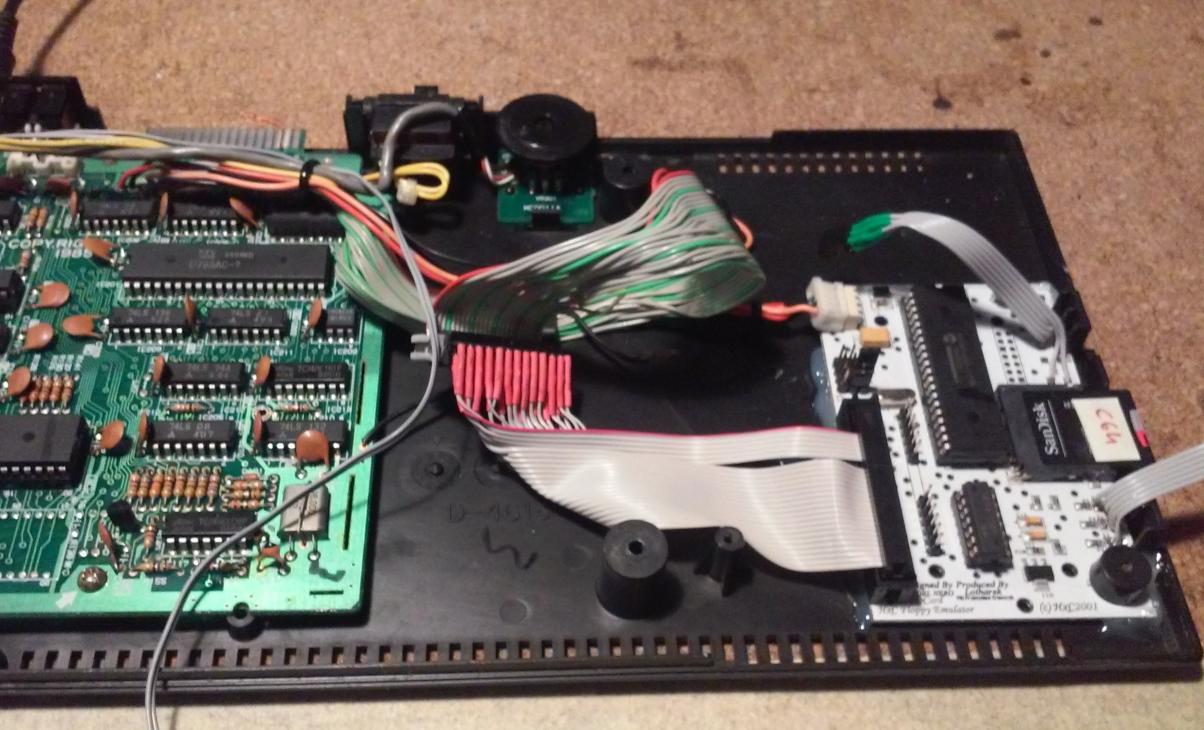
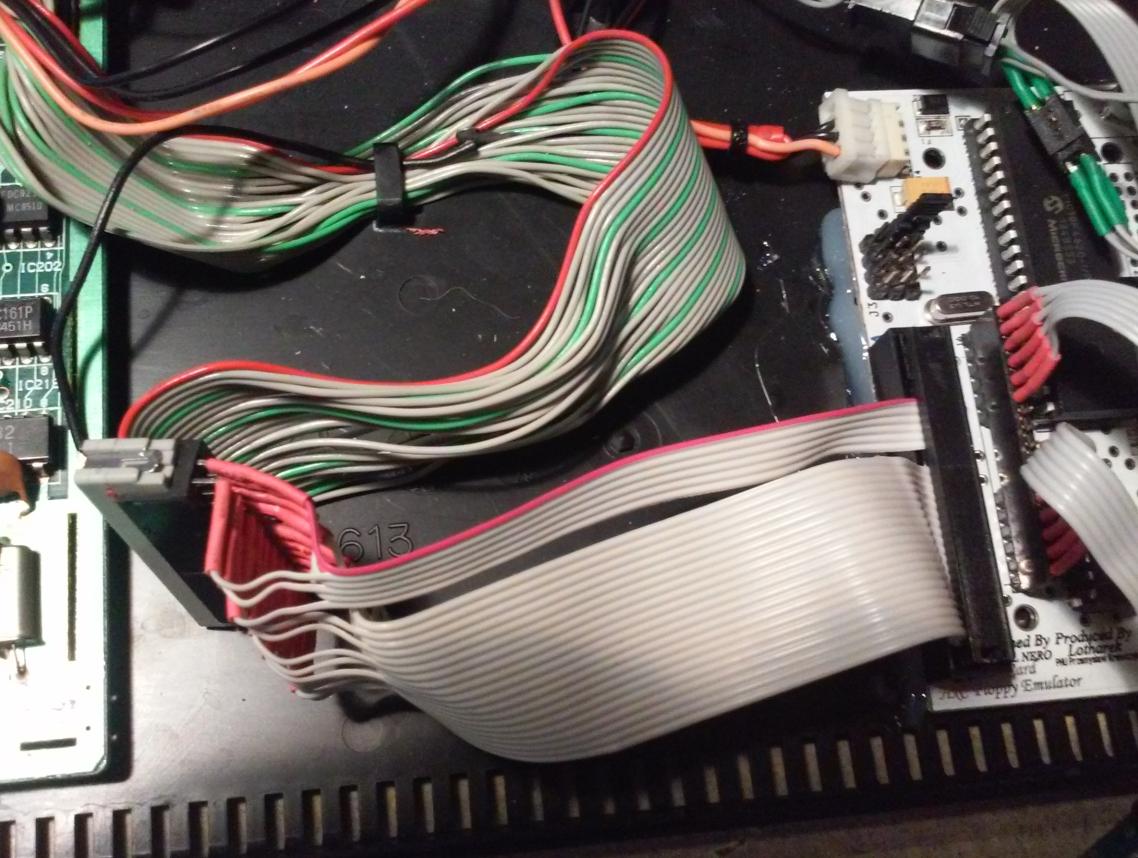
A 34-pin cable adapter was required to connect HxC to the original cable without cutting it. I’ve made it according to a drawing that Bryce put on a CPC wiki – Thx Bryce 🙂

I didn’t have a 34-pin header so I’ve trimmed a larger one.


Next, I had to mod an original 34-pin floppy cable.
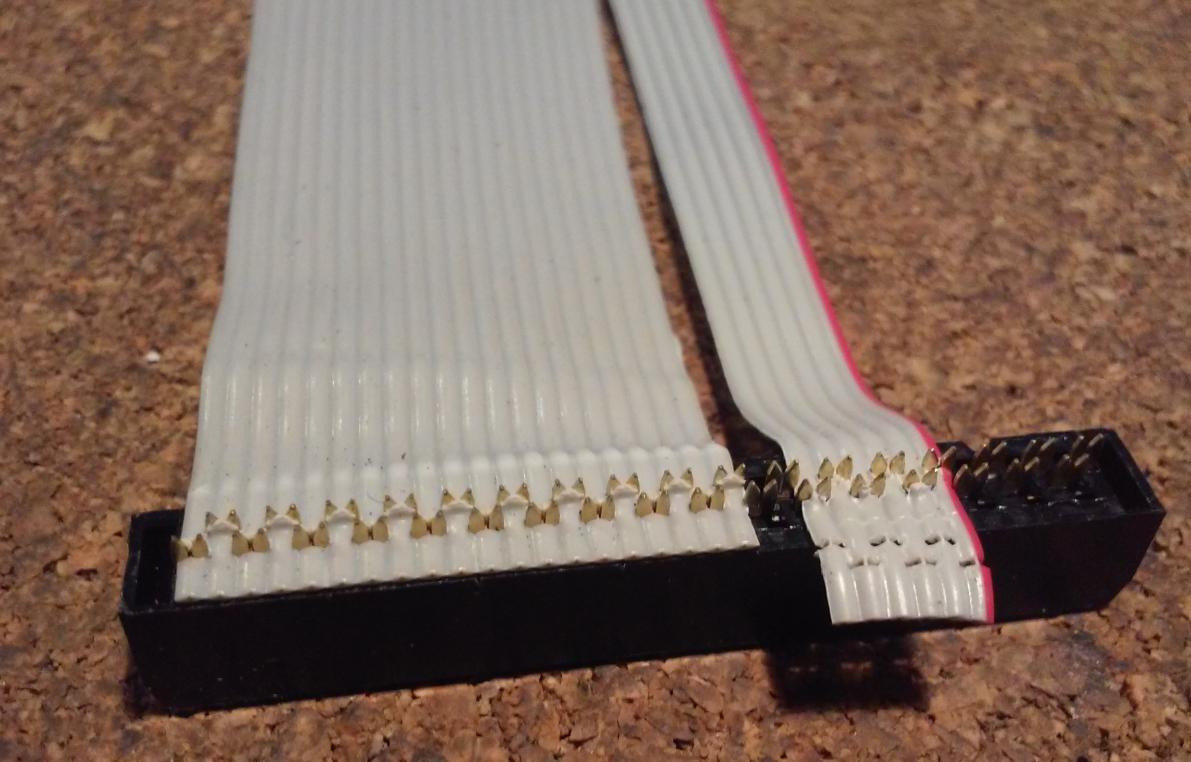
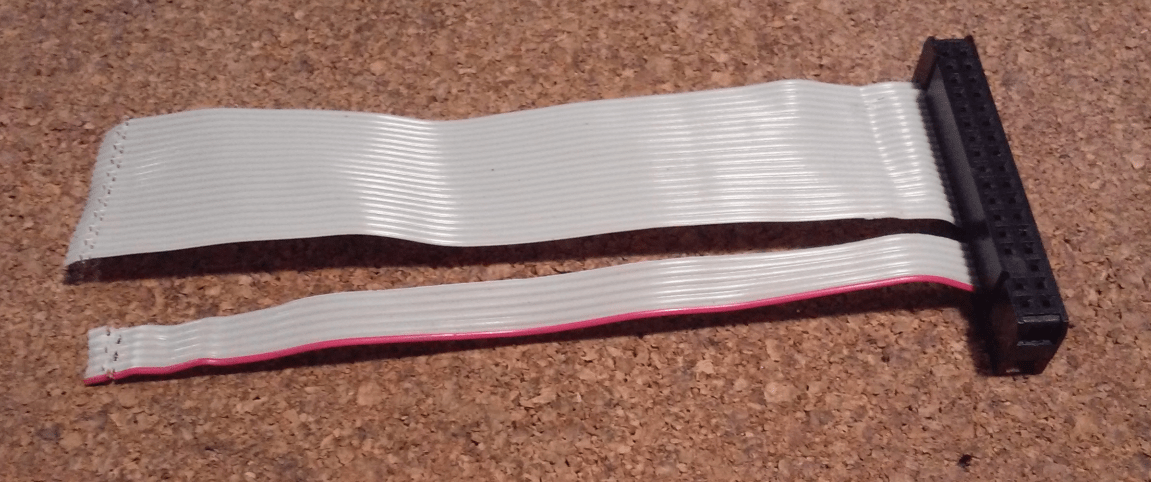
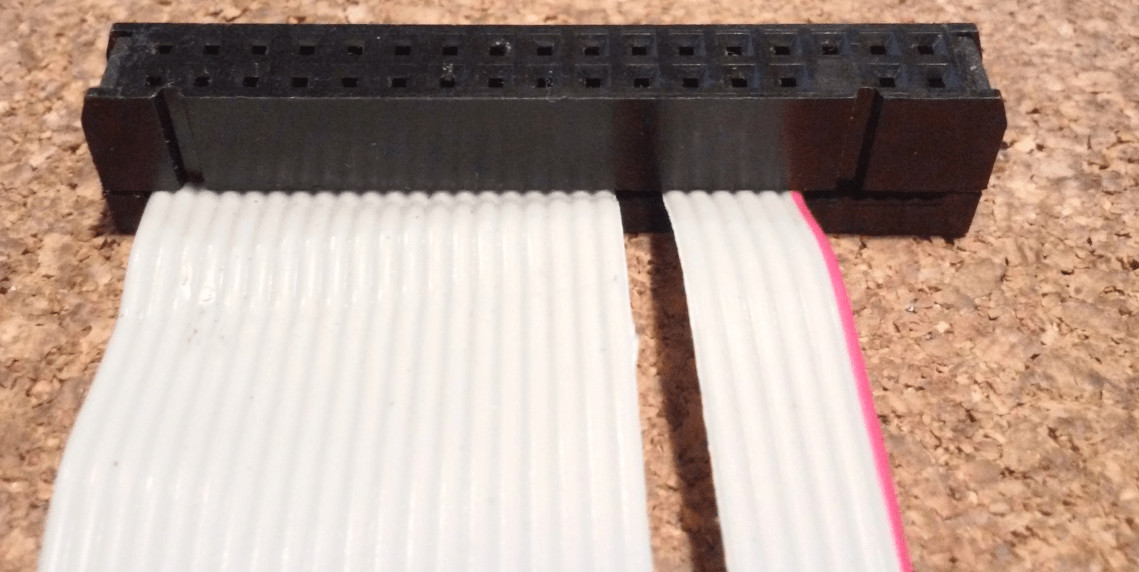

Aaaaaaand …. after a bit of work I had an adapter NOT ready.

… as usual, I screwed up and soldered wires in the wrong order :/
I had to spend extra time and correct it.
The power connector needed a small mod too. Simply removing a 12V line was enough to get a HxC up and running.

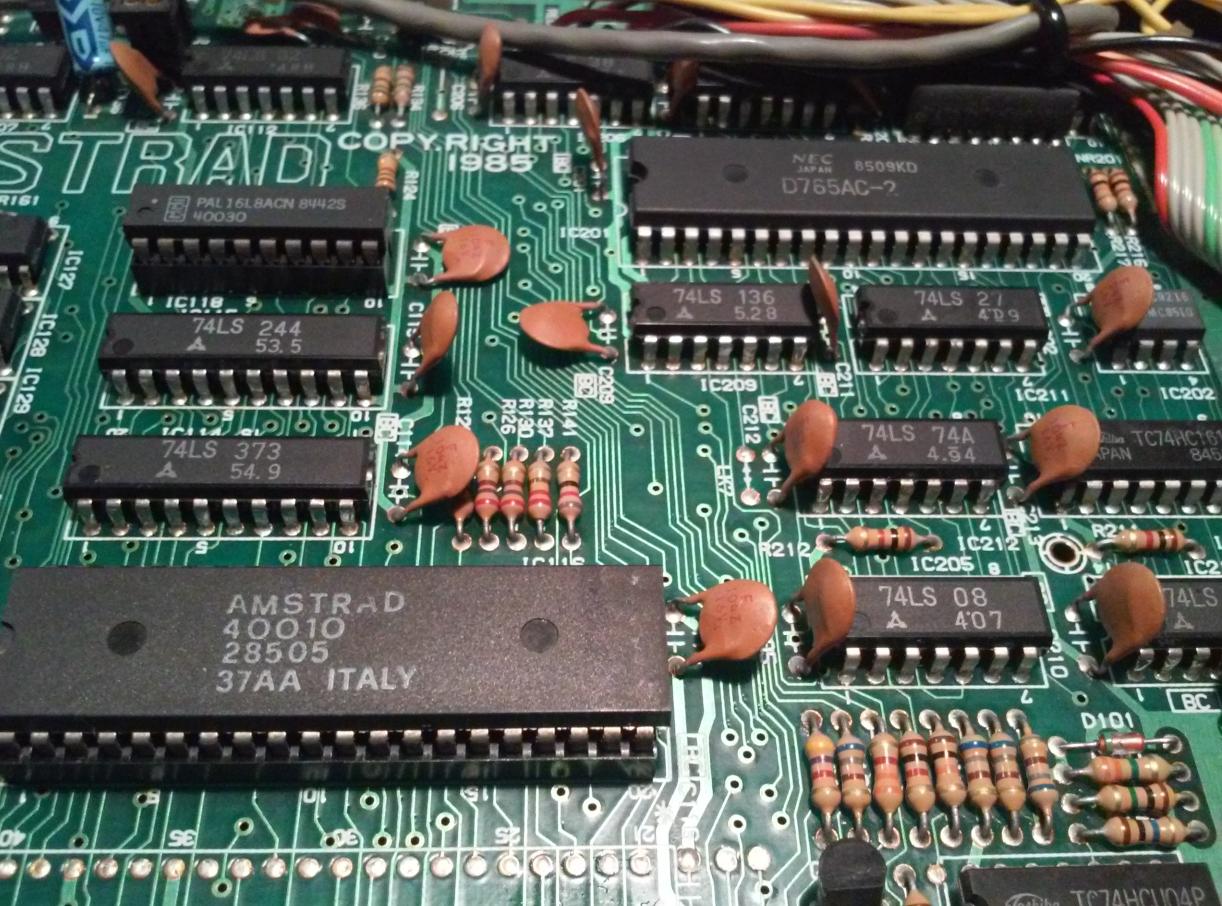
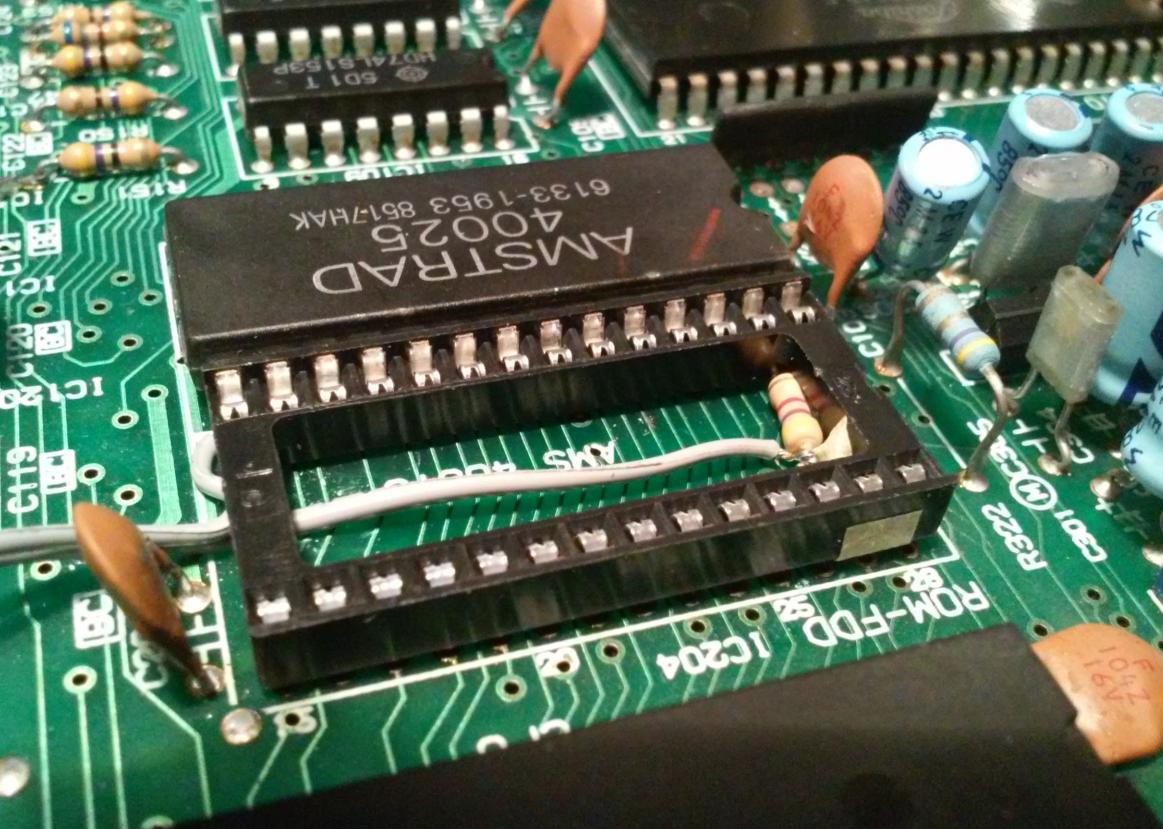
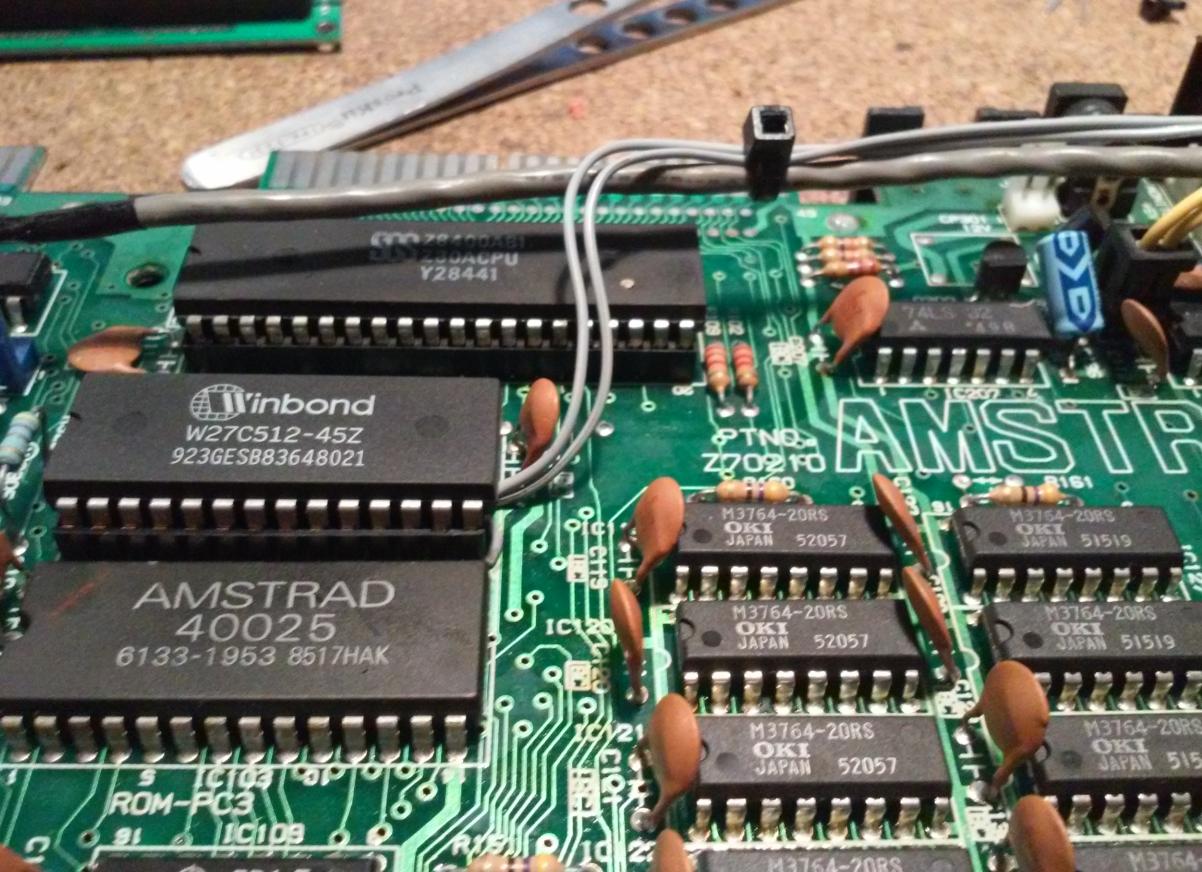
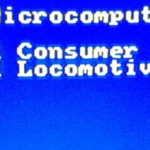
DualROM
That was quite straightforward. After burning two OSs on a Winbond W27C512 flash chip, I only needed to desolder the original chip and put a modified socket in its place.

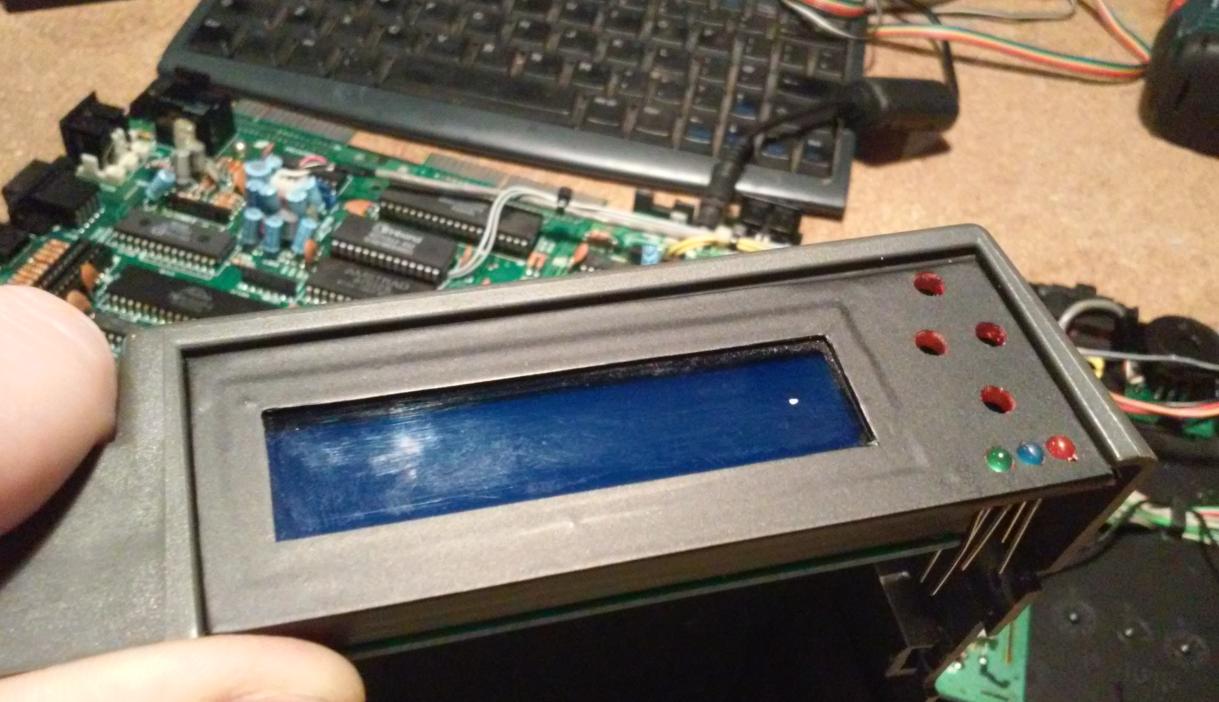
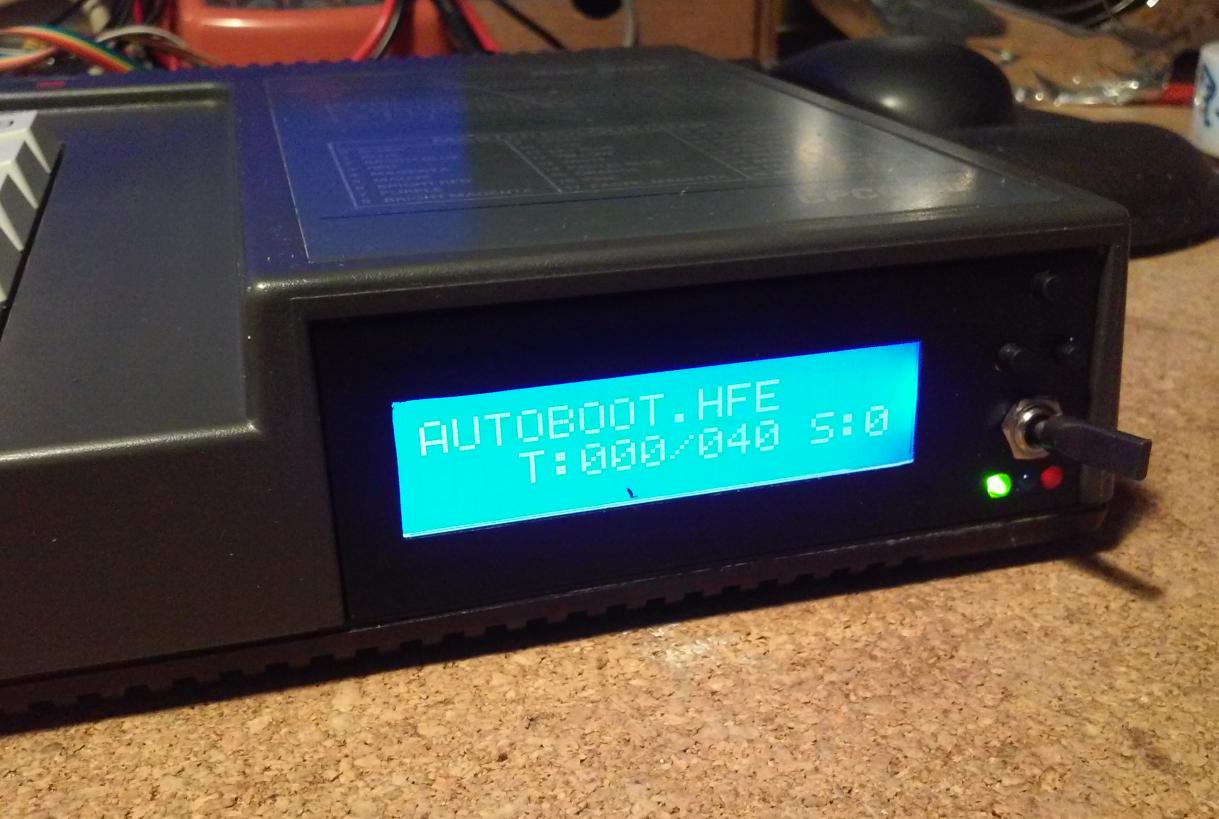
Front panel
I’ve done a quick design of a panel in CAD software and 3D printed it a while later.

I was quite happy with the result after trying it on with LCD and LEDs.
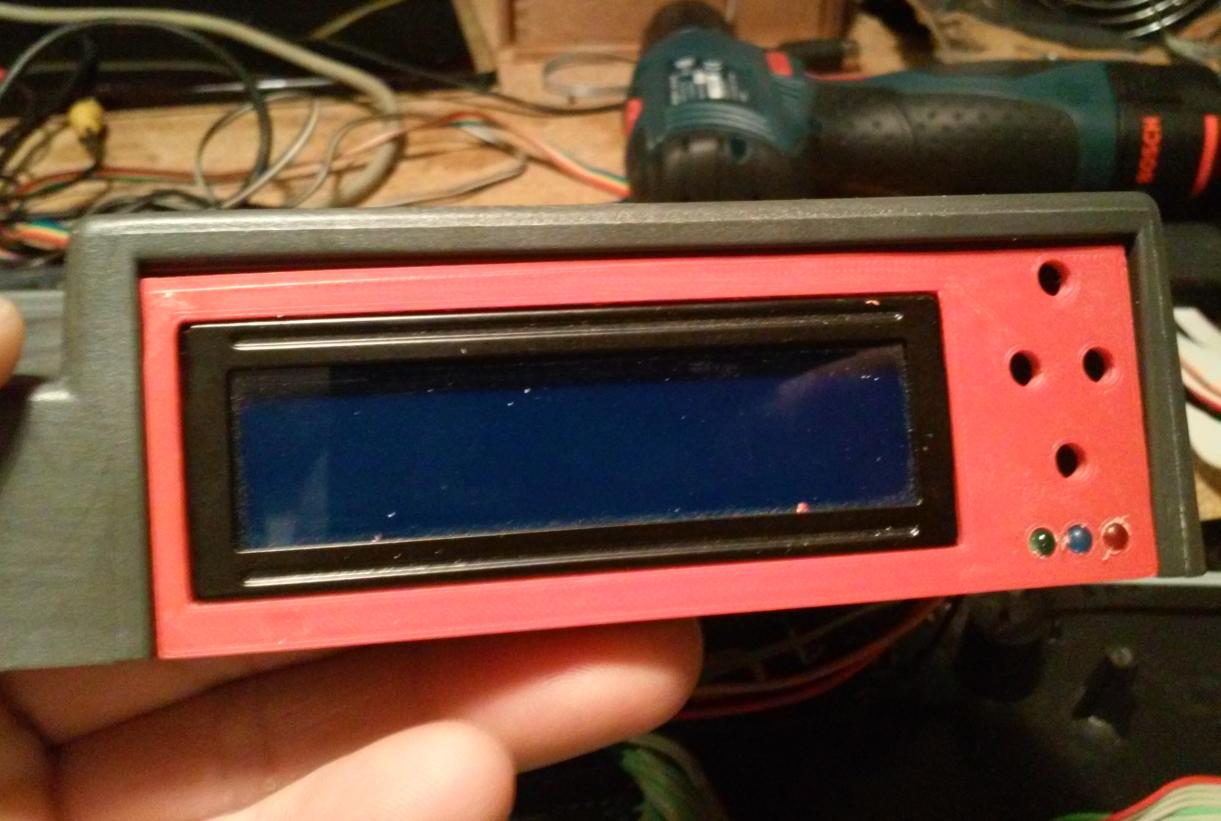
I then applied black matt vinyl to cover the LCD edges.
The first dry-run and testing revealed that I will have to change the tact(momentary) switch to a regular switch If I am about to properly switch between OS ROMs.

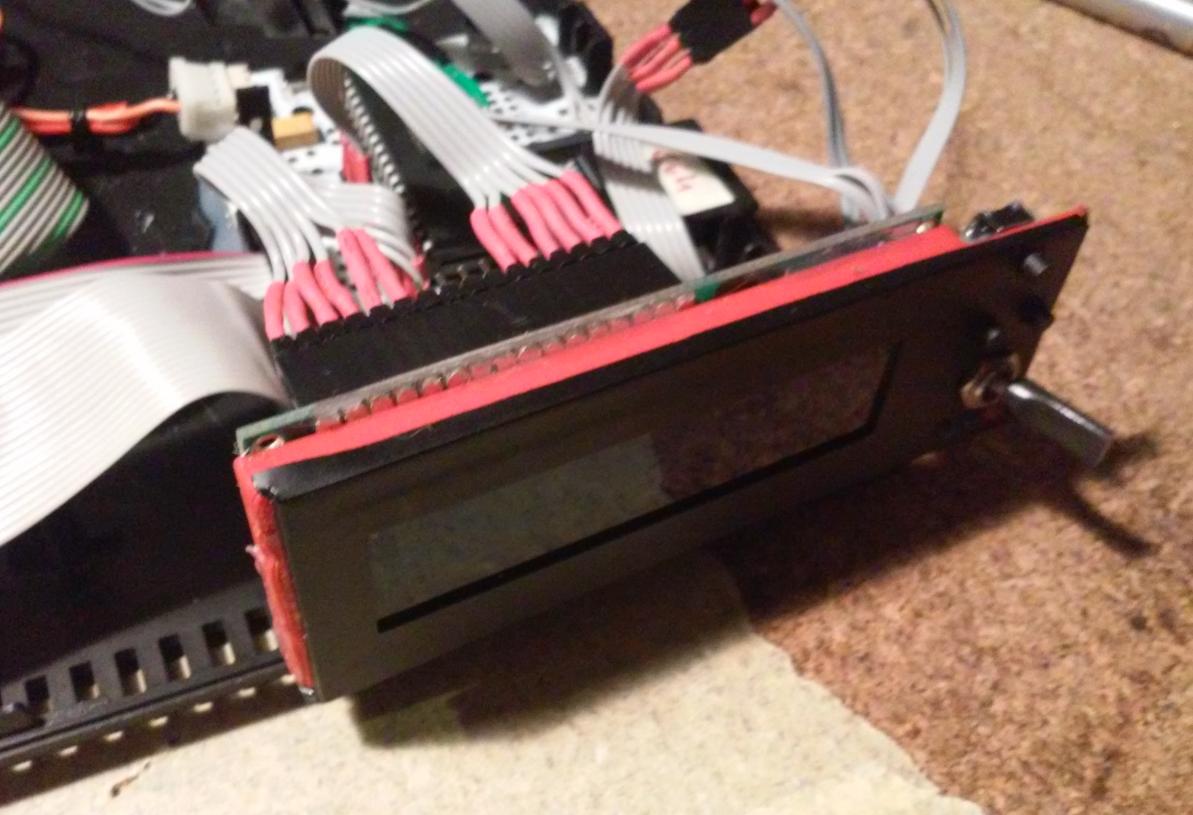
Final assembly
Hot-glue FTW!

Works DONE 😀


All that was left was to play the mandatory Batman Forever DEMO!
Cheers and see you next time 😉
OUTRO
If you want to get retro gear or hardware modules, please visit our shop
New products are being added every month.
Also, please support our work by spreading info about it.
Without your support, we simply cannot grow and we have a lot of new cool retro hardware (and more) products to come

send me one
I don’t have them anymore 😀