… or another round of weird stuff
INTRO
Right now I am like …

… but I am gonna change it to …

C64 … 3D printed
Not a hack but kinda cool and fits this blog 😉
I needed to test new filament in my 3D printer and I’ve found a cool mini C64 model for 3D printing.
Here is what followed.
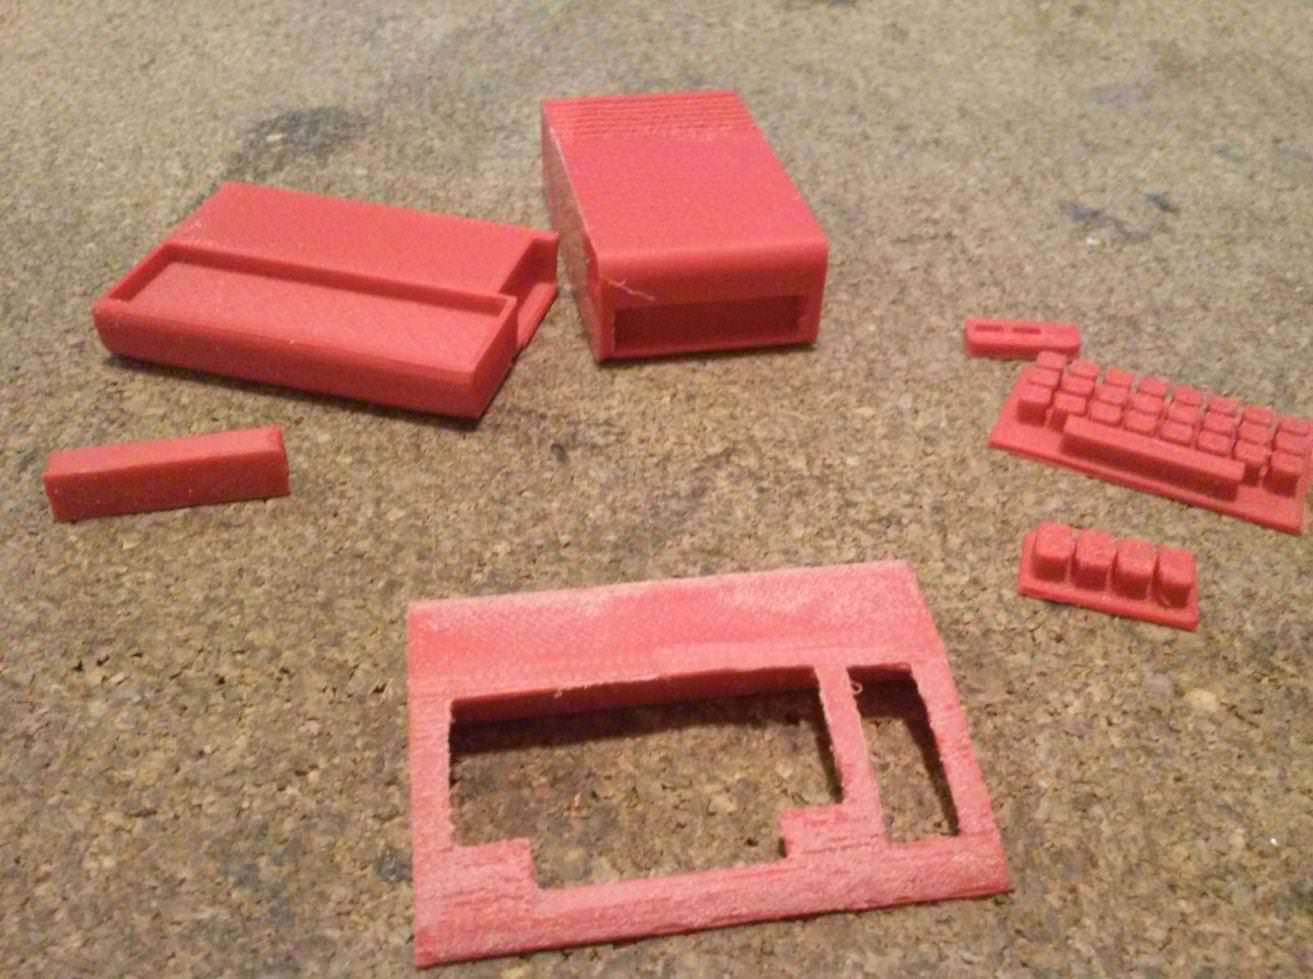 Acetone vapor treatment and painting afterward .feat. 3D printed keyboard brackets for a C64.
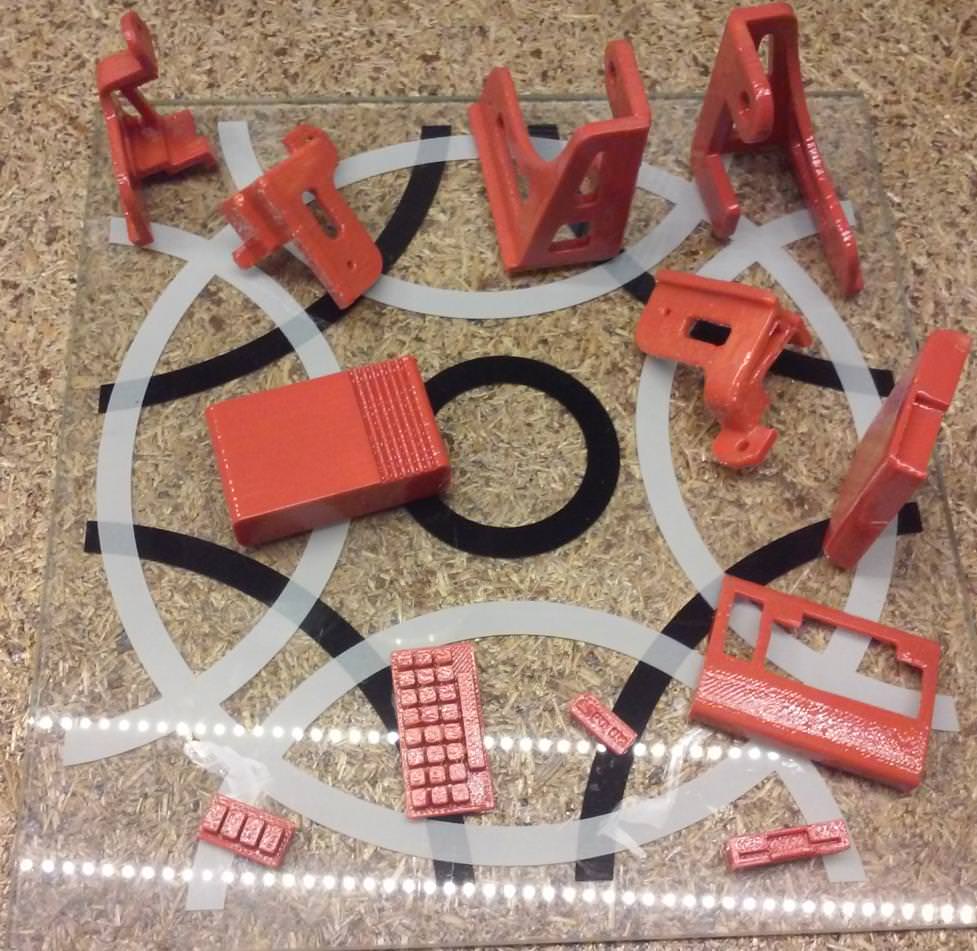
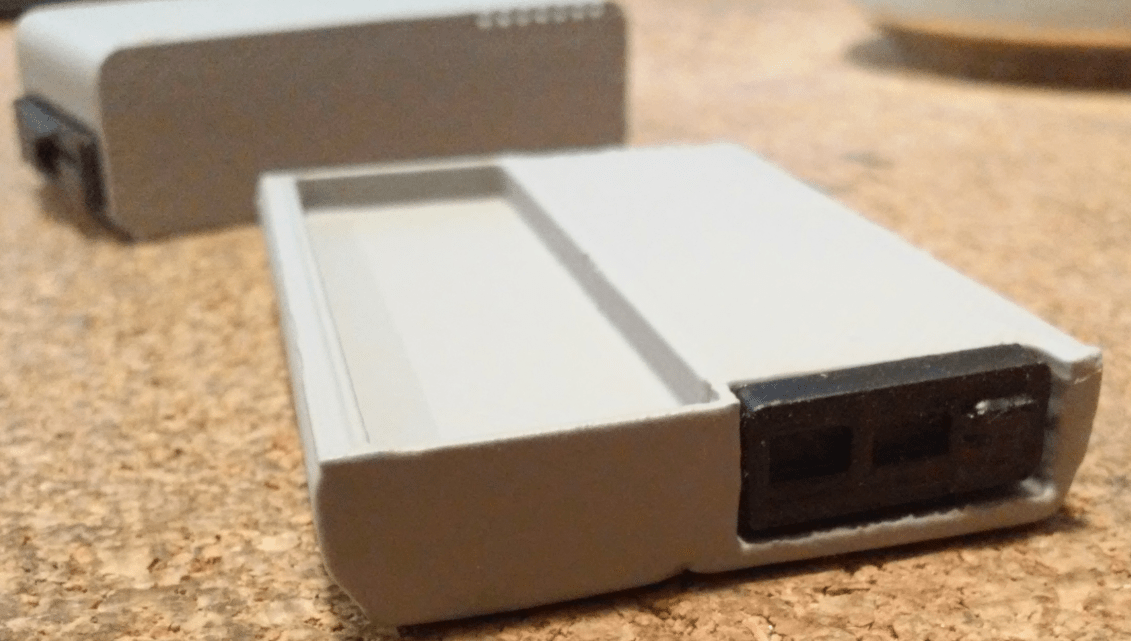
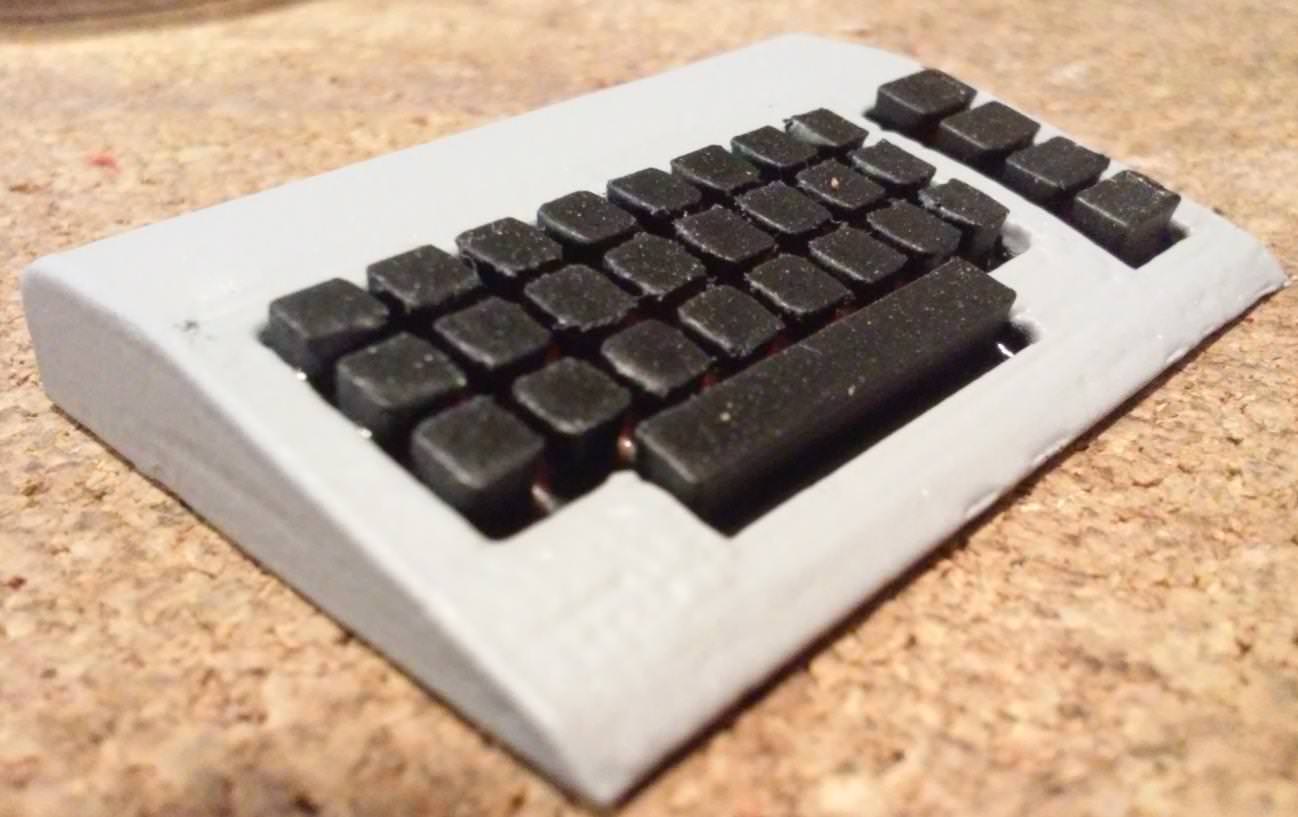

Not the greatest quality but at least I’ve had a chance to test my new 3D printer settings with red ABS.
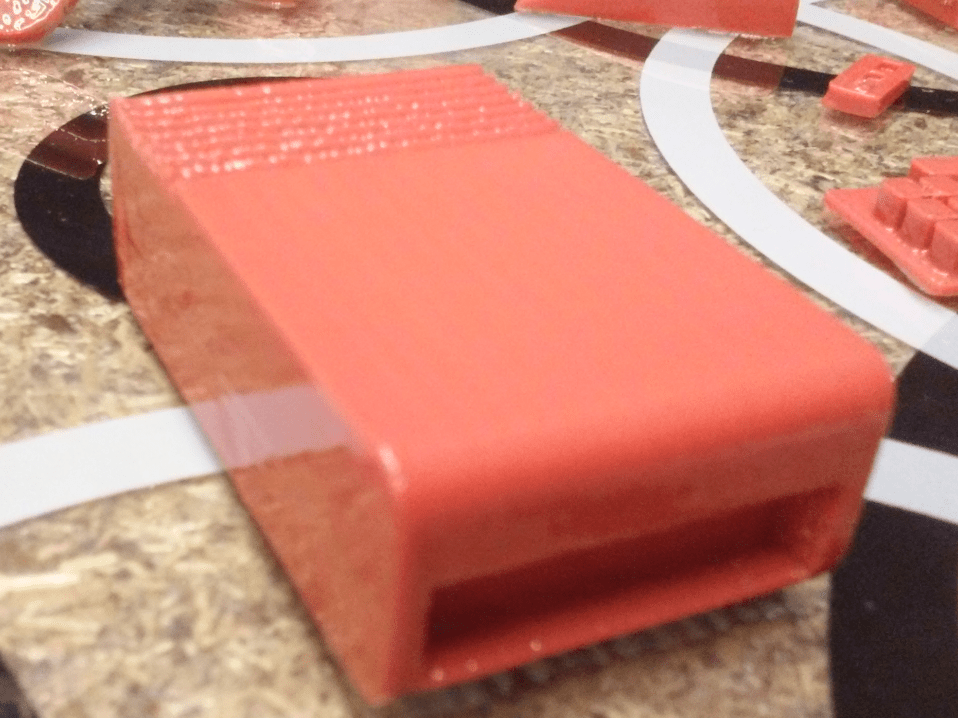
Larger version anyone?
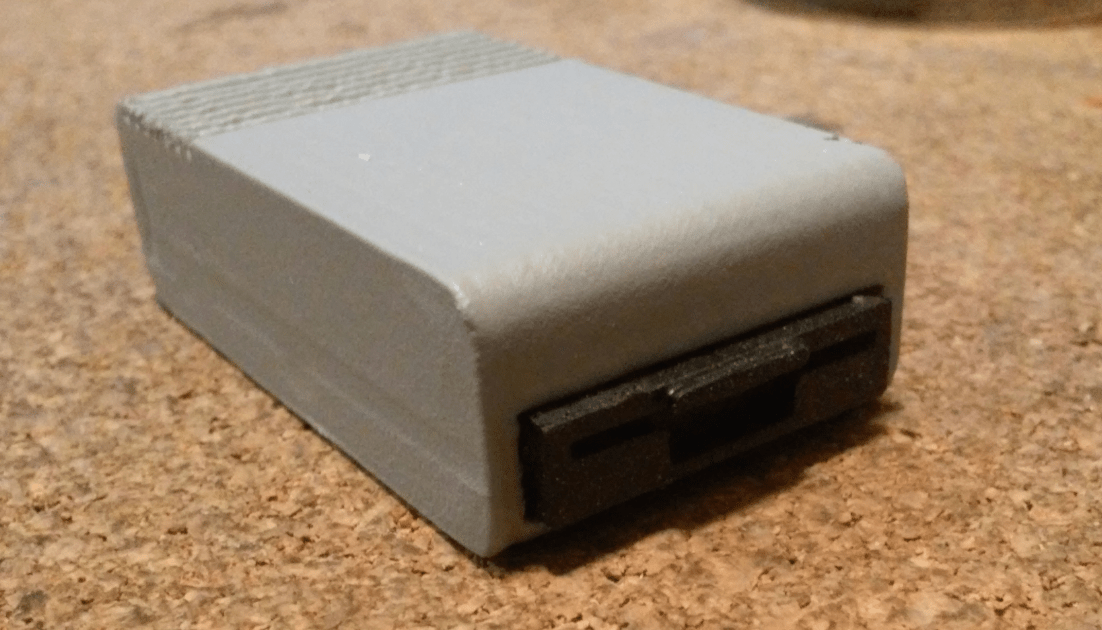
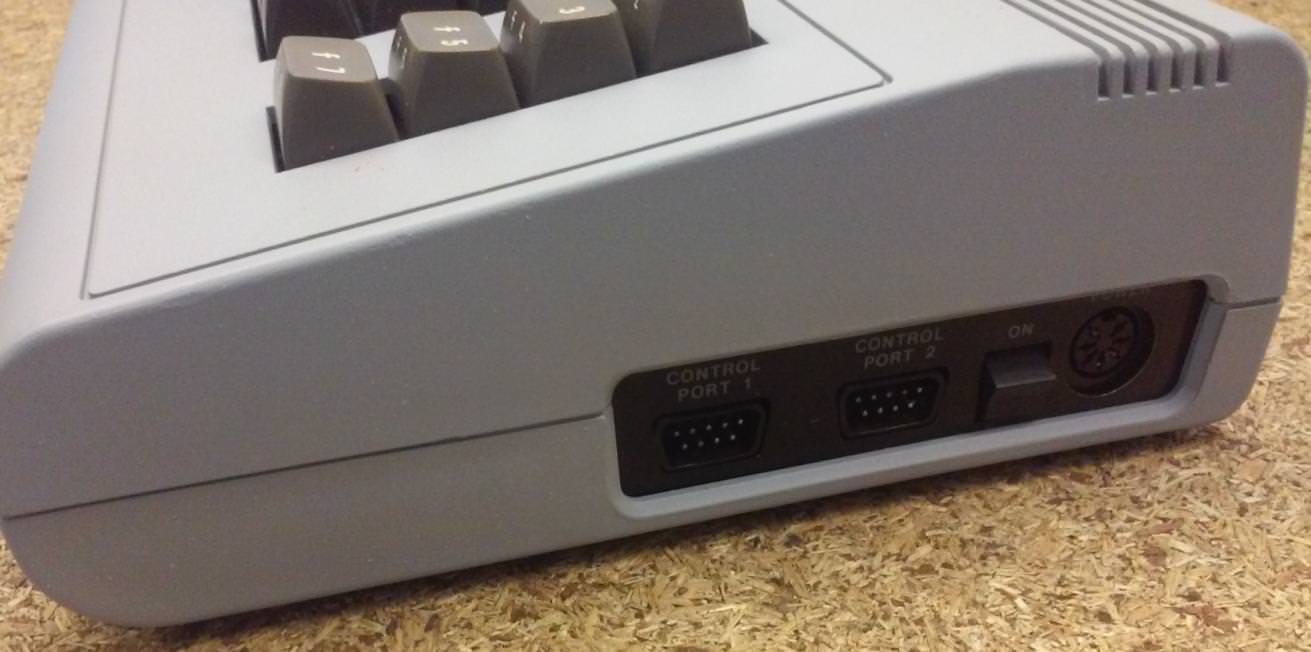
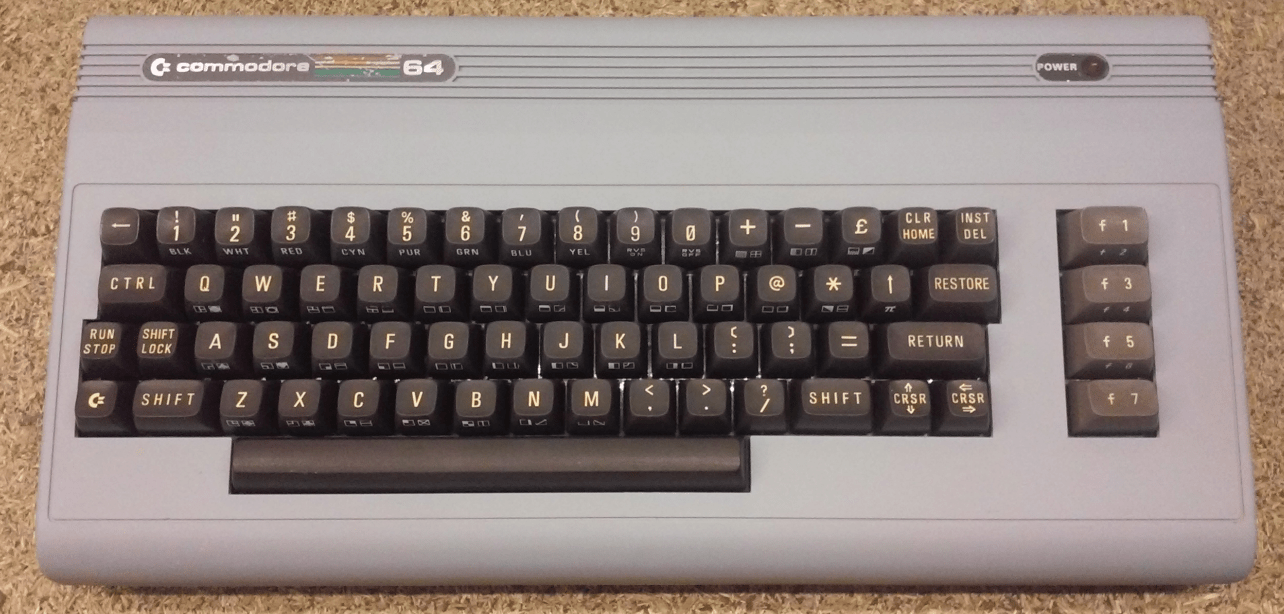
So, I had this nice C64 breadbin but it was seriously yellowed. It was yellowed beyond repair. I’ve decided to paint it in a nice grey matt.
Here is an outcome.


Canoo handheld fix
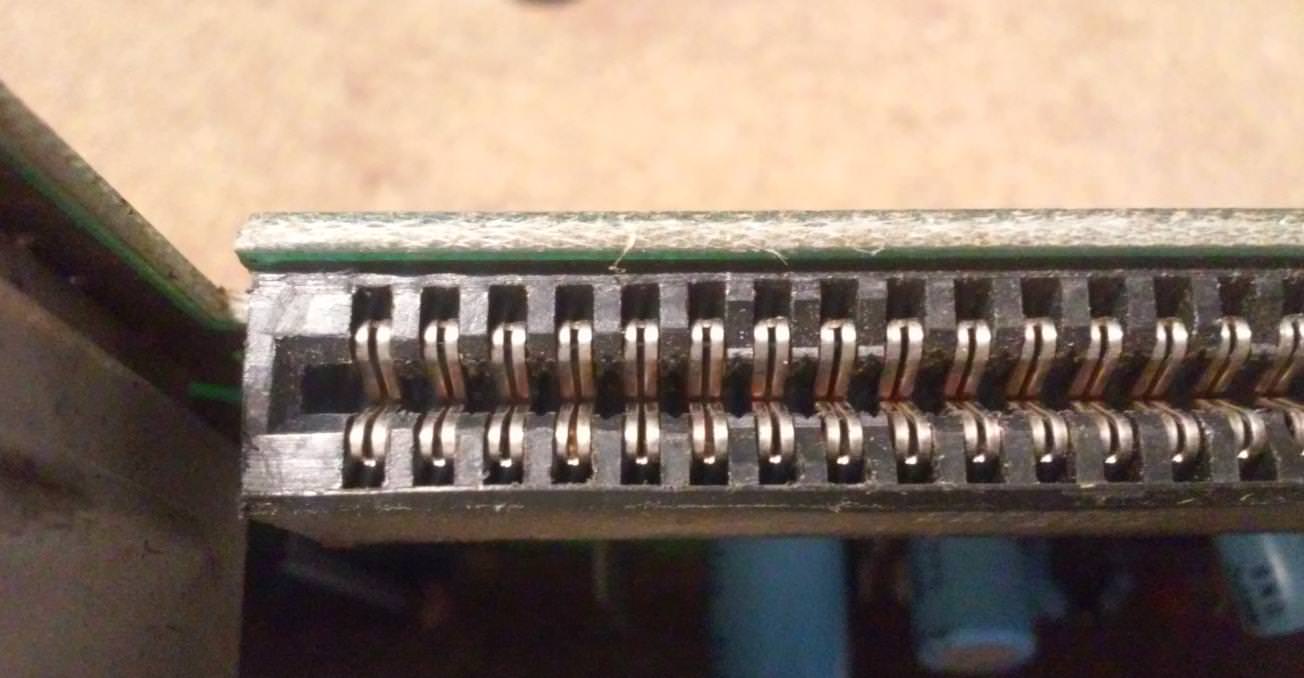
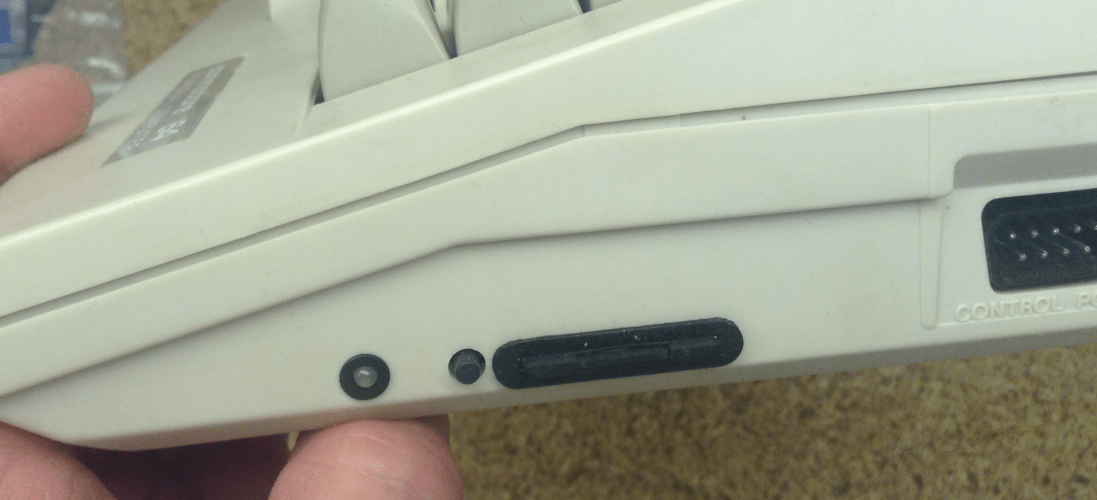
Gepard/Lamers asked me to fix his Canoo handheld. It simply didn’t read SD cards. After disassembly, it became obvious what was wrong with it.
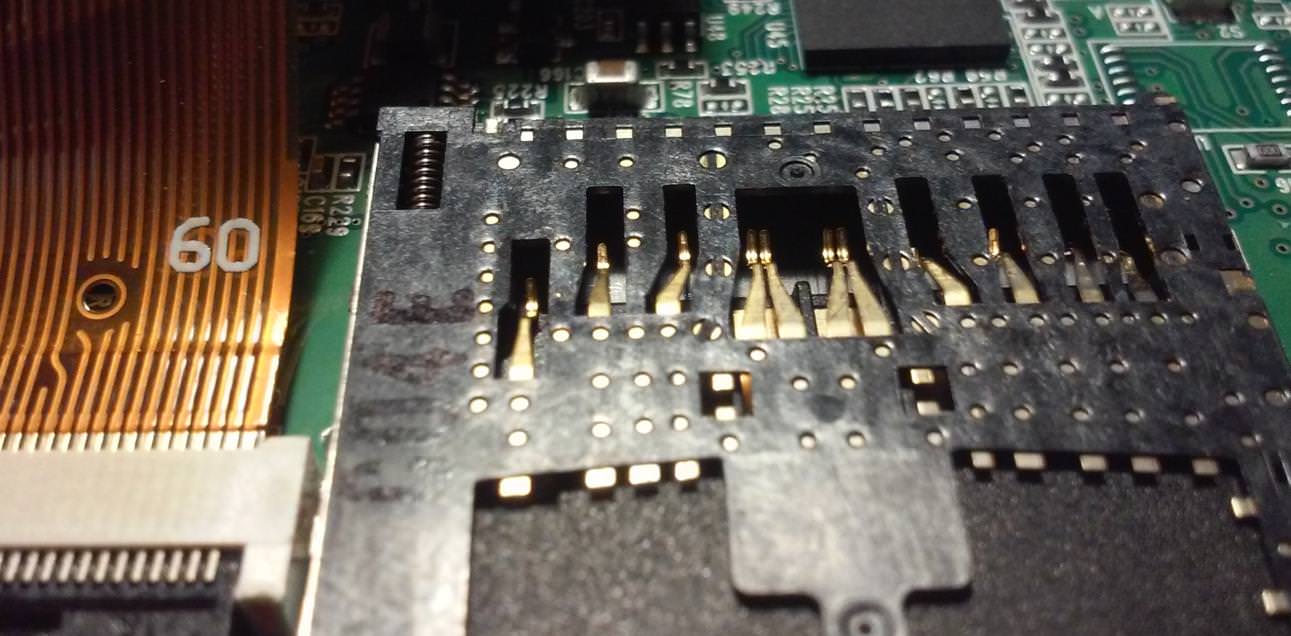
Have a look.

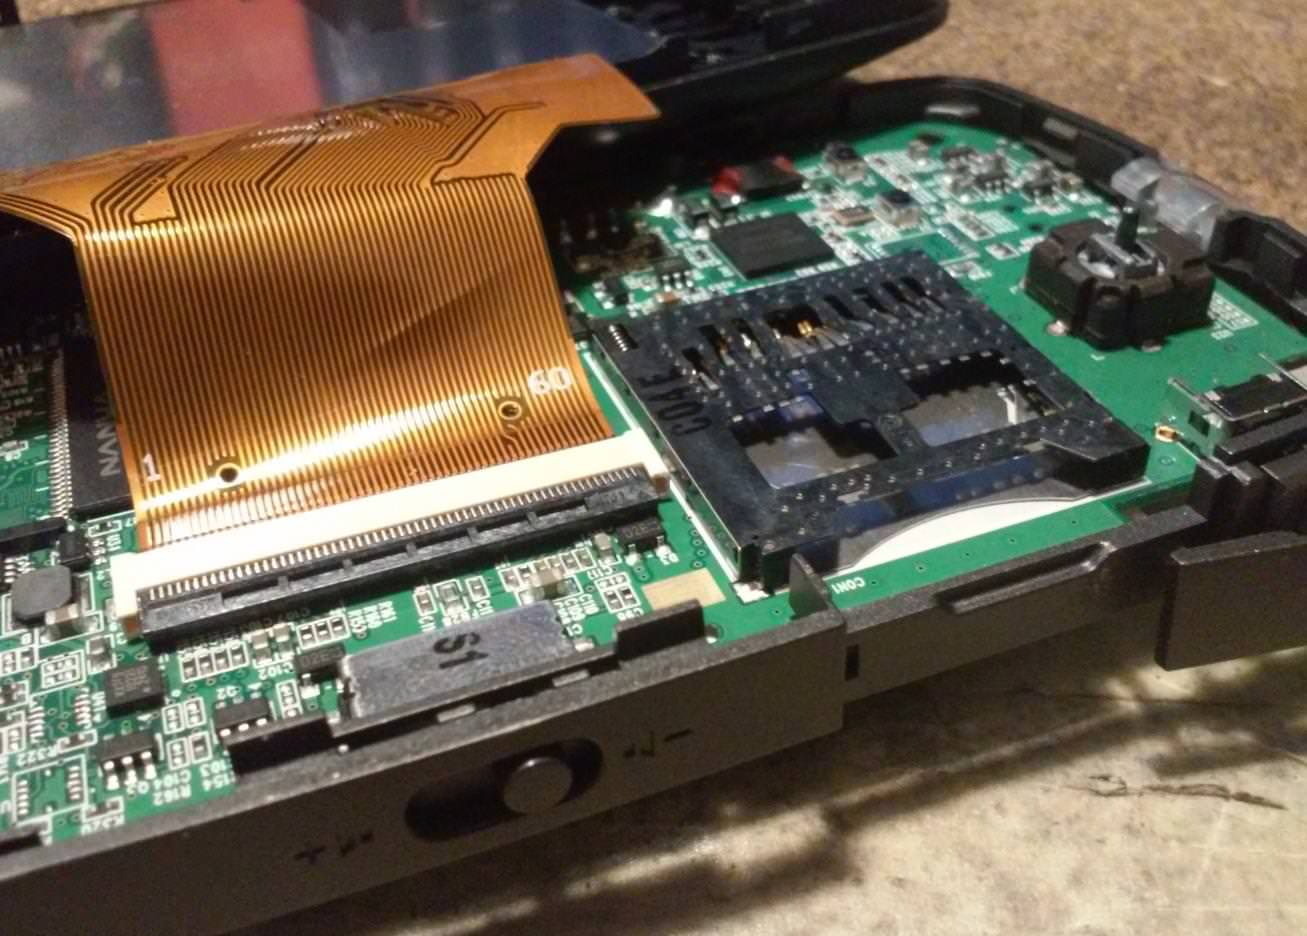
It is kinda hard to notice on these pics, but nearly all SD slot pins were bent.
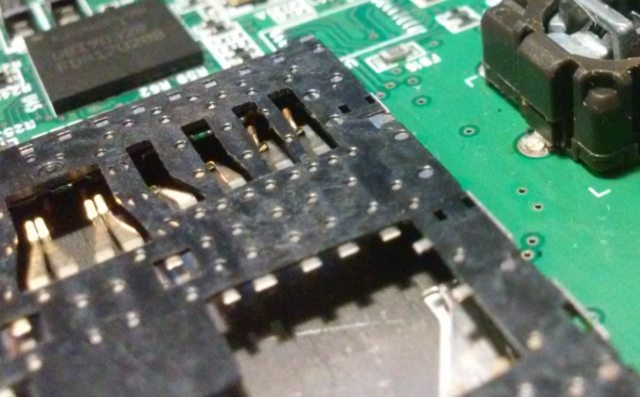

A fixed SD slot started to recognize SD cards without a problem YAY!
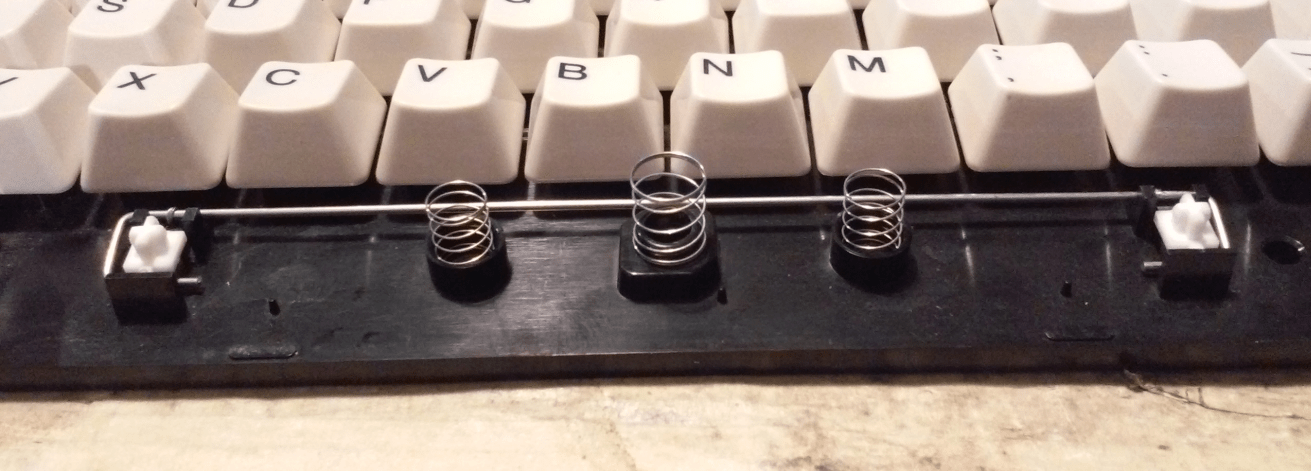
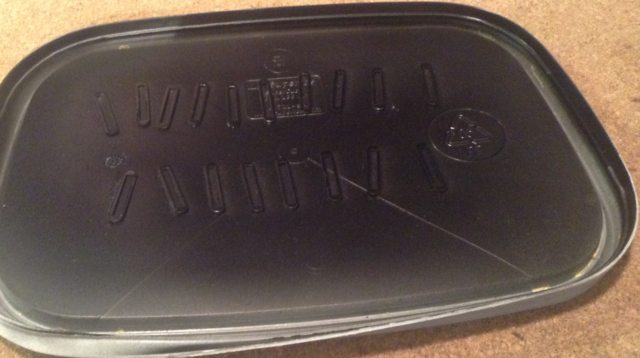
Amiga keyboard – Spacebar fix
I had to figure out a way to fix broken holders under a spacebar.
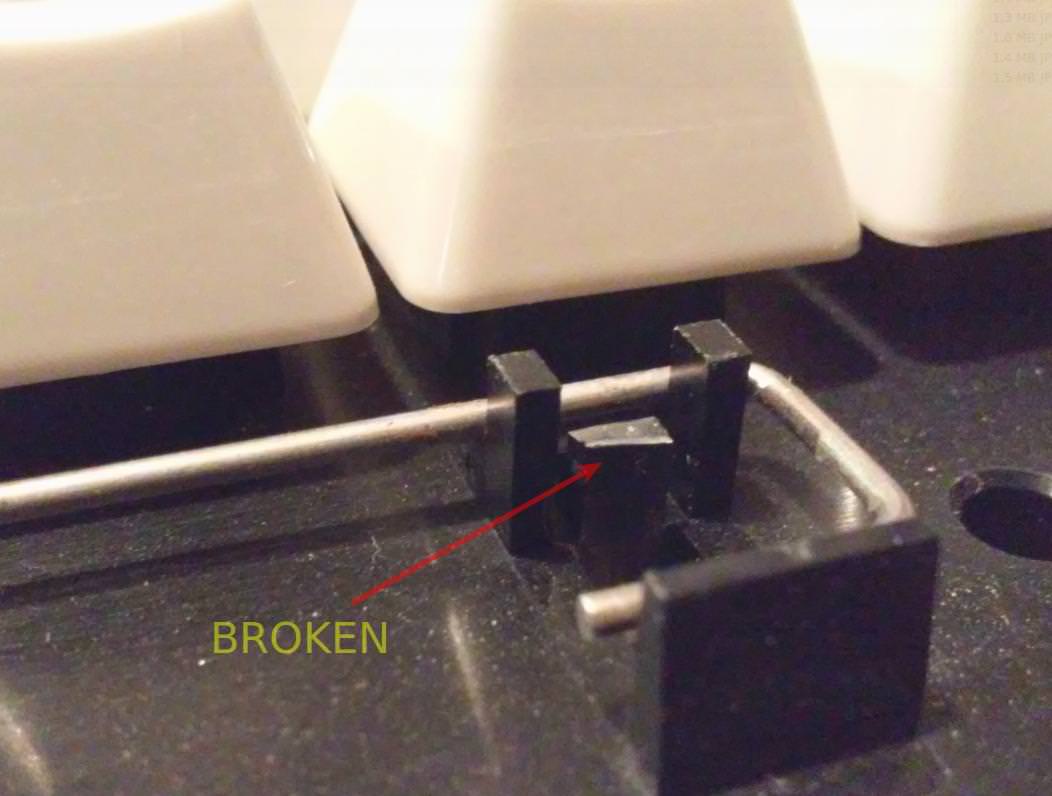
Gluing it back is not an option since it will pop right after inserting a wire back into it.

A piece of wire was needed to fix it 😉
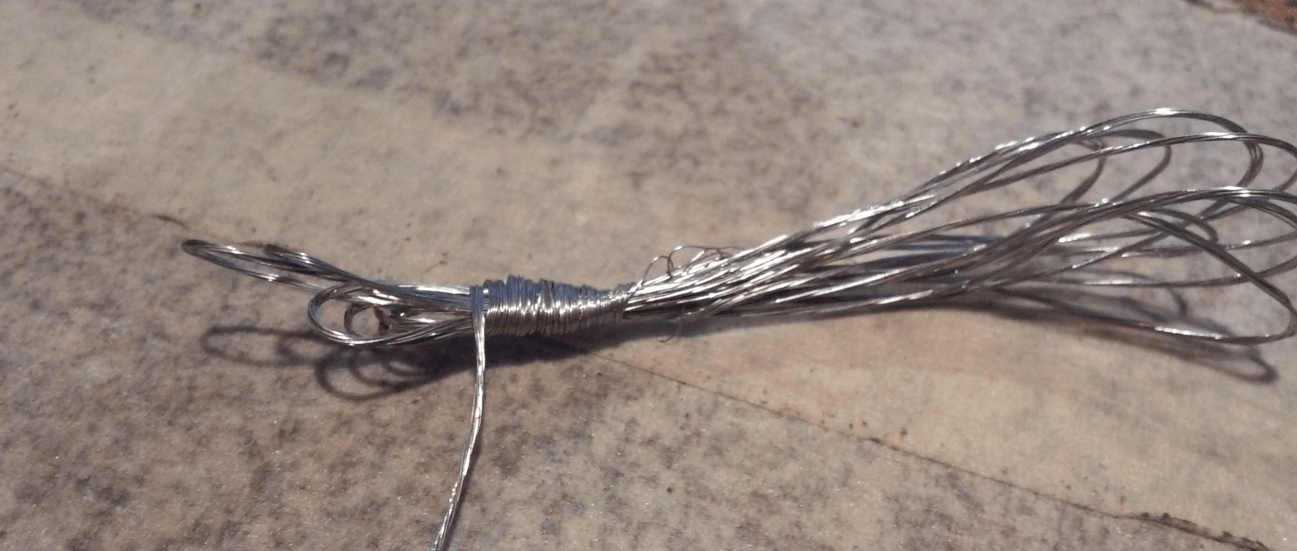
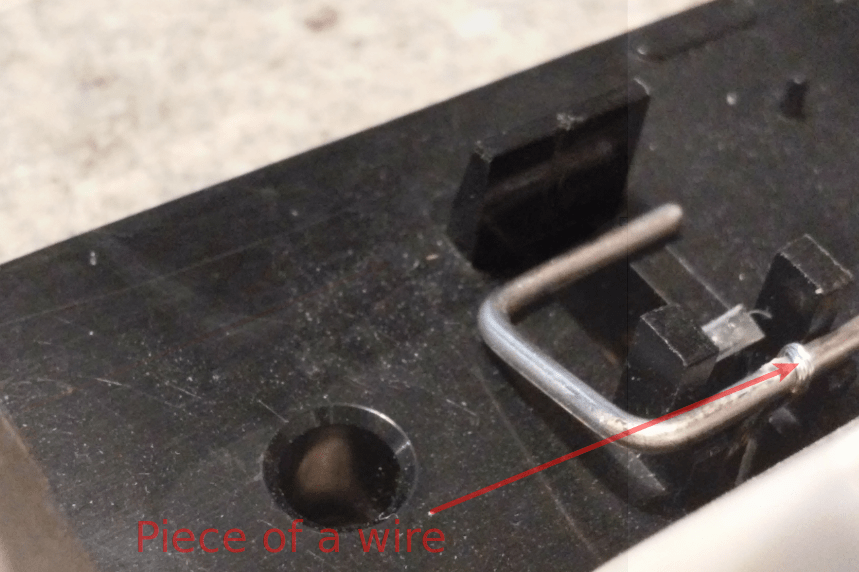
I’ve melted both ends of a wire with a soldering iron like this:
Works like a charm 😉

Dead C64 No.1
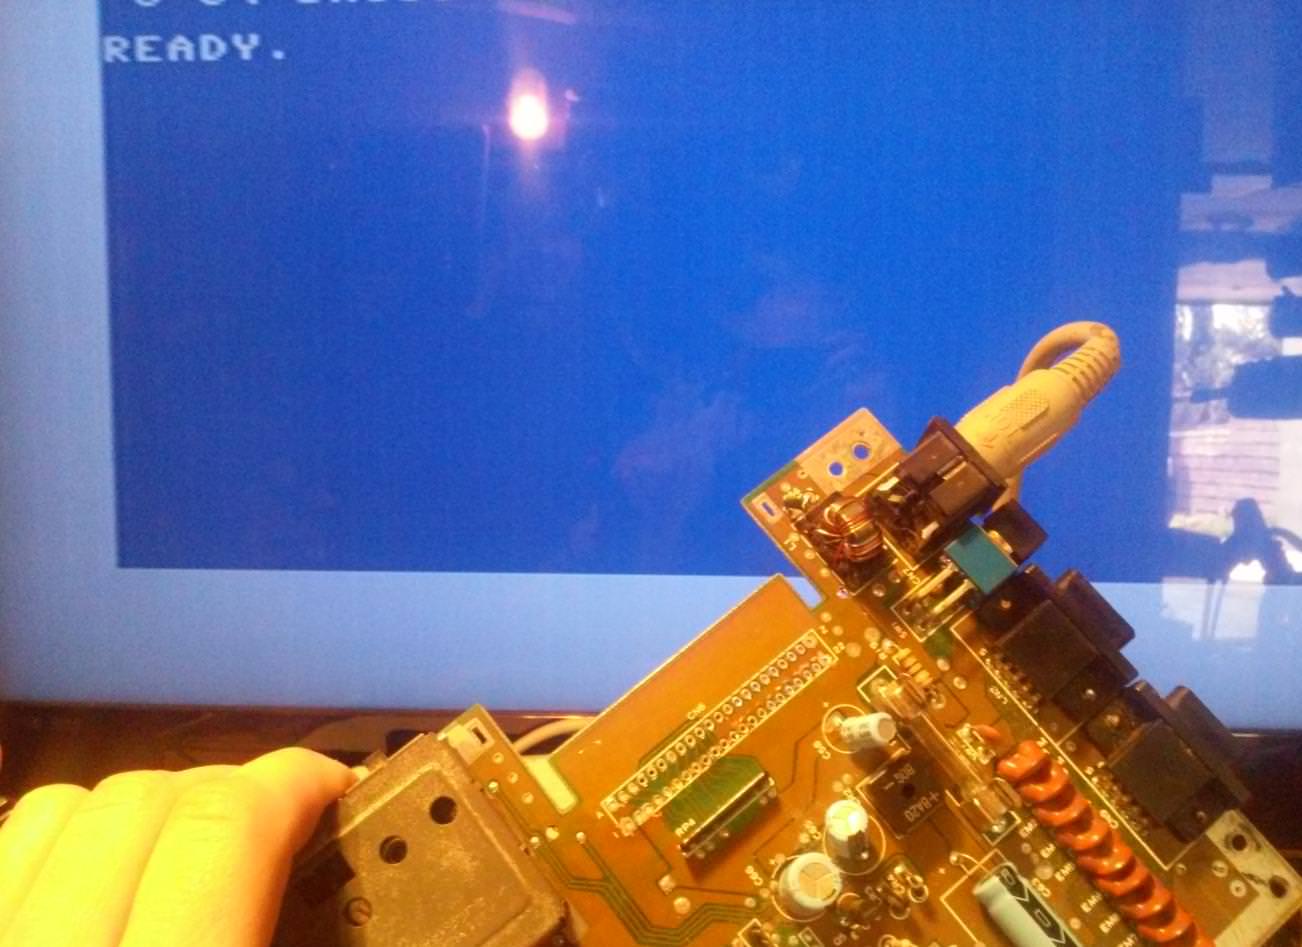
I was working on one C64 board that was dead regardless of my honest efforts.
The weird thing was that it worked with an EasyFlash3 inserted in it.
It took me quite a while to figure out that the cartridge socket was the cause of the black screen. To be more precise, shorted pins in it 😉
That’s one of those rare cases when desoldering a part fixes a problem 😉
Dead C64 No.2
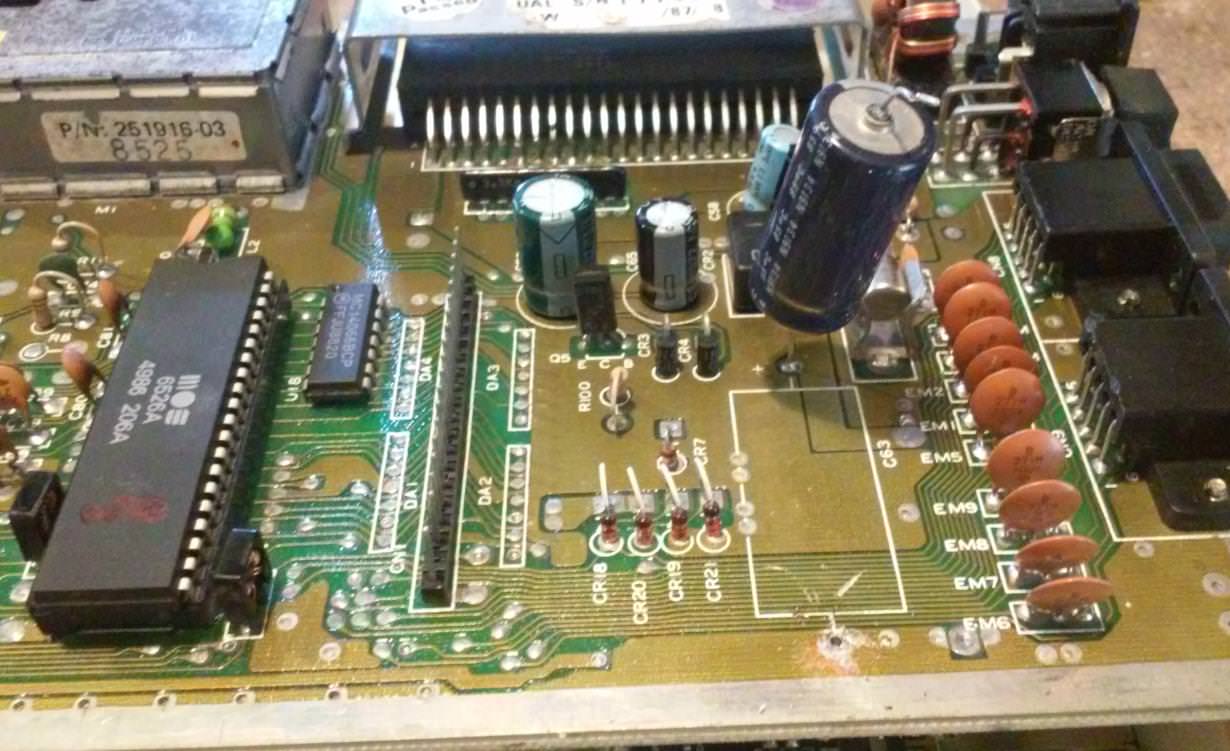
This one, on the other hand, was waaaaaay harder to fix.
I’ve spent a few hours to fix it. At first, it seemed like an easy fix because RAM chips were dead. I’ve swapped RAM but that didn’t help, so I’ve swapped nearly all other chips and tested ’em in another machine. It turned out that all chips are working correctly but that particular unit still didn’t want to boot.
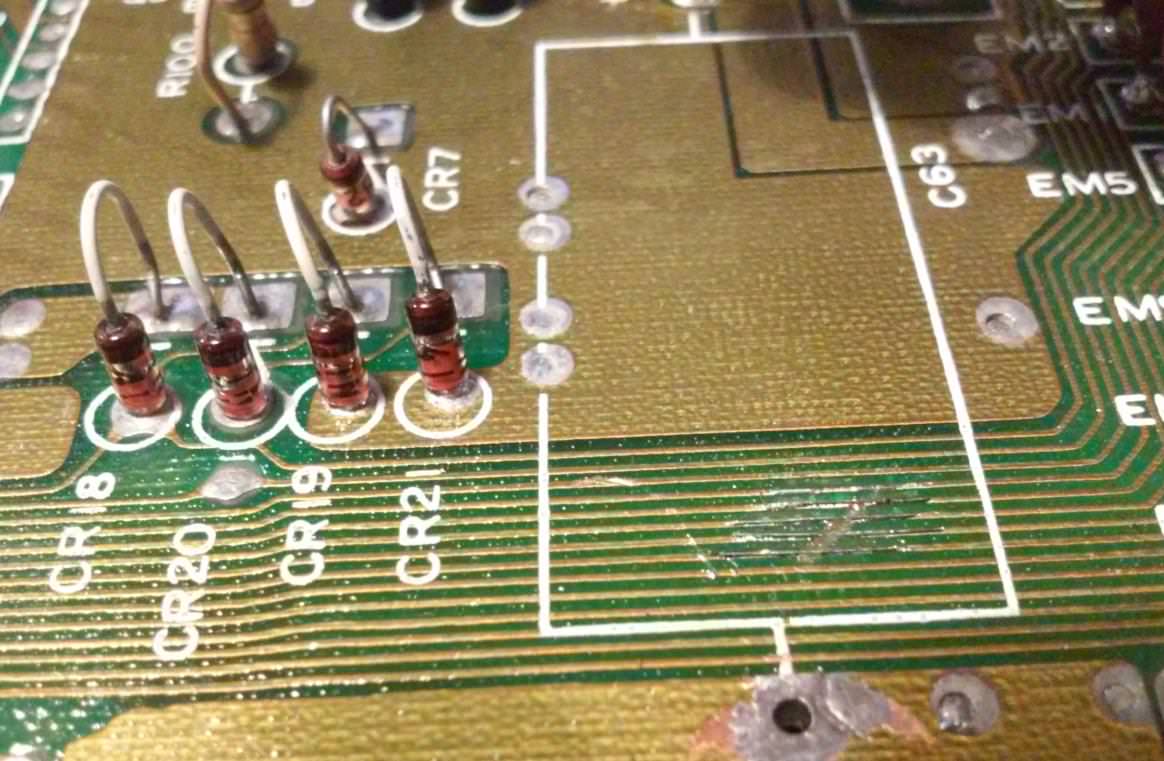
I’ve started to check for signals continuity on a motherboard.
Below a picture of me tracing a traces like a boss 😛
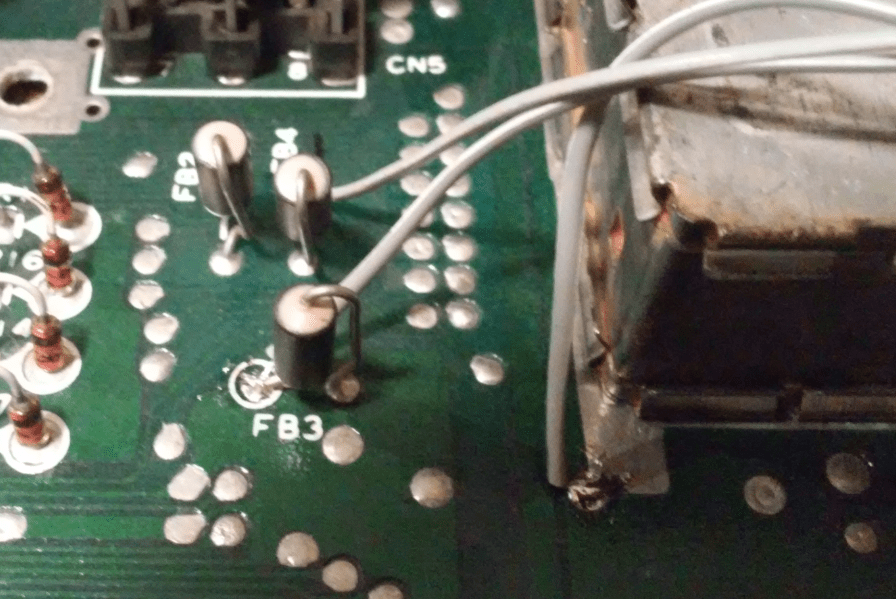
Ahaaaa! It was hidden under a cap!
It looks like someone used a screwdriver to screw this board up 😉
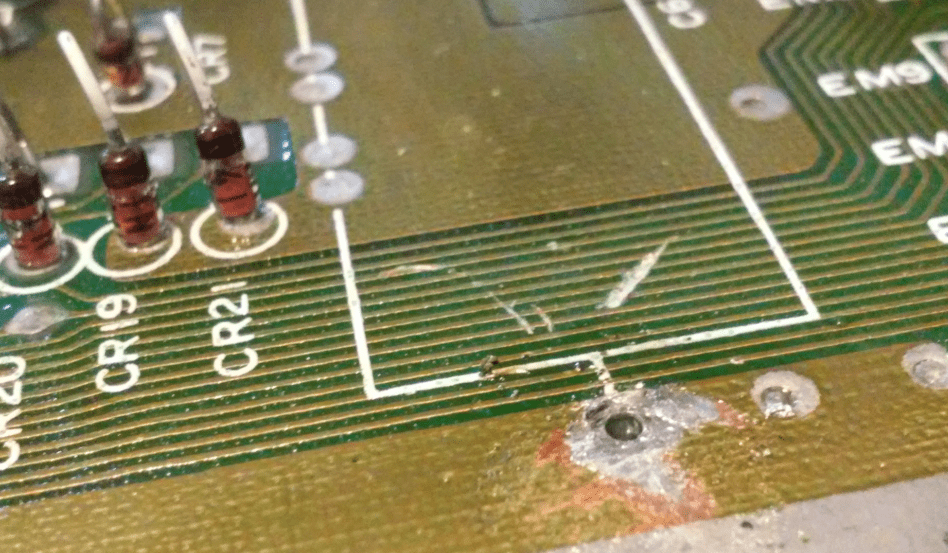
Closeup time !
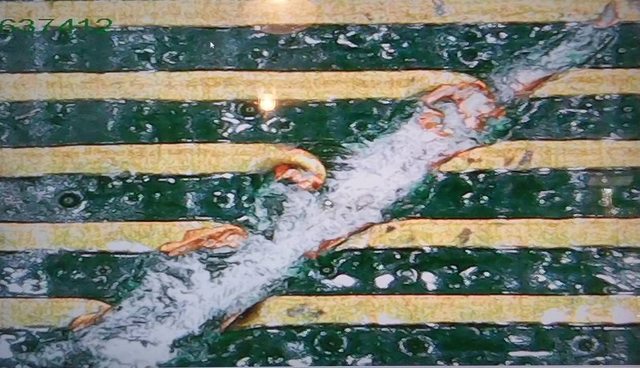
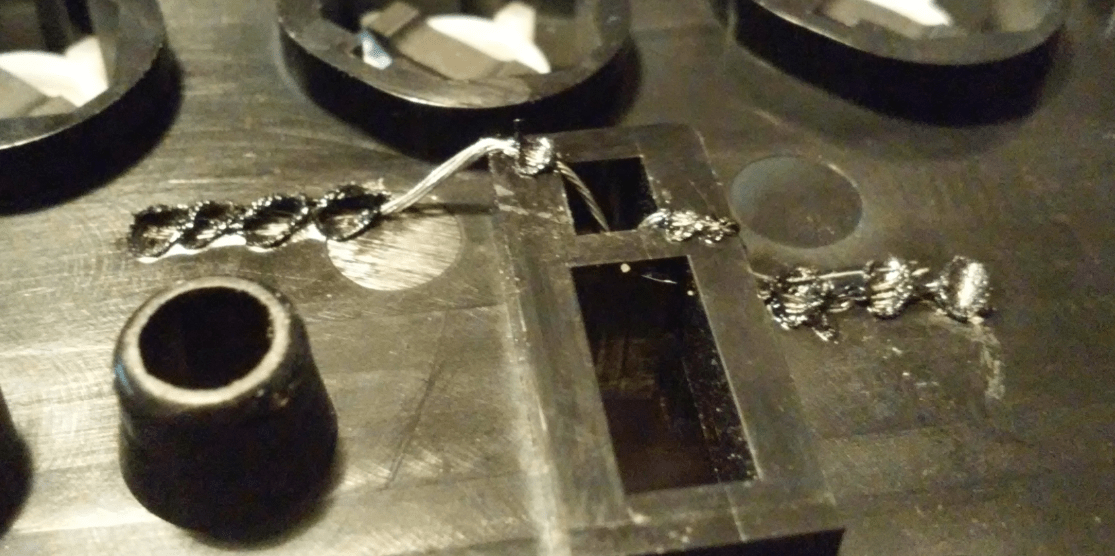
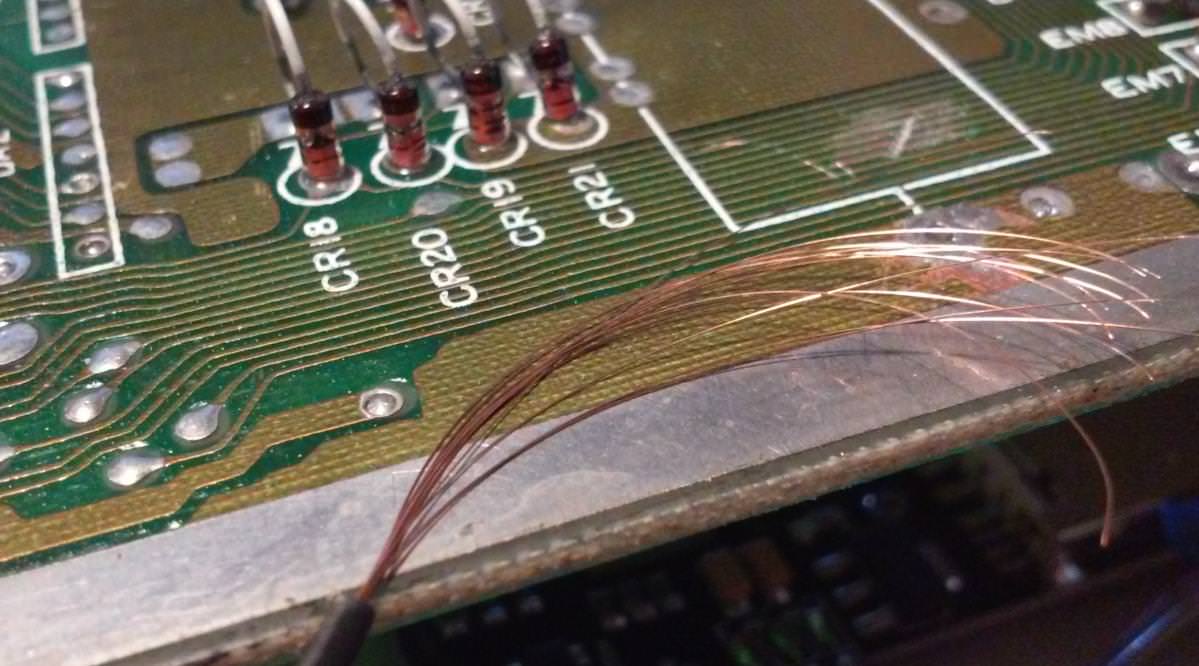
Obviously, I wanted to fix it so I had to remove a solder mask from traces and tin ’em afterward.

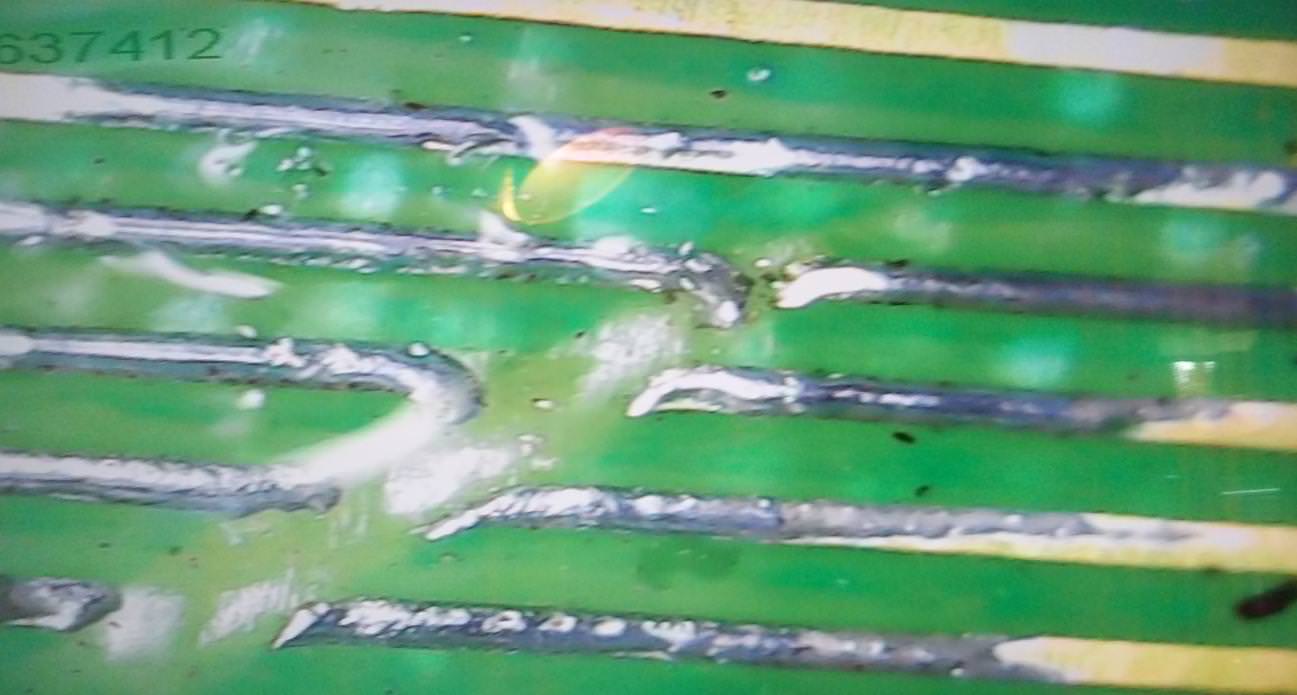
A piece of wire came to the rescue again. Only one strand of it 😉
Here is a closeup of all traces fixed.

Internal SD2IEC lips 😉
Since I mount a lot of SD2IECs inside C64s that I refurbish, I’ve decided that I’ll add a nice part in a form of SD card lips.
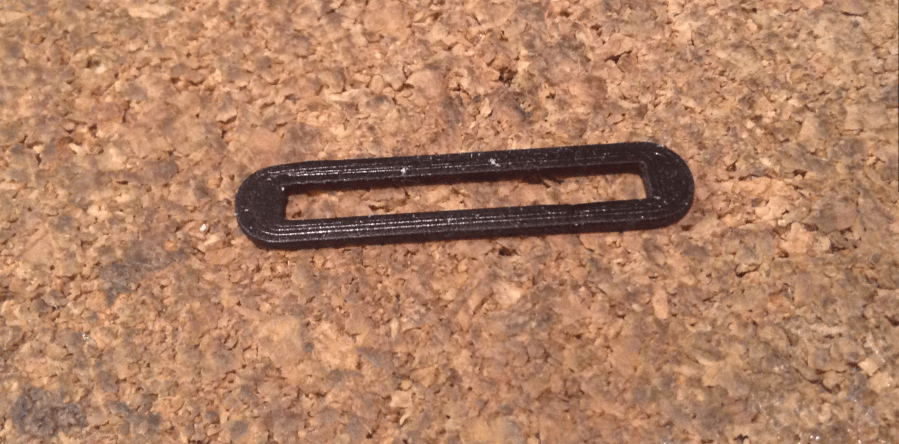
I’ve 3D printed ’em but since I had a red ABS filament, I also had to spray paint ’em black.
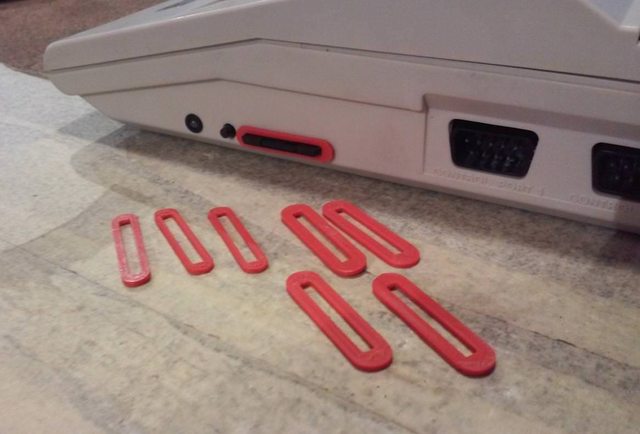

Here is an outcome 🙂

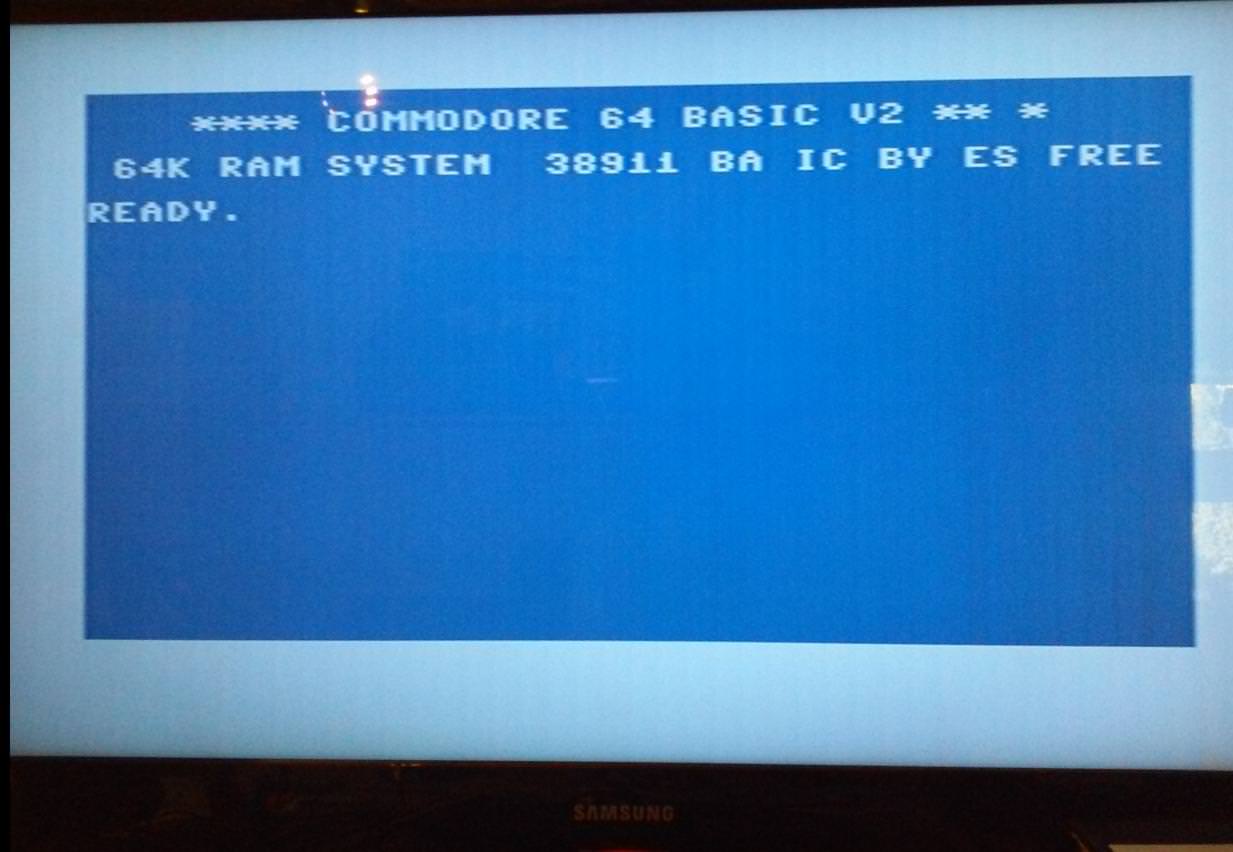
C64 S-Video


While I was working on an S-Video PCB for Amiga 600/1200, I made a small PCB for C64. Results below.
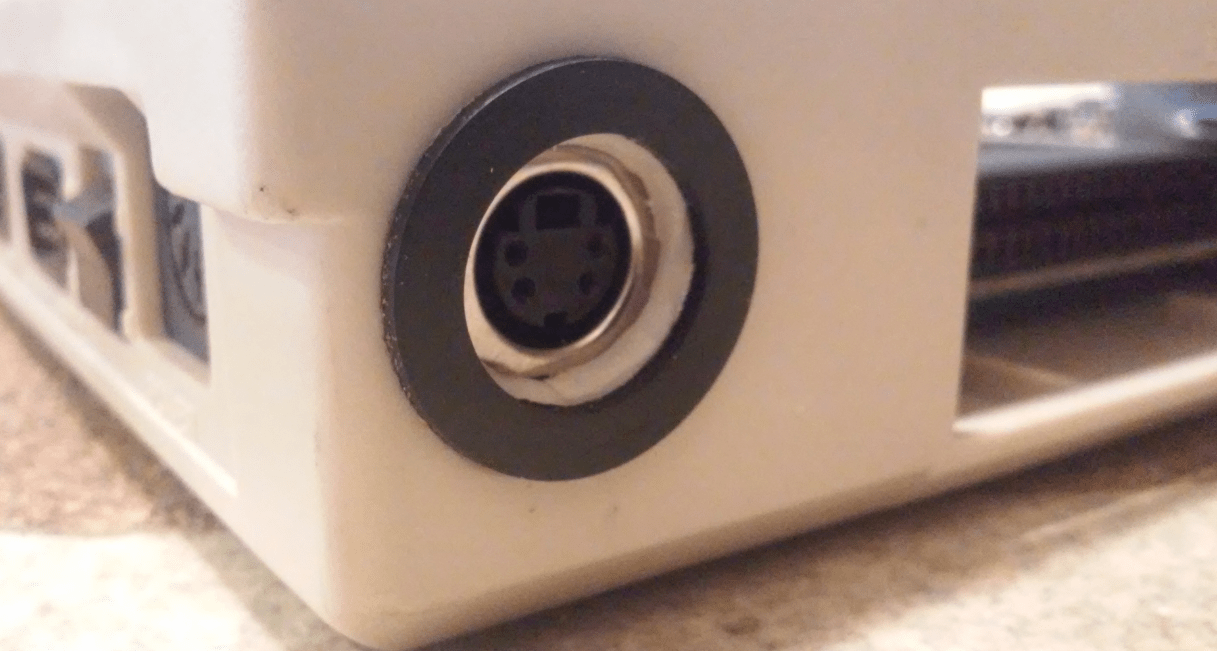
Standard video output
S-Video output
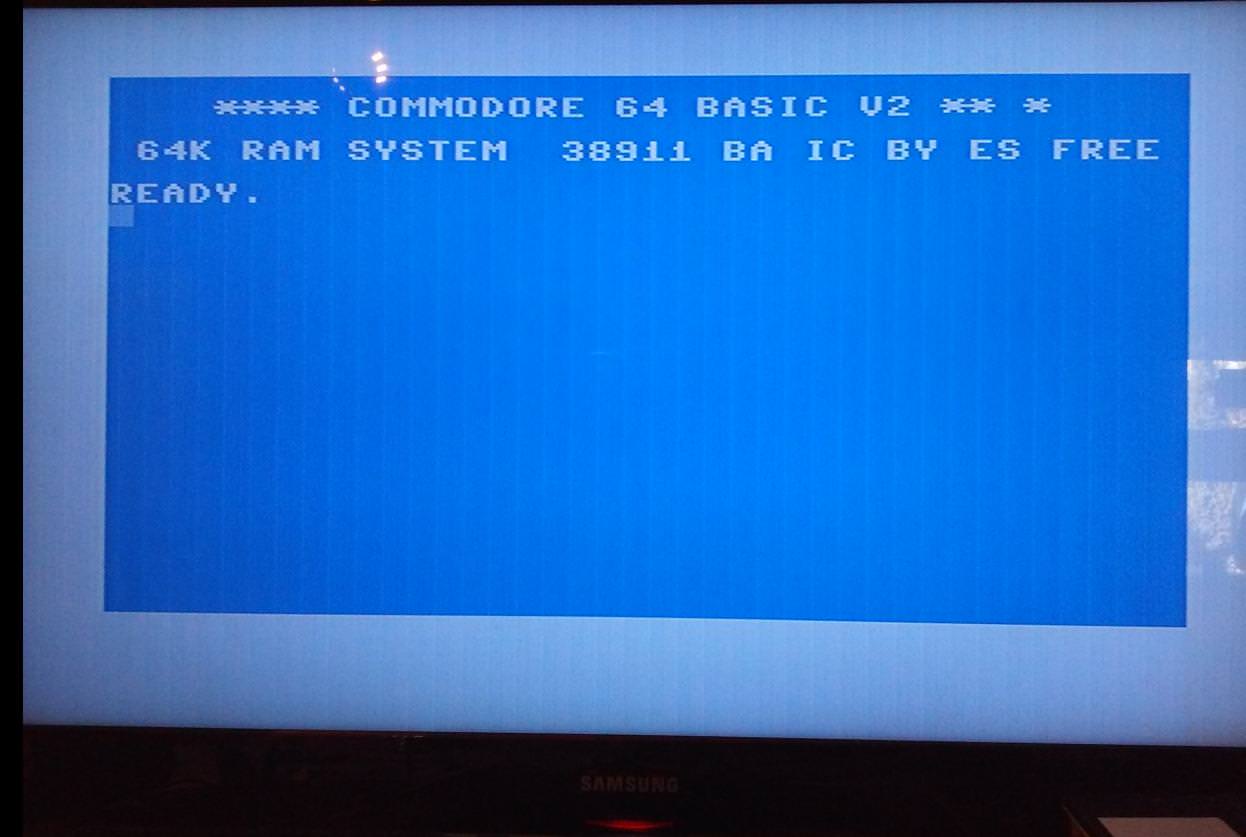
Yes, I know that char ROM is failing 😉
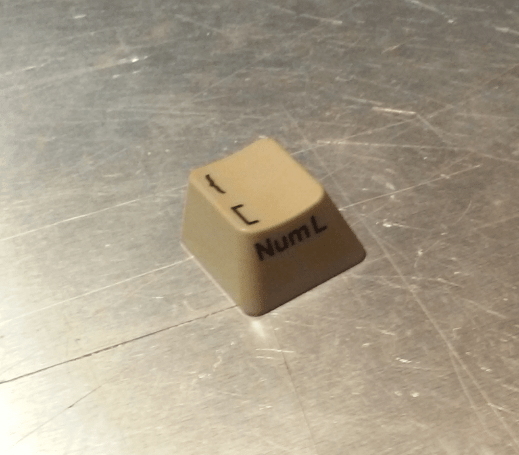
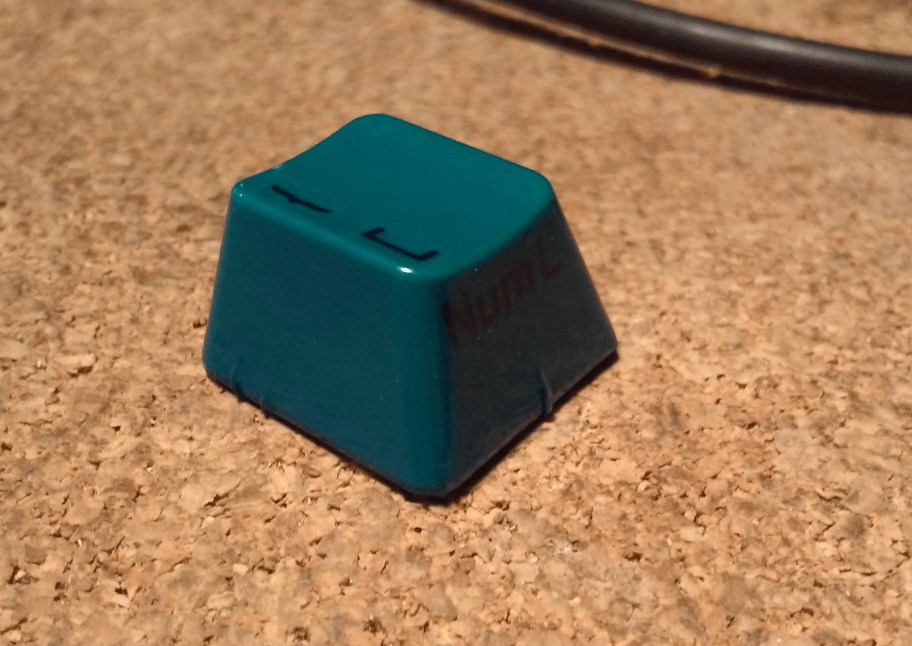
Colored keycaps project
I am currently working on a project that will result in nicely made keycaps.
I am not going to reveal any details yet. Expect another blog post about this project 😉
That’s it for today. I hope you enjoyed it.
OUTRO
If you want to get retro gear or hardware modules, please visit our shop
New products are being added every month.
Also, please support our work by spreading info about it.
Without your support, we simply cannot grow and we have a lot of new excellent retro hardware (and more) products to come 
I fixed my dead 1571 Commodore FDC mainboard after long months of desoldering all IC’s and testing all parts. That repair can be found on this website: https://jestineyong.com/very-complex-floppy-disk-controller-board-finally-fixed-after-a-long-time-of-investigation/
Hi there! Congratulation for your awesome blog! I’m really fascinated by your creative thinking and experimentation and I enjoy much reading your adventures on retro computers restoration. I’m particularly interested in your technique of colouring old keycaps without damaging the existing lettering. Do you use paint dye to achieve your results? Keep up the good work!
Hi and thank you for warm words 🙂
I am using transparent paint. I’ve used a neon marking paints. You can also experiment with spray paints to dim car tail lights. You will be able to find these in various car tuning shops.
There was a plan to form a different approach but I had to leave it for the future as I am currently overwhelmed by the various projects.