… or just watch our (Lamers) demo ok?!
<intro>
I’ve told you already, you need to watch it ;P
</intro>
The beginning
Back in the 80s, I was on a short trip with my parents and back then I already knew ZX Spectrum 48k. I was also a proud owner of an Atari 65XE but … being away from home caused some computer hunger. One day we were visiting my parent’s friends. I was quite a straightforward kid and two seconds after crossing a doorstep I asked our hosts if they have any computers. IIRC, they’ve replied that there is a computer that their son used to use so I can play with it. Long story short, this is how I’ve realized that Timex is a ZX Spectrum 48 clone of some sort but I wasn’t sure what are the differences … well no Google back then ;P
Fast forward to present times…
<click> … <click><click>………<click> … some time passes …
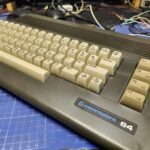
YaY! I’ve got Timmy! 😀
This unit to be precise …
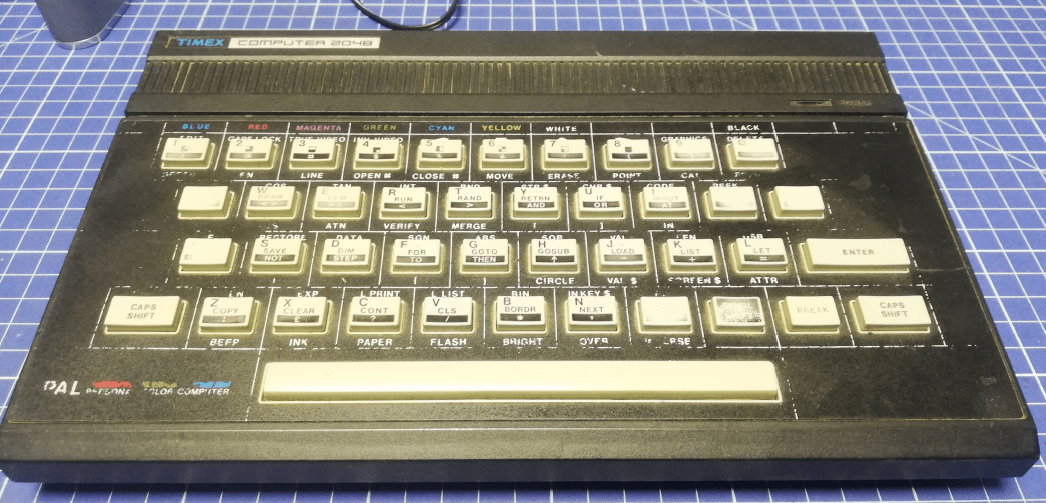
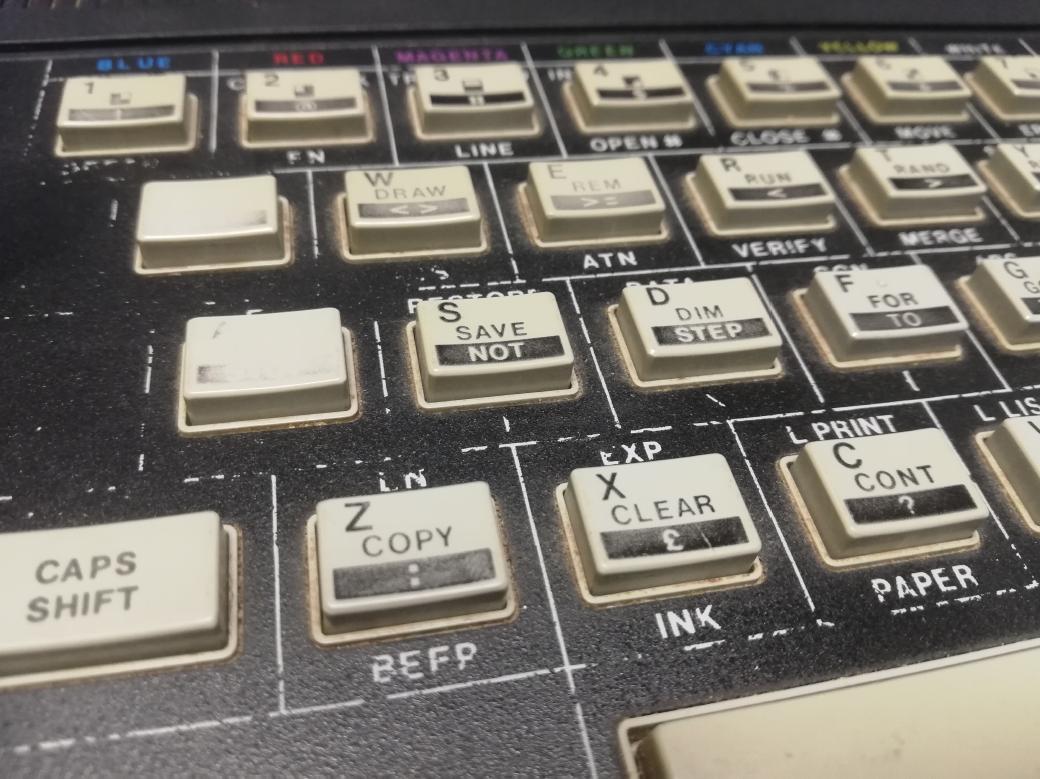
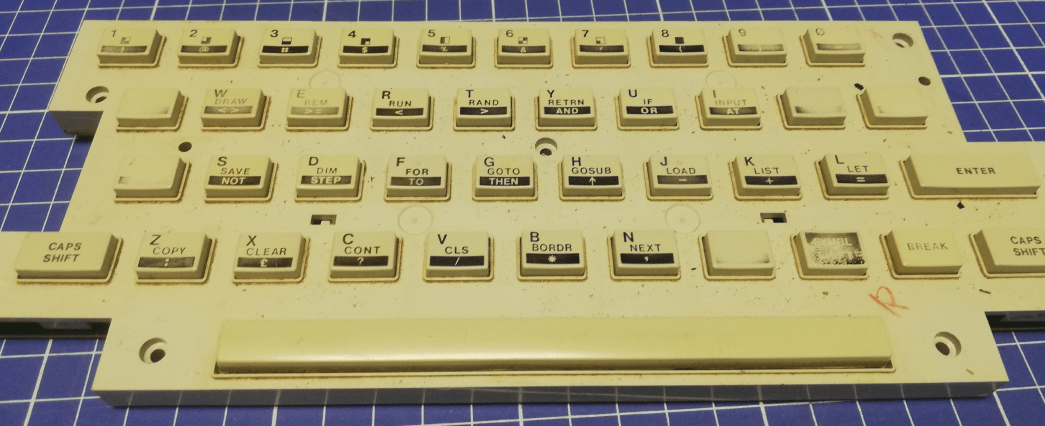
Keyboard
The keyboard was a bit worn out. I couldn’t help much with fixing keycaps graphics because I don’t have the proper equipment to do it (YET!)
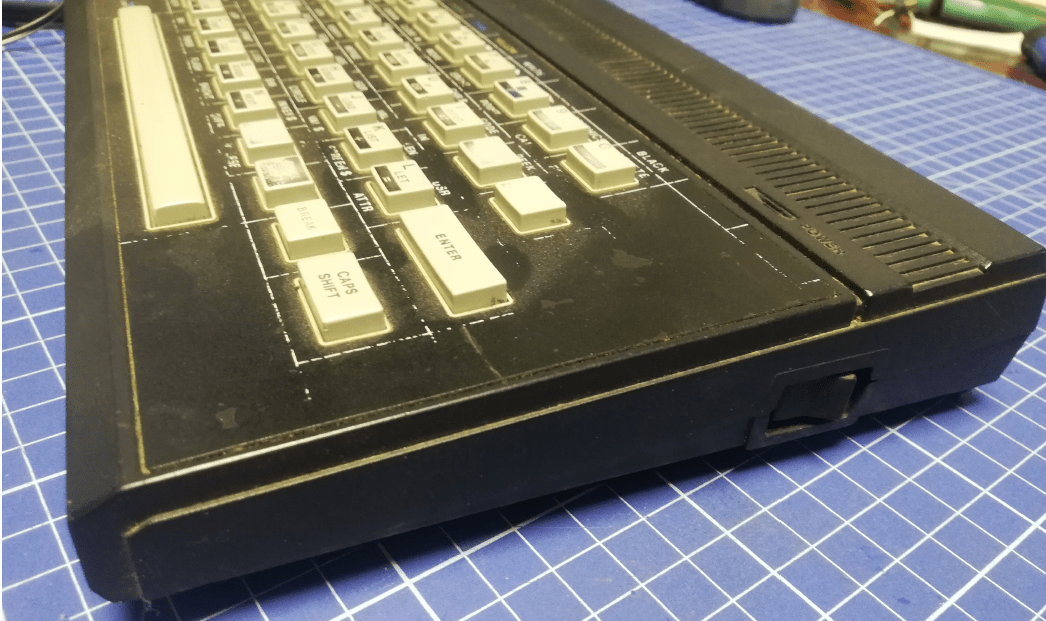
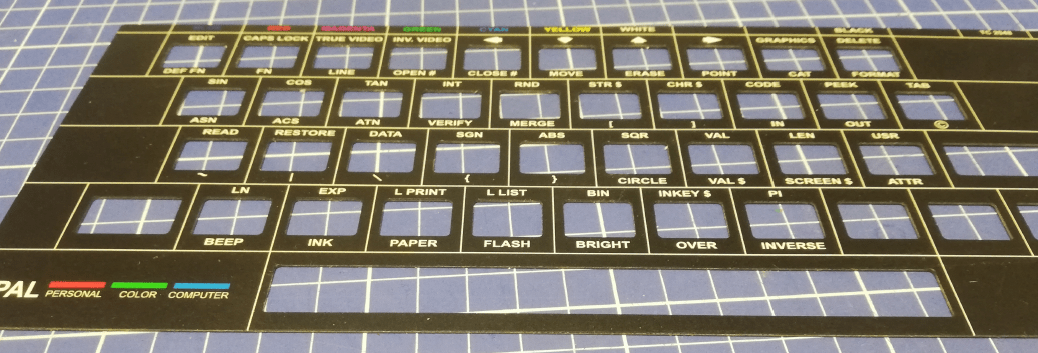
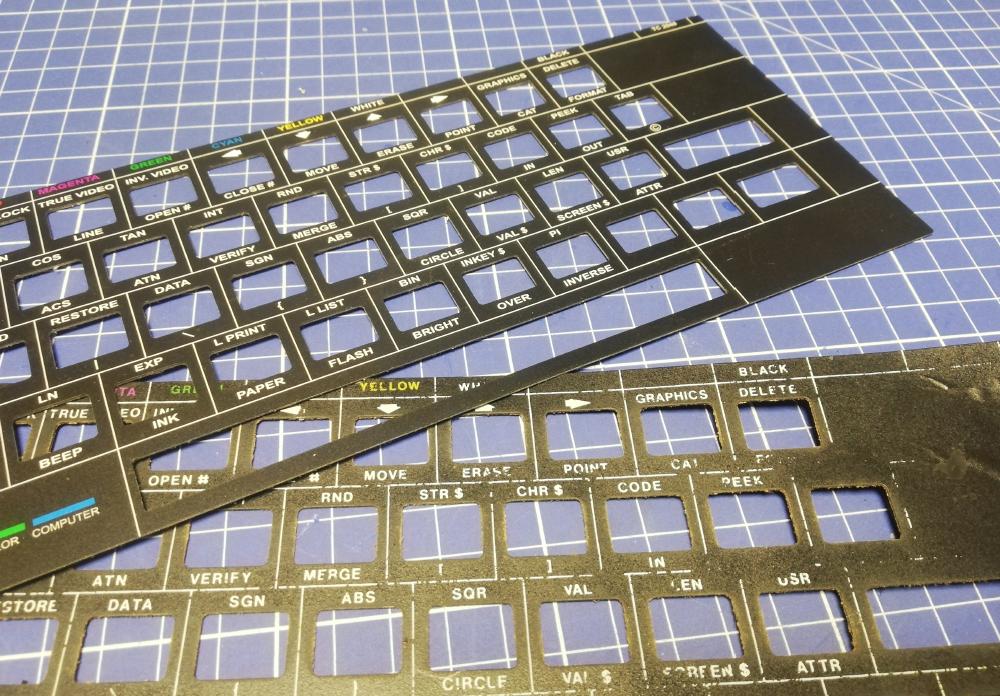
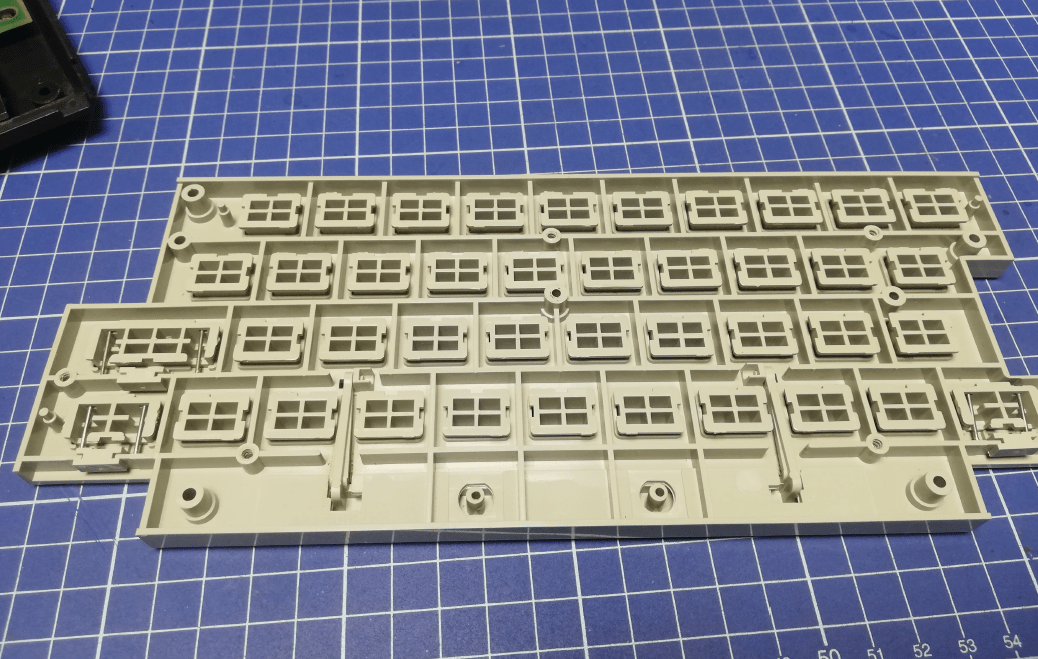
However, I was able to replace a keyboard panel as my friend Duddie from Retronics does exactly that part for Timex 😀
Currently, such panels are available through the Retrohax_DE division on eBay
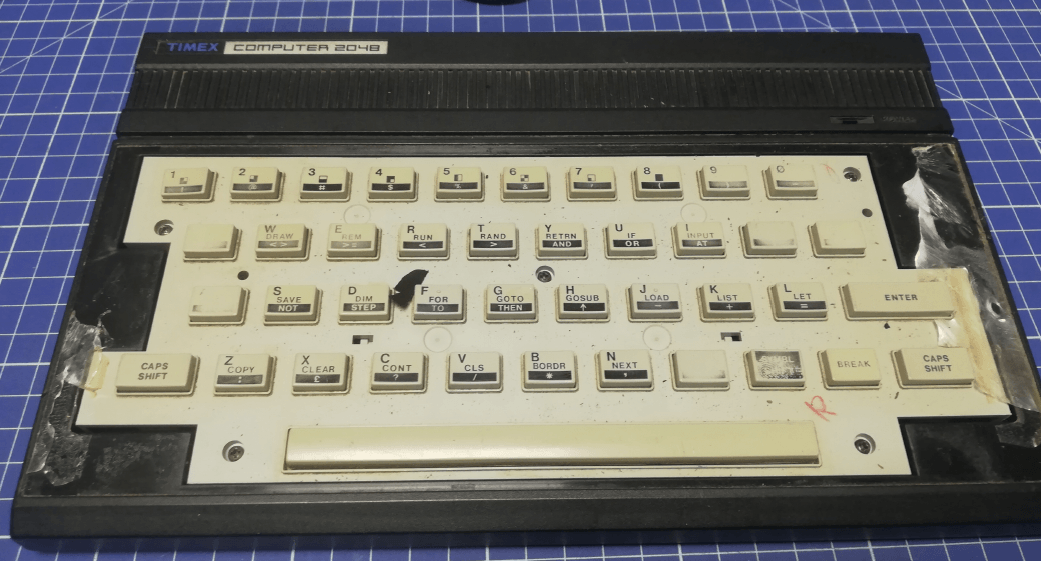
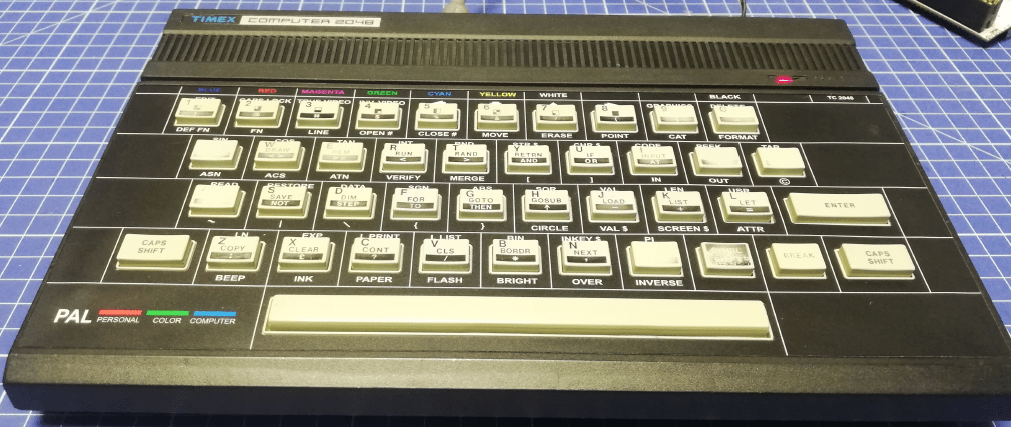
The keyboard replacement panel was easily fixed in place and here is how it looked.
Fixes
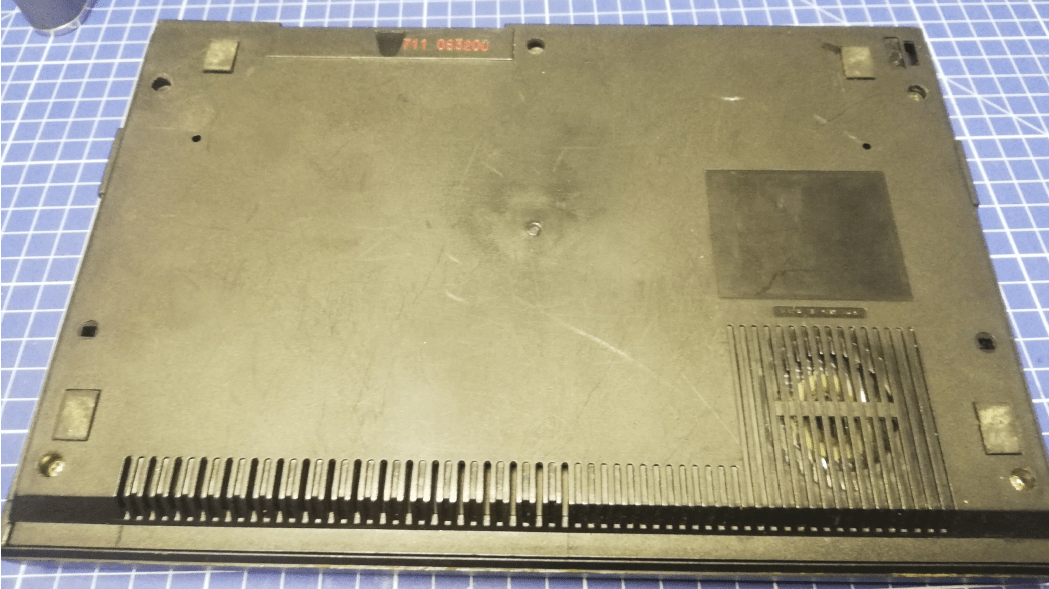
On the electronics part, there were quite a few minor faults to fix.
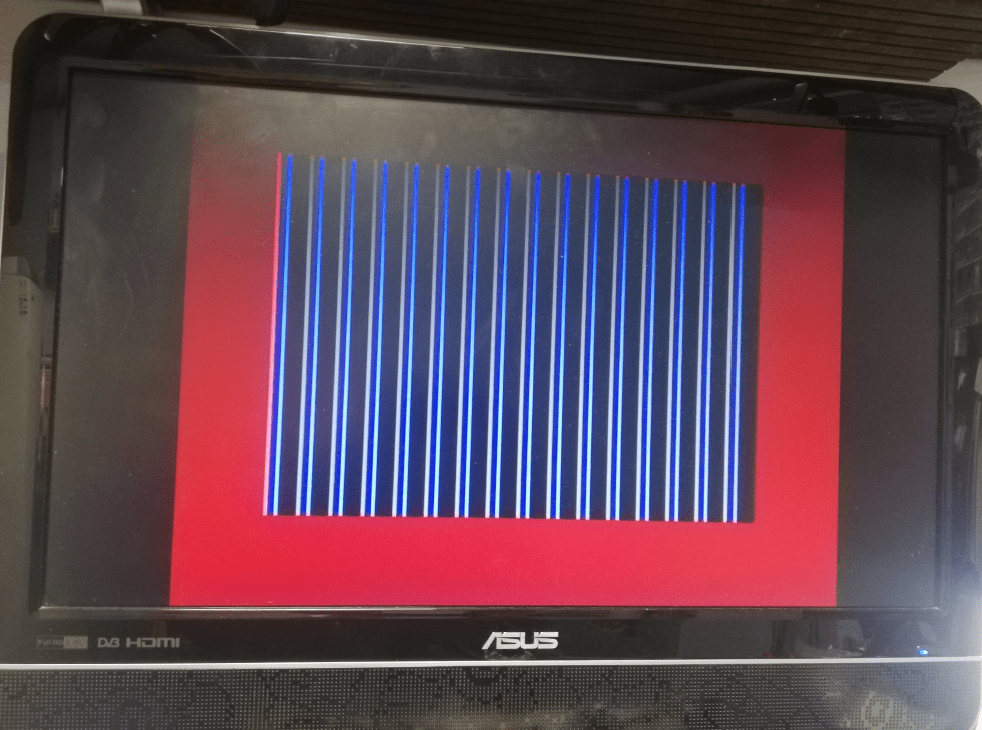
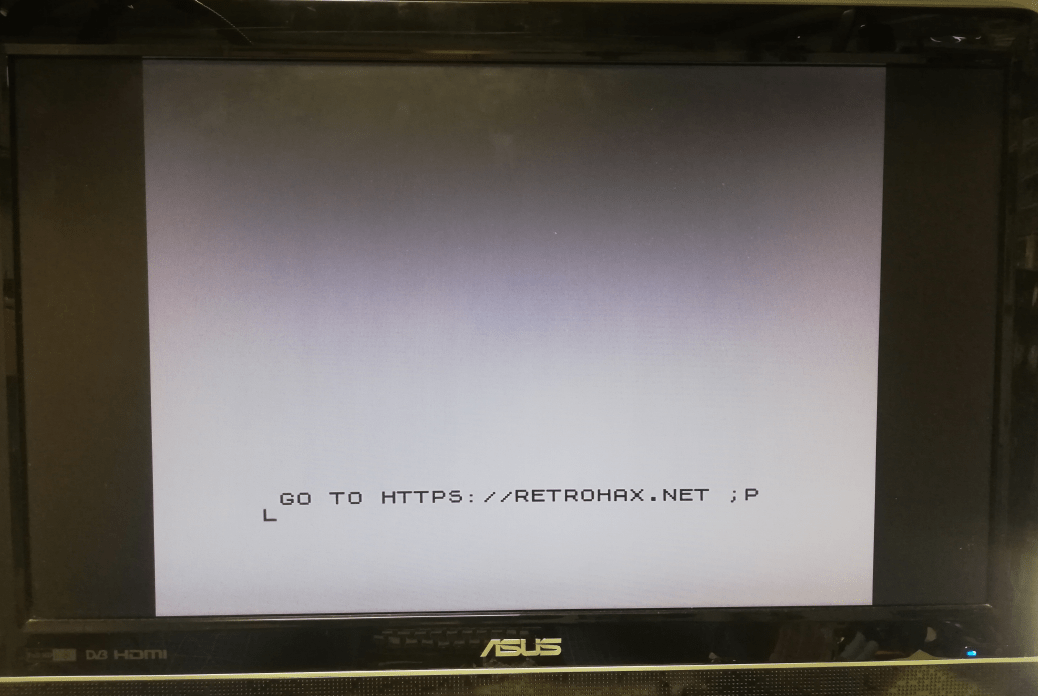
After powering on, Timmy outputted only the following:
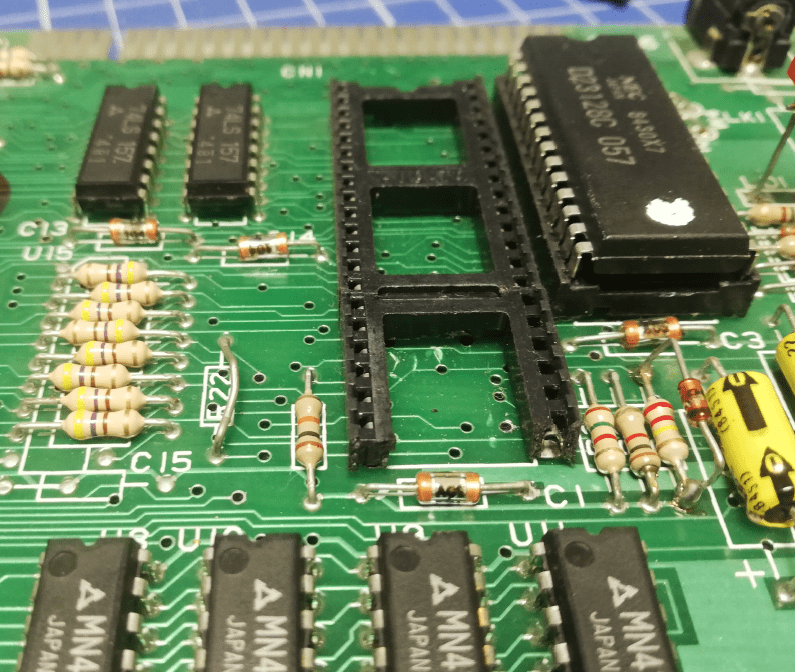
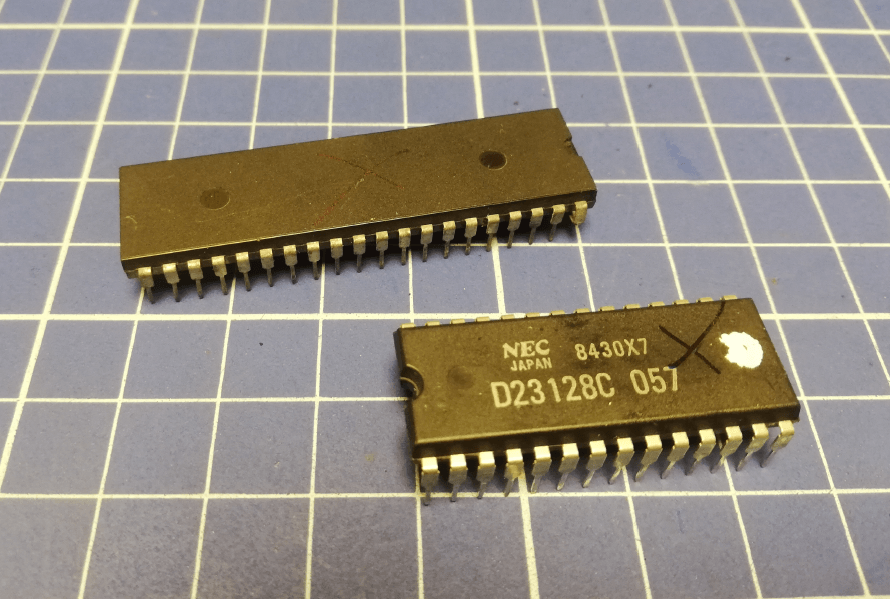
Most often this is caused by a dead Z80 chip which I’ve replaced along with its oxidated socket.
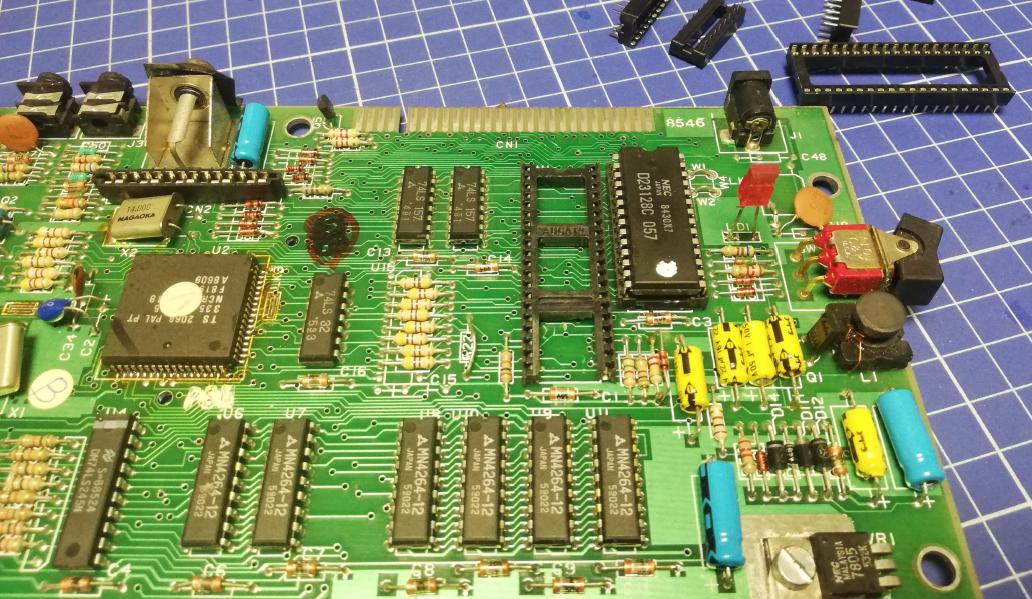
The video output was a bit different and confirmed that Z80 was dead indeed. However, there was something else fried too.
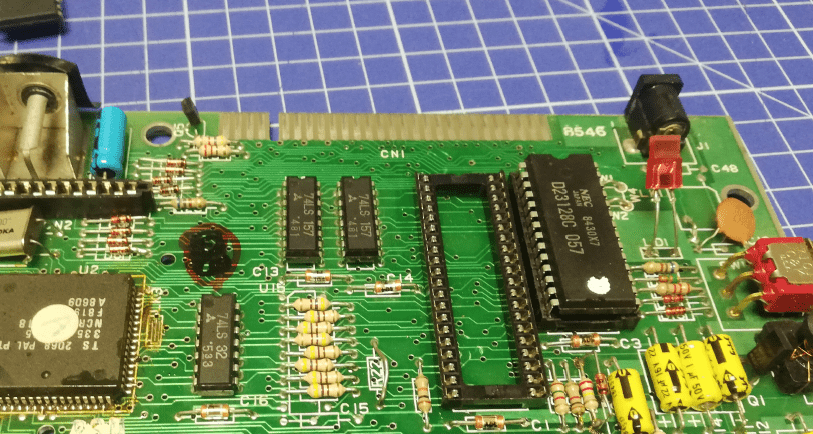
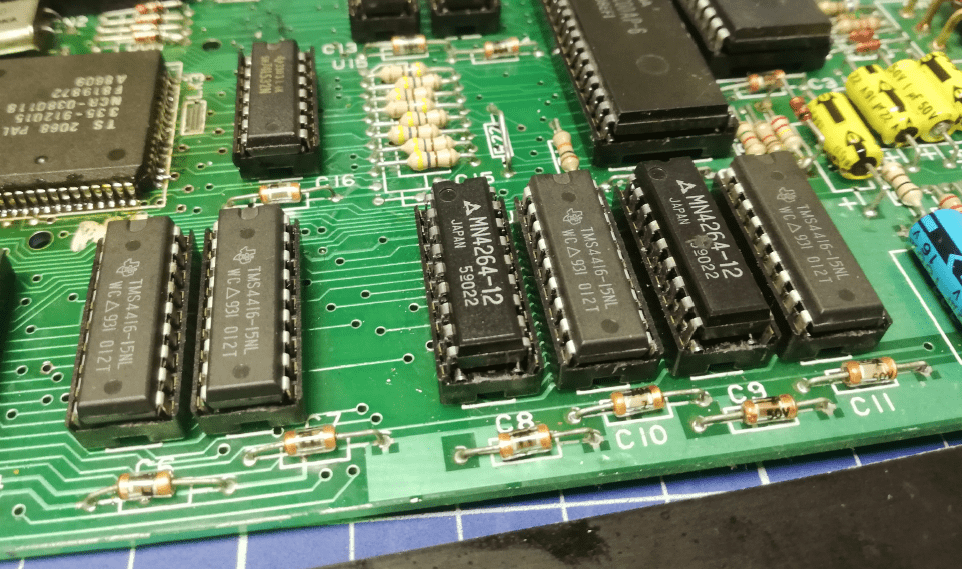
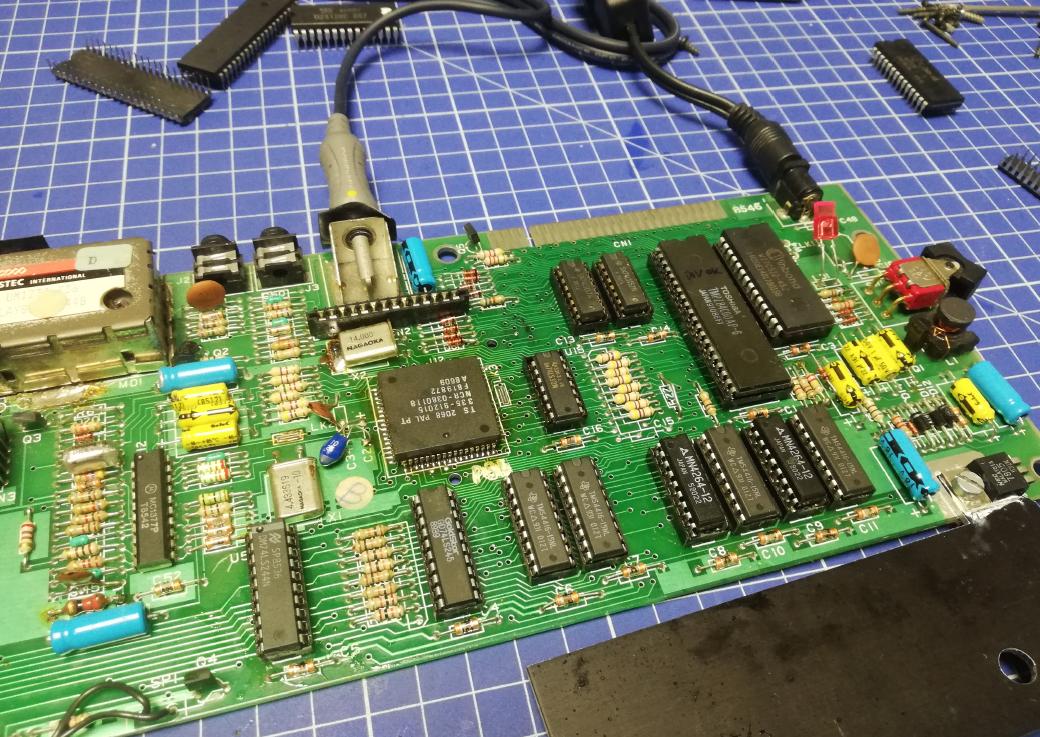
With the help of schematics, I did some standard measurements and it all looked alright so I’ve moved on to another common fault which in the vast majority of cases is caused by a dead RAM chip.
I’ve de-soldered all RAM chips and installed sockets for convenience. Then, I replaced all chips as I had some spare but surprisingly, that didn’t fix the issue at all.
I was like …

My next step was to test everything with a DiagROM for Speccy/Timmy. I am using this amazing piece of code that was created by Phil Ruston of retroleum.co.uk
I’ve burned a BIN onto a Winbond W27c512 that I had in my drawer and inserted it into a freshly replaced socket on the Timex motherboard.
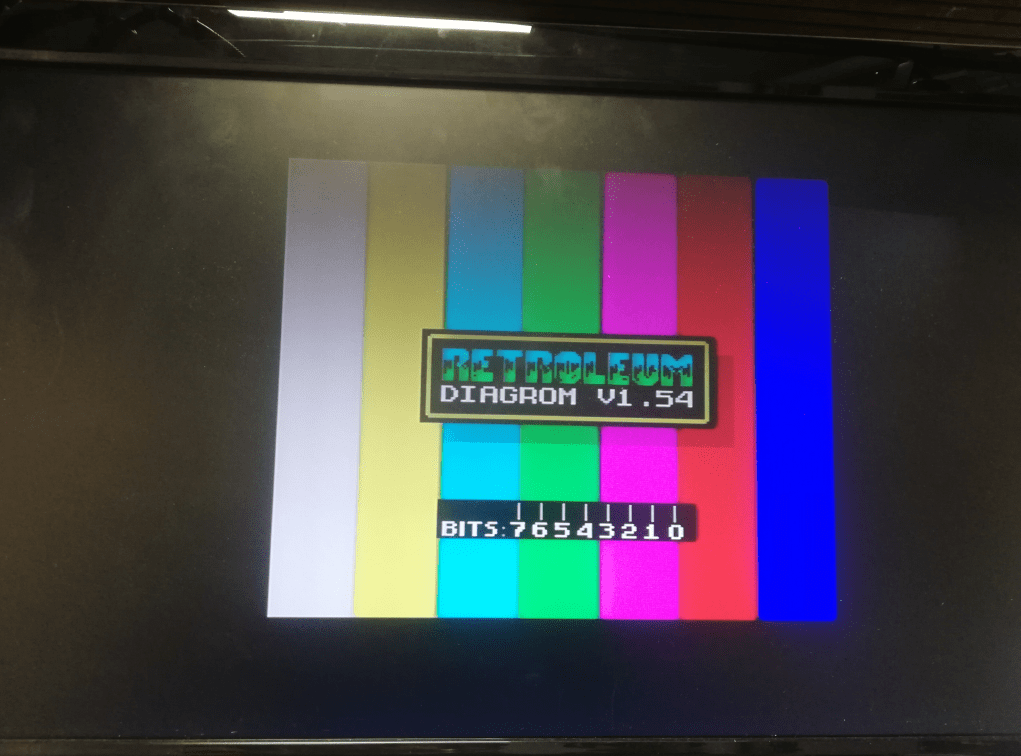
That worked right away so and everything tested fine so I was like … maybe this is a dead ROM after all?
A few moments later, I tested a freshly burned original ROM aaaaaaand…
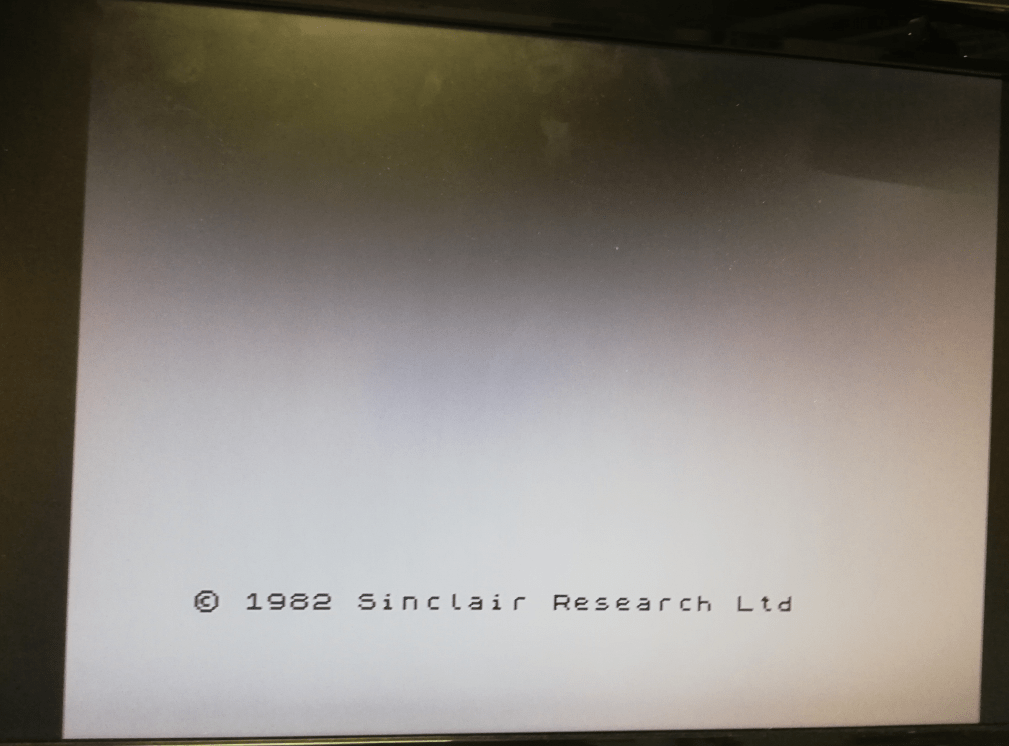
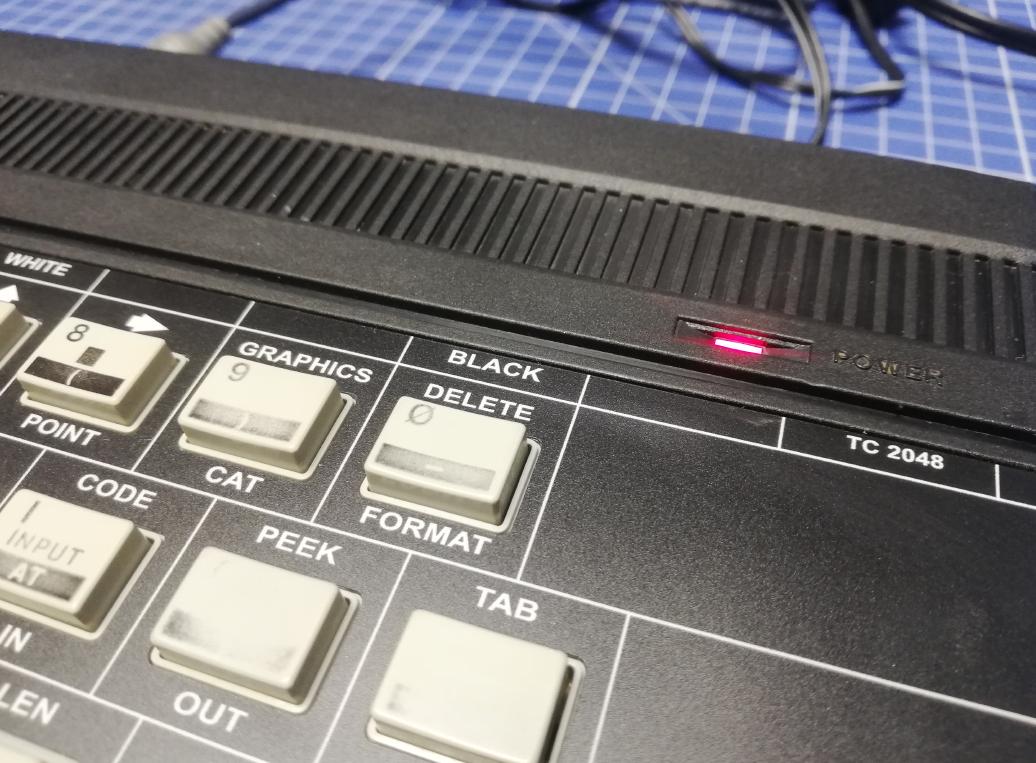
BINGO! It werkz! YaY!
After all, it turned out that only CPU and ROM were dead as I’ve tested RAM and it was OK which is kinda uncommon.
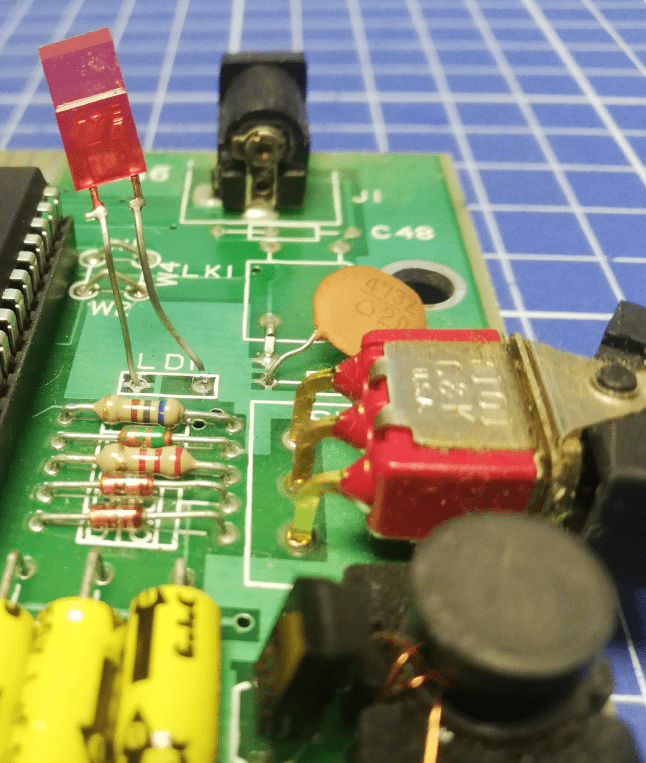
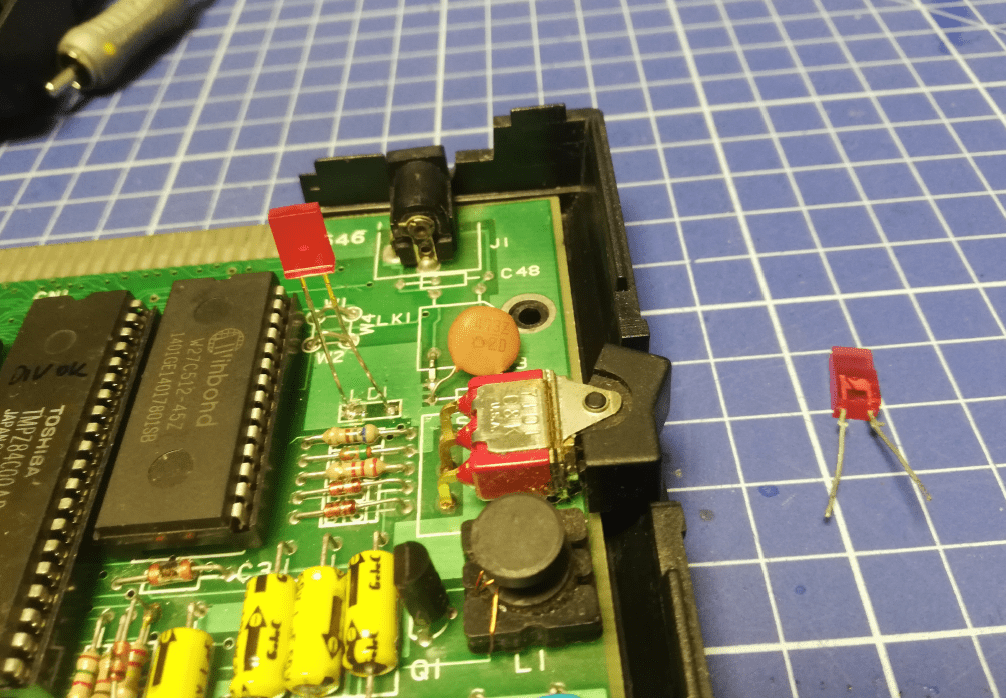
One last thing that had to be fixed was a red LED as it had a broken leg.
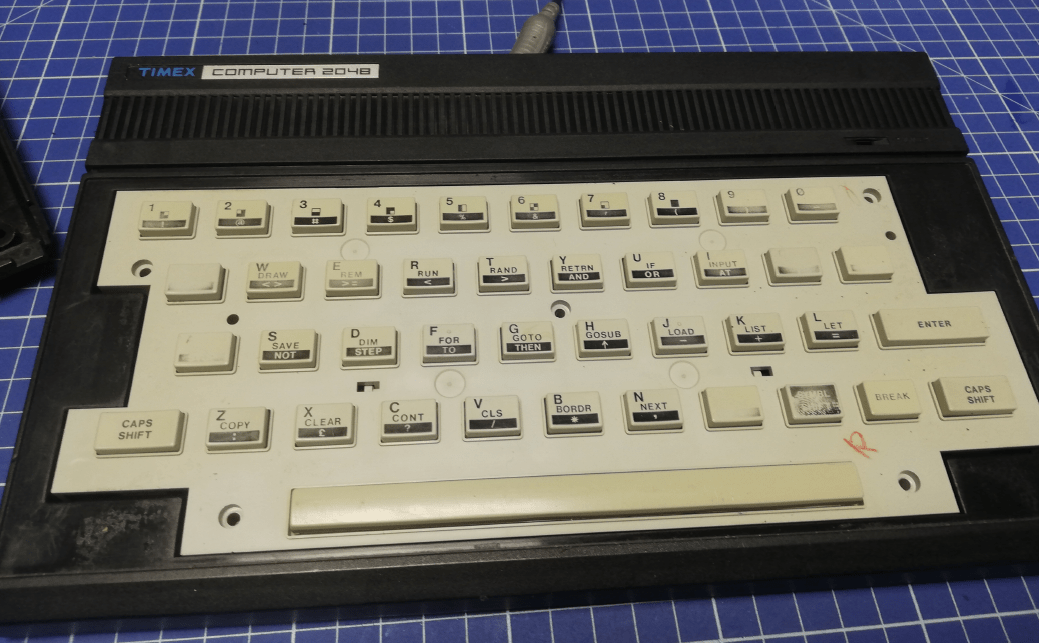
The end
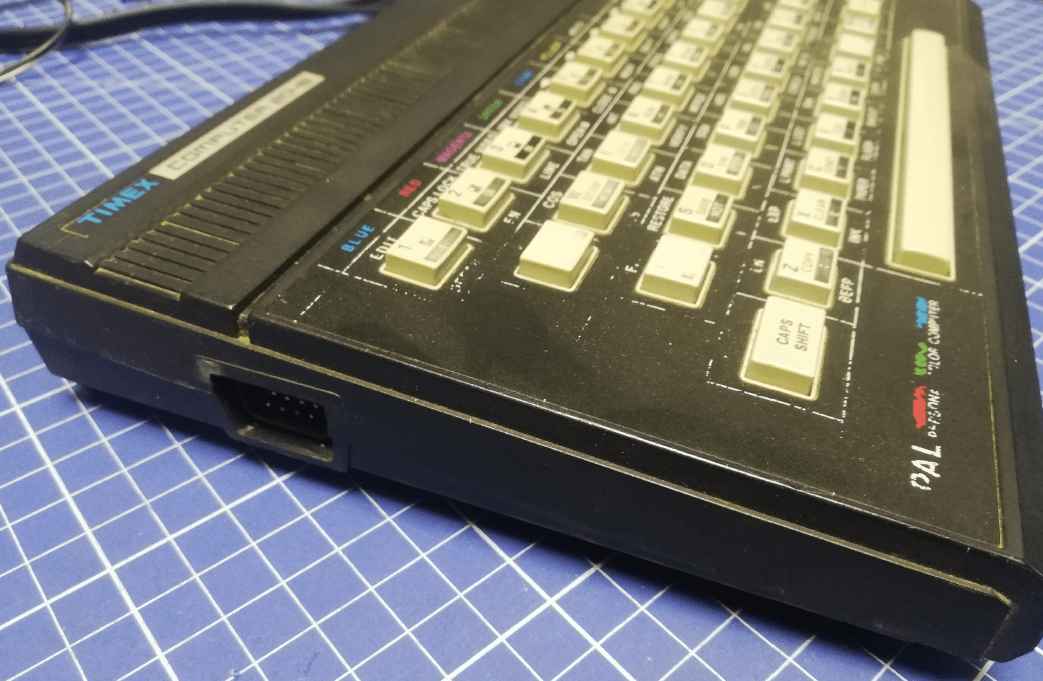
I’ve put the whole machine together and now I am finally a happy owner of a working TIMEX 2048
The only thing I am planning for the future is to redo these worn-out keycaps. I’ve no idea when but I need to build a machine for that and I already have an idea lol 😀 … but there are tons of other projects that had to be finished first.
Anyway, this is the final result:
Outro
If you want to get the retro gear I am manufacturing or hardware modules, please visit shop -> https://retrohax.net/shop/
Please support my work by commenting here and on our Facebook or Twitter pages.
If you want to donate a dead computer then drop me an email. Extreme cases are welcome. – Nobody donates anything. so don’t bother. Looks like only Youtubers get all goodies LOLOL ;P <– THIS IS NO LONGER TRUE! Cheers to guys from Brasil


The schematic has tiny bug – R43 is 15 ohm 🙂
Awesome.:)