…or my #SEPTANDY entry
Intro
Please …

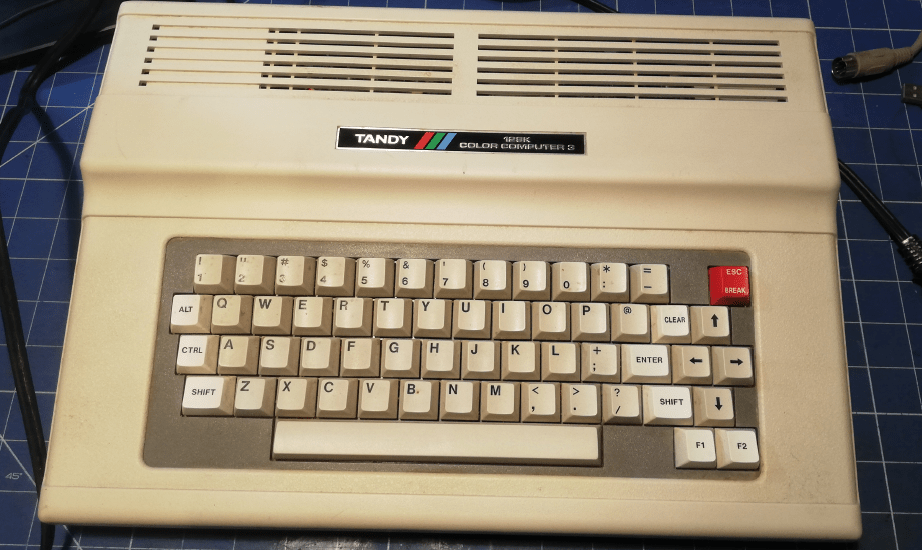
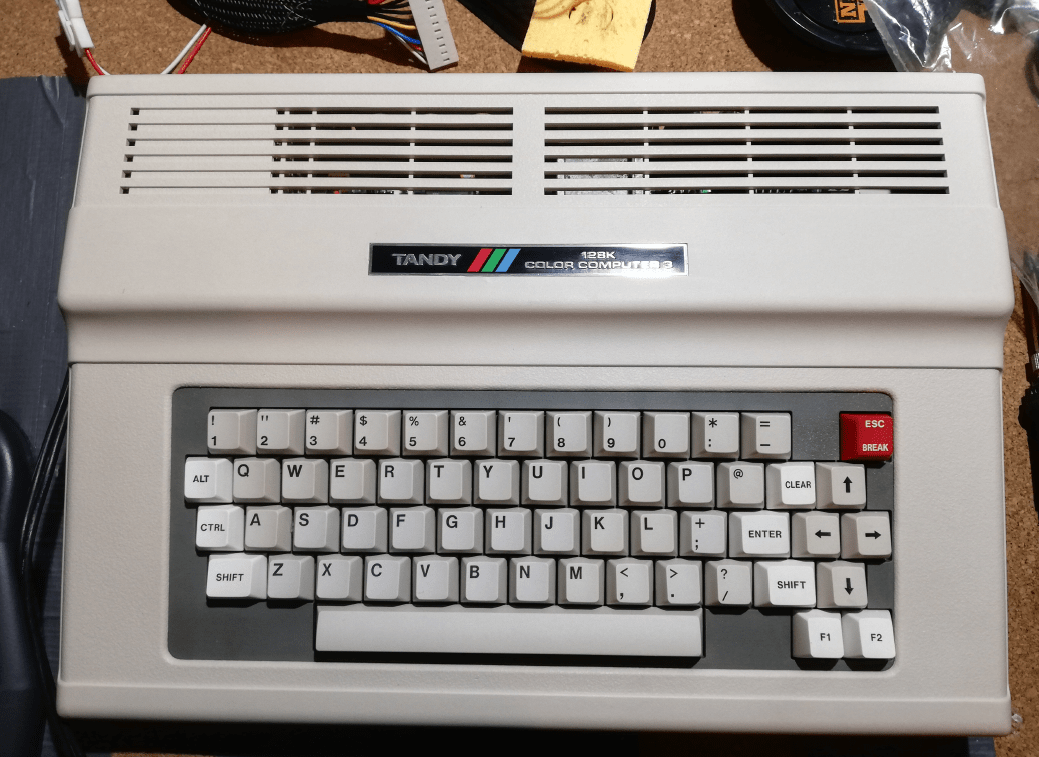
It is still September and we are in the middle of #SEPTANDY so I wanted to write a post about a nice machine that I refurbished not so long ago – Tandy 128K ColorComputer 3.
Some time ago, I’ve also worked on another machine Tandy 1000HX but that is the story for another, longer post so stay tuned.
This is my #SEPTANDY – CoCo3 entry 🙂
CoCo3
I’ve got this Tandy from Wendell as a part of a custom order for him. The goal was simply to refurbish this machine and fix it if broken. Fortunately, in this case, fixing it wasn’t an issue. I only had to clean it nicely and this post shows how it was done. Nothing spectacular this time 🙂
CoCo3 is a very similar machine to a Dragon 32 that I worked on some time ago so the cool thing is that Wendell already has all hardware to run software on this Tandy
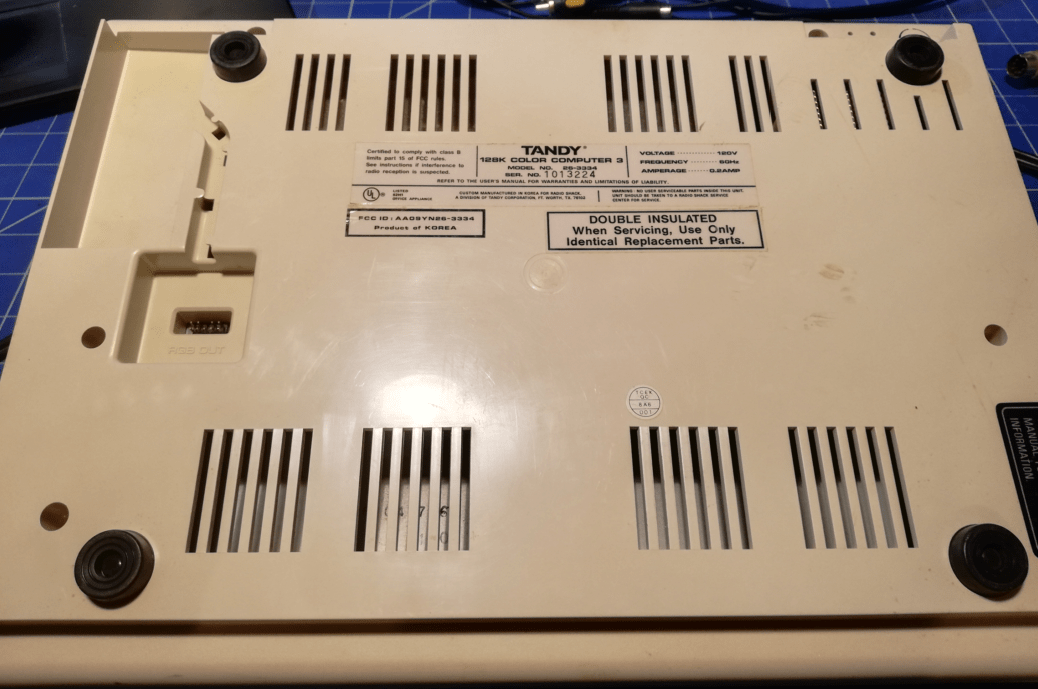
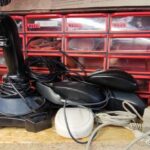
My main problem was to get a 230VAC to 110VAC transformer as Tandy is powered by 110VAC … well 120VAC to be precise 😉
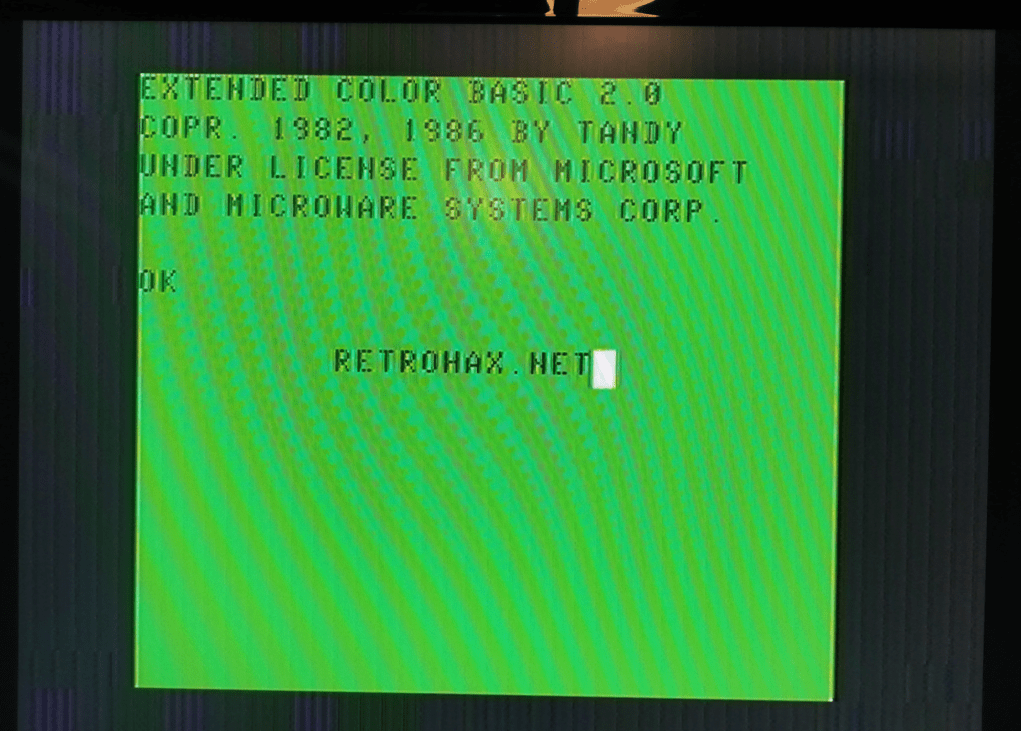
It took a short while to get such a converter but when it arrived, it worked as expected. Tandy was alive!
To be honest, I was surprised a bit because I wasn’t expecting that things will move on so smoothly.
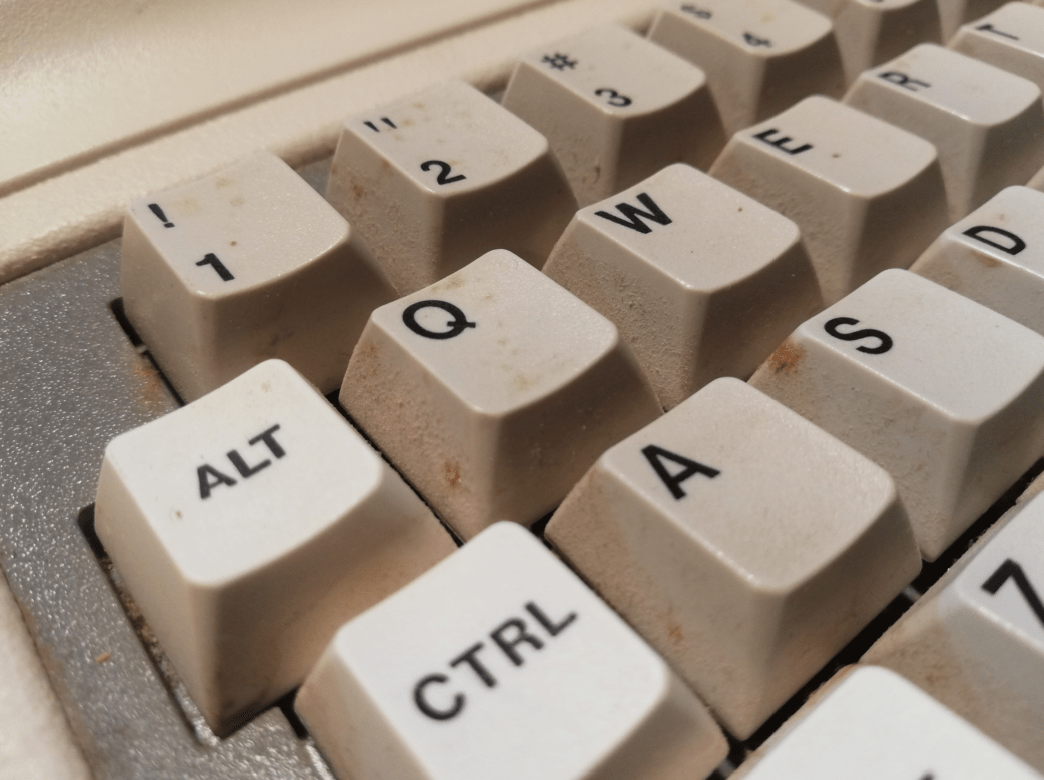
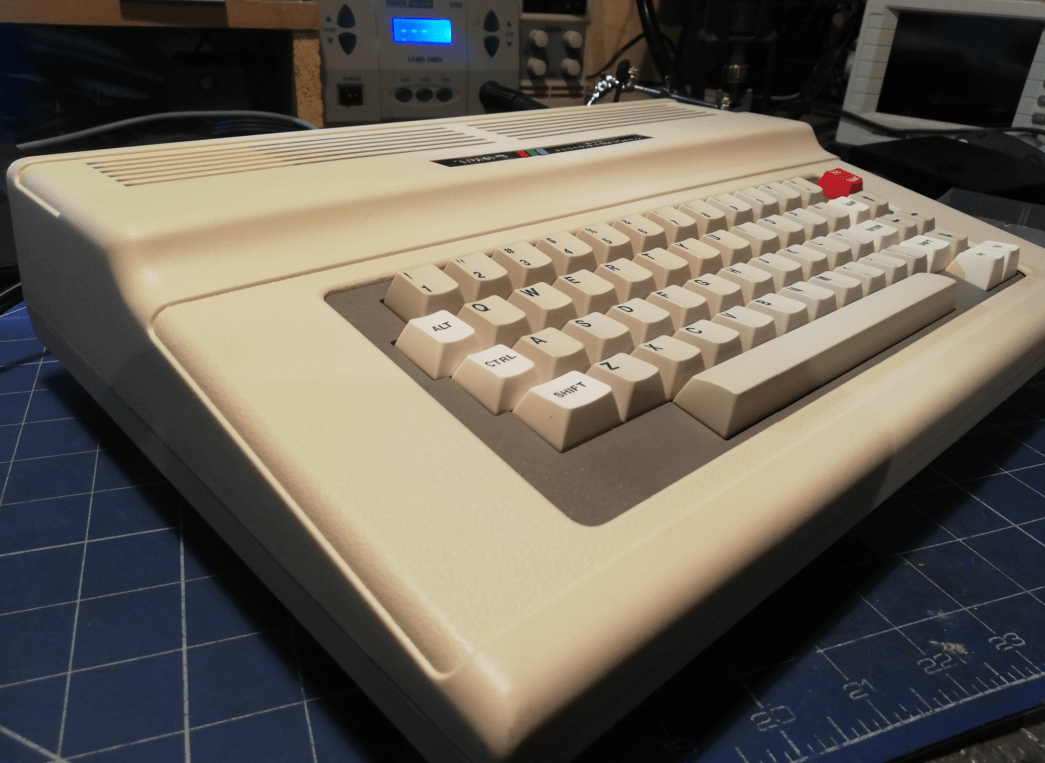
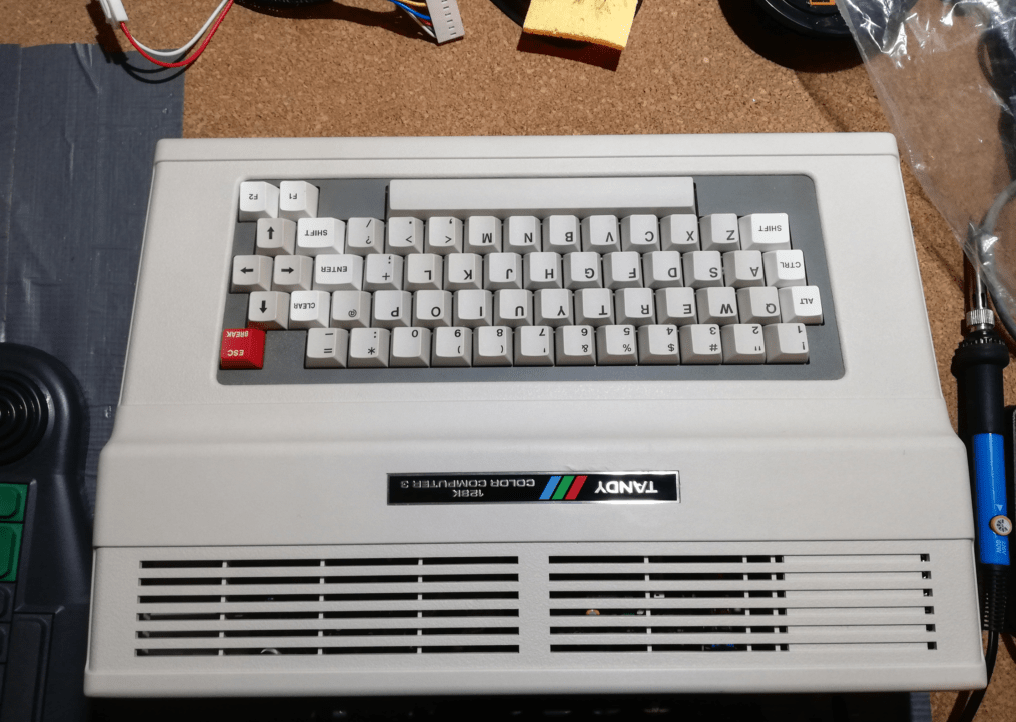
The machine itself was in decent shape. It wasn’t yellowed but required a solid cleaning.
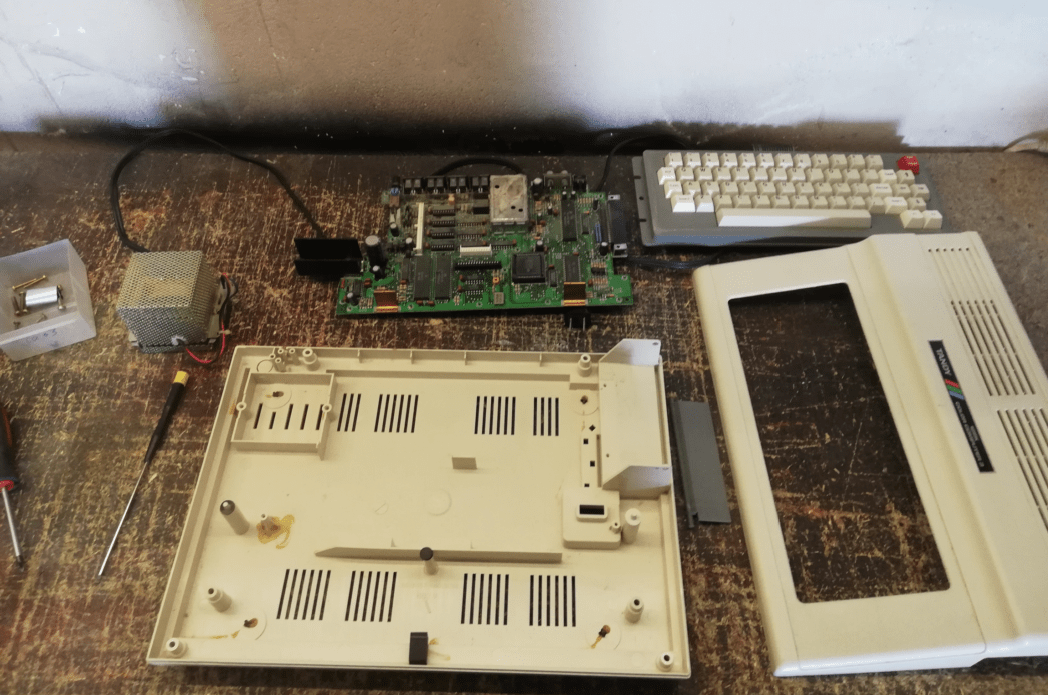
Disassembly followed.
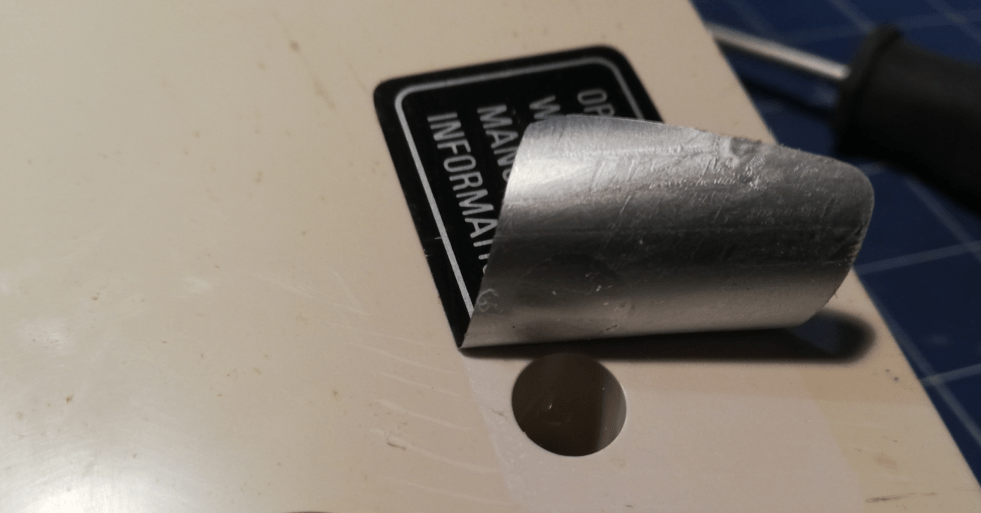
I wanted to keep the original warranty void sticker so I gently removed it with the help of a HotAir gun.
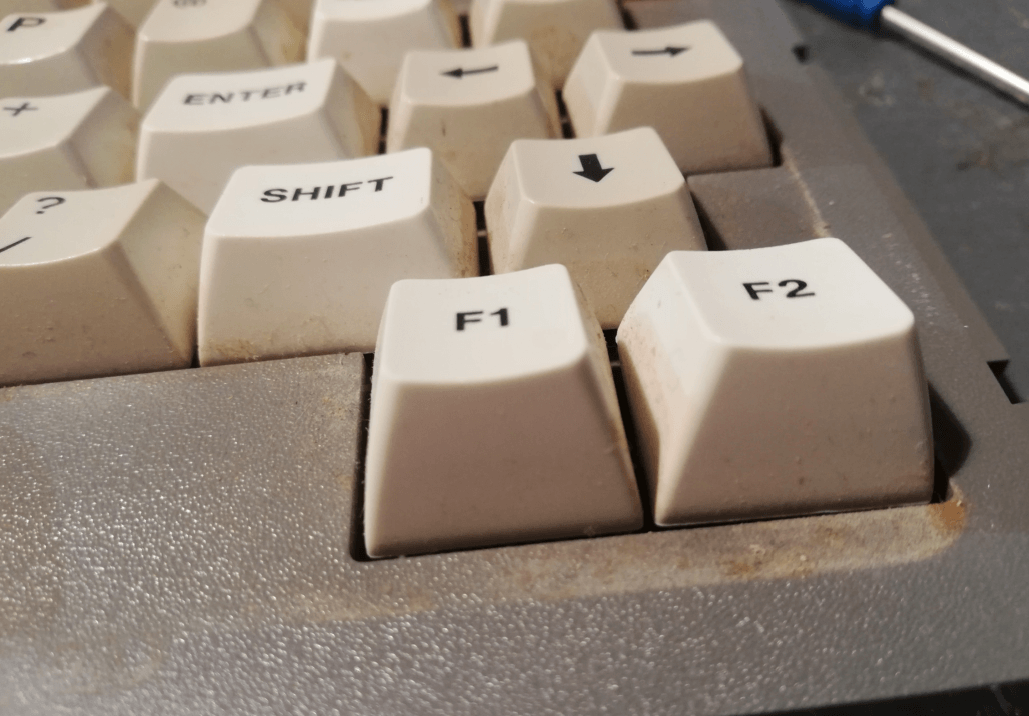
Keyboard
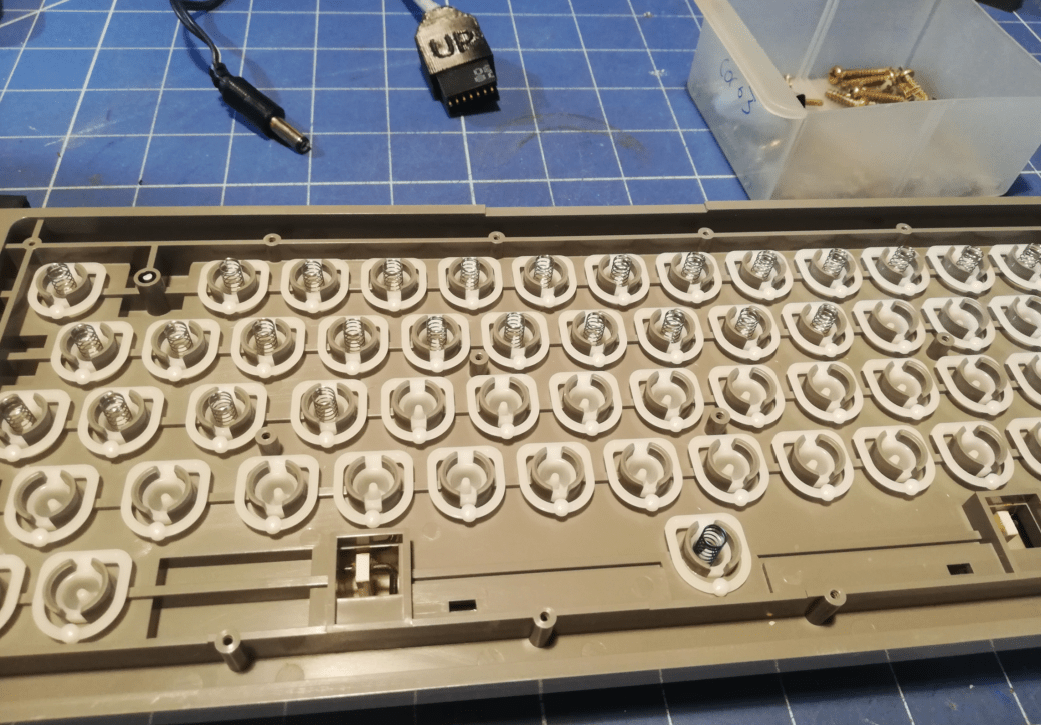
I’ve started working on the keyboard.
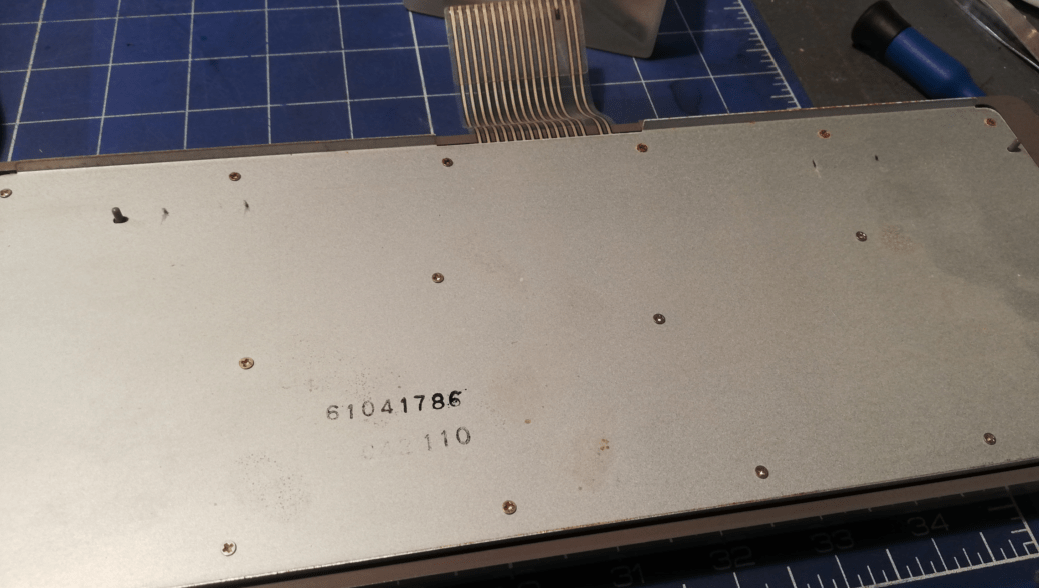
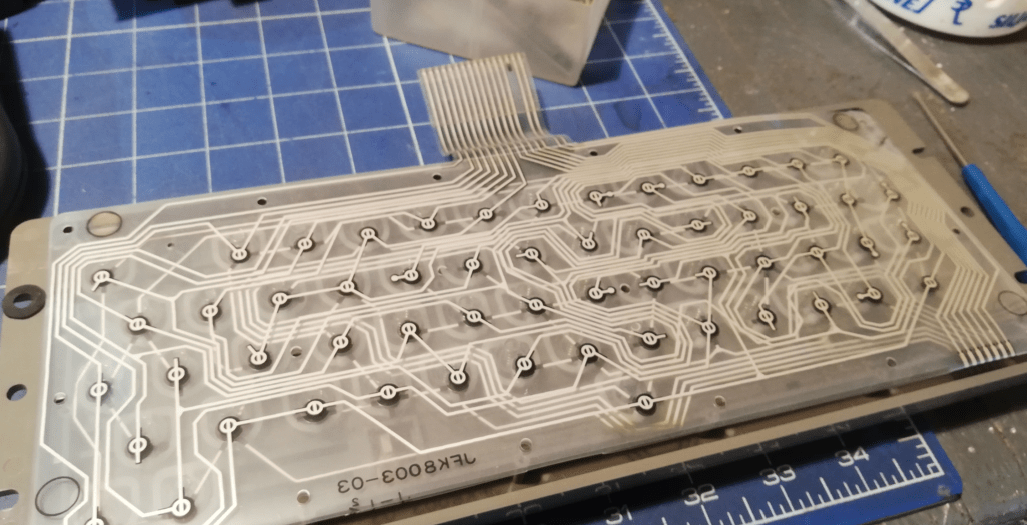
The keyboard construction is very similar to one of the Amiga 500 keyboard variants. The keys are spring-loaded inside and it has a two-layer membrane. I had to remove all the springs to prepare the keyboard for cleaning.

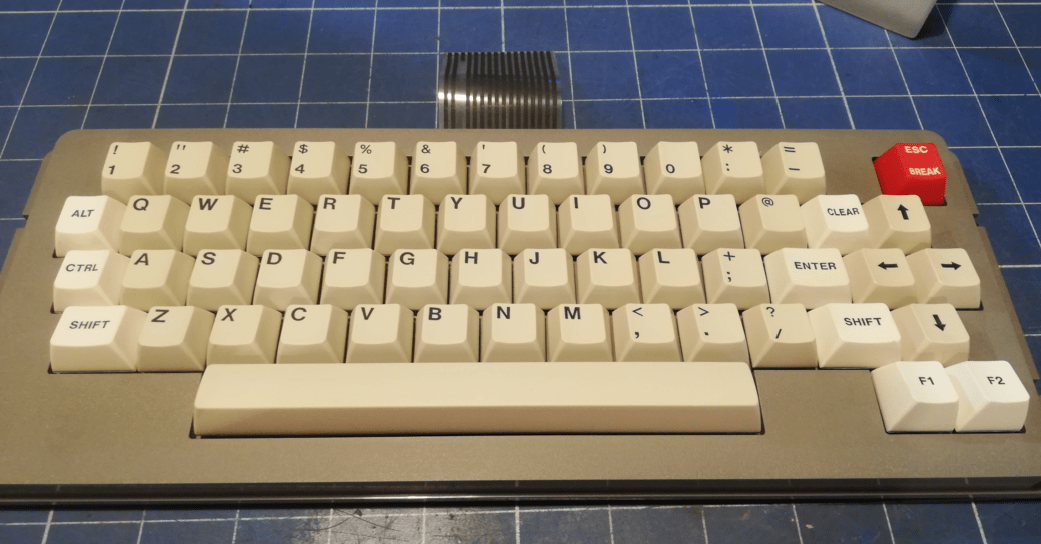
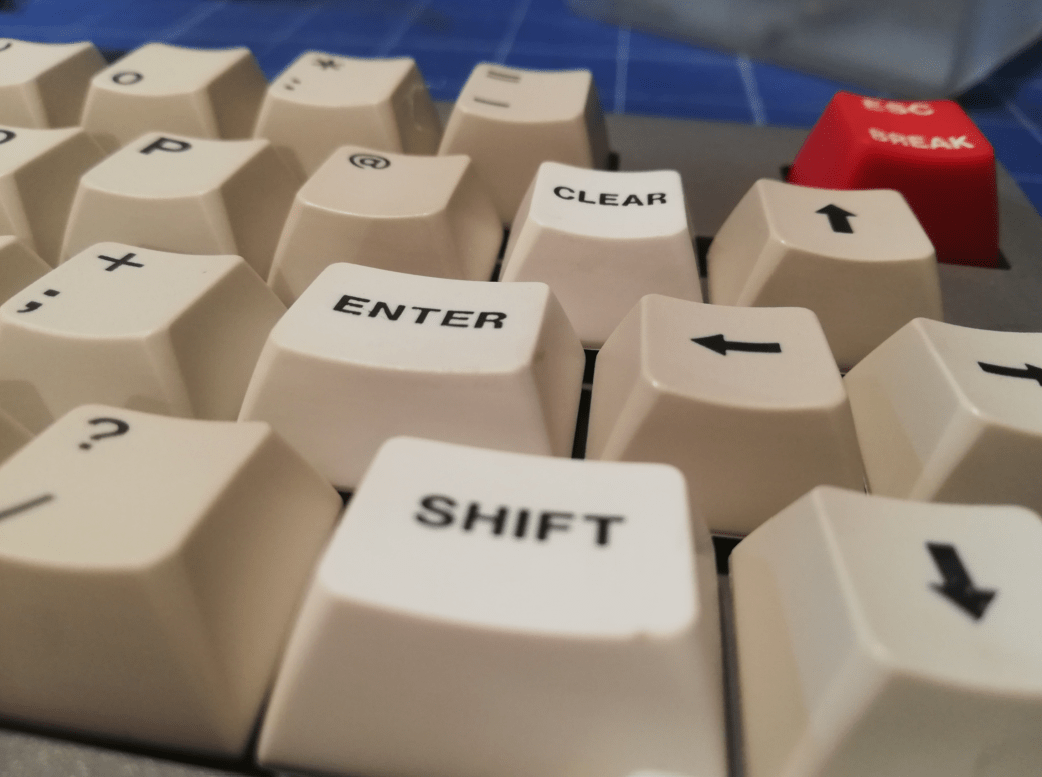
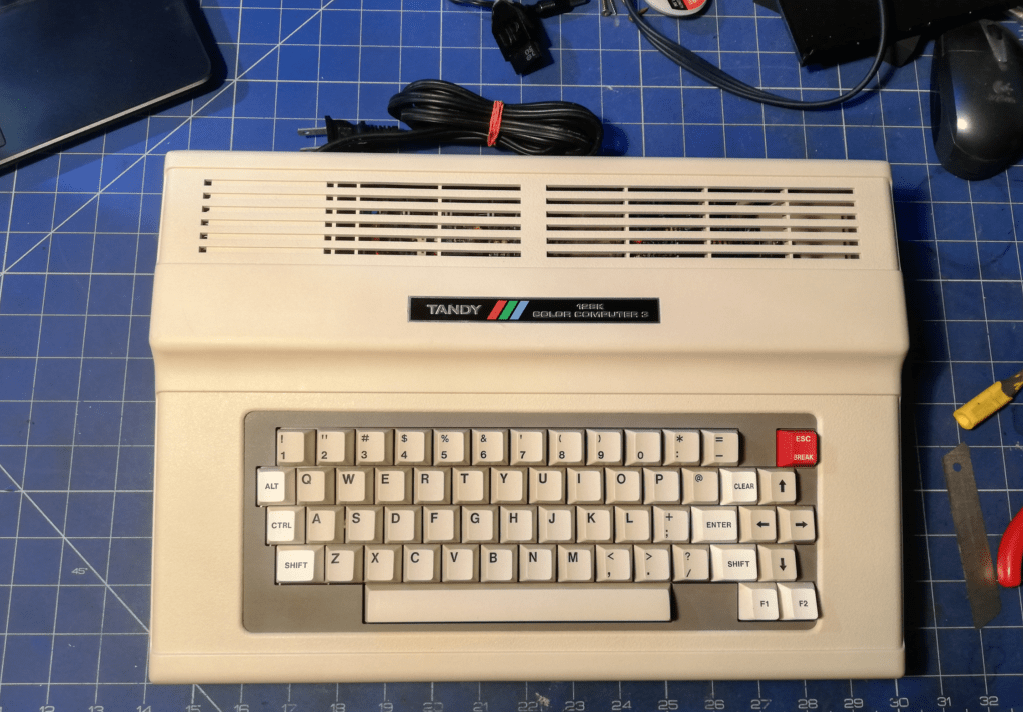
After cleaning, it looked nice!
The case
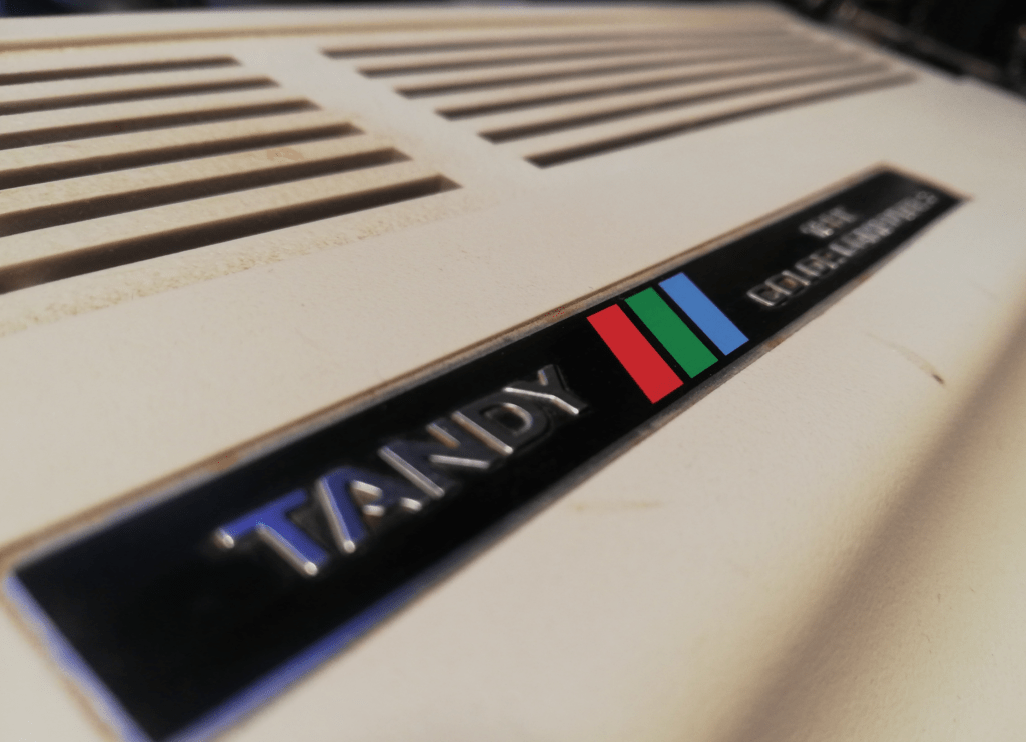
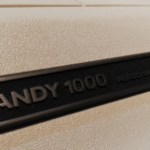
I had to remove a badge to prepare a case for cleaning. Again, I’ve removed it with the help of a HotAir gun.

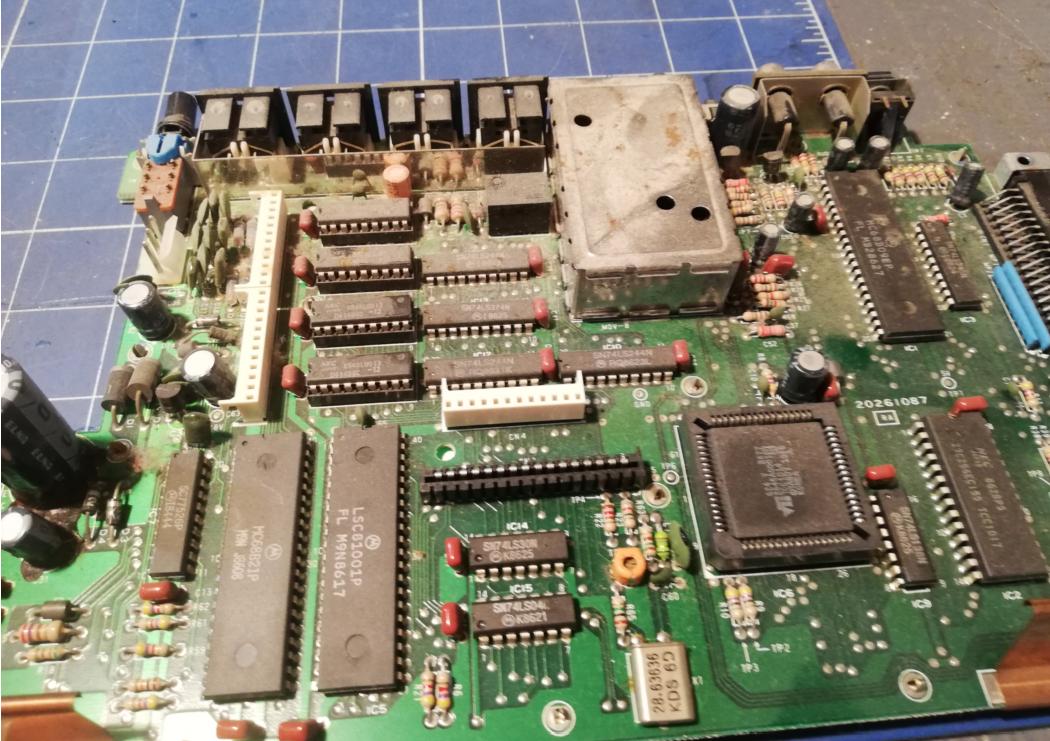
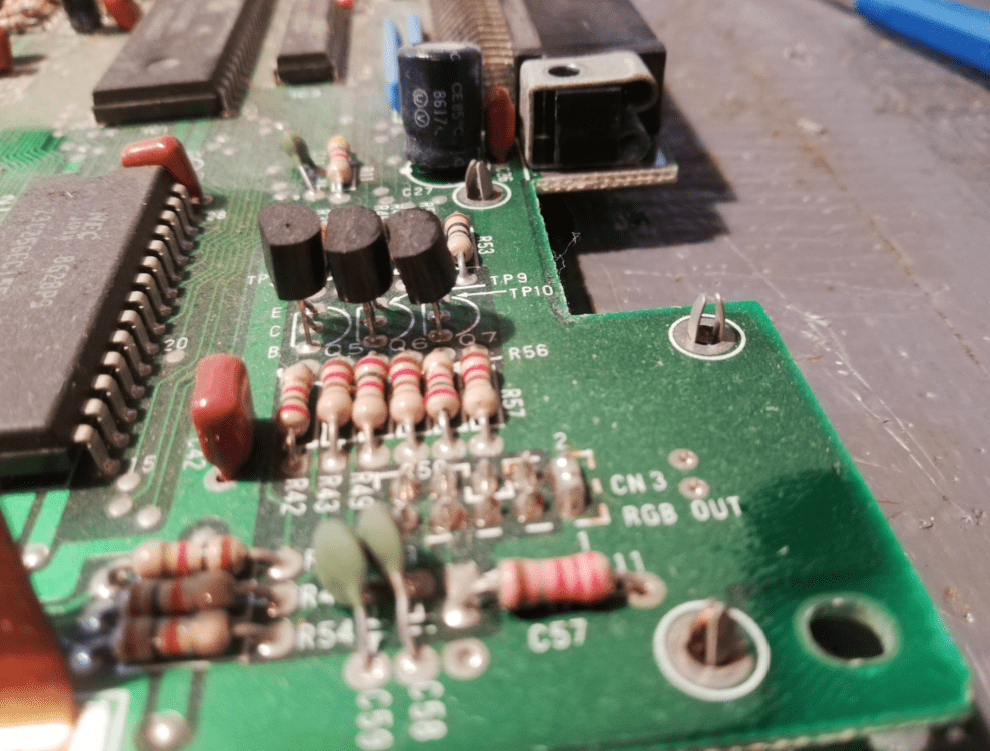
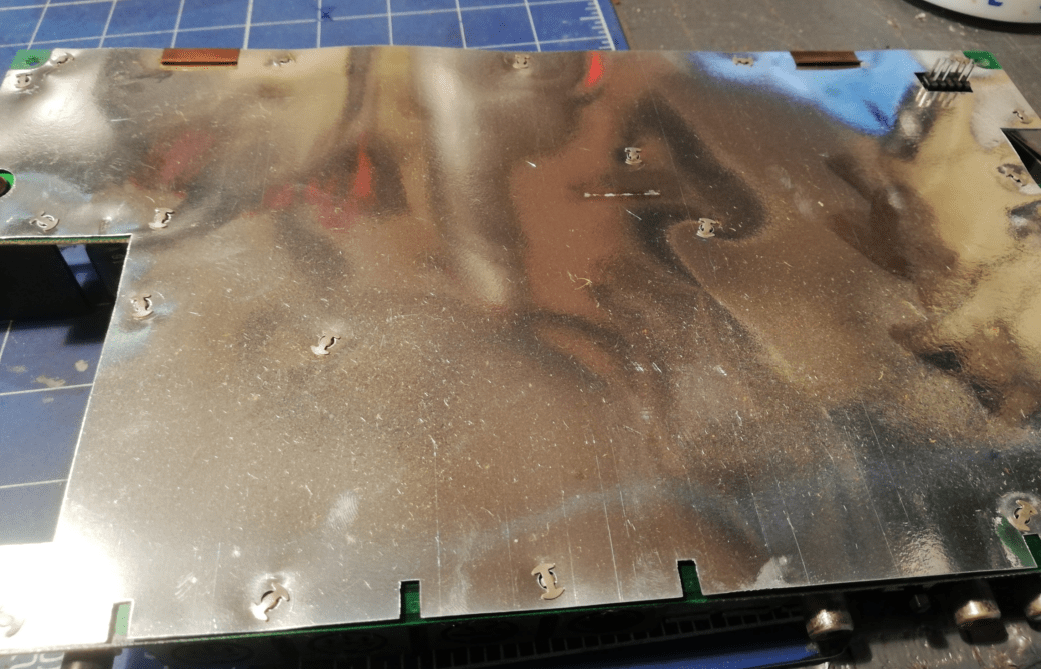
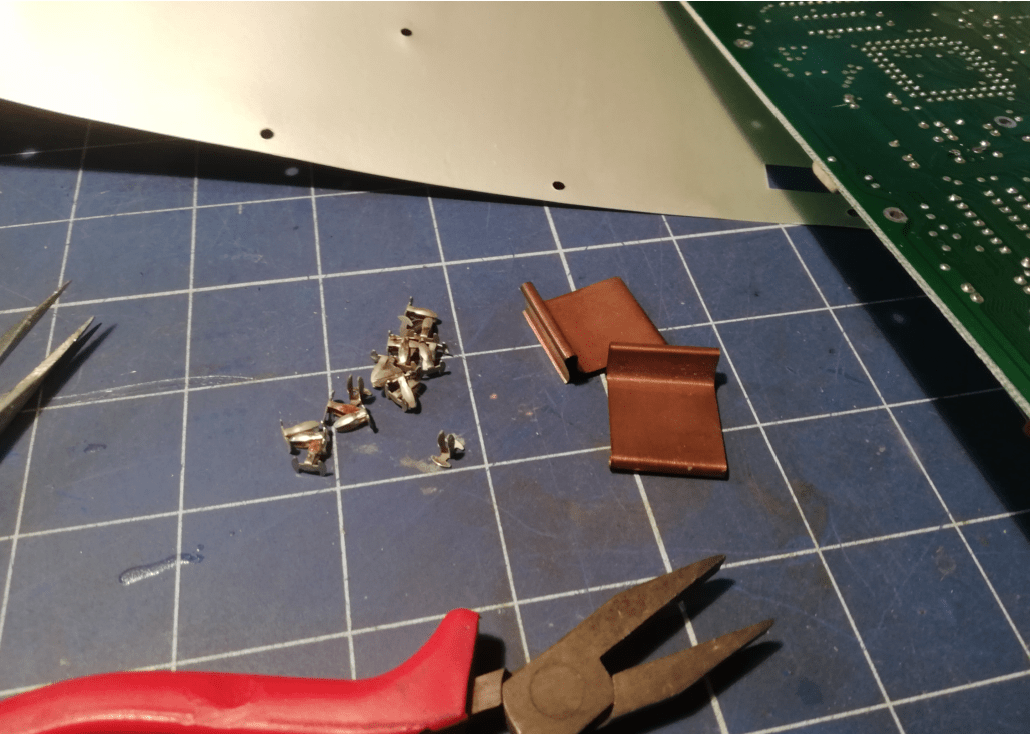
PCB
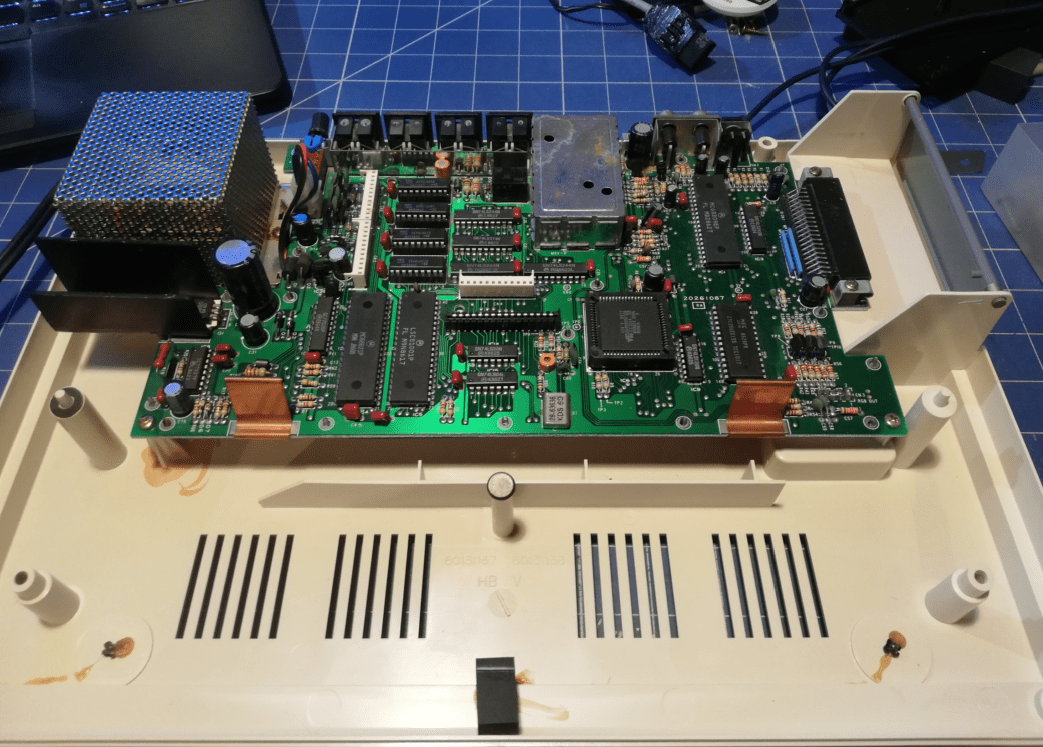
The PCB was covered with a lot of dust that had to be cleaned. I was a bit surprised by how under shielding is attached to a motherboard. It is attached with small metal pegs which is quite an unusual solution. I’ve removed it with pliers and cleaned all the dust with a brush and some IPA.
Testing and assembly
With every part clean, I was ready to run some tests and start assembling it back.

Results
The only thing that I had to do to finish this short project was to put back a warranty sticker on the case.
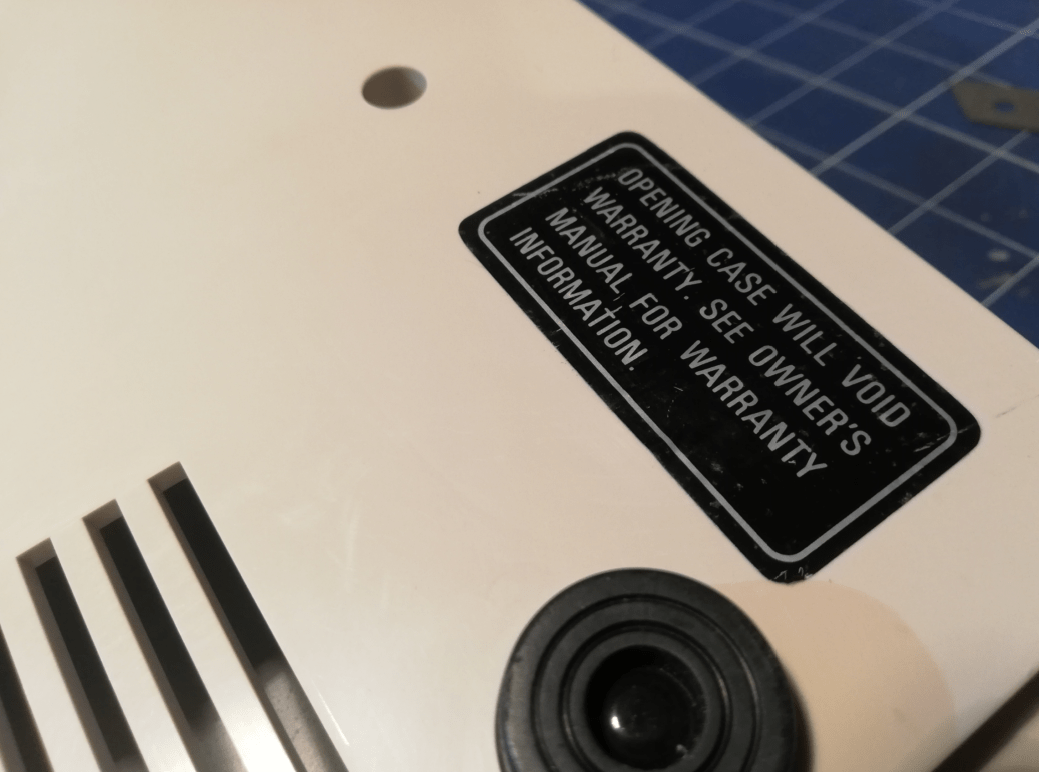
Avoiding voiding of the warranty successful 😀
Outro
There were no extreme repairs this time but I hope you’ve enjoyed this short #SEPTANDY – CoCo3 post.
If you want to get retro gear or hardware modules, please visit our shop -> https://retrohax.net/shop/
Please support our work by commenting here and on our Facebook and Twitter pages.
If you want to donate a dead computer then drop me an email. Extreme cases are welcome ?

Great work! I am working on a similar clean-up routine, although, I haven’t had to dismantle the keyboard… yet. I wish the warranty sticker had survived on mine, but it was an all paper type and would not have survived the water bath anyway — your CoCo3 cleaned up very well, indeed and it looks fantastic. Well done.
Thank you! To be honest, I was kinda happy and sad at the same time lol. Happy, because it was an easy job and sad … because it was an easy job hahaha
Sometimes, I just want easy.