… or OK, only 10 … but still, 23 to go …
<Intro>

</intro>
Short story
It starts, as usual, lol … I was browsing eBay and I’ve found a nice Atari 65XE. As usual, I clicked “See other items” and I quickly found out that this guy has more A65s. I was like, WTH! I’ll ask him 😀
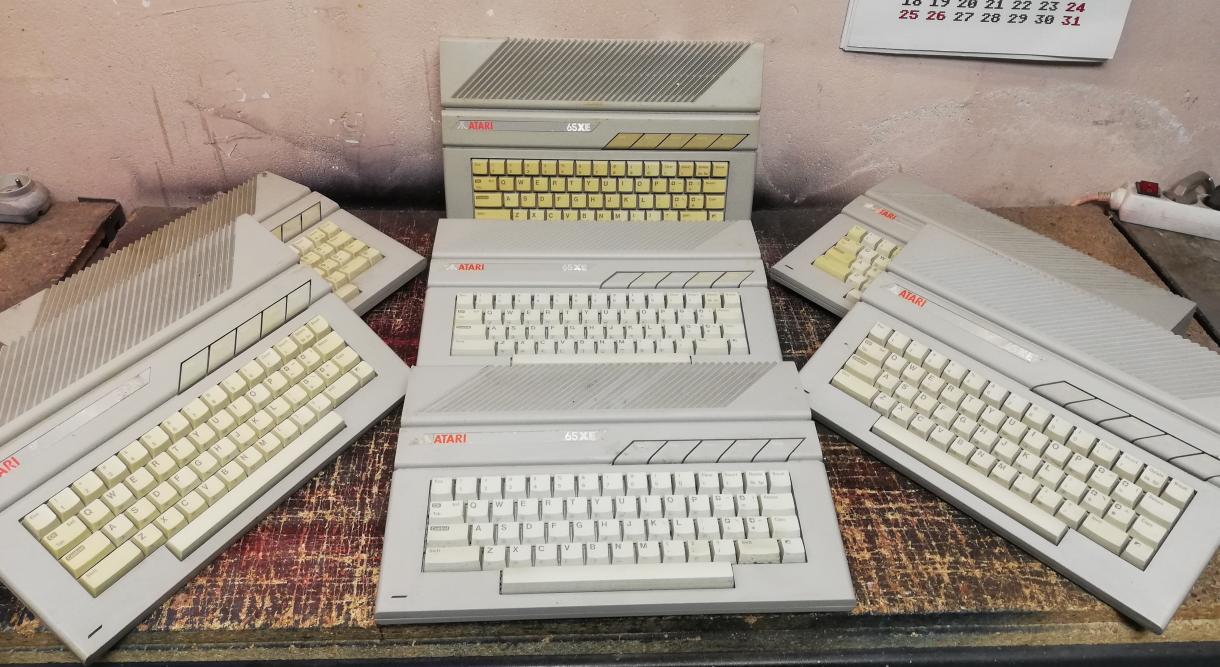
A couple of messages later I was a happy owner of 32x Atari 65 XE machines in various states of despair 😀
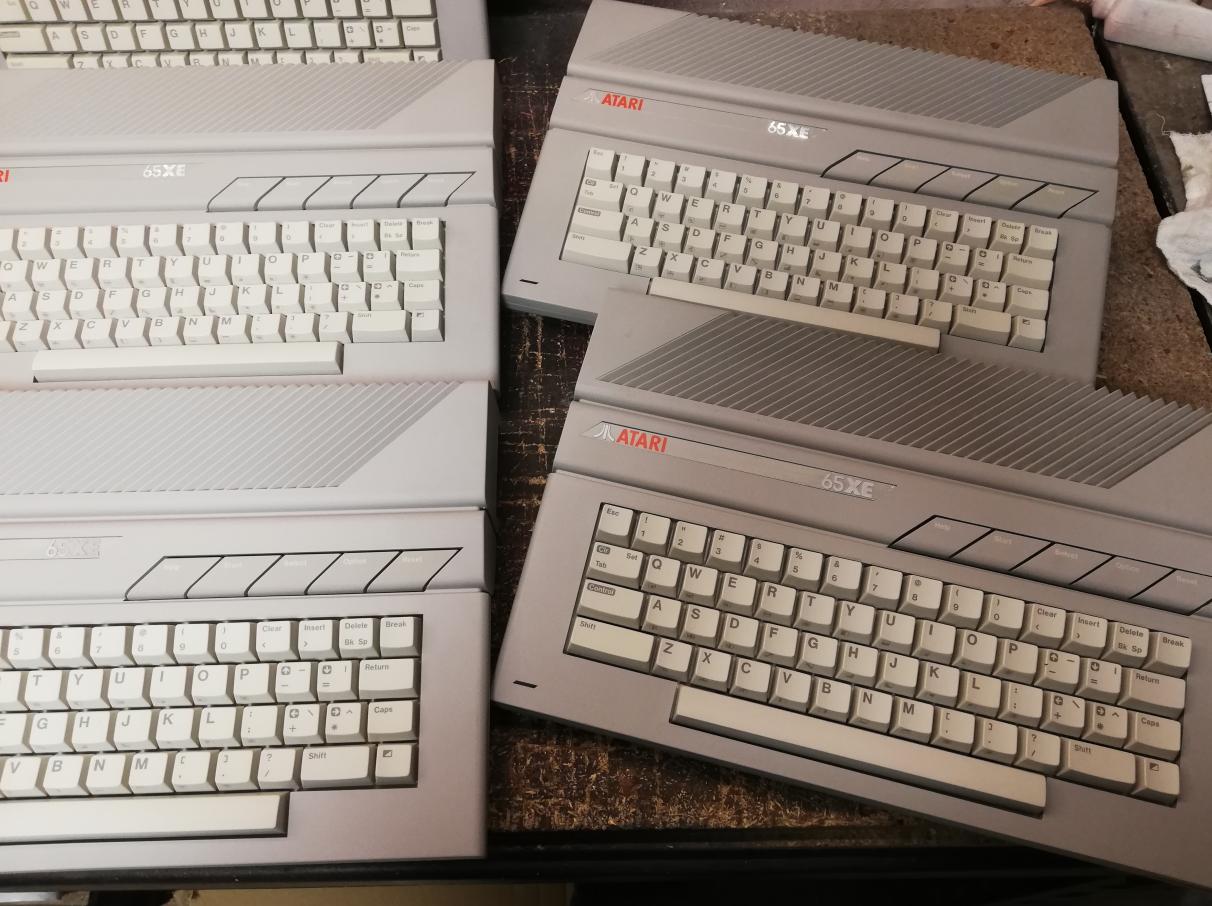
This post is going to be a bit chaotic because I don’t recall what was the order of all works. Anyway, I’ve picked ten or eleven units for starters, and this is where the story begins.
Disassembly
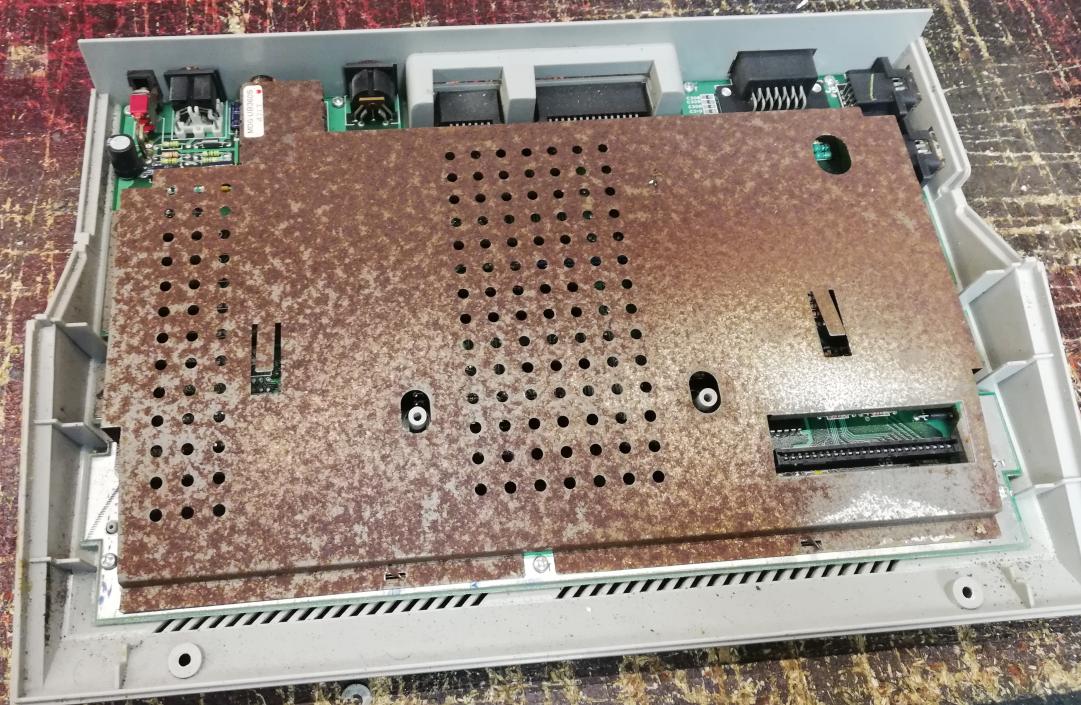
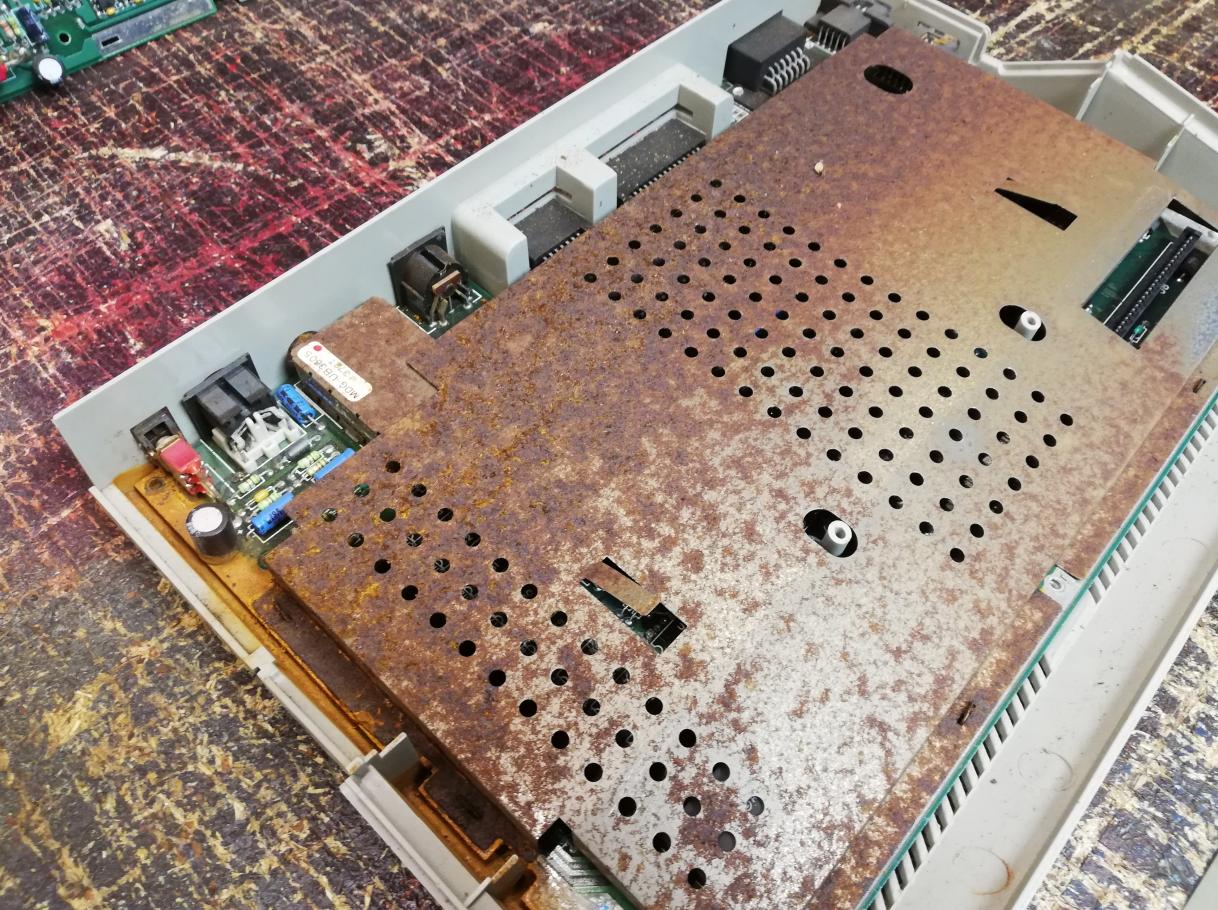
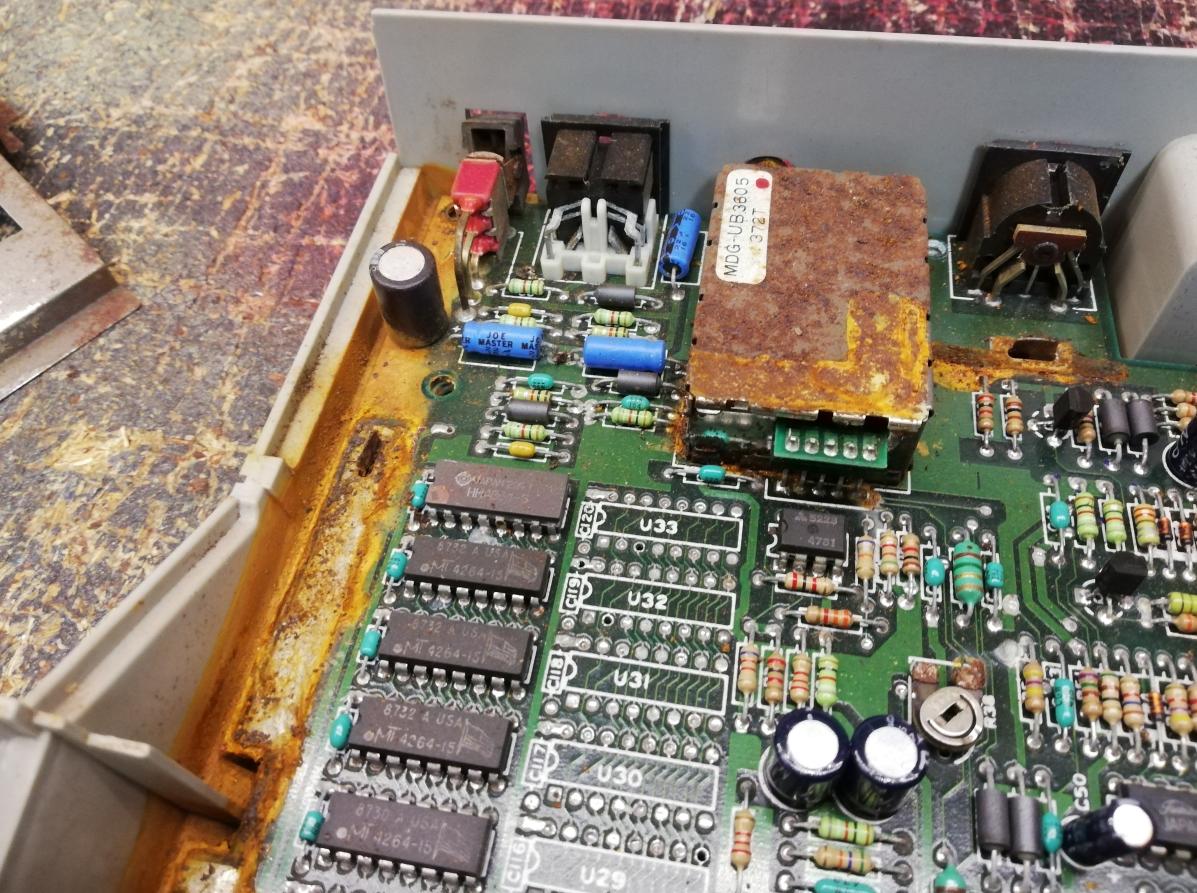
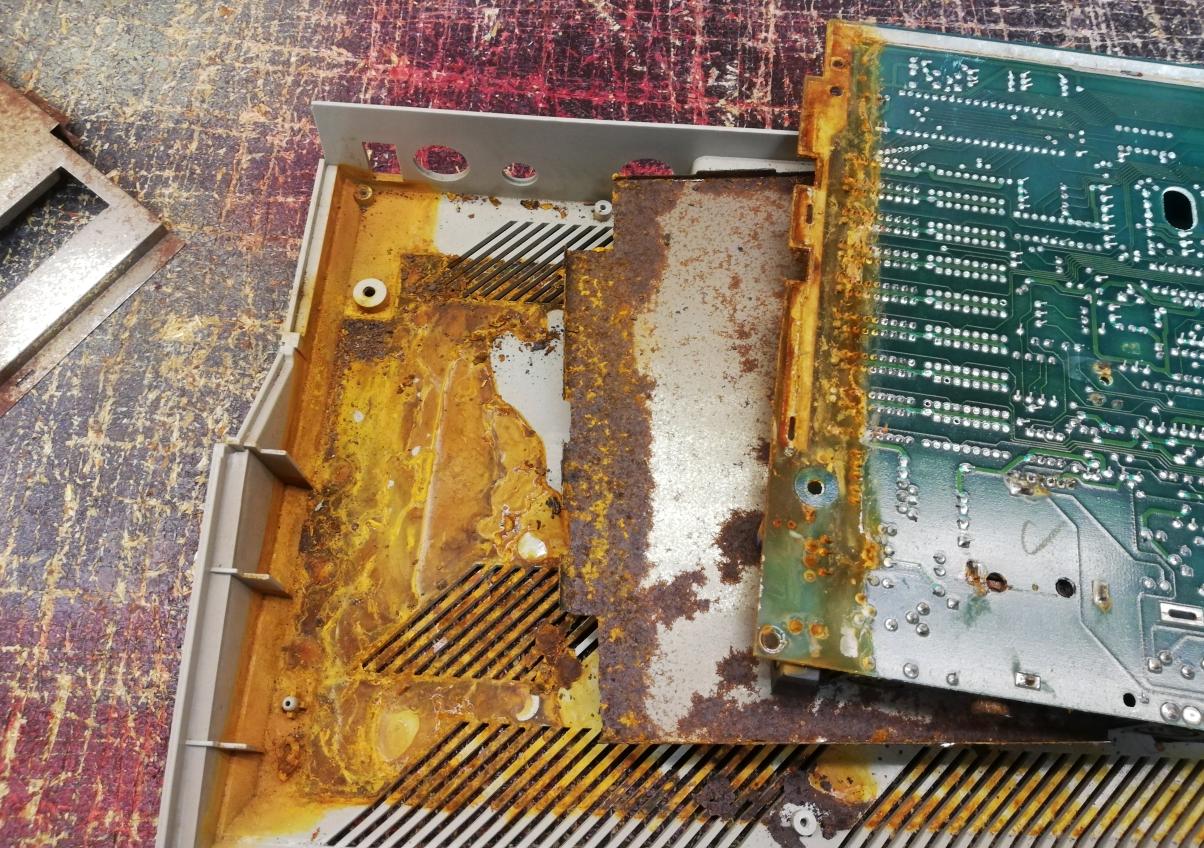
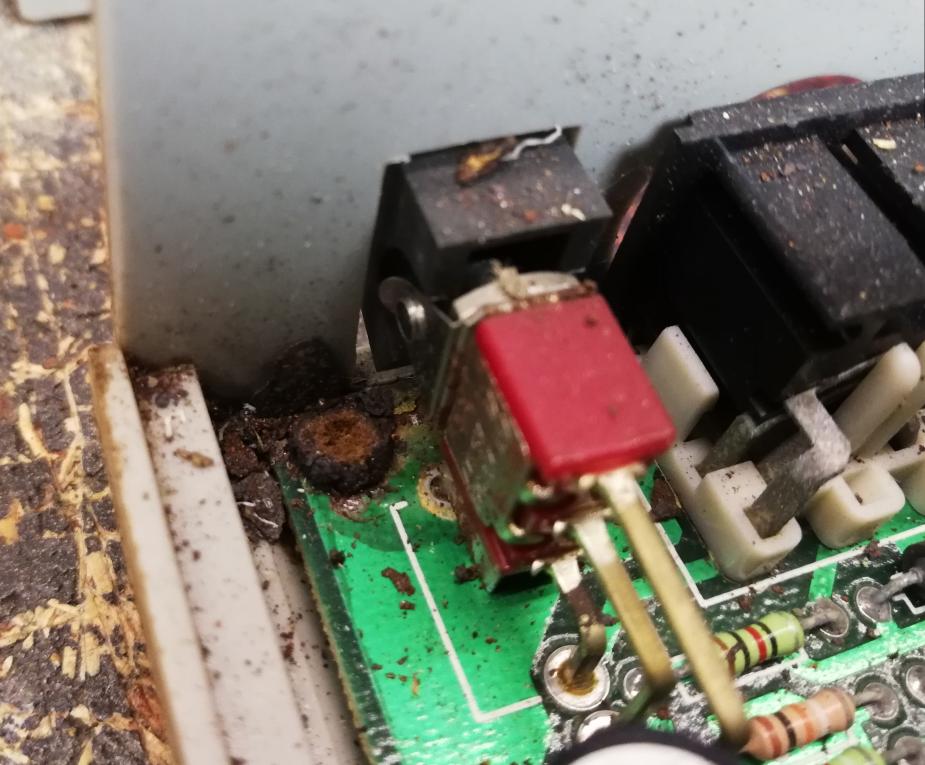
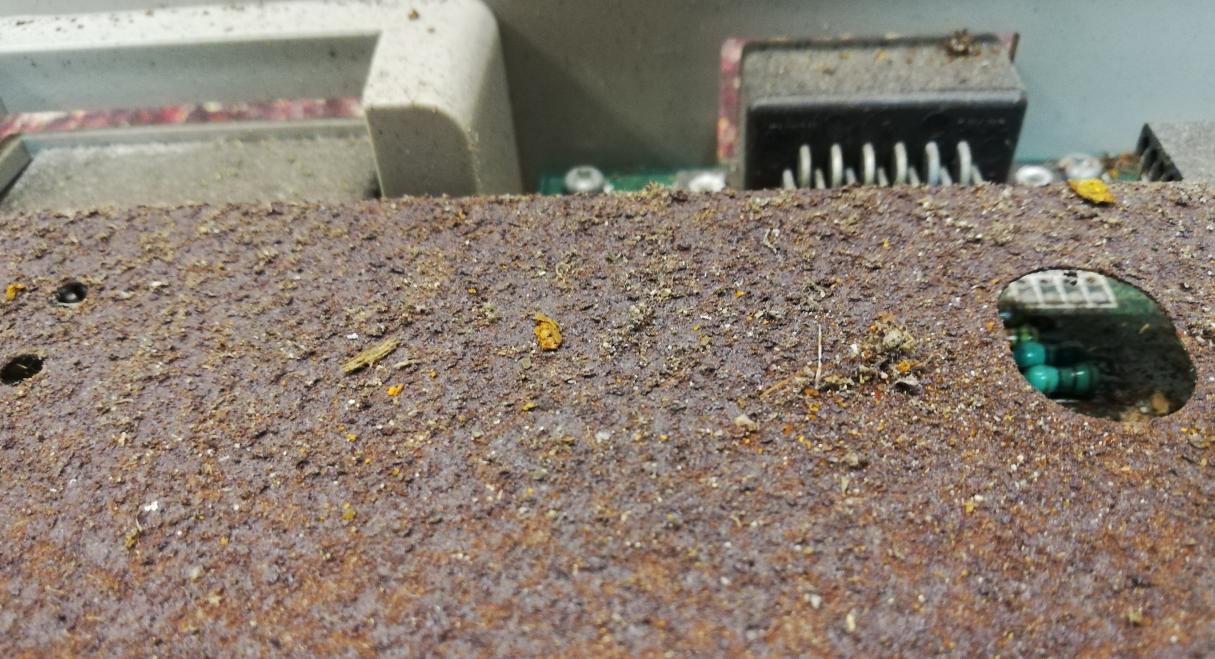
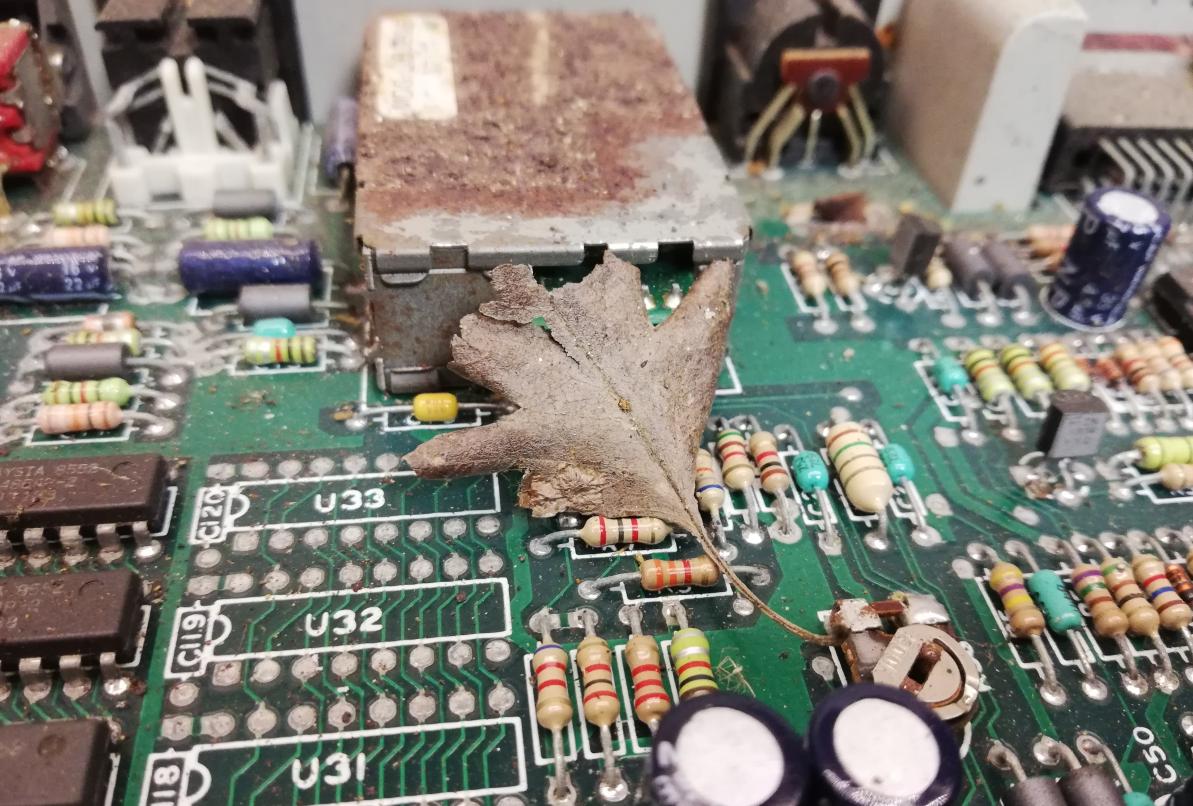
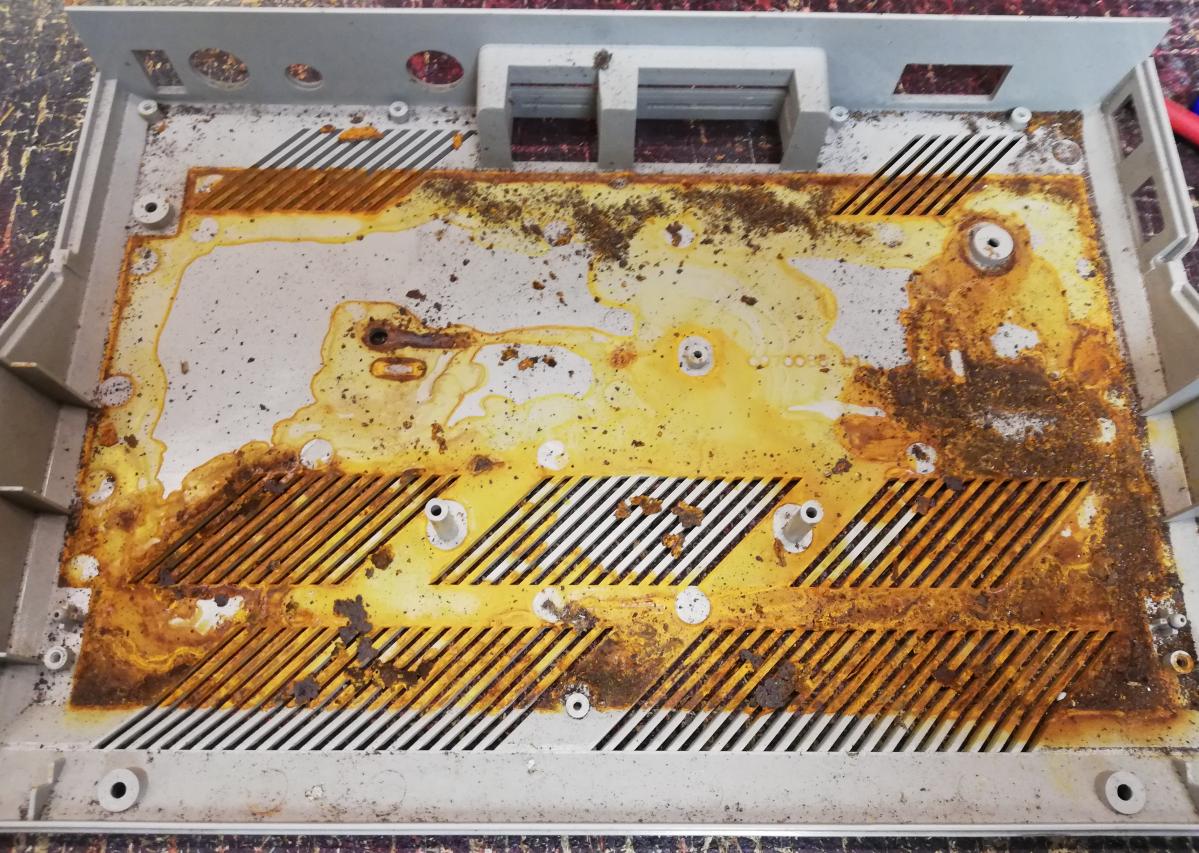
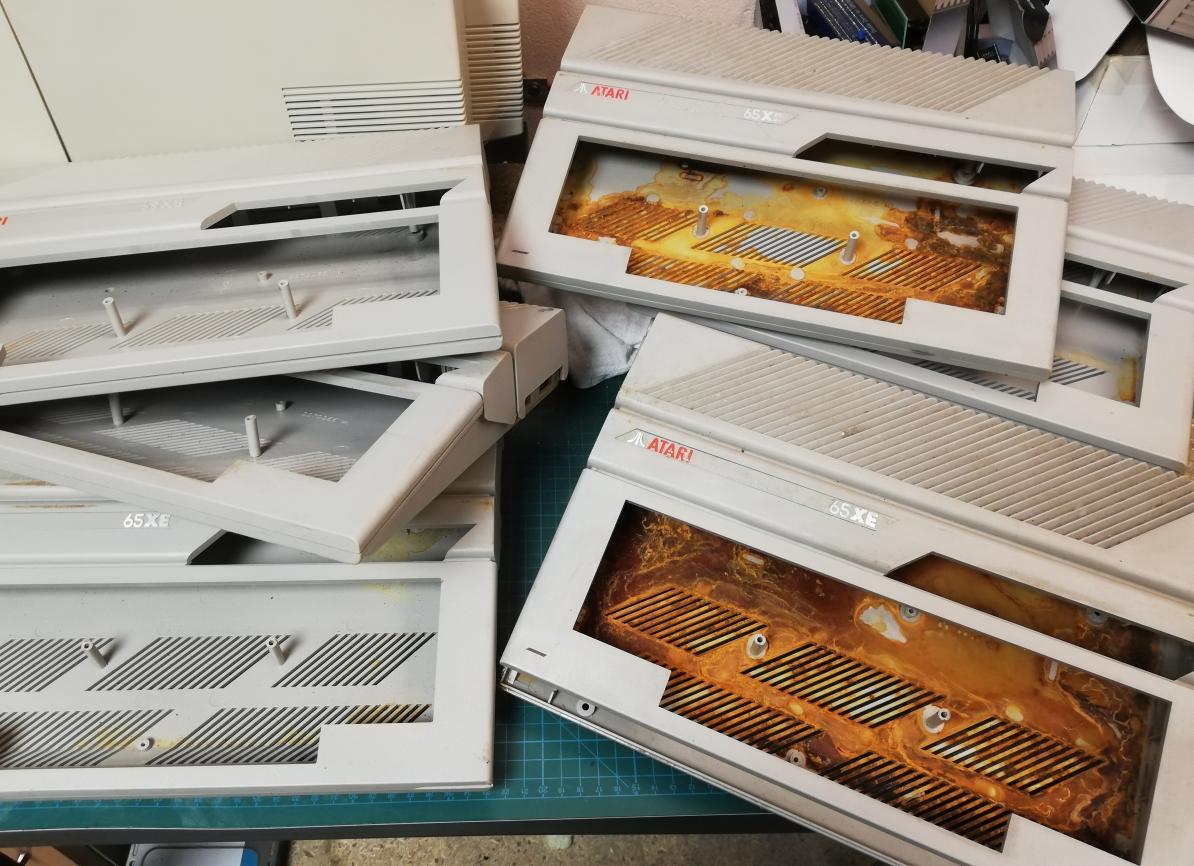
It looked like they were stored in a pretty humid place judging by the shields. Every single shield was completely covered in rust. Some of the machines looked nice outside but most of the time, after opening it was a disaster …
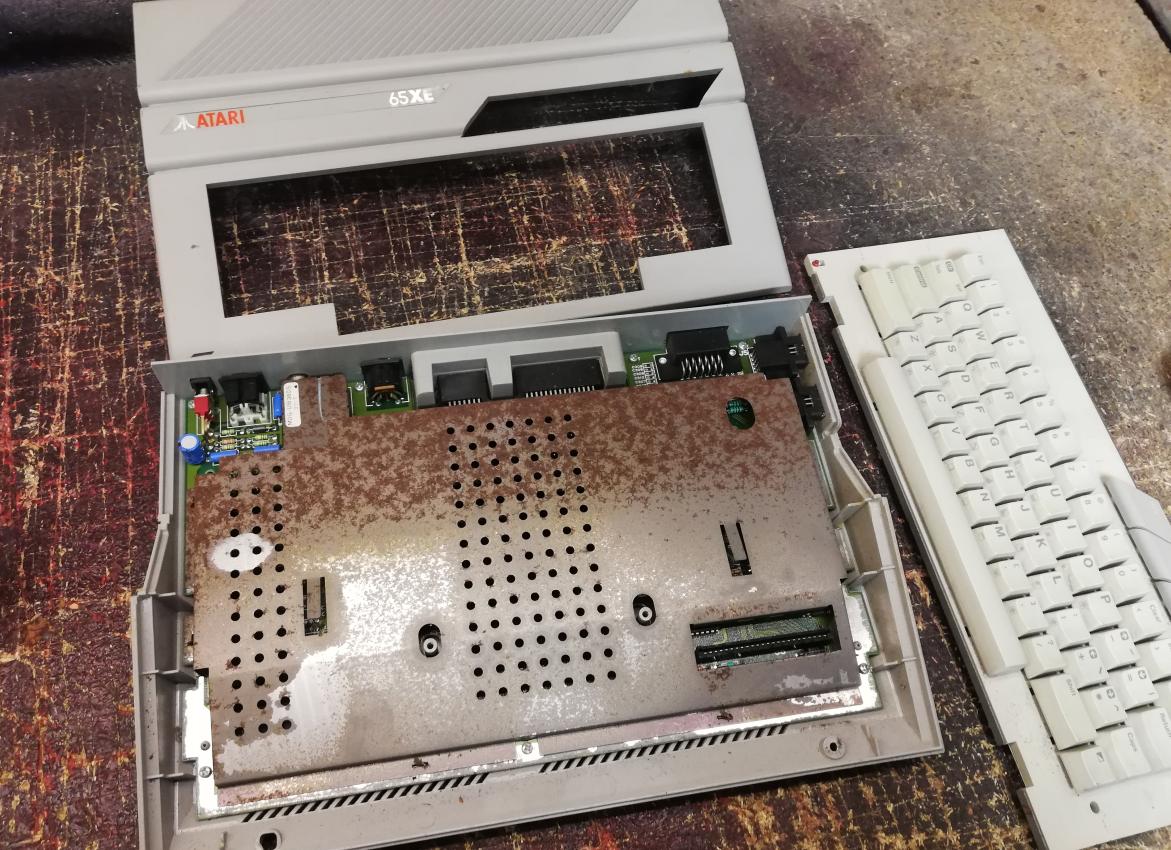
Anyway, disassembly followed as usual.
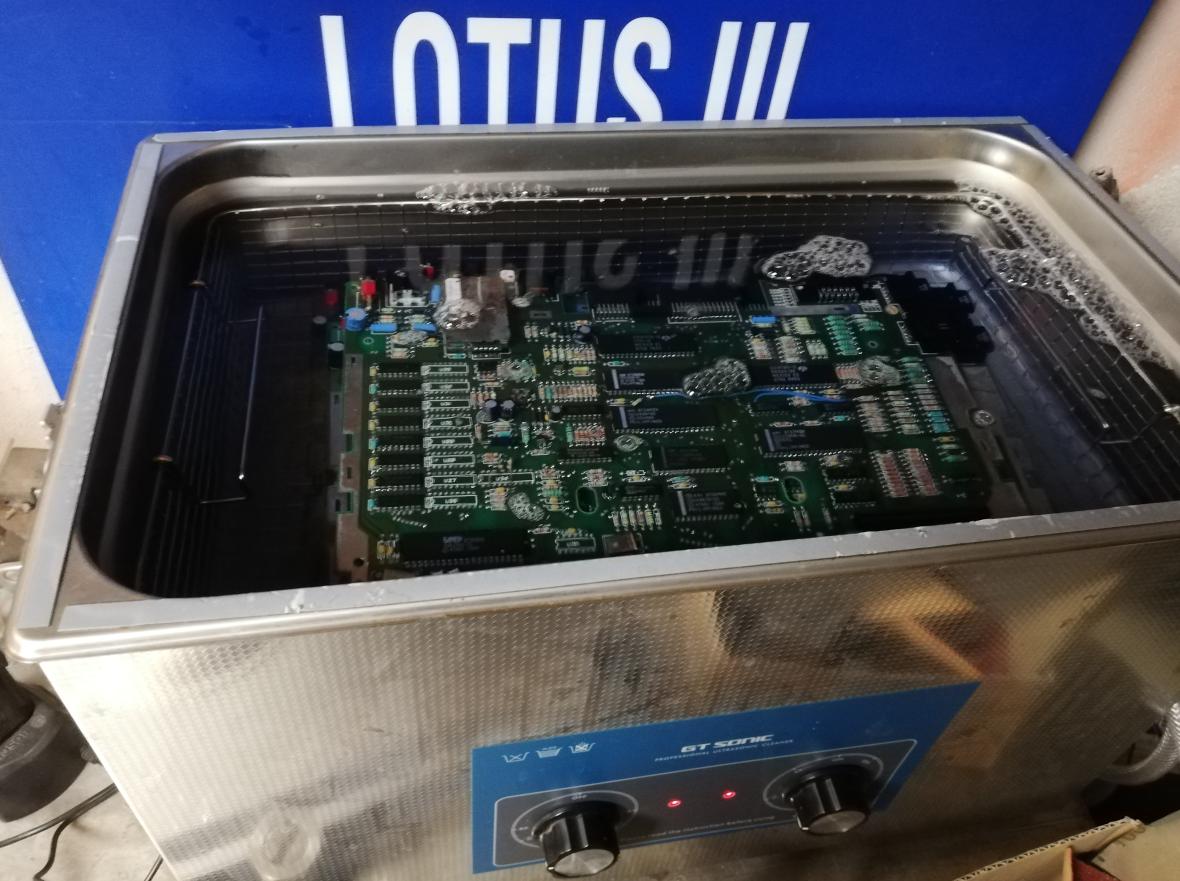
First set ready for ultrasonic cleaning 🙂
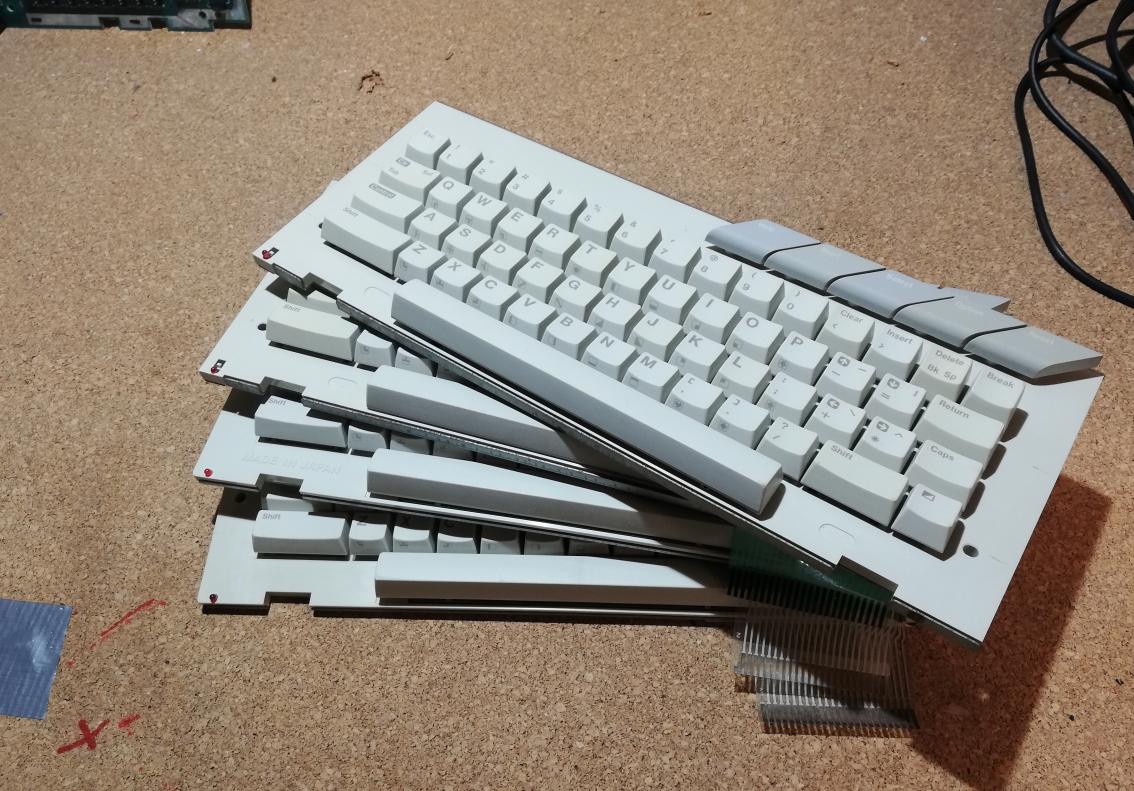
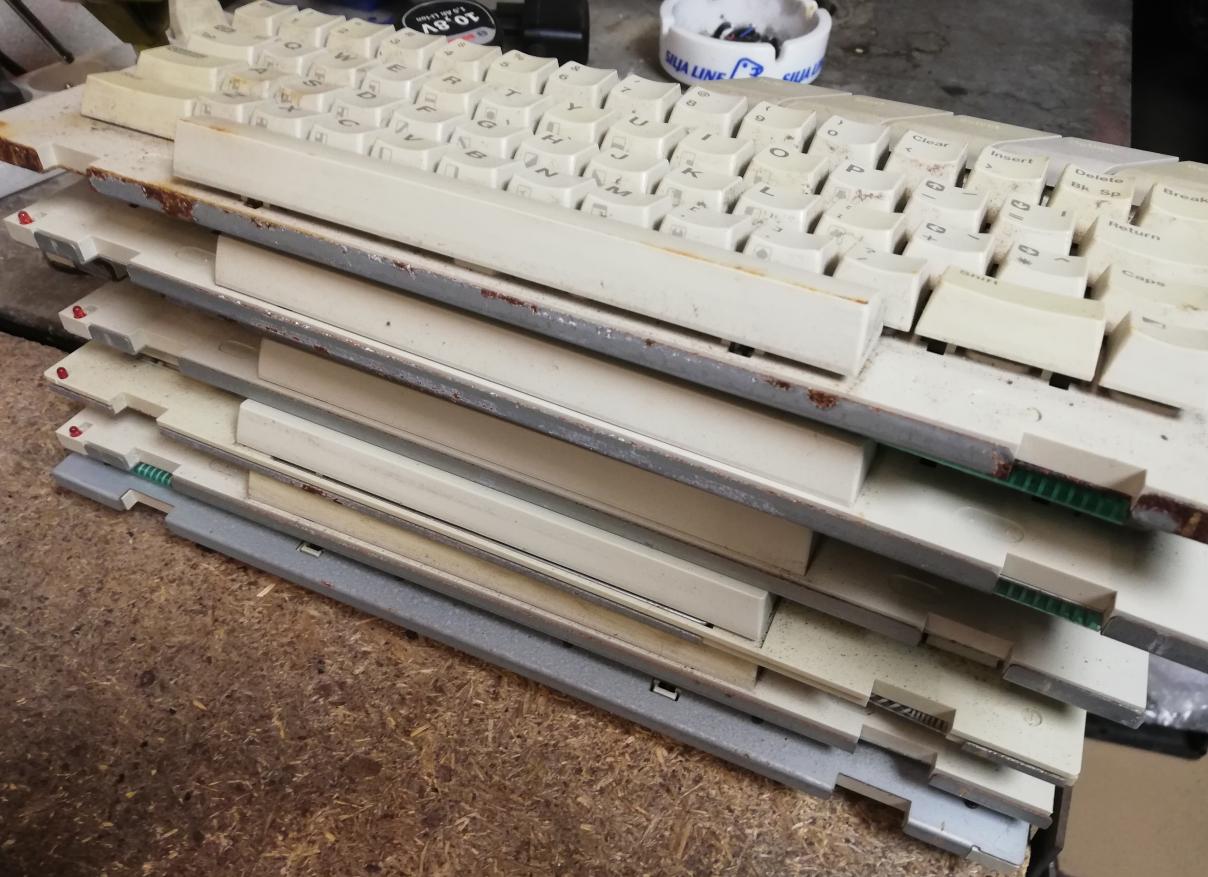
In the meantime, I’ve started working on keyboards.

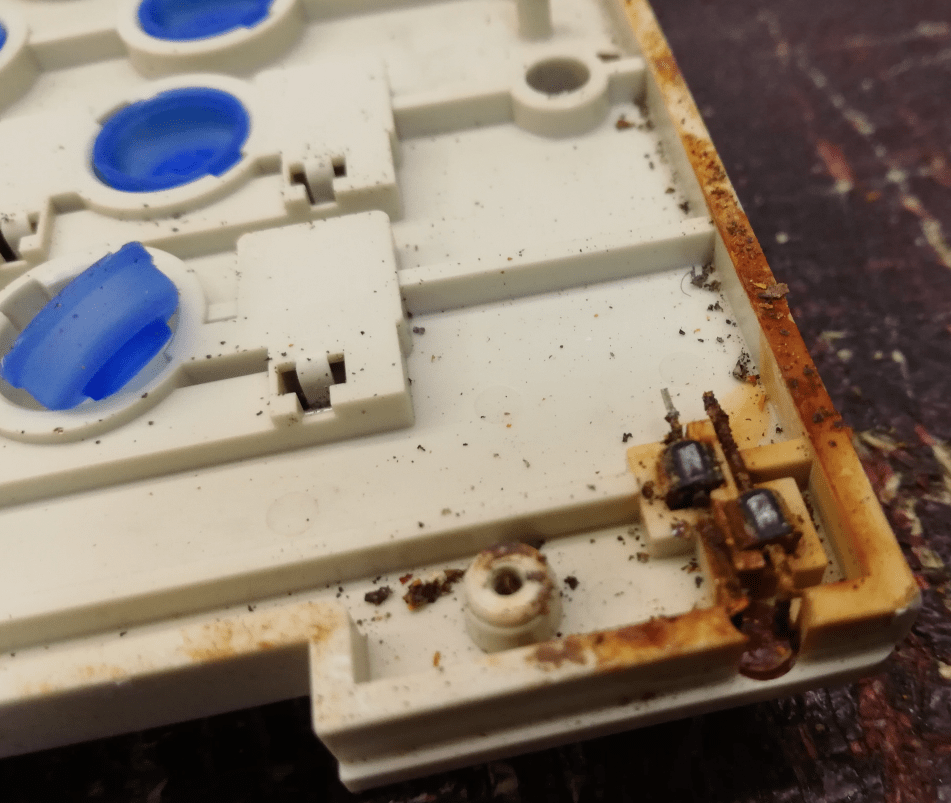
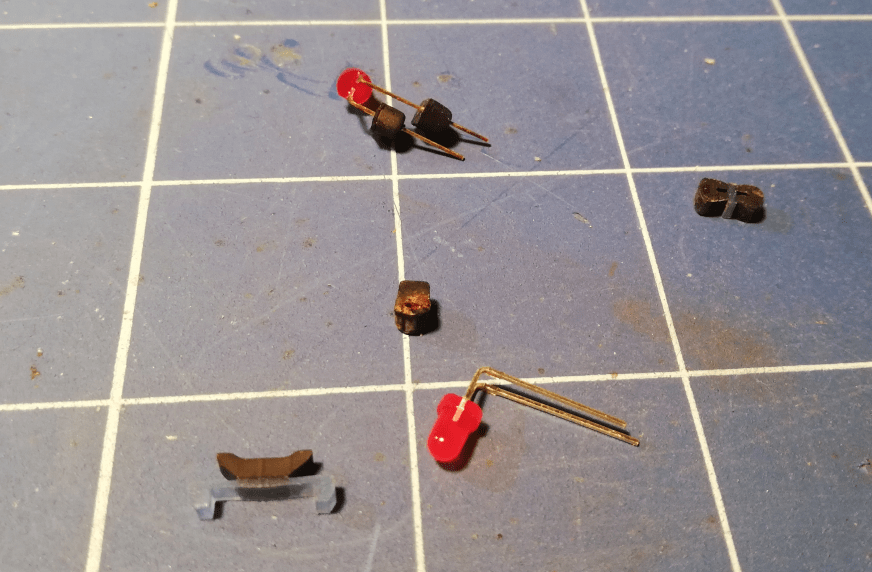
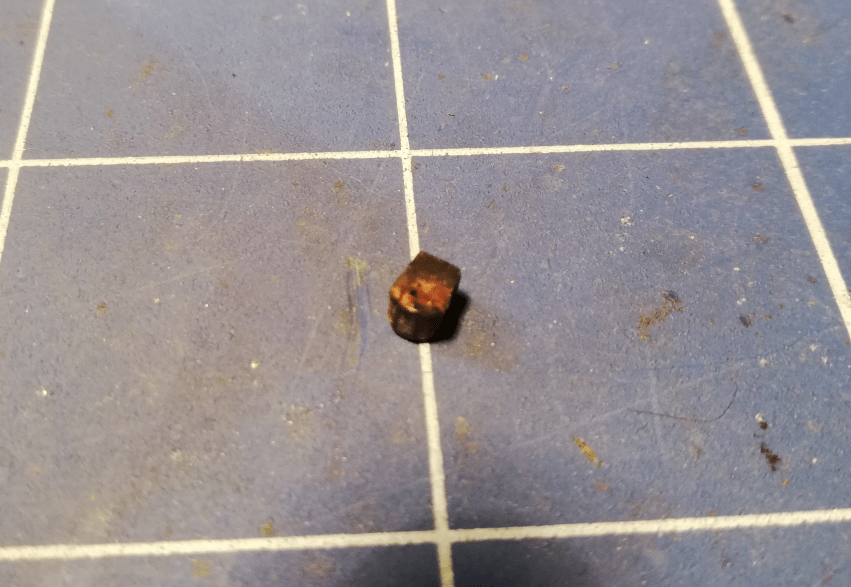
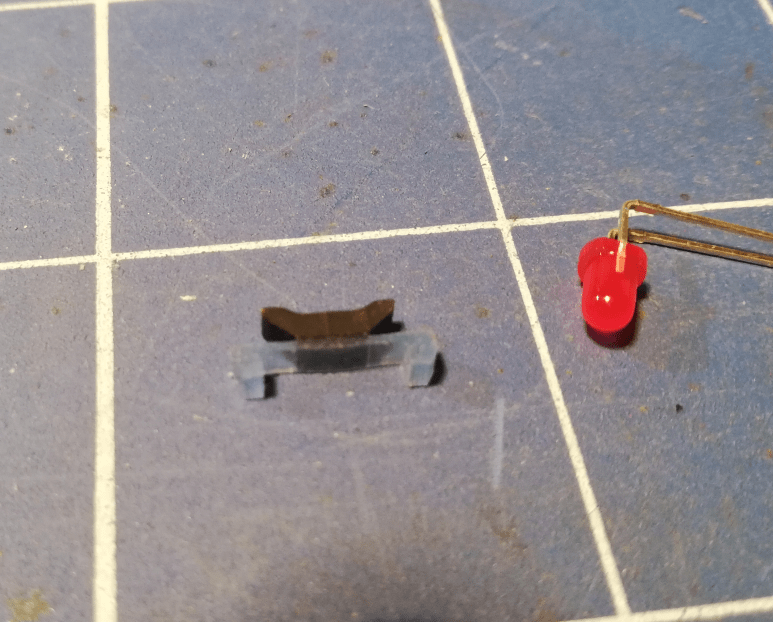
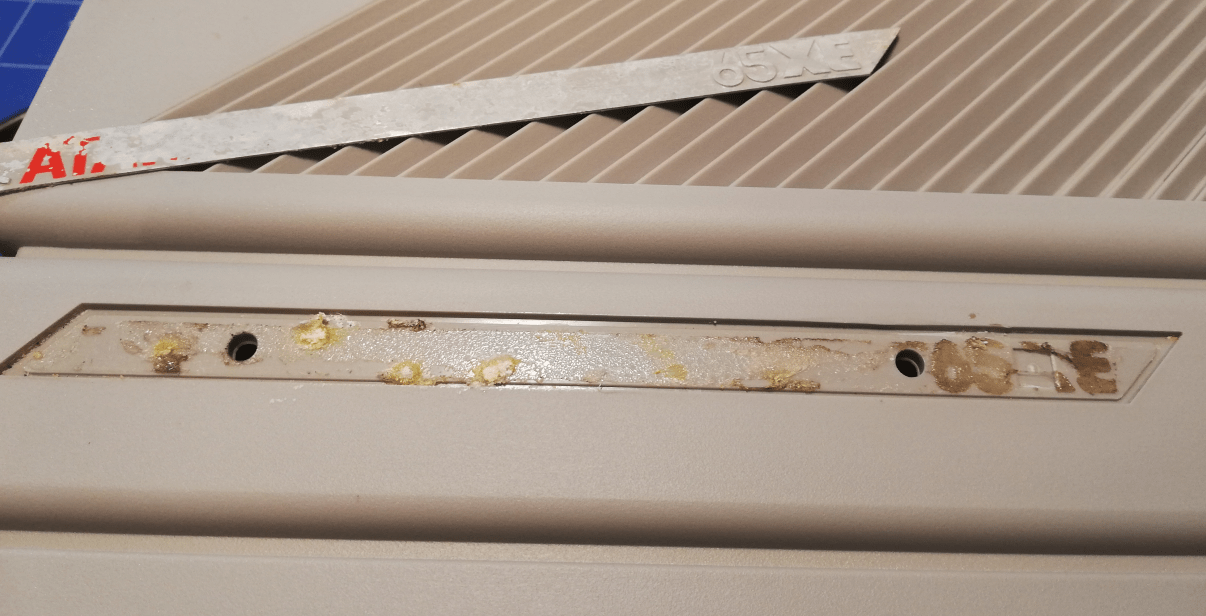
Some LEDs were heavily corroded.
Rubber pads
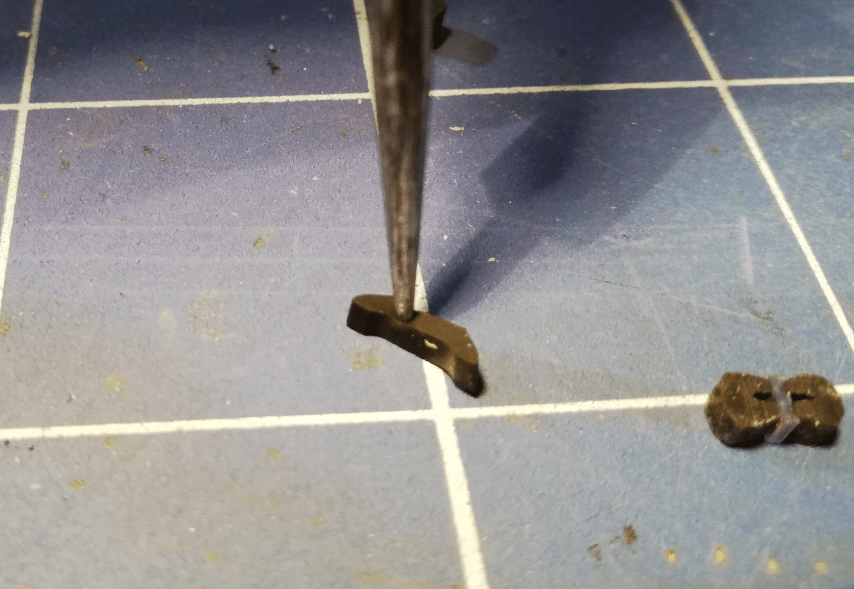
I had to replace the LEDs but I was also stuck on another problem. The rubber pad in one unit didn’t work at all. I assumed that the graphite was completely stopped conducting. I’ve figured out that I can use the pad from a broken Amiga keyboard stud that I often keep as spares. As usual, I had to modify it a bit.
Original pad
A keypad was stolen from the Amiga 🙂
Cuts and mods are in progress 🙂

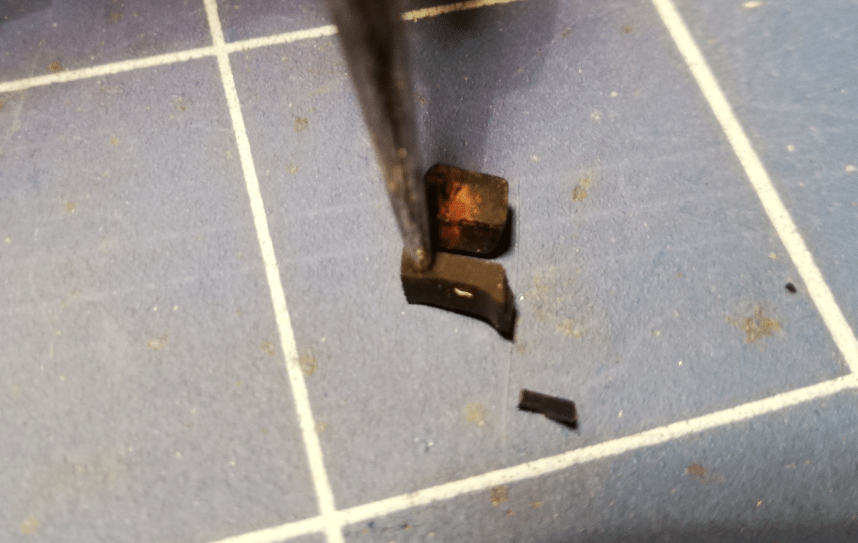
Tadaaaa! Fixed and working!
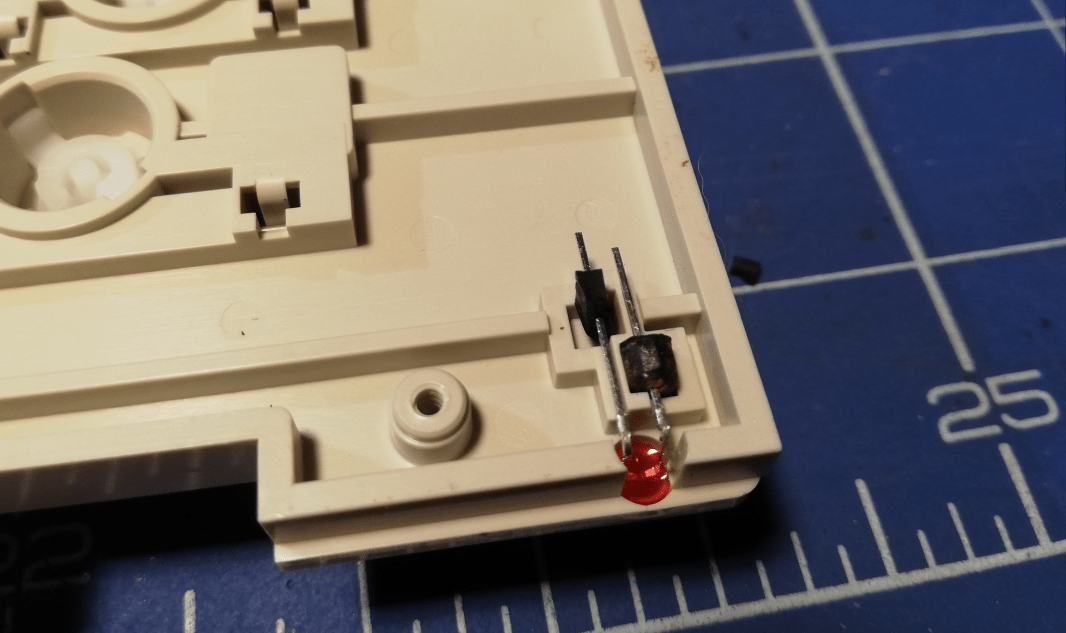
Four keyboards are ready 🙂
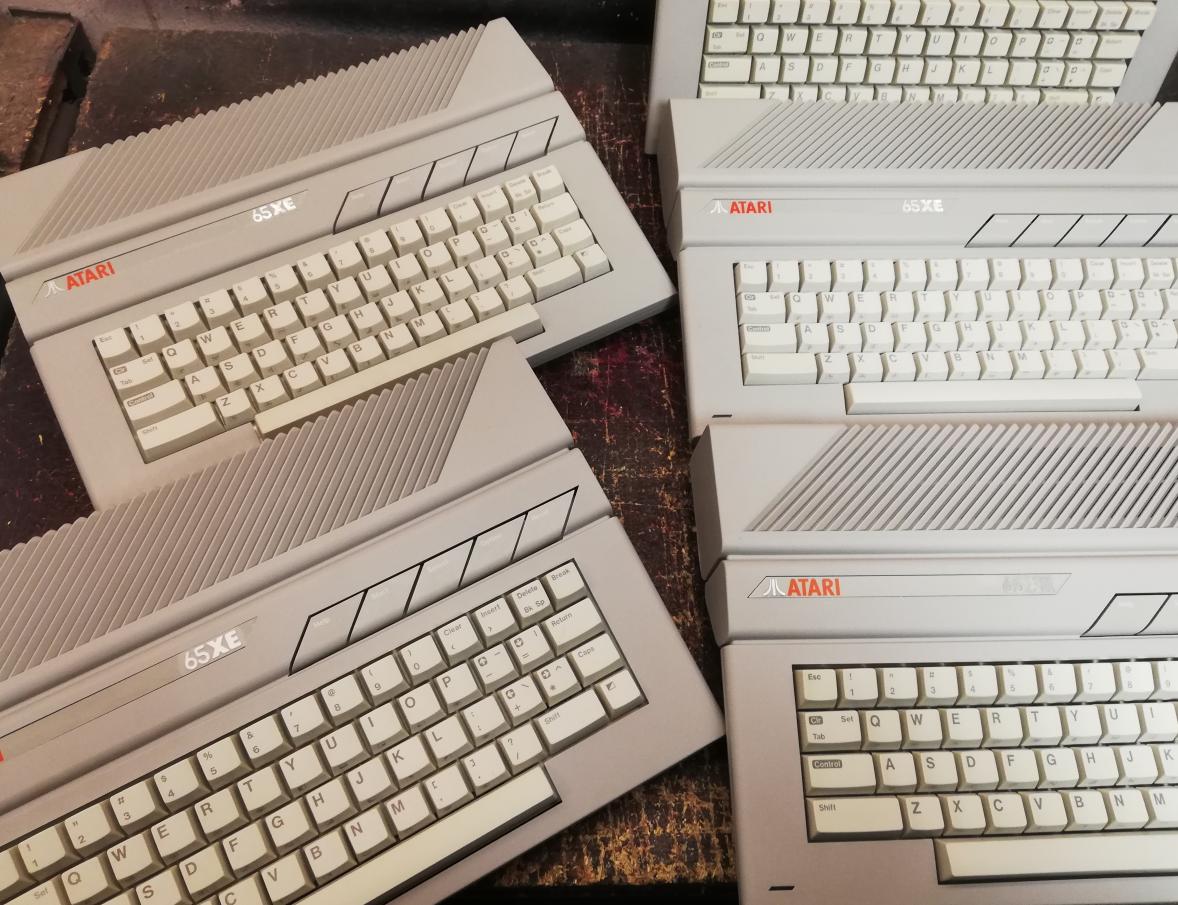
While some parts were going through a lengthy (my method takes at least 4 days) retr0brighting process, I’ve started to work on the next seven (or so) units. I’ve uploaded only the most interesting pics 😀
I was like … :O Autumn again! Oh noeees! …lol

Electronics
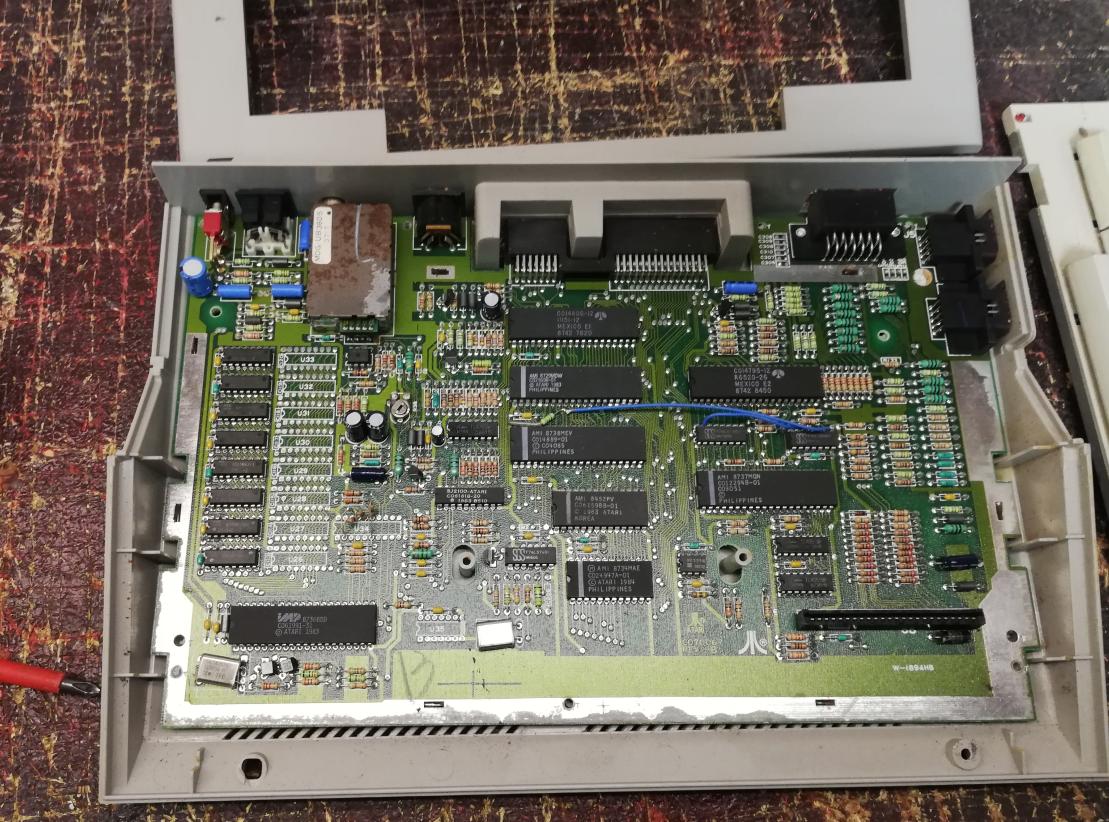
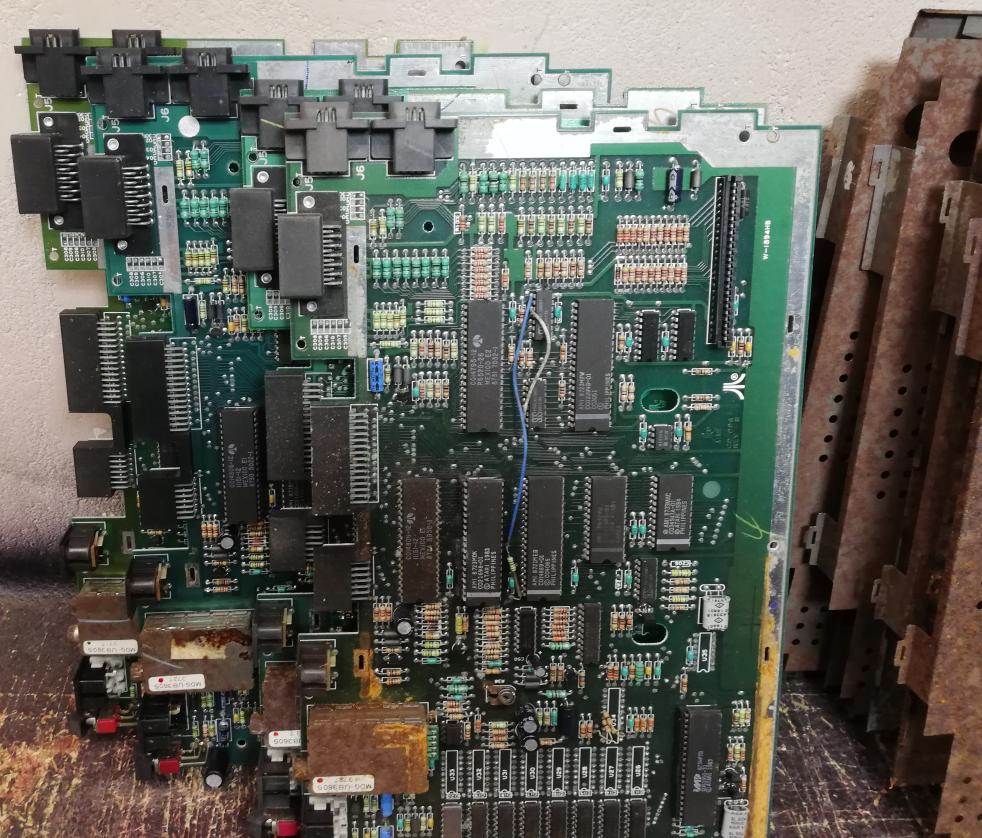
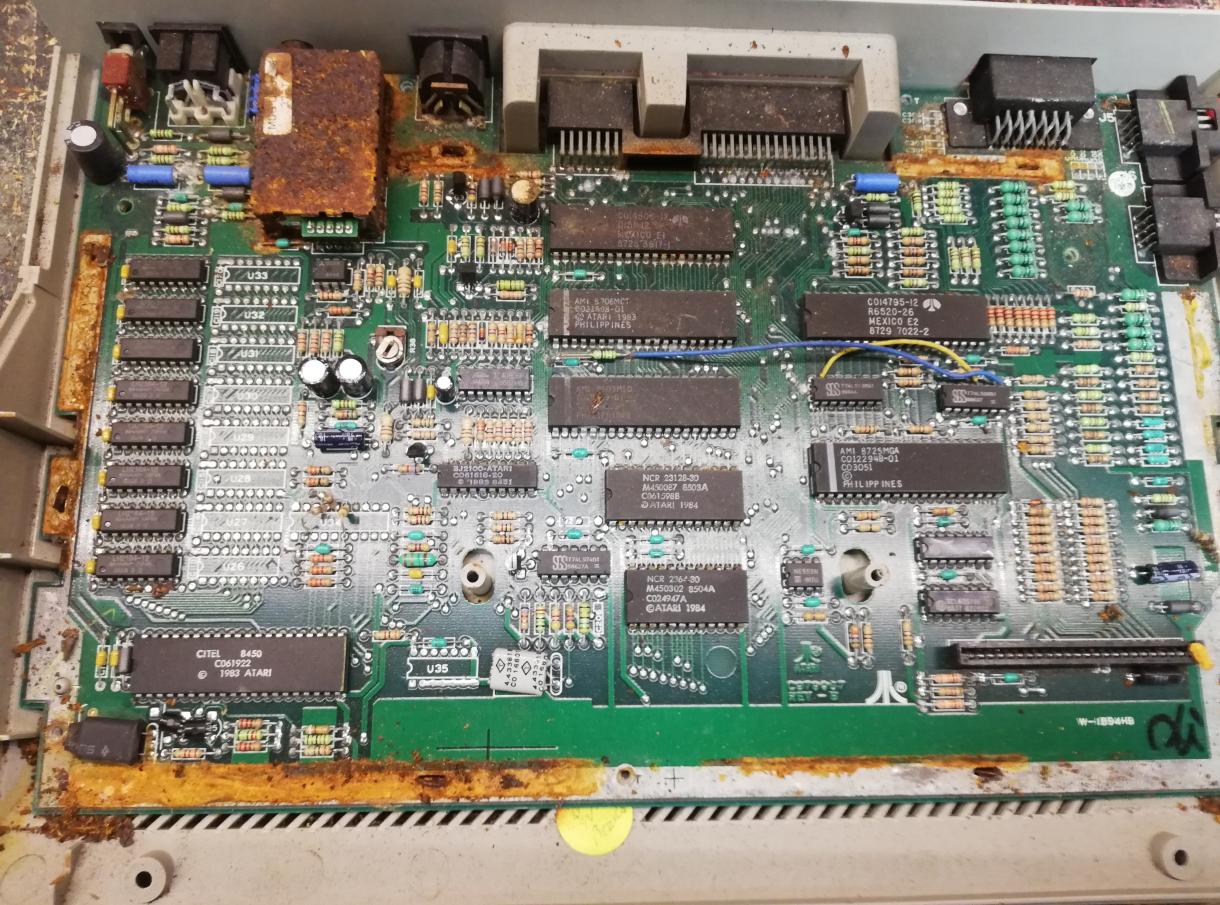
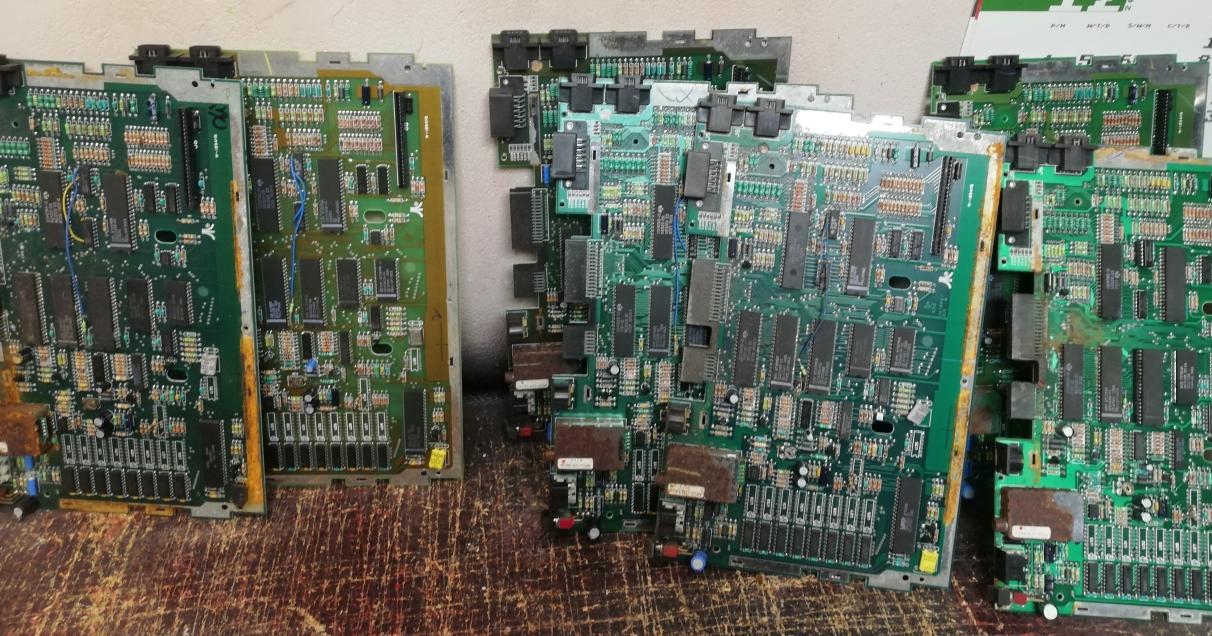
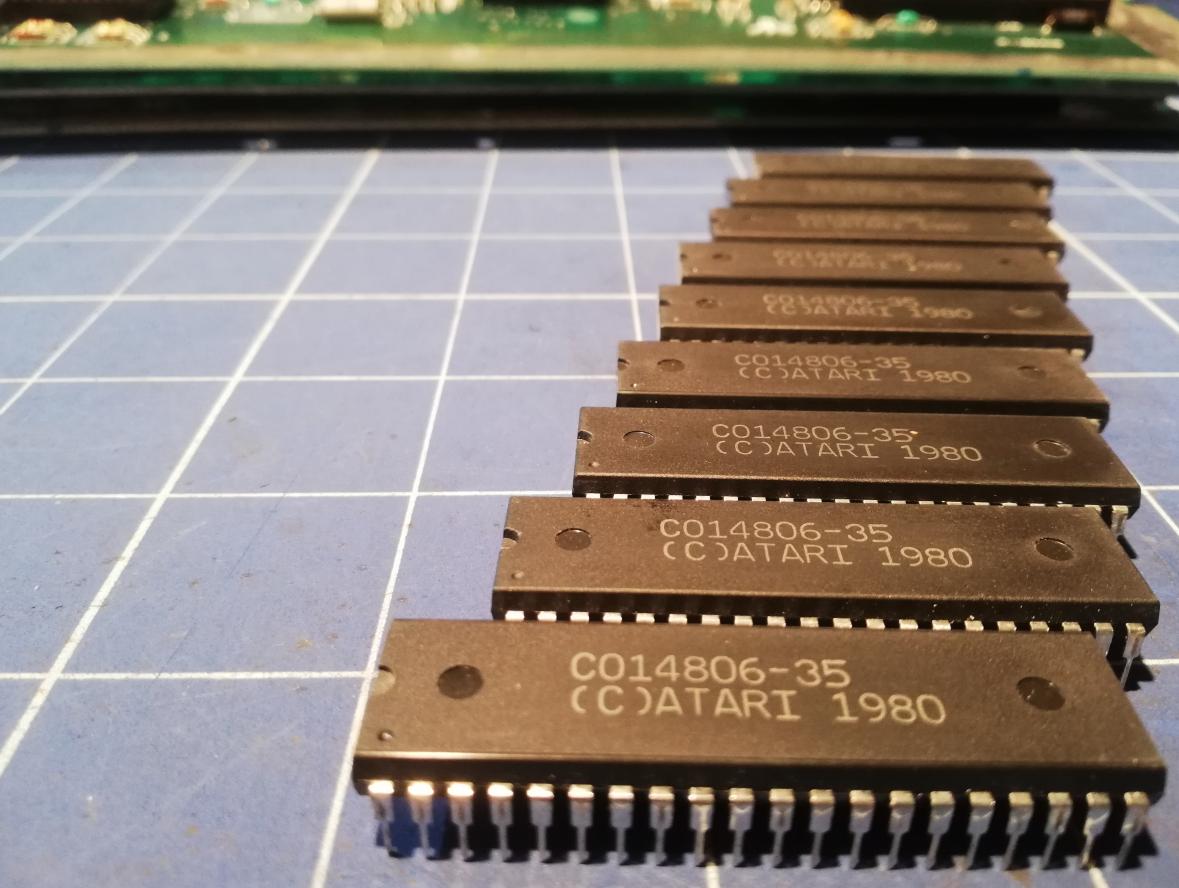
On the electronics part, out of all ten (or eleven) units, only one is still waiting for fixing. This is because it is a more time-consuming example so I’ve left it for a long winter evening 😉 The remaining units were quite easy to fix. It had either a fried RAM chip or a CPU. Some required recapping because of heavy corrosion. I also had to order some CPUs from one of the eBay sellers.
Below, original fried CPUs are desoldered from mainboards.
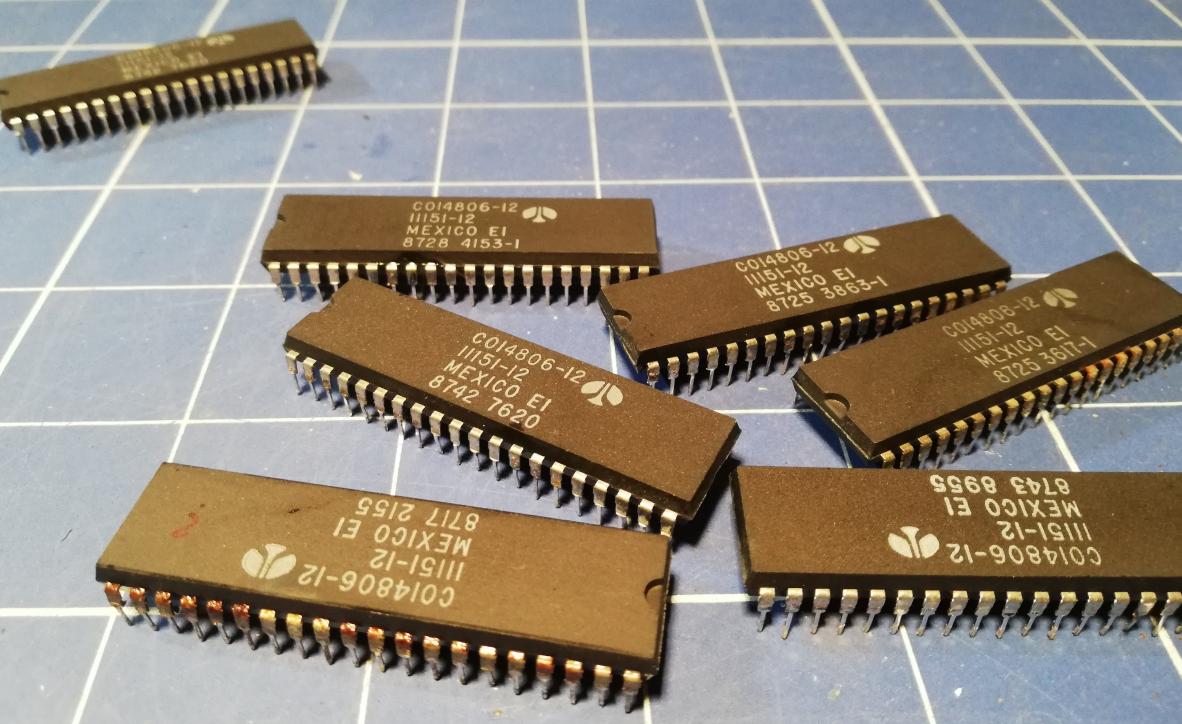
An ordered new replacement CPUs
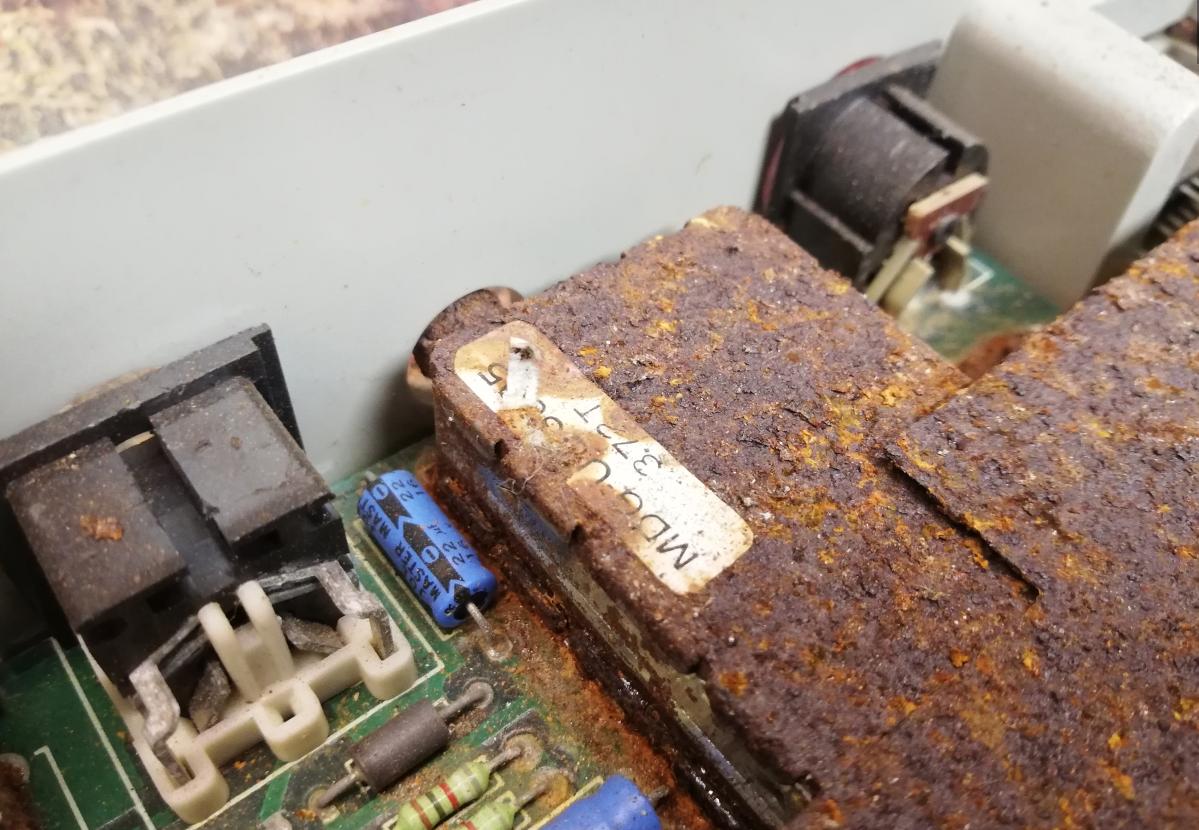
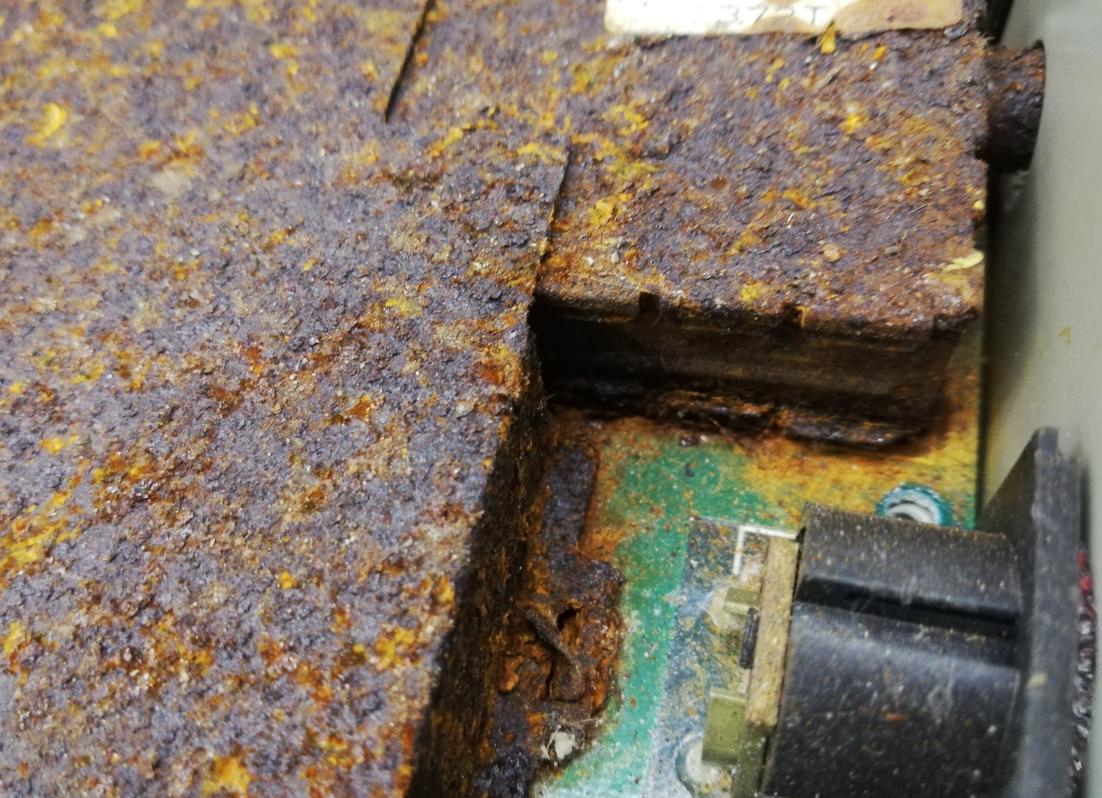
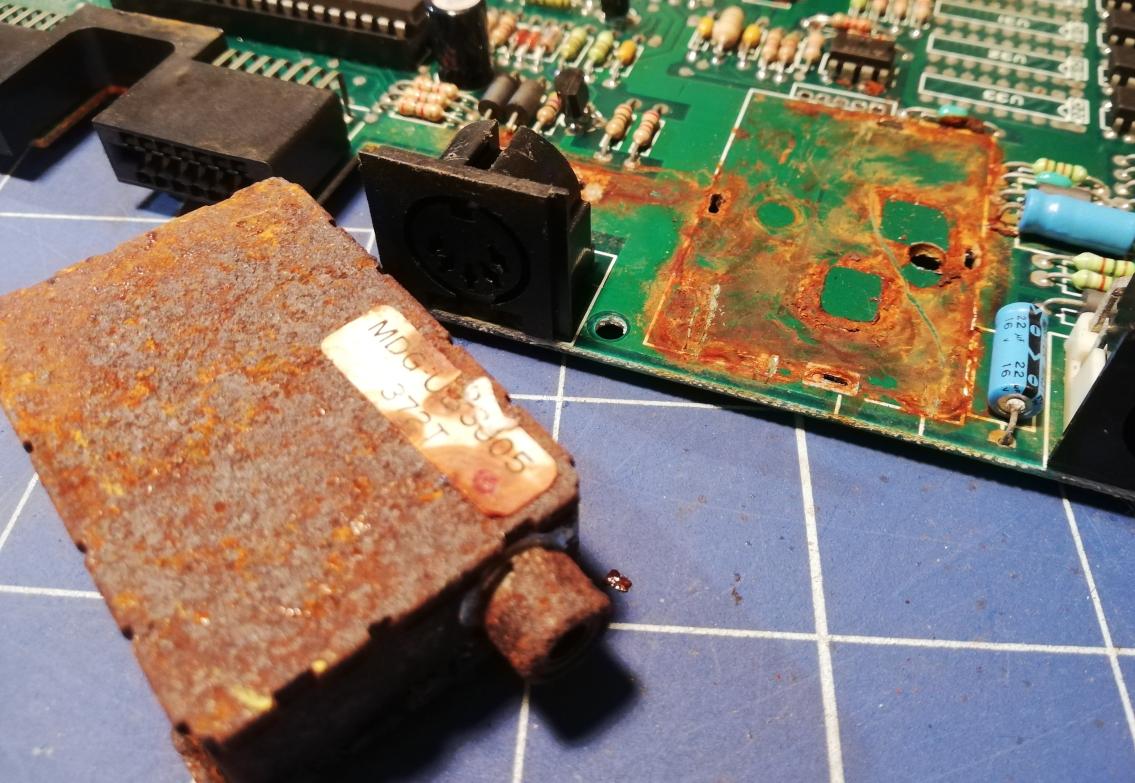
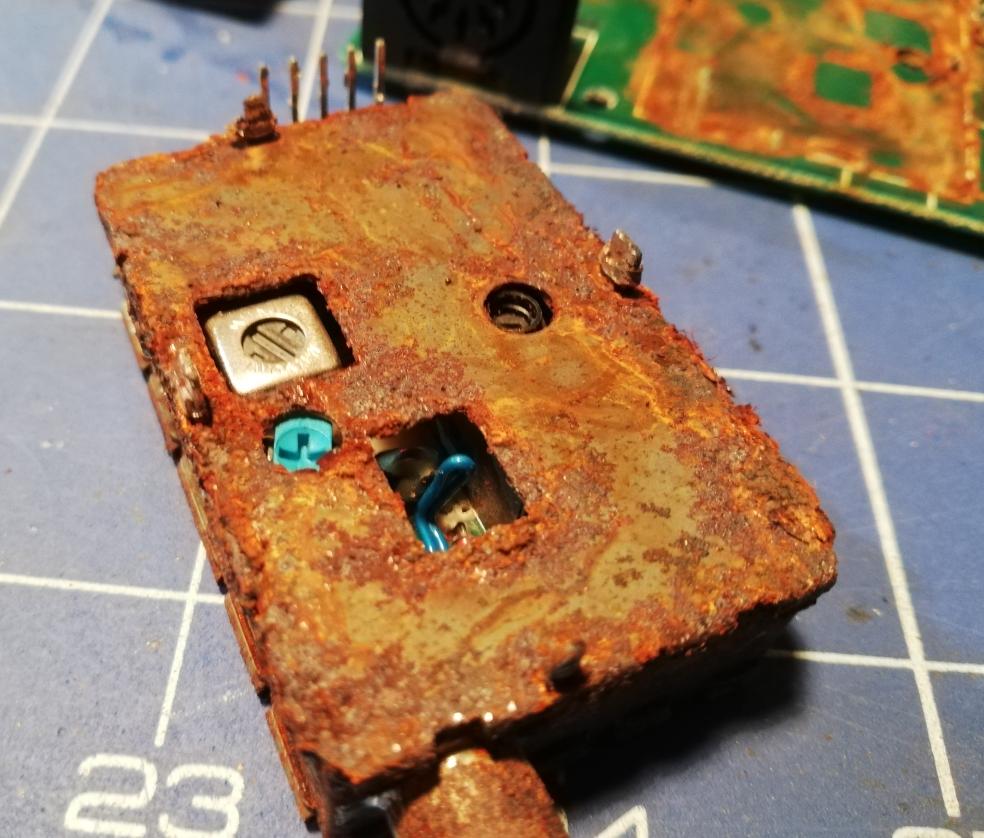
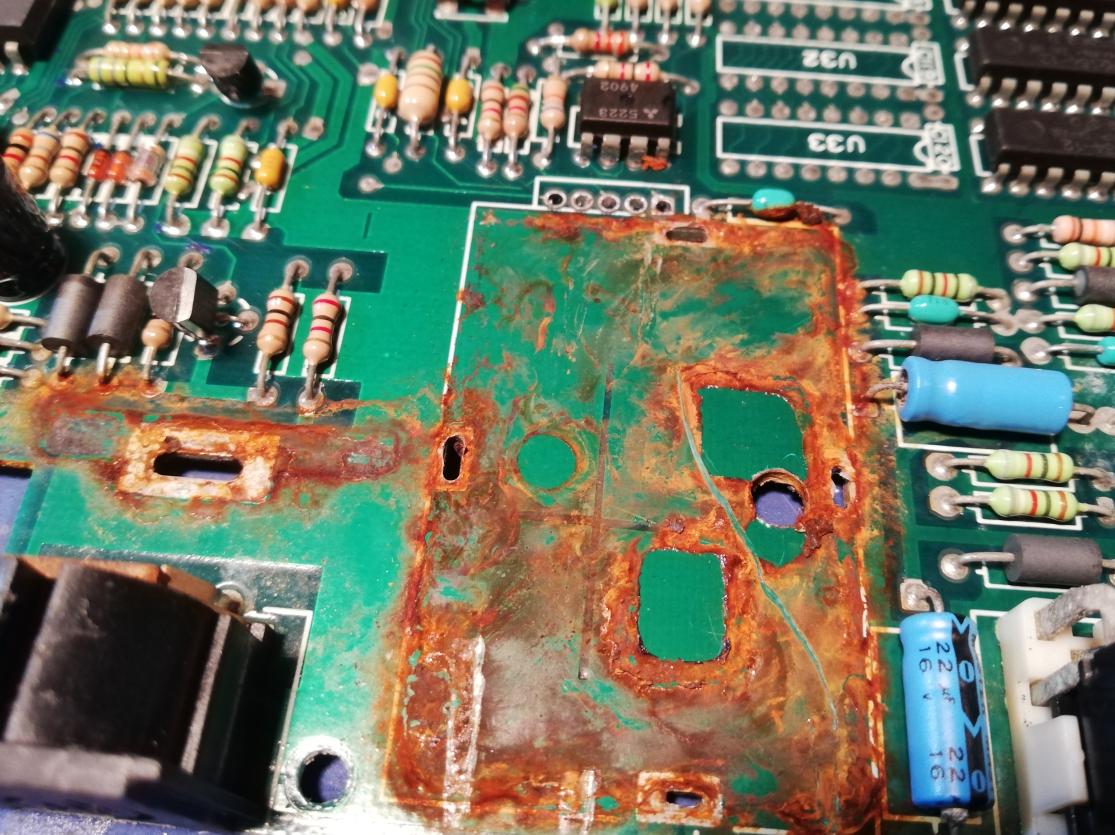
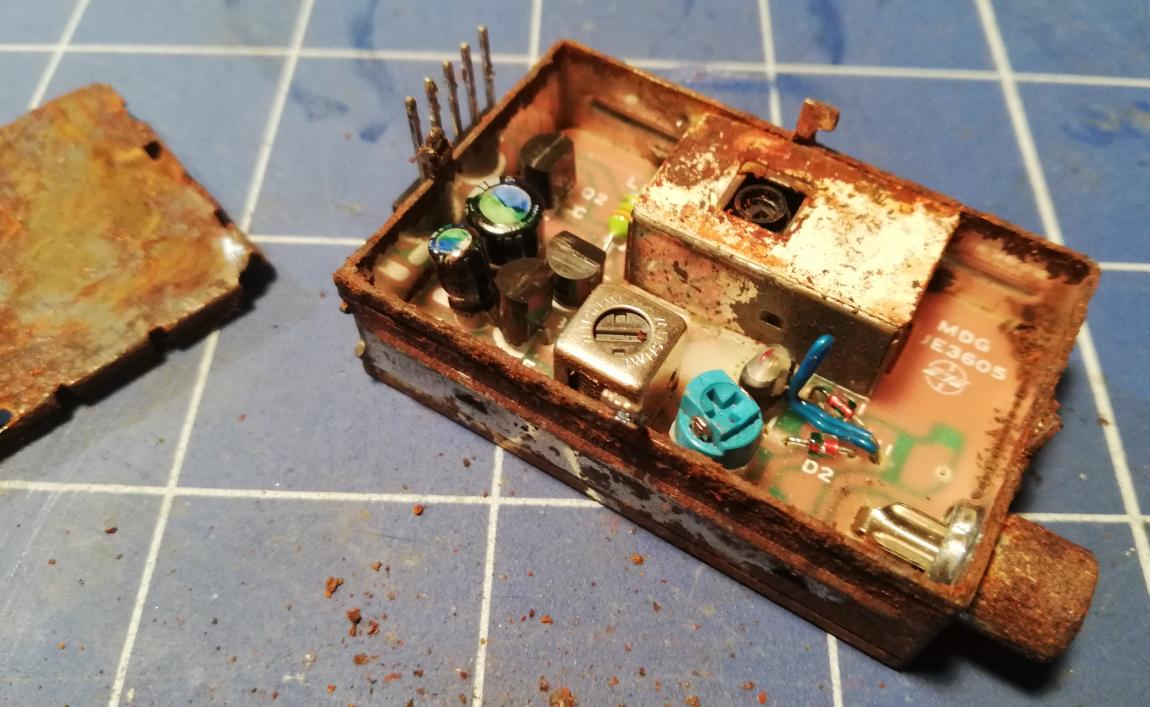
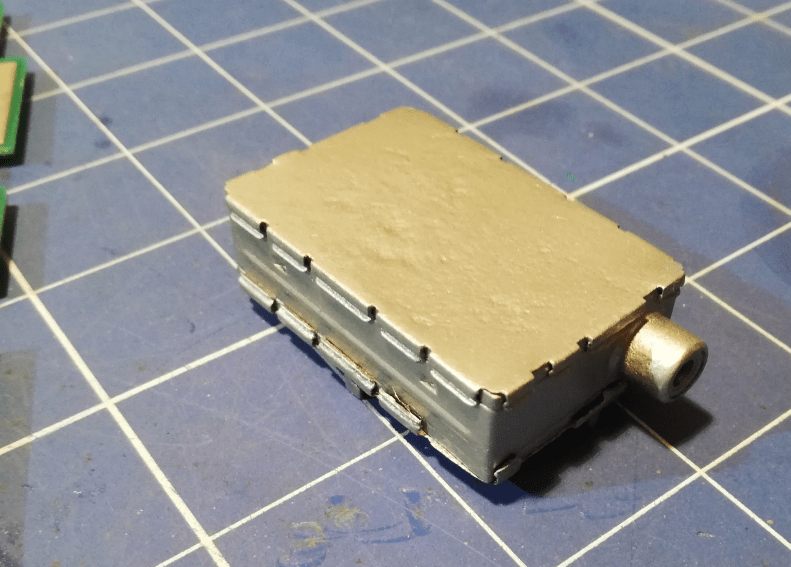
I had to address dead and rusty RF modulators. Some required only standard cleaning and a bit of sanding but others took a decent while to be sorted out nicely. I had to desolder ’em all first 🙂
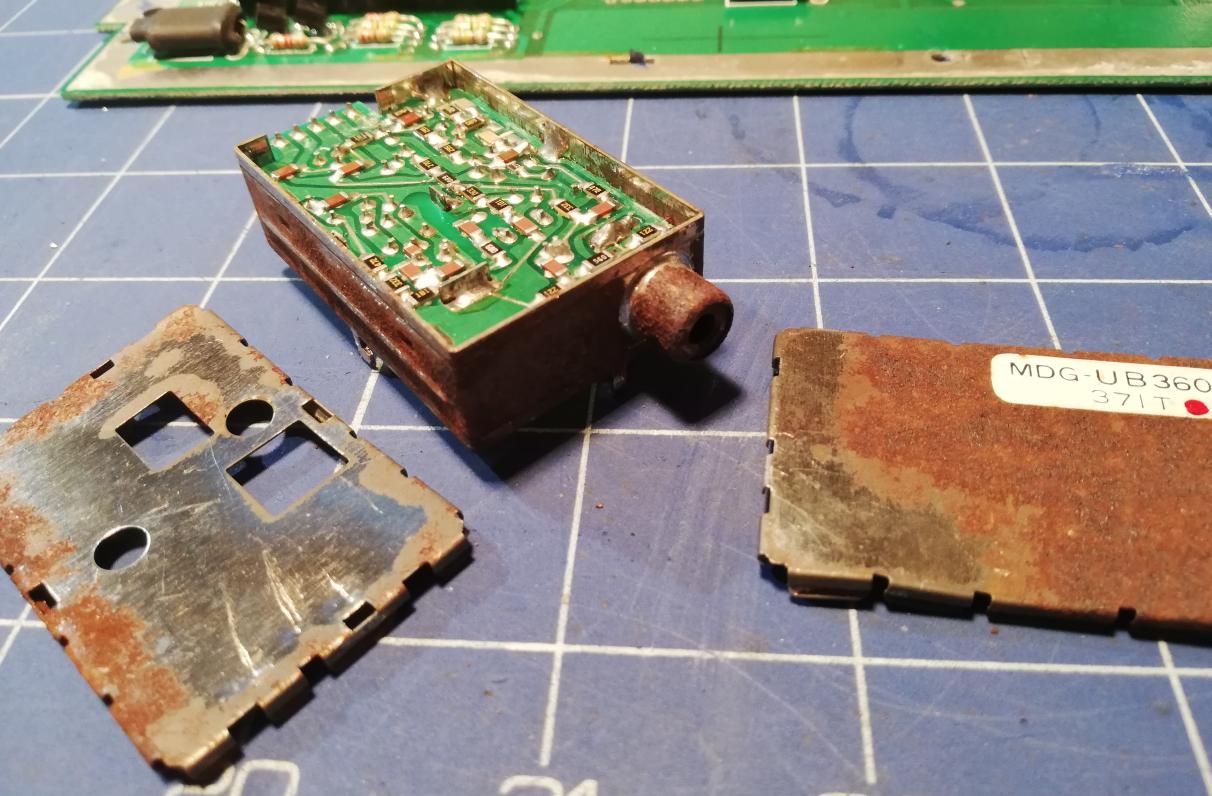
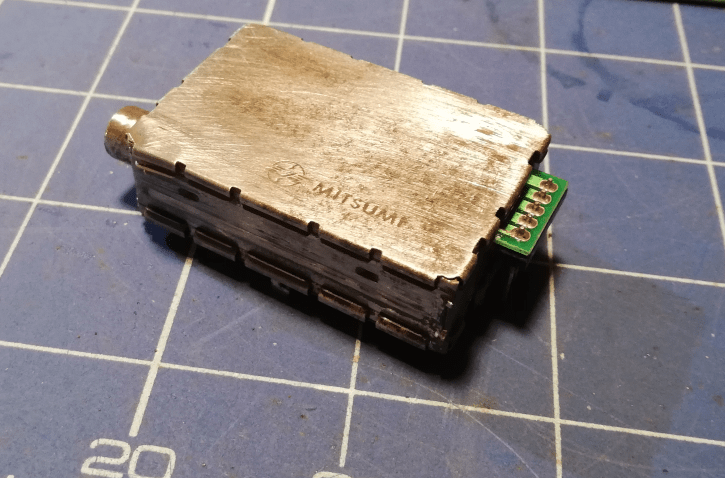
Some RF modulator cases were so corroded that even after heavy sanding they still required painting. PCB also needed some serious cleaning with Phosphoric acid and a bit of sanding too.

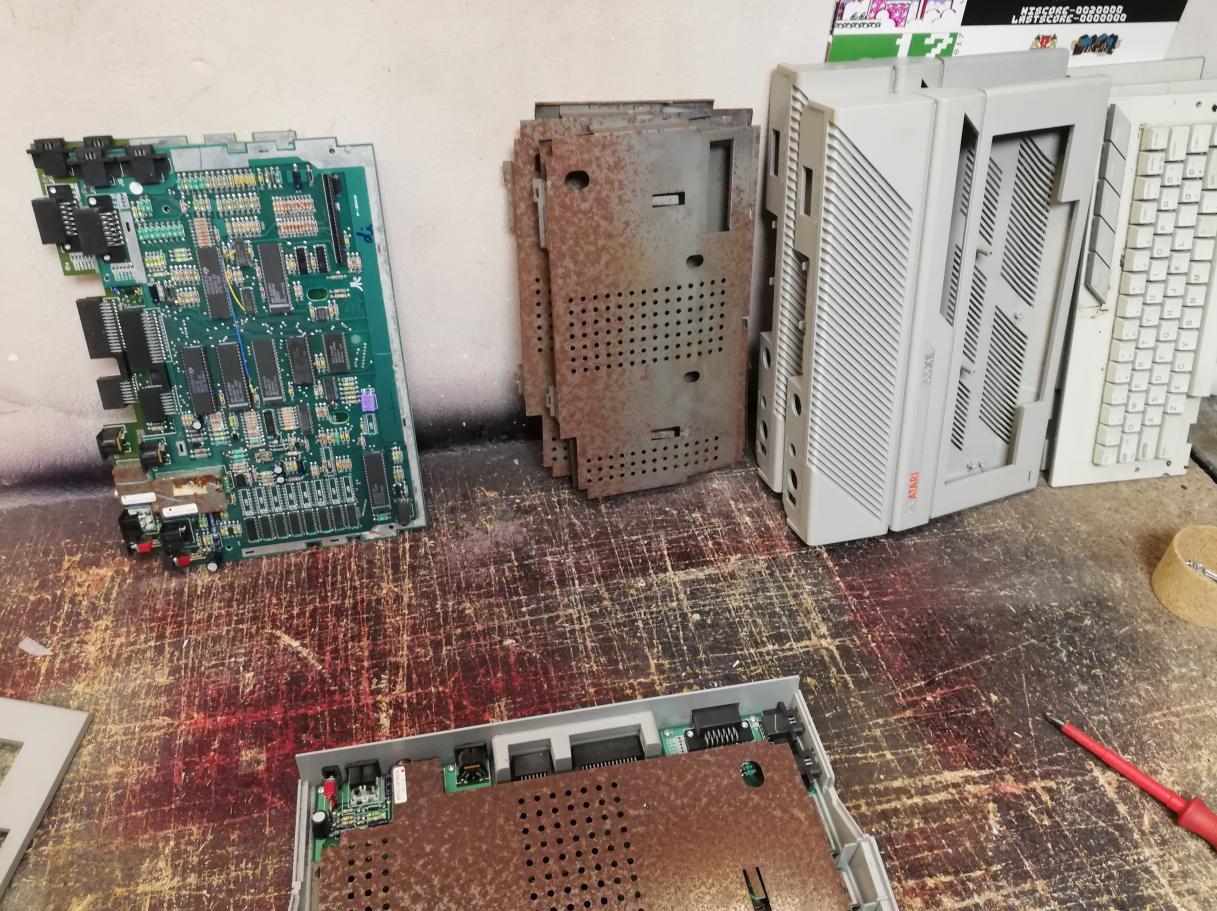
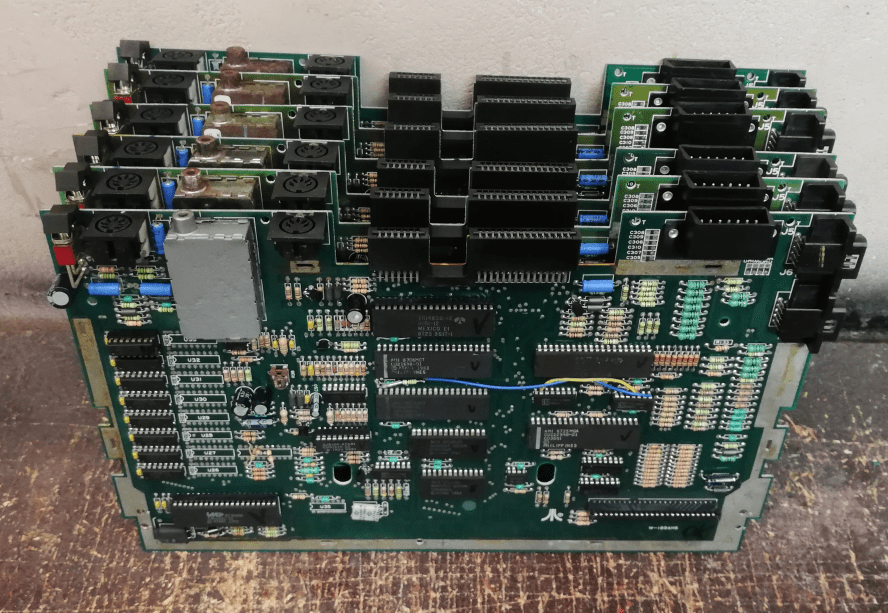
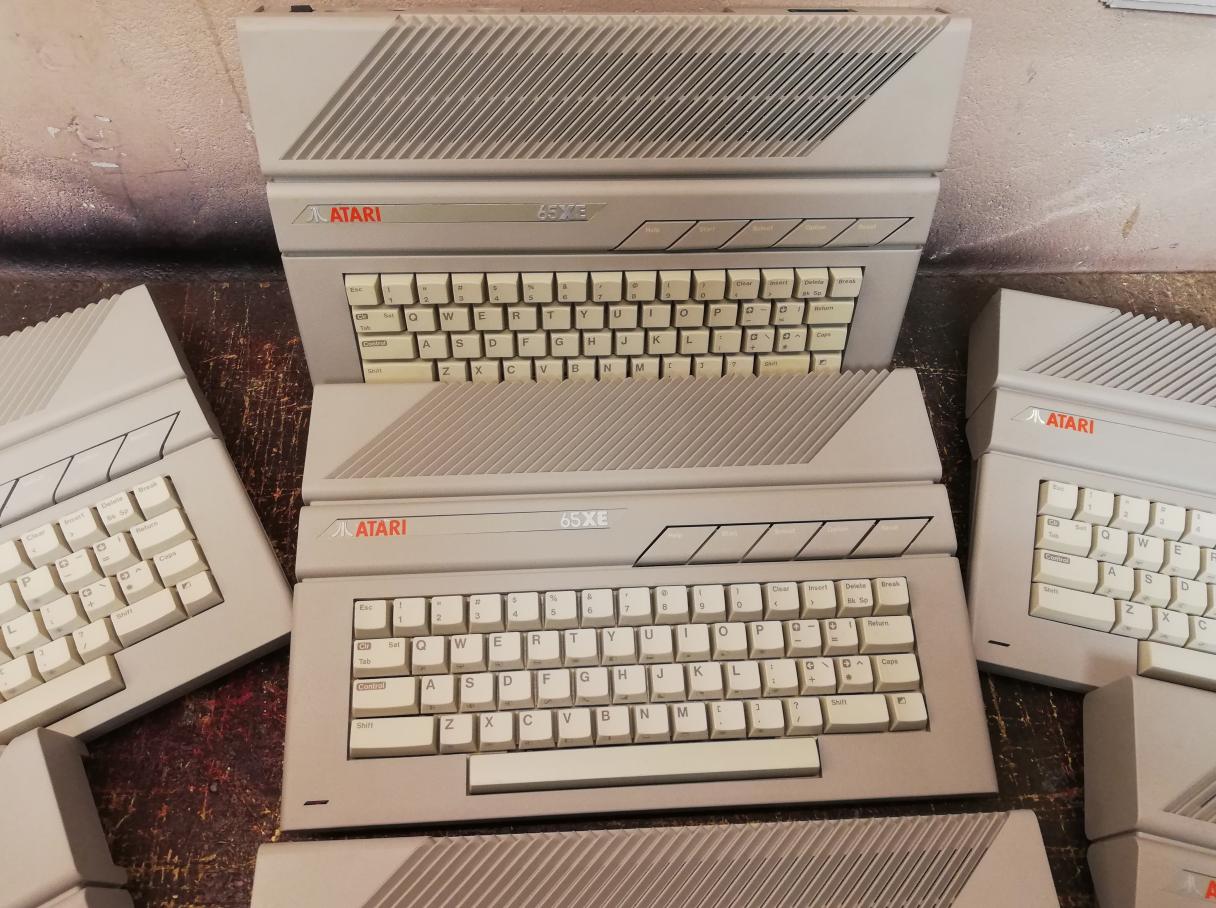
A part of fixed motherboards and already assembled A65s.
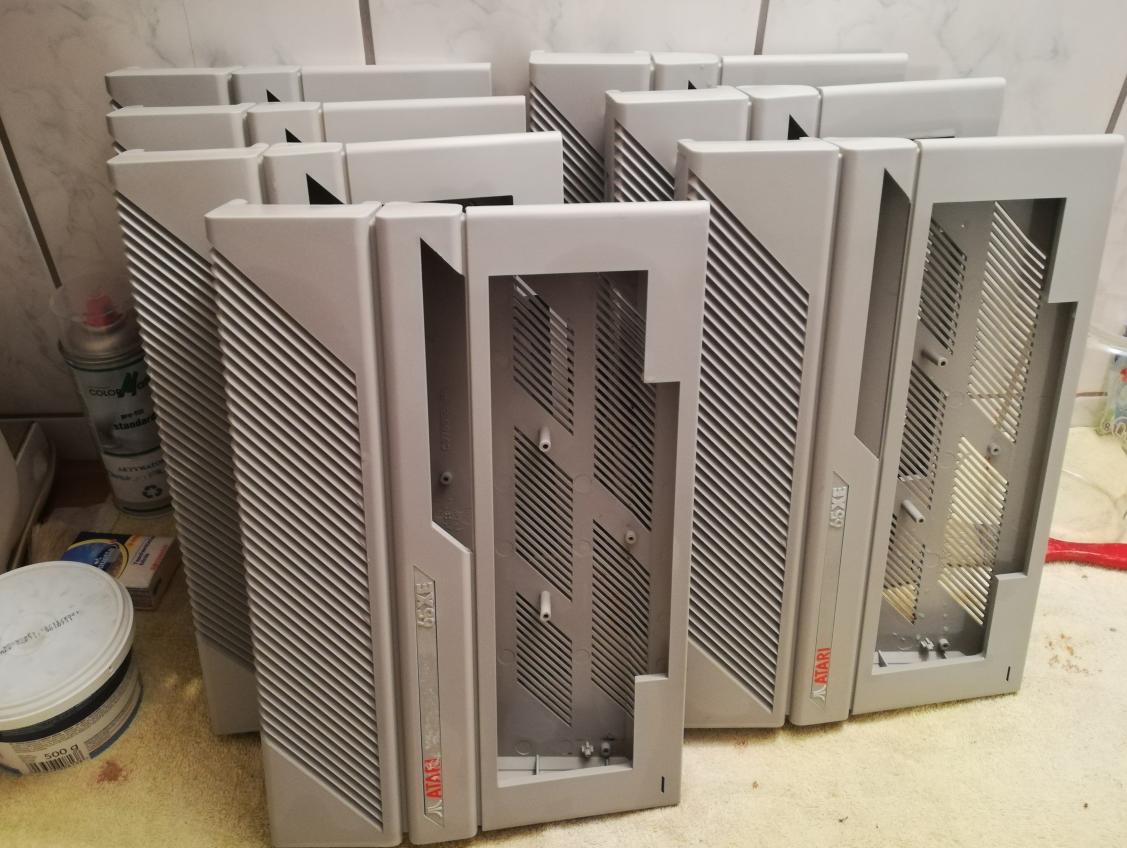
The next set of cases was ready to work on.
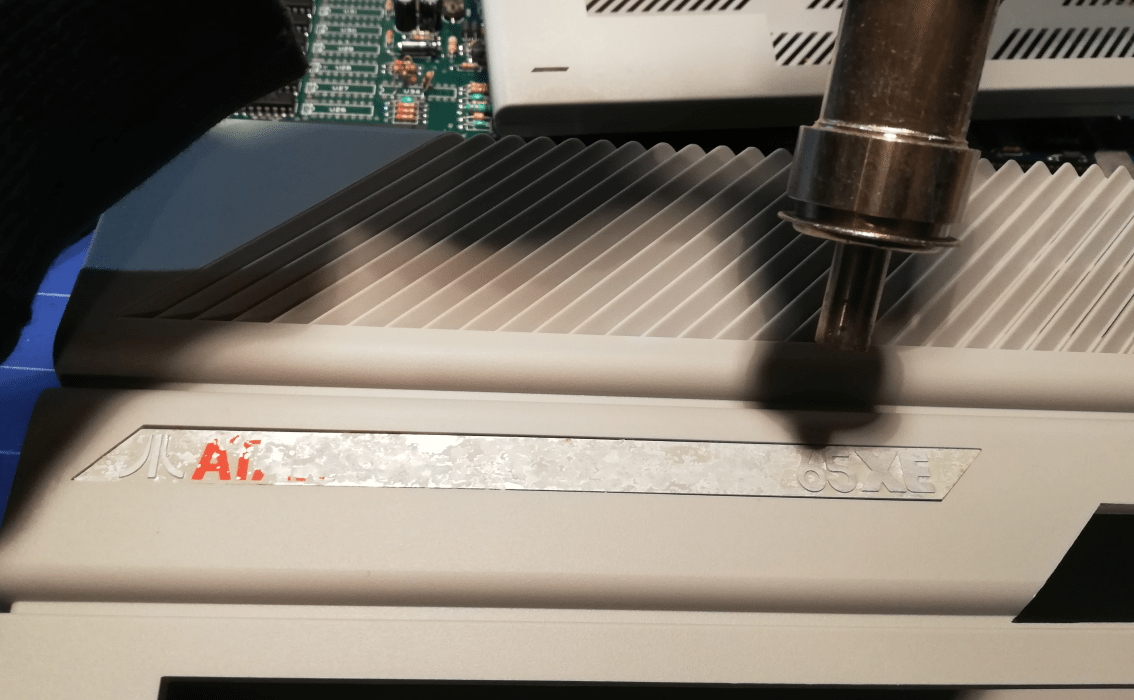
Some badges were heavily corroded and had to be removed with a hot-air gun set to 150C.
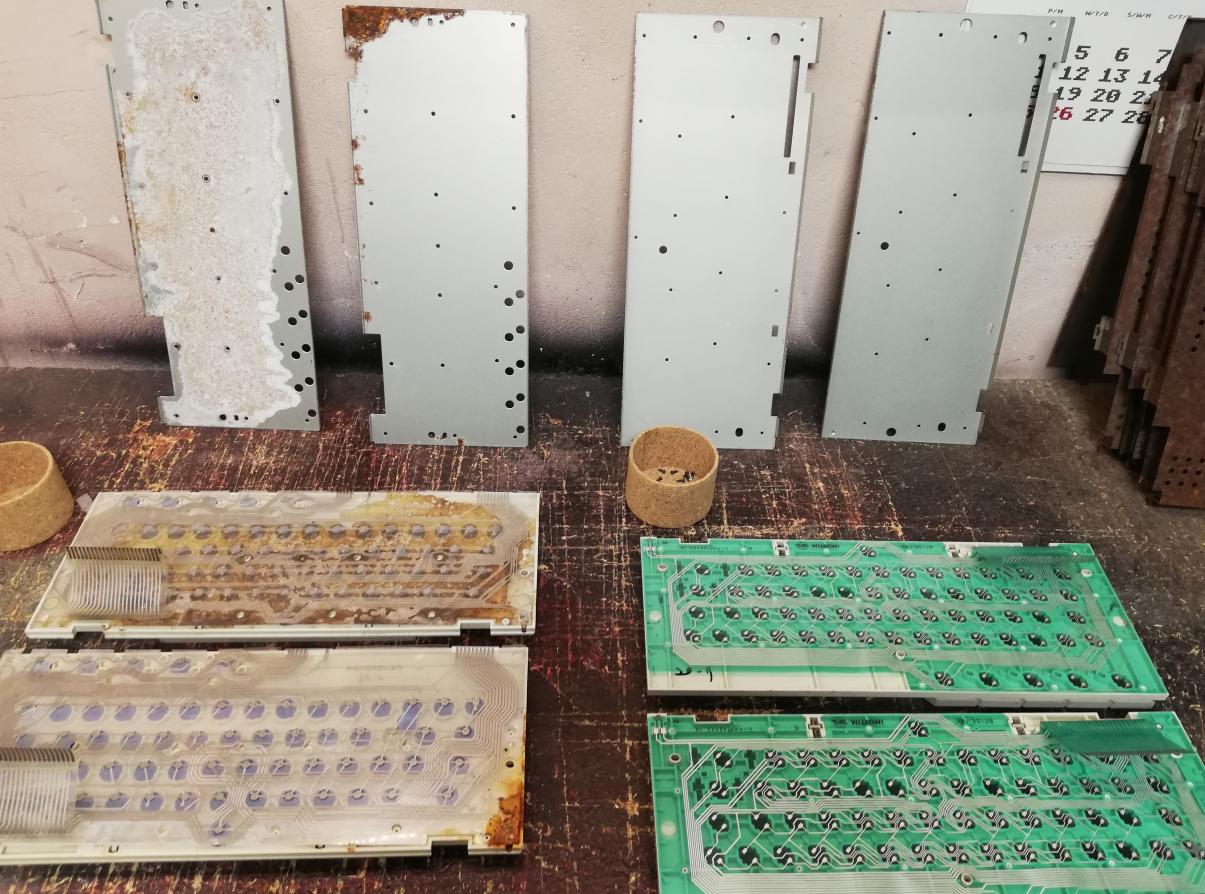
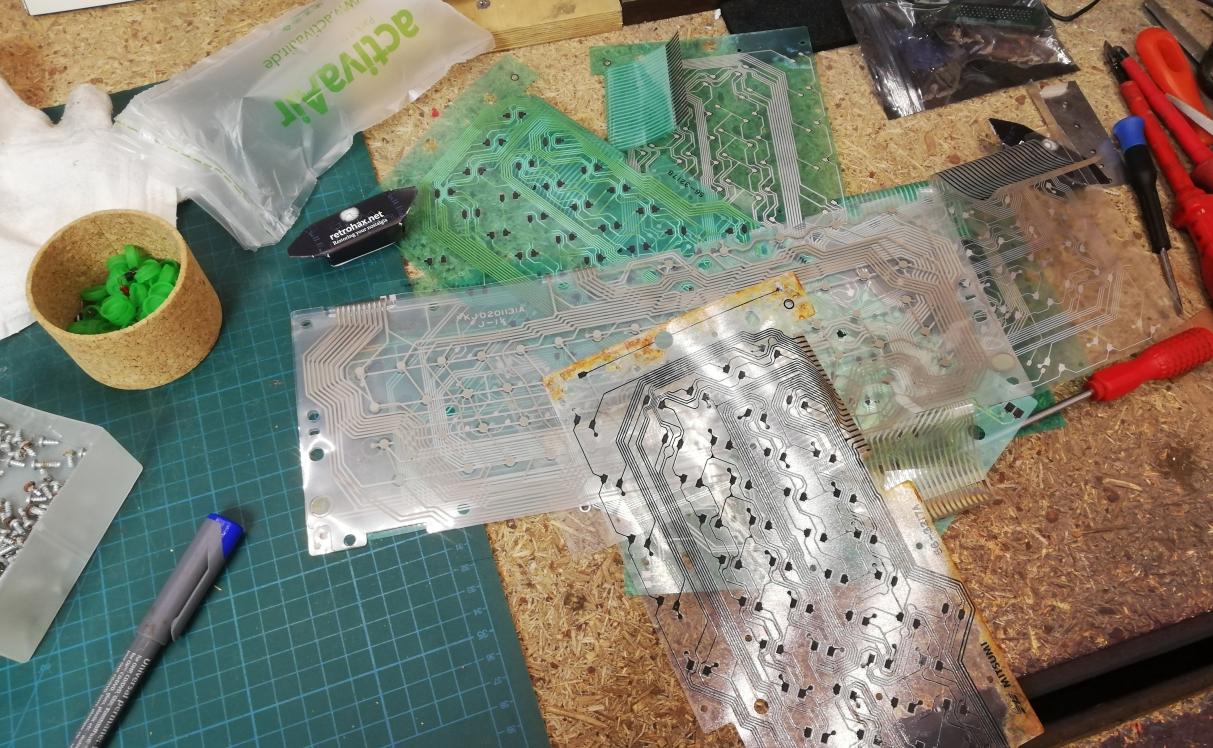
Keyboards and membranes
After the first cleaning of the dust and gunk, keyboards have undergone the standard procedure.
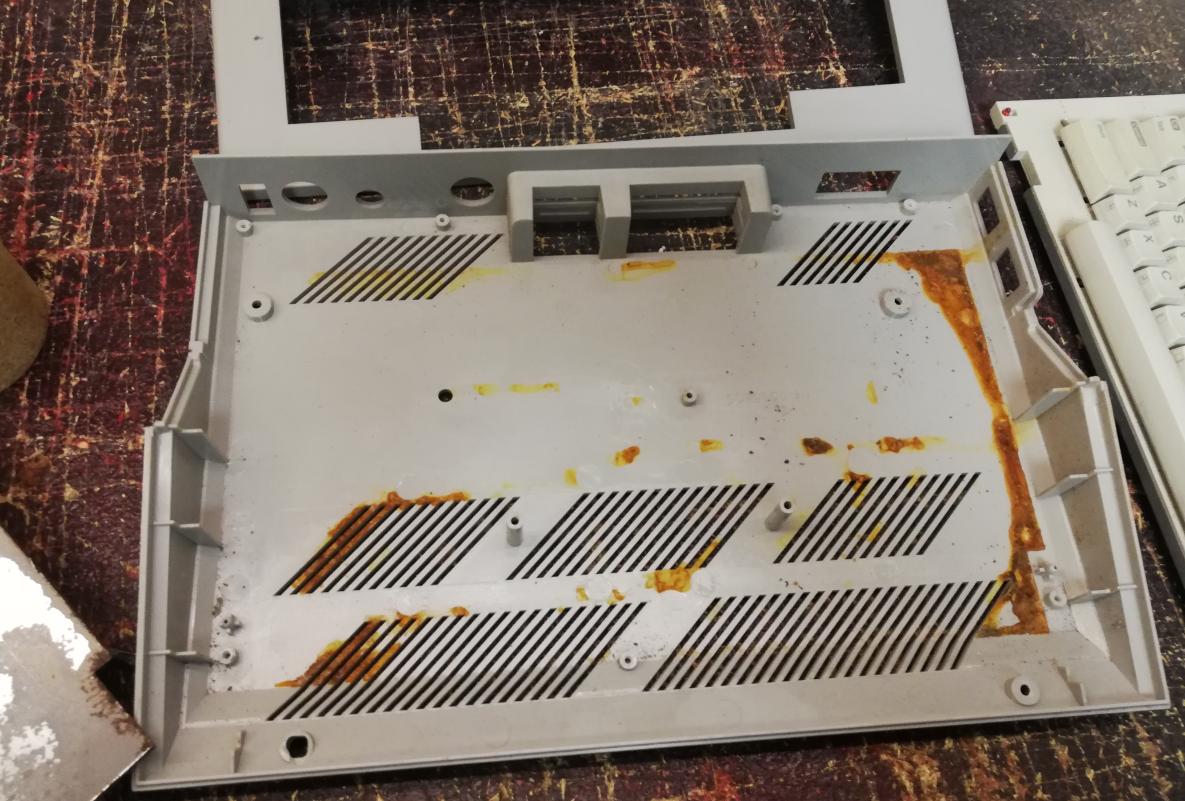
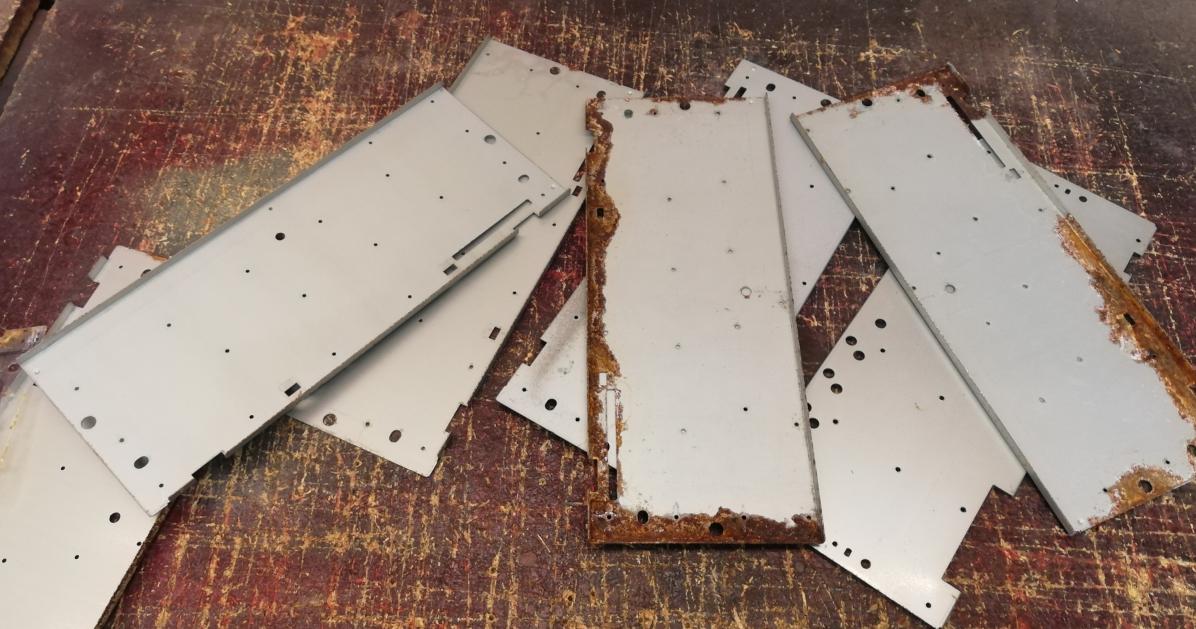
Keycaps were retr0brighted, all corroded springs were replaced by brand new, some membranes were fixed and some were replaced but the most time-consuming job was to sort out rusty backplates.

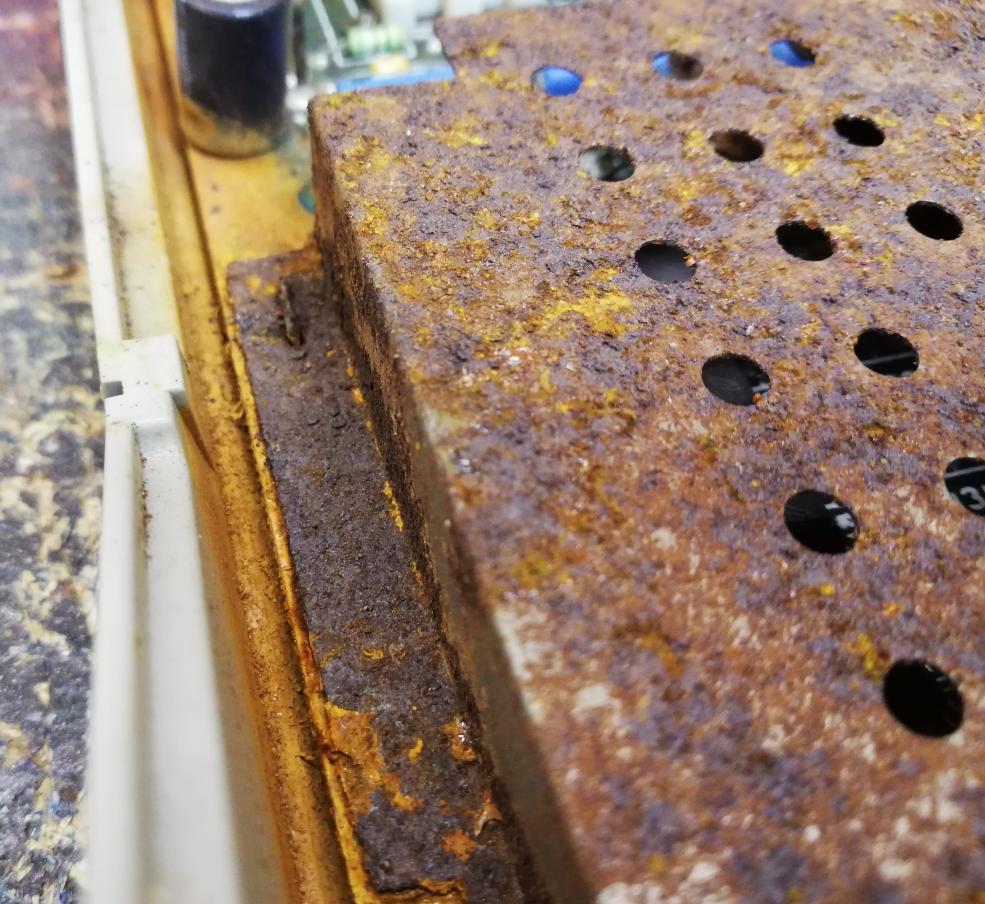
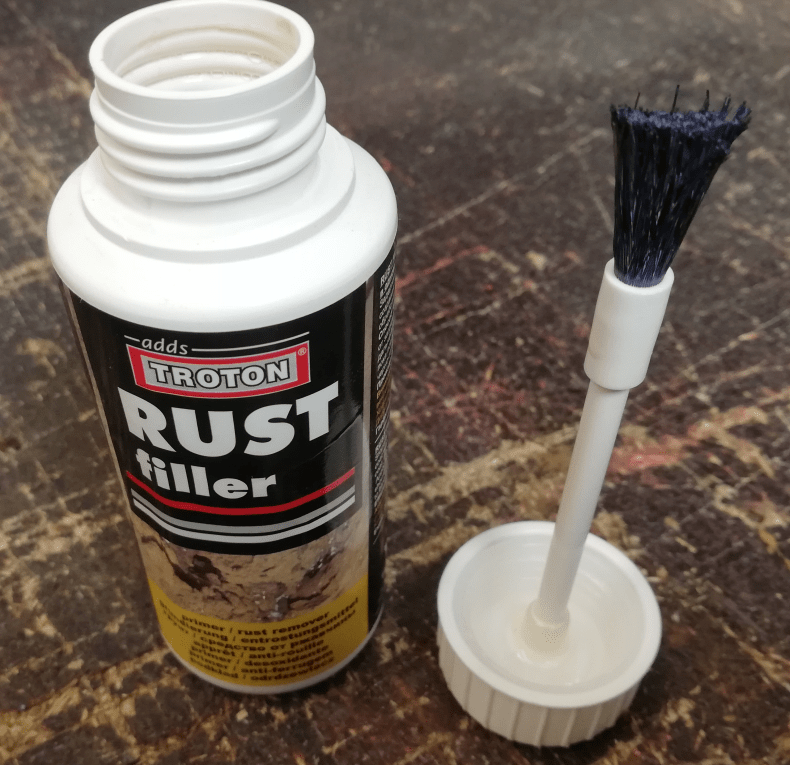
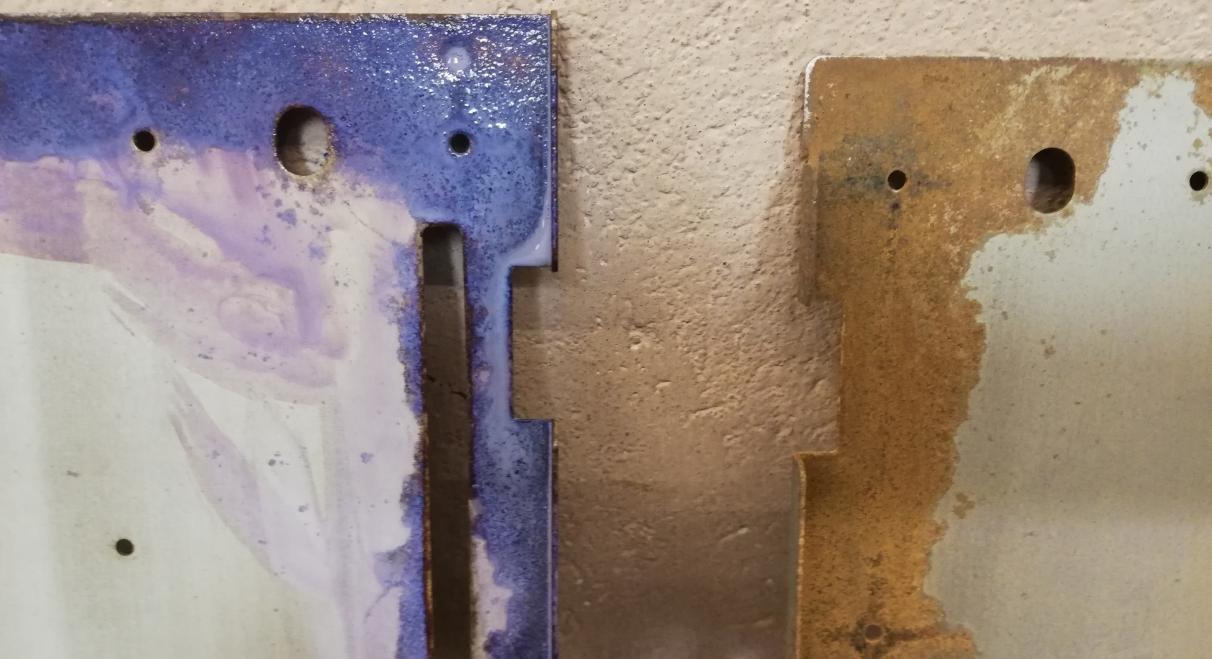
I’ve fixed rusty backplates with a rust-binder, but first, I had to remove loosened rust with a steel brush and sandpaper.
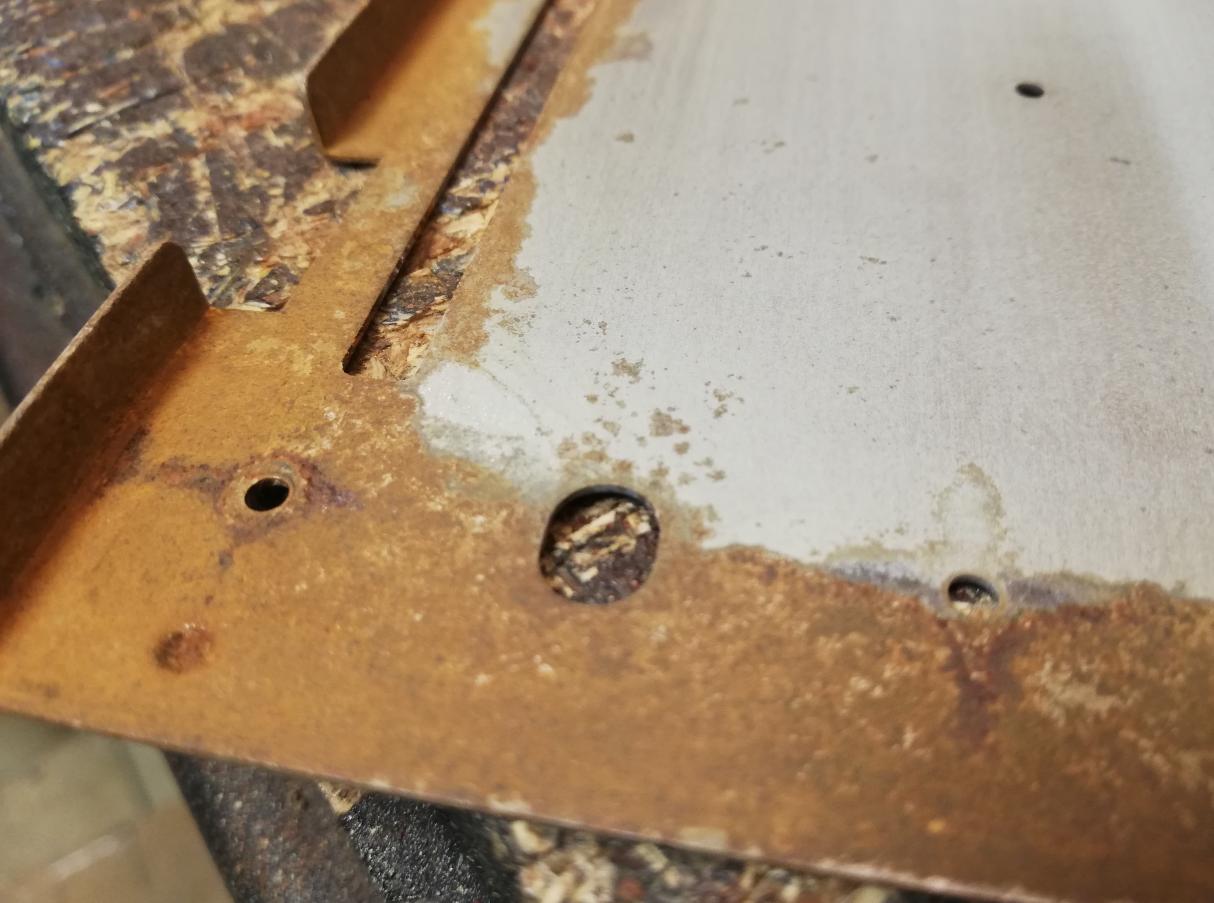
The Violet color is a sign that rust is being bound to rust filler.
On the left, freshly treated rust, and on the right loose rust was removed only.
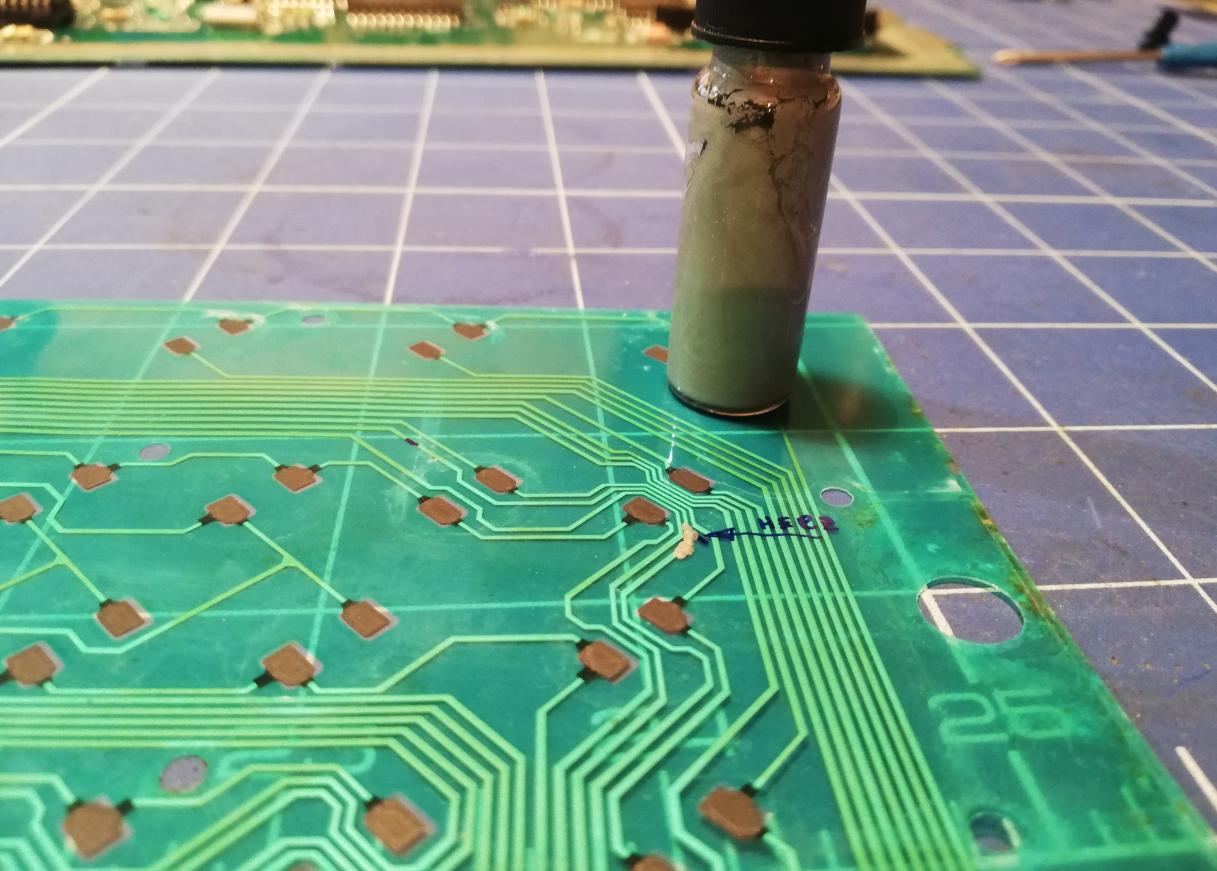
After fixing some backplates, I also had to sort out some membranes. Only those that I was able to repair. Some membranes simply had to be replaced. I’ve used a thermal-curing silver compound to fix broken traces.

Finale
With keyboard membranes fixed, I was ready to assemble everything. I’ve skipped many steps in this post but my goal was to show you a mass fixing job and not all of the details.
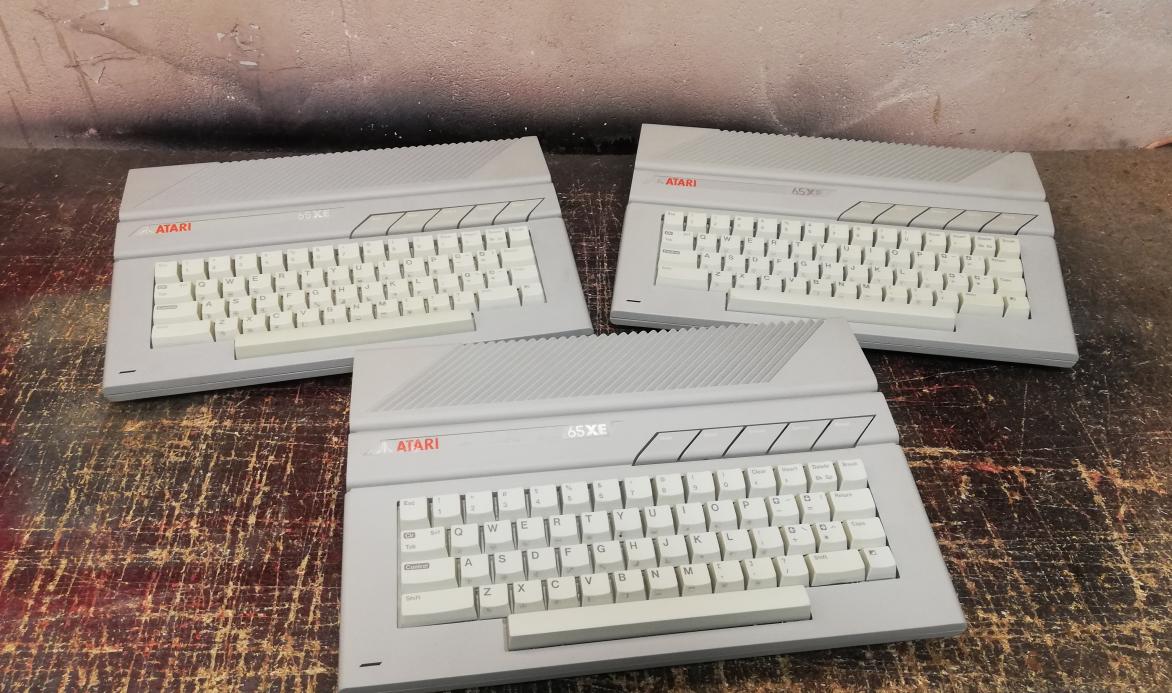
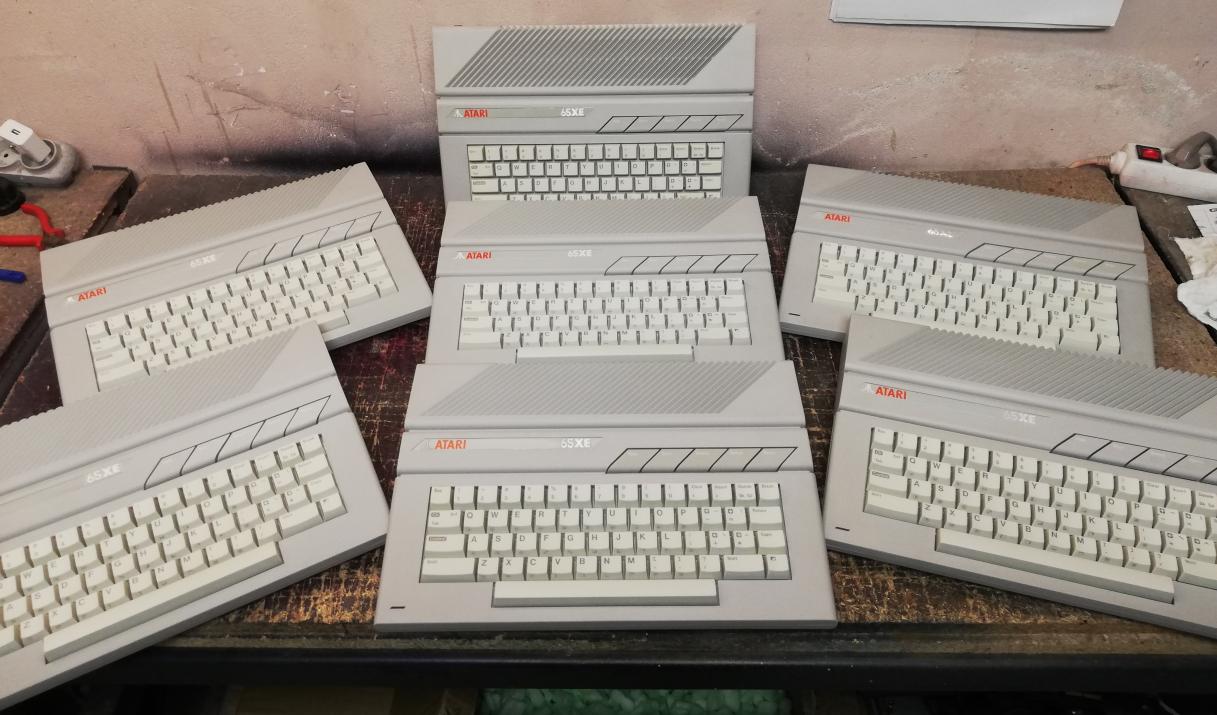
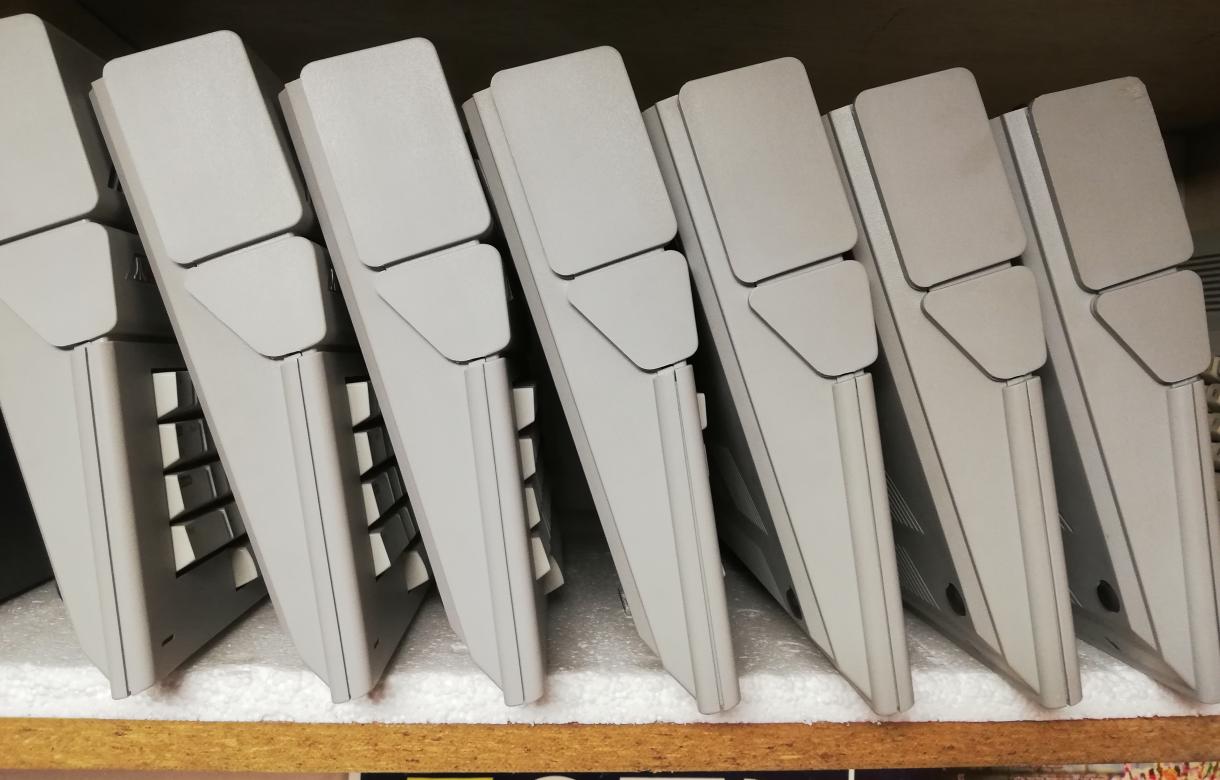
So this is the remaining seven units fixed and brought back to glory! 🙂
Some of the above machines were already sold but there are a few still listed on my eBay store. I am selling them as complete solutions with joysticks and video cables. If it is about power supplies, I’ve made a neat cable that allows you to power the whole machine from a standard USB charger that everyone has at home. Cased SDrive-MAX can be added to the setup to complete it.
I still have more than twenty machines to fix and these will gradually show up on eBay.

wow so many lovely 65XEs at once;) interesting as always Dry!
Thats an old post. Currently I am working on 16x A65XE simultaneously. 🙂 Pics on twiiter or fb.
What kind of liquid do you use in the ultrasonic bath?
Typical concentrate. Curently I use Sonix 1000x and demineralized water.