… or a short story about how I’ve made a small batch of EF3s 😉
Intro
Some time ago, I’ve received new tools that will help with soldering high-quality products.
Precision soldering station …

aaaand extreme HotAir station

soooo …

… to start some seeriuz workz!
/Intro
Armed with the proper tools, I was able to start the new project.
It was quite a while ago (a year probably) but I am writing about it now – yeah I know, post lagging sucks.
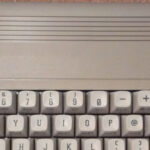
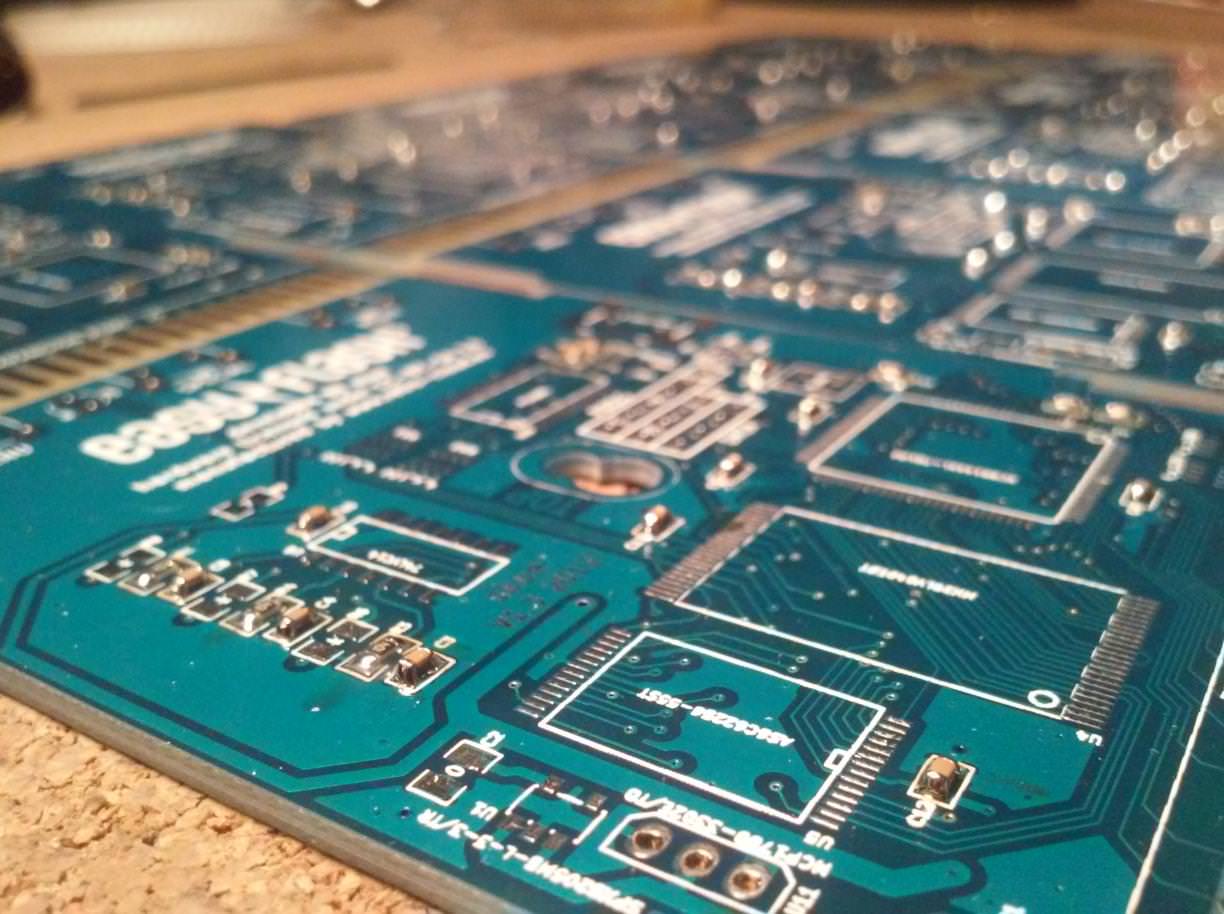
It started when Bart030 sent me a link to an awesome cartridge project for C64 – EasyFlash by Skoe. I assure you, that is an excellent cartridge and I would like to thank the author for his work. I hope to meet him someday and thank him in person.
Here is a short description of what this cart does and how it can be used.
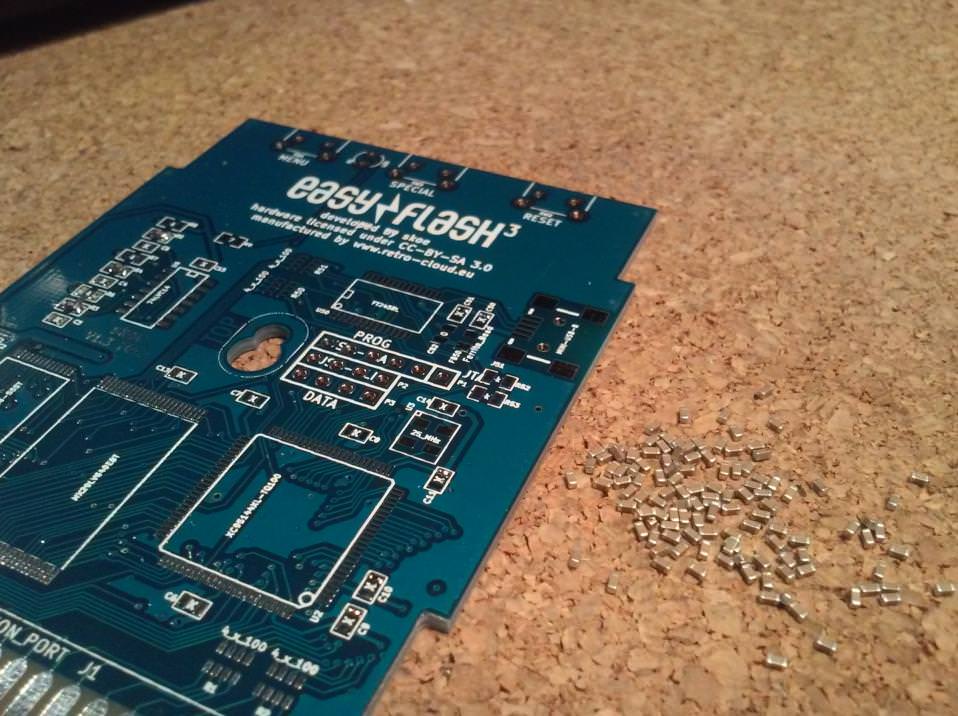
I’ve decided I’ll give it a go so I’ve ordered some PCBs and all the needed parts.
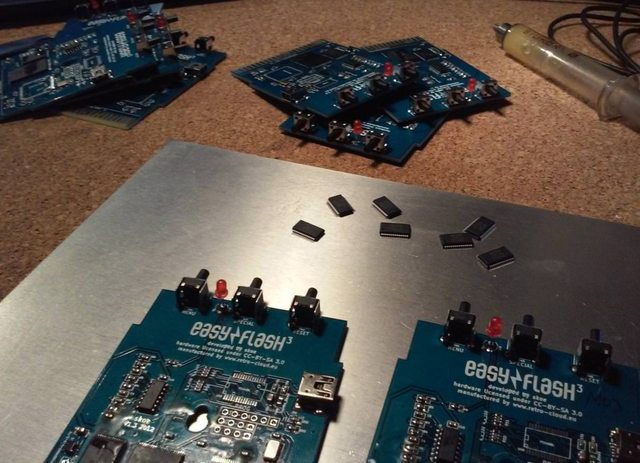
Below is a short photo story of an assembly process.
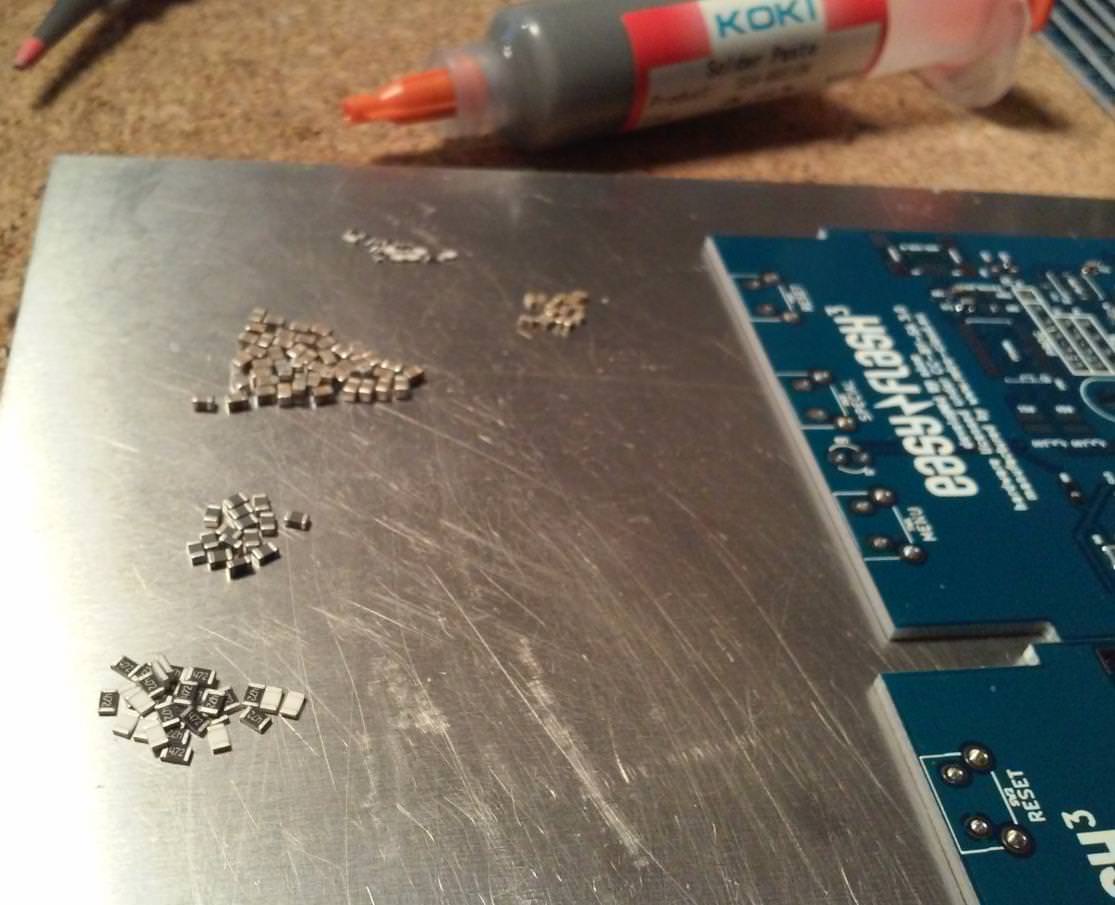
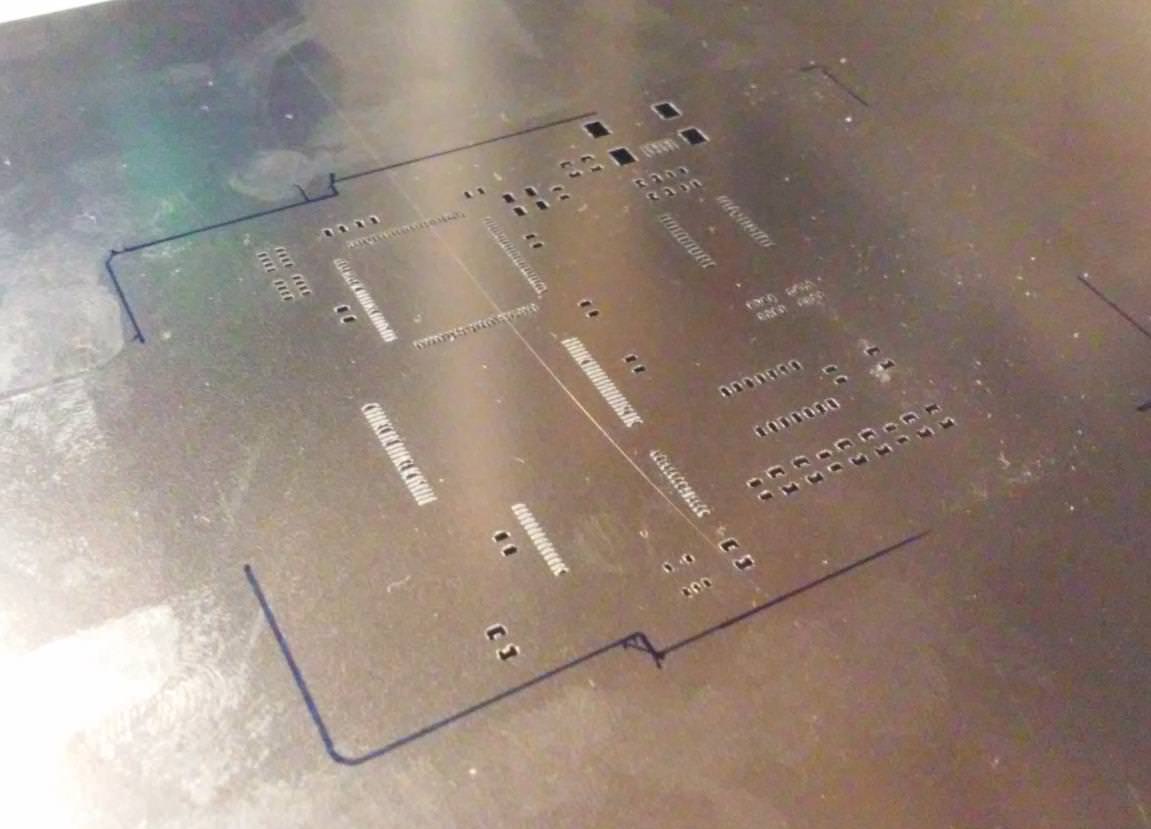
0603s FTW!


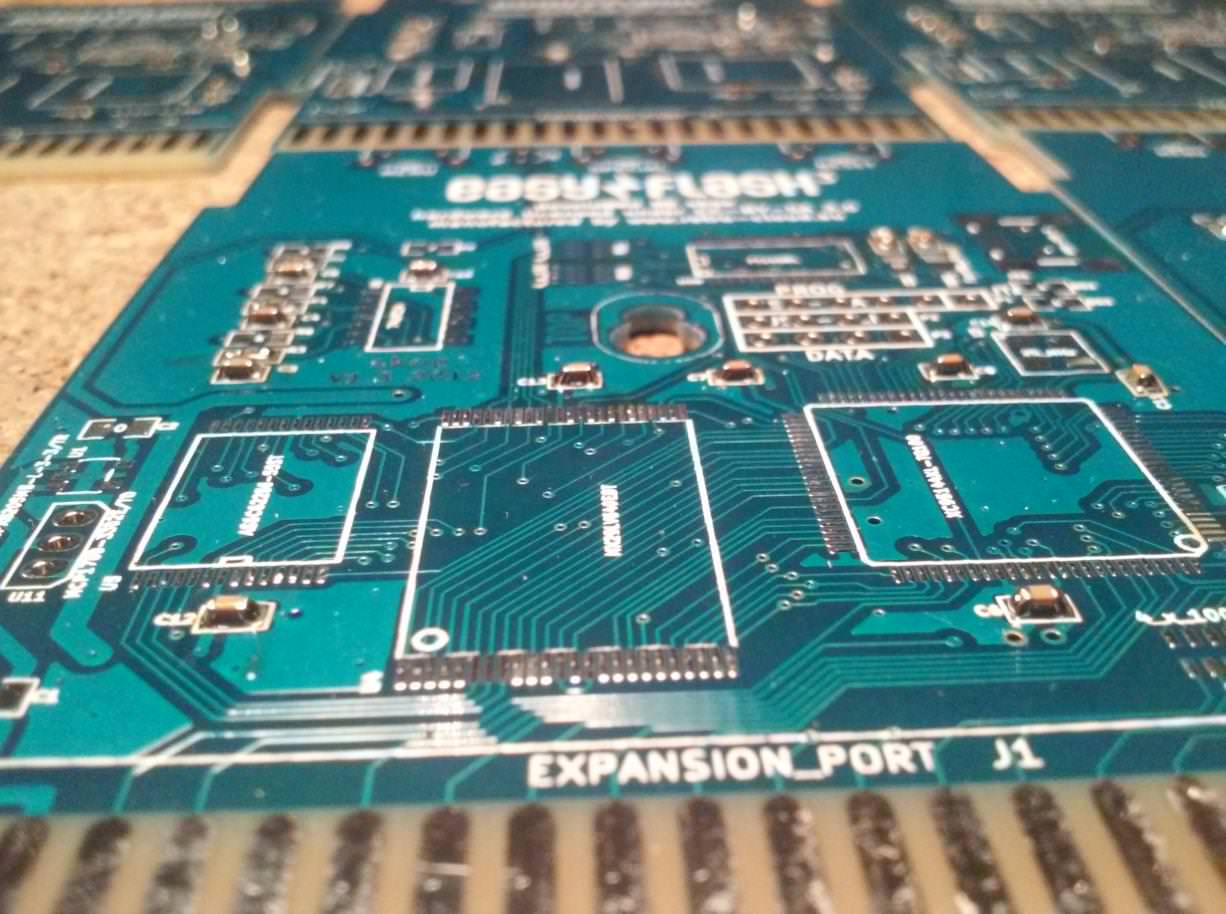

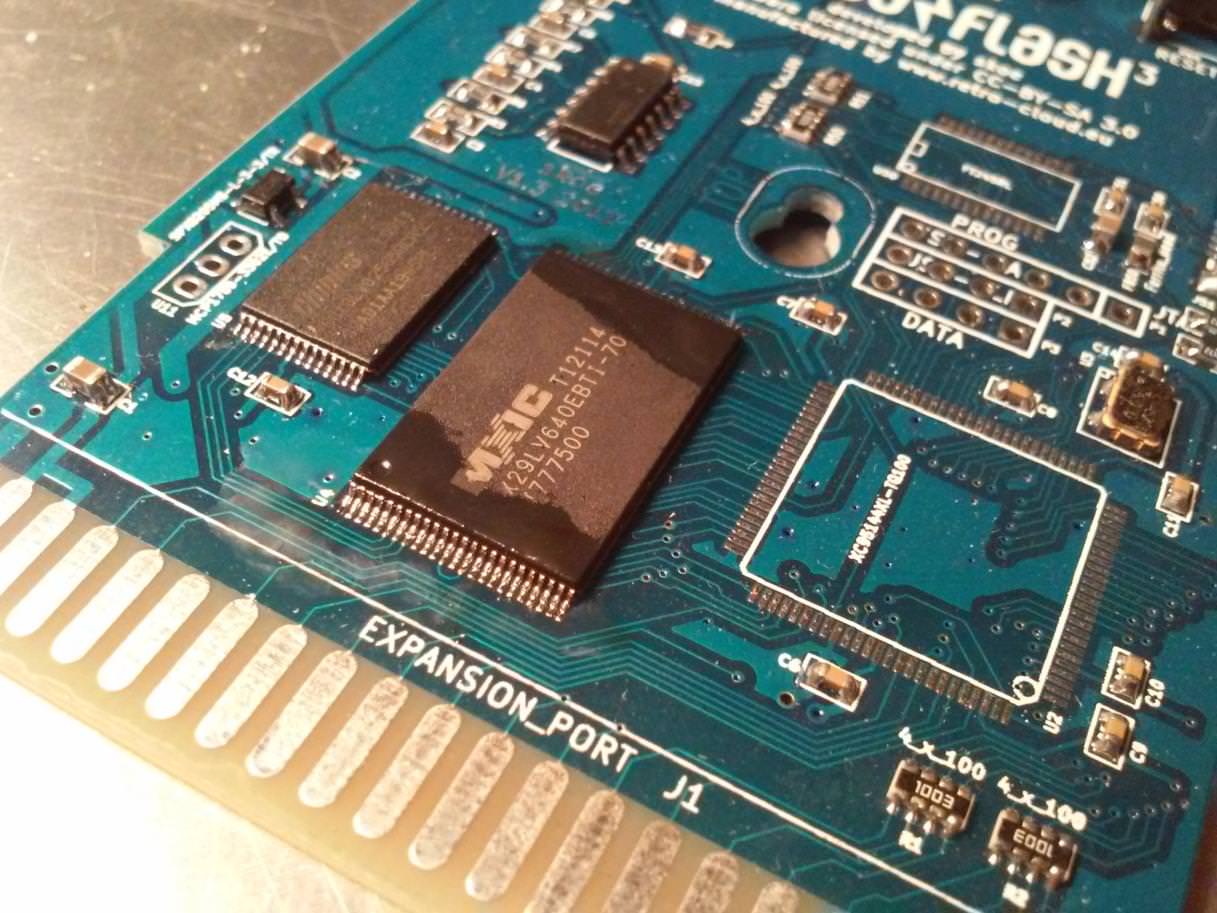
Time to solder on flash chips.

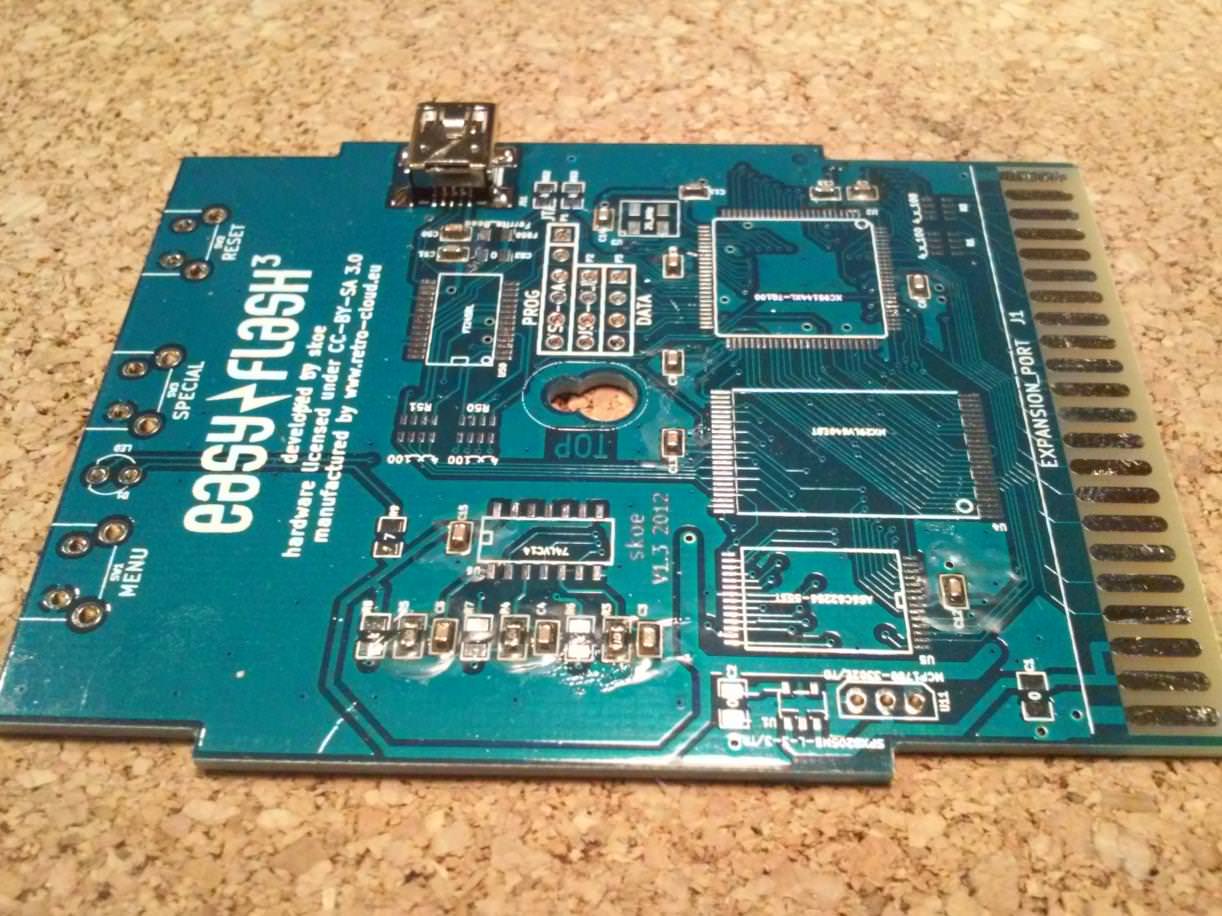
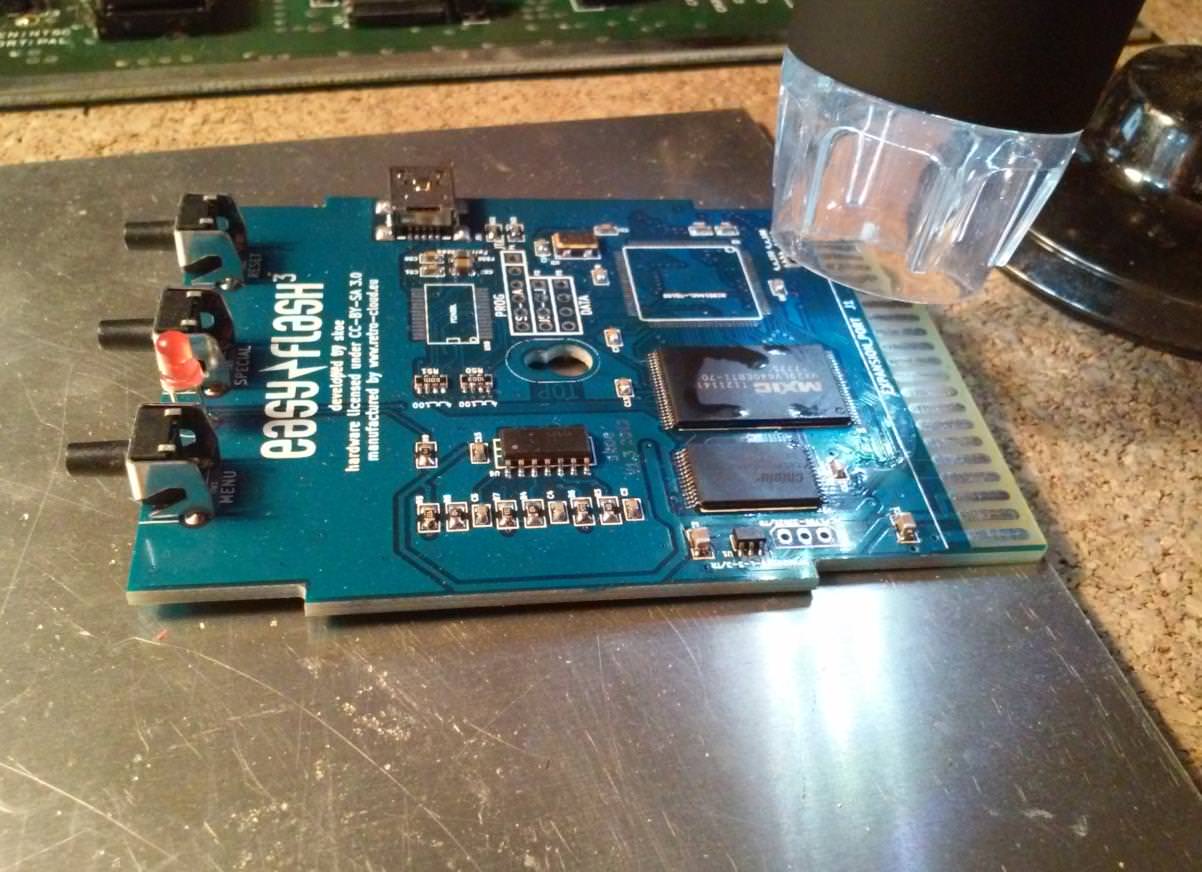
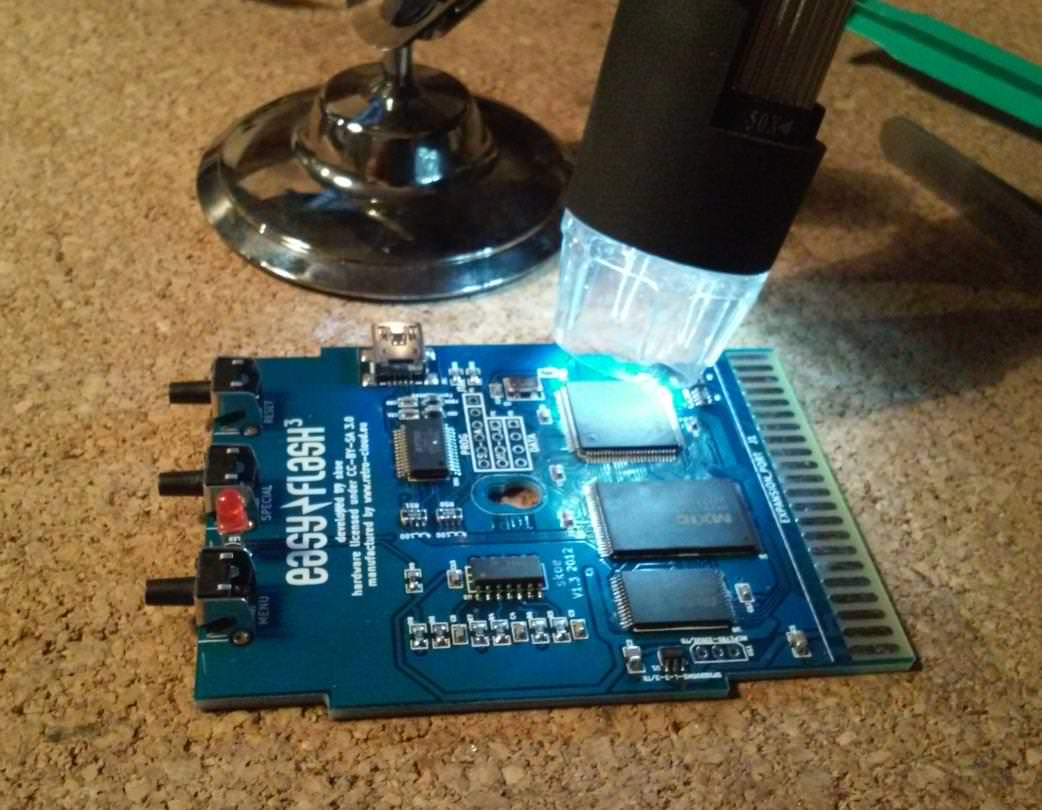
Mandatory USB Camera inspection after soldering.

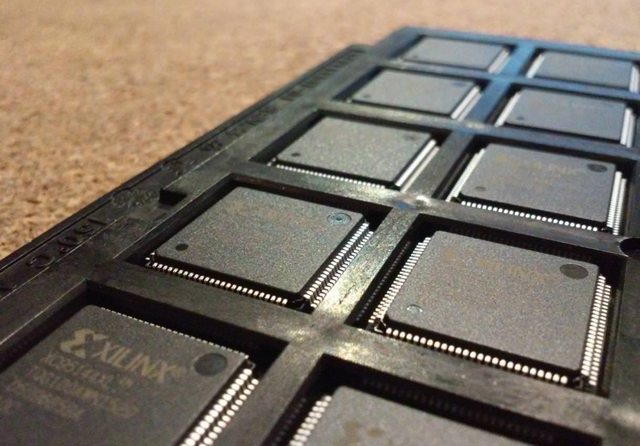
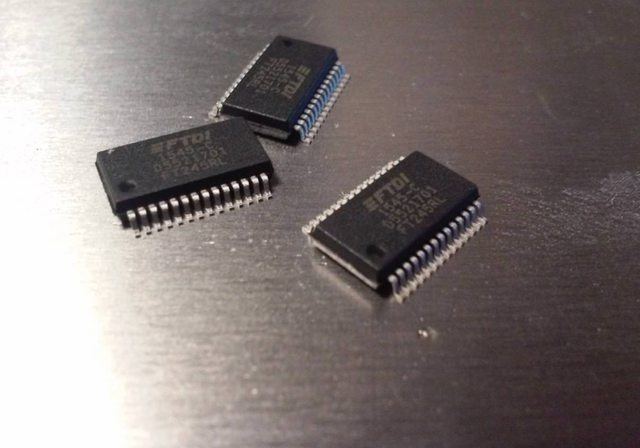
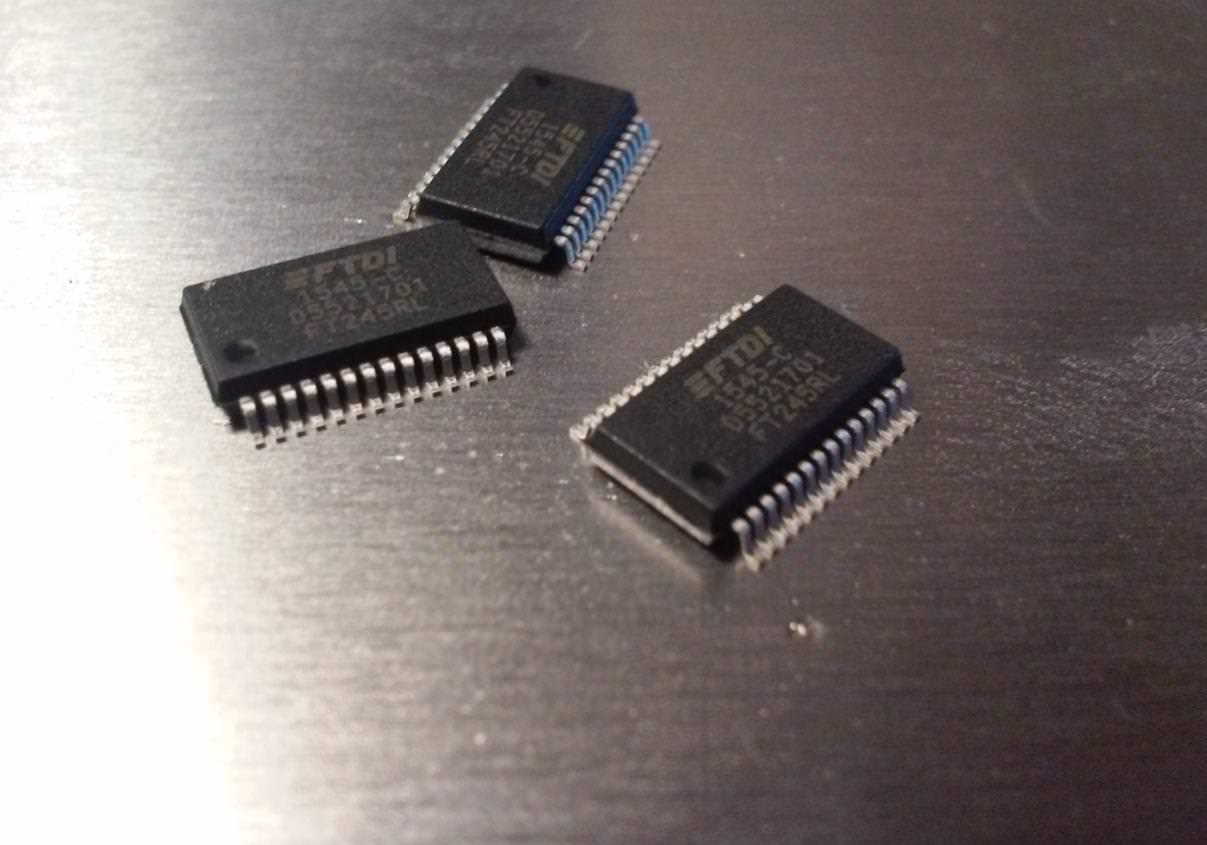
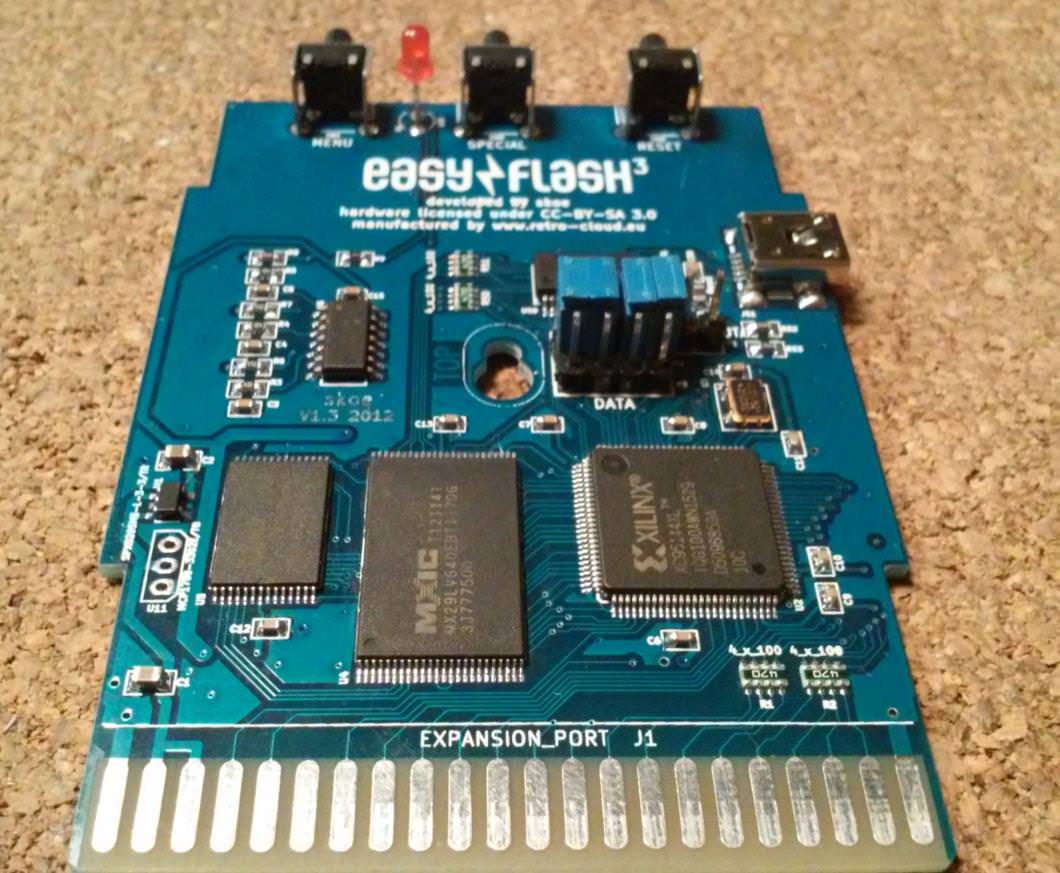
CPLD and FTDI time!


Inspection again.

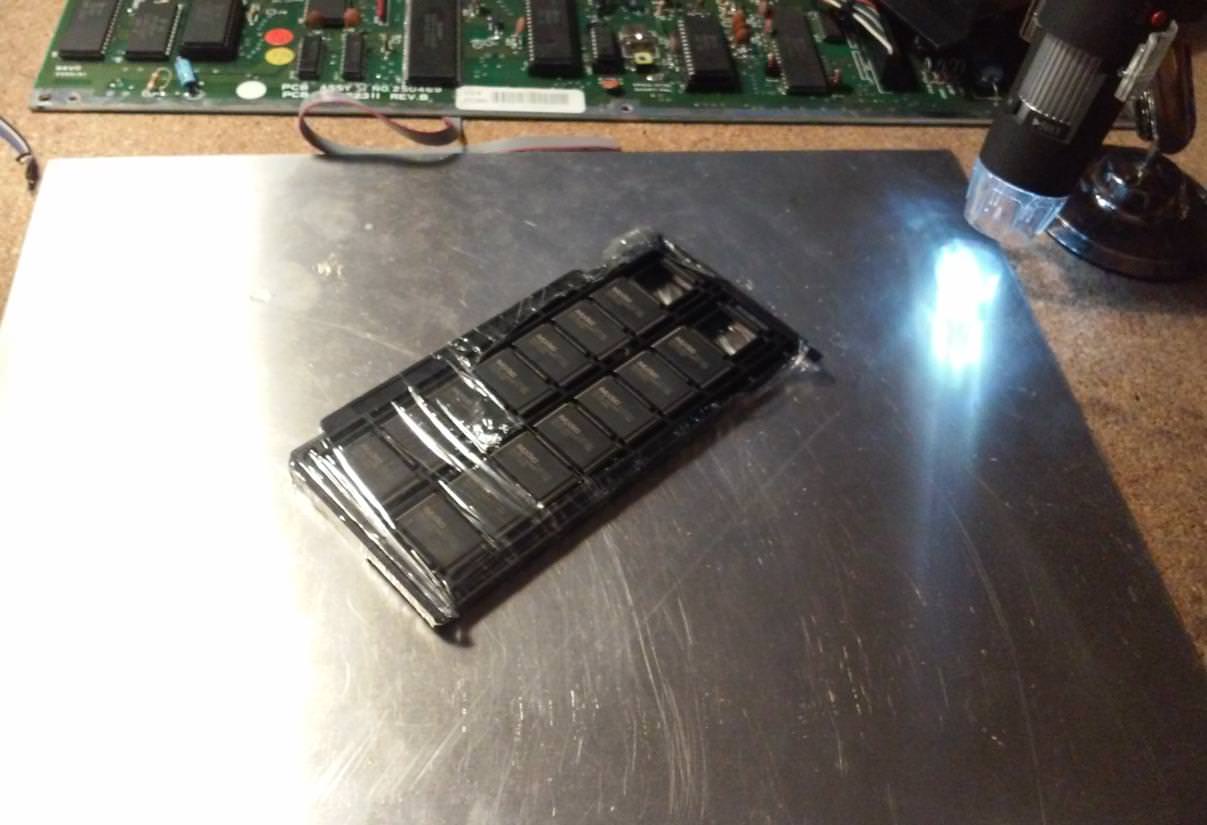
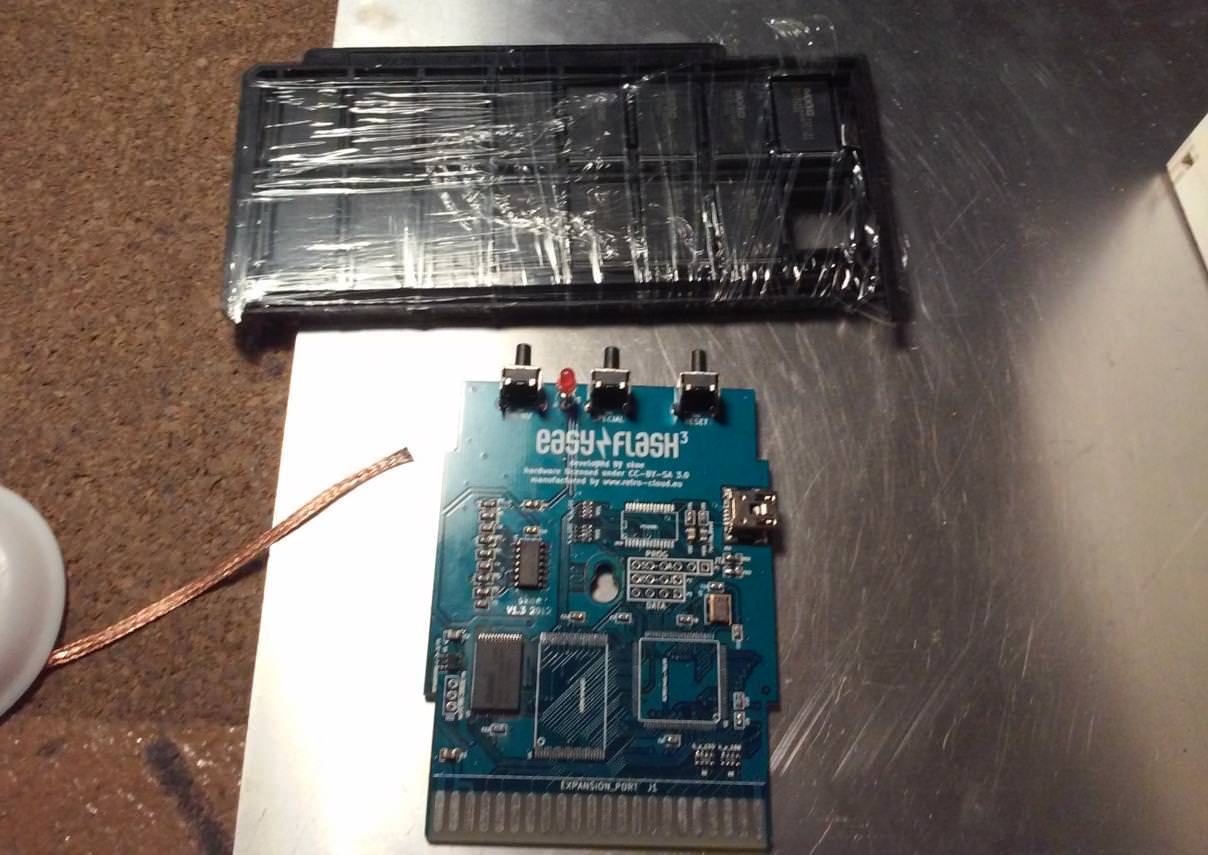
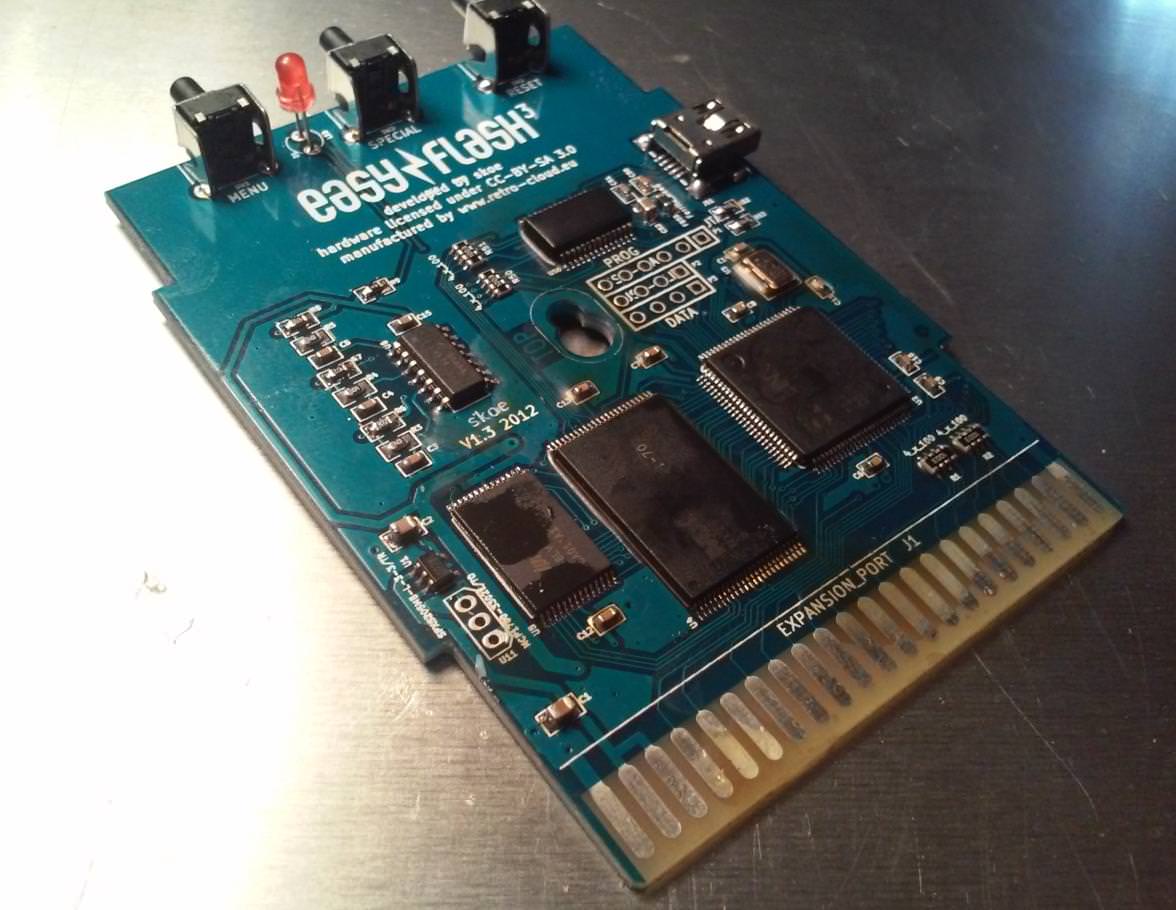
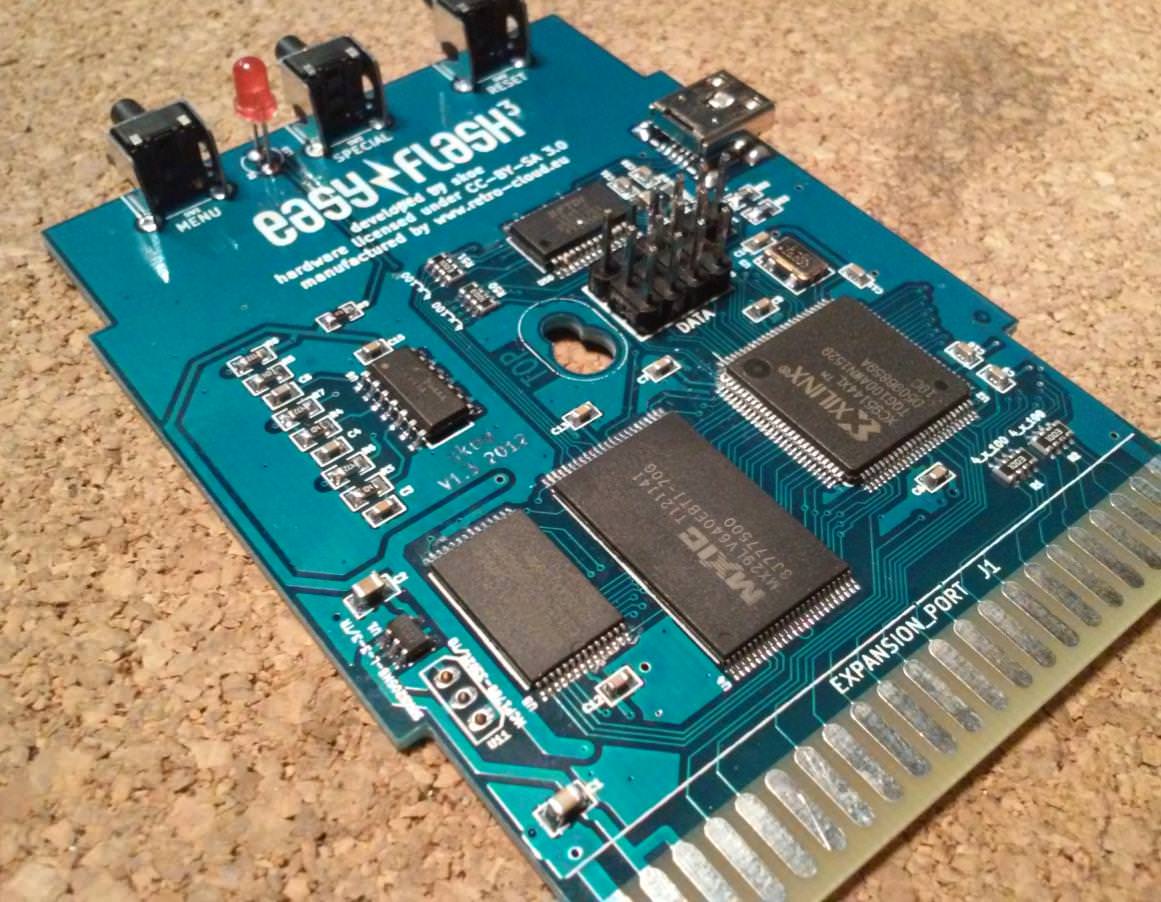
Ok, the first batch is ready.
Here are pics before and after cleaning in an IPA and acetone solution.
I also did a second round with laser-cut stencil just to compare assembly time.
That was a much quicker way.

Uploading firmware
Here is a video that shows the process of CPLD programming.
It is simply done via a simple USB cable, however, the cart needs power and that is why it is connected to a C64 mainboard.
All TDO outputs matched … means that everything went fine … so far 😉
However, another part is a bit tricky and shows if it was ok.
Easyprog has to be loaded to C64 while a cart is plugged.
I usually use SD2IEC to get it loaded and once it loads, it performs a simple diag which sometimes outputs stuff like the below 😉

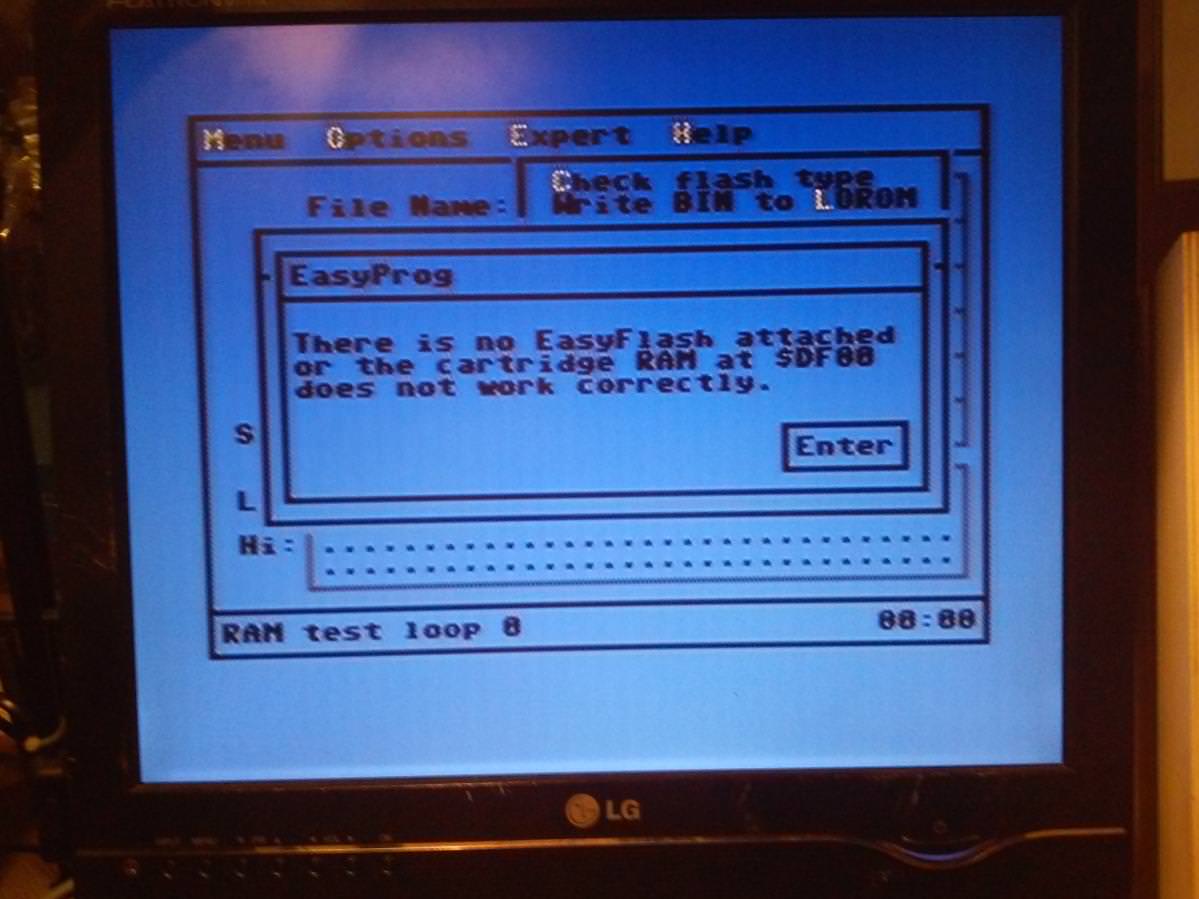
I usually sort it out by resoldering FLASH and RAM chips. Sometimes, some pins on a CPLD have a poor connection or are simply bridged. That rarely happens but after several drinks, it is very easy to miss such mistakes 😀
Anyway, most of the time it is alright and looks like this.

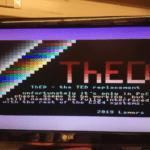
That is a time when a “System area” image can be loaded onto a cart.
Here is how this procedure looks.
That’s it! Works like a charm.

Most likely I will do another round of these awesome carts.
PS. It is also an excellent tool to diagnose broken C64 boards if combined with a proper cart image 😉
PS2. Big thanks to Willy/Lamers for solving my problem with resistor networks 😉
PS3. You can get this cartridge here
OUTRO
If you want to get retro gear or hardware modules, please visit our shop
New products are being added every month.
Also, please support our work by spreading info about it.
Without your support, we simply cannot grow and we have a lot of new excellent retro hardware (and more) products to come