… or how to fail at restoring keycaps
… and fix it afterward
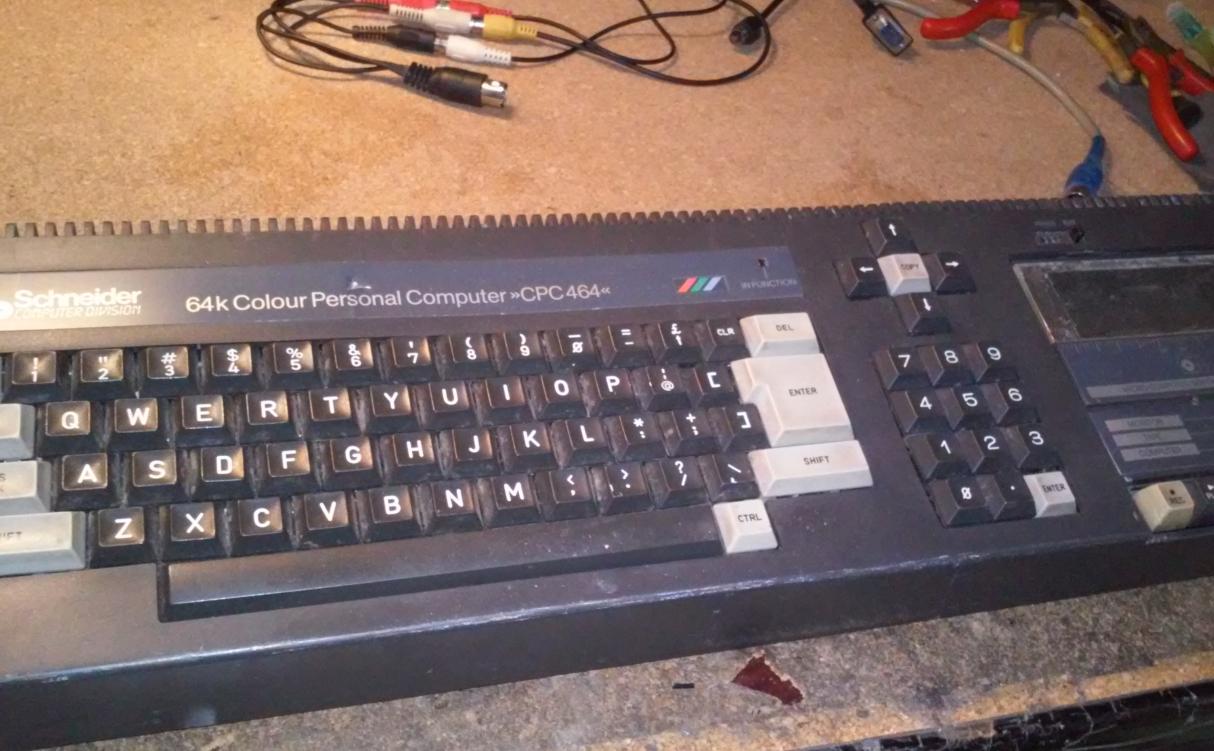
Recently, I’ve bought a drowned (at least it looked like drowned :D) and burned (at least it looked like burned :D) Schneider CPC464 and C64 Breadbin.
Well, maybe this CPC was simply laying in a wet cellar next to a central heating system but drowned&burned sounds more thrilling 😀
C64 is another story and this time, I’ll focus on CPC.
Auction on a bidding portal obviously stated that machines are untested so I already knew that it’ll be broken – which is cool since I’ve never had an occasion to play with CPC and a broken CPC promised a good adventure 😀
After opening a package I was kinda surprised because CPC looked like someone stepped on it … and stayed there for a while
I’ve figured that plastic case deformations had to be caused by some sort of high-temperature source. Here is a close-up of a deformed part.

PSU and launching it
First of all, I didn’t have a PSU for this unit. However, I have a lot of PSUs laying in my garage so I’ve simply chosen a nice-looking 5V and 3A. I had to mod it a little.

Once that was sorted I could start looking for other problems.
Of course, the machine didn’t boot at first launch so I quickly disassembled it.

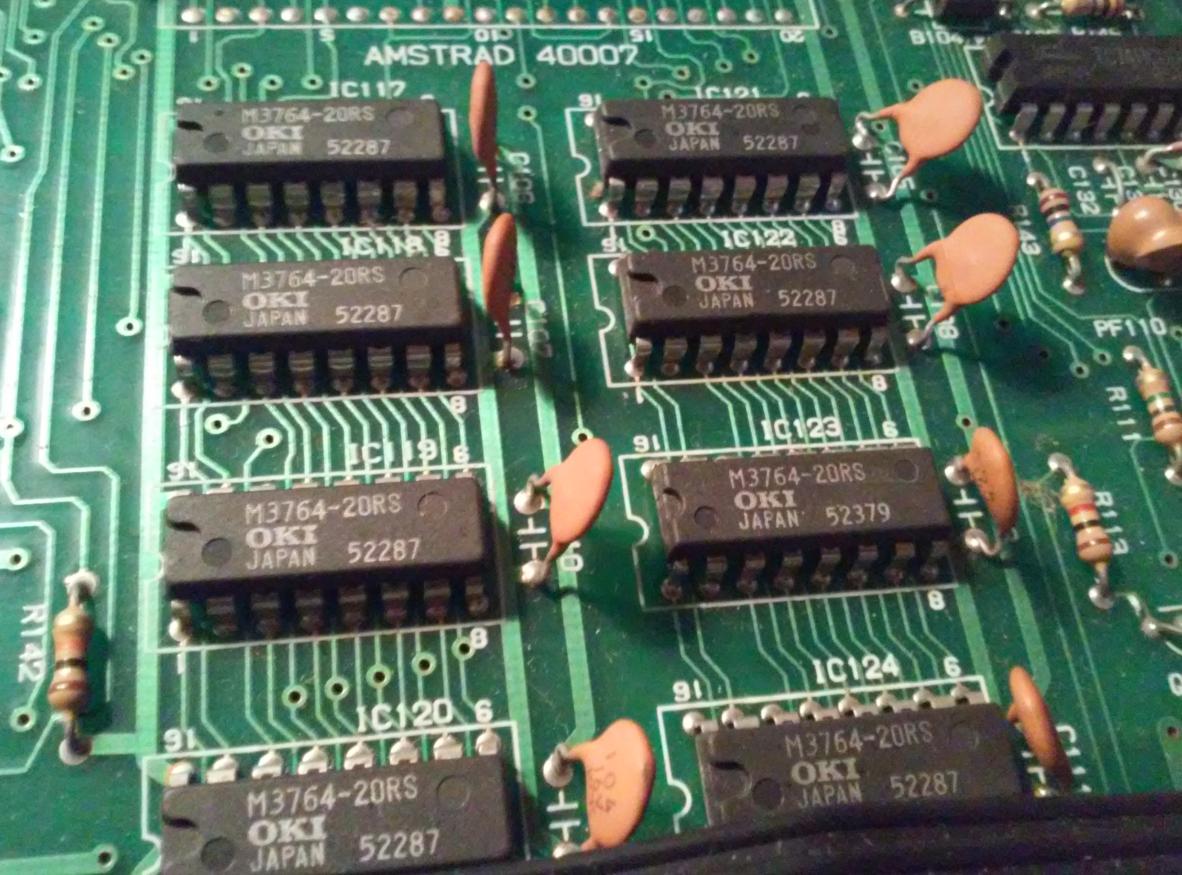
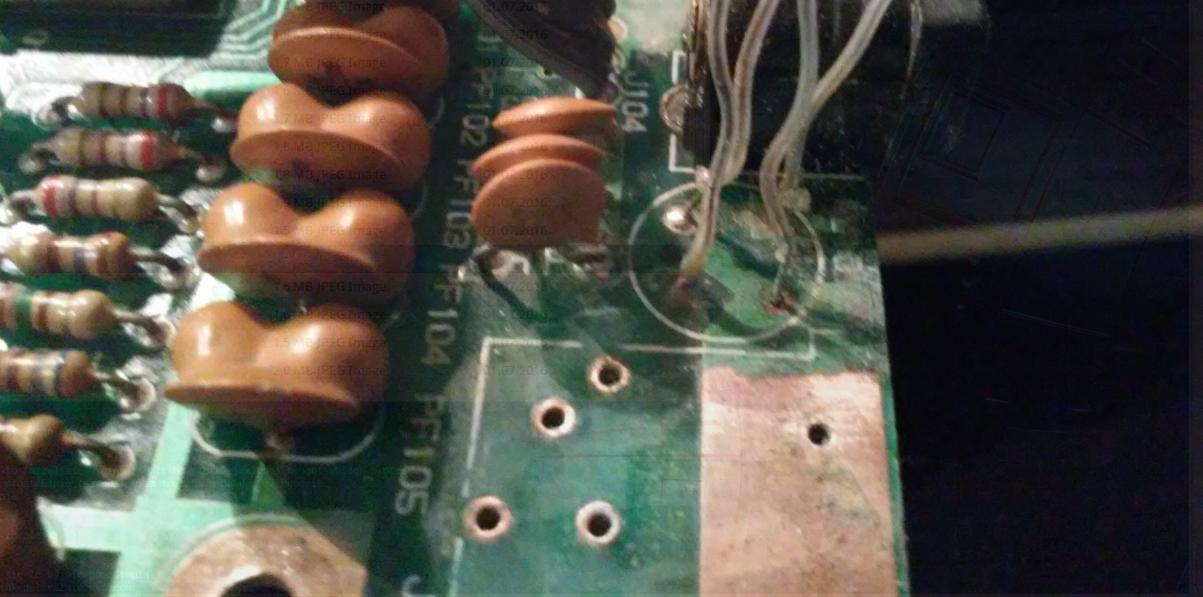
Here are some shots of a PCB.
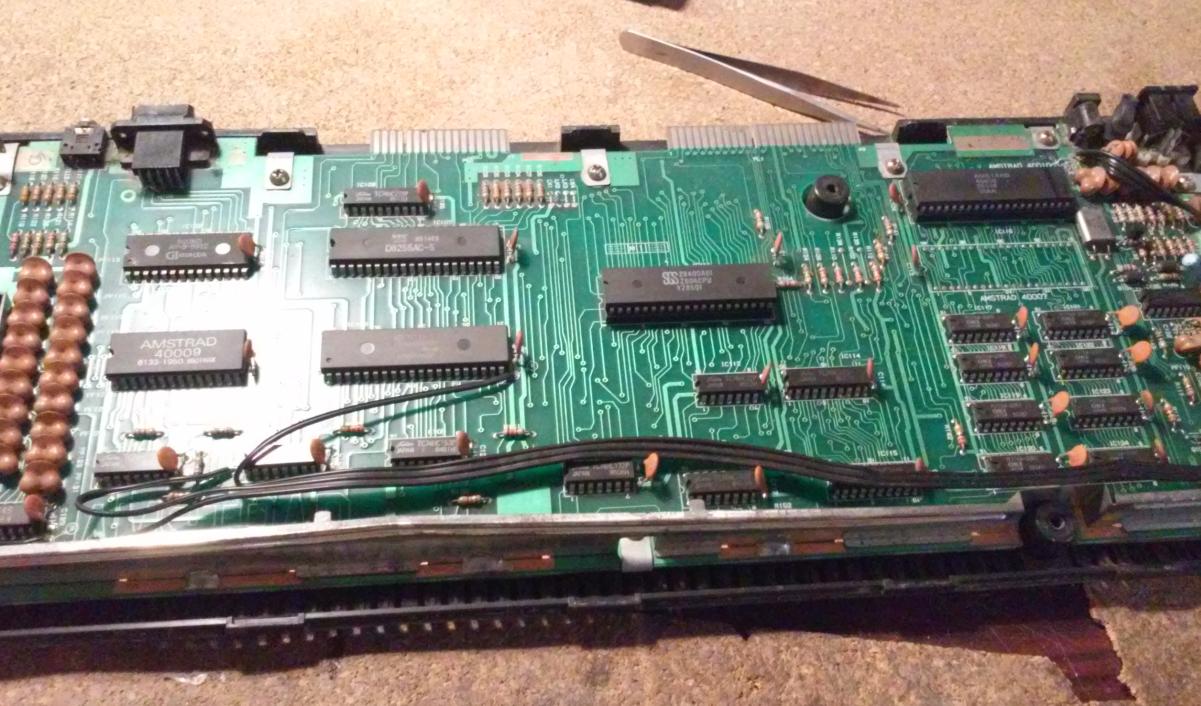
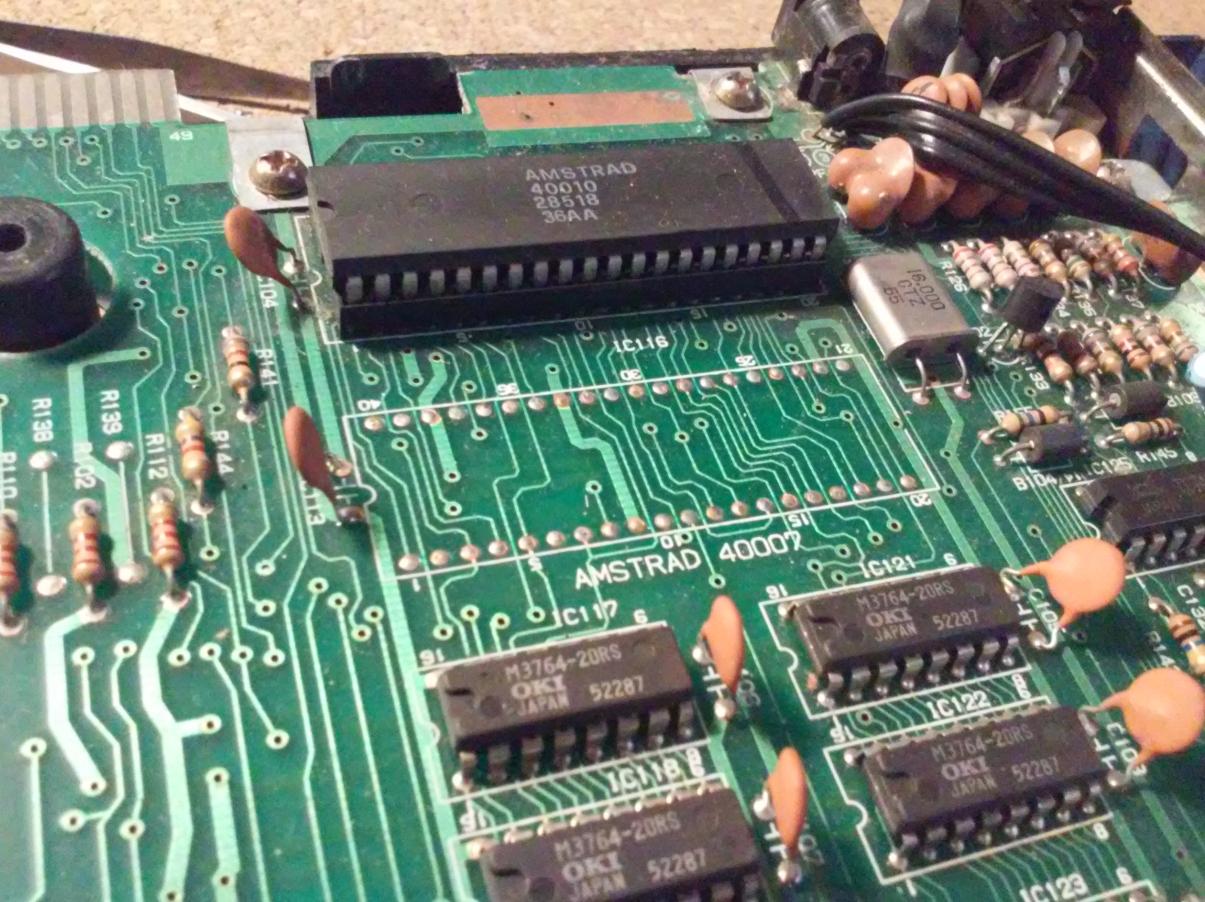
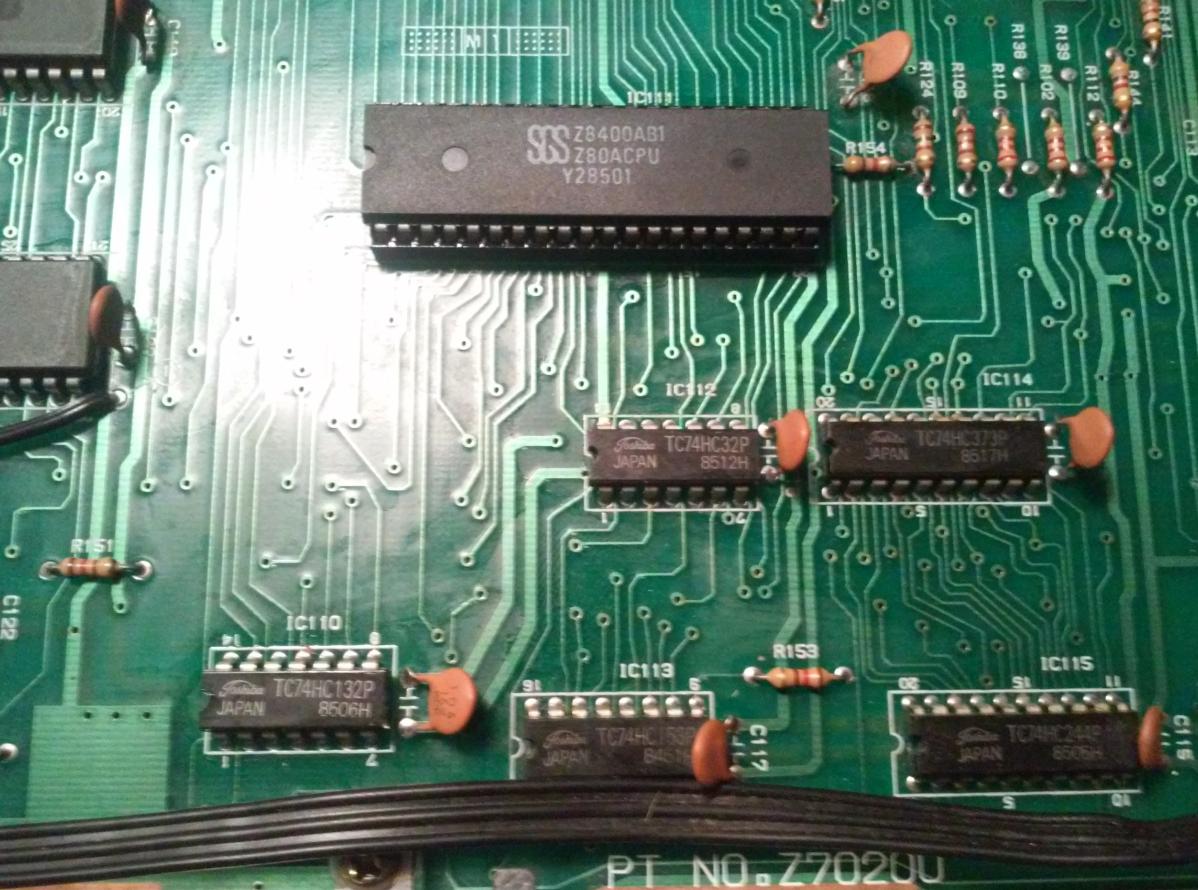

Spotting the main issue wasn’t a big deal at all.
The problem was with the power supply circuit and obvious as hell.
Just have a look at this pretty example of a broken solder point.

Excited as hell I quickly fixed it and attempted the first launch. Attempted …. because I didn’t have a proper video cable. Quick google find told me that there is a composite video signal so I connected it and was kinda surprised with the outcome. It was really dark output but hey! it booted !!
Video cable
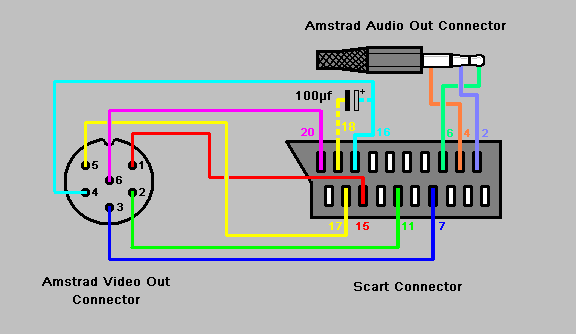
CPC 464 has a very good RGB signal so the plan was to make a monitor cable that would feed the signal to the TV via a SCART connector.
Connection schematic is below.
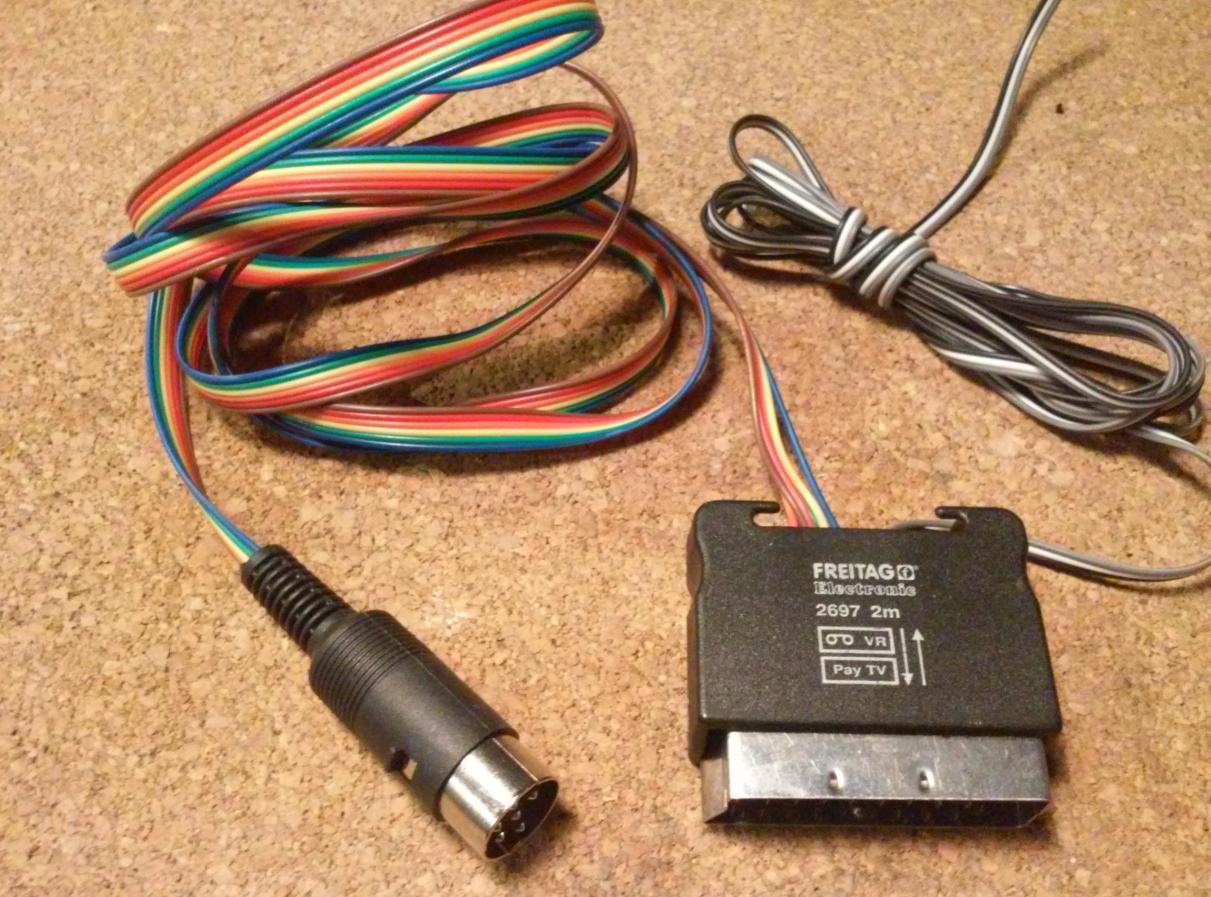
Here is what I’ve built.
PCB cleaning and further fixes
I already had all disassembled so I started to clean a PCB from old dust. In general, PCB wasn’t in that bad shape but I’ve noticed that in upper right corner area (video out connector) all look way more corroded than the rest of the PCB. I decided that I’ll desolder monitor connector just to have a look at what may lurk under it and I must admit that I am glad I did it.
That is what I’ve found.

After cleaning It, it wasn’t much better at all.

Soooo I’ve simply removed the old solder mask…
… and coated ground plane and pads with a thin layer of soldering tin.

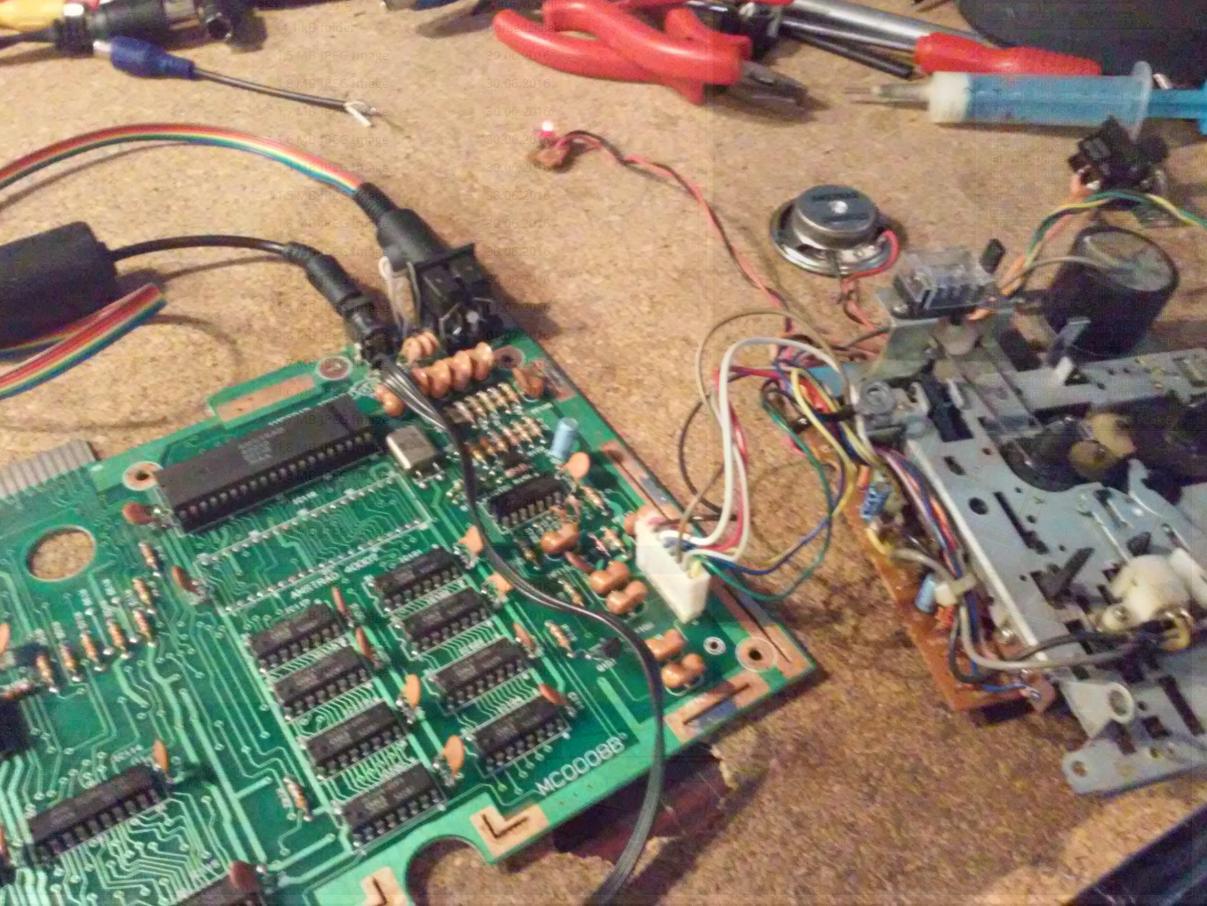
After resoldering a monitor connector I was ready to run some tests.
The testing setup was ready and waiting!
Just a few seconds before I turned it on, I took a deep breath aaaaaaand ….. and I farted lol 😀
Fortunately, it was a dry fart so CPC was safe and no more corrosion was introduced to it.
This time, I’ve opened a window (on my Linux box) just in case the ‘smelly one wanted to come back ;P
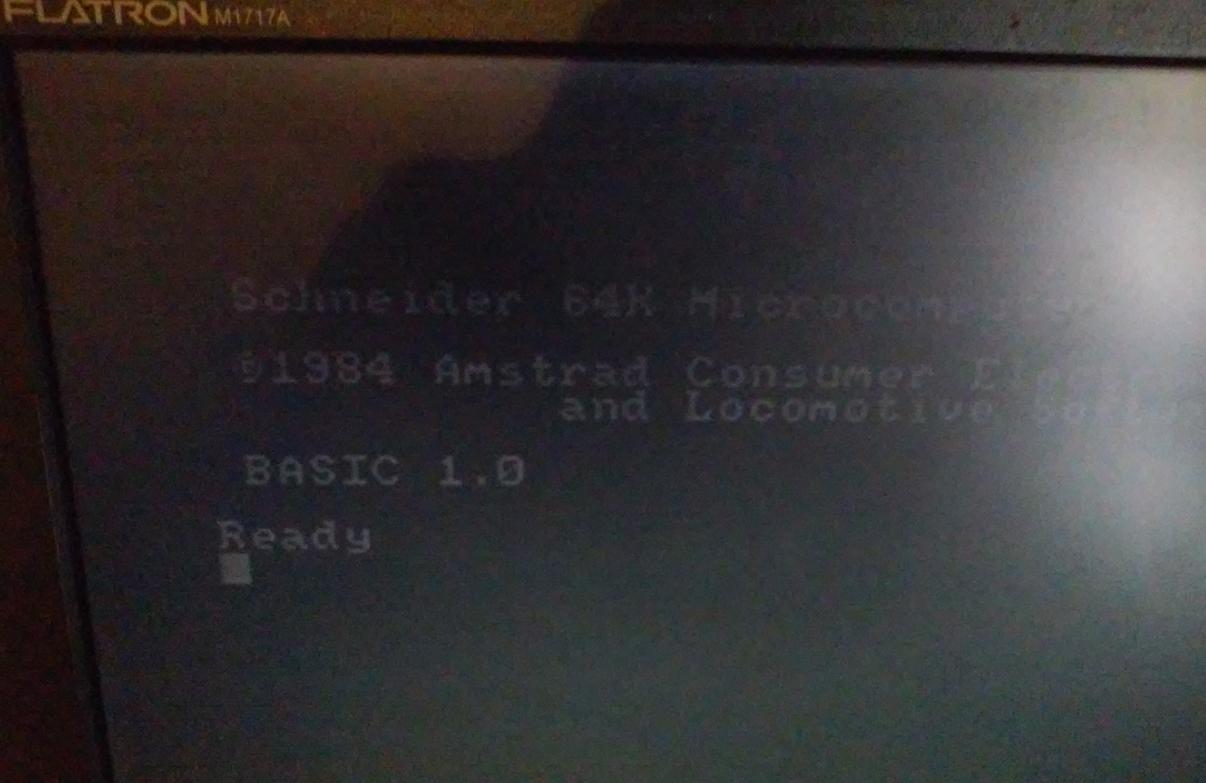
Anyway, here is a test result. woooohoooo !!

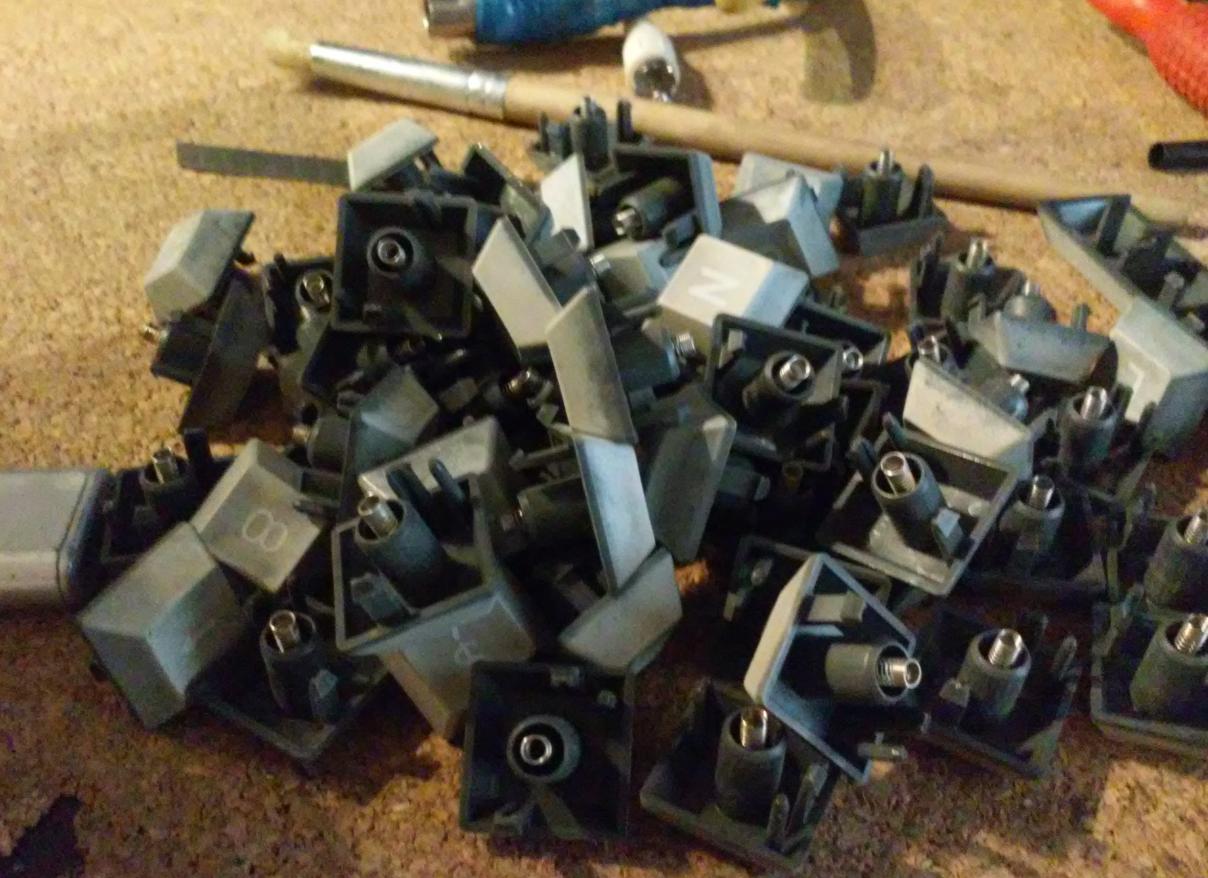
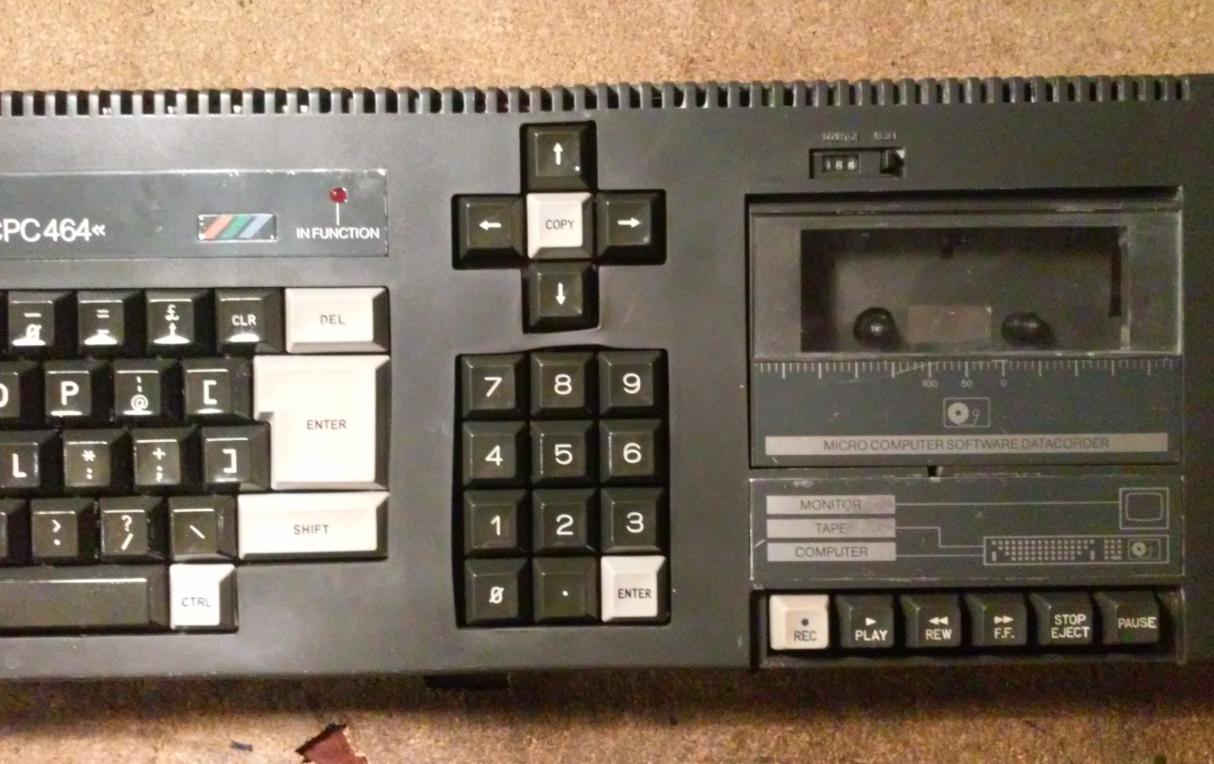
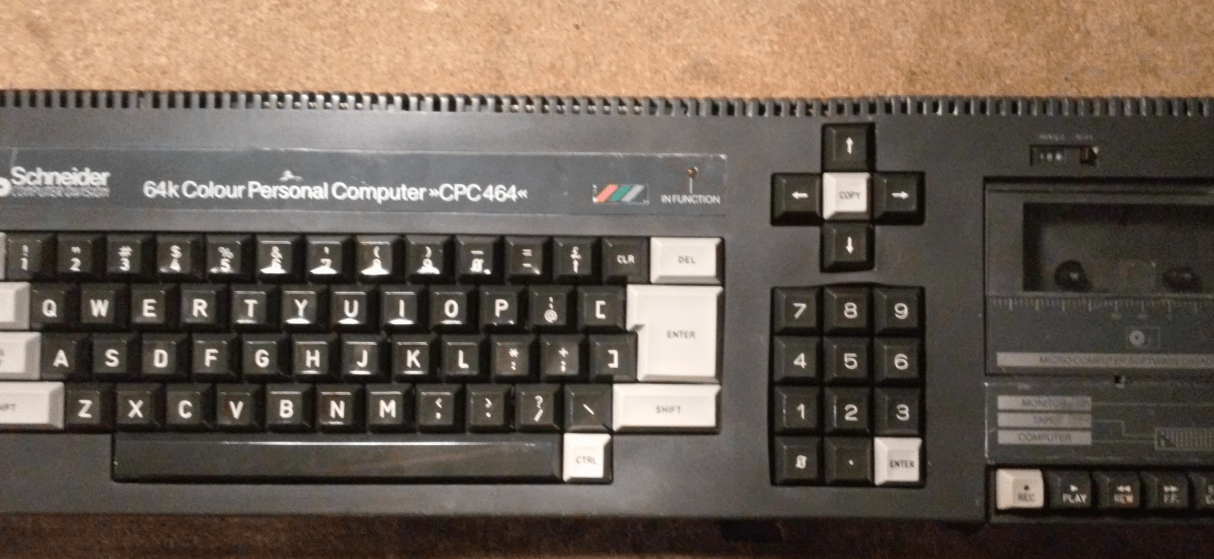
Keyboard and case repairs
Right, with electronics fixed I could move on to cleaning and fixing the keyboard and that was kinda messy as you can see below.
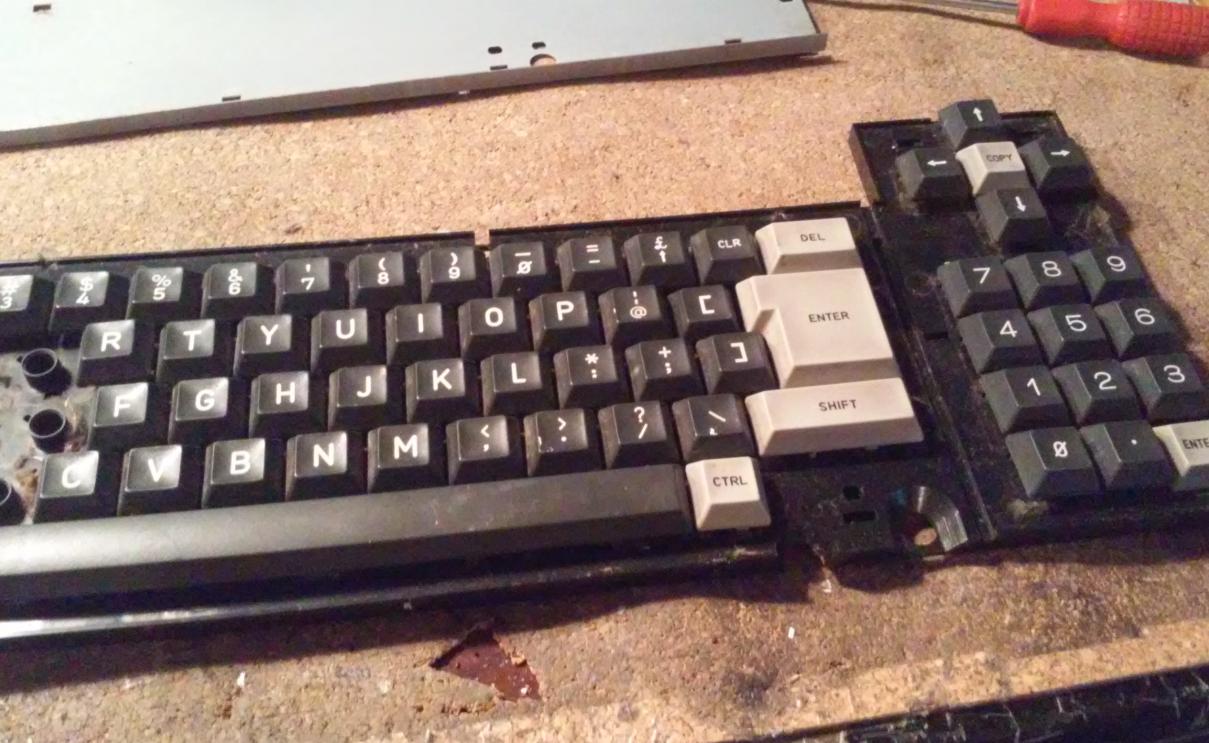

CPC464 keyboard is an interesting one.
It has two springs. External and large to force the keycap to return to its original position and a second small spring that presses on a membrane and makes contact.

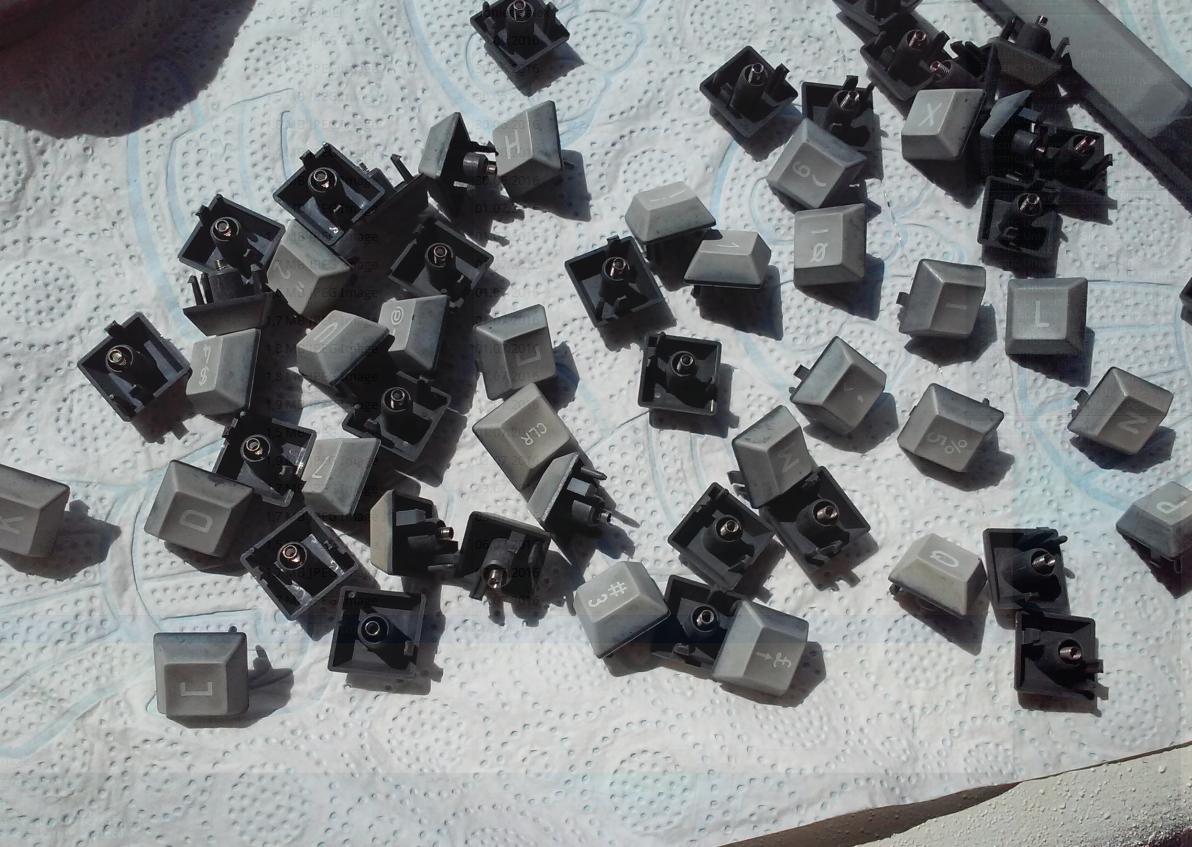
What I usually do to clean keycaps is to throw ’em into a solution of sodium hydroxide (WARNING HIGHLY CAUSTIC STUFF !!). This removes various greasy and organic substances. However, what I didn’t know (and check) keycaps in CPC are made from a kind of polymer that might degrade in such a solution. The end result was very disappointing. Keycaps were super clean but they also turned white after drying up :/
I was like

Rework
I wouldn’t be myself if I didn’t at least try to repair it, so after a tiny gulp of whiskey, I was ready for action HA!
I quickly assembled a ‘Magic cauldron’ setup and started to boil ingredients.

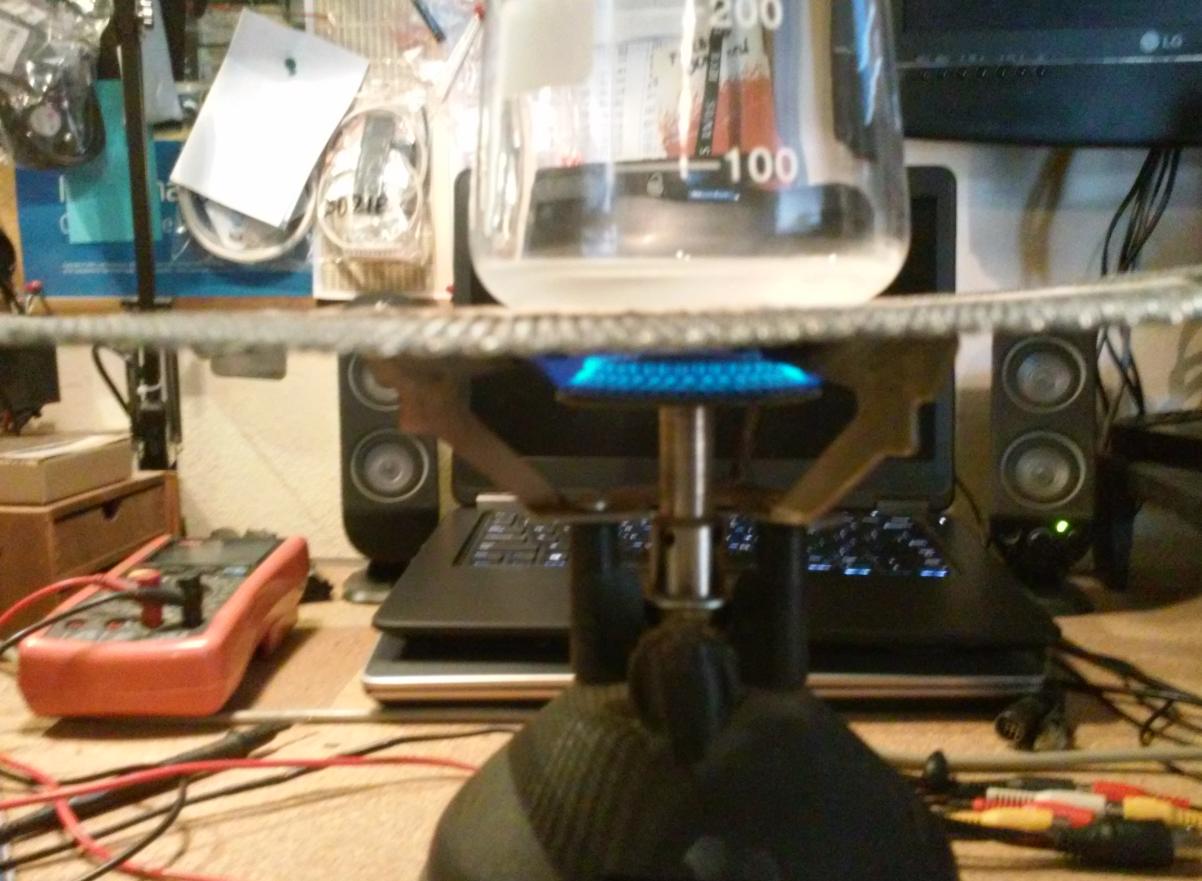
CPC Keyboard recovery voodoo ;P from pit on Vimeo.
The side effect is that keycaps are now a bit glossy.
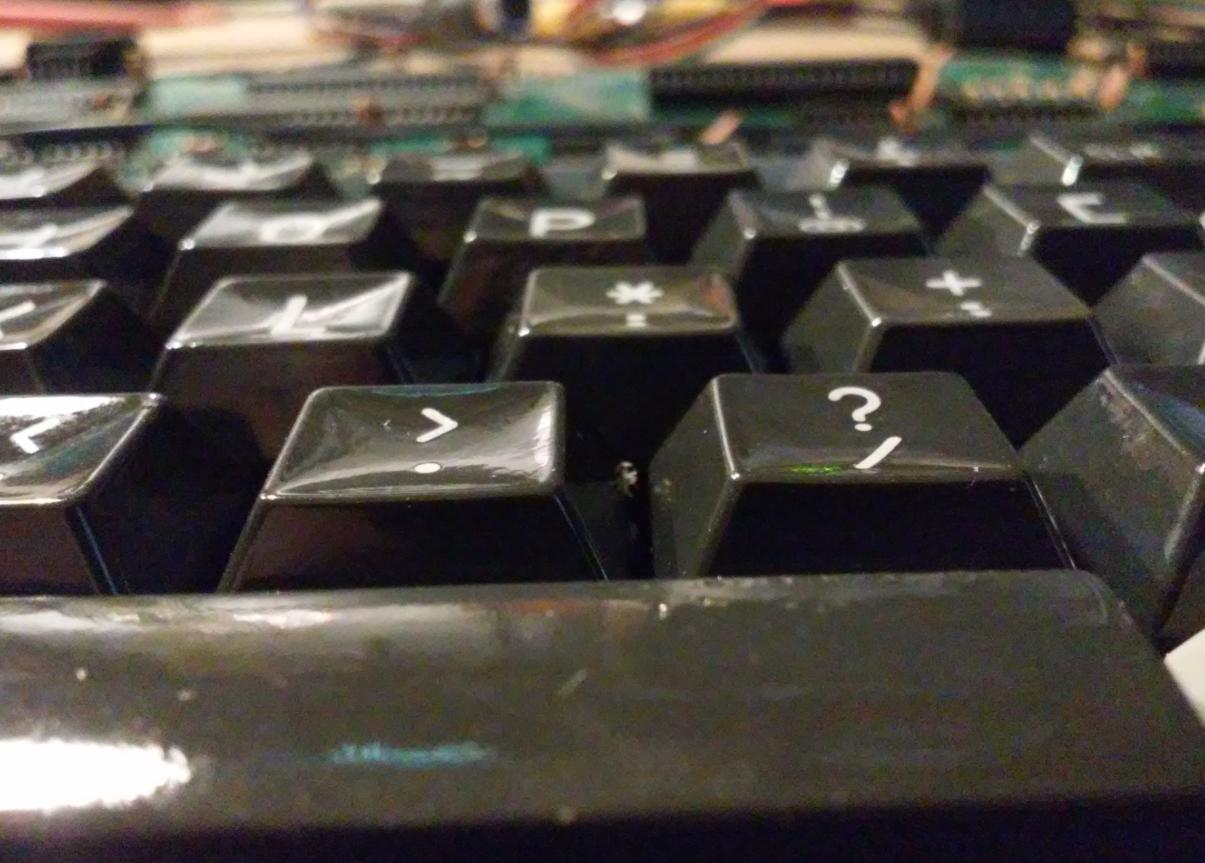
After assembly, I tested if the keyboard still works, and fortunately, it did work flawlessly.
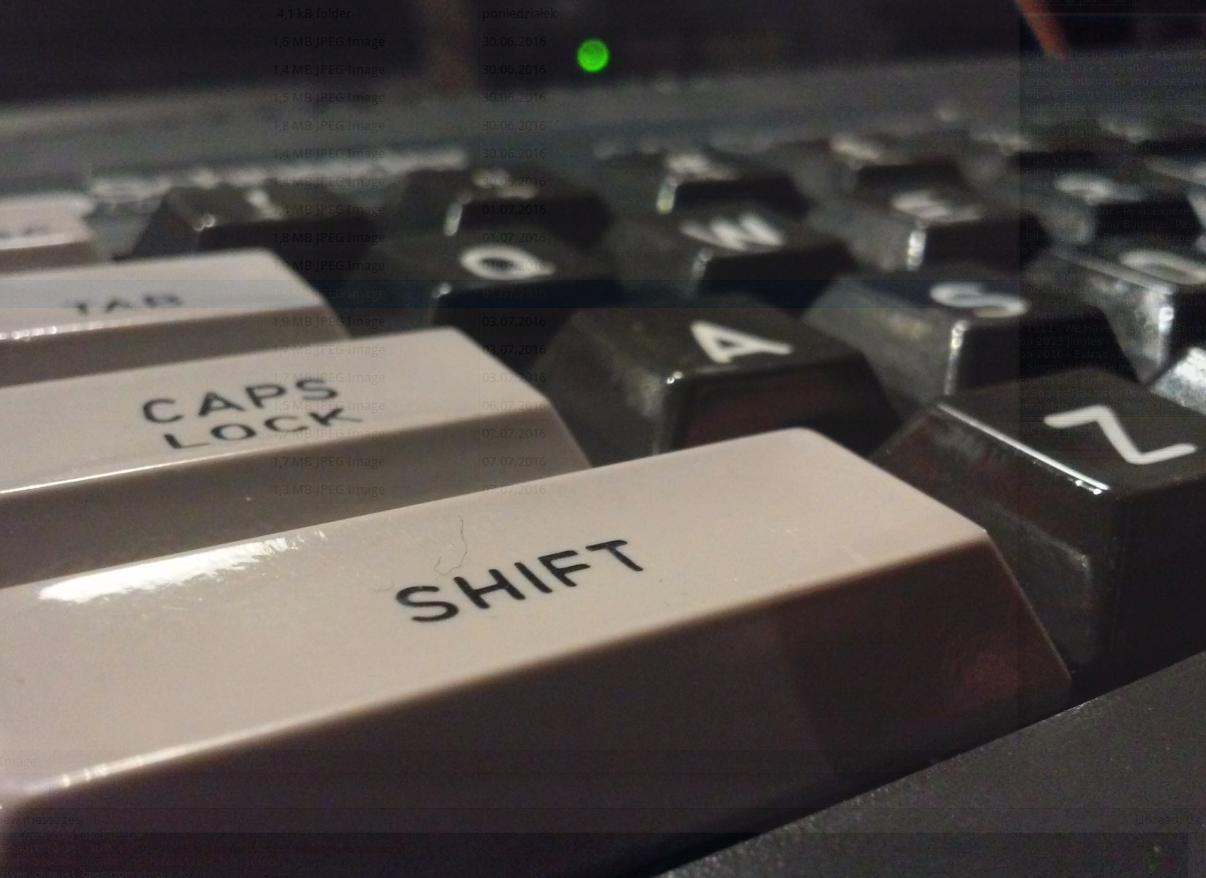
Below is an example of random drunken-typing 😉

Badges and cassette recorder glass
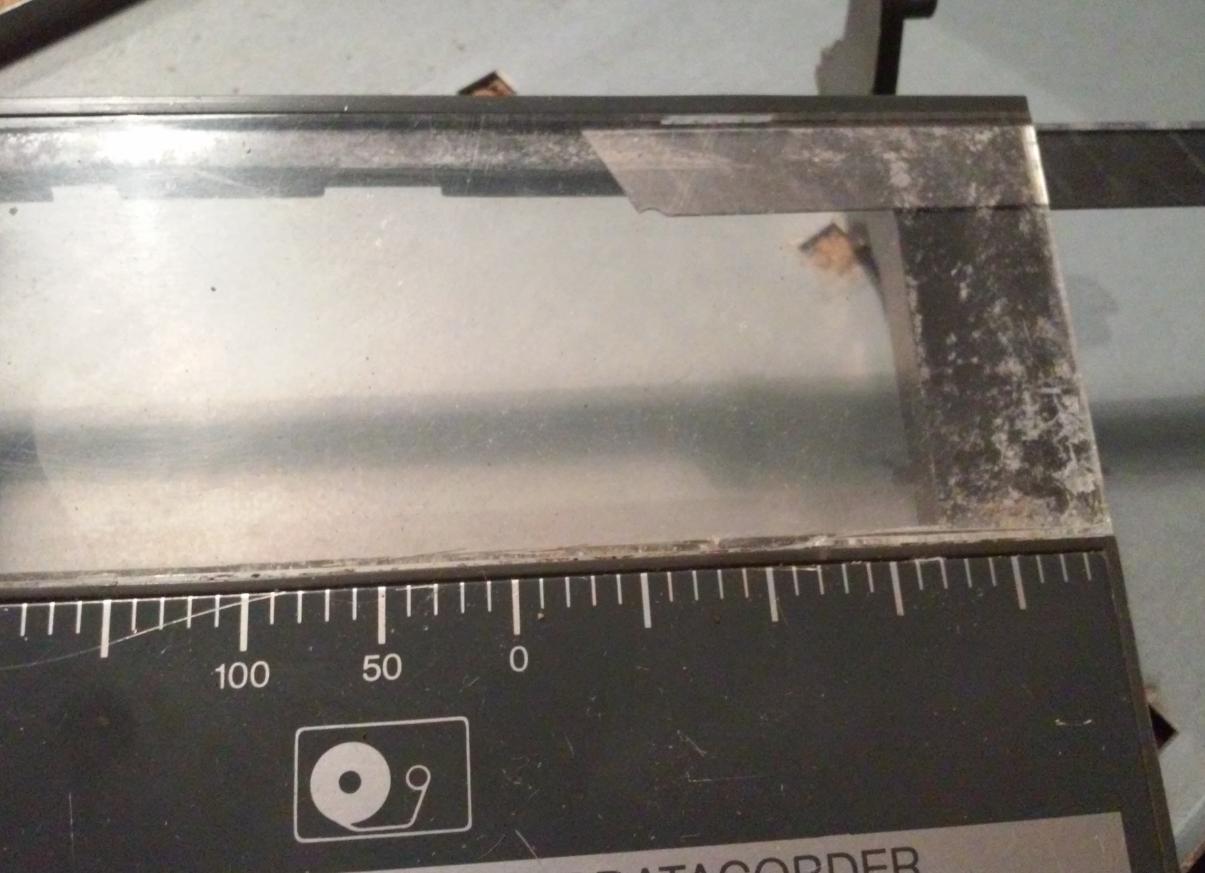
The Cassette recorder had small plexiglass that was looking quite ugly.
Obviously, it needed refurbishing but first I had to literally cut it out because it was covered in some sort of gooey crap.
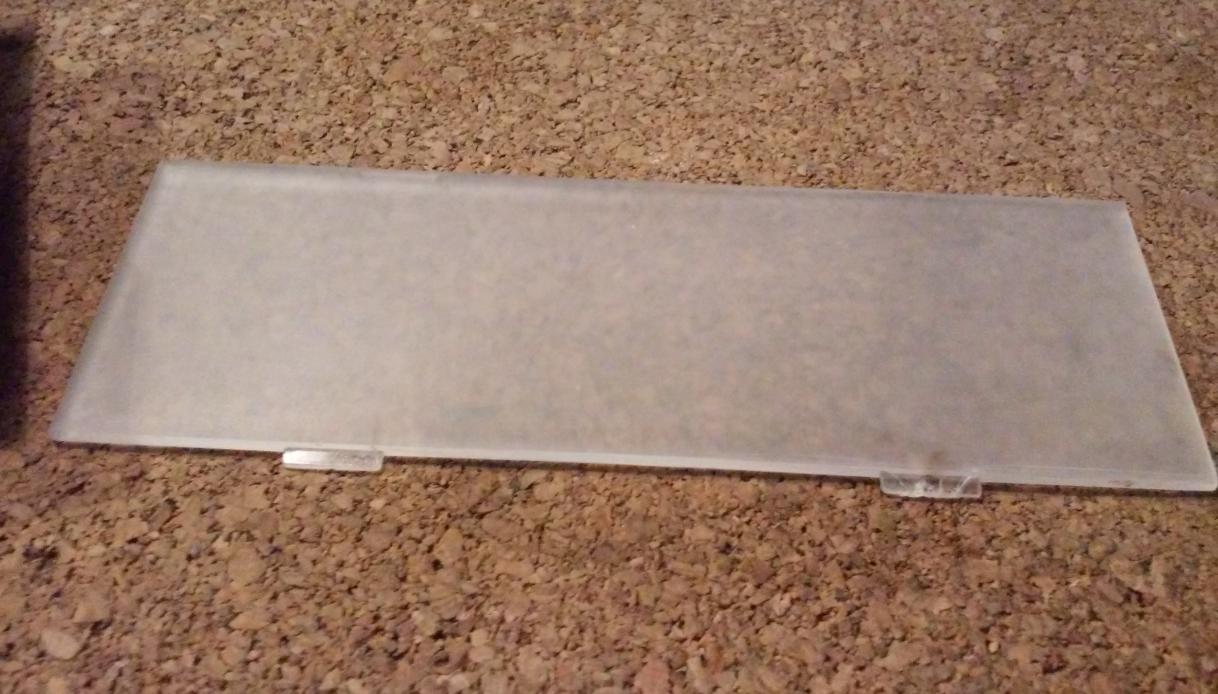
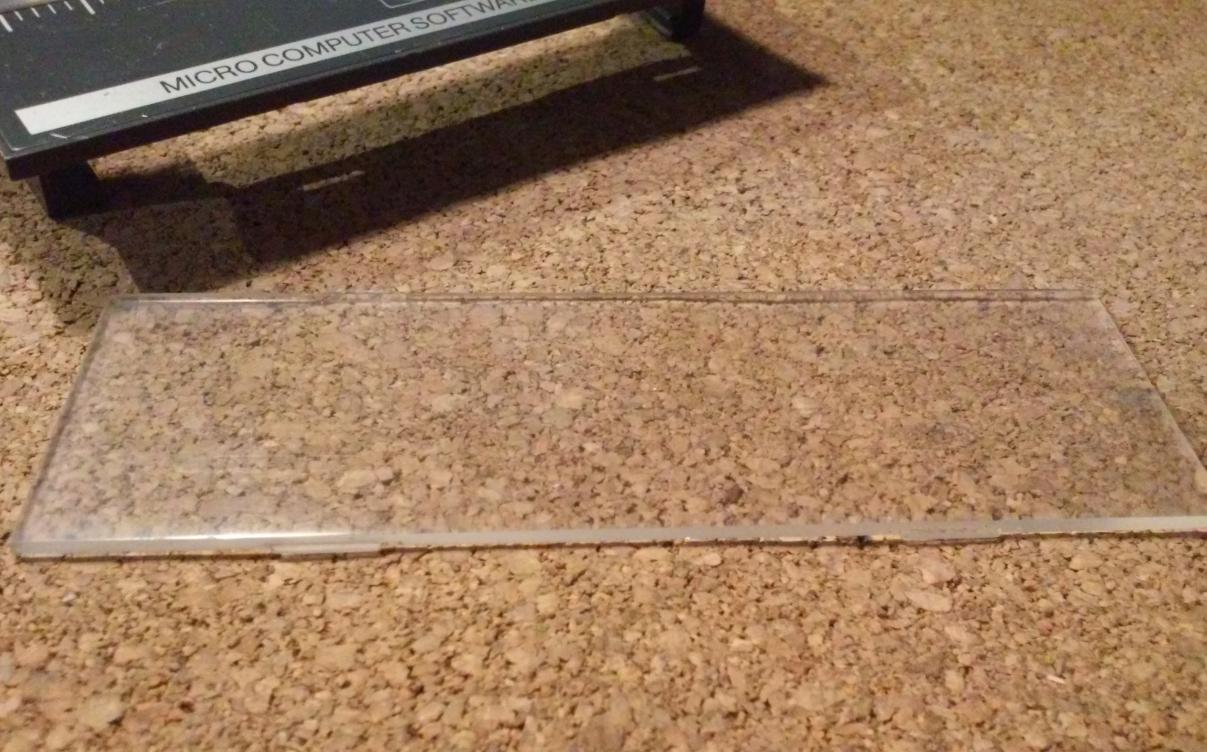
I’ve sanded both sides with grade 400 sandpaper first and 1500 grade afterward and polished it with car wax to finish the repair.
Badges had to be cut out too …
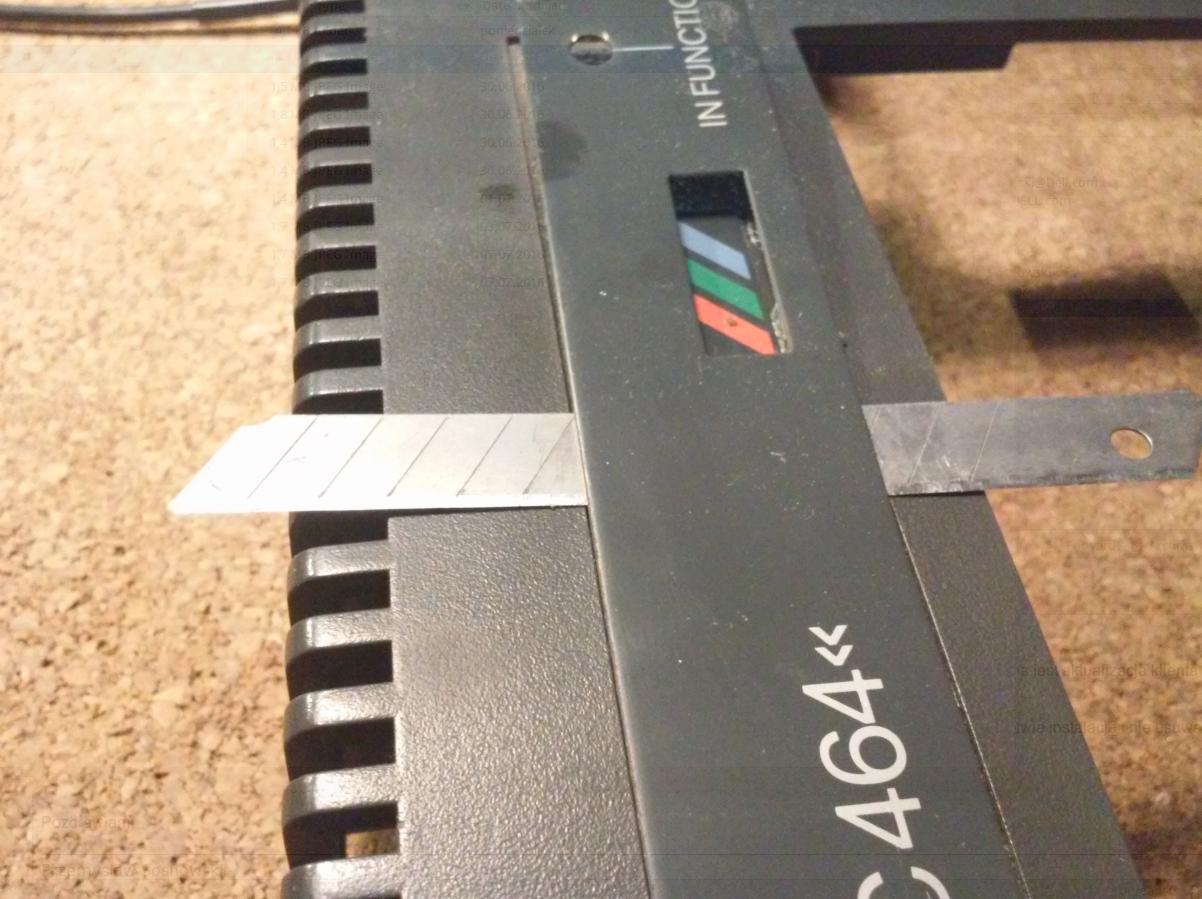
… however, cleaning it with ancient glue was kinda hard …
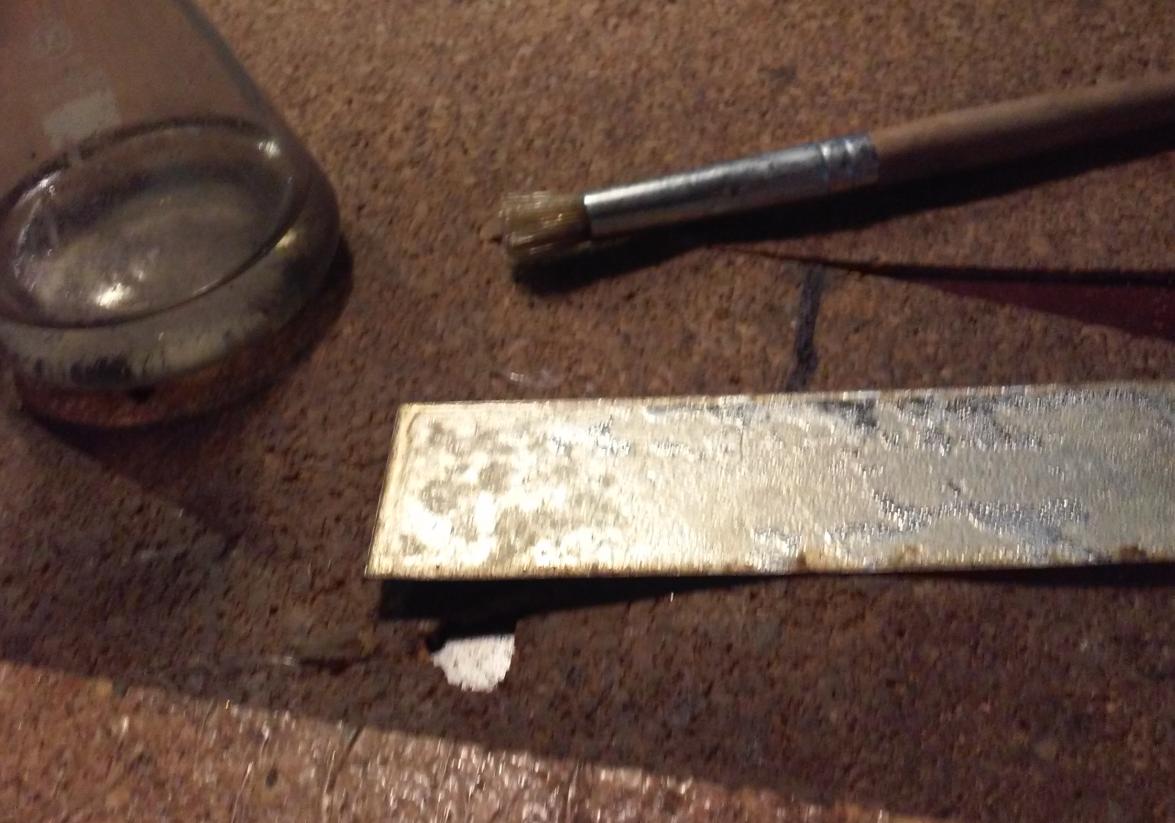
… but doable with acetone!
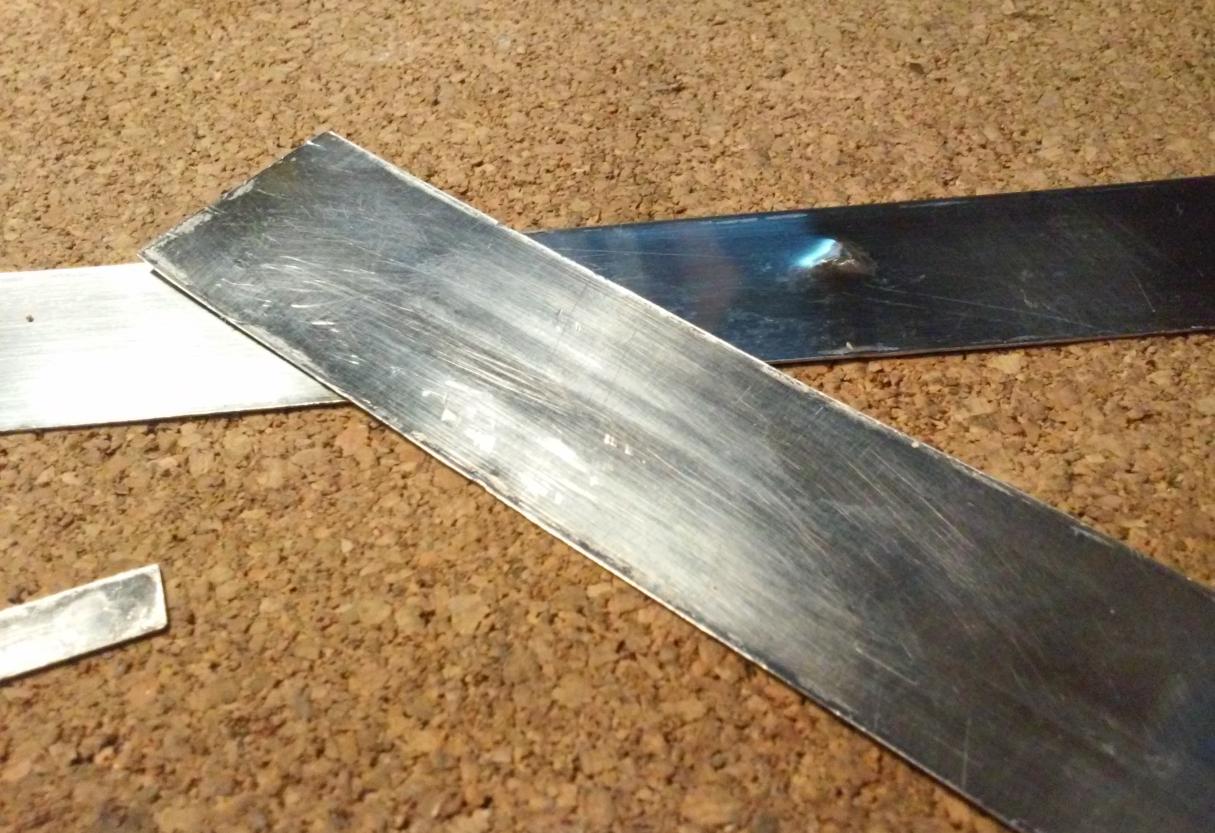
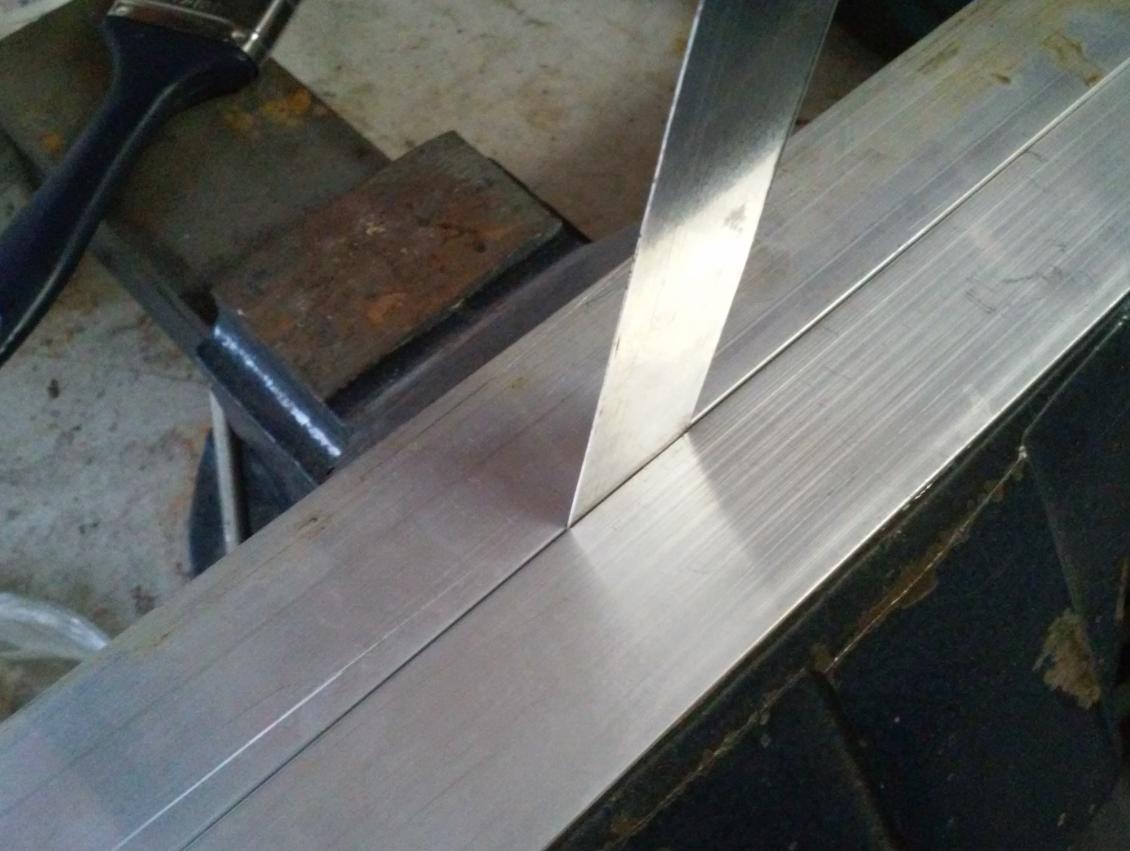
Still, there was a problem with a puncture in the middle of the main badge.
I straightened it with a vise and two aluminum brackets.
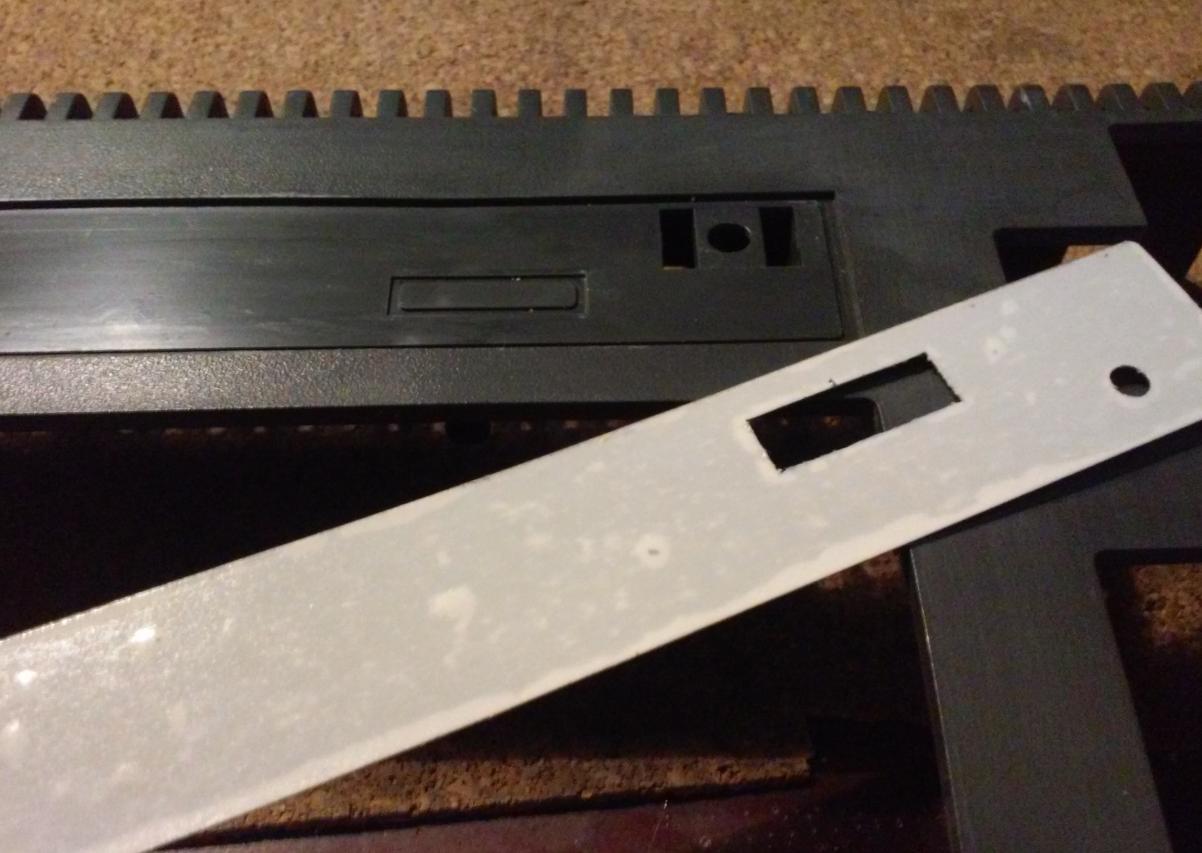
After that, I could apply double-sided adhesive tape and I was ready to go with final case fixes
Case fixing
The last thing I did was try to straighten a case. As I wrote earlier, it was kinda deformed. The idea was to build a sort of improvised clamping device and work on deformed plastic with hot air.

The plan sorta worked but I am not super satisfied with the end result. It can be done better but I simply don’t have that wide oven at the moment 😀
Unfortunately, I don’t have any software (yet!) to record a demo of this old machine working so only photos of the results are posted below.
Cheers 😉
OUTRO
If you want to get retro gear or hardware modules, please visit our shop
New products are being added every month.
Also, please support our work by spreading info about it.
Without your support, we simply cannot grow and we have a lot of new cool retro hardware (and more) products to come 