… or GEL PENS to the rescue
Intro

/Intro
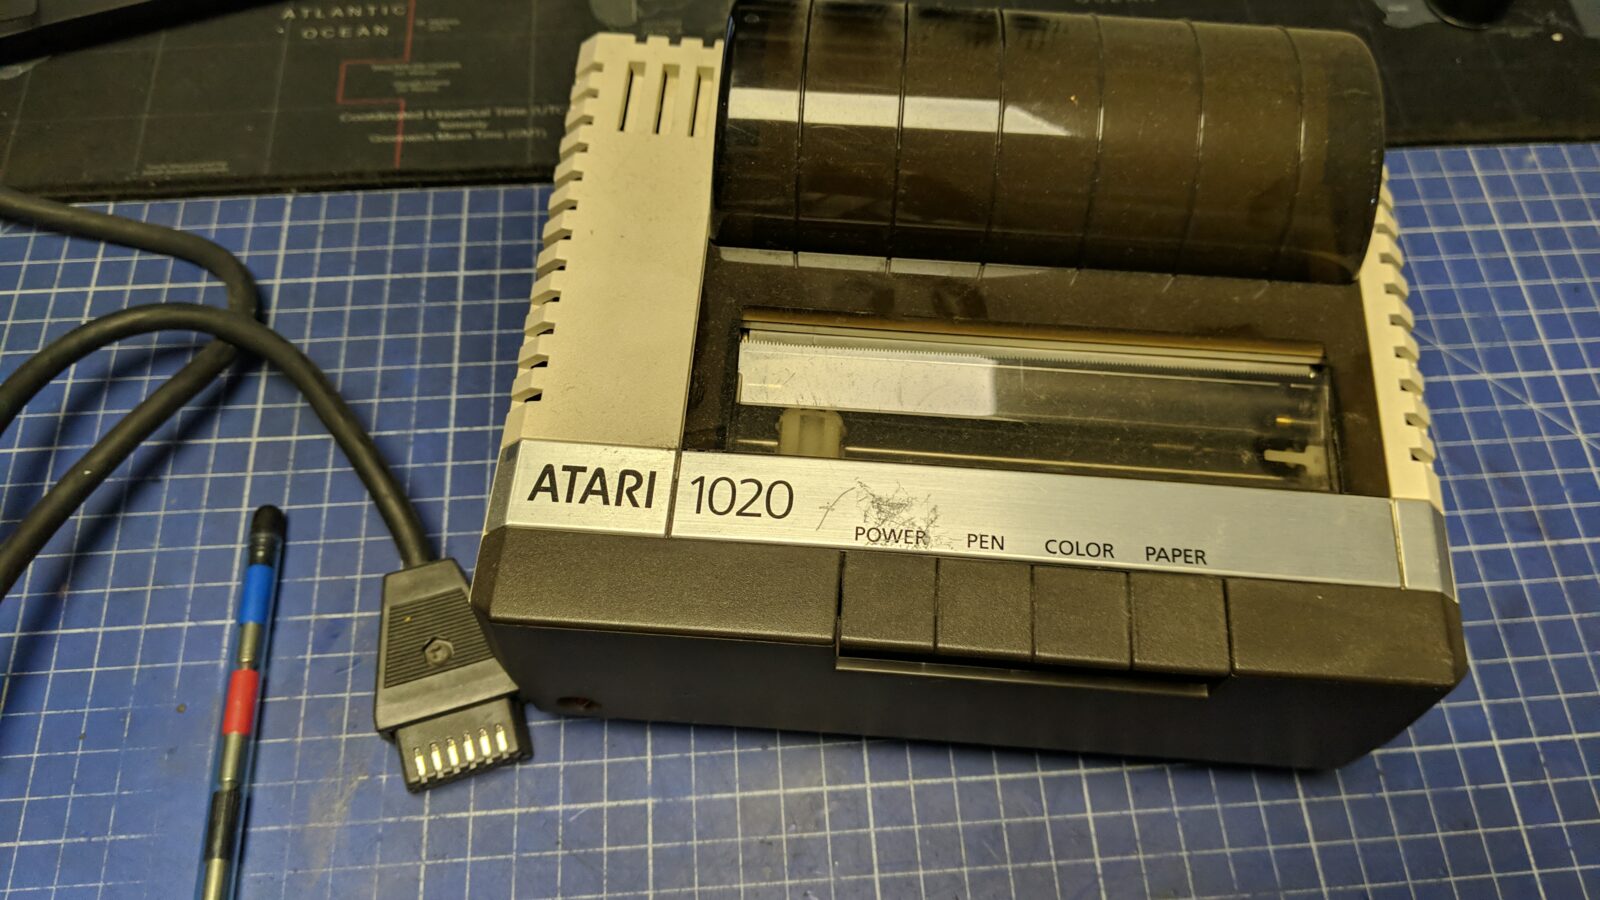
Ok, today I am writing about the Atari 1020 plotter. This is one of many plotters that use the ALPS plotting mechanism. I have at least one more plotter for VIC-20 that is very similar to this one. This is all done for one of my clients – Cheers W :>
The story of this particular unit is simple. My client asked me to get such an Atari plotter so he can start playing with it. I’ve posted a buying request on the great AtariArea community forums and surely get a response! Jer, who is a great guy and a respected member of the Atari community, replied to me and offered this particular 1020 plotter. We’ve made a deal and the plotter landed in my garage. It had to wait at least 2 years on the shelf until I picked it up …. yeah, the queue is long and the days are too short.
Enough of moaning, let’s do some work.
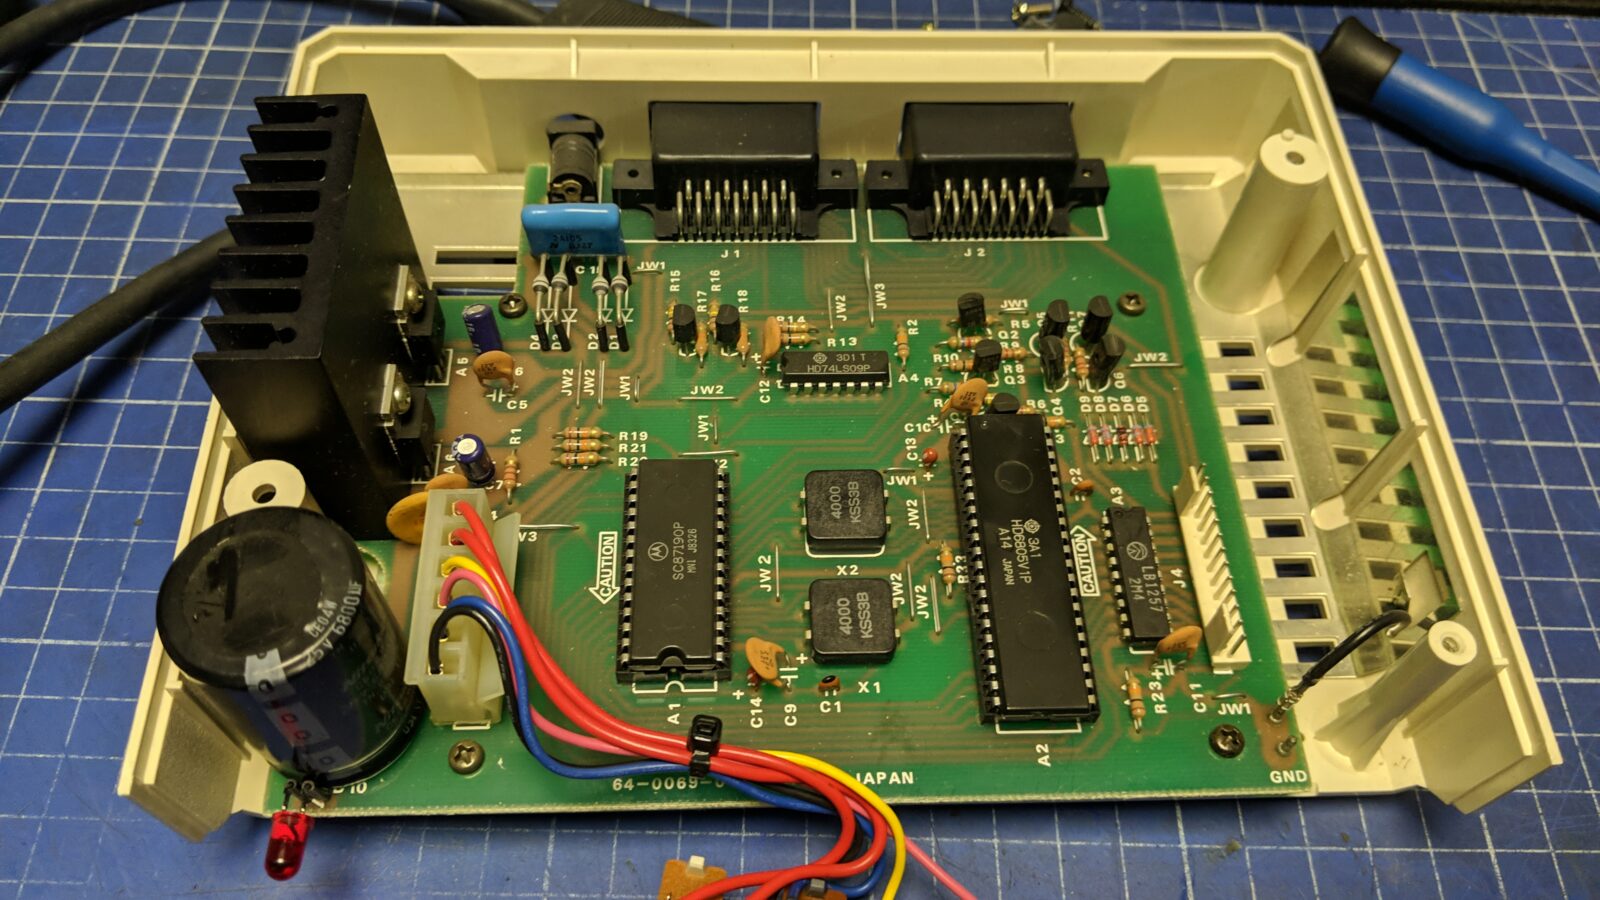
Cleaning, disassembly, and testing
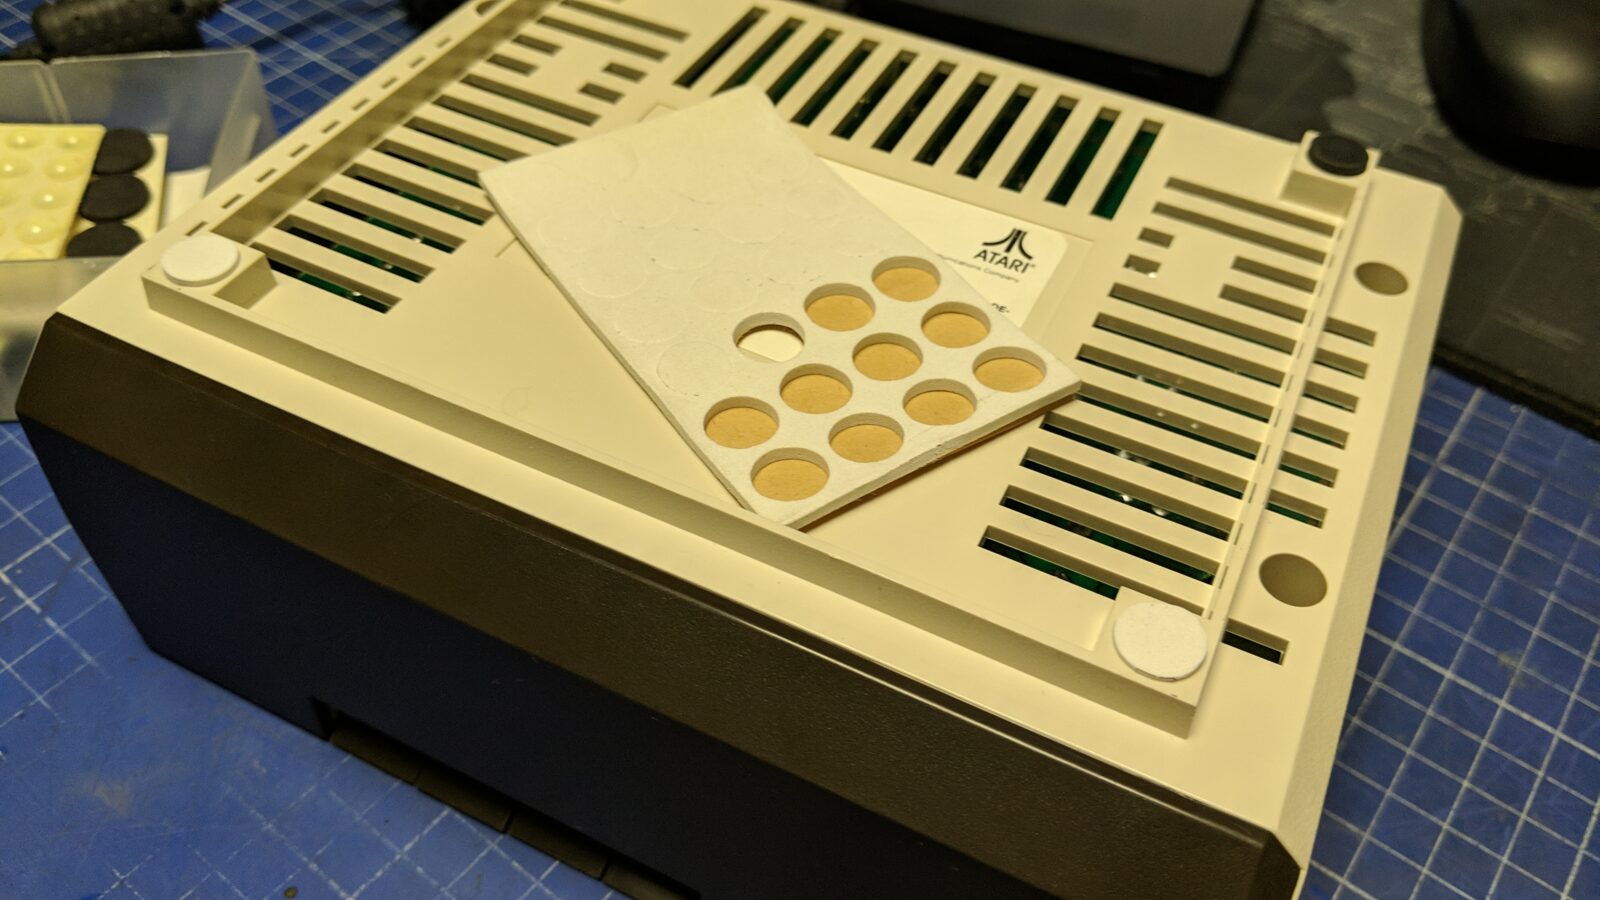
The unit was in a VERY good shape so I didn’t have to spend days cleaning and retr0brighting it.
I only had to de-dust it and clean the rollers and that’s it.
Here is how it looked.


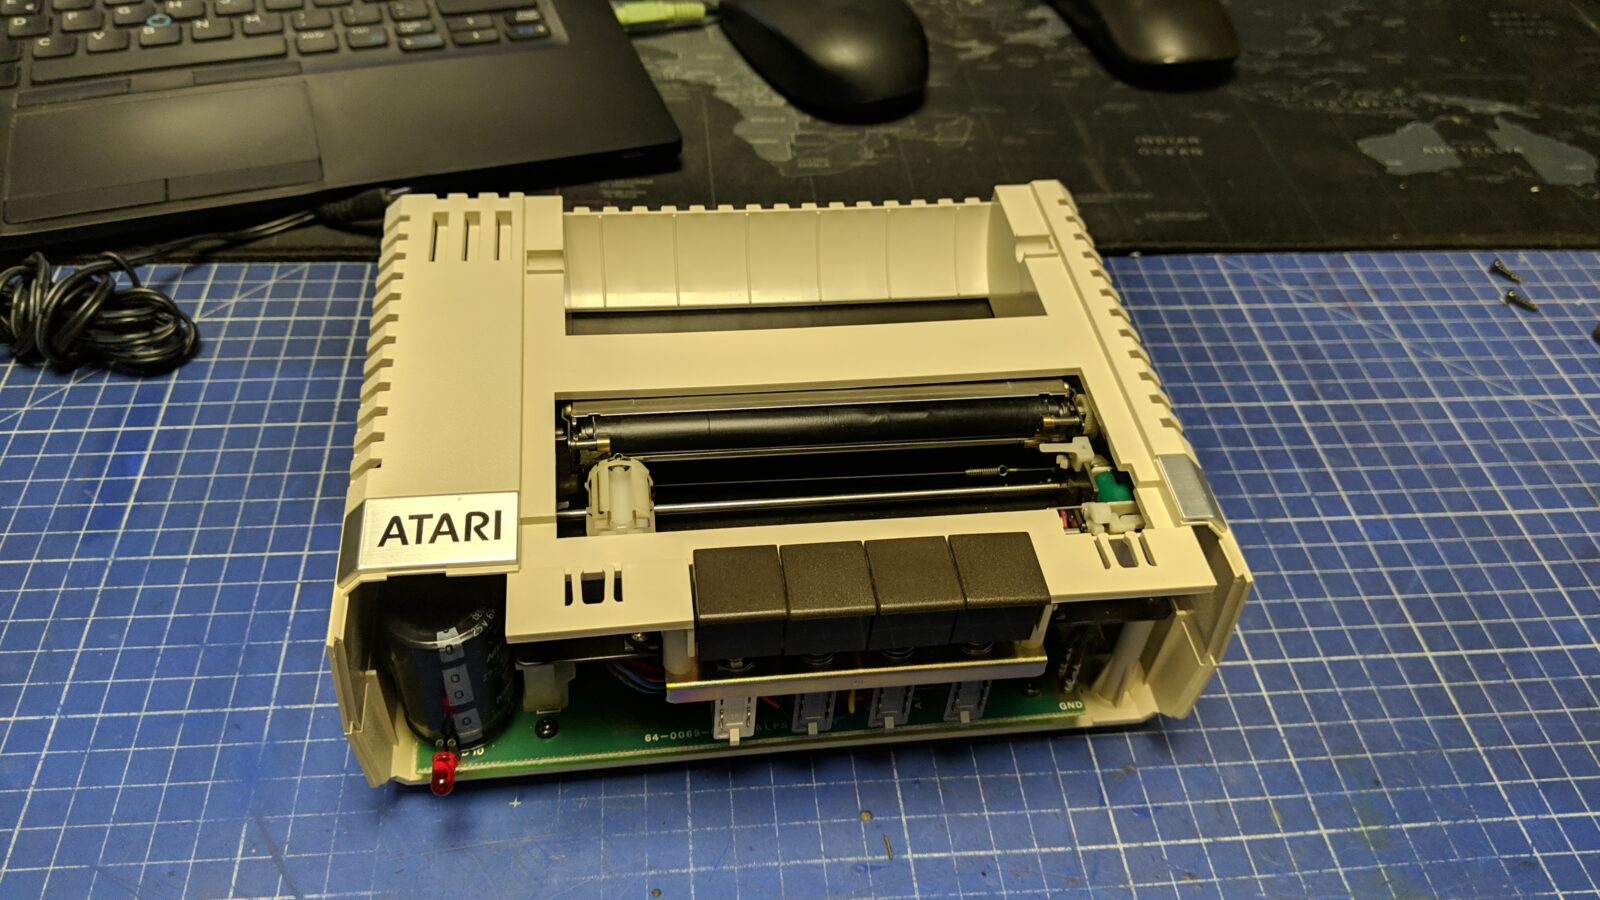
Dry run of the semi-assembled unit.
I’ve assembled it all and added some new rubber feet.
The pens
This is where we approach the clue of this blog post – the plotter pens!
Here is a pic of the original pens.

These dudes dried out ages ago and currently are useless. Yes, I’ve tried refilling ’em but that was kind of a failure. Even after ultrasonic cleaning in IPA solution and refilling with fresh ink, the original pens just didn’t work 🙁
However, we have 3D printers nowadays so why not make new ones!?
One evening I was having a coffee and I looked at the table and I was like …

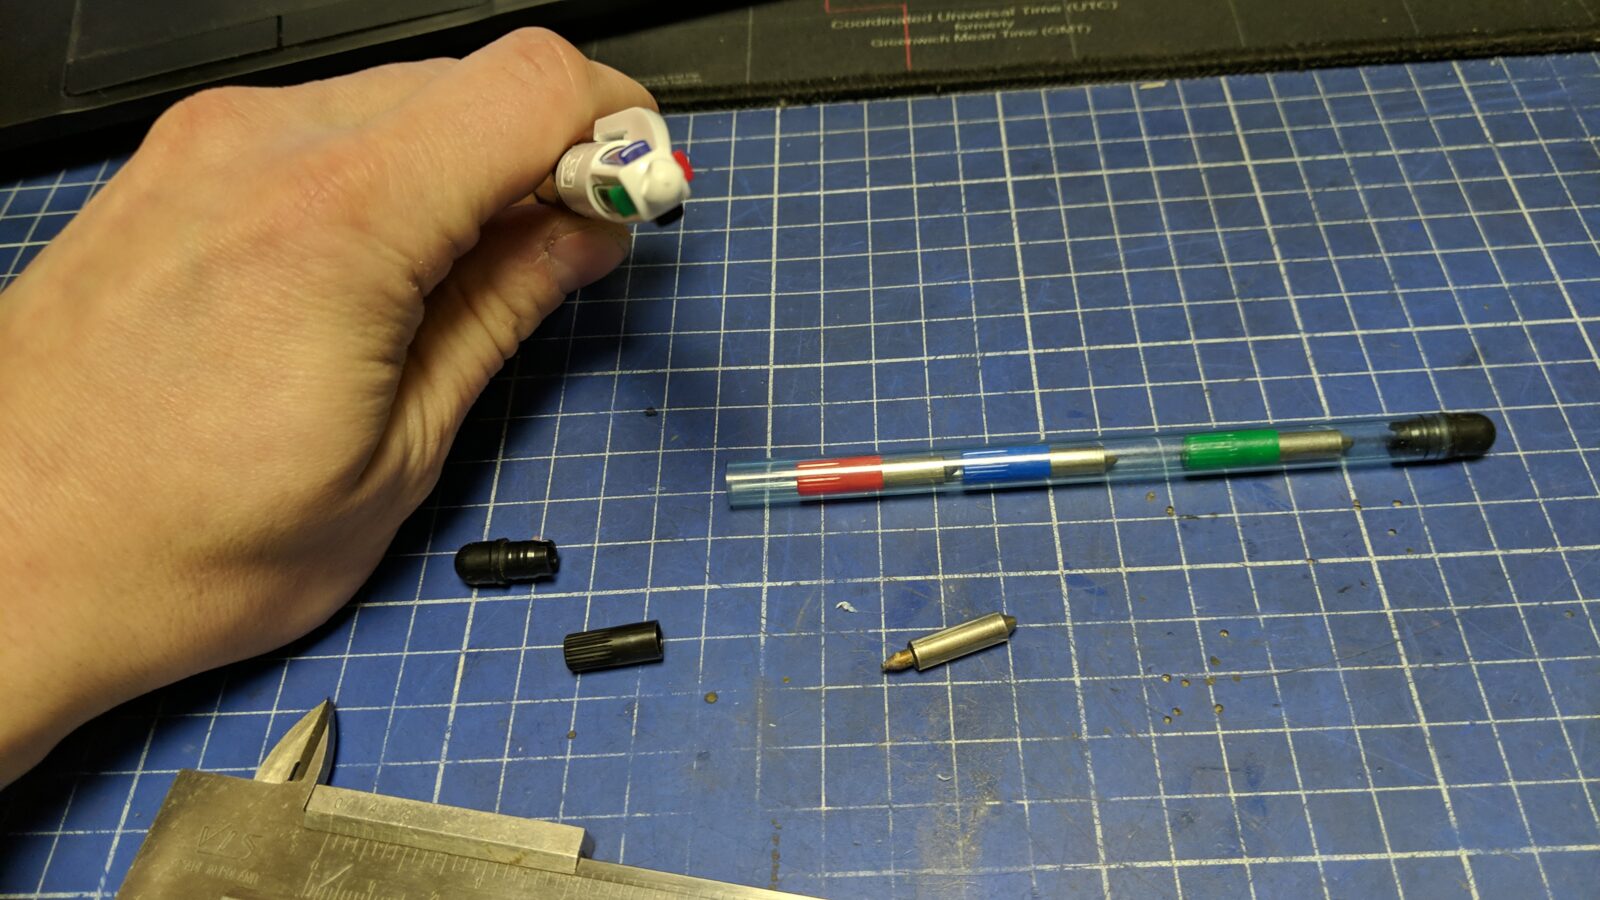
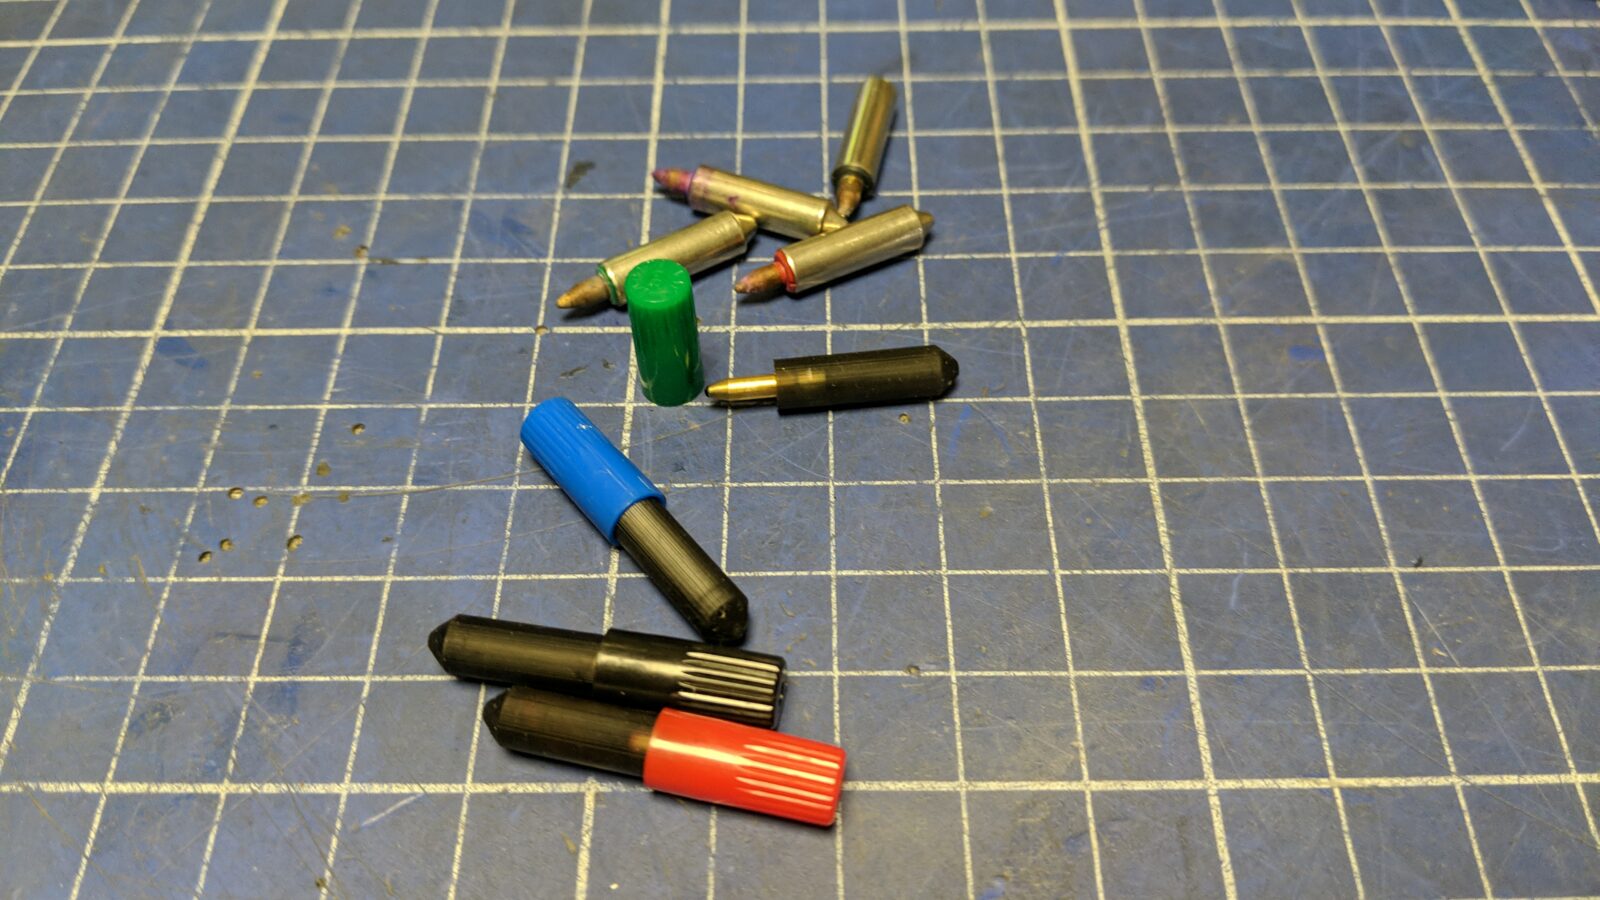
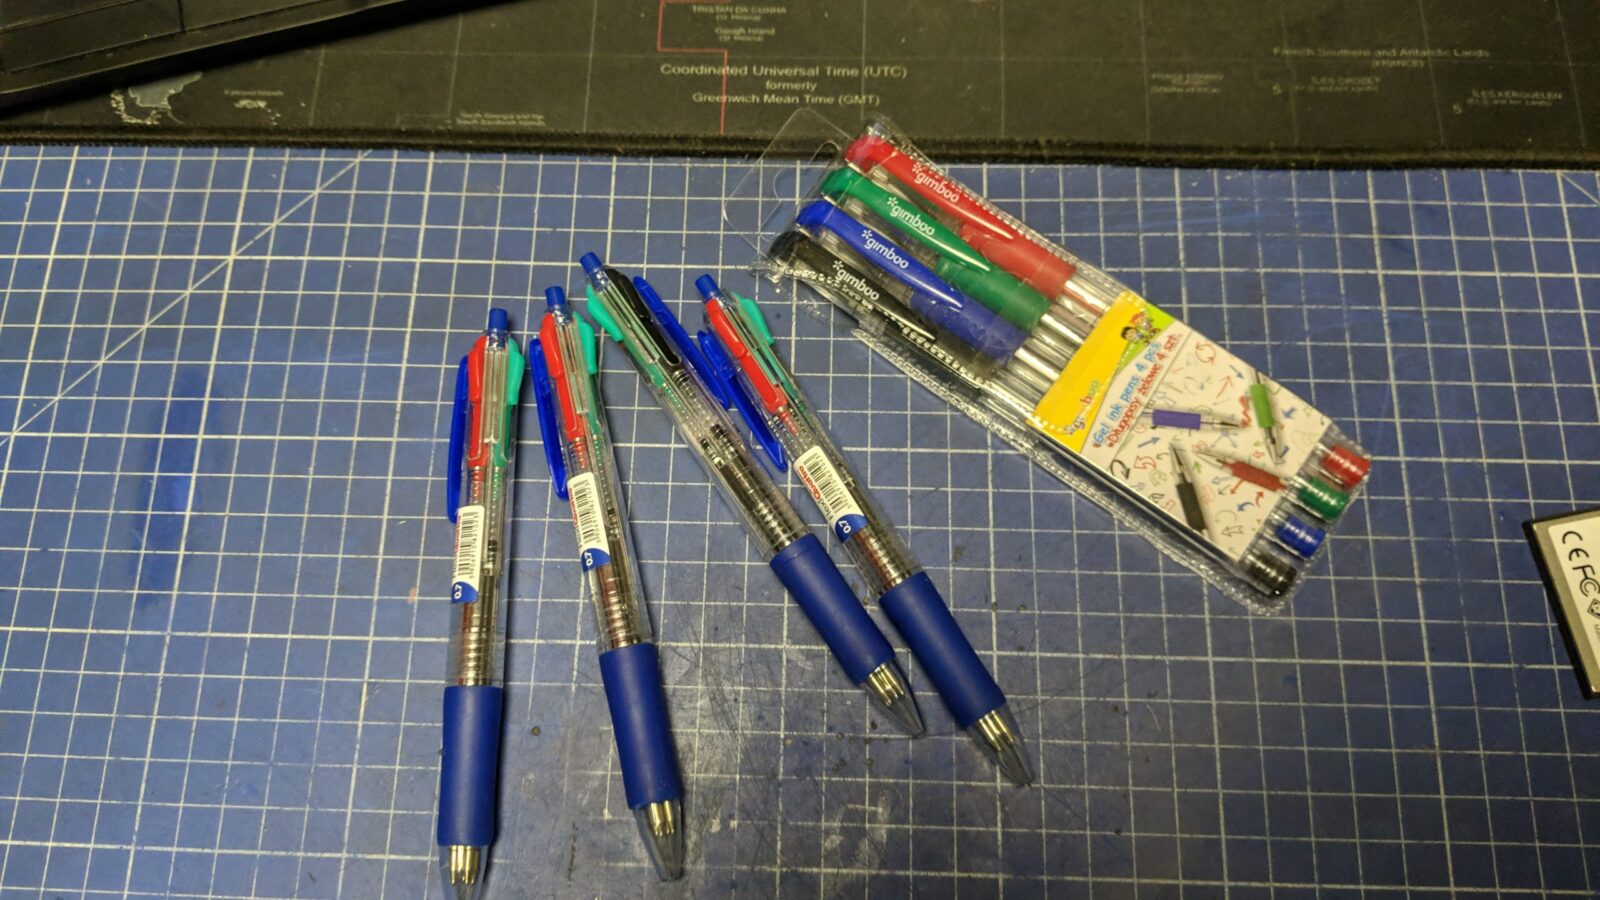
I’ve spotted a multi-color ball pen on the kitchen table! I was like hell yeah! this might work.
It is a standard 4-color ball pen with colors that are needed for this plotter – red, green, blue, and black – exactly what we need!!

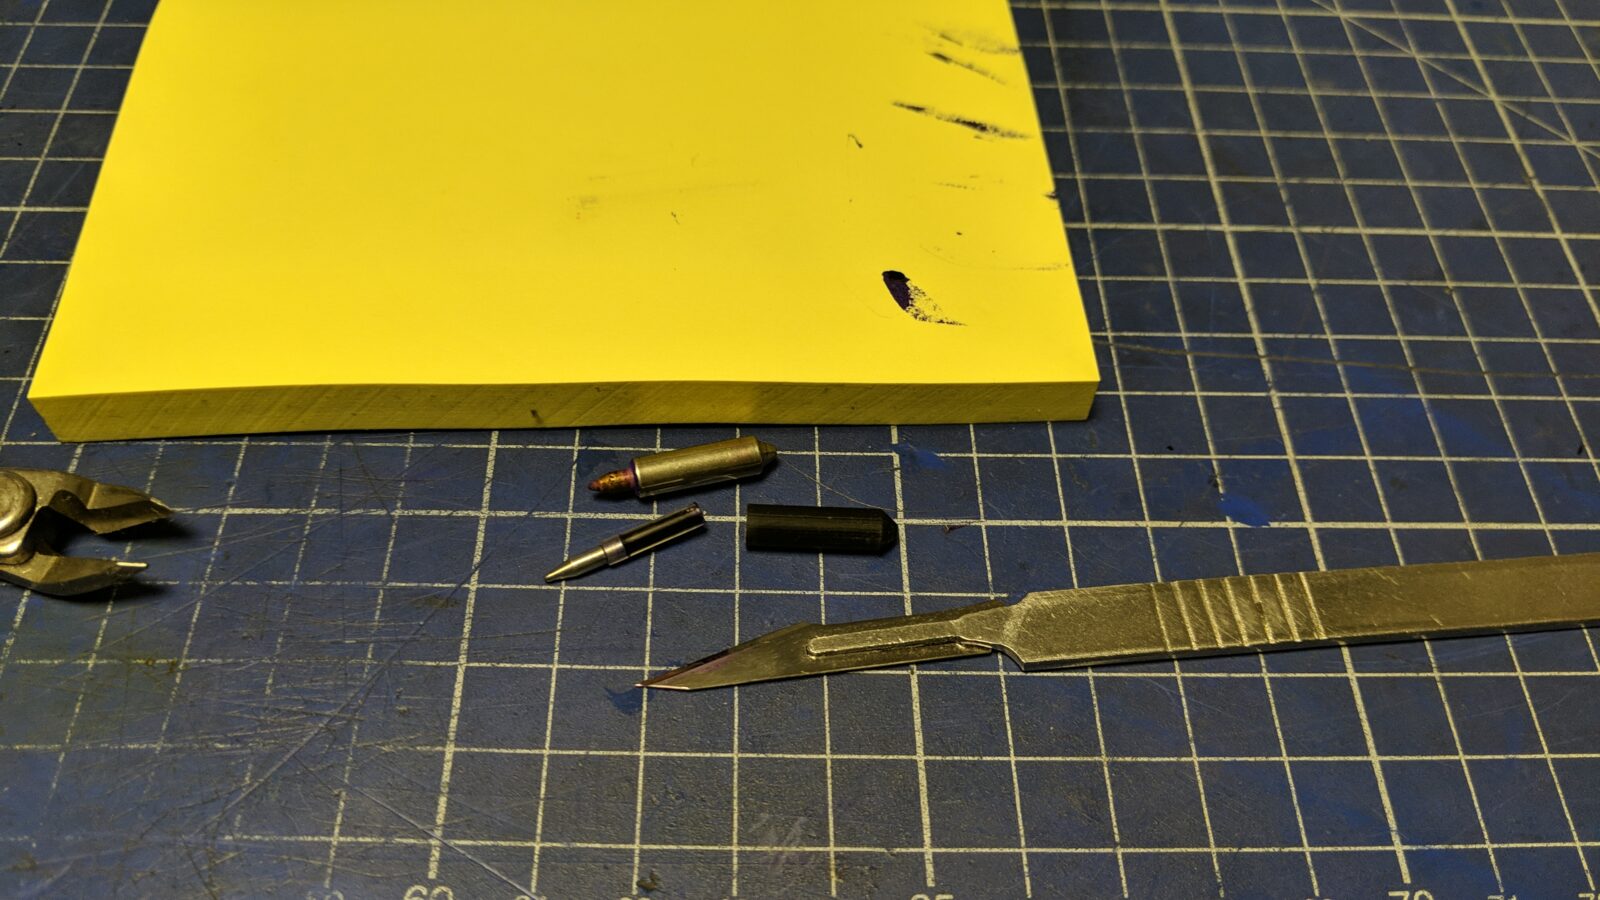
I did some measurements, designed a new cartridge case and 3D printed it out of UV resin.
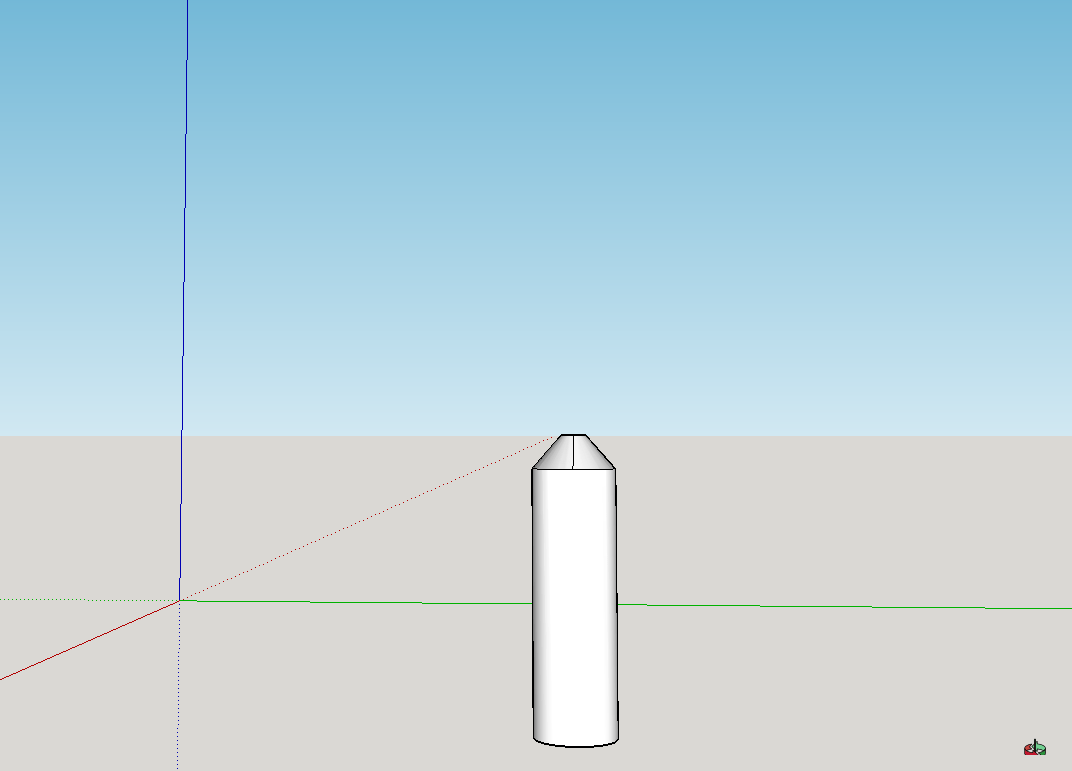
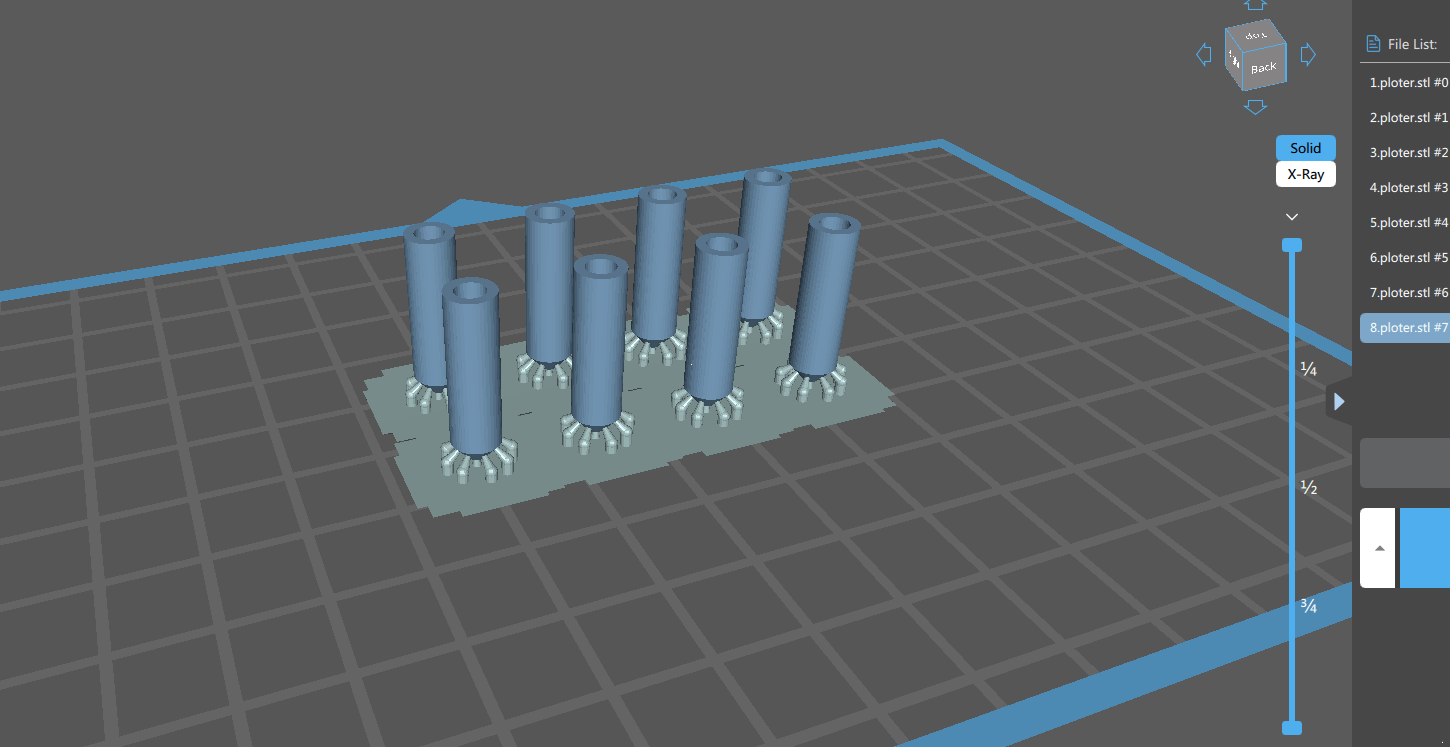
The idea was to use a cut to a proper size ball pen refill and insert it into a freshly 3D printed case.
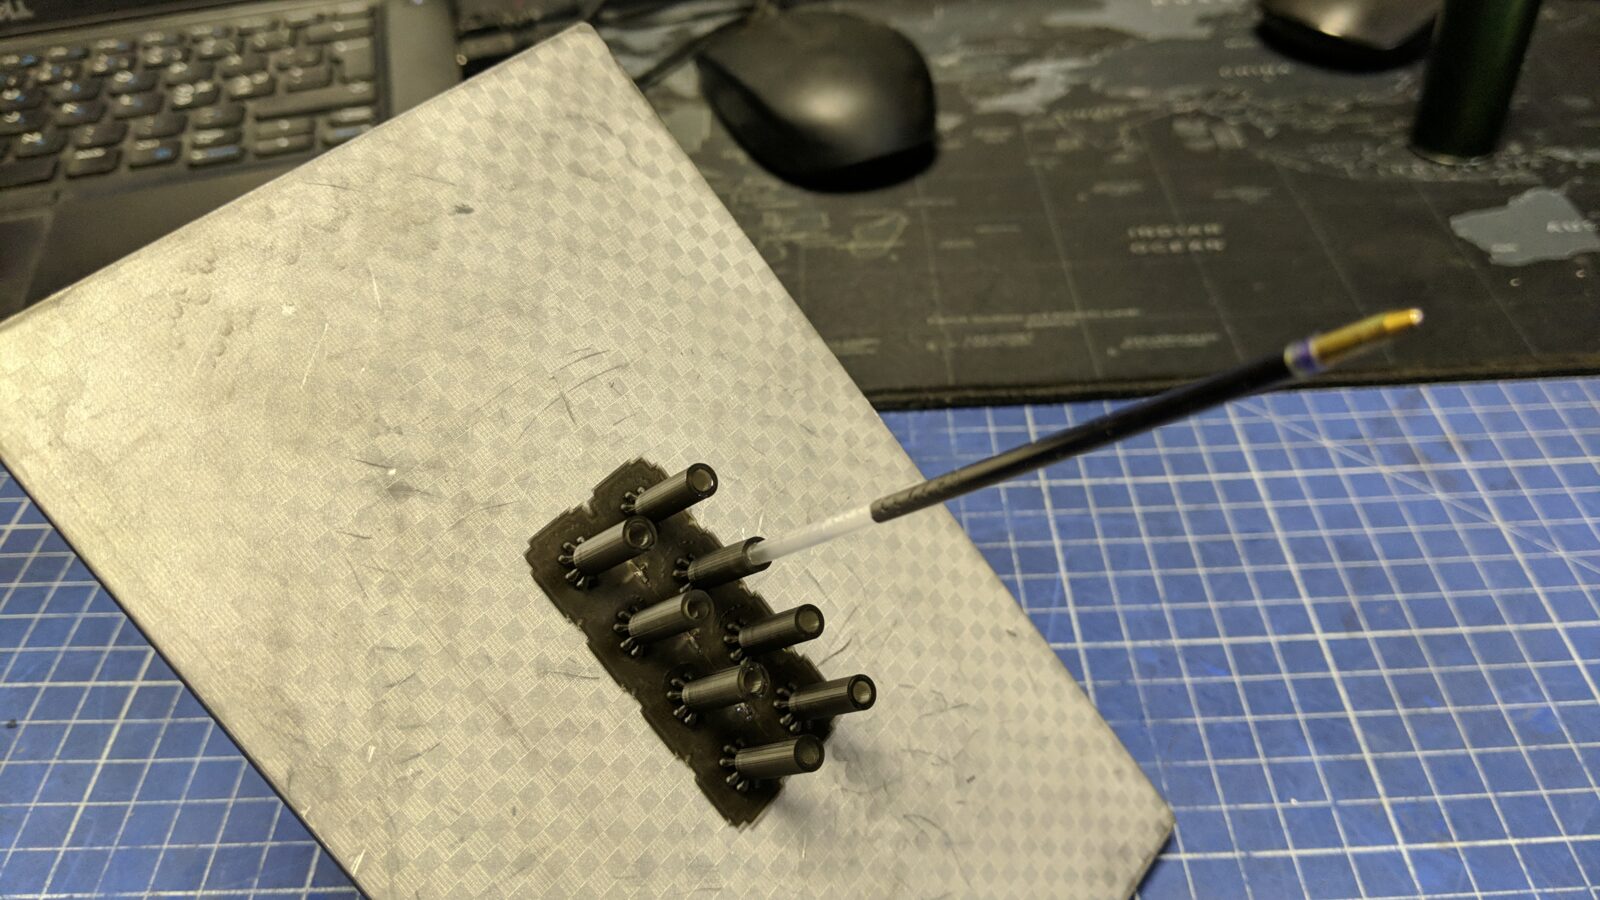
Here is how it looked.
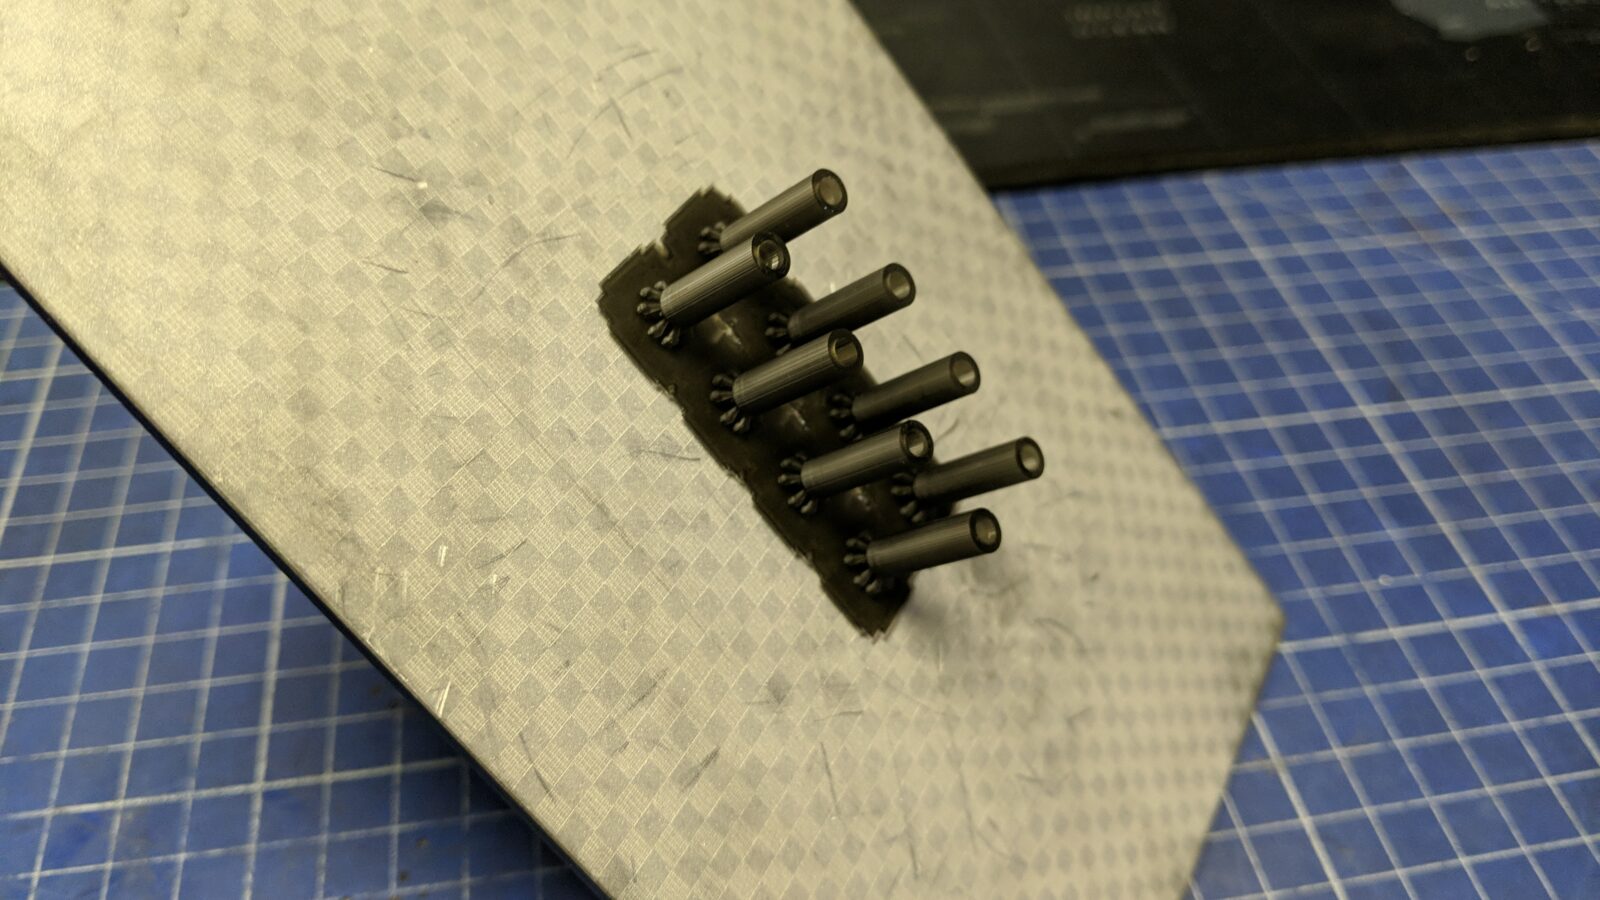
The standard refill insert is 3mm in diameter and fits perfectly into a 3D-printed case.
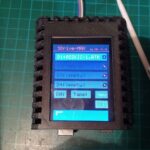
I’ve fired up an AtariWriter+ software and run some tests!
Unfortunately, it didn’t work at all 🙁
Turns out that the pressure on the pen itself is too weak. We need to dive deeper!
The hunt for a proper pen pressure
This is where I started to analyze the mechanism a bit deeper.
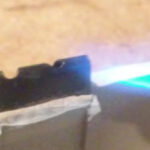
In the following pic, you can see a carriage with an anti-spring in the form of a steel rosette which helps to keep a drawing pen away when it moves freely.
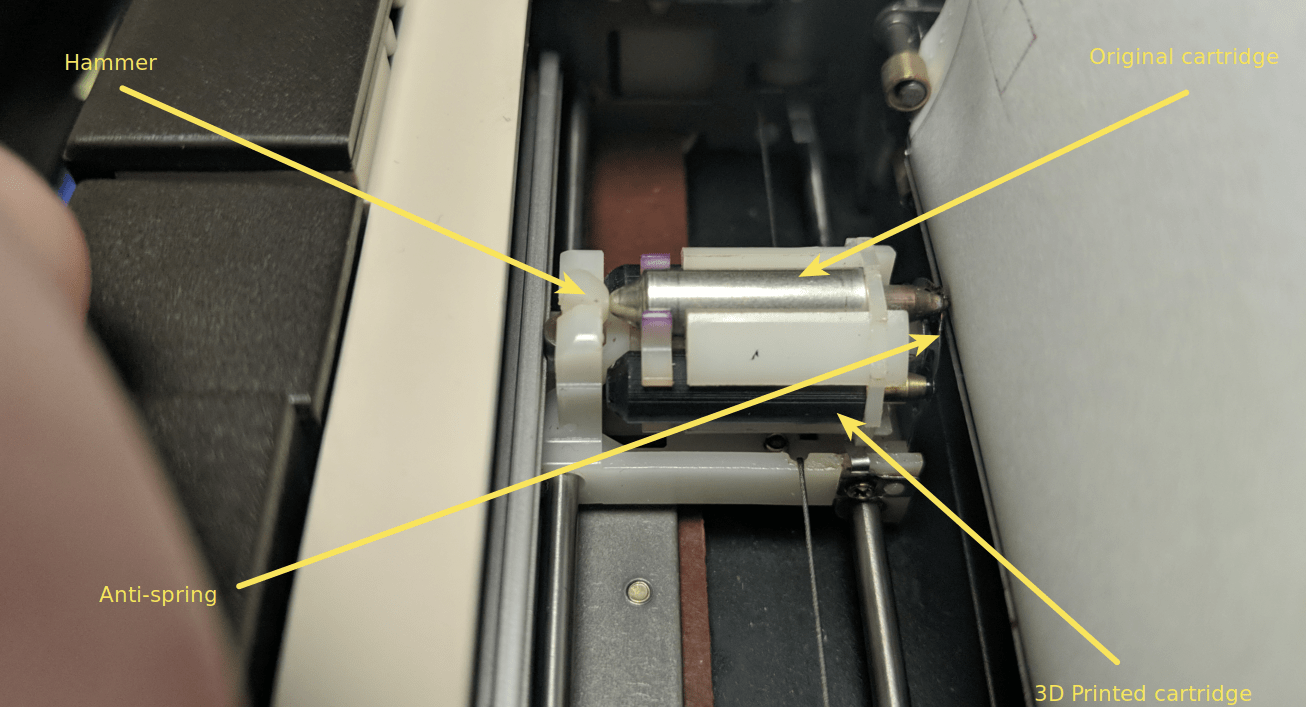
Here is another important piece – the electromagnet that drives a bar that in turn drives a hammer.
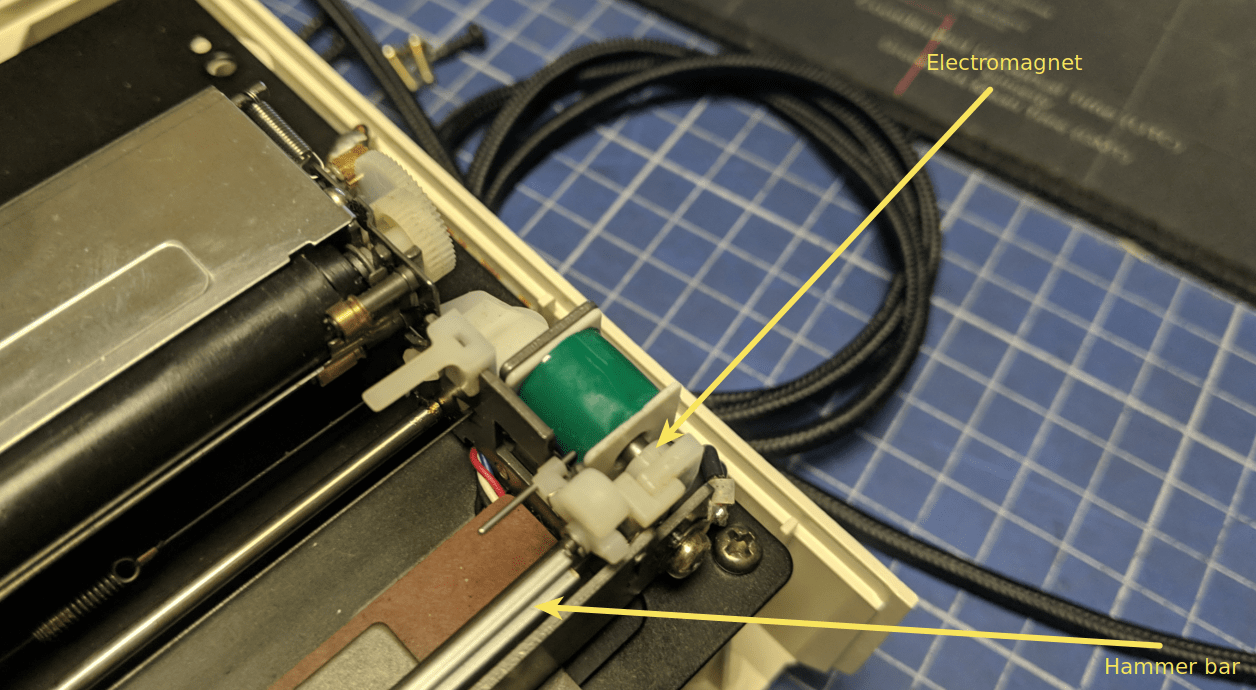
Now, my diagnosis was that the hammer bar was not putting enough pressure to start my replacement cartridge drawing. This pressure is controlled by a spring that is located on the other end of the hammer bar.
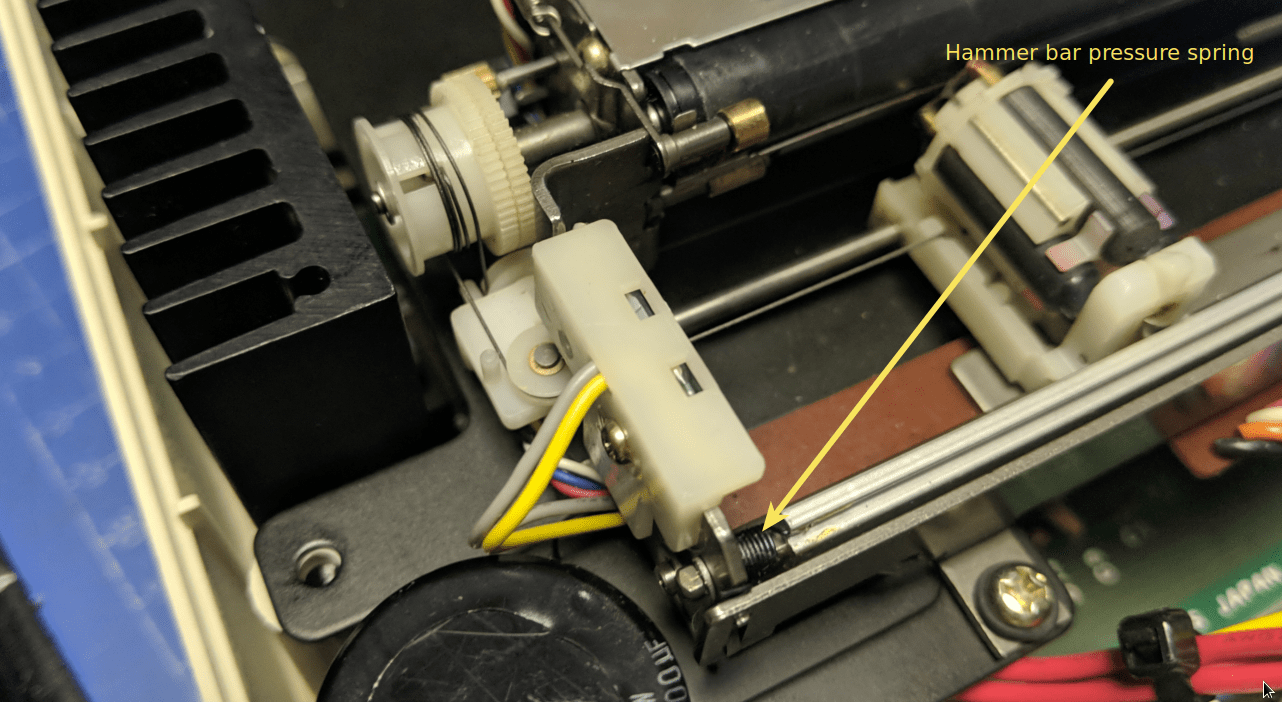
My idea was to make another turn of that spring. That was harder to do than I thought (yup, lots of tries with pincers of various types failed) but after some time, I came up with an idea to pull it with a piece of looped wire!
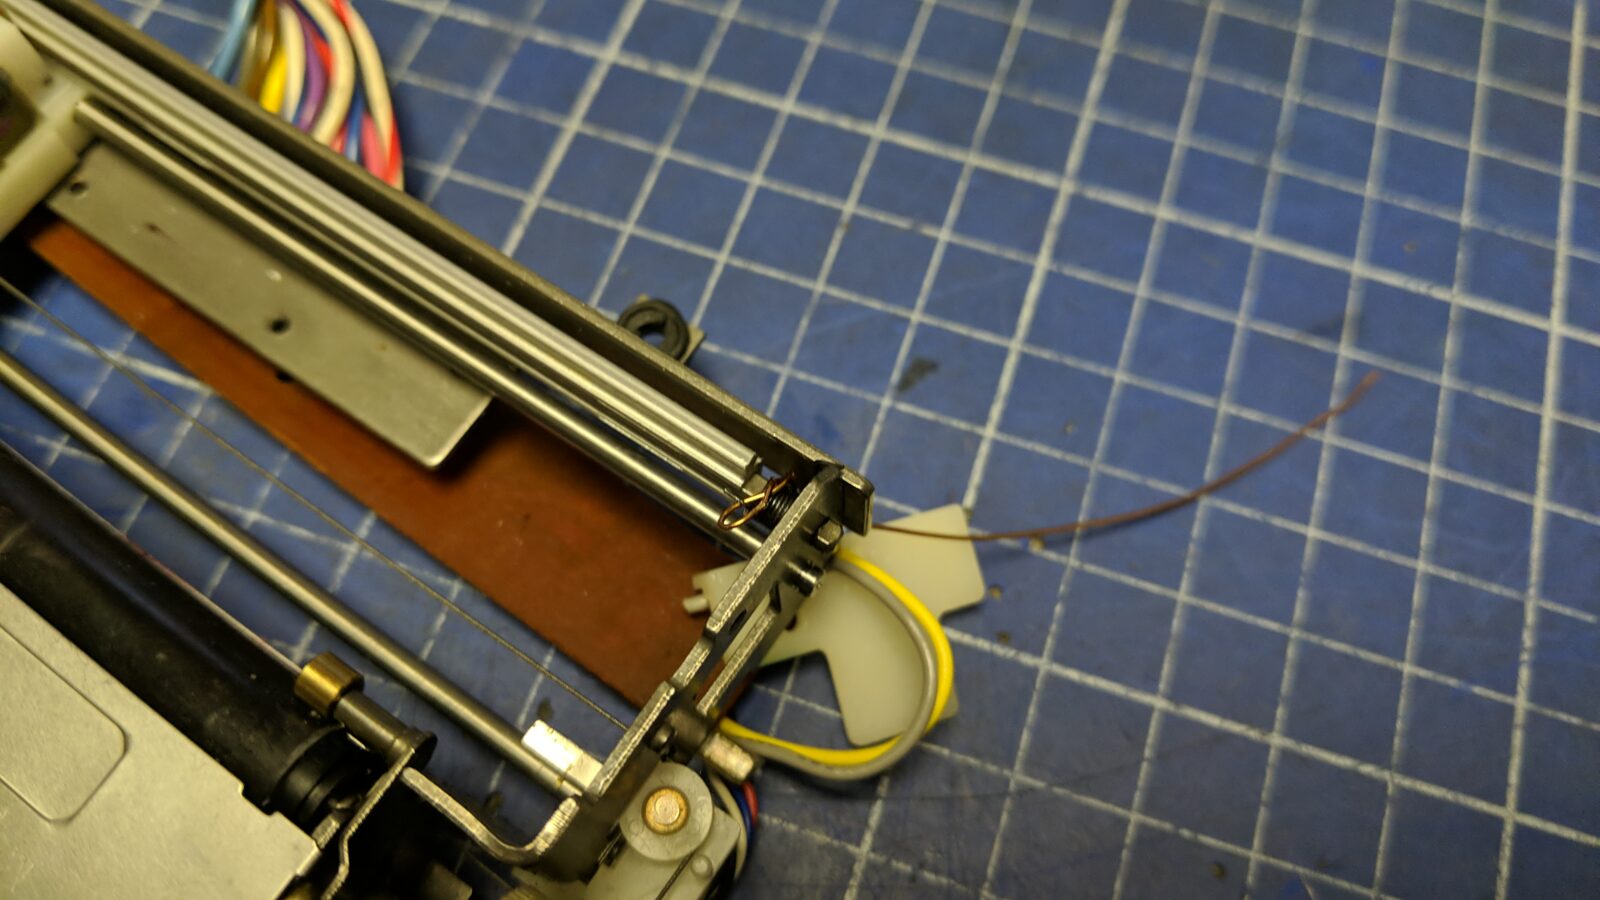
I’ve made a loop on the end of the copper wire and used it to pull the spring downside to catch it with pliers and bring it up again! SUCCESS…. but still not enough…
After spring tuning, the results were better but still crappy so I had to think about something else.
Gel pens to the rescue!
I am not much into the pens industry but I know that gel pens need less pressure to write.
I’ve ordered some different brands of gel pens and waited for delivery. Meanwhile, I was discussing these issues on the AtariArea Discord channel and one of the users (cheers Perinoid!) suggested using Gel pens too!!! Great minds think alike!
A while later I was ready to run some more tests!
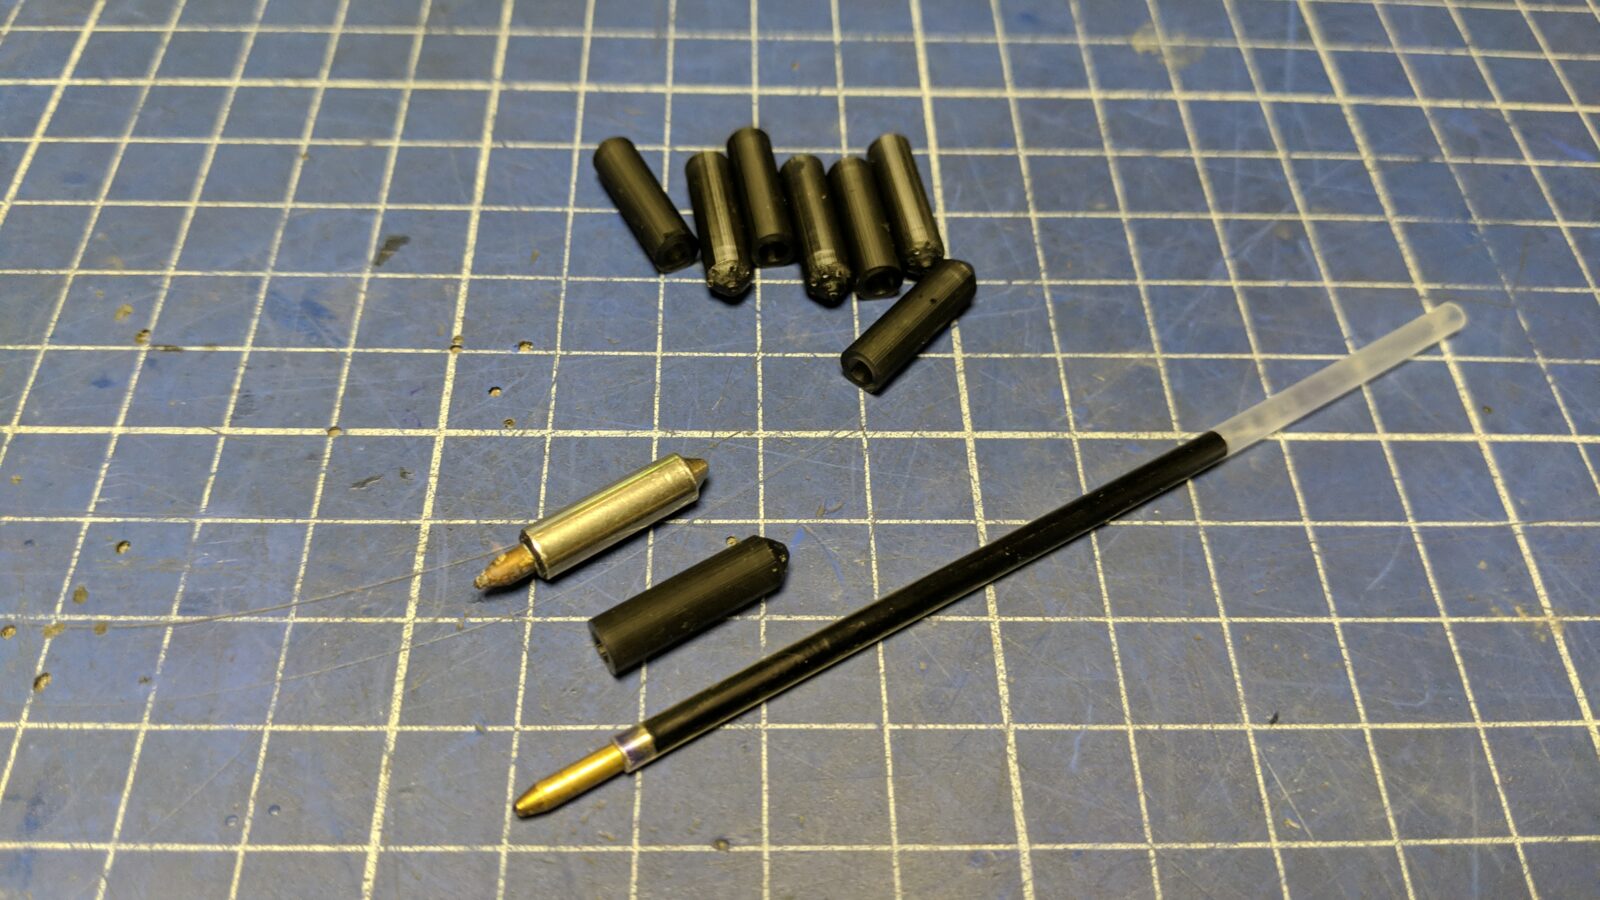
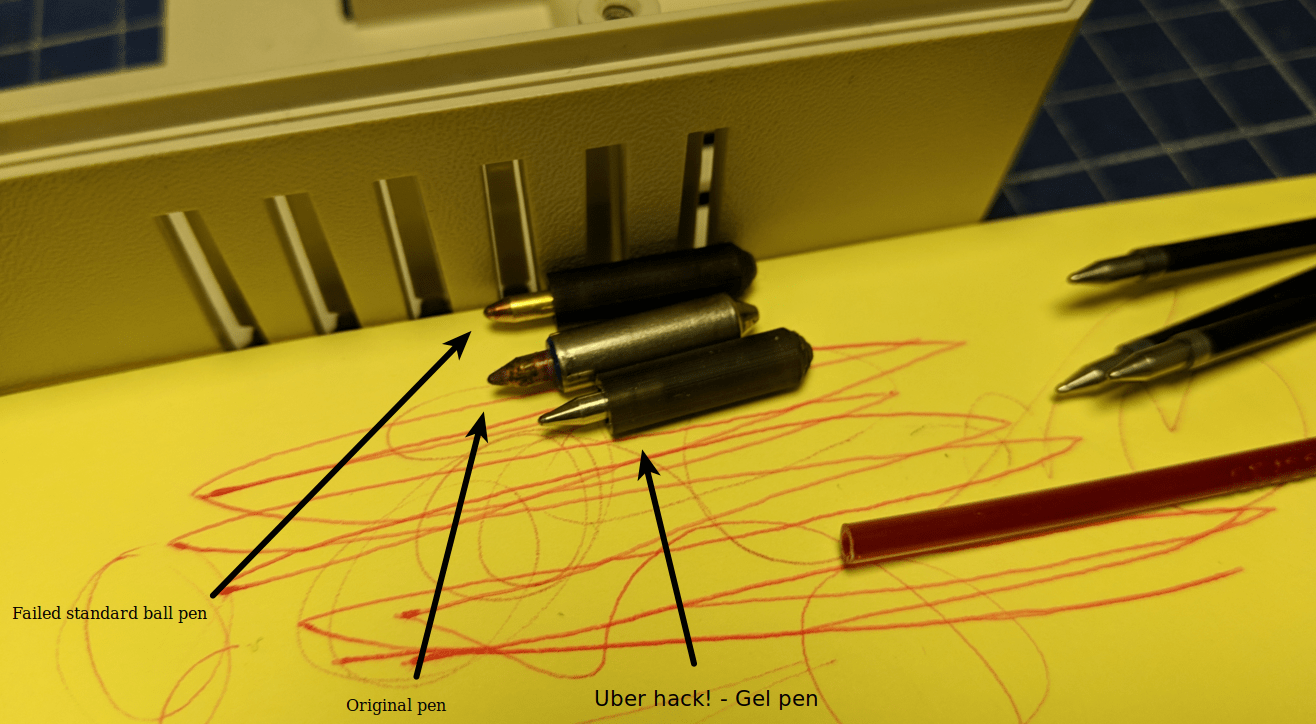
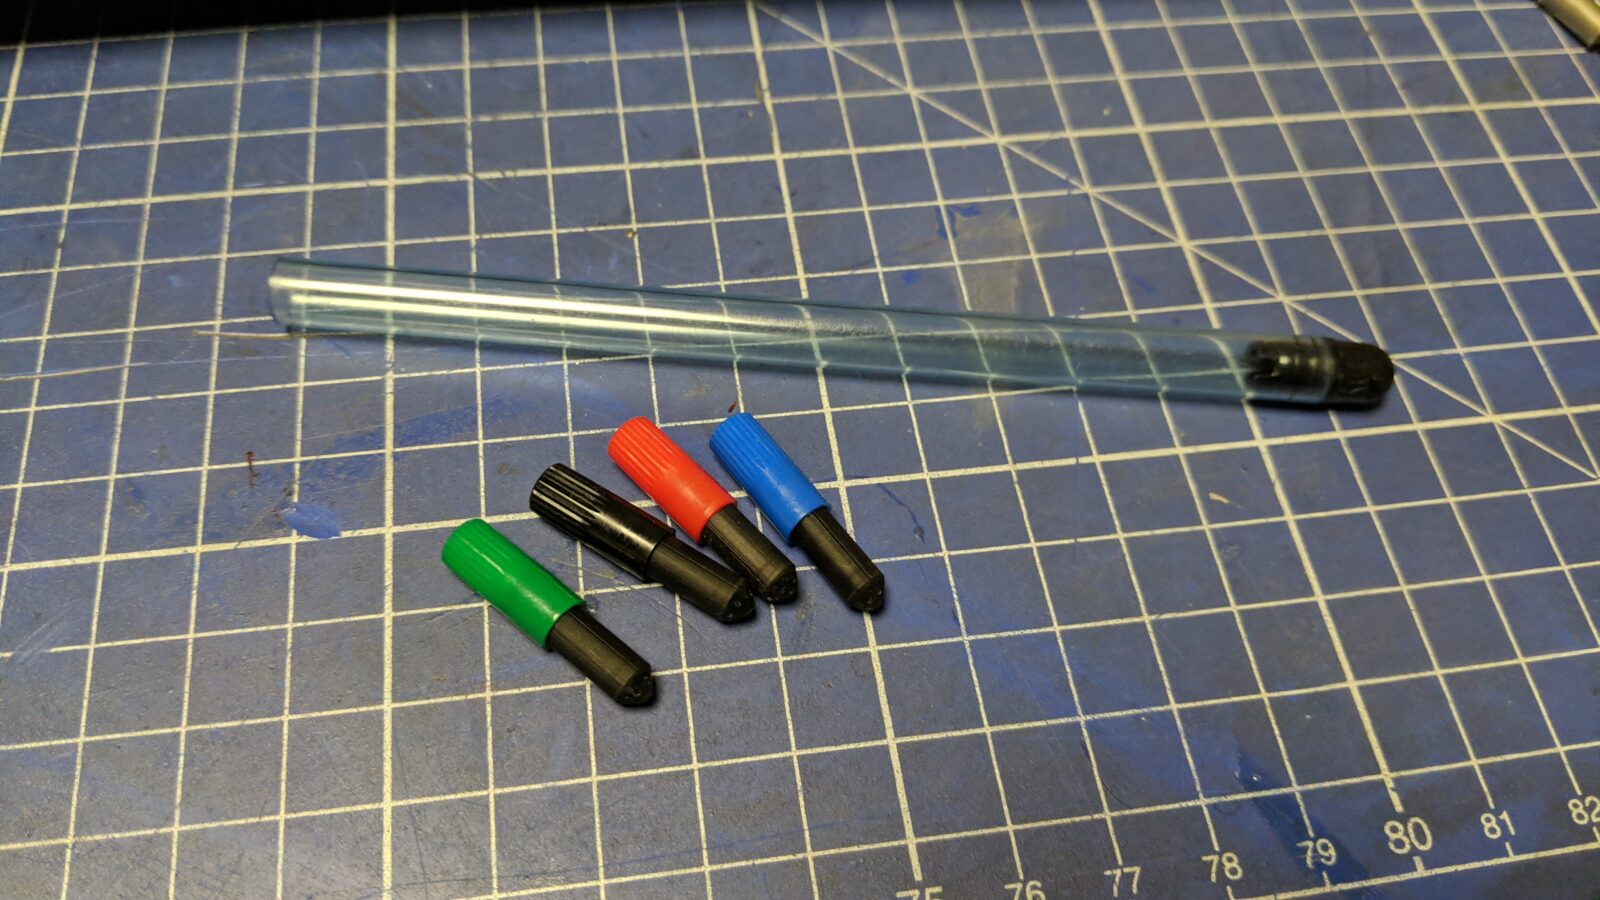
I had to cut the gel refill inserts first as usual. The measuring procedure is simple. You just have to measure the length of the original cartridge and then cut the refill insert to a size, minus 2mm. This is because the pointy end of the case is exactly 2mm long.
Here is a comparison of all three pens.
Some test results

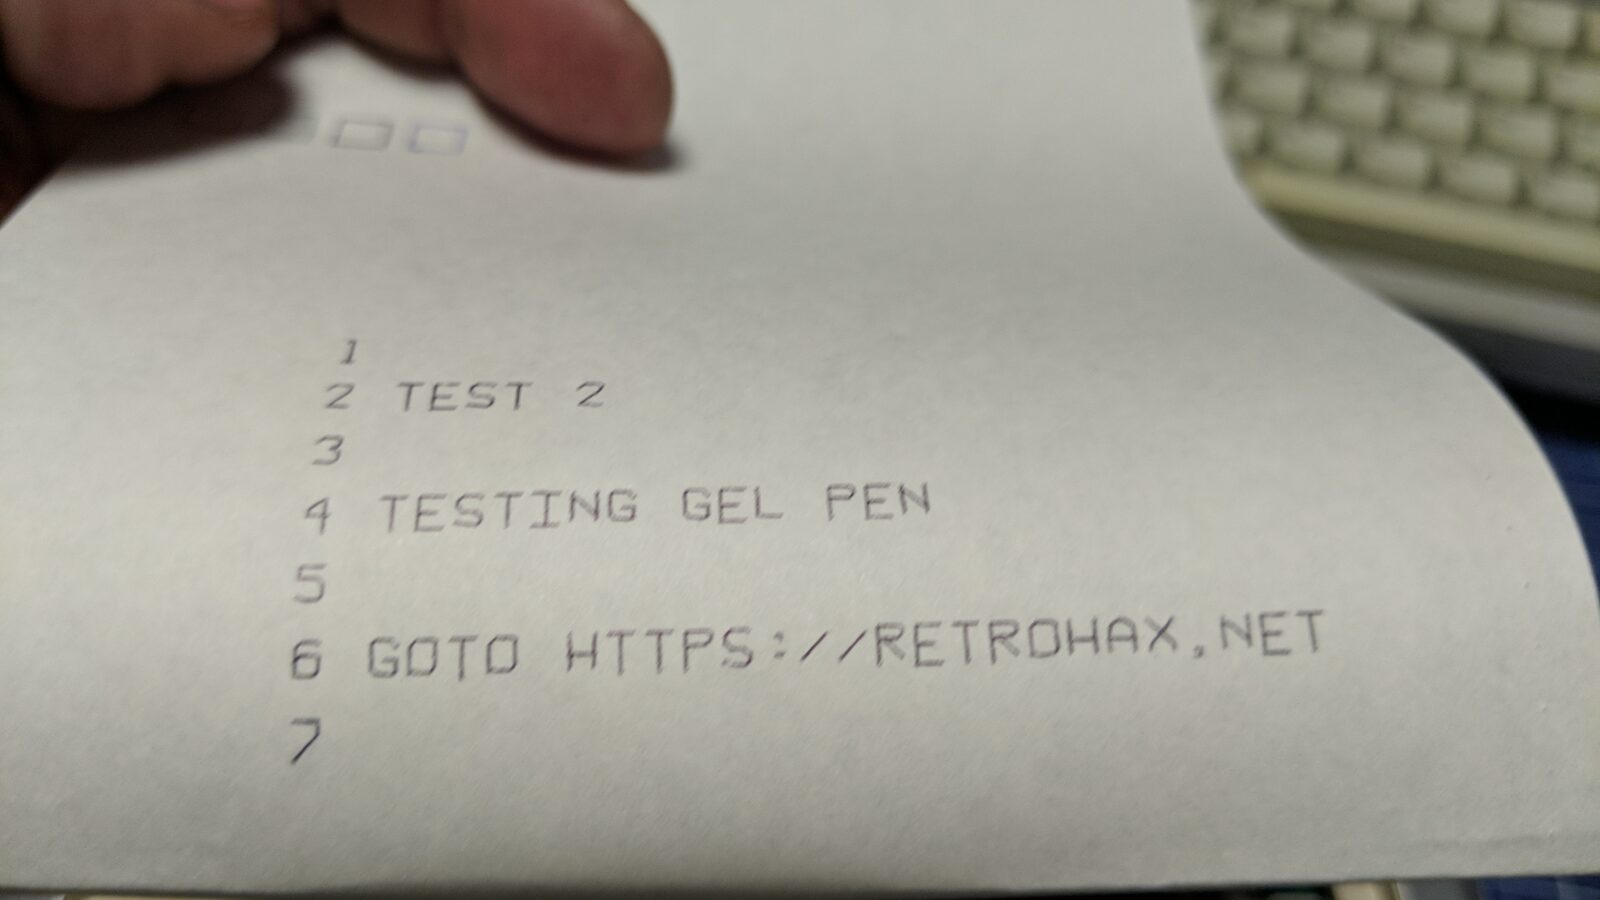
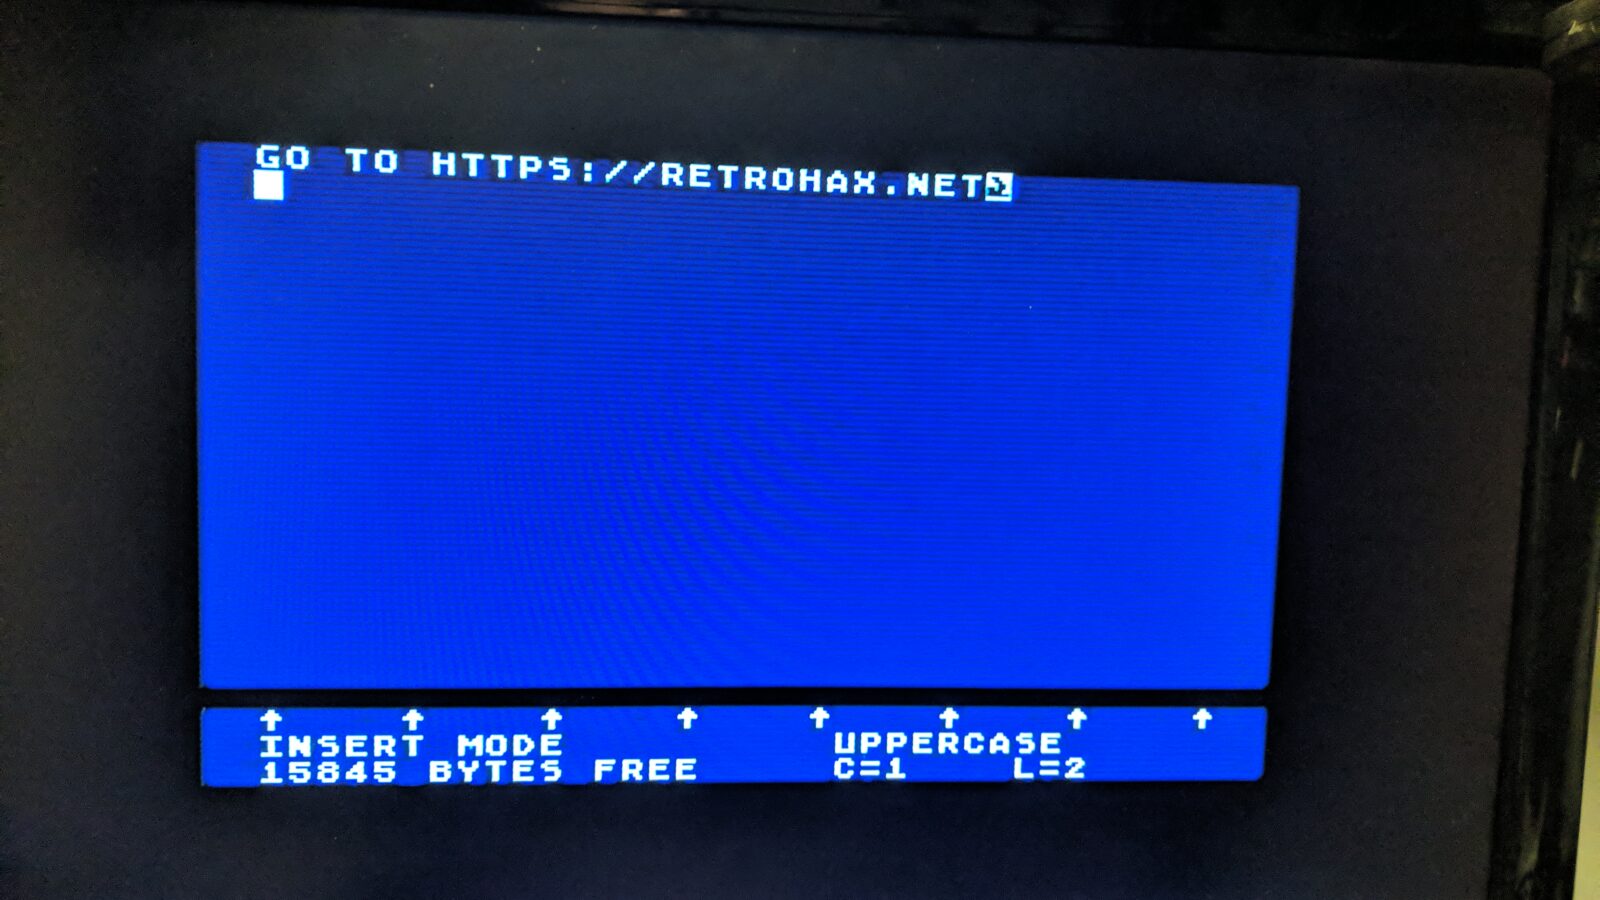
For the final test, I’ve rewritten a few lines of code that I’ve found in this article
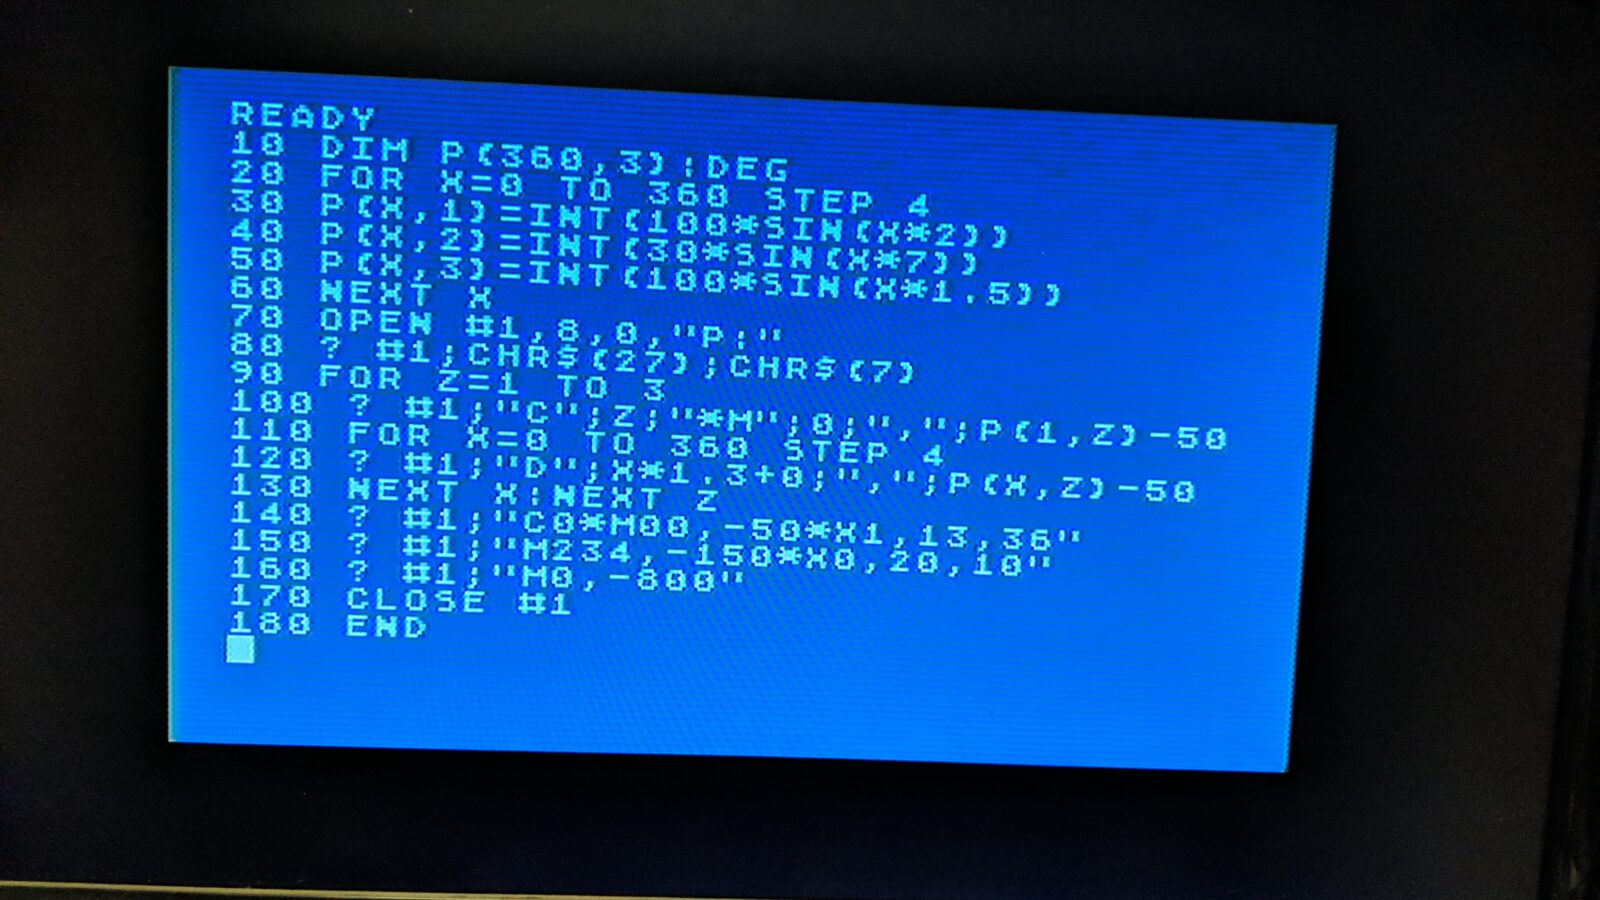
Here is how this code works.
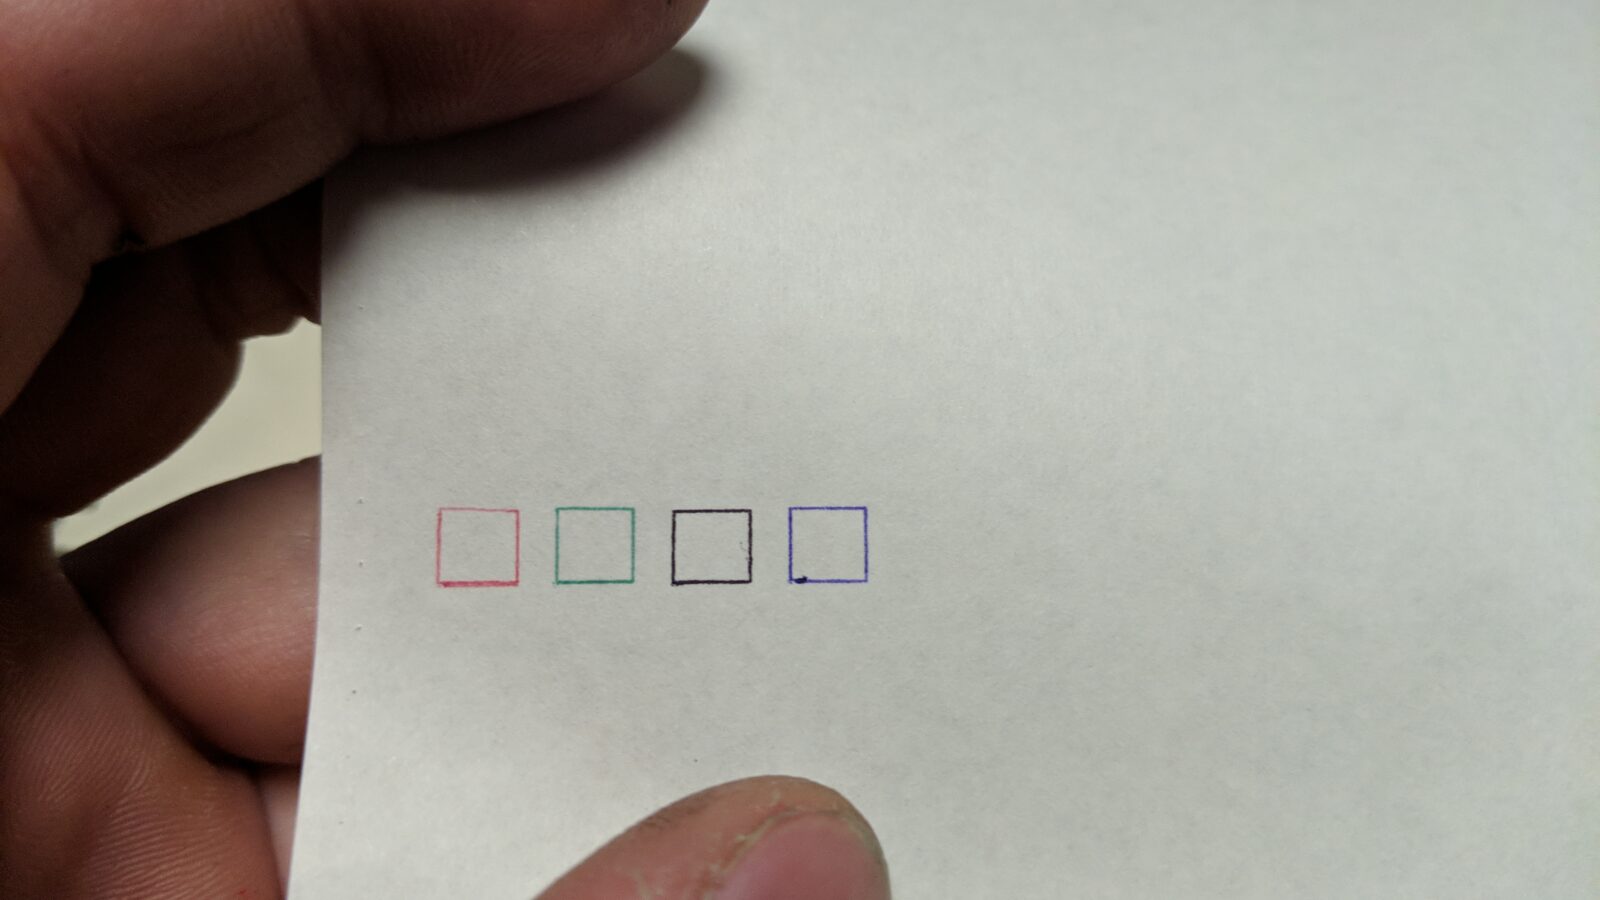
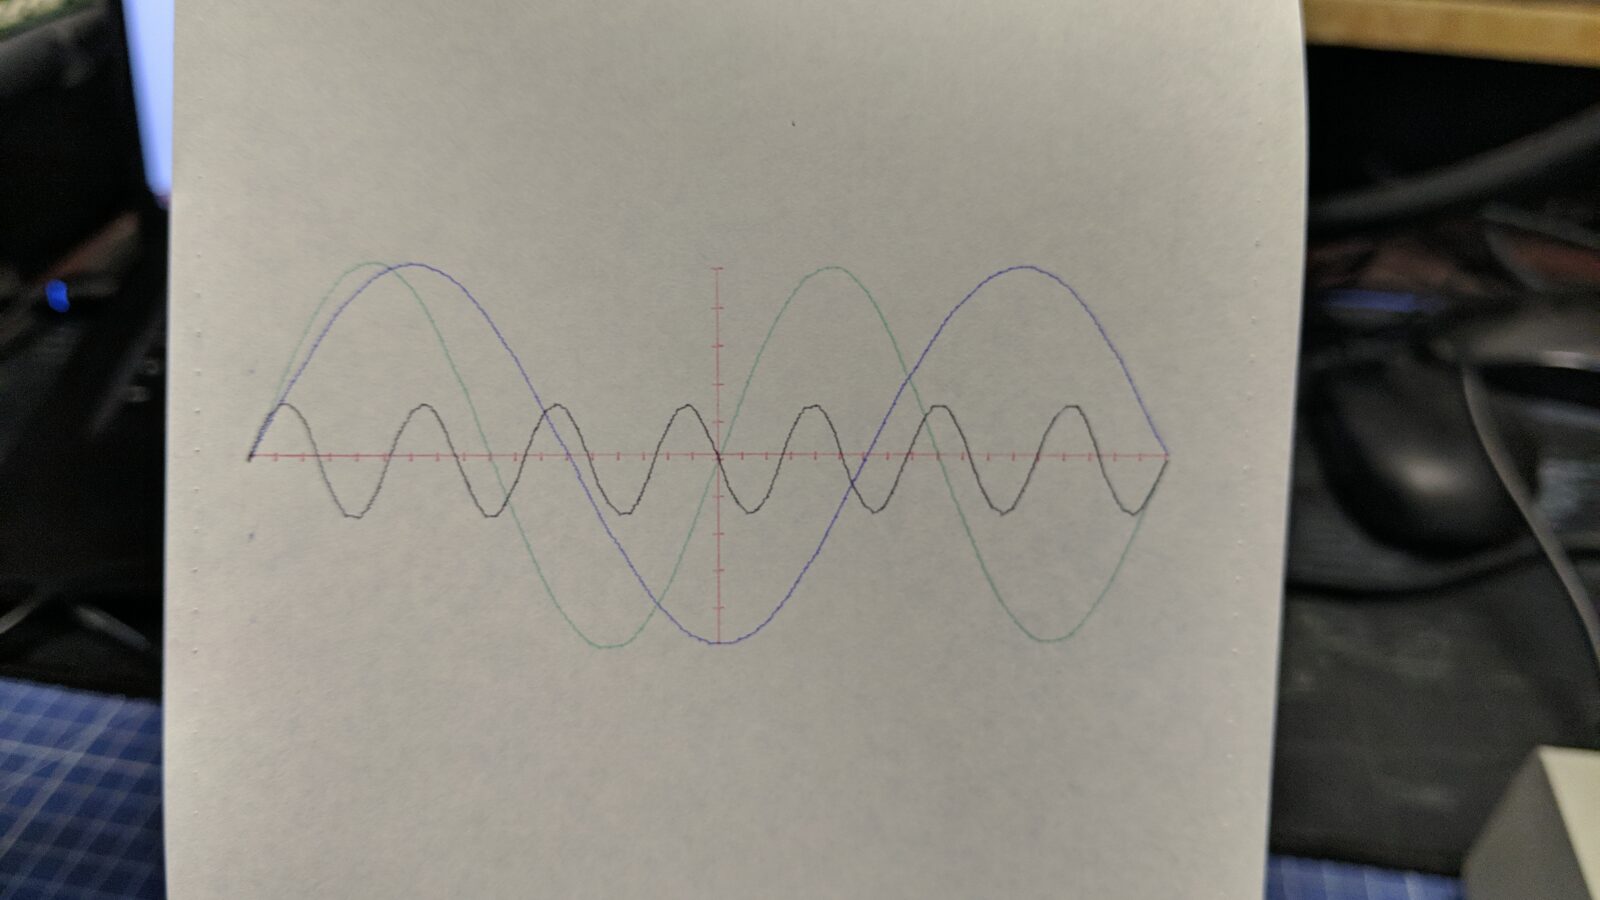
Results:
Here is the final look of the pens with original covers.

The next plotter in the queue is VIC 1520 – Printer Plotter :>
Downloads
Atari 1020 field service manual
Outro
Please support my work by spreading the word about my work or simply commenting here or on my Facebook, Twitter, Reddit, and other social media platforms.
If you want to get the retro gear I manufacture or hardware modules, please visit shop -> https://retrohax.net/shop/ Don’t bother with a shop anymore. I am closing it. More on this, here.


This worked really well for me (Commodore 1520 I just acquired, with a set of OG pens) using some random PaperMate, pen. But as someone already stated, there is no “sponge”. These type of pens rely on gravity to keep working over time, so with the plotter pen lying horizontal the tip would prematurely run out of ink. I found that I needed to drill a very, very, small hole in the back of my 3D (resin) printed case, so that when I started to see it fading I could blow into it to “pressurize” and move the ink forward to the tip before another large print. Storing the pen tip down would probably help as well. I imagine that it still may not last as long as the OG anyhow, simply due to the reduced internal volume of a short, skinny pen refill vs. the larger internal volume of the OG tube. But fun to experiment with 😀
Great tips Gunner! I will be working on 1520 soon so maybe I’ll figure out something better than my last attempt 😀
I did this exact same thing a while back. rest printed some pens holders and used gel pens.. it worked BUT the problem I had was the ink ran out almost immediately. the original pens have a sponge in them that soaks up a lot if ink… when you cut the tubes of the gel pens down so small it burns through the ink in no time.
Good points. I will re-asses that while working on Commodore plotter this year. Thank you sir!
It’s a bloody nice piece of work there
I had a commodore four and a half inch wide printer when it came out I think it was a 1520
I had a Panasonic rkp00c on a serial port and I even shorted the input battery override so that I could connect a 9-volt battery charger for a while and charged six Nike ads in the body
I’m working on a solution for these things
I’m an experimental Machinist
The way I would do it is get cut the length tubing that is the right OD and ID and then get a ball 3 mm diameter fit the ball into the end of the tubing flush so it can accept the hammer and then fit the precisely cut gel link refill dead end into the tubing so that it hits the ball in the overall length is correct for the hammer to work
Thank you sir. I still have some plotters in a TODO queue, also that 1520 that you’ve mentioned.
Hopefully, I will manage to sort it out this year so maybe I’ll come up with fresh ideas 🙂
@Douglas.Your comment is a very low level. Rescue maintenance for this printer its a very professional. @Drygol great work !!!
You are full of shit. your .stl file is not correct. there is no nugget on the back end of your unit. all i get was a tube. ink will leak and it doesnt even fit.
Hmmm, OK sir. Pretty harsh words without any decent info and discussion …
Maybe you have corrupted or incompatible software… there’s another possibility: your brain is messed up.
your mom
I have put together several resources and info for this plotter mechanism here:
http://tandy.wiki/CGP-115
Including the correct type of ink for refilling the pens, new manufactured pens, and new pinion gears.
For refilling the pens, you want a water-based, dye-based ink. Meaning not oil-based like a regular pen, and not particulate-based like india ink. India ink type will clog up the wick with the particulates, and oil-based is too viscous. The inside of the pen has a wick filler like a marker so that it can write in any direction and doesn’t slosh the wrong way from the hammering.
There is a German company that makes new pens for this mechanism. They’re expensive but they’re also perfect.
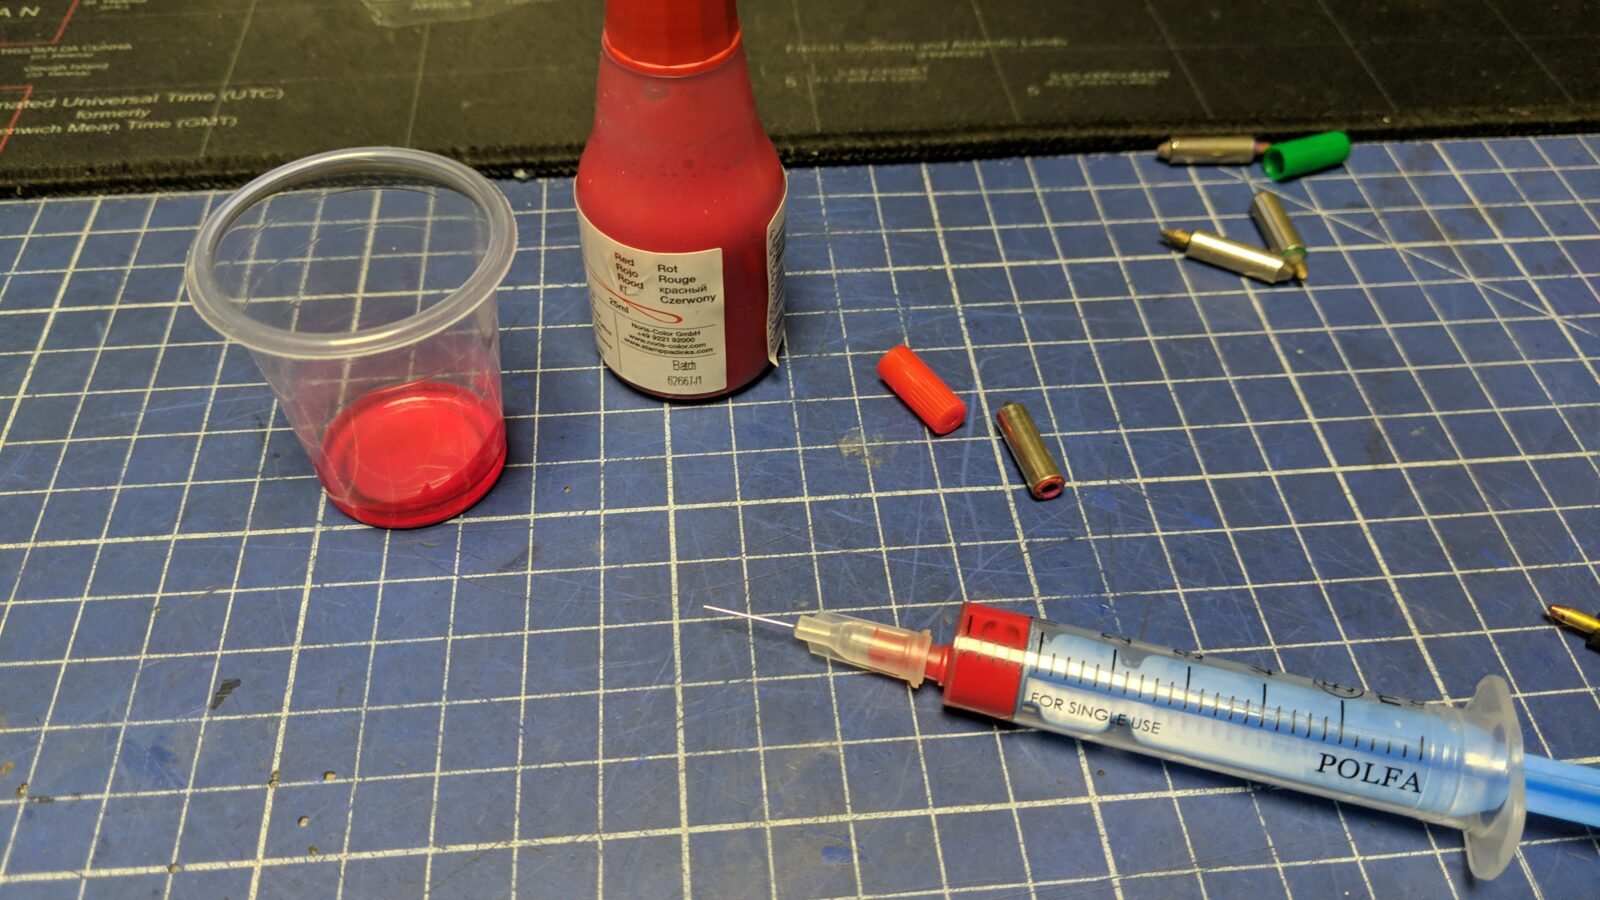
I got a set and then refill them with Koh-I-Noor drafting ink and insulin syringes (ideal small volume for the tiny pen, cheap, and available at the corner drug store)
The same “model” of drafting ink comes in other colors too, just the last 2 letters in the part number changes.
Hi Brian,
Excellent info there! I never came across it! Thanks for sharing!
I have some more, similar plotters to deal with so I will be able to test some of these methods. If not, then I’ll switch back to the one mentioned above!
Cheers
D
I’ve been experimenting and happened to too the same thing you are but the issue is the ink runs out fast so i wen back to trying to refill the originals with the gel pen ink and i have had some success.
Turns our the ball seizes up on these and you have to jar it loose with lotos of tinkering… i used dioxit and it helps. once it breaks free you are good.
The other thing that I did was i 3d printed a little holder for the pens on a rod with a loop to put onto the check of my mini remit and i let it spin the pen to push the ink towards the tip and this worked wonders. still gonna do a few but so far 2 our of 3 are fixed.
Excellent hints! I will give it a try with other machines.
The gel pens might dry up if left uncapped. Try an emulsion ink like the Jetstream series. More like a ballpoint, but without requiring the same writing pressure.
You can get jetstream refills from many retailers.
Amazing stuff again! Cheers!
Thank you sir!